
























The Minish Cap 100% Completion Walkthrough19 chapters
- The Picori Festival and the Minish WoodsGet the Small Shield and Smith’s Sword, meet Ezlo, shrink and reach Minish Village.
- Deepwood Shrine (Dungeon 1)All four small keys, Dungeon Map, Compass, Madderpillar, Gust Jar, Big Key, Heart Pieces and Big Green Chuchu.
- Ascent to Mount CrenelBomb Bag, Kinstone Bag, Big Wallet, bottle, Grip Ring, Great Fairy, Heart Pieces and Melari’s Mines.
- Cave of Flames (Dungeon 2)Every key, chest and mine cart, the Cane of Pacci, the Big Key, Gleerok boss tactics and the Fire Element.
- Infusing the Picori BladeMelari’s White Sword, the Elemental Sanctuary, a Heart Piece and a Kinstone piece on the way.
- Getting the Pegasus BootsSyrup’s Wake-Up Mushroom, Lon Lon Ranch, eight Kinstone fusions, three Heart Pieces and Swiftblade.
- Castor Wilds and the Wind RuinsThree Gold Kinstones, the Bow, the Mysterious Statue fusions and the road to the Fortress of Winds.
- Fortress of Winds (Dungeon 3)Every key, Compass, Map, Mole Mitts, Big Key, Mazaal boss tactics, Heart Container and Ocarina of Wind.
- The Library Books and the FlippersReturn the three overdue books in Hyrule Town, win the Power Bracelets and get the Flippers.
- Hyrule Town Side Quests and Kinstone FusionsAnju’s Cucco Roundup, Simon’s Simulation, Kinstone fusions, heart pieces and the Magical Boomerang.
- Collectibles Sweep Before the Temple of DropletsKinstone fusions, 10 Pieces of Heart, Roll Attack and Peril Beam dojos and the Large Quiver.
- Temple of Droplets (Dungeon 4)Every key, Map, Compass, Big Key, Flame Lantern, Big Blue Chuchu, Big Octorok and the Water Element.
- Royal Valley and the Royal CryptWater Element, Sword Beam, Remote Bombs, Graveyard Key, Great Fairy and King Gustaf’s Gold Kinstone
- Veil Falls and the Cloud TopsHeart Pieces, Splitblade’s dojo, Source of the Flow and five Mysterious Cloud fusions.
- Palace of Winds (Dungeon 5)Roc’s Cape, four Small Keys, Big Key, Compass, Map, Heart Piece, Gyorg Pair boss and Wind Element.
- Collecting the Upgrades Before the Four SwordDown Thrust, Great Spin Attack, seven Kinstone fusions, seven Heart Pieces and the Goron Cave bottle.
- Dark Hyrule Castle (Final Dungeon)King’s cell, Map, Compass, six Small Keys, Big Key, Darknut rooms and the Darknut trio before Vaati.
- Vaati Final Boss and EndingBeat Vaati Reborn, Transfigured and Wrath, free Zelda, escape the castle, then save after the credits.
- Postgame Collectibles and 100% CompletionLast Kinstone fusions, Biggoron’s Mirror Shield, Heart Pieces, Heart Container, Tingle Trophy and all 136 figurines.
| Covers | Veil Falls (dojo, Mole Mitts cave, Source of the Flow, the dark passages up the falls), the Cloud Tops and the Home of the Wind Tribe |
|---|---|
| Dungeon | None in this chapter; it ends at the whirlwind that carries Link up to the Palace of Winds (Dungeon 5) |
| Rewards | 2 Pieces of Heart (the first completes a Heart Container), Split Gauge upgrade, Light Arrows, Veil Falls and Cloud Tops Wind Crests, 5 Gold Kinstone pieces fused with the 5 Mysterious Clouds, 2 blue and 3 red Kinstone pieces in chests in the Wind Tribe home plus a blue piece (Caprice) and a red piece (Siroc) from fusion chests, 300 Mysterious Shells, 150 Rupees, 5 fusions that spawn a Golden Tektite, a Golden Rope and a Veil Falls waterfall; no bottles, figurines or Tiger Scrolls |
This chapter takes you up Veil Falls, through the Source of the Flow door and into the sky. You collect two Pieces of Heart and the Split Gauge upgrade on the way, light your way through the dark passages with the Flame Lantern, fuse five Gold Kinstone pieces with the five Mysterious Clouds, and then work through the Home of the Wind Tribe for Kinstone chests, the Light Arrows and a handful of fusions whose rewards appear elsewhere in Hyrule.
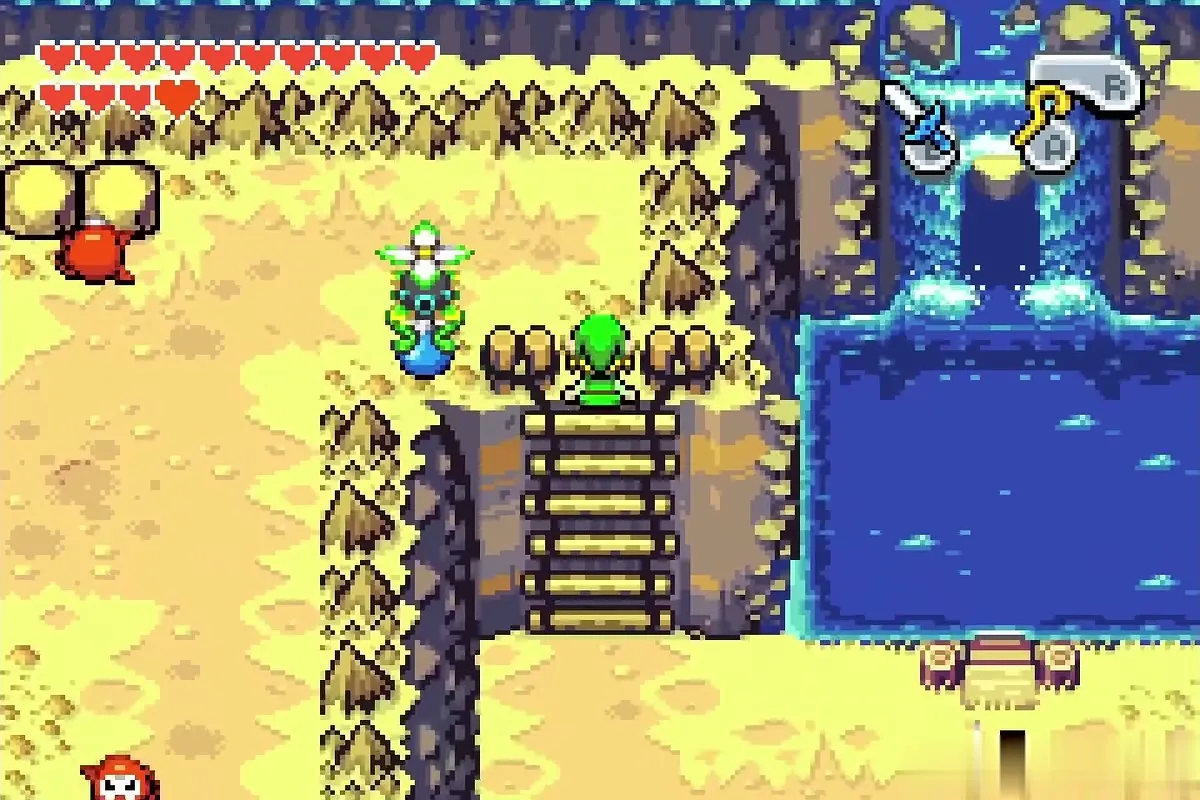
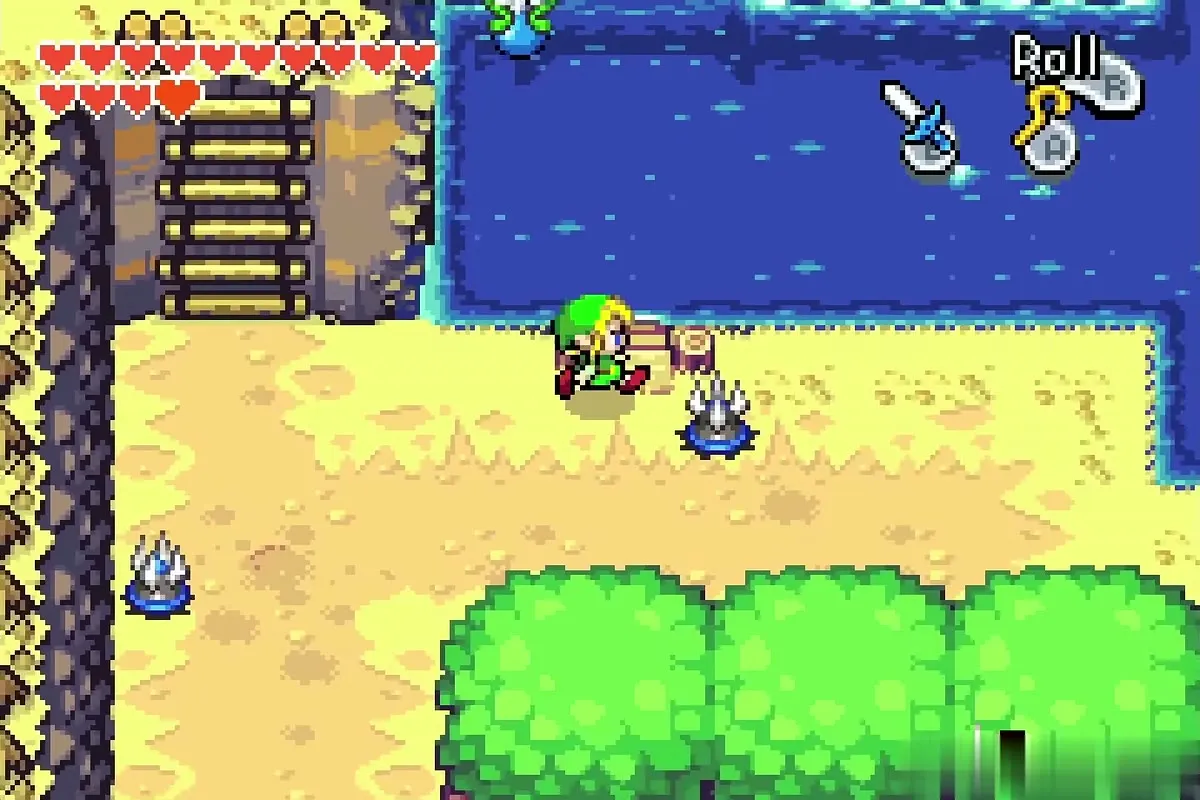
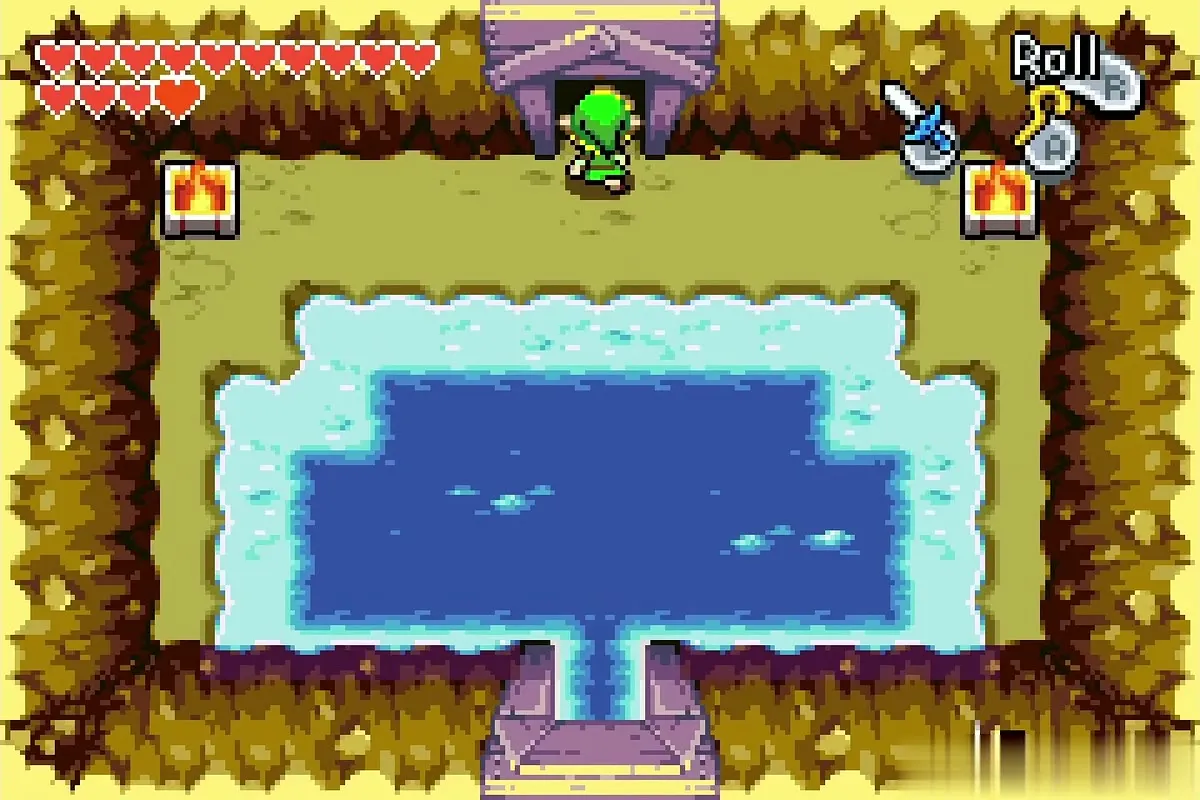
Table of Contents
Veil Falls: dojo and lakeside Heart Piece
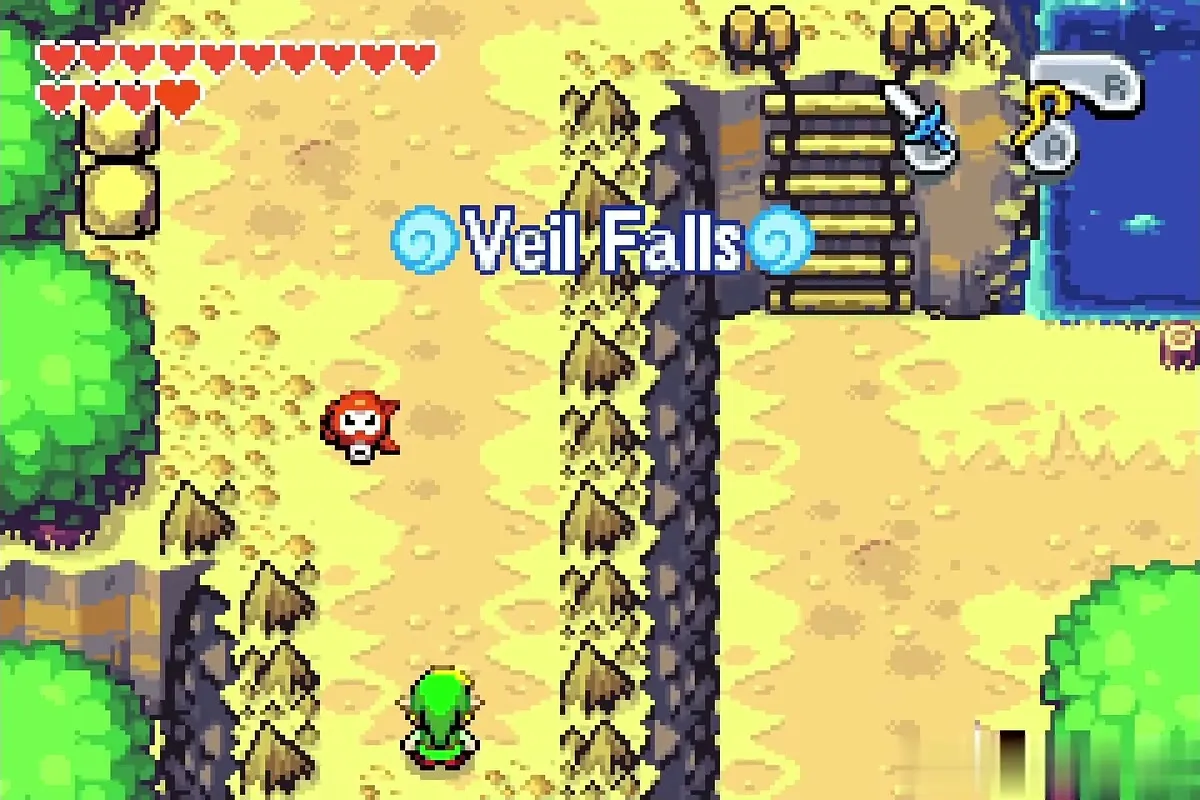
Reach Veil Falls
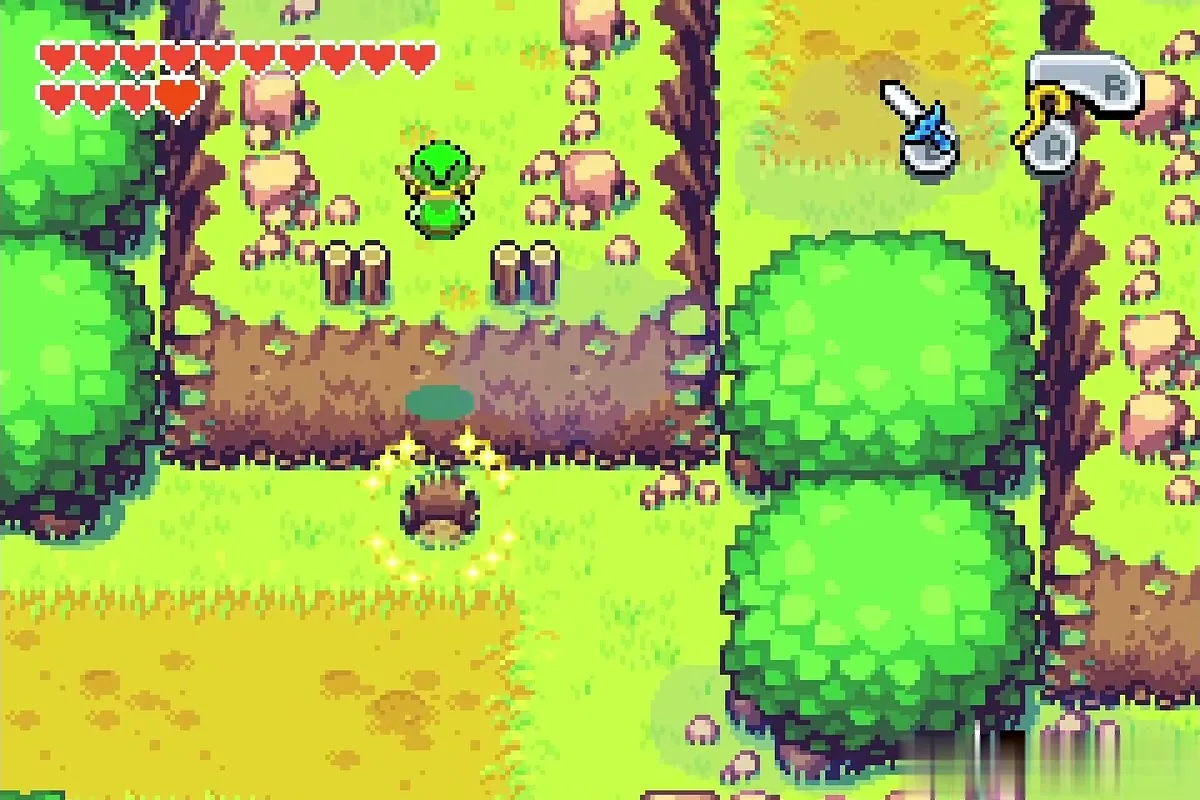
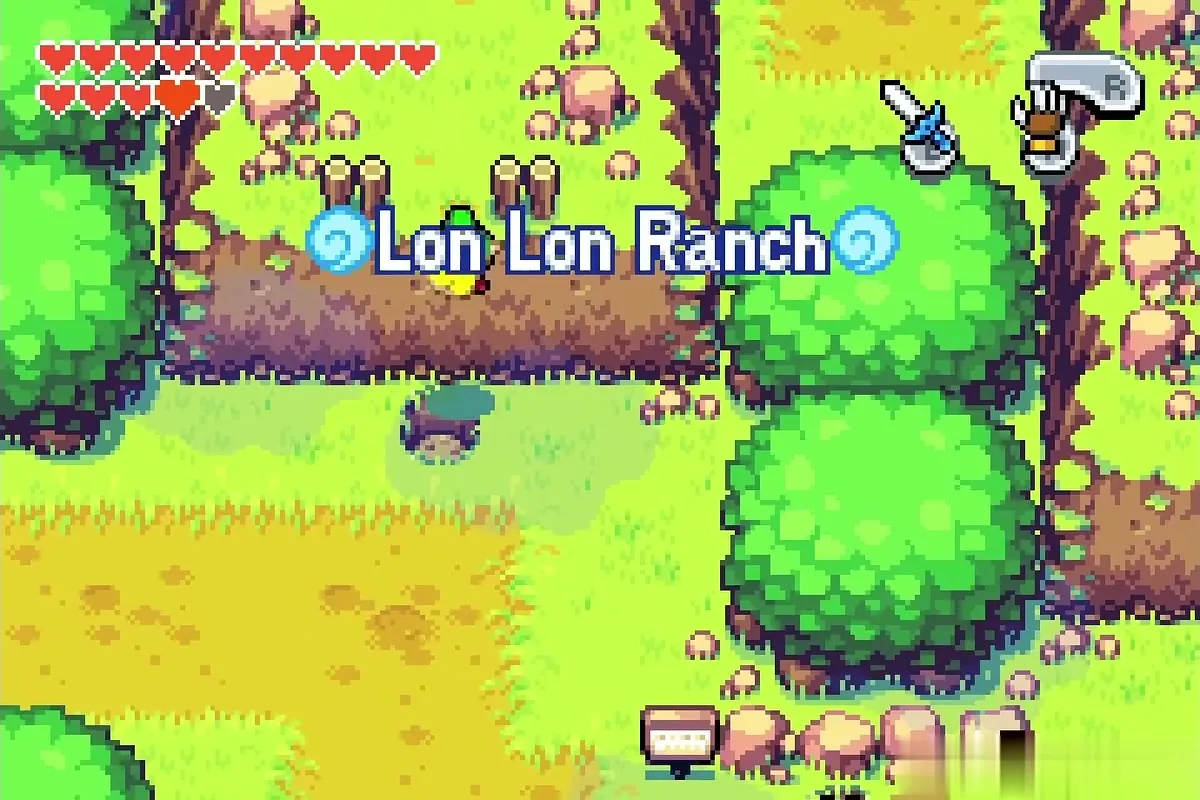
Use the Cane of Pacci on the hole in the far north-west corner of Lon Lon Ranch and jump out of the other end to arrive at Veil Falls. Everything here depends on your gear: the Mole Mitts, the Flippers, Bombs and the Flame Lantern are all used before you reach the top, so come with all of them.
Splitblade’s dojo and the Split Gauge
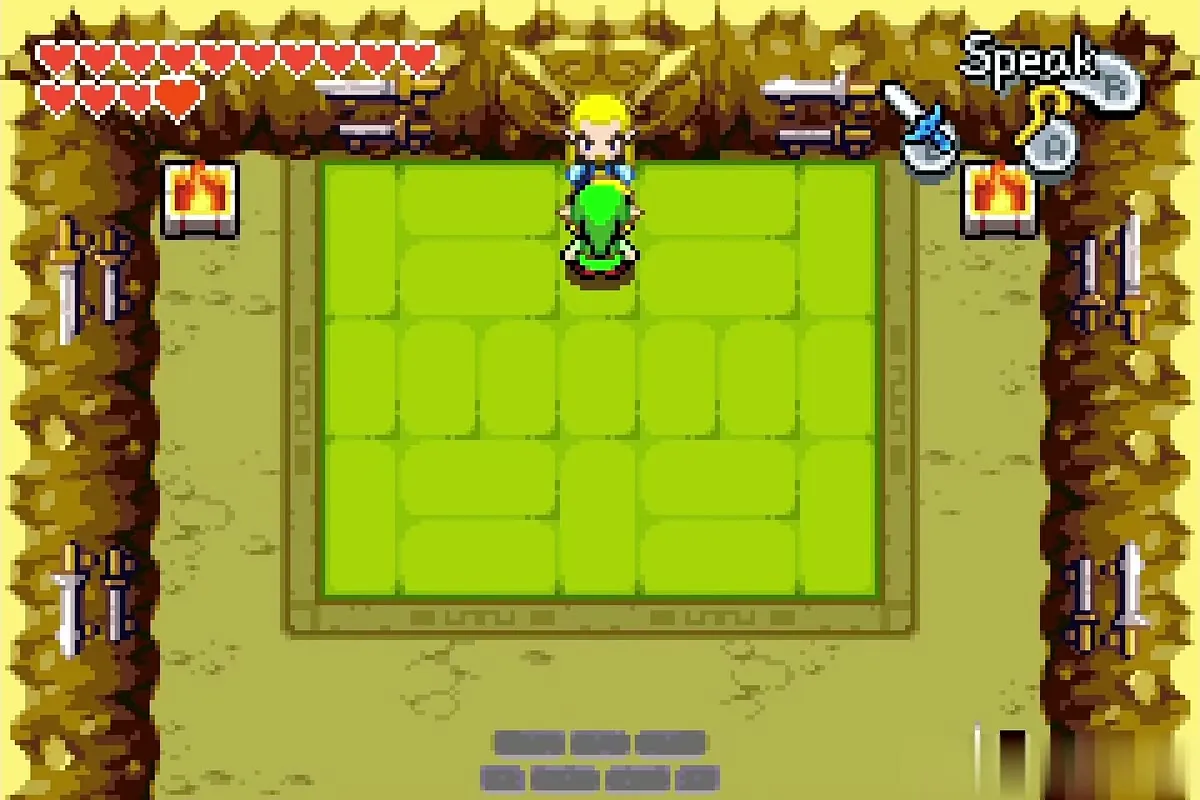
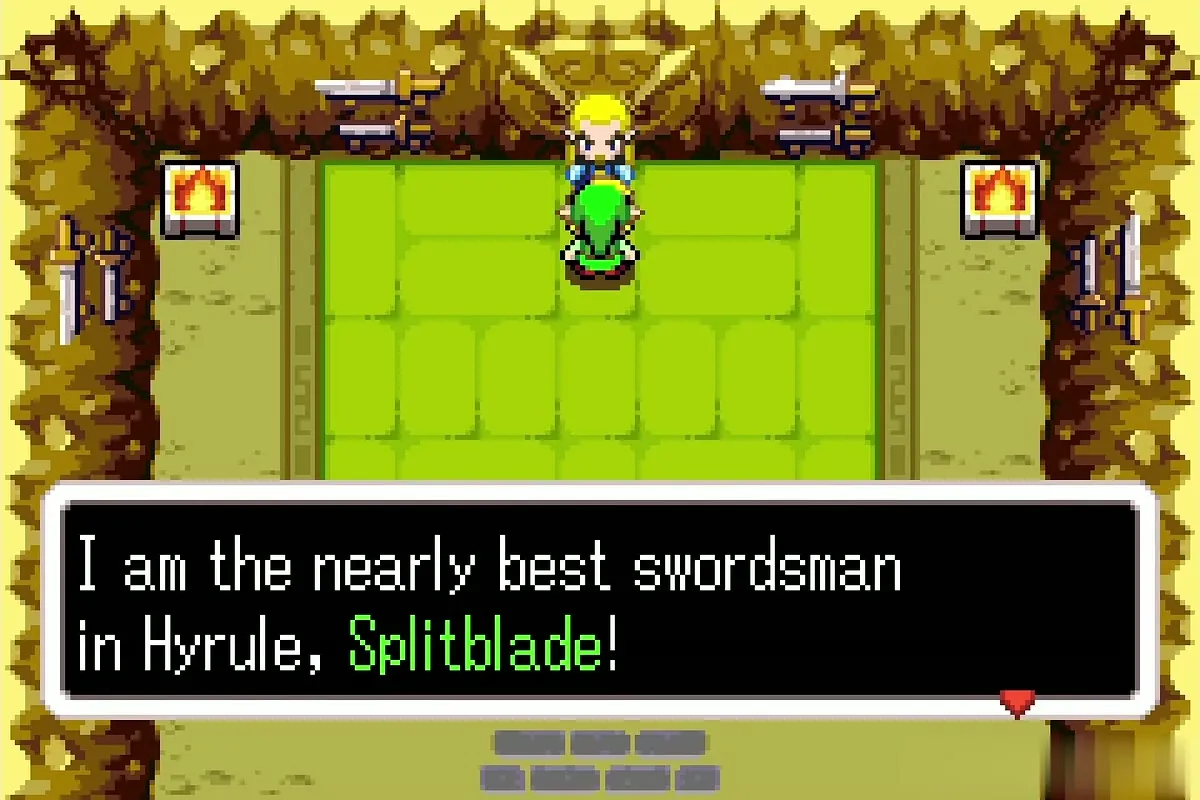
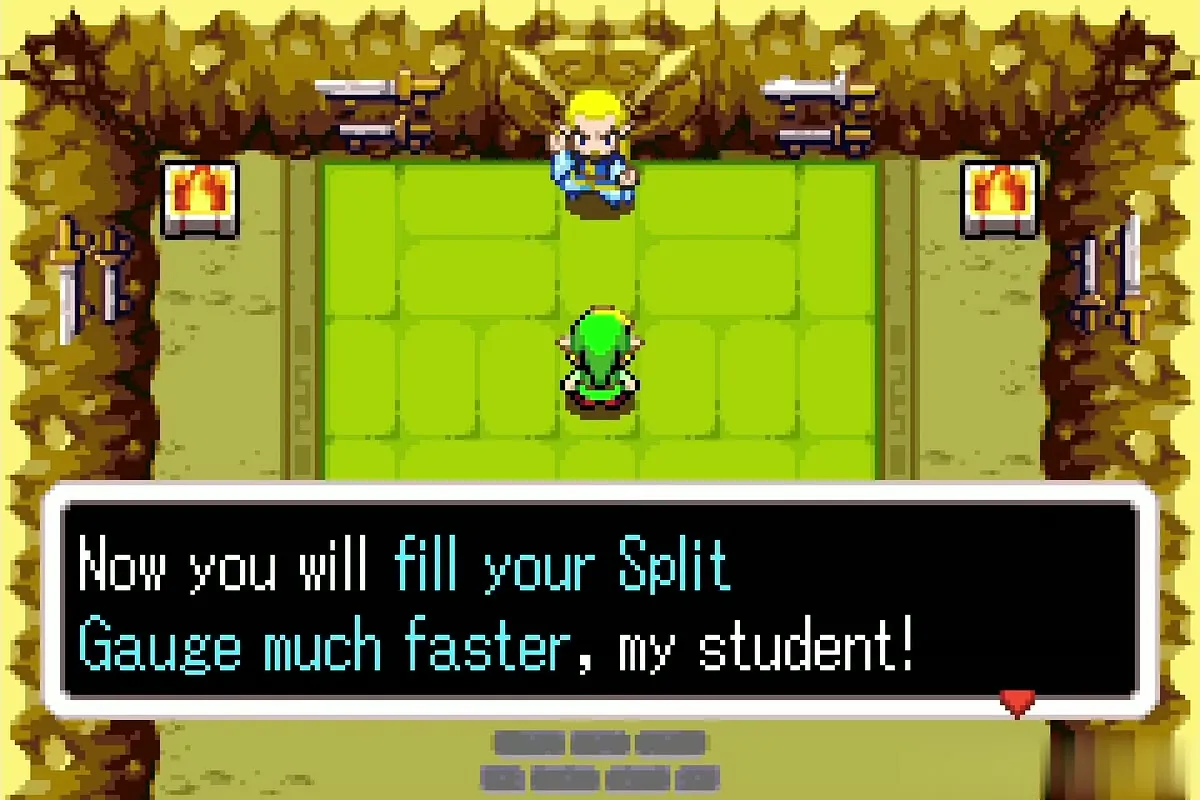
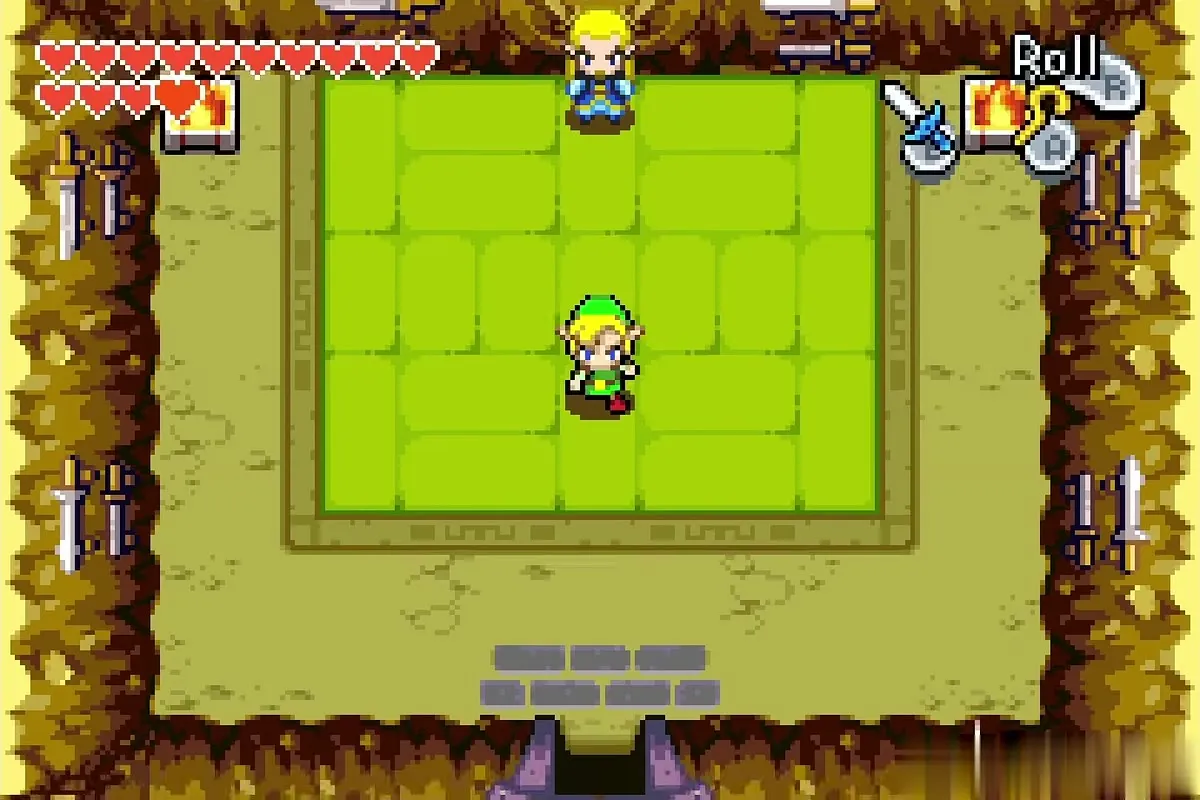
Climb the stairs next to the lake and go through the cave mouth at the top into the waterfall dojo, which only opens after you fuse Kinstones with Grimblade in Hyrule Castle Garden. Talk to the swordmaster Splitblade and go through his lesson. When he finishes, your Split Gauge fills faster, so the sword split technique charges faster (see Tiger Scrolls for the other sword upgrades).

Piece of Heart on the lakeside ledge
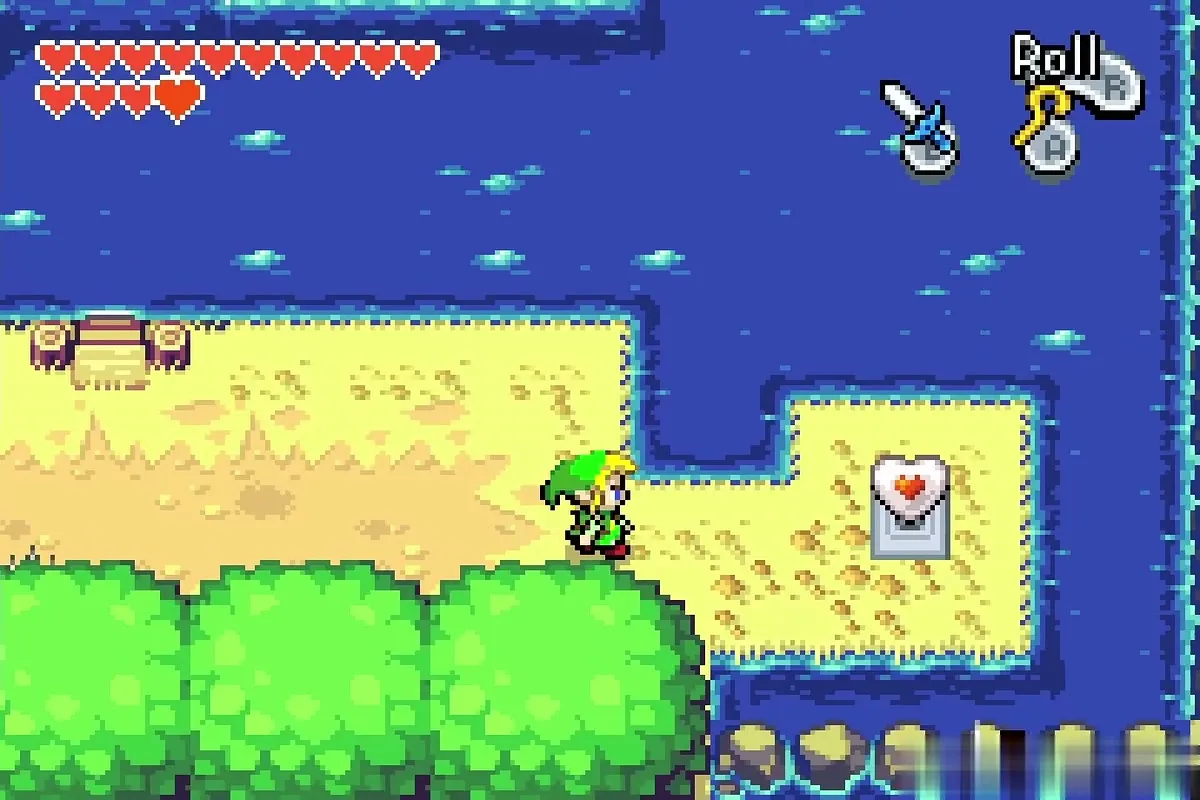
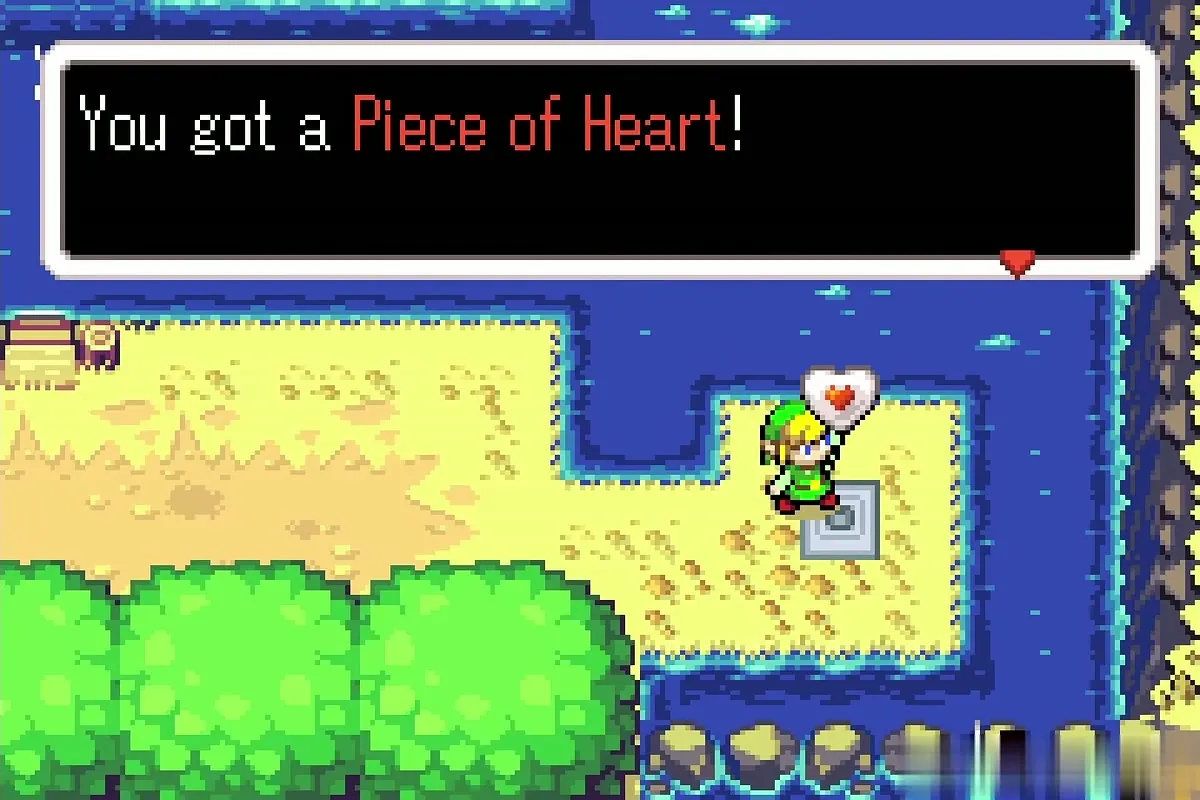
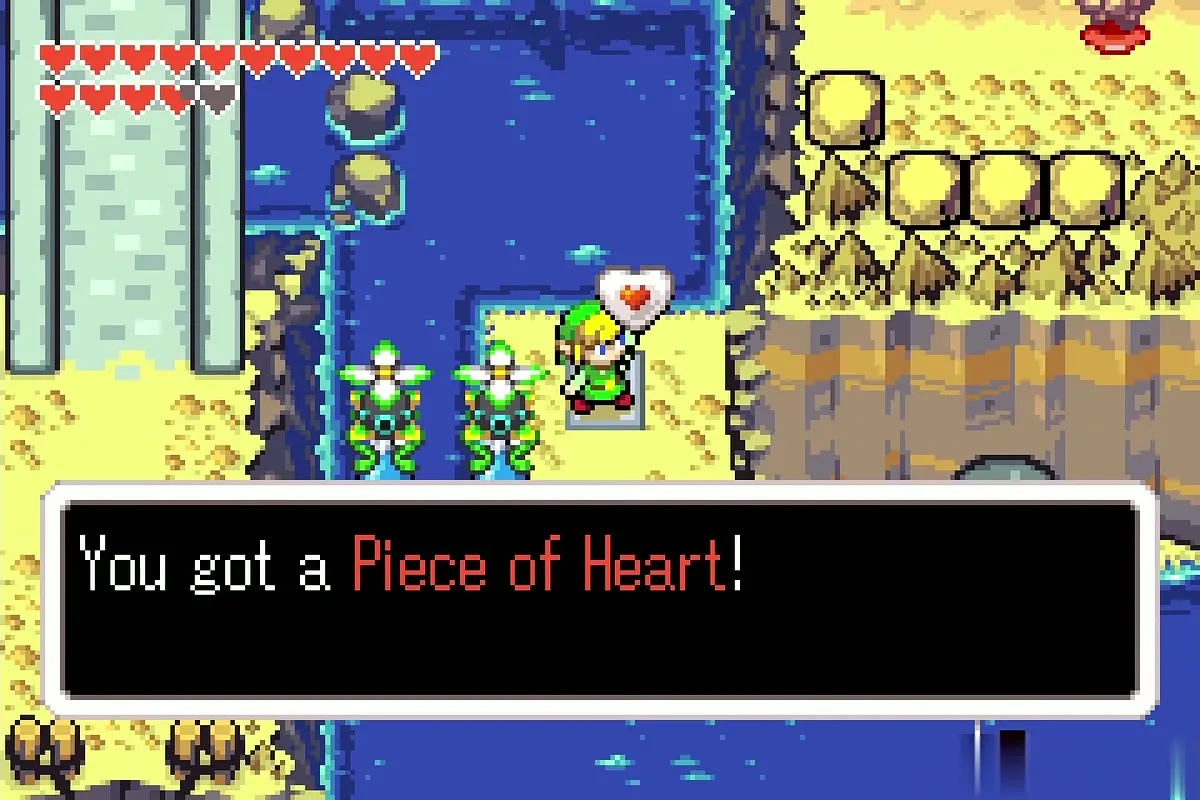
Walk out of the dojo and follow the ledge along the water to the little peninsula at its tip. A Piece of Heart sits on a stone tile there. If it is the fourth piece of a set, it completes a new heart and refills your hearts (see Heart Piece Locations).
Veil Falls: Mole Mitts cave and the dock
Two chests behind the dirt
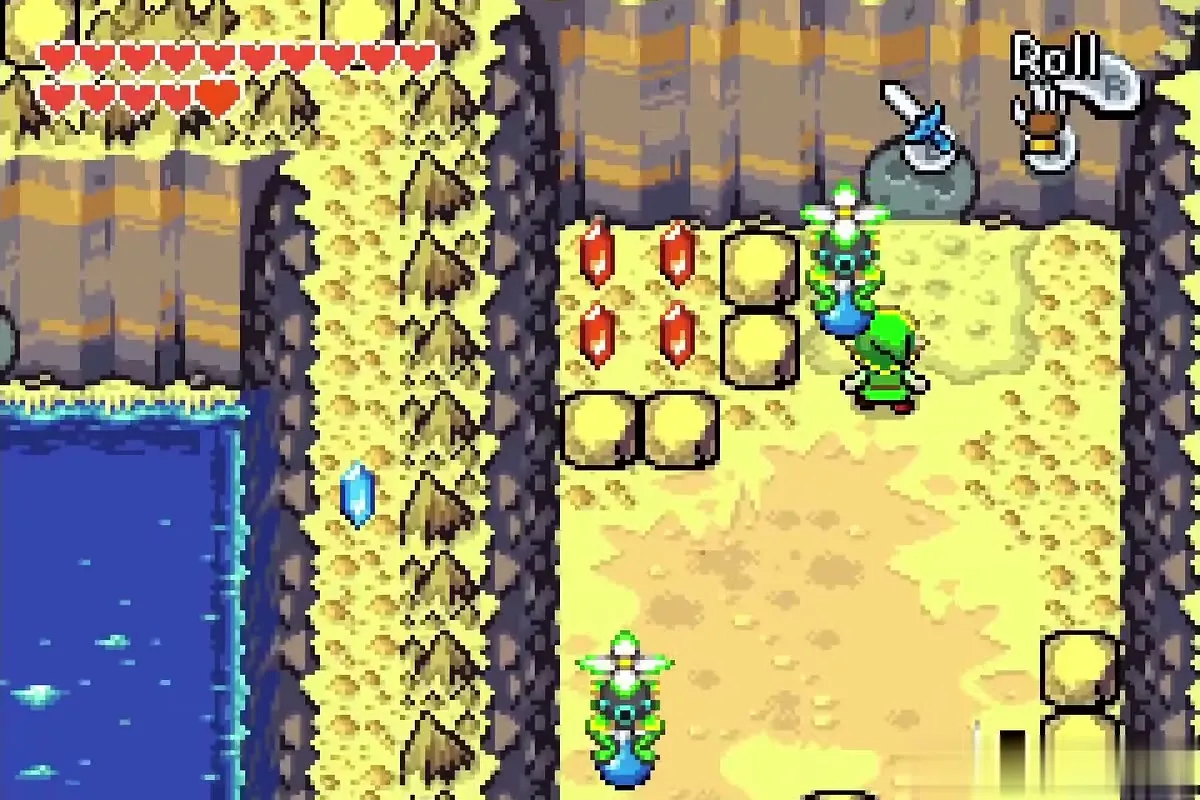
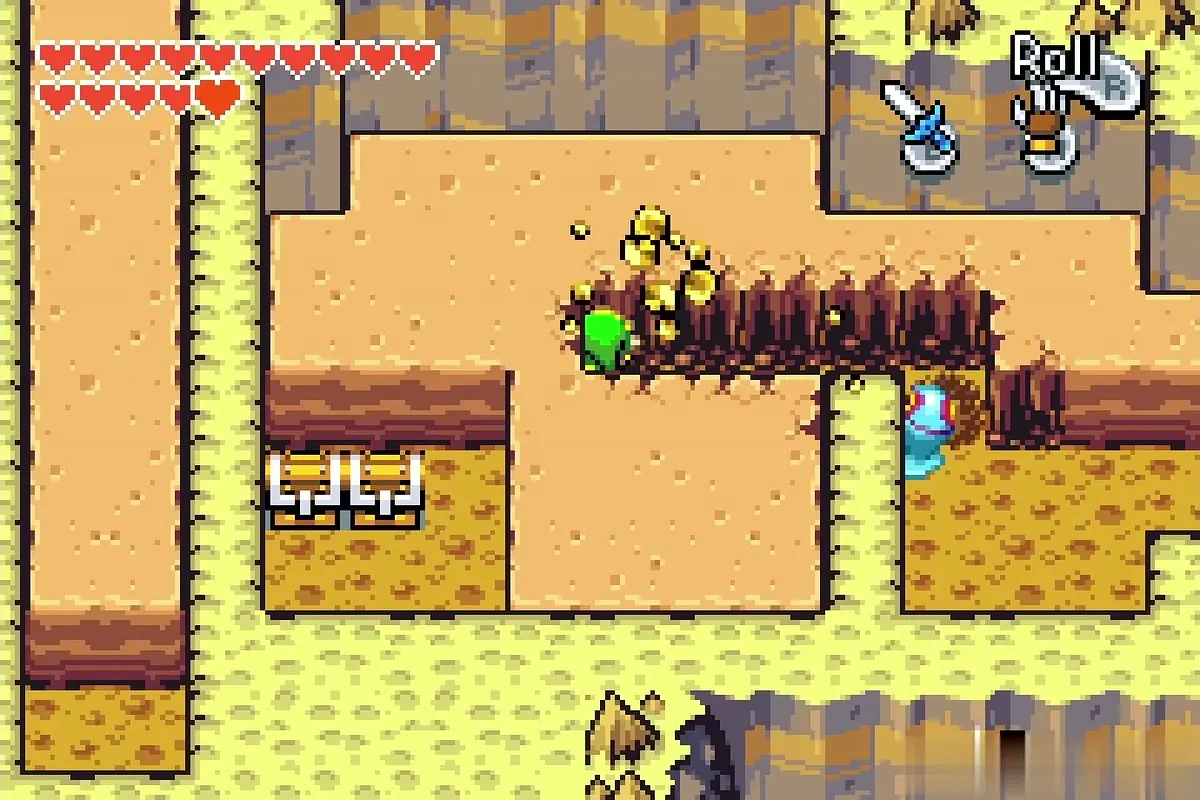
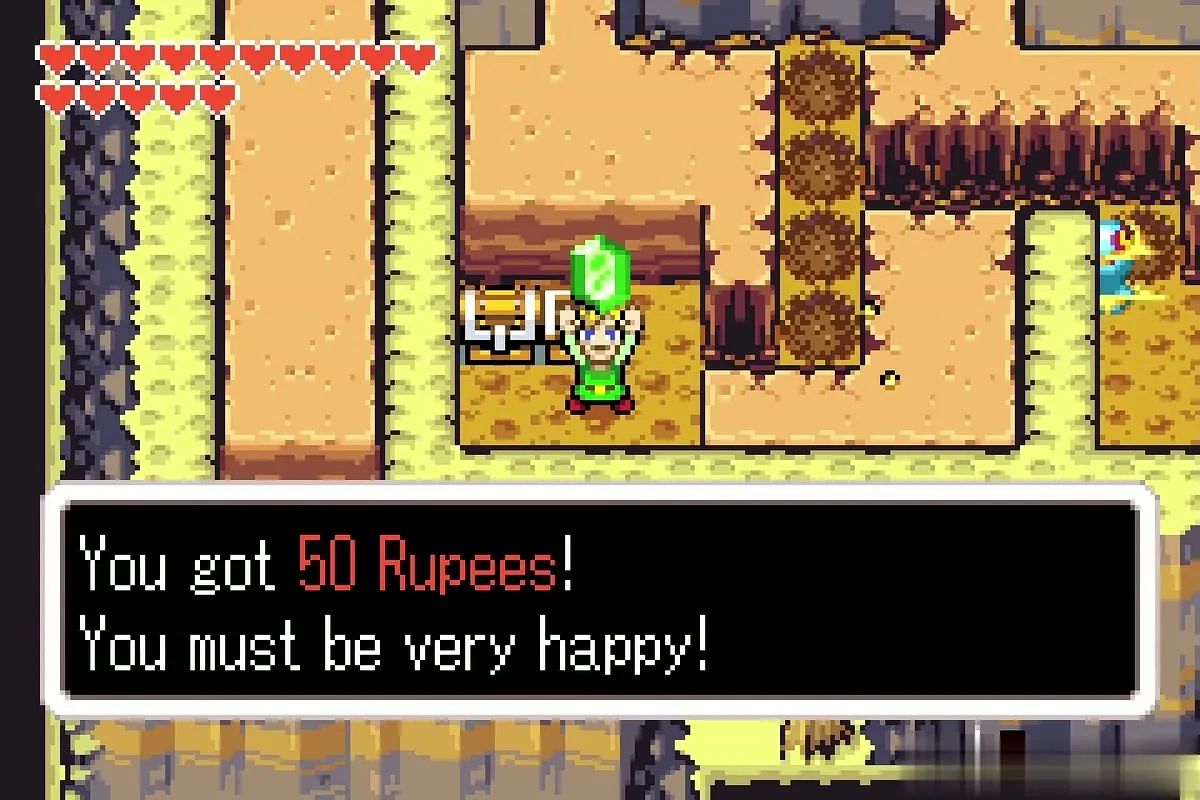
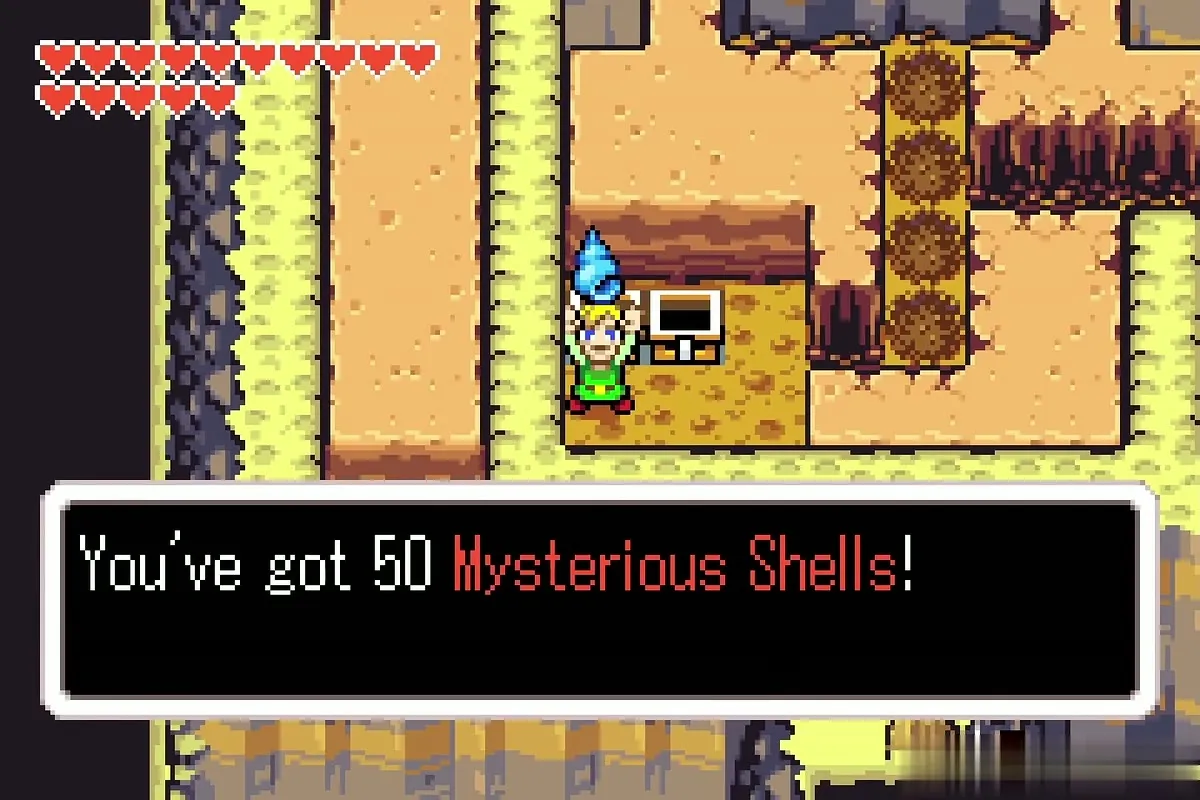
Head up the cliff path with the crystals to the cave door in the rock face. Equip the Mole Mitts and dig along the strip of soft earth inside to reach two chests side by side. One holds 50 Rupees, the other 50 Mysterious Shells (see Mysterious Shells). Leave the cave and go back down the stairs.
Piece of Heart on the dock
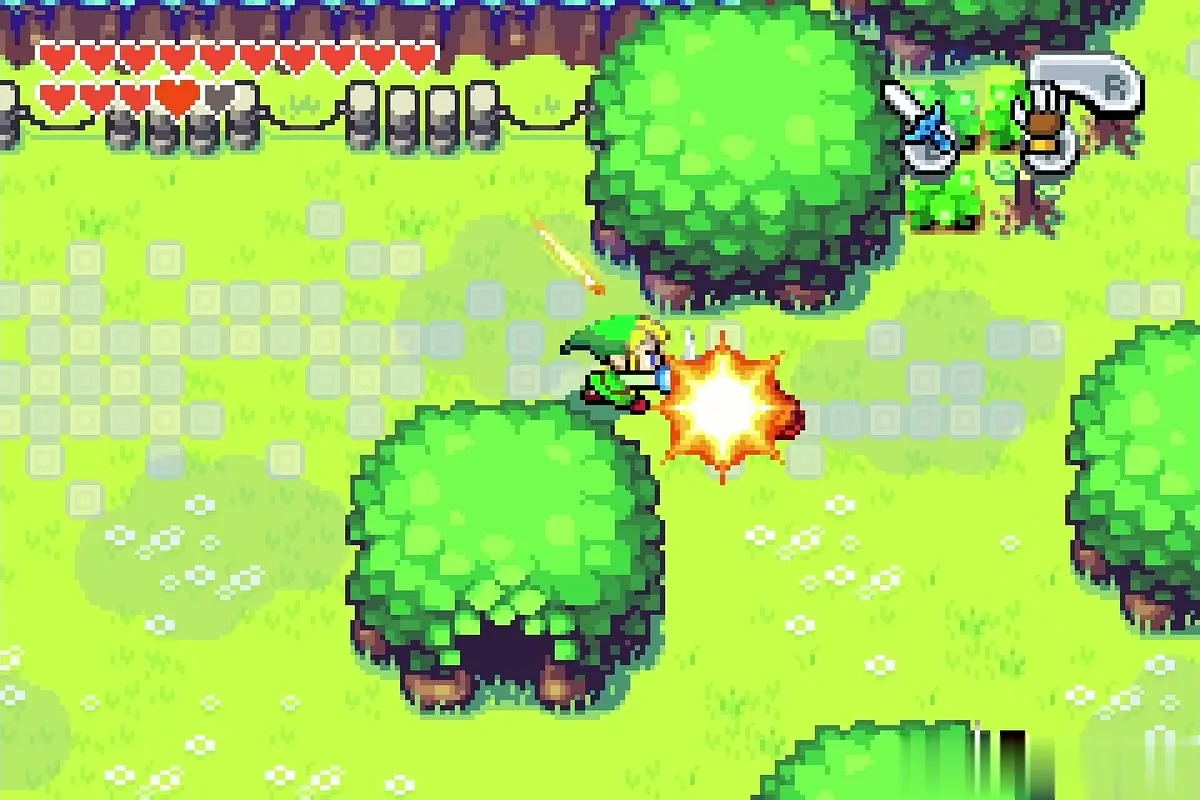
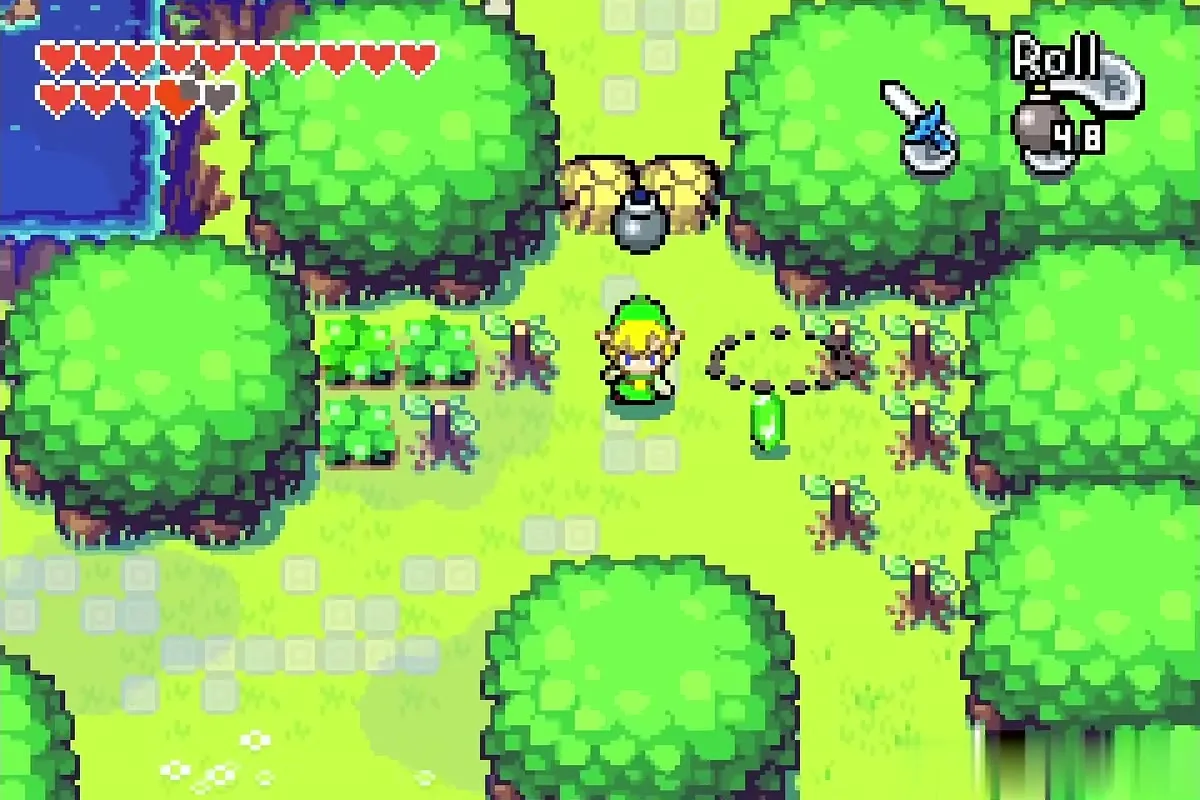
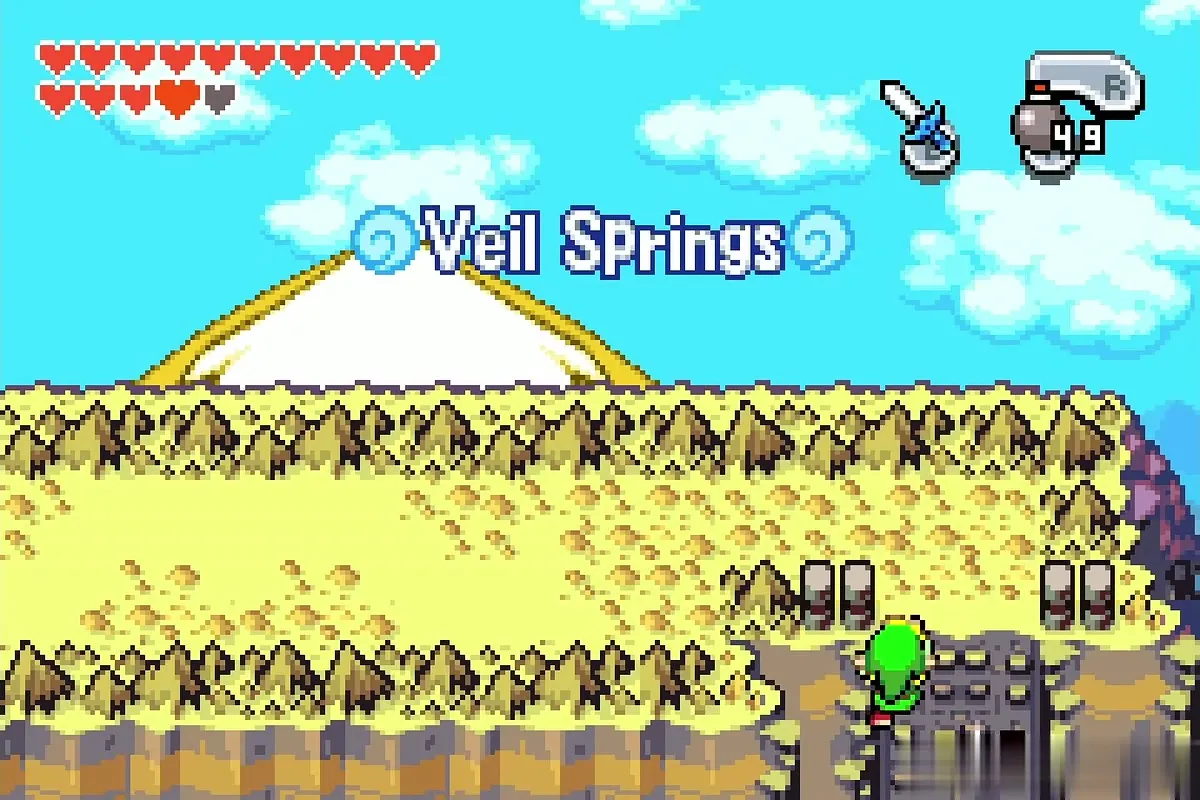
Walk out through Lon Lon Ranch into North Hyrule Field and circle back toward Veil Falls from the field side. Two rocks block the way along the water, so blow them up with Bombs and walk in; the Veil Falls banner shows when you arrive.
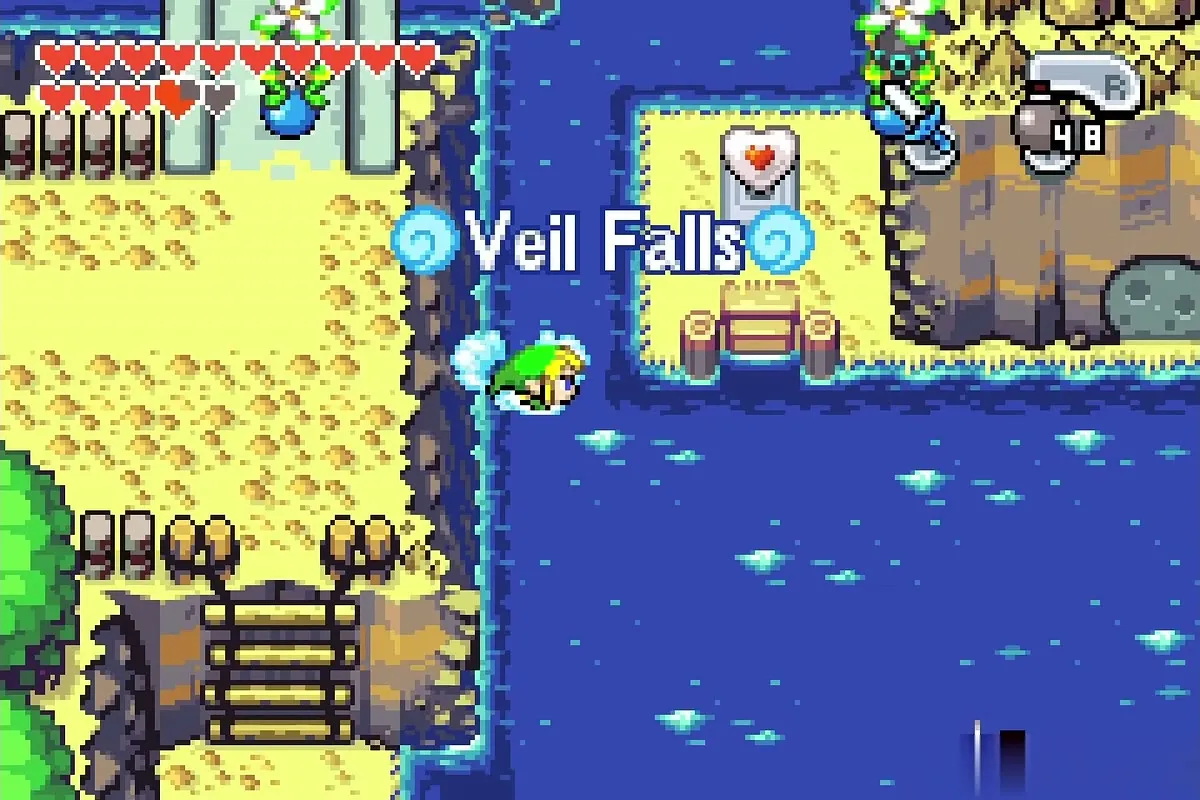
Take the ladder down into the water and use the Flippers to swim north to the small wooden dock. A second Piece of Heart floats above the dock, so swim up, climb onto it and take it. This one starts a new set of four.
Source of the Flow: the stone door

Fuse with King Gustaf’s Gold Kinstone
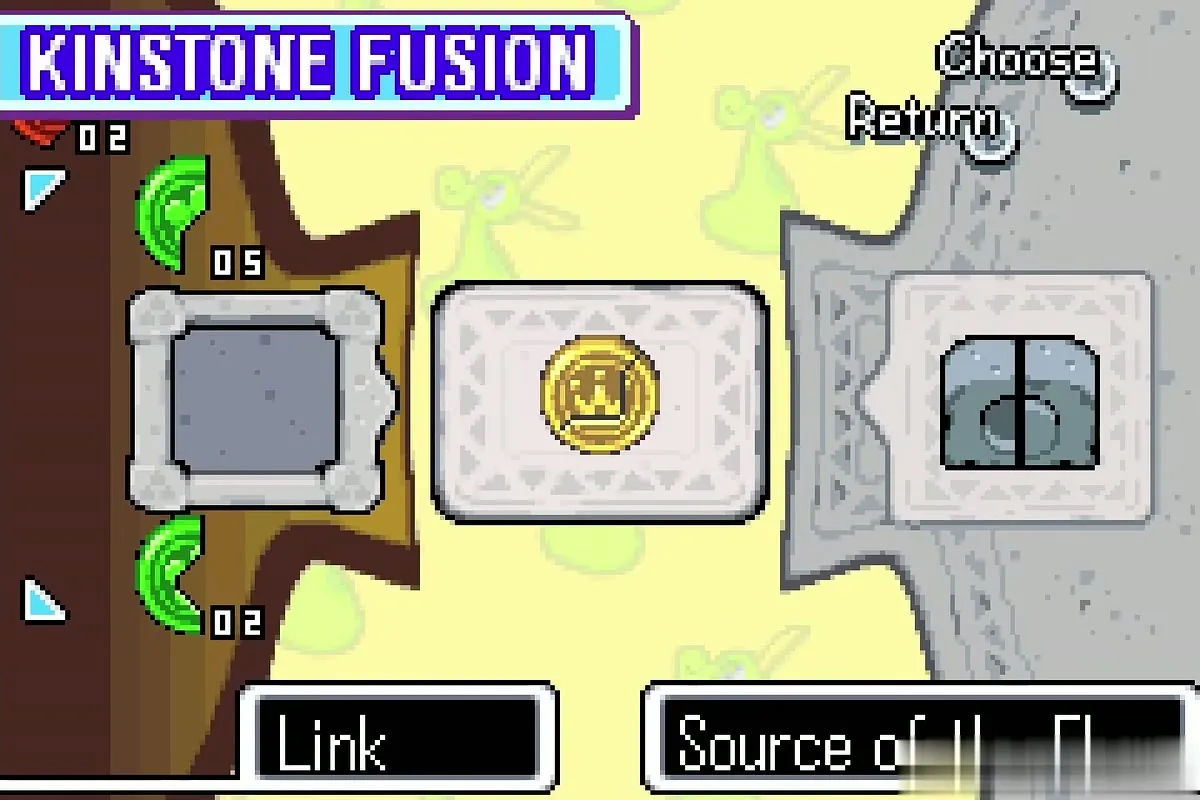
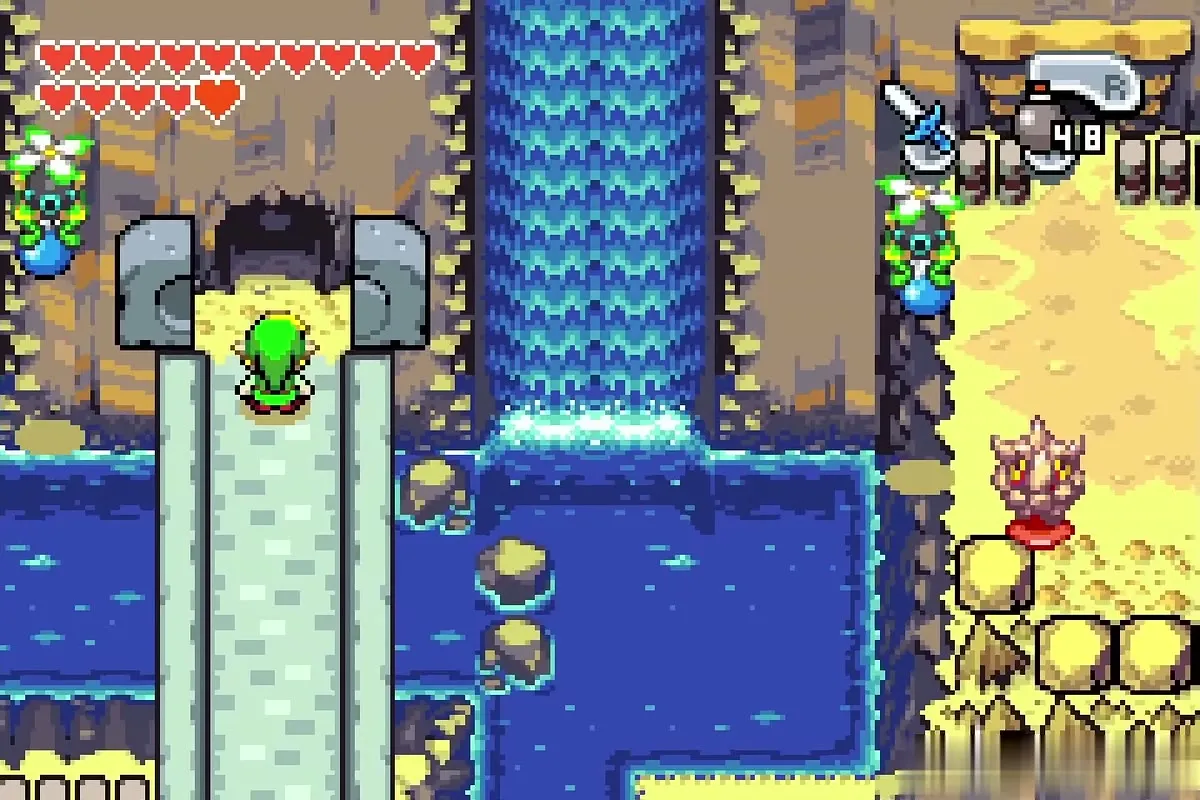
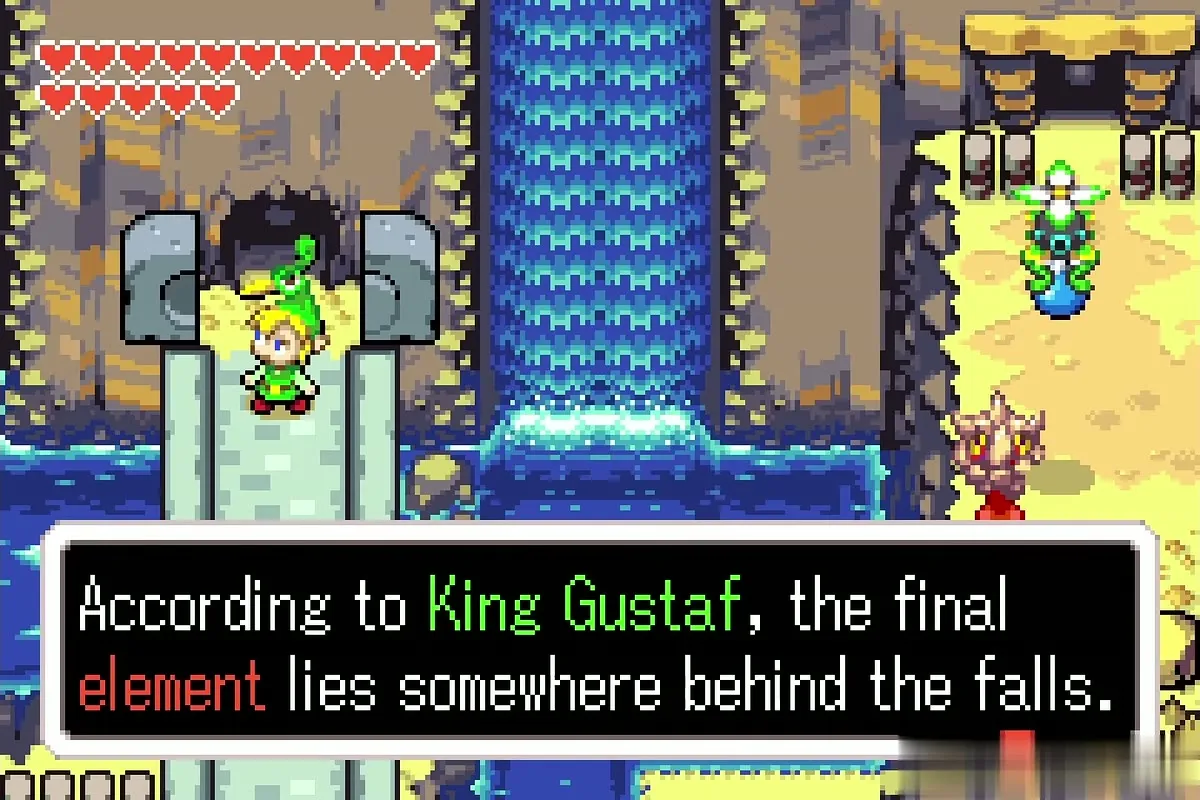
Follow the bridge to the stone door shaped like a tombstone at the end of the path and press R to fuse. Your Gold Kinstone piece, the one King Gustaf’s ghost gave you in the Royal Crypt, fits the door’s half exactly, and the door opens (see Gold Kinstones). Ezlo then points out that the final element must lie somewhere behind the falls.
The dark passages
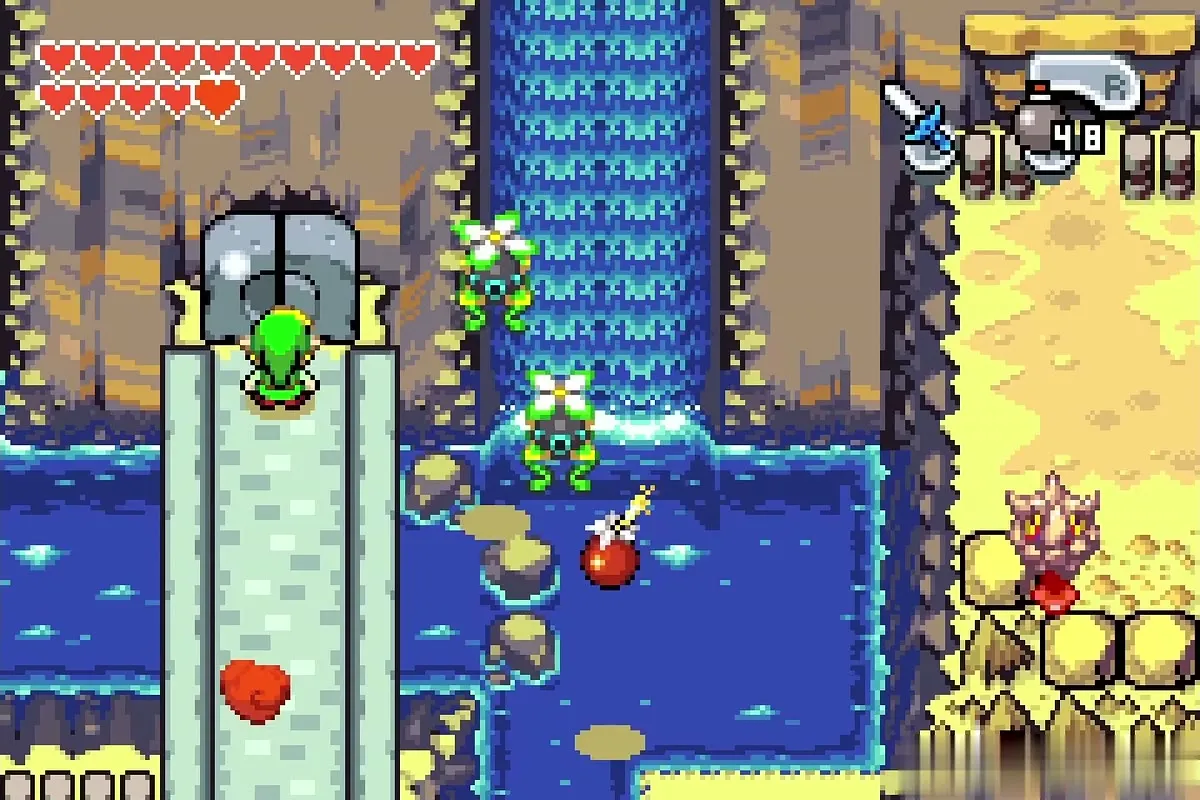
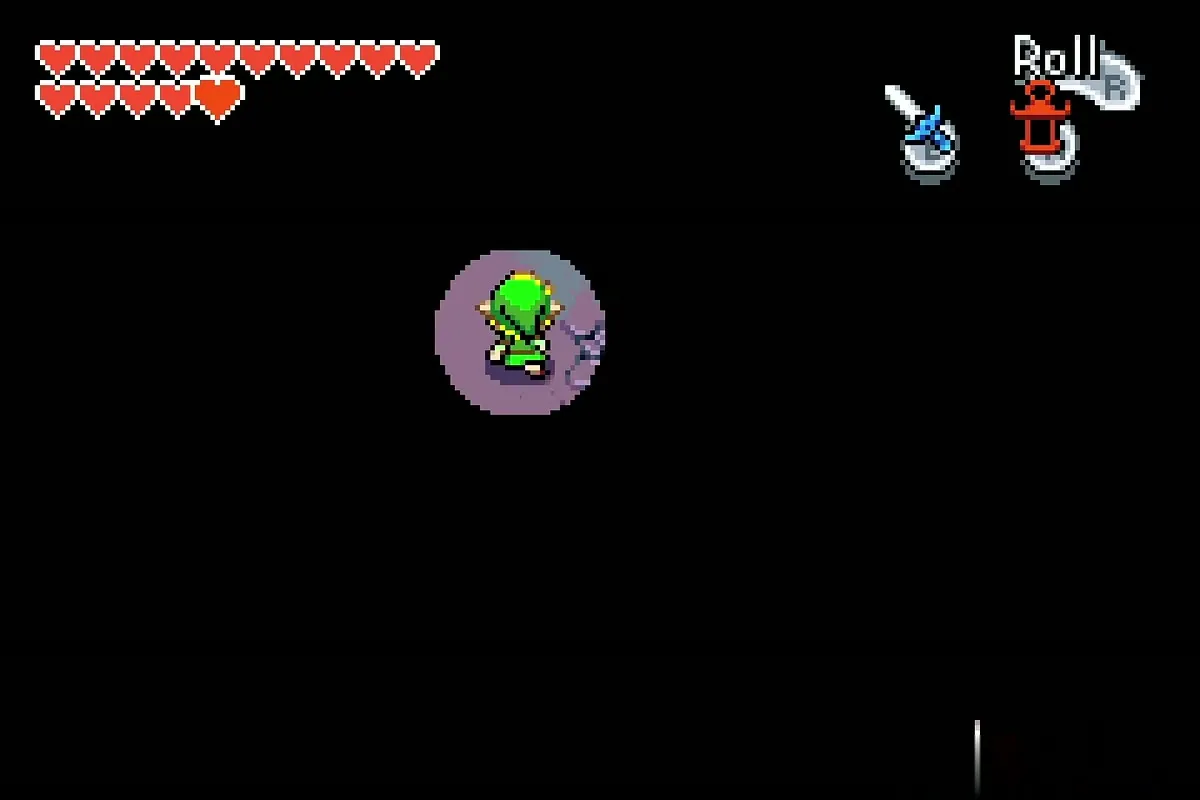
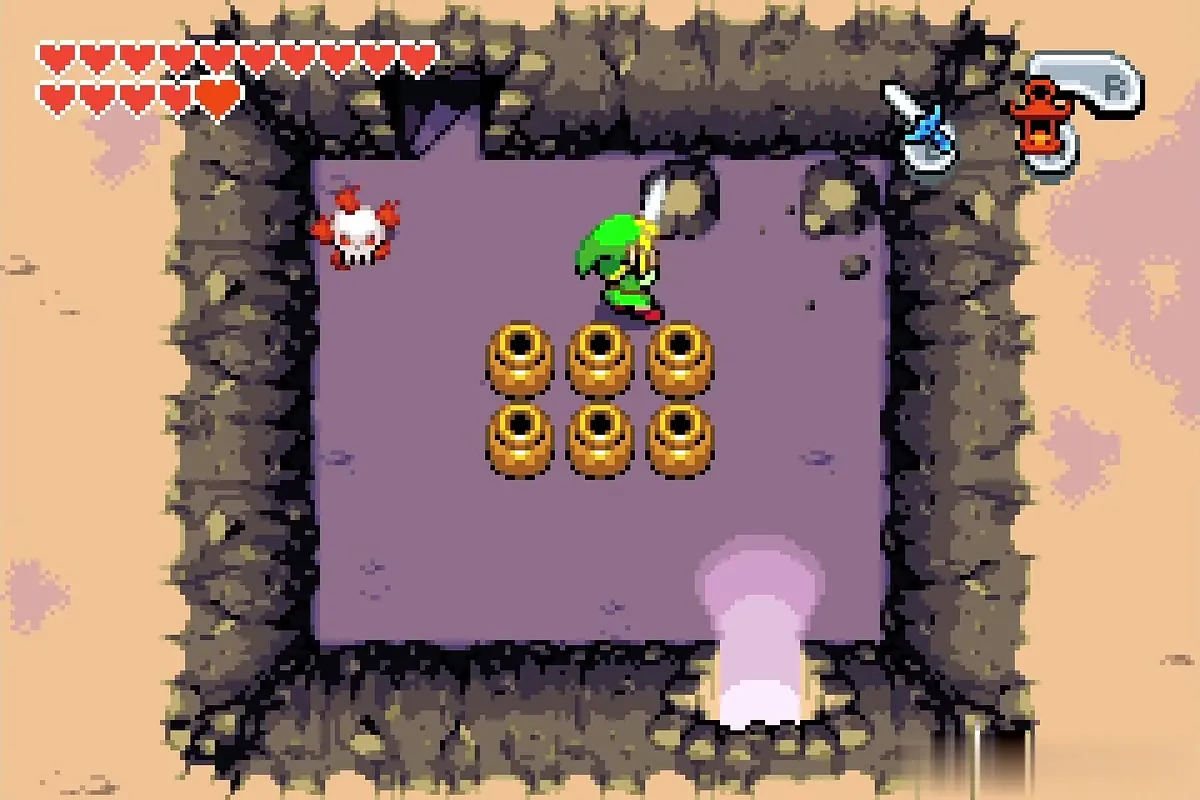
Equip the Flame Lantern before you go through, because the passage beyond the door is pitch dark and you can only see within the lantern’s circle. Cross the first pot room and watch for the flaming skull enemy; the Boomerang is the tool for it. Take the stairs and walk out of the exit onto the cliffs beside the falls.
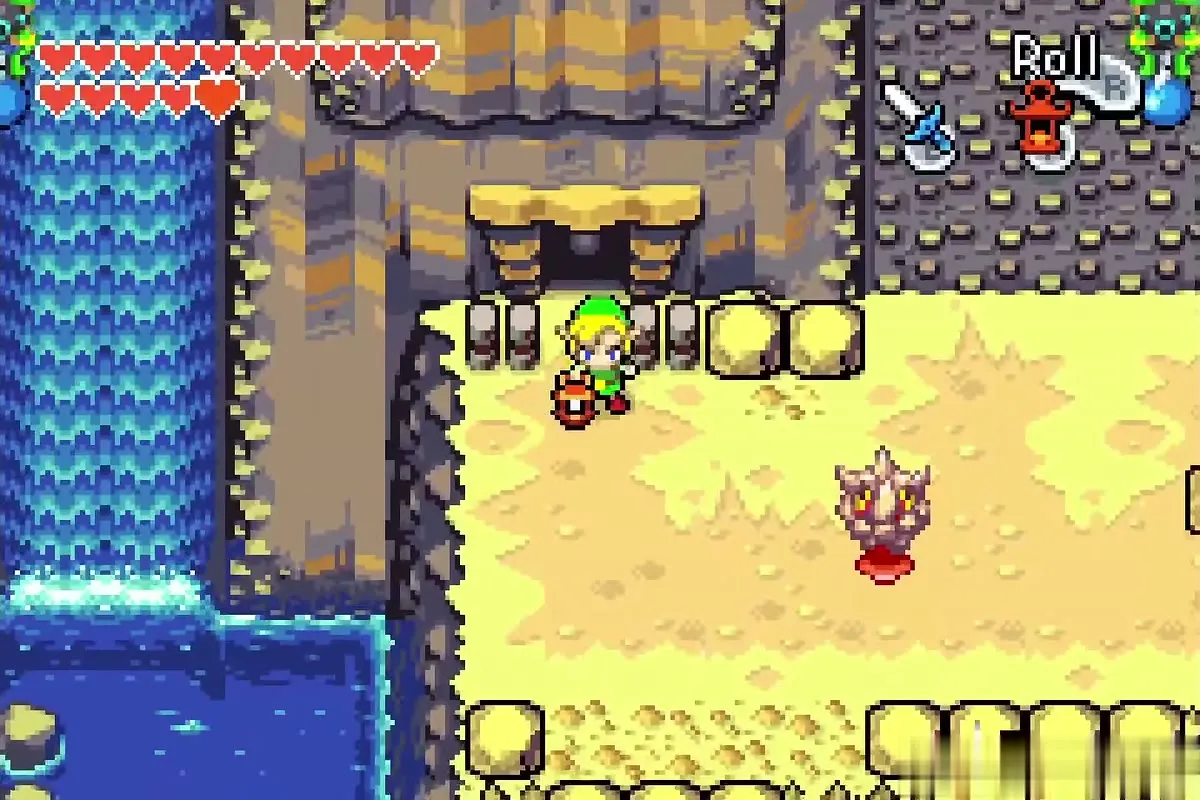
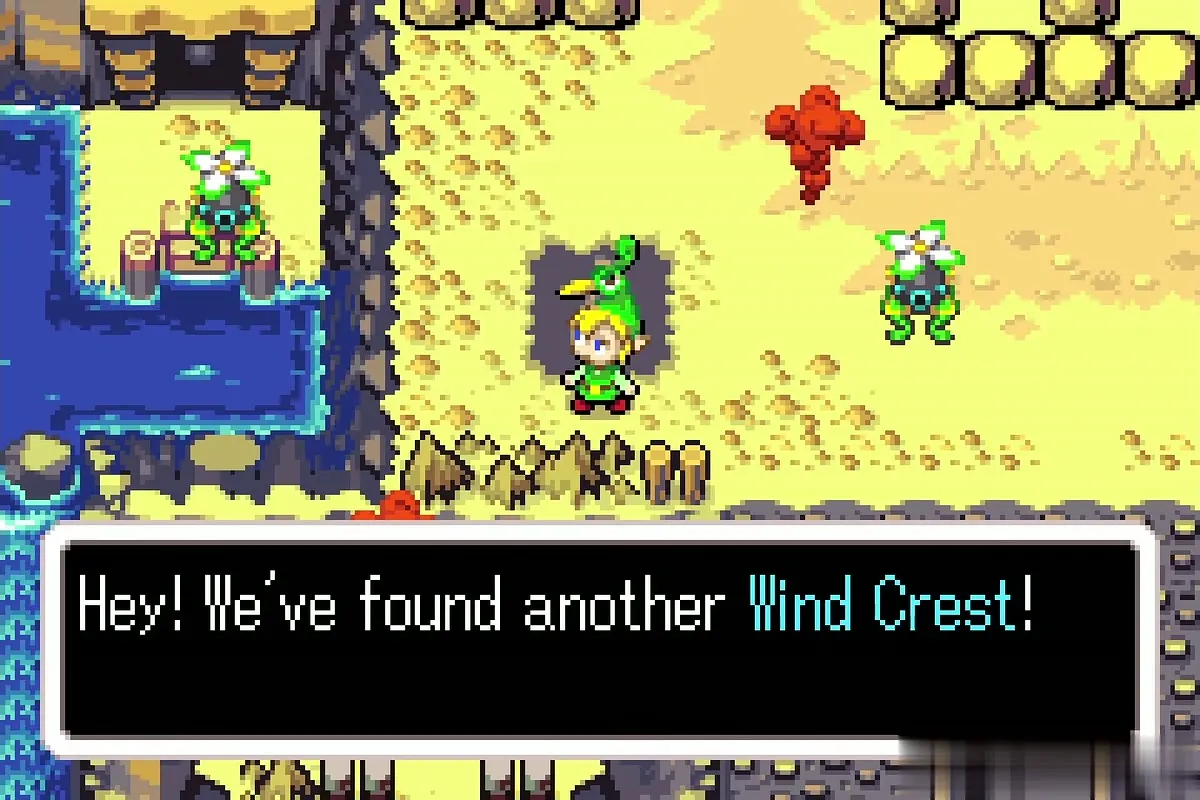
Fight your way across the rocky plateau, past the Octoroks and the boulders. In a small alcove at the foot of the cliff stands a stone tablet: check it to activate the Veil Falls Wind Crest (see Wind Crests). A group of boulders on this plateau is where a chest will appear later, after a fusion in the Cloud Tops.
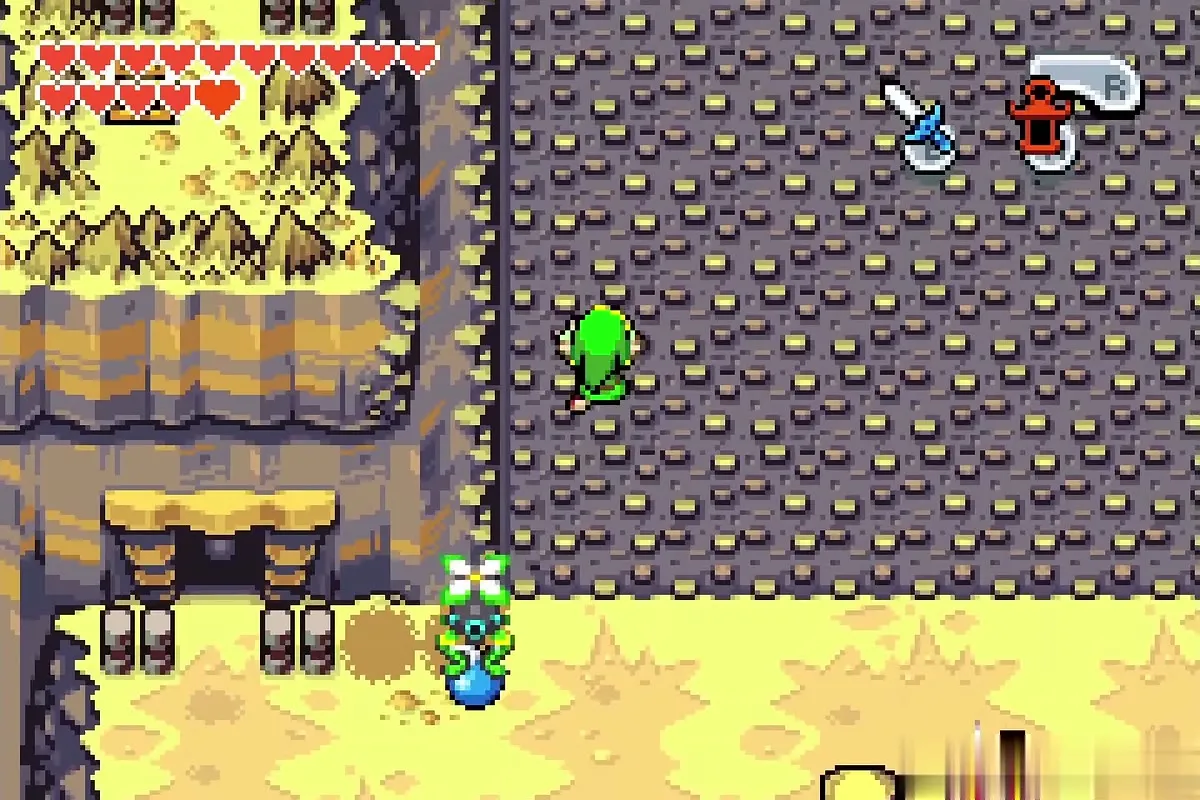
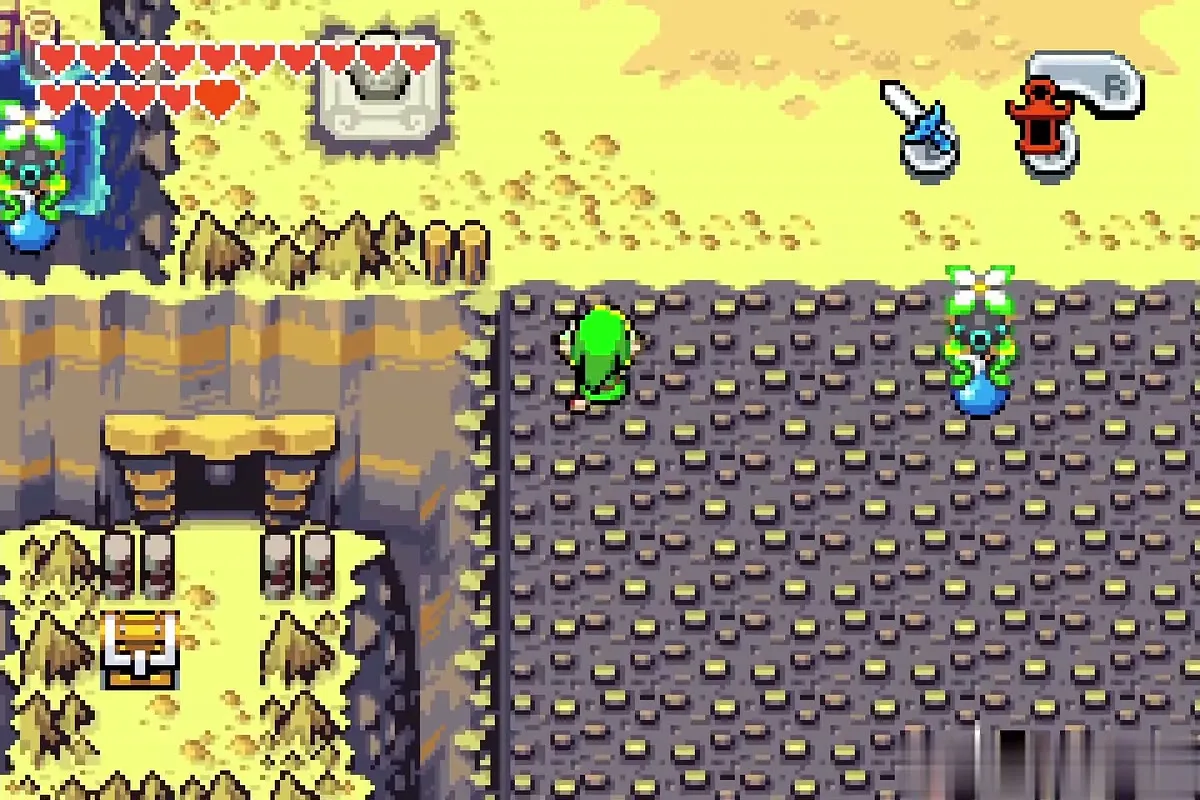
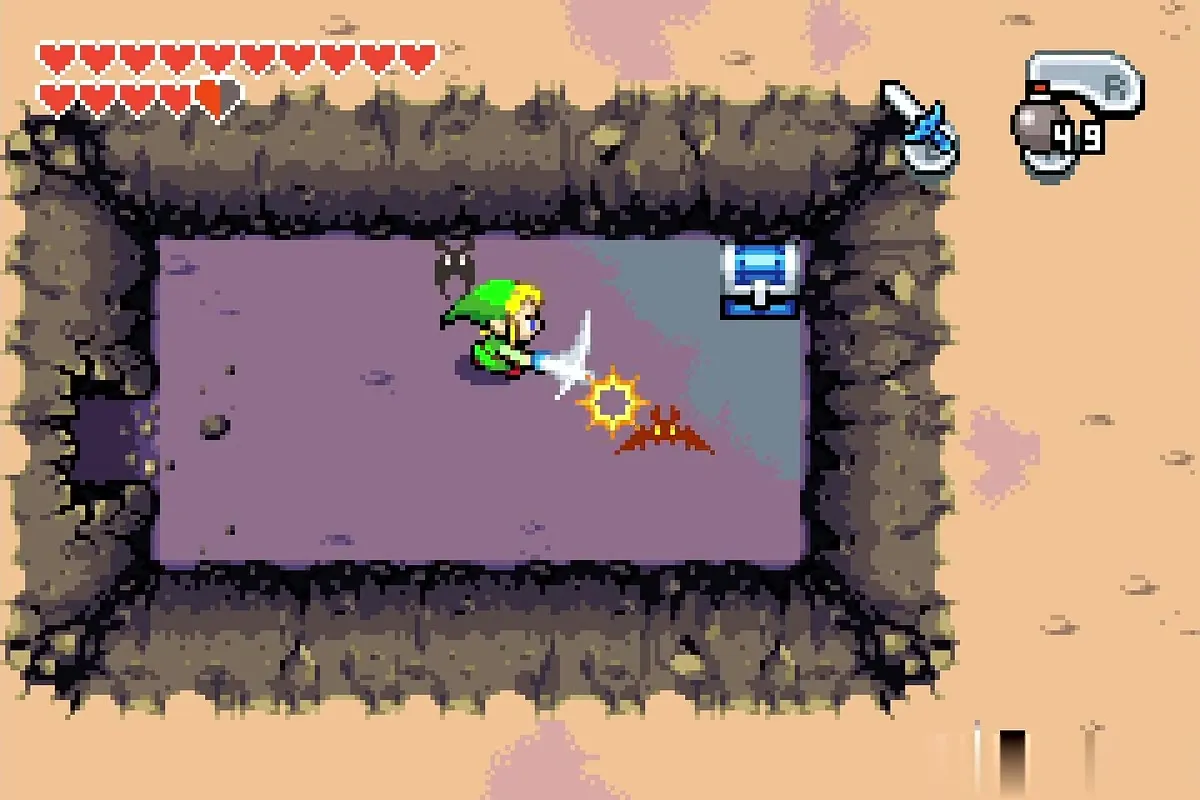
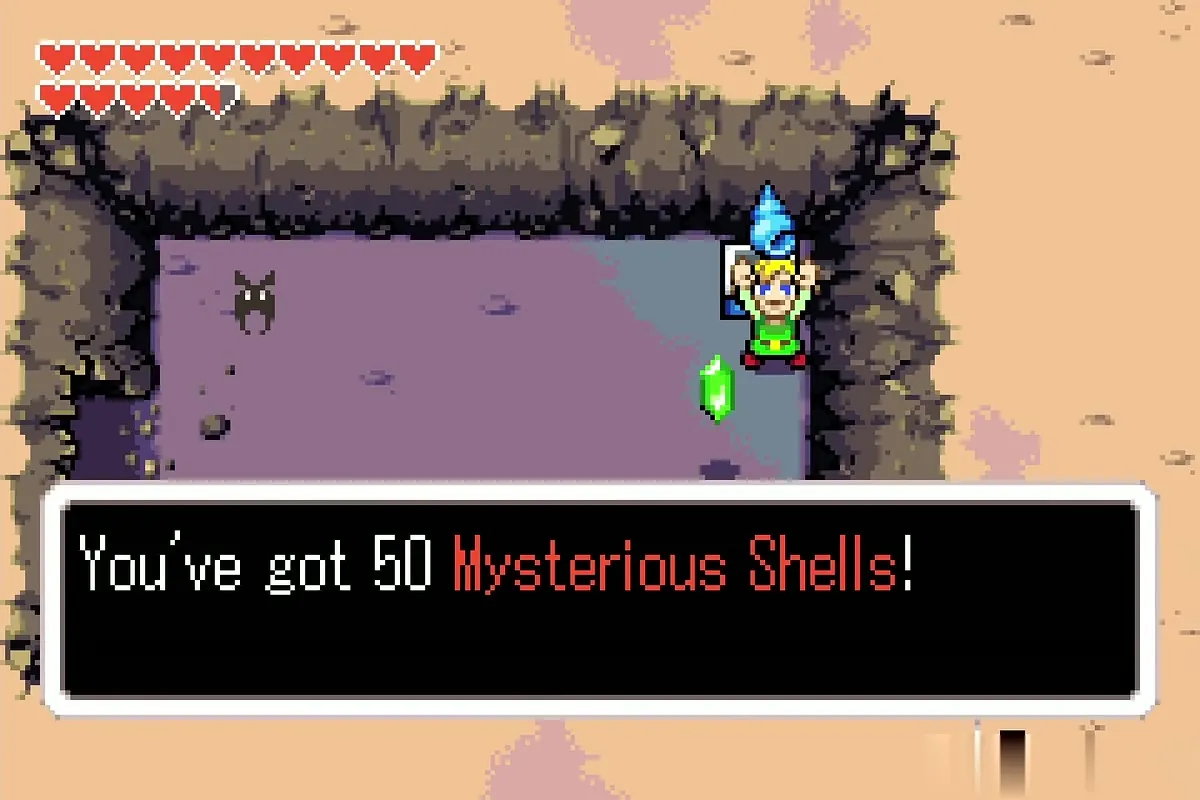
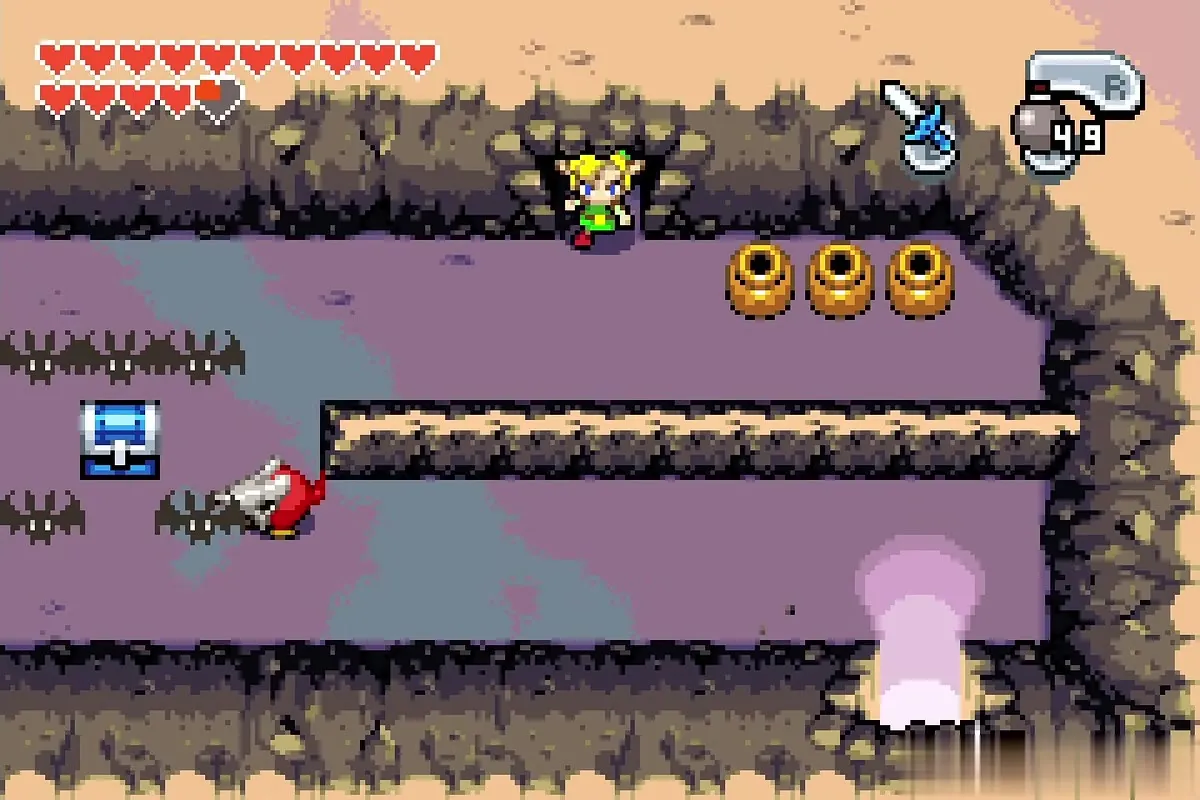
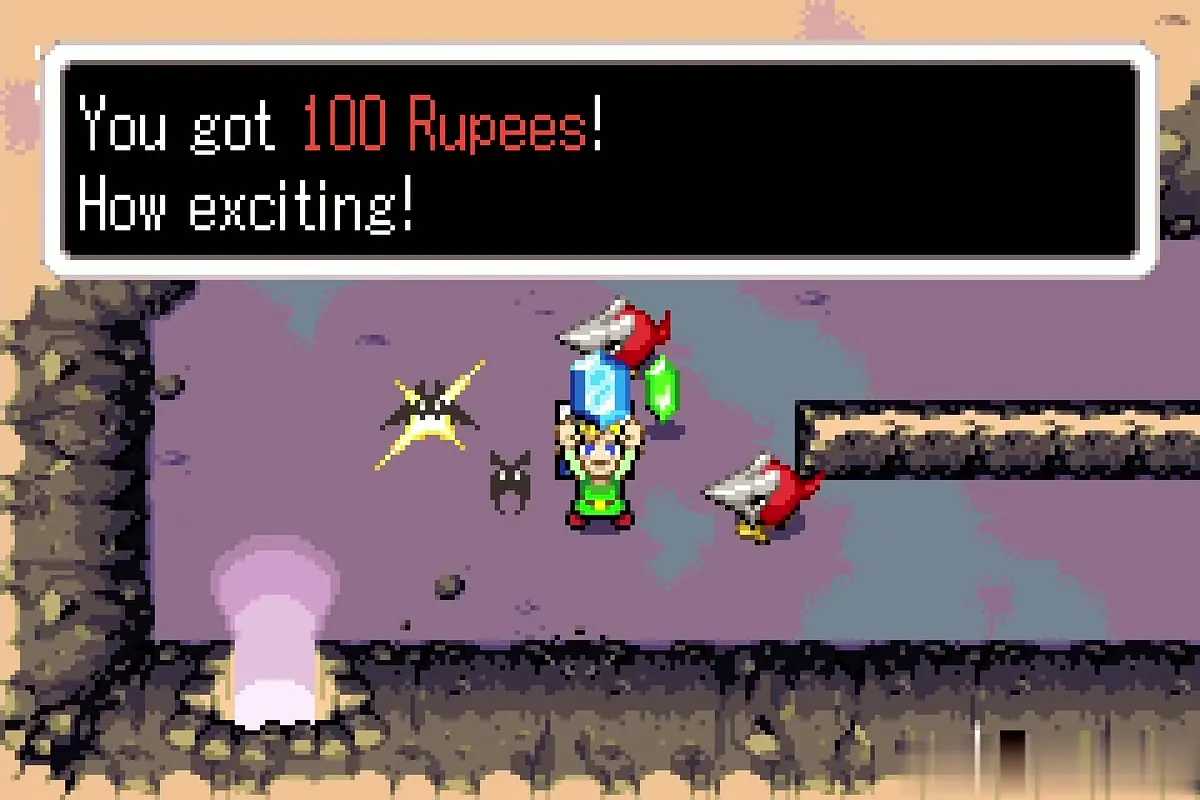
Enter the second cave and bomb the cracked wall to reach a chest holding 50 Mysterious Shells. Go on down the long corridor, where bats and red wizard-like enemies harass you, and open the chest at the far side for 100 Rupees.
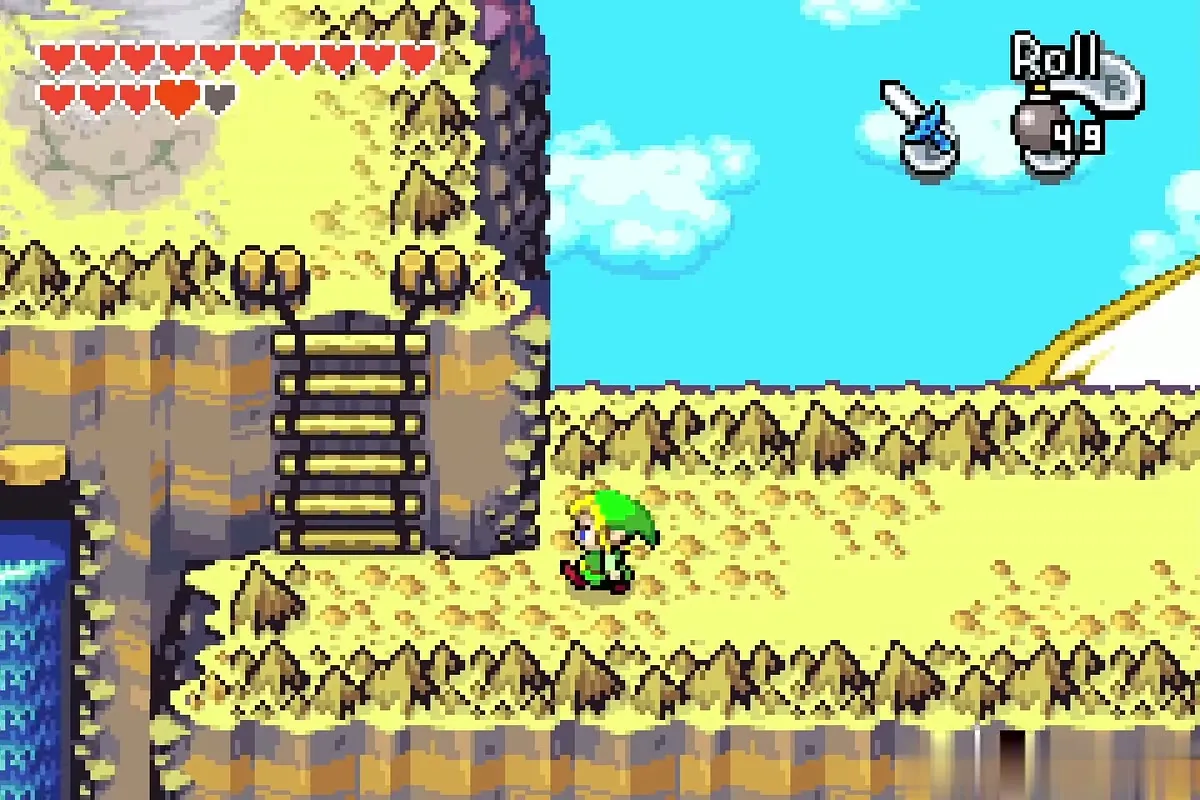
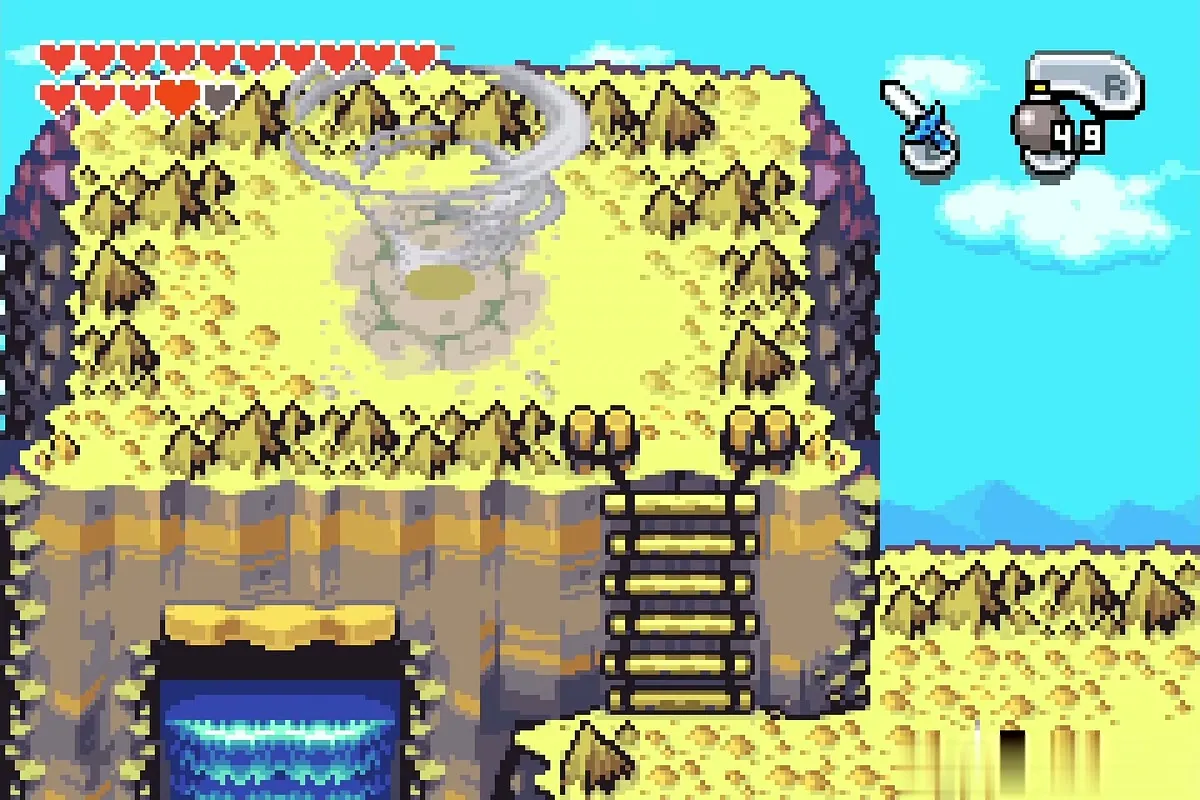
Leave the cave and climb the wall to the top of the falls, to the ledge below the pyramid-shaped peak. A huge whirlwind spins at the top; jump into it to be lifted into the sky.
Cloud Tops: Hailey and Gale
Meet the stranded sisters
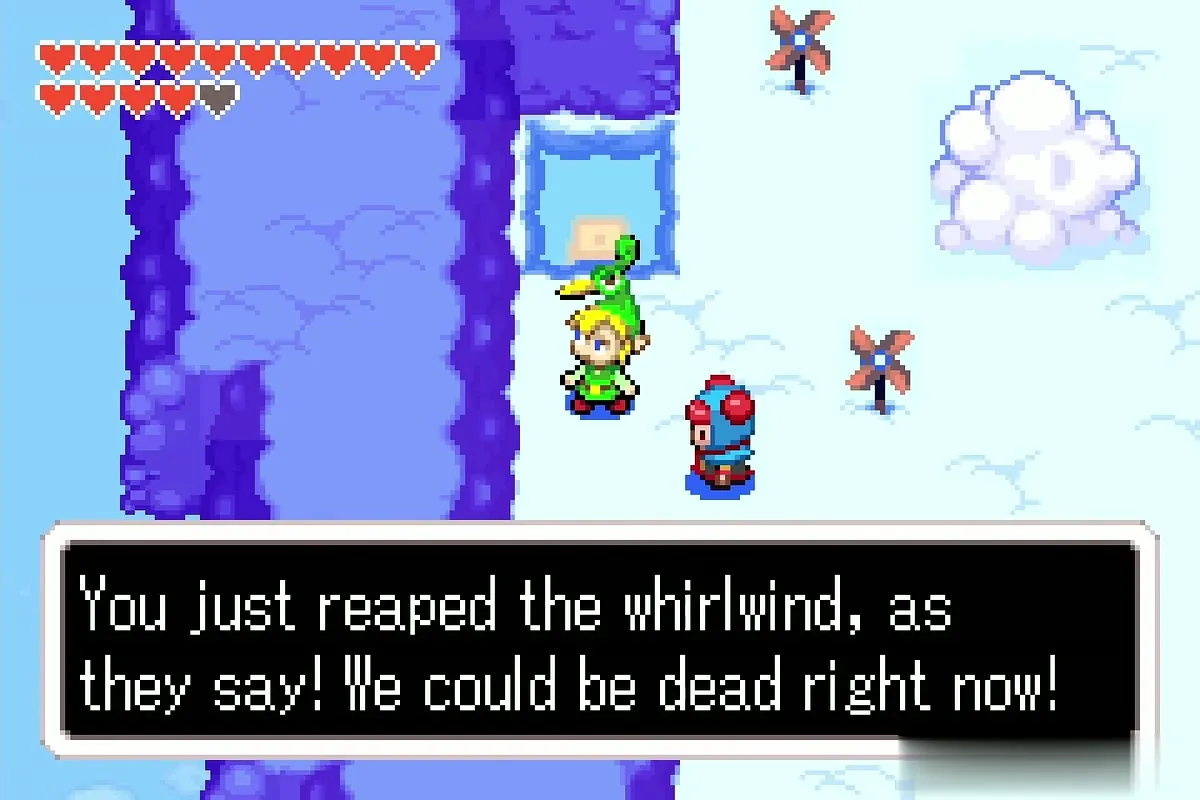
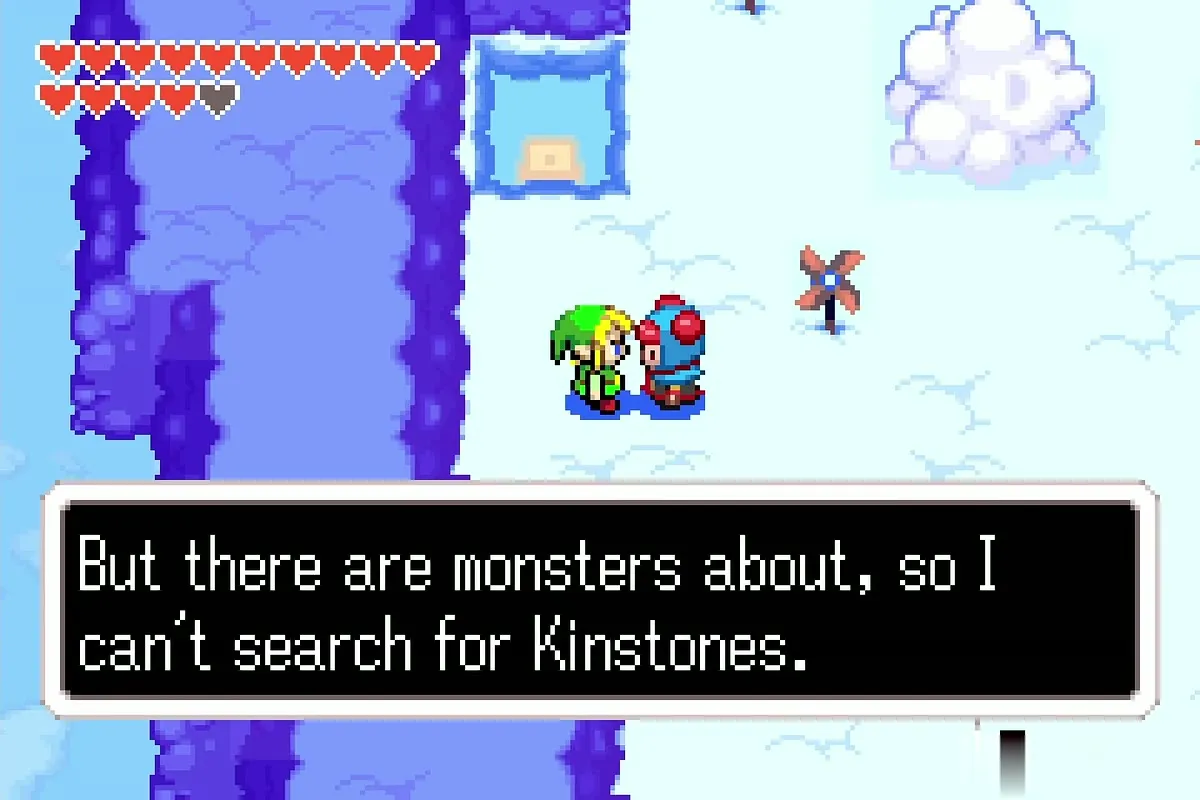
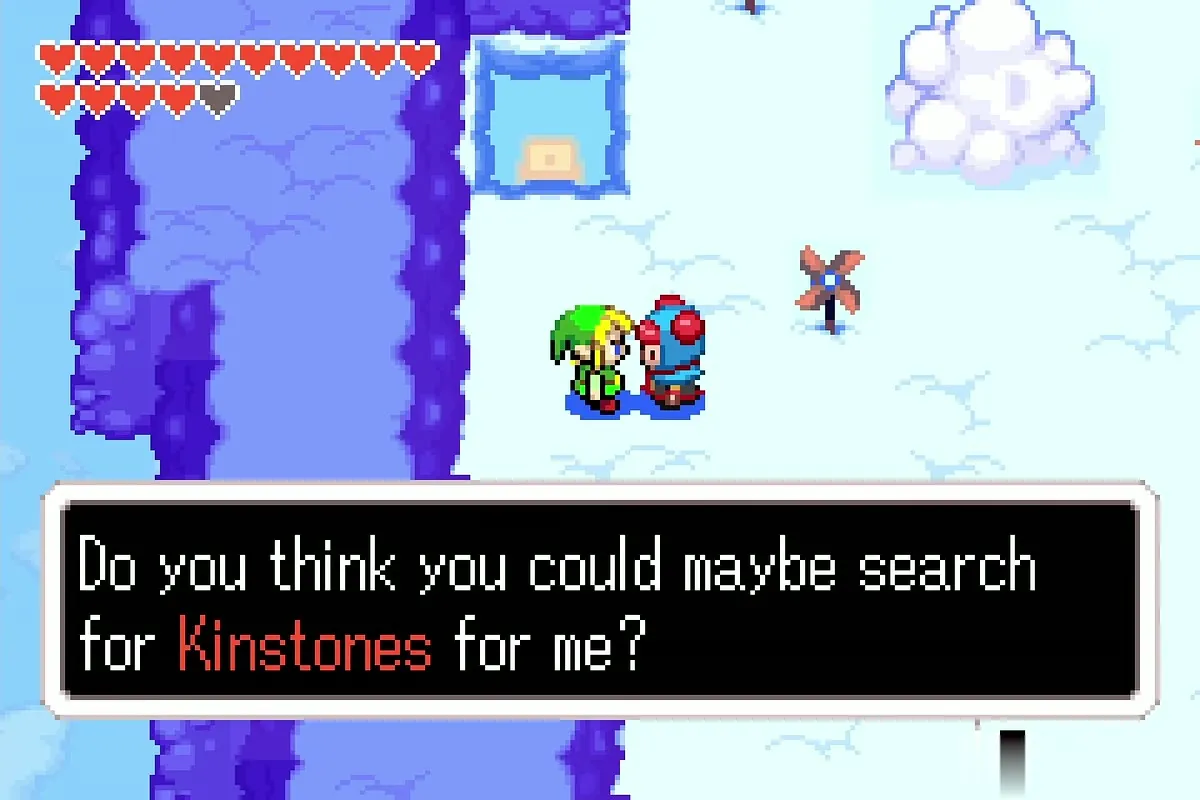
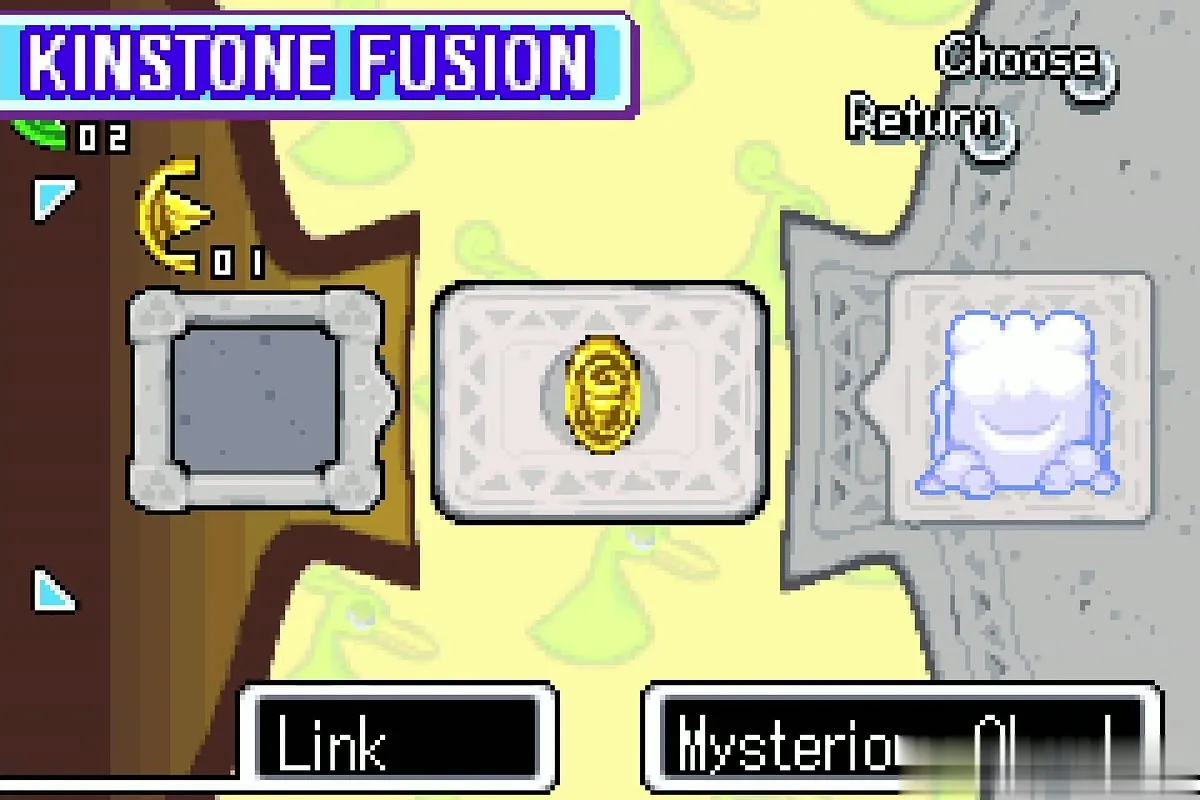
You land in the Cloud Tops beside Hailey and Gale, two Wind Tribe sisters who lost their wind on the way home and cannot return. Fusing Gold Kinstones with the five Mysterious Clouds will get them back, and it also opens the way to their home. Both sisters take ordinary Kinstone fusions on the spot, and their rewards turn up far below.


Fuse with Hailey
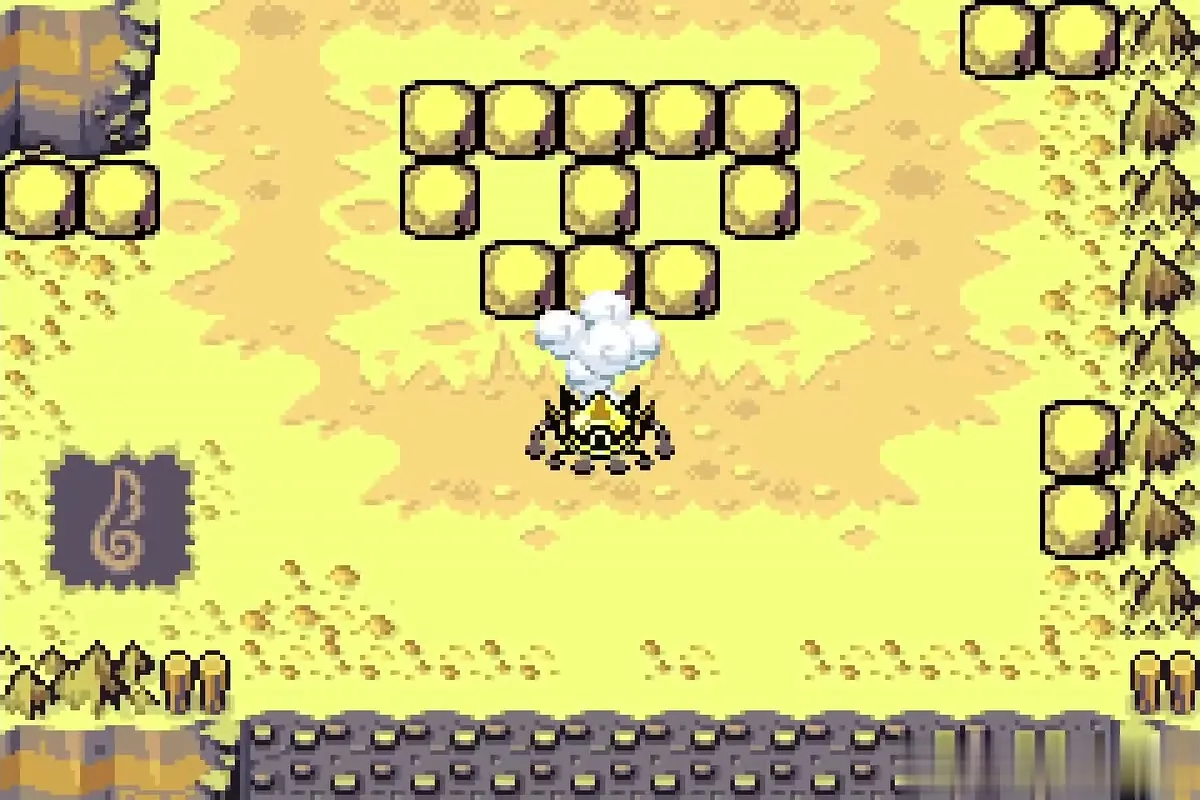
Speak to Hailey and fuse a green piece with her. A Golden Tektite appears on the Veil Falls plateau, near the Wind Crest, where you can hunt it for a large rupee drop later (see Golden Enemies).
Fuse with Gale
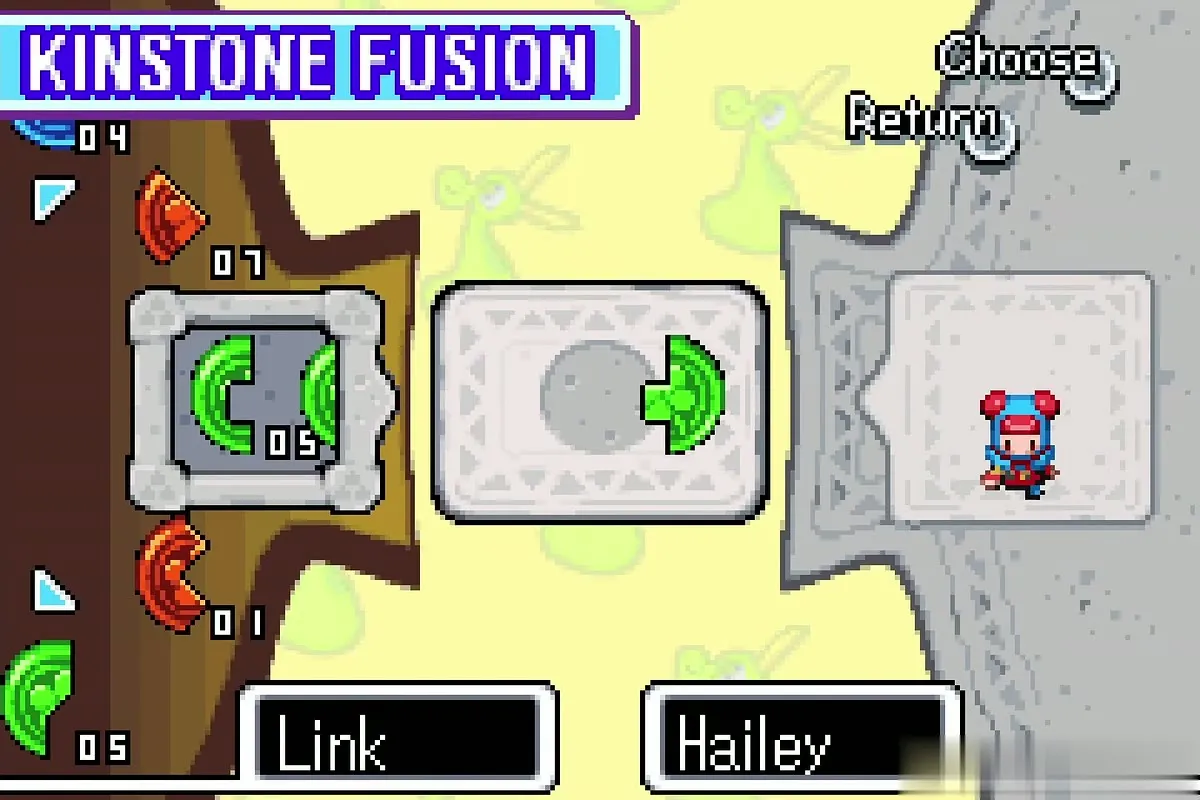
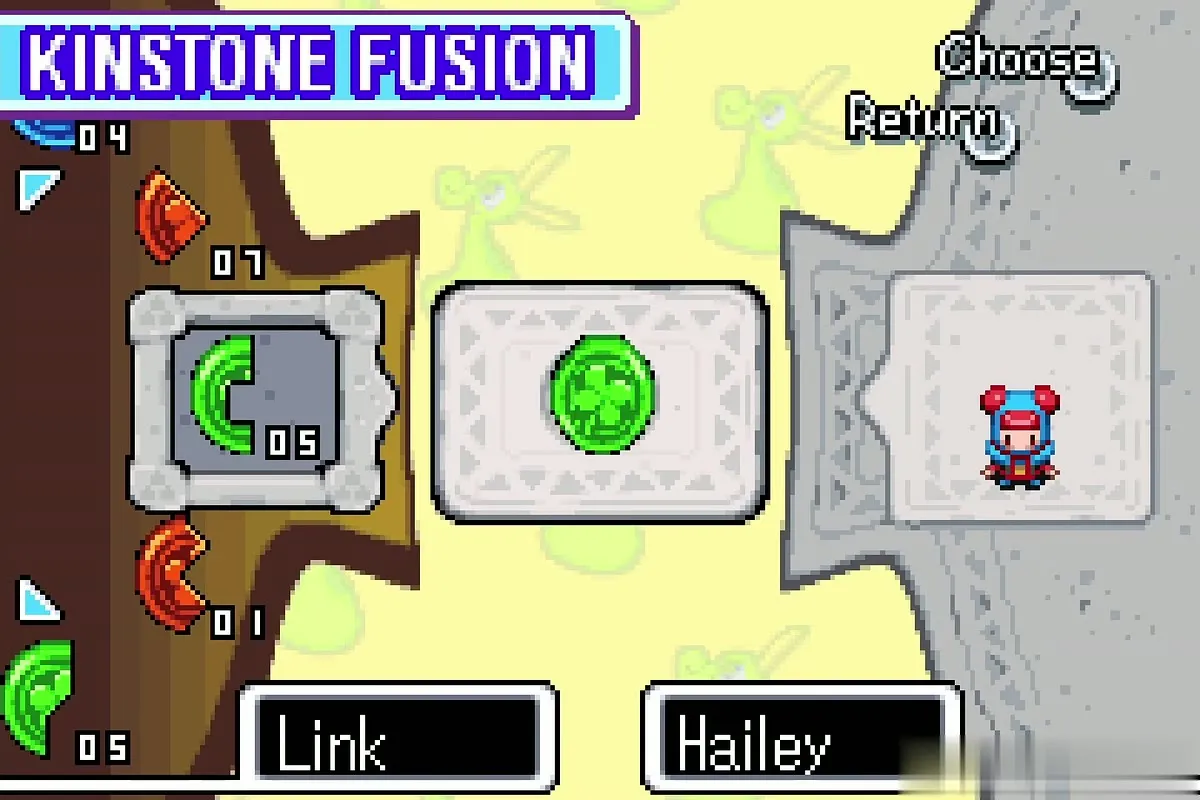
Fuse a red piece with Gale. A passage opens in the waterfall at Veil Falls with a Piece of Heart inside: swim into the falls with the Flippers to fetch it whenever you return.
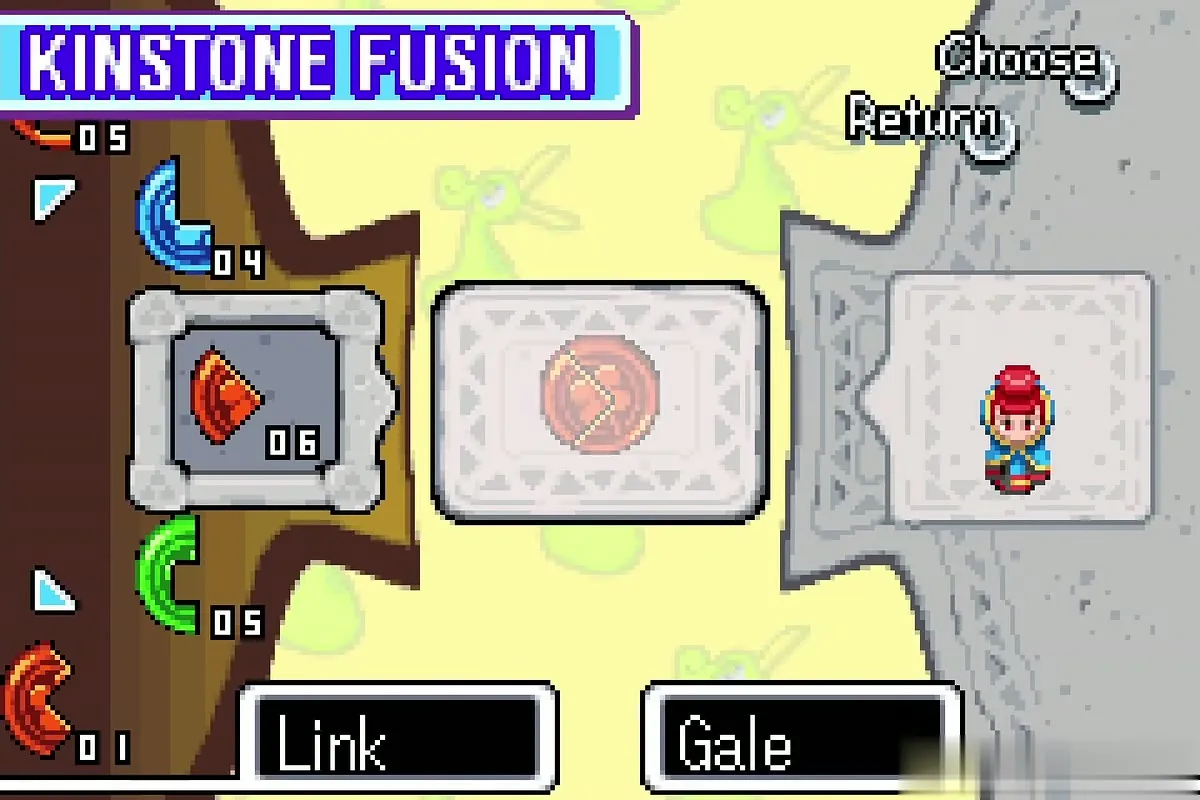
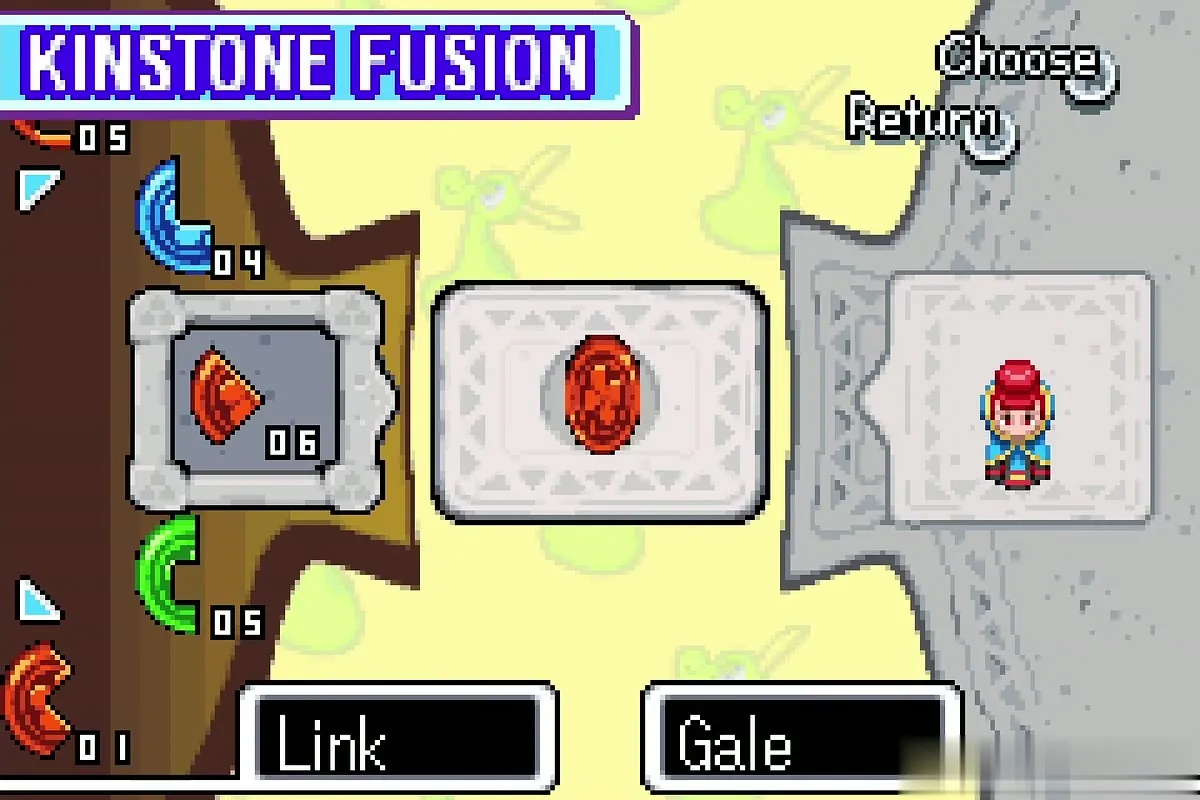
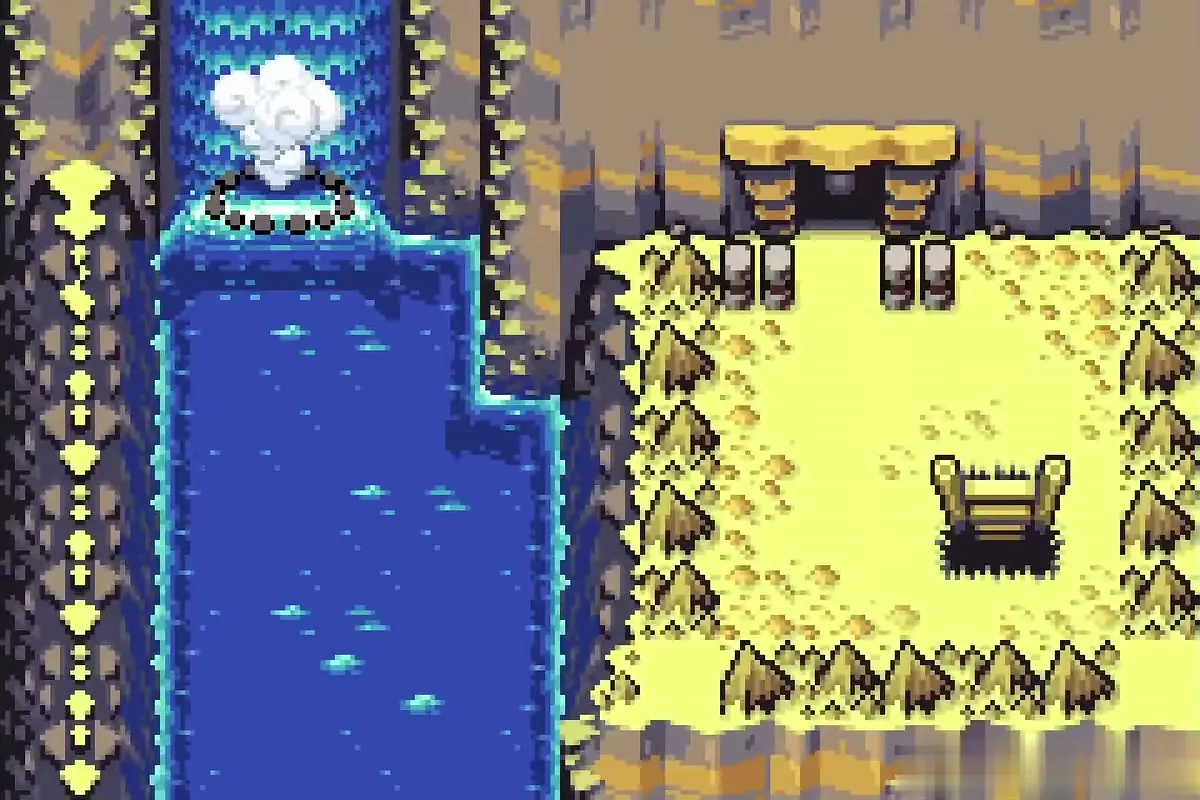
Cloud Tops: five Mysterious Cloud fusions
How the clouds work
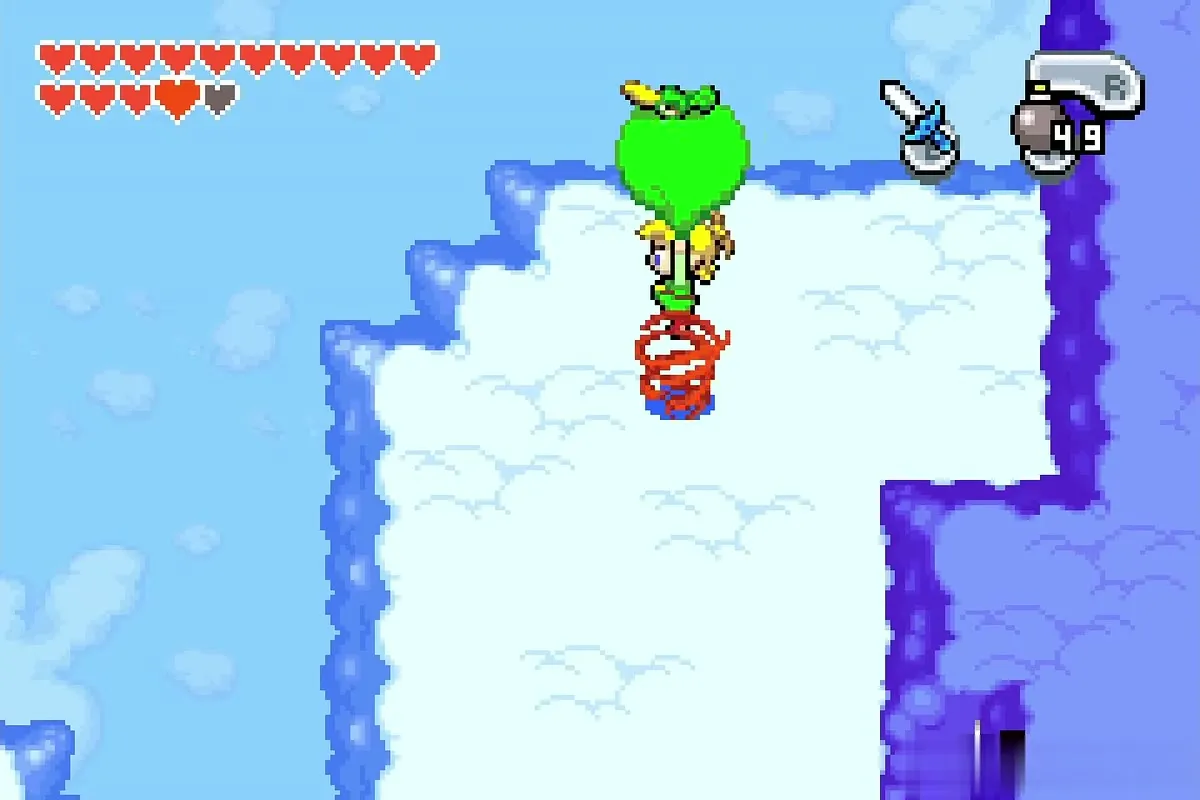
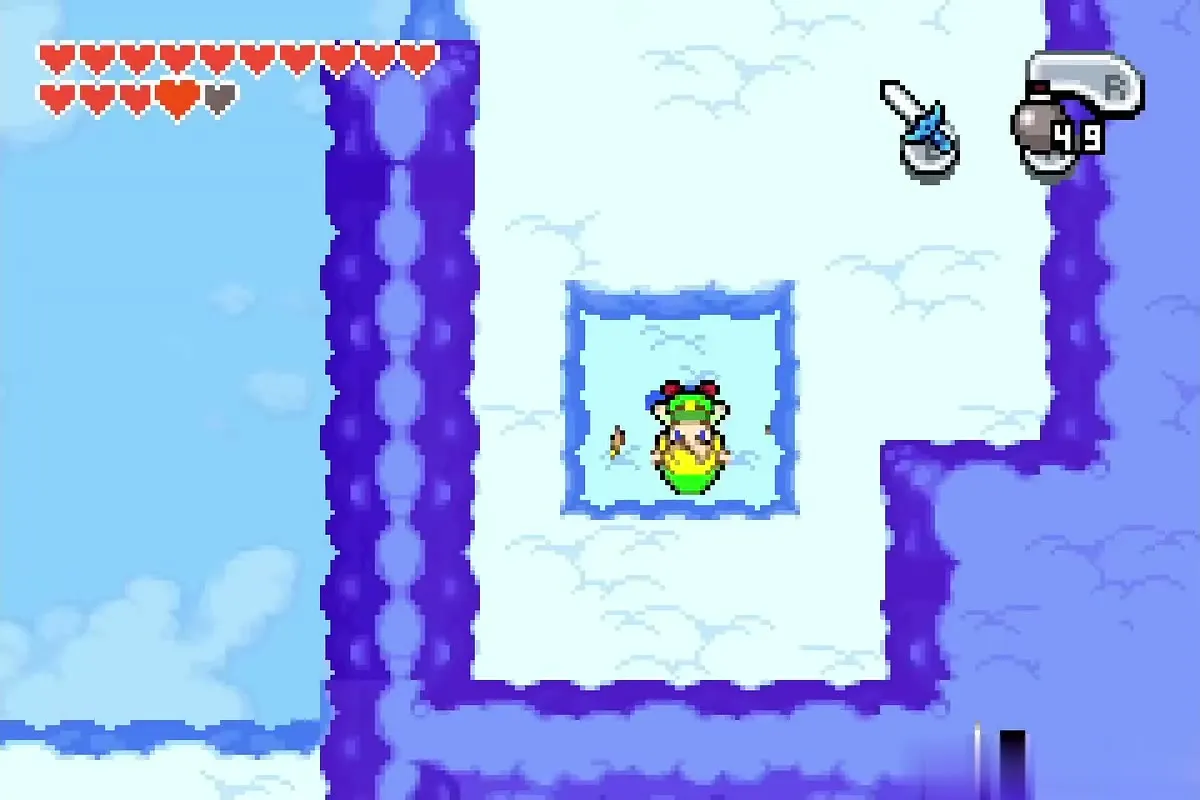
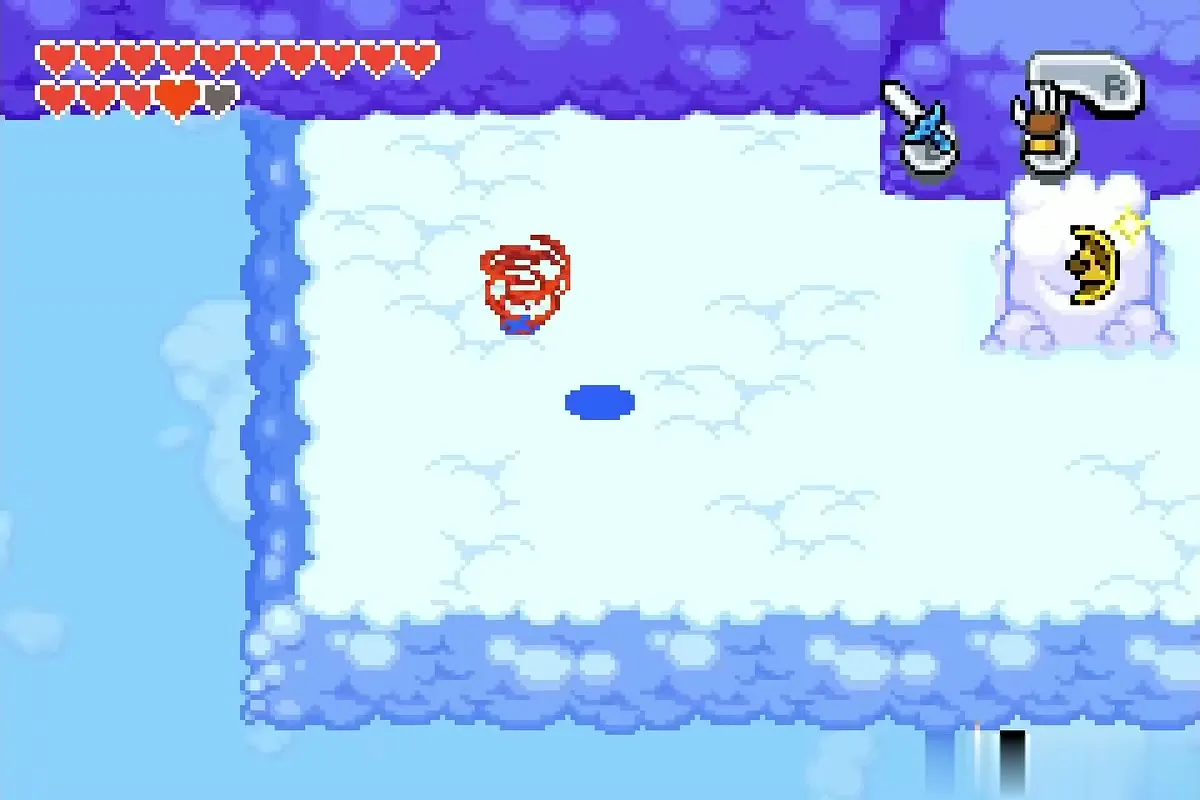
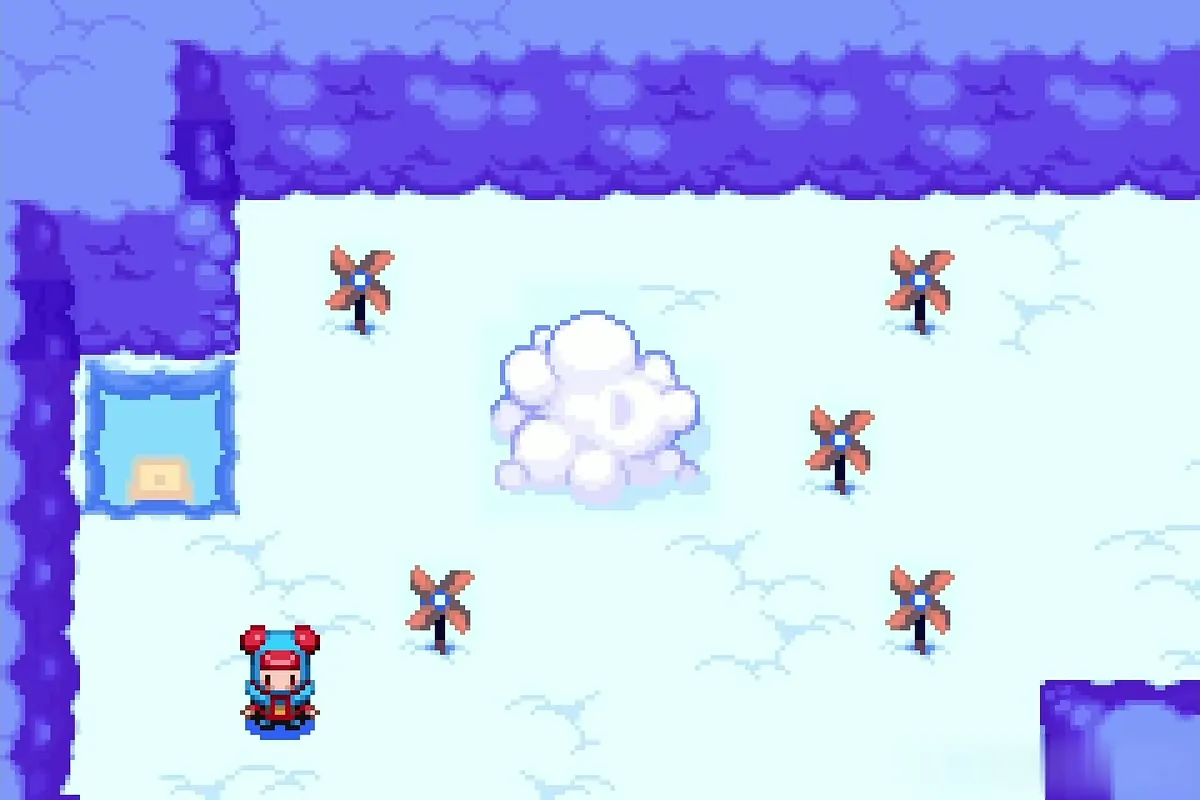
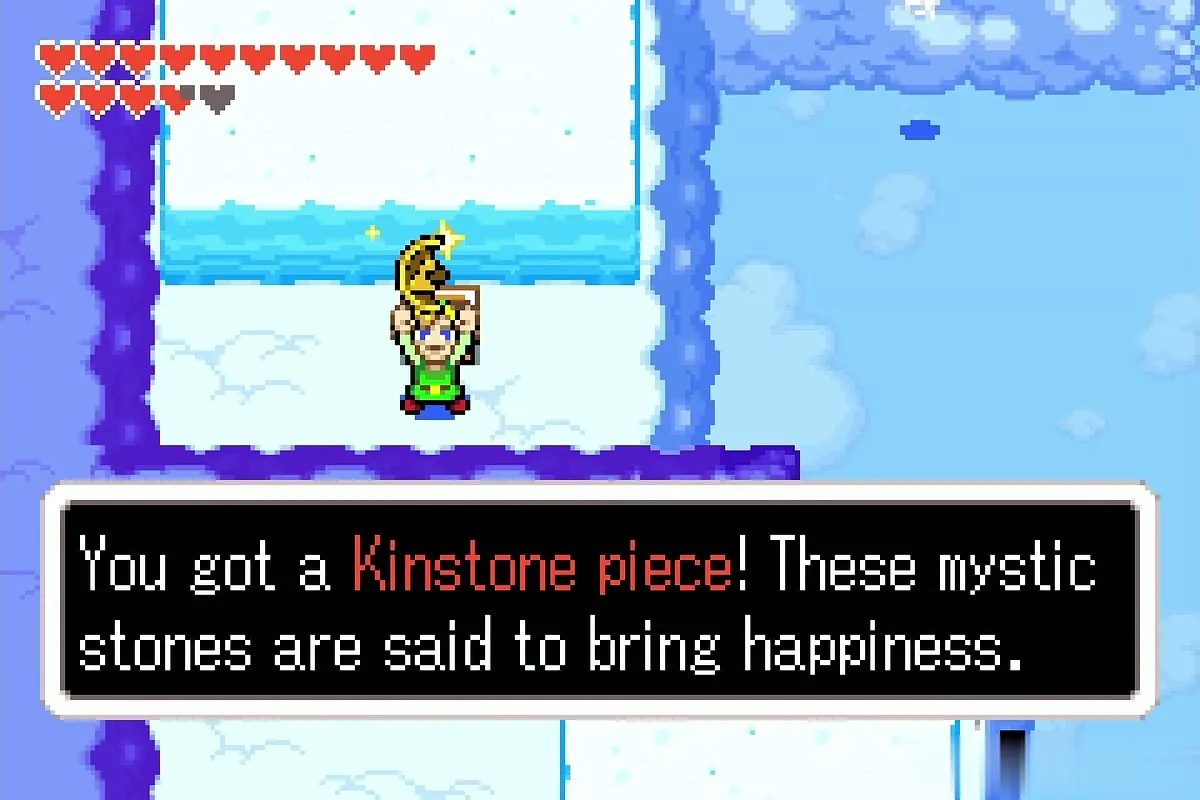
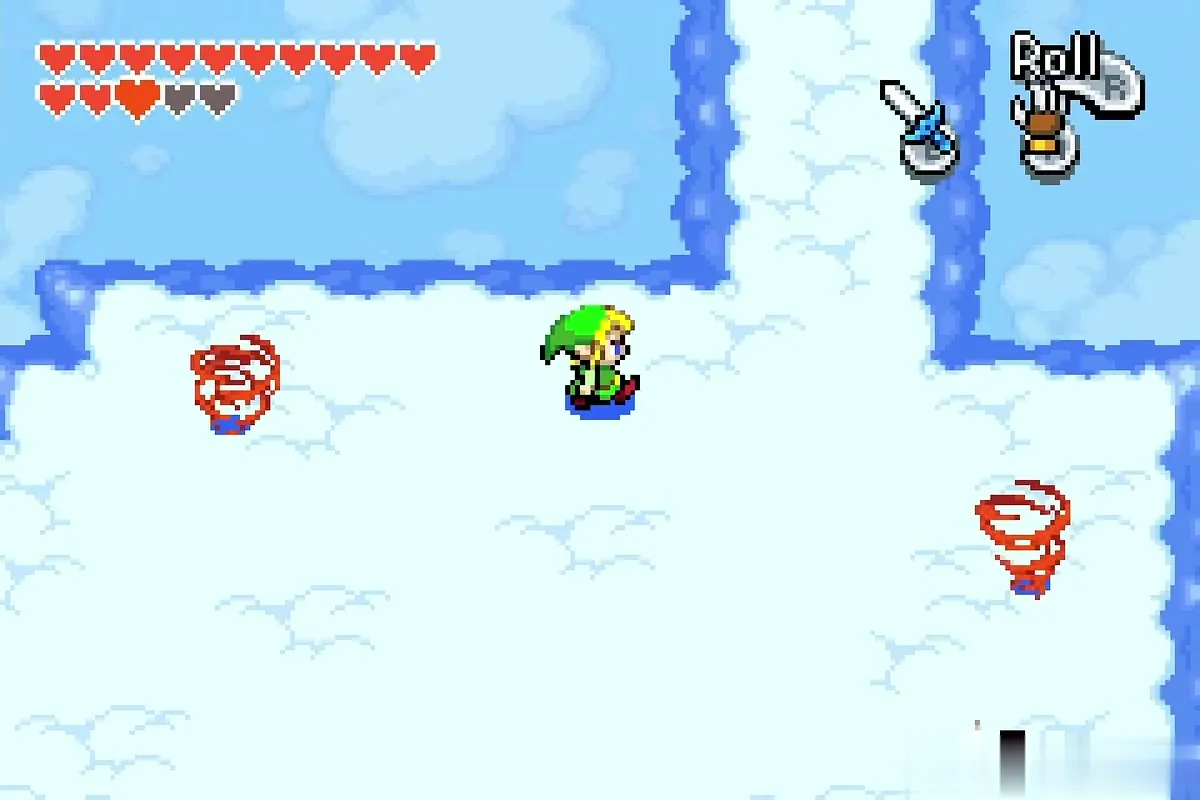
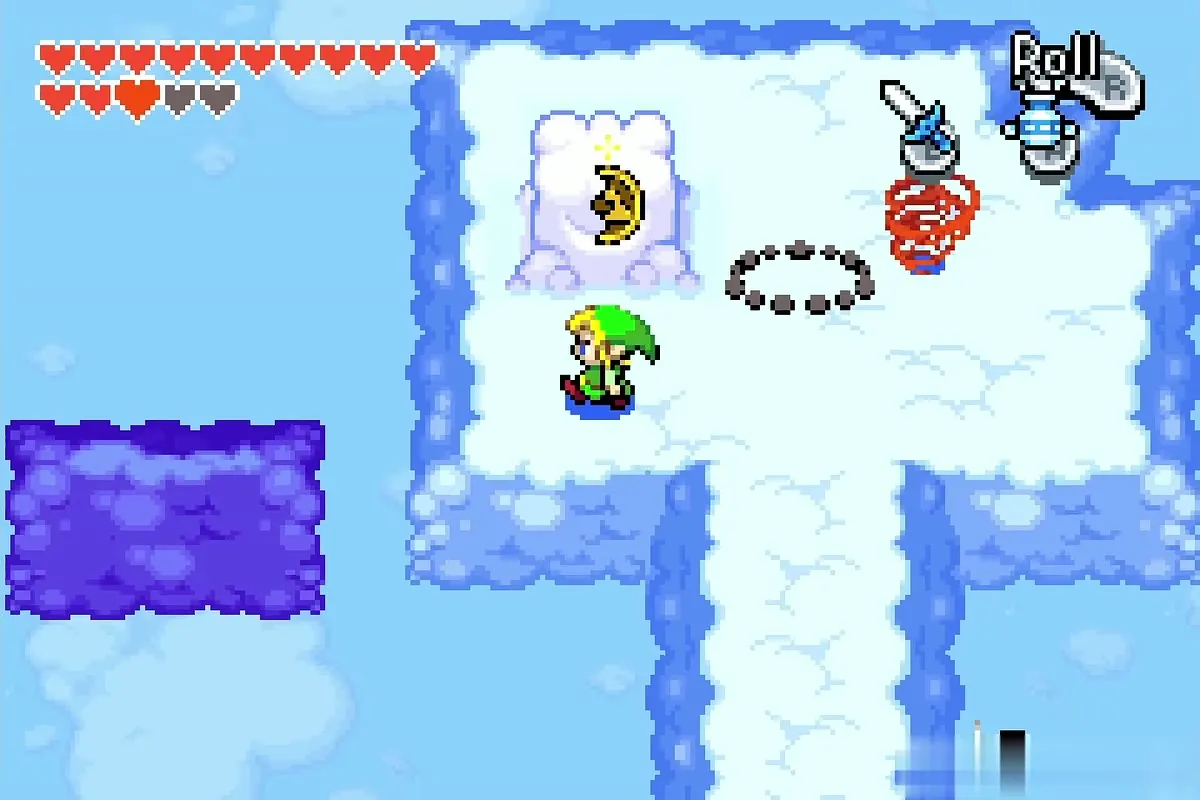
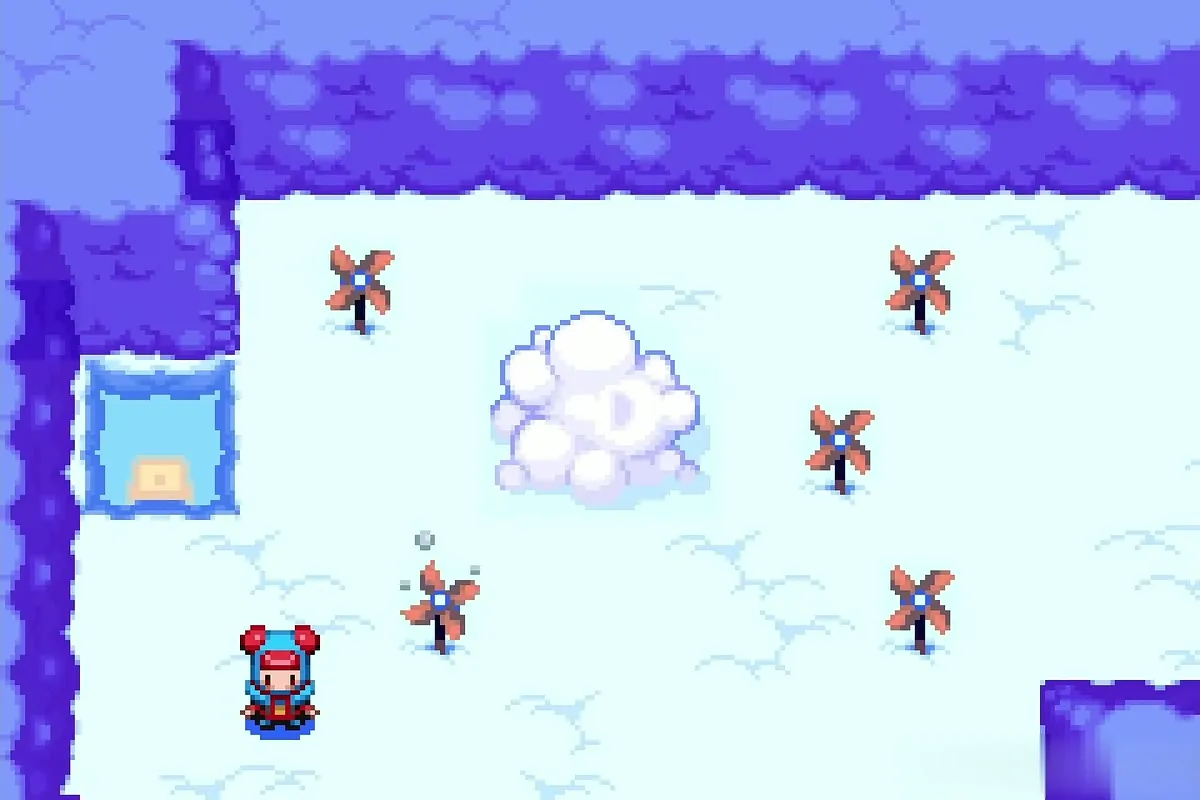
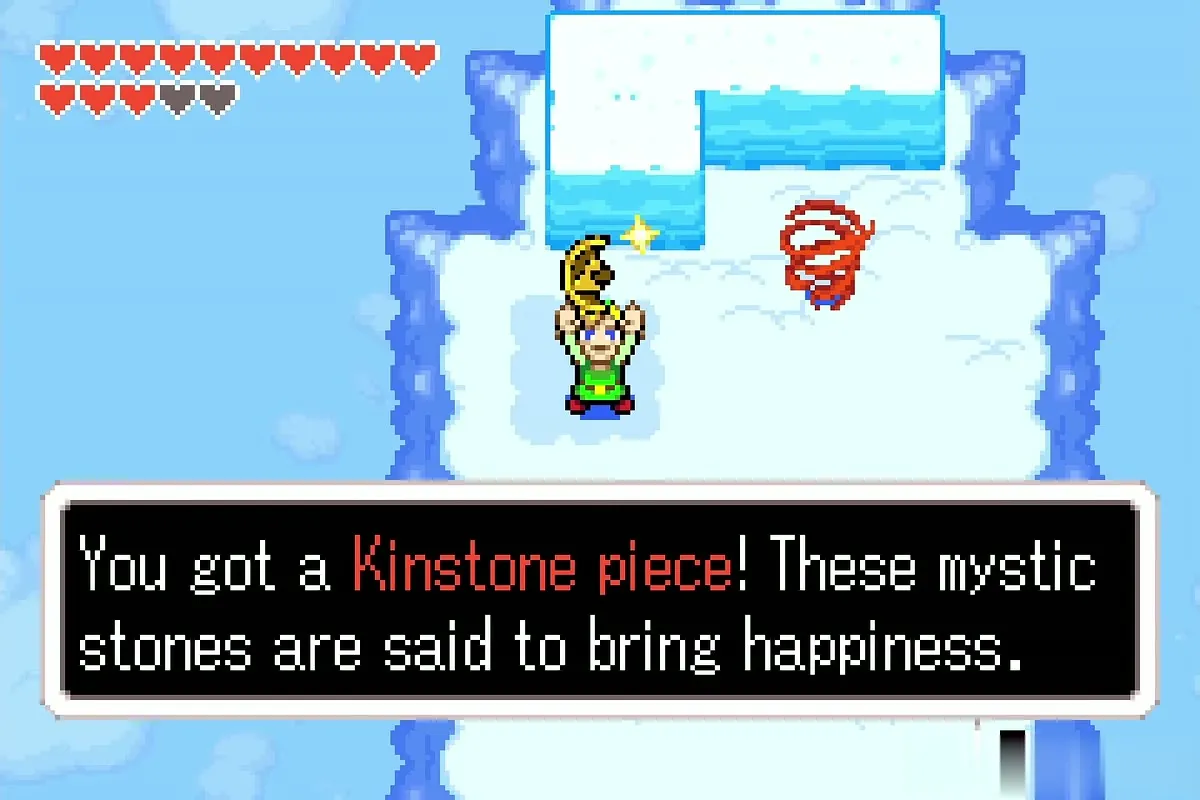
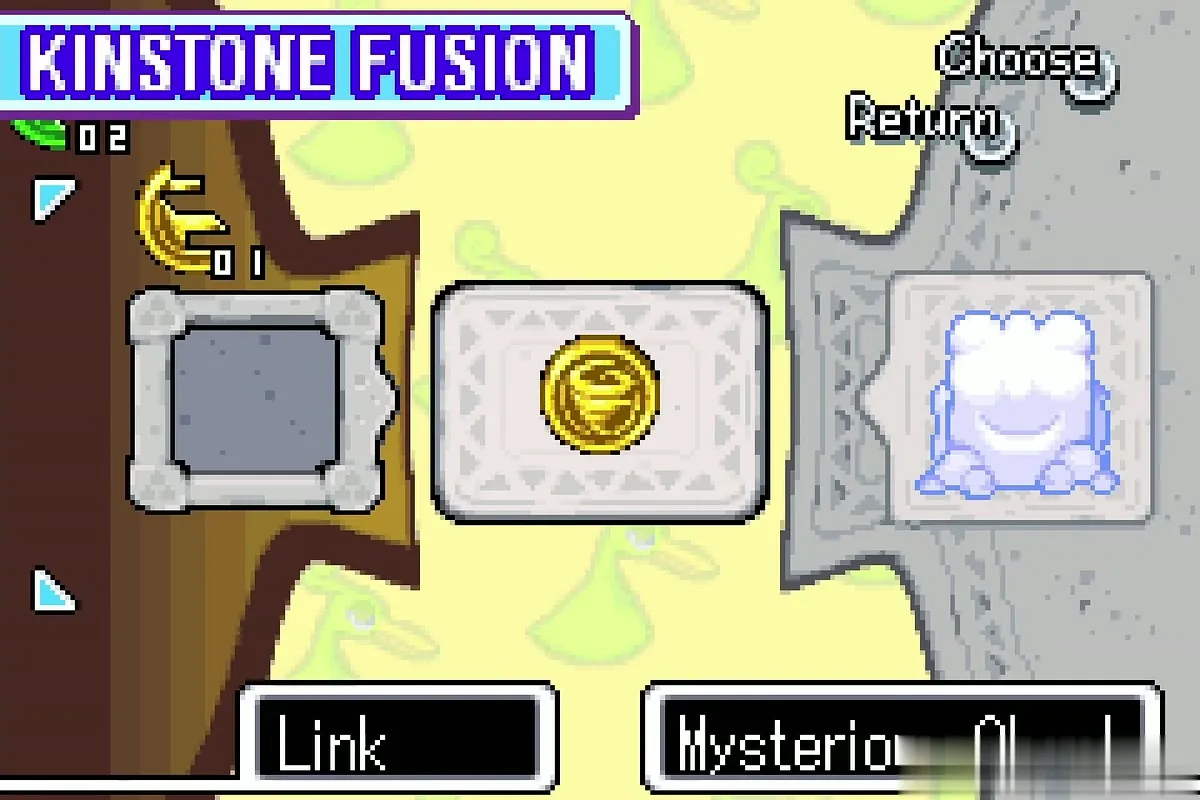
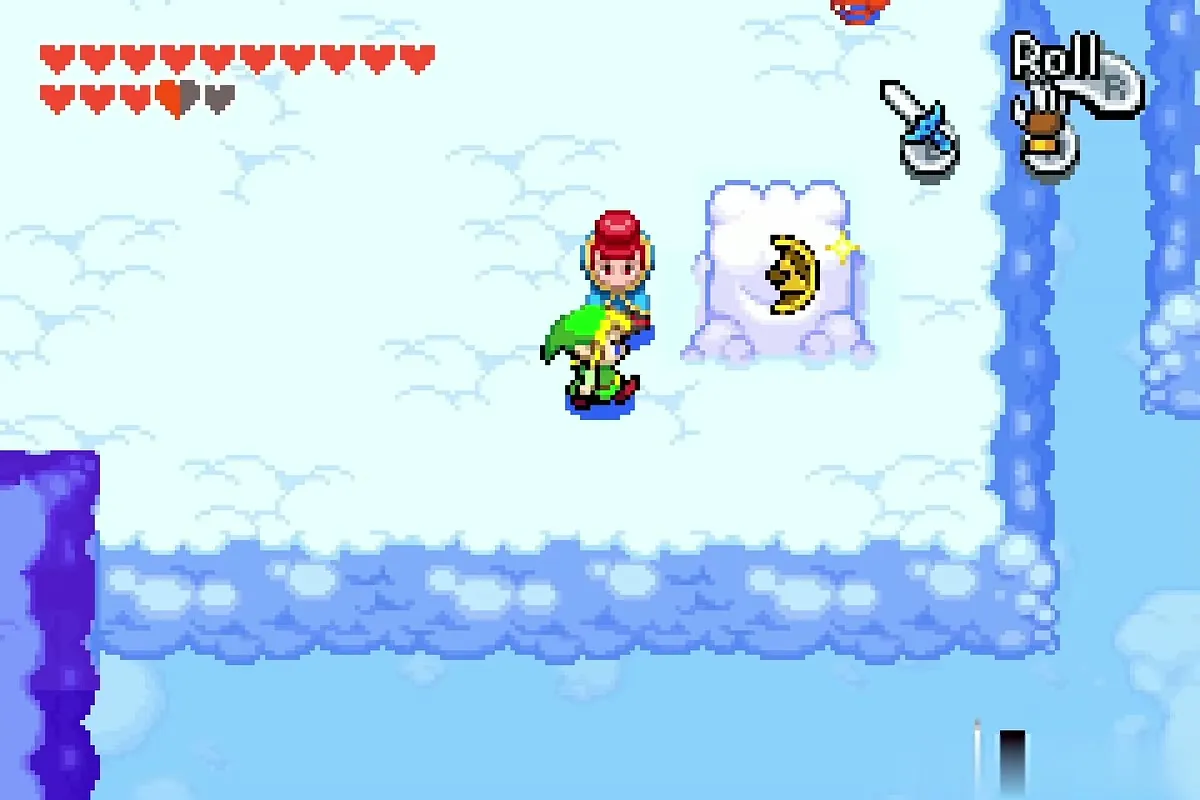
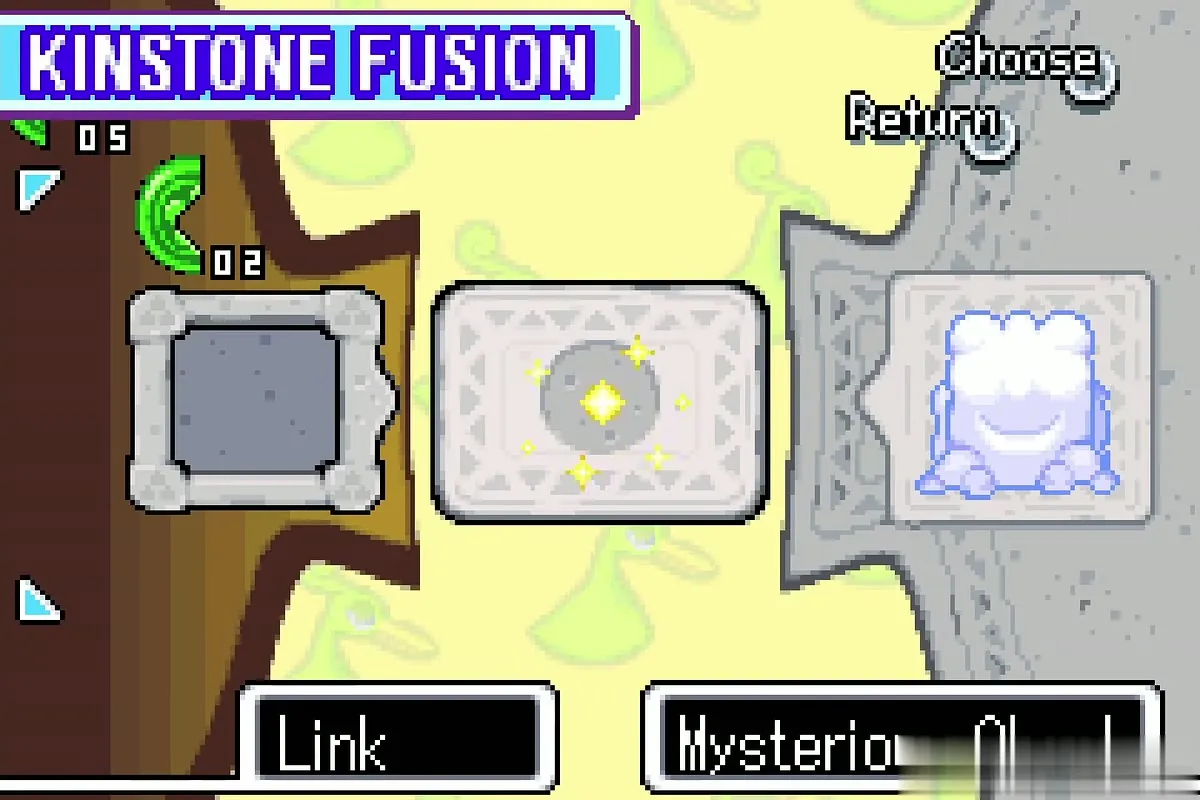
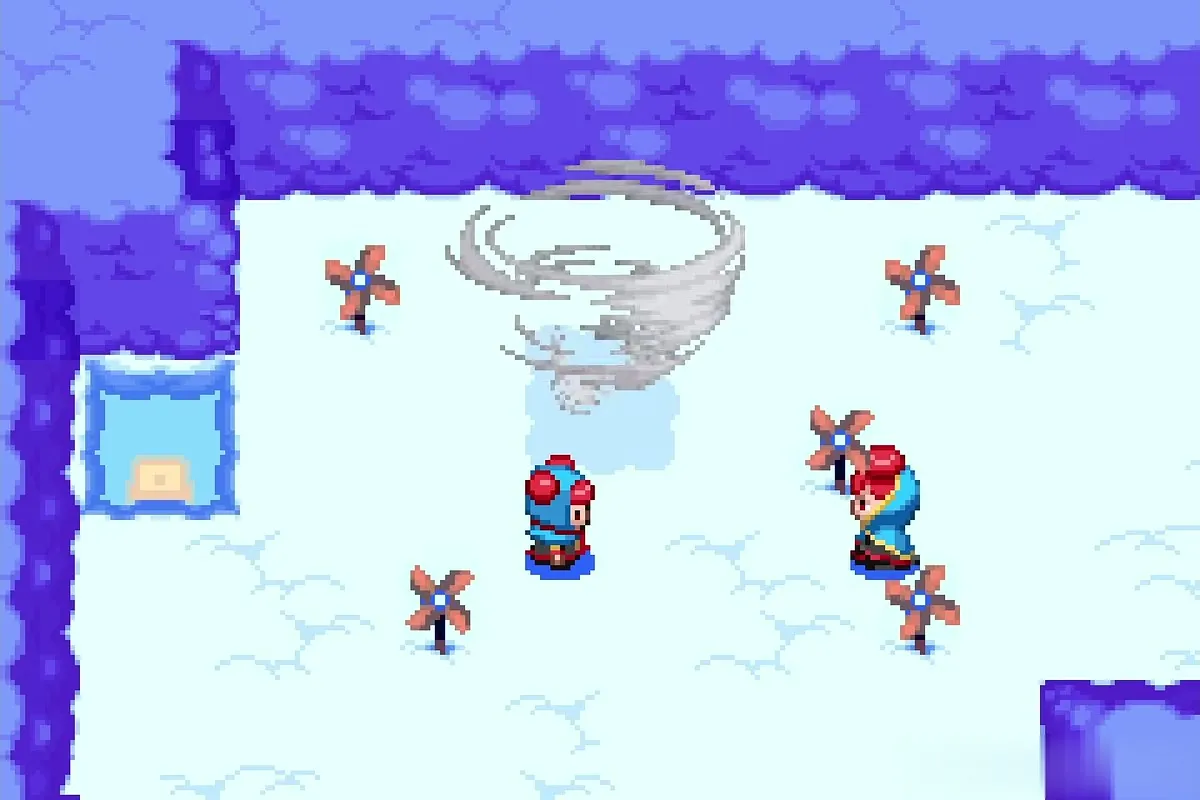
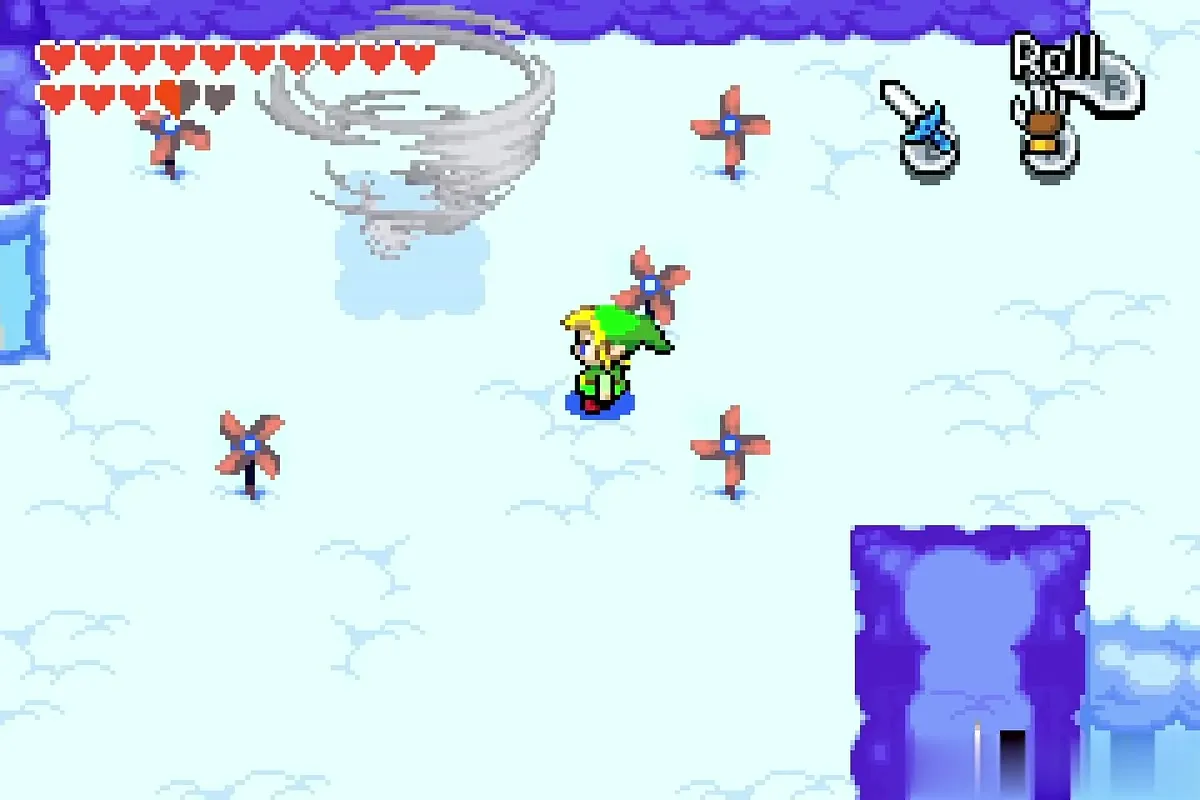
Five Mysterious Clouds are scattered over the islands of the Cloud Tops, and each one takes a Gold Kinstone piece. Every fusion starts one of five pinwheels spinning next to the starting islands. Dig through the thick cloud-stone with the Mole Mitts, drop through the holes in the clouds and use the red whirlwinds to rise again; Ezlo opens like a parachute so you can float across the gaps. The gold pieces come from chests and from cloud bulges that appear after you defeat the cloud sharks.

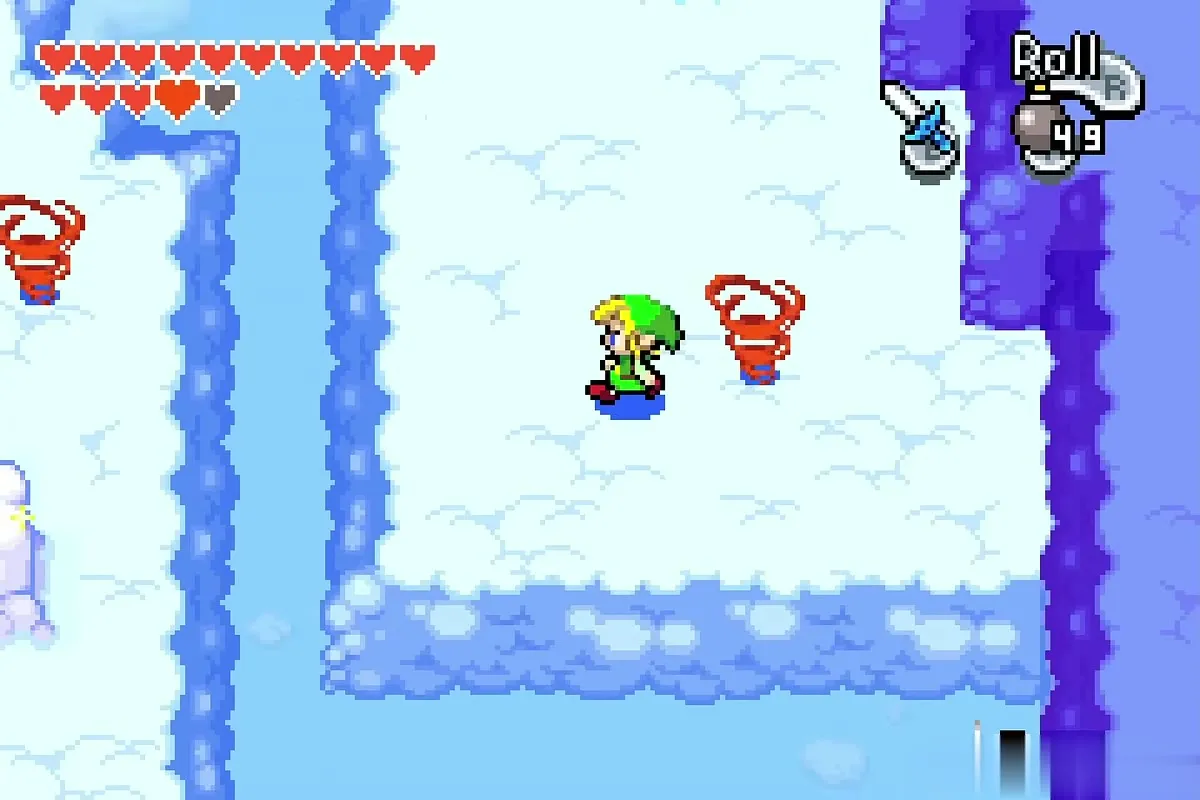
First cloud
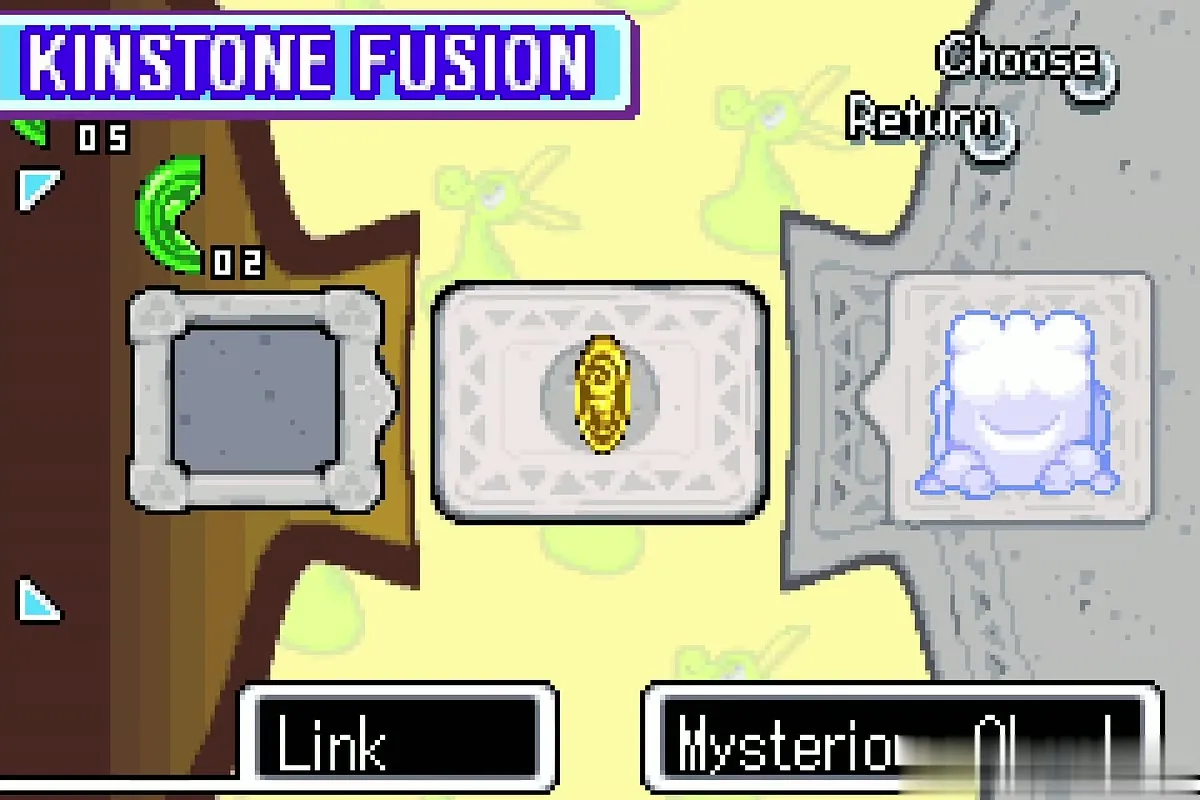
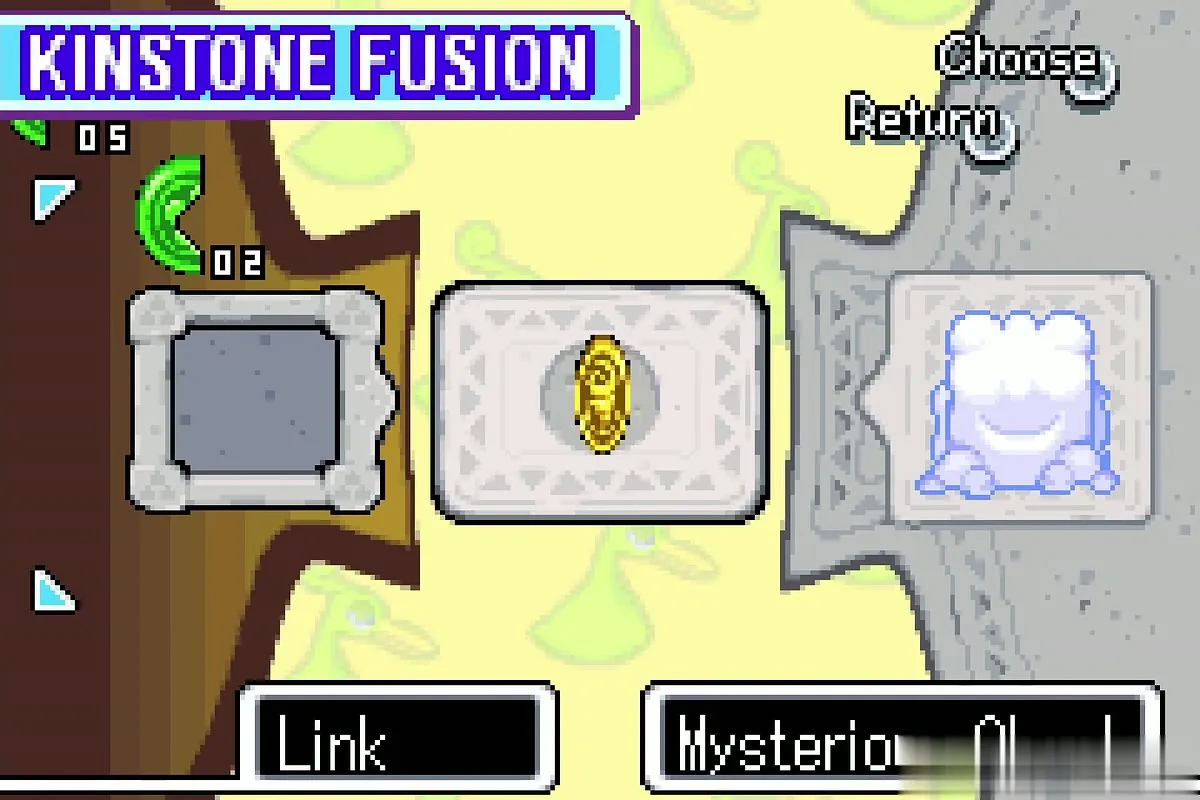
Dig to the chest on the first ledge for a Gold Kinstone piece, then float across to the nearest Mysterious Cloud, which has a gold half of its own, and fuse. The first pinwheel by the start begins to turn.
Second cloud
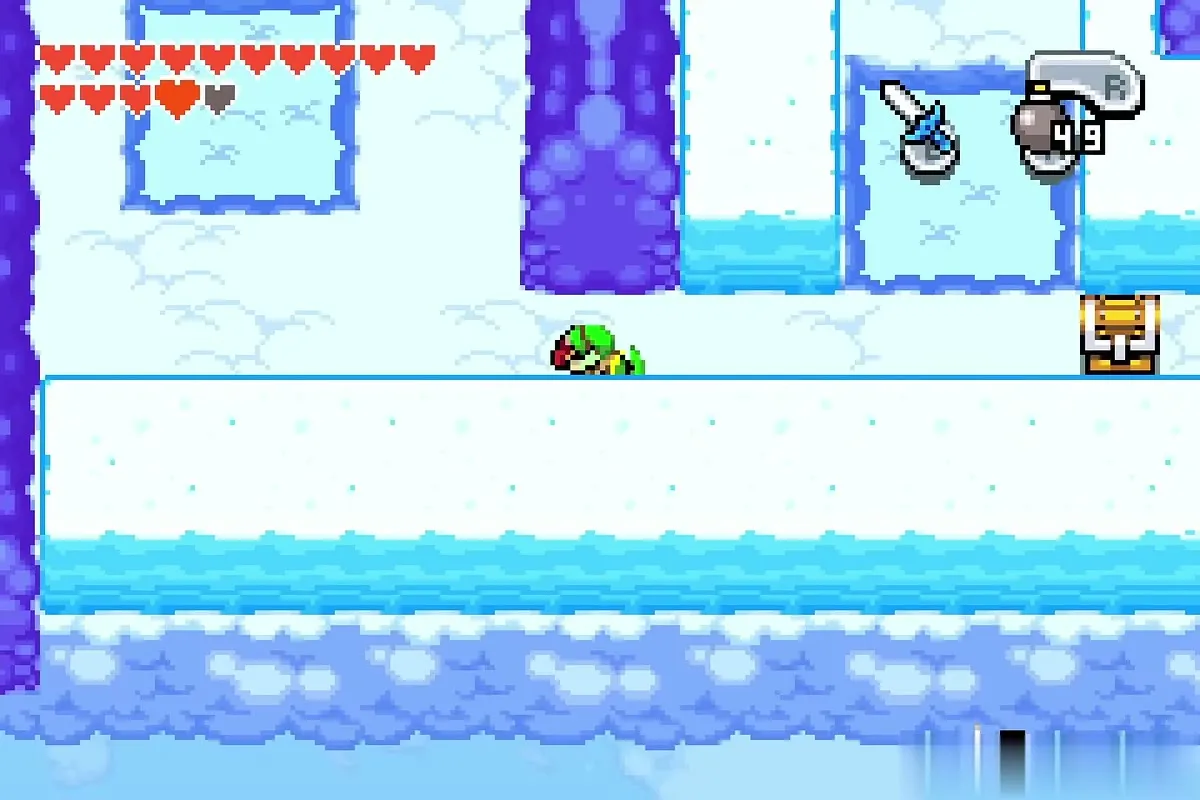
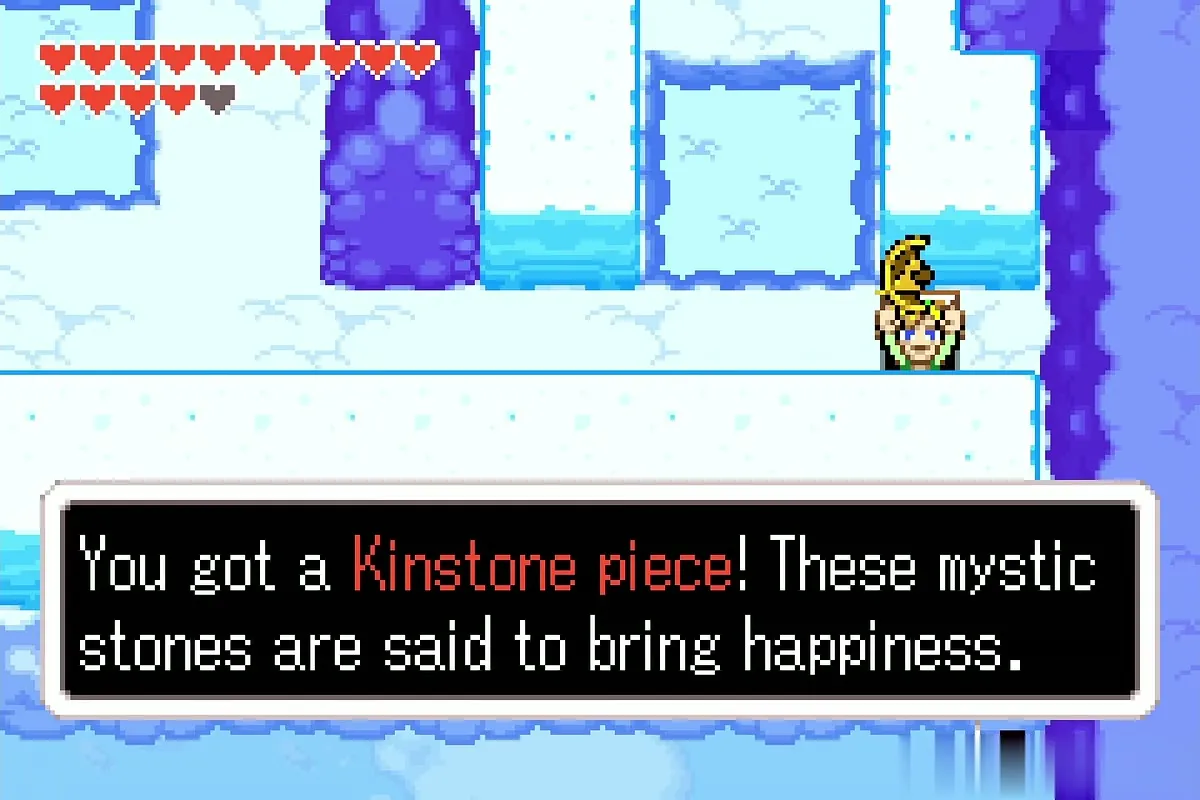
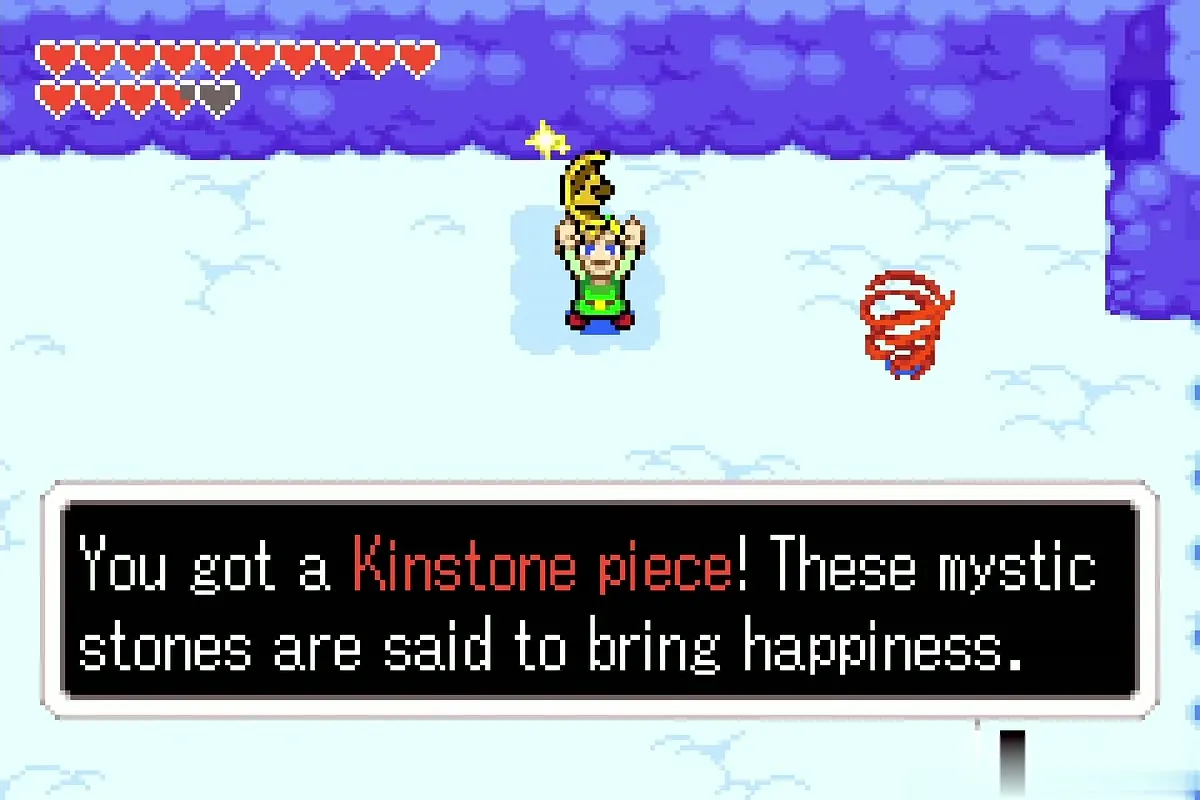
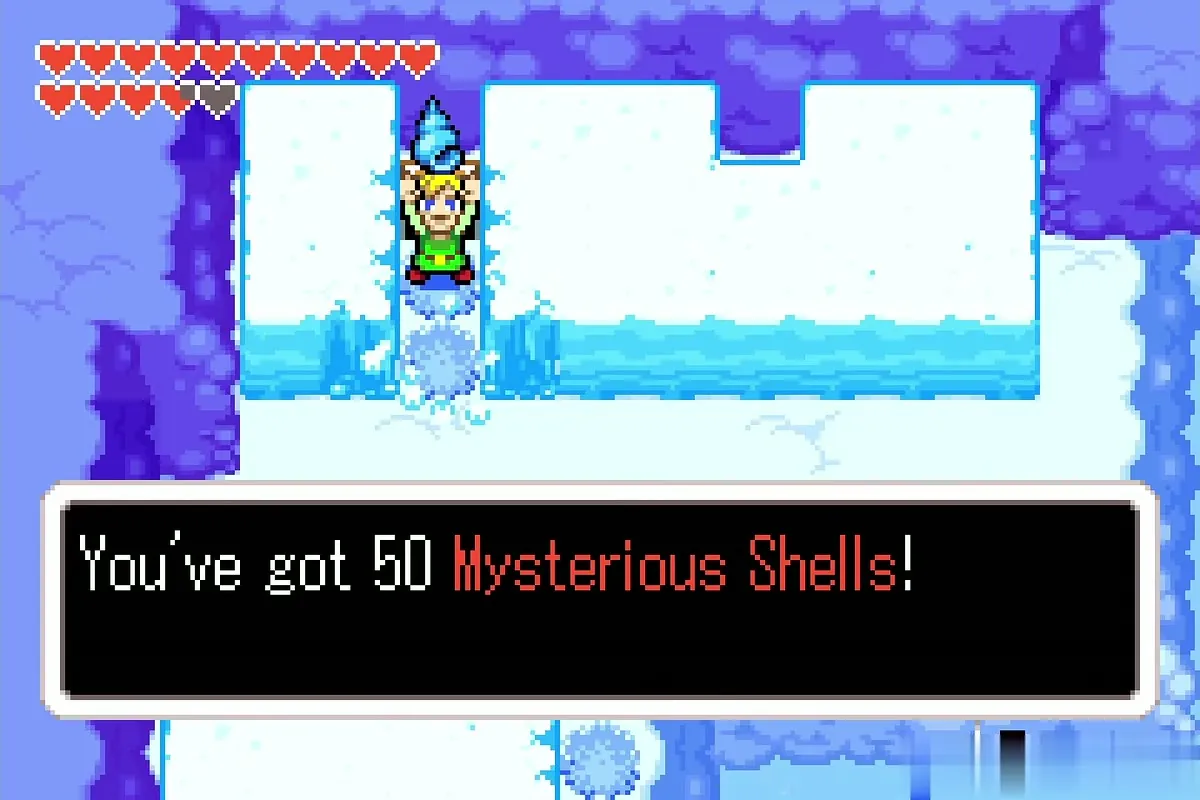
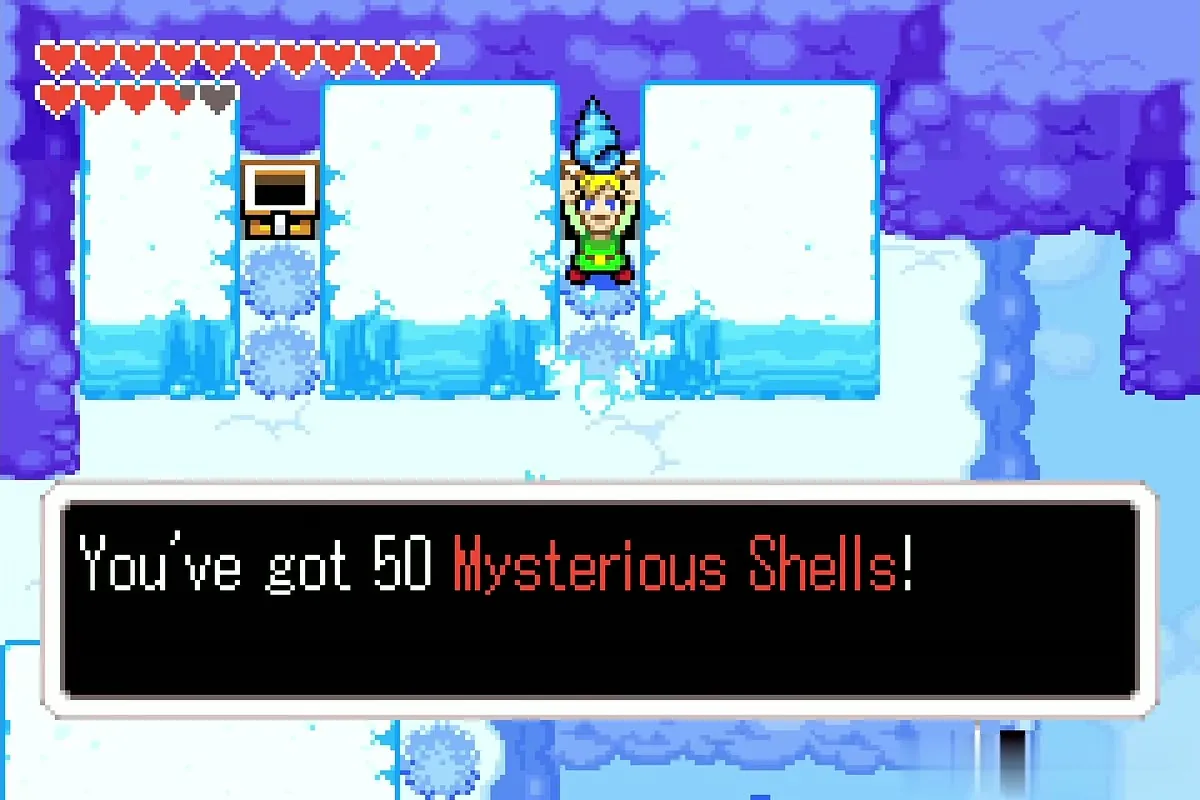
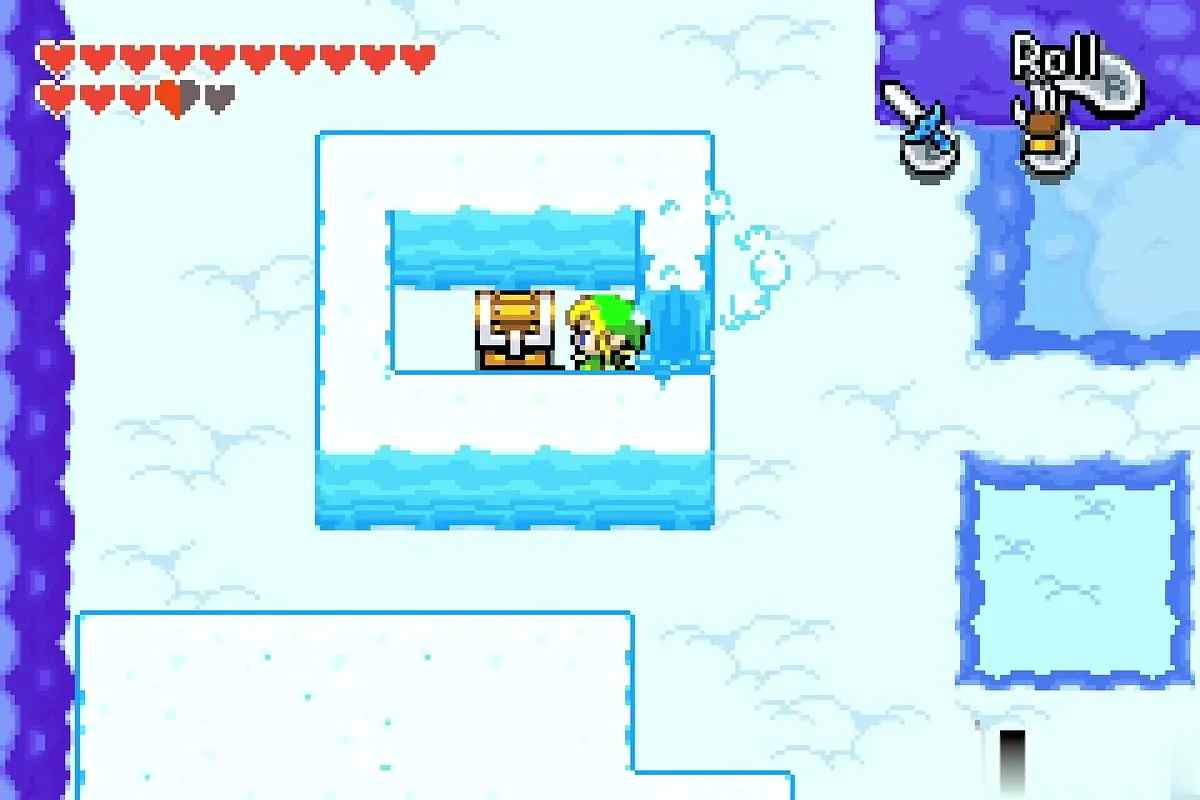
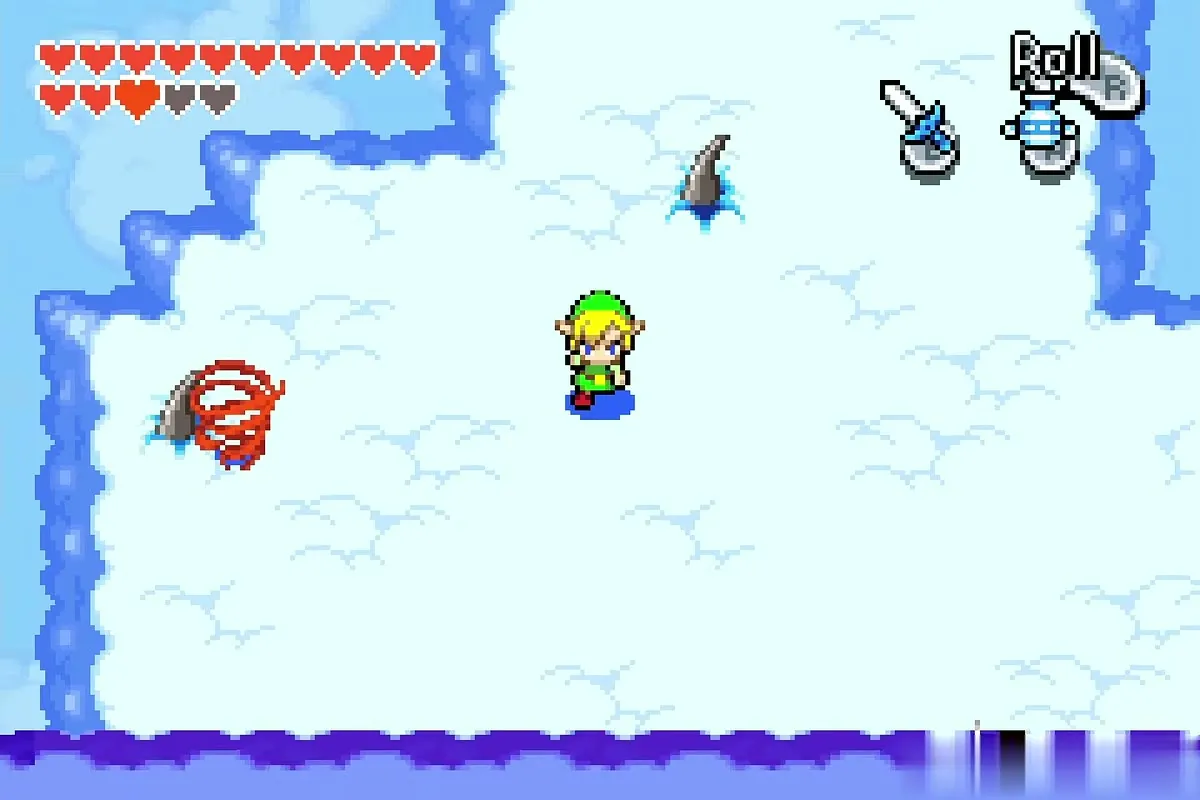
Fight the two cloud sharks nearby by hitting them with the sword when they leap out of the clouds. A cloud bulge opens with a Gold Kinstone piece on it. Then find the chest at the top of the next island group and open it for another piece. Dig through the cloud-stone beside the long wall to reach a row of chests: two of them hold 50 Mysterious Shells each. Fuse a gold piece with the next cloud along to start the second pinwheel.

Third cloud
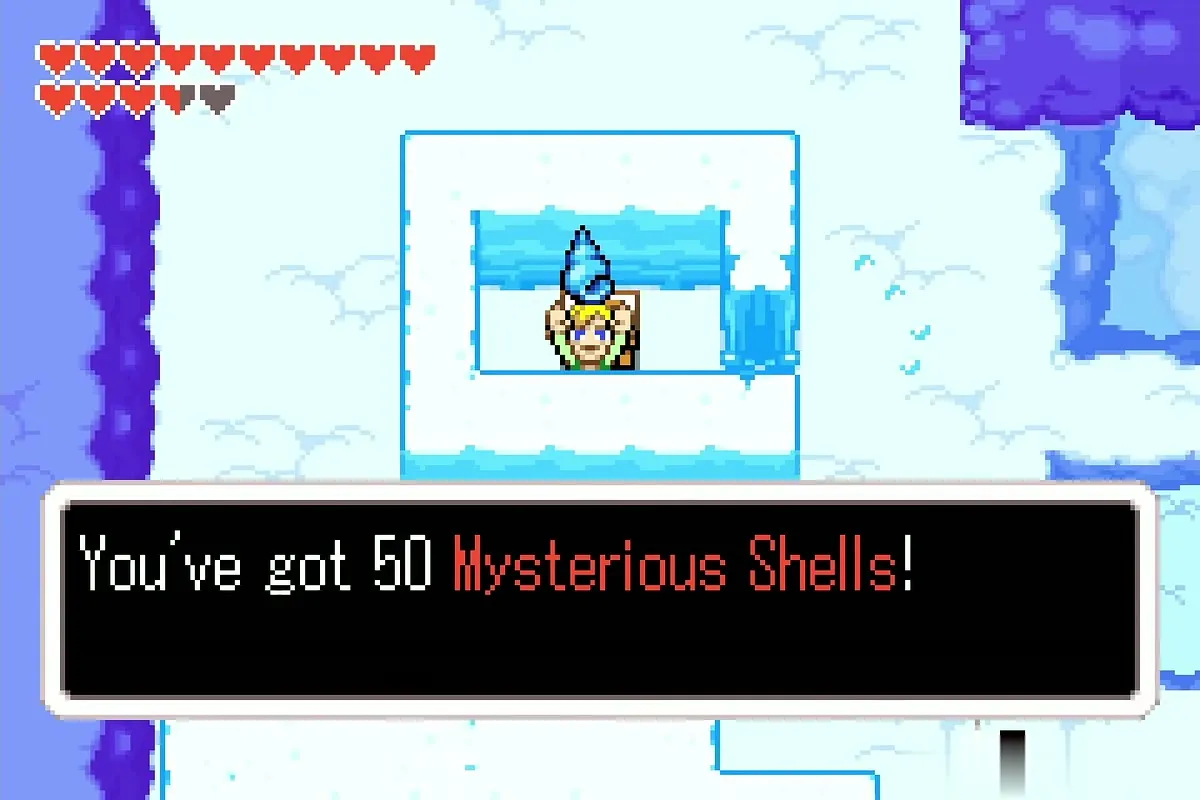
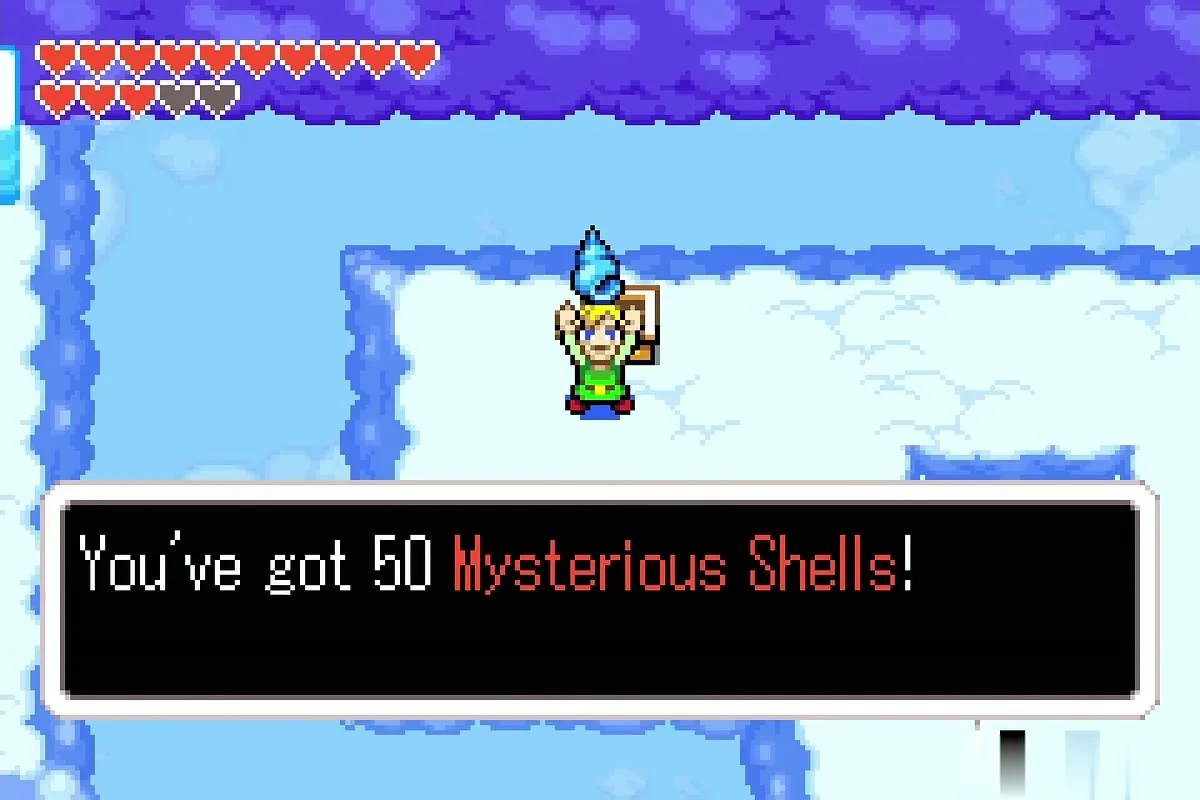
Fall through the next hole, cross the island and dig out the chest in the cloud-stone for another 50 Mysterious Shells. Follow the whirlwinds to the next Mysterious Cloud and fuse it with a gold piece. The third pinwheel starts turning.
Fourth cloud
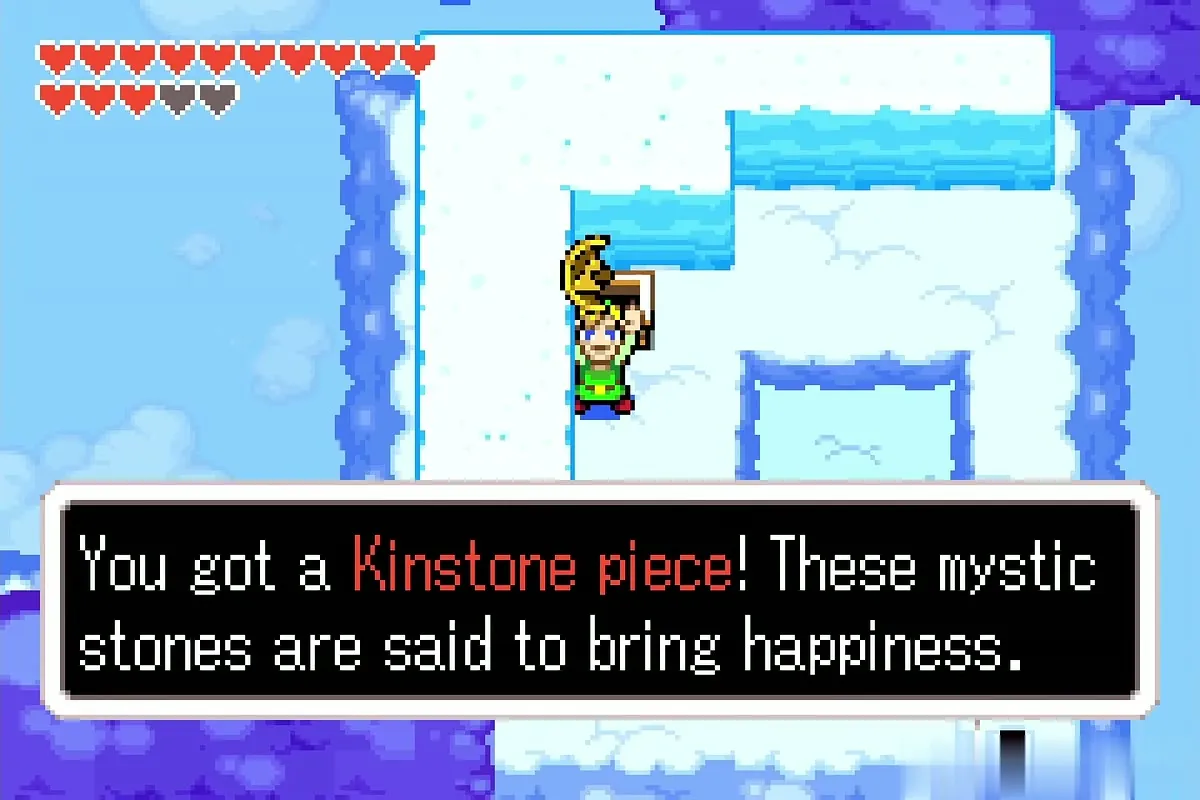
Open the chest on the next island for the fourth Gold Kinstone piece, and defeat the shark on the island beyond to earn the last bulge piece. Another cloud-stone chest nearby holds 50 Mysterious Shells. Return with the pieces and fuse one with the fourth cloud.
Fifth cloud and the tornado
Float back to the starting island and fuse your last Gold Kinstone piece with the cloud sitting among the pinwheels. All five pinwheels now spin, the cloud breaks apart and a giant whirlwind rises where it was. Ride it up to the Home of the Wind Tribe.
Home of the Wind Tribe
Outside the house
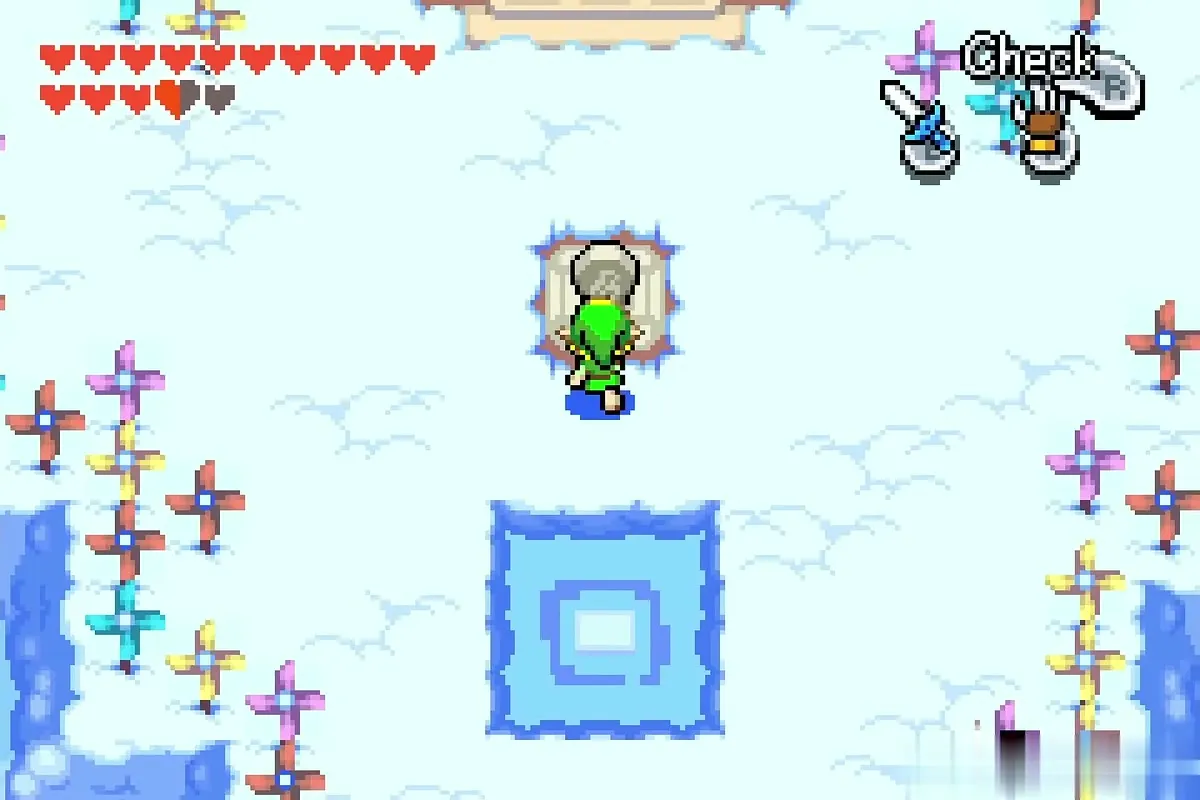
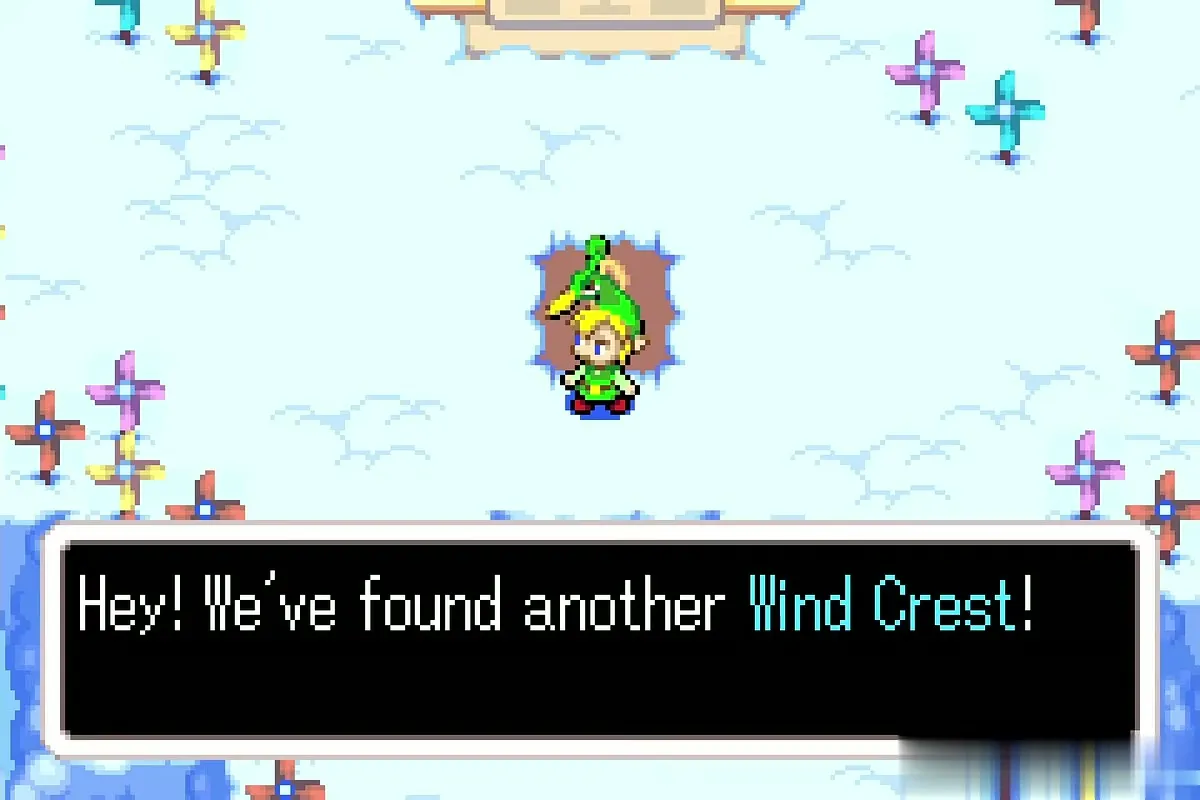
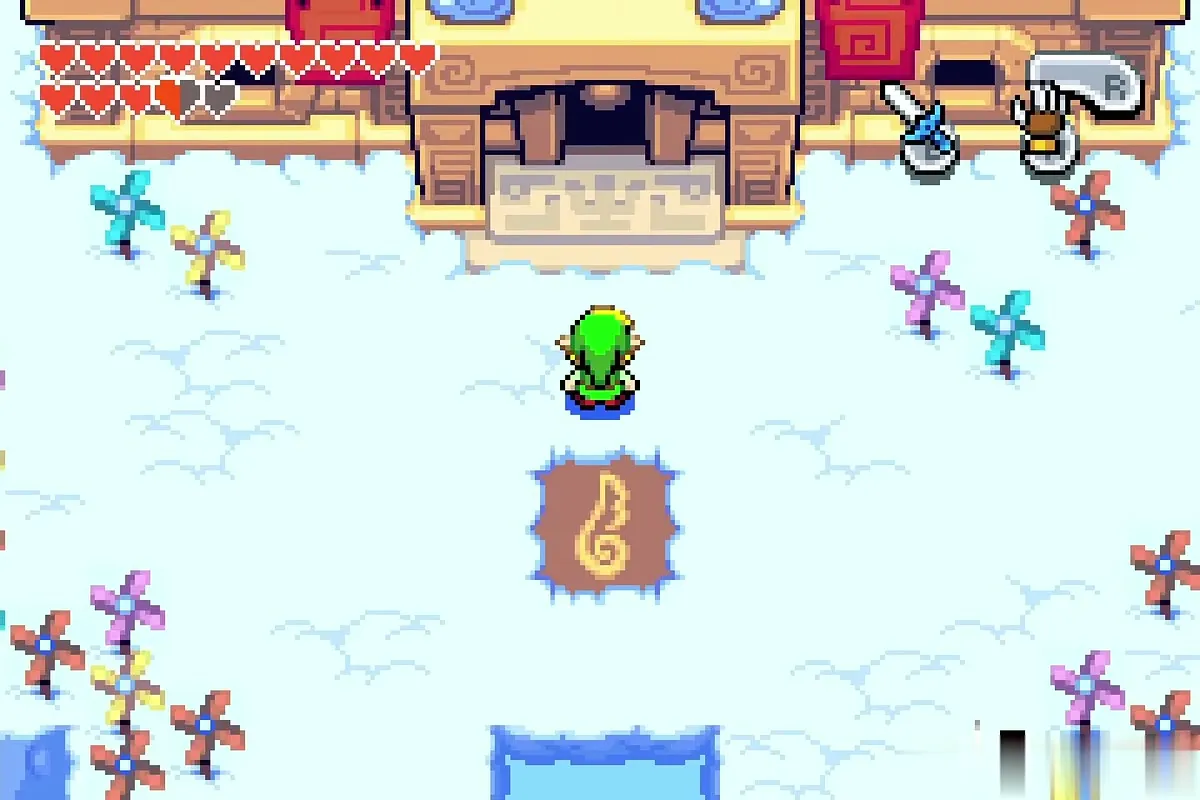
At the front of the house, check the tablet in the clouds to light the Cloud Tops Wind Crest. It is the last of the eight Wind Crests.
Second floor: Caprice and Gregal
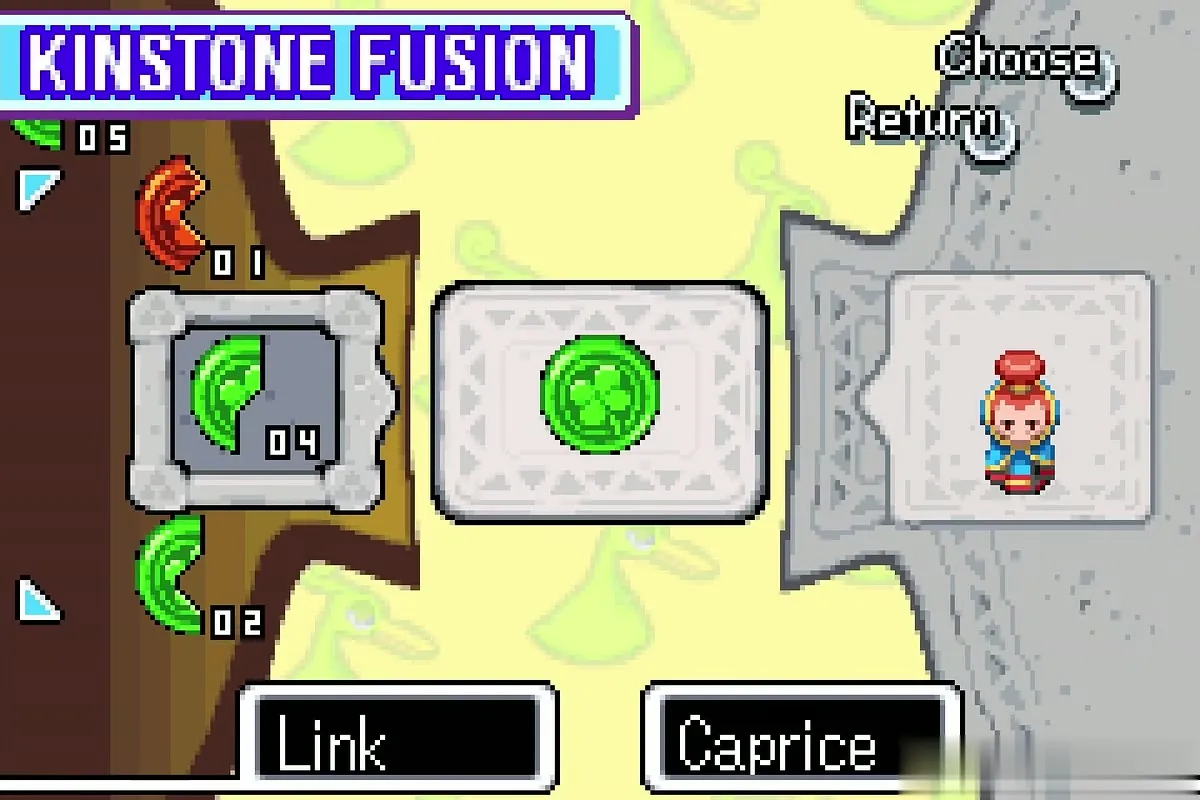
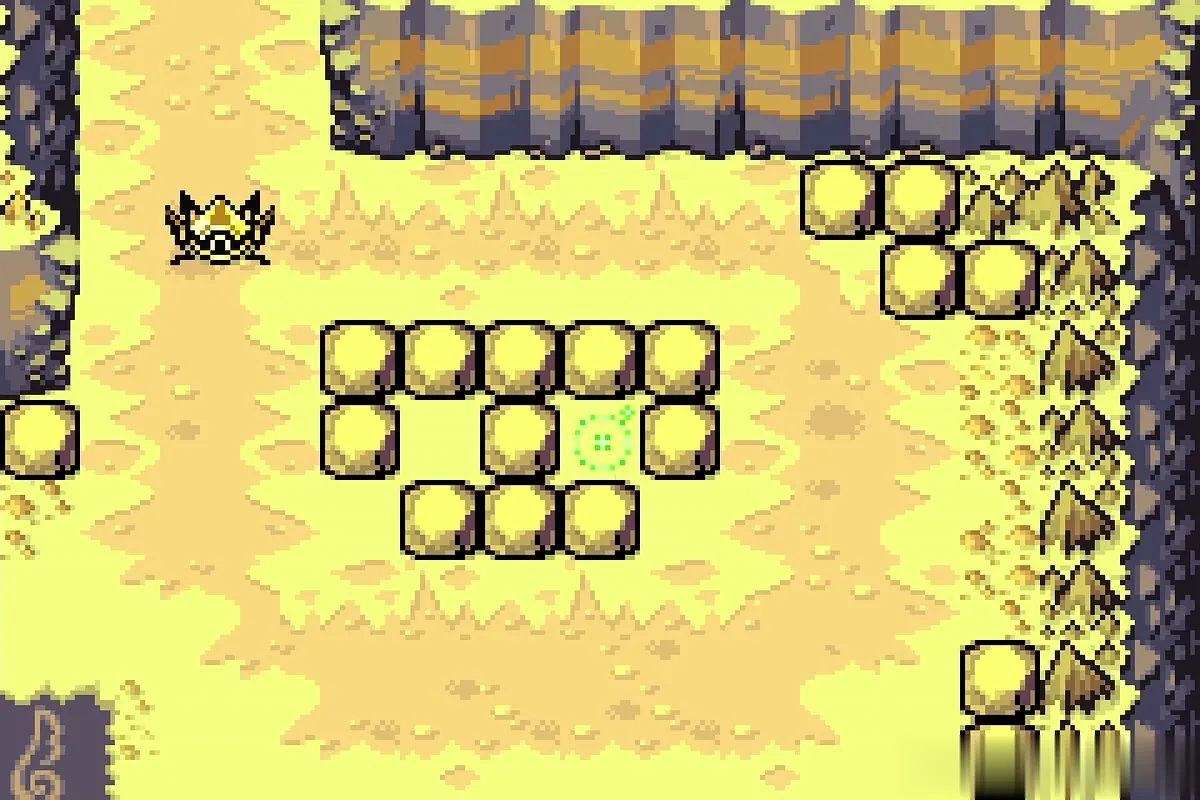
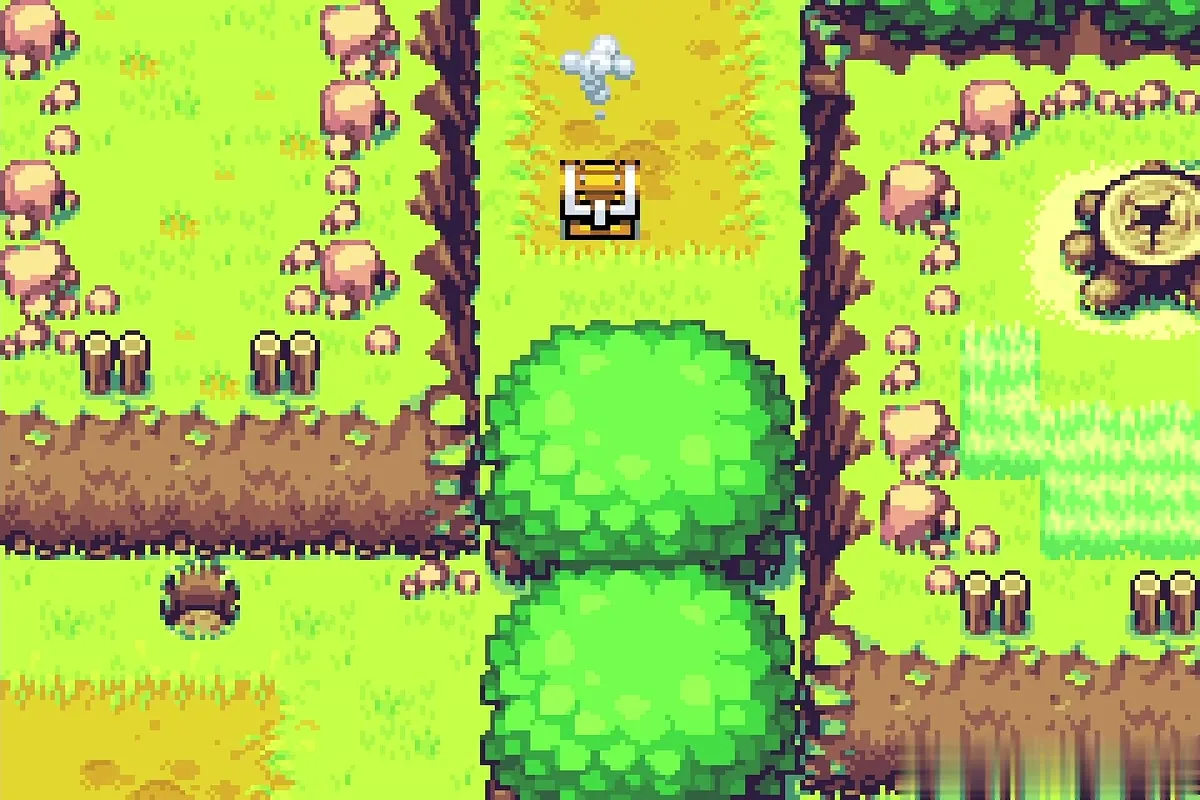
Go inside, climb the stairs to the bedroom floor and talk to Caprice. Fuse a green piece with her; a chest with a blue Kinstone piece appears in the boulders on the Veil Falls plateau, near the Wind Crest. Lift the rocks around it when you pass that way.
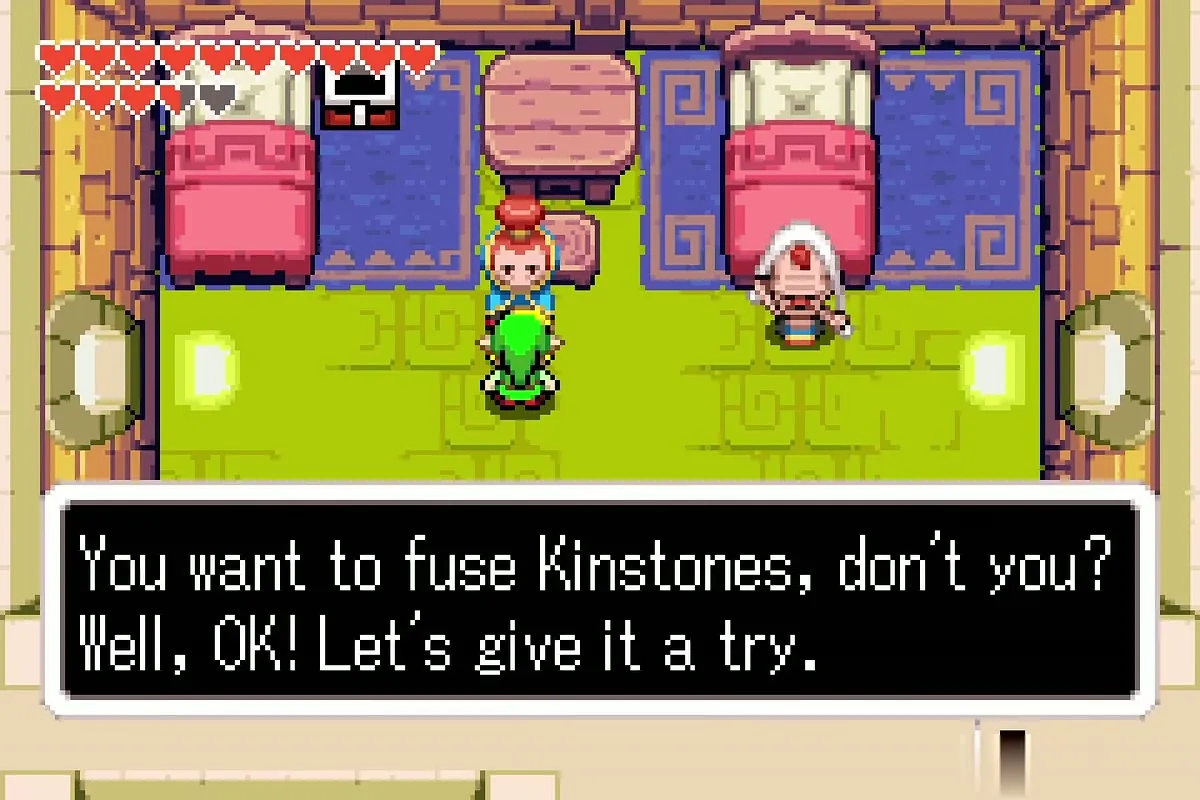
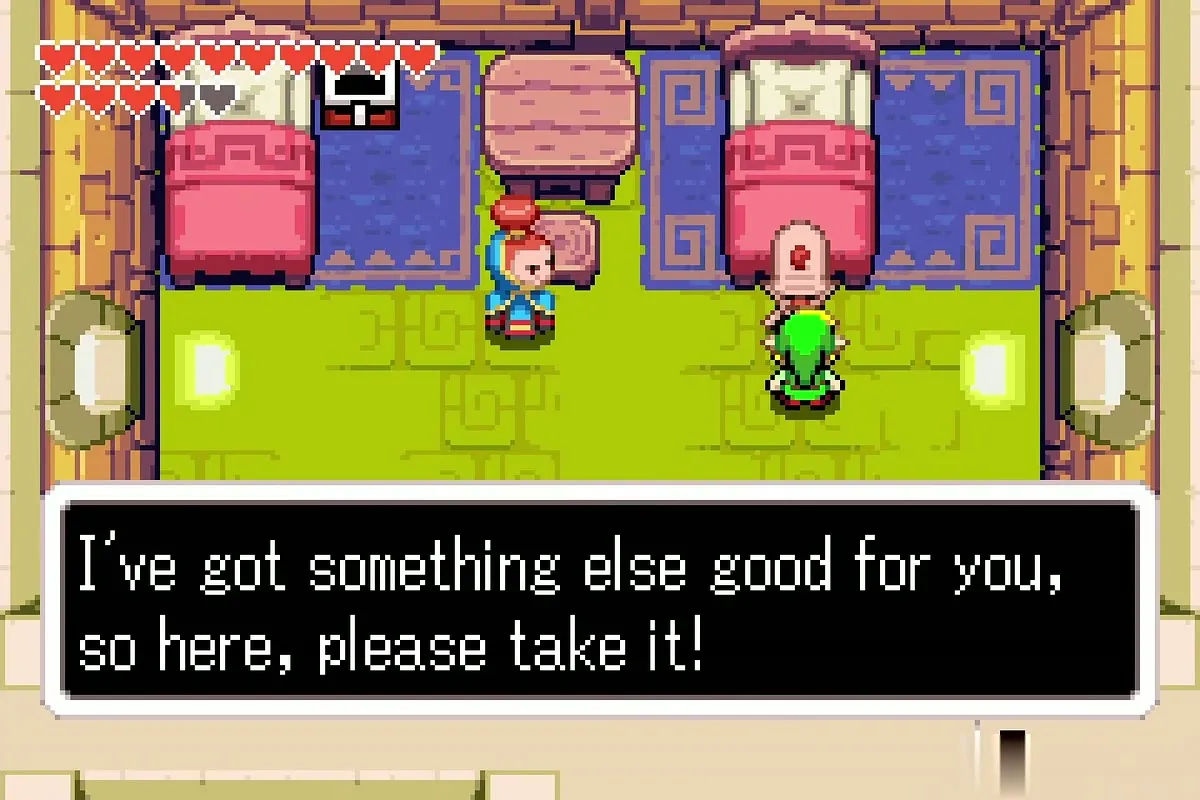
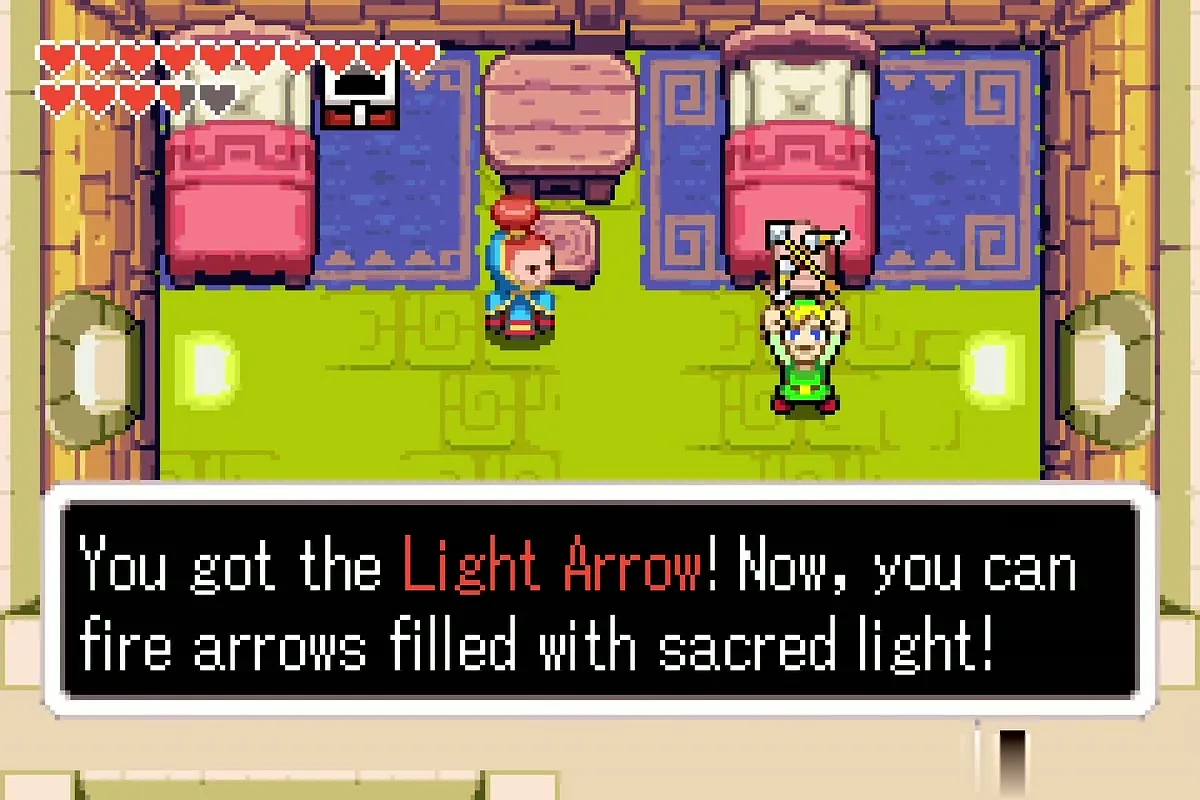
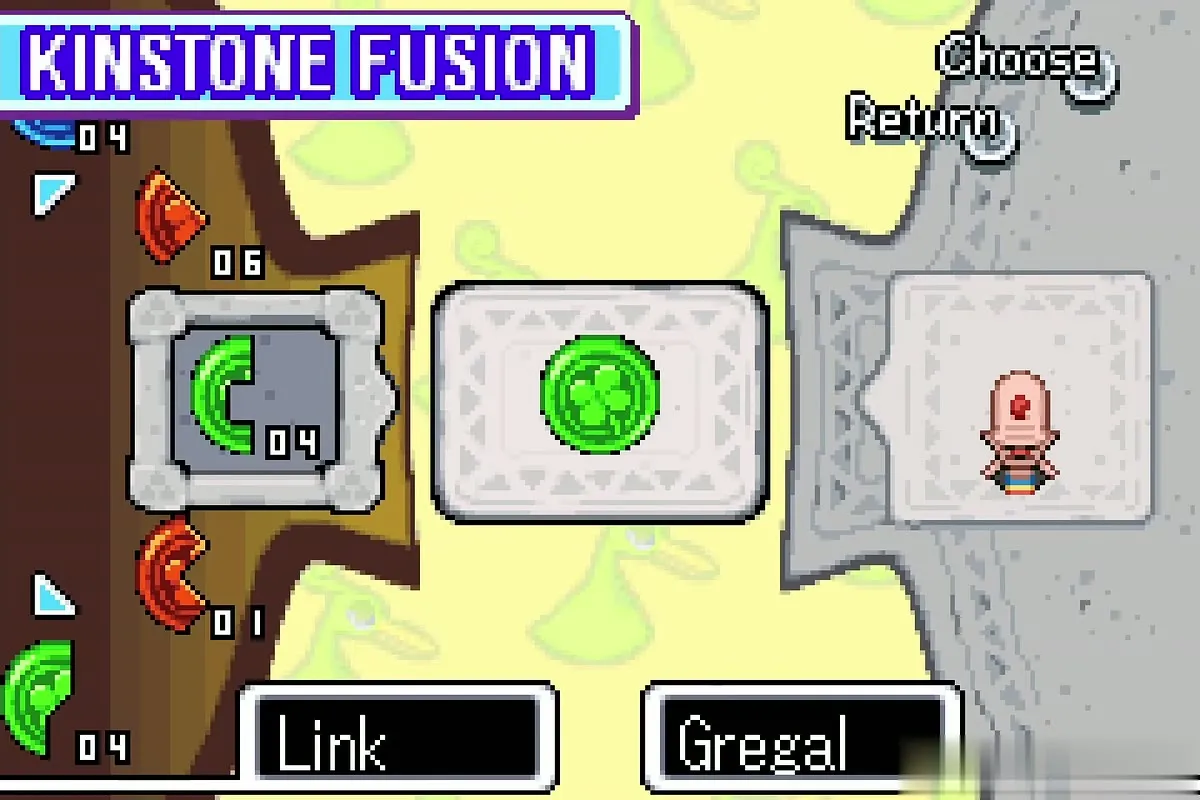
Speak to Gregal in the next bed. He thanks you for the help with the ghost and gives you the Light Arrows, which fire arrows filled with sacred light. Fuse a green piece with him as well: a chest appears on the dirt path in the north-west of Lon Lon Ranch.

Third floor: Flurris
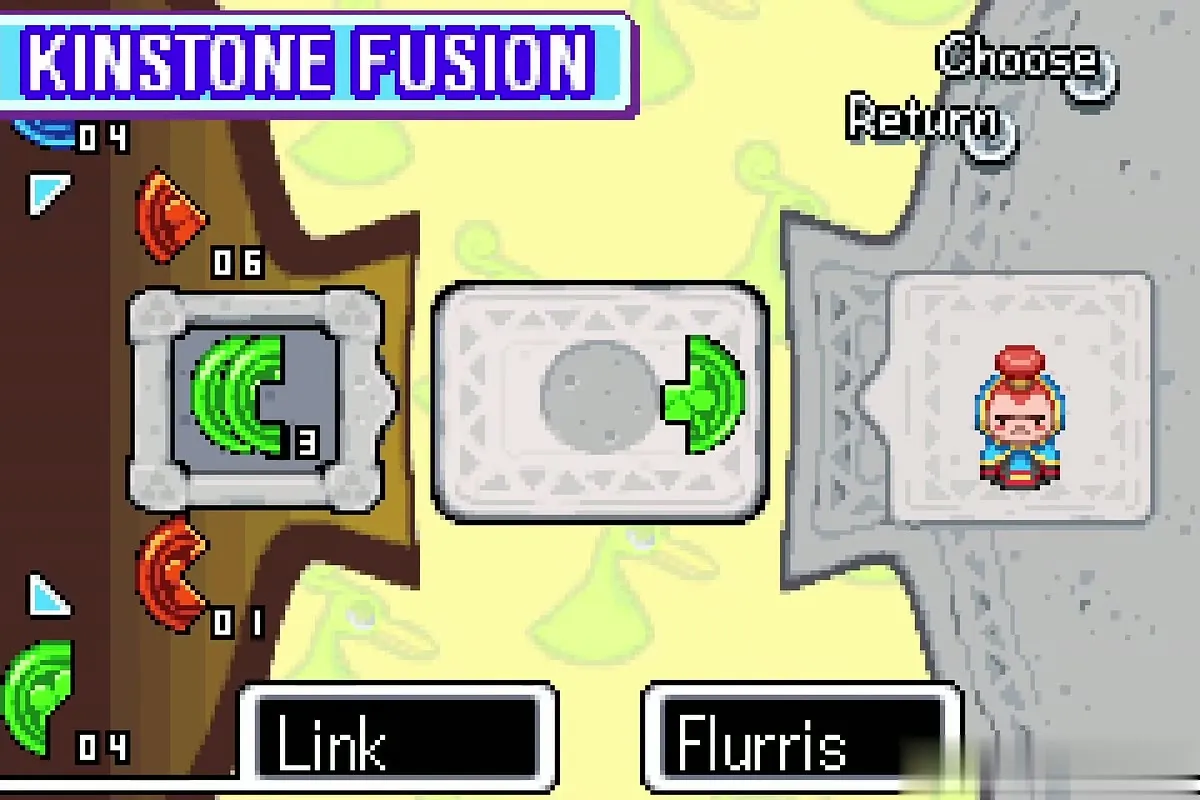
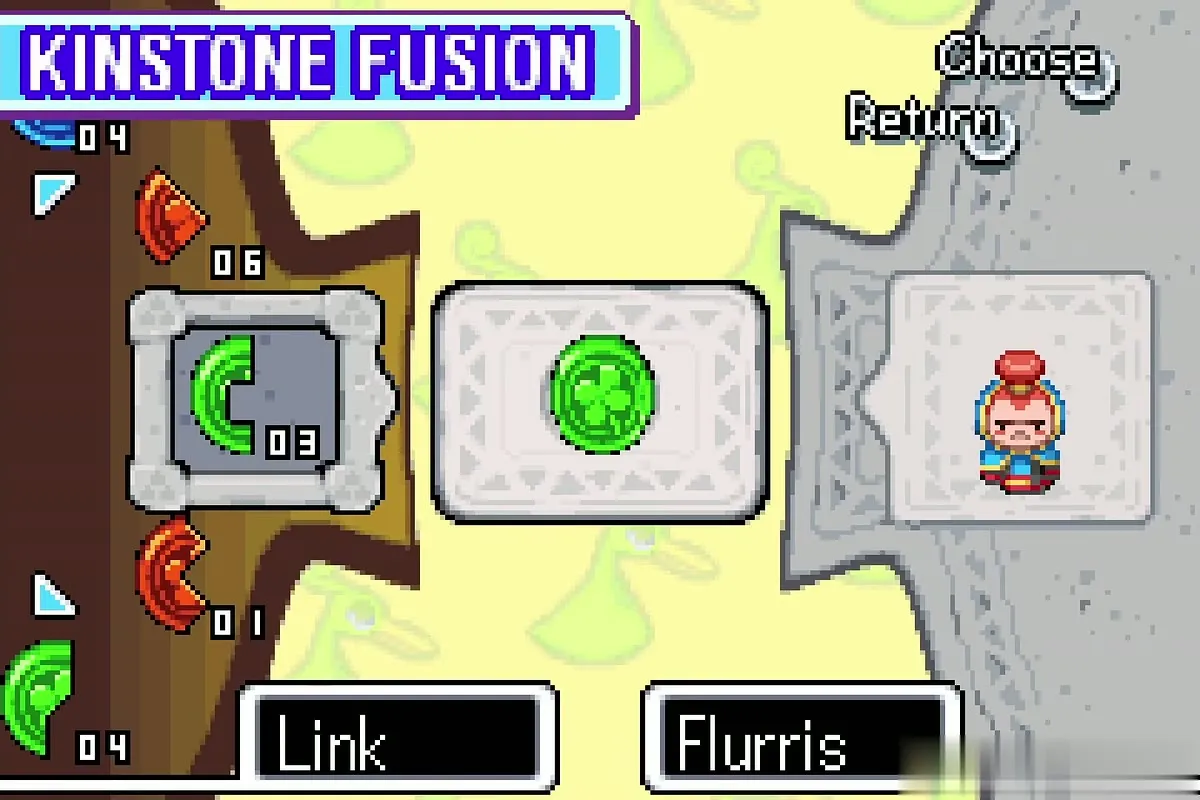
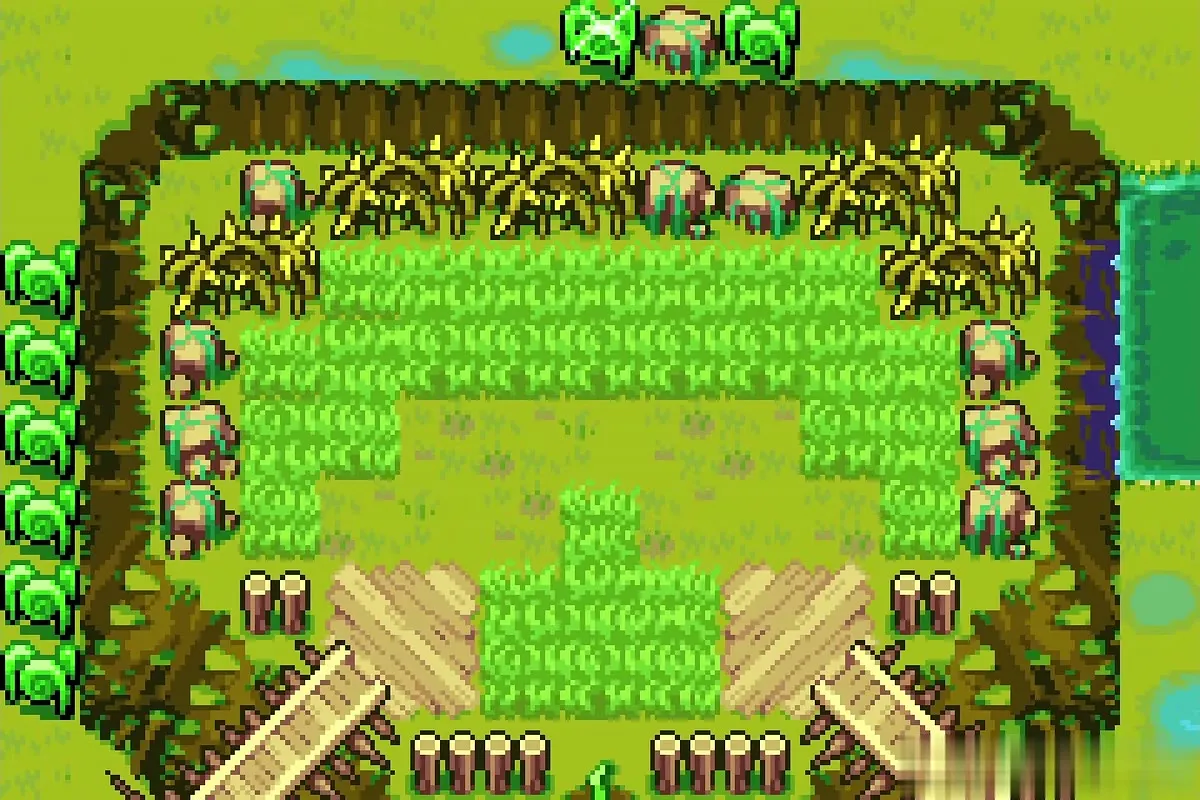
Climb to the pot room and fuse a green piece with Flurris. A Golden Rope appears in the Castor Wilds (see Golden Enemies). A second fusion with him raises a fallen tree in Western Wood, with a dirt patch on top that you dig up with the Mole Mitts (see the chapter before the Four Sword).
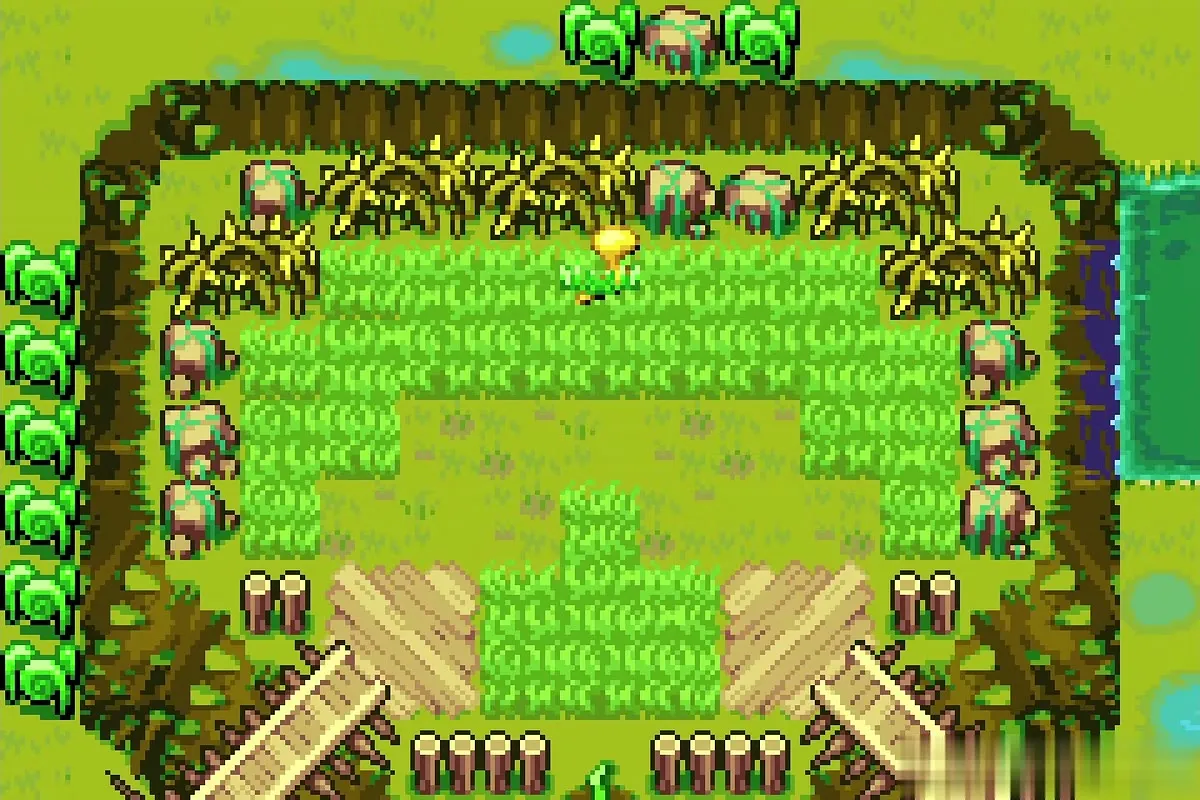
Floor with the five beds
The next floor has a row of five beds with chests in front of them. Open the three chests for two blue Kinstone pieces and one red Kinstone piece.
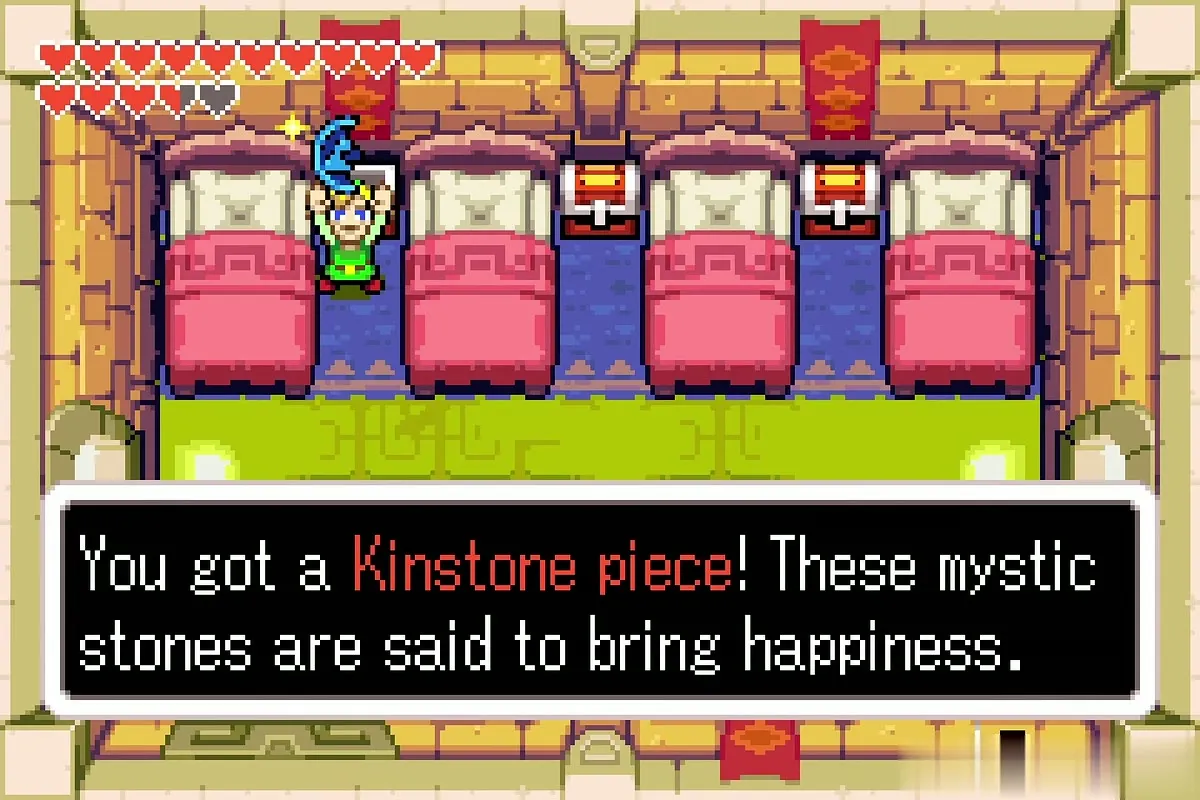
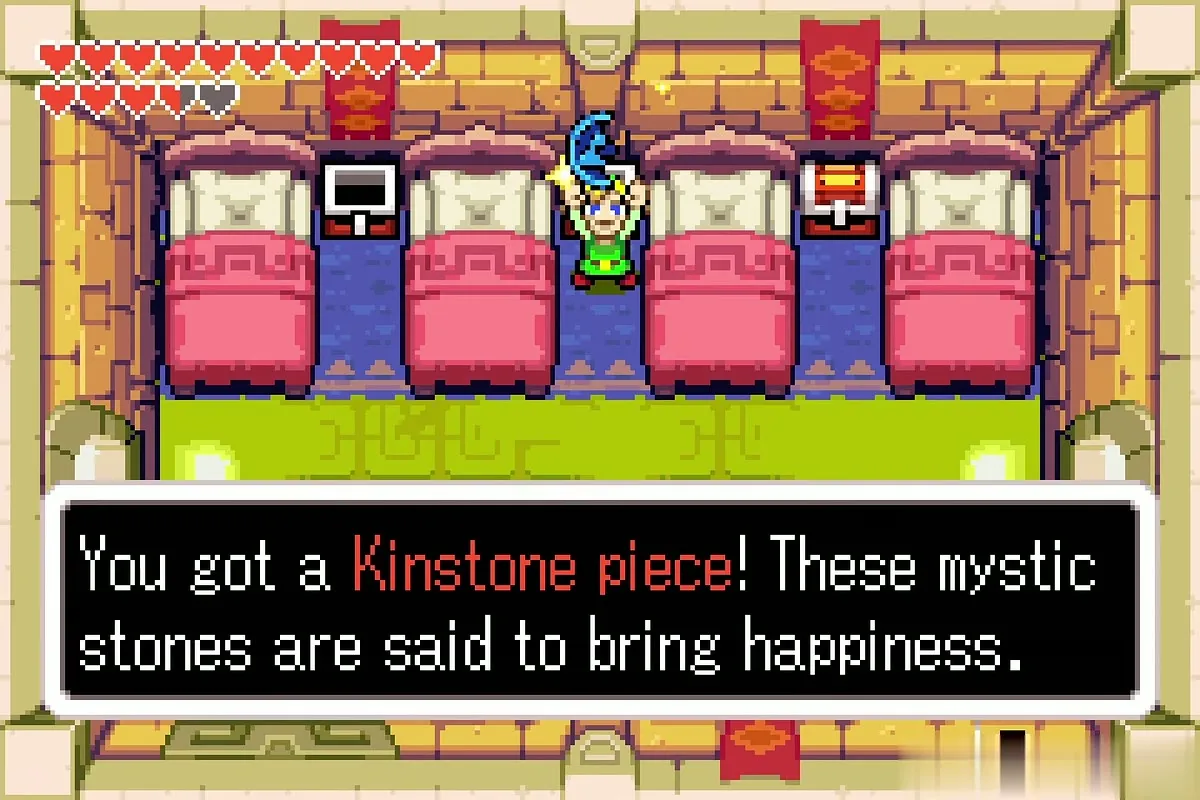
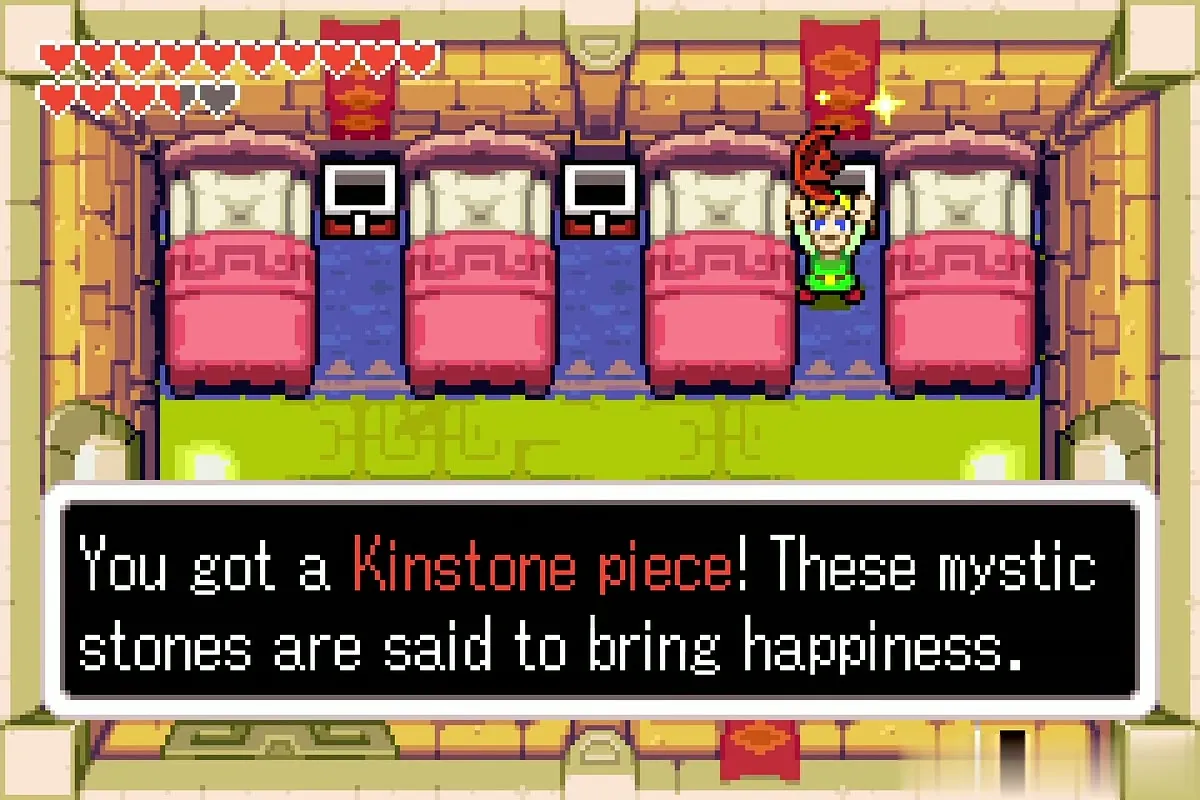

Top floor: Siroc
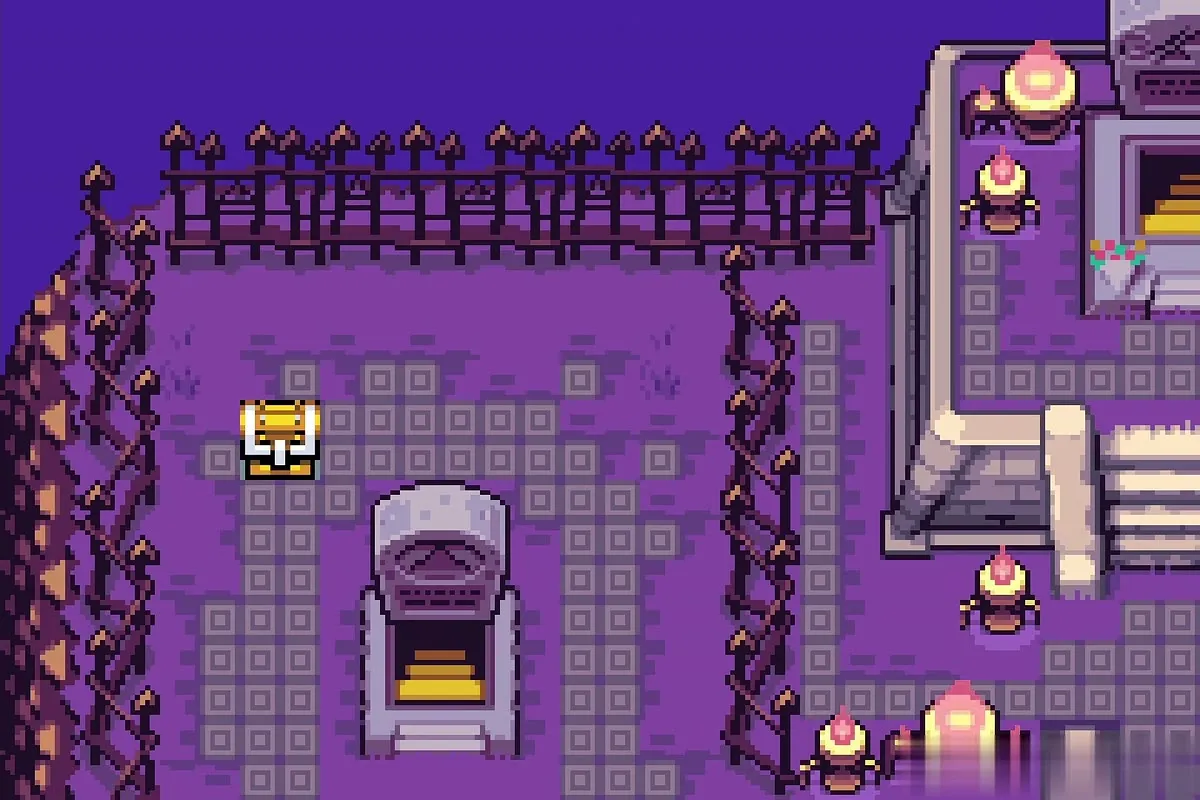
On the top floor, two chests by the left wall hold two red Kinstone pieces. Siroc, the leader of the Wind Tribe, sits at the far end. Fuse a green piece with her: a chest with a red Kinstone piece appears in the graveyard at Royal Valley. She will fuse again, giving a second one.
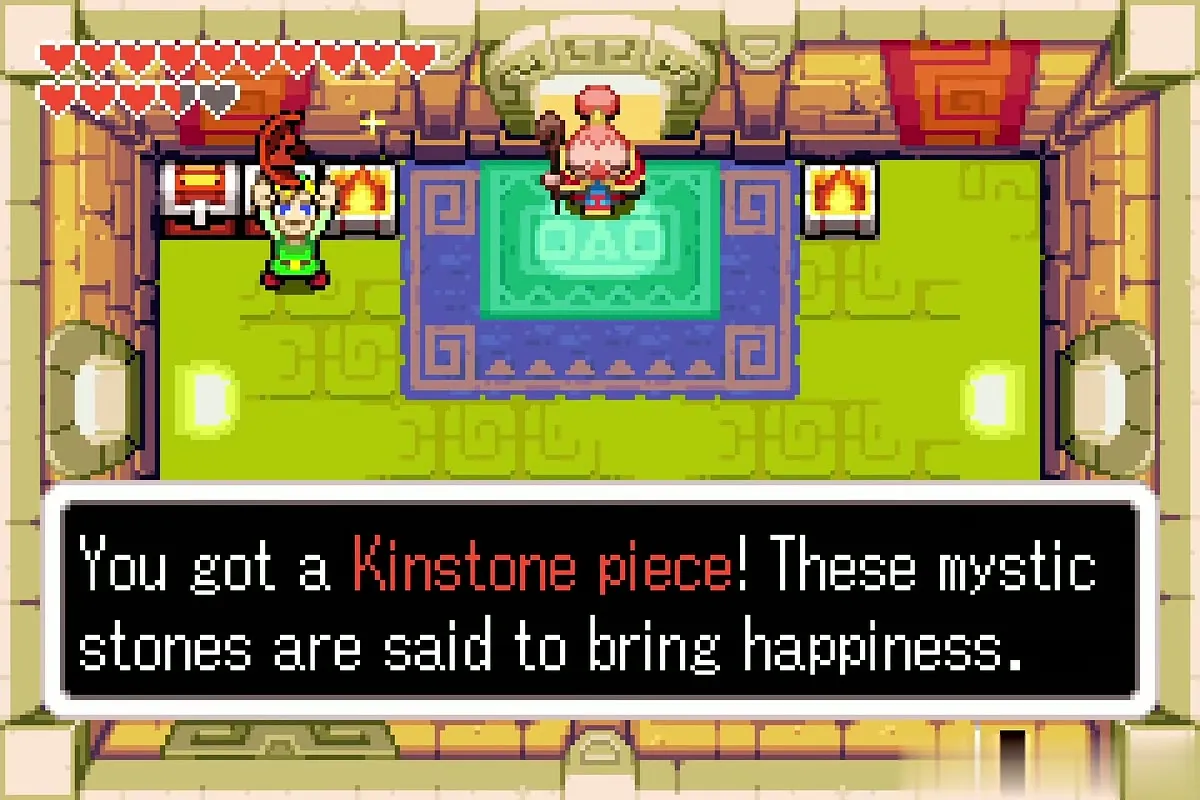
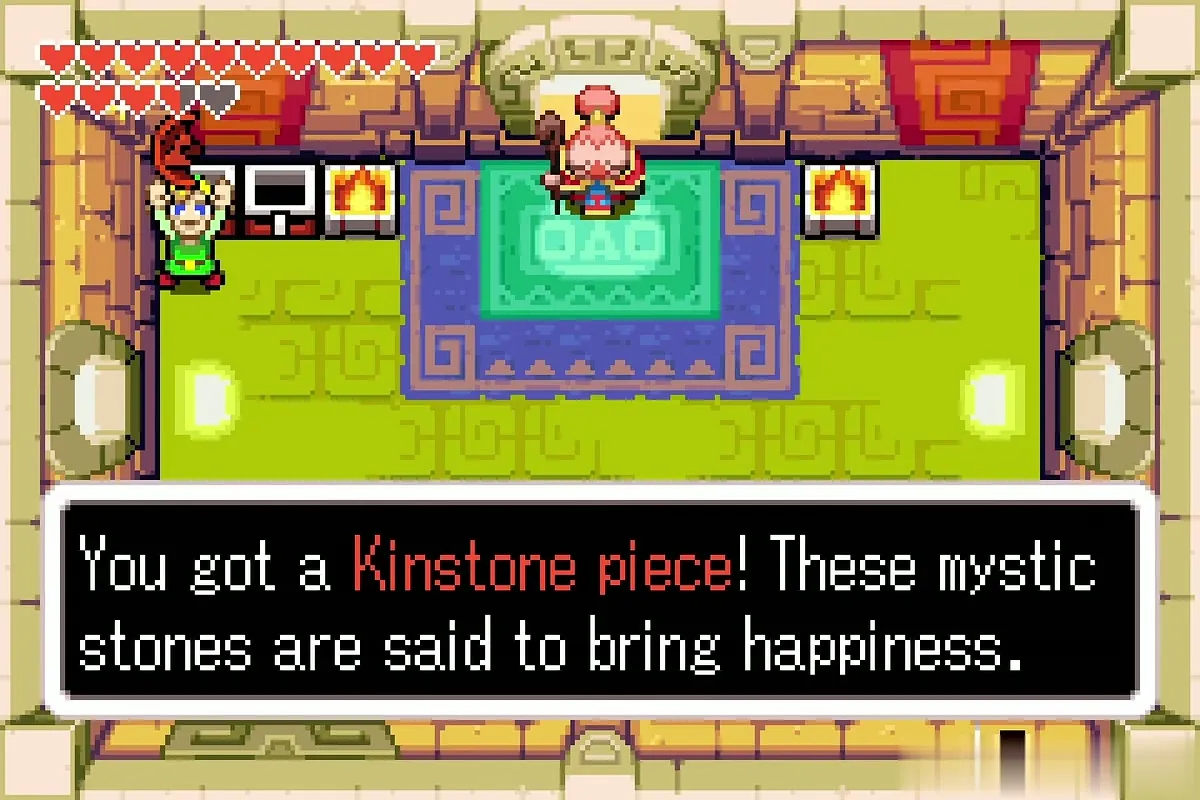
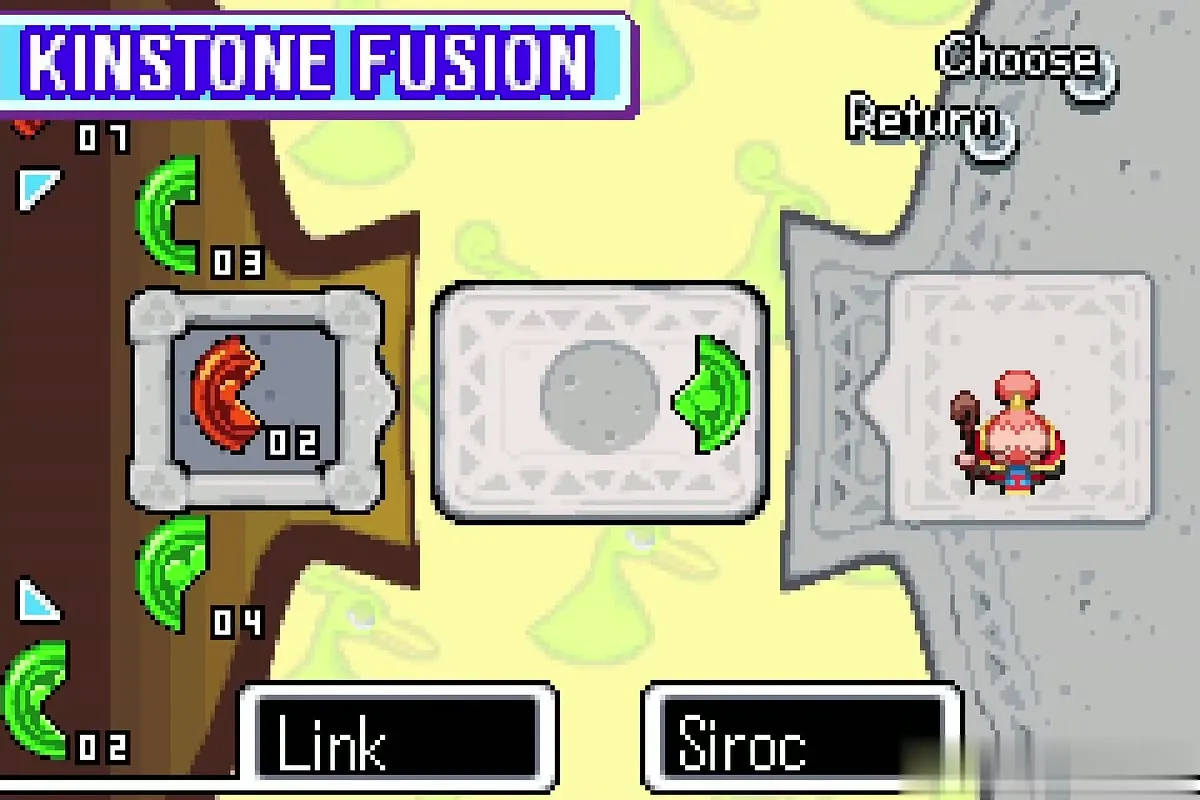
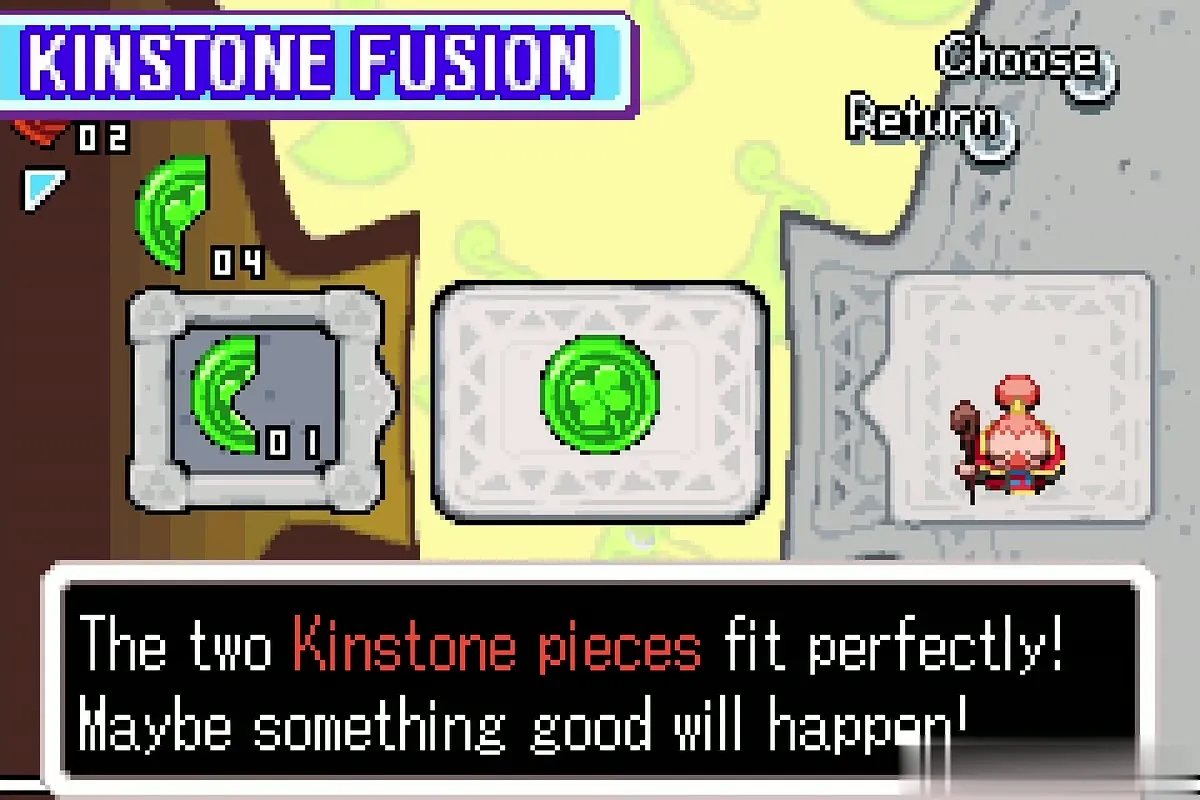
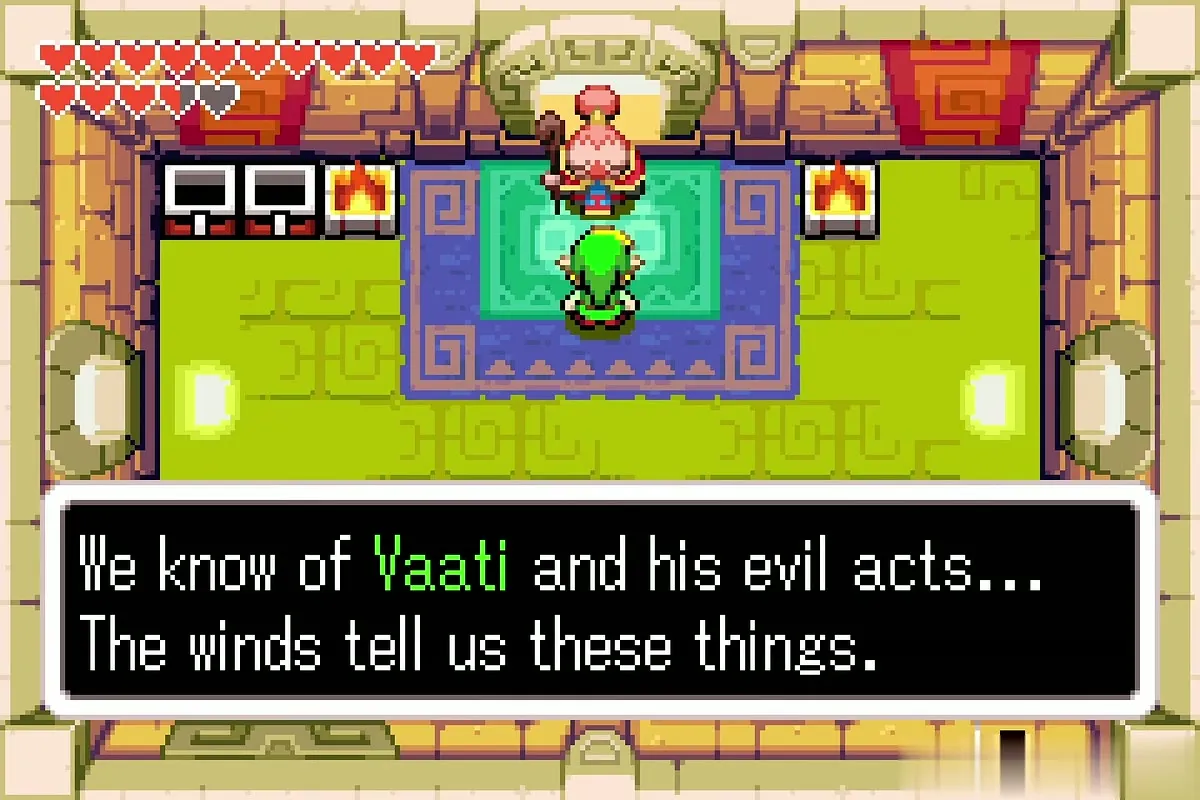
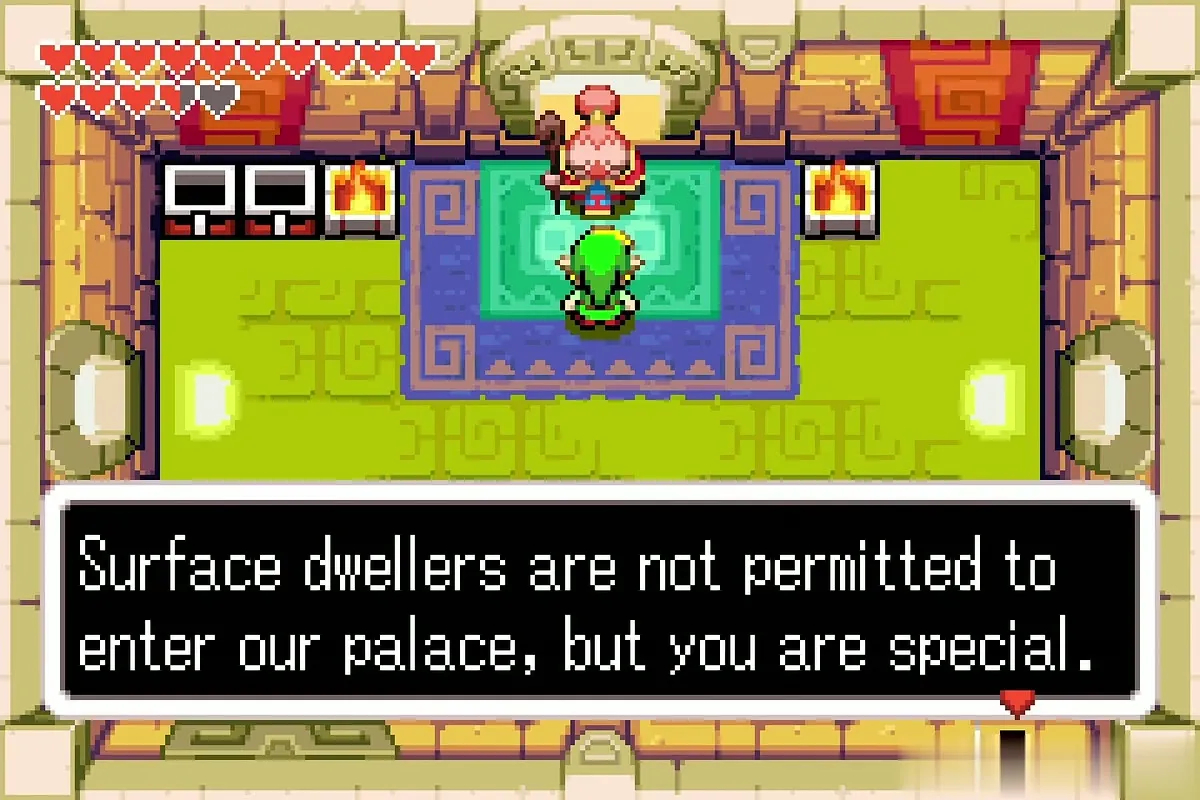
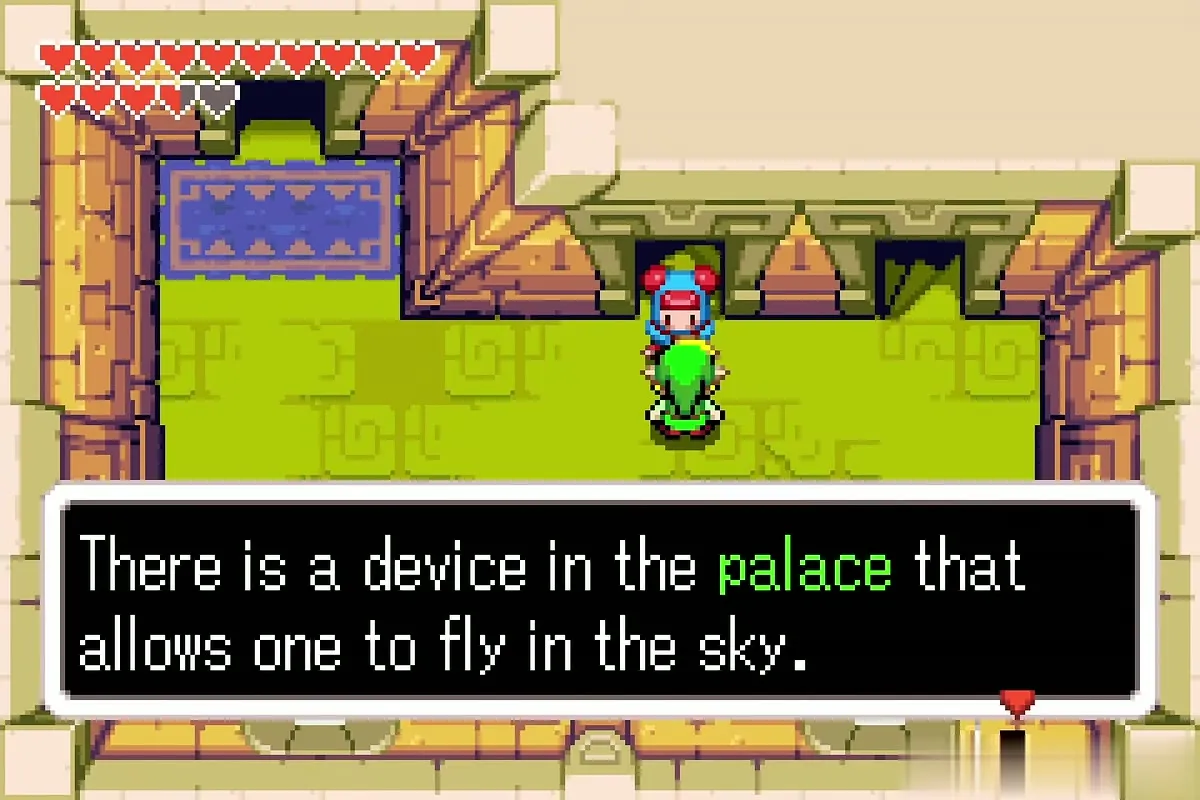
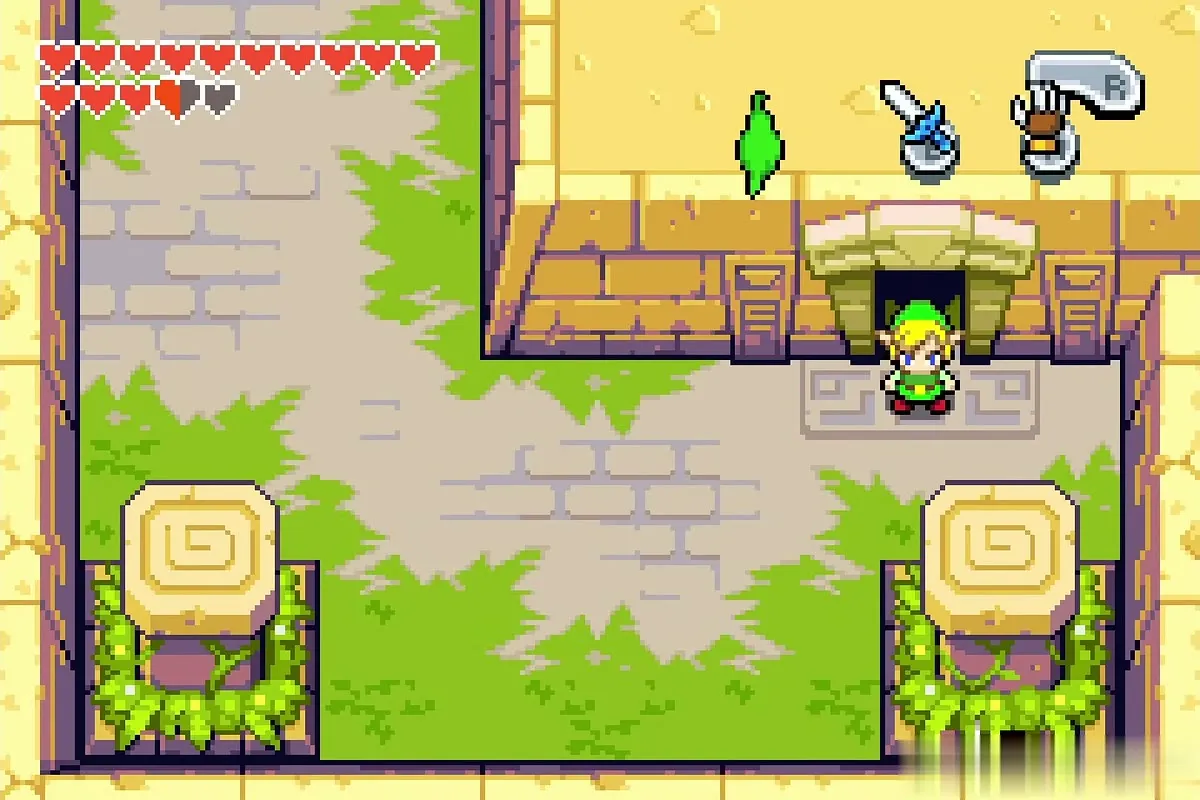
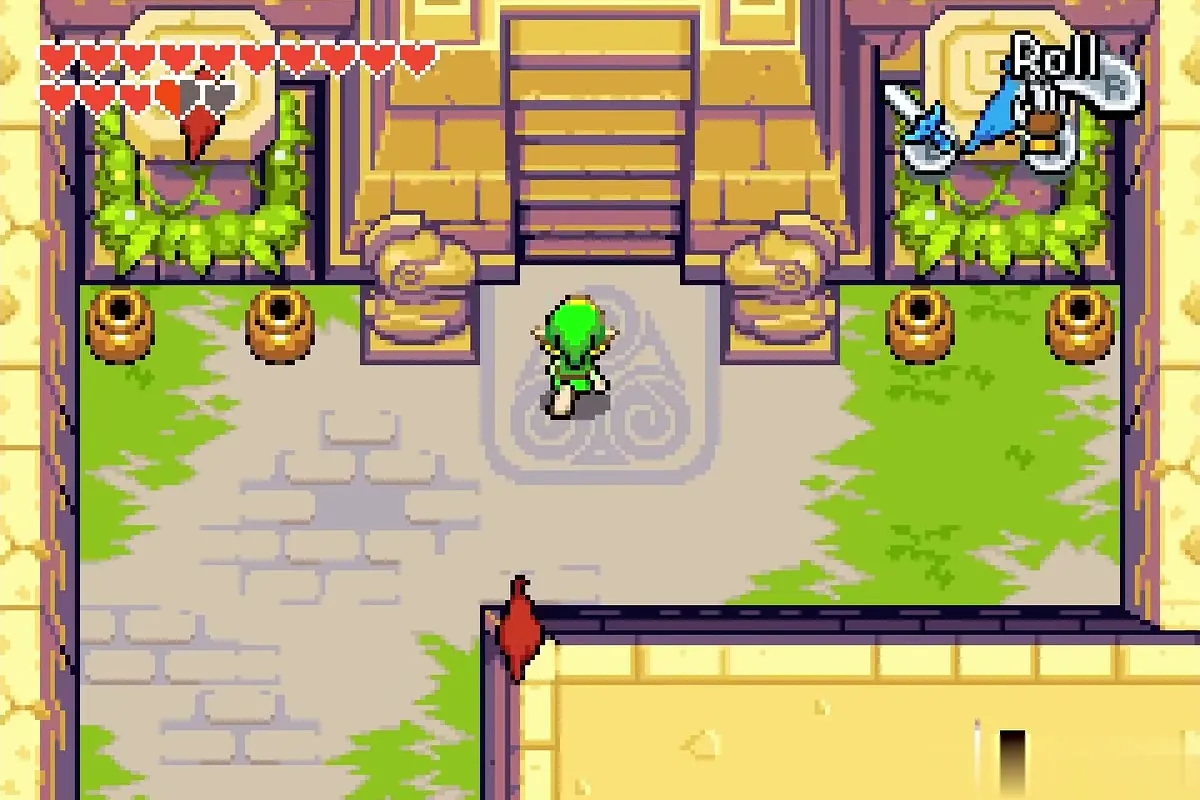
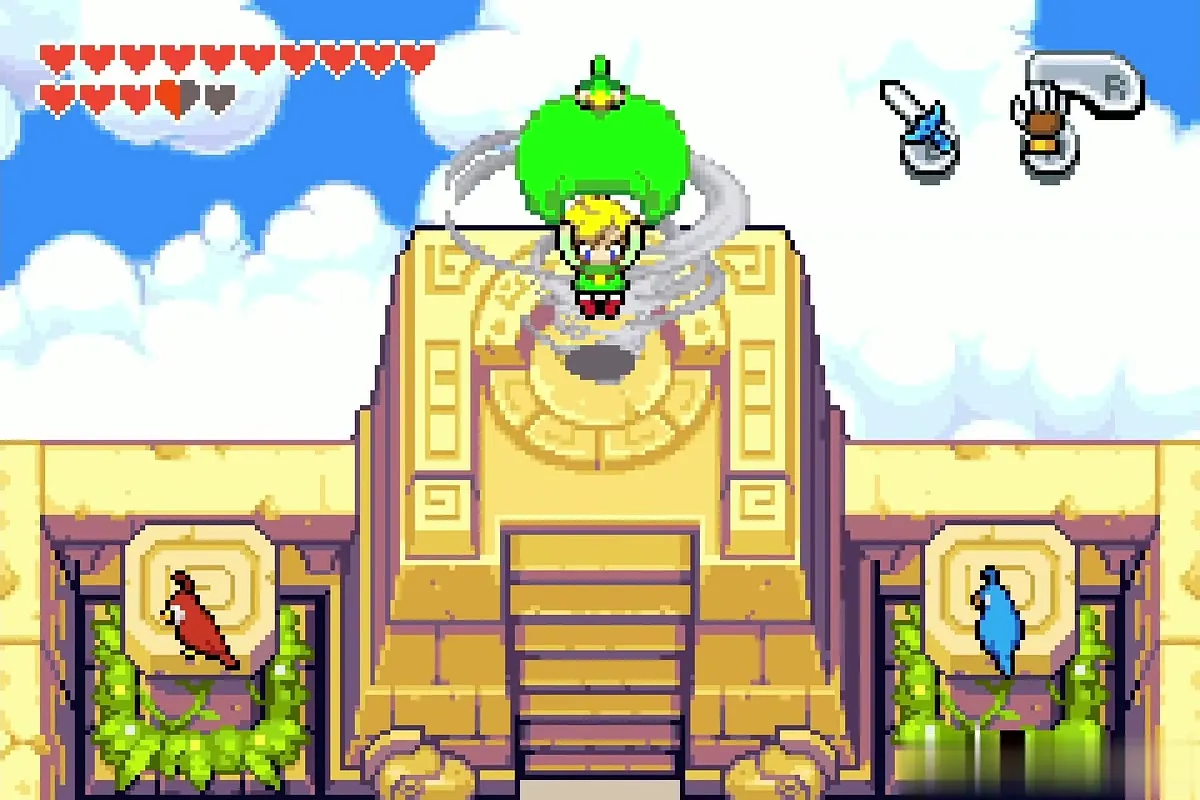
Siroc tells you that the Wind Tribe knows about Vaati and that the way to the final element is through their palace. Talk to Hailey, who blocks the stairs to the roof until the leader has given her leave, then climb to the palace entrance and step into the whirlwind at the top of the stairs. It lifts you to the Palace of Winds.
Chapter checklist
| Type | Name | Where |
|---|---|---|
| Upgrade | Split Gauge sped up | Splitblade’s dojo, Veil Falls |
| Piece of Heart | Lakeside ledge (completes a heart if it is the fourth piece of a set) | Peninsula outside the dojo |
| Chests | 50 Rupees and 50 Mysterious Shells | Mole Mitts cave |
| Piece of Heart | Dock in the water | Veil Falls, north of the ladder (Flippers) |
| Fusion | Gold piece with the Source of the Flow door | End of the bridge at Veil Falls |
 Wind Crest | Veil Falls | Alcove on the plateau beside the falls |
| Chests | 50 Mysterious Shells; 100 Rupees | Second cave above the falls |
| Fusion | Hailey (green): Golden Tektite | Cloud Tops start; result on the Veil Falls plateau |
| Fusion |  Gale (red): waterfall opens; Piece of Heart | Cloud Tops start; result in the Veil Falls waterfall |
| Fusions | Five Gold Kinstone fusions with the Mysterious Clouds | Cloud Tops |
| Kinstone pieces | 5 Gold pieces (3 chests, 2 cloud bulges) | Cloud Tops |
| Mysterious Shells | 4 chests of 50 shells | Cloud-stone chests, Cloud Tops |
| Wind Crest | Cloud Tops | In front of the Home of the Wind Tribe |
| Fusion |  Caprice (green): chest with a blue Kinstone piece | Second floor; result at Veil Falls |
| Item | Light Arrows | Gregal, second floor |
| Fusion |  Gregal (green): chest | Second floor; result in Lon Lon Ranch |
| Fusion | Flurris (green): Golden Rope | Third floor; result in the Castor Wilds |
| Kinstone pieces | 2 blue, 1 red | Three chests on the five-bed floor |
| Kinstone pieces | 2 red | Two chests on the top floor |
| Fusion | Siroc (green): chest with a red Kinstone piece | Top floor; result in Royal Valley |
