





















| Quest type | Main Quest |
|---|---|
| Region | Central Hyrule (Lookout Landing and the grounds below Hyrule Castle) |
| Giver | Purah |
| Start | Purah’s balcony at Lookout Landing, right after To the Kingdom of Hyrule |
| Prerequisite | Complete To the Kingdom of Hyrule |
| Reward | Paraglider, Lookout Landing Skyview Tower with its travel point and the Central Hyrule map; later a Heart Container after the Hyrule Castle fight |
Crisis at Hyrule Castle opens with a short run: find Captain Hoz at the First Gatehouse below the castle, report back to Purah, then activate the Lookout Landing Skyview Tower. Purah hands you the Paraglider at the tower. The quest then stays in your log while you work through the regional phenomena.
How to start Crisis at Hyrule Castle
It starts on its own when To the Kingdom of Hyrule ends on Purah’s balcony. Your log reads: join the search for the princess below Hyrule Castle.
Crisis at Hyrule Castle walkthrough
Head north to the First Gatehouse
Leave Lookout Landing and take the road north through the Hyrule Castle Town Ruins toward the castle; the shrine in the ruins (Kyononis) is worth lighting for the travel point. The main gate will not open, so climb around it, then follow the old cobbled road and stone walls under the gloom. The path is long and winding, and a Hasty Elixir (Speed Up) helps. Soldiers along the way, such as Sharce in a stone passage, confirm that Hoz is at the First Gatehouse at the end of the road.
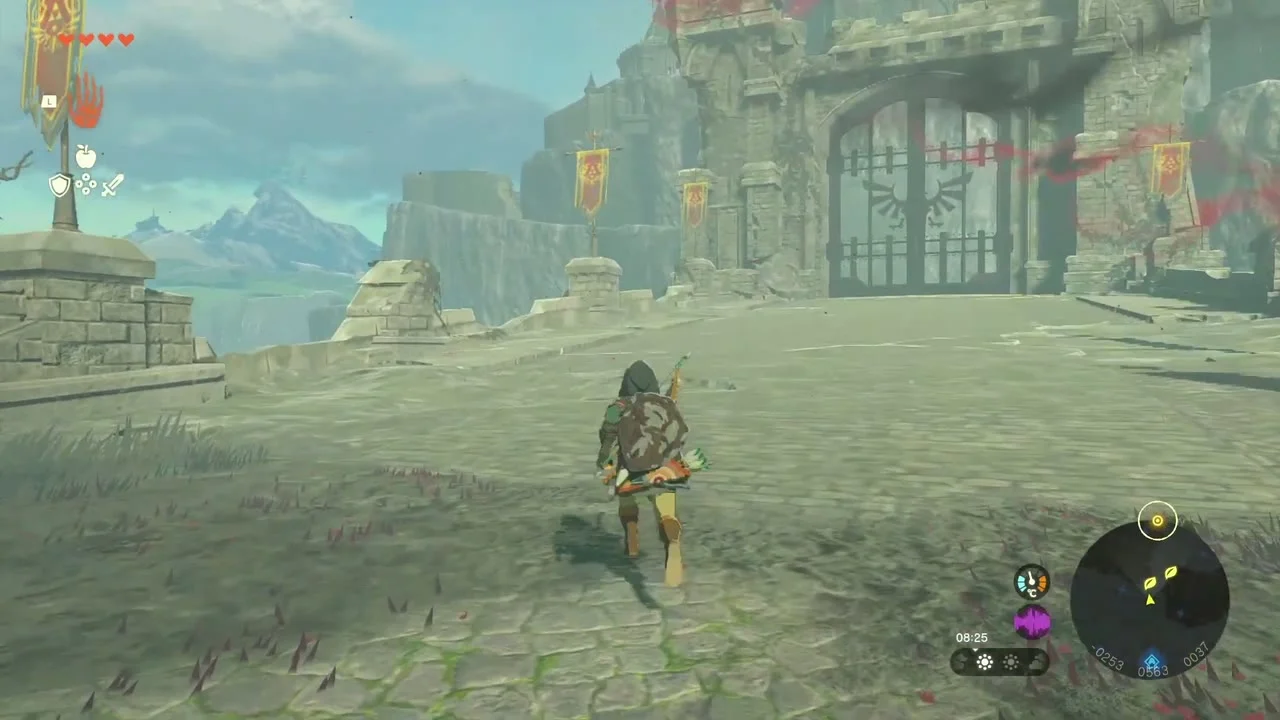
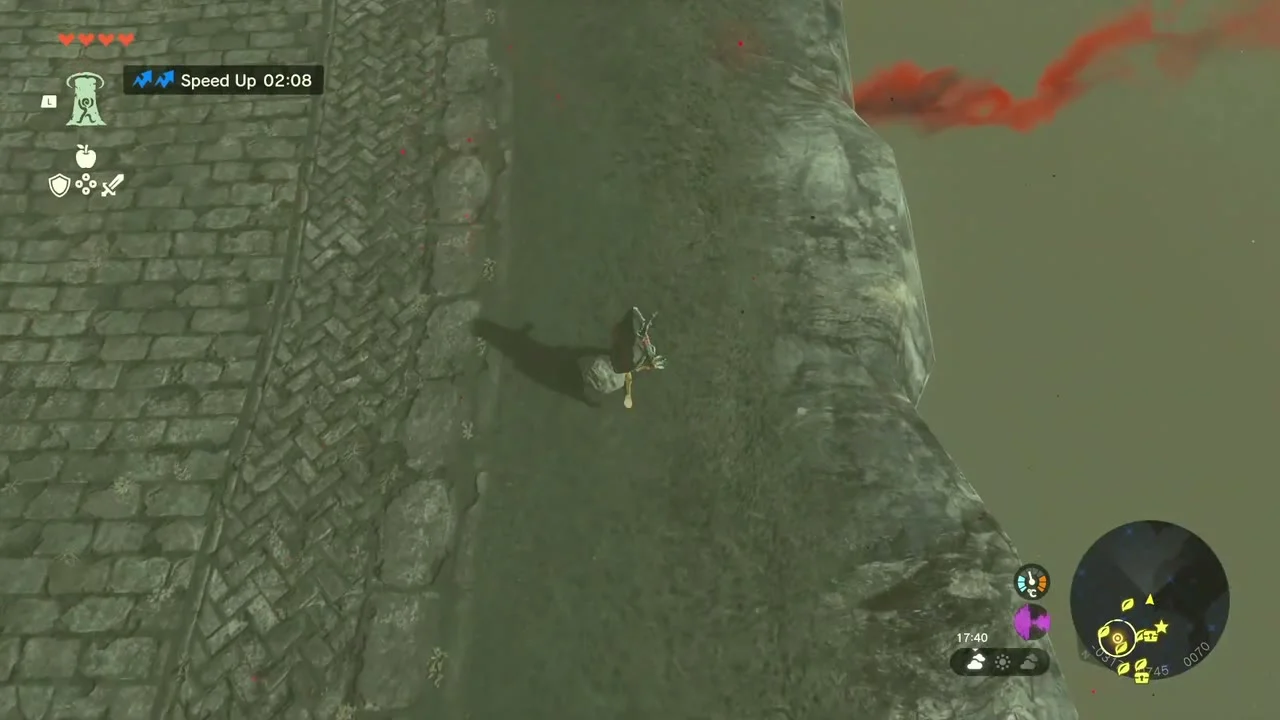
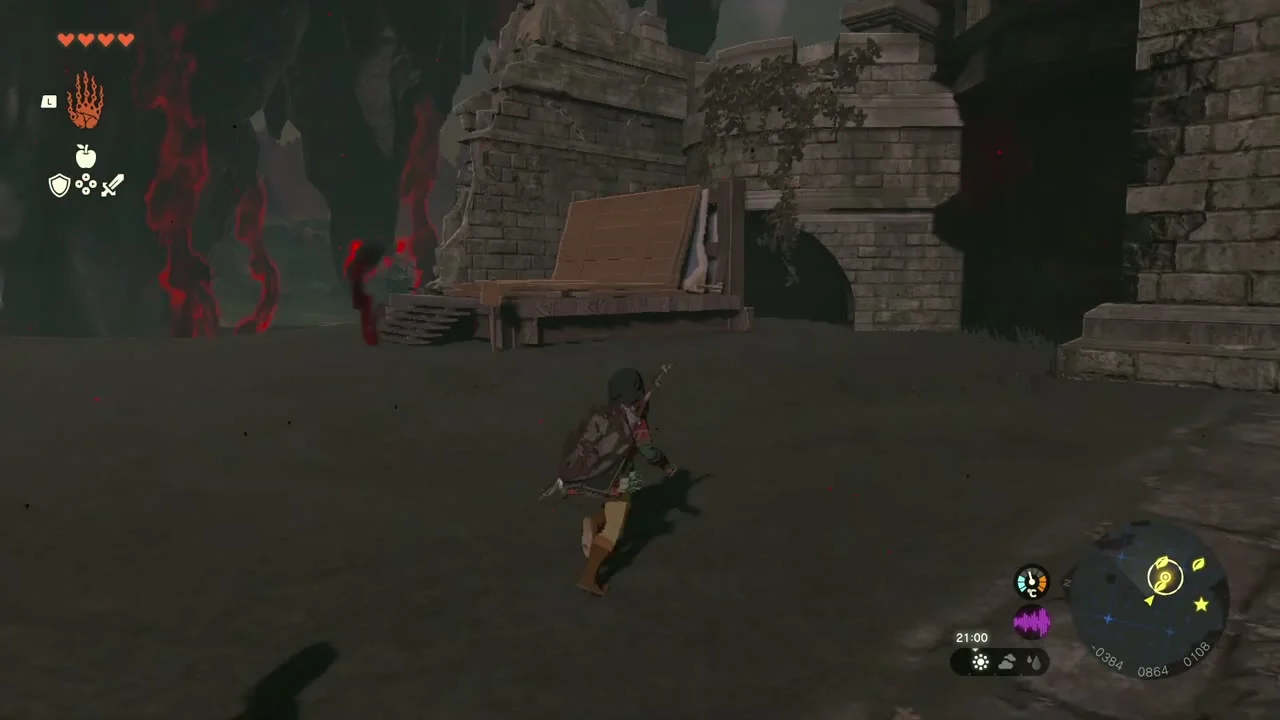
Climb to Captain Hoz
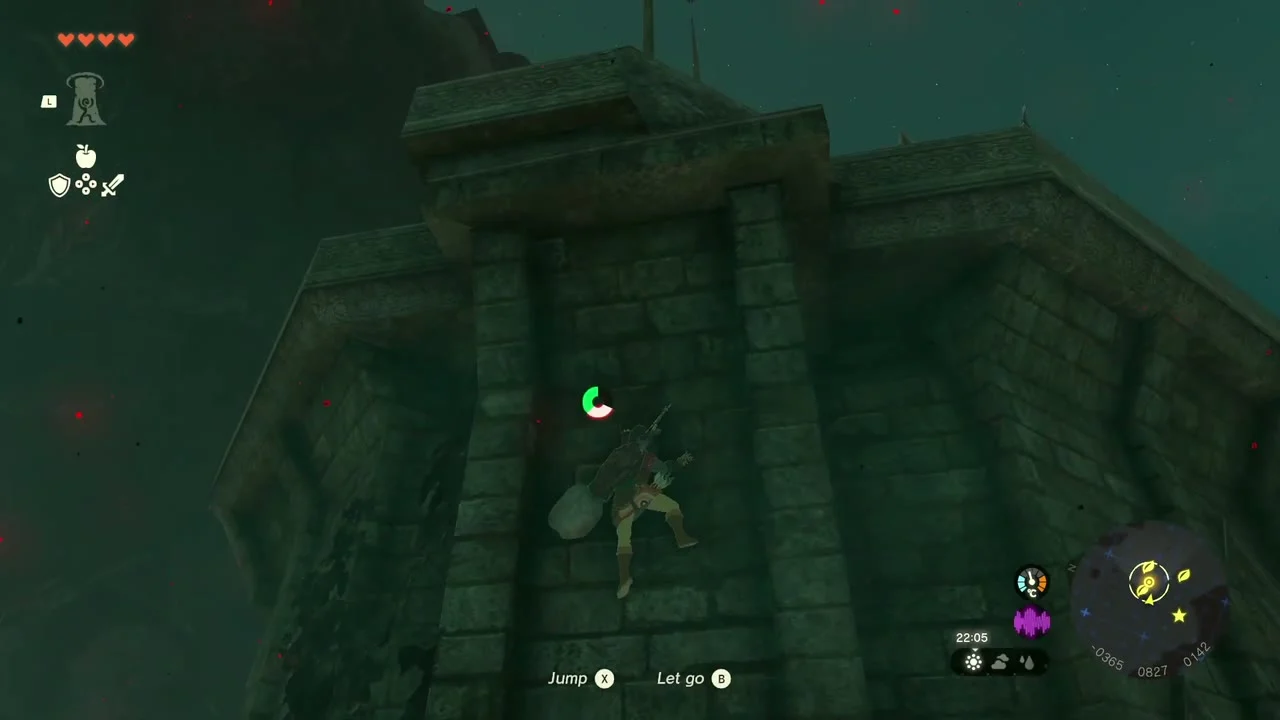
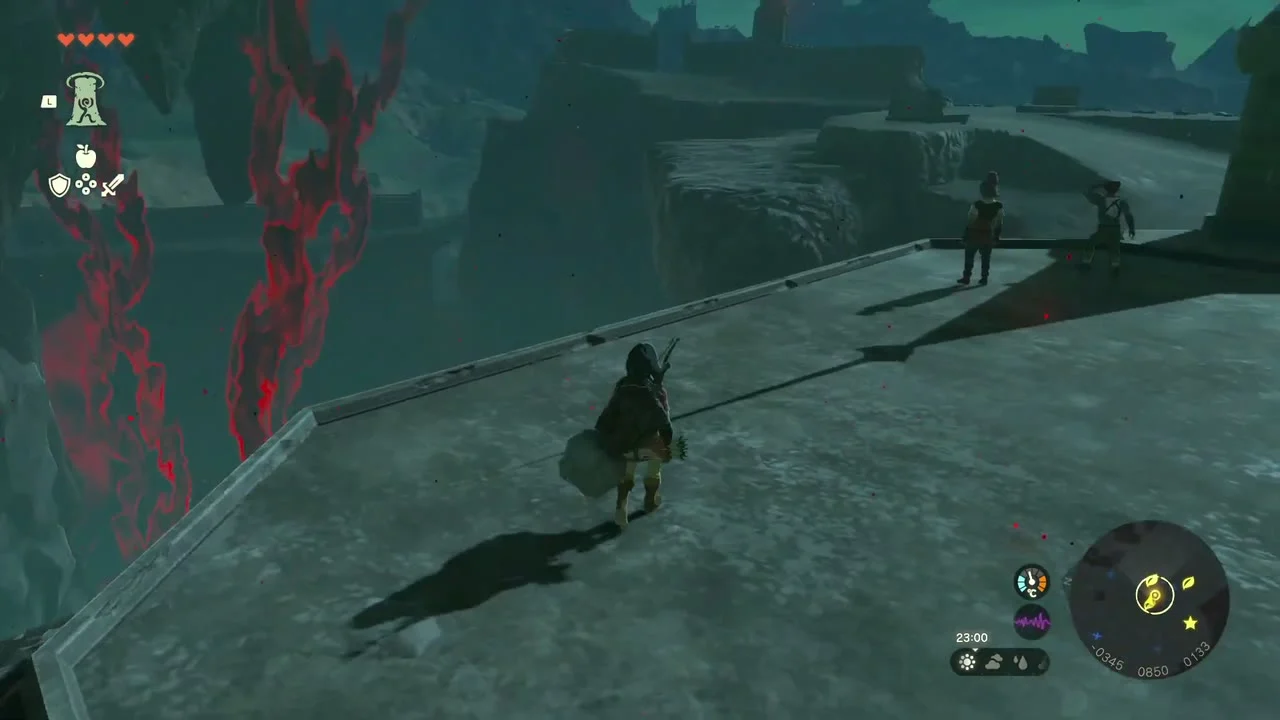
The First Gatehouse is a stone building with a search party’s tents in its lower floor. Hoz is on the walls above. Go around the left side and climb the stonework behind it, or Ascend up through the low ceiling in the tent room and climb the wall from there. Talk to Hoz on the rampart.
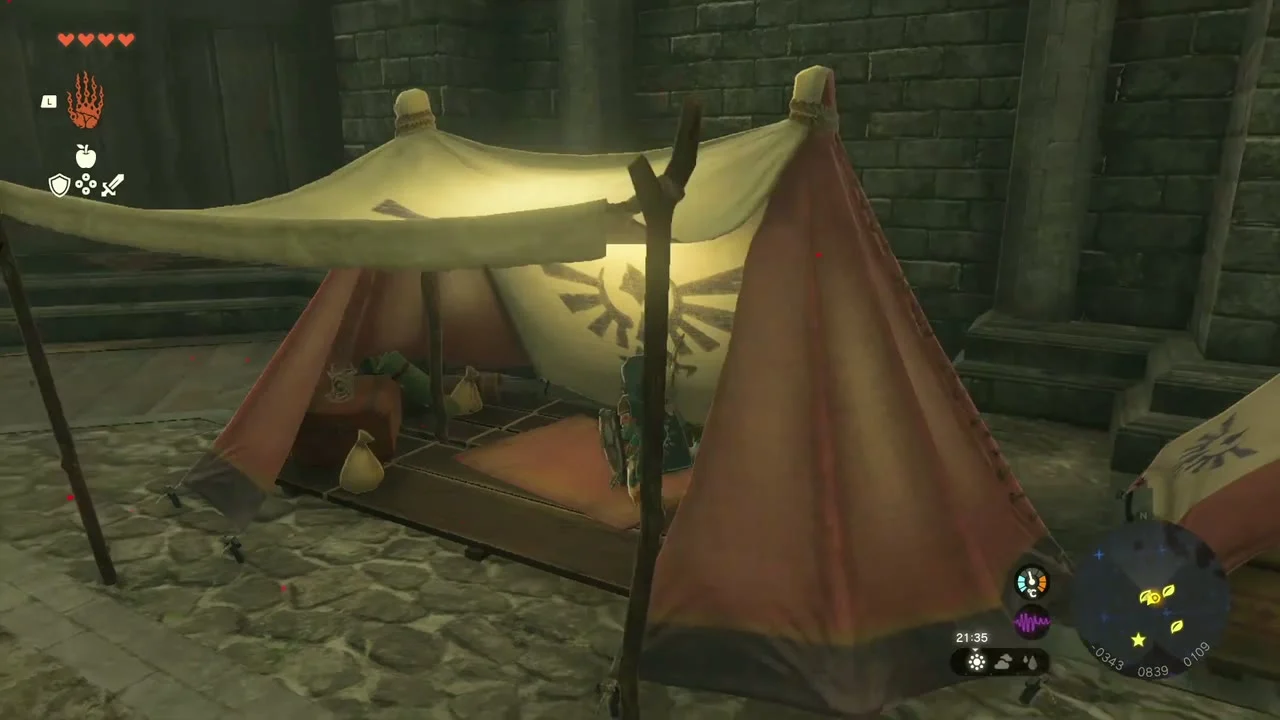
See Zelda
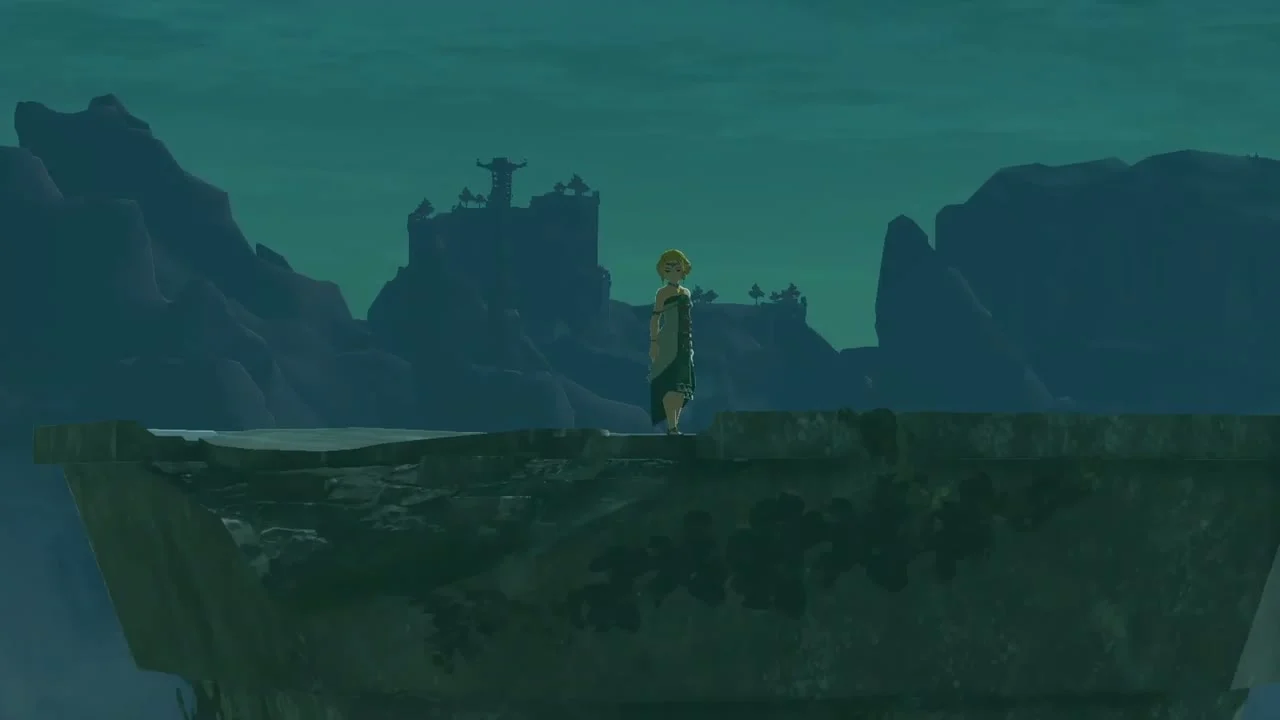
While you talk, a soldier spots Princess Zelda on a ridge in the distance; she turns to a ball of light and flies off. Hoz asks you to tell Purah what happened, so head back to Lookout Landing (use the travel point if you lit the shrine).

Report to Purah
Climb back to her balcony above the lookout building. She wants map data of the area, which means the Skyview Tower. She also suggests resting at the Emergency Shelter below the camp (free beds and food); you can go straight to the tower without sleeping.

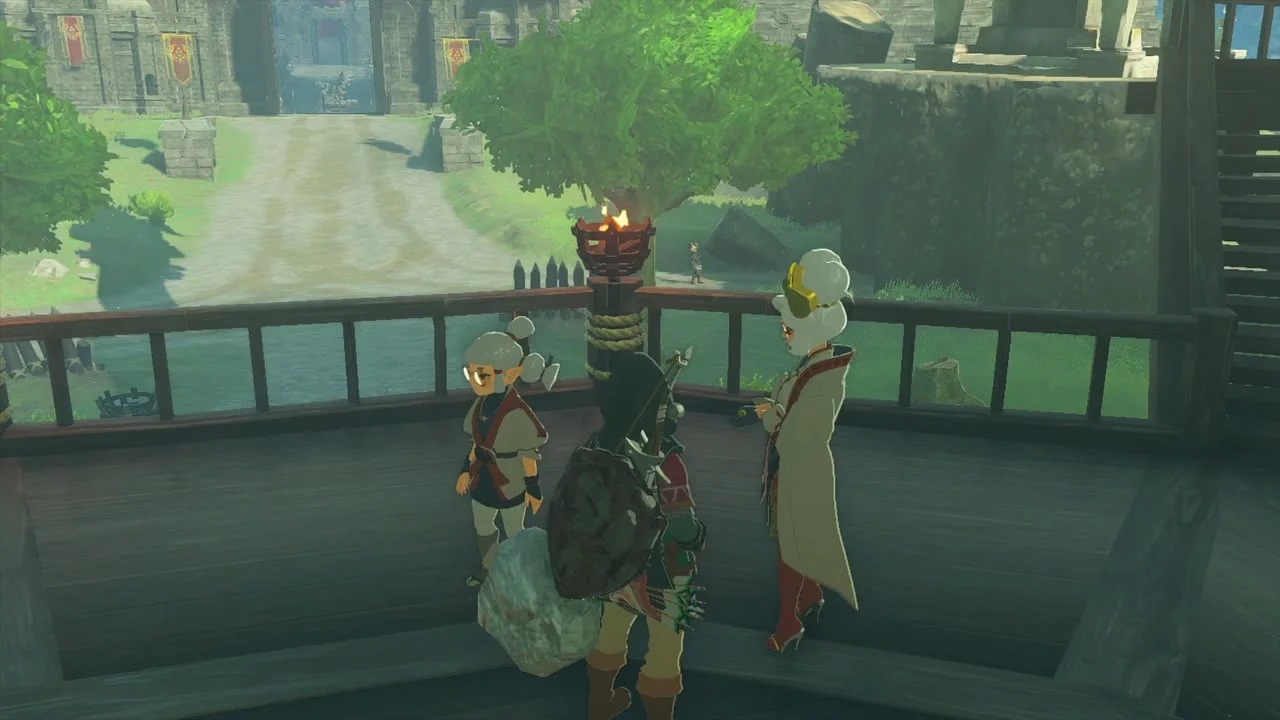
Activate the Skyview Tower
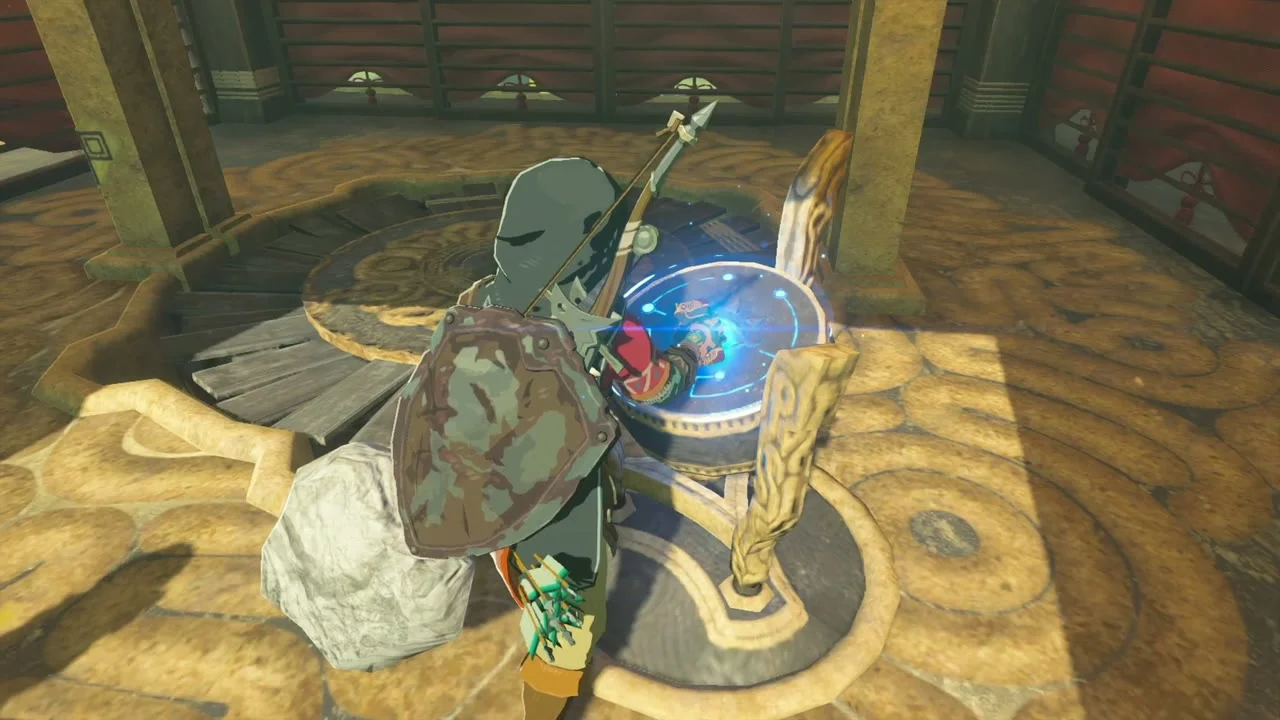
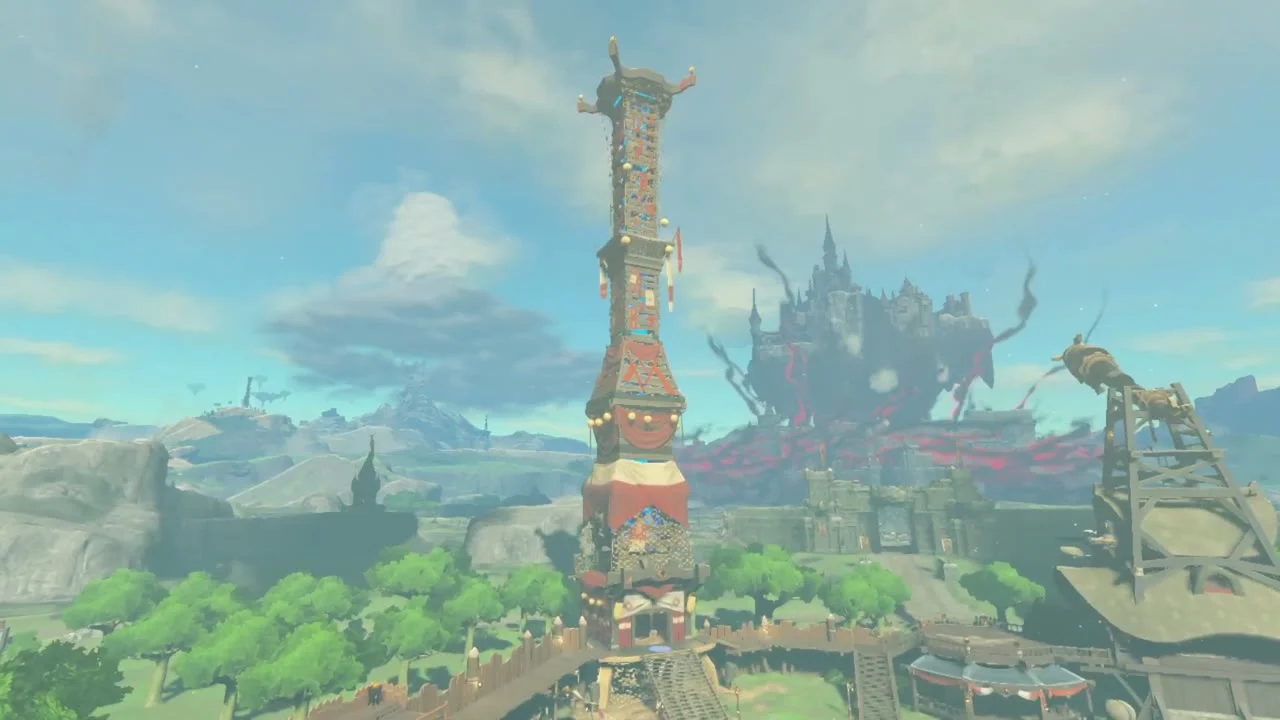
Walk to the tower in the middle of the camp, talk to Purah and place the Purah Pad on the orange terminal. The tower lights up and the travel point lets you warp back to Lookout Landing at any time.
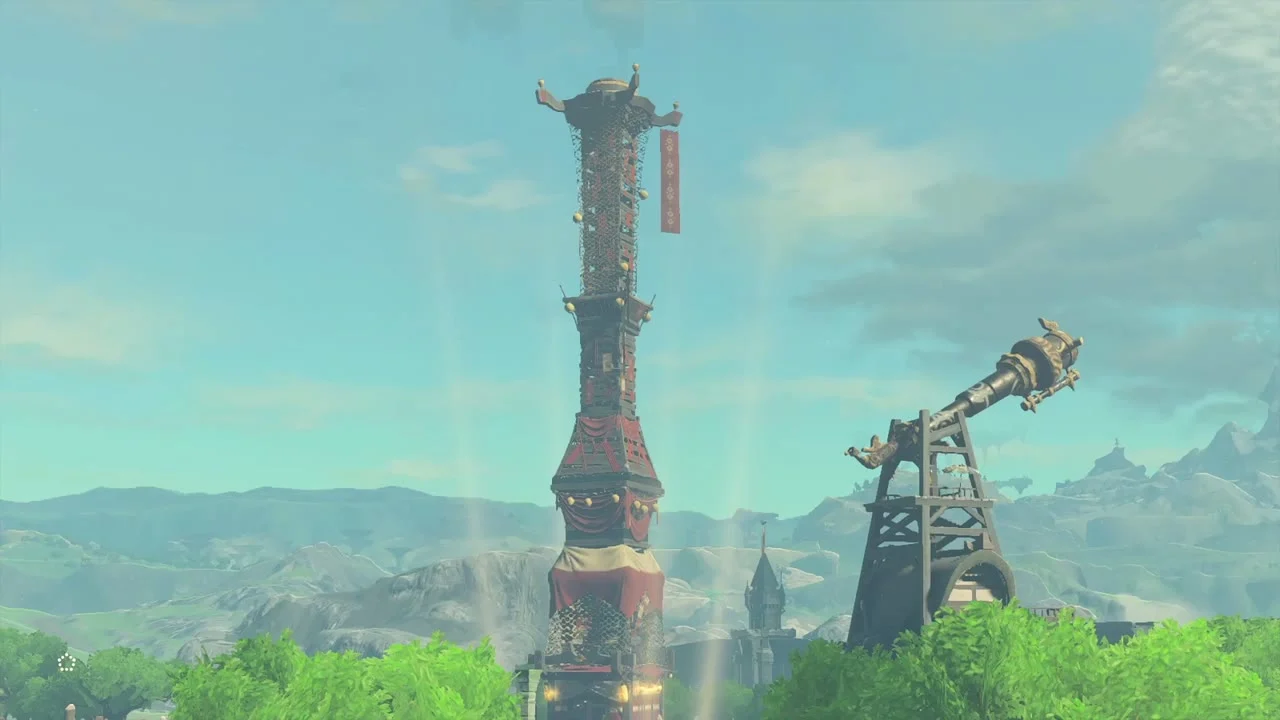
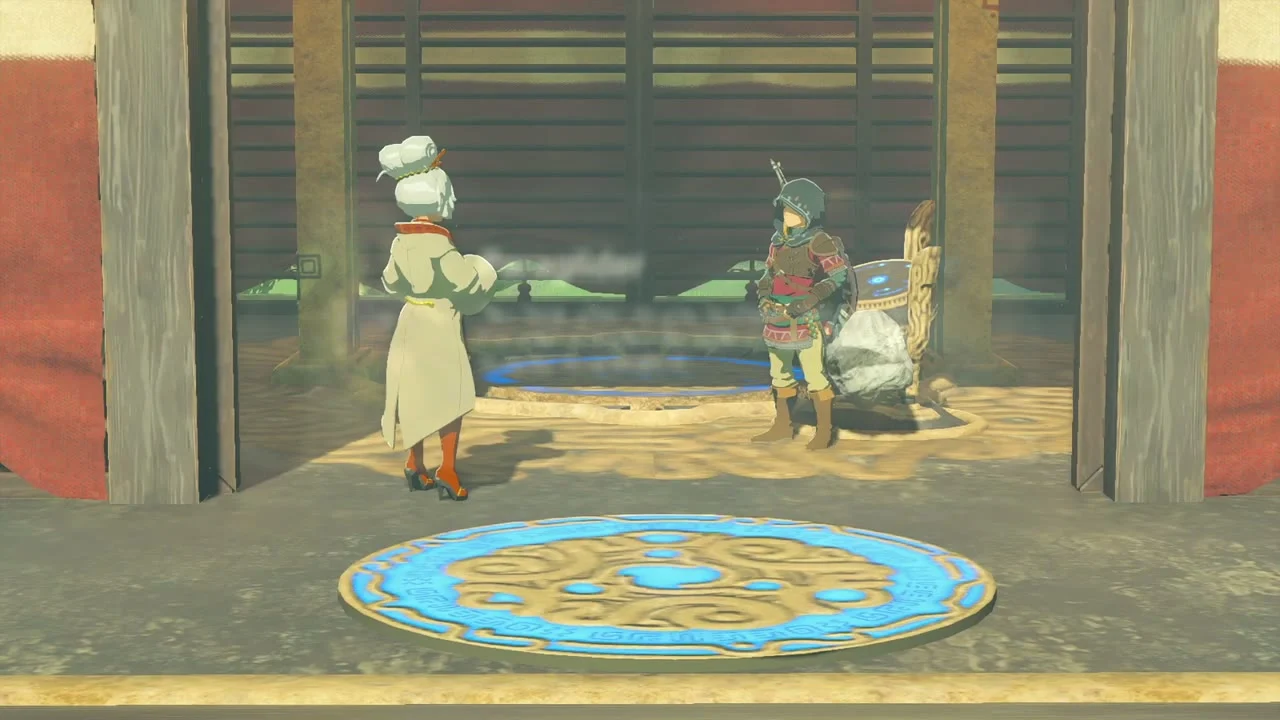
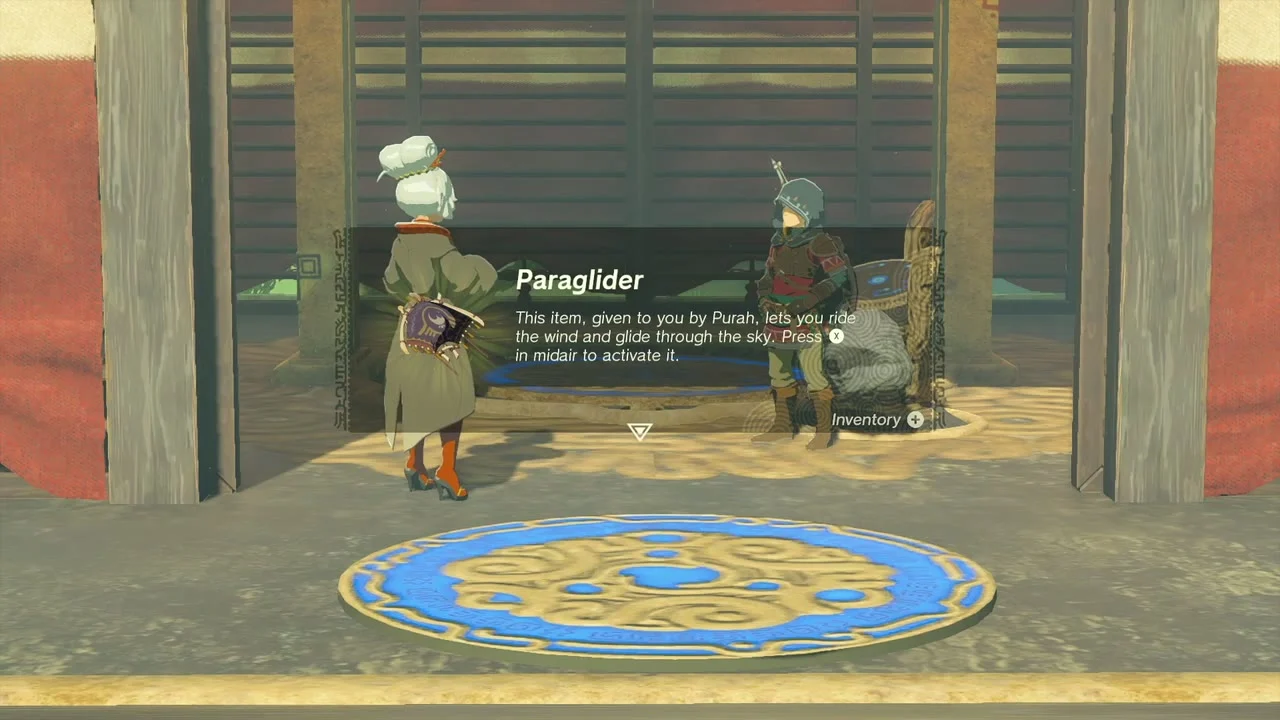
Take the Paraglider
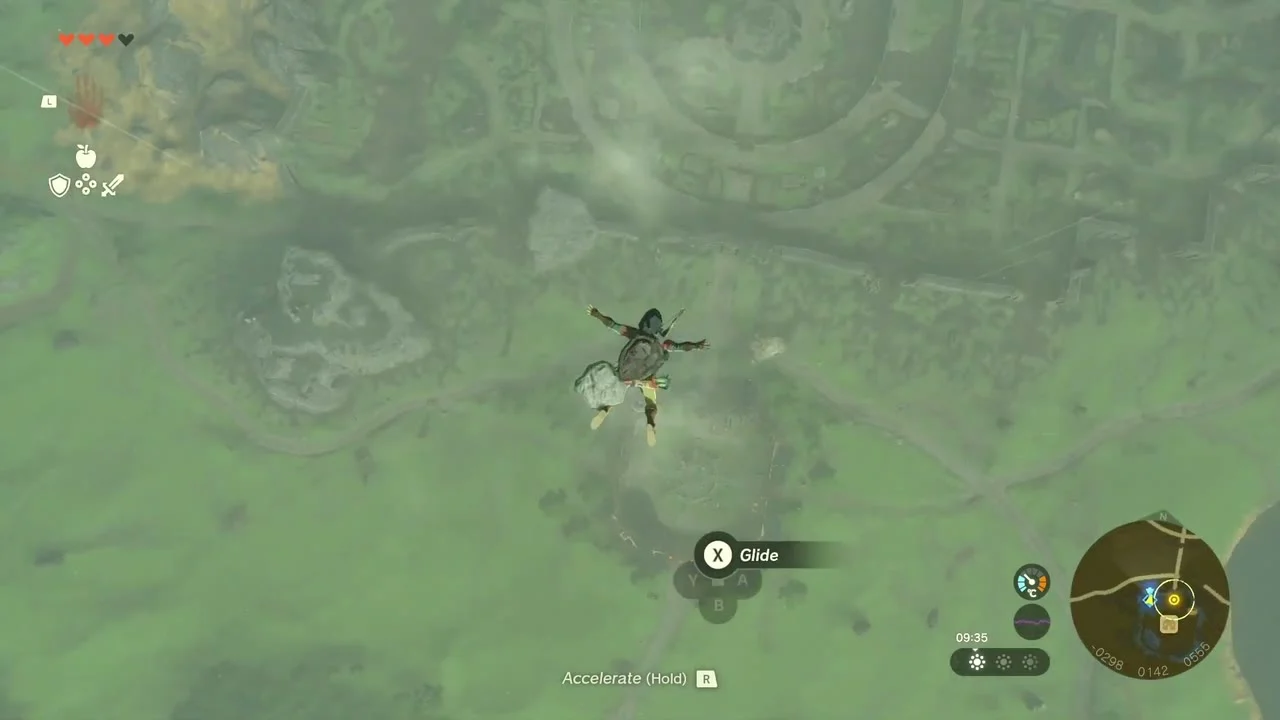
Purah gives it to you inside the tower because nobody else can manage the launch. It lets you glide from any height: press the Glide button while falling.
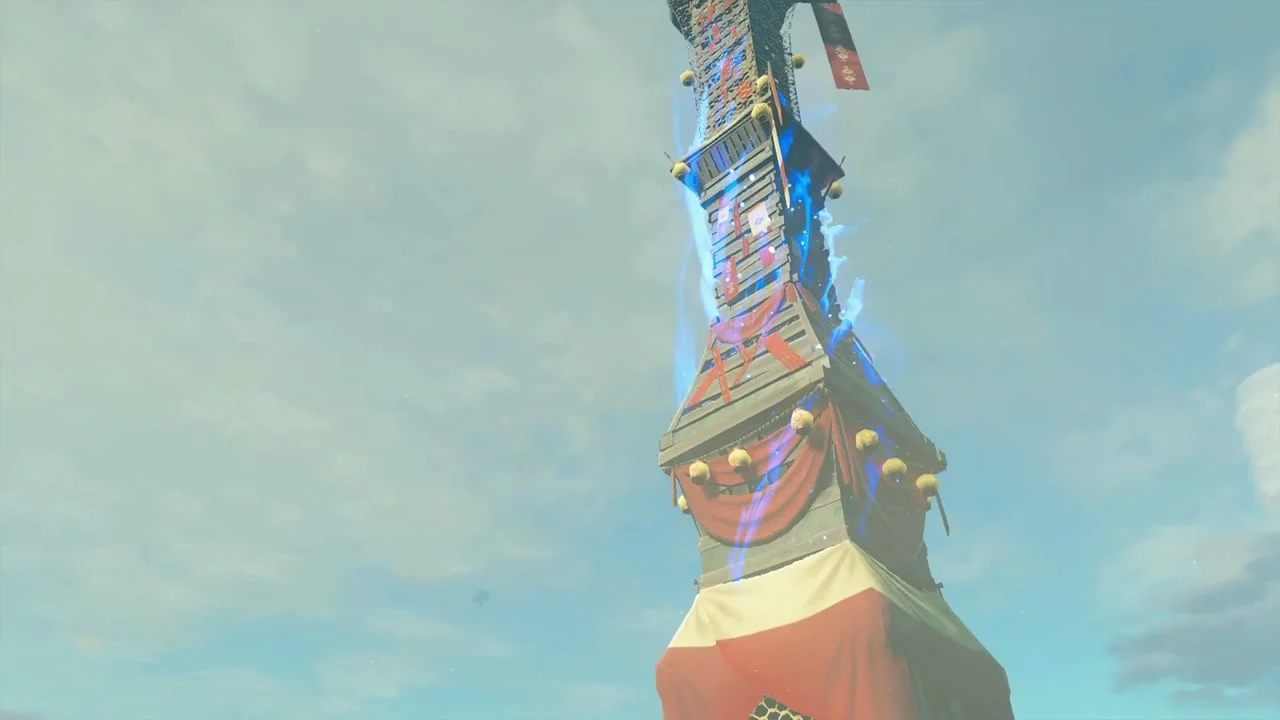
Launch from the tower
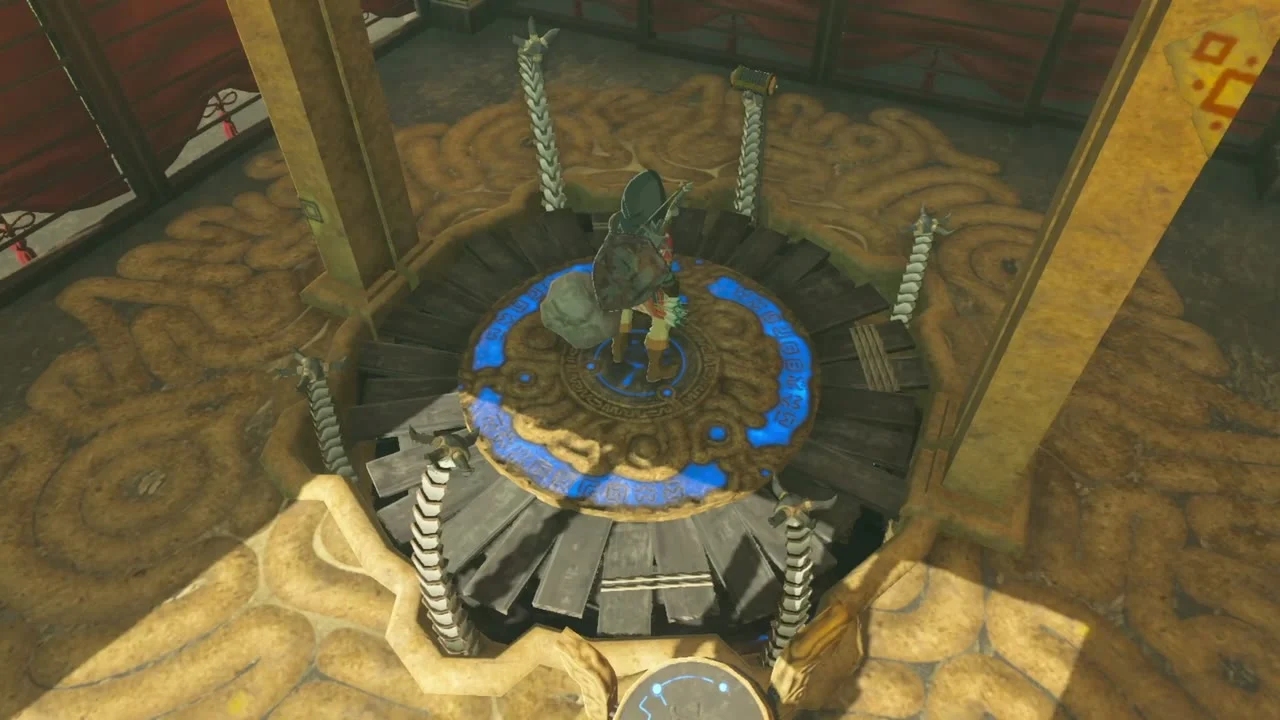
Stand in the middle of the launch pad and let the tower fire you upward. At the top the Purah Pad scans the land and fills in the Central Hyrule map. Open the Paraglider on the way down and steer back to the camp.


Hear Purah’s plan
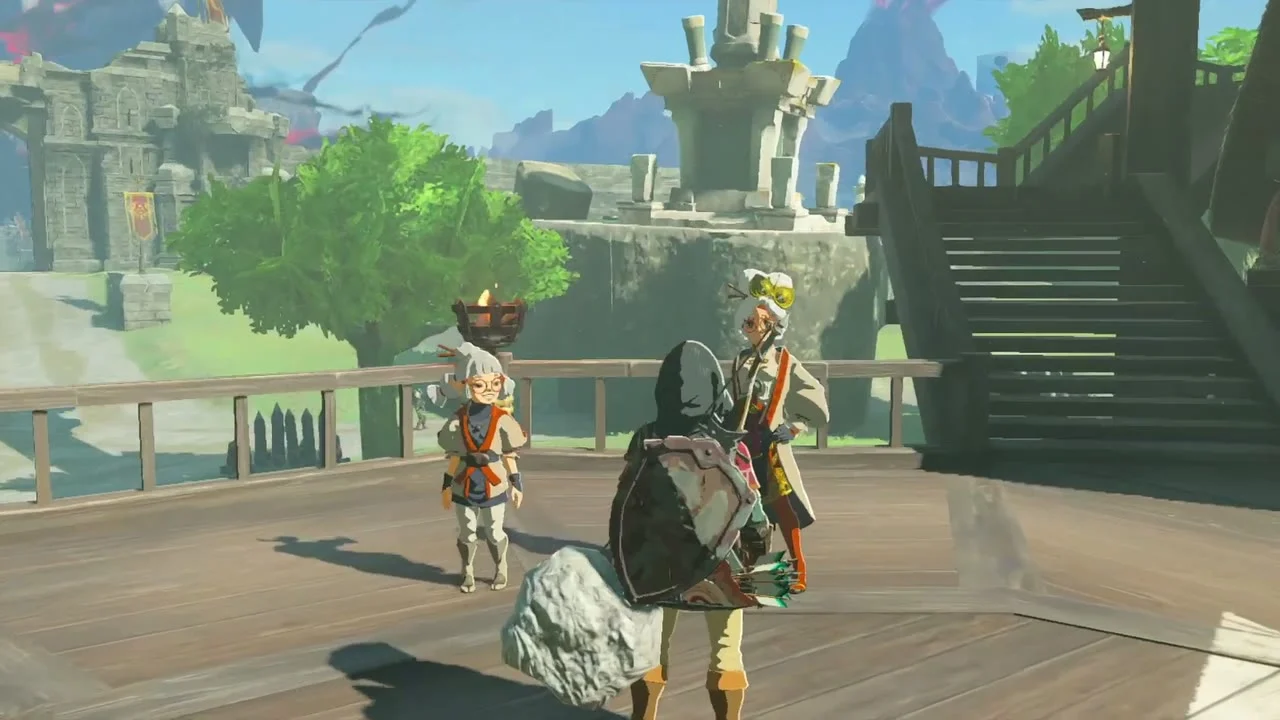
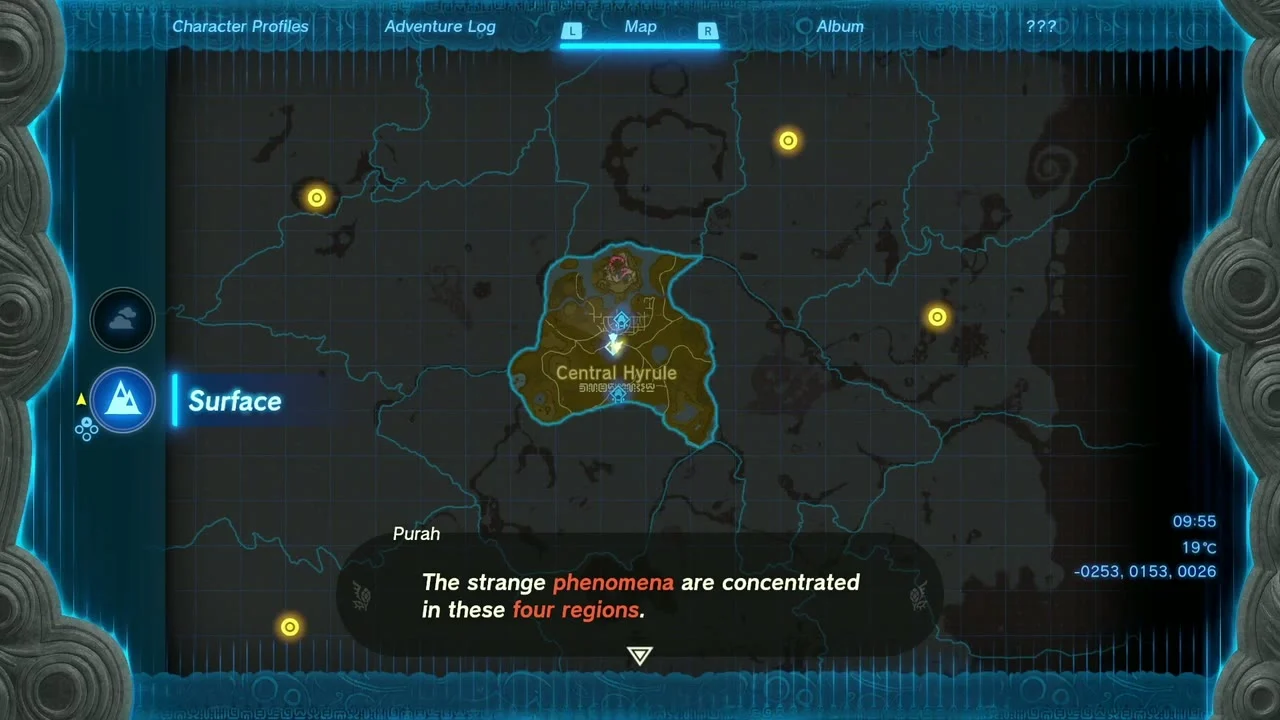
Back on the balcony, Purah explains that the strange phenomena are concentrated in four regions, with Hebra to the north reported first. She also names the Lucky Clover Gazette, near the entrance to Rito Village, as the next lead. The quest is marked Updated and stays open.
Rewards
You earn the Paraglider, the Lookout Landing Skyview Tower with its travel point, and the Central Hyrule map. The quest only finishes much later, after you return to Hyrule Castle.
Tips
- Every Skyview Tower works the same way: activate the terminal, ride the launch, let the Purah Pad scan, then glide down.
- Several Korok seeds hide on the castle walls and towers along the route to the gatehouse.
- Josha and Robbie in the lab below the lookout start Camera Work in the Depths after the debrief.
