





| Level items | 8: Bow, Bomb, Boomerang, Gripshot, Water Rod, Fire Gloves, Magic Hammer, Gust Jar |
|---|---|
| Where you get them | Pedestals at the start of Stage 1 of each Level |
| How many you carry | One per Link, kept only until the Level ends |
| Outfit boosts | Each item has one matching outfit that improves it |
| Other pickups | Hearts, Fairies, Keys, Rupees, Hourglasses |
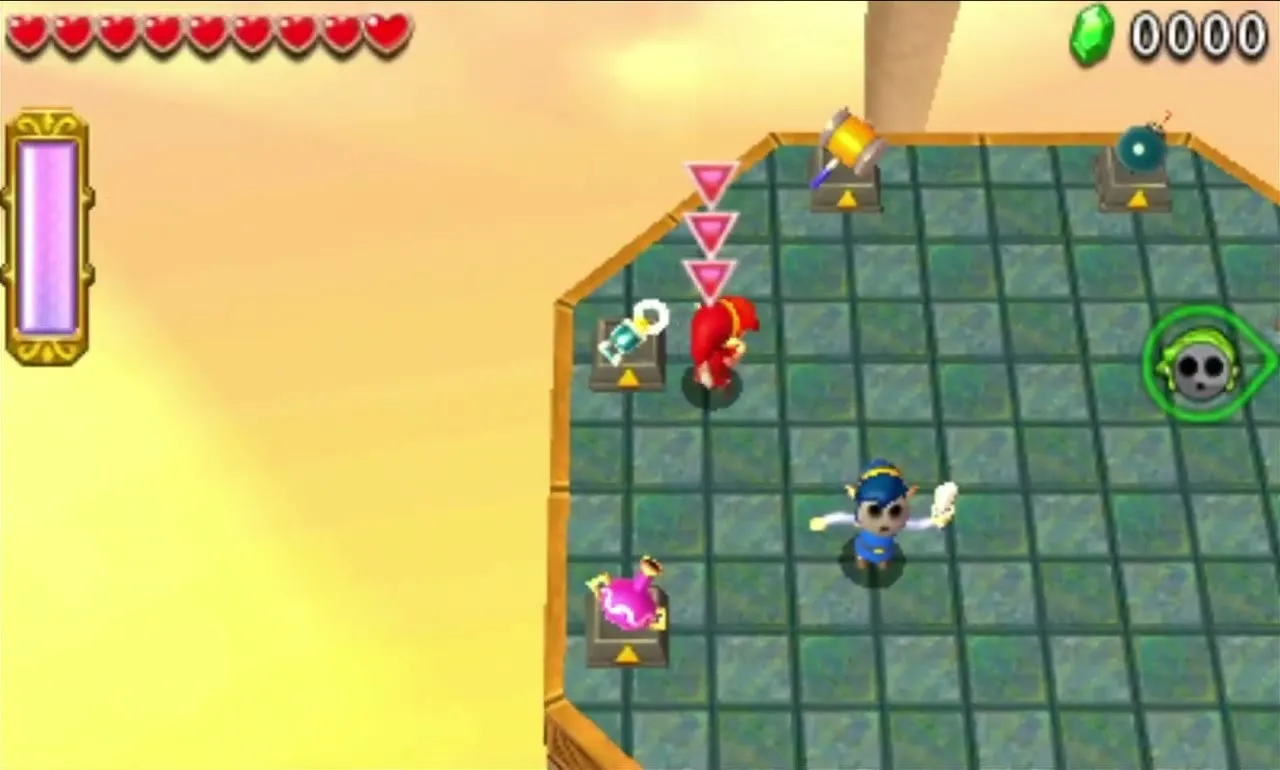
Tri Force Heroes has eight Level items: the Bow, Bomb, Boomerang, Gripshot, Water Rod, Fire Gloves, Magic Hammer and Gust Jar. Every Level hands out a few of them on pedestals in Stage 1, each Link takes one, and the item is yours only for that Level. Your Sword is always with you, so the items are the tools that decide which puzzles and bosses you can solve.

Table of Contents
How Level Items Work
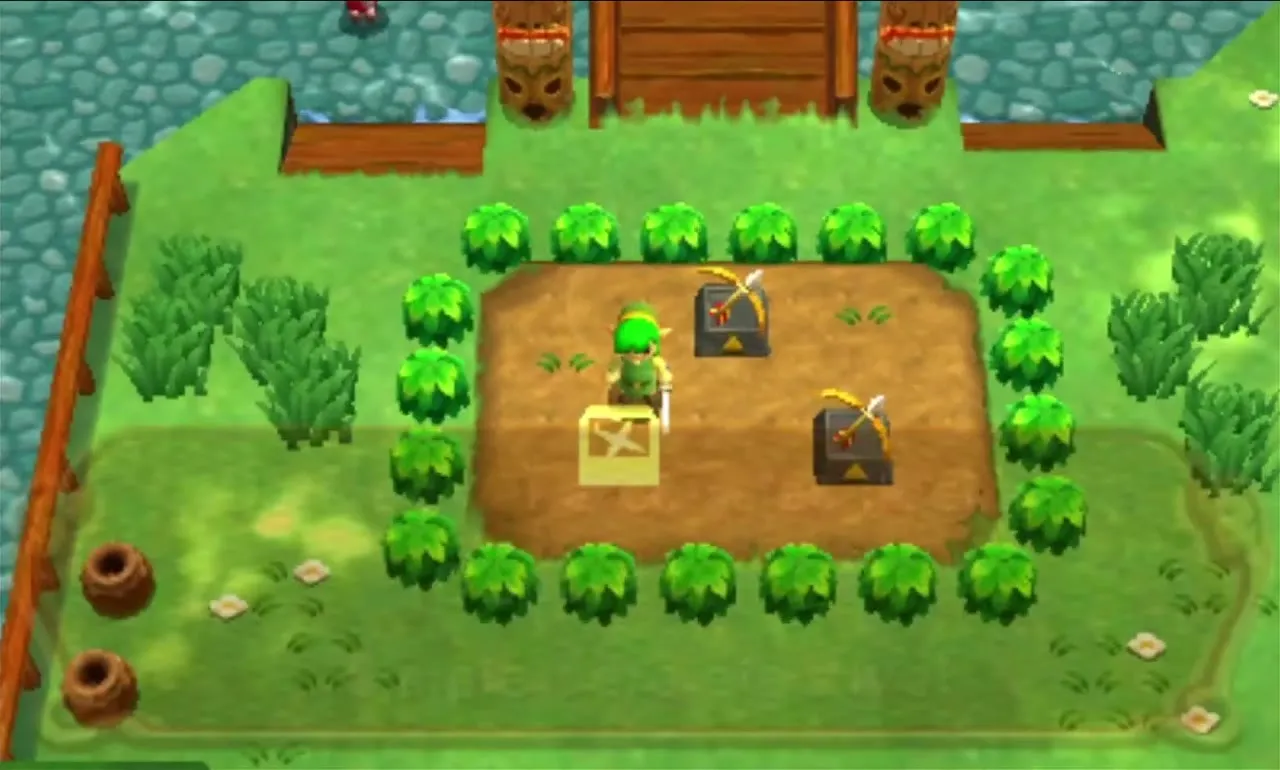
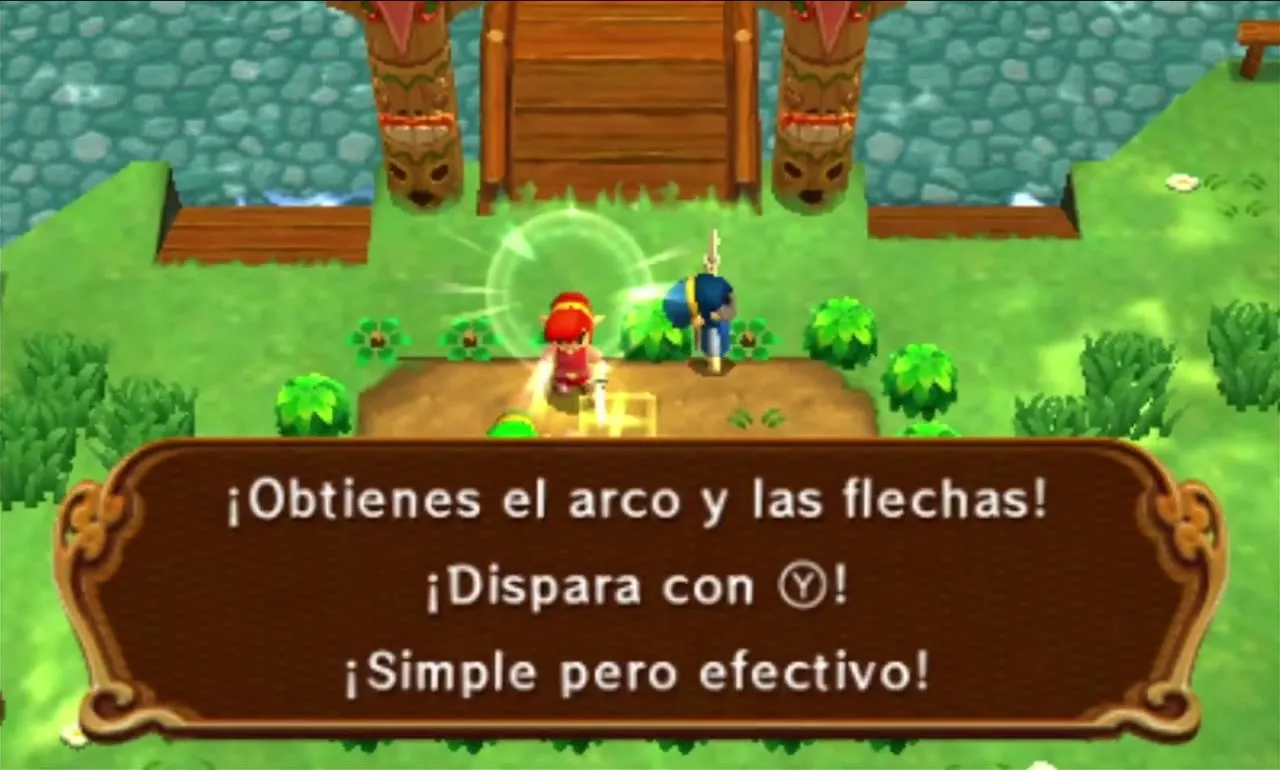
When you reach the pedestals, each Link picks one. The three of you can all take the same item or split them, and the choice is worth a short talk because many puzzles need a particular tool in a particular Link’s hands. You keep the item through all four Stages, and it is taken back when the Level ends.
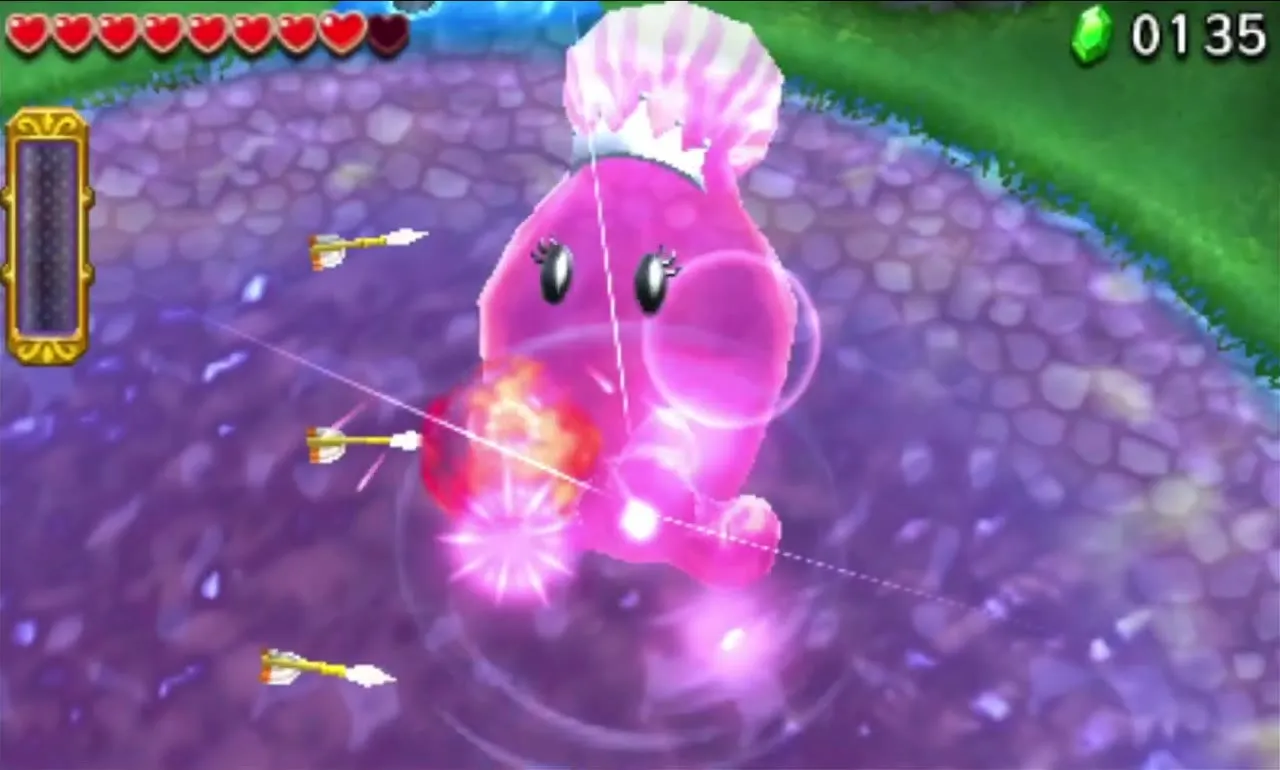
Most items spend your Energy Gauge when you use them (each Link has his own in multiplayer, while the Doppels share yours in single player), so they are not an unlimited supply of arrows or fireballs. Wait a moment and the gauge refills. Wearing an outfit that fits your item makes it stronger, and the quick reference below lists the matching outfit for each tool.
The Eight Level Items

Bow
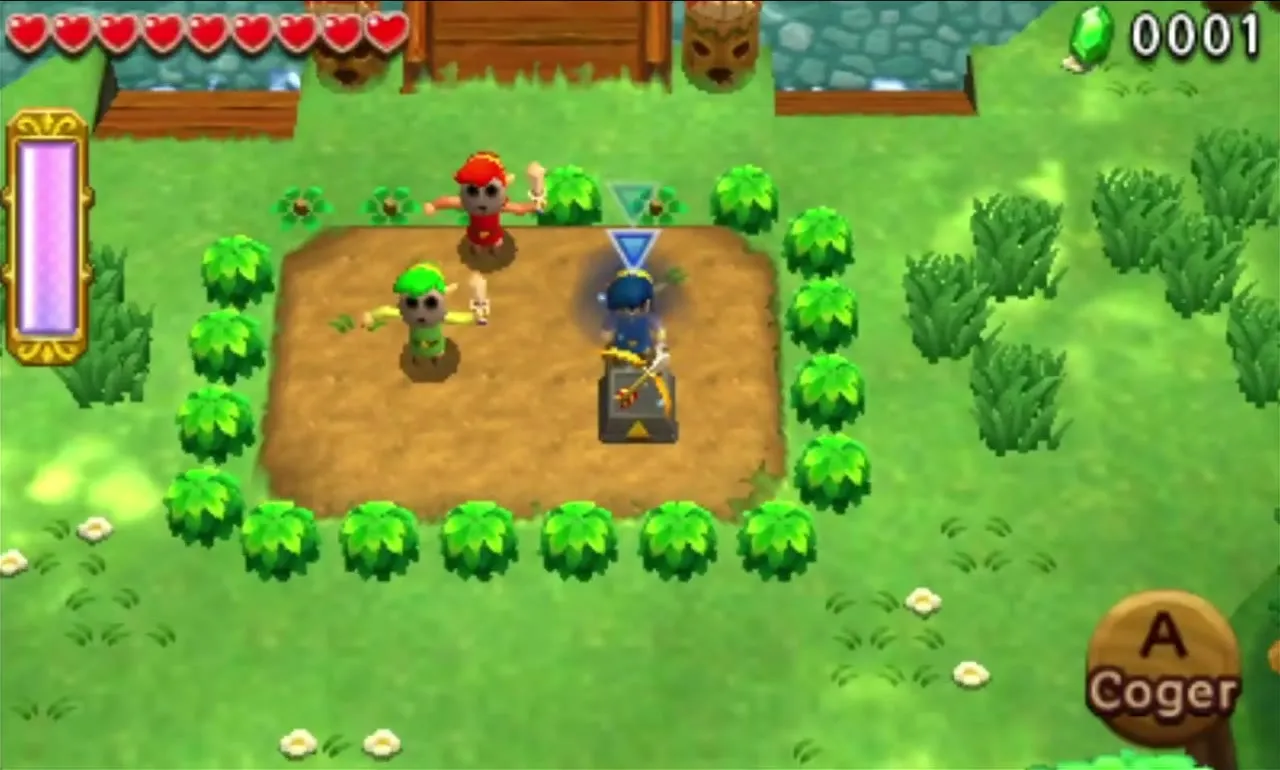
The Bow shoots arrows that hurt enemies and trigger far-away switches. It also lights Braziers, and the Link standing on top of a Totem can use it to reach high targets. Arrows draw on your Energy Gauge rather than a quiver, so there is nothing to run out of. Kokiri Clothes let you fire three arrows at once.

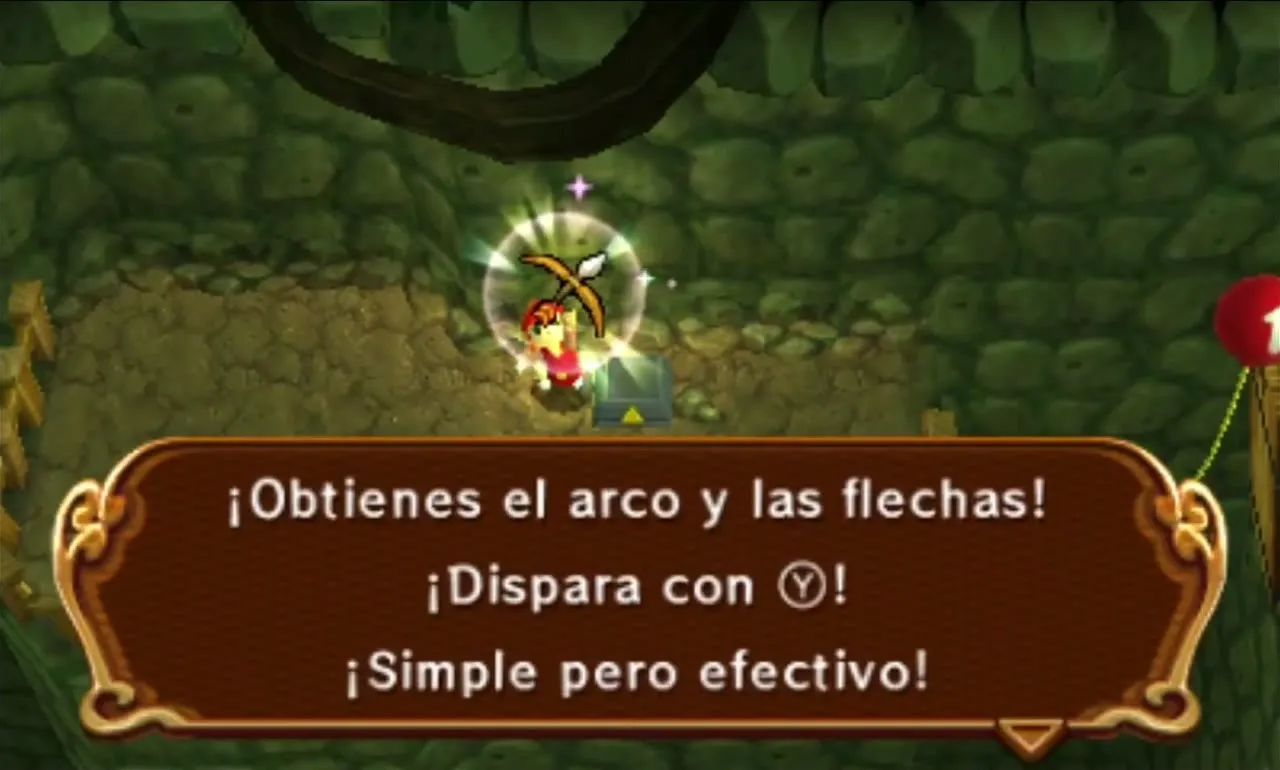
You find the Bow in Deku Forest (three pedestals), Buzz Blob Cave (three), Moblin Base (two), the Forest Temple, Abyss of Agony, Hinox Mine, the Fire Temple, Training Ground, Palace Noir, Floating Garden and the Sky Temple.

Bomb
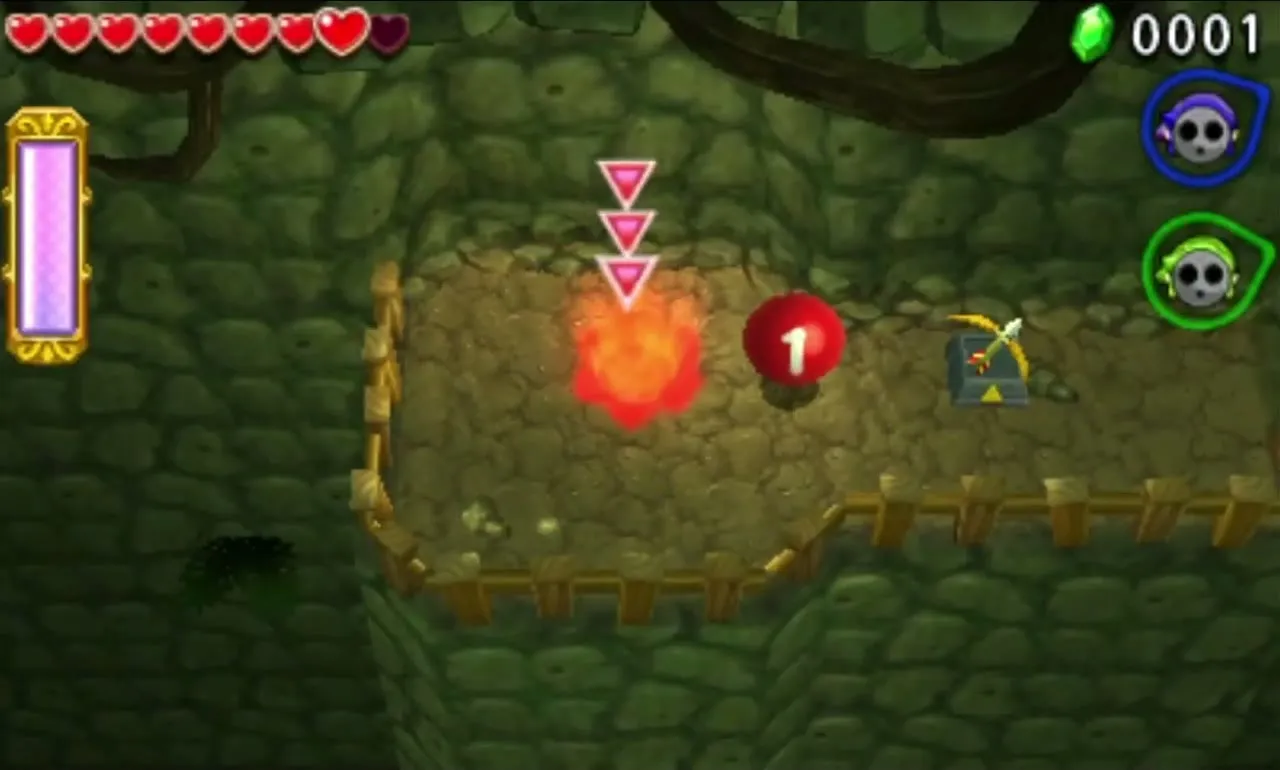
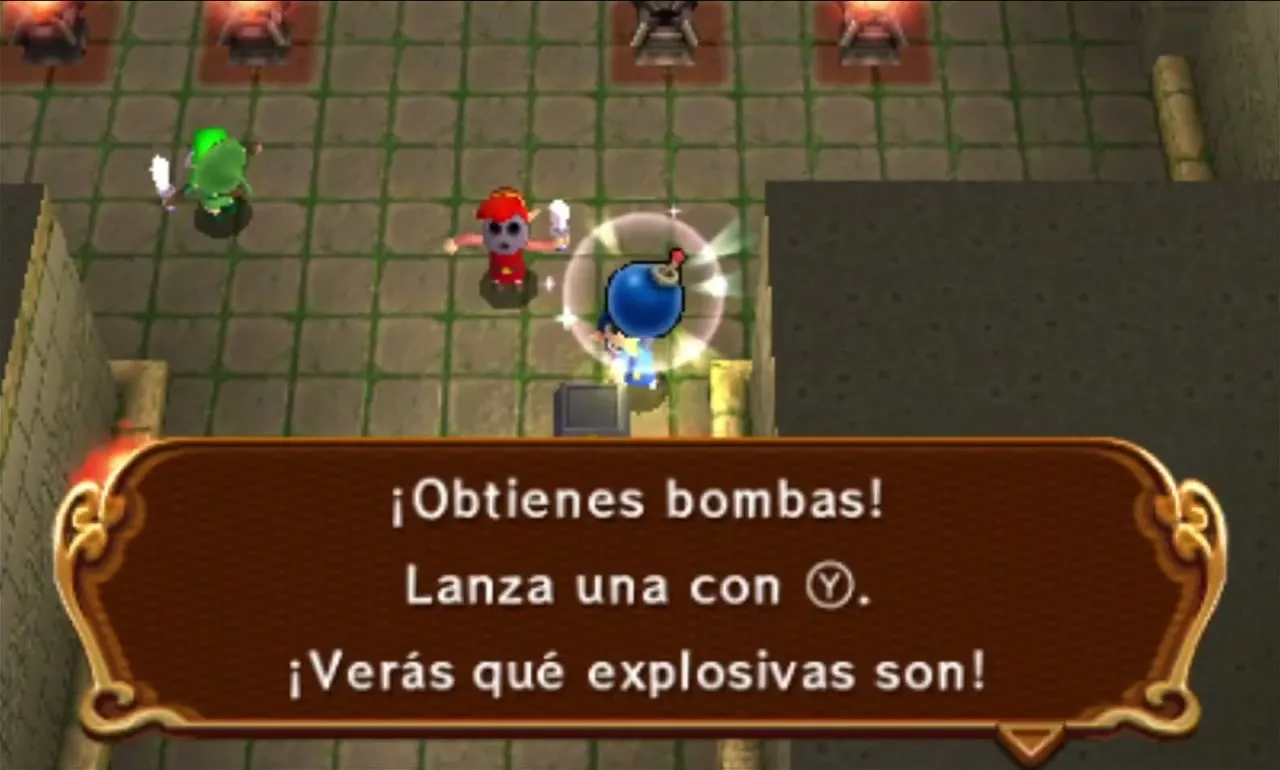
Bombs are thrown, then explode a moment later. They damage enemies, break Cracked Blocks and open bomb-sized holes, and they set off switches that sit in range of the blast. Combine them with the Gust Jar to launch them across gaps. The Big Bomb Outfit turns every Bomb you throw into a Big Bomb.
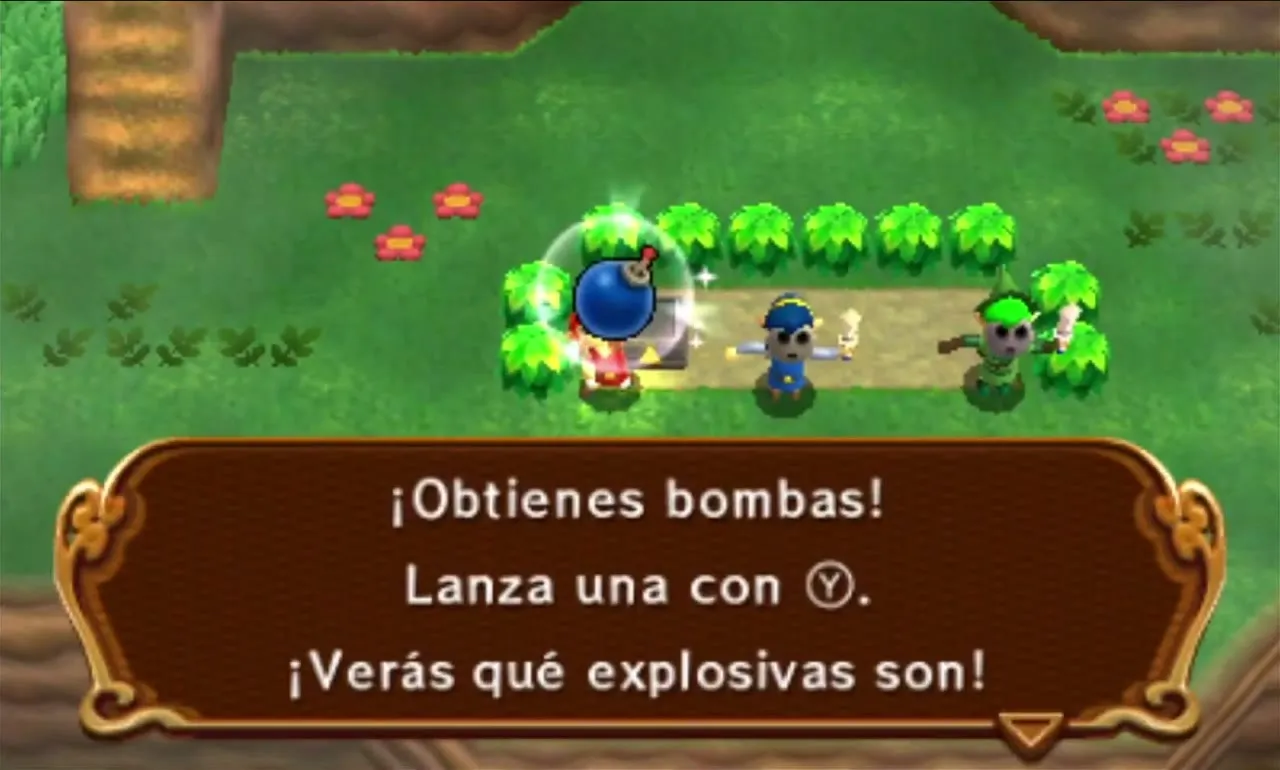
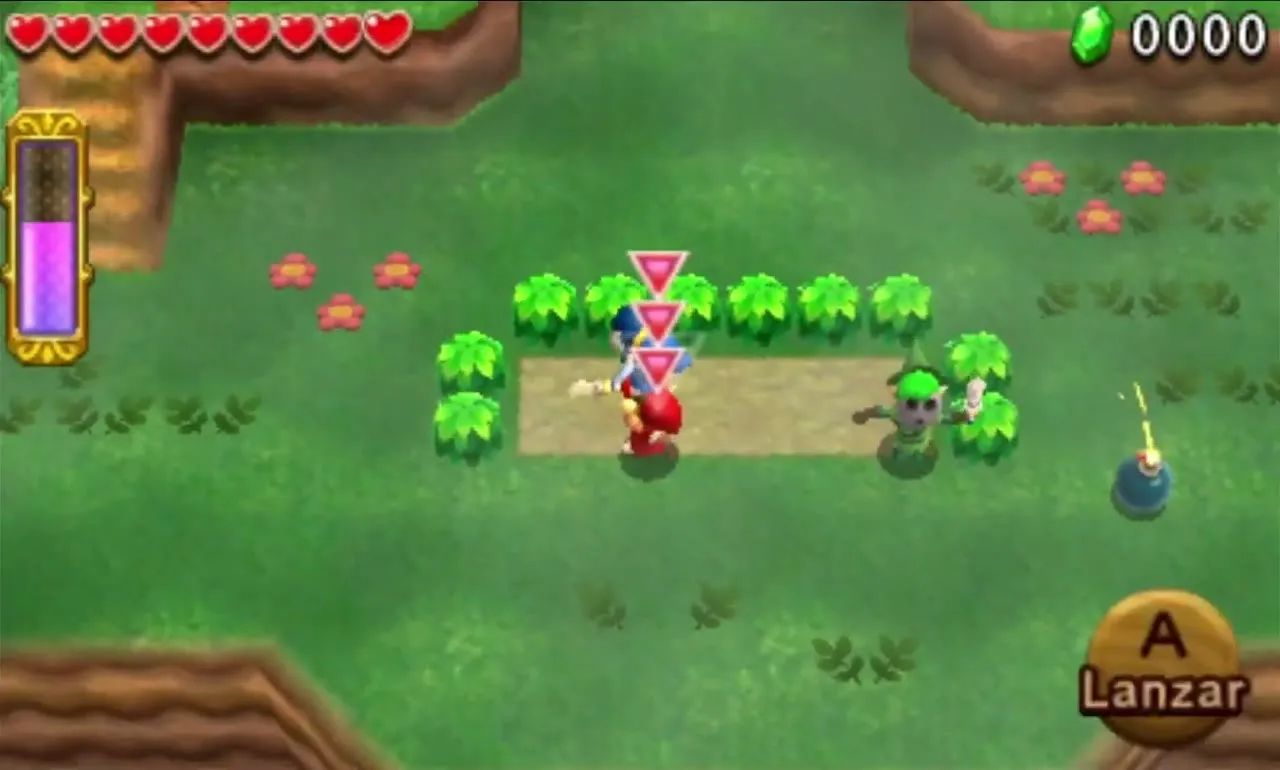
Bombs are on offer in Moblin Base, the Forest Temple (two pedestals), Bomb Storage, Floating Garden and the Sky Temple.

Boomerang
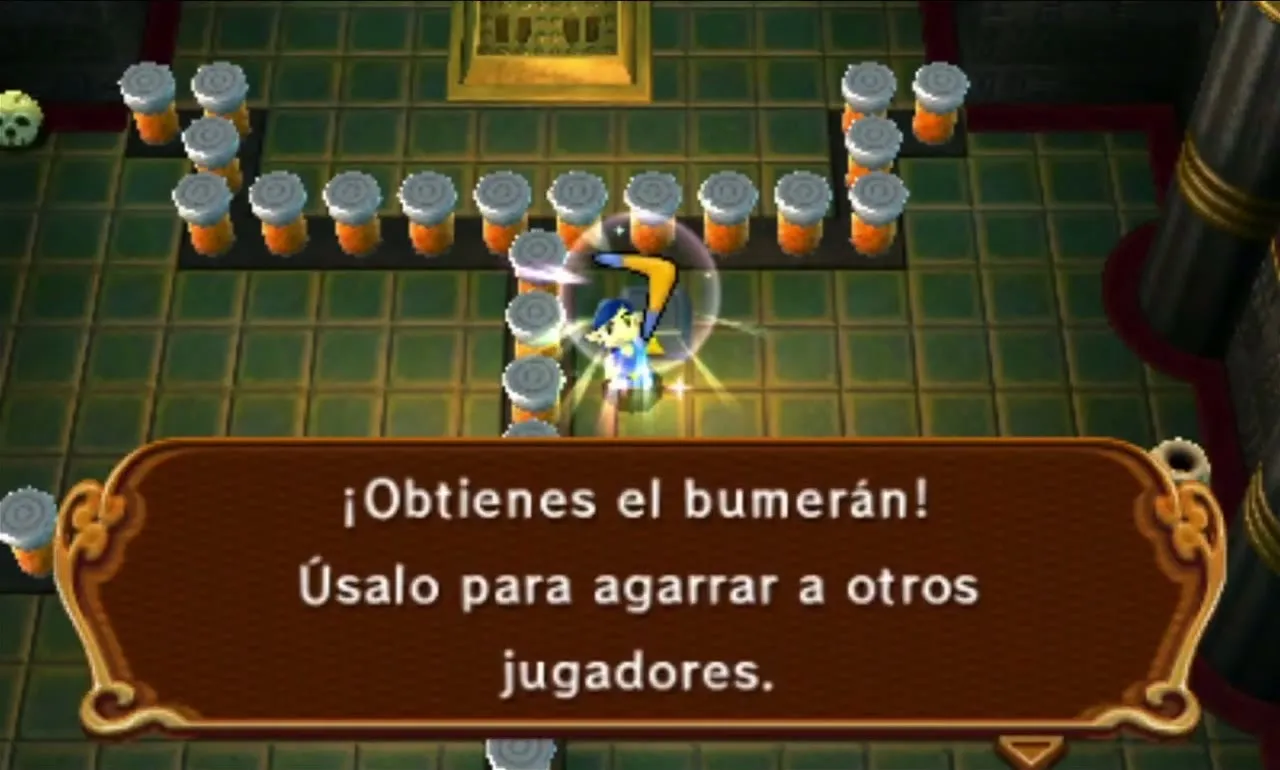
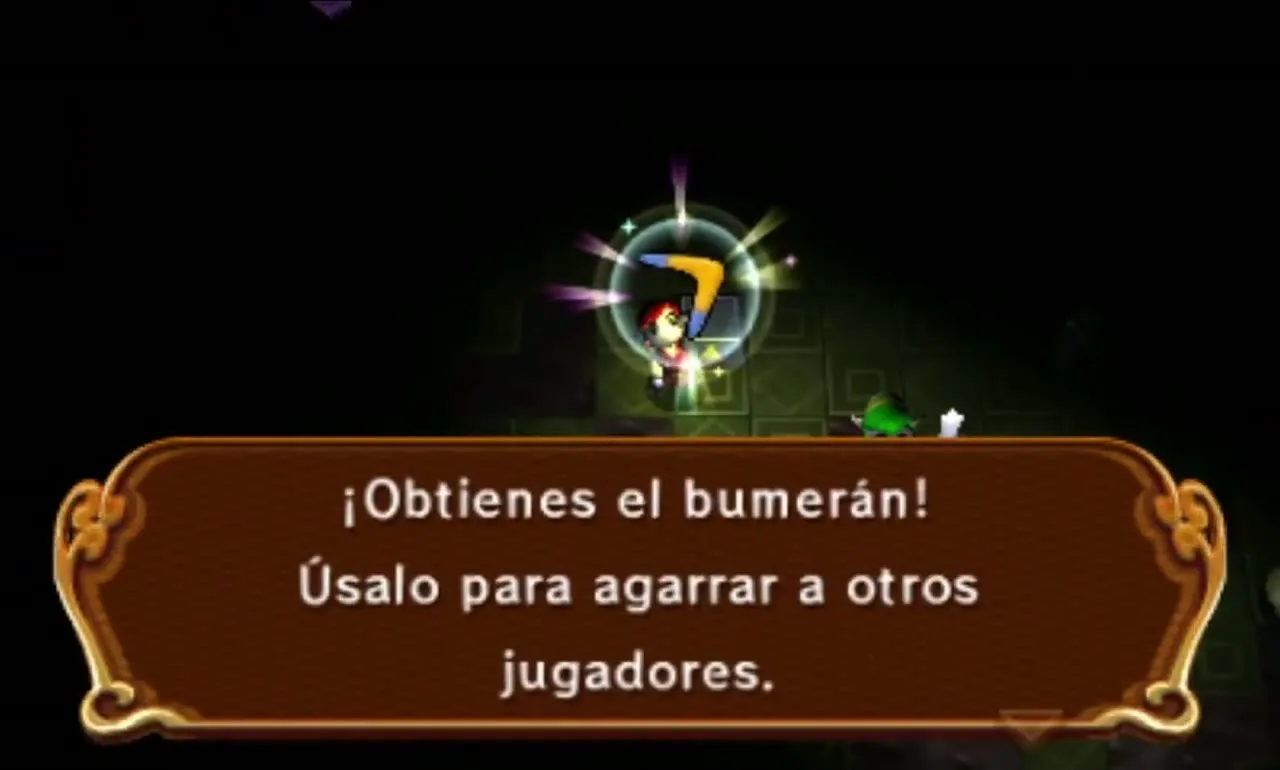
The Boomerang stuns enemies, fetches pickups that are out of reach and hits far switches. Its most unusual job is on your teammates: it can grab another Link and pull him toward you, which is how the party crosses many gaps. The Boomeranger outfit lets a larger Boomerang pass through foes and tow two Links at once.
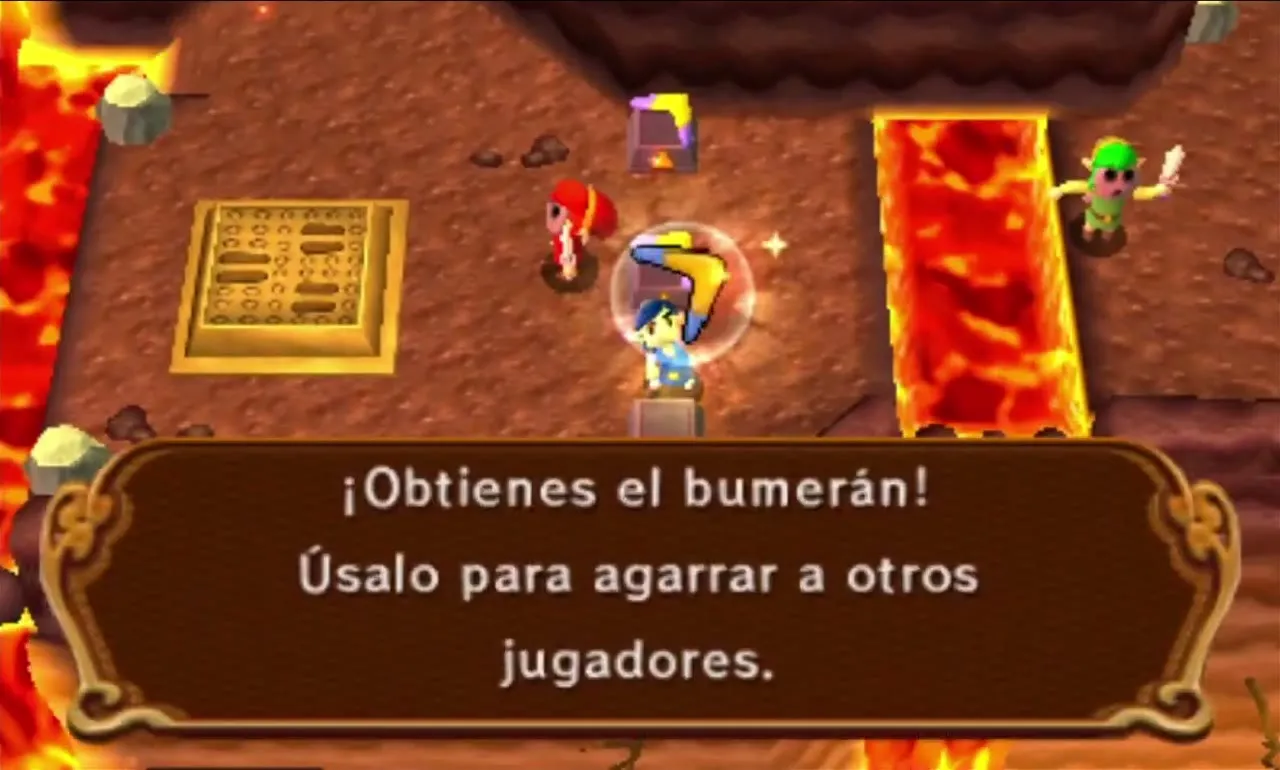
Look for it in Blazing Trail (three pedestals), Hinox Mine (two), Den of Flames, the Fire Temple, Snowball Ravine, Sealed Gateway (two), The Lady’s Lair, Stone Corridors, the Desert Temple, Illusory Mansion (three), the Grim Temple, Dragon Citadel and the Sky Temple.

Gripshot
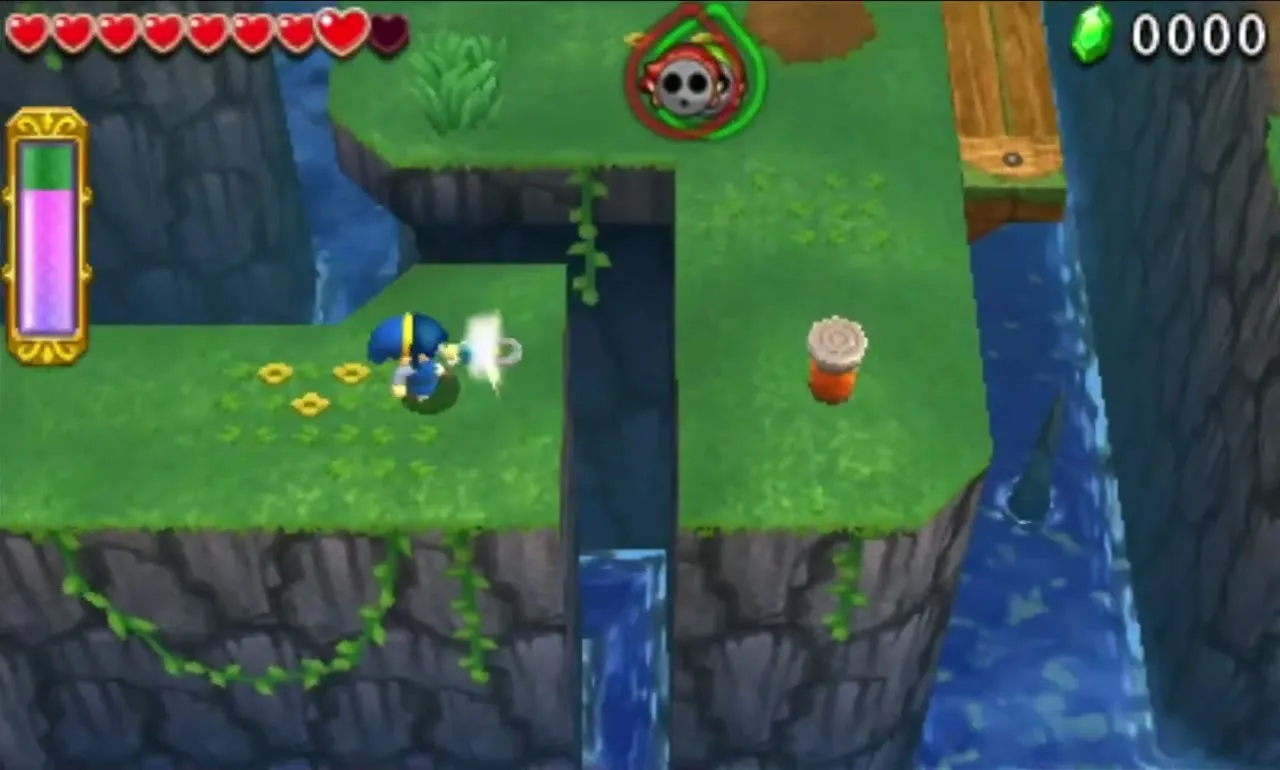
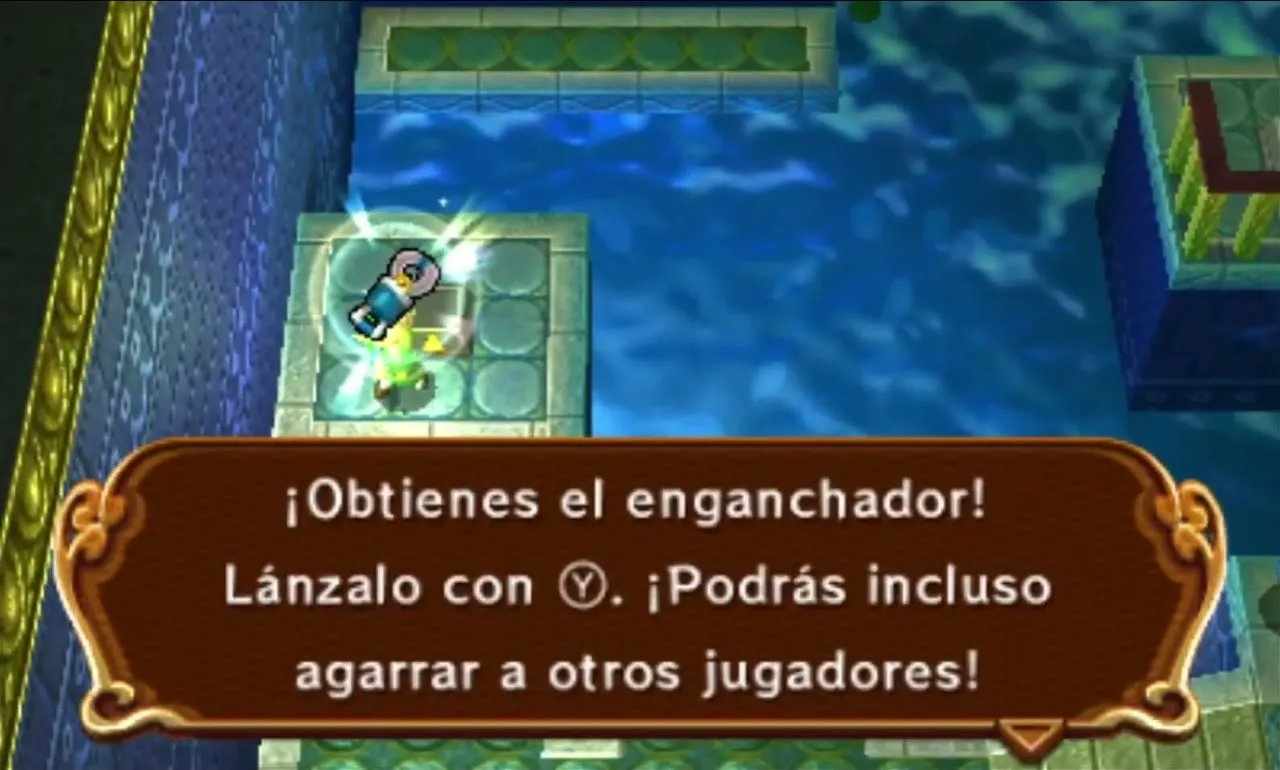
The Gripshot fires a hook that latches onto Stakes and onto other Links, pulling the user across to them. It also yanks light objects and weak enemies toward you and can stun foes. Several bosses, Arrghus among them, need it to be beaten. Robowear raises its speed, damage and pulling power.
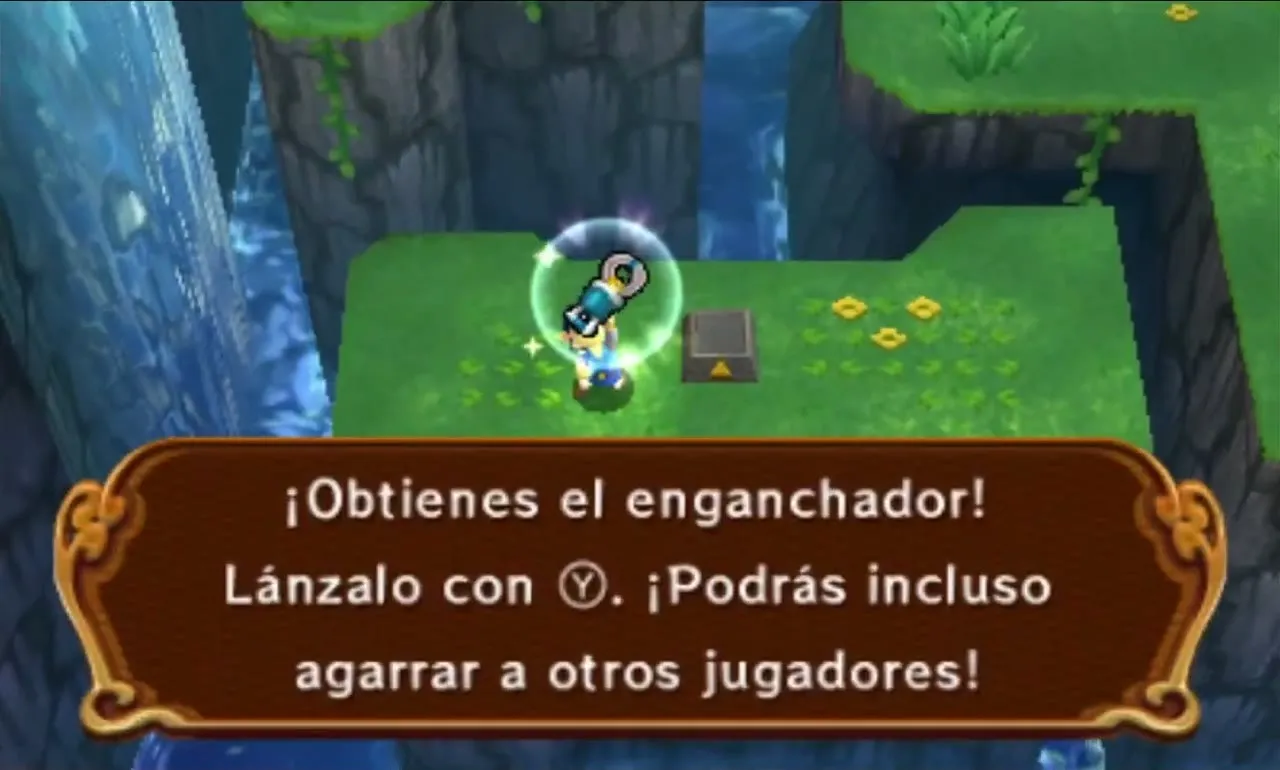
It appears in Cove of Transition (three pedestals), the Water Temple (two), Training Ground, The Lady’s Lair, Stone Corridors, Gibdo Mausoleum, Lone Labyrinth, the Grim Temple, Floating Garden, Deception Castle (two) and the Sky Temple.

Water Rod
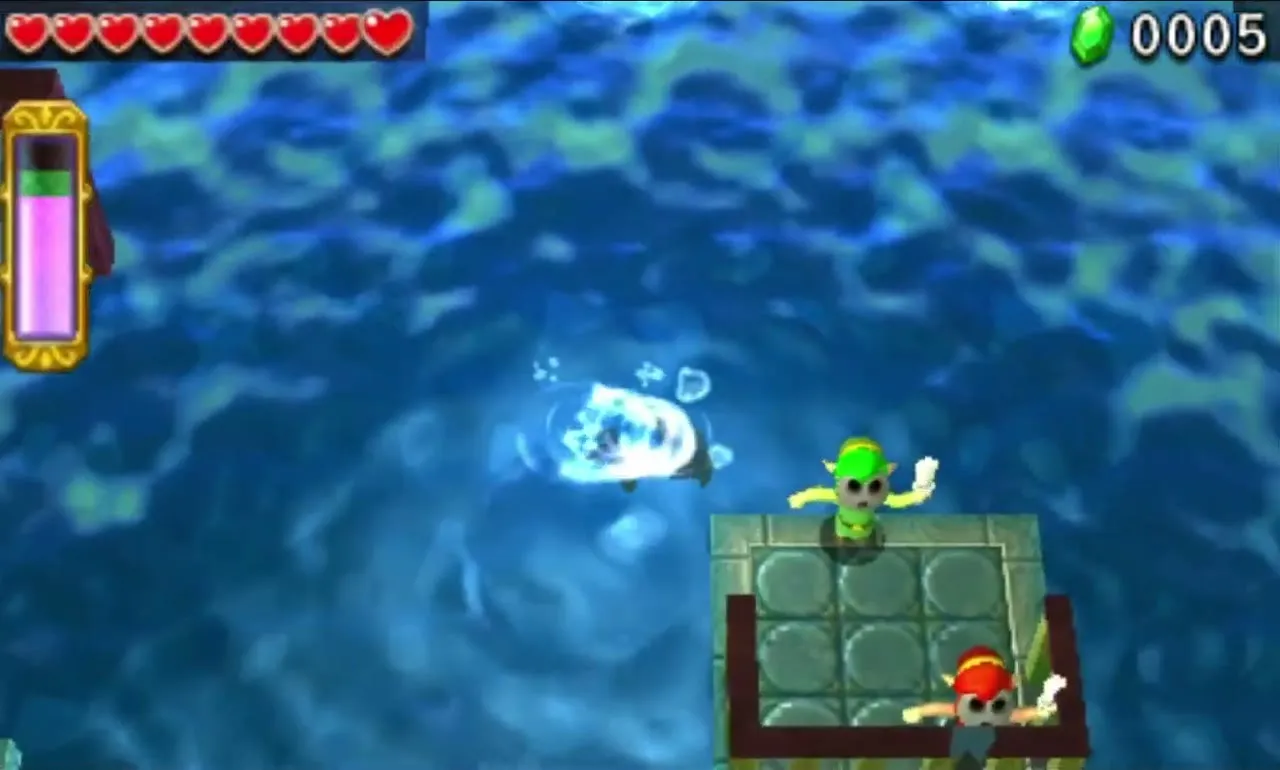
The Water Rod raises a column of water where you aim. You can climb it as a platform, and a column is about as tall as a full Totem. Aquatic enemies are stunned and lifted by it, and it waters Beanstalks so they grow. The Torrent Robe doubles the size of the column.
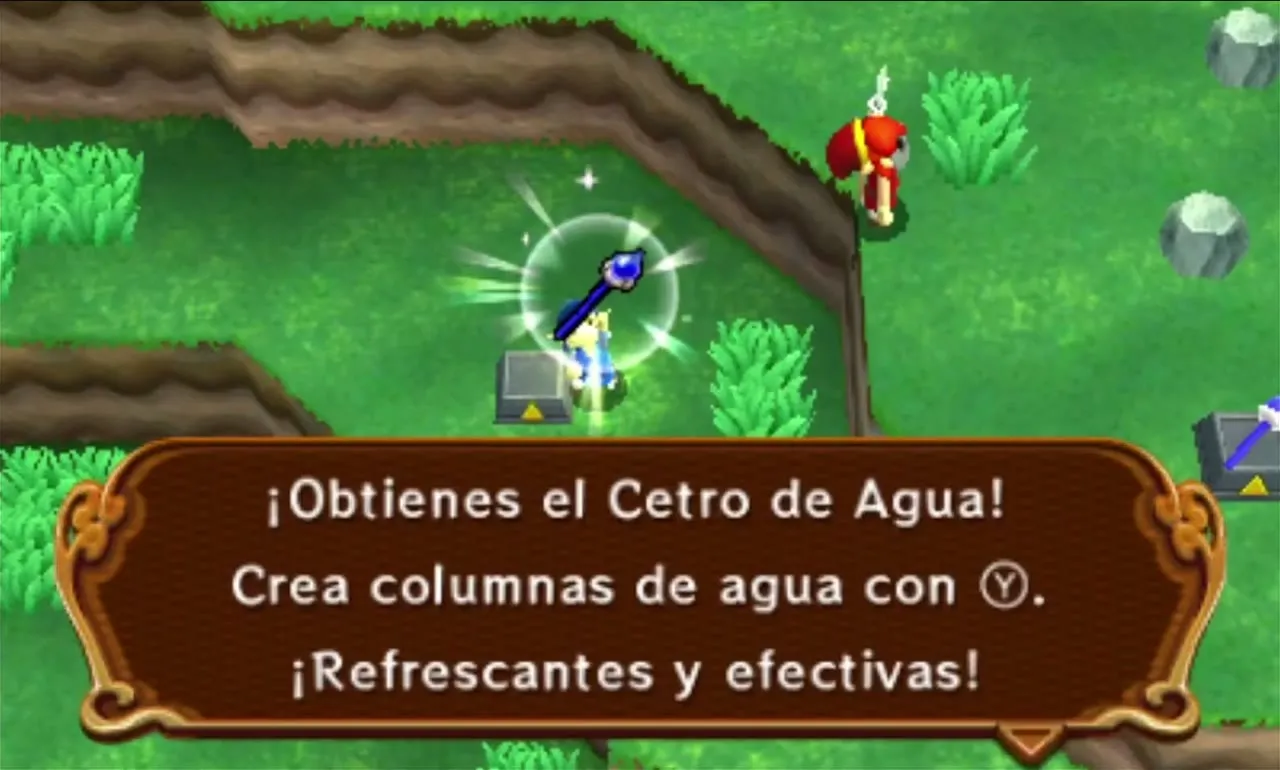
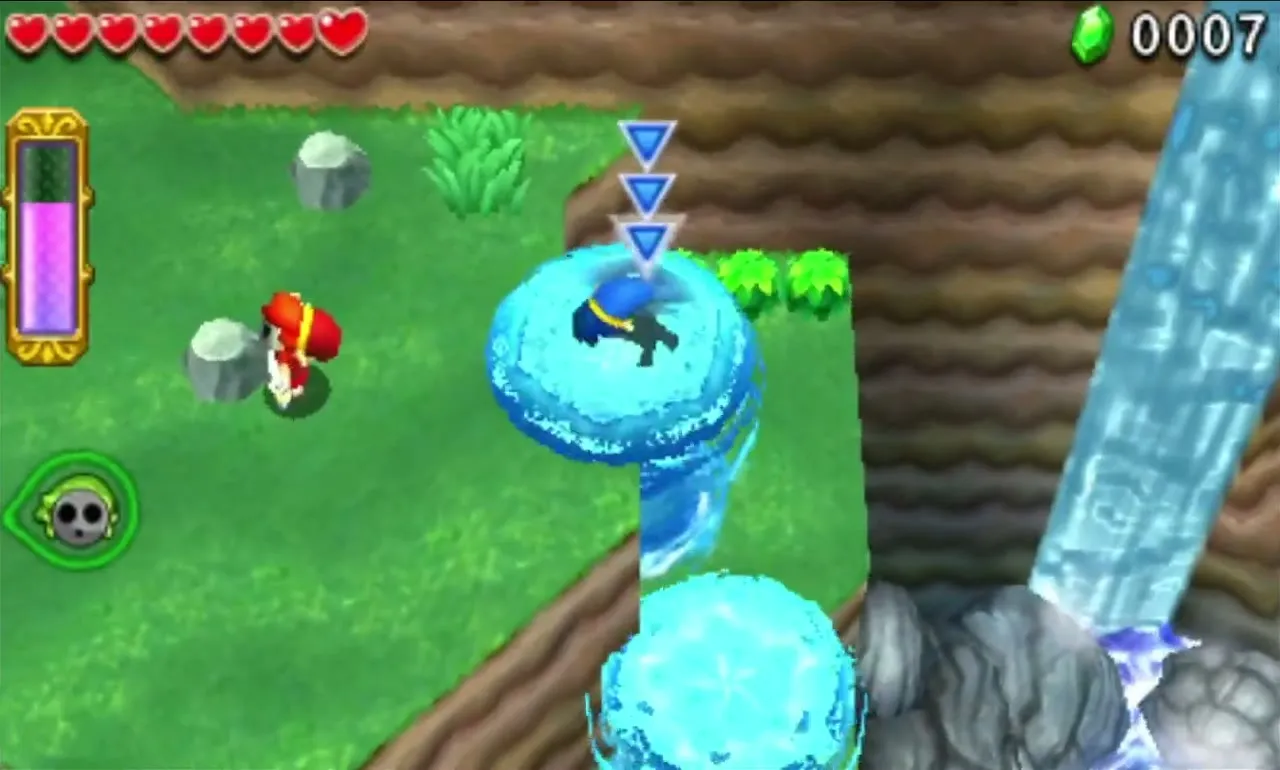
It is offered in Secret Fortress (three pedestals), Abyss of Agony (two), the Water Temple, Infinity Dunes, Dragon Citadel and the Sky Temple.


Fire Gloves
The Fire Gloves throw fireballs, or hold one in your hand as a lit shield if you keep the button down. Use them to light Braziers, burn bushes, melt ice and uncover invisible platforms. Holding a flame drains your Energy Gauge. The Fire Blazer outfit throws three fireballs at a time.
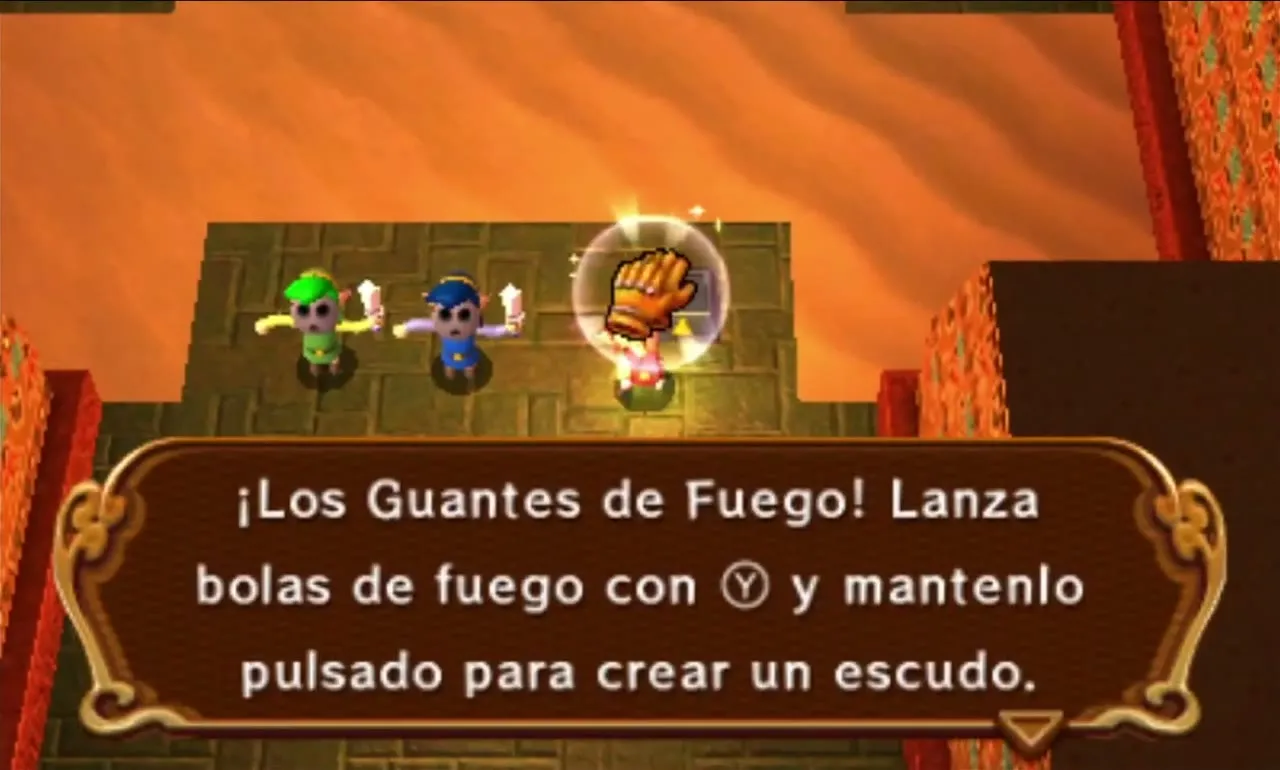
You get them in Frozen Plateau (three pedestals), Snowball Ravine (two), the Ice Temple, Gibdo Mausoleum, Palace Noir, Lone Labyrinth, the Grim Temple and the Sky Temple.

Magic Hammer
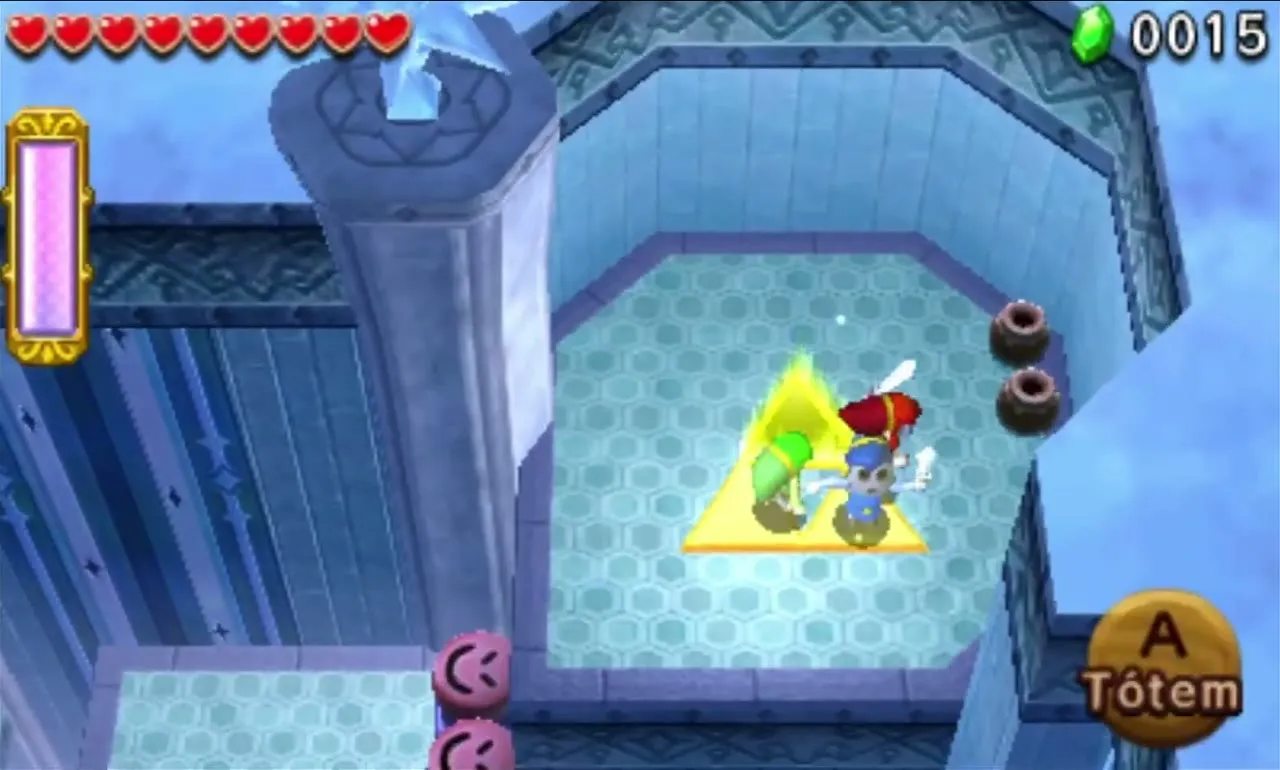
The Magic Hammer hits much harder than the Sword. It drives Stakes into the ground, presses switches, smashes ice blocks, flips Terrorpins over and finishes off Deadrocks. Some bosses cannot be hurt without it. Hammerwear makes it twice as strong, lets you swing quicker and adds a shock wave.

It is on pedestals in Silver Shrine (three), the Ice Temple (two), the Desert Temple (two), Dragon Citadel and the Sky Temple.


Gust Jar
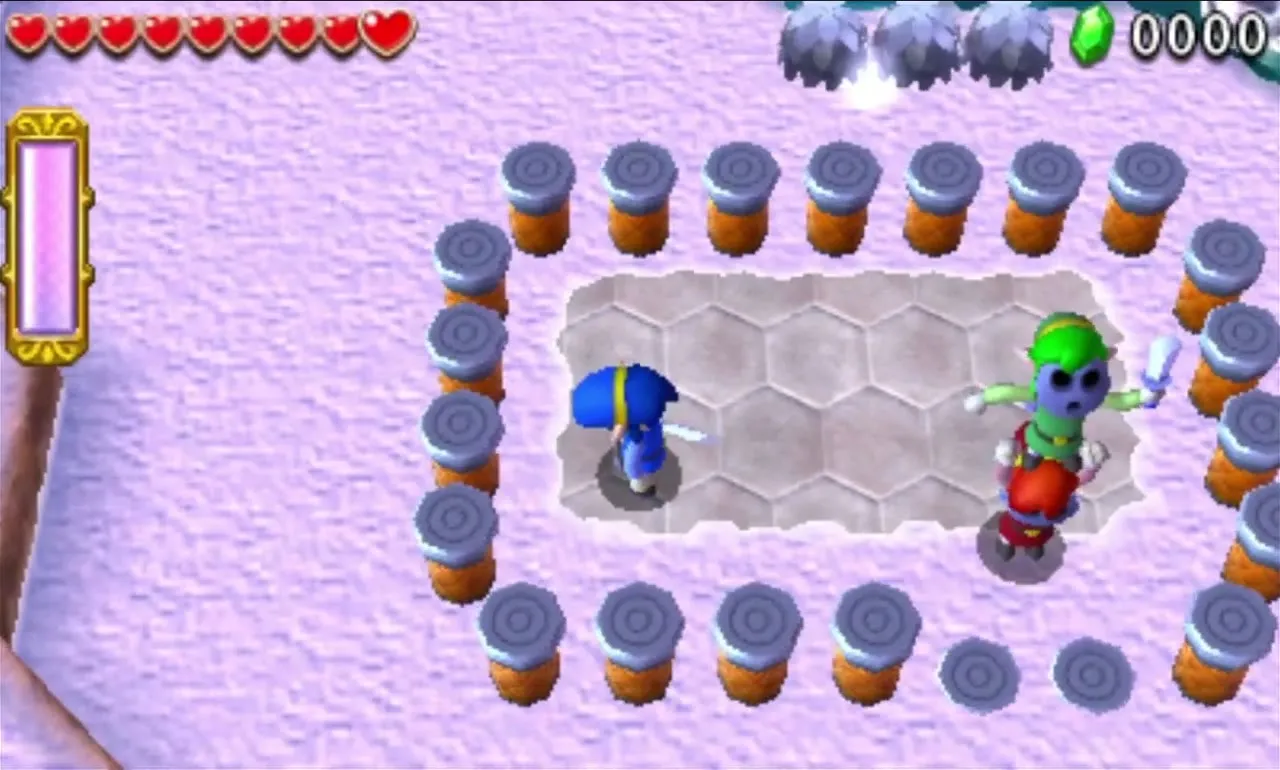
The Gust Jar blows a stream of air. It carries a Link across a gap, pushes enemies back, stuns them, puts out flames and sends Bombs flying. Gust Garb widens the gust and makes it fire faster.

The Jar appears in Den of Flames (two pedestals), the Fire Temple, Sealed Gateway, Bomb Storage (two), Training Ground, The Lady’s Lair, Infinity Dunes (two), Stone Corridors, Gibdo Mausoleum, Palace Noir, Lone Labyrinth, Deception Castle and the Sky Temple.

Quick Reference
Each pair of items is introduced in a different Area, from Woodlands to Ice Cavern, and the Sky Temple is the only Level that offers all eight, letting you swap items between Stages. The Areas after Ice Cavern bring no new items.
| Item | First Area | Matching outfit |
|---|---|---|
| Bow | Woodlands |  Kokiri Clothes |
| Bomb | Woodlands |  Big Bomb Outfit |
| Gripshot | Riverside |  Robowear |
| Water Rod | Riverside |  Torrent Robe |
| Boomerang | Volcano |  Boomeranger |
| Gust Jar | Volcano |  Gust Garb |
| Fire Gloves | Ice Cavern |  Fire Blazer |
| Magic Hammer | Ice Cavern |  Hammerwear |
The Outfits page has the full recipes for every outfit above.

Other Pickups

Heart
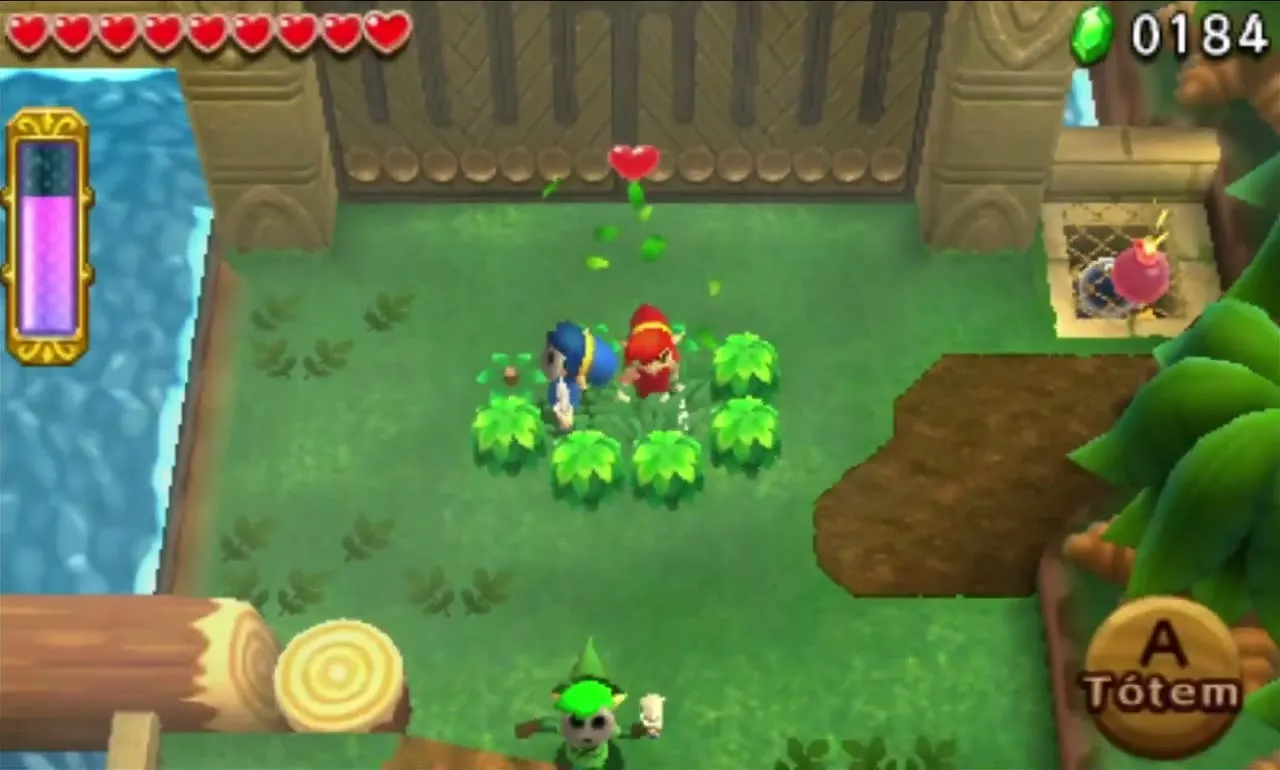
Hearts restore health. All three Links share one pool of health, so any Link can grab a Heart for the whole party. Enemies, pots and grass drop them, and some Treasure Chests hold a few. The Legendary Dress and the Lady’s Ensemble make Hearts turn up more often.

Fairy
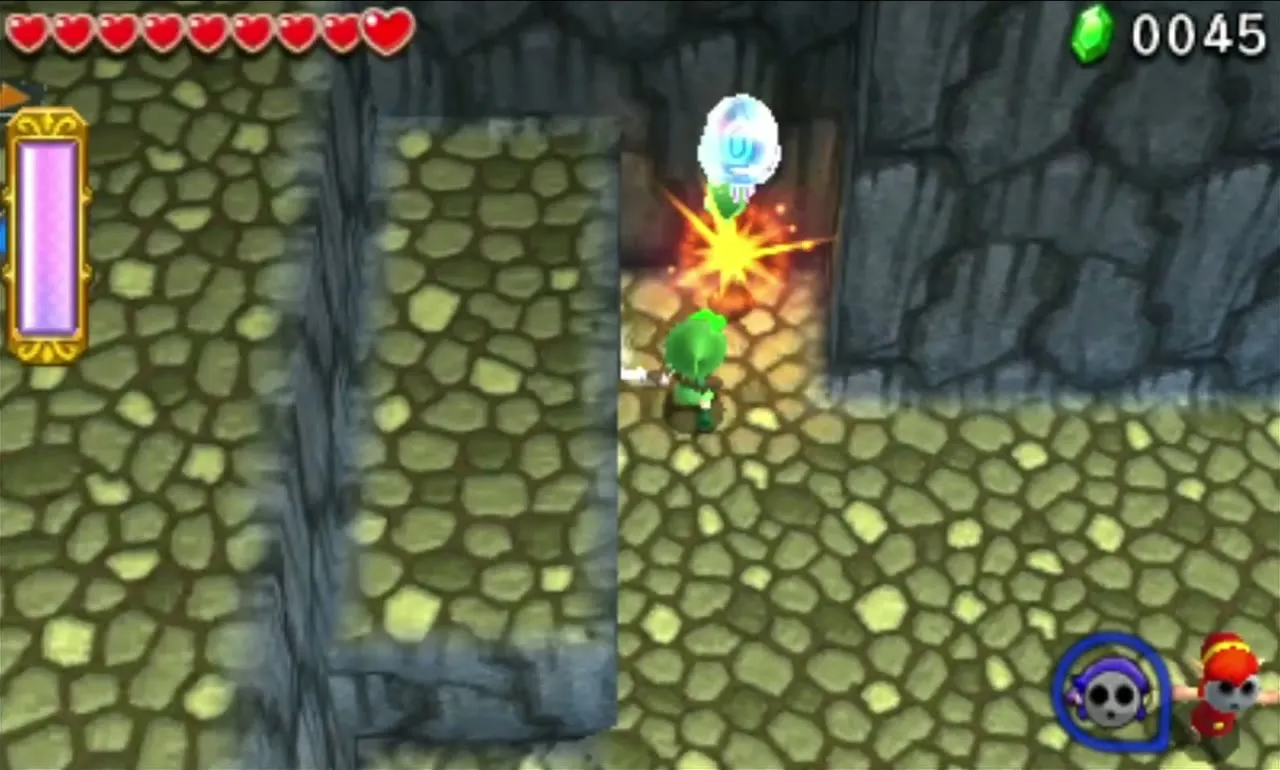
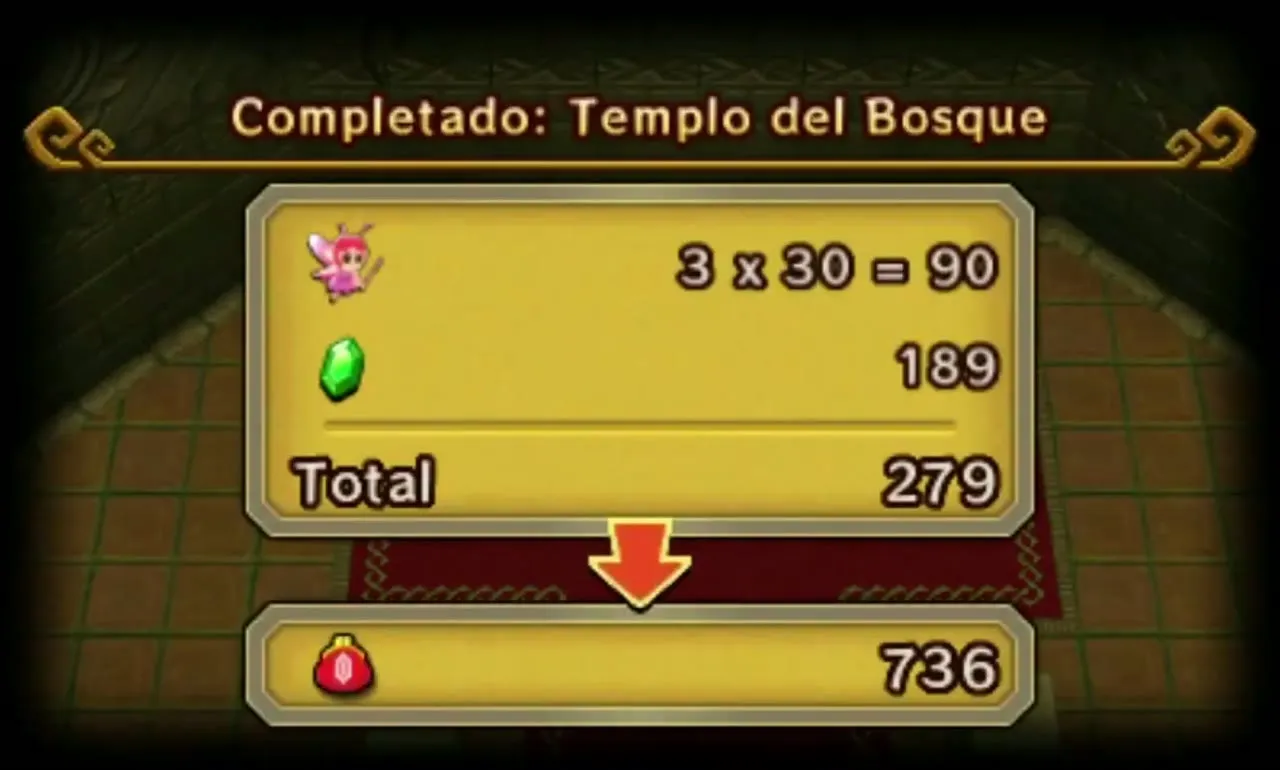
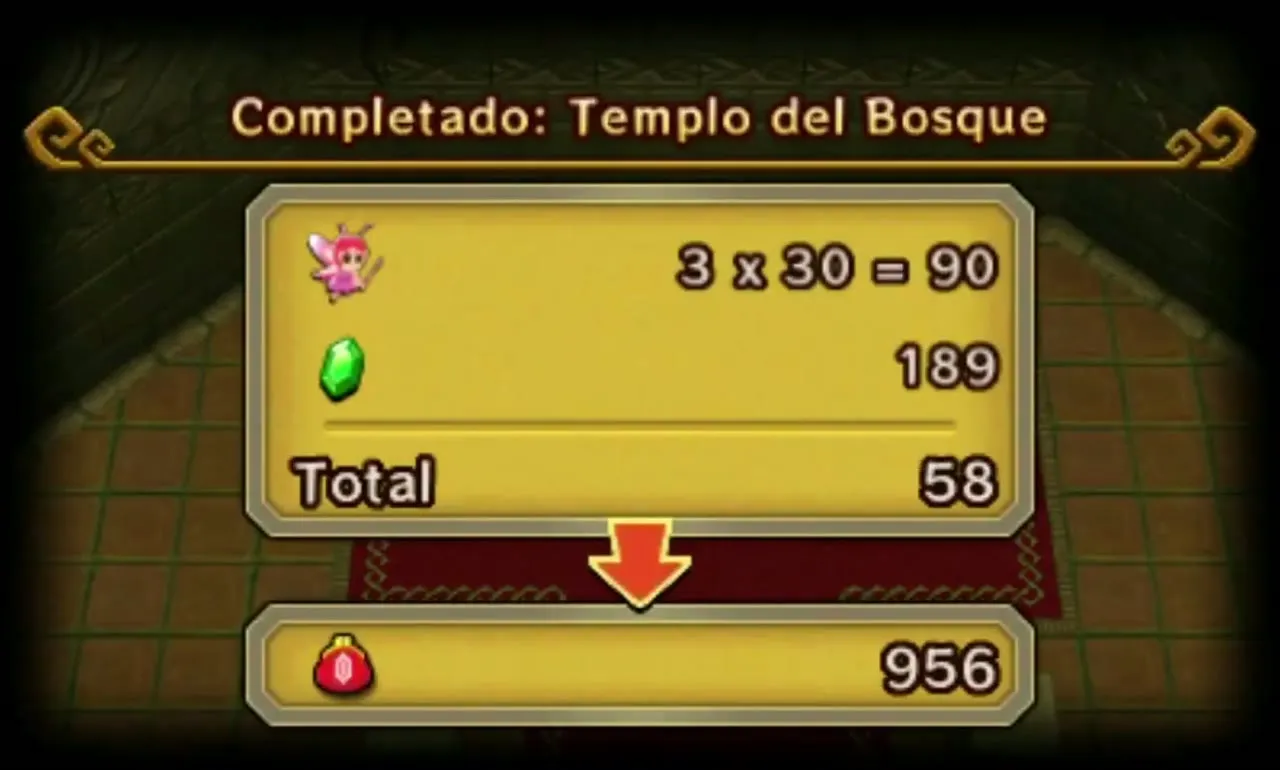
Fairies are your lives. You start each Level with three. When the shared health runs out, a Fairy revives the party and you retry the Stage. If the last Fairy is lost you fail the Level, leave and receive no Materials. Fairies you still have at the end turn into bonus Rupees, 30 for each one.

Key
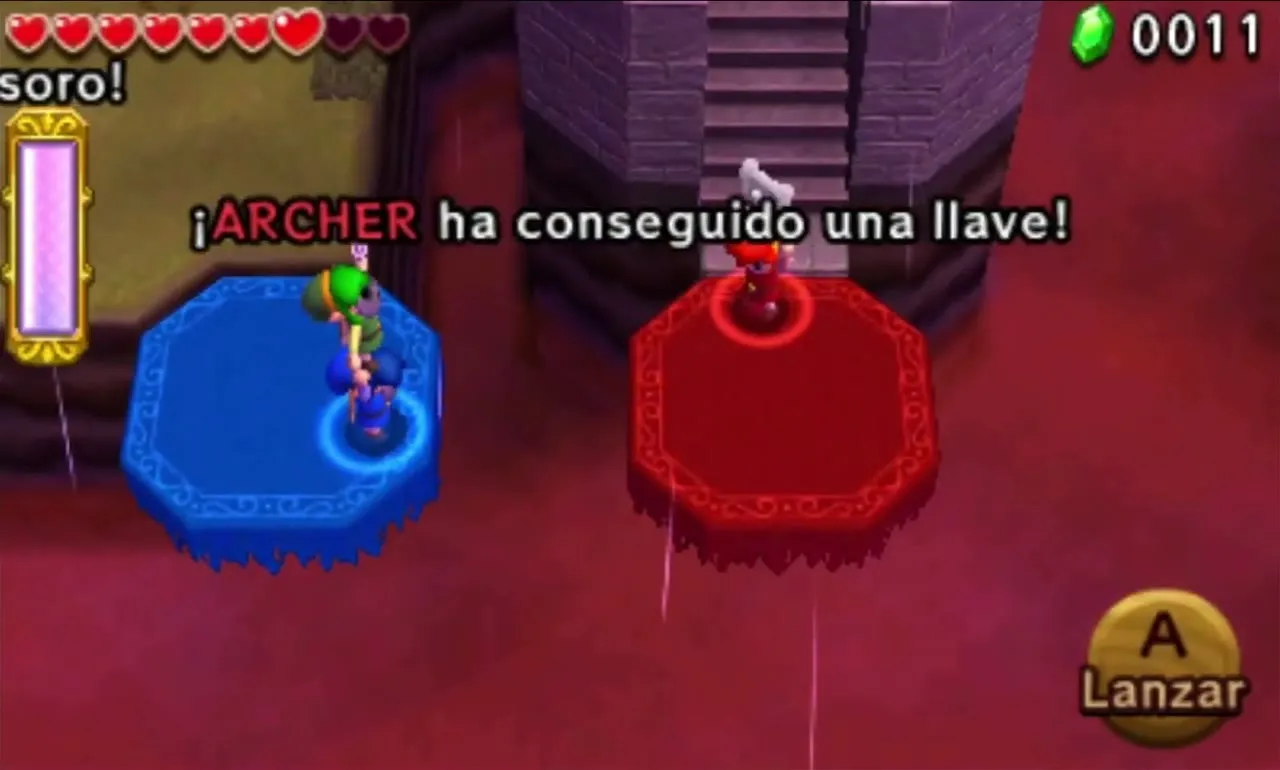
Keys open locked gates and doors. They are usually carried by an enemy or left behind when you defeat a particular foe, so look for the creature that is holding something.
Rupee
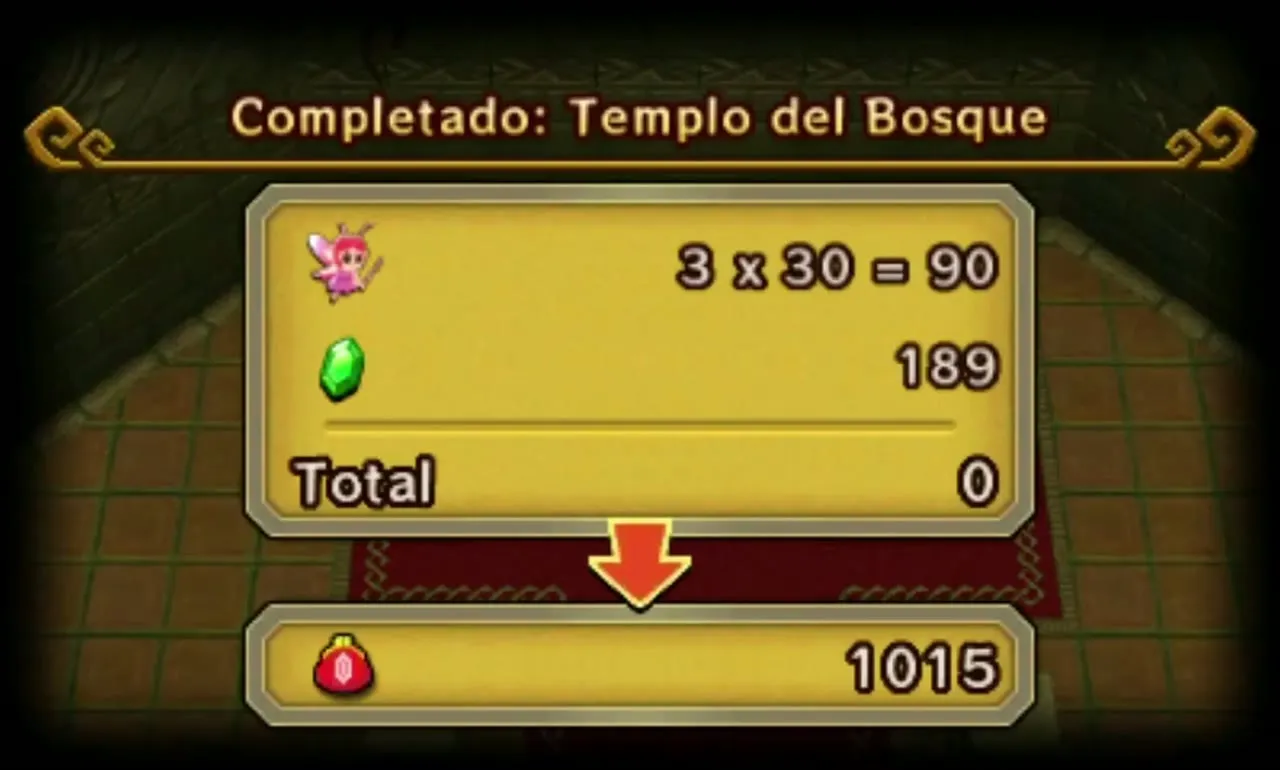
Rupees come from enemies, grass, pots and chests. Each Link’s Rupees are counted separately when the Level ends, and you spend them at Madame Couture’s on outfits. Rupee Regalia makes them drop more often and in pairs.

Hourglass
Hourglasses are found only in timed Drablands Challenges. A small one adds 5 seconds and a big one 20 seconds to the clock. See Drablands Challenges for the full list of challenges.