





| Total | 64 in Legend Mode: 2 in each of the 32 scenarios |
|---|---|
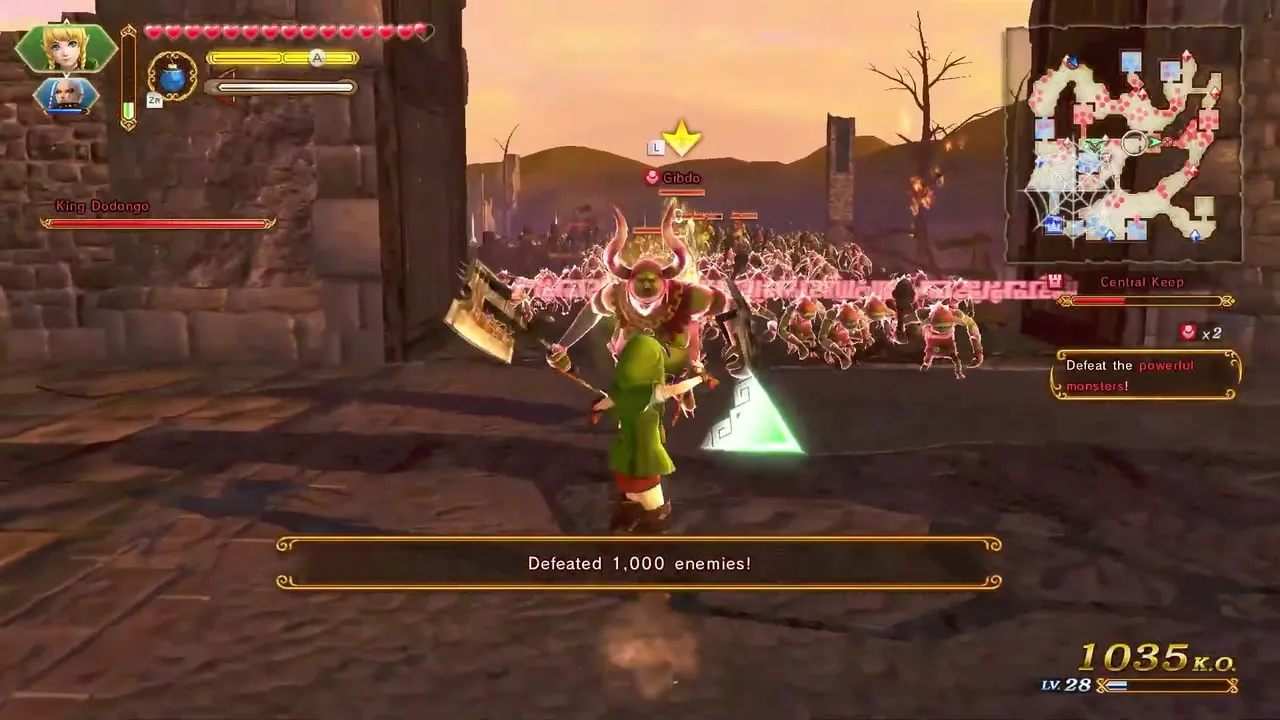
| First Gold Skulltula | Defeat 1,000 enemies with any warrior, any difficulty |
| Second Gold Skulltula | Hard or Hero difficulty, with a set warrior, weapon or battle goal |
| Reward | One Illustration Piece each; 20 pieces complete an illustration, and there are 13 illustrations |
| Tools you may need | Bombs for boulders, the Boomerang for Walls of Vines, the Hookshot for high ledges |
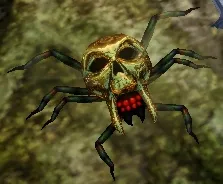
Every Legend Mode scenario hides two Gold Skulltulas. The first appears on any difficulty once you defeat 1,000 enemies. The second appears only on Hard or Hero difficulty, and only when you meet the warrior, weapon and battle conditions listed for that scenario. This page gives both for all 32 scenarios, grouped by story arc.


Table of Contents
How Gold Skulltulas work
How they appear
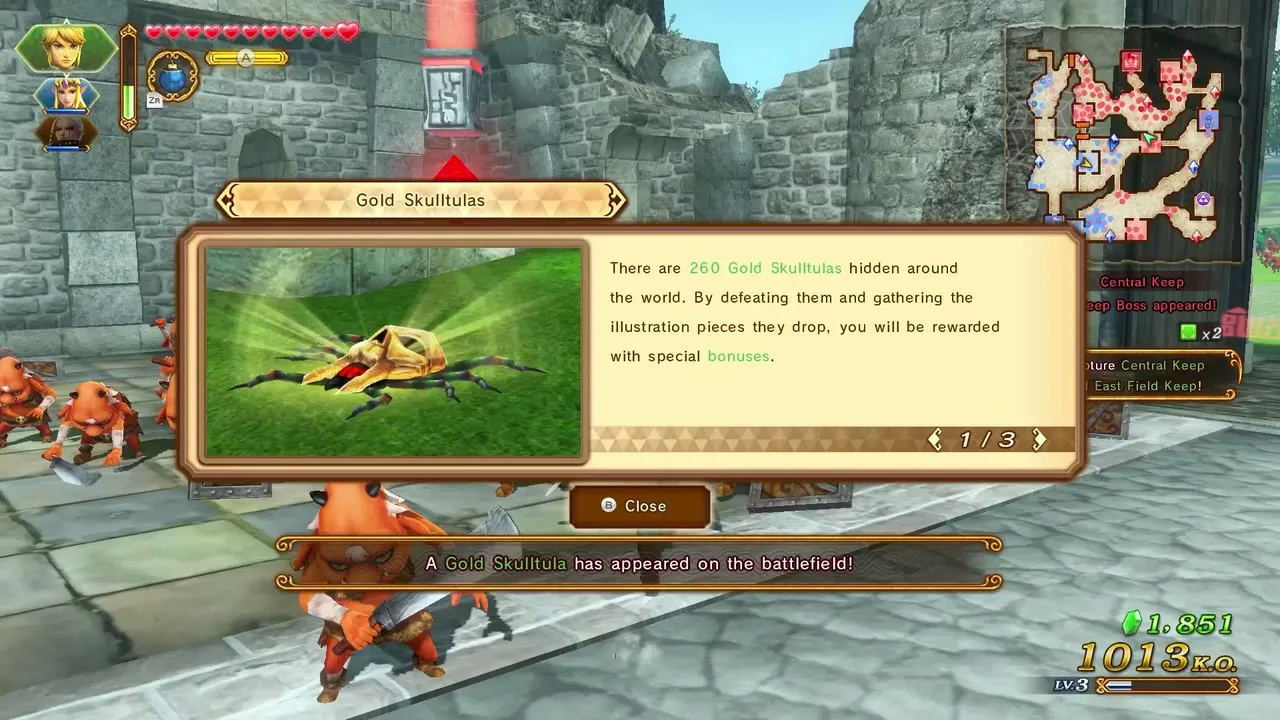
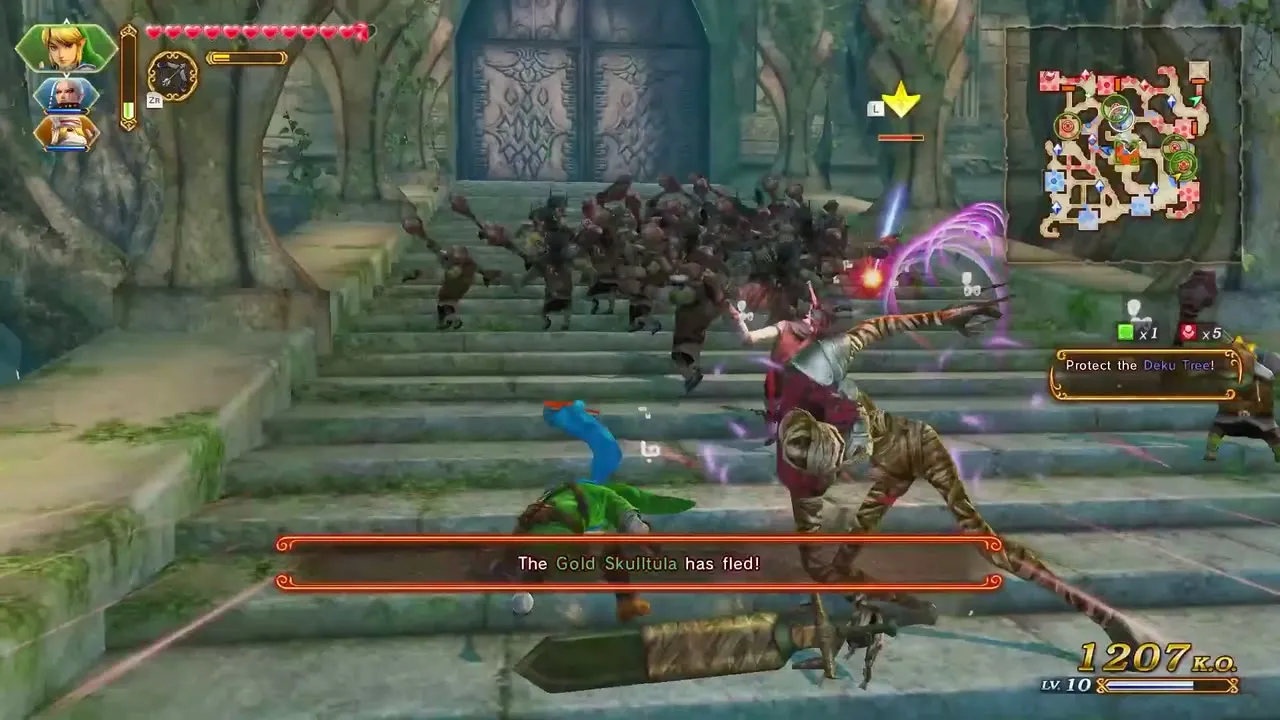
When you meet a condition, a message announces that a Gold Skulltula has appeared and a spider web marks its general area on the map. It does not wait forever: if you leave it alone the game announces that the Gold Skulltula has fled, so head straight to the web. Many sit under boulders that you must blow up with bombs first, while others hide behind a Wall of Vines or on a ledge that needs the Boomerang or the Hookshot. You can read the conditions for a battlefield in the scenario selection menu before you start.


One per attempt
You can collect only one Gold Skulltula in a single attempt at a scenario, even if you meet both sets of conditions. Plan two separate runs: one on any difficulty for the 1,000 KO spider and a later Hard or Hero run for the second.


Unlocking the second Gold Skulltulas
The second set needs Hard or Hero difficulty. Hero Mode opens once you have cleared all 32 Legend Mode scenarios, including the Cia’s Tale, Linkle’s Tale and Wind Waker arcs. Some spiders also need the Hookshot or the Boomerang, which you earn in The Shadow King and The Sorceress of the Valley, so those need a replay. See modes and difficulty for the difficulty options.


Illustration rewards
Each Gold Skulltula drops an Illustration Piece that you can view in the Gallery. Twenty pieces of one illustration complete it, and the game has 13 illustrations. Completing the first illustration unlocks the Rewards Map. Your total number of Gold Skulltulas also raises the Apothecary: better potions open at 3, 12, 45 and 90 Gold Skulltulas. The game holds 260 Gold Skulltulas in total; 64 of them are in Legend Mode and the rest are hidden in Adventure Mode, so those spiders count toward the same illustrations.

All 32 scenarios at a glance
Use this table to see what each scenario needs. The sections below give the full instructions for every entry.
| Scenario | Arc | Second Gold Skulltula: warrior | Second Gold Skulltula: goal |
|---|---|---|---|
| The Armies of Ruin | Prologue | 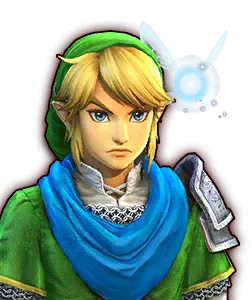 Link with any Hylian Sword except the 8-bit Wooden Sword | Follow Zelda’s plan through the keeps and the Fairy Fountain and wait for King Dodongo to be summoned |
| The Sheikah Tribesman | Prologue | 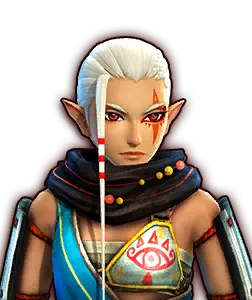 Impa with the Giant’s Knife | Defeat Wizzro without letting any Bombchu be destroyed and without Sheik falling |
| The Sorceress of the Woods | Prologue | Link with a Magic Rod | Reduce Gohma to half health before it moves toward the Great Deku Tree and keep Impa and Sheik alive |
| The Sorceress of the Valley | Prologue | Link (the safest choice) | Defeat Volga within three minutes of the start, then find Manhandla’s main body by destroying a stalk after it runs off, all before the Allied Base health falls below 50 percent |
| Land in the Sky | Skyward Sword | Link with a Hylian Sword | Defeat Ghirahim before he reaches the Allied Base, then use the Fairy Fountain Magic Circle after the first fight with Volga |
| Sealed Ambition | Skyward Sword | Link with the Fire Rod or another Magic Rod | Stop The Imprisoned from destroying any keep and open the Enemy Base quickly, defeating the Turncoat Soldiers and The Imprisoned |
| Land of Myth | Ocarina of Time | 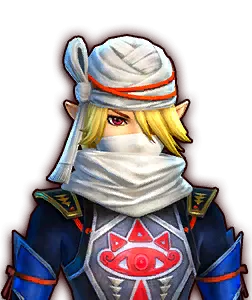 Sheik | Defeat Darunia at least twice and reach 1,500 KOs before the Enemy Base opens |
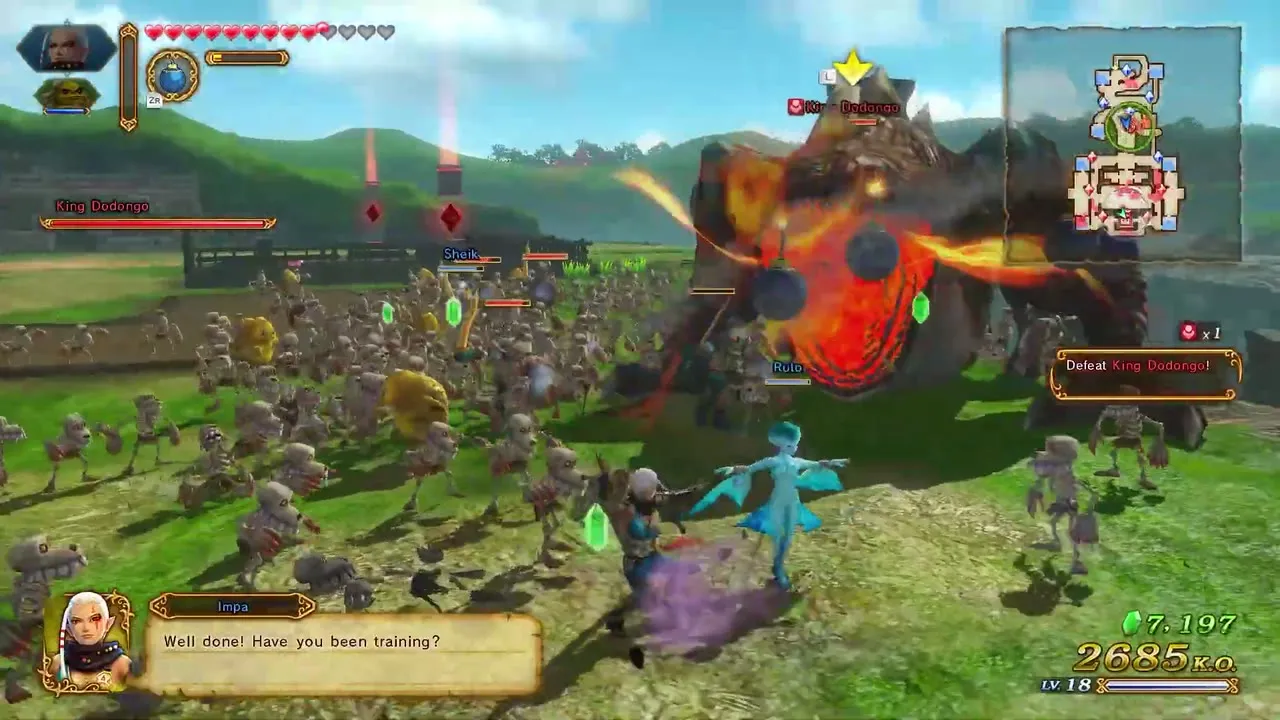
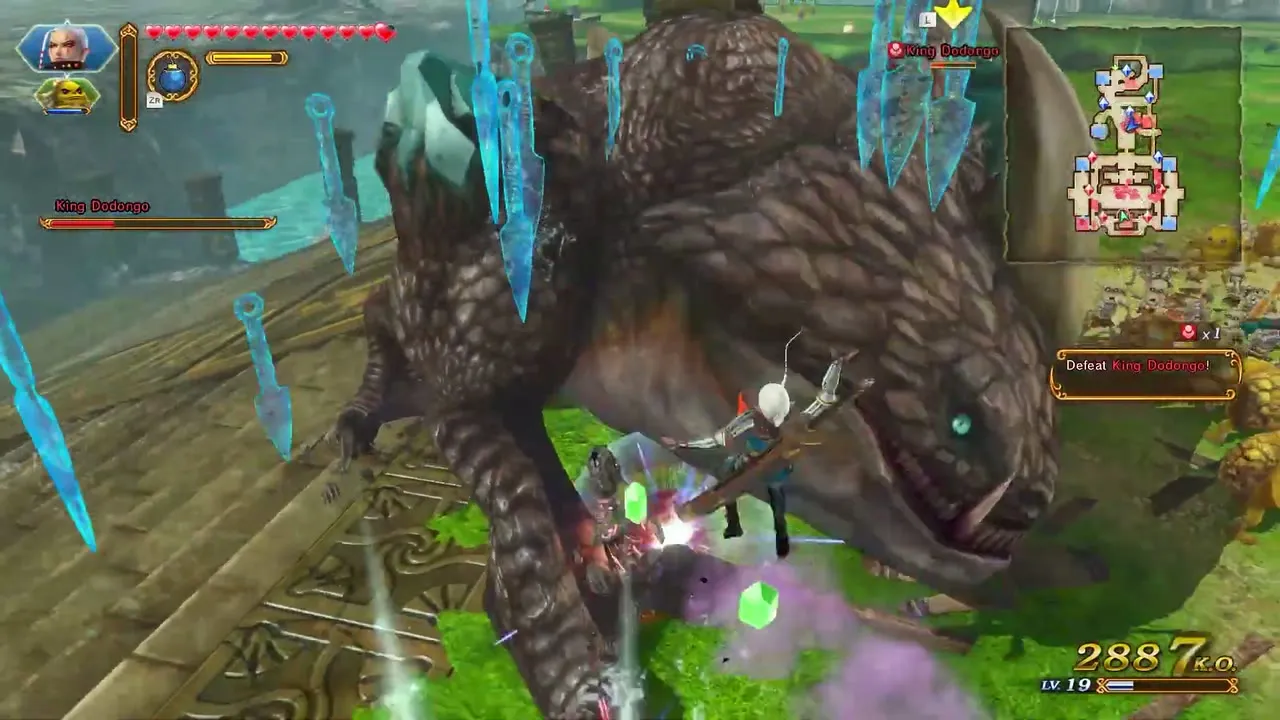
| The Water Temple | Ocarina of Time | Impa with the Giant Blade | Defeat King Dodongo within three minutes of his appearing and keep Sheik safe |
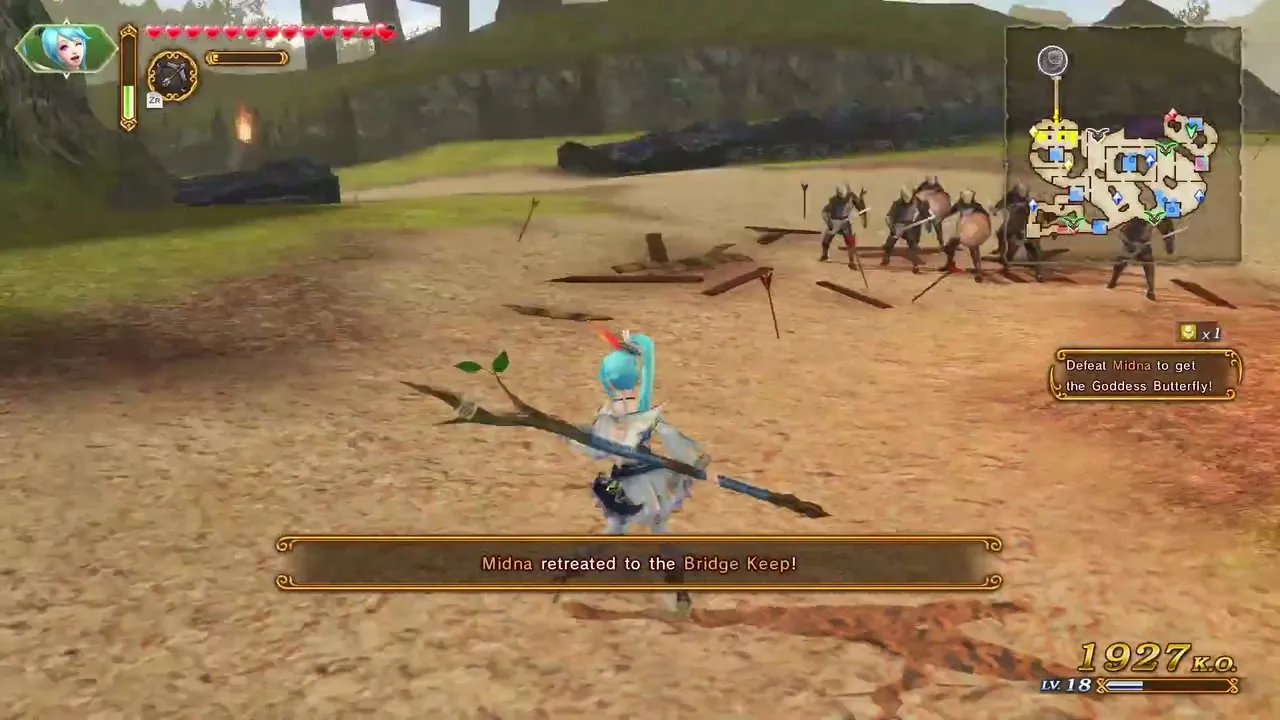
| Land of Twilight | Twilight Princess |  Lana with the Book of Sorcery | Defeat Midna before Cia flees the field, then capture both the Bridge Keep and the Sorceress’s Keep |
| The Shadow King | Twilight Princess | 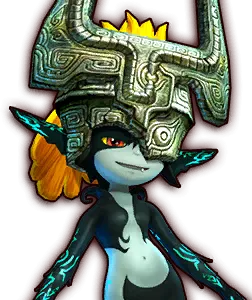 Midna | Defeat Argorok while your own health stays at 50 percent or more and keep Agitha alive |
| The Sacred Sword | Epilogue | any warrior ( Fi adds a safety condition) | Defeat 2,000 enemies, find all the Sealed Statues and repel Wizzro |
| A War of Spirit | Epilogue | 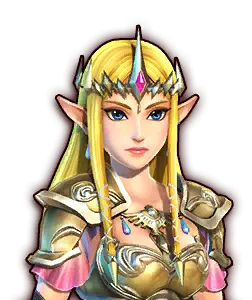 Zelda with the Rapier | Wait until Impa, Lana, Darunia, Midna and Fi leave the battlefield after the Dark Link fight |
| Shining Beacon | Epilogue | Lana with the Spear | Defeat Volga at least twice, one of those defeats before you activate the Fairy Fountain Magic Circle, then open the gate to the Enemy Base while keeping every ally alive |
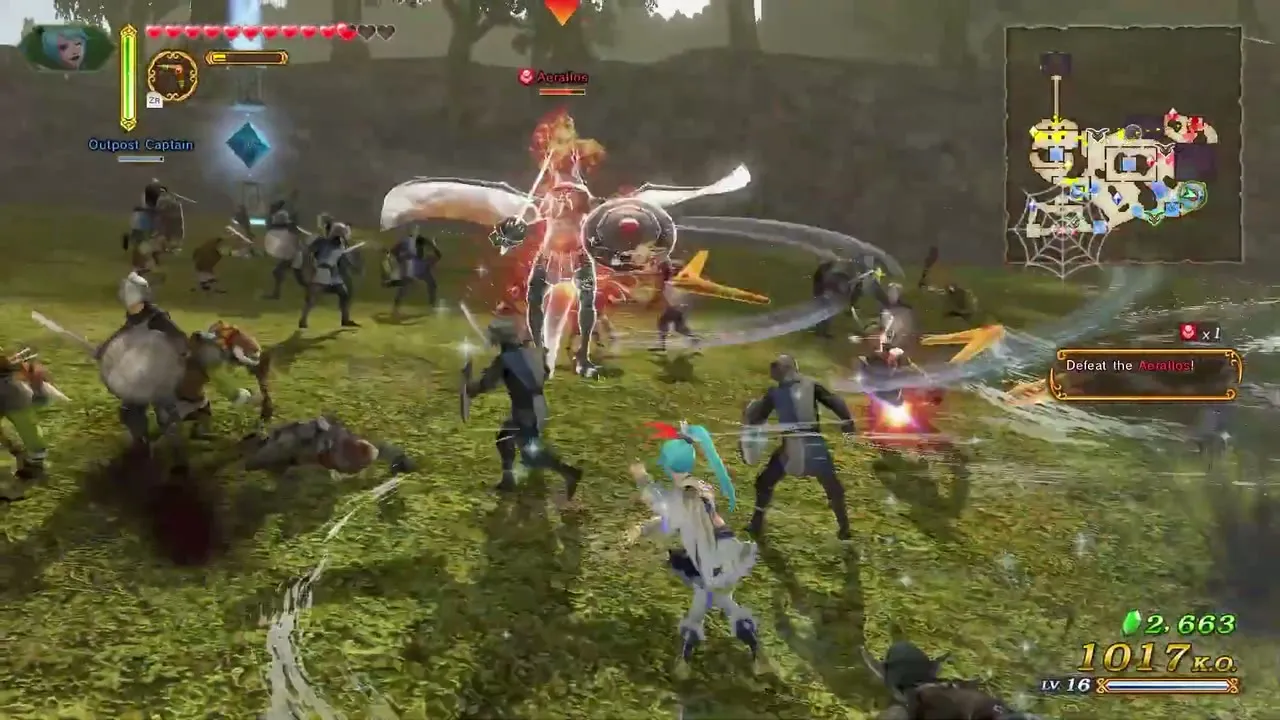
| Ganondorf’s Return |  Ganondorf | Ganondorf | Capture every keep, bring all the imprisoned monsters under your control, then defeat the Lizalfos, the Aeralfos and two of the giant bosses before they join up |
| March of the Demon King | Ganondorf | Ganondorf | Defeat all of Impa’s clones, then the real Impa |
| Battle of the Triforce | Ganondorf | Ganondorf | Defeat Link and Zelda four times combined, with both on the field |
| Enduring Resolve | Grand Finale | Zelda with the Rapier | Defeat every Keep Saboteur, Rally Captain and Skilled Summoner while all your commandable warriors stay at 30 percent health or more |
| Liberation of the Triforce | Grand Finale |  Darunia | Defeat Ganondorf before the Castle Keep is recaptured and keep every ally alive; in Definitive Edition allies must stay above 30 percent health |
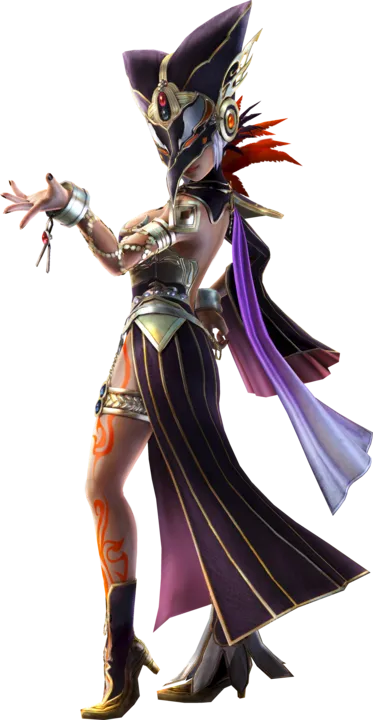
| The Dragon of the Caves | Cia’s Tale |  Cia | Destroy every Bombchu before it explodes and defeat both King Dodongos |
| The Invasion Begins | Cia’s Tale | 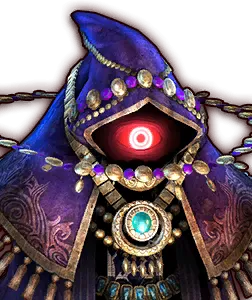 Wizzro | Defeat Impa twice without letting the Allied Base fall into danger |
| The Usurper King | Cia’s Tale | Wizzro | Defeat Argorok and Agitha without letting Volga be defeated |
| The Demon Lord | Cia’s Tale |  Volga | Capture nine keeps in under 10 minutes |
| Darkness Falls | Cia’s Tale | Cia | Defeat Wizzro while keeping the health of every Dark Link above 60 percent |
| The Girl in the Green Tunic | Linkle’s Tale | 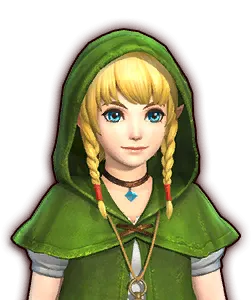 Linkle | Help all three Cucco Chicks grow into Gold Cuccos |
| Powers Collide | Linkle’s Tale | Linkle | Open the Enemy Base before Darunia or the Allied Base is endangered |
| The Demon Lord’s Plan | Linkle’s Tale | Linkle | Defeat every Ceremonial Troop, every Controller Troop and The Imprisoned |
| Her True Self | Linkle’s Tale | Linkle | Open the Enemy Base before Zelda is in danger, which means beating Dark Zant quickly |
| The Other Hero | Linkle’s Tale | Linkle | Rescue all of the Hylian Captains |
| A New Disturbance | 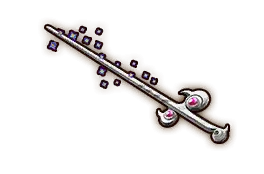 Wind Waker | Link with the Magic Rod | Destroy all Stone Heads and defeat Gohma before the Allied Base is in danger |
| The Search for Cia | Wind Waker | Lana with a Spear | Close all seven Gates of Souls in under 10 minutes |
| Reclaiming the Darkness | Wind Waker | Link with a Hylian Sword | Capture every keep within 10 minutes |
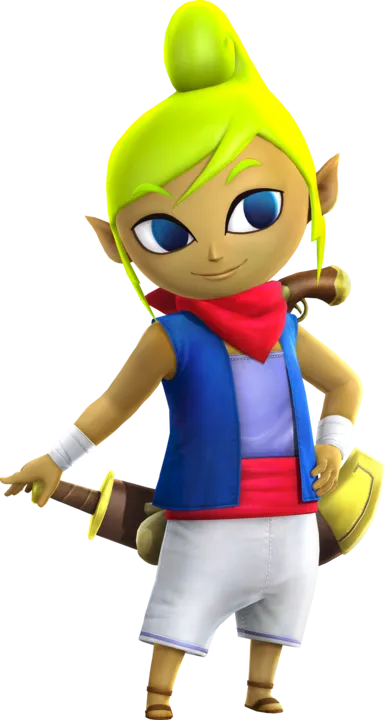
| Watchers of the Triforce | Wind Waker | 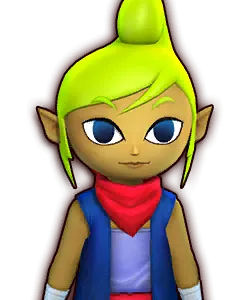 Tetra | Reduce Phantom Ganon to half health or less within 15 minutes |
Prologue
The four Prologue scenarios teach the routine, and two of their Hard Gold Skulltulas need the Hookshot that you only find later. This arc covers The Armies of Ruin, The Sheikah Tribesman, The Sorceress of the Woods and The Sorceress of the Valley.
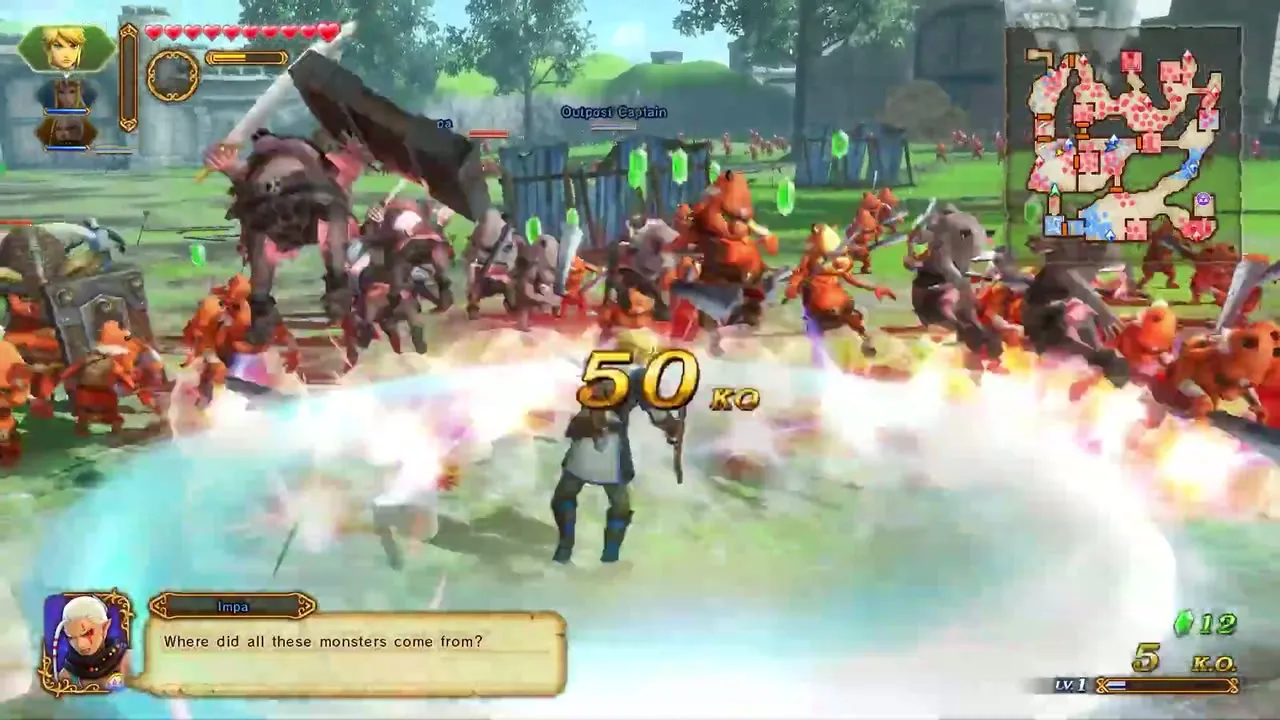
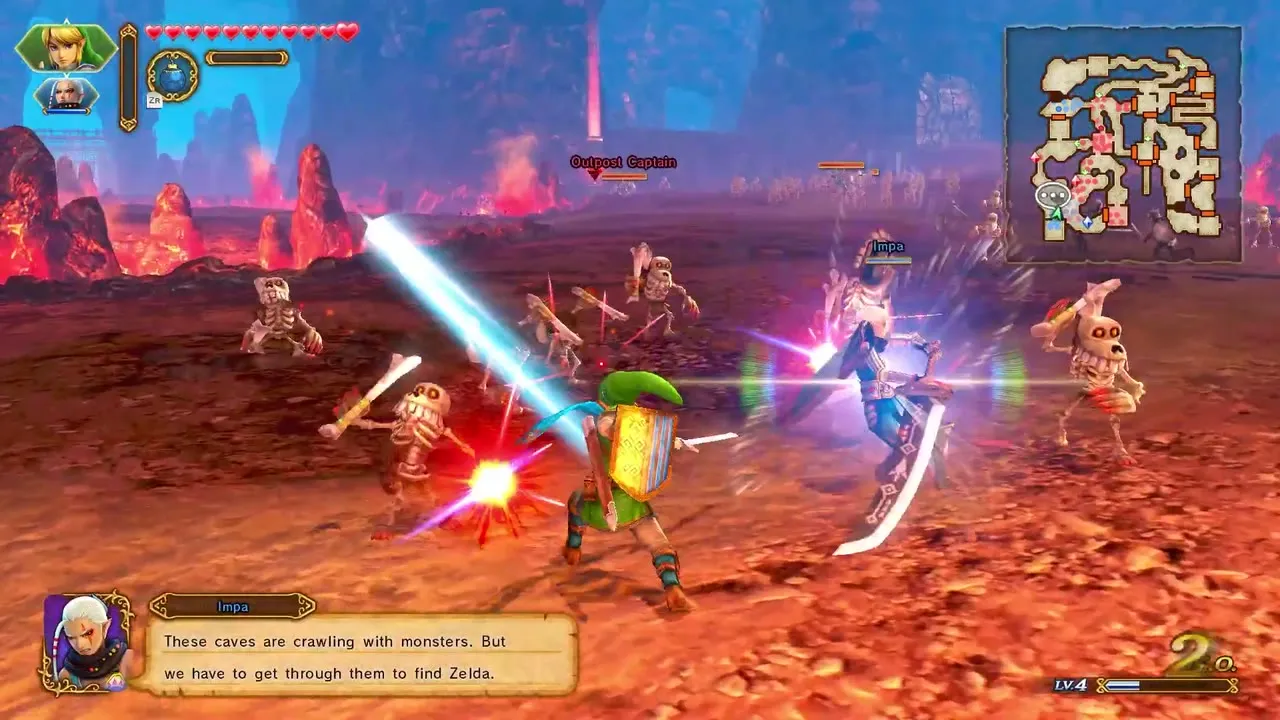


The Armies of Ruin: Gold Skulltula 1
This one appears on any difficulty. Defeat 1,000 enemies with any warrior, and when the message appears, look outside the southern side of the Abandoned Fort, on the western side of the field. Go to it quickly, because it flees if ignored.
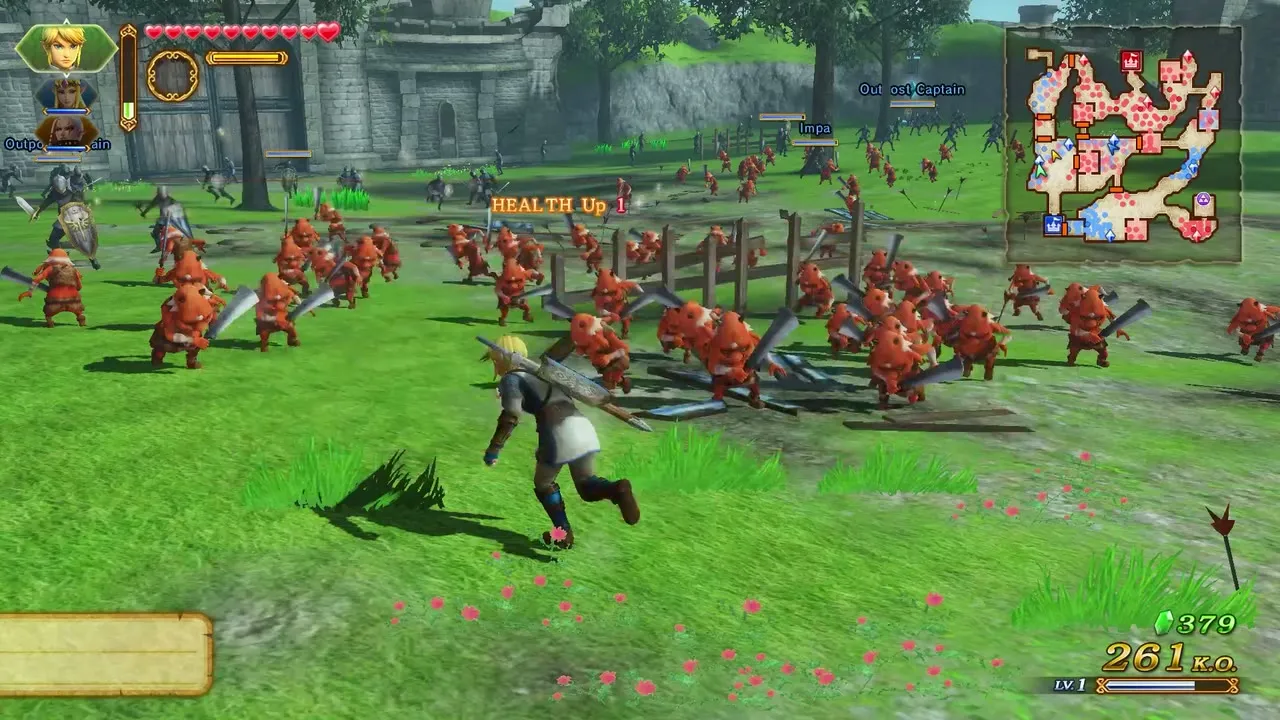
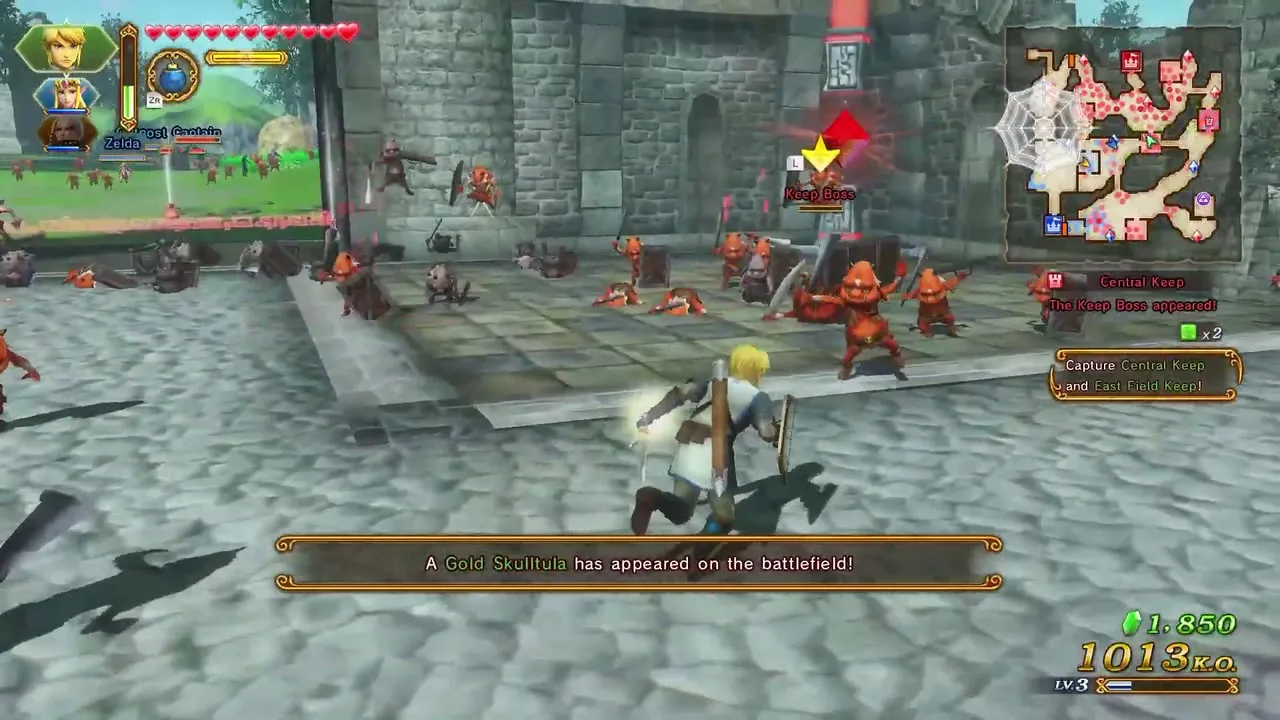
The Armies of Ruin: Gold Skulltula 2
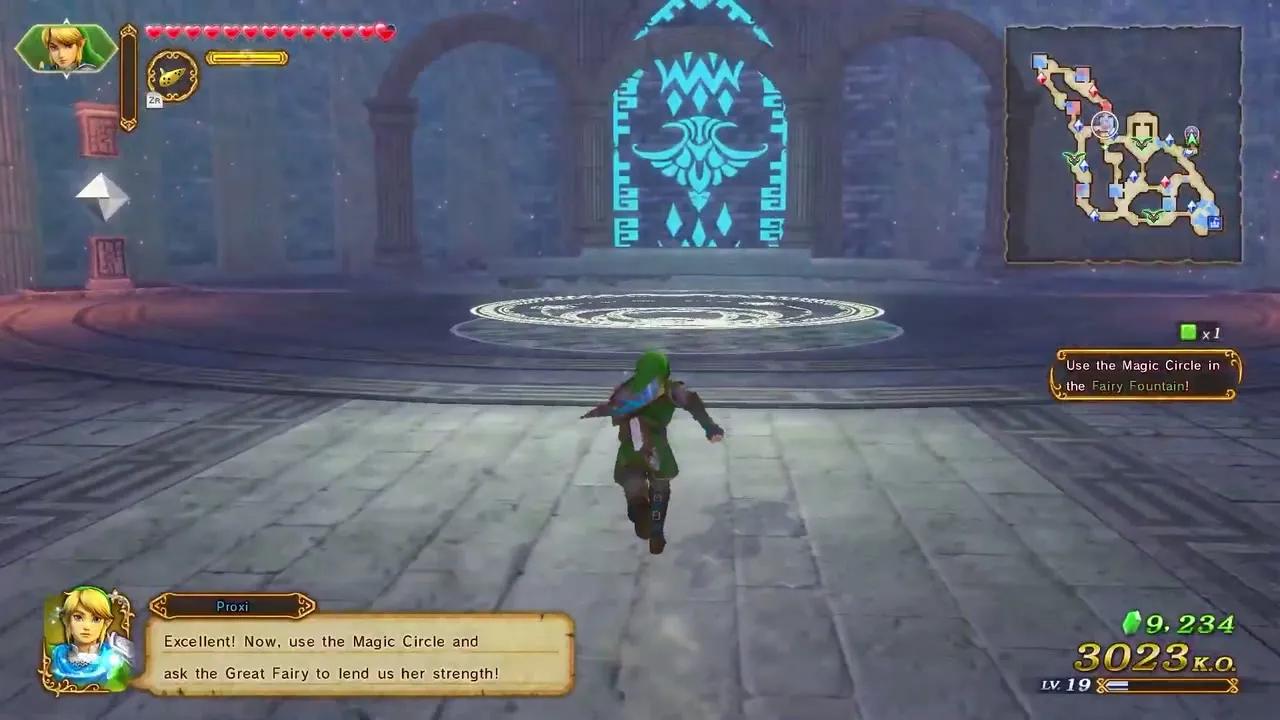
This one needs Hard or Hero difficulty. Play as Link with any Hylian Sword except the 8-bit Wooden Sword. Follow Zelda’s plan through the keeps and the Fairy Fountain and wait for King Dodongo to be summoned. It appears near the Hyrule Castle Checkpoint in the southwest of the field, so defeat it before you finish the boss.


The Sheikah Tribesman: Gold Skulltula 1
This one appears on any difficulty. Defeat 1,000 enemies with any warrior, and when the message appears, search beneath a rock outside the Stone Square in the southeast. Go to it quickly, because it flees if ignored.
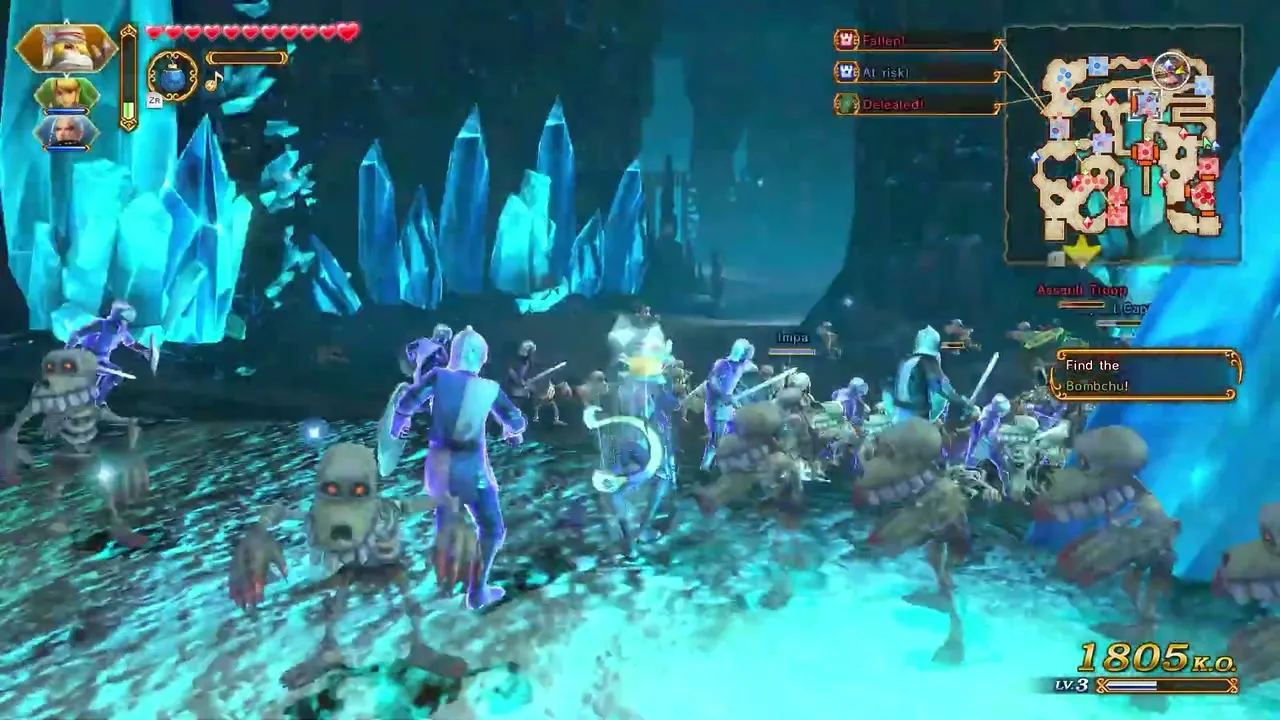
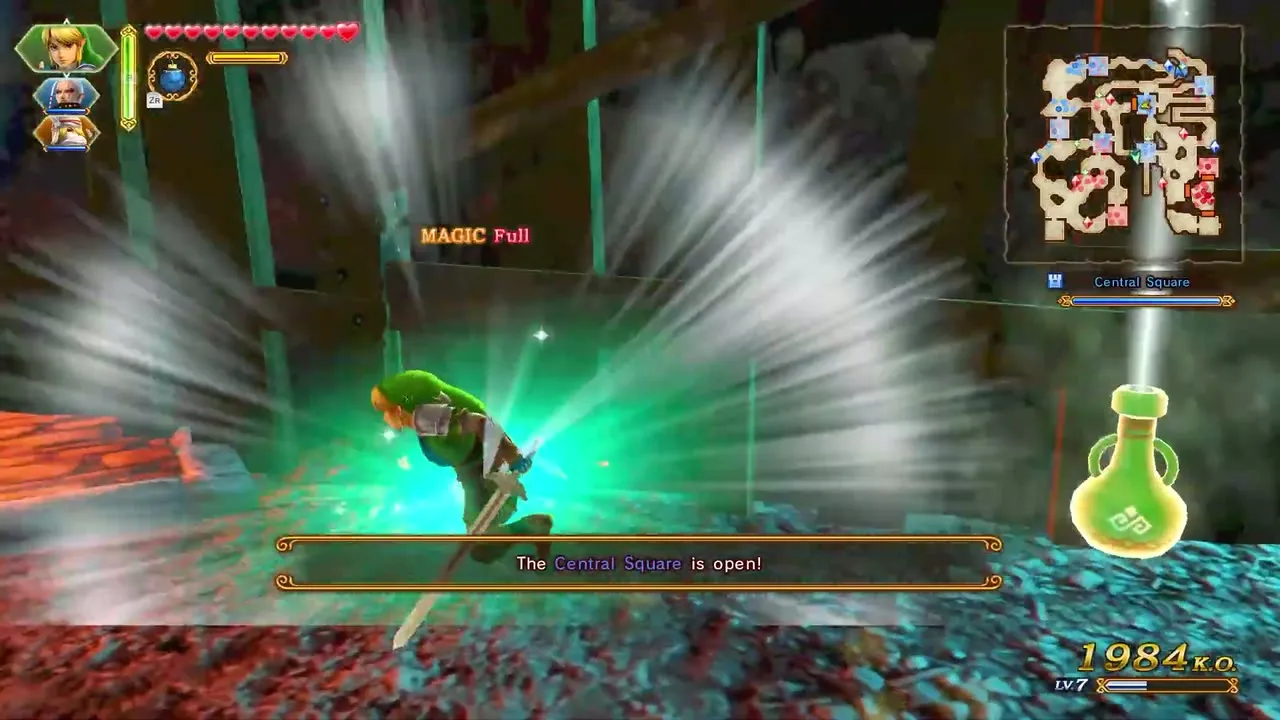
The Sheikah Tribesman: Gold Skulltula 2
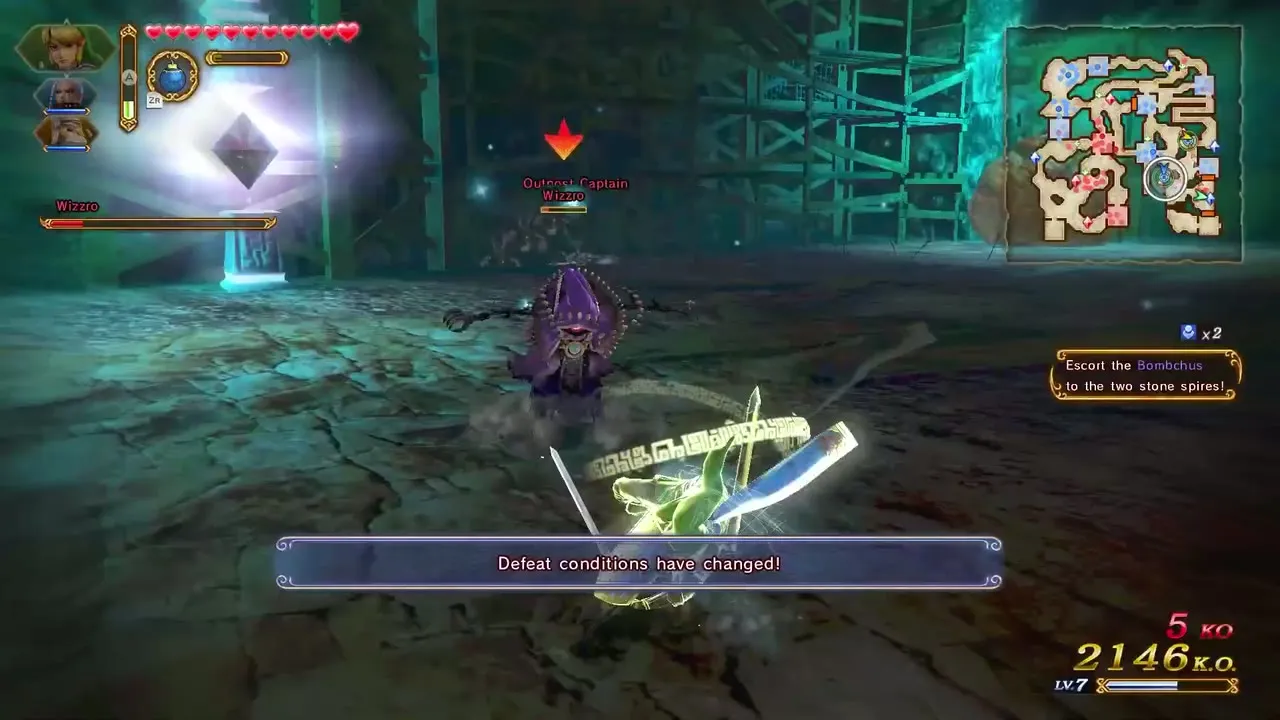
This one needs Hard or Hero difficulty. Play as Impa with the Giant’s Knife. Defeat Wizzro without letting any Bombchu be destroyed and without Sheik falling. You also need the Hookshot, which you pick up in The Shadow King. It waits on a ledge along the path north of the Crystal Cave, and you climb up with the Hookshot.

The Sorceress of the Woods: Gold Skulltula 1
This one appears on any difficulty. Defeat 1,000 enemies with any warrior, and when the message appears, go to the western part of the map and bomb the boulder at the end of a branch. Go to it quickly, because it flees if ignored.
The Sorceress of the Woods: Gold Skulltula 2
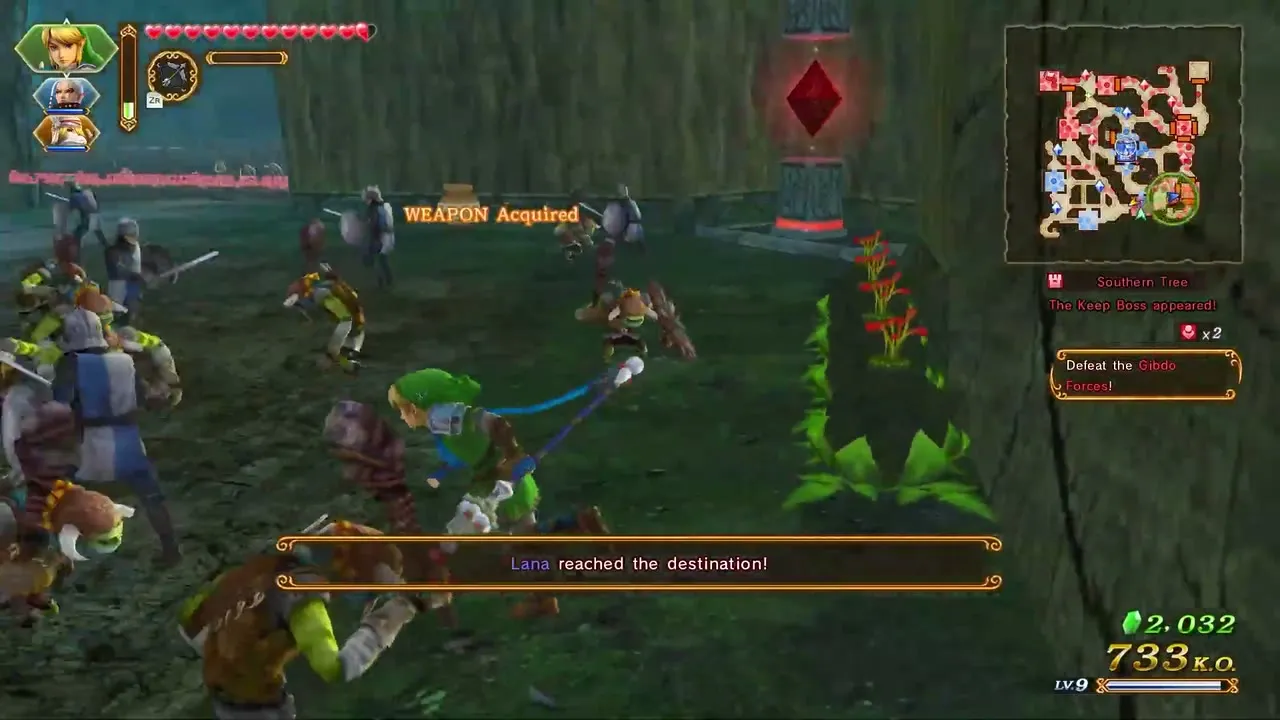
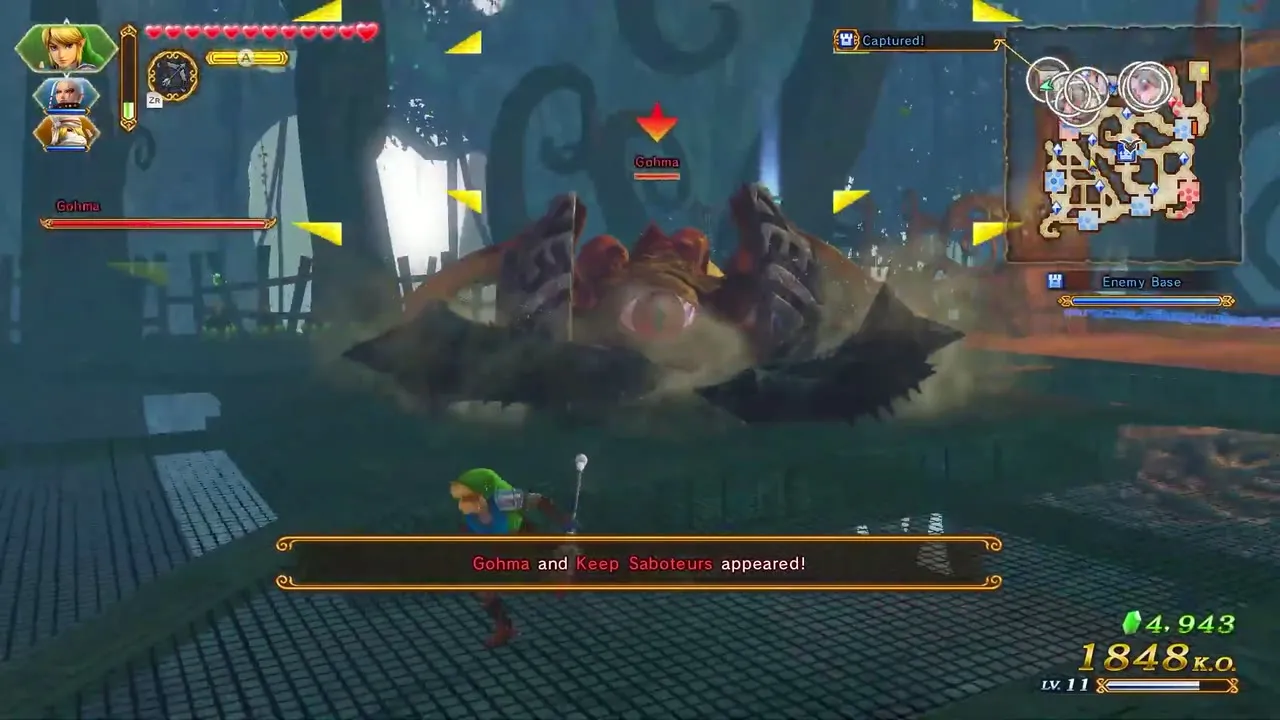
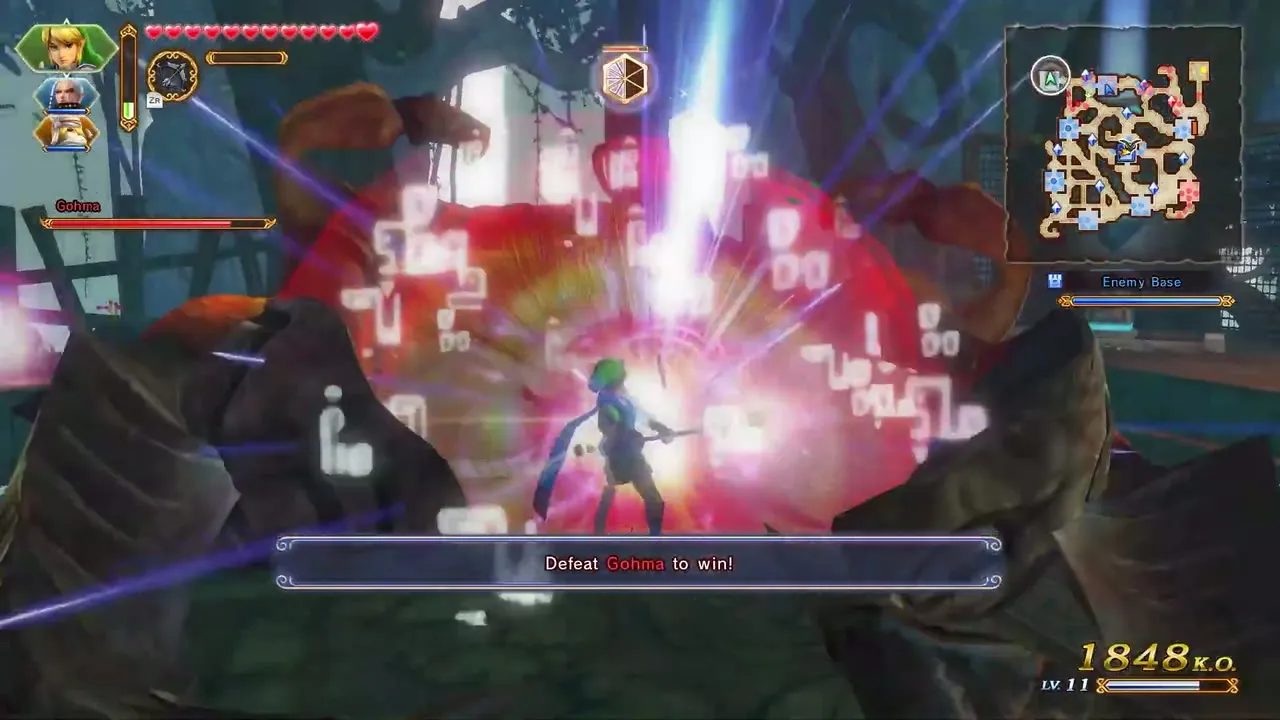
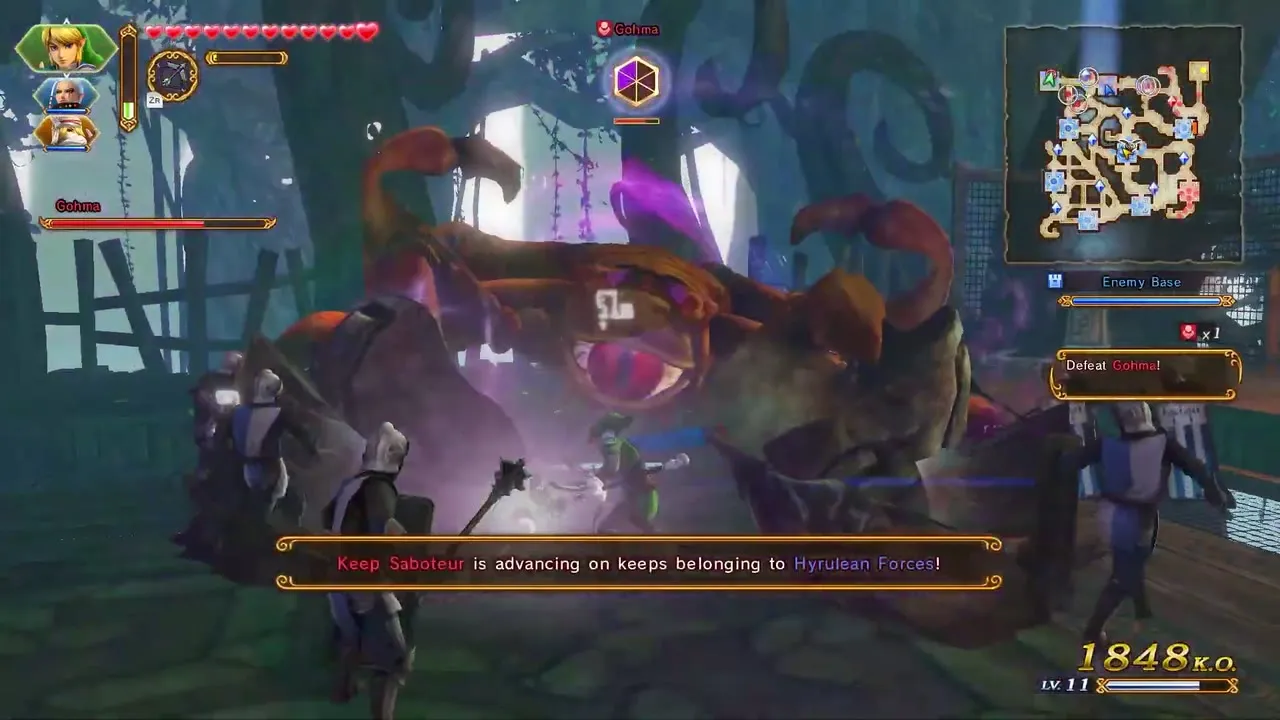
This one needs Hard or Hero difficulty. Play as Link with a Magic Rod. Reduce Gohma to half health before it moves toward the Great Deku Tree and keep Impa and Sheik alive. In Definitive Edition you must also defeat the Keep Saboteurs. You need the Hookshot from The Shadow King. It sits on a ledge to the northeast, behind the tree just west of the Fairy Fountain, and you reach it with the Hookshot.
The Sorceress of the Valley: Gold Skulltula 1
This one appears on any difficulty. Defeat 1,000 enemies with any warrior, and when the message appears, go outside the southern entrance of the West Temple. Go to it quickly, because it flees if ignored.
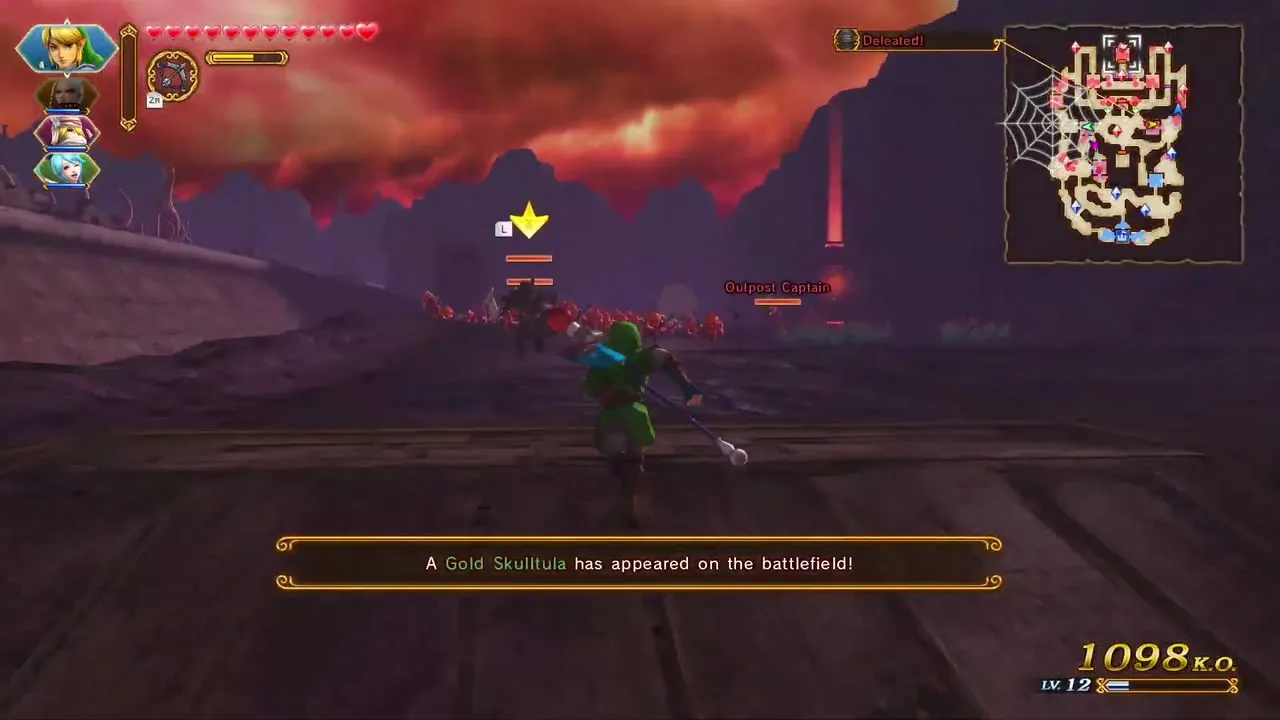

The Sorceress of the Valley: Gold Skulltula 2
This one needs Hard or Hero difficulty. Play as Link (the safest choice). Defeat Volga within three minutes of the start, then find Manhandla’s main body by destroying a stalk after it runs off, all before the Allied Base health falls below 50 percent. It appears at the top of the central stairway in the ruins.


Skyward Sword
The Skyward Sword arc has two scenarios, all of it Link’s except the Heart Container in the second, which belongs to Fi. This arc covers Land in the Sky and Sealed Ambition.
Land in the Sky: Gold Skulltula 1
This one appears on any difficulty. Defeat 1,000 enemies with any warrior, and when the message appears, bomb the boulder southwest of the Goddess Statue. Go to it quickly, because it flees if ignored.


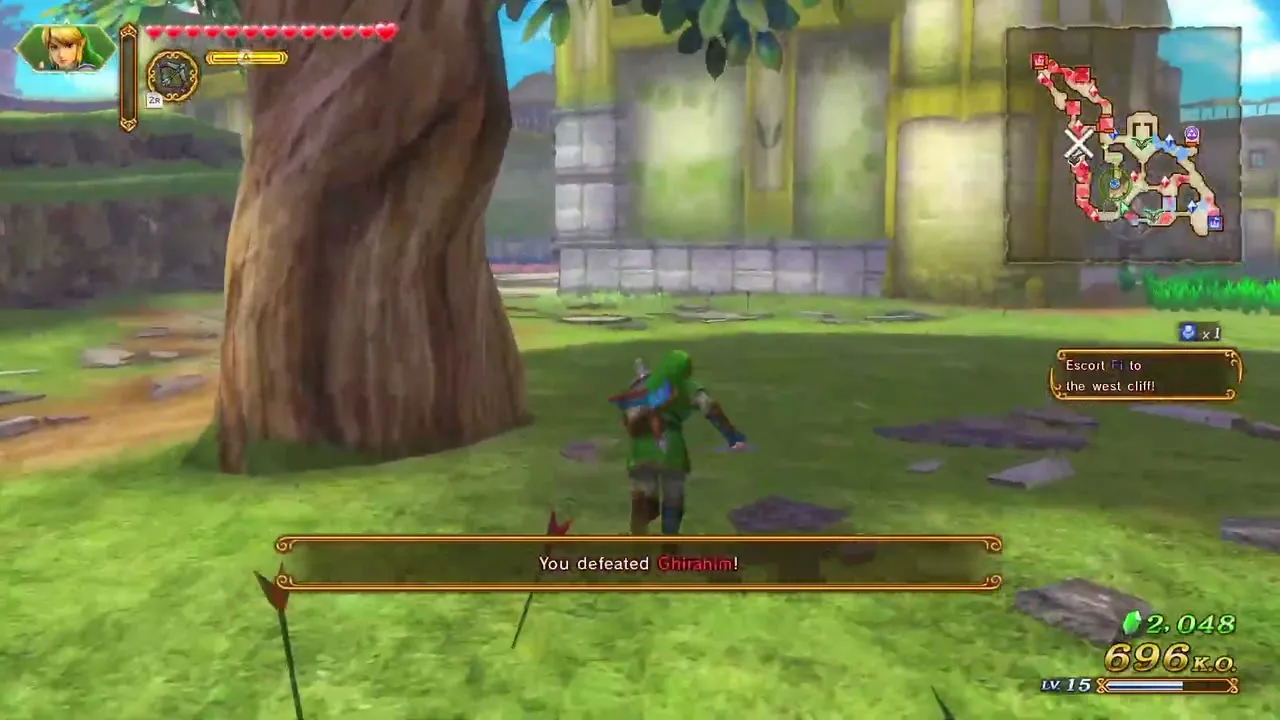
Land in the Sky: Gold Skulltula 2
This one needs Hard or Hero difficulty. Play as Link with a Hylian Sword. Defeat Ghirahim before he reaches the Allied Base, then use the Fairy Fountain Magic Circle after the first fight with Volga. It shows up near the large pumpkin north of the Academy Keep.
Sealed Ambition: Gold Skulltula 1
This one appears on any difficulty. Defeat 1,000 enemies with any warrior, and when the message appears, head north from the Southeast Keep to a cave hidden by a Wall of Vines and clear the vines with an item such as the Boomerang. Go to it quickly, because it flees if ignored.


Sealed Ambition: Gold Skulltula 2
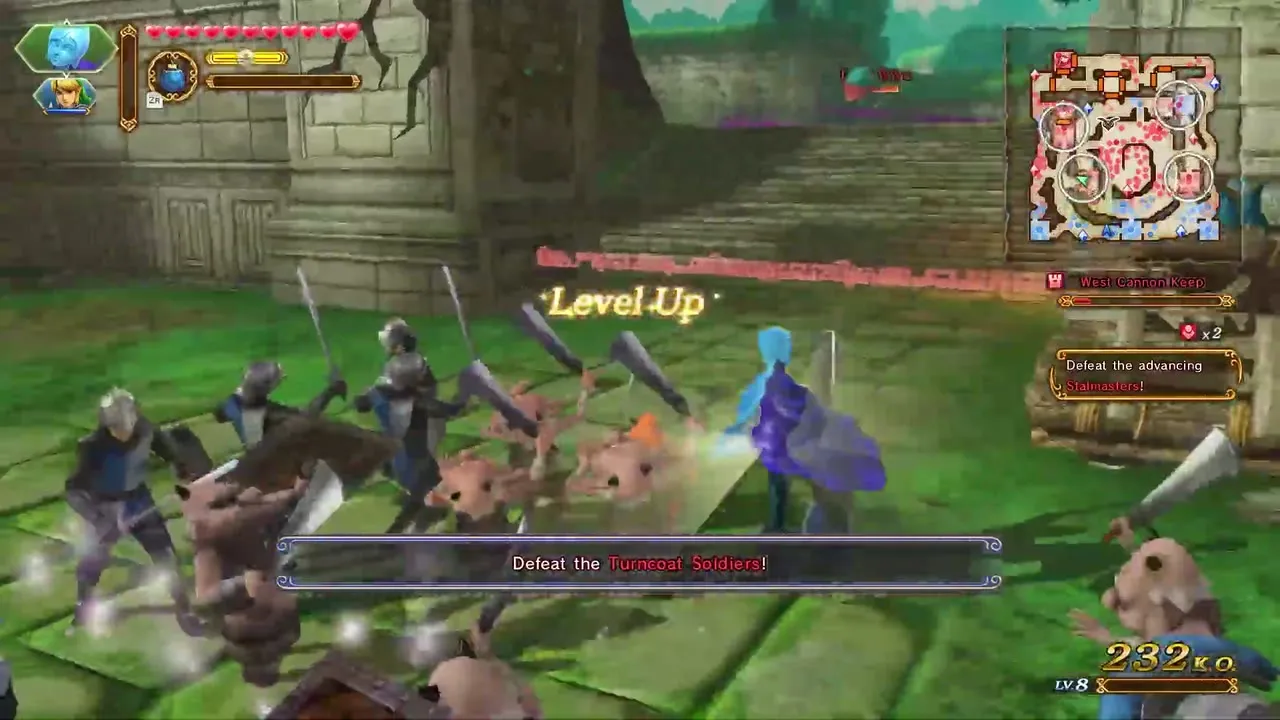
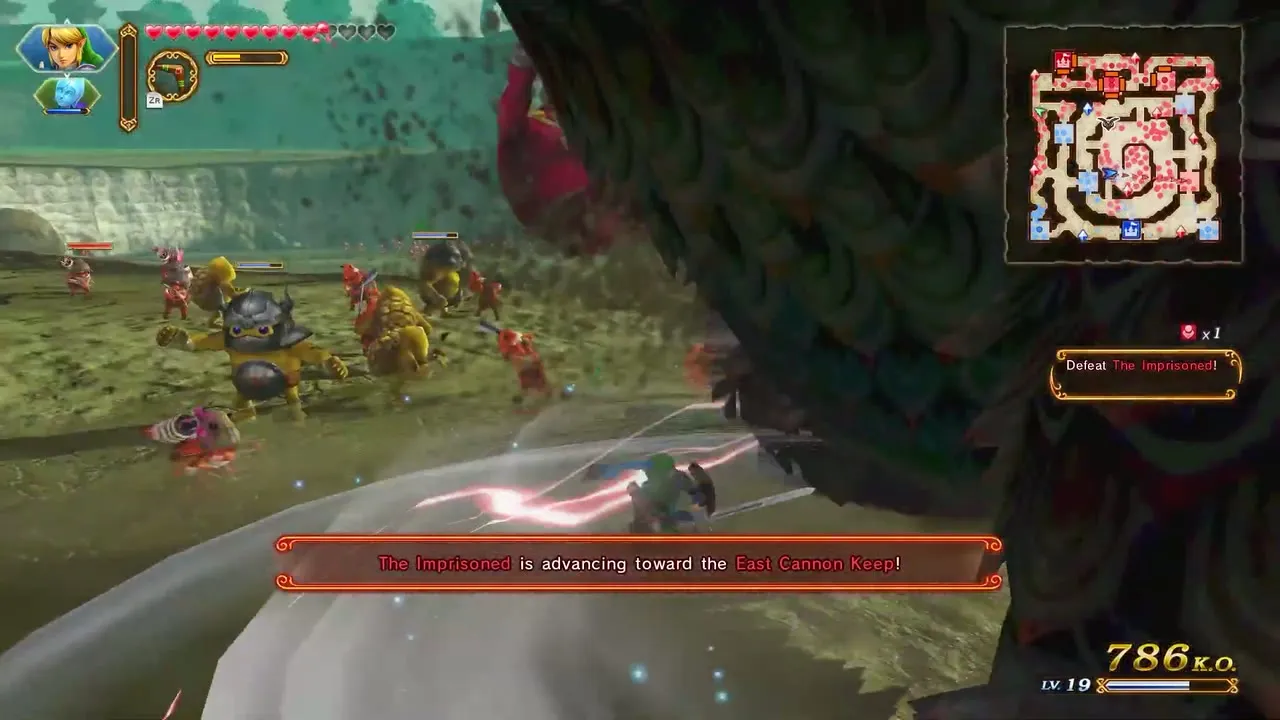
This one needs Hard or Hero difficulty. Play as Link with the Fire Rod or another Magic Rod. Stop The Imprisoned from destroying any keep and open the Enemy Base quickly, defeating the Turncoat Soldiers and The Imprisoned. Finish all of this within 10 minutes. It appears on the east wall of the East Temple Keep.
Ocarina of Time
The Ocarina of Time arc splits its hearts between Sheik, Impa and Darunia. This arc covers Land of Myth and The Water Temple.

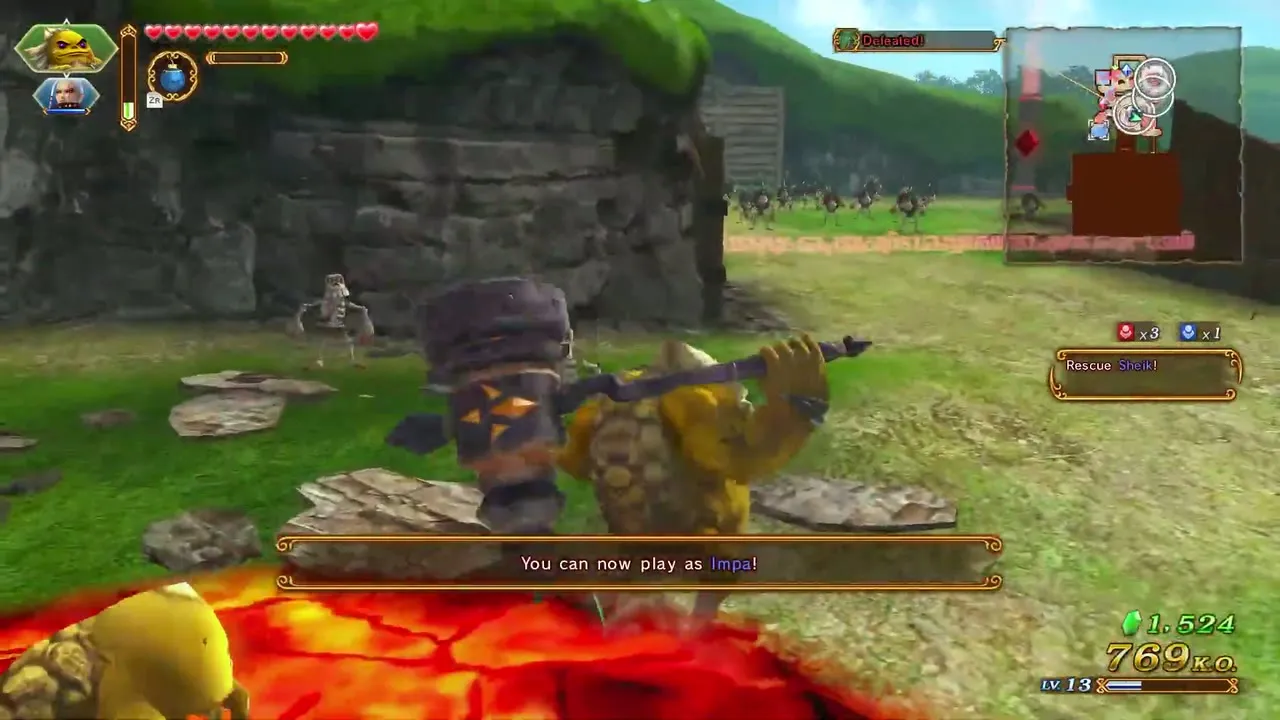
Land of Myth: Gold Skulltula 1
This one appears on any difficulty. Defeat 1,000 enemies with any warrior, and when the message appears, climb to a ledge northwest of the West Boulder Keep with the Hookshot from The Shadow King. Go to it quickly, because it flees if ignored.
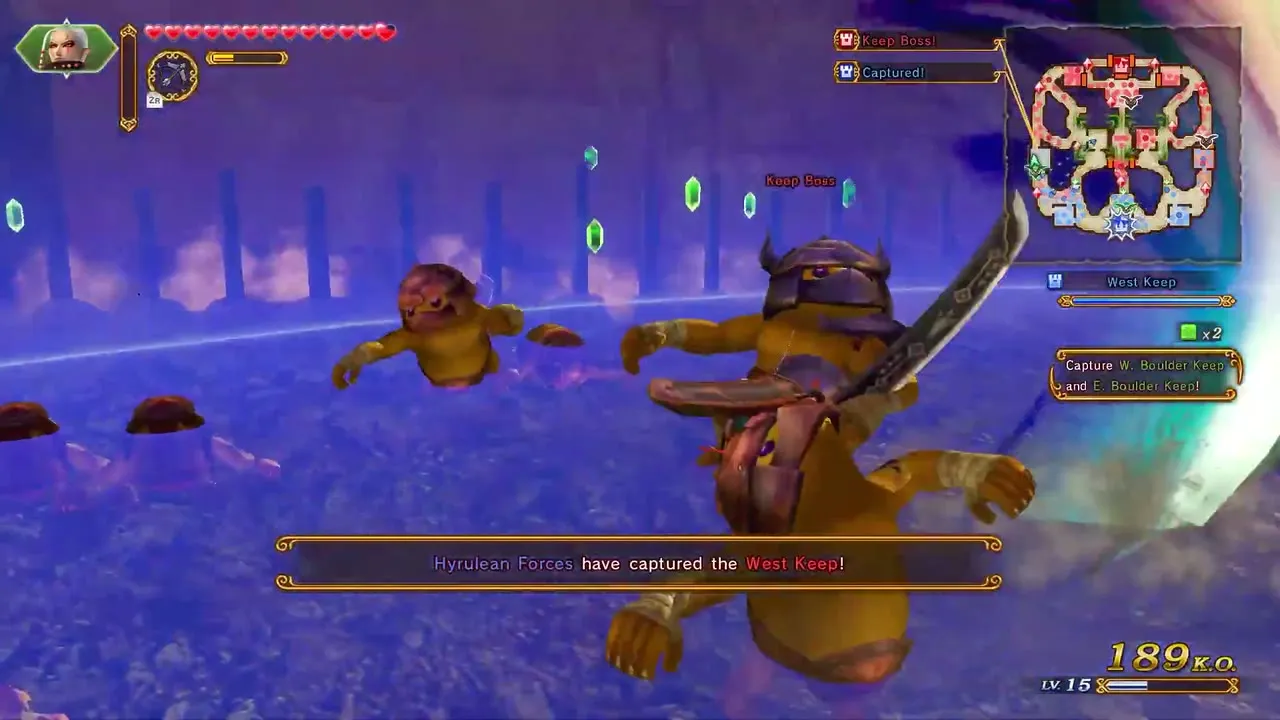
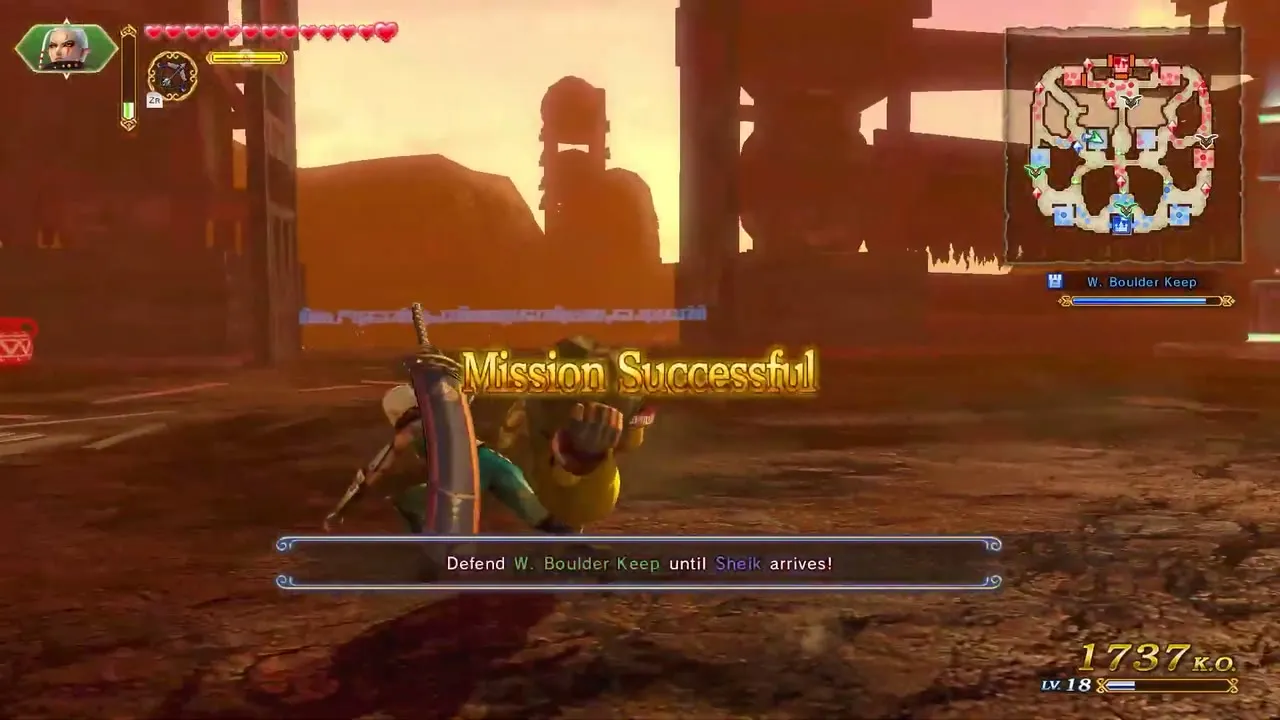
Land of Myth: Gold Skulltula 2
This one needs Hard or Hero difficulty. Play as Sheik. Defeat Darunia at least twice and reach 1,500 KOs before the Enemy Base opens. Definitive Edition also accepts controlling at least seven keeps instead of the KO count. It is in the room south of the Chief’s Room.


The Water Temple: Gold Skulltula 1
This one appears on any difficulty. Defeat 1,000 enemies with any warrior, and when the message appears, go north of the Temple Face Keep and clear the Wall of Vines there with the Boomerang. Go to it quickly, because it flees if ignored.

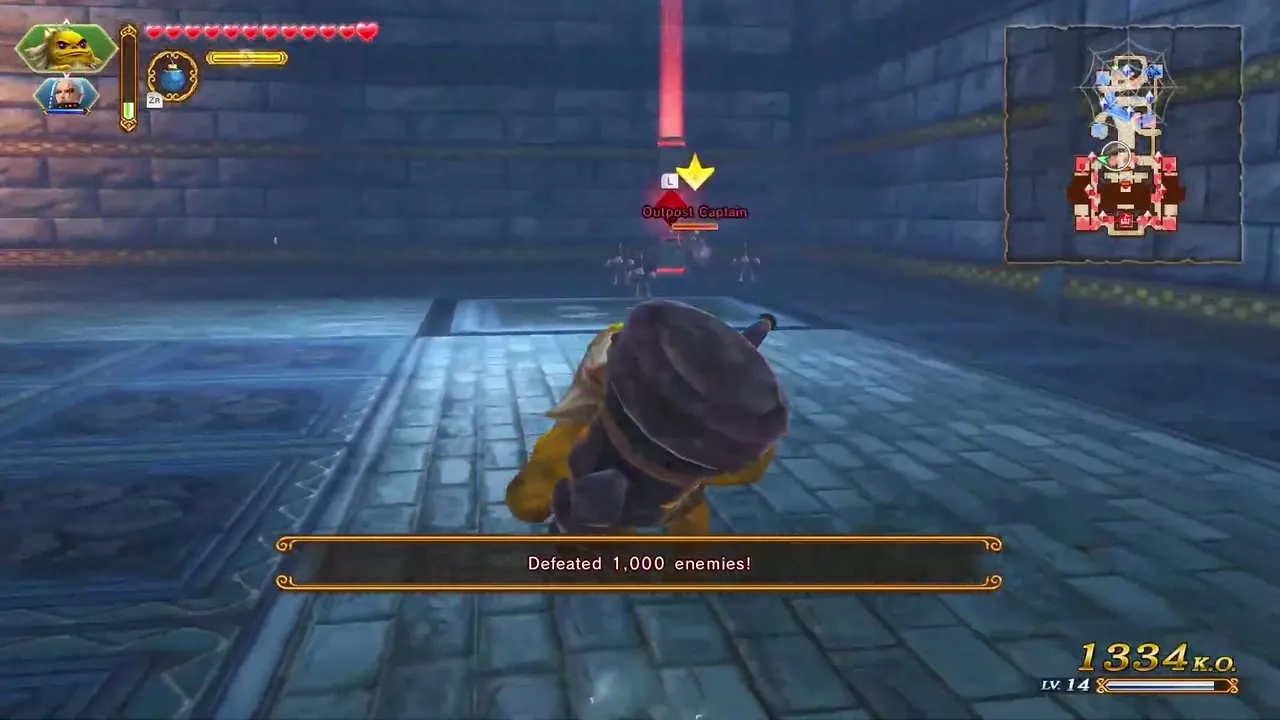
The Water Temple: Gold Skulltula 2
This one needs Hard or Hero difficulty. Play as Impa with the Giant Blade. Defeat King Dodongo within three minutes of his appearing and keep Sheik safe. It is at the top of the waterfall cliff in the far north of the map.
Twilight Princess
The Twilight Princess arc belongs mostly to Lana and Midna, and it is where you pick up the Hookshot. This arc covers Land of Twilight and The Shadow King.


Land of Twilight: Gold Skulltula 1
This one appears on any difficulty. Defeat 1,000 enemies with any warrior, and when the message appears, look west of Rocky Square, on the corner of a building. Go to it quickly, because it flees if ignored.

Land of Twilight: Gold Skulltula 2
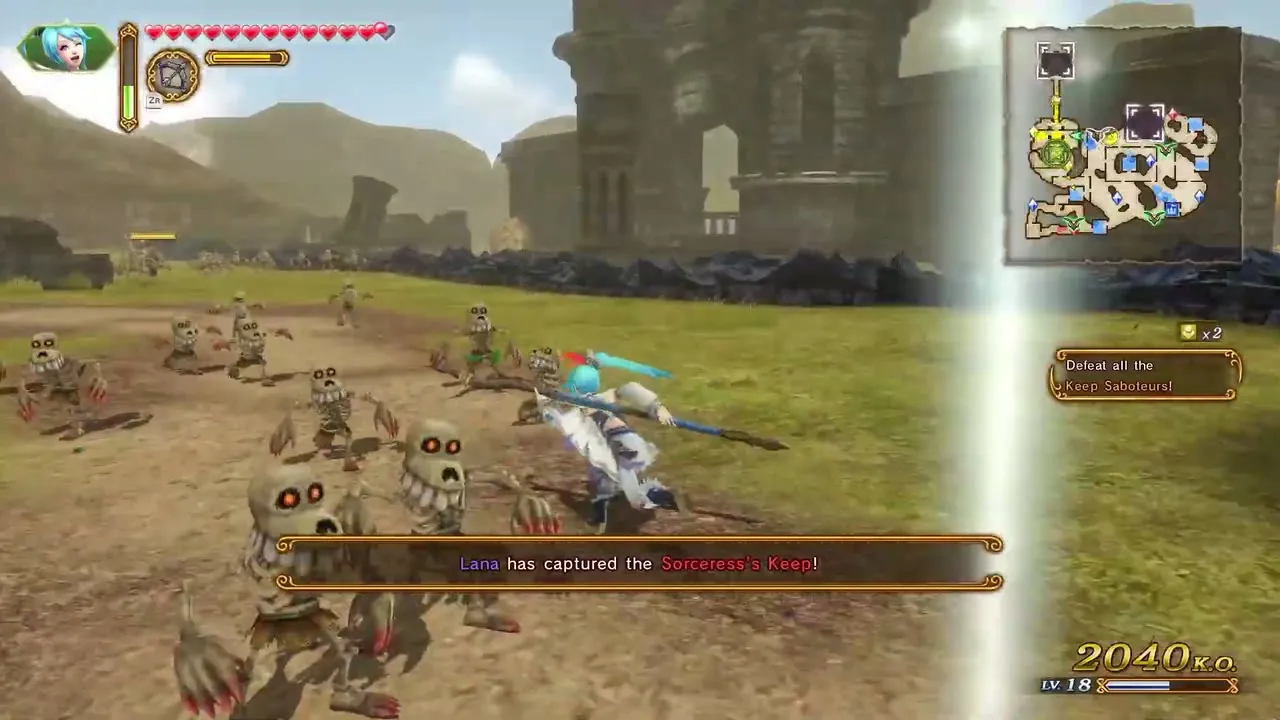
This one needs Hard or Hero difficulty. Play as Lana with the Book of Sorcery. Defeat Midna before Cia flees the field, then capture both the Bridge Keep and the Sorceress’s Keep. It is at the Bridge Keep.
The Shadow King: Gold Skulltula 1
This one appears on any difficulty. Defeat 1,000 enemies with any warrior, and when the message appears, bomb the boulder west of North Palace. Go to it quickly, because it flees if ignored.
The Shadow King: Gold Skulltula 2
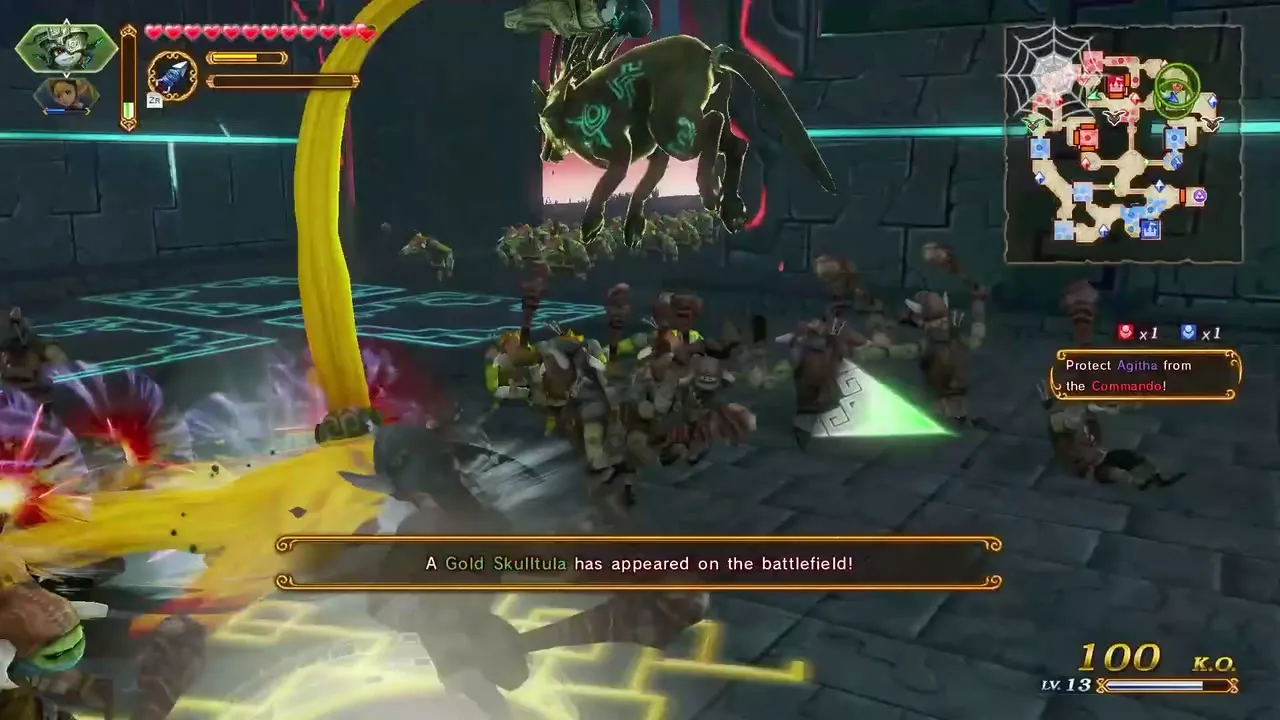
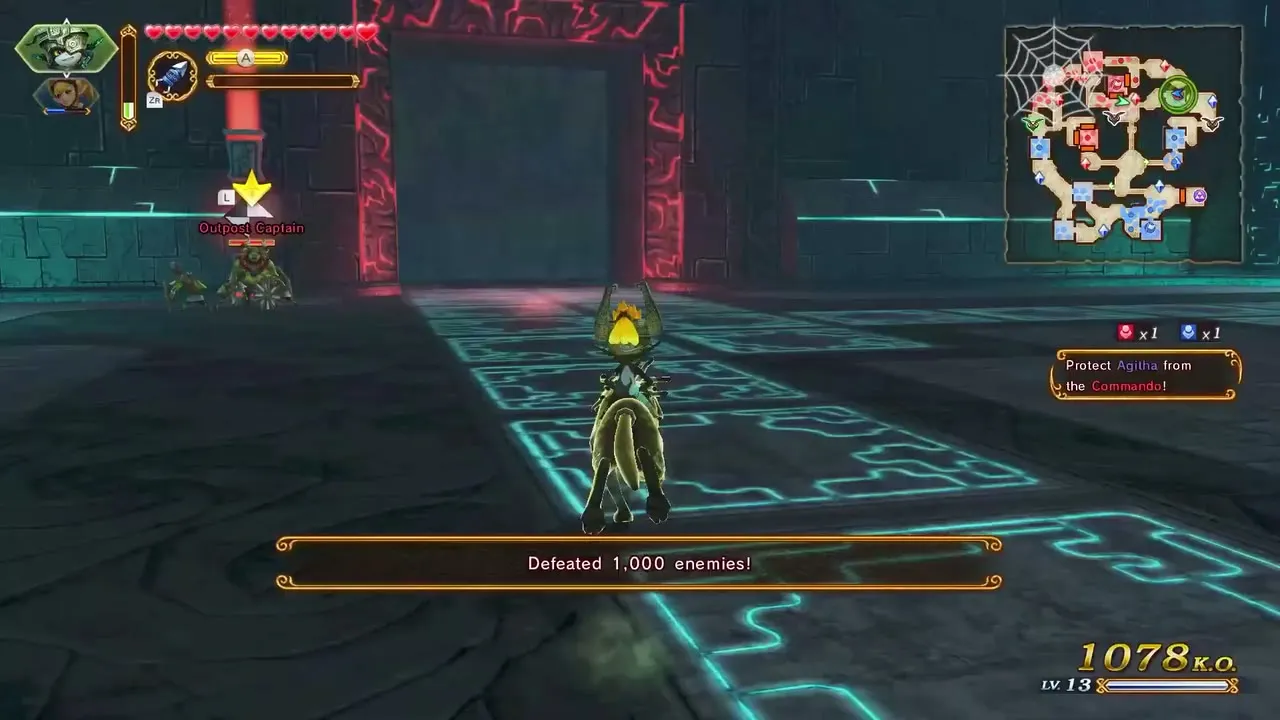
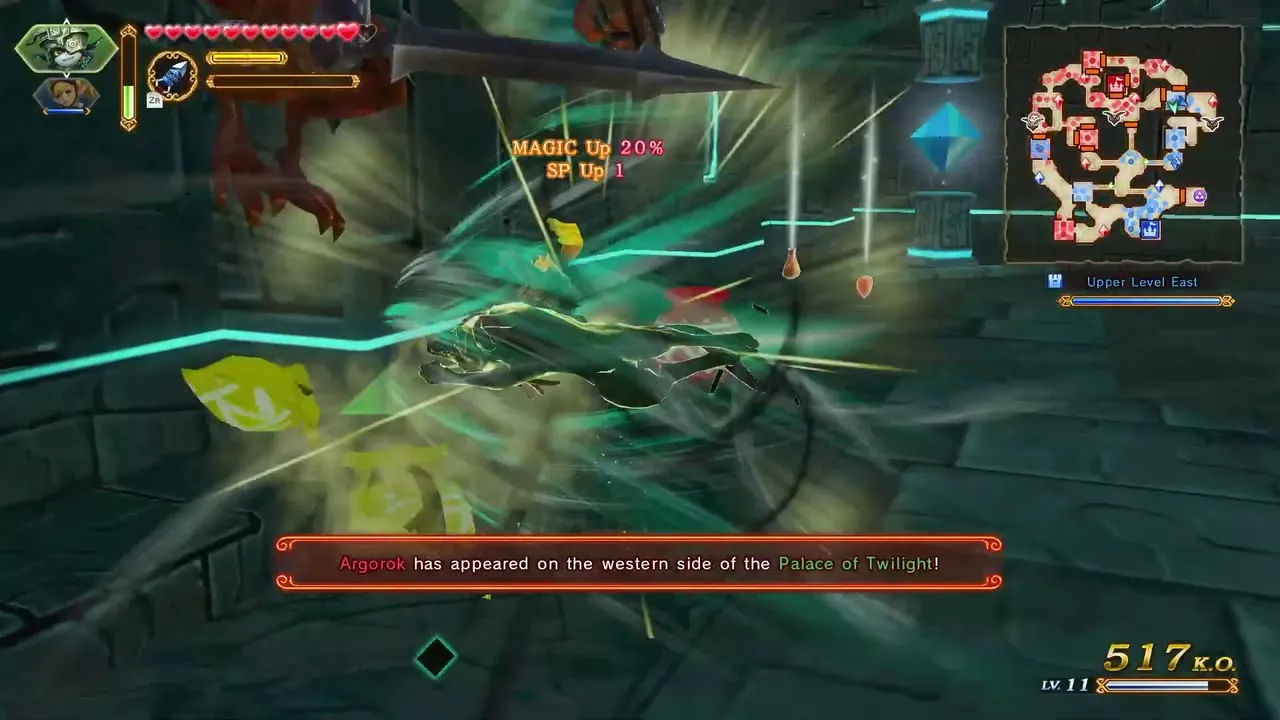
This one needs Hard or Hero difficulty. Play as Midna. Defeat Argorok while your own health stays at 50 percent or more and keep Agitha alive. It appears outside the southern door of the Enemy Base.

Epilogue
The Epilogue scenarios can be replayed with several warriors, which matters because each chest checks who opens it. This arc covers The Sacred Sword, A War of Spirit and Shining Beacon.

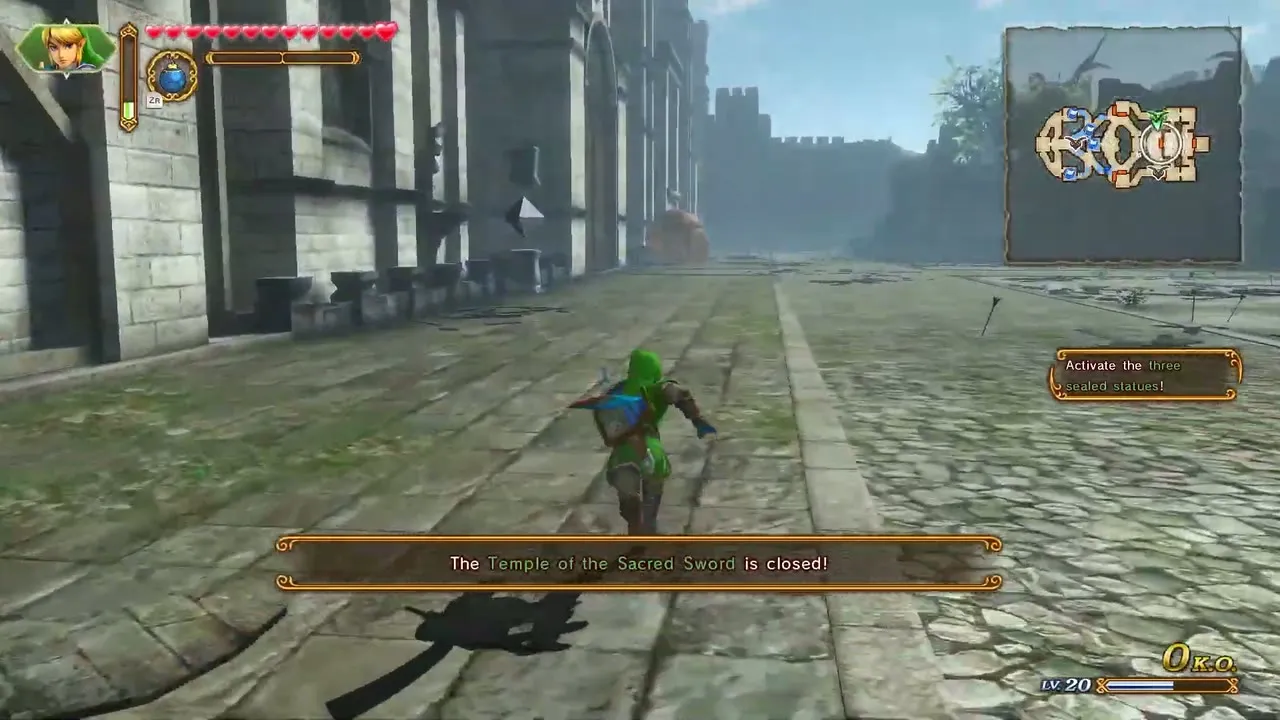
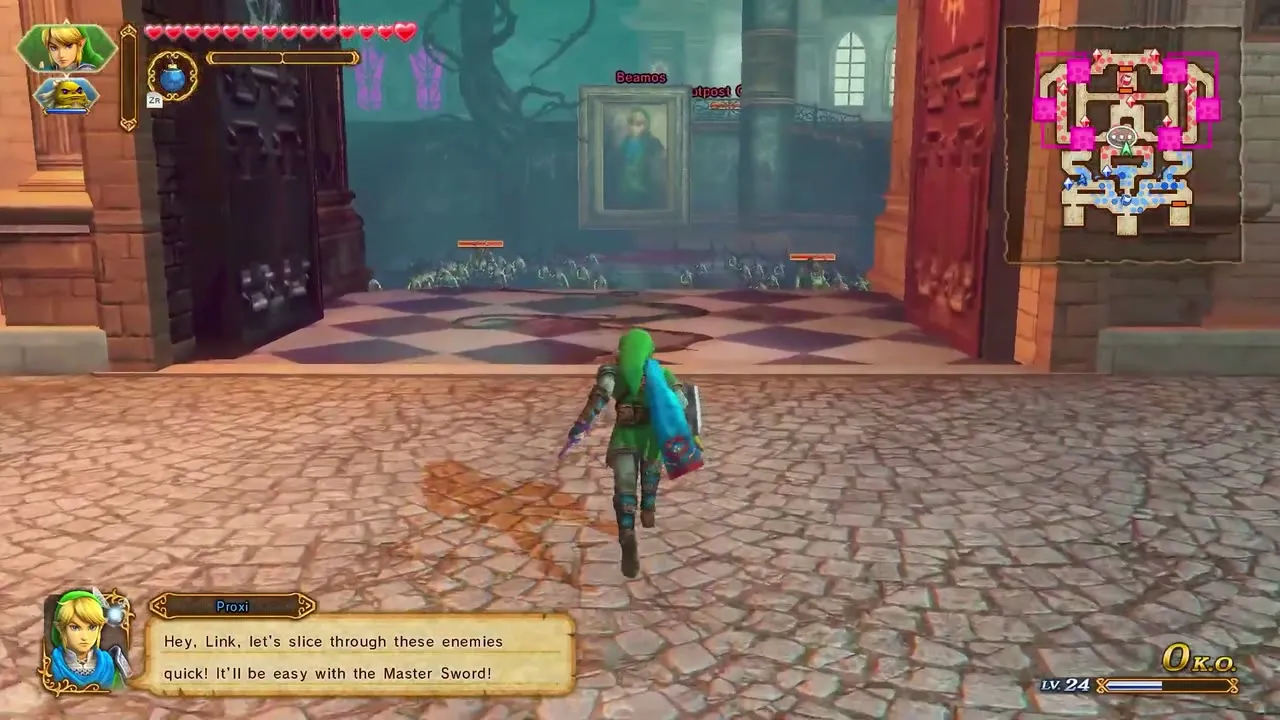
The Sacred Sword: Gold Skulltula 1
This one appears on any difficulty. Defeat 1,000 enemies with any warrior, and when the message appears, bomb the boulder in the northwest corner of the map. Go to it quickly, because it flees if ignored.


The Sacred Sword: Gold Skulltula 2
This one needs Hard or Hero difficulty. Play as any warrior (Fi adds a safety condition). Defeat 2,000 enemies, find all the Sealed Statues and repel Wizzro. If you play as Fi you must also keep your warriors out of danger. It appears in the room of the Sacred Pedestal.
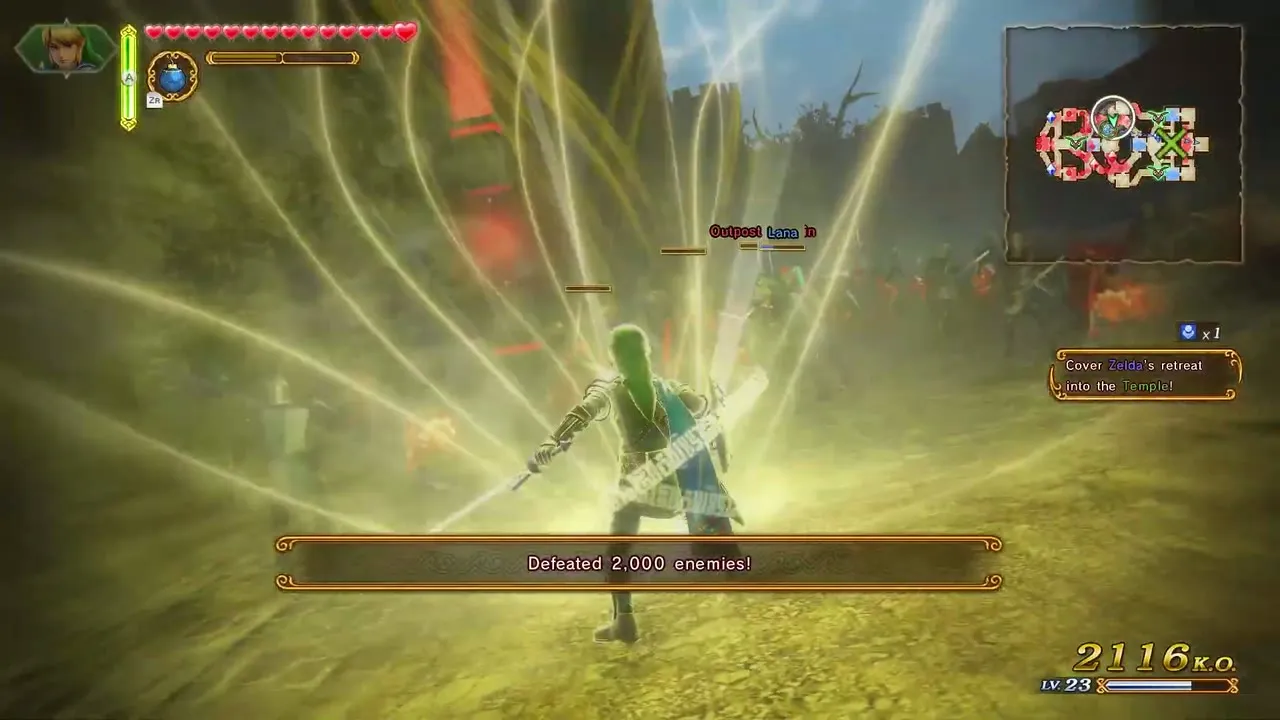

A War of Spirit: Gold Skulltula 1
This one appears on any difficulty. Defeat 1,000 enemies with any warrior, and when the message appears, look behind the wall west of the SW Magic Keep. Go to it quickly, because it flees if ignored.
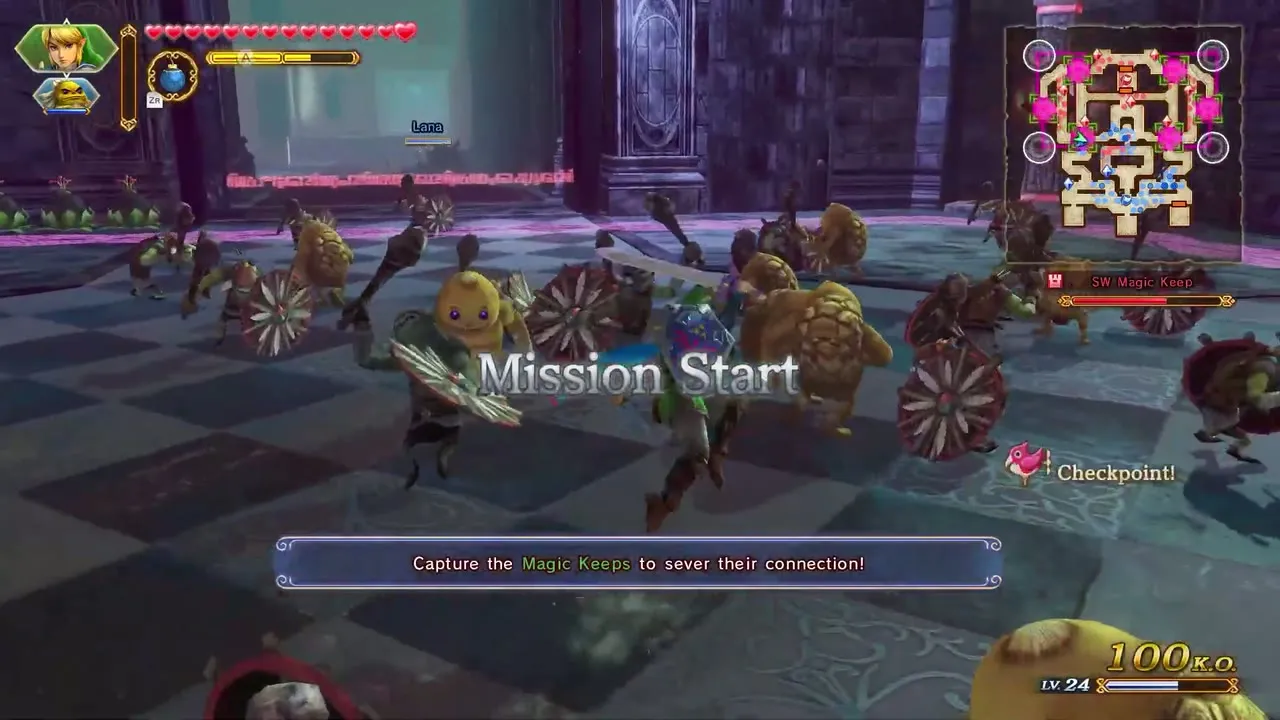

A War of Spirit: Gold Skulltula 2
This one needs Hard or Hero difficulty. Play as Zelda with the Rapier. Wait until Impa, Lana, Darunia, Midna and Fi leave the battlefield after the Dark Link fight. It appears in the East Garden.
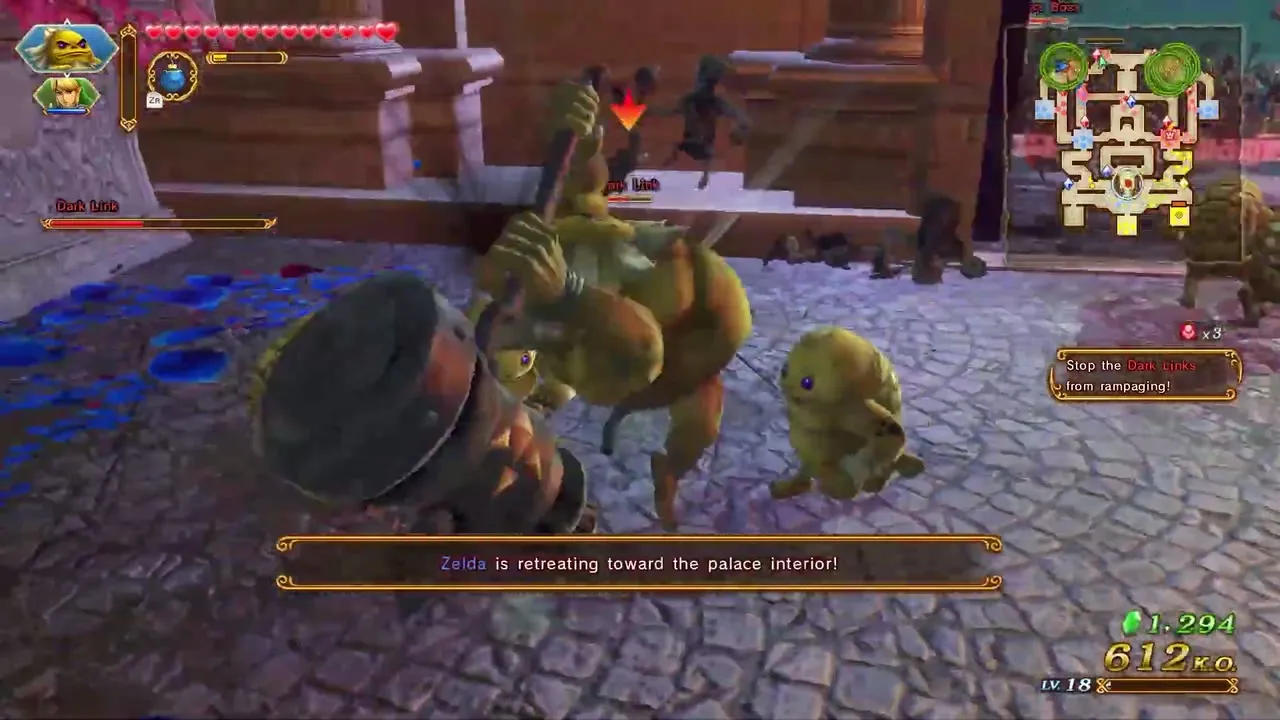

Shining Beacon: Gold Skulltula 1
This one appears on any difficulty. Defeat 1,000 enemies with any warrior, and when the message appears, bomb the boulder southeast of the East Sanctum. Go to it quickly, because it flees if ignored.
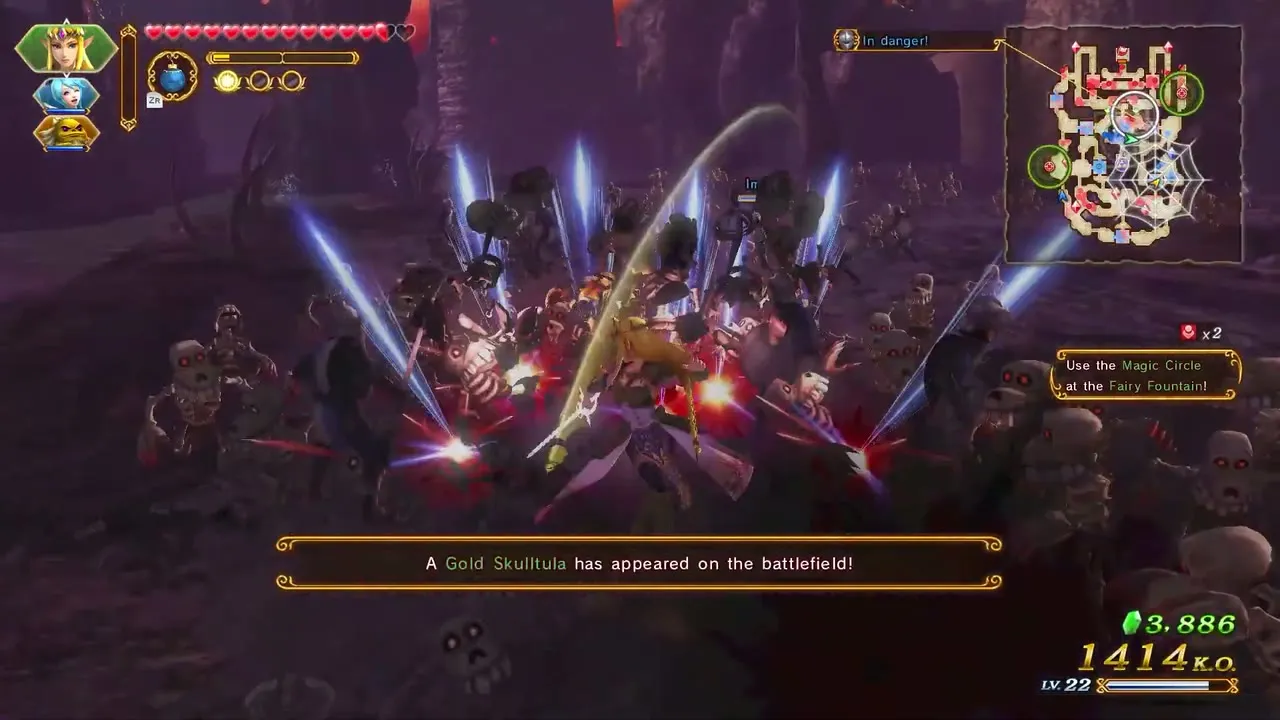
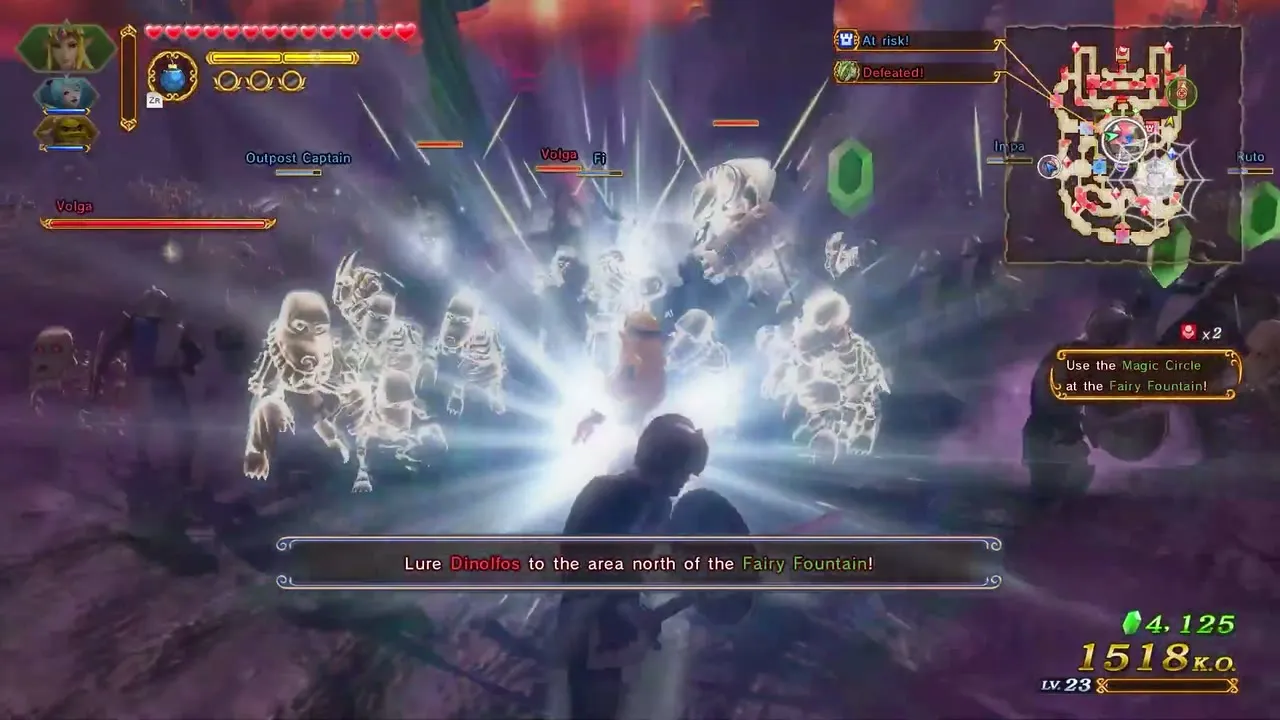
Shining Beacon: Gold Skulltula 2
This one needs Hard or Hero difficulty. Play as Lana with the Spear. Defeat Volga at least twice, one of those defeats before you activate the Fairy Fountain Magic Circle, then open the gate to the Enemy Base while keeping every ally alive. It appears north of the West Sanctum Keep.


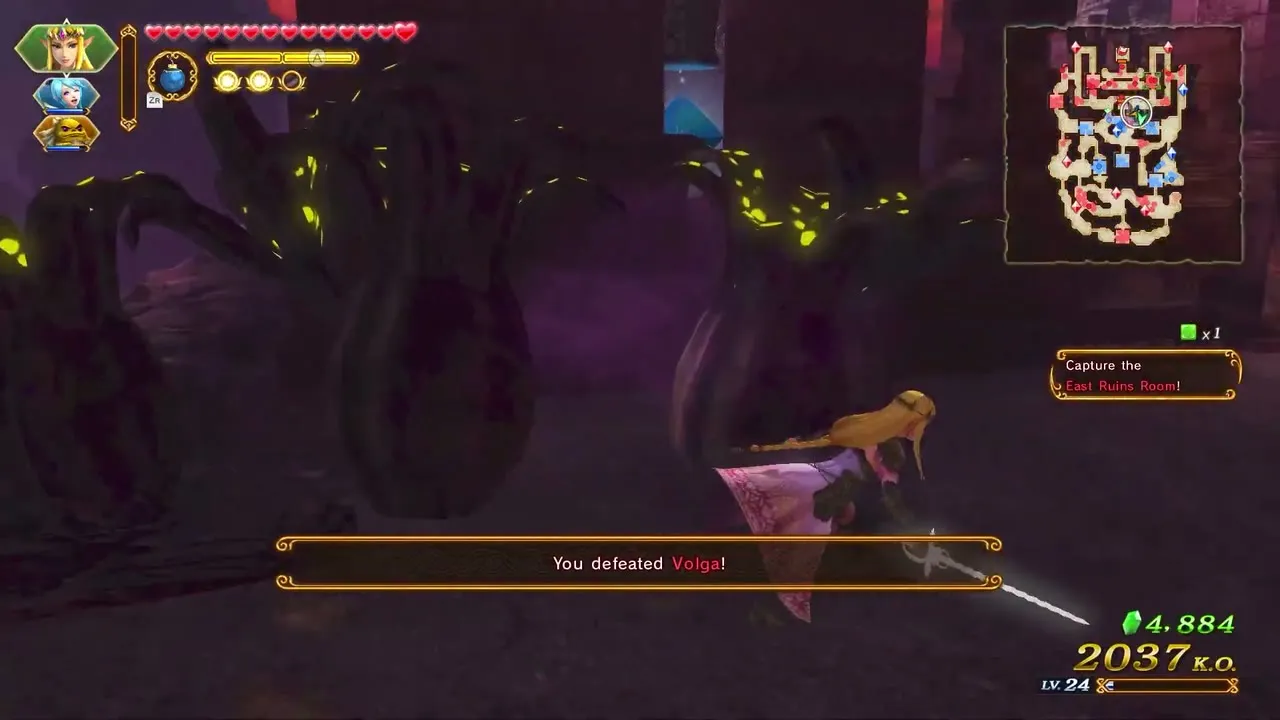
Ganondorf
Ganondorf is the only warrior in these three scenarios, so every item here is his. This arc covers Ganondorf’s Return, March of the Demon King and Battle of the Triforce.
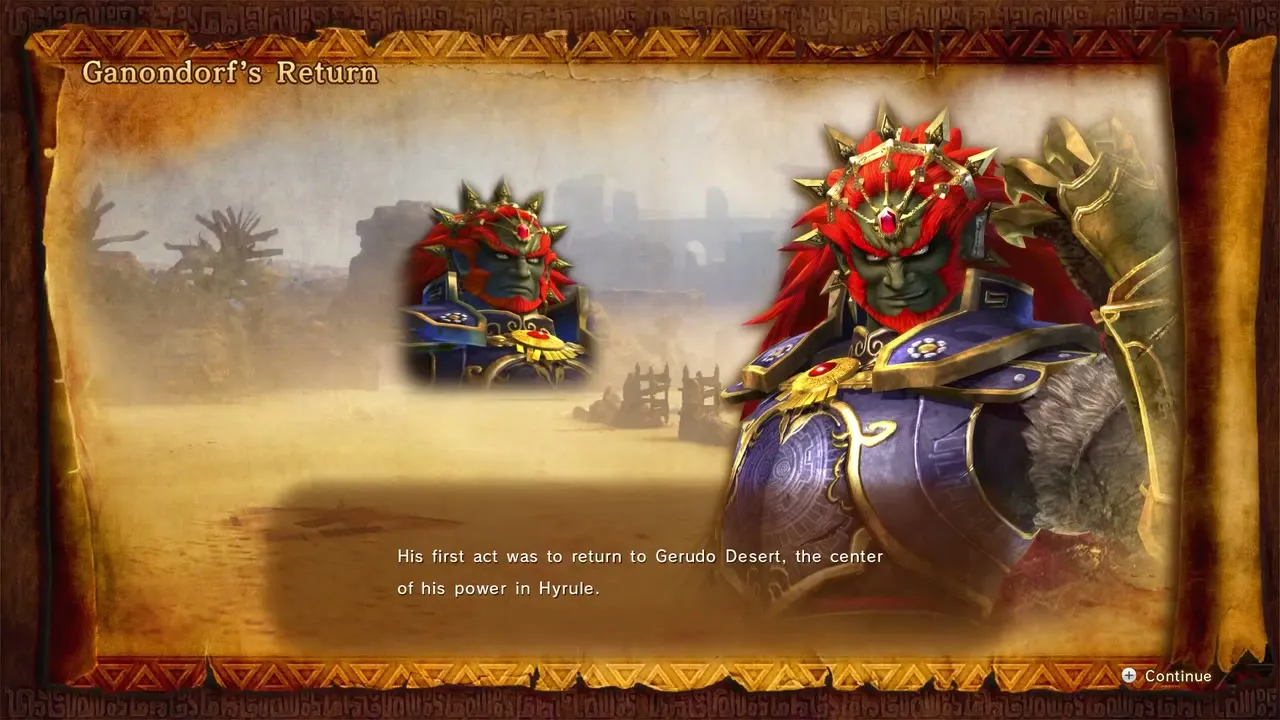

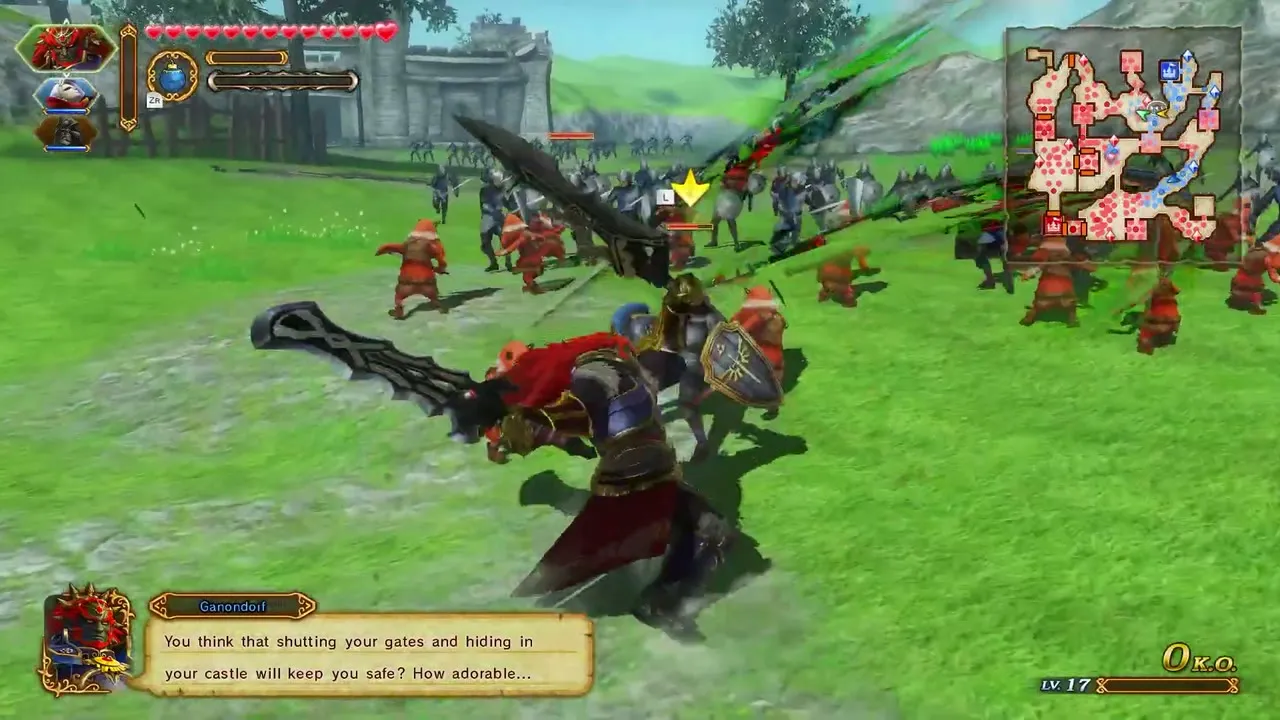
Ganondorf’s Return: Gold Skulltula 1
This one appears on any difficulty. Defeat 1,000 enemies with any warrior, and when the message appears, look on the wall east of the Arbiter’s Keep. Go to it quickly, because it flees if ignored.


Ganondorf’s Return: Gold Skulltula 2
This one needs Hard or Hero difficulty. Play as Ganondorf. Capture every keep, bring all the imprisoned monsters under your control, then defeat the Lizalfos, the Aeralfos and two of the giant bosses before they join up. It sits behind a Wall of Vines in the South Prison, so bring the Boomerang.


March of the Demon King: Gold Skulltula 1
This one appears on any difficulty. Defeat 1,000 enemies with any warrior, and when the message appears, bomb the boulder in the northeast corner of the map. Go to it quickly, because it flees if ignored.


March of the Demon King: Gold Skulltula 2
This one needs Hard or Hero difficulty. Play as Ganondorf. Defeat all of Impa’s clones, then the real Impa. It appears north of the Eastern Room.
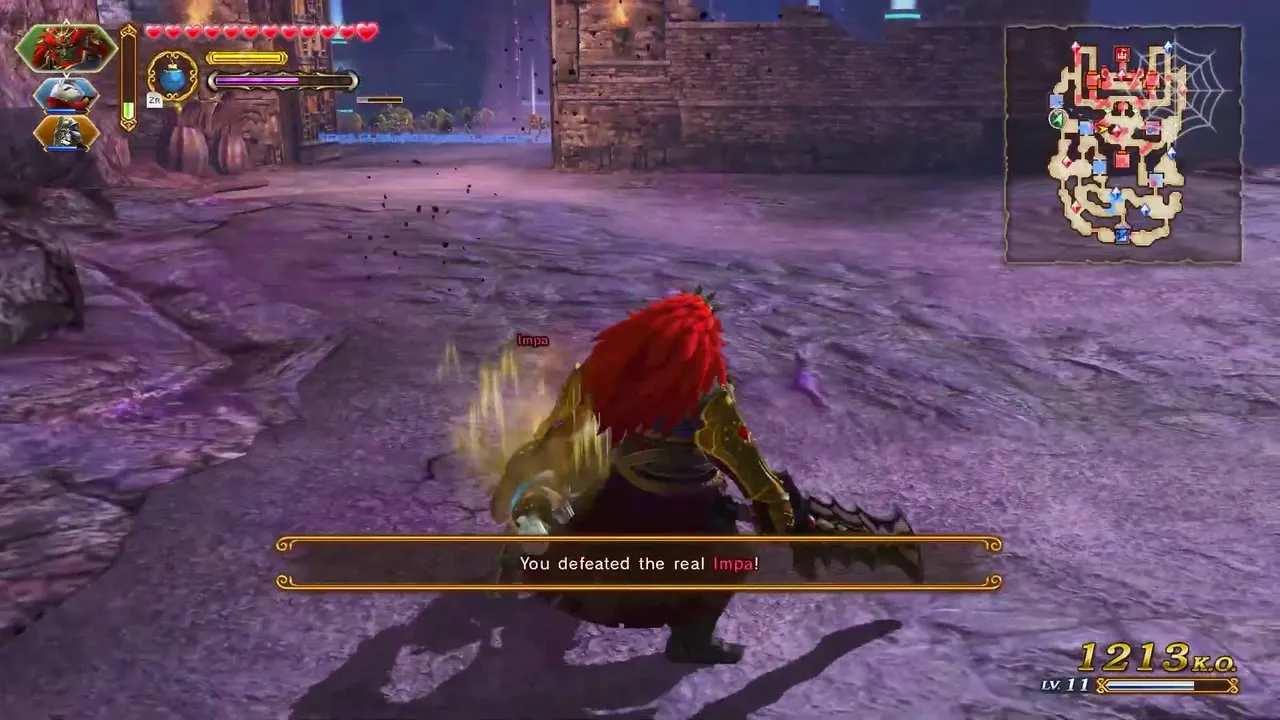
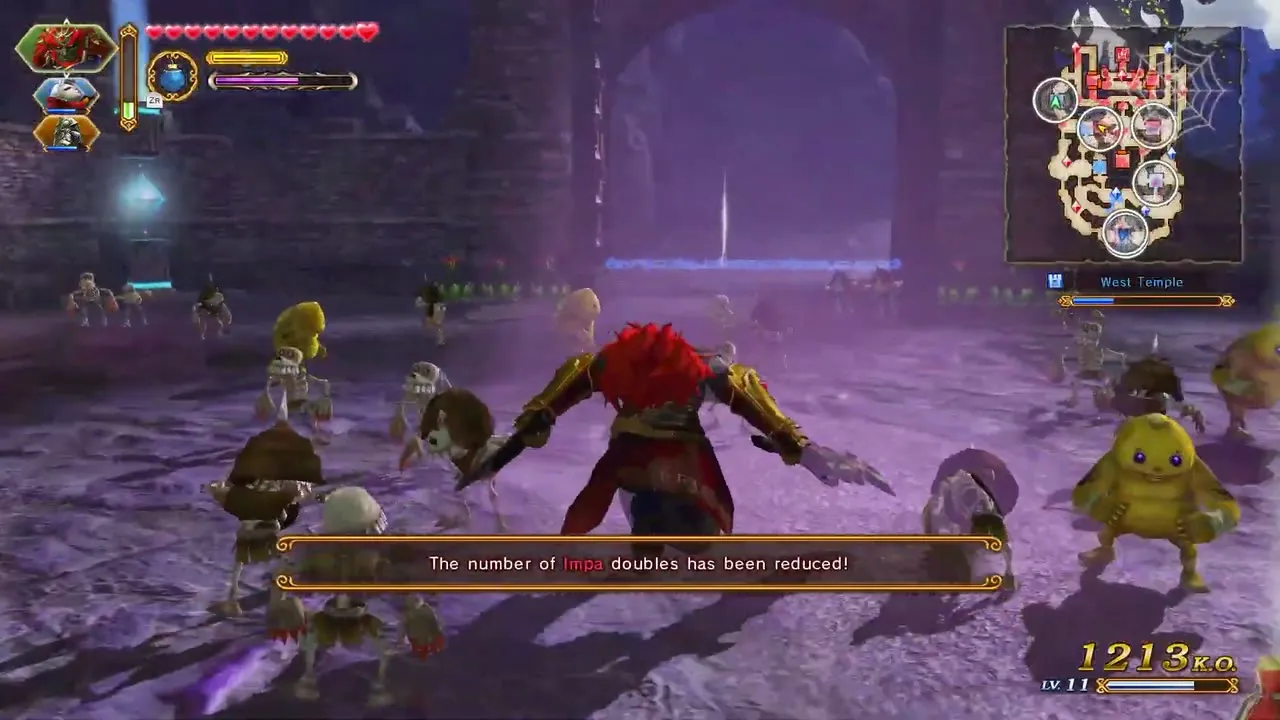
Battle of the Triforce: Gold Skulltula 1
This one appears on any difficulty. Defeat 1,000 enemies with any warrior, and when the message appears, break the rock just west of the East Field Keep. Go to it quickly, because it flees if ignored.
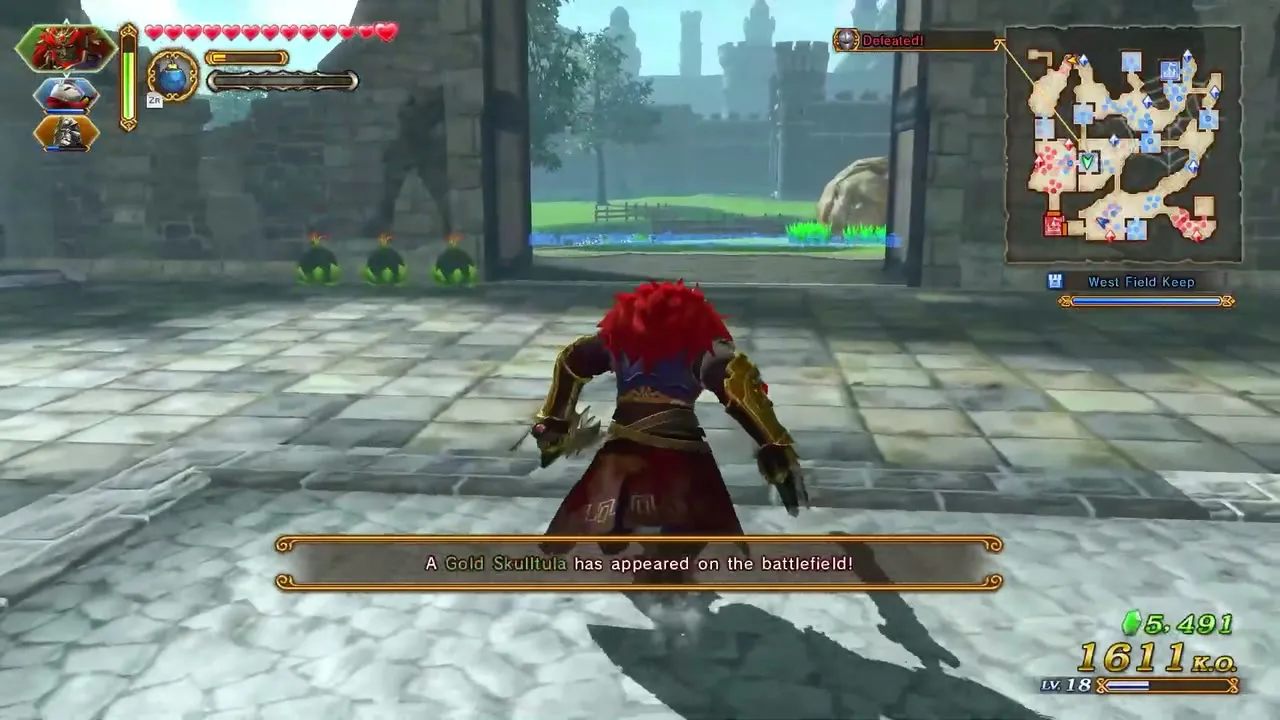

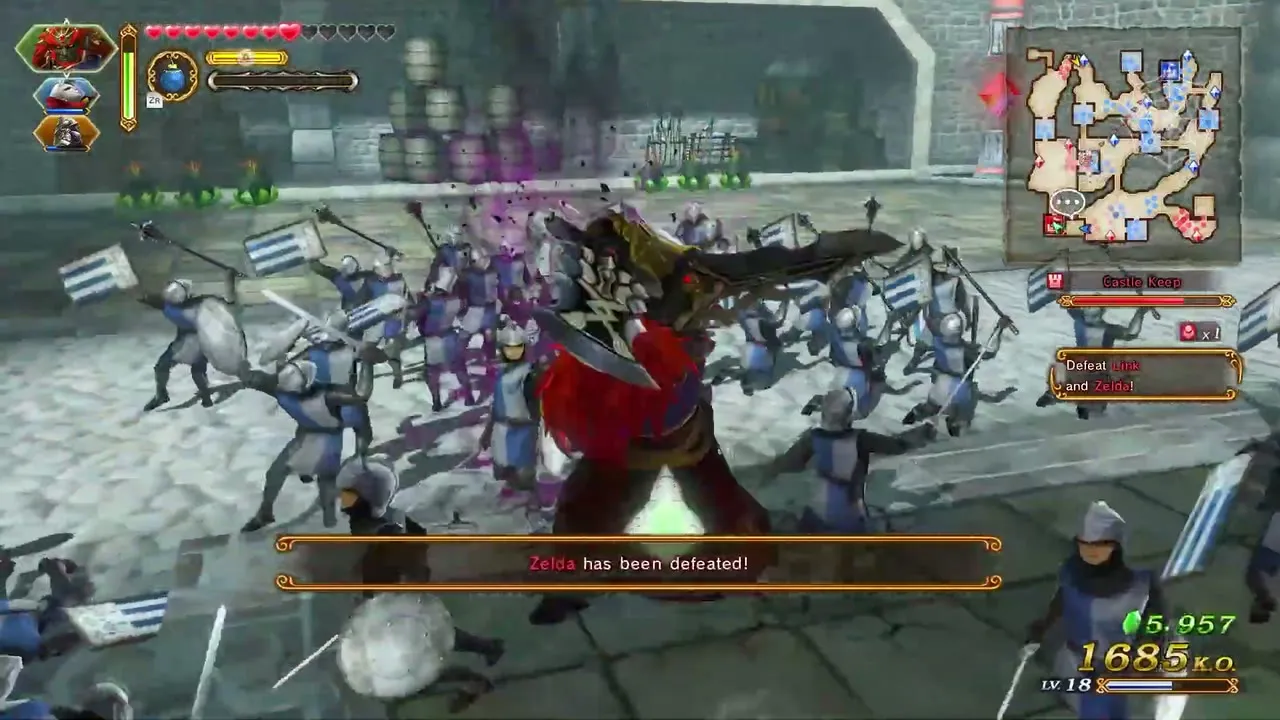
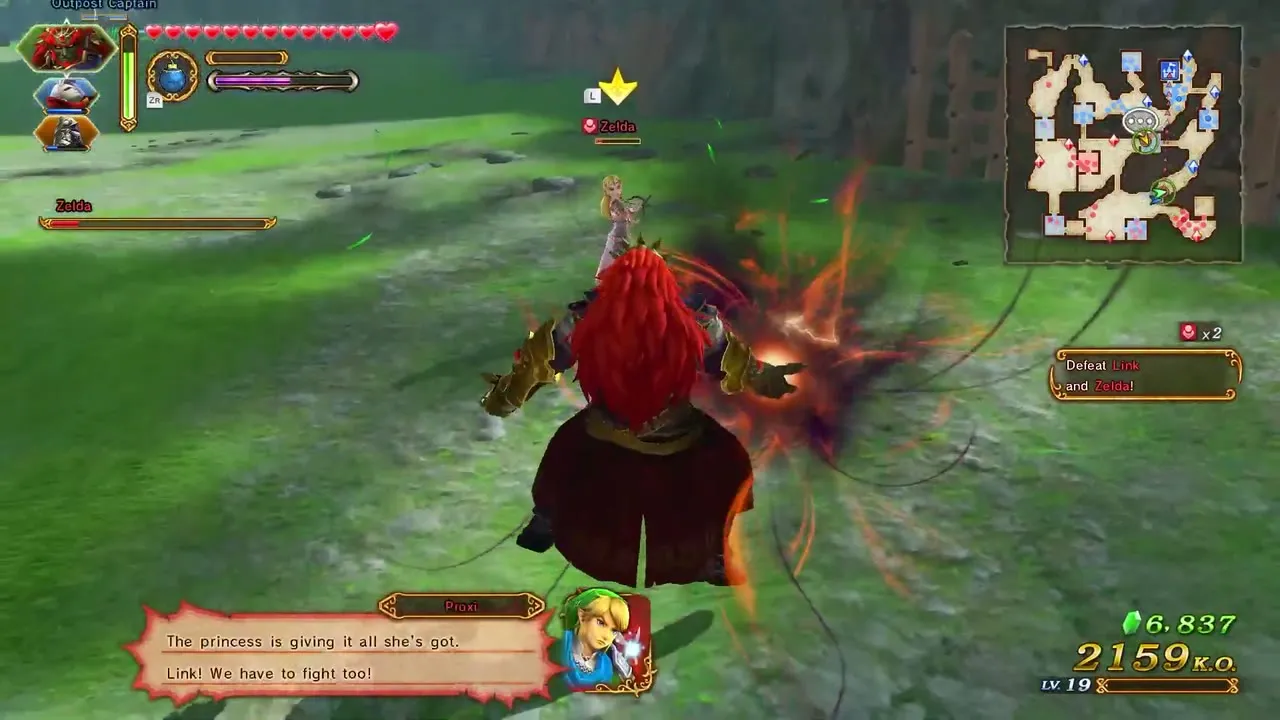
Battle of the Triforce: Gold Skulltula 2
This one needs Hard or Hero difficulty. Play as Ganondorf. Defeat Link and Zelda four times combined, with both on the field. In Definitive Edition you must also defeat Impa before she enters the Fairy Fountain. It appears at the Mountain Keep.
Grand Finale
The Grand Finale spreads its items across Link, Lana, Zelda, Impa and Darunia. This arc covers Enduring Resolve and Liberation of the Triforce.
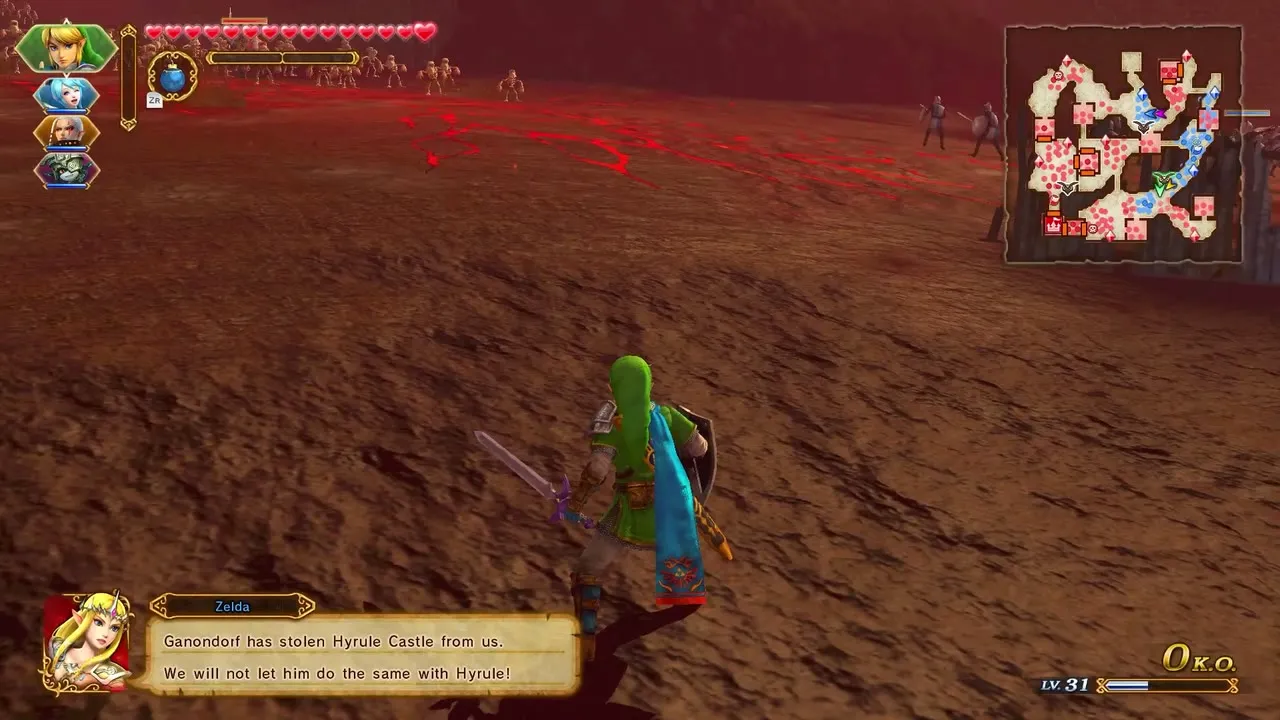

Enduring Resolve: Gold Skulltula 1
This one appears on any difficulty. Defeat 1,000 enemies with any warrior, and when the message appears, break the boulder on the south side outside the S. Desert Keep. Go to it quickly, because it flees if ignored.

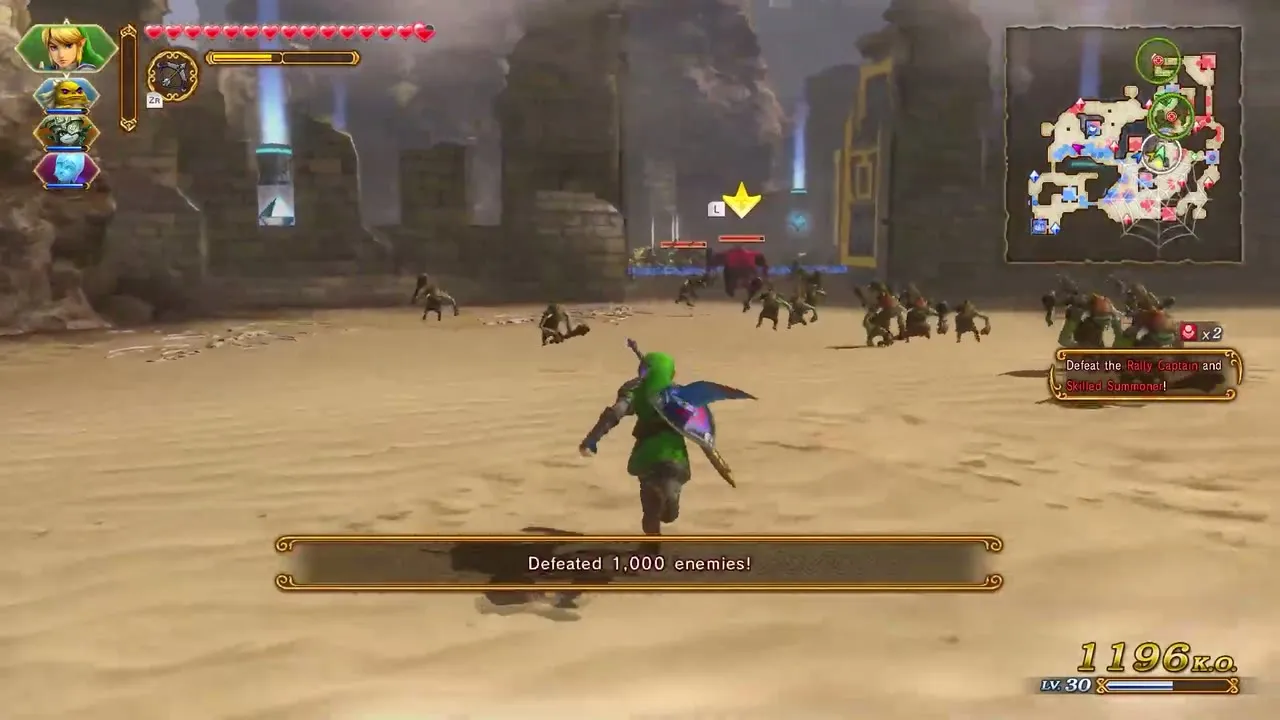
Enduring Resolve: Gold Skulltula 2
This one needs Hard or Hero difficulty. Play as Zelda with the Rapier. Defeat every Keep Saboteur, Rally Captain and Skilled Summoner while all your commandable warriors stay at 30 percent health or more. It sits beneath a boulder in the North Prison.
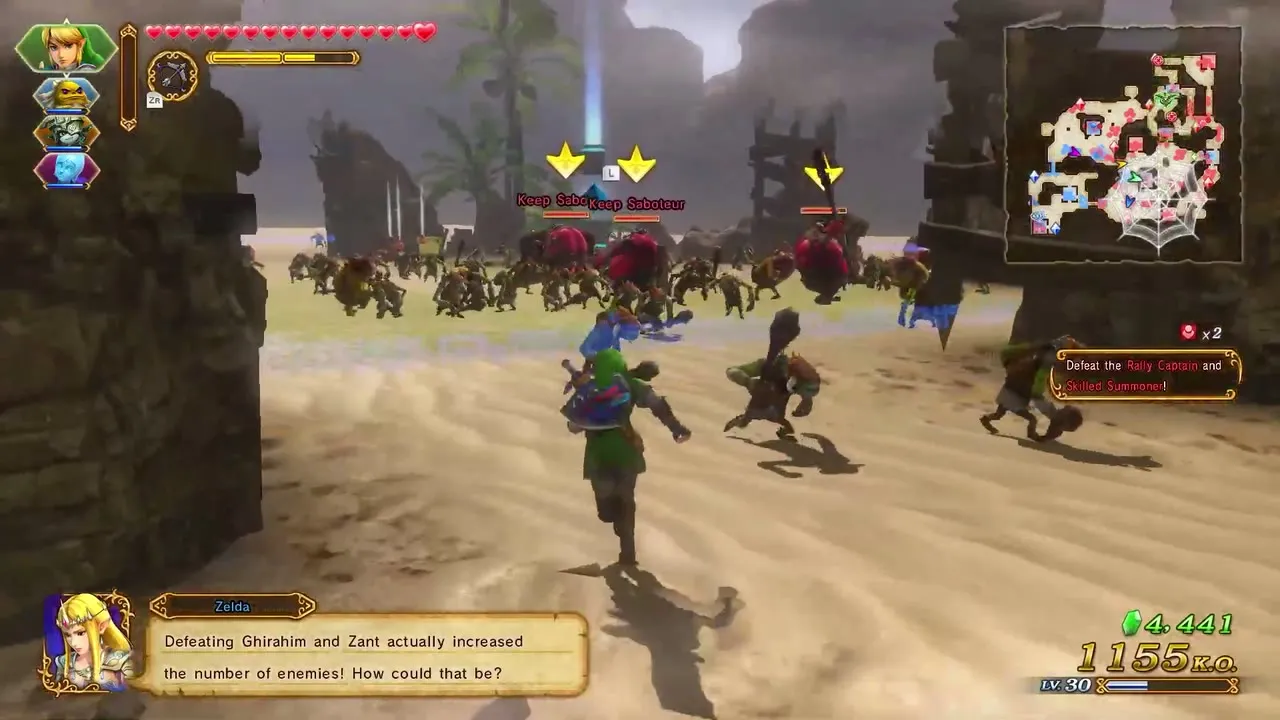

Liberation of the Triforce: Gold Skulltula 1
This one appears on any difficulty. Defeat 1,000 enemies with any warrior, and when the message appears, break the boulder in the Fairy Fountain Keep. Go to it quickly, because it flees if ignored.

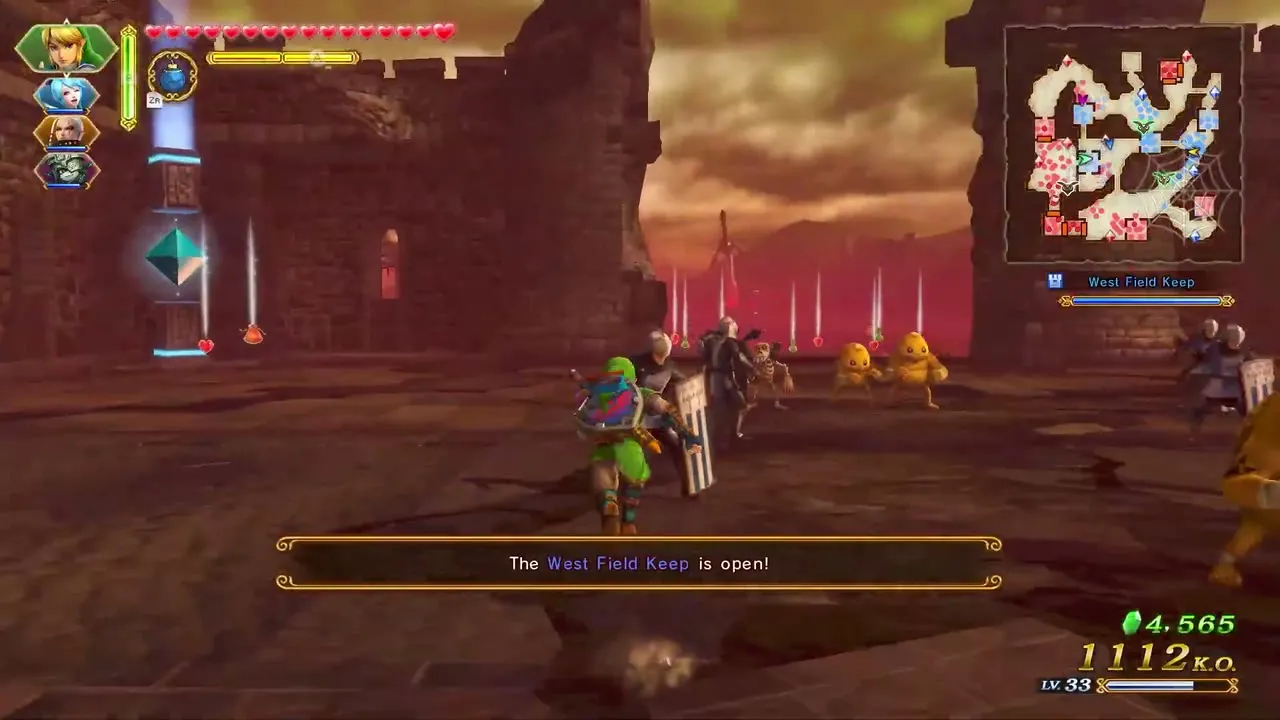
Liberation of the Triforce: Gold Skulltula 2
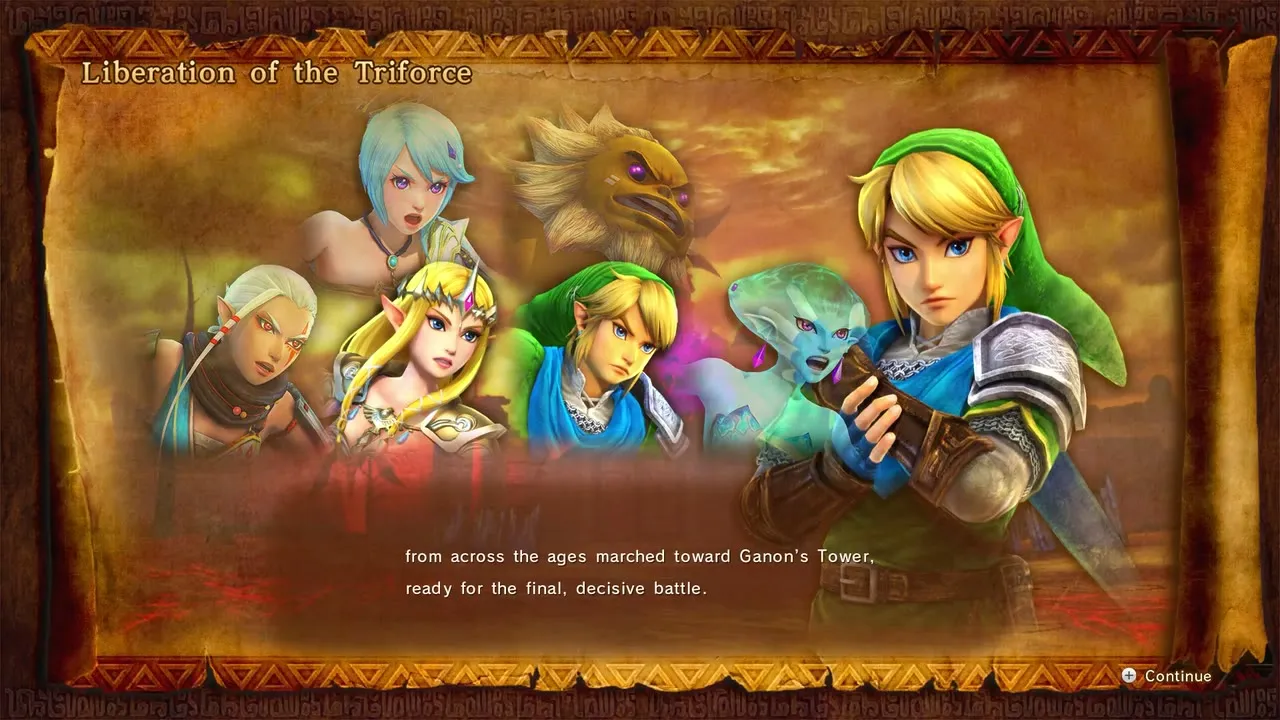
This one needs Hard or Hero difficulty. Play as Darunia. Defeat Ganondorf before the Castle Keep is recaptured and keep every ally alive; in Definitive Edition allies must stay above 30 percent health. It appears on the south wall of the Castle Keep.

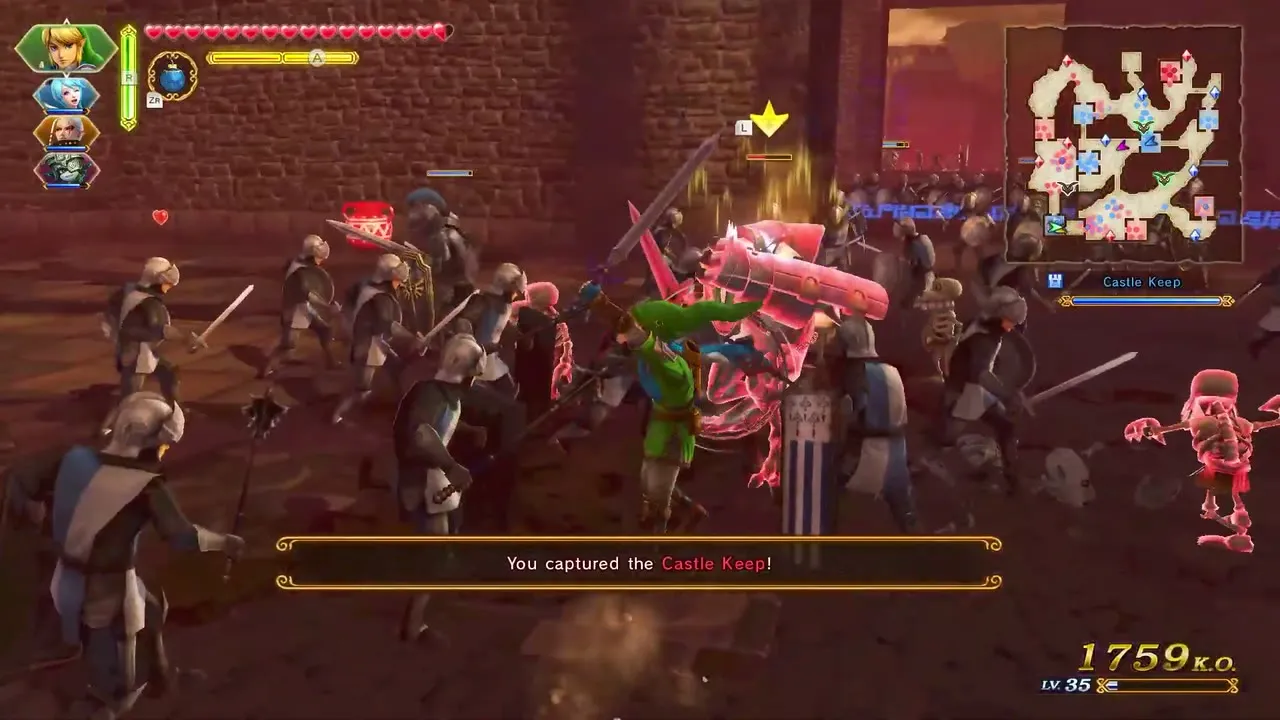
Cia’s Tale
Cia’s Tale lets you play the villains, and Wizzro and Volga hold hearts that no one else can take. This arc covers The Dragon of the Caves, The Invasion Begins, The Usurper King, The Demon Lord and Darkness Falls.


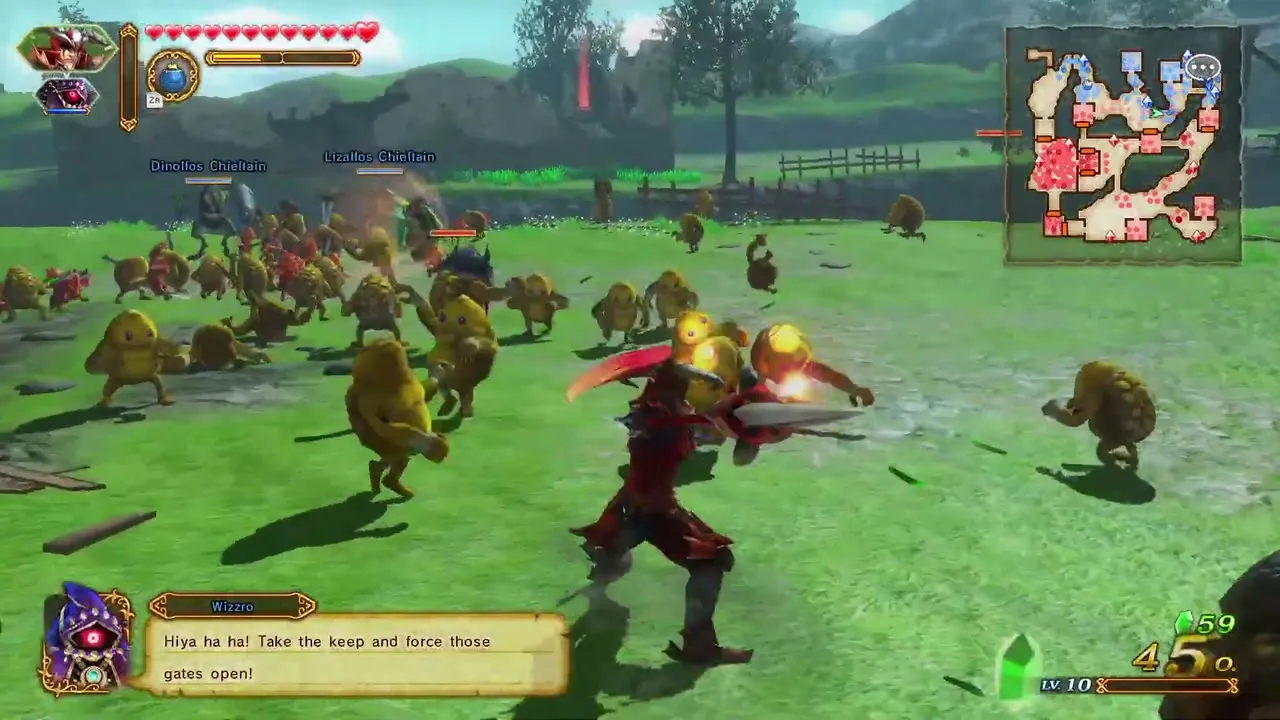
The Dragon of the Caves: Gold Skulltula 1
This one appears on any difficulty. Defeat 1,000 enemies with any warrior, and when the message appears, bomb the boulder at the dead end south of the Central Keep. Go to it quickly, because it flees if ignored.

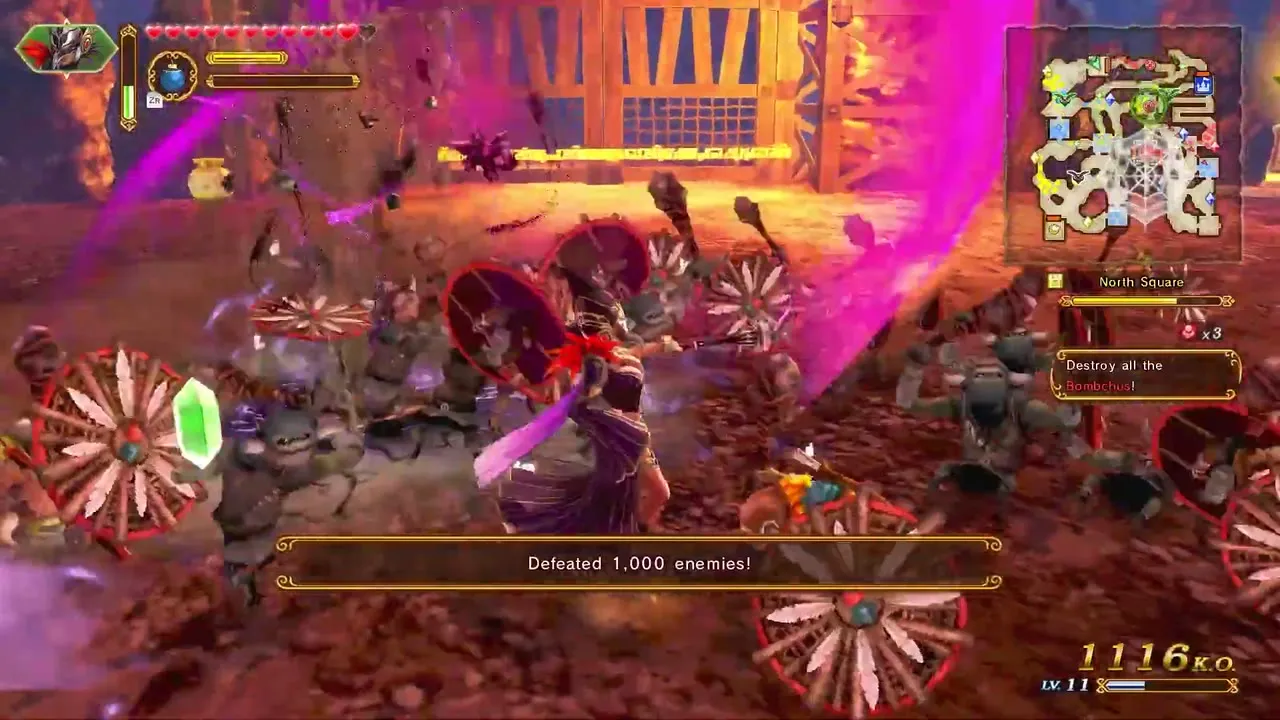
The Dragon of the Caves: Gold Skulltula 2
This one needs Hard or Hero difficulty. Play as Cia. Destroy every Bombchu before it explodes and defeat both King Dodongos. It is directly west of your Allied Base.
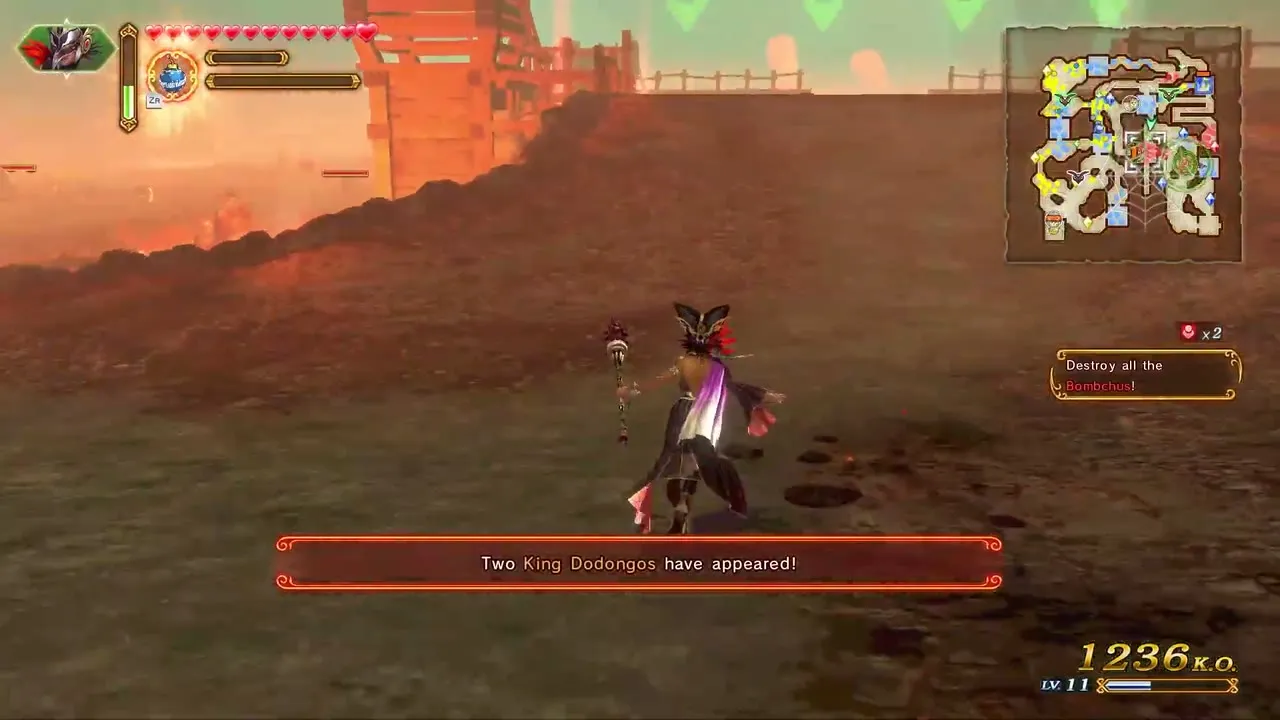
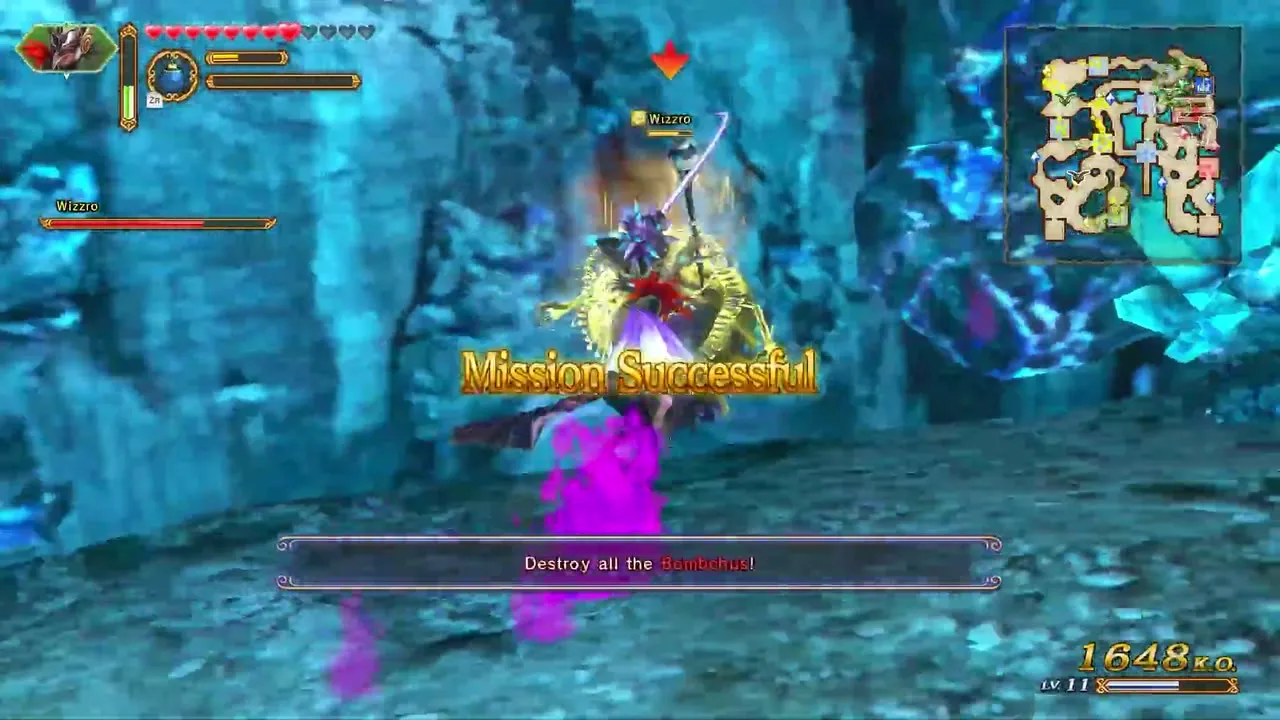
The Invasion Begins: Gold Skulltula 1
This one appears on any difficulty. Defeat 1,000 enemies with any warrior, and when the message appears, bomb the boulder east of the Field North Keep. Go to it quickly, because it flees if ignored.
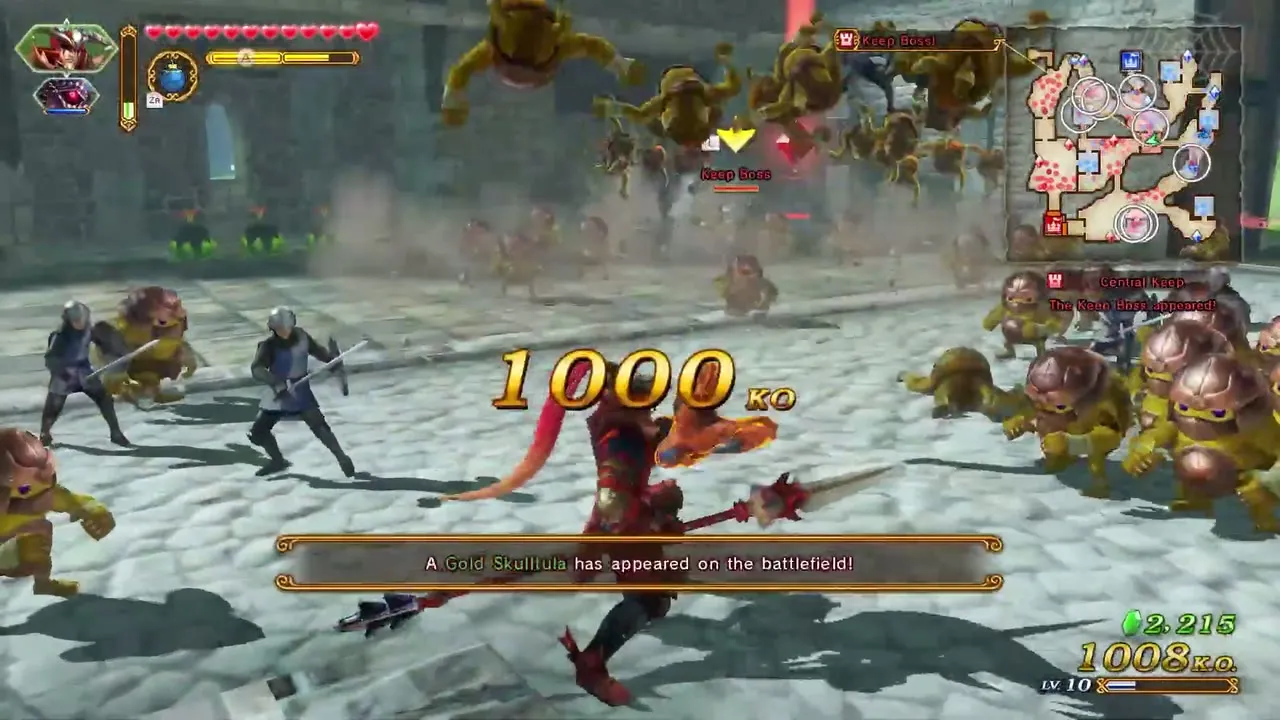

The Invasion Begins: Gold Skulltula 2
This one needs Hard or Hero difficulty. Play as Wizzro. Defeat Impa twice without letting the Allied Base fall into danger. It is south of the Fairy Fountain.
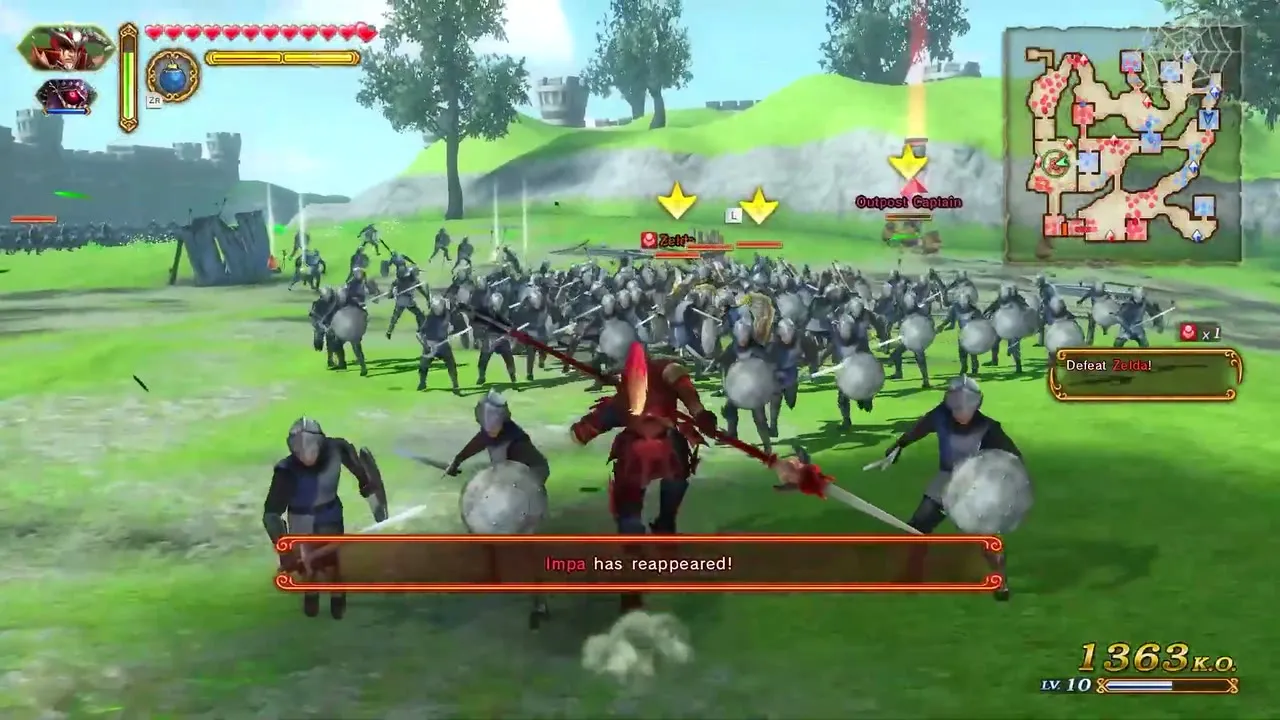

The Usurper King: Gold Skulltula 1
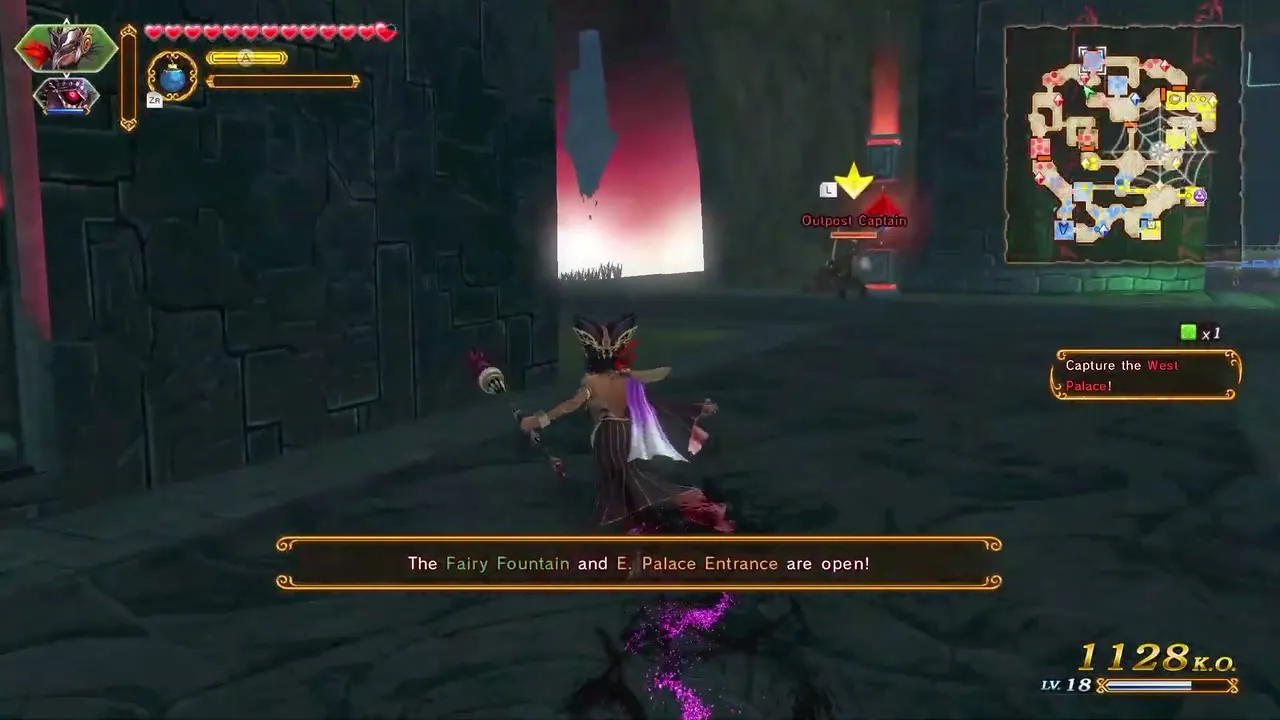
This one appears on any difficulty. Defeat 1,000 enemies with any warrior, and when the message appears, bomb the boulder south of the E. Palace Entrance Keep. Go to it quickly, because it flees if ignored.
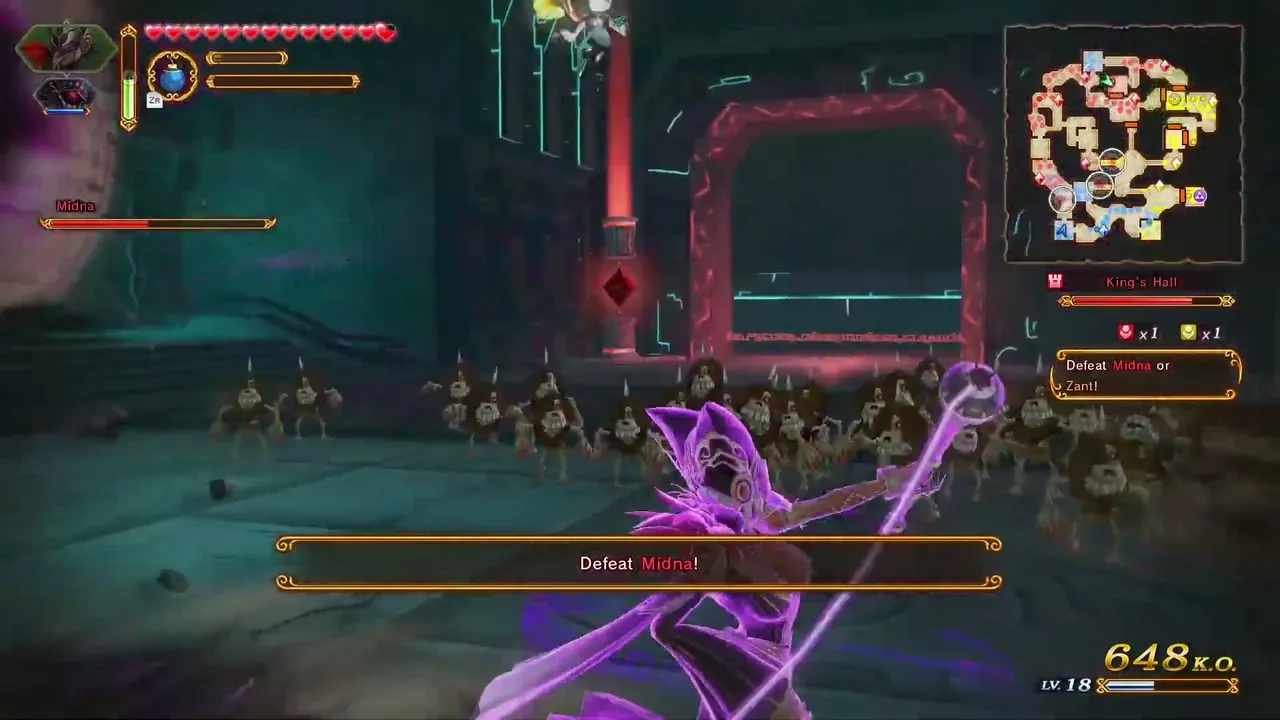
The Usurper King: Gold Skulltula 2
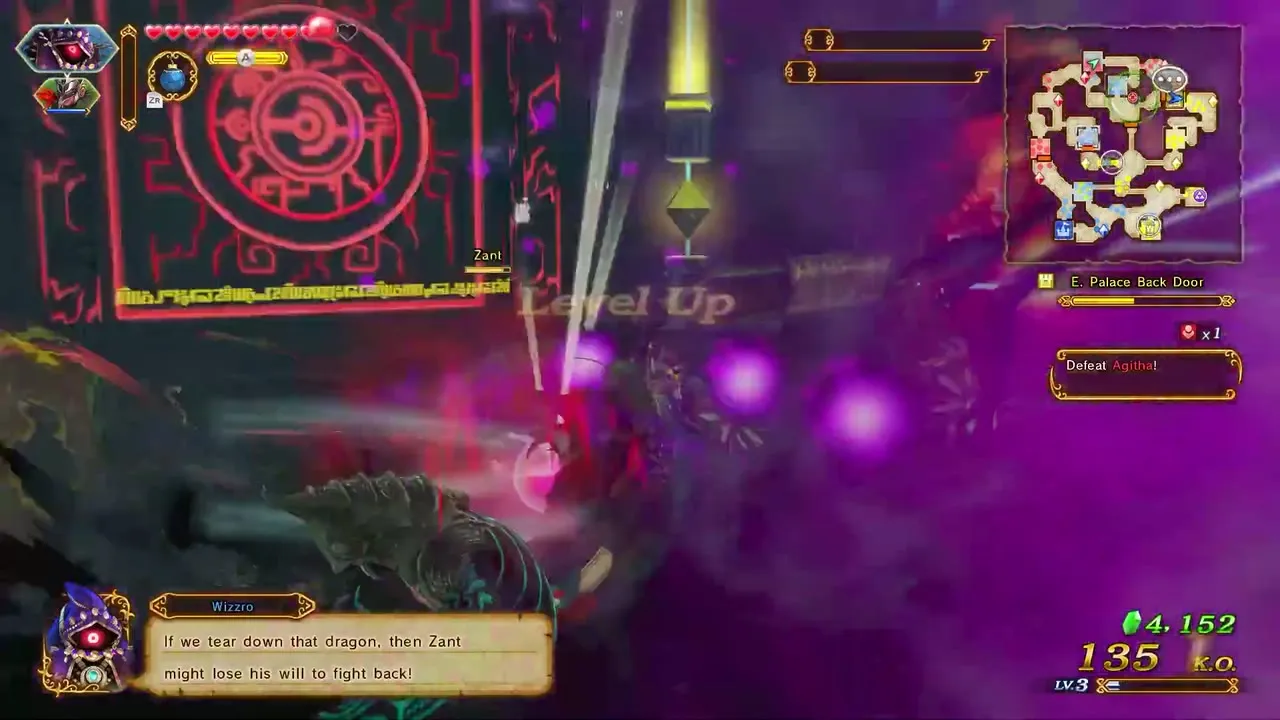
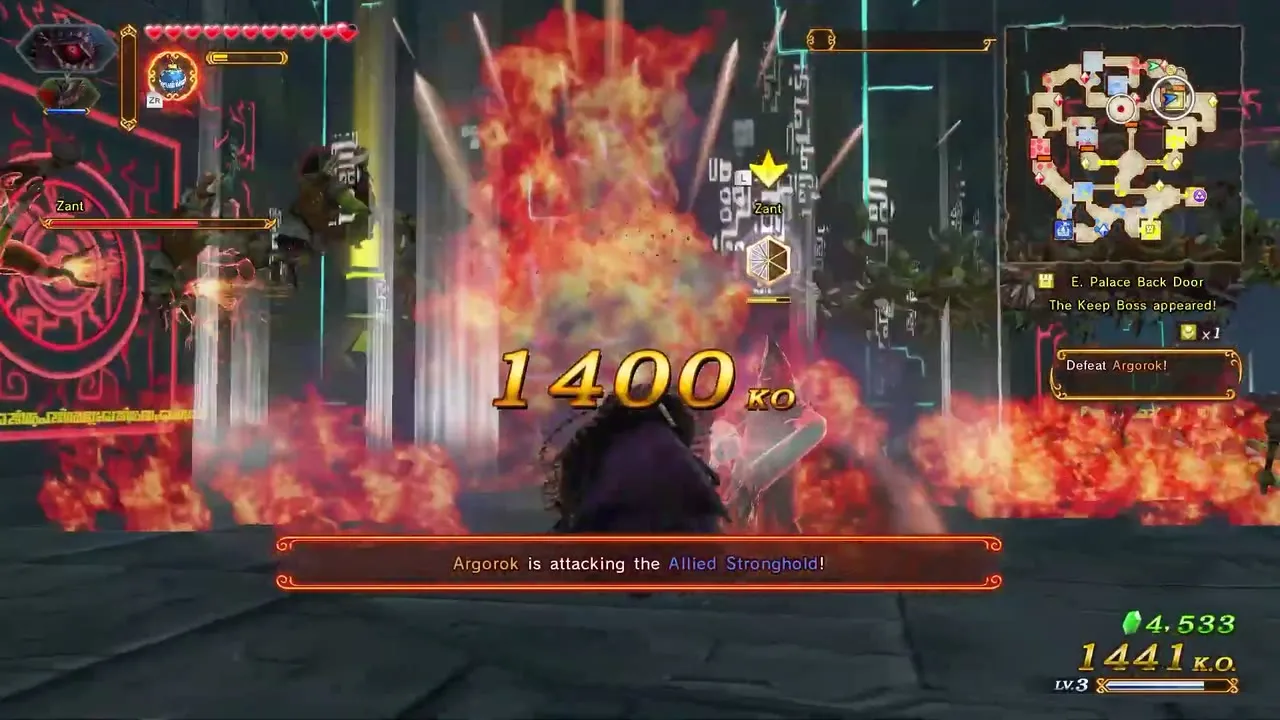
This one needs Hard or Hero difficulty. Play as Wizzro. Defeat Argorok and Agitha without letting Volga be defeated. It waits in the northeast corner of the circular area northwest of the West Palace.
The Demon Lord: Gold Skulltula 1
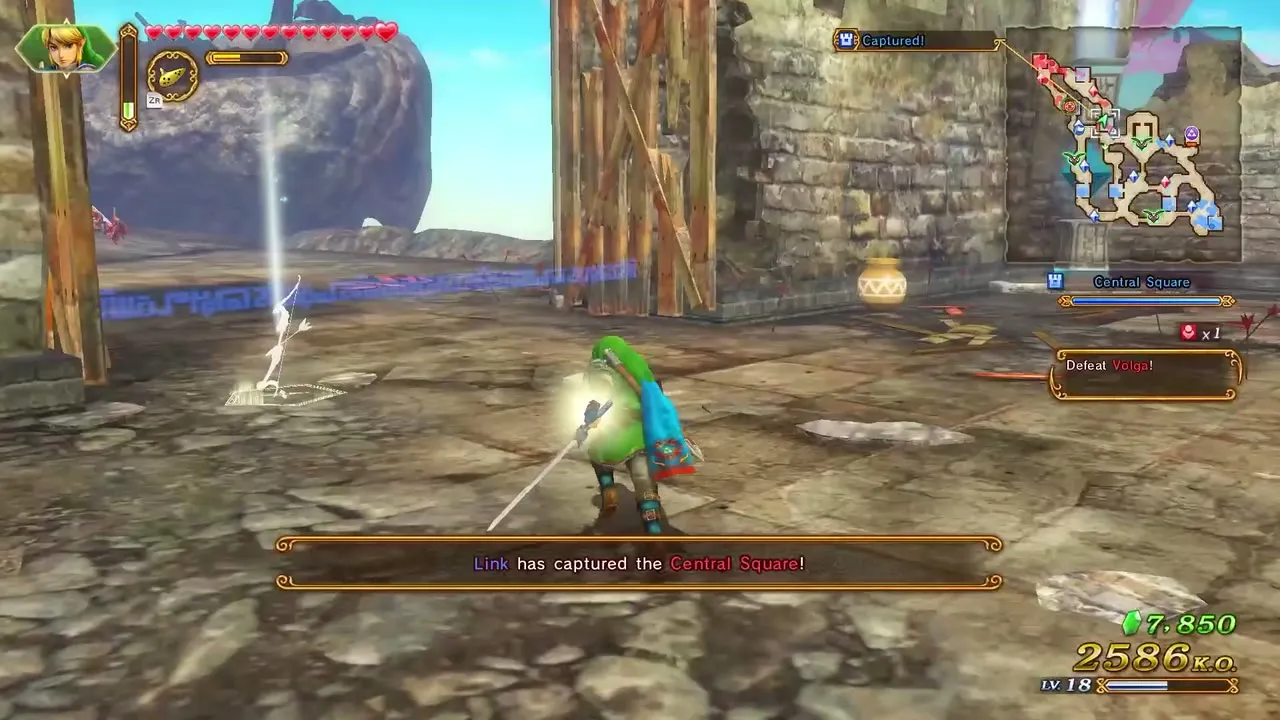
This one appears on any difficulty. Defeat 1,000 enemies with any warrior, and when the message appears, go north of the Southern Rockface Keep and cut through the Wall of Vines. Go to it quickly, because it flees if ignored.
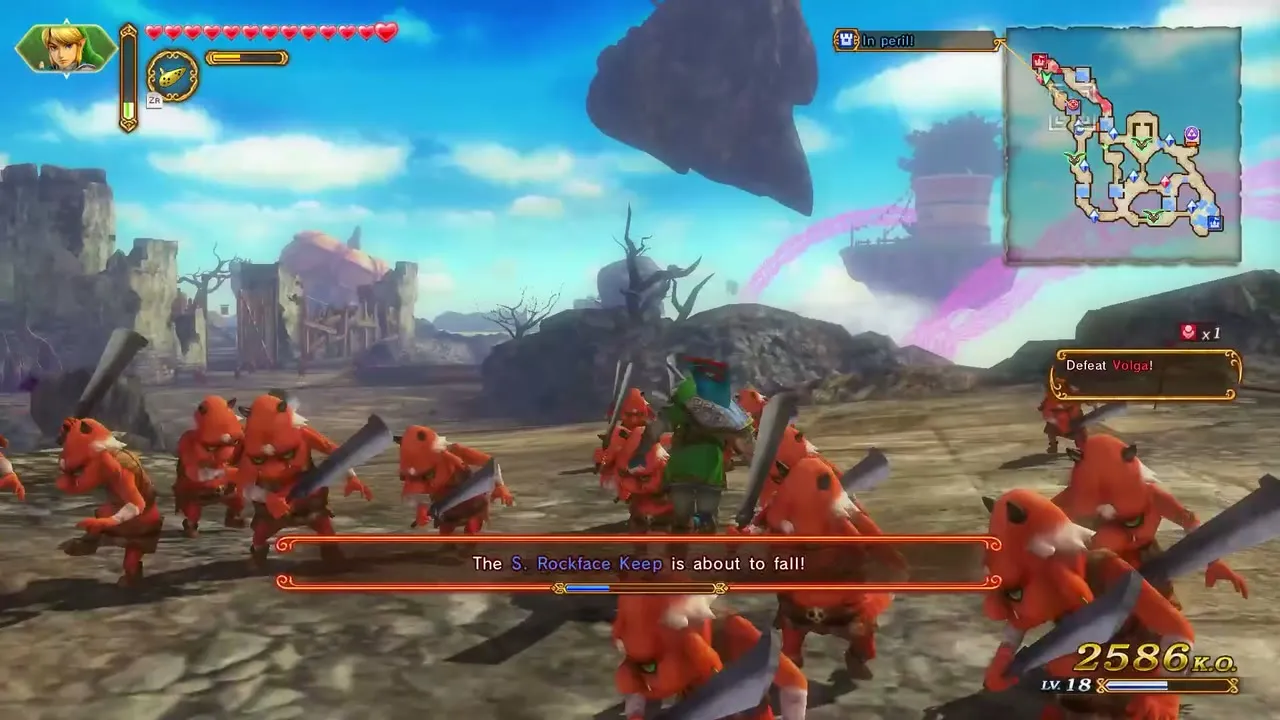
The Demon Lord: Gold Skulltula 2
This one needs Hard or Hero difficulty. Play as Volga. Capture nine keeps in under 10 minutes. It shows up north of the West Town Keep.
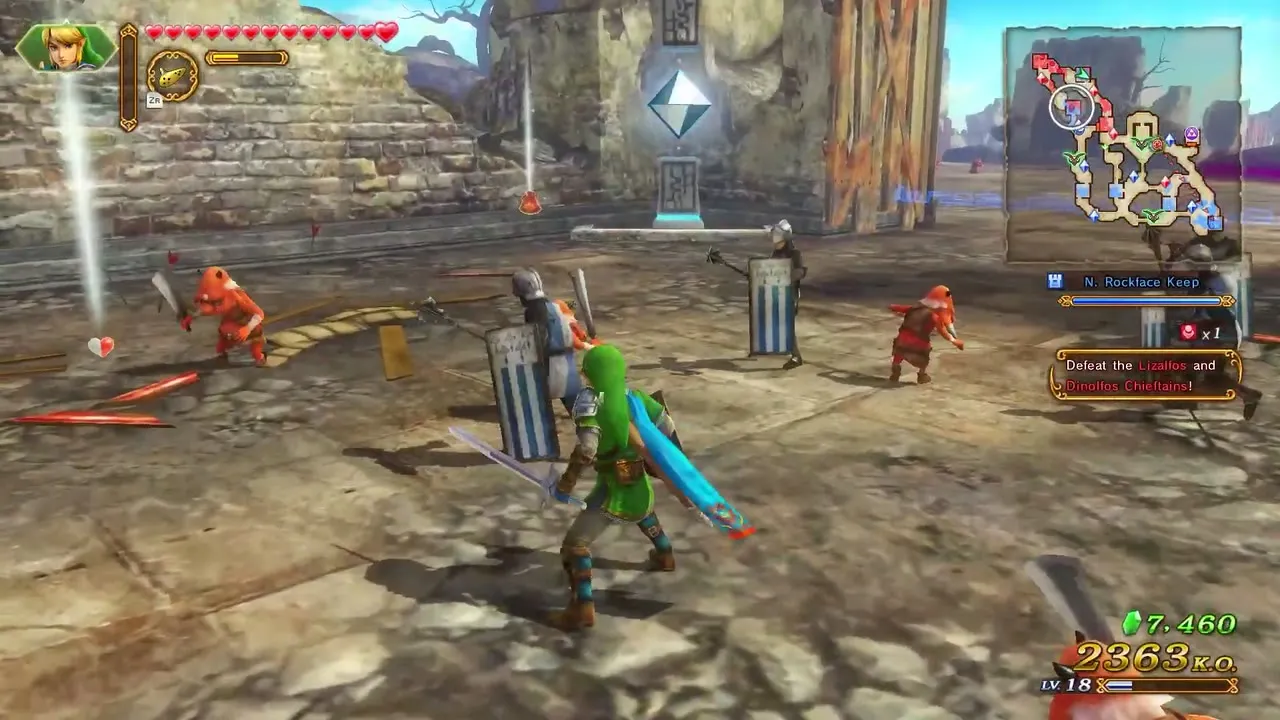
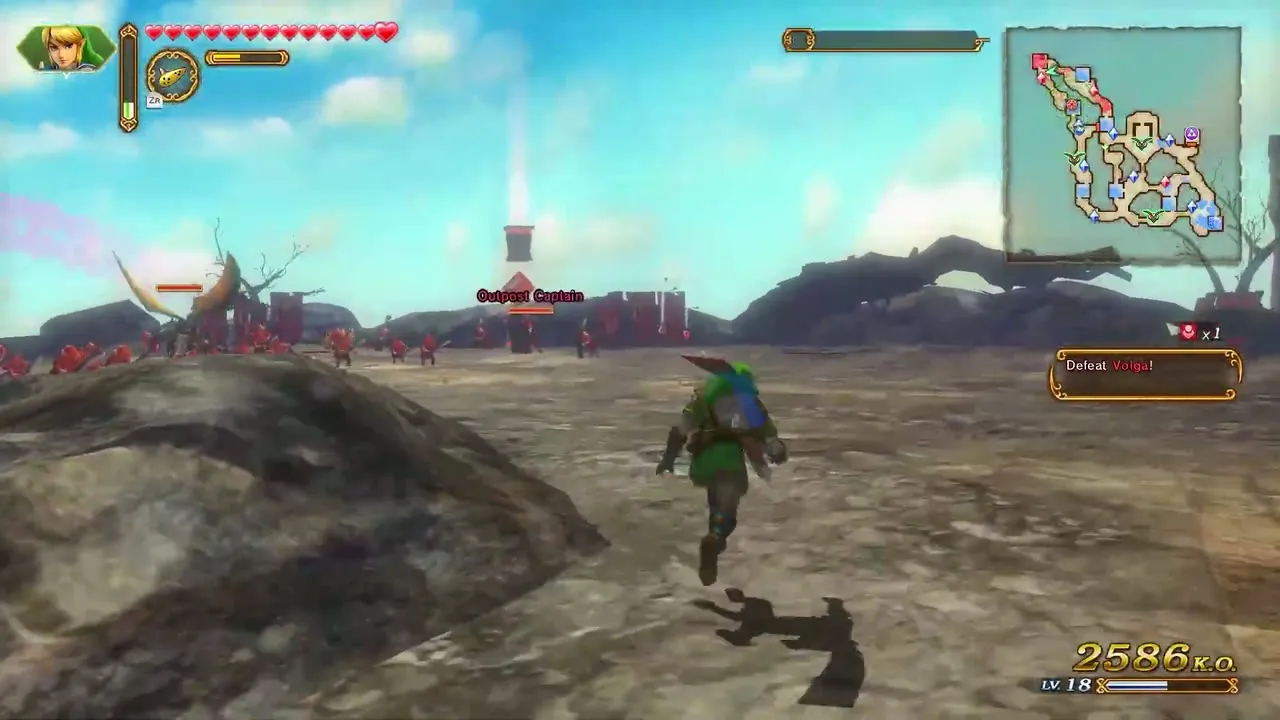
Darkness Falls: Gold Skulltula 1
This one appears on any difficulty. Defeat 1,000 enemies with any warrior, and when the message appears, look in the dead end just southwest of the Allied Base. Go to it quickly, because it flees if ignored.
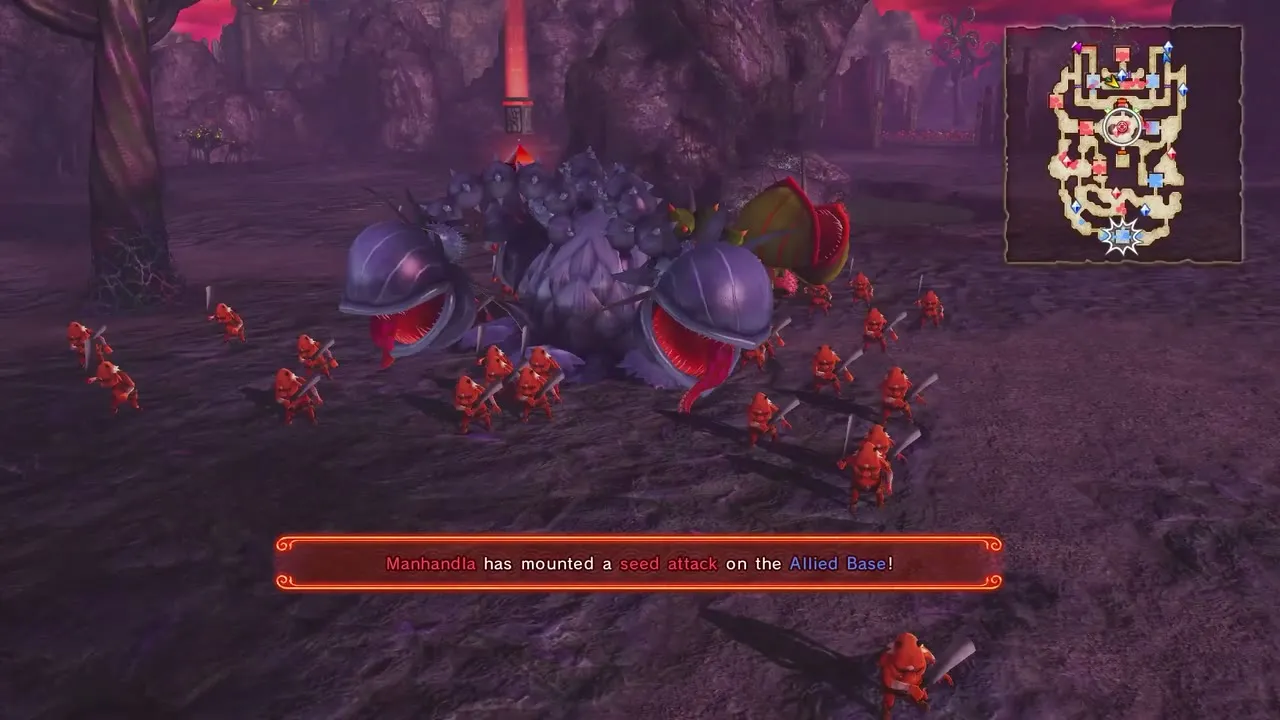
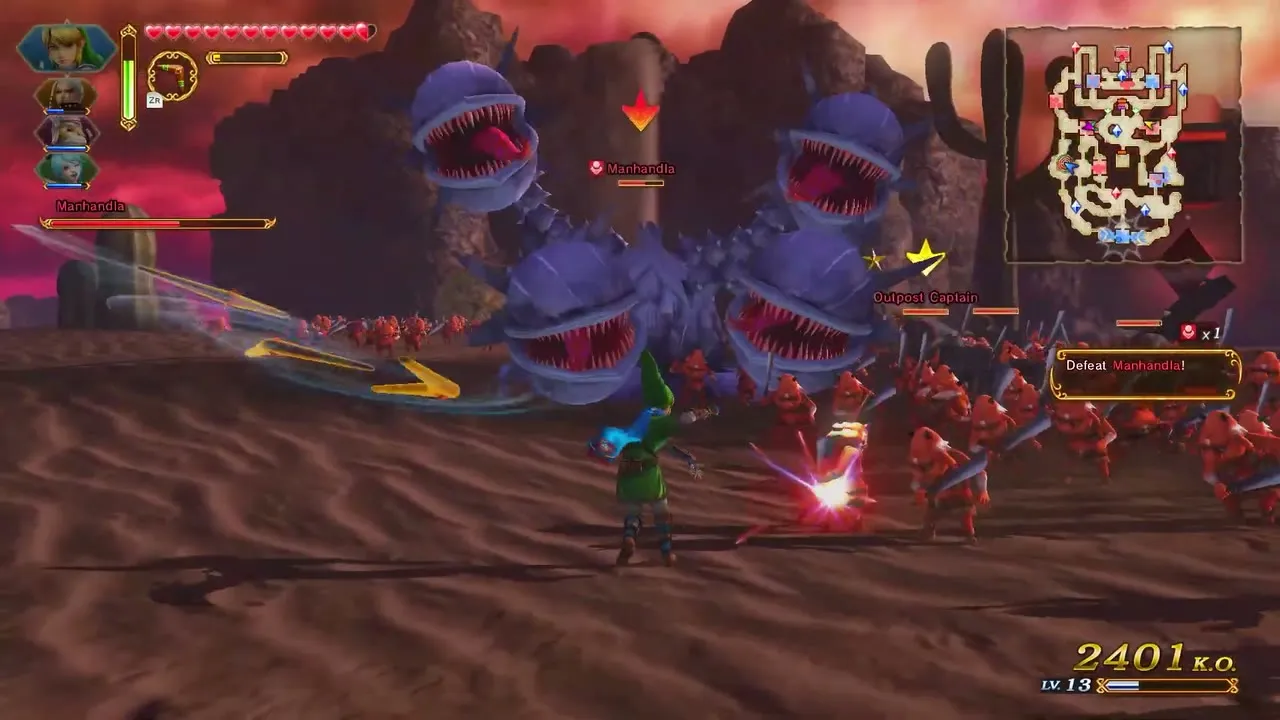
Darkness Falls: Gold Skulltula 2
This one needs Hard or Hero difficulty. Play as Cia. Defeat Wizzro while keeping the health of every Dark Link above 60 percent. It appears north of the East Temple Keep.


Linkle’s Tale
Linkle’s Tale adds the Heart Containers of Ruto, Fi, Twili Midna and Impa alongside Linkle’s own Pieces of Heart. This arc covers The Girl in the Green Tunic, Powers Collide, The Demon Lord’s Plan, Her True Self and The Other Hero.

The Girl in the Green Tunic: Gold Skulltula 1
This one appears on any difficulty. Defeat 1,000 enemies with any warrior, and when the message appears, look west of the Great Deku Tree. Go to it quickly, because it flees if ignored.


The Girl in the Green Tunic: Gold Skulltula 2
This one needs Hard or Hero difficulty. Play as Linkle. Help all three Cucco Chicks grow into Gold Cuccos. It appears west of the North Square Keep.

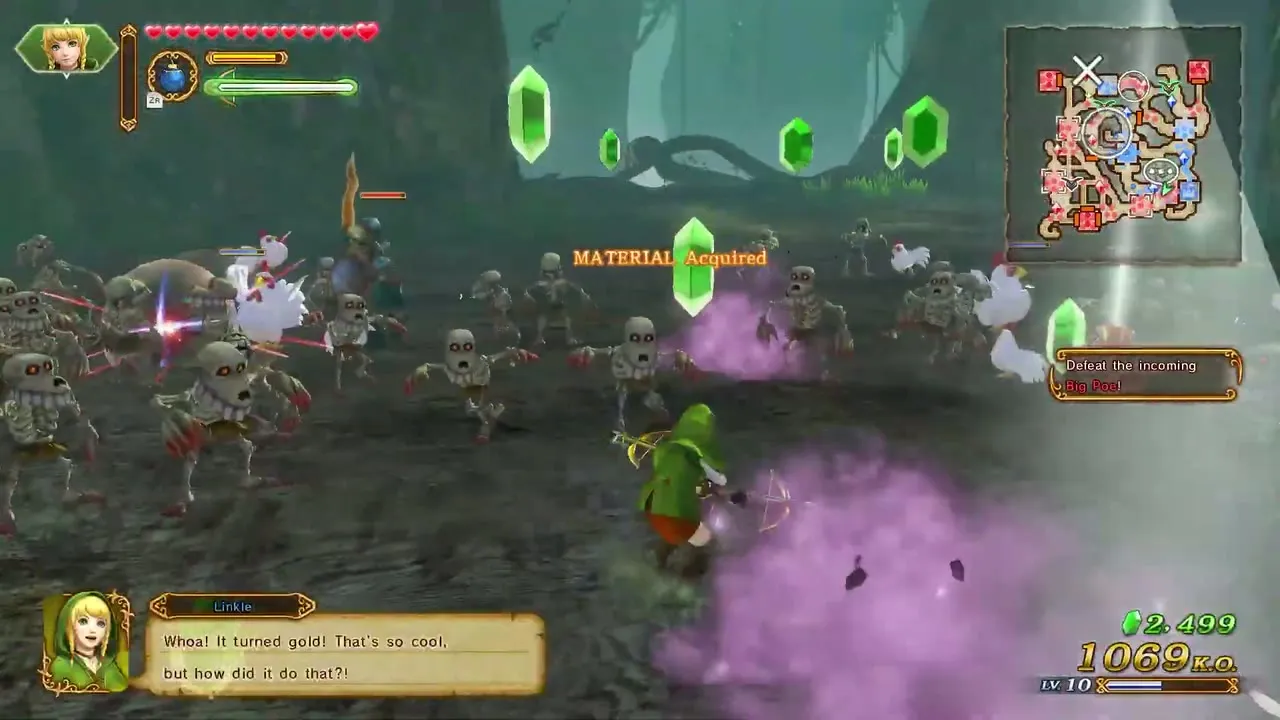
Powers Collide: Gold Skulltula 1
This one appears on any difficulty. Defeat 1,000 enemies with any warrior, and when the message appears, go just north of Temple Face Keep. Go to it quickly, because it flees if ignored.
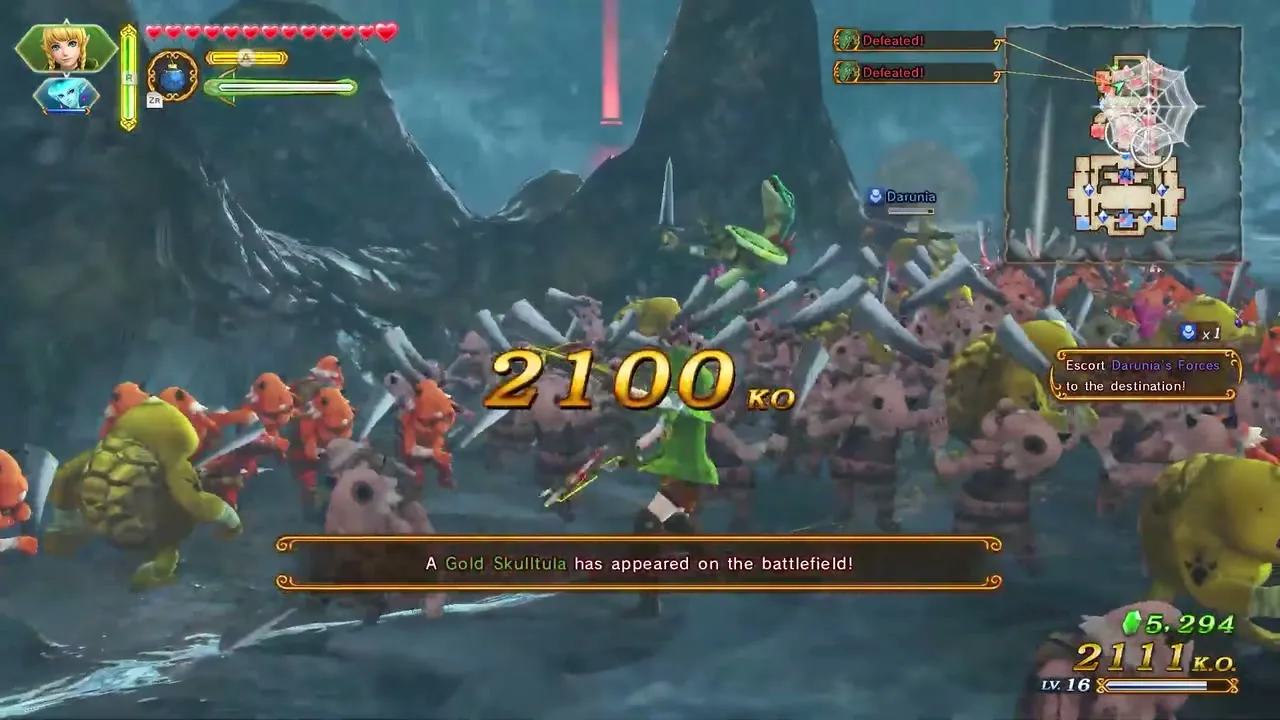

Powers Collide: Gold Skulltula 2
This one needs Hard or Hero difficulty. Play as Linkle. Open the Enemy Base before Darunia or the Allied Base is endangered. It is northwest of Temple Face Keep, behind a Wall of Vines that you clear with an item such as the Boomerang.
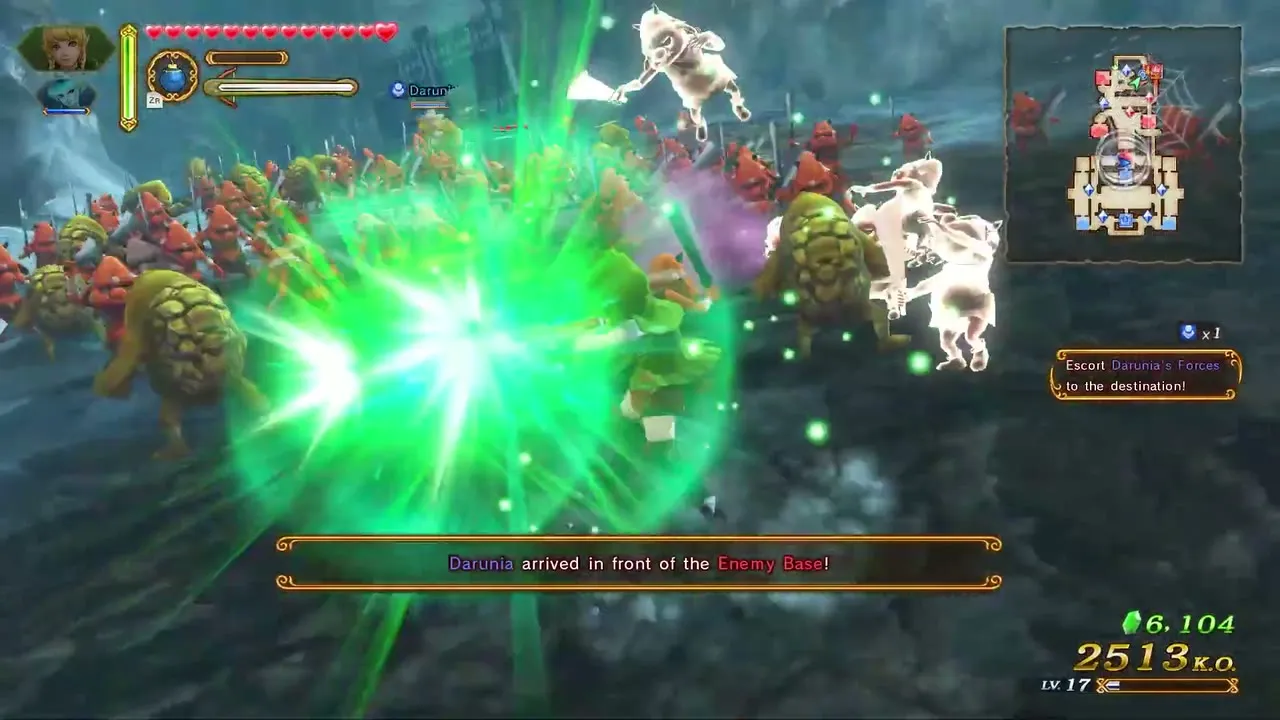
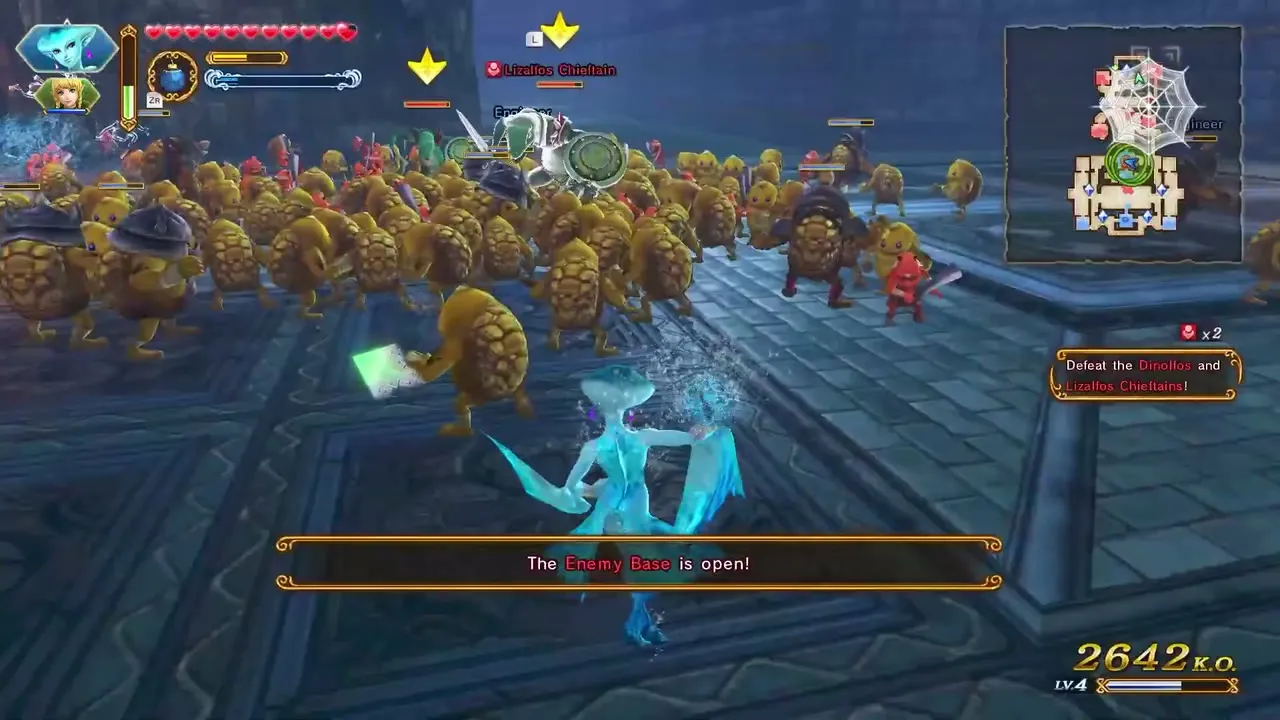
The Demon Lord’s Plan: Gold Skulltula 1
This one appears on any difficulty. Defeat 1,000 enemies with any warrior, and when the message appears, bomb the boulder at the center of the Sealed Grounds. Go to it quickly, because it flees if ignored.
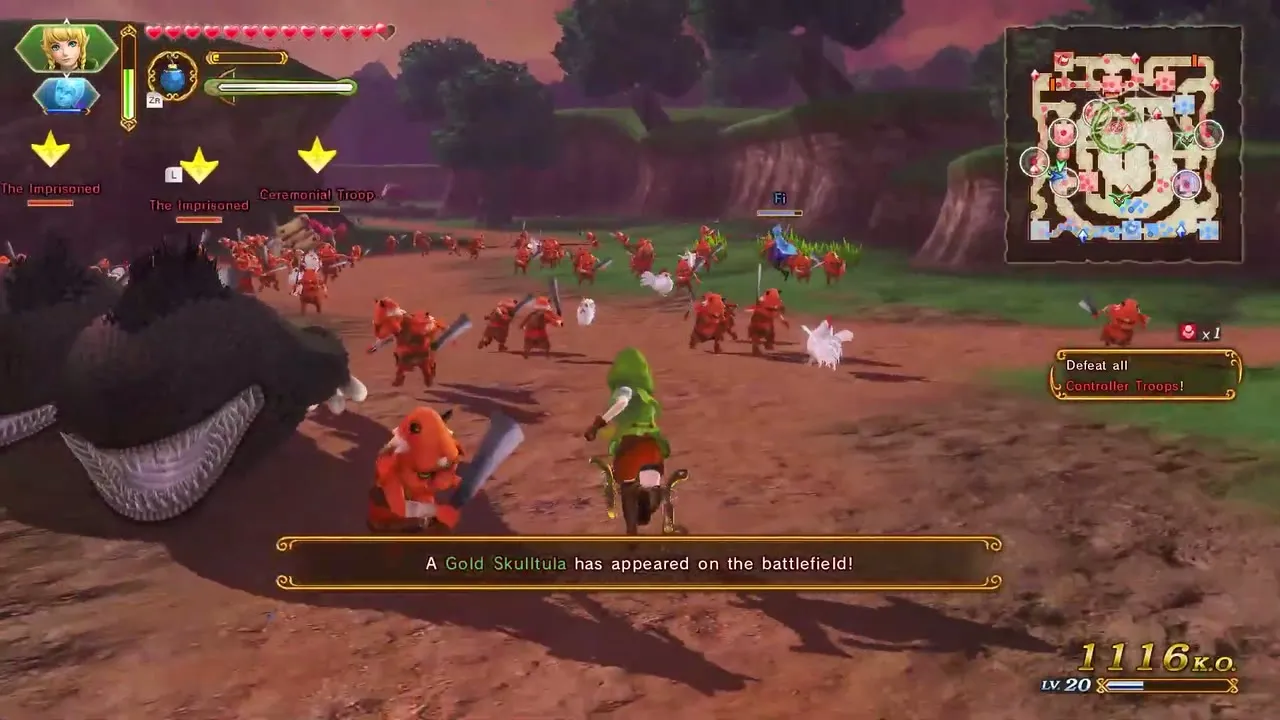
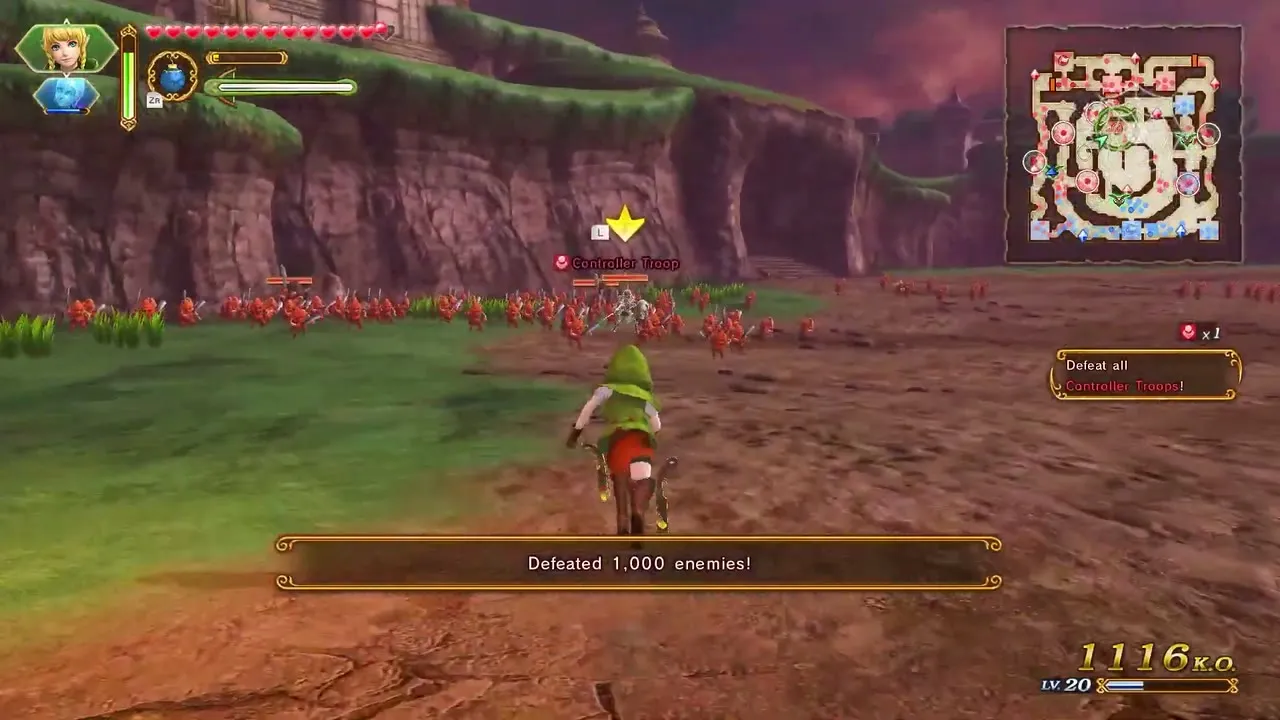
The Demon Lord’s Plan: Gold Skulltula 2
This one needs Hard or Hero difficulty. Play as Linkle. Defeat every Ceremonial Troop, every Controller Troop and The Imprisoned. It is northwest of the Temple Entrance Keep.

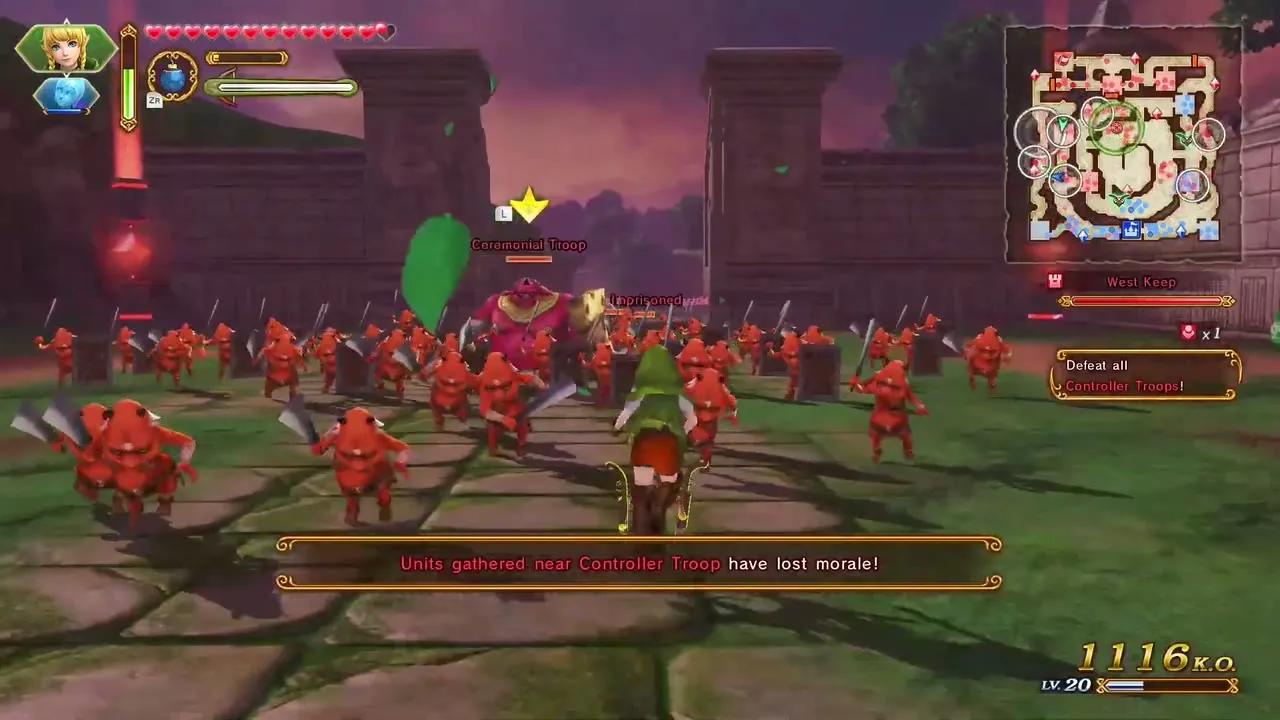
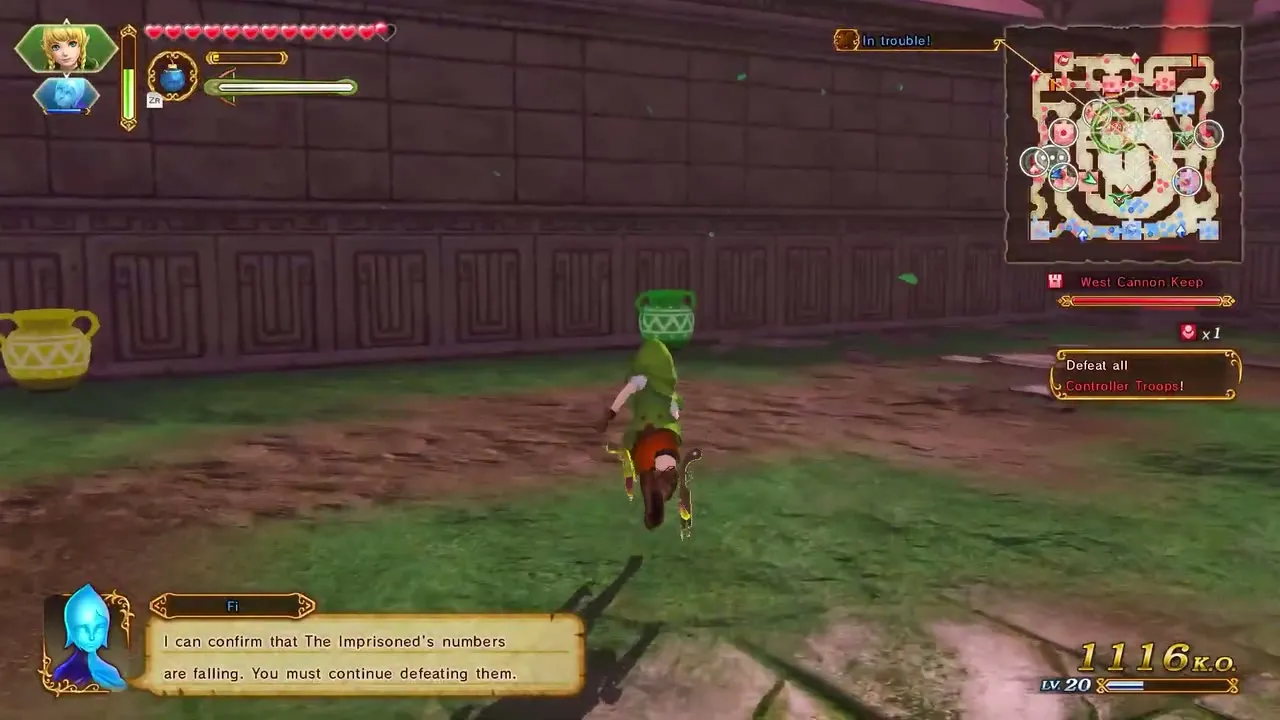
Her True Self: Gold Skulltula 1
This one appears on any difficulty. Defeat 1,000 enemies with any warrior, and when the message appears, break the boulder just west of Upper Level East. Go to it quickly, because it flees if ignored.
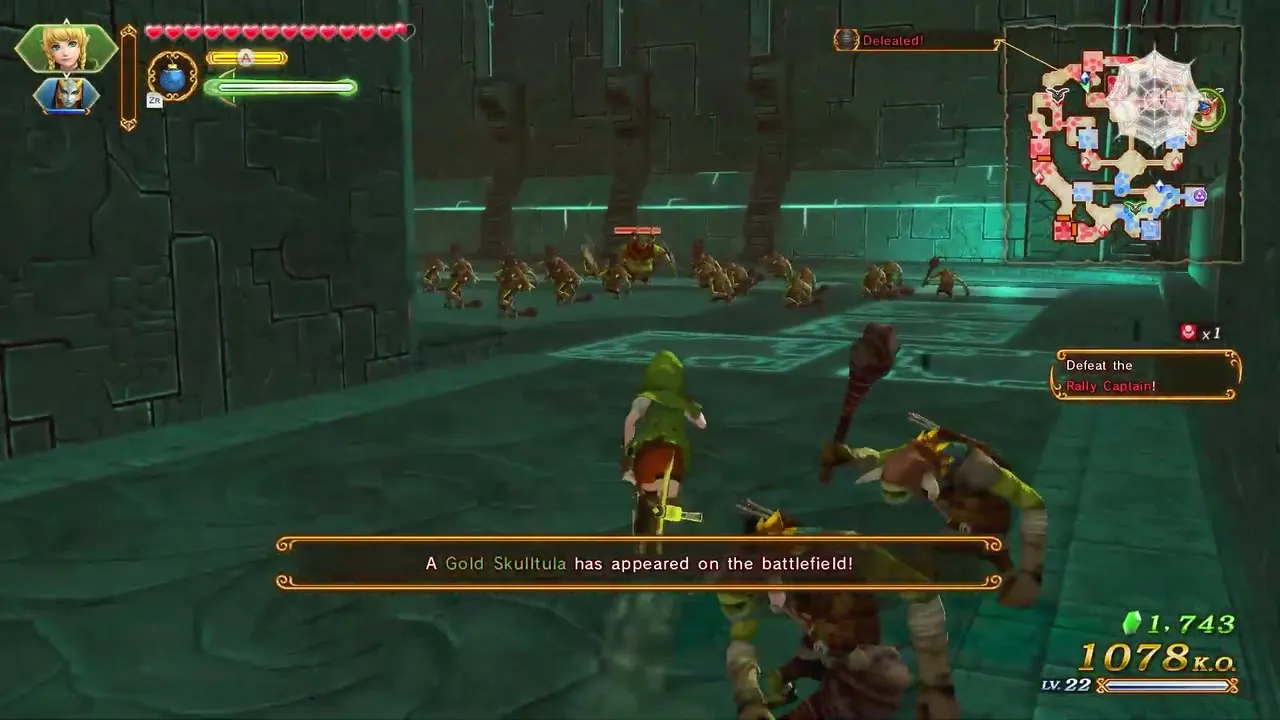
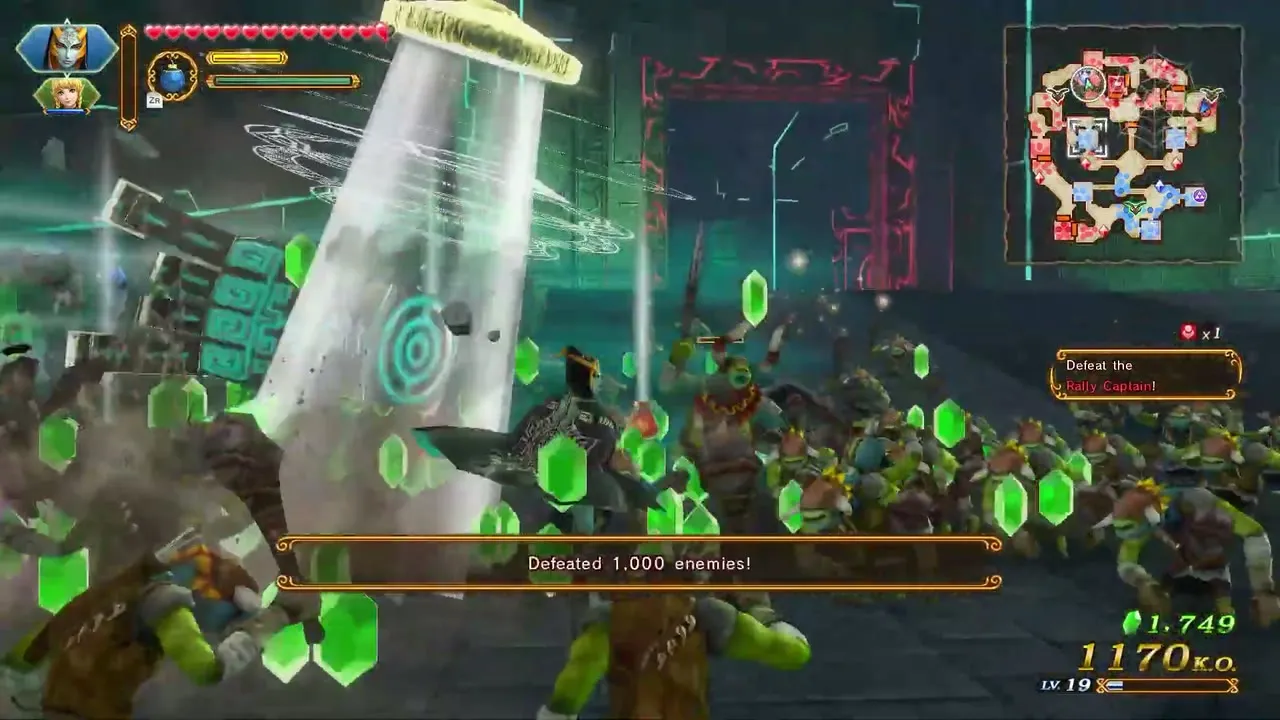
Her True Self: Gold Skulltula 2
This one needs Hard or Hero difficulty. Play as Linkle. Open the Enemy Base before Zelda is in danger, which means beating Dark Zant quickly. It is south of West Square.
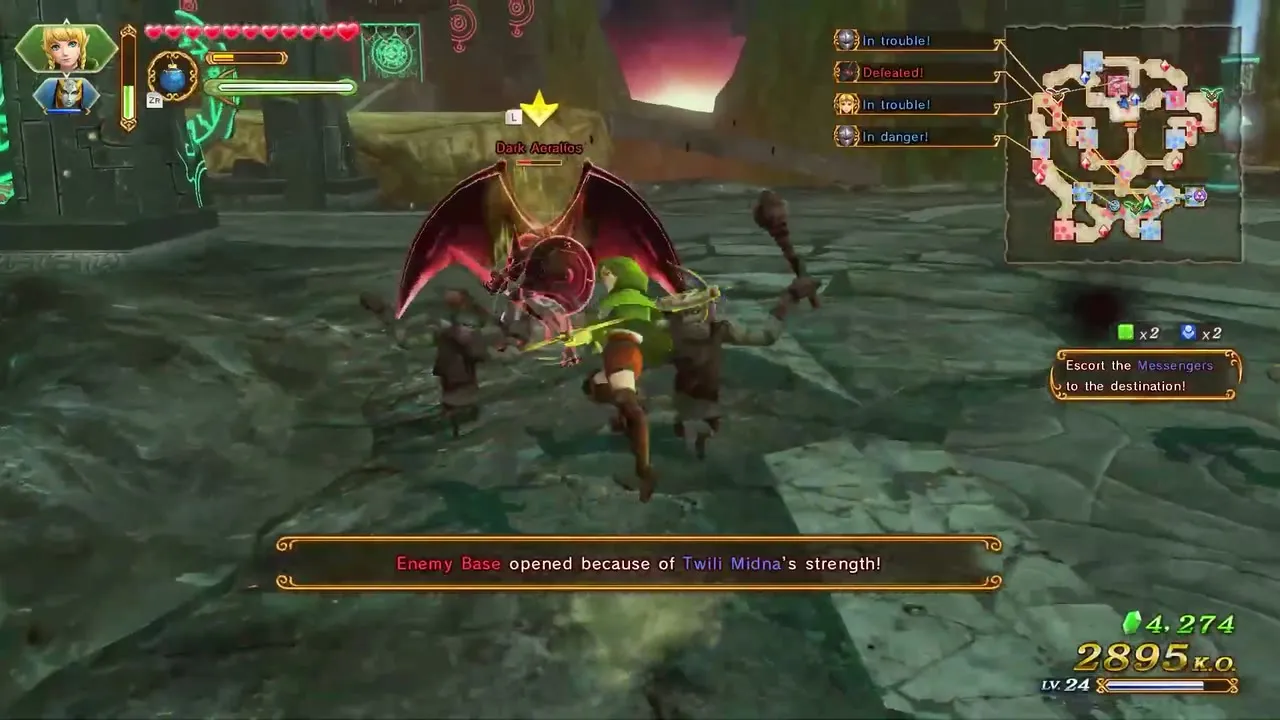

The Other Hero: Gold Skulltula 1
This one appears on any difficulty. Defeat 1,000 enemies with any warrior, and when the message appears, go outside the north wall of the empty area east of the Castle Keep. Go to it quickly, because it flees if ignored.


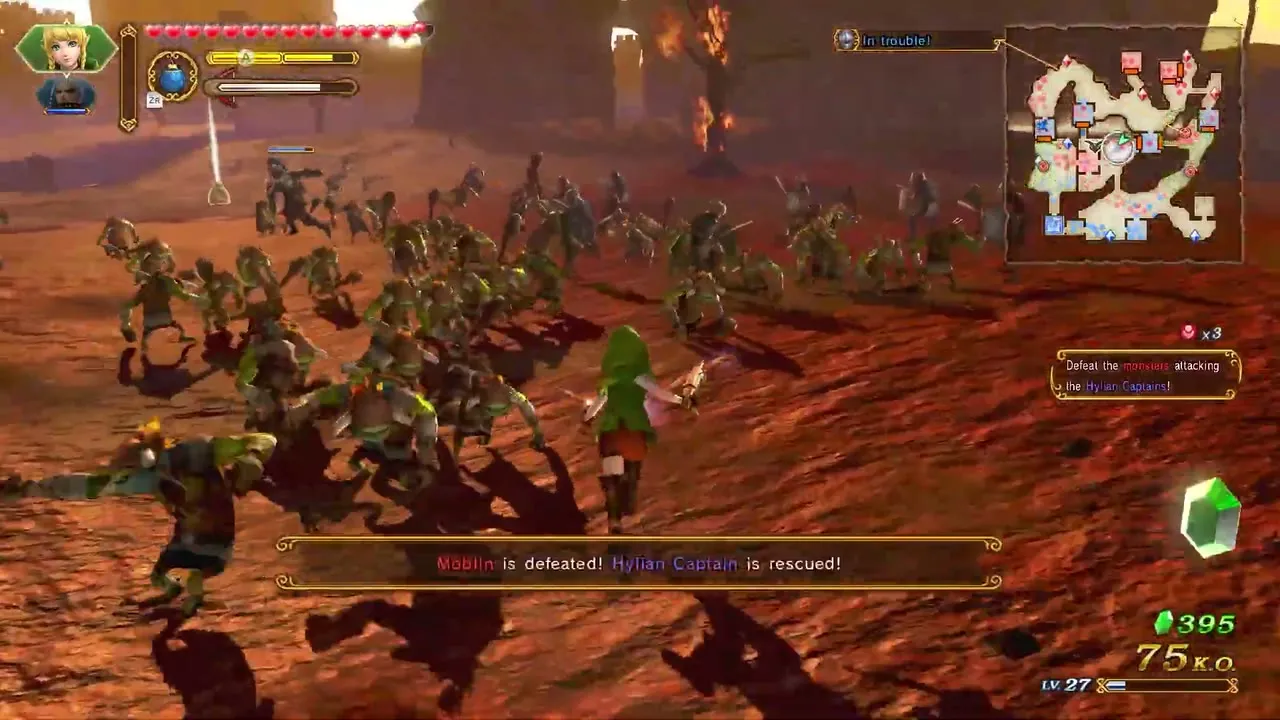
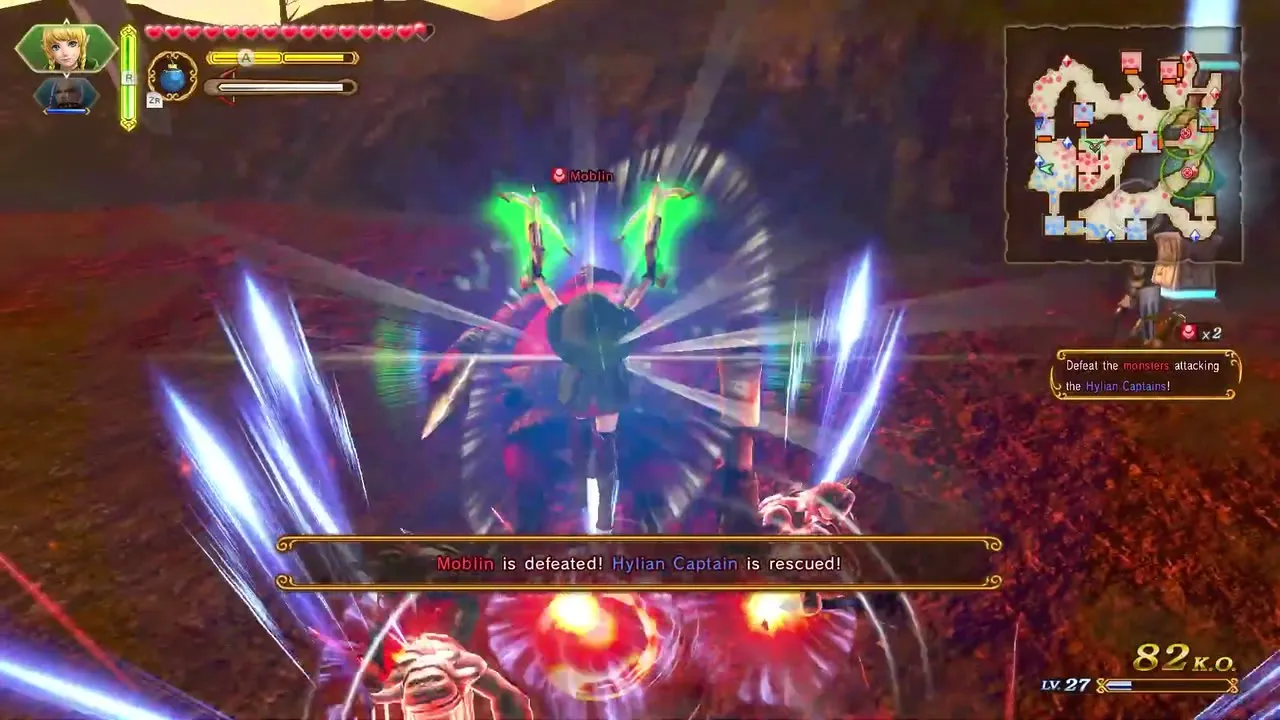
The Other Hero: Gold Skulltula 2
This one needs Hard or Hero difficulty. Play as Linkle. Rescue all of the Hylian Captains. It is in the dead end north of the East Field Keep.
Wind Waker
The Wind Waker scenarios hold the hearts of Tetra and King Daphnes. This arc covers A New Disturbance, The Search for Cia, Reclaiming the Darkness and Watchers of the Triforce.
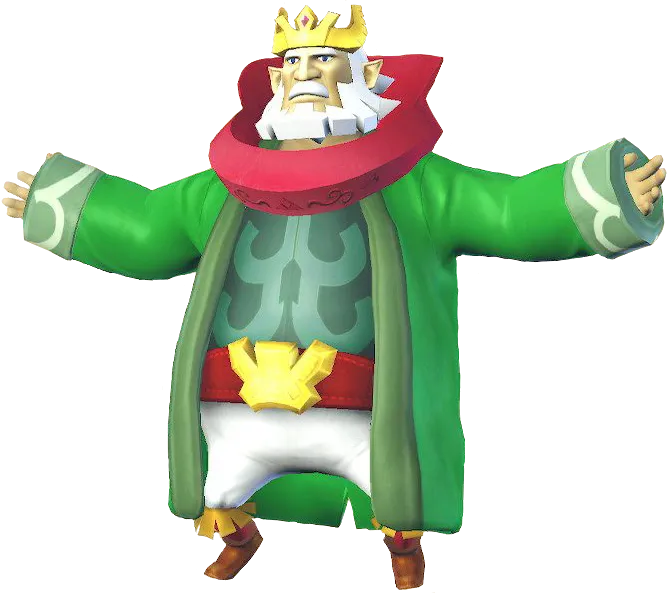

A New Disturbance: Gold Skulltula 1
This one appears on any difficulty. Defeat 1,000 enemies with any warrior, and when the message appears, go to the dead end north of Dragon Roost Keep and break the cracked wall. Go to it quickly, because it flees if ignored.

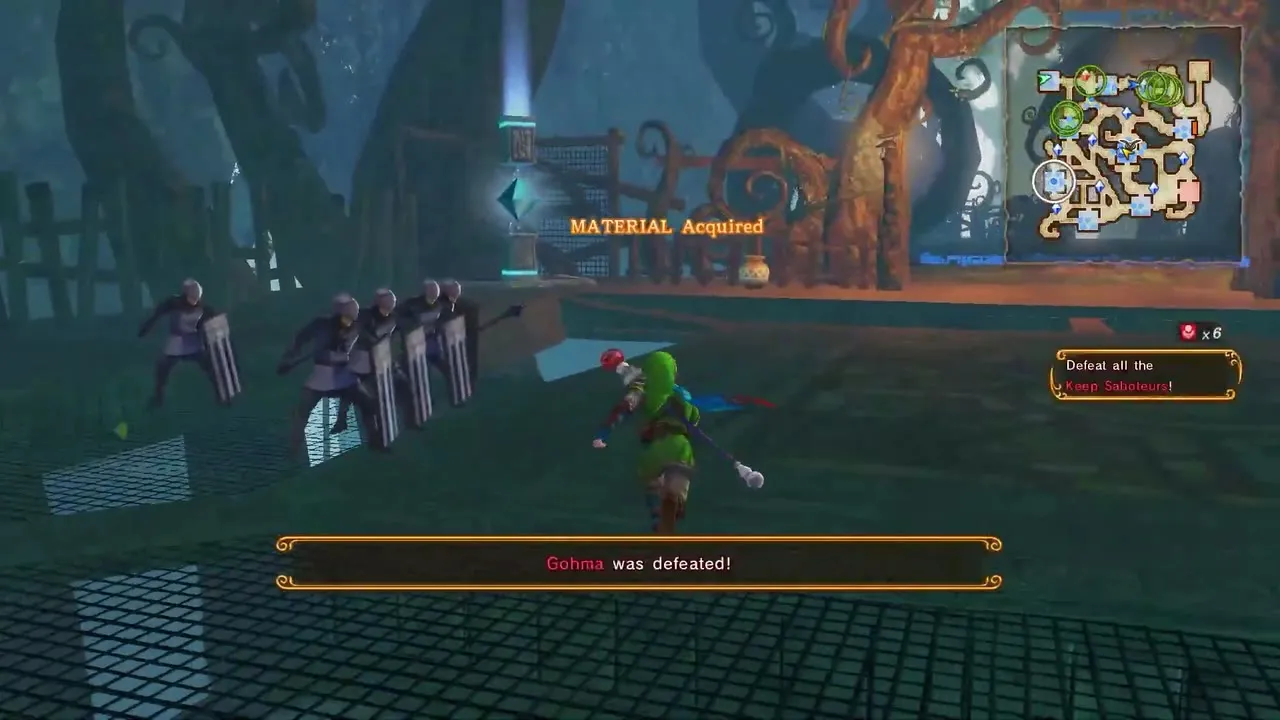
A New Disturbance: Gold Skulltula 2
This one needs Hard or Hero difficulty. Play as Link with the Magic Rod. Destroy all Stone Heads and defeat Gohma before the Allied Base is in danger. It is behind a Wall of Vines northeast of the Enemy Base.


The Search for Cia: Gold Skulltula 1
This one appears on any difficulty. Defeat 1,000 enemies with any warrior, and when the message appears, look outside the southern wall of Rockface Keep. Go to it quickly, because it flees if ignored.

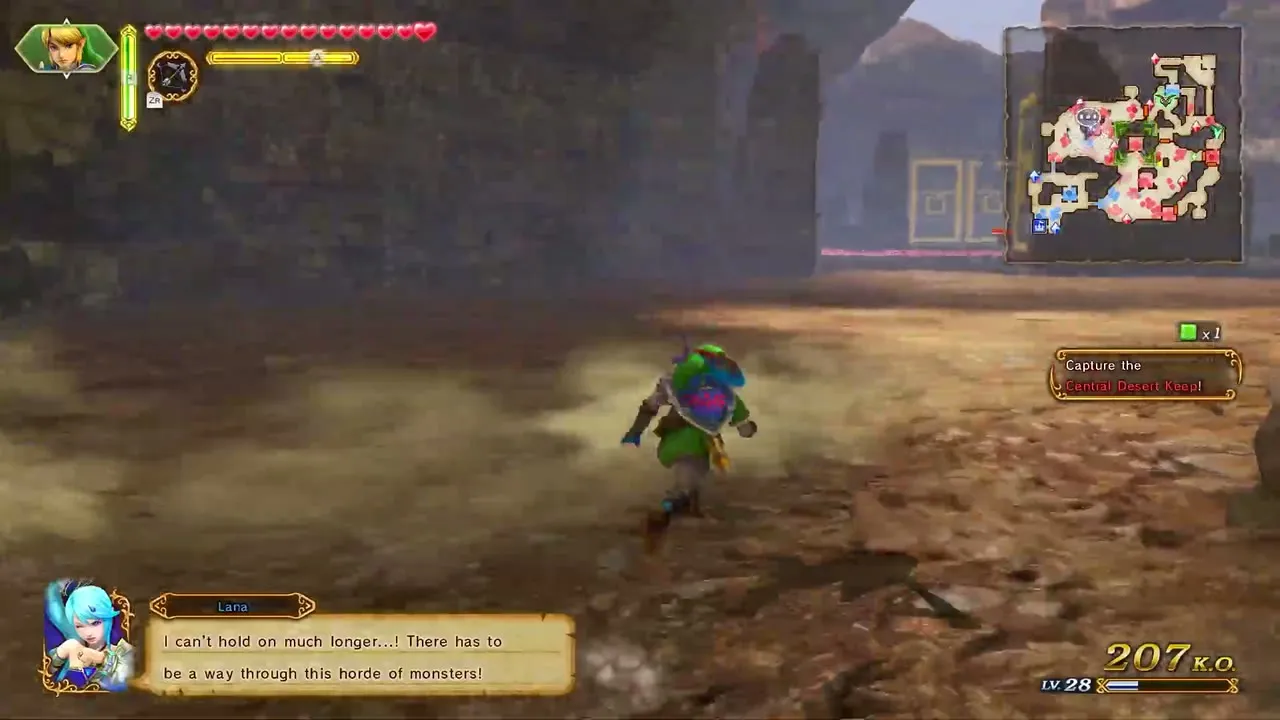
The Search for Cia: Gold Skulltula 2
This one needs Hard or Hero difficulty. Play as Lana with a Spear. Close all seven Gates of Souls in under 10 minutes. It is north of the Allied Base.

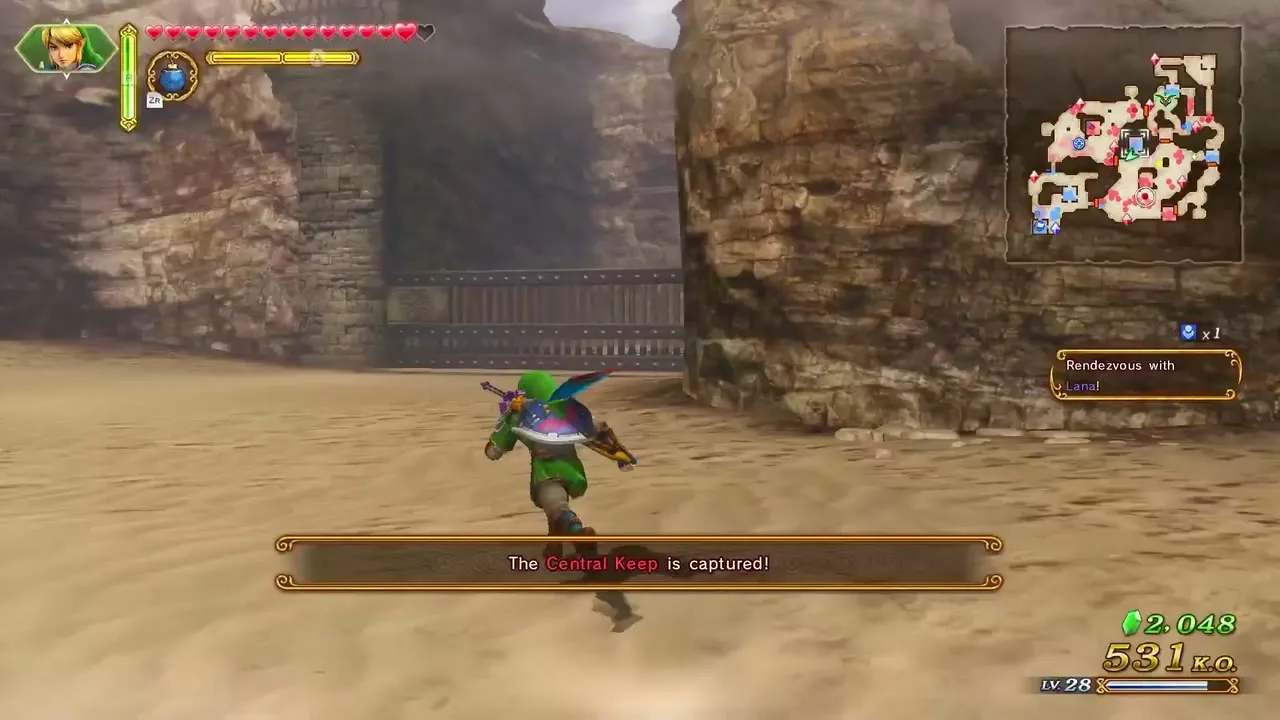
Reclaiming the Darkness: Gold Skulltula 1
This one appears on any difficulty. Defeat 1,000 enemies with any warrior, and when the message appears, look on a wall northeast of the Allied Base. Go to it quickly, because it flees if ignored.

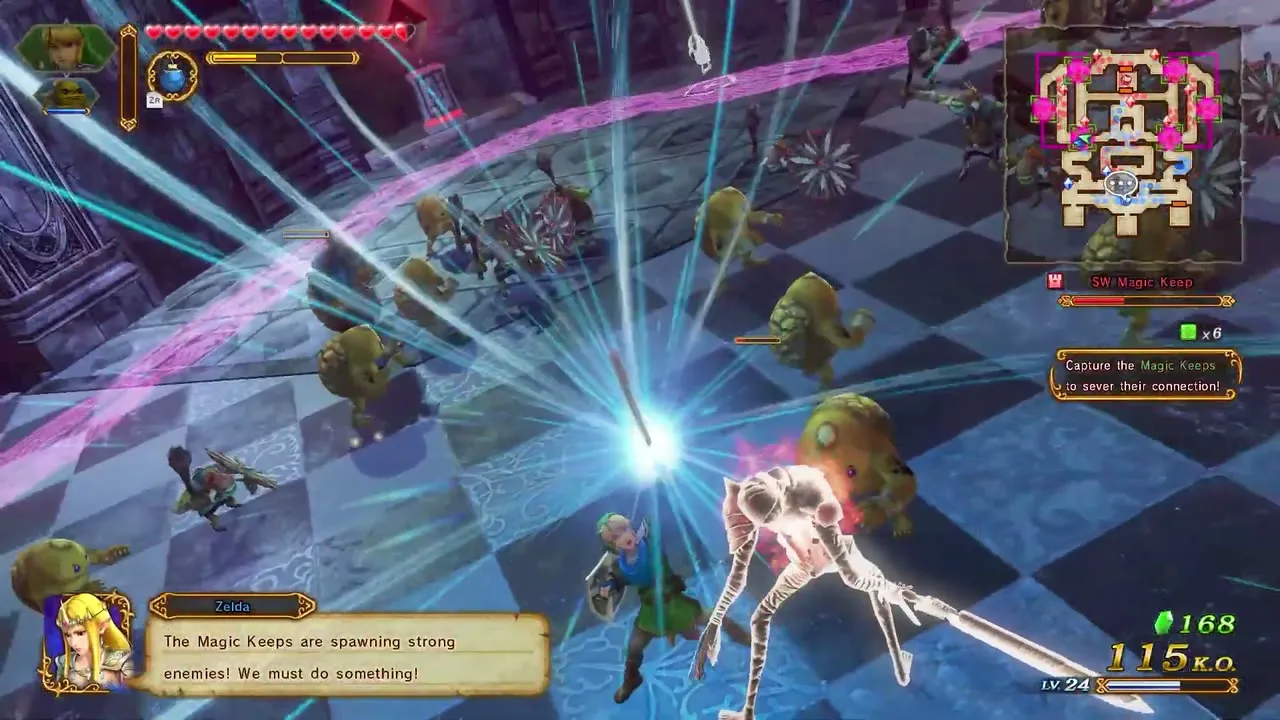
Reclaiming the Darkness: Gold Skulltula 2
This one needs Hard or Hero difficulty. Play as Link with a Hylian Sword. Capture every keep within 10 minutes. It is in the southwest corner of the second circular area south of the Allied Base.

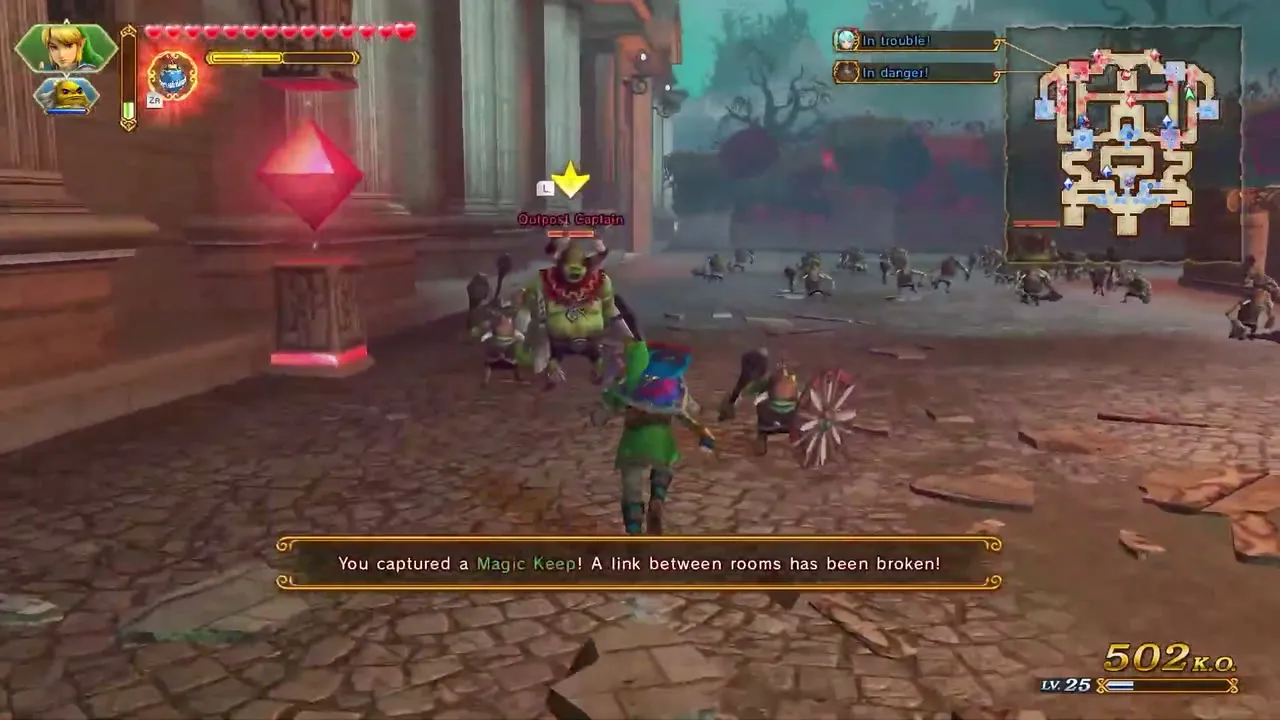
Watchers of the Triforce: Gold Skulltula 1
This one appears on any difficulty. Defeat 1,000 enemies with any warrior, and when the message appears, climb to the ledge south of South Mine Keep. Go to it quickly, because it flees if ignored.

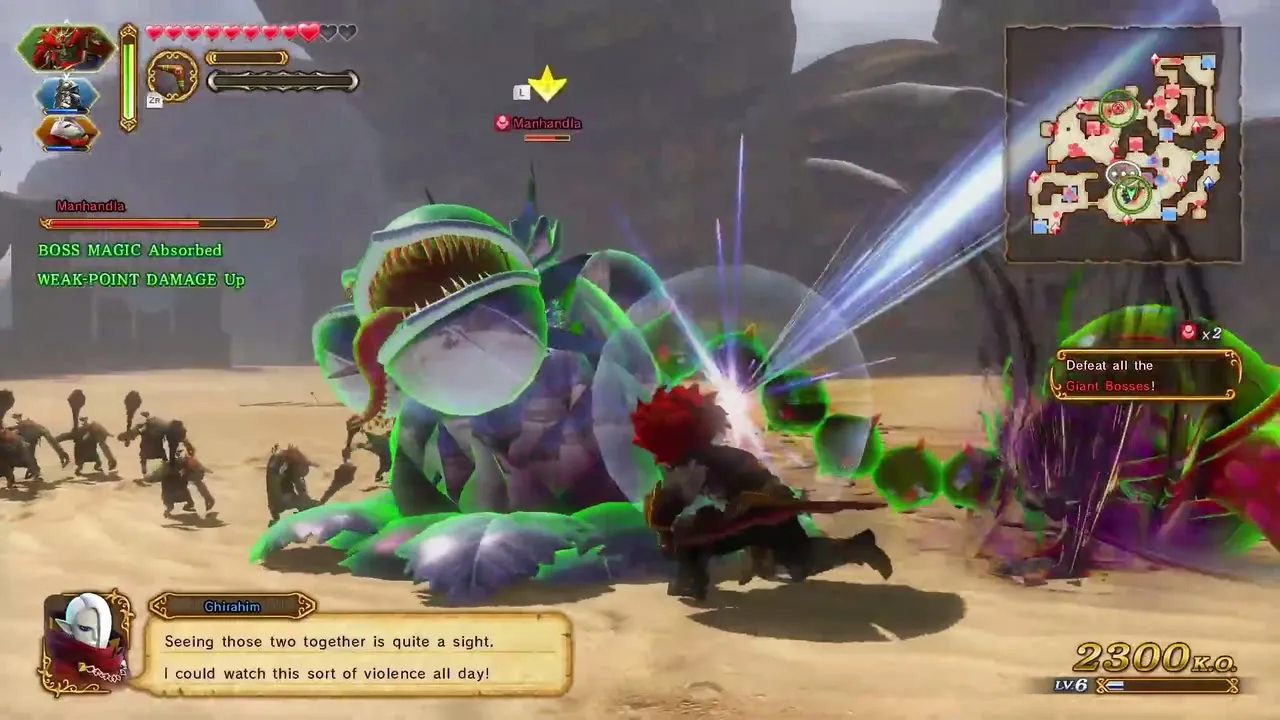
Watchers of the Triforce: Gold Skulltula 2
This one needs Hard or Hero difficulty. Play as Tetra. Reduce Phantom Ganon to half health or less within 15 minutes. It is behind a Wall of Vines in the tunnel west of Rock Keep.

Related pages
See Heart Containers and Pieces of Heart for the hearts in the same scenarios and the 100% completion checklist for everything else.