





| Sub-weapons | 6: Bombs, Bow, Boomerang, Hookshot, Hammer, Ocarina |
|---|---|
| Use button | ZR uses the item you have equipped (changeable in the button settings) |
| Power-ups | Super Bomb, Sacred Bow, Gale Boomerang, Clawshot, upgraded Hammer (temporary) |
| Longer power-ups | Bazaar badges: Goron’s Bracelet, Hawkeye, Beetle, Whip, Bug Net |
| Where you get them | Treasure chests in Legend Mode scenarios, in story order |
| Boss weak points | Bombs: King Dodongo. Bow: Gohma. Boomerang: Manhandla. Hookshot: Argorok. Hammer: Helmaroc King |
Link and the other warriors carry one sub-weapon at a time, and you earn them one by one as the story moves forward: Bombs from The Armies of Ruin, the Bow and the Ocarina from The Sorceress of the Woods, the Boomerang from The Sorceress of the Valley, the Hookshot from The Shadow King and the Hammer from A New Disturbance. Each one opens blocked paths and collectibles, and each one is the key to making a particular giant boss vulnerable. This page lists every item, where it comes from, what it upgrades into and which boss it beats.
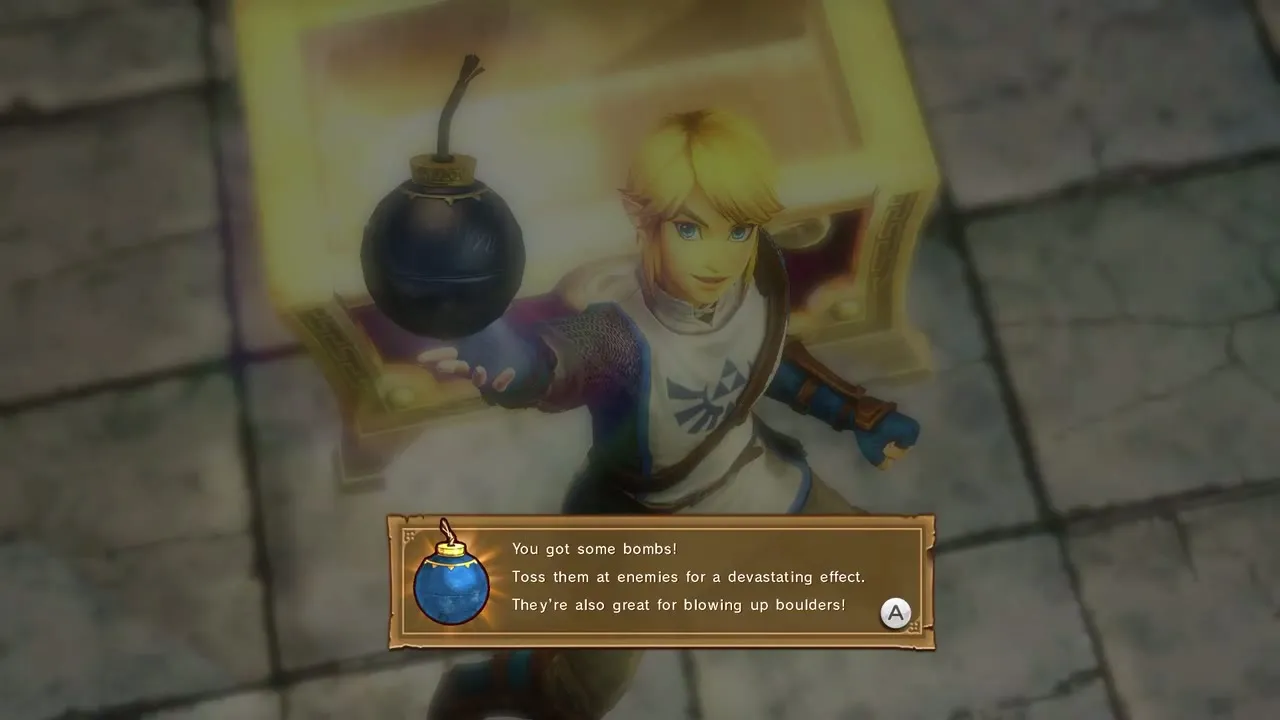
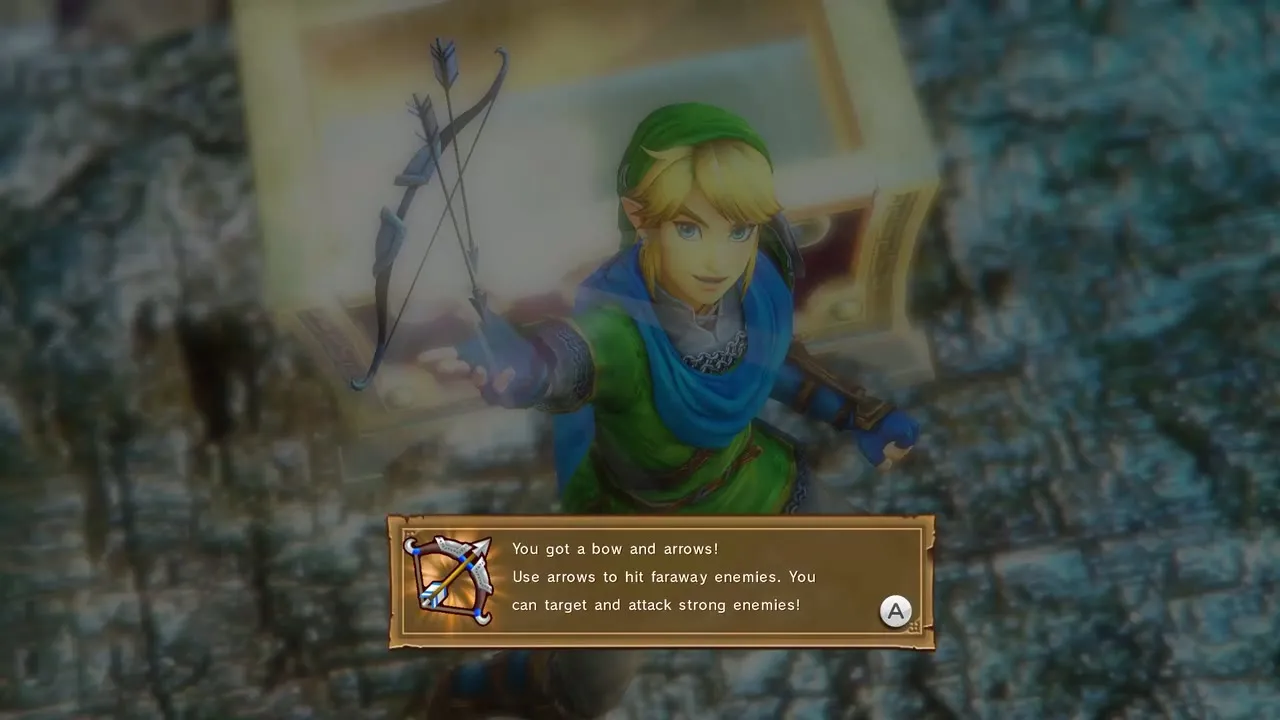
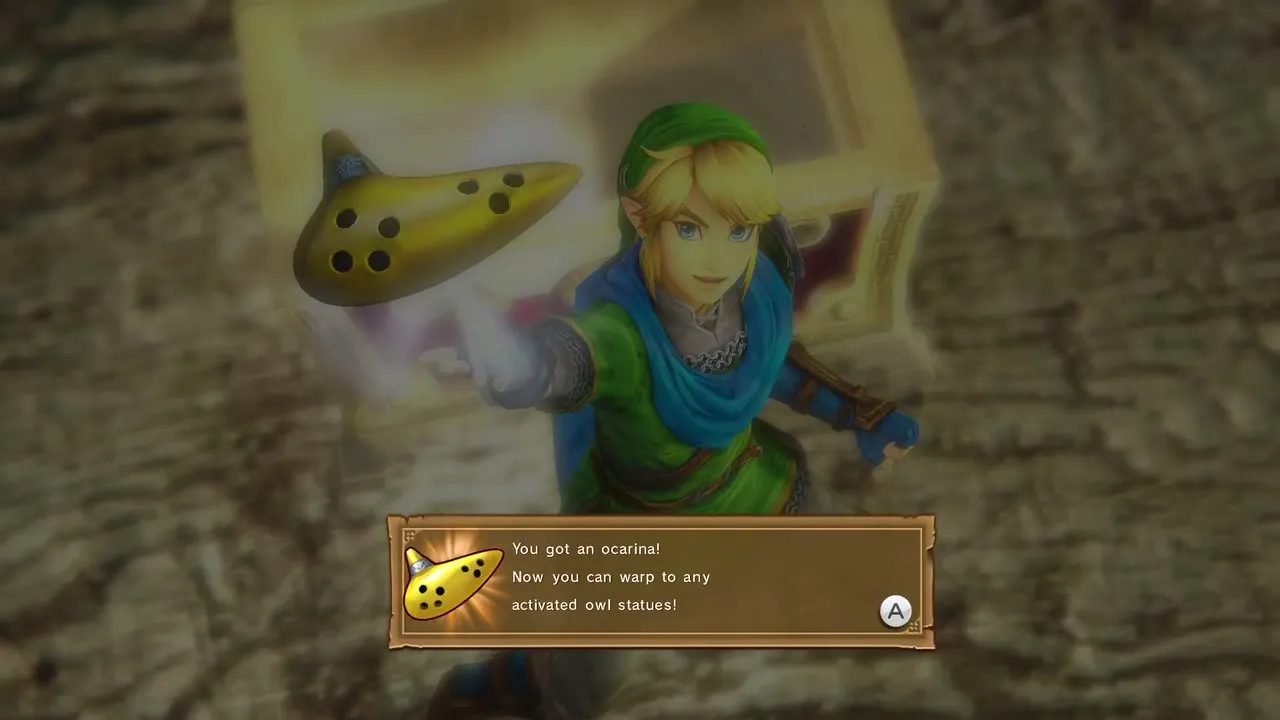

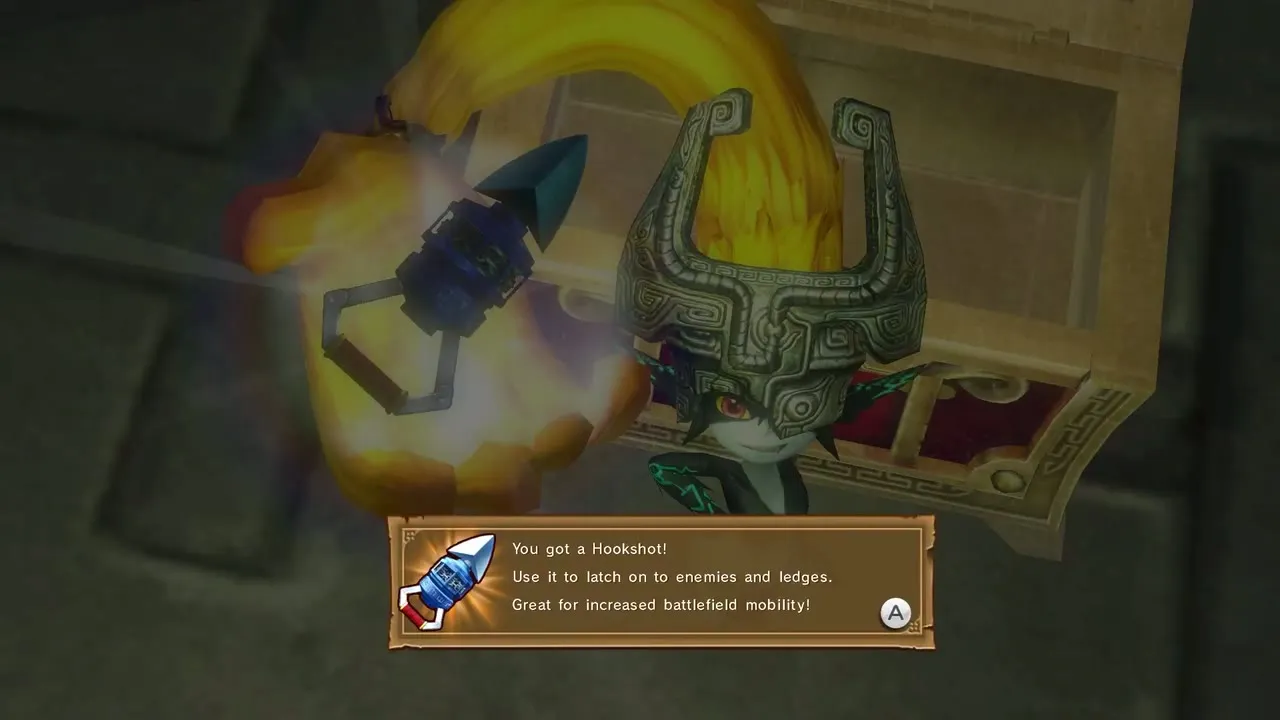
Table of Contents
How items work
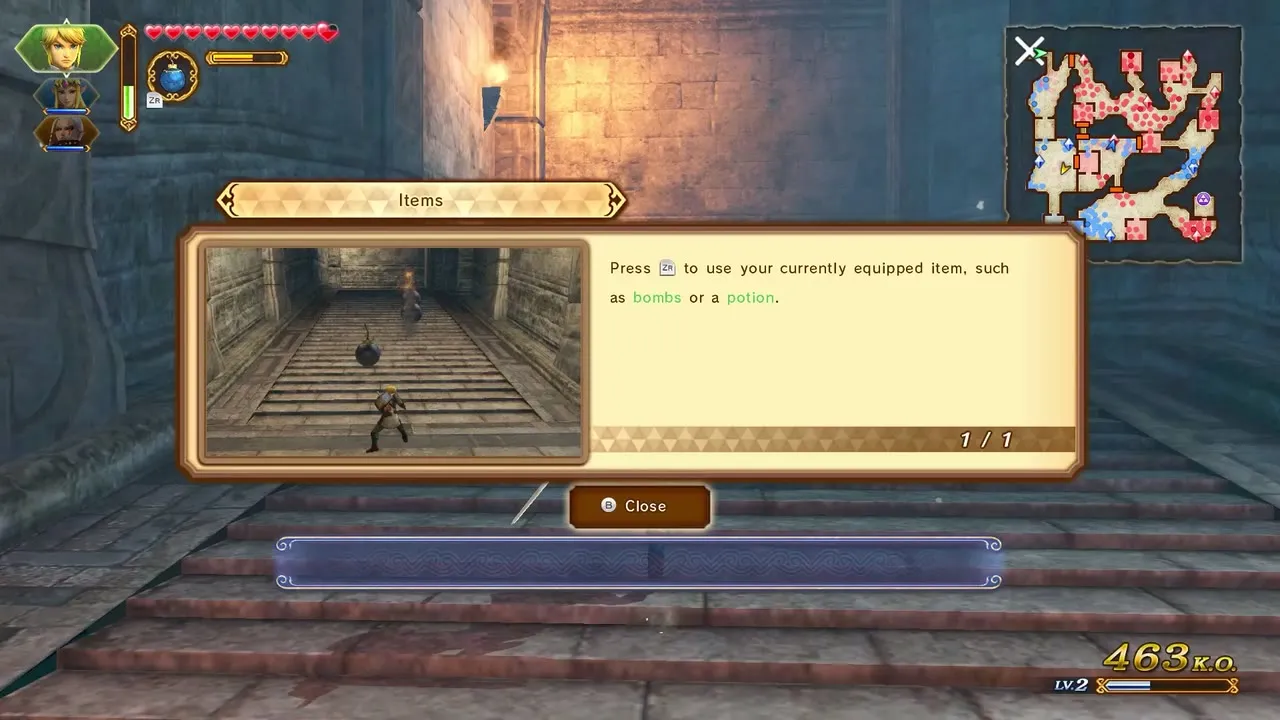
Press ZR to use whichever item is equipped, and switch items from the item list. Items work for every character, and they are also how you reach things that ordinary attacks cannot: boulders, vine walls, high ledges and switches. Many enemies are weak to one particular item, so using it at the right moment leaves them stunned and opens their Weak Point Gauge.


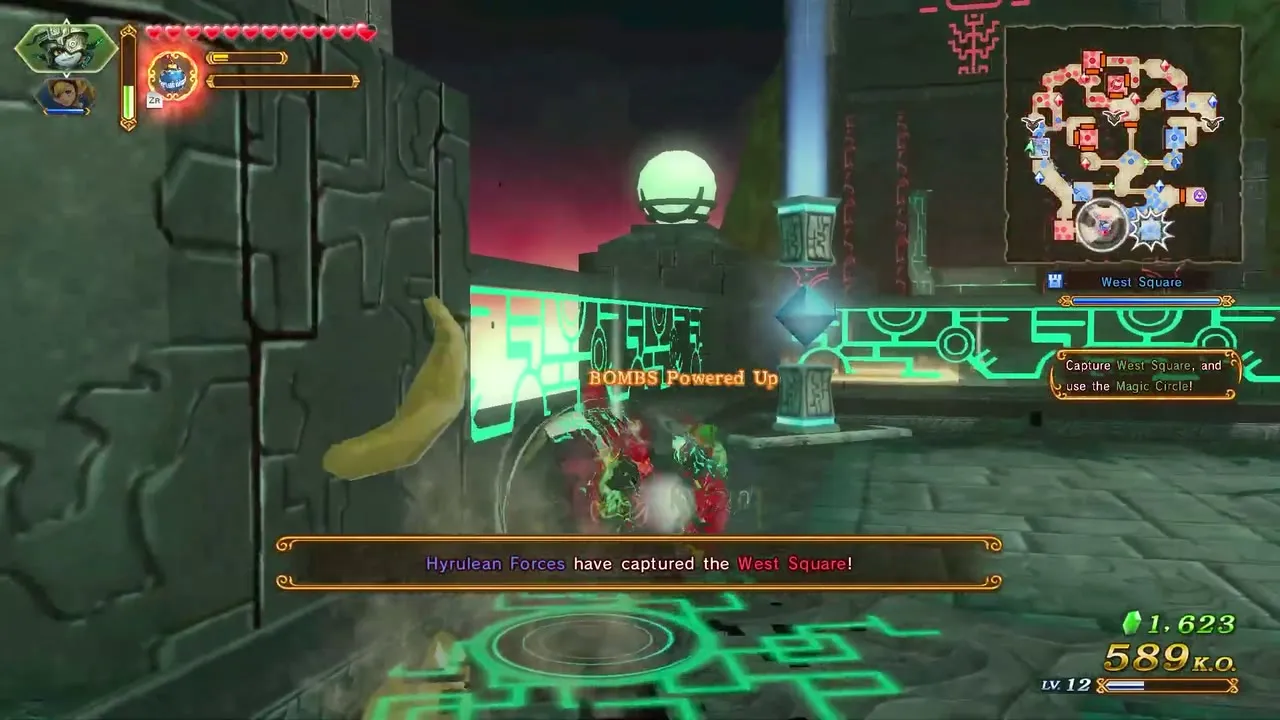
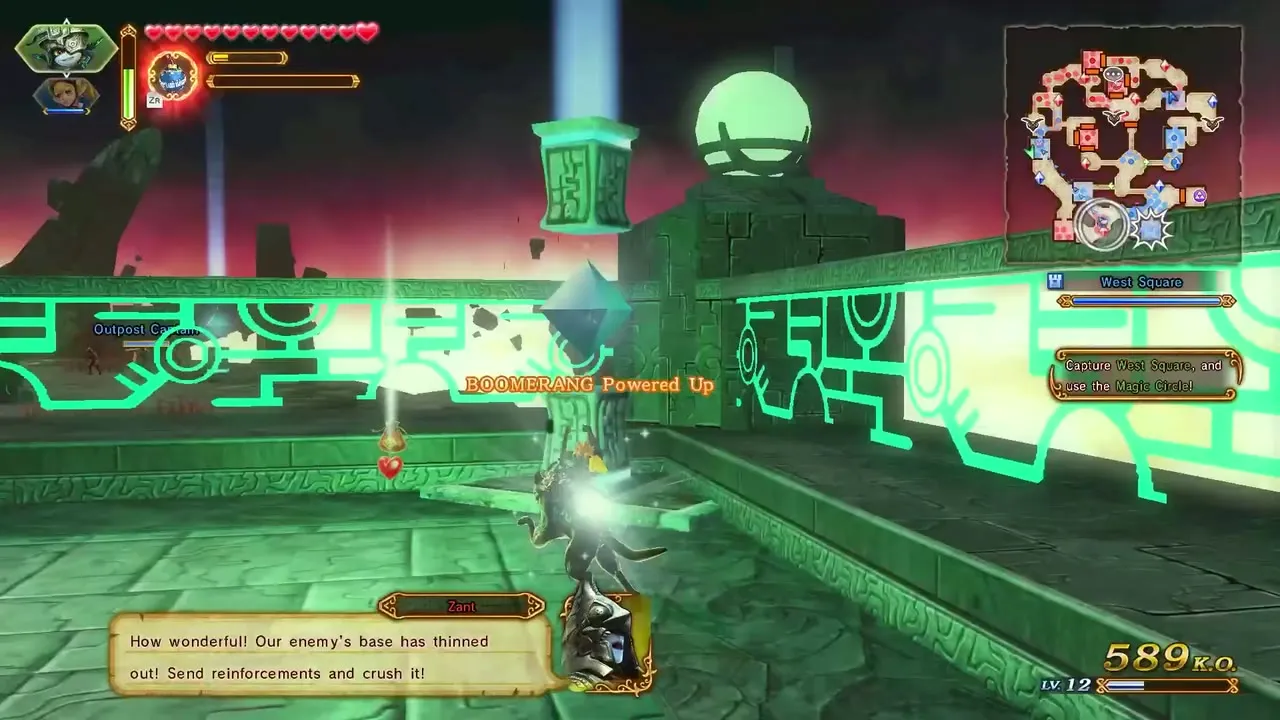
Picking up an item power-up during a battle swaps your item for a stronger version for a short time. Crafting the matching badge for a warrior in the Bazaar makes that power-up last longer. When the power-up runs out you go back to the plain item.
Item quick reference
| Item | First obtained | Power-up | Badge that extends it | Key uses |
|---|---|---|---|---|
| Bombs | The Armies of Ruin | Super Bomb | Goron’s Bracelet | Boulders, cracked walls, King Dodongo |
| Bow | The Sorceress of the Woods | Sacred Bow (Light Arrows) | Hawkeye | Deku Babas, Gohma, Ganon |
| Ocarina | The Sorceress of the Woods | None | None | Warping between Owl Statues |
| Boomerang | The Sorceress of the Valley | Gale Boomerang | Beetle | Vine walls, Manhandla |
| Hookshot | The Shadow King | Clawshot | Whip | Ledges, Argorok, Ganon’s tail |
| Hammer | A New Disturbance | Upgraded Hammer | Bug Net | Hammer switches, Helmaroc King |
The sub-weapons
Bombs
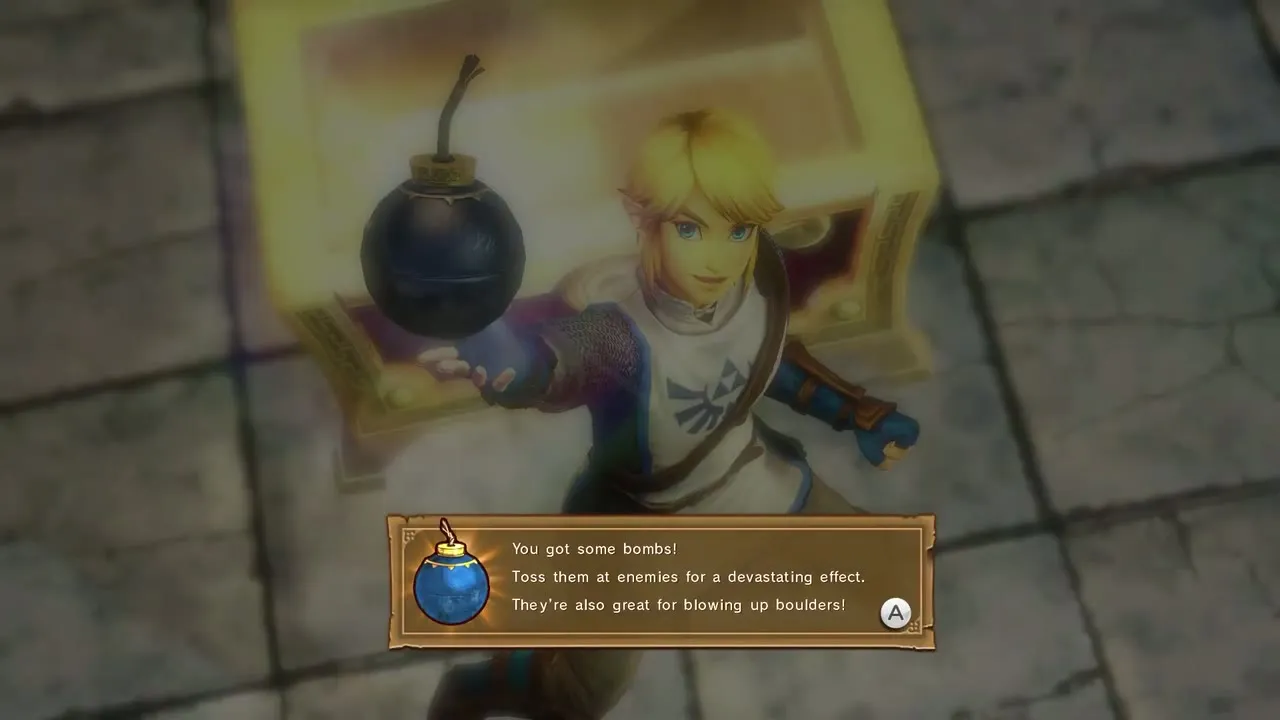
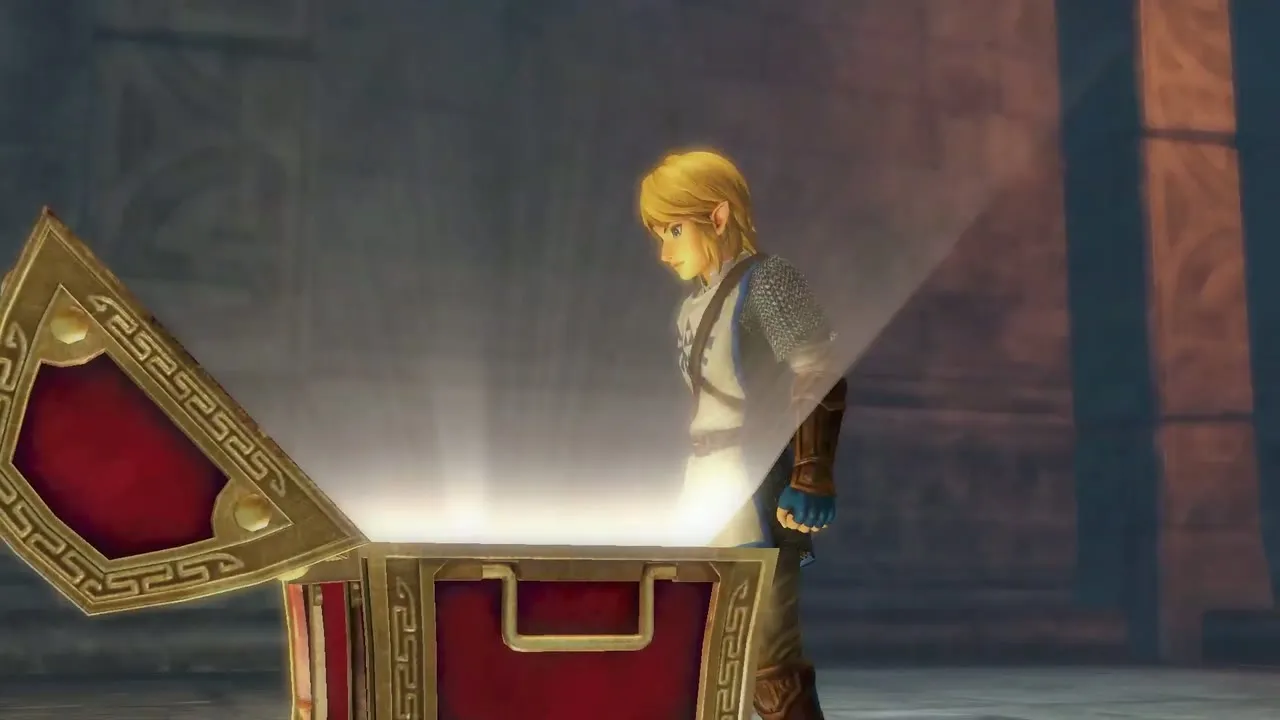
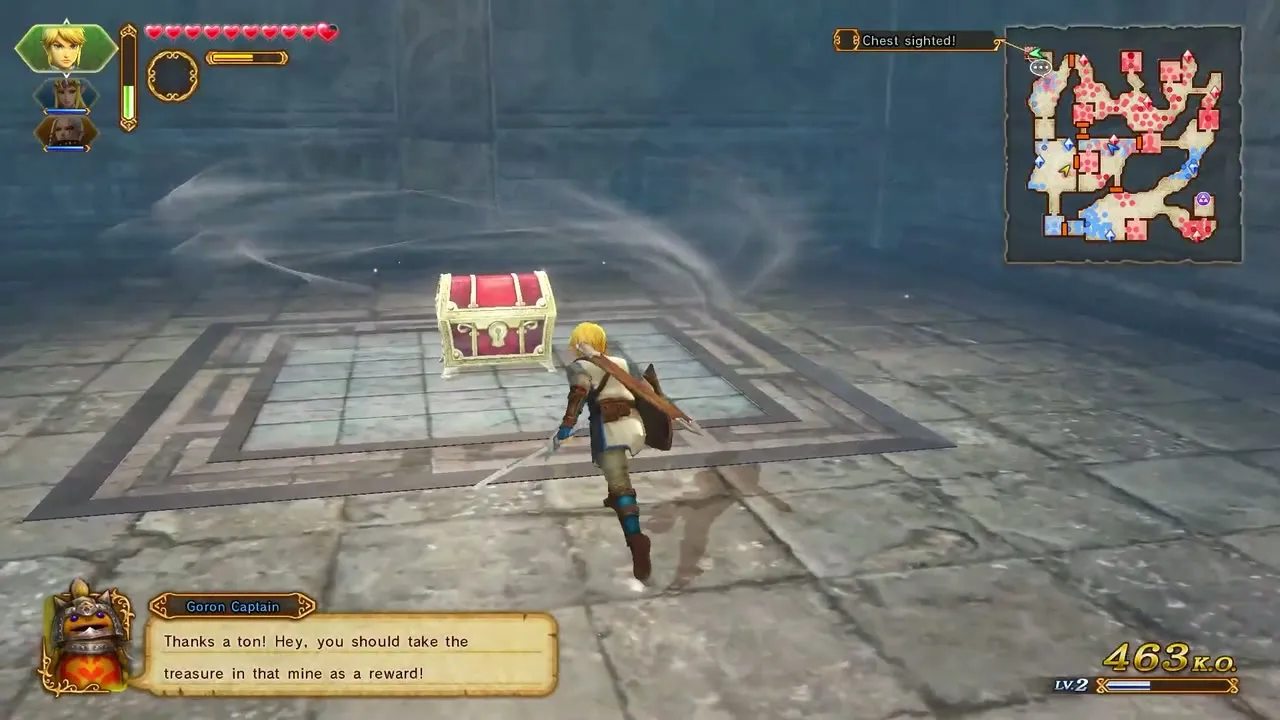
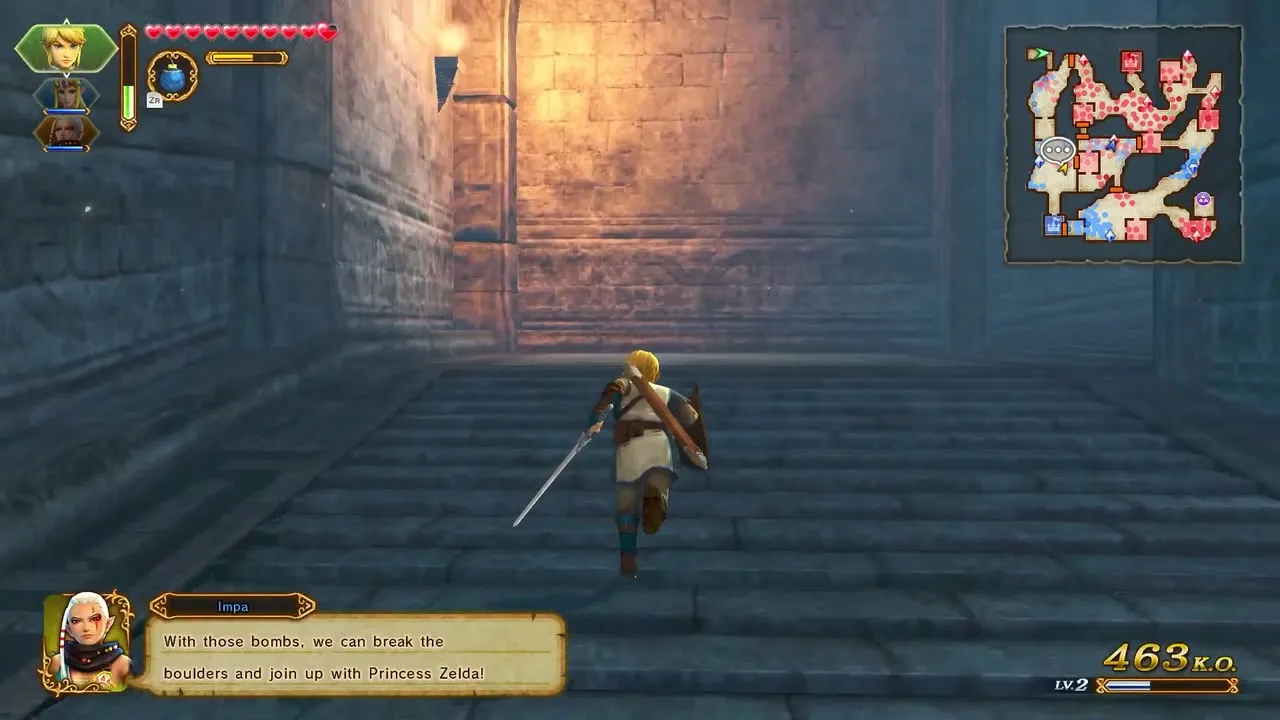
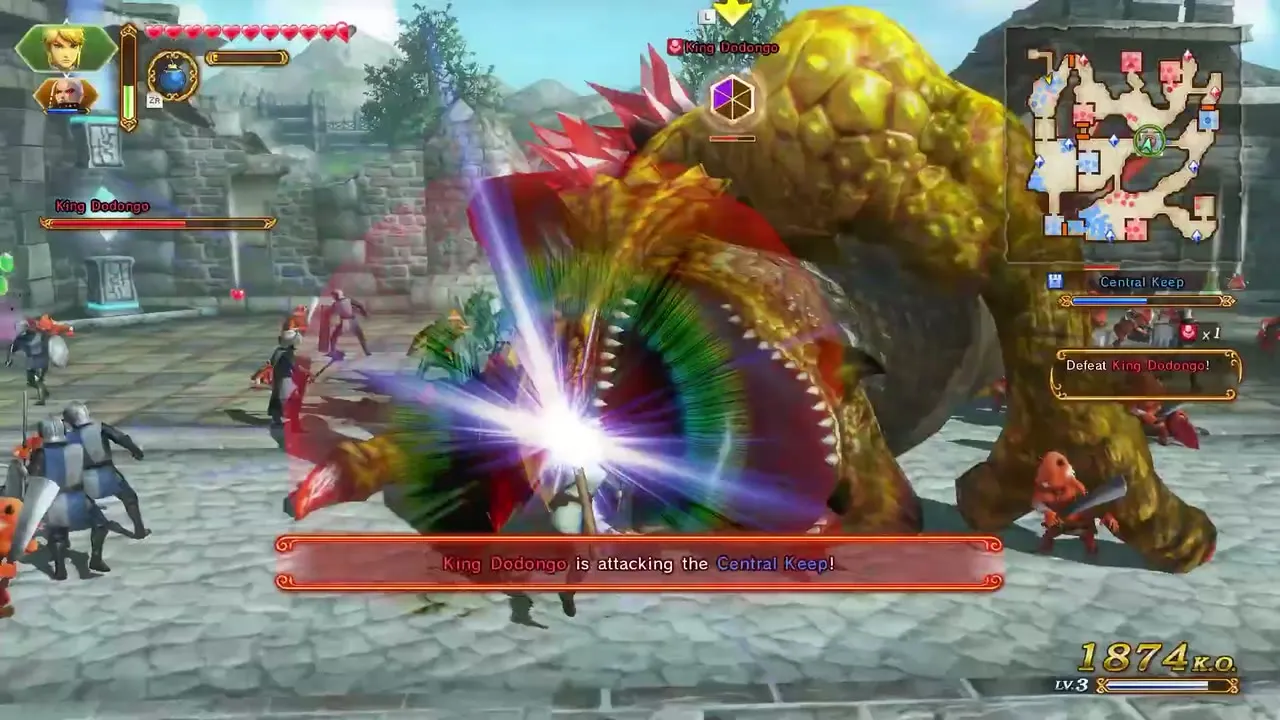
You find Bombs in a treasure chest inside the mine during The Armies of Ruin. Once the Mine Entrance keep is open, a Goron Captain tells you to take the treasure in the mine as a reward, and Impa then points out that the bombs can break the boulders blocking the way to Zelda. They are tossed a short distance and blow up cracked walls and boulders, which hide many Heart Containers and Gold Skulltulas in later scenarios, and they hurt groups of enemies. Lizalfos, Dinolfos and Beamos are particularly weak to them.

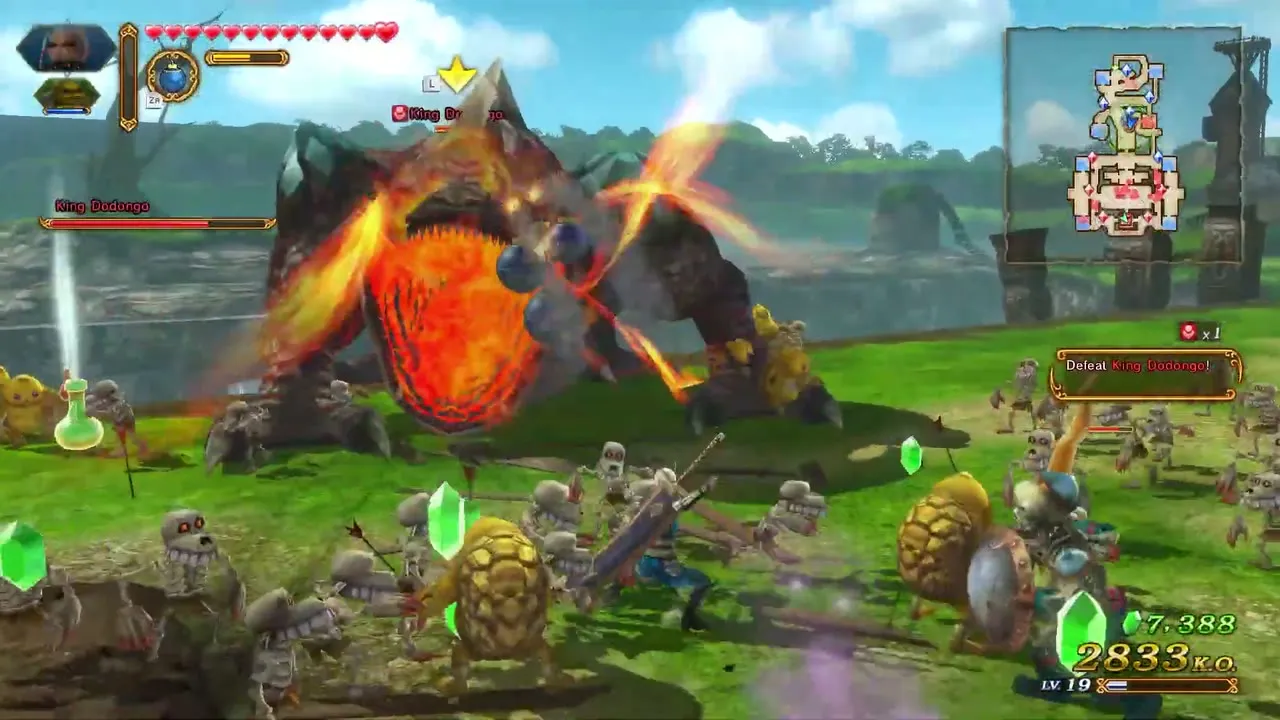
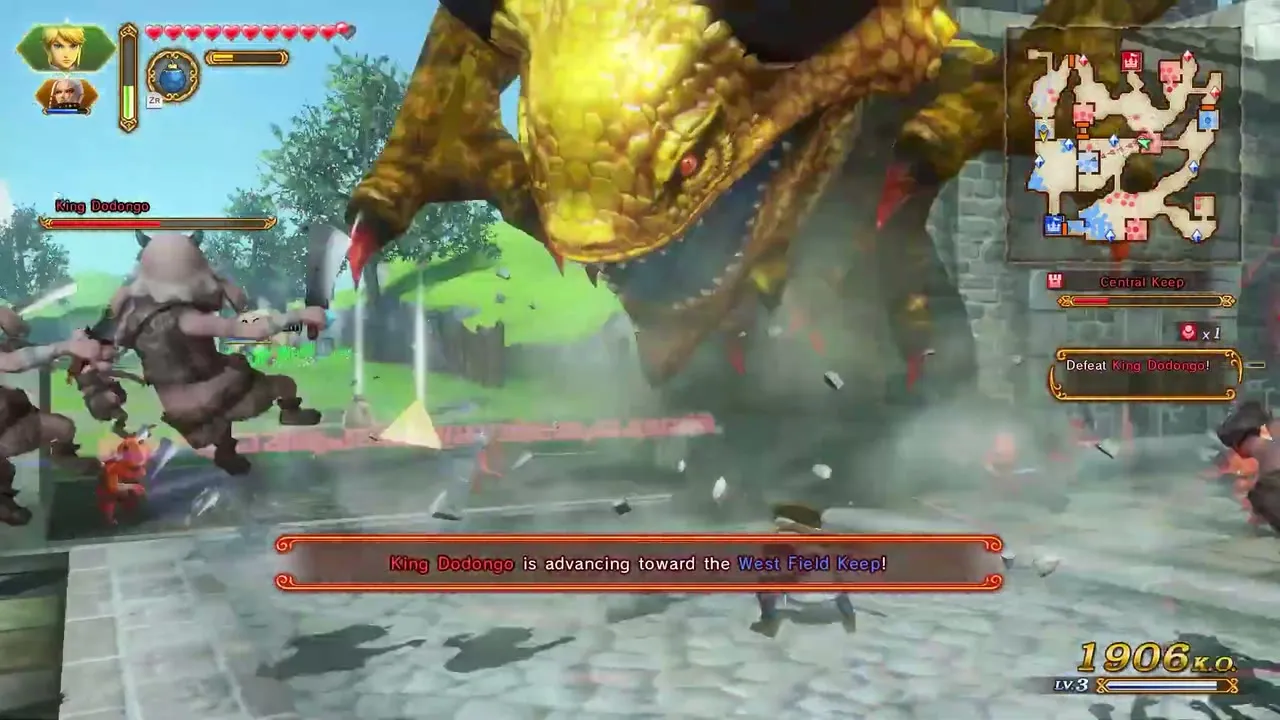
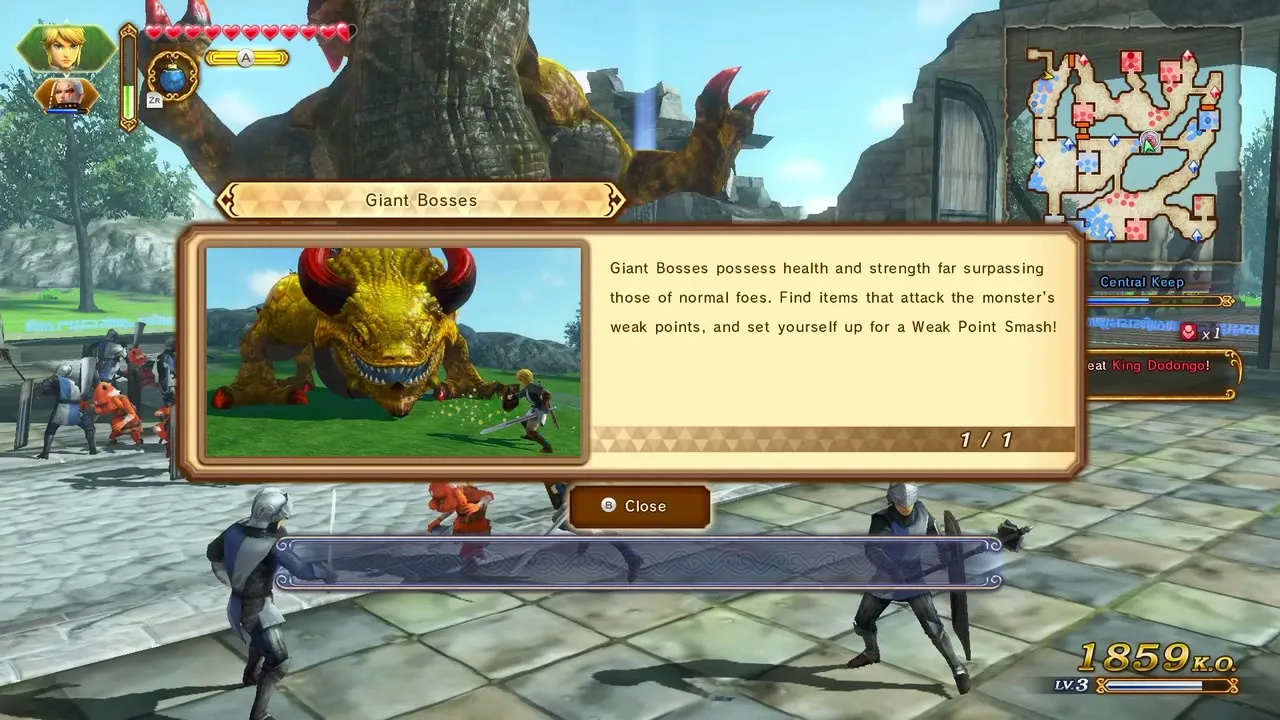
King Dodongo is the boss that Bombs are made for: a bomb thrown at the right moment stuns it and exposes its Weak Point Gauge. Pick up a Super Bomb power-up and you throw one giant bomb that clears a wide area. In Adventure Mode, Bombs and Water Bombs show up as Item Cards, the first for cave entrances and boulders on land and the second for boulders on the water.
Bow
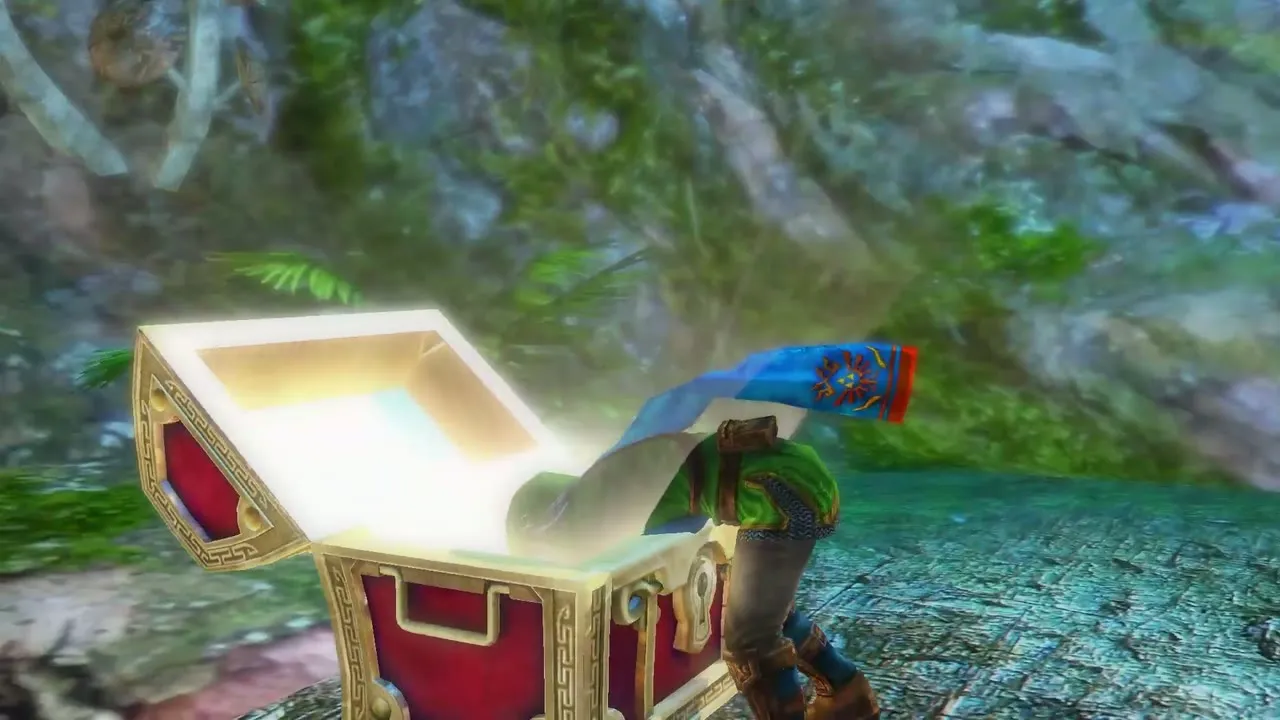
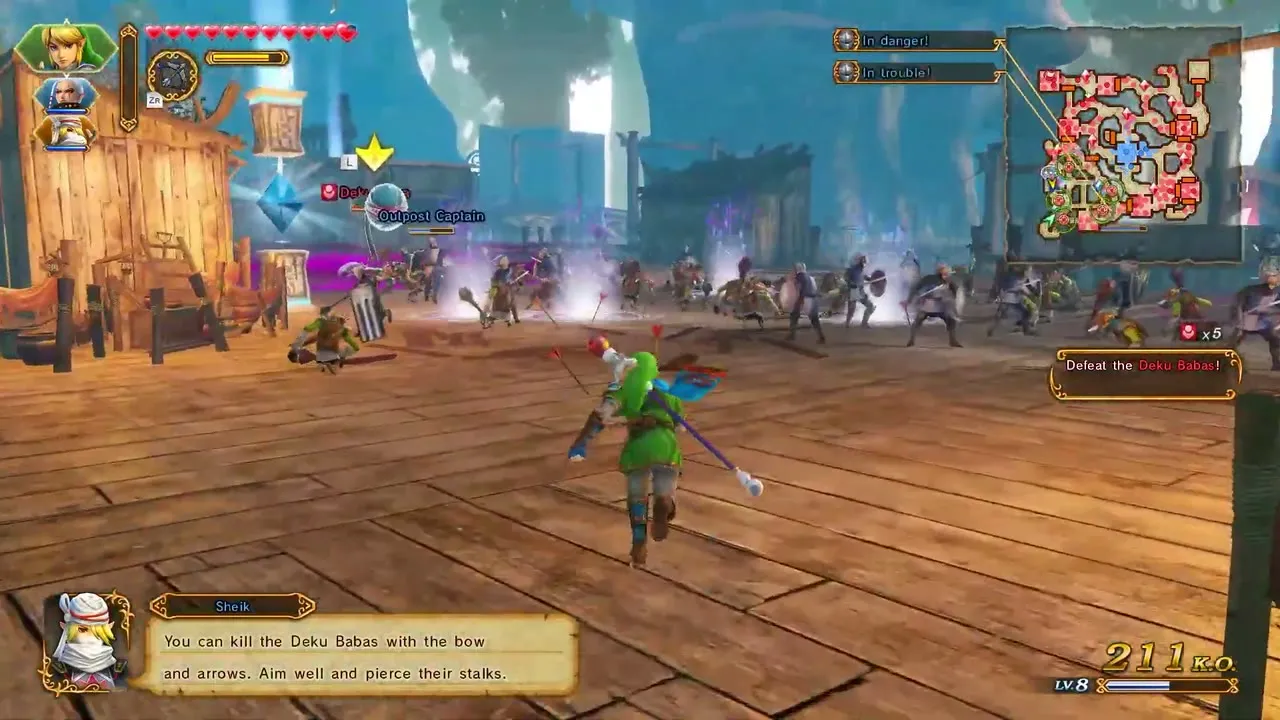
The Bow is in the chest in the settlement of The Sorceress of the Woods. It fires arrows from a distance, and it is how you defeat a Deku Baba, since the plant hides inside a poisonous aura whenever you swing at it. Shoot the stalk from far away instead.
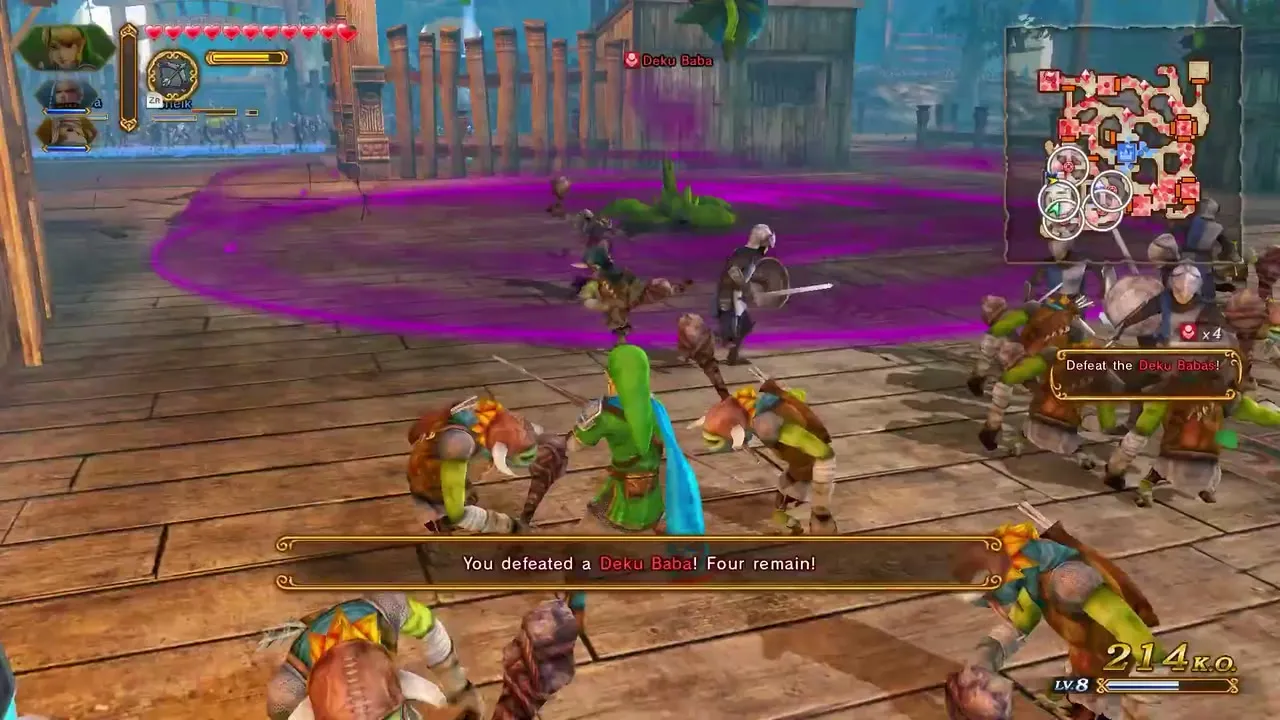
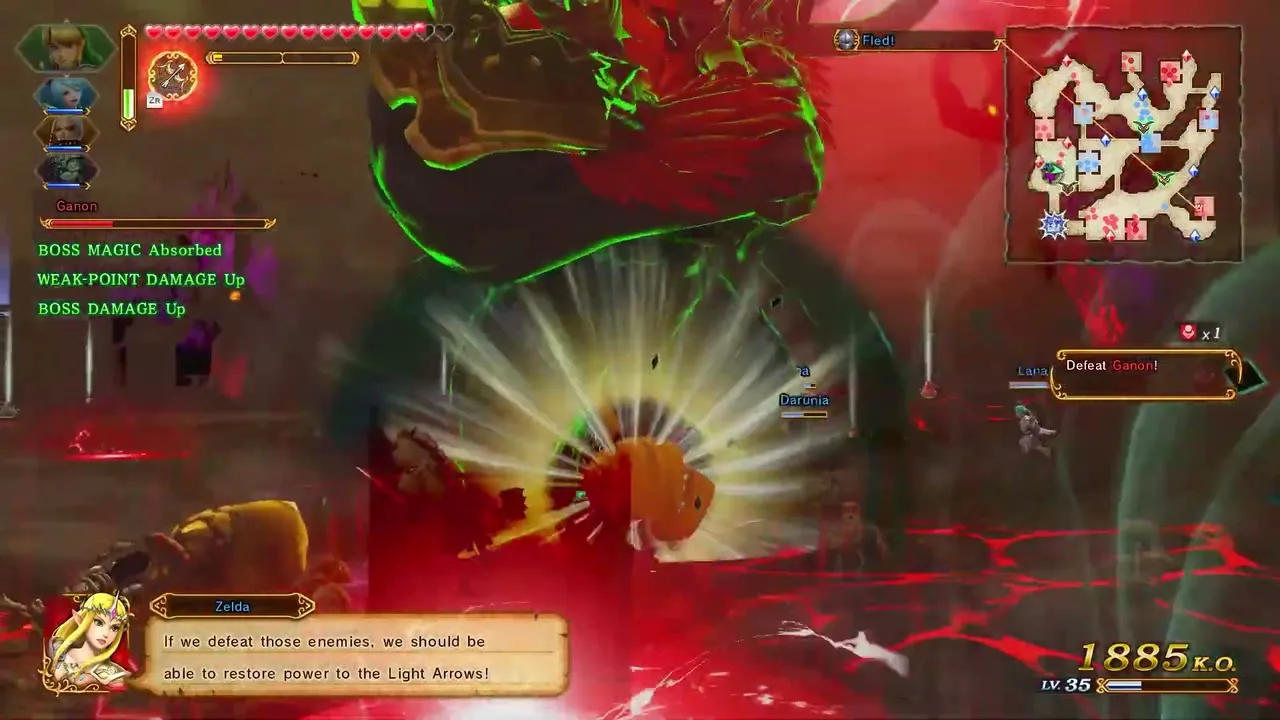
The Bow also stuns Gohma when it shows its eye, which opens the Weak Point Gauge, so aim your arrows at the eye. A Sacred Bow power-up changes the shot into Light Arrows with more damage and a wider area, fired three at a time in different directions. In Liberation of the Triforce the Light Arrows are the key to the Ganon fight, but Magic Sealer Troops suppress their power, so defeat those troops to bring it back before you stun Ganon with them. In Adventure Mode battles against Ganon the ordinary Bow can stun him too.


Ocarina
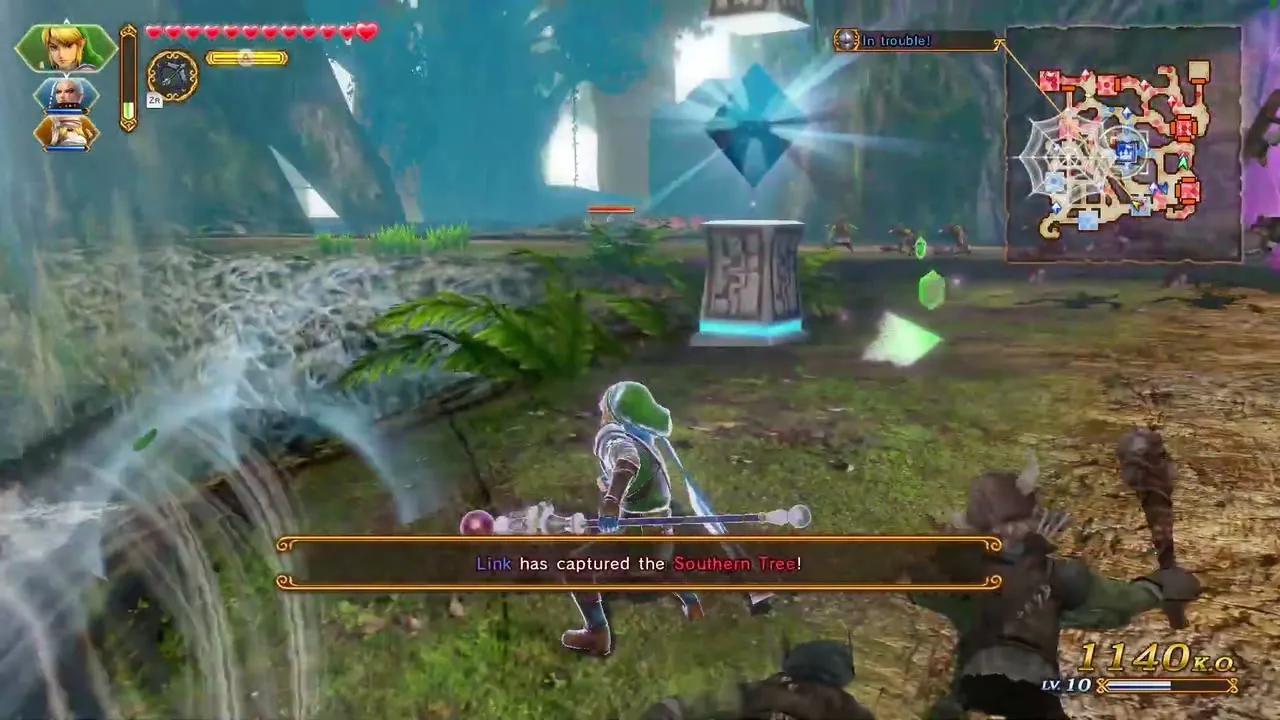
The golden Ocarina comes from the chest set up in the middle of the Deku Tree area in The Sorceress of the Woods, after you capture the Southern Tree keep. Once you have it, you can warp from anywhere in a stage to any Owl Statue you have already activated: walk up to a statue and press the button shown to wake it, then use the Ocarina and pick a statue to travel to. It is a travel item with no power-up and no boss weak point.
Boomerang
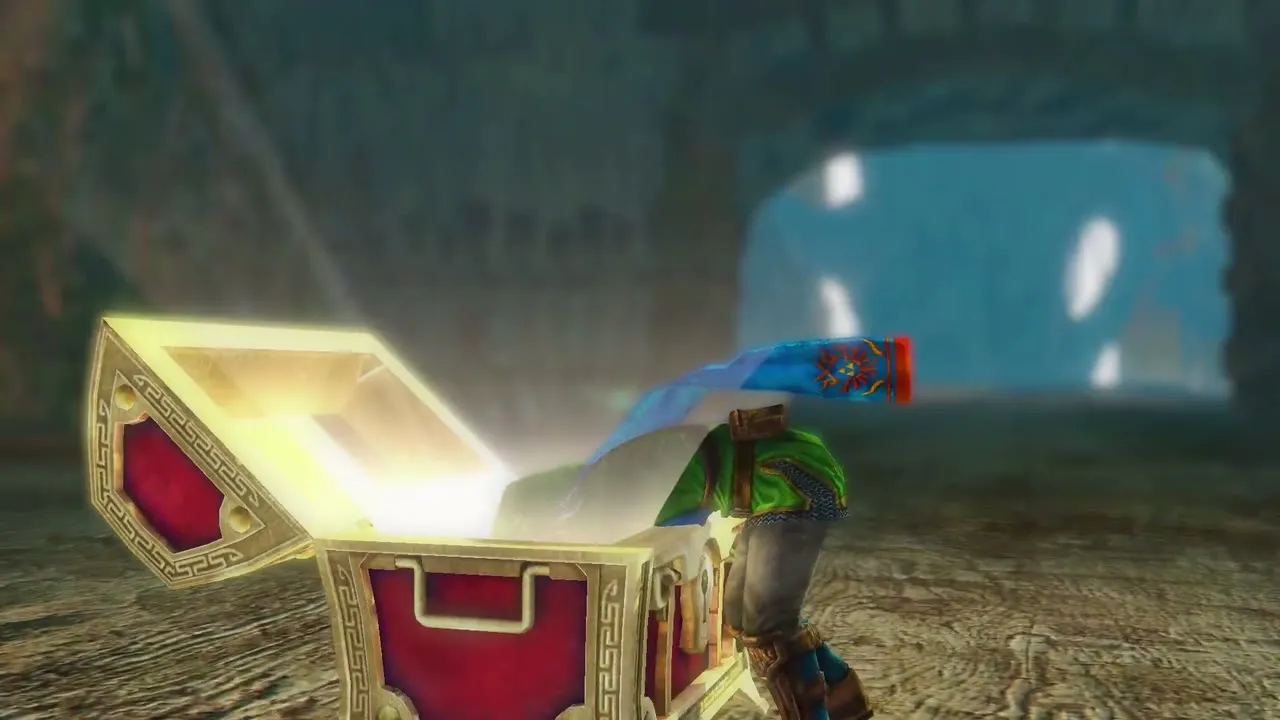
The Boomerang is in a treasure chest in the courtyard of the Western Room keep in The Sorceress of the Valley. It stops enemies in their tracks and comes back when thrown, and it slices through vines, which is how you clear the vine wall on the way to the summit in that scenario and any Wall of Vines that hides a Gold Skulltula later on. It stuns enemies from range, and Stalmasters and Darknuts become vulnerable if you hit them while they charge their flurry.
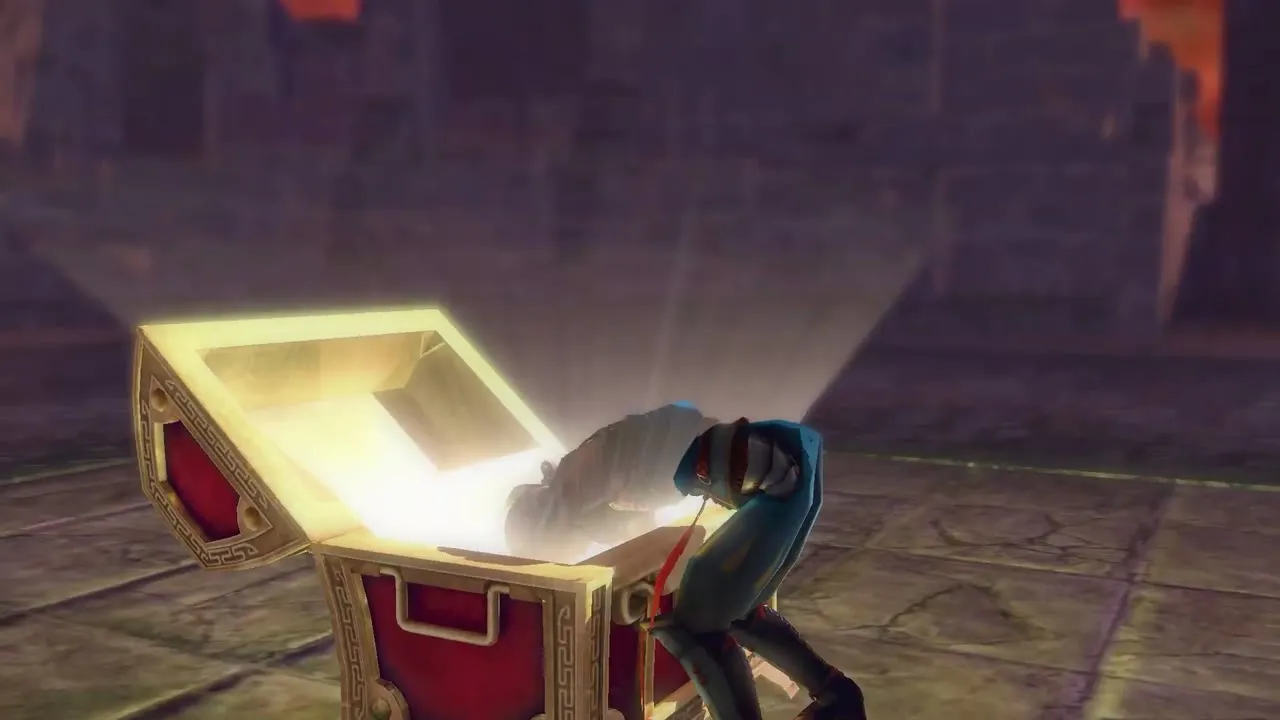

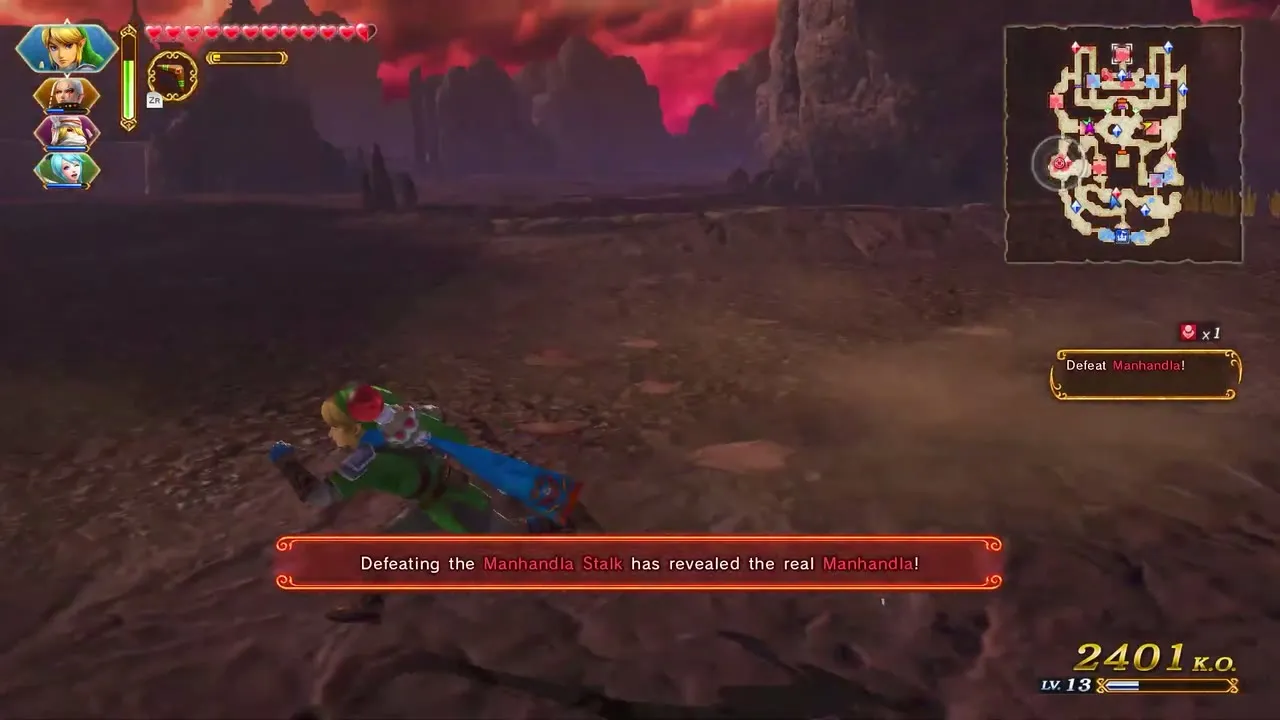
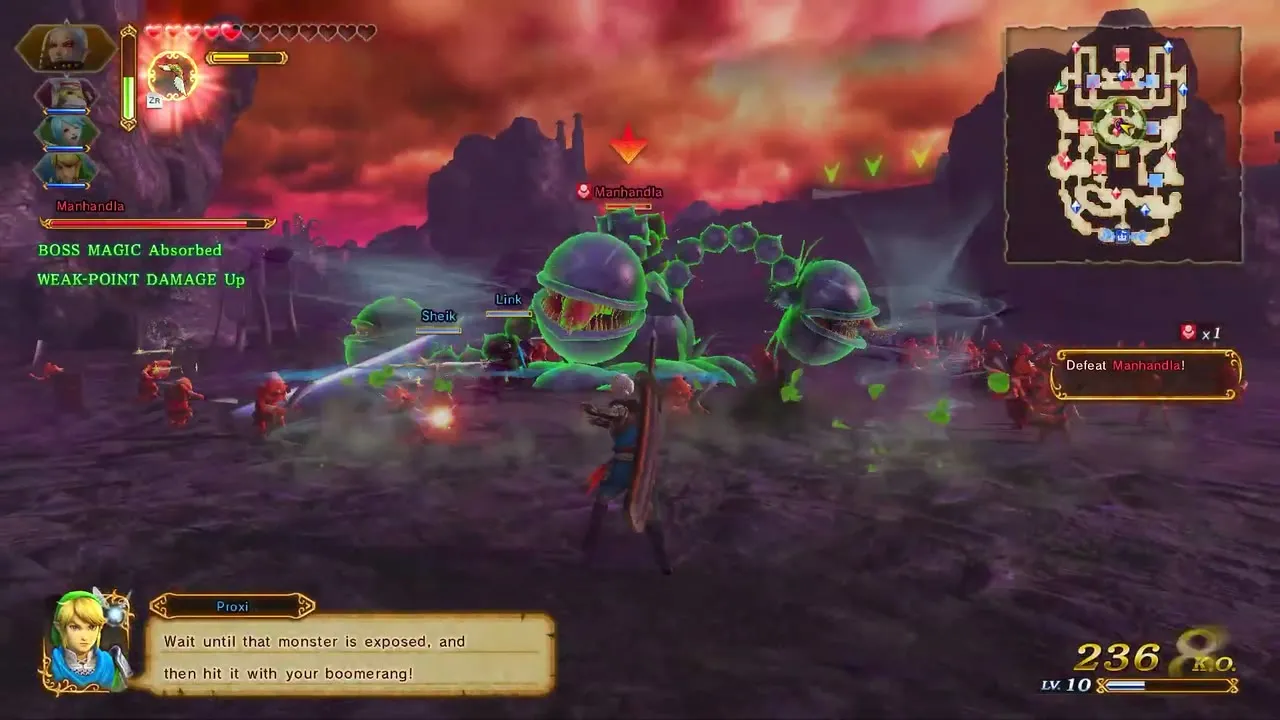
Manhandla and its stalks are weak to the Boomerang, so use it on each head when it turns organic and wait for all four to be stunned. A Gale Boomerang power-up turns the throw into a damaging whirlwind that can also stun, and Beetle badges make it last longer. The Boomerang is one of the items used against Ganon as well.


Hookshot
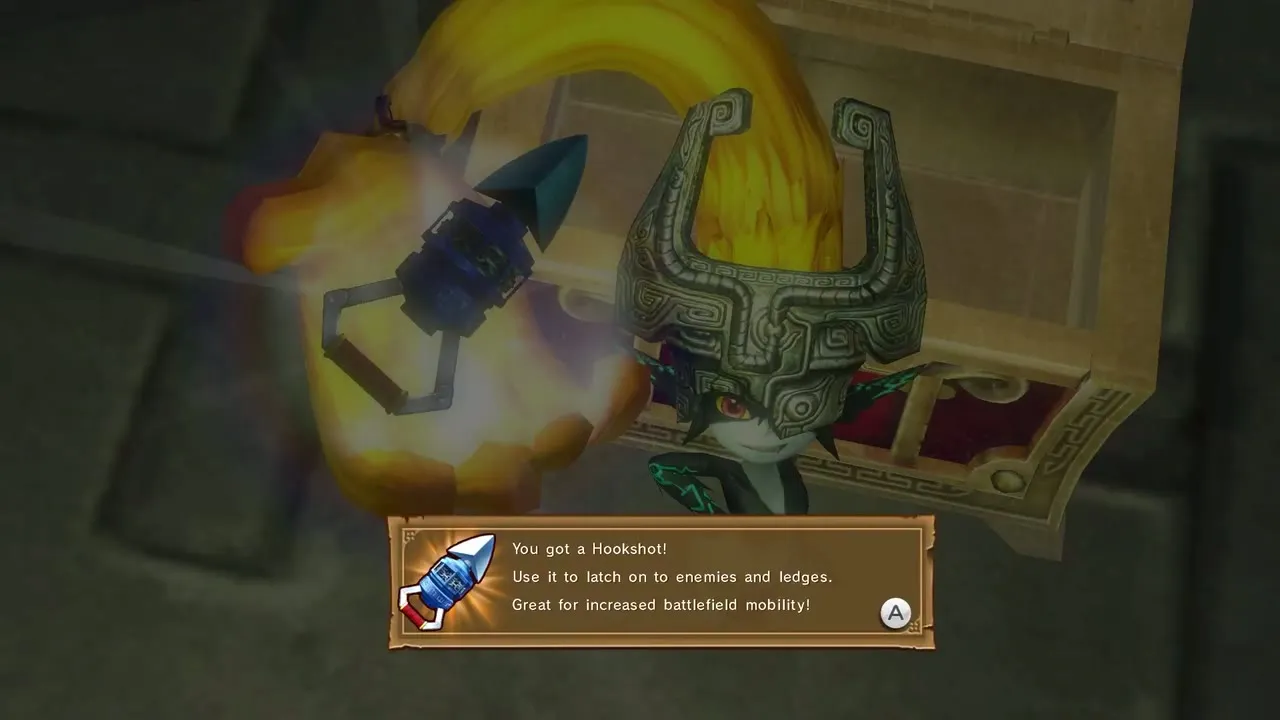
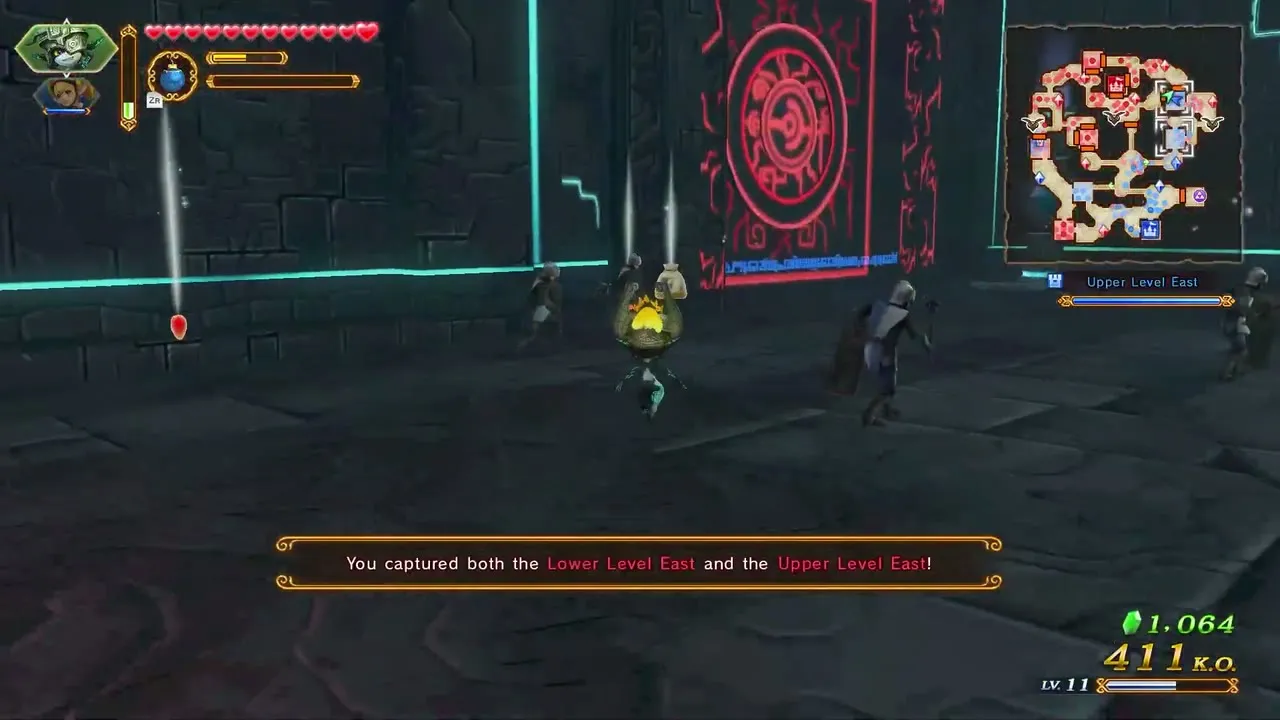
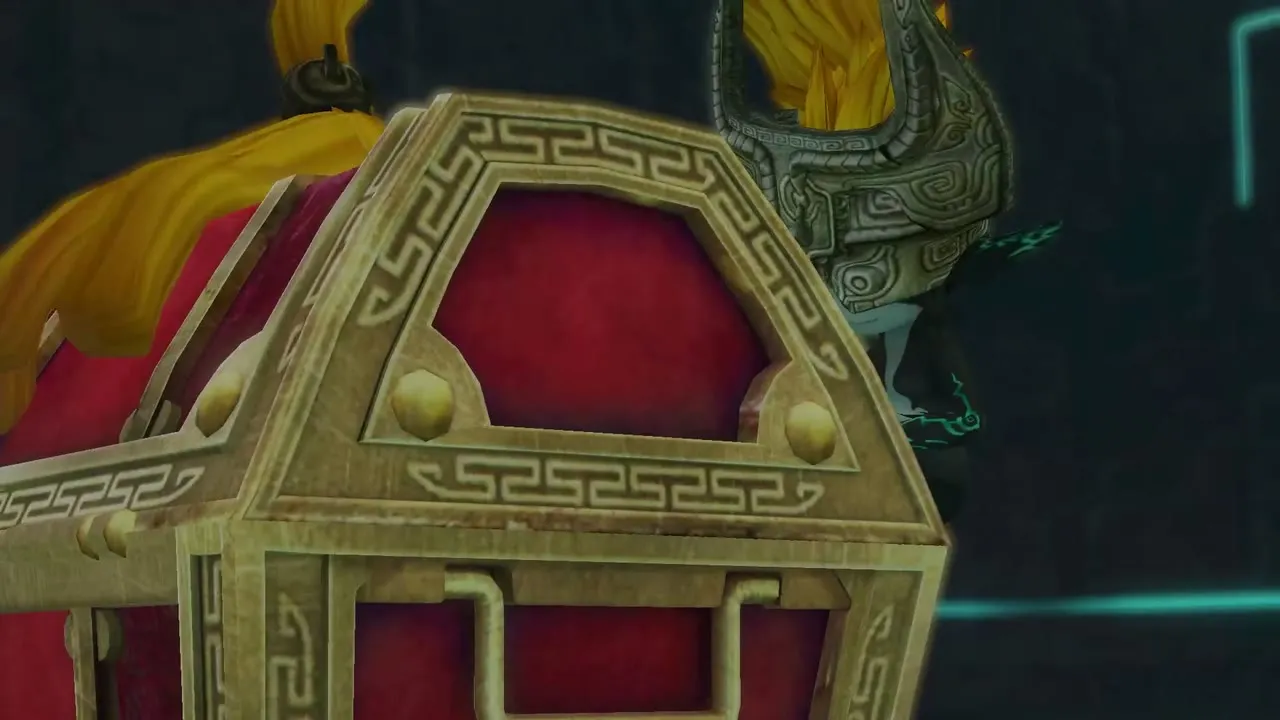
The Hookshot comes to you in The Shadow King, after you capture the Lower Level East and Upper Level East keeps and open the chest near them, and it stays in your item list for the rest of the game. Aim at a bulls-eye above a ledge, shown with a glowing circle on the ground, to pull yourself up. You can also hook onto enemies to close the distance quickly, for example to drag in a flying Aeralfos and pull away its shield.
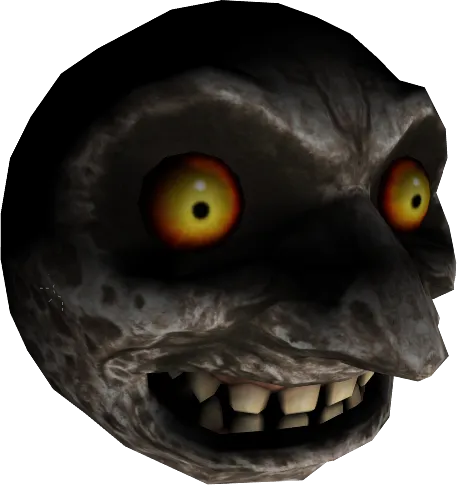
Argorok can only be brought down with it: wait until the tip of its tail glows blue during the whirlwind attack and hook the tail to pull the dragon to the ground. Ganon’s tail glows the same way and the Hookshot weakens it. Do not fire while the tail is dark, or Argorok’s flames burn you. A Clawshot power-up strengthens the hook and can drag a small moon down onto enemies; Whip badges make it last longer.

Hammer
The Hammer is in the treasure chest that appears when the south gates open in A New Disturbance. The doors shut behind you, so take the Hammer and strike the switch behind the chest to open them. Later in the scenario you use it on a switch next to a Cannon Ship to blow up a Stone Head.

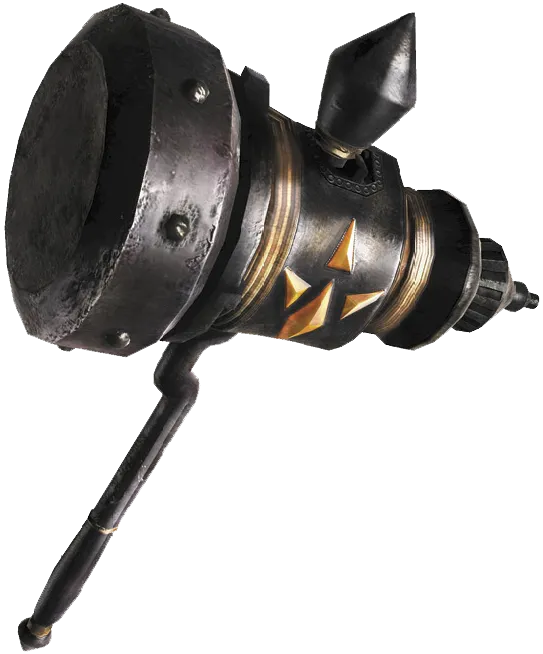
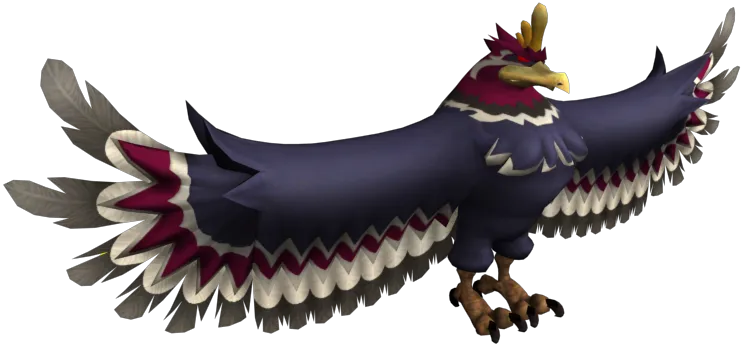
Hammer switches open paths in Watchers of the Triforce, and the Hammer is the item that weakens the Helmaroc King in The Search for Cia. It also smashes objects and can be swung as a weapon, with an upgraded Hammer power-up for a short, stronger version. Bug Net badges lengthen the power-up. In Adventure Mode, Hammer Item Cards appear on the Great Sea Map and the Lorule Map.

Power-ups
Super Bomb
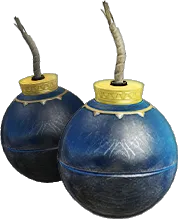
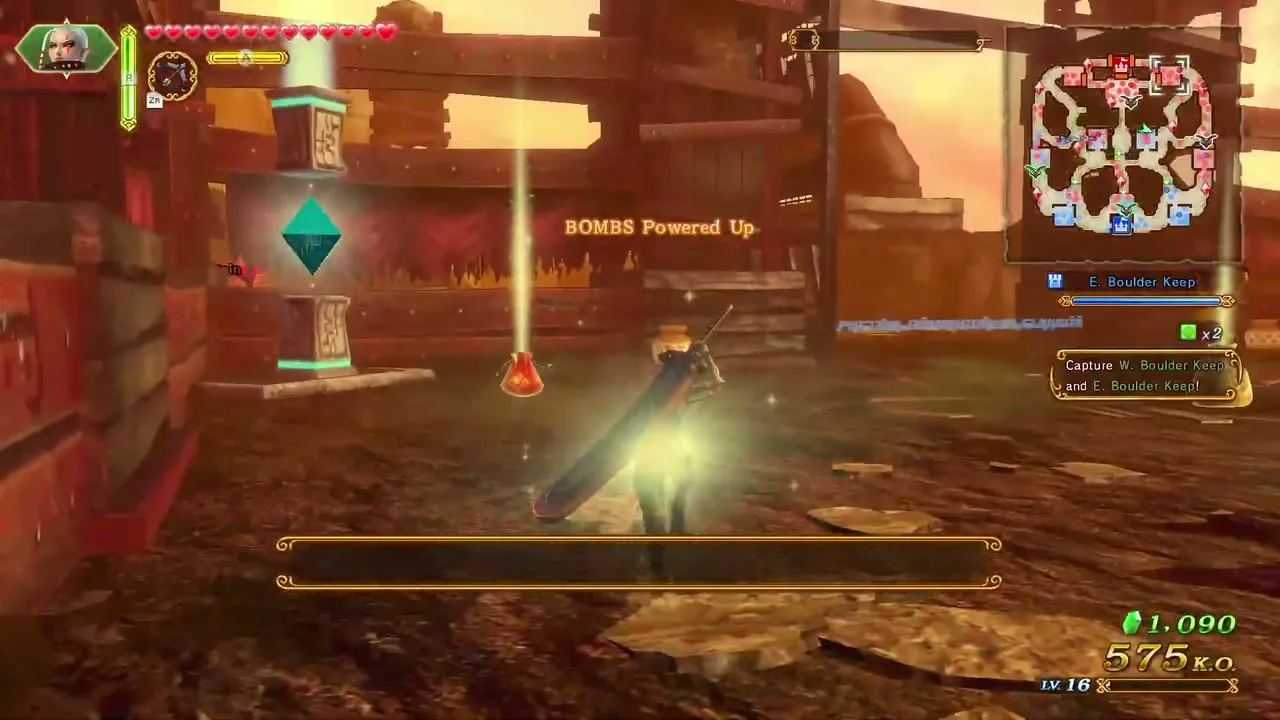
The Super Bomb is a single giant bomb that replaces your Bombs while the power-up lasts. It clears a large area in one blast. Goron’s Bracelet badges extend the time.

Sacred Bow
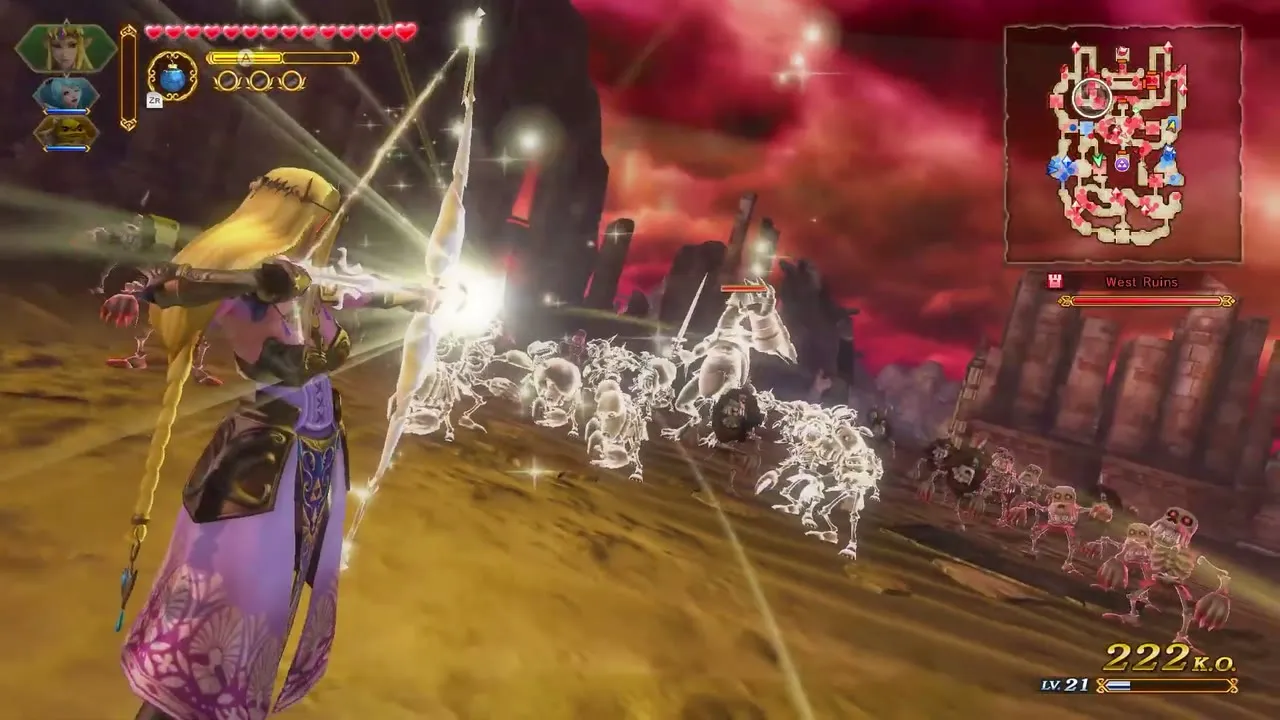
The Sacred Bow fires three Light Arrows at once, each in a different direction, with more damage than normal arrows. Hawkeye badges make it last longer.
Gale Boomerang
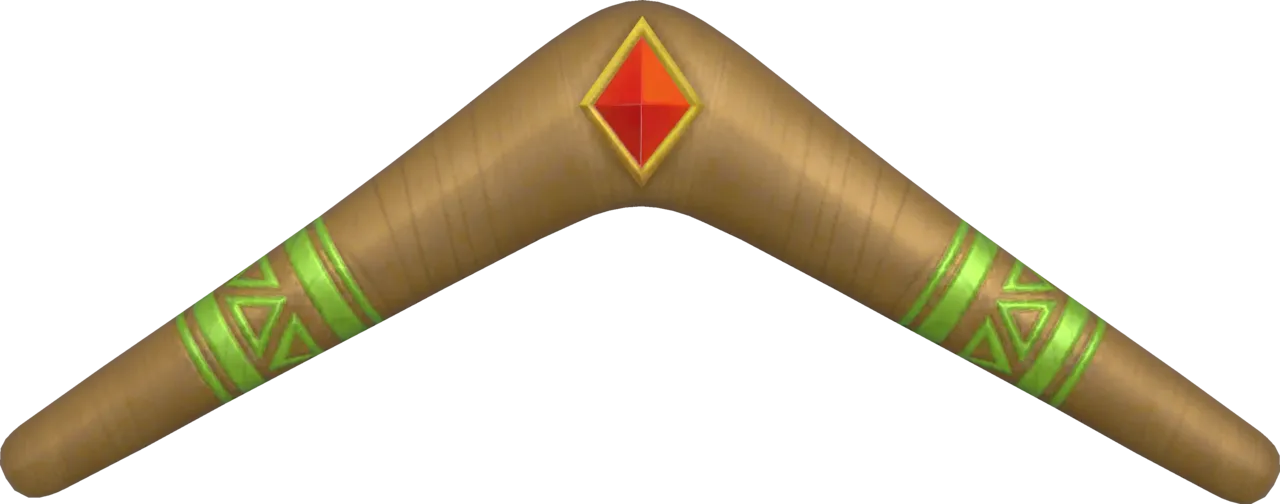
Breaking jars, cutting grass and defeating certain enemies can drop the Gale Boomerang. It still stuns, but it also damages enemies. Beetle badges extend it.
Clawshot
The Clawshot drops from enemies and jars and upgrades the Hookshot for a while. Whip badges make it last longer.
Which item beats which boss
| Boss | Item | What it does | Scenarios |
|---|---|---|---|
| King Dodongo | Bombs | Stuns it and exposes the Weak Point Gauge | The Armies of Ruin, The Dragon of the Caves |
| Gohma | Bow | Stuns it when its eye is shown | The Sorceress of the Woods |
| Manhandla | Boomerang | Stuns each head and stalk | The Sorceress of the Valley |
| Argorok | Hookshot | Pulls it down when its tail glows blue | The Shadow King |
| Helmaroc King | Hammer | Weakens it | The Search for Cia |
| Ganon | Light Arrows, Hookshot | Arrows stun him when his forehead gem glows; the Hookshot hits his tail | Liberation of the Triforce |
| The Imprisoned | Cannons | Fired from the Cannon Keeps | Sealed Ambition |
Every giant boss also has a Weak Point Gauge you drain by attacking once it is open, and then a Weak Point Smash finishes it. The full strategy for each fight is in the Boss Guide.
Magic Rod
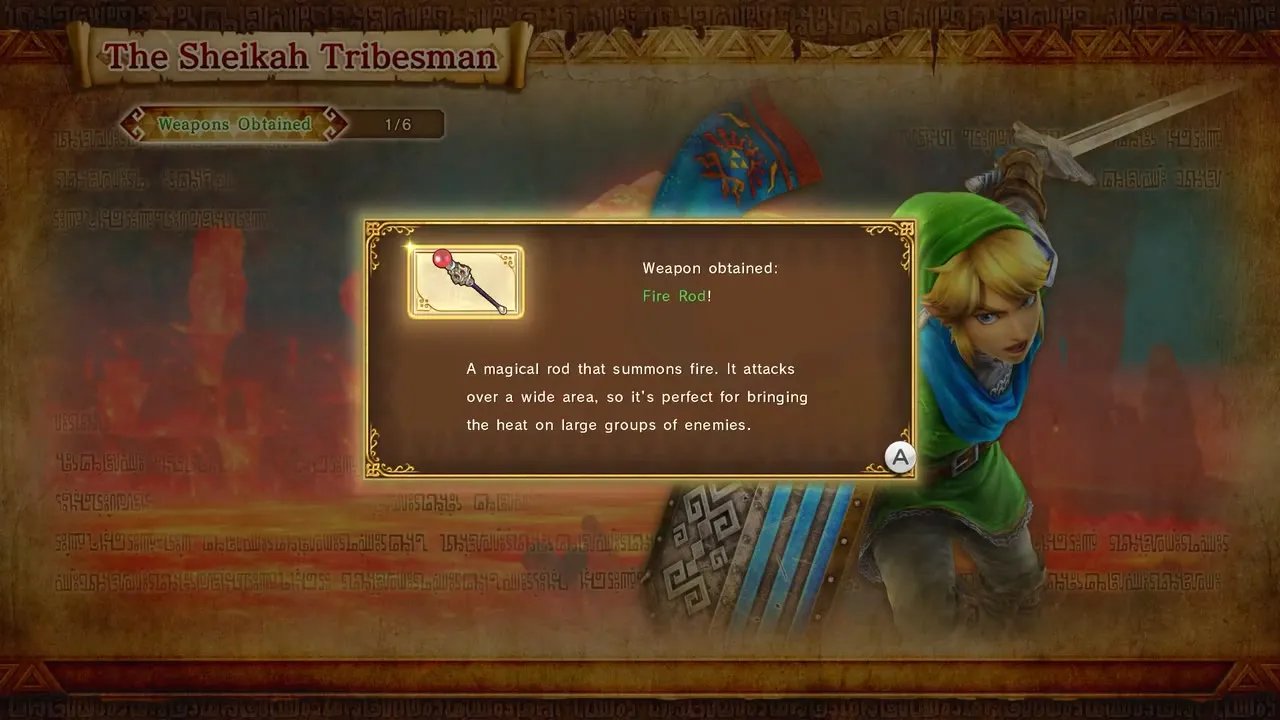
The Magic Rod is not a sub-weapon but a weapon type for Link, so you do not equip it with ZR. You receive the Fire Rod as a reward for clearing The Sheikah Tribesman, and later scenarios want Link carrying a Magic Rod such as the Fire Rod for the Hard-difficulty Gold Skulltulas in A New Disturbance, The Sorceress of the Woods and Sealed Ambition. The rod’s tiers are the Fire Rod, Prism Rod and Magical Rod, then Magical Rod+ and the multi-element Crackling Rod.

Potions
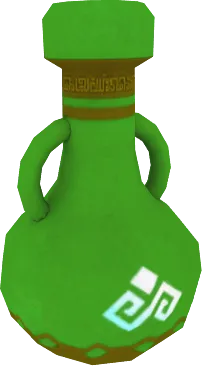
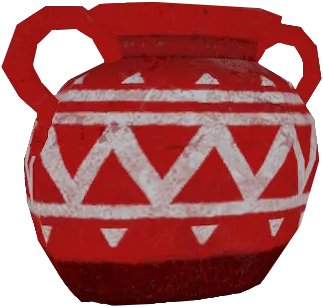
Potions share the item slot. You need the Empty Bottle I badge for a warrior before any potion can be used, and the higher badges allow more uses per battle. Potions are brewed at the Apothecary, and the stronger ones unlock as you gather Gold Skulltulas.
| Potion | Effect | Unlocked at |
|---|---|---|
| Red Potion | Restores 5 hearts | From the start |
| Purple Potion | 5 hearts and half the Special gauge | 3 Gold Skulltulas |
| Blue Potion | 10 hearts and half the Special gauge | 12 Gold Skulltulas |
| Green Potion | 10 hearts and a full Special gauge | 45 Gold Skulltulas |
| Yellow Potion | 15 hearts and one and a half Special gauges | 90 Gold Skulltulas |
Key items and collectibles
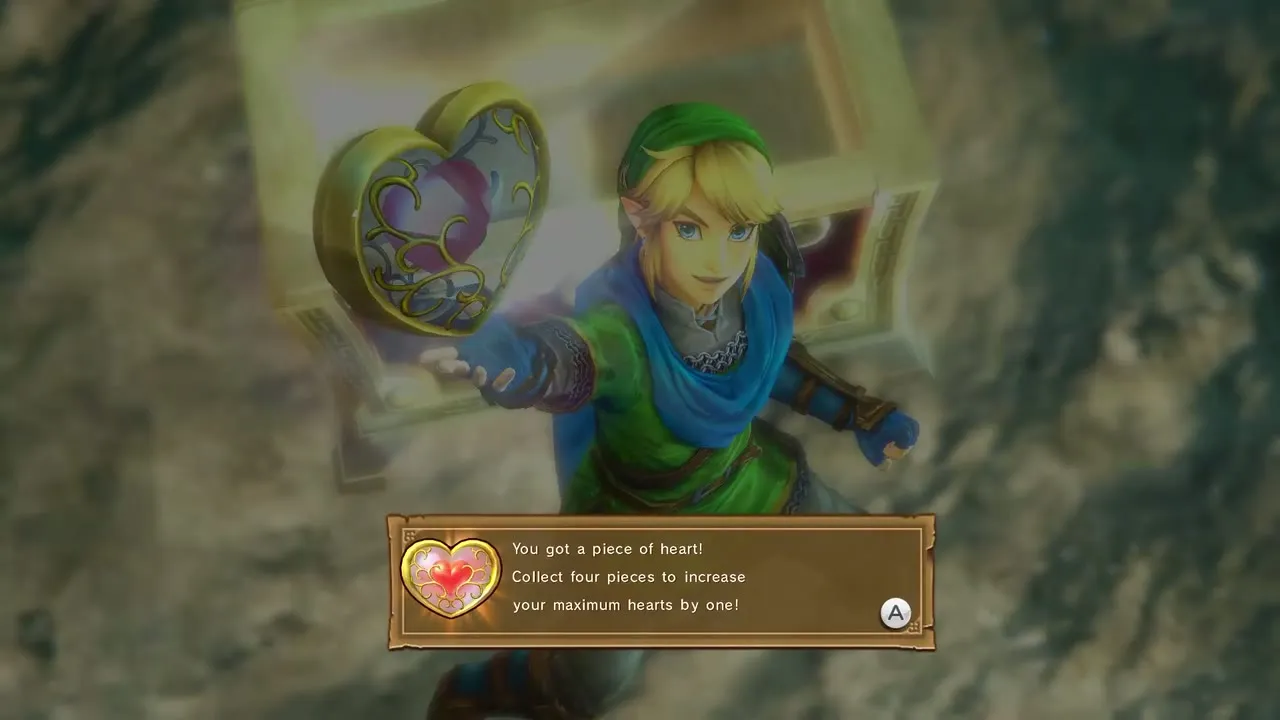
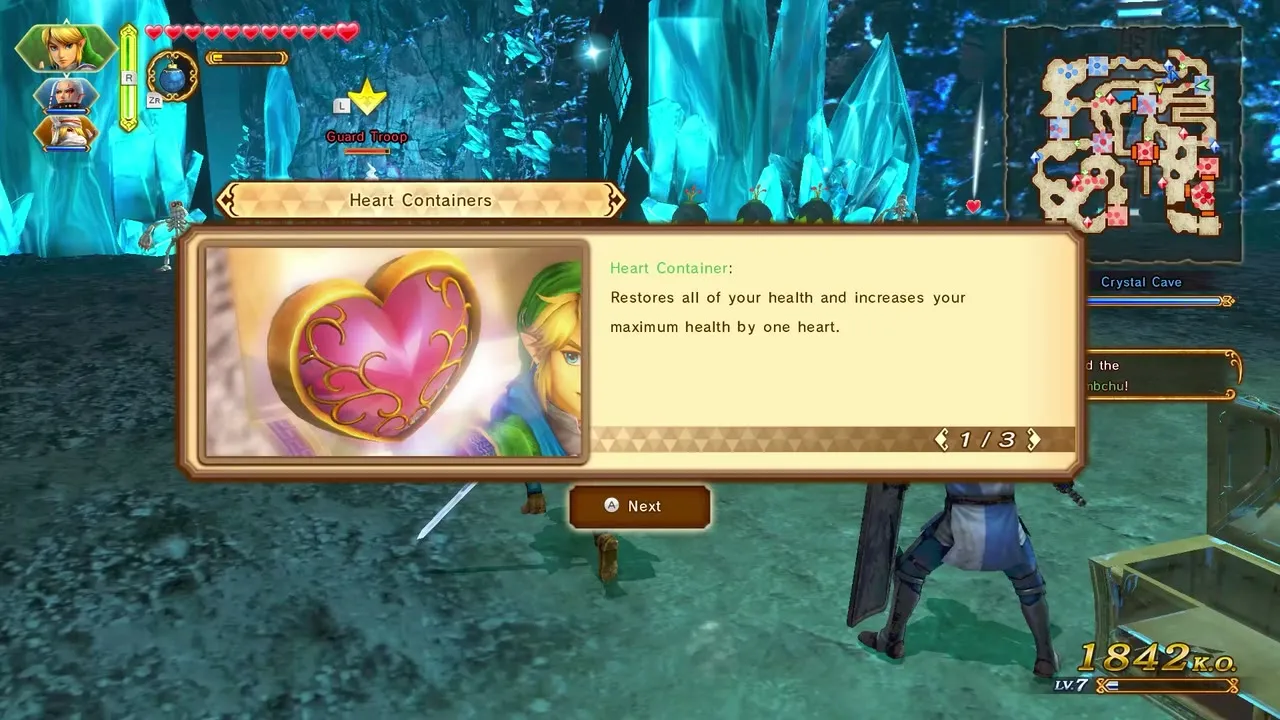
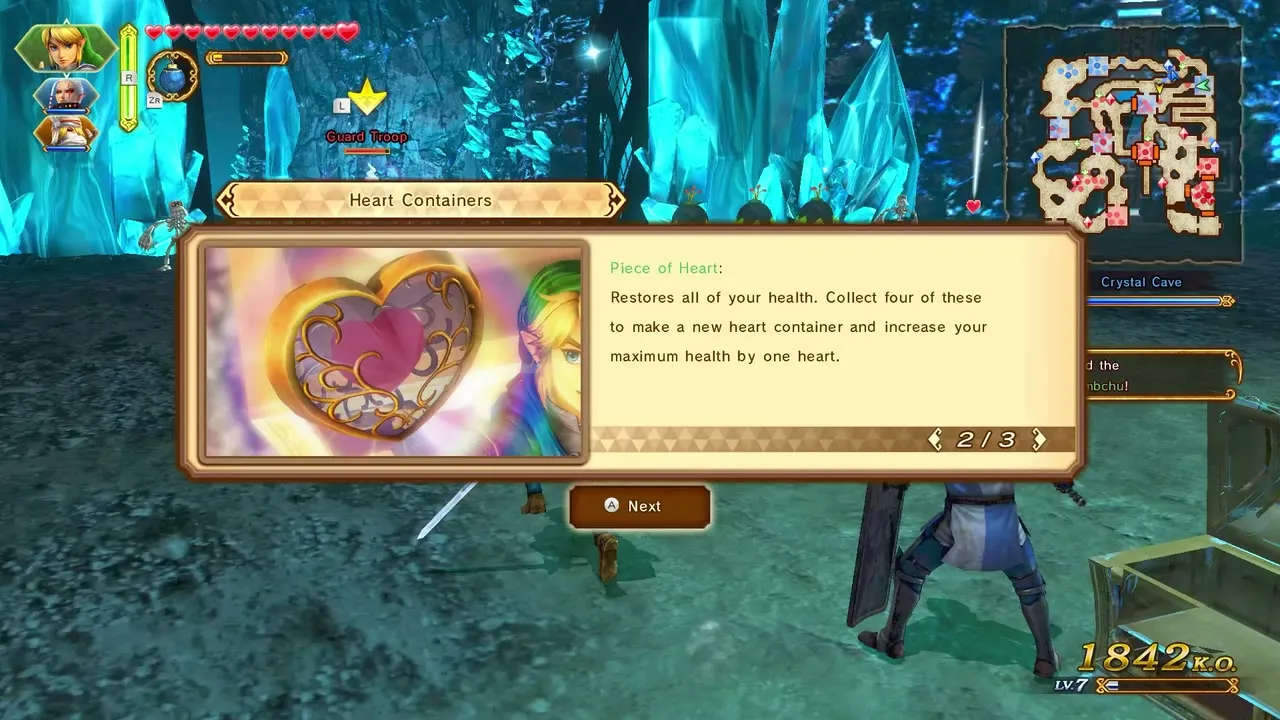
Heart Containers and Pieces of Heart
A Heart Container adds one heart to a warrior’s maximum health and heals them fully. Four Pieces of Heart make one Heart Container. Every Legend Mode scenario hides one Heart Container and one Piece of Heart, and only the warrior named on the Select Scenario screen can open each chest. Full locations are on Heart Containers and Pieces of Heart.
Gold Skulltulas
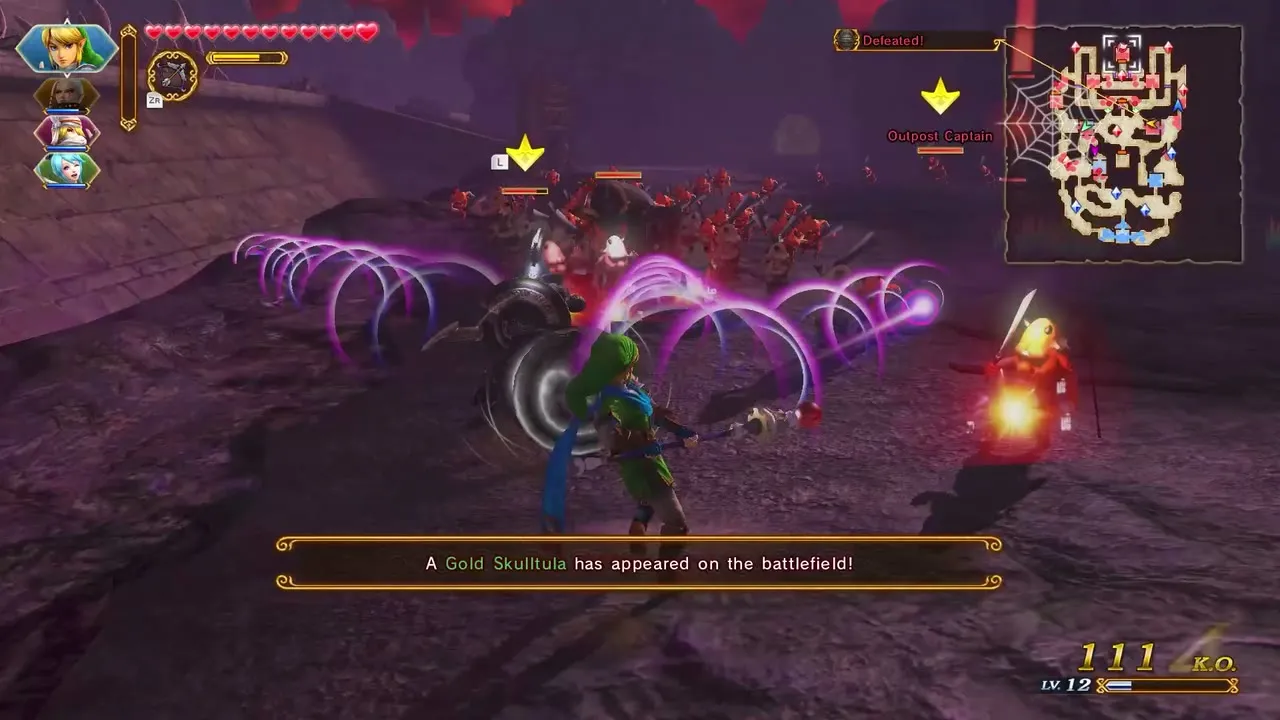
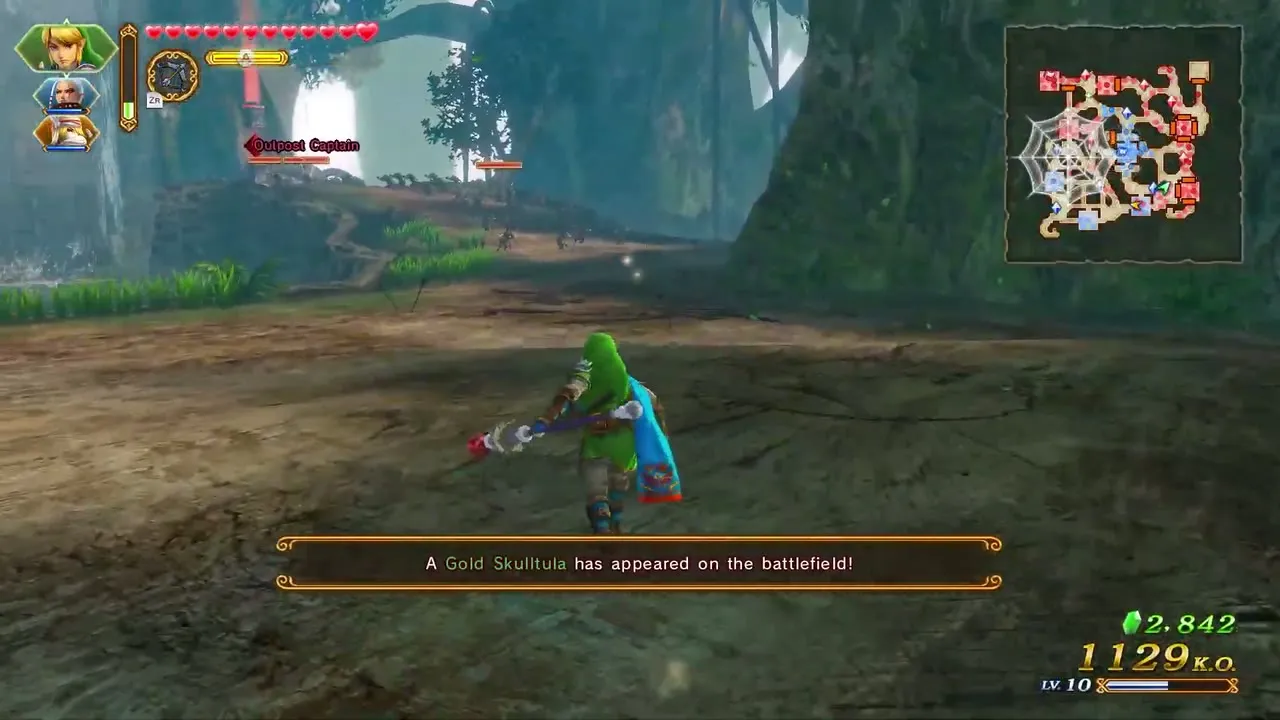
Gold Skulltulas are hidden in scenarios and some Adventure Mode battles, and defeating one drops Illustration Pieces. Many need a specific item to reach them, such as the Boomerang for a Wall of Vines, the Hookshot for a ledge or Bombs for a boulder. Conditions and places are on Gold Skulltula Locations.

Lens of Truth
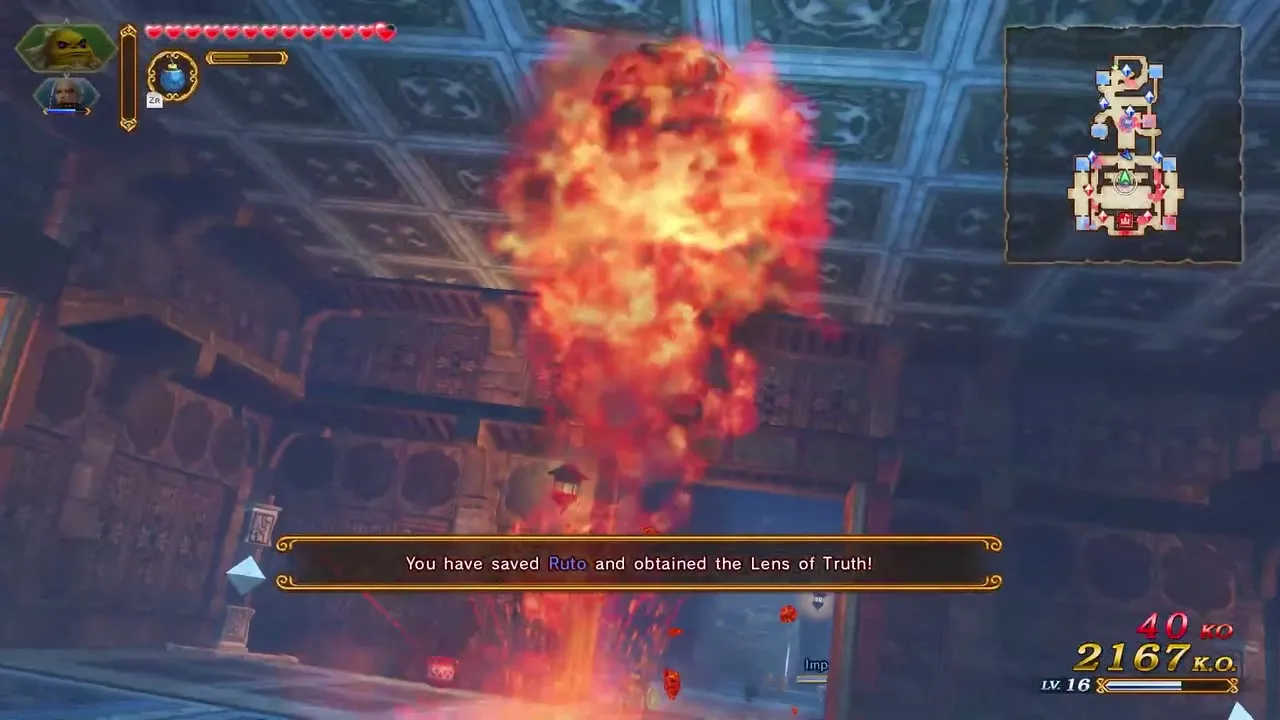
The Lens of Truth is a story item rather than a sub-weapon. In The Water Temple Ruto goes underwater to look for it, and once you have saved her the game tells you that you have obtained the Lens of Truth. It then shows hidden passageways in the temple, and you do not equip it or use it with ZR.

Item Cards in Adventure Mode
Adventure Mode uses Item Cards, the map versions of these tools, to open the squares of each map. The Adventure Map cards are Bomb, Candle, Compass, Digging Mitts, Goddess’s Harp, Hookshot, Ice Arrow, Ladder, Power Bracelet, Raft, Recorder and Water Bomb. The Great Sea Map includes Boomerang, Hammer, Hero’s Bow and Hookshot, and the Lorule Map has Bomb, Boomerang, Bow, Hammer, Hookshot and four rods among its cards. See Adventure Mode for every map.