





| Maps | 10 (9 battle maps plus the Rewards Map) |
|---|---|
| Unlocked by | Clearing the first Legend Mode scenario opens Adventure Mode; in Definitive Edition every map is open from the start |
| Rewards | Warriors, weapons, Heart Containers, Pieces of Heart, Gold Skulltulas, Item Cards, costumes, fairies, food,  Fairy Clothing |
| Key tool | Item Cards, used from the Search screen |
| A rank targets | 1,200 KOs, 15 minutes and a damage limit that depends on the map section |
Adventure Mode is a separate way to play Hyrule Warriors: Definitive Edition on Nintendo Switch. It is a grid map made of battle squares, where each square is a preset mission. You clear squares to open their neighbours, use Item Cards to uncover hidden rewards and enemies, and earn an A rank with the right warrior to claim prizes. There are ten maps, from the 128-square Adventure Map to the small Rewards Map, and all of them are open from the start. None of it is required for the Legend Mode story, so this page is an overview of how the mode works and what each map offers. For the story, see the walkthrough.

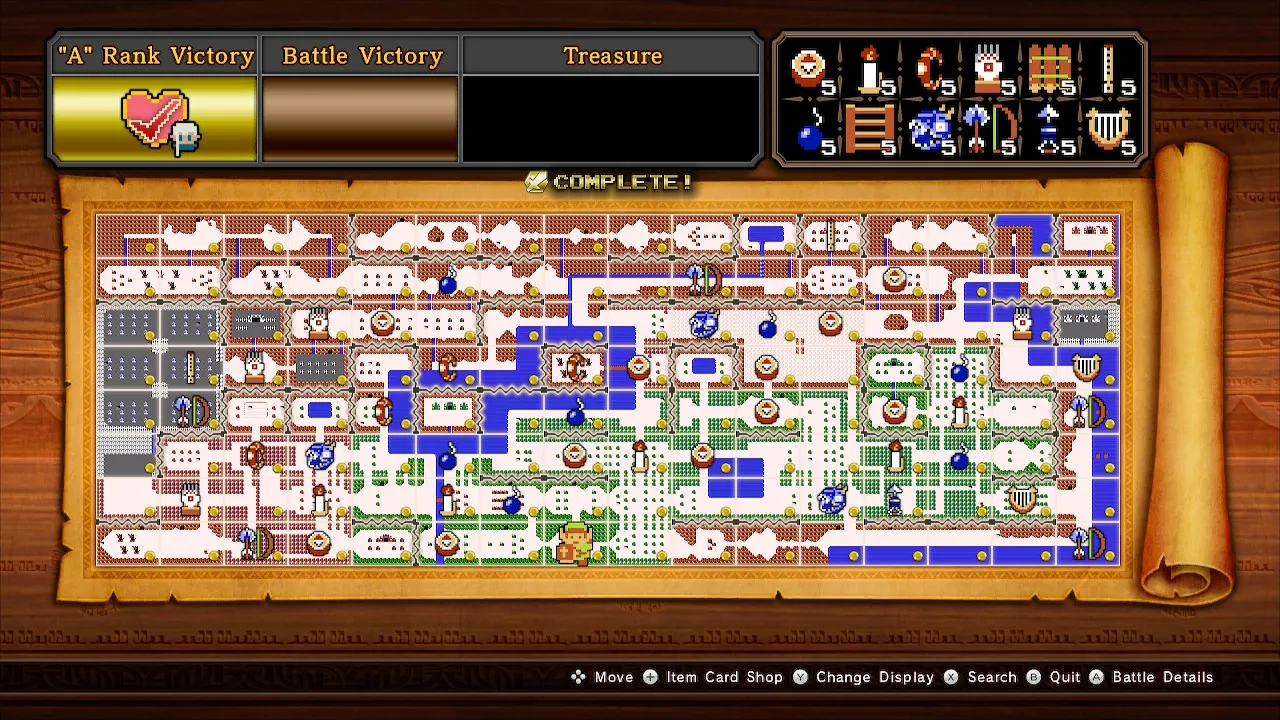
Table of Contents
How Adventure Mode works
Map squares
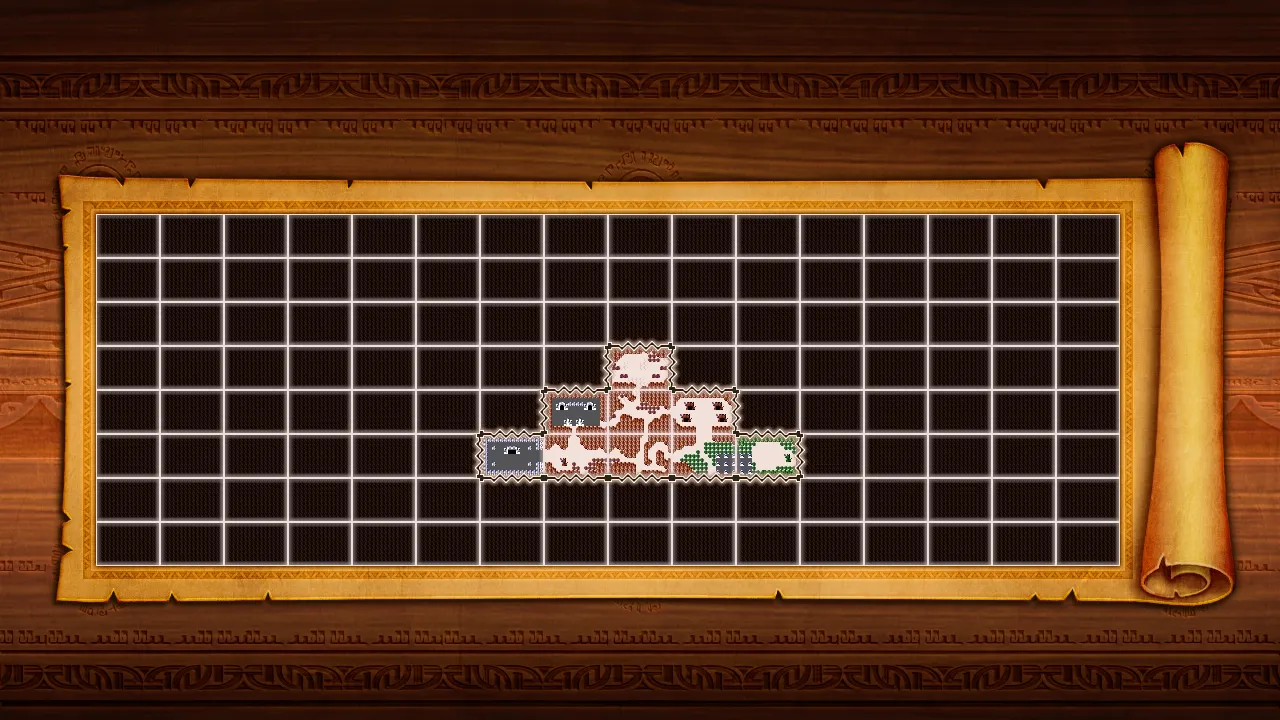
Each map is a grid of squares, and an 8-bit version of your warrior walks across it. Every square holds one battle: a normal story-style fight, a quiz, a boss rush or another special challenge. You can replay any square as often as you like. A new square opens only after you clear a neighbouring one, and some squares ask for a minimum rank on the square next to them. Wavy black lines mark borders between blocks of the map, and you have to clear the squares around them to get through. Some battles limit which warriors or weapons you may bring, so you need the required warrior or weapon unlocked before you can play them. Many squares also carry special rules, such as “No Focus Spirit!” on the Twilight Map, which stops Magic Jars from appearing.


Search and Item Cards
Choose Search on the map screen and the view zooms into the selected square so you can use an Item Card on it. Most cards only unlock a hidden reward on that square, such as a chest behind a boulder, so they are optional. Others reveal hidden enemies or remove a lock on a neighbouring square, and those you must use to progress. The Compass card makes every spot in a square where a card should be used sparkle. A card is consumed when you use it, even on the wrong tile, and your stock does not carry over from one map to another. A square that hides a reward will not hand it over, even for an A rank by the right warrior, unless you used the right card first.
Getting and buying Item Cards
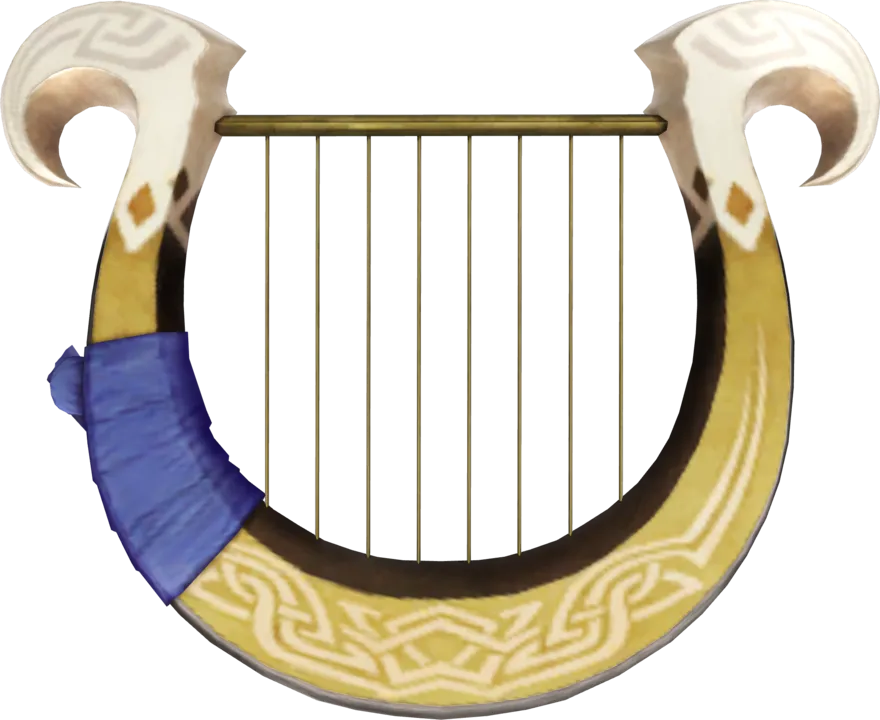
You earn cards by finishing particular battles at any rank, and the Battle Rewards view of the map shows which squares give which card. After a square has given its card, it gives another only once a few other battles have been fought. Definitive Edition adds the Item Card Shop, where you can buy cards you have already found on the current map. Prices run from 5,000 Rupees for the Compass to 10,000 for most puzzle cards, 15,000 for the Recorder and Goddess’s Harp, and 20,000 for the Mask of Truth, Majora’s Mask, S.S. Linebeck, Iron Ship, Golden Ship and Golden Train. Story-style cards such as the Koholint instruments, the Twilight Tear cards and the Song of Time cards have no shop price.
A rank rewards
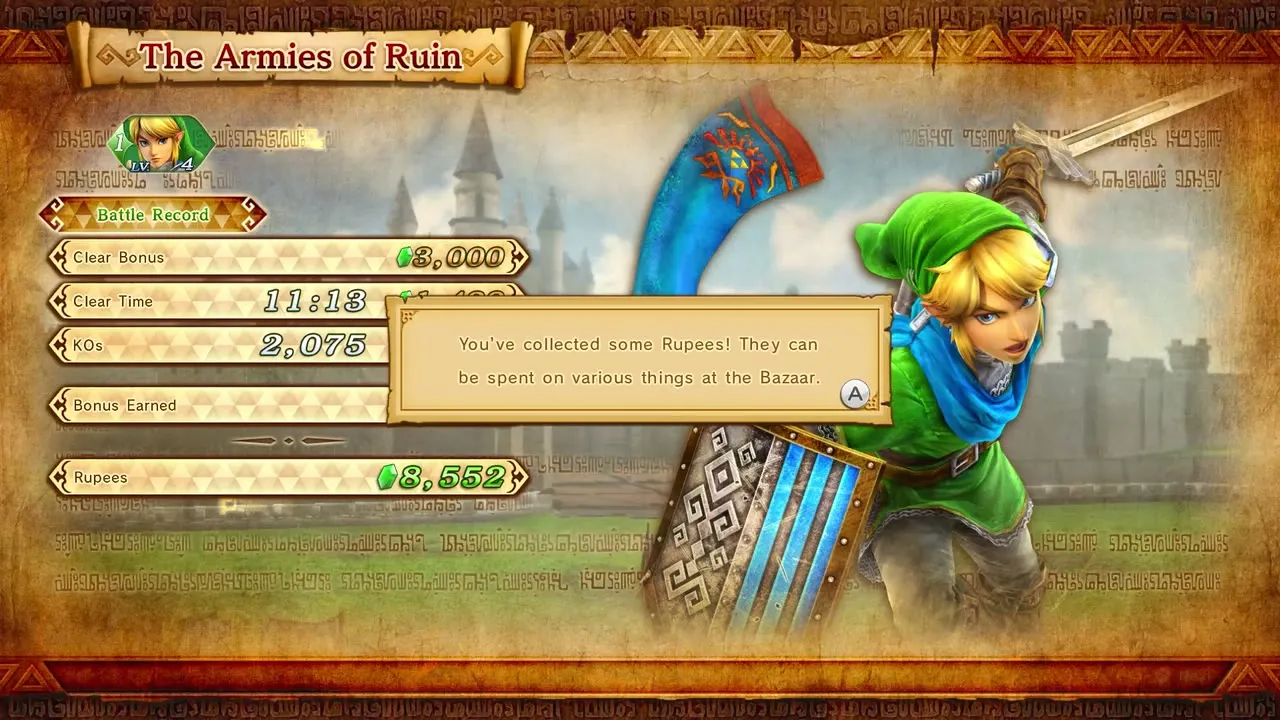
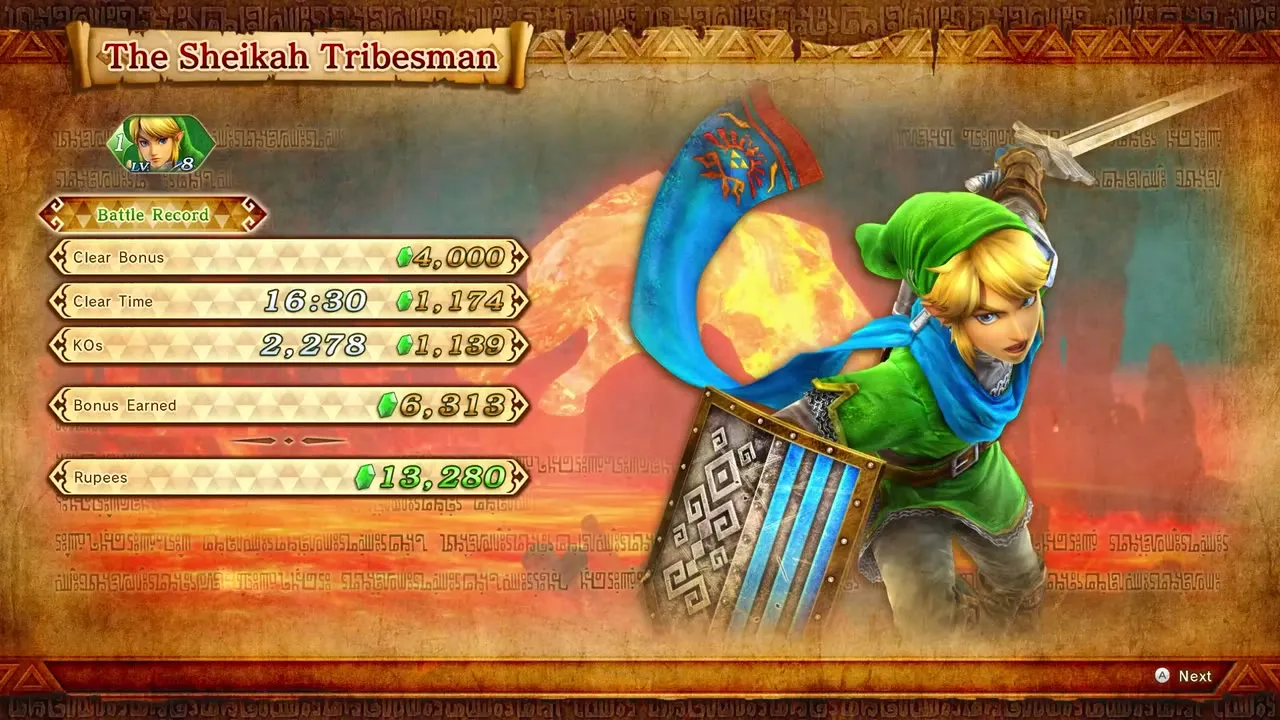
Every battle is graded A, B or C. Each square needs a particular rank on a neighbouring square before it opens, and many squares list a reward for an A rank. Except for costumes, these rewards are only given if the warrior shown with the reward completes the battle with that A. An A rank can test up to three things: KOs, clear time and damage taken. In Adventure Battles the targets are 1,200 KOs, a clear time of 15 minutes and a damage limit of 4,000, 5,000, 8,000 or 10,000 depending on which part of the map you are in. Quiz-style Challenge Battles use 3 KOs and 7 minutes instead. Your overall rank is the average of the categories rounded down, so an A for KOs with a C for damage gives a B. Each map also pays Medals for clearing it, for getting an A rank on all its battles and for finding all of its Hearts, Skulltulas, warriors and weapons.
Battle types
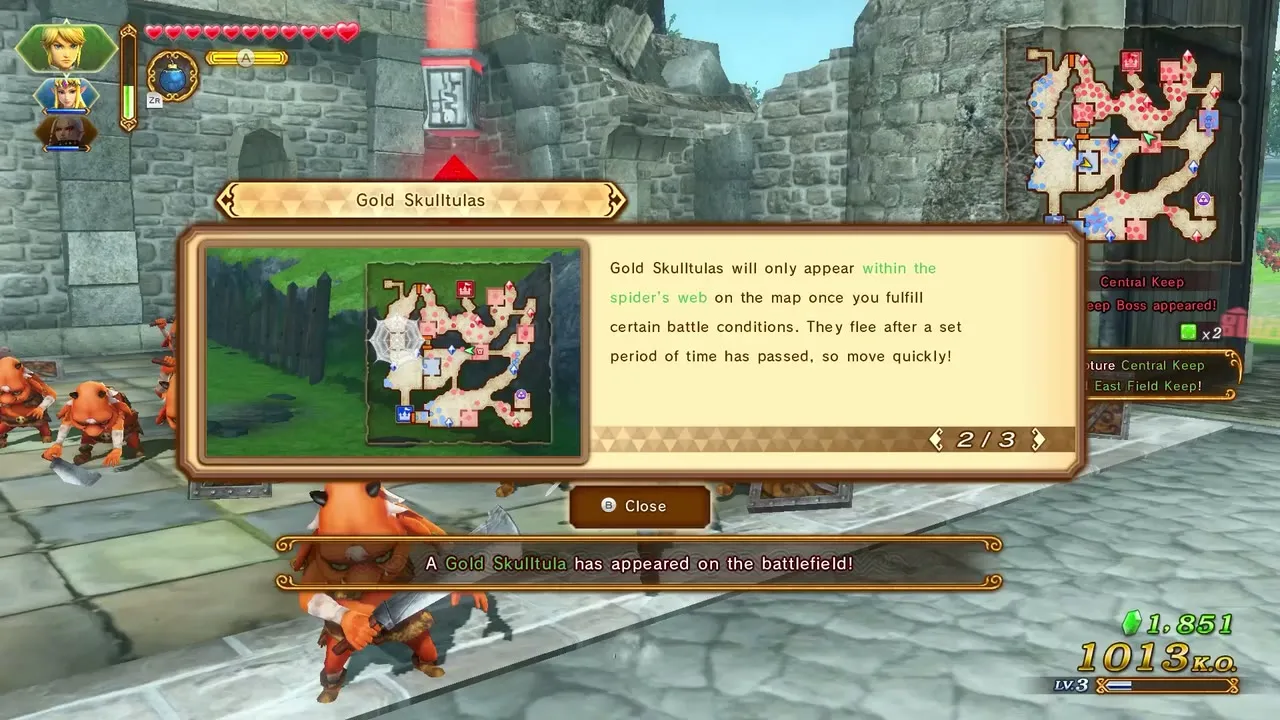
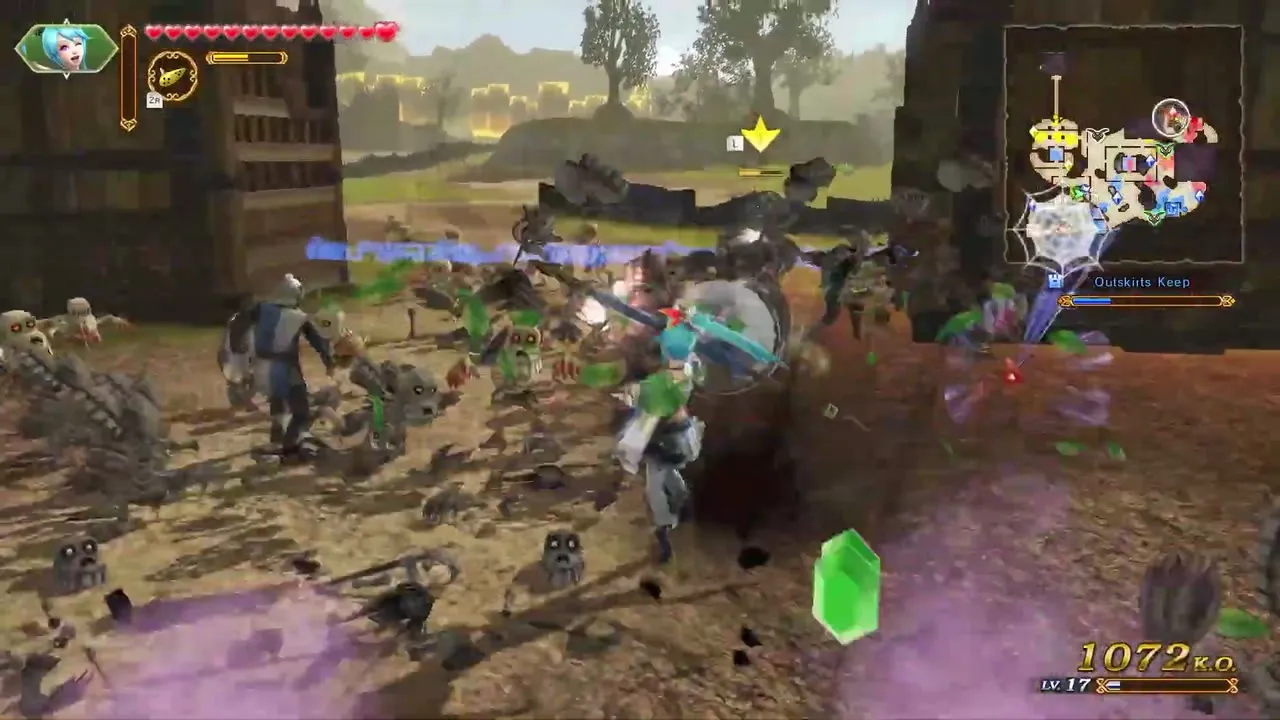
The squares mix several kinds of fights. Standard battles are story-style missions with the usual objectives. Quiz battles are Challenge Battles built around a “Fight through the quiz!” idea. Boss rushes and other special challenges set you against large enemies or odd conditions, and some squares guard a Dark Ruler, the last boss of a map. Special-rule squares change how a fight works, for example by removing healing, guarding and items on the Master Quest Map, or by adding hazards on the sea maps. Gold Skulltulas also appear in some Adventure battles, with the same KO rules as in Legend Mode.

The ten maps
| Map | Based on | Size | Special feature | Exclusive rewards for |
|---|---|---|---|---|
| Adventure Map | The Legend of Zelda (overworld) | 128 squares, H-8 to A-6 | Original map | Main roster warriors and weapons |
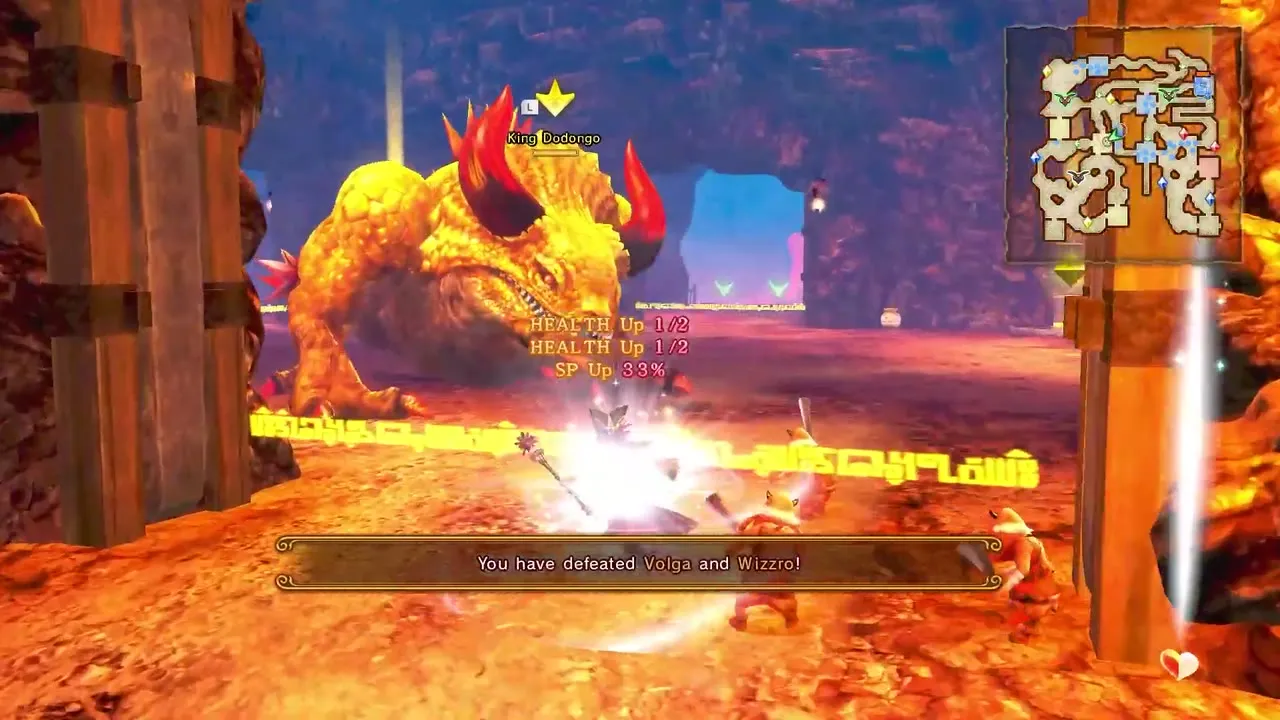
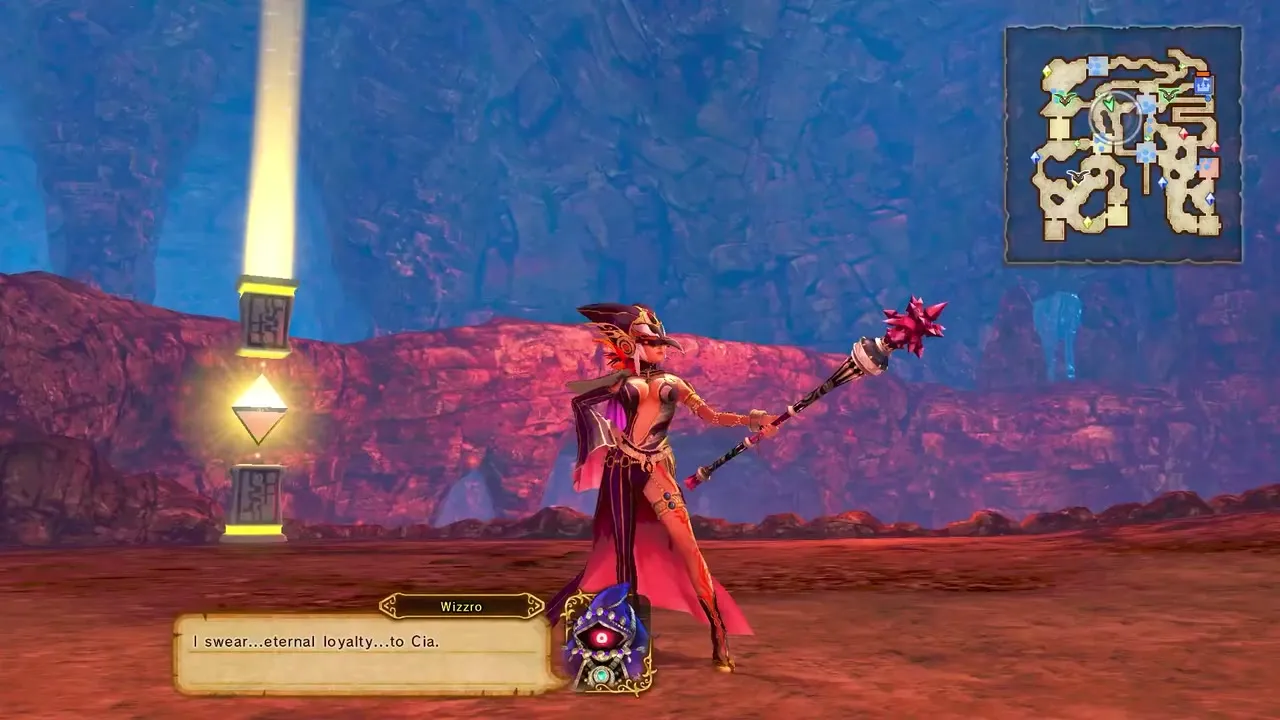
| Master Quest Map | Second Quest | Follows the Second Quest layout | Master Quest Rules | Cia, Volga, Wizzro |
| Twilight Map | Twilight Princess | Smaller than the base map | Twilight clouds, Warp Portals | Twilight costumes |
| Termina Map |  Majora’s Mask | One battle more than the Koholint Island Map | Falling Moon counter, Owl Statues | Mask costumes |
| Great Sea Map | The Wind Waker | Sea chart of islands | Great Sea Rules | Costumes and weapons on islands |
| Master Wind Waker Map | The Wind Waker | Same layout as Great Sea Map | Great Sea and Endless Night Rules | Medli |
| Koholint Island Map | Link’s Awakening | One battle fewer than Termina | Instruments, Egg Counter | Marin |
| Grand Travels Map | Phantom Hourglass and Spirit Tracks | Two halves | Hourglass sand curse | Toon Zelda |
| Lorule Map | A Link Between Worlds | 8 by 8 Hyrule plus 8 by 8 Lorule | Fissures, Ravio Board | Ravio, Yuga |
| Rewards Map | Illustrations | Small | Opened by Illustrations | Costumes only |
Adventure Map
The Adventure Map is the first and largest map, a pixel version of the original Legend of Zelda overworld with 128 squares. You start on H-8 and the final square is A-6. It is open from the start of Adventure Mode. Its twelve Item Card types are the Bomb, Candle, Compass, Digging Mitts, Goddess’s Harp (two copies), Hookshot, Ice Arrow, Ladder, Power Bracelet, Raft, Recorder and Water Bomb. They work as in the first game: the Candle burns bushes and the Ladder crosses broken docks.


Master Quest Map
The Master Quest Map follows the Second Quest layout of the original game and is open from the start in Definitive Edition. Its squares carry Master Quest Rules, which switch off healing, guarding and items on top of the usual goals. It offers rewards for Cia, Volga and Wizzro, plus a new costume and extra prizes for other warriors. It uses the same twelve Item Card types as the Adventure Map, but cards do not transfer between maps, so you collect them again here.
Twilight Map
The Twilight Map is a slightly smaller, 8-bit take on the Twilight Princess overworld. Twilight clouds cover some squares and add restrictions such as “No Focus Spirit!”, and the Tears of Light card removes them. Warp Portals link distant parts of the map, and the Ooccoo card carries you from a portal you have activated to its partner. Defeated enemies are more likely to drop two items, and often one is a Material Bag. The map rewards Twilight costumes for every warrior except Twili Midna, several Heart Containers and six new 8-Bit weapons. Its cards are the Bomb, Clawshot, Compass, Digging Mitts, Fishing Rod, Jar, Lantern, Ooccoo, Spinner, Tears of Light, Tears of Twilight and Water Bomb. Tears of Twilight appears only after all the Twilight has been cleared and resets the clouds.

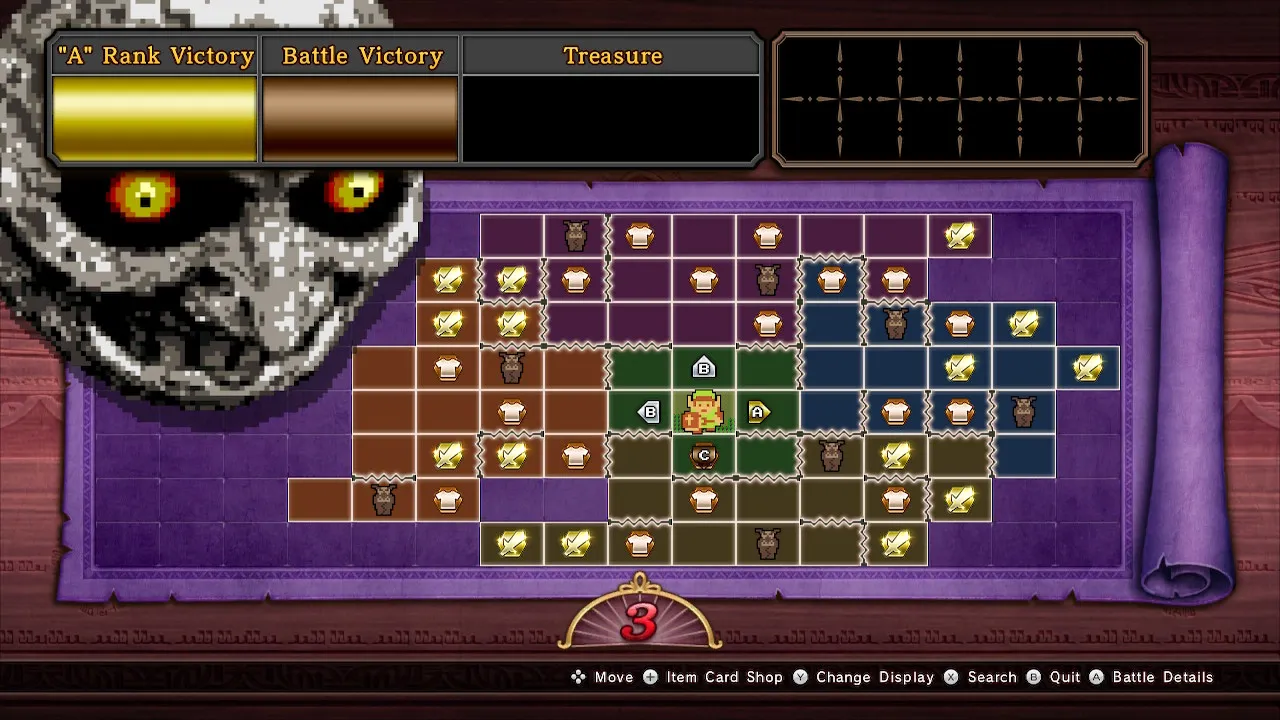
Termina Map
The Termina Map is built around the falling Moon from Majora’s Mask. A counter starts at 3 and goes down by one each time a battle square is finished or ended; when the Moon crashes the map resets, and every later cycle starts the counter at 72. Owl Statues protect chosen parts of the map from the reset, the Song of Time resets the map on demand, and the Inverted Song of Time gives ten more hours. Using all four Giant cards on the clock tower square opens a new section on the Moon, and clearing its last square removes the time limit. Enemies drop two items more often here, with a better chance of a Weapon Bag. The map rewards Mask costumes, several Heart Containers and new 8-Bit weapons. Its cards are the Bomb, Compass, Deku Mask, Deku Stick, Giant, Goron Mask, Ice Arrow, Inverted Song of Time, Majora’s Mask, Mask of Truth, Song of Time and Zora Mask.
Great Sea Map
The Great Sea Map is a sea chart based on The Wind Waker, where your warrior sails an 8-bit boat between islands. Islands hold costumes and weapons to earn. Squares with Great Sea Rules hinder you, depending on the hazard: the Cannon destroys Warships, the Hero’s Bow destroys Cyclones and the Boomerang defeats Big Octos, which removes the rules from that square, while the Wind Waker card stops headwinds that lock a square. Its card types are the Boomerang, Cannon, Compass, Deku Leaf, Hammer, Hero’s Bow, Hookshot, Hyoi Pear, Power Bracelet (two copies), Salvage Arm, Sea Map and Wind Waker (two copies). It first appeared in Hyrule Warriors Legends and is open from the start in this edition.
Master Wind Waker Map
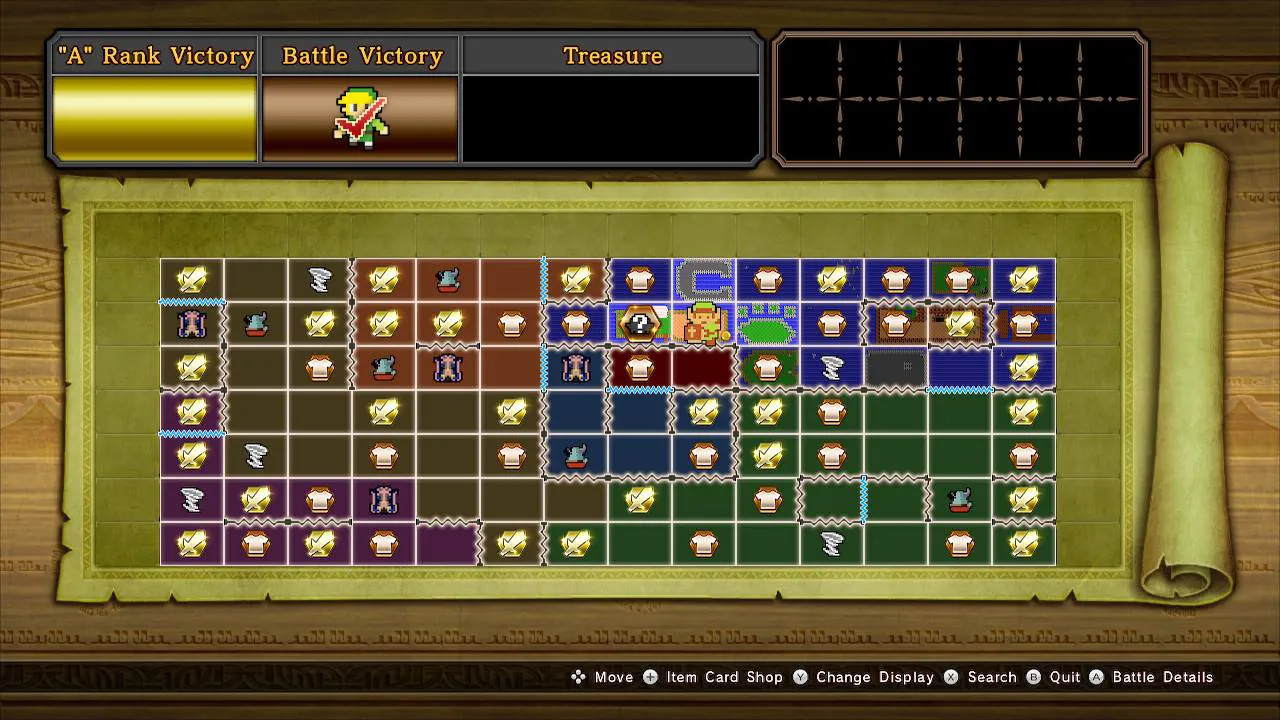
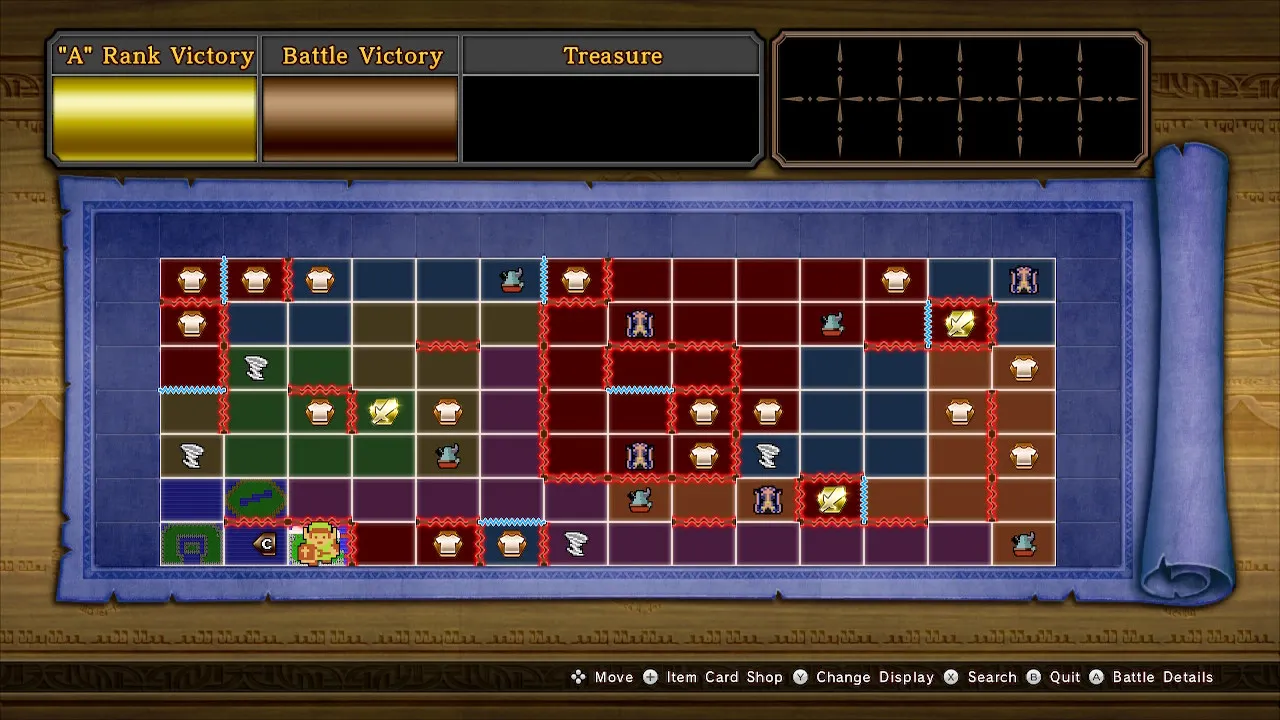
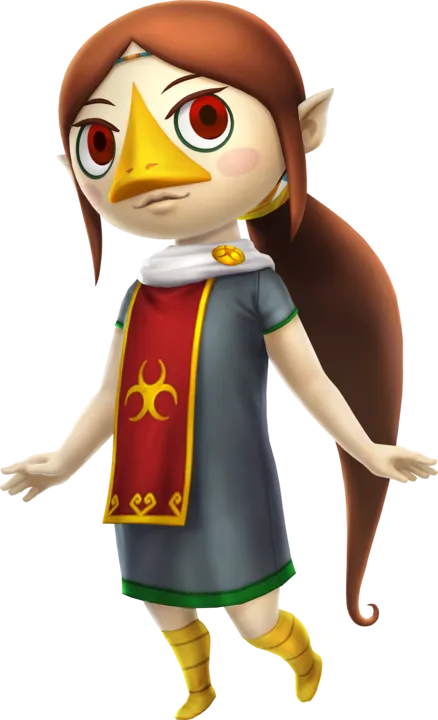
The Master Wind Waker Map has the same layout and card types as the Great Sea Map but a different starting tile, and it adds Endless Night Rules, which stop ordinary tactics from winning battles, much as Master Quest Rules do. The Dark Ruler stands next to the starting tile, but you reach that square only after finding the Hookshot card elsewhere on the map. It is the only map with rewards for Medli.
Koholint Island Map
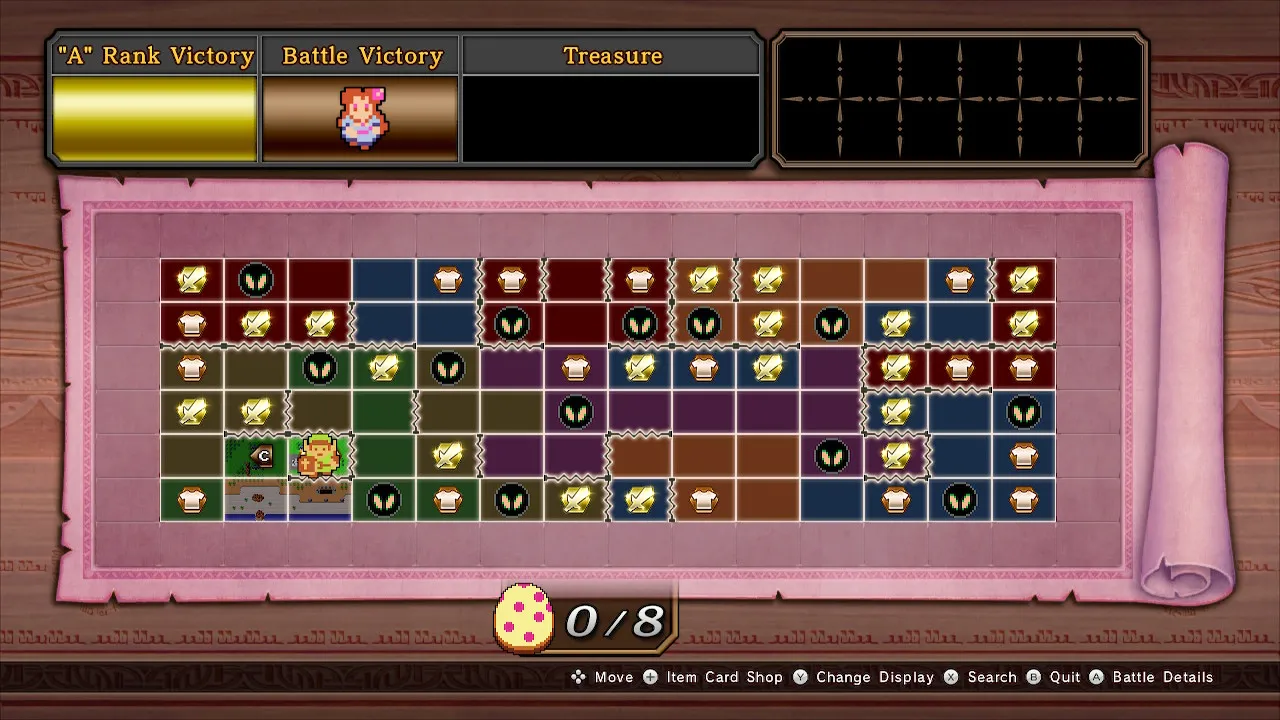
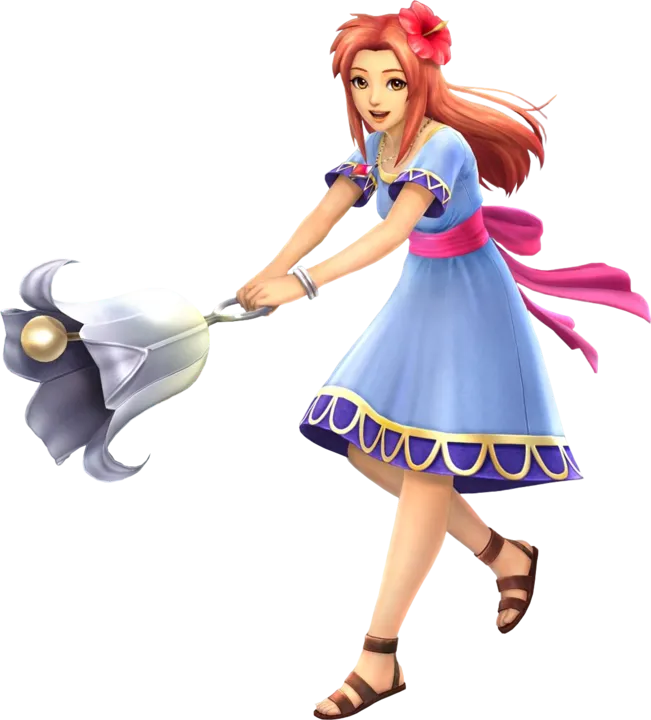
The Koholint Island Map is the smallest, with one battle fewer than the Termina Map, and the goal is to wake the Wind Fish. Eight Item Cards are the Instruments of the Sirens: Full Moon Cello, Conch Horn, Sea Lily Bell (two copies), Surf Harp, Wind Marimba, Coral Triangle, Organ of Evening Calm and Thunder Drum. Using one dispels Nightmares, raises the Egg Counter by one and starts a Siren Power on the whole map for three battles, such as a full Special gauge, less damage taken or more Rupees. Once all eight instruments have been used the Wind Fish wakes, every Nightmare disappears and the Dark Ruler can be fought on the Wind Fish’s Egg square. The instruments then work on any square and their powers last six battles. The other cards are the Compass, Grandpa Ulrira, Magic Powder and the Power Bracelet (three copies). Marin joins some battles to leave hearts on the field, and this is the only map with rewards for her.
Grand Travels Map
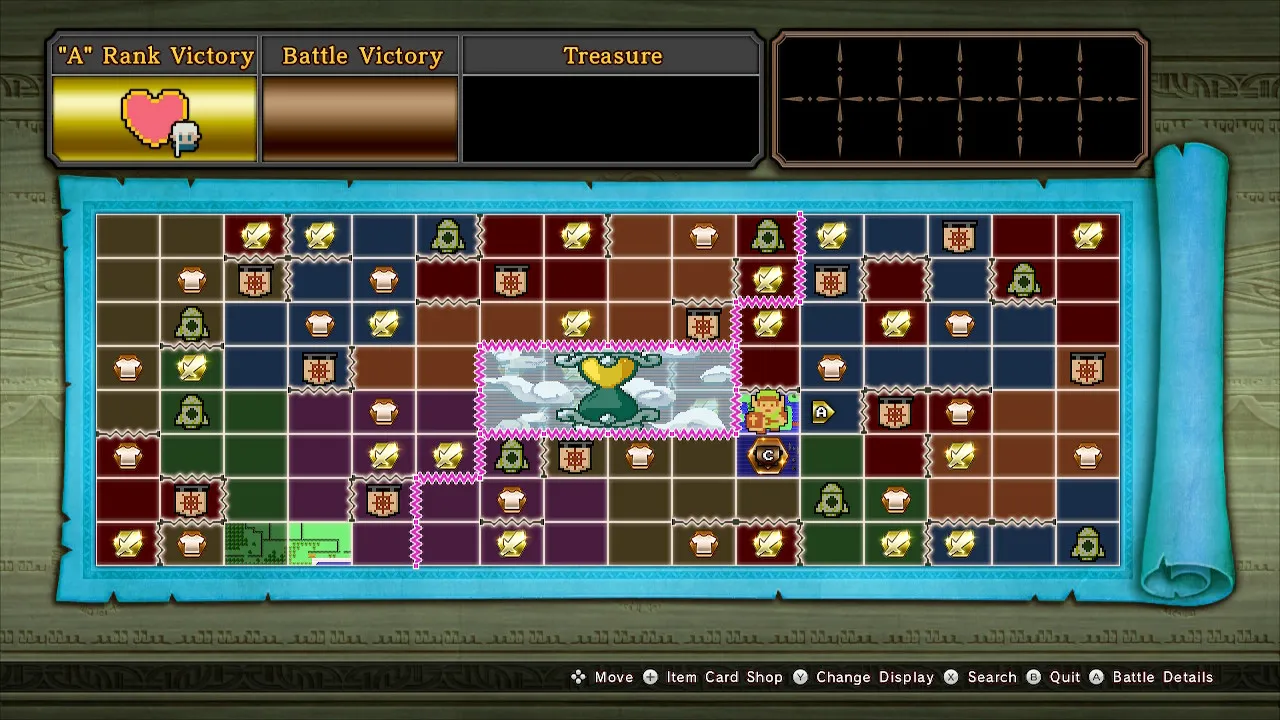
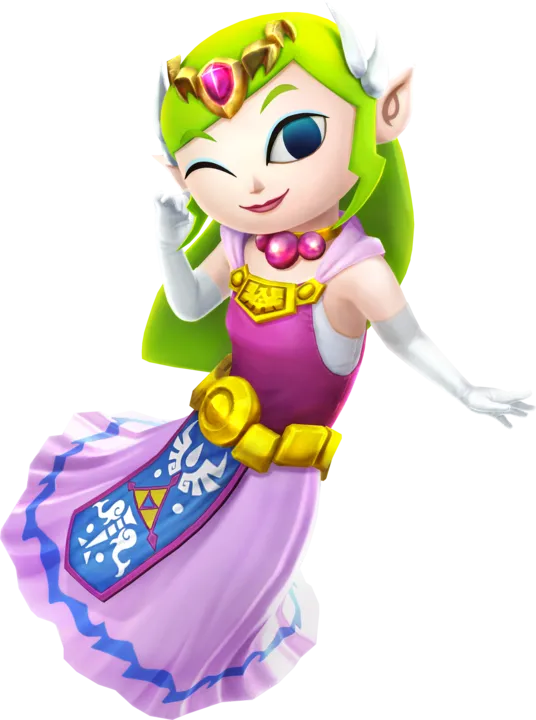
The Grand Travels Map has two halves, the Phantom Hourglass sea on the right and the Spirit Tracks kingdom of New Hyrule on the left, each with its own starting tile, so you can progress through either first. The Phantom Hourglass sits in the middle. After every third battle, sand falls, and when all of it has dropped a curse makes every square need an A rank to pass. Finishing a square with “Final Battle!” in its name refills the glass. Defeating the Boss Giant Beast in each half lifts the curse and opens a Dark Realm section where the Dark Ruler waits. Song Stones return a copy of a card you spent, and the Linebeck Trading Company swaps cards for food for your fairies, sometimes two for one. The S.S. Linebeck, Iron Ship and Golden Ship cards give a Captain Power that raises the KO, time or damage rank. The Spirit Train, Steel Train and Golden Train give Engine Powers. Its other cards are the Cannon, Compass, Cyclone Slate, Fishing Rod, Railway Track and Whirlwind. It holds the only rewards for Toon Zelda.
Lorule Map
The Lorule Map has two 8 by 8 halves: Hyrule on the left, starting at Link’s House, and Lorule on the right. You cannot walk between them. Instead the Wall Painting card sends you through a Fissure and you come out on the same tile in the other world, for example from H5 to H13. Because Lorule is split by chasms, you pass through several Fissures to reach all of it. The Ravio Board shows the active Nice Powers. Each card you use adds one, such as an element recommendation, more Rupees or higher attack, and the board holds two at once, so a third replaces both. The Dark Ruler is in Lorule with no special requirement. The map has rewards for Ravio and Yuga. Its cards are the Baby Maiamai, Bomb, Boomerang (two copies), Bow, Fire Rod (two copies), Hammer (two copies), Hookshot (two copies), Ice Rod, Power Glove, Sand Rod, Tornado Rod and Wall Painting.
Rewards Map
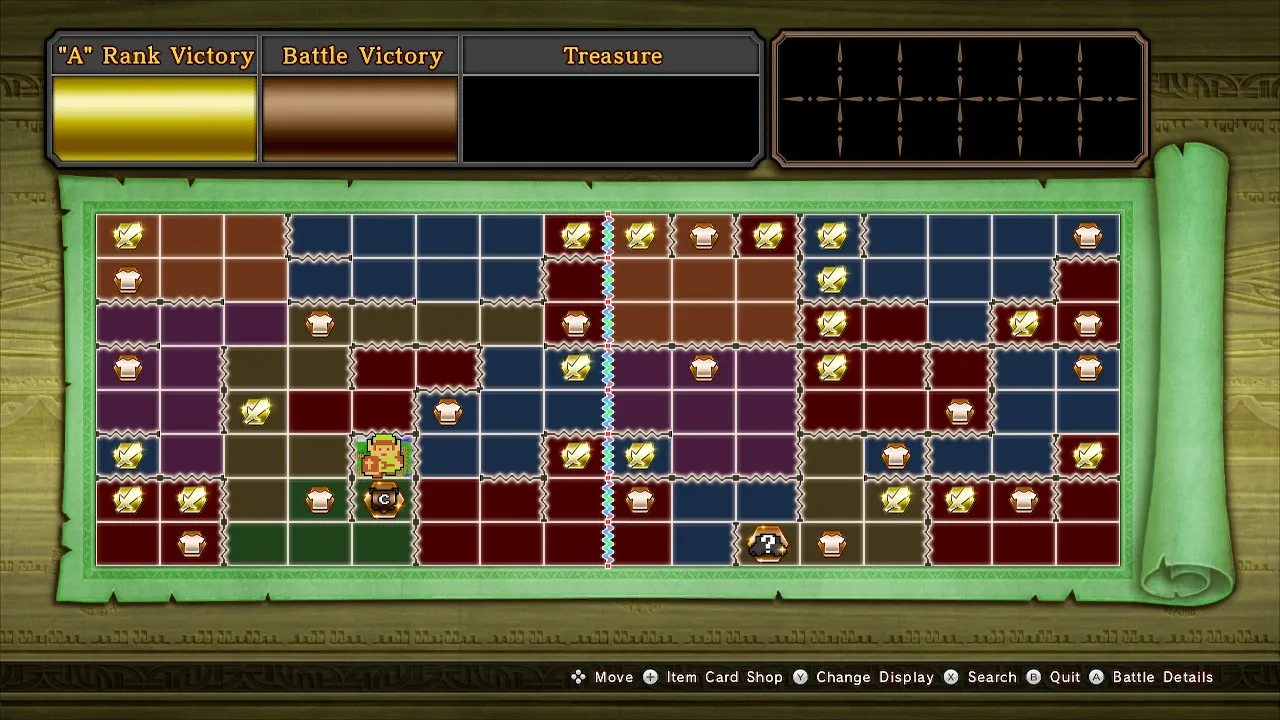
The Rewards Map is the odd one out. It is much smaller than the others and has no Item Cards. It opens after you finish an Illustration by collecting its 20 pieces, which drop from Gold Skulltulas. Each of its battles is tied to the Illustration that opened it; the True Partners Illustration, for example, leads to a challenge where you choose a warrior to team up with. The only prizes here are new costumes.