





| Giant bosses | King Dodongo, Gohma, Manhandla, Argorok, The Imprisoned, Helmaroc King, Phantom Ganon and Ganon in Legend Mode; the Great Fairy in Ganon’s Fury |
|---|---|
| Key tools | Bombs, Bow, Boomerang, Hookshot and Hammer, all found during Legend Mode |
| Villains fought as officers | Cia, Volga, Wizzro, Ghirahim, Zant, Ganondorf, Dark Link, Dark Cia, Dark Zant, Dark Twili Midna, Skull Kid |
| Weak point rule | Expose the Weak Point Gauge, empty it with attacks and a Weak Point Smash lands automatically |
| Dark giant bosses | Adventure Mode only, no Weak Point Gauge |
Every giant boss in Hyrule Warriors Definitive Edition falls to the same routine: use the sub-weapon that fits its pattern, wait for the Weak Point Gauge to appear, drain it with your strongest combos and let the Weak Point Smash finish the cycle. King Dodongo needs a Bomb in the mouth, Gohma an arrow in the eye, Manhandla a Boomerang on its heads, Argorok a Hookshot on its tail and The Imprisoned has to have all eight of its toes broken. The Helmaroc King is the Hammer boss, Phantom Ganon has no item weakness and Ganon needs the Hookshot on his tail before the Light Arrows. The villains are ordinary-looking officers with big health bars, so they are beaten by dodging, breaking guards and using special attacks.
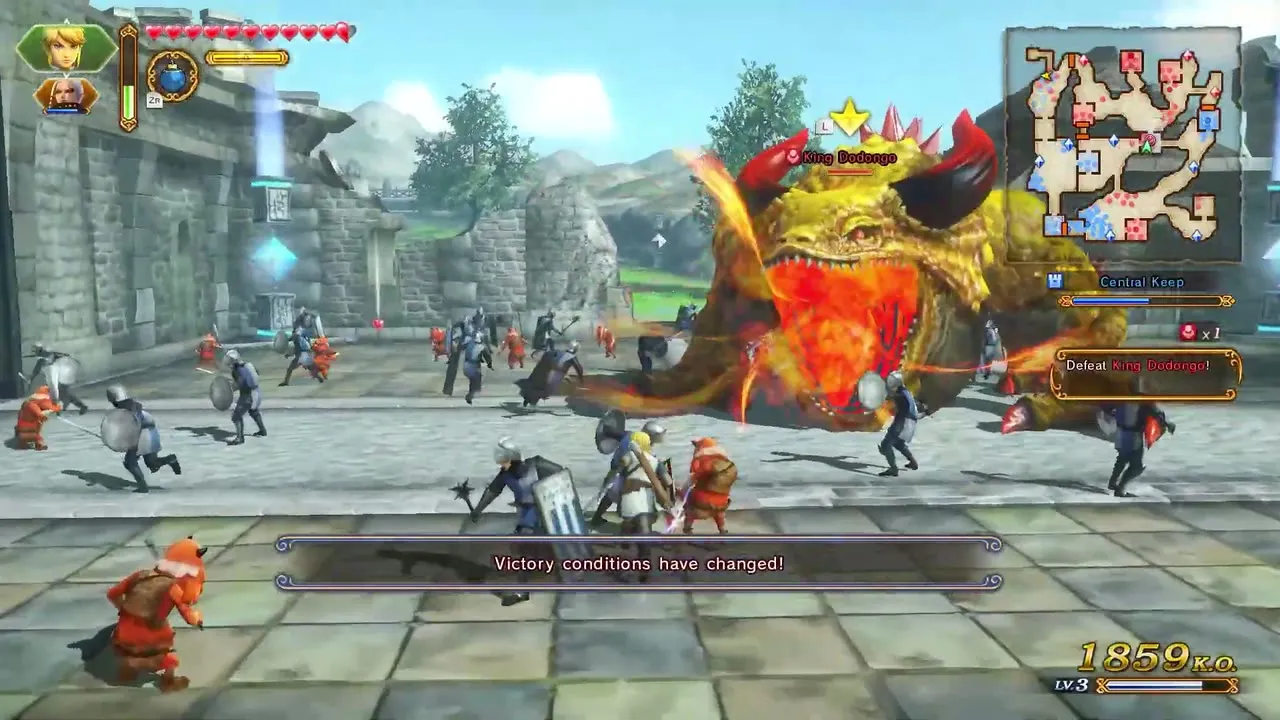
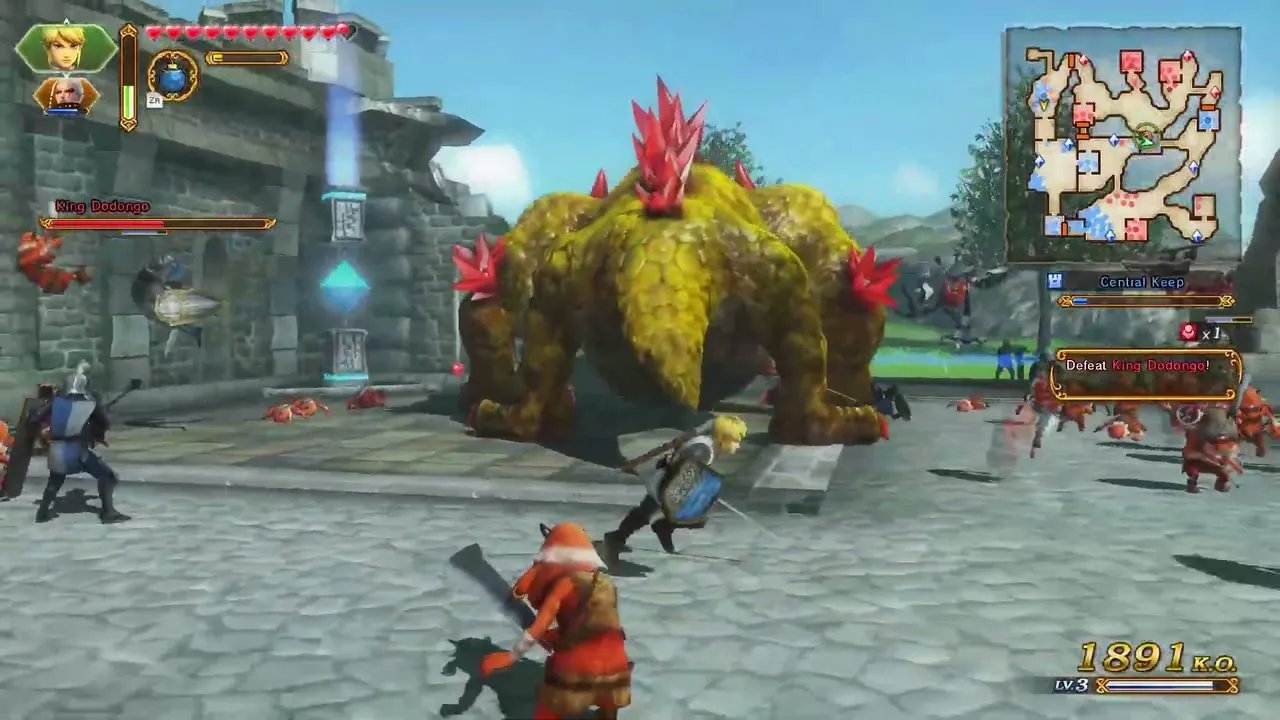
Table of Contents
How giant bosses work
Normal attacks barely scratch a giant boss. Watch for the Extra-Effective Item Attack icon above its head, which shows that the item in your ZR slot will hit it right now. Use the item at that moment, or finish a Focus Spirit Attack, to topple the boss and open its Weak Point Gauge. Hit it until the gauge empties and your warrior performs a Weak Point Smash for heavy damage, then repeat. If the boss is knocked away before the gauge is empty an orange ring stays on it, so go straight back in. Items are found in chests during Legend Mode, so the first boss that needs each one is also the scenario that gives it to you. The table lists the whole set.

| Boss | Item or method | Opening to look for | Legend Mode scenarios |
|---|---|---|---|
 King Dodongo |  Bomb | He inhales before a fire blast | The Armies of Ruin, The Water Temple, Ganondorf’s Return, The Dragon of the Caves, The Other Hero |
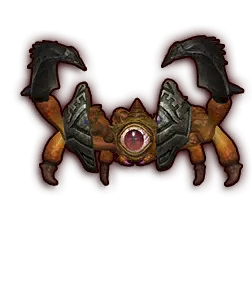 Gohma |  Bow | Eye turns bright blue | The Sorceress of the Woods, Ganondorf’s Return, Darkness Falls (two), Watchers of the Triforce; also A New Disturbance |
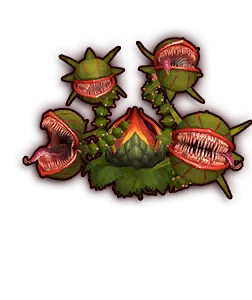 Manhandla |  Boomerang | Heads turn organic | The Sorceress of the Valley, Ganondorf’s Return, Darkness Falls, Watchers of the Triforce |
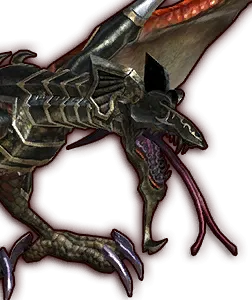 Argorok |  Hookshot | Tail tip glows blue | The Shadow King, Liberation of the Triforce (two), The Usurper King |
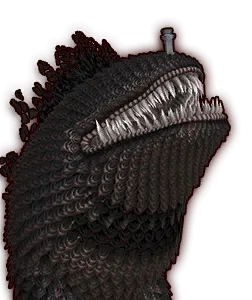 The Imprisoned | Break its eight toes | It crashes down | Sealed Ambition, The Demon Lord, The Demon Lord’s Plan |
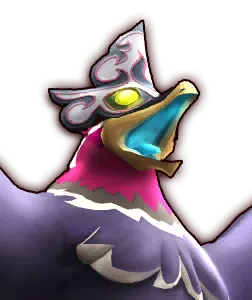 Helmaroc King |  Hammer | Whenever you can reach it | The Search for Cia; driven off in A New Disturbance |
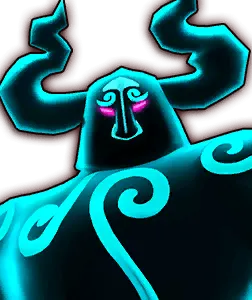 Phantom Ganon | Hit his energy ball back | The ball bounces into him; later his back | Watchers of the Triforce |
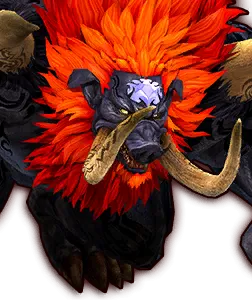 Ganon | Hookshot, then Light Arrows | Glowing tail, then glowing forehead gem | Liberation of the Triforce |
Giant bosses
King Dodongo
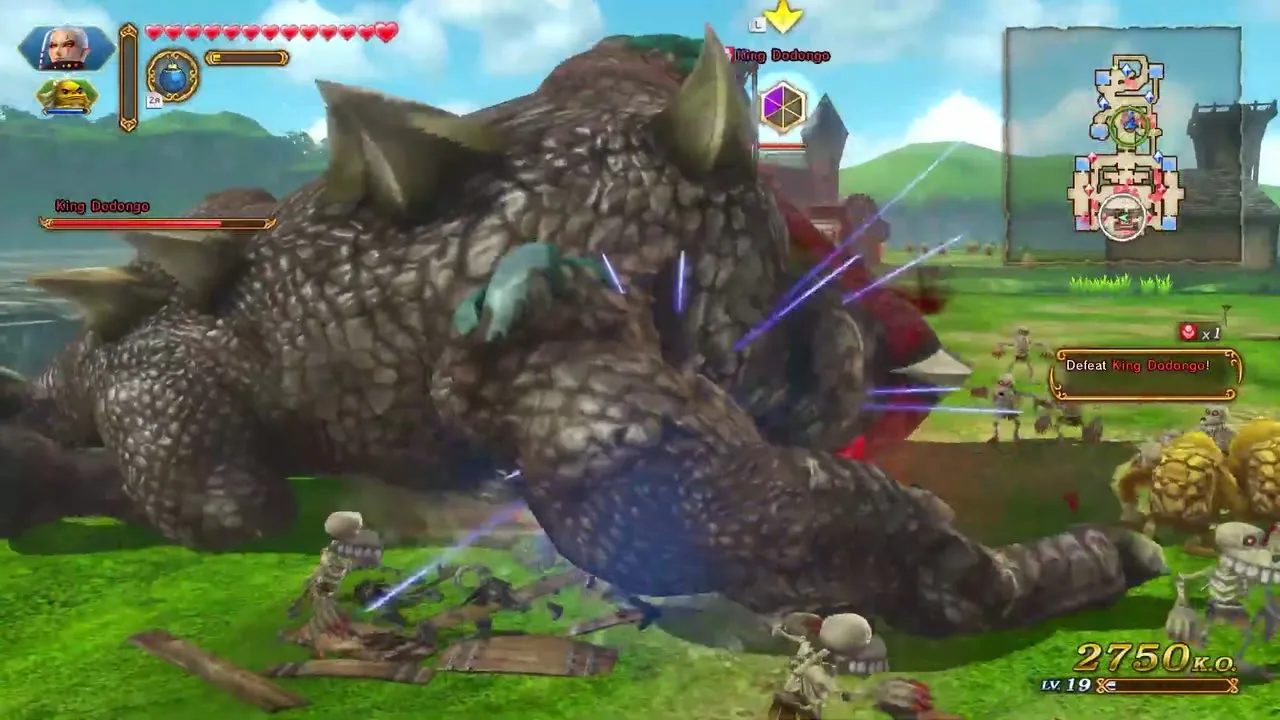
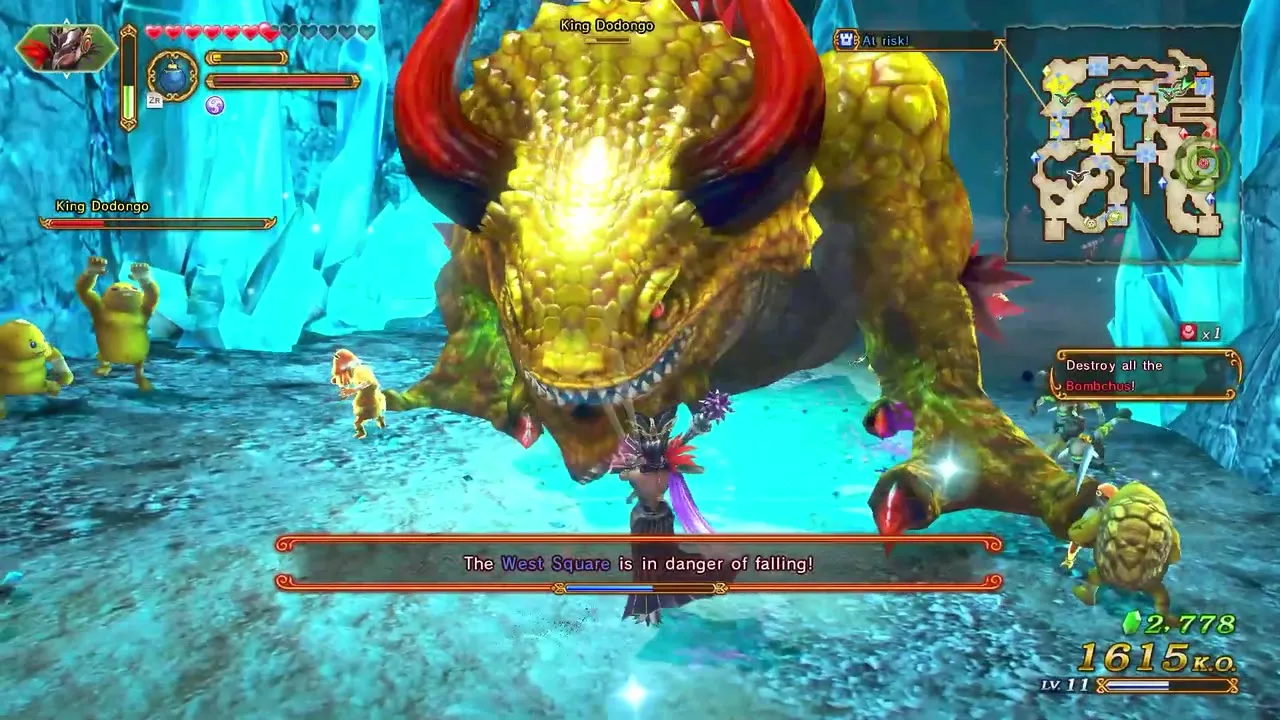
King Dodongo is a gold-scaled, fire-breathing giant that stomps, roars, curls into a ball to roll across the field and breathes flames, all of which also hurt his own troops. His weak point item is the Bomb: wait until he sucks in air for a fireball and throw a Bomb into his mouth with ZR. The Bomb stuns him and opens the Weak Point Gauge on his body, so empty it and finish with the Smash. Stay out of the flame line and back off whenever he rolls. You first meet him in The Armies of Ruin, where the Dark Wizard summons him in the North Square and the Bombs come from the chest behind the Mine Entrance. In The Water Temple the false Zelda calls him in as a distraction. A Fire-Breathing King Dodongo is summoned in Ganondorf’s Return, where Gohma and Manhandla join him on the field, and another leads the horde in The Other Hero, where Linkle’s compass weakens him. The Dragon of the Caves has two of them, and the one heading for your Allied Base should go down first. He may drop King Dodongo’s Claws as a silver material or King Dodongo’s Crystal as a gold material.

Gohma
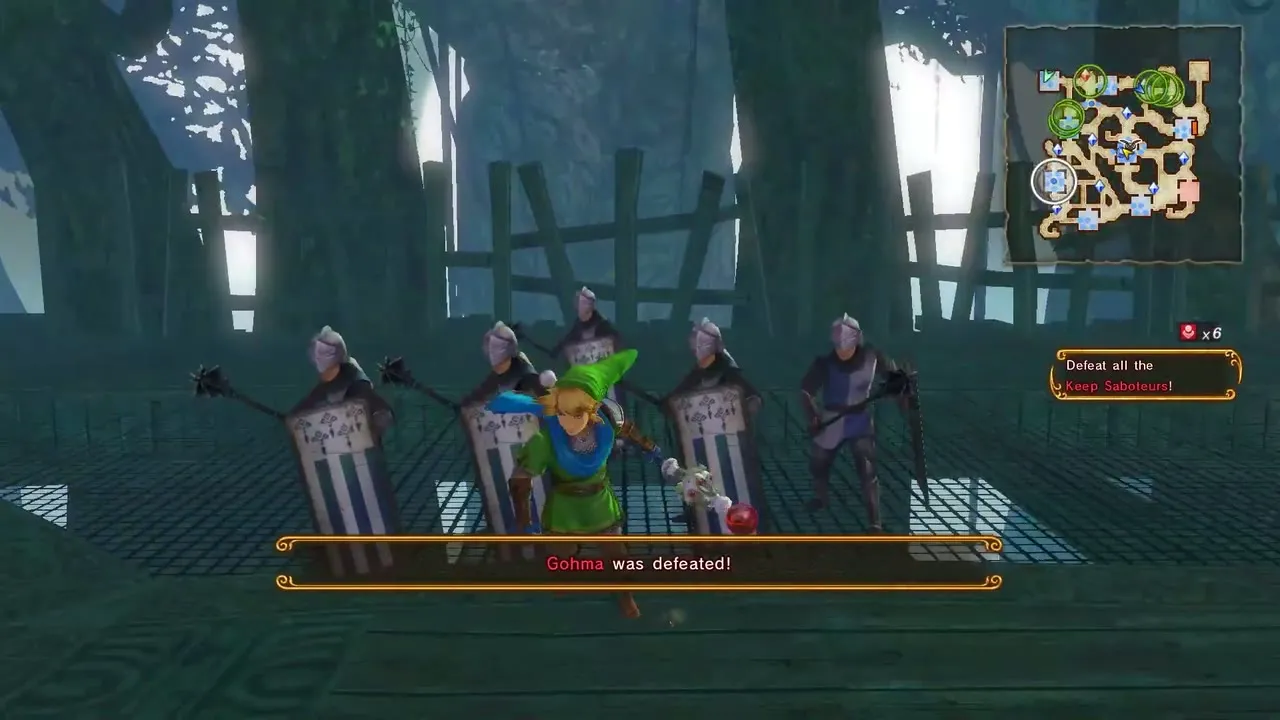
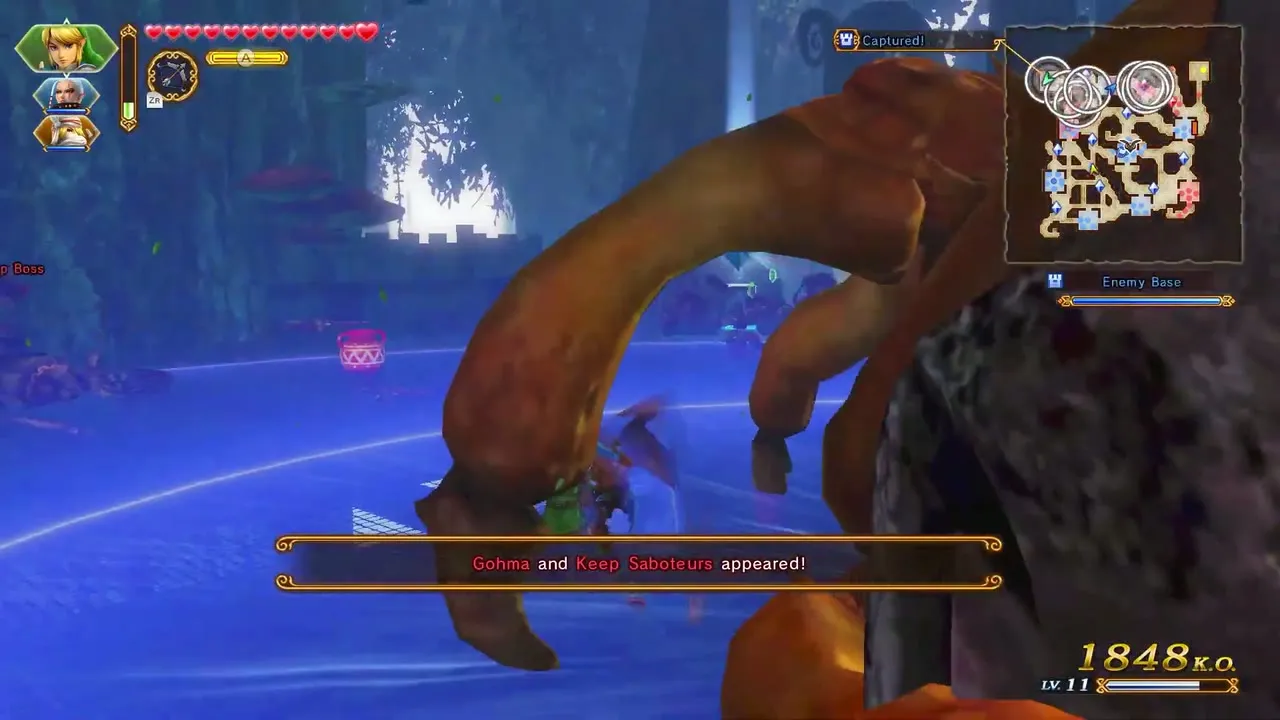
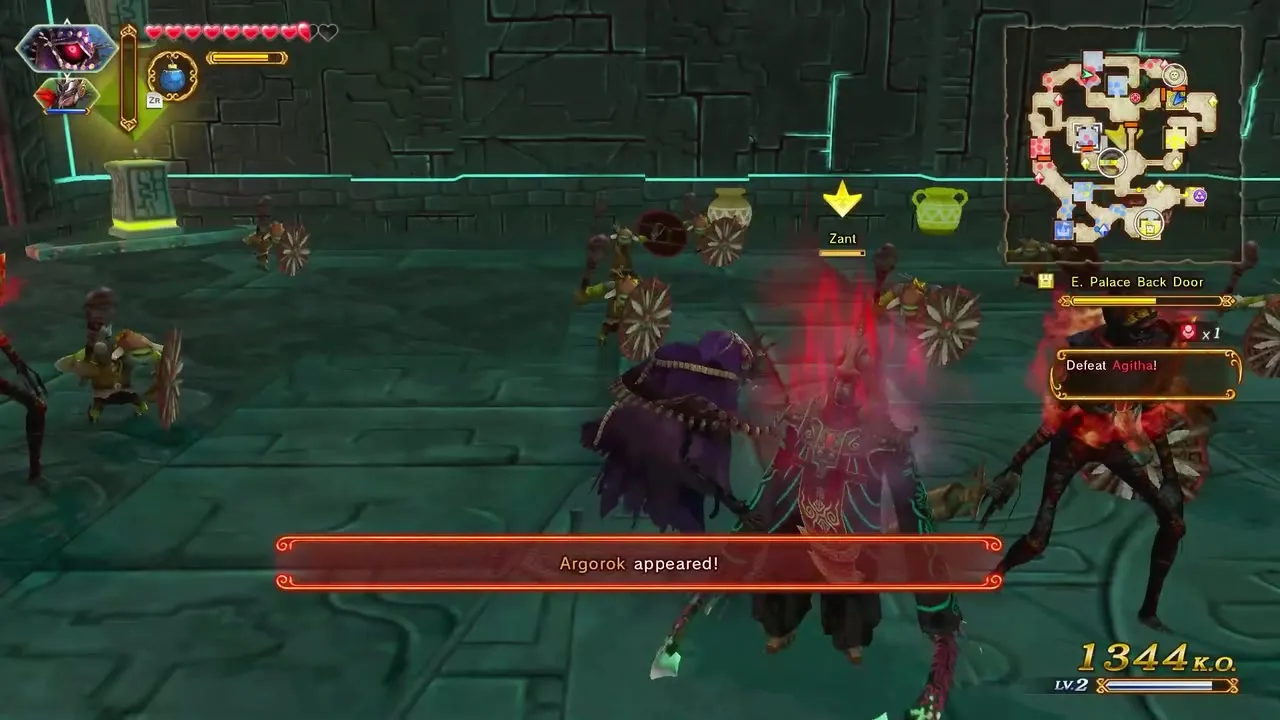
Gohma blocks nearly everything with its front legs, so only its eye is vulnerable. It swipes, spins, charges, leaps to crash down and fires an eye beam vertically or horizontally, and it sometimes stops to charge a big blast. After a beam or while charging, its red iris turns bright blue. Shoot the eye with the Bow in that window and Gohma flips onto its back, showing the Weak Point Gauge. Empty it and repeat. When the weak point is open the game tells you to attack Gohma’s weakness. The Bow is in the chest in the settlement in The Sorceress of the Woods, where Wizzro summons the first Gohma along with Keep Saboteurs that must also be killed. Another Gohma is summoned together with King Dodongo and Manhandla in Ganondorf’s Return, followed by two in Darkness Falls and one in Watchers of the Triforce. In A New Disturbance it must die before it wrecks your base. Gohma’s Acid drops often, and Gohma’s Lens rarely.

Manhandla
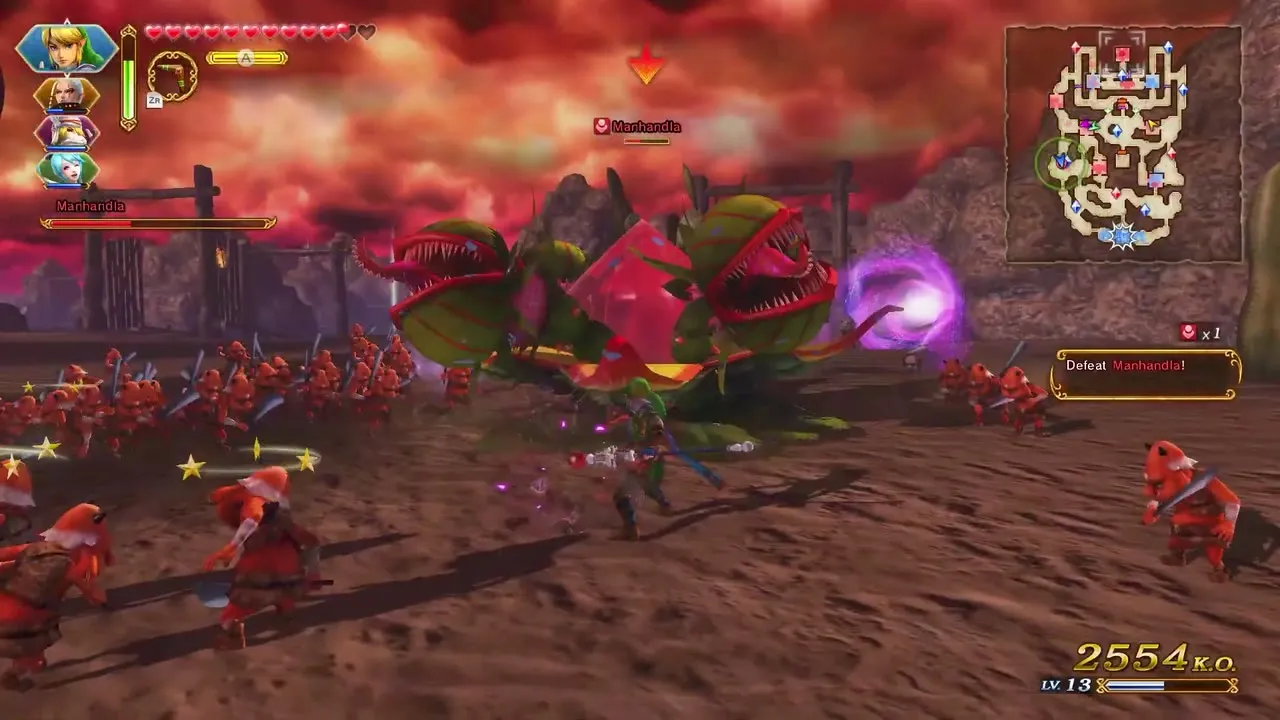
Manhandla is a four-headed bulb covered in a metallic hide that deflects attacks. It spits seeds at your Allied Base, fires seeds at you, lunges, uproots itself to rampage and spews poison. Every so often the heads turn organic for a moment: stun them with the Boomerang. When all four are stunned the plant falls over and a large crystal, the Weak Point Gauge, is exposed. Empty it and use the Smash. The Boomerang is a chest reward in The Sorceress of the Valley, the first scenario to feature Manhandla. After it takes damage there, the game announces that it has retreated underground and tentacles rise in several places; destroy a Manhandla Stalk to reveal the real Manhandla and bring the body back up. It also appears next to Gohma and King Dodongo in Ganondorf’s Return, and in Darkness Falls and Watchers of the Triforce. It drops Manhandla’s Toxic Dust often and Manhandla’s Sapling rarely.


Argorok
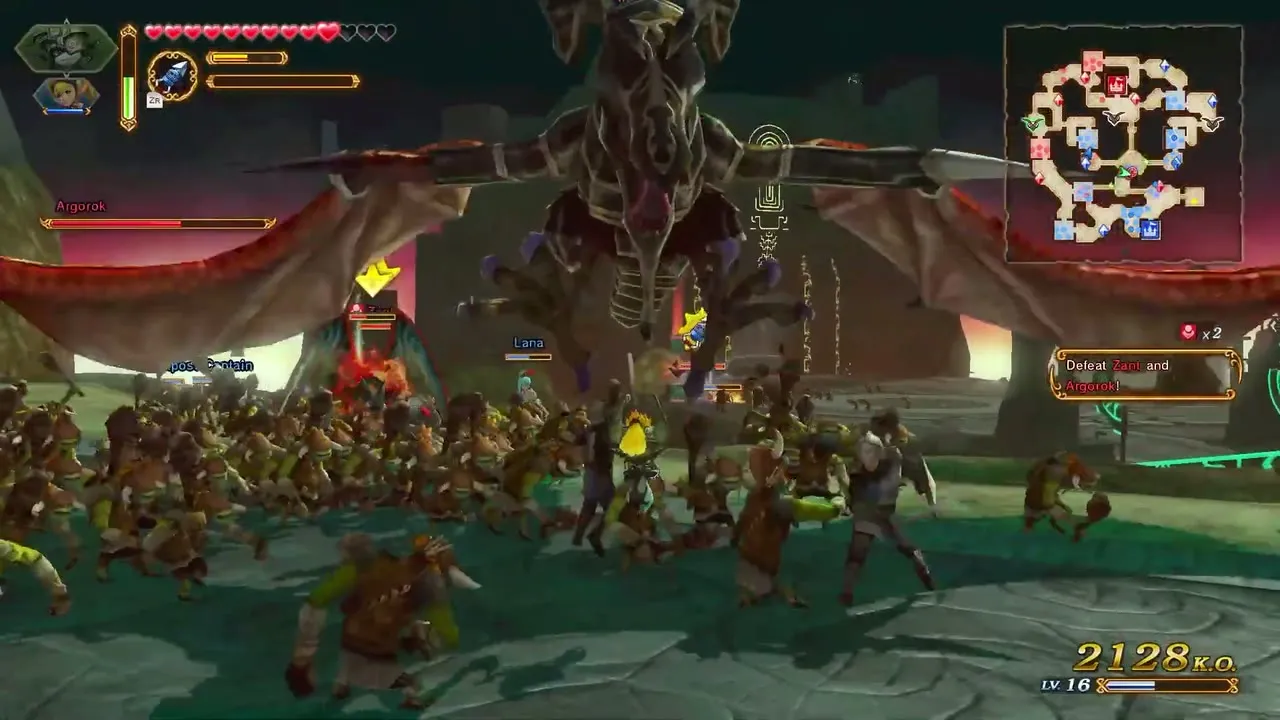
Argorok stays in the air, charges, kicks up whirlwinds with its wings and breathes a ring of fire. During the whirlwind attack and sometimes the fire breath, the tip of its tail glows blue. Fire the Hookshot at the tail then and the dragon is pulled down with its Weak Point Gauge open. Never use the Hookshot while the tail is not glowing, because the flames burn you. The Hookshot chest is in The Shadow King, where Argorok first flies too high to reach: Magic Circles built at the West Square and Central Square keeps chain it for a moment, and the Great Fairy finally drops the Terminan Moon on it so it can be fought normally. Two Argoroks open Liberation of the Triforce, one in the north and one in the south, and Zant calls another to hold you back in The Usurper King. It drops Argorok’s Embers as a silver material or Argorok’s Stone as a gold material.
The Imprisoned
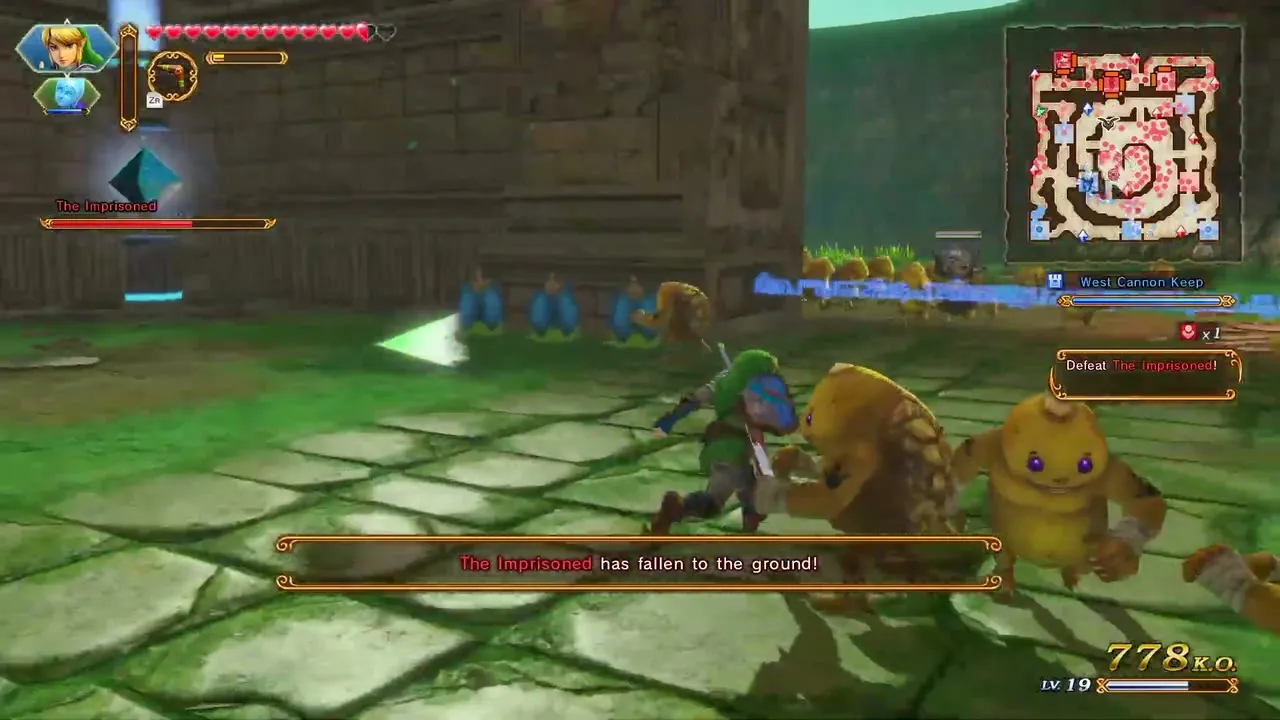
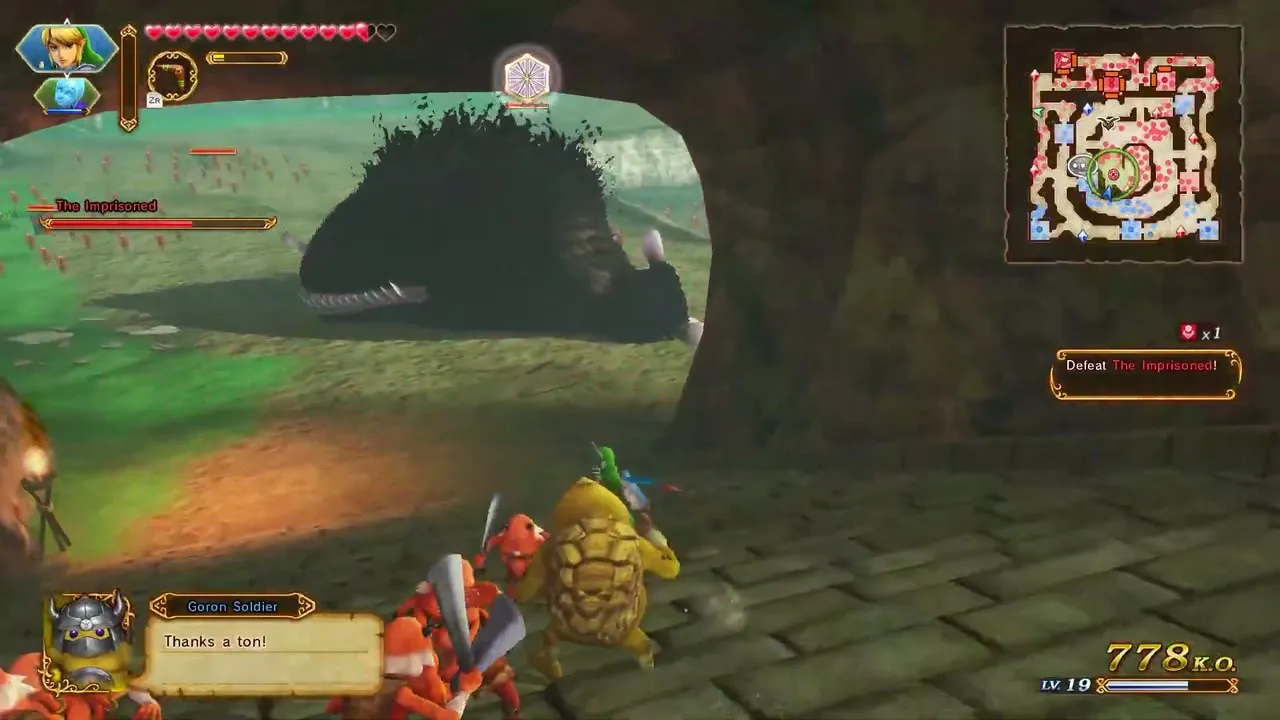
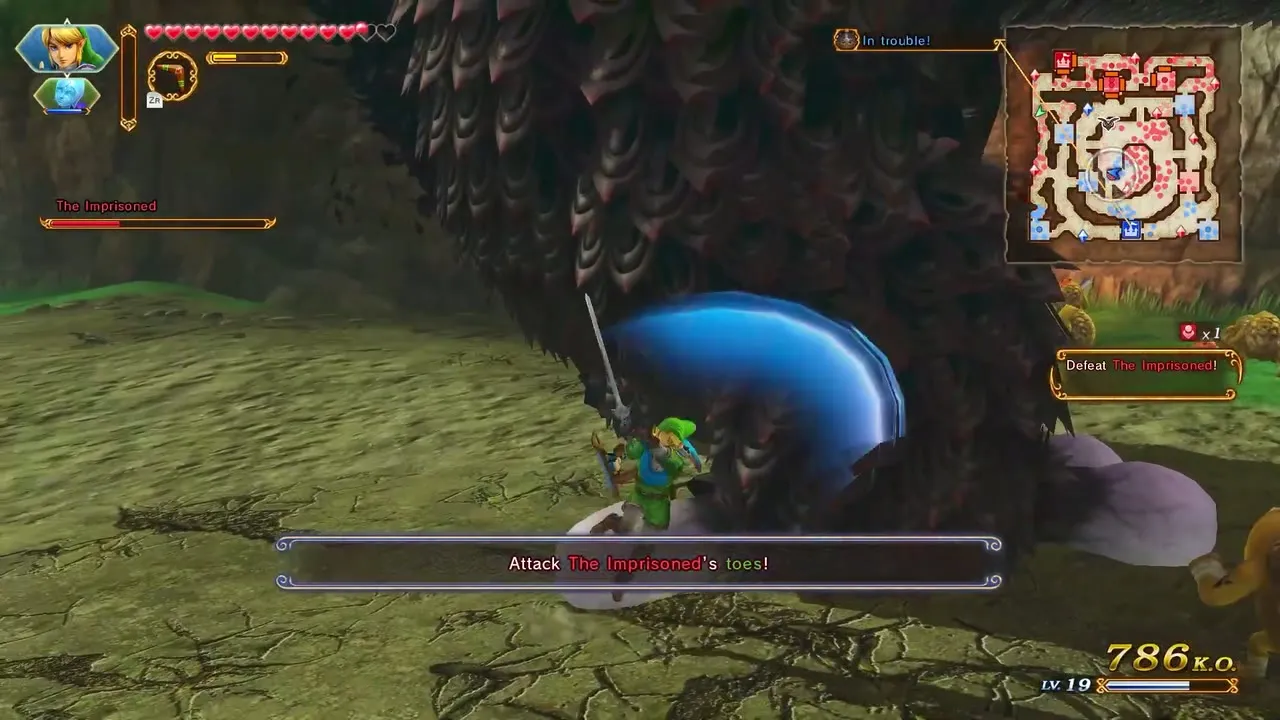
The Imprisoned stomps across the field, sending red shock waves from its feet and flaring a brief force field when you stand close. The toes are its weak point, and the game tells you to attack them. Stay at its feet and destroy all eight toes. When the last one breaks it crashes down and the Weak Point Gauge appears; use your strongest attacks and finish with a Smash. After it stands up again it keeps coming, and at about half health its steps carry an electric shock wave and it sometimes follows three normal steps with a smaller, faster one, so back away after the third. In Sealed Ambition Ghirahim summons it from the Sealing Spike, and it also flies up to wreck the West Cannon Keep; run inside and fire the Groosenator cannon to knock it out of the sky, then finish it at the East Cannon Keep. It appears again in The Demon Lord. Small copies are common Captains in Adventure Mode and swarm The Demon Lord’s Plan. It drops The Imprisoned’s Scales as silver material or The Imprisoned’s Pillar as gold material.
Helmaroc King
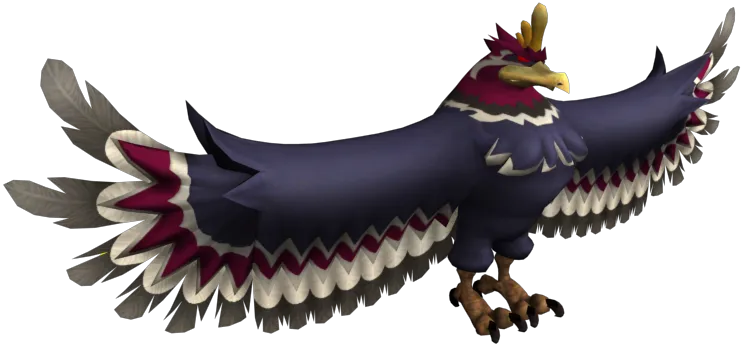
The Helmaroc King, called the Great Bird, is a Wind Waker giant that swoops over the field and tries to carry people off. Its weakness is the Hammer, which you collect from a chest in A New Disturbance. In that scenario you only drive it off twice and the real fight is Gohma and Boss Blin. The proper boss fight is in The Search for Cia, where you hammer the bird in the Gerudo Desert until it retreats and returns; killing it wins the battle. It may drop a Helmaroc Plume (silver) or a Helmaroc King’s Mask (gold).

Phantom Ganon
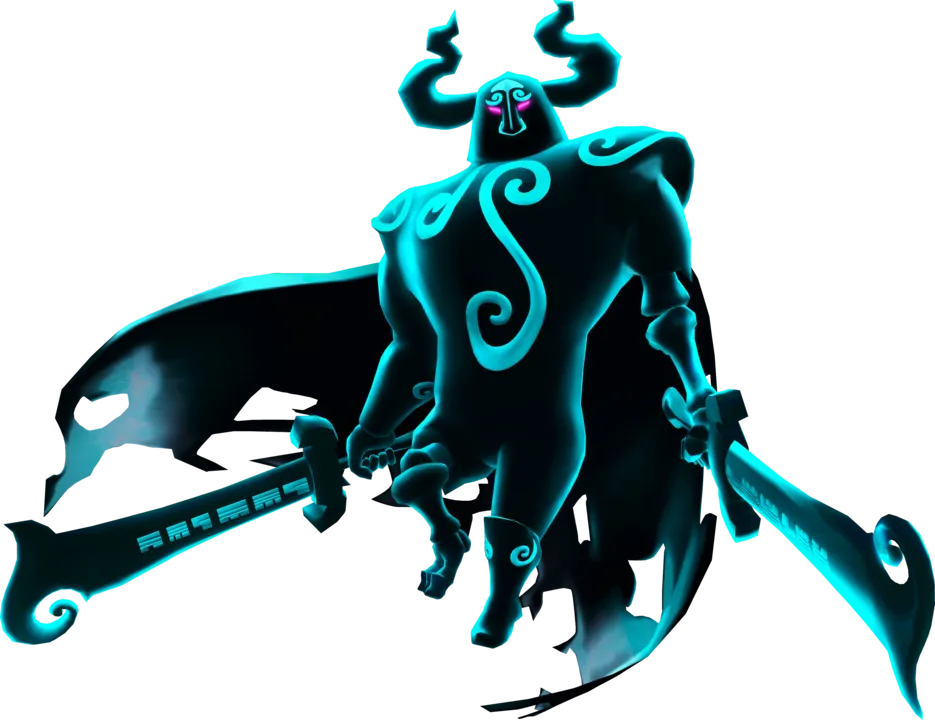
Phantom Ganon, the villain behind the Wind Waker scenarios, has no item weakness. His moves are spin attacks with his sword, vanishing and reappearing next to you, making copies and firing many homing energy balls or a single white one. Hit the white ball with a normal attack to send it back and expose his Weak Point Gauge. At about half health he summons a second sword and fights low to the ground, shielding himself from the front and sides, but his back is open; hit it until he falls and the gauge appears. Do not fight him in his own room, where he keeps healing: let him come to the centre of Watchers of the Triforce and surround him with all four warriors and Cia, whose combined strength stops the regeneration. He may drop Phantom Ganon’s Cape (silver) or Phantom Ganon’s Sword (gold).
Ganon
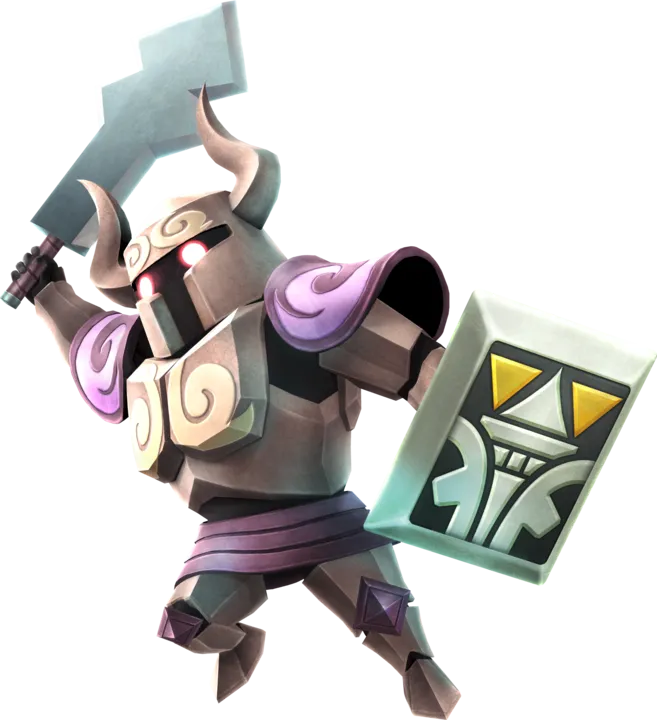
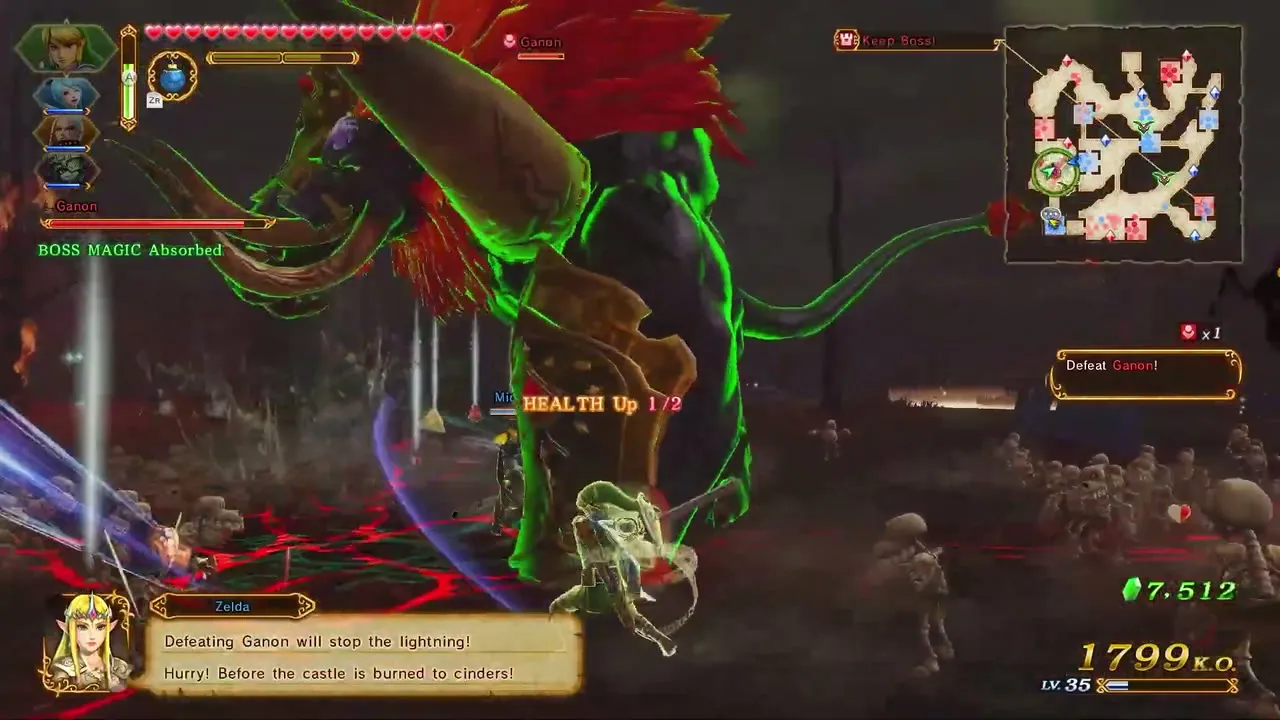
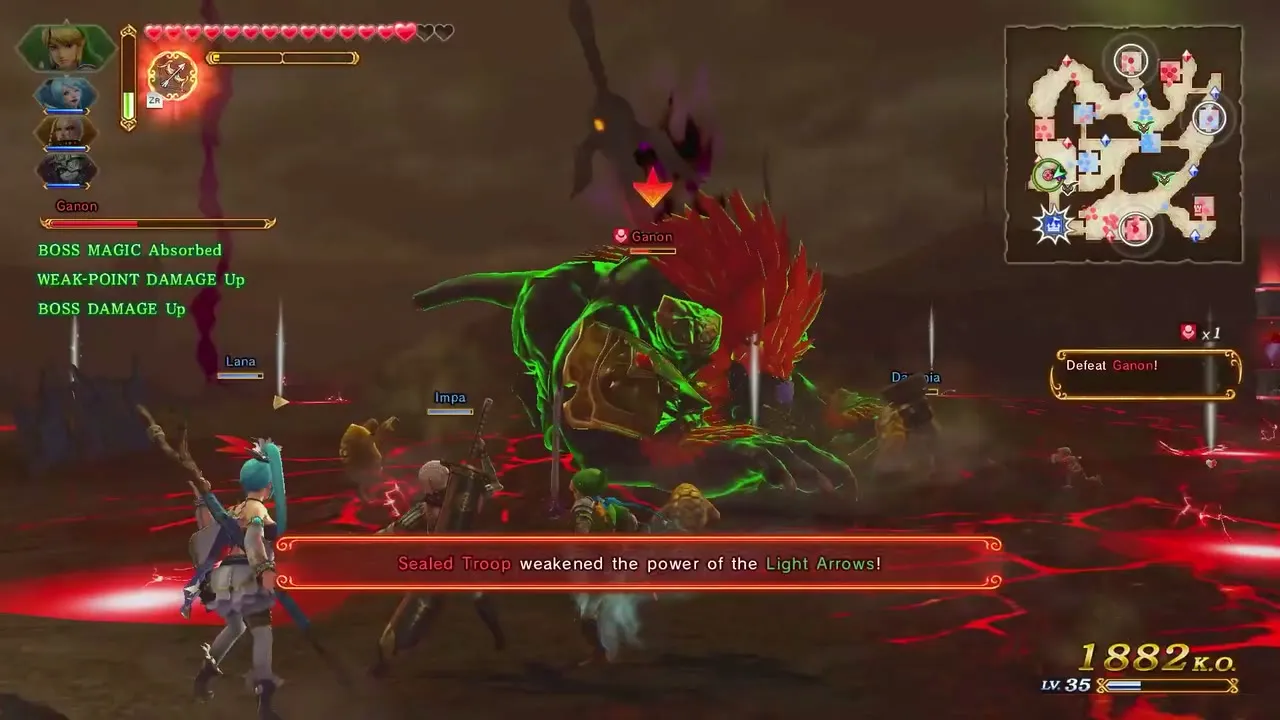
Ganon is the final giant boss, fought at the end of Liberation of the Triforce after Ganondorf transforms with the Triforce of Power. The objective reads to defeat Ganon. Break his armor first with your sub-weapons; his tail glows blue after some attacks, so the Hookshot works on him just as it does on Argorok. With the armor gone, Zelda blesses your Bow with the Light Arrows, or Ruto does if you play Zelda or Sheik. The arrows only work when the gem on his forehead glows just before a charge: fire then to stun him and open the weak point, then attack freely. Your allies’ health strengthens the arrows, so keep them alive, and clear any Magic Sealer Troops that weaken their power. Ganon is playable only in Ganon’s Fury, not in the story.

Great Fairy
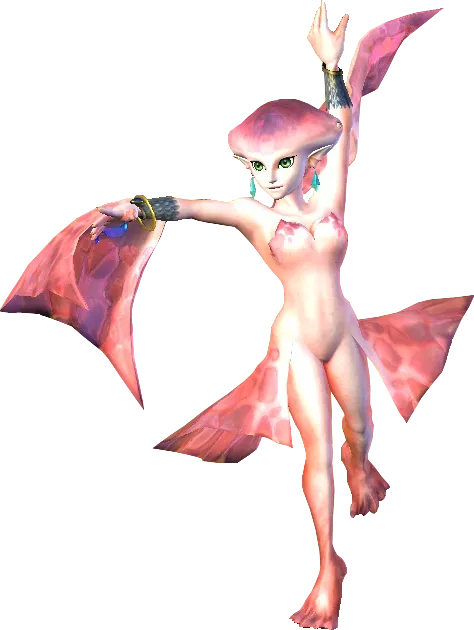
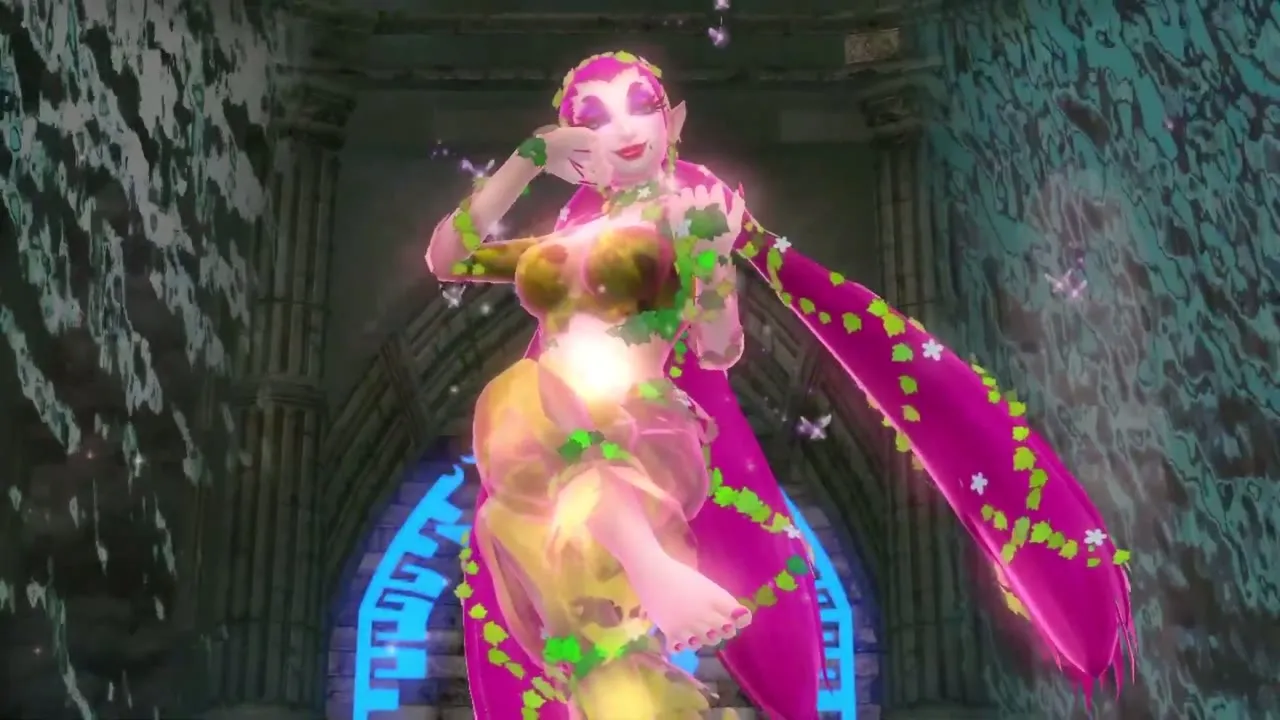
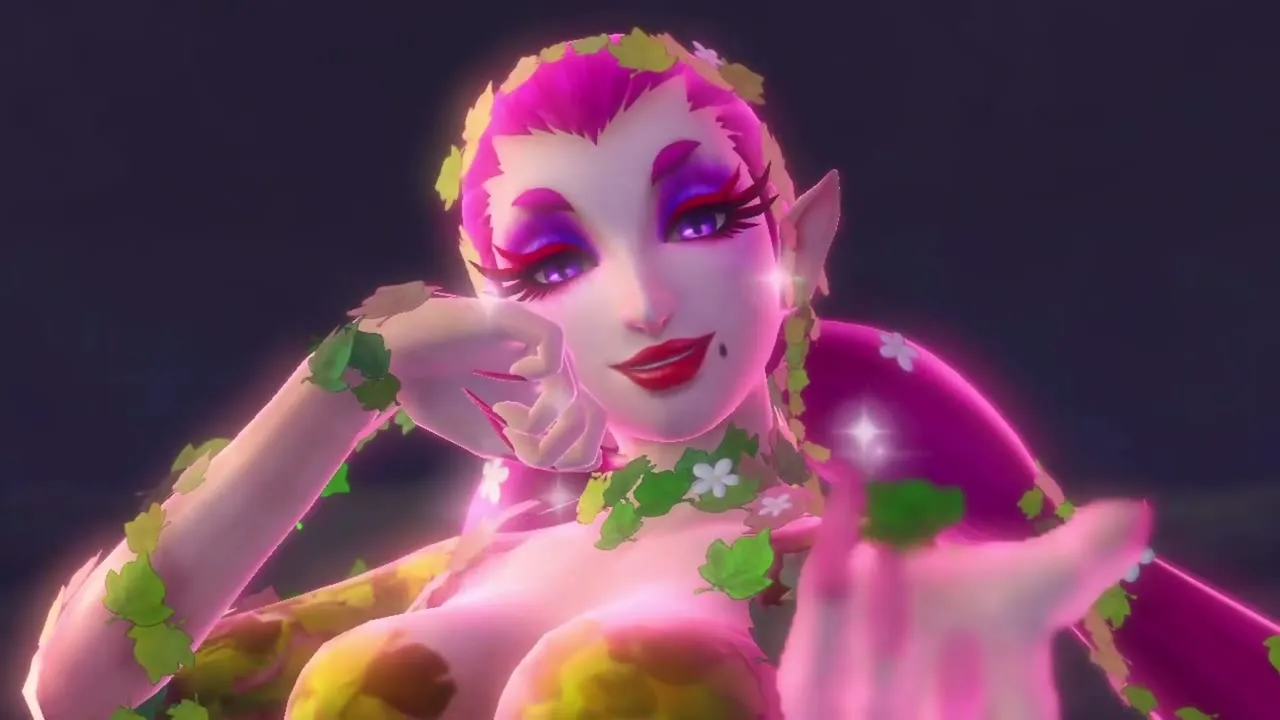
The Great Fairy is a giant boss that appears only in Ganon’s Fury, the Challenge Mode where you play as Ganon. It heals the other bosses in that mode, so keep that in mind before you start a long fight there. In Legend Mode she is on your side: you call her with a Magic Circle in The Armies of Ruin, Land in the Sky, The Shadow King and Shining Beacon, and her strike clears the field.

Dark giant bosses
Dark Argorok, Dark Ganon, Dark Gohma, Dark Dodongo, Dark Manhandla and The Dark Imprisoned appear in Adventure Mode. They have no Weak Point Gauge, so items do nothing special: stay at range, avoid their big attacks and wear them down with a steady barrage of attacks, using special attacks whenever the gauge is full.

Villains and officers
Named villains are fought as officers on the battlefield. They have no weak point gauge, take normal damage and often run to your Allied Base or retreat at half health, so the aim is to catch them before they reach the base. Each may drop a silver and a rare gold material when beaten.


Cia
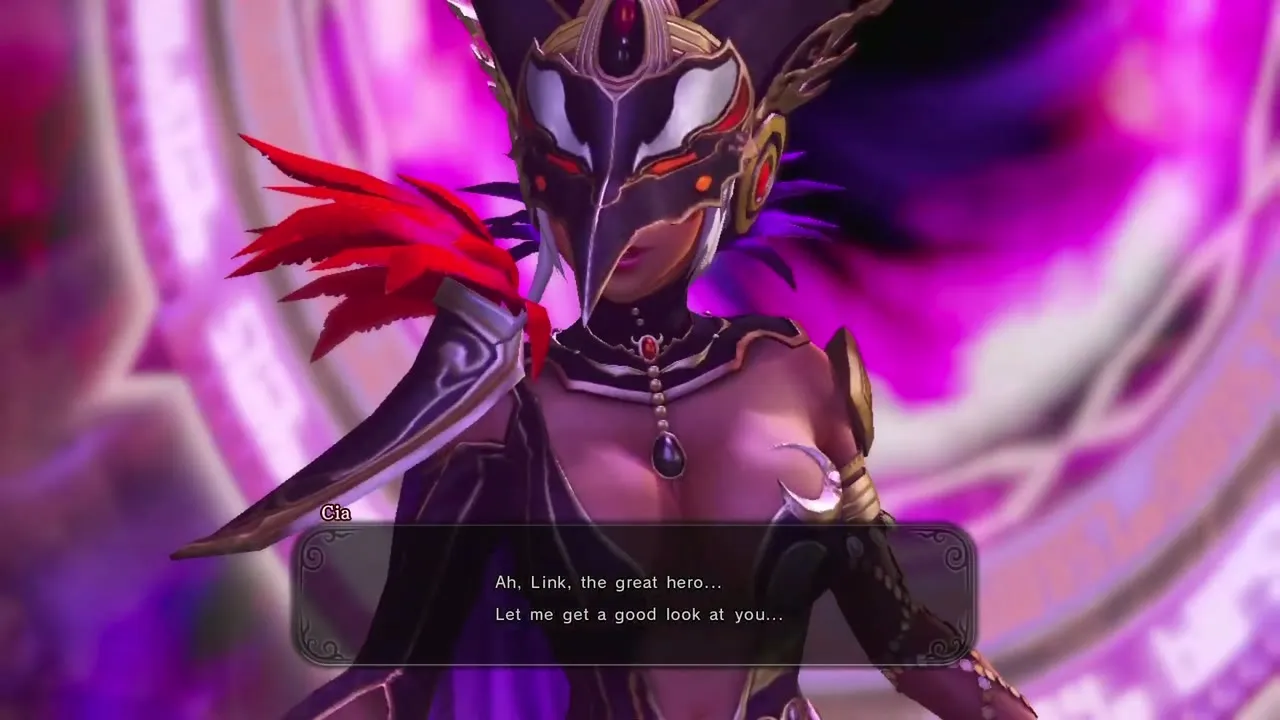
Cia, the Dark Sorceress, is the main villain of the first story arcs and the boss of Shining Beacon. She fights with magic at long range and splits into four copies. Keep moving, pick one copy at a time and use strong attacks when the copies bunch up; when the copies and the original are all down the battle ends. She stays in cutscenes in The Sorceress of the Valley and flees Land of Twilight before you reach her. She may drop Cia’s Bracelet (silver) or Cia’s Staff (gold).


Volga
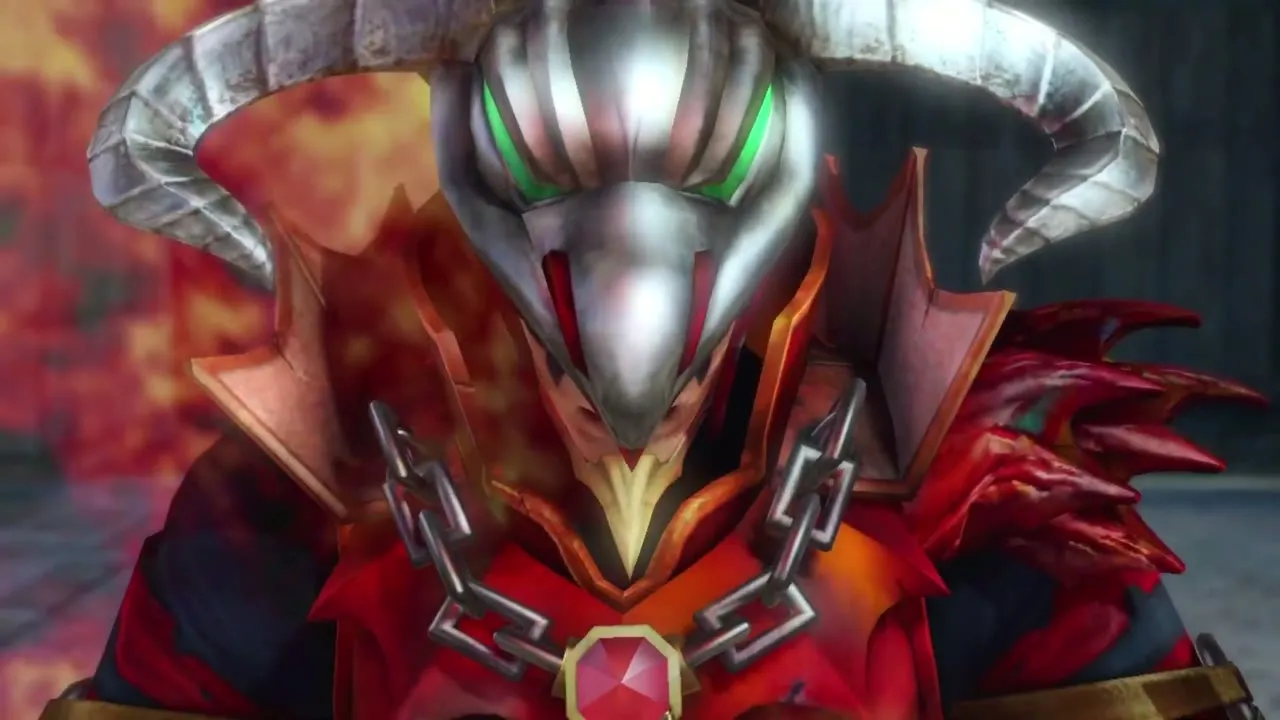
Volga, the Dragon Knight, fights with a fire spear and dragon-claw attacks that hit hard. In The Armies of Ruin he flees at half health, so you only hold him off. In Land in the Sky he heals when nearly beaten, then goes down in the second fight after the Great Fairy’s help. In Shining Beacon he comes back strengthened and has to be defeated at least twice for the Hard Gold Skulltula. The Dragon of the Caves ends with Volga and Wizzro together, and Powers Collide has you finish him with Darunia at your side. Dodge his heavy strikes, punish him after a combo and break his guard with strong attacks and Focus Spirit. His Lizalfos Chieftain and Dinolfos Chieftain arrive as reinforcements; see the enemies page.
Wizzro
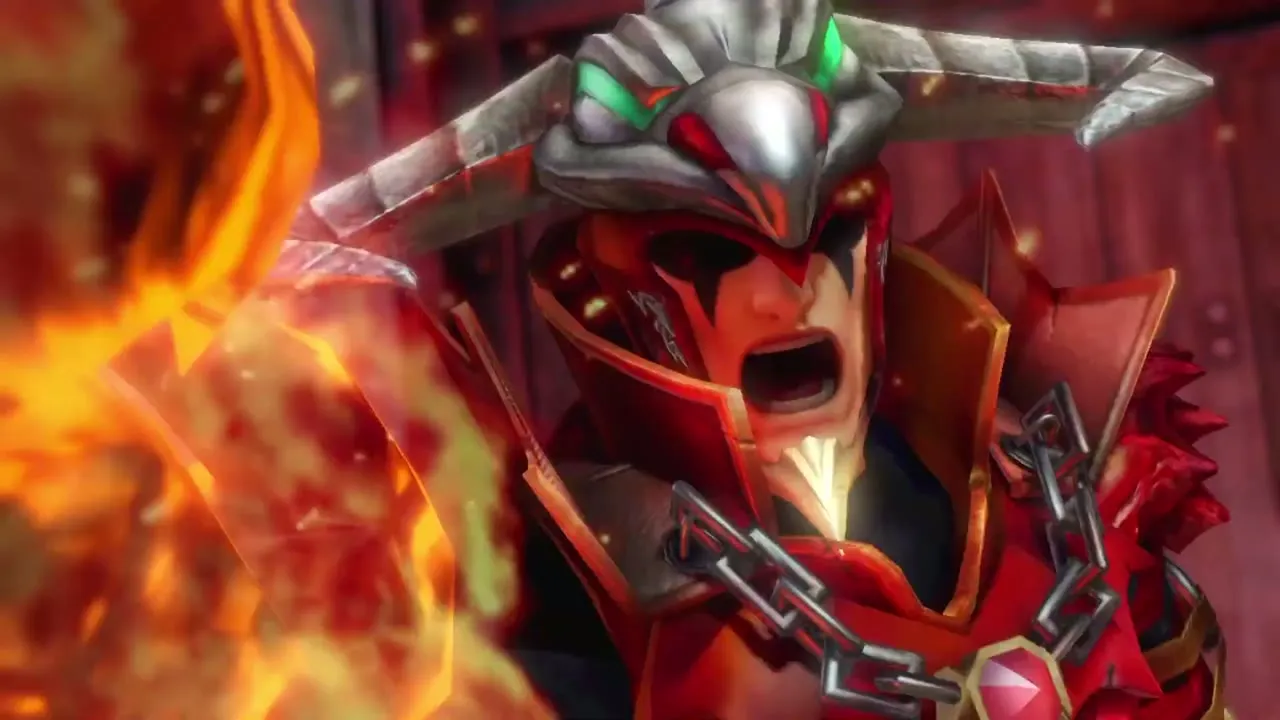
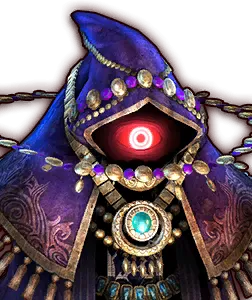
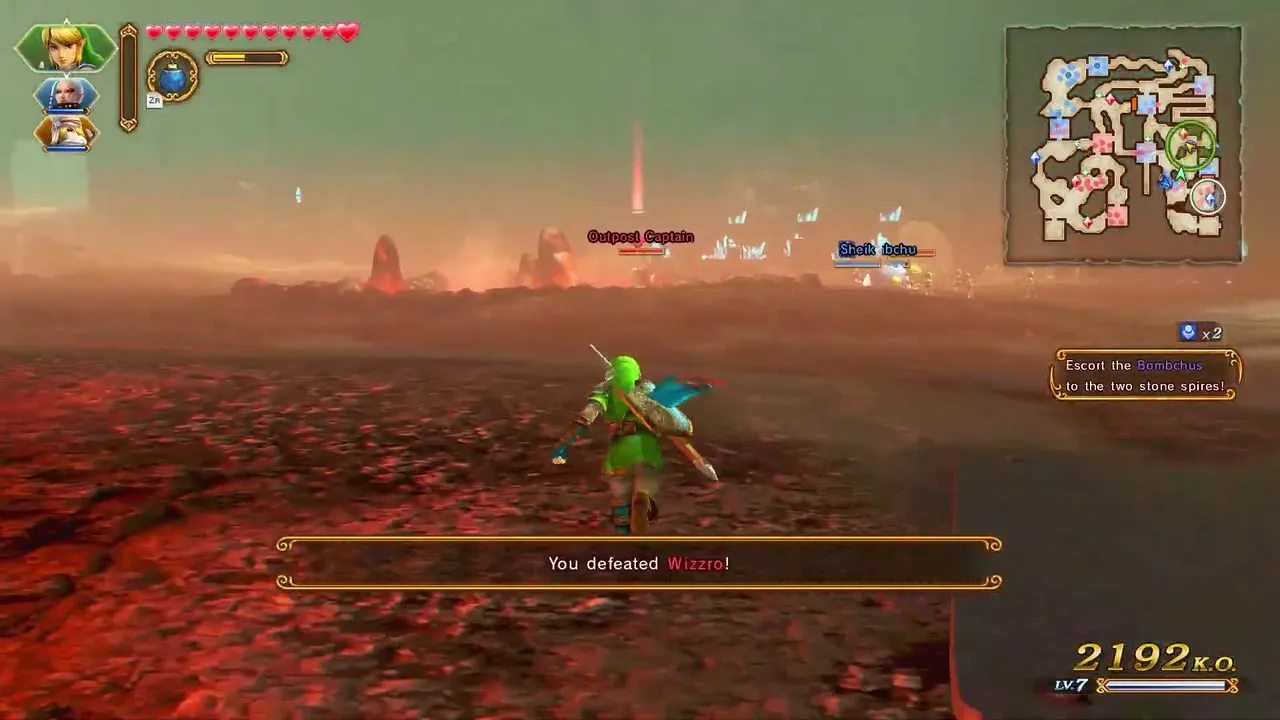
Wizzro, the Twisted Wizard, uses fireballs, lasers, explosions and shadow teleports, and he summons extra enemies to drag fights out, so cut him down first. He appears in The Sheikah Tribesman while you escort Bombchus, in The Sacred Sword disguised as Lana, in The Dragon of the Caves after he betrays Cia’s side, and in Darkness Falls. As the false Zelda in The Water Temple he is revealed by the Lens. Defeating him seals him back into his ring. He may drop Wizzro’s Robe (silver) or Wizzro’s Ring (gold).

Ghirahim
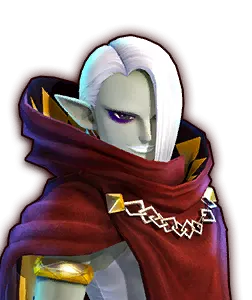
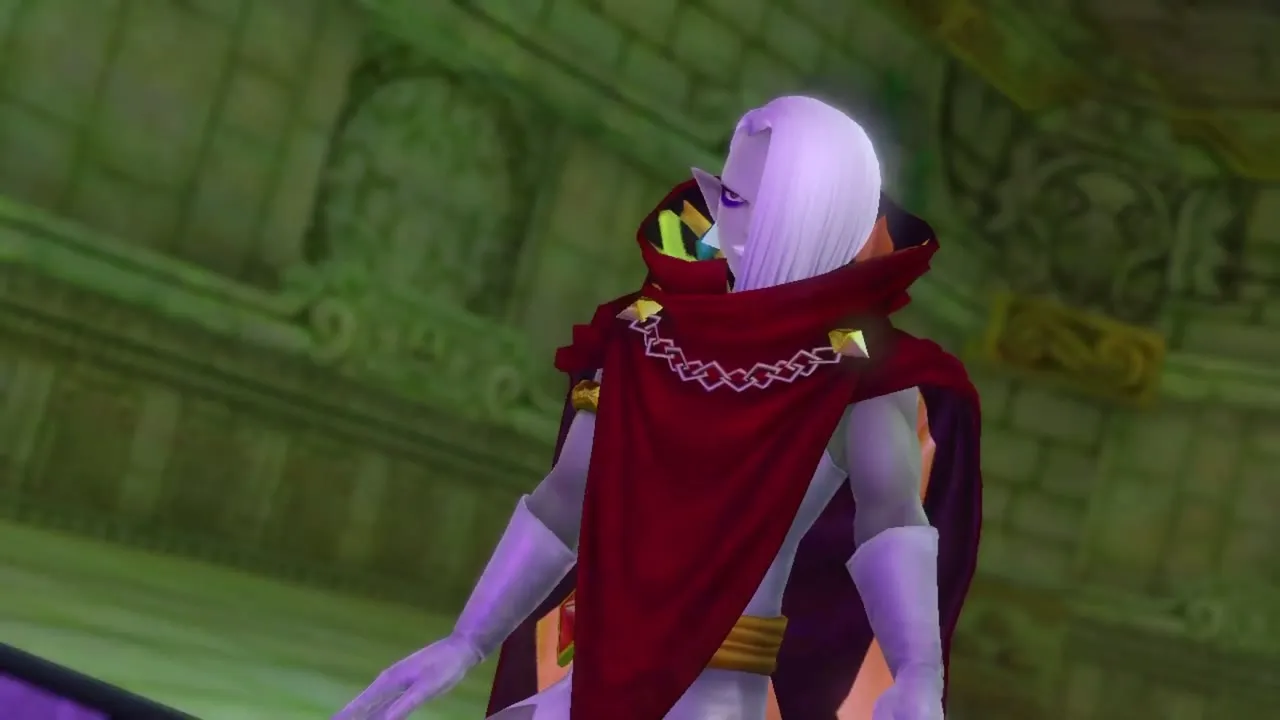
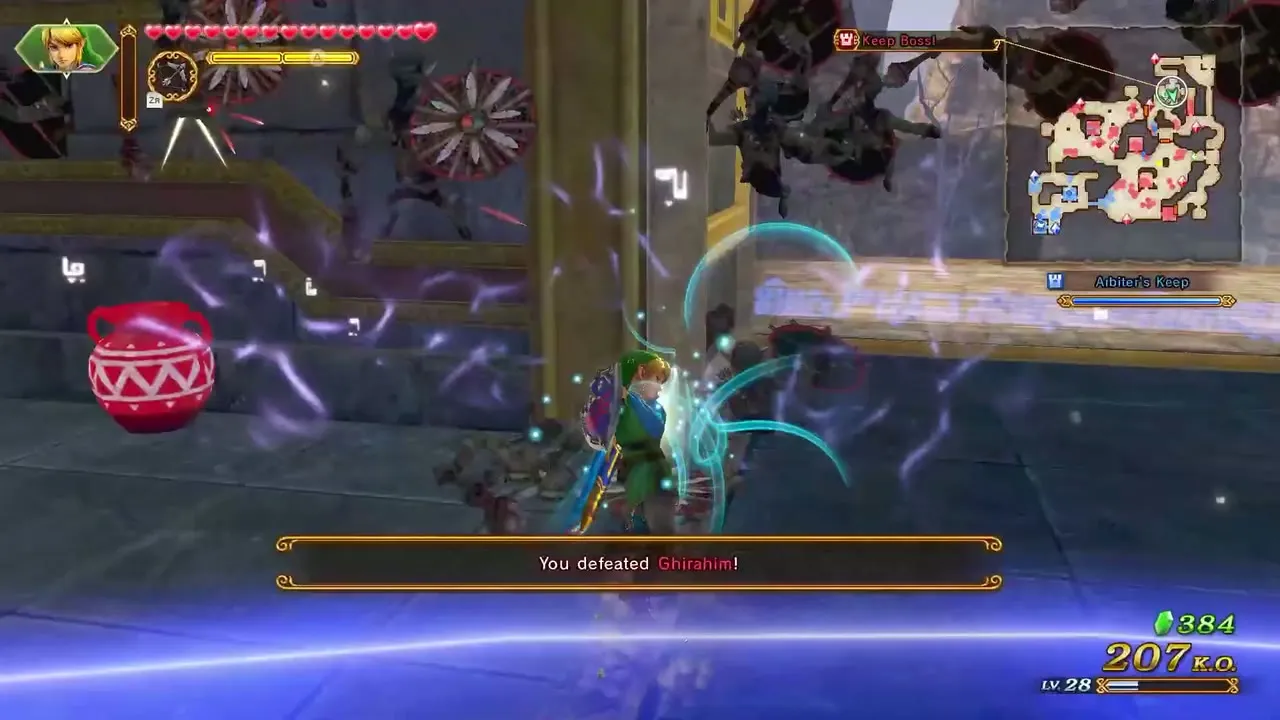
Ghirahim, the Demon Lord, is fast: he teleports, throws daggers and poses after moves, which gives you a gap to attack. Attack in short bursts and dodge his teleports. He is a mini-boss at the Academy Keep in Land in the Sky, the boss of Sealed Ambition after The Imprisoned, and an officer in The Demon Lord, The Demon Lord’s Plan and Enduring Resolve, where the first Ghirahim is a decoy and the real one waits at the Sacred Grounds Keep. He may drop Ghirahim’s Sash (silver) or Ghirahim’s Cape (gold).
Zant
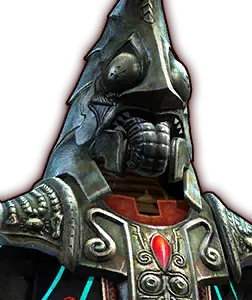
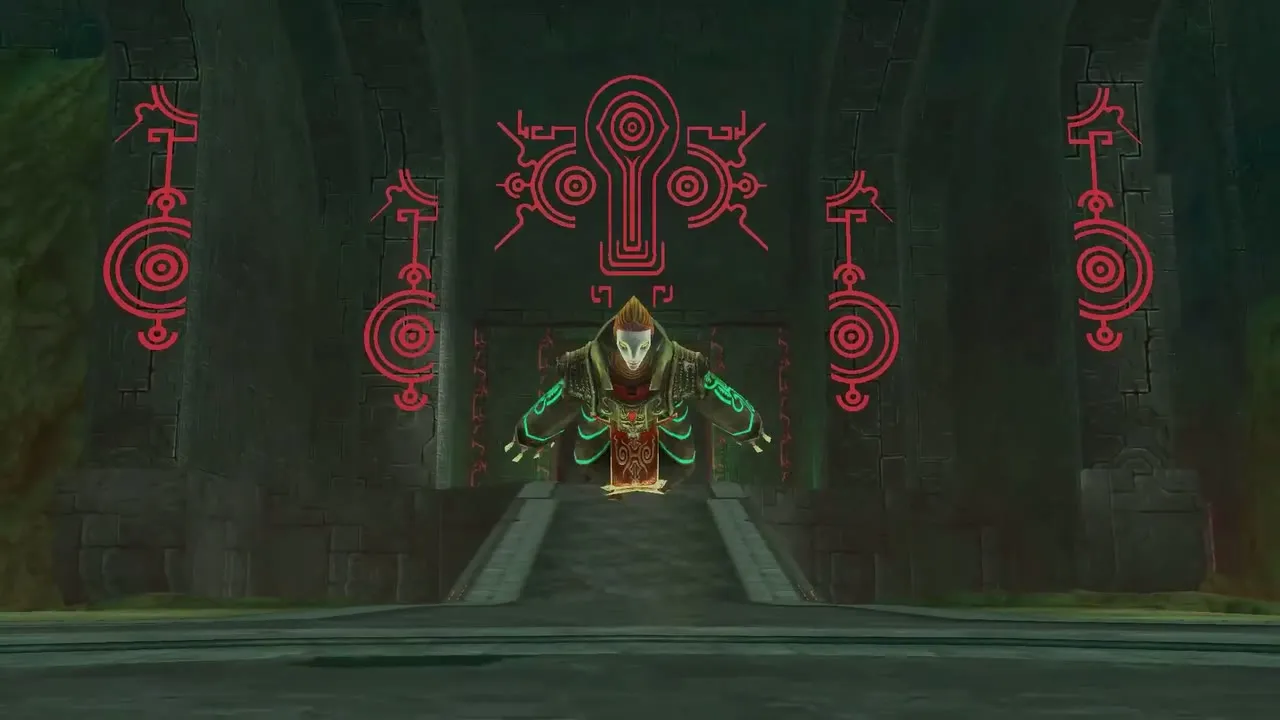
Zant swings two scimitars in long strings and teleports away mid-fight. Back off while a string runs and counter when it ends. He is the final target of The Shadow King after Argorok, of The Usurper King, where he runs for a Magic Circle and you must stop him, and of Enduring Resolve, which pairs him with Ghirahim.


Ganondorf
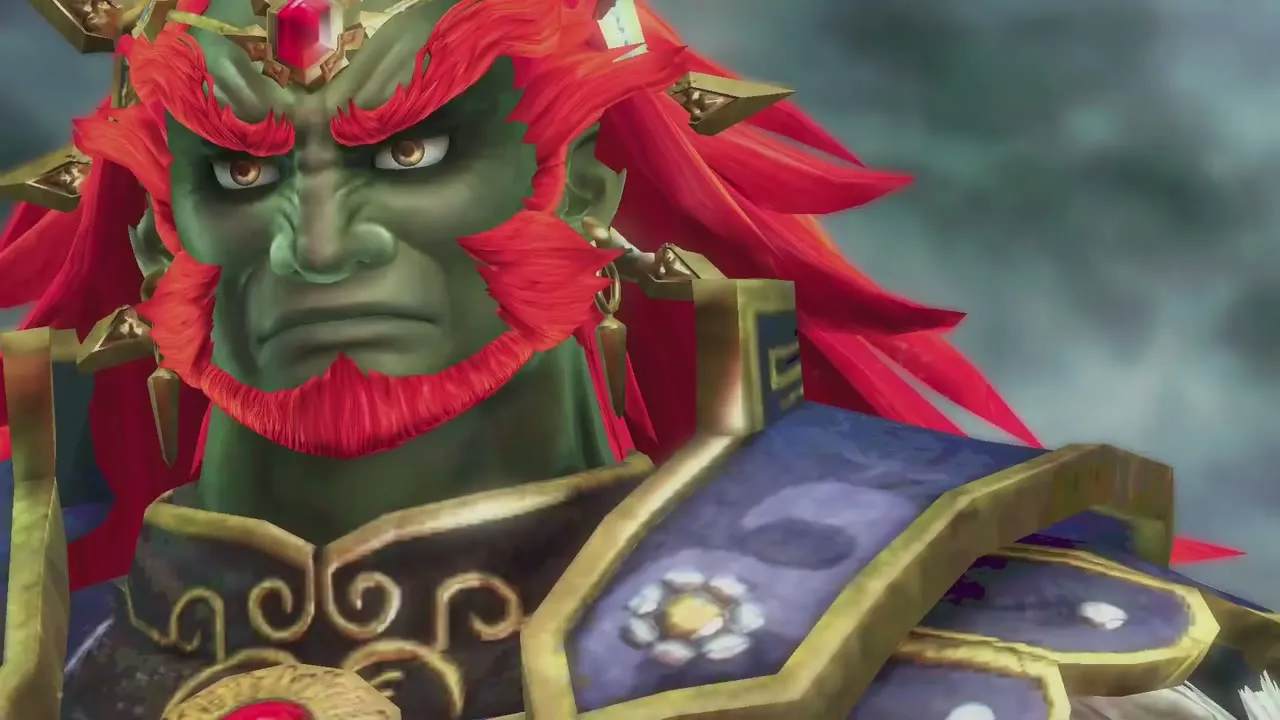
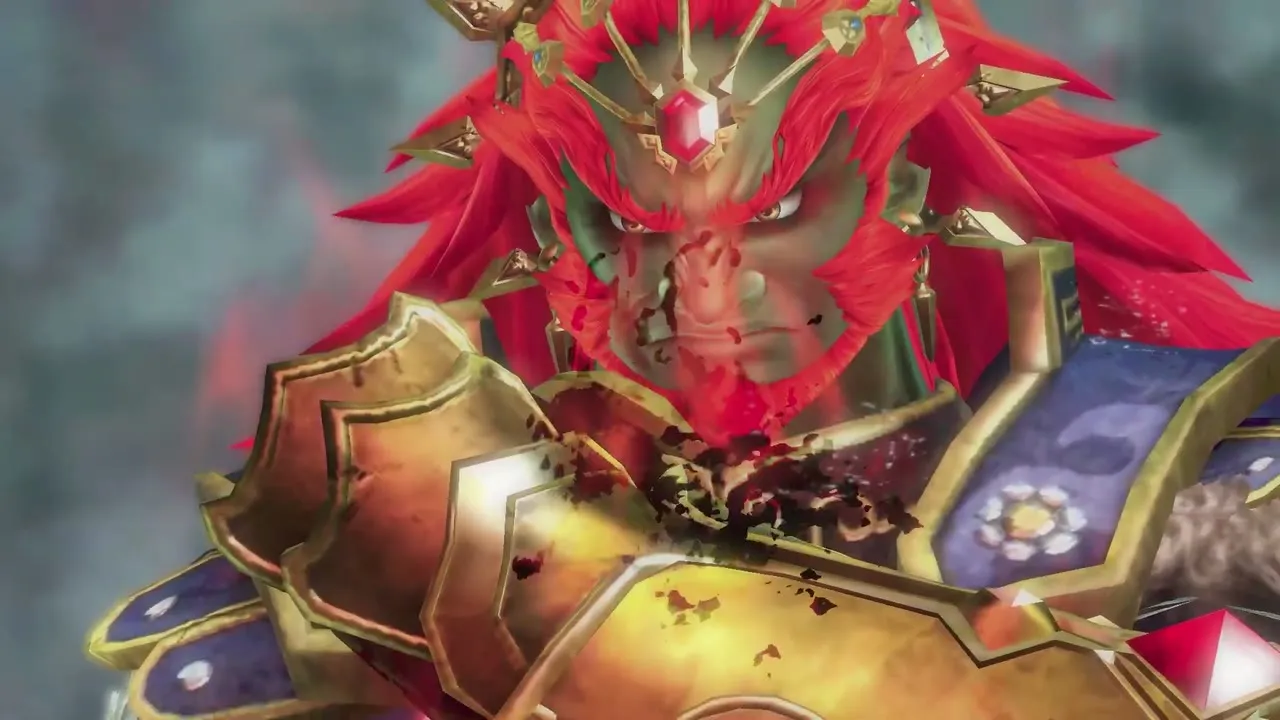
Ganondorf, the Demon King, is the main villain of the later arcs. You fight him in A War of Spirit, where you must reach him before he gets to the frozen Zelda; in Darkness Falls, where he gets stronger the longer you wait and you take him on with Cia and Lana; and in Liberation of the Triforce, where he is the mini-boss before he becomes Ganon. Capturing the Castle Keep there weakens his troops. He may drop Ganondorf’s Gauntlet (silver) or Ganondorf’s Jewel (gold).

Dark Link and the Dark Links
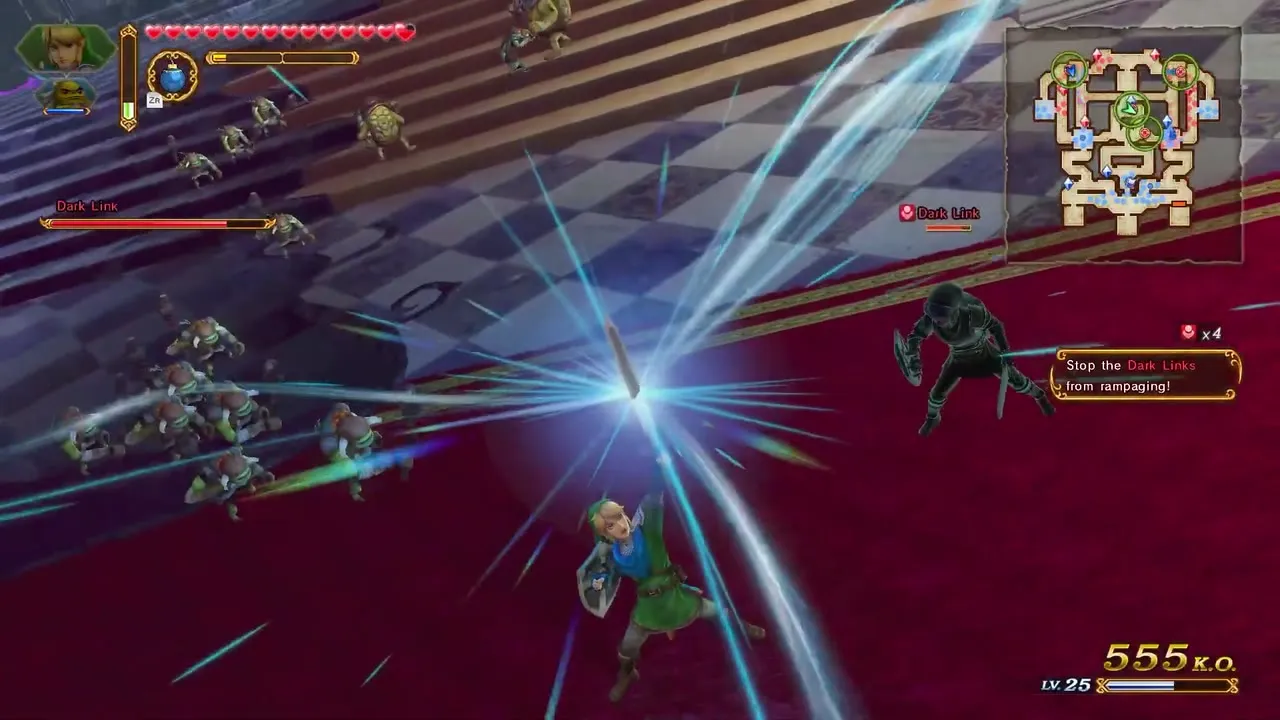
Cia calls a Dark Link from Link’s shadow when you enter the Sorceress’s Room in A War of Spirit. The first one is a mini-boss, and four more appear around the temple, but your allies hold them off. In Reclaiming the Darkness Dark Cia sends them after the real Cia; cut them down first, then go for her. In Darkness Falls the Dark Links fight on your side and matter for the Hard Gold Skulltula, so guard them.

Dark Cia
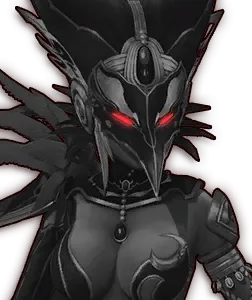
Dark Cia is the boss of Reclaiming the Darkness. Keep a warrior next to the real Cia while you capture the temple keeps, then go after Dark Cia once her base opens. She uses Cia’s magic and calls Dark Links, so dodge her spells and strike as soon as a spell finishes. When she falls, the real Cia reveals that Phantom Ganon stole her magic.

Dark Zant and Dark Twili Midna
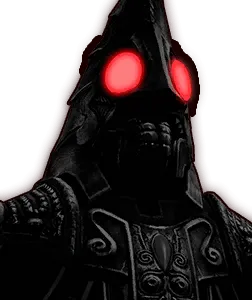
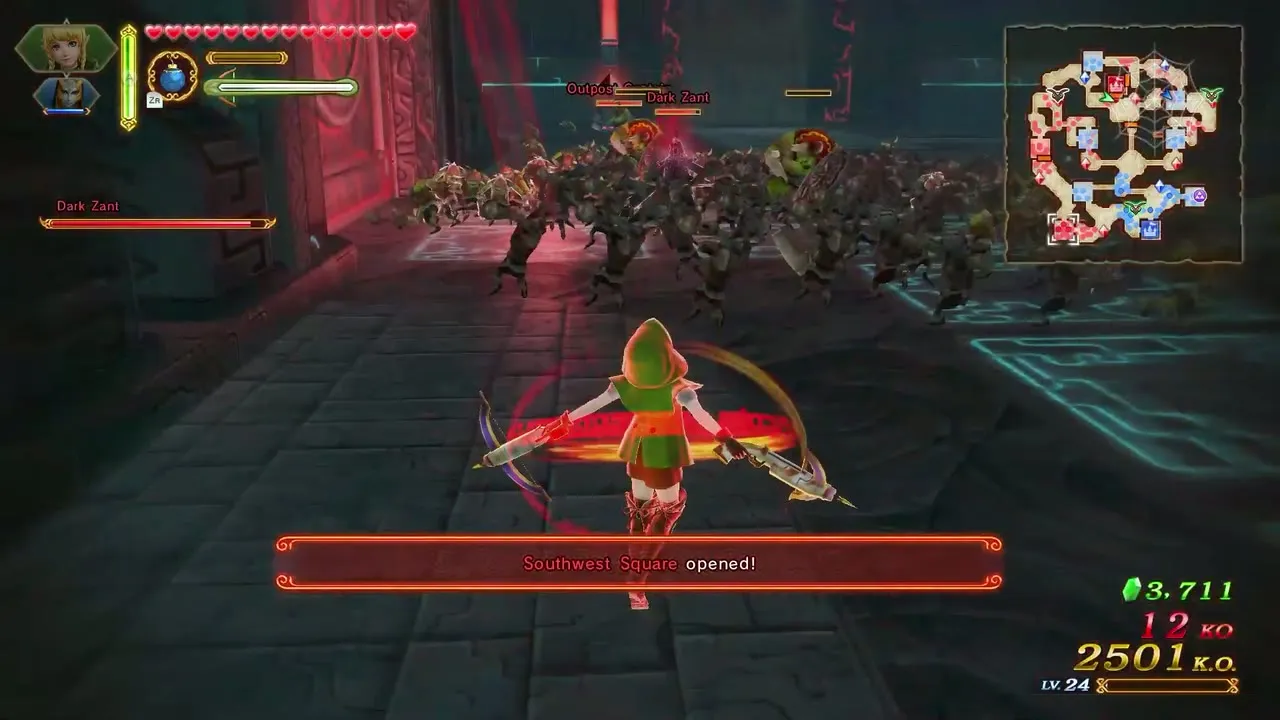
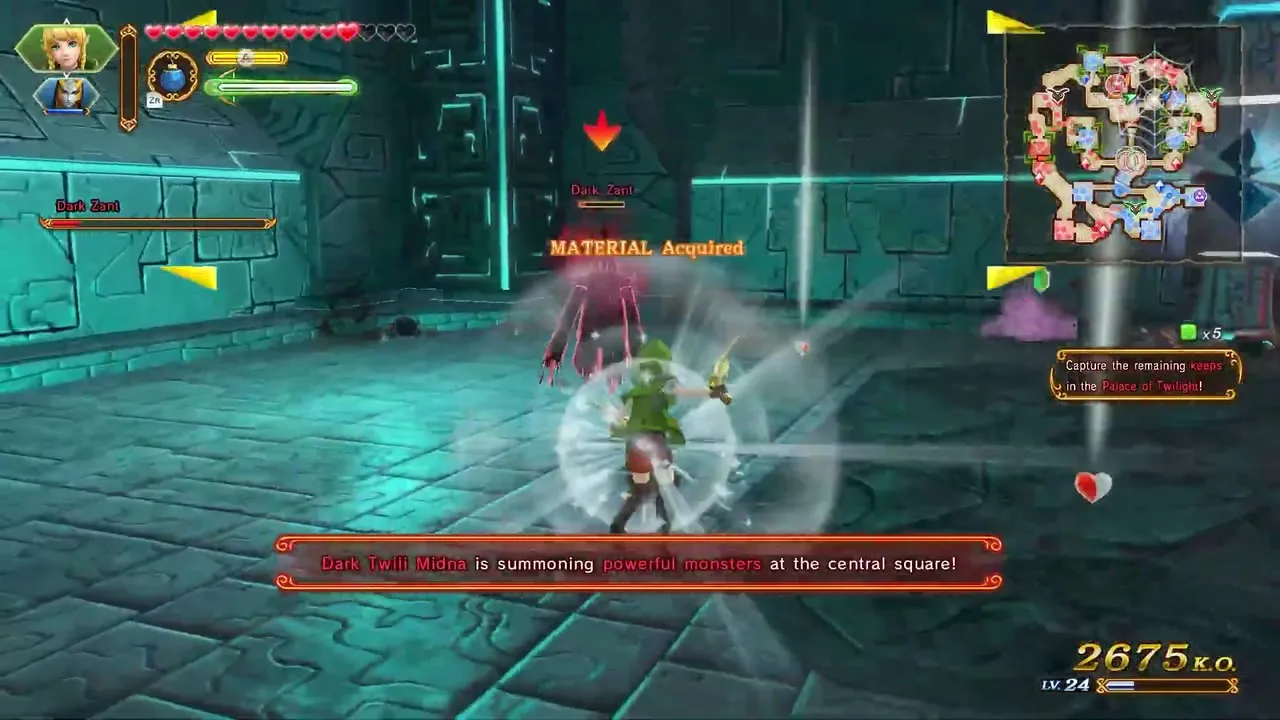
In Her True Self Dark Zant guards the Enemy Base and is boosted until you capture every keep around him. Taking them all makes him much easier. Dark Twili Midna sends dark reinforcements to retake keeps. Defeat Dark Zant, then move Twili Midna to the south gate, where Dark Twili Midna is draining Zelda. Keep moving, protect Zelda and use special attacks until she falls.

Skull Kid
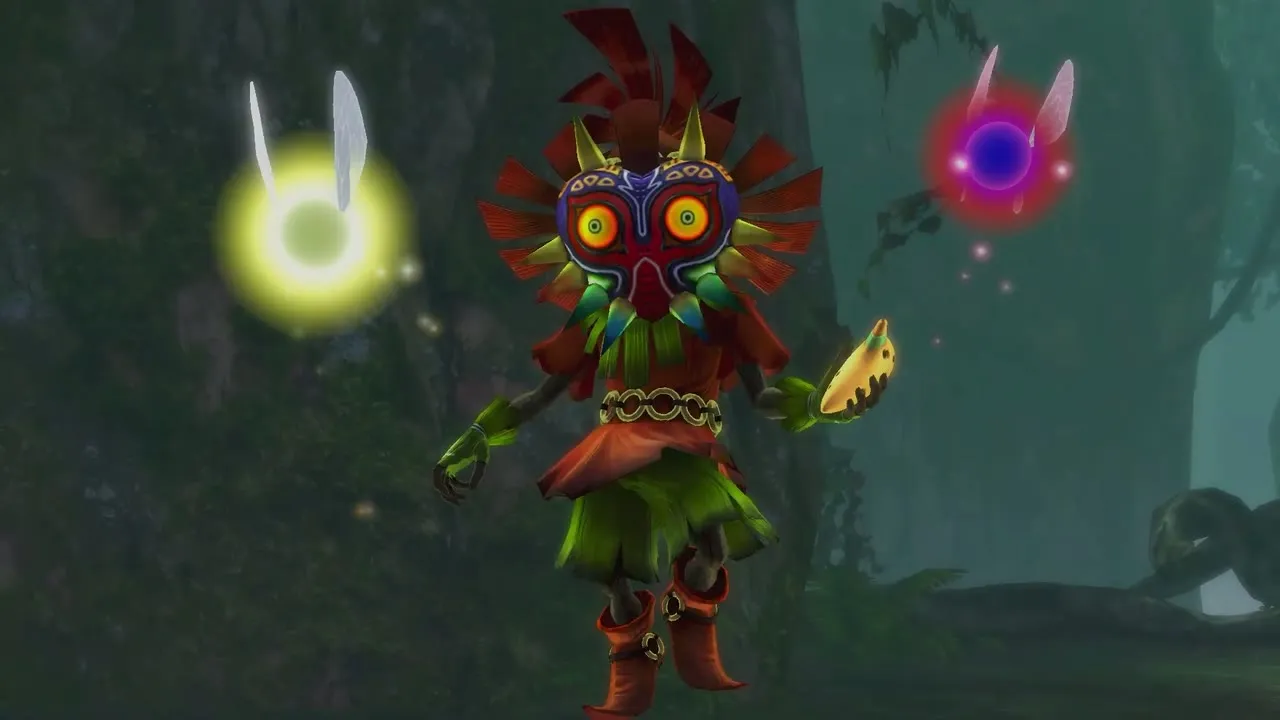
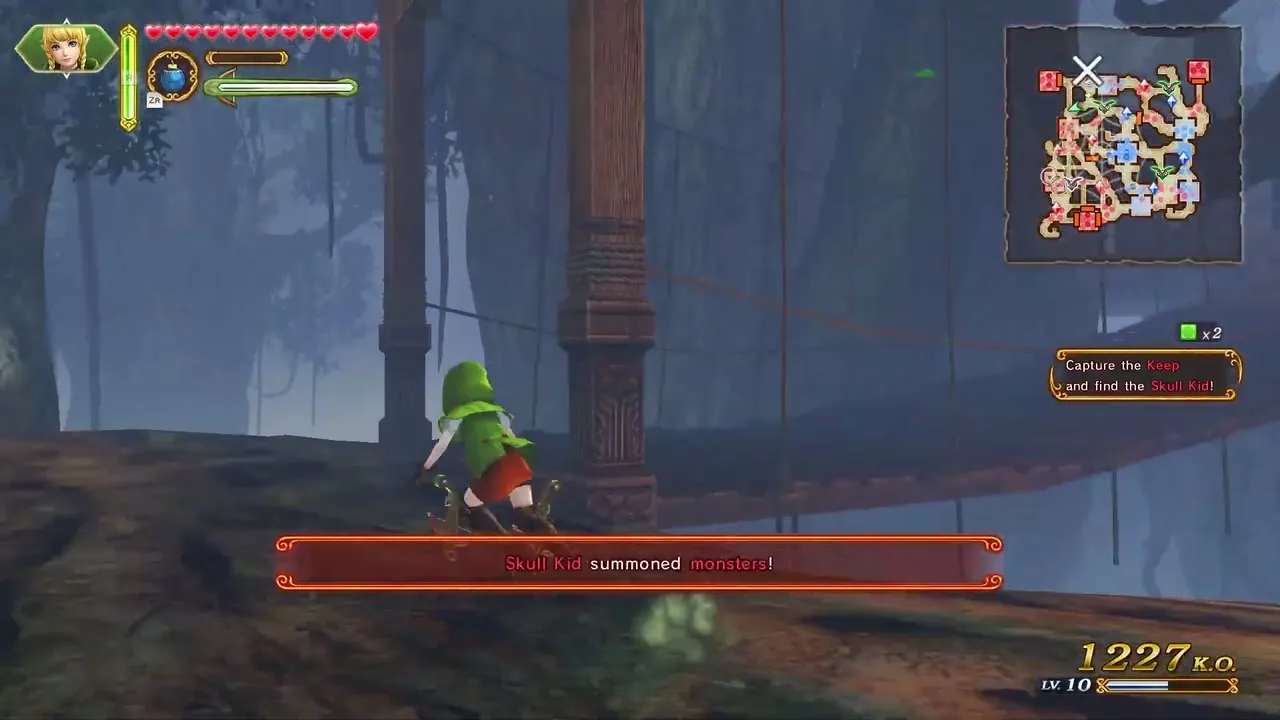
Skull Kid hides in different keeps in The Girl in the Green Tunic and flees when damaged, spawning monsters until you catch him. Follow him to the Fairy Fountain, where Linkle’s compass dazzles him, and hit him with everything you have.
Allied warriors as enemies
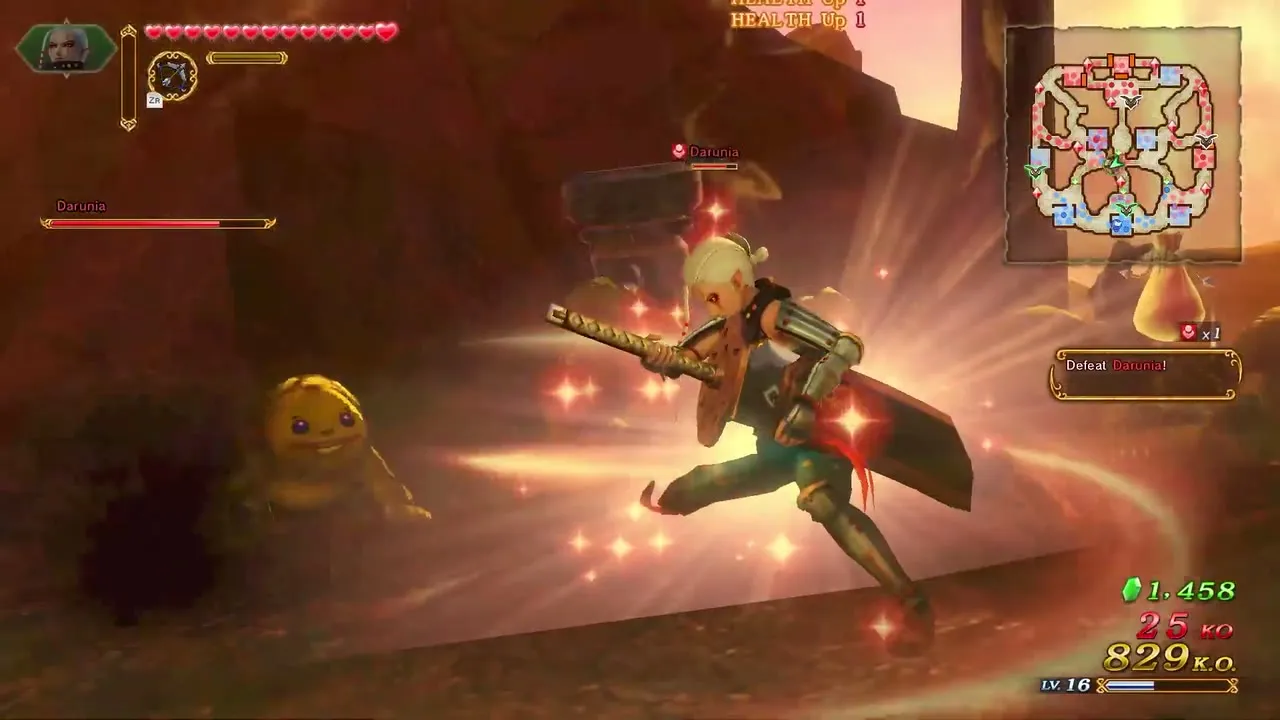
Several story scenarios turn the heroes against you. Lana is the boss of March of the Demon King and an optional foe in The Invasion Begins. Impa is a mini-boss with clones in March of the Demon King, a timed target at the Fairy Fountain in Battle of the Triforce and a blocker in The Invasion Begins, where Zelda also fights. Link and Zelda are the two targets of Battle of the Triforce. Darunia is fought in Land of Myth after you destroy the two Big Poes that control him. Midna fights in Land of Twilight, Agitha in The Usurper King and Fi in The Demon Lord. Treat each as an officer, and use crowd attacks against the troops that stand with them.


Dark warrior mirrors
Adventure Mode also fields dark versions of many warriors as enemy officers: Dark Agitha, Dark Cia, Dark Darunia, Dark Fi, Dark Ganondorf, Dark Ghirahim, Dark Impa, Dark Lana, Dark Marin, Dark Medli, Dark Midna, Dark Ruto, Dark Sheik, Dark Tingle, Dark Toon Zelda, Dark Volga, Dark Wizzro, Dark Young Link and Dark Zelda. They behave like the warrior they copy, so fight them as you would that character.