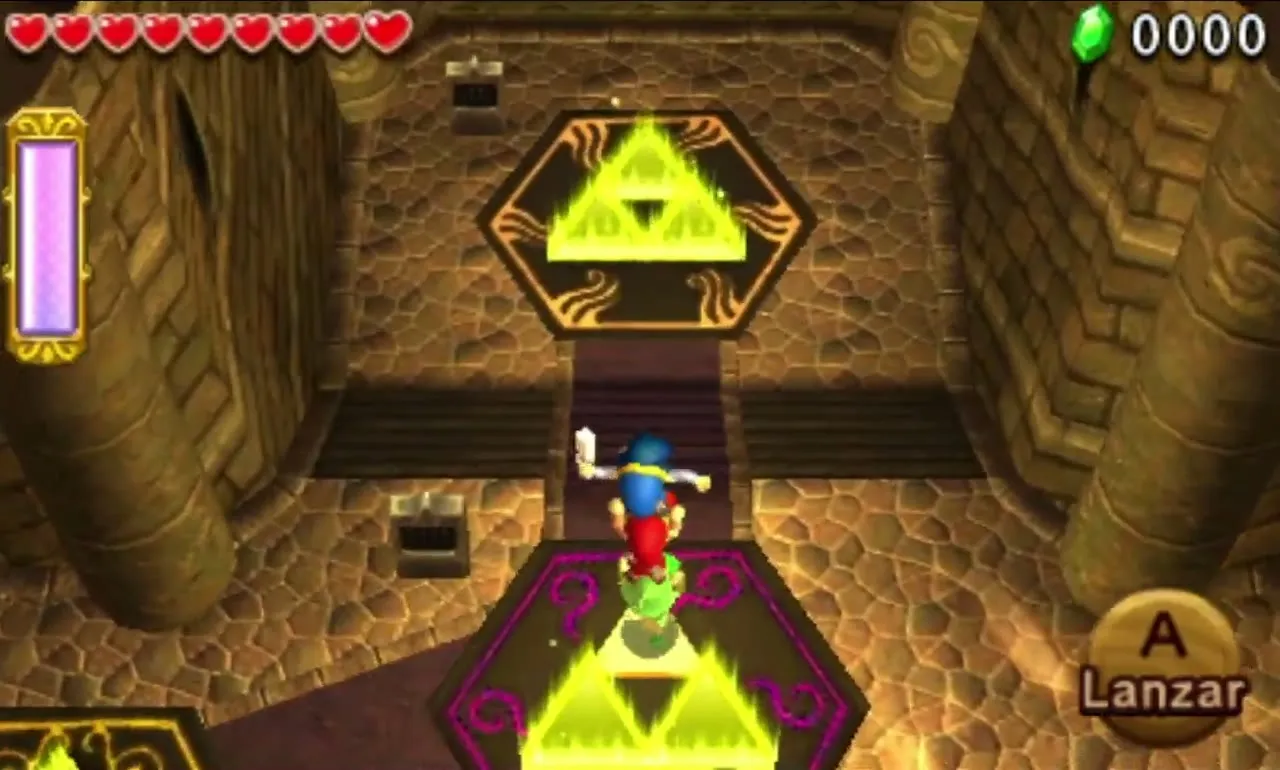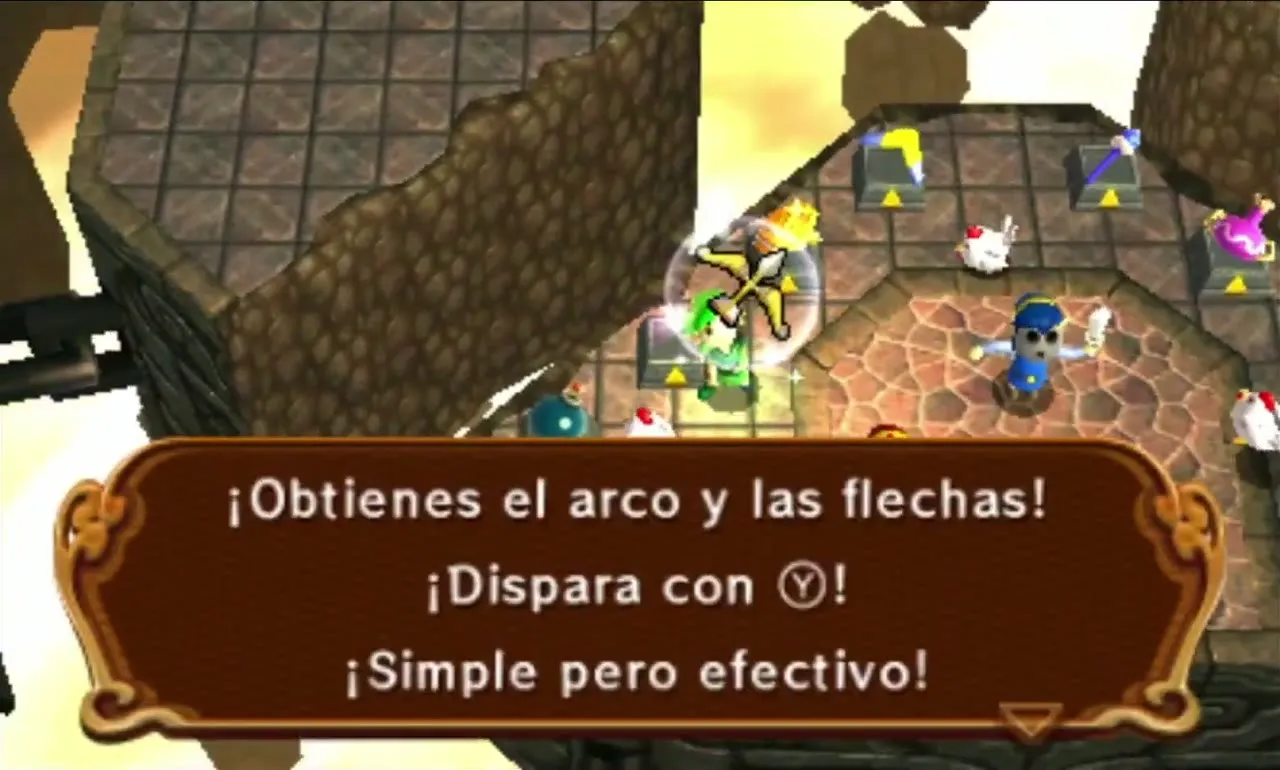






| Unlock | Clear any nine Levels and/or Drablands Challenges, then visit The Great Tripini in Hytopia |
|---|---|
| Size | One Level with 40 floors (B1 to B40), split into 8 Zones of 5 floors |
| Start | Only 1 Fairy (extra Fairies sit in chests of the safe rooms) |
| Boss | Three Shadow Links on floor B39 |
| Main reward |  Fierce Deity Armor (first clear), plus Materials from every Zone |
| Added by | Free update Ver. 2.0.0 (December 2, 2015) |
The Den of Trials is the ninth and last Area of the Drablands: a single Level of 40 underground floors, built as eight Zones of five floors that borrow the look of the eight normal Areas, from the Woodlands down to the Sky Realm. You unlock it after clearing nine Levels or Drablands Challenges, and beating its last floor, where three Shadow Links wait, earns you the Fierce Deity Armor, an outfit you cannot order at Madame Couture’s. This page walks through every Zone, its items and its rewards.
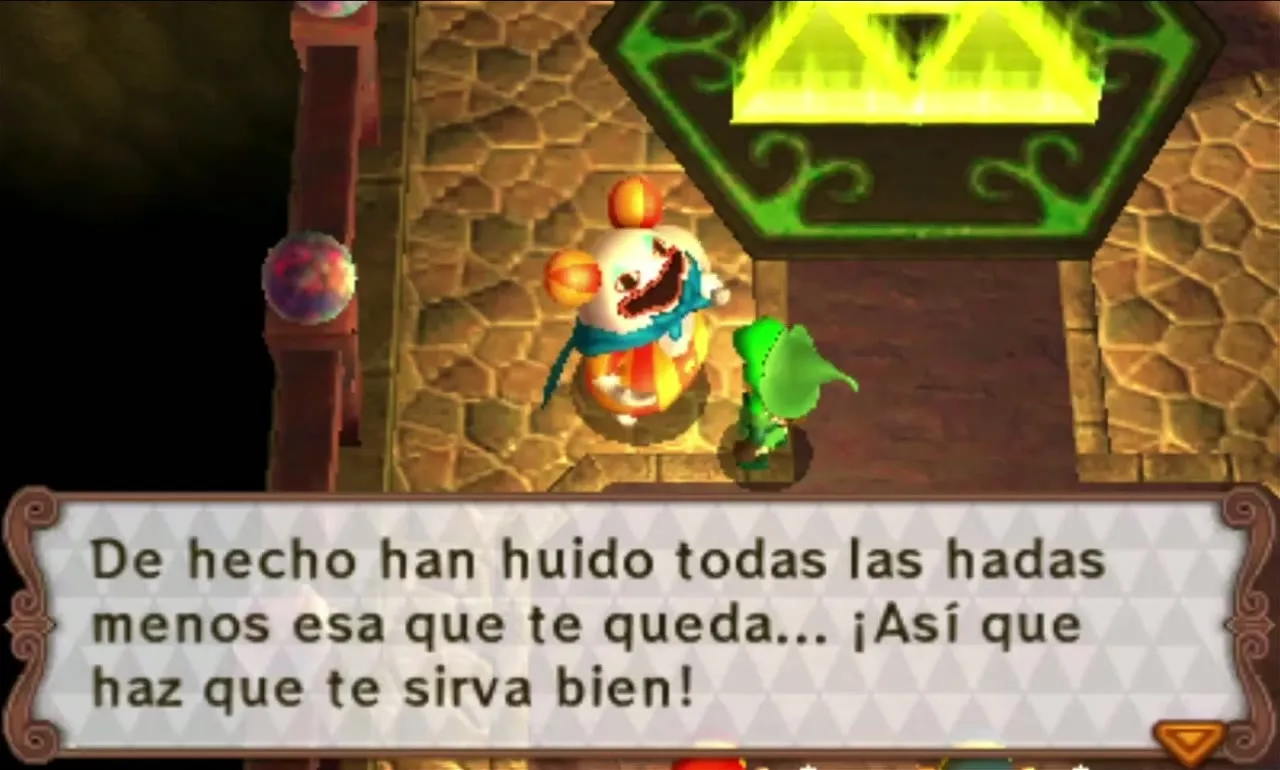

Table of Contents
How to unlock the Den of Trials
Complete any nine Levels and/or Drablands Challenges, in any mix, then walk back into Hytopia. The Great Tripini tells you that a freshly surveyed Drablands area has been found and that a one-of-a-kind outfit lies on its bottom floor. The Den then becomes a ninth Area you can select. The same update added Linebeck’s Uniform to the Catalog, so check the outfit list when you return. In a Download Play group only the host can pick the Den, and the guests cannot win the Fierce Deity Armor that way.

Rules of the Den
Each floor works like a Stage: you defeat every enemy and the Triforce Gateway lights up so that you can drop to the next floor. Pedestals on some floors hand out the items of the Zone. You start the whole Den with a single Fairy, because the rest fled in fear, so a fall or a drained heart bar can end the run quickly. More Fairies are hidden in chests in the safe rooms. The Den also uses “dark” enemies: they hit harder, take more punishment, shake off a stun fast and curse you for a few seconds when they land a hit. A party can only warp to the first Zone that every member has reached, so everyone starts from the deepest Zone all of you share, or earlier.


The Den hub
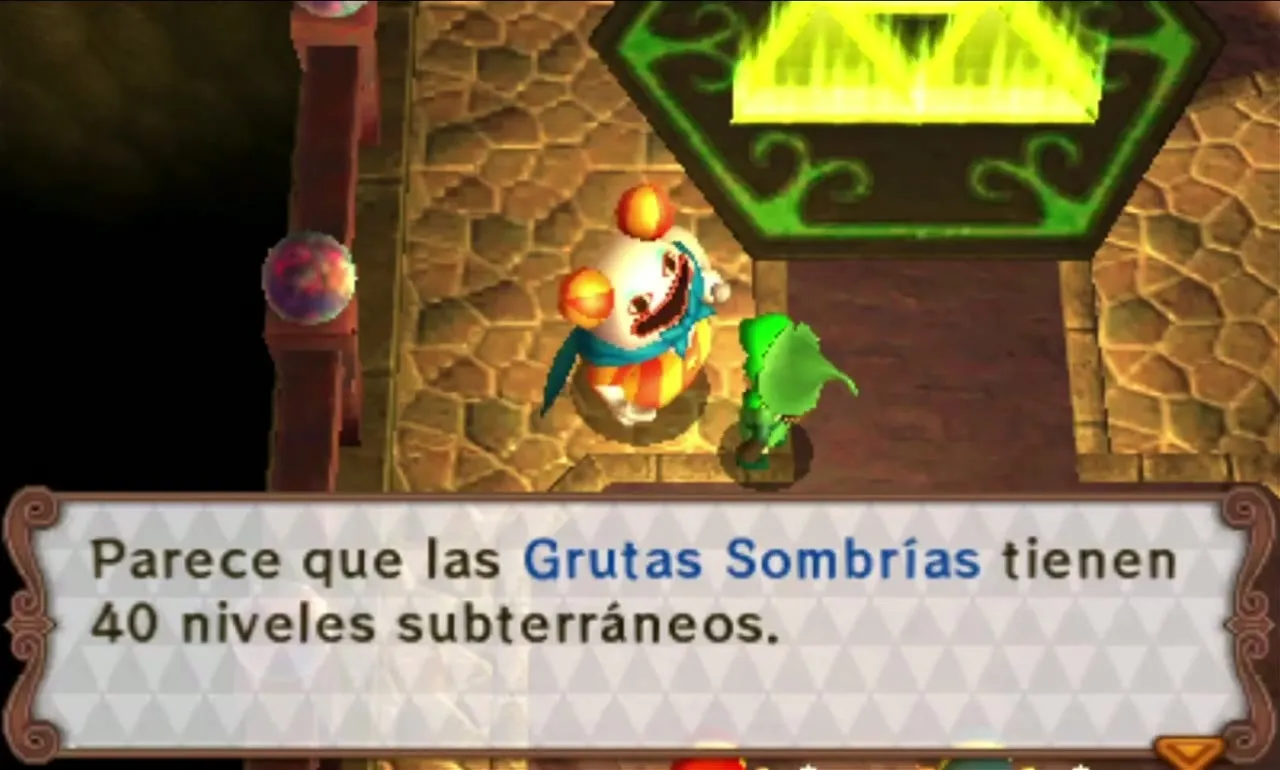
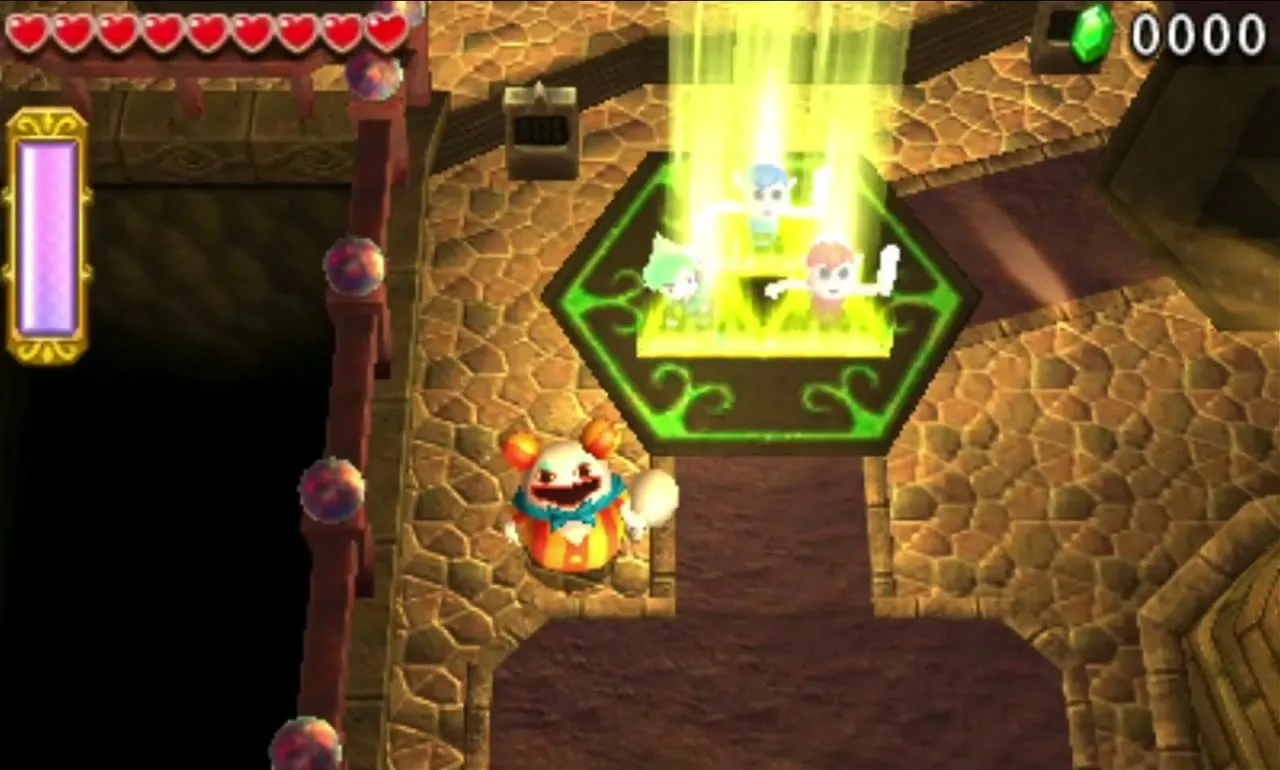
Between runs you wait in a central hub with eight Triforce Gateways, one per Zone, and The Great Tripini is there to explain the rules. Each Gateway is marked with its Zone: Forest Zone, Flooded Zone, Scorching Zone, Frozen Zone, Fortified Zone, Desert Zone, Shadow Zone and Baneful Zone. Clearing a Zone activates its Gateway so you can restart from there later. Change outfits in Hytopia before another attempt if a different one would suit the next Zone.

Safe rooms
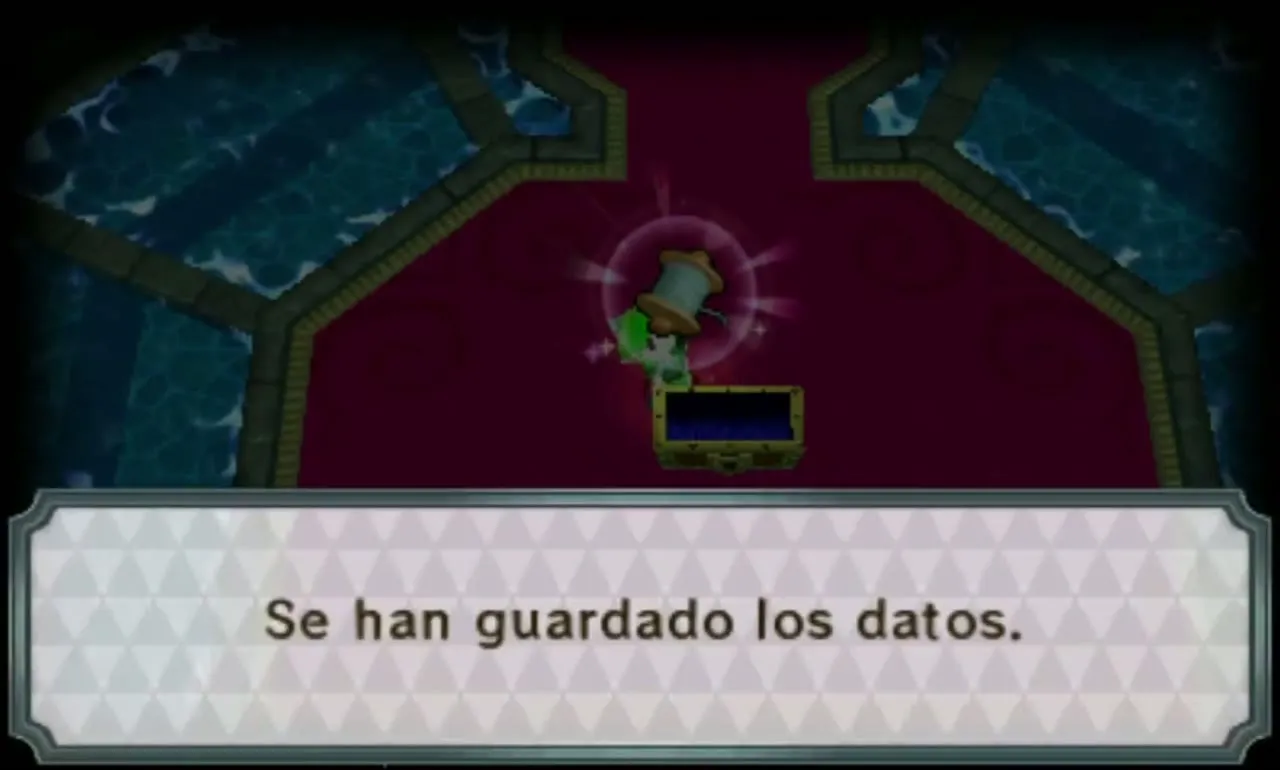
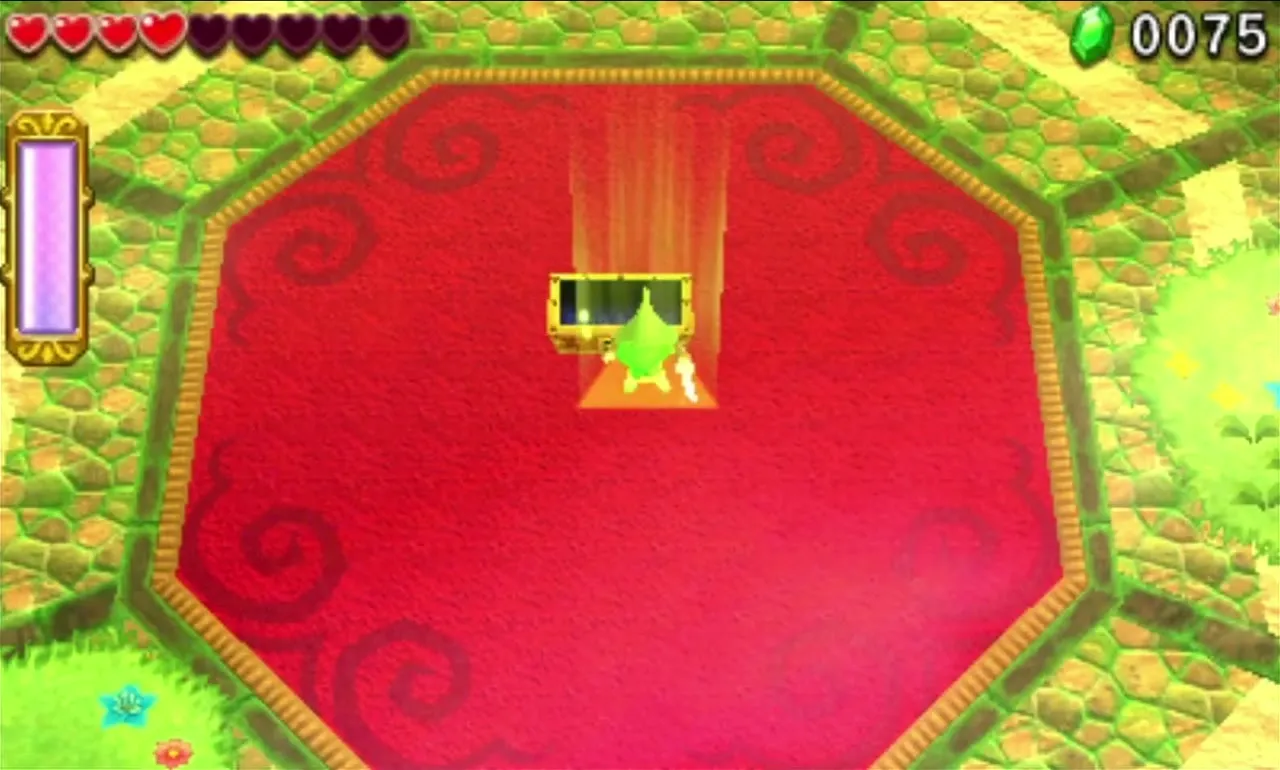
The fifth floor of each Zone is a red-carpet safe room with no enemies. It holds a Squiddy that hands out Hearts and Rupees, three Treasure Chests with that Zone’s Materials and an extra Fairy, and a save point that stores your progress. The Baneful Zone is the exception: its Squiddy and Fairy chest appear on B38, right after you beat the floor’s enemies and just before the boss fight, and B40 is the reward room. If you play the entire Den in one sitting starting from B1, the last room offers eight chests of gold Materials instead of three: Mystery Jade, Rainbow Coral, Star Fragment, Ice Rose, Vibrant Brooch, Crystal Skull, Sanctuary Mask and Steel Mask.



The 8 Zones, floor by floor
Every Zone has four fighting floors followed by the safe room. The Materials listed for each Zone are the only ones its chests can contain, and which of the three the game gives you varies.
Forest Zone
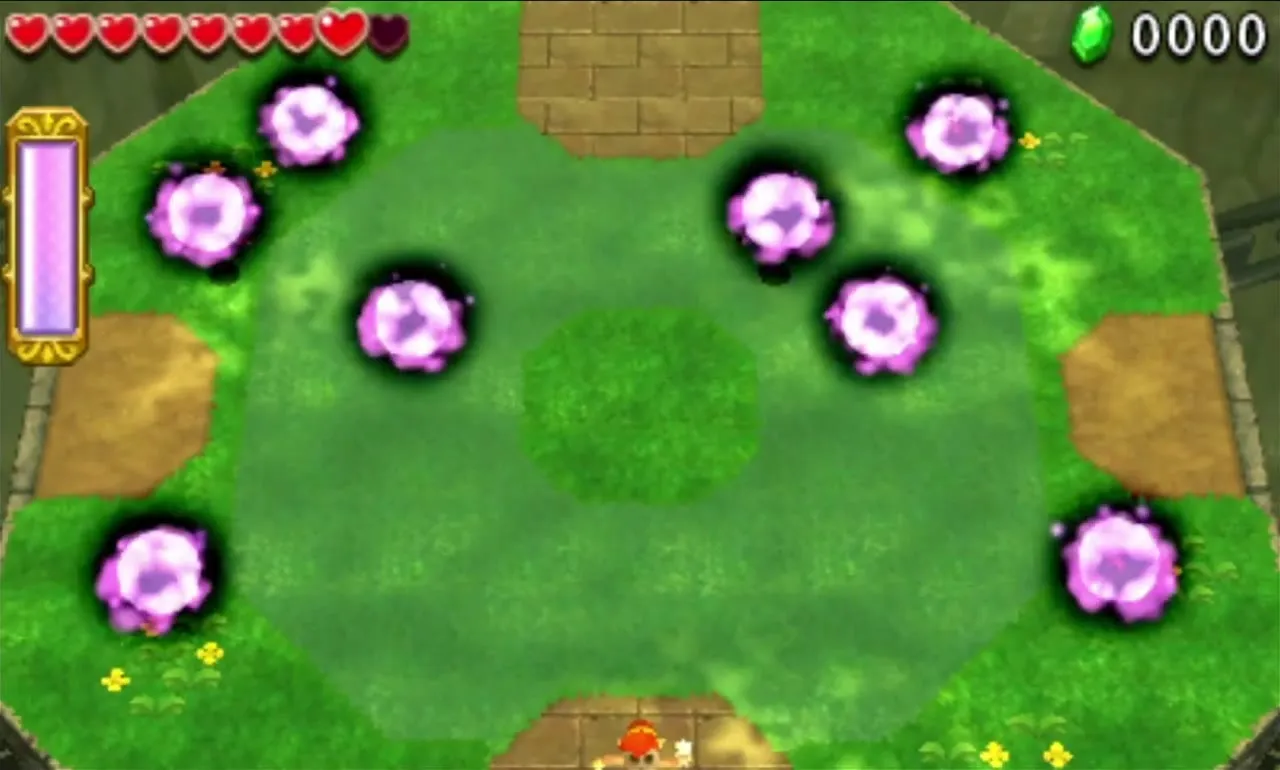
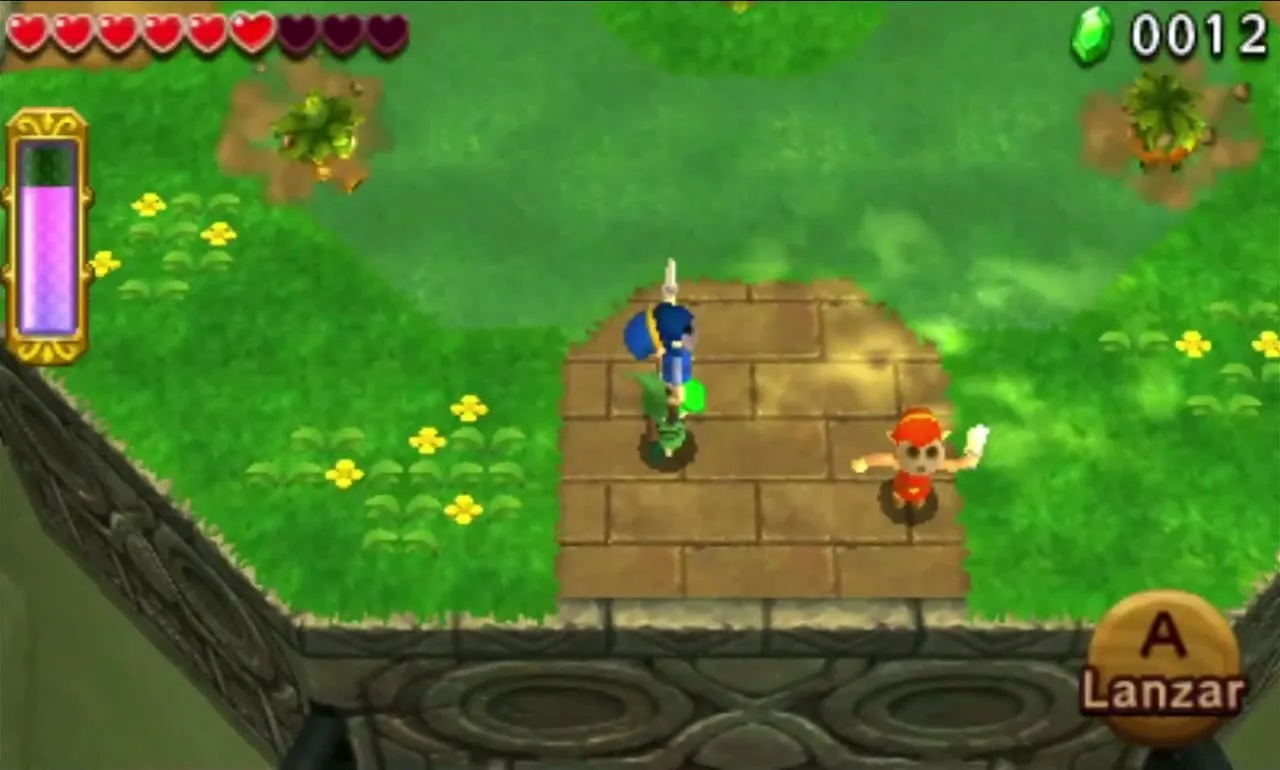
Floors B1 to B5, based on the Woodlands: plain grassy floors with Blobs, Buzz Blobs, Totem Dekus that keep changing height, and Moblins riding Totem Armos. You choose from the Bow, the Boomerang and the Fire Gloves. The safe room gives 2 of Blob Jelly, Armos Spirit or Tektite Shell, and 1 of Sweet Shroom, Blin Bling or Gohma’s Eye.

Flooded Zone
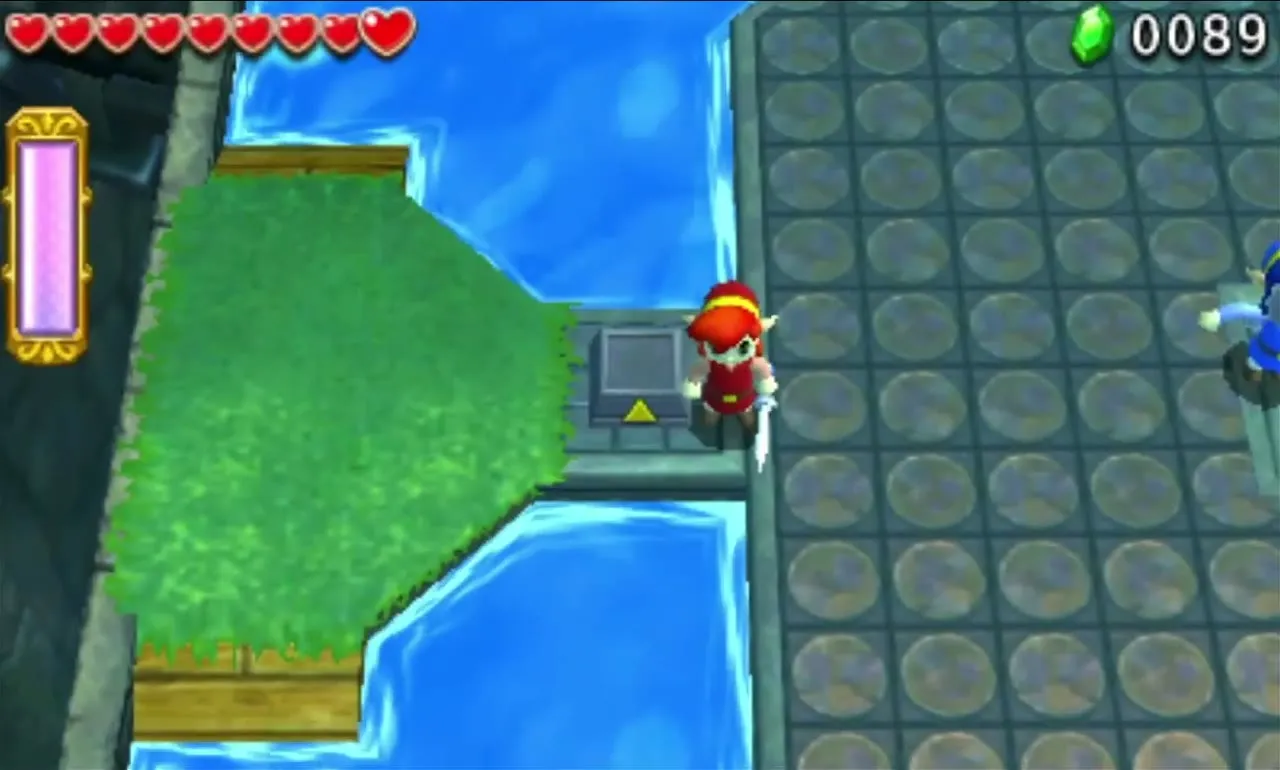
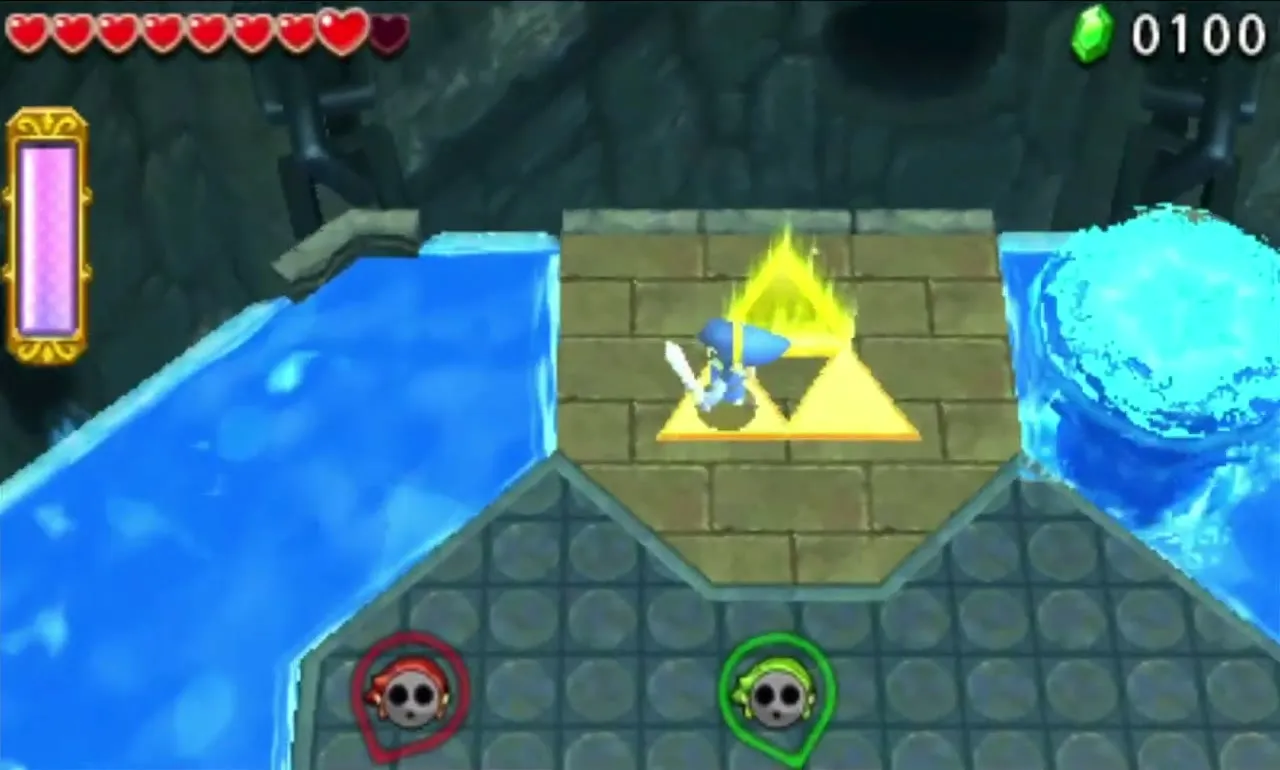
Floors B6 to B10, based on Riverside: pools of water along the edges (the second floor is almost entirely submerged), a Keeleon that spits explosive Spikes, a large Guruguru Bar and Octoroks that fight on land. The offered items are the Gripshot, the Water Rod and the Bow. The safe room gives 2 of Fresh Kelp, Zora Scale or Hytopian Silk, and 1 of Aqua Crown, Octorok Sucker or Fairy Dust.
Scorching Zone
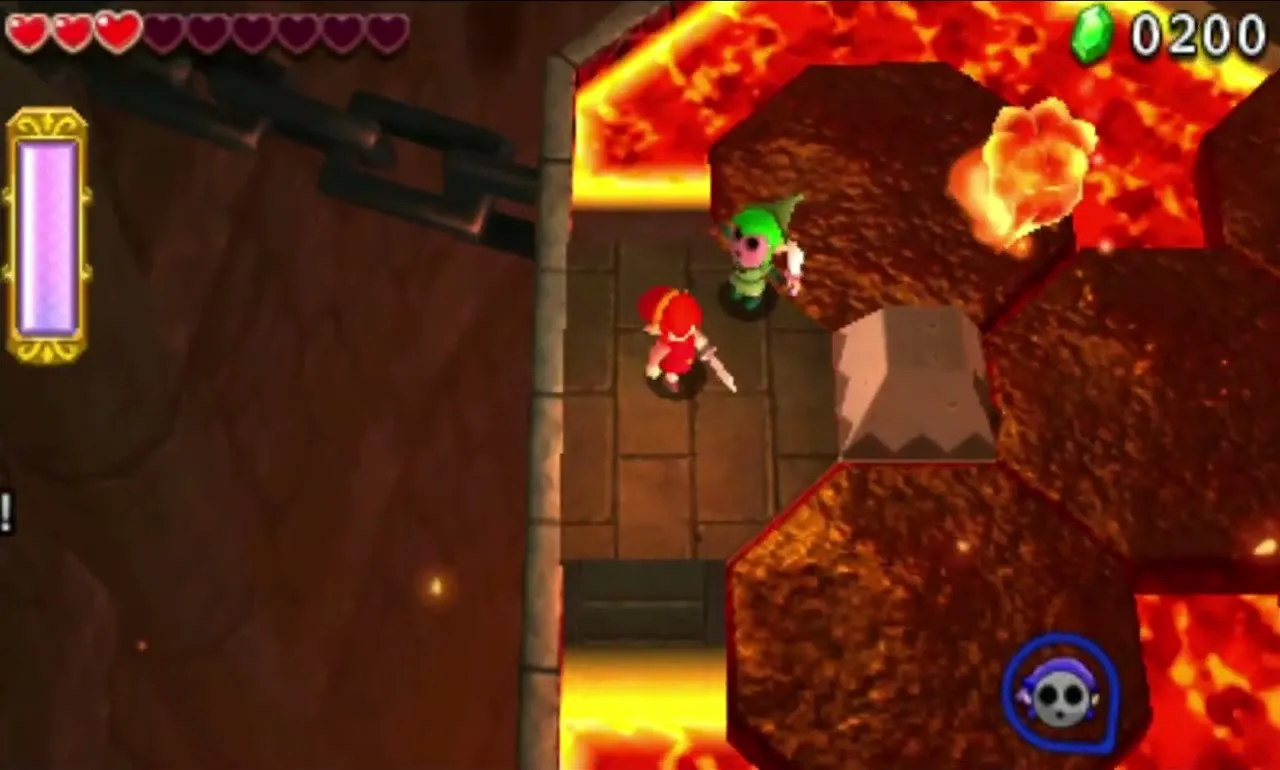
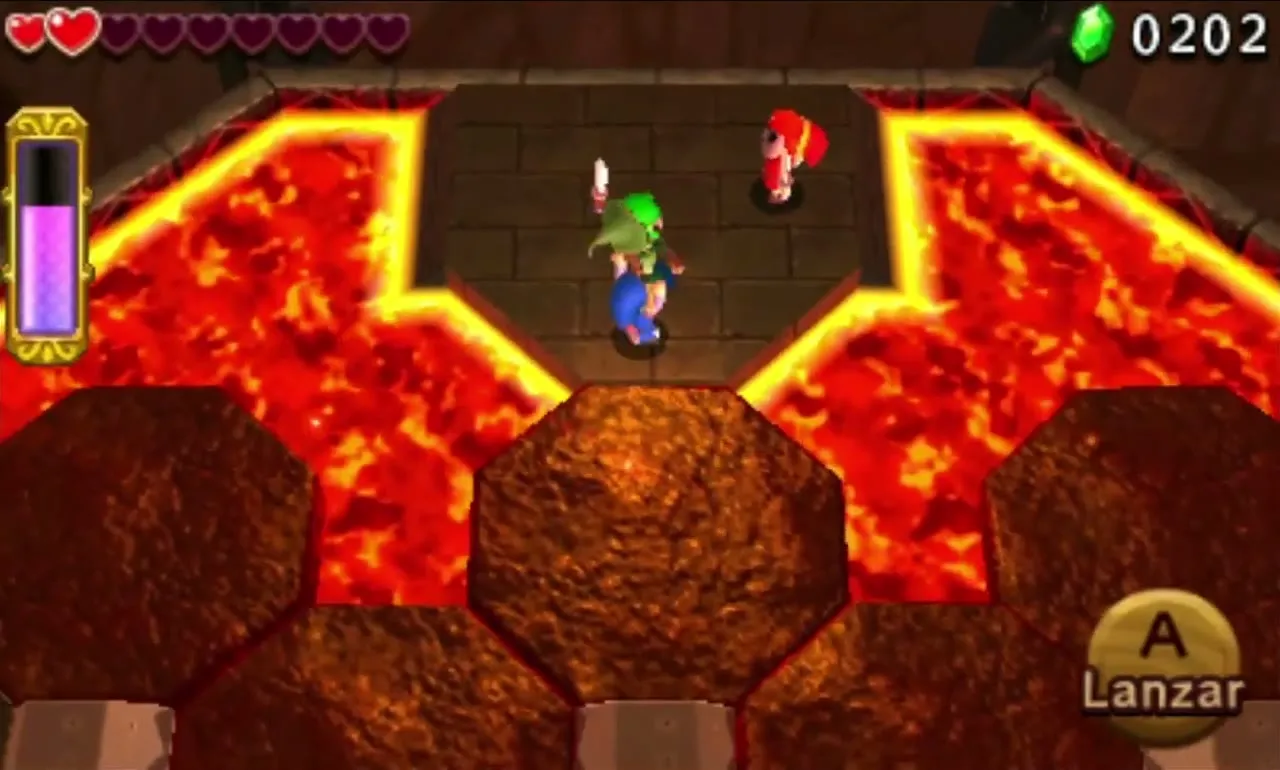
Floors B11 to B15, based on the Volcano: grated floors over lava, rocky platforms on the second floor that sink if you stand on them too long, Volcanic Rocks that rain down on the third floor and Lava Geysers on the fourth. You can take the Magic Hammer, the Gust Jar or the Gripshot. Its chests give 2 of Goron Ore, Monster Guts or Demon Fossil, and 1 of Rugged Horn, Kodongo Tail or Keese Wing.
Frozen Zone
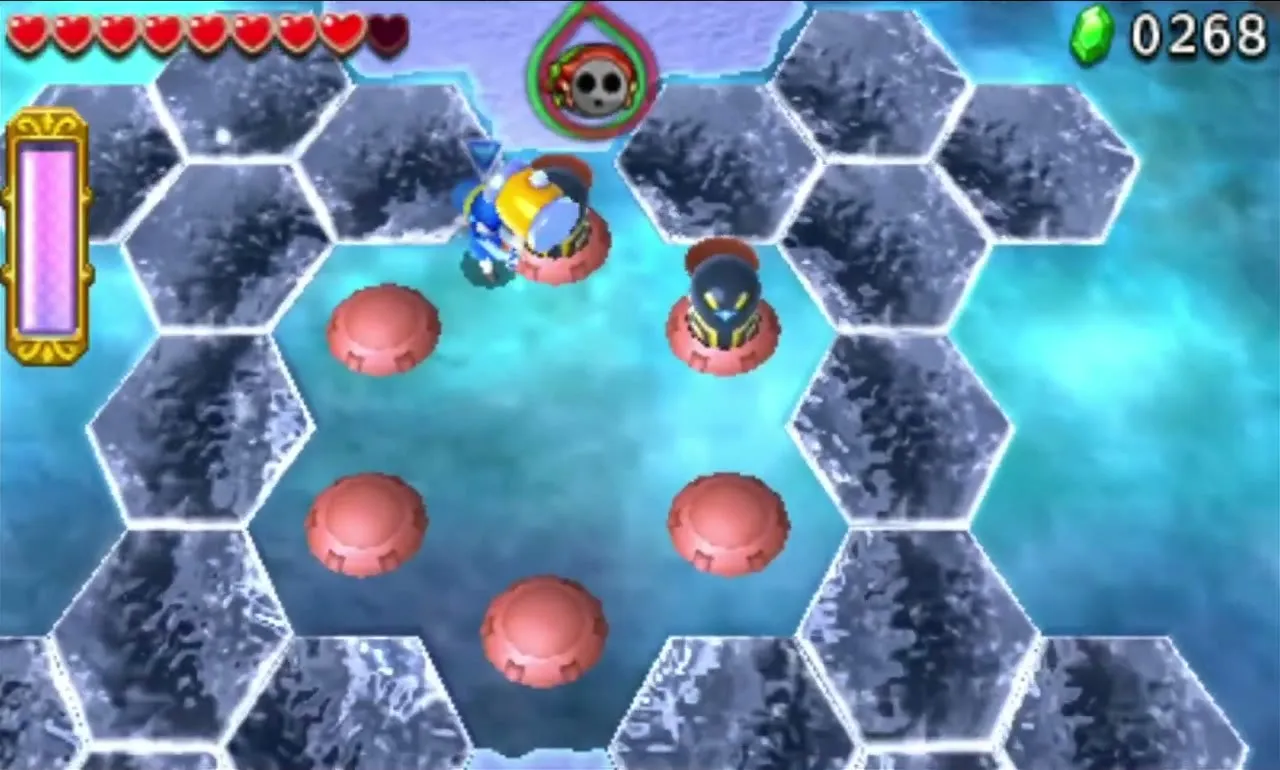
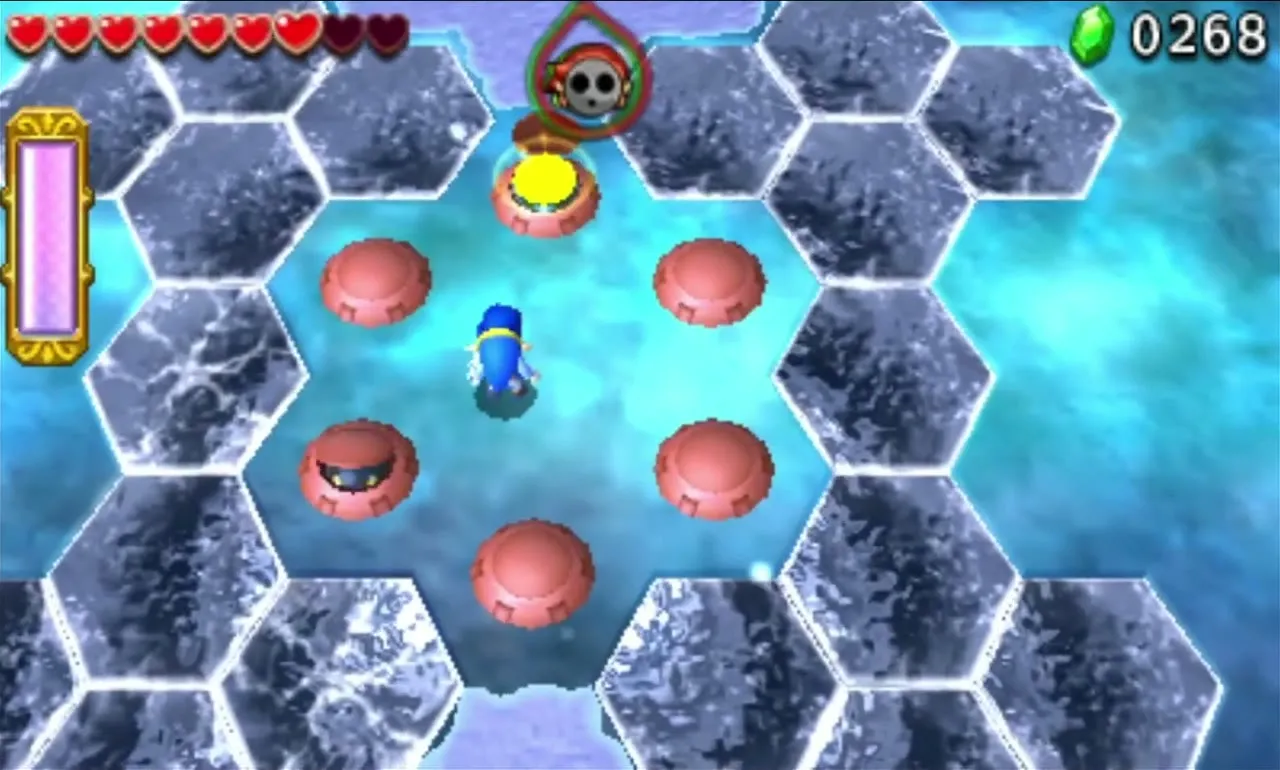
Floors B16 to B20, based on the Ice Cavern: slippery ice and thin platforms that crack and break under your weight, with Freezards, Ice Keese, Switch Moles and Ice Wizzrobes in the way. Pick from the Fire Gloves, the Boomerang and the Magic Hammer. The safe room gives 2 of Fluffy Fuzz, Tiny Snowflake or Serpent Fangs, and 1 of Crimson Shell, Freezard Water or Chill Stone.
Fortified Zone
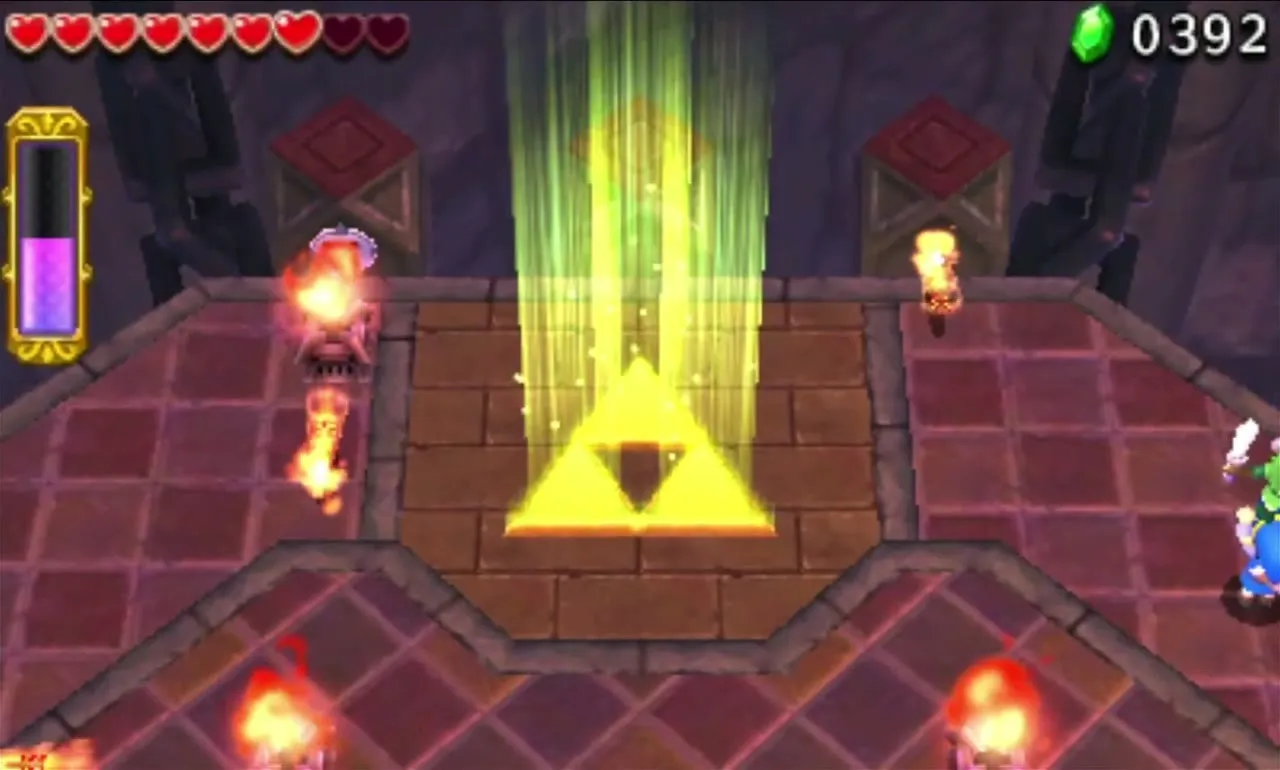
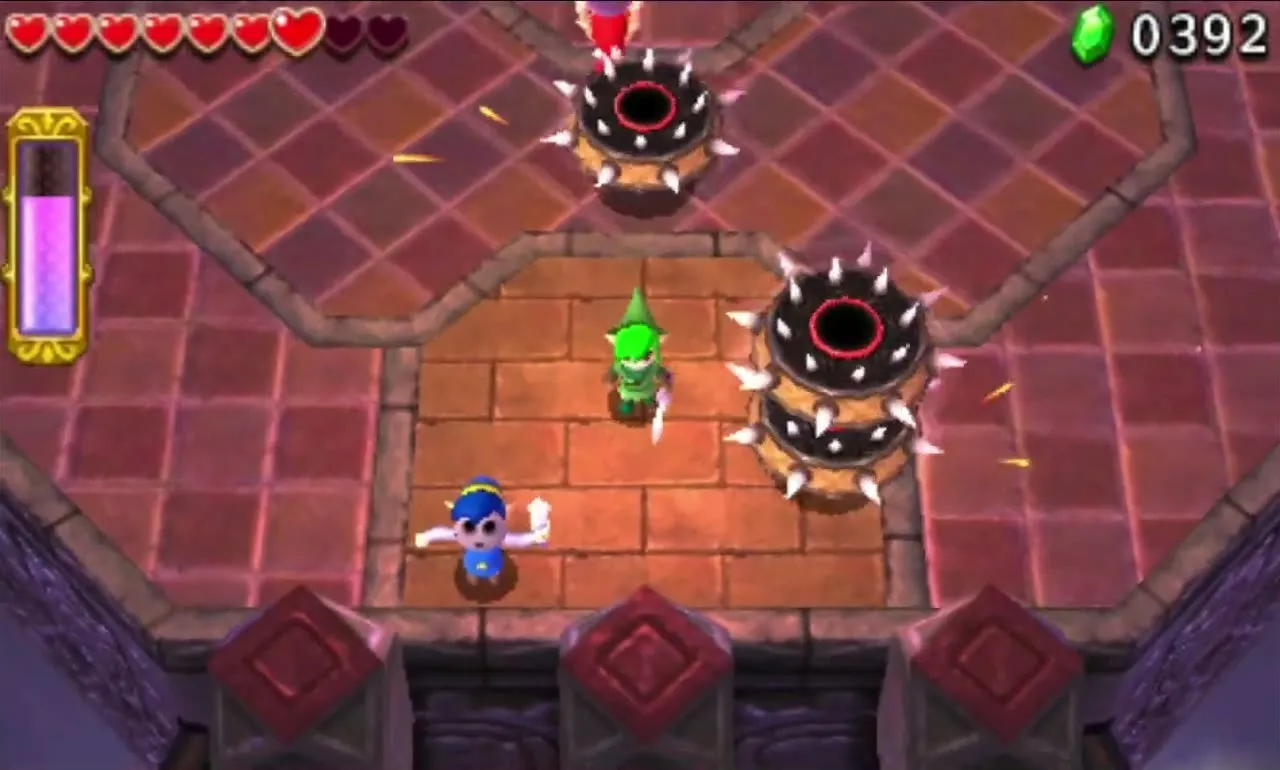
Floors B21 to B25, based on the Fortress: Arrow Traps that start firing as soon as you have chosen your items (a Gust Jar can put out the lit Braziers first), Poes, Mini-Margos, Beamos, Dark Hinoxes and Sky Soldiers, some of them riding Totem Armos. You choose among the Gust Jar, the Bomb and the Bow. Its chests give 2 of Stiff Puff, Silver Thread or Royal Ring, and 1 of Antique Coin, Fancy Fabric or Exquisite Lace.
Desert Zone
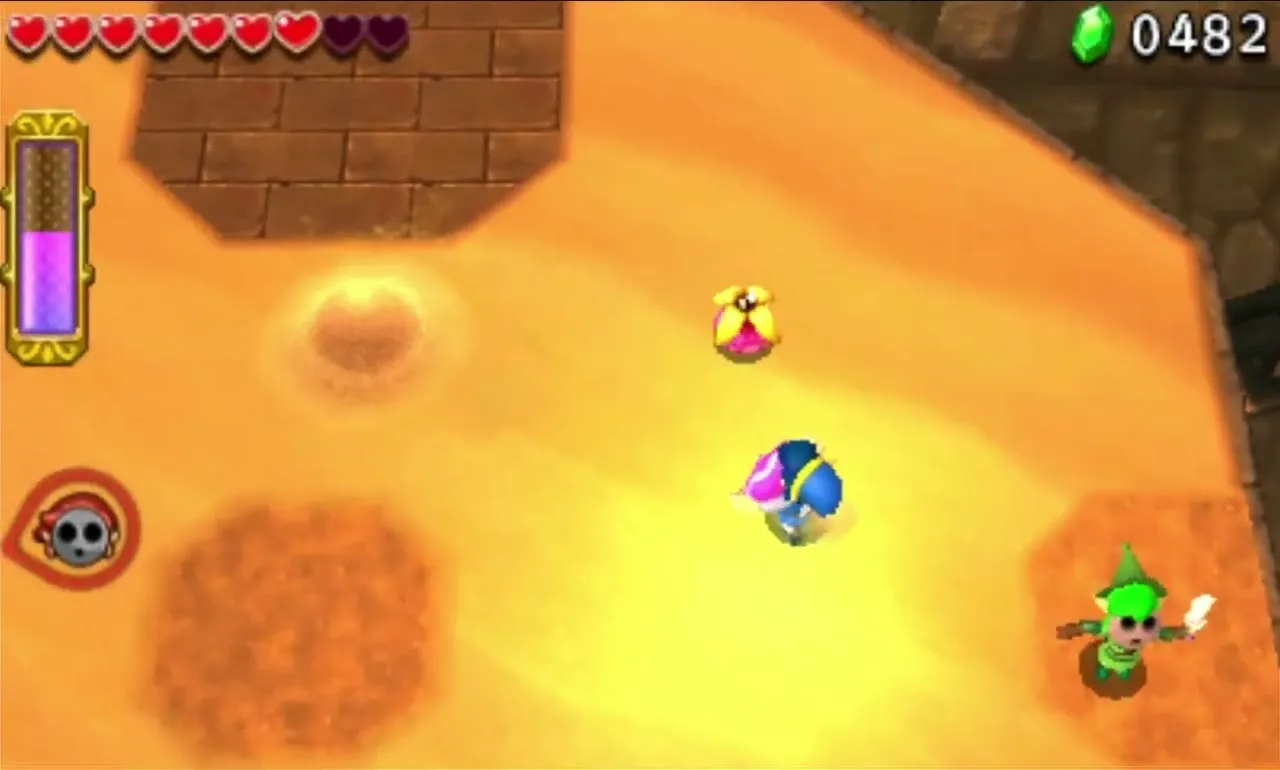
Floors B26 to B30, based on The Dunes: the floors are quicksand with only a few small patches of solid ground, and a Doppel that sinks costs a heart. Karat Crabs, Leevers, Gyorms and Morths live here. You choose from the Gripshot, the Gust Jar and the Water Rod. The safe room gives 2 of Palm Cone, Ancient Fin or Vintage Linen, and 1 of Gibdo Bandage, Stal Skull or Sandy Ribbon.


Shadow Zone
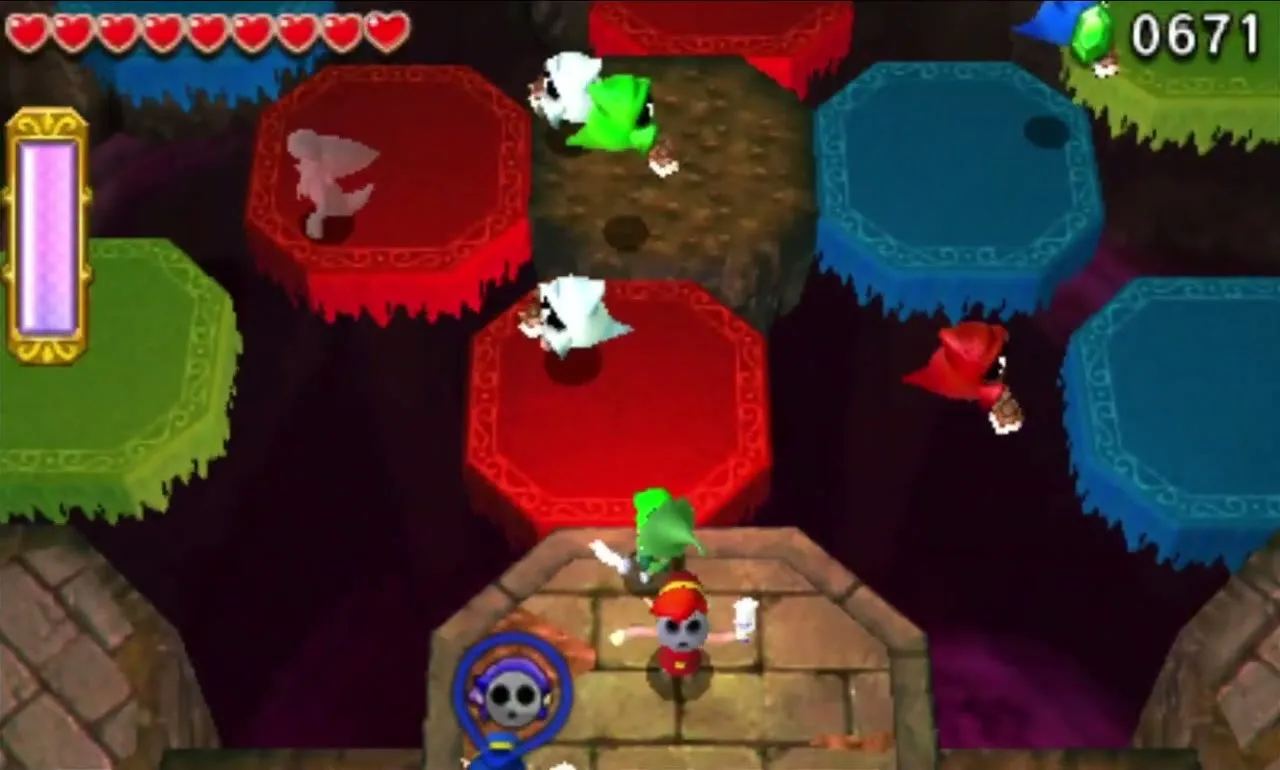
Floors B31 to B35, based on The Ruins: each floor has a big pit and a different platform trap, such as vanishing grey slabs or coloured blocks that carry only the Link of the matching colour. Dark Wizzrobes, Stalfos, ReDeads and Keese attack here. You can take the Boomerang, the Bow or the Fire Gloves. Its chests give 2 of Carrumpkin, Mystery Extract or Spider Silk Lace, and 1 of Poe Soul, Twisted Twig or Lava Drop.
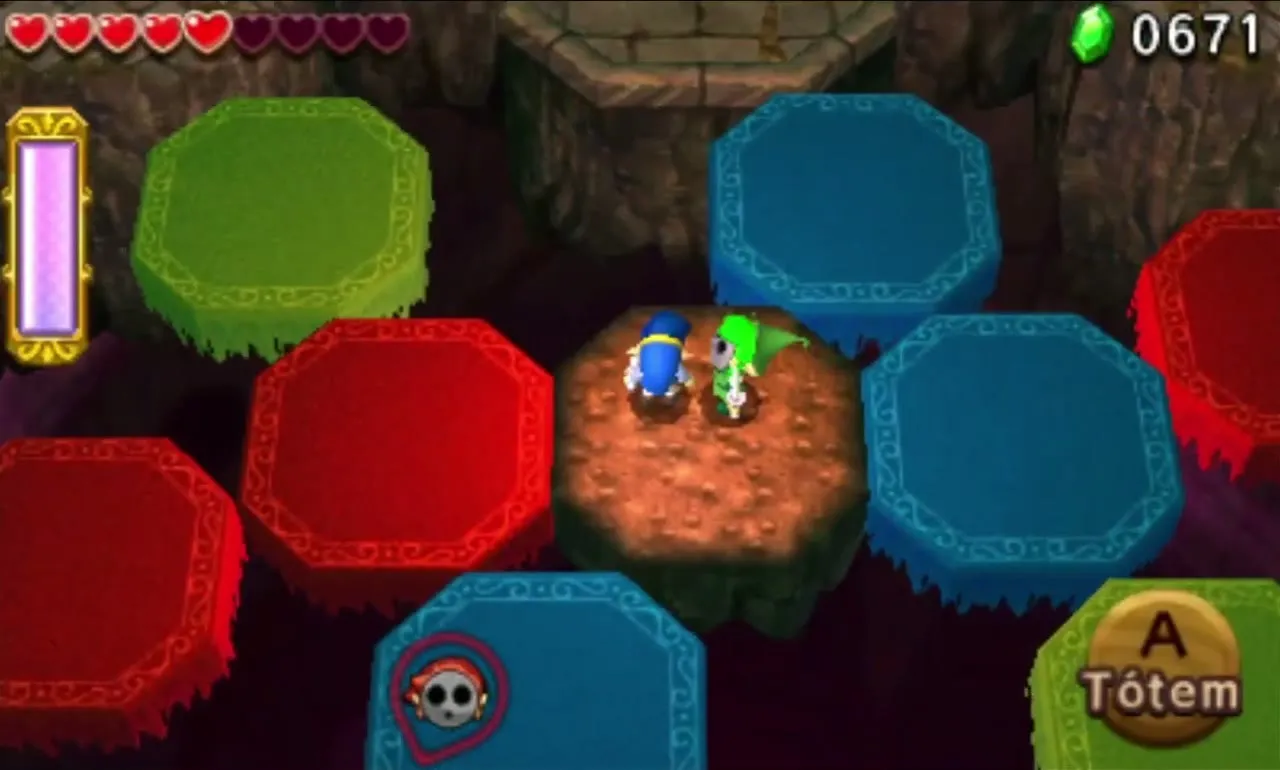
Baneful Zone
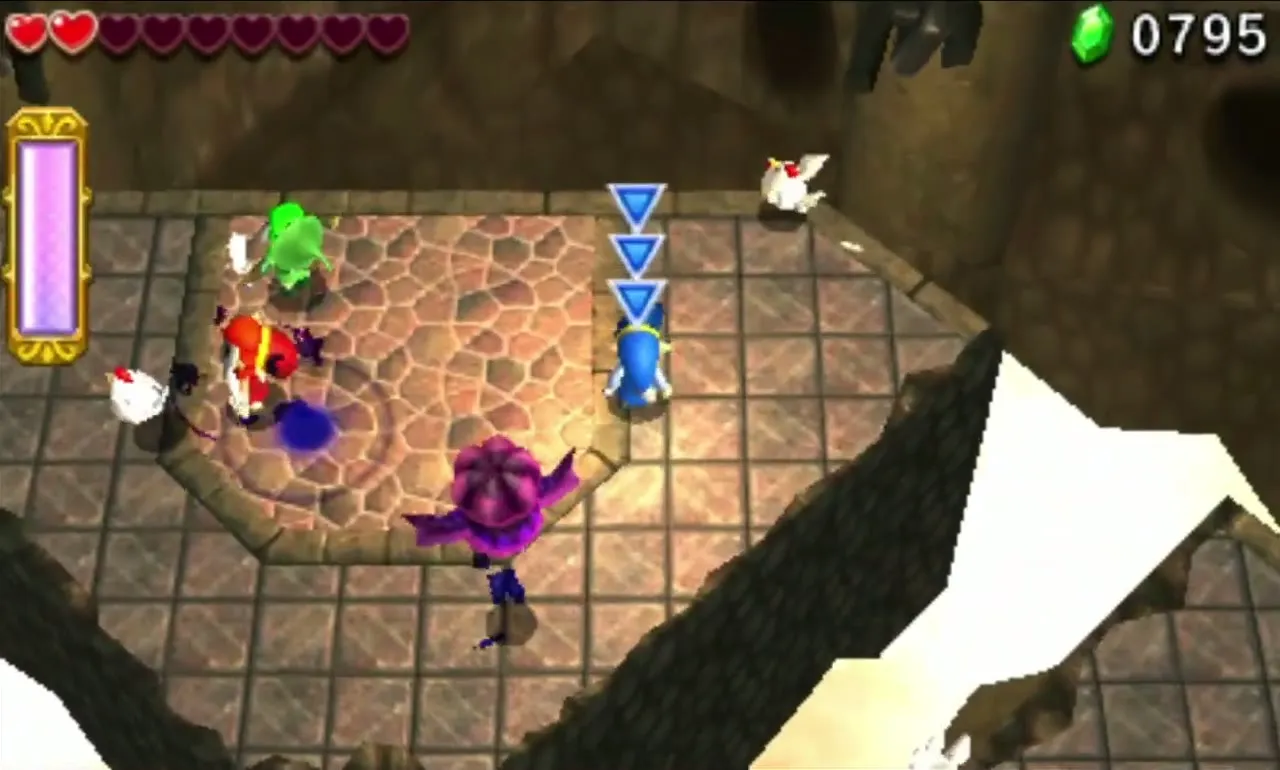
Floors B36 to B40, the final Zone: where the first floor is four separate islands and almost every enemy is a dark one. The first floor lets you take any of the eight items (Bomb, Bow, Fire Gloves, Boomerang, Water Rod, Gust Jar, Gripshot and Magic Hammer), and you pick up Cuccos to glide over the gaps. B37 is swept by a strong wind that a Shock Switch can block for a while, B38 throws dark Wizzrobes and heavier fighters at you before the Squiddy and the Fairy chest appear, and B39 is the battle against three Shadow Links carrying strengthened items. The reward room on B40 gives 2 of Cucco Feathers, Carmine Pearl or Sky Dragon Tail, 1 of Pretty Plume, Mock Fairy or Aurora Stone, and on your first clear the Fierce Deity Armor. The Gust Jar and the Bow are good picks because they hit from range.

| Zone | Floors | Items you can take | 2x Material (one of) | 1x Material (one of) |
|---|---|---|---|---|
| Forest | B1-B5 |  Bow,  Boomerang,  Fire Gloves |  Blob Jelly,  Armos Spirit,  Tektite Shell |  Sweet Shroom,  Blin Bling,  Gohma’s Eye |
| Flooded | B6-B10 |  Gripshot,  Water Rod, Bow |  Fresh Kelp,  Zora Scale,  Hytopian Silk |  Aqua Crown,  Octorok Sucker,  Fairy Dust |
| Scorching | B11-B15 |  Magic Hammer,  Gust Jar, Gripshot |  Goron Ore,  Monster Guts,  Demon Fossil |  Rugged Horn,  Kodongo Tail,  Keese Wing |
| Frozen | B16-B20 | Fire Gloves, Boomerang, Magic Hammer |  Fluffy Fuzz,  Tiny Snowflake,  Serpent Fangs |  Crimson Shell,  Freezard Water,  Chill Stone |
| Fortified | B21-B25 | Gust Jar,  Bomb, Bow |  Stiff Puff,  Silver Thread,  Royal Ring |  Antique Coin,  Fancy Fabric,  Exquisite Lace |
| Desert | B26-B30 | Gripshot, Gust Jar, Water Rod |  Palm Cone,  Ancient Fin,  Vintage Linen |  Gibdo Bandage,  Stal Skull,  Sandy Ribbon |
| Shadow | B31-B35 | Boomerang, Bow, Fire Gloves |  Carrumpkin,  Mystery Extract,  Spider Silk Lace |  Poe Soul,  Twisted Twig,  Lava Drop |
| Baneful | B36-B40 | All eight items |  Cucco Feathers,  Carmine Pearl,  Sky Dragon Tail |  Pretty Plume,  Mock Fairy,  Aurora Stone |
Rewards and tips
Fierce Deity Armor
The Fierce Deity Armor sits in the reward chest room after the Shadow Links, and you only get it the first time you complete the Den. It doubles the Sword’s damage, fires four Sword Beams around you (also when you spin, even without full hearts) and keeps enemies from knocking you back. It also cancels the “Halved attack and defense” penalty of challenges for its wearer. Change into it in the outfit menu in Hytopia, and see Outfits for the rest of the wardrobe.
Tips for reaching the bottom
Choose items that fit the floor: the Gust Jar and the Bow deal with dark enemies from range, and a Totem helps against enemies riding Totem Armos. Use the safe rooms: they save your progress and give you another Fairy. Playing alone is allowed: the Den works with Doppels, which enemies cannot hurt, though falls still cost you hearts. Zones you have cleared can be replayed from the hub whenever you need more Materials.