





















| Fights covered | 8 mini-bosses and 8 bosses (one pair per Area), plus the Shadow Links of the Den of Trials |
|---|---|
| Where | A mini-boss ends Stage 4 of each Area’s second Level; a boss ends Stage 4 of its fourth Level |
| Items | Every fight uses the items you were handed in Stage 1 of that Level, except the final fight, where all your items are taken away |
| Core tactic | Stack a Totem of two or three Links to reach weak points that are out of range |
Every Area of the Drablands ends in two big fights: a mini-boss at the end of the second Level and a boss at the end of the fourth. That makes 16 story fights, and the early ones are built around the items you pick up in Stage 1 of that Level (the later Areas reuse your old kit). Almost all of them follow the same rhythm: dodge the attack, hit the weak point while the monster is stunned, and form a taller Totem each time it grows or rises out of reach. Below you will find every fight in the order you meet it, with the Level, what to bring and how each phase works.

Table of Contents
Quick reference
| Area | Level | Fight | Type | Key items |
|---|---|---|---|---|
| Woodlands | Buzz Blob Cave | Electric Blob King | Mini-boss |  Bow (  Bombs in the challenge) |
| Woodlands | Forest Temple | 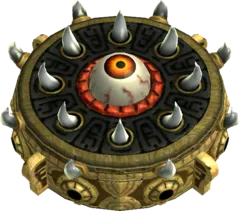 Margoma | Boss | Bomb, Sword |
| Riverside | Abyss of Agony | Electric Blob Queen | Mini-boss | Bow,  Water Rod |
| Riverside | Water Temple | 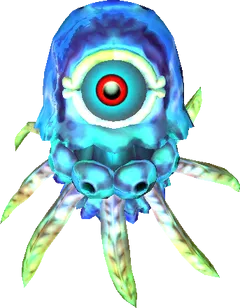 Arrghus | Boss | Water Rod,  Gripshot, Sword |
| Volcano | Hinox Mine |  Hinox Brothers | Mini-boss |  Boomerang |
| Volcano | Fire Temple | Moldorm | Boss | Sword, Totems |
| Ice Cavern | Snowball Ravine | 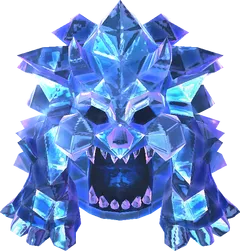 Freezlord | Mini-boss |  Fire Gloves, Boomerang |
| Ice Cavern | Ice Temple | 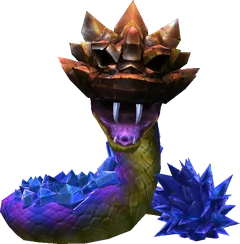 Blizzagia | Boss |  Magic Hammer, Fire Gloves |
| Fortress | Bomb Storage | Hinox Brothers (with Lil’ Hinox) | Mini-boss |  Gust Jar, Bomb |
| Fortress | The Lady’s Lair | The Lady’s Pets | Boss | Bomb, Gust Jar, Gripshot, Boomerang |
| The Dunes | Stone Corridors | Vulture Vizier | Mini-boss | Gripshot, Boomerang, Gust Jar |
| The Dunes | Desert Temple |  Stalchampion | Boss | Boomerang, Magic Hammer |
| The Ruins | Palace Noir | Grim Repoe | Mini-boss | Gust Jar, Fire Gloves, Bow |
| The Ruins | Grim Temple |  Prismantus | Boss | Sword, Totems |
| Sky Realm | Deception Castle | Gigaleon | Mini-boss | Gust Jar, Gripshot, Bomb Flower |
| Sky Realm | Sky Temple |  Lady Maud | Final boss | Sword only |
Woodlands bosses
Electric Blob King
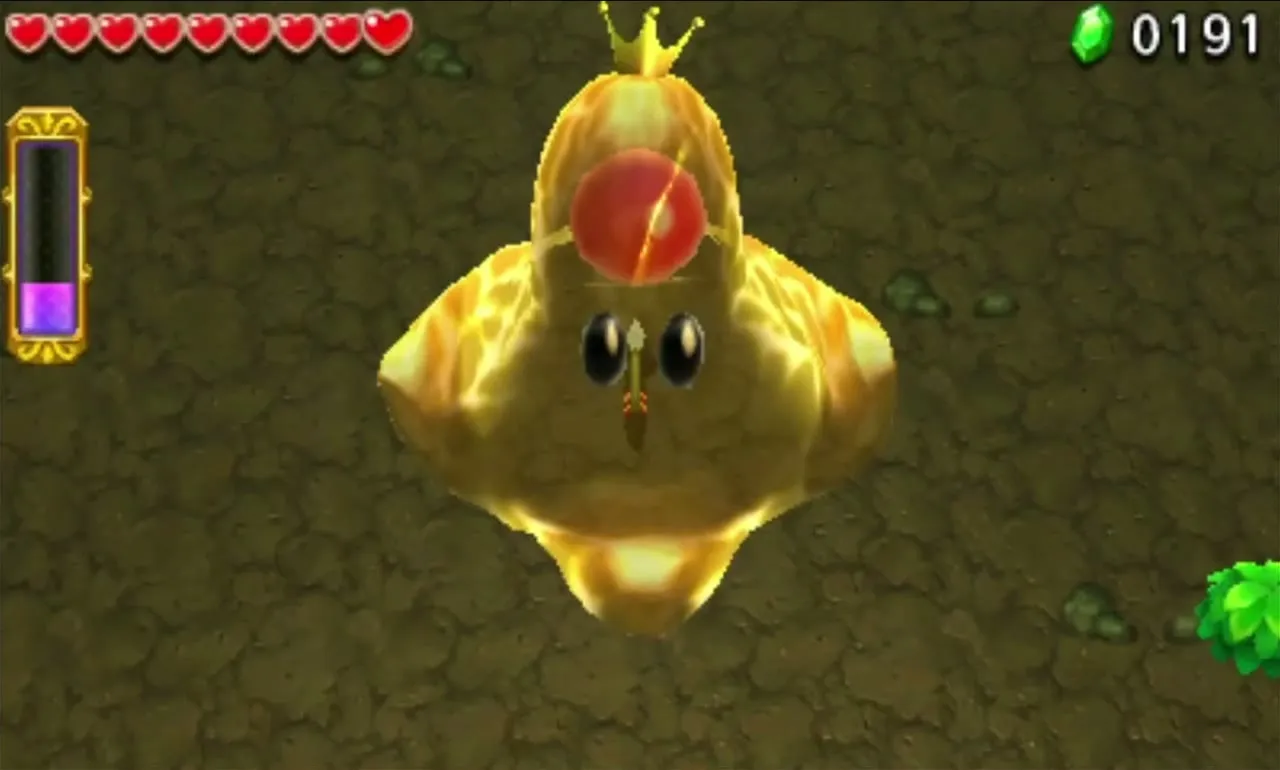
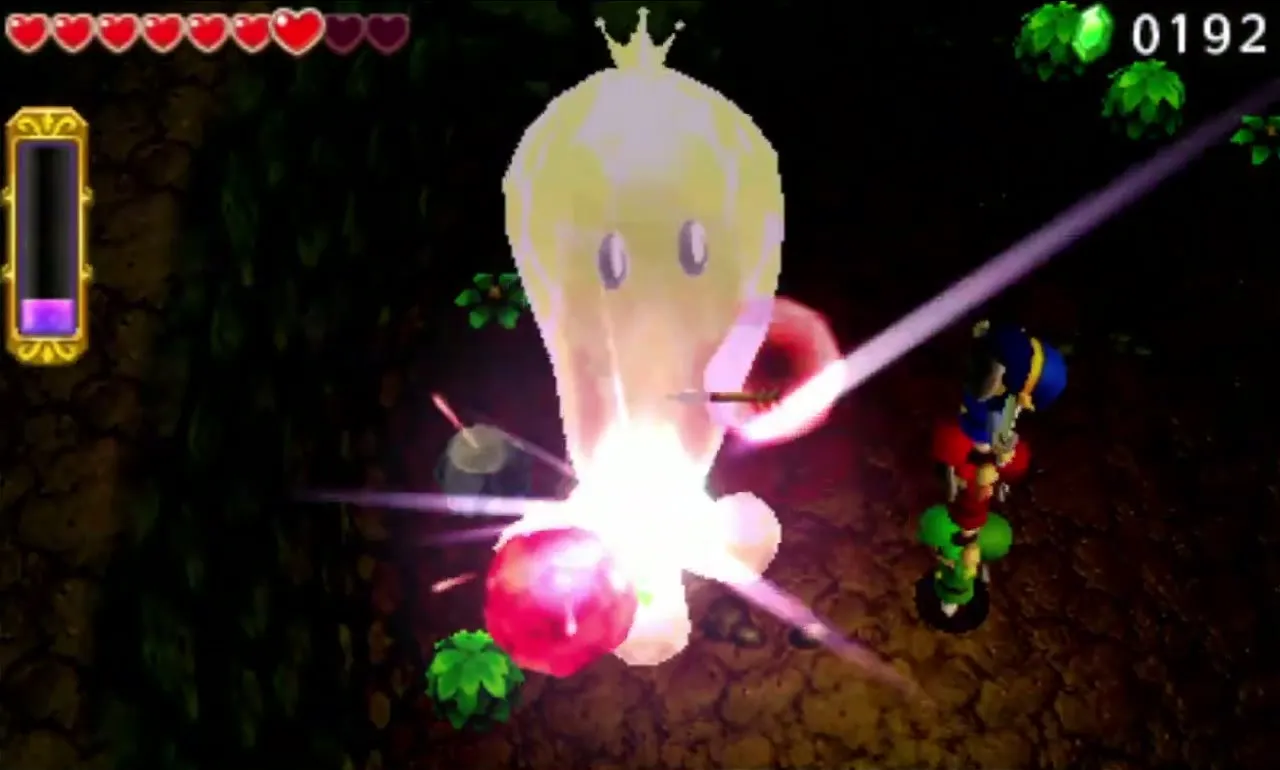
The Electric Blob King waits at the end of Buzz Blob Cave in the Woodlands, a giant crowned Buzz Blob. His body is electrified, so a Sword swing only shocks you; instead, shoot the red core inside him with Arrows from the Bow. After a few hits he grows taller and speeds up, and from then on he fires four electric blasts from his feet while he turns, so keep moving until they stop. When the core rises out of reach, stack two Links and let the top Link shoot; once he reaches full size you need a Totem of three. In the Bombs-only Drablands Challenge the Bow is replaced by thrown Bombs, and a Big Bomb is strong enough to push him straight to the next stage of growth.

Margoma
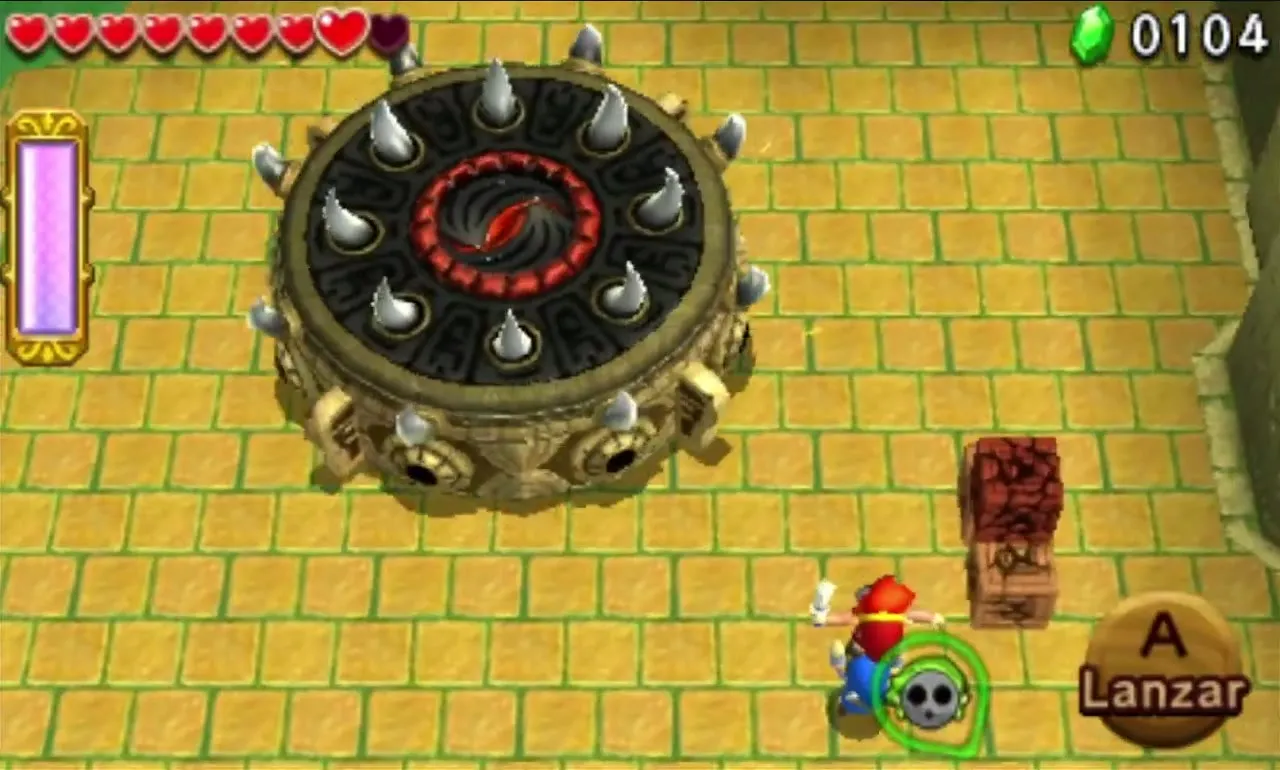
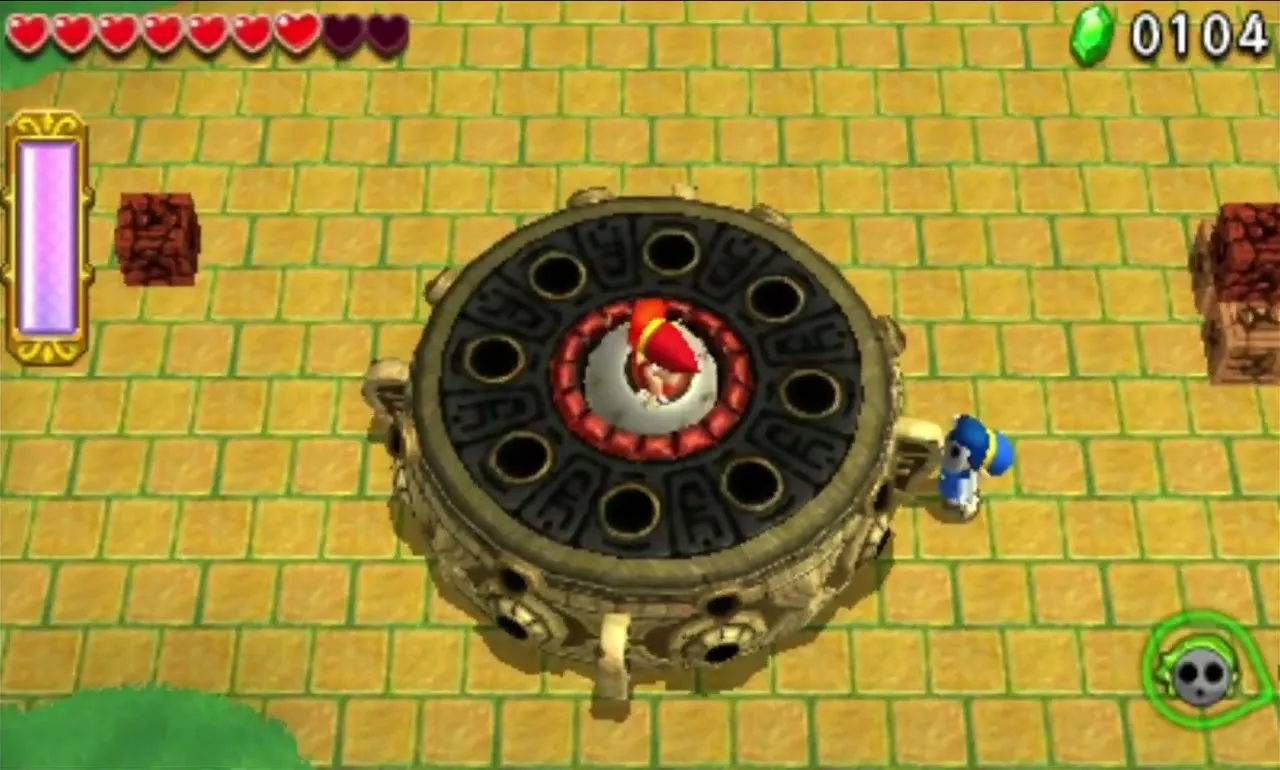
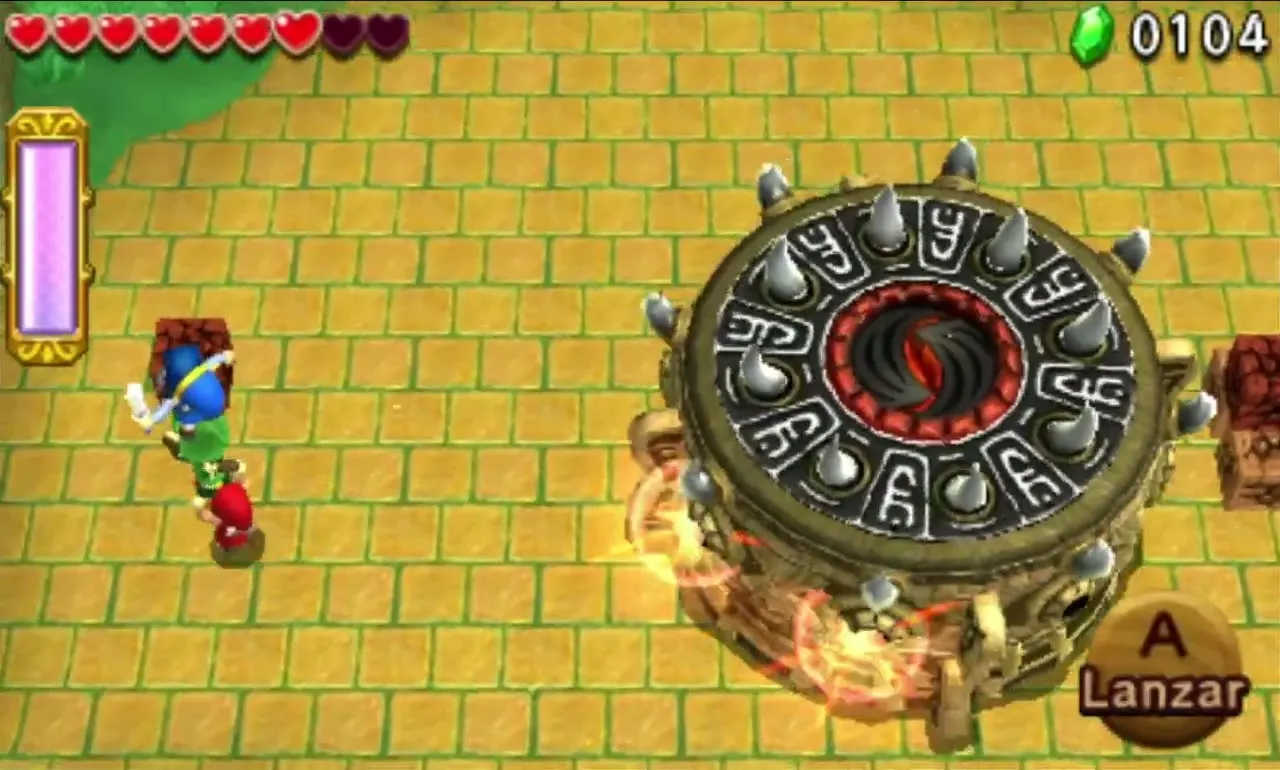
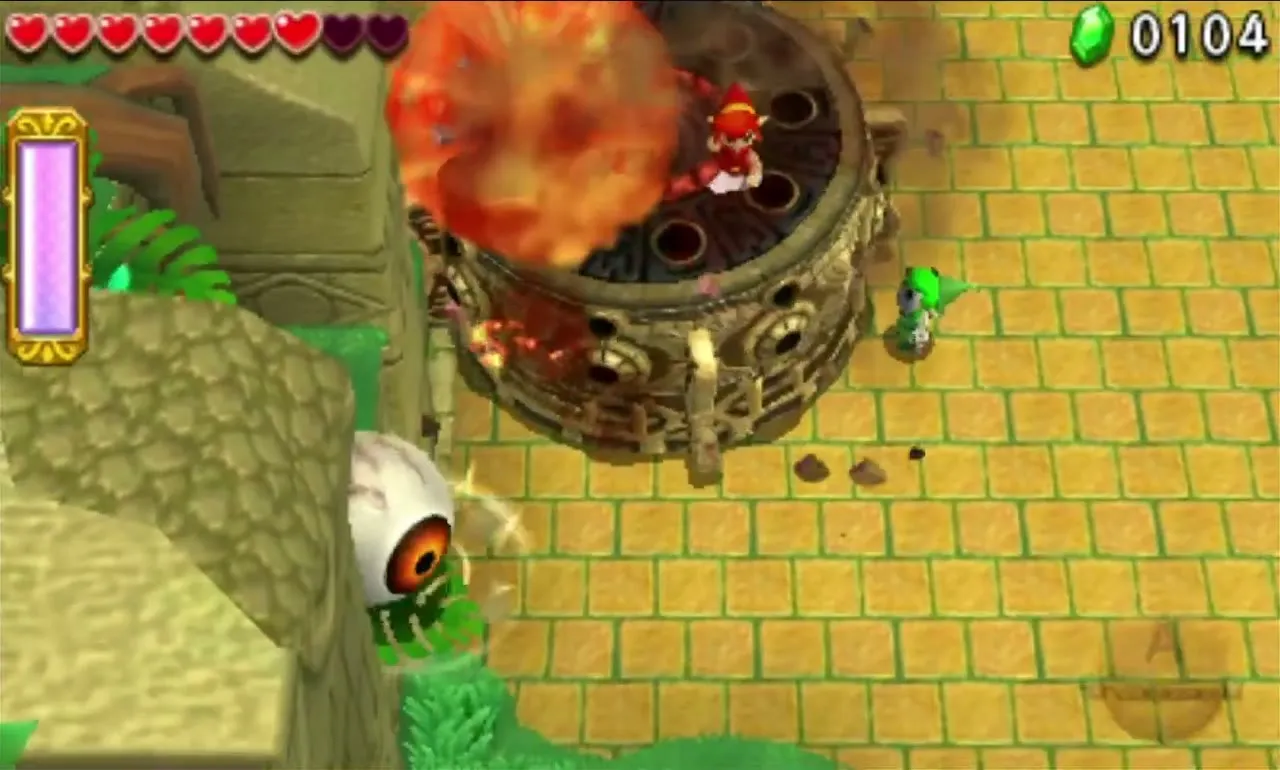
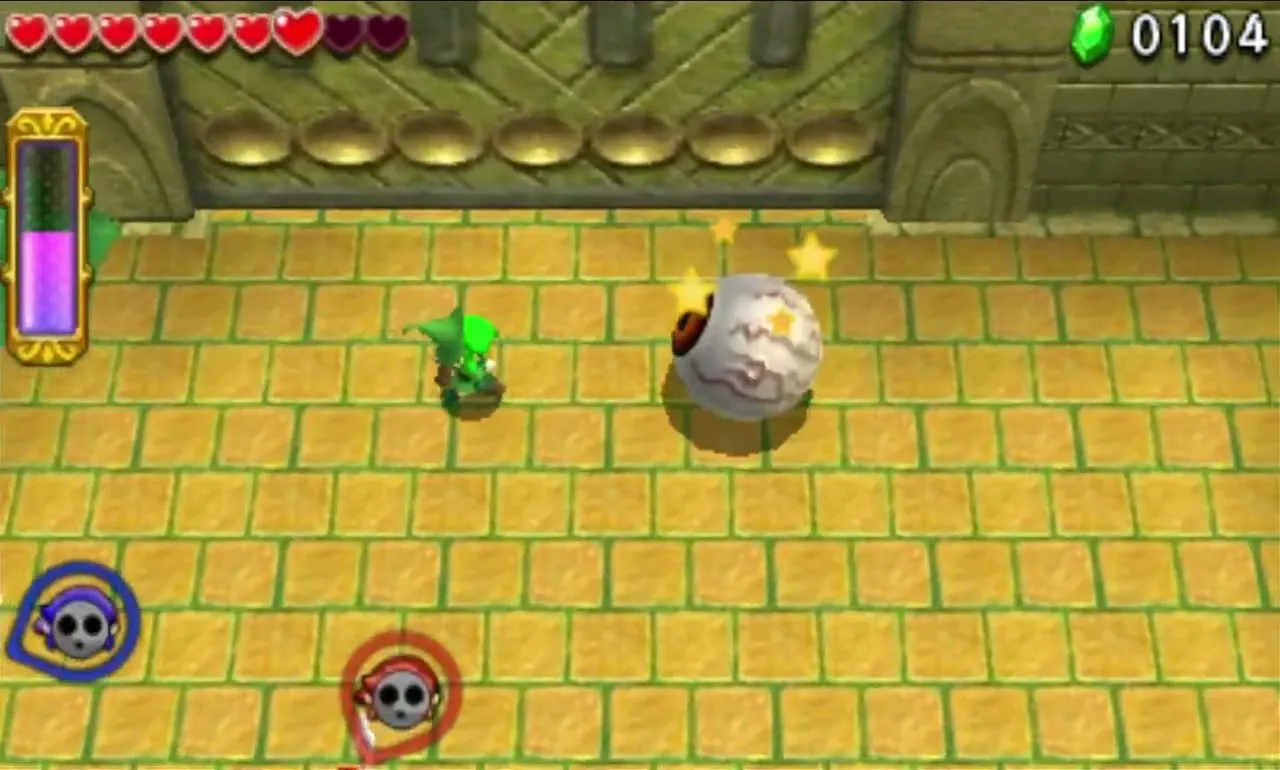
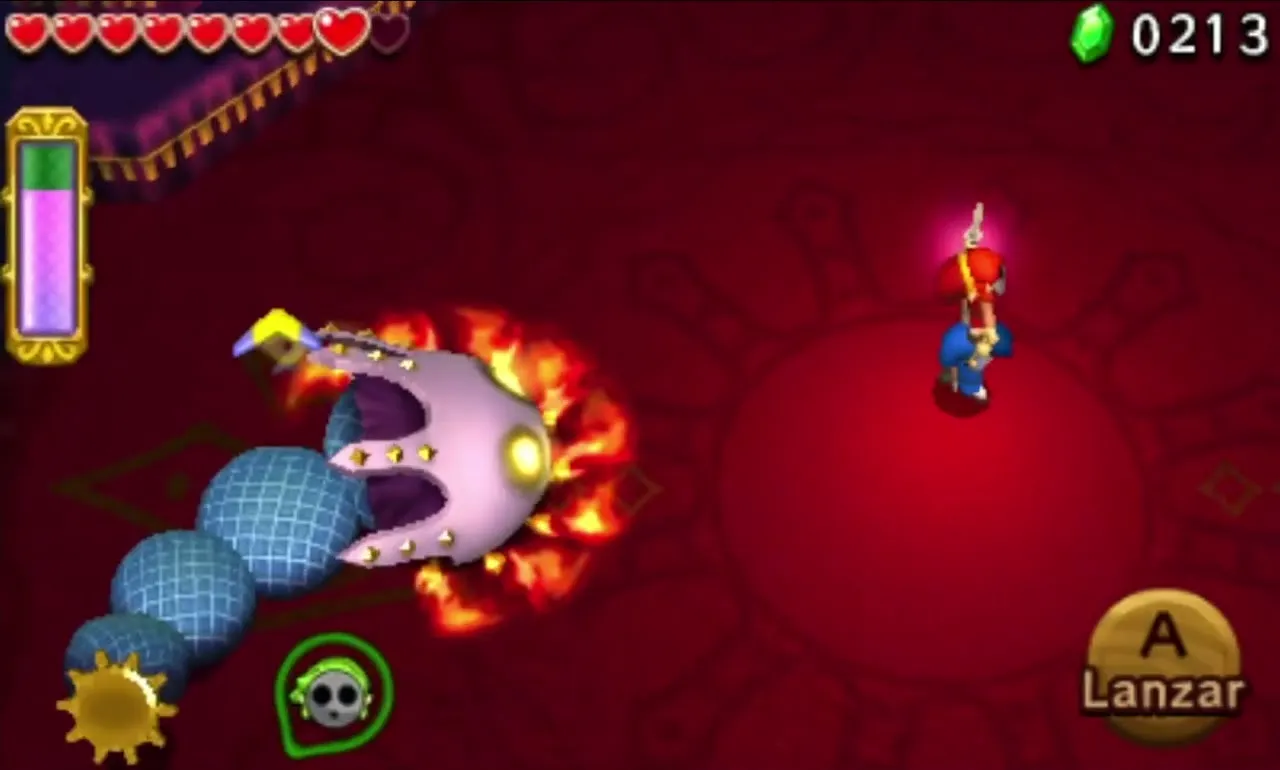
Margoma is the boss of the Forest Temple and the fight that introduces Bombs. It spins around its pit, then picks one Link: two holes on its body glow in his colour and it charges with spikes out. Dodge so that it rams a wall. Dazed, its centre hole opens, and a Bomb thrown from the top of a Totem lands inside to pop its eye out into the open, where the Sword finishes the job. A small raised ledge on the right side of the arena is reached by a ramp and makes a safe spot for throwing Bombs. After enough damage Margoma grows a second layer and the pattern repeats until its eye is left bouncing around the pit. Beating it opens the way to the Lady’s Glasses and to three new Areas: Riverside, Volcano and Ice Cavern.

Riverside bosses
Electric Blob Queen
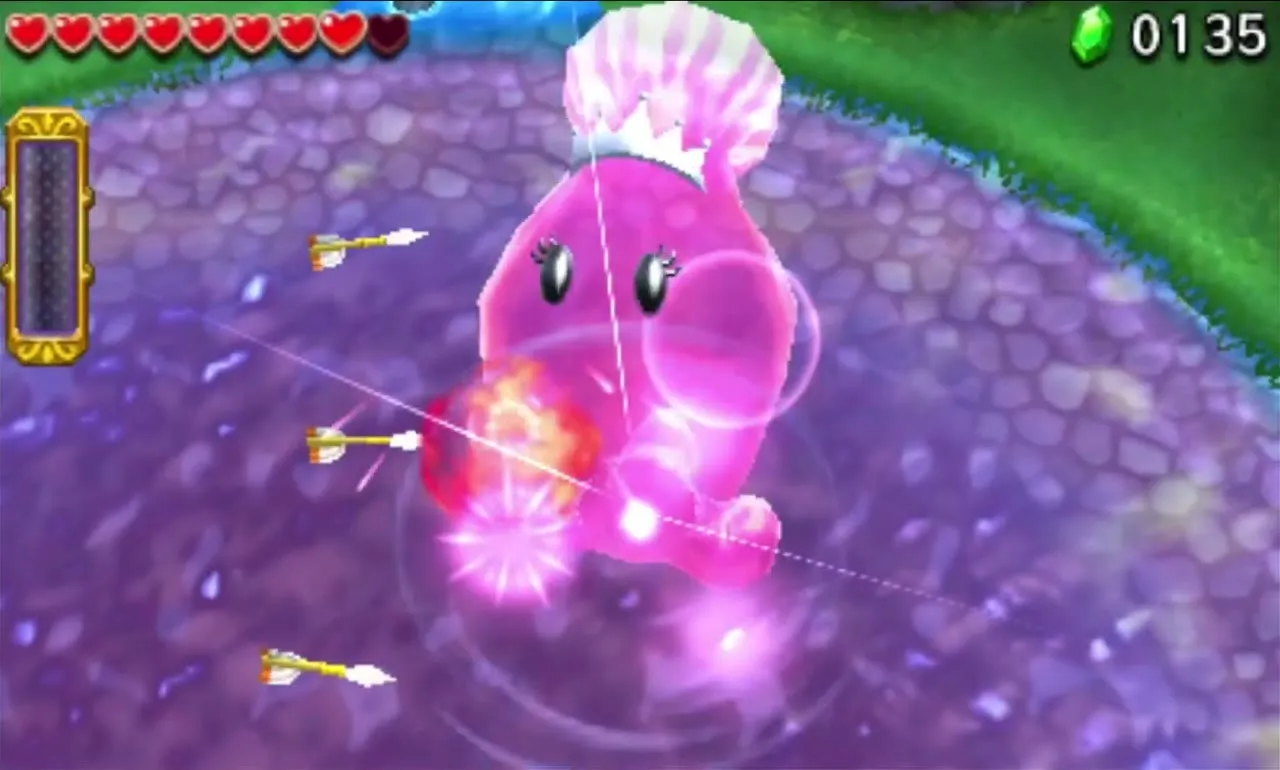
The Electric Blob Queen in the Abyss of Agony is the King’s counterpart, but she fights in a pool and the water carries her shock, so stay on dry ground or grass. Shoot her core with the Bow. She is protected while she twirls and she dives underwater, where you flush her out with the Water Rod. As her core climbs higher, build a Totem of two, then three; in the last stage the core sits above even a full Totem, so stack up on a wooden platform or a Water Rod pillar.


Arrghus
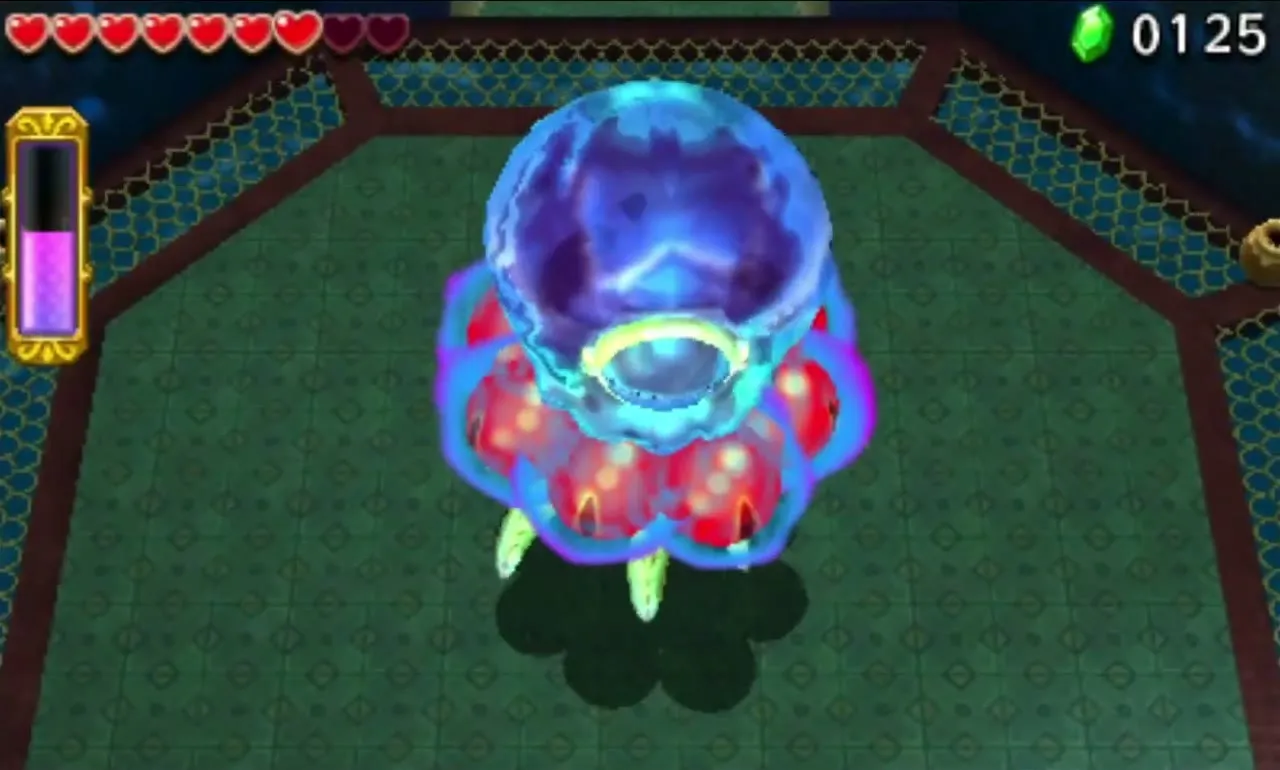
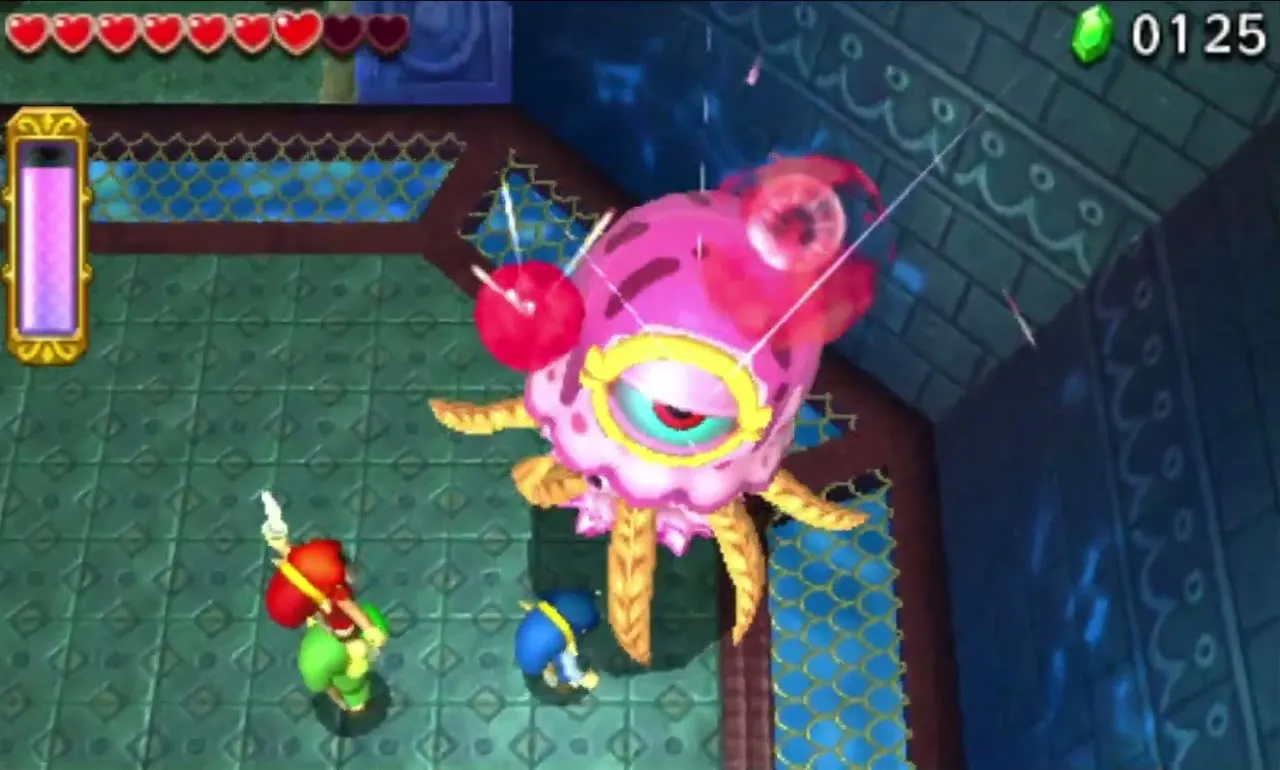
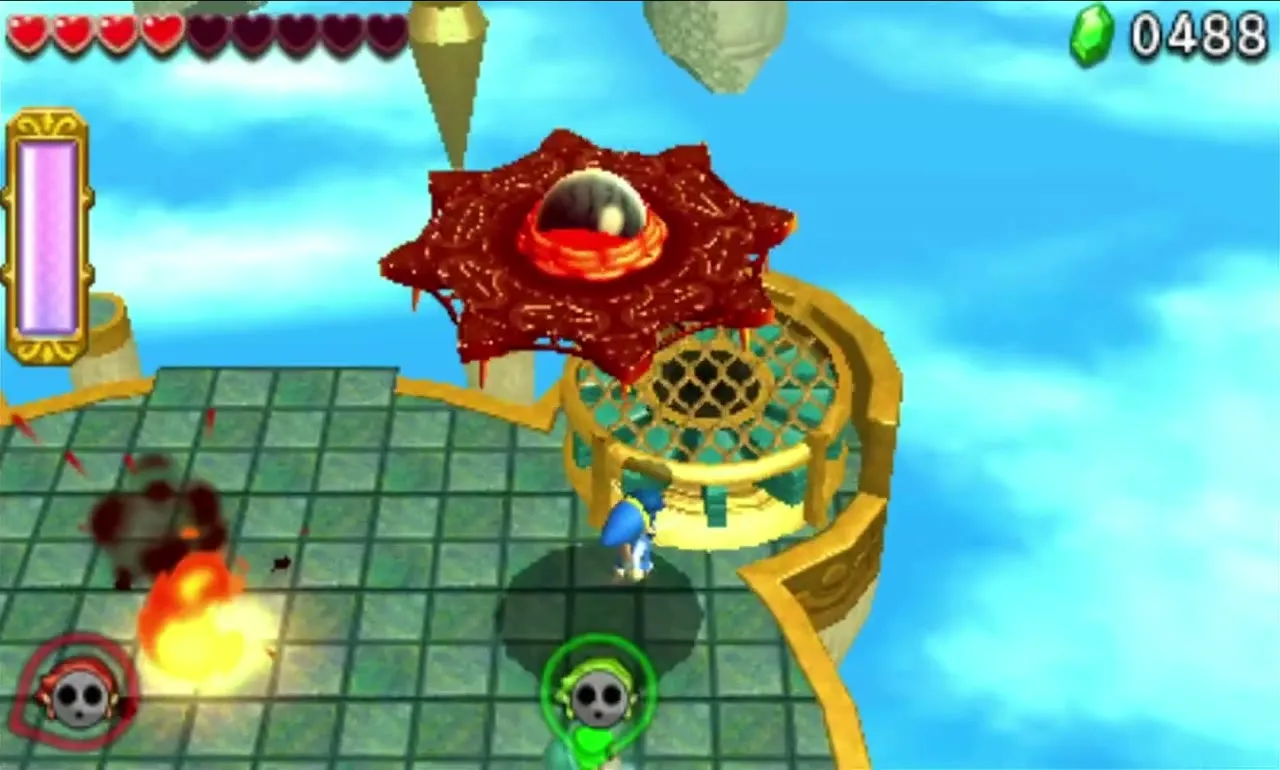
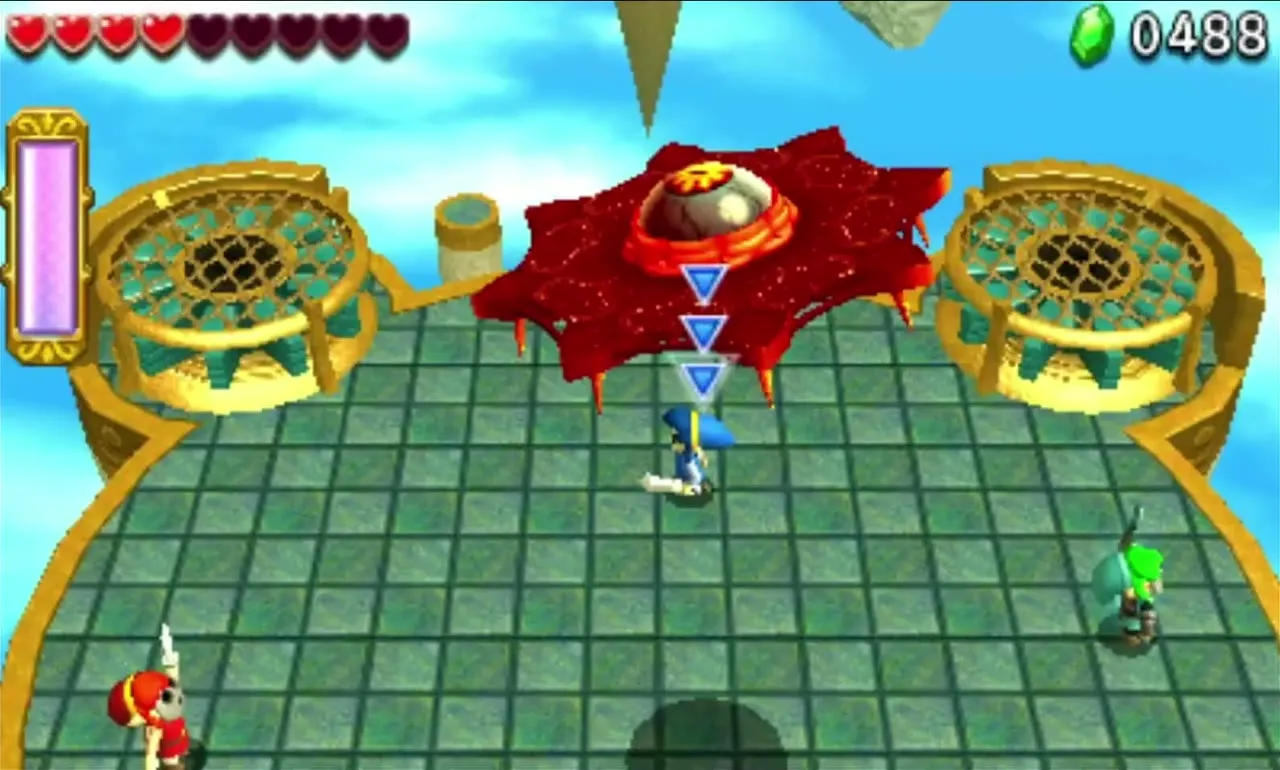
Arrghus, the boss of the Water Temple, is a watery jellyfish guarded by eight eyes. In the first phase the eyes rise from the pool and dive at you: stun them with the Water Rod, pull them apart with the Gripshot and slash them. The pool then drains and Arrghus floats with its eyes glowing red: raise yourselves on Water Rod pillars and use the Gripshot again, or stun the eyes with the Water Rod. In the last phase its real eye opens and ink blasts shut down your items. Stun it with a Water Rod pillar plus the Gripshot, or climb a Totem to reach the eye, then use the Sword. Healing pots sit on the arena floor.



Volcano bosses
Hinox Brothers (Hinox Mine)
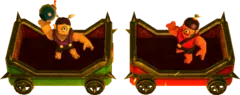
In Hinox Mine you first face Hinox the Eldest alone, riding a Mine Cart on a track parallel to yours; he throws Bombs at you whenever the carts come close. Catch a Bomb and throw it right back into the Hinox’s cart, or stun him with the Boomerang; Arrows barely scratch him. When he has taken enough damage Hinox the Elder joins on a second cart and both of them throw. Once one falls, concentrate everything on the other. This mini-boss ends the Level in the Volcano.


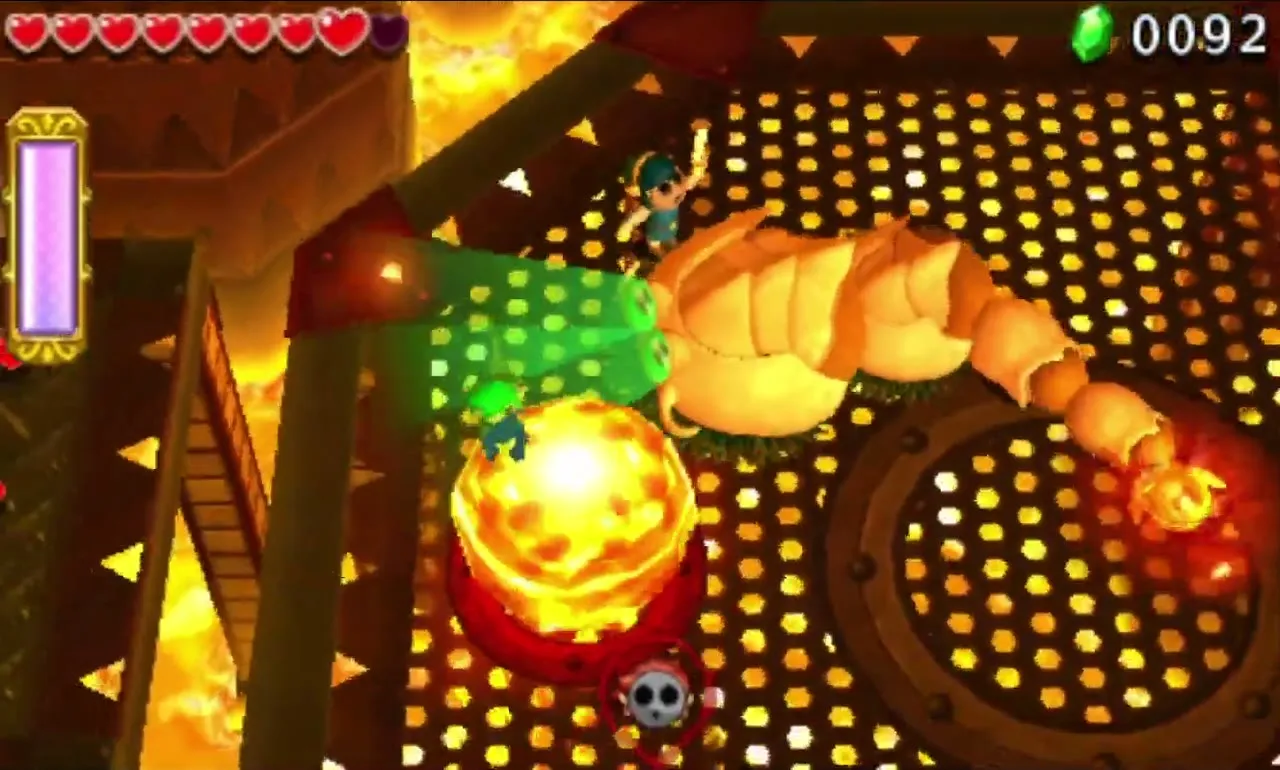
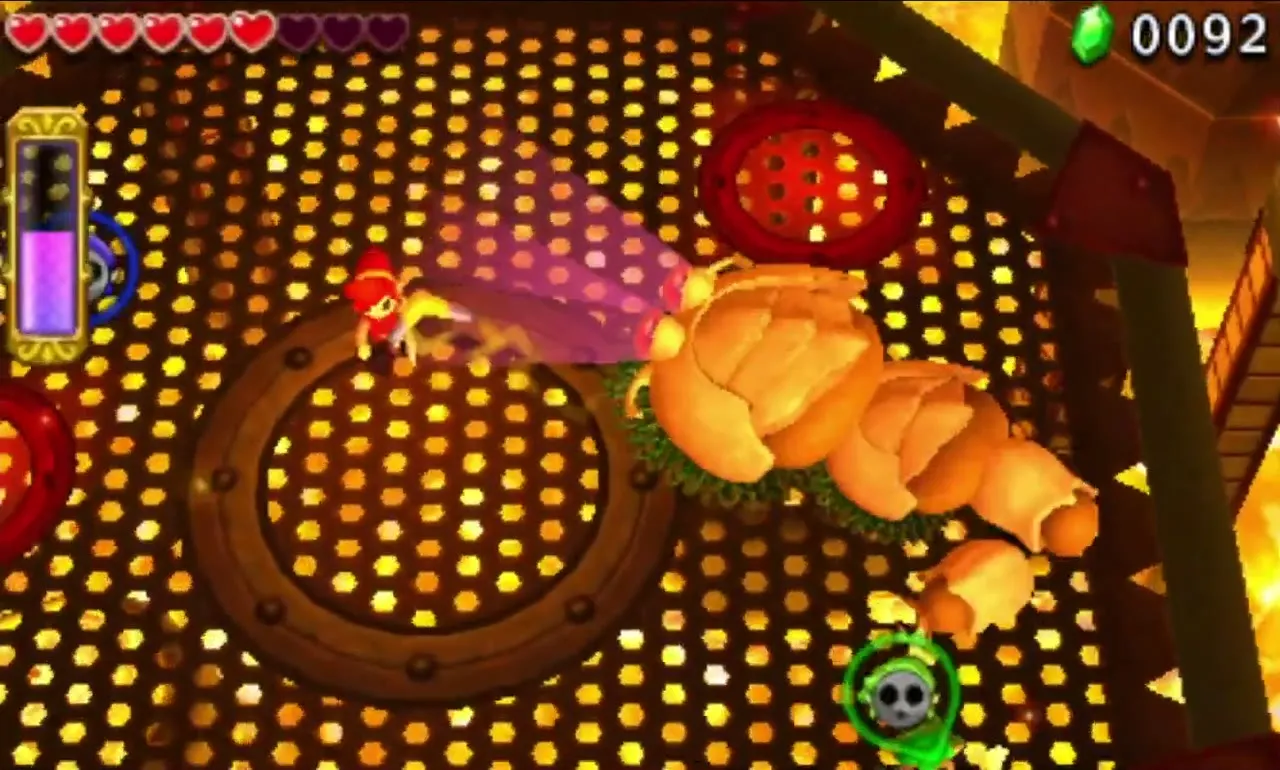
Moldorm
Moldorm is the boss of the Fire Temple, a mechanical worm circling a platform above lava, with lava pillars around the edge. Watch its eyes: they light up in the colour of the Link it is about to chase. Dodge the charge, then hit the glowing tail with the Sword. Each phase raises the tail higher, so first make a Totem of two and for the final blow a Totem of three. The Link whose colour it is chasing can lure it away while the other two go for the tail.


Ice Cavern bosses
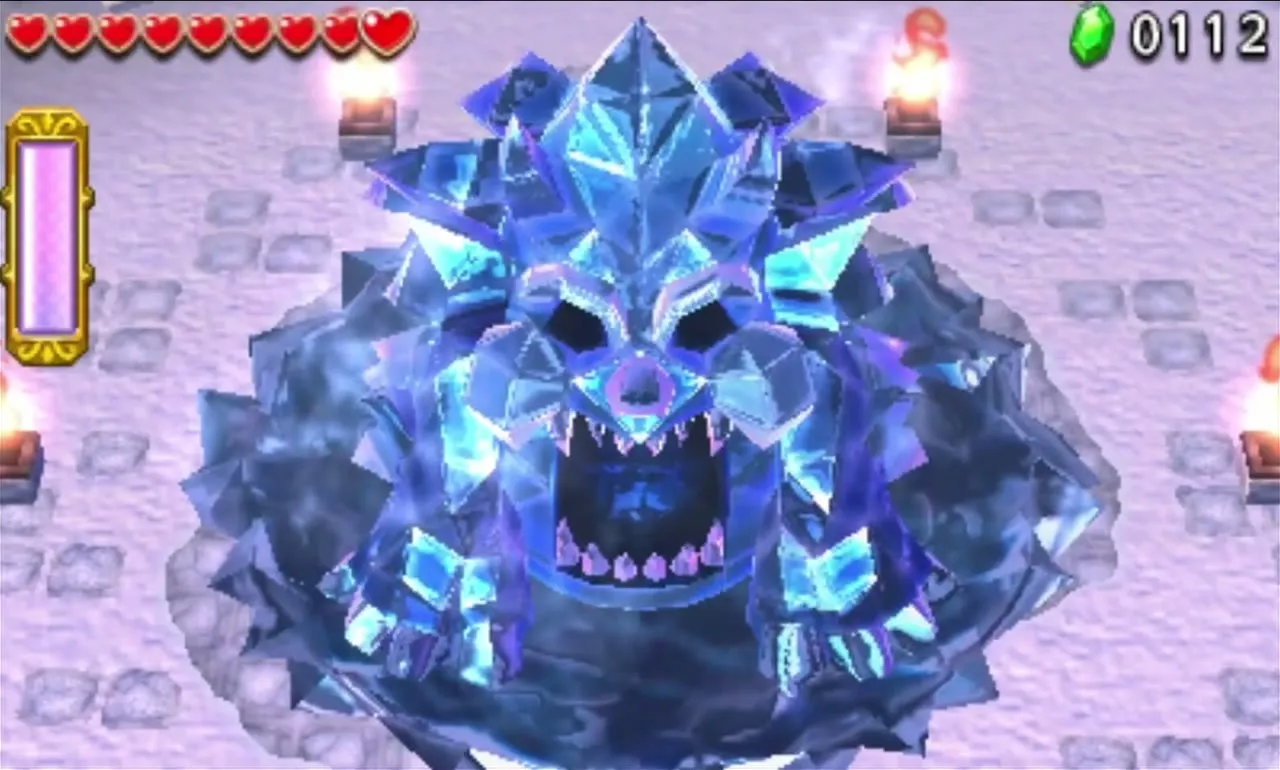
Freezlord
Freezlord is the mini-boss of Snowball Ravine. While it spins it cannot be hurt; when it stops, strip its ice armour with fire, either with the Fire Gloves or by throwing the Boomerang through a lit Brazier. Its icy breath freezes a Link, but a teammate can thaw him with fire. In the second phase the pond is drained and Freezlord jumps around; hit it with fire as it lands.

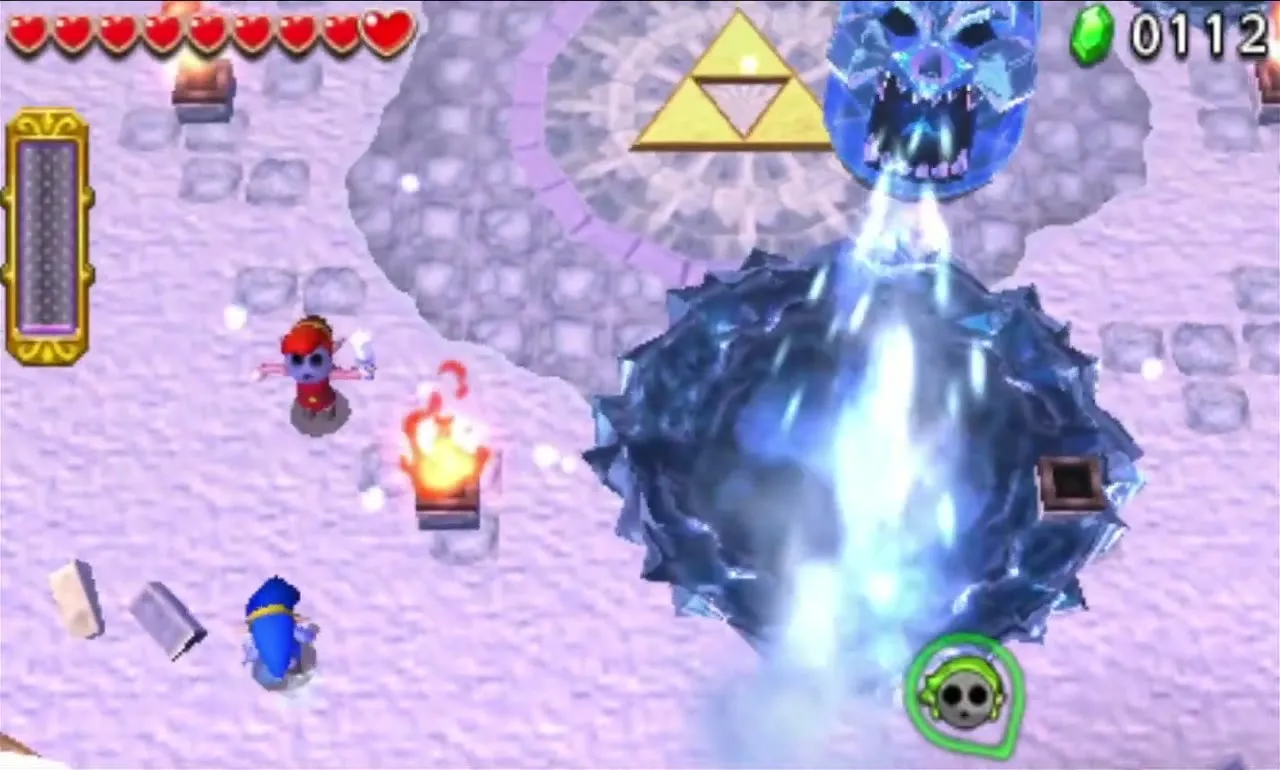
Blizzagia
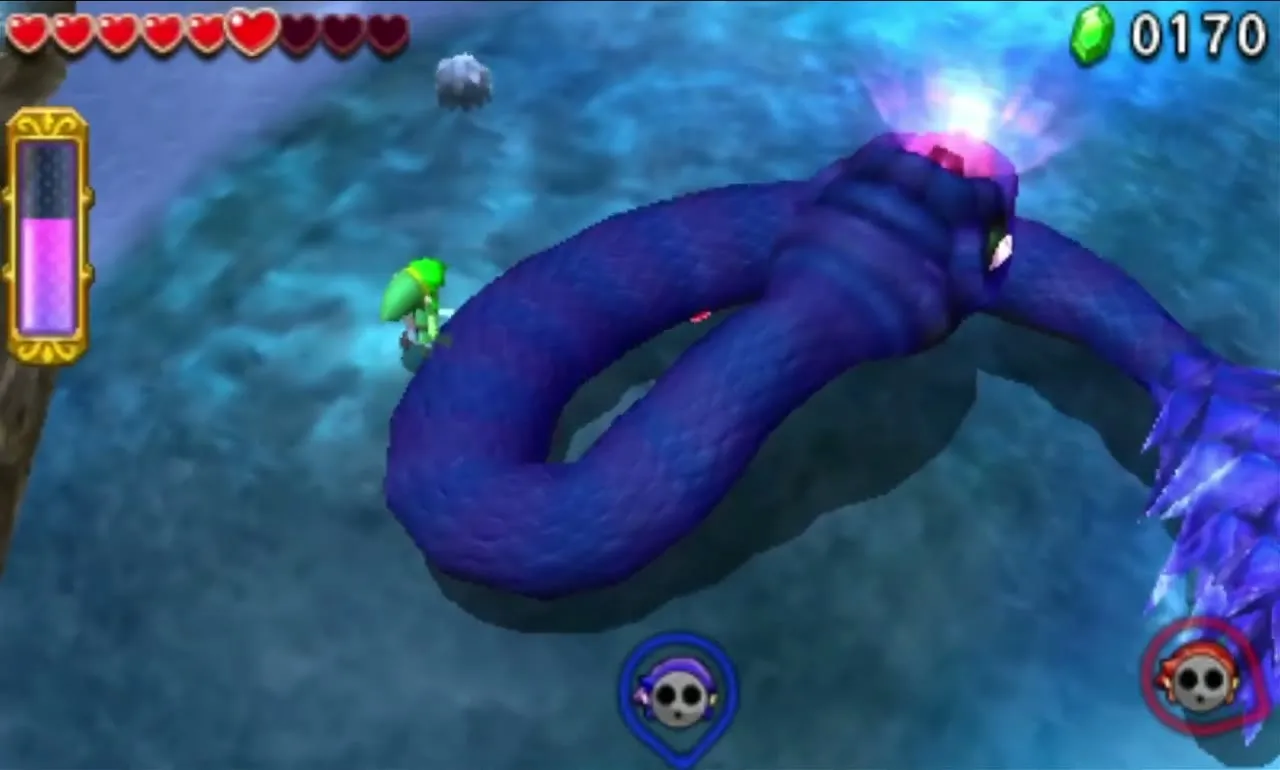
Blizzagia, the Ice Temple boss, is an icy serpent that lunges out of five caves around a pit. It flashes its eyes at the Link it targets: sidestep the bite, then bring the Magic Hammer down on its head. Four hits crack its mask, and then it circles the pit with an icy tail that freezes on contact. The Fire Gloves melt the tail for a few seconds and the crystals on its back, which drop Hearts and Energy Potions. Once the mask shatters, a jewel on its head is exposed and every weapon, including the Sword, can damage it. The Cozy Parka outfit helps against freezing.



Fortress bosses
Hinox Brothers (Bomb Storage)
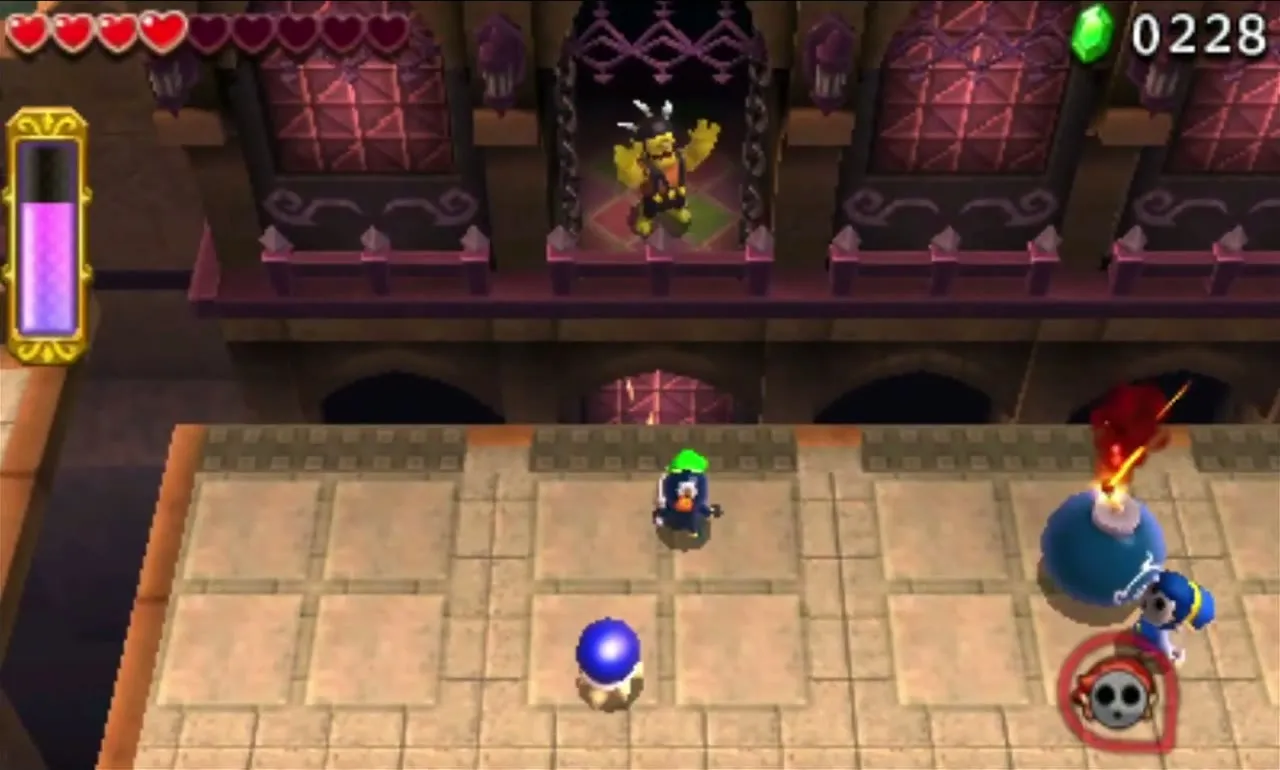
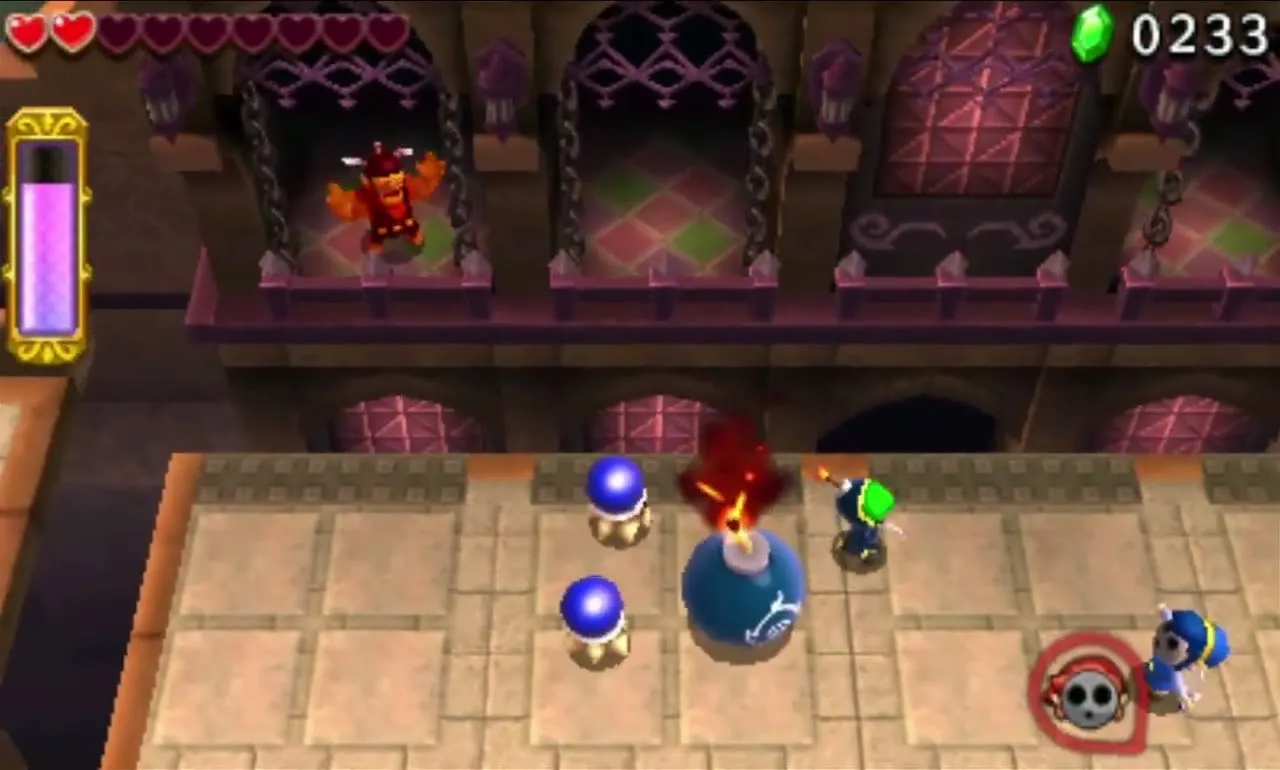
In Bomb Storage Hinox the Eldest and Hinox the Elder stand on balconies across a gap and lob Bombs. Blow each Bomb back at them with the Gust Jar. Then Lil’ Hinox, the third brother, hops between five balconies and throws Big Bombs that are too heavy to lift. Set a small Bomb on the floor and blast it into his balcony with the Gust Jar. As he speeds up, decoy doors open, and Hardhat Beetles shove you around, so keep an eye on the edges of the Fortress arena.

The Lady’s Pets
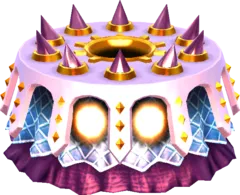
The Lady’s Lair ends with three mechanical pets, copies of Margoma, Moldorm and Arrghus, while Lady Maud watches from the stage. Fight them one after another with the same ideas as before. The Margoma pet charges into a wall; drop a Bomb into it (fetch Bombs from Bomb Flower ledges with the Boomerang or Gripshot) and Sword the crystal. The Moldorm pet spits fire, which the Gust Jar puts out, and gives no colour warning; stack a Totem of two, then three, to reach its tail. The Arrghus pet has two fiery and two icy eyes: stun them with your items (the icy eyes only react to the Gust Jar) or Gripshot them away, then survive the ink phase and attack the real eye from a Totem.



The Dunes bosses
Vulture Vizier
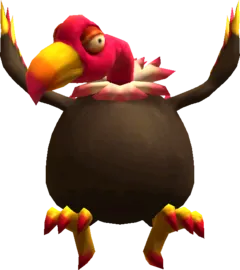
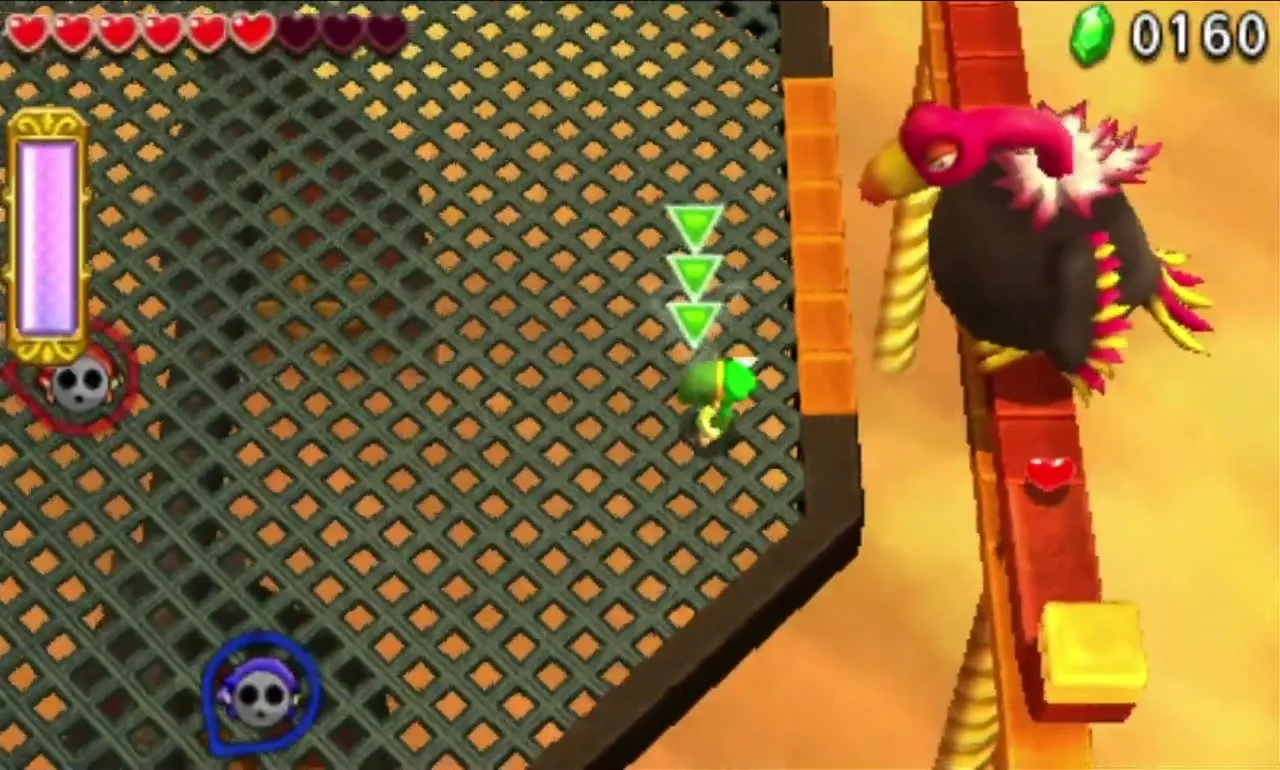
Vulture Vizier is the mini-boss of Stone Corridors, and it takes place on a tilting grate platform above sand. The bird perches on the rails around the edge. Shift your weight to tilt the platform towards it, stun it with the Gripshot, Boomerang or Gust Jar, then strike with the Sword. Later it drops stone statues that tilt the floor, and in its last phase it crashes in the middle of the arena and breathes flames.


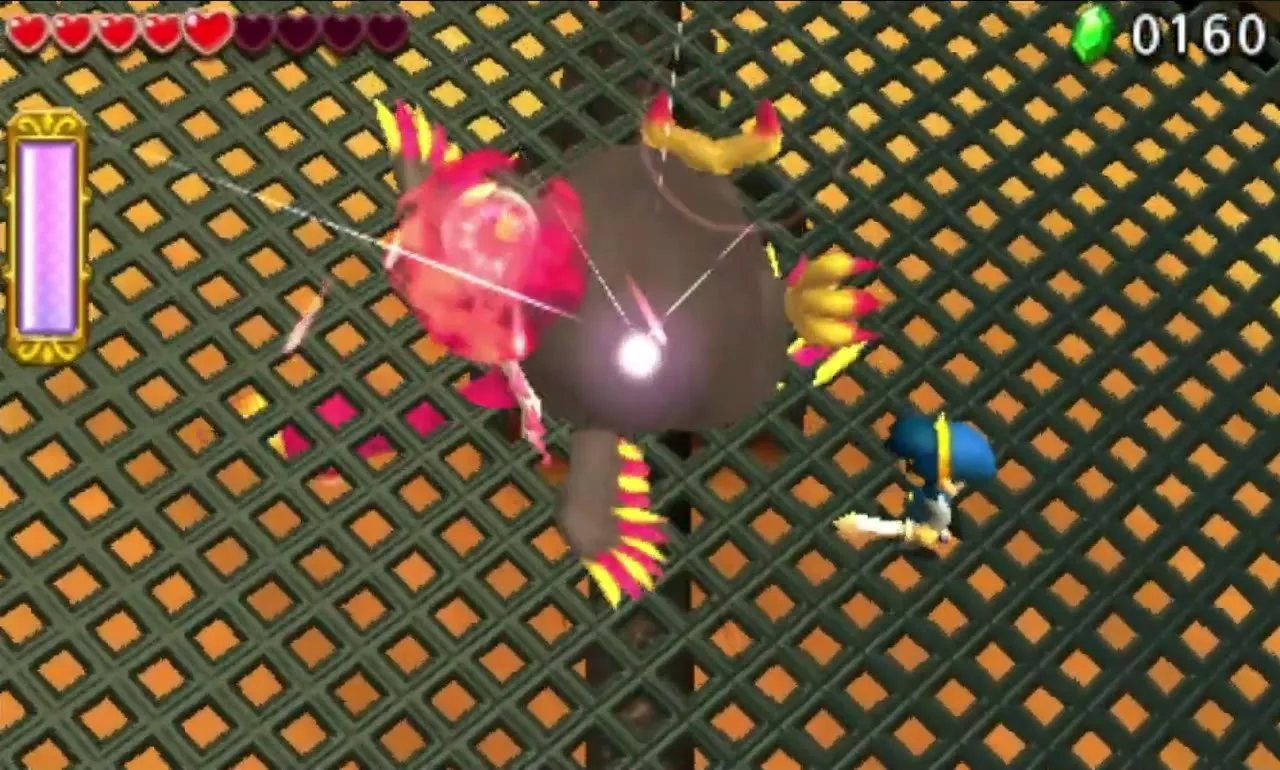
Stalchampion
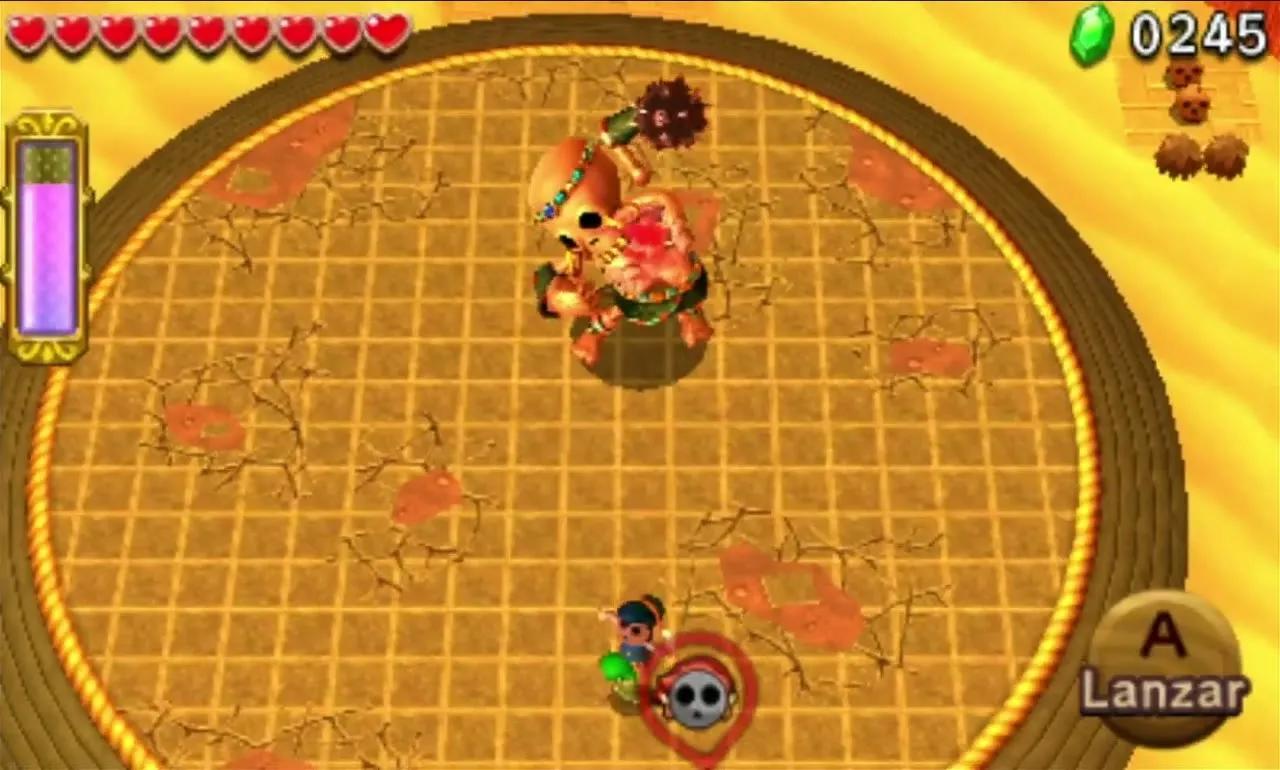
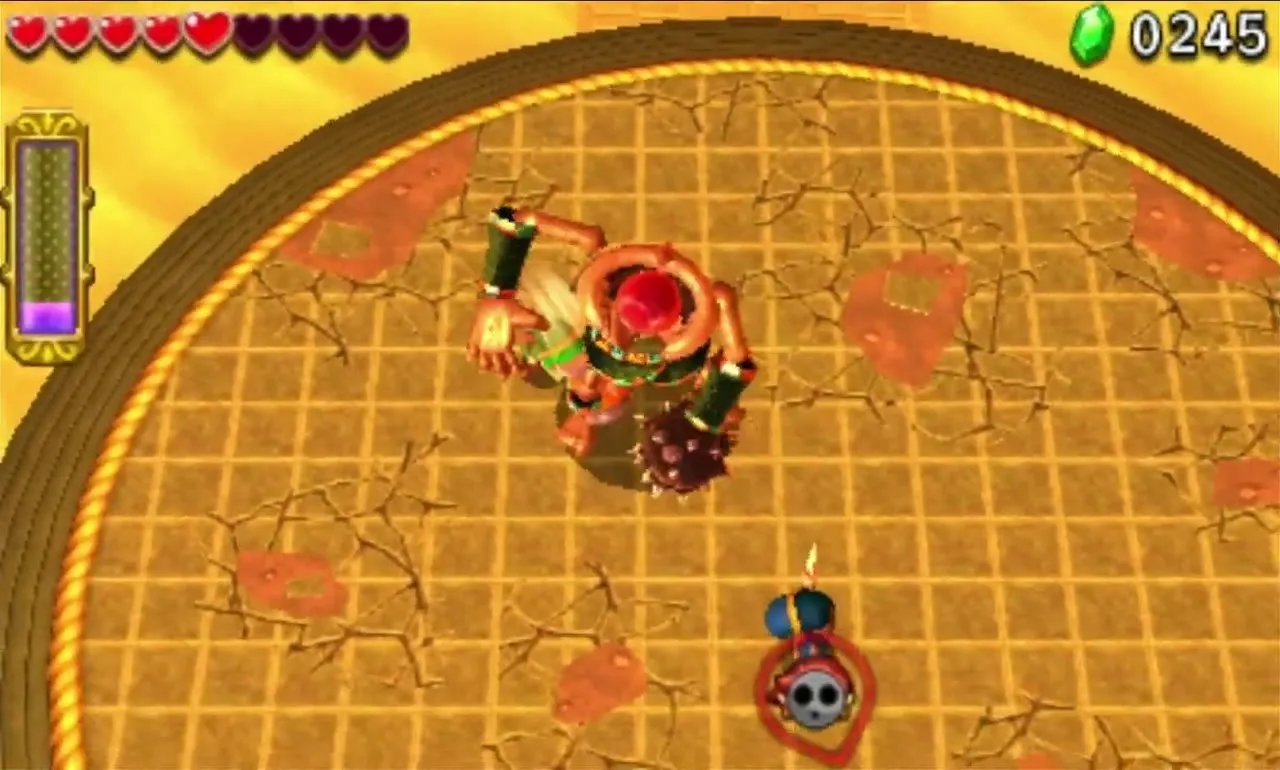
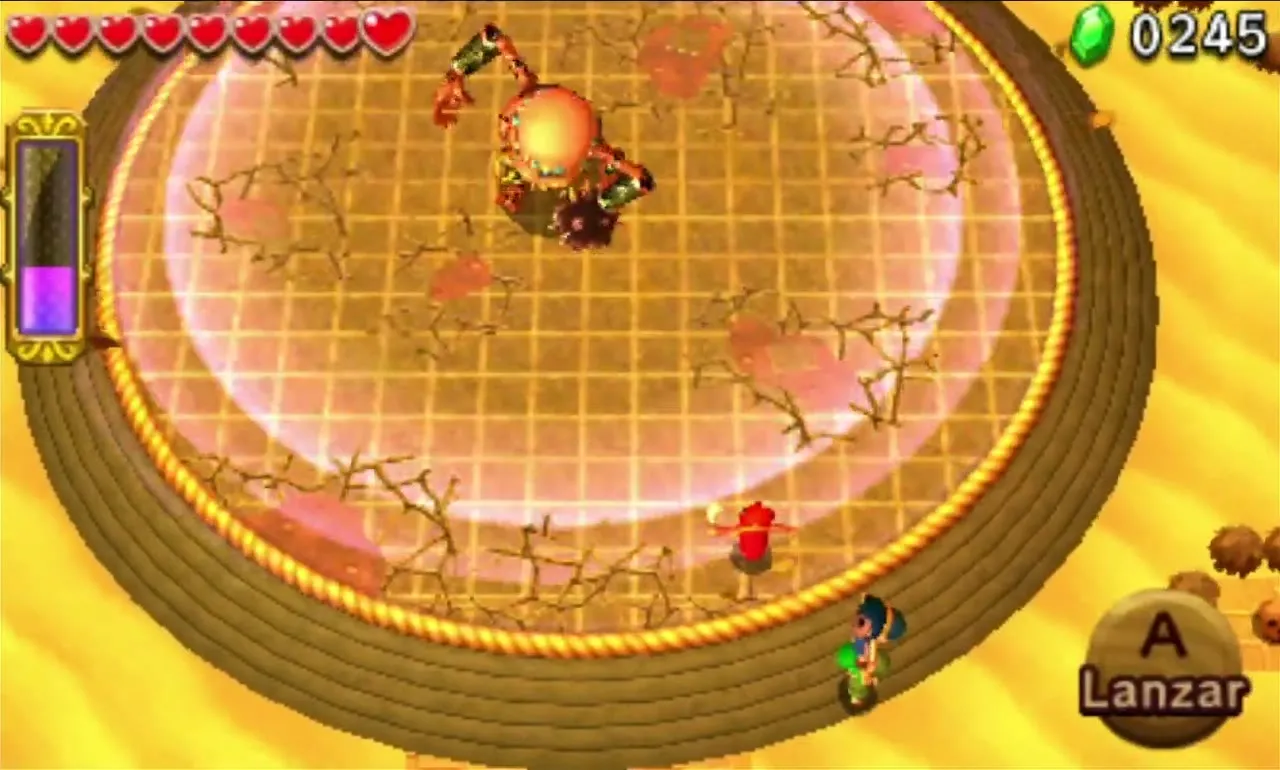
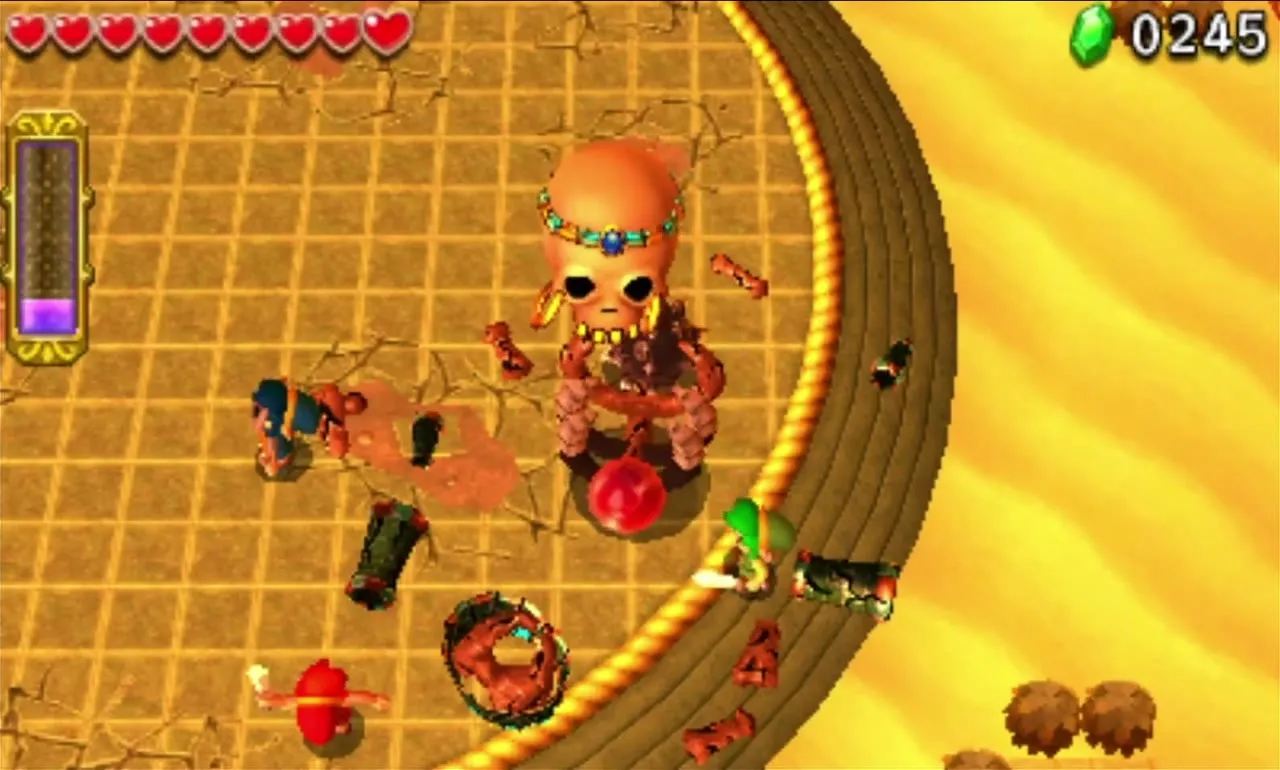
Stalchampion is the Desert Temple boss, a giant skeleton fought on sand. Hit its back with the Sword or the Boomerang to stun it, then hit again so it collapses and exposes the red core, which the Magic Hammer smashes. If the mace starts rolling after you, let one Link lure it away. Later it throws a rib like a boomerang and sends out shock waves. In the final phase it leaves its body behind as a floating skull that chases you; stun it with the Boomerang and strike while it is down. Winning here and in the Grim Temple opens the way to the Sky Realm.

The Ruins bosses
Grim Repoe
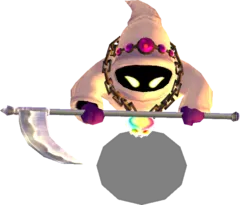
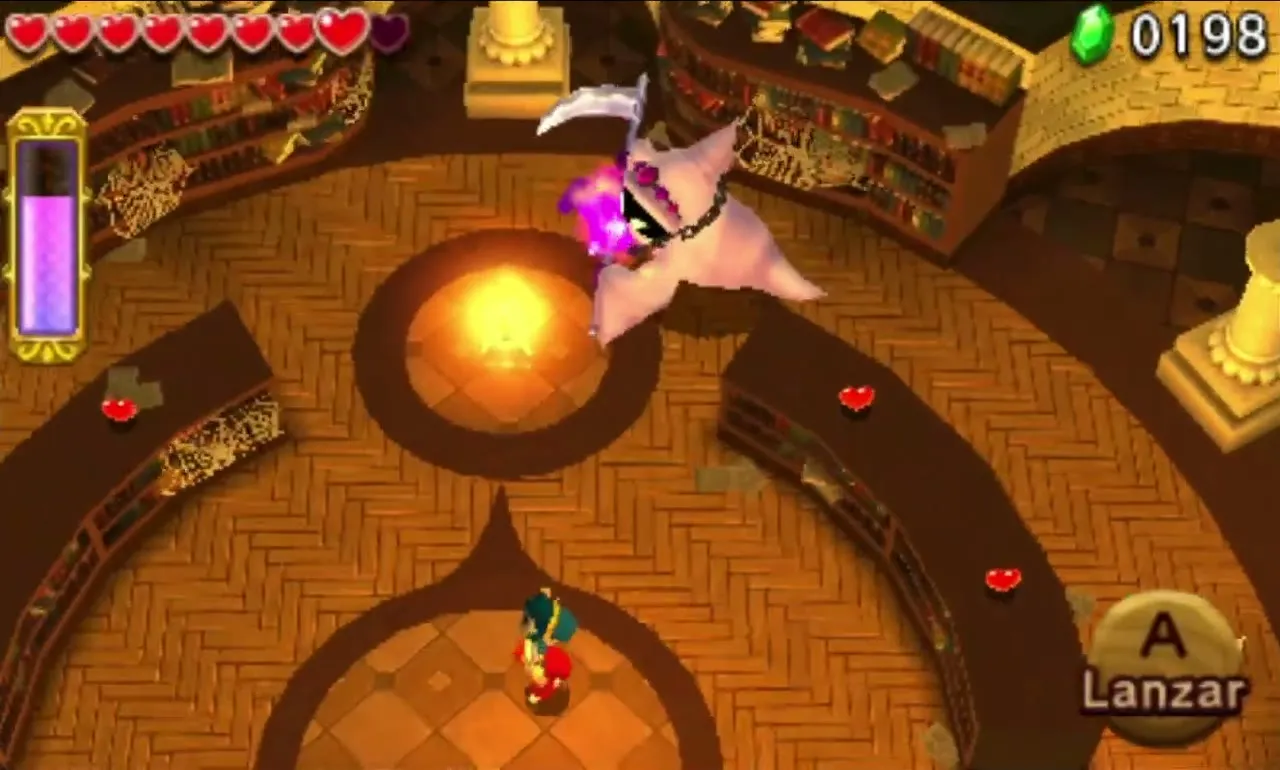
Grim Repoe, the mini-boss of Palace Noir, is a scythe-wielding ghost. First it summons three coloured Poes, red, green and blue, and each can only be hurt by the Link in the matching colour, so corner them one by one. It then snuffs the three Braziers. Relight them with the Fire Gloves and the Bow, stun Grim Repoe with the Gust Jar (use a Totem of two when it floats high) and hit the pendant it carries. The cycle repeats.


Prismantus
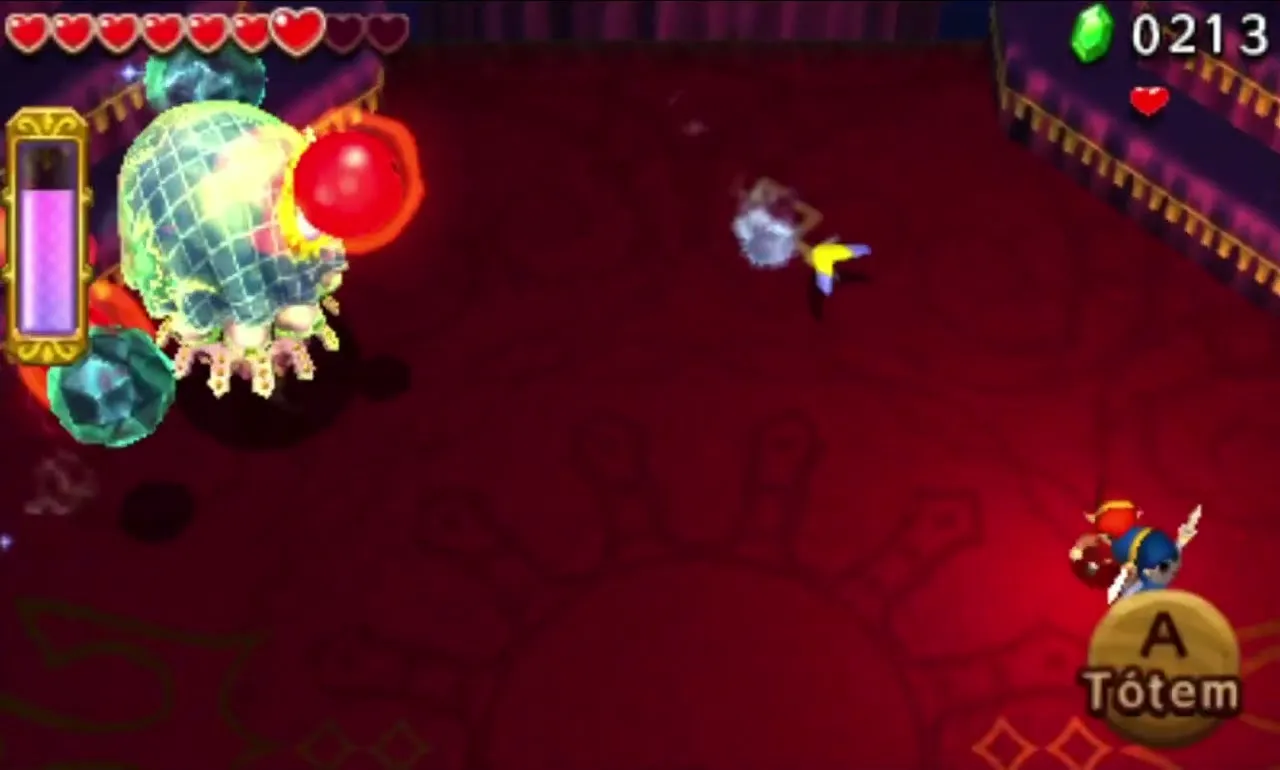
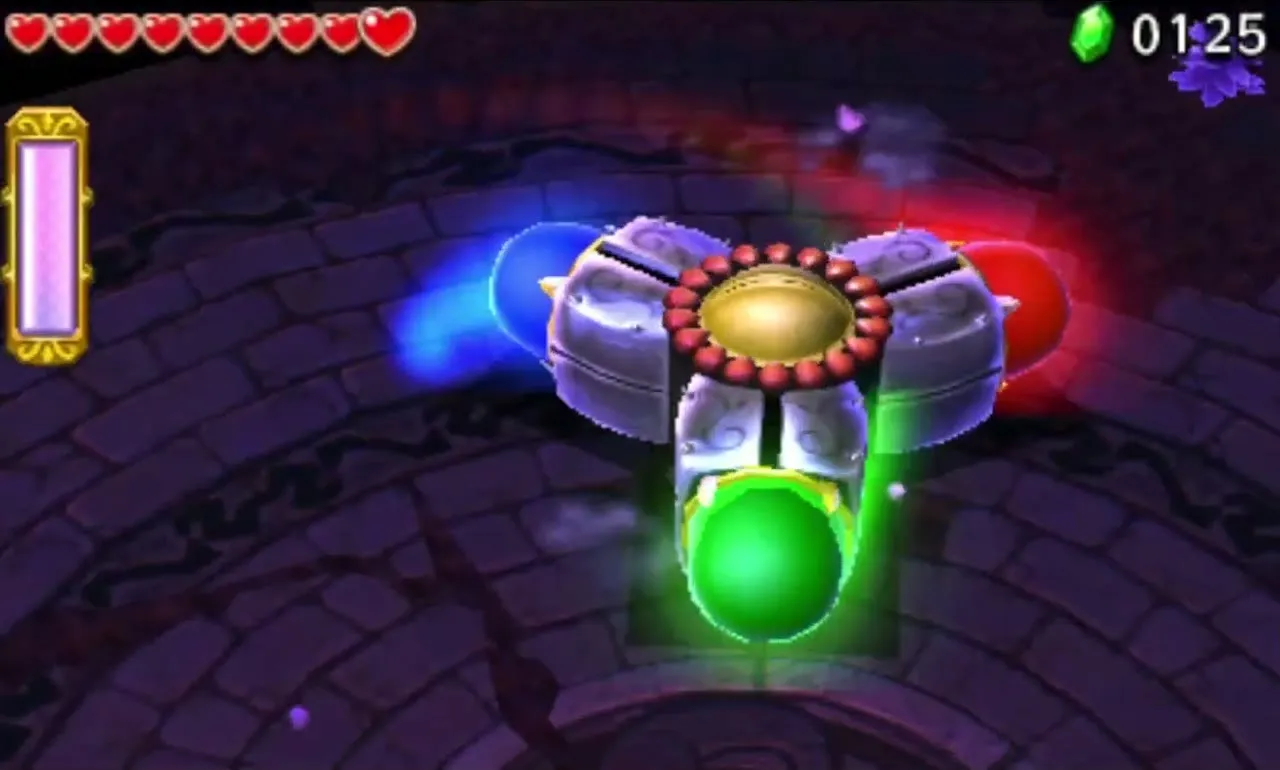
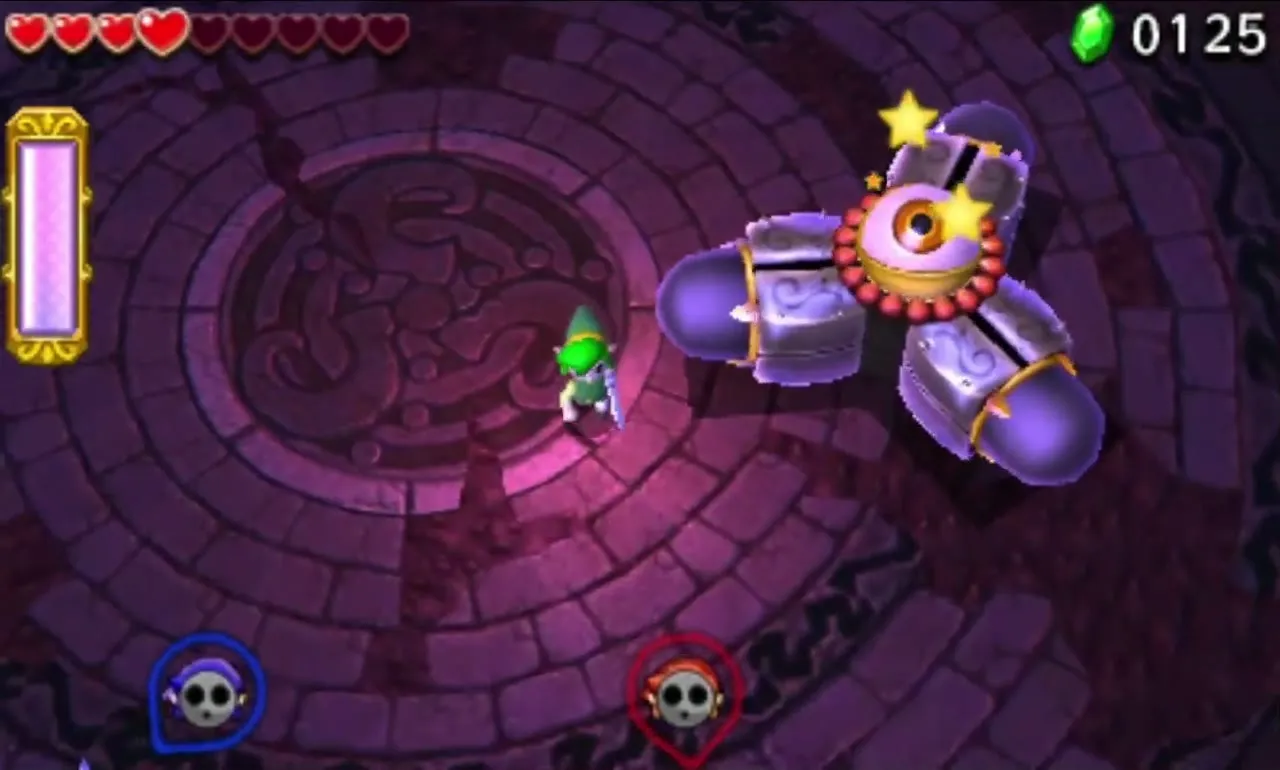
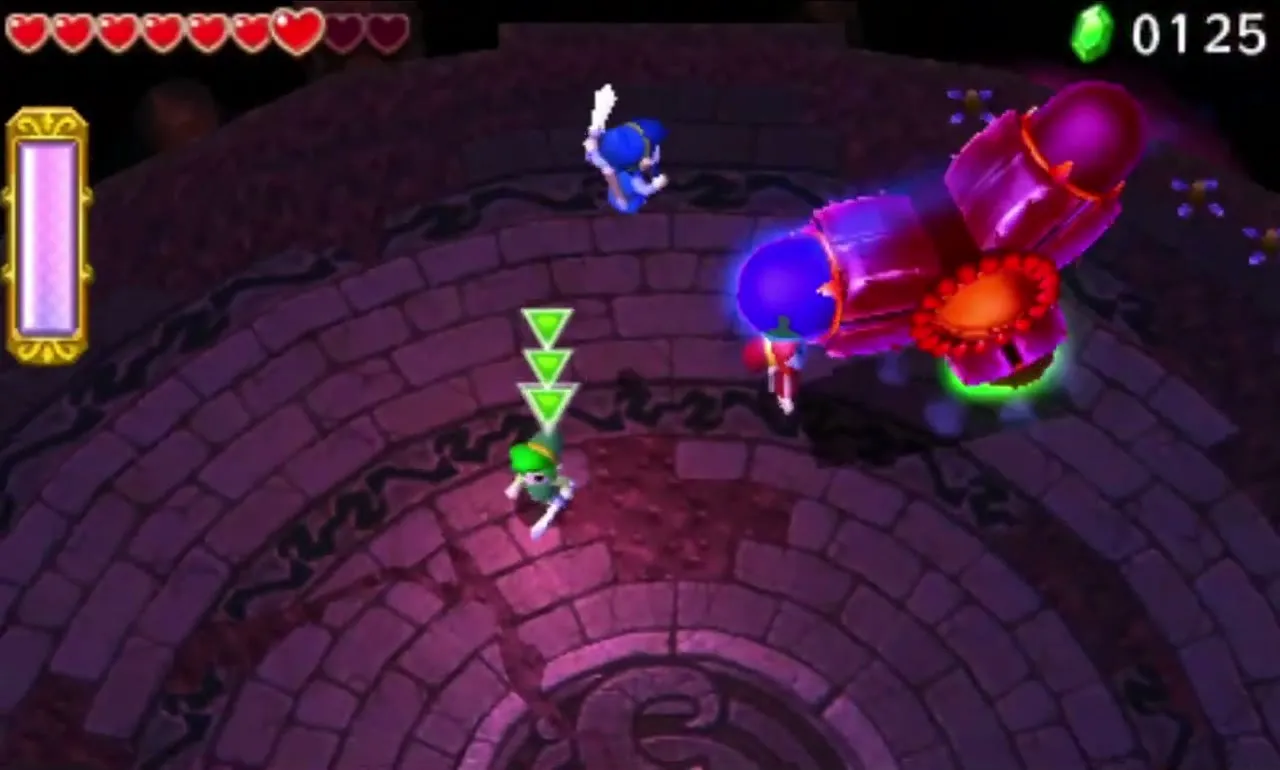
Prismantus, the Grim Temple boss, is a silver machine with three coloured bulbs on its arms and an eye in the middle. Each bulb can only be damaged by the Link of the same colour, about two hits apiece. Once all three are out, form a Totem of two and strike the eye. In the second phase it rolls across the floor, and in the third it fires a long beam; the bulbs are often out of reach, so form a Totem of three.

Sky Realm bosses
Gigaleon
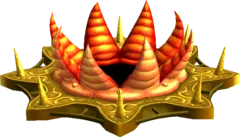
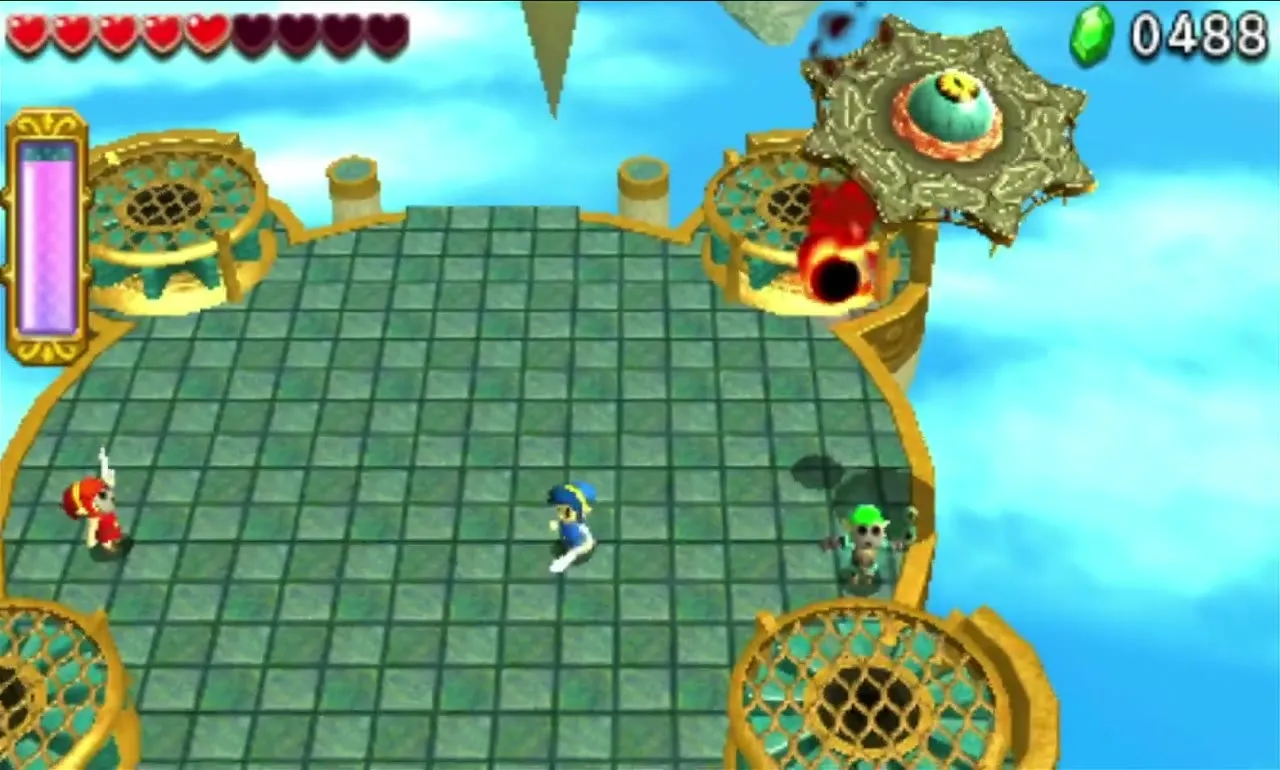
Gigaleon is the flying saucer that ends Deception Castle. Its eye is on the underside. As it flies over, use the Gust Jar on the wind turbines in the corners to stun it, then throw a Bomb Flower into its fan; the Gripshot fetches the Bomb Flowers from ledges on the sides. In the second phase it burns the ledges and flips over: throw a Link into the twister so he lands on the saucer and Swords the eye.
Lady Maud
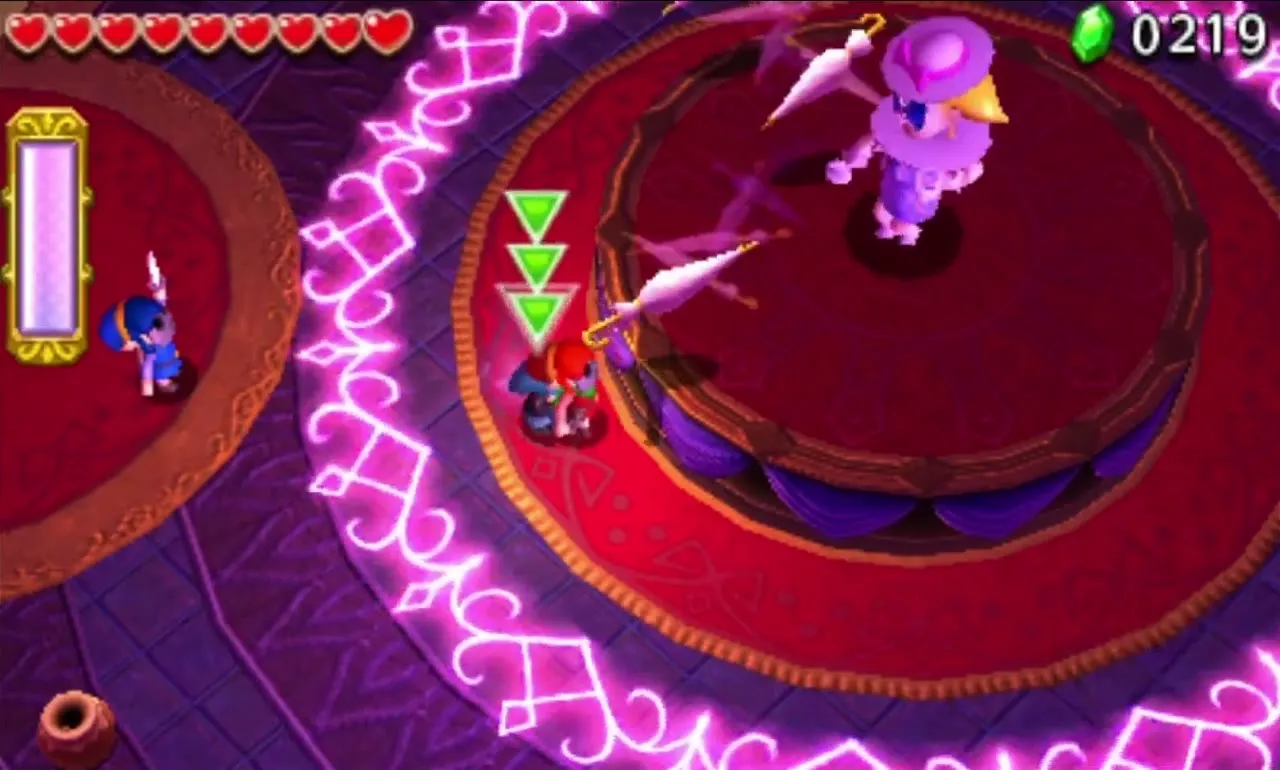
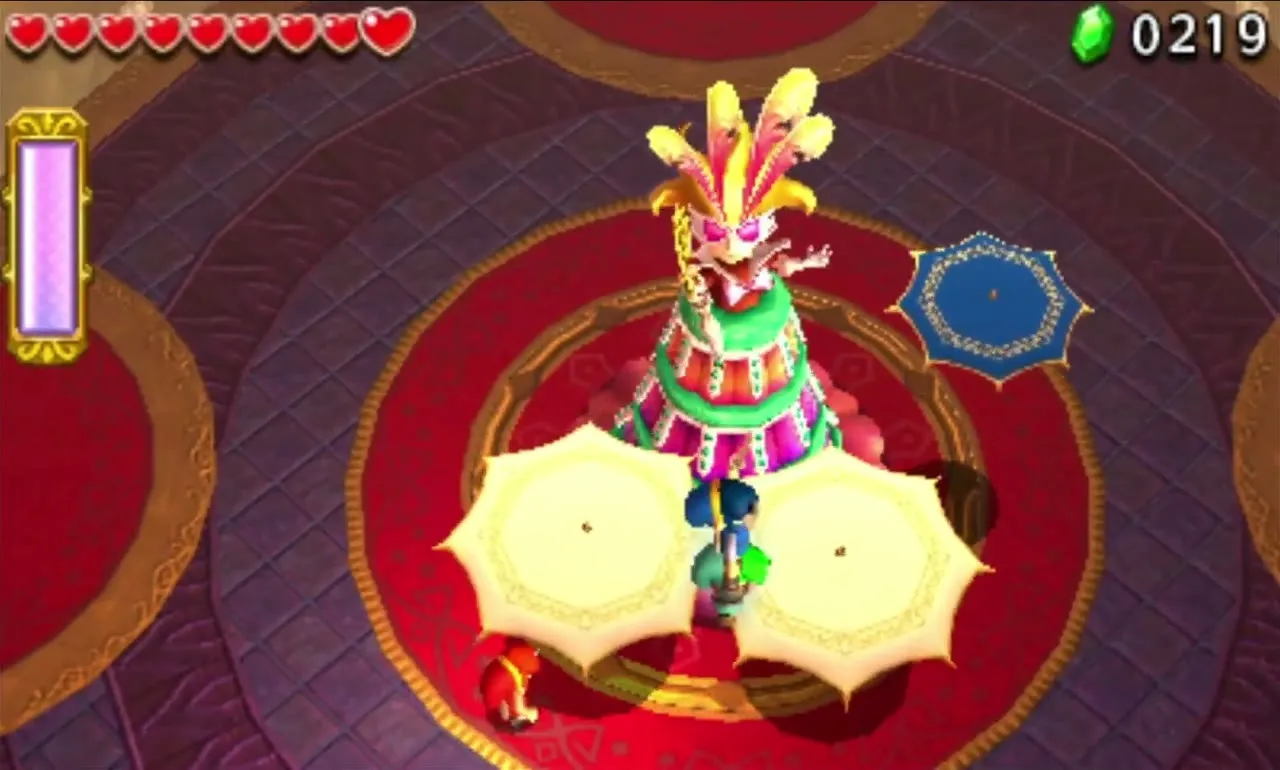
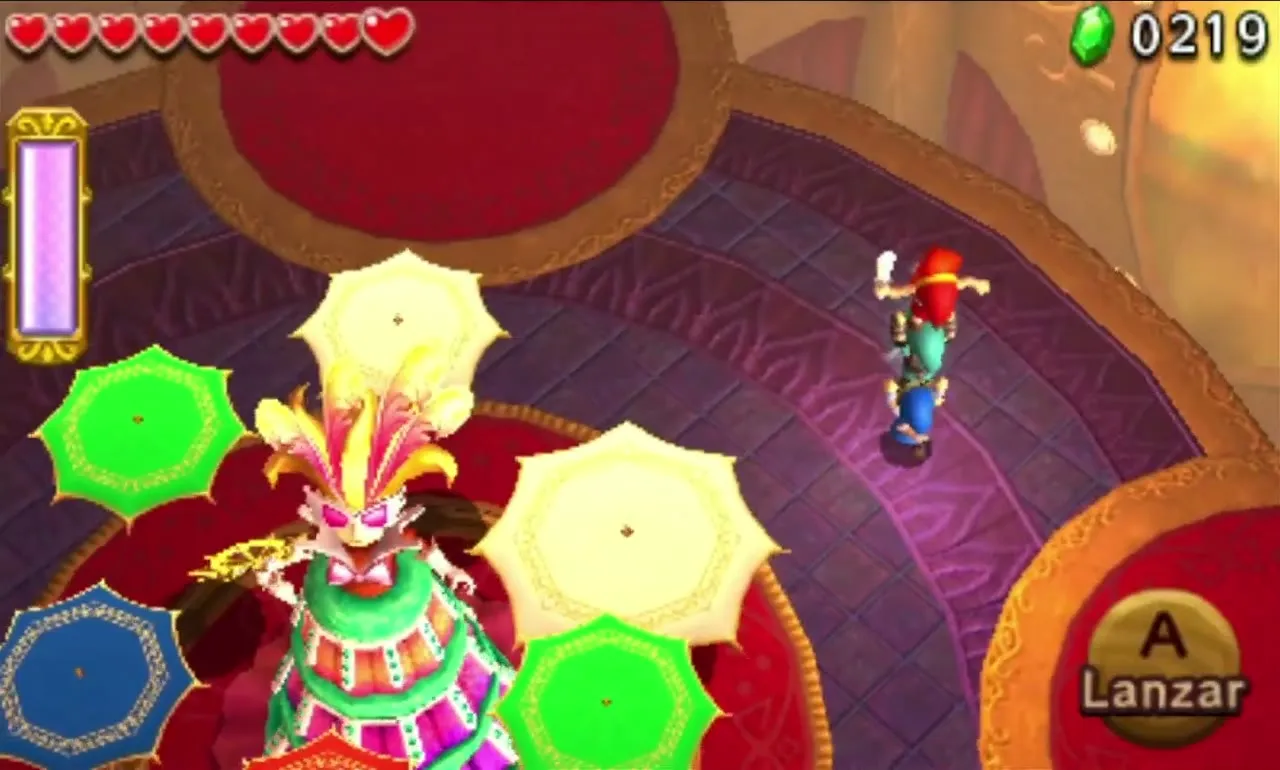
The final boss waits in the Sky Temple. She takes every item from the Links, so you fight with Swords, Totems and thrown teammates only. In phase one a barrier ring surrounds her, so throw a Link over it from a Totem, dodge her parasol throws and strike when she is distracted. In phase two she floats and fires coloured orbs that you volley back with the Sword; a missed orb shocks the party. In phase three she grows into a huge dress with coloured parasols that serve as platforms: stack a Totem of three and climb up on a parasol of your Link’s colour or a white one, and finish her with the Sword. On your first clear the chest also holds the Lady’s Parasol, the last of the Lady’s Materials.




Den of Trials boss
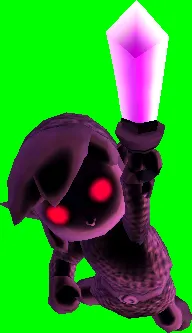
Shadow Links
The last floor of the Den of Trials is a fight against three Shadow Links with strengthened weapons, on floor B39 of the Baneful Zone. Clearing the Den for the first time earns the Fierce Deity Armor in the reward room on B40.


Tips for every fight
Save your Fairies for the boss: each one revives the whole party, and there are only three per Level. Stay near your teammates so you can form a Totem quickly, pick up the Hearts that boss rooms drop, and match the outfit to the fight, such as the Cozy Parka against Blizzagia or the Goron Garb in the Volcano (see Outfits). The Drablands Challenges replay these arenas with extra rules.

