






| Core attacks | Y regular, X strong, A special, B dodge, ZR unique action, ZL guard |
|---|---|
| Rune wheel | Hold R, then press Y, X, A or B |
| Rod wheel | Hold L, then press Y, X or A (L and B uses a healing item) |
| Boss weakness loop | Perfect Dodge, Flurry Rush, empty the Weak-Point Gauge, Weak-Point Smash |
| Difficulties | Easy, Normal, Hard, Very Hard; Apocalyptic with the Expansion Pass |
| Co-op | Local two-player split screen only |
Age of Calamity is a one-versus-thousands action game built around a short list of buttons: Y for regular attacks, X for strong attacks, A for a special attack, B to dodge and ZR for each warrior’s unique action. The skill that matters most is breaking a big enemy: dodge at the last instant, follow with a Flurry Rush, empty its Weak-Point Gauge with Sheikah Slate runes or rods, and finish with a Weak-Point Smash. This page covers the full button layout, every rune and rod, the special attack and healing, difficulty settings, two-player mode and practical tips.
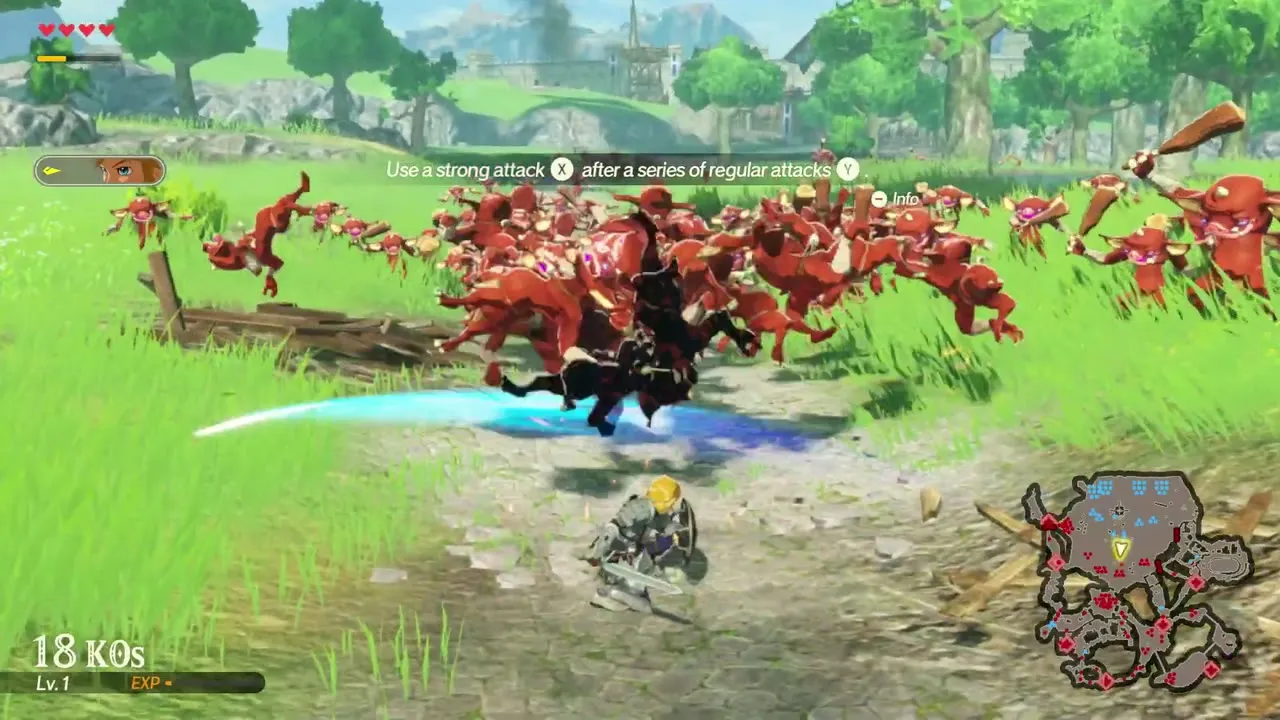
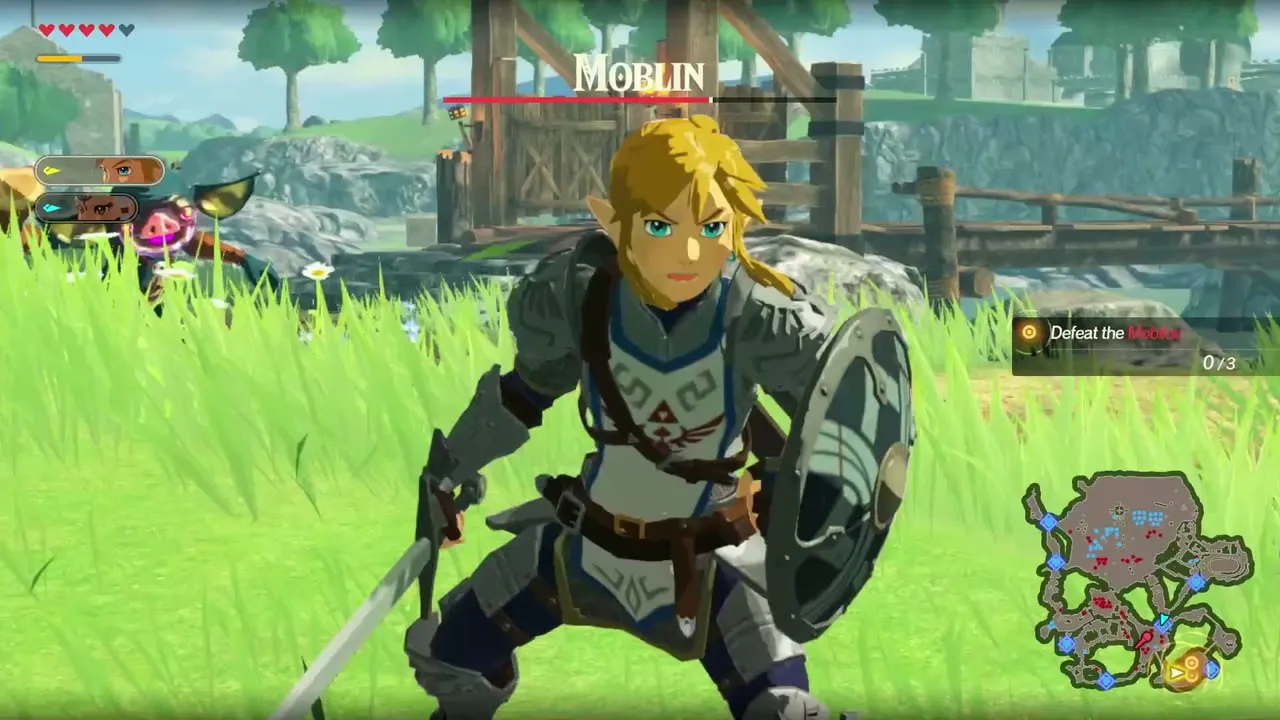
Table of Contents
Button controls
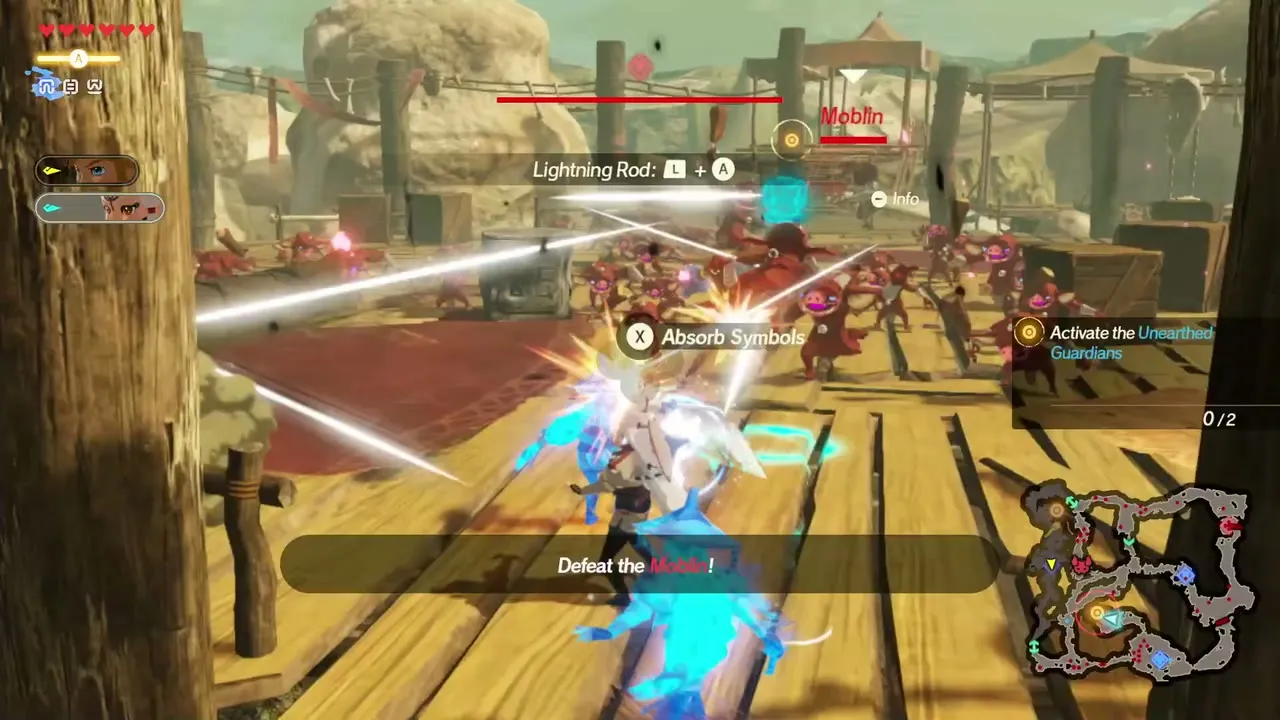
Every warrior shares the same basic layout, and only the unique action on ZR changes from character to character. Use the table as a quick reference, then read the sections below for the details of each move.

| Input | Action | Notes |
|---|---|---|
| Y | Regular attack | Repeat for the standard combo string; the number of hits depends on the warrior and weapon |
| X | Strong attack | Mix with Y for longer strings, for example Y, Y, X; also the prompt for a Weak-Point Smash |
| A | Special attack | Only when the Special-Attack Gauge is full and the A prompt shows |
| B | Dodge | A dodge made at the last moment is a Perfect Dodge |
| ZR | Unique action | Different for every warrior; see the characters page |
| ZL | Guard | Warriors with a shield can add Y at the right moment for a Perfect Guard |
| R (hold) + Y / X / A / B | Sheikah Slate runes | Remote Bombs, Stasis, Cryonis, Magnesis |
| L (hold) + Y / X / A | Elemental rods | Fire, Ice, Lightning |
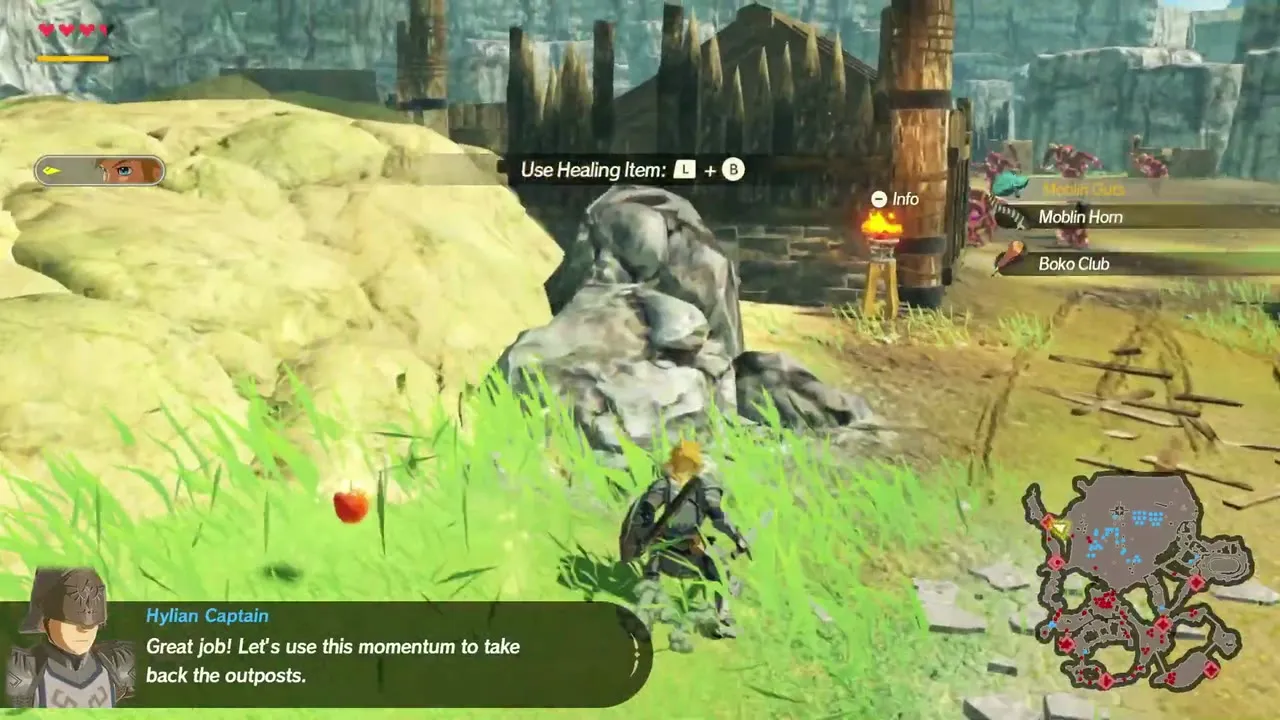
| L + B | Use a healing item | Eats an apple from your supply |
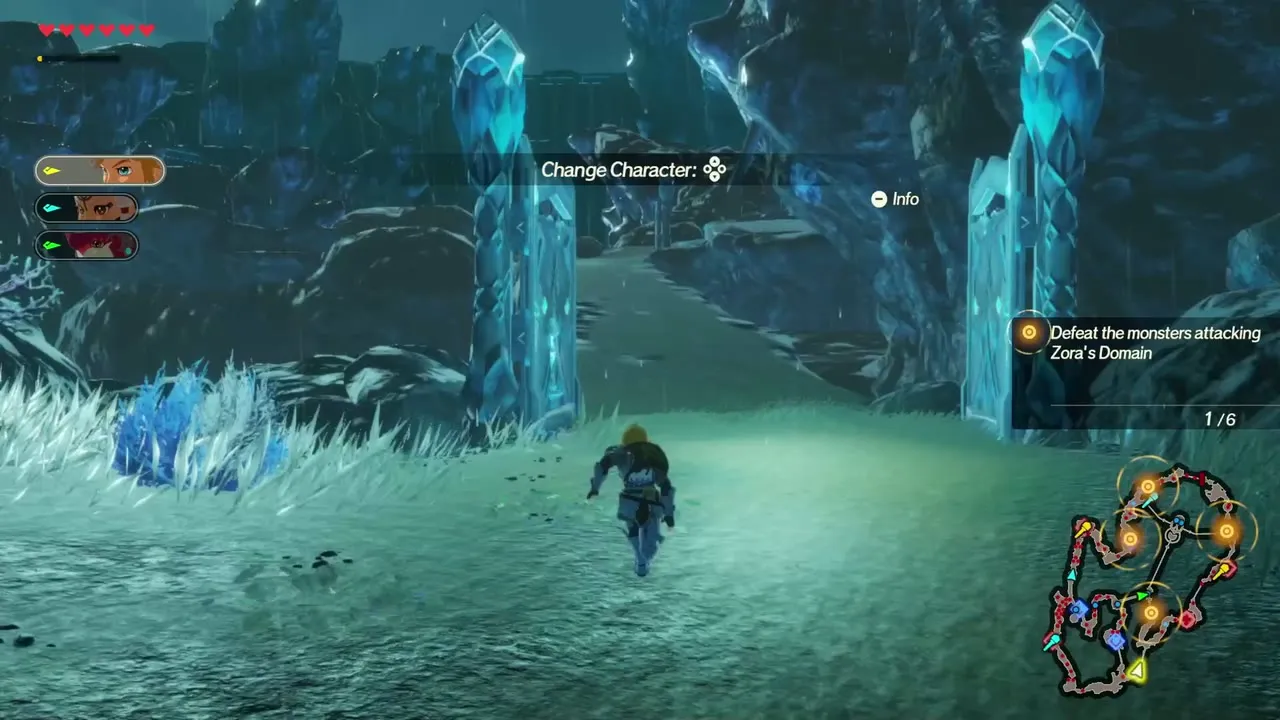
| D-pad up or down | Switch warrior | Swap between the warriors in your party |
| Right stick | Change lock-on target | Lock on with R; best against single large enemies |
The camera and vibration settings sit in the Options menu, which you reach with the plus button on the Hyrule map. You can invert the camera, change its speed and switch motion aiming on or off there. On the map, X opens Battle Info for the highlighted battle.

Attacks and combos
Regular and strong attacks
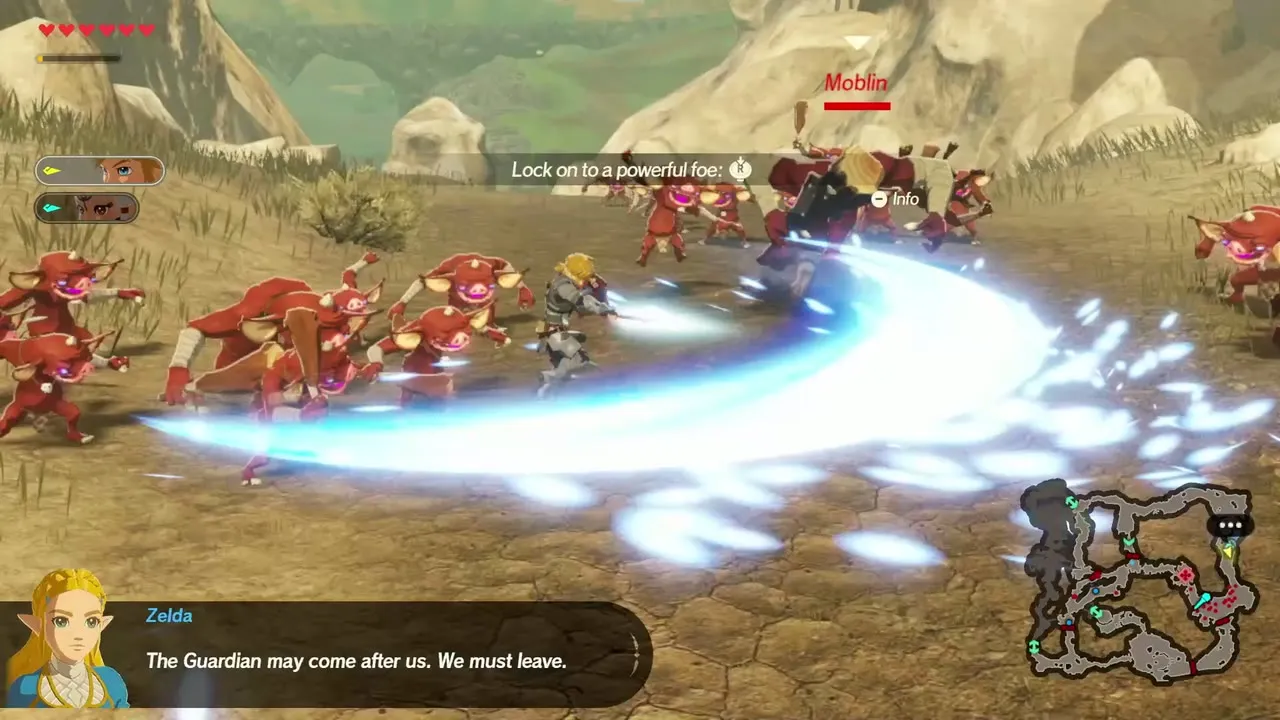
Y strings are fast and good against crowds; X strings hit harder and drive enemies back. Every warrior has a strong attack on X alone, and strings that mix Y and X, such as Y, X or Y, Y, X, change the shape and damage of the strong hit. Try each string once with a new warrior: some sweep a wide circle, some push in a line, and some suit a single target. Moves used in the air have their own strings, so jumping into a fight is worth a try as well.

Special attack
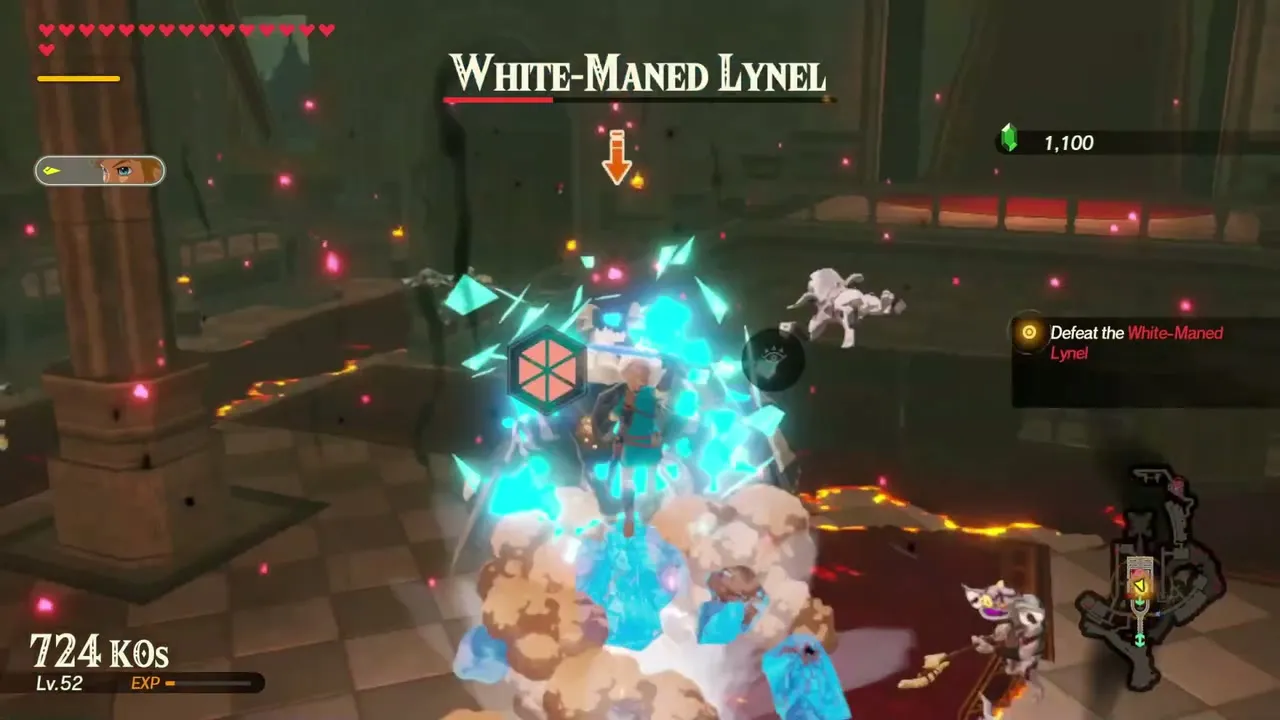
Defeating enemies fills the Special-Attack Gauge in the top-left corner. When it is full, press A to unleash the warrior’s special attack, which hits a wide area and always staggers Lynels. Spend it when a crowd surrounds you or to open a boss’s gauge. Each warrior has two quests that add an extra gauge segment apiece, so finishing them means more special attacks per battle; the quests page lists them.
Unique action on ZR
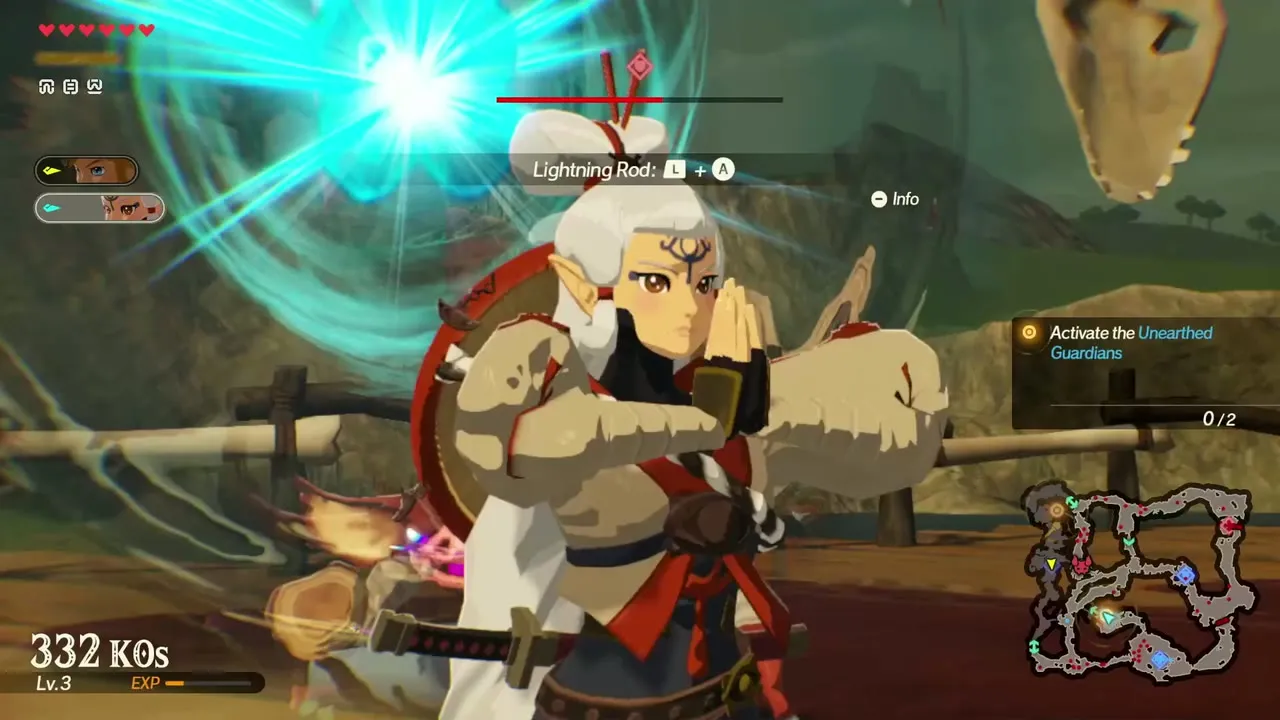
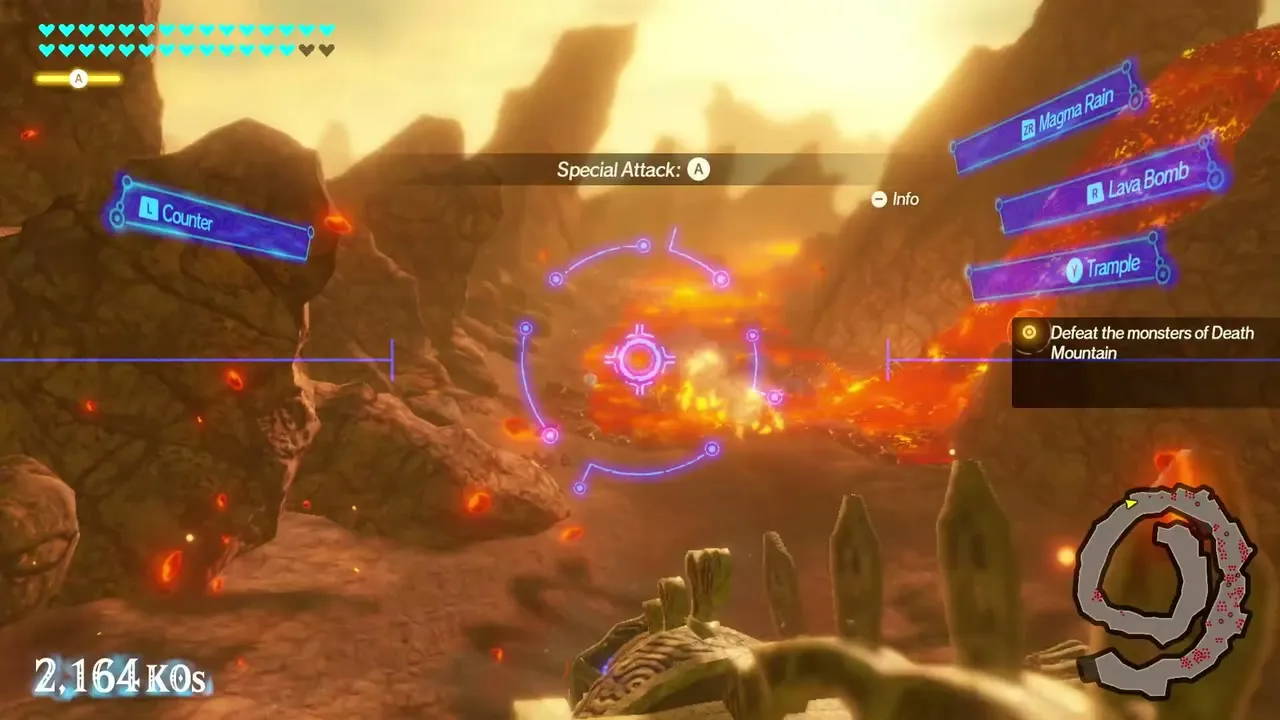
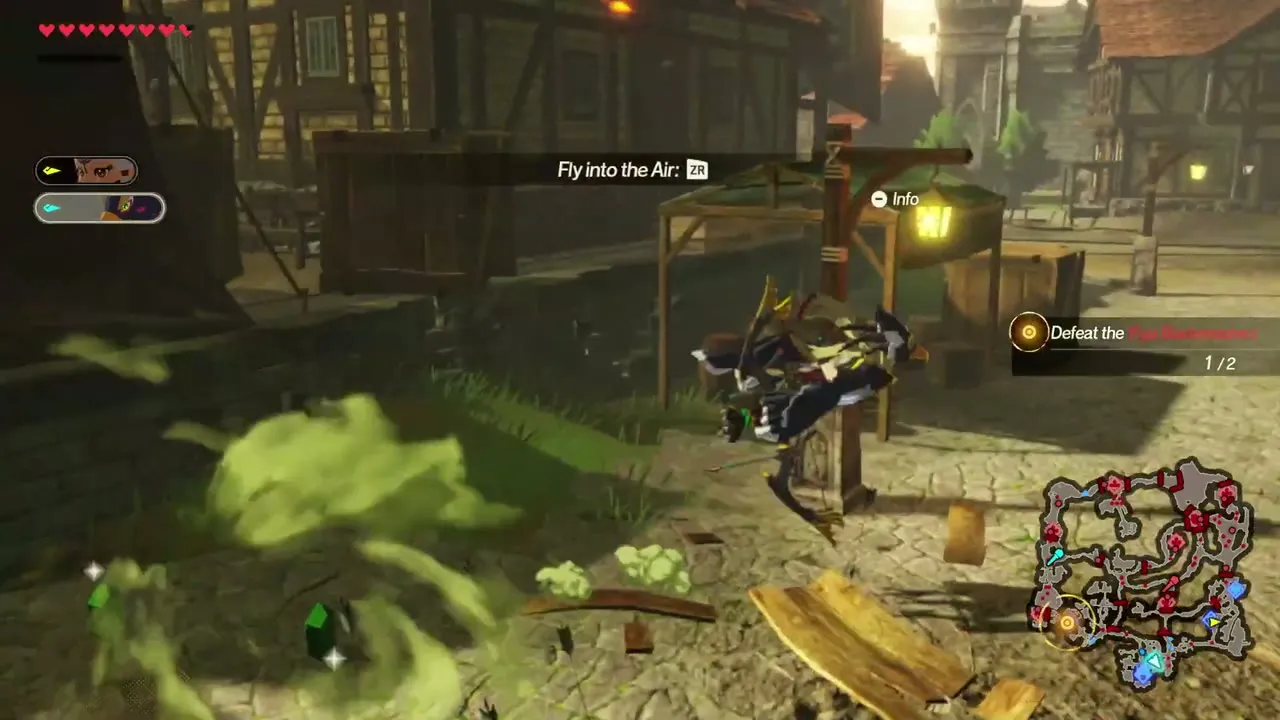
ZR is where every warrior’s personality lives. Link looses a flurry of arrows, Impa marks enemies and absorbs the symbols, Mipha leaps to her fountains, Daruk detonates magma, Revali takes flight, Urbosa spends stored lightning, and so on. Learn the ZR move before anything else, since it is usually the heart of a warrior’s best combos.

Dodging and guarding
Perfect Dodge and Flurry Rush
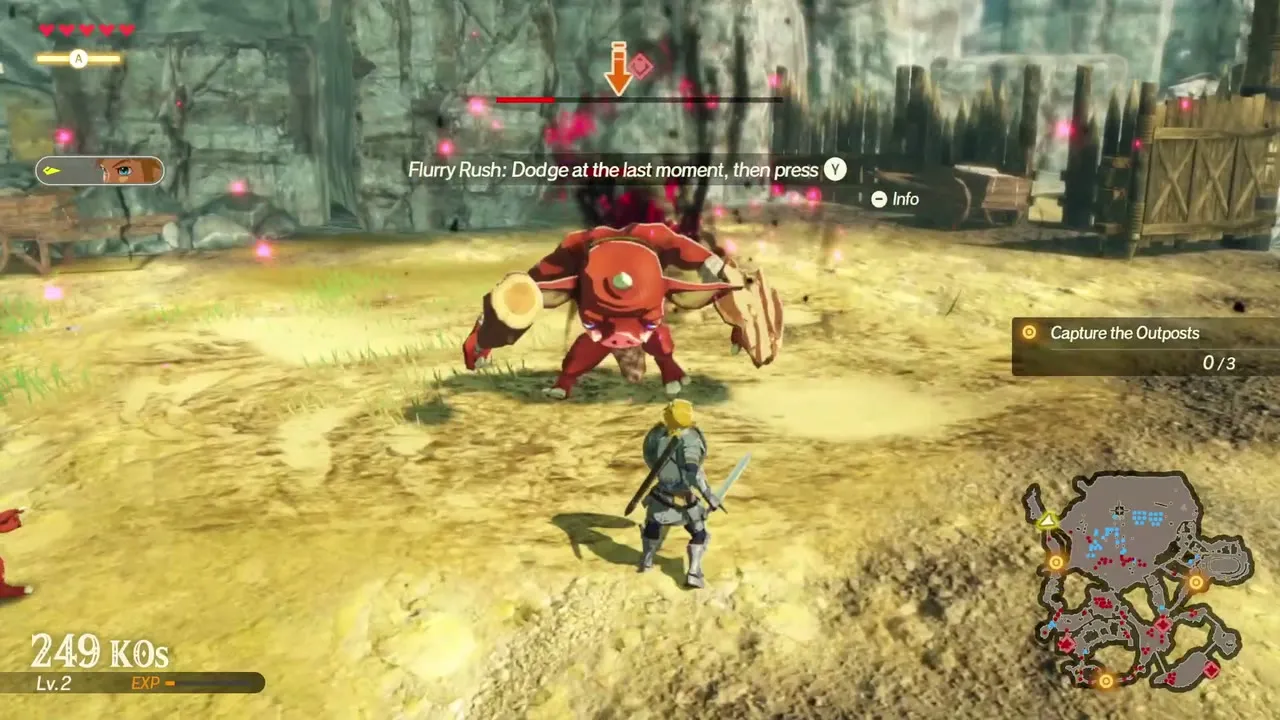
Press B just before an attack lands to make a Perfect Dodge. Time slows for a moment and a Y prompt appears. Press Y repeatedly to start a Flurry Rush, a rapid string of hits that does heavy damage to the target’s Weak-Point Gauge. Perfect Dodge works best on melee swings, spins and slams, and it is the most reliable way to damage a boss’s gauge without runes. Seals that raise Flurry Rush damage make it even stronger.

Perfect Guard
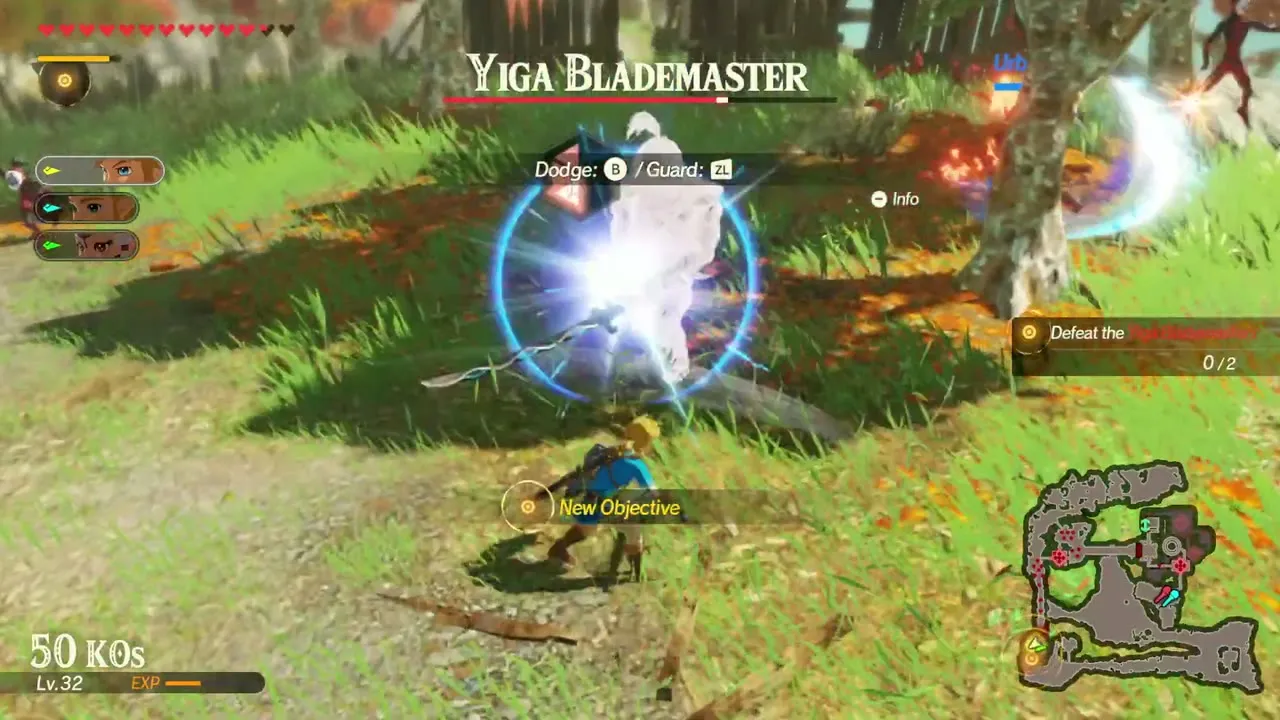
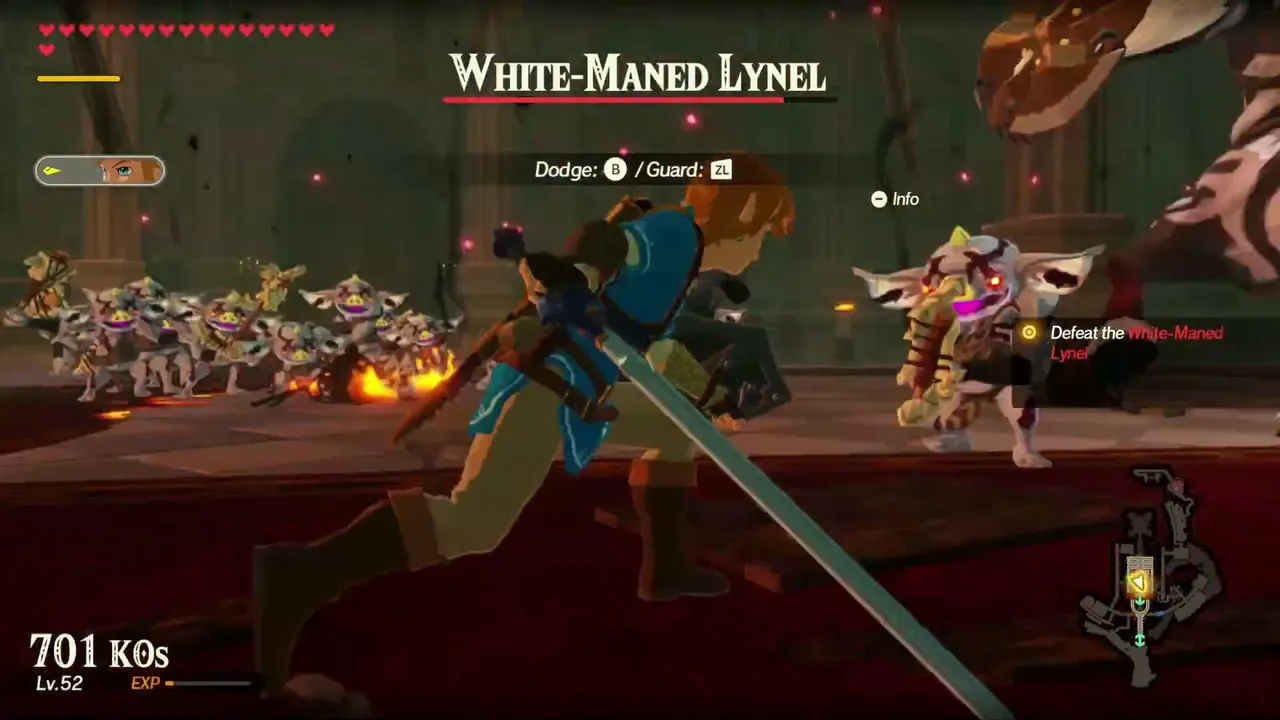
Warriors who carry a shield, such as Link and Urbosa, can hold ZL and press Y just before a hit lands to make a Perfect Guard. It deflects the attack and, against a large enemy, can open the gauge. Some warriors, Impa among them, cannot parry, so dodge instead.
Weak-Point Gauge and Weak-Point Smash
Weak-Point Gauge
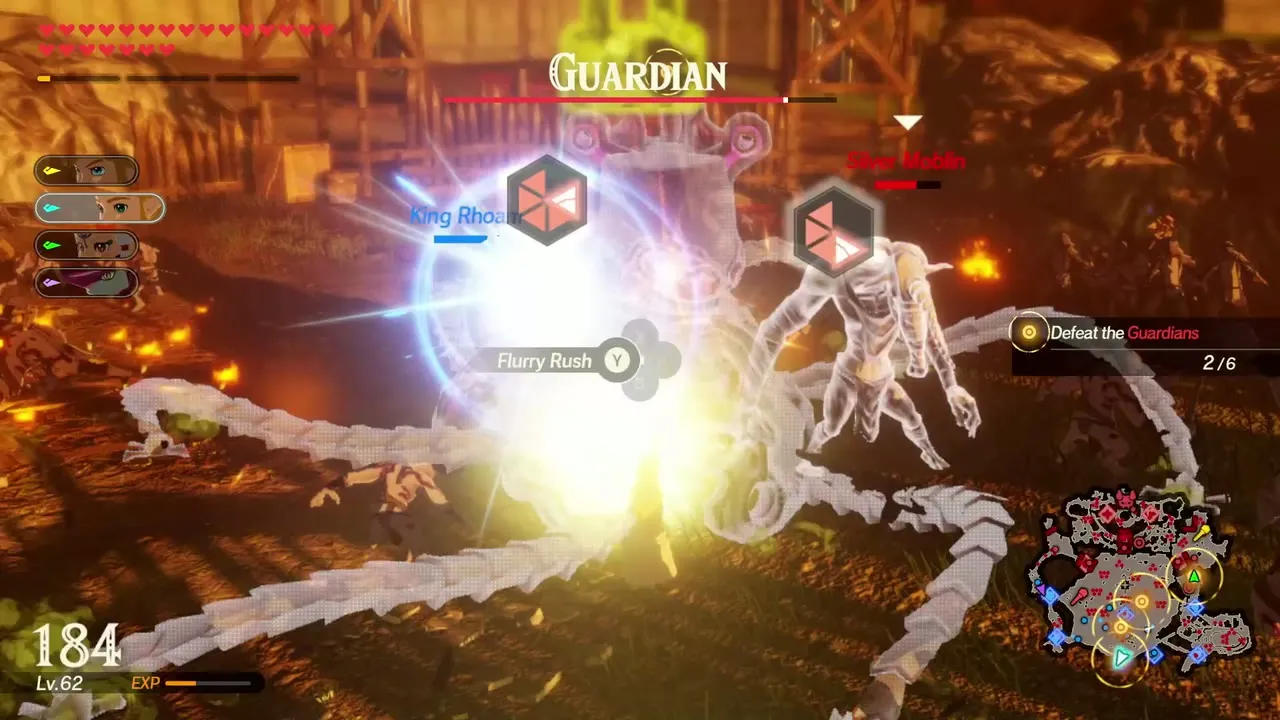
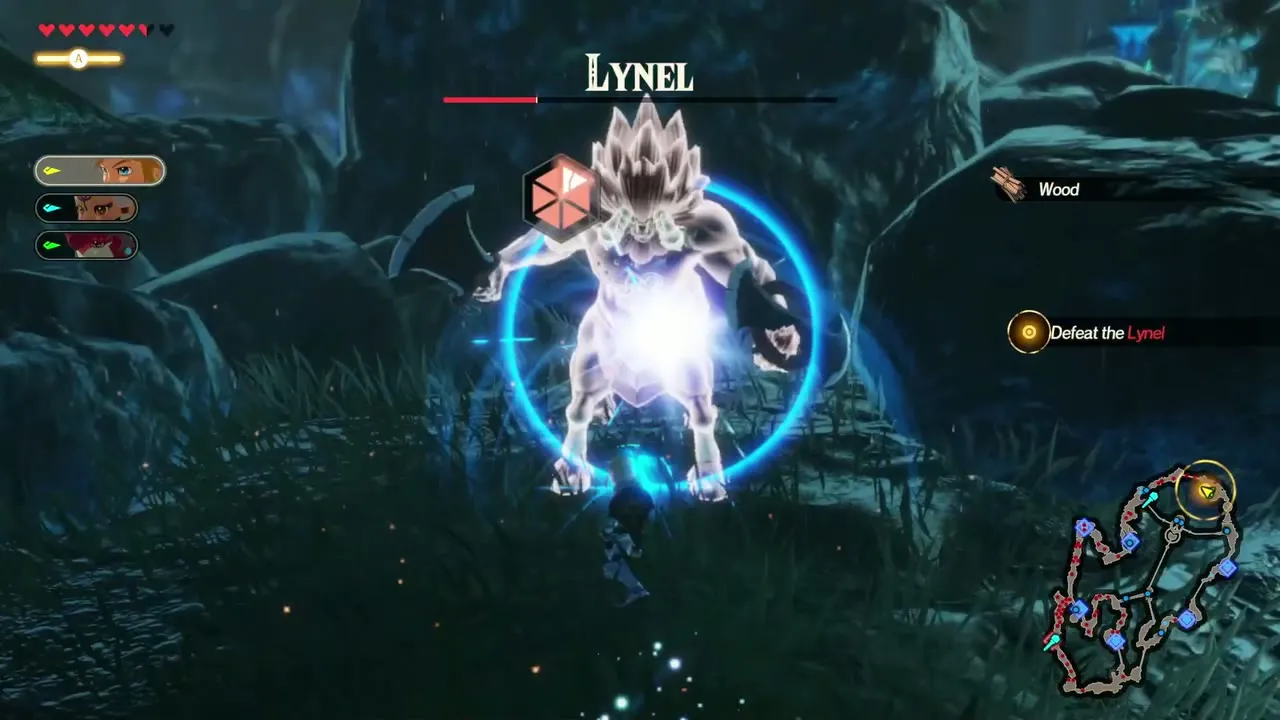
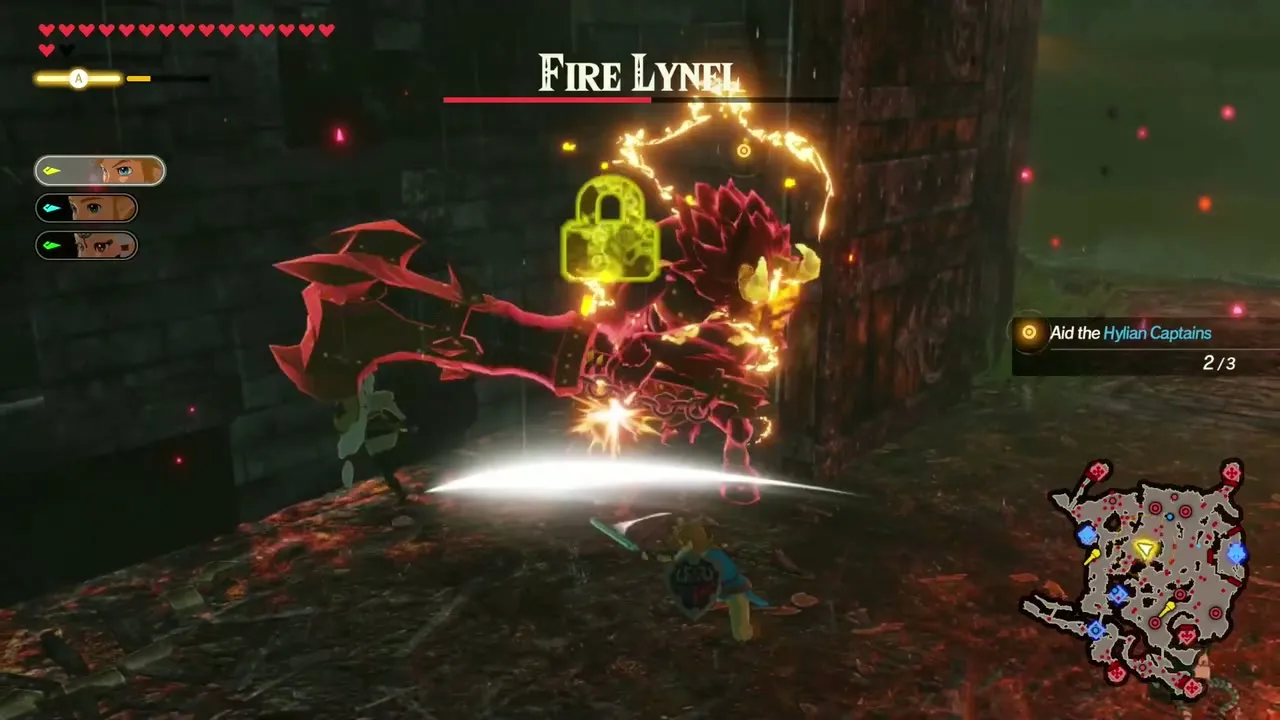
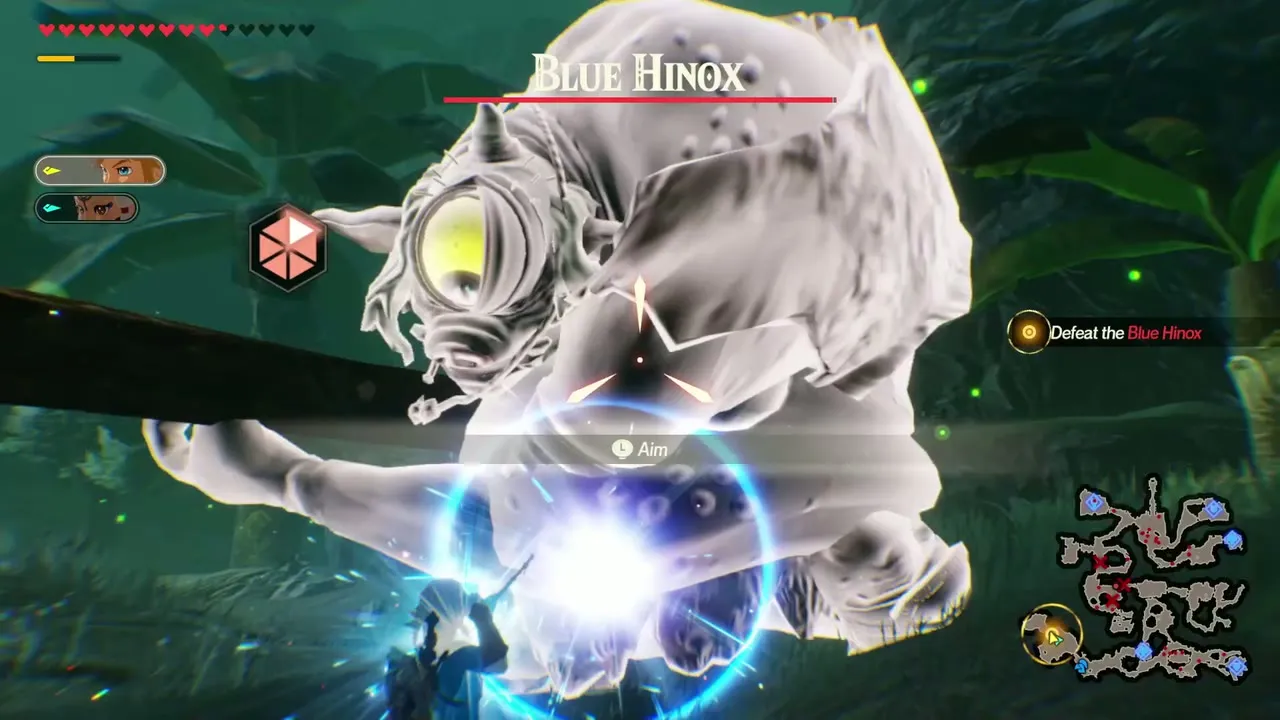
Large enemies and bosses show a Weak-Point Gauge once they leave themselves open, usually after a missed attack or a counter. The gauge drops when you land a Flurry Rush, a Perfect Guard, a rune counter, an elemental rod hit or a special attack. Higher difficulties make the gauge longer, so you need more damage to empty it.
Weak-Point Smash
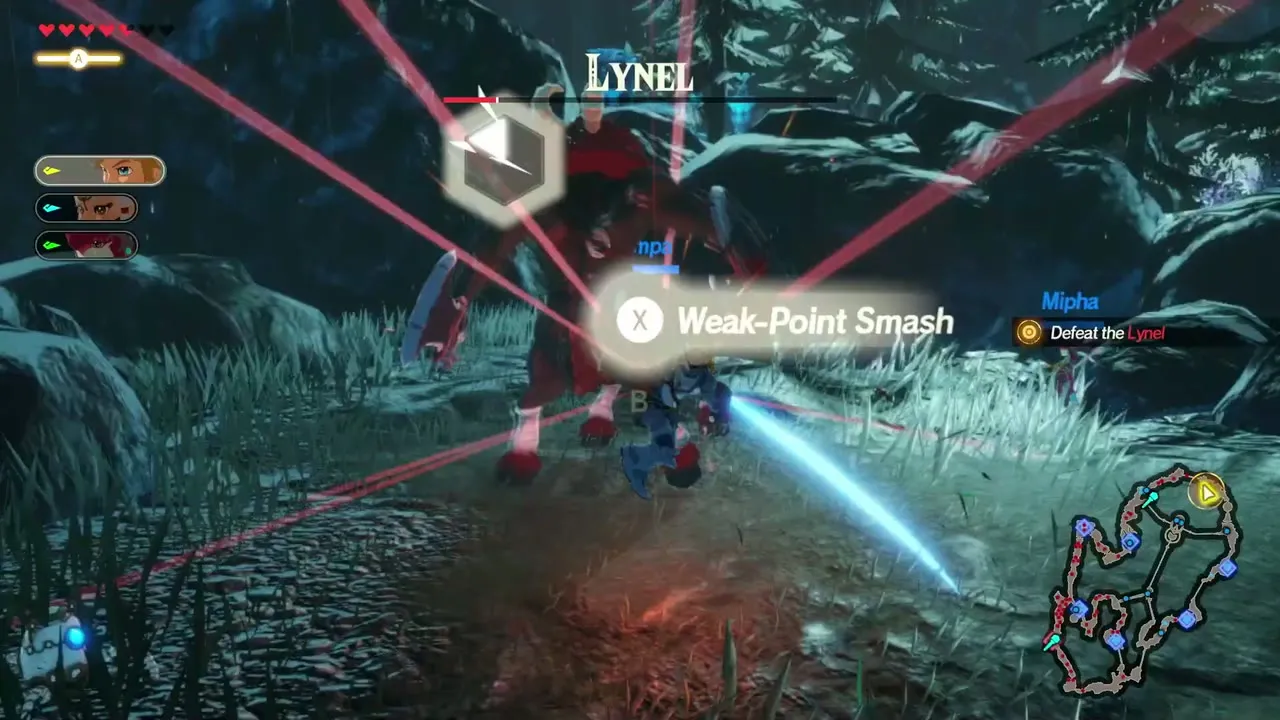
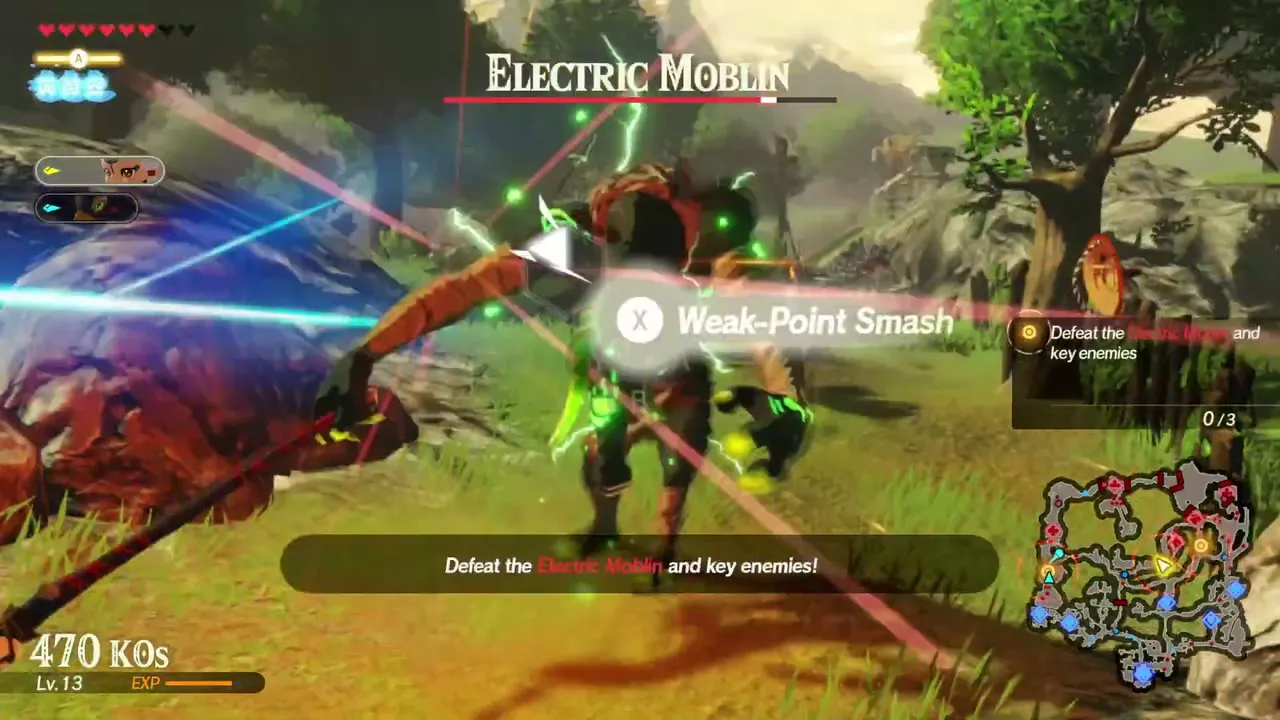
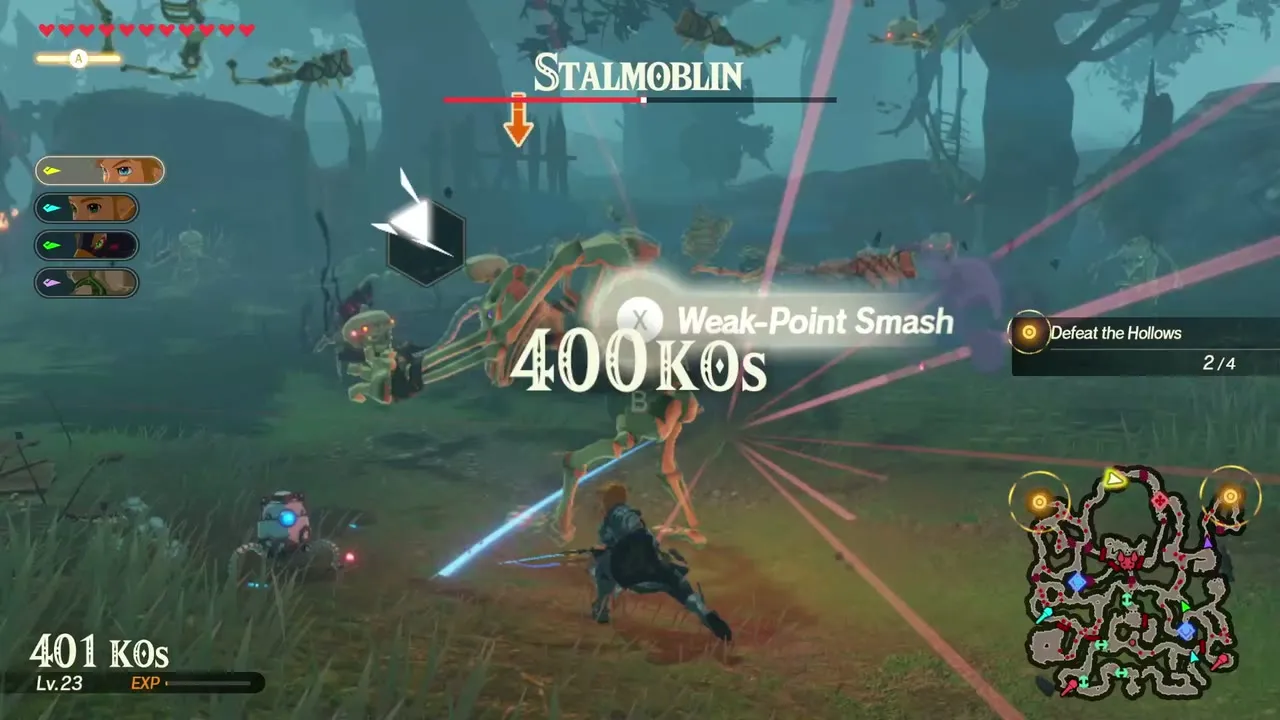
Once the gauge is completely empty, run up to the enemy and press X when the prompt appears. The Weak-Point Smash deals a huge amount of damage and also hits other nearby enemies whose gauges are empty. It does not trigger by itself in this game, so you must press X yourself.
Sheikah Slate runes
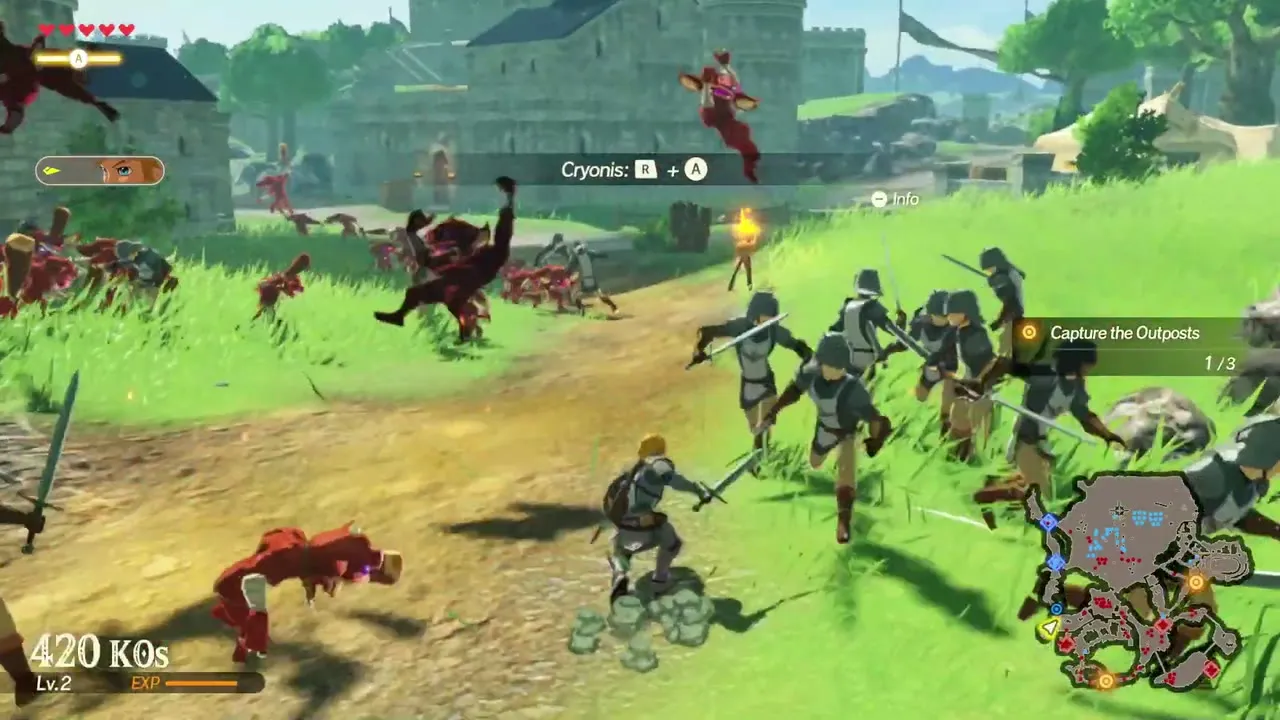
Hold R to open the rune wheel and press a face button to use a rune. All four runes share one cooldown, and it applies to every warrior at once, so choose carefully. A red circle or rune icon over an enemy tells you which rune can interrupt its attack. Each rune has two upgrade quests, listed below, and their reward is a shorter wait between uses.

| Rune | Input | Best used for | Upgrade quests |
|---|---|---|---|
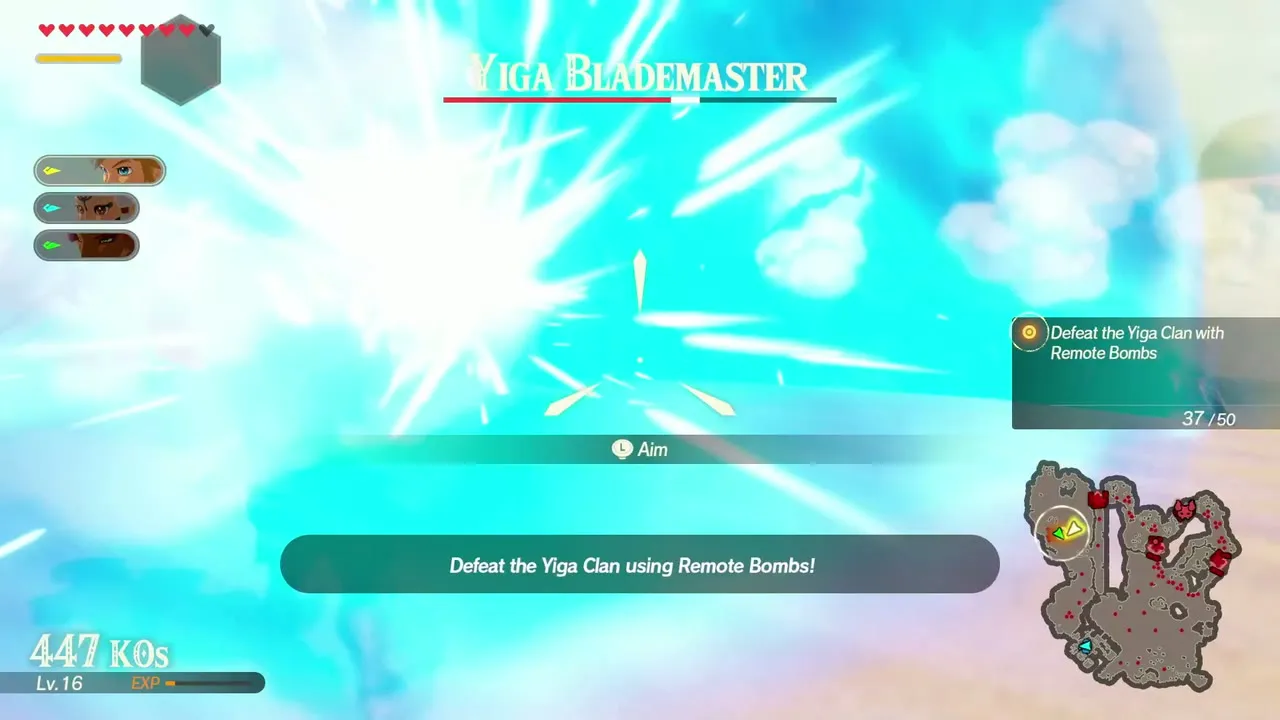
| Remote Bombs | R + Y | Breaking shields, stopping Wizzrobe and Talus attacks, destroying boulders and Monster Strongholds, countering fire breath | Explosive Endeavors; Strange and Unusual Monsters |
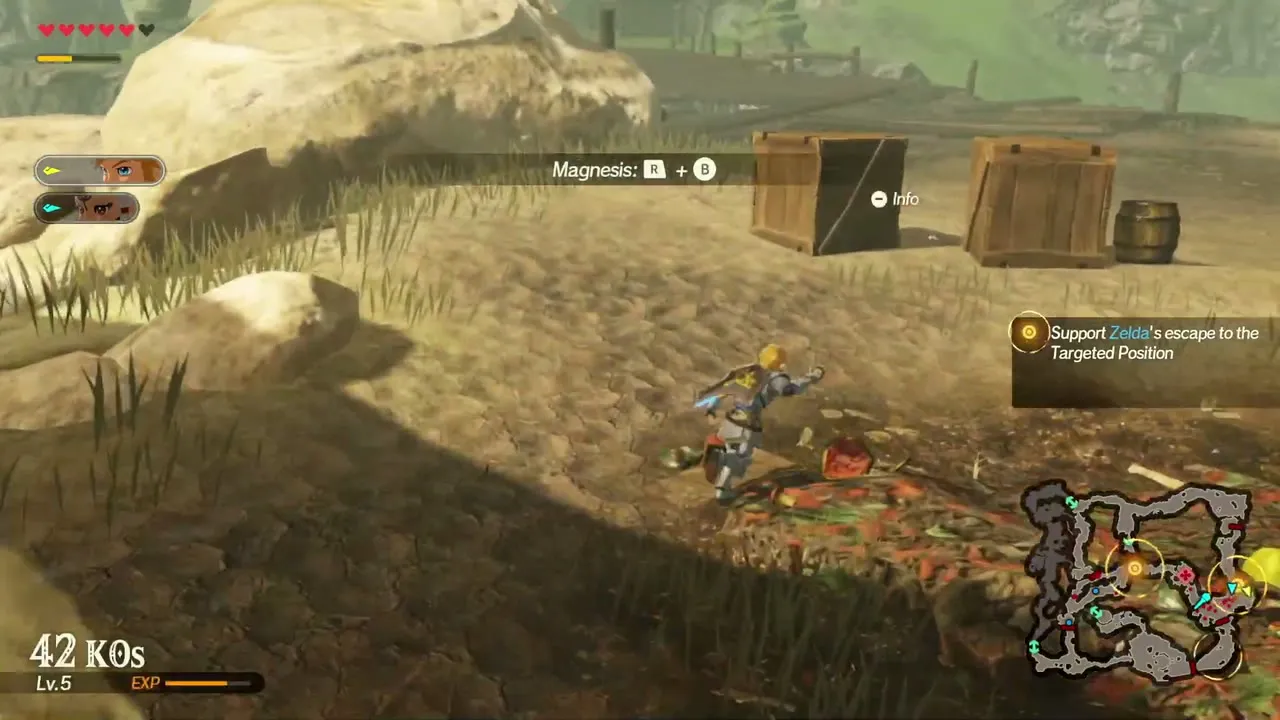
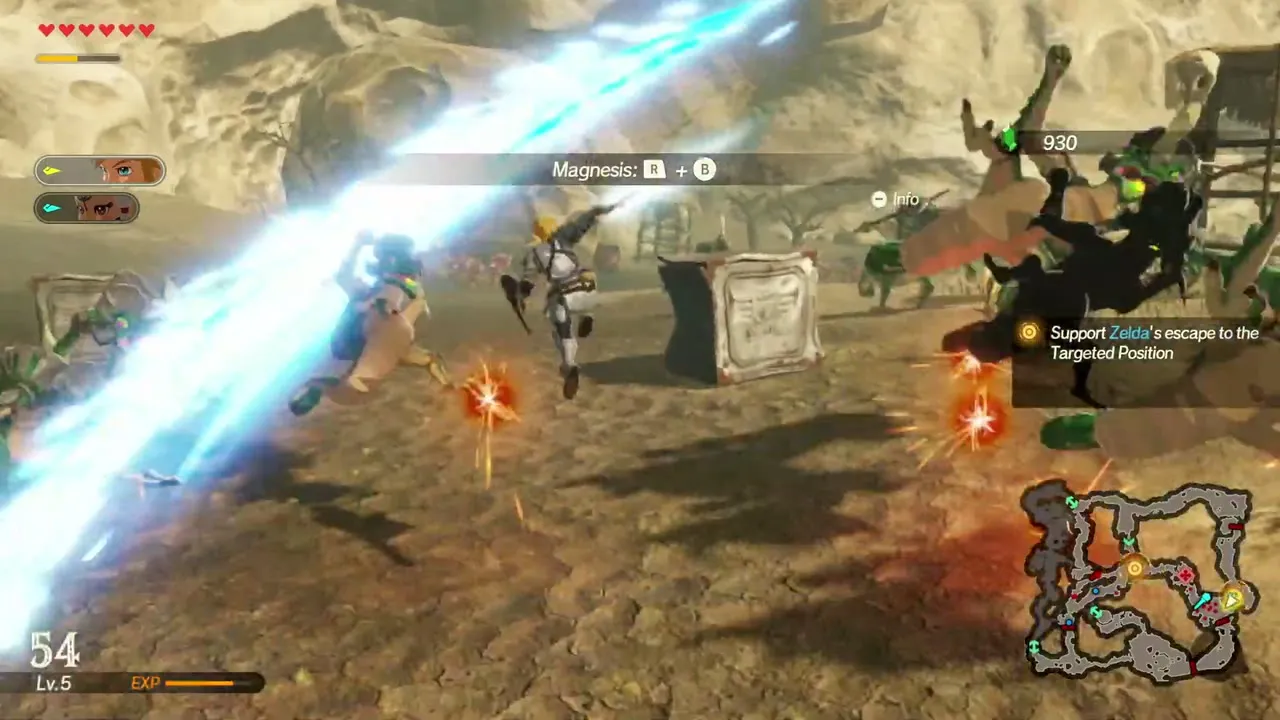
 Magnesis | R + B | Pulling in metal, returning thrown weapons, lifting metal boxes and chests | Shocking Fear; Zappy ‘n’ Bouncy |
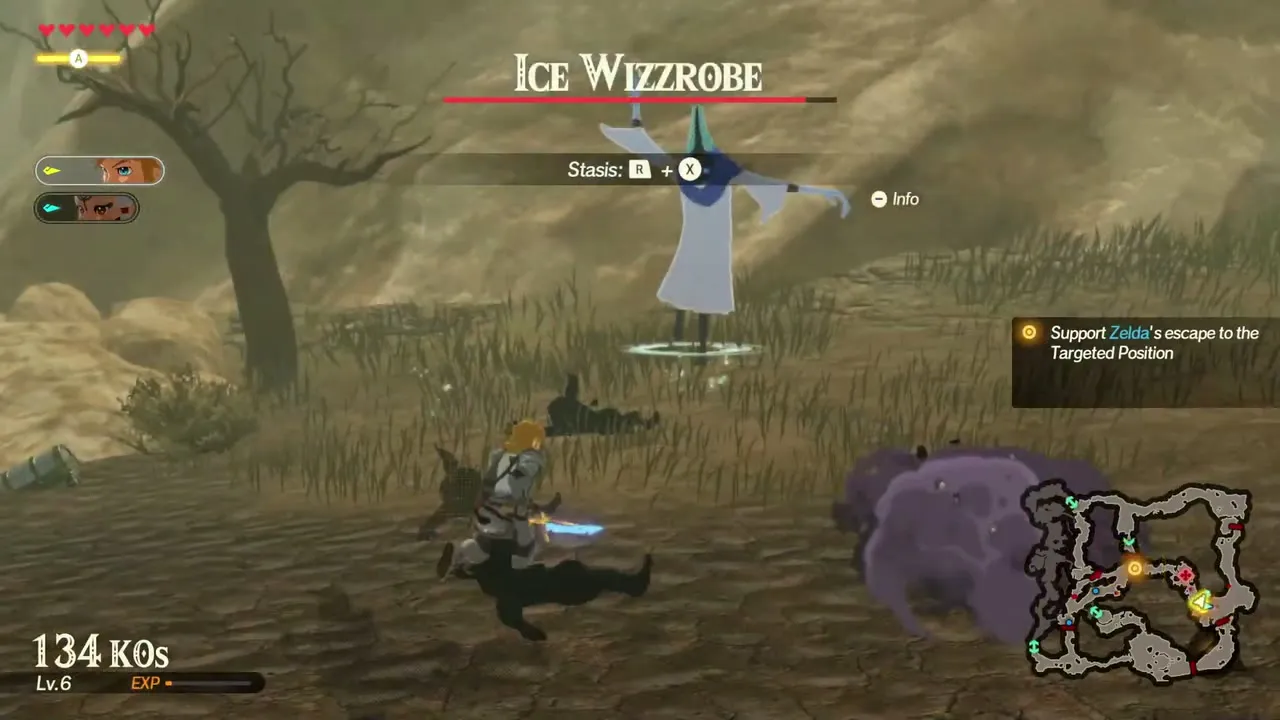
 Stasis | R + X | Freezing a charging, rolling or spinning enemy so it is hit hard when time resumes | A Stasis on Research; There Must Be Rice |
 Cryonis | R + A | Raising an ice pillar to stop a charge, freeze enemies in water or make a jump platform | Keep a Cool Head; Personal Distractions |
Remote Bombs
Remote Bombs are the rune to reach for against Wizzrobes, Taluses and shielded foes. They damage the Weak-Point Gauge, blow up boulders that hide Korok Seeds and chests, and destroy Monster Strongholds. Using one also grants a moment of invincibility, which makes it a good answer to an attack you cannot dodge.

Magnesis
Magnesis pulls in metal. It counters the metal weapons that Moblins and Master Kohga throw, and lifts metal boxes and buried chests. If you see a metal crate, use the rune on it instead of attacking by hand.
Stasis
Stasis freezes an enemy that is charging, rolling or spinning. Hit it as many times as you can, and when time resumes the enemy staggers. It also lengthens the time the Weak-Point Gauge stays exposed, and some Korok Balloons can only be reached with it.
Cryonis
Cryonis raises an ice pillar that stops charging enemies and exposes their gauge. Unlike in Breath of the Wild, it works on dry land as well as in water. You can also use a pillar as a springboard to reach Keese and Wizzrobes in the air.

Elemental rods
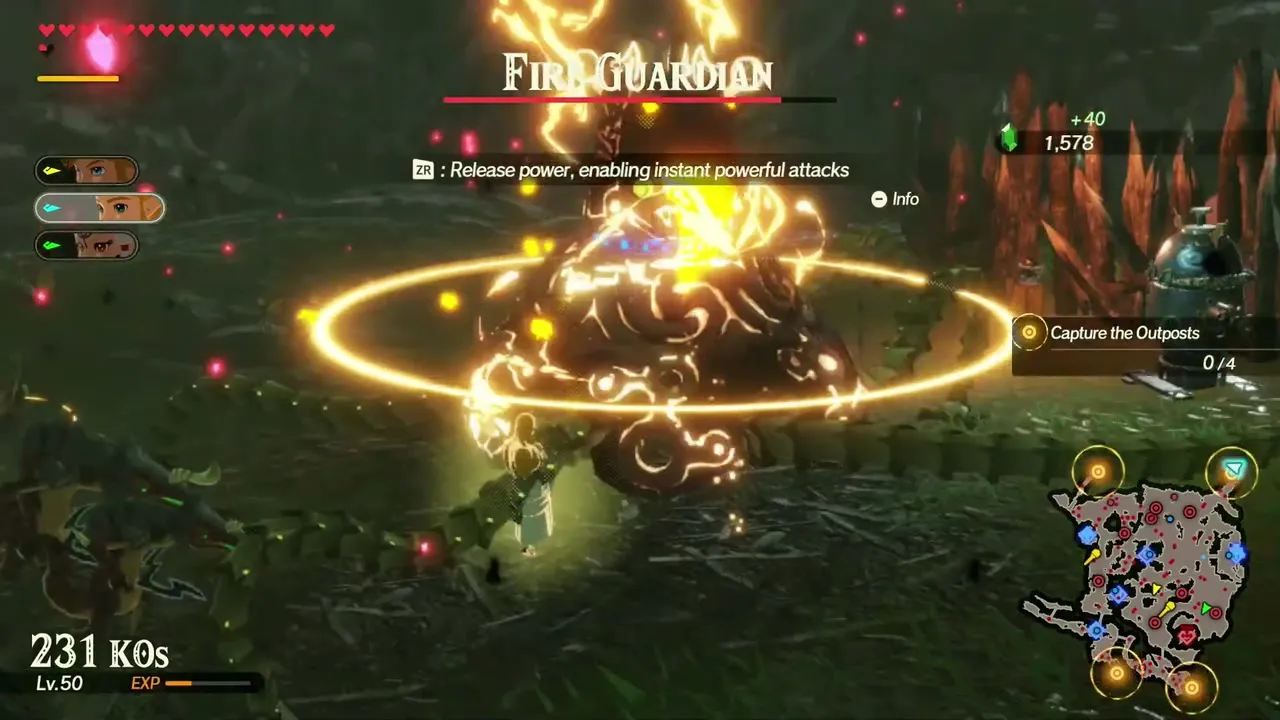
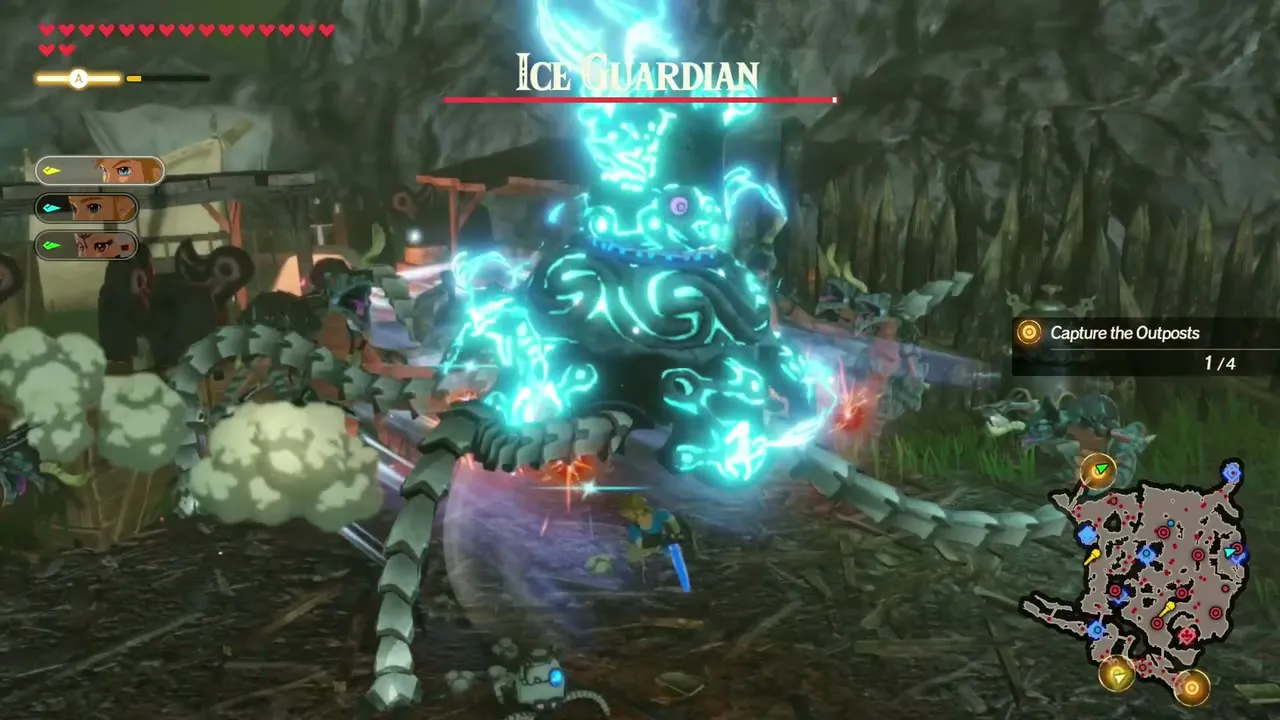
Hold L and press Y for the Fire Rod, X for the Ice Rod or A for the Lightning Rod. The rods are shared by every warrior, never break and run on ammo that you refill by collecting colored orbs: red for Fire, white for Ice and yellow for Lightning. Defeating Wizzrobes also refills them, and Wizzrobes that do so show a rod icon on the map.
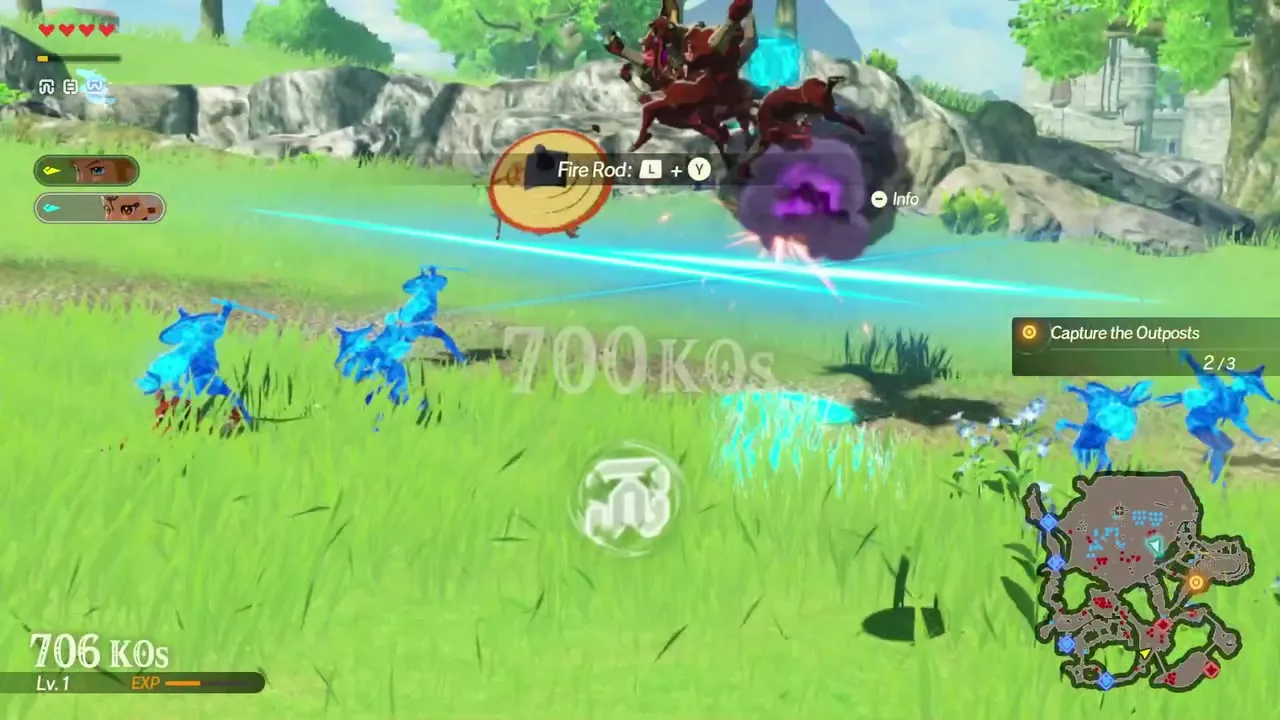
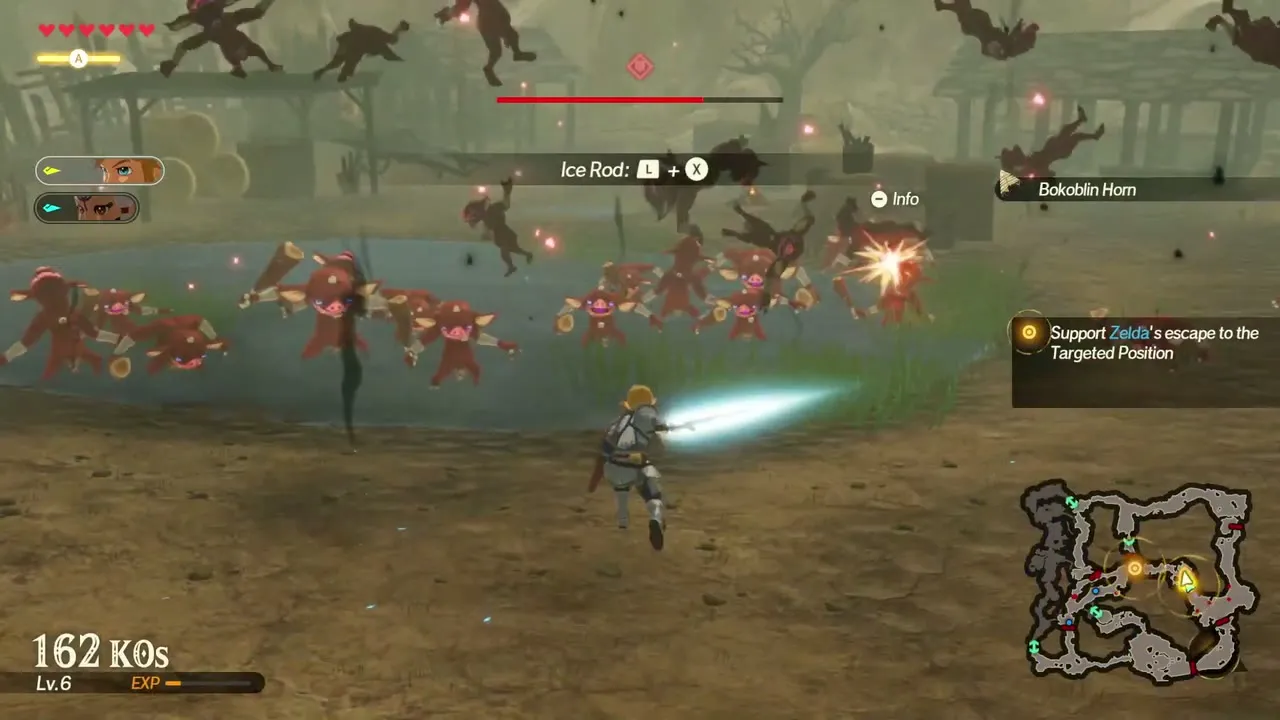
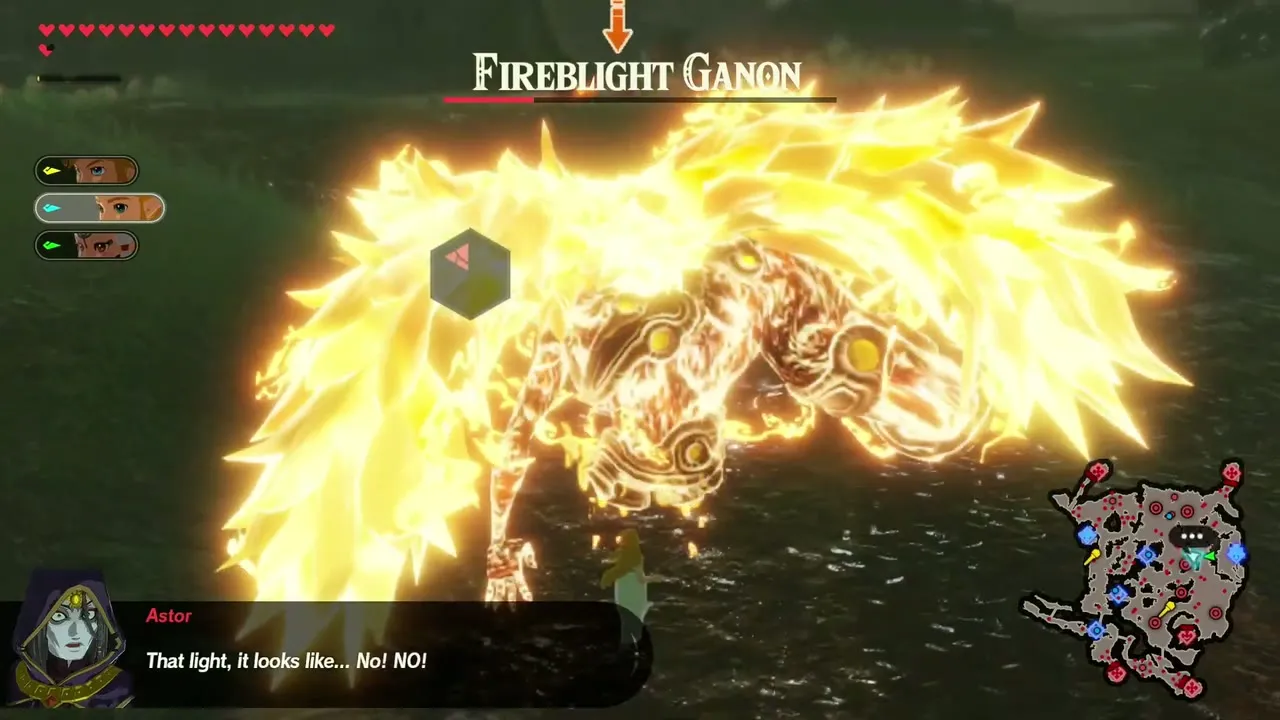
Elements follow a simple rule. Fire beats Ice enemies and Ice beats Fire enemies, a rod of the same element as the enemy does little, and Lightning is strong against foes standing in water or beside metal crates. An Ice Rod is the right tool against Igneo Taluses and Fireblight Ganon, and a Fire Rod suits Waterblight Ganon. Each rod unlocks when you meet its Wizzrobe in the opening chapters.
Healing
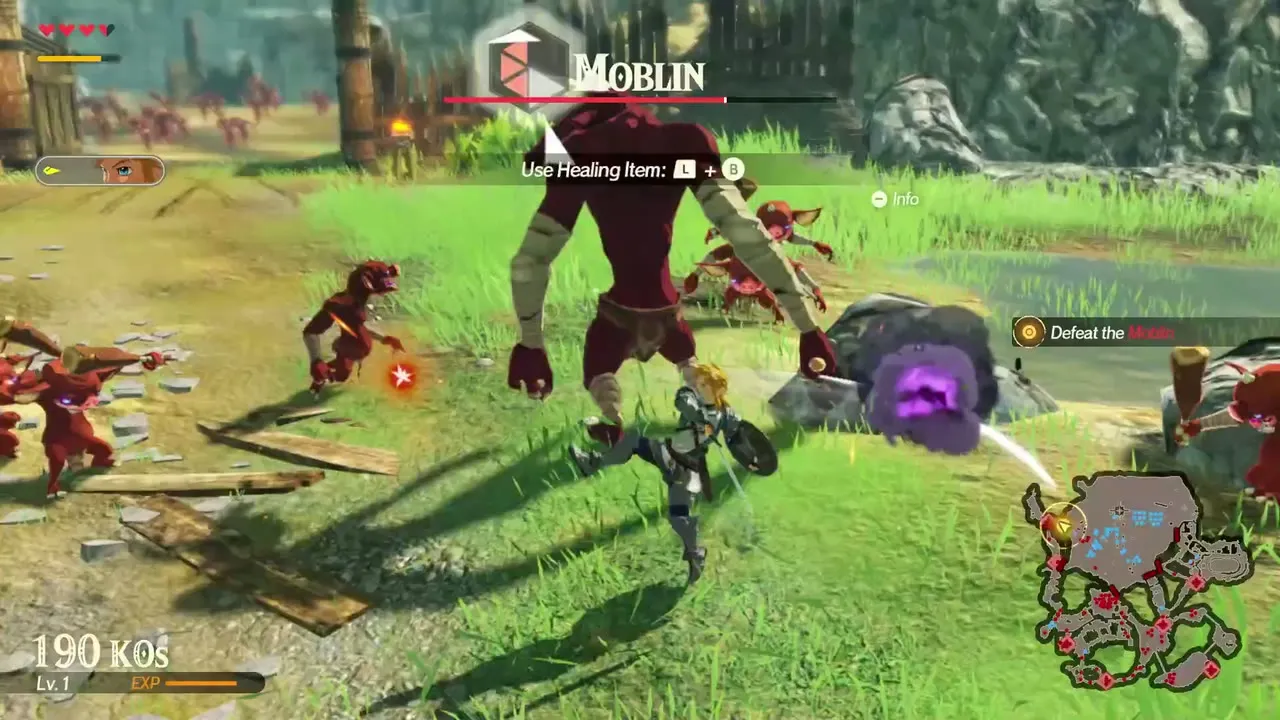
Apples drop from crates, barrels and large enemies. Collect extra apples to fill the food meter in the item menu, and press L and B to eat one when you are hurt. Hard and above provide fewer apples, so keep one in reserve for a boss. Quests in the Royal Ancient Lab (Expansion Pass) can raise apple recovery and cheapen apples at the shops.
Difficulty modes
You can set Easy, Normal, Hard or Very Hard for any Scenario or Challenge in the Options menu before you start a battle. Harder settings increase enemy damage and the damage needed to empty Weak-Point Gauges. The Expansion Pass adds Apocalyptic, the toughest setting. Battle Info shows which difficulty you cleared a battle on.
| Difficulty | Who it is for |
|---|---|
| Easy | Learning the game and farming materials quickly |
| Normal | The intended experience |
| Hard | Practice with Perfect Dodges and rune counters; fewer apples |
| Very Hard | Long gauges and heavy damage; plan rune and rod use |
| Apocalyptic | Added by the Expansion Pass |
Two-player mode
Age of Calamity has local two-player co-op on a split screen, and no online play. On the Hyrule map, press the left stick, choose Yes, and connect a second controller (press L and R on a pair of Joy-Con or a Pro Controller, or SL and SR on a single Joy-Con). Each of you controls one warrior. Weak-Point Smashes do not stop your partner, and both of you can find chests and Korok Seeds. The map must be unlocked first, so co-op is not available during the opening tutorial.

Beginner tips
Switch and give orders
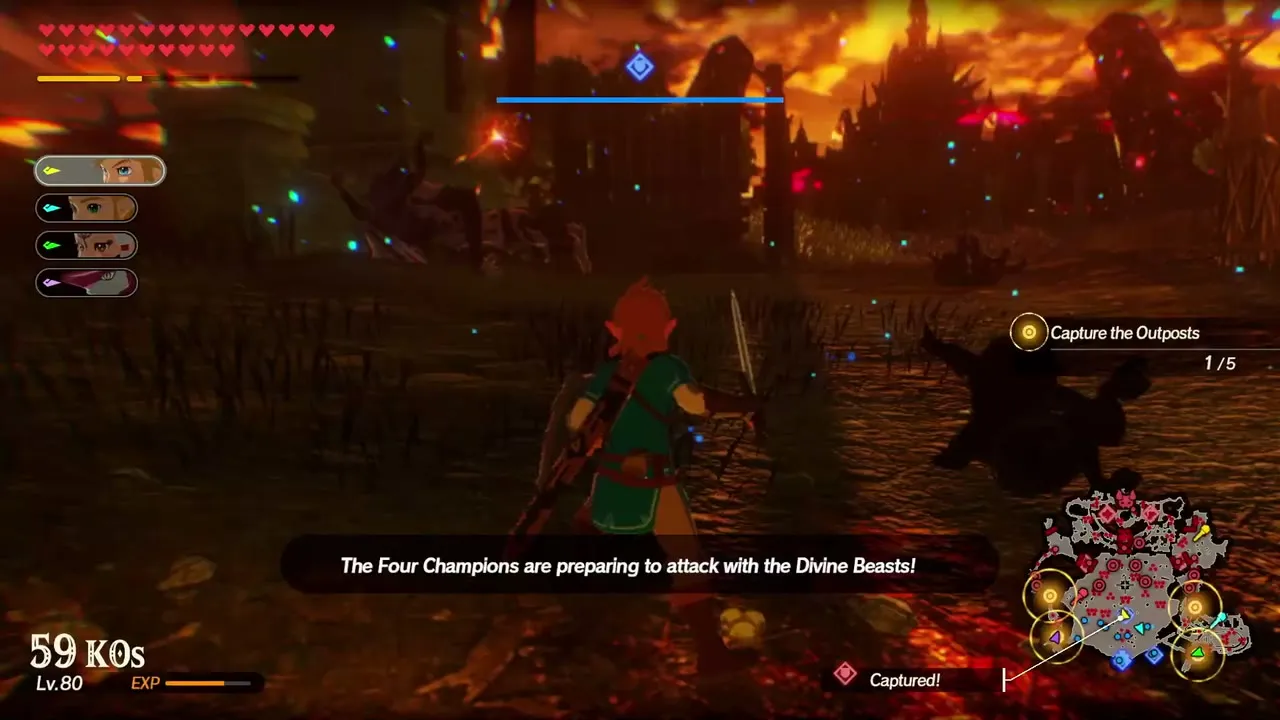
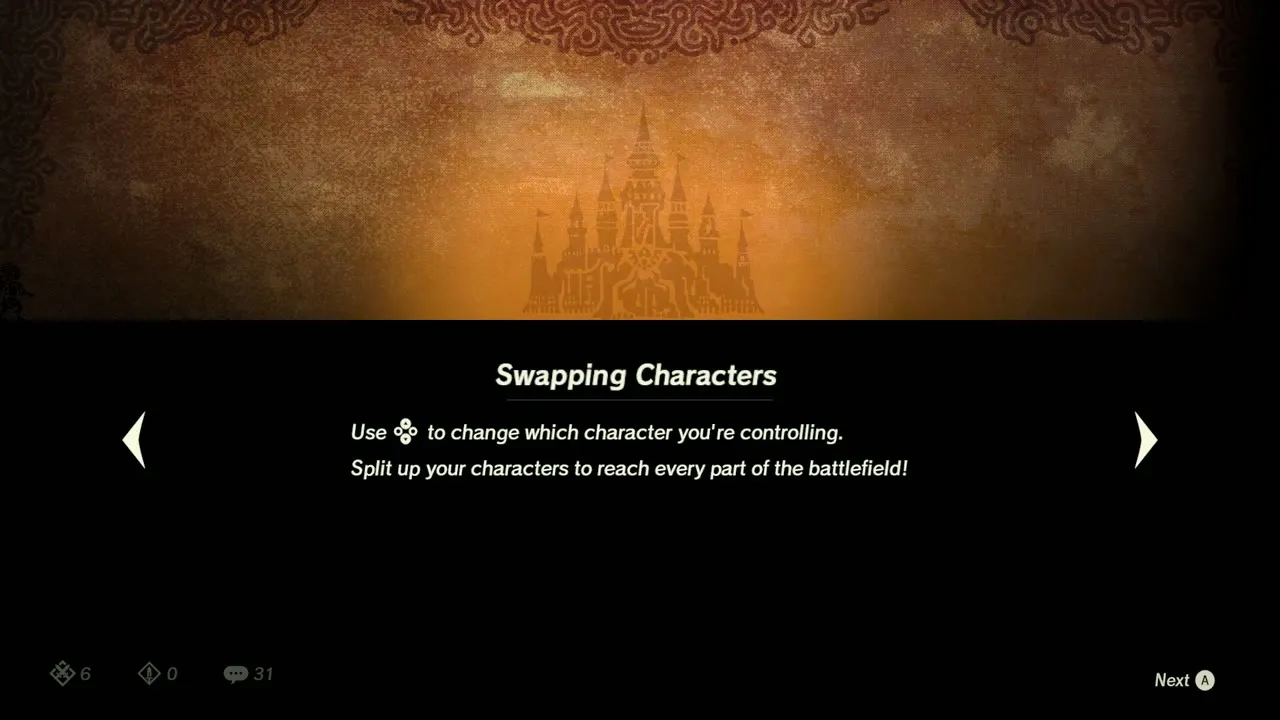
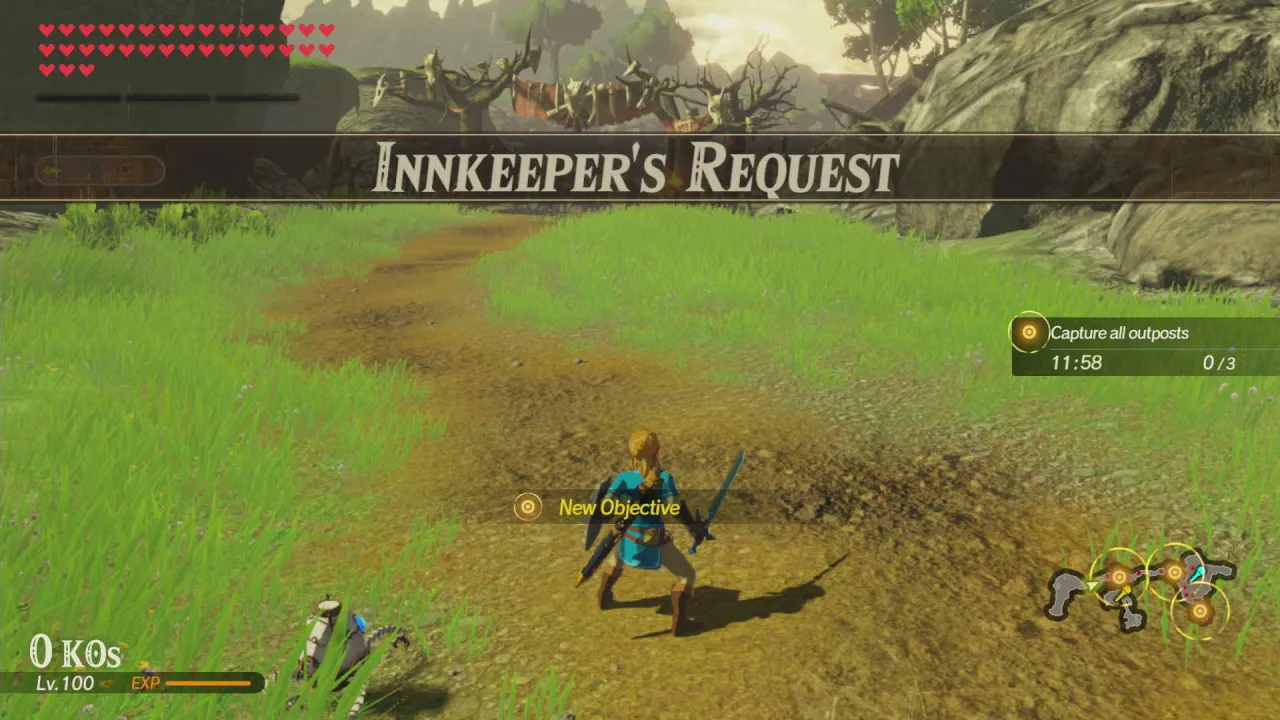
Your party can include several warriors. Use the D-pad to switch, and send the ones you are not controlling to a spot on the map so they capture outposts or reach objectives. Use a second warrior to handle the field while you deal with the boss.
Always check the prompt
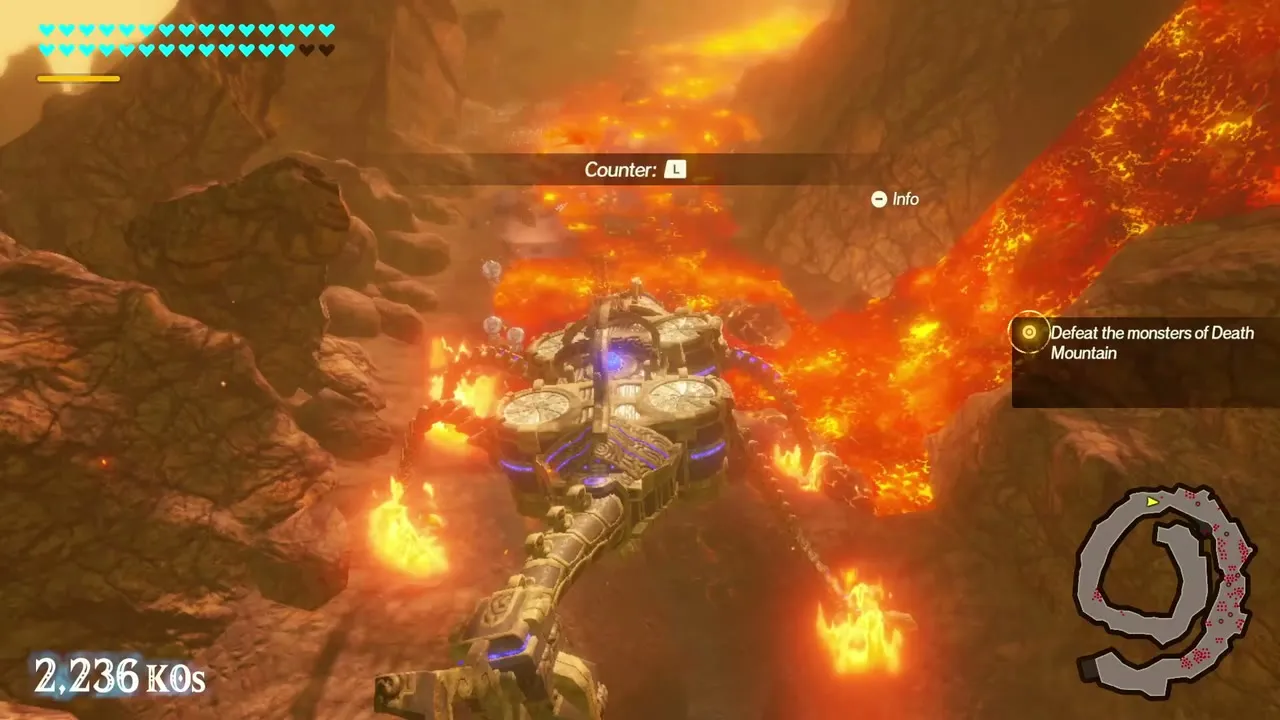
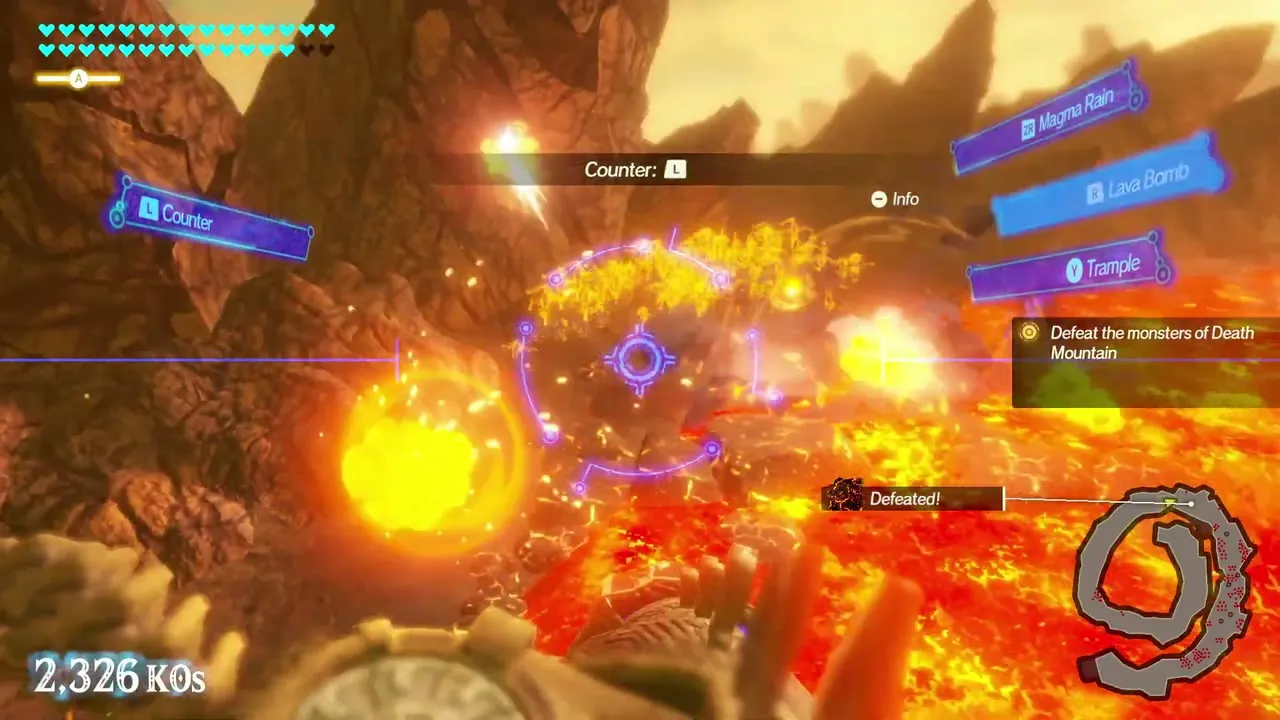
Whenever a rune icon appears above an enemy, use that rune. The reward for a good counter is a staggered enemy and a damaged gauge. If nothing else works, Perfect Dodge the next big swing and go into a Flurry Rush.
Level up and upgrade
Do the side quests early. The rune upgrades, extra special-attack segments and attack bonuses all come from quests, and the Blacksmith and Training Camp improve your weapons and levels. Fuse spare weapons into your best one; the weapons page explains what is worth keeping.
Learn each boss
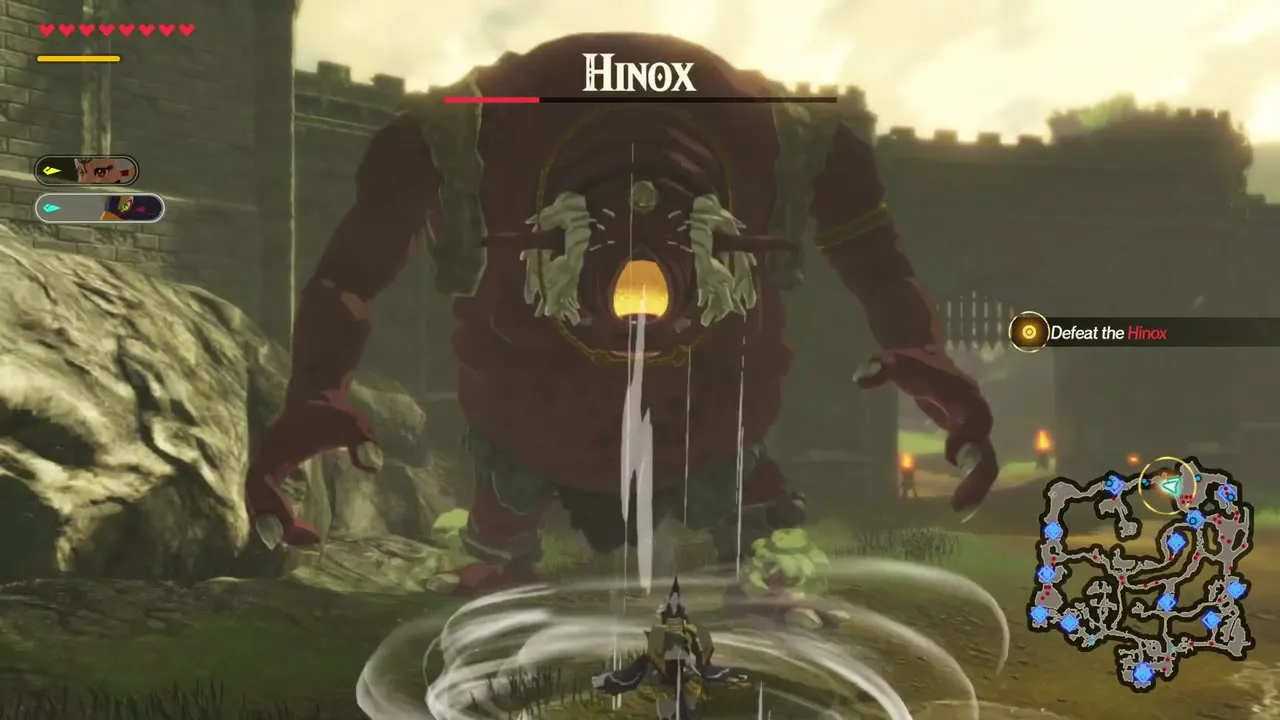
Every large foe has a pattern. Back away and watch before you commit, and use the bosses page for the plan for each one, including the Blight Ganons, Lynels and Hinoxes.