





| Scenarios | 32 |
|---|---|
| Heart Containers | 32, one in every scenario |
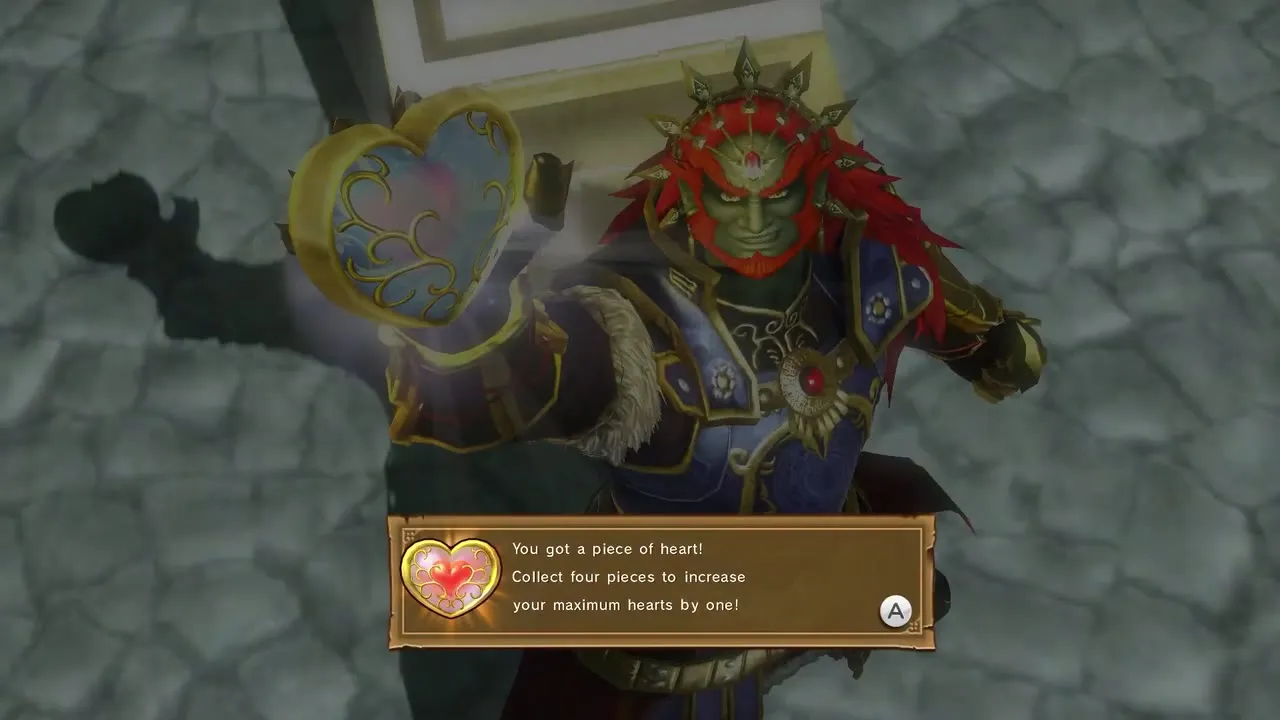
| Pieces of Heart | 32, one in every scenario |
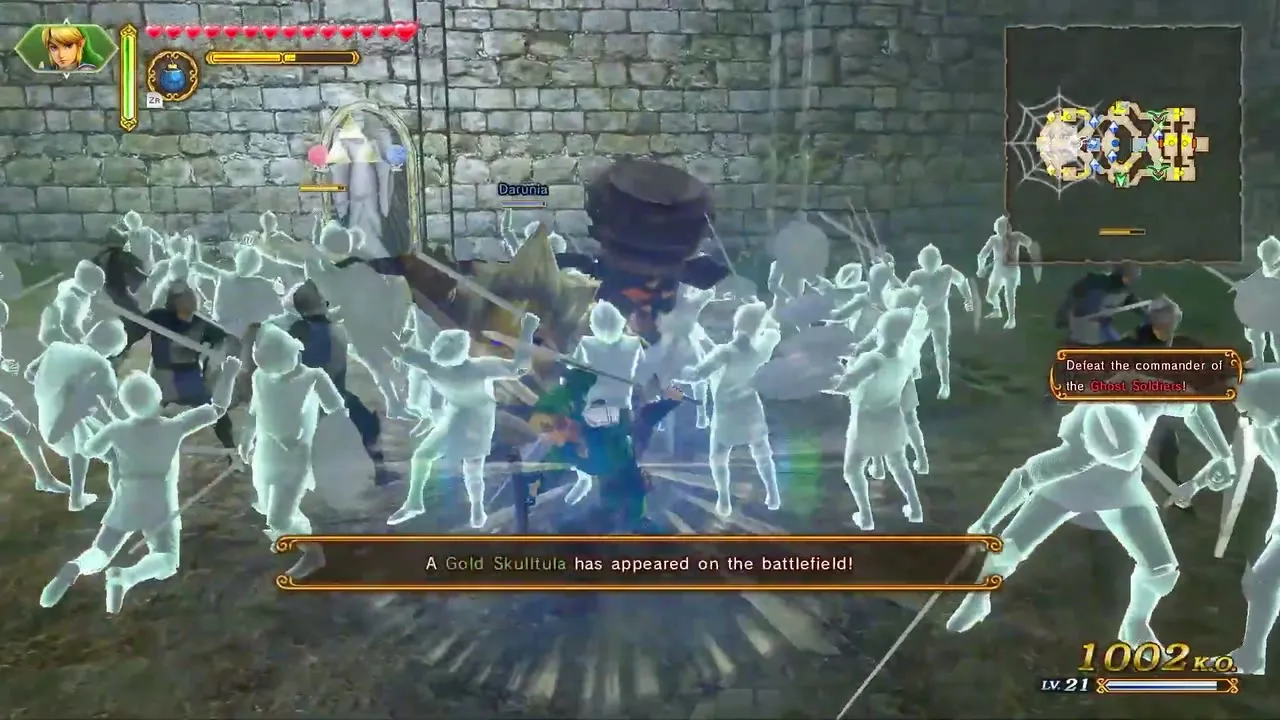
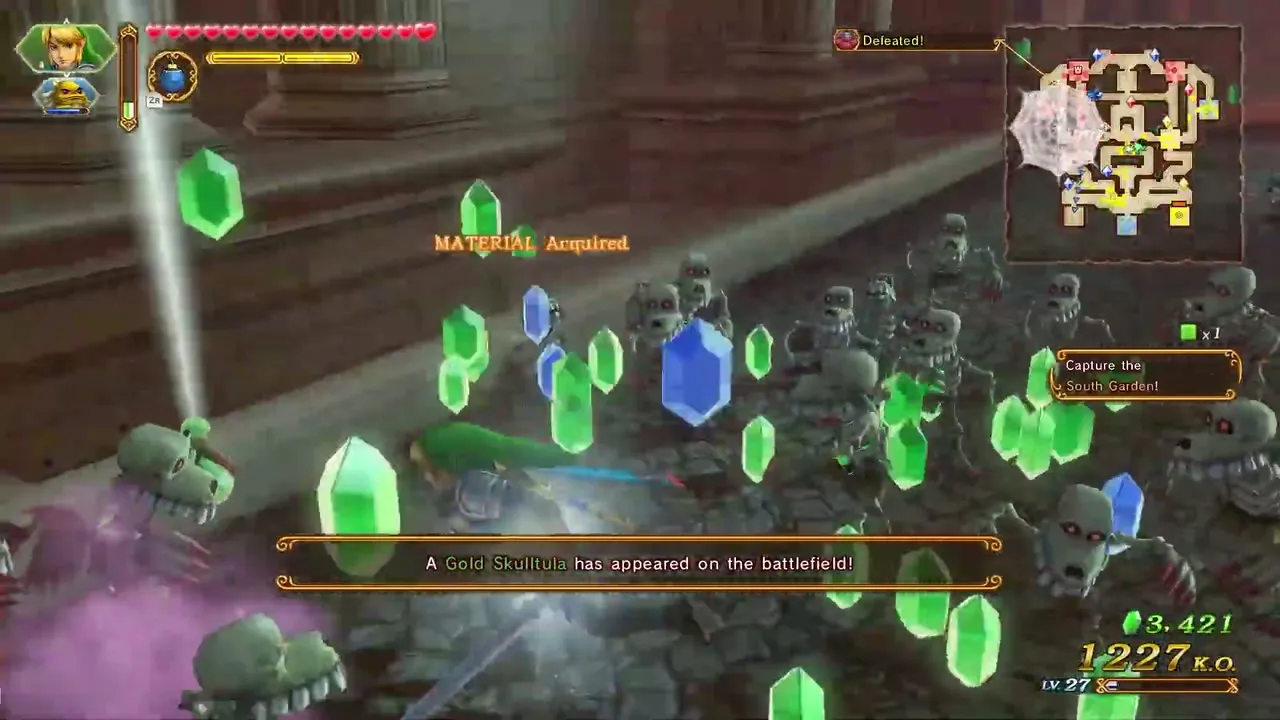
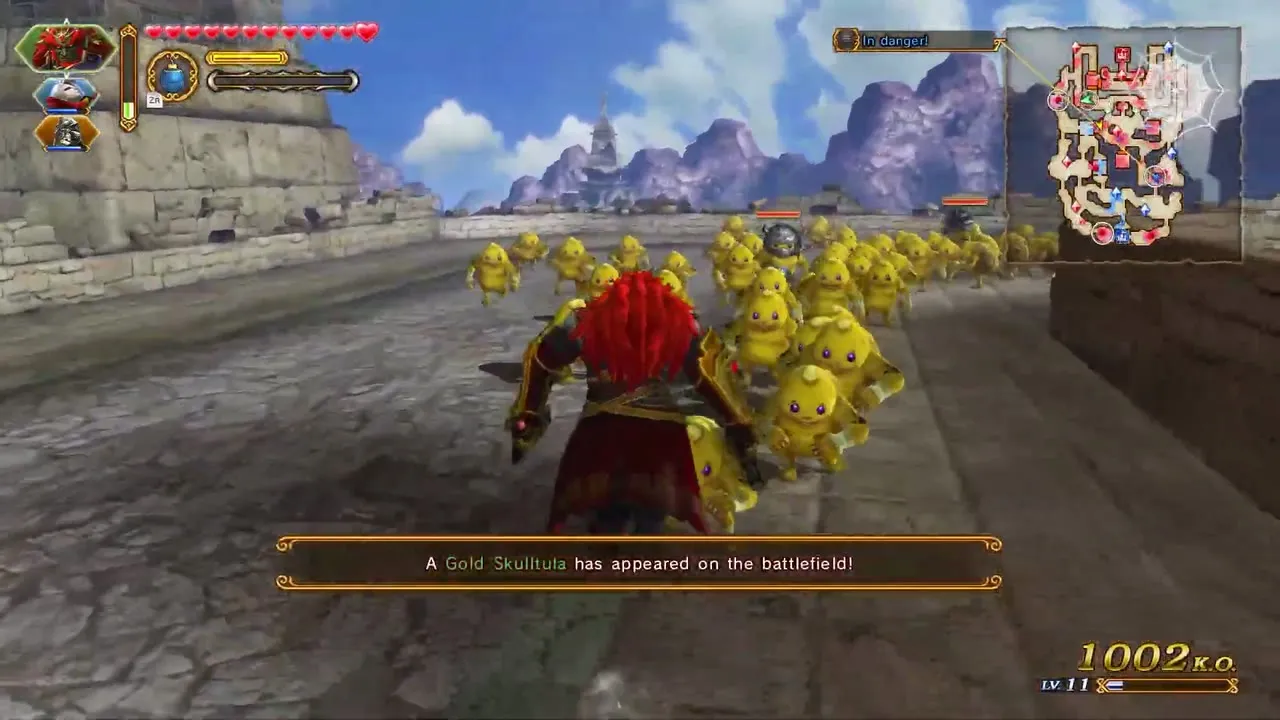
| Gold Skulltulas in Legend Mode | 64 (2 per scenario) of the 260 in the game |
| Hero Mode | Opens after all 32 scenarios; Hard is selectable from the start, and the second Gold Skulltula of each scenario needs Hard or Hero |
| Outside Legend Mode | 196 more Gold Skulltulas, extra warriors, costumes and hearts, mostly in Adventure Mode |
A full Legend Mode clear in Hyrule Warriors: Definitive Edition means 32 scenarios, 32 Heart Containers, 32 Pieces of Heart and 64 Gold Skulltulas. This page lists every scenario of every story arc with its collectibles, then the Hero Mode set, and finally what is still left outside Legend Mode. Every row links to the scenario walkthrough where the route is described.
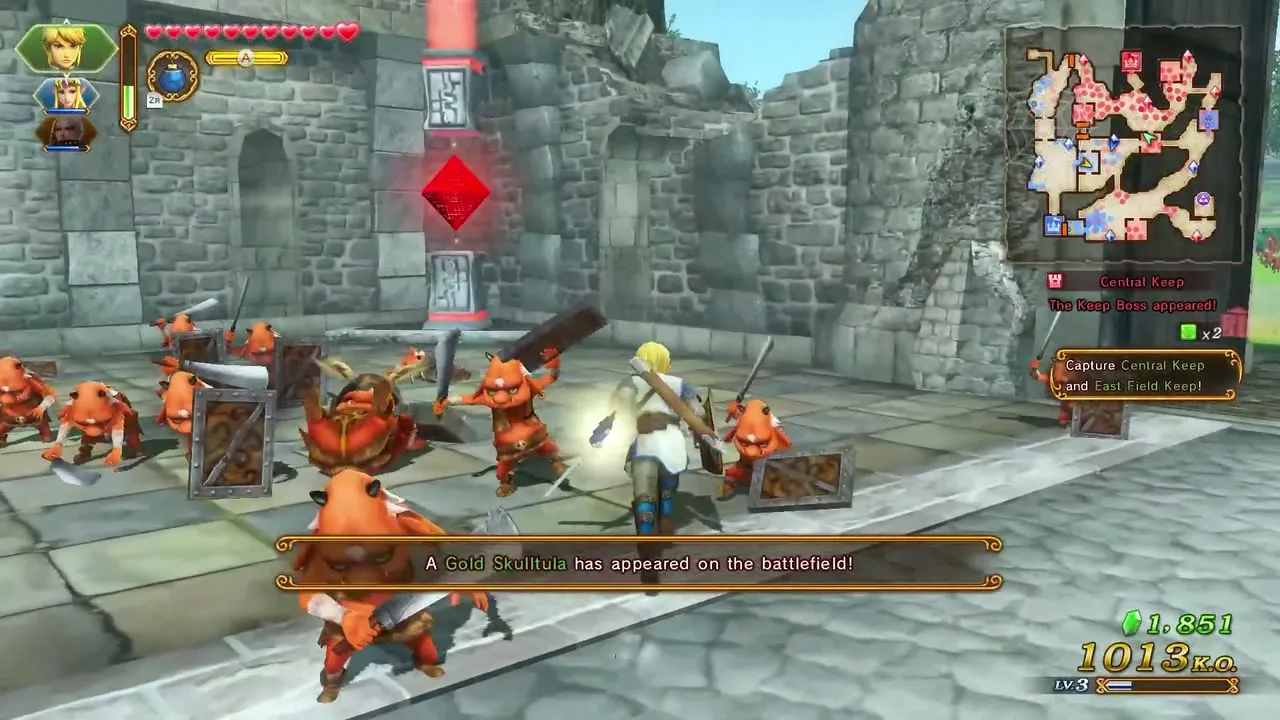
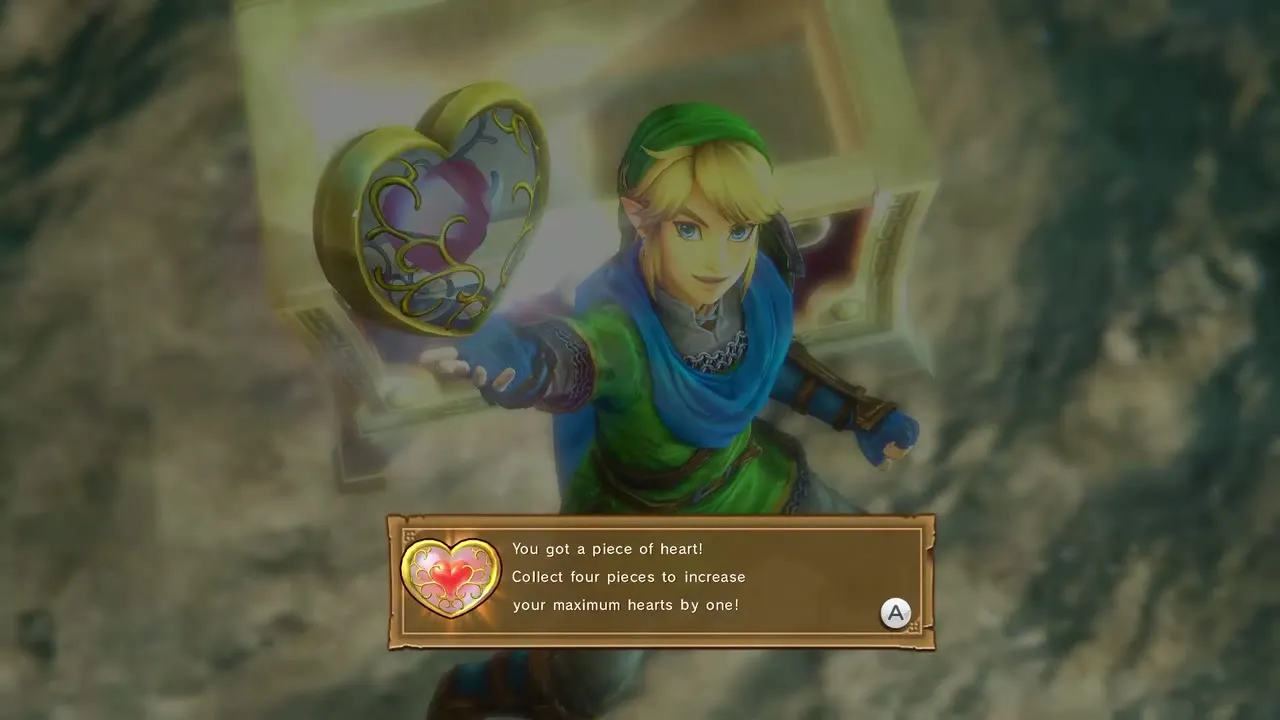
Table of Contents
Totals
| Collectible | Per scenario | Legend Mode total | Condition |
|---|---|---|---|
| Scenarios | – | 32 | 18 main story, 5 Cia’s Tale, 5 Linkle’s Tale, 4 Wind Waker |
 Heart Container | 1 | 32 | Opened by one named warrior; usually under a boulder that needs a Bomb |
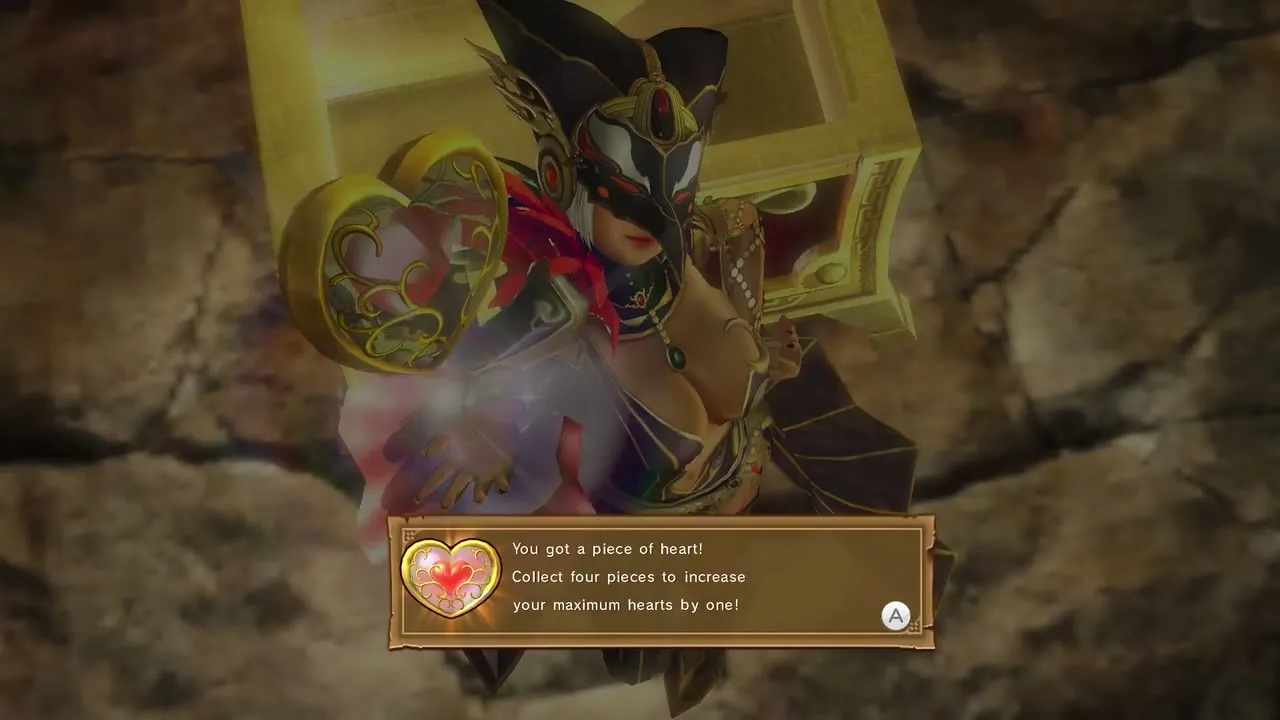
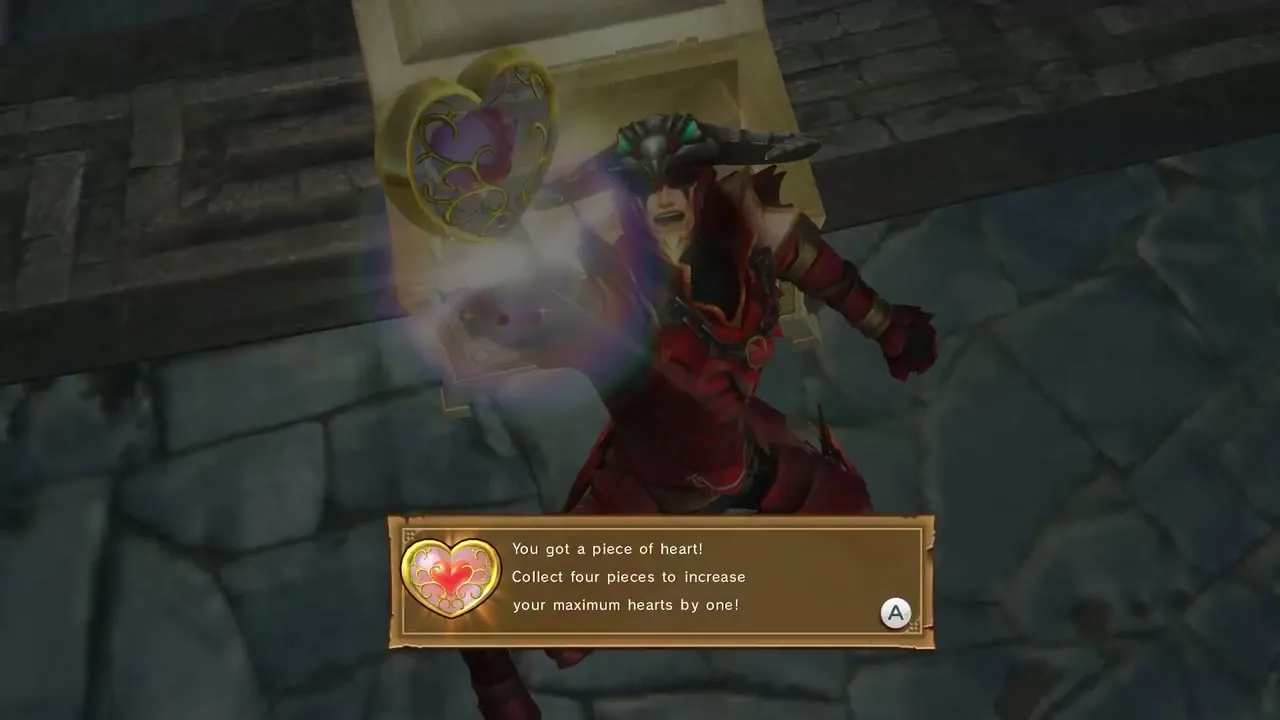
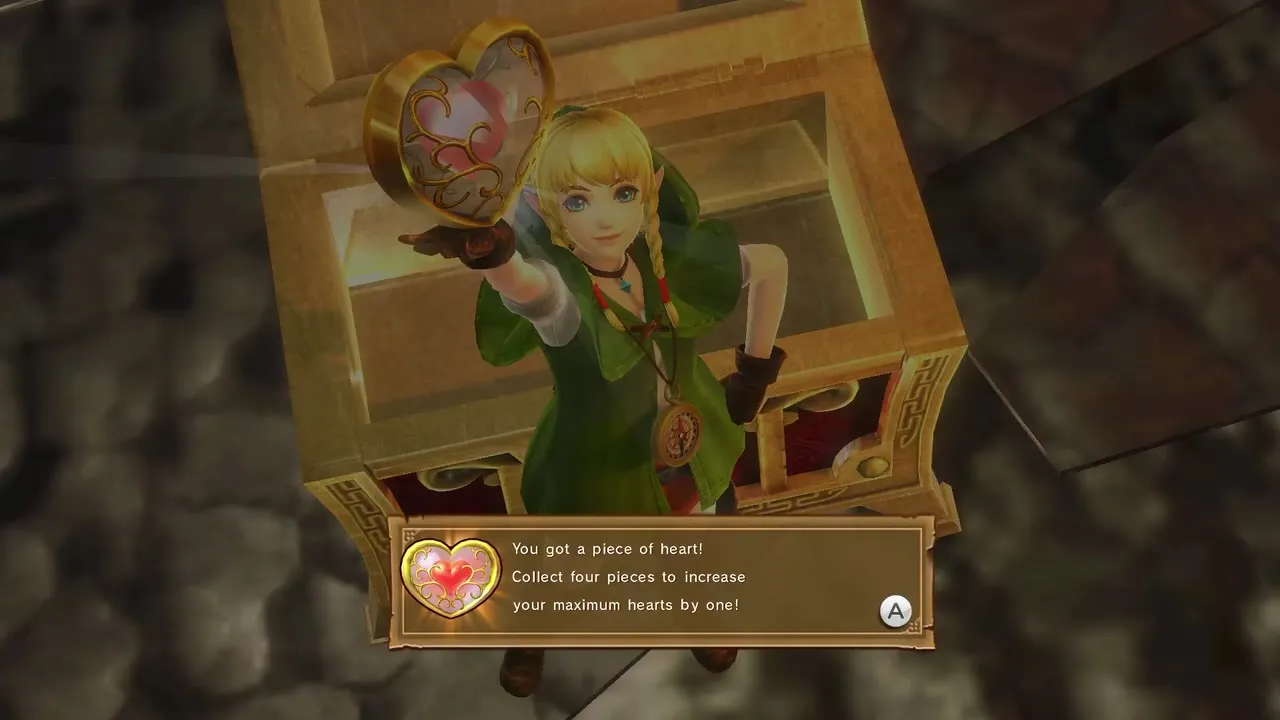
 Piece of Heart | 1 | 32 | Opened by one named warrior in a chest that appears when a keep is captured |
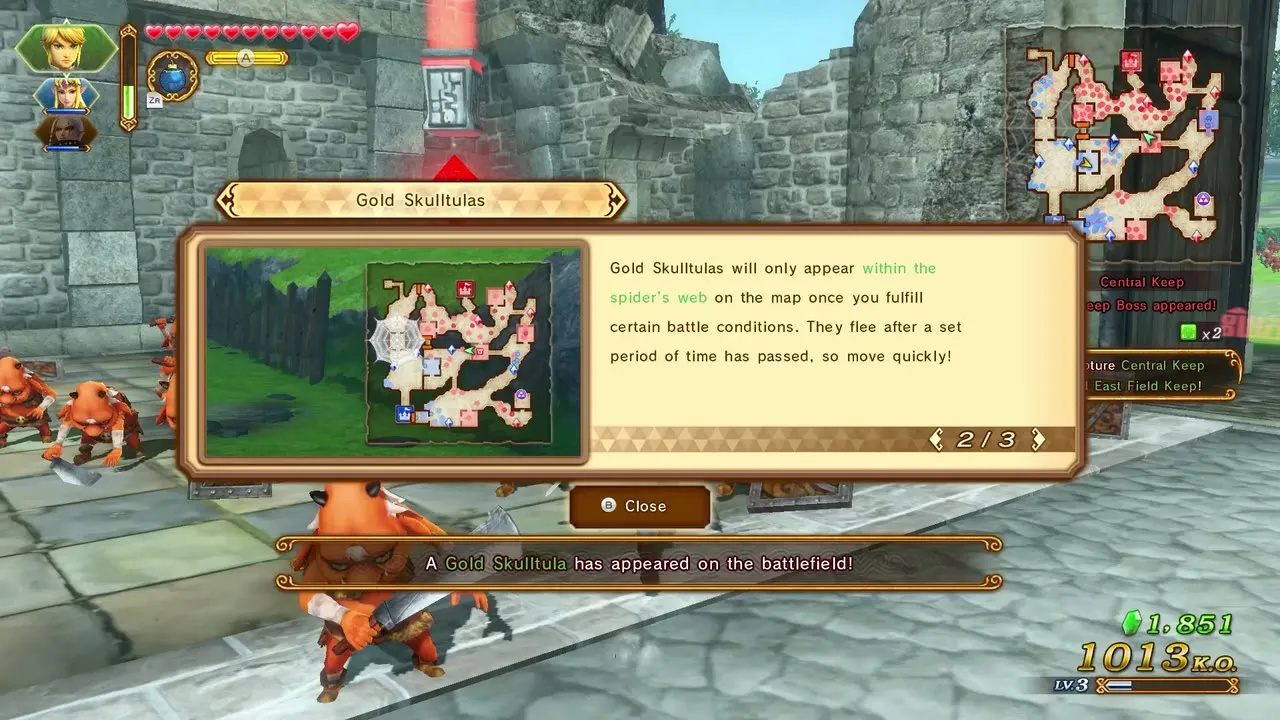
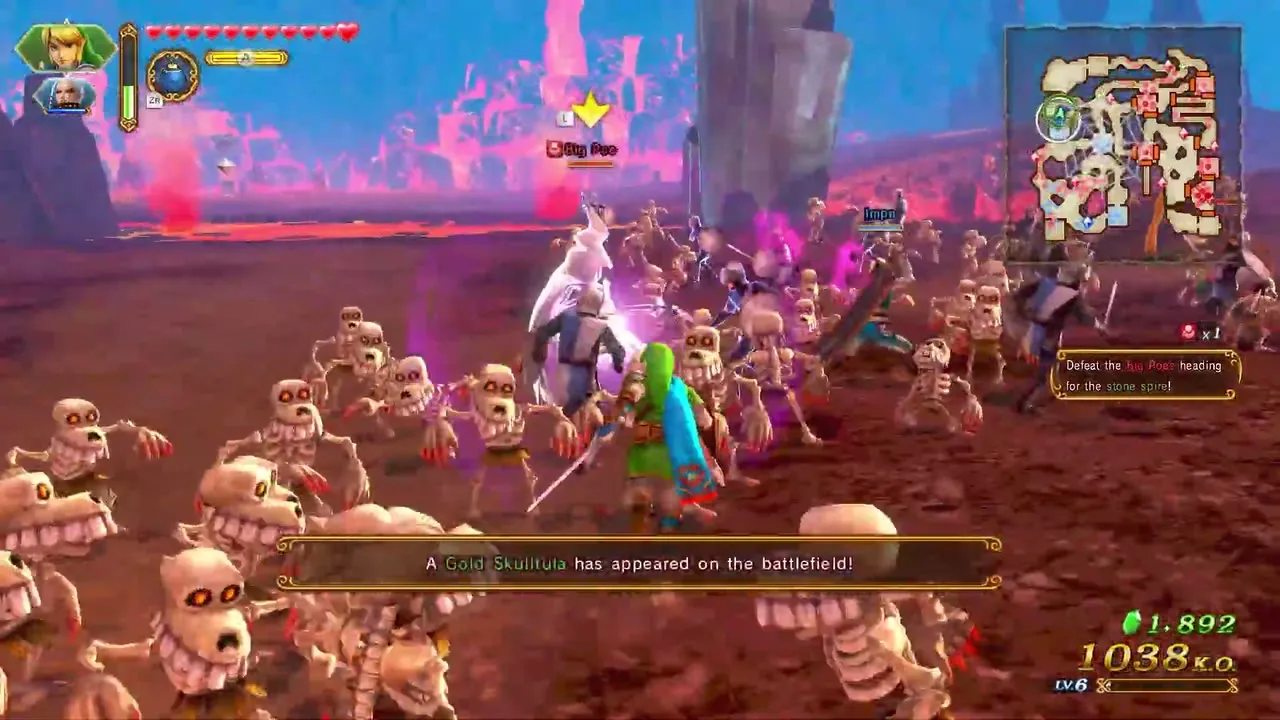
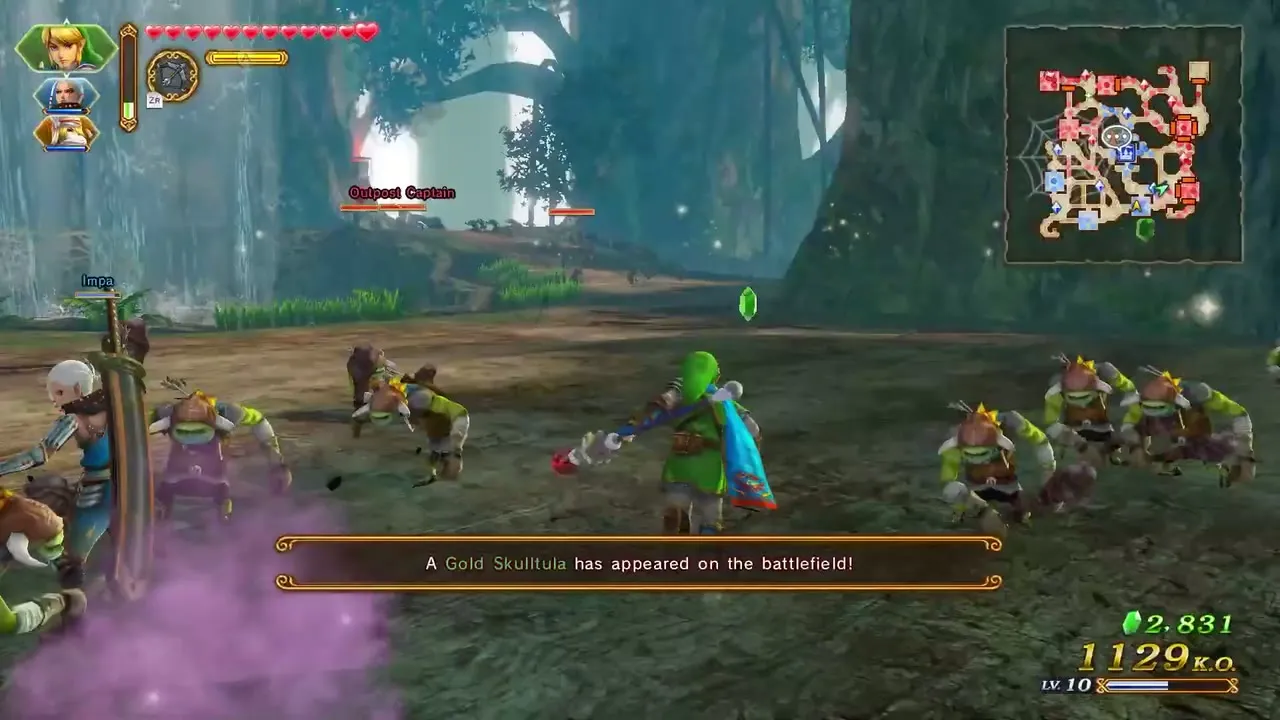
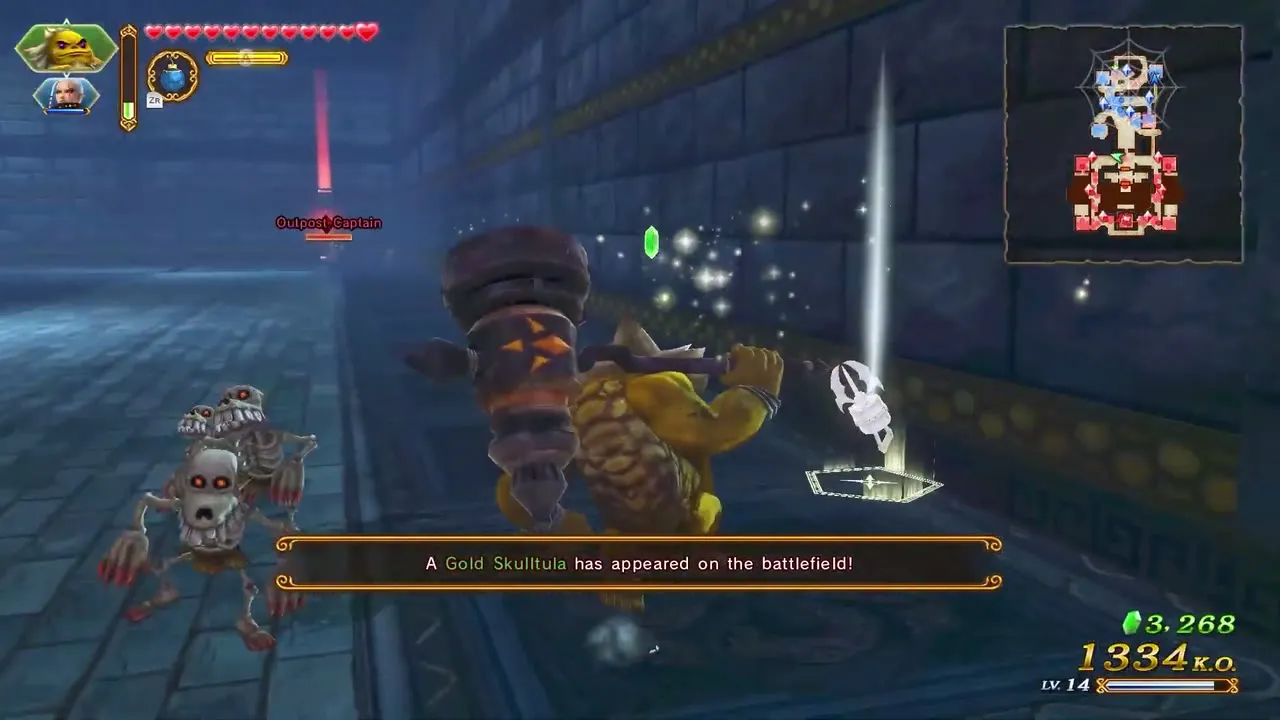
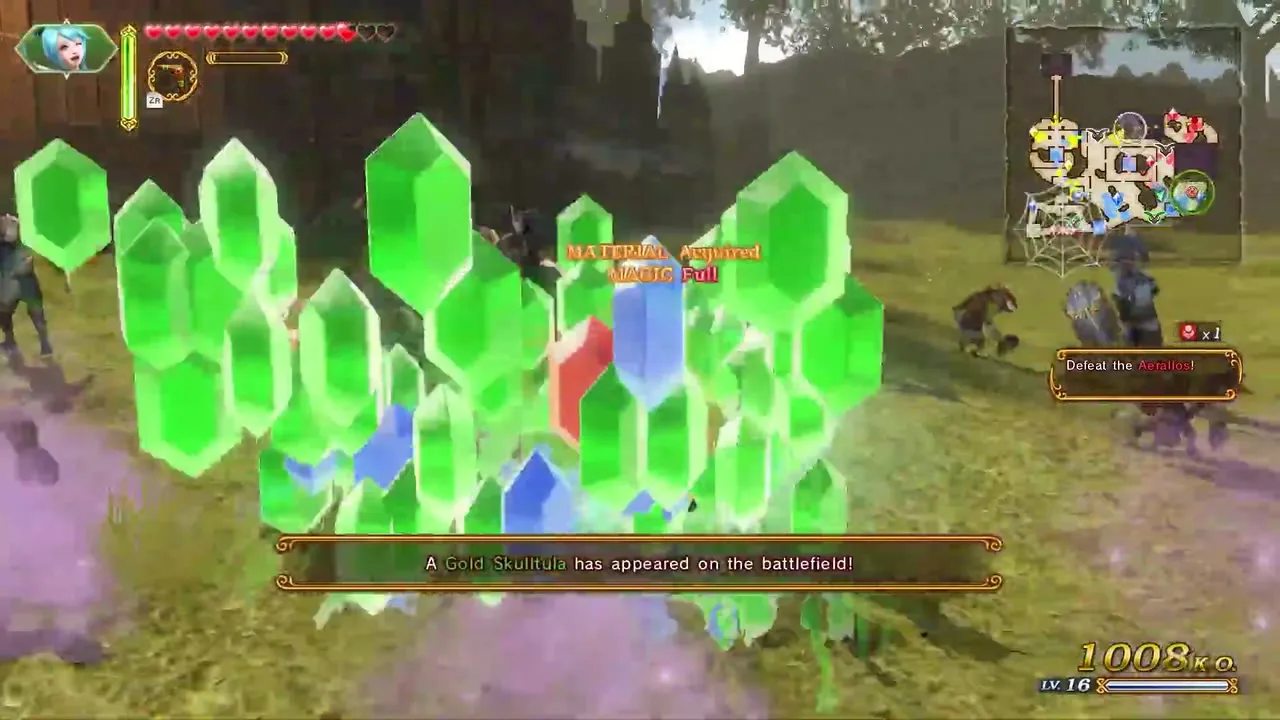
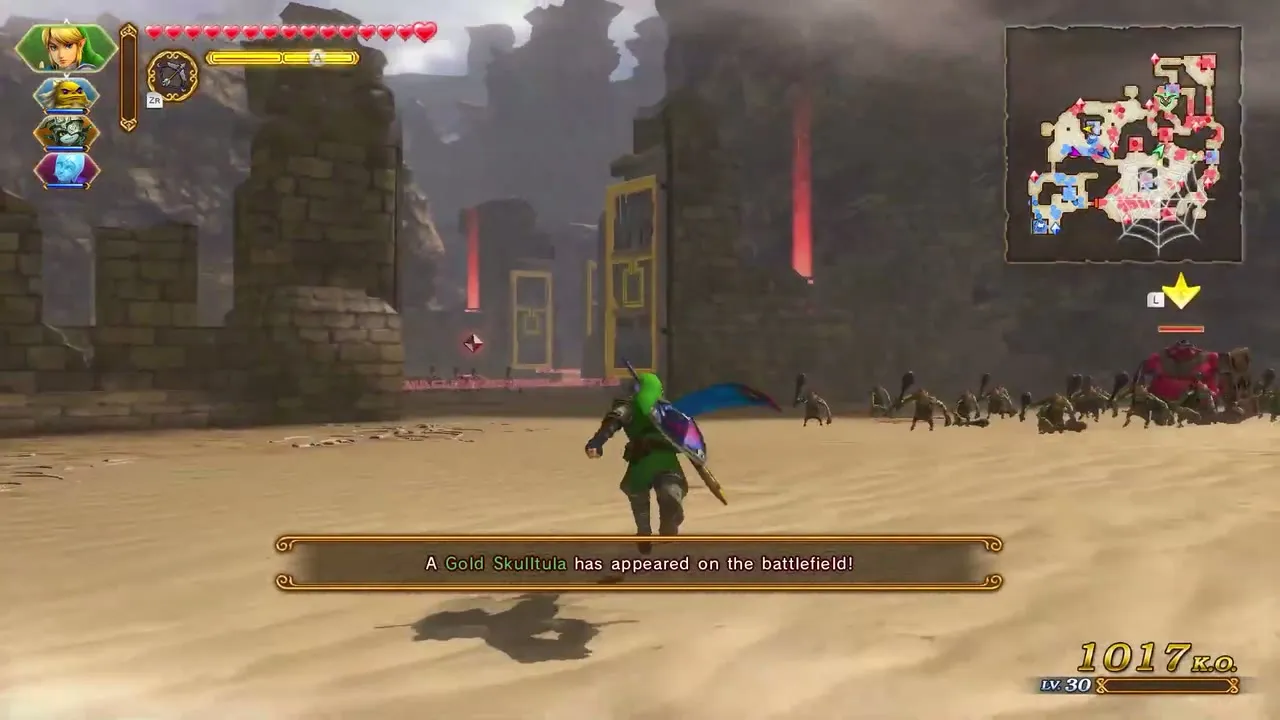
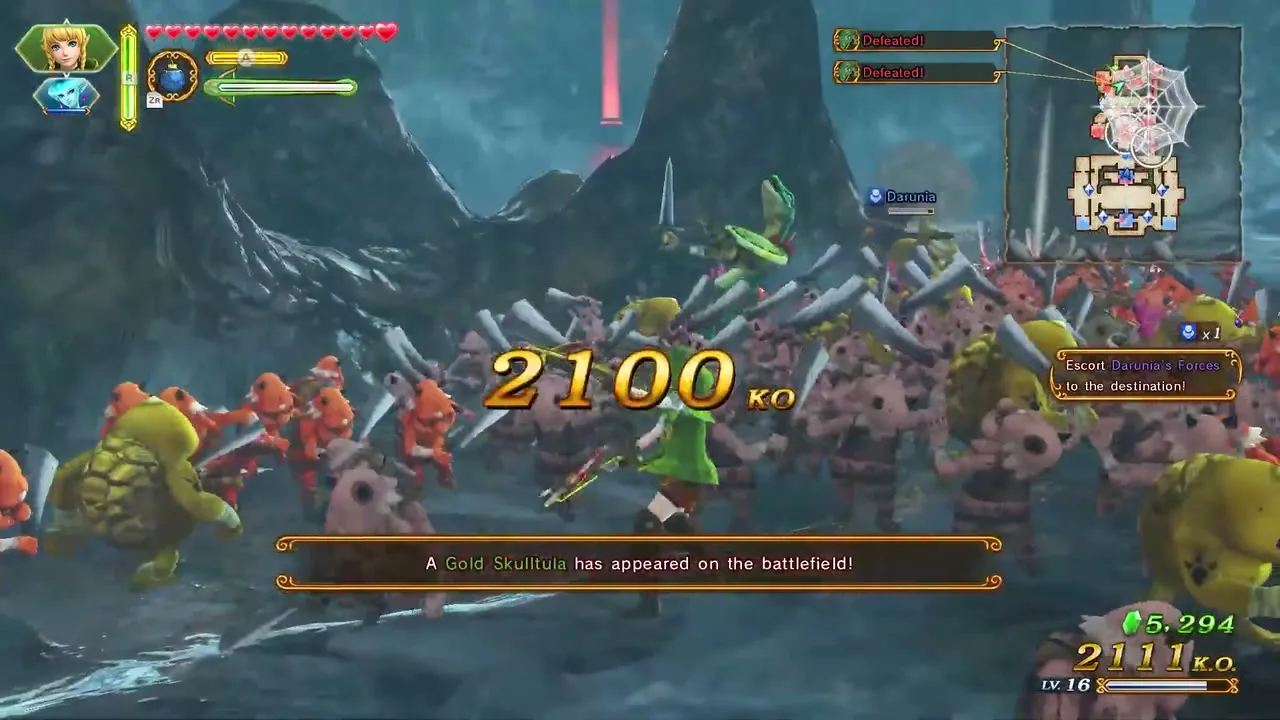
 Gold Skulltula, first | 1 | 32 | Defeat 1,000 enemies on any difficulty |
| Gold Skulltula, second | 1 | 32 | Hard or Hero difficulty (Hard can be chosen from the start) with a set warrior, weapon or goal |
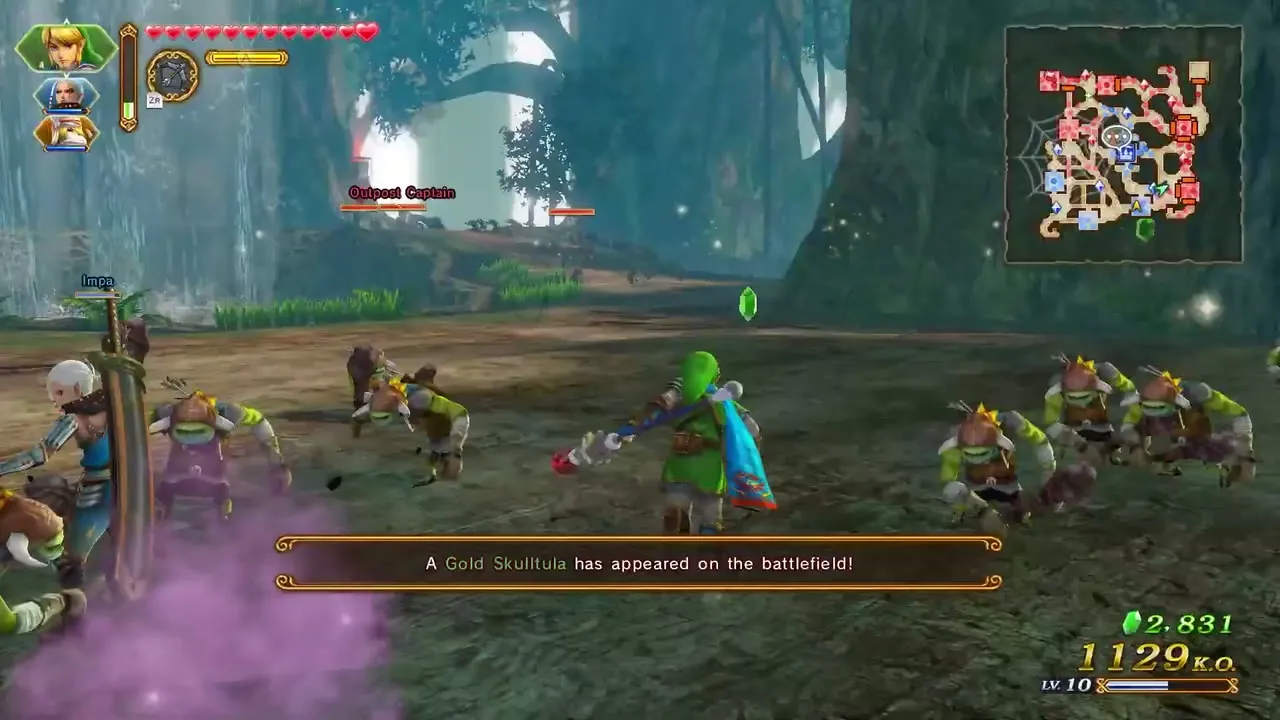
The 64 Gold Skulltulas are a quarter of the 260 hidden in the whole game. Only one Gold Skulltula can be collected in a single attempt at a scenario, so each scenario needs two separate clears for both of its spiders.
How to work through it
First pass: the story on any difficulty
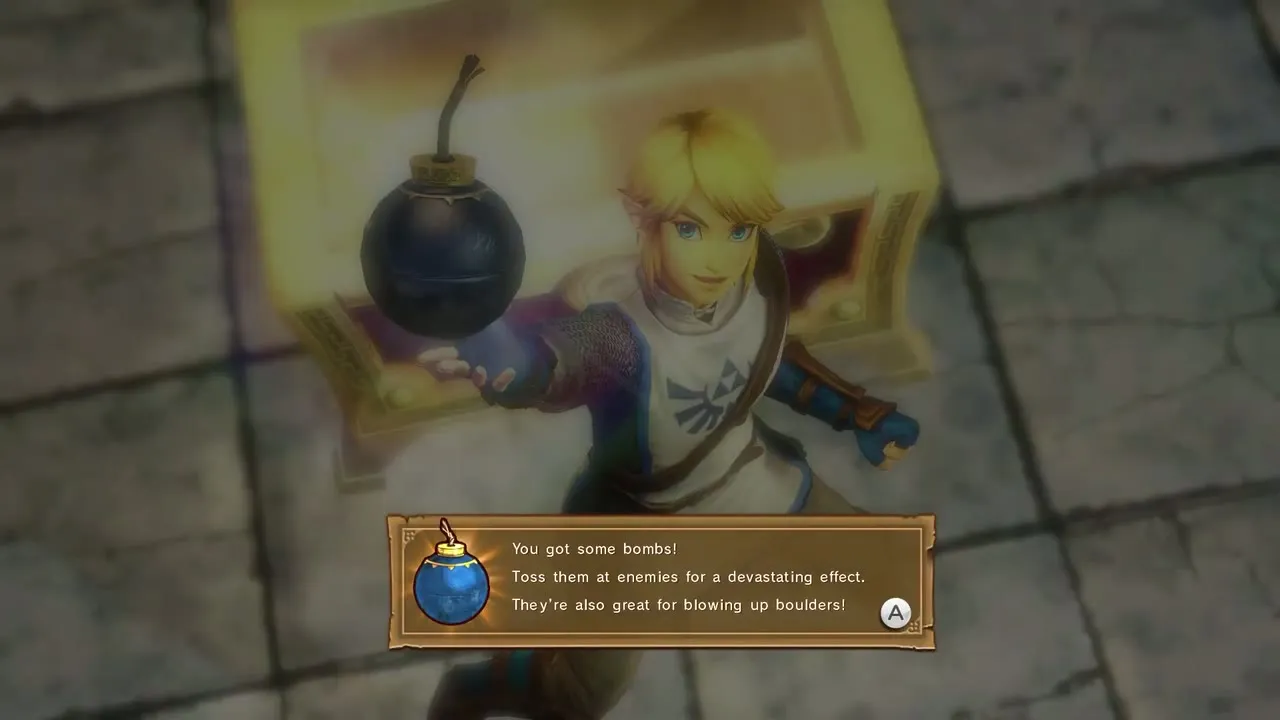
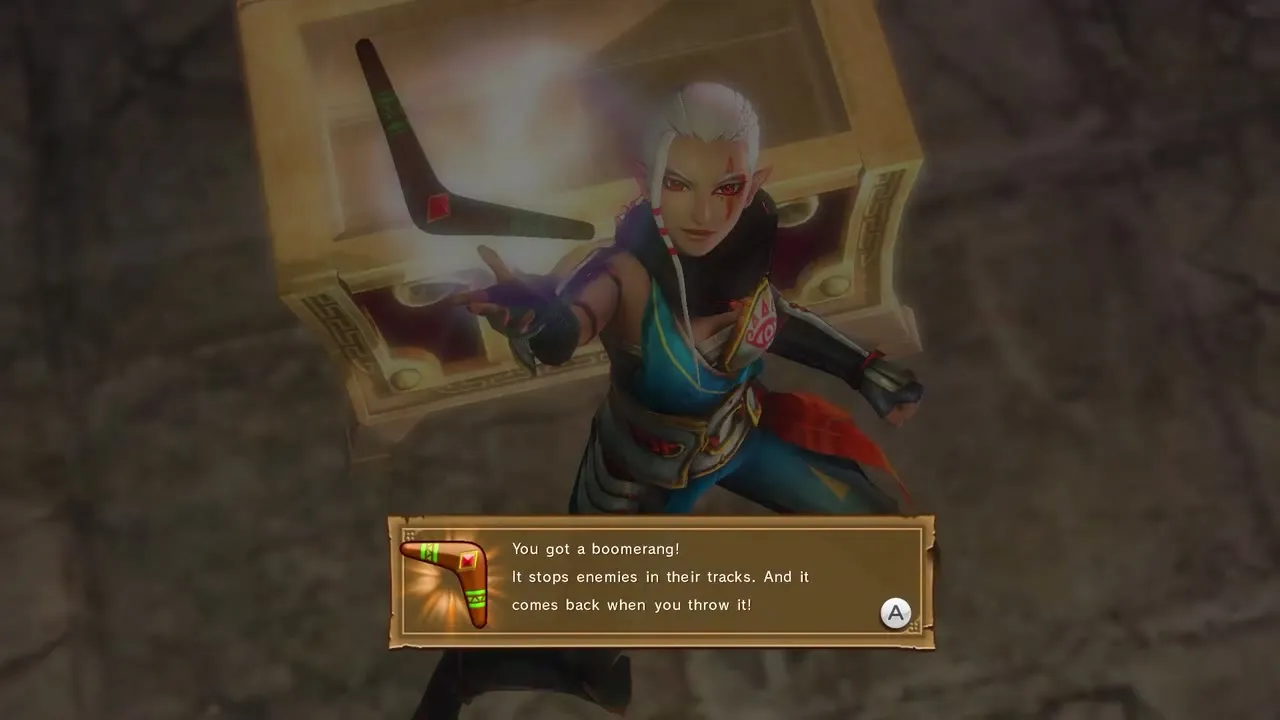
Clear the scenarios in order. On the way, take every Heart Container and Piece of Heart whose warrior you can field, carry Bombs for the boulders, and let the 1,000 KO Gold Skulltula appear. A few collectibles need an item you pick up later: the Hookshot from The Shadow King, which the Heart Container of Land of Twilight and several Gold Skulltulas wait on, and the Boomerang from a chest in The Sorceress of the Valley, which the Gold Skulltulas of The Water Temple and Ganondorf’s Return wait on.

Second pass: Free Mode and Hero Mode
Free Mode (see Modes and Difficulty) lets you replay any scenario you have cleared with the warriors and weapons you pick. Use it to collect the hearts that belonged to a warrior you did not have on the first pass, and the second Gold Skulltulas on Hard or Hero difficulty.

Prologue: 4 scenarios
| Scenario | Heart Container | Piece of Heart | Gold Skulltula (1,000 KOs) | Gold Skulltula (Hard or Hero) |
|---|---|---|---|---|
| The Armies of Ruin |  Link: beneath a boulder by the northwesternmost outpost | Link: chest at West Rockface Keep | Outside the Abandoned Fort, southern side | Link with a Hylian Sword, after King Dodongo appears: Hyrule Castle Checkpoint |
| The Sheikah Tribesman | 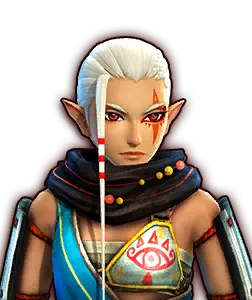 Impa: beneath a boulder near the cave exit | Link: chest at the Crystal Cave keep | Beneath a rock outside the Stone Square, southeast | Impa with the Giant’s Knife and the Hookshot, no Bombchu lost, Sheik safe: ledge north of the Crystal Cave |
| The Sorceress of the Woods | 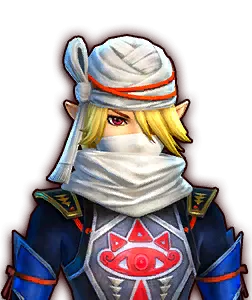 Sheik: boulder at the end of the path south of the Southeast Tree | Impa: chest at the North Square | Under a boulder at the end of a western branch | Link with a Magic Rod and the Hookshot, Gohma at half health before the Deku Tree: ledge northeast, behind the tree west of the Fairy Fountain |
| The Sorceress of the Valley | 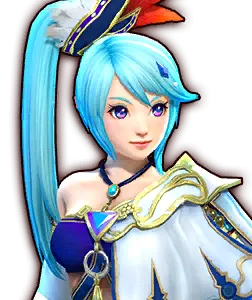 Lana: under a boulder west of the West Ruins | Sheik: Ruins Summit | Outside the southern entrance of the West Temple | Link, Volga beaten within three minutes: atop the central ruins stairway |
The Heart Containers in this arc go to Link, Impa, Sheik and Lana, and the Pieces of Heart to Link, Impa and Sheik. It holds 4 Heart Containers, 4 Pieces of Heart and 8 Gold Skulltulas.


Skyward Sword: 2 scenarios
| Scenario | Heart Container | Piece of Heart | Gold Skulltula (1,000 KOs) | Gold Skulltula (Hard or Hero) |
|---|---|---|---|---|
| Land in the Sky | Link: under a rock southeast of the Academy Keep | Link: N. Rockface Keep | Under a boulder southwest of the Goddess Statue | Link with a Hylian Sword, Ghirahim beaten early, Magic Circle after the first Volga fight: near the large pumpkin north of the Academy Keep |
| Sealed Ambition | Fi: beneath a boulder between the Temple Entrance and the East Temple Keep | Link: West Keep | Cave behind a Wall of Vines north of the Southeast Keep | Link with a Magic Rod, inside the time limit: east wall of the East Temple Keep |
The Heart Containers in this arc go to Link and Fi, and the Pieces of Heart to Link. It holds 2 Heart Containers, 2 Pieces of Heart and 4 Gold Skulltulas.


Ocarina of Time: 2 scenarios
| Scenario | Heart Container | Piece of Heart | Gold Skulltula (1,000 KOs) | Gold Skulltula (Hard or Hero) |
|---|---|---|---|---|
| Land of Myth | Sheik: under a boulder on the southern path from the East Boulder Keep | Impa: East Goron Keep | Ledge northwest of the West Boulder Keep (Hookshot needed) | Sheik, Darunia beaten twice and 1,500 KOs or seven keeps: room south of the Chief’s Room |
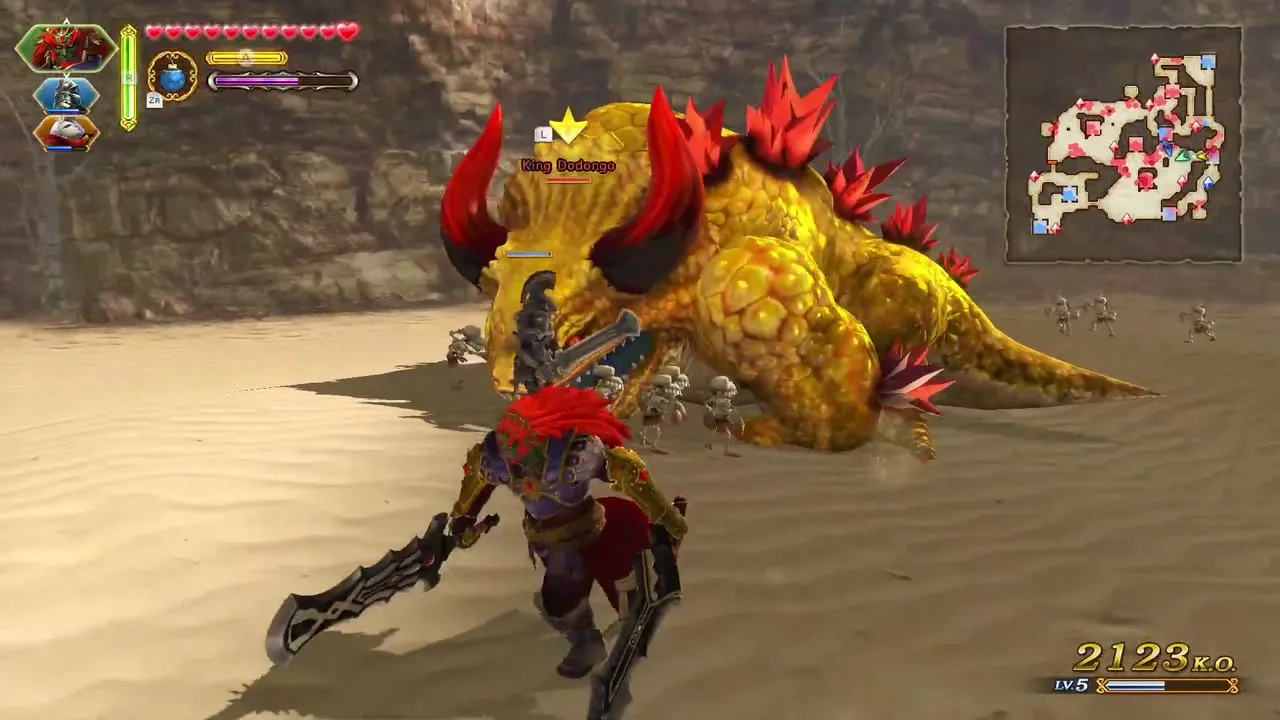
| The Water Temple |  Darunia: under a boulder in the east of the Central Hall | Sheik: East Room | North of the Temple Face Keep, behind the vines (Boomerang needed) | Impa with the Giant Blade, King Dodongo down in three minutes, Sheik safe: top of the waterfall cliff, far north |
The Heart Containers in this arc go to Sheik and Darunia, and the Pieces of Heart to Impa and Sheik. It holds 2 Heart Containers, 2 Pieces of Heart and 4 Gold Skulltulas.

Twilight Princess: 2 scenarios
| Scenario | Heart Container | Piece of Heart | Gold Skulltula (1,000 KOs) | Gold Skulltula (Hard or Hero) |
|---|---|---|---|---|
| Land of Twilight | Lana: ledge southwest of the Outskirts Keep (Hookshot needed) | Lana: Sorceress’s Keep | West of Rocky Square, on a building corner | Lana with the Book of Sorcery, Midna beaten before Cia flees, Bridge and Sorceress’s Keeps captured: Bridge Keep |
| The Shadow King |  Midna: under the boulder east of the Enemy Base | Lana: West Palace | Under the boulder west of North Palace | Midna, Argorok beaten with 50% health or more, Agitha alive: outside the southern door of the Enemy Base |
The Heart Containers in this arc go to Lana and Midna, and the Pieces of Heart to Lana. It holds 2 Heart Containers, 2 Pieces of Heart and 4 Gold Skulltulas.

Epilogue: 3 scenarios
| Scenario | Heart Container | Piece of Heart | Gold Skulltula (1,000 KOs) | Gold Skulltula (Hard or Hero) |
|---|---|---|---|---|
| The Sacred Sword |  Zelda: under the boulder south of the Town Entrance | Lana: northern temple hall | Under the boulder in the northwest corner | Any warrior, 2,000 KOs, every Sealed Statue found, Wizzro repelled: Room of the Sacred Pedestal |
| A War of Spirit | Impa: under the boulder south from the SE Magic Keep | Fi: South Garden Keep, after Ganondorf arrives | Behind the wall west of the SW Magic Keep | Zelda with the Rapier, after the allies leave following the Dark Link fight: East Garden |
| Shining Beacon | Link: beneath a boulder northwest of the East Ruins Room | Midna: East Ruins Room | Beneath a boulder southeast of the East Sanctum | Lana with the Spear, Volga beaten twice, allies alive, enemy base gate opened: north of the West Sanctum Keep |
The Heart Containers in this arc go to Zelda, Impa and Link, and the Pieces of Heart to Lana, Fi and Midna. It holds 3 Heart Containers, 3 Pieces of Heart and 6 Gold Skulltulas.

Ganondorf: 3 scenarios
| Scenario | Heart Container | Piece of Heart | Gold Skulltula (1,000 KOs) | Gold Skulltula (Hard or Hero) |
|---|---|---|---|---|
| Ganondorf’s Return |  Ganondorf: beneath a boulder west of the North Oasis | Ganondorf: Clifftop Keep | On the wall east of the Arbiter’s Keep | Ganondorf with the Boomerang, every keep captured, both officers and two giant bosses beaten: South Prison, behind a Wall of Vines |
| March of the Demon King | Ganondorf: Fairy Fountain Keep | Ganondorf: Western Room | Beneath a boulder in the northeast corner of the map | Ganondorf, all of Impa’s clones and then the real Impa beaten: north of the Eastern Room |
| Battle of the Triforce | Ganondorf: beneath a rock between the Castle Keep and the Abandoned Fort | Ganondorf: Abandoned Fort | Beneath a rock west of the East Field Keep | Ganondorf, Link and Zelda beaten four times combined, Impa before the fountain: Mountain Keep |
All six hearts in this arc are Ganondorf’s; Zant joins him partway through Battle of the Triforce, but the hearts there are still taken with Ganondorf. It holds 3 Heart Containers, 3 Pieces of Heart and 6 Gold Skulltulas.

Grand Finale: 2 scenarios
| Scenario | Heart Container | Piece of Heart | Gold Skulltula (1,000 KOs) | Gold Skulltula (Hard or Hero) |
|---|---|---|---|---|
| Enduring Resolve | Link: beneath a boulder south of Clifftop Keep | Lana: Central Keep | Beneath a boulder outside the S. Desert Keep, south side | Zelda with the Rapier, Keep Saboteurs, Rally Captains and Skilled Summoners beaten, allies above 30%: beneath a boulder in the North Prison |
| Liberation of the Triforce | Zelda: beneath a boulder in the Mountain Keep | Impa: W. Rockface Keep | Beneath a boulder in the Fairy Fountain Keep | Darunia, Ganondorf beaten before the Castle Keep is retaken, allies alive: south wall of the Castle Keep |
The Heart Containers in this arc go to Link and Zelda, and the Pieces of Heart to Lana and Impa. It holds 2 Heart Containers, 2 Pieces of Heart and 4 Gold Skulltulas.

Cia’s Tale: 5 scenarios
| Scenario | Heart Container | Piece of Heart | Gold Skulltula (1,000 KOs) | Gold Skulltula (Hard or Hero) |
|---|---|---|---|---|
| The Dragon of the Caves |  Cia: under the boulder far west of the North Square Keep | Cia: Central Keep | Under a boulder at the dead end south of the Central Keep | Cia, every Bombchu and both King Dodongos destroyed: directly west of the Allied Base |
| The Invasion Begins | 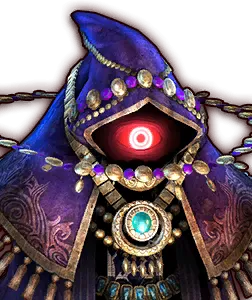 Wizzro: beneath a boulder east of the Hyrule Castle Keep, past the empty room |  Volga: Fairy Fountain | Under a boulder east of the Field North Keep | Wizzro, Impa defeated twice without endangering the Allied Base: south of the Fairy Fountain |
| The Usurper King | Wizzro: beneath a boulder north of the West Palace | Cia: West Palace | Under a boulder south of the E. Palace Entrance Keep | Wizzro, Argorok and Agitha beaten with Volga alive: northeast corner of the circular area northwest of the West Palace |
| The Demon Lord | Volga: under the boulder just west of the Rogue Base | Cia: Fairy Fountain Keep | North of the Southern Rockface Keep, behind a Wall of Vines | Volga, nine keeps captured in under 10 minutes: north of the West Town Keep |
| Darkness Falls | Volga: Fairy Fountain Keep | Cia: East Temple Keep | Dead end southwest of the Allied Base | Cia, Wizzro beaten with every Dark Link above 60% health: north of the East Temple Keep |
The Heart Containers in this arc go to Cia, Wizzro and Volga, and the Pieces of Heart to Cia and Volga. It holds 5 Heart Containers, 5 Pieces of Heart and 10 Gold Skulltulas.

Linkle’s Tale: 5 scenarios
| Scenario | Heart Container | Piece of Heart | Gold Skulltula (1,000 KOs) | Gold Skulltula (Hard or Hero) |
|---|---|---|---|---|
| The Girl in the Green Tunic | 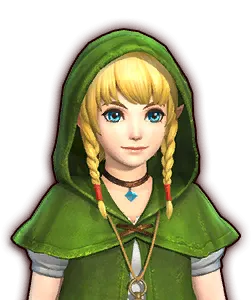 Linkle: recess west of the South Square Keep | Linkle: North Square Keep | West of the Deku Tree | Linkle, all three Cucco Chicks grown into Gold Cuccos: west of the North Square Keep |
| Powers Collide |  Ruto: east of Cliffside Keep | Linkle: Lakeside Keep | North of Temple Face Keep | Linkle, Enemy Base opened before Darunia or the Allied Base is in danger: northwest of Temple Face Keep, behind a Wall of Vines |
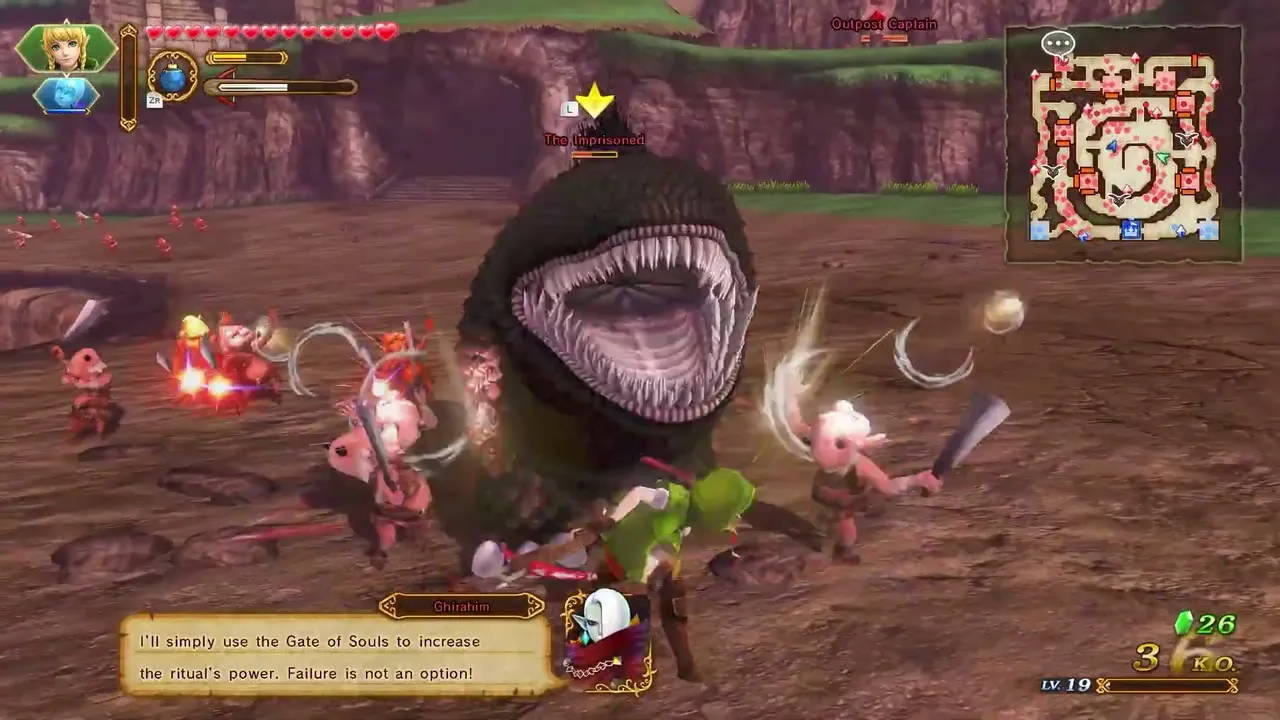
| The Demon Lord’s Plan | Fi: beneath a boulder west of the Hall of Time | Linkle: East Temple Keep | Beneath a boulder at the center of the Sealed Grounds | Linkle, Ceremonial Troops, Controller Troops and The Imprisoned all beaten: northwest of Temple Entrance Keep |
| Her True Self | 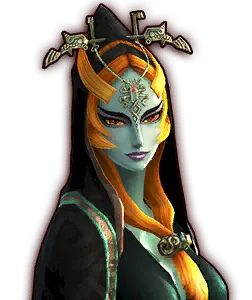 Twili Midna: beneath a boulder just north of Southwest Square | Linkle: Upper Level East | Under a boulder just west of Upper Level East | Linkle, Enemy Base opened before Zelda is in danger: south of West Square |
| The Other Hero | Impa: beneath a boulder northwest of W. Rockface Keep | Linkle: West Field Keep | Outside the north wall of the empty area east of the Castle Keep | Linkle, every Hylian Captain rescued: dead end north of East Field Keep |
The Heart Containers in this arc go to Linkle, Ruto, Fi, Twili Midna and Impa, and the Pieces of Heart to Linkle. It holds 5 Heart Containers, 5 Pieces of Heart and 10 Gold Skulltulas.
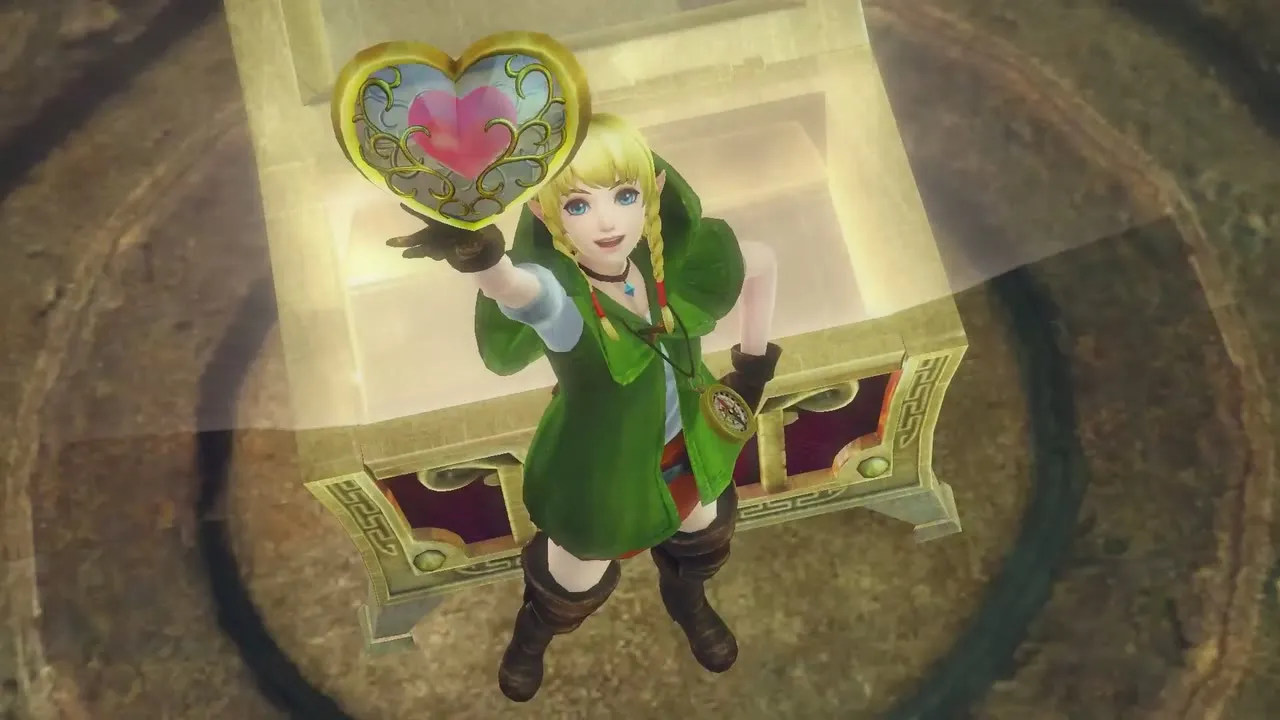
Wind Waker: 4 scenarios
| Scenario | Heart Container | Piece of Heart | Gold Skulltula (1,000 KOs) | Gold Skulltula (Hard or Hero) |
|---|---|---|---|---|
| A New Disturbance |  Tetra: beneath a boulder in a tunnel north of Star Island Keep | Link: Star Island Keep | Behind a cracked wall, dead end north of Dragon Roost Keep | Link with the Magic Rod, all Stone Heads destroyed, Gohma beaten in time: behind a Wall of Vines northeast of the Enemy Base |
| The Search for Cia | Tetra: beneath a boulder in the alcove west of North Oasis Keep | Lana: S. Desert Keep | Outside the southern wall of Rockface Keep | Lana with a Spear, all seven Gates of Souls closed in under 10 minutes: north of the Allied Base |
| Reclaiming the Darkness | Tetra: underneath a boulder north of the East Magic Keep |  King Daphnes: West Magic Keep | On a wall northeast of the Allied Base | Link with a Hylian Sword, every keep captured within 10 minutes: southwest corner of the second circular area south of the Allied Base |
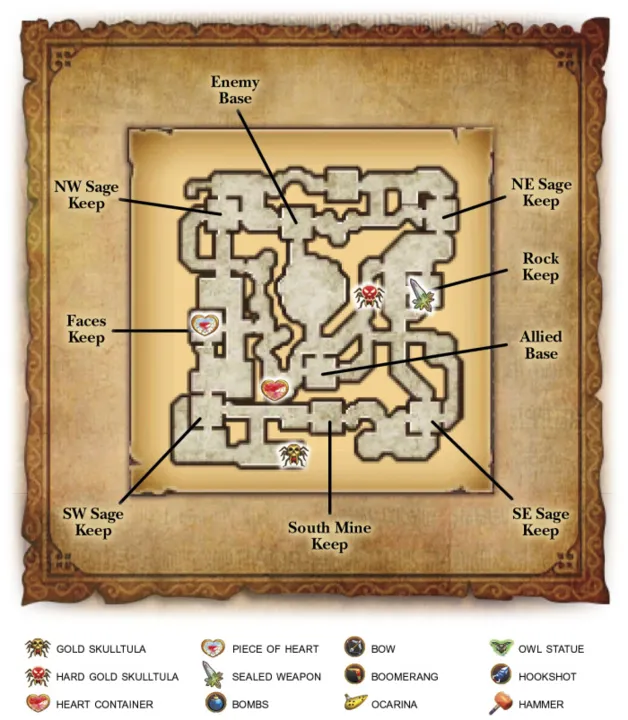
| Watchers of the Triforce | King Daphnes: beneath a boulder southwest of the Allied Base | Link: Faces Keep | On a ledge south of South Mine Keep | Tetra, Phantom Ganon at half health or less within 15 minutes: behind a Wall of Vines in the tunnel west of Rock Keep |
The Heart Containers in this arc go to Tetra and King Daphnes, and the Pieces of Heart to Link, Lana and King Daphnes. It holds 4 Heart Containers, 4 Pieces of Heart and 8 Gold Skulltulas.

The Hero Mode set
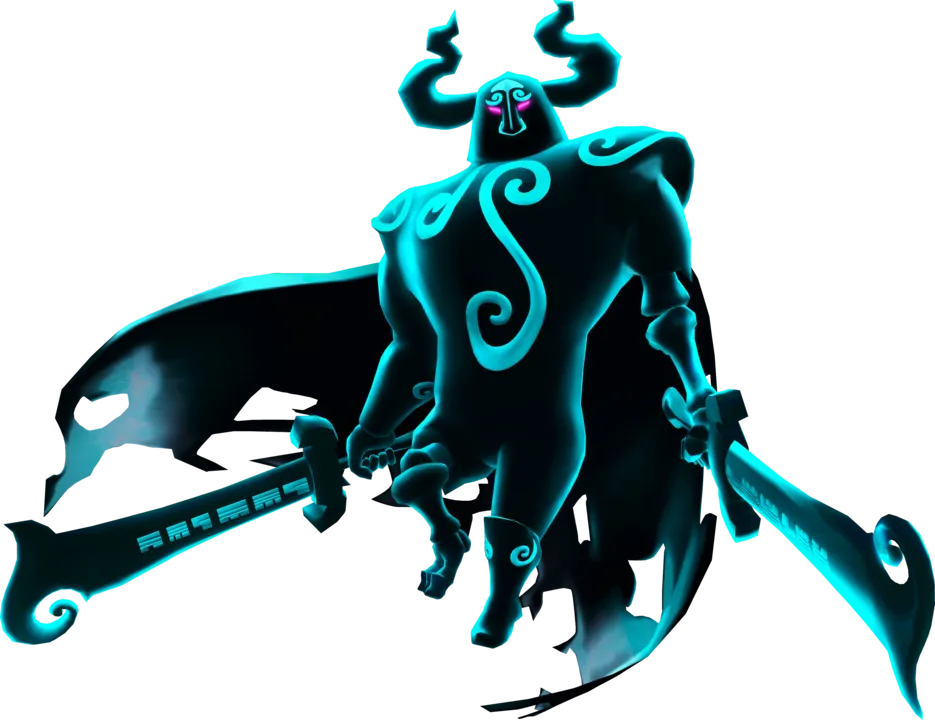
Hero Mode opens once all 32 scenarios are cleared. The second set of 32 Gold Skulltulas appears on Hard or Hero difficulty, and Hard can be chosen from the start, so you can take them on any later pass. Nearly all of them name one warrior, so the table below groups the scenarios by the warrior you need. Link needs a particular weapon type in six of his seven, and the conditions for each are in the arc tables above.
| Warrior | Second Gold Skulltulas | Scenarios |
|---|---|---|
| Link | 7 | The Armies of Ruin, The Sorceress of the Woods, The Sorceress of the Valley, Land in the Sky, Sealed Ambition, A New Disturbance, Reclaiming the Darkness |
| Linkle | 5 | The Girl in the Green Tunic, Powers Collide, The Demon Lord’s Plan, Her True Self, The Other Hero |
| Lana | 3 | Land of Twilight, Shining Beacon, The Search for Cia |
| Ganondorf | 3 | Ganondorf’s Return, March of the Demon King, Battle of the Triforce |
| Impa | 2 | The Sheikah Tribesman, The Water Temple |
| Zelda | 2 | A War of Spirit, Enduring Resolve |
| Cia | 2 | The Dragon of the Caves, Darkness Falls |
| Wizzro | 2 | The Invasion Begins, The Usurper King |
| Sheik | 1 | Land of Myth |
| Midna | 1 | The Shadow King |
| Any warrior | 1 | The Sacred Sword |
| Darunia | 1 | Liberation of the Triforce |
| Volga | 1 | The Demon Lord |
| Tetra | 1 | Watchers of the Triforce |
If you want to play it as one sweep, do the Hero Mode set by warrior rather than by story order: each trip into a scenario returns one Gold Skulltula, so grouping the stages for Link, Linkle and Ganondorf covers 15 of the 32 in one go. The Sacred Sword is the only one that sets a KO target of 2,000 instead of naming a warrior.
What is left outside Legend Mode
A full Legend Mode clear is not the whole game. The other 196 Gold Skulltulas, many of the warriors, costumes, weapons, fairies and extra Heart Containers are earned in Adventure Mode and in Challenge Mode. The table below says where each leftover comes from.

| Left to do | Where | Page |
|---|---|---|
| 196 more Gold Skulltulas | Adventure Mode battles and the add-on maps | Gold Skulltula Locations |
| Illustrations (20 Gold Skulltula pieces each) | Gallery; the first finished one opens the Rewards Map | Adventure Mode |
| Young Link, Tingle, Skull Kid, Toon Link, Medli, Marin, Toon Zelda, Ravio, Yuga | One battle square each on an Adventure Mode map | Characters |
| Ganon and Cucco | Ganon’s Fury and Cucco’s Fury in Challenge Mode | Modes and Difficulty |
| Further weapon types, sealed weapons and 4th-tier weapons | Adventure Mode rewards and Smithy fusion | Weapons |
| Companion fairies, food and fairy clothes | Jars in Adventure Mode battles; My Fairy | My Fairy |
| Badges and mixtures | The Bazaar | Bazaar and Badges |
Start with the Adventure Mode maps once the story is done, because most of these goals run through them and the Item Cards on each map point the way to hidden rewards.