






















| Shops |  Badge Market,  Training Dojo,  Apothecary,  Smithy |
|---|---|
| Badge Market, Training Dojo and Apothecary | Open after The Armies of Ruin |
| Smithy | Opens after The Sorceress of the Woods |
| Badge groups | Attack, Defense and Assist ( Badge Market) |
| Badge cost | 100 to 5,000 Rupees plus Materials |
| Potion levels | 5, raised by defeating Gold Skulltulas (3, 12, 45 and 90) |
| Skill removal | 30,000 Rupees per skill |
The Bazaar is the menu where you spend Rupees and Materials between battles. It has four shops: the Badge Market makes permanent upgrades for one warrior at a time, the Training Dojo buys levels, the Apothecary brews potions and one-battle mixtures, and the Smithy moves skills between weapons. The shops open in story order, starting with the first scenario.

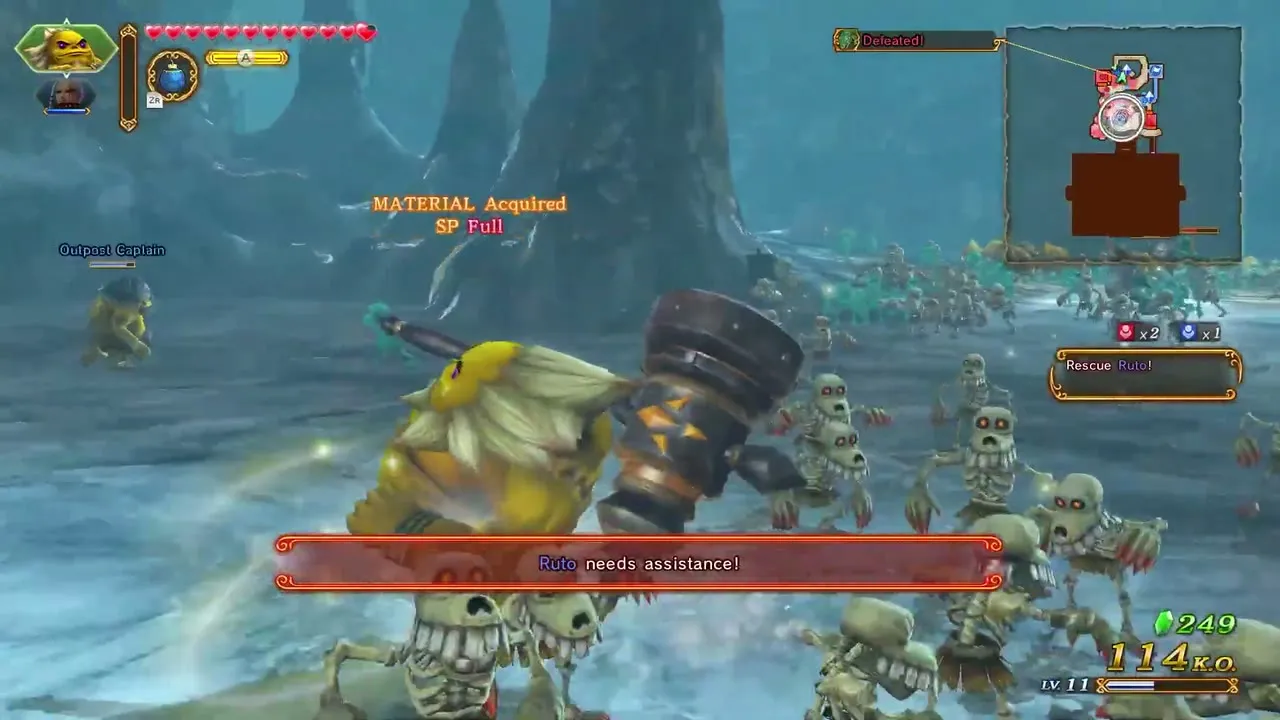
Table of Contents
When each shop opens
Clearing The Armies of Ruin, the first Legend Mode scenario, opens the Bazaar with the Badge Market, the Training Dojo and the Apothecary, so you can craft your first badges, pay for levels and brew potions right away. The game walks you through the Badge Market and the Apothecary at once, and the Training Dojo explains itself the first time you step in. The Smithy stays greyed out on the Bazaar menu until The Sorceress of the Woods is cleared; the game then announces that the Smithy is open for business and invites you to press R to visit the Bazaar.
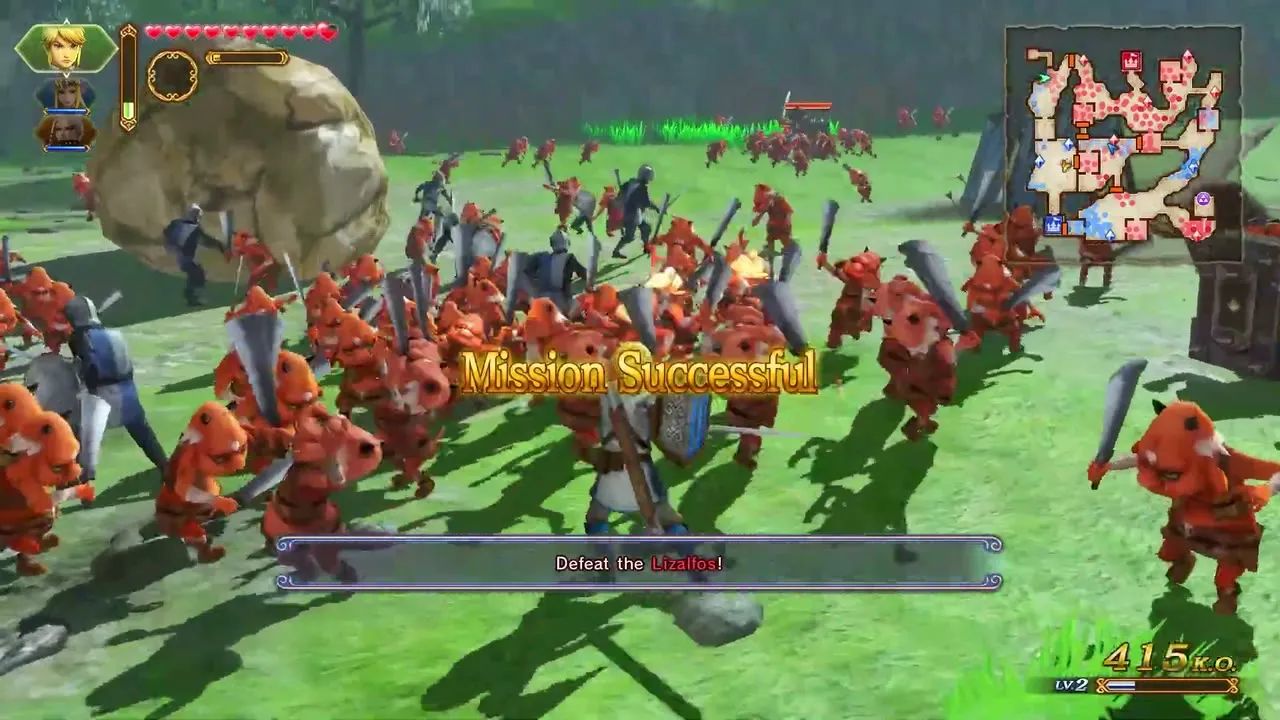
Badges, levels and Smithy work are all done for one warrior at a time, and you choose which warrior visits when you enter a shop. Rupees and Materials come from battles, so the Bazaar is where you turn a good run into permanent strength. For where Materials drop, see Materials.
| Shop | What it does | Opens |
|---|---|---|
| Badge Market | Craft Attack, Defense and Assist badges for one warrior | After The Armies of Ruin |
| Apothecary | Brew potions and one-battle mixtures | After The Armies of Ruin |
| Training Dojo | Pay Rupees to level a warrior | After The Armies of Ruin |
| Smithy | Fuse weapons, remove skills, appraise sealed skills, sell weapons | After The Sorceress of the Woods |
Badge Market
How badges work
A badge costs Rupees and specific Materials, and its bonus applies only to the warrior you crafted it for. Prices run from 100 to 5,000 Rupees. Badges come in three groups, Attack, Defense and Assist, and each shows as a bronze, silver or gold icon that rises with its rank. Most badges form a ladder: you must make the I version before the II, and the II before the III. Several badges need fewer Materials in Definitive Edition than they did originally.
A weapon combo badge appears only for a weapon type that the warrior actually owns, so it will not show up for a type you have not collected yet. Weapons are covered on Weapons.


Attack badges
Attack badges change how a warrior fights. Stamina Fruit makes the Weak Point gauge fall faster, Digging Mitts let you hurt enemies that are guarding, Hover Boots lengthen Focus Spirit, Din’s Fire fills the Special gauge faster, and Fierce Deity’s Mask adds a second and then a third Special gauge. The combo badges (Kokiri Sword, Wooden Sword, Great Fairy Sword, Giant’s Knife, Razor Sword and Gilded Sword) each add a new combo attack for one of the warrior’s weapon types. A badge’s description names the weapon it affects, so a Kokiri Sword badge can improve a Giant Blade, a Scepter or a Book of Sorcery.
| Badge | Effect | Rupees |
|---|---|---|
 Stamina Fruit I, II, III | Weak Point gauge drains slightly, moderately, much faster | 500, 1,000, 3,000 |
 Digging Mitts I, II, III | Minor, moderate, heavy damage to enemies with their guard up | 2,000, 3,000, 5,000 |
 Hover Boots I, II, III | Focus Spirit lasts slightly, moderately, much longer | 500, 1,000, 3,000 |
 Din’s Fire I, II, III | Special gauge fills slightly, moderately, much faster | 500, 1,000, 3,000 |
 Fierce Deity’s Mask I, II | Second Special gauge, then a third | 2,000, 3,000 |
Kokiri Sword, Wooden Sword, Great Fairy Sword,  Giant’s Knife, Razor Sword,  Gilded Sword I to IV | New combo attack for a weapon type | 100, 500, 1,000, 3,000 |
Defense badges
Defense badges keep a warrior alive. Hornet Larvae make hearts heal more, Nayru’s Love cancels knock-back from the first one, two or three hits you take, and Empty Bottle lets the warrior use a potion once, twice or three times per battle. Craft Empty Bottle I before you expect to use any potion from the Apothecary, because without it the warrior cannot use one at all.
Five tunic and shield ladders cut the damage you take on stages that recommend an element: Goron Tunic for Fire, Zora Tunic for Water, Magic Armor for Lightning, Sacred Shield for Light and Mirror Shield for Darkness. The recommended element is shown for each scenario on the scenario select screen.
| Badge | Effect | Rupees |
|---|---|---|
 Hornet Larvae I, II, III | Hearts heal slightly, moderately, much more | 500, 1,000, 3,000 |
 Nayru’s Love I, II, III | No knock-back on the first one, two, three hits taken | 1,000, 3,000, 5,000 |
 Empty Bottle I, II, III | Use a potion once, twice, three times per battle | 100, 1,000, 3,000 |
 Goron Tunic I, II, III | Less damage on Fire stages | 1,000, 3,000, 5,000 |
 Zora Tunic I, II, III | Less damage on Water stages | 1,000, 3,000, 5,000 |
 Magic Armor I, II, III | Less damage on Lightning stages | 1,000, 3,000, 5,000 |
 Sacred Shield I, II, III | Less damage on Light stages | 1,000, 3,000, 5,000 |
 Mirror Shield I, II, III | Less damage on Darkness stages | 1,000, 3,000, 5,000 |
Assist badges
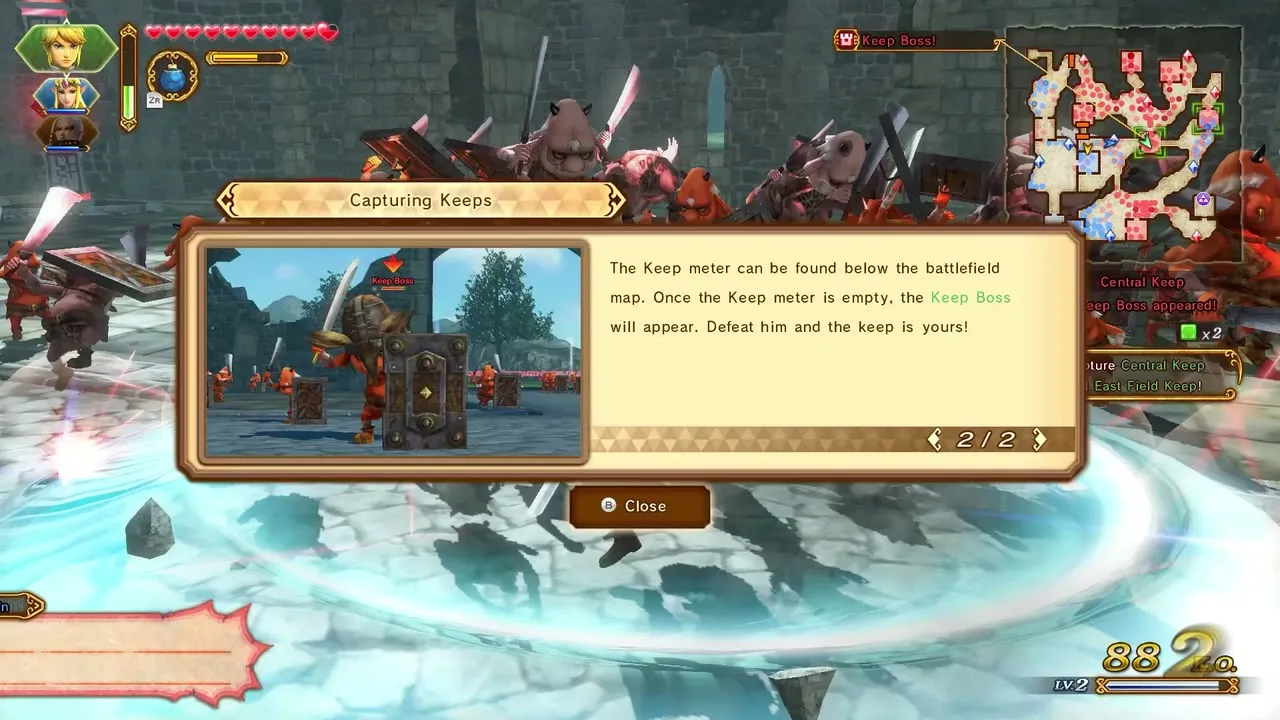
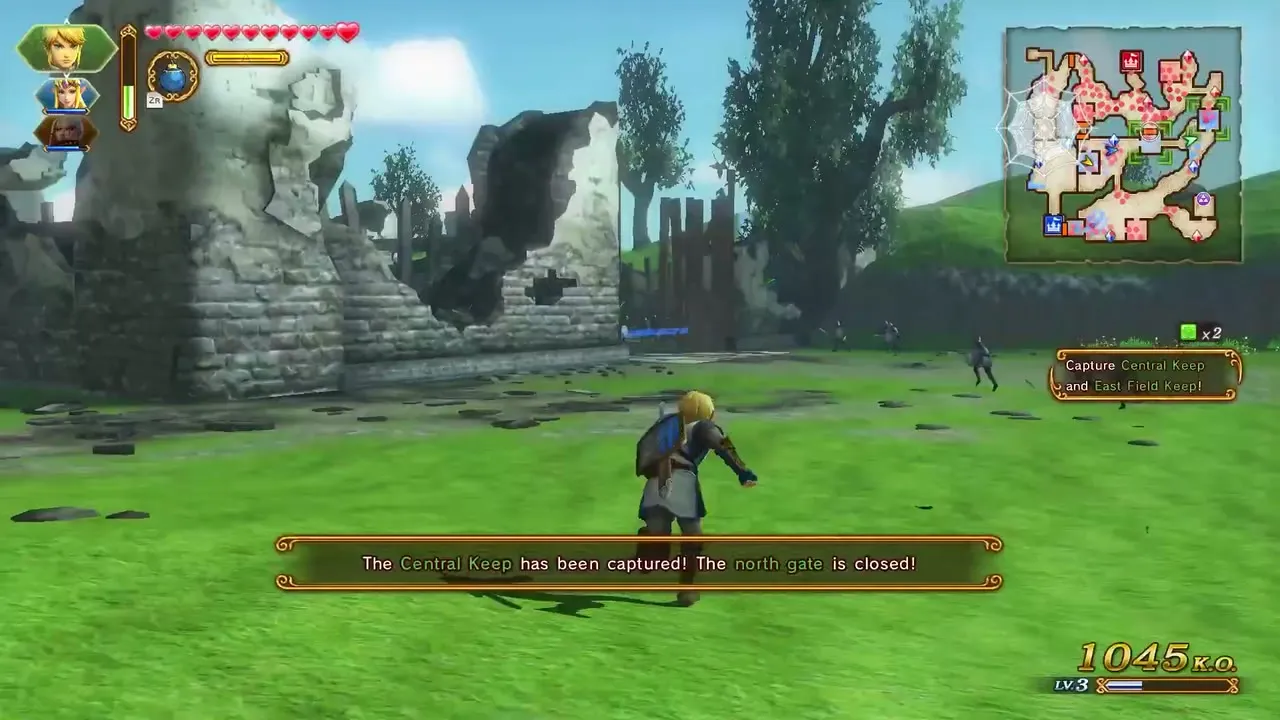
Assist badges speed up keep capturing and lengthen item power-ups. Farore’s Wind I, II and III make capturing keeps faster. Goron’s Bracelet extends Bomb power-ups, Hawkeye extends Bow power-ups, Beetle extends Boomerang power-ups, Whip extends Hookshot power-ups and Bug Net extends Hammer power-ups; each of those five has two ranks. Items themselves are listed on Items.

| Badge | Effect | Rupees |
|---|---|---|
 Farore’s Wind I, II, III | Keeps are taken slightly, moderately, much faster | 500, 1,000, 3,000 |
 Goron’s Bracelet I, II | Longer  Bomb power-up | 1,000, 2,000 |
 Hawkeye I, II | Longer  Bow power-up | 1,000, 2,000 |
 Beetle I, II | Longer  Boomerang power-up | 1,000, 2,000 |
 Whip I, II | Longer  Hookshot power-up | 1,000, 2,000 |
 Bug Net I, II | Longer  Hammer power-up | 1,000, 2,000 |
Training Dojo
Paying for levels
At the Training Dojo you pay Rupees to raise a warrior’s level at once, which lifts base attack strength and maximum health. The price grows with the warrior’s level and drops the closer the warrior already is to the next level. You cannot train a warrior above the level of your current highest-level warrior, so the Dojo is best for catching up weak or new warriors. Definitive Edition halves the experience and Rupees needed for levels 50 to 99, which makes the top levels much cheaper than in earlier versions.

Apothecary
Potions
The Apothecary sells potions that you use in battle with ZR once the warrior has crafted Empty Bottle I. The best potion you can buy depends on how many Gold Skulltulas you have defeated. For where to find them, see Gold Skulltula Locations.

| Level | Potion | Gold Skulltulas needed | Restores |
|---|---|---|---|
| 1 | 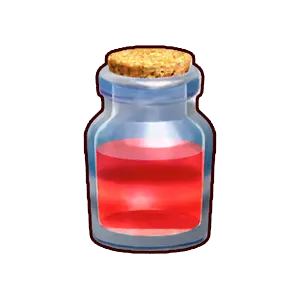 Red Potion | None | 5 hearts |
| 2 | 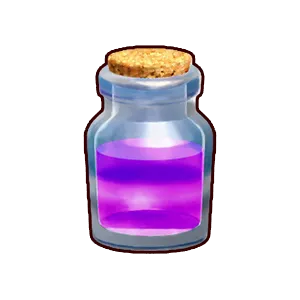 Purple Potion | 3 | 5 hearts and half a Special gauge |
| 3 |  Blue Potion | 12 | 10 hearts and half a Special gauge |
| 4 | 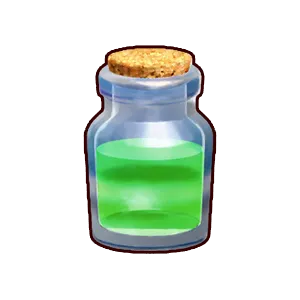 Green Potion | 45 | 10 hearts and a full Special gauge |
| 5 | 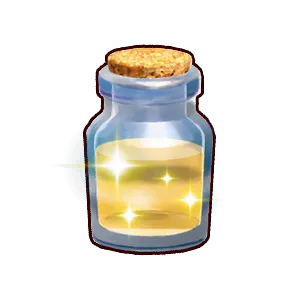 Yellow Potion | 90 | 15 hearts and 1.5 Special gauges |
Mixtures
A mixture is a one-battle bonus that you brew before the fight. Only one mixture can be active at a time, and it applies to your whole party. You pay Rupees and Materials of a fixed rarity: the first tier of a mixture takes 20 bronze Materials, the second 5 silver and the third 1 gold, and any Material of that rarity is accepted. Once the battle ends the effect is gone and you must brew another. The list of mixtures on offer grows as you defeat more Gold Skulltulas.
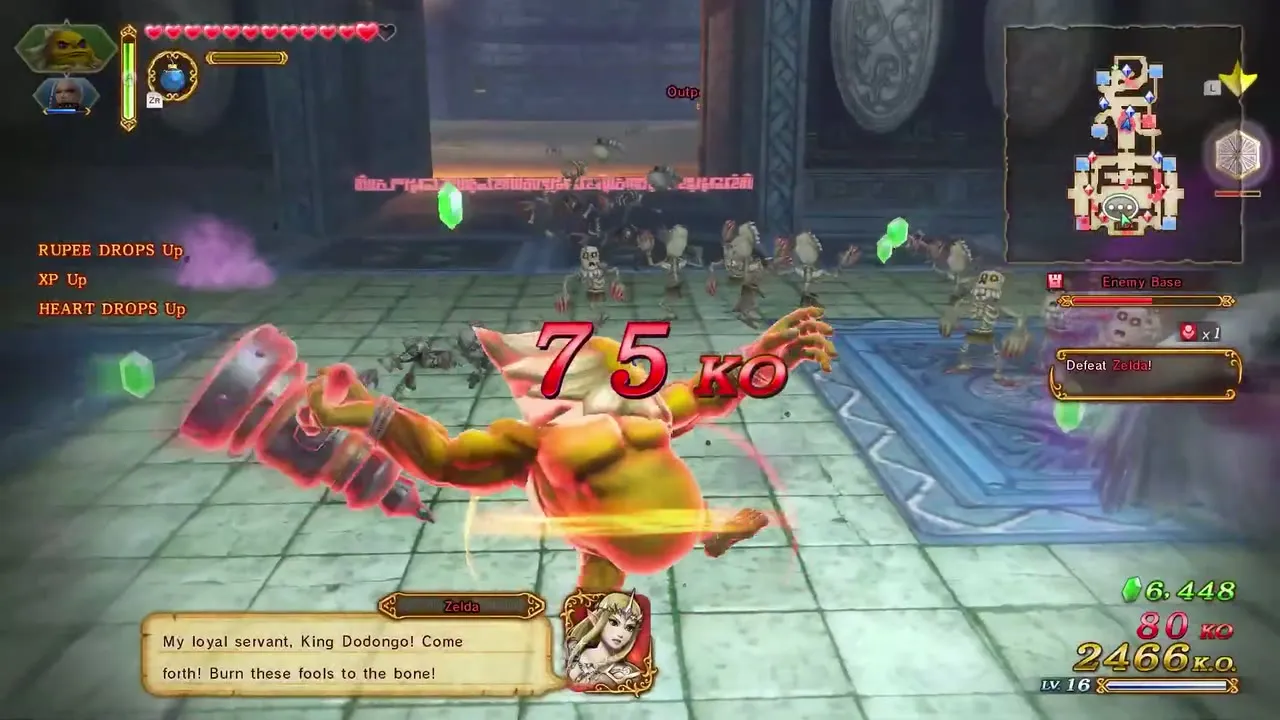
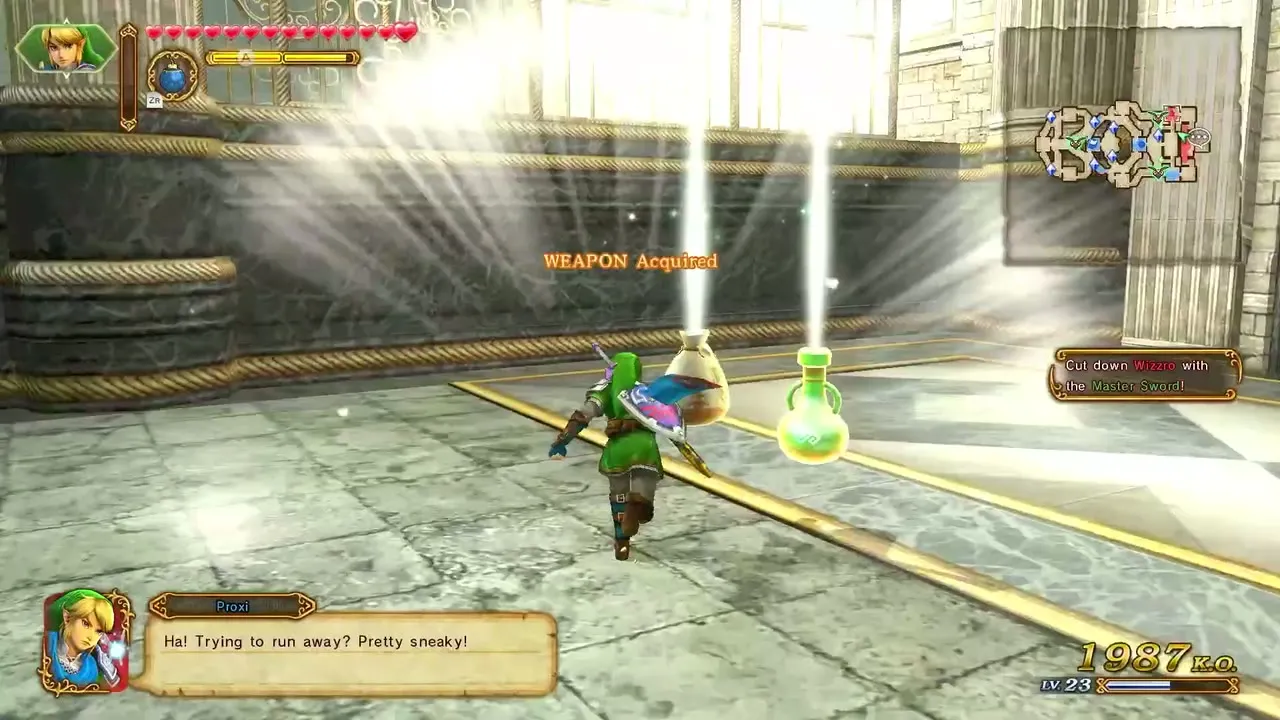
The drop mixtures raise the chance of better weapon drops. Weapon Drop, Weapon Rank, Weapon Star and Weapon Slot each have three tiers, and Empty Slot, Attack Skill, Element Skill, VS Skill, Bonus Skill, KO Skill and Special Skill each have two. See Weapons for how skills and stars work.

| Mixture | Effect | Materials | Rupees |
|---|---|---|---|
| Weapon Drop I, II, III | Higher weapon drop rate | 20 bronze, 5 silver, 1 gold | 100, 500, 1,000 |
| Weapon Rank I, II, III | Higher ranked weapon drops | 20 bronze, 5 silver, 1 gold | 300, 1,500, 3,000 |
| Weapon Star I, II, III | More stars on dropped weapons | 20 bronze, 5 silver, 1 gold | 400, 2,000, 4,000 |
| Weapon Slot I, II, III | More slots on dropped weapons | 20 bronze, 5 silver, 1 gold | 200, 1,000, 2,000 |
| Empty Slot I, II | More empty slots on dropped weapons | 20 bronze, 1 gold | 500, 1,000 |
| Attack Skill I, II | More ATK skills on dropped weapons | 20 bronze, 1 gold | 200, 400 |
| Element Skill I, II | More ELE skills on dropped weapons | 20 bronze, 1 gold | 400, 800 |
| VS Skill I, II | More weapons with VS skills | 20 bronze, 1 gold | 1,500, 3,600 |
| Bonus Skill I, II | More BON skills on dropped weapons | 20 bronze, 1 gold | 300, 600 |
| KO Skill I, II | More weapons with KO skills | 20 bronze, 1 gold | 1,500, 3,000 |
| Special Skill I, II | More SP skills on dropped weapons | 20 bronze, 1 gold | 2,000, 4,000 |
The other mixtures change how a battle plays. Item Power-Up keeps your items powered up for the whole battle, Guard Breaker lets you break enemy guards without Focus Spirit, SP Replenishing refills the Special gauge steadily, EXP Accelerator gives more experience per KO, Rupee Festival makes KOs drop more Rupees, Material Master makes rarer Materials drop more often, Weak Point Smasher makes Weak Point gauges fall faster, Anti-Boss Formula raises damage to giant bosses, and Boss MP Absorber drains magic from them.

| Mixture | Materials | Rupees |
|---|---|---|
| Item Power-Up | 200 bronze | 30,000 |
| Guard Breaker | 150 bronze | 20,000 |
| SP Replenishing | 175 bronze | 25,000 |
| EXP Accelerator | 10 silver | 10,000 |
| Material Master | 20 silver | 50,000 |
| Weak Point Smasher | 125 bronze | 5,000 |
| Anti-Boss Formula | 175 bronze | 15,000 |
| Boss MP Absorber | 150 bronze | 10,000 |
Rupee Festival costs 15 silver Materials. Definitive Edition lowered several prices, so Guard Breaker, SP Replenishing, Weak Point Smasher, Anti-Boss Formula and Boss MP Absorber are all cheaper than in the original release. Five food mixtures raise the chance that enemies drop food: Food Drop (5 silver, 1,500 Rupees), and Feast Drop, Fish Drop, Weird Drop, Drink Drop and Plant Drop (20 bronze and 500 Rupees each). Food is what feeds your fairies; see My Fairy.


Smithy
Fusing weapons
The Smithy lets you move a skill from one weapon to another. Pick a base weapon with an empty skill slot and a source weapon of the same weapon type, then choose one skill to move. The source weapon is destroyed, and the Rupee cost depends on that weapon and the skill. Only one skill moves per fusion, and a sealed skill cannot be moved until it is unsealed.

Removing and appraising skills
Removing a skill turns it into an empty slot that you can fill by fusion. It costs 30,000 Rupees, down from 300,000 in the original release, and the skill is gone for good, so check it twice. Appraising shows what a sealed skill is without waiting for it to open. Each sealed skill opens after a set number of KOs with the weapon, and appraisal costs 10 Rupees for each KO still required.

Selling weapons
Selling turns a spare weapon into Rupees. The price depends on the weapon’s tier, its stars and the value of its skills, while empty slots and still-sealed skills add nothing. Check a weapon’s skills before you sell it, because a sold weapon can no longer be used as a skill source.

What to buy first
Early on, craft Empty Bottle I and Farore’s Wind I for each warrior you use, then add the combo badge for their main weapon type. Put Rupees into the Training Dojo for any warrior who lags behind your strongest, and keep bronze Materials for mixtures. When the Smithy opens, fuse your best skills onto your strongest weapon of each type. For the whole route, see the 100% Completion Checklist.
