





















| Quest type | Main quest (final) |
|---|---|
| Giver | Purah |
| Starts in | Lookout Landing, after Recovering the Hero’s Sword |
| Requirements | Recovering the Hero’s Sword complete; the four Regional Phenomena and Guidance from Ages Past recommended so the Sages can help |
| Reward | Completes the main story; the save returns to just before the final battle |
This is the final main quest. It takes Link into the Depths beneath Hyrule Castle for a long run of battles, followed by the fight against Ganondorf and his final transformation. Prepare before you descend. There is no chance to restock between the last boss phases.
Walkthrough
Start the quest and prepare
After Recovering the Hero’s Sword, speak with Purah at Lookout Landing to start Destroy Ganondorf. She points you toward the Depths beneath Hyrule Castle.

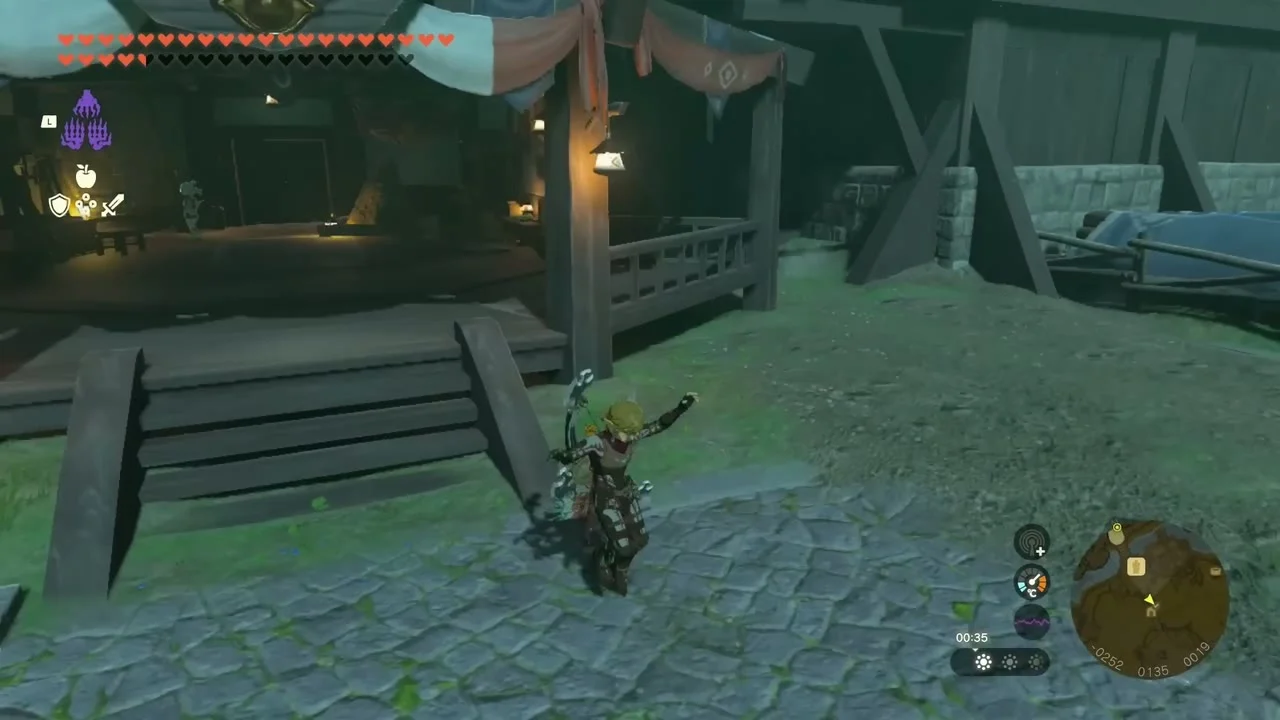
Before leaving, bring strong weapons, several bows, plenty of arrows, and meals that restore hearts lost to gloom. Sundelion dishes repair gloom-damaged hearts. Defense Up meals help against Ganondorf’s heavy hits, and attack-boosting food can shorten the fights. Equip a one-handed weapon and a shield so you can block and use Flurry Rushes.
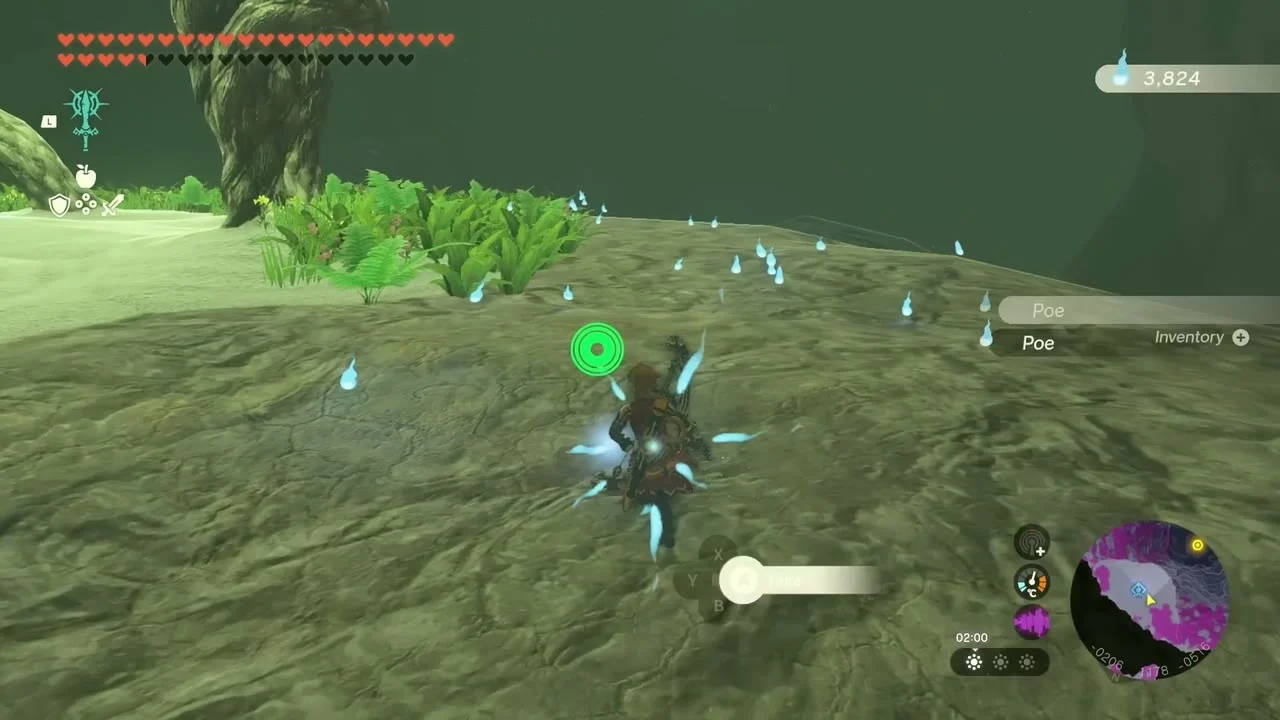


Complete the four Regional Phenomena quests and Guidance from Ages Past first if you want the Sages to help during the army fight. If you leave temple bosses or the Hyrule Castle Phantom Ganon encounter unfinished, extra enemies can appear in the gauntlet below. Make a manual save before the final drop.

Enter the Depths beneath Hyrule Castle
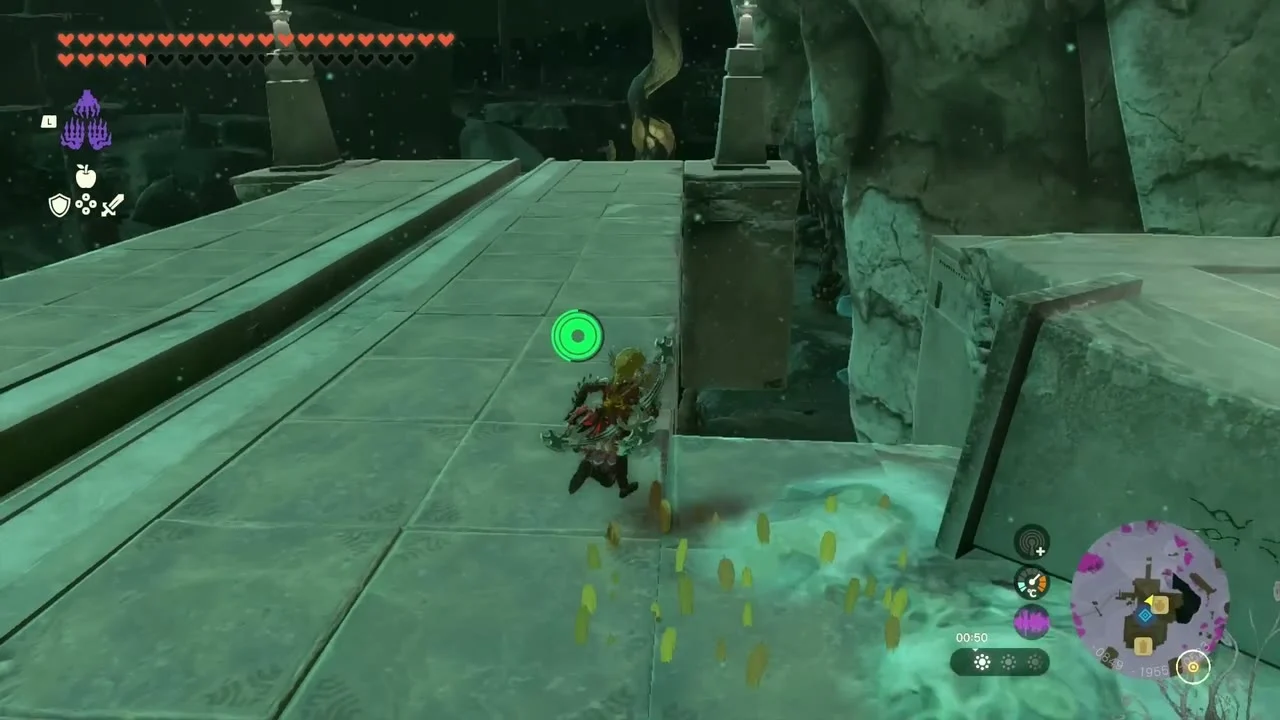
The entrance is Hyrule Castle Chasm, the large red opening beneath the floating castle north of Lookout Landing. You can launch from Serutabomac Shrine and glide down, or jump into the chasm from the surface.


At the bottom, activate Camobatures Lightroot if you have not already. Head to the southwest side of the cavern and look for the opening below a red enemy that fires electric projectiles. Drop through and glide into the passage beneath it.

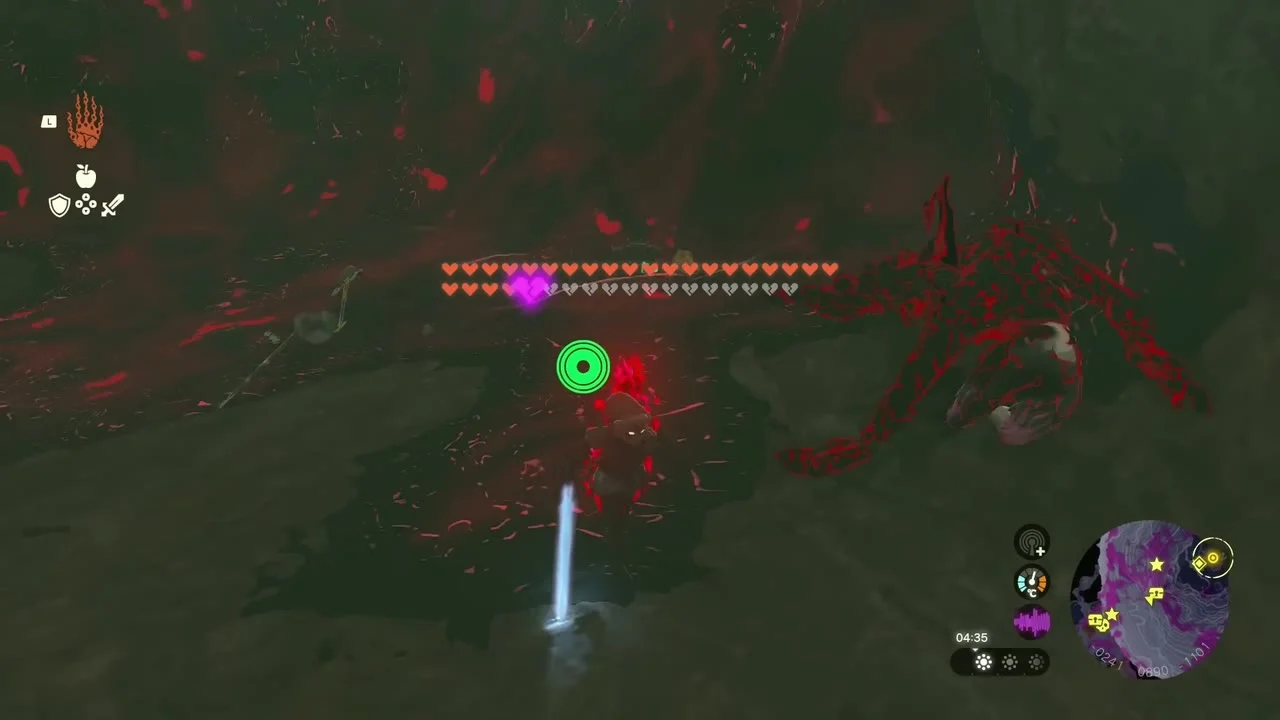
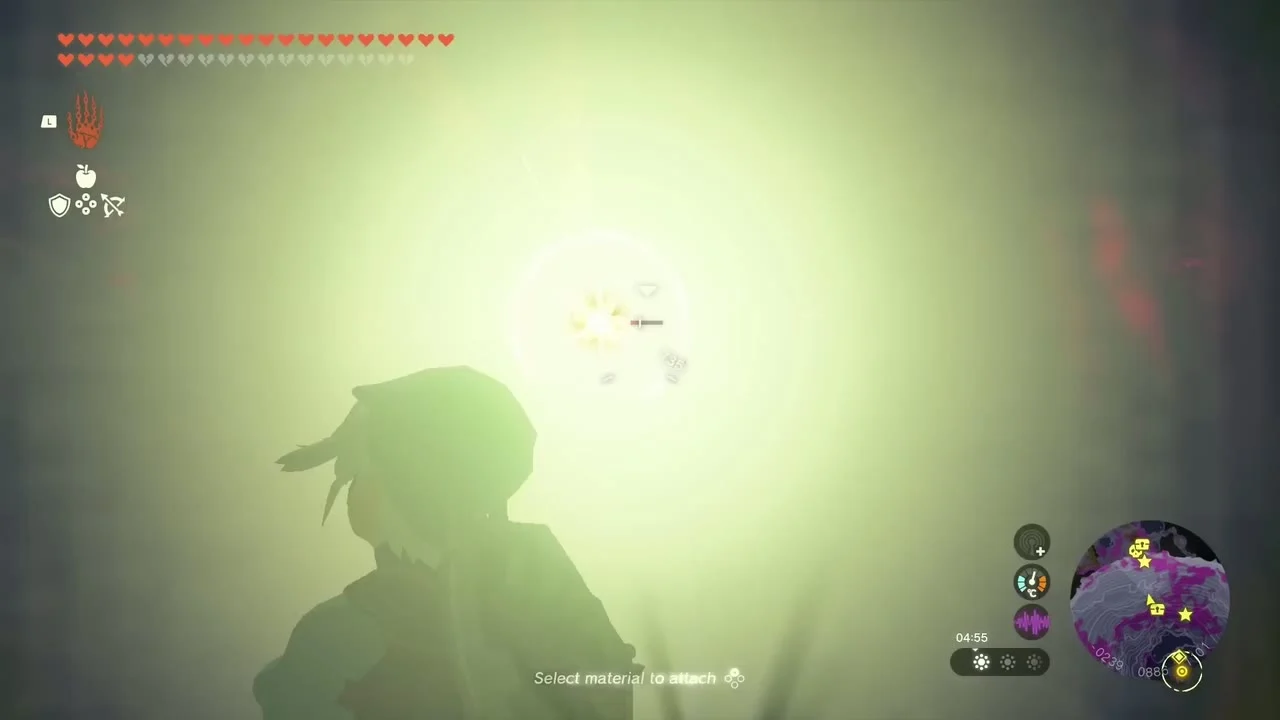
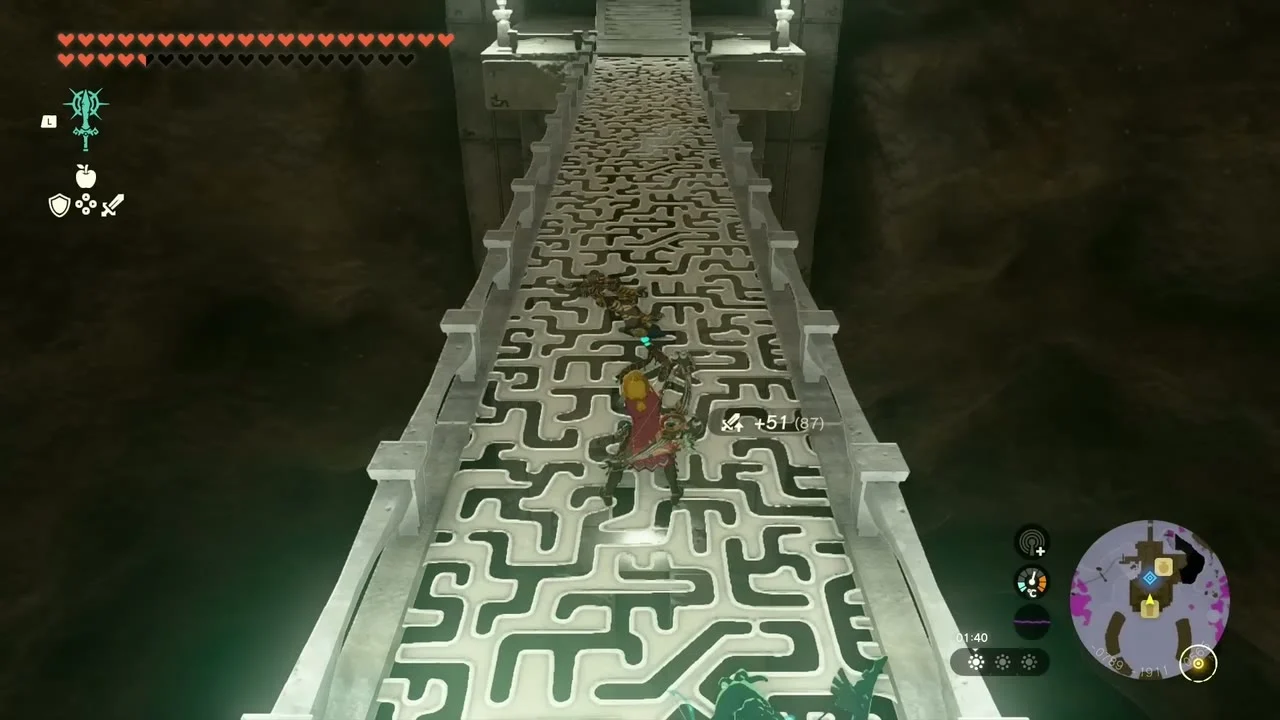
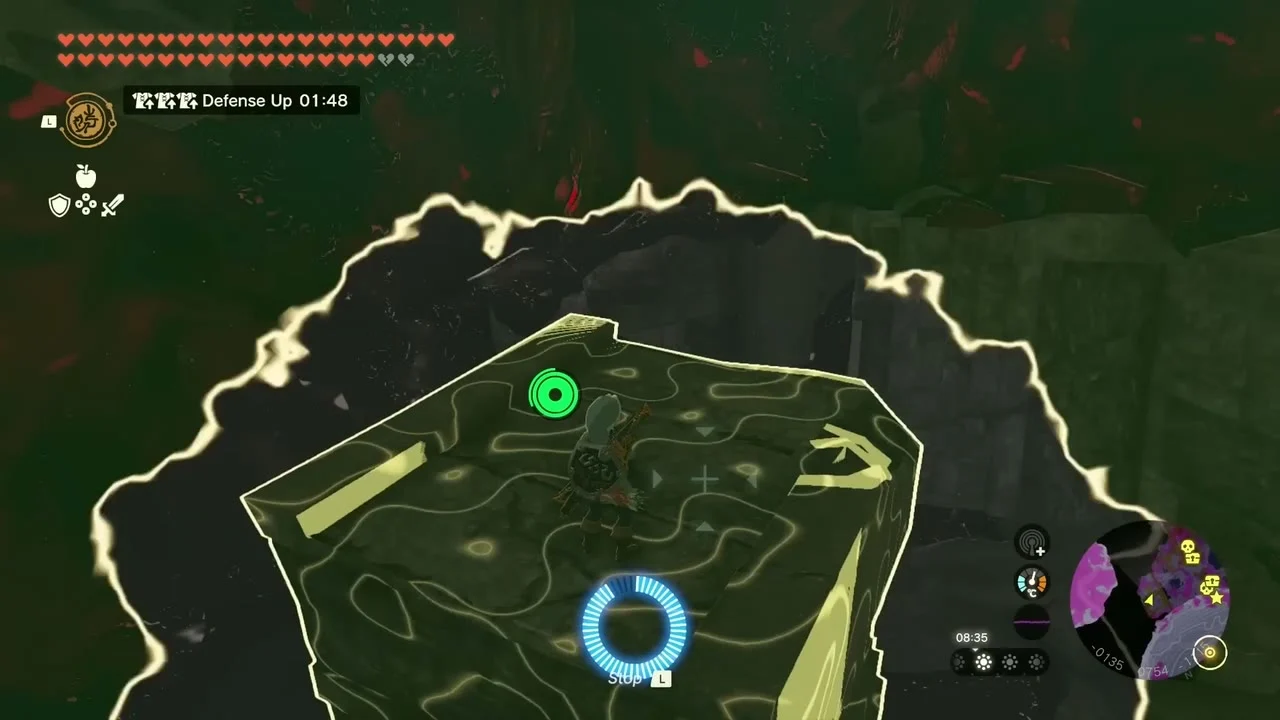
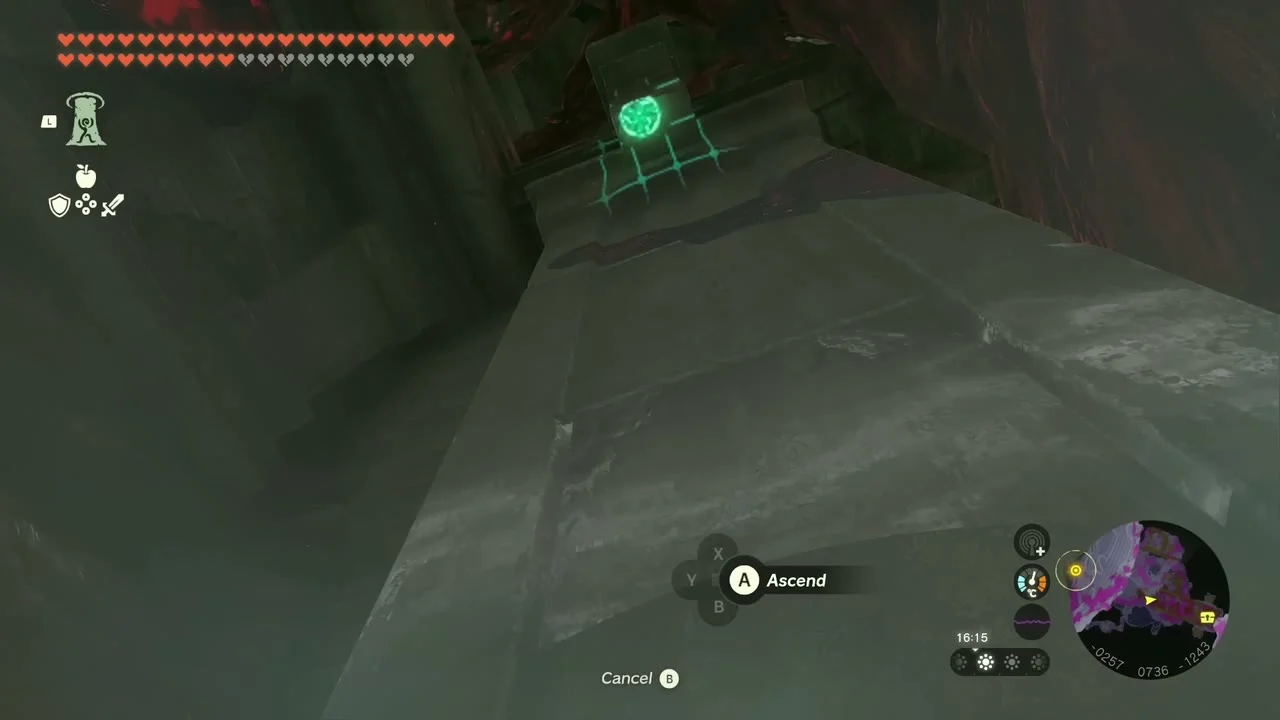
Follow the route downward. Use Ascend where the pillars allow it, Recall on falling stone platforms to ride them back up, and a rock-fused weapon to break through blocked passages. The path leads to the Imprisoning Chamber. Keep going until you reach the final ledge, then jump into the darkness to begin the last sequence.


Defeat the Demon King’s Army
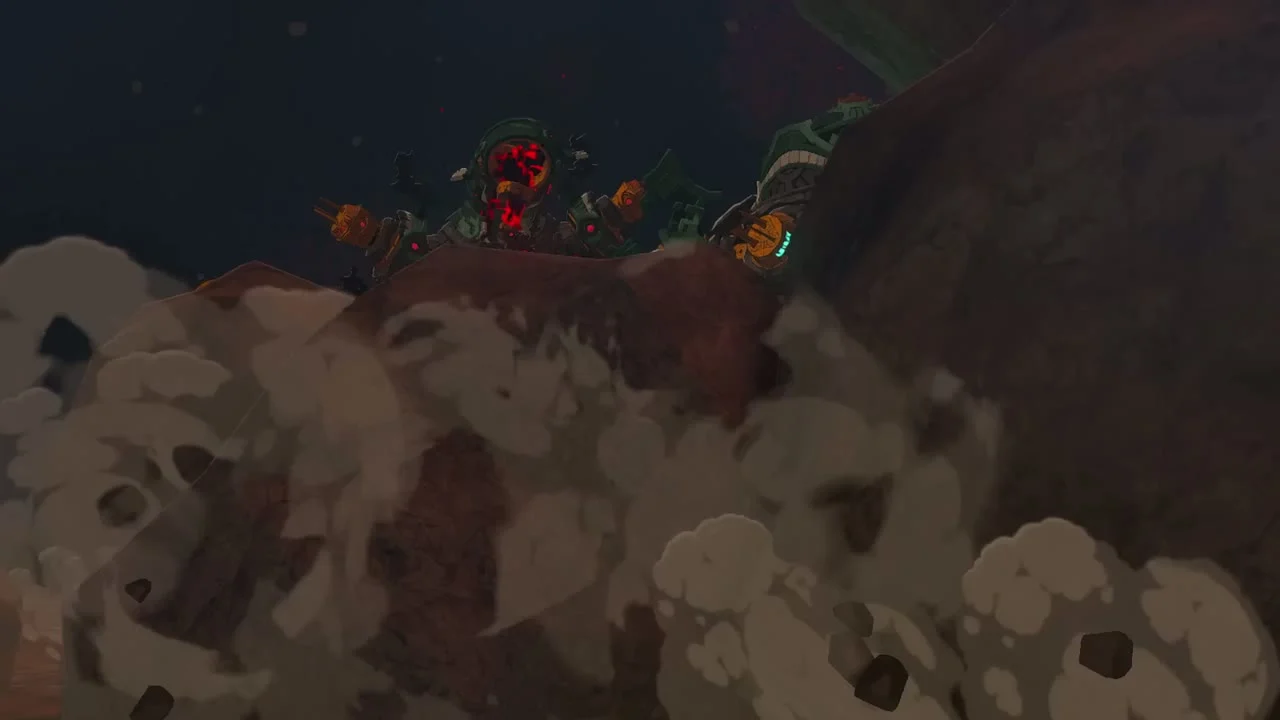
The Sages join the battle if you have awakened them. Stay mobile, use their abilities when available, and pick off weaker enemies while the Sages draw their attention. The fight comes in waves, with Bokoblins and a Boss Bokoblin first, then Lizalfos, flying and ground enemies, and finally larger monsters.
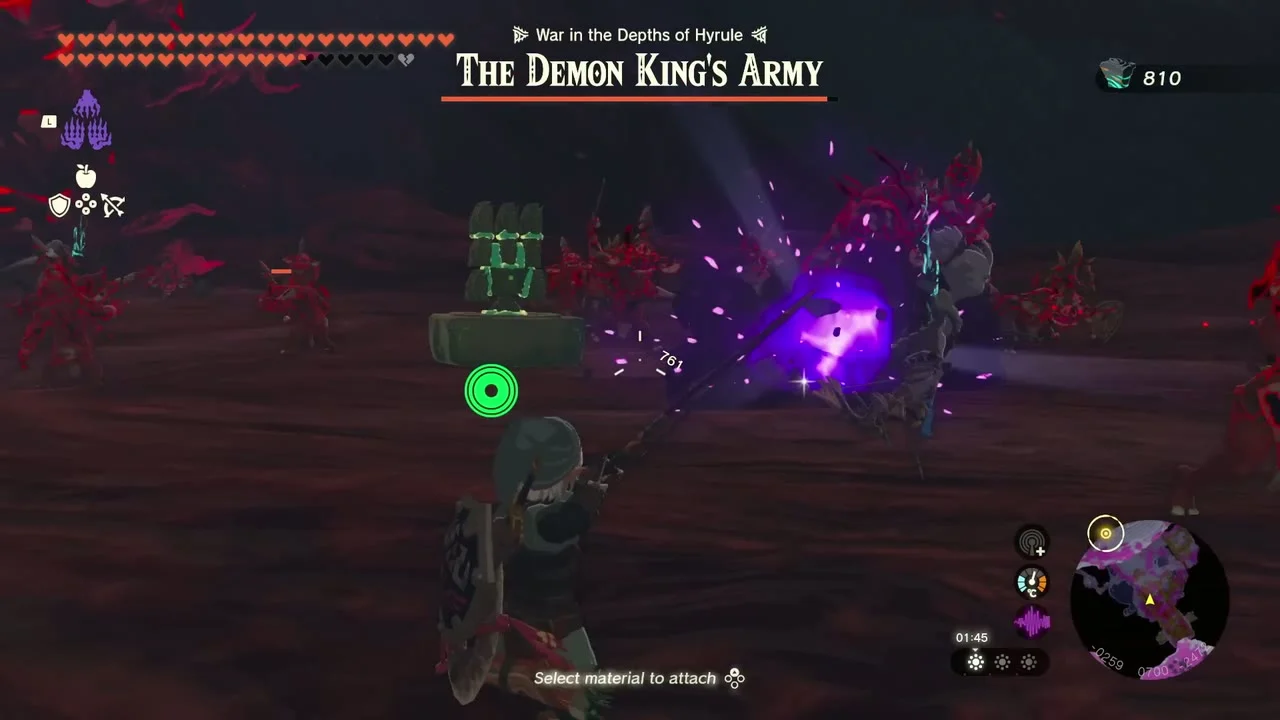


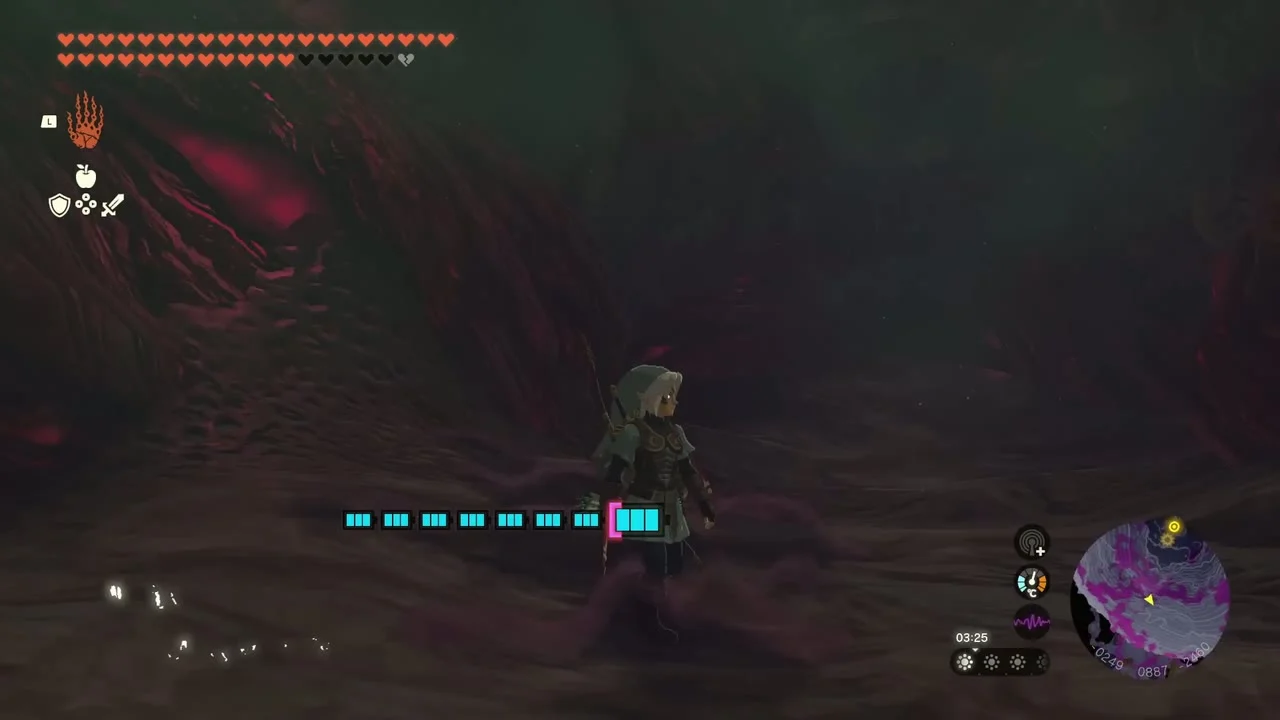
Use Riju’s lightning on groups when her ability is ready. Headshots and elemental attacks help control enemies that stay at range. The arena has gloom, so avoid lingering in it and use Sundelion meals if your hearts become damaged.

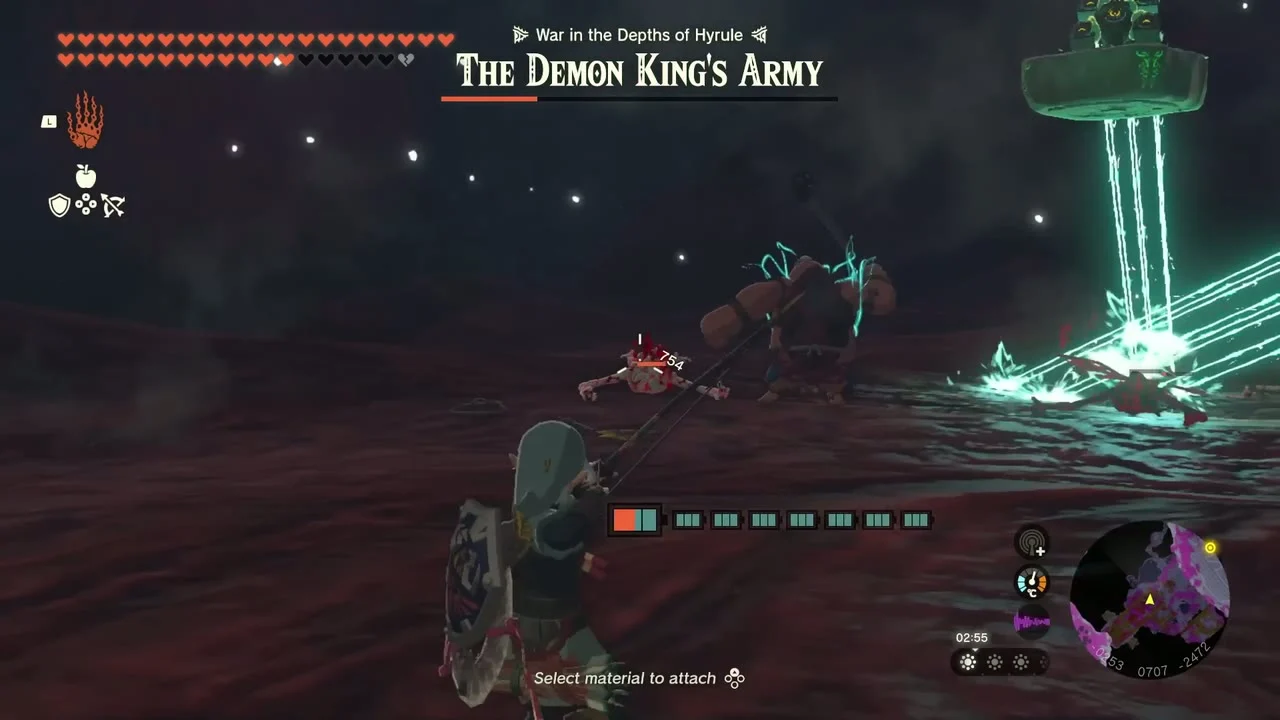
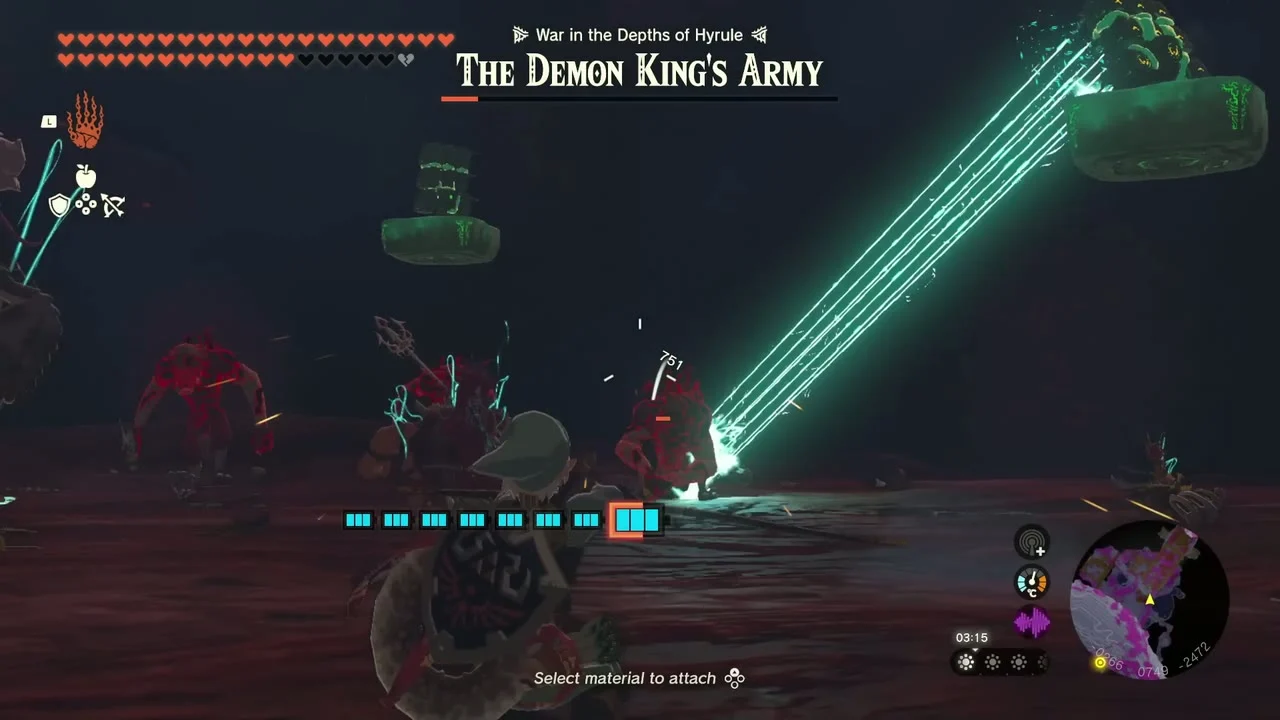
If you have not completed a regional temple, that temple’s boss can join the gauntlet after the regular monster waves. Any missing Sage also means less help in the fight. Once the army is defeated, follow the passage forward to Ganondorf.
Fight Demon King Ganondorf
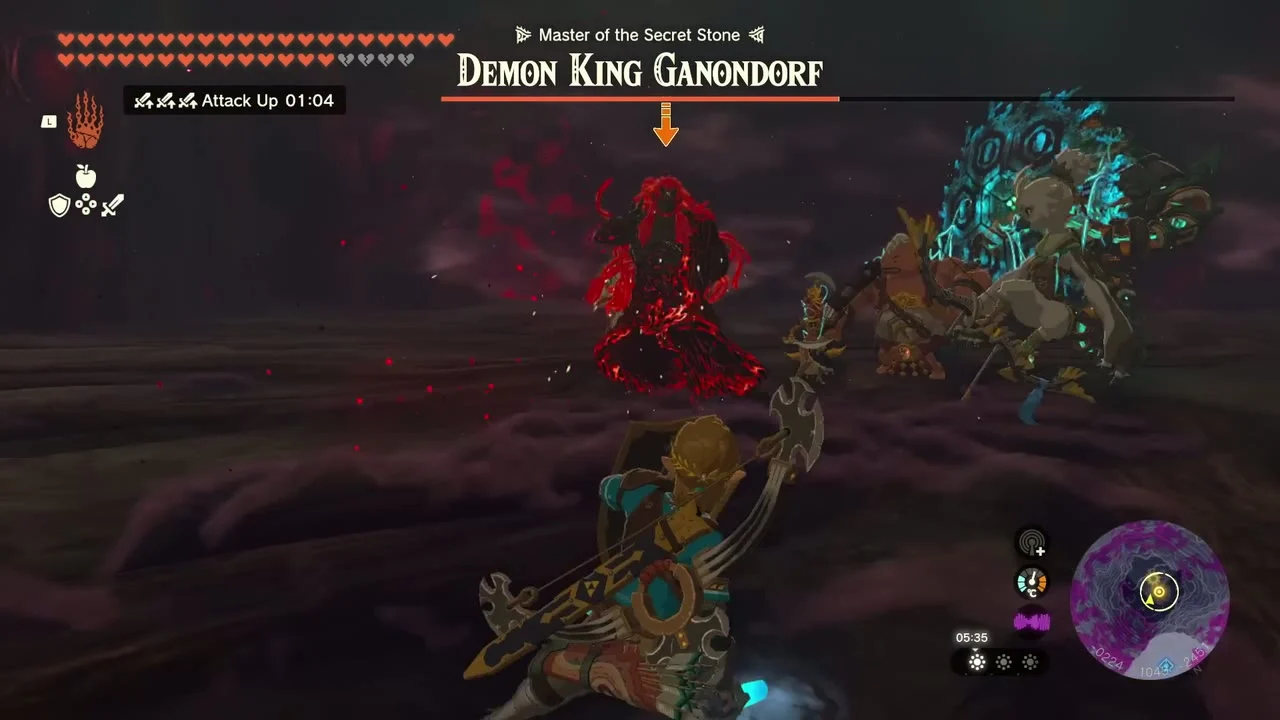
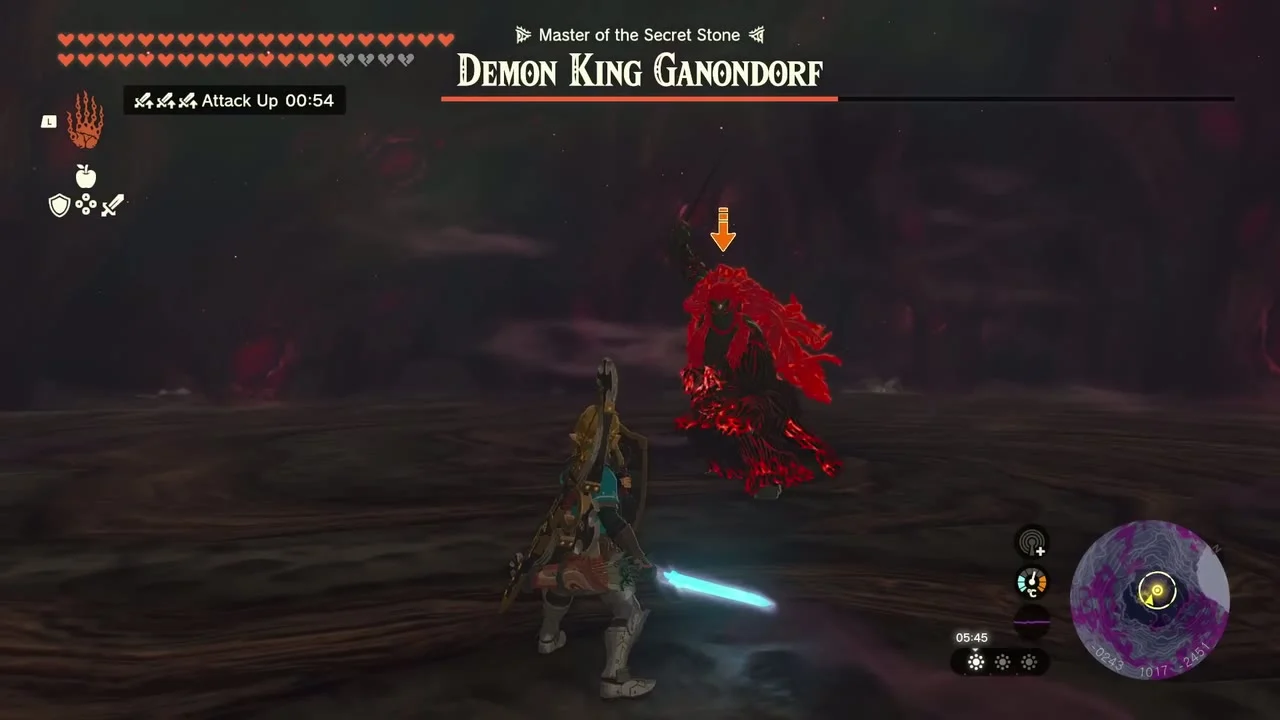
Ganondorf has three phases. Keep your shield ready and watch his weapon. His attacks are designed to punish predictable dodges, and he can dodge your Flurry Rush if you repeat the same timing. Vary your approach, wait for his strike, then dodge at the last moment to create an opening. A one-handed weapon and shield are easier to manage here than a two-handed weapon.
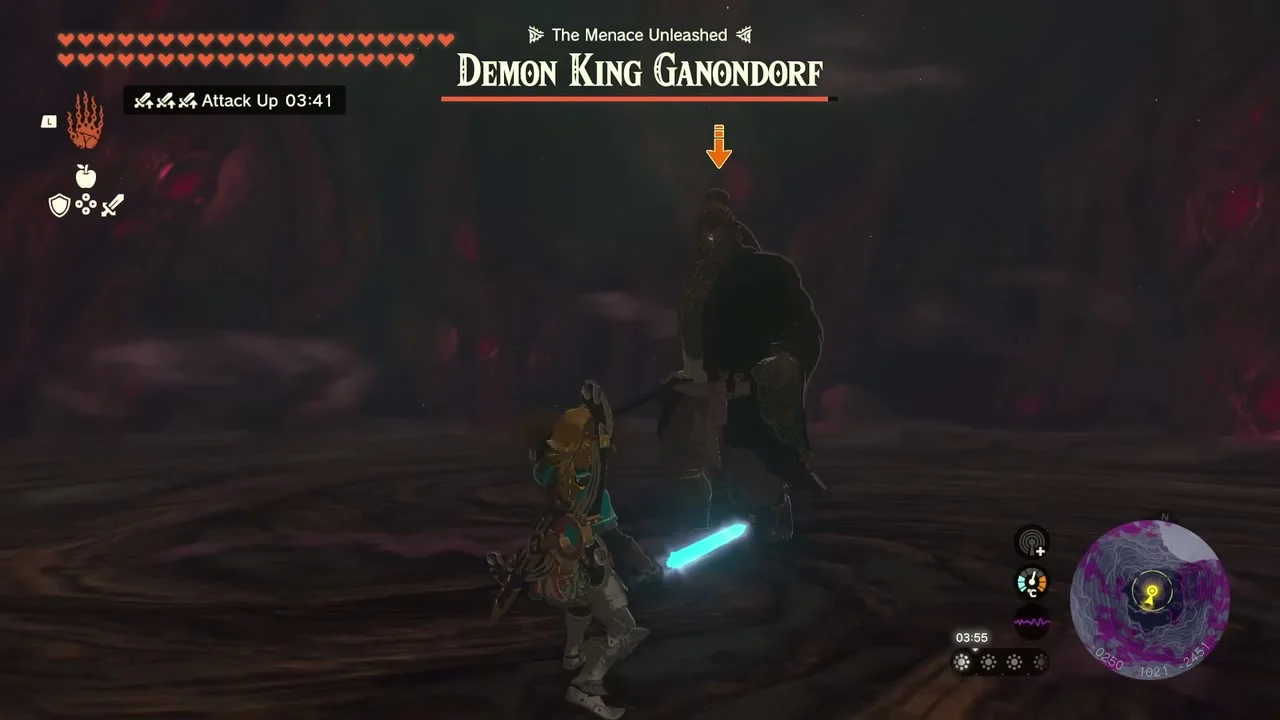
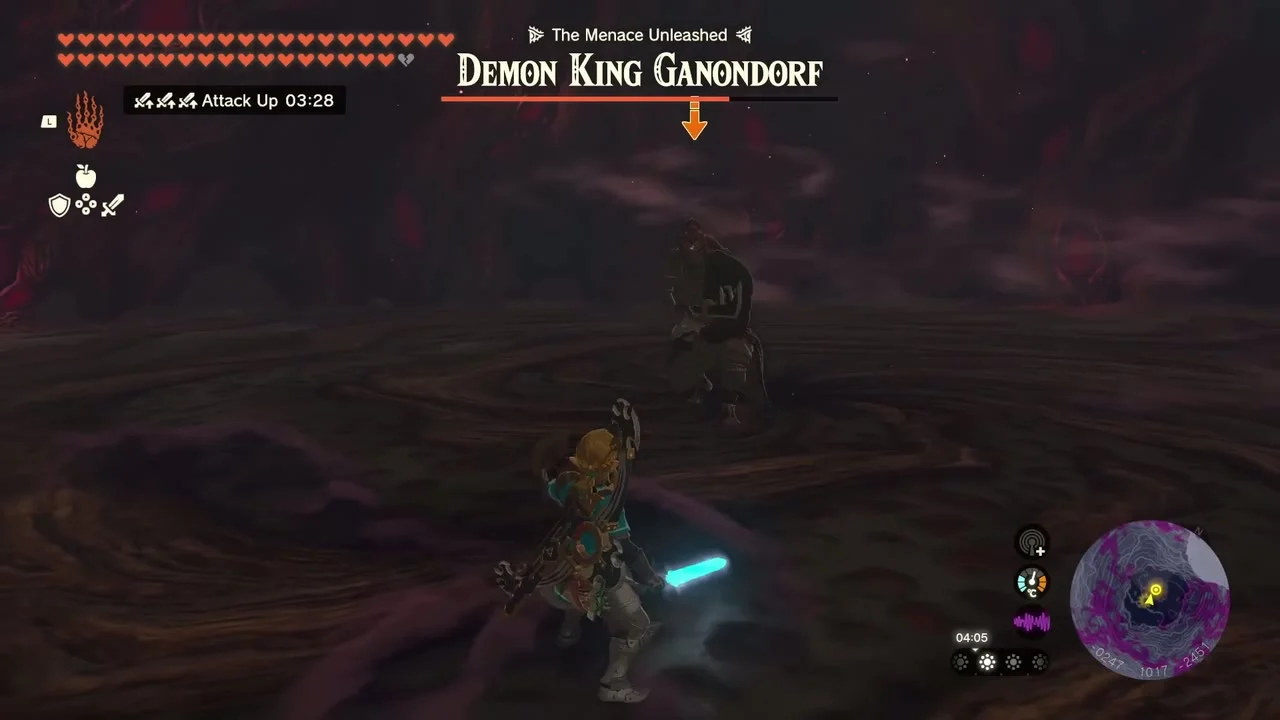
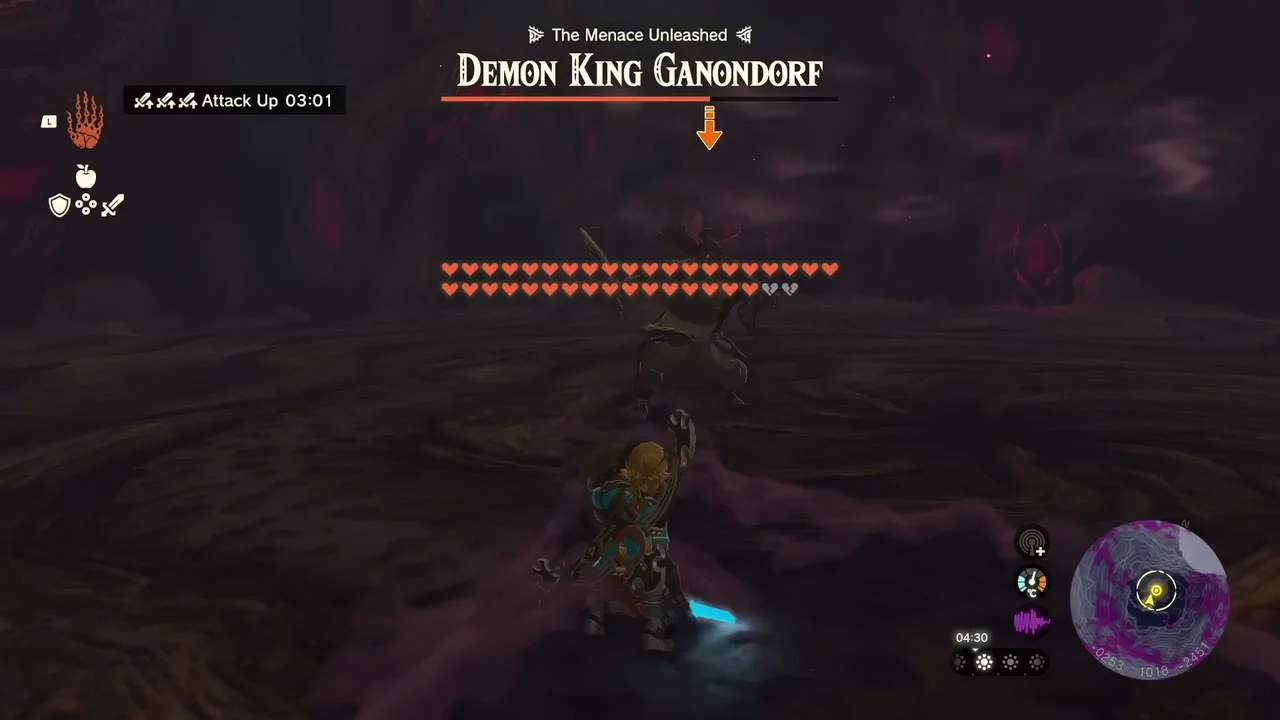
Phase 1: sword, spear, and club. Ganondorf changes weapons during the fight. Sidestep or backflip as his attack is about to land, then use the Flurry Rush window to deal damage. If your timing is off, block and create distance before trying again. His club can create a spreading gloom attack on the floor; jump or move clear, then punish the recovery.

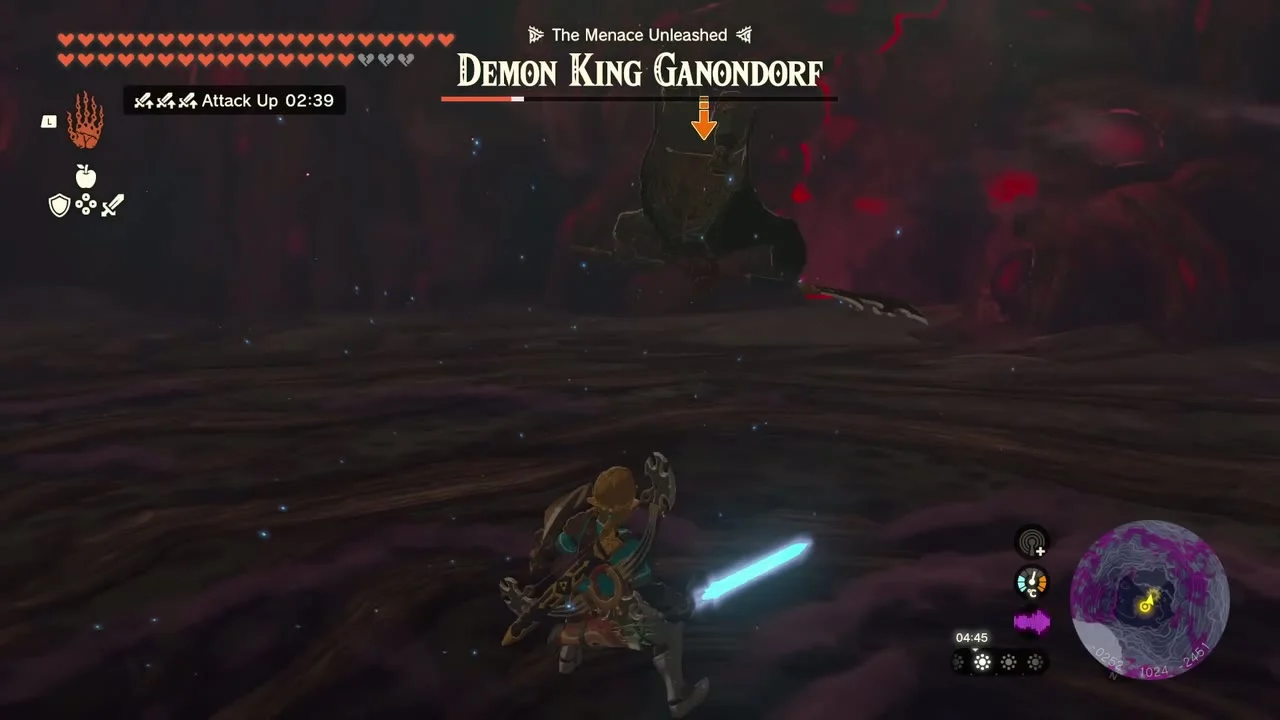
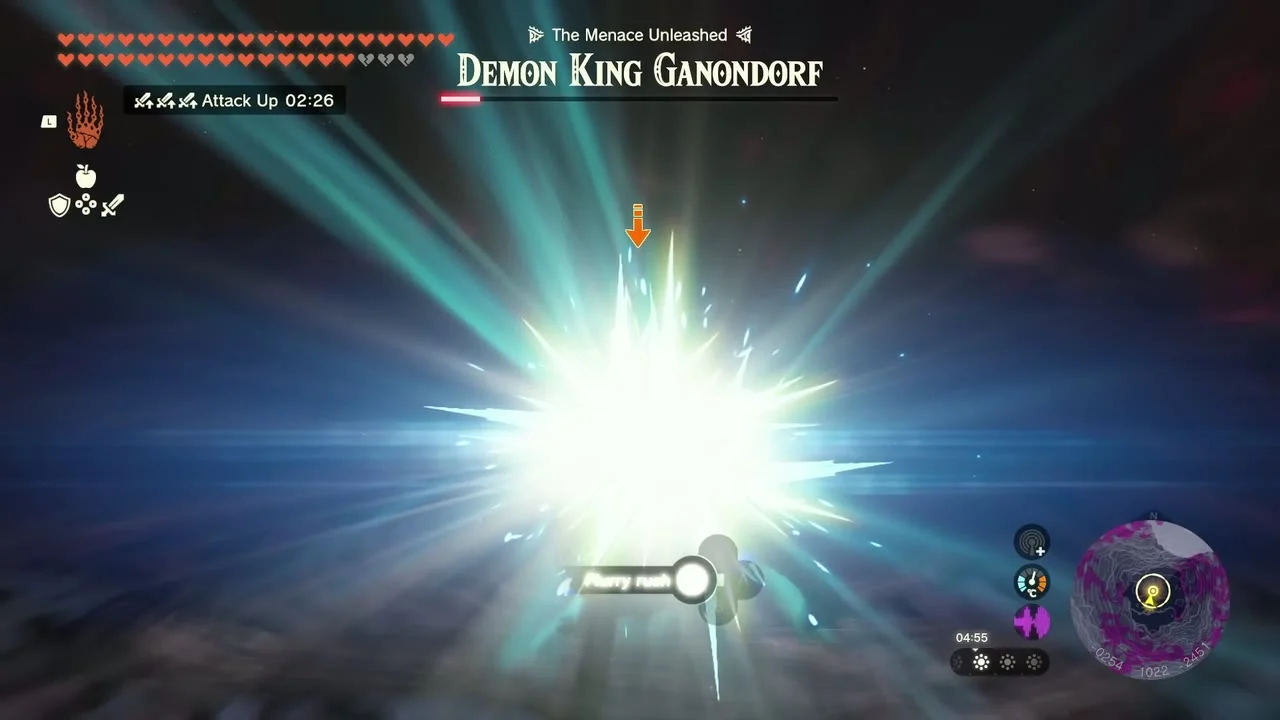
Phase 2: Phantom Ganondorfs. Ganondorf summons copies and the fight becomes more crowded. Keep moving and let your Sages pull the copies away from you. Focus on the real Ganondorf when he is open, and use arrows to thin out the copies if they are surrounding you. The Sages will help again as the battle continues.


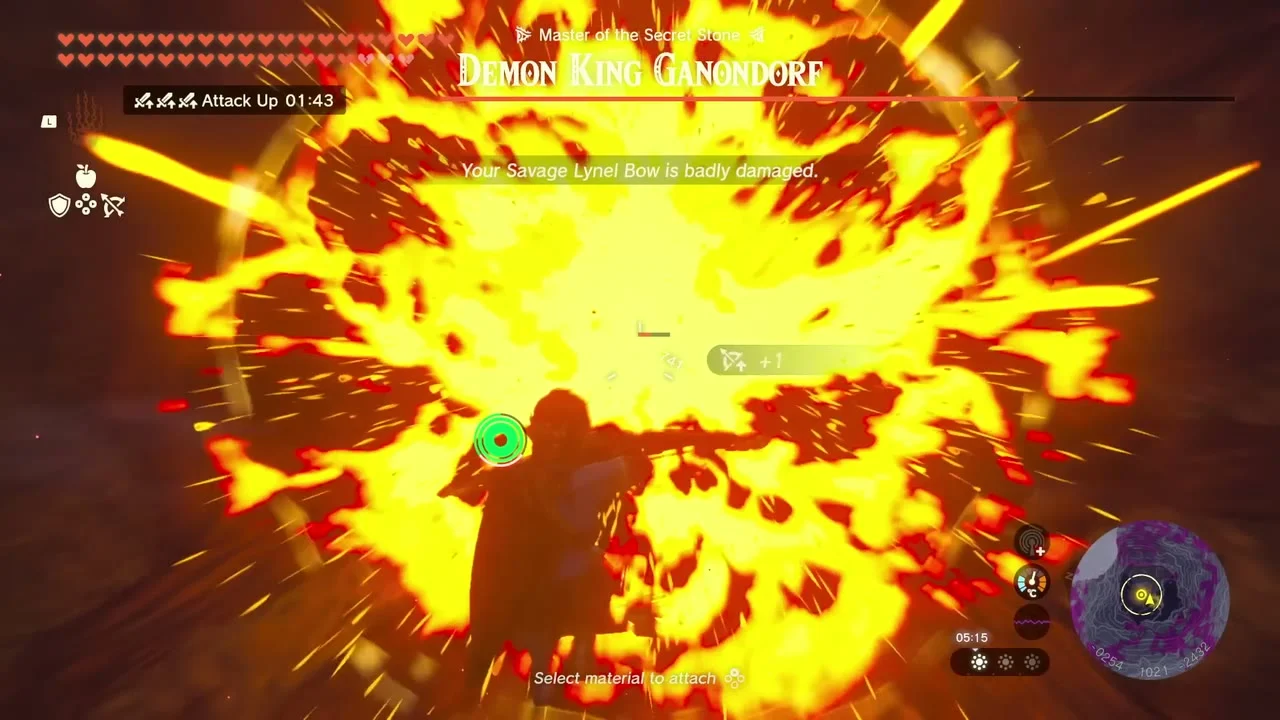
Phase 3: the Demon King at full strength. Ganondorf’s health bar expands and he gains dangerous ranged attacks. Move sideways to avoid the projectiles, and watch for the dark orbs that spread across the arena. Use the Master Sword to bat the orbs back at him when you can. Keep a shield up when he closes in, and use openings after his attacks rather than trading blows. Heal gloom-damaged hearts as needed. When his health is gone, a cutscene begins and he transforms into the Demon Dragon.

Defeat the Demon Dragon
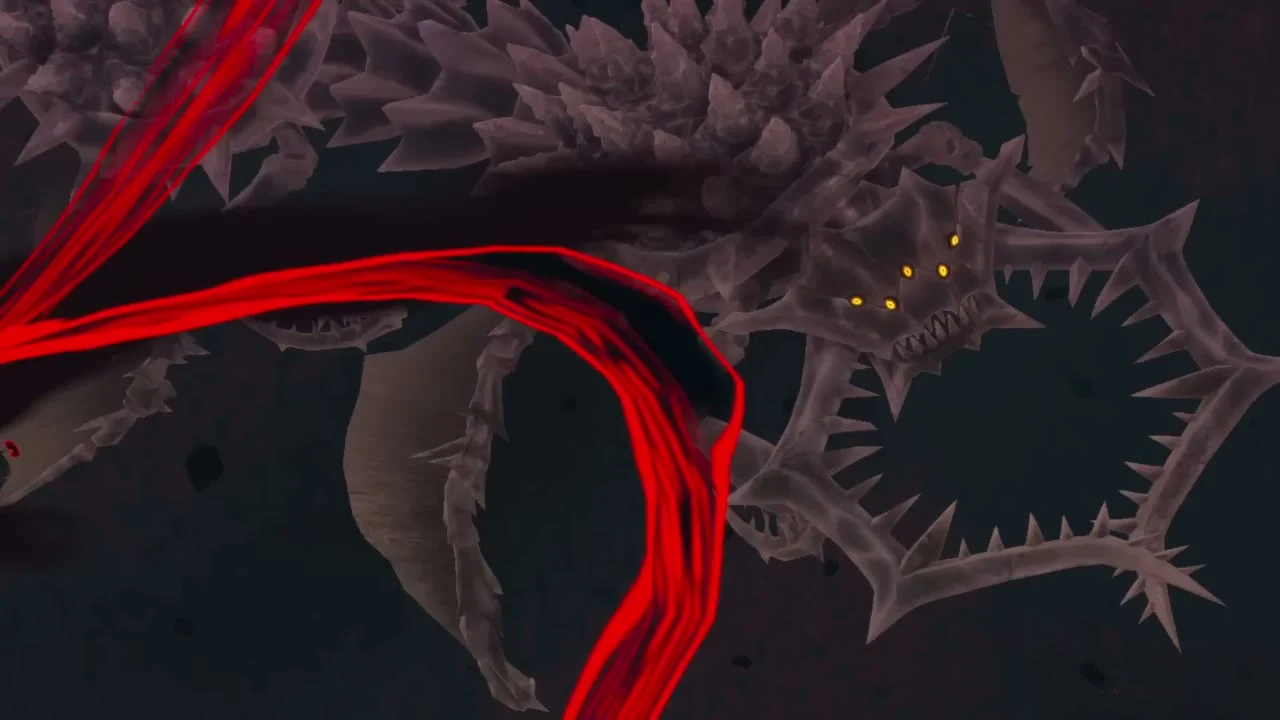
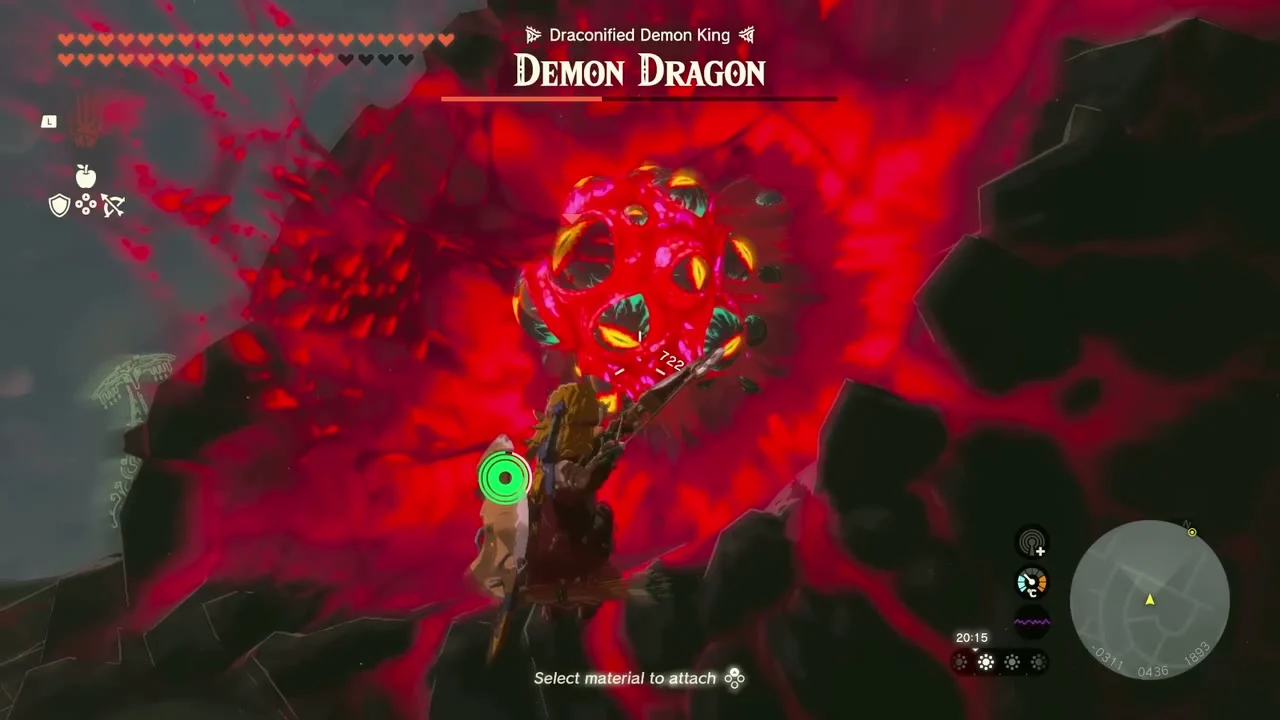
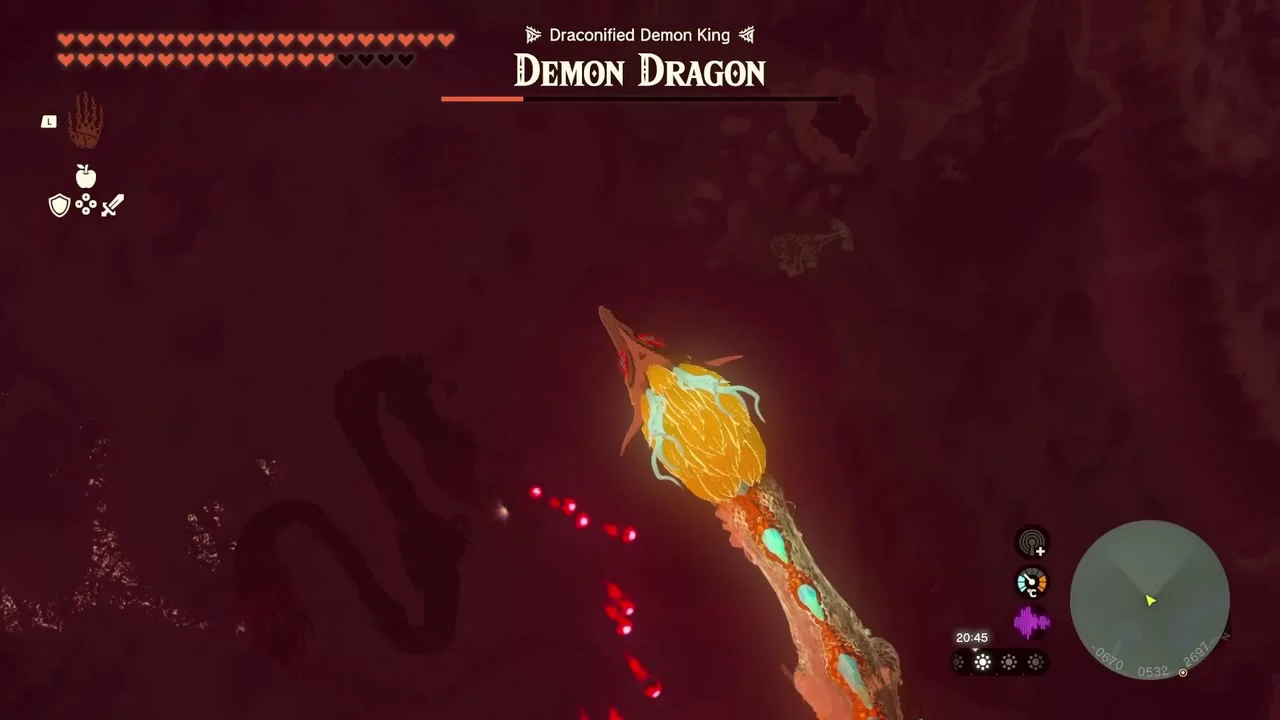
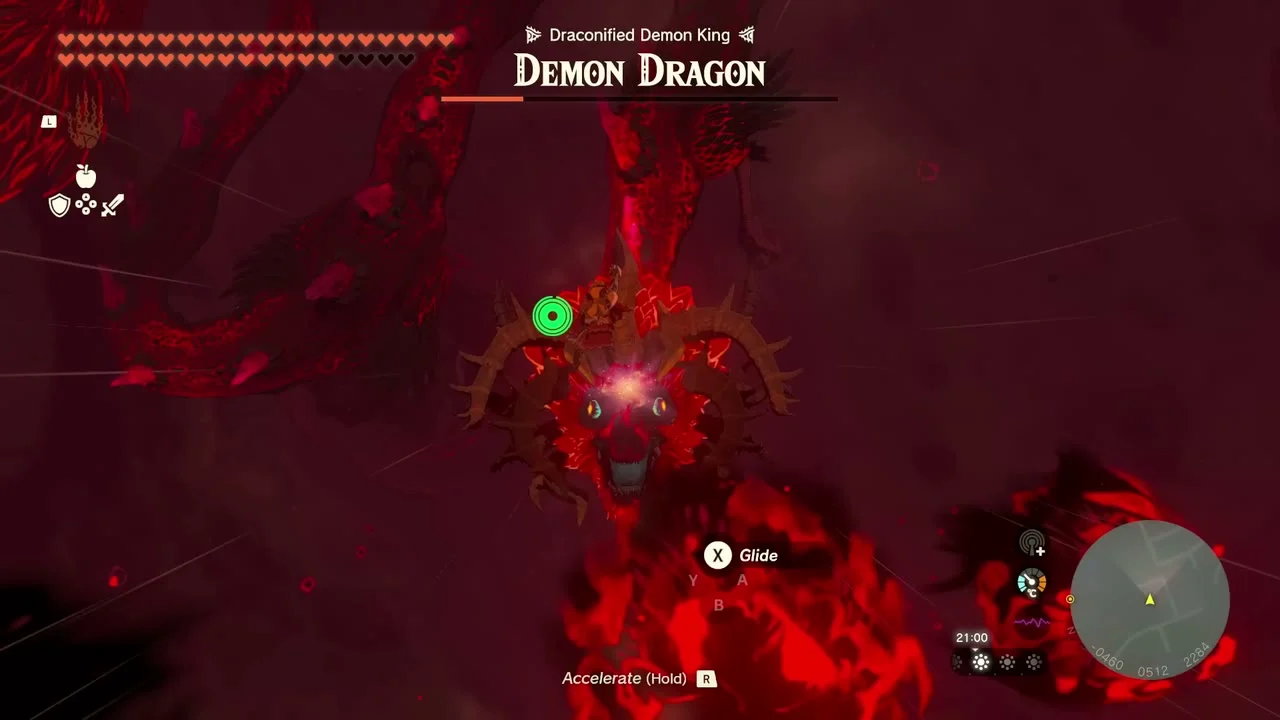
The Light Dragon carries Link into the sky. Glide toward the Demon Dragon’s back and land beside one of the glowing weak spots. Strike it with the Master Sword to destroy it. Avoid the gloom-covered spikes along the dragon’s back.

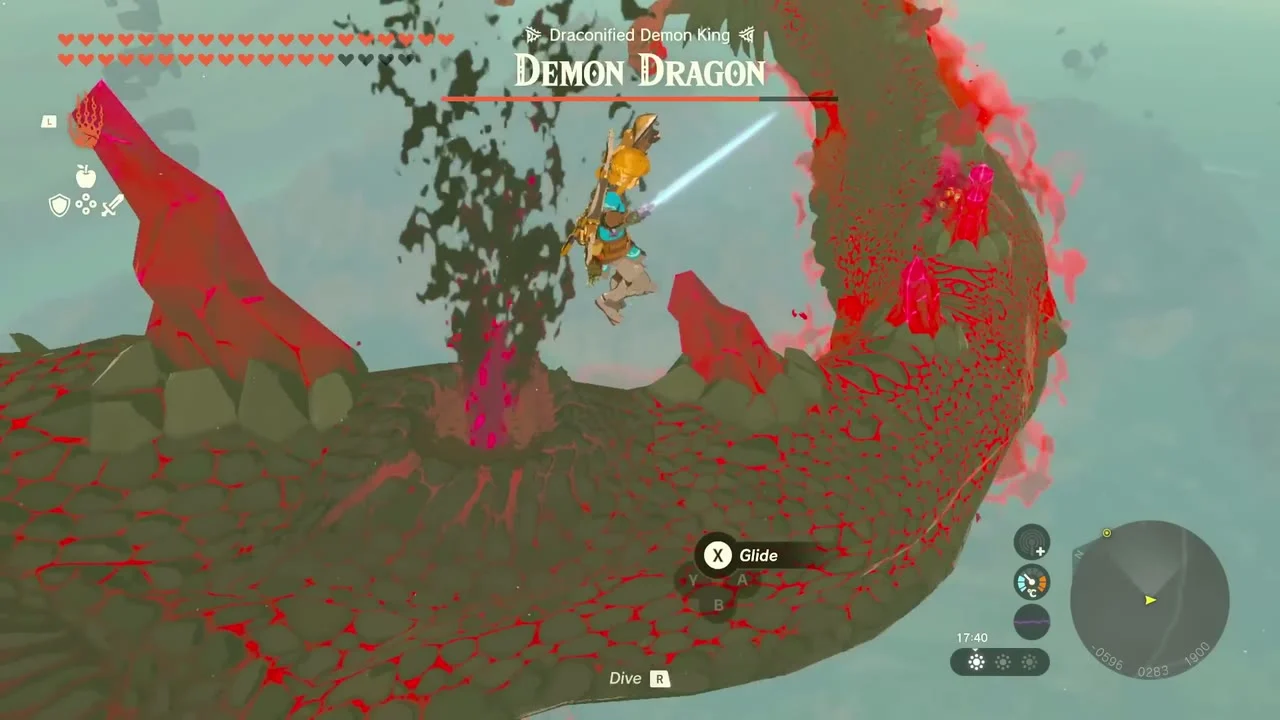
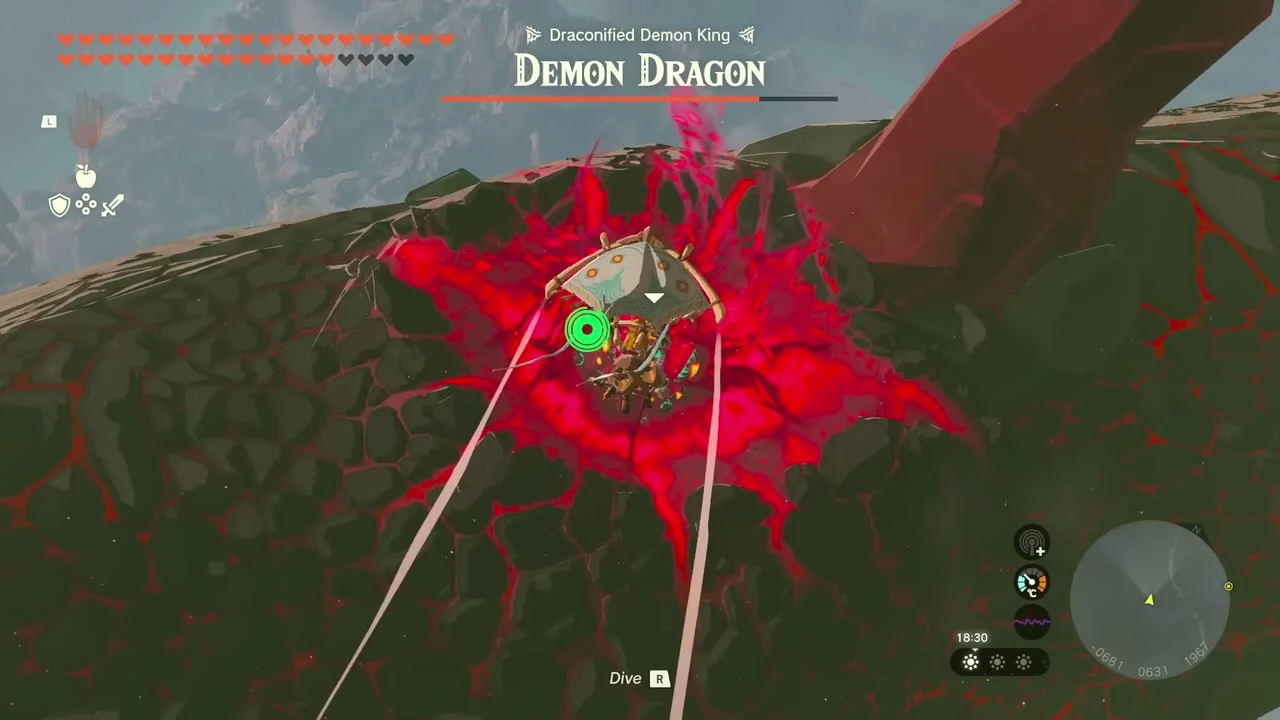

After each hit, jump or glide away. The Light Dragon will catch Link and carry him back into position. Destroy all four weak spots on the Demon Dragon’s back, then head for the glowing Secret Stone on its forehead. Land there, attack it, and press the interaction prompt for the final strike.
Catch Zelda
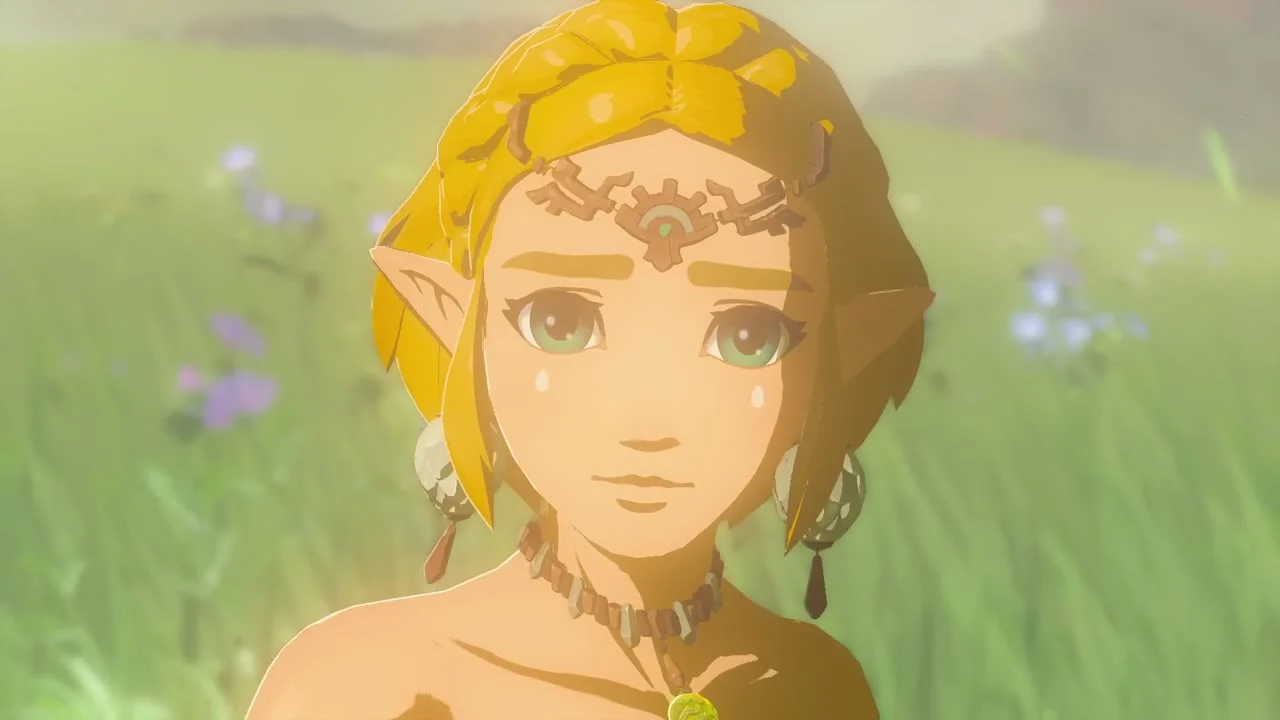
After the Demon Dragon falls, Link and Zelda tumble through the sky. Steer toward Zelda and catch her before they reach the ground. The final scene follows, completing Destroy Ganondorf and the main story.
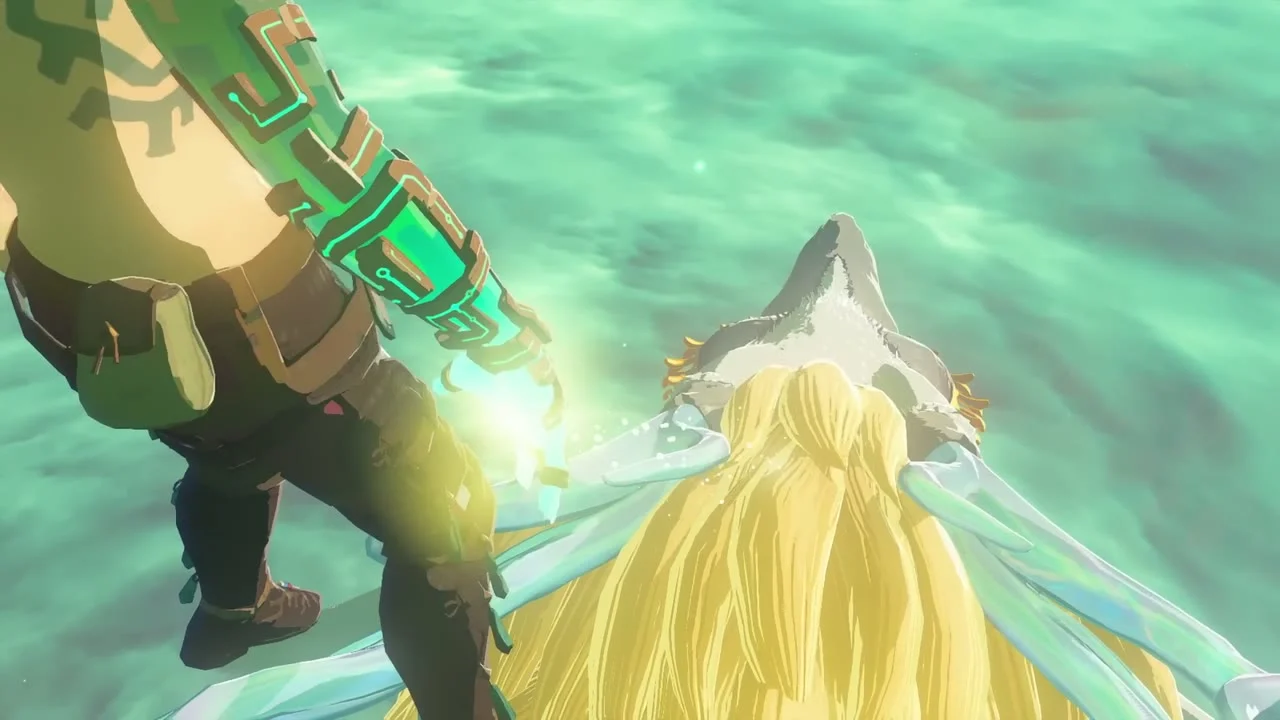

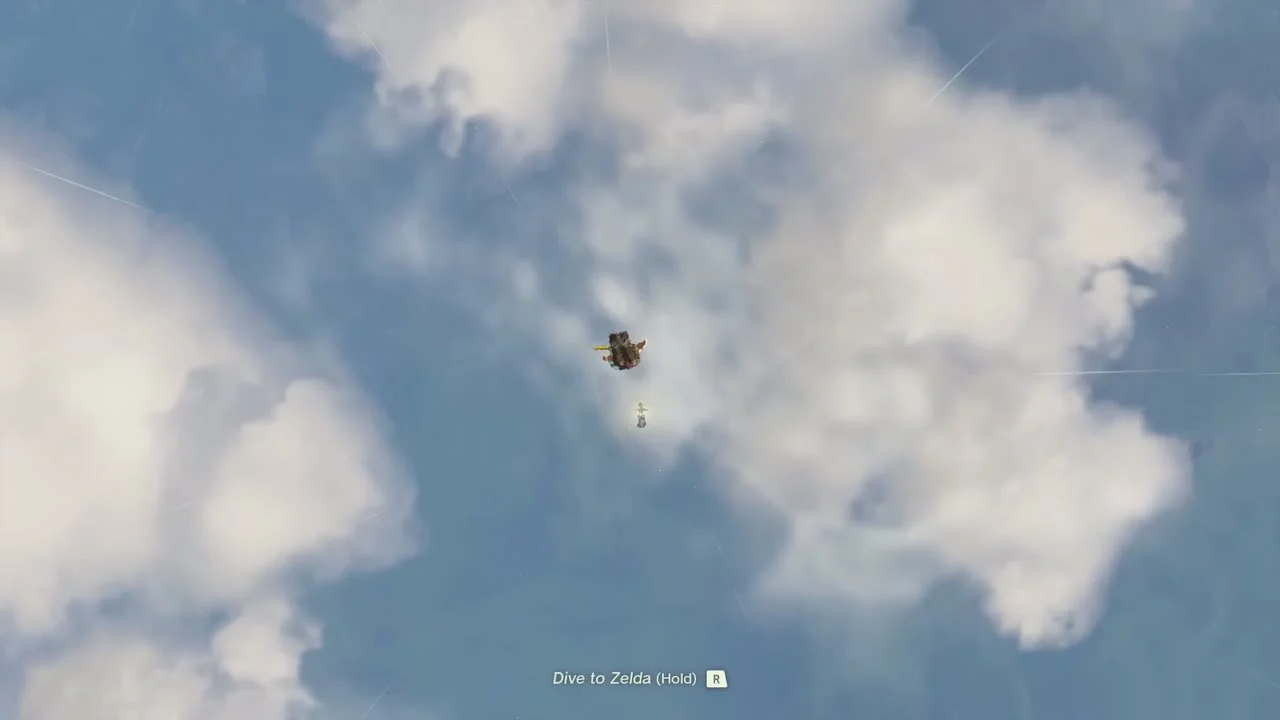
The game returns to the title screen after the credits. Your completed save has a star, and loading it returns you to the point before the final battle so you can keep exploring Hyrule.

Preparation and rewards
The quest does not trigger on its own and has no map marker: you must speak to Purah. Plan about an hour of preparation. Four Ironshrooms cooked into a Defense Up meal (do not add other effects, which override it), a dozen or more Sundelion healing meals, several undamaged bows and 150 or more arrows are a common recommendation. Gloom damage does not clear between phases, and the glowing orbs in the later part of the fight remove hearts permanently, so avoid them or bat them back with the Master Sword. You cannot make a manual save between the Demon King fight and the Demon Dragon. Catching Zelda also completes Find Princess Zelda. There is no tangible item reward: the completed save receives a star icon and every Adventure Log category counts the quest, while the world returns to its state before the final battle.
Tips
- The route below the castle is hard to see: Activate Camobatures Lightroot, then follow the downward passages. Use Recall on falling platforms and break rock walls where the path ends.
- The army fight drains your health: Use the Sages to split enemy attention, keep out of gloom, and save Riju’s lightning for groups.
- Ganondorf dodges your Flurry Rush: Change your dodge timing and do not repeat the same attack pattern. He adapts to repeated rushes.
- Gloom permanently removes hearts: Sundelion meals restore gloom-damaged hearts. Cook several before entering the chasm.
- The Demon Dragon is hard to land on: Glide down toward a glowing weak spot, strike it, then let the Light Dragon catch you and carry you back up.
