





















| Quest type | Side quest |
|---|---|
| Giver | Mysterious Voice |
| Starts in | South Lomei Labyrinth, Gerudo Highlands (southwest corner of the map, around -1796, -3576) |
| Requirements | Paraglider; heat and cold protection; Zonai charges and Brightbloom Seeds or Brightbloom arrows help in the depths |
| Reward | Evil Spirit Mask, Motsusis Shrine and the maze chests (Zonaite weapons, a Large Zonai Charge and more) |
This quest is a three-layer labyrinth: first find the dragon ring terminal deep in the surface maze at South Lomei Labyrinth, then glide to the sky labyrinth above it and activate four terminals plus a fifth on its roof, and finally dive into the depths to defeat Flux Construct III. The last terminal gives you the Evil Spirit Mask.
Walkthrough
Reach the South Lomei Labyrinth
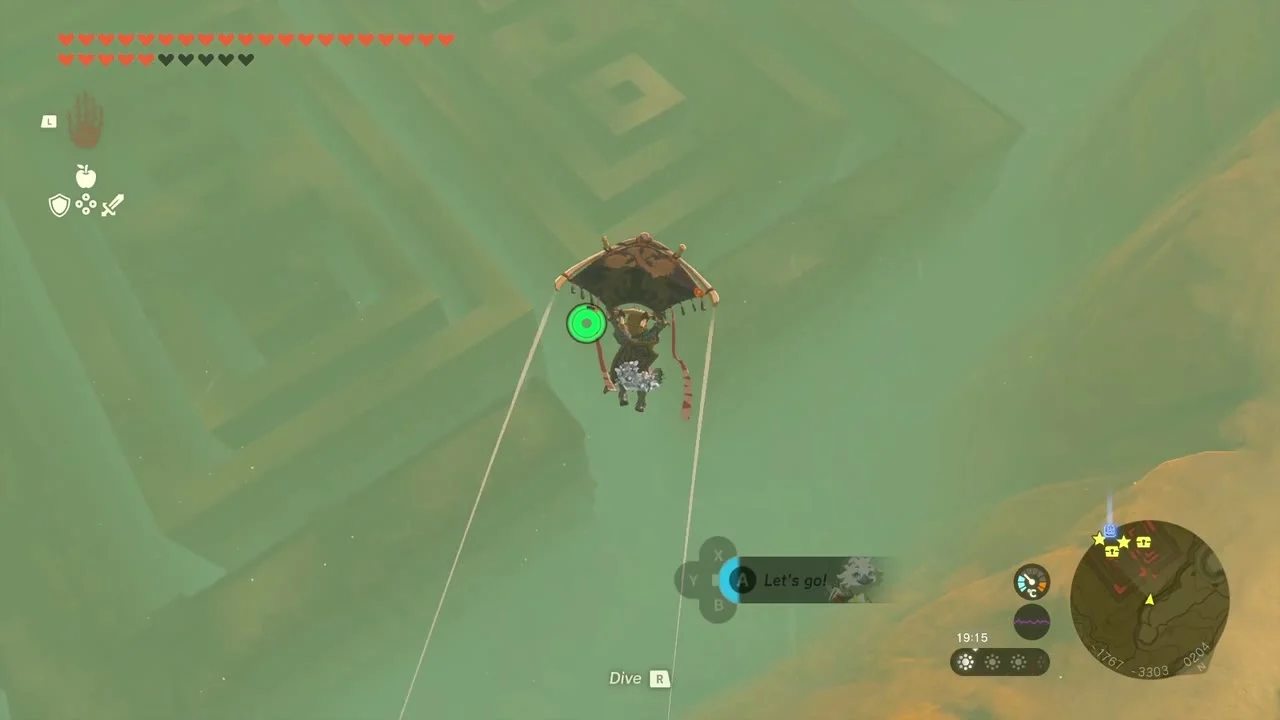
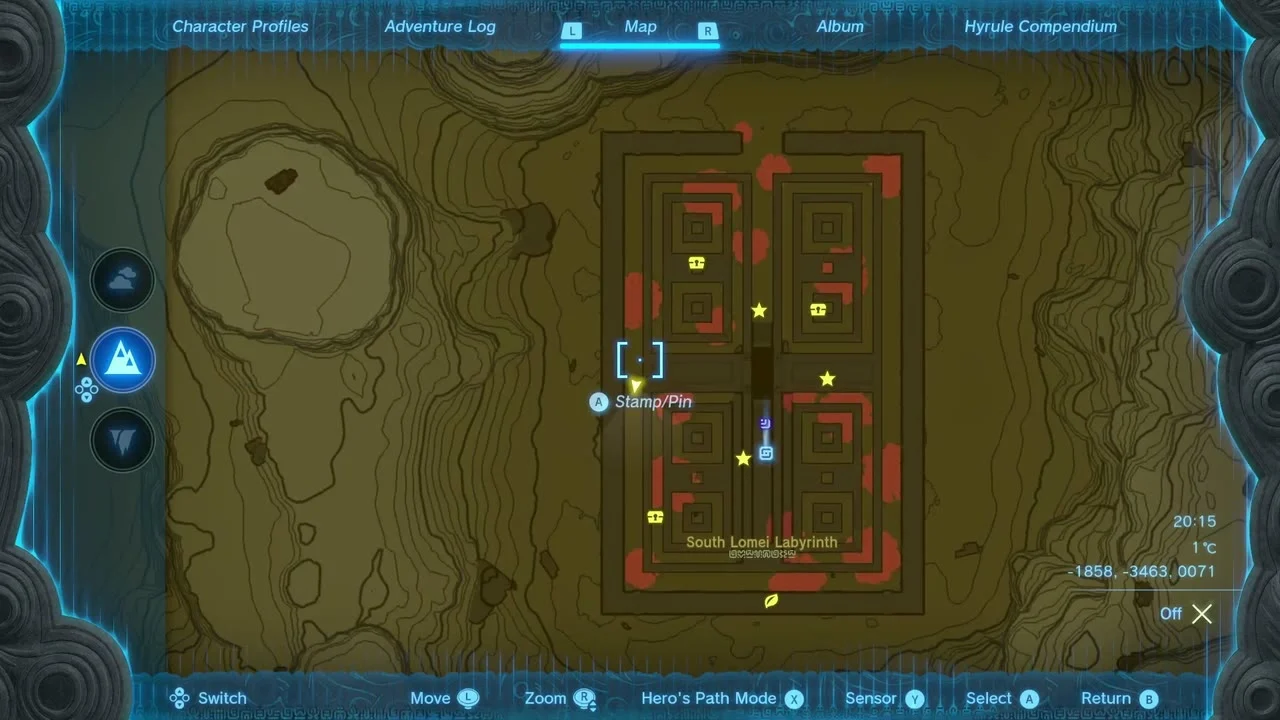
The labyrinth is a square stone maze in the far southwest of the Gerudo region, near the foot of the Gerudo Highlands. Glide in from the Gerudo Canyon Skyview Tower, or travel to Kitawak Shrine and head southeast, and drop onto the maze from above. A tablet at the entrance says whoever wakes the dragon ring deep in the maze will be rewarded, and journal notes left by a researcher mark the route with a trail of acorns and nuts, so follow it through the maze. The weather swings between extreme heat and bitter cold, so bring resistance food or armor.
Find the dragon ring terminal in the surface maze
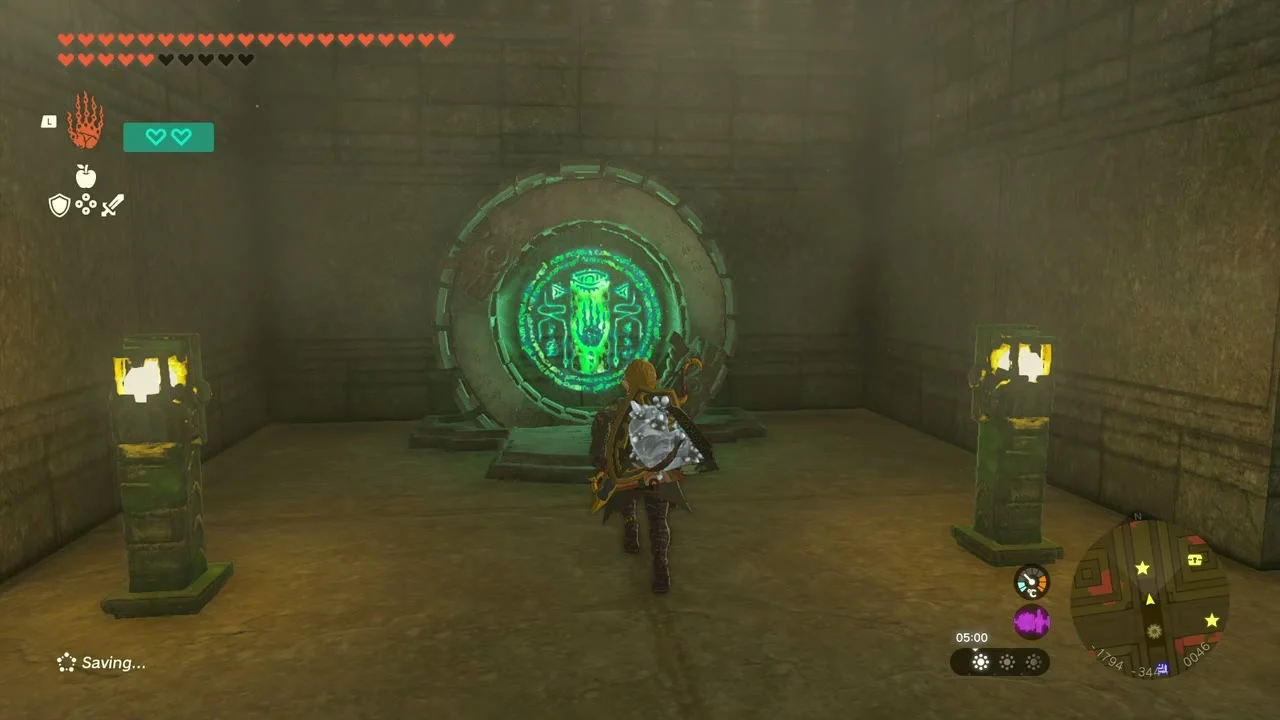
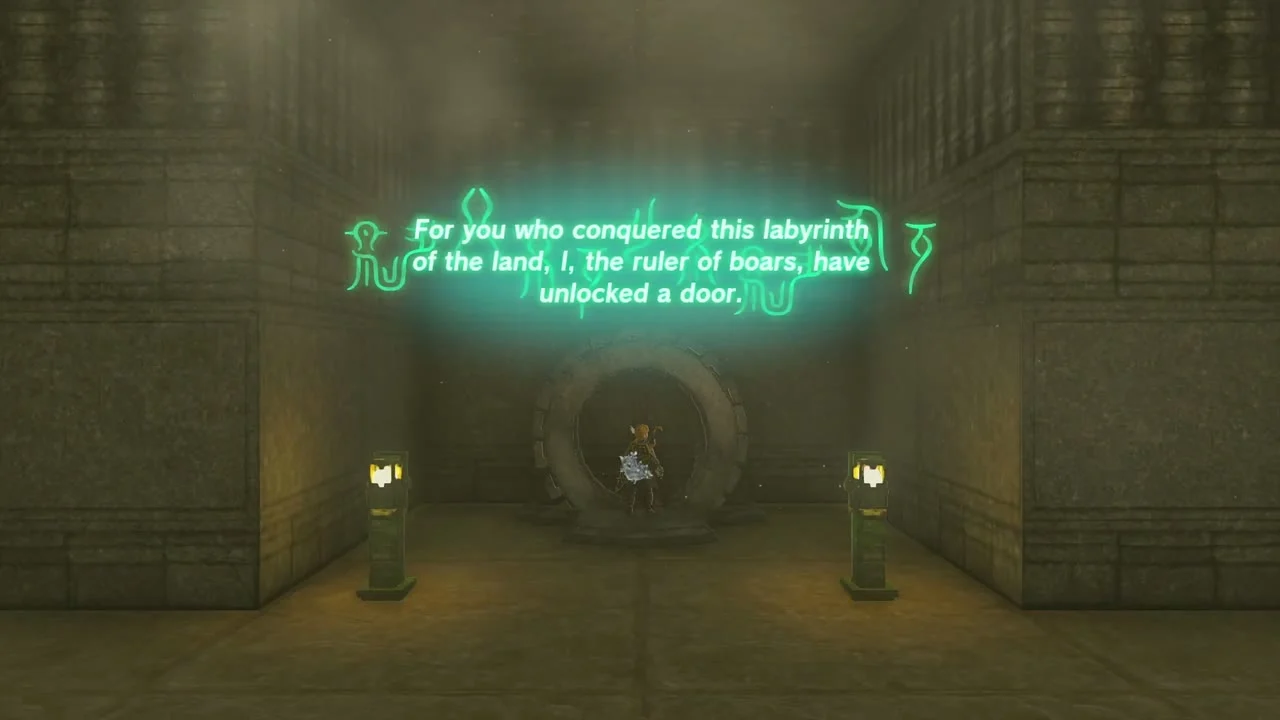
Work through the stone maze to its deepest chamber, where a circular terminal sits between two lit torches. Activate it; glowing text states that the ruler of boars has unlocked a door, which opens a passage to Motsusis Shrine in the walls beyond. The maze hides several chests, including a Zonaite Sword and a Zonaite Longsword (Strong or Mighty, depending on your progress). The shrine itself holds a Large Zonai Charge and a Light of Blessing, and gives you a fast travel point. Gloom pools block parts of the route; Gloom only drains hearts temporarily, and a campfire (Wood, Flint and a Hylian Pine Cone) makes an updraft that lifts you over one of them.
Enter the sky labyrinth from the north side
A voice tells you to visit the north side of the labyrinth in the sky. Climb or fly up to the huge floating maze cube above the surface labyrinth and glide in through its north entrance. Activate the Siyamotsus Shrine by the entrance first for fast travel, then the dragon ring there, which marks the four terminals on your map. Inside, strong updrafts rise from below, so with the Paraglider and some stamina you cannot fall out of the bottom of the maze. Text above the entrance states that four terminals are hidden within it.
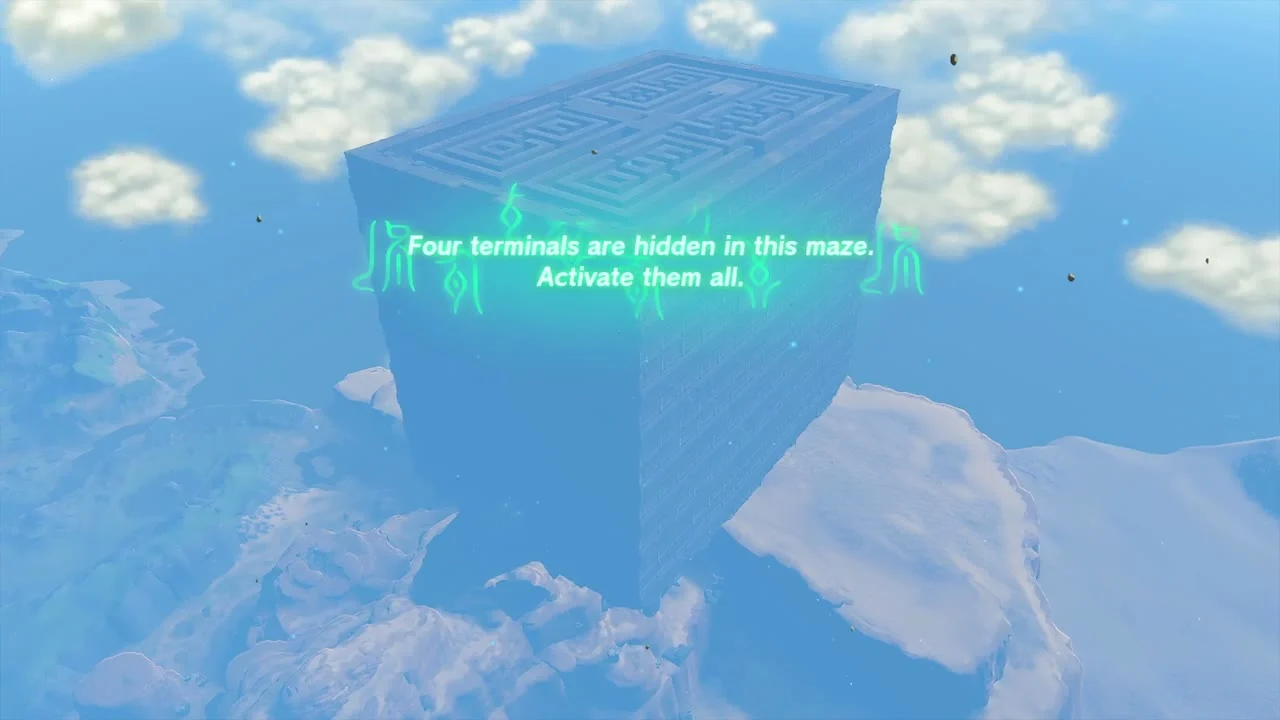

Activate the four sky terminals
Glide between the chambers and activate each terminal you find; the quest log counts them off one by one. The terminals sit in torch-lit alcoves, and chests along the way hold a Zonaite Spear, Shield, Sword, Longsword and a Zonaite Bow (each Strong or Mighty, depending on your progress).
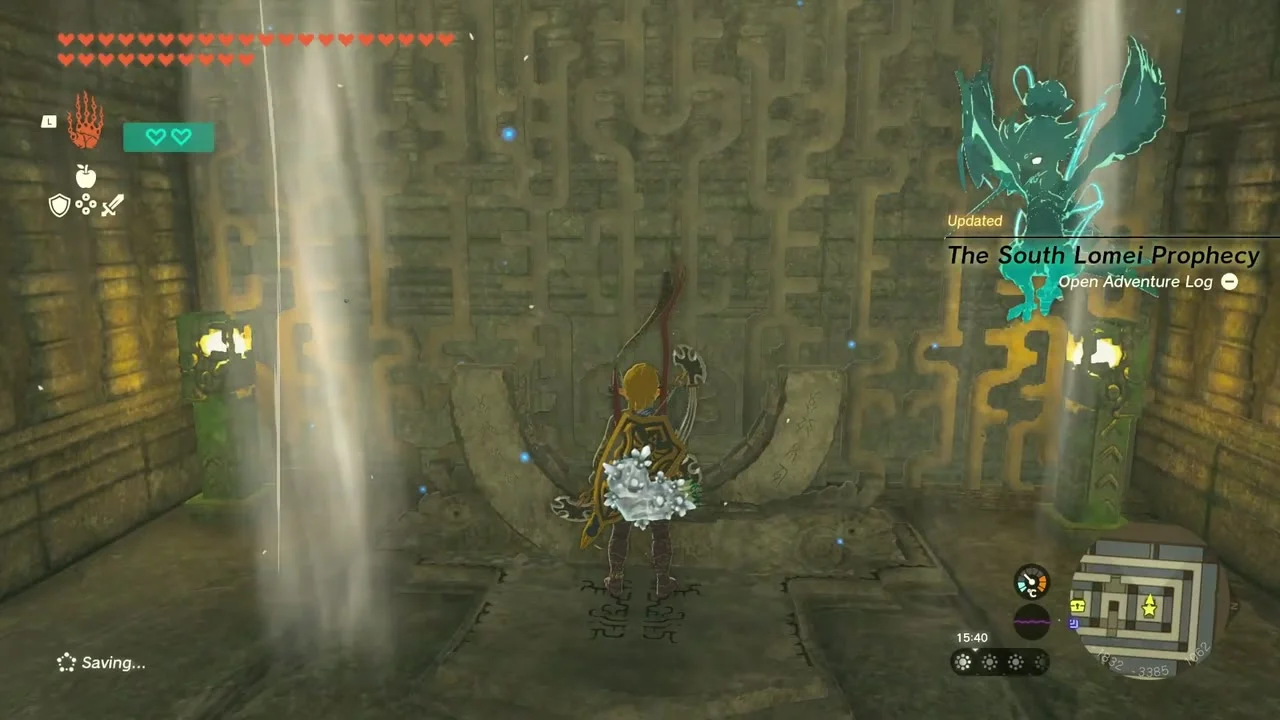


Reach the roof terminal and dive
Once all four terminals are active, a voice says the bars blocking the way below ground have been pulled apart, and a fifth terminal appears on the roof of the sky labyrinth. Glide up through the stronger updrafts and activate it. A voice then challenges you to prove your courage by diving into the depths of the earth; jump from the roof toward the chasm below to land in the labyrinth in the Depths. Open your Paraglider when the red lights of the Depths come into view to avoid fall damage.


Defeat Flux Construct III
The depths labyrinth is dark and filled with Gloom, so bring Brightbloom Seeds or Brightbloom arrows and take the chests as you go (Zonaite Bow and several Soldier IV weapons). A Flux Construct III guards the last terminal at about (-1795, -3579, -539). Its body is made of blocks and one of them is the weak point, which changes every few seconds: grab the weak block with Ultrahand and hold it until the construct falls apart, then hit it while it is open and repeat. Arrows barely scratch it, and it opens with teleporting ground slams, so keep moving. Light the arena with Brightbloom arrows beforehand. Defeating it opens the path forward.

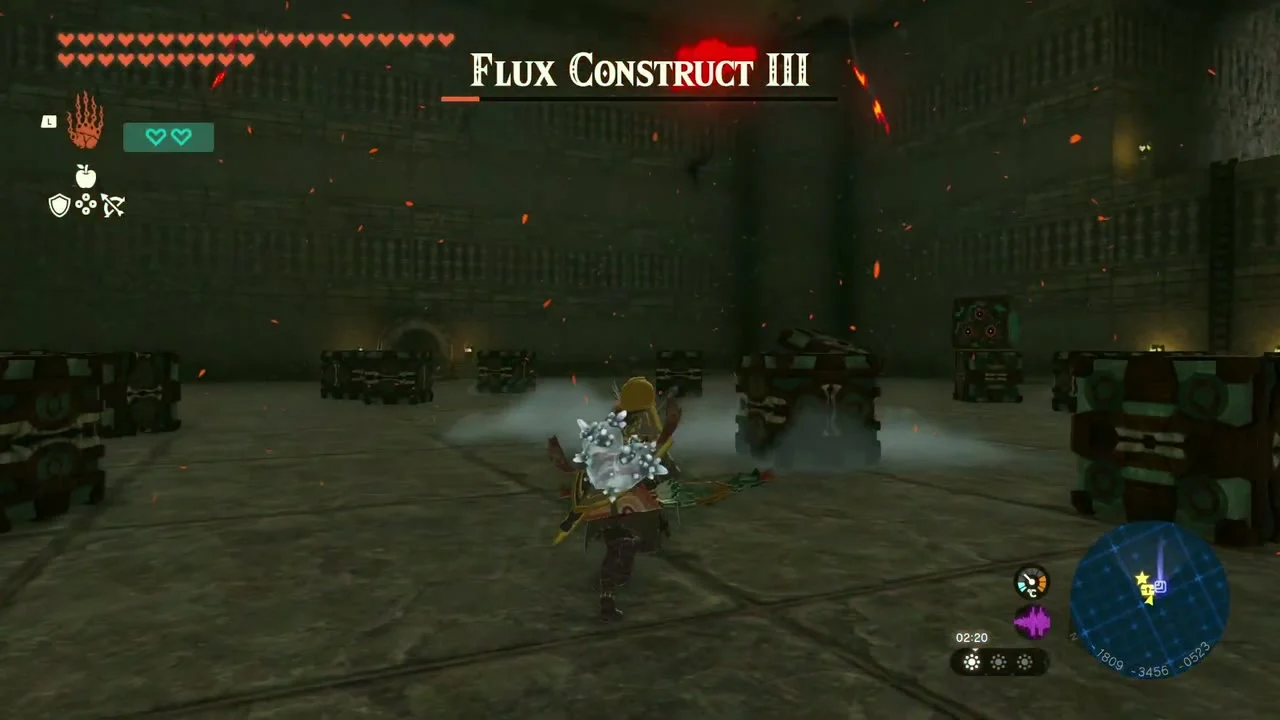
Activate the final terminal
Walk through the round door beyond the arena to the last pedestal pavilion and activate the final terminal. The quest completes and the chest at the pedestal gives you the Evil Spirit Mask, a stealth-boosting headpiece.
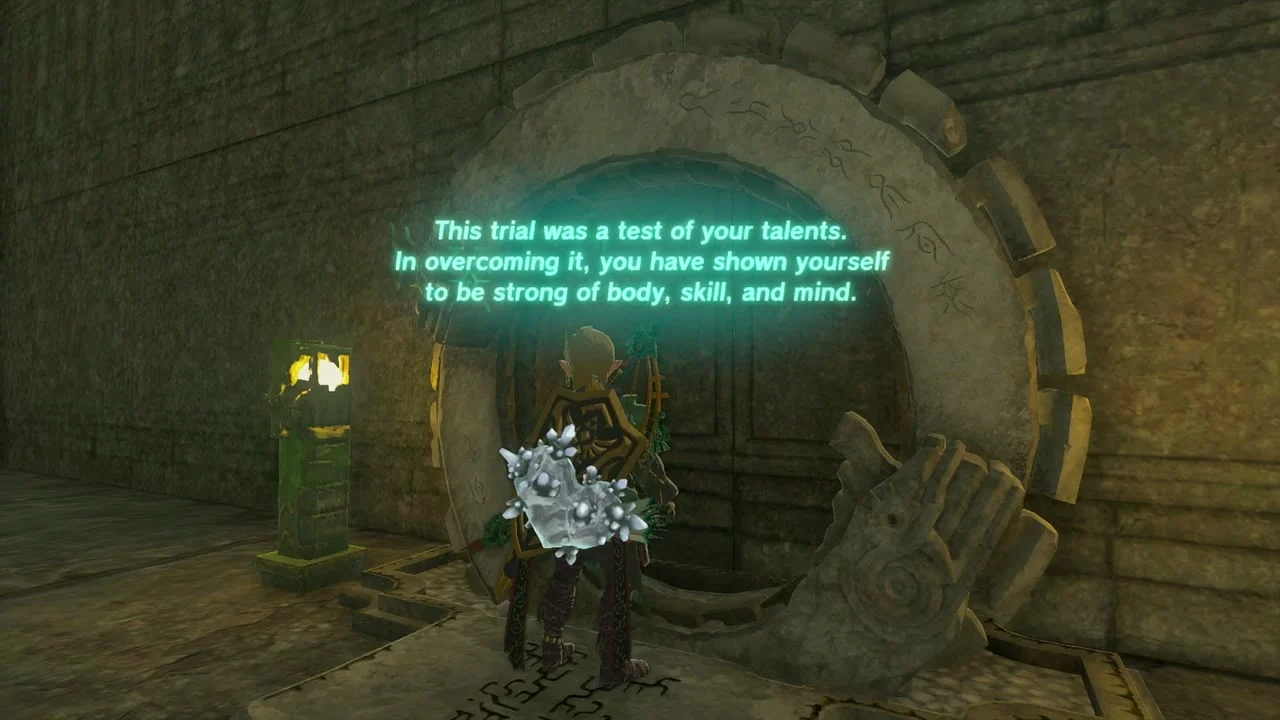

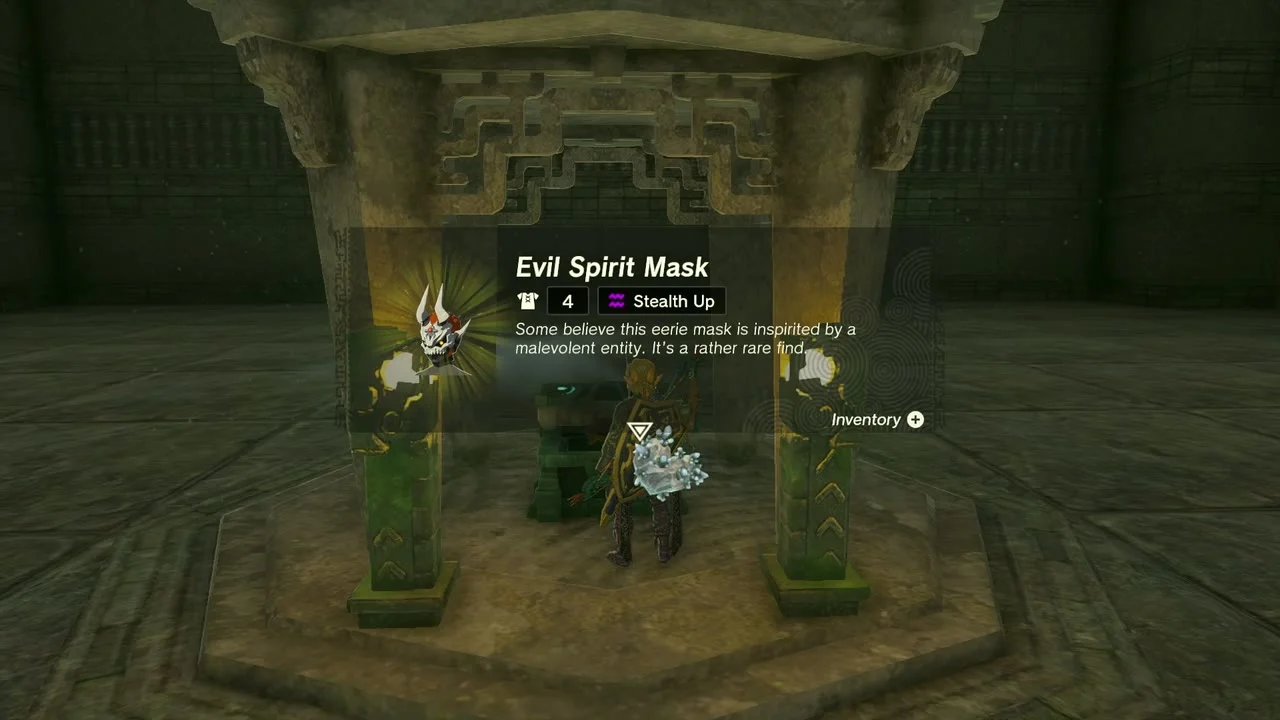
Rewards
- Evil Spirit Mask (stealth up) at the final pedestal
- Motsusis Shrine and its Large Zonai Charge
- Maze chests: Zonaite Sword, Zonaite Longsword, Zonaite Spear, Zonaite Shield, Zonaite Bow (Strong or Mighty, depending on your progress) and Soldier IV weapons in the depths
Tips
- The maze is vast; open the map early and use it to track the terminals and chests.
- Pack heat and cold resistance and extra stamina food for the sky gliding.
- Bring Brightbloom Seeds and Brightbloom arrows for the dark depths and the construct fight. If you get lost in the depths, fast travel to the surface shrine and dive back in.
- Reaching the sky labyrinth is easiest with a flying machine built from Fans, Rockets and a Steering Stick, launched from a sky island near the Gerudo Canyon Skyview Tower; extra stamina wheels make the sky trial much easier.
