





















| Location | Beneath Death Mountain, in the Eldin Canyon Depths |
|---|---|
| Quest | Yunobo of Goron City (main quest) |
| Region | Eldin |
| Boss | Marbled Gohma |
| Reward | Heart Container; Yunobo becomes the Sage of Fire and grants his Vow |
| Recommended gear | Flamebreaker Armor or a Fireproof Elixir; metal, stone or Zonaite weapons |
| Chests | 13 fixed treasure chests, plus the chest the Fire Like drops |
The Fire Temple sits beneath Death Mountain in the Eldin Canyon Depths. It is the final stop in the “Yunobo of Goron City” main quest. Inside, five gongs are connected to padlocks on the main gate. Use Yunobo’s charge to strike each gong and release its lock.
The temple’s mine-cart routes can be confusing, but the map helps. The gongs are on 1F, 2F, 5F, 4F, and back on 1F, which is the order most guides number them and the order the mine-cart network leads you through. The route below follows that progression.
Before You Enter
Bring Flame Guard protection. One level prevents Link from catching fire in the Eldin Depths and temple. The Flamebreaker Armor sold in Goron City is the simplest option, and a Fireproof Elixir works if you do not have the armor. Wooden weapons and shields can burn in this area, so equip metal, stone, or Zonaite gear.
You do not need a special weapon to complete the temple. Yunobo can break the red Marbled Rock barriers and hit the gongs. Hydrants are placed throughout the dungeon and can create stone slabs on lava, so there is no need to bring a large stock of Zonai devices.
Defeat Moragia and Reach the Temple
Defeat Moragia
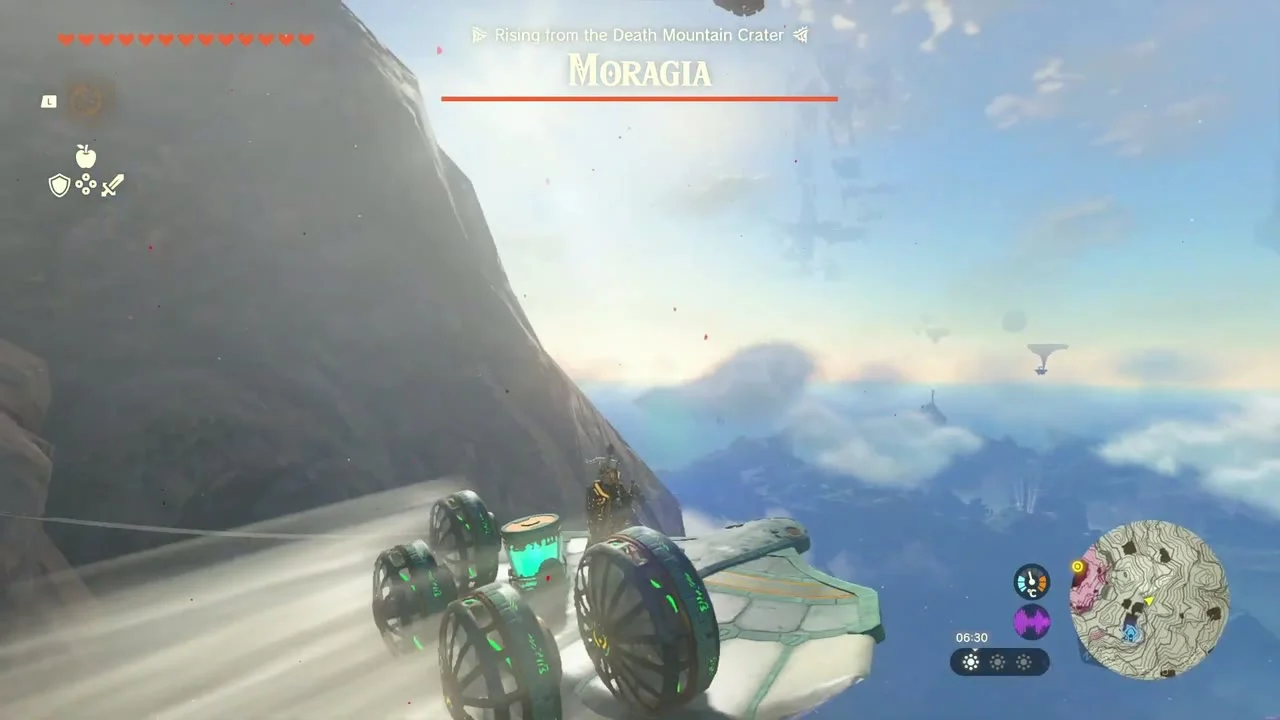
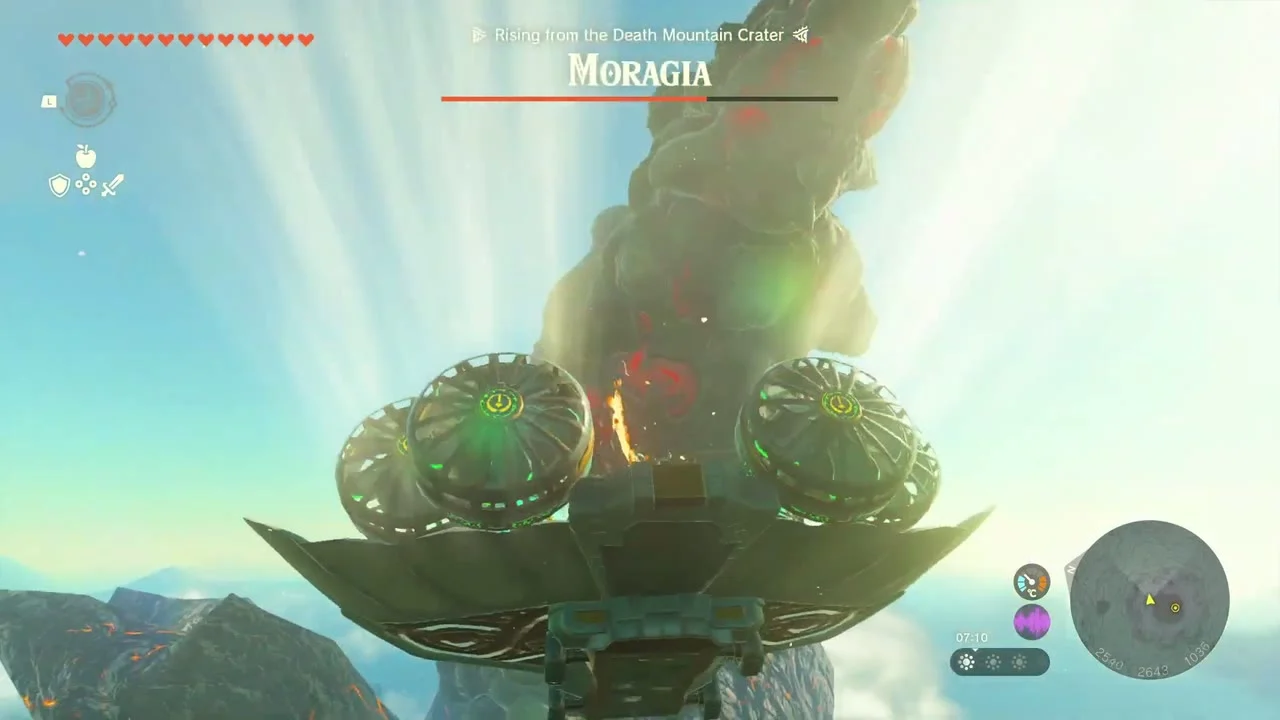
When Yunobo reaches the summit of Death Mountain, Moragia emerges from the crater. Use the Zonai wing waiting nearby. It already has the devices needed for flight, including a steering stick. Aim toward Moragia and activate Yunobo’s charge while approaching each of its three heads. One hit breaks each head.
Dive into the Chasm and head for the temple
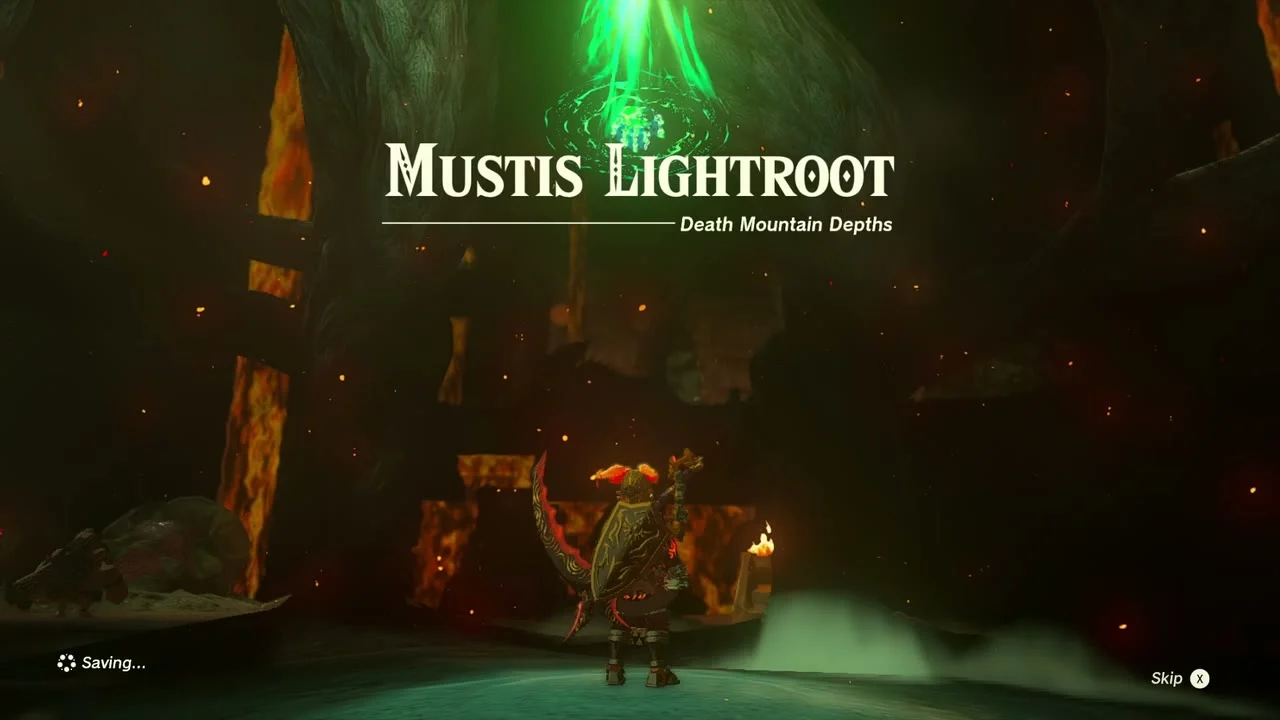
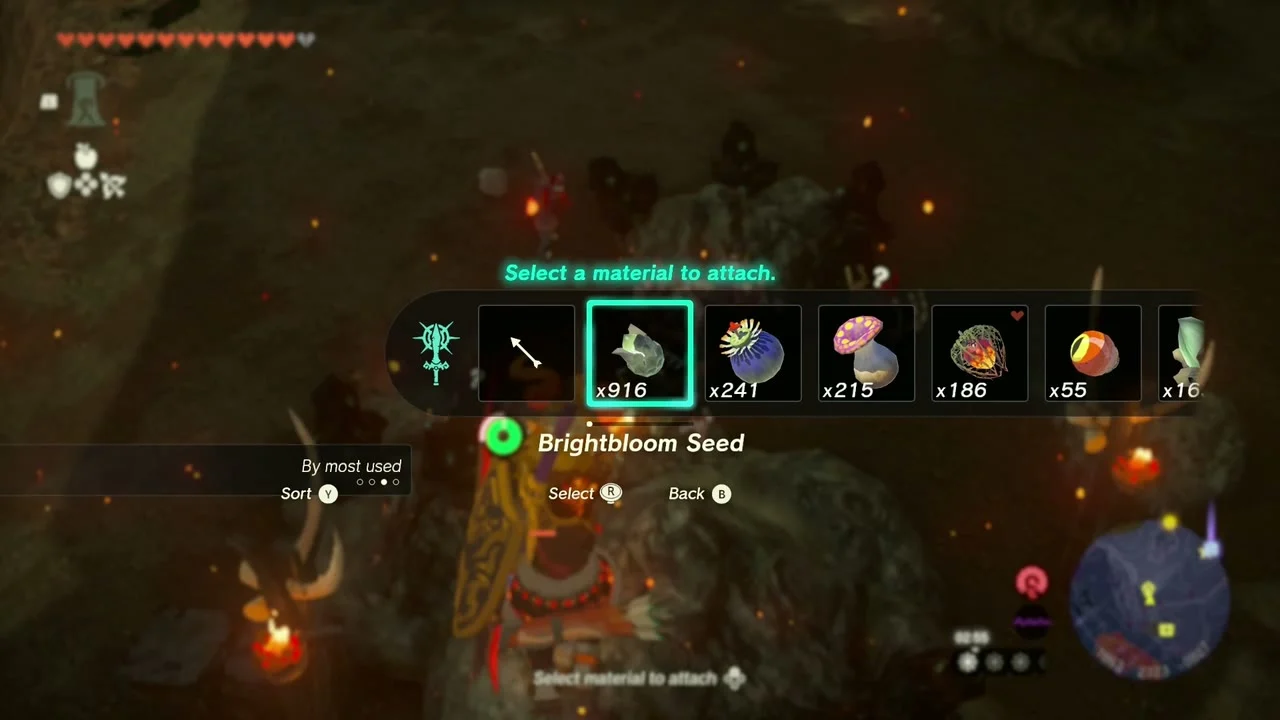
After Moragia is defeated, dive through the crater into the Death Mountain Chasm. Activate the nearby Mustis Lightroot to reveal the area and create a fast-travel point. Follow the mine-cart rails west toward the Fire Temple. Use Brightbloom Seeds to light the route, and look for the device dispenser as a landmark. Yunobo can break the red rock barrier at the temple entrance. A chest with 10 Arrows sits in the first side room just inside.


Activate the Temple Terminal
Light the green terminal
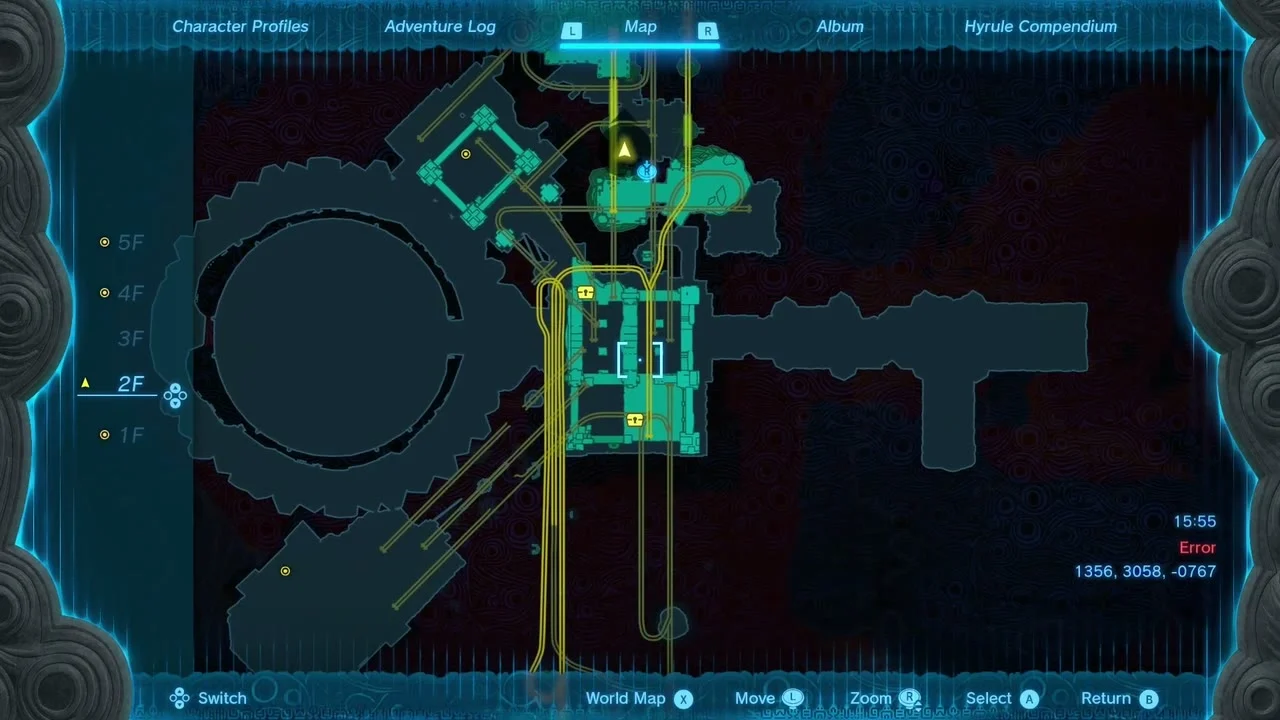
Inside the entrance, activate the green terminal in the central chamber. This opens the temple map and marks the five gongs. The map shows which floor each one is on, so check it when you lose track of the route.

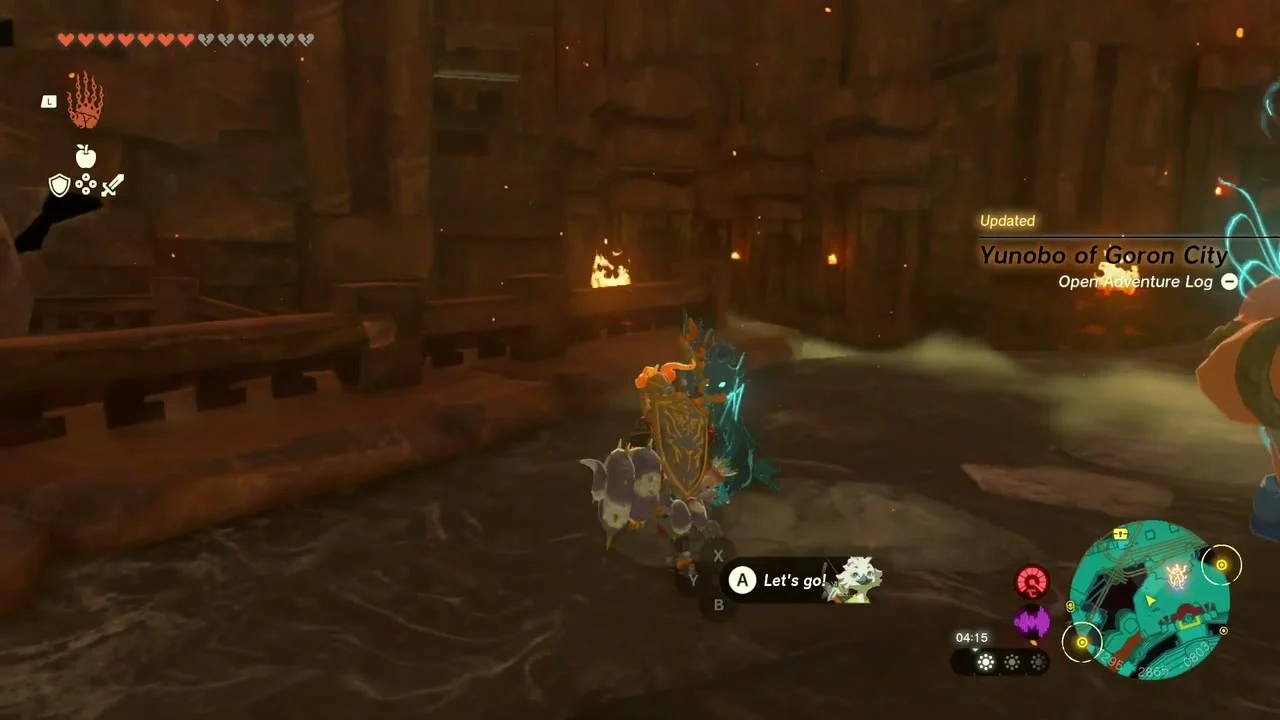
Gong 1: Southern Room on 1F
Cross the lava
From the central chamber, take the south exit and turn left toward the lava. Hop across the stone slabs in the first flow. For the wider pool beyond, use a nearby Hydrant to turn the lava into temporary stone platforms. Walk across as the slabs form.
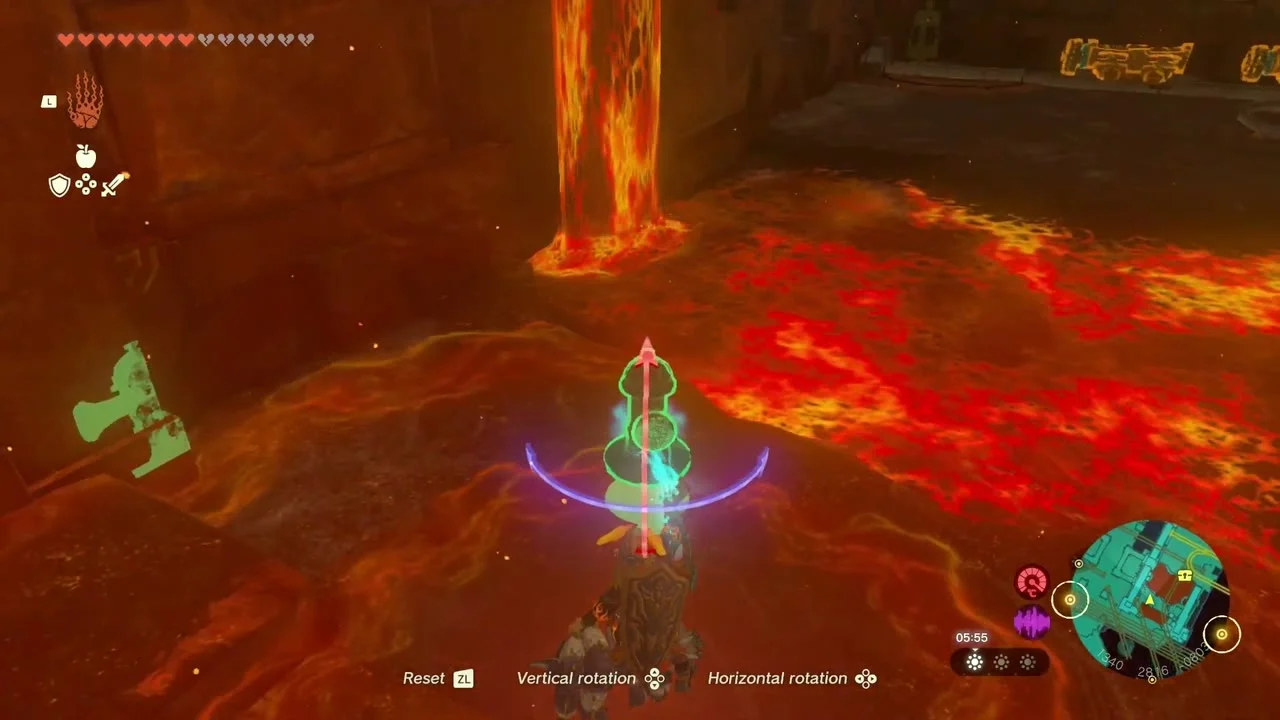

Ride the minecart to the southern room
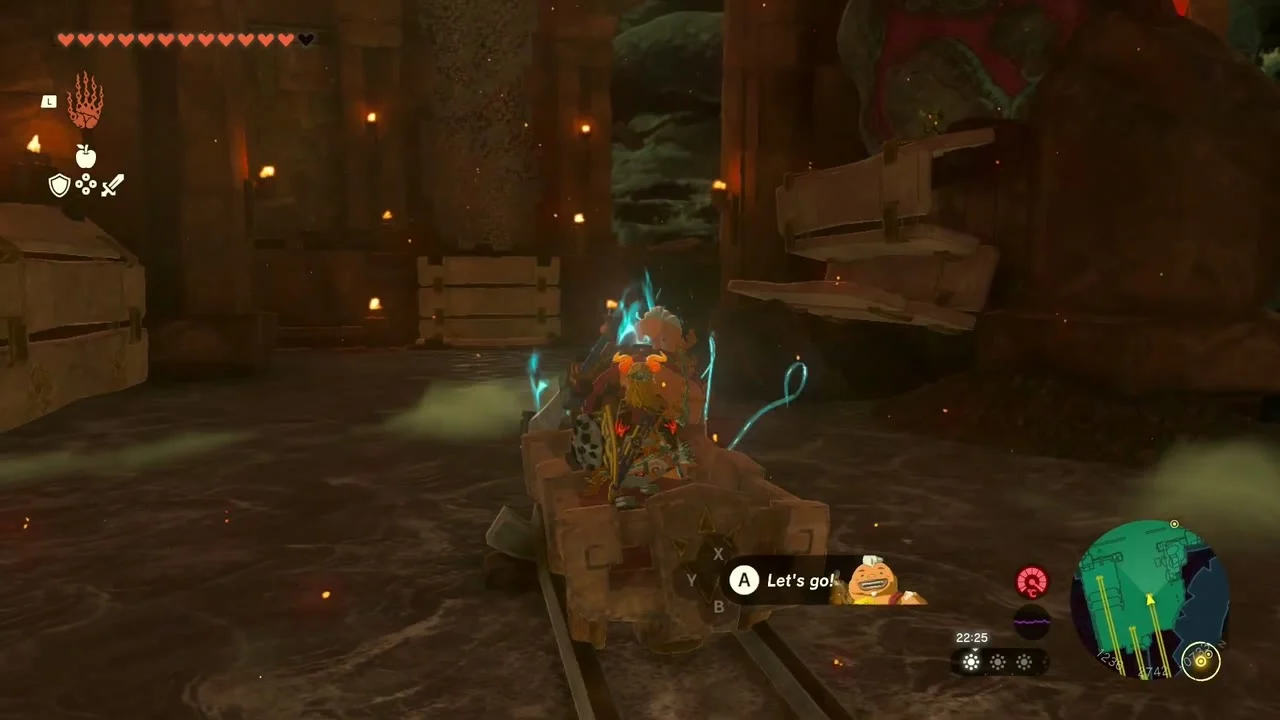
Take a minecart on the tracks and activate its Fan. When you see the circular track switch, aim Yunobo at it to change the cart’s route. Get out when the cart reaches the southern room.
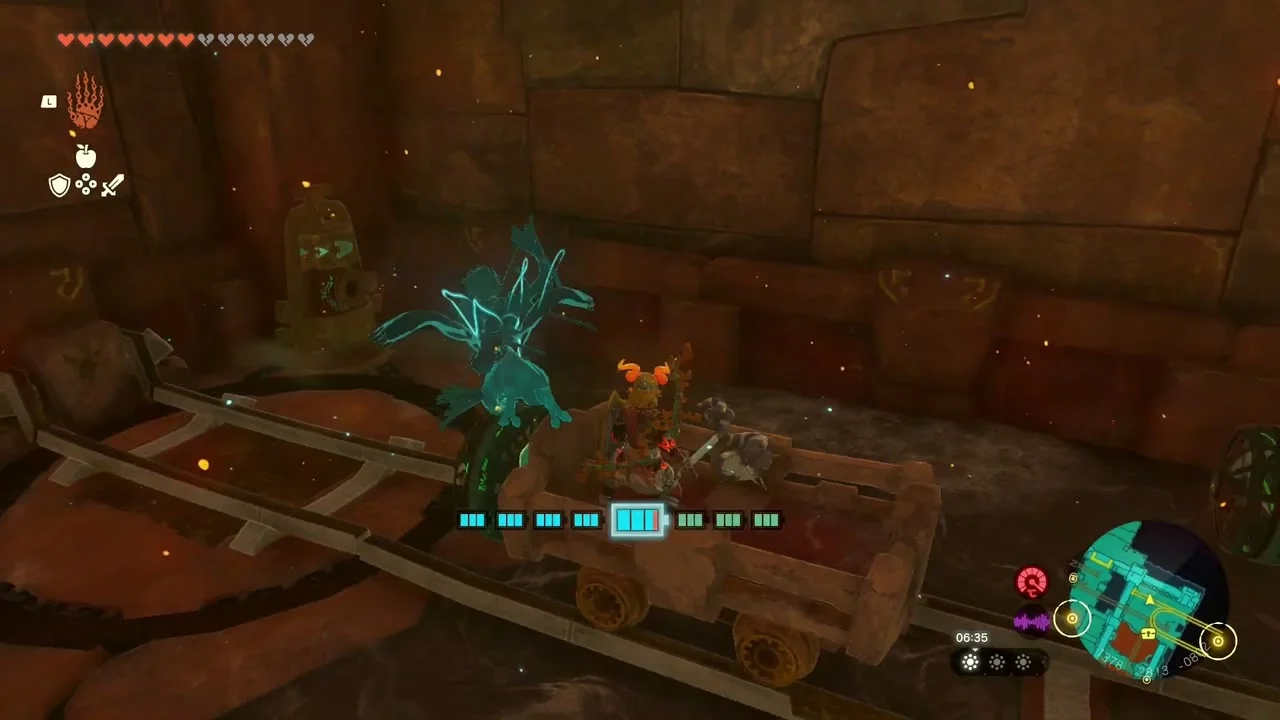

Bridge the lava and ring the gong
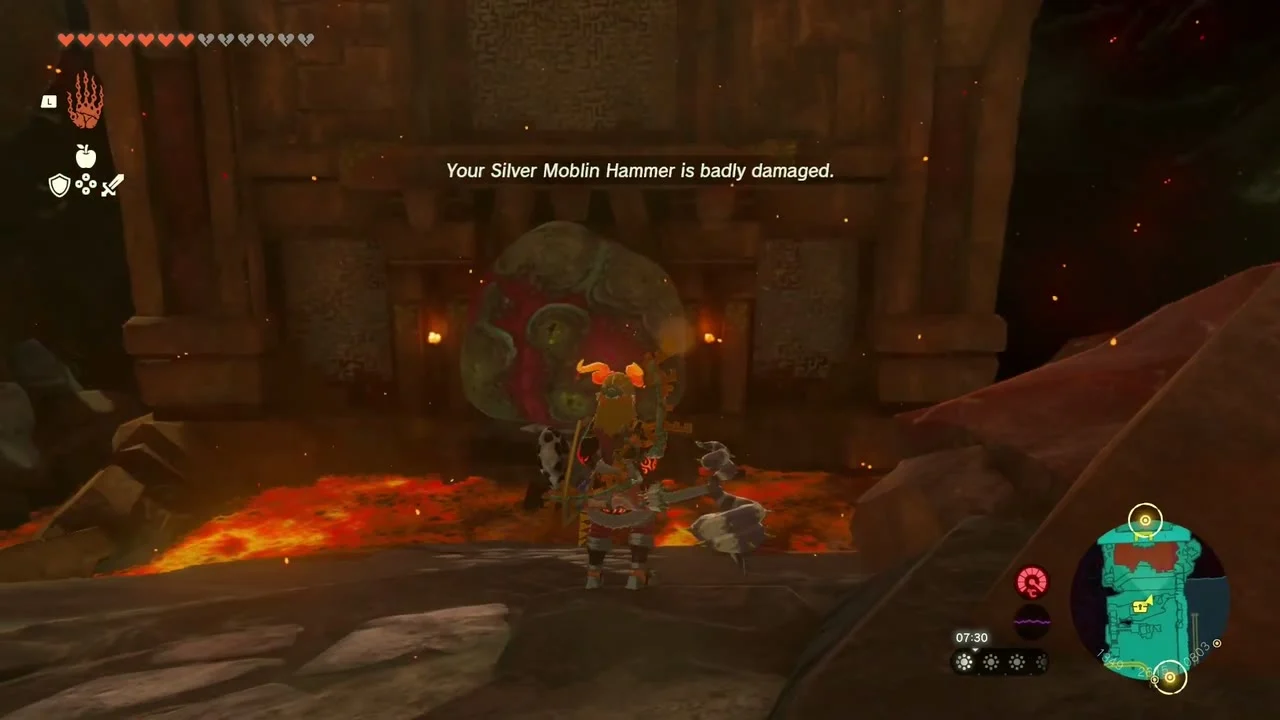
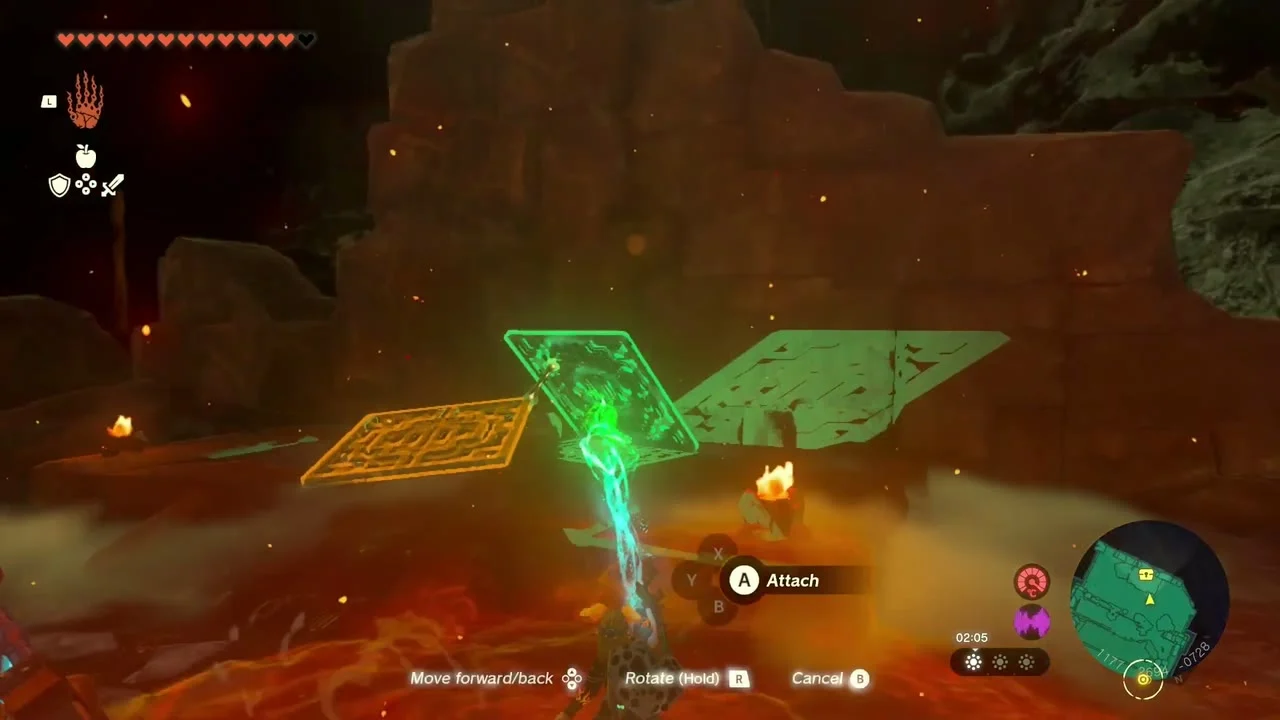
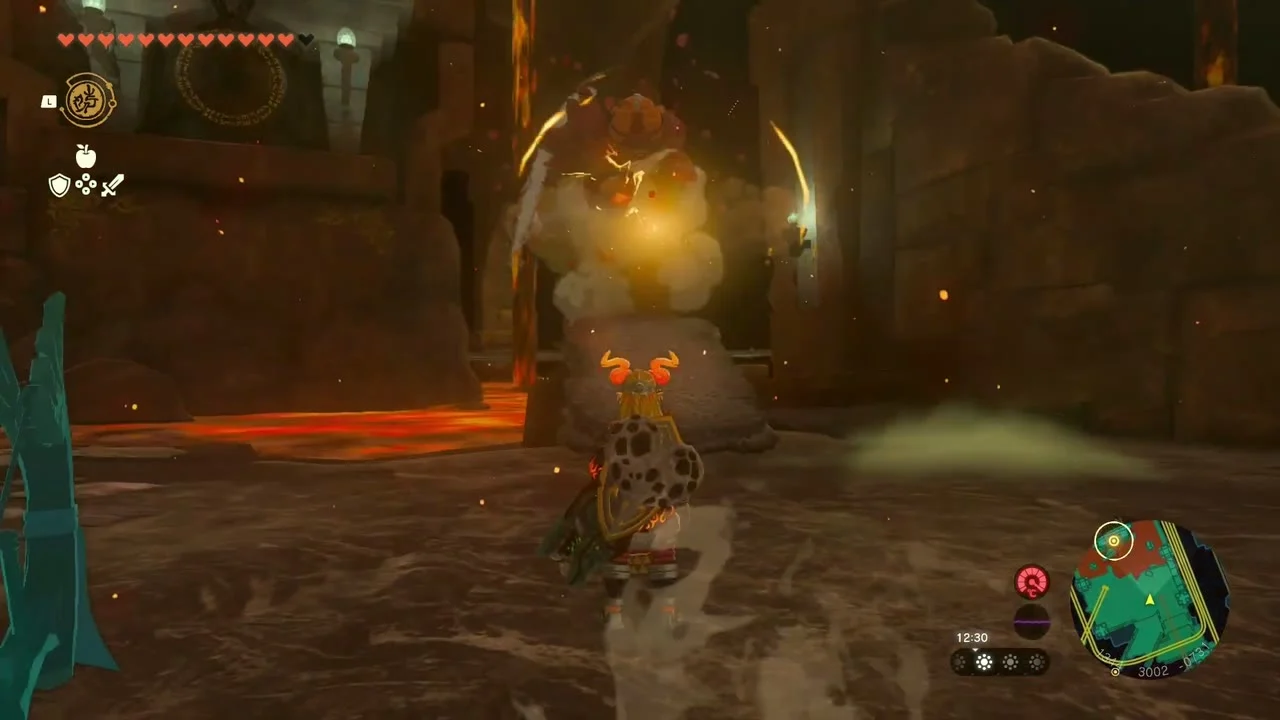
Defeat the Fire Like and look behind the pillar where it was hanging. Use a Hydrant to make several stone slabs, then join them with Ultrahand to form a bridge across the lava. Send Yunobo through the opening and into the Marbled Rock barrier. The first gong is behind it. Hit the gong with Yunobo.


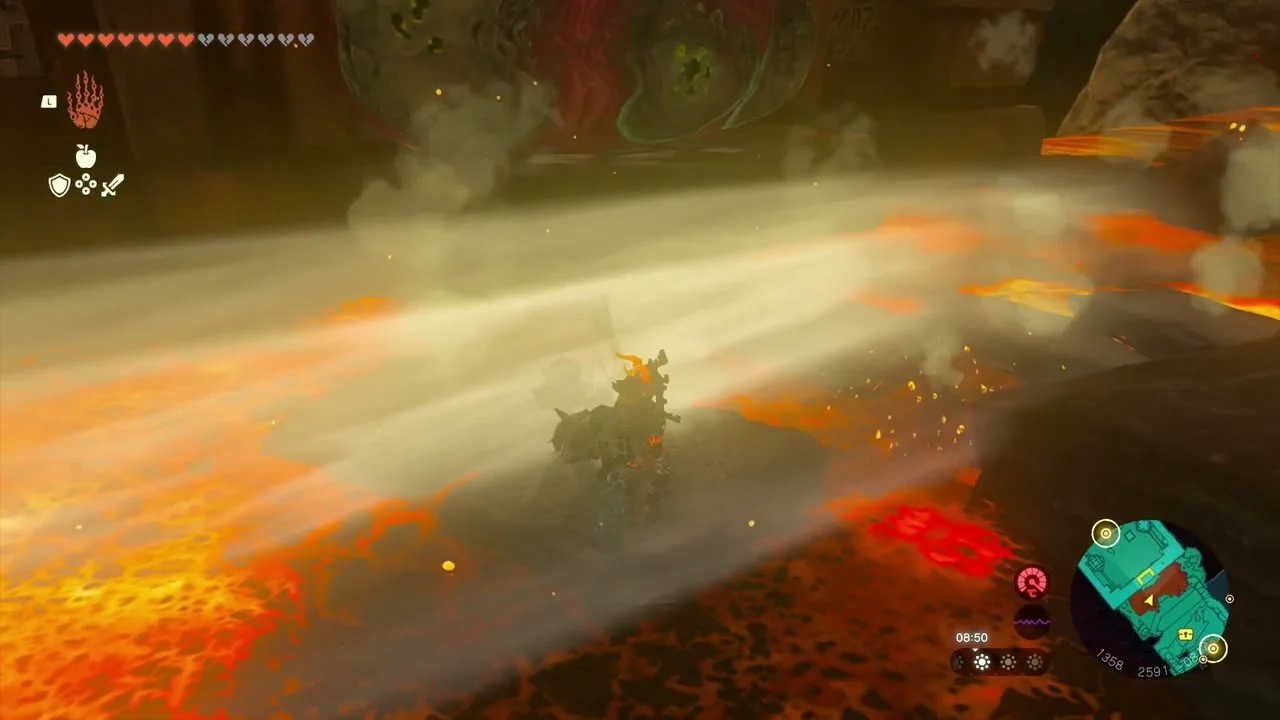
Collect the Fire Like chest
The Fire Like drops a chest when defeated. It holds a Zonaite Shield, which is a Strong or Mighty Zonaite Shield depending on your progress. A Diamond chest also sits on a raised platform in this area, so check the platforms before leaving the room.

Gong 2: Western Room on 2F
Ride the rails north to 2F
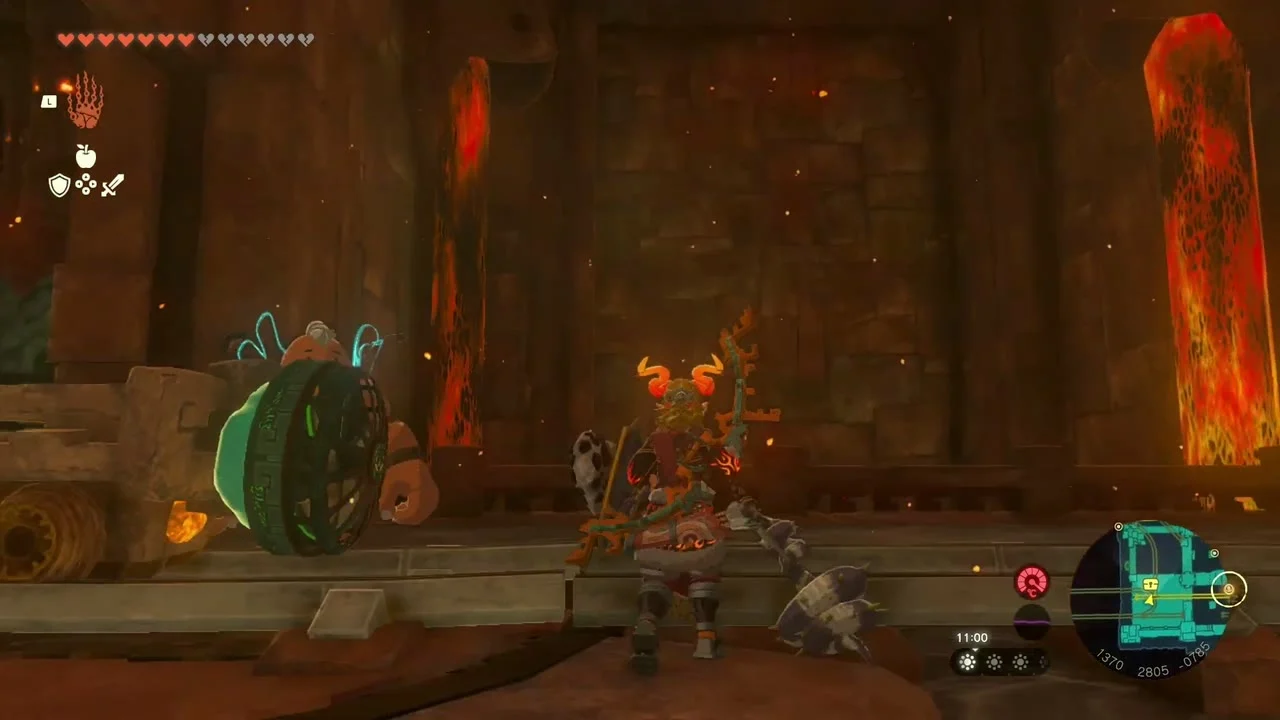
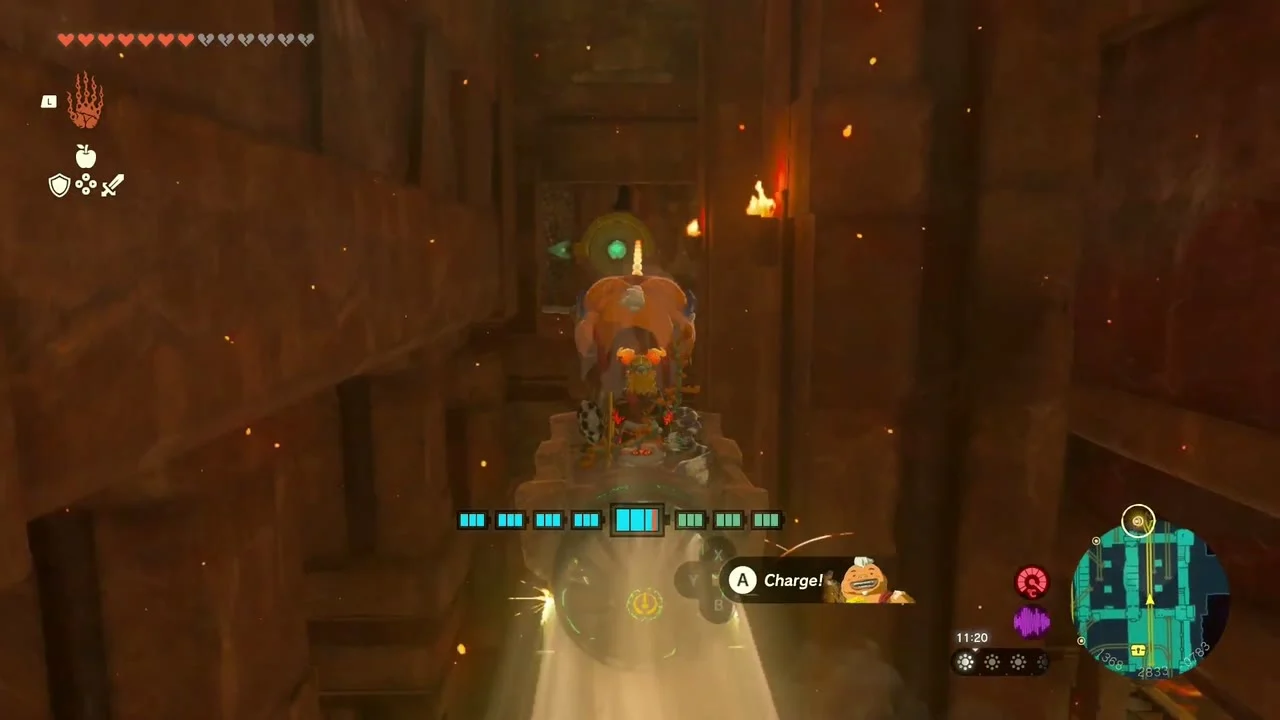
Return to the minecart and use the bell-shaped switch to open the gate. Ride the cart north, breaking Marbled Rock with Yunobo when it blocks the track. You’ll pass a chest with 10 Arrows on the way to 2F.
Turn the cart and redirect the route
At the end of the track, use the bell to turn the cart around. Ride back and use Yunobo on the arrow-shaped switch to redirect the route. Open the gate at the stop with another bell, then continue north to find another chest with 10 Arrows. Return to the central platform.


Cross the lava room and ring the gong
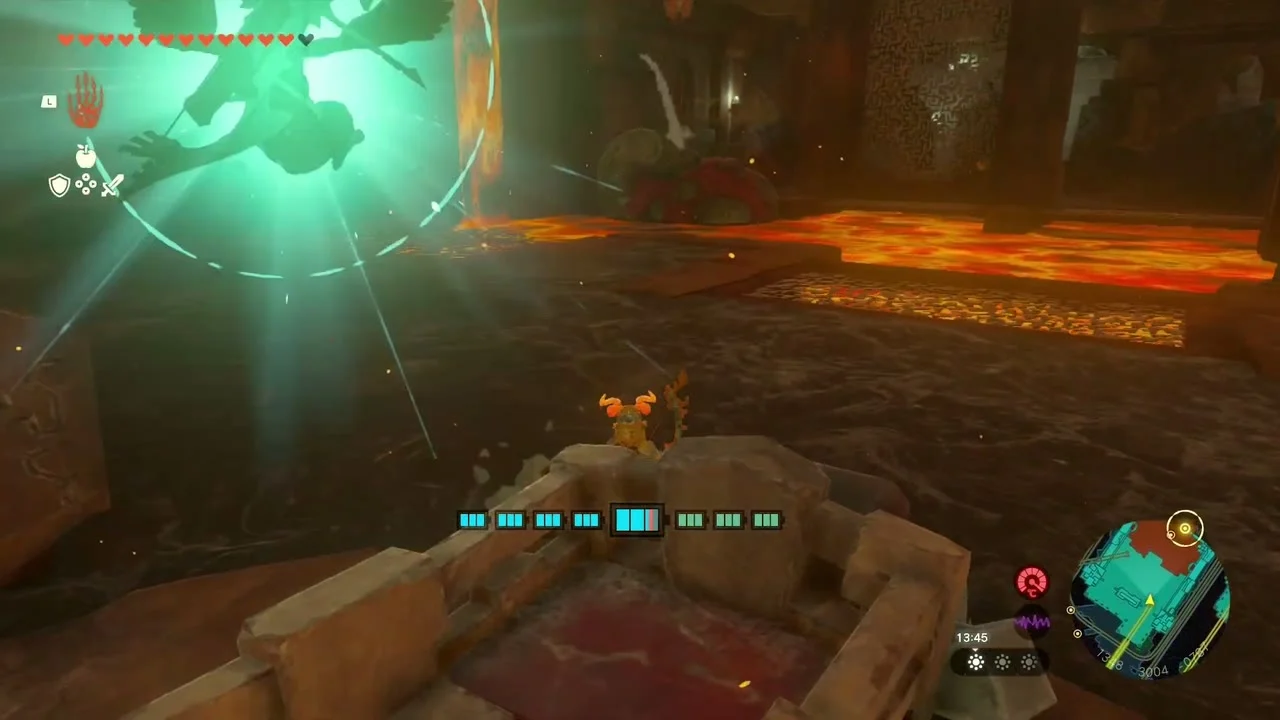
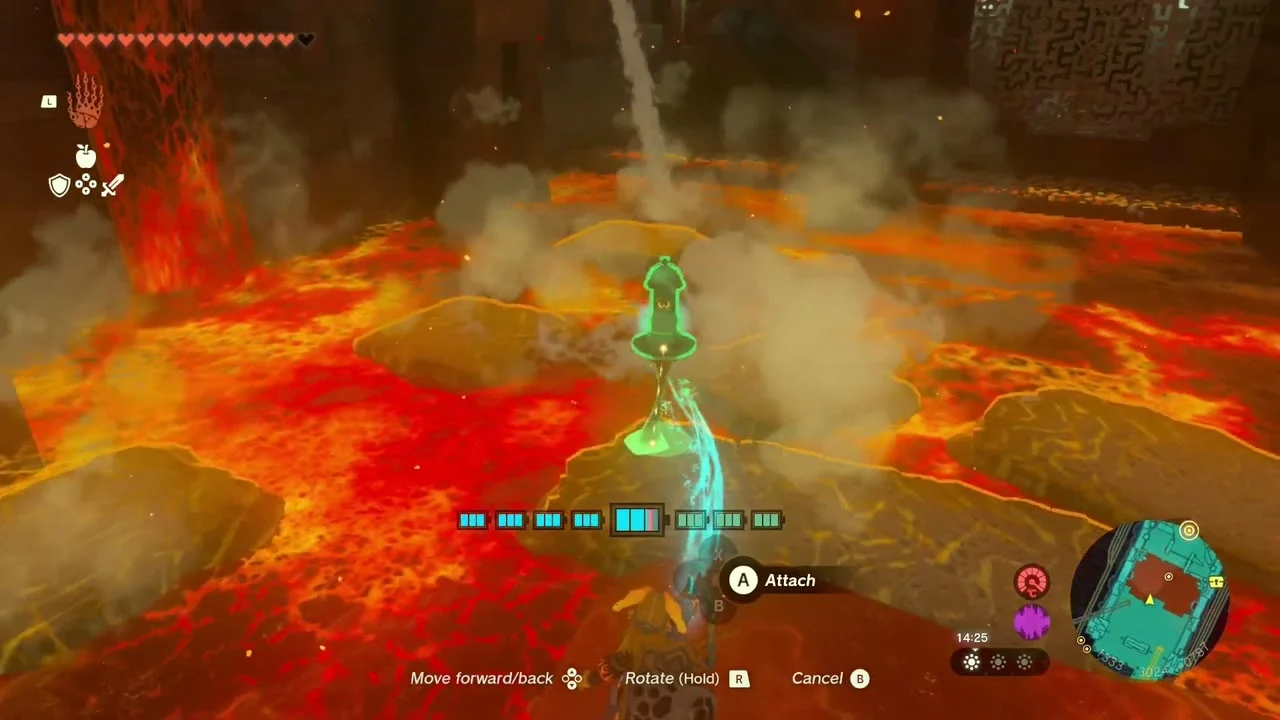
Cross the nearby bridge and strike the bell to lower the track. Use Ultrahand to place a minecart on the lowered rail and ride into the western room. Break the Marbled Rock boulder in the lava pool so water from the Hydrant above can make stone slabs. Step onto one of the moving slabs and use Recall to send it back across the lava. Continue to the far side, defeat the Construct, and hit the gong with Yunobo.

Check the other 2F chests
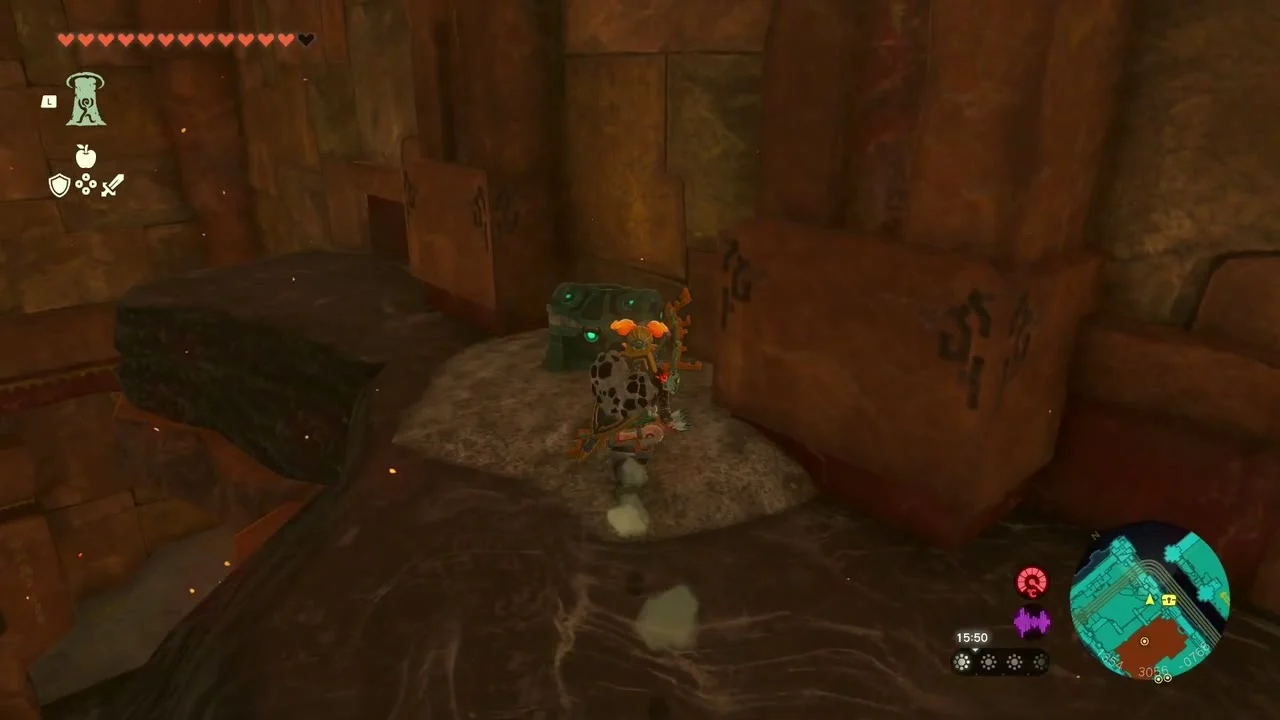
There are more chests on 2F: Zonaite x3 sits on a high ledge in the gong room and is reached with Ascend through the grate beneath it, and another chest with 10 Arrows is on a solidified lava platform in the northeastern room. Soldier Constructs on this floor can drop a Construct Bow, which is a Strong Construct Bow at mid-game progress.

Reach the 3F Hub
Raise the rail to the central room
Return to the cart that brought you to the second floor. Move it to the left track and ride it. Shoot the bell ahead with an arrow to raise the track, then ride up to the central room on 3F.


Search the hub
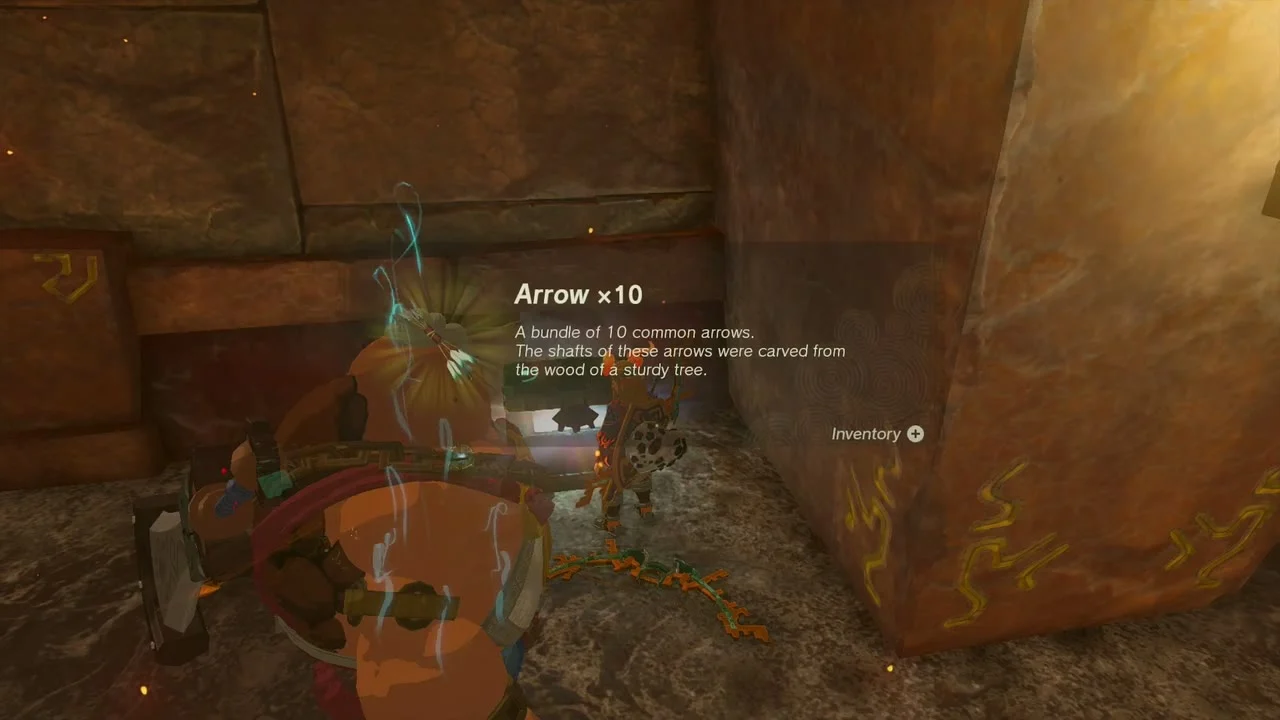
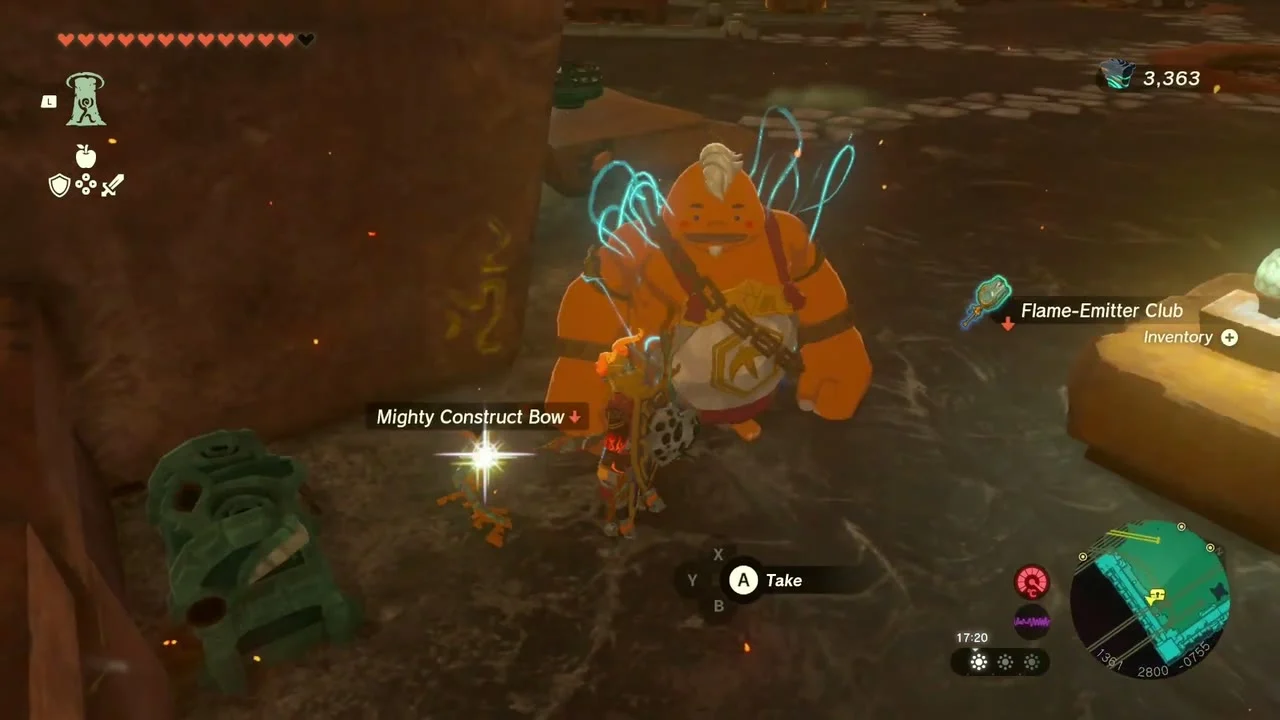
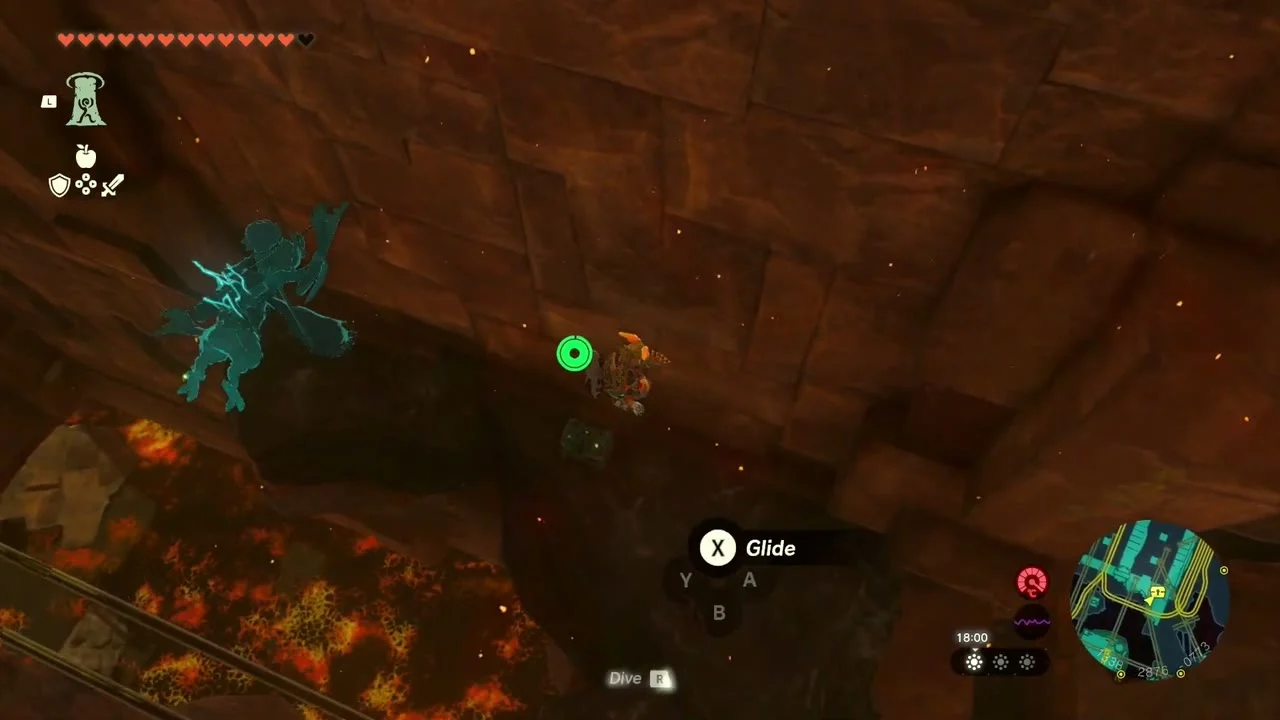
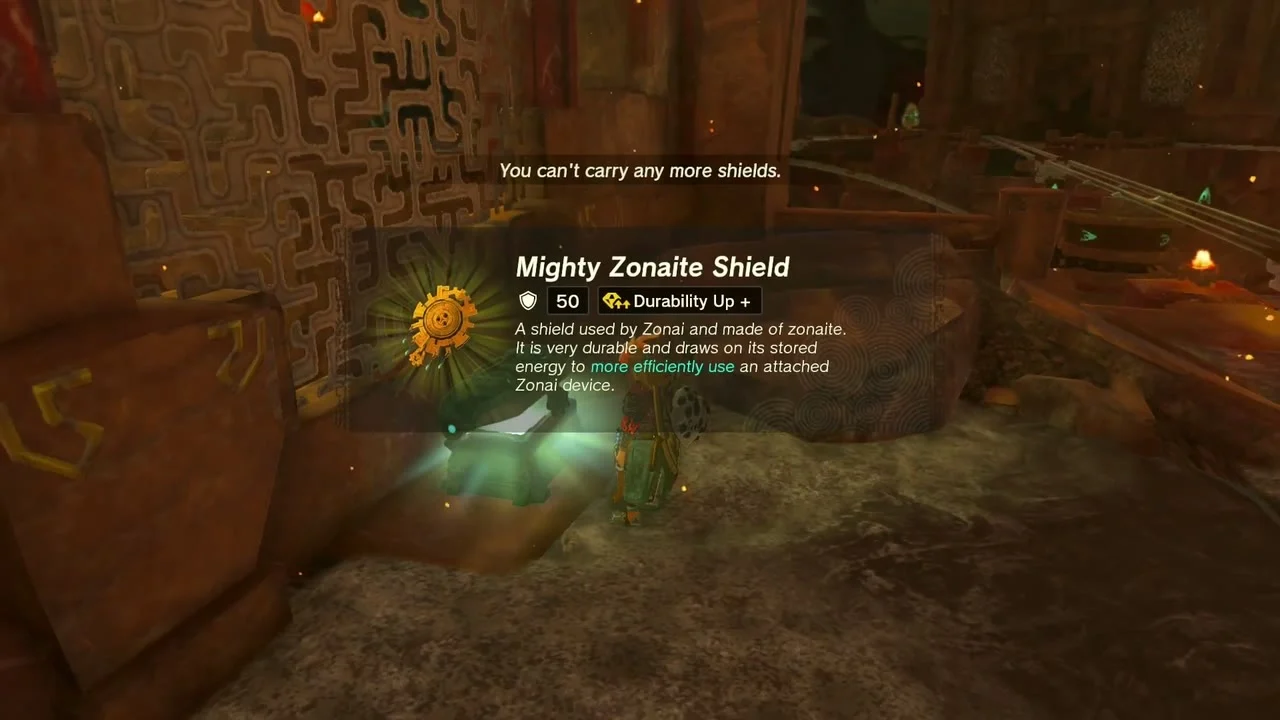
This room is the temple’s main hub. It has Zonai devices, Construct enemies, several minecarts, and routes to the upper floors. There is a chest with 10 Arrows beneath the supply depot in the middle of the room. A Zonaite Shield chest is in an eastern room, Strong or Mighty depending on your progress, and a Soldier II Reaper is inside an enclosure along the outer wall. The Reaper is easiest to reach by gliding down from the floor above. Constructs in the hub can also drop a Construct Bow, Strong or Mighty depending on your progress.

Gong 3: Southwestern Room on 5F
Rocket a cart across the gap
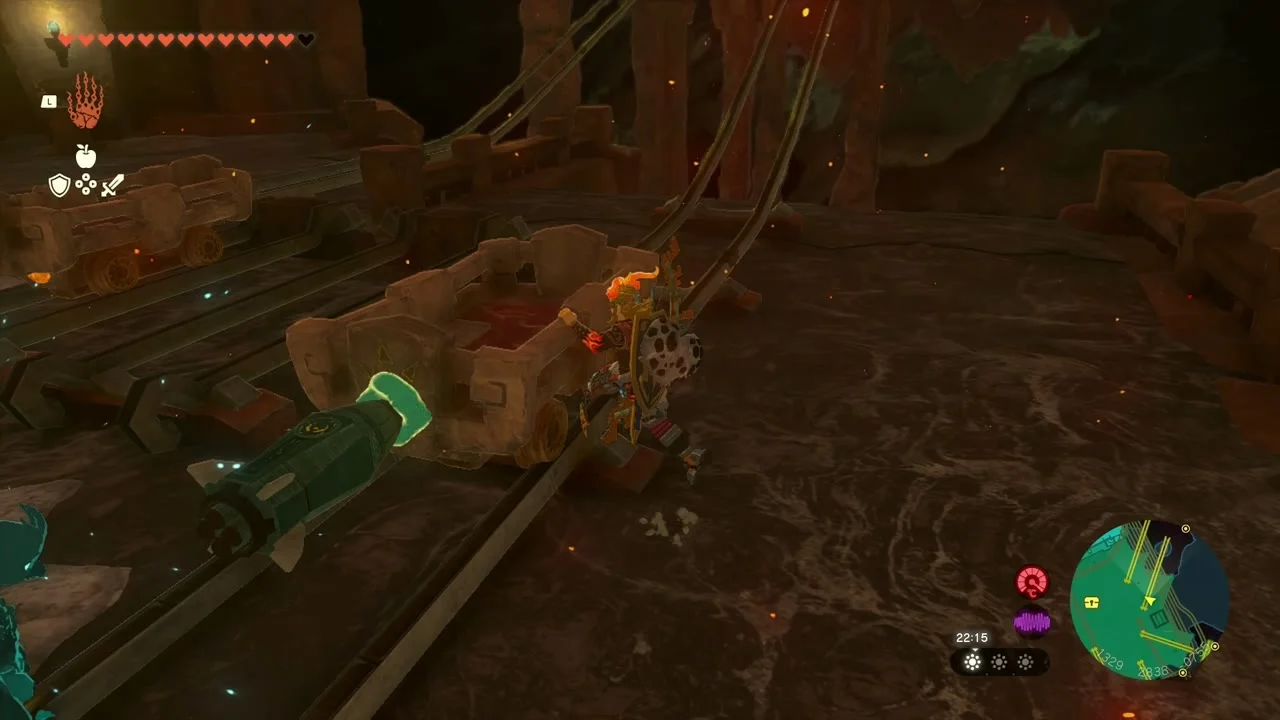
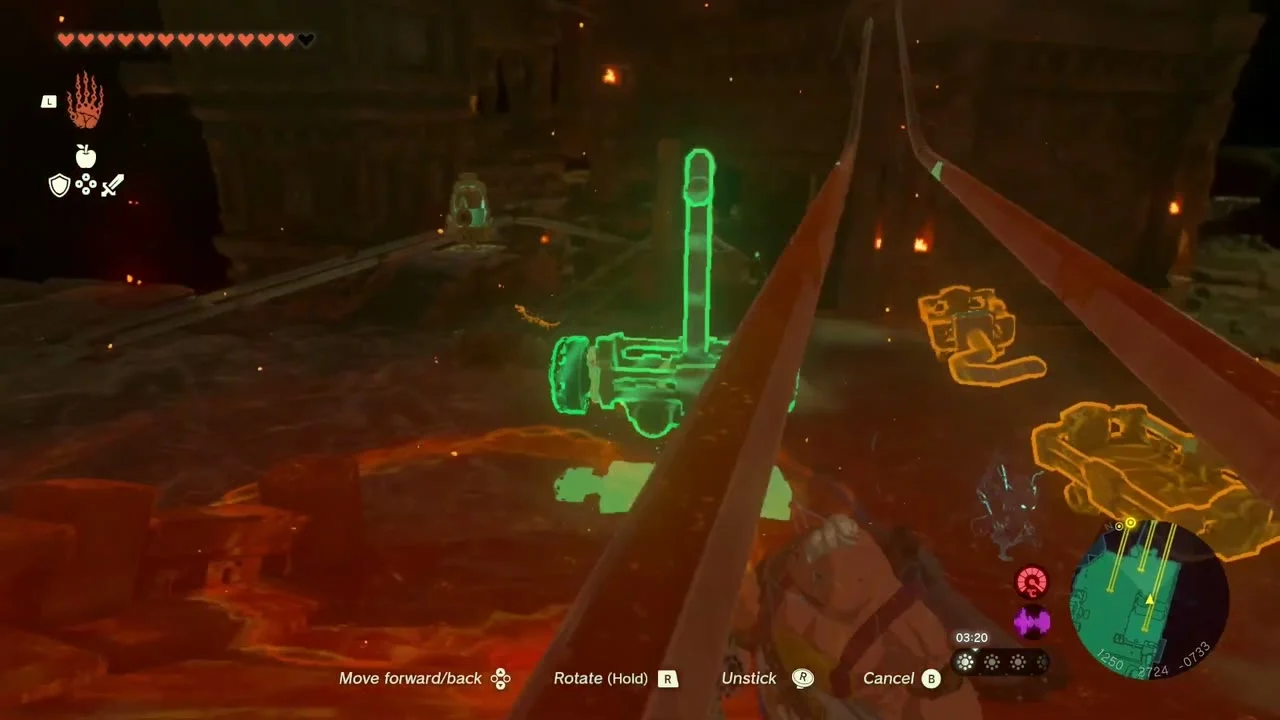
Return to the 3F hub and use the broken tracks leading southwest. Attach a Zonai Rocket to a minecart, then ride it across the gap to the southwestern area of 4F.


Repair the bridge and find the Ruby
Use Ultrahand to reconnect the broken bridge. Before continuing, climb the repaired bridge and check behind it for a chest containing a Ruby. Aim Yunobo up the bridge at the Marbled Rock boulder above. Breaking it opens a hole and drops a large stone block.



Recall the block up to 5F
Use Recall on the block and ride it upward to 5F. The gong is in the southern room. Hit it with Yunobo to release the third padlock.


Reach the Large Zonai Charge chest
There is also a Large Zonai Charge chest in an enclosed area on 5F. You cannot enter the enclosure from that floor. Break the nearby Marbled Rock and drop through the opening, then use Ascend from below to reach the chest.

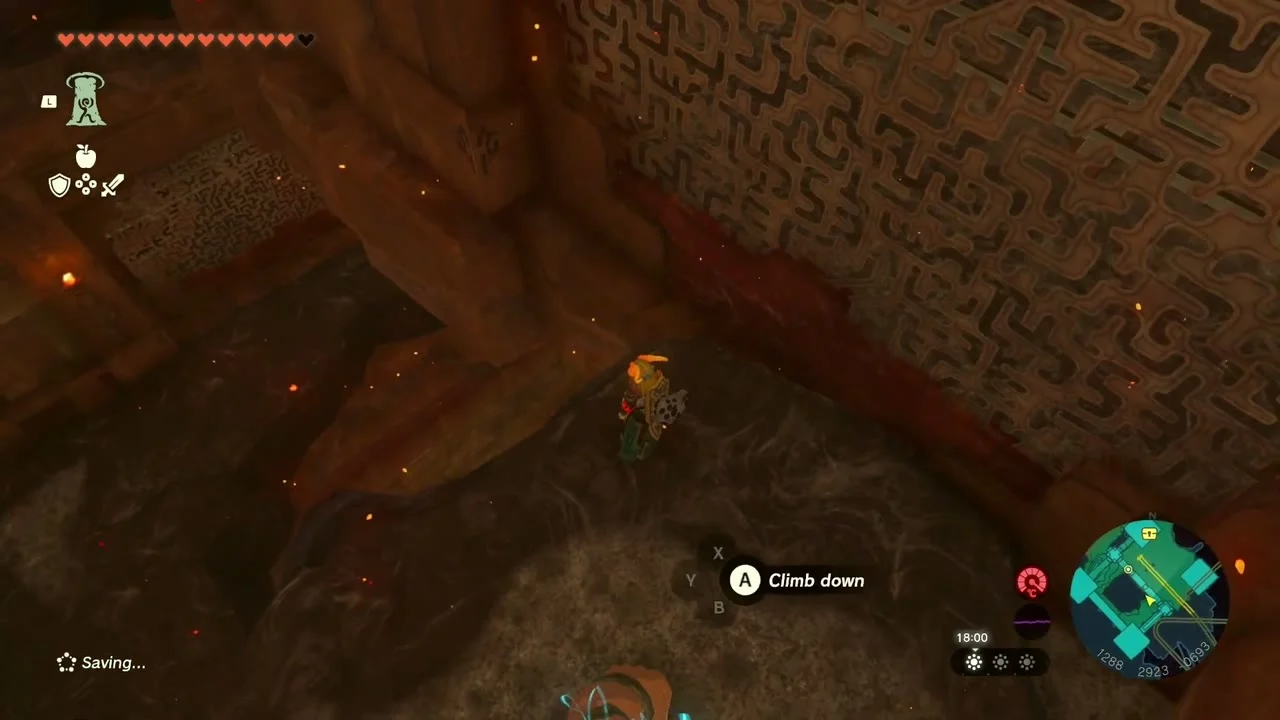
Gong 4: Northern Room on 4F
Set the bells and ride the loop
Return to the 3F hub and head north to the two bell switches. Strike the left bell twice and the right bell once to set the track route. Ride the cart around the loop, deal with the Construct in the neighboring cart, then jump off at the platform with the stairs.
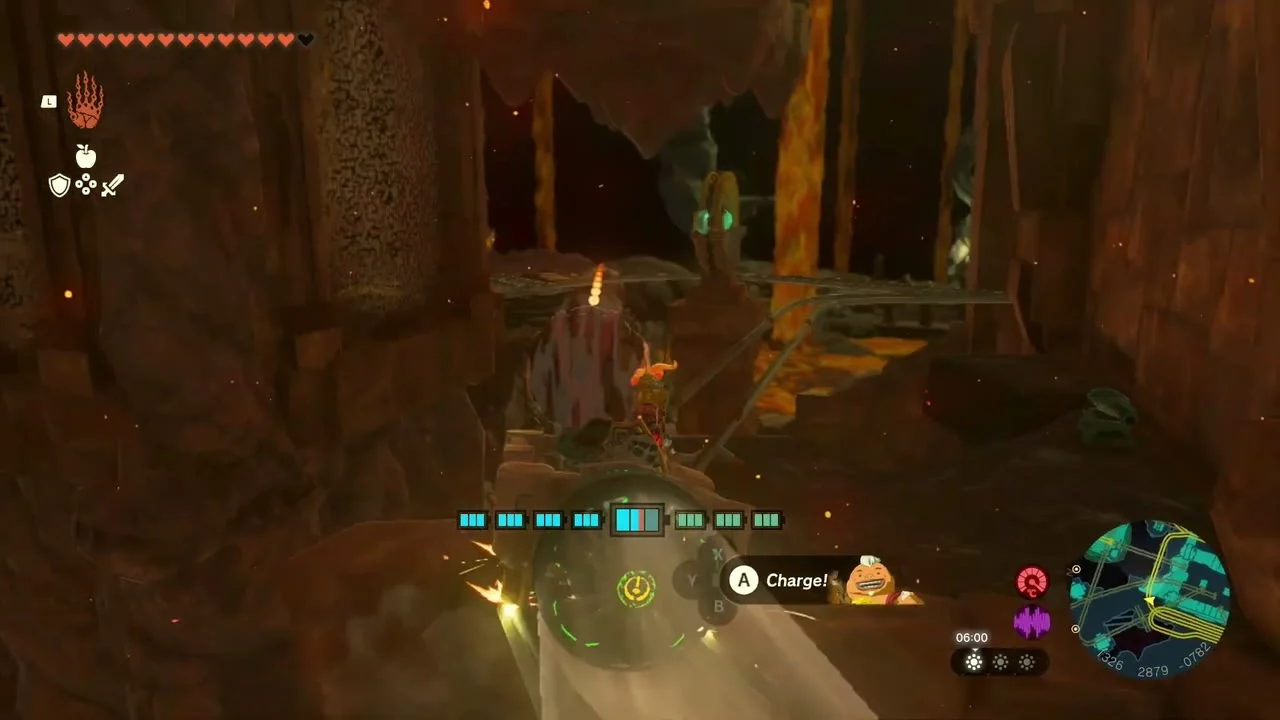
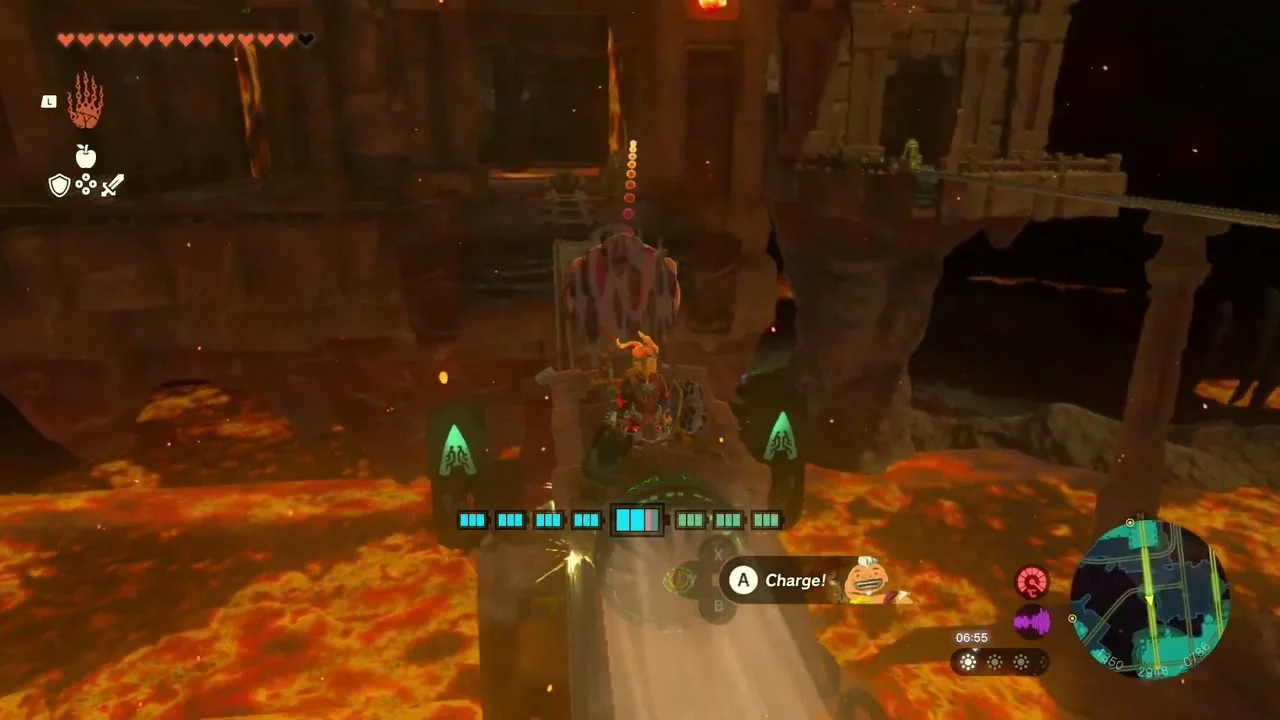
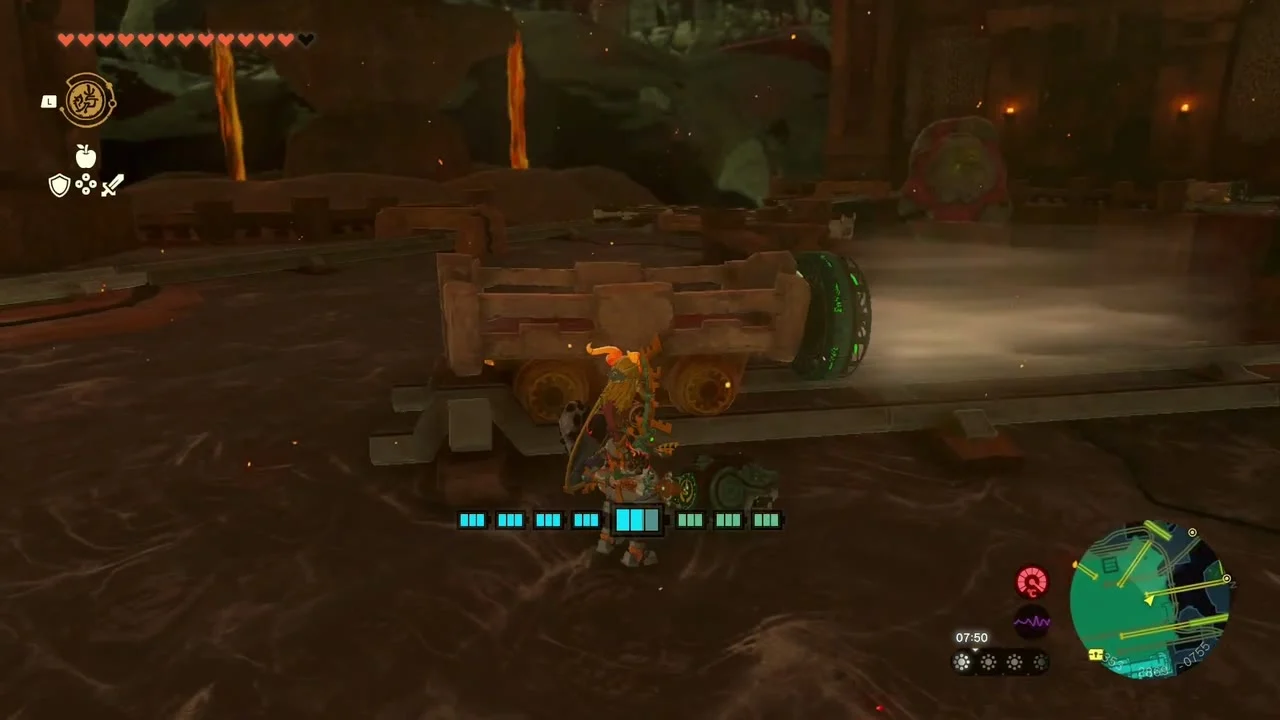

Build a ramp to the gong
At the top, use Yunobo to break the Marbled Rock boulder. This reveals a Hydrant. Use the water to make stone slabs, then attach them together to build a ramp aimed at the gong across the lava. Send Yunobo up the ramp to strike the gong.


Gong 5: Northern Room on 1F
Glide down the shaft
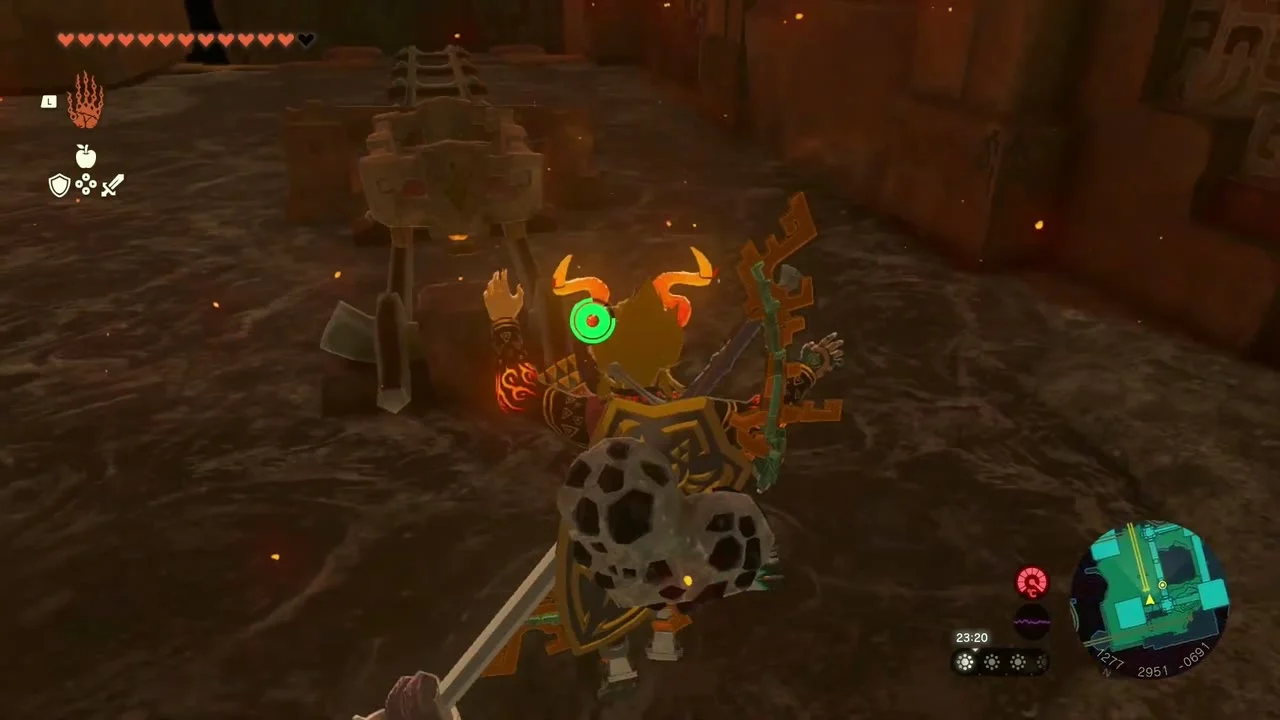
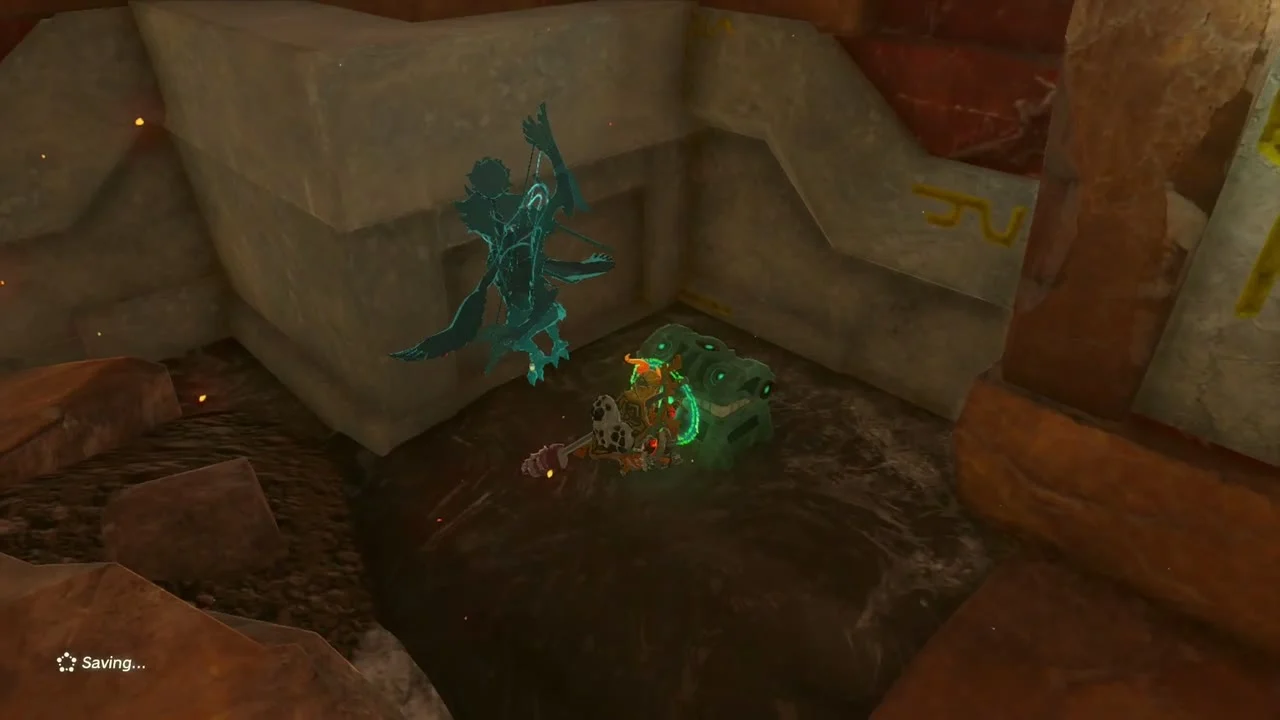
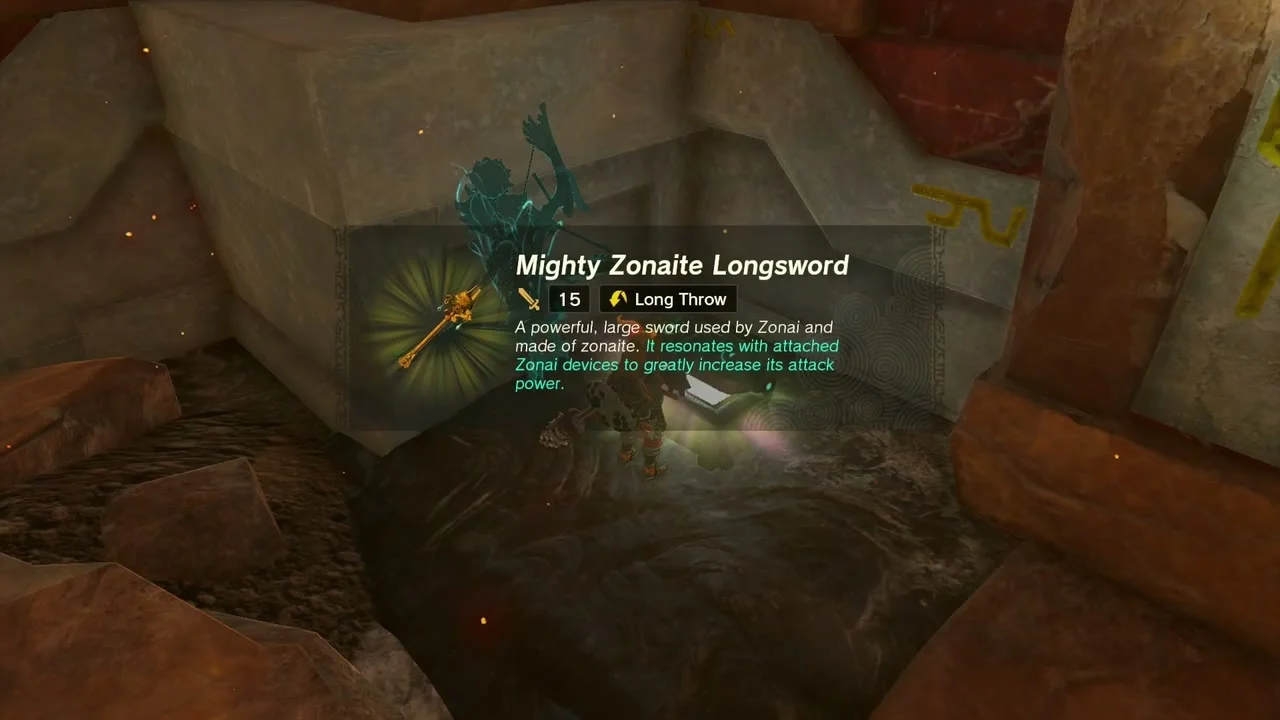
Climb back to 5F, glide around the enclosure and drop through the central opening. Near the bottom of the shaft a chest sits in a rocky nook. It holds a Zonaite Longsword, Strong or Mighty depending on your progress. Continue down to reach the northern room on 1F.

Ring the last gong and open the boss door
Hit the final gong with Yunobo. Activate the nearby switch to open a gate back to the central chamber. Return to the terminal and interact with it to open the boss door.
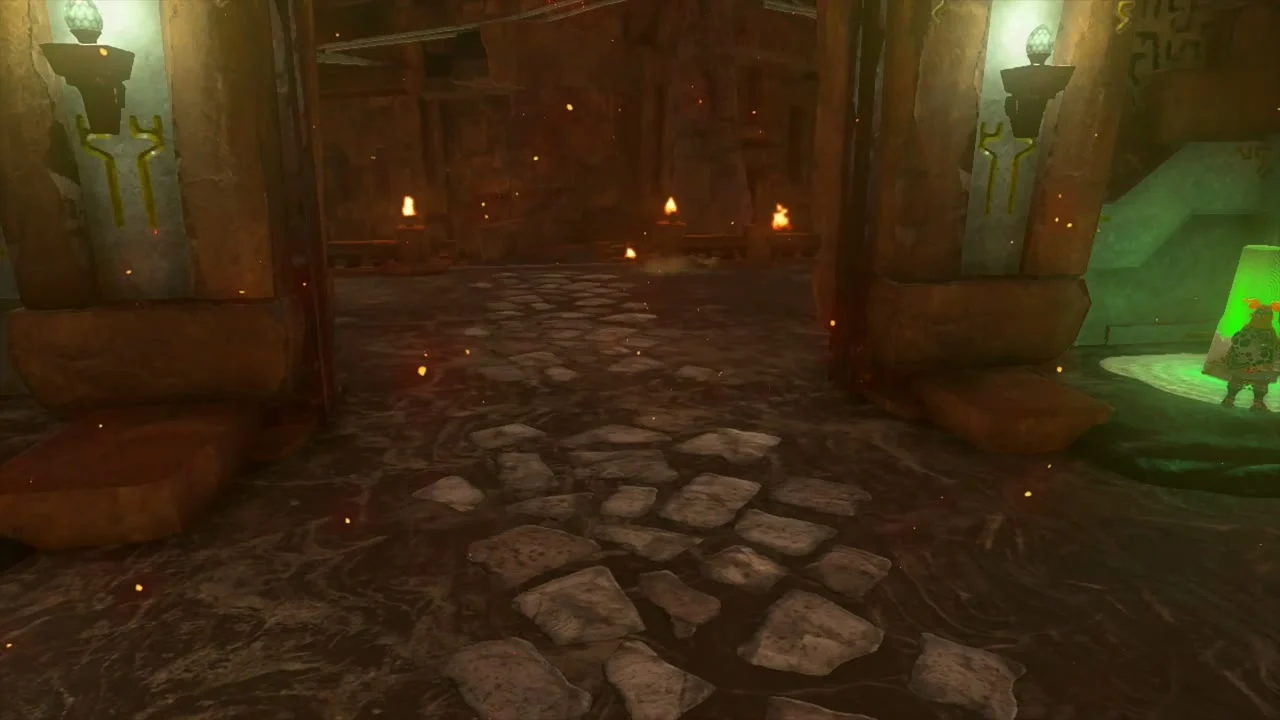

Fire Temple Chest Checklist
The temple has 13 fixed treasure chests, and the Fire Like also drops one when defeated. Items marked by progress follow the tier rules above.
| Floor | Location | Contents |
|---|---|---|
| 1F | First side room inside the entrance | 10 Arrows |
| 1F | Nook at the bottom of the central shaft, reached by gliding down from above | Zonaite Longsword (Strong or Mighty by progress) |
| 1F | Dropped by the Fire Like near the first gong | Zonaite Shield (Strong or Mighty by progress) |
| 2F | Ledge beside the mine-cart tracks at the northern bend | 10 Arrows |
| 1F | Raised platform south of the first gong room | Diamond |
| 2F | Platform of solidified lava in the northeastern room | 10 Arrows |
| 2F | High ledge in the gong room, reached with Ascend | Zonaite x3 |
| 3F | Beneath the supply depot in the central room | 10 Arrows |
| 3F | Eastern room | Zonaite Shield (Strong or Mighty by progress) |
| 3F | Enclosure along the outer wall, reached by gliding down from above | Soldier II Reaper |
| 4F | Beneath the lattices in the southwestern room | 10 Arrows |
| 4F | South side of the central room | Ruby |
| 4F | North side of the central room | 10 Arrows |
| 5F | Enclosed area, reached by dropping below and using Ascend | Large Zonai Charge |
The exact route to some rooms depends on which tracks you have switched, so use the floor map to line up your position with the chest location.
Defeat Marbled Gohma
Phase one: break the legs, hit the eye
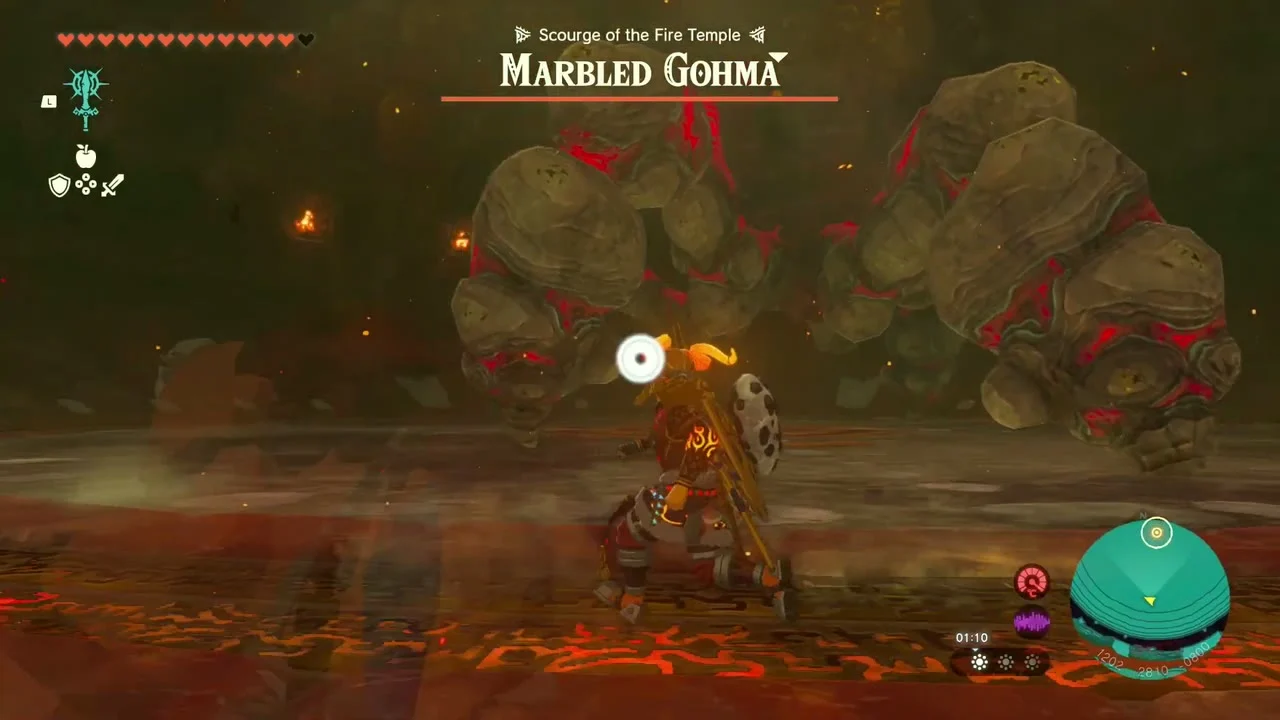
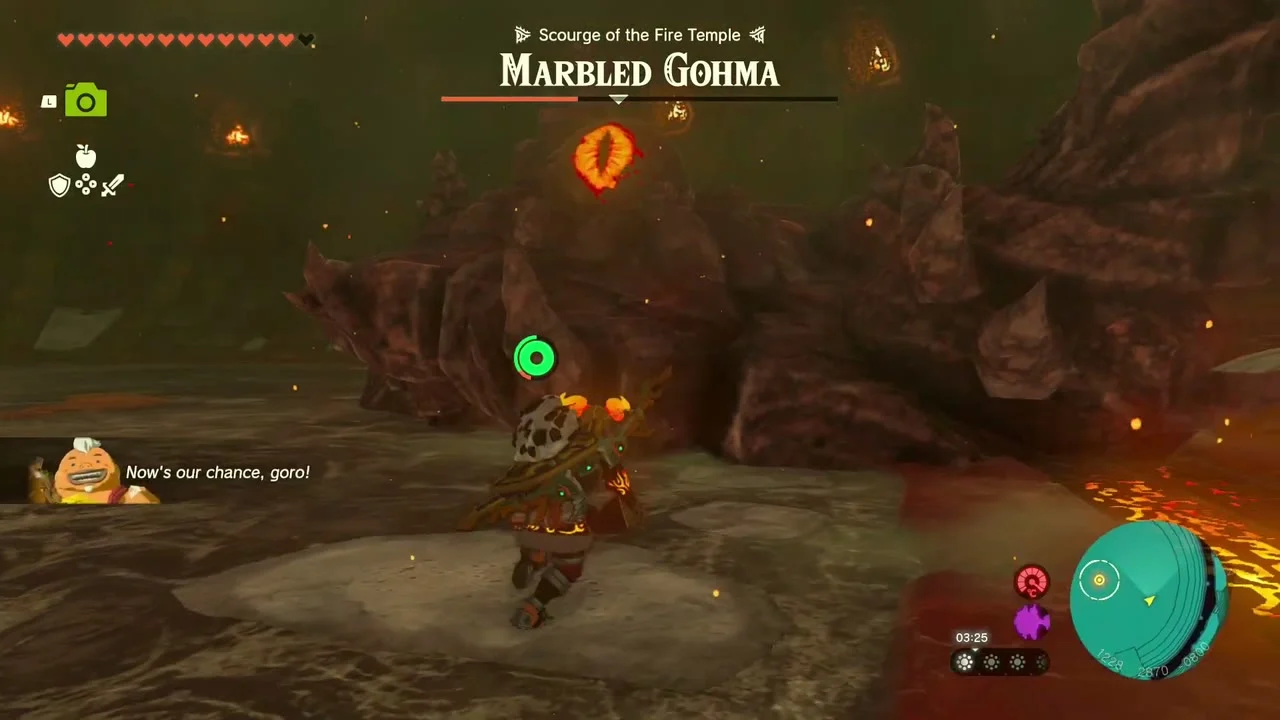
Marbled Gohma has armored legs and one vulnerable eye. Use Yunobo to break two of its legs. When it collapses, climb onto its body and attack the eye with your strongest weapon. Move away when it starts to shake, since it will throw Link off when it gets back up.

Phase two: ceiling and boulder rings
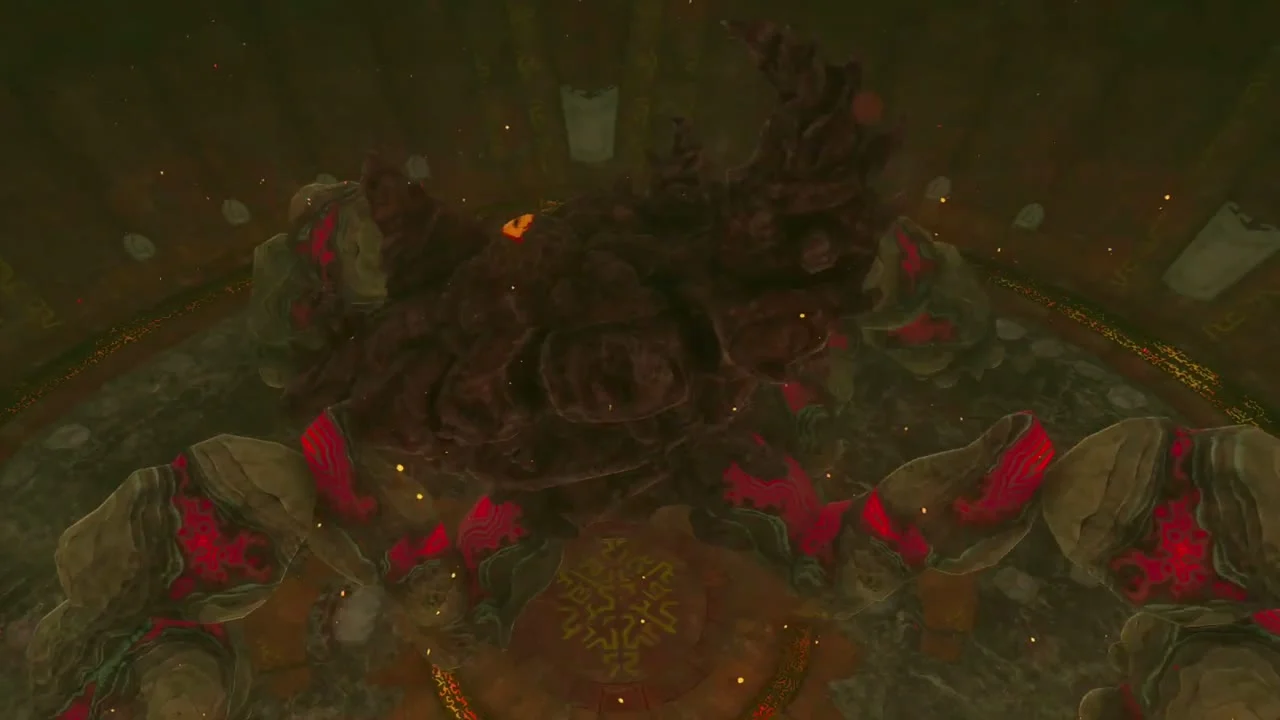
In the second phase, Marbled Gohma climbs onto the ceiling and drops rings of explosive rocks. Use Recall on one of the rocks to send it back and open a way out. To bring the boss down, stand near the curved wall closest to it and send Yunobo rolling up the slope into one of its legs. When it falls, climb up and attack the eye again.


Reposition if the charge misses
If Yunobo’s charge misses, reposition along the curved wall and try again. Watch the boss’s location before launching him, especially when it moves across the ceiling.
Rewards
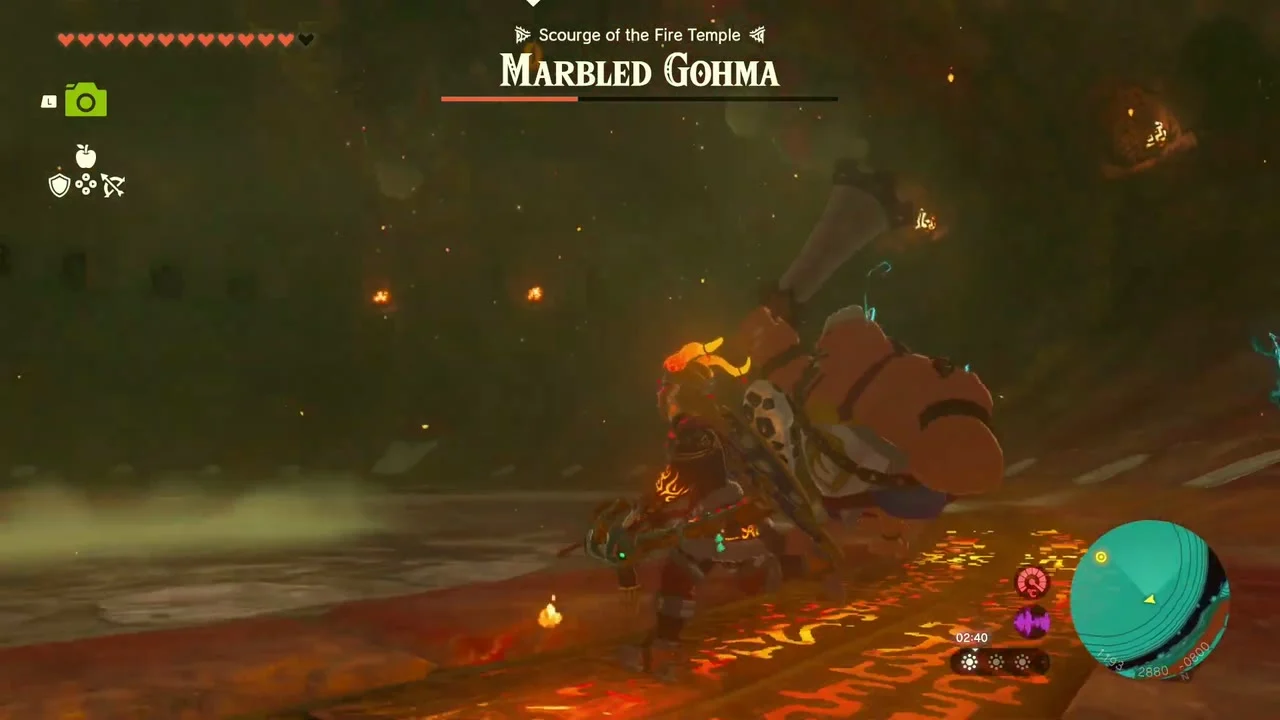
Defeating Marbled Gohma earns a Heart Container. Yunobo also receives the Secret Stone and becomes the Sage of Fire. His Vow lets Link summon Yunobo’s avatar and use his charge ability elsewhere in Hyrule.
Marbled Gohma Rematches in the Depths
After the Fire Temple, three Marbled Gohma rematches appear in the Depths. Look for them near Takaruk Lightroot in the Necluda Sea Depths, near Uasnoj Lightroot in the Lanayru Wetlands Depths, and near the Yiga Clan Hideout Chasm in the Gerudo Highlands Depths.
Each arena gives a Huge Crystallized Charge the first time you defeat its boss. The charge is worth 100 Crystallized Charges. Marbled Gohma also drops a Marbled Gohma Leg after each rematch. The leg has 38 Fuse Attack Power and can be fused directly to a weapon or shield, but it cannot be collected in the materials pouch.
A Boulder Breaker or Cobble Crusher fused with the leg is useful against Talus and Frox weak points. These weapons have a bonus against those targets, but the leg does not create a special damage multiplier beyond that weapon trait.
