





















| Location | The Depths beneath Hyrule Castle, entered through Hyrule Castle Chasm (about -254, 1012) |
|---|---|
| Quest | Destroy Ganondorf (final main quest) |
| Region | Central Hyrule Depths |
| Boss | The Demon King’s Army, then Demon King Ganondorf (two health bars; summoned Phantom copies in the second) |
| Reward | Leads straight into the Demon Dragon fight and the end of the story |
| Recommended gear | Defense Up meals (Ironshroom), Sundelion meals for gloom-damaged hearts, several undamaged bows, 150+ arrows, one-handed weapon and shield |
| Chests | A handful of Royal weapon, bow and shield chests on the route, including Royal Bow, Royal Shield (or Traveler’s Shield, Soldier’s Shield or Knight’s Shield, depending on your progress) and Royal Guard’s Bow |
This is the last dungeon of the game: dive down Hyrule Castle Chasm, follow the gloom-soaked caves to the Imprisoning Chamber, drop into the dark to fight the Demon King’s Army, then beat Demon King Ganondorf. You cannot restock between the army and the last boss, so cook before you drop.
Before you go
Save manually before the final drop. Cook at least three meals built on four Ironshrooms each for the Defense Up Up Up buff, and stock Sundelion meals, which restore hearts that gloom has damaged. Bring several bows and 150 or more arrows, and a one-handed weapon plus shield so you can block and use Flurry Rush. Complete the four regional phenomena and Guidance from Ages Past first if you want the Sages to fight beside you; any missing Sage means less help in the army fight.
Getting there
Dive into Hyrule Castle Chasm
Speak to Purah at Lookout Landing after Recovering the Hero’s Sword. Fast travel to Serutabomac Shrine and glide down the red Hyrule Castle Chasm beneath the castle. At the bottom, activate Camobatures Lightroot near -178, 1170 to light the area; there are no Lightroots deeper down, so you cannot fast travel out. Chests among the red roots here hold Royal Shields and Royal Bows.
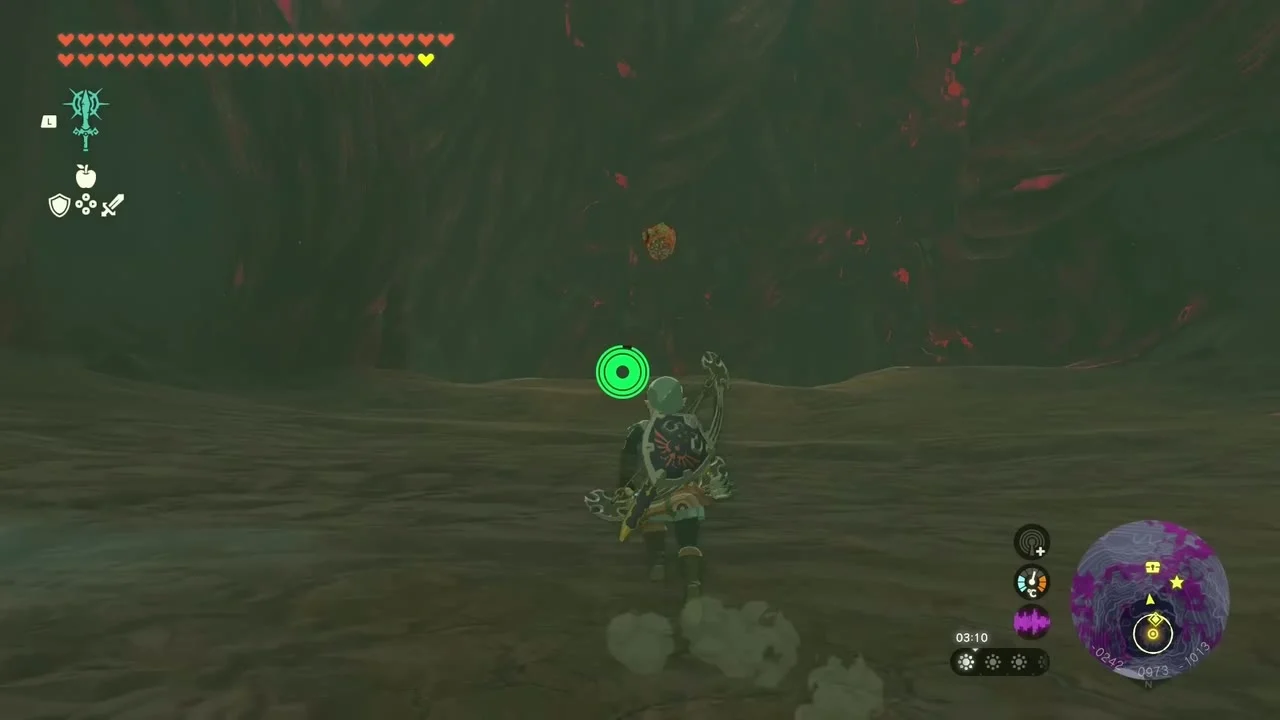

Take the opening at the bottom
Walk to the south-west corner of the cavern and find the red flower enemy on the wall that fires electric orbs. Drop through the opening beneath it, glide in, and climb the wall where creatures are climbing. Drop to the electric Keese area, then glide to the opening on the left.
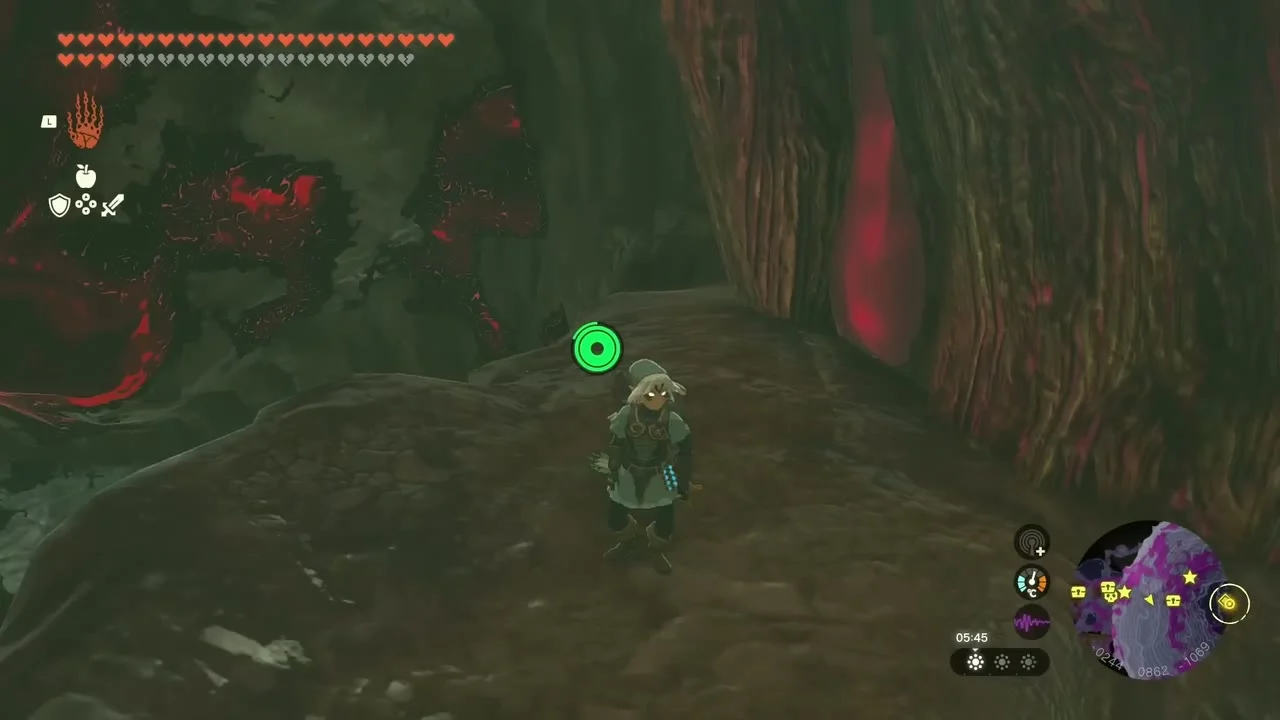
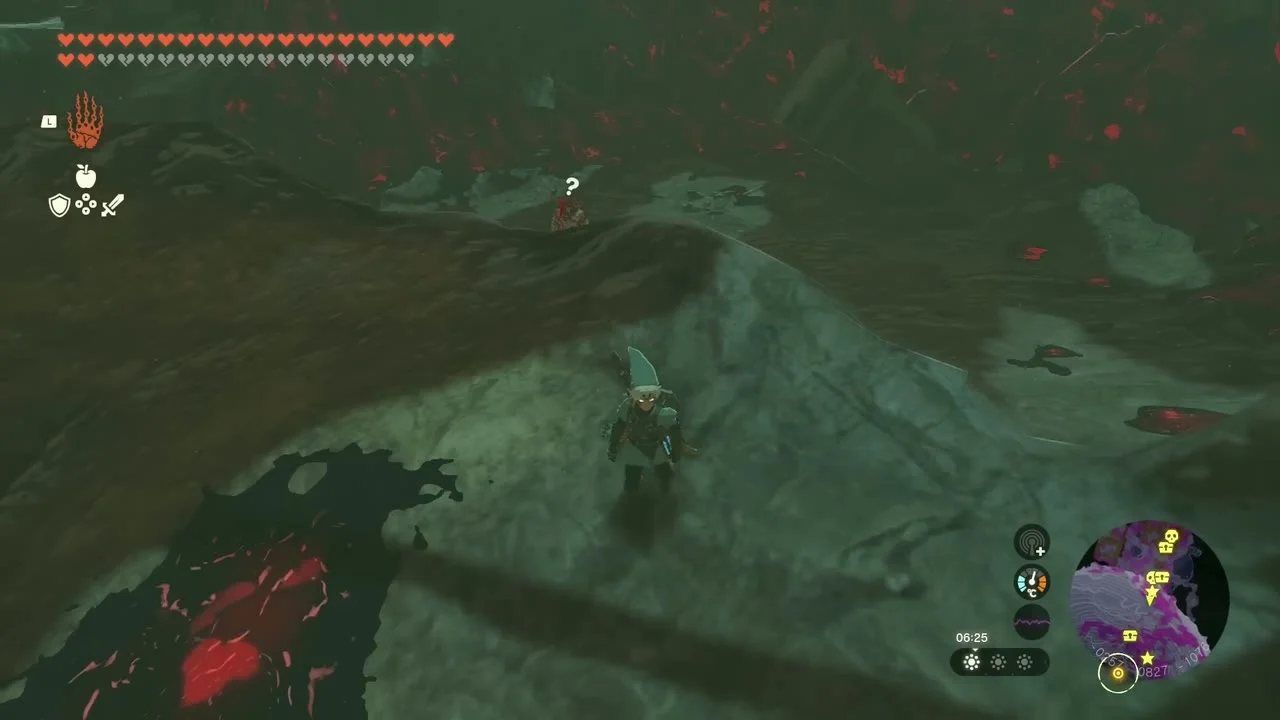
The route down
Ride the falling stones and cross the lava
Stones fall when you step on them: stay on them to reach a room with ceiling rocks, stand on the rocks and use Recall to lift them, then step off at the top. Lava pools can be bridged with Ultrahand: grab loose pieces and rebuild them as steps, and use Ascend through ceilings where the pillars allow it. A Recall on a falling stone pillar will carry you back up if you drop too far. The last stone in the ice-bat corridor falls through the floor, so stay on it to reach the bottom.


Collect chests and pass the Lynel
The deeper caverns hold a Royal Bow, a Royal Shield and a Royal Guard’s Bow in dark side nooks. A Silver-Maned Lynel patrols the large cavern below one ledge; avoid it by following the wall opposite the entrance and climbing into the hole that leads onward.
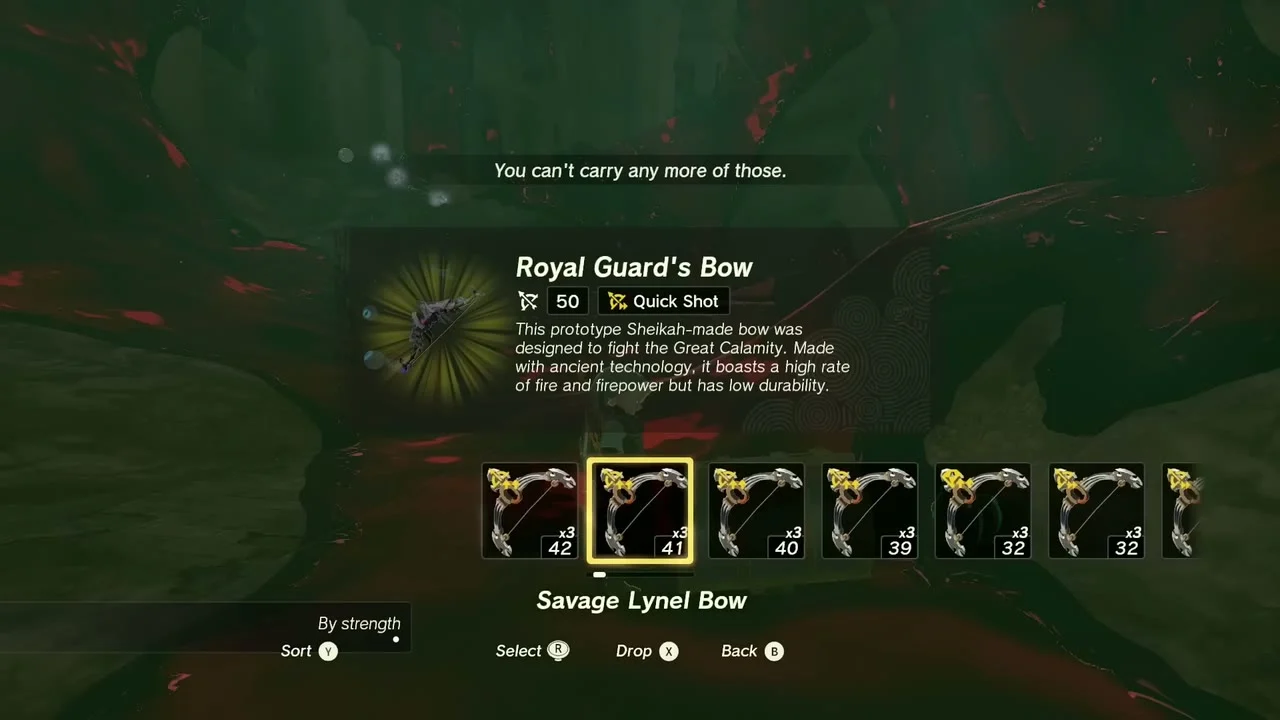

Defeat the Phantom Ganon
A Phantom Ganon blocks the lower passage. Bomb Flowers and arrows from range work well, and Attack Up meals help. Climb the pillar beside the next enemy where there is no gloom, follow the path behind it to a corridor, and fuse a melee weapon to a rock to break the barrier at the end. In the next room turn right, break the rocks to open a passage, and you reach the Imprisoning Chamber.
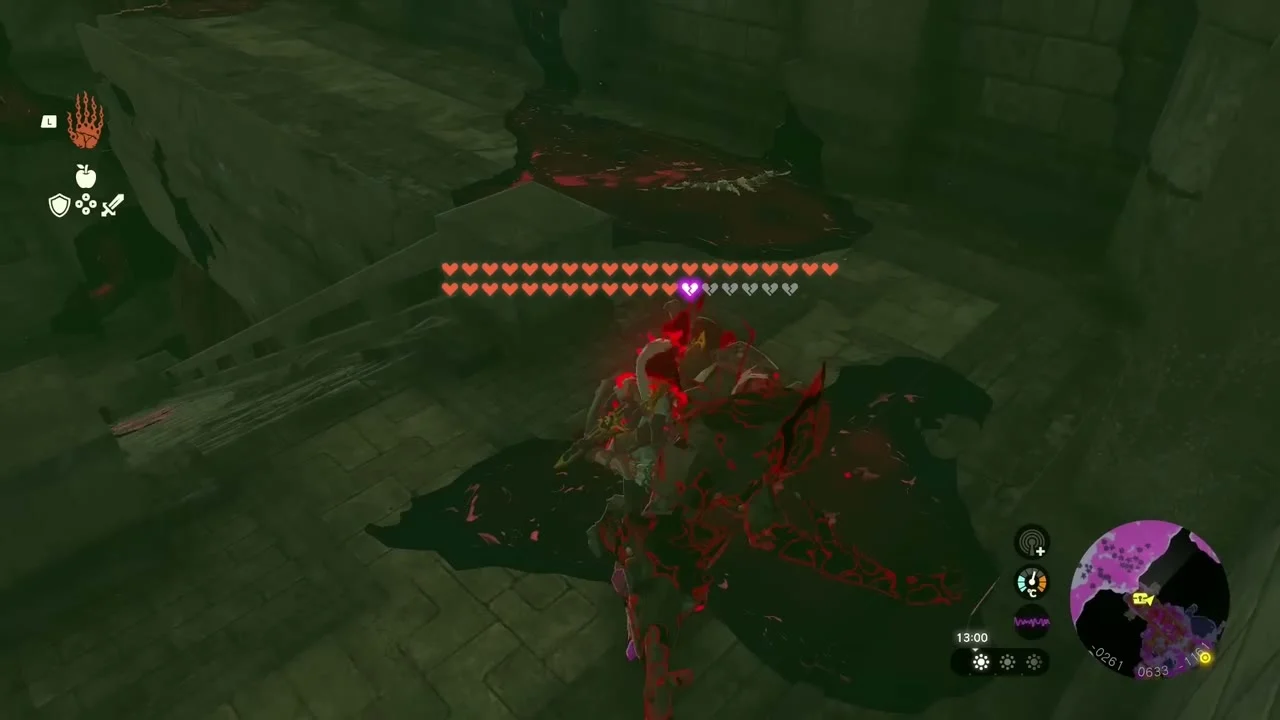

Defeat the Demon King’s Army
Hold the line with the Sages
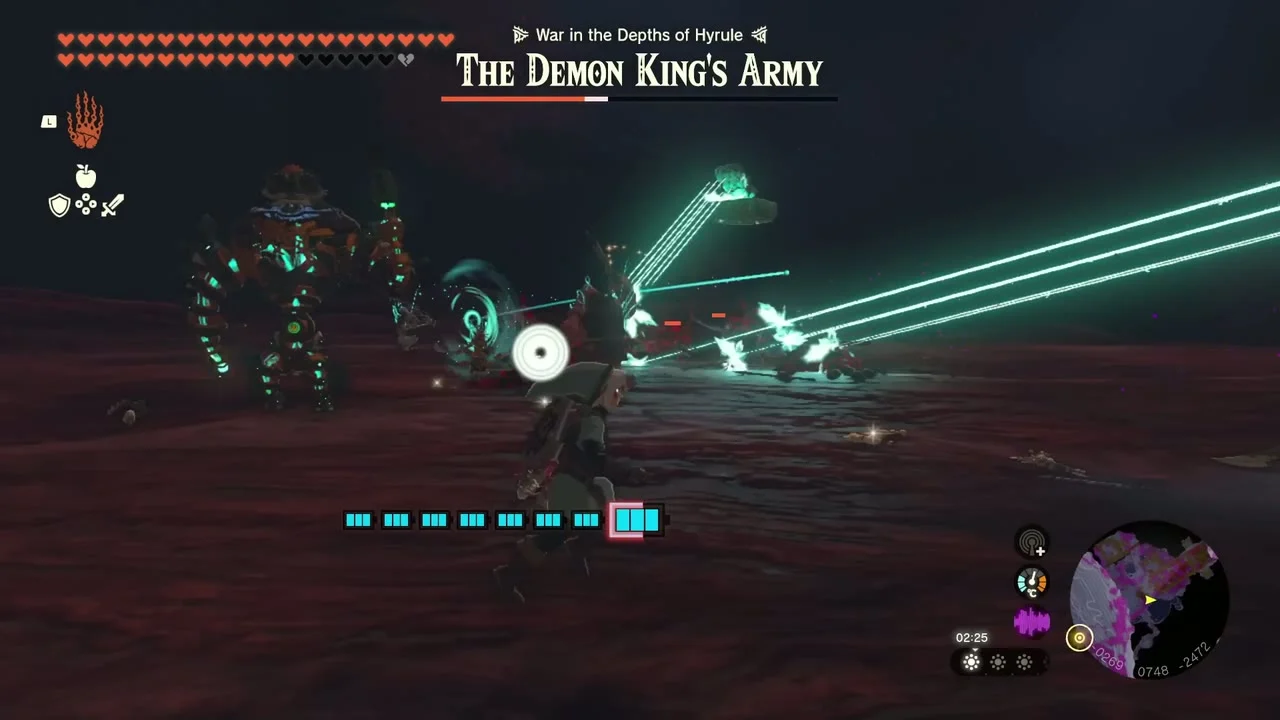
Drop down the Imprisoning Chamber chasm, follow the single linear path and jump into the dark to land on the red roots. The fight comes in waves: Bokoblins and a Boss Bokoblin, then Lizalfos that spit water, then flying and crawling enemies, and finally a few large monsters. Run in circles, let the Sages draw attention, kill the weakest enemies first and use Riju’s lightning on groups when it is ready. When the army falls, follow the linear path to Ganondorf.
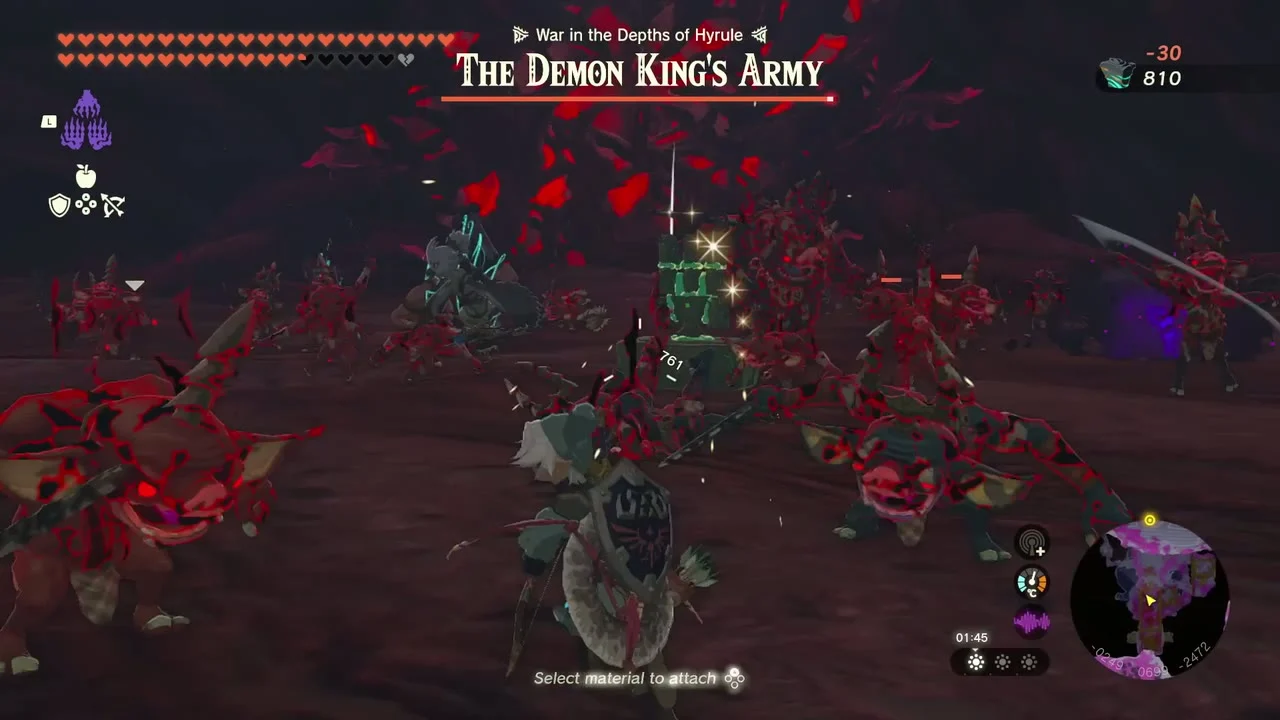

Defeat Demon King Ganondorf
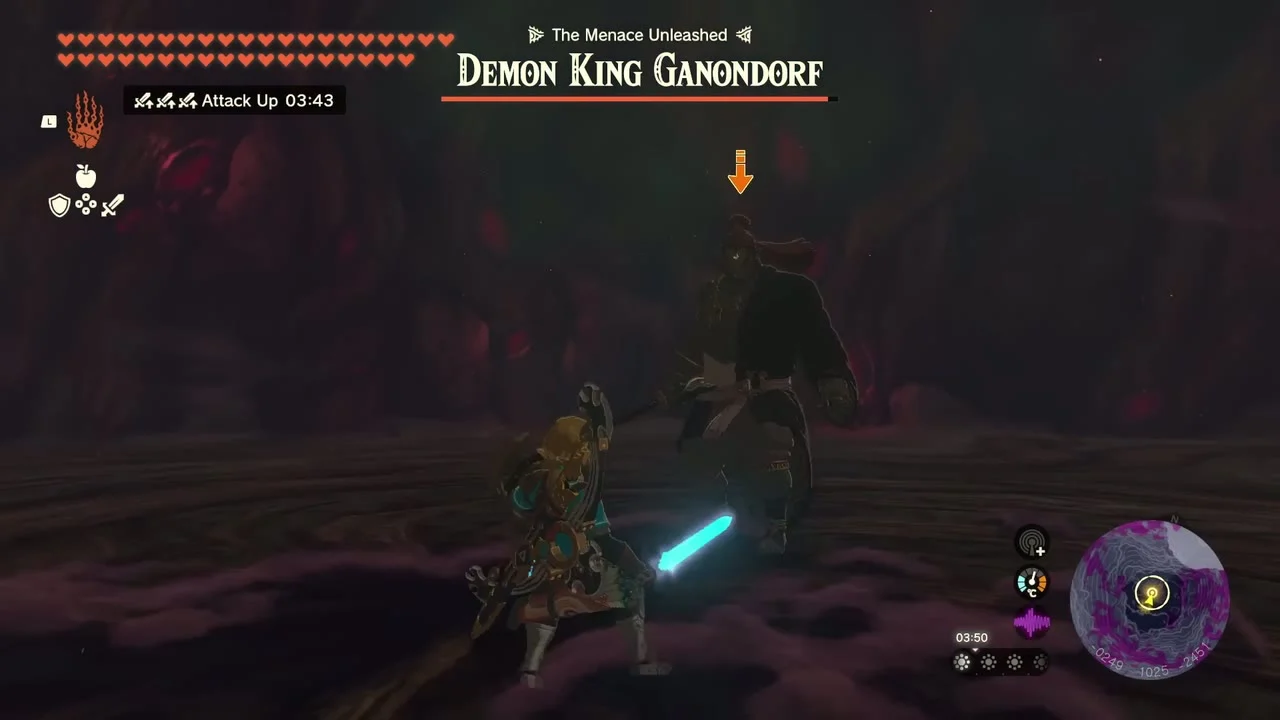
Phase one: sword, spear and club
Activate your Defense Up meal before you start. Ganondorf always opens with the sword: stay close, land one or two hits, block and repeat. Block or dodge-jump sideways against the spear. Against the club, block and hit him four times, and when he turns the floor red with the club, headshot him with an arrow to stagger him. Dodge at the last moment to trigger Flurry Rush and punish him.
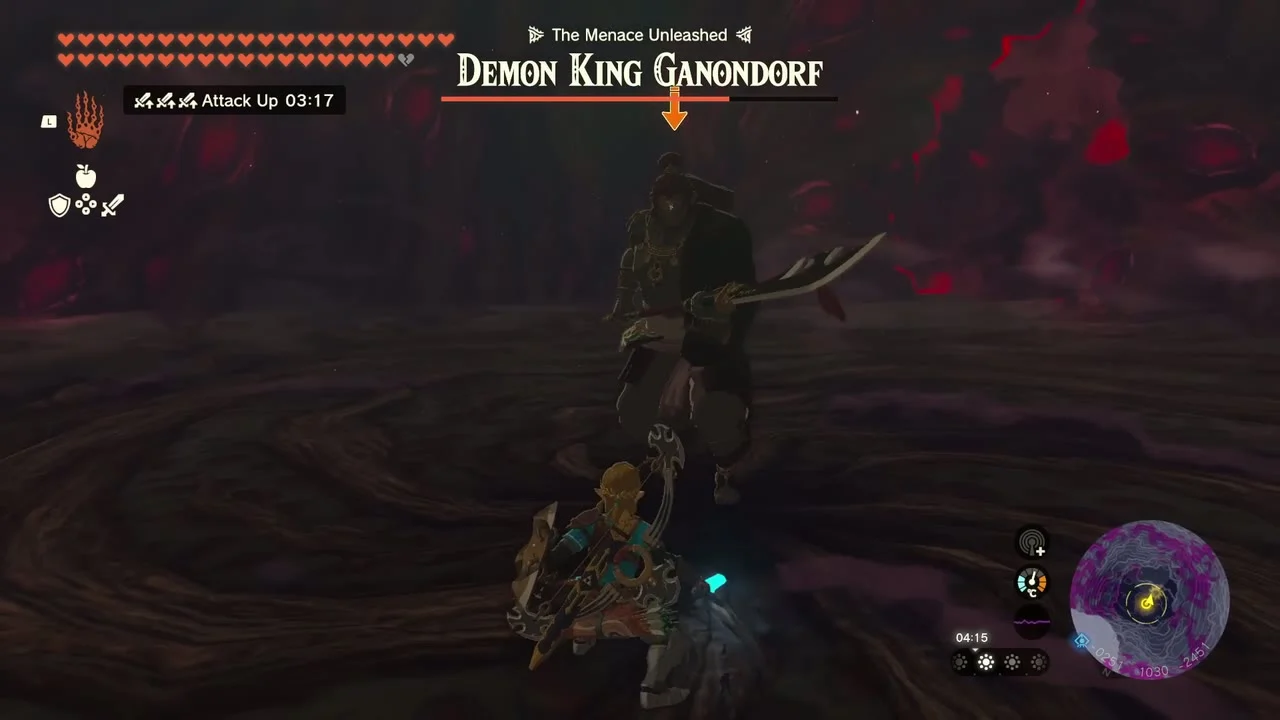
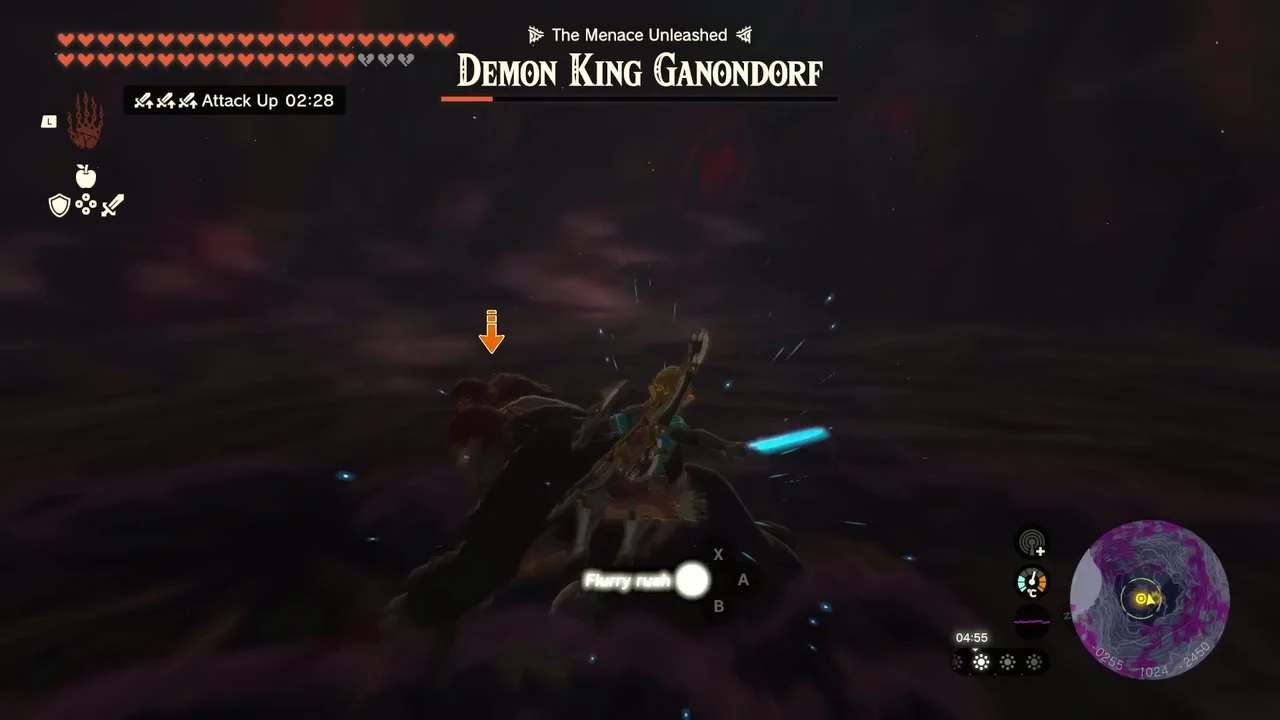
Phase two: phantoms and Sages
Ganondorf summons Phantom copies. Run in circles until the Sages arrive, shoot the weakest phantoms with arrows to thin them out, then let the Sages attack him and headshot him after his charges miss. Avoid standing in the red floor from the club attack, and keep away from the explosions that cover the arena.


Phase three: alone against the Demon King
Ganondorf fires gloom orbs that permanently remove hearts, and Sundelion cannot restore them. Walk between the ground orbs and run sideways from projectiles. Keep headshotting him, use fuse materials such as Gibdo Bones on arrows for extra damage, and run from his charge. When his health is gone he transforms into the Demon Dragon; there is no save point before that fight.


More route and fight notes
- Gloom damage: almost everything down here deals gloom damage, which temporarily lowers your maximum hearts, and there are no Lightroots below Camobatures to reset it. Sundelion meals clear it; Dark Clumps (bought from a Bargainer Statue with Poes) cooked into meals give gloom resistance, and the Depths armor set helps too.
- Other enemies on the way: Like Likes and Lightning Keese near the top, Ice Likes and Ice Keese lower down, Black and Silver Lizalfos in a shaft, a Silver Bokoblin and a Gibdo chamber before the Mural Room. The route is linear and you can avoid most fights.
- Mural Room: breaking the rocks over the mural reveals its last panels. It is the last chance to turn back before the Imprisoning Chamber, and the way back up is long.
- The army’s waves: Bokoblins, Lizalfos, Gibdos and Moblins come first. Then the regional bosses (Marbled Gohma, Queen Gibdo and a Seized Construct) arrive, and finally Phantom Ganon unless you already beat him in Hyrule Castle. Each Sage who is present takes on the matching boss, so with all five Sages you need not fight them yourself.
- Between the army and Ganondorf: you are locked in a room with no allies. You can cook there with Zonai Cooking Pots, but you cannot leave without reloading your last autosave.
- Weapon choice: the Master Sword is strong against gloom-infected enemies, and Gibdo Bones fused to arrows hit hard but break after one shot. Parrying with a shield opens most attacks to a counter.
- Second phase: when Ganondorf raises his two-handed sword an updraft forms, followed by a slam that releases gloom from the ground; use your paraglider to get clear. Halfway through he absorbs the phantoms and your Sages leave, and from then on you fight alone, dodging ground bullets and homing orbs.
Tips and troubleshooting
- You cannot see the way down: Light Camobatures Lightroot first, then follow the downward openings; use Recall on falling platforms and break rock walls where the path ends.
- The army drains your health: Keep out of gloom, split enemies with the Sages and save Riju’s lightning for groups.
- Ganondorf dodges your Flurry Rush: Do not repeat the same timing; vary your dodge and wait for his strike.
- Gloom removes hearts for good: Sundelion meals restore gloom-damaged hearts, but not hearts taken by his orbs.
