





















| Location | Hyrule Castle, floating above Hyrule Field north of Lookout Landing; the Sanctum is at about -254, 1077, 339 |
|---|---|
| Quest | Crisis at Hyrule Castle (main quest) |
| Region | Central Hyrule |
| Boss | Phantom Ganon and its copies, in the Sanctum |
| Reward | Heart Container; the boss drops a Demon King’s Bow and a Gloom Sword; Champion’s Leathers waits in the inner hall afterwards |
| Recommended gear | Free weapon, bow and shield slots; a few Zonai fans or a lift; gloom-curing Sundelion meals, Attack Up meals, bombs and arrows |
| Chests | About 21, almost all Royal-quality weapons, bows, shields and Royal Guard armor |
| Shrine and Koroks | Serutabomac Shrine (Camobatures Lightroot below it) and 6 Korok seeds on the towers and walls |
The floating castle is an open climb rather than a lock-and-key dungeon: you land at the Second Gatehouse, work up the rooftops, the Library and the west walls, and finish in the Sanctum, where Phantom Ganon waits. Clear a weapon, bow and shield slot or two before you start, because nearly every chest holds Royal gear.
Before you go
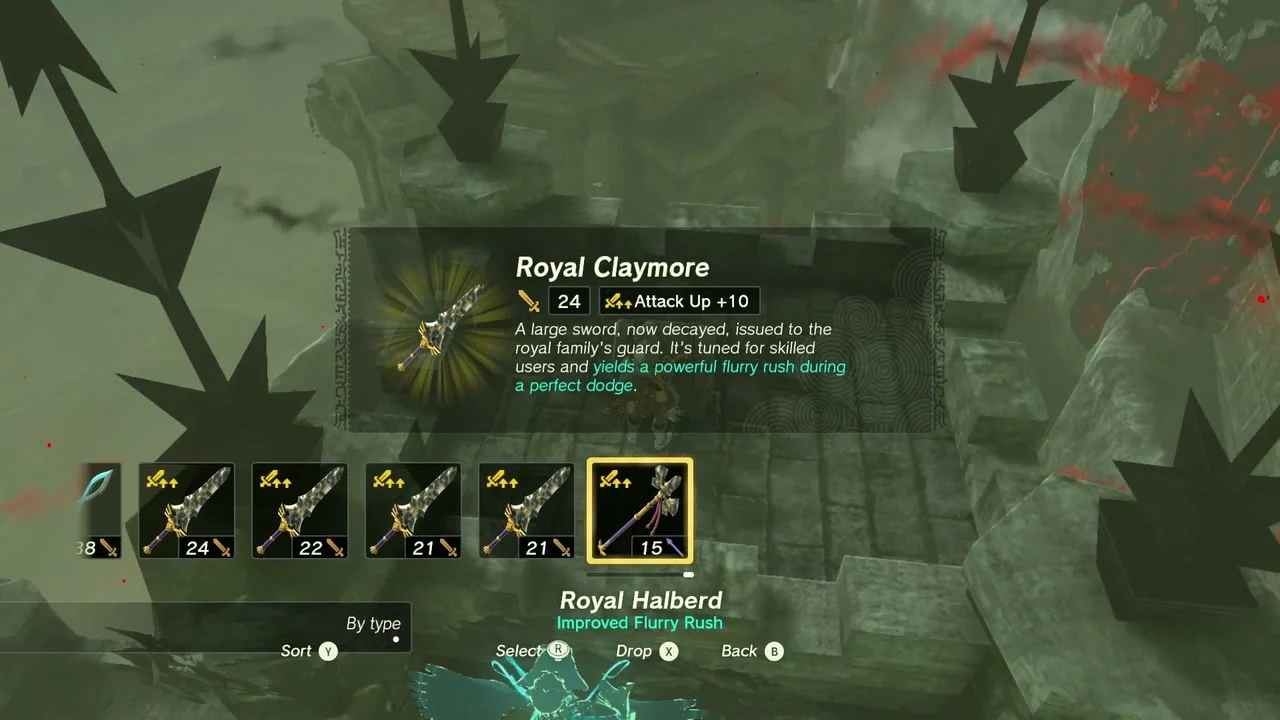
The quest opens early with Captain Hoz at the First Gatehouse and stays in your log until you have completed the four regional phenomena quests; once those are done, Purah points you back to the castle. Free up several weapon, bow and shield slots first, since the game will refuse a pickup when a slot is full. Bring Attack Up meals, a few Sundelion dishes that restore hearts damaged by gloom, plenty of arrows and some Bomb Flowers or bomb arrows for the boss.
Bring your allies’ Vows if you have them: the Sages draw the copies away from you in the Sanctum fight, and Riju’s lightning is especially good on crowds.
Getting there
The castle now hovers above the ground, so you reach it by air. Head north from Lookout Landing to the First Gatehouse and build a lift from the nearby Zonai materials: a balloon or fan with a Flame Emitter and a battery works. Rise high enough to glide onto the castle grounds. You can also jump into Hyrule Castle Chasm and glide back up to land on the roofs. Landing near the Second Gatehouse is the usual start.
Second Gatehouse and rooftops
Open the Second Gatehouse chest
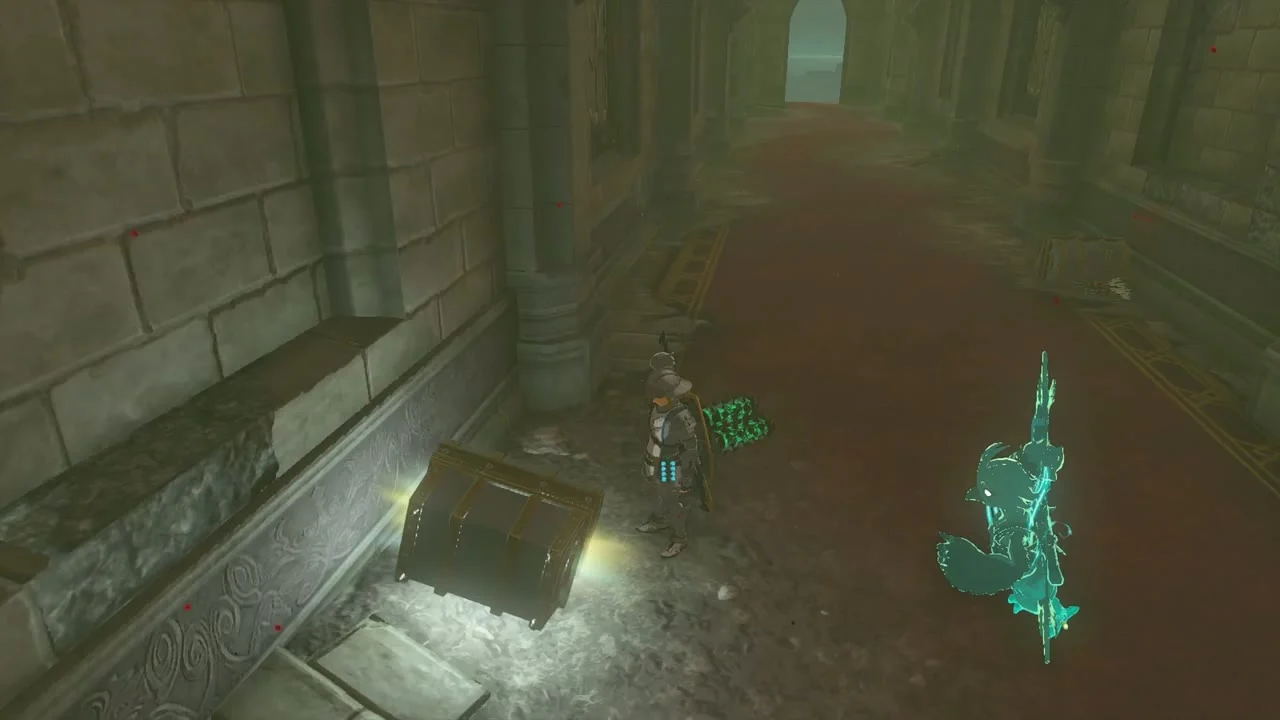
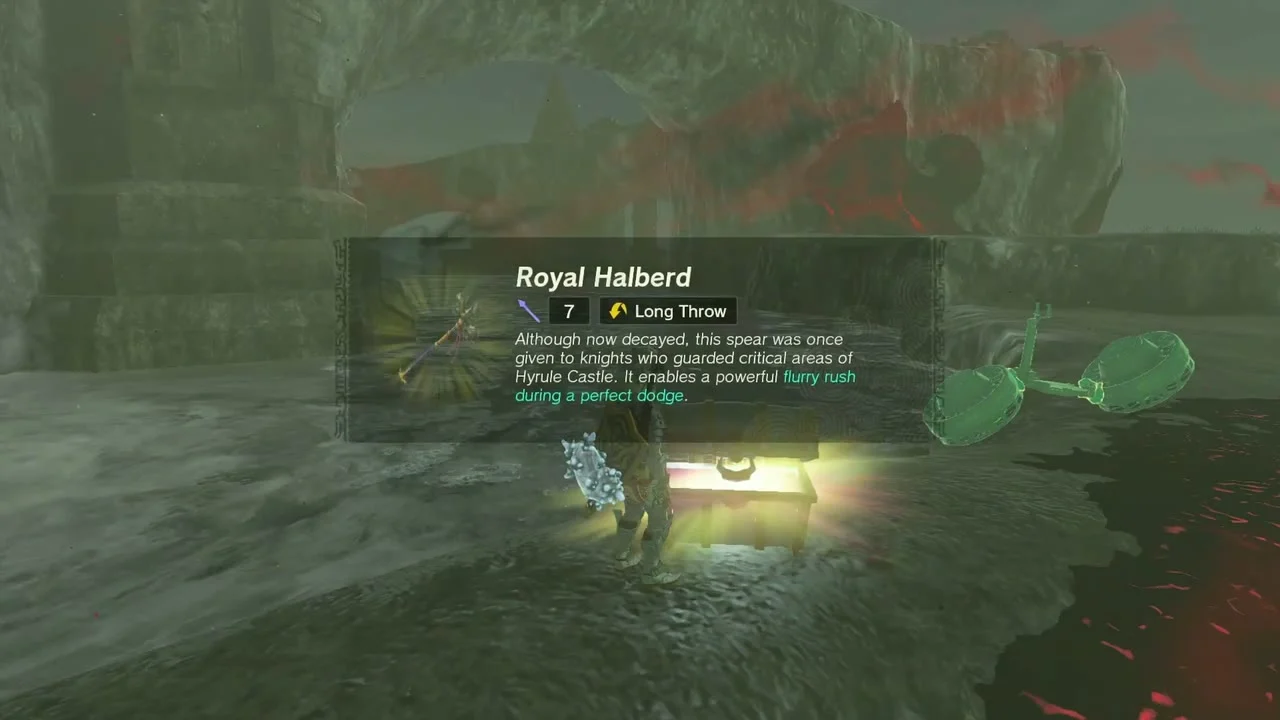
Inside the Second Gatehouse, at about -159, 882 and 283 high, a chest by the stone wall holds a Royal Halberd (or Traveler’s Spear, Soldier’s Spear or Knight’s Halberd, depending on your progress). Make room in your weapon slots first.


Take the rooftop Claymore and camp loot
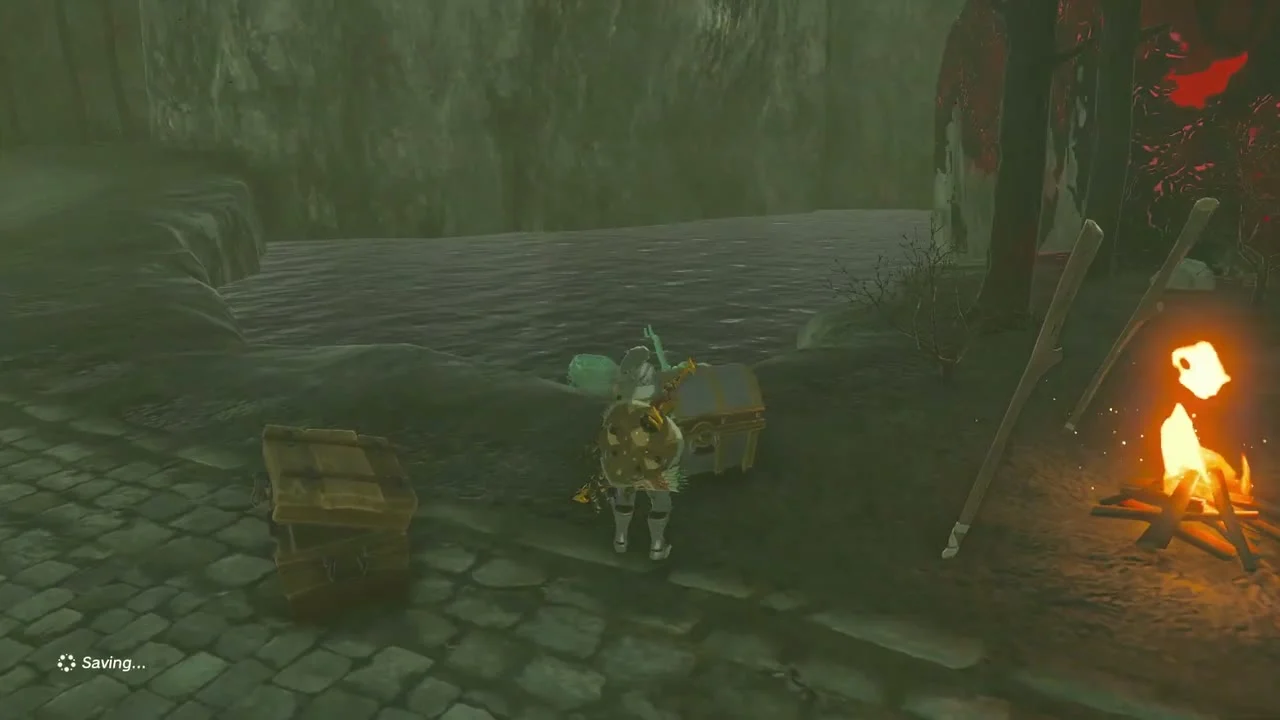
Fly or fan up to the tower roof near -95, 933, 326 high, and open the battlement chest for a Royal Claymore (or Traveler’s Claymore, Soldier’s Claymore or Knight’s Claymore, depending on your progress). Two Korok seeds sit close by: one under the flag on the stone pedestal beside it, and one that appears when you stack the loose stone cubes on the ledge near -52, 981 into a stair. Then clear the Bokoblin camp on the rooftop near -173, 1073: the chests by its campfire hold Arrow x5 and another Royal Claymore.

Serutabomac Shrine
Solve The Way Up
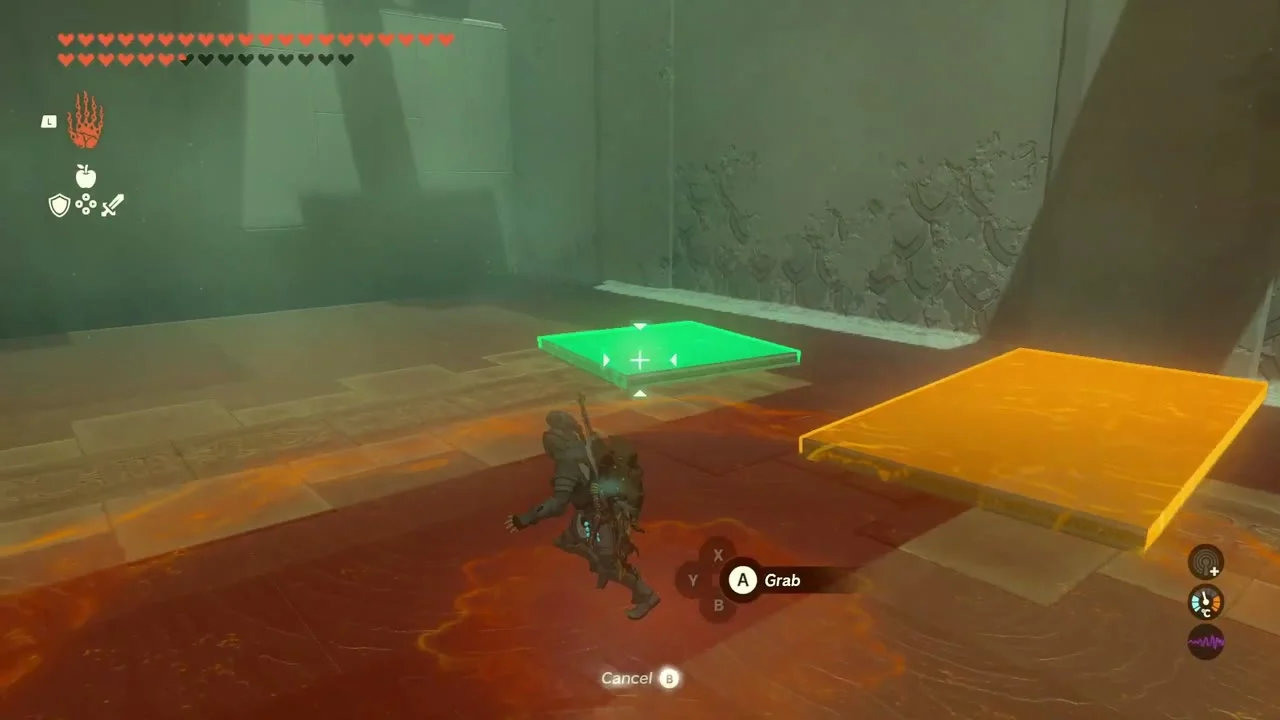
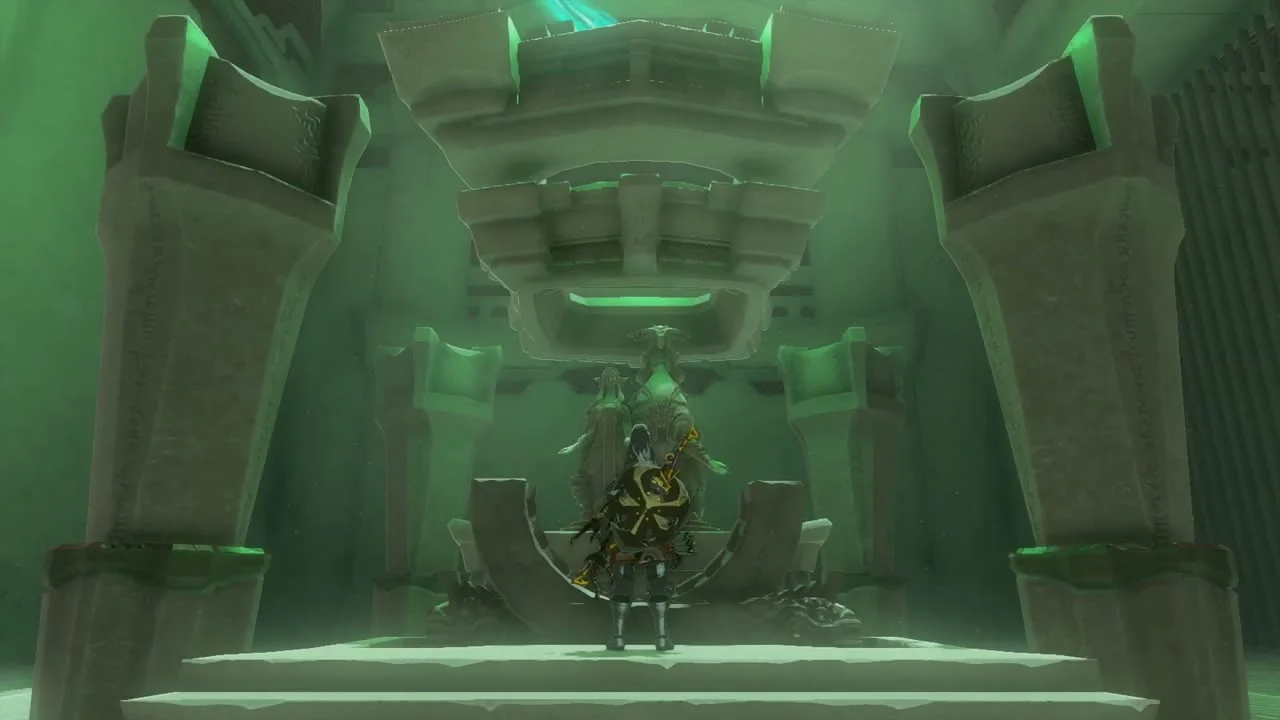
Serutabomac Shrine at -178, 1170 sits on the rear roof above the Docks; glide or fly up to its platform. In each room, use Ultrahand to lay a large stone slab across the prongs, stand beneath it and Ascend through it. In the last room, stand the long slab upright against the wall, attach shorter pieces to make steps and Ascend level by level. The chest holds a Magic Rod, and the altar gives a Light of Blessing. The Camobatures Lightroot below the shrine is the way into the Depths beneath the castle.
Library and central castle
Raid the Library
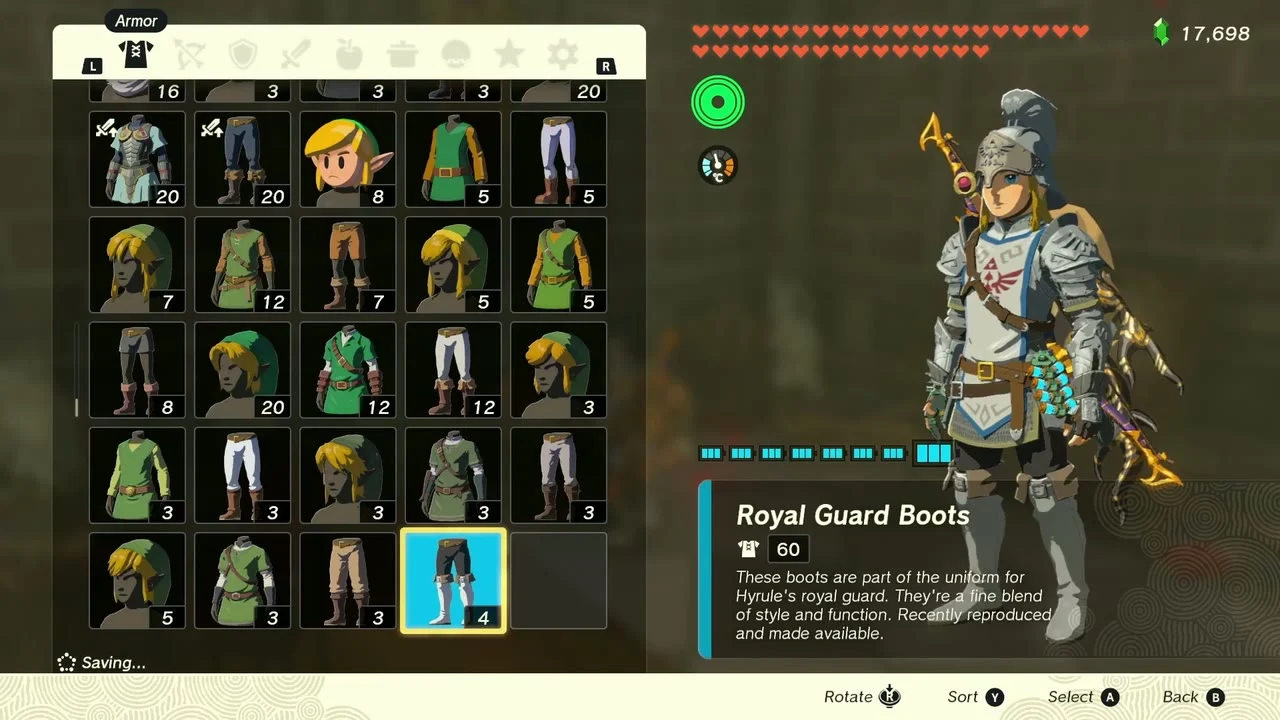
Drop into the Library near -168, 1108, 214 high. A chest by the shelves holds the Royal Guard Boots. In the collapsed side room off the lower Library a chest holds a Shard of Dinraal’s Spike, a strong dragon part for fusing. On the balcony stairs near -166, 1124 a third chest holds a Gold Rupee.

West side
Work along the west ramparts
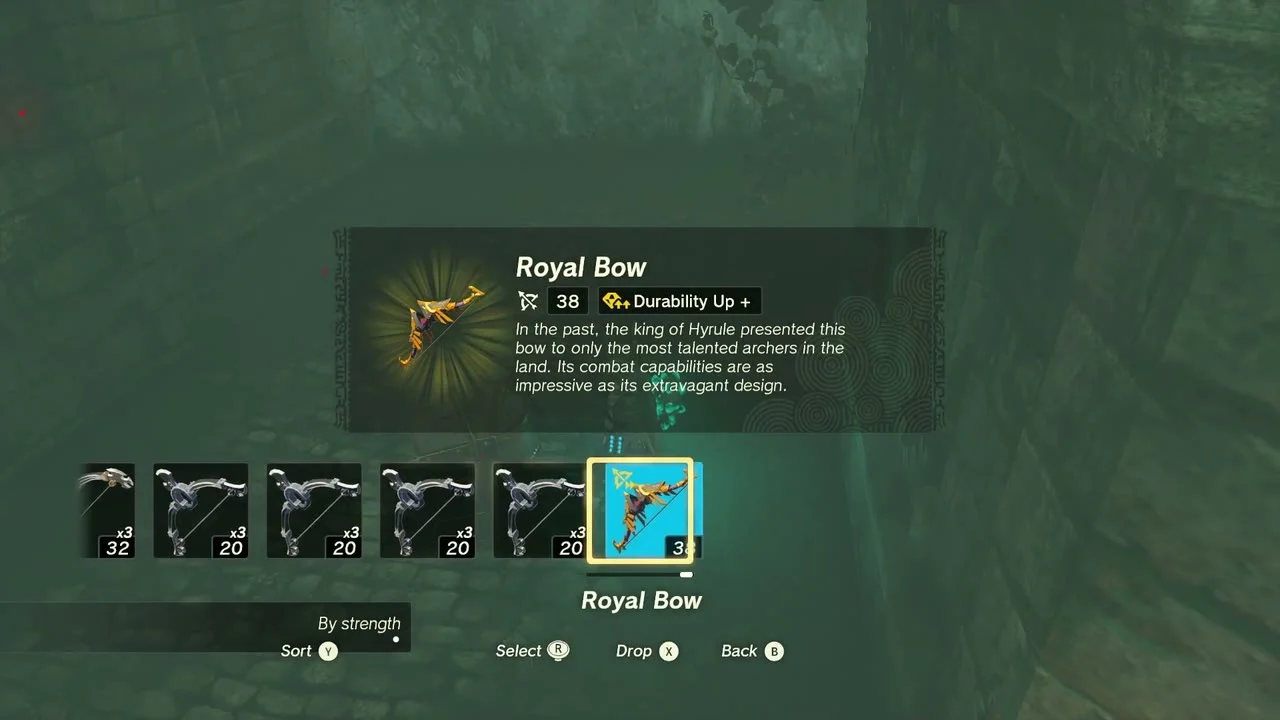
Cross the western wall: a chest at -313, 1087 holds a Royal Claymore, and the dark passage near -329, 1111 holds a Royal Bow (or Traveler’s Bow, Soldier’s Bow or Knight’s Bow, depending on your progress). A corridor chest at -345, 965 holds a Royal Shield (or Traveler’s Shield, Soldier’s Shield or Knight’s Shield, depending on your progress), and a second Royal Bow waits in the dark hallway near -327, 899. Fuse your weakest spare weapons to arrows or discard them as you go; every one of these breaks quickly.


Princess Zelda’s room and the upper floors
Loot the rooms around Zelda’s quarters
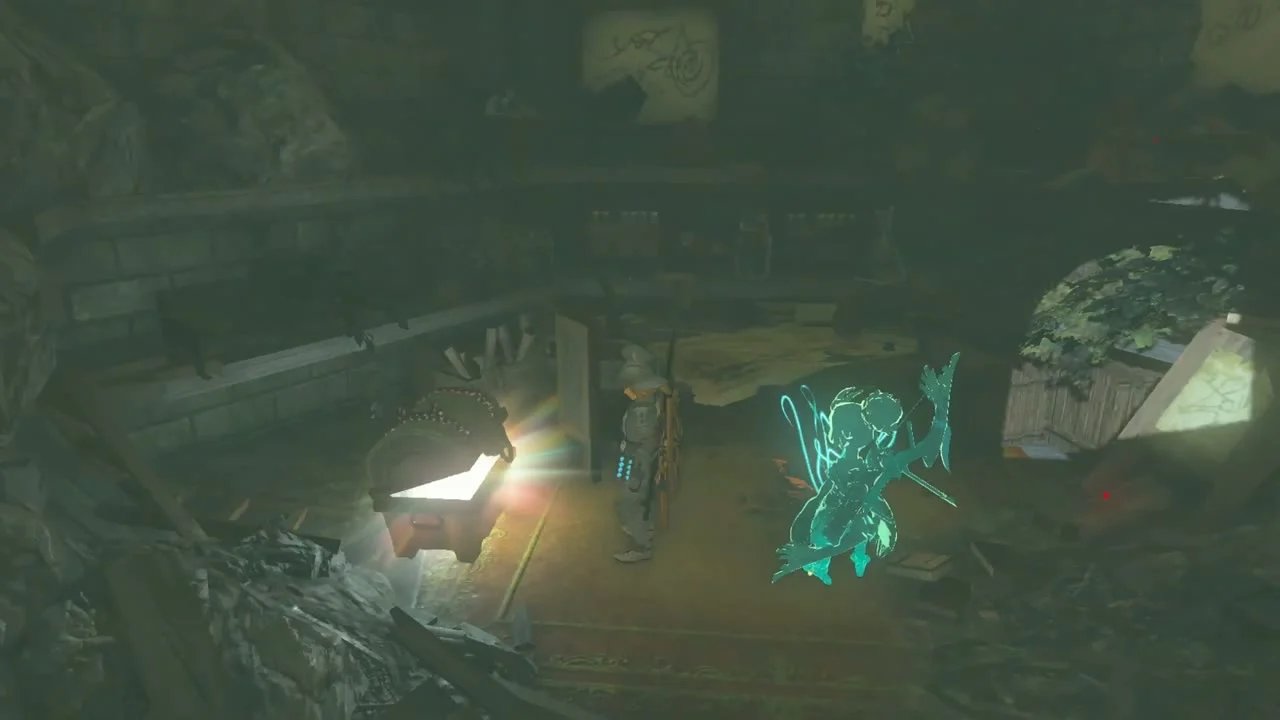
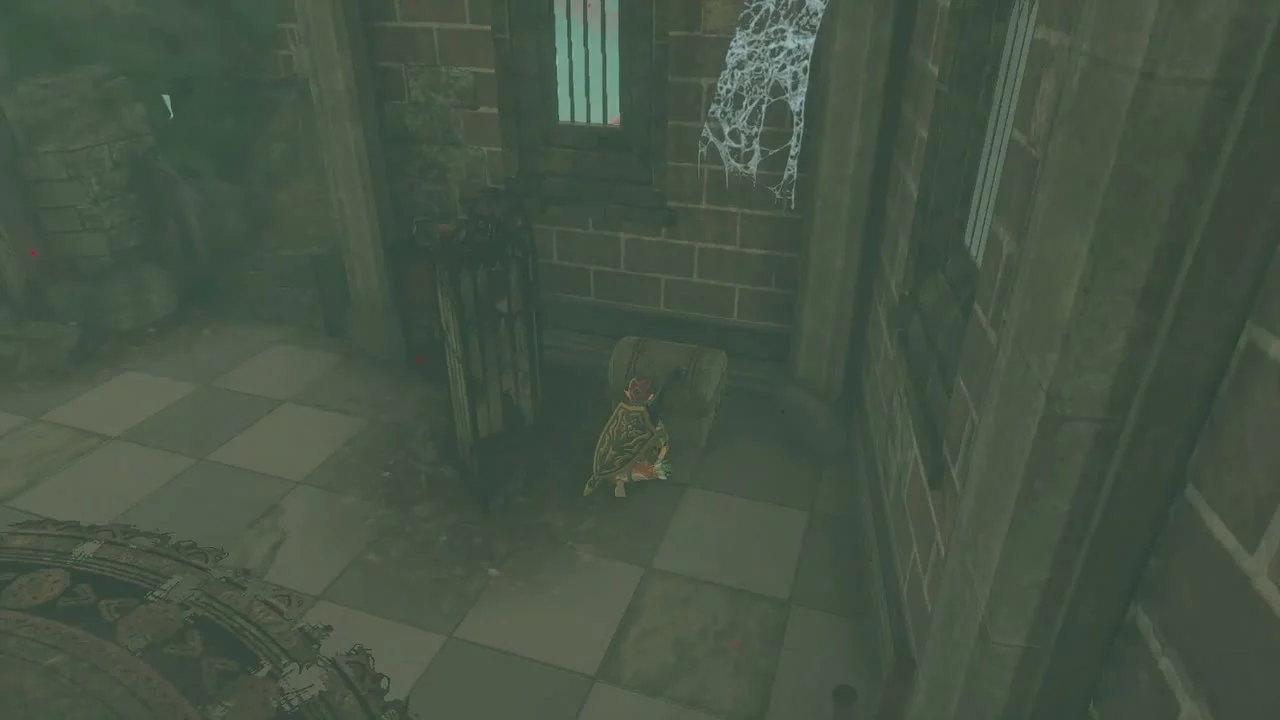
In the cluttered room near -385, 996 a chest holds a Royal Guard’s Sword, and a Korok seed waits on the stone ledge outside the tower. The checkered-floor room near -316, 997 holds the Royal Guard Cap, and a balloon near -359, 900 hides a Korok seed you can shoot down. A chest on the scaffold near -386, 1007 holds a Royal Guard’s Claymore.
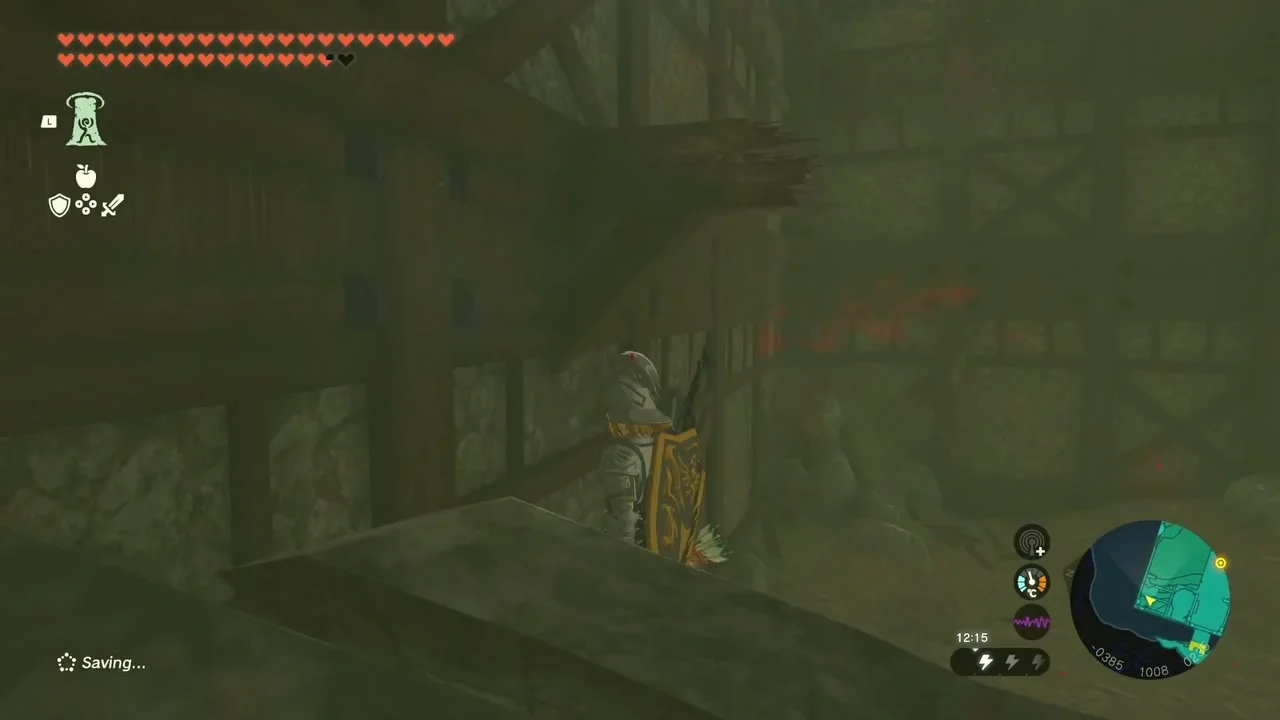
Cross the triple chest hall and the upper walls
In the long red-carpeted hall three chests hold two Royal Bows and a Royal Shield. Climb to the exposed ledge near -310, 914 for a Royal Halberd, and step on the glowing ground on the next rampart for another Korok seed. A Red Rupee chest sits near -273, 979; a fan ride to the spire near -228, 1063 gets the tower-top Korok seed; the open tower room holds a Royal Guard’s Spear and a Sapphire; and the last chest, a Gold Rupee on a chained platform near -252, 1075, is just before the Sanctum.

Defeat Phantom Ganon
Fight Phantom Ganon in the Sanctum
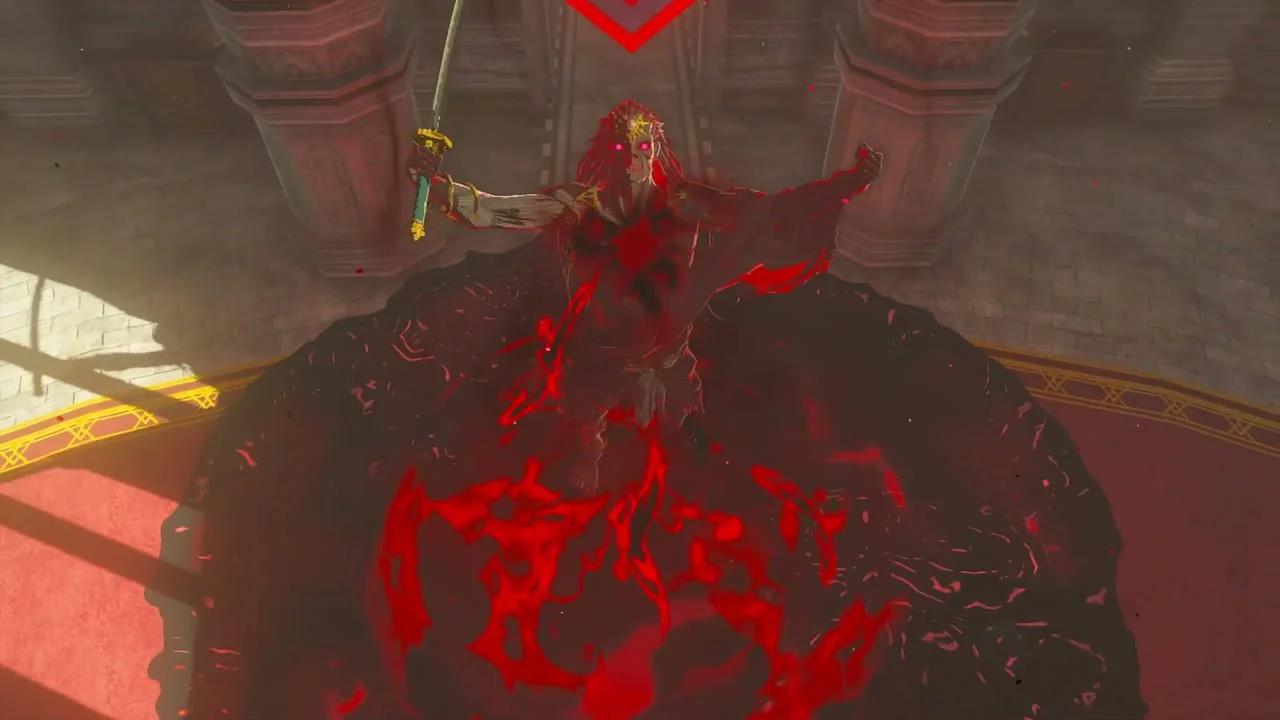
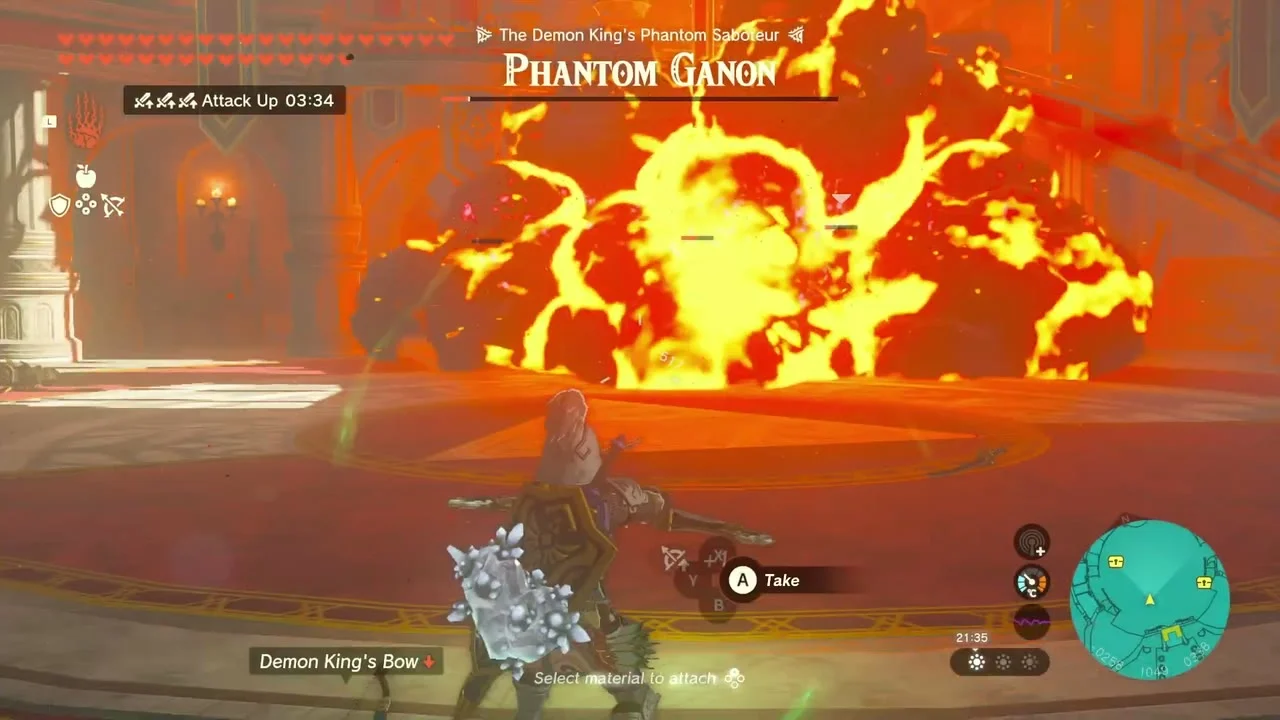
Enter the Sanctum at about -254, 1077. The fight comes in two waves: three Phantom Ganons first, then five. One copy in the second wave spreads gloom across the floor, so shoot it in the head as soon as the gloom starts moving. Phantom Ganon attacks with several copies at once, and the floor gloom can permanently knock off hearts. Stay moving and let your Sages pull the copies away. Shoot the real one with arrows from the platform edges or with a bomb arrow, dodge to the side of each charge, then counter during its recovery. A headshot interrupts its flame and gloom attacks. Defeating it drops a Demon King’s Bow and a Gloom Sword.

Rewards
Collect the Heart Container and the Champion’s Leathers
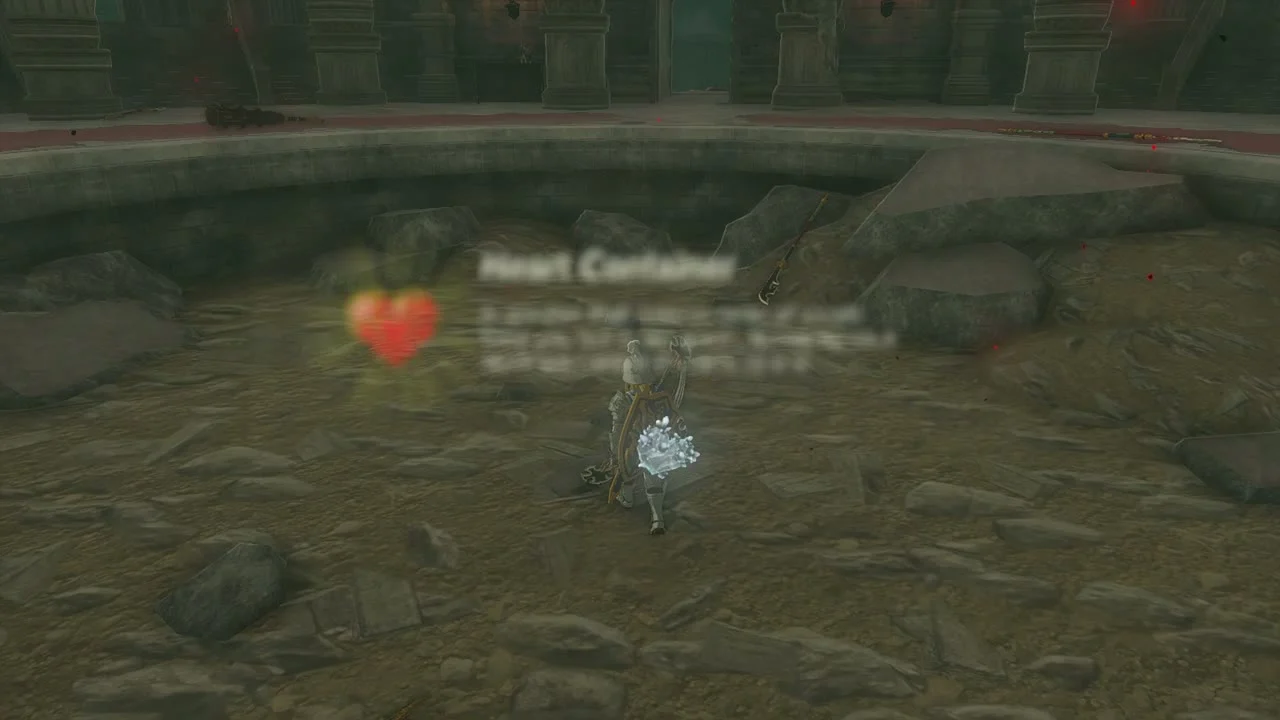
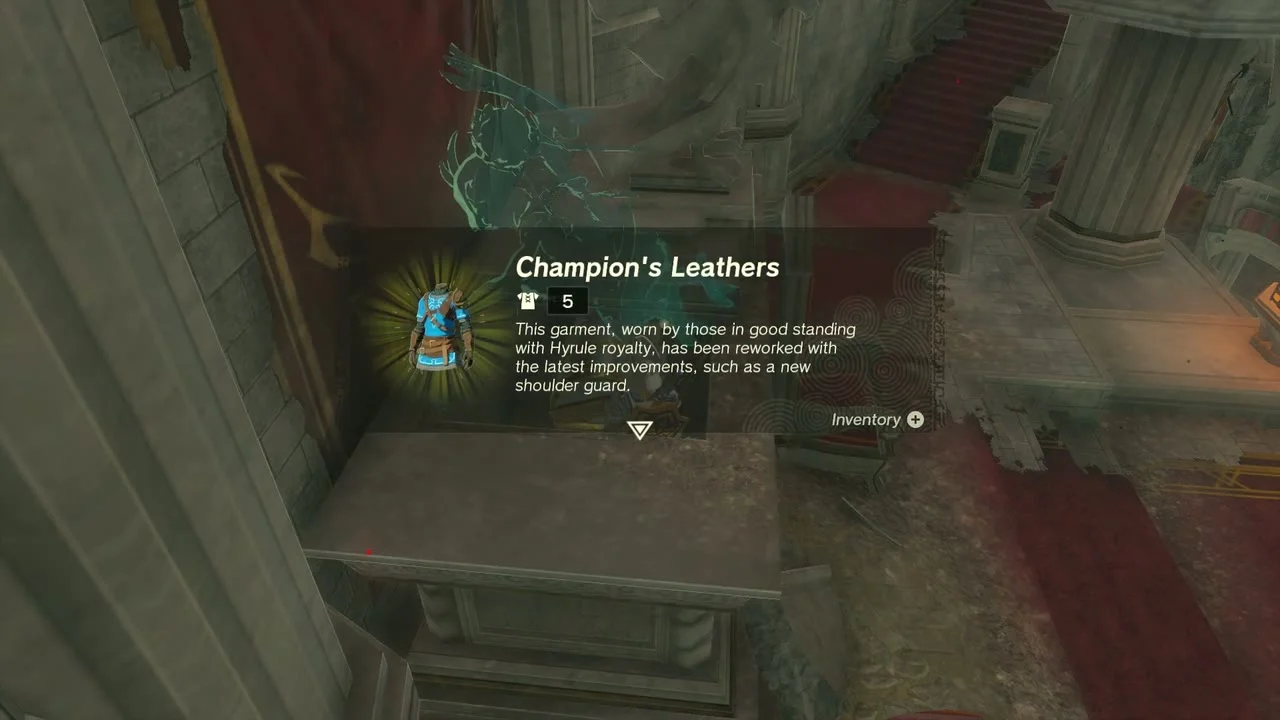
Take the Heart Container once the arena is clear, then return to Lookout Landing to talk to Purah, who reveals a missing fifth sage and starts Find the Fifth Sage. The Champion’s Leathers, the reward of the A New Champion’s Tunic side quest, sits in a chest in the castle’s inner hall near -254, 1031.
Chest checklist
| Area | Contents |
|---|---|
| Second Gatehouse | Royal Halberd |
| Rooftop battlement | Royal Claymore |
| Bokoblin camp | Arrow x5 and Royal Claymore |
| Serutabomac Shrine | Magic Rod |
| Library | Royal Guard Boots, Shard of Dinraal’s Spike, Gold Rupee |
| West ramparts and corridors | Royal Claymore, Royal Bow x2, Royal Shield |
| Zelda’s room area | Royal Guard’s Sword, Royal Guard Cap, Royal Guard’s Claymore |
| Triple chest hall | Royal Bow x2, Royal Shield |
| Upper walls | Royal Halberd, Red Rupee, Royal Guard’s Spear and Sapphire, Gold Rupee |
| Inner hall (after the boss) | Champion’s Leathers |
Tips and troubleshooting
- The game will not let you take a chest: The slot for that weapon type is full. Drop or fuse a weapon and open it again.
- Gloom keeps stripping hearts: Keep off the gloom floor and eat Sundelion meals to restore them.
- The copies swarm you: Move around the arena edge, deal with one copy at a time and let the Sages split their attention.
