





















| Location | Gerudo Desert, raised from the sand by the three-pillar light puzzle |
|---|---|
| Quest | Riju of Gerudo Town (main quest) |
| Region | Gerudo |
| Boss | Queen Gibdo |
| Reward | Heart Container; Riju becomes the Sage of Lightning and grants her Vow |
| Recommended gear | Heat-resistant armor or meals; bows, arrows and elemental materials for Gibdos |
| Chests | 7 treasure chests |
The Lightning Temple is the final stretch of the Riju of Gerudo Town quest. The pyramid rises from the Gerudo Desert after Link solves the three-pillar light puzzle. Inside, Riju helps charge four batteries. Each one opens another part of the temple and, eventually, the lift to Queen Gibdo.
This guide covers the route from the desert investigation through the boss fight, with the temple’s seven treasure chests listed at the end.
Before entering the desert
The Gerudo Desert’s daytime heat can drain Link’s health, so bring heat-resistant armor or meals. You do not need the full Desert Voe set to enter the Lightning Temple. A few bows, arrows, healing items, and elemental materials will help against Gibdos. Fire and electric attacks are especially useful because they strip away a Gibdo’s armor and leave it open to regular attacks.
Gerudo weapons have the Strong Fusion trait, which doubles the attack power added by the fused material. They break quickly, so save them for enemies you want to take down fast. You can finish the temple without a high-end weapon build.
Reach the Lightning Temple
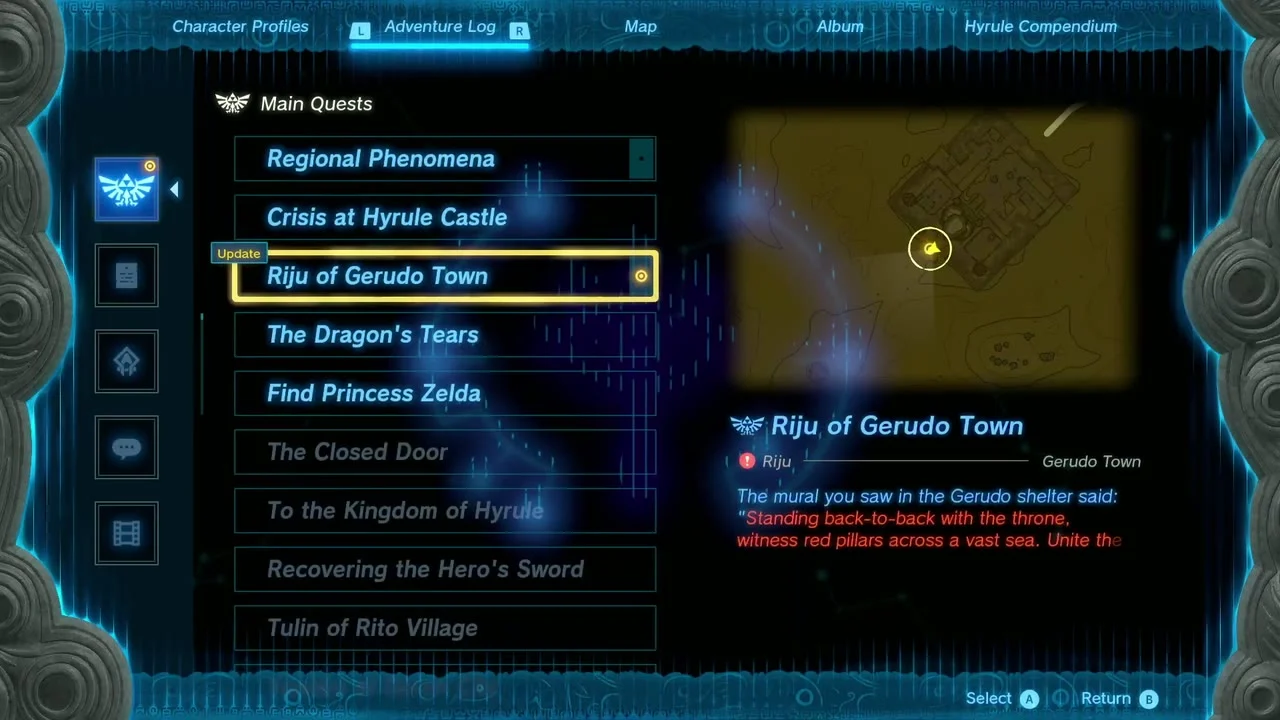
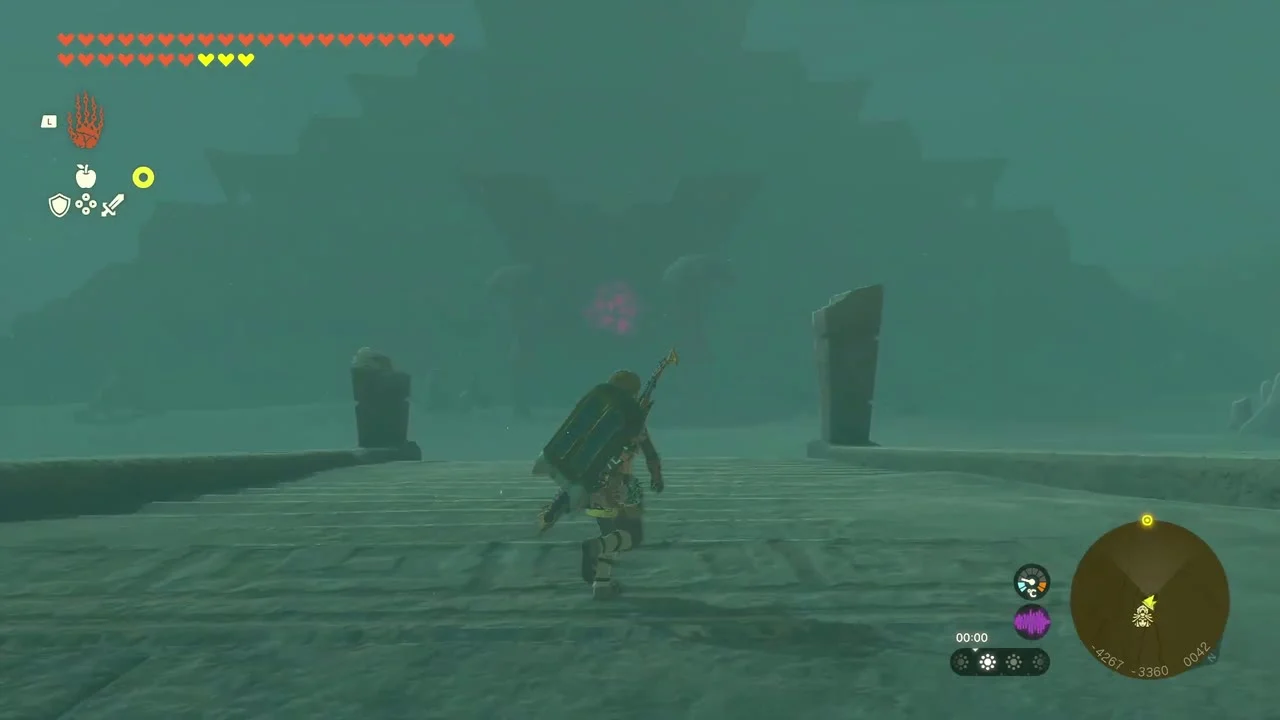
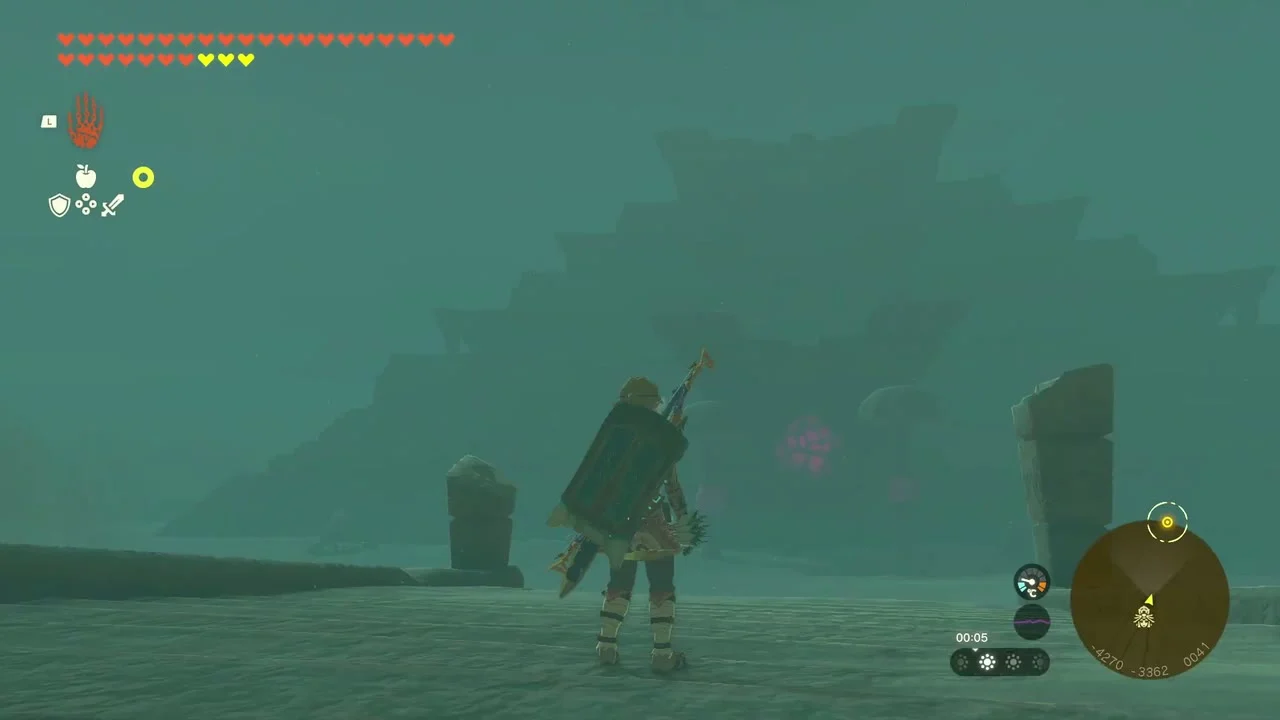
Follow the Riju of Gerudo Town quest through the defenses at Kara Kara Bazaar and Gerudo Town. After the town is safe, Riju sends Link to investigate the mural and its three red pillars.
Solve the three-pillar light puzzle
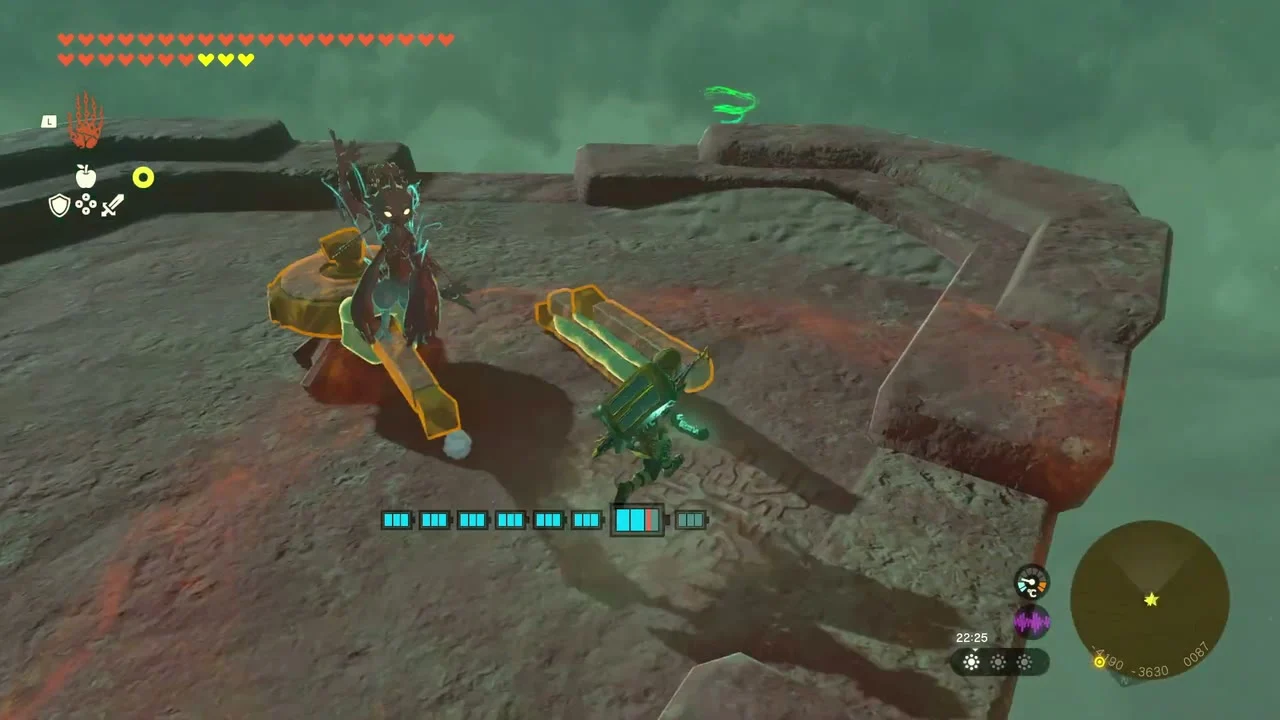
At the first pillar, climb to the top and break the cracked floor to uncover the light source. Use the mirror to send its beam toward the next pillar.

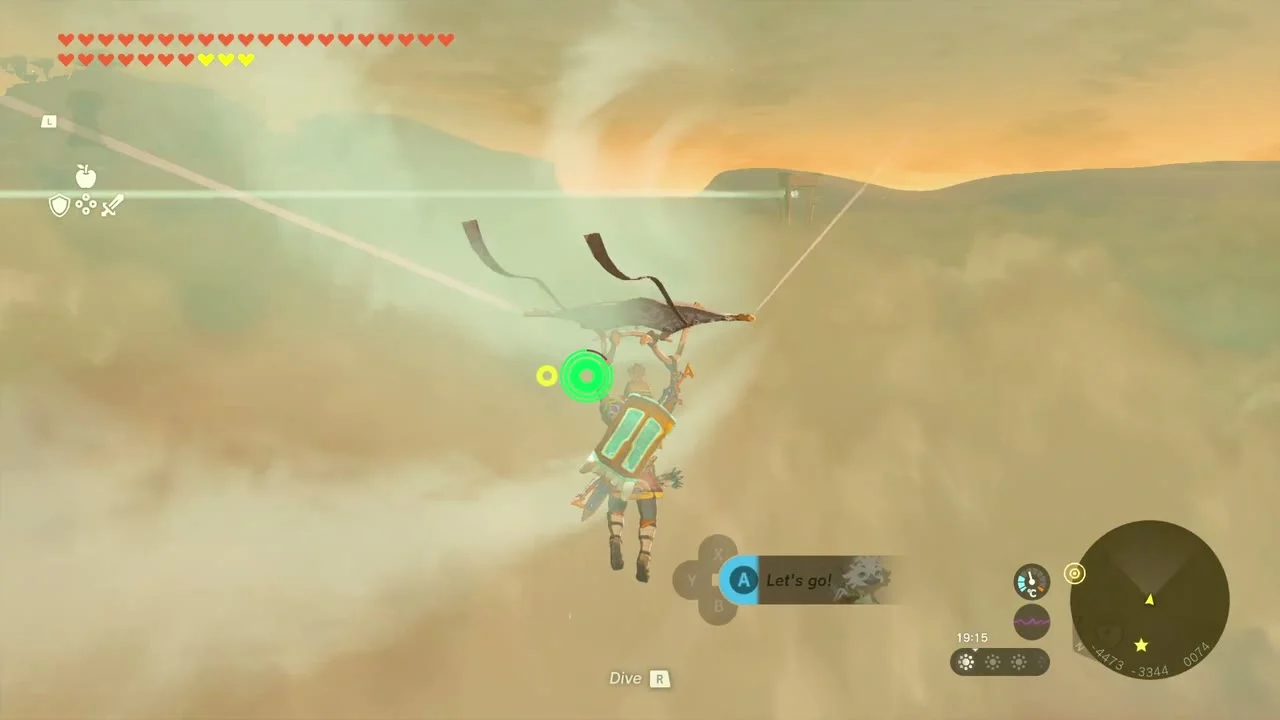
Follow the beam through the sandstorm to the second pillar. The light points to a smaller tower nearby. Climb it and turn the wheel counterclockwise until the pillar reflects the beam onward. Follow the new beam to the third pillar.

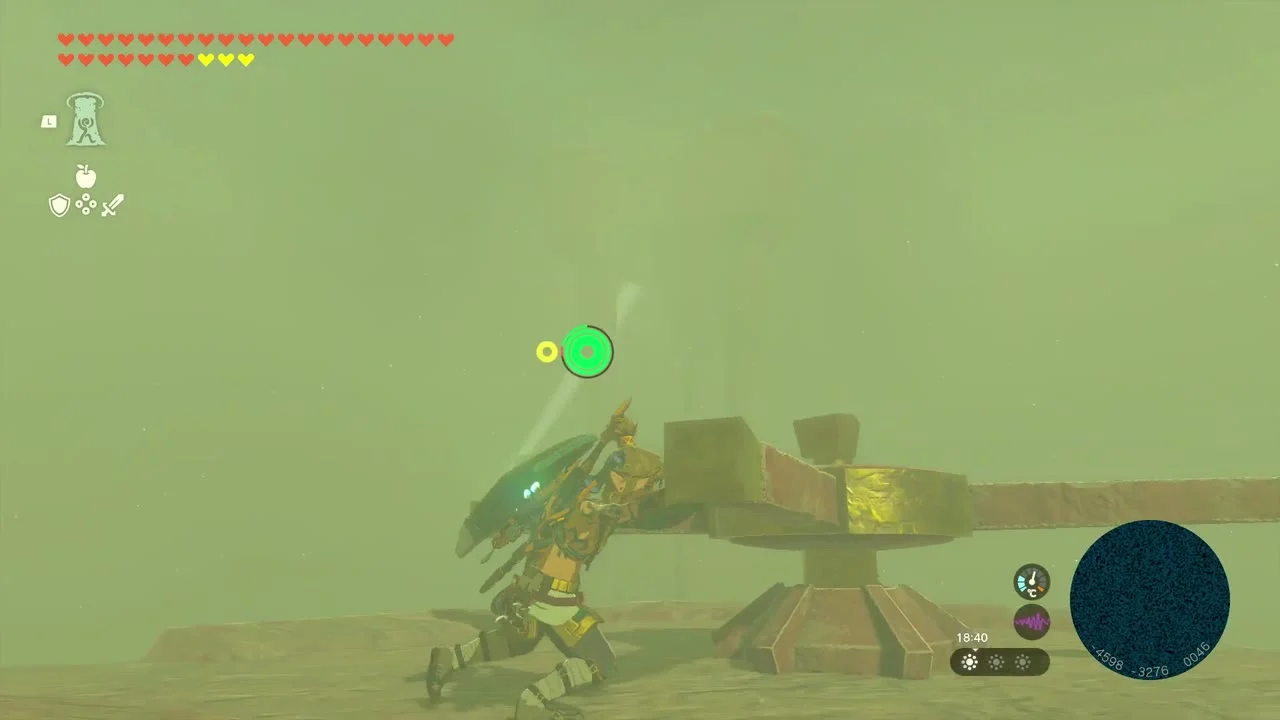

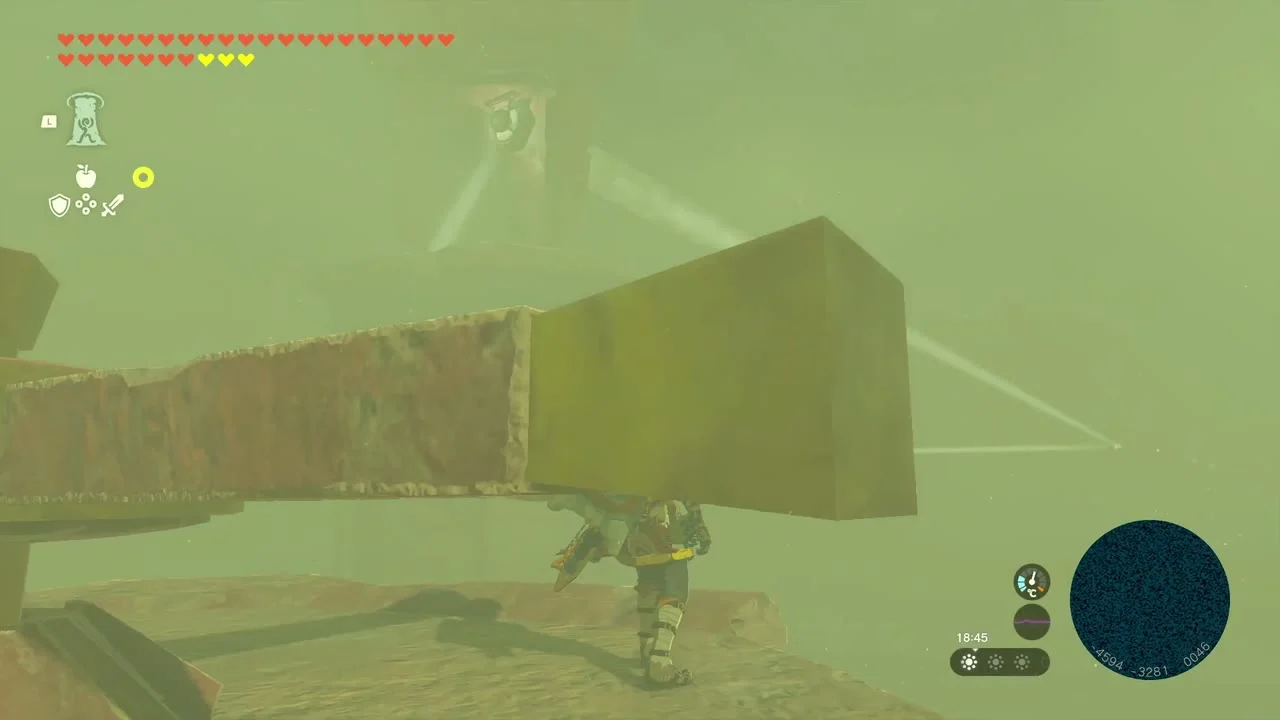
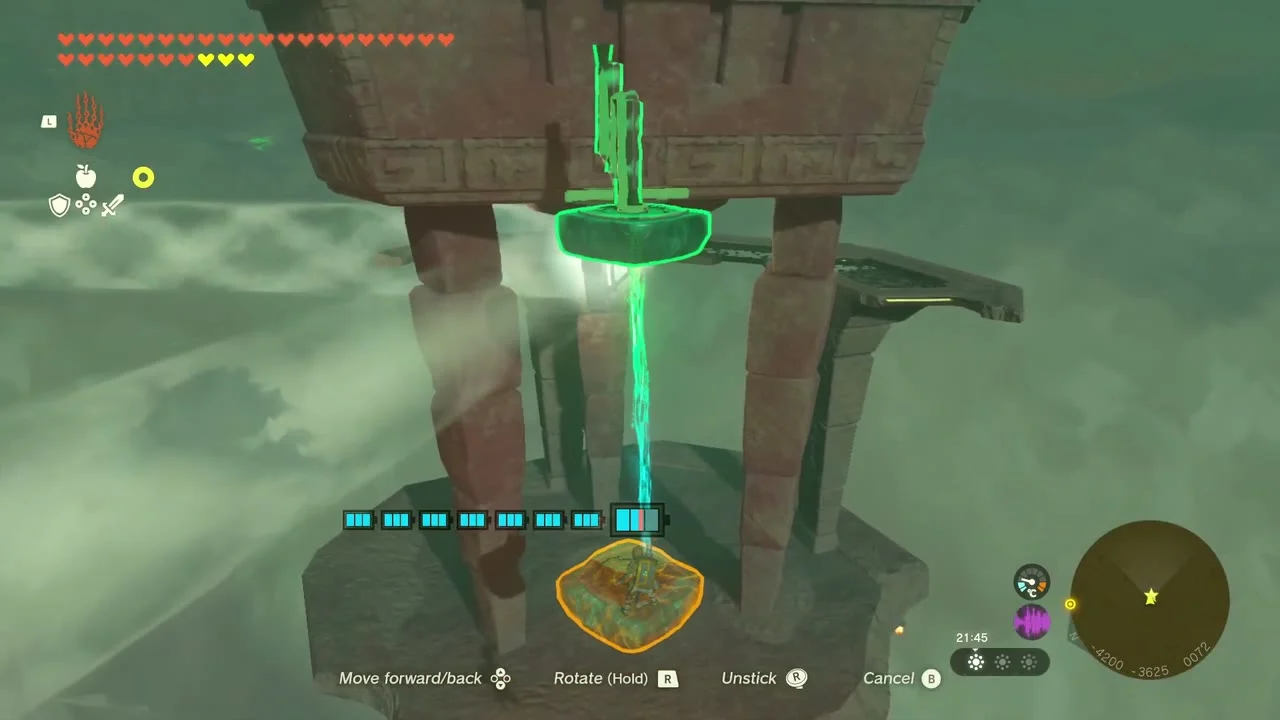
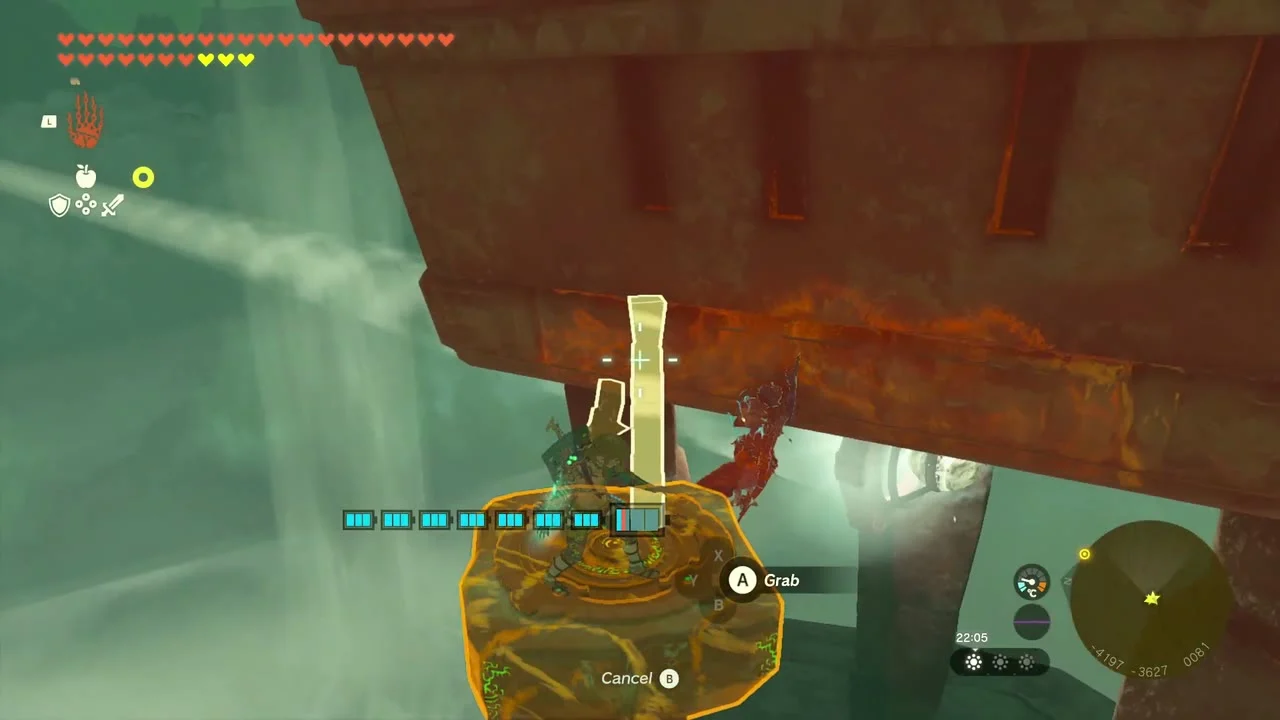
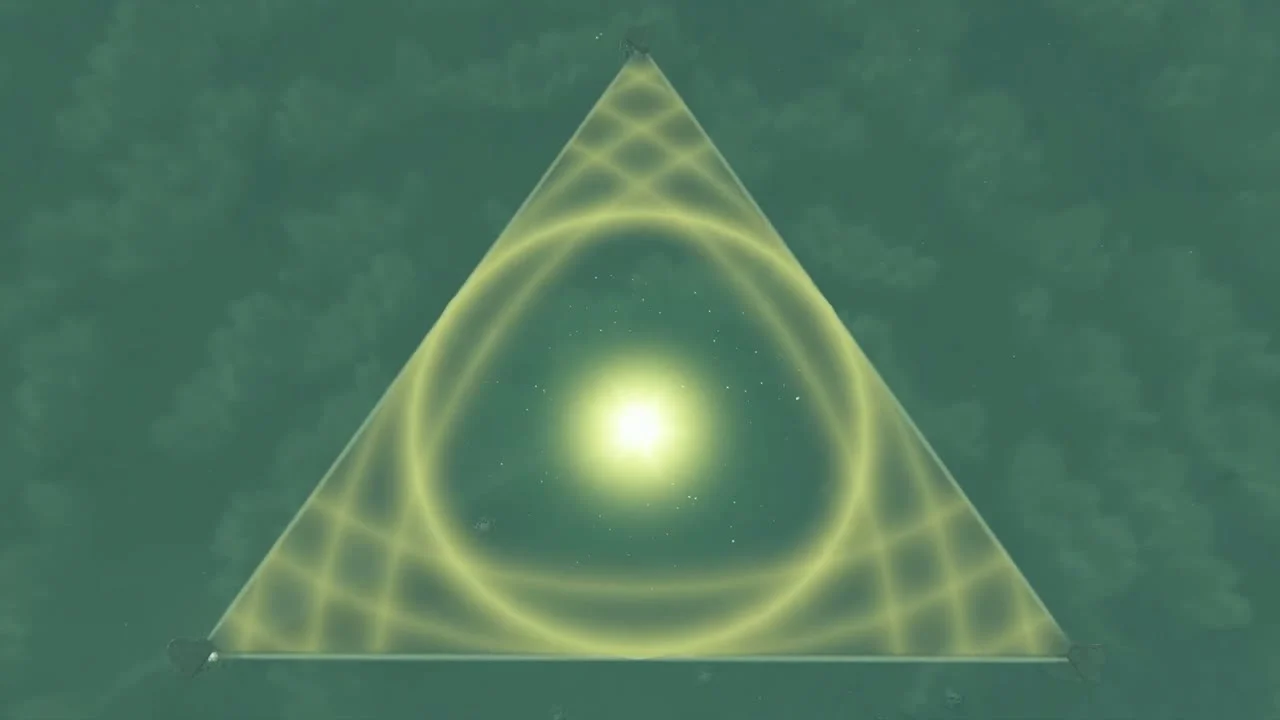
At the third pillar, break the cracked floor and uncover the parts below. Use the sticks and floating platforms to repair the wheel at the top. Turn it until the mirror sends the beam back toward the first pillar. The three beams form a triangle and reveal the altar in the middle. Activate it to raise the Lightning Temple.

Drive Queen Gibdo away from the entrance
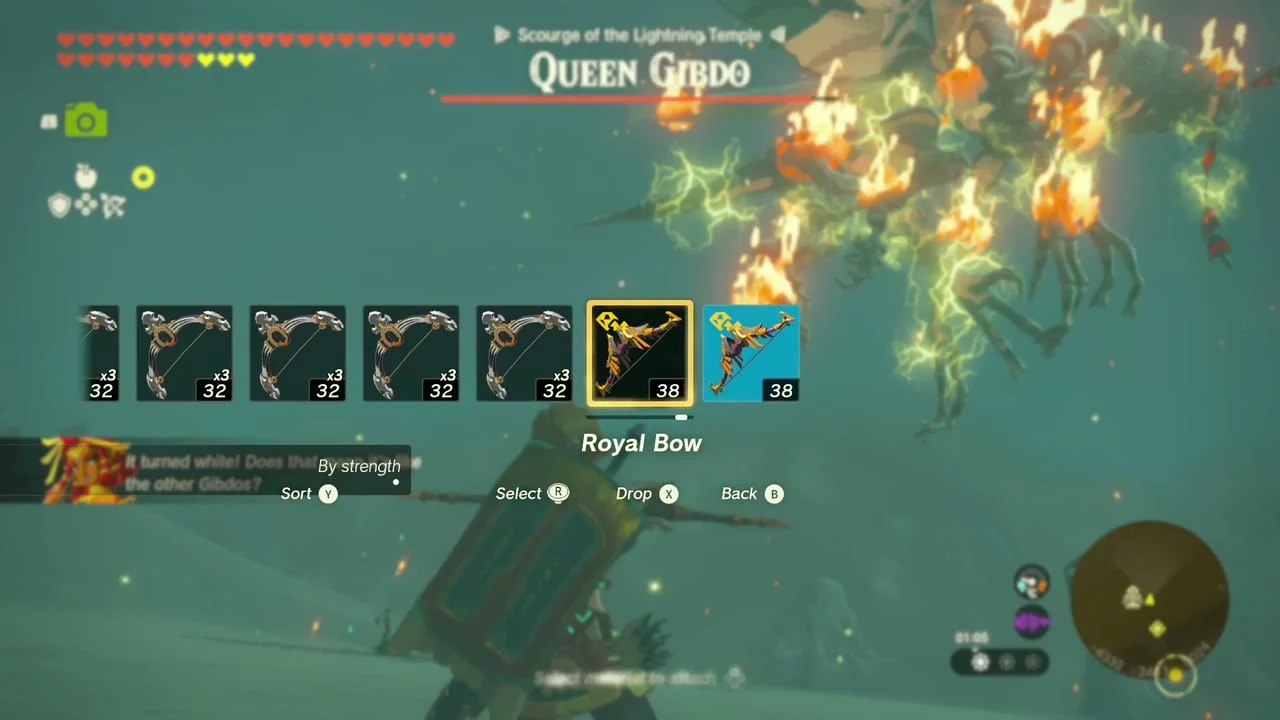
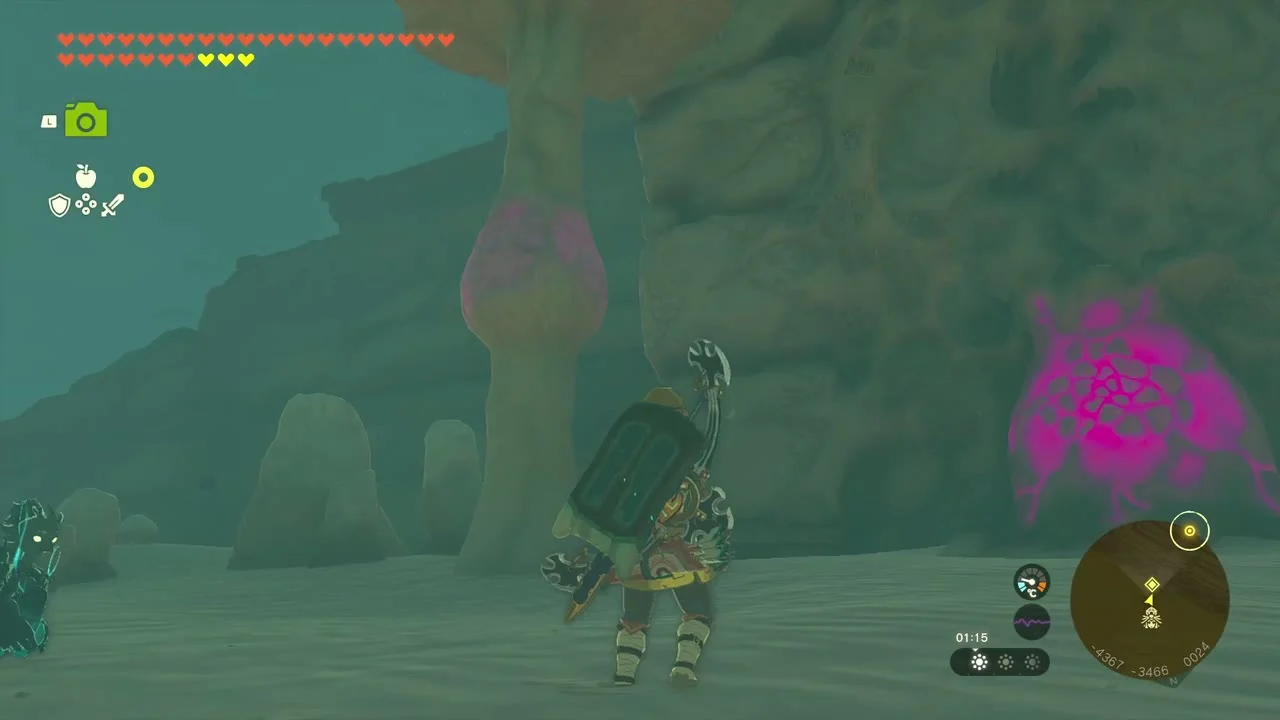
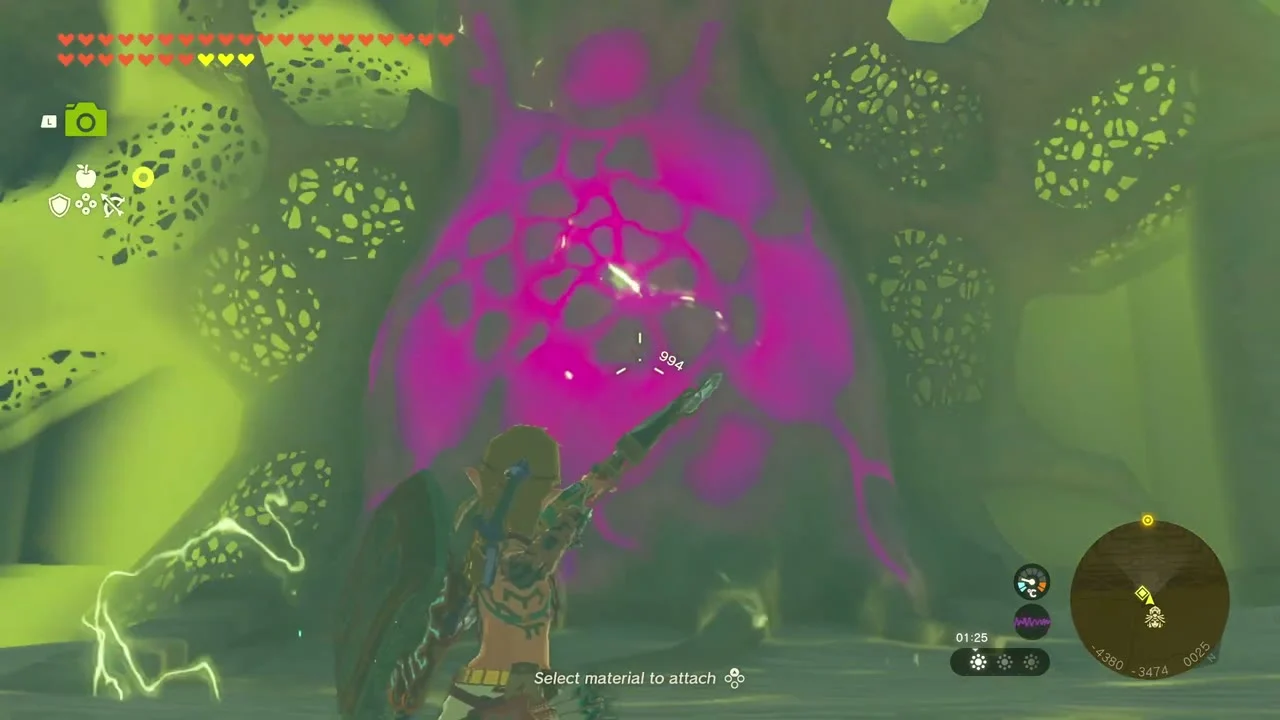
Use Riju’s lightning on the large purple hive above the temple doors. Queen Gibdo emerges. Keep moving to avoid her charge and sand tornadoes. When Riju’s lightning field is ready, draw her power in, then fire an arrow at the Queen while she is inside the field. The strike strips her armor. Get in a few attacks while she is vulnerable, then back off and repeat. She retreats after taking enough damage.



Use Riju’s lightning on the hive blocking the entrance. Once it breaks, head inside.

Reach the Room of Ascension
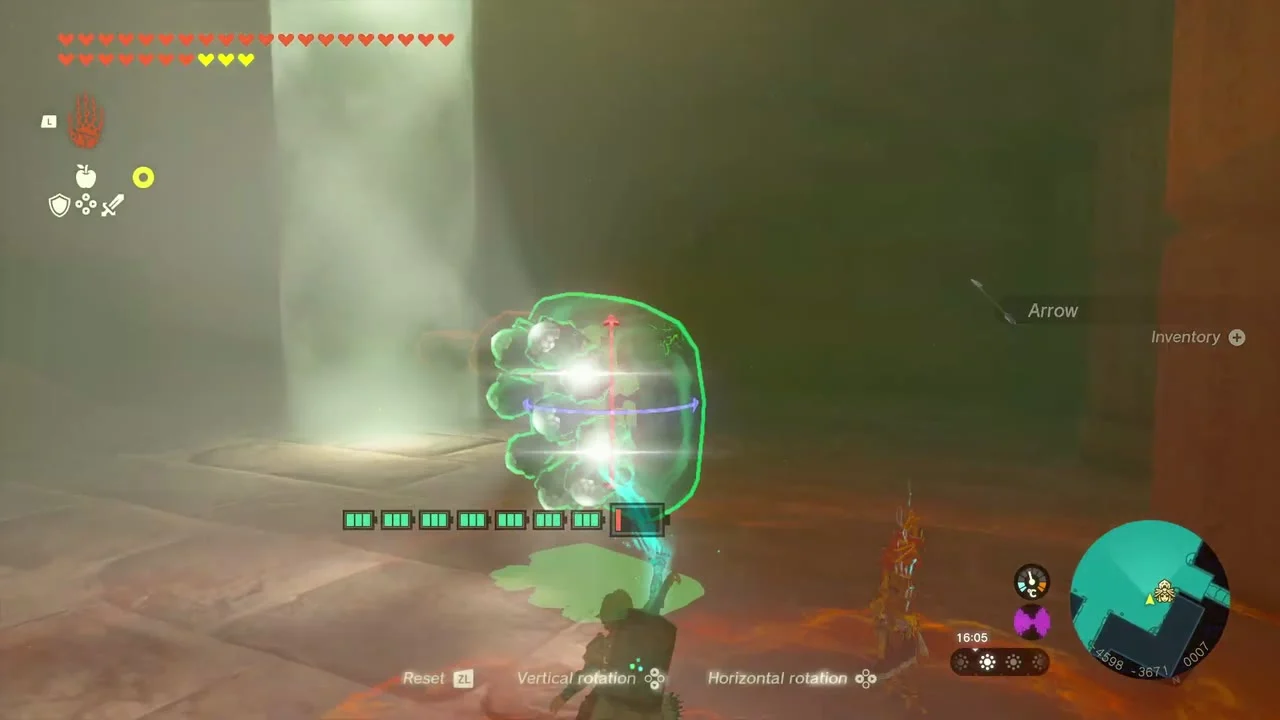
In the entry room, pick up a Korok-Frond Guster from the wall. Swing it to blow sand away from the floor switch near the far door, then step on the switch.
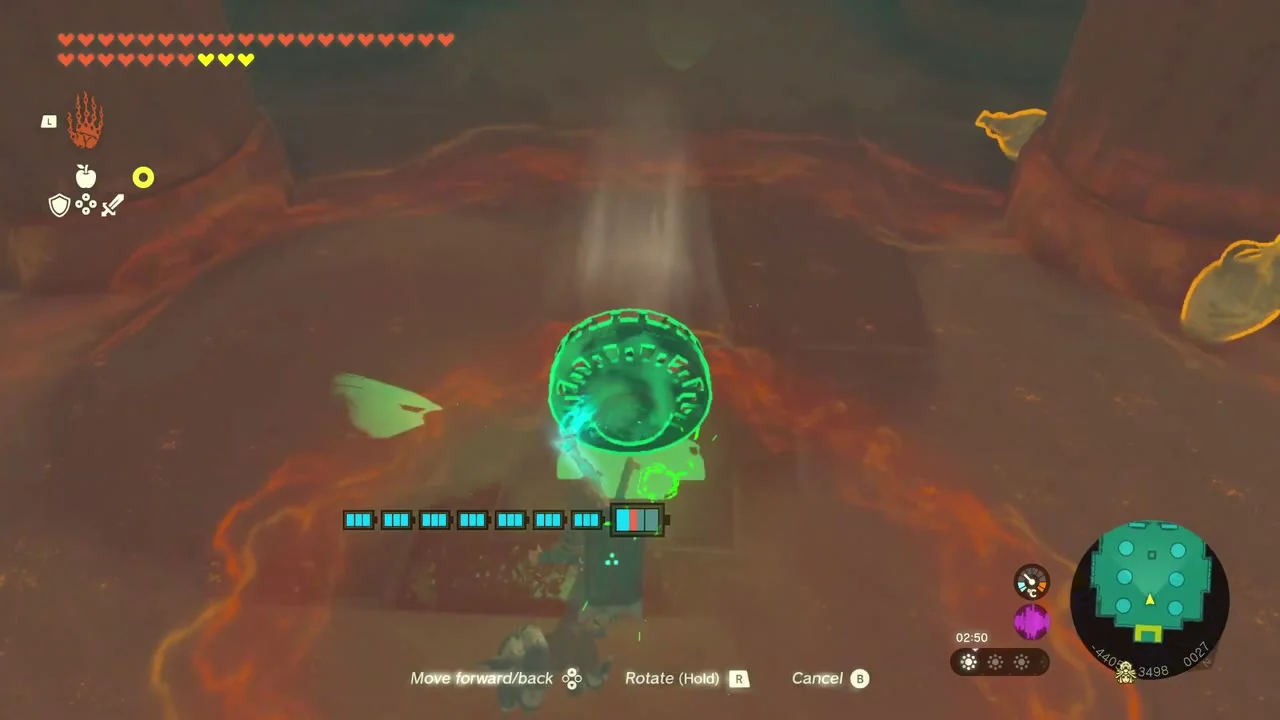
Continue down to B1. The path has a collapsing floor, flame jets, and rolling fireballs. If you fall through a floor, use Ascend to get back up. For the flame corridor, watch the jets and cross when they pause. Step on the switch beyond them so Riju can follow. Use Recall on a rolling fireball to send it back up the ramp, then run to the next switch to stop the trap.
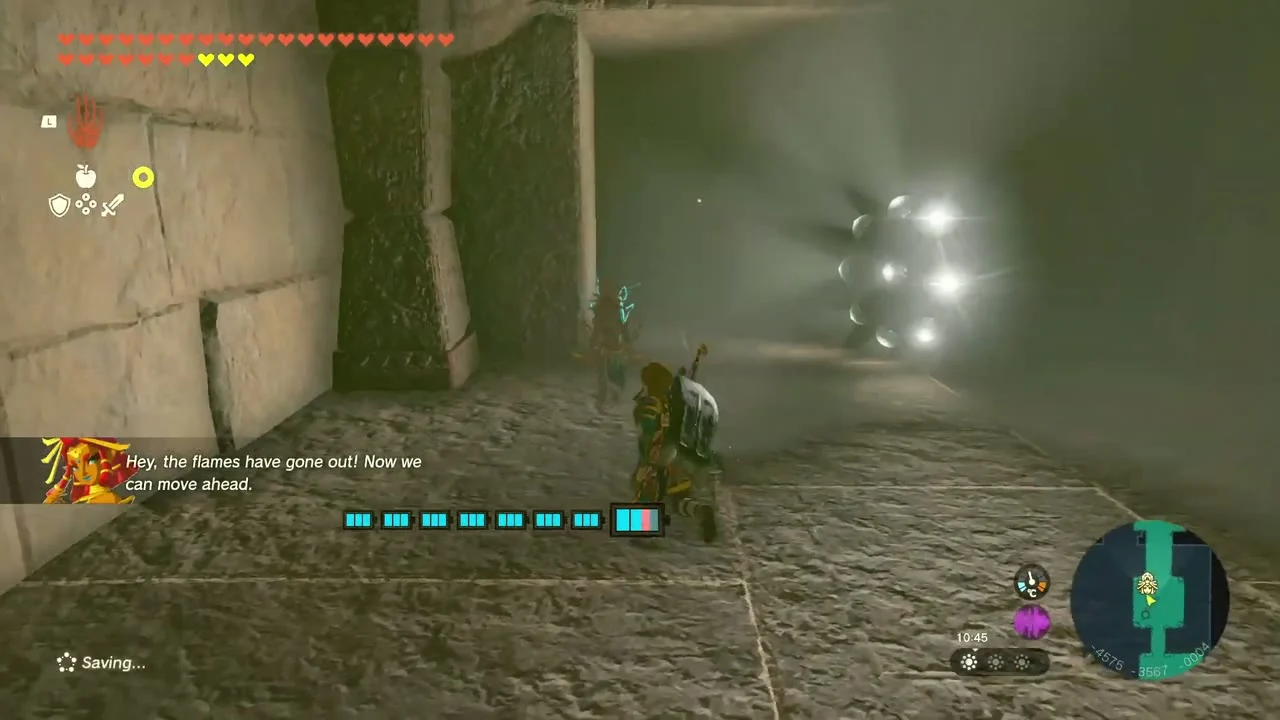
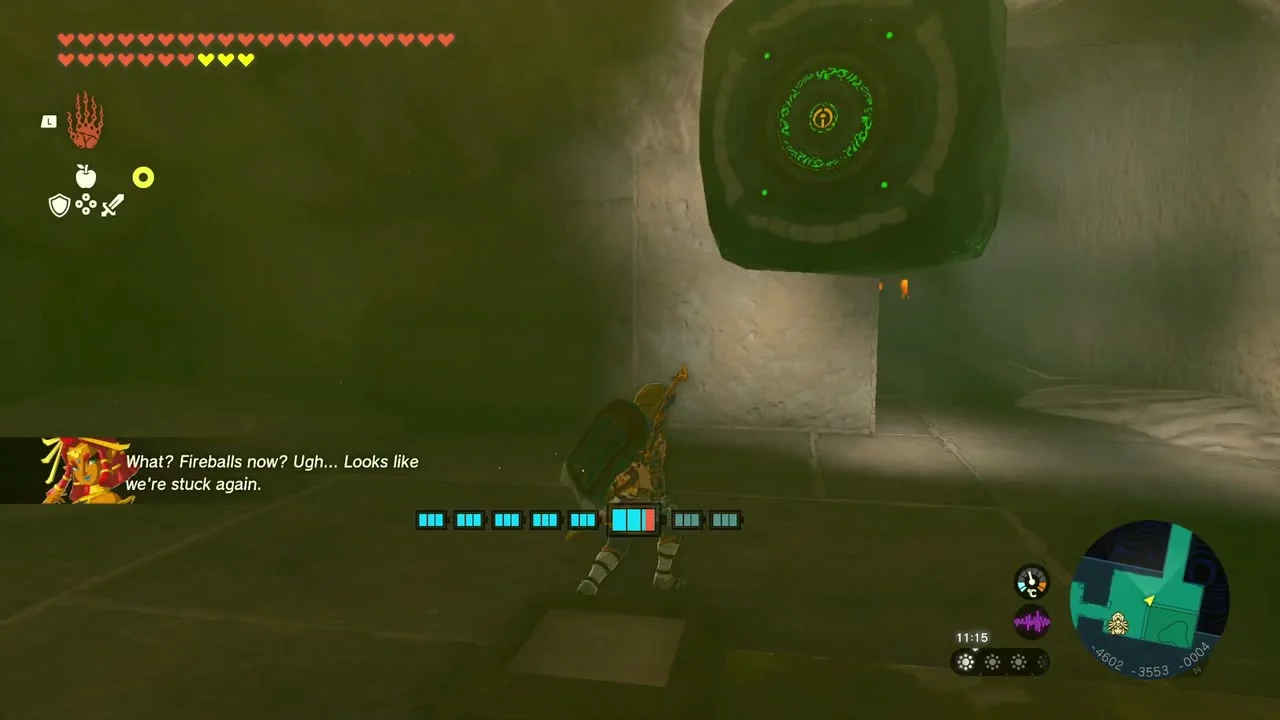
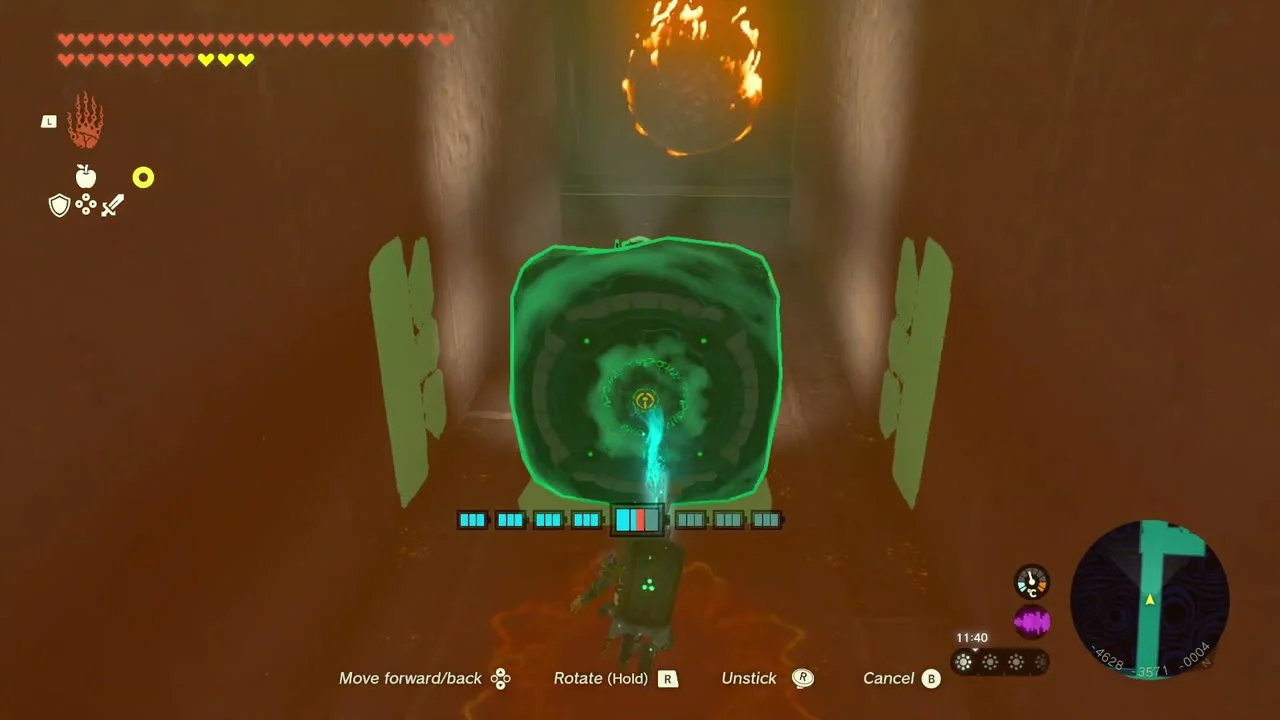
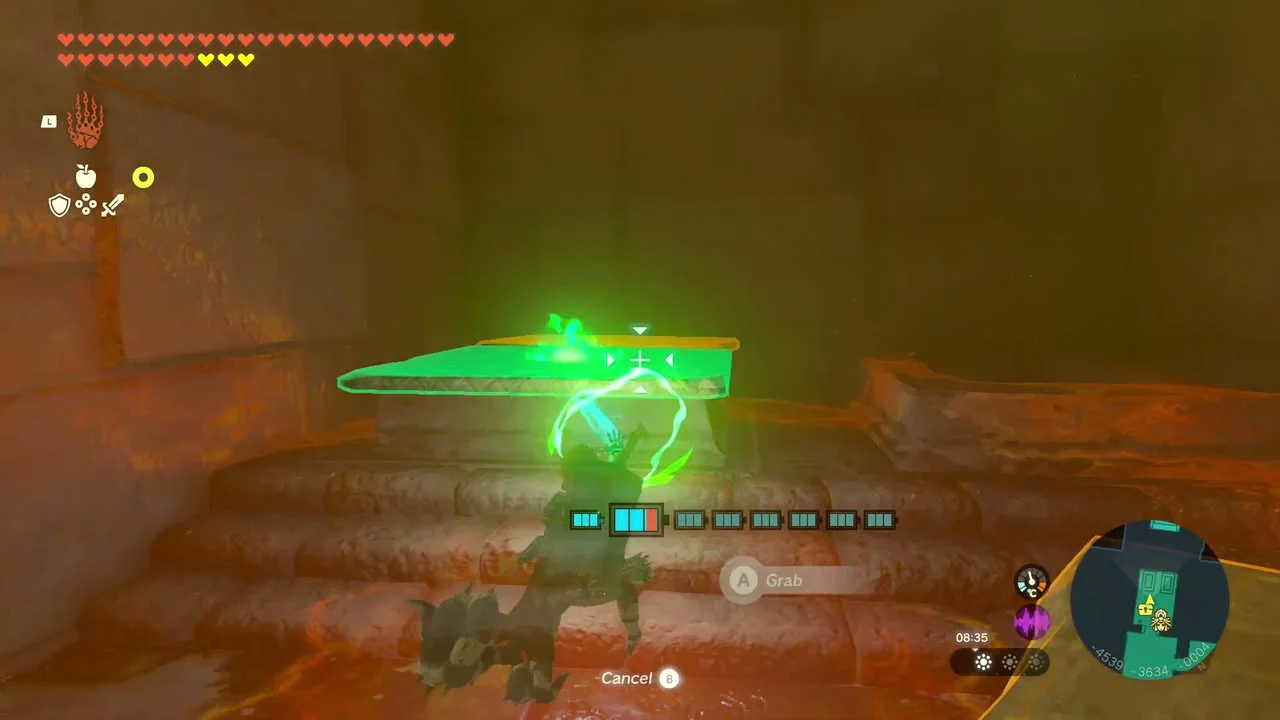
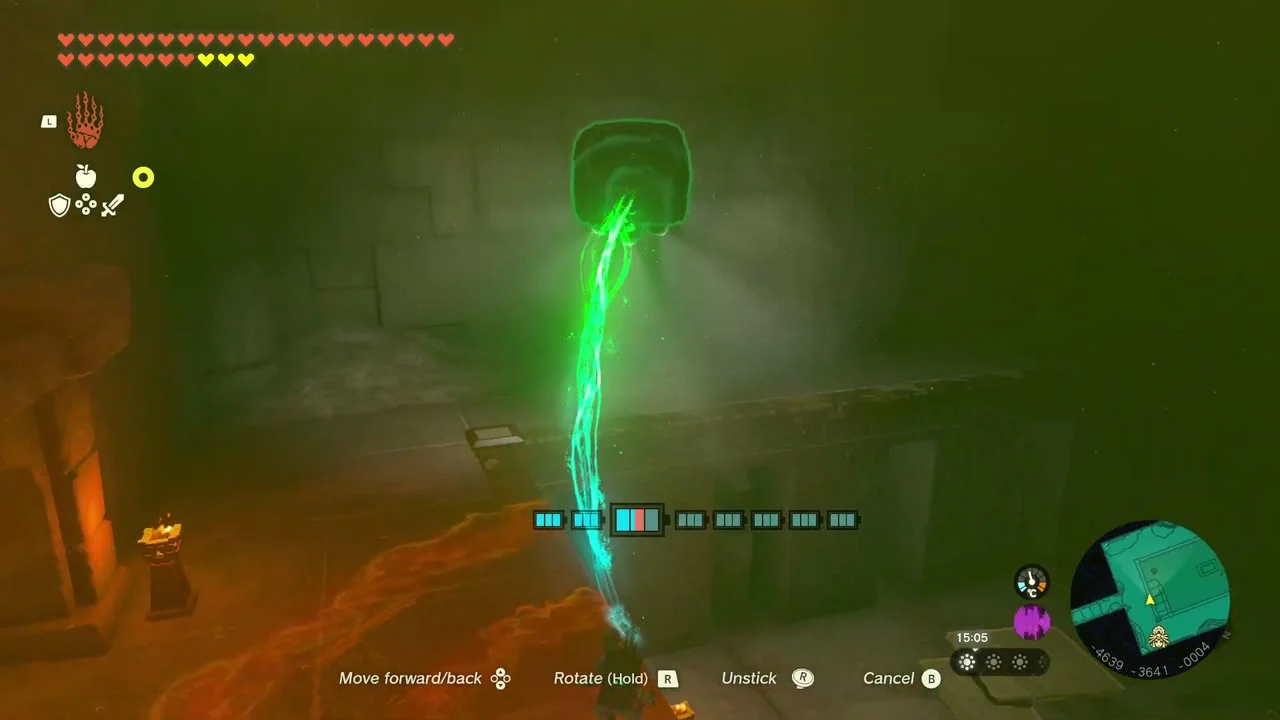
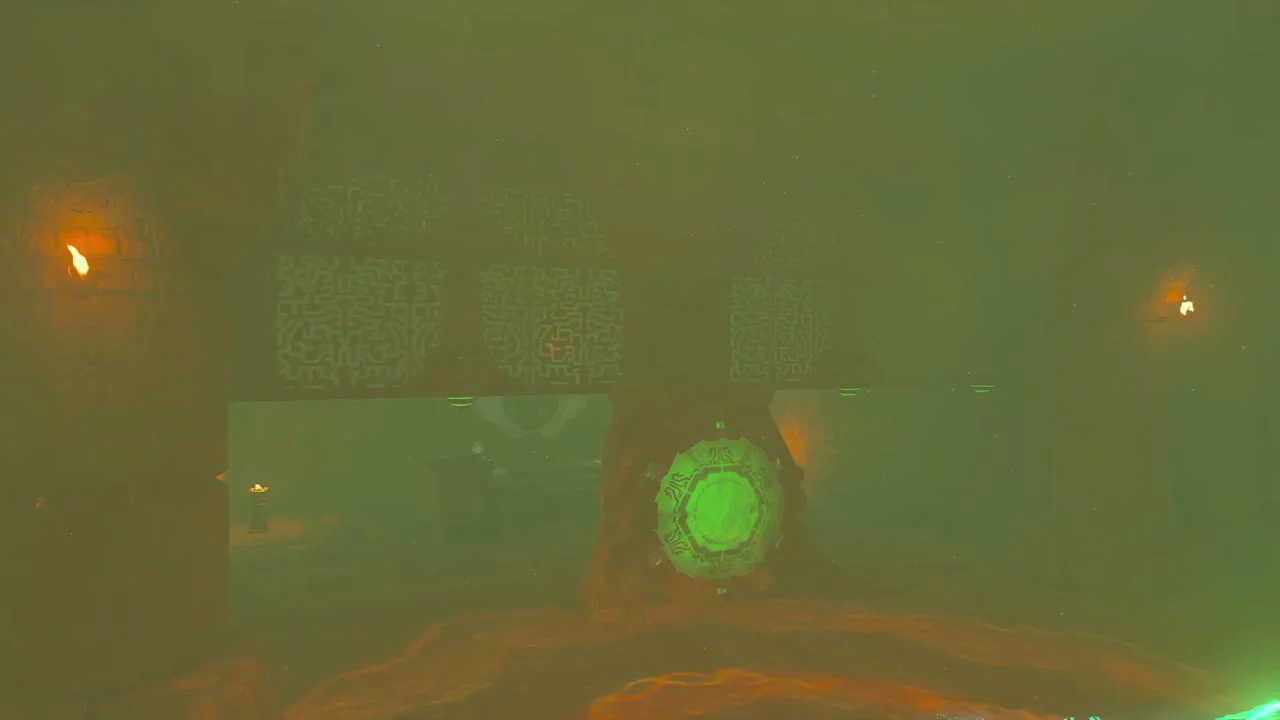
In the next room, defeat the Construct and clear sand from the corner to uncover a mirror. Hold it in the beam of light and angle the reflection toward the yellow switch above the locked door. Once the switch changes color, go through the door and climb to the Room of Ascension. Activate the terminal to open the travel point and mark the four batteries.


Charge the batteries
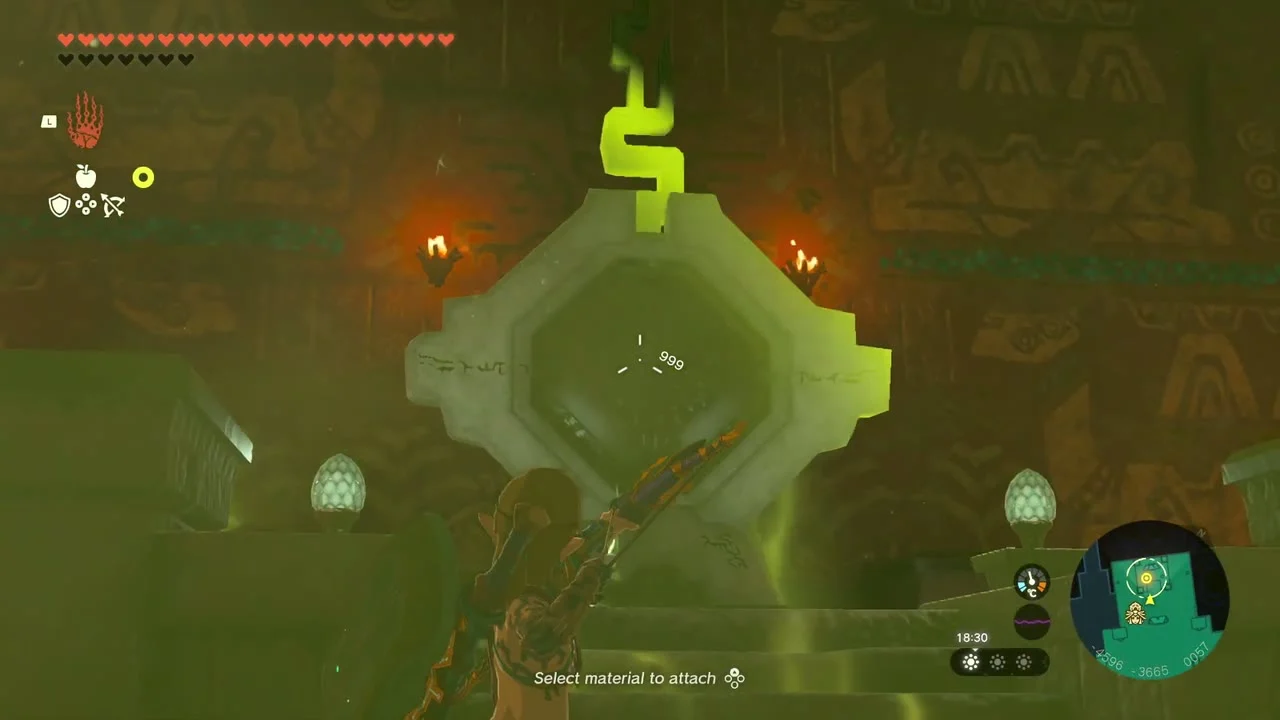
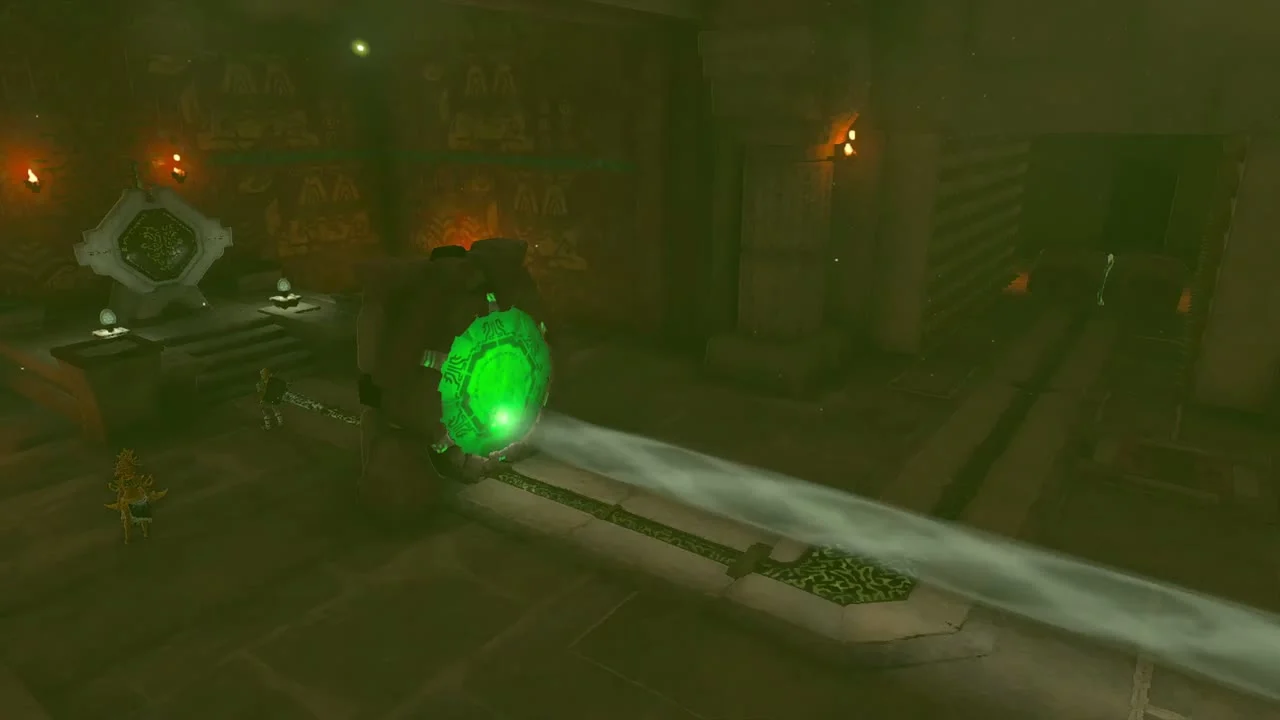
To charge a battery, activate Riju’s lightning, then shoot an arrow at the battery while it is inside her lightning field. The four batteries can be charged in any order, and the rooms behind them can be tackled in a different sequence from the one below. This route follows the temple’s light puzzles from the central room.
Battery 1: hidden room beside the terminal
From the central terminal on 1F, look behind it for two loose sandstone blocks in the wall. Move them with Ultrahand and go through the opening. Use Riju’s lightning and an arrow to charge the battery.


Open the Room of Natural Light
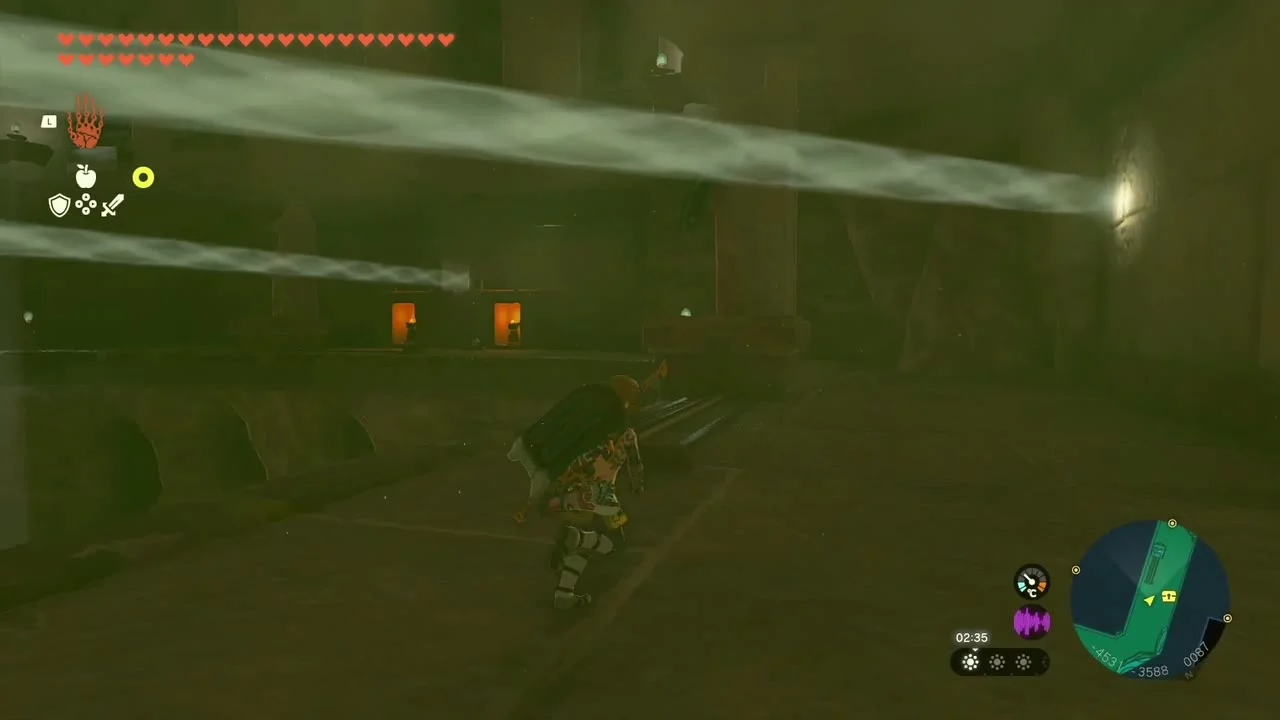
In the corner of 1F, lift the stone blocking the updraft. Ride the wind to 5F and enter the opening in the wall where a beam shines down. This is the Room of Natural Light.
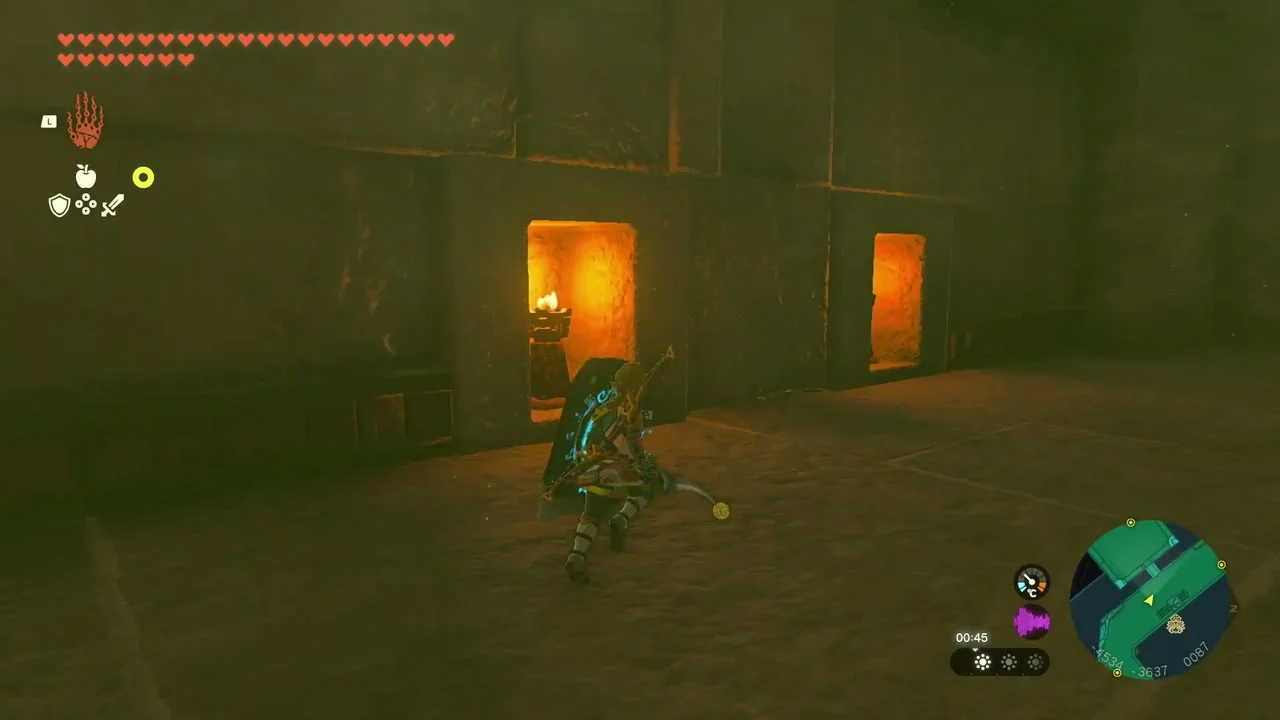
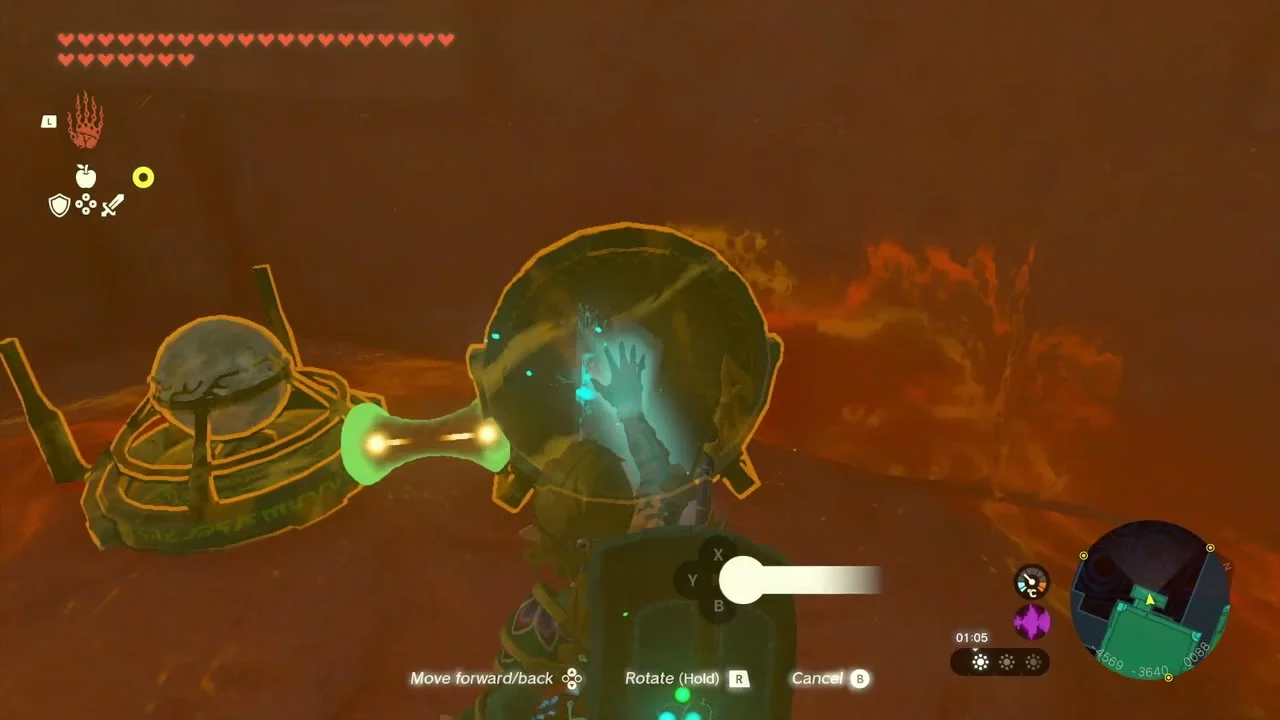
Stand the nearby stone upright in the beam. Use Ultrahand to place the mirror on top of it, then angle the mirror so the light passes through the opening into the central chamber. On 5F, move the sliding mirror pillars until the beam points northeast and then down toward the lower floors. This opens a passage on 3F.


The Room of Offered Light
Glide down to the newly opened door on 3F and step on the switch. Inside, Gibdos and Constructs attack. Use Riju to break the hive, then clear the remaining enemies so you can work on the puzzle.
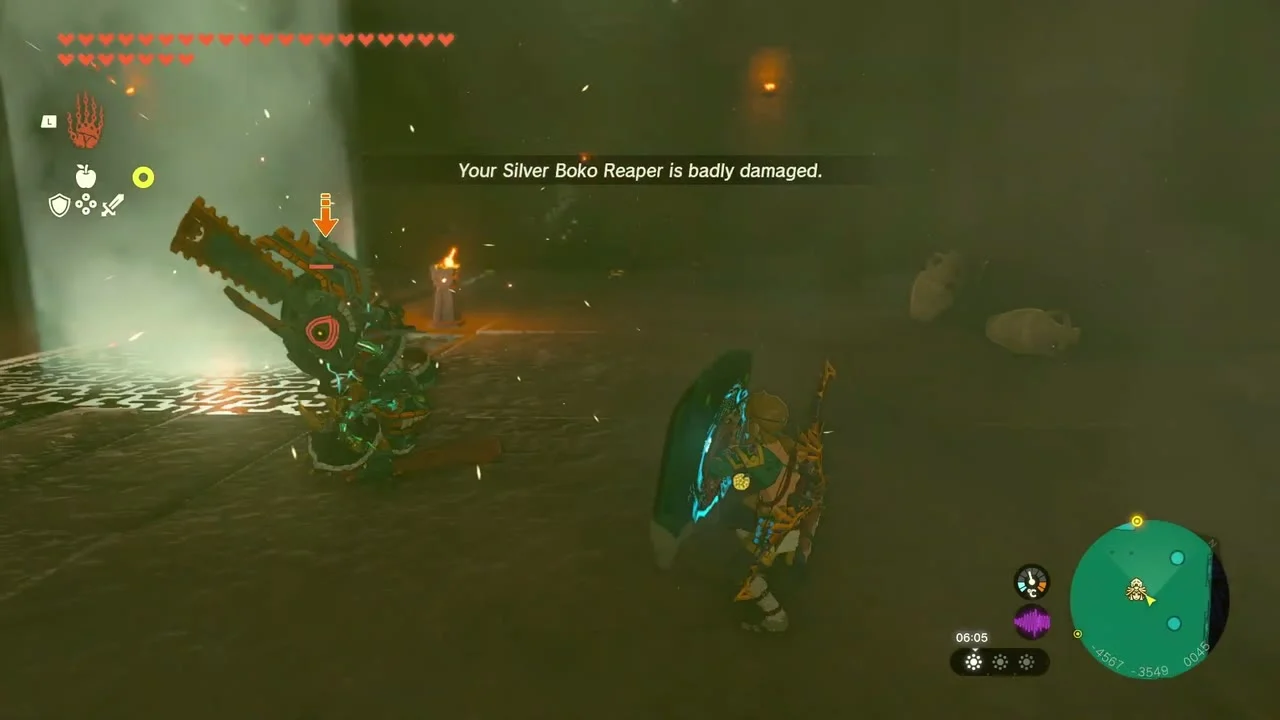


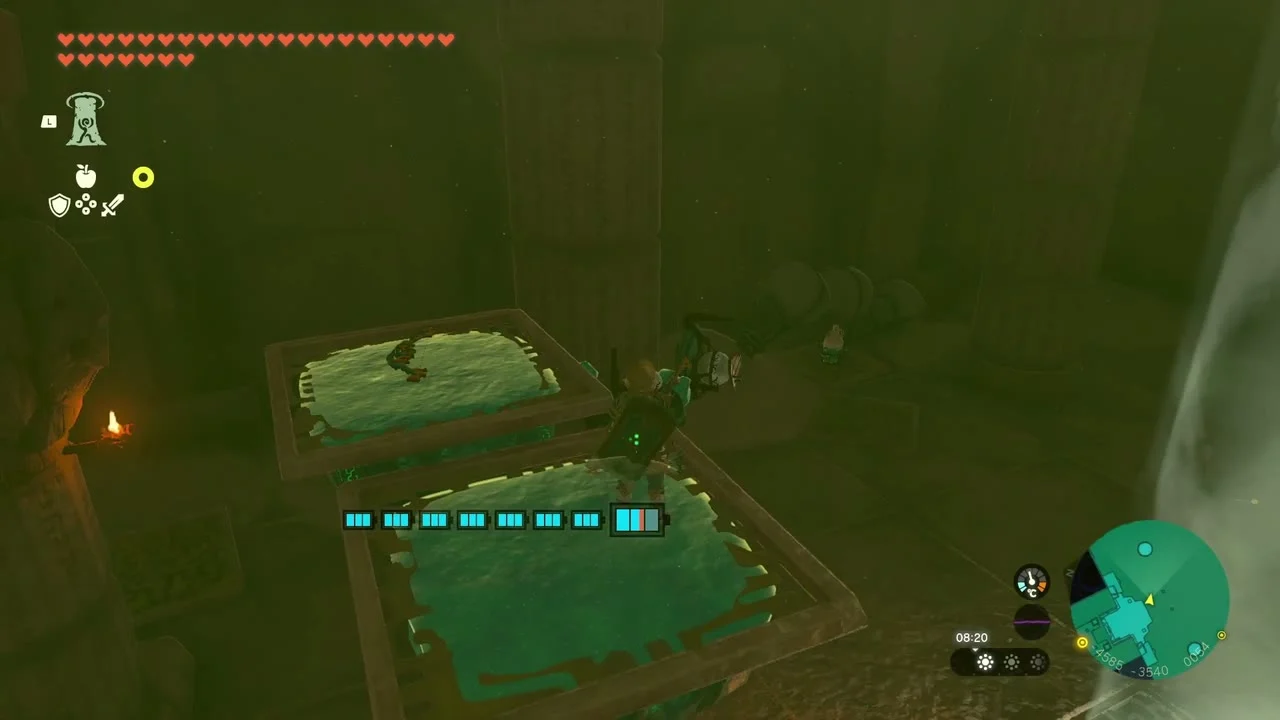
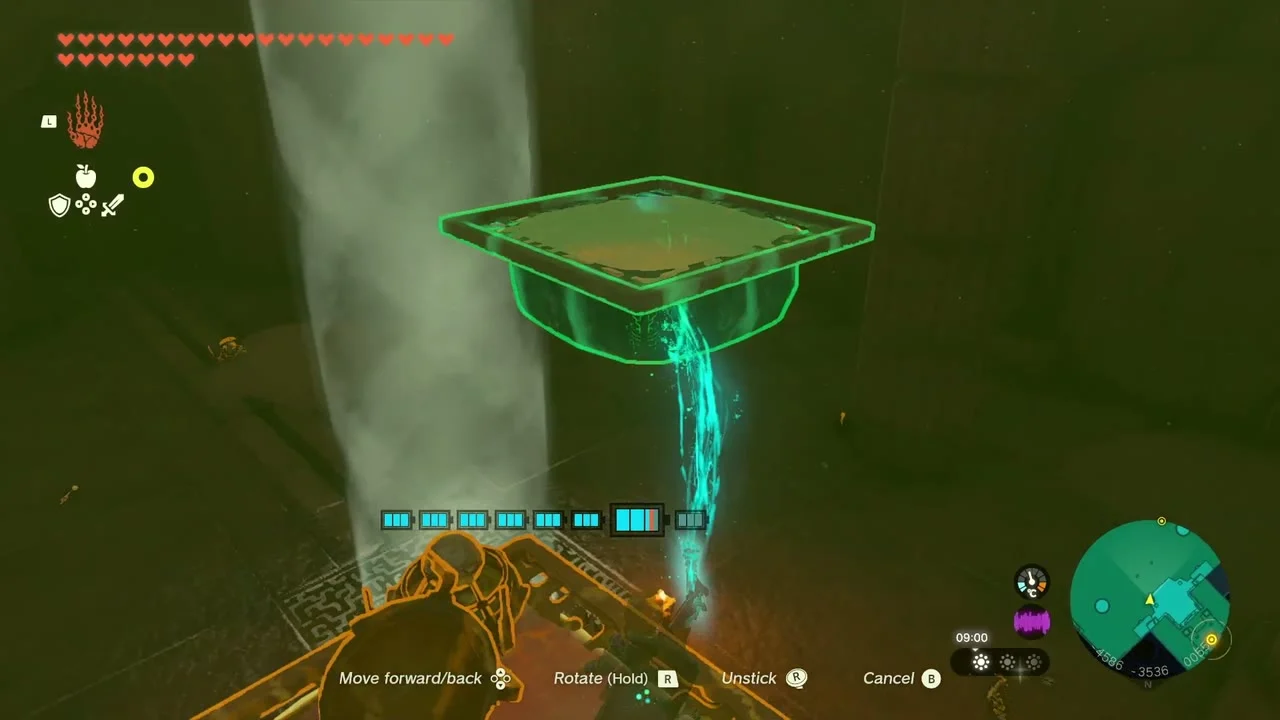
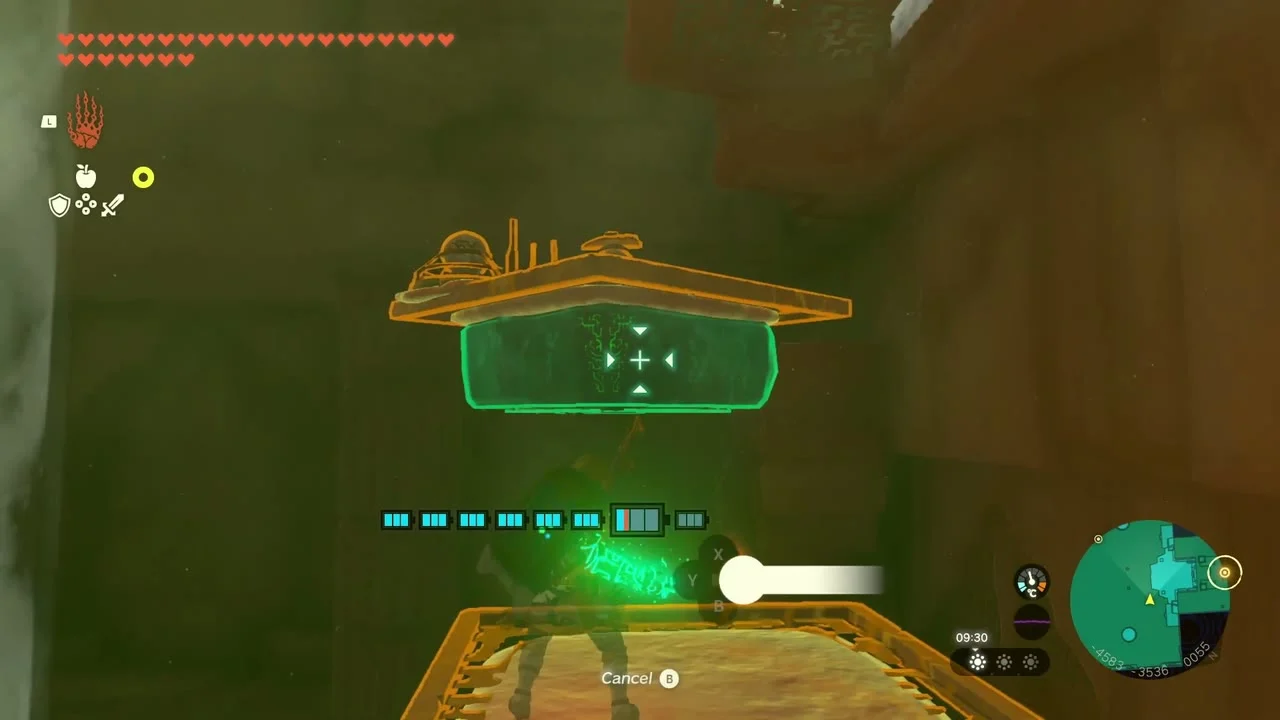
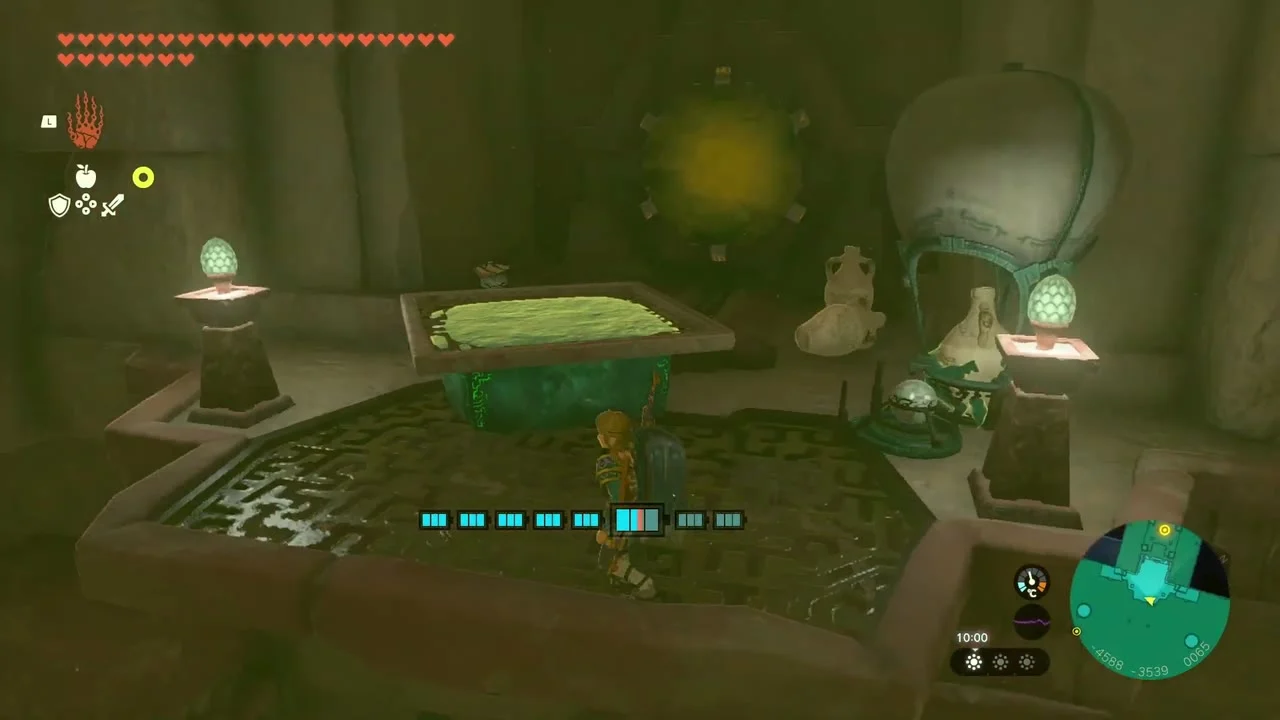
Build a small platform from the grate and hot-air balloon in the room. Attach a mirror facing the wall with the blocked passage, then place the platform over the beam of light. Light a torch or wooden weapon at one of the nearby flames and hold it under the balloon. The platform rises, carrying the mirror until it reflects light onto the high switch. When the switch opens the door, drop down and charge the battery.
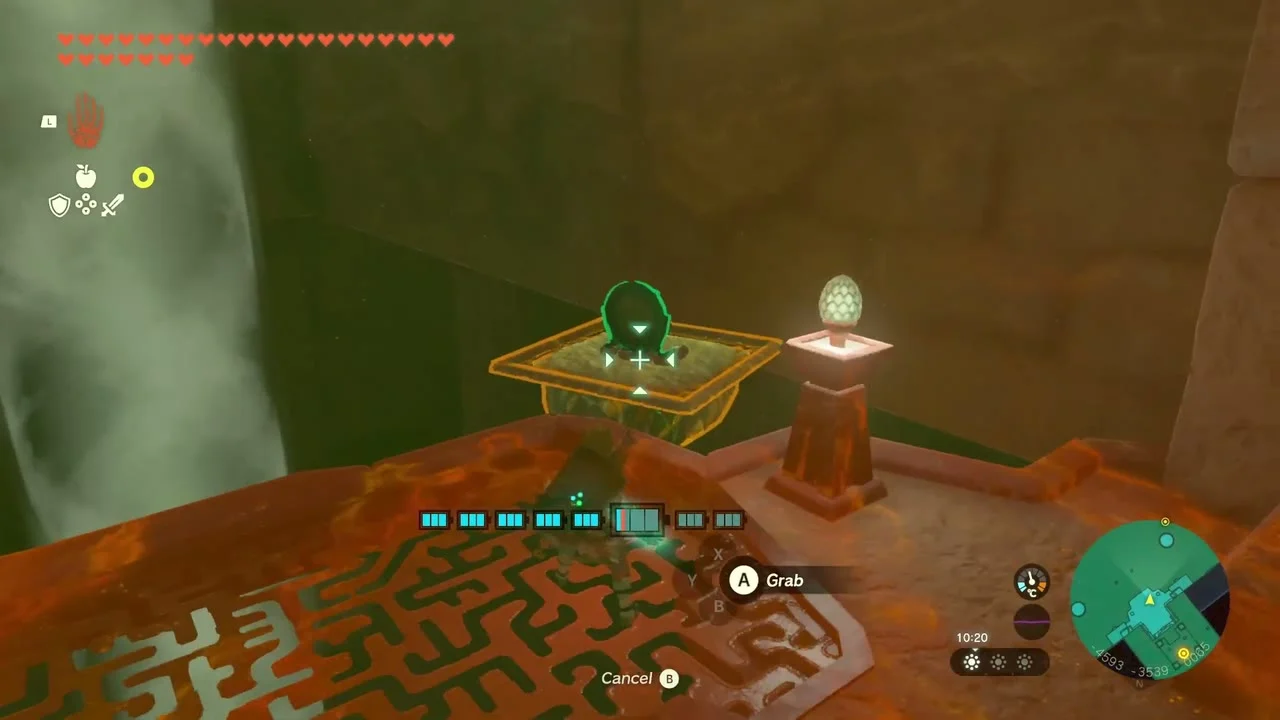
Cross the flame shaft
Return to the 5F mirror pillars. Redirect the beam so it reaches the far pillar, then clear the sand around that pillar and slide it into position. Adjust the next mirror to send the beam up to 6F. Ride the updraft to the switch and step on it to open the room.

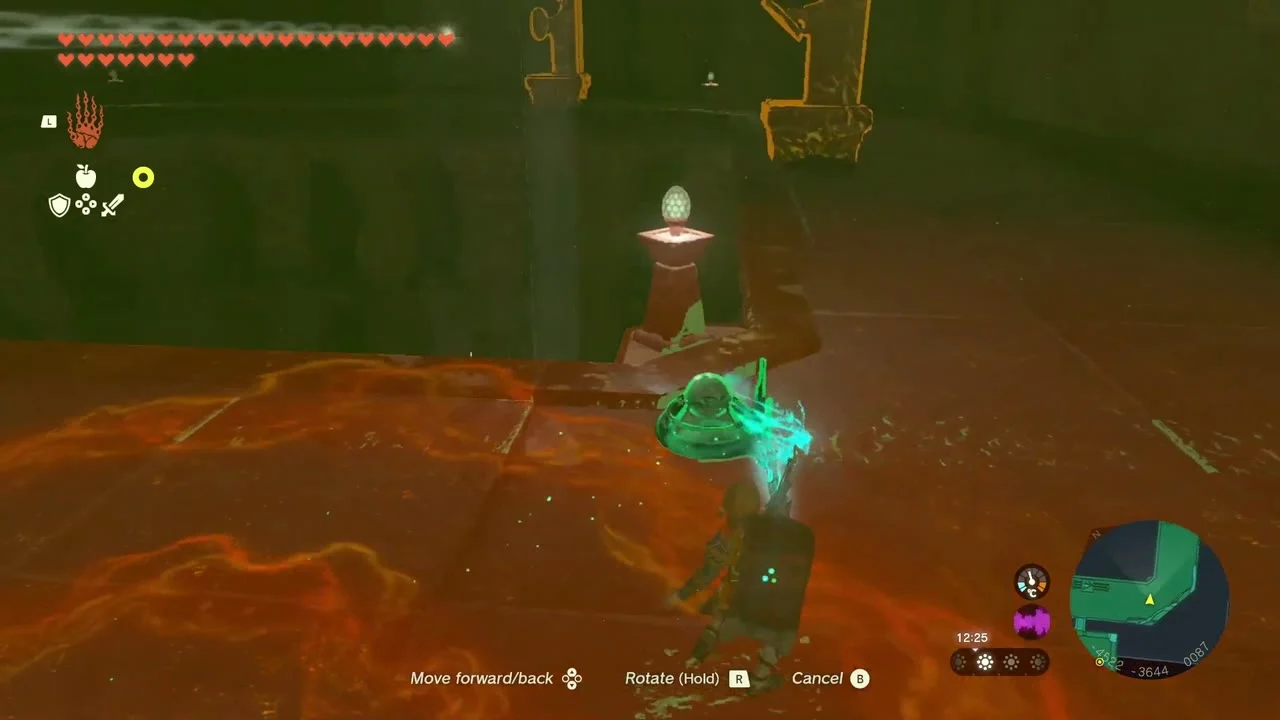
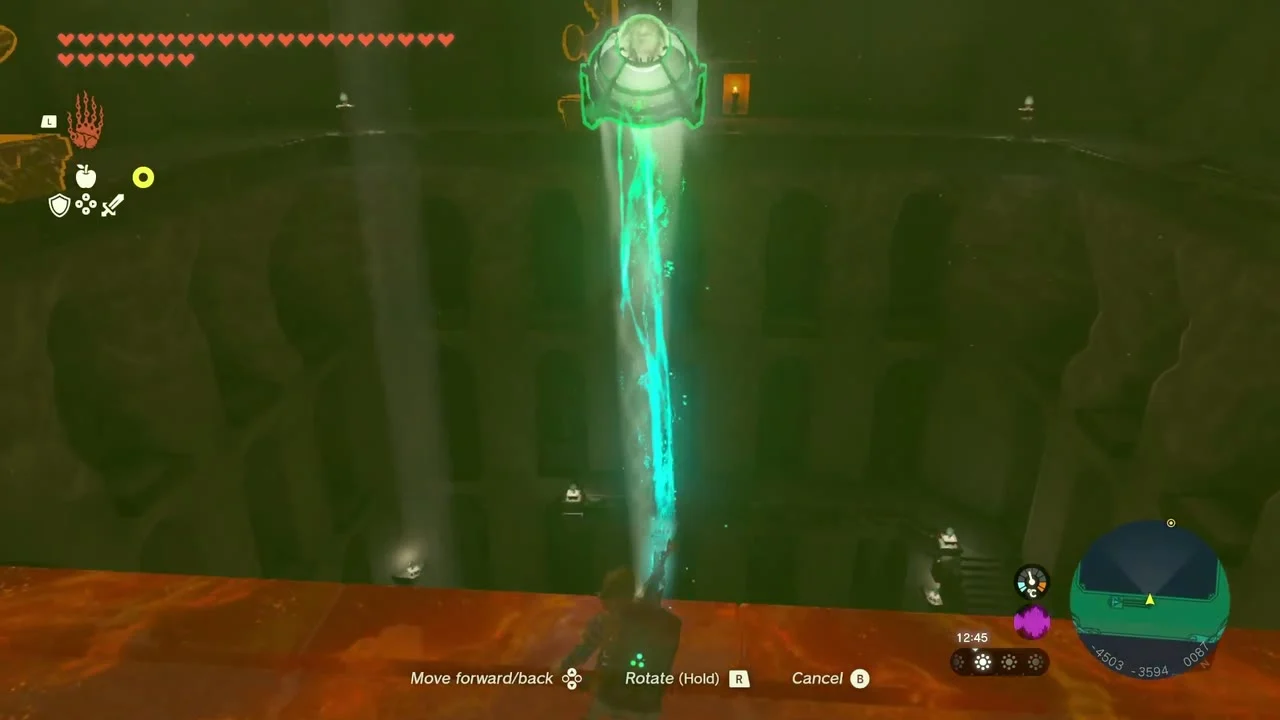
Glide down the shaft, steering between the lines of flame. At the bottom, open the door with the floor switch. Defeat the two Constructs in the sealed room, then let Riju in and charge the battery.
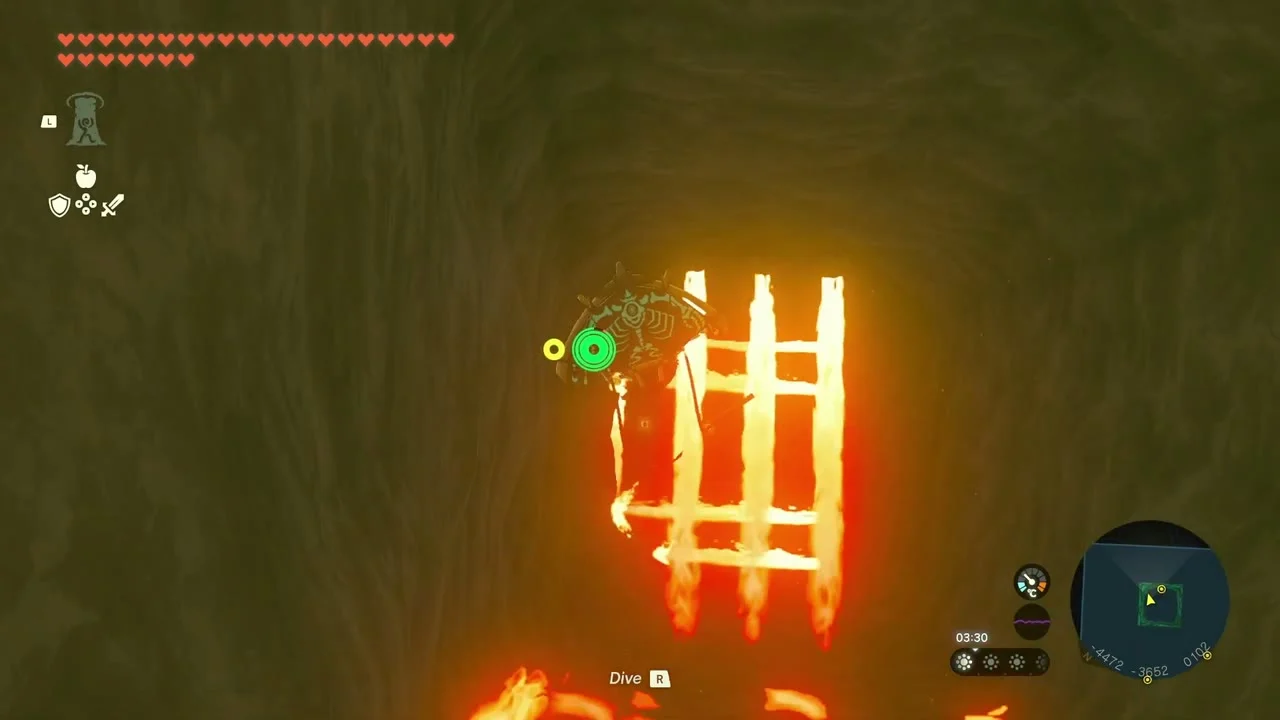
Reach the Room of Light and Shade
Return to 1F and ride the updraft to 4F. Look for the opening in the north side of the central chamber, around coordinates -4513, -3585, 0063. Defeat the Construct and pass through the two rotating stone discs.
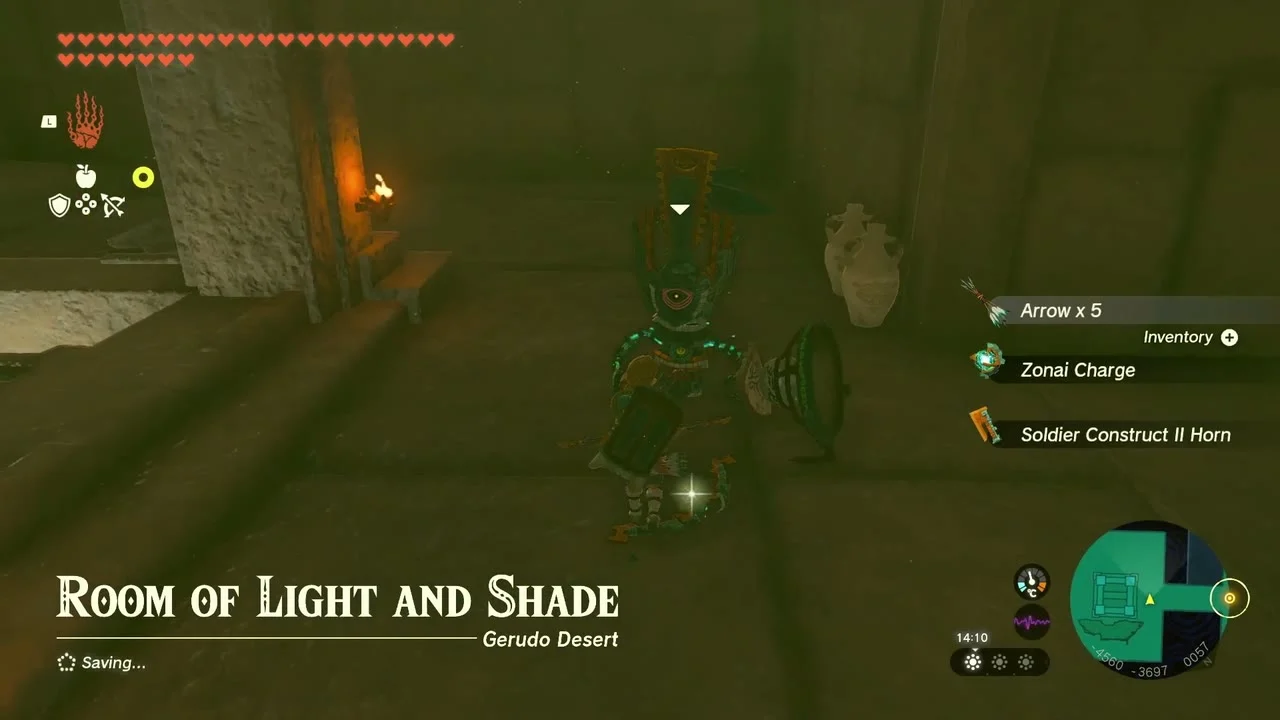


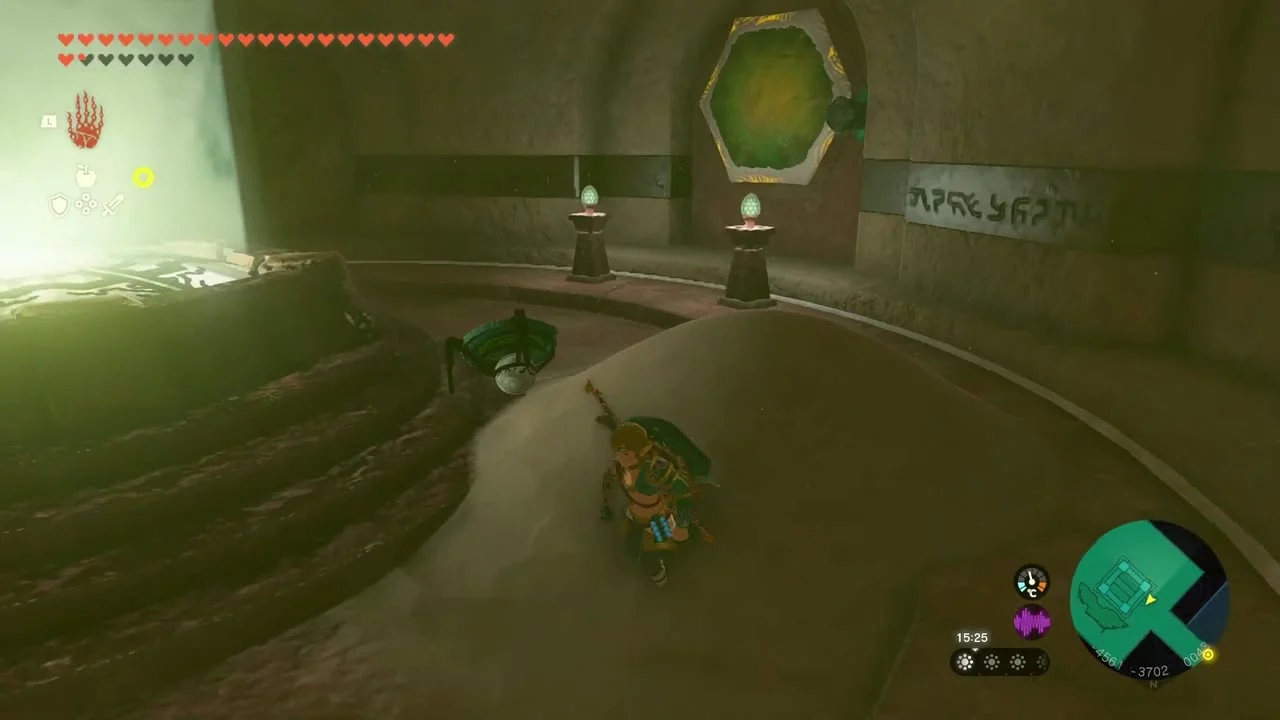
In the next room, move the blocks away from the light source. Use Recall on one of the discs until the gaps line up, then release it. When the light passes through both openings, it reaches a switch across the central chamber. Glide over and step on that switch to open the route beyond it.


The next passage has horizontal and vertical spike traps. Use the nearby stone blocks to hold the moving traps open. Riju may not follow until you step on the floor switch behind the first trap, so make sure she can get through before moving on.


In the Room of Light and Shade, defeat the Construct and uncover the mirror buried in the sand. Drop through the opening in the floor to reach the rotating room below. Use the mirror to direct the light toward the green target. The room spins, so use Ultrahand to drive a Stake into the wall when the target is lined up. This stops the rotation and gives the beam time to hit the target. You can also keep adjusting the mirror and catch the target while the room turns.

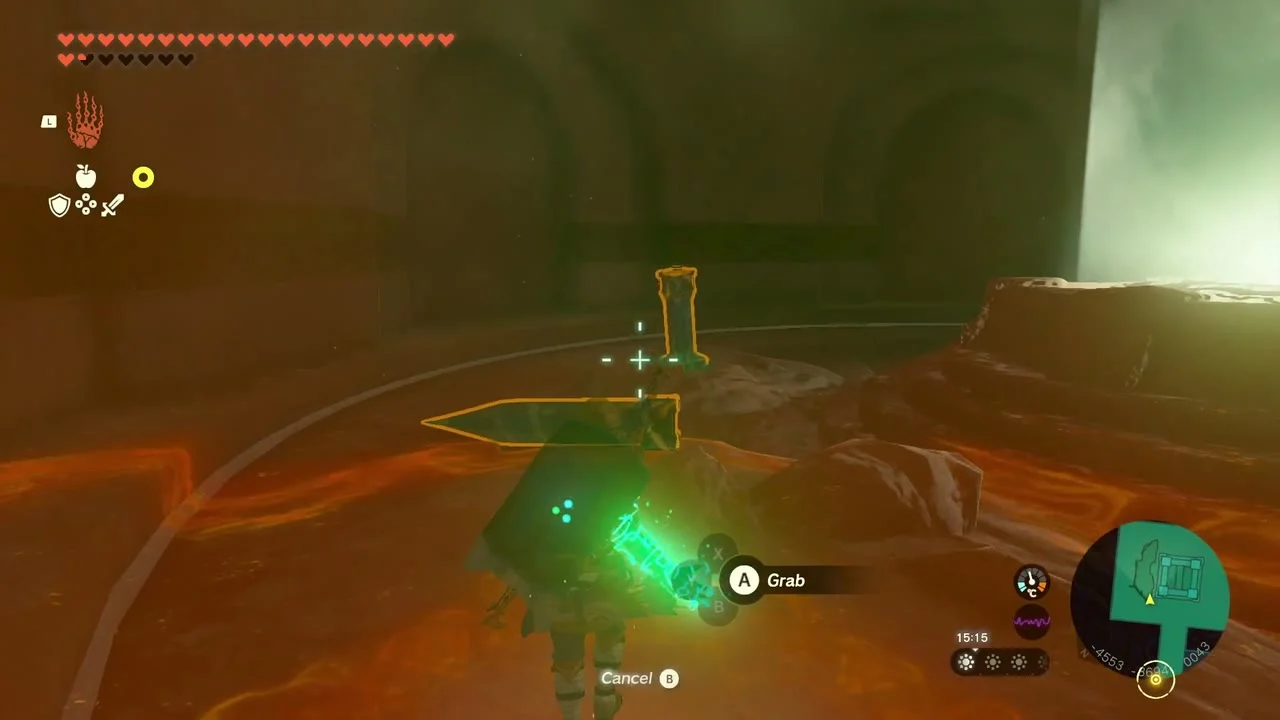
When the target activates, return upstairs and follow the newly opened route to the last battery. Charge it with Riju. If the light does not reach the target, check that the mirror is aimed at the source and that the Stake is holding the rotating wall still.

Activate the lift
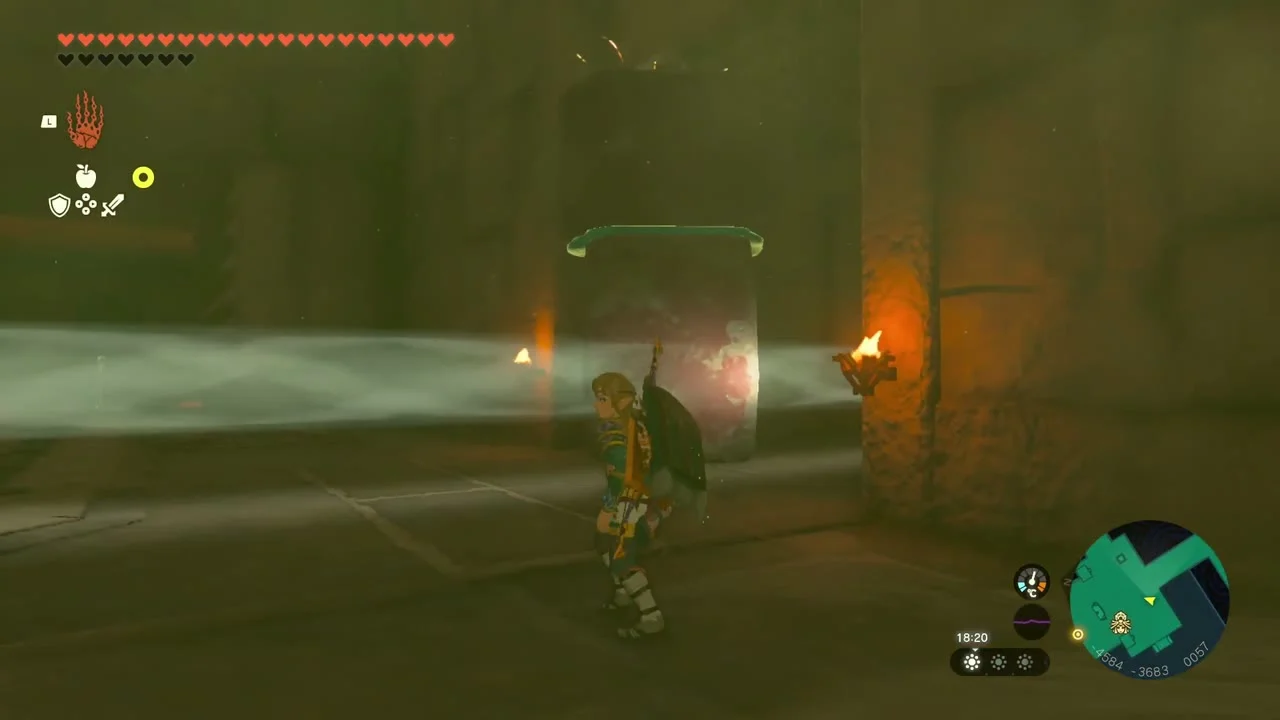
Return to the Room of Ascension and use the terminal. Ride the lift to 7F. Before starting the fight, make sure you have healing items, a few strong weapons, and arrows with Bomb Flowers or elemental materials.

Defeat Queen Gibdo
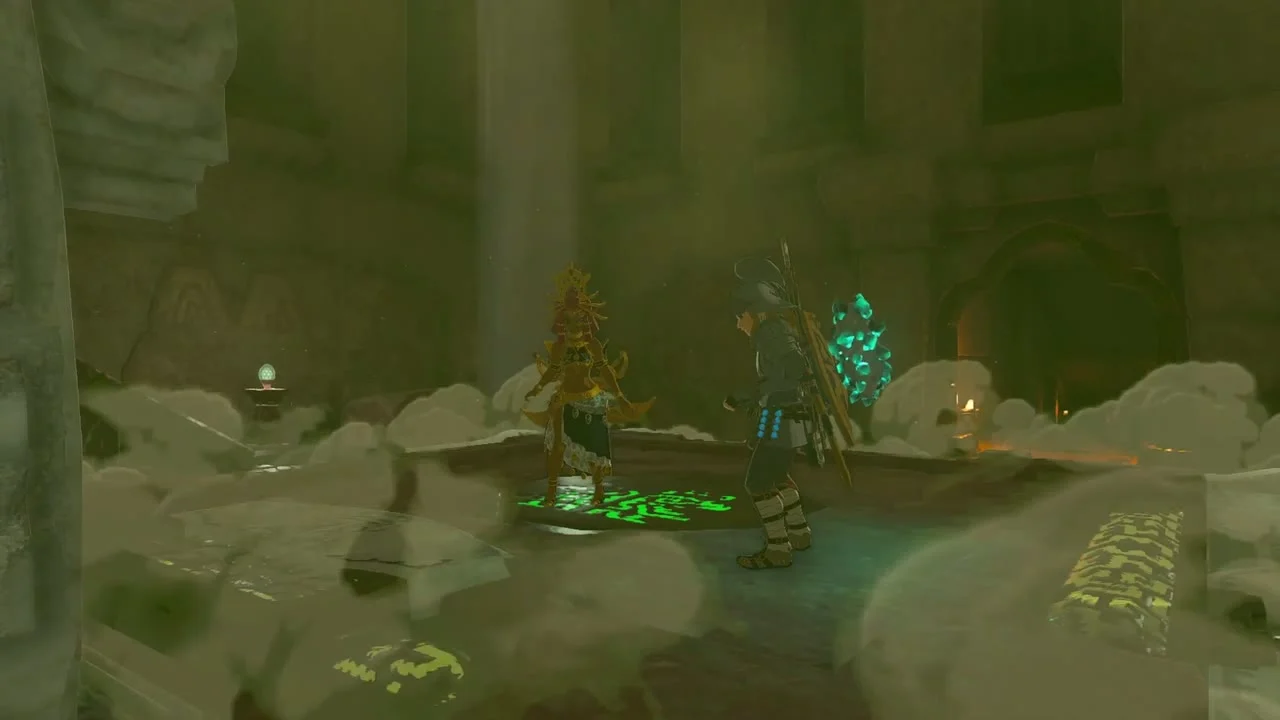
Queen Gibdo is vulnerable only after an elemental hit strips away her armor. Riju’s lightning is the reliable option, though elemental arrows and other elemental attacks can also expose her. Keep moving when she charges or sends sand tornadoes across the arena.

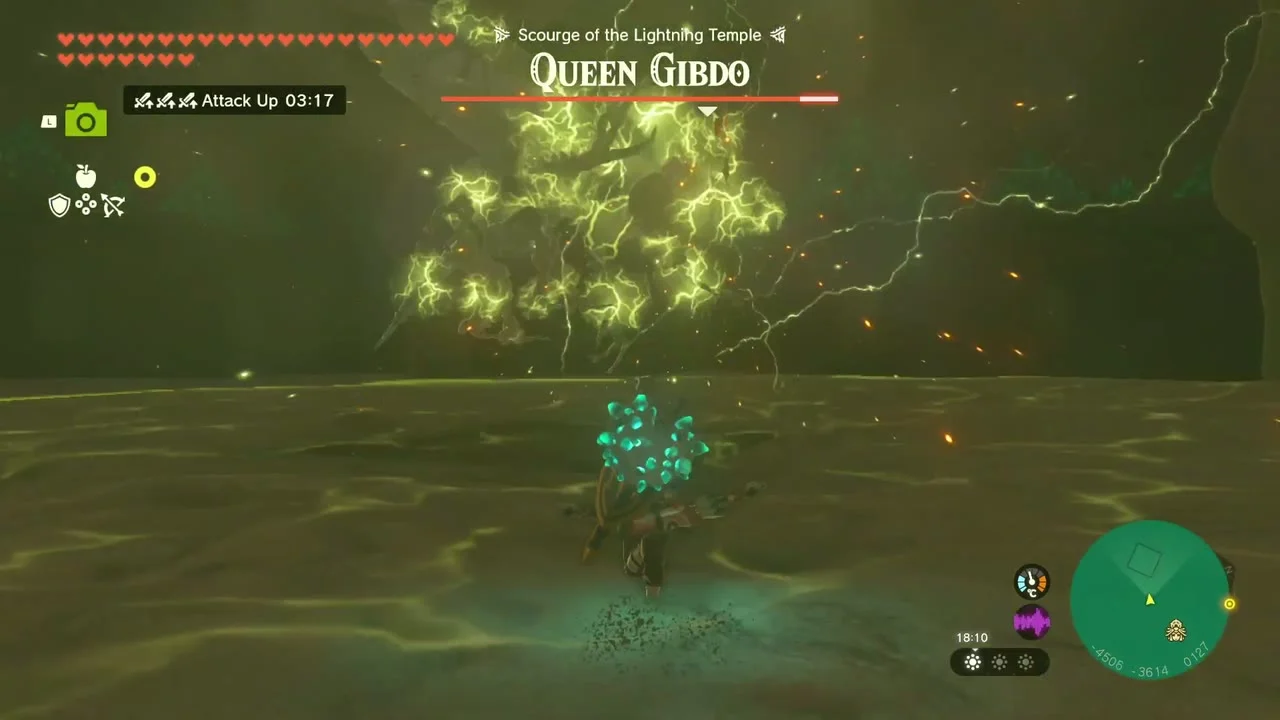
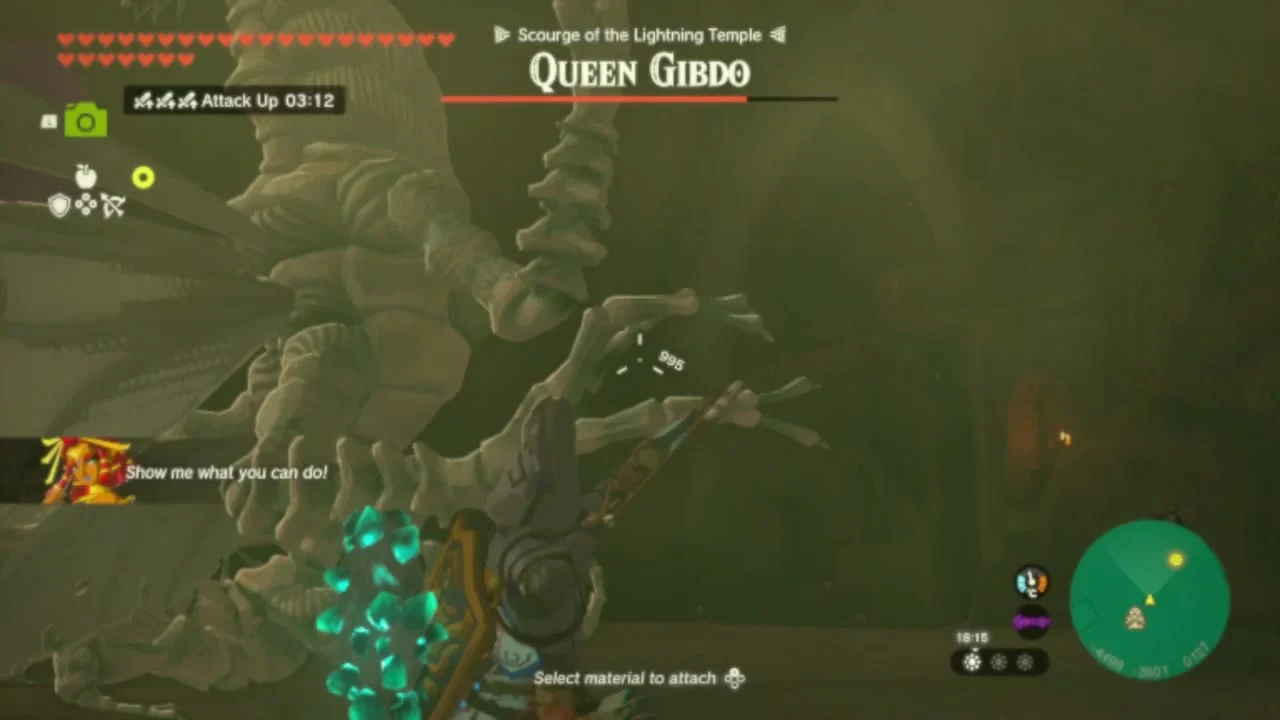
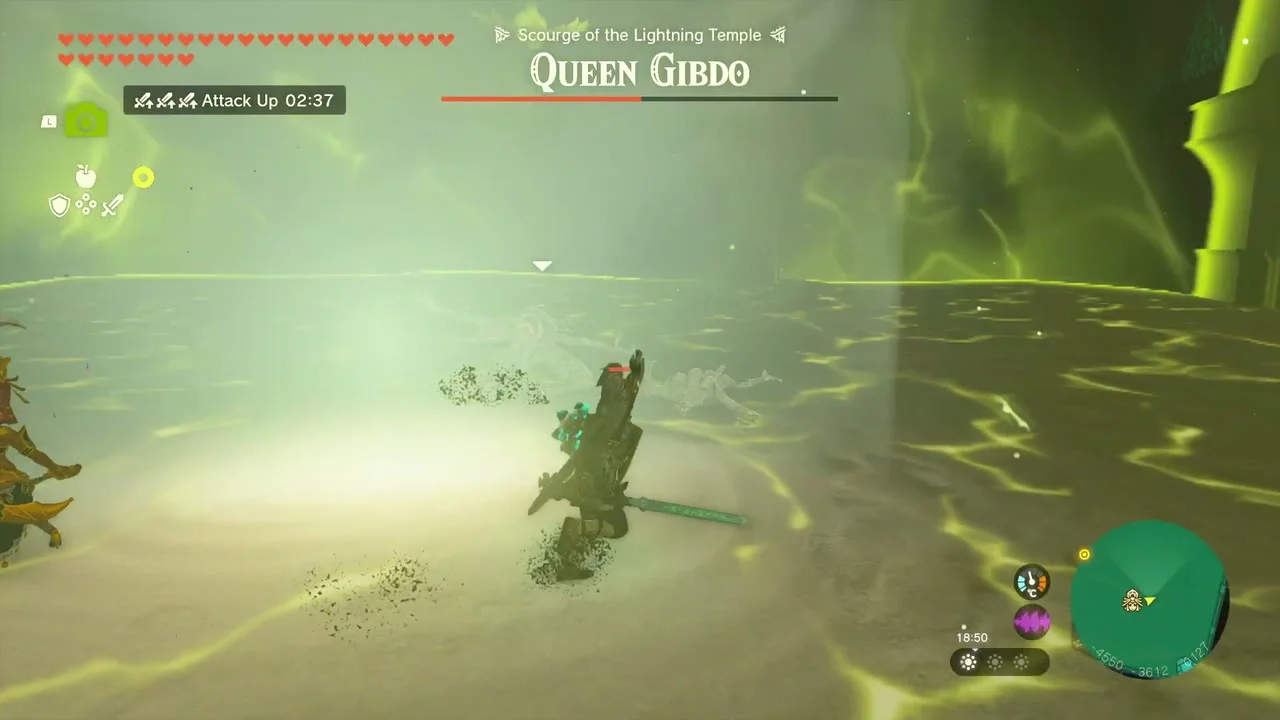
When she turns pale, attack with your strongest weapon or arrows. If you deal enough damage, she falls and stays vulnerable for a short time. Get in a few hits, then retreat before she recovers.

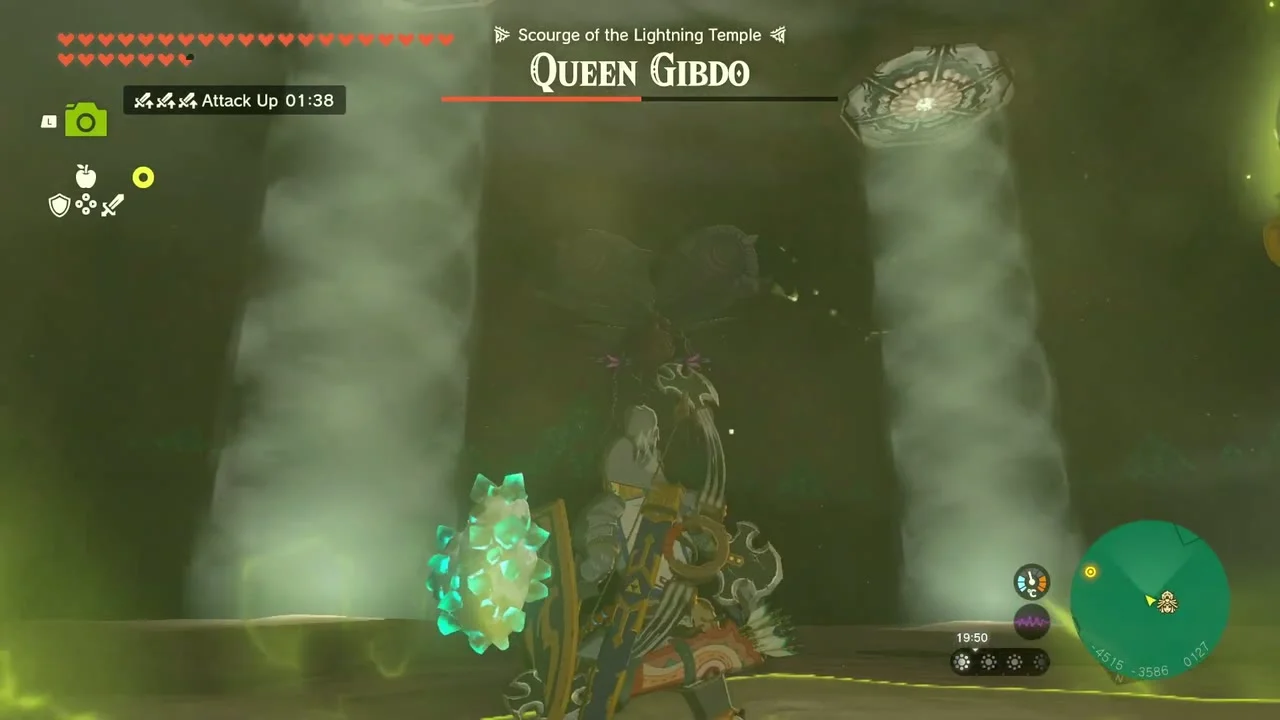
At about half health she throws five tornadoes instead of three and activates four hives around the arena. They send Gibdos into the fight, so destroy the hives with Riju’s lightning or Bomb Flower arrows. Each destroyed hive lets sunlight into the arena. Gibdos caught in the light lose their armor, making the remaining enemies easier to handle. Keep an eye on Queen Gibdo while clearing the hives, then use Riju’s lightning to expose her again and finish the fight.
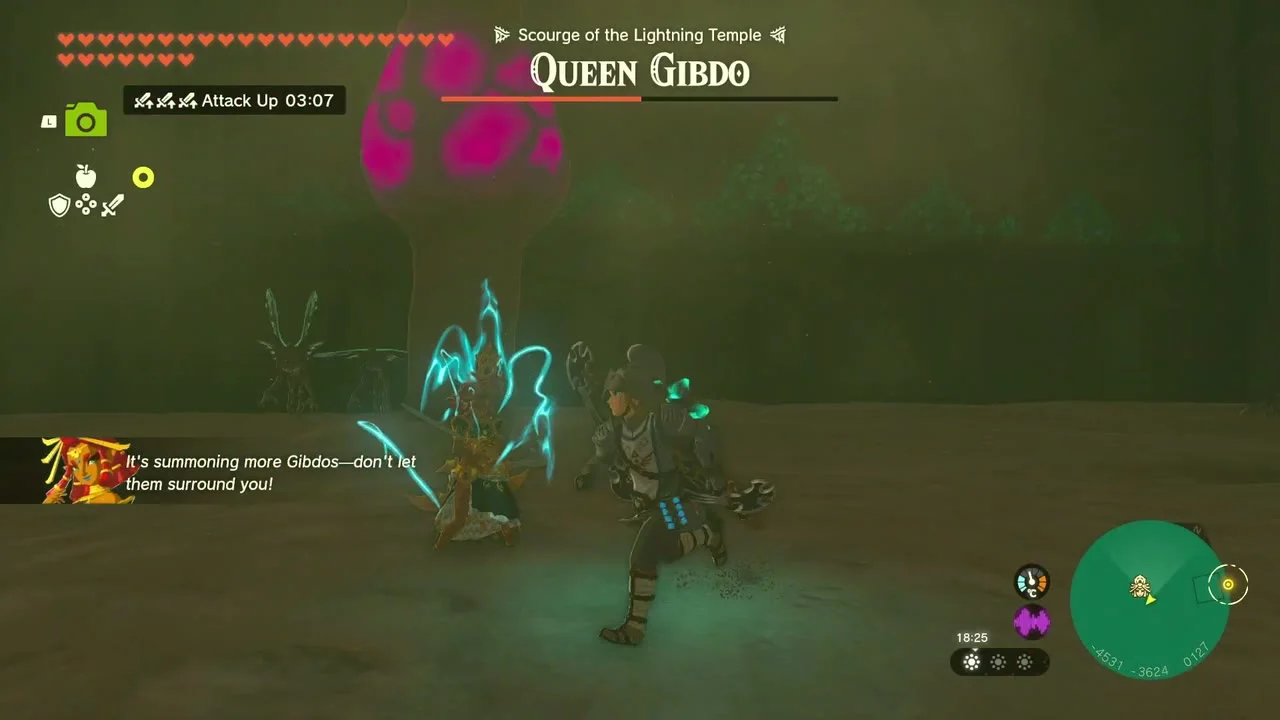
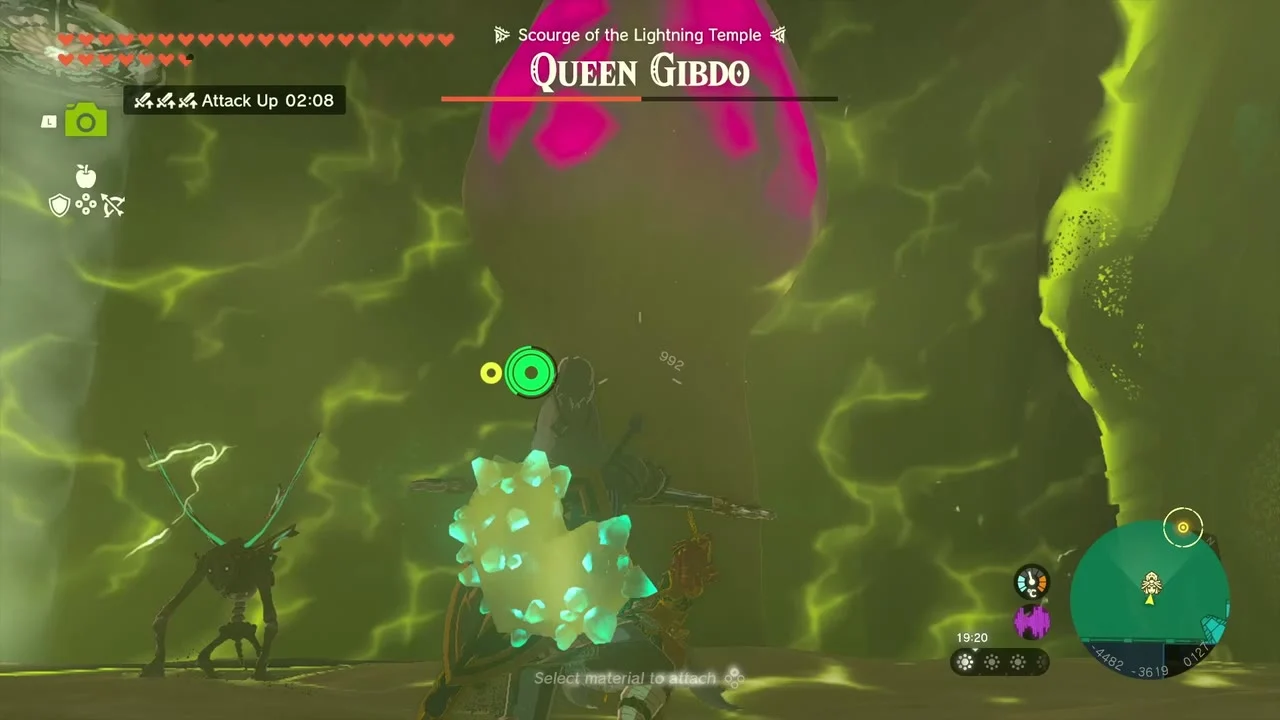

After the battle, collect the Heart Container and speak with Riju to receive her Vow.

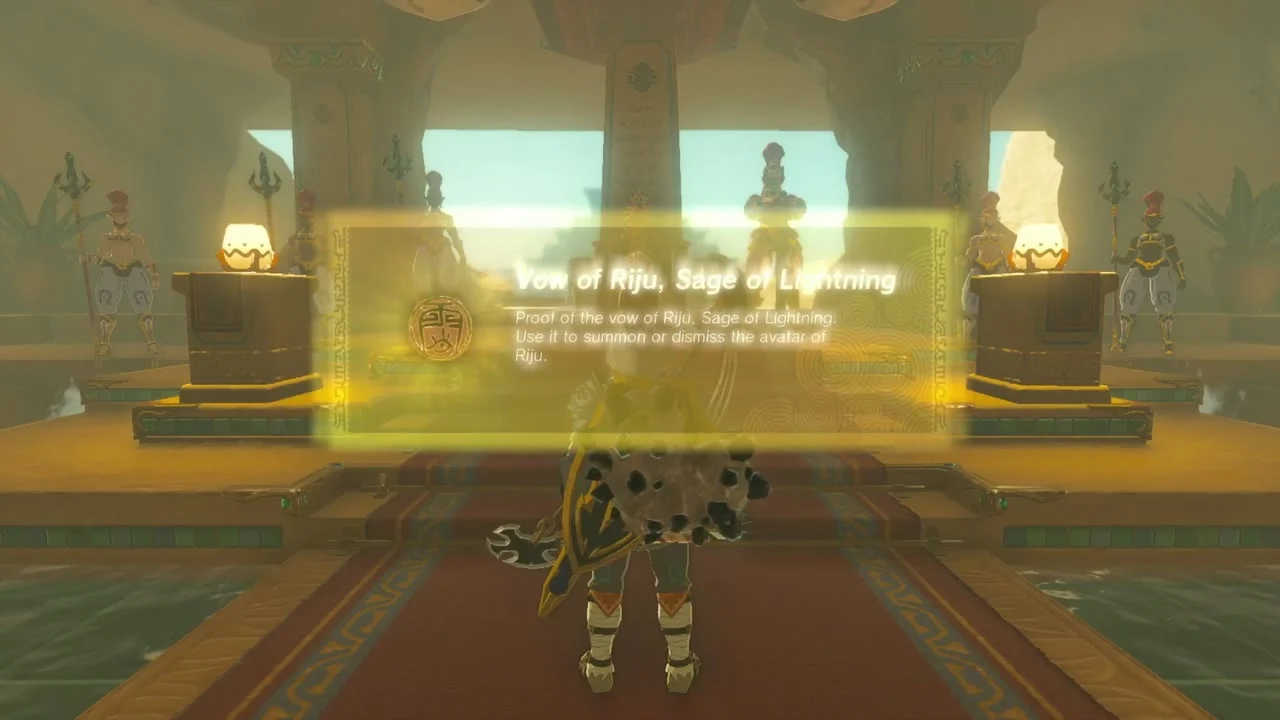
Lightning Temple treasure chests
The temple holds seven chests. Two of them contain gear that scales with your progress, so the exact name you see may differ from the ones listed here.


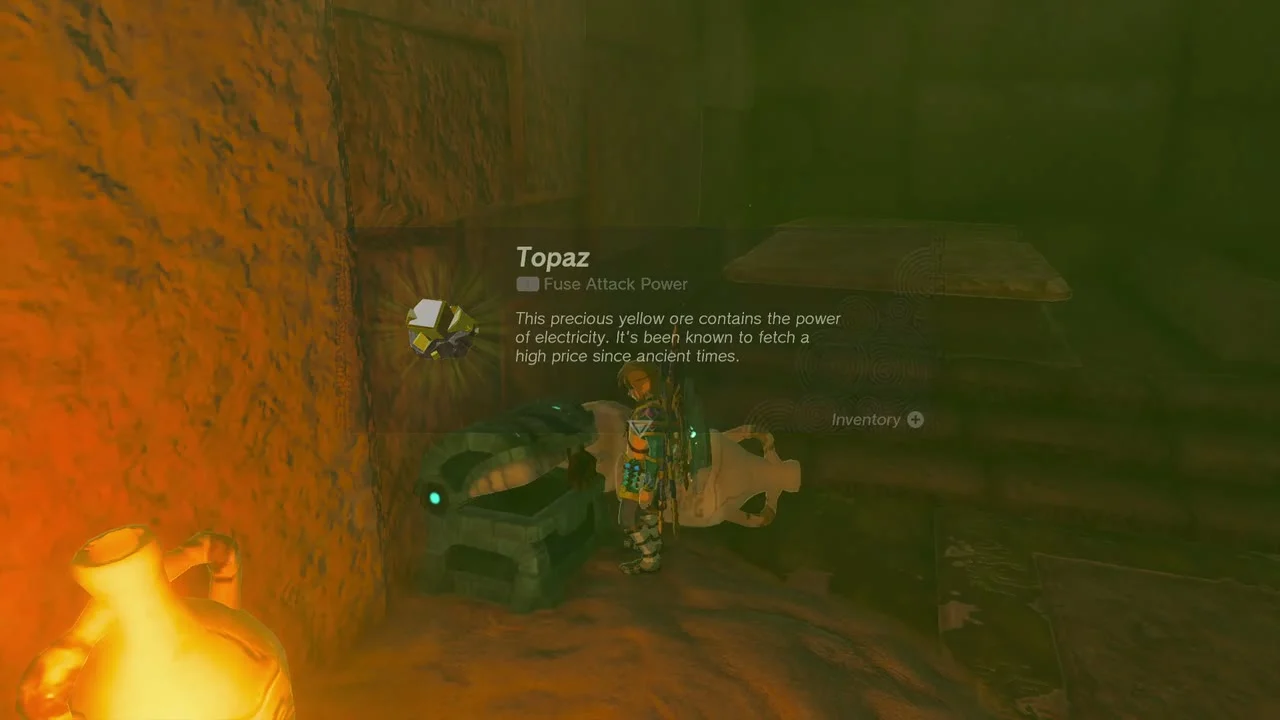
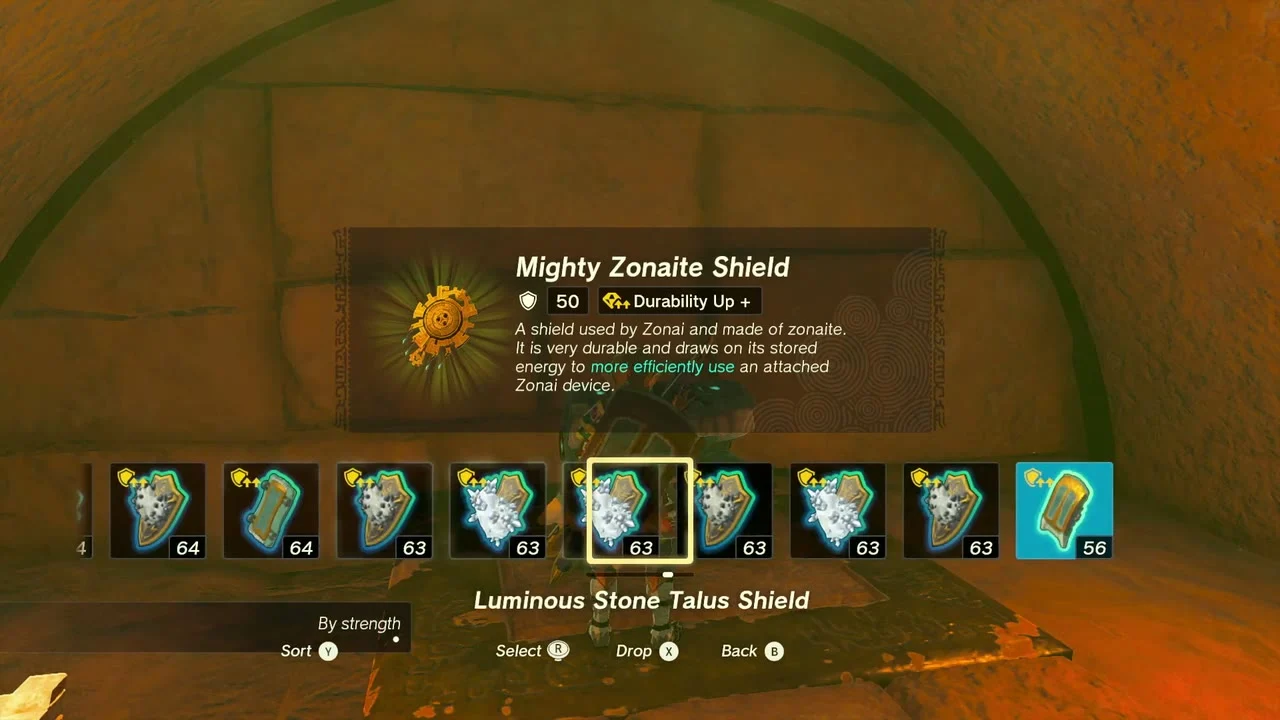
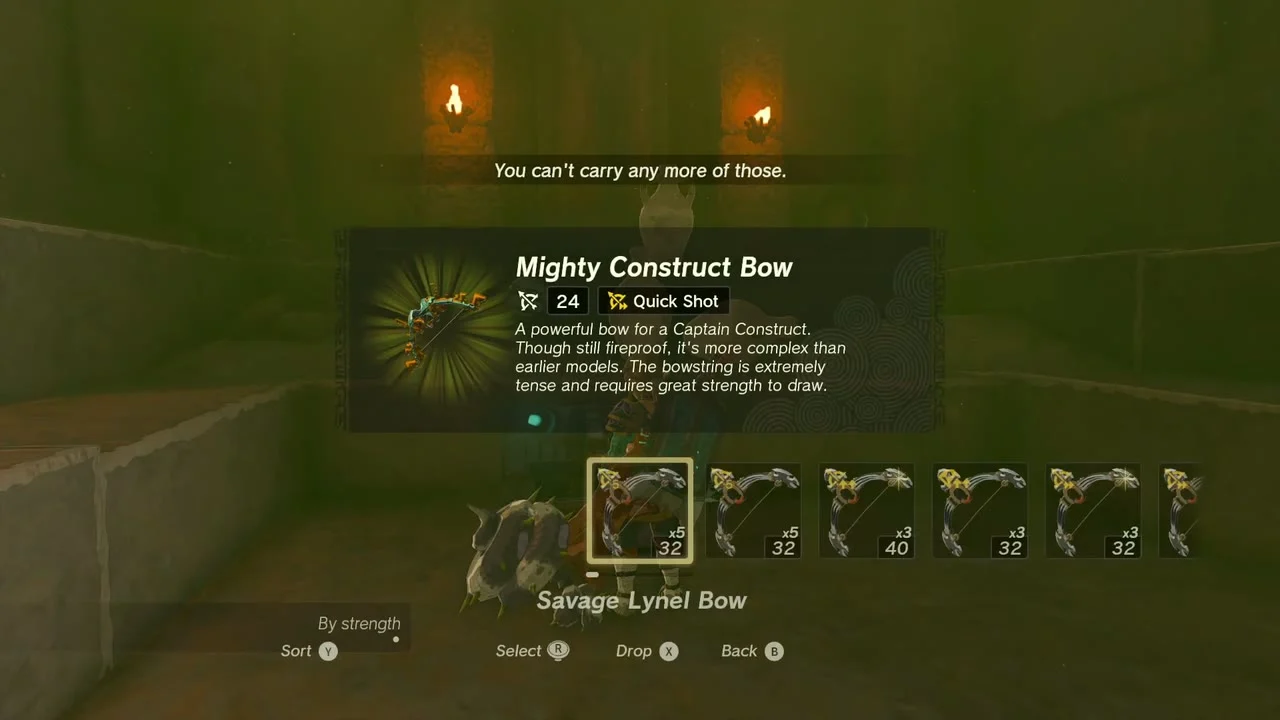

| Contents | Location |
|---|---|
| Large Zonai Charge | In a gap beside the bridge on B1, to the left of the entrance. Coordinates: -4513, -3613, -0015. |
| Topaz | Behind stone blocks in the burial chamber on B1. Coordinates: -4534, -3635, -0003. |
| Zonaite Shield (Strong or Mighty, depending on progress) | In a hidden B1 chamber. Coordinates: -4686, -3665, -0006. |
| Construct Bow (Strong or Mighty, depending on progress) | On the rubble in the southwest side chamber of the Room of Hopeful Light. Coordinates: -4620, -3717, 0008. |
| Flame Emitter | Buried in the sand mound to the right of the temple entrance on 1F. Coordinates: -4419, -3492, 0028. |
| Diamond | In an isolated room on 4F. Use Ascend near the bottom of the stairs beside the statue between 2F and the Room of Offered Light. Coordinates: -4535, -3585, 0064. |
| 3 Mirrors | Buried in a sand mound on the temple roof. Coordinates: -4517, -3610, 0179. |
Several loose items are not in chests: a Gerudo Spear behind a wall of fire in a small crevice (pull it out with Ultrahand), Gerudo weapons under stone sheets, and breakable jars holding an Opal, Amber and arrows. Chest counts vary a little between guides.
Queen Gibdo rematches
After clearing the Lightning Temple, Queen Gibdo appears in three boss rematch arenas in the Depths: one in the Gerudo Highlands, one beneath Hyrule Ridge, and one in the Lanayru Wetlands. Each arena has a chest with a Huge Crystallized Charge the first time you win there. Queen Gibdo Wings drop after the fight and can be fused to weapons or shields.
