





















| Location | Above Wellspring Island, Lanayru sky |
|---|---|
| Quest | Sidon of the Zora (main quest) |
| Boss | Mucktorok |
| Reward | Heart Container |
| Recommended gear | Splash Fruit or Chuchu Jelly, arrows, Zora Armor chest piece |
| Chests | 7 |
The Water Temple sits above Wellspring Island in the Lanayru sky. Its four water wheels are called faucets in the game. Activate all four with Sidon’s water power, then return to the central platform to face Mucktorok.
Before you go
You reach the temple during the Sidon of the Zora main quest. In Zora’s Domain, follow the clues from Yona, Jiahto, and Sidon. The trail leads to King Dorephan, Floating Scales Island, and the Ancient Zora Waterworks. Once you raise the water in the Waterworks and speak with Sidon, a waterfall opens the route to Wellspring Island.
The Zora Armor chest piece is useful on the way up because it lets Link swim up waterfalls. You do not need the full set or any special weapon build to finish the temple. Bring a few Splash Fruit or Chuchu Jelly for clearing sludge, plus arrows for switches and Mucktorok.
Wellspring Island has low gravity. Link jumps higher and falls more slowly, so a jump can give you enough airtime to fire arrows in slow motion. Use the water bubbles as lifts, and use Recall on a bubble when you need to ride it back up.
Reach the Water Temple
Climb to the temple entrance
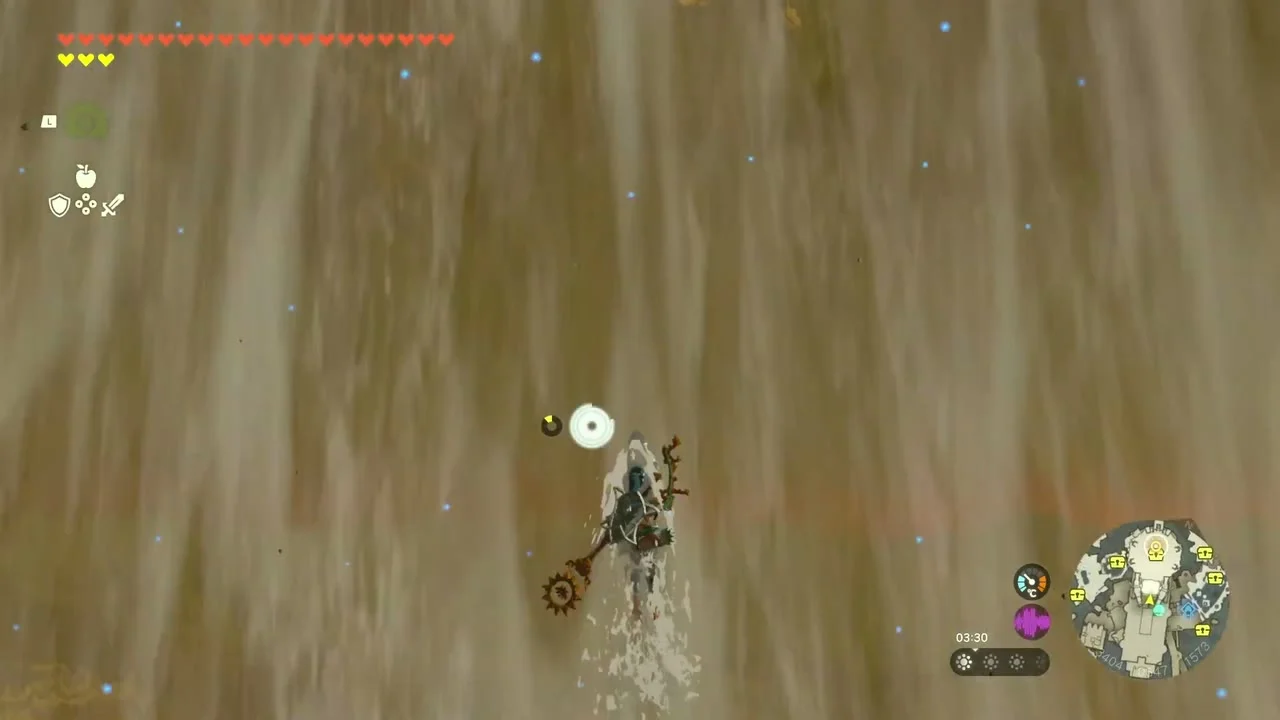
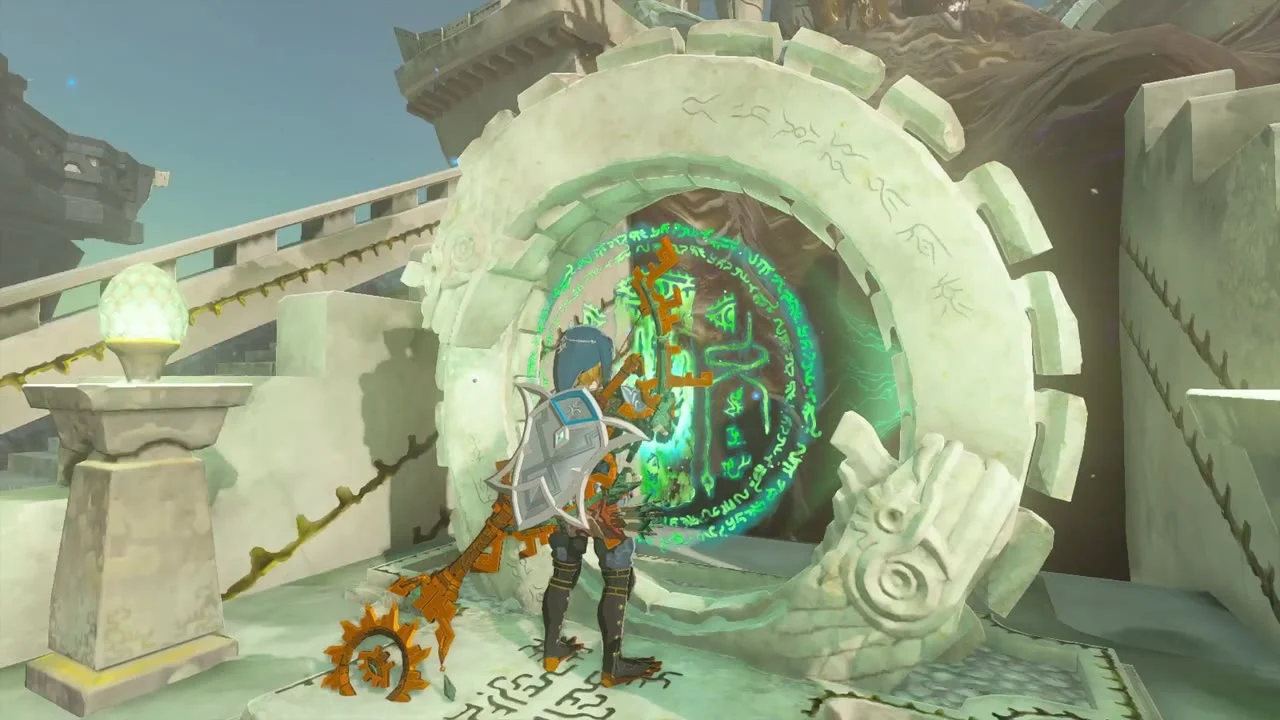
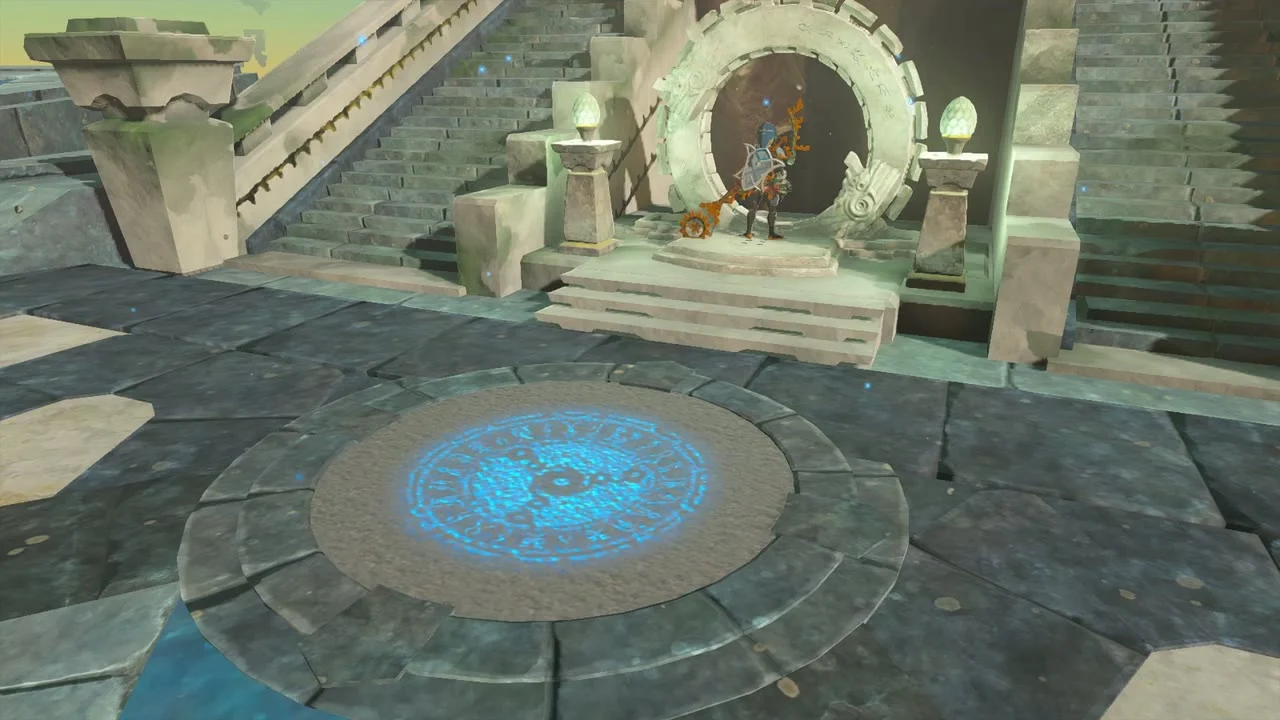
Follow the path across Wellspring Island and keep climbing the waterfalls. Use the water bubbles to cross gaps; if one moves away before you board, Recall it. Near the end, use the Wing and nearby Zonai devices to cross to Sidon. Defeat the Construct, swim up the waterfall behind it, and activate the temple’s travel point.
Activate the four faucets
You can tackle the upper routes in a different order. Each faucet opens when you approach it with Sidon’s water shield active and swing a weapon to send a water wave through the wheel.
Faucet 1: B1, behind the flames
From the central platform, glide down to the basement entrance. Sidon’s shield lets you pass through the flame jets. If Sidon gets stuck outside, first use a Hover Stone to hold down the floor switch near the entrance; that shuts off the flames and lets him follow.

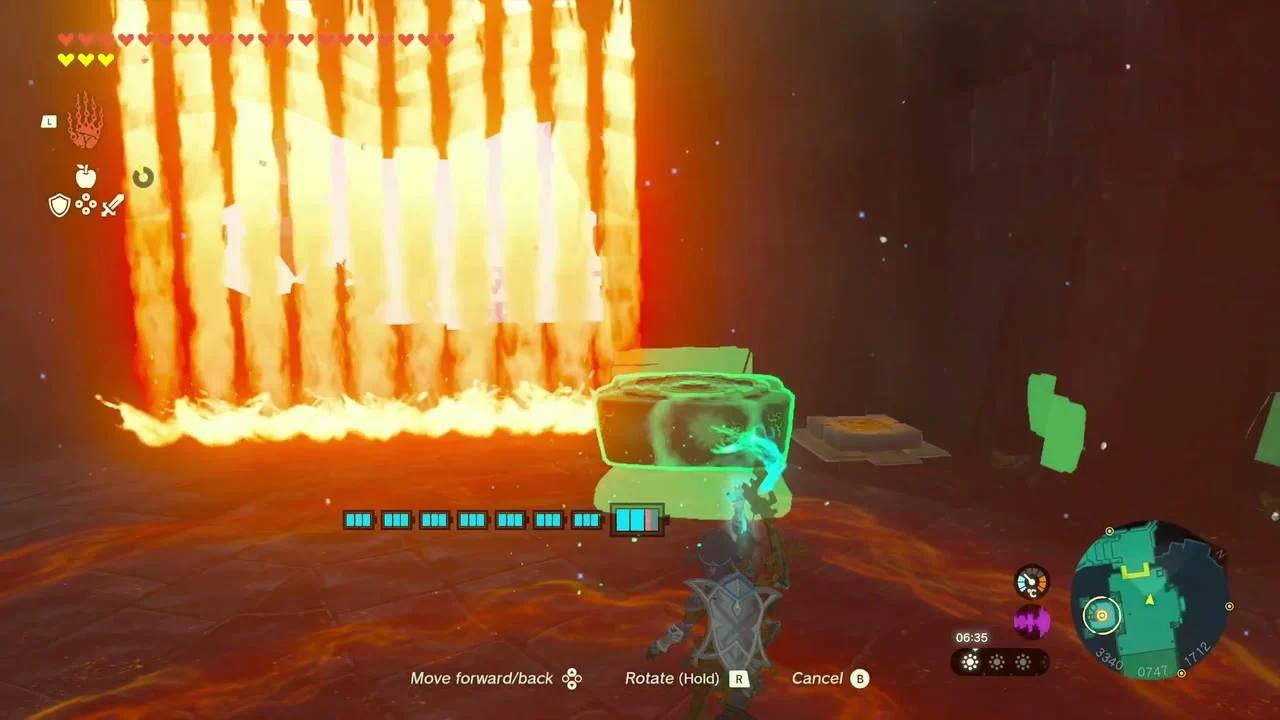
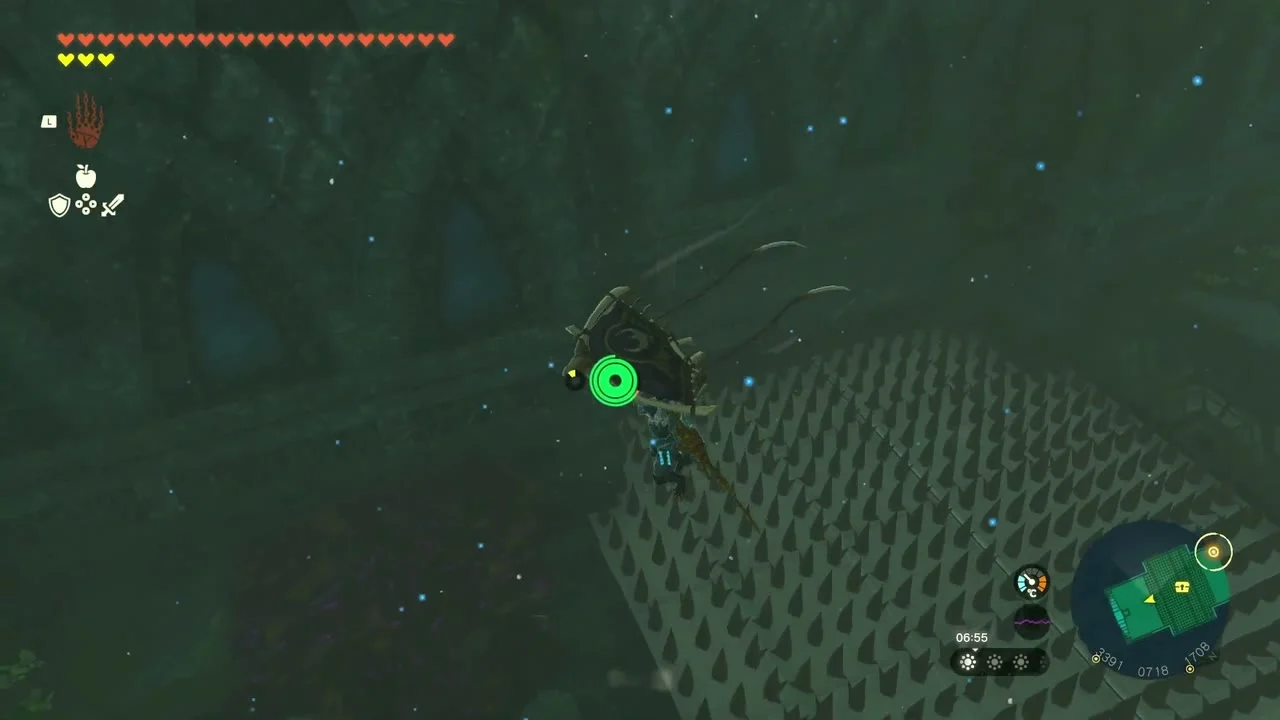
Glide across the spike pit to the stone ball. Attach the ball to a Hover Stone and carry it back across the gap with Ultrahand. Set it into the socket on the far wall, then activate the Hover Stone so the ball stays in place. With the door open, use Sidon’s water wave on the faucet.

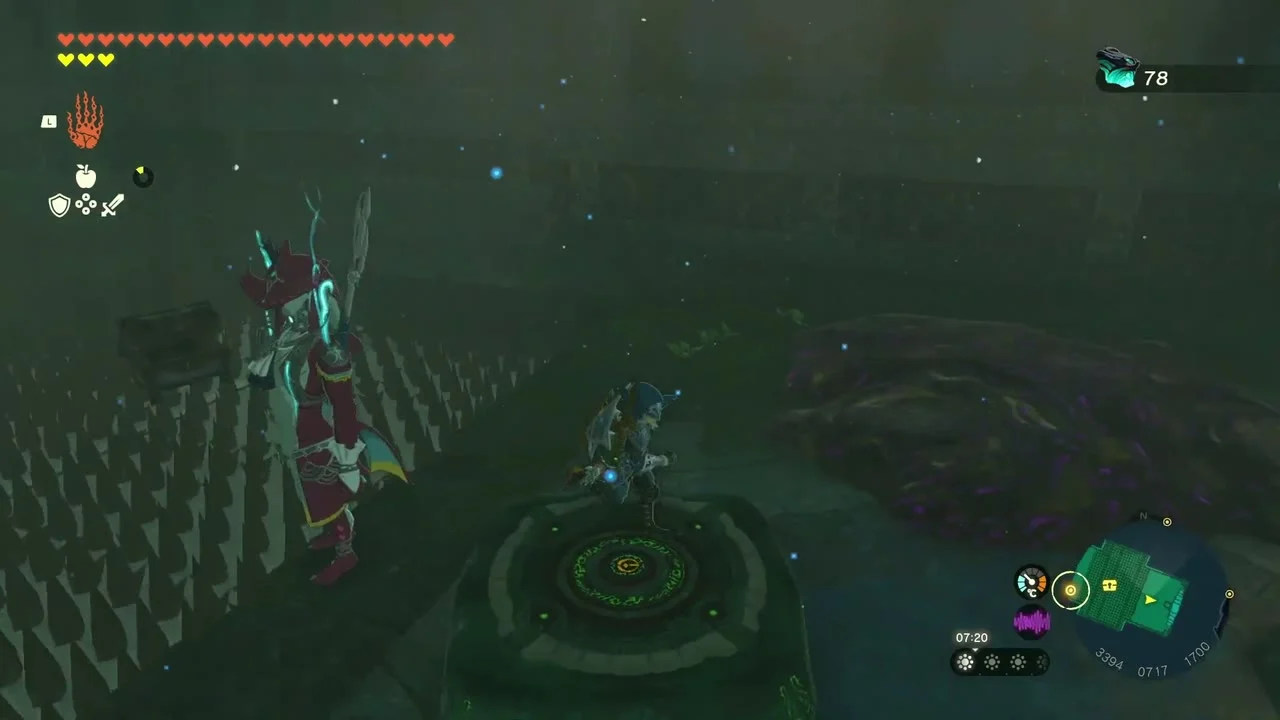


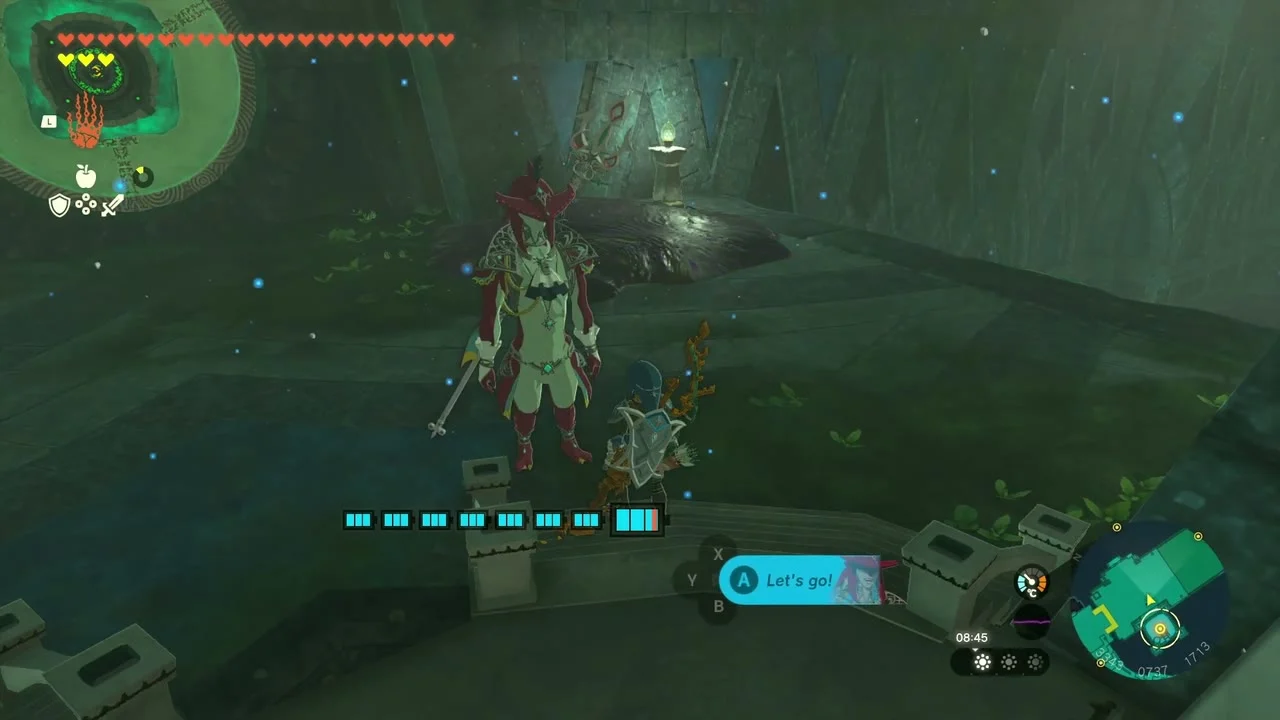
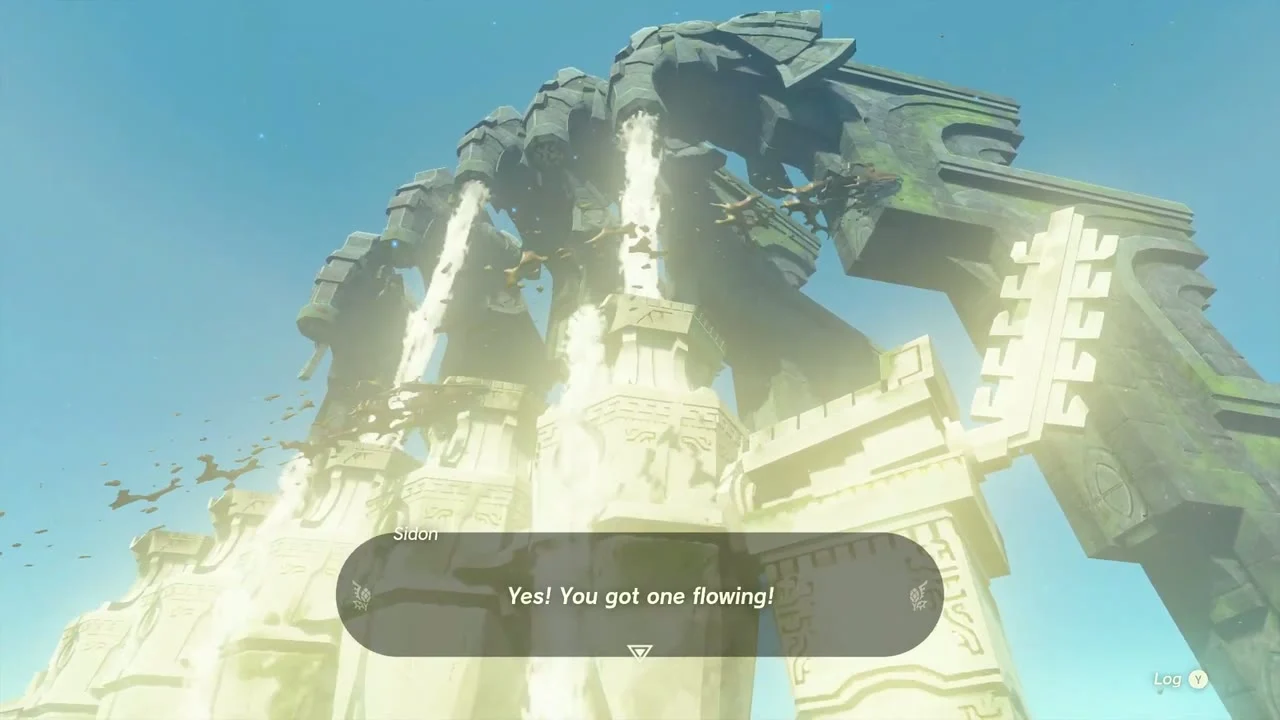
Faucet 2: left side, behind the water-bubble lift
Cross the floating platforms to the lower-left island. Clear the sludge from the bubble emitter with water, then place the stone ball in a bubble and ride a second bubble up to the higher platform.
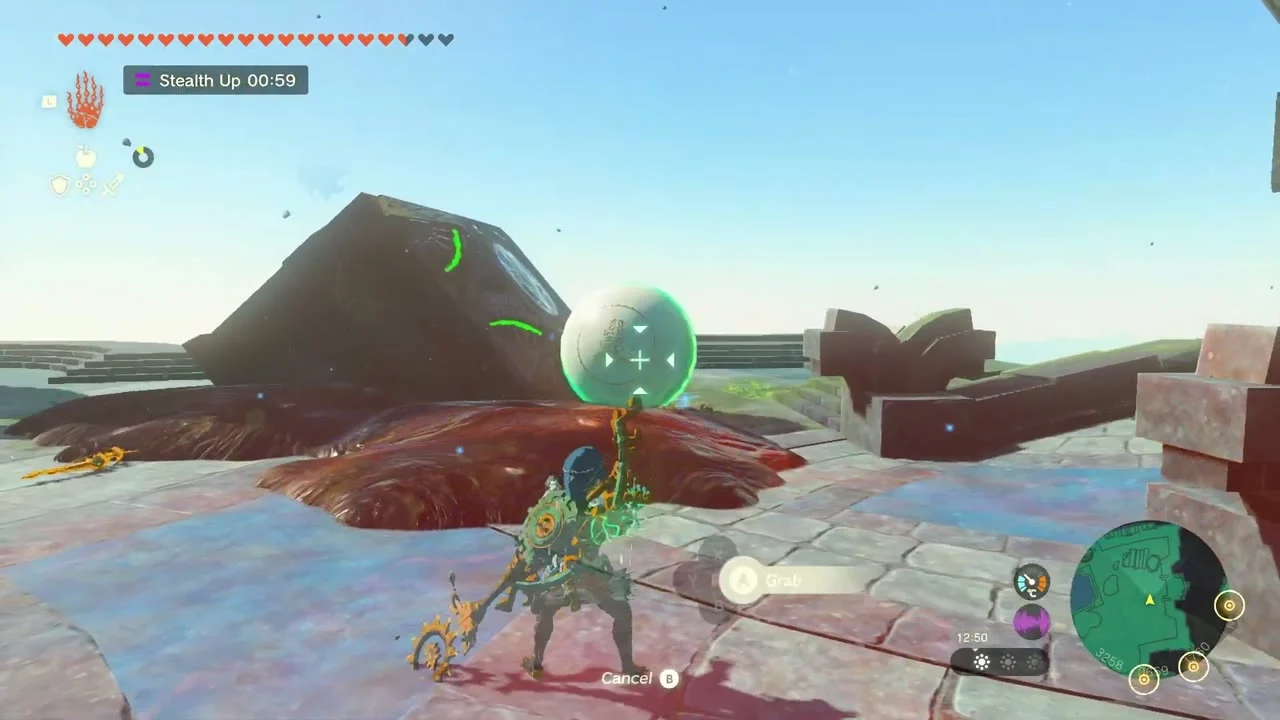
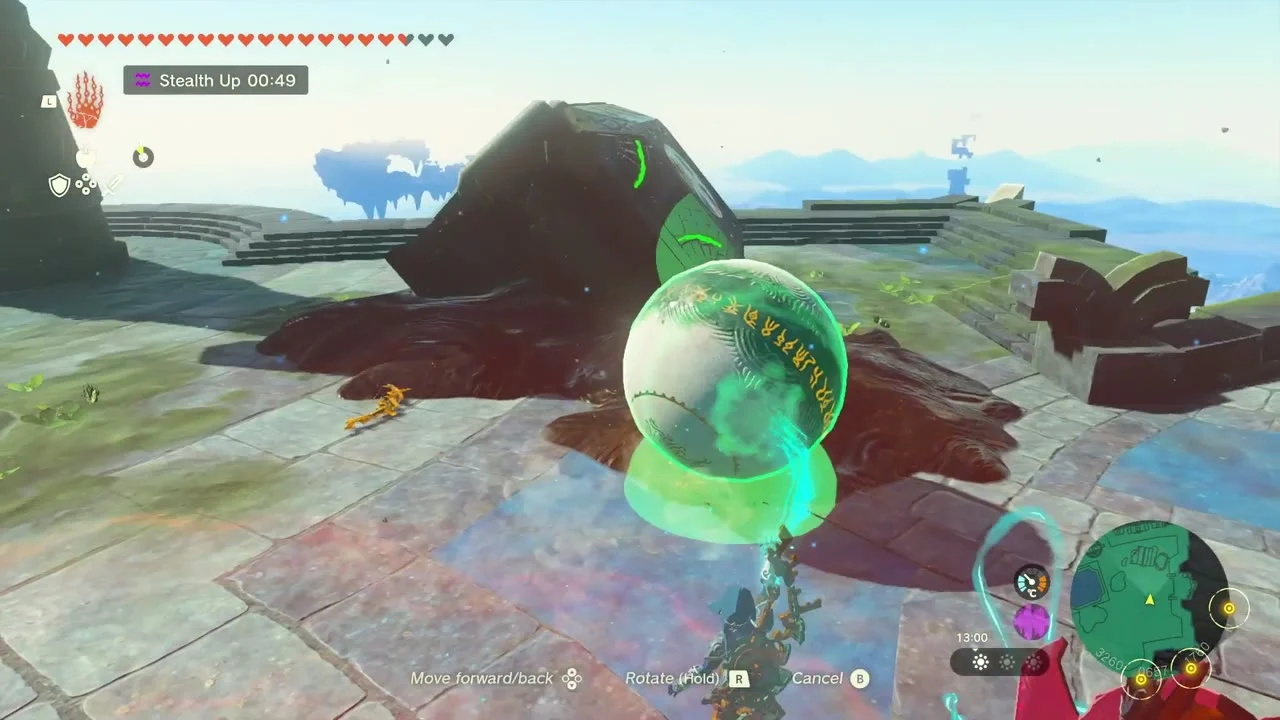

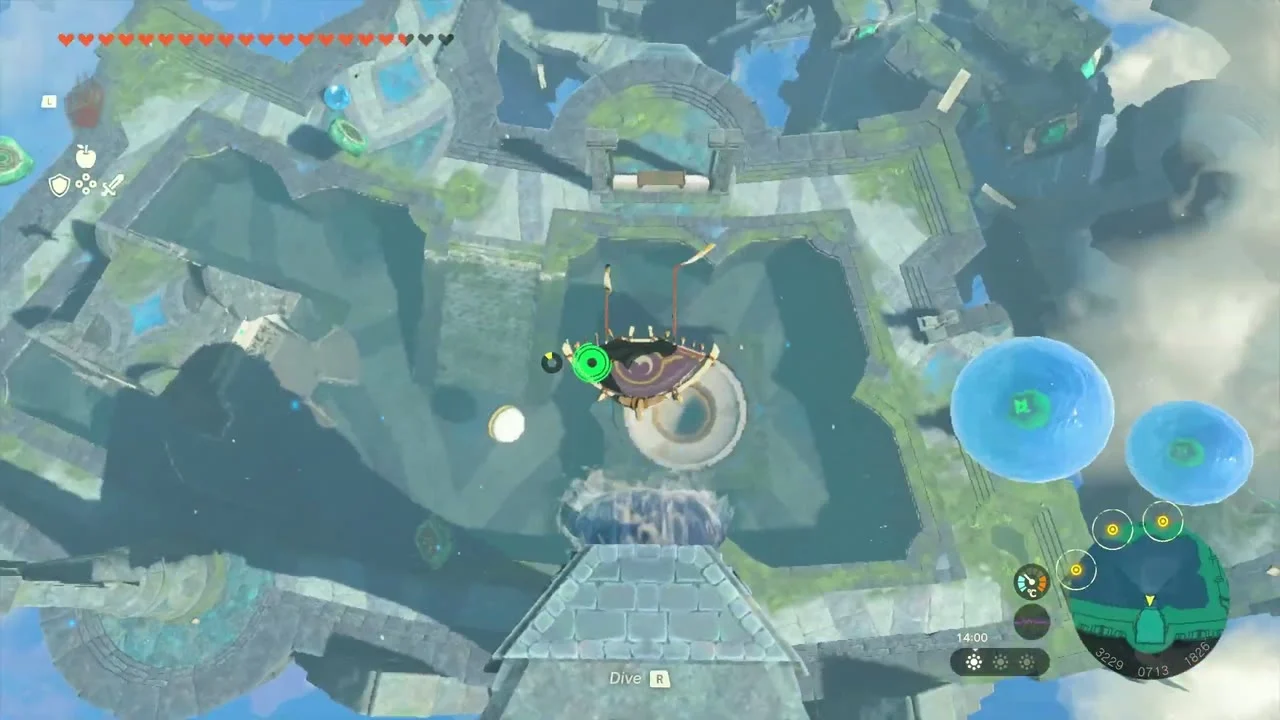
The ball needs to reach a socket in a pool that drains when its gate is raised. Lift the gate with Ultrahand and pin it open with an activated Hover Stone. The water drains, the ball drops into its socket, and the way to the wheel opens. Use Sidon’s water wave on the faucet.
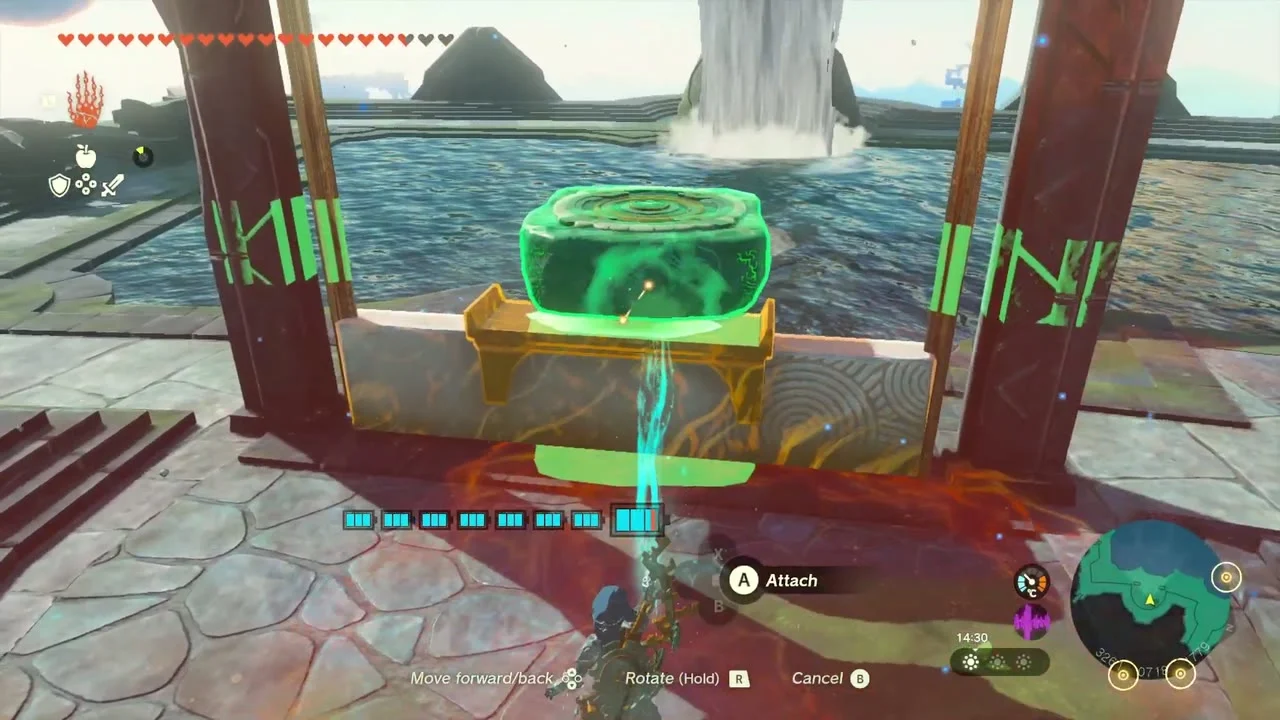

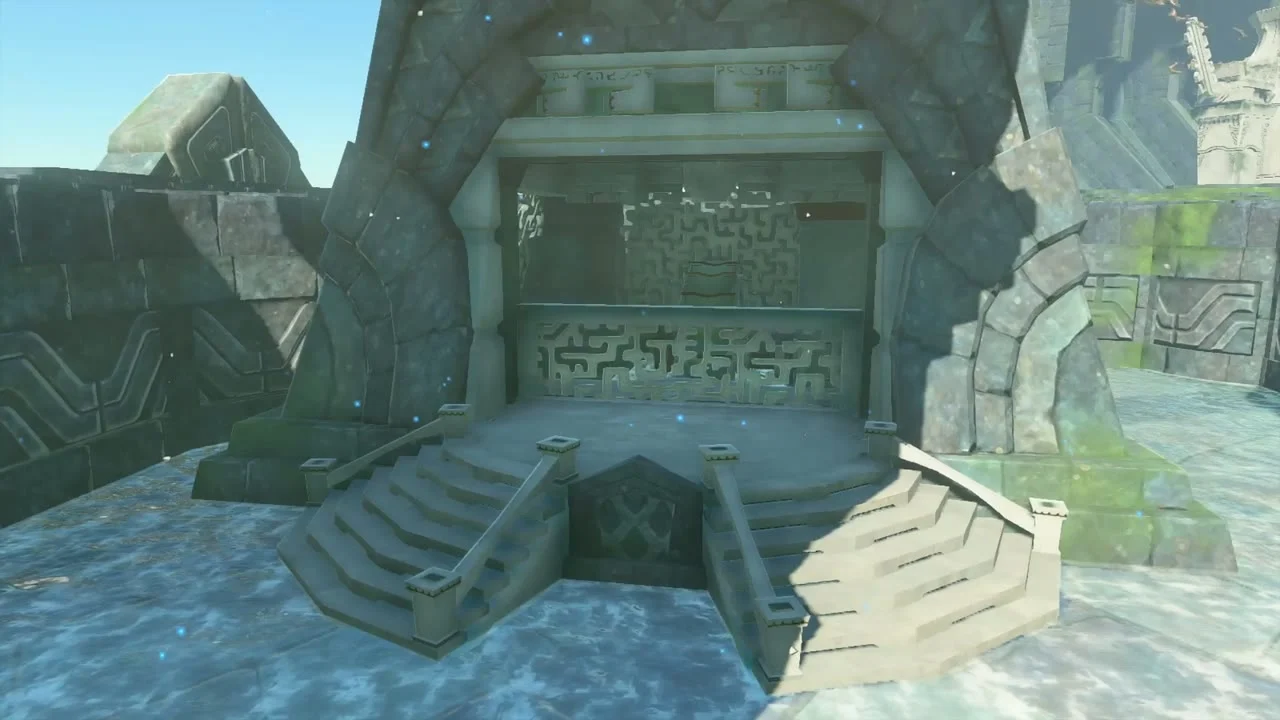
Faucet 3: lower-right island, inside the spinning tower
Clear the sludge from the waterfall and swim up. The Fire Like near the tower guards a chest; defeat it if you want the chest it leaves behind. That chest holds a piece of Zonaite equipment, usually a Zonaite Shield or a Zonaite sword, in the Strong or Mighty tier your progress allows.
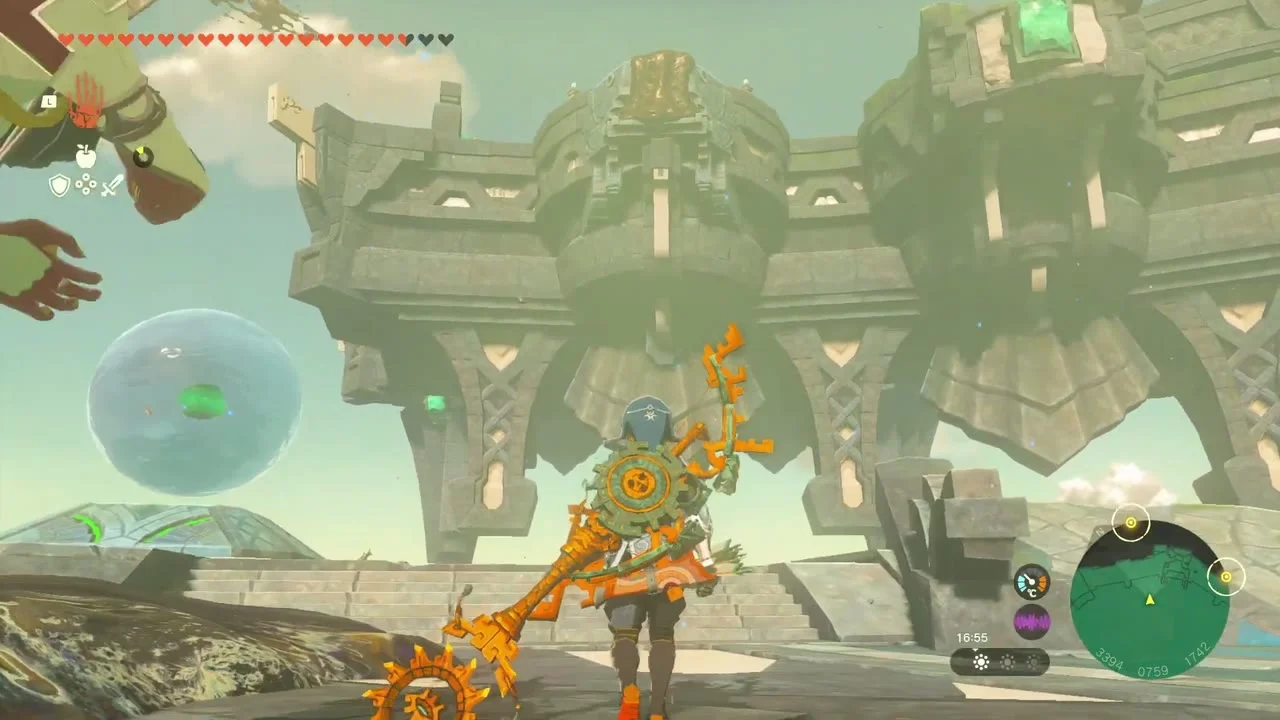

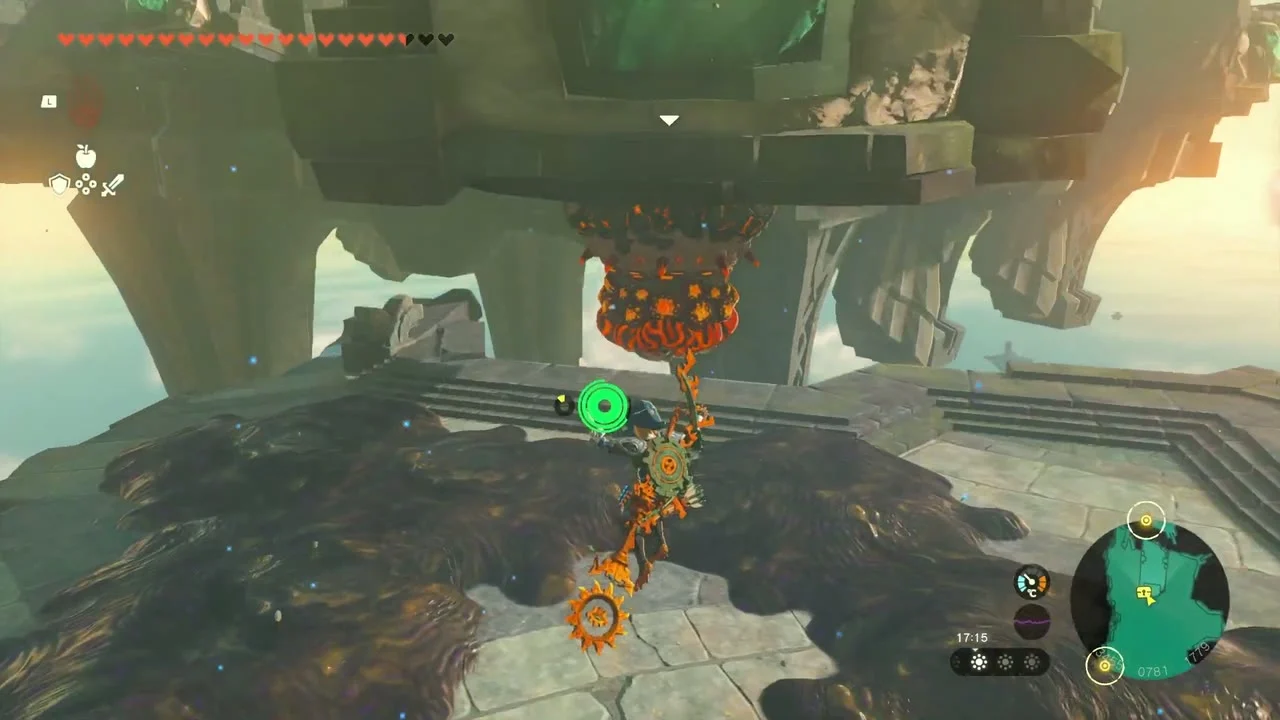
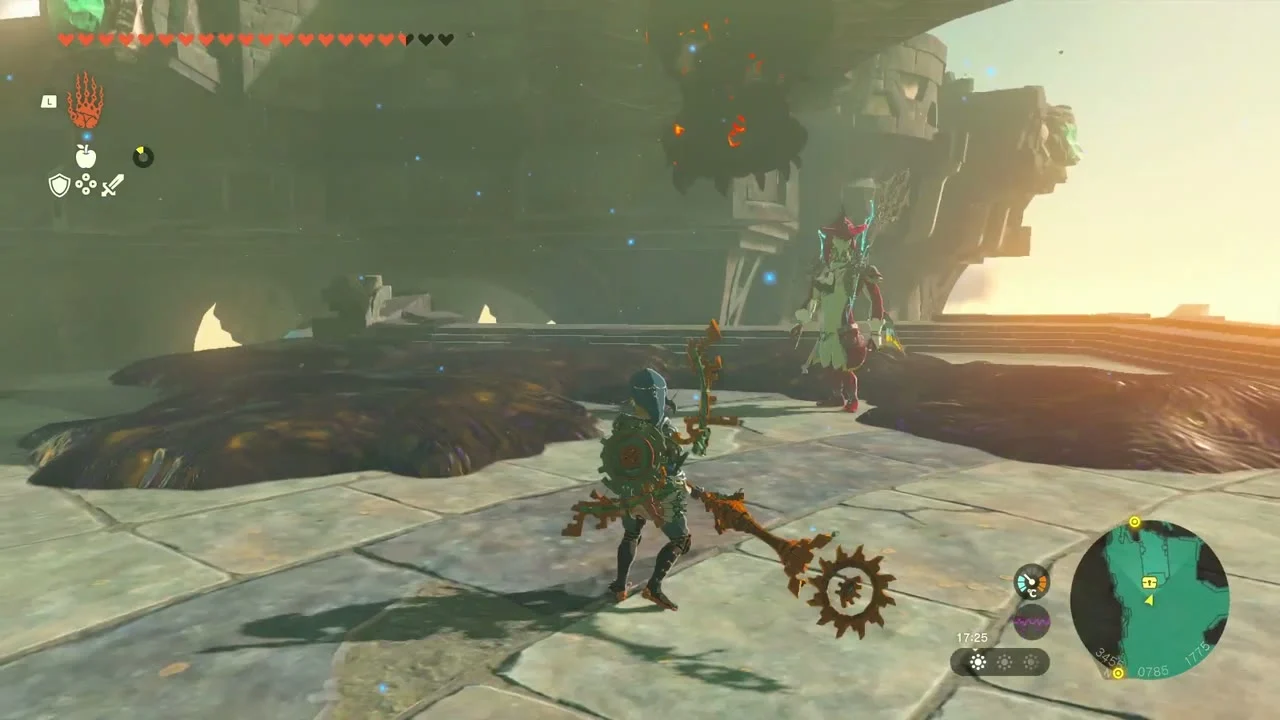
The switch is inside the rotating tower and covered in sludge. Fire a water-fused arrow through the opening to clean it, then shoot the exposed switch. Jumping from a Hover Stone or nearby ledge gives you time to aim in slow motion. Go through the opened gate and activate the faucet with Sidon.


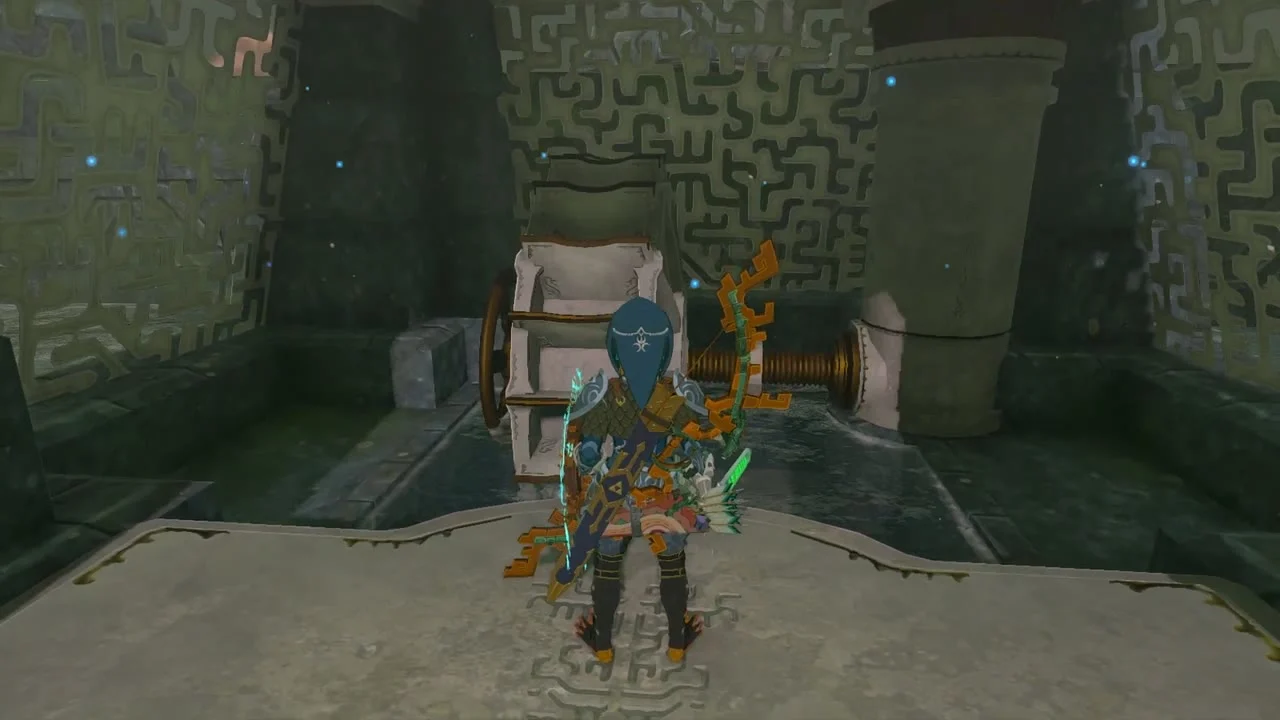
Faucet 4: upper-right island, repair the wheel
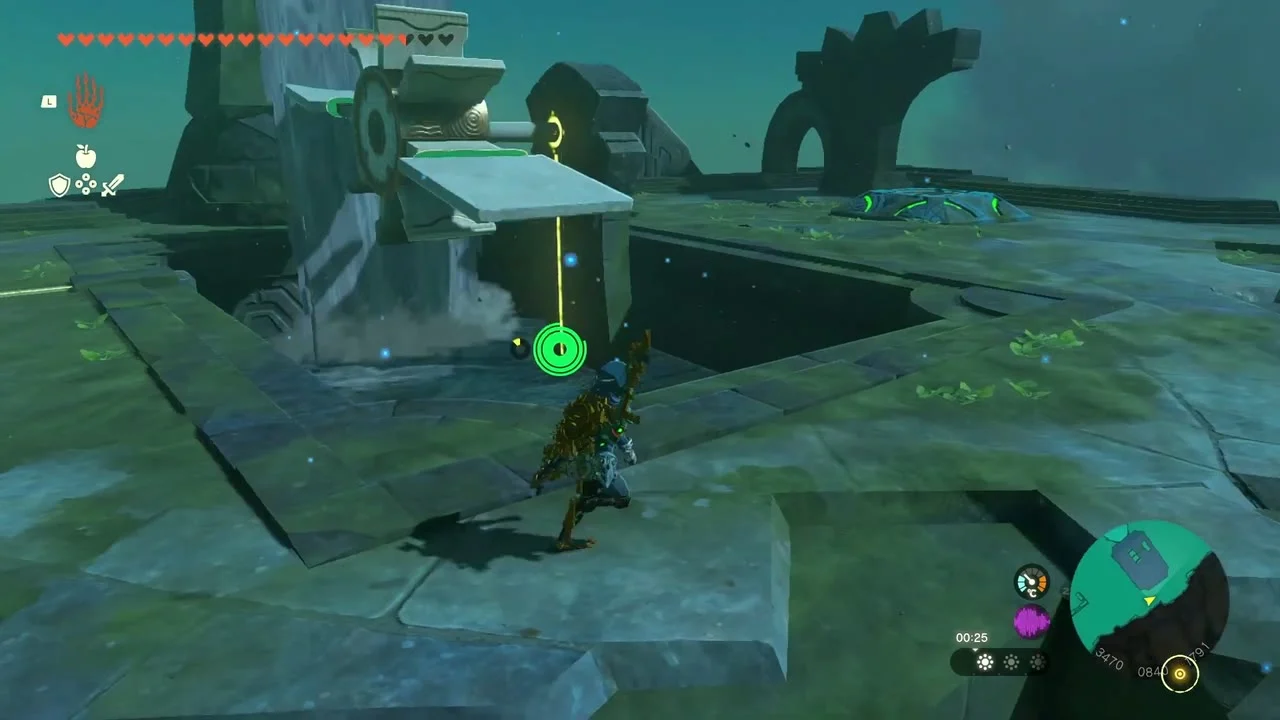
Use a water bubble and Recall to reach the upper-right island. The water wheel here is missing part of its paddle. Attach one of the nearby stone slabs to extend it so the flowing water can turn the wheel.
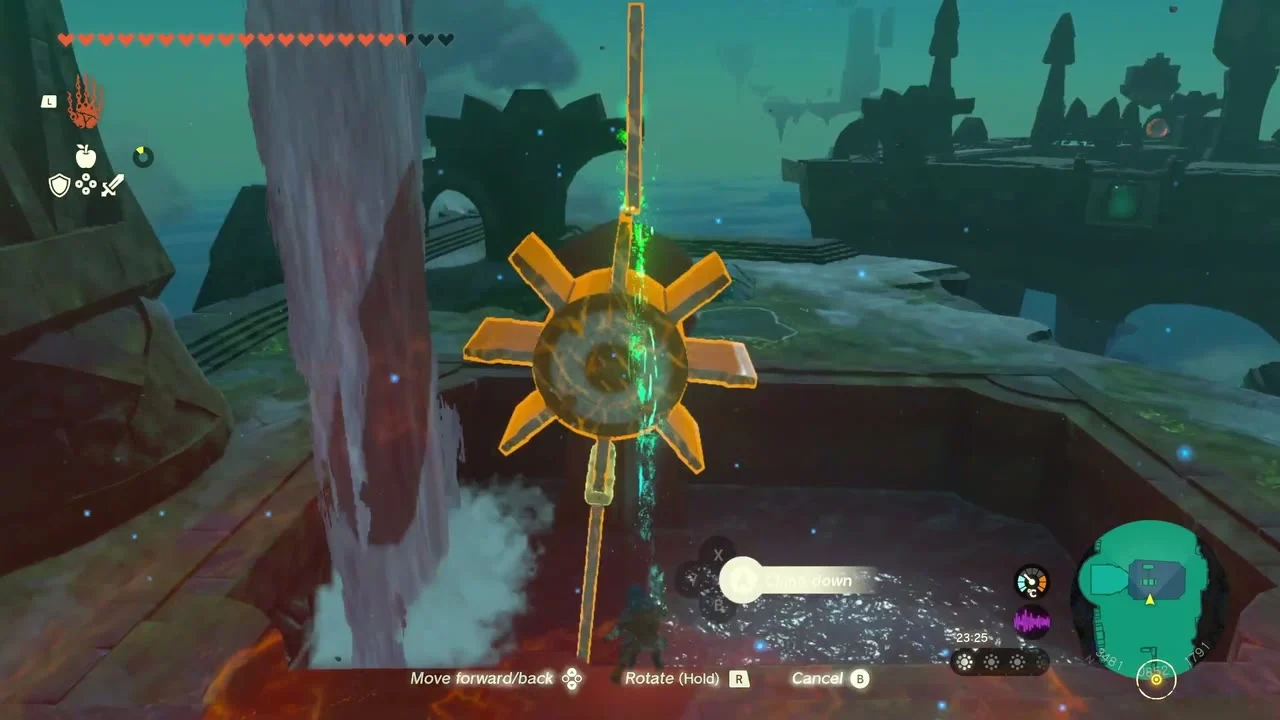

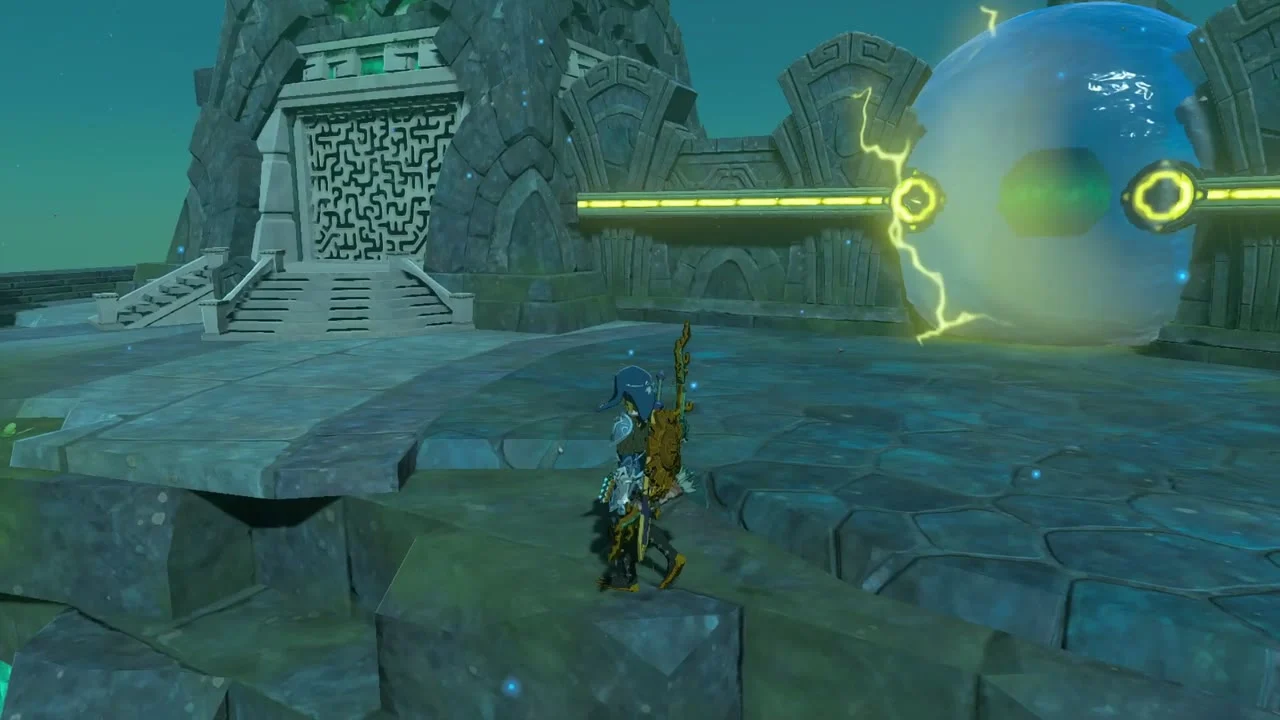
Next, move a water bubble into the gap between the electrical contacts. The bubble carries the current across the gap and opens the gate. Activate the final faucet with Sidon, then return to the central platform.
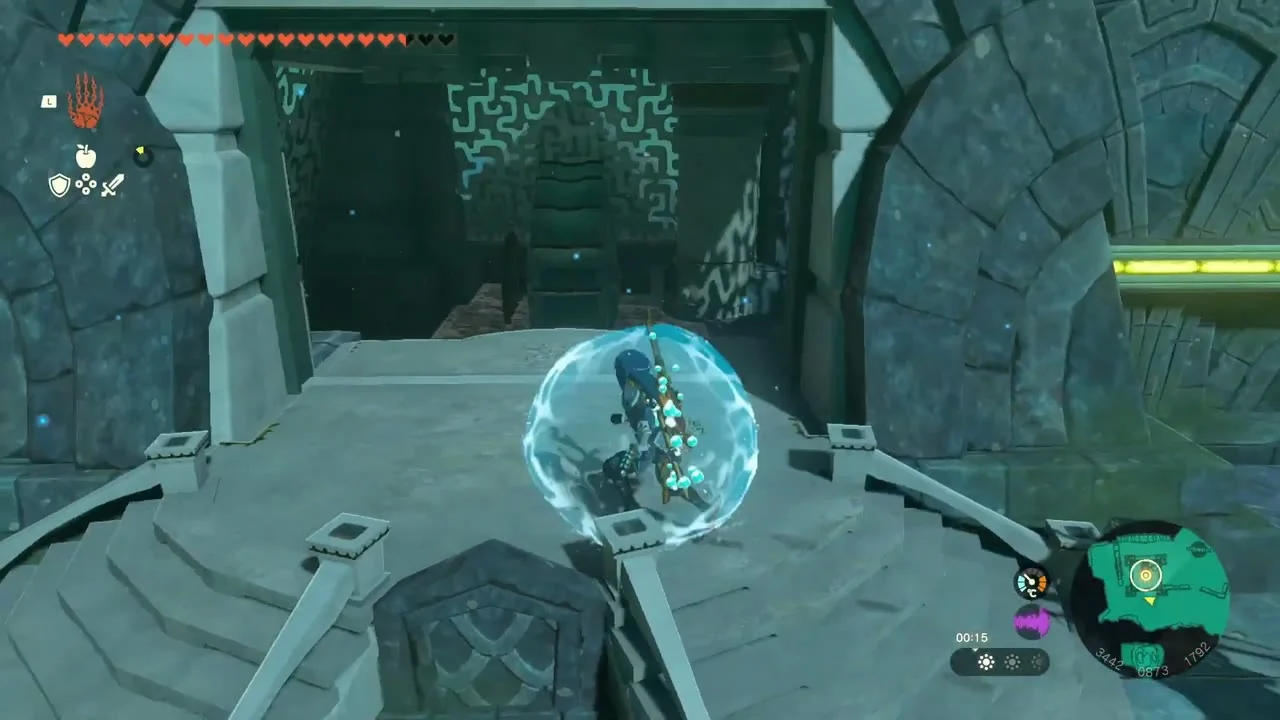
Defeat Mucktorok
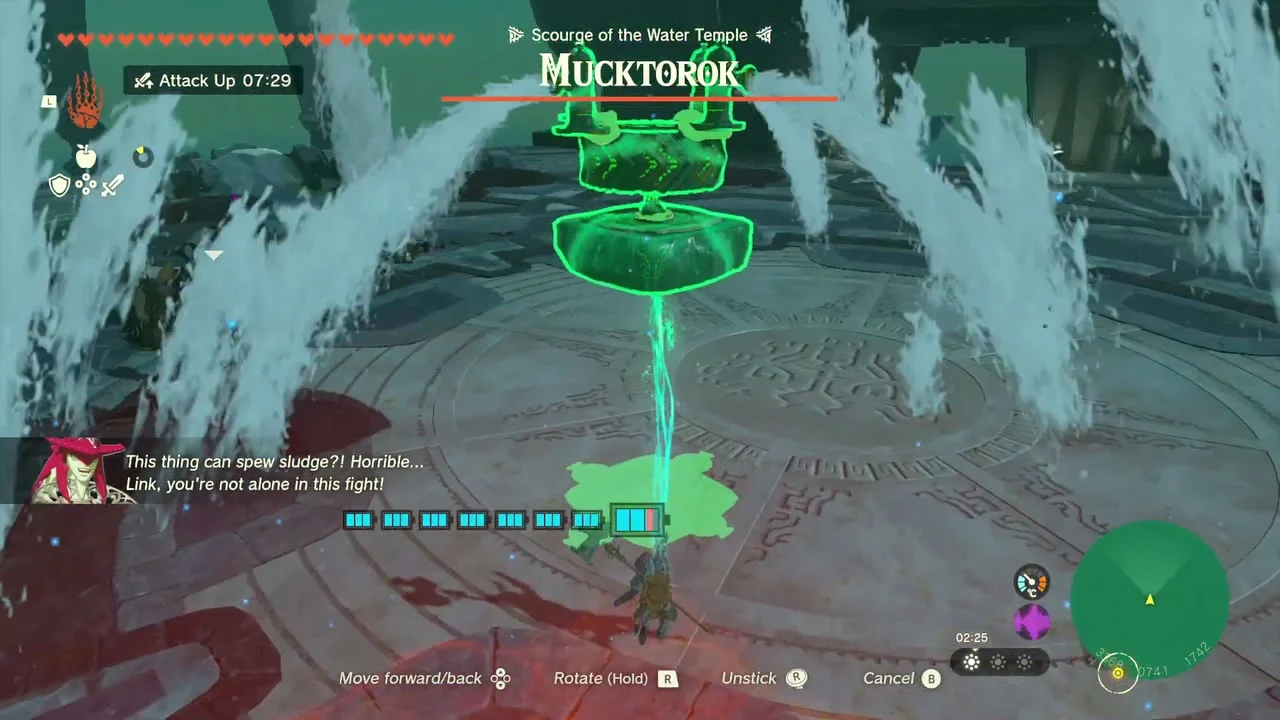
After all four faucets are active, use the central terminal. Mucktorok appears inside a sludge shark and circles the arena. Hydrants set down around the platform, or stacked on the central device, keep washing sludge away so you do not have to rely on Splash Fruit alone.

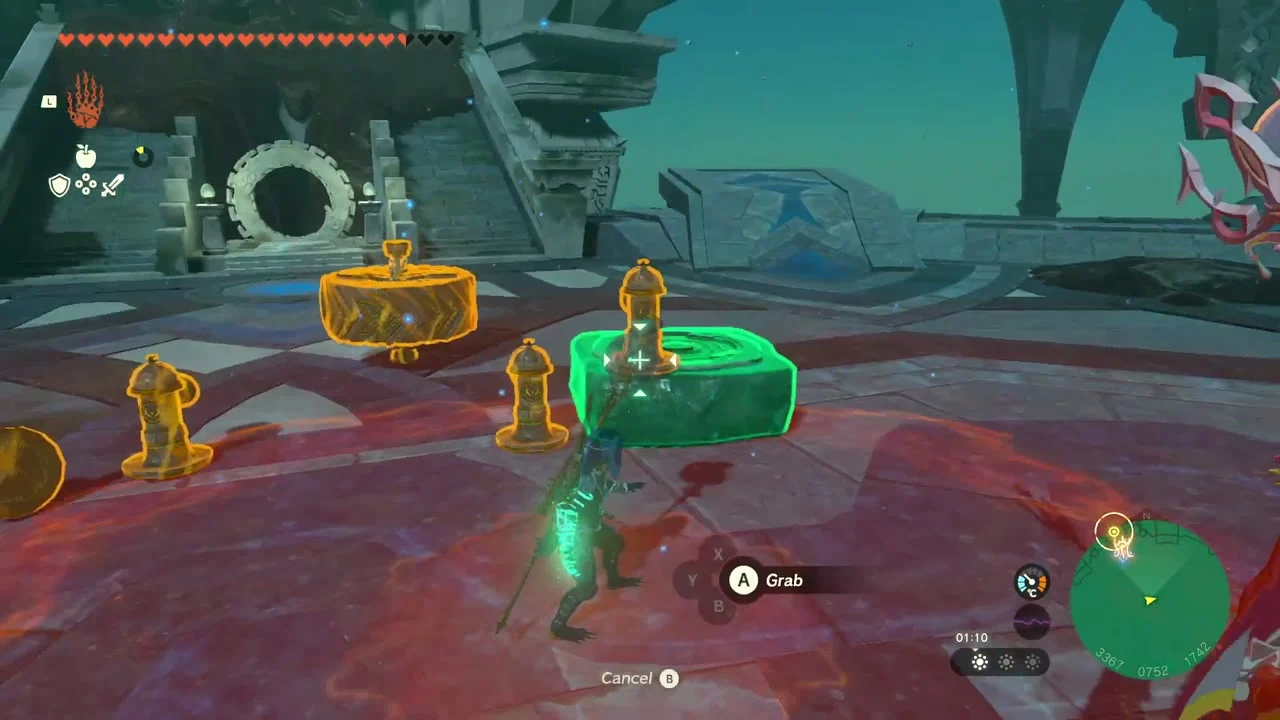
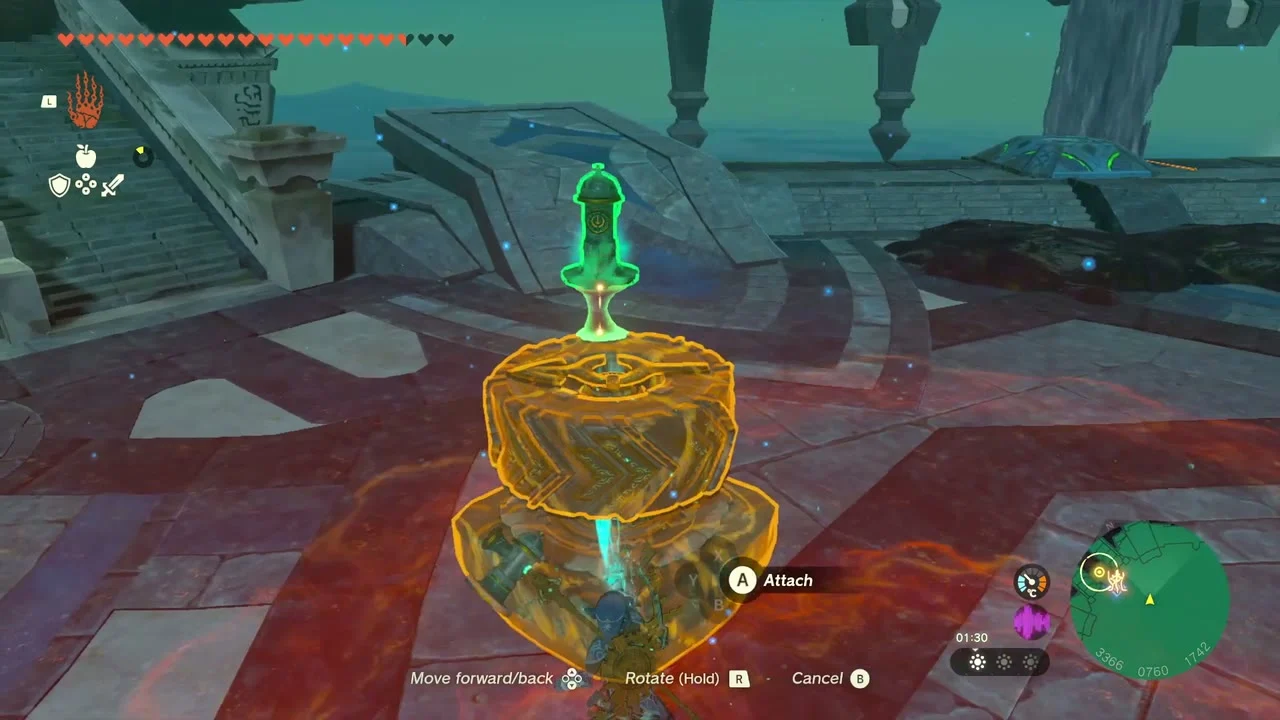

- Wash away the shark. Use Sidon’s water wave, Splash Fruit, or a water-fused arrow. It may take more than one hit to clear the sludge.
- Stun Mucktorok. Once exposed, the Octorok tries to run. Hit it with an arrow before it dives back into the sludge.
- Get in close. While it is stunned, attack with your strongest weapon. Back away when it starts moving again.
- Keep the arena clear. At about half health, Mucktorok spreads sludge around the platform and jumps between patches. Use Sidon’s water wave to clear space, then use a water attack to expose it again. A Keese Eyeball on an arrow can help when it jumps out of reach.


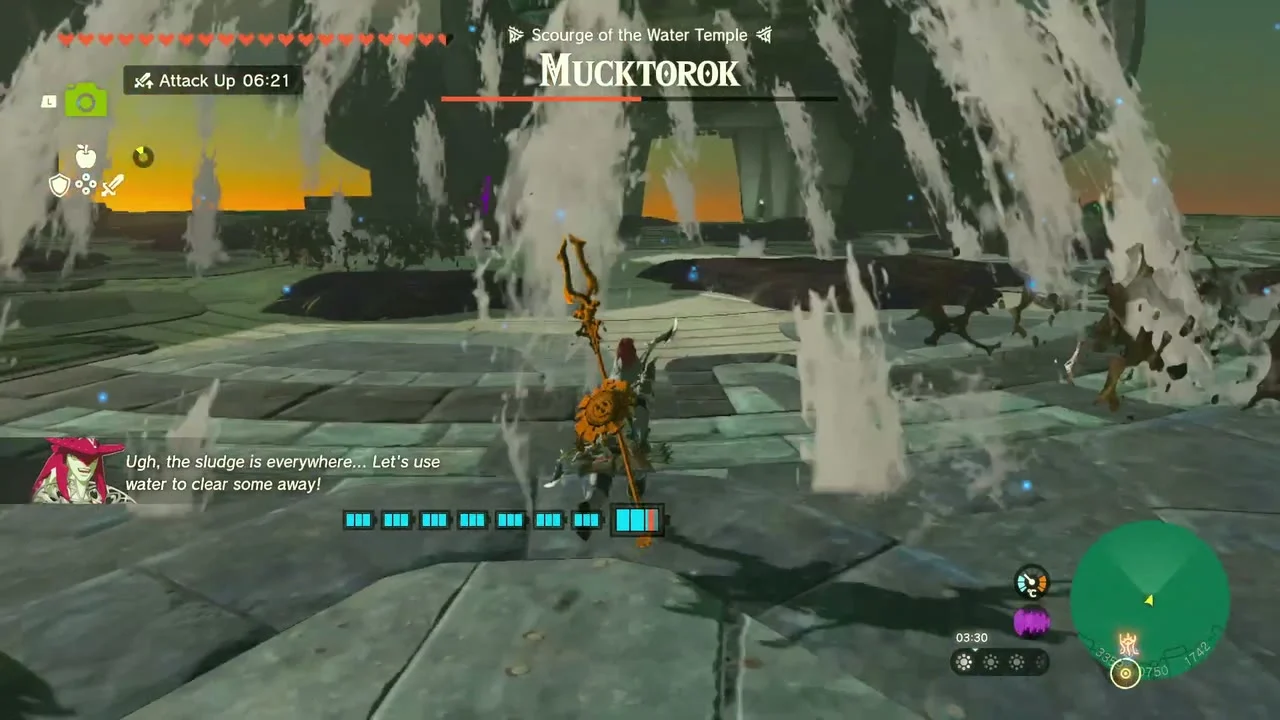
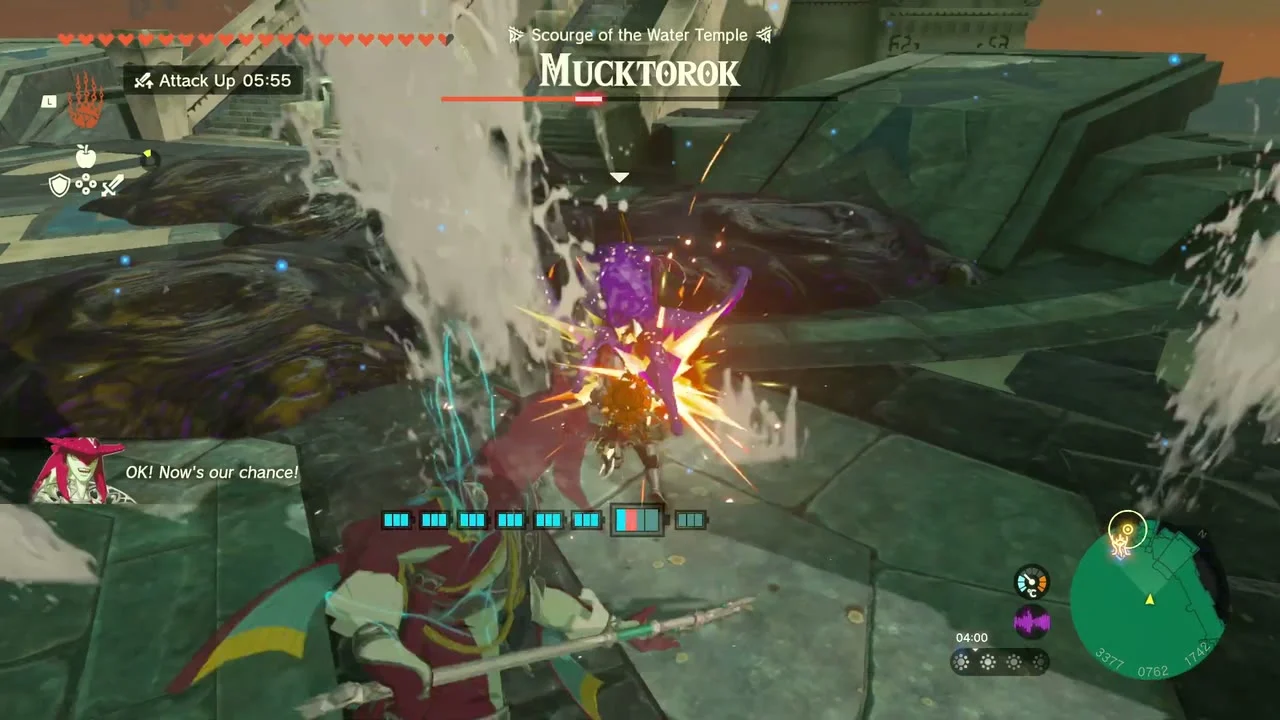

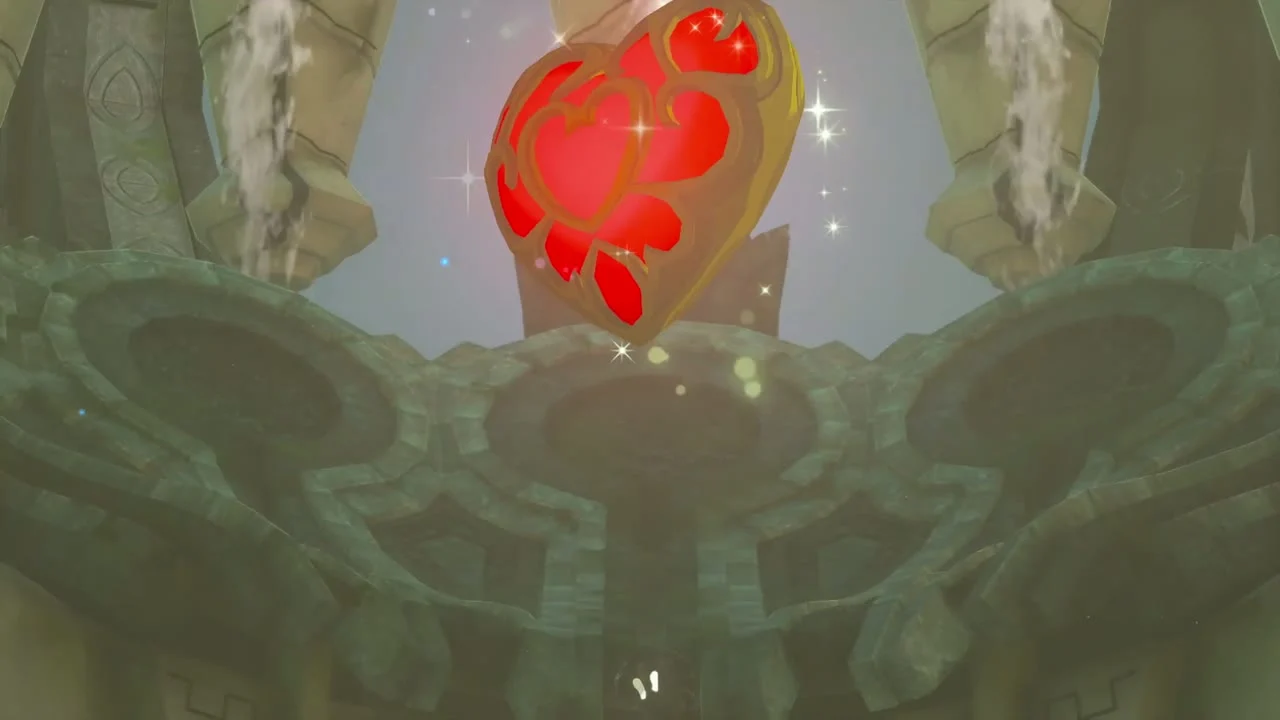
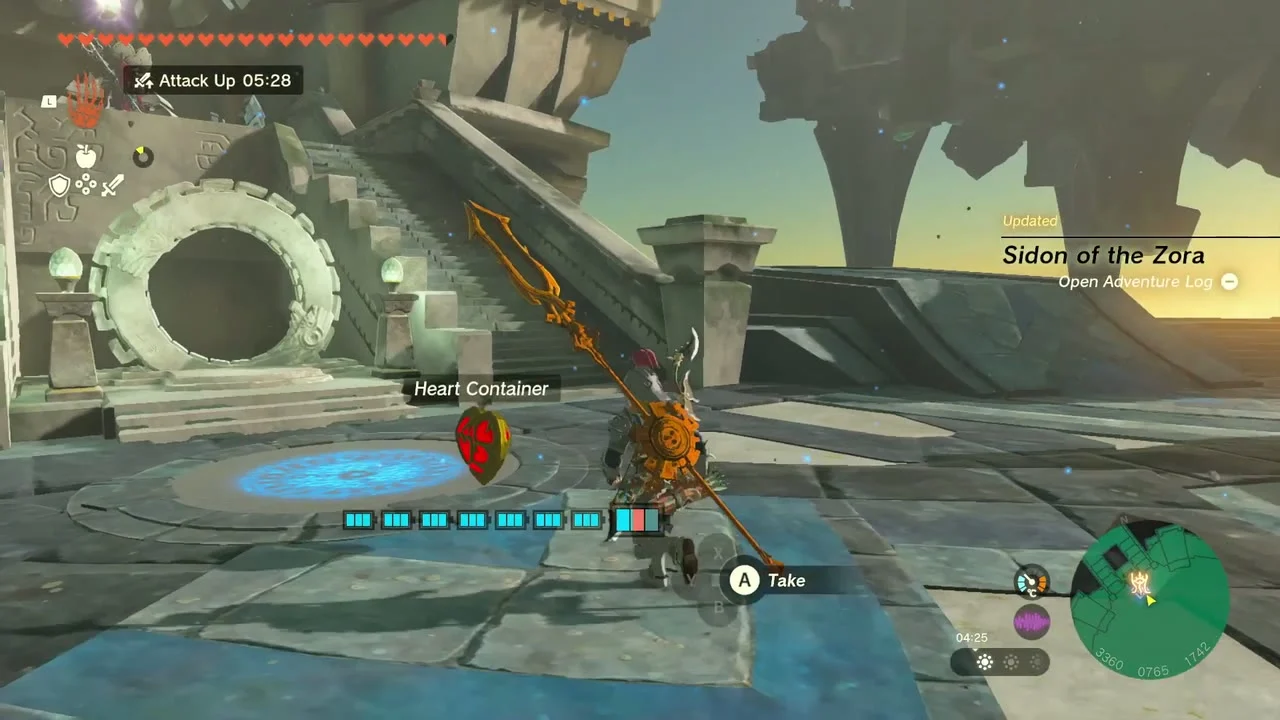
When Mucktorok is defeated, collect the Heart Container and speak with Sidon to finish the quest.
Water Temple chests
There are seven chests in the temple. Several are easy to miss while following the main route.
| Chest | Where to find it |
|---|---|
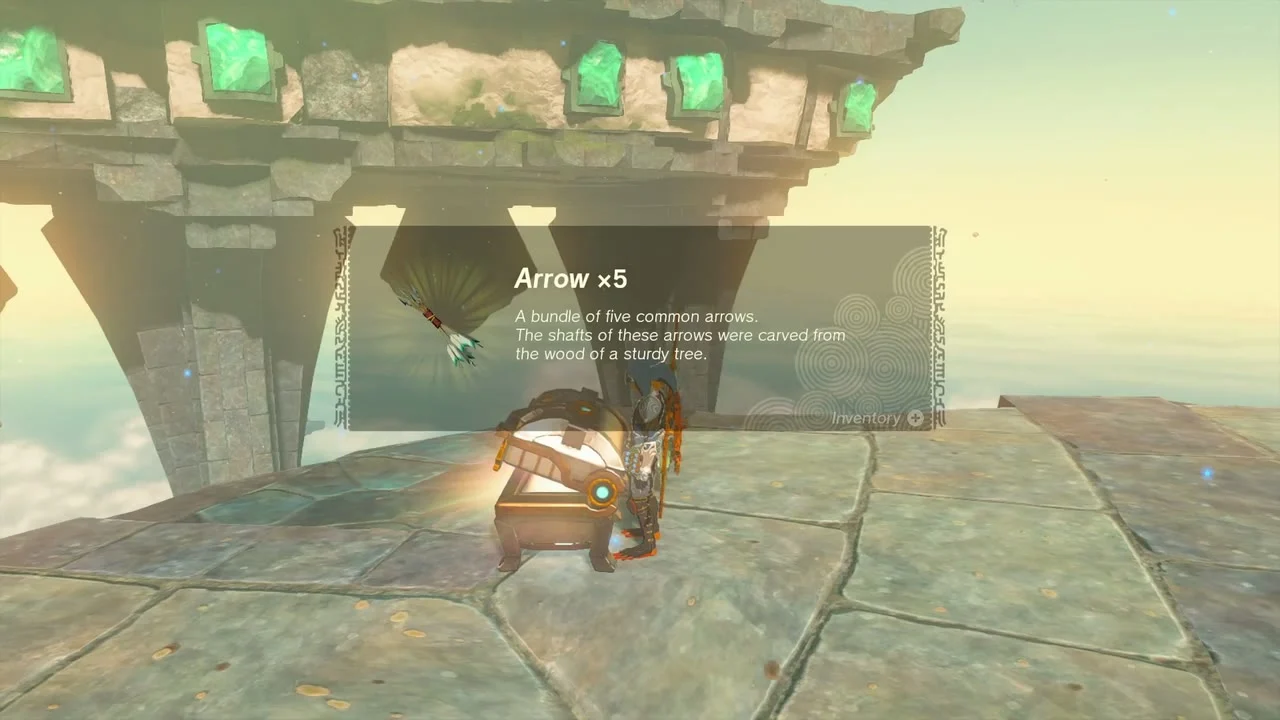
| 5 Arrows | In a sludge pool on the northeast side of the first floor (3441, 0819, 1776). Clear the sludge and lift the chest out with Ultrahand. |
| Zonaite Shield, Longsword or Sword (Strong or Mighty by progress) | A reward chest appears after defeating the Fire Like near the spinning tower. Guides list a Zonaite Shield or a Zonaite sword here, so the exact piece can differ. |
| Opal | Underwater beneath an arch on the southeast side of the first floor (3498, 0752, 1786). |
| Large Zonai Charge | On top of the southeast islet (3524, 0643, 1810). |
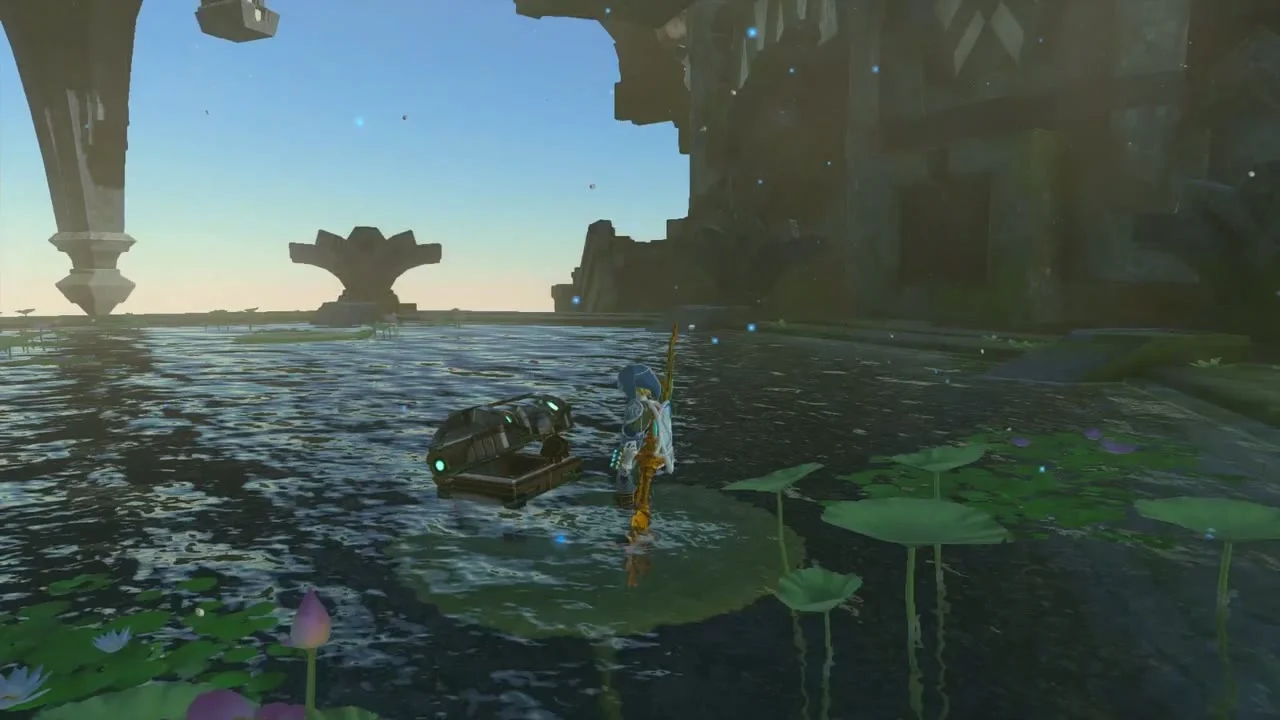
| Sapphire | On a lily pad in the southwest pool on B1 (3310, 0671, 1717). Glide to the leaf and open it, or use Ultrahand to pull it in. |
| Large Zonaite | Attached to a floating platform above the spike room in the inner B1 area (3379, 0715, 1720). Shoot the platform to drop the chest. |
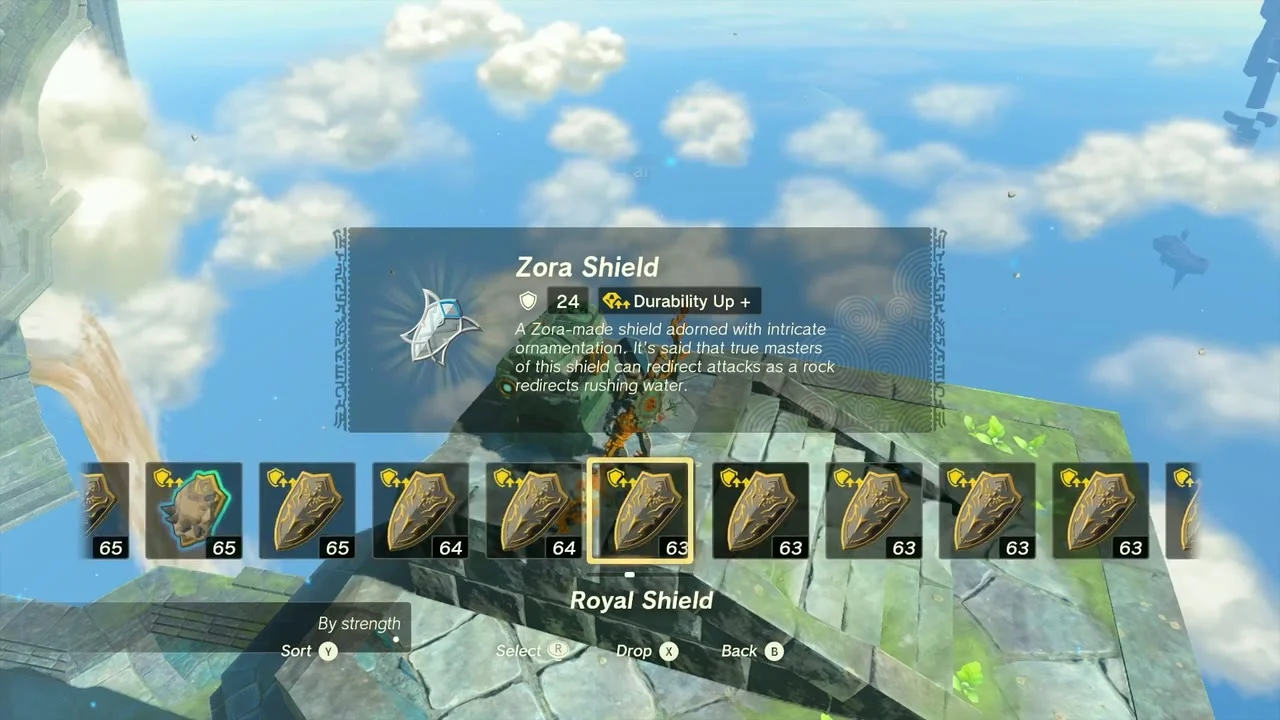
| Zora Shield | On top of the southwest islet on the first floor (3280, 0577, 1790). |



After the temple
You can return to the Ancient Zora Waterworks for the A Token of Friendship side quest and the Zora Greaves. Mucktorok also appears again in three Depths arenas after the temple is cleared. The rematches are near the Abandoned Tarrey Mine, Uinoj Lightroot, and Uoyoyuik Lightroot. Each first victory gives a Huge Crystallized Charge; later victories give monster materials.
