





















| Location | The Legendary Stormwind Ark, in the sky above the Hebra Mountains |
|---|---|
| Quest | Tulin of Rito Village (main quest) |
| Boss | Colgera |
| Reward | Heart Container and the Vow of Tulin (Sage of Wind) |
| Recommended gear | Two levels of Cold Resistance (Snowquill Set or Spicy meals), arrows, healing meals |
| Chests | 10 |
| Nearby | Kahatanaum Shrine |
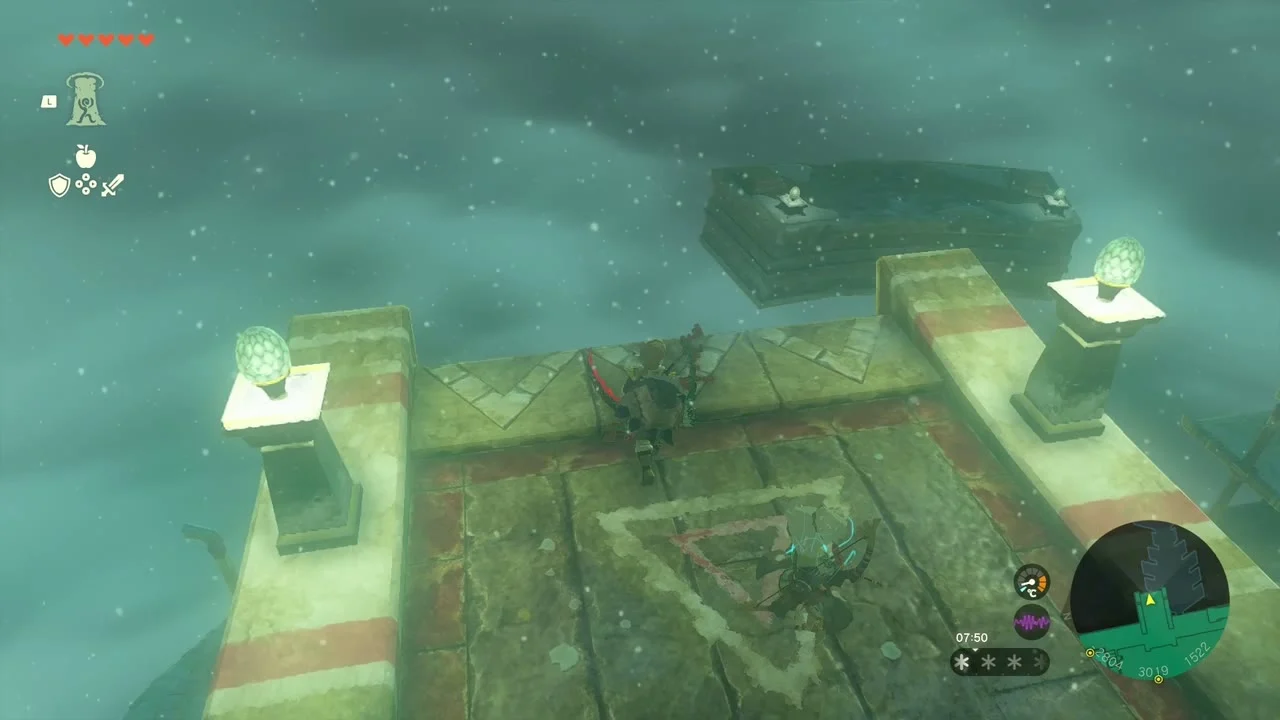
The Wind Temple, also called the Stormwind Ark, is a floating ship caught in the blizzard over the Hebra Mountains. It is the destination of the “Tulin of Rito Village” main quest. Once you reach the ark with Tulin, you’ll need to activate five turbines to open the hatch on the main deck. The turbines can be tackled in any order.
Before You Go
The higher parts of the Rising Island Chain are extremely cold. Two levels of Cold Resistance are enough to protect Link from the cold damage there. The Snowquill Set, sold in Rito Village, provides three levels when all three pieces are worn. Each piece costs Rupees, so a Cold Resistance meal can help if you’re short on money. A Ruby or Igneo Talus Heart fused to an equipped weapon or shield can also provide some cold protection.
Bring a few healing meals and some arrows. Arrows are useful against airborne enemies and make Colgera easier to fight, but you don’t need a large stockpile to finish the temple. Keese Eyeballs can help arrows track moving targets. Fire Fruit or another fire effect is useful for melting ice blocks.
Reaching the Wind Temple
Use Tulin’s gust to glide
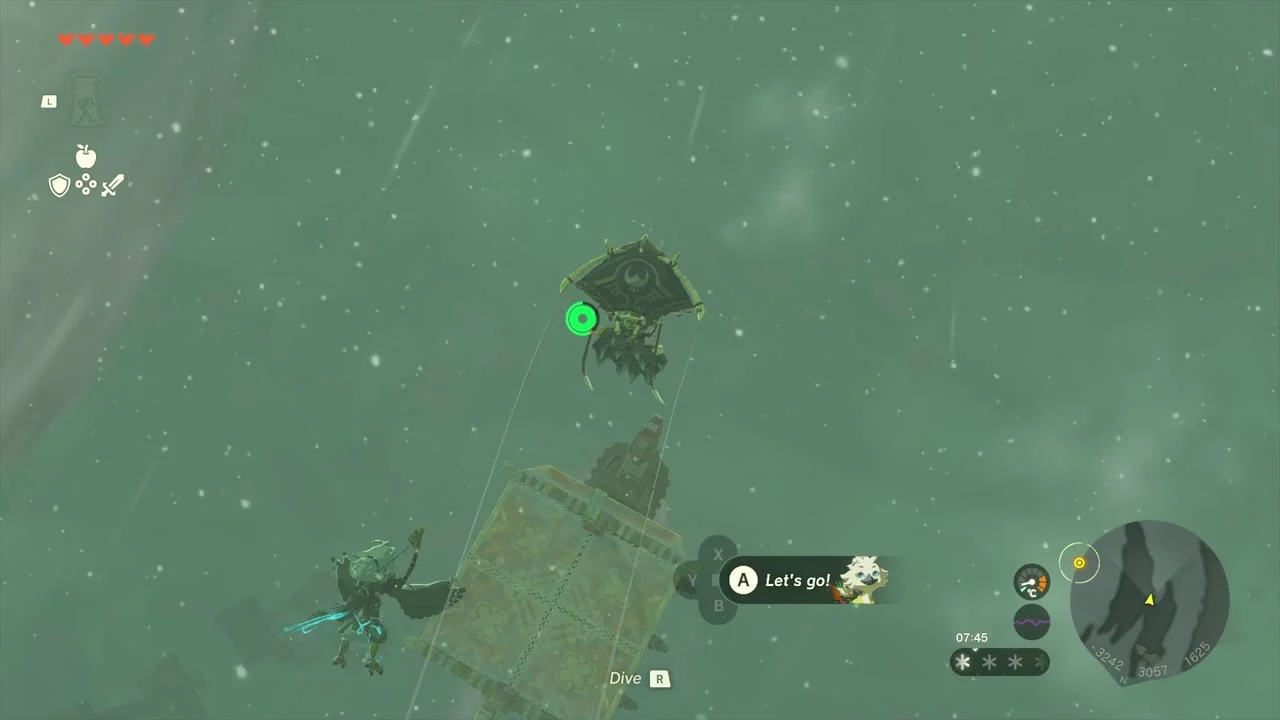
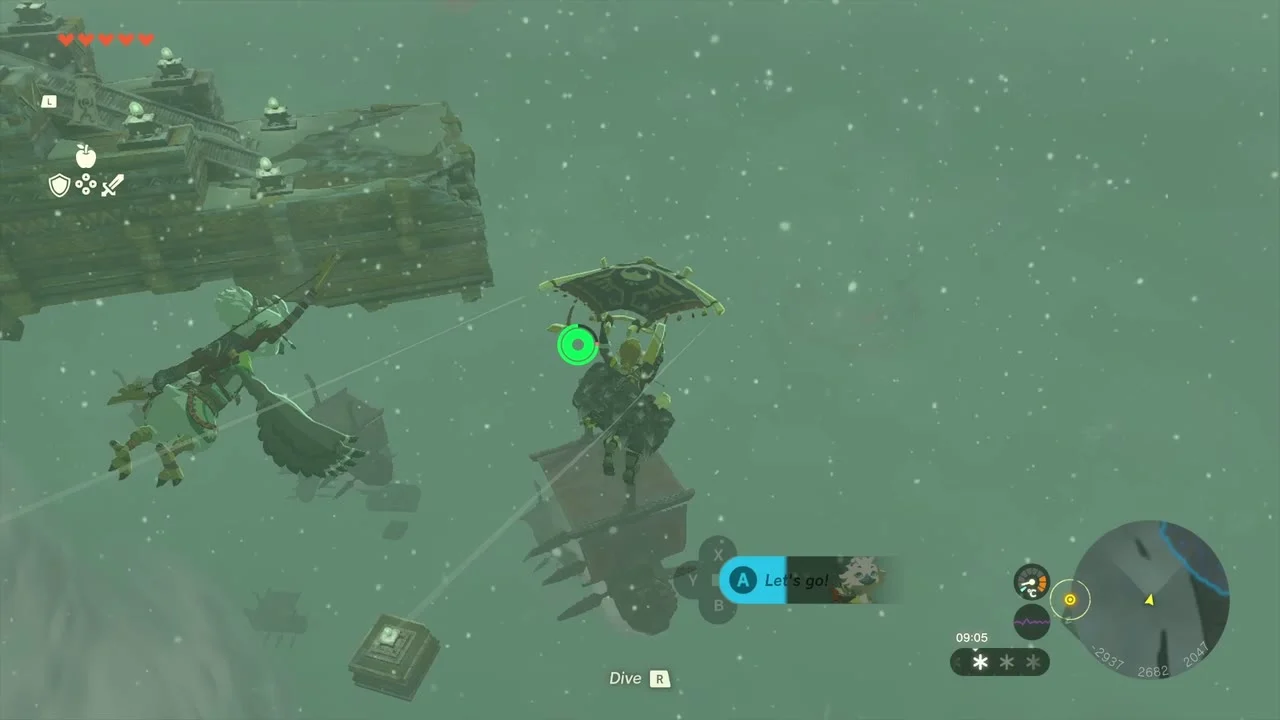
After helping Tulin recover his bow in the Hebra South Summit Cave, he joins Link and unlocks his Wind ability. While gliding, activate Tulin’s gust to get a burst of forward momentum. Use it to cross gaps between the floating islands.

Climb the Rising Island Chain
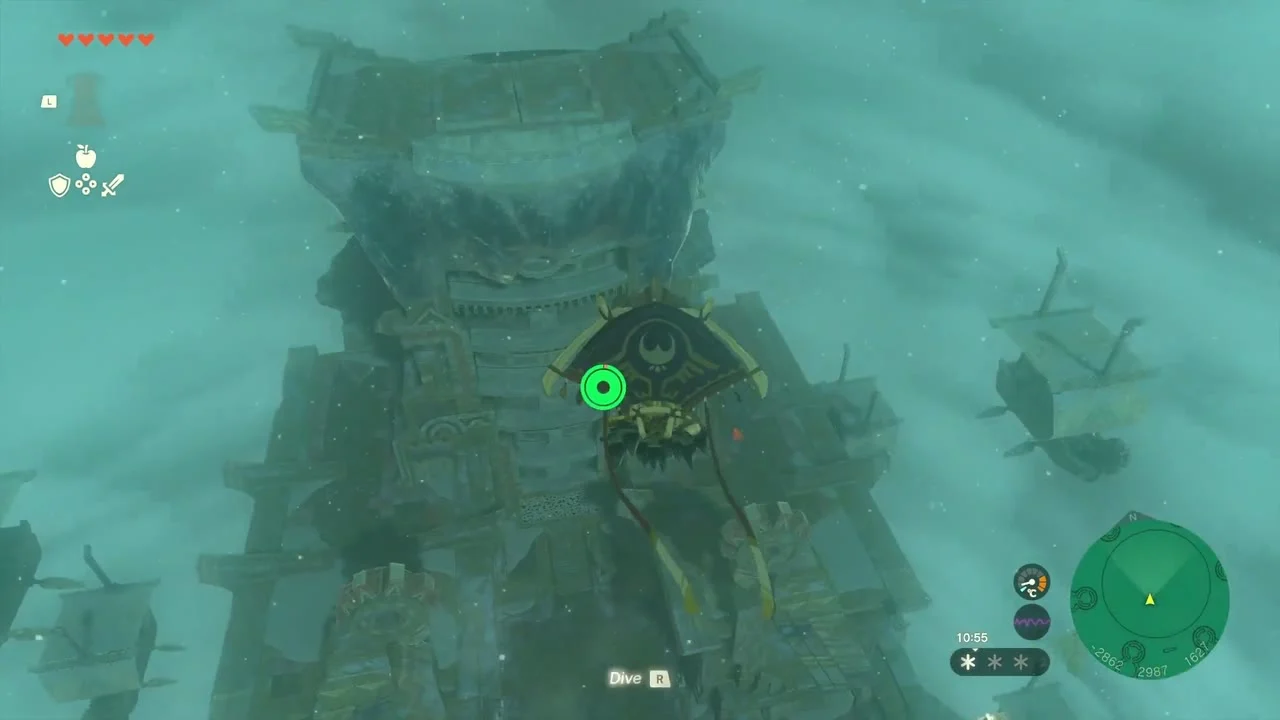
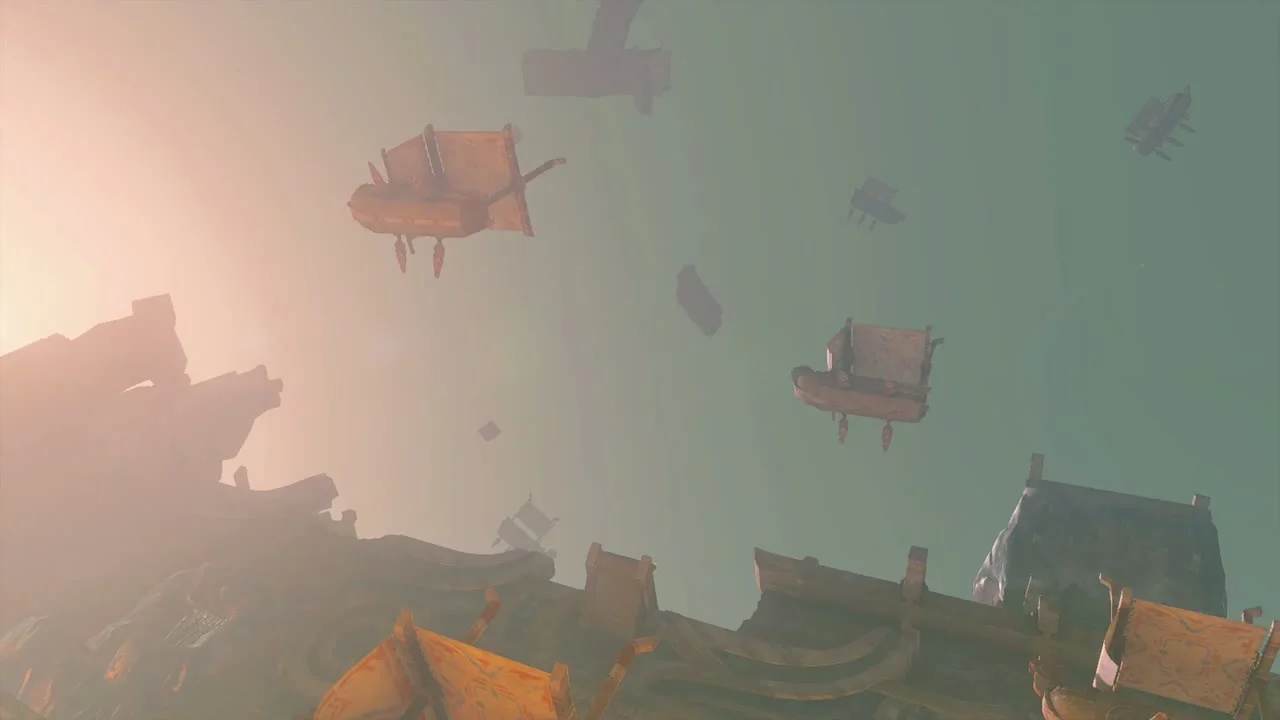
The Rising Island Chain is a series of broken platforms and floating ships. Look for the fabric sails on the ships: landing on one bounces Link high into the air, giving him time to glide to the next island. Use Ascend when a platform or stone overhang offers a clear route upward. If you miss a jump, look for a lower platform or another sail before trying the crossing again.


Drop into the storm
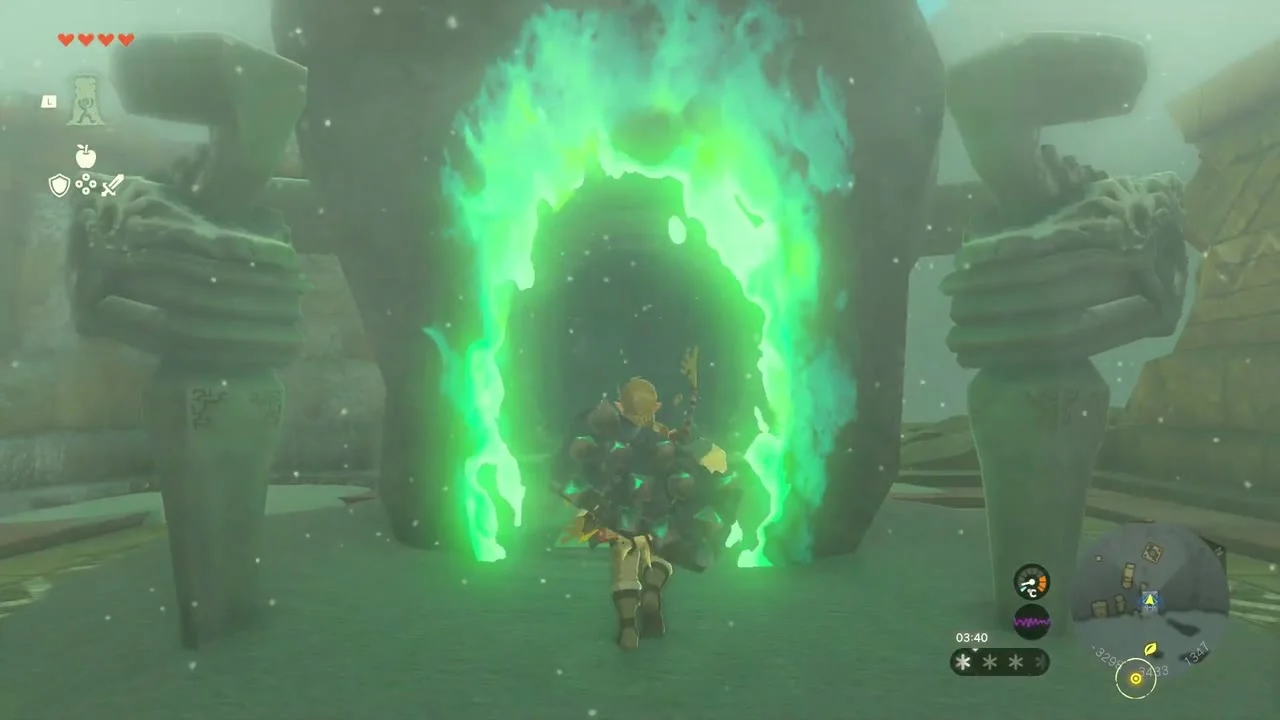
The Kahatanaum Shrine sits near the top of the chain. Activate it before continuing. It provides a fast-travel point close to the storm, so you won’t have to repeat the whole climb if you leave to restock supplies. From the shrine, continue across the floating ships and drop through the opening at the center of the storm to reach the ark.


Activate the Temple Terminal
Wake the terminal
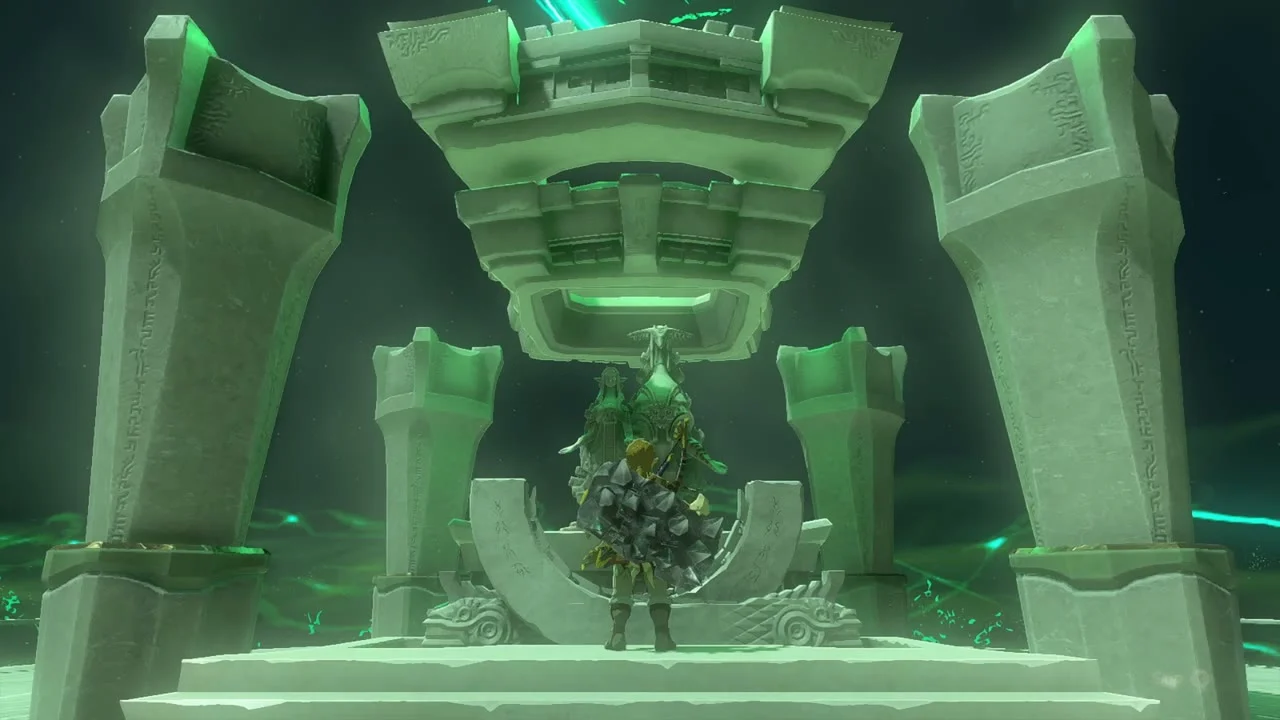
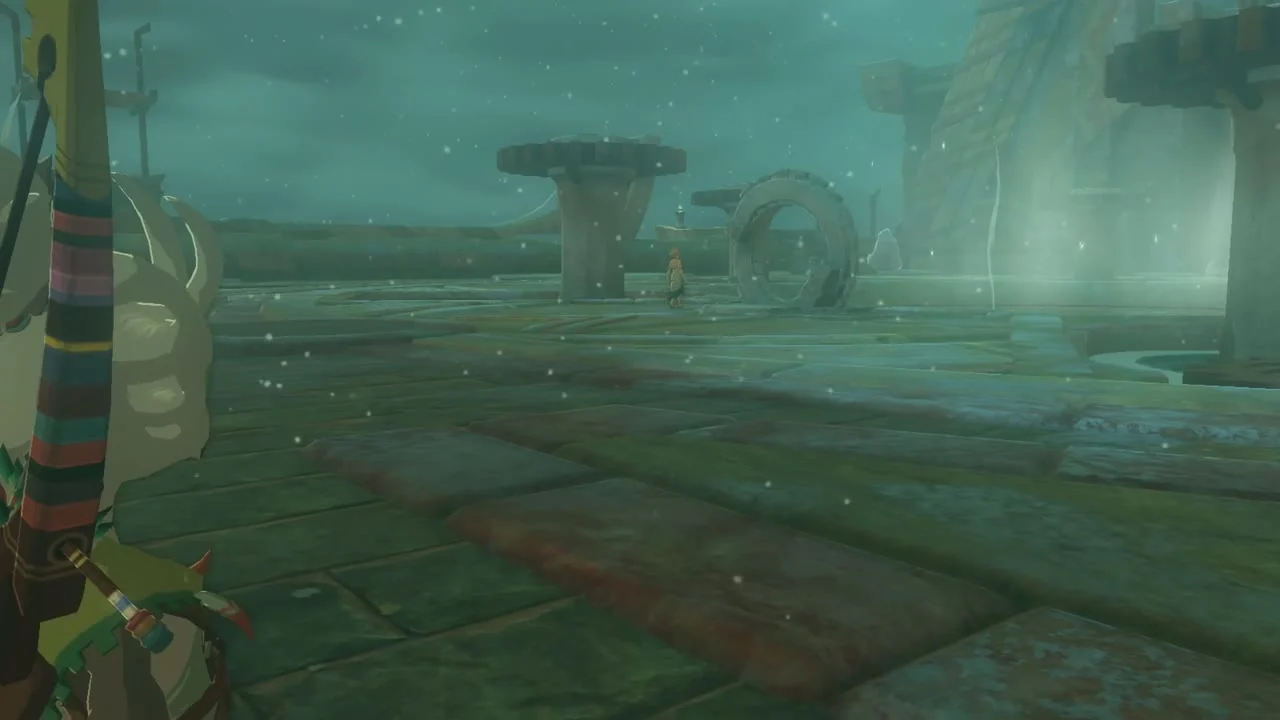
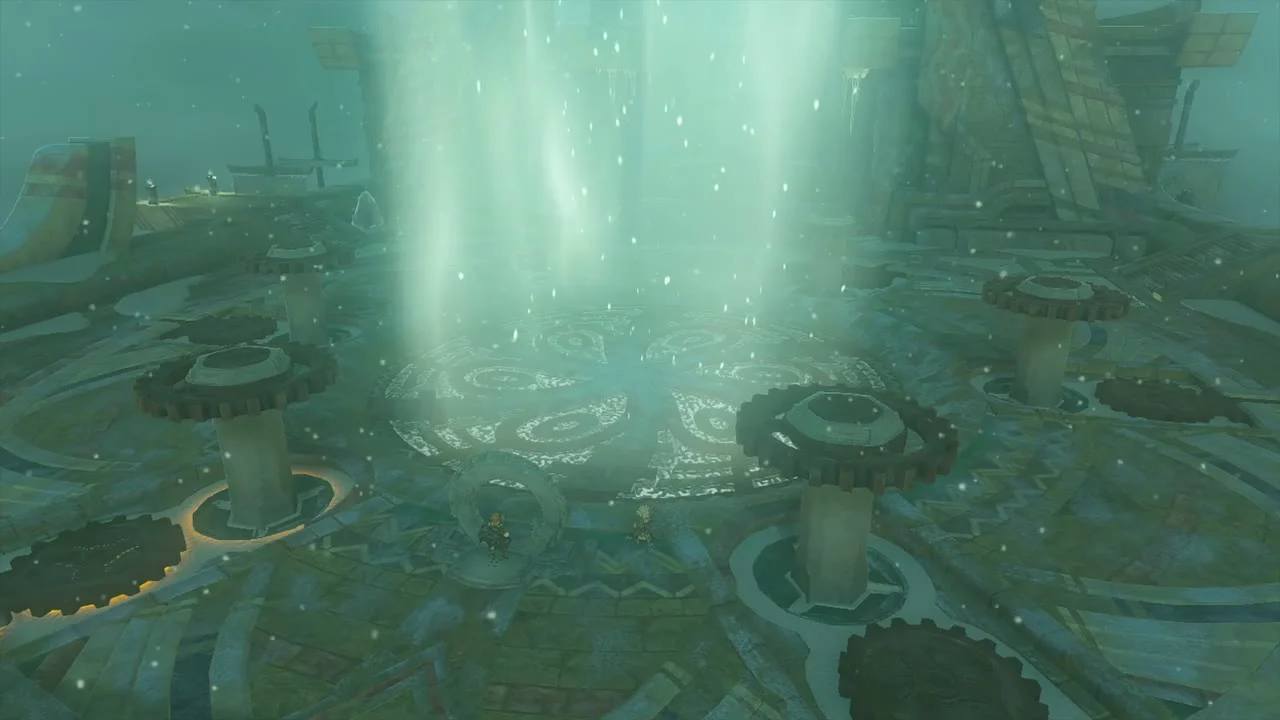
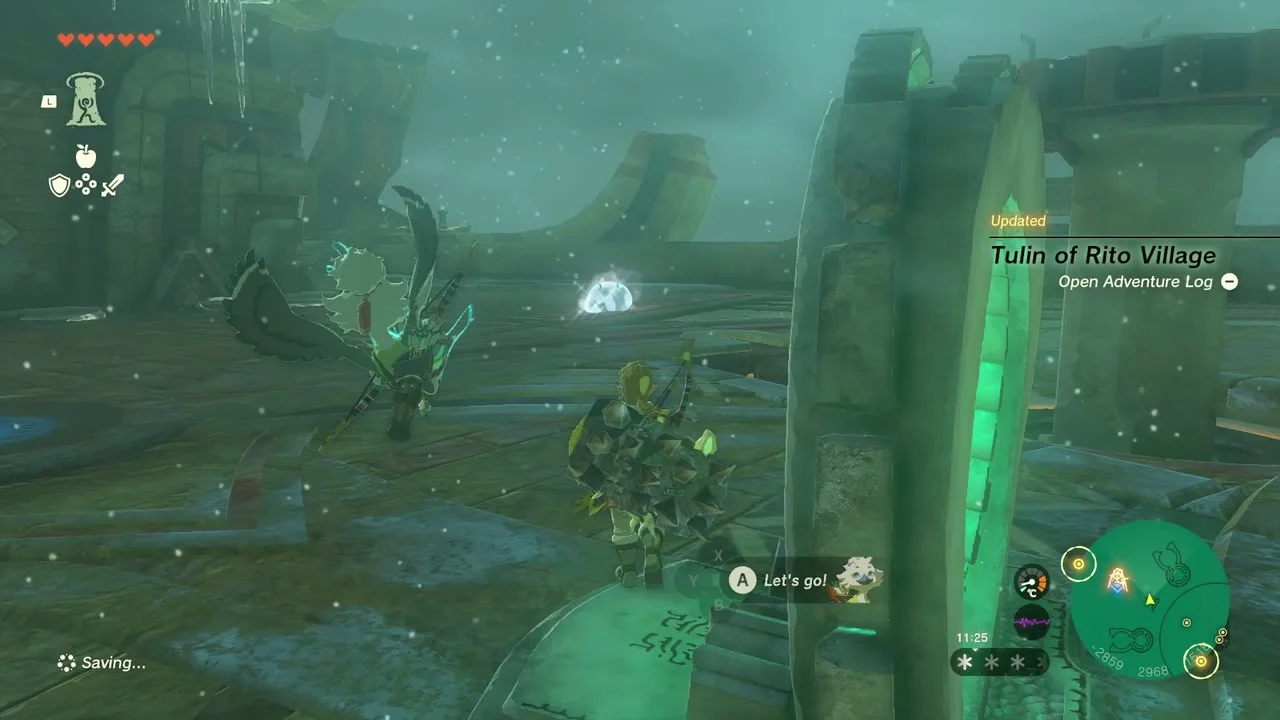
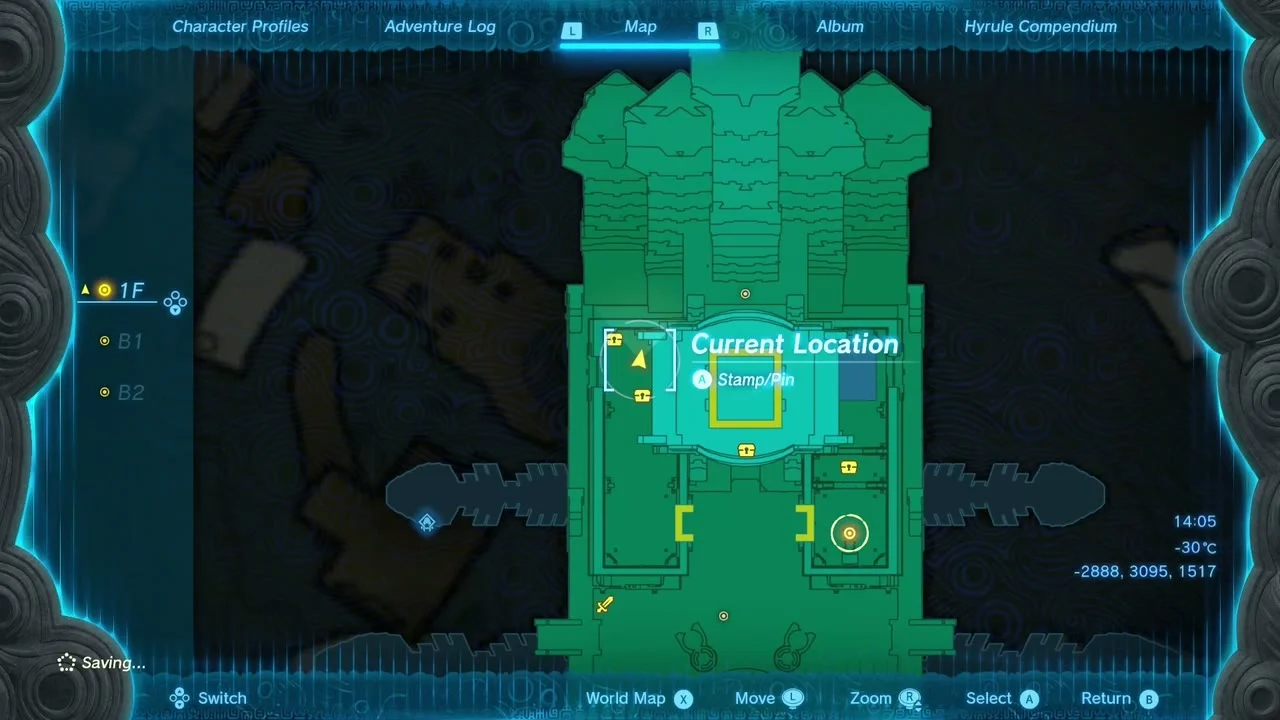
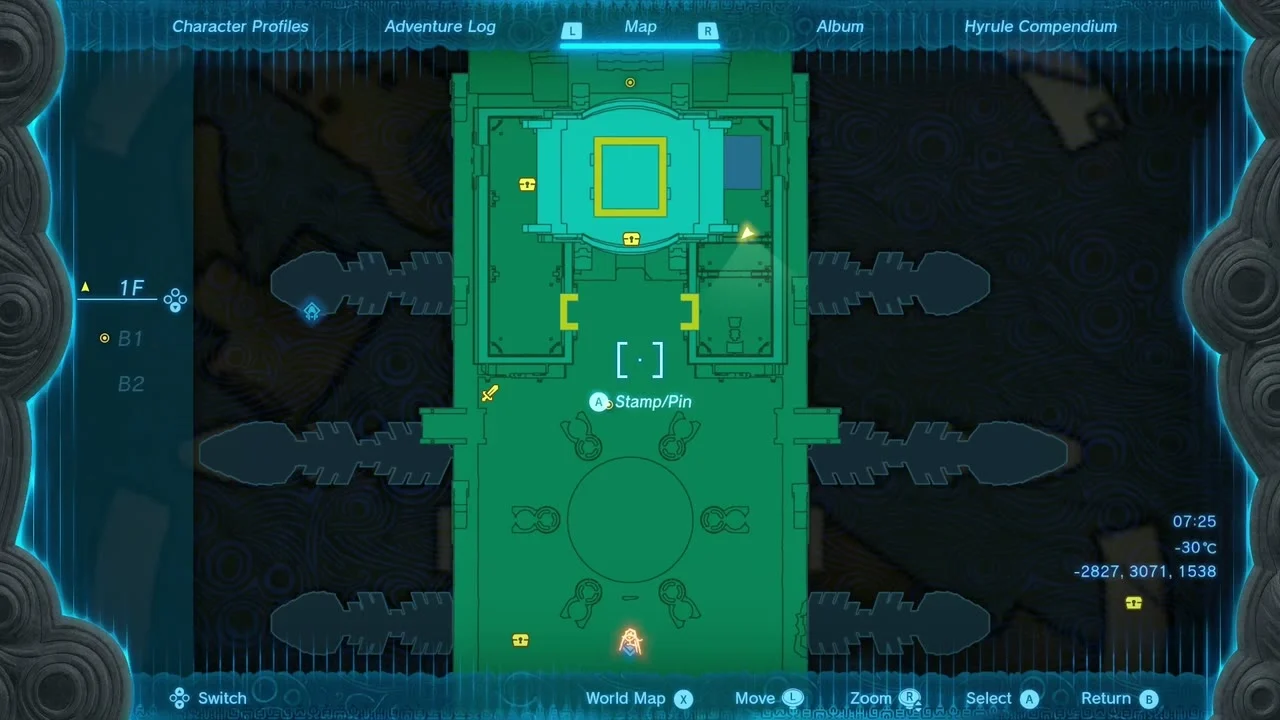
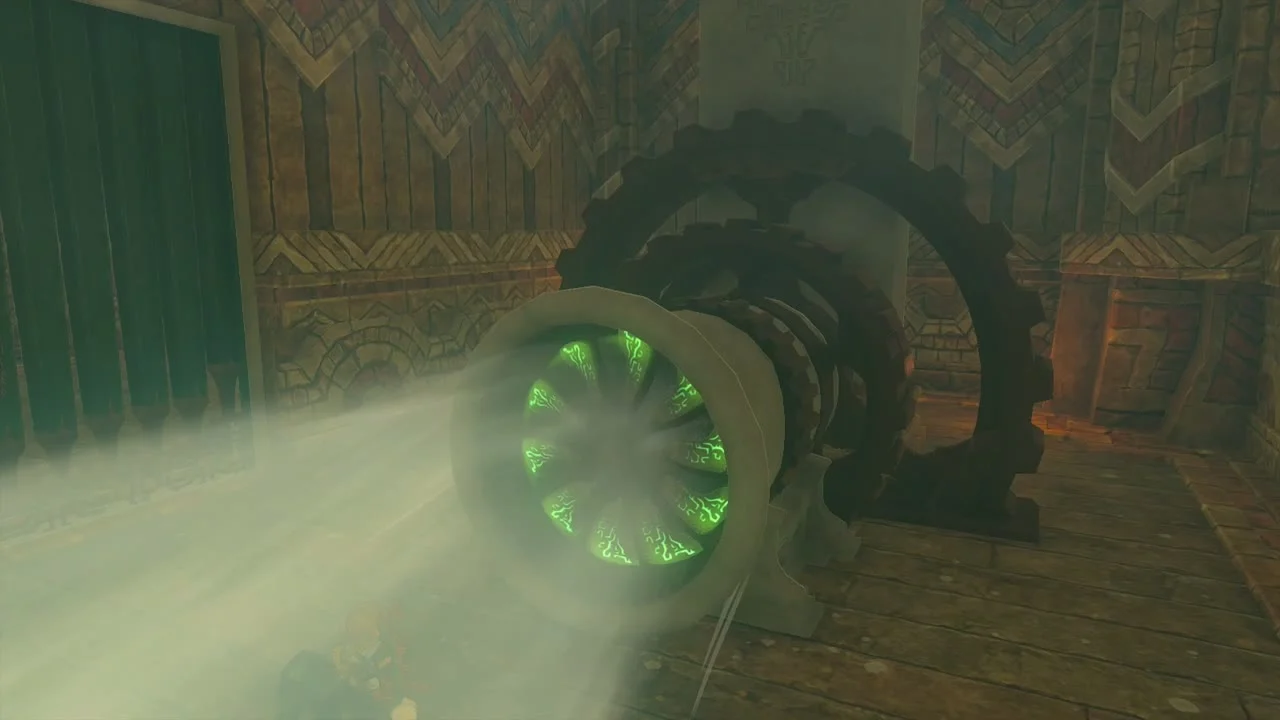
On the main deck, activate the green terminal beside the central hatch. This creates a fast-travel point and marks the five turbine locations on your map. Each turbine is activated by getting close to it, facing the blades, and using Tulin’s Wind ability.

Check the floors
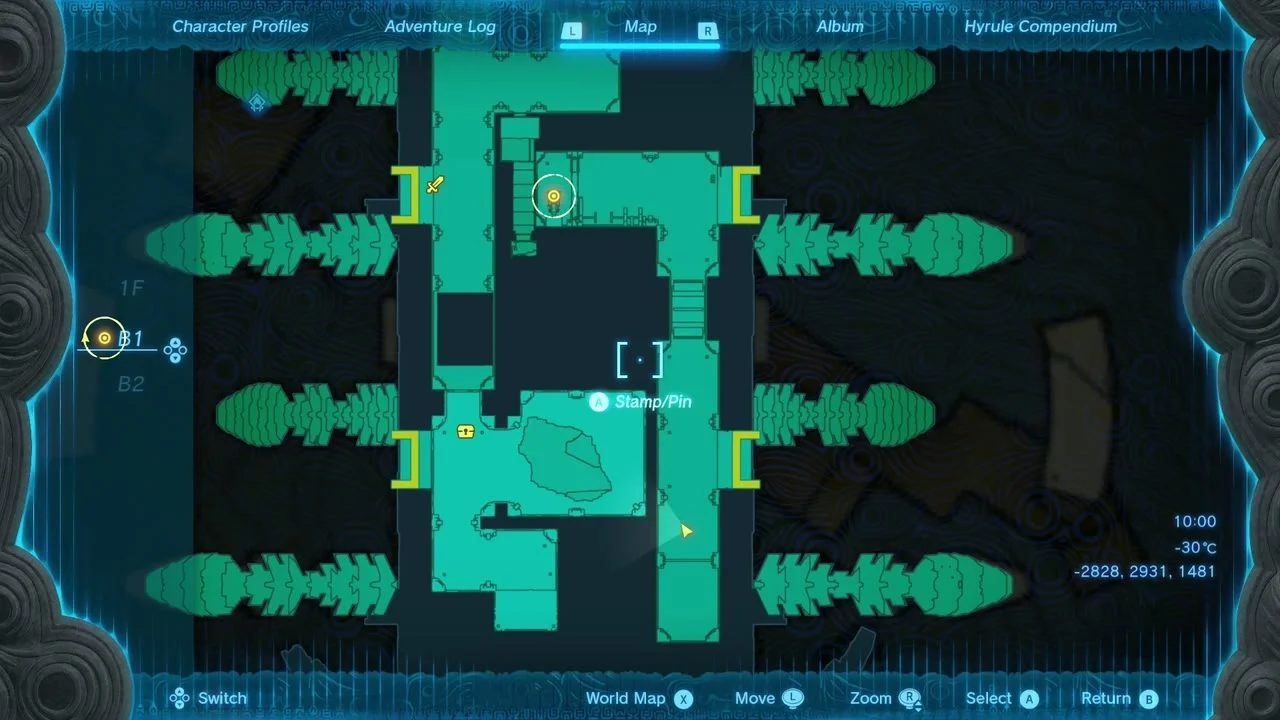
The temple has several levels, so check the map often. The map tabs are labeled 1F, B1 and B2. 1F is the main deck with its cabins and towers, B1 is the interior level below the deck, which you enter through openings in the hull, and B2 is the lowest level along the underside of the ship. Check which tab you are on to tell whether a marked turbine or chest is above or below you.
The Five Turbines
Turbine 1: Repair the Lever on 1F
From the central terminal, head toward the bow of the ship. Two gated rooms sit near the front. The right-hand gate has a broken lever.

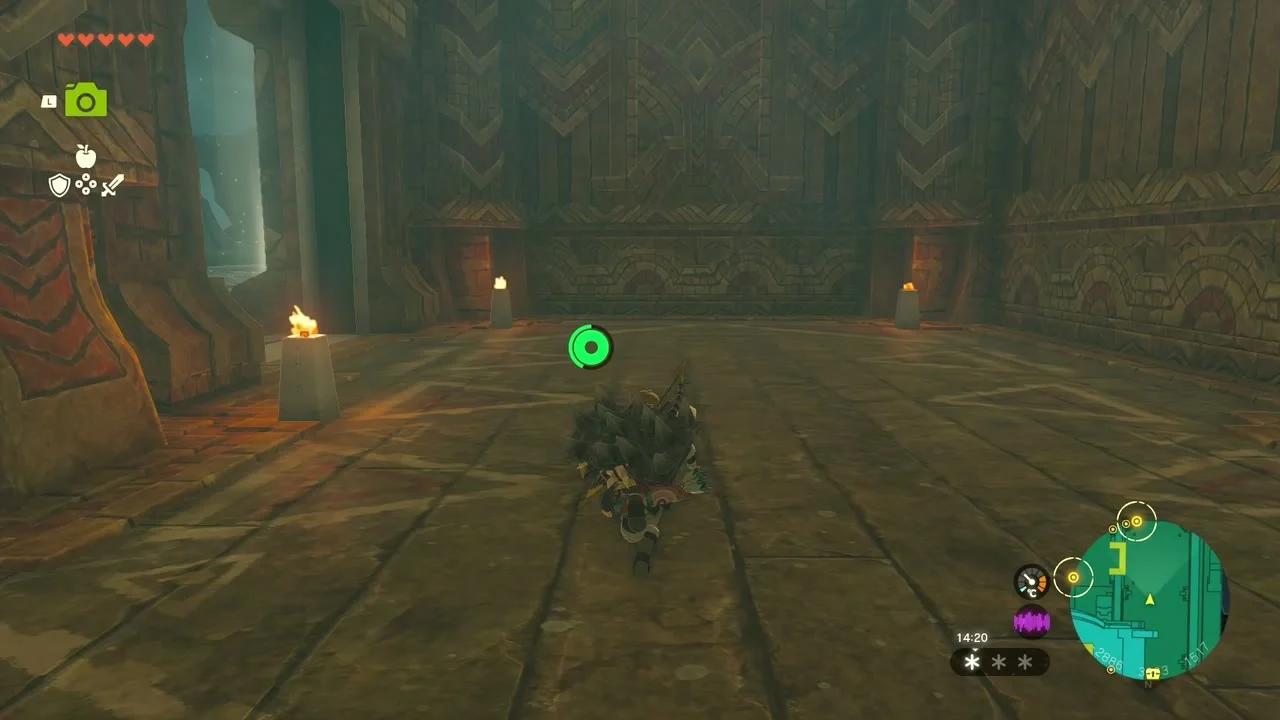
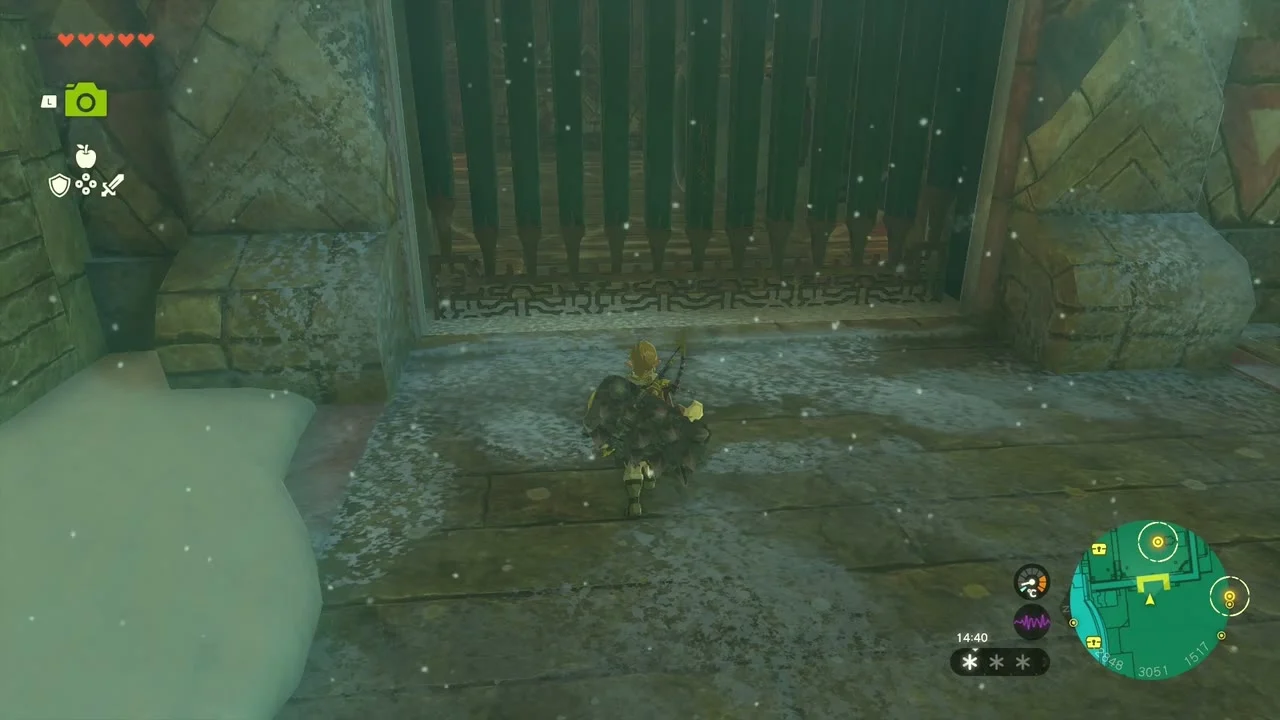
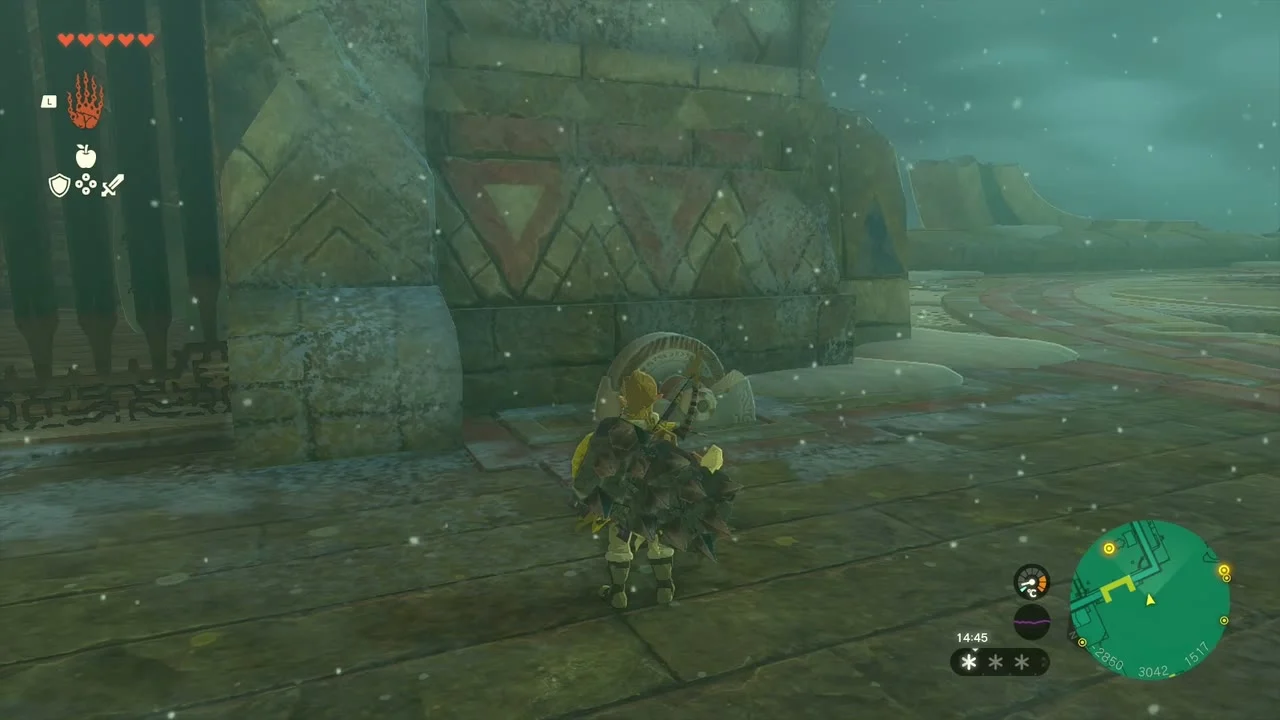
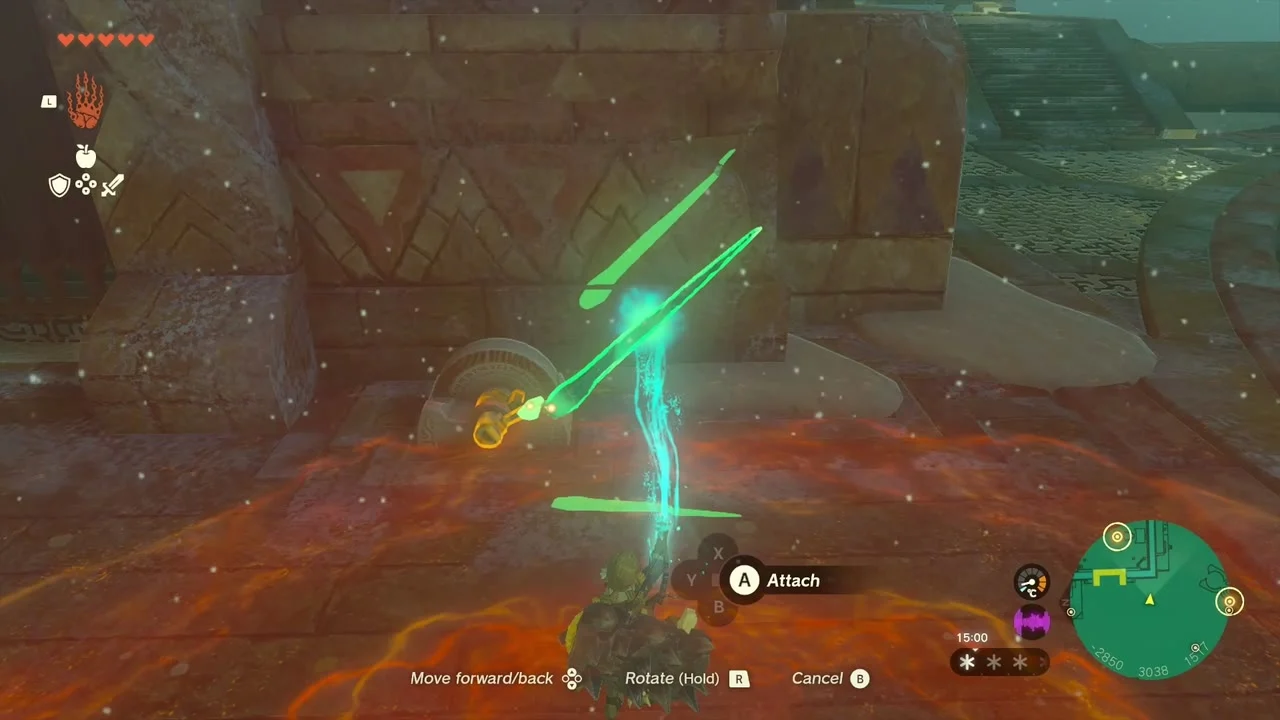
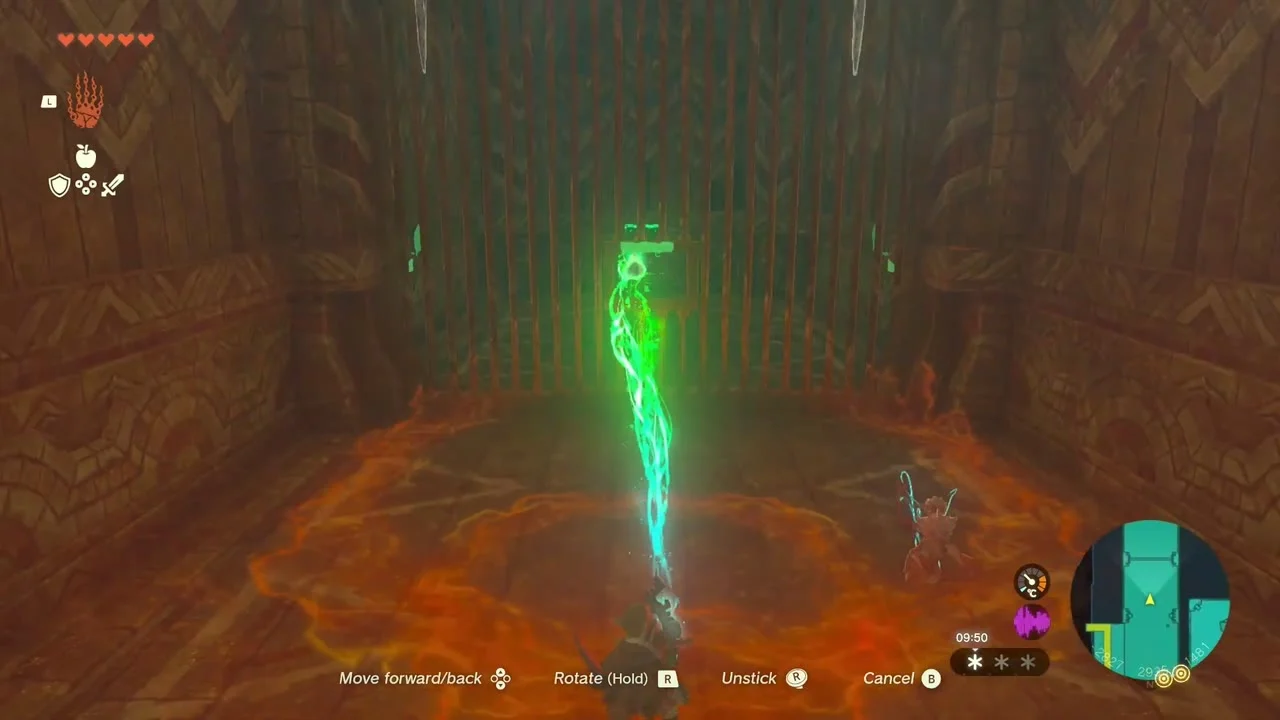
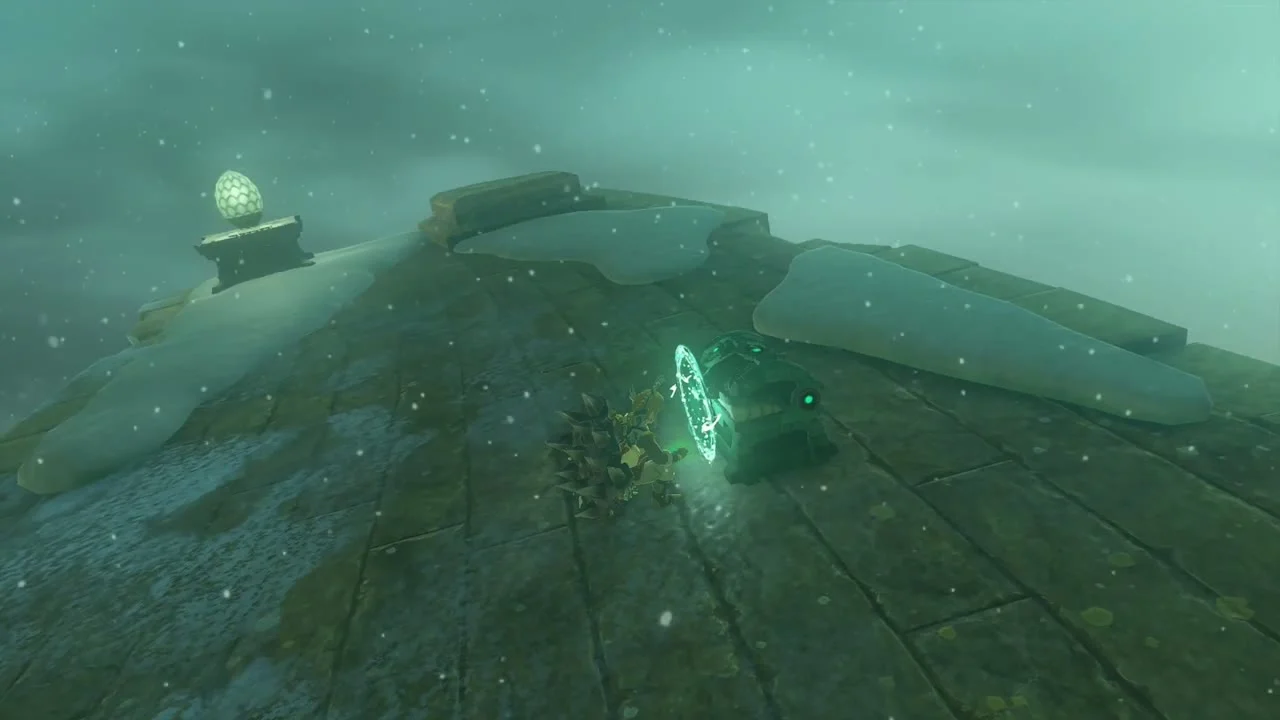
Pick up an icicle with Ultrahand and attach it to the broken lever to make a handle. Use Ultrahand to turn the repaired lever and raise the gate. Go inside, stand near the turbine, and use Tulin’s gust to activate it.


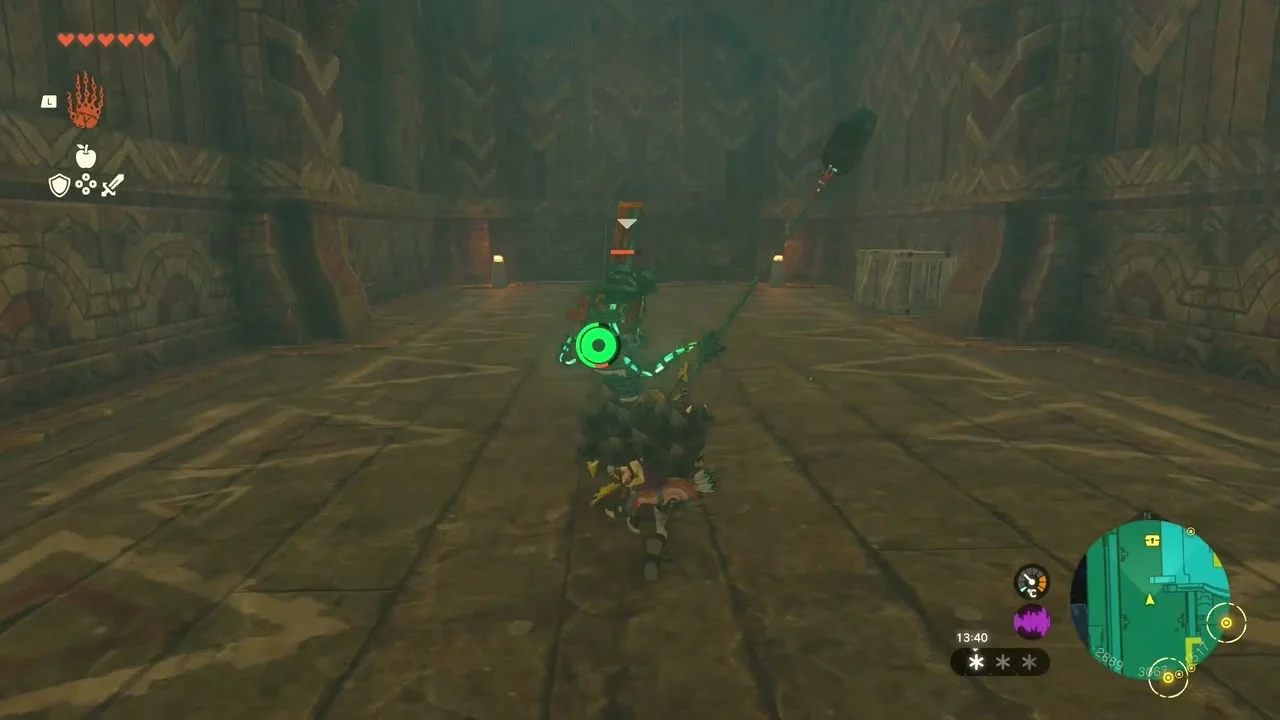
The other gated room holds a chest with an Opal. Open its gate the same way, defeat the Soldier Construct inside and open the chest.


Turbine 2: Drop Through the Tower
Use the central updraft to glide to the roof of the tall structure at the north end of the ship. Open the metal doors in the roof with Ultrahand, then drop into the shaft.
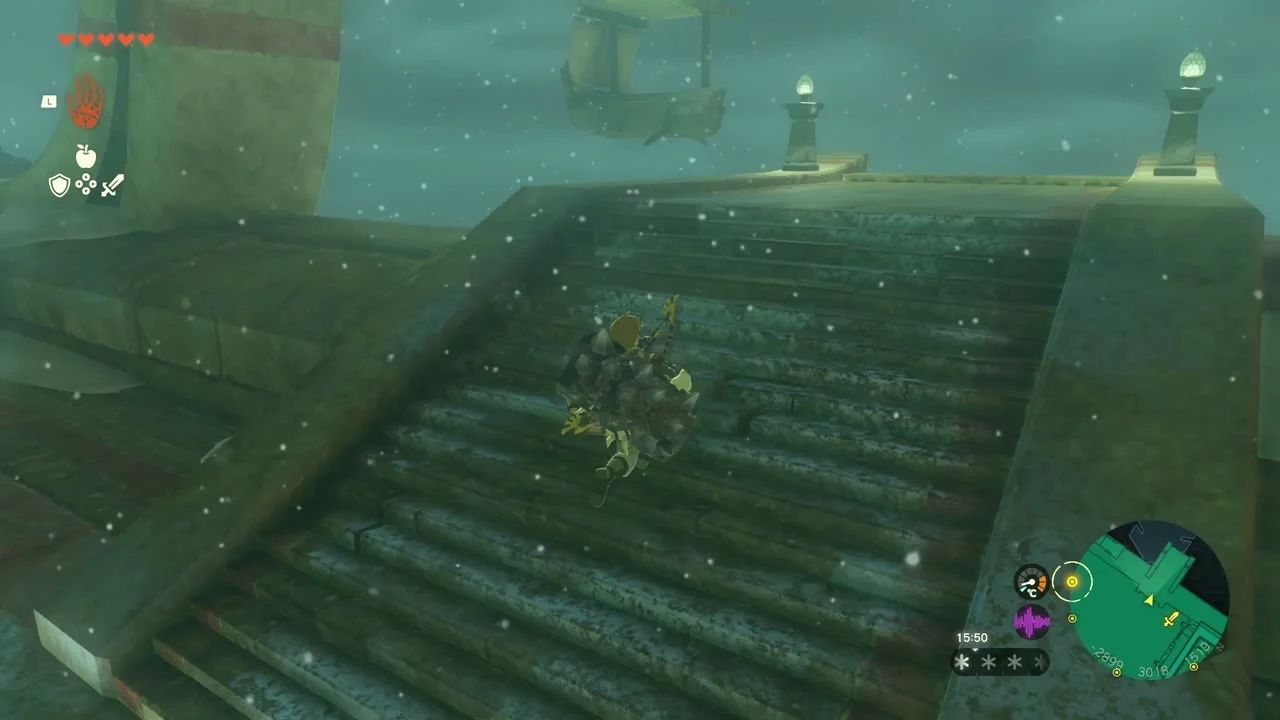

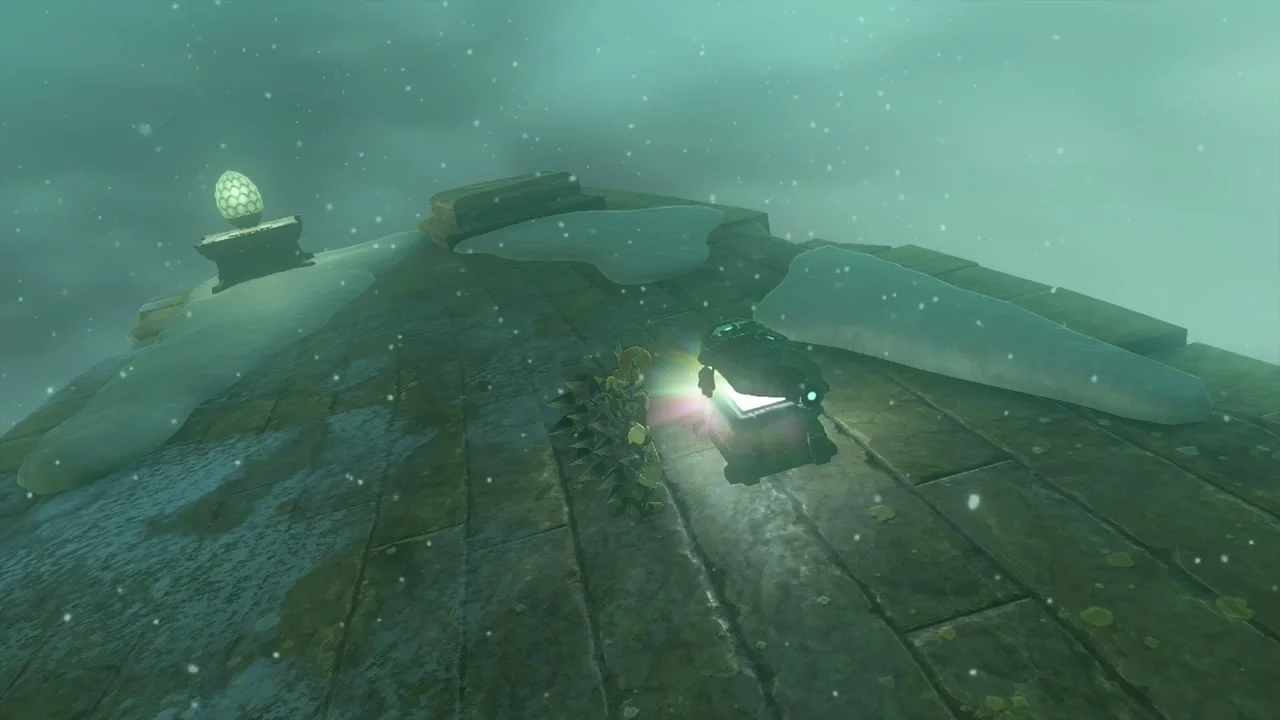
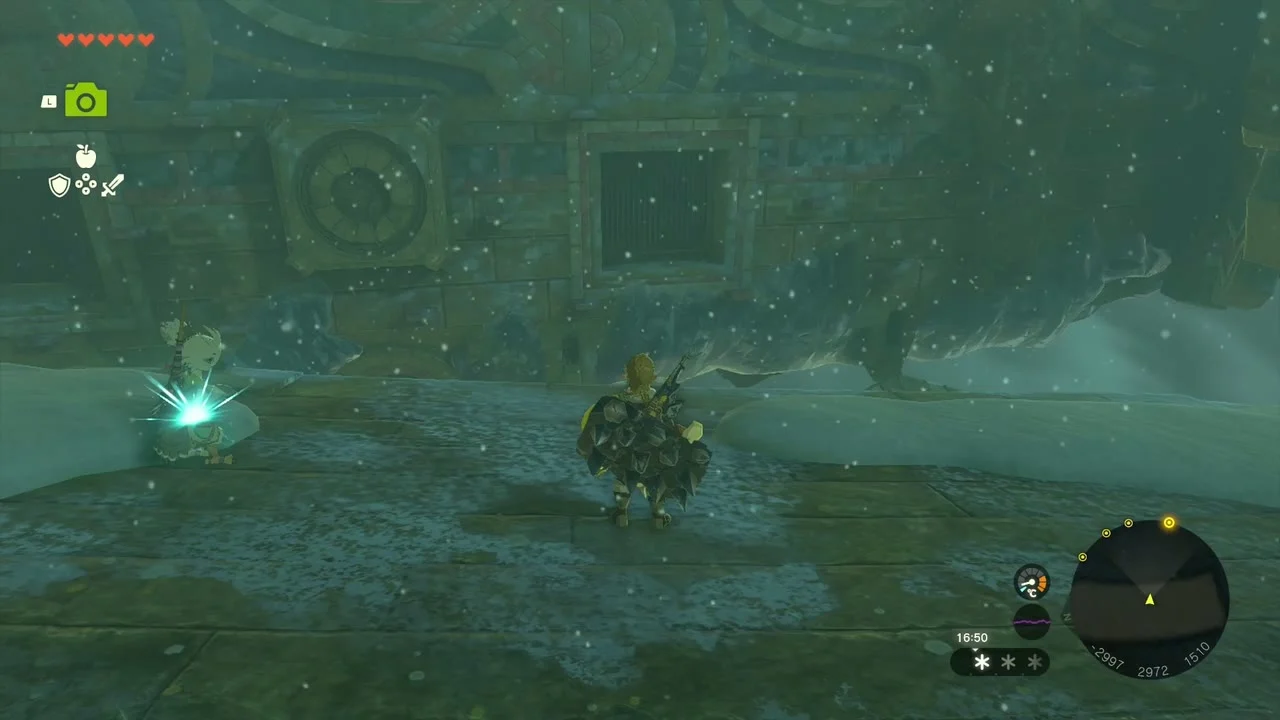
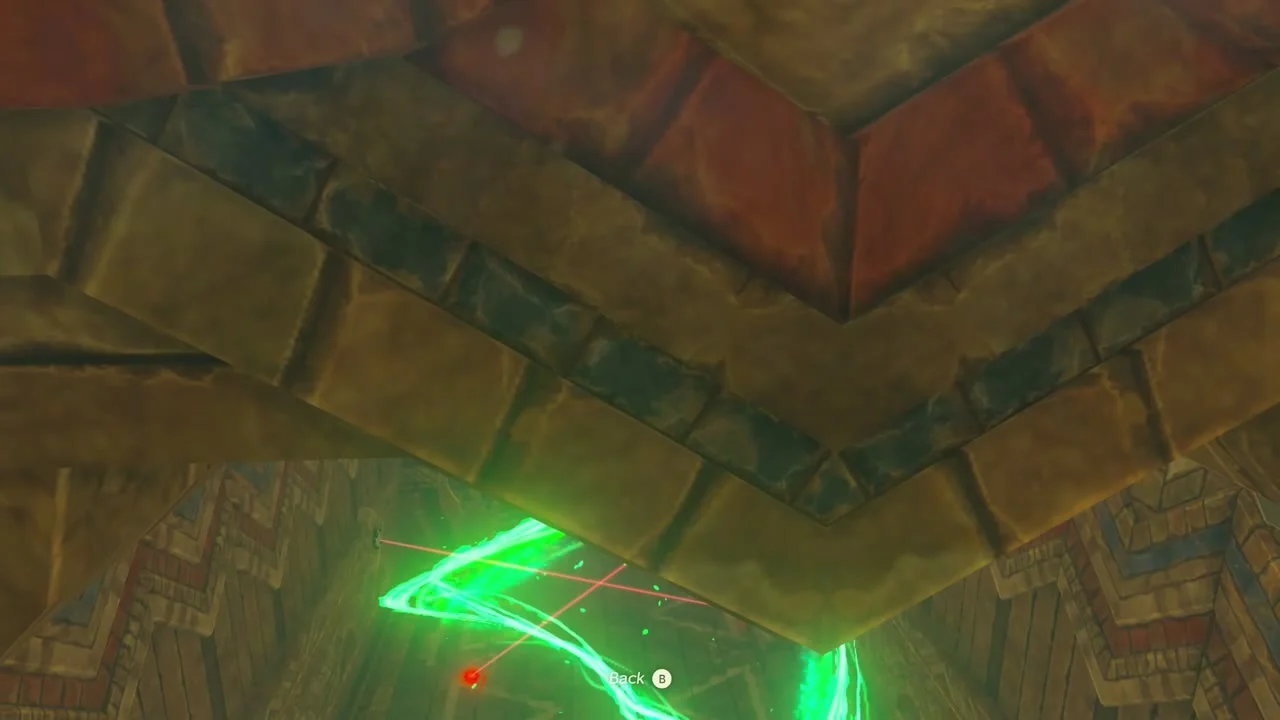
Red lasers cross the shaft. Avoid touching them as you fall. If a laser detects Link, a trapdoor can close below, so steer around the beams and aim for the open platform at the bottom. Use the paraglider near the bottom to reach the turbine alcove, then activate the turbine with Tulin.


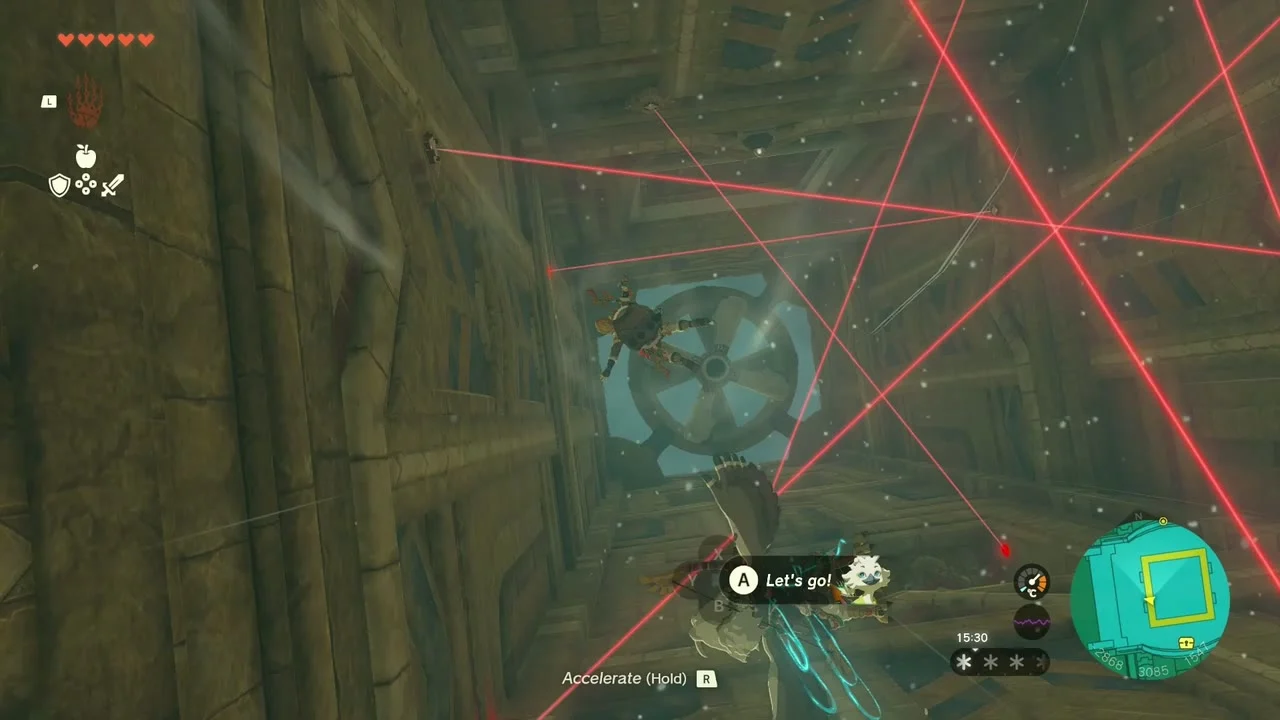

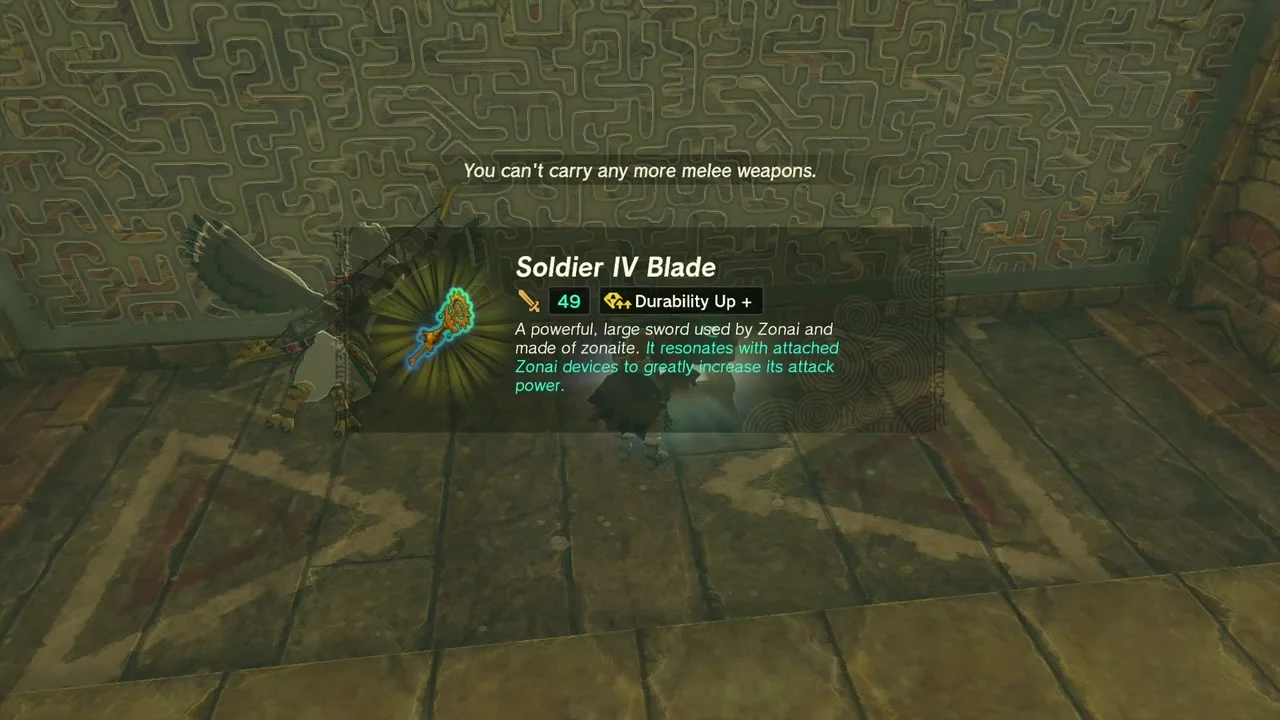
A chest on a ledge across a gap near the bottom of this area holds a Soldier Blade (a Soldier II, III or IV Blade, depending on how far you have progressed). Glide across to it before leaving. On the B1 map it sits beside the large fan.
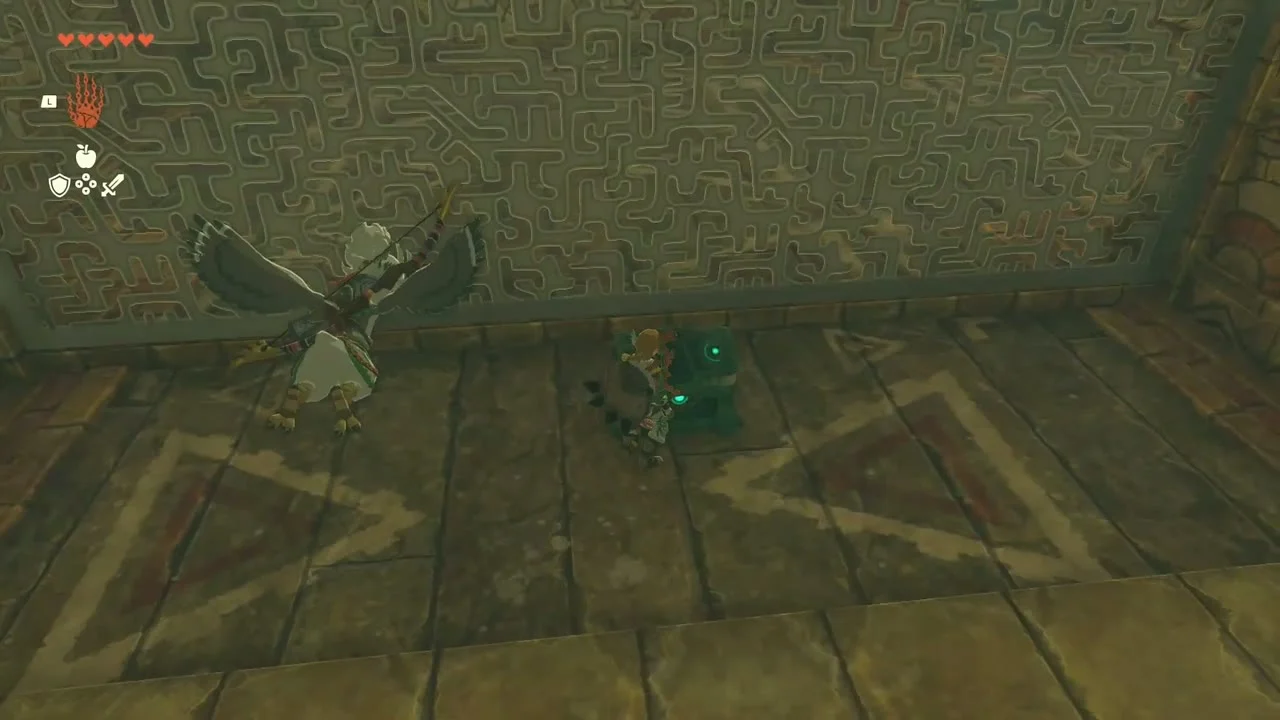


Turbine 3: Cross the Spinning Wheel
Return to the main deck and glide down the right side of the ship. On the B1 level, find an opening blocked by icicles and break through.
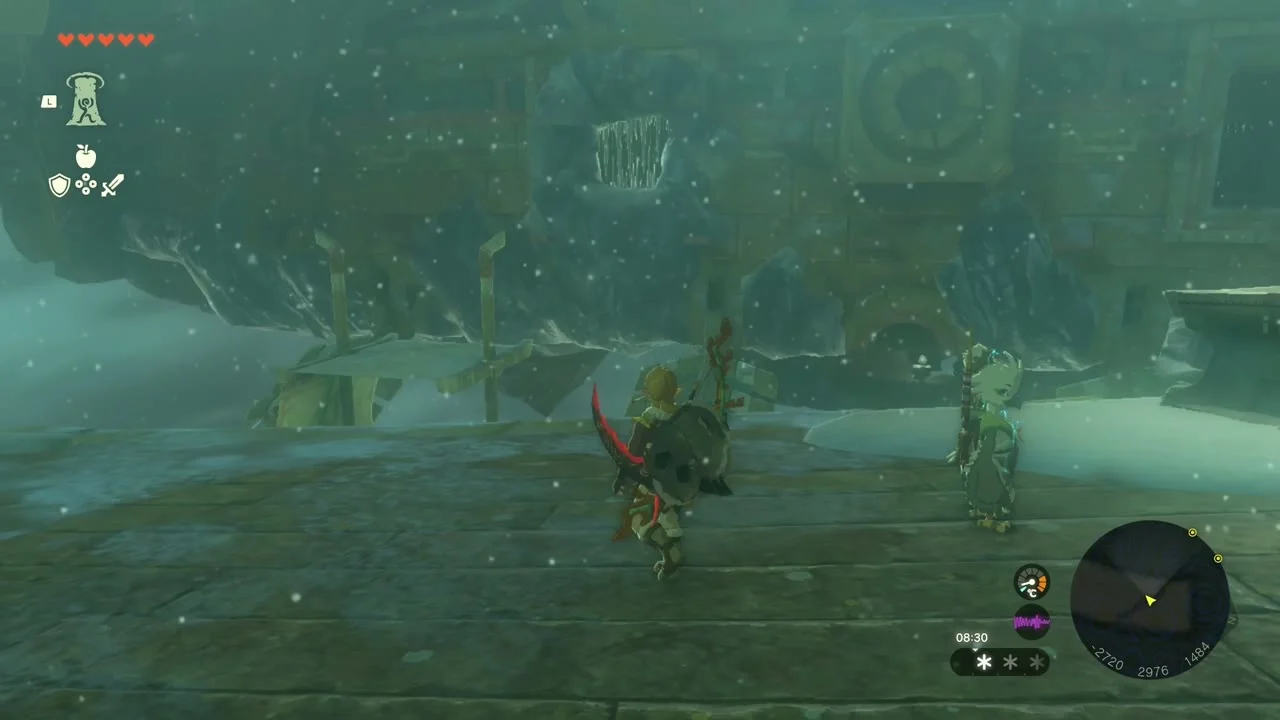
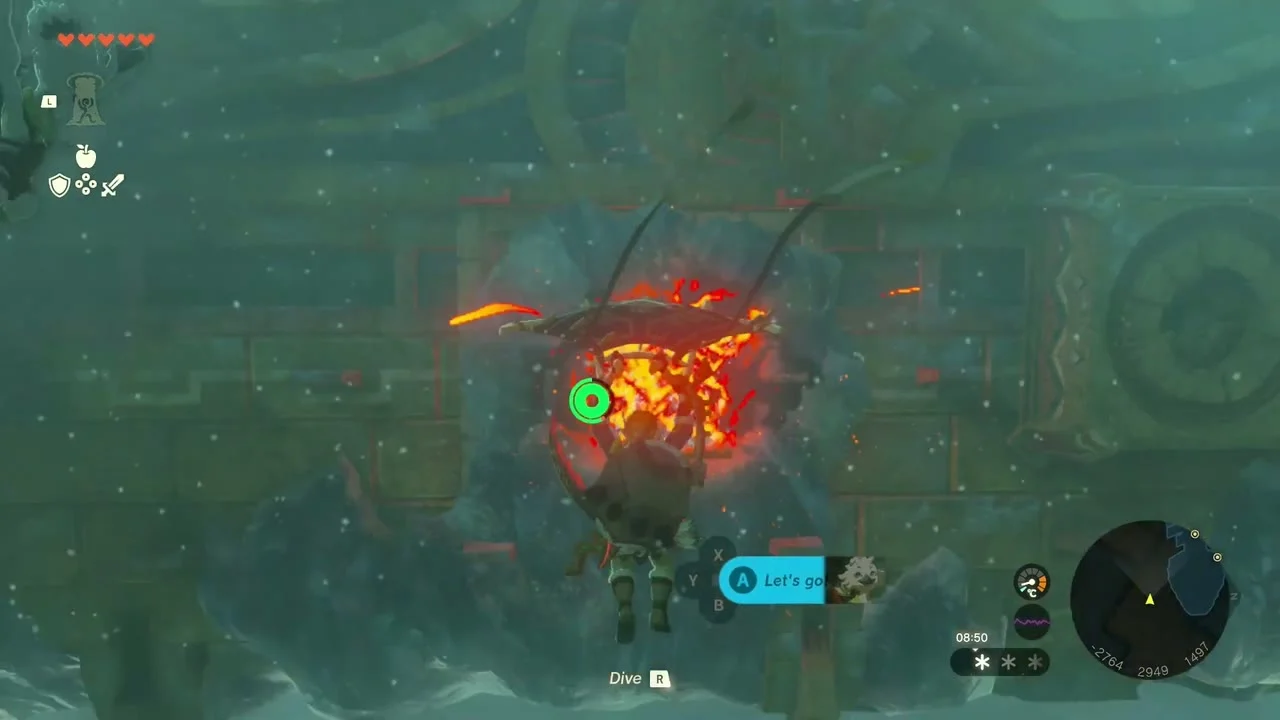
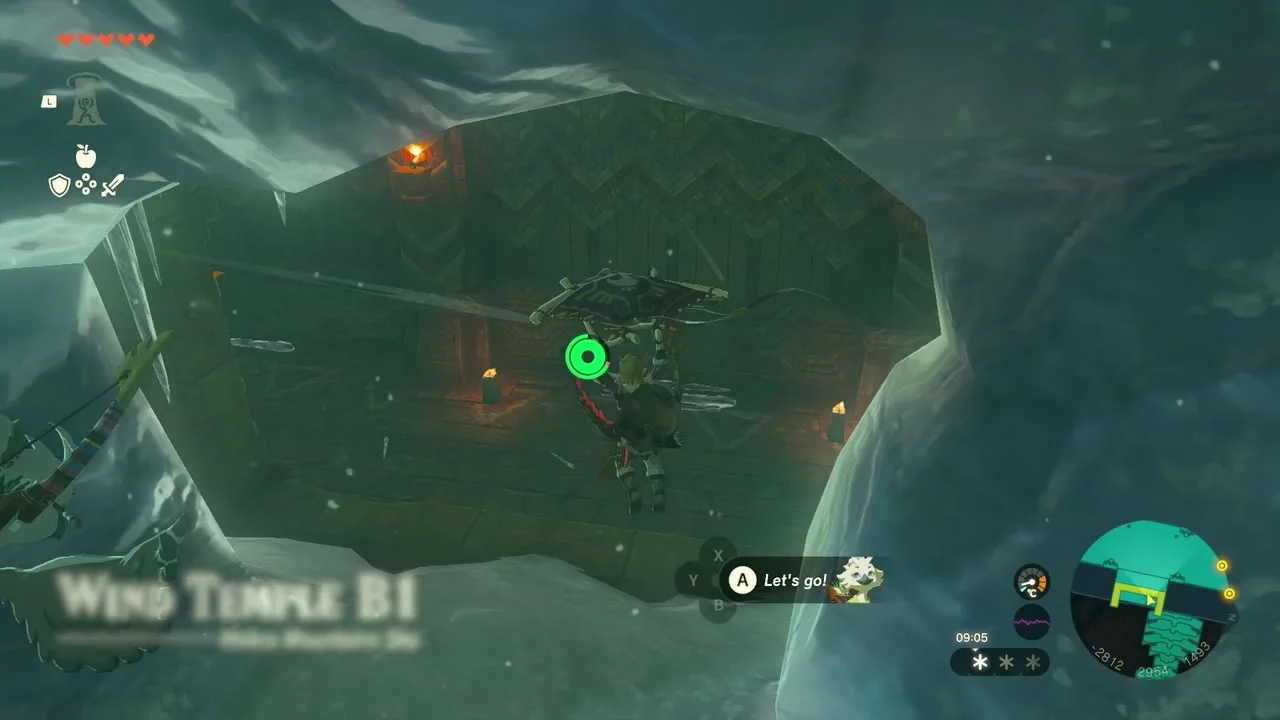
Inside, you’ll reach a large spinning wheel over a gap. Use Recall on the wheel to reverse its spin, then step onto it while it turns backward and ride it across.

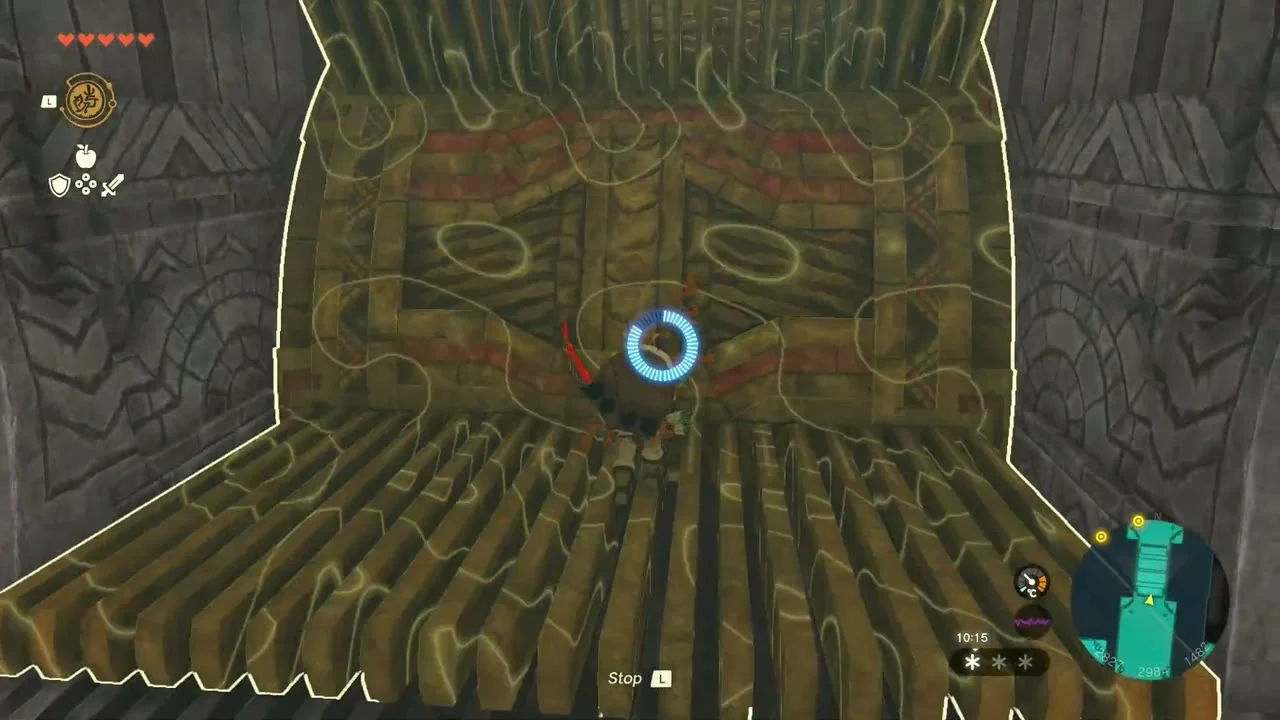
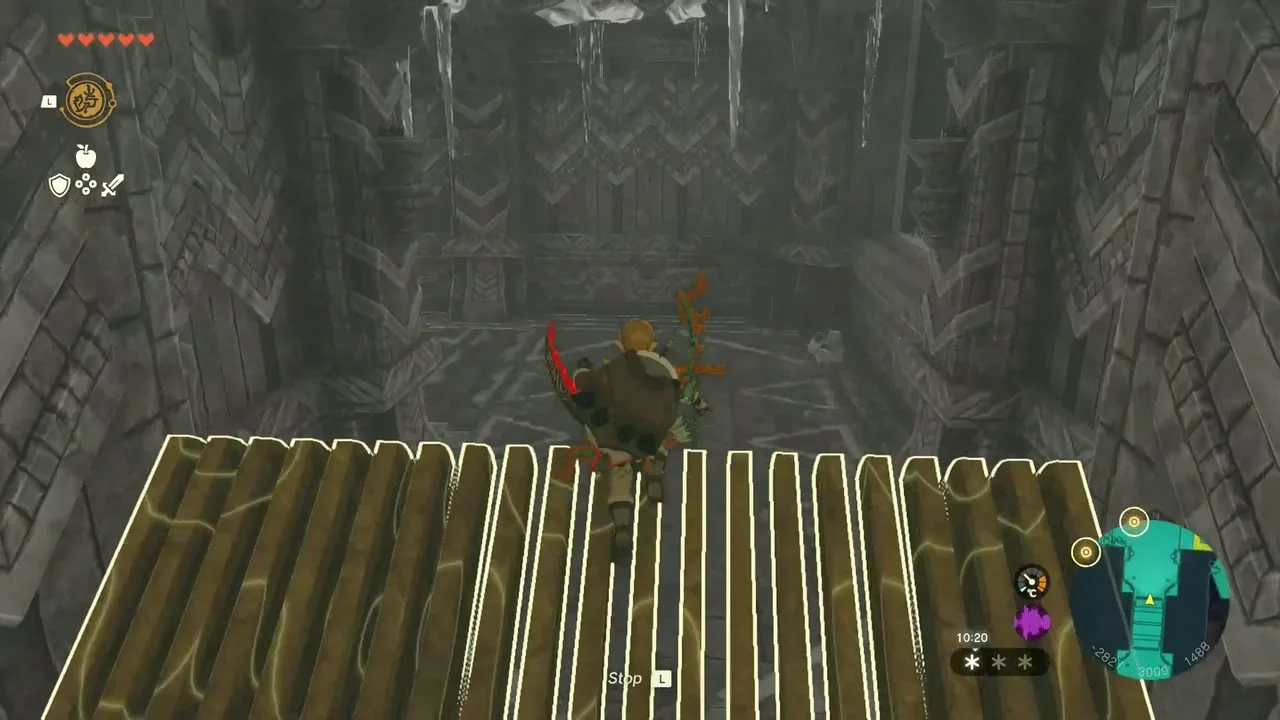
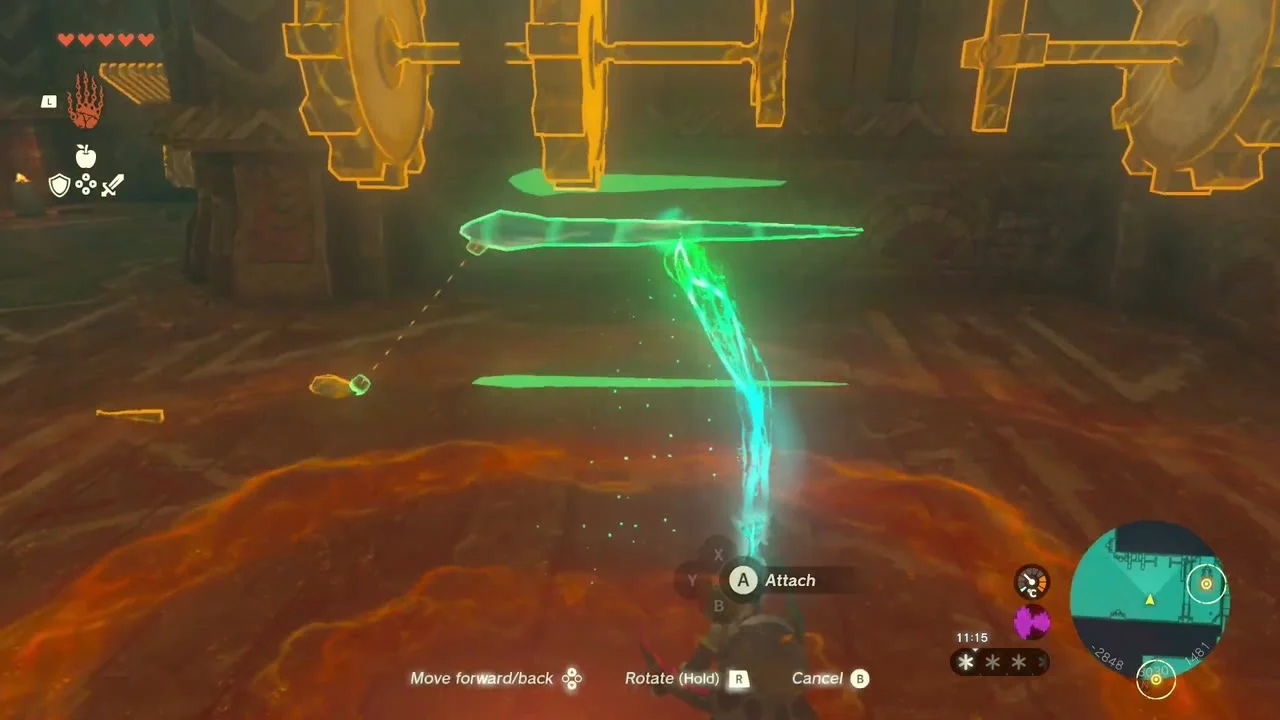


In the next room, defeat the Construct and use the nearby lever with Ultrahand to open the bars. The wall beyond has two gears, but one is missing a connection. Shoot down a large icicle from the ceiling and attach it between the gears. The icicle acts as a connector and makes the second gear turn, opening the gate. Activate the turbine in the room beyond.
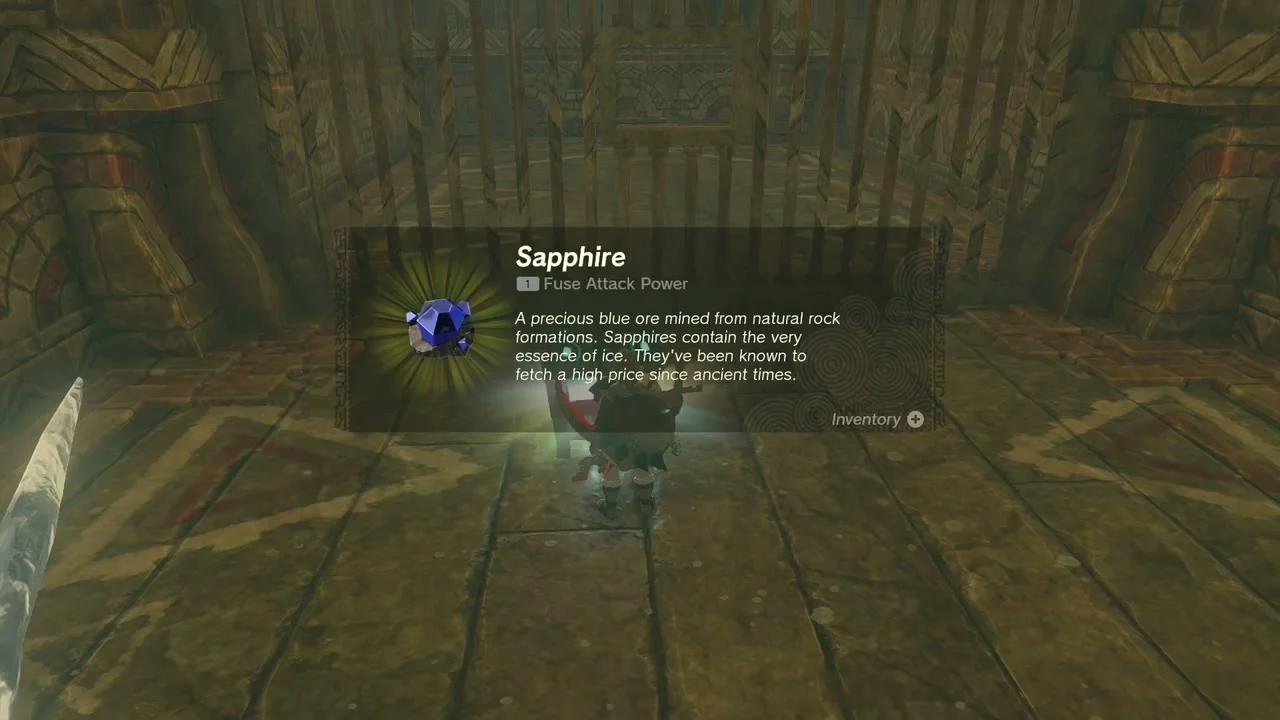
There is also a Sapphire in a cell in the southeastern room. Use Ultrahand to attach an object to the chest and pull it through the opening in the bars.

Turbine 4: Reach the Underside of the Ship
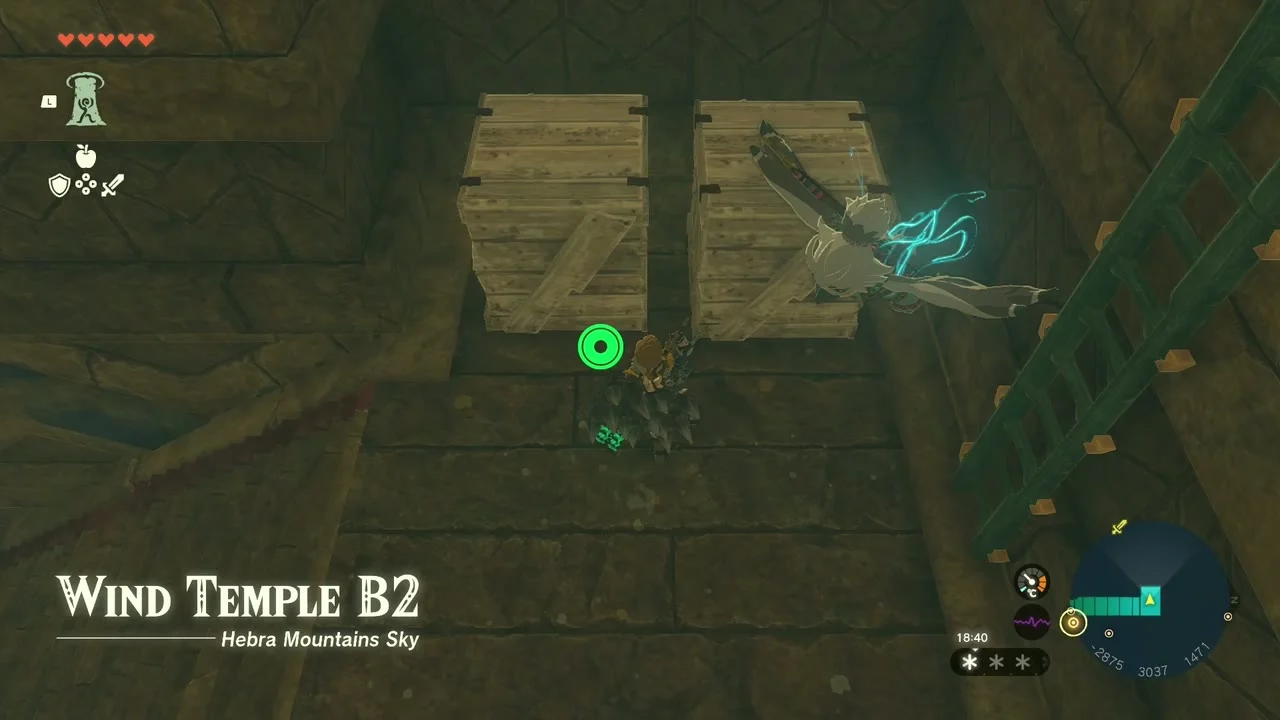
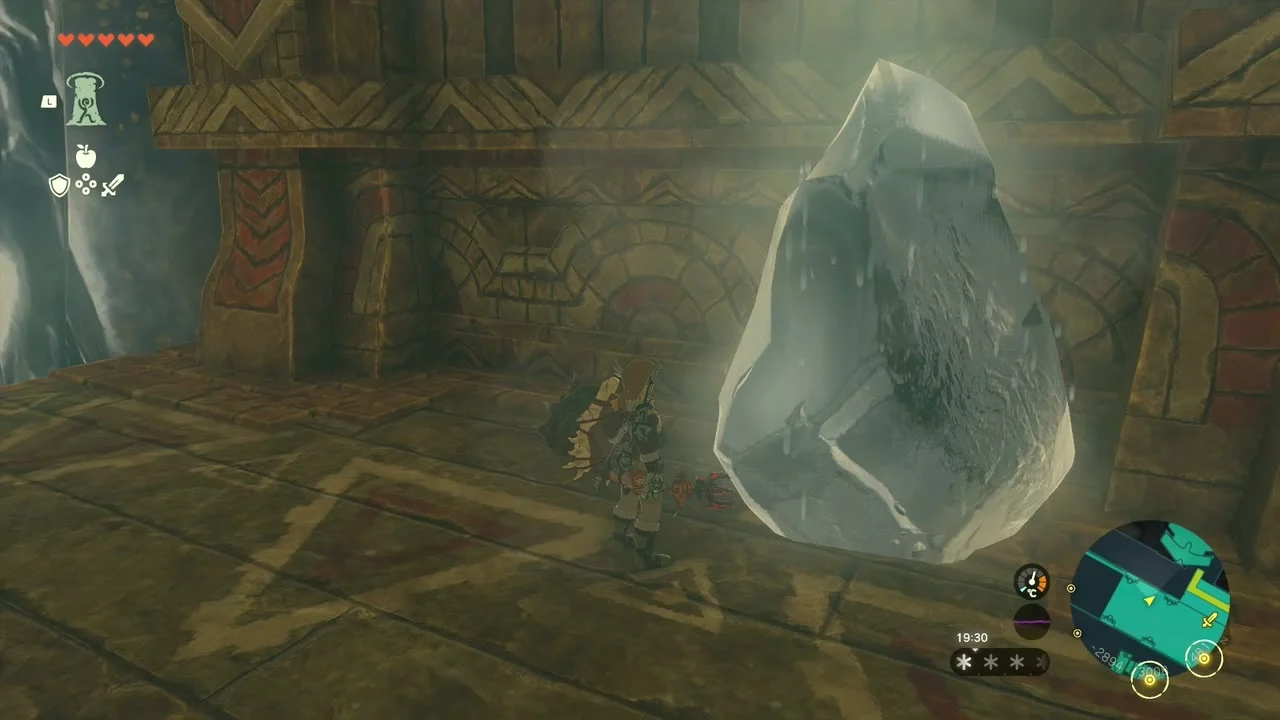
The underside turbine can be reached from inside the ship or from outside. For the interior route, go down the ladder from B1 into B2 and follow the icy corridor past a Construct. Ice blocks along the way hide supplies such as a Time Bomb and a Portable Pot, and fire will melt them. Stay clear of the red laser beams, which can trigger trapdoors.

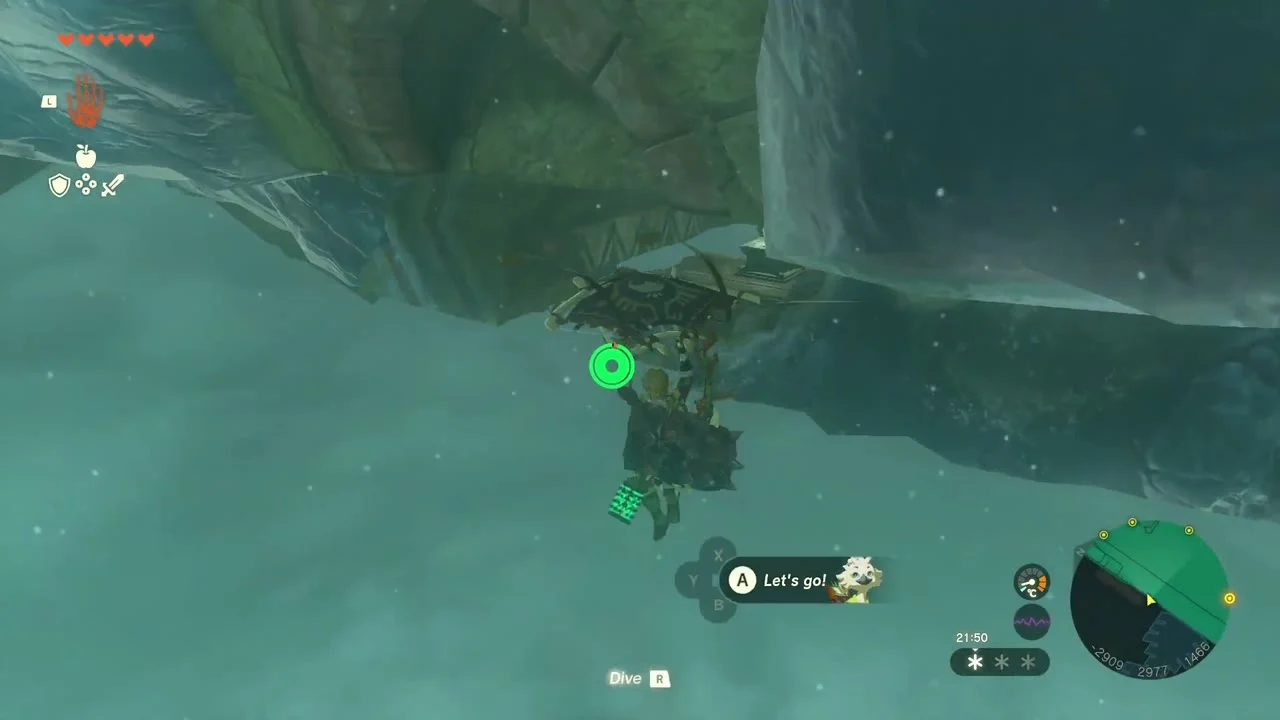
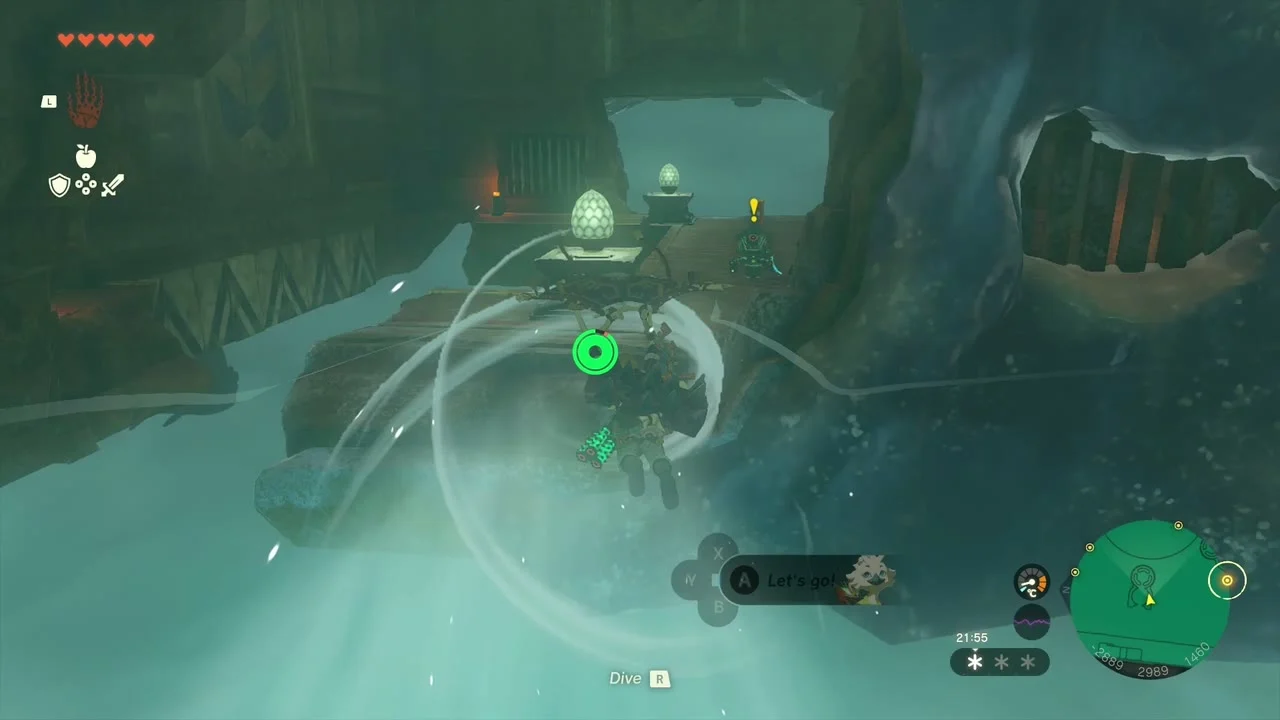
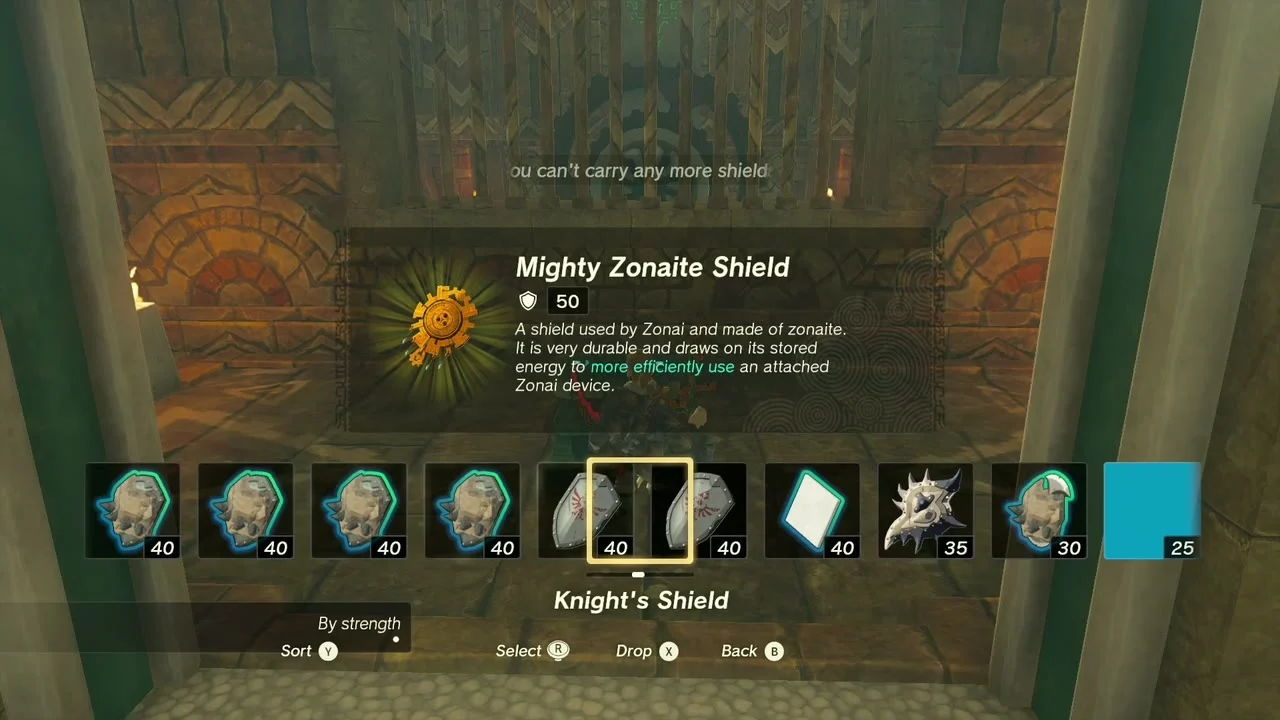
Leave through the window at the end of the corridor and glide down beneath the hull. The smaller floating ships and ruins around the ark make good stepping stones, and a ship’s sail will bounce you back up if you fall short. Use Tulin’s gust to carry the glider across to the deck on the underside, defeat the Construct guarding the turbine (a Zonaite Shield may drop from it), then use Tulin’s gust on the turbine. You can also skip the interior and dive straight from the main deck to this platform.



Turbine 5: Spin the Pole and Climb to 1F
Climb the stairs from the underside area back up to B1. In the corridor, red lasers cross the floor on one side, and a broken gap lies on the other. Pass the lasers carefully if you want the Ruby chest beyond them, then cross the gap with Tulin’s gust. Defeat the Construct on the far side and use Ascend to reach the floor above.

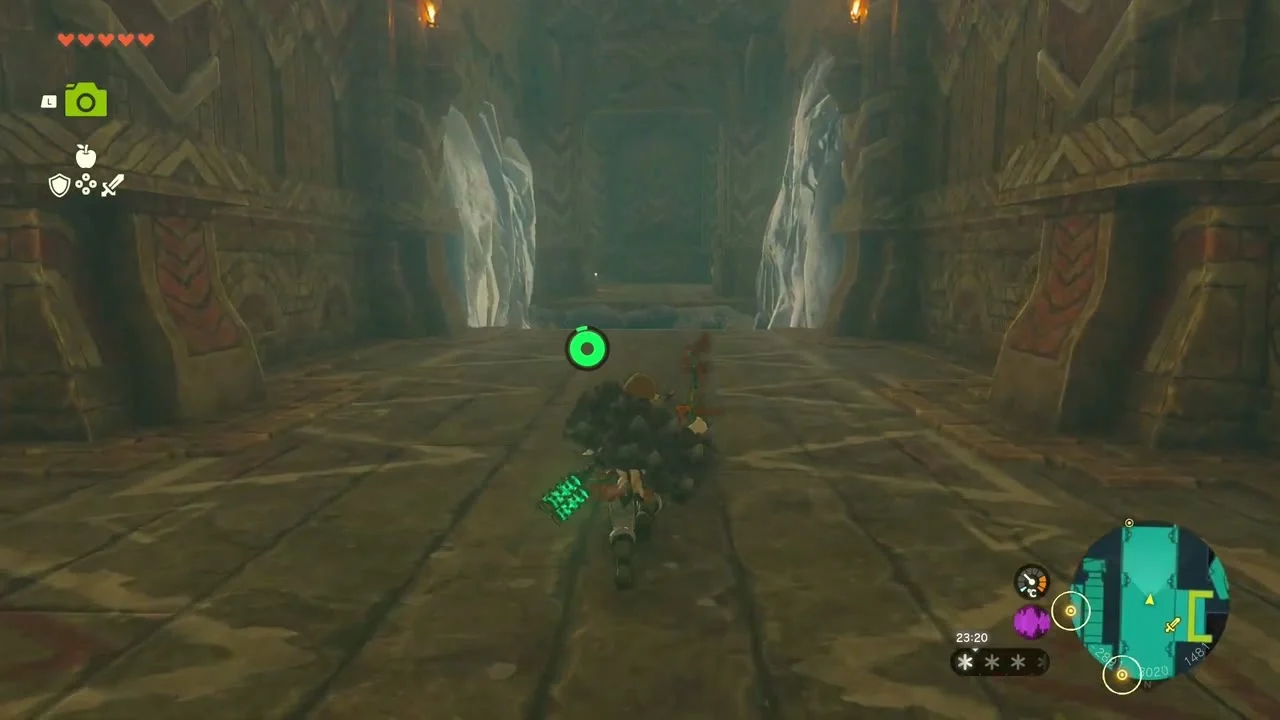
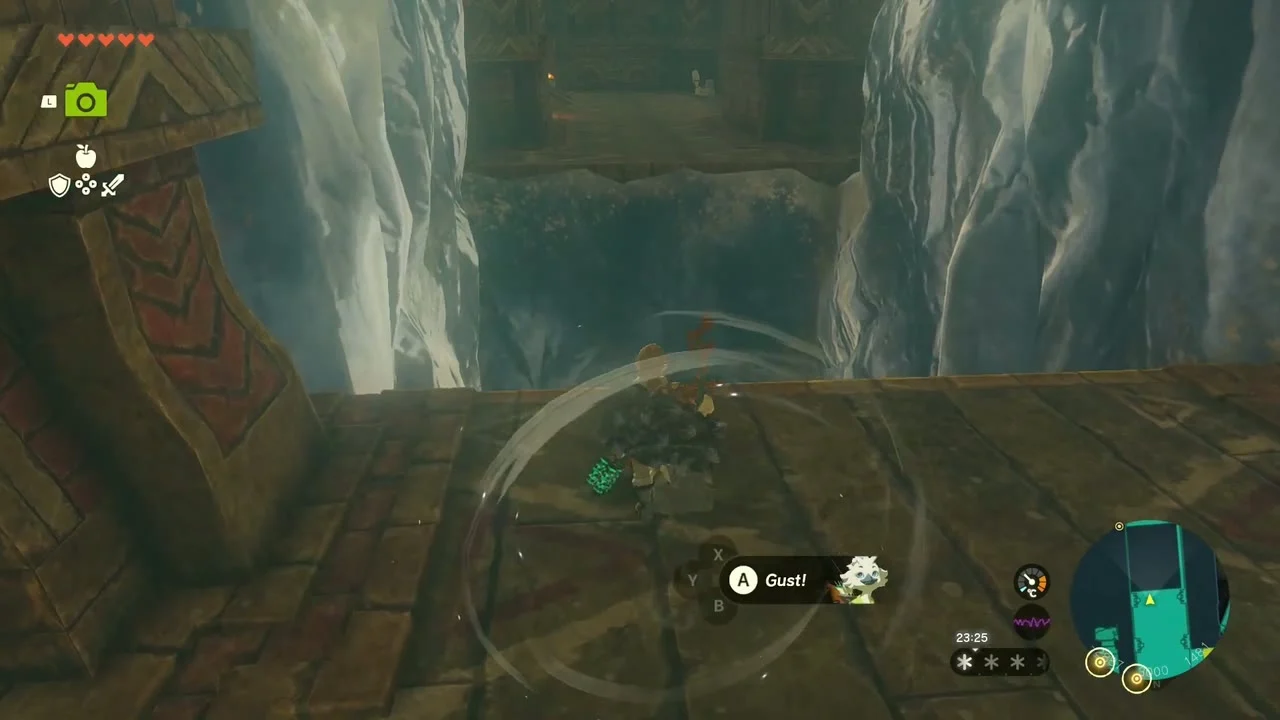
Here a pole hangs from the ceiling, with a door above a ladder. Use Ultrahand to attach a stone slab to the pole as a fin, then use Tulin’s gust on the slab so the pole spins and the door opens. Climb the ladder quickly, because the door does not stay open for long.
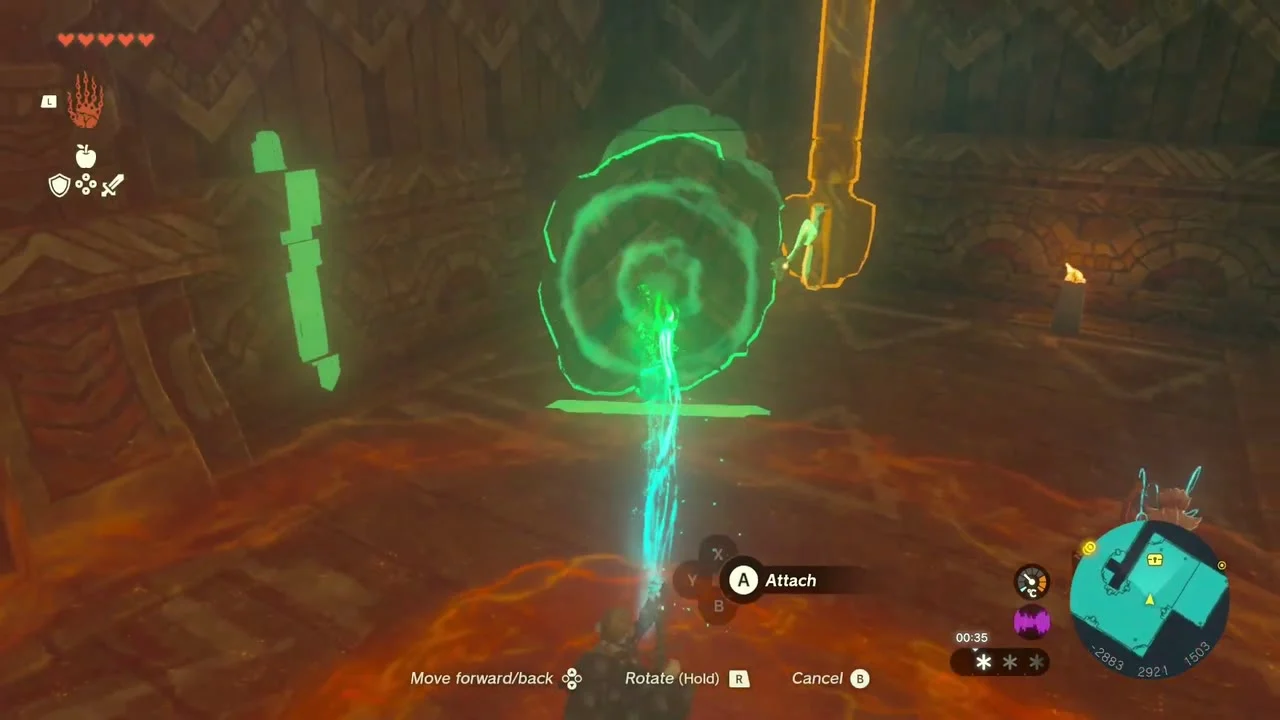

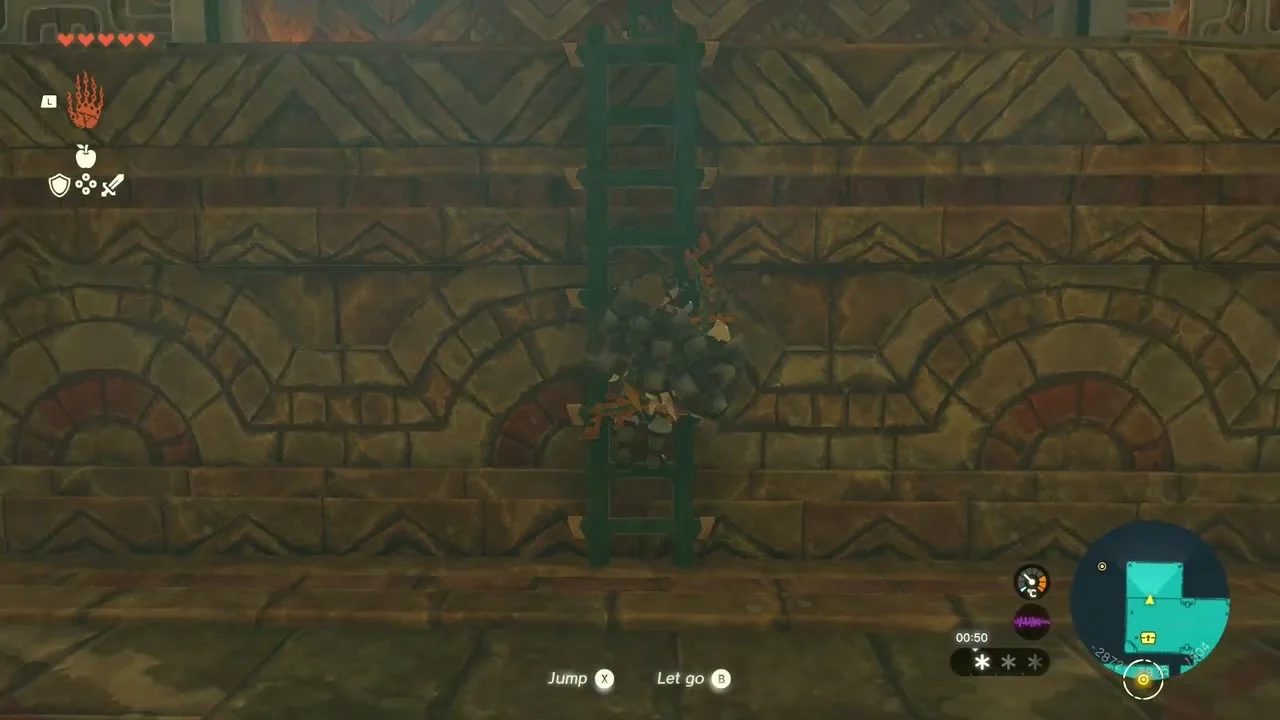
If the door shuts before you get through, spin the pole again. The ladder brings you up to 1F, where the last turbine waits. Activate it with Tulin’s gust.


Optional Wind Temple Chests
There are ten optional chests on the ark and the nearby floating ruins. Weapons and shields in them scale with your progress, so the tier you find may differ from the one listed. The two chests on the ruins are easy to miss if you stay inside the ship.


| Chest | Location | Reward |
|---|---|---|
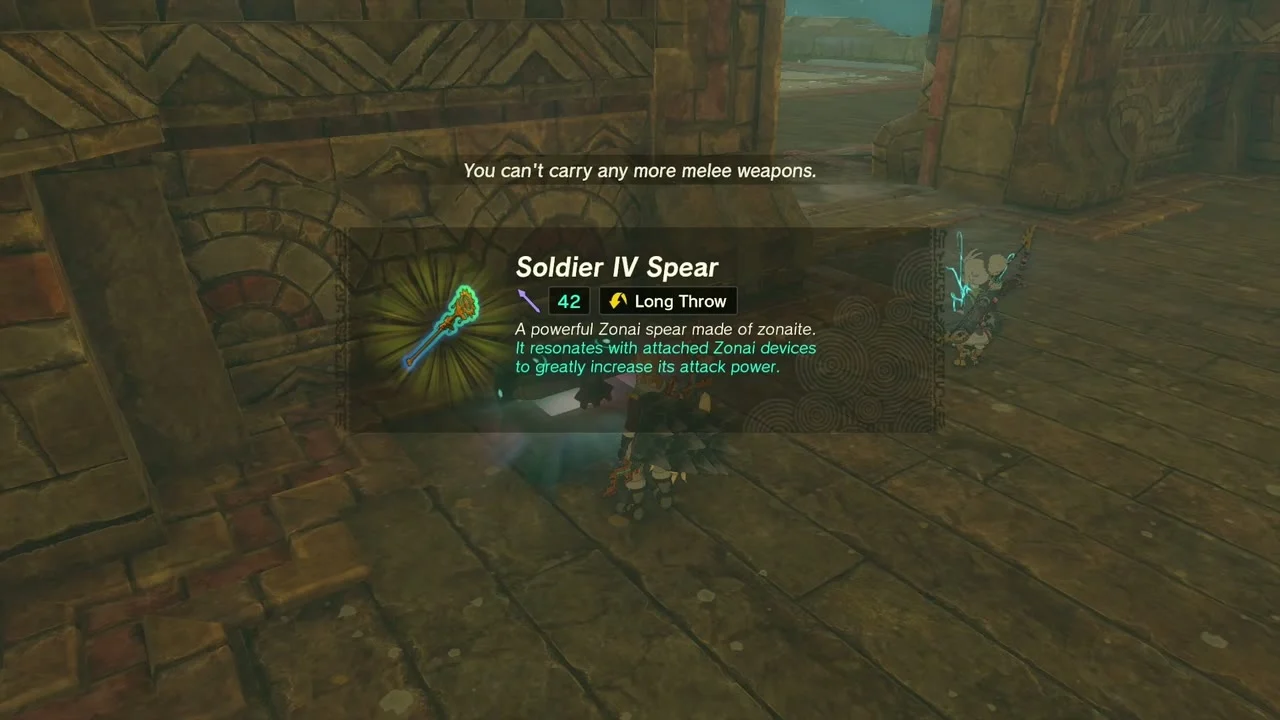
| 1 | Ice block in the room beside the Turbine 5 chamber on 1F | Soldier Spear (Soldier II, III or IV Spear, depending on your progress) |
| 2 | Gated room beside the Turbine 1 gate, 1F | Opal |
| 3 | Ice block above the northwest cabin on 1F | 10 Arrows |
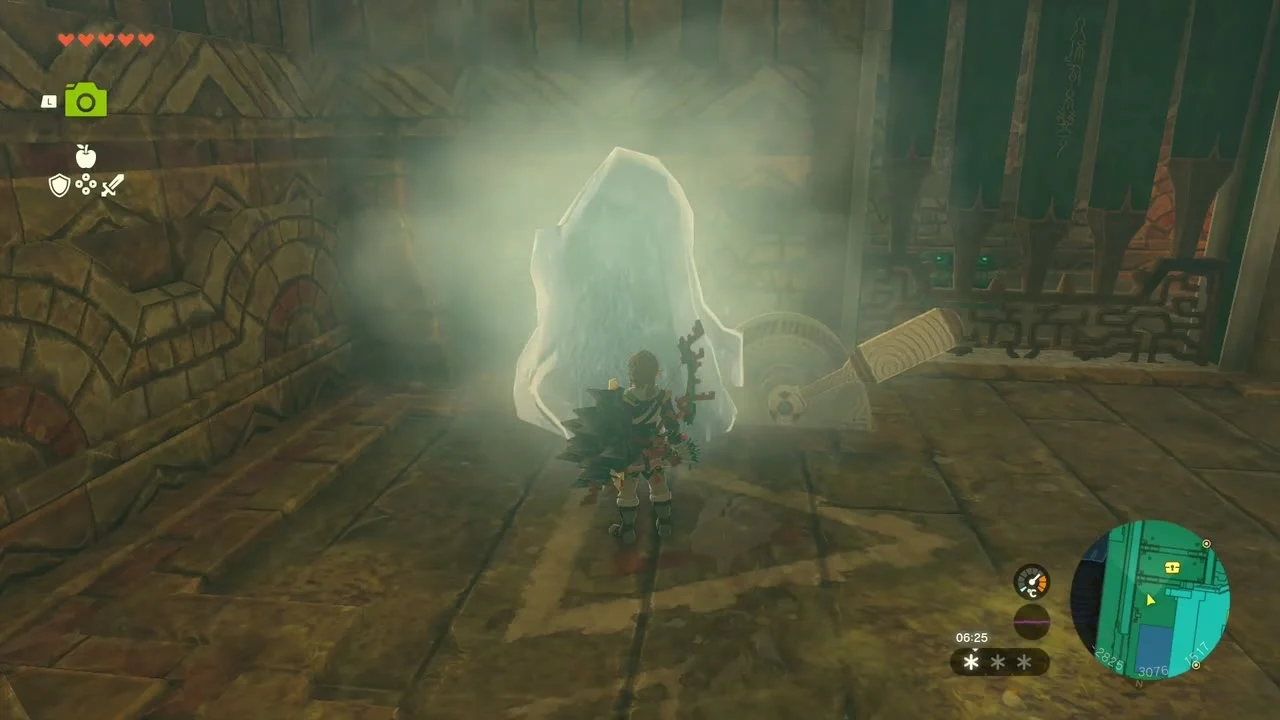
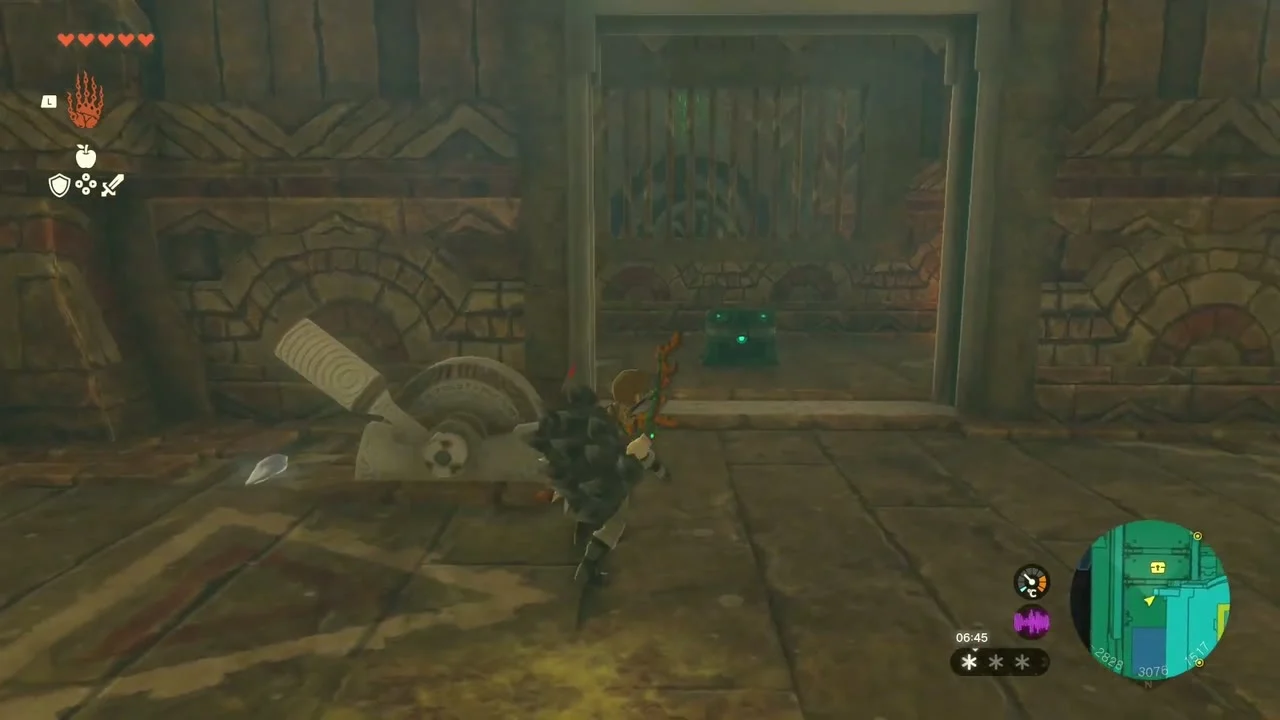
| 4 | Behind a barred gate opened by an ice-covered lever | Zonaite Shield (Strong or Mighty Zonaite Shield, depending on your progress) |
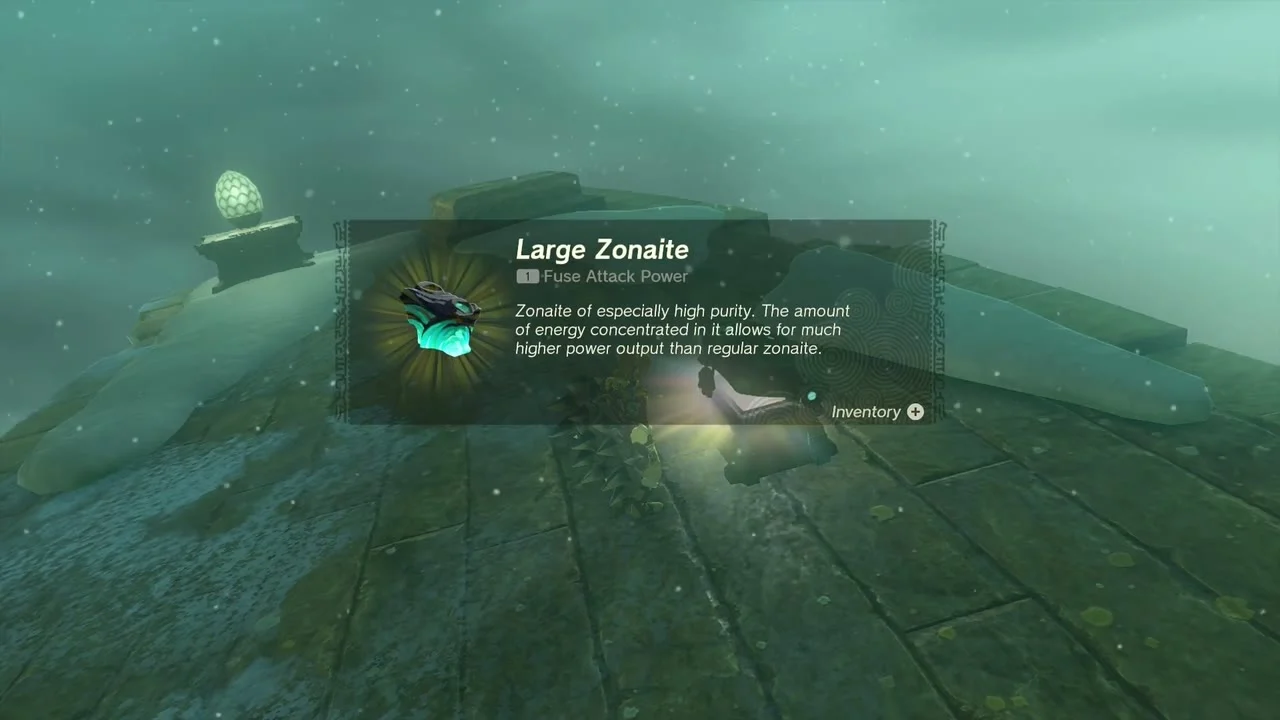
| 5 | Floating ruin west of the ark | Large Zonaite |
| 6 | Floating ruin east of the ark | Construct Bow (Strong or Mighty Construct Bow, depending on your progress) |
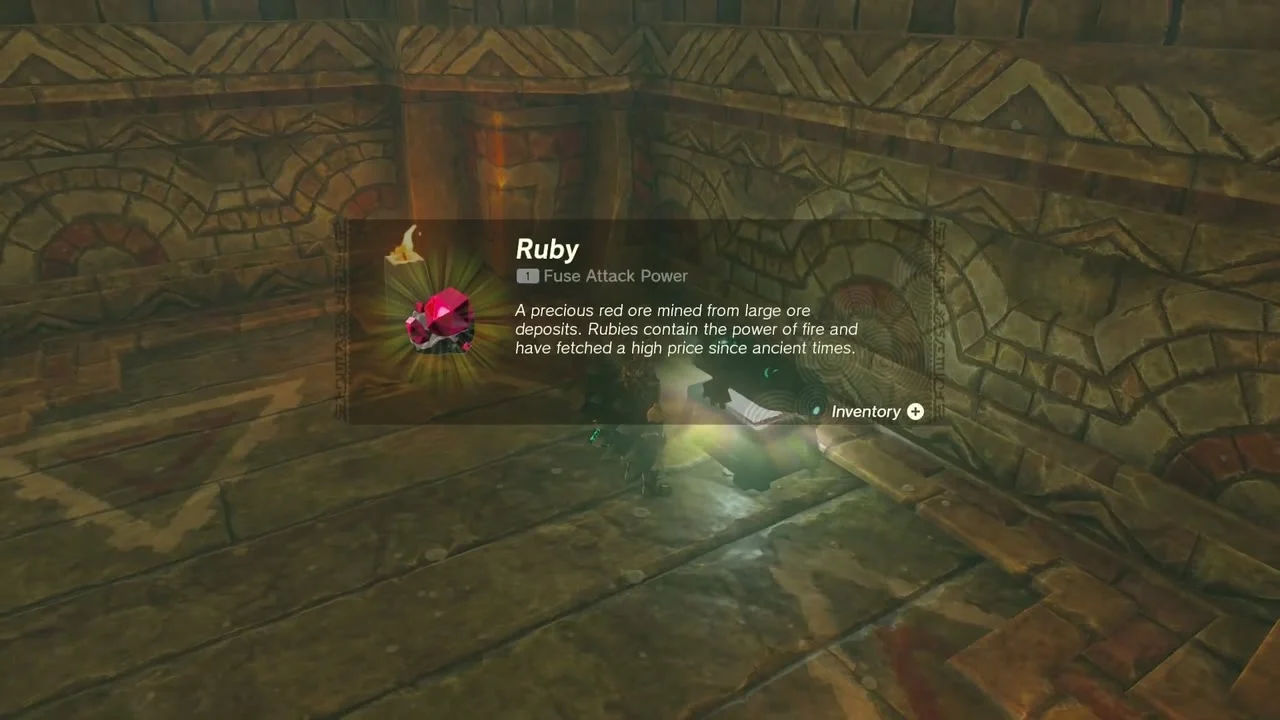
| 7 | Northwest end of B1, beyond the red lasers | Ruby |
| 8 | Under stone debris in the southwest room of B1 | Captain Reaper (Captain I to IV Reaper, depending on your progress) |
| 9 | Cell in the southeastern room of B1 | Sapphire |
| 10 | Ledge across the gap beside the large fan on B1 | Soldier Blade (Soldier II, III or IV Blade, depending on your progress) |
To reach the two floating-ruin chests, ride the updraft from the center of the main deck and glide toward the platforms on either side of the ark. A cannon on the ship can fire at Link while he is near the western ruin. Constructs and ice blocks on the ark can also drop a Construct Bow, at the same tier as the chest.
The spear chest is frozen inside an ice block in the room beside the Turbine 5 chamber. Melt the ice with a Fire Fruit, a fire arrow or another flame to open it.
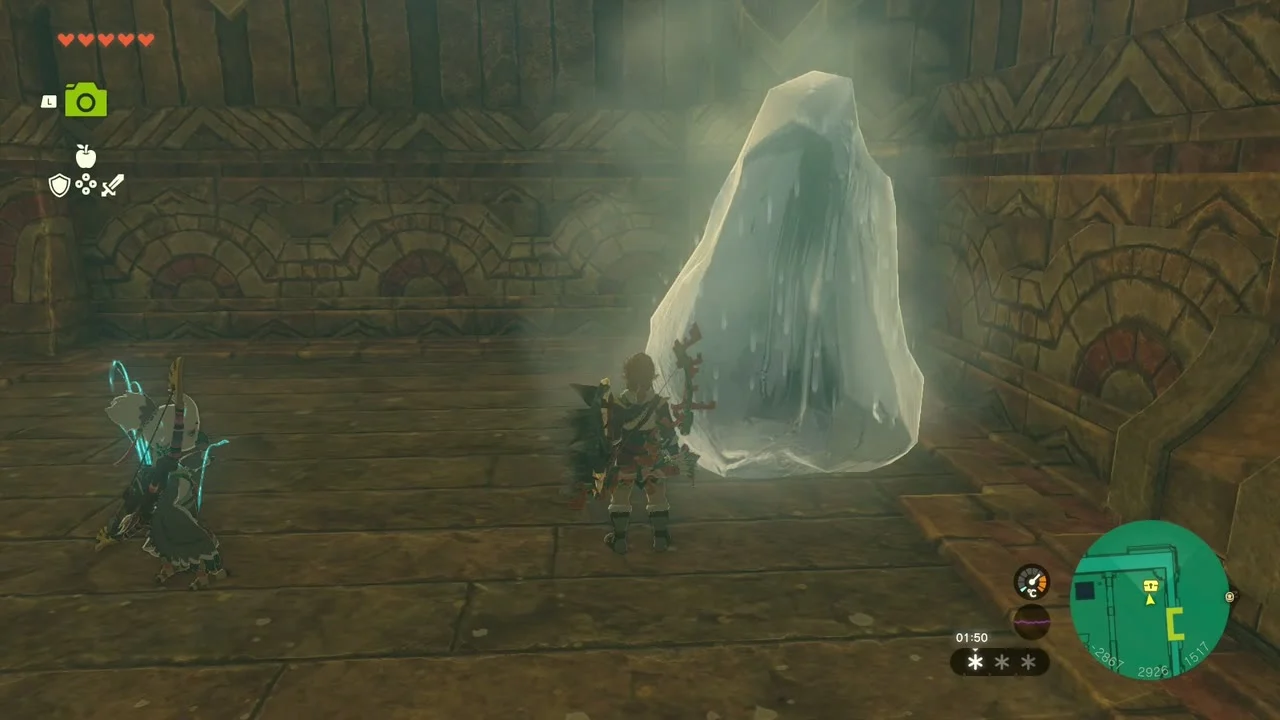
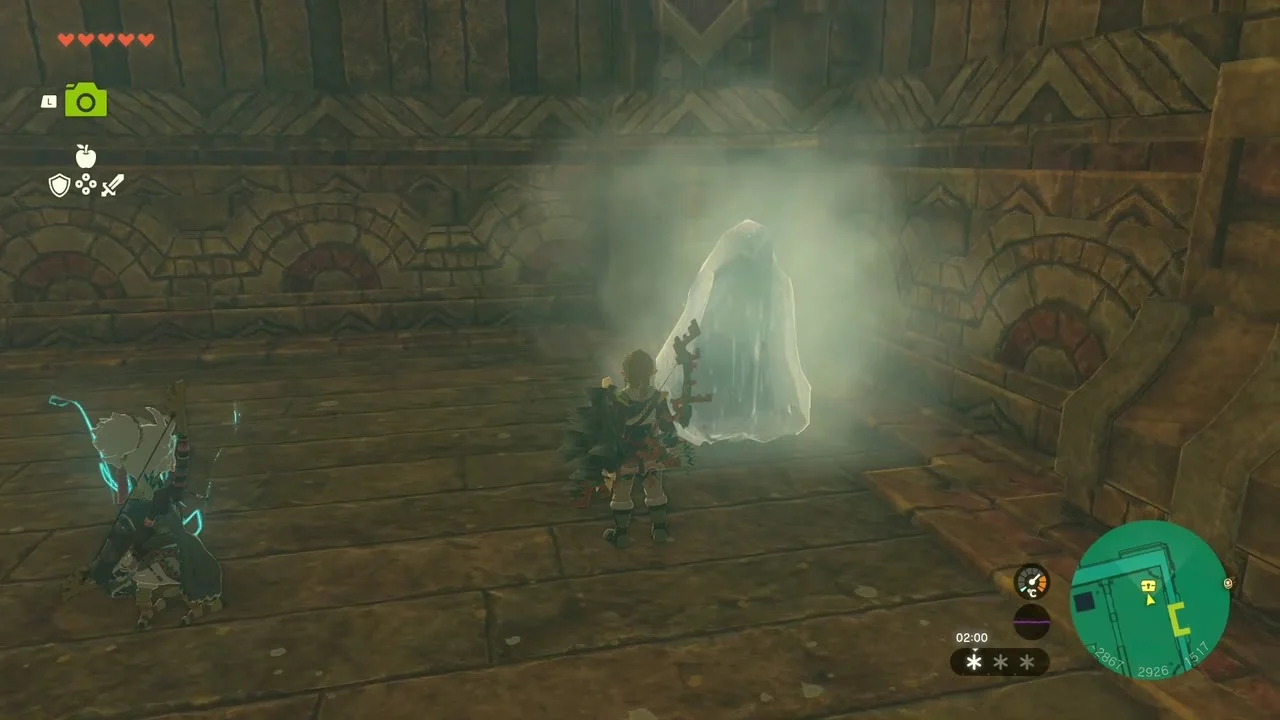
The Zonaite Shield chest sits behind a barred gate. Melt the ice on the nearby stone lever, attach a slab or icicle to the lever with Ultrahand as a handle and pull it to raise the gate.

Defeat Colgera
Open the hatch
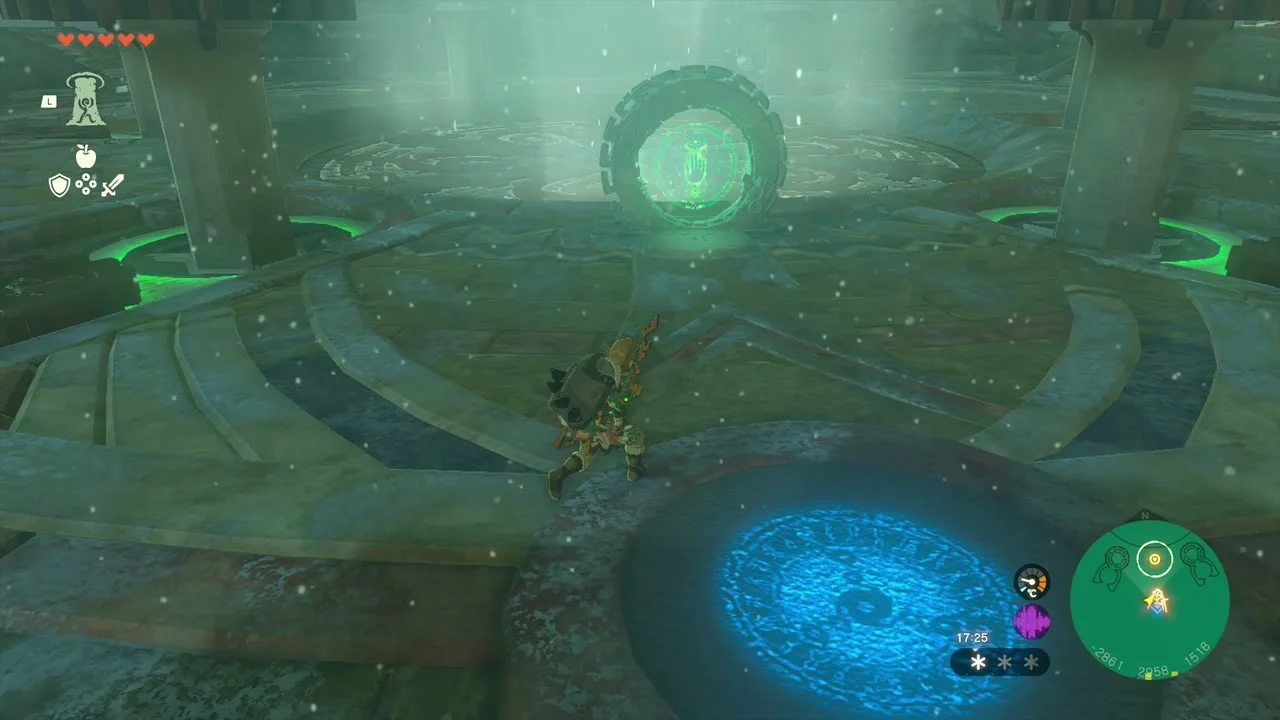
Once all five turbines are active, return to the terminal on the main deck and interact with it to open the hatch. This starts the fight with Colgera.


Hit the weak points
The weak points are the purple sections on Colgera’s body. You can hit them with arrows from below, though the angle and distance can make aiming difficult. A Fire Fruit, Bomb Flower, or another damaging fuse can break the ice covering a weak point and damage it with one shot. Keese Eyeballs help track the target.


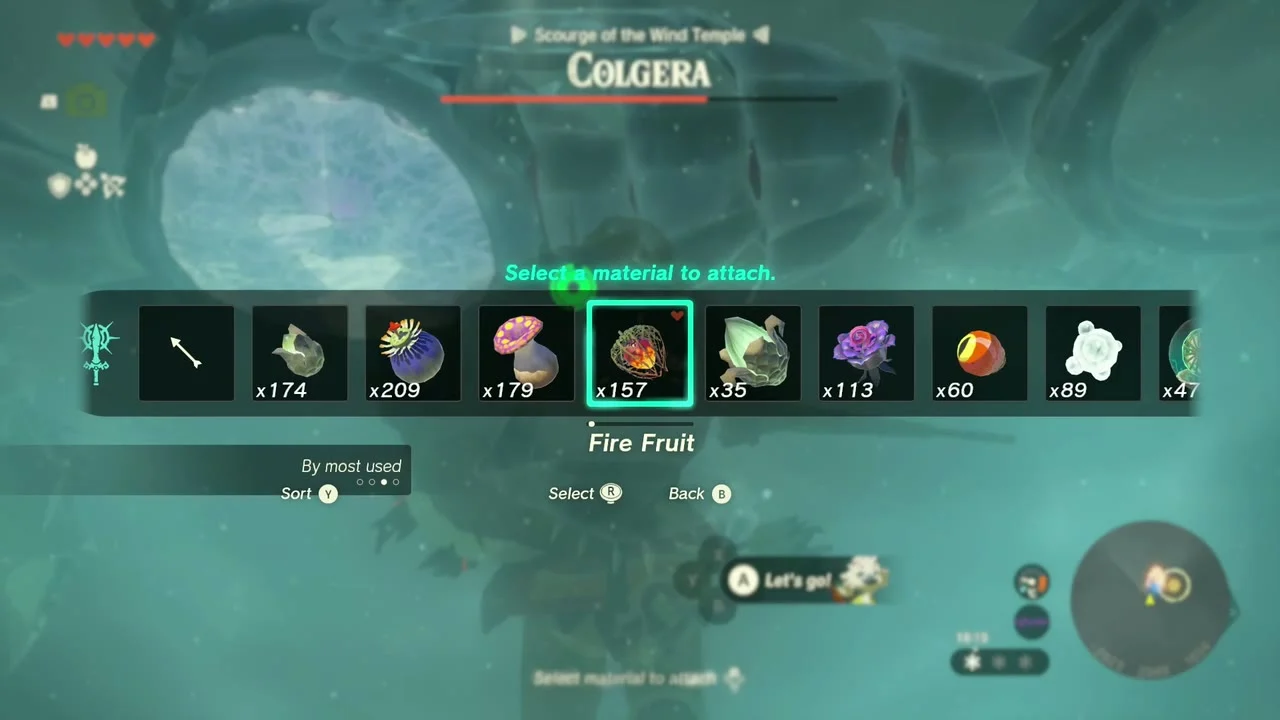
Dive from above
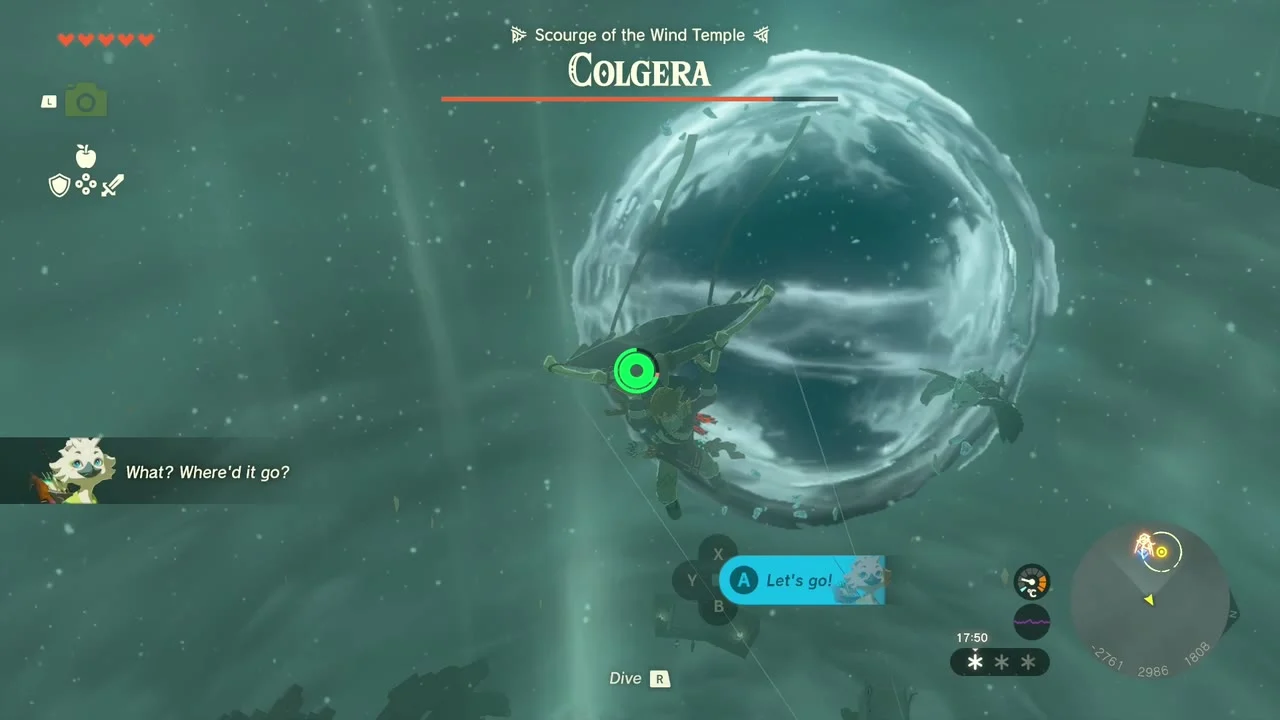
You can also dive into the weak points from above. Colgera exposes the ice on its upper side after firing the spikes on its back. Close the paraglider and dive into the exposed section. If you miss the weak point and hit the armored shell, Link will bounce away.

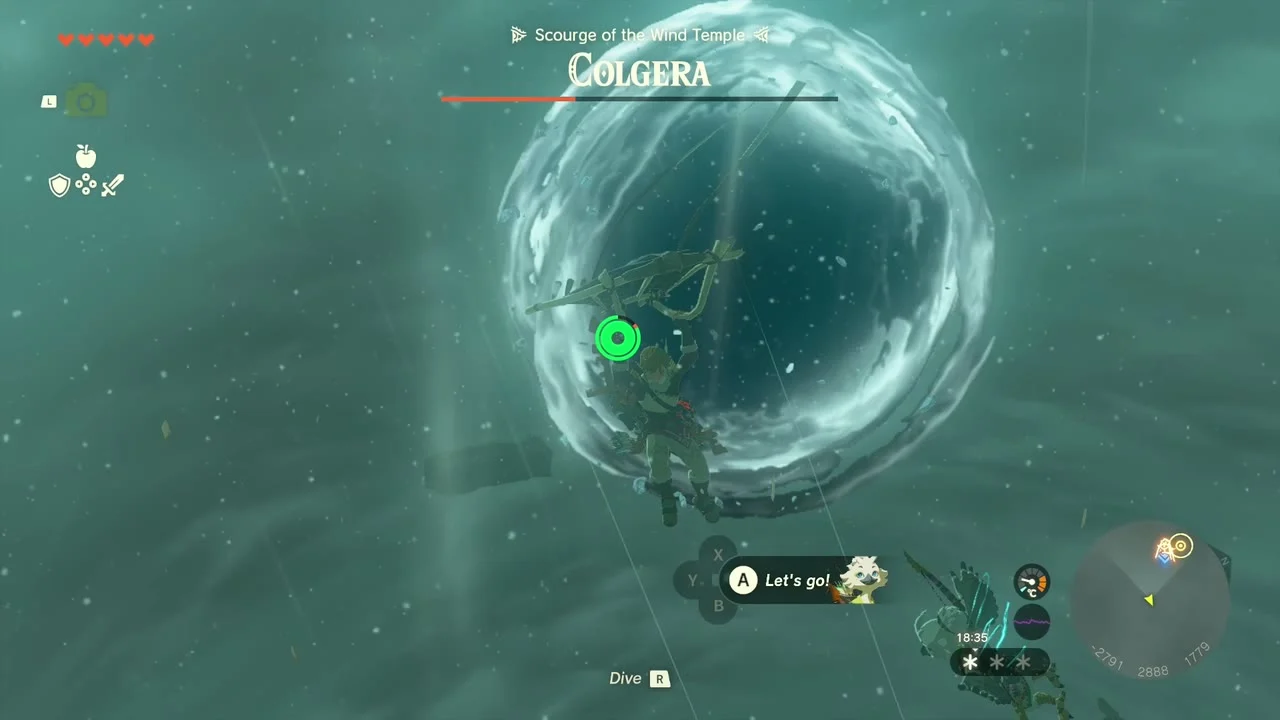
Survive the second phase
After you destroy the three weak points, Colgera begins a second phase and adds tornadoes to the fight. Keep moving, use Tulin’s gust to dodge or reposition, and repeat the same attacks. The updrafts around Colgera can help Link regain height.
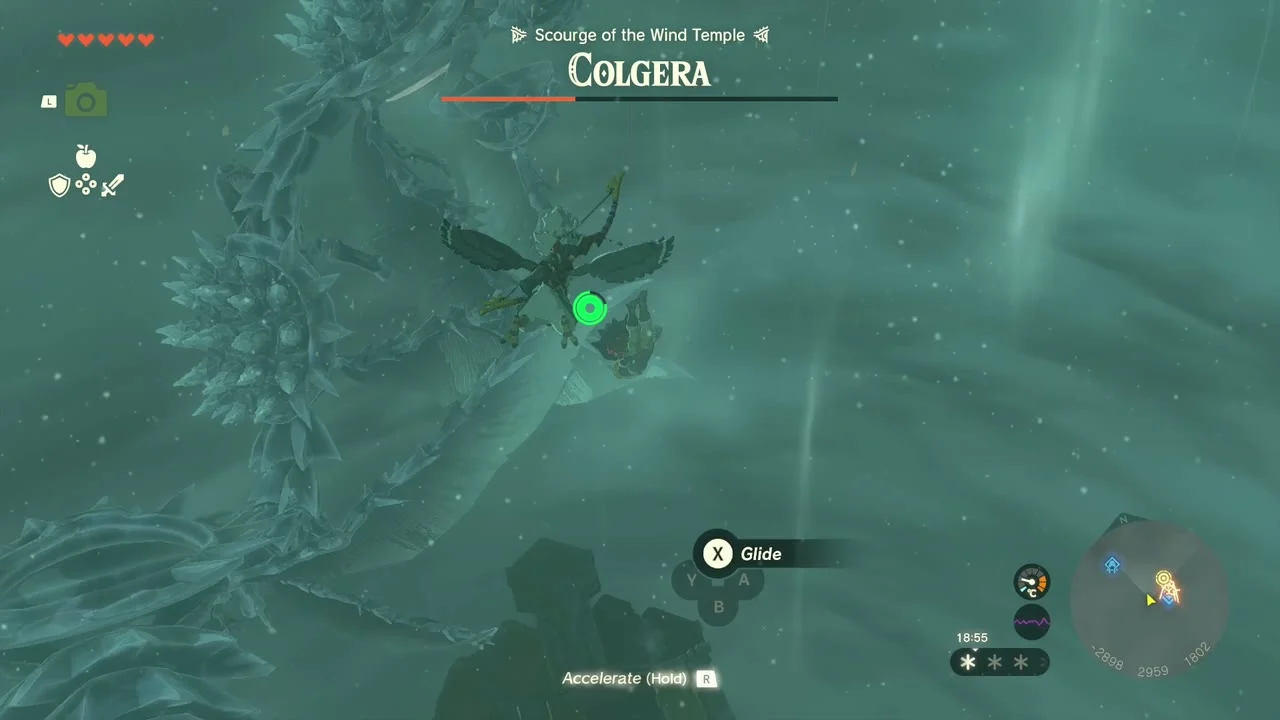
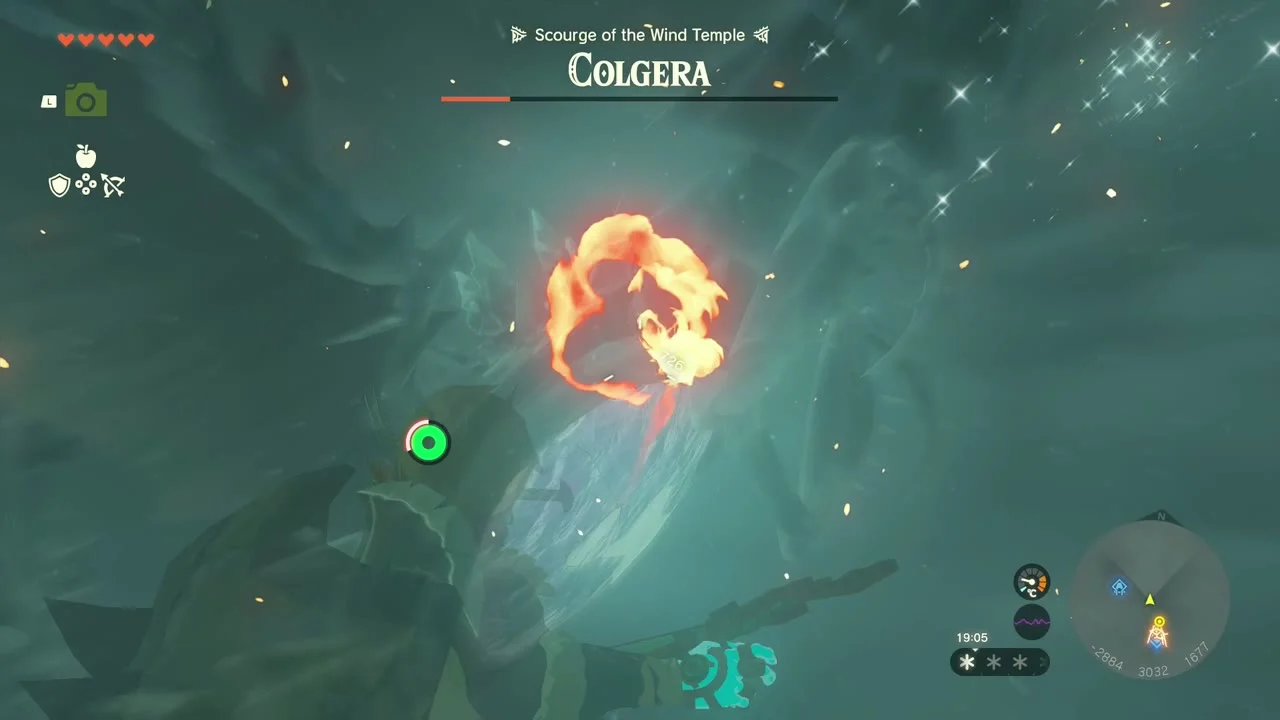
Rewards
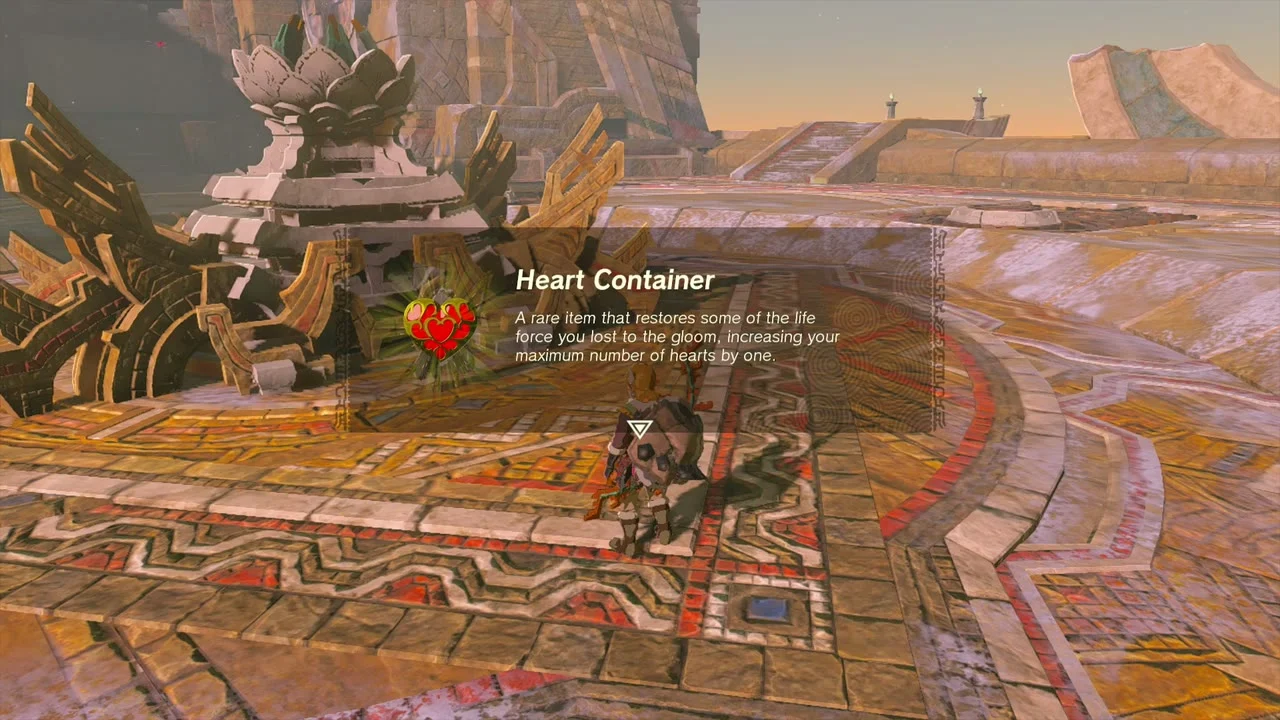
Defeating Colgera clears the blizzard around Hebra and awards a Heart Container. Tulin also gives Link the Vow of Tulin, which lets him summon Tulin’s avatar and use the Wind ability while gliding.

Colgera Rematches in the Depths
After defeating Colgera in the Wind Temple, three rematches become available in the Depths: two in the Hebra Mountains Depths, near Narusis and Nupisoyuat Lightroots, and one in the Gerudo Highlands Depths, near the South Lomei Depths Labyrinth.
The first time you defeat Colgera at each arena, it unlocks a chest with a Huge Crystallized Charge, worth 100 Crystallized Charges. Colgera also drops a Colgera Jaw after each Depths fight. The jaw has 36 Fuse Attack Power, but it cannot be picked up into Link’s inventory. Fuse it to a weapon or shield before leaving the arena. Each rematch can be fought again after a Blood Moon.
