
























| Where | Beneath Hyrule Castle, at the end of the Depths descent and the Demon King’s army gauntlet |
|---|---|
| Story fight | Destroy Ganondorf main quest (final boss) |
| HP | 2,500 in the first form (The Menace Unleashed) and 5,000 in the second (Master of the Secret Stone); his clones have 900 HP each |
| Weak point | His head; headshots deal double damage |
| Rewards | Opens the Demon Dragon fight and the ending |
| Recommended gear | Master Sword, a one-handed weapon and shield, a strong bow with arrows, Sundelion and healing meals, Defense Up and Attack Up food |
The Demon King has two forms. In the first, dodge or block his strikes and punish him with Flurry Rush and headshots. In the second he grows stronger and splits off clones, but your awakened Sages help you.
Table of Contents
Prepare
Cook plenty of meals before you drop into the final arena, especially Sundelion dishes that restore hearts damaged by gloom, plus Defense Up and Attack Up food. Bring several weapons and shields, since they break quickly, and a bow with arrows for the clones. Awaken all the Sages first if you can; they fight alongside you in the second form.
Strategy
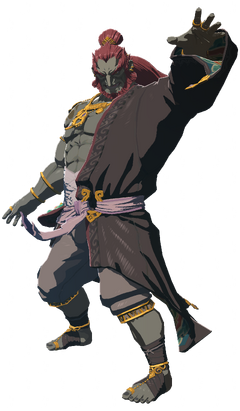
First form: dodge and counter
Ganondorf fights with heavy sword, club and spear strikes. Keep your shield up or dodge at the last moment to trigger a Flurry Rush, then hit him with a charged attack while he is open. He can dodge a repeated Flurry Rush, so vary your timing. Shoot his head with arrows from range for double damage.
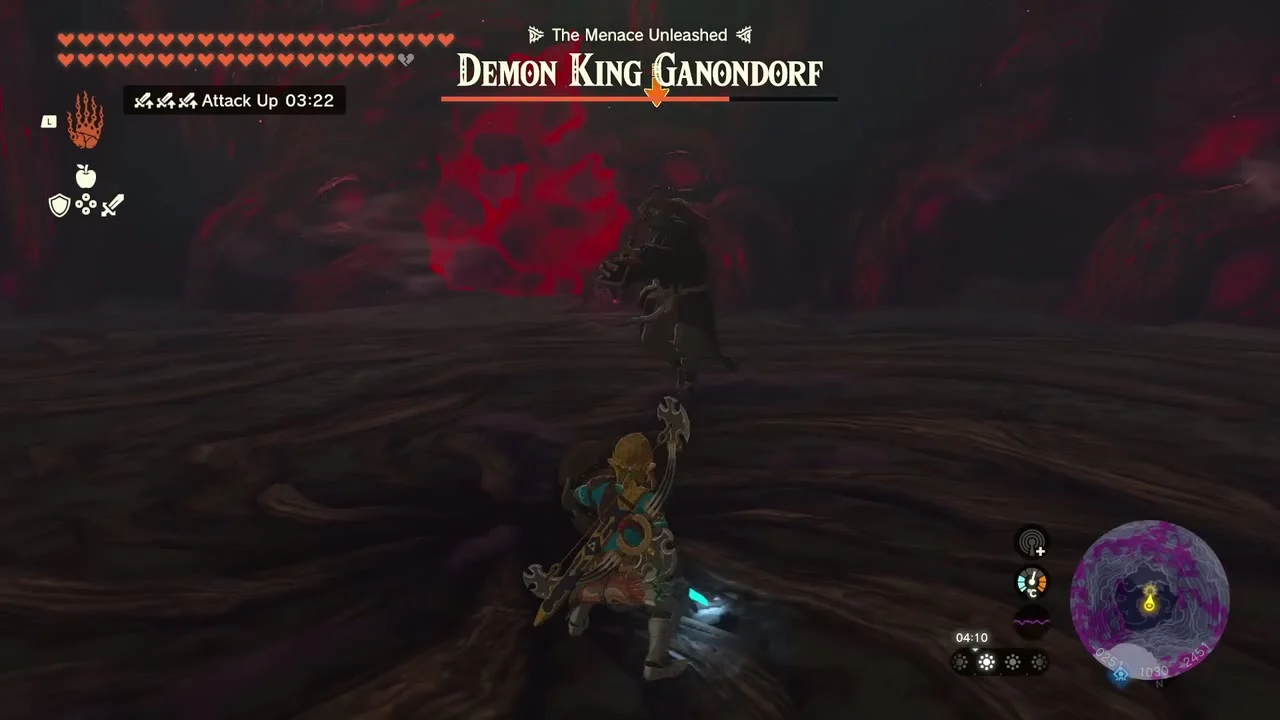
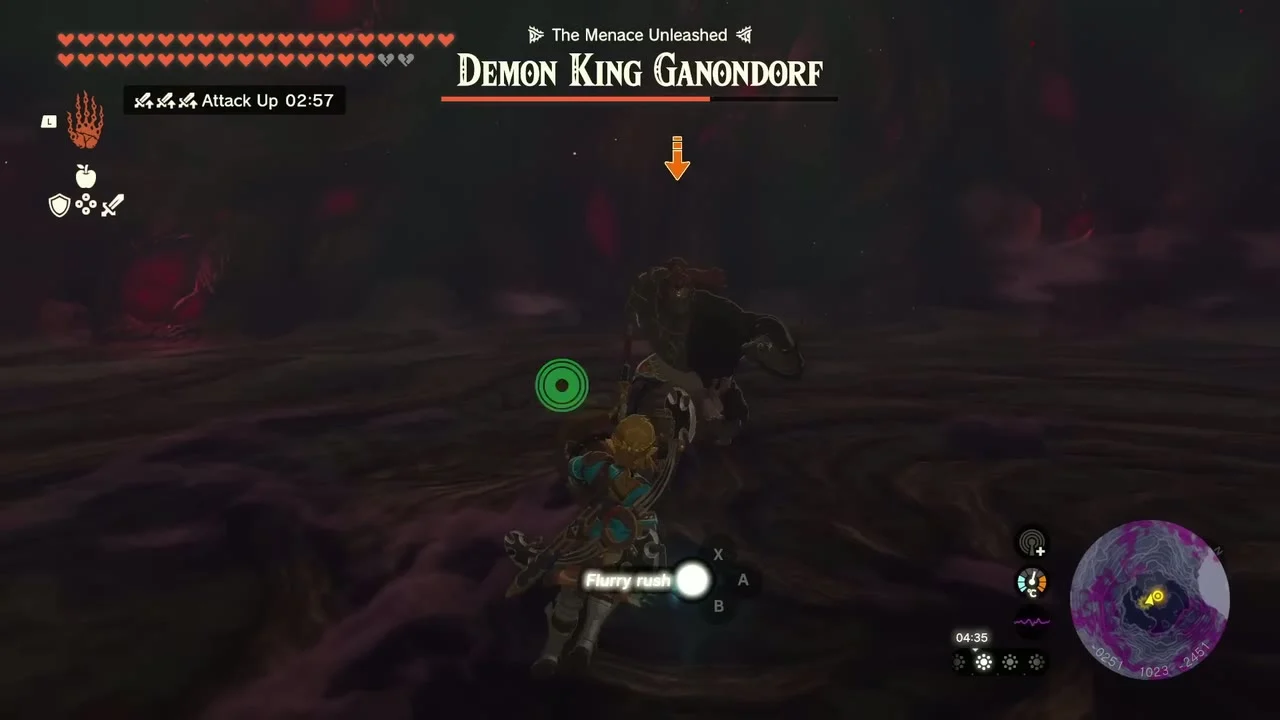
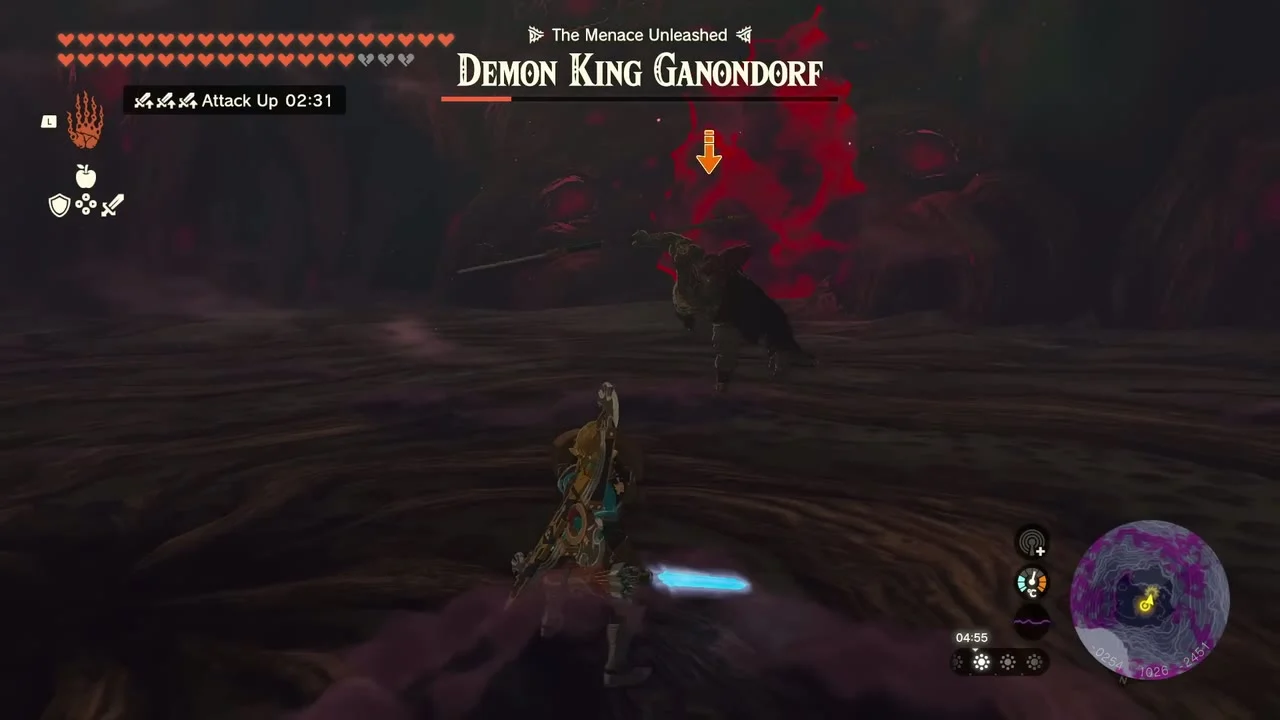
Second form: stay out of the gloom
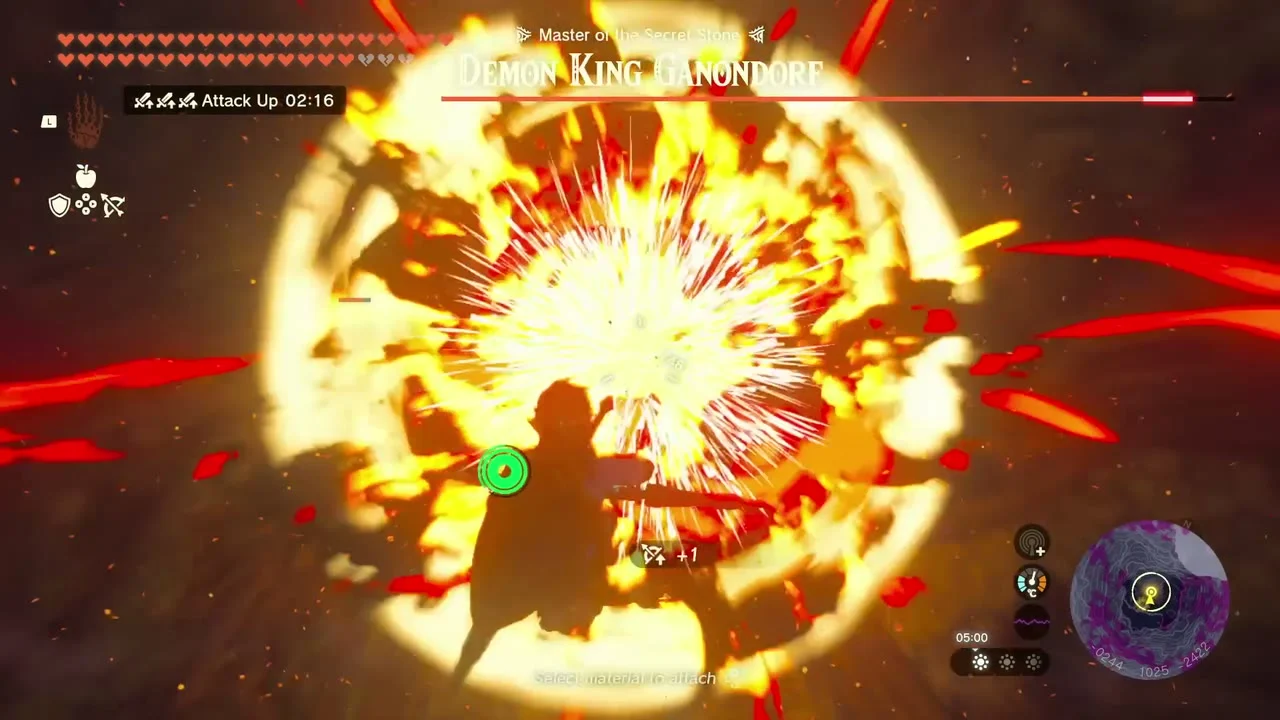
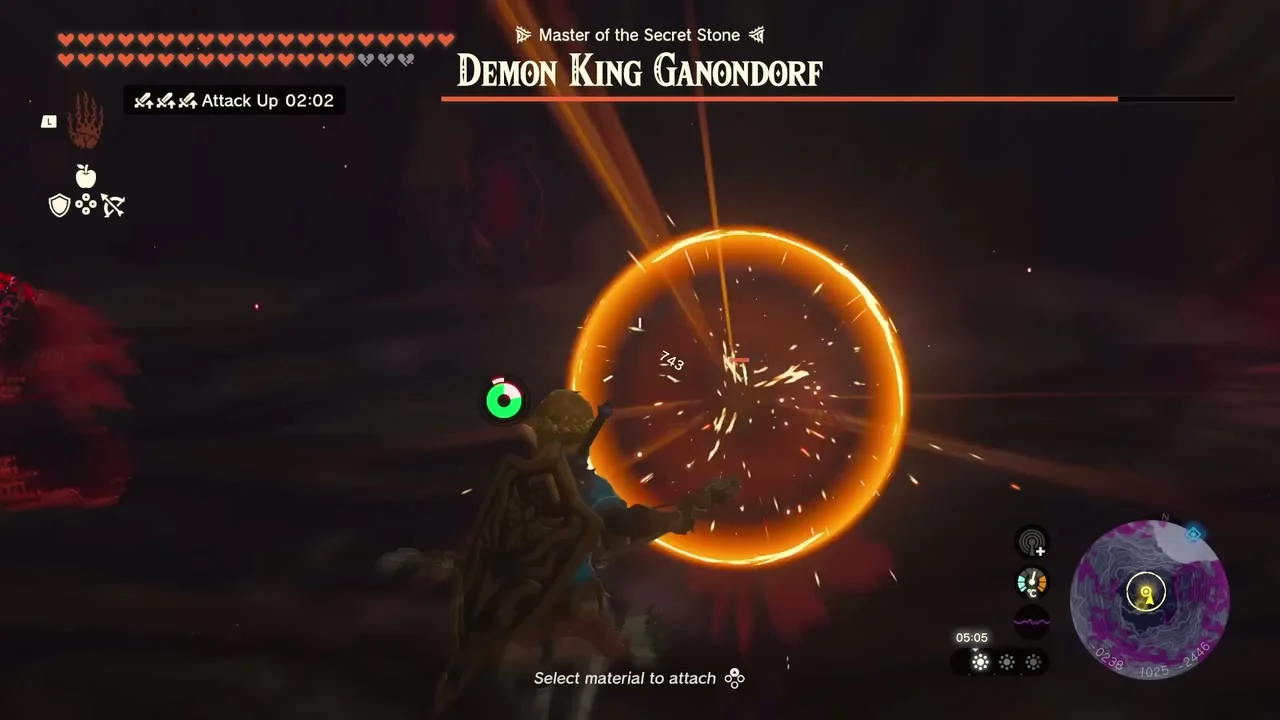
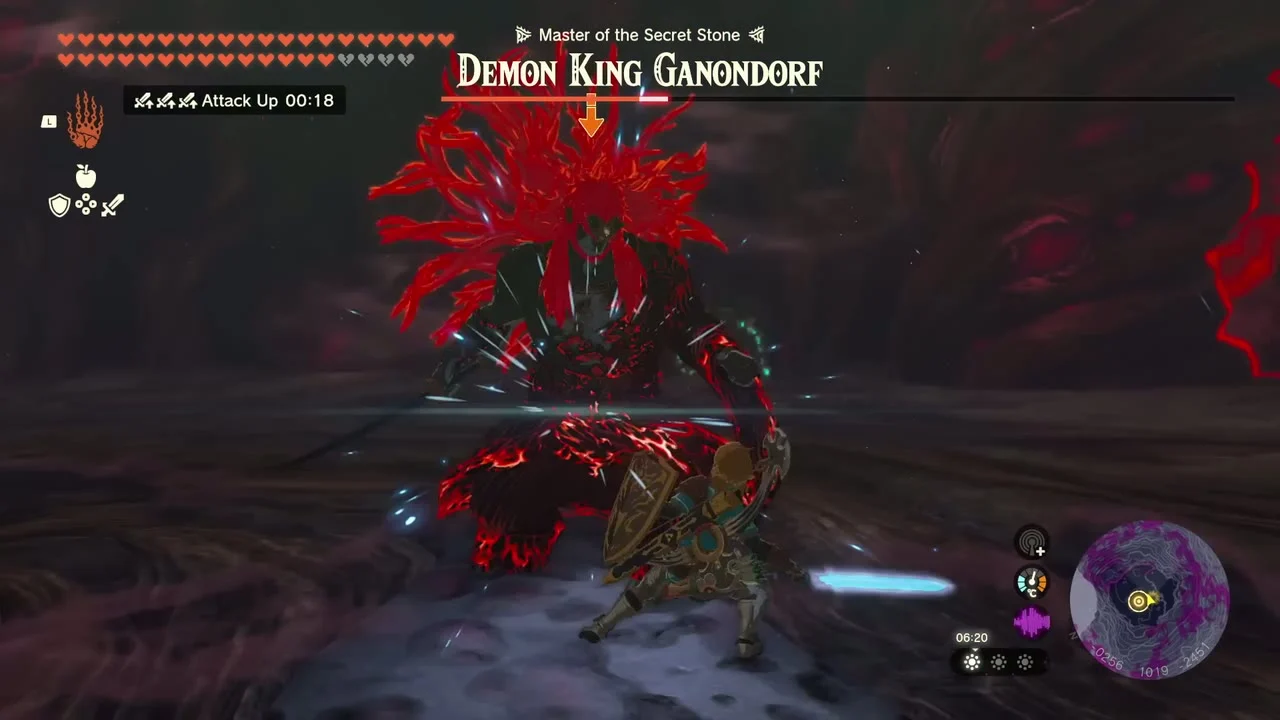
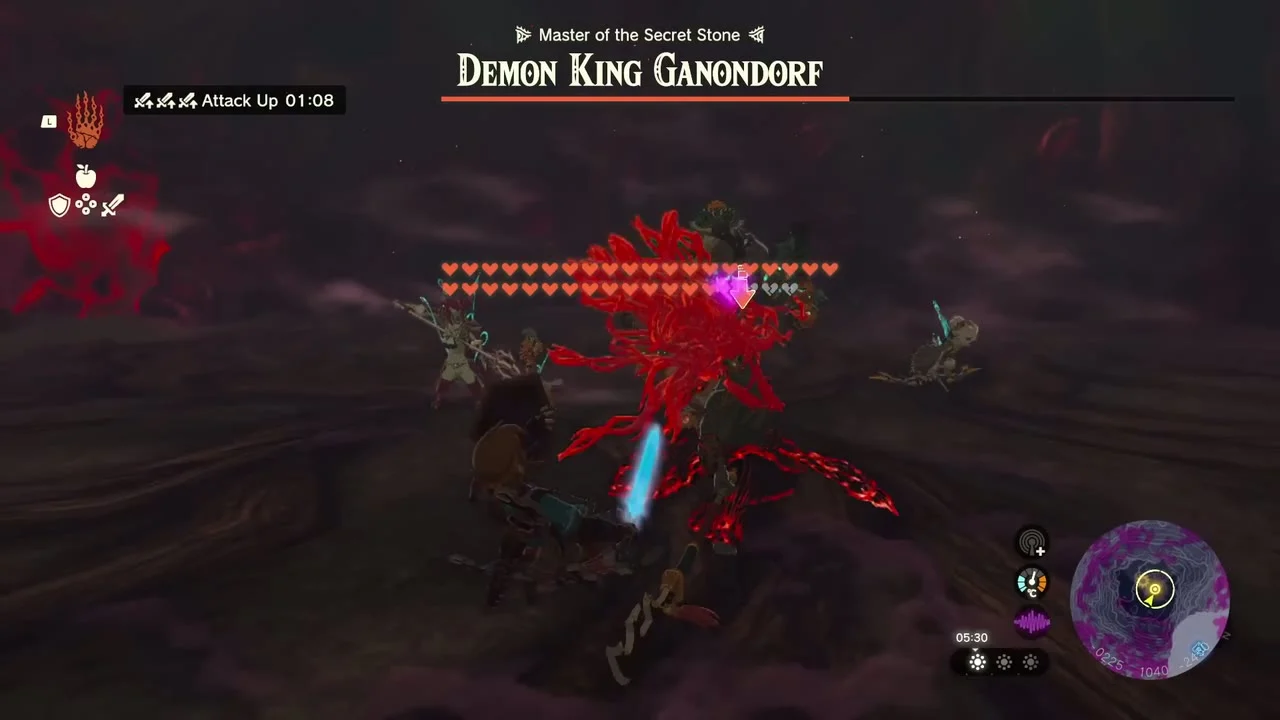
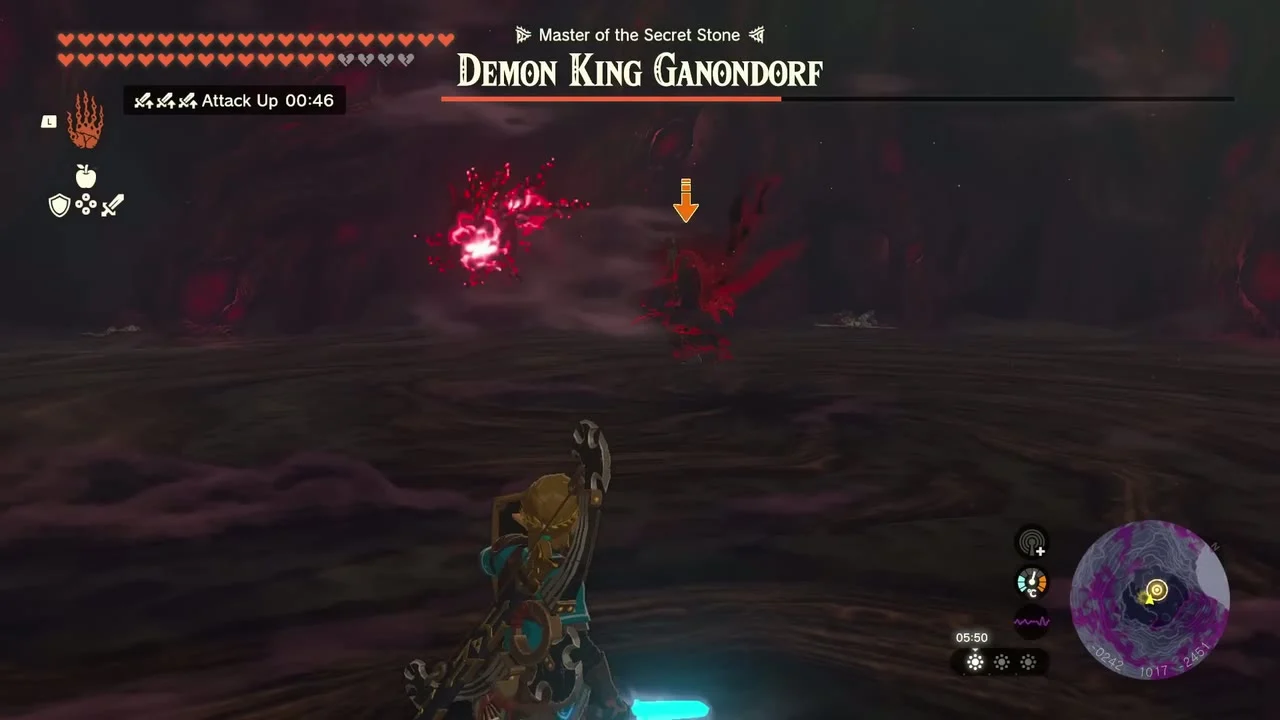
When the first health bar is gone he transforms into the Demon King. His attacks spread red gloom across the floor and send out fiery projectiles, so move sideways to avoid them and keep out of the gloom, which damages your hearts until healed. Your Sages draw his attention and attack him; use their abilities when they are ready.

Deal with the clones
Phantom clones appear and surround you in the second form. Thin them out with arrows or let your Sages handle them while you focus on the real Ganondorf. Attack the Demon King when he is open, using Flurry Rush and headshots, and block or dodge his big strikes.
The phases in detail
- Human form: His attacks cause gloom damage, which does not clear between phases, so bring Sundelion or other Sunny food. Parry the sword swipes, and dodge the spin and the charge for a Flurry Rush. Below half health he may switch to a spear (charges) or a claymore (jump slams).
- Second form: Much larger health bar and phantom clones; your Sages fight the clones. When he reaches half health he absorbs the clones and your allies are knocked out, so the rest is one-on-one.
- Final stretch: He dodges and counters Flurry Rush, so you need a second dodge to land one. Rings of gloom and homing gloom orbs are best avoided by running; orb hits can permanently remove hearts.
- A shield parry works on nearly all of his attacks, and a bow shot to the face can stun him.
Tips
- Do not stand in the red gloom; eat a Sundelion dish to restore damaged hearts.
- Vary your dodge timing so he cannot read your Flurry Rush.
- A one-handed weapon and shield are easier to use here than a two-handed weapon.
- When his health is gone, a cutscene begins and the Demon Dragon fight follows at once.
