| Total | 10 bosses and 10 mini-bosses |
|---|---|
| Where | The three child dungeons, the five adult temples, Ganondorf’s Castle and the ruins beyond it, plus mini-bosses in the Sacred Grove, Ice Cavern, Bottom of the Well and Gerudo Fortress |
| Link | Three bosses as a child, seven as an adult |
| You need | The dungeon item that matches each fight: Fairy Slingshot, Bombs, Boomerang, Fairy Bow, Megaton Hammer, Longshot, Mirror Shield and Light Arrows |
| Reward | A Heart Container from each of the eight dungeon bosses, three Spiritual Stones, five medallions and the final ending |
Ocarina of Time Remake has ten boss fights and ten mini-bosses, and each has one trick that decides it. Gohma takes seeds in the eye, King Dodongo a bomb in the mouth, Barinade the Boomerang, Volvagia the Megaton Hammer, Morpha the Longshot and Twinrova the Mirror Shield. The last two fights call for the Master Sword and Light Arrows. The entries follow the order you meet them in, with the name on the title card, where the boss waits, what to hit and what you get for winning.

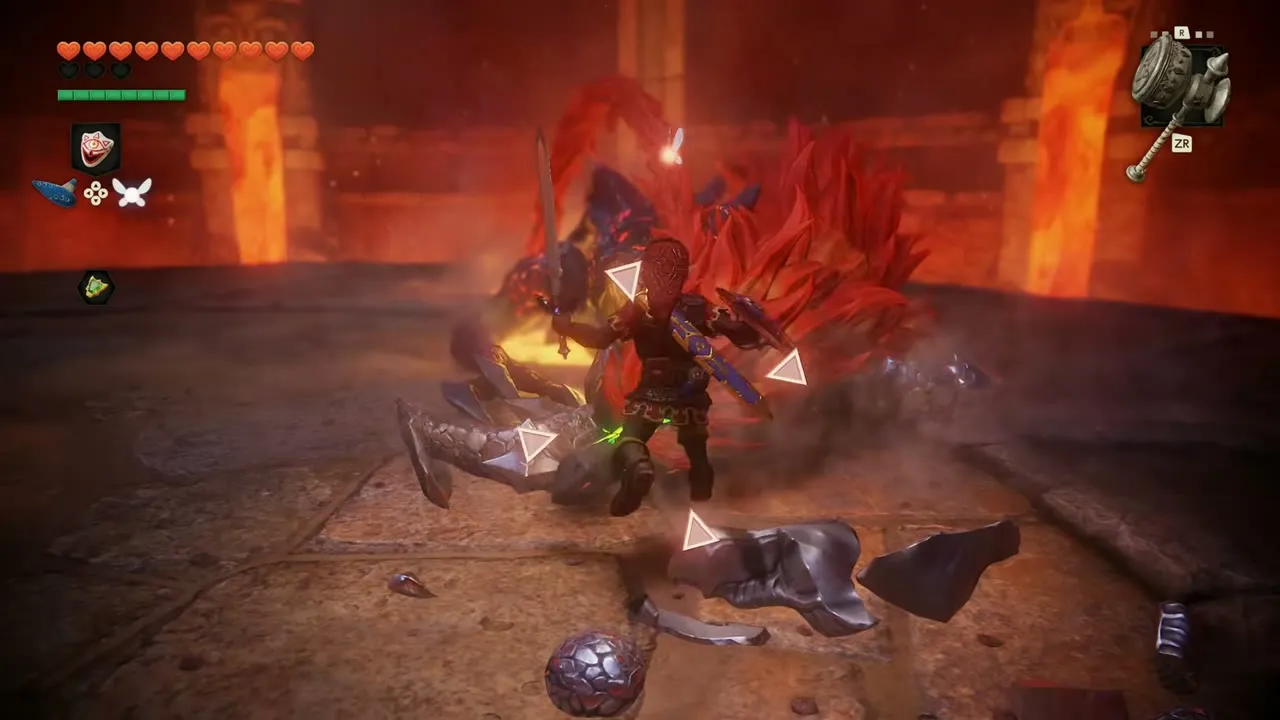
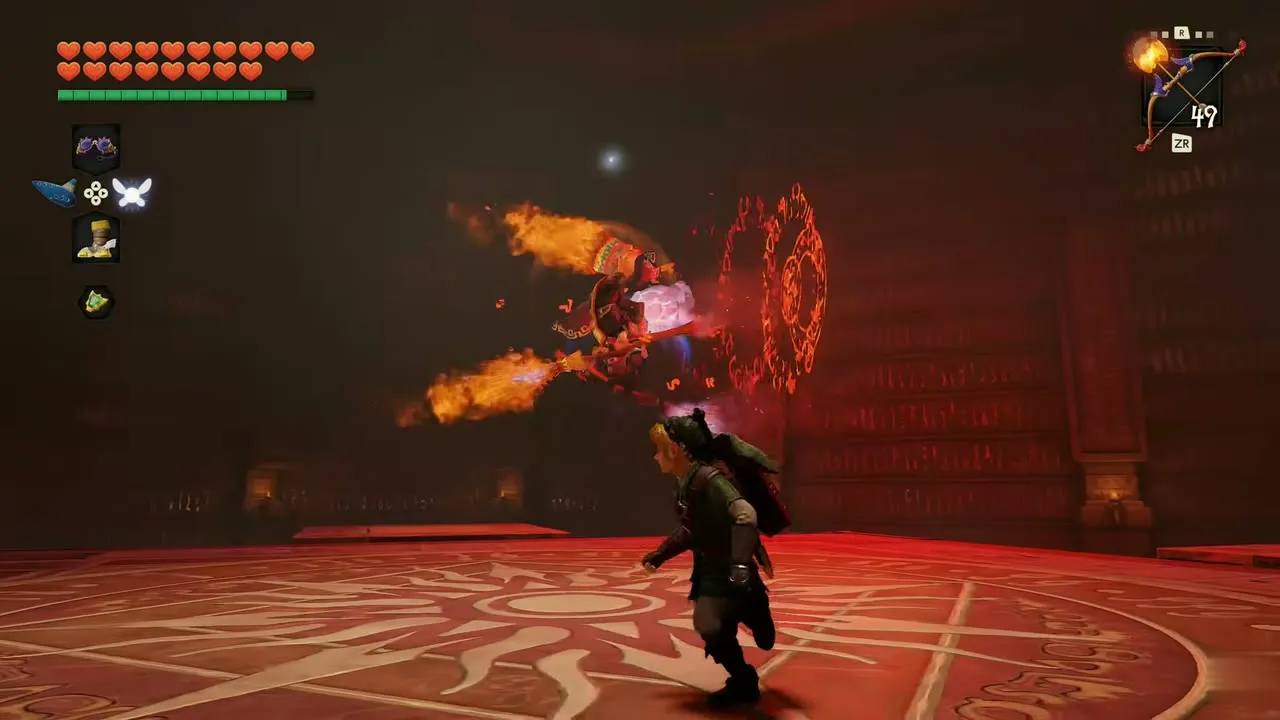
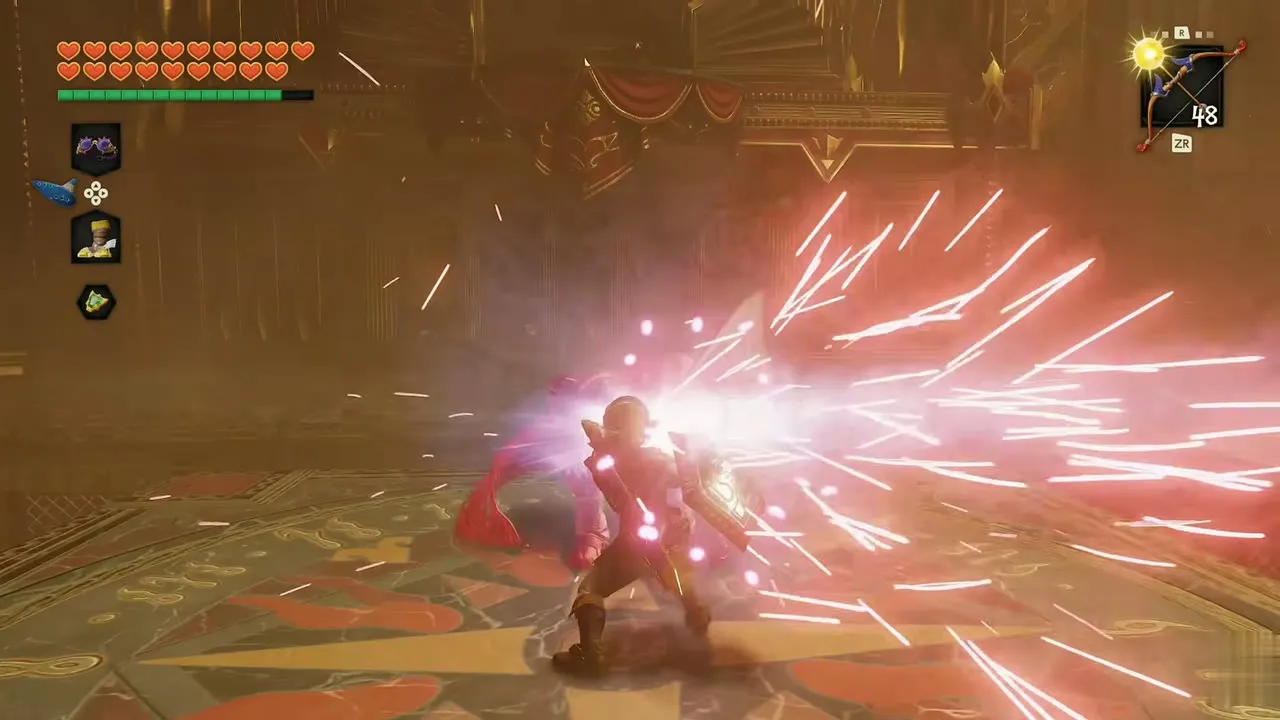
Table of Contents
Quick reference
| # | Boss | Region | Weak point and reward |
|---|---|---|---|
| 1 |  Parasitic Armored Arachnid Gohma |  Great Deku Tree | Eye, Slingshot seeds; Heart Container and Kokiri Emerald |
| 2 |  Infernal Dinosaur King Dodongo | Dodongo Cavern | Open mouth, Bombs; Heart Container and Goron Ruby |
| 3 | Big Octo | Lord Jabu-Jabu’s Belly | Green core on its back, Boomerang; opens the way on |
| 4 | 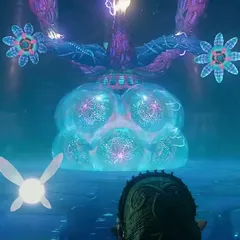 Bioelectric Anemone Barinade | Lord Jabu-Jabu’s Belly | Jellyfish, then the core, Boomerang; Heart Container and Zora Sapphire |
| 5 | 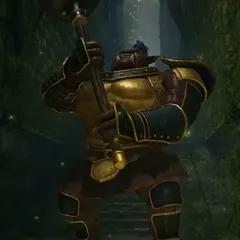 Great Moblin | Sacred Grove | Its back, sword; opens the way to the Forest Temple |
| 6 | Poe Sisters | Forest Temple | Fairy Bow, then sword; small key, Compass and arrows |
| 7 | 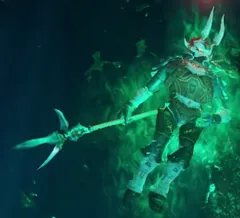 Evil Spirit from Beyond Phantom Ganon | Forest Temple | Fairy Bow, then return the ball; Heart Container and Forest Medallion |
| 8 | Flare Dancer | Fire Temple | Red core, Hookshot; raises the platform to 4F |
| 9 | 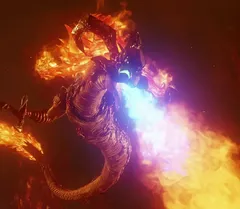 Subterranean Lava Dragon Volvagia | Fire Temple | Head, Megaton Hammer; Heart Container and Fire Medallion |
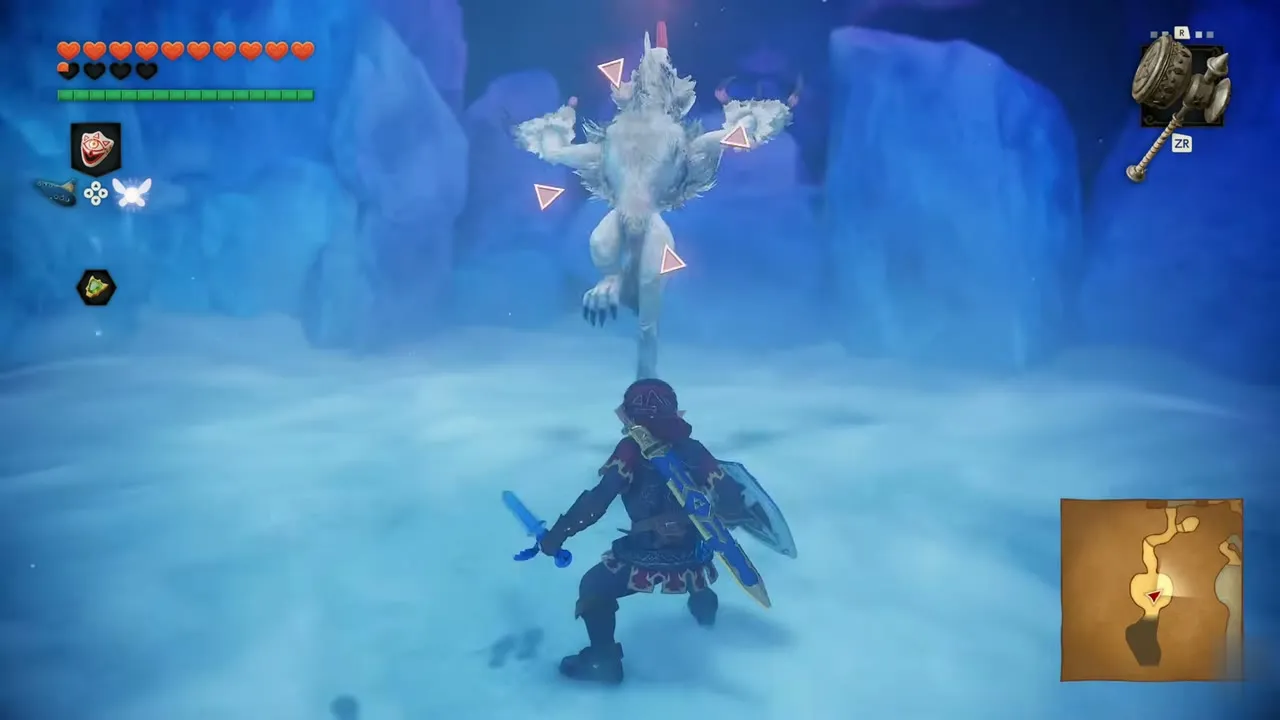
| 10 | White Wolfos | Ice Cavern | Sword or Hammer; opens the gate to the Iron Boots |
| 11 | 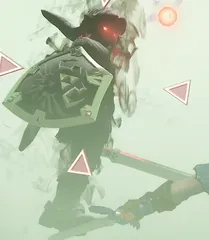 Dark Link | Water Temple | Sword and shield duel; opens the Longshot door |
| 12 | 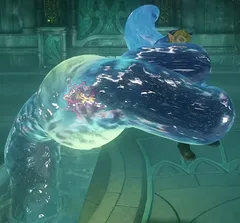 Giant Aquatic Amoeba Morpha | Water Temple | Red core, Longshot; Heart Container and Water Medallion |
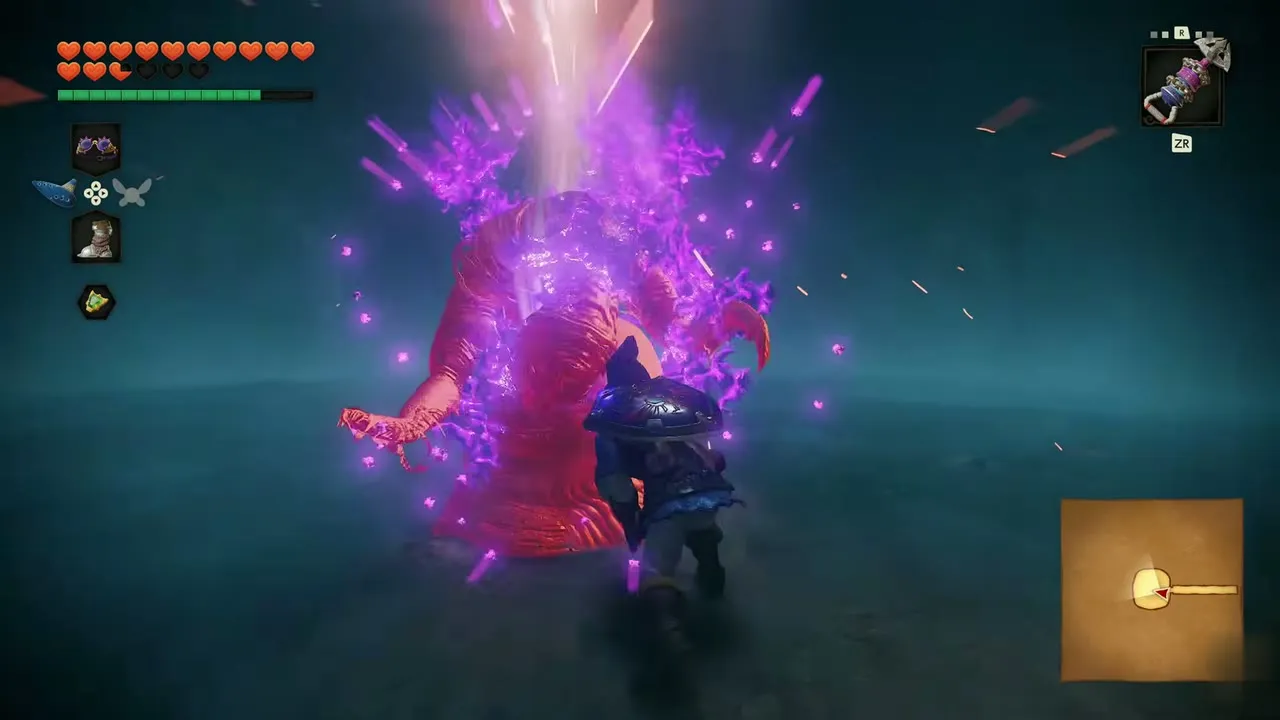
| 13 | Dead Hand | Bottom of the Well and Shadow Temple | Body, sword; Lenses of Truth and Hover Boots |
| 14 | 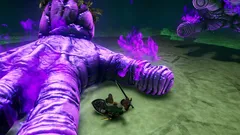 Phantom Shadow Beast Bongo Bongo | Shadow Temple | Eye, Fairy Bow; Heart Container and Shadow Medallion |
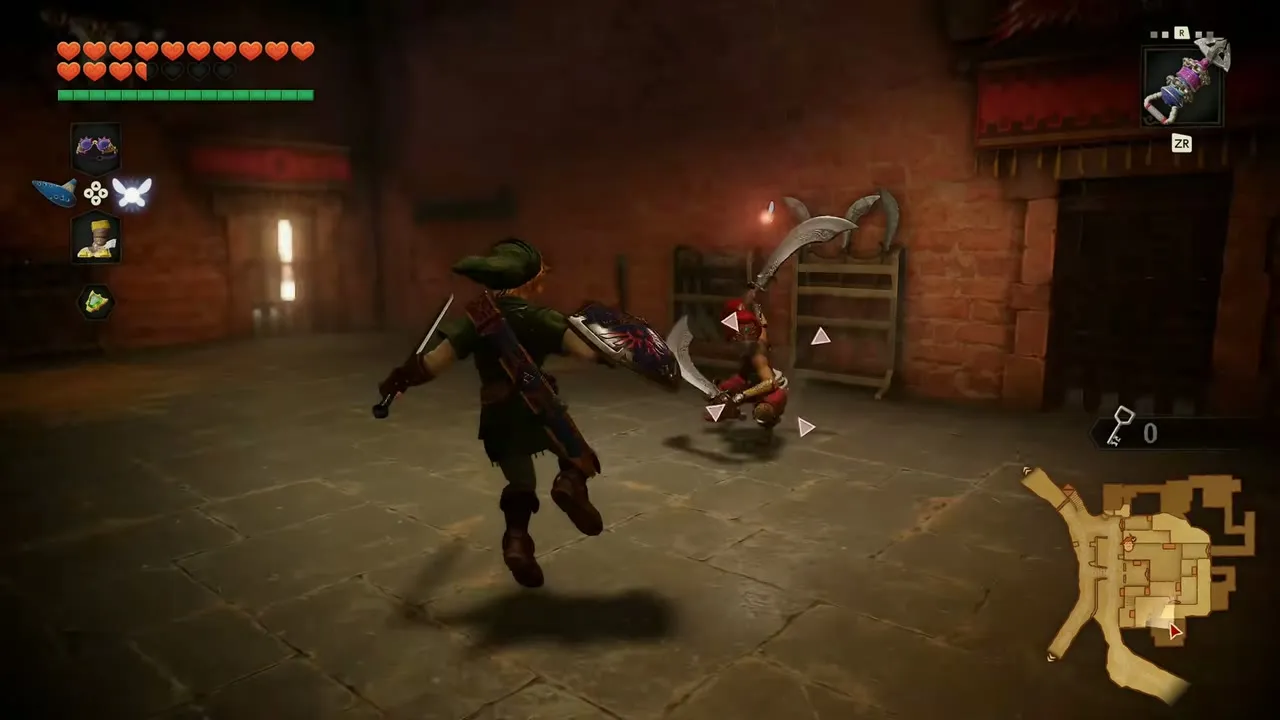
| 15 | Gerudo swordswoman | Gerudo Fortress | Shield and counter; a small key per carpenter |
| 16 | 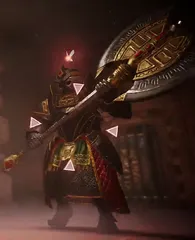 Iron Knuckle | Spirit Temple | Bombs as a child, sword from behind as an adult; the Silver Gauntlets and Mirror Shield routes |
| 17 | Iron Knuckle Nabooru | Spirit Temple | Behind her, Biggoron Sword; frees Nabooru |
| 18 | 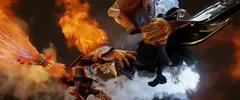 Sorceress Sisters Twinrova | Spirit Temple | Mirror Shield, then sword; Heart Container and Spirit Medallion |
| 19 | 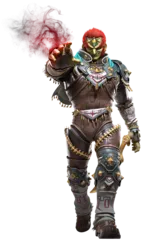 Great Demon King Ganondorf | Ganondorf’s Castle tower | Returned orbs, Light Arrows; frees Zelda |
| 20 | Ganon | Ruins of Ganondorf’s Castle | Tail crystal, Light Arrows, forehead eye; the ending |
Child bosses
Parasitic Armored Arachnid Gohma
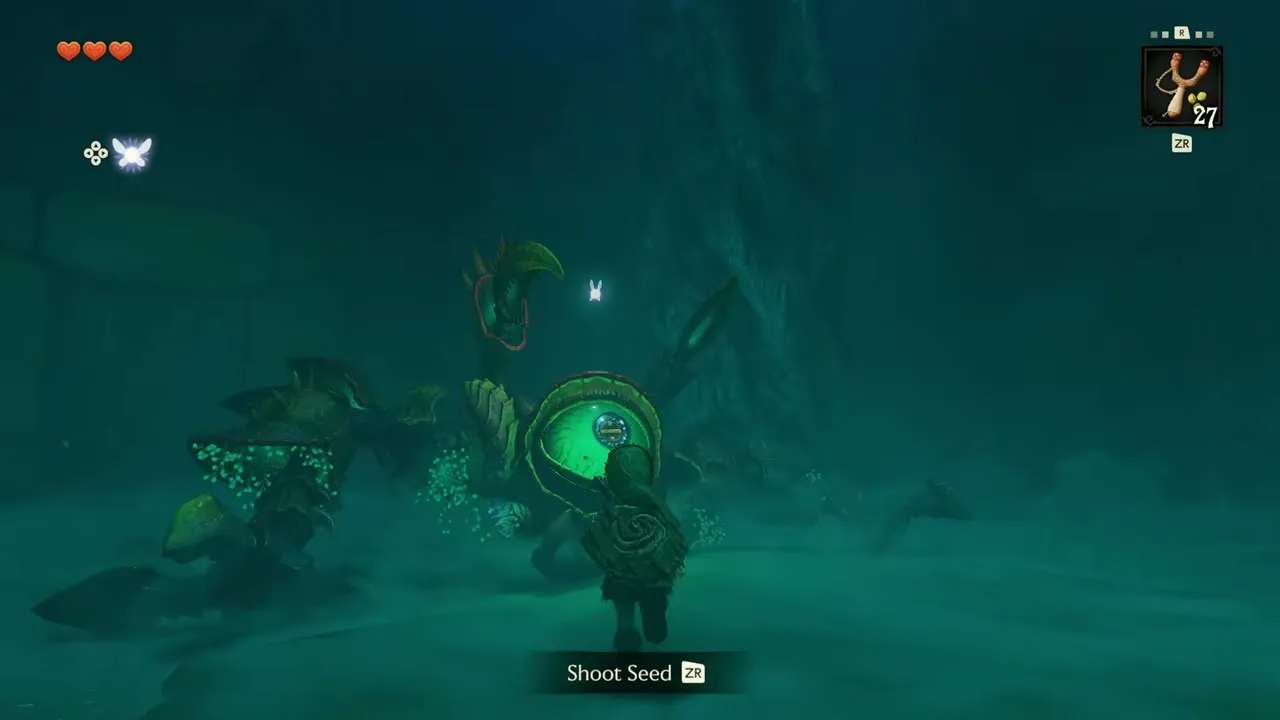
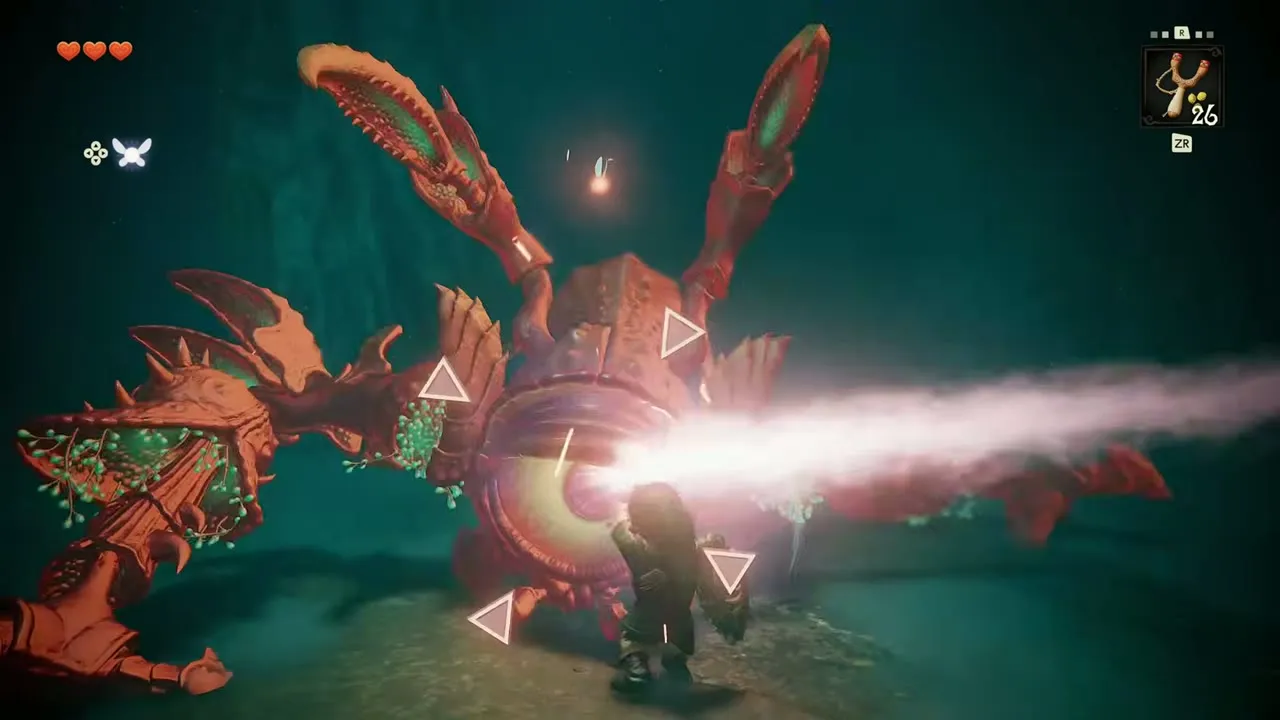
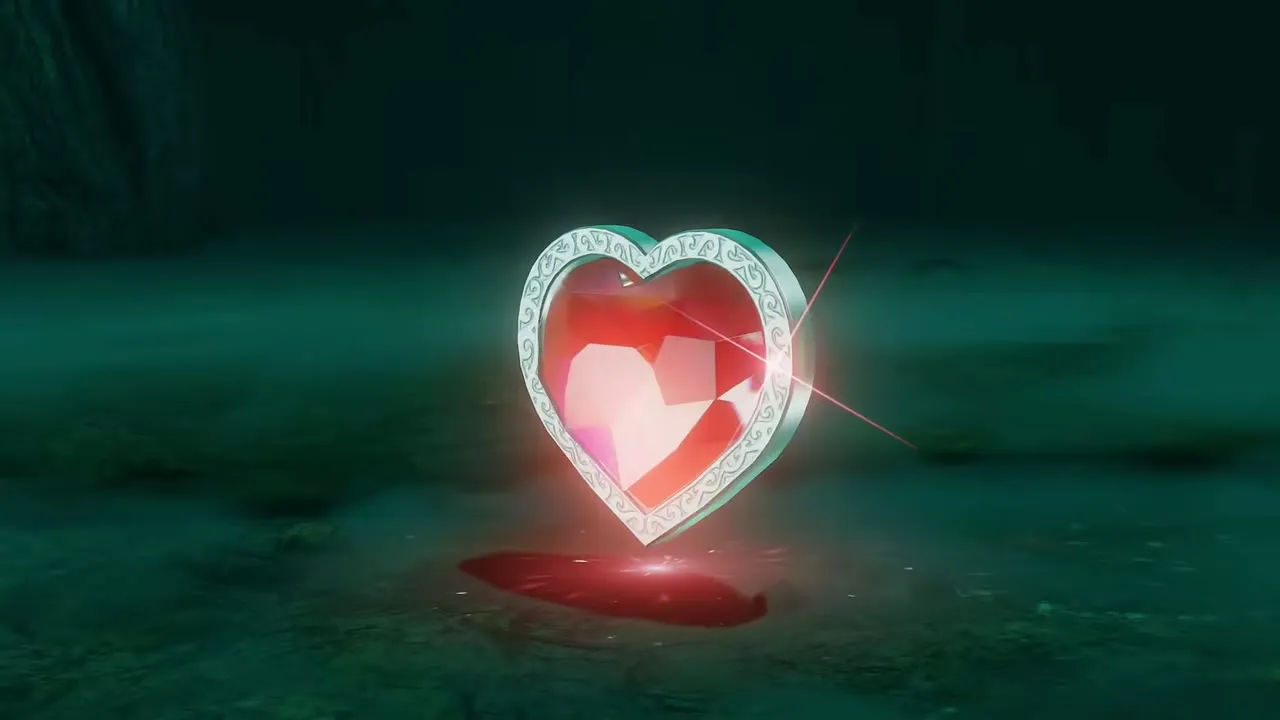
Gohma is the boss of the Great Deku Tree and waits in a dark arena on B2. It clings to the ceiling and drops to the floor now and then. The eye is the only weak point. Navi warns that its natural armor is too tough for the Kokiri Sword. Equip the Slingshot and shoot a Deku Seed into the eye while it glows green on the ceiling and Gohma crashes down. While it lies stunned, run up and slash the eye, then step back before it recovers. Repeat until the last hits flip it onto its back with its yellow eye exposed and it falls in a purple cloud. A Heart Container rises from the floor, and the Great Deku Tree gives you the Kokiri Emerald outside.

Infernal Dinosaur King Dodongo
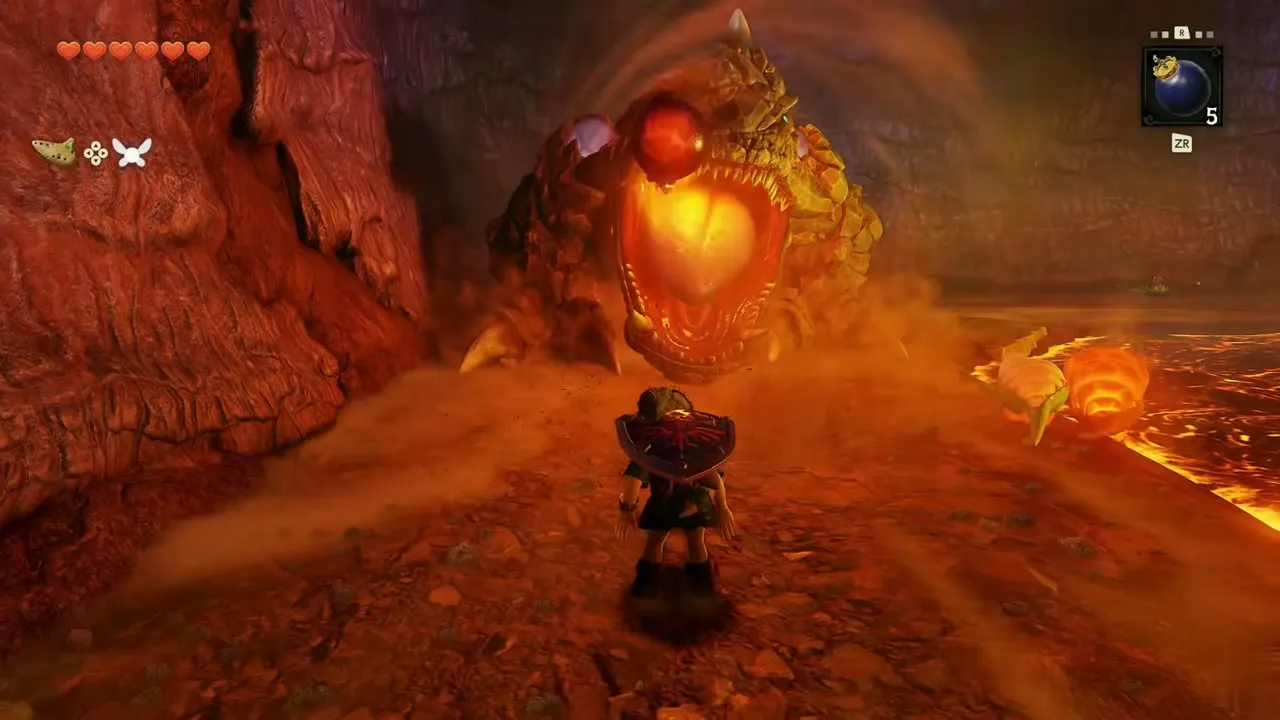
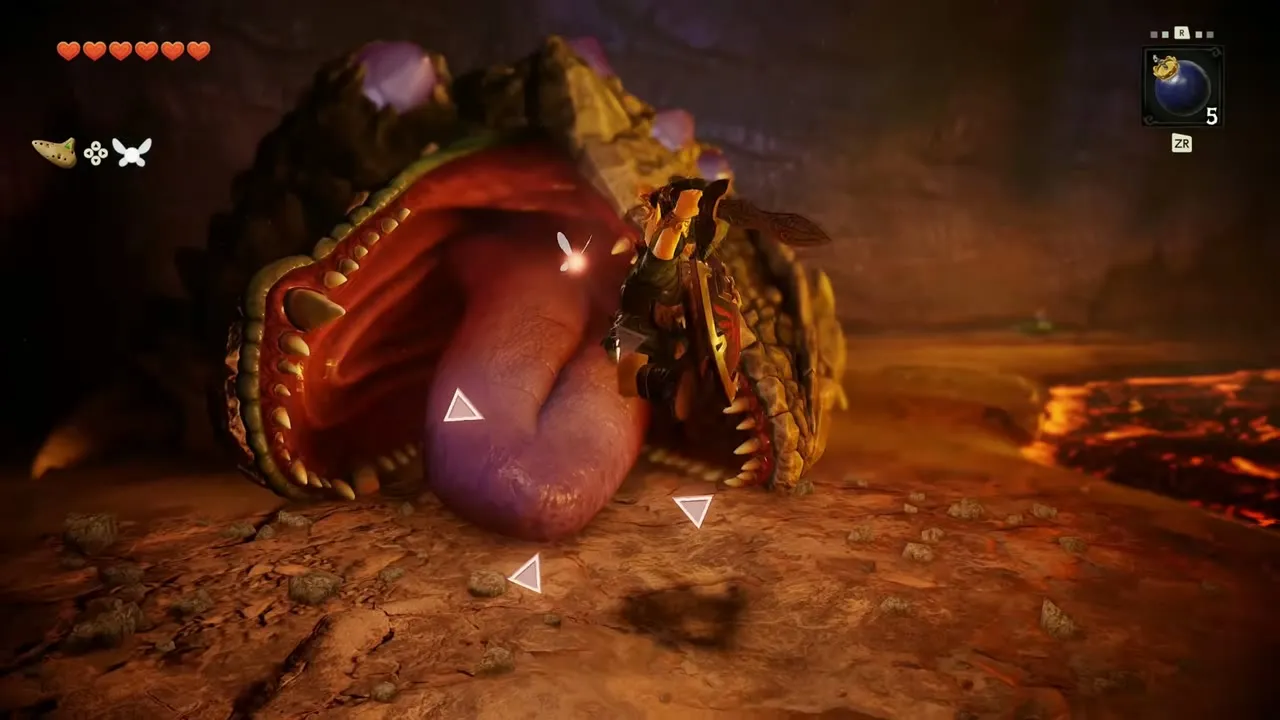
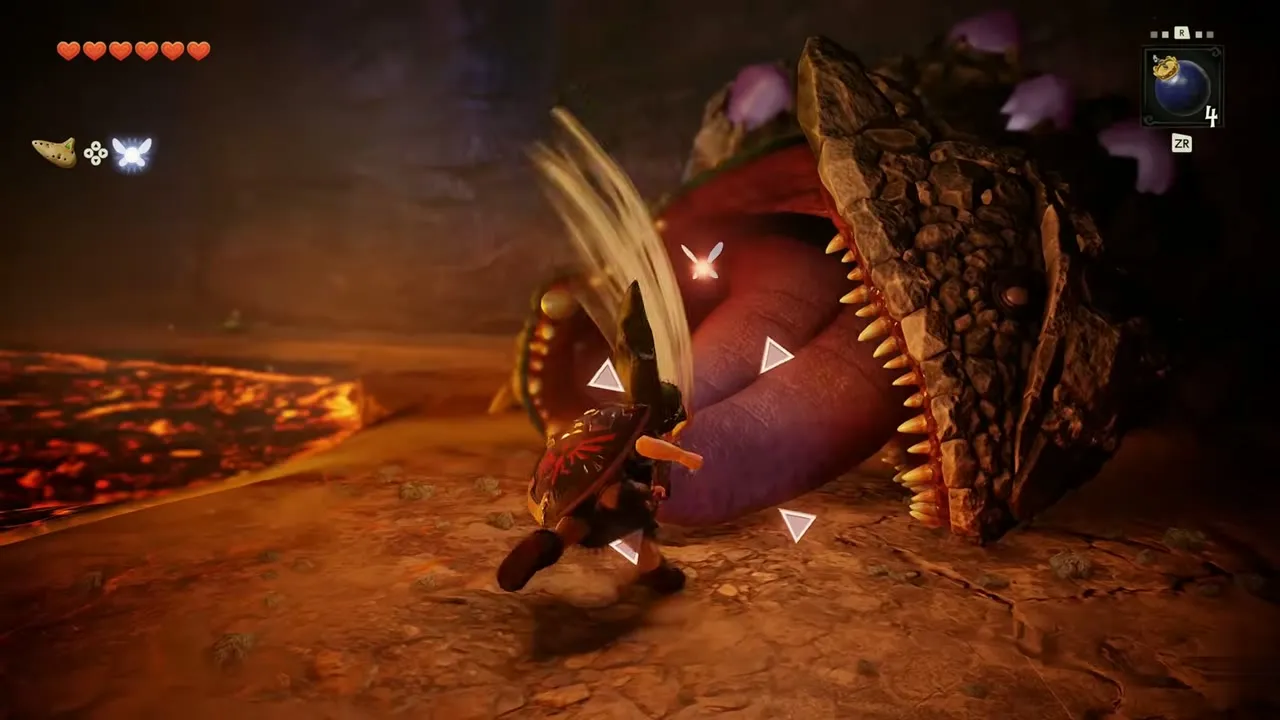
The boss of Dodongo Cavern fights on a narrow strip of floor with lava on both sides. It charges down the strip, breathes fire and stomps to shake rocks loose. Bomb flowers grow on the floor, so you never run out. Stay clear of the lava and wait for it to open its mouth wide. Then throw a bomb or a bomb flower straight in. The blast stuns it and you slash it while it lies there. It charges again when it gets up, so run. A few rounds of bomb and sword end the fight. Take the Heart Container, and Darunia gives you the Goron Ruby back on Death Mountain Trail.


Bioelectric Anemone Barinade
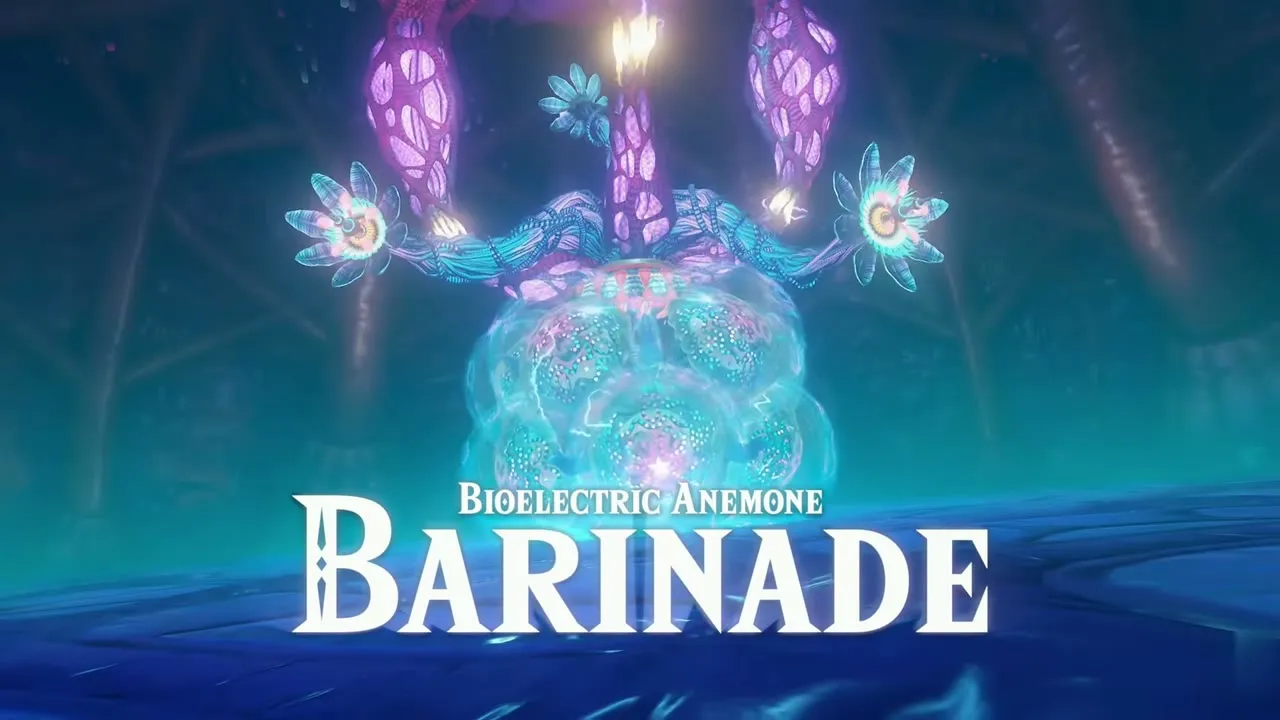
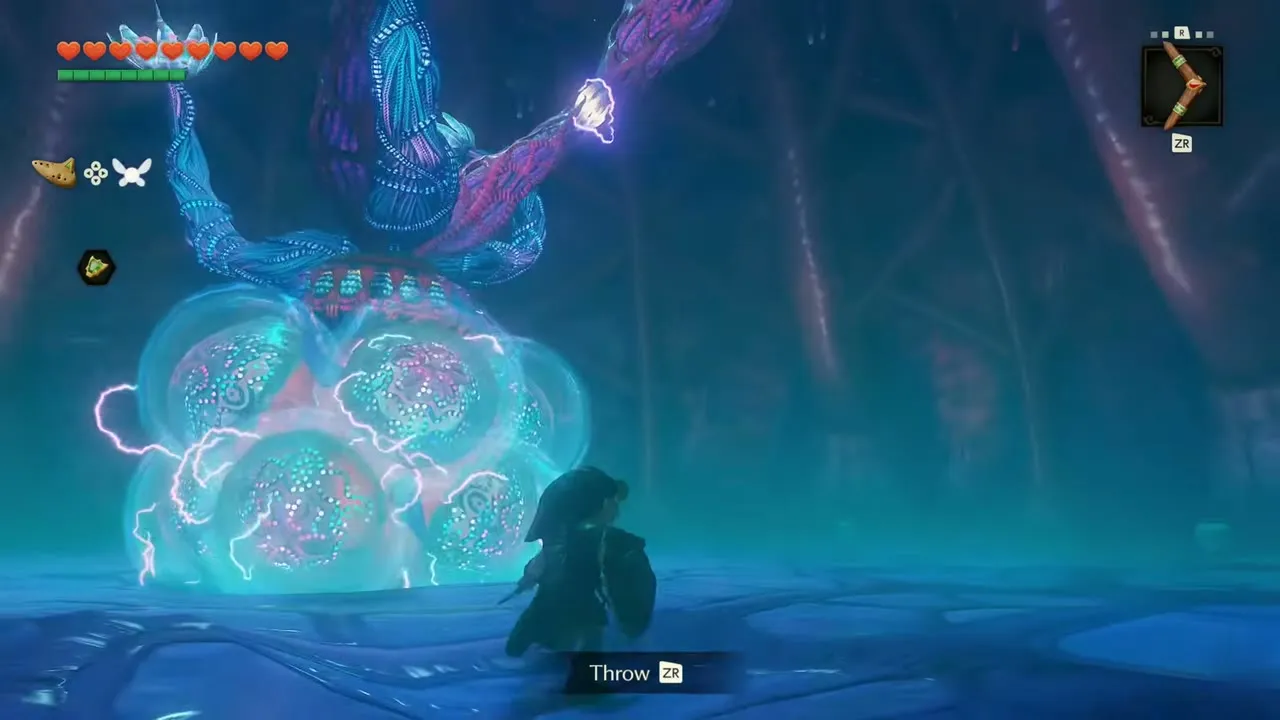
Barinade hangs from the ceiling of the boss room in Lord Jabu-Jabu’s Belly, hanging as a cluster from the ceiling. It shoots arcs of lightning across the floor, so keep moving. In the first phase, throw the Boomerang at the cluster to break it up, then run in circles, lock on to the bubbles and small jellyfish that drift around the room and pop each one with the Boomerang. In the second phase an orange core swells beneath the body. Target it and throw the Boomerang, then back off, because the tentacles whip down when it is hit. After a few hits the core drops close to the ground. Run up and slash it. Barinade shatters into purple shards. Pick up the Heart Container, and Ruto gives you the Zora Sapphire outside.


Forest Temple and Fire Temple
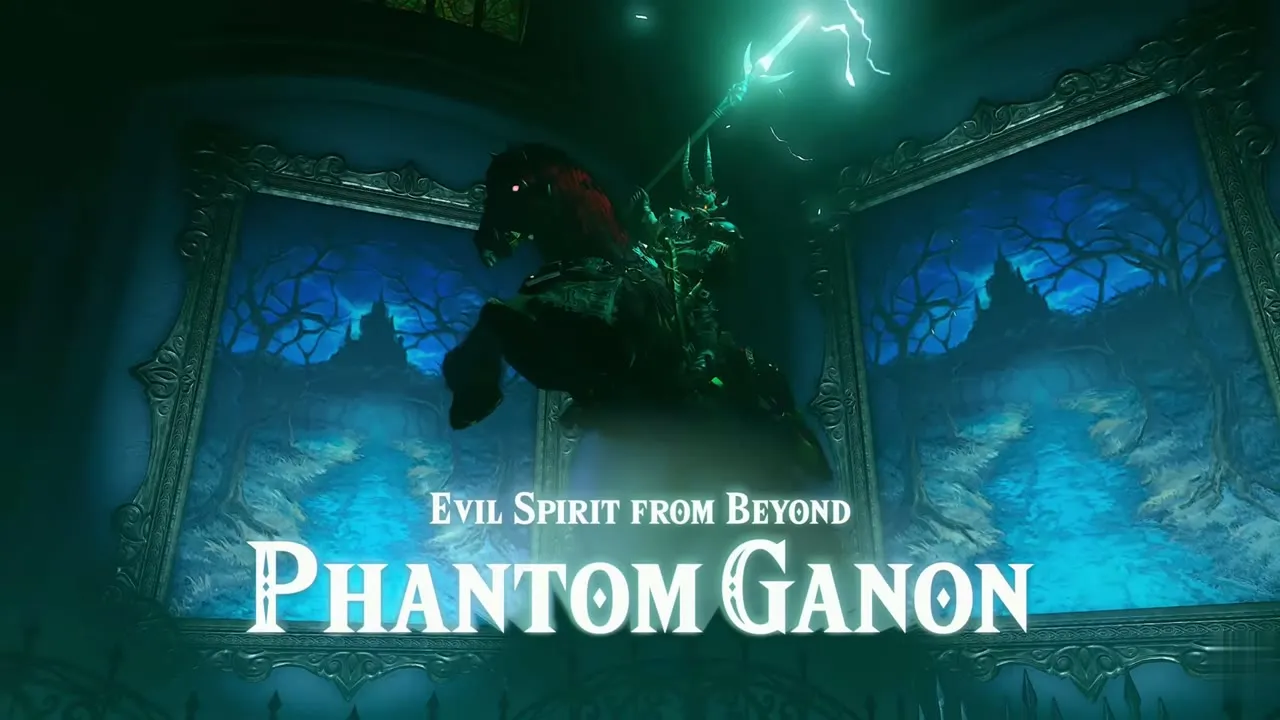
Evil Spirit from Beyond Phantom Ganon
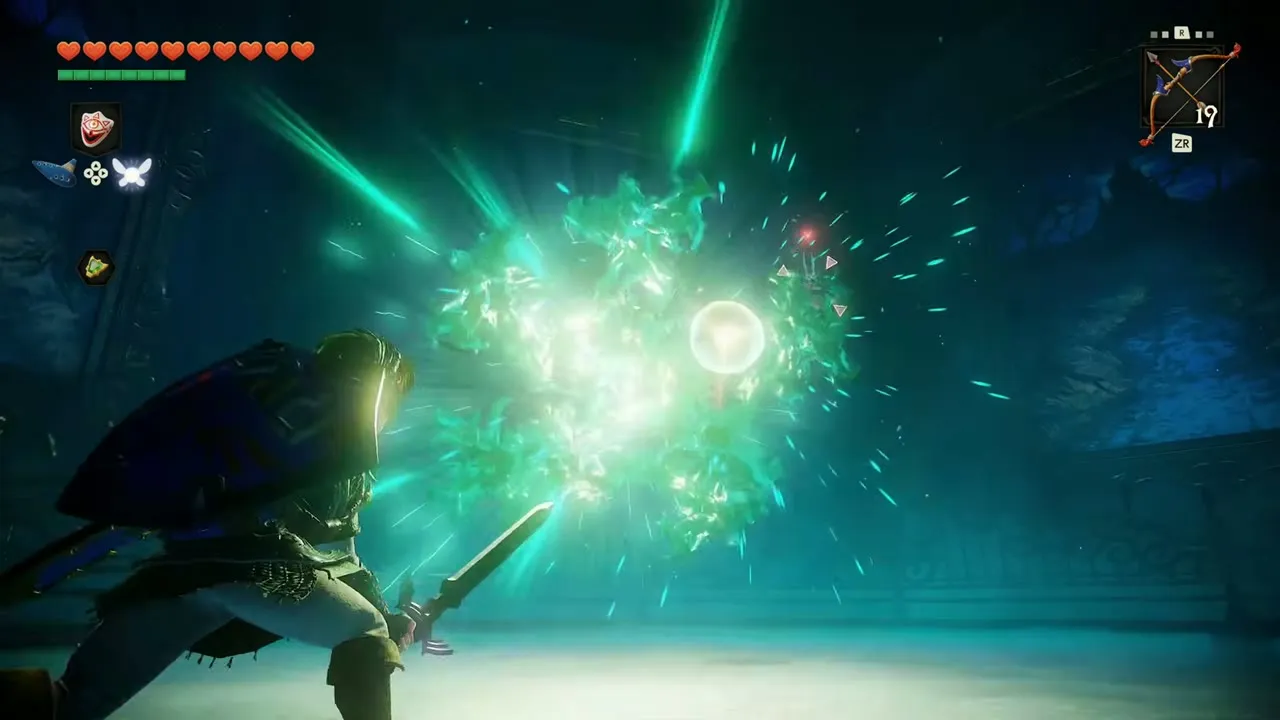
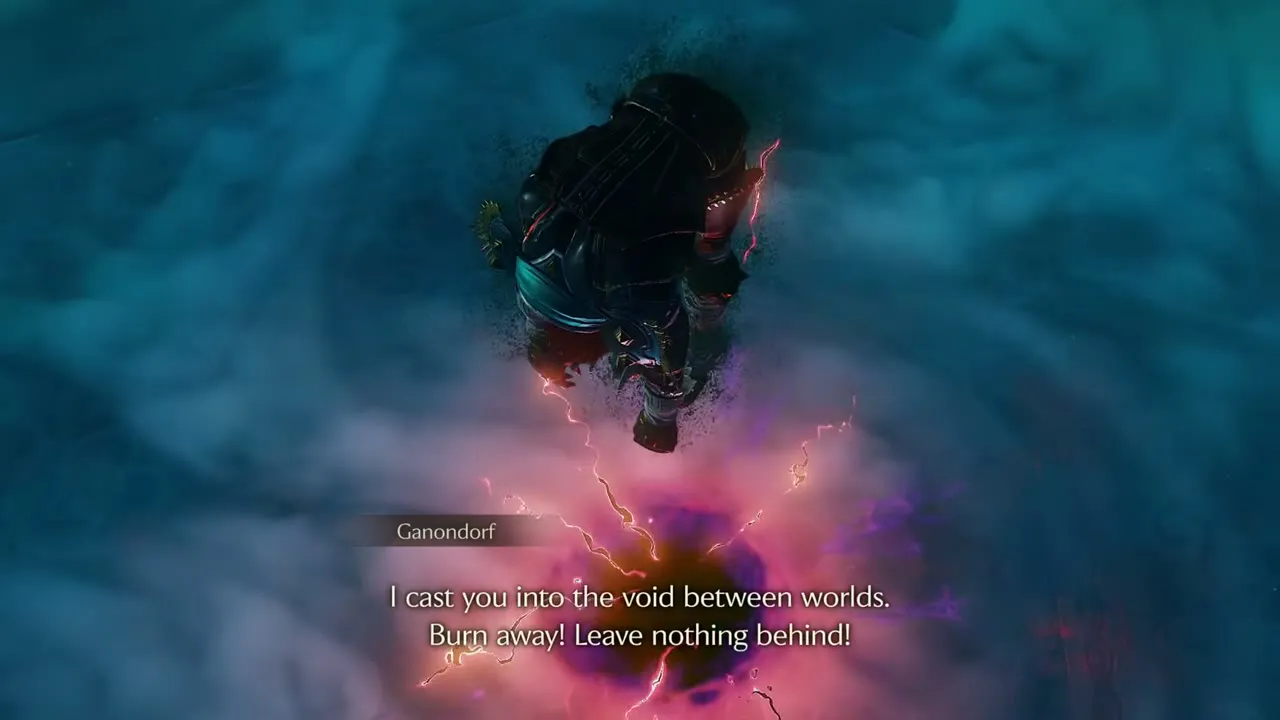
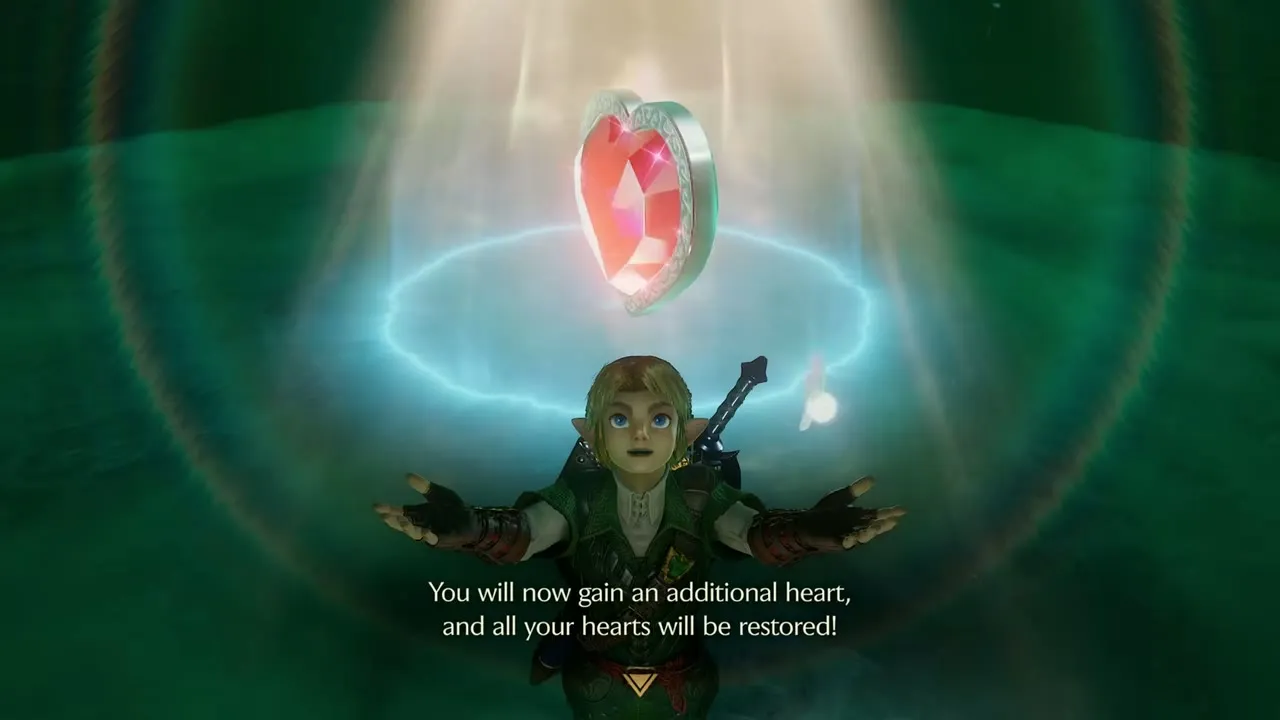
Phantom Ganon waits at the end of the Forest Temple, in a round hall with an iron fence and framed paintings. He rides through the paintings and you see only a glowing outline. Keep the Fairy Bow ready, watch for the painting he is galloping through and shoot him as he comes out toward the wall. After a few hits he leaps out of the frame and fights on the floor, hurling a ball of green magic. Swing your sword when the ball reaches you to send it straight back and stun him, then run in and slash him before the next ball. Repeat until he falls. Ganondorf speaks from a dark void and a Heart Container rises from the fog. Saria gives you the Forest Medallion in the Sage’s chamber.


Subterranean Lava Dragon Volvagia
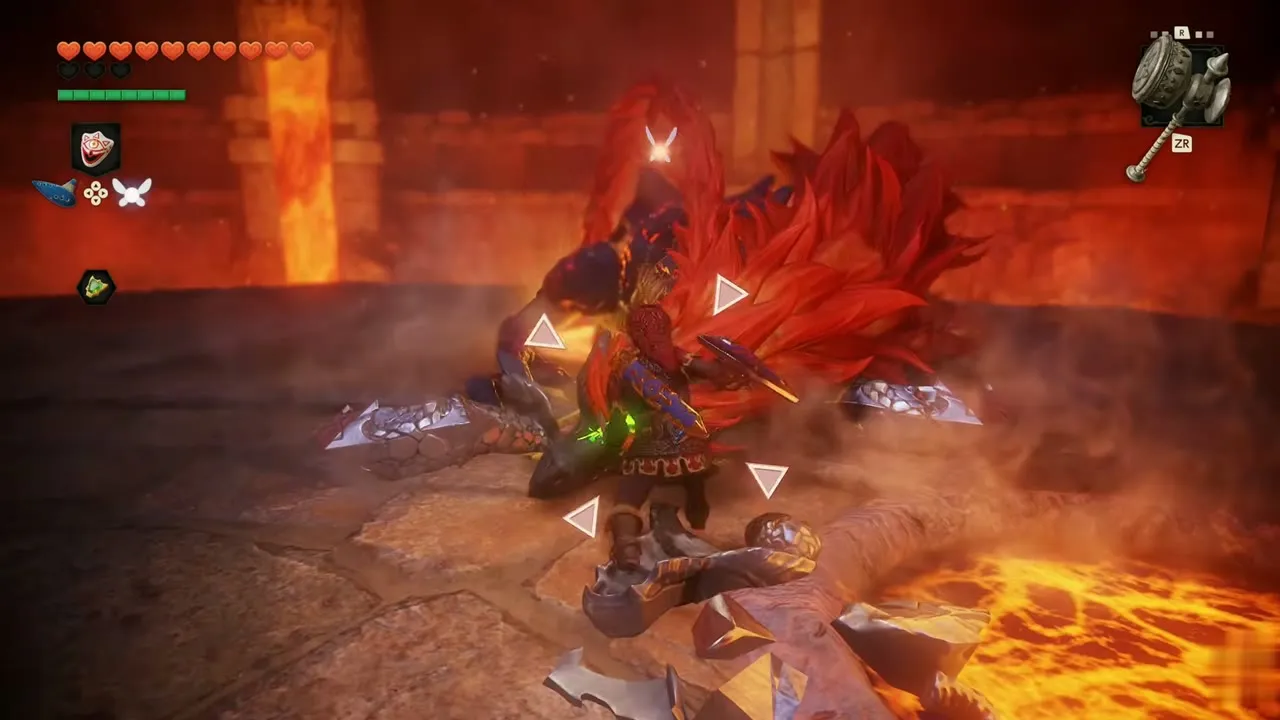
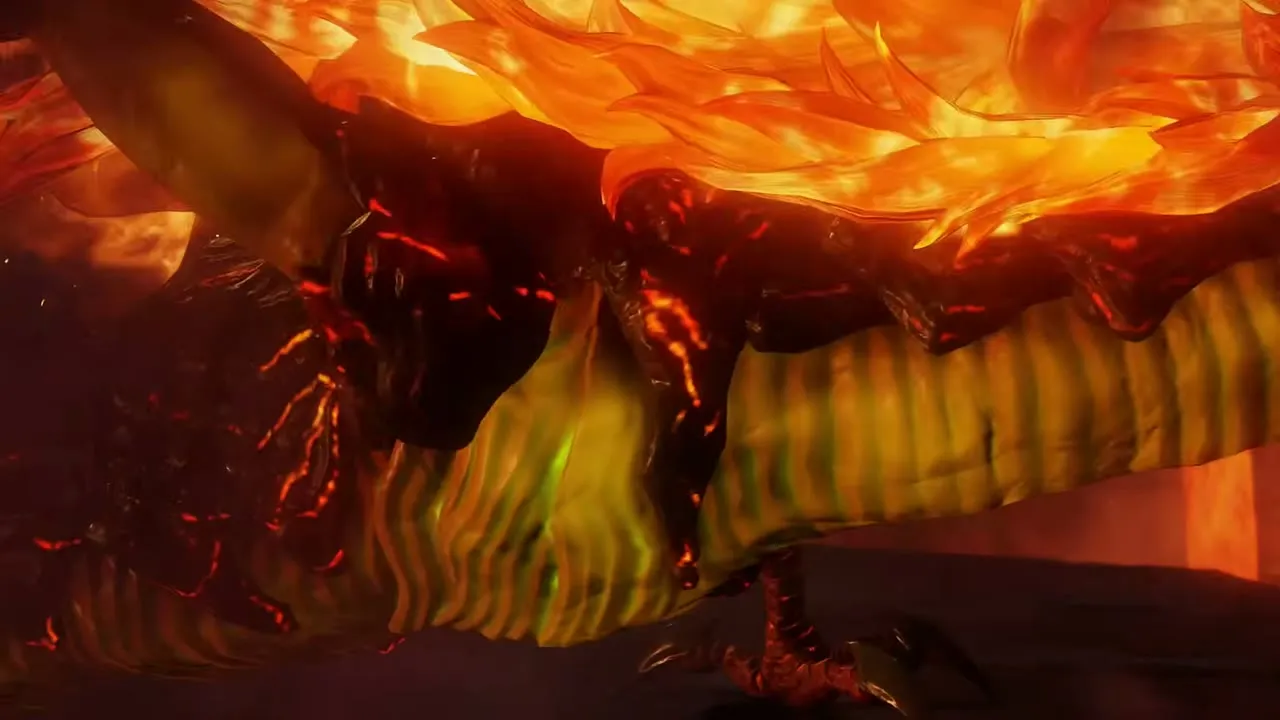
The boss of the Fire Temple fights on a floor full of lava holes. Equip the Megaton Hammer. Volvagia bursts out of a hole in a pillar of fire, and its shadow on the floor shows where it flies overhead. Run clear of the burning patch it leaves, and watch the shadows of the flaming rocks that fall from the ceiling. When it crashes to the floor its head glows green and markers appear around it. Swing the hammer when the Hit prompt shows, then move away before the flames wash over you. Wait for the next hole to open and hit again. After the last blow the dragon thrashes in flames and falls apart into bones. A Heart Container rises from the red platform, and Darunia gives you the Fire Medallion in the sage chamber.




Water Temple and Shadow Temple
Giant Aquatic Amoeba Morpha
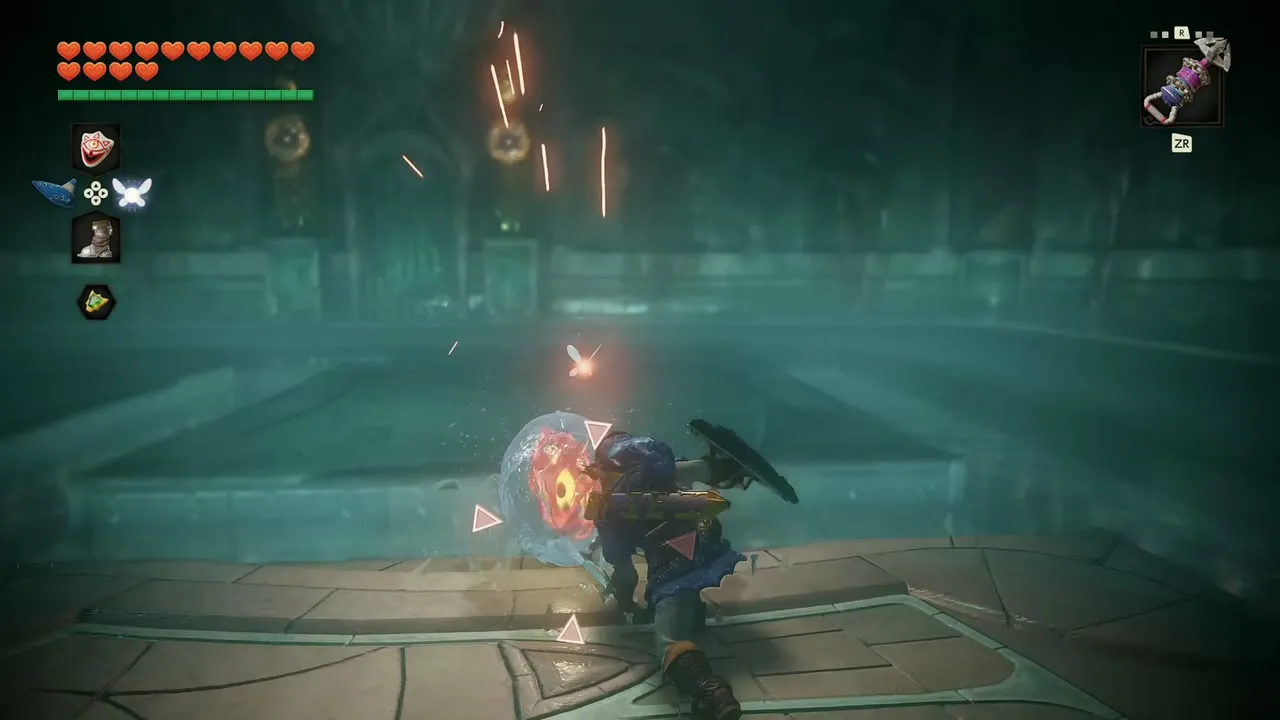
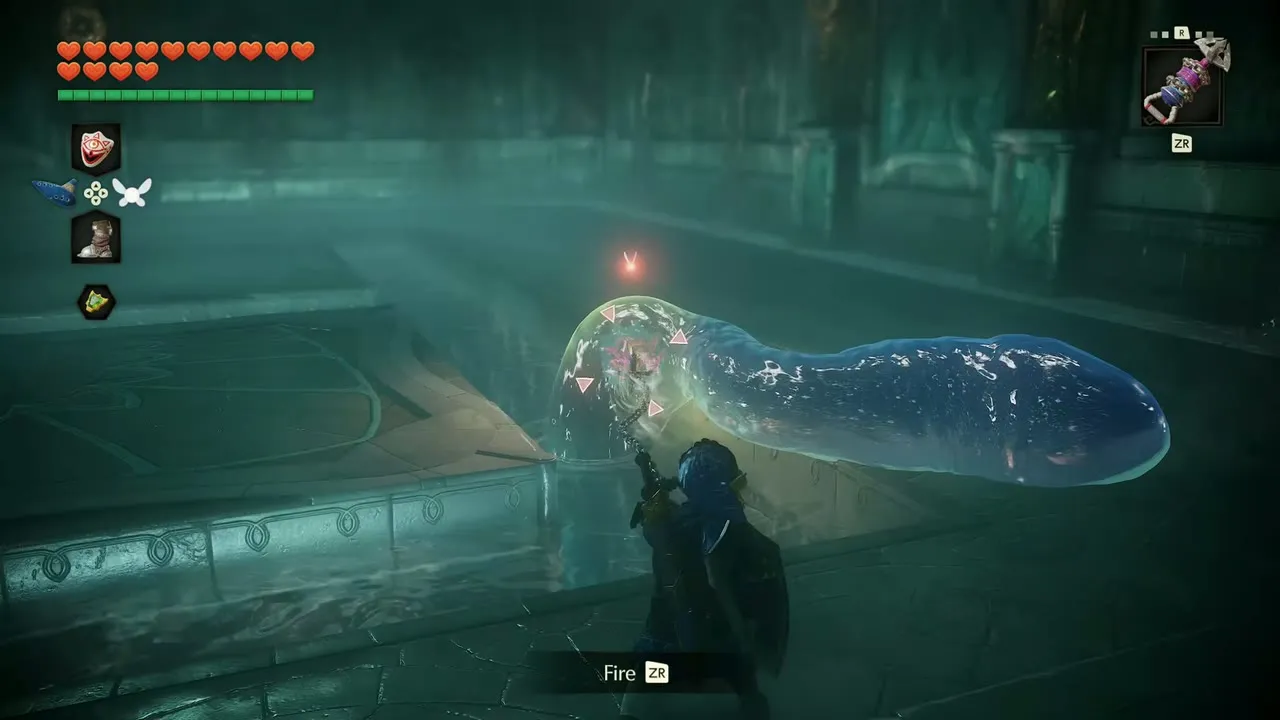
Morpha’s arena in the Water Temple is mostly water with narrow stone walkways between the pools. A tentacle of water breaks the surface, so keep moving and run from any tentacle that slams down beside you. The red core floats inside a bubble of water. Aim the Longshot at it when the Fire prompt appears and the hook yanks the core out onto the floor. Run to it and slash with the Master Sword while it flops, then dodge the tentacles as it slides back toward the pools. Pull and slash several times. After the last round the core is drawn into a spout of water and Morpha is finished. The Heart Container drops in a beam of light, and Ruto gives you the Water Medallion.



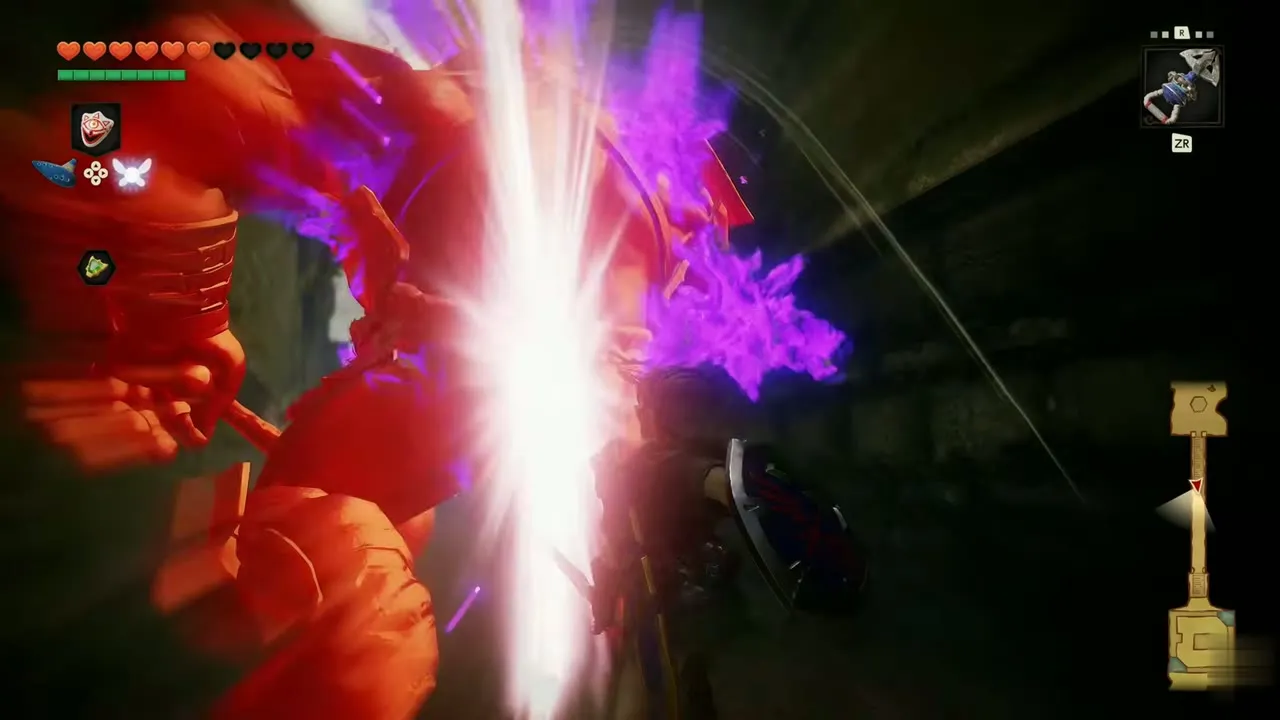
Phantom Shadow Beast Bongo Bongo
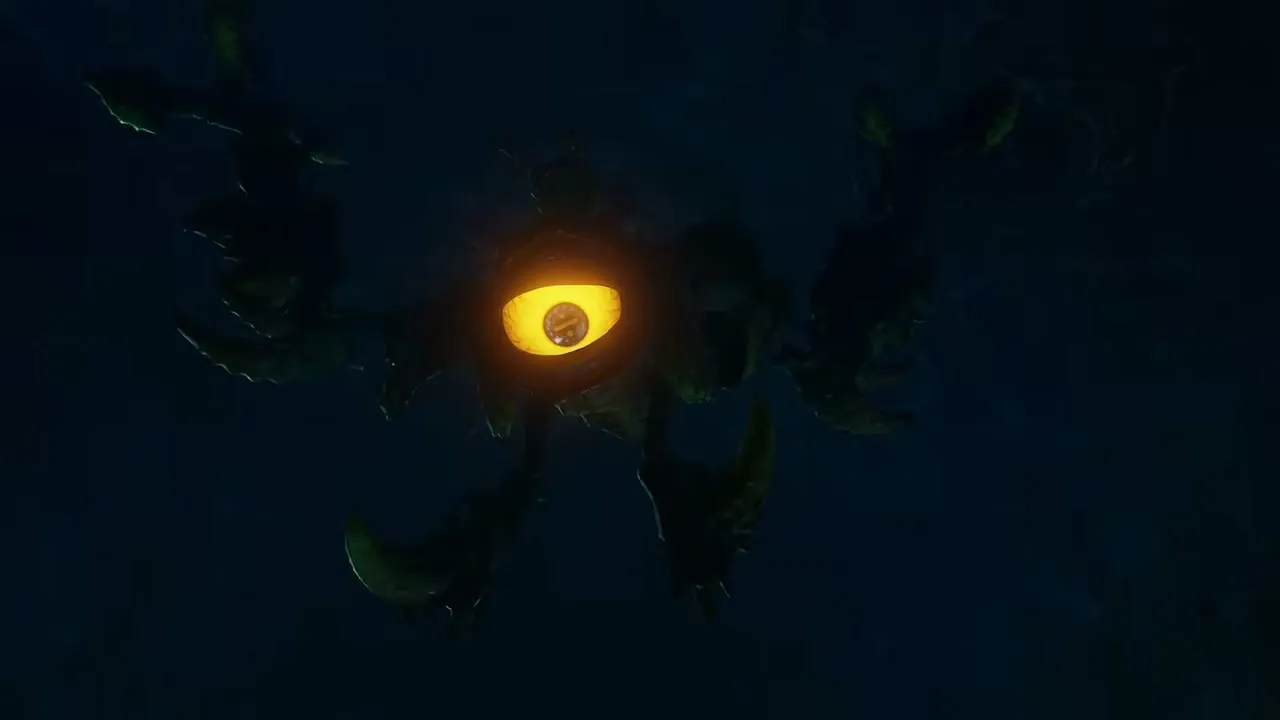
Bongo Bongo fights on a round arena at the bottom of the Shadow Temple, with two huge purple-flamed hands and a glowing orange eye in the middle. You need the Fairy Bow for both phases. In phase one the hands slam down in turn. Run in circles, watch the shadow on the floor to see where a hand will land and shoot arrows at a hand as it comes down. In phase two the hands lie still and the eye shows. Hold up the Lenses of Truth to see the eye, then shoot it to stun it. It bursts open with a purple flash and the boss staggers. Run in and slash the eye while it is open, then roll away when the hands rise again. Repeat until the body collapses. Take the Heart Container, and Impa gives you the Shadow Medallion in her chamber.


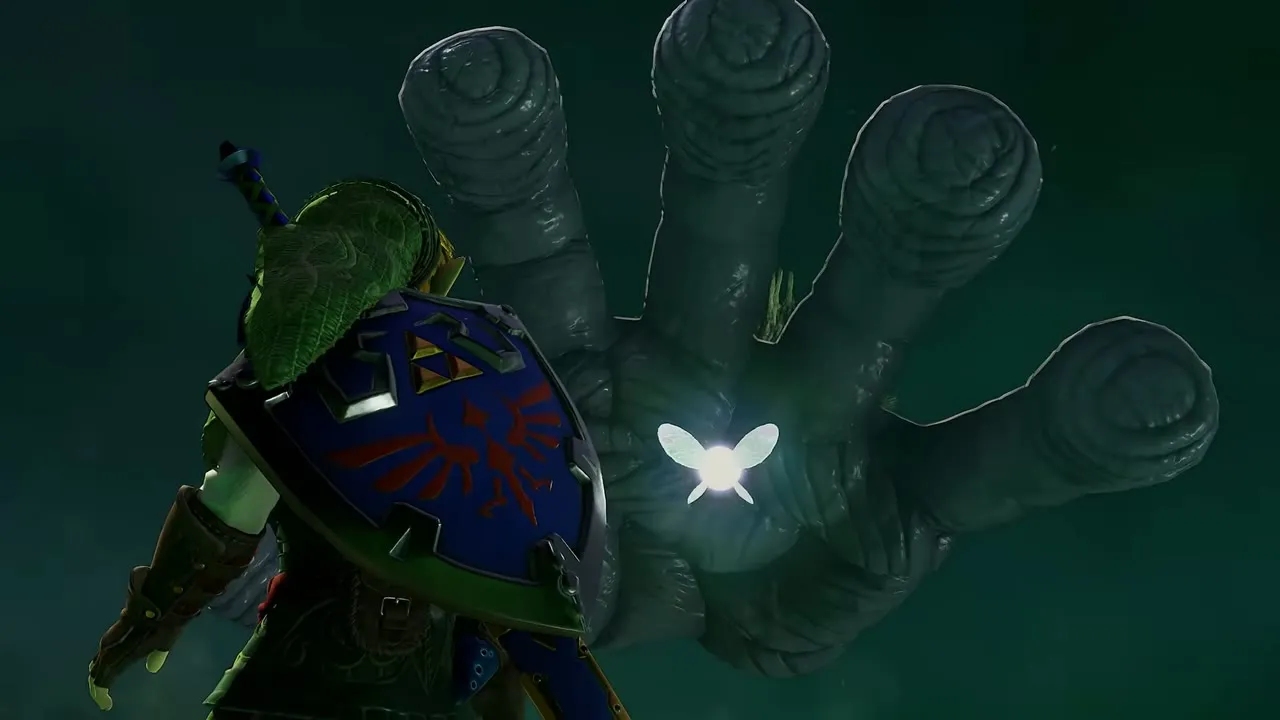
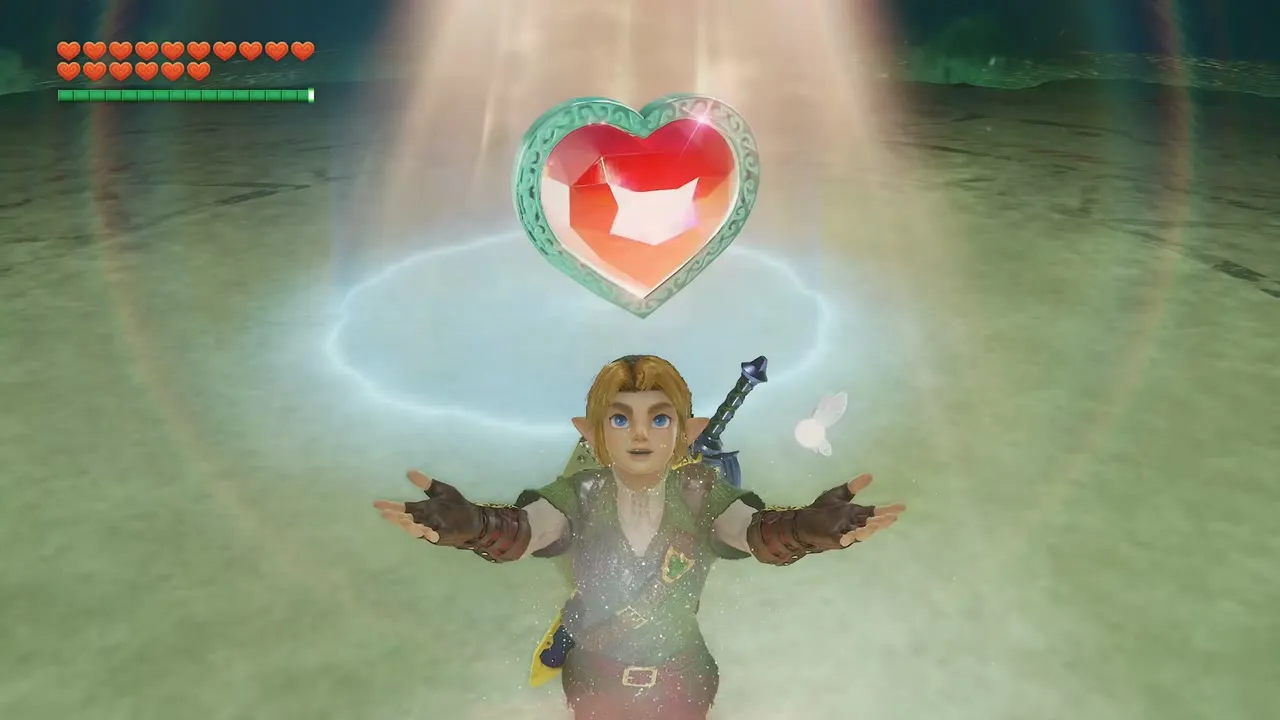
Spirit Temple and the final fights
Sorceress Sisters Twinrova
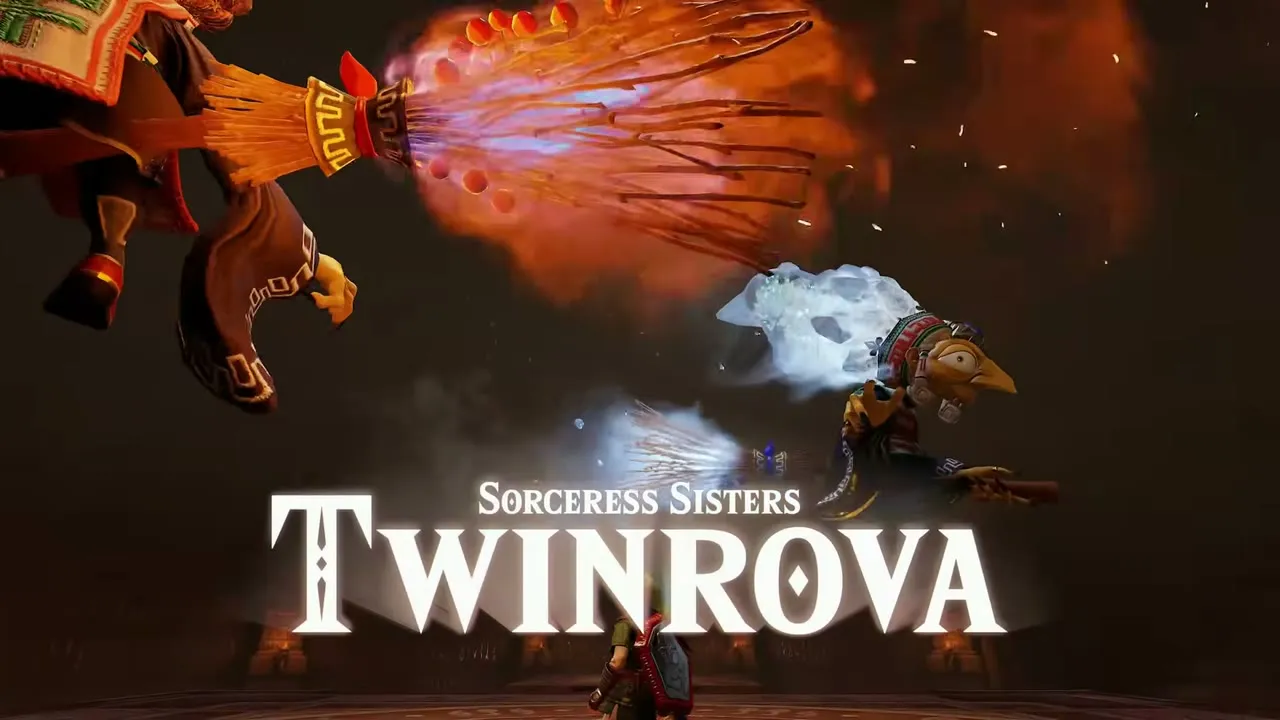
Twinrova closes the Spirit Temple. Koume throws fire and Kotake throws ice, and the Mirror Shield is your weapon for the whole fight. Hold the shield up and angle it with Move Shield so their blasts bounce back at them, and keep circling the arena between attacks. After some damage they fuse into Twinrova, who uses stronger fire and ice. Reflect those blasts too. When she falls to the floor, run in and slash her. Keep repeating the reflect and slash cycle. In the end she splits into Kotake and Koume again, and they argue about their ages and vanish with a threat to haunt you. A Heart Container sits where she fell, and Nabooru gives you the Spirit Medallion in the Chamber of Sages.


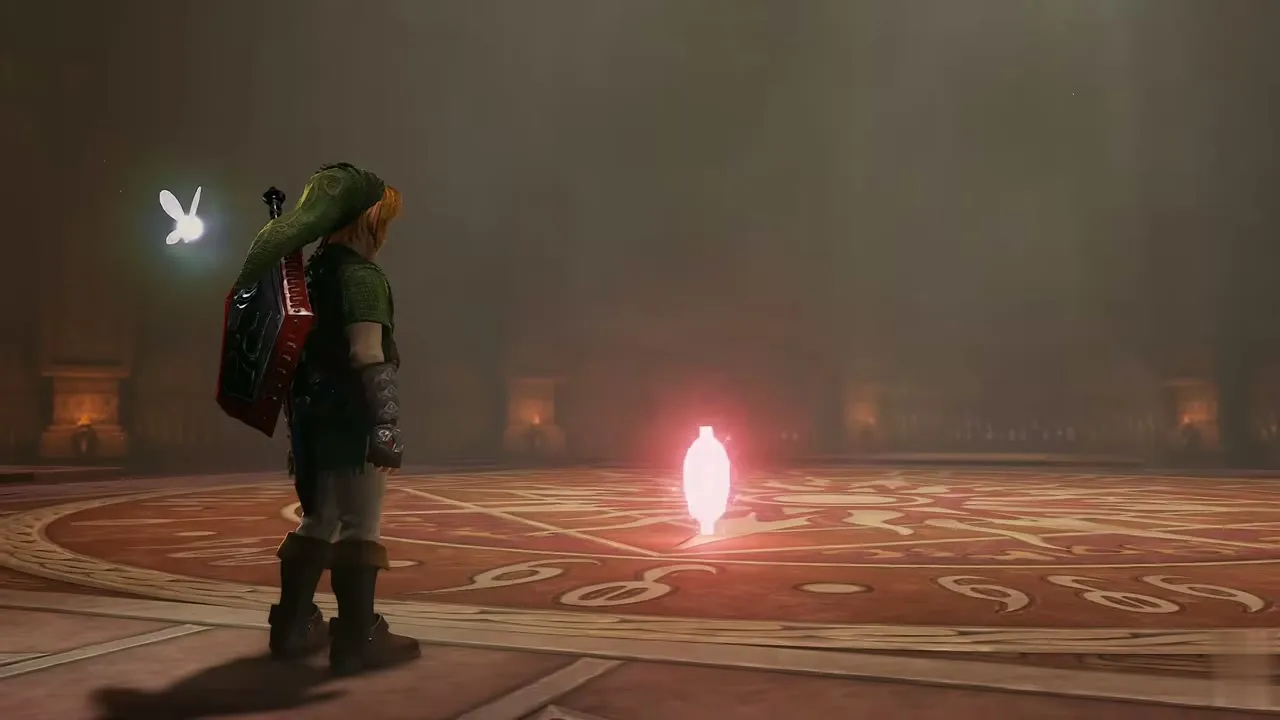
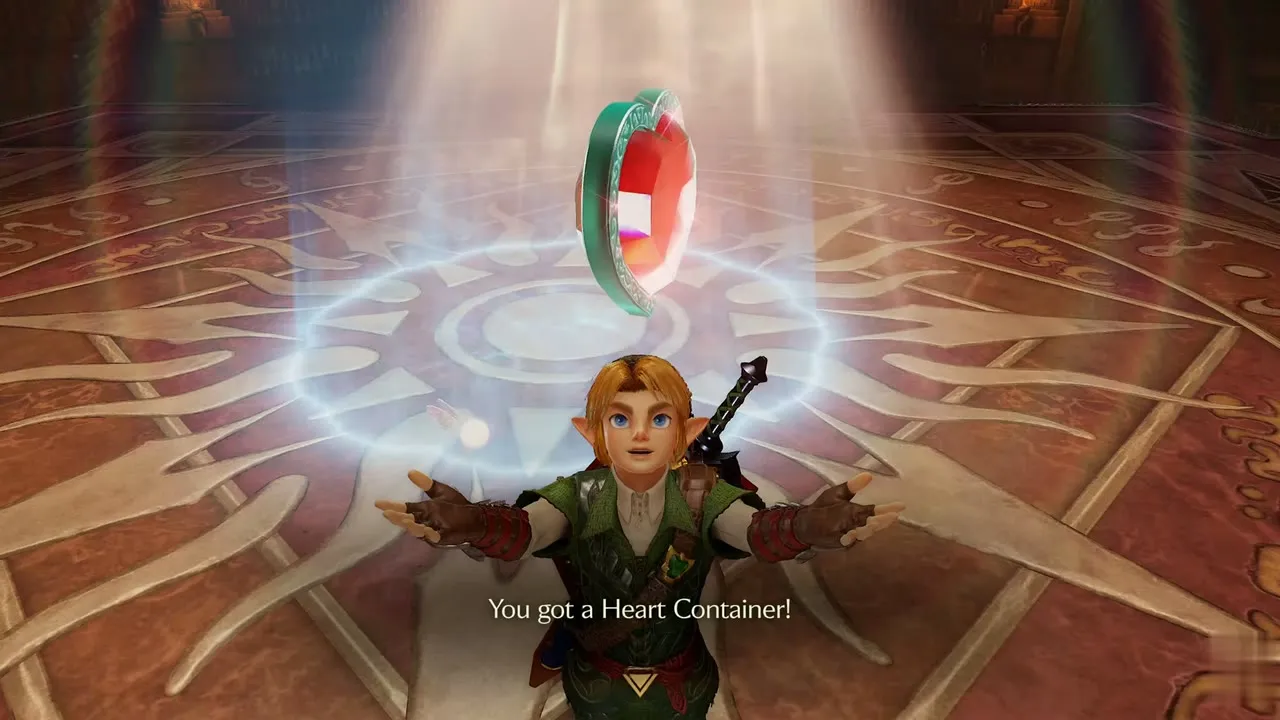
Great Demon King Ganondorf
Ganondorf waits at the top of the tower, and the final walkthrough chapter covers the climb. He hovers above the arena in a ring of fire, and the game says you cannot target him without Navi. He hurls an orange or red energy orb. Face it, wait until it is close and swing the Master Sword to bat it back. If it reaches him, he reels with a purple burst. Then draw the Fairy Bow with Light Arrows and shoot him. He drops to the floor, so run in and slash until he rises again, then back off for the next orb. As the fight goes on, parts of the floor sink and he fires fans of red energy, which the sword can knock back. A last burst of pink sparks from the Master Sword ends it. The red crystal around Zelda fades and the tower starts to collapse.

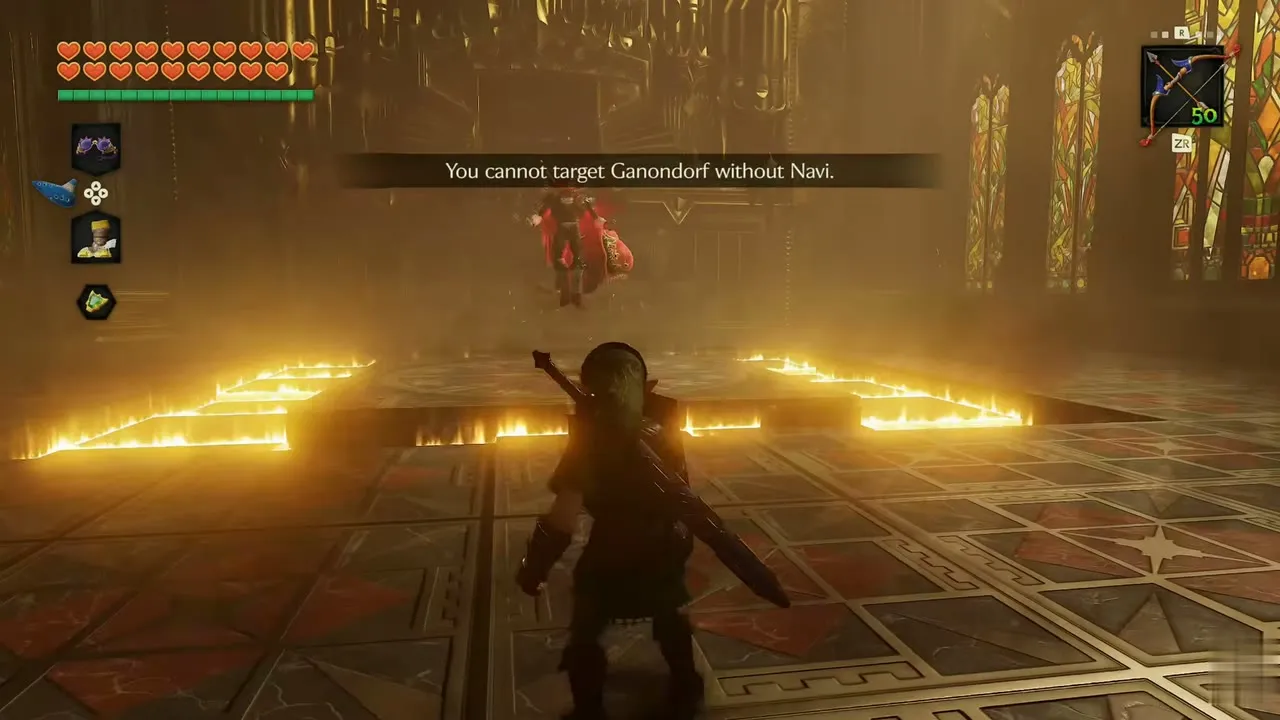
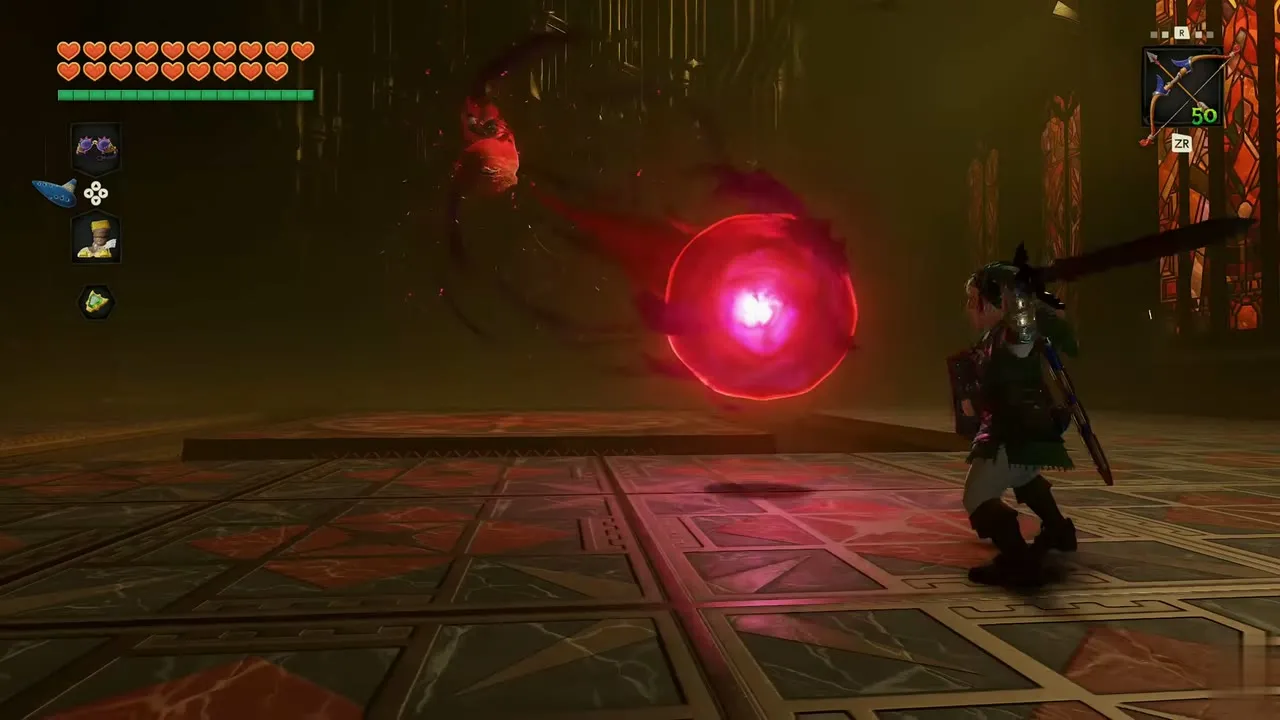


Ganon
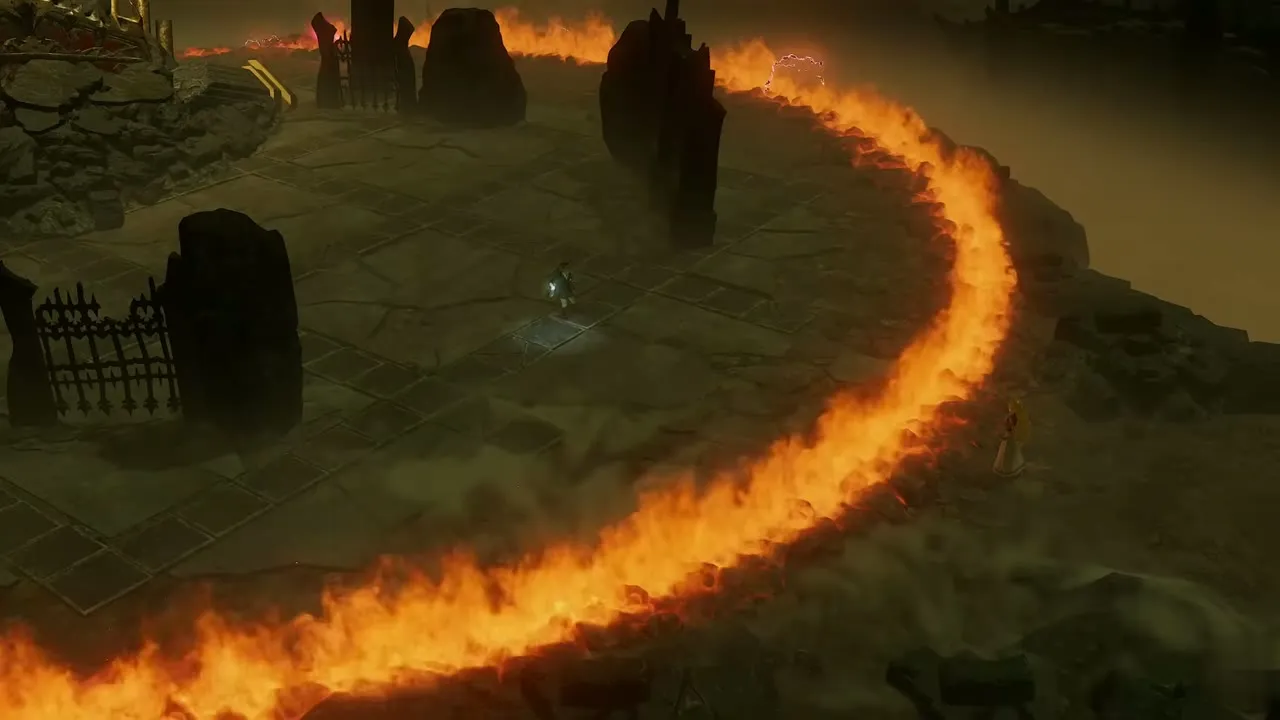
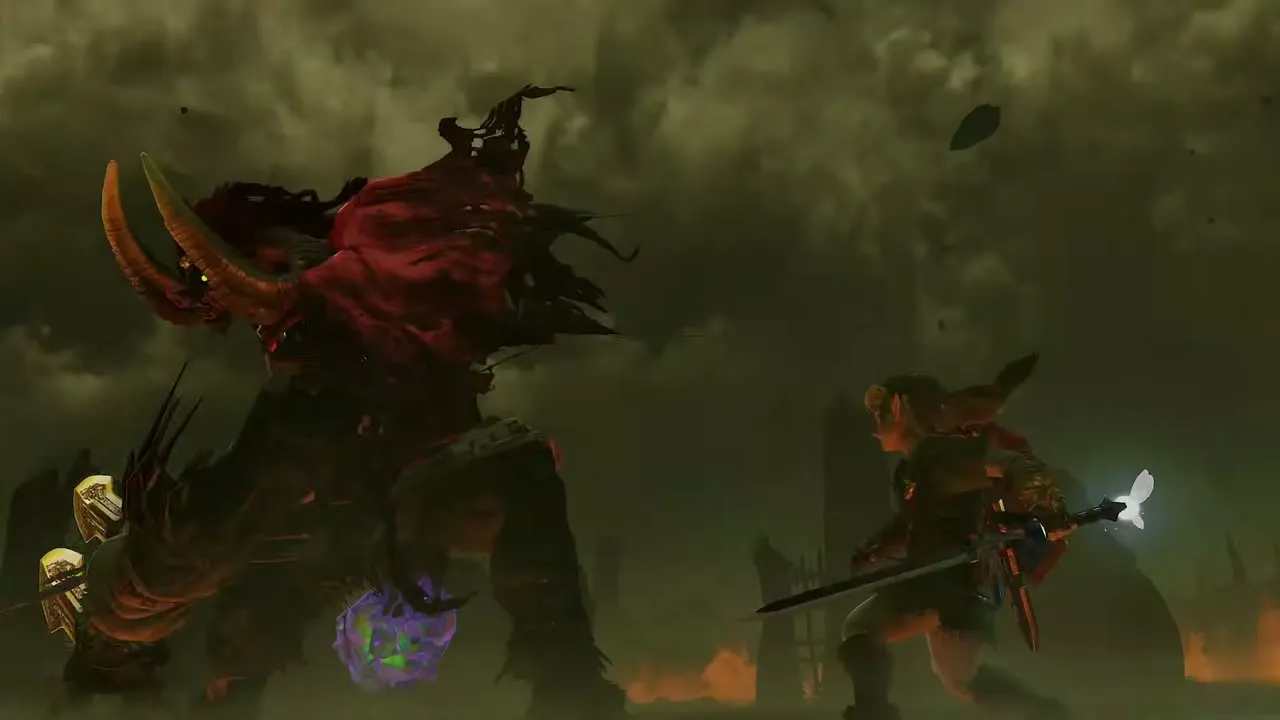
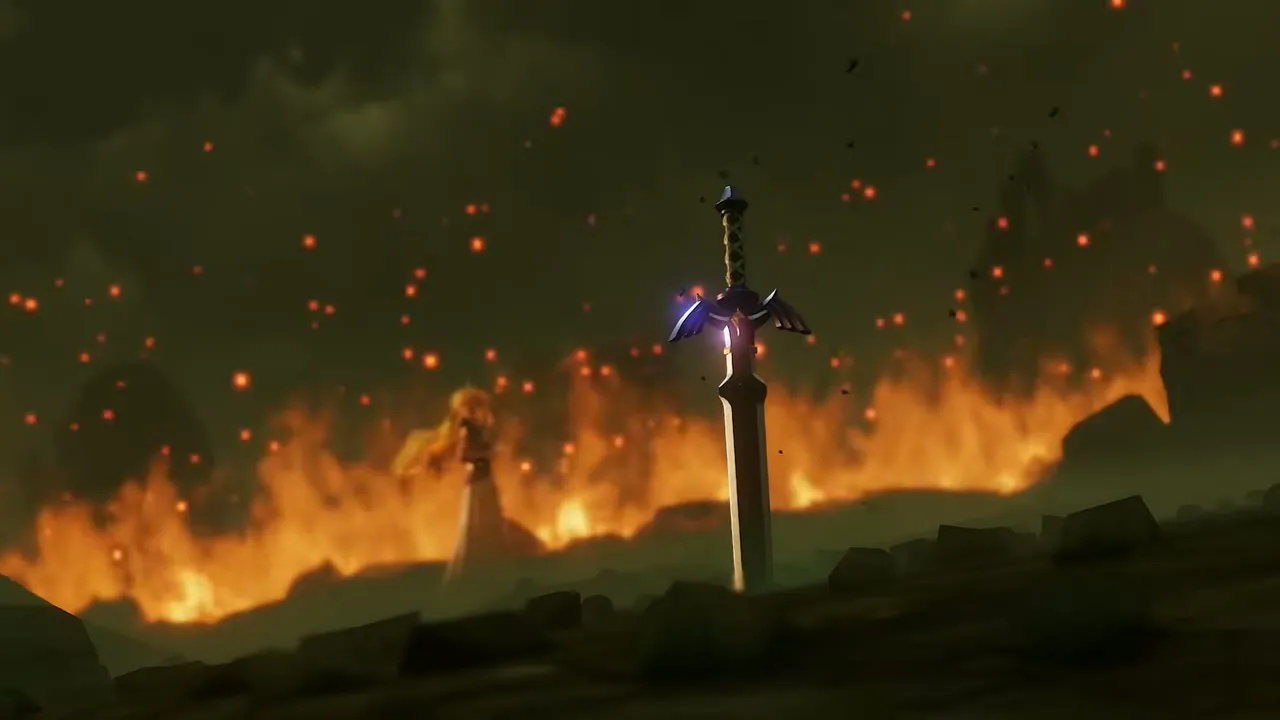
Ganon is the last boss and appears in the ruins of the castle, inside a ring of fire. Your sword is gone, so open the Equipment screen and equip a spare sword. The first weak point is the purple crystal on his tail. Run around behind him, away from his two huge blades, and hit it with the spare sword or the Megaton Hammer until it shatters. The Master Sword then stands glowing in the ground, so take it back. In the second stage keep the Hylian Shield up and shoot Light Arrows at the pink glowing spots on his head and hands, then slash when he staggers. Zelda then lights his face and opens the purple eye on his forehead. Shoot Light Arrows into the eye while you dodge the red lightning columns, and when he staggers, strike his face with the Master Sword. A last burst of light ends him and the sages seal him away.

Mini-bosses

Big Octo
Big Octo blocks the sac in Lord Jabu-Jabu’s Belly behind a pink wall of flesh. Circle through the shallows to its back, where a glowing green core sits. Target the core and throw the Boomerang, then run clear when it thrashes. Pop the floating Shabom with your sword and repeat until the core fades. There is no reward chest, but the way to the next room opens.


Great Moblin
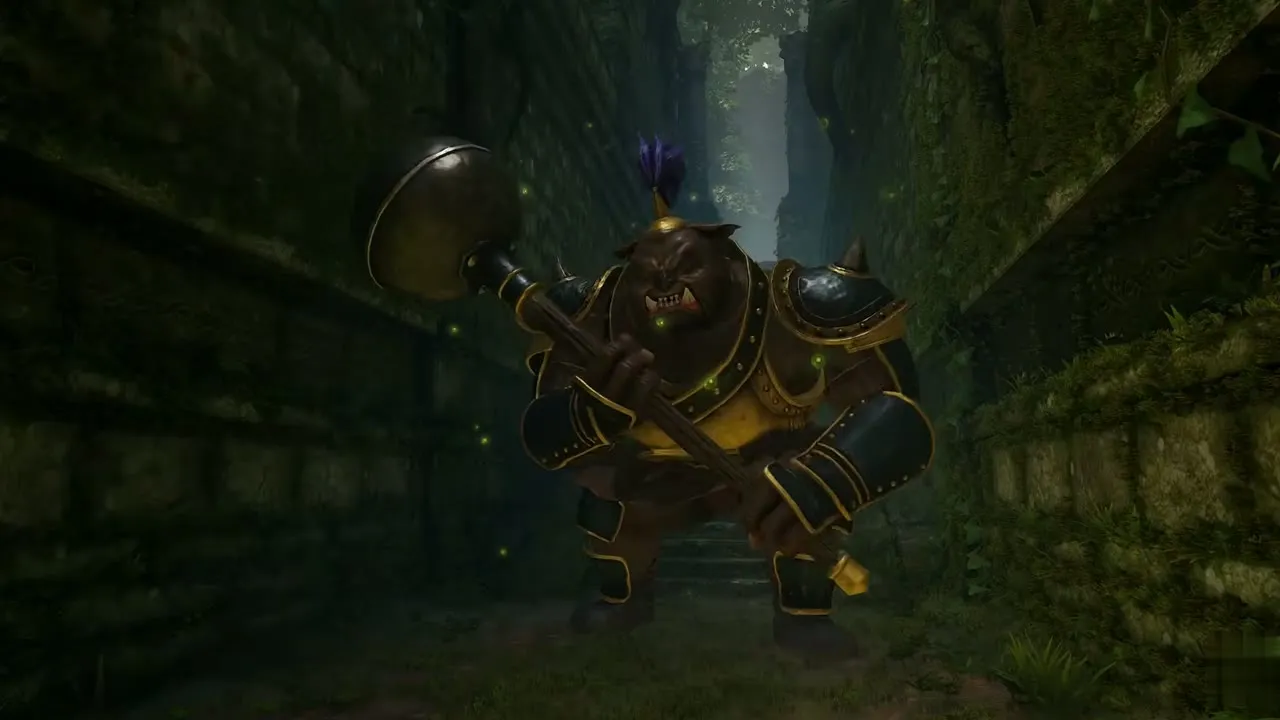
The Great Moblin guards the end of the Sacred Grove maze in the adult Sacred Grove. It swings an enormous hammer and its hits take several hearts, so arrive with full health. Dodge to the side as the hammer lands, then run in behind it and strike its back. A burst of red and purple light finishes it and opens the steps to the Forest Temple.

Poe Sisters
The four Poe Sisters hide in paintings in the Forest Temple. Shoot a painting with the Fairy Bow to bring its Poe out. The red Poe guards a chest with a small key, and the blue Poe guards the chest with the Compass. Shoot each from range and slash her when she gets close. The green Poe appears after you push the slimy blocks into one shape and attacks with chains. The purple Poe in the main hall splits into several ghosts and throws magic, so block, shoot the one with the lantern and slash when it falls. When all four are down, every torch in the hall lights.


Flare Dancer
The Flare Dancer is a spirit of blue flame that dances around a round arena on 3F of the Fire Temple. Equip the Hookshot and fire it at the dancer when the Fire prompt shows to pull the red core out of the flame. Slash the core while it lies on the floor, and repeat until it is gone. The stone platform in the middle then rises and carries you to 4F.


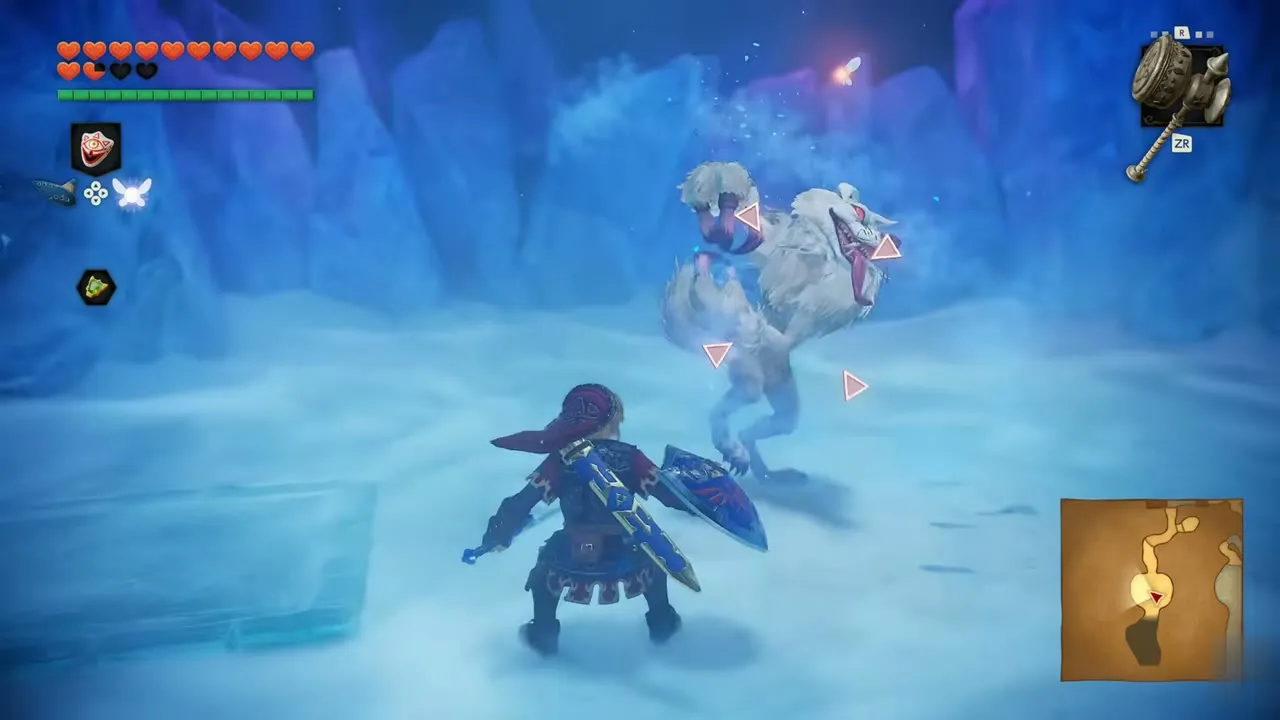
White Wolfos
A White Wolfos attacks you in the snow in front of the barred gate in the Ice Cavern. Lock on, hold the shield up and watch for its lunge. Sidestep or block, then strike as soon as it lands. Stay in the open middle of the arena and do not back into the walls. Chain sword slashes after each dodge, or use the Megaton Hammer when it stands still in front of you. When it falls the gate opens and you can take the Iron Boots from the chest.
Dark Link
Dark Link waits in a pale fog behind the green door at the end of the golden hall in the Water Temple. He has a sword and shield of his own and fights as you do. Stay close, raise your shield against his swings and strike when he finishes an attack. Your hearts drop as the duel goes on, so back off and swing again until he goes down. A stone door then appears in the fog, and the Longshot is in the chest beyond.


Dead Hand
You meet Dead Hand twice. In the Bottom of the Well it waits in a fog-filled room. Hands push up out of the ground, so lock on to each, slash it the moment it appears, then step back. When the pale, fanged body drags itself out of the dirt, move in with sword swipes and retreat before it swings its arms. When it falls, the blue barred gate opens and a chest holds the Lenses of Truth. In the Shadow Temple it rises in the fog graveyard. The fight is the same there, and the chest where it dies holds the Hover Boots.


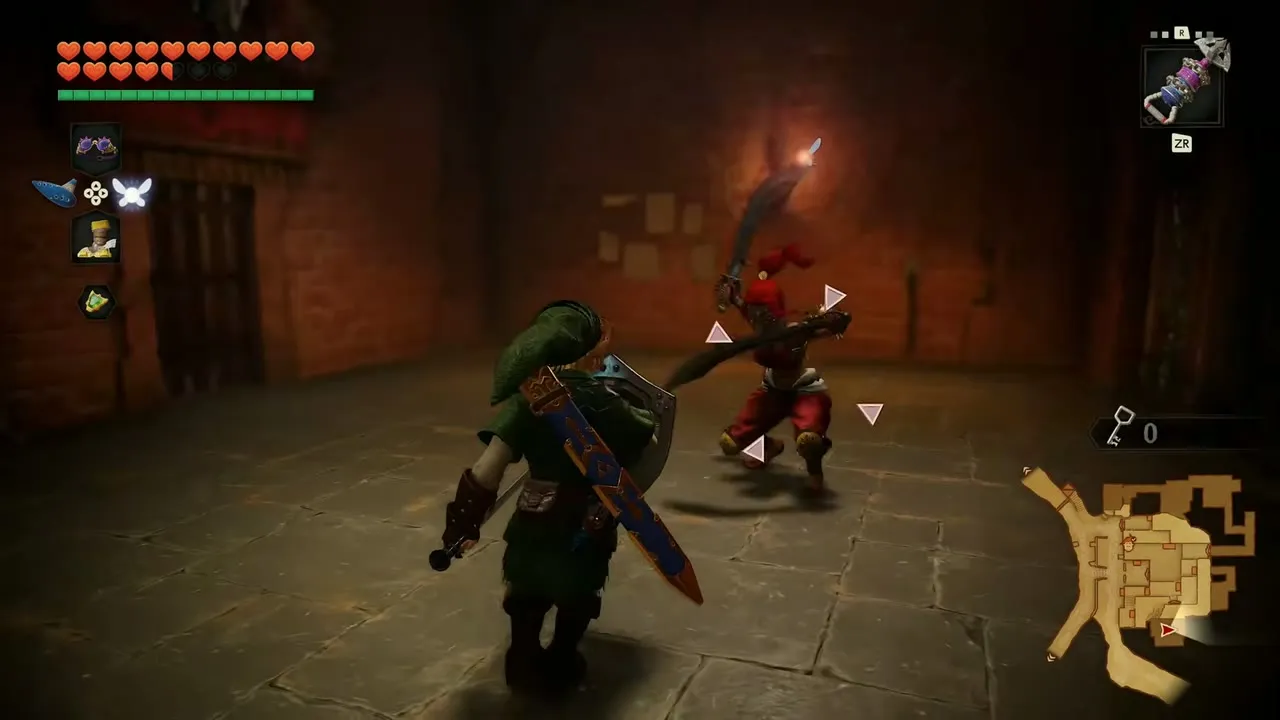
Gerudo swordswoman
In Gerudo Fortress a Gerudo swordswoman challenges you in the arena room three times, once for each carpenter’s key. She repeats three attacks: a dash straight at you, a spinning slash and a thrown blade. Keep your shield up, let her strike land on it and answer with a sword combo as soon as the move ends. Back away when she begins a spin. Each defeat drops a small key in the cell hall.

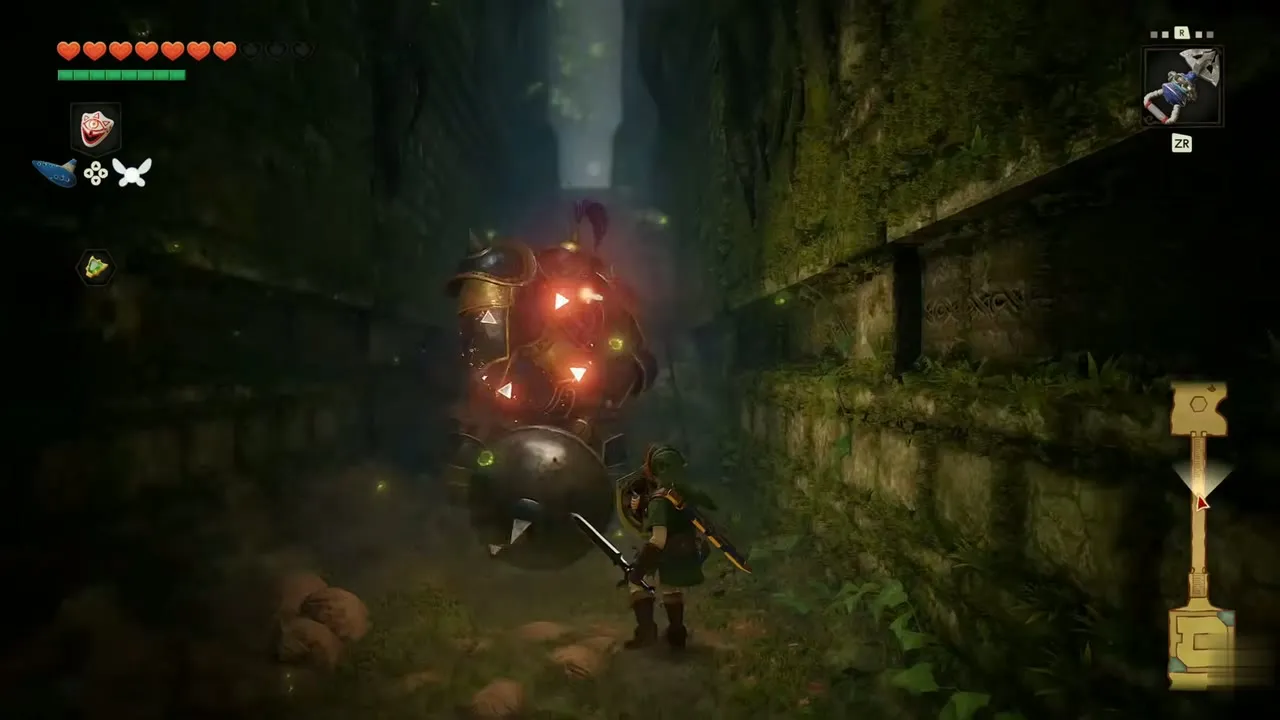
Iron Knuckle
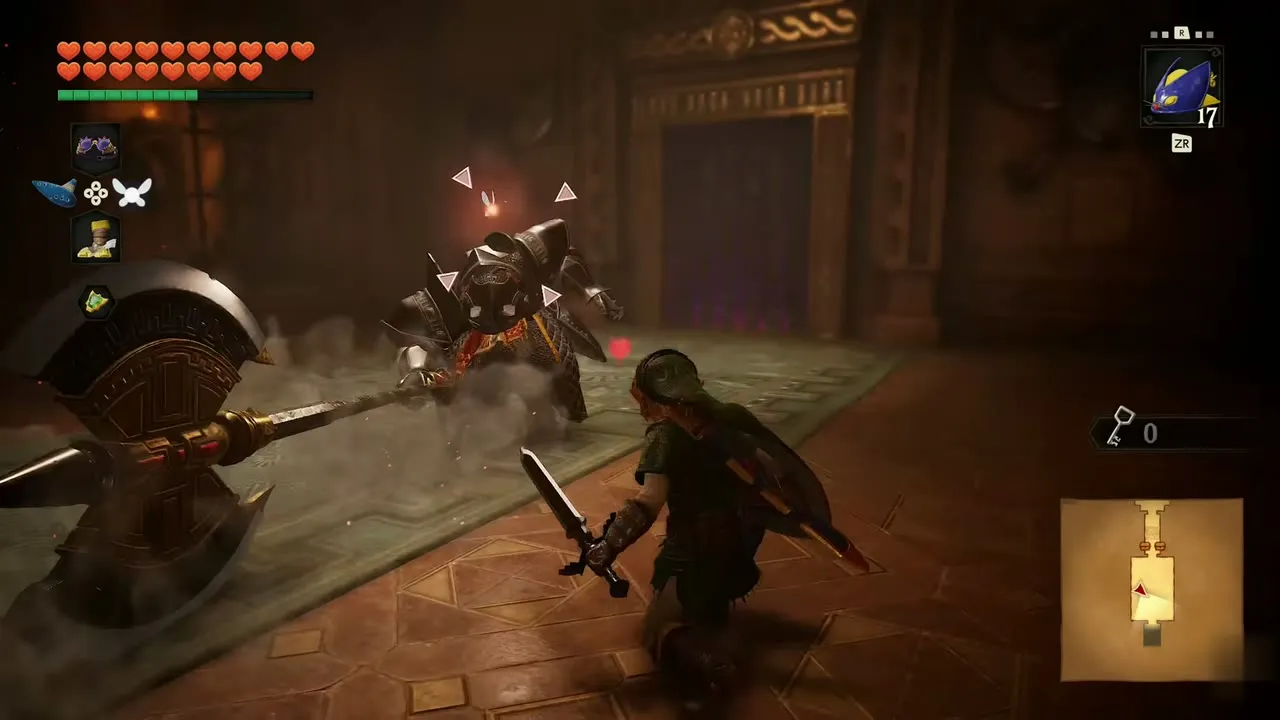
Armored Iron Knuckles with huge axes guard two halls of the Spirit Temple. As a child you meet one behind the small key door. Its swings are slow but strong, so keep your distance and shield up, pick up a bomb, wait until it lights and throw it at the Iron Knuckle as it closes in. Repeat until it falls, and the barrier at the far end opens the way to the Silver Gauntlets. As an adult you meet another in the green carpet hall on 3F. Move with your shield raised and strike after each swing. It drops a heart, and the door at the end leads out to the Mirror Shield.



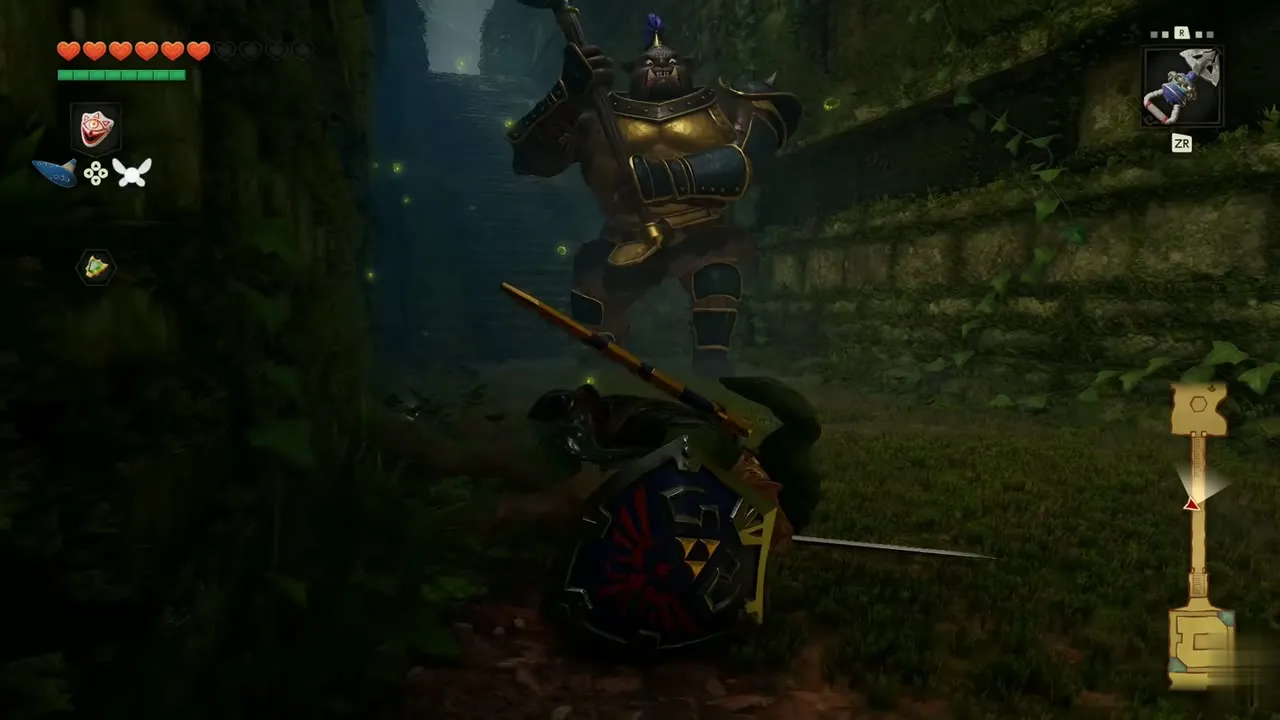
Iron Knuckle Nabooru
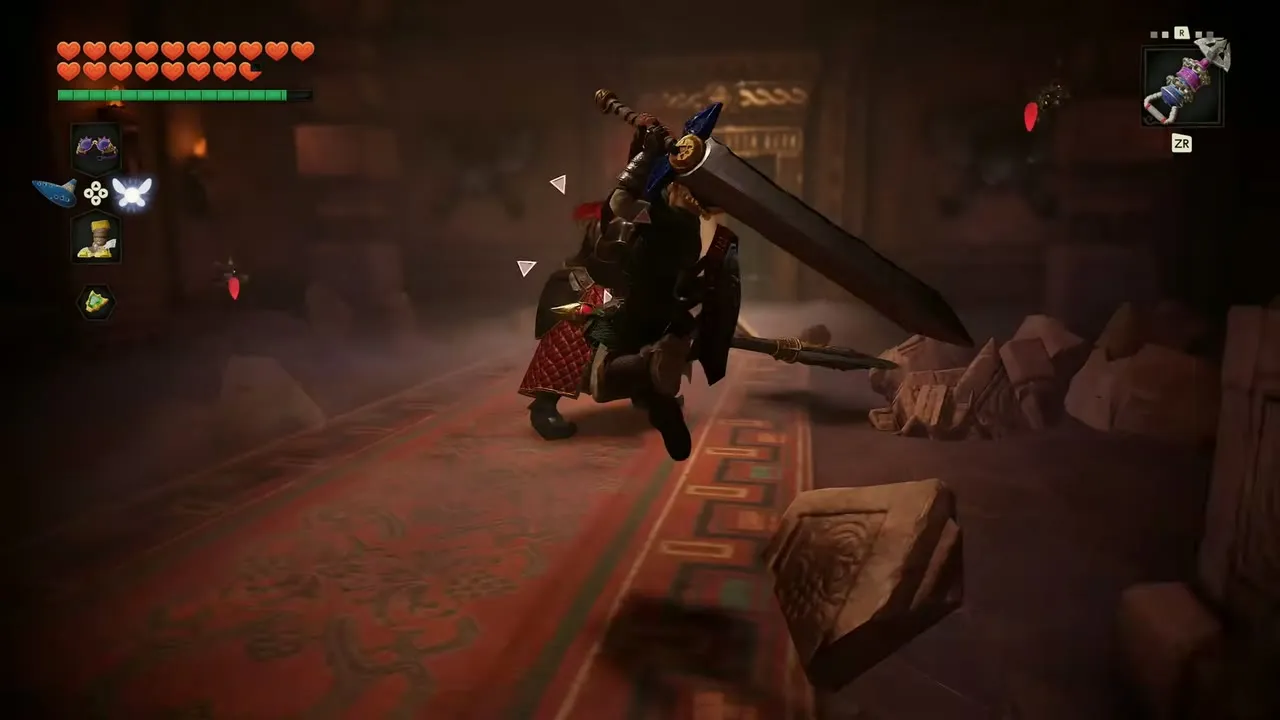
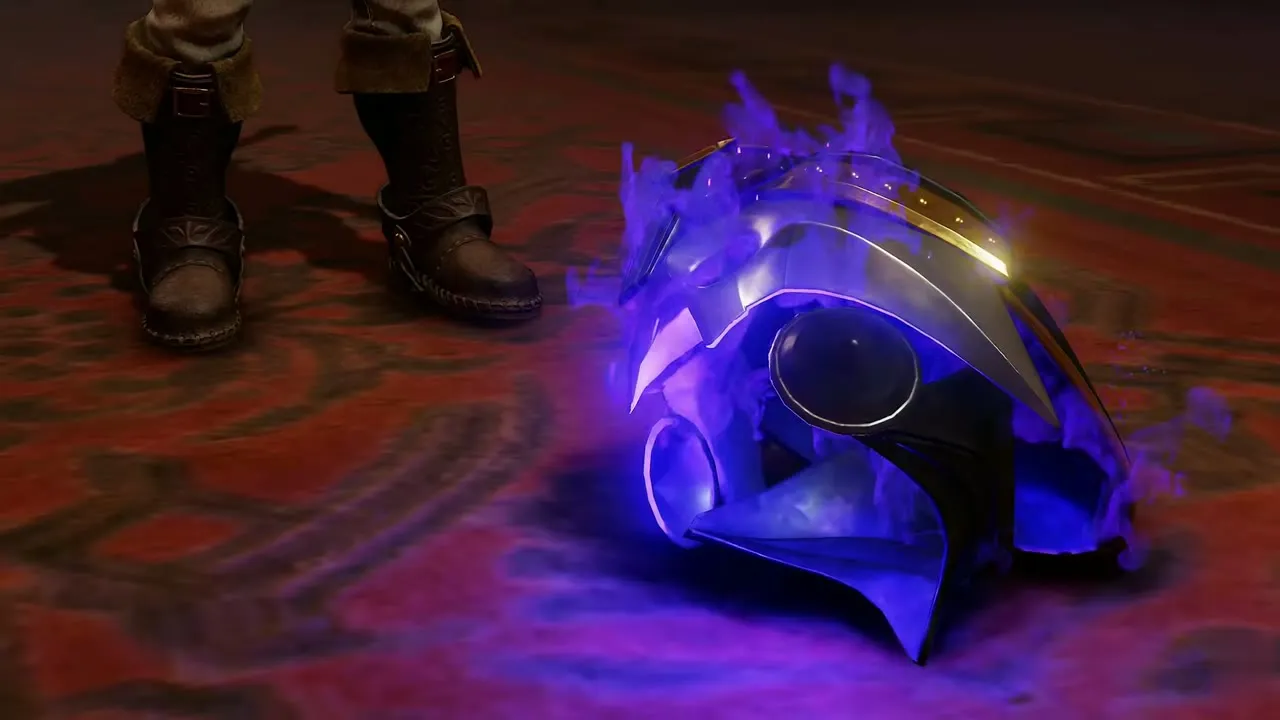
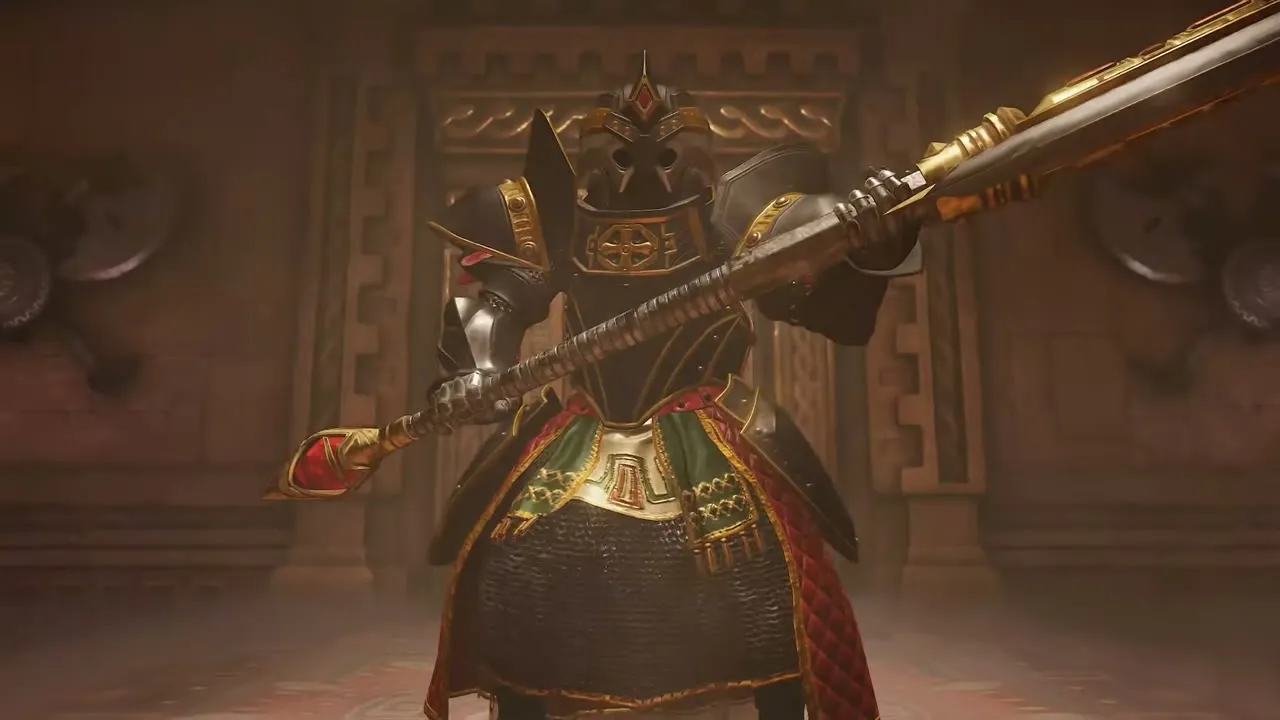
After you open the Boss Key door in the Spirit Temple, Kotake and Koume order their servant to rise, and a knight in black and gold armor stands up with a huge long-handled axe. Equip the Biggoron Sword from the Equipment screen first. It hits hard, but you cannot hold a shield with it. Stay behind the knight, dodge the long axe strikes and attack when it recovers. After a long fight the helmet falls off and the knight is Nabooru, freed from the spell.