| Total maps | 31 |
|---|---|
| Requirement | 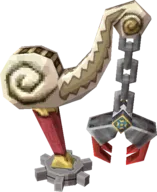 Salvage Arm (bought from Eddo, 200 to 1,000 Rupees) |
| Rewards | 23 Ship Parts, 5 Sand of Hours, 2 Treasures, 1 Big Gold Rupee |
| Repairs | Mercay Island shipyard, 20 to 50 Rupees |
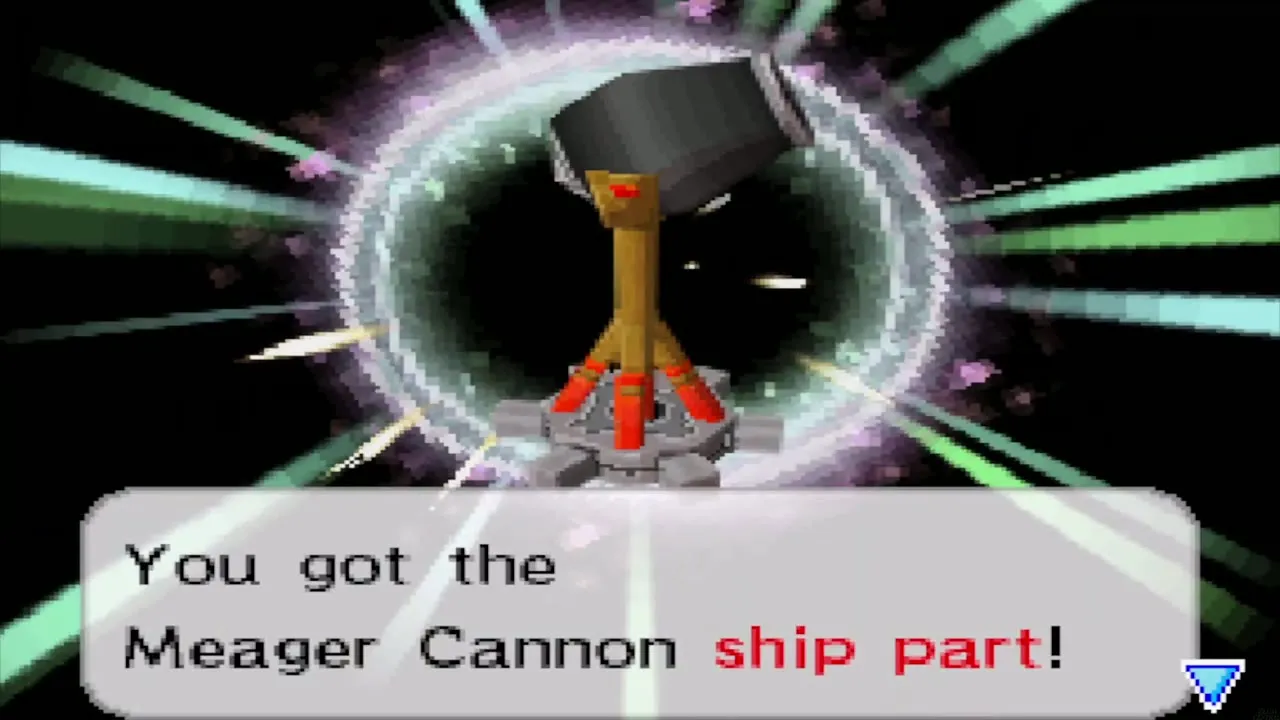
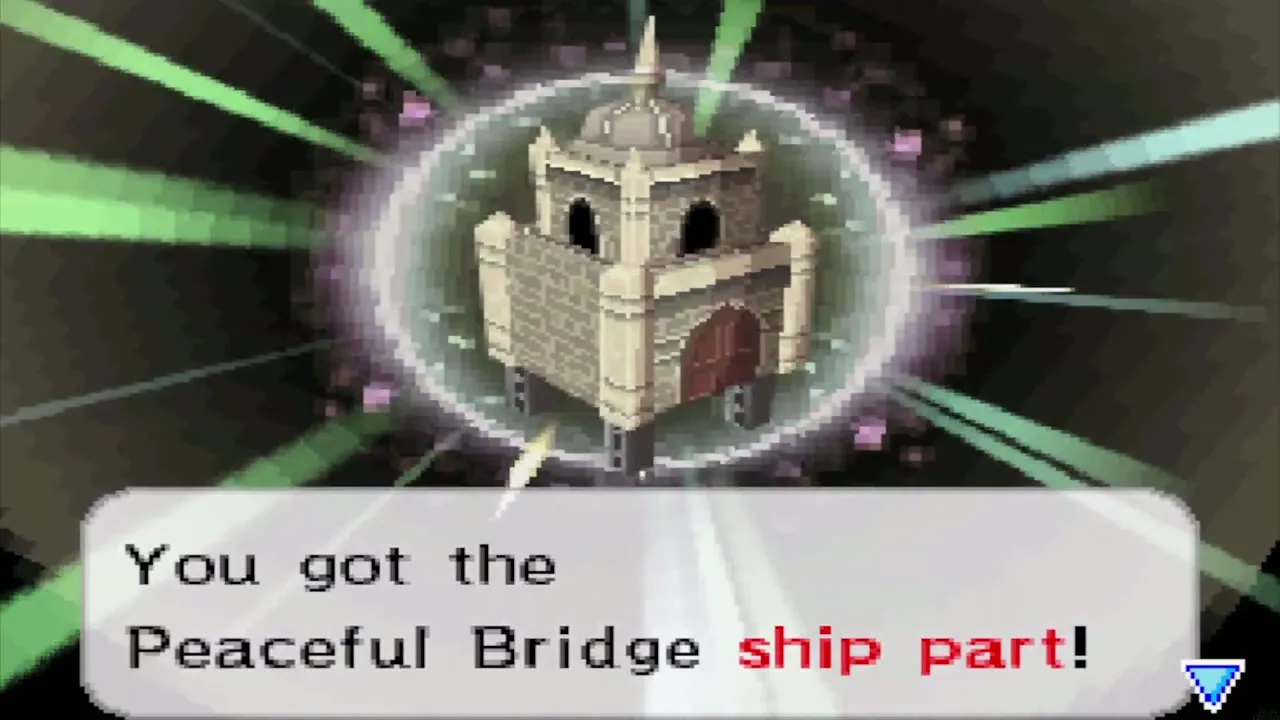
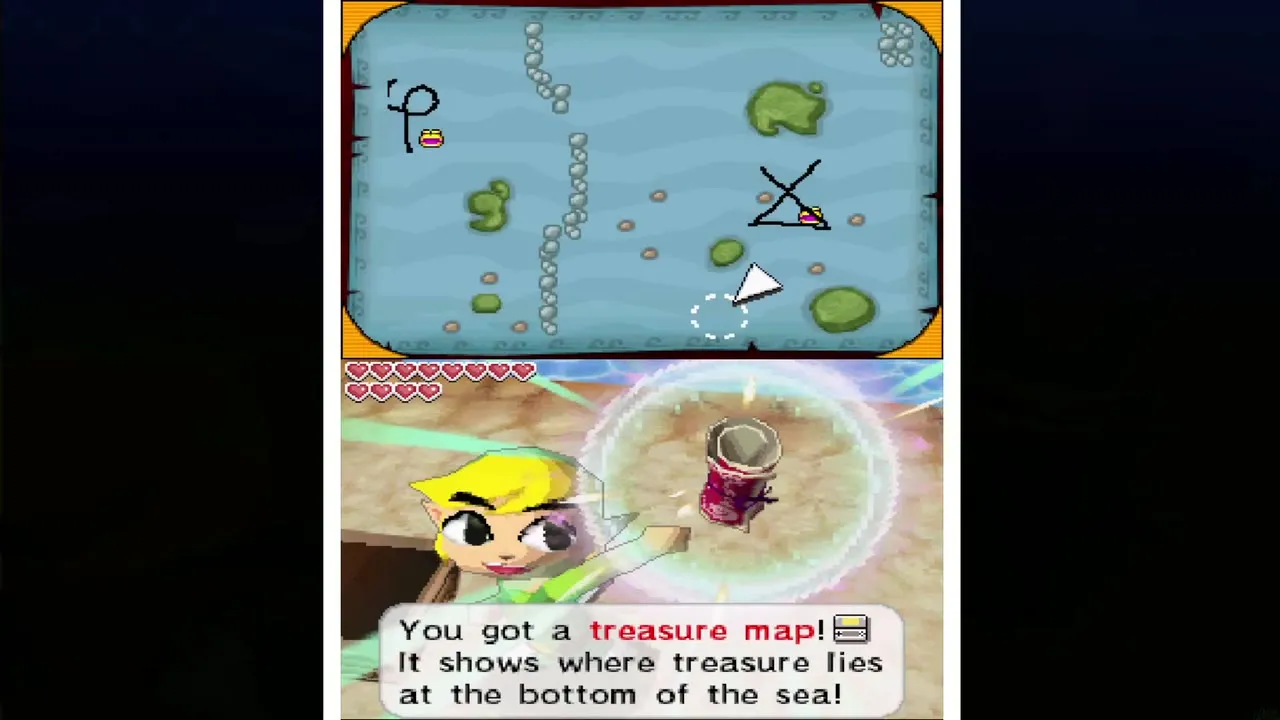
There are 31 treasure maps in Phantom Hourglass. Each one marks a red X on your Sea Chart, and when you sail to the X and lower the Salvage Arm you pull up a sunken chest. Of the 31, 23 hold a Ship Part, 5 hold Sand of Hours worth one minute each, 2 hold a random Treasure, and the last holds a Big Gold Rupee. You need the Salvage Arm before any of them pay off, so this page starts there.
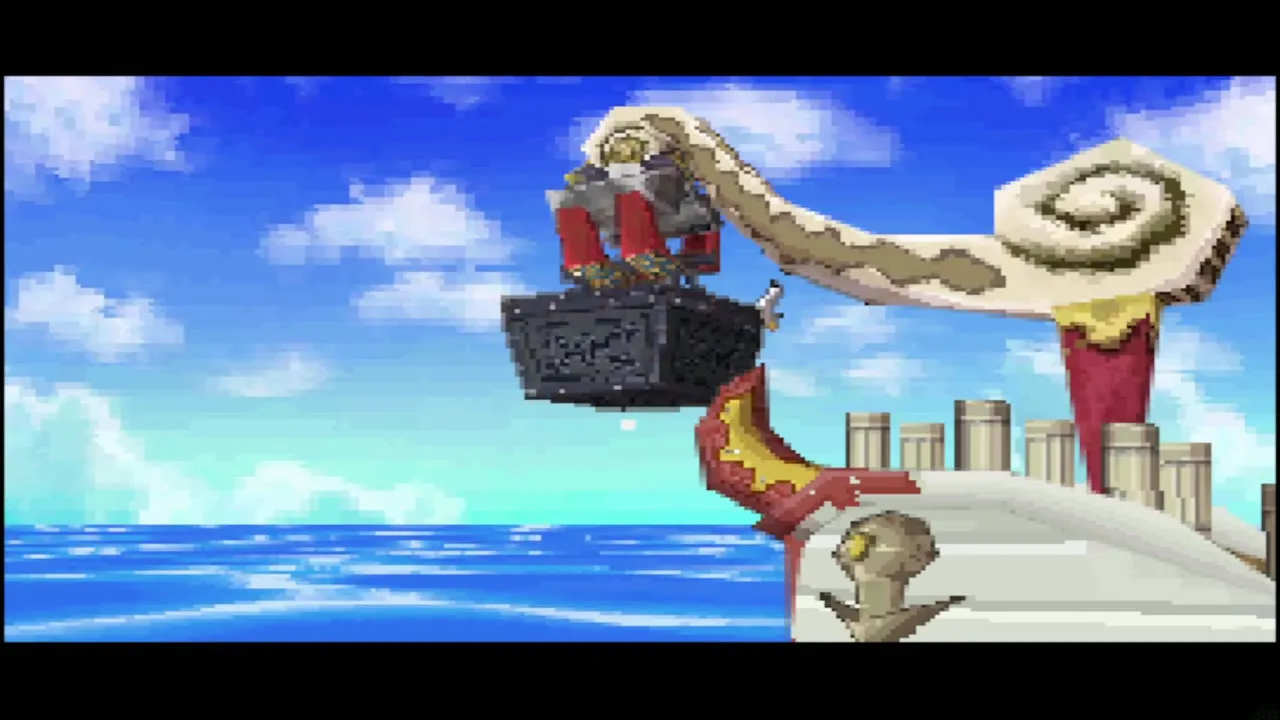
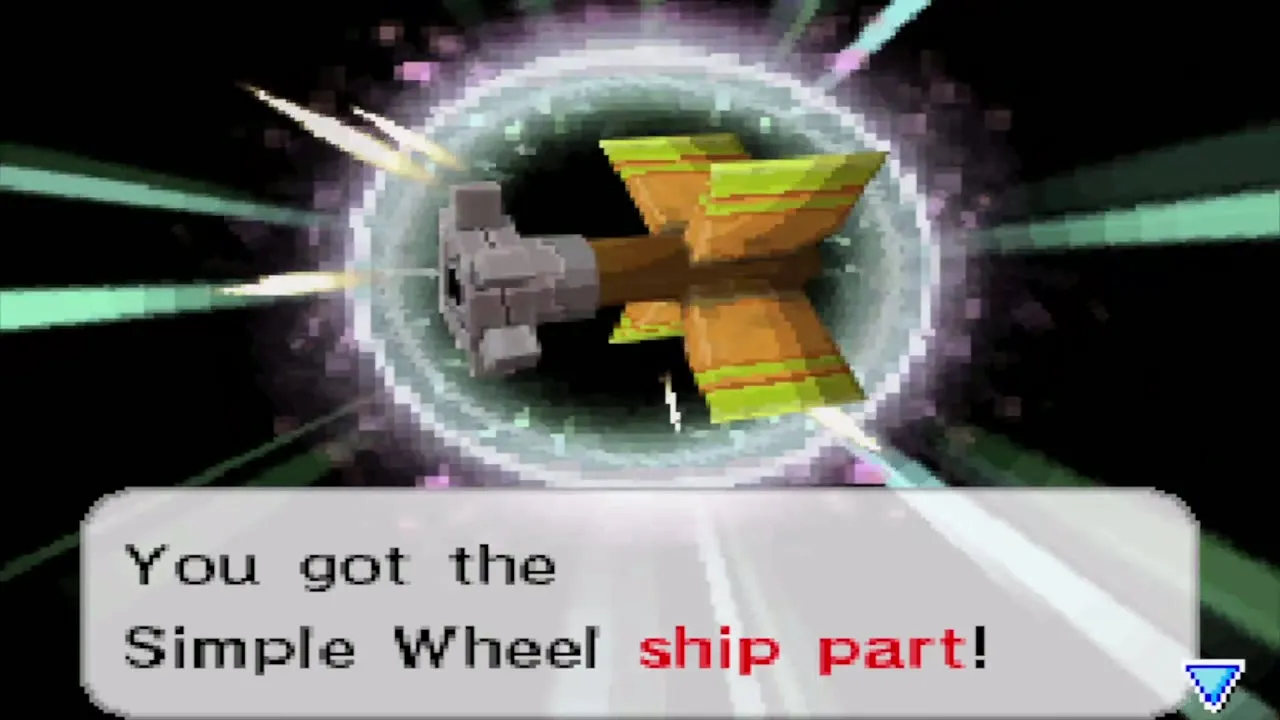
Table of Contents
The Salvage Arm
Buying the Salvage Arm
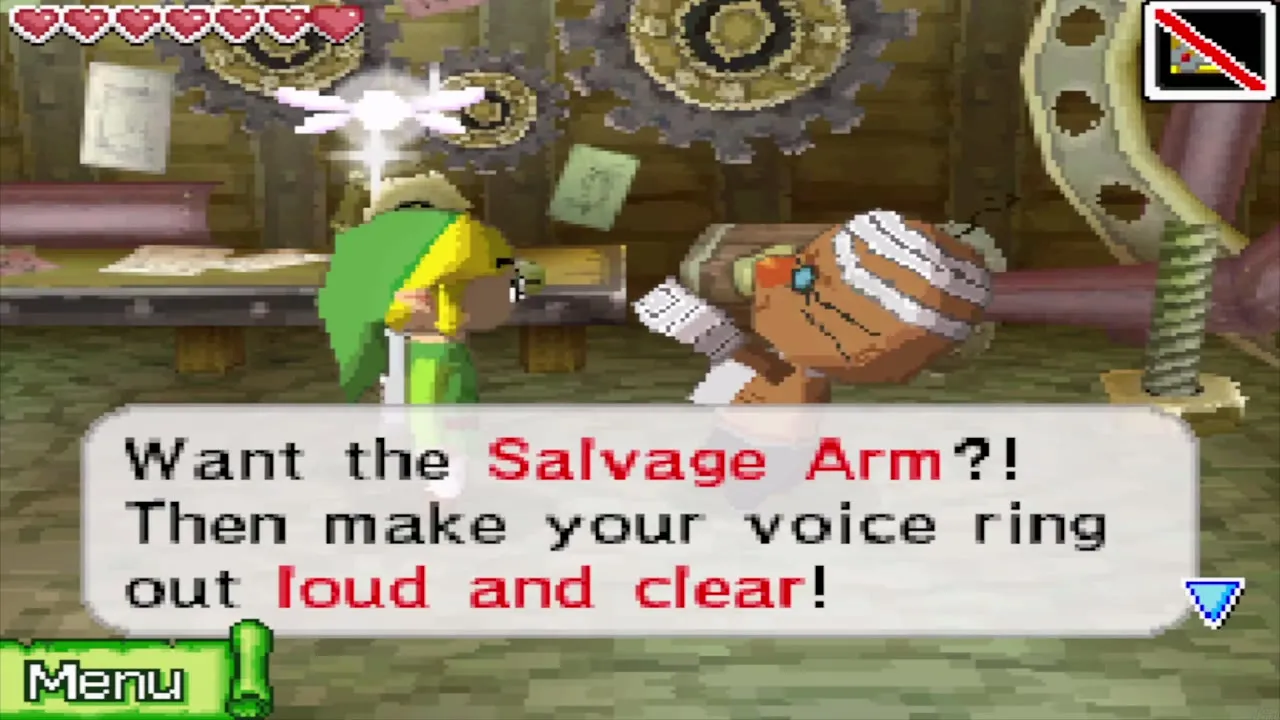
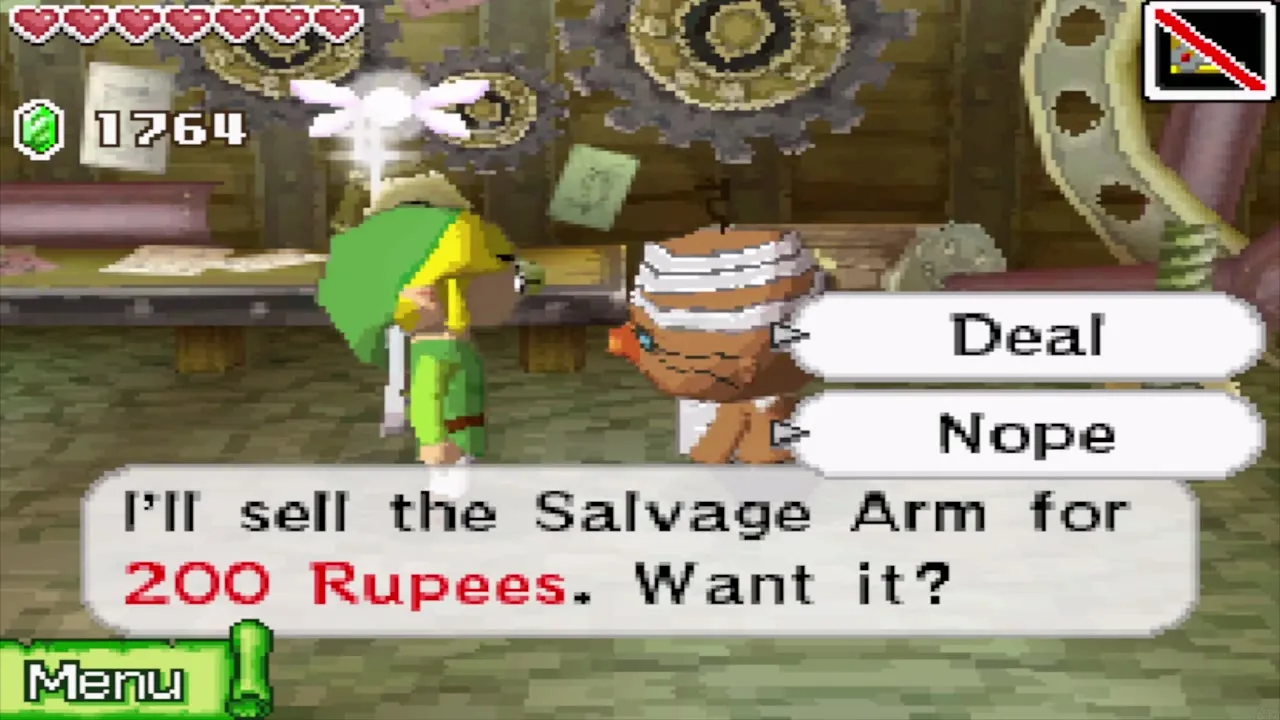
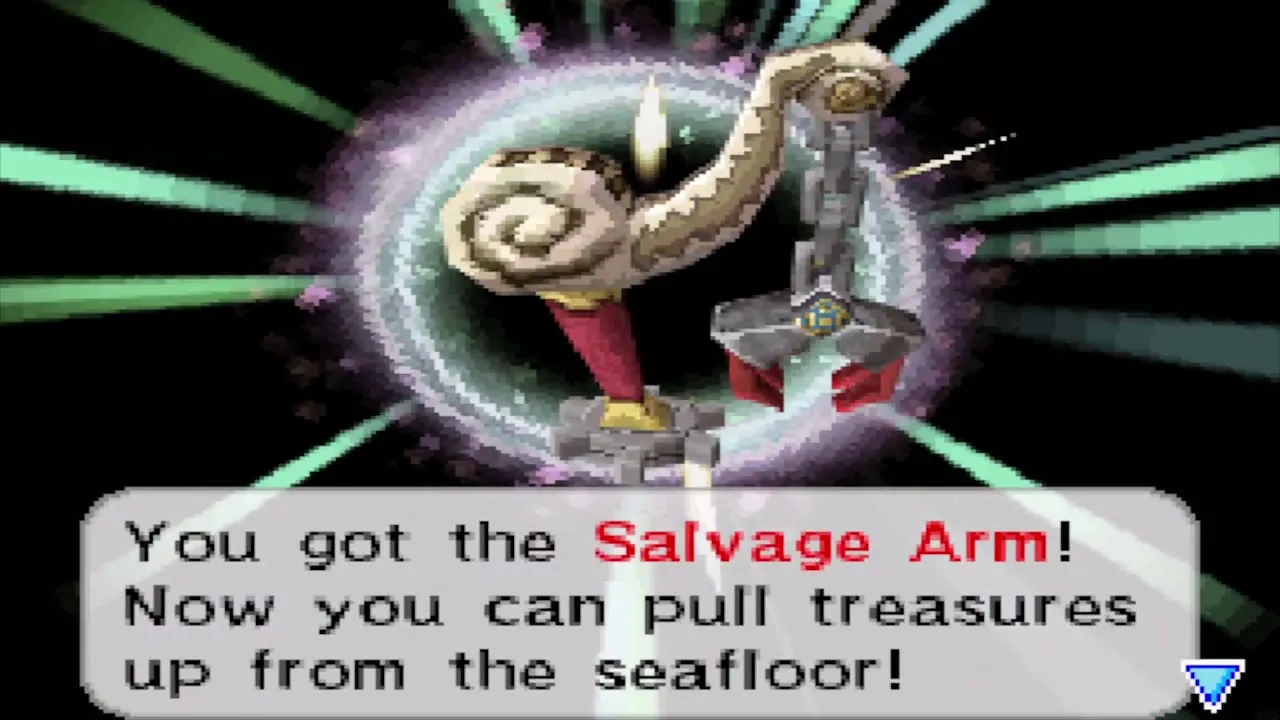
Eddo, the shipwright, builds it. Buy the Cannon from him first for 50 Rupees. Later he sends a letter saying the arm is ready, and you collect it from him. When he asks how badly you want it, shout into the DS microphone: the louder you are, the cheaper it is, from 1,000 Rupees for a whisper down to 200 Rupees for a full yell. Once you own it, a Salvage option appears in your ship menu at sea.
Salvaging a chest
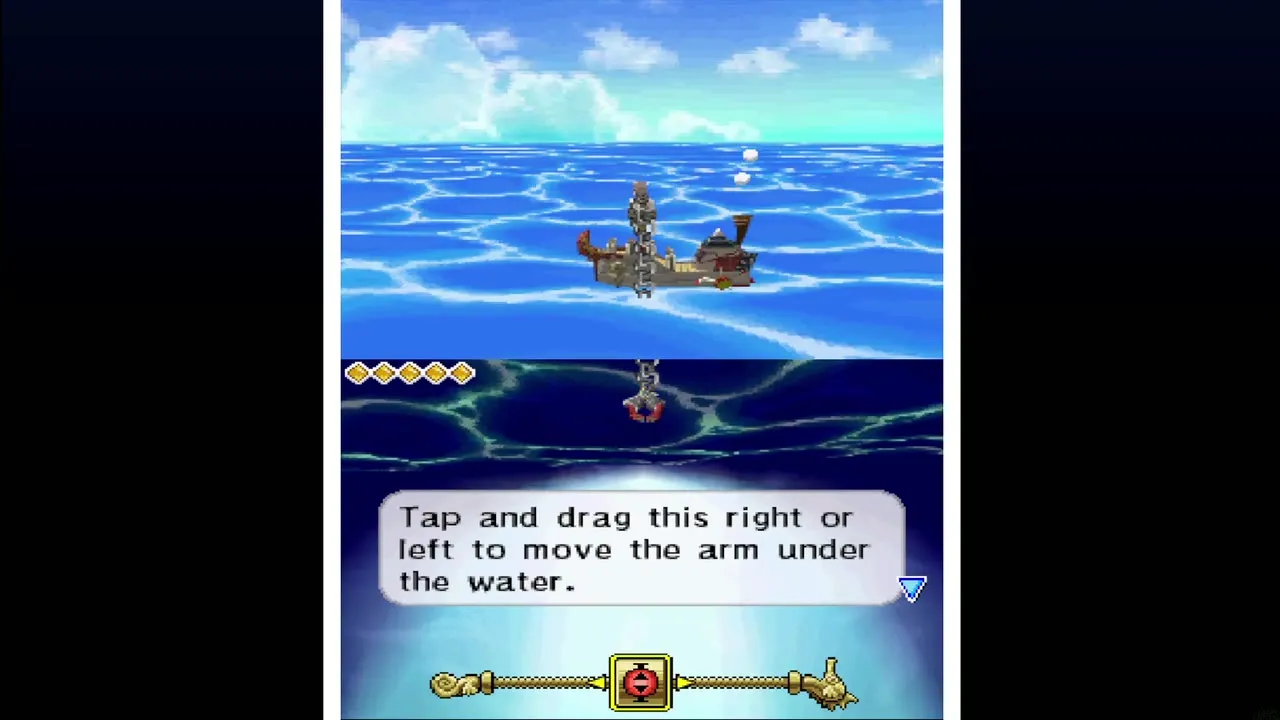
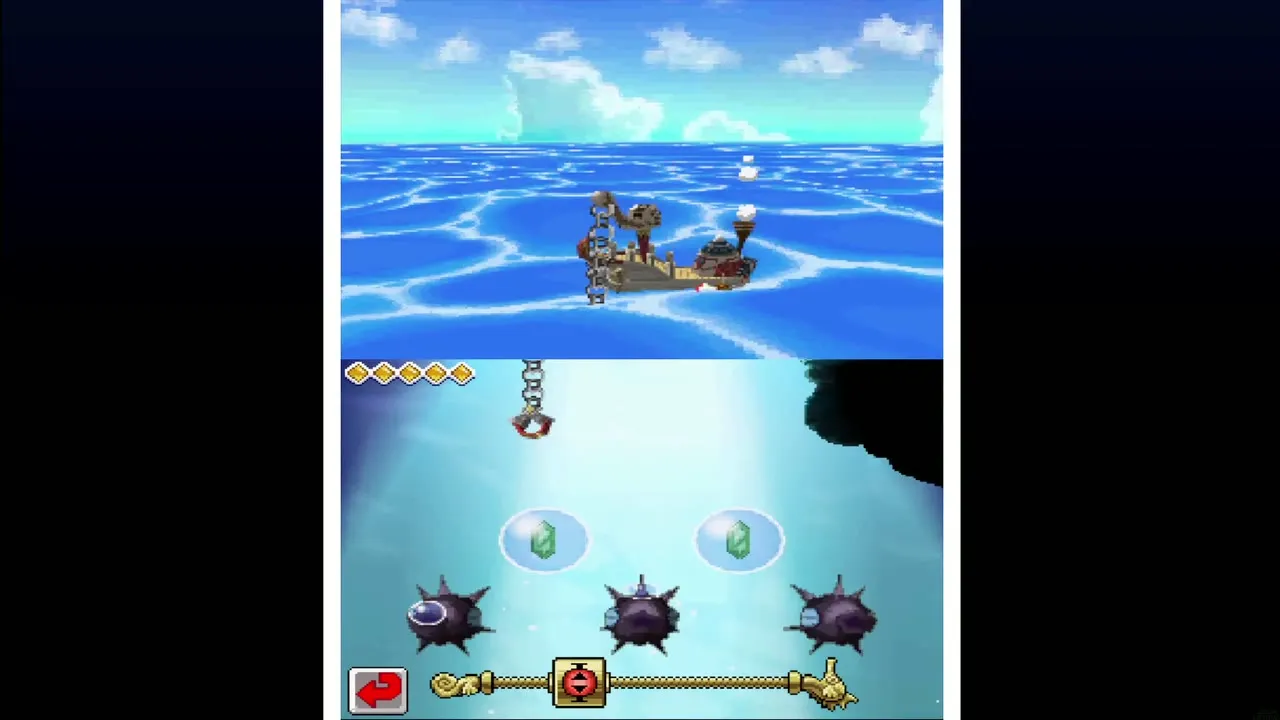
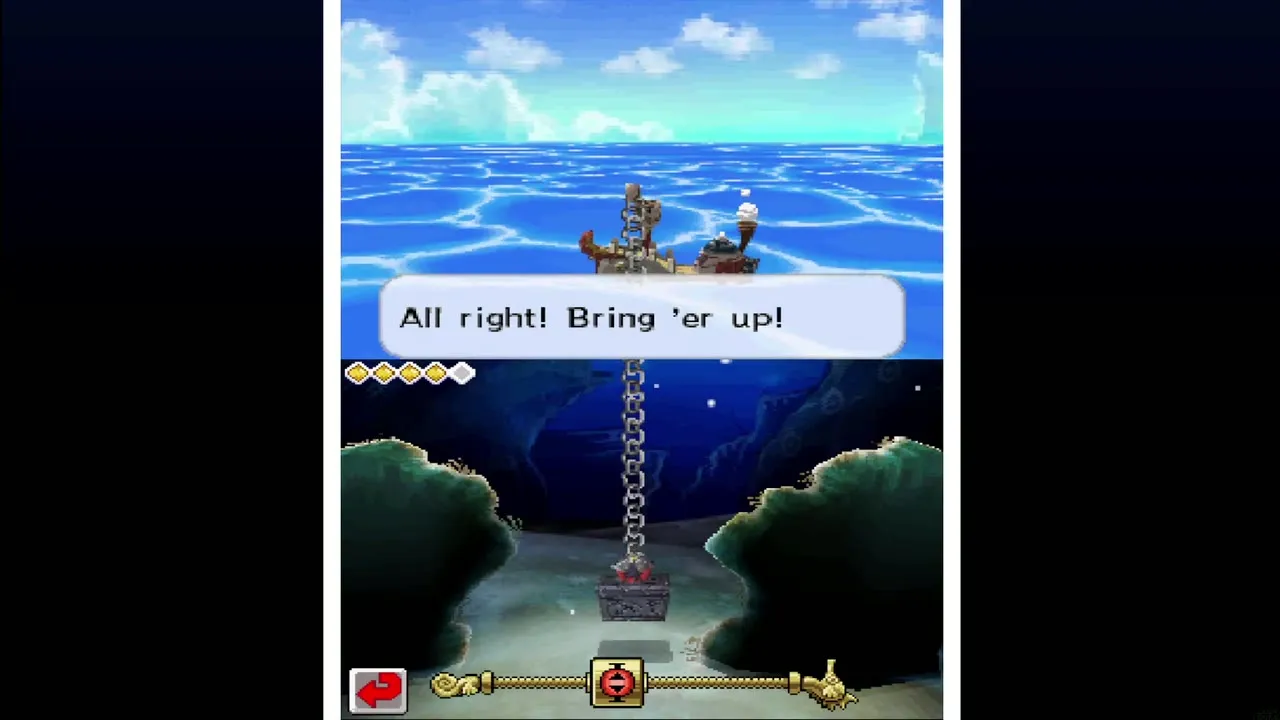
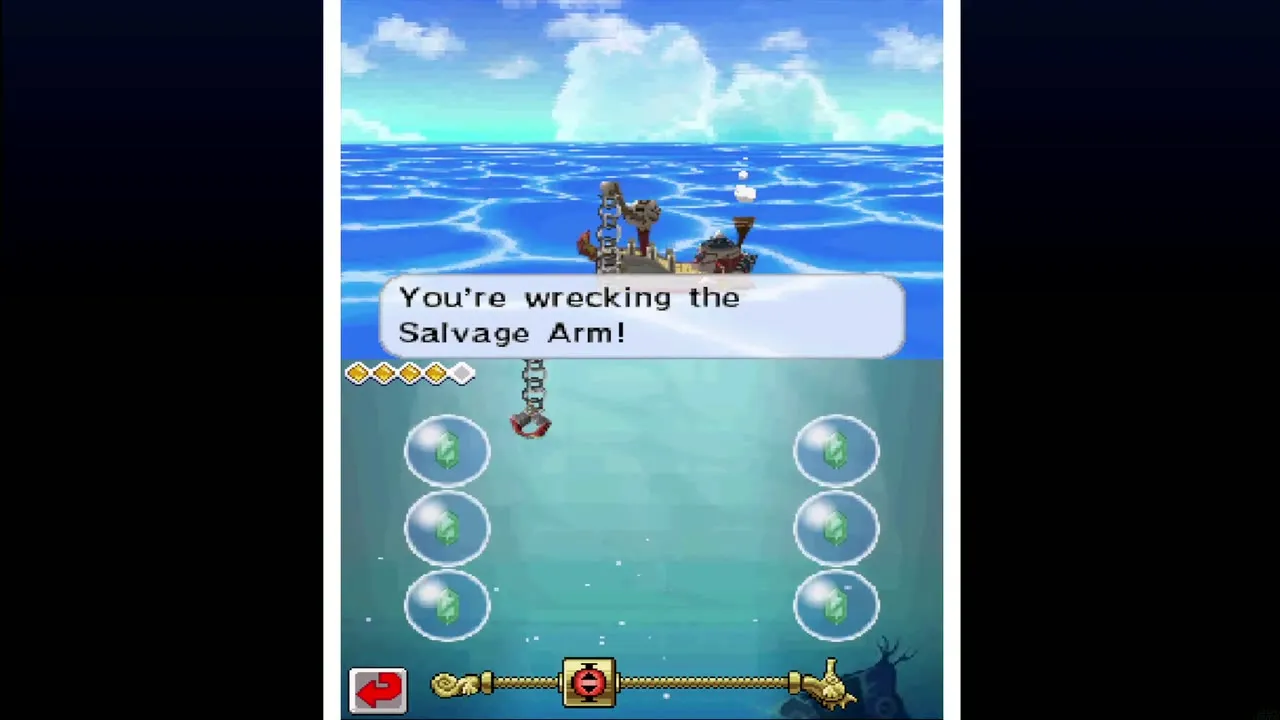
Sail to the X, open the ship menu and pick Salvage. Drag the arm left and right with the stylus to steer it, and slide it up or down to change how fast it sinks. Touch the Rupees floating around to collect them as bonuses, then hook the chest. Avoid the spiked Octomines and the rocks: each knock damages the arm, and after five hits it breaks.
Repairing the arm
If it breaks, take the ship back to the Mercay Island shipyard, where Gazpacho fixes it for 20 to 50 Rupees.
Quick reference: all 31 maps
| # | Region | Requirement to get the map | Reward at the X |
|---|---|---|---|
 1 | Cannon Island | None | Ship Part (9 bonus Rupees) |
| 2 | Molida Island | Shovel | Sand of Hours (132 bonus Rupees) |
| 3 | Isle of Ember | Shovel | Ship Part (112 bonus Rupees) |
| 4 | Isle of Ember | Shovel | Sand of Hours (9 bonus Rupees) |
| 5 | Zauz’s Island | Shovel | Ship Part (125 bonus Rupees) |
| 6 | Uncharted Island | Shovel | Treasure (112 bonus Rupees) |
| 7 | Isle of Gust | Sword | Ship Part (25 bonus Rupees) |
| 8 | Isle of Gust | None | Ship Part (21 bonus Rupees) |
| 9 | Mercay Island | Salvage Arm, Sun Key found in the temple, 50 Rupees | Sand of Hours (25 bonus Rupees) |
| 10 | Mercay Island | Temple of Courage done, Shovel | Ship Part (30 bonus Rupees) |
| 11 | Temple of the Ocean King | Bow | Sand of Hours (21 bonus Rupees) |
| 12 | Mercay Island | Southeastern Sea Chart | Ship Part (30 bonus Rupees) |
| 13 | Molida Island | Southeastern Sea Chart | Ship Part (9 bonus Rupees) |
| 14 | Goron Island | Shovel, Bow | Ship Part (108 bonus Rupees) |
| 15 | Goron Temple | Bombs | Ship Part (25 bonus Rupees) |
| 16 | Goron Island | Bombchus | Ship Part (9 bonus Rupees) |
| 17 | Isle of Frost | Shovel | Ship Part (9 bonus Rupees) |
| 18 | Harrow Island | 50 Rupees, Southeastern or Northeastern Sea Chart | Ship Part (30 bonus Rupees) |
| 19 | Harrow Island | 50 Rupees, Southeastern or Northeastern Sea Chart | Ship Part (25 bonus Rupees) |
| 20 | Molida Island | Grappling Hook, Shovel | Ship Part (21 bonus Rupees) |
| 21 | Bannan Island | Shovel | Ship Part (30 bonus Rupees) |
| 22 | Bannan Island | Grappling Hook, Shovel | Ship Part (21 bonus Rupees) |
| 23 | Temple of the Ocean King | Bombchus, Goron Temple done | Sand of Hours (9 bonus Rupees) |
| 24 | Harrow Island | 50 Rupees, Southeastern or Northeastern Sea Chart | Ship Part (25 bonus Rupees) |
| 25 | Harrow Island | 50 Rupees, Southeastern or Northeastern Sea Chart | Ship Part (9 bonus Rupees) |
| 26 | Traveler’s Ship (Northeastern Sea) | Northeastern Sea access | Ship Part (30 bonus Rupees) |
| 27 | Maze Island | Treasure Maze, Normal level | Ship Part (21 bonus Rupees) |
| 28 | Isle of the Dead | Bombs | Treasure (30 bonus Rupees) |
| 29 | Isle of the Dead | Bombs | Ship Part (112 bonus Rupees) |
| 30 | Temple of the Ocean King | Hammer | Ship Part (25 bonus Rupees) |
| 31 | Temple of the Ocean King | Hammer | Big Gold Rupee (9 bonus Rupees) |
Maps 1 to 10
Treasure Map #1 (Cannon Island)
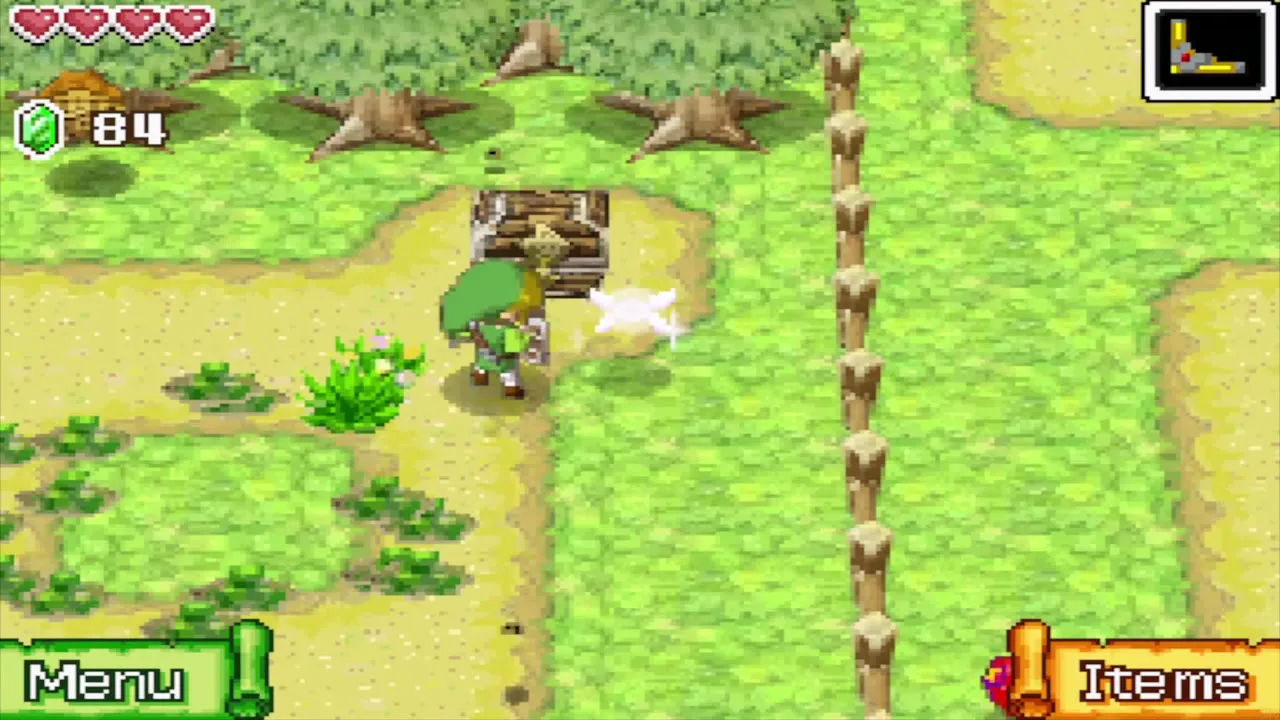
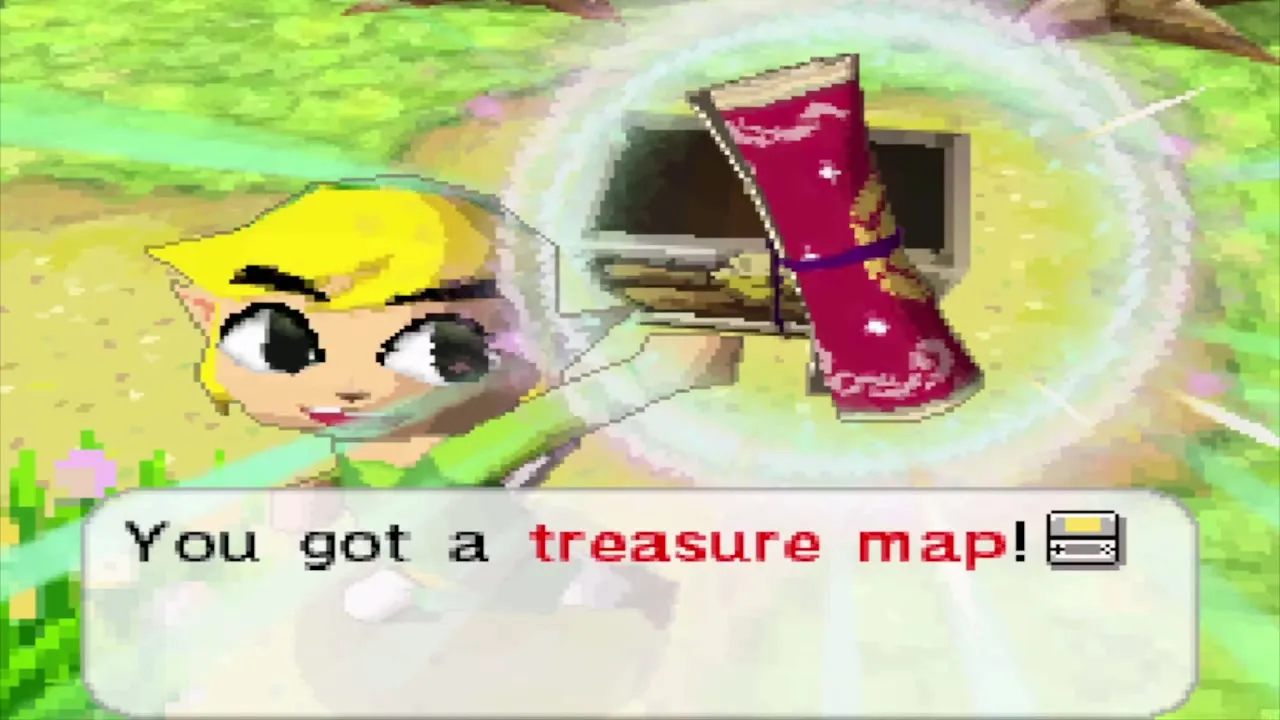
On your first visit, cross the northwest part of Cannon Island, where the beehives are, and look for a small clearing with a ring of grass. A chest there holds the map. At the X you bring up a Ship Part, with 9 bonus Rupees floating around it.
Treasure Map #2 (Molida Island)
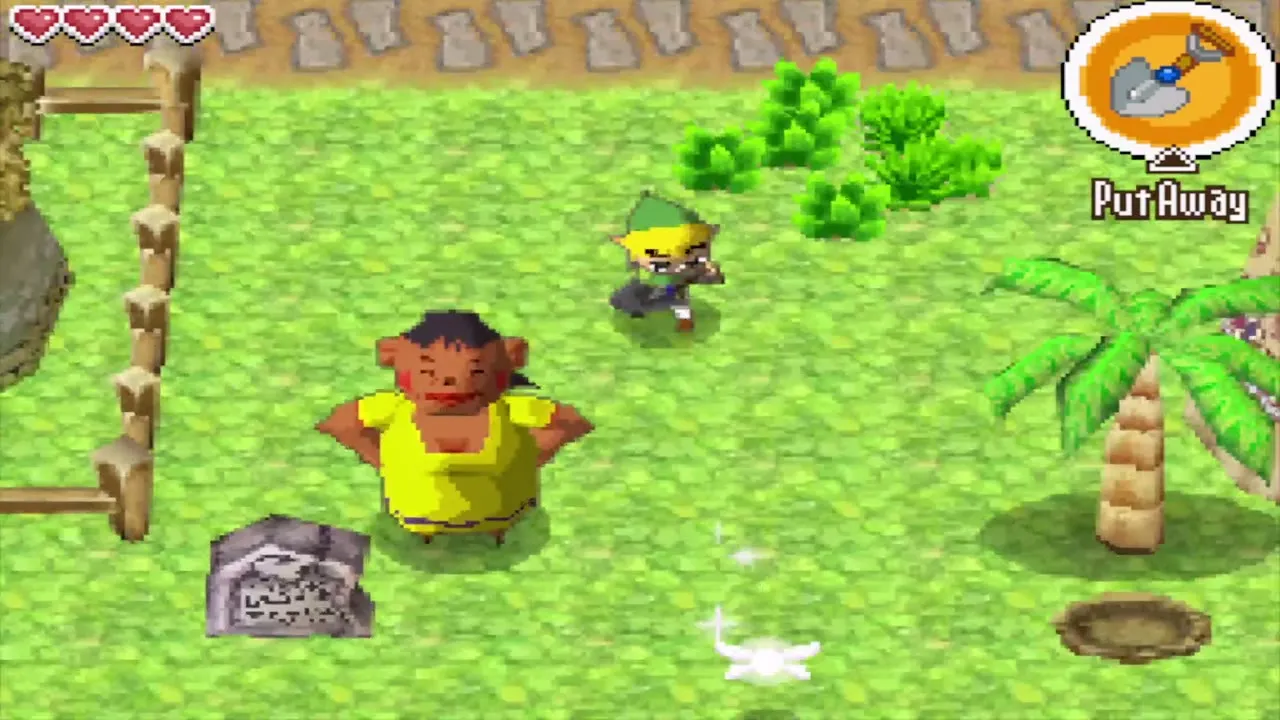
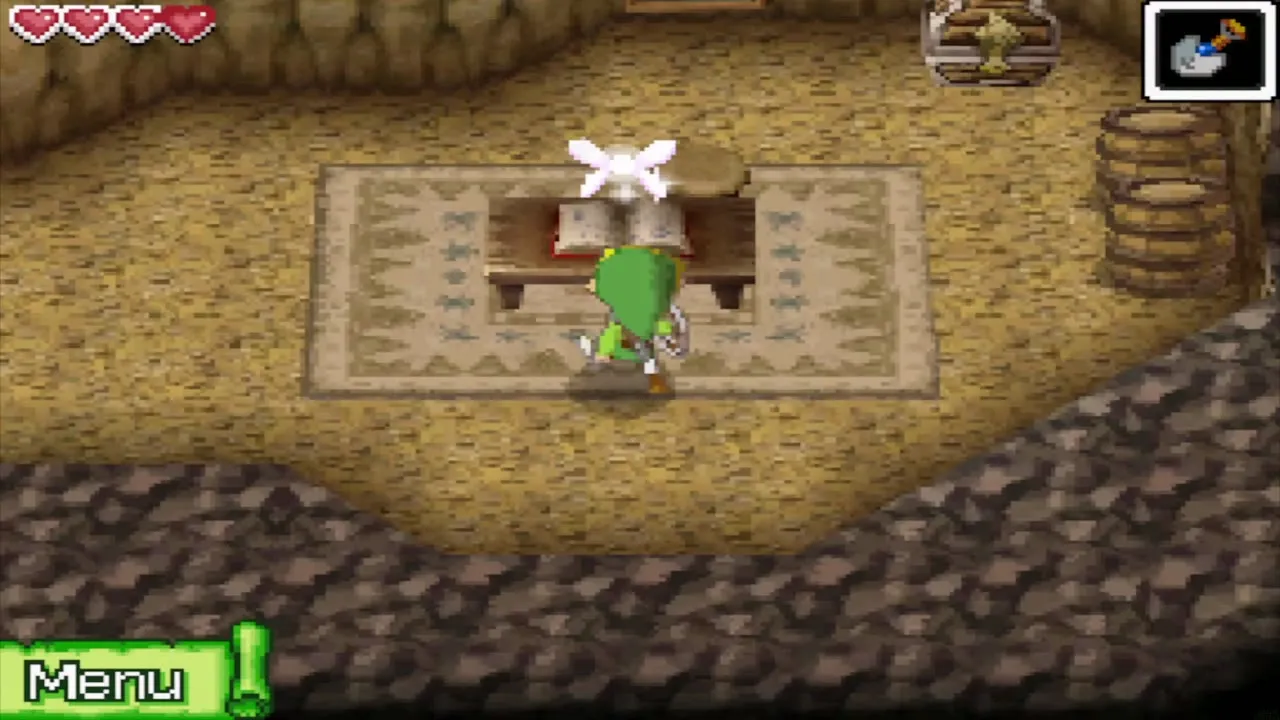
Solve the puzzle of Molida’s four stone tablets, which leads to the Old Wayfarer’s second hideout: mark the tablets, join them with lines and dig where the lines cross, beside a palm tree. You drop into the hideout, where a chest holds the map. At the X you bring up a Sand of Hours (one minute for the Phantom Hourglass), with 132 bonus Rupees floating around it.
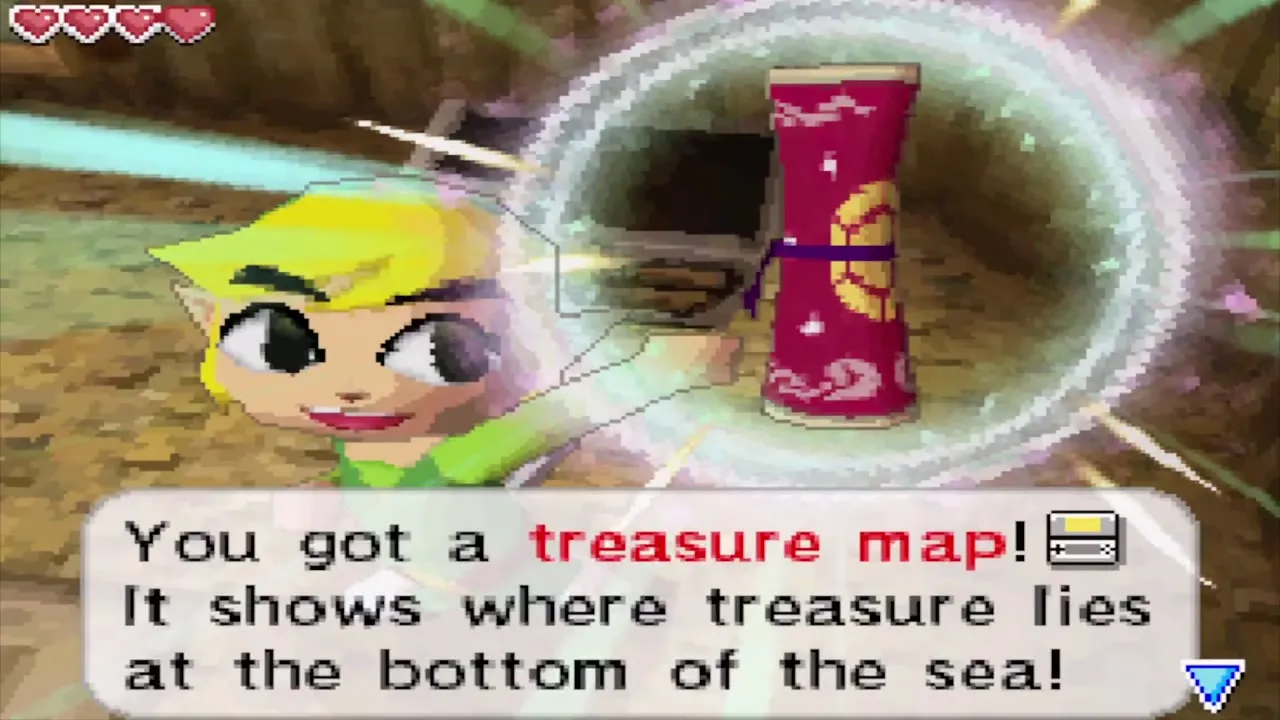
Treasure Map #3 (Isle of Ember)
Go down to Astrid’s basement and dig in the dark patch of floor at the lower right. At the X you bring up a Ship Part, with 112 bonus Rupees floating around it.
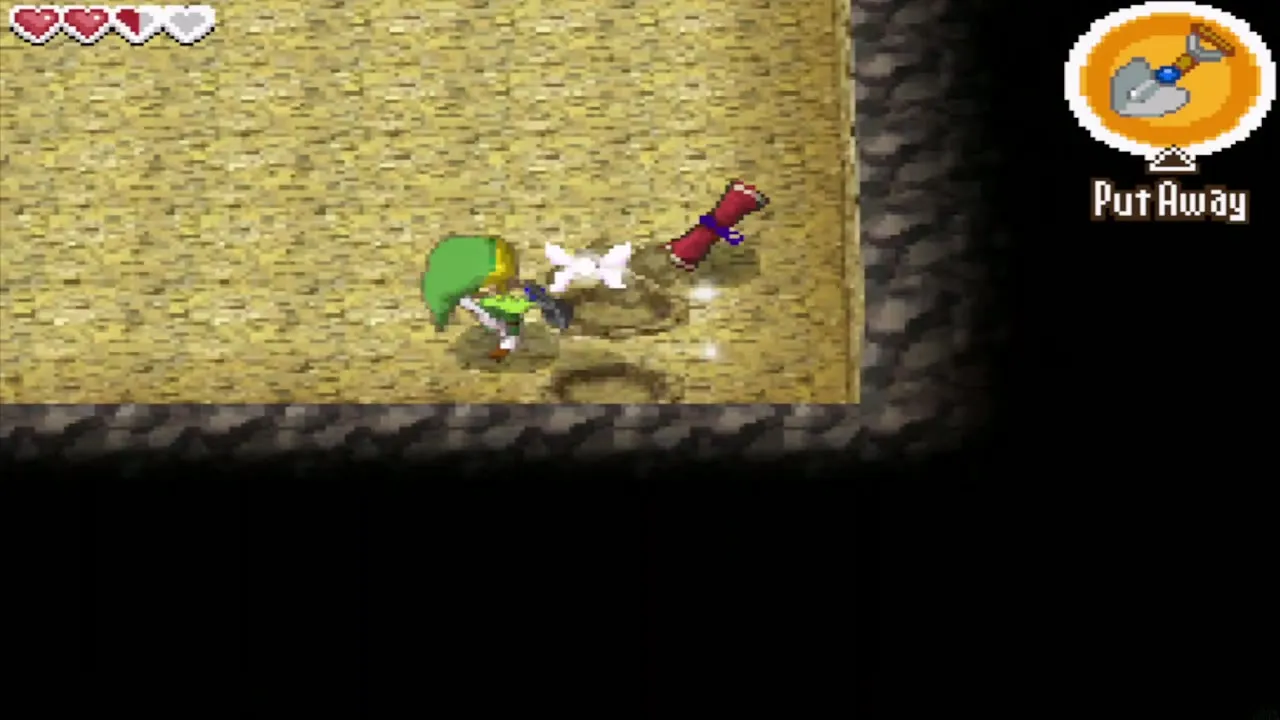
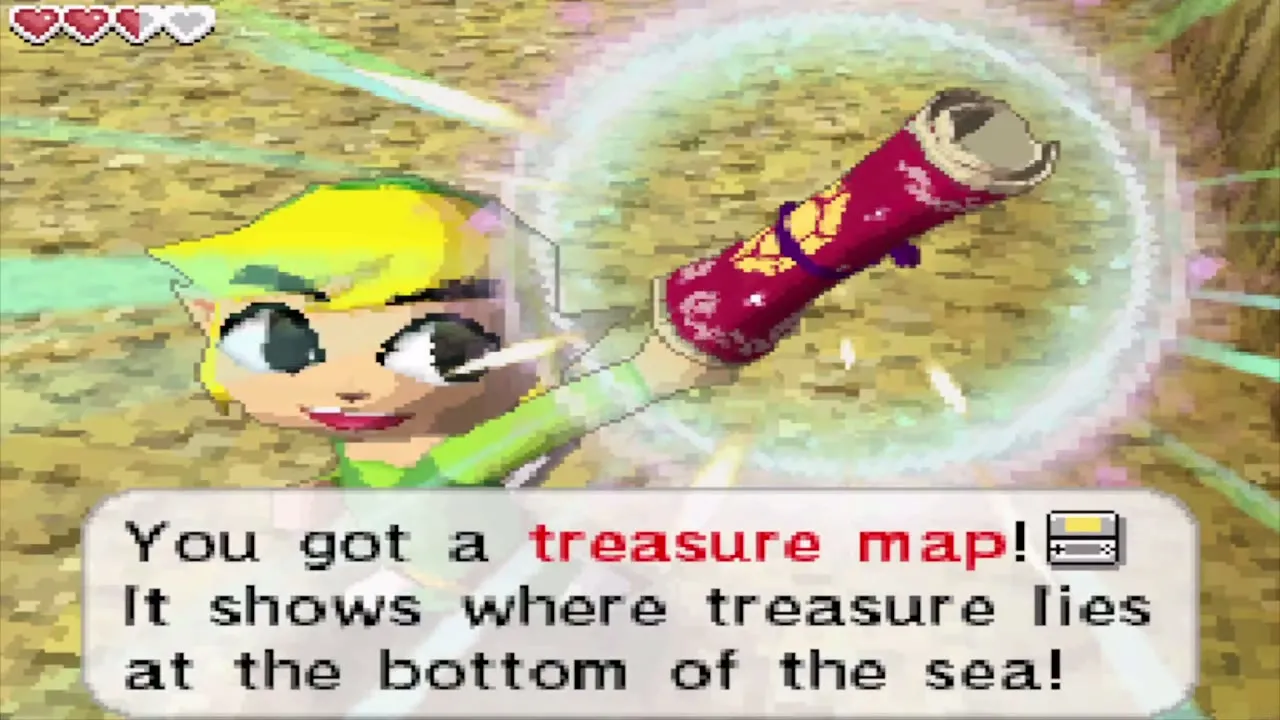
Treasure Map #4 (Isle of Ember)
Look for the grassy patch northeast of the Temple of Fire entrance, the spot Kayo hints at, and dig there. At the X you bring up a Sand of Hours (one minute for the Phantom Hourglass), with 9 bonus Rupees floating around it.
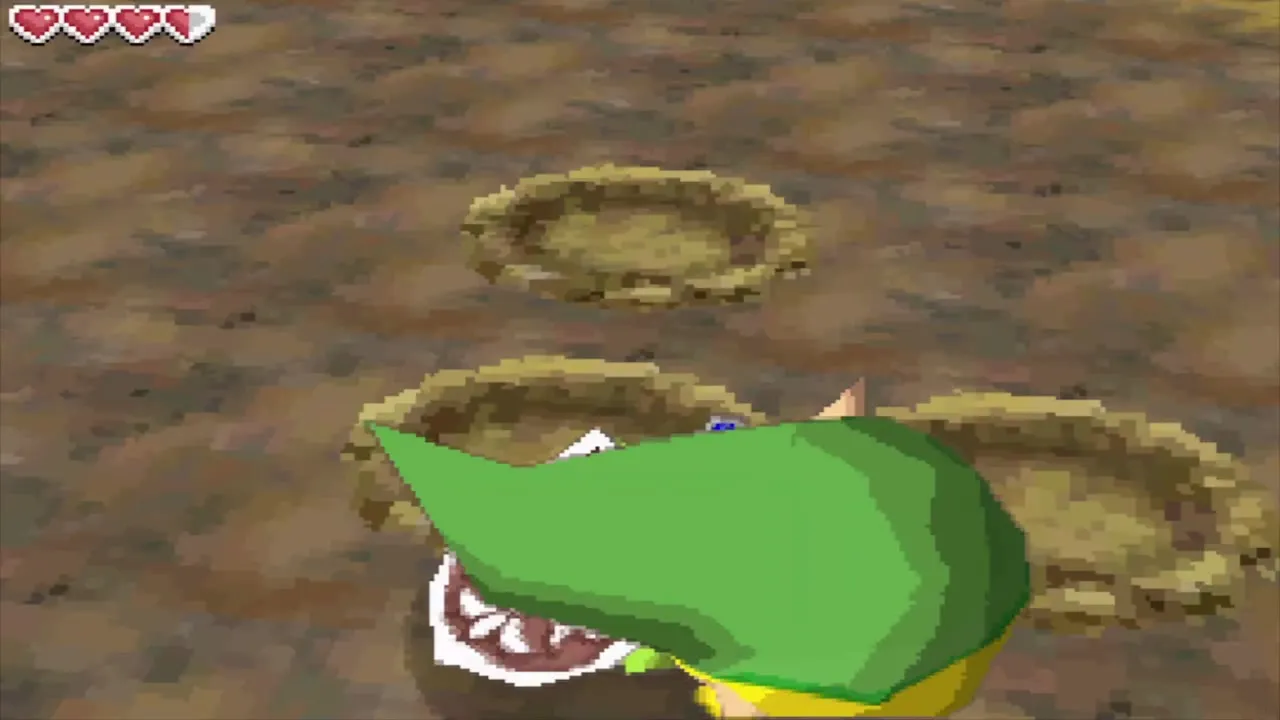
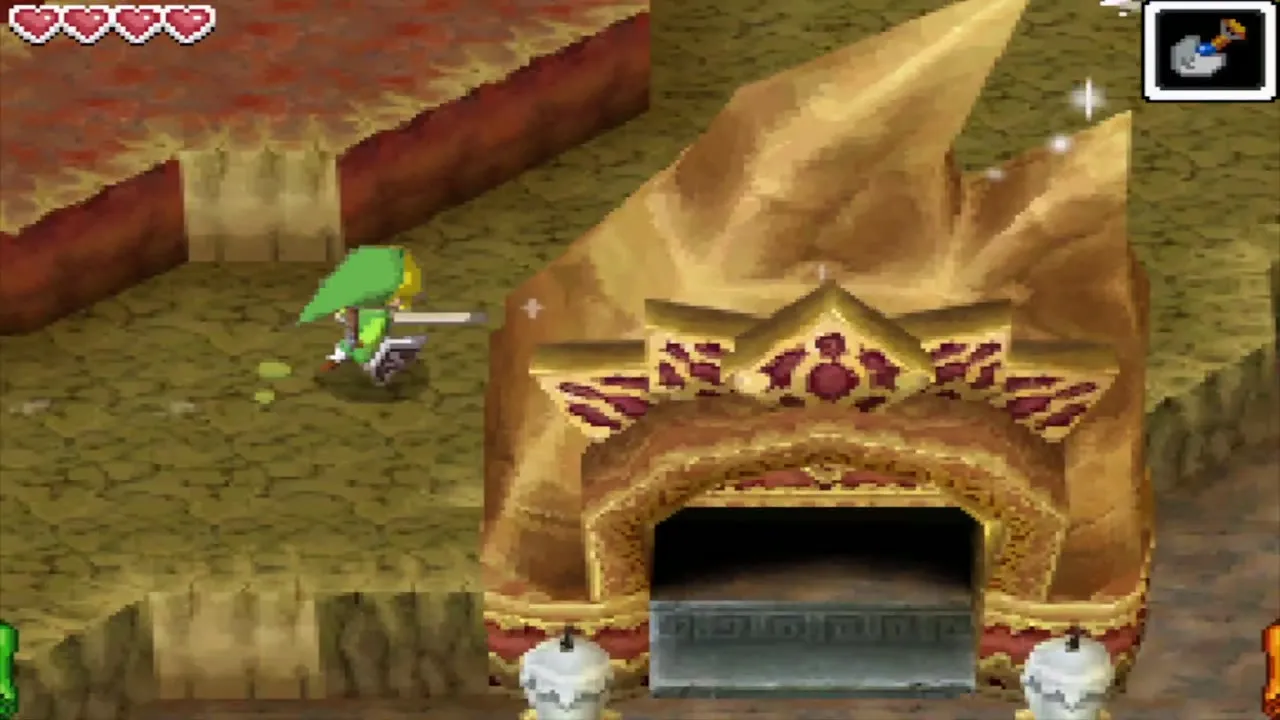
Treasure Map #5 (Zauz’s Island)
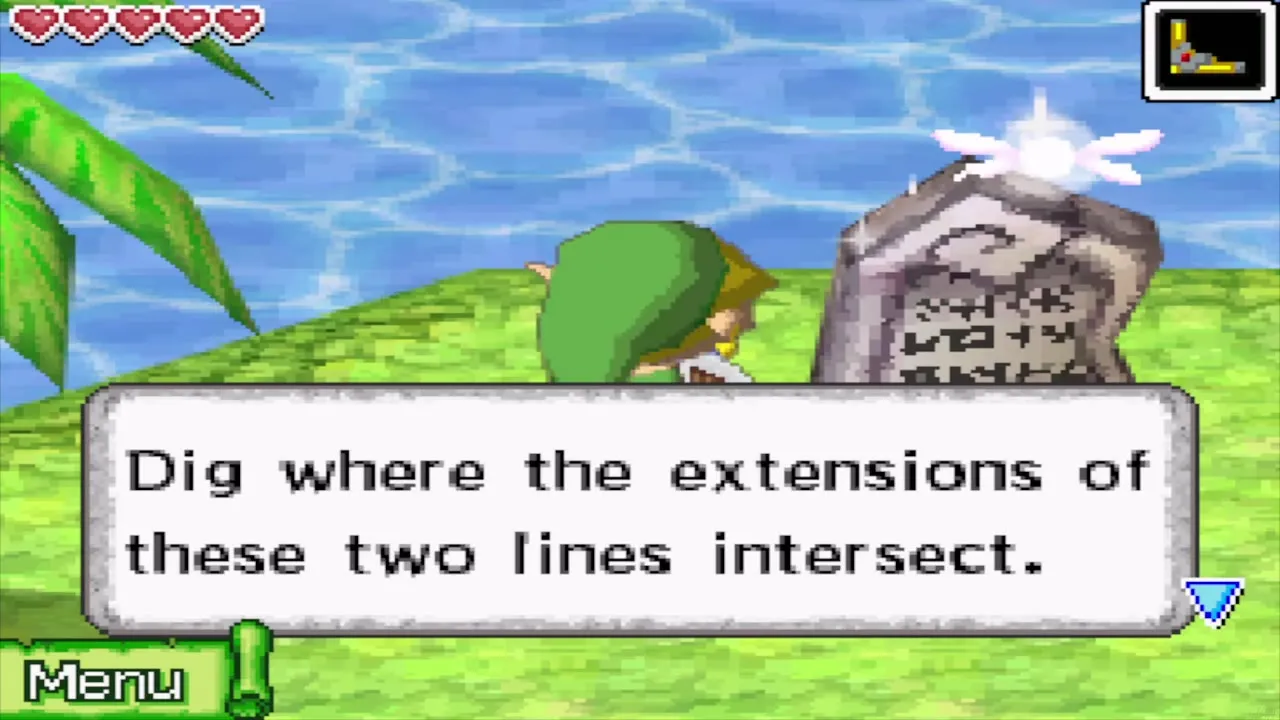
A tablet at the far north end hints at the trick. Note the four stones around the island, join them with two lines and dig where the lines cross, near a palm tree at the south end. At the X you bring up a Ship Part, with 125 bonus Rupees floating around it.
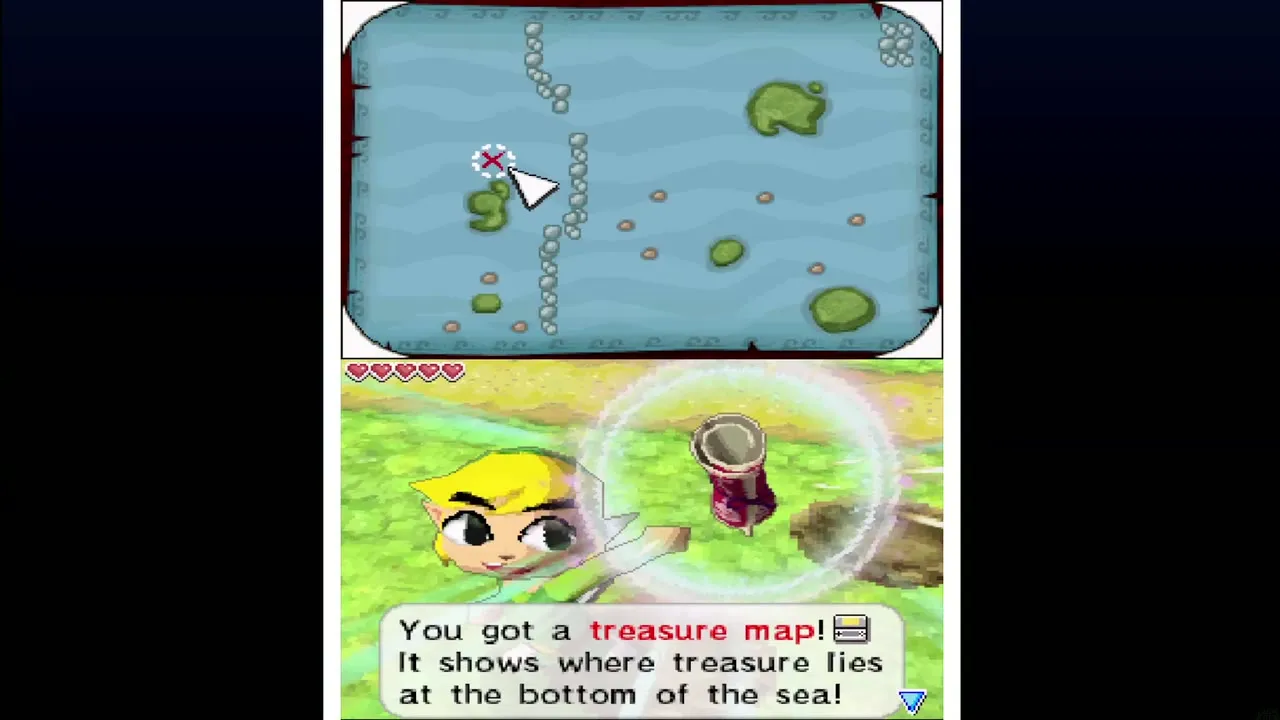
Treasure Map #6 (Uncharted Island)
Dig on the west side, in front of the Boing Statue and Gossip Stone. At the X you bring up a random Treasure, with 112 bonus Rupees floating around it.
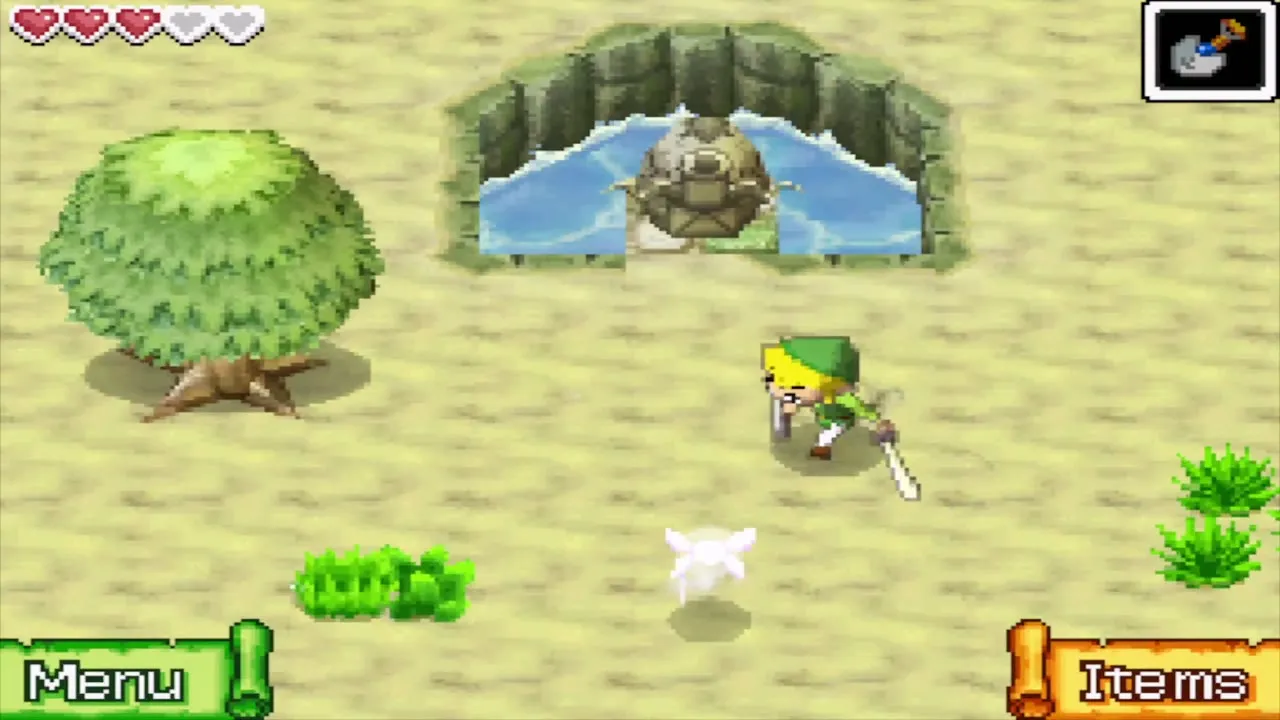
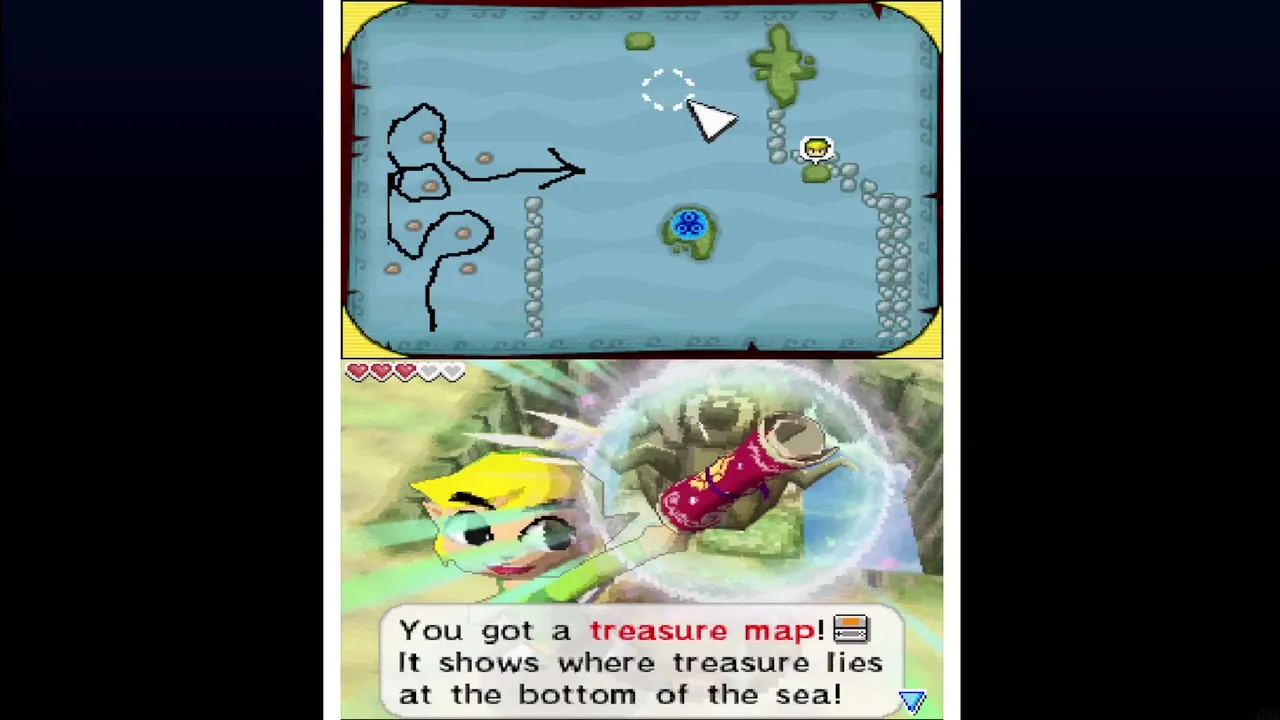
Treasure Map #7 (Isle of Gust)
Inside the cave with the pit, defeat ten Miniblins. A second chest then appears and holds the map. At the X you bring up a Ship Part, with 25 bonus Rupees floating around it.
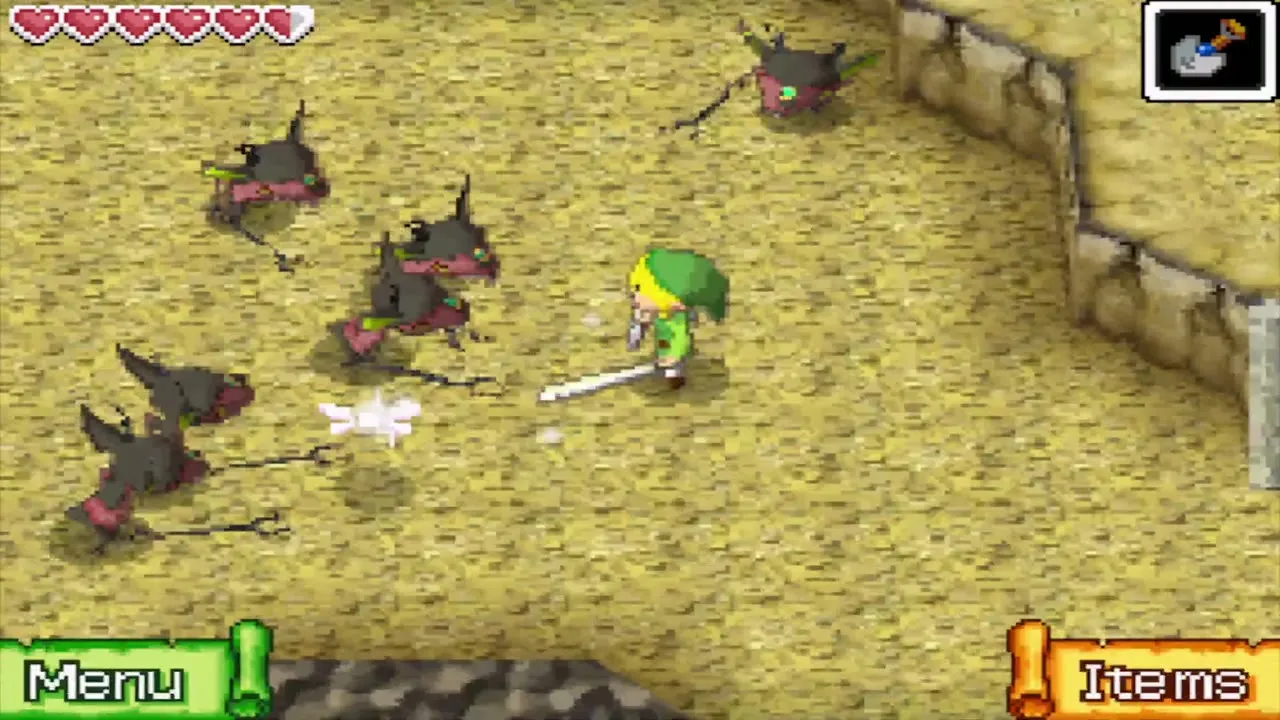
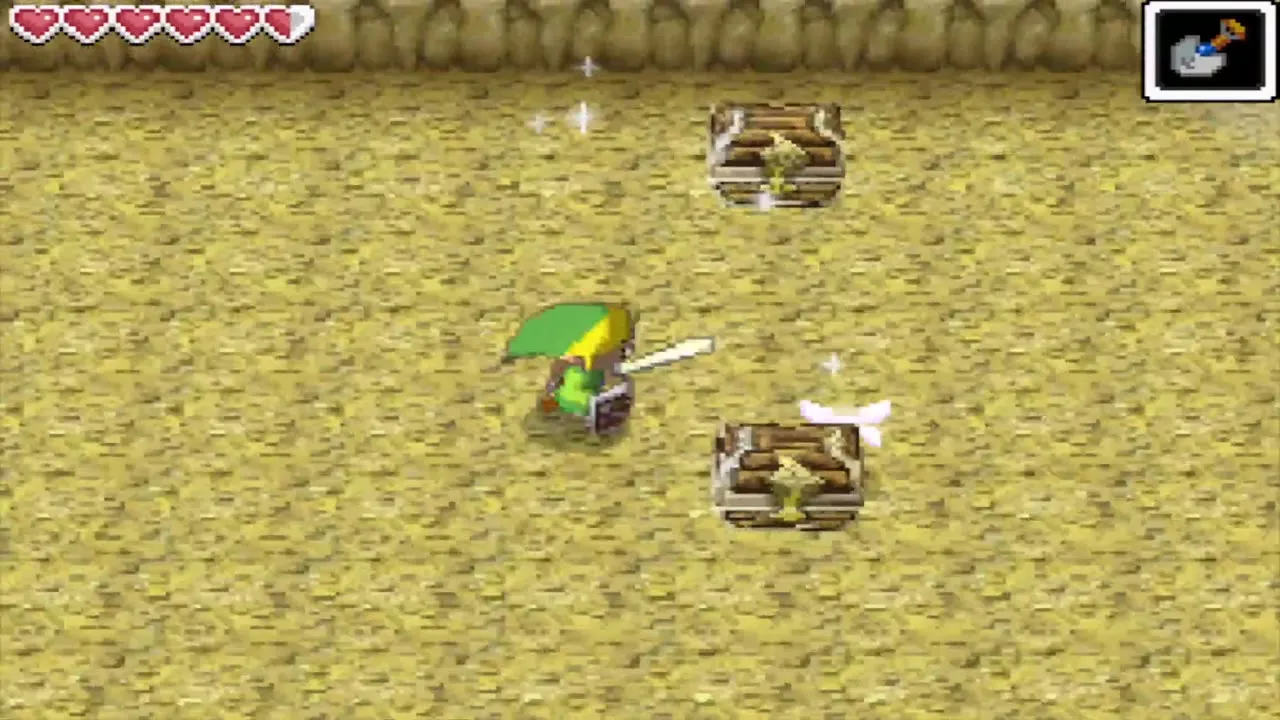
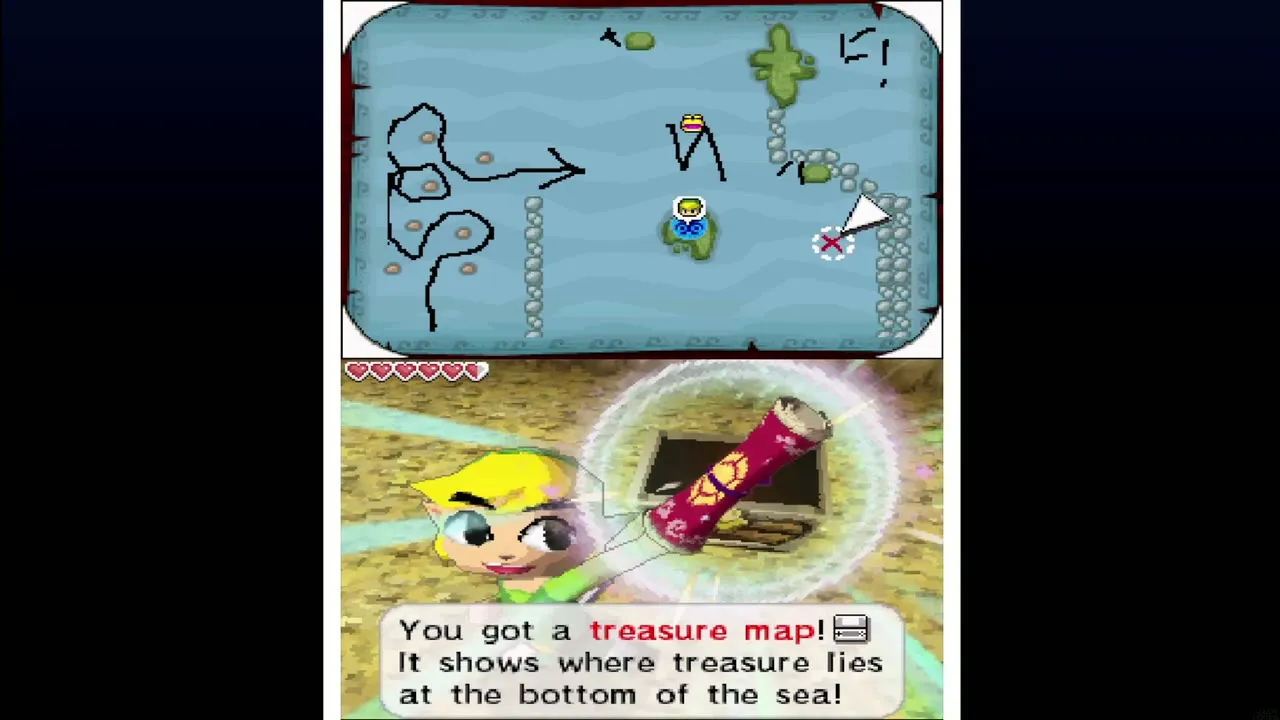
Treasure Map #8 (Isle of Gust)
Cross the Sandworm desert to its southeast corner and open the chest there. At the X you bring up a Ship Part, with 21 bonus Rupees floating around it.
Treasure Map #9 (Mercay Island)
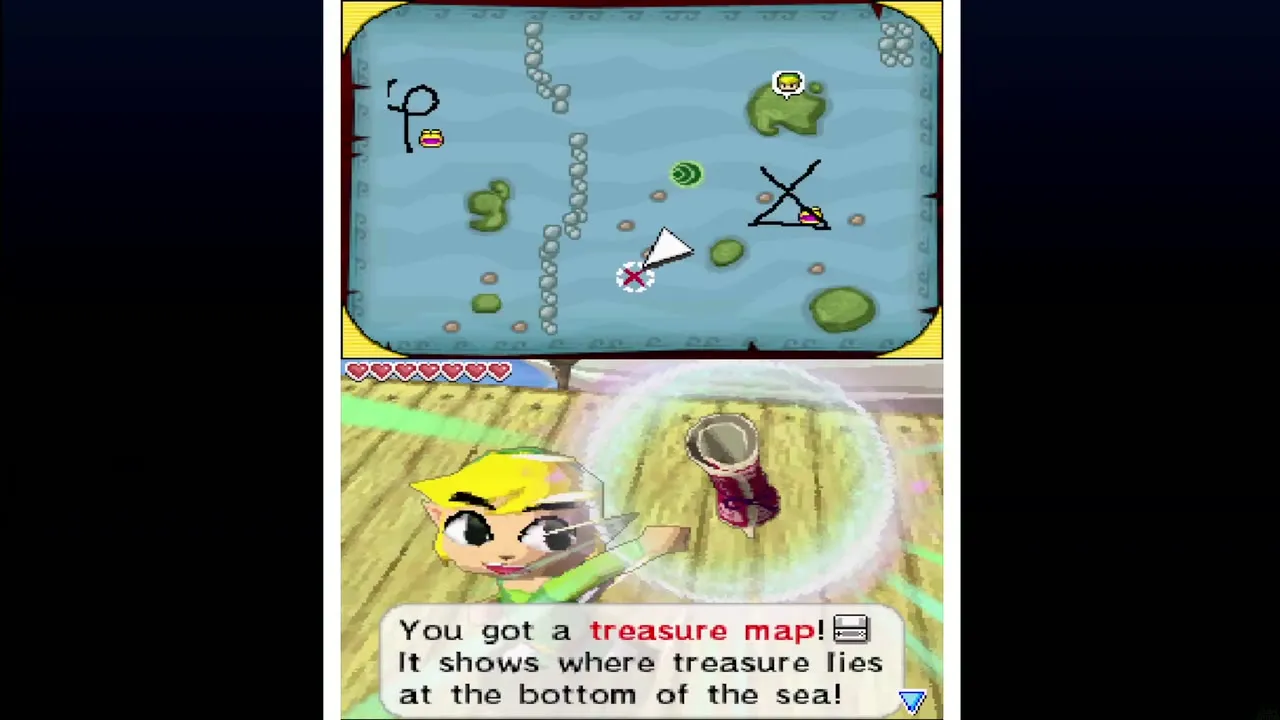
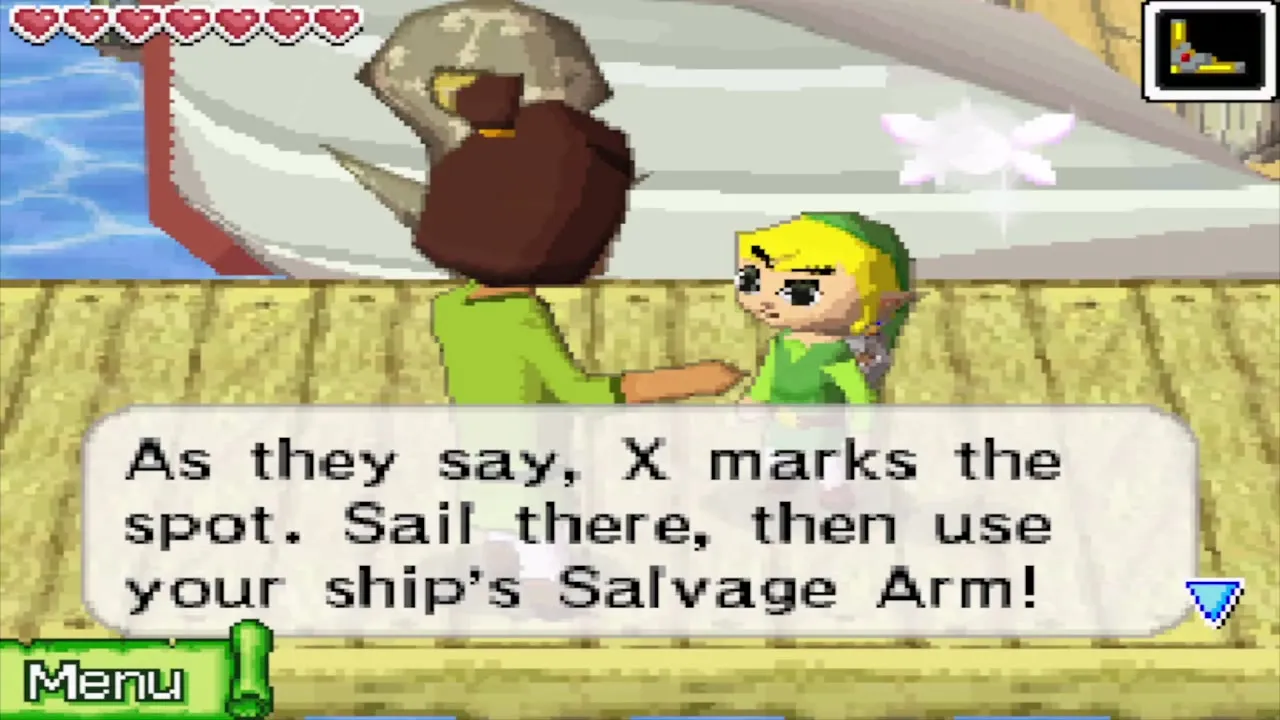
Once you own the Salvage Arm and have learned where the Sun Key is on your third trip into the Temple of the Ocean King, talk to Ojibe on the Mercay dock and pay 50 Rupees for the map. At the X you bring up a Sand of Hours (one minute for the Phantom Hourglass), with 25 bonus Rupees floating around it.
Treasure Map #10 (Mercay Island)
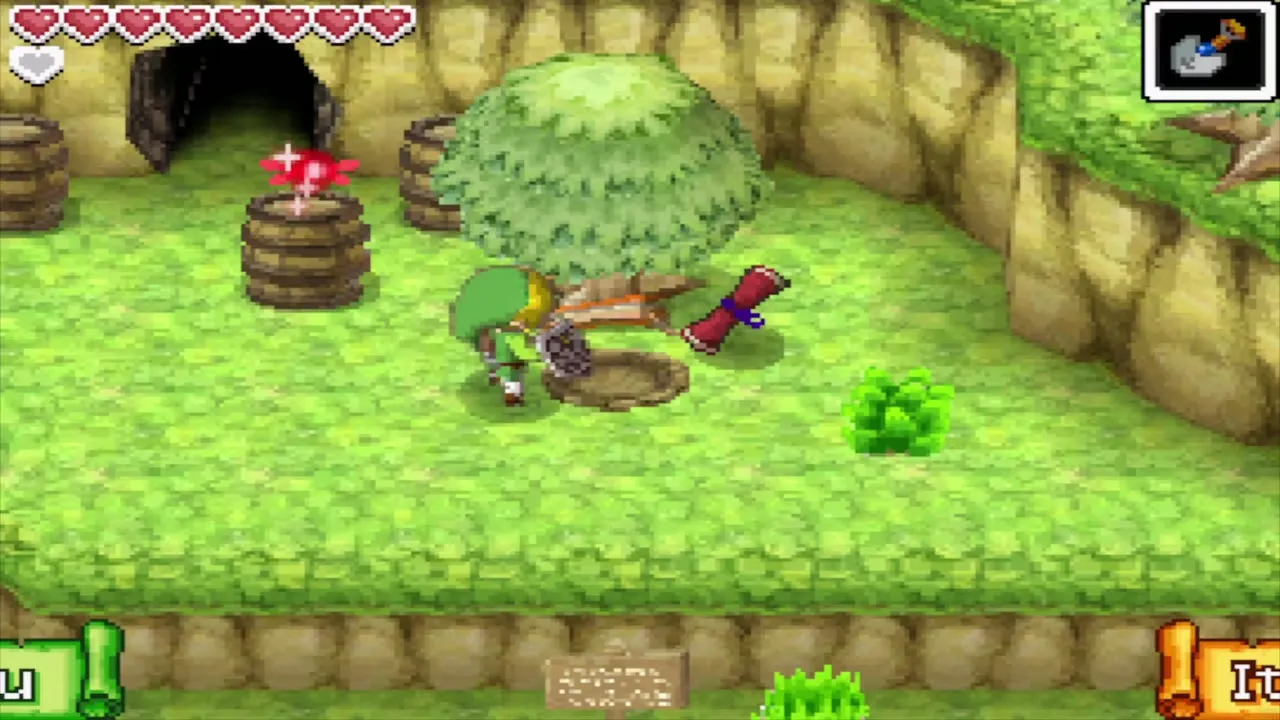
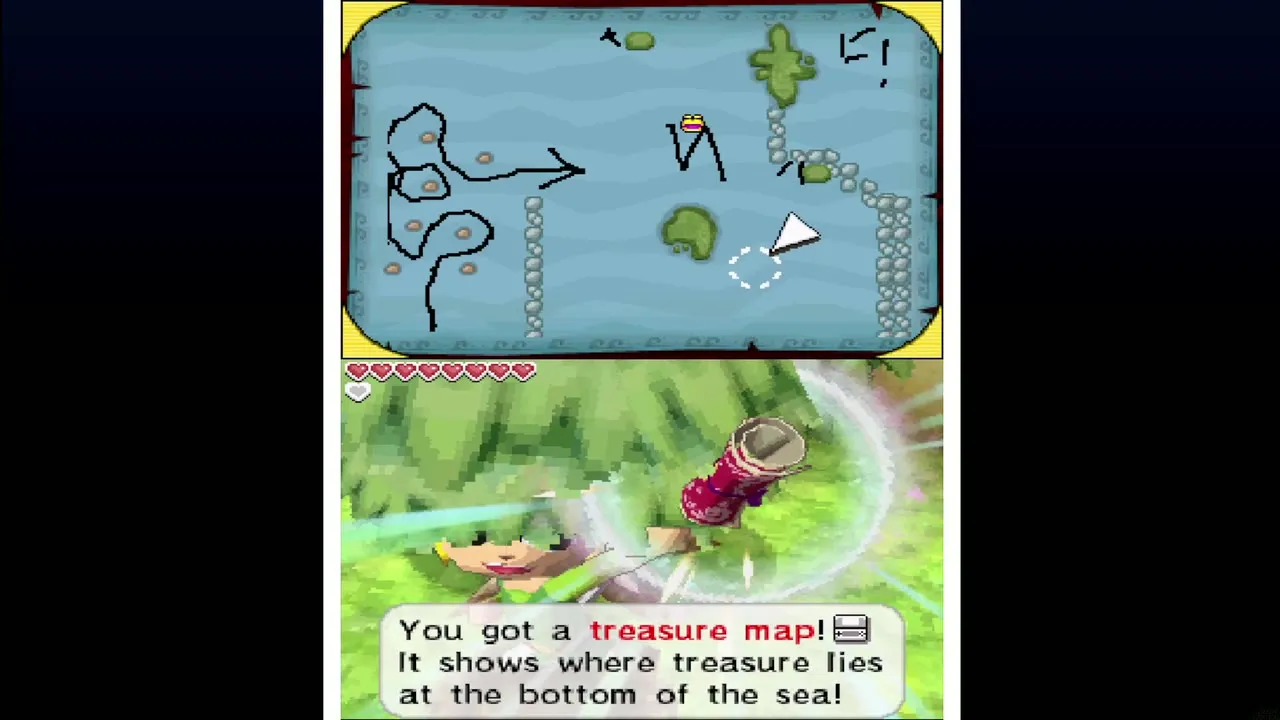
After the Temple of Courage, dig beside the tree outside Oshus’s storehouse. At the X you bring up a Ship Part, with 30 bonus Rupees floating around it.
Maps 11 to 20
Treasure Map #11 (Temple of the Ocean King)
On B6, shoot the eye switch west of the entrance with an arrow. A chest in the northeast opens for a few seconds only, so run to it. At the X you bring up a Sand of Hours (one minute for the Phantom Hourglass), with 21 bonus Rupees floating around it.
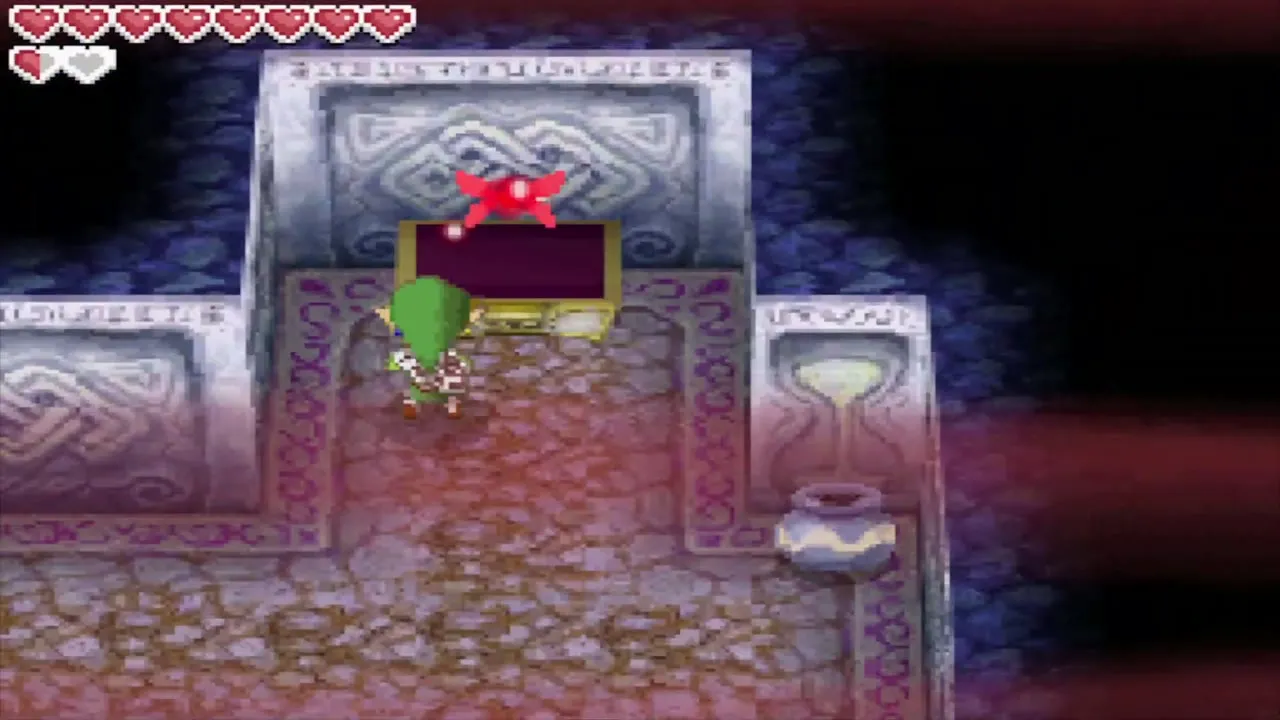
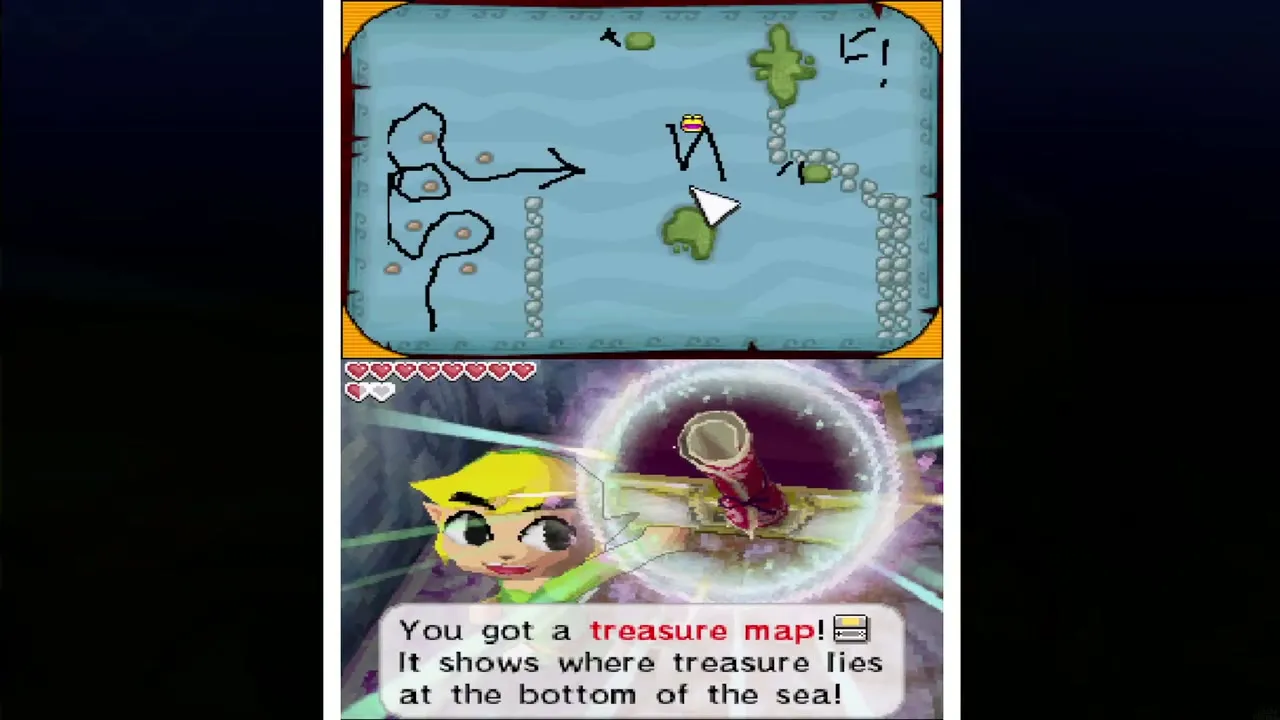
Treasure Map #12 (Mercay Island)
Freedle gives you this one after you own the Southeastern Sea Chart. At the X you bring up a Ship Part, with 30 bonus Rupees floating around it.
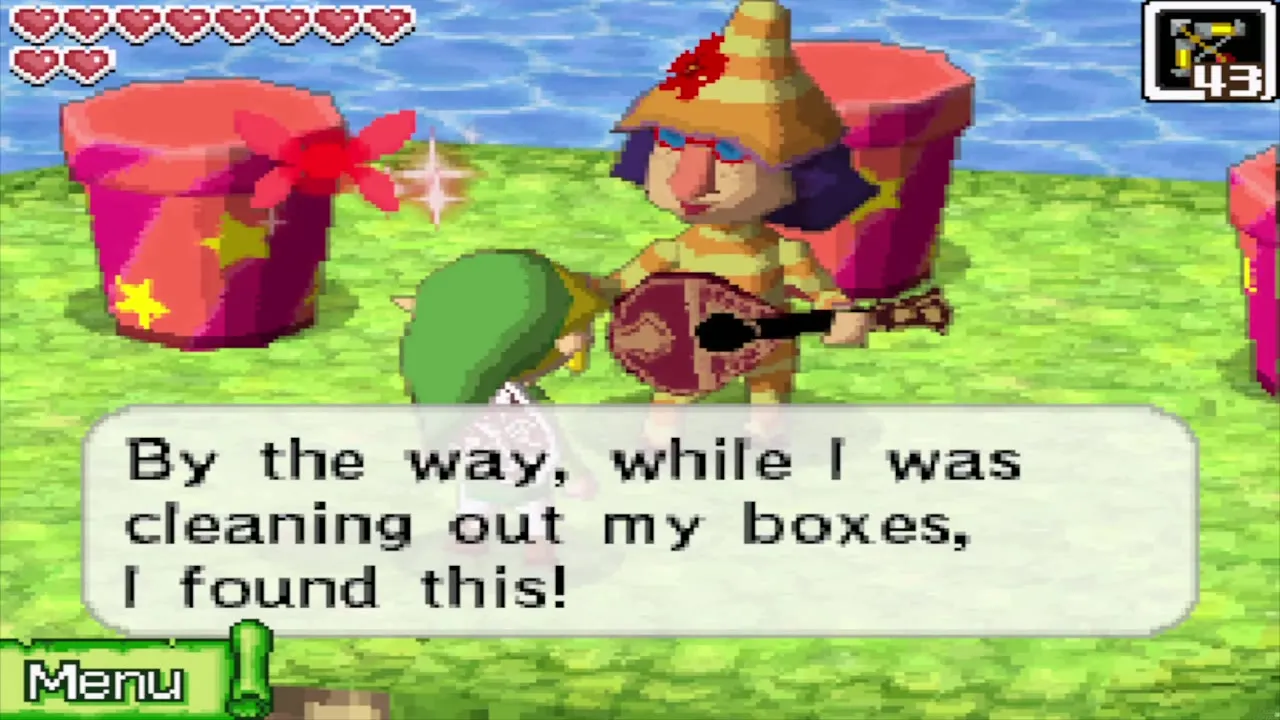
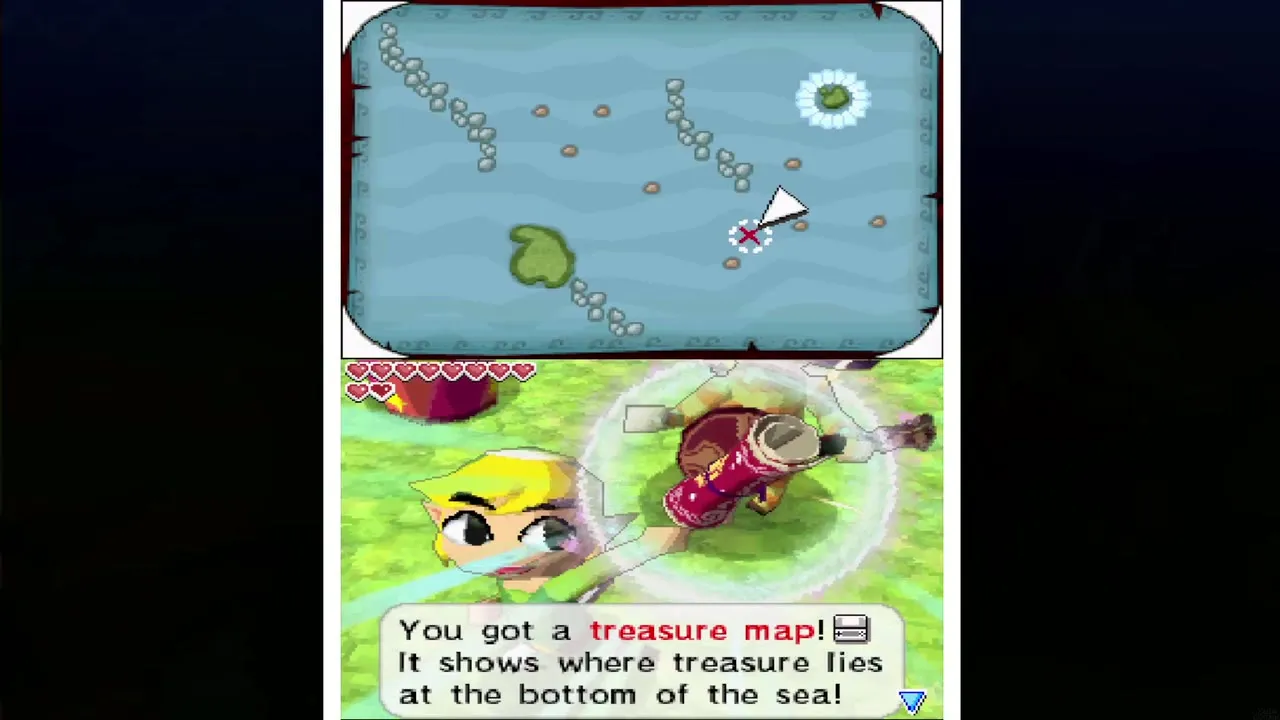
Treasure Map #13 (Molida Island)
After the Southeastern Sea Chart, the girl in red near the dock hands it over. At the X you bring up a Ship Part, with 9 bonus Rupees floating around it.
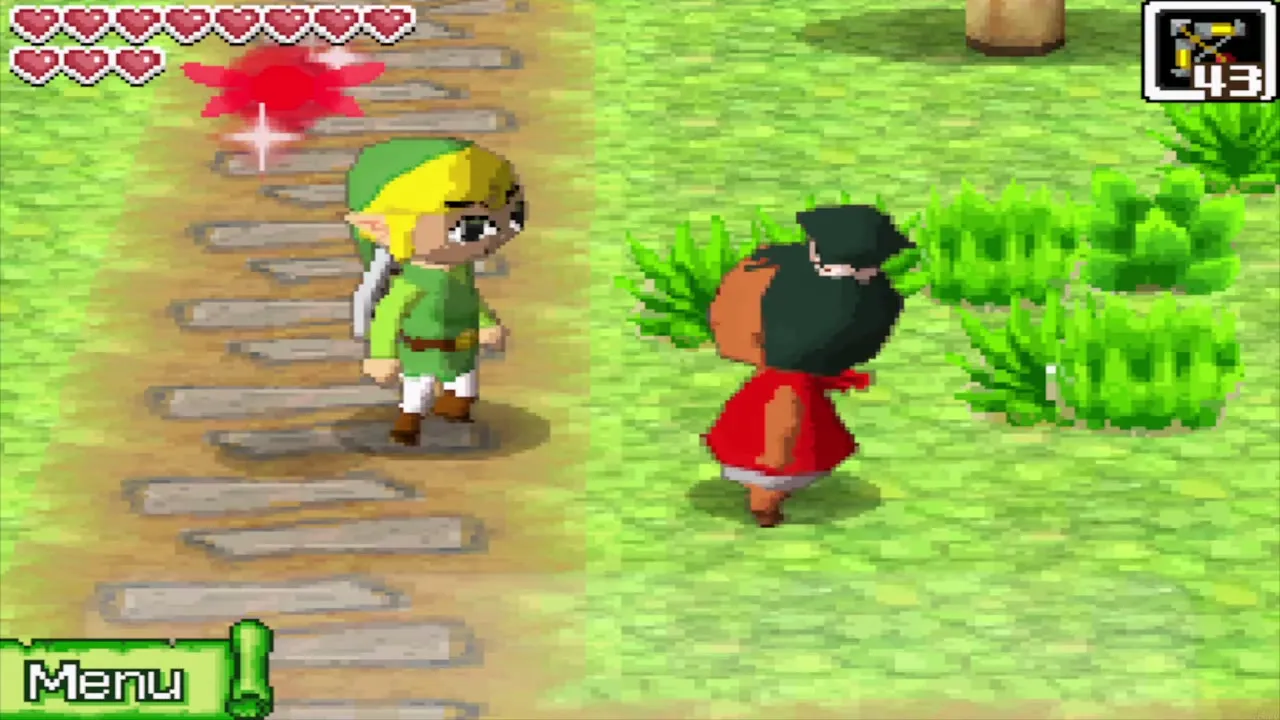
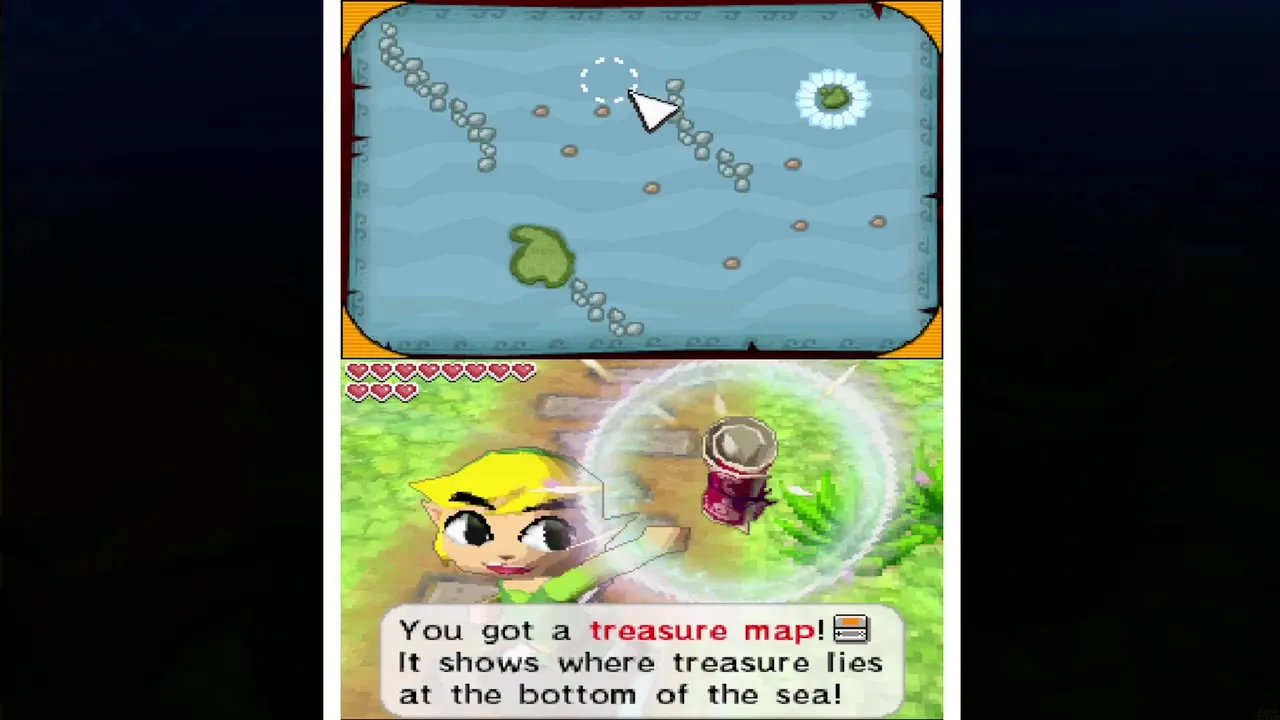
Treasure Map #14 (Goron Island)
A Goron here is scared of Yellow ChuChus. Dig up the updraft, then shoot the ChuChus with arrows to earn the map. At the X you bring up a Ship Part, with 108 bonus Rupees floating around it.
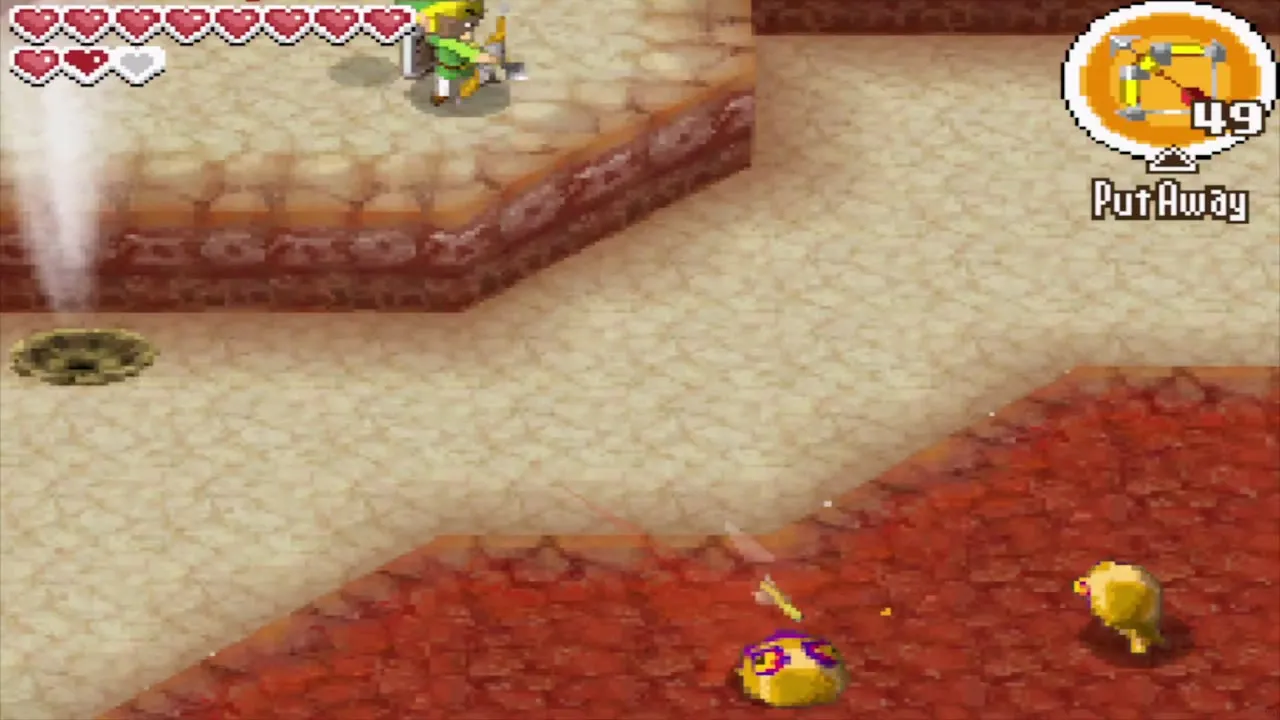
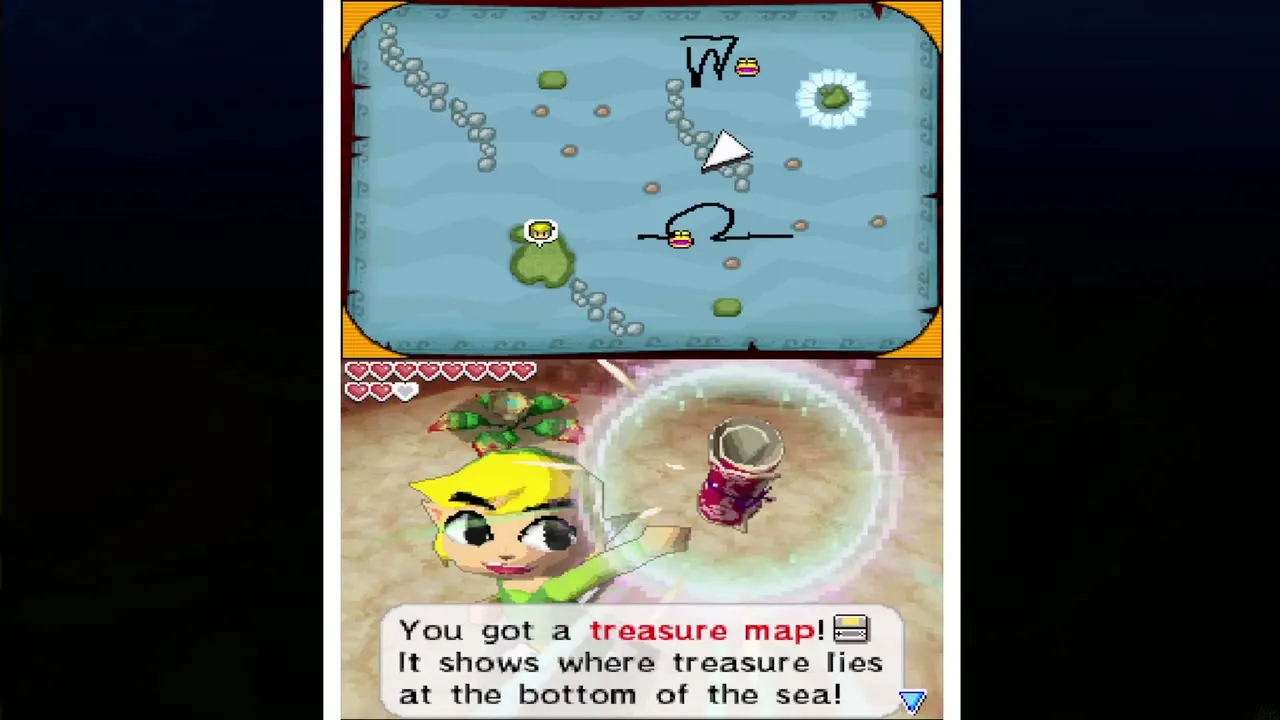
Treasure Map #15 (Goron Temple)
In the first room, northeast corner, bomb the switch from the bridge. The chest that appears is on a timer. At the X you bring up a Ship Part, with 25 bonus Rupees floating around it.
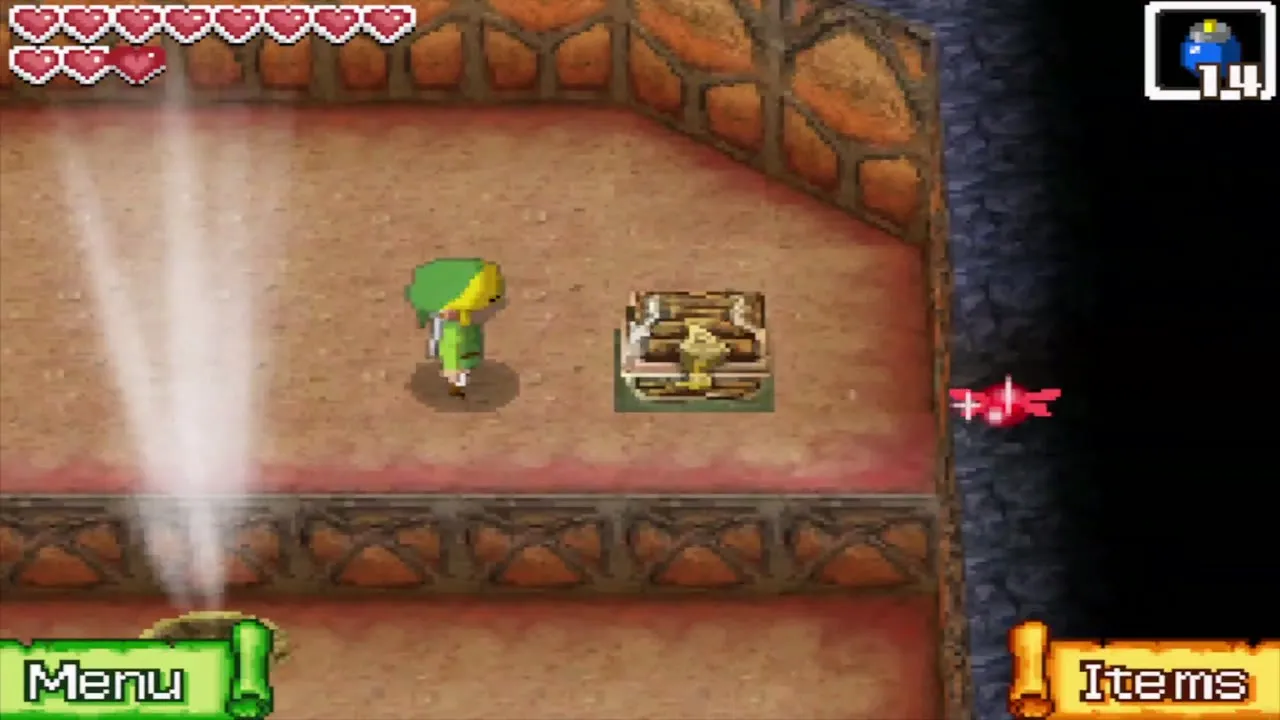
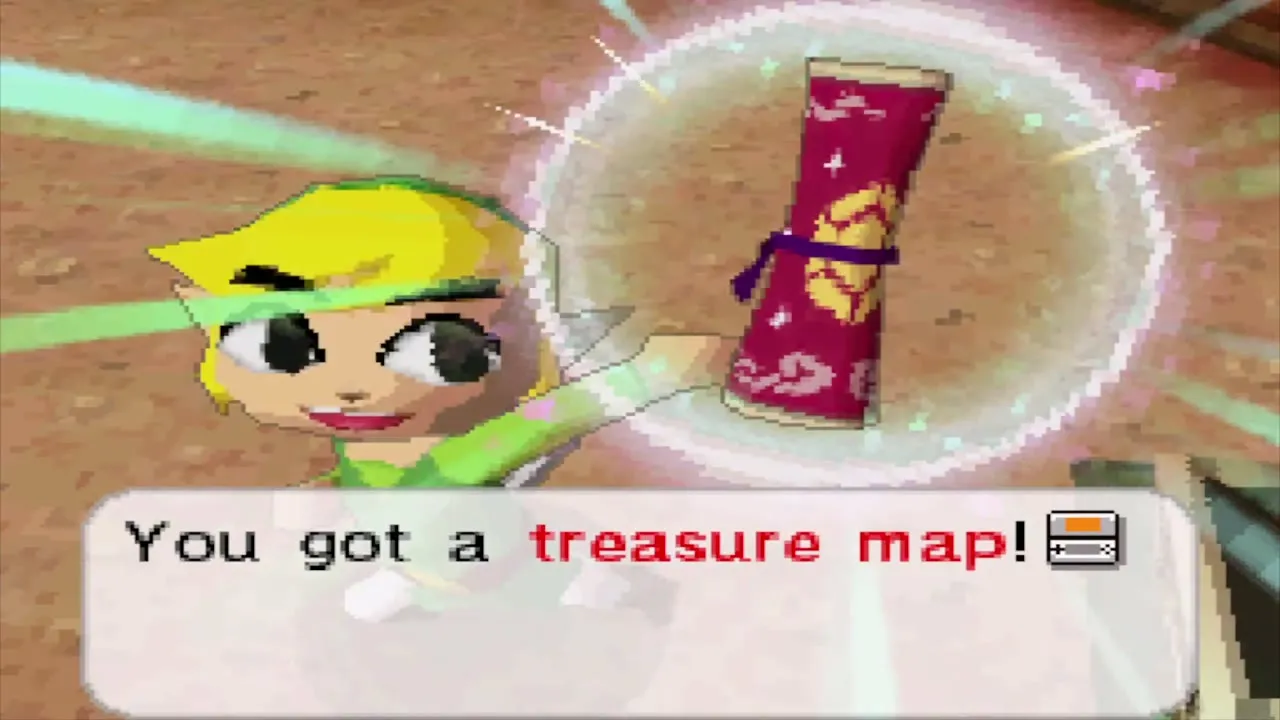
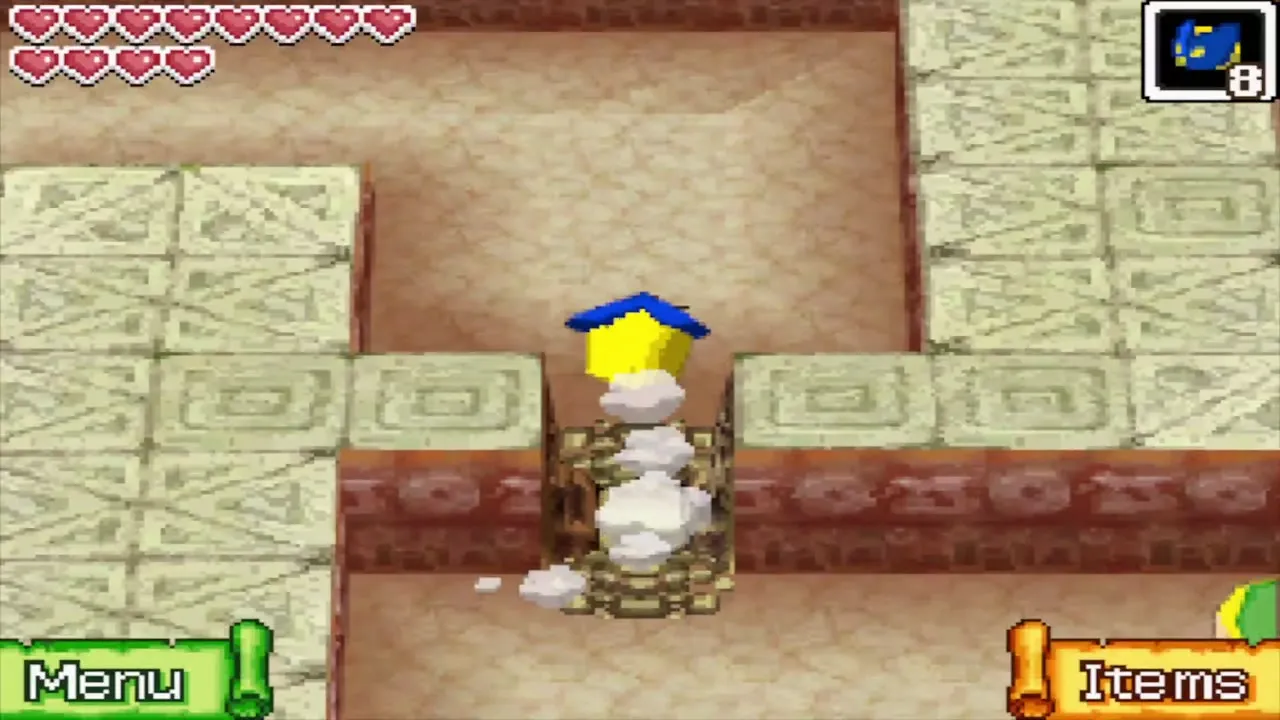
Treasure Map #16 (Goron Island)
Send a Bombchu through the hole at the maze entrance. The chest in the northeast is timed. At the X you bring up a Ship Part, with 9 bonus Rupees floating around it.
Treasure Map #17 (Isle of Frost)
Dig in the middle of the small island southwest of Anouki Estates. At the X you bring up a Ship Part, with 9 bonus Rupees floating around it.
Treasure Maps #18, #19, #24 and #25 (Harrow Island)
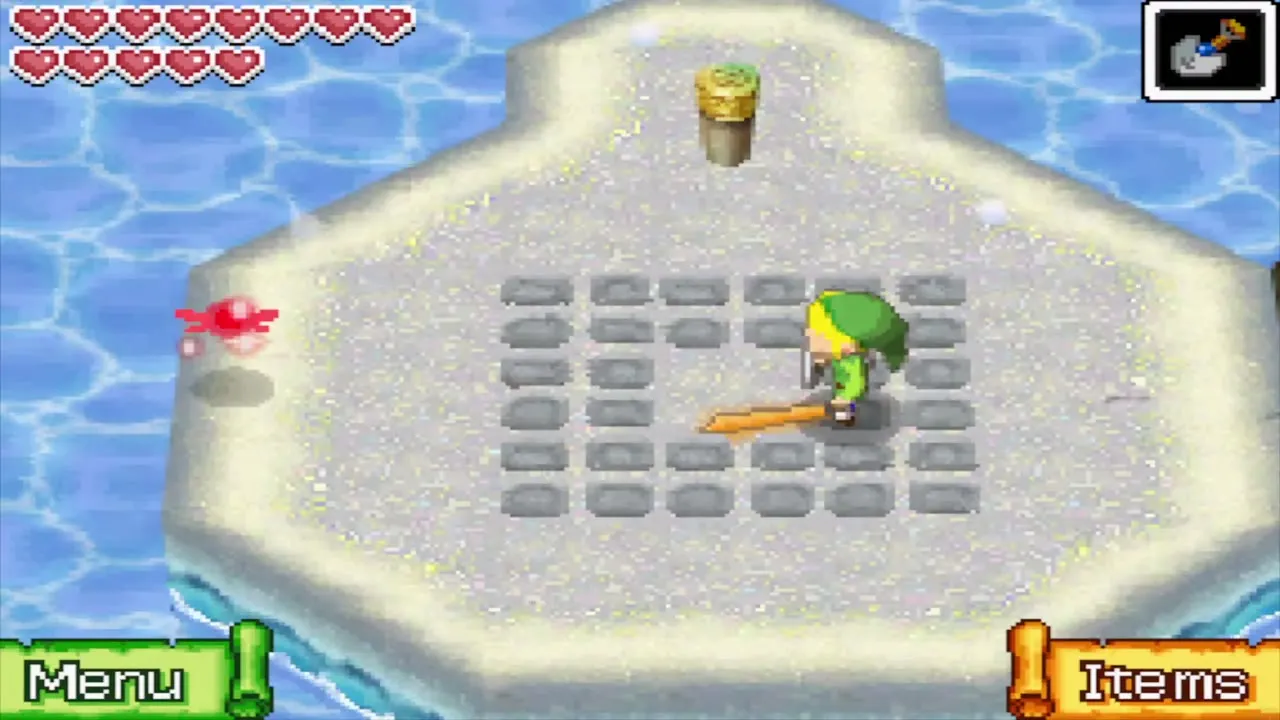
These four come from the digging game on Harrow Island. Pay 50 Rupees, then dig up as many of the ten buried prizes as you can; digging past ten costs you a fine. The spots change every game. Two of the maps can turn up once you have the Southeastern Sea Chart, and the other two after the Northeastern Sea Chart. Each holds a Ship Part: map #18 pays 30 bonus Rupees, #19 pays 25, #24 pays 25 and #25 pays 9.
Treasure Map #20 (Molida Island)
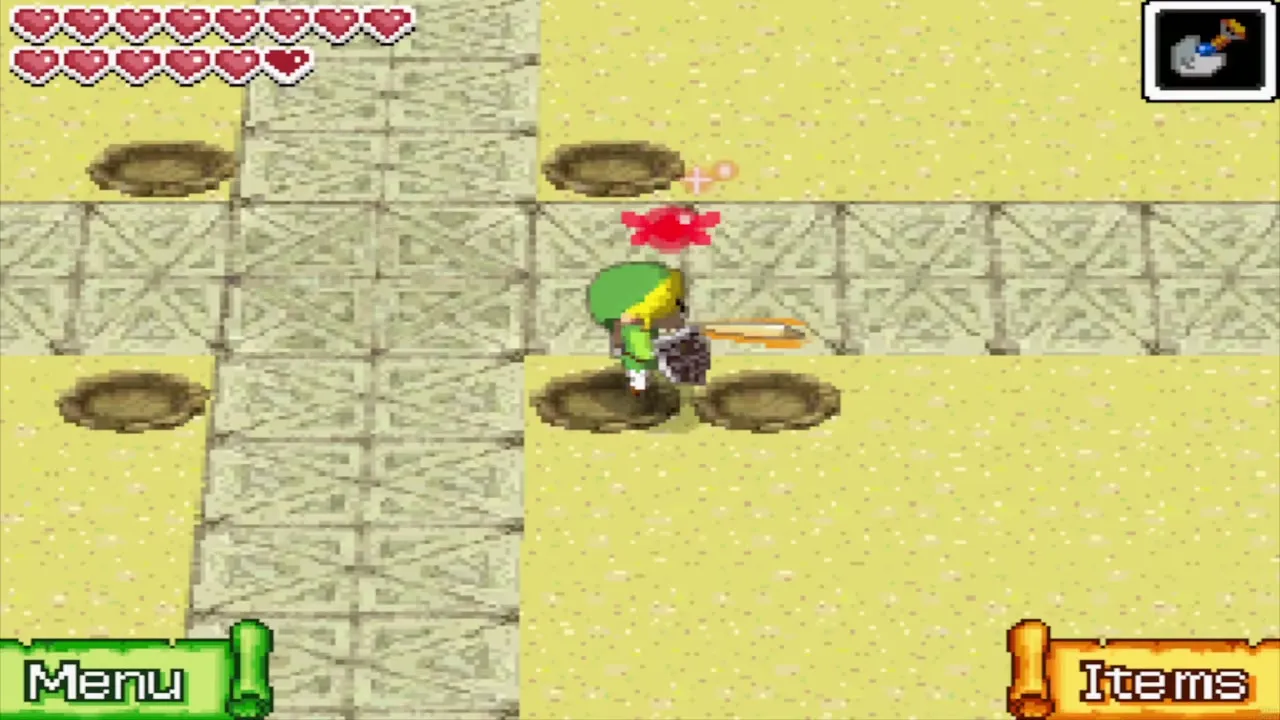
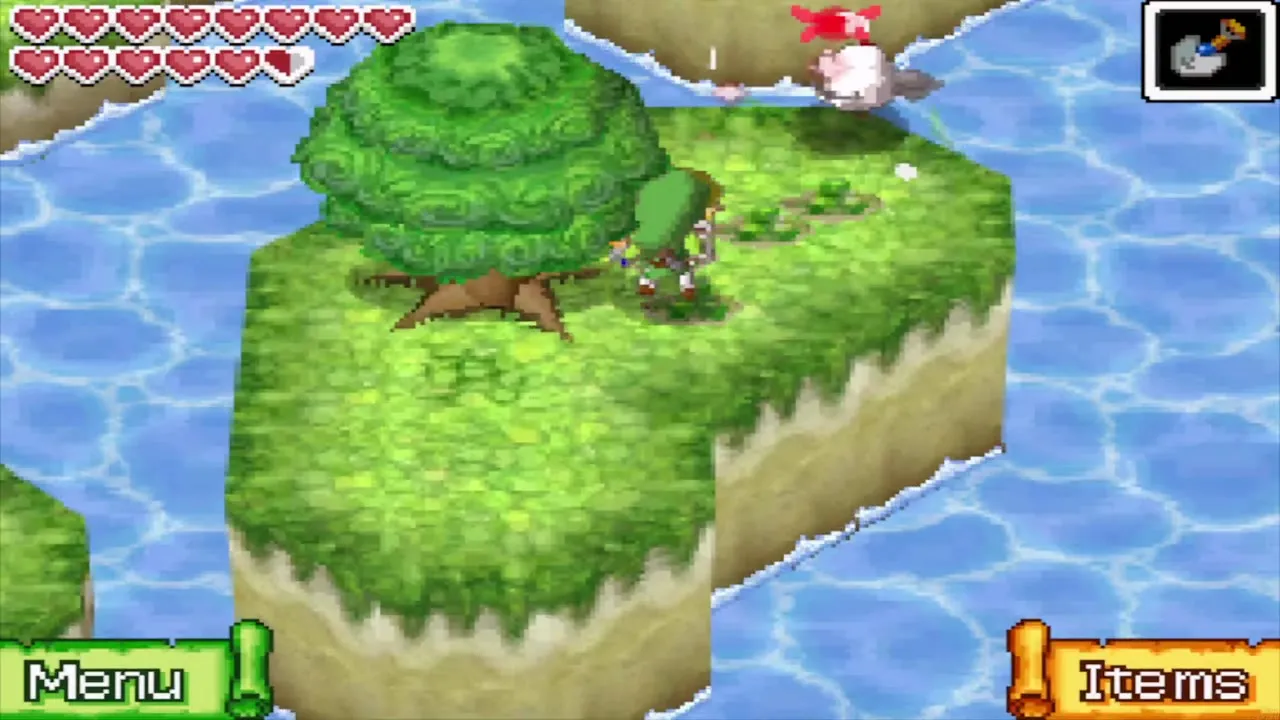
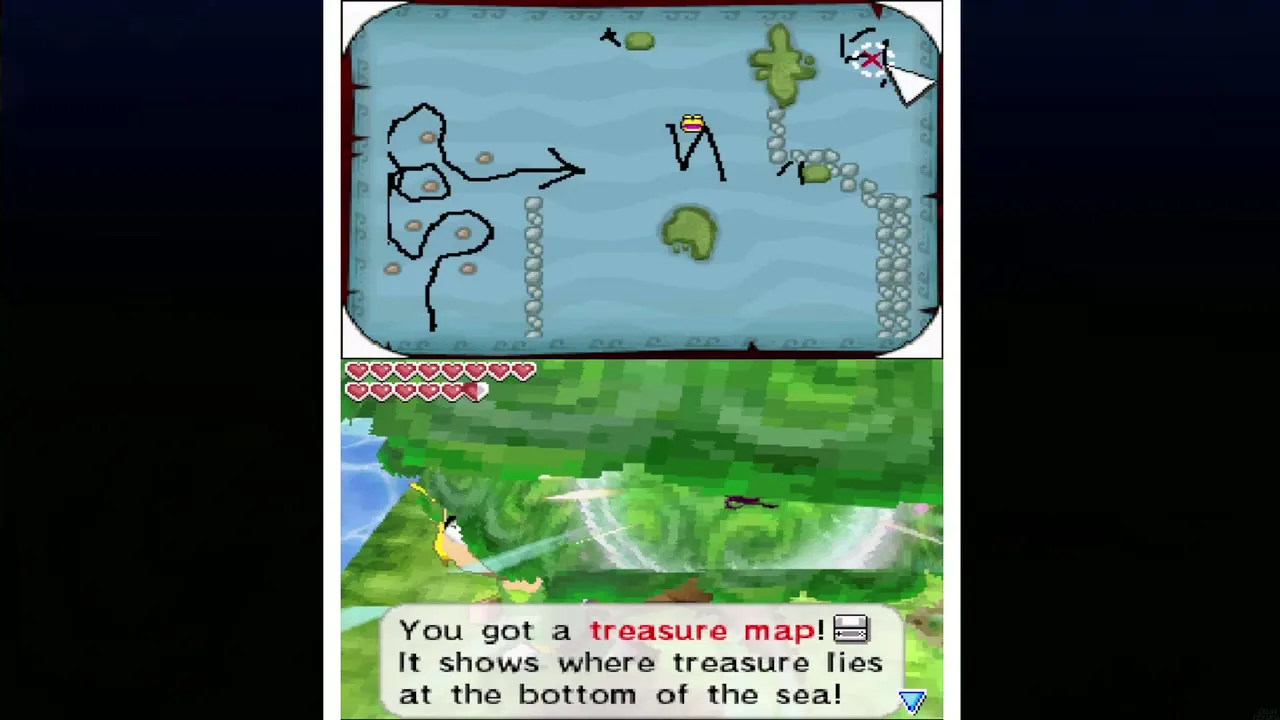
Grapple a barrel onto the tablet to summon a Cucco, glide to the small islets, and dig beneath the tree. At the X you bring up a Ship Part, with 21 bonus Rupees floating around it.
Maps 21 to 31
Treasure Map #21 (Bannan Island)
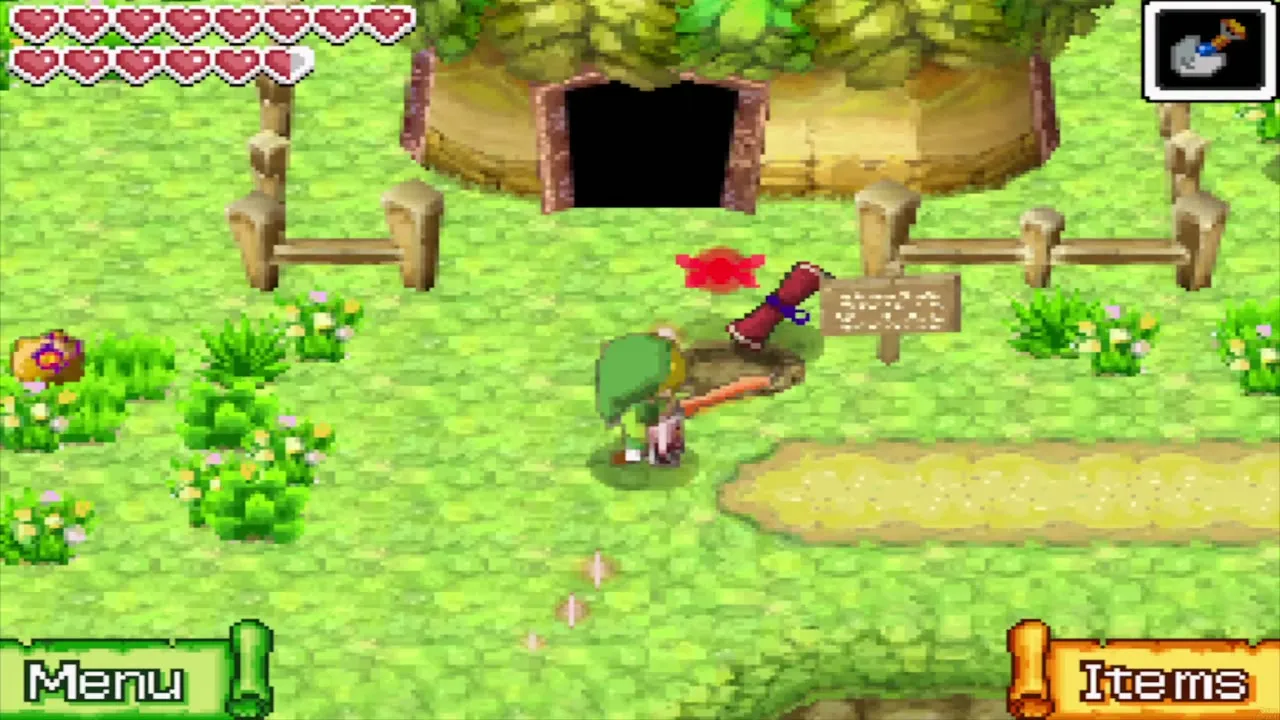
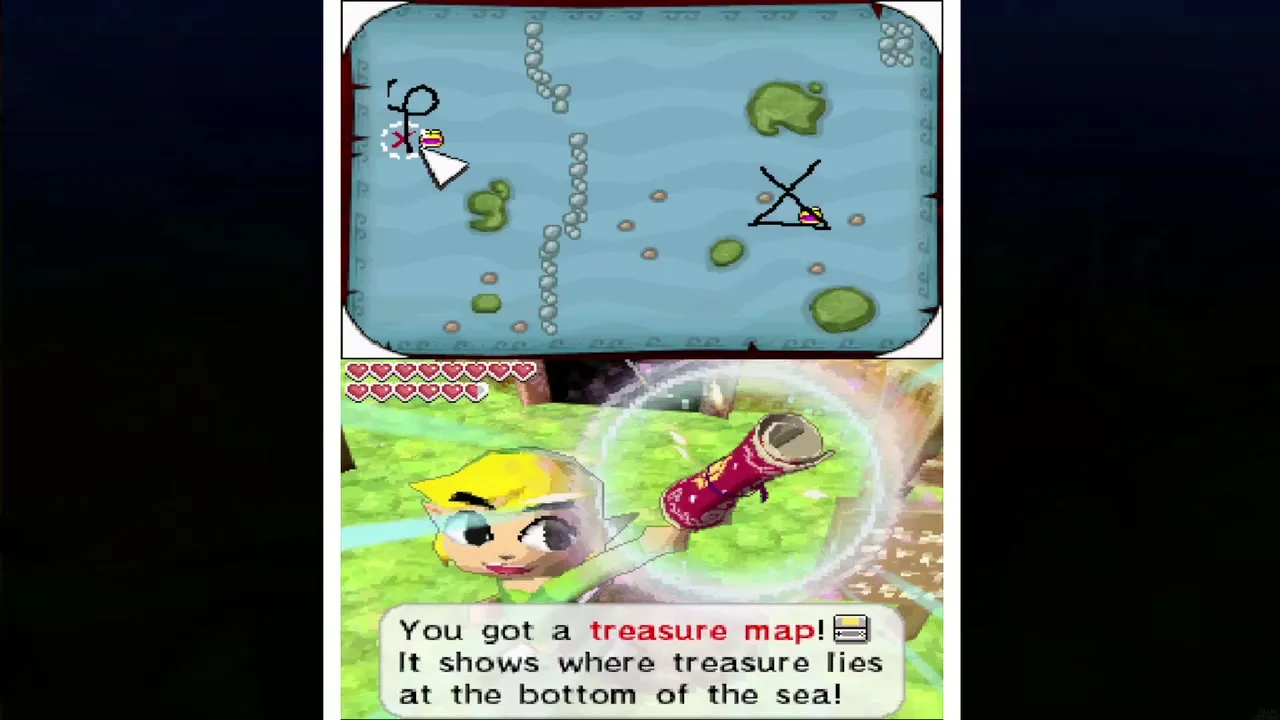
Dig just left of the sign outside the Old Wayfarer’s hut. At the X you bring up a Ship Part, with 30 bonus Rupees floating around it.
Treasure Map #22 (Bannan Island)
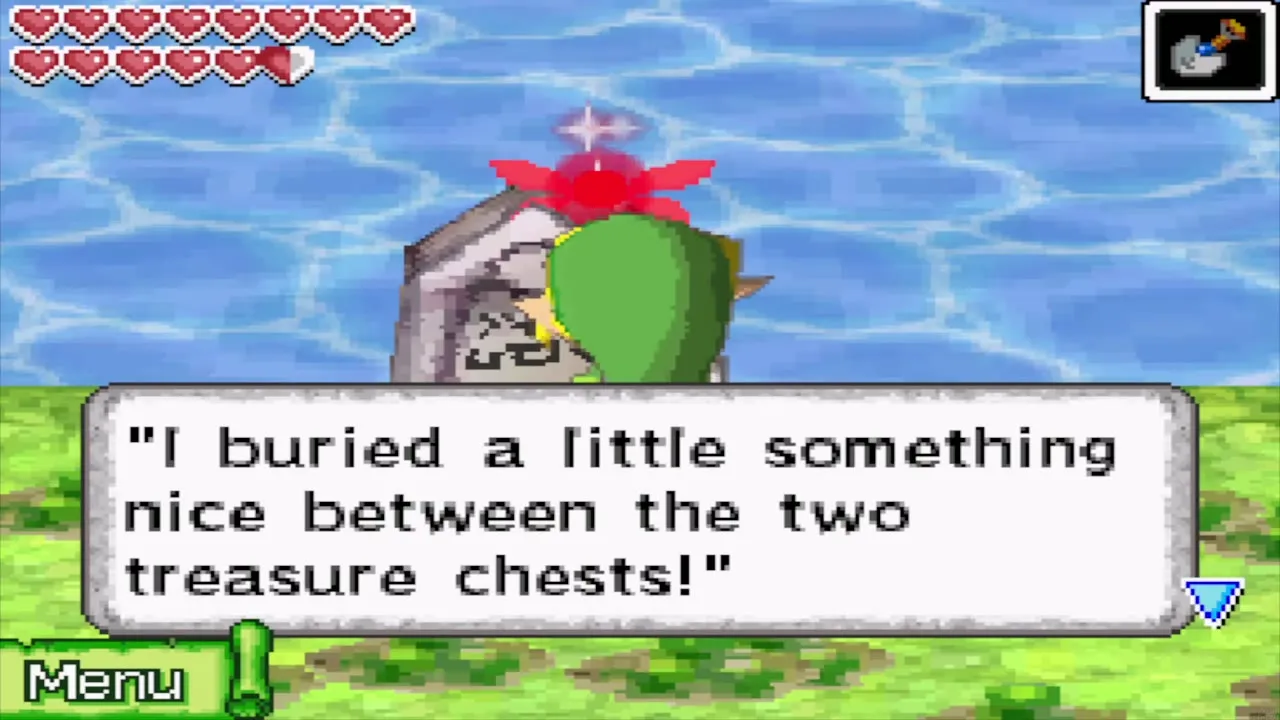
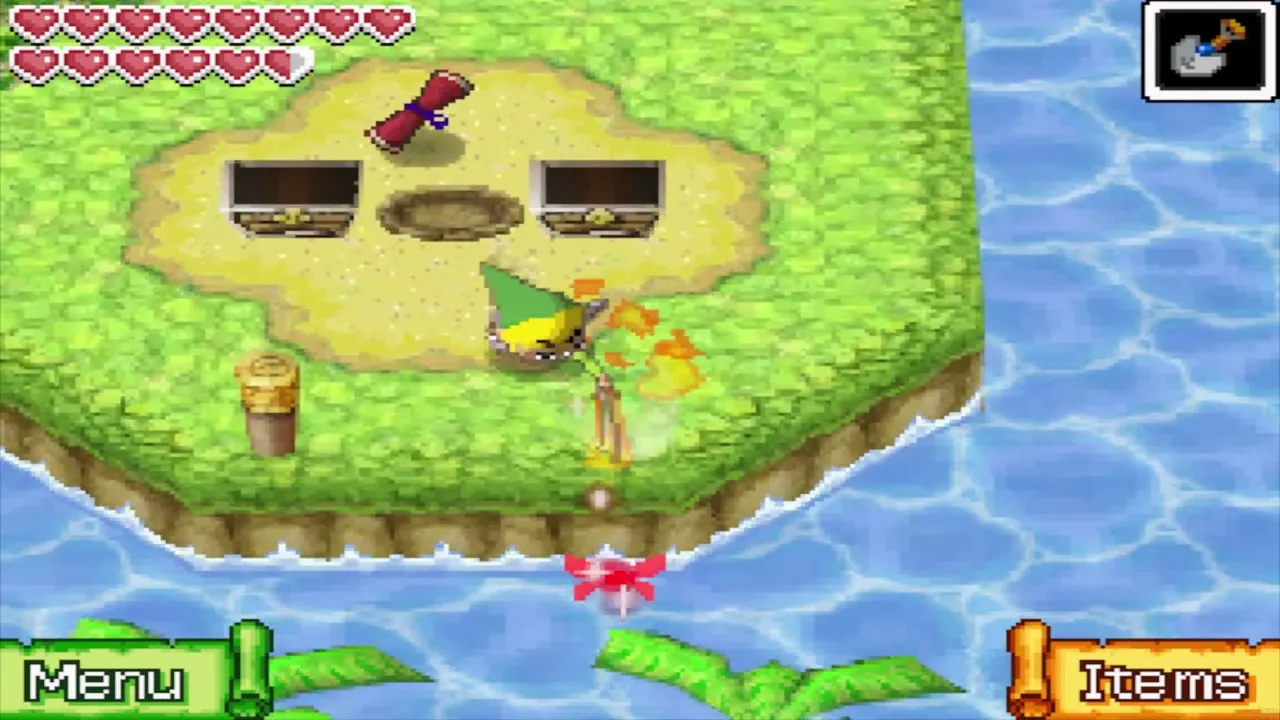
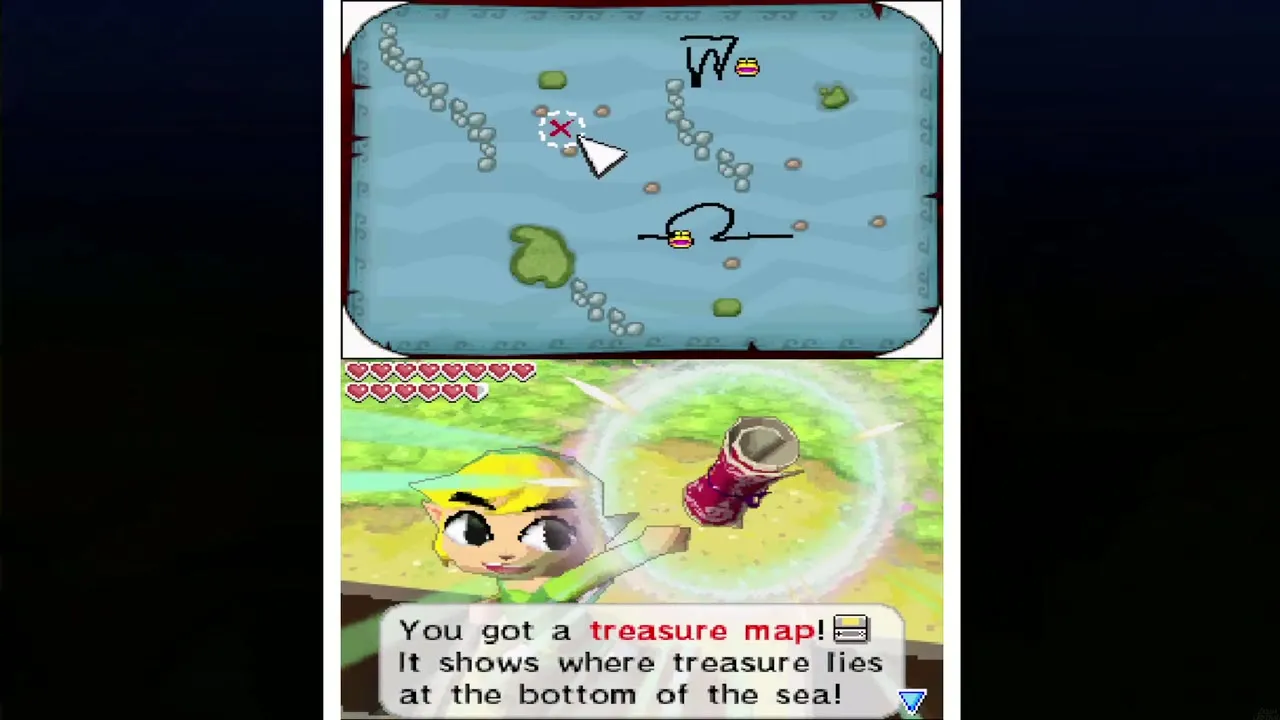
Cross the tightrope to the islet with three tablets, then dig between the two chests on the main island. At the X you bring up a Ship Part, with 21 bonus Rupees floating around it.
Treasure Map #23 (Temple of the Ocean King)
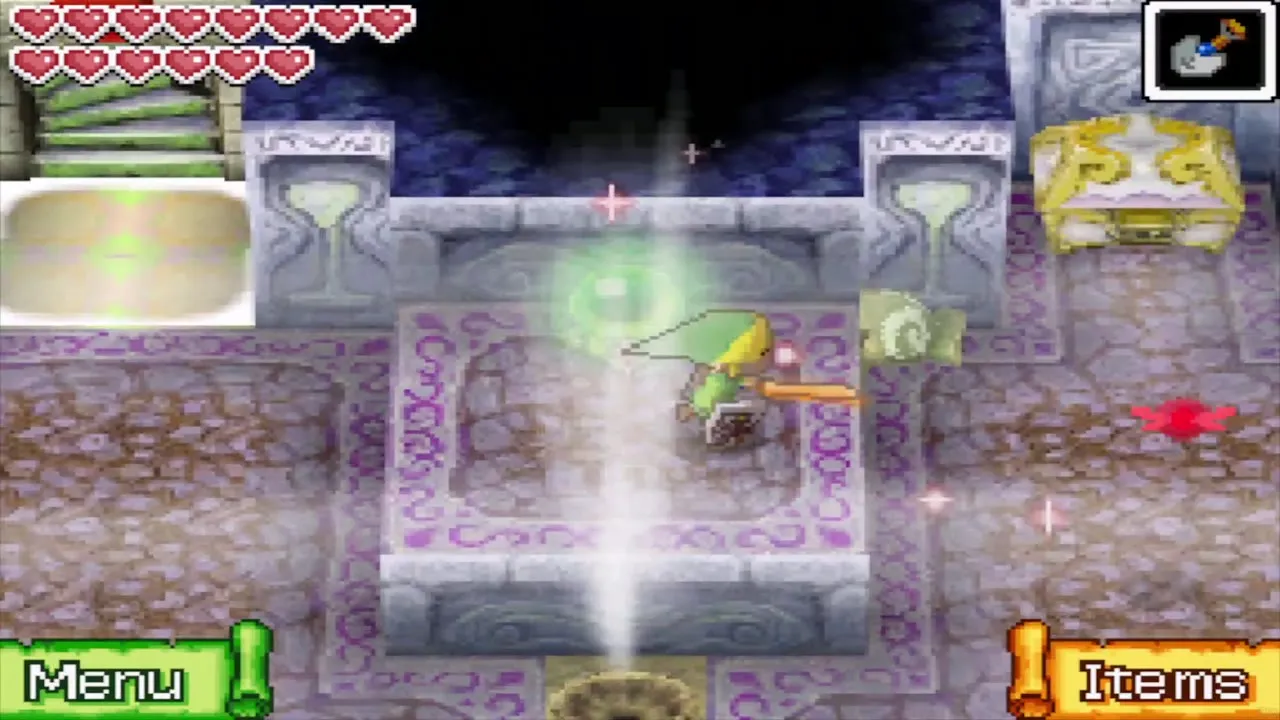
Use a Bombchu on the B4 shock switch to open the alternate northwest exit. On B5, dig, hit the switch and open the chest. This is possible after the Goron Temple. The X sits in the northeast part of the Southeastern Sea, northwest of the Isle of Frost. At the X you bring up a Sand of Hours (one minute for the Phantom Hourglass), with 9 bonus Rupees floating around it.
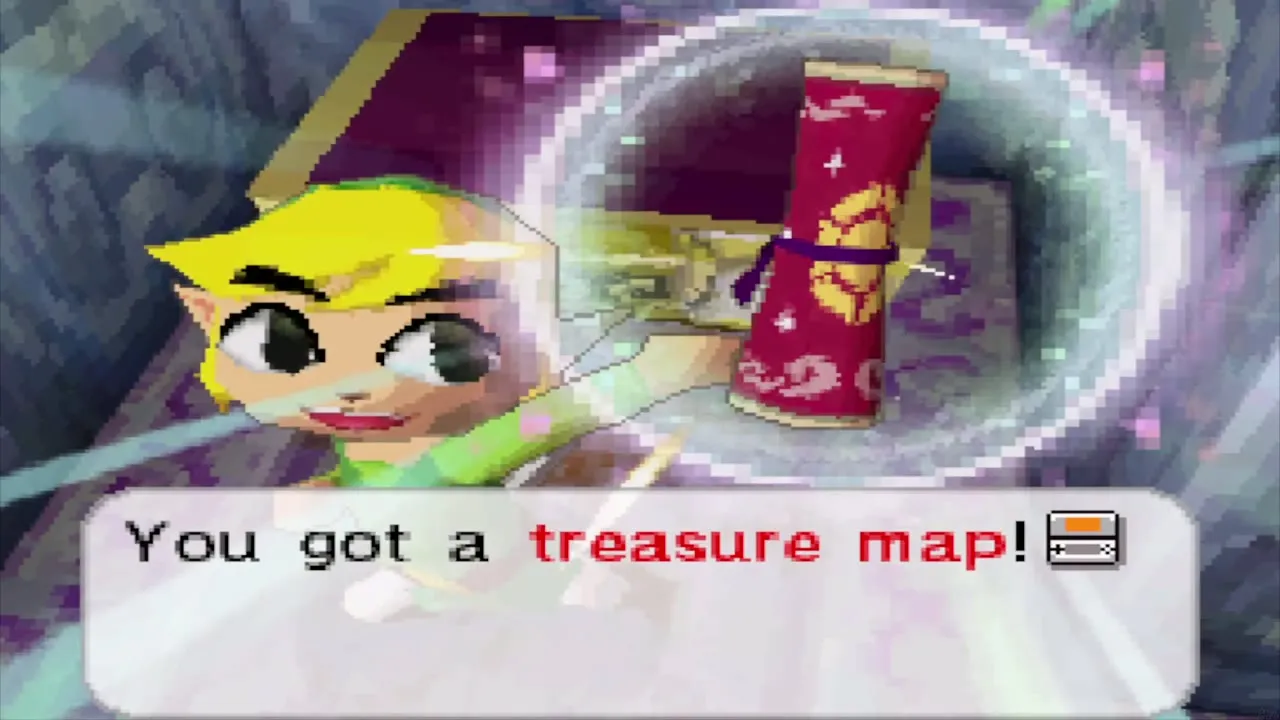
Treasure Map #26 (Traveler’s Ship (Northeastern Sea))
Defeat every enemy on the Man of Smiles’ ship. The map comes along with the Hero’s New Clothes. At the X you bring up a Ship Part, with 30 bonus Rupees floating around it.
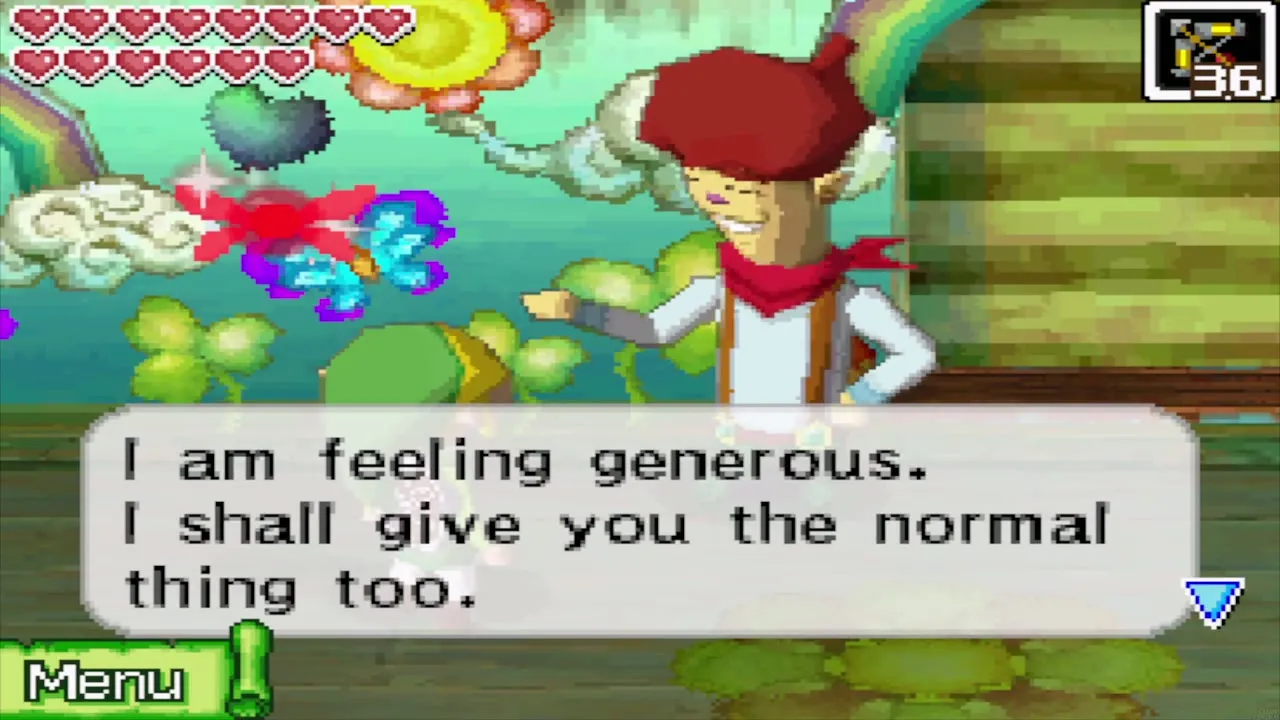
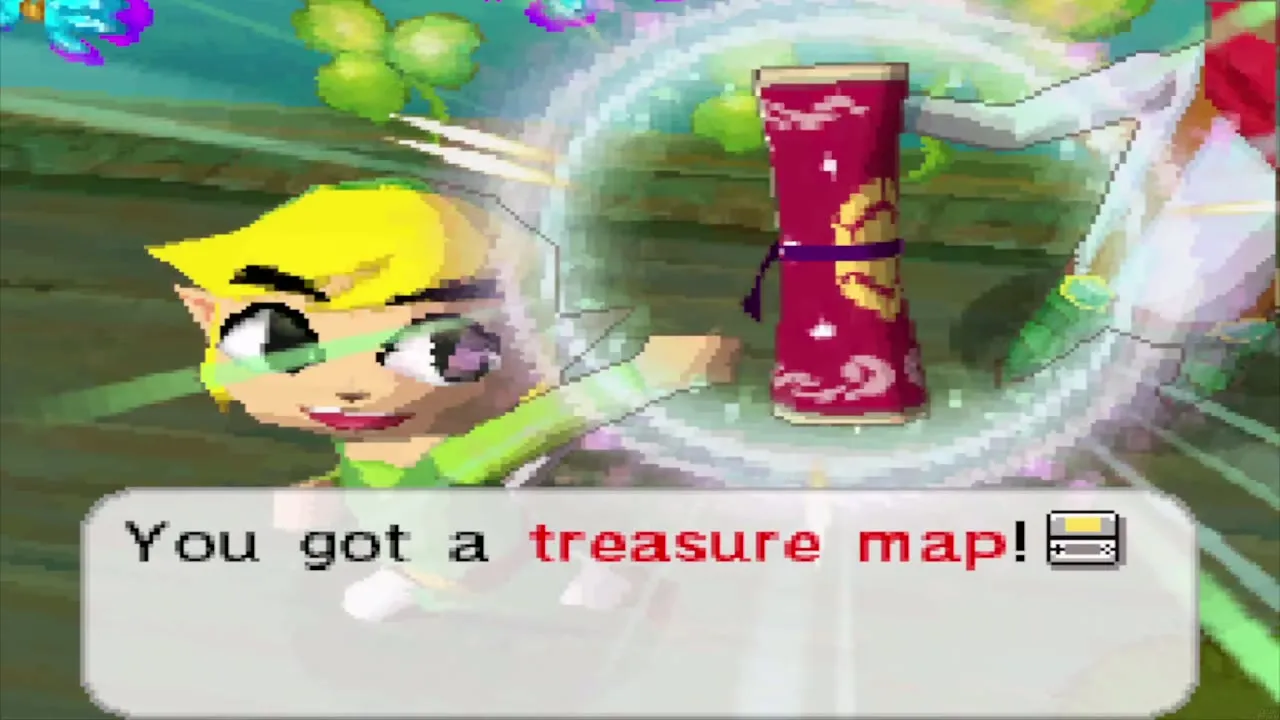
Treasure Map #27 (Maze Island)
Win the Normal level of the Treasure Maze. At the X you bring up a Ship Part, with 21 bonus Rupees floating around it.
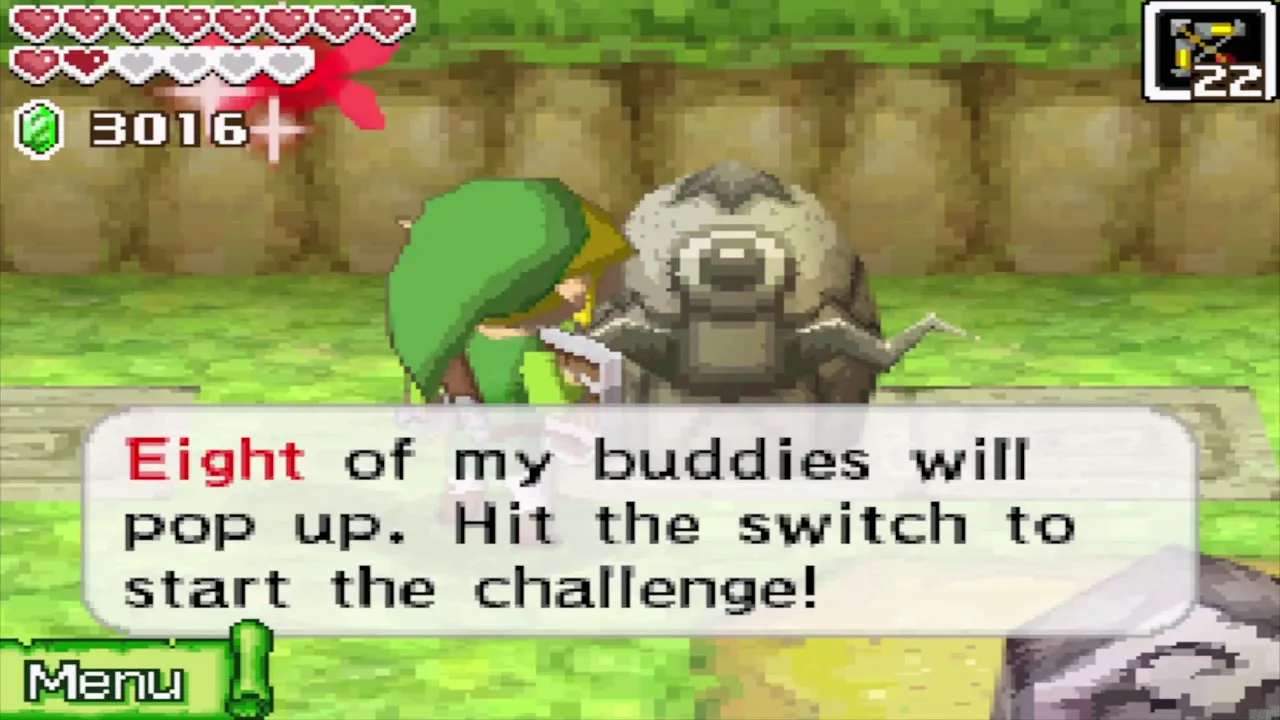
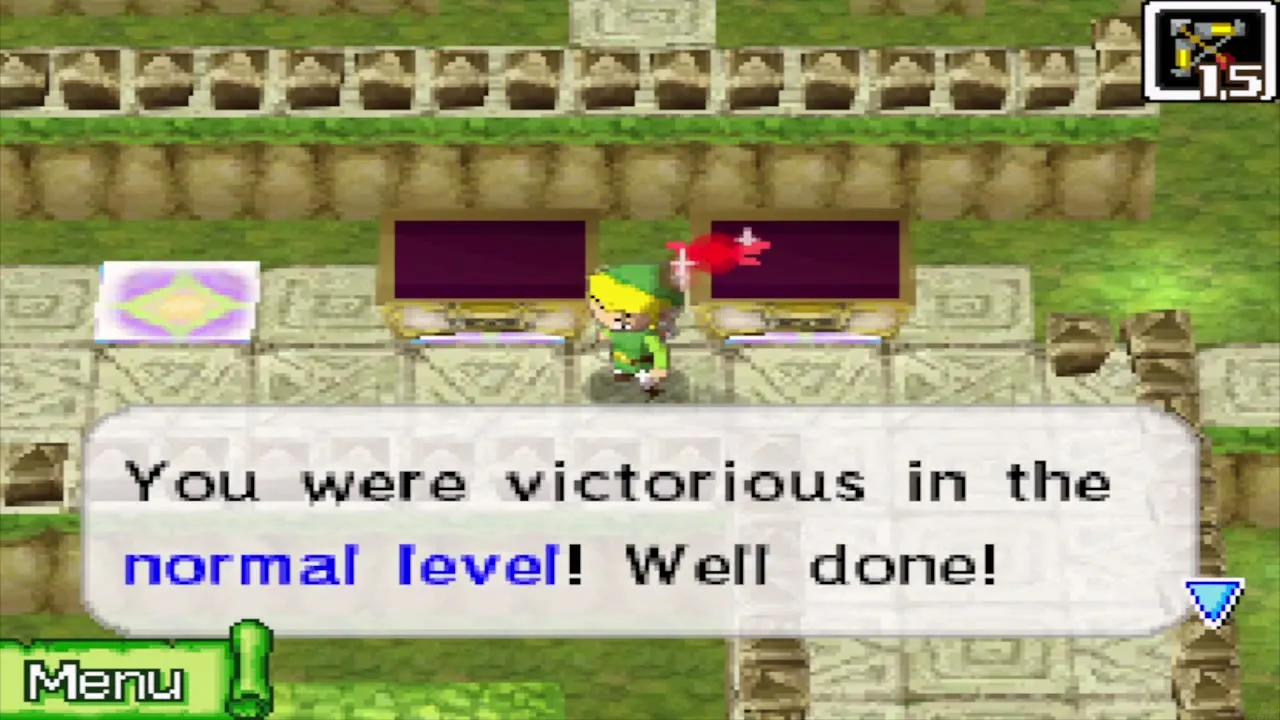
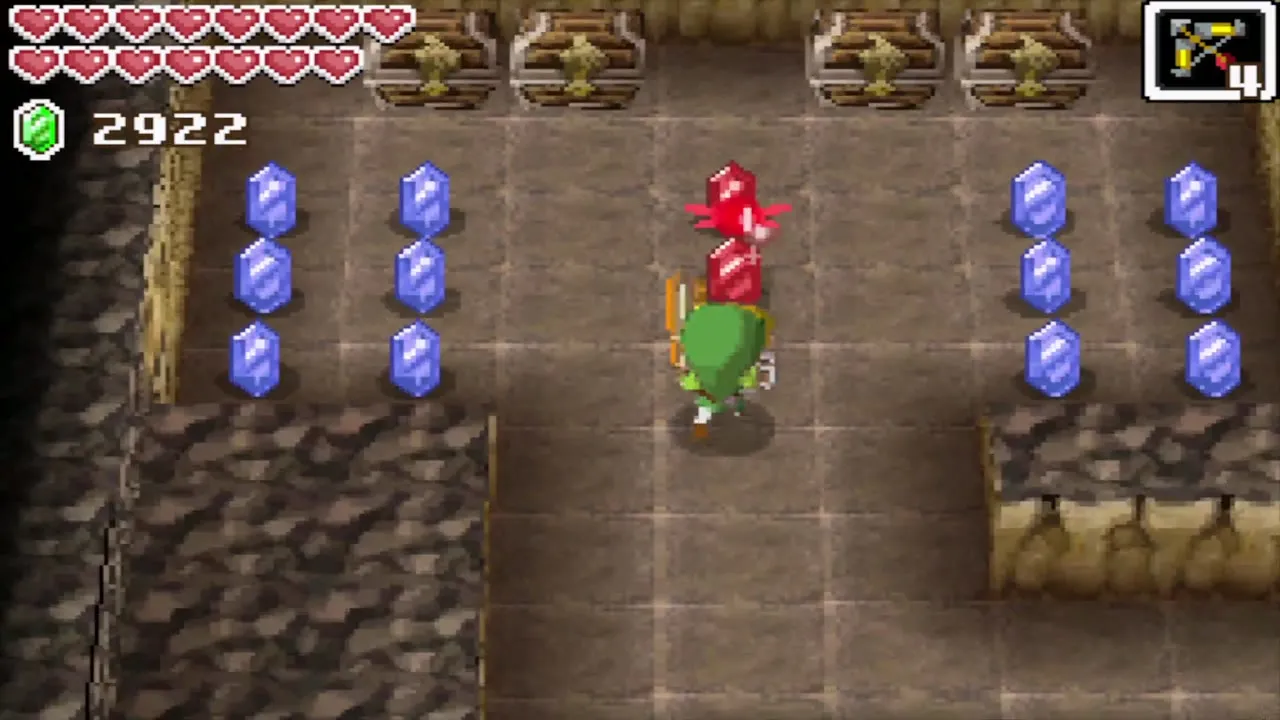
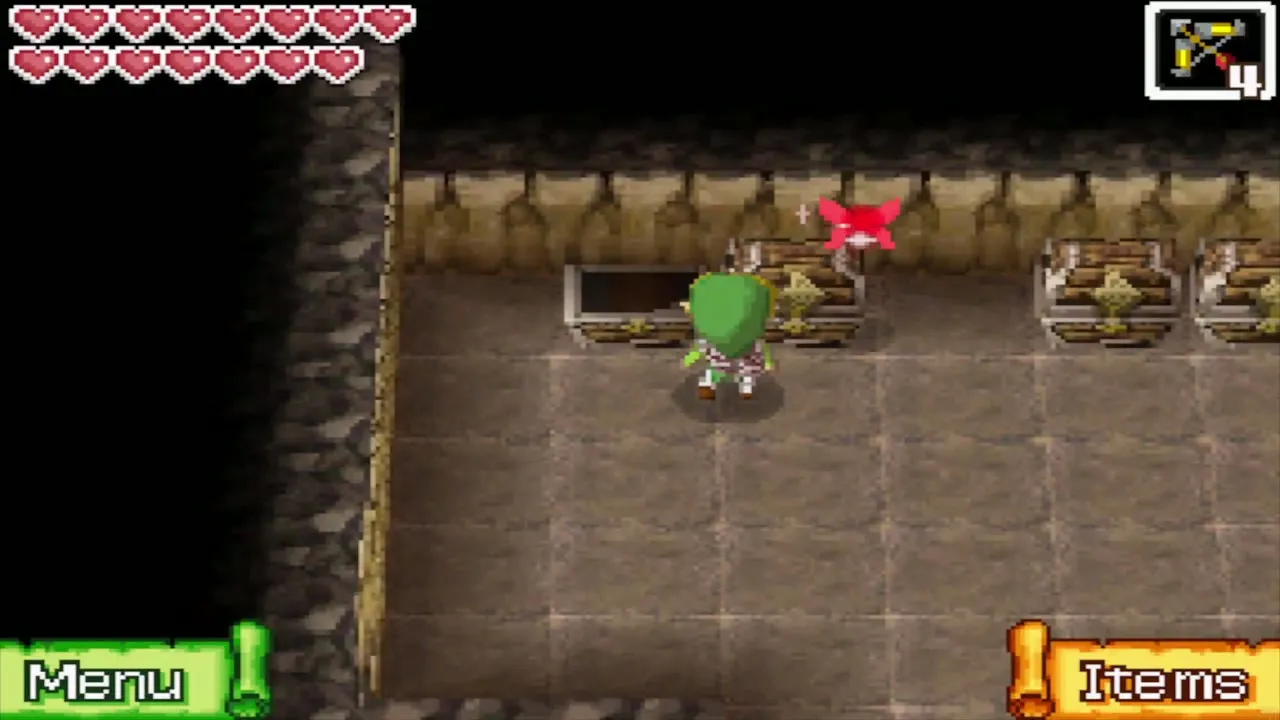
Treasure Map #28 (Isle of the Dead)
Bomb the west wall of the first cave to reach the Rupoor maze. Open the second chest from the left. At the X you bring up a random Treasure, with 30 bonus Rupees floating around it.
Treasure Map #29 (Isle of the Dead)
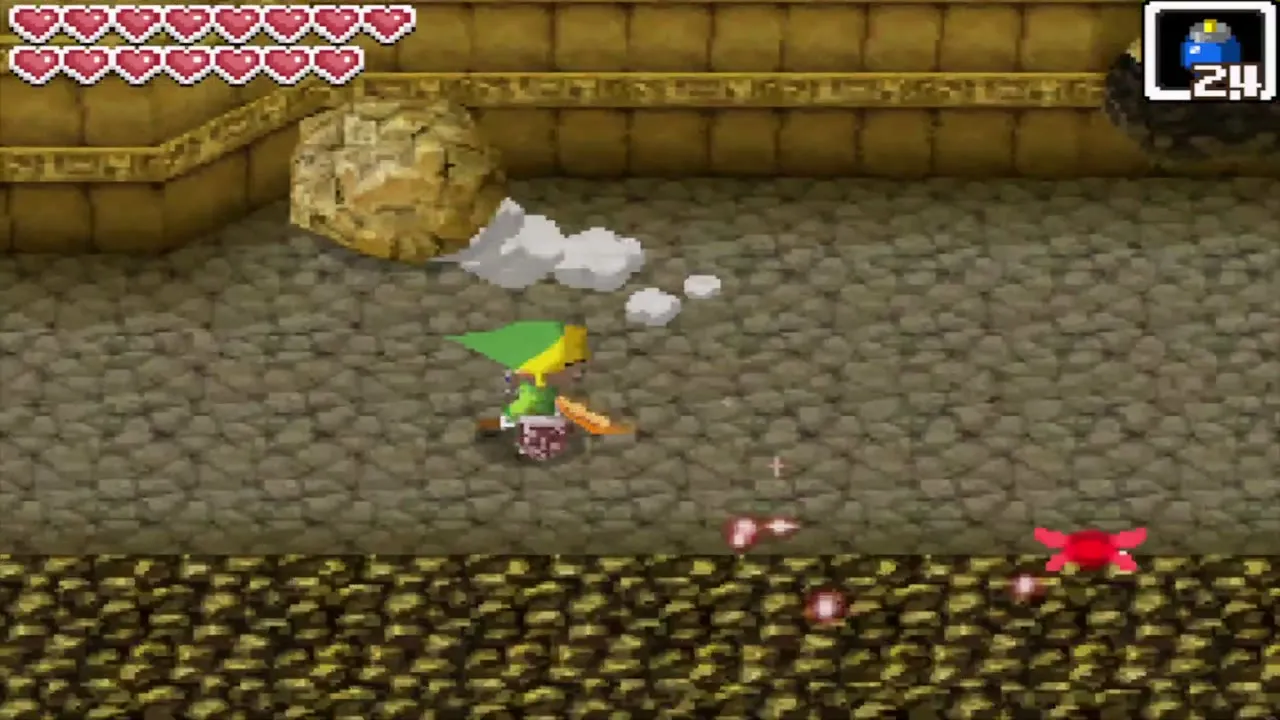
Find the secret cavern and open the chest close to the King’s Eye. At the X you bring up a Ship Part, with 112 bonus Rupees floating around it.
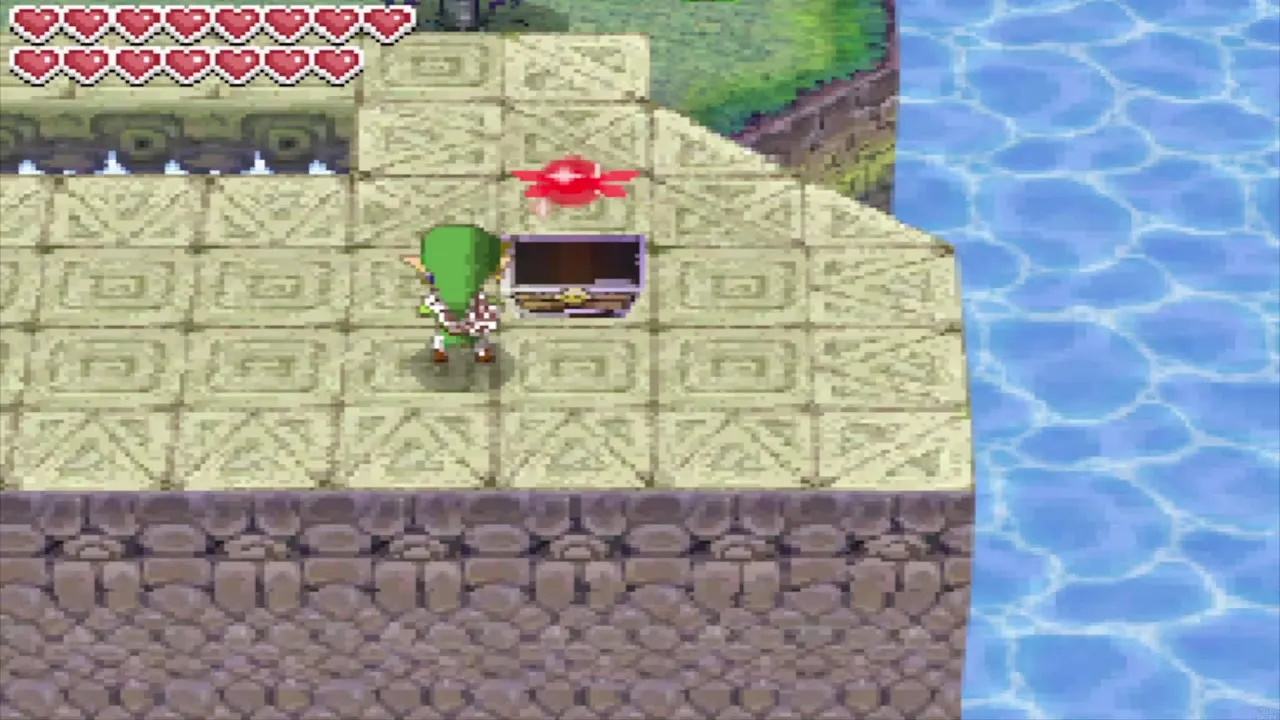
Treasure Map #30 (Temple of the Ocean King)
On B10, use the Hammer on the floor switch in the southwest to open a big chest. At the X you bring up a Ship Part, with 25 bonus Rupees floating around it.
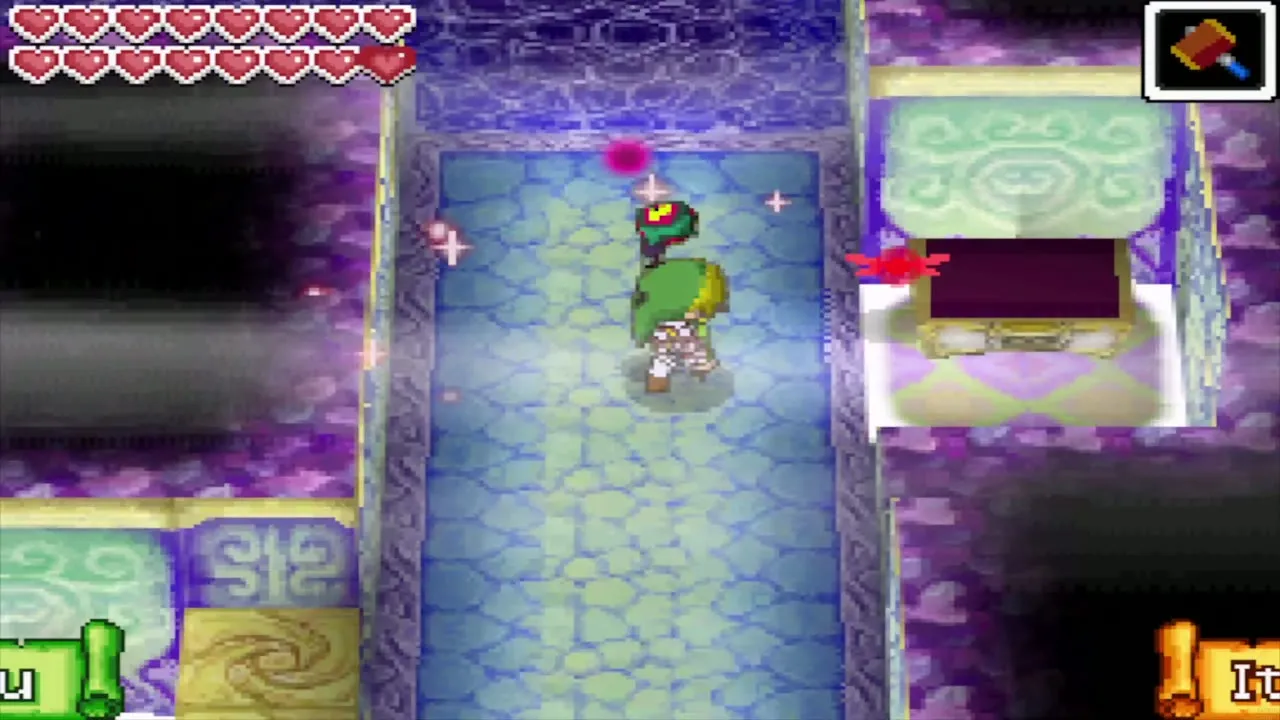
Treasure Map #31 (Temple of the Ocean King)
On B12, hit the crystal switch, then use the Hammer launch pad to reach the timed chest in the east. At the X you bring up a Big Gold Rupee, with 9 bonus Rupees floating around it.
Tips
Ship Parts from sunken chests are more likely to be rare than parts found elsewhere, so salvaging is the quickest way to fill a ship set. Sinking a large pirate ship can also leave an X on your chart.