





















| Trial | Speed of Light |
|---|---|
| Region | Lanayru |
| Location | On a small island ringed by brambles in the swamp west of Lanayru Tower, where the river from Thims Bridge spills out |
| Map position | x 1509, z -377, height 141 (map square G-4) |
| Runes used | Cryonis, Remote Bombs |
| Reward | Spirit Orb; chests: Opal, Giant Boomerang |
How to find it
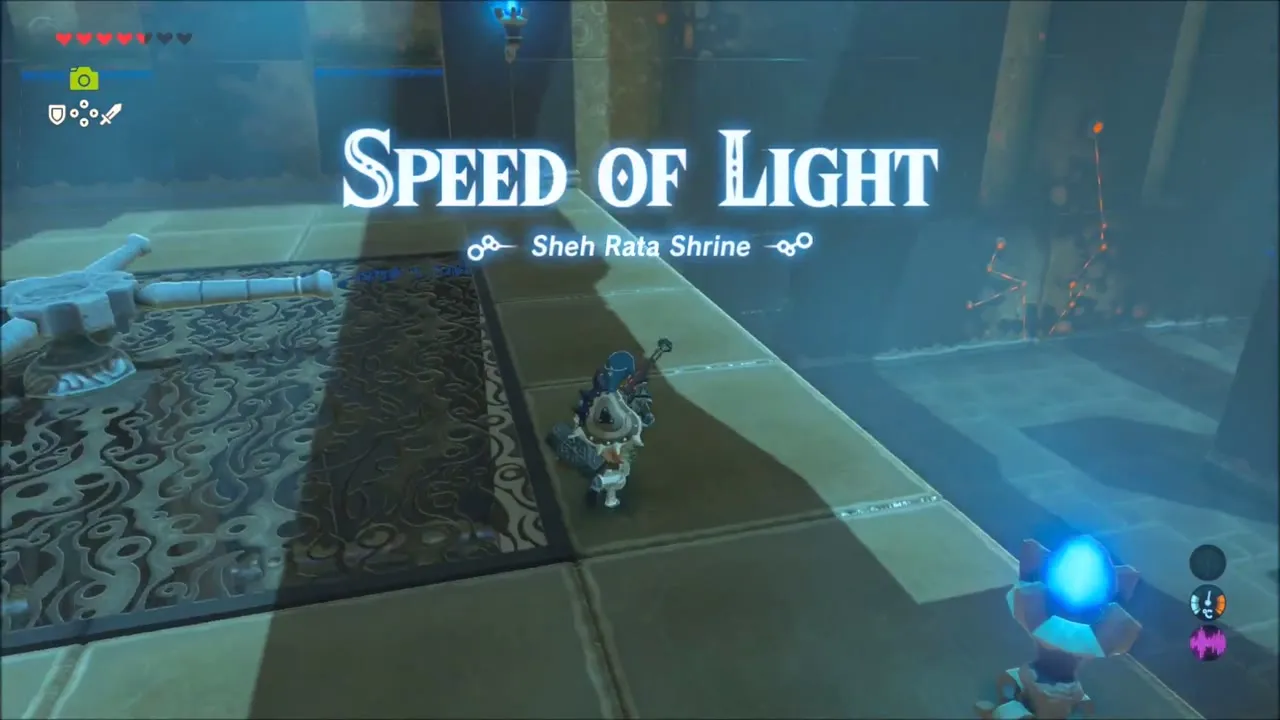
The shrine stands on a bramble-covered islet in the marshes of north-west Lanayru. The brambles block the entrance, so burn them with a fire arrow, a lit torch or a flame weapon, then walk in.
Solution
Grab the Opal
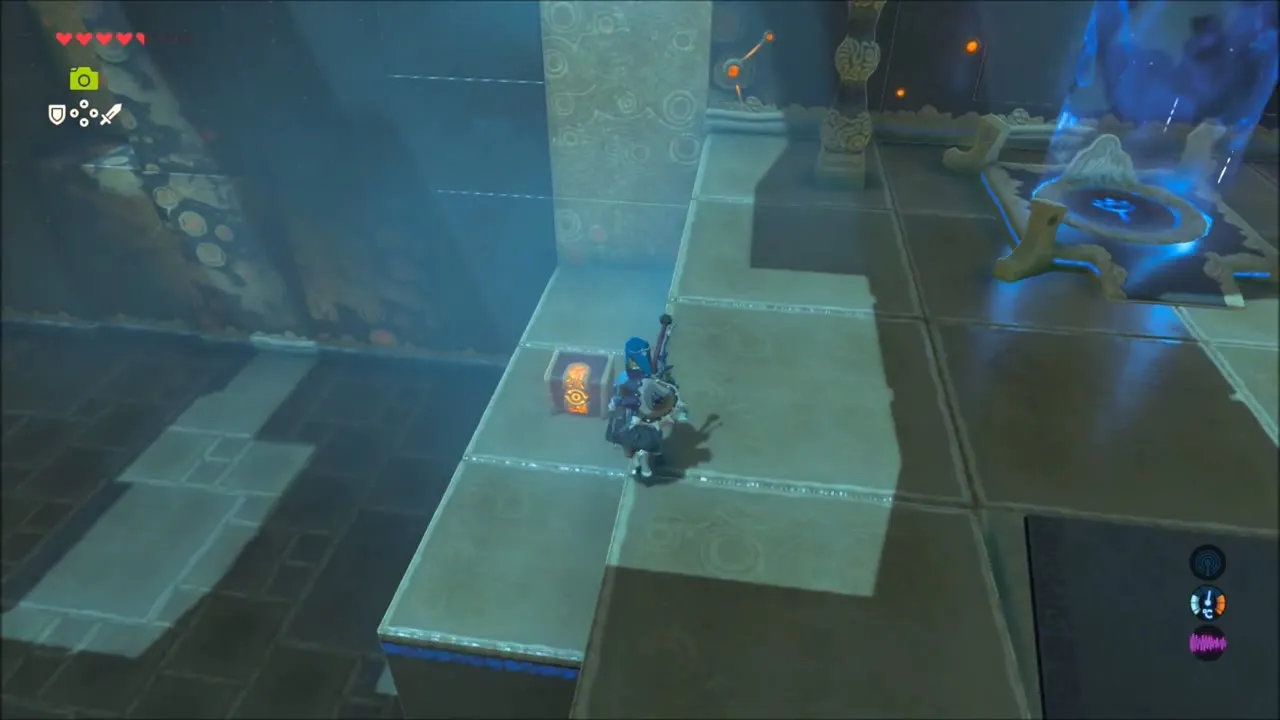
Just inside, a laser is firing over a flooded hall below the stairs. Before touching anything, drop off the ledge to the right of the entrance onto a lower platform. A chest there holds an Opal.
Raise the water
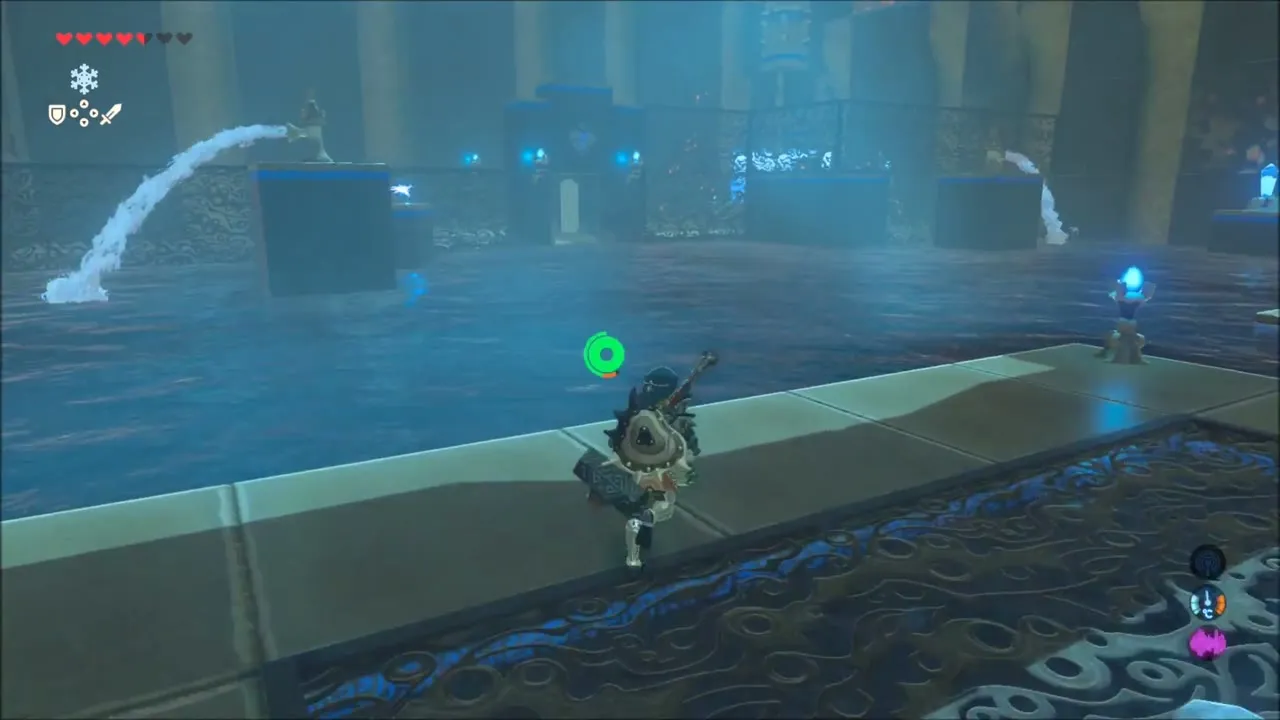
Push the lever on the left to swing the laser. When it reaches the switch on the far wall the water level climbs. Keep the beam clear of that switch while you work.

Set up the bomb
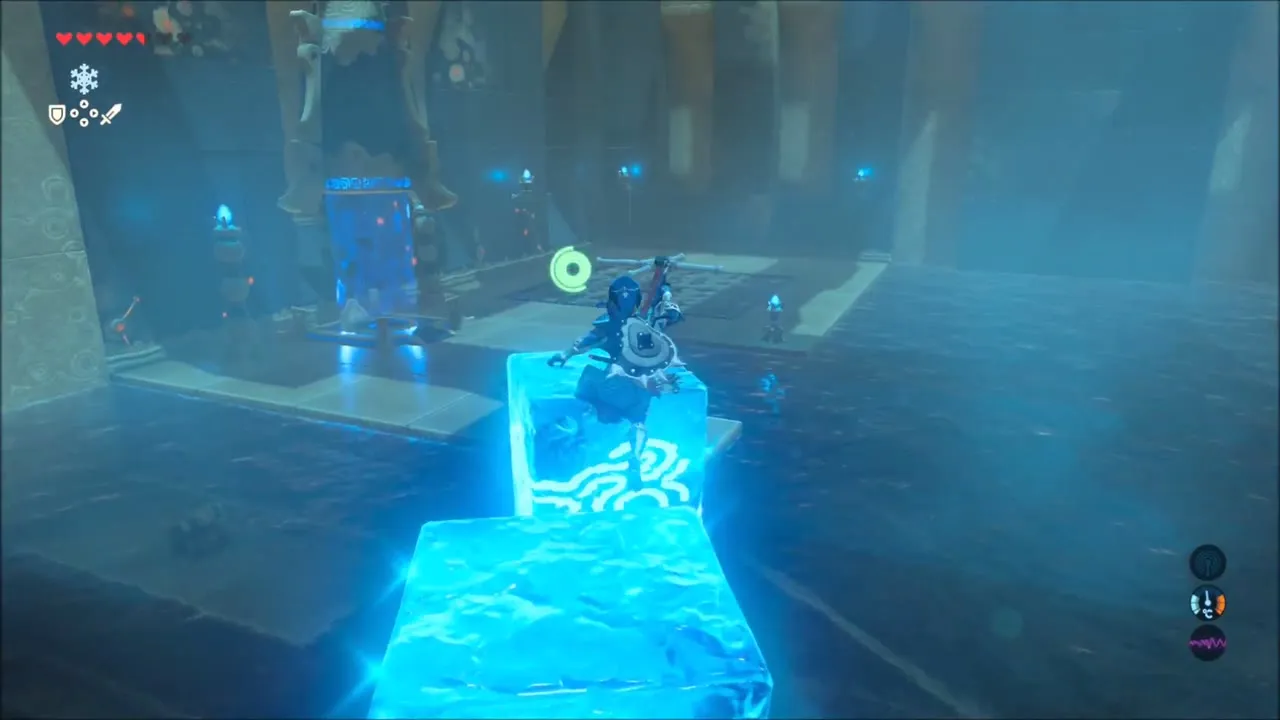
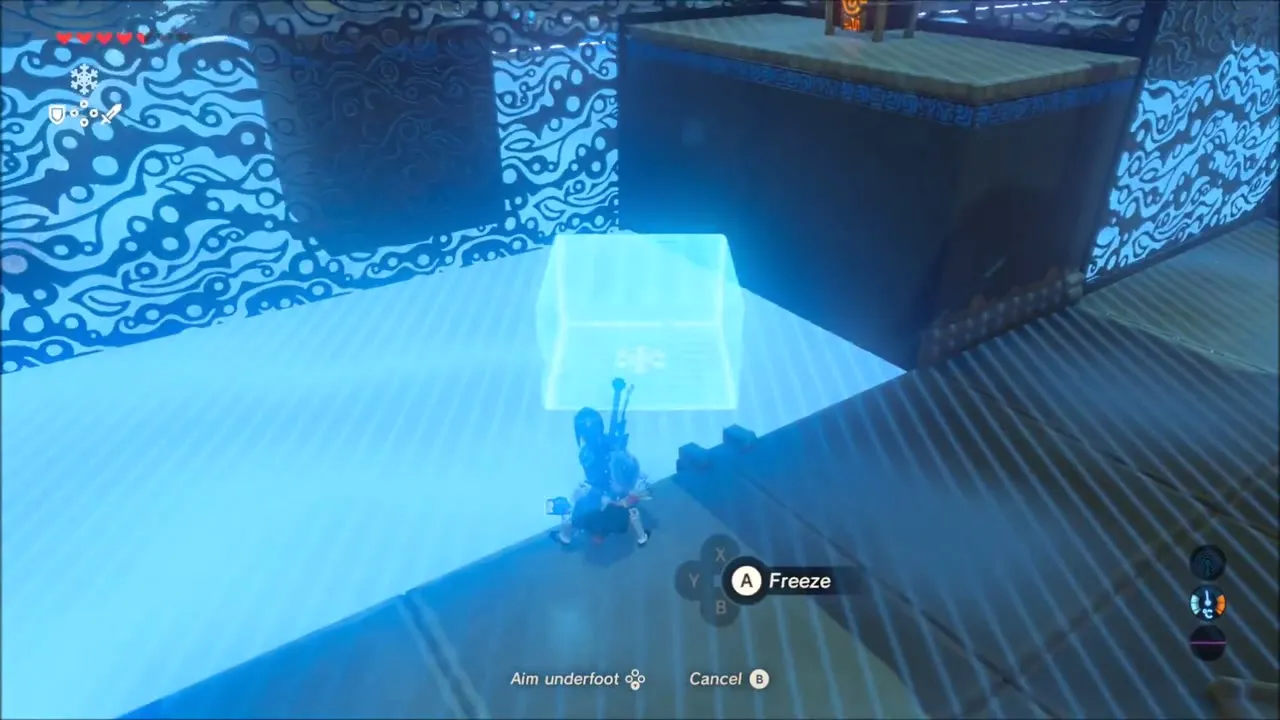
With the water high, create an ice block beside the platform that carries the crystal switch. Swim to it, climb up and leave a Remote Bomb next to the crystal without detonating it.


Drain the pool and fetch the barrel
Return to the lever and start the laser moving so the water falls. Dash across the water as it drops. Once it has drained, take the metal barrel from the neighbouring room and drop it onto the pressure plate that had been underwater. The door to the monk opens.


Reach the second chest
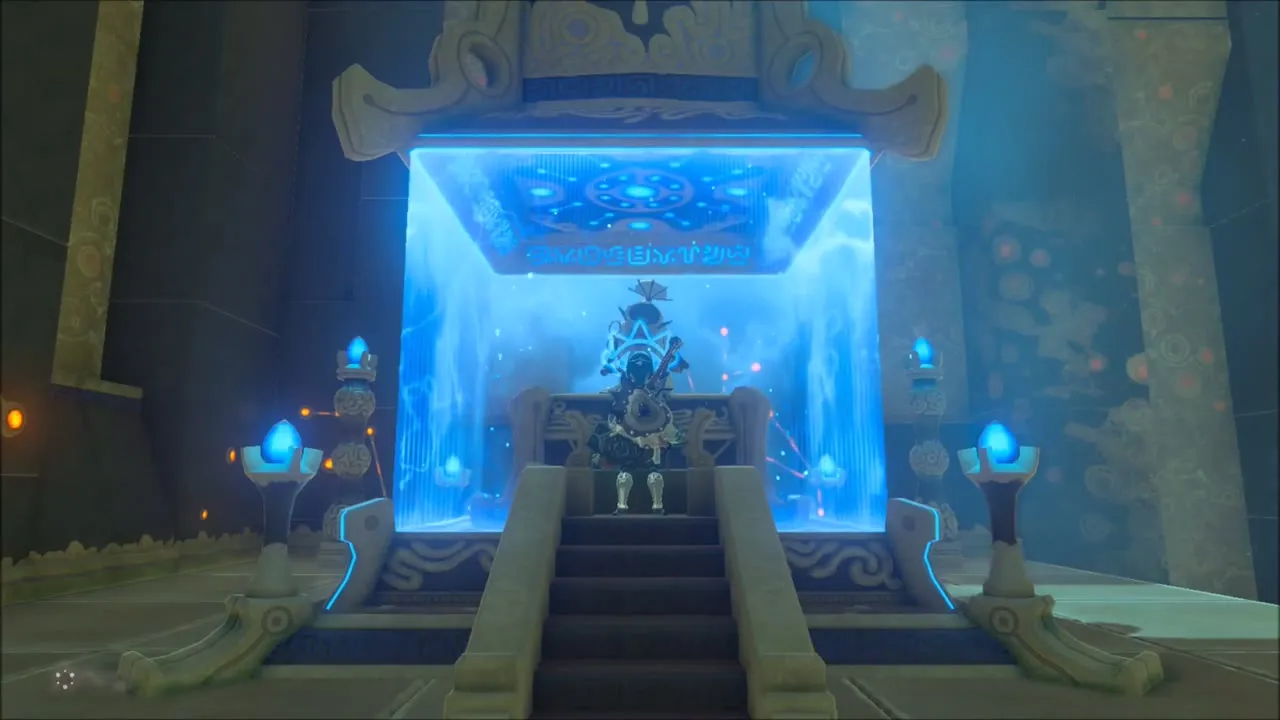
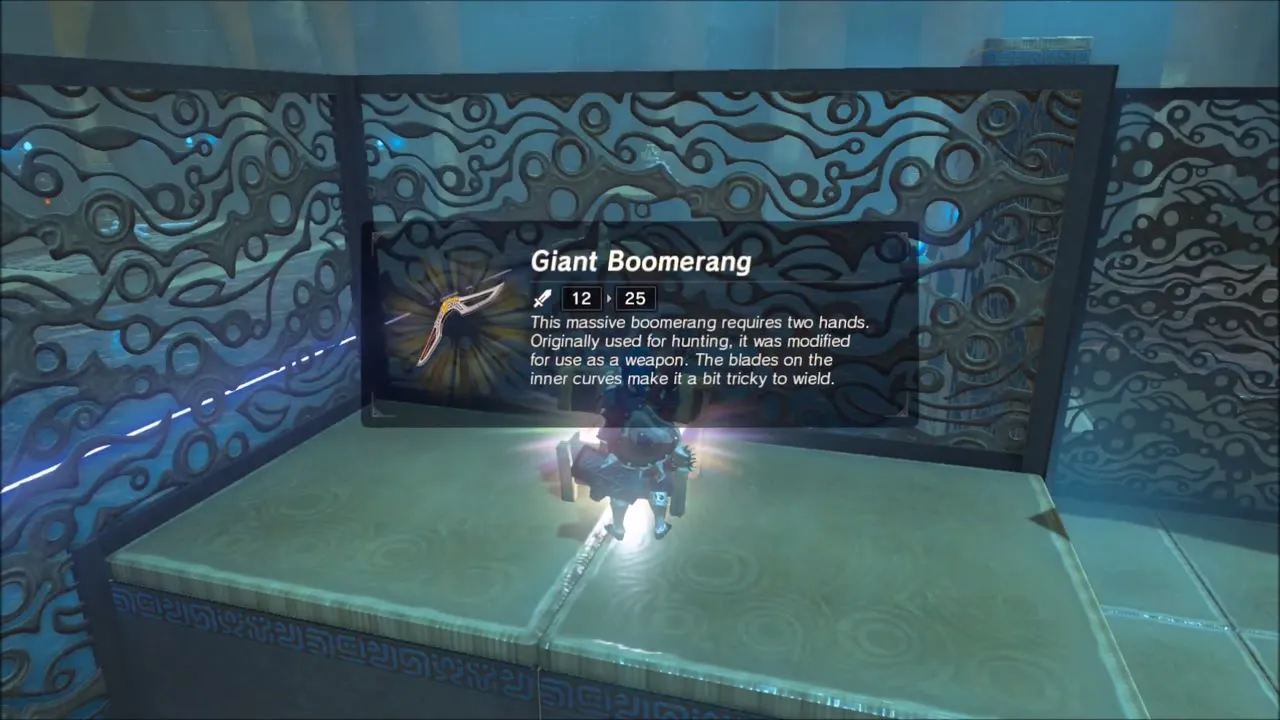
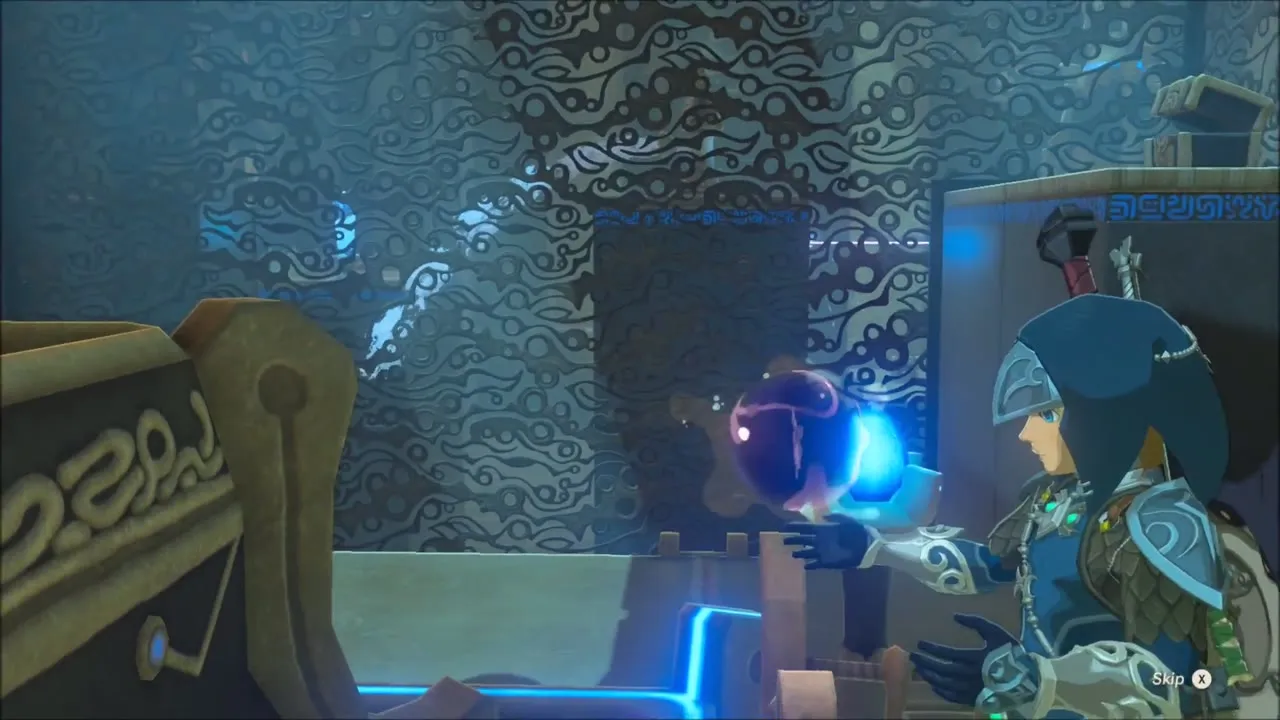
Inside the final chamber, detonate the Remote Bomb to strike the crystal and bring the water back up. Make an ice platform beside the chest to the right of the monk and climb up for the Giant Boomerang, then speak to Sheh Rata for the Spirit Orb.

Chests and rewards
- Opal: on a lower platform to the right of the entrance.
- Giant Boomerang: in the monk’s chamber, reached with an ice platform after the water rises.
- Spirit Orb: from the monk Sheh Rata.
