
























| Region | Jabul Waters |
|---|---|
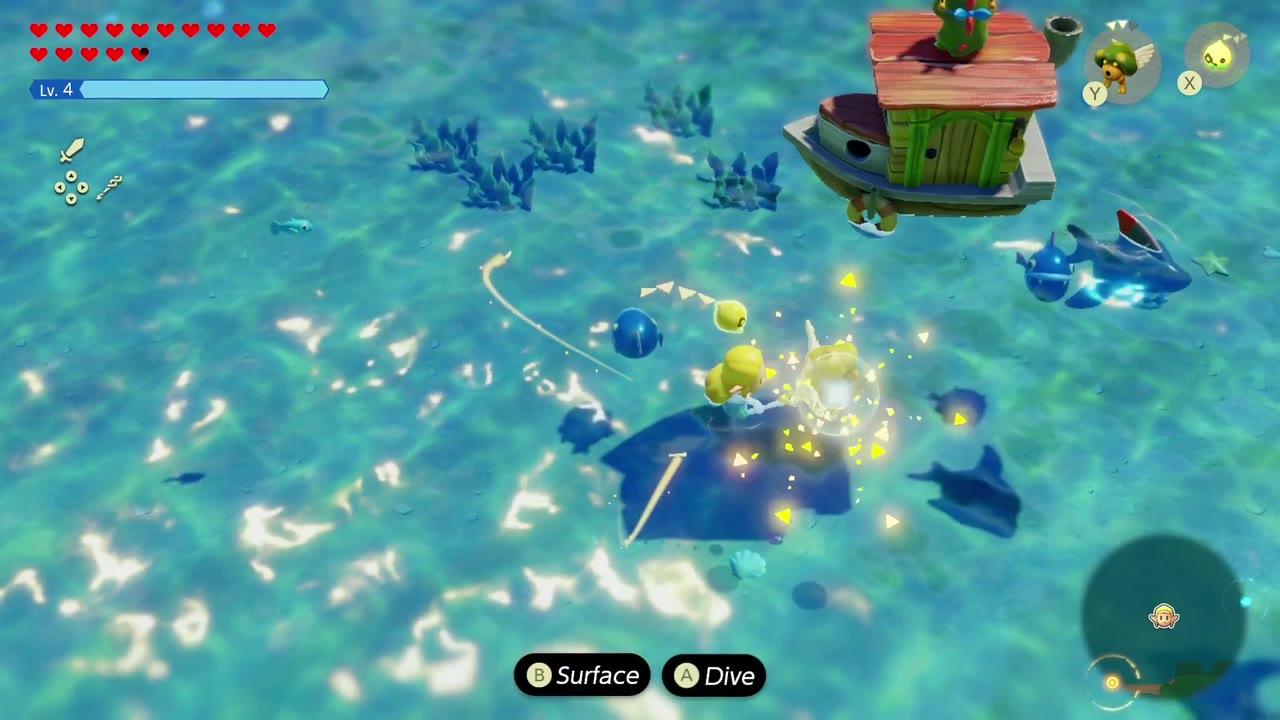
| Location | The open sea of Zora Cove off Seesyde Village, where a small boat with a red-roofed cabin drifts among sea monsters |
| Quest giver | A River Zora on the boat (no name tag is shown; he looks after Chief Dradd’s house) |
| Available | On a return visit to Jabul Waters after the Jabul Waters story (Jabul Ruins) |
| You’ll need | Echoes that fight in water, such as Chompfin |
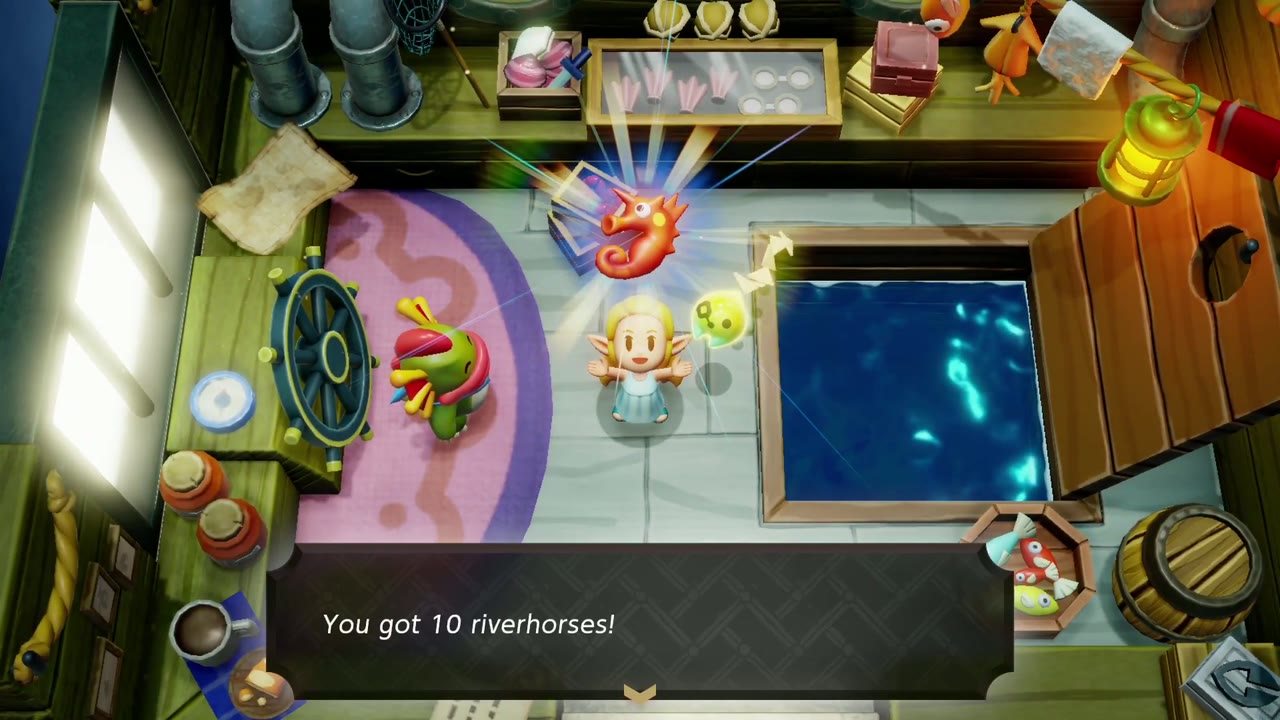
| Reward | 10 Riverhorses (blend them into Rapid smoothies for Swim Speed Up) |
A River Zora who wanted to be more than a house-sitter borrowed a boat, sailed out to sea, and promptly got surrounded by monsters. Clear the water around his boat, hear him out in the cabin, and he rewards you with 10 Riverhorses and a ride back to Seesyde Village. It’s one short fight, and it drops you right next to the chest you need for Precious Treasure.
Table of Contents
How to Start
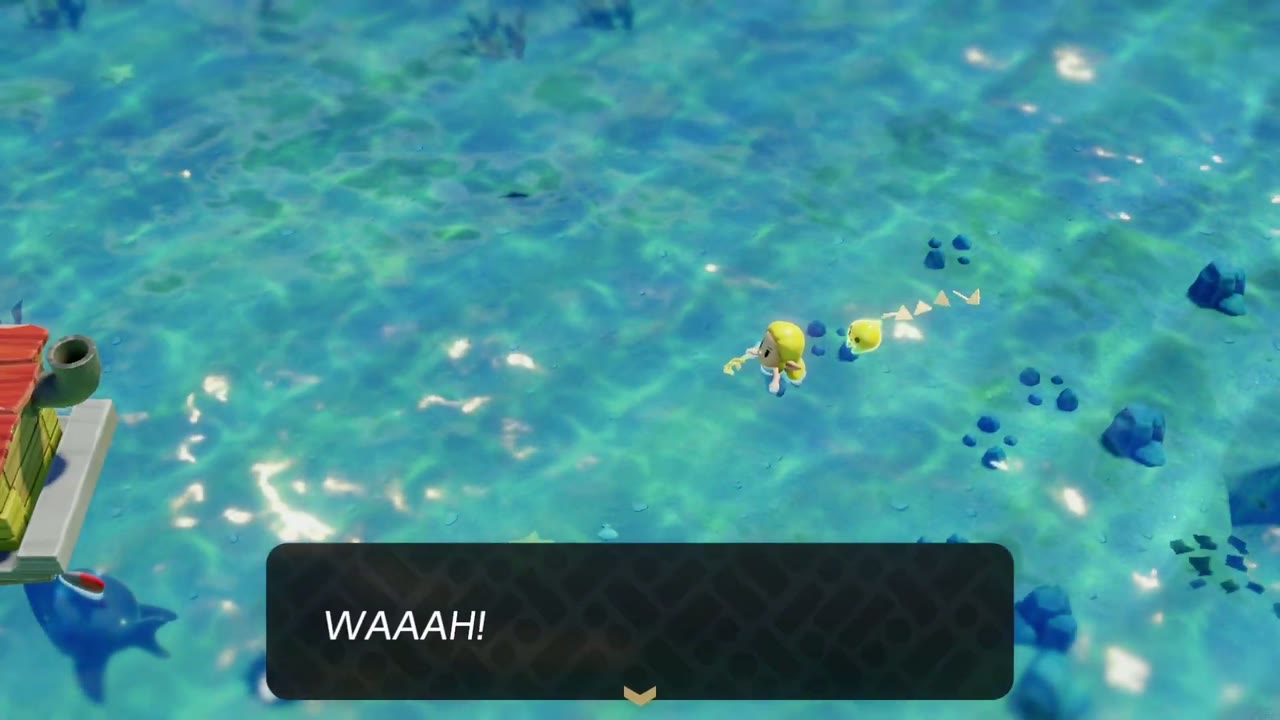
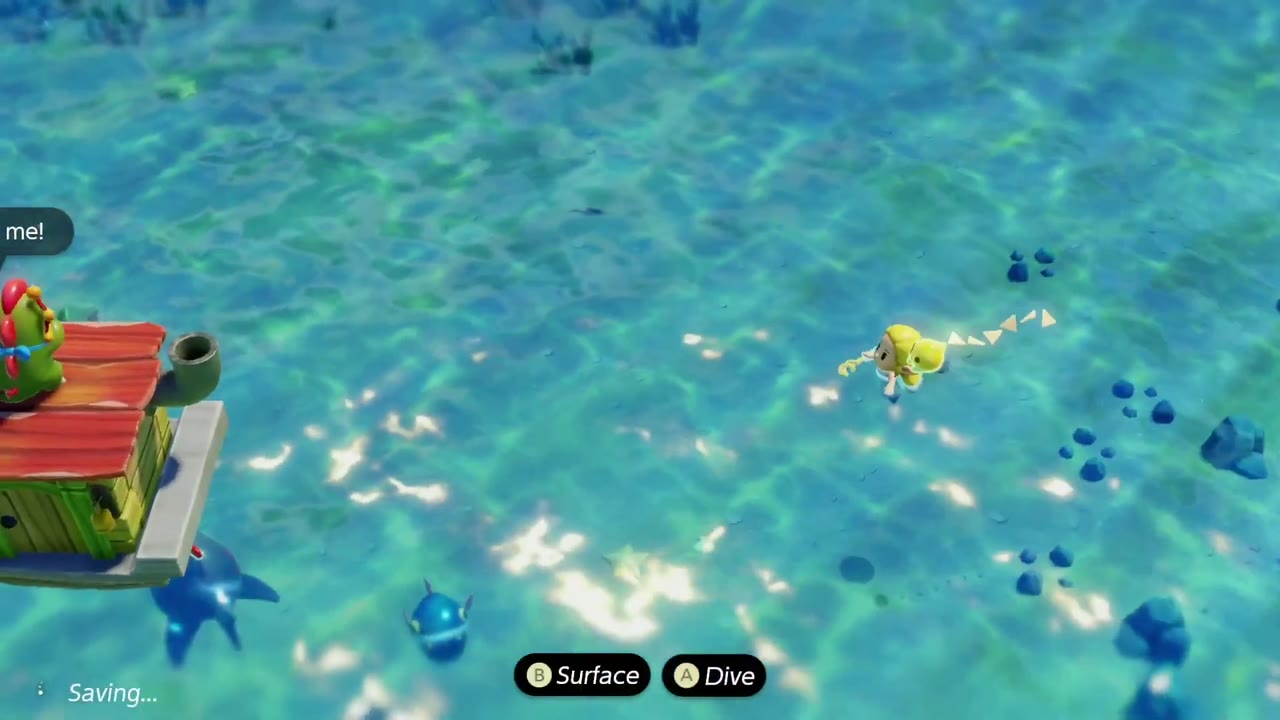
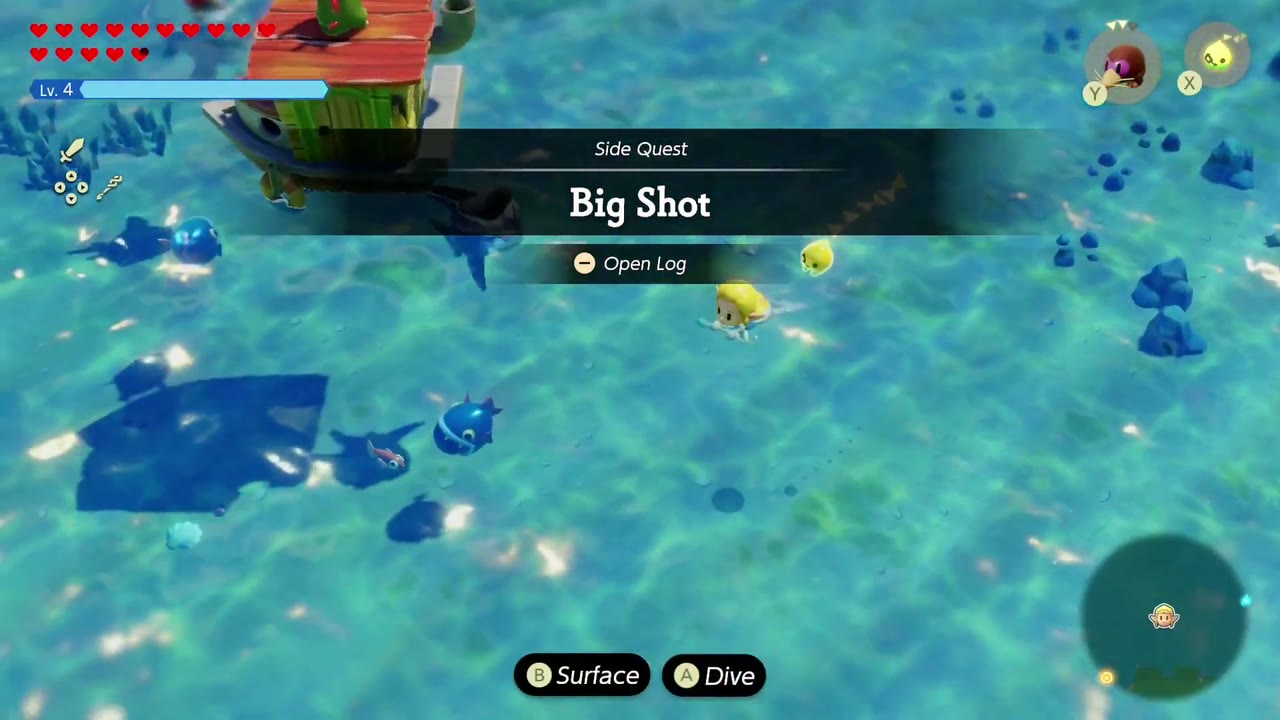
There’s no one to talk to first. Swim out from Seesyde Village into the open sea of Zora Cove and you’ll hear a cry of “WAAAH!” and “Someone, save me!” Ahead, a small boat with a red-roofed wooden cabin sits on the water, with a River Zora perched on the roof and shark-shaped shadows circling below. Swim toward it and the Big Shot side quest banner appears.
Walkthrough
Step 1: Clear the monsters around the boat
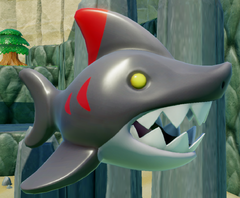
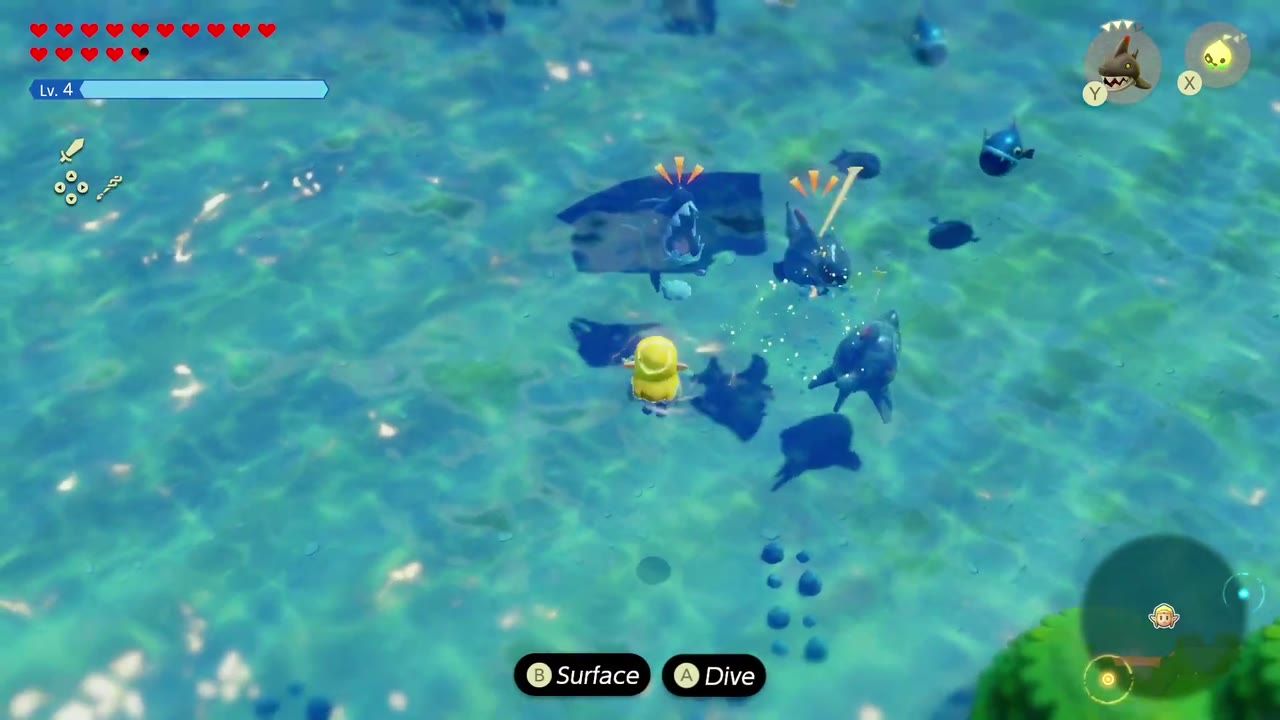
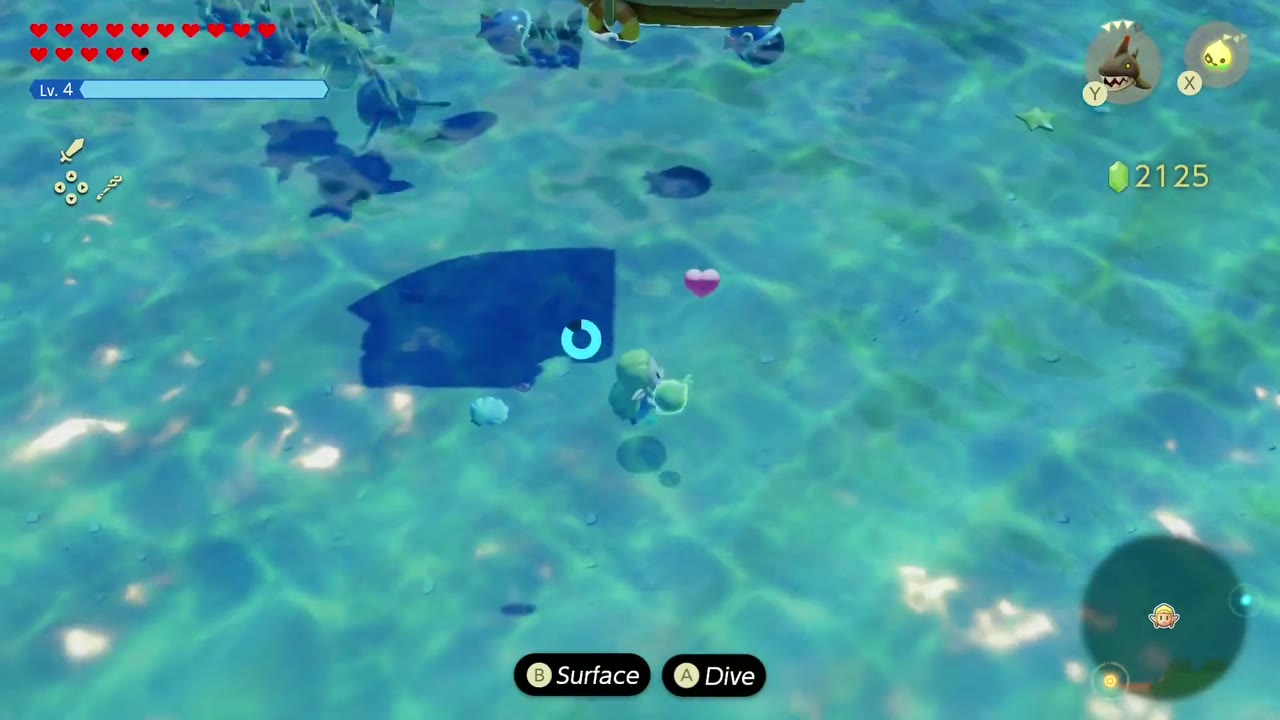
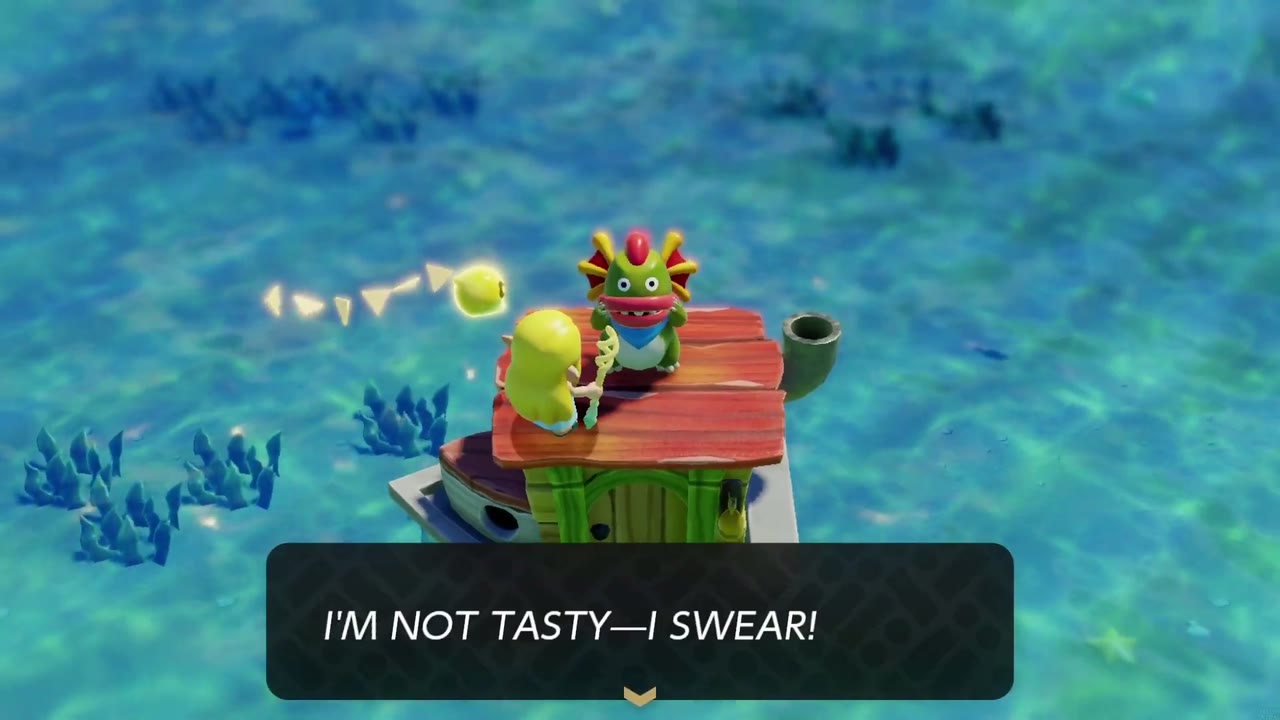
The boat is ringed by Chompfins, shark-like fish that cruise just under the surface, along with smaller sea monsters. Summon echoes that can fight in water (a Chompfin echo of your own works well) and let them tear into the pack while you keep clear of the bites. Defeated monsters drop rupees and hearts. While you fight, the Zora keeps shouting “Save me!” and “I’M NOT TASTY, I SWEAR!” from the roof.
Step 2: Talk to him on the boat
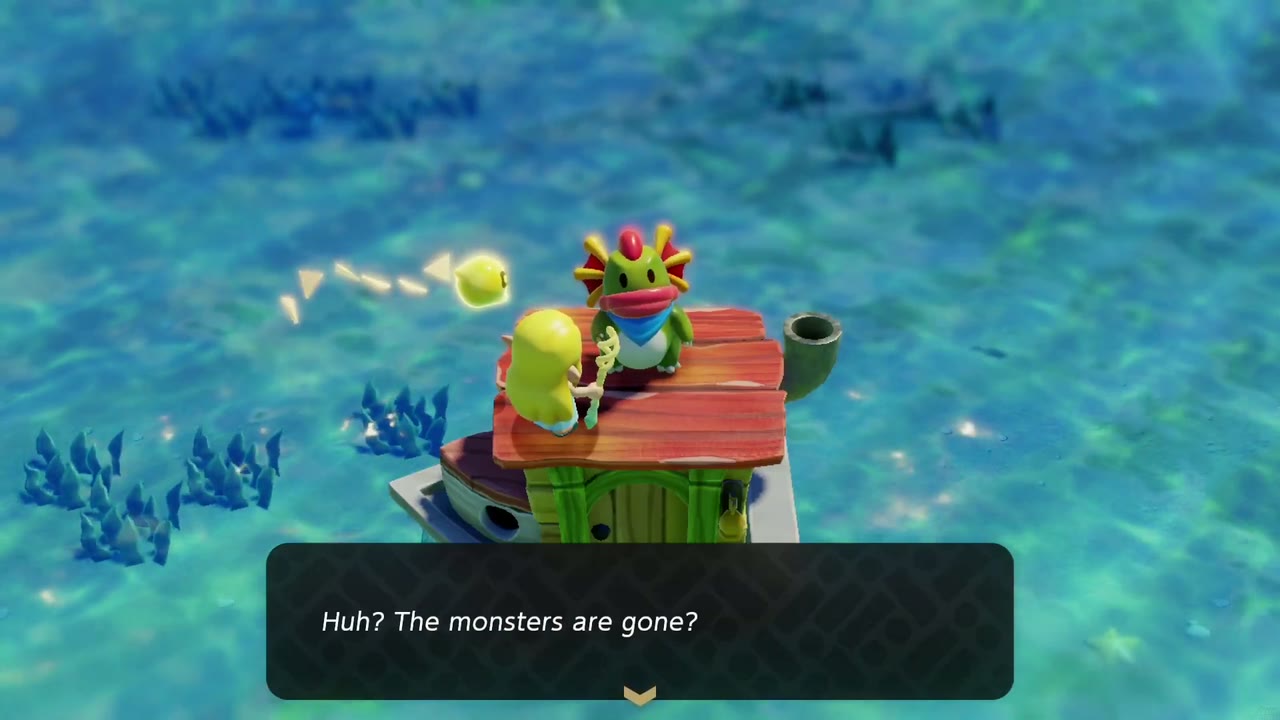
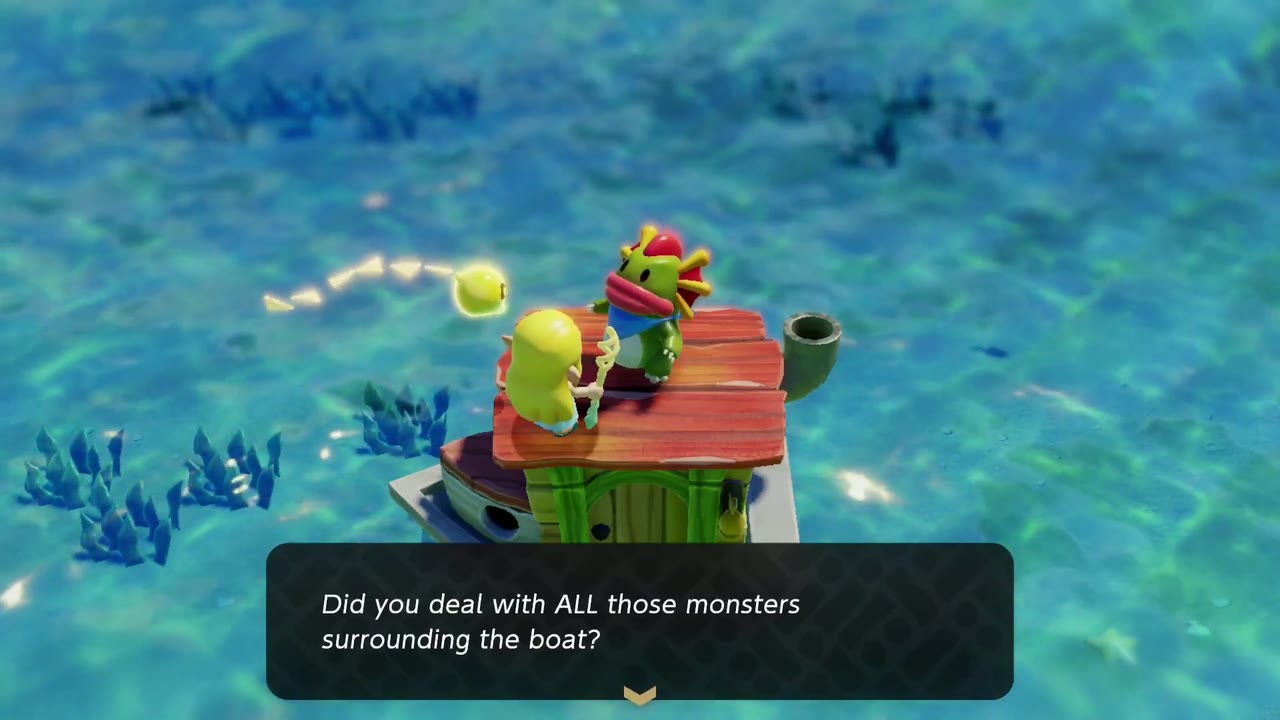
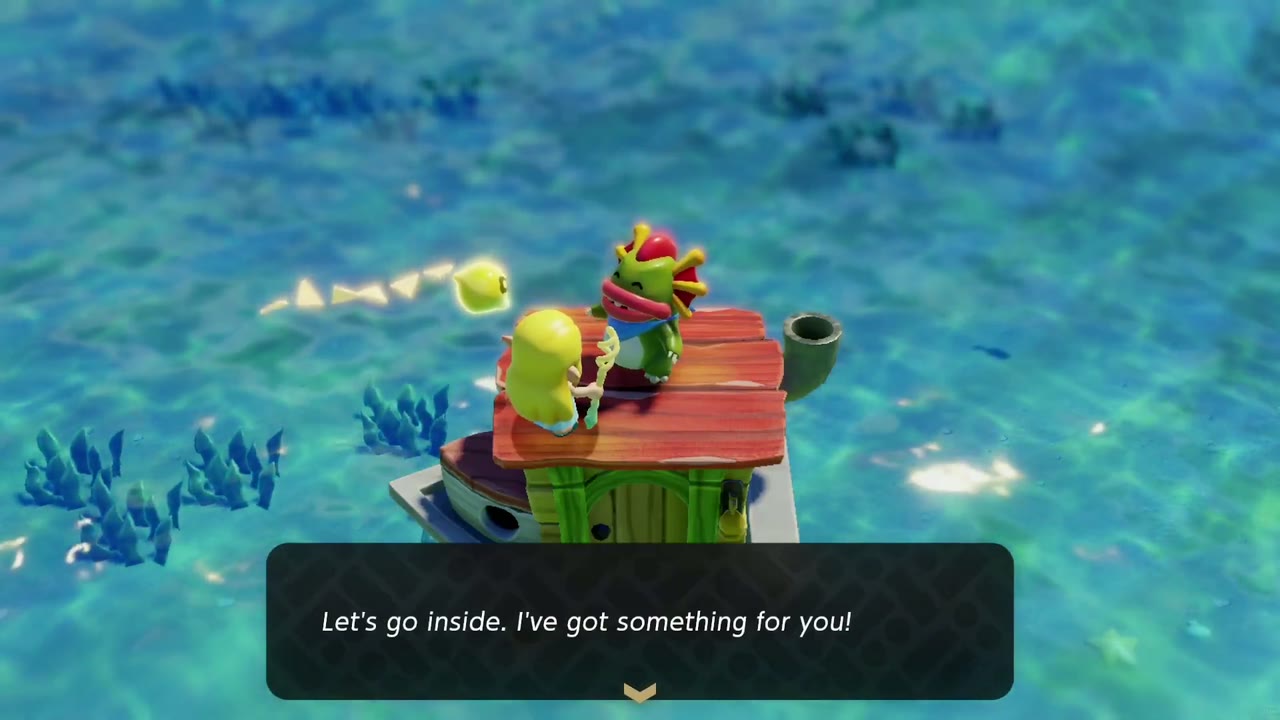
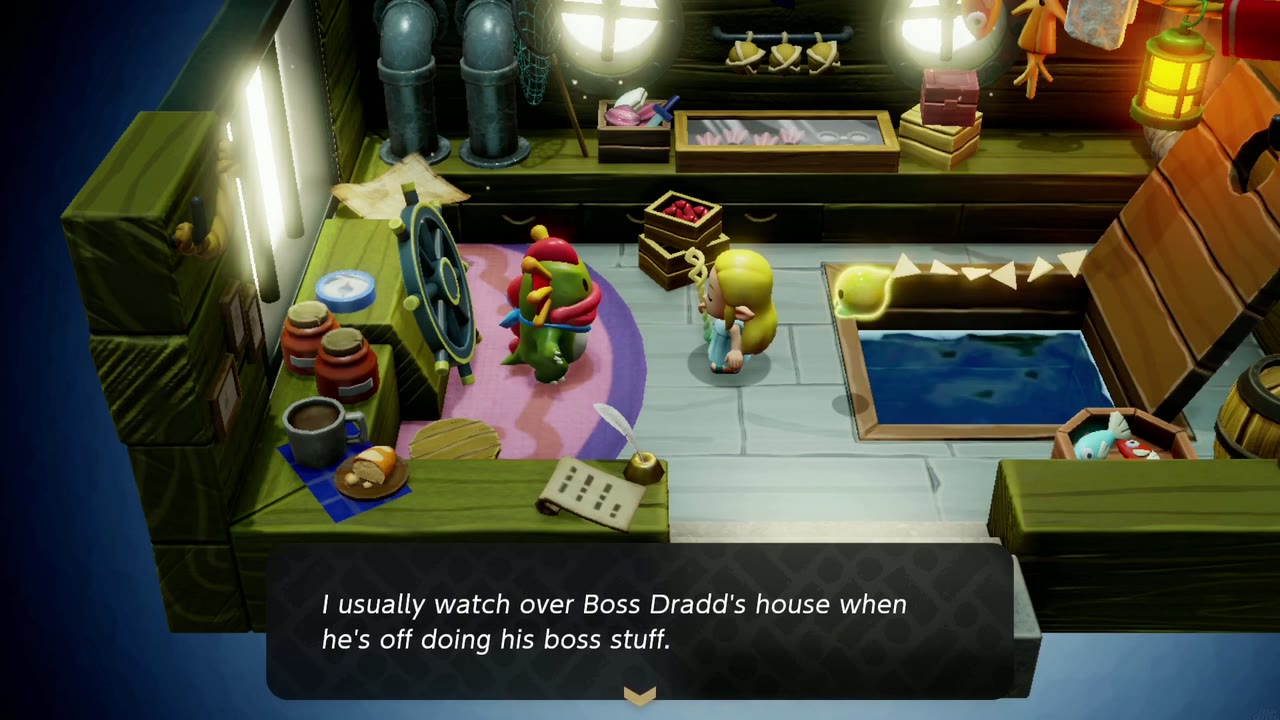
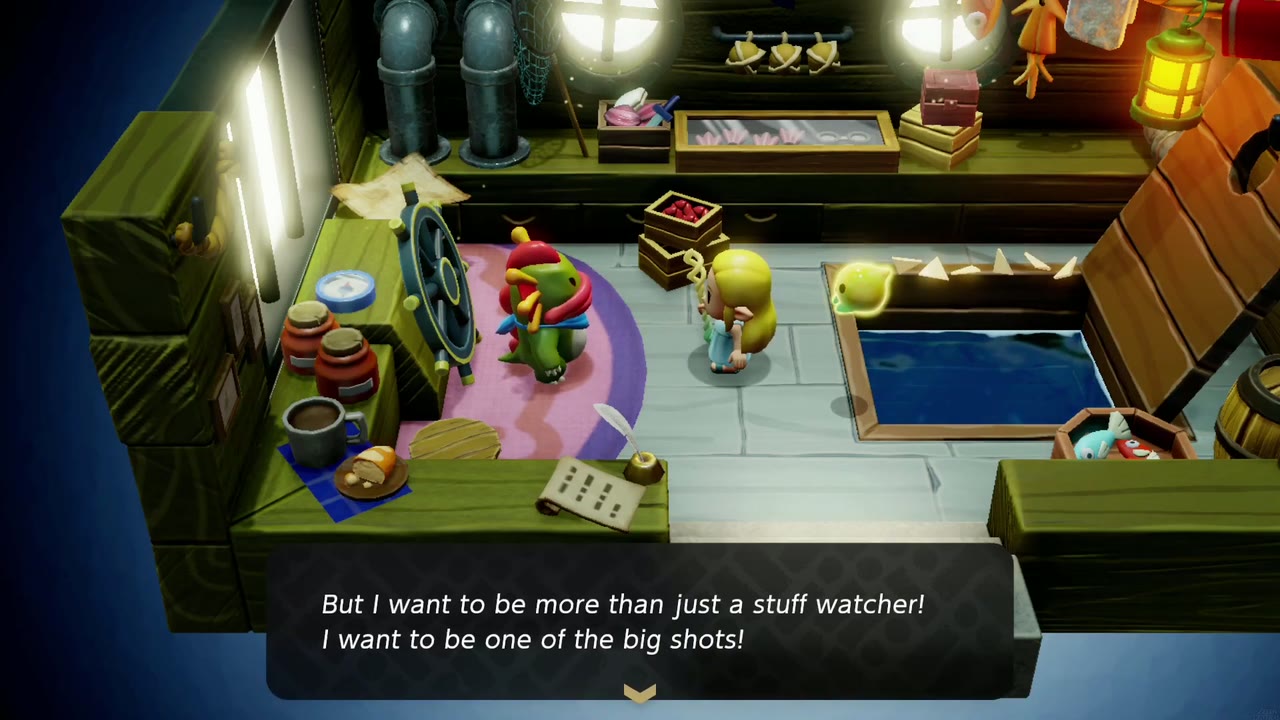
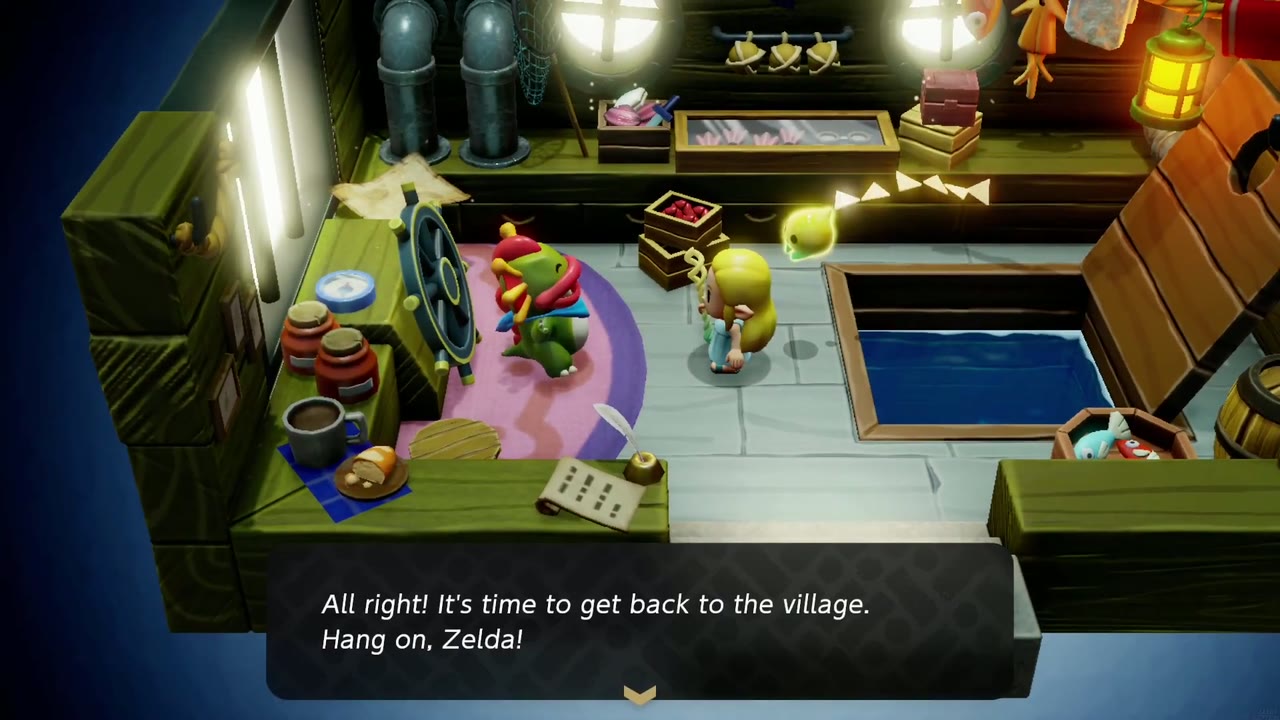
Once the last monster is gone, swim up to the boat. He pops up with “Huh? The monsters are gone?”, recognizes you (“Whoa! Zelda!”), asks whether you dealt with all those monsters surrounding the boat, and thanks you for saving him. “Let’s go inside. I’ve got something for you!” The scene moves into the cabin, a cosy room with a ship’s wheel, crates and a square well of water in the floor.
Step 3: Hear his story
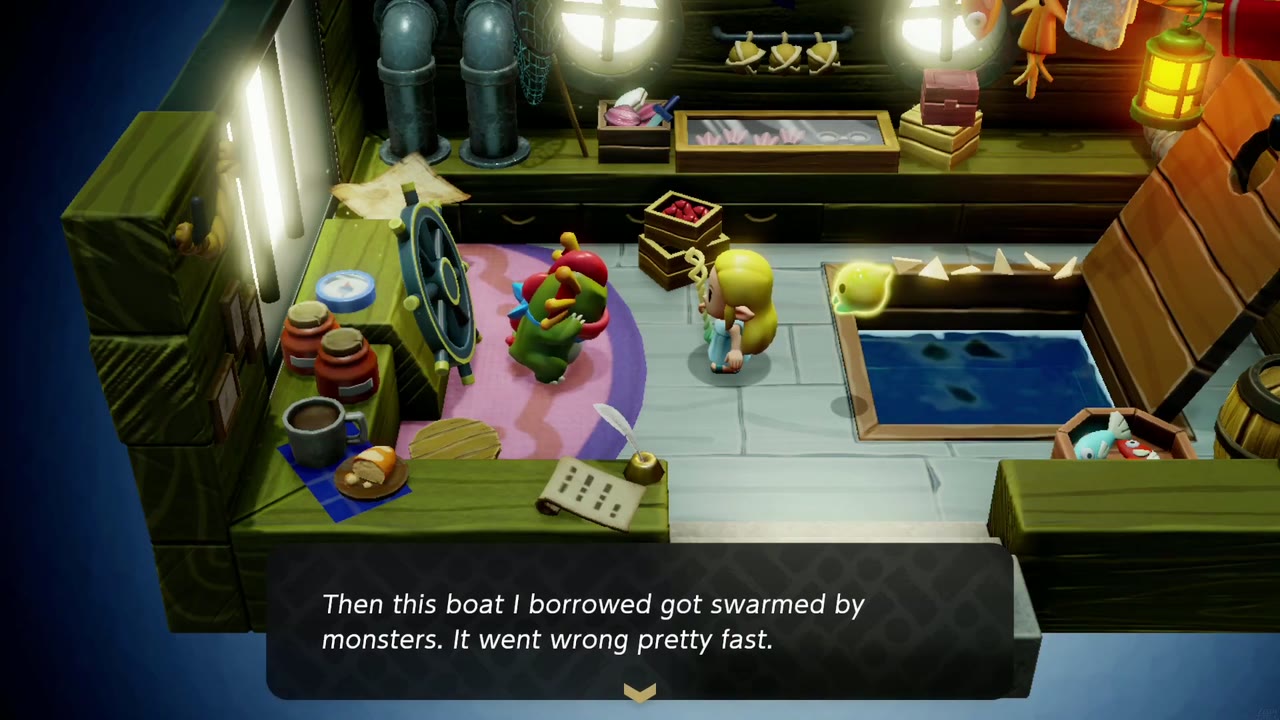
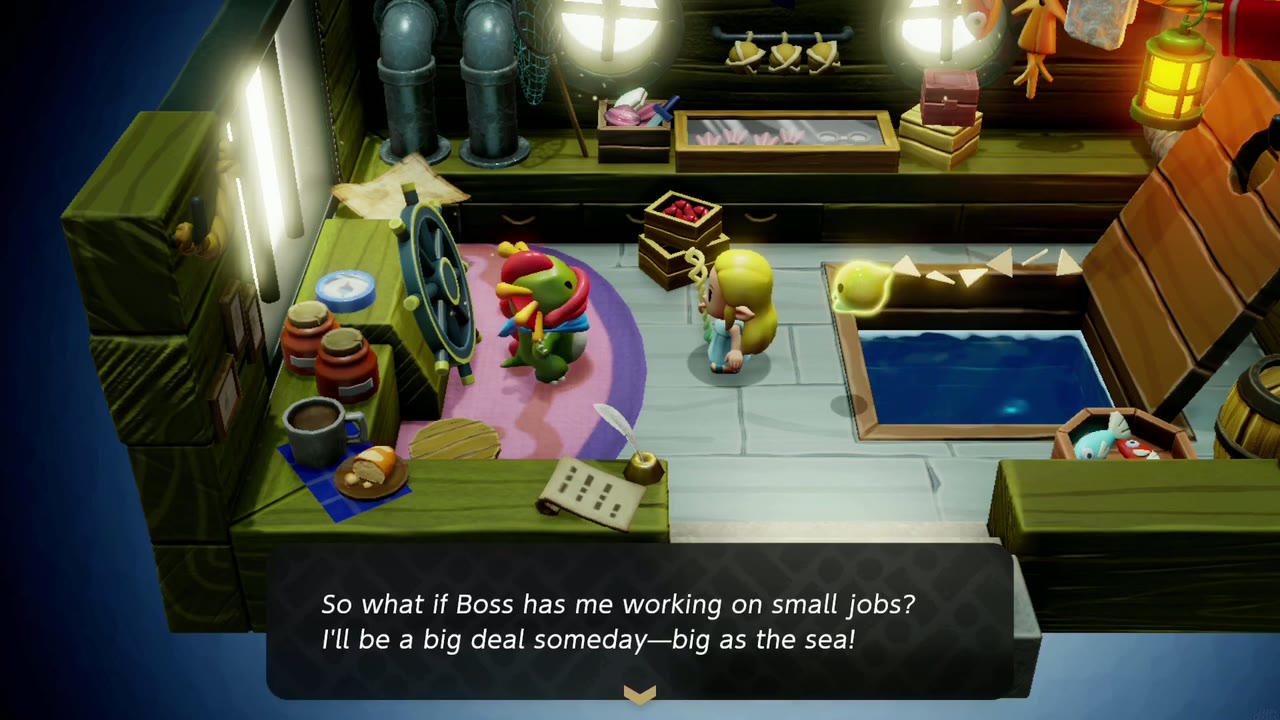
He explains that he usually watches over Boss Dradd’s house when the chief is off doing his boss stuff, and that’s all he does, even during the mess with Lord Jabu-Jabu. “But I want to be more than just a stuff watcher! I want to be one of the big shots!” You can’t be a big shot if you don’t take big risks, so he went out to sea, and the boat he borrowed got swarmed by monsters. Still, he’s glad he got out on the big sea, and he’ll be a big deal someday, “big as the sea!”
Reward
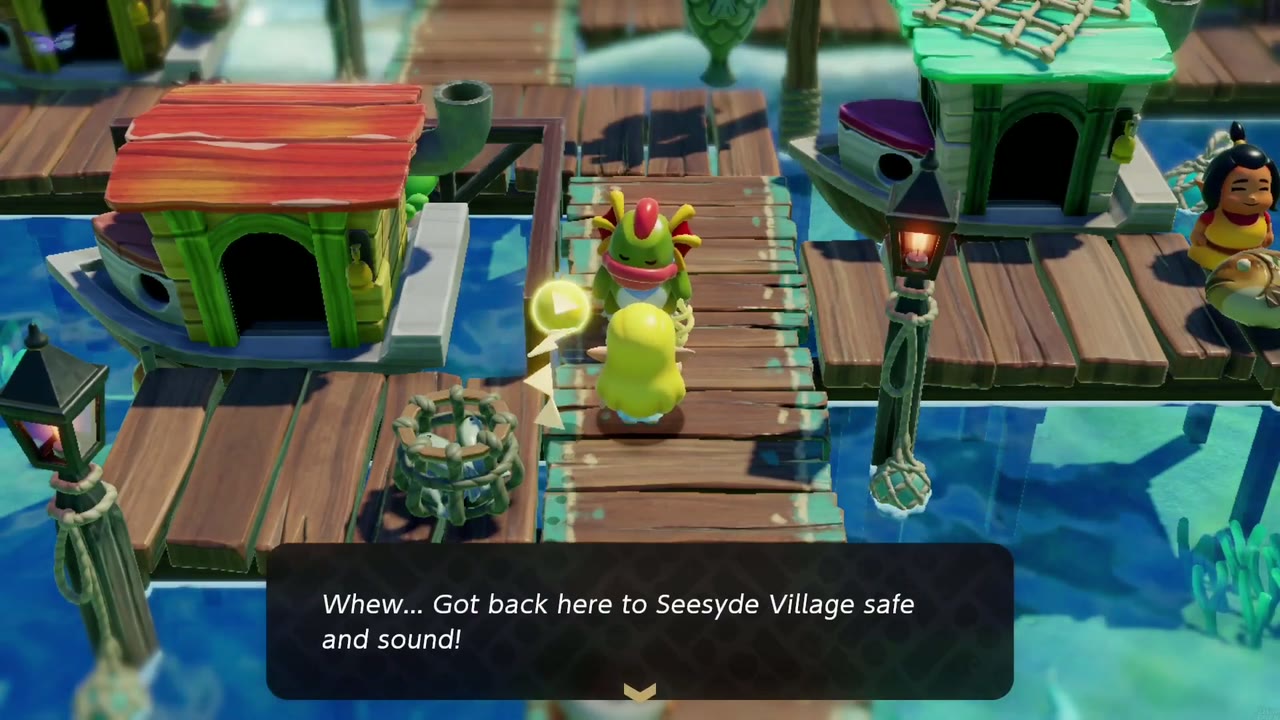
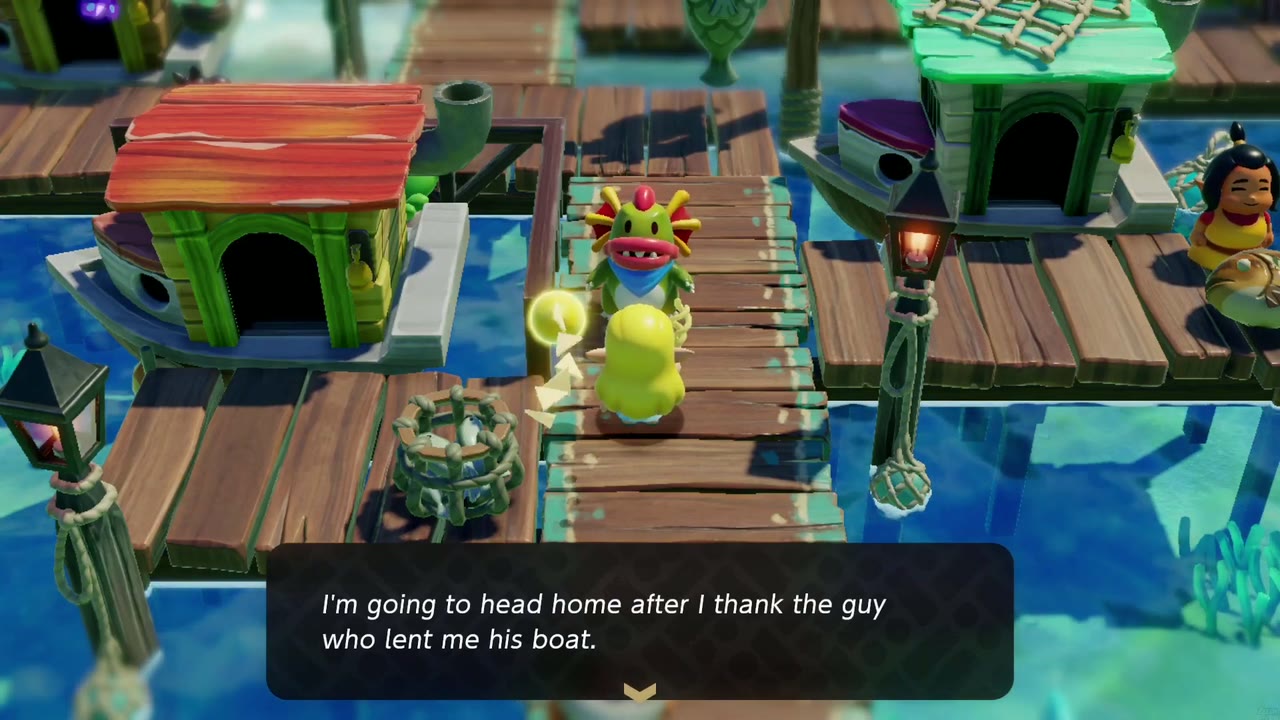
“Oh, forgot to thank you! Here, take this!” “You got 10 riverhorses!” Then he takes the wheel (“It’s time to get back to the village. Hang on, Zelda!”), wonders where the boat manual is, and brings you both to the Seesyde Village dock: “Whew… Got back here to Seesyde Village safe and sound!” He’ll head home after thanking the guy who lent him the boat. Say goodbye (“See you around!”) and the Side Quest Complete banner appears. Riverhorses can’t be used as they are; blend them at a smoothie stand, two make a Rapid Smoothie for Swim Speed Up (see Smoothies).
Tips
- Stay in the water next to the dock when the quest ends: a treasure chest sits in the shallows beside the dock’s pilings, and that’s the chest the collector wants in Precious Treasure.
- The nearest smoothie stand for your Riverhorses is the Zora Cove Smoothie Shop, opened by Out of Bubble Kelp.
- The Chompfin echo is learned in the open sea off Seesyde Village near the wrecked ship; see the echo list.
