
























| Region | Hyrule Field (Eastern Hyrule Field) |
|---|---|
| Location | The doorway of the Eastern Temple, a stone ruin lined with carved beast heads in Eastern Hyrule Field |
| Quest giver |  Sago (an archaeologist) |
| Available | Late game; it fits best after clearing the Faron Temple, just before the Eternal Forest |
| You’ll need | A strong fighting echo (Darknut Lv. 3 works well) and Bind; the Spark echo is learned inside |
| Reward | 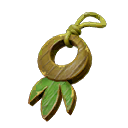 Ancient charm (accessory that reduces the damage you take) + a Piece of Heart in Smog’s room |
A nervous archaeologist won’t enter the Eastern Temple because a creepy voice inside keeps asking to play a game. Clear the temple’s short run of Spark switch rooms, then beat the voice’s owner, the cloud monster Smog, at hide-and-seek. This compact mini-dungeon pays out a Piece of Heart and a damage-reducing accessory, and it sets up Smog’s rematch in Cotton-Candy Hunt.
Table of Contents
How to Start
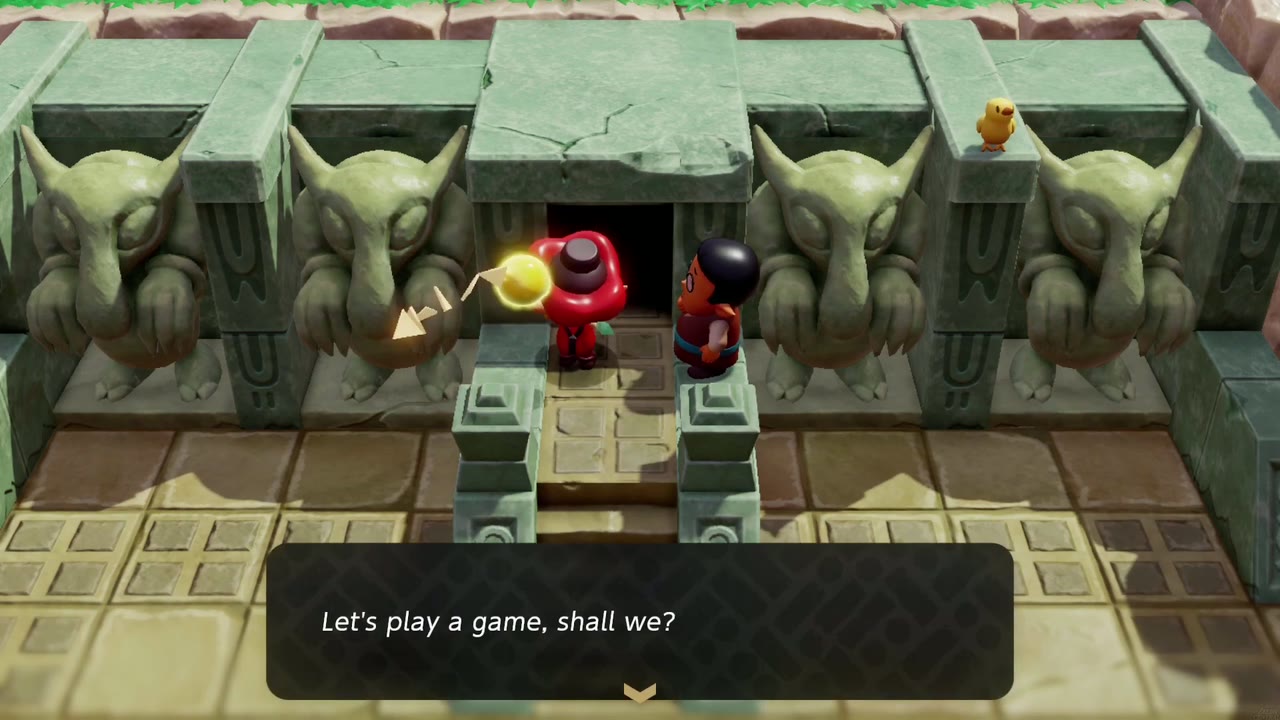
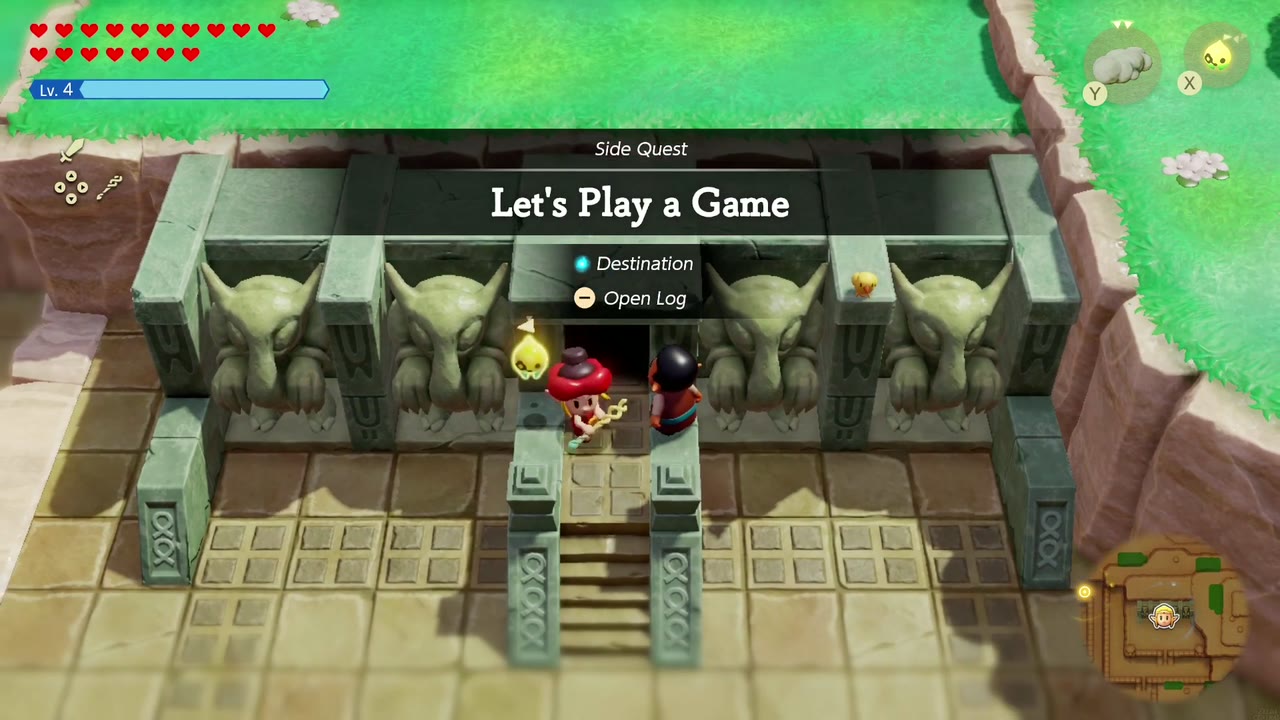
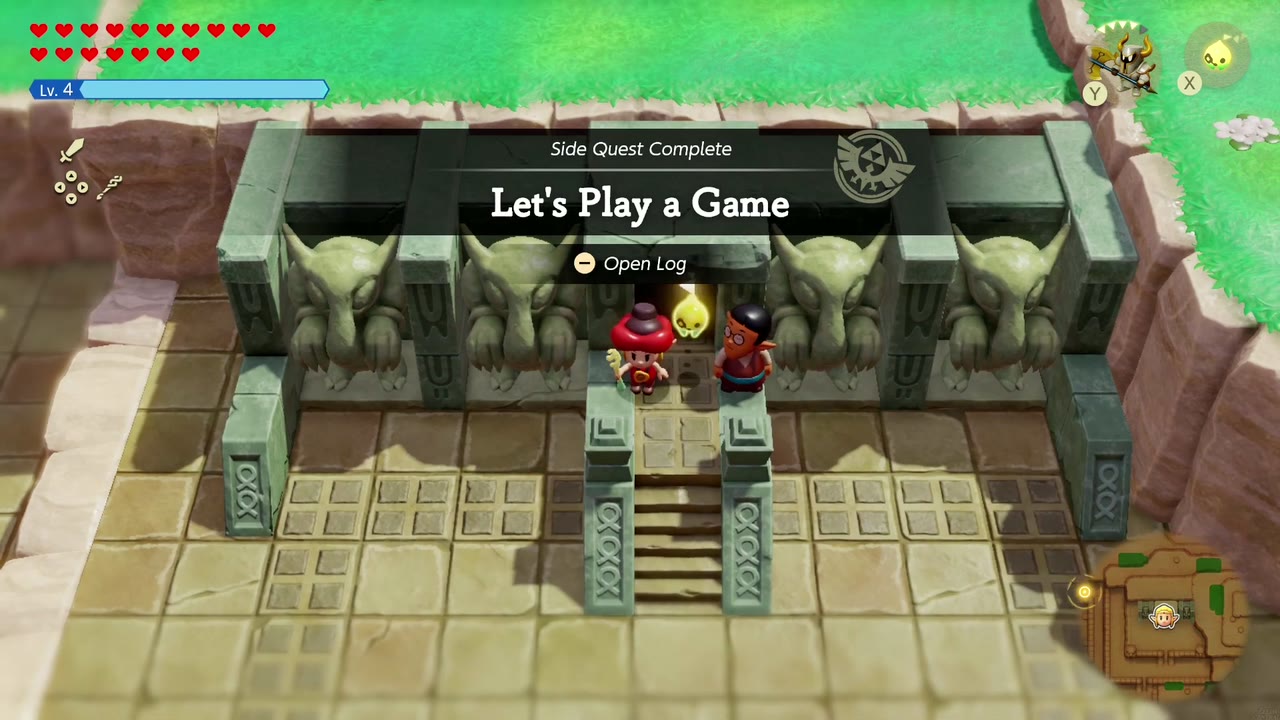
Go to the Eastern Temple’s doorway in Eastern Hyrule Field, where Sago mutters “I know it’s in there!” Talk to him (“The name’s Sago, I’m an archaeologist”). The other day he heard a creepy voice inside, and it chimes in on cue: “Let’s play a game, shall we?” Sago opts out (“that’s the voice of a monster!”), since he won’t study the temple while there are monsters about. The Let’s Play a Game banner appears; head down the steps behind him.

Walkthrough

Step 1: Learn the Spark echo
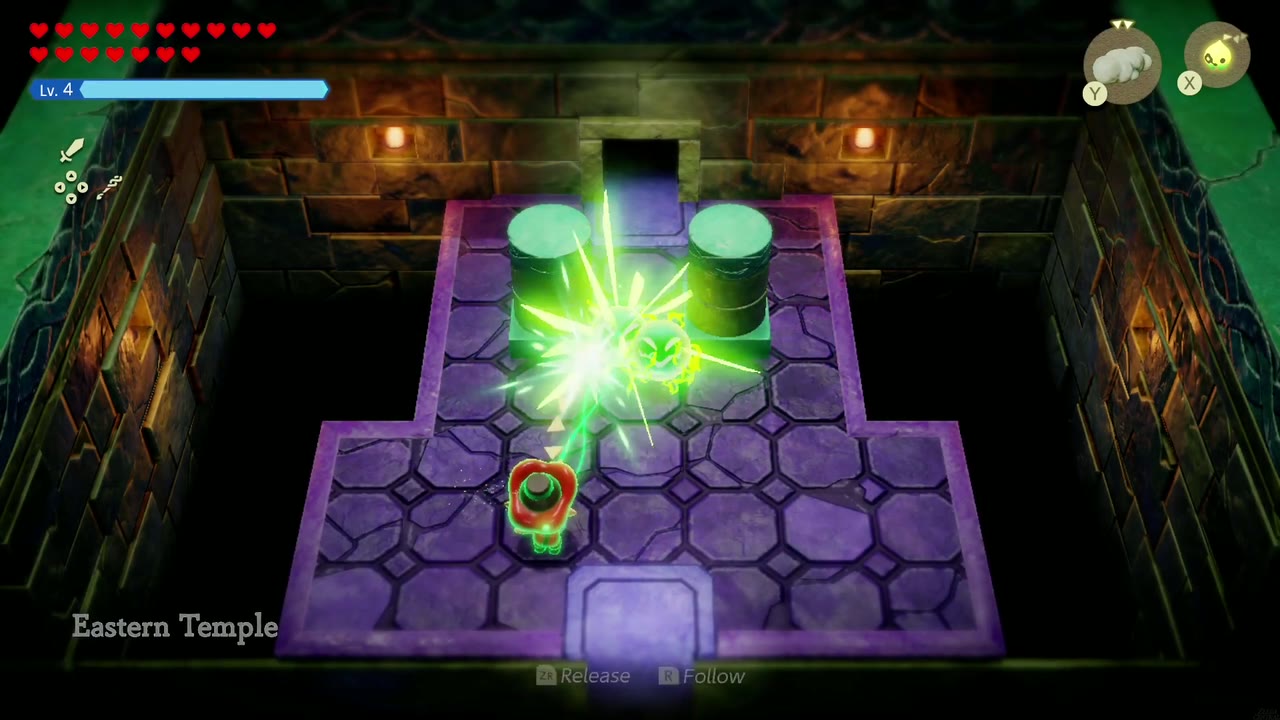
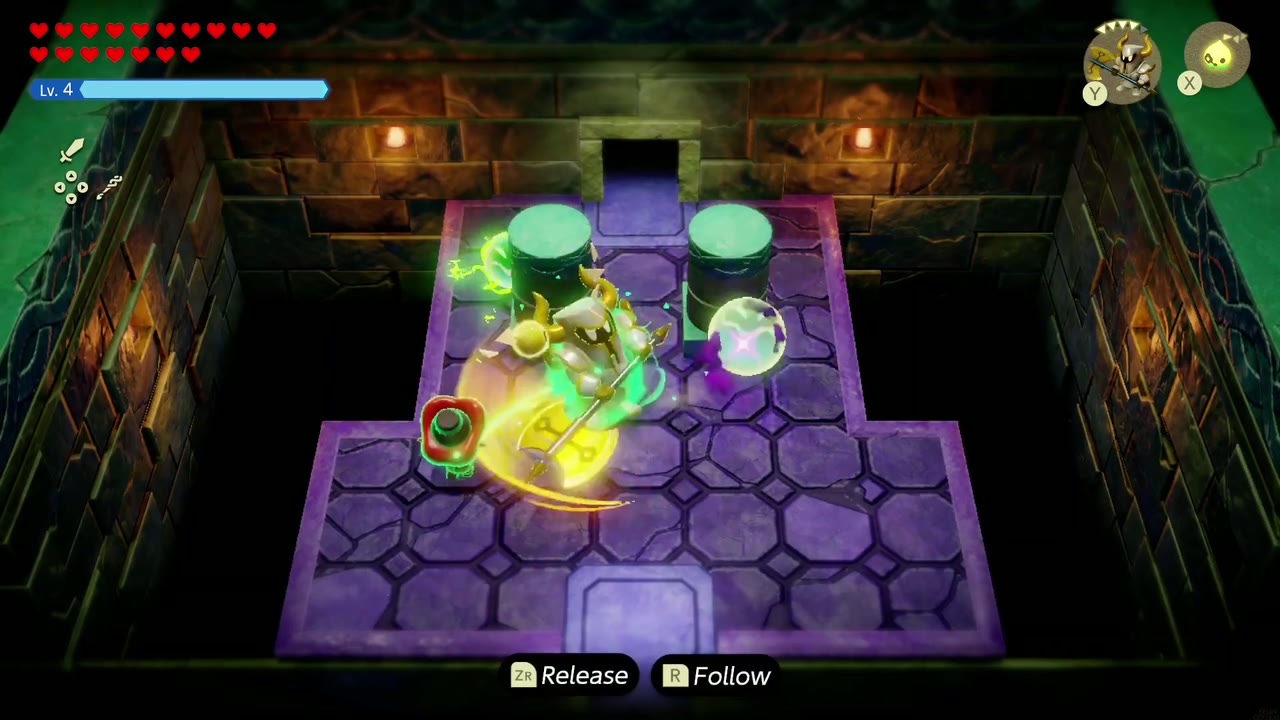
The title card reads Eastern Temple. A Spark, a ball of electricity, circles the two green pillars in the first room. Defeat it with a fighting echo for “You learned the Spark echo!” Sparks crawl along walls and blocks, and the doors here open when a Spark’s charge touches a yellow switch block.
Step 2: Power the first switch
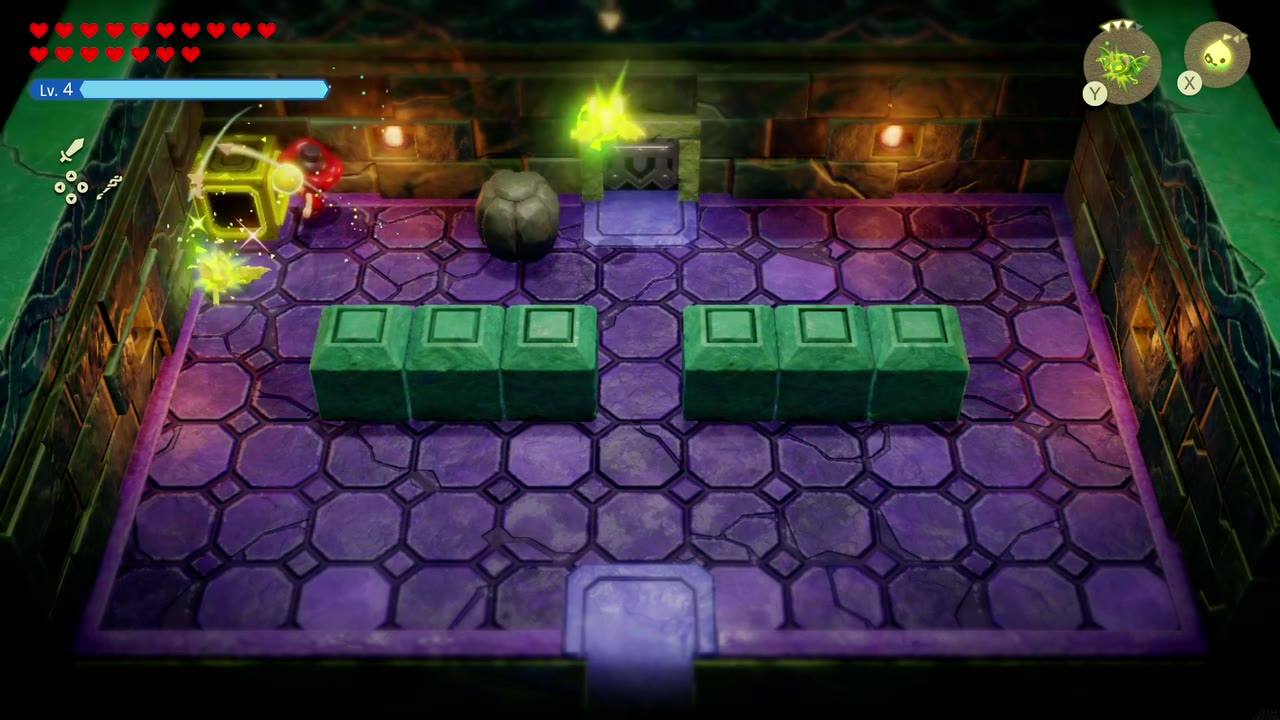
The next room is split by two rows of green blocks, with a dark boulder near the top and a yellow switch block on the left wall. Summon a Spark beside the switch block (or let one crawl along the blocks into it). Once the charge reaches it, the sealed door in the top wall opens.

Step 3: Clear the Spark room
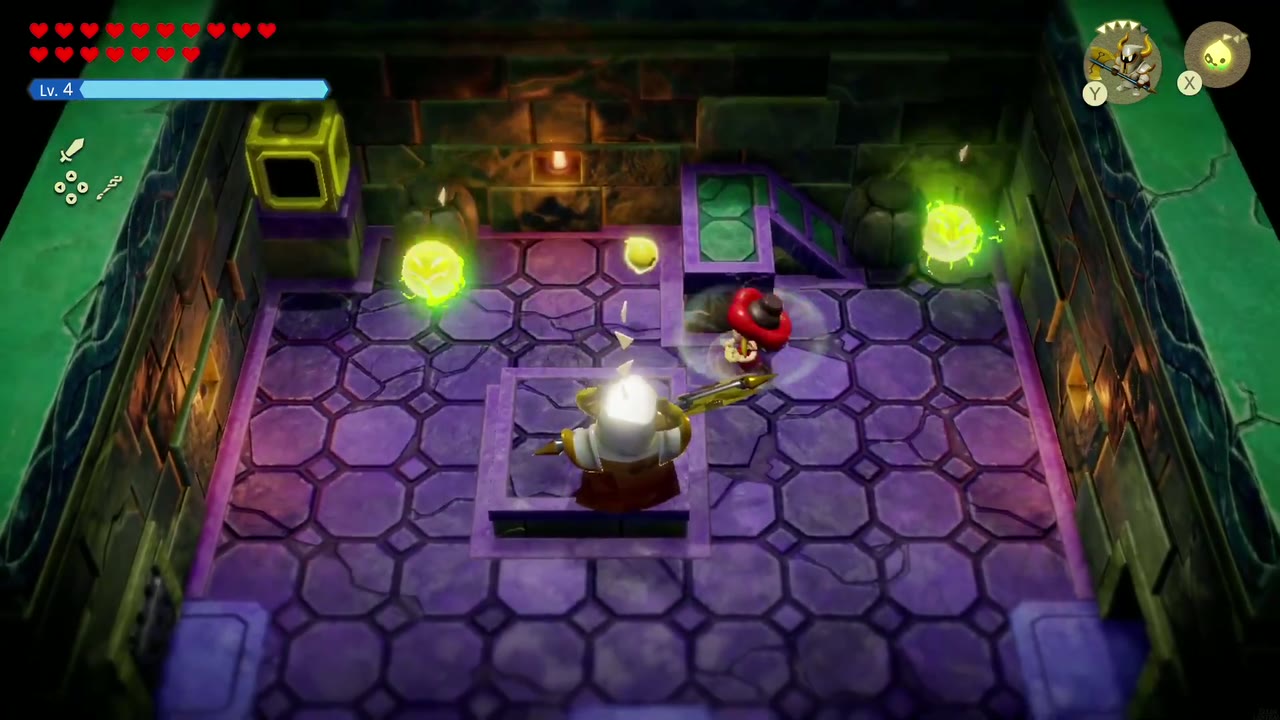
The third room has several wild Sparks around a square of raised floor and another switch block in the top-left corner behind a boulder. Let your echo fight the Sparks while you stay clear, then get a Spark onto the switch.

Step 4: The barred room
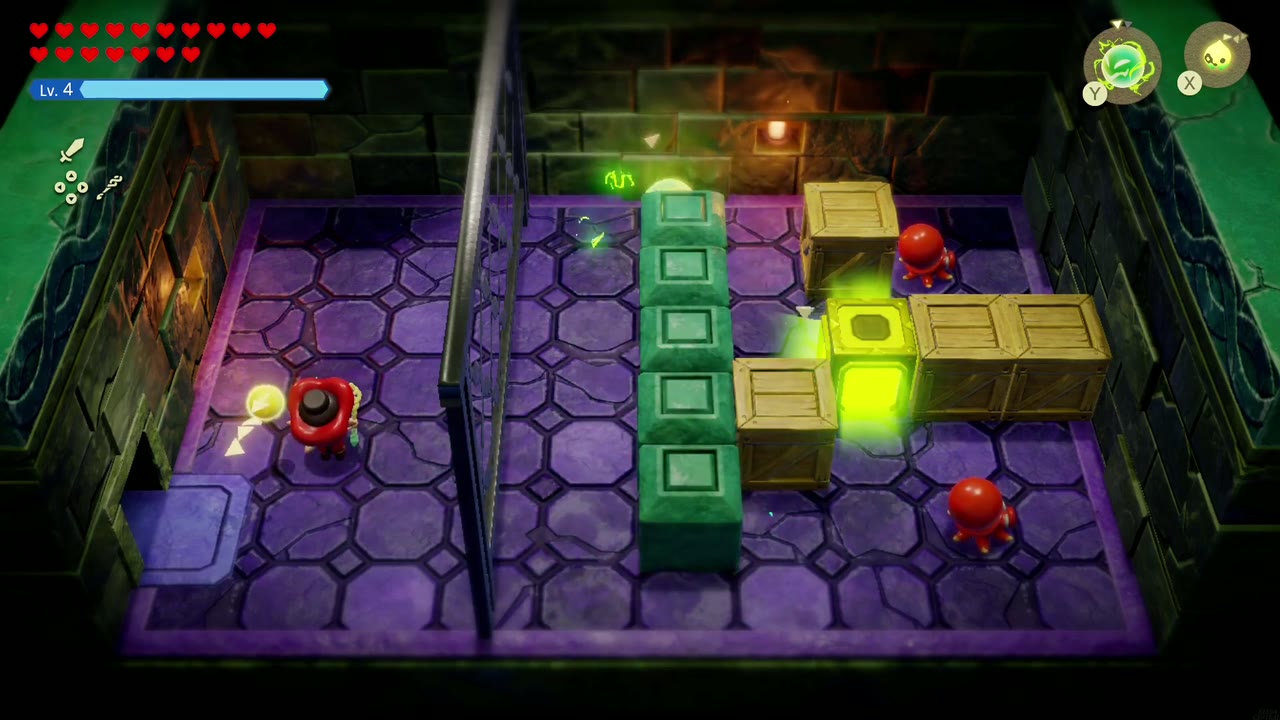
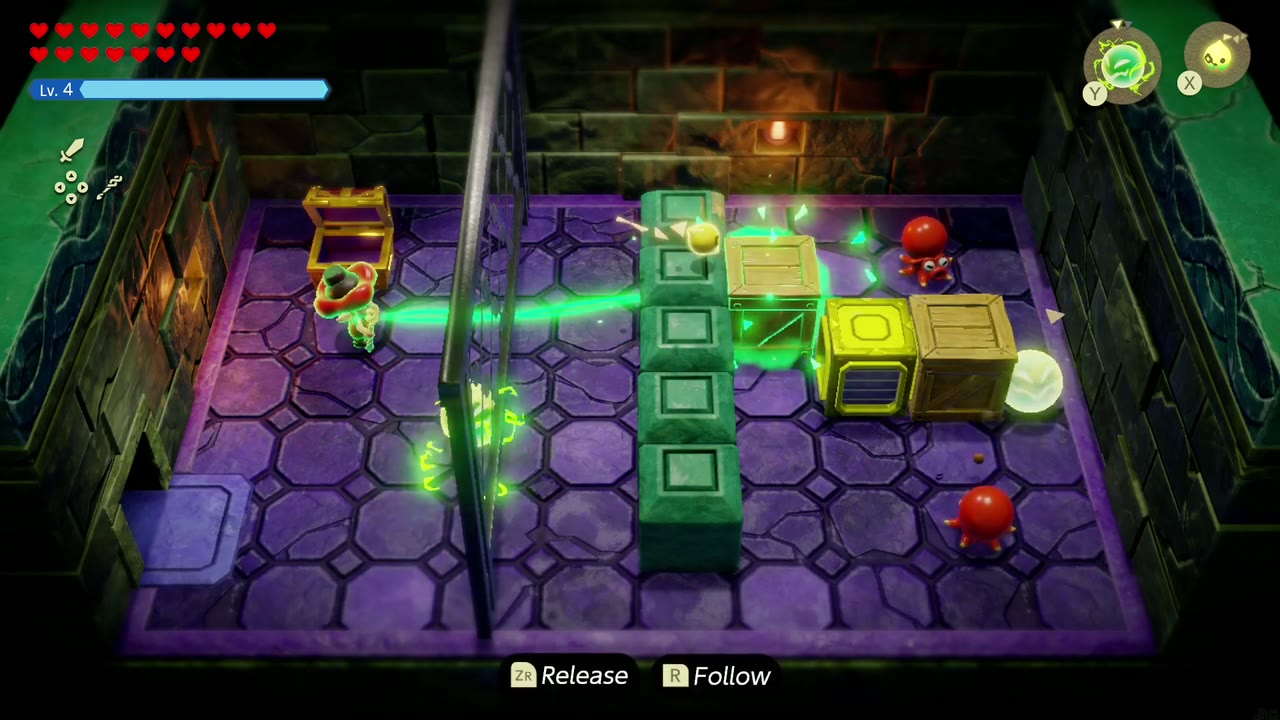
A bar fence splits the next room. Your side has a chest with 50 rupees; the far side has wooden crates, small red enemies and a yellow switch block boxed in by crates and a column of green blocks. Send a Spark through so its charge reaches that switch.

Step 5: Rock salt and the flooded passage
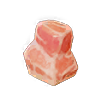
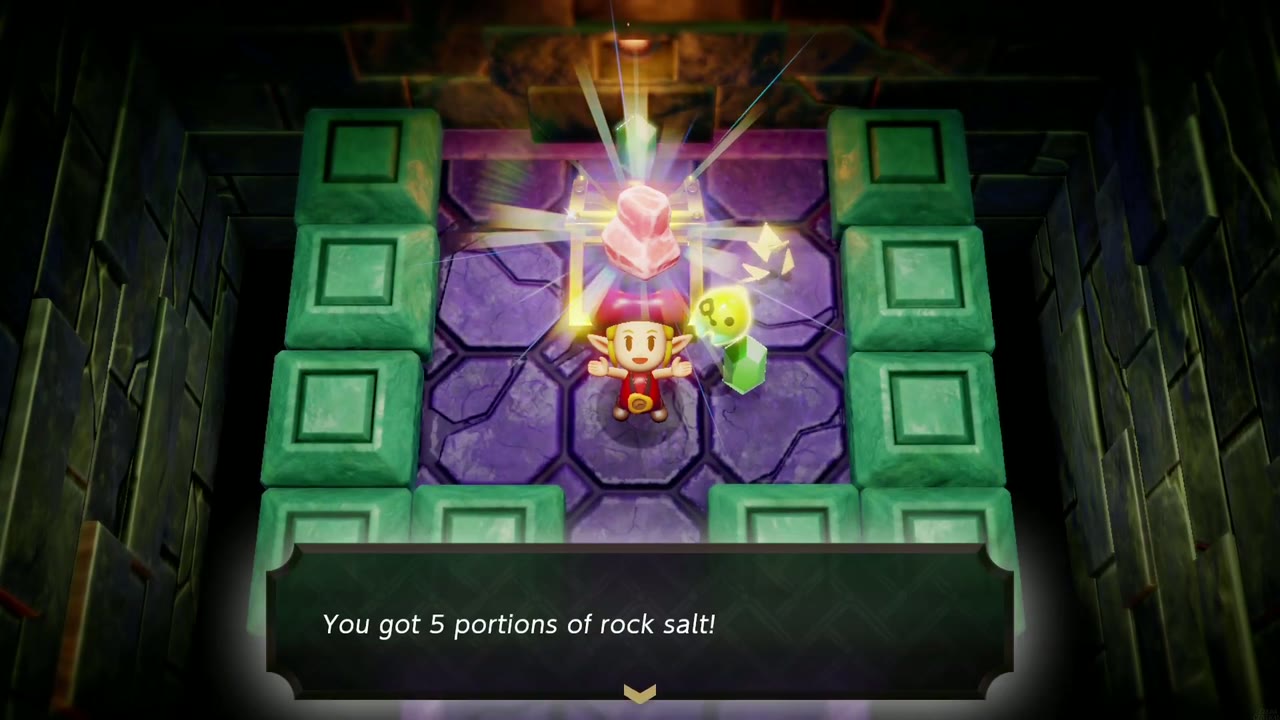
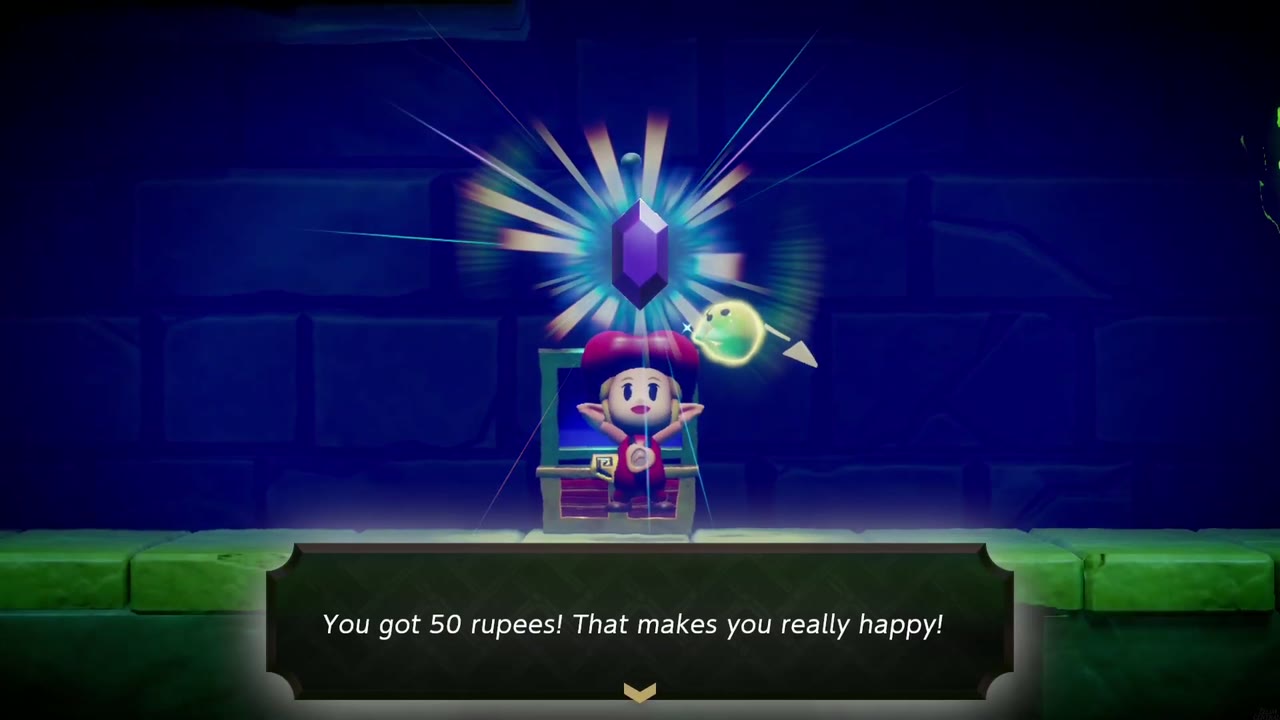
Next comes a chest walled in by green blocks, holding 5 portions of rock salt. A ladder takes you down into a side-view passage that floods partway along, with Sparks circling the stone blocks underwater; swim past them to the chest on the bottom (another 50 rupees). Climb the ladder on the far right and cross the room with the pots to reach Smog.

Step 6: Smog’s game
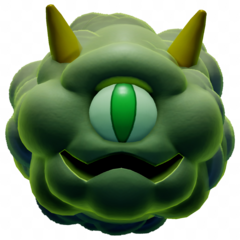
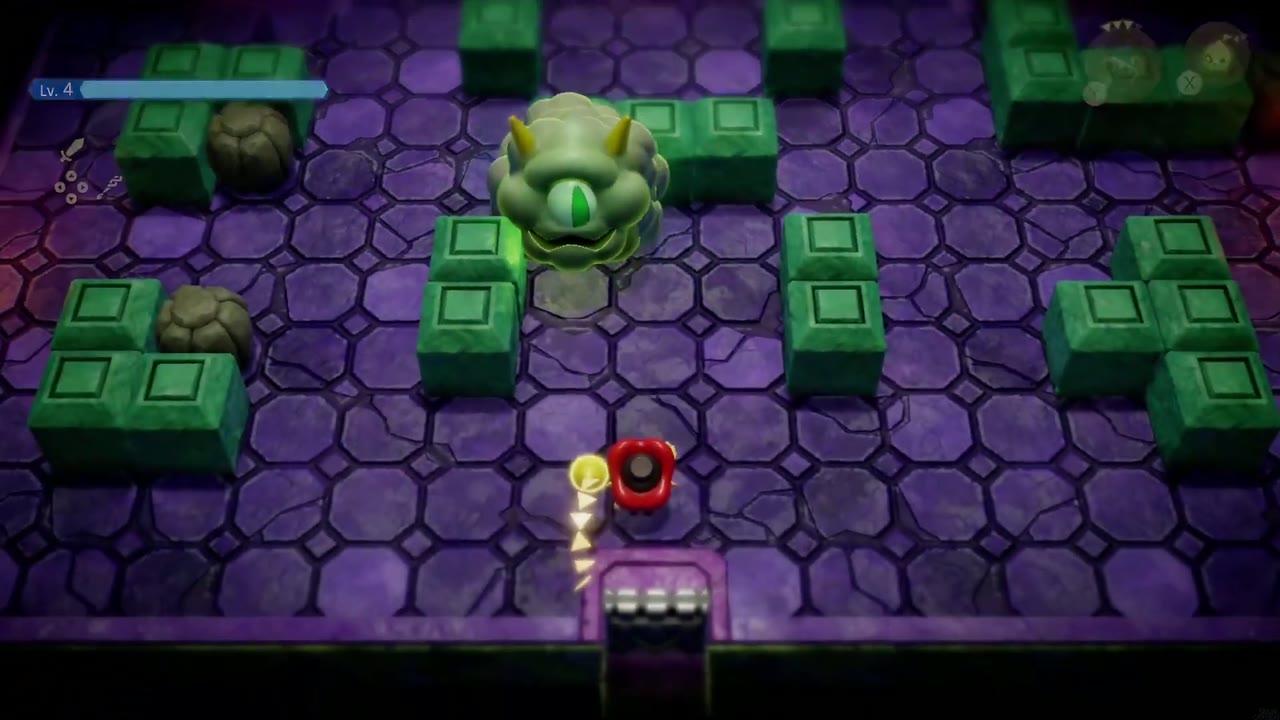
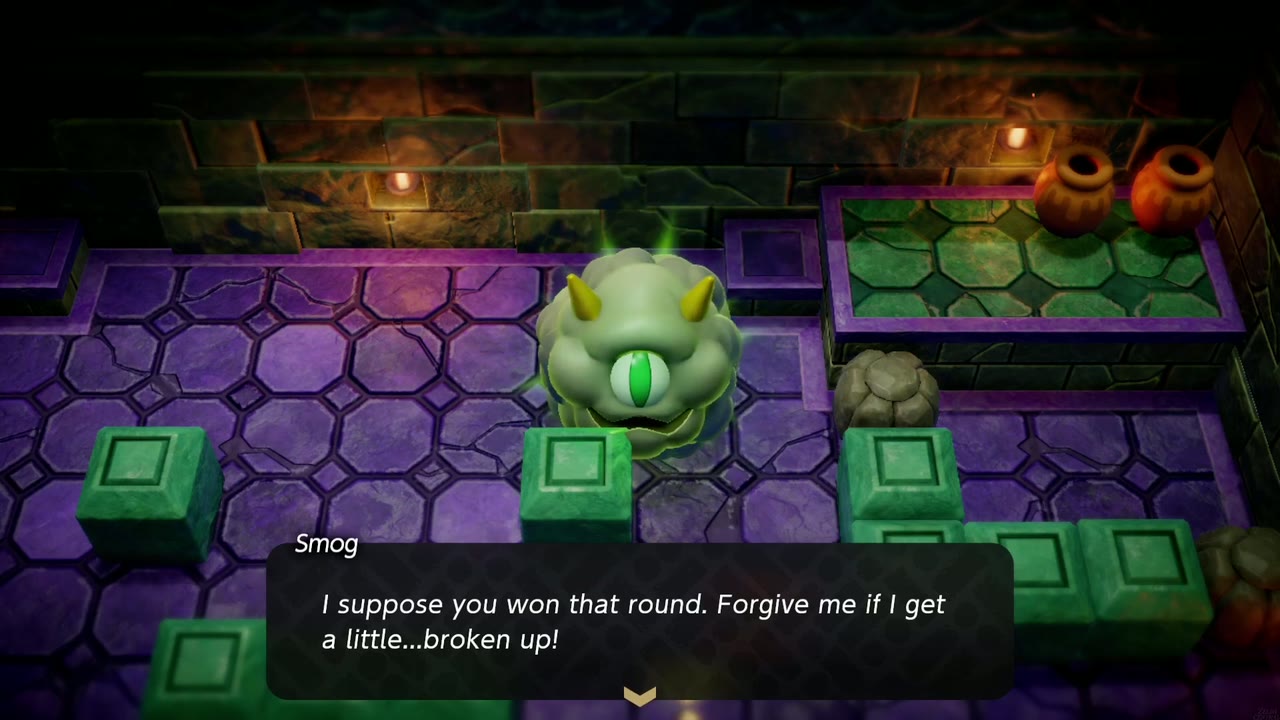
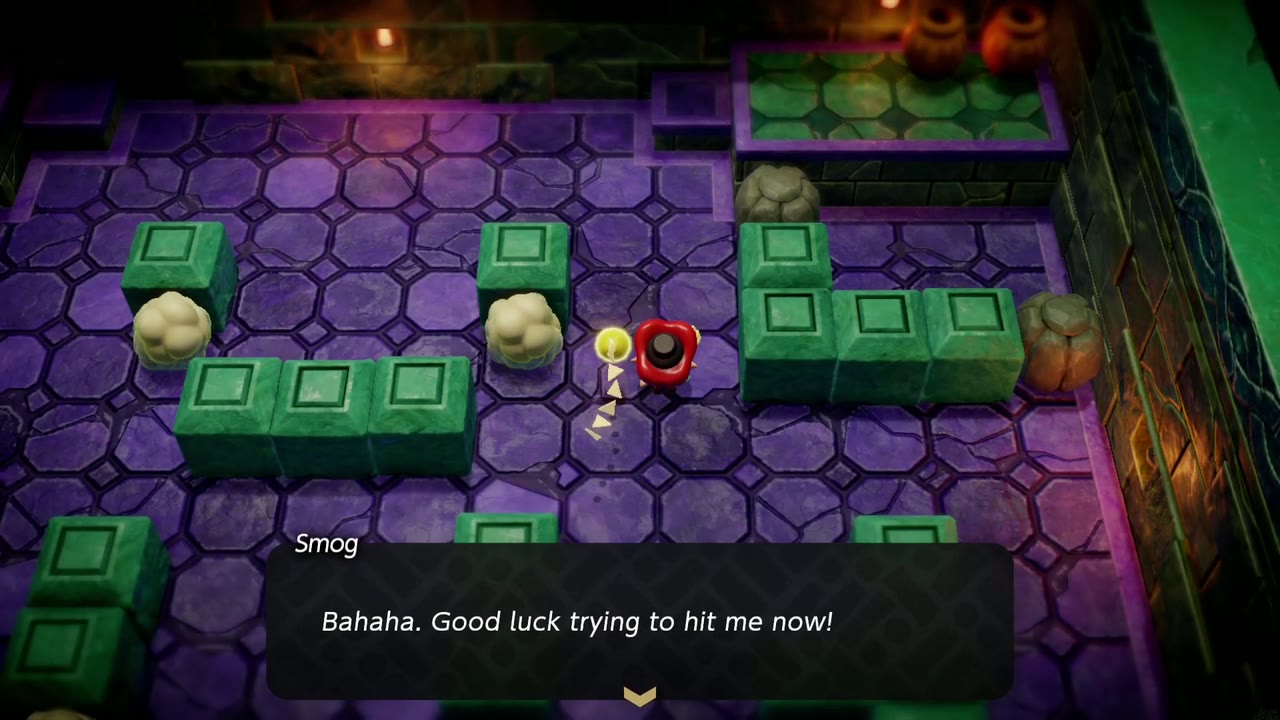
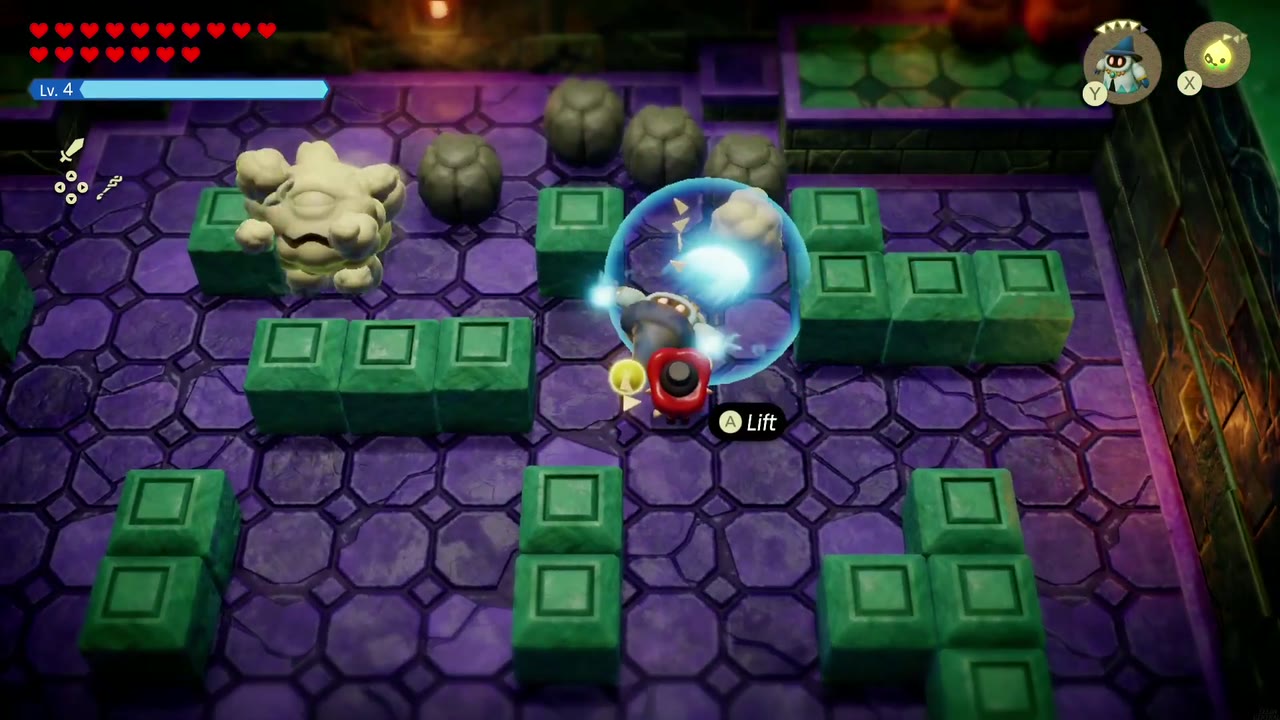
The last room is a maze of green blocks and boulders. Smog, a horned green one-eyed cloud, greets you: “At long last, a visitor! I was absolutely starved for company.” Then: “Let’s play a game, shall we? I’ll make the first move. Just try to keep up!” Hit him once and he gives in (“Forgive me if I get a little…broken up!”) and bursts into pieces: “Bahaha. Good luck trying to hit me now!”

Step 7: Find the hiding pieces
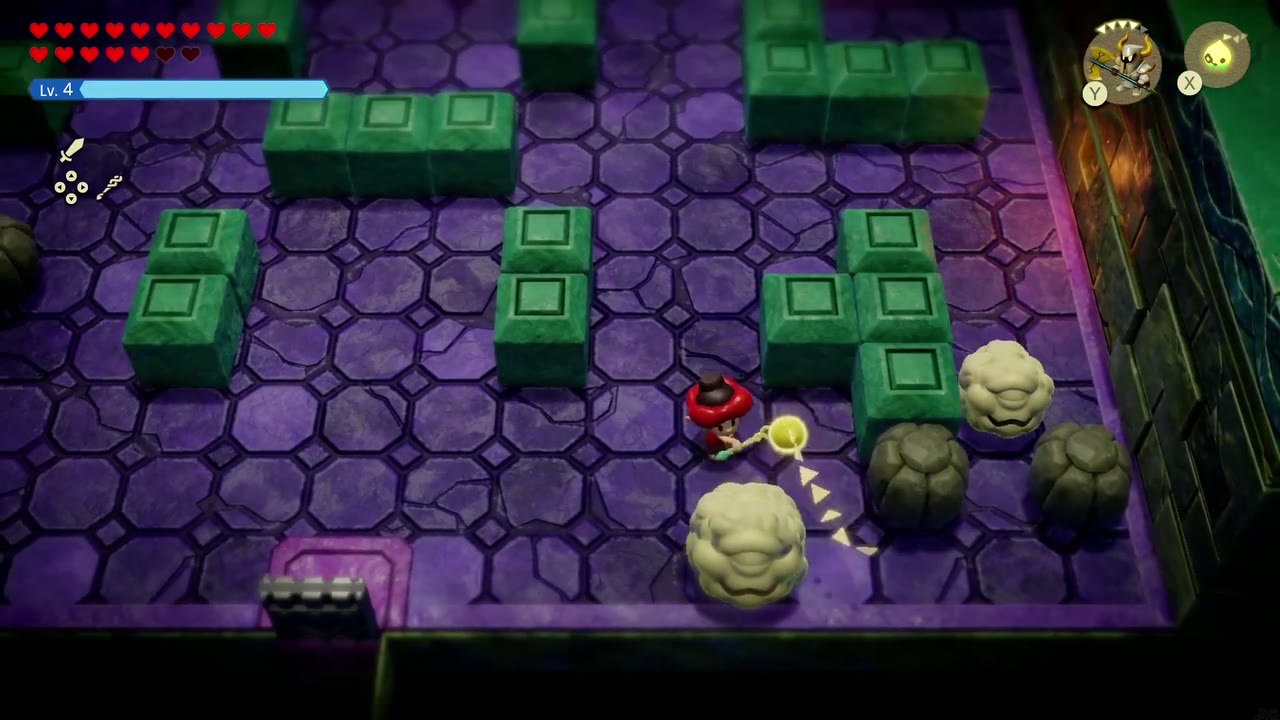
The pieces hide among the dark boulders as pale, puffy boulders with faces. Hunt them down one by one, using Bind to pull the dark rocks aside when a piece is tucked behind them. A fighting echo such as Darknut Lv. 3 can do the hitting while you lead it from piece to piece. Partway through, Smog may pull himself back together and drift around the maze; hit him again and he scatters once more. This is the longest part of the quest, so sweep every corner.

Step 8: Smog retreats
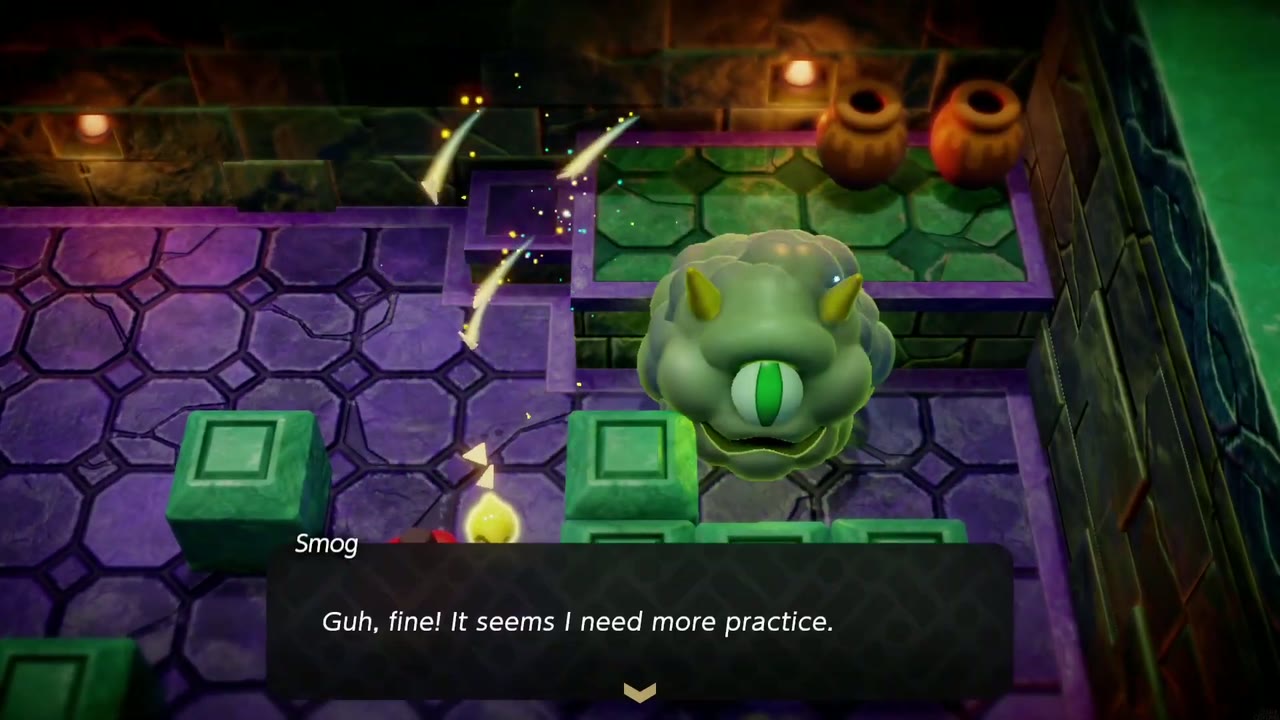
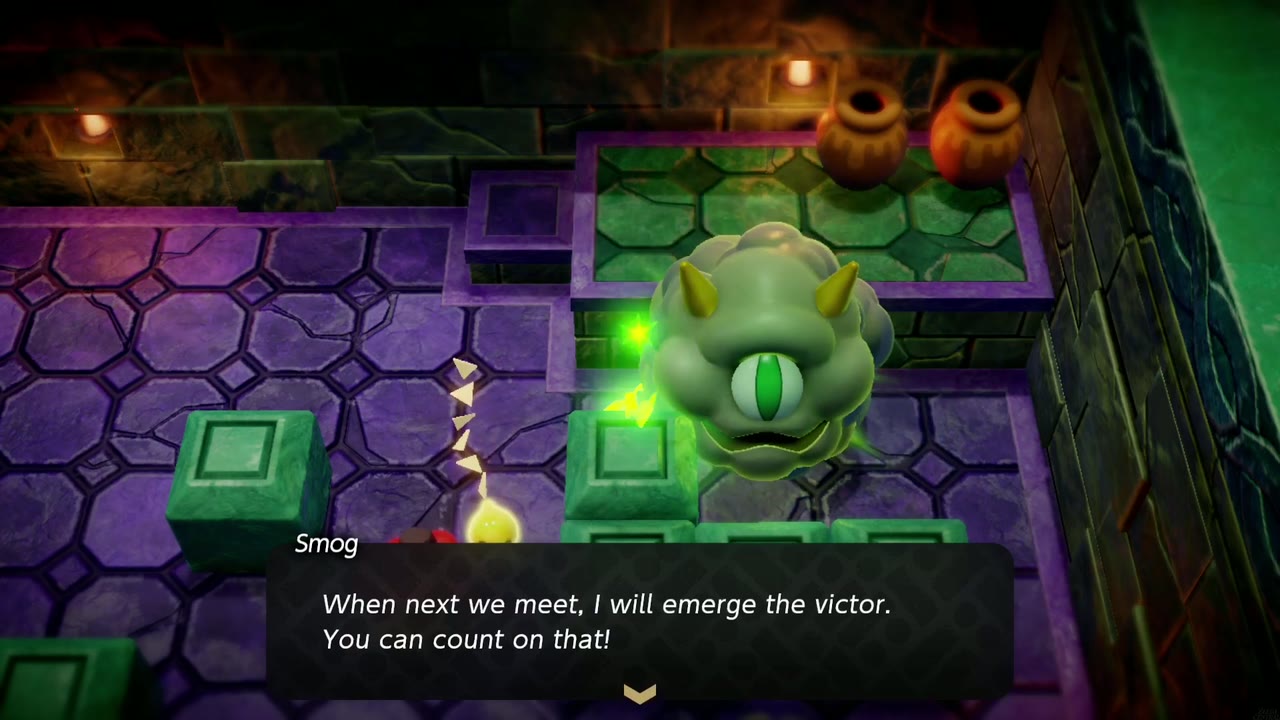
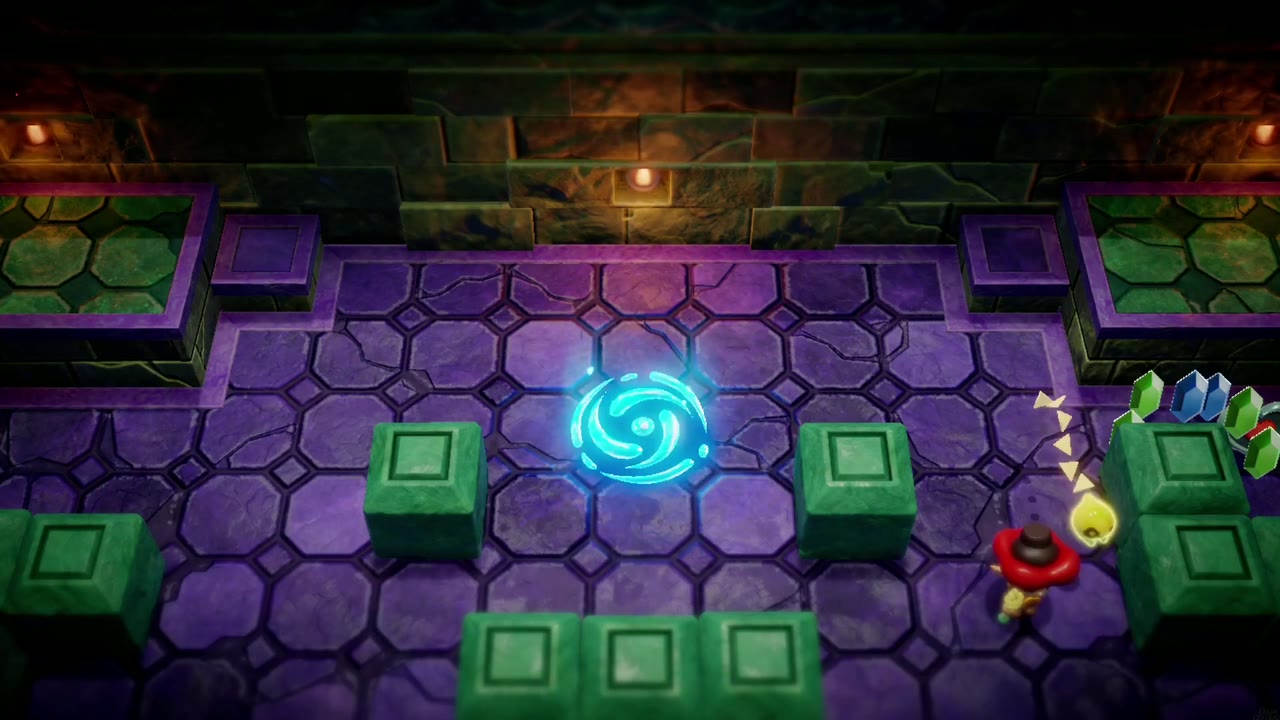
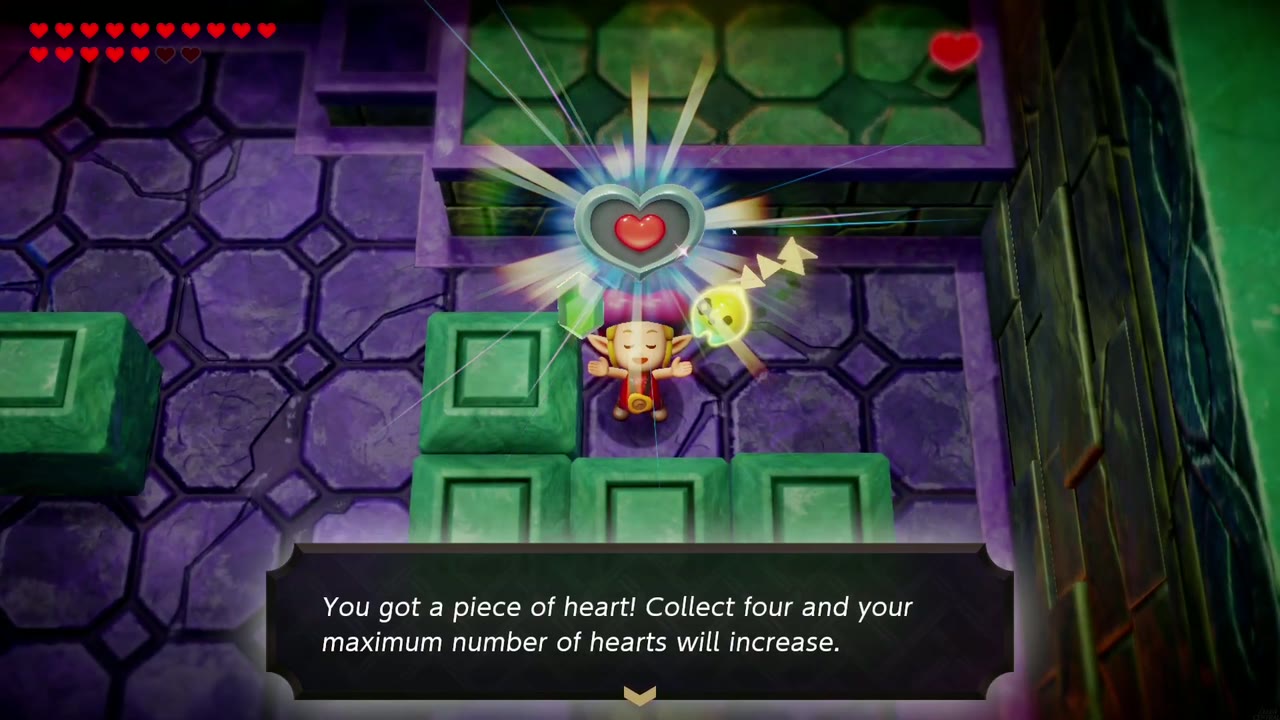
When the last piece is struck, Smog reforms: “Guh, fine! It seems I need more practice.” He leaves with a promise: “When next we meet, I will emerge the victor. You can count on that!” Rupees and hearts drop, the quest updates and a blue warp portal opens. Before you warp, pick up the Piece of Heart near the portal.
Reward
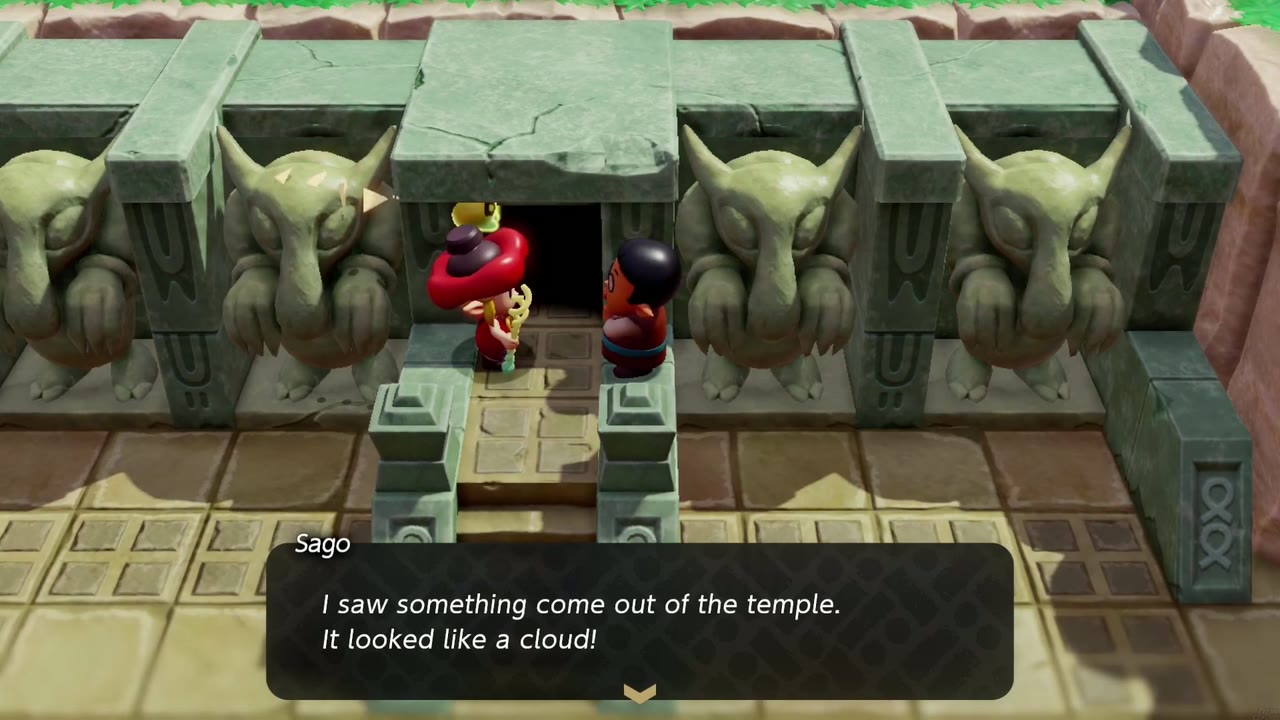
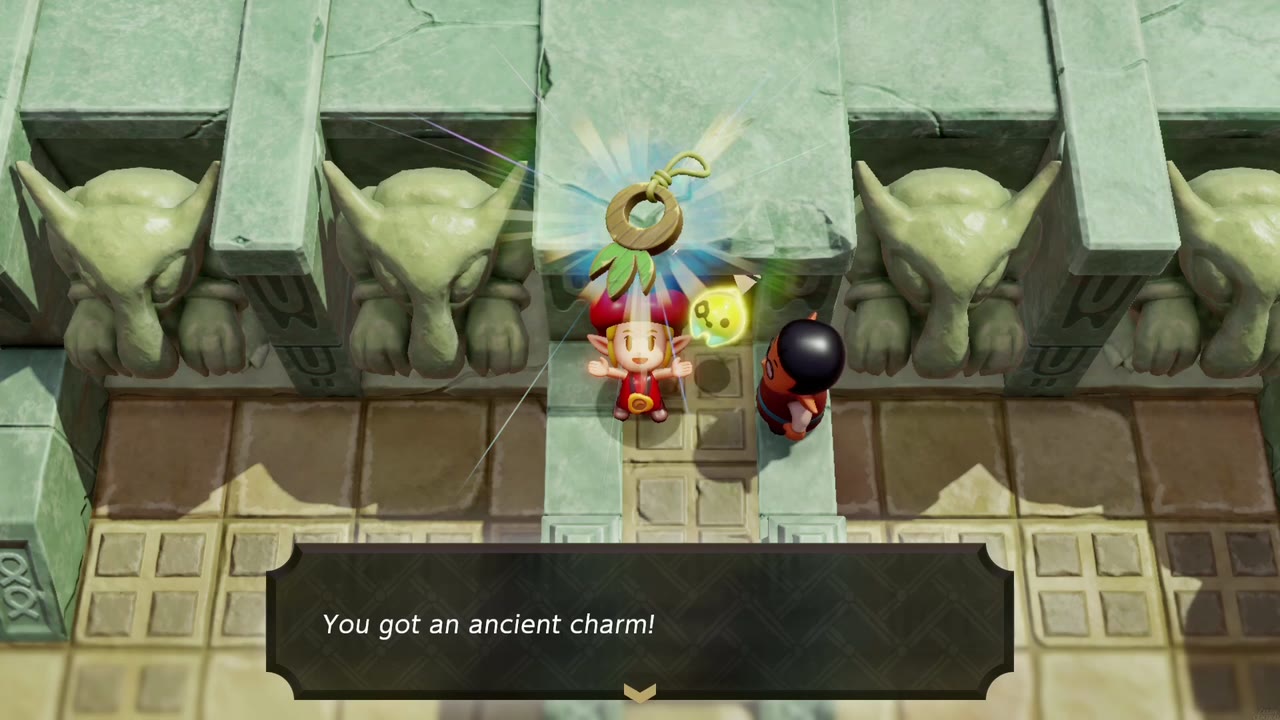
Warp back to the entrance. Sago saw a cloud come out of the temple and can hardly believe you defeated it. He’ll write about it in his next paper, but publishing might take a while, so here’s this in the meantime: “You got an ancient charm!” This enchanted object from long ago reduces the damage you suffer while you wear it; Sago found it in the Faron Wetlands. Equip it in an accessory slot. Add the Piece of Heart (see Heart Pieces) and the quest is well worth the detour.
Tips
- Bring a strong fighting echo: it can clear the Sparks and Smog’s pieces while you keep your distance.
- Don’t step on the warp portal until you’ve picked up the Piece of Heart.
- Smog’s promised rematch is the side quest Cotton-Candy Hunt in the Faron Wetlands. Beating him there upgrades the ancient charm into the curious charm.
