
























| Region | Jabul Waters |
|---|---|
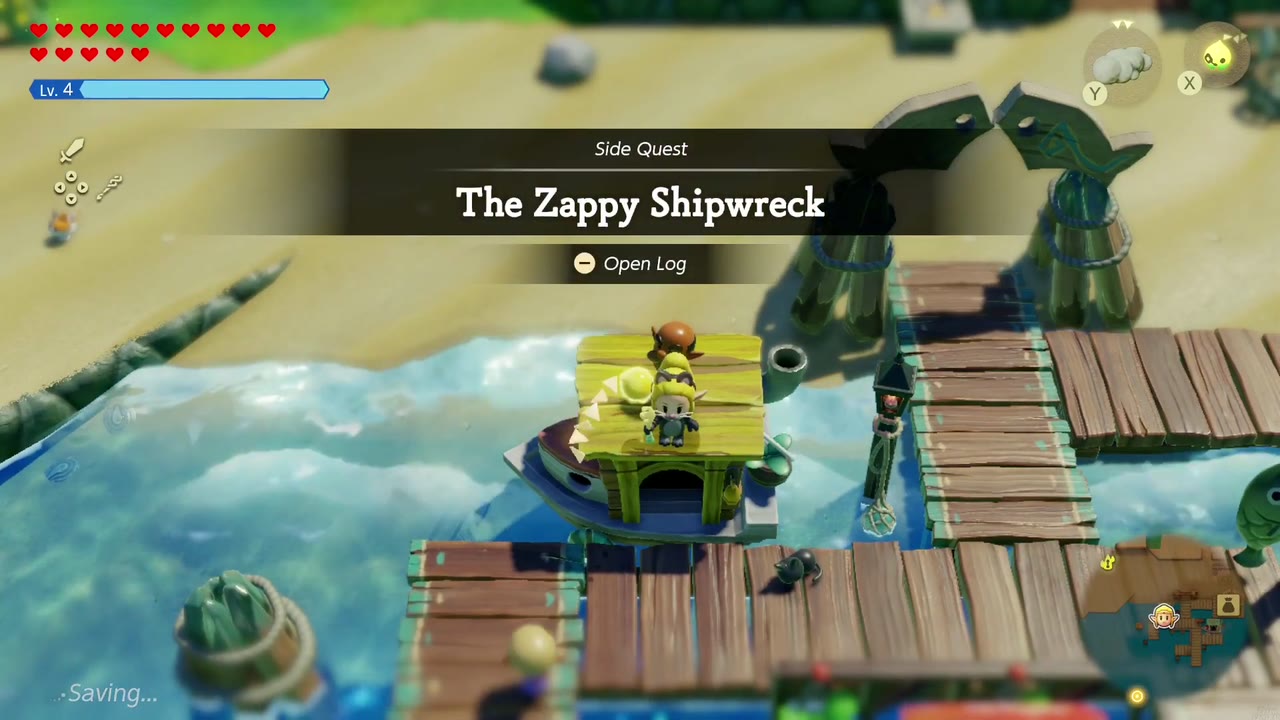
| Location | Seesyde Village dock, beside the fish-statue arch: the sailor sits on the roof of his small boat (bubble: “Is my ship still zappy?”). The wreck itself lies among rock pillars in the southwest waters, past Zora Cove |
| Quest giver | A sailor on his boat |
| Available | Any time you can swim out to the wreck. You can clear it before you ever talk to him |
| You’ll need | Bind, the Cloud, Ice Block and Water Block echoes, and fighting echoes or Swordfighter Form for the boss |
| Reward |  Fairy Bottle (from the sailor) and a Piece of Heart (from the boss), plus rupee chests inside |
A Seesyde sailor ran his ship onto the rocks, and now a monster that “zaps, zaps, ZAPS!” has taken it over. The wreck is a small dungeon: crate puzzles, flooded rooms, an underwater passage, a barred railing you get past with stacked blocks, and a giant electric jellyfish at the bottom. Beat it for a Piece of Heart, then tell the sailor for a Fairy Bottle.
Table of Contents
How to Start
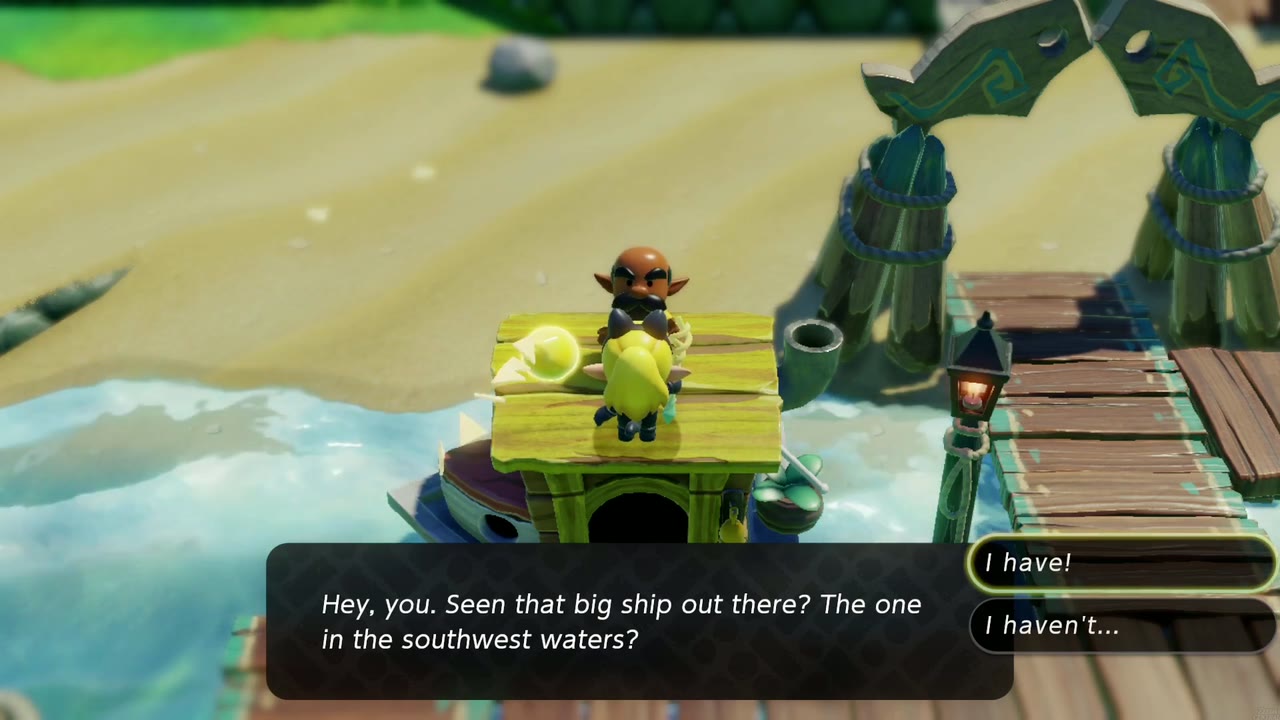
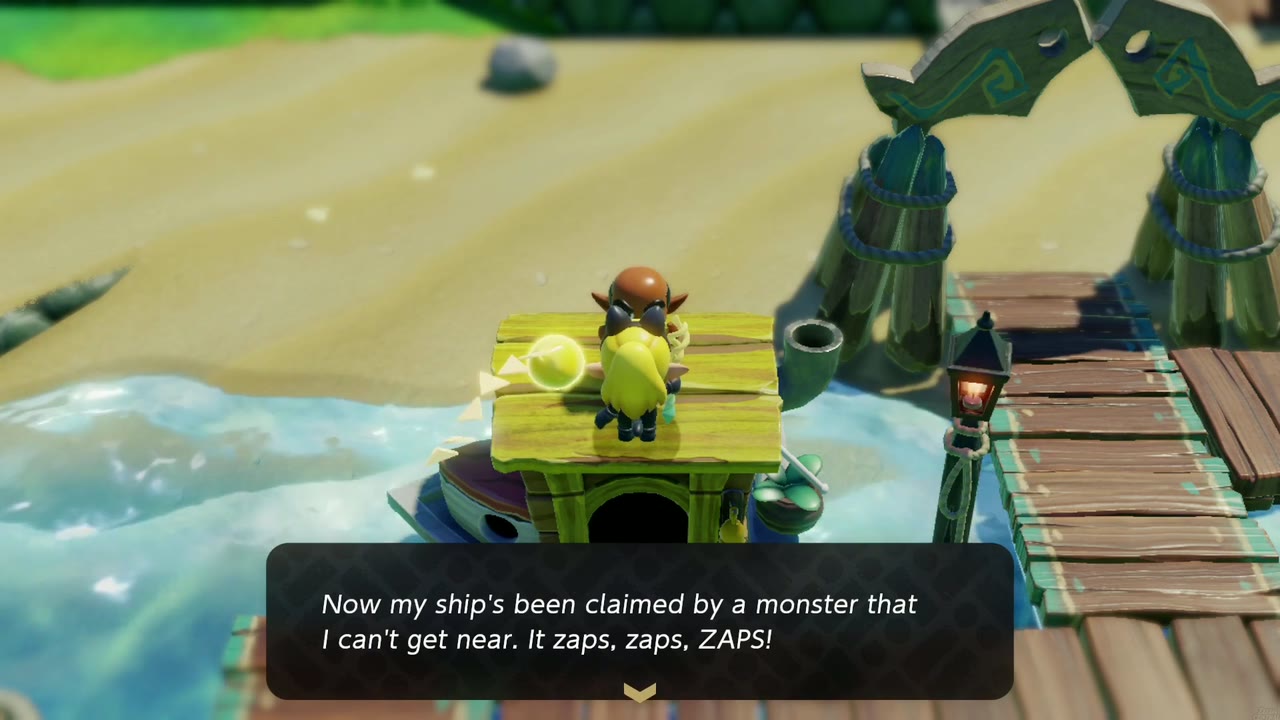
Walk onto the Seesyde Village dock by the fish-statue arch and talk to the sailor sitting on his boat’s roof. “Hey, you. Seen that big ship out there? The one in the southwest waters?” It’s his: he dreamed of ruling the Hyrulian seas, but “when I got my ship out there…I ran right into rocks. The hull got gashed open.” He’s been repairing it ever since, but “Now my ship’s been claimed by a monster that I can’t get near. It zaps, zaps, ZAPS!” It “Takes someone with real zip to defeat a monster that zaps!” The quest begins. If you’ve already cleared the wreck, the same chat starts and finishes it at once.


Walkthrough
Step 1: Swim out to the wreck
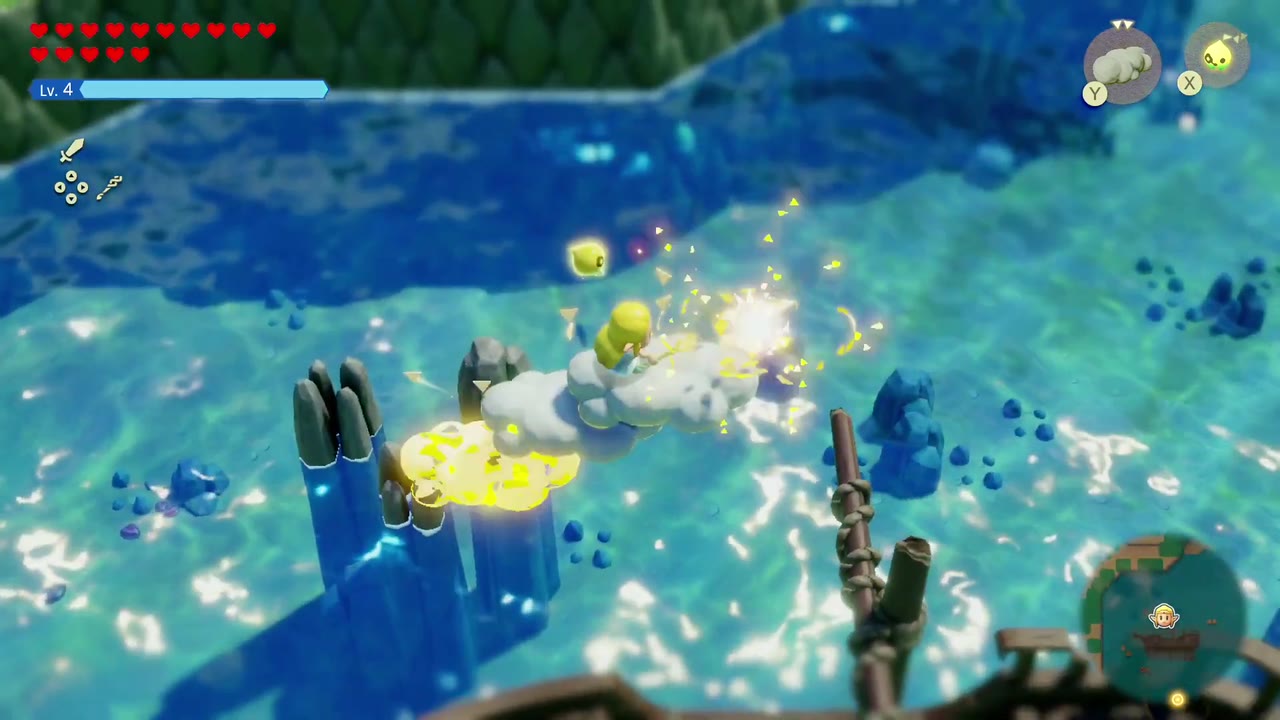
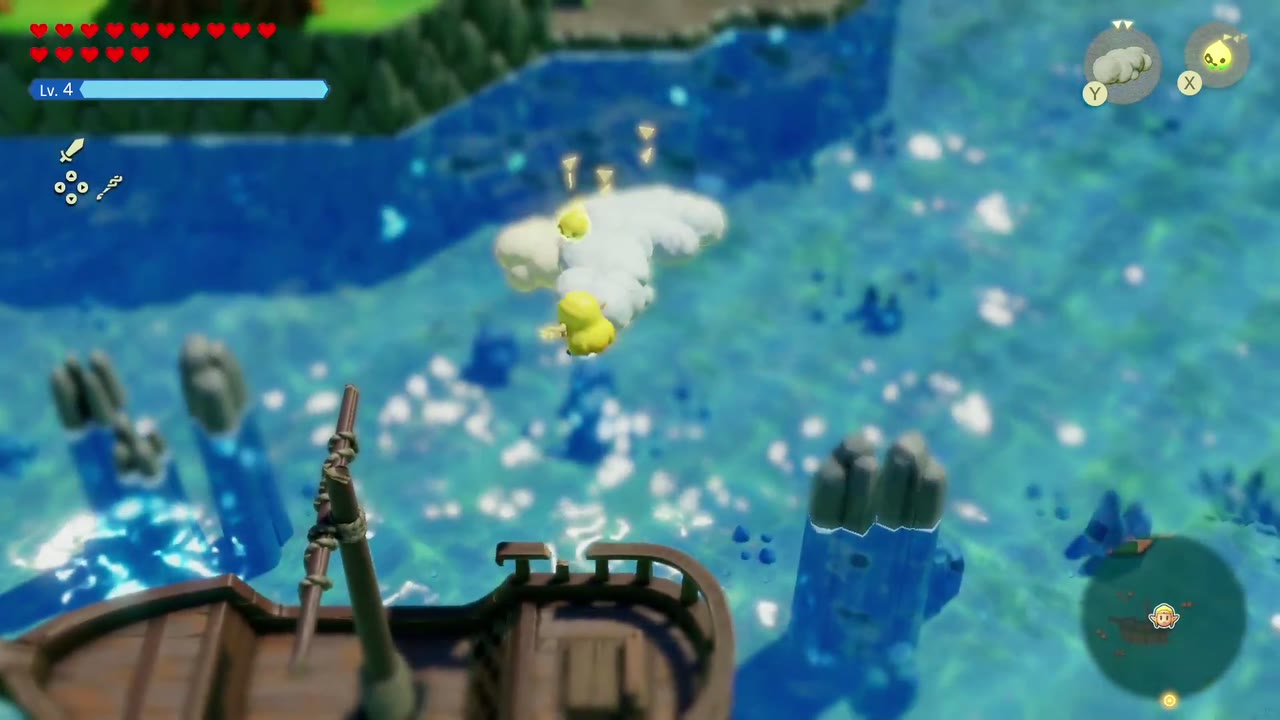
Swim southwest from Seesyde through Zora Cove until you see a wooden ship stuck among tall blue rock pillars. Climb onto one of the pillars, summon a Cloud echo beside it, step on and float across to the deck.


Step 2: Open the hatch
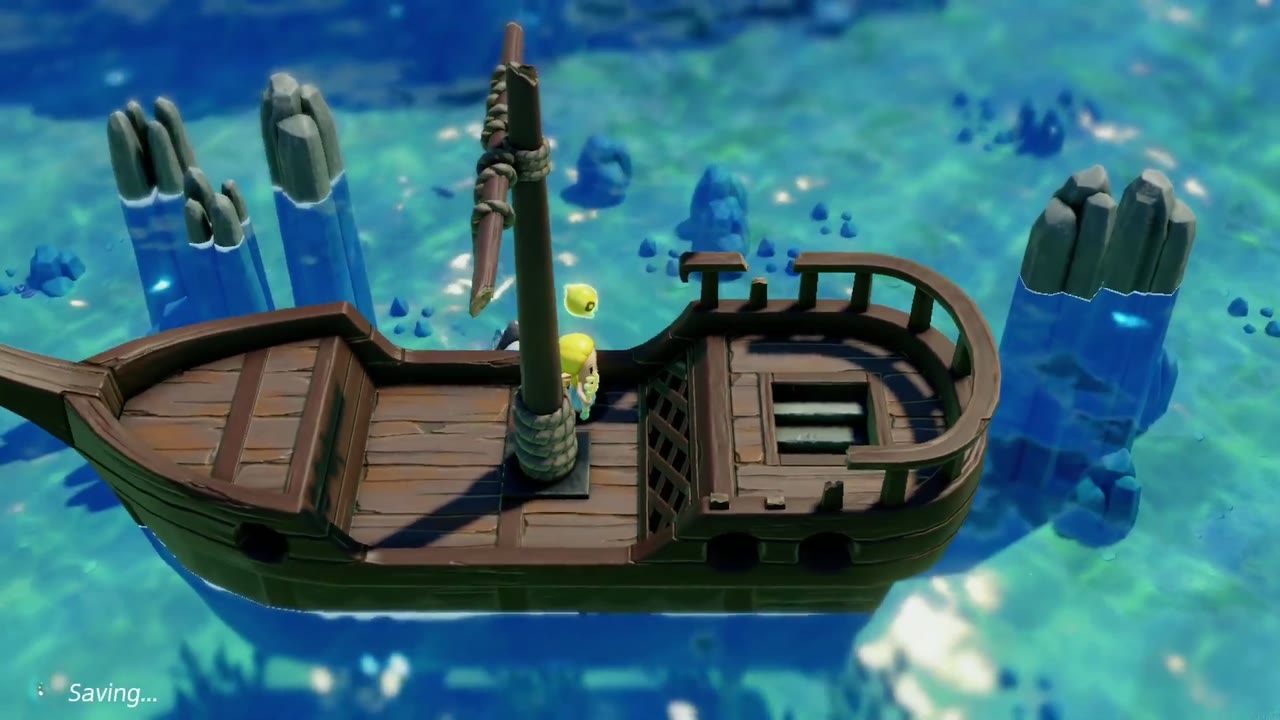
On the deck is a closed hatch. Use Bind on it and pull it open, then drop through. The area title reads “Wrecked Ship”.
Step 3: The cargo hold
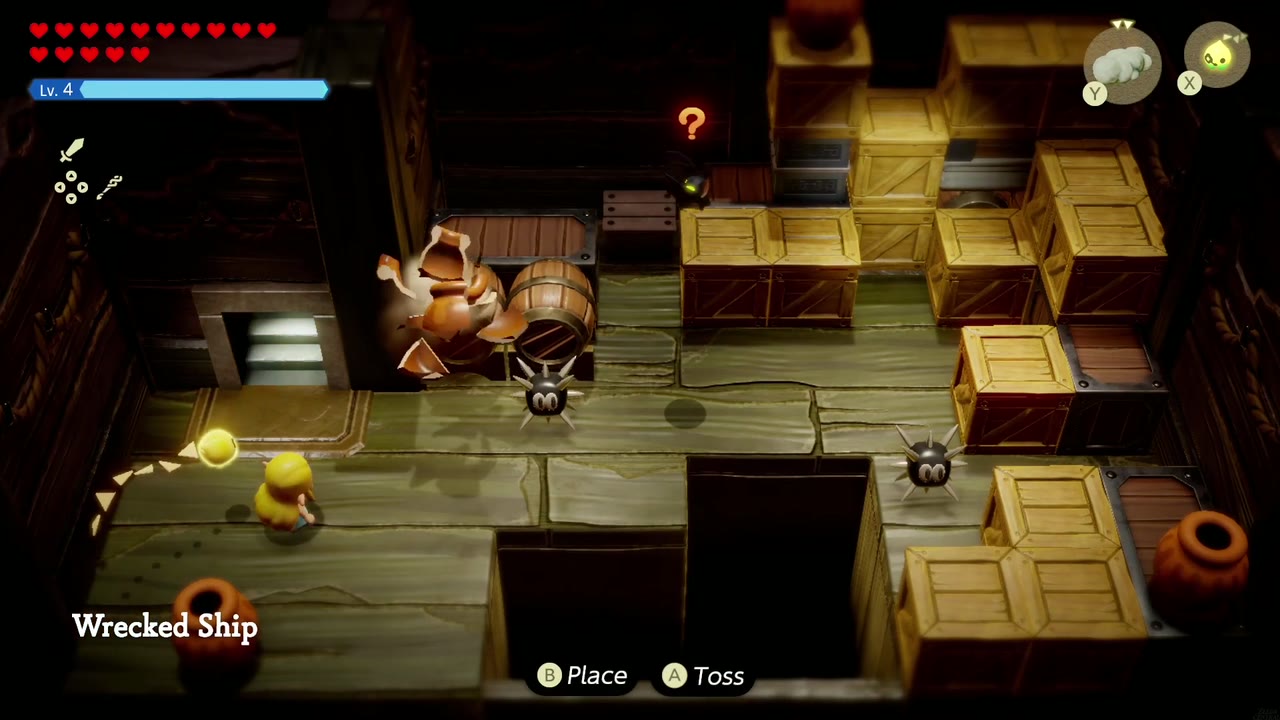
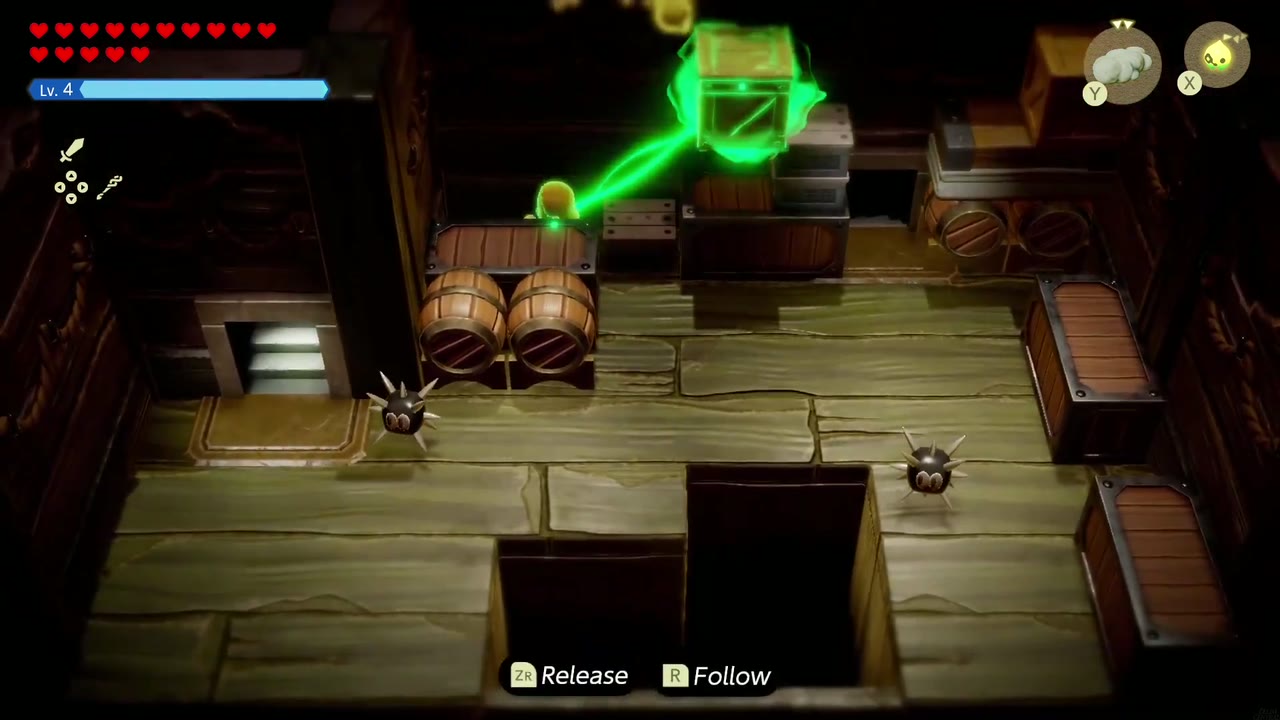
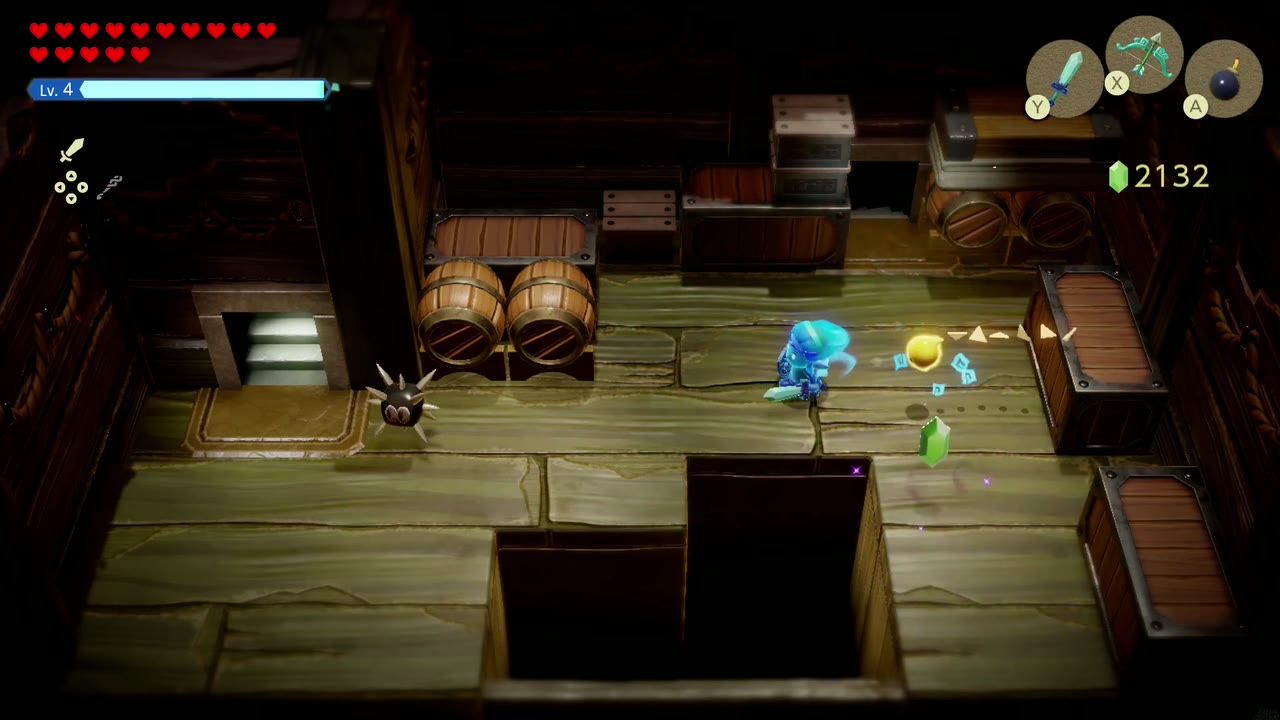
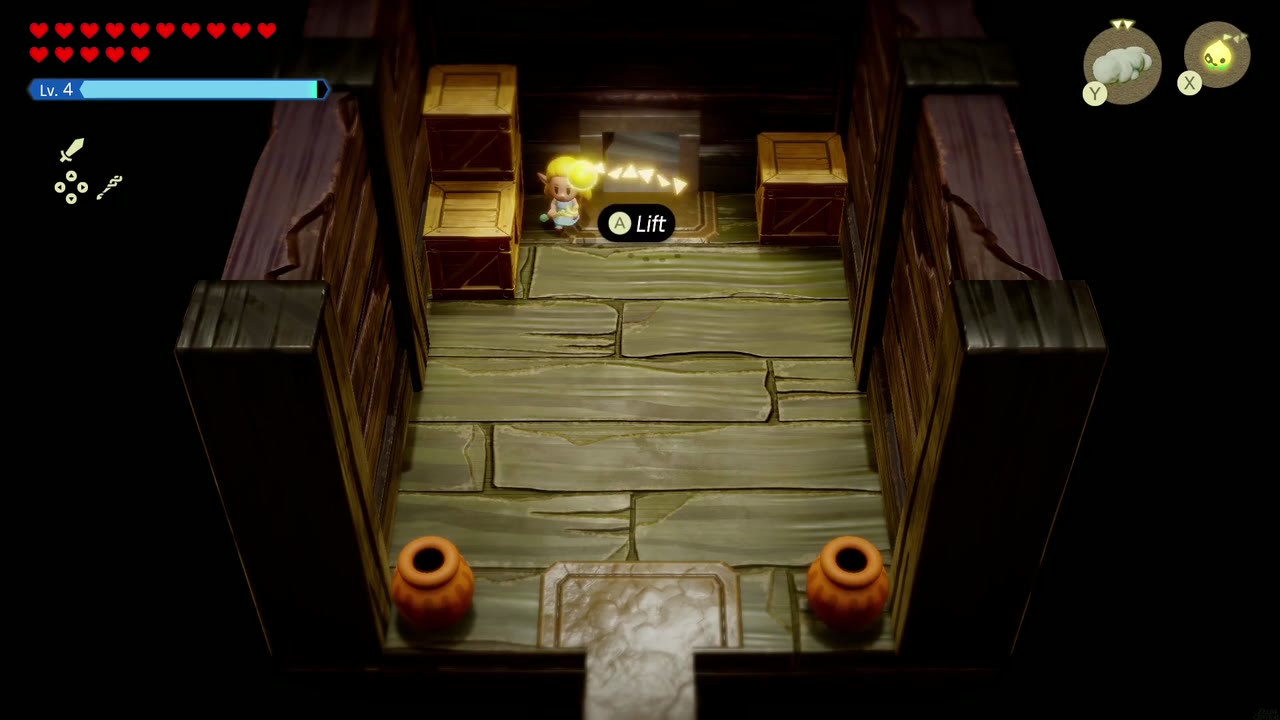
The first room is a dark hold stacked with crates and barrels, with spiked monsters crawling on the floor. Lift the crates in your way and Bind the ones on top of the stacks to pull them down. Clear the monsters (Swordfighter Form makes short work of them) and drop through the hole in the floor. In the next small room, lift the crates and break the pots, then go through the door.

Step 4: The flooded hold
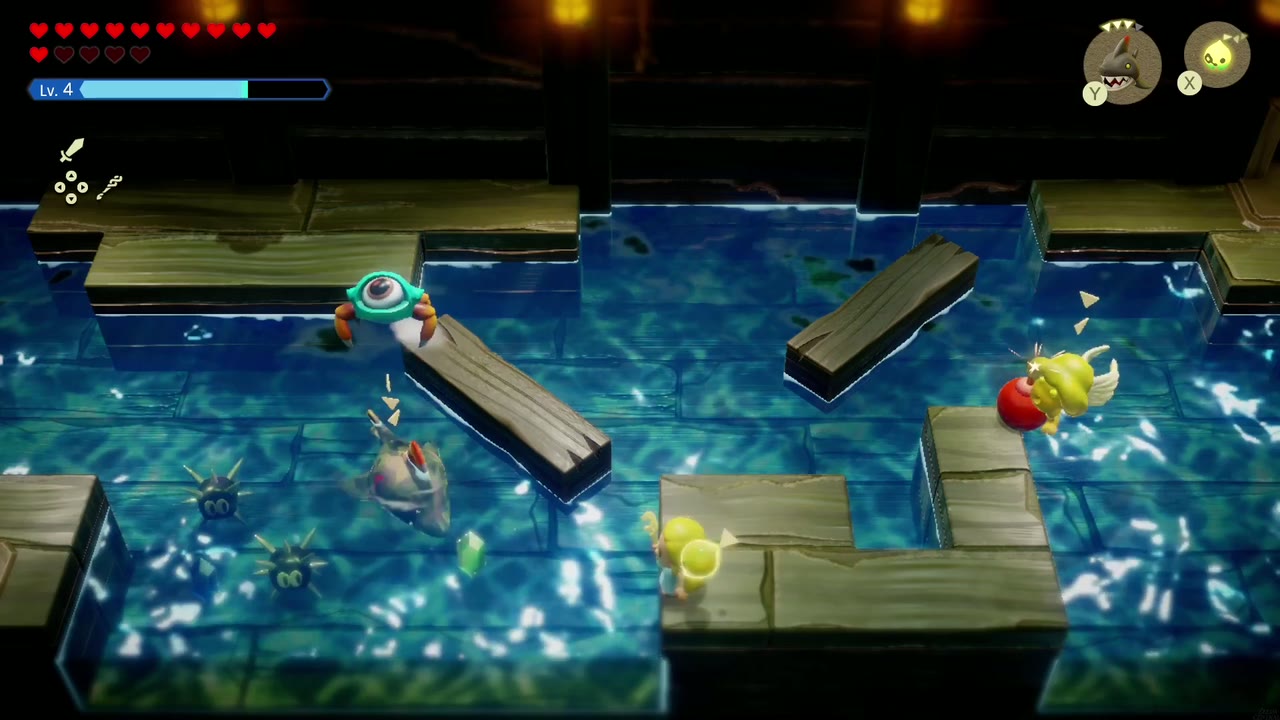
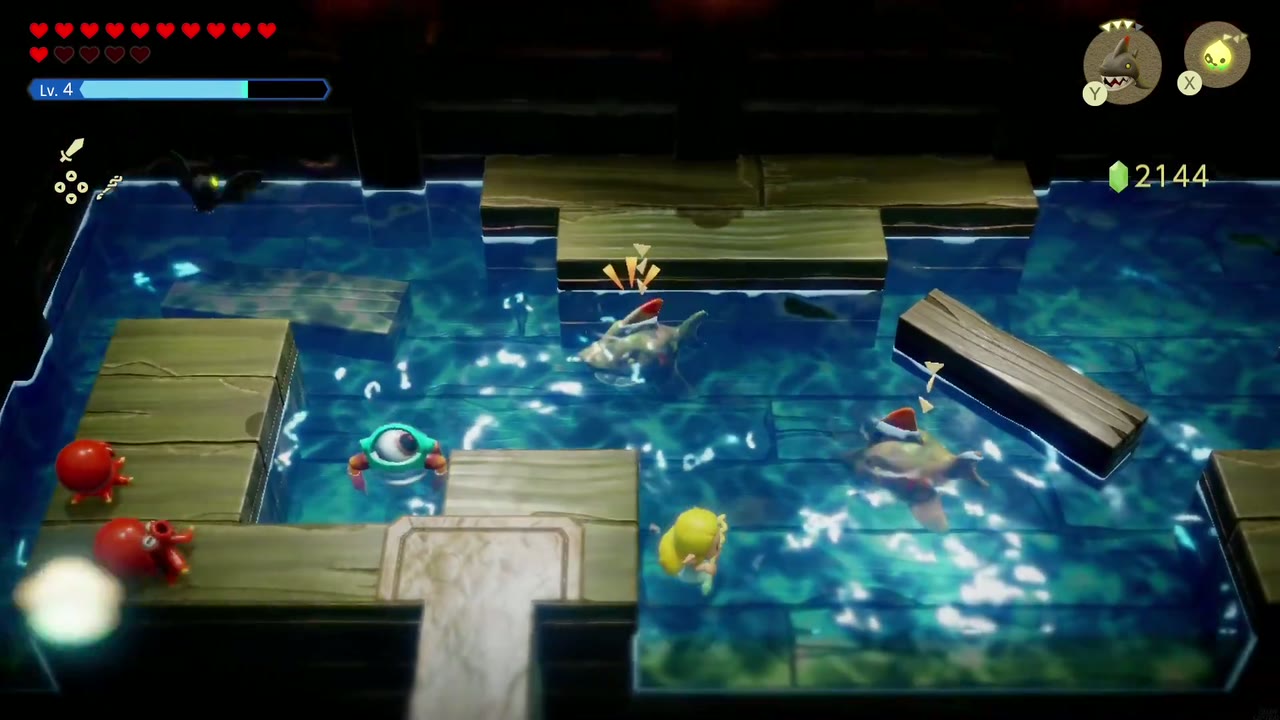
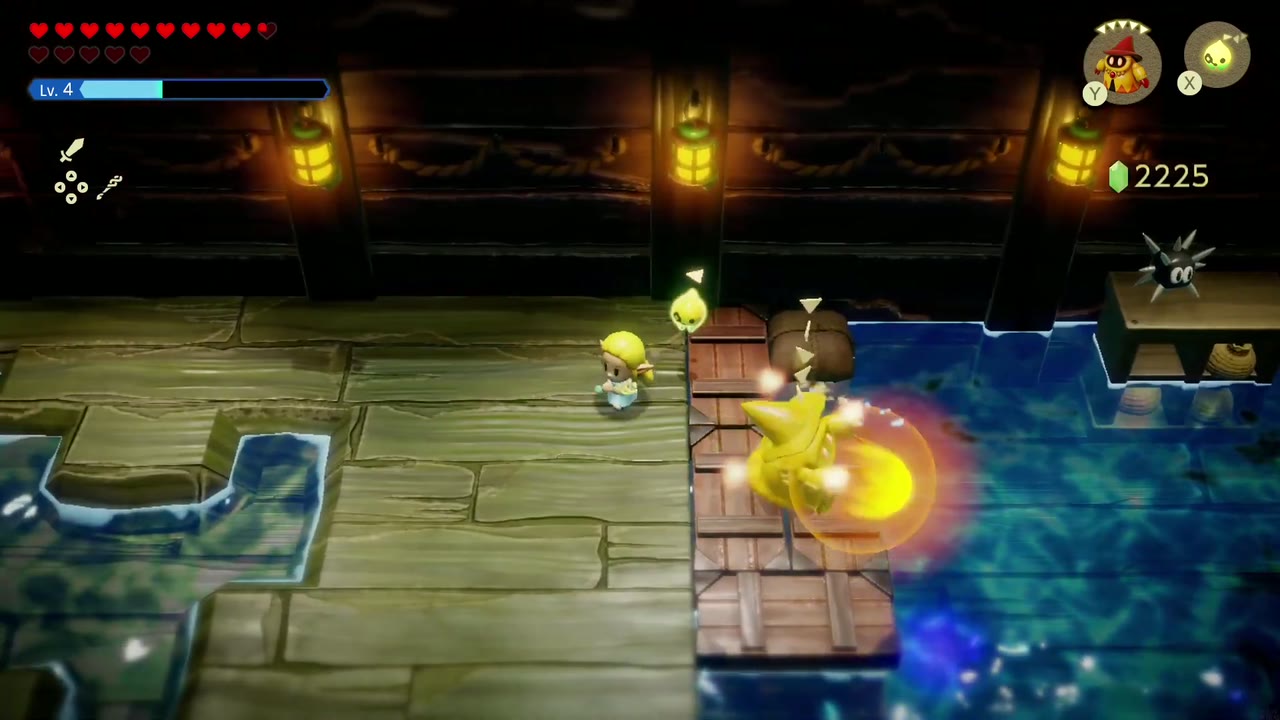
This room is mostly water with wooden platforms and floating planks. Flying and swimming monsters attack from all sides, so summon your strongest echoes from a platform and pick them off before you swim across. Head for the doorway on the far side.

Step 5: The underwater passage
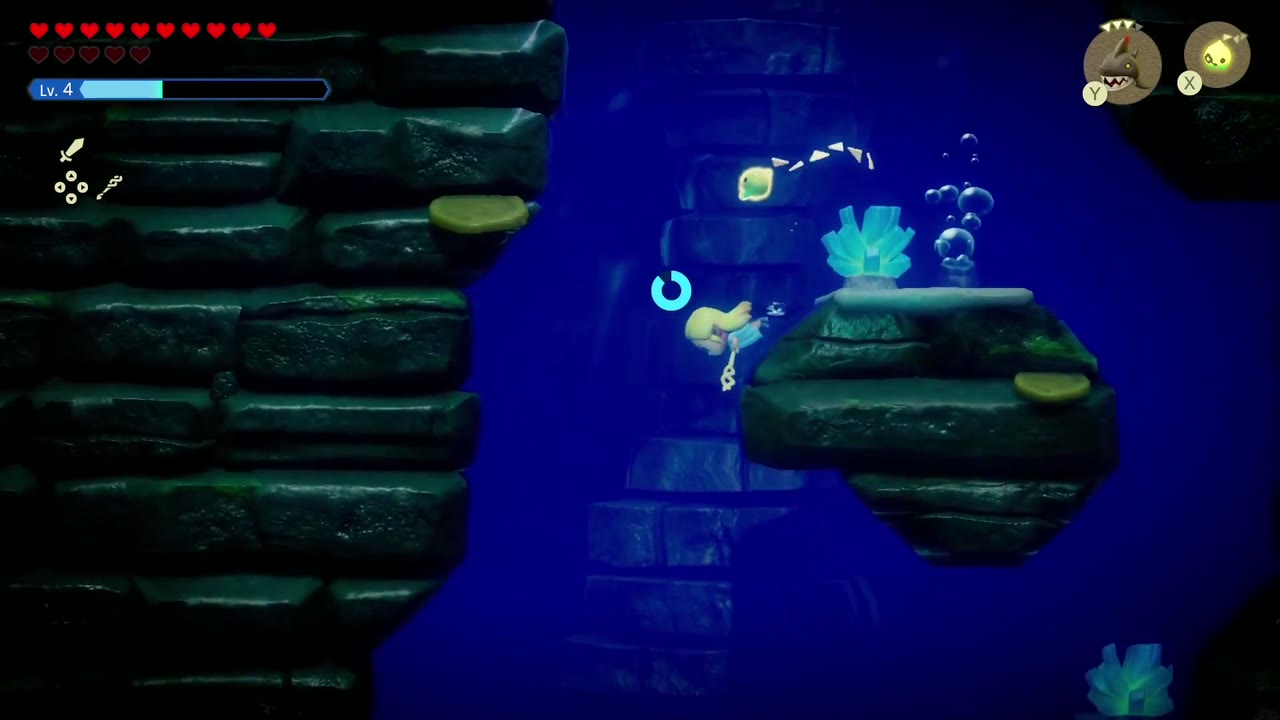
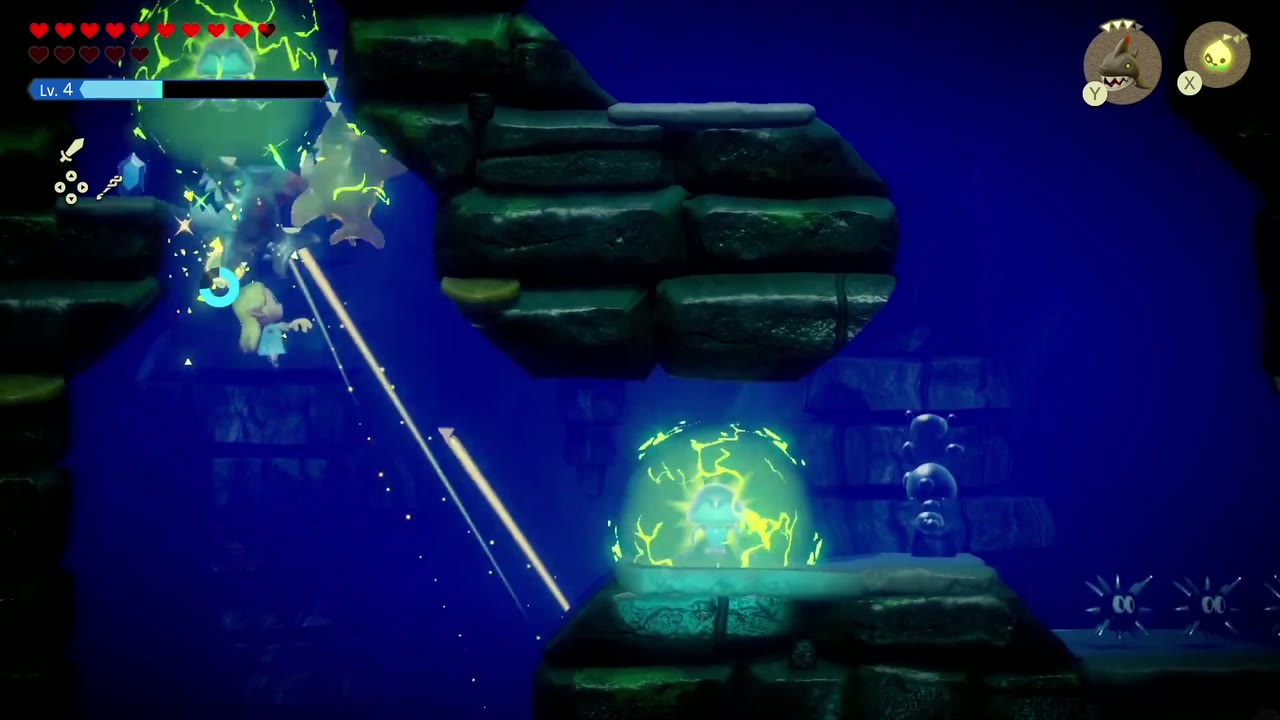
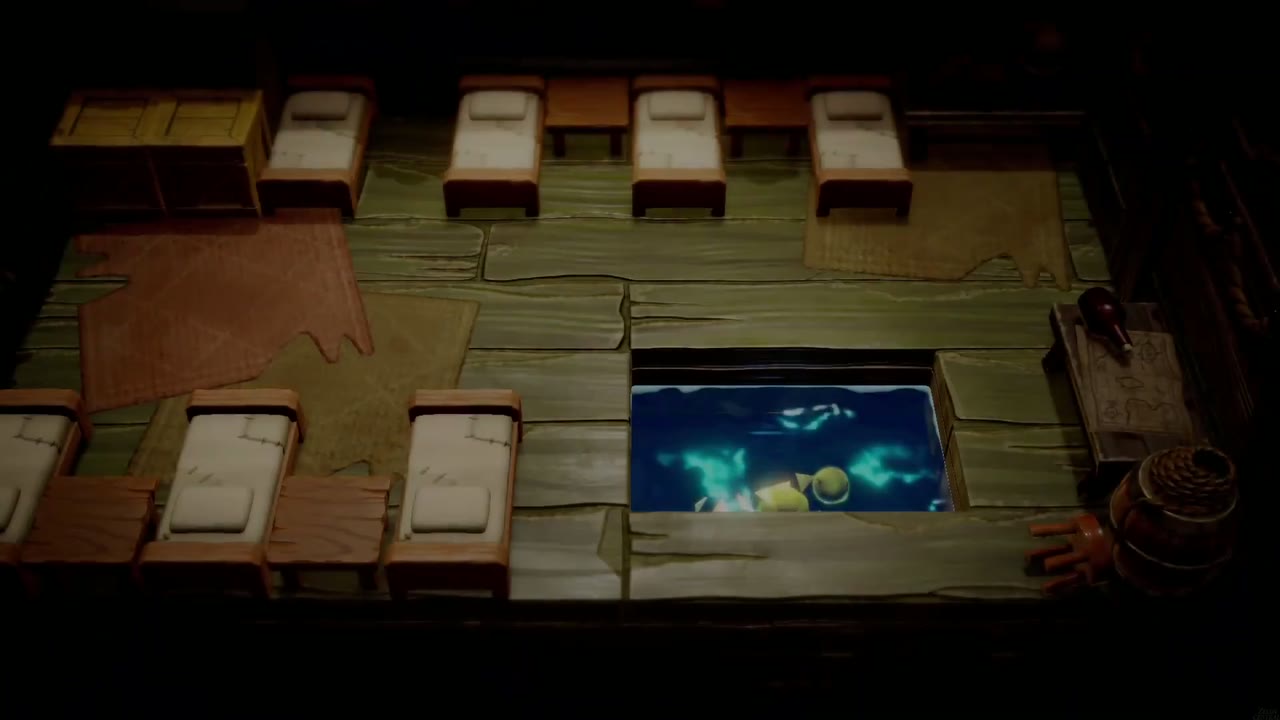
Past a storeroom with a pool in the floor (and a chest), dive into the pool to reach a side-view underwater passage lit by glowing coral. Sharks patrol it and electric jellyfish sit in crackling bubbles, so keep your distance from those and fight the sharks with echoes as they charge. A chest along the way holds a rupee. Follow the passage up to a pool and surface.

Step 6: The bunk room
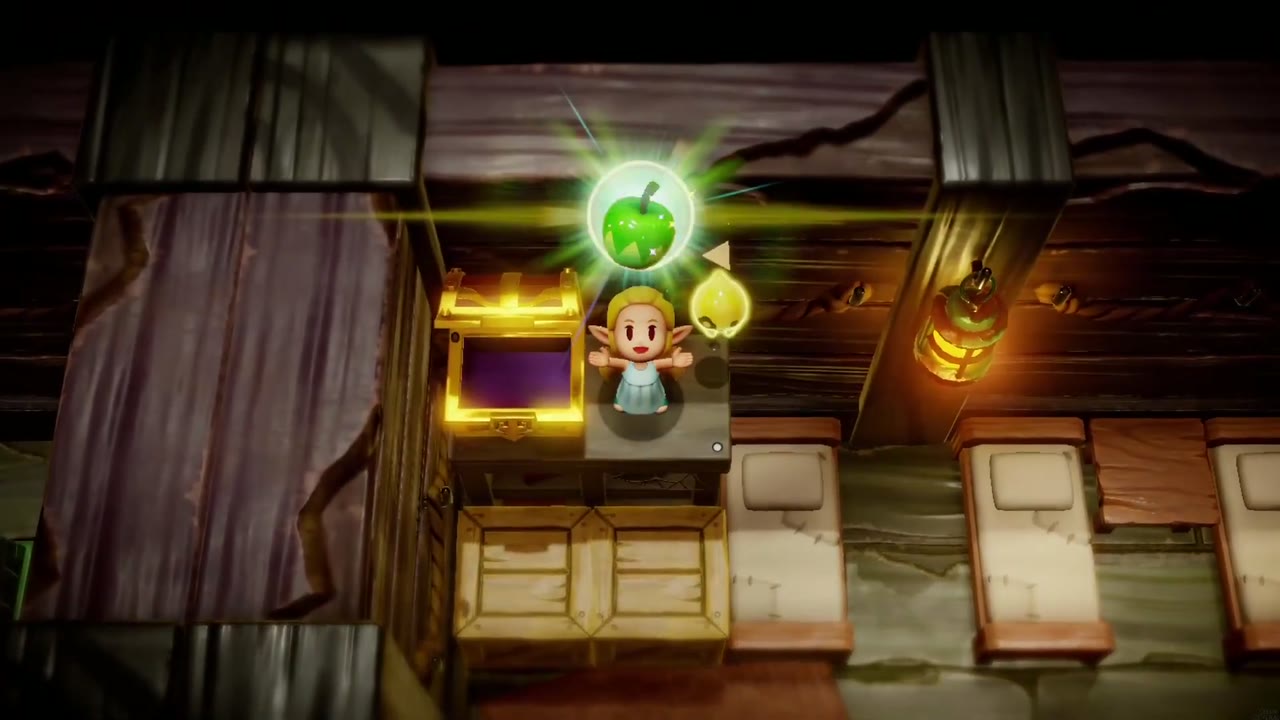
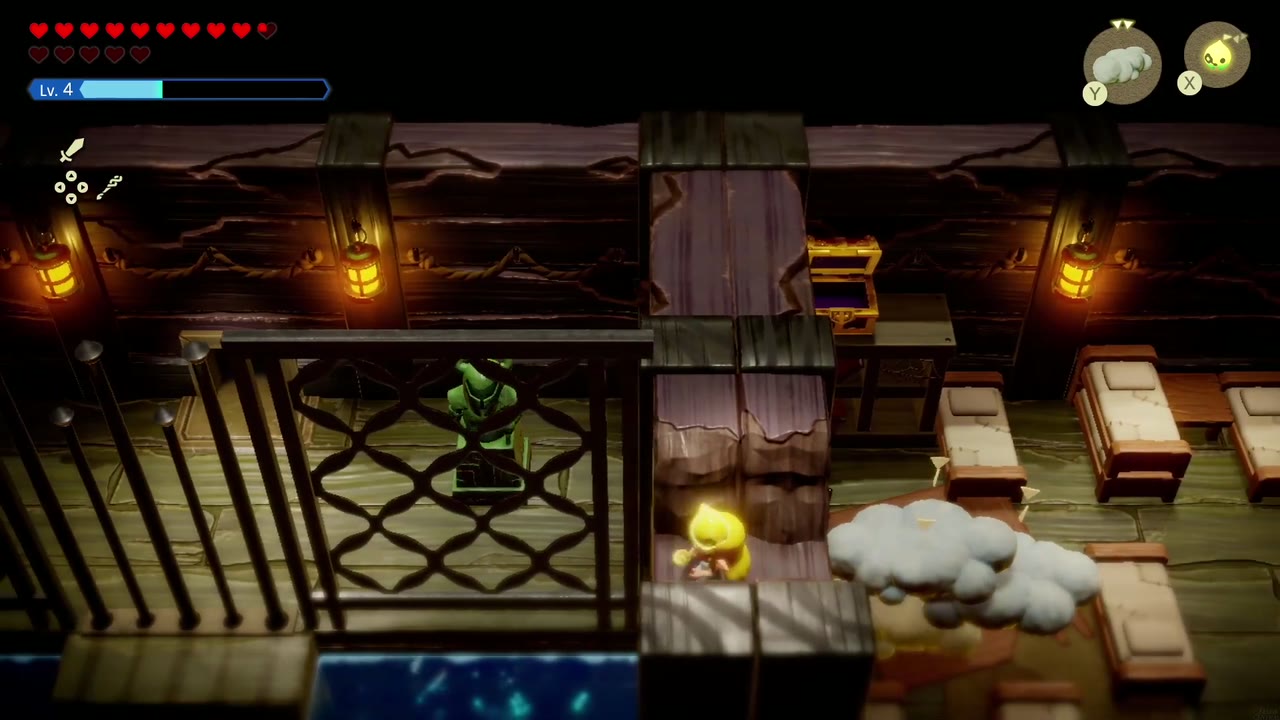
You come up in a bunk room full of beds. A chest on a shelf gives an electro apple. Lay Cloud echoes across the beds to cross the room toward the barred railing at the back.

Step 7: Get past the barred railing
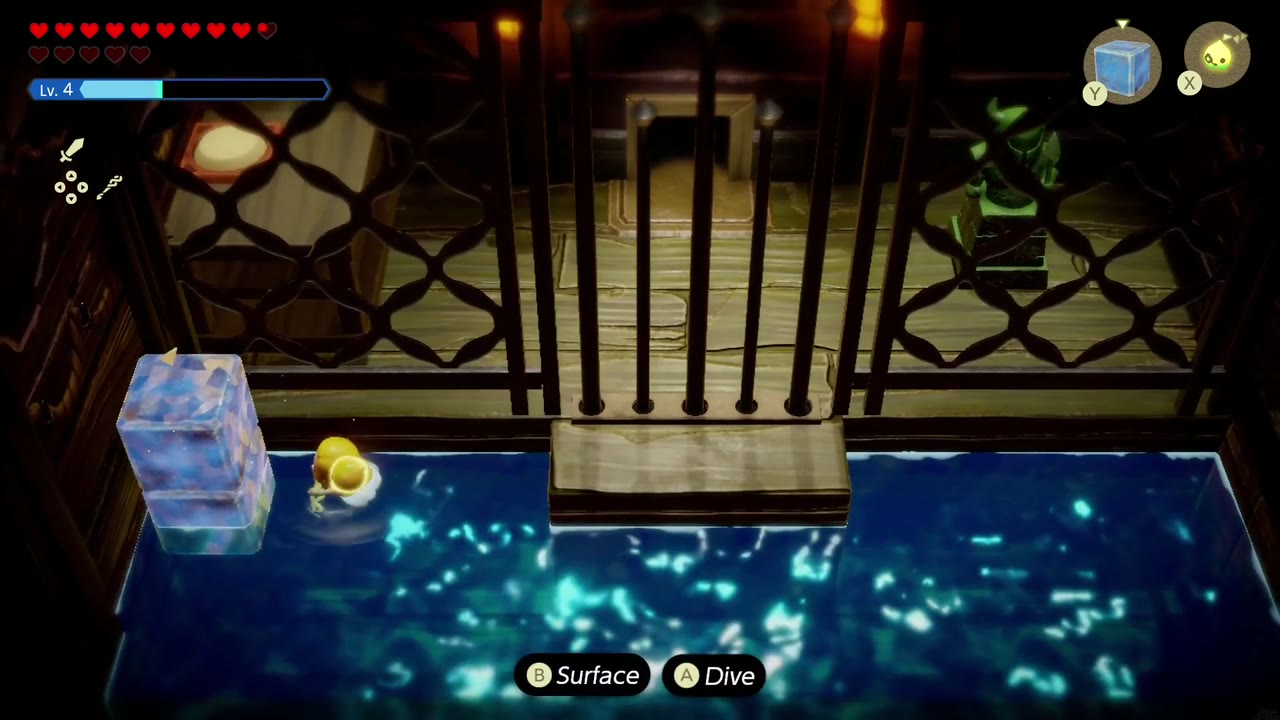
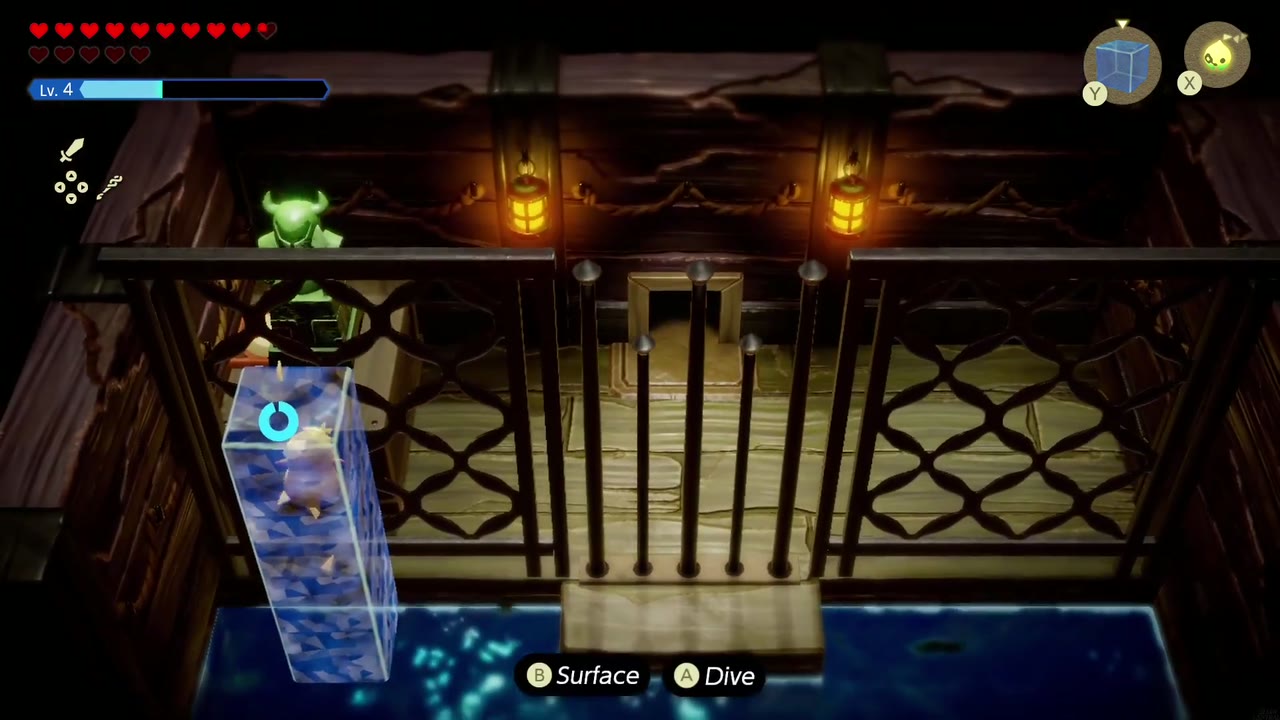
A barred railing stands over a pool, with a green statue on the other side. Stand on the stone step in the middle and Bind the statue, then drag it to the left. In the water by the left wall, summon an Ice Block and stack another on it, then add Water Blocks on top and swim up inside them. From the top of the tower, Bind the statue once more, and the bars in the middle of the railing drop and you can walk through.



Step 8: On to the boss
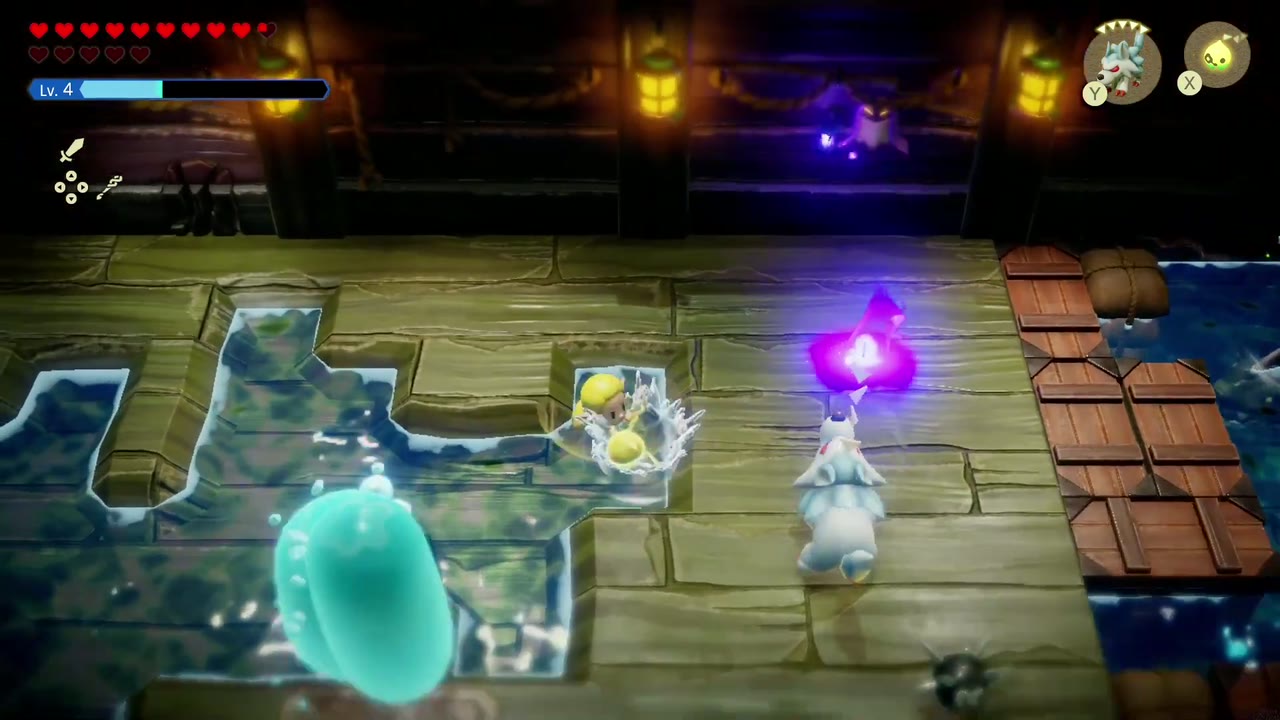
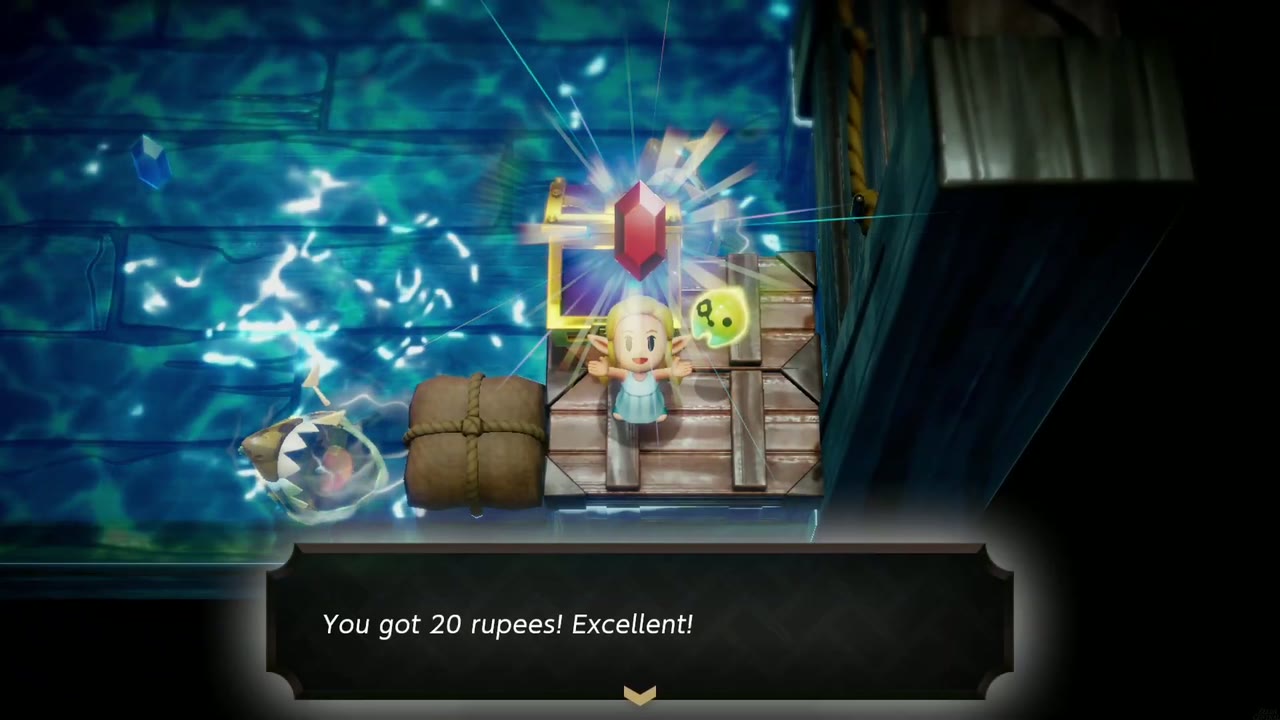
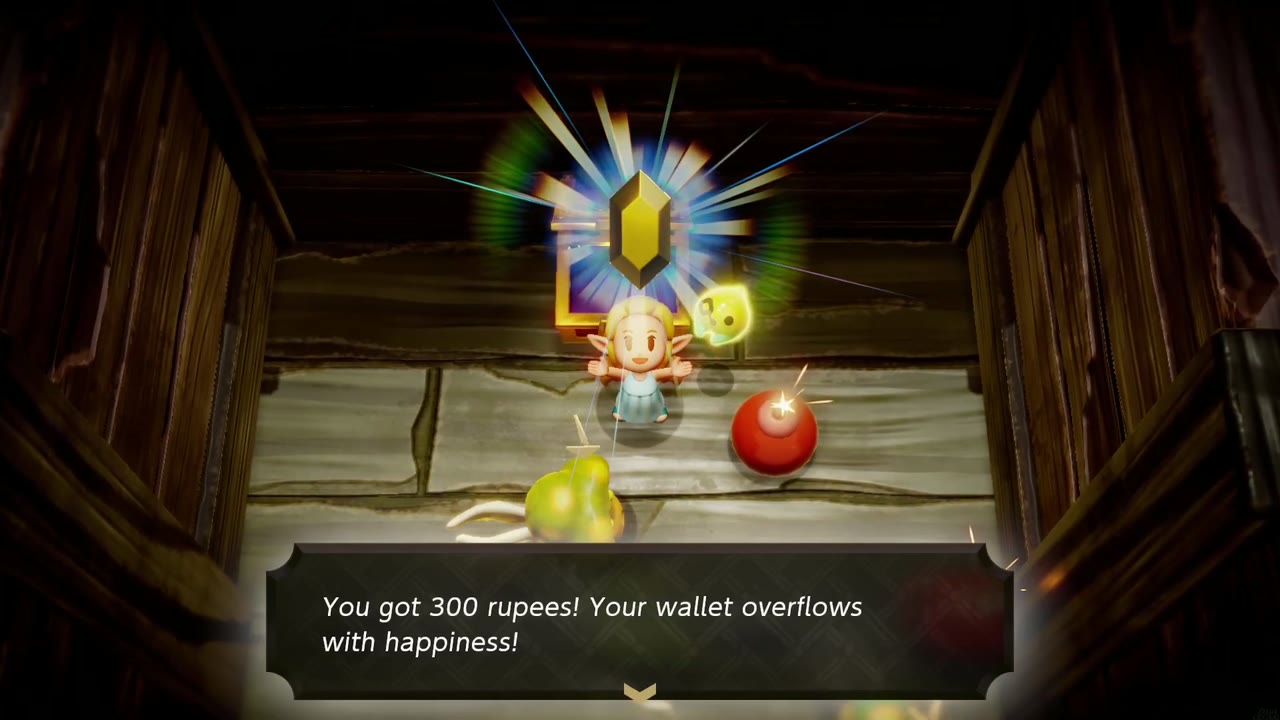
The next room has flooded channels, big slimes and purple ghost monsters. A Fire Wizzrobe echo works well here. A chest on the dock in the following water room gives “20 rupees! Excellent!”. Further on, a room packed with crates hides monsters and a chest with 300 rupees (“Your wallet overflows with happiness!”). Head back through the water room to the crate corridor with pots, then through the door at the end. The game saves as you enter.
Step 9: Beat the giant electric jellyfish
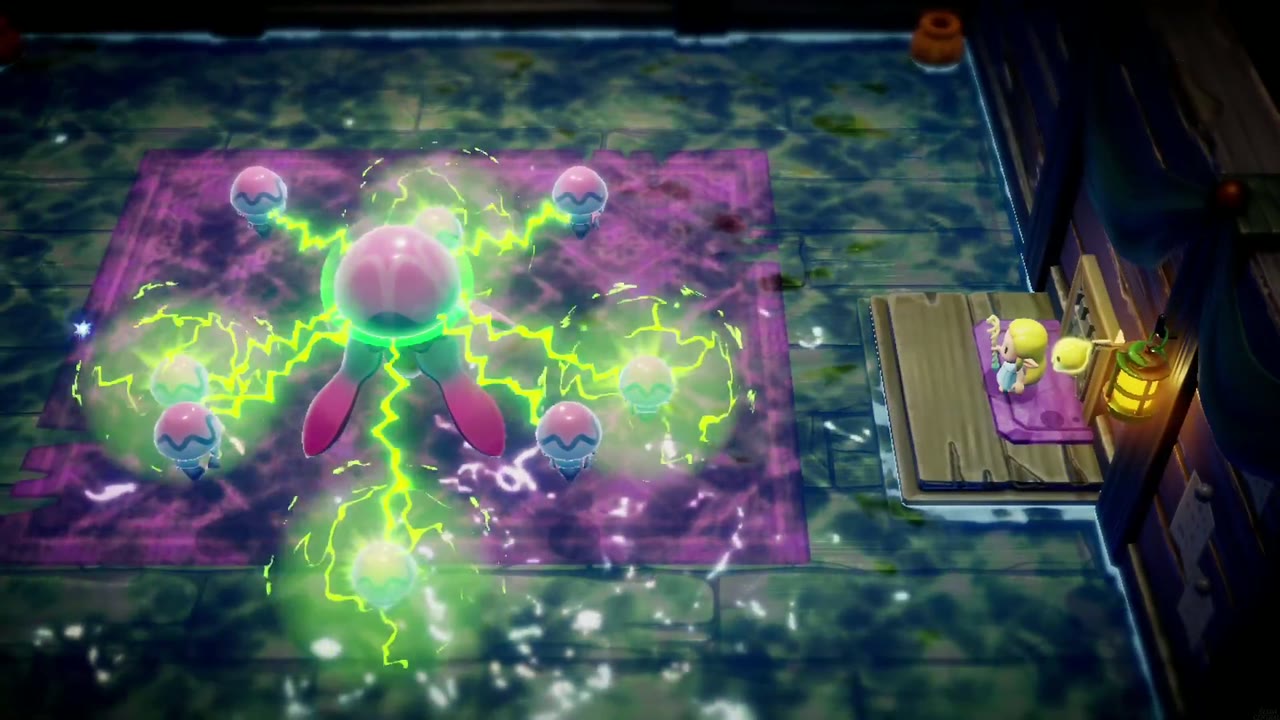
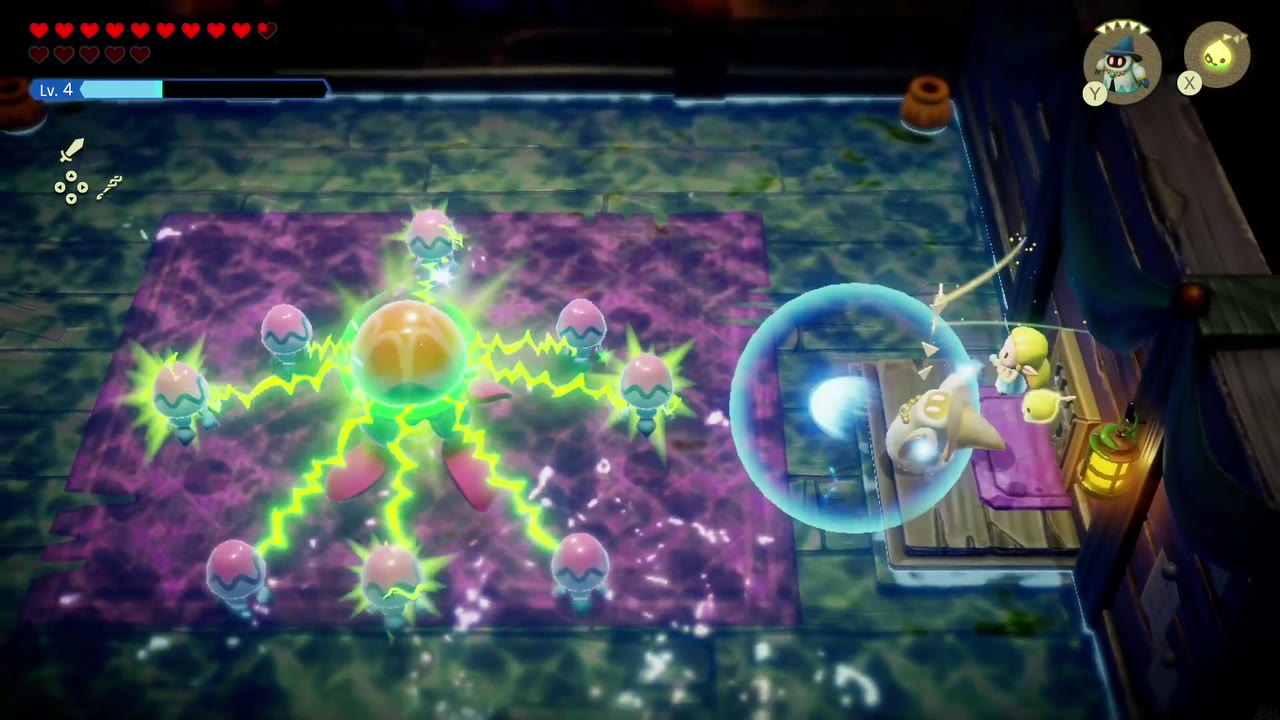
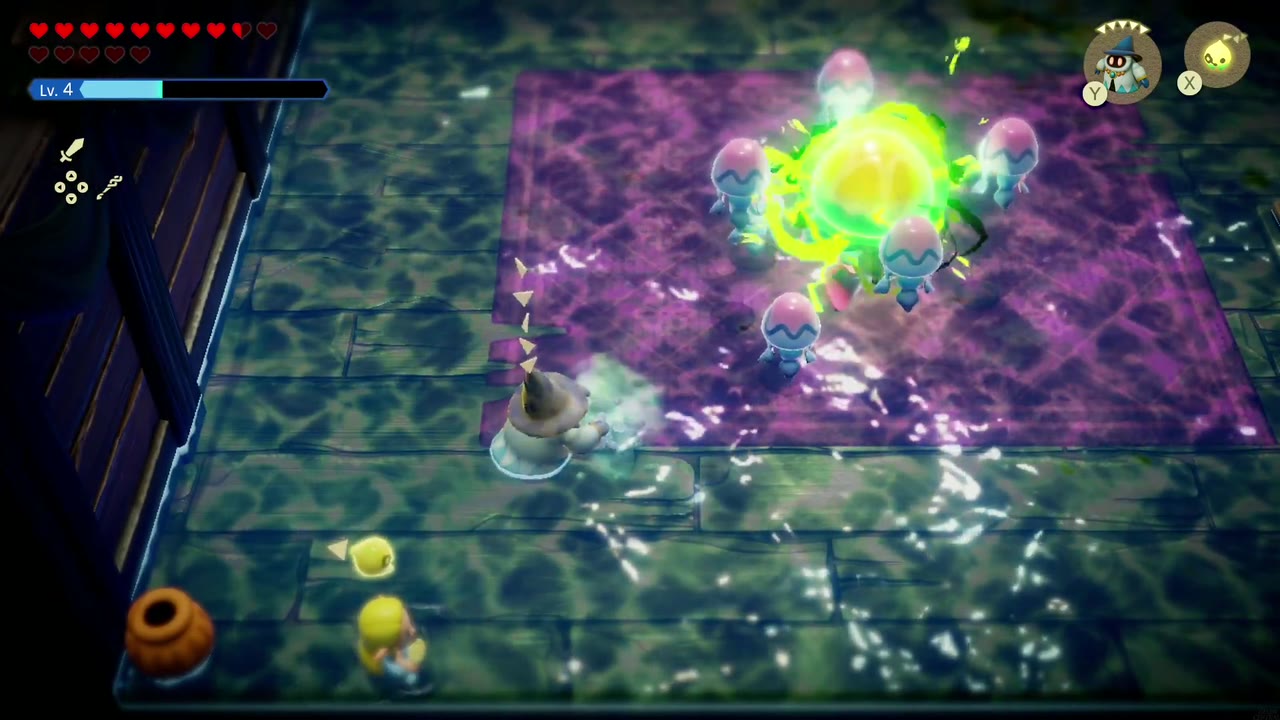
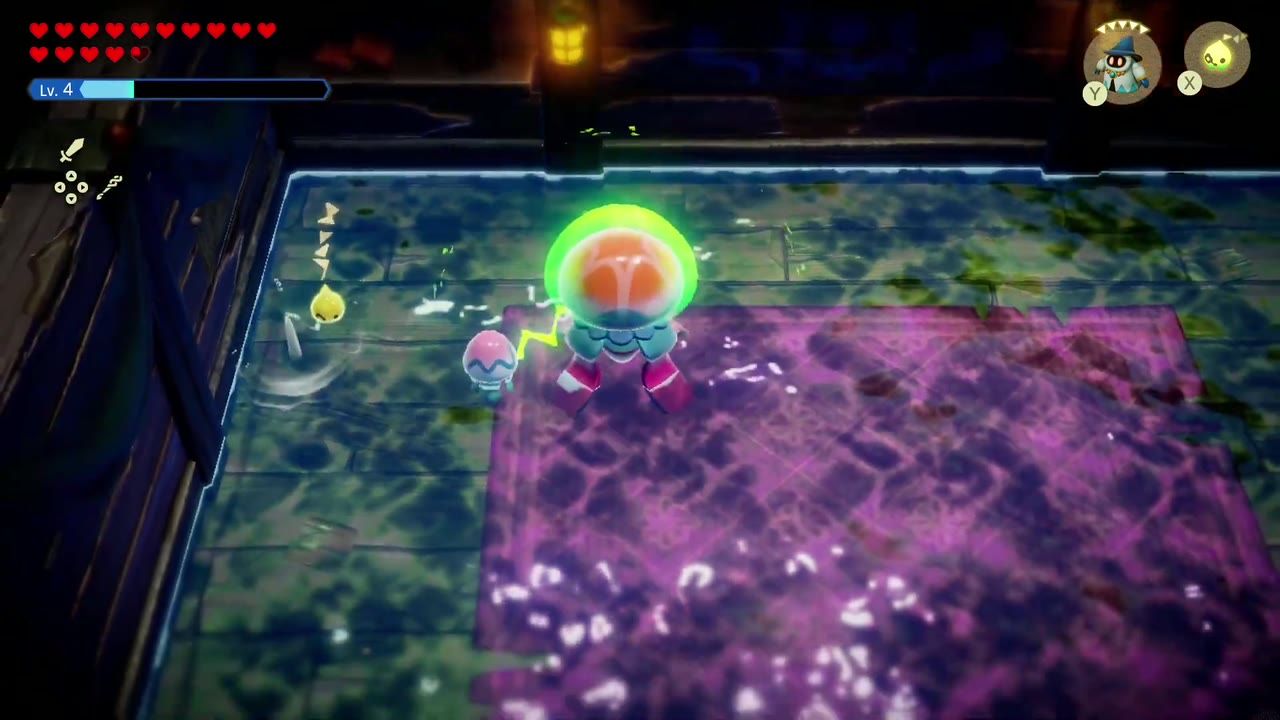
A giant electric jellyfish fills the purple floor in the middle of the room. Small jellyfish ring it, linked to it by arcs of electricity. Fight from the wooden dock at the side, sending echoes in to destroy the small jellyfish. Every so often lightning cracks across the whole purple floor, so stay off it until the flash ends. Once the ring is gone the big one is open. Switch to Swordfighter Form and hit it until it bursts. New small jellyfish appear between rounds, so clear them again each time.


Reward
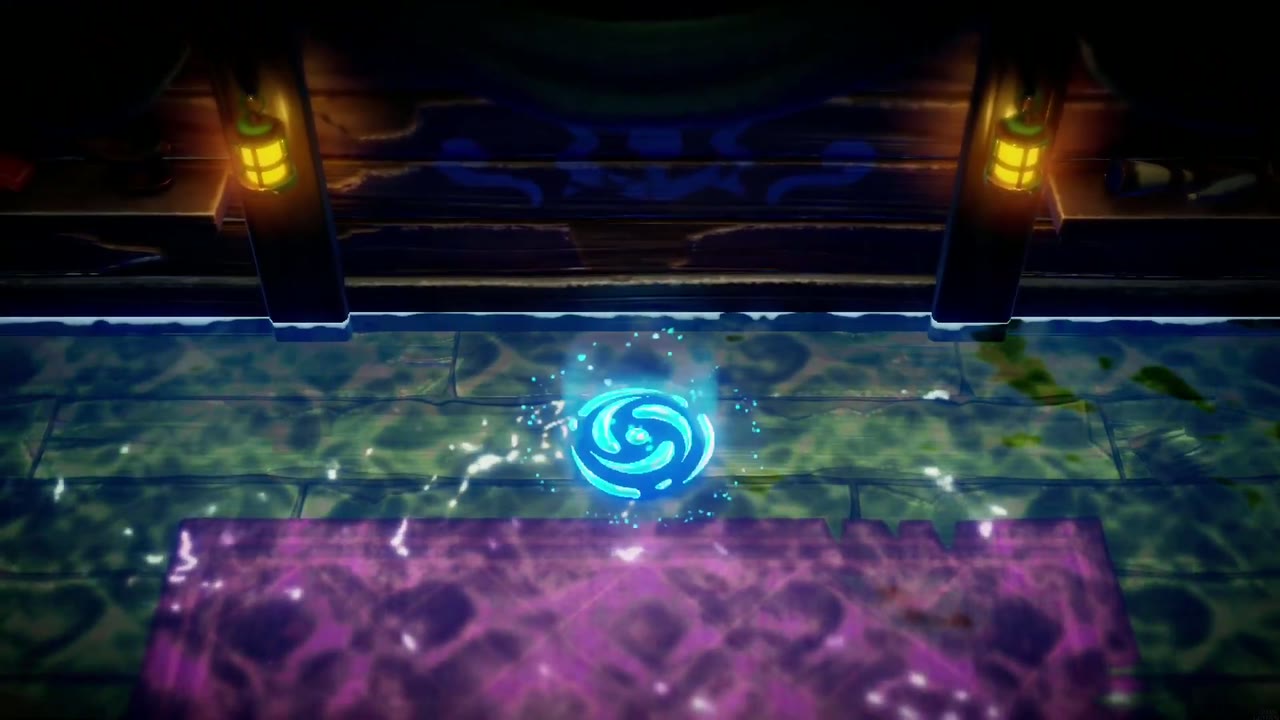
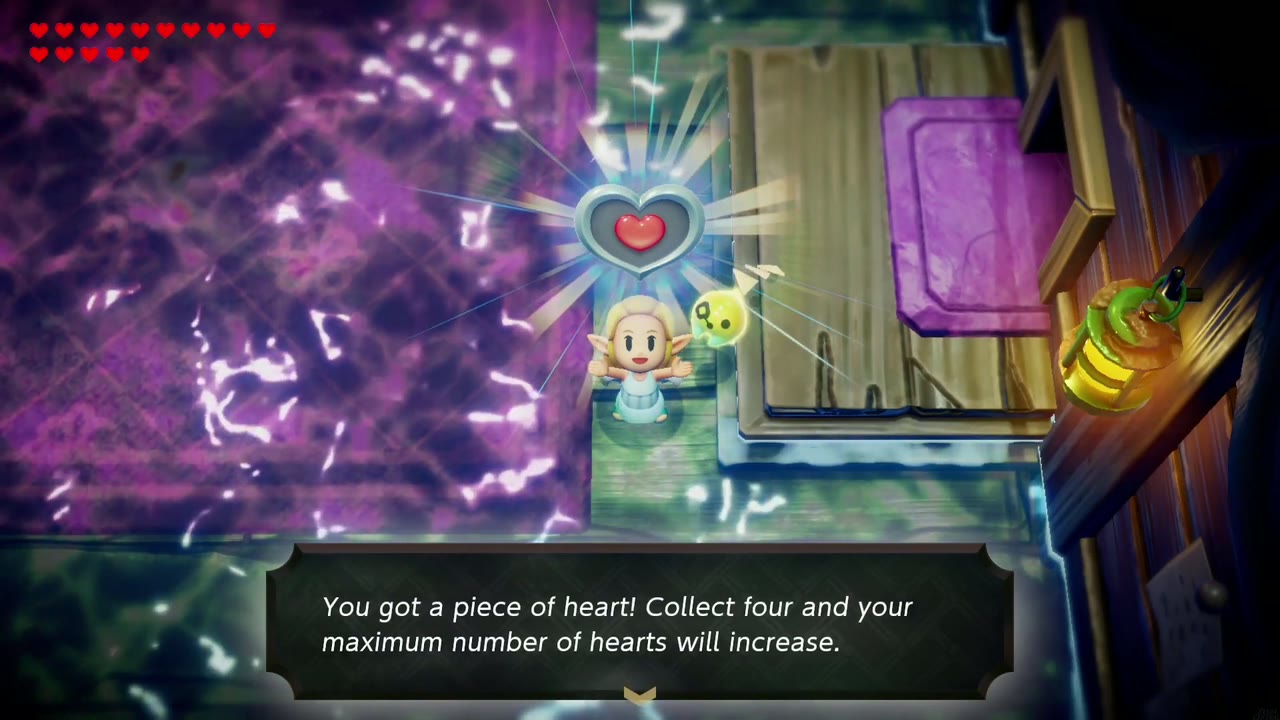
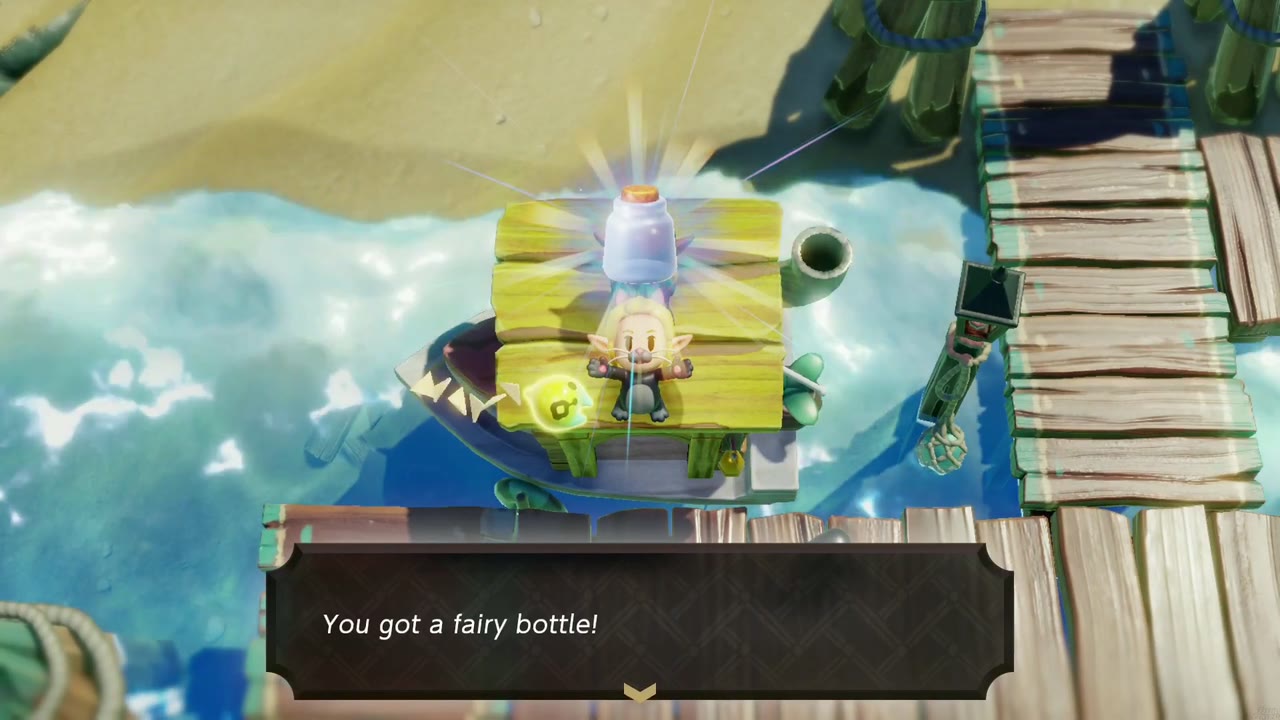
The jellyfish drops a heart: “You got a piece of heart! Collect four and your maximum number of hearts will increase.” A blue warp swirl appears to take you out. Back at the dock, tell the sailor. “Wait, you really did it?! You defeated it?!” “You saved my ship…and saved me from feeling so sunk.” He gives you a bottle: “You got a fairy bottle!” “Fairies love these sturdy bottles and will jump right inside.” Then The Zappy Shipwreck completes. See Heart Pieces and Fairy Bottles.


Tips
- You don’t have to talk to the sailor first. Clear the wreck whenever you’re out at sea, and one stop at the dock gets you the bottle.
- Fill the new bottle with a fairy at the Great Fairy Shrine at Lake Hylia.
- The 300-rupee chest makes this a good rupee run on top of the two rewards.
