





















| Region | Tabantha Frontier |
|---|---|
| Entrances | 1 |
| Entrance coordinates | -2840, 1771, 222 |
| Nearest landmark | Tama Pond (177 map units) |
| Nearest shrine | Oromuwak Shrine (283 map units) |
| Bubbul Gem | Yes, on the ceiling of the main cavern |
How to find it
The entrance is at map coordinates -2840, 1771, near Tama Pond. Follow the road to the wooden awning and gate set into the rock face beside it.
Inside the cave
Enter through the wooden gate
Stop at the wooden awning next to the road and walk through the gate in the rock face into the cave.
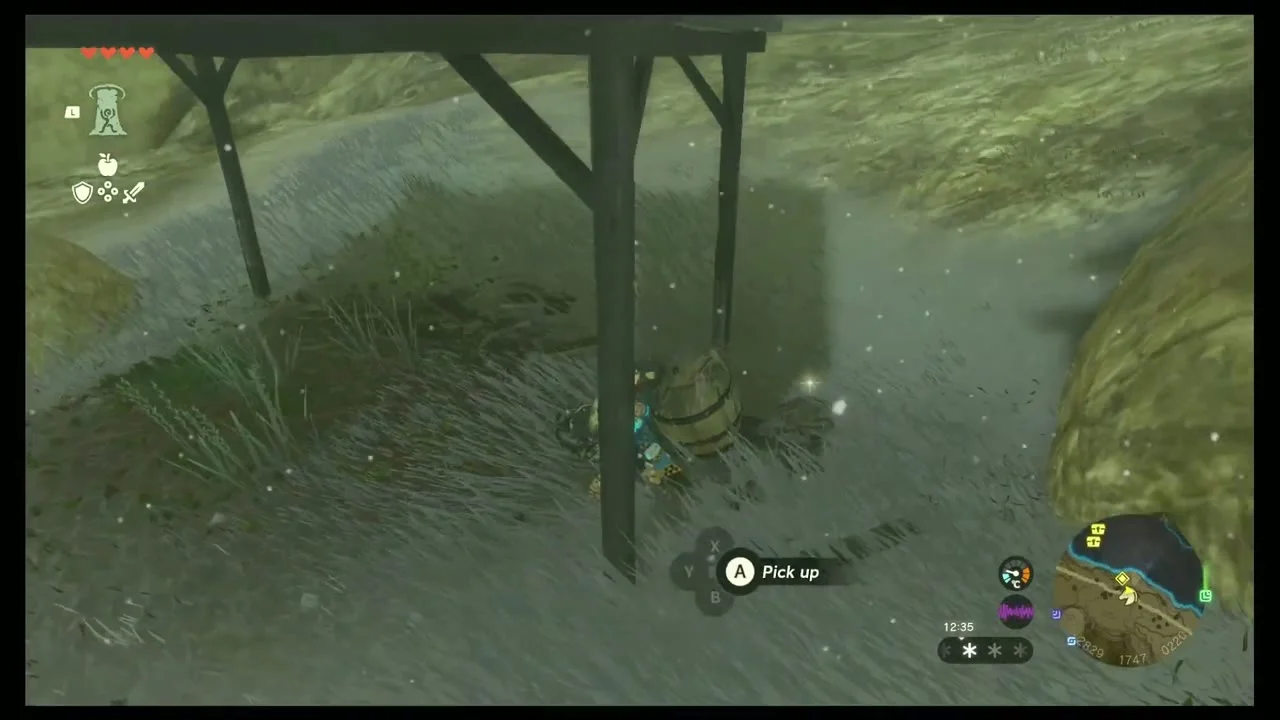
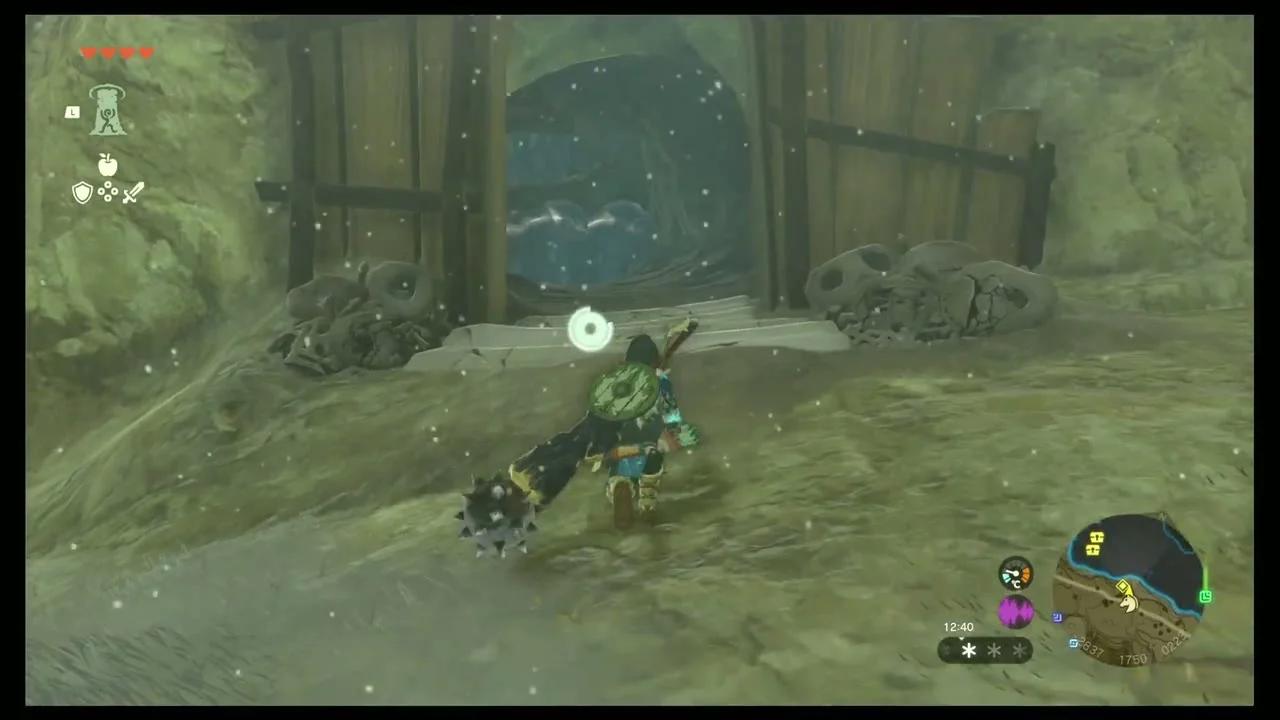
Cross the first cavern
The first cavern is dark with a huge blue rock. Collect the Opal at its base and the Bomb Flowers and Giant Brightbloom Seeds growing in the shadows; a Giant Brightbloom Seed lights the whole cavern.
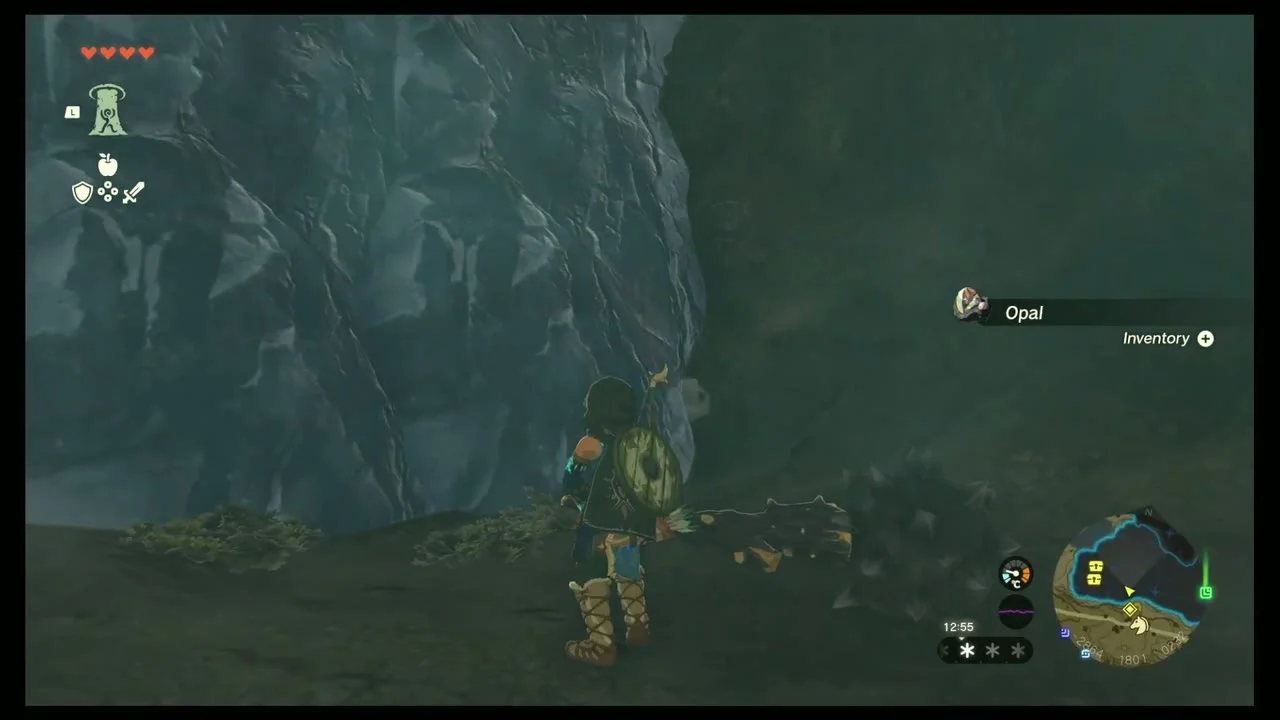
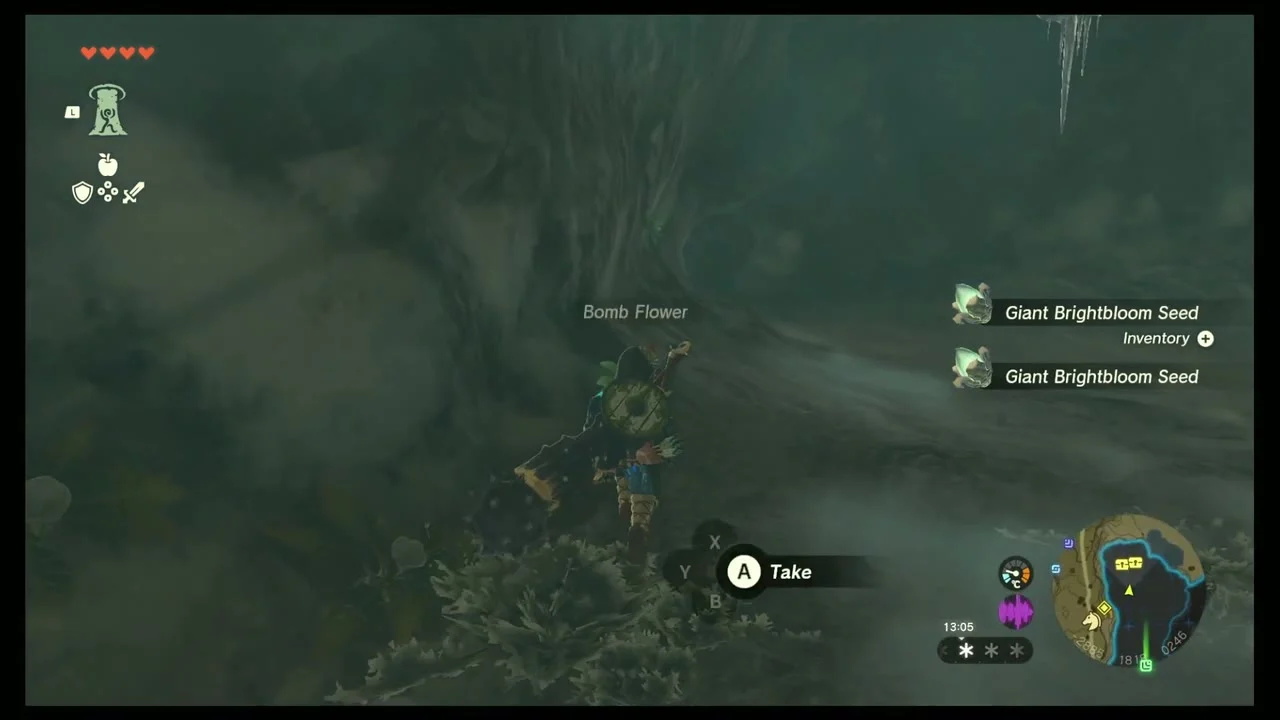
Shoot the Bubbulfrog
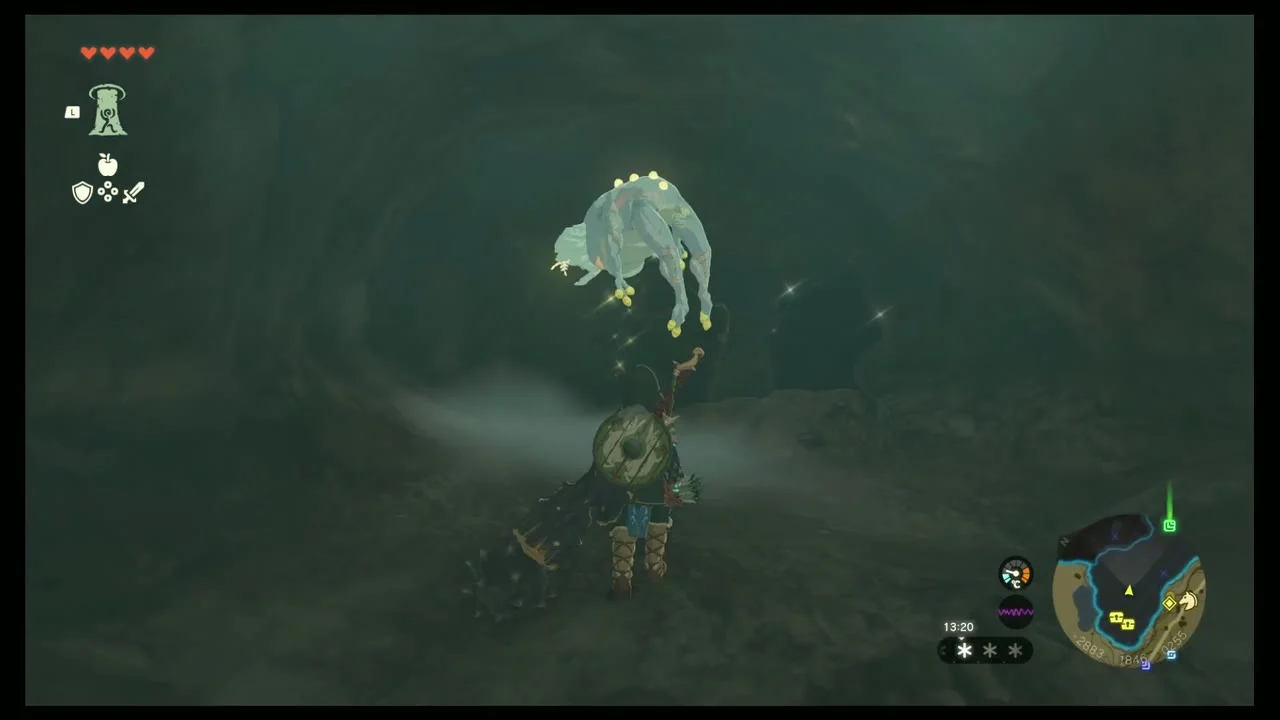
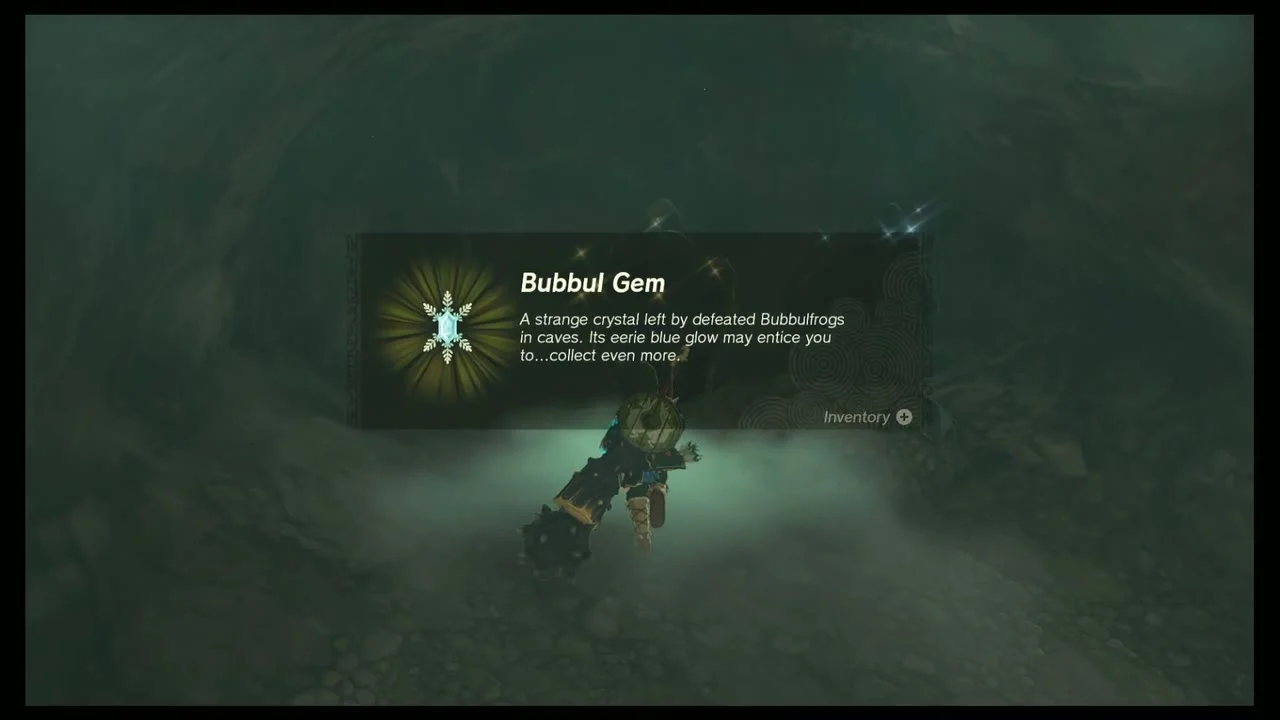
Look up for the glowing Bubbulfrog on the ceiling above the blue rock. Shoot it with an arrow and pick up the Bubbul Gem it drops, then break the rocks nearby for Amber and Sapphire.

Chests, enemies and extras
| Route | The walls are icy and slippery, so climb along the edges. After the first two climbing areas, turn right to reach the Bubbulfrog and left to reach the Horriblin den |
|---|---|
| Chest | Soldier’s Claymore (Strong or Mighty, depending on your progress), in the chest that opens after the Horriblins in the left-hand passage are defeated |
| Chest | Feathered Spear, behind two ice blocks against the southwestern wall of the Horriblin room; melt them with a fire weapon, Fire Fruit or Flint |
| Enemies | Two Horriblins plus a Blue Horriblin in the den (Gamer Guides also lists a Silver Horriblin) |
| Ore | Several ore deposits including a rare ore deposit, plus Opal, Amber and Sapphire |
| Bubbulfrog | In the third climbing area, to the right |
The cave is at the west end of Tabantha Hills, east of the Lucky Clover Gazette and just north of the main road, and has a single entrance. Bring a bow and a fire source.
