





















| Quest type | Main quest |
|---|---|
| Giver | Teba |
| Starts in | Rito Village, Hebra |
| Requirements | Cold-resistance armor or meals (two levels recommended), plus food for healing |
| Boss | Colgera in the Wind Temple |
| Reward | Heart Container, Vow of Tulin (summon Tulin’s avatar and his gust); Tulin becomes the Sage of Wind |
A blizzard has buried Rito Village in snow, and the adults have left to search for food. When Link reaches the village, Tulin has just argued with his parents, Teba and Saki, and flown off to investigate the storm. Follow him into the Hebra Mountains, recover his bow, then climb the Rising Island Chain with his help. This guide covers the full quest, including the Wind Temple and Colgera. The final fight takes place high above Hebra, where the cold can drain your health, so bring cold-resistance armor or meals, plus some food for healing.
Walkthrough
1. Speak with Teba and Tulin
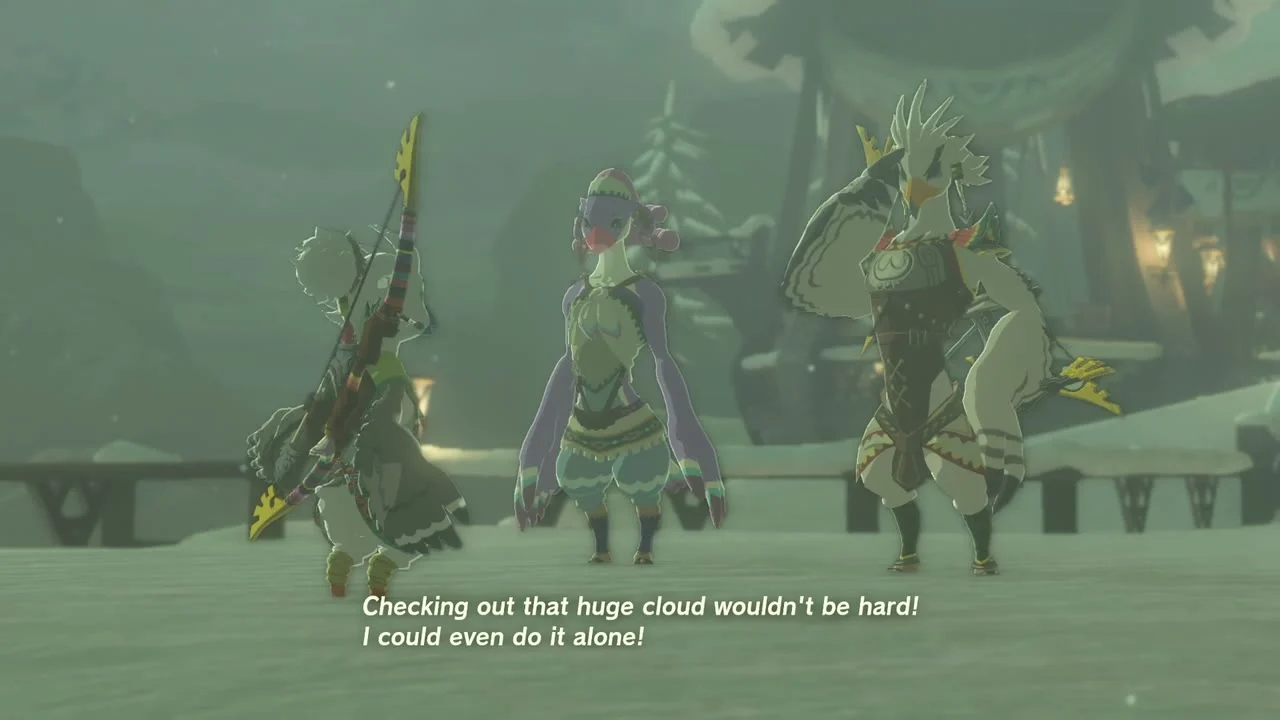
Reach Rito Village in Lake Totori, northwest of Lookout Landing. The main bridge near the Lucky Clover Gazette is broken. One easy way across is to drop a Hylian Pine Cone into the nearby fire and paraglide on the updraft. You can also build a bridge or glide in from Rospro Pass Skyview Tower. Climb to the upper part of the village and speak with Teba, Saki, and Tulin. Teba cannot help Link find Princess Zelda, but points him toward Harth at the Hebra Trailhead Lodge, north of the village. This starts the quest. Activating Gatakis Shrine in the village first gives you a fast travel point, and the optional side quest Crossing the Cold Pool is worth doing before you head up the mountain.

2. Find Harth at Hebra Trailhead Lodge
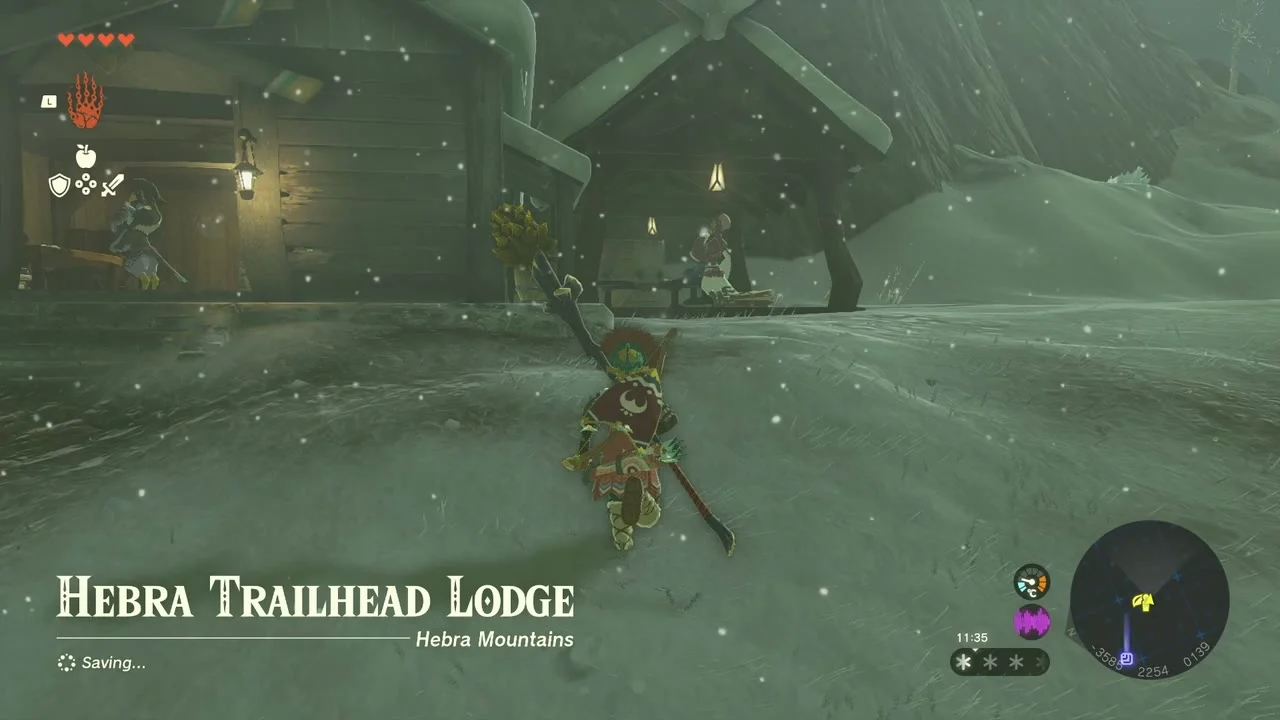
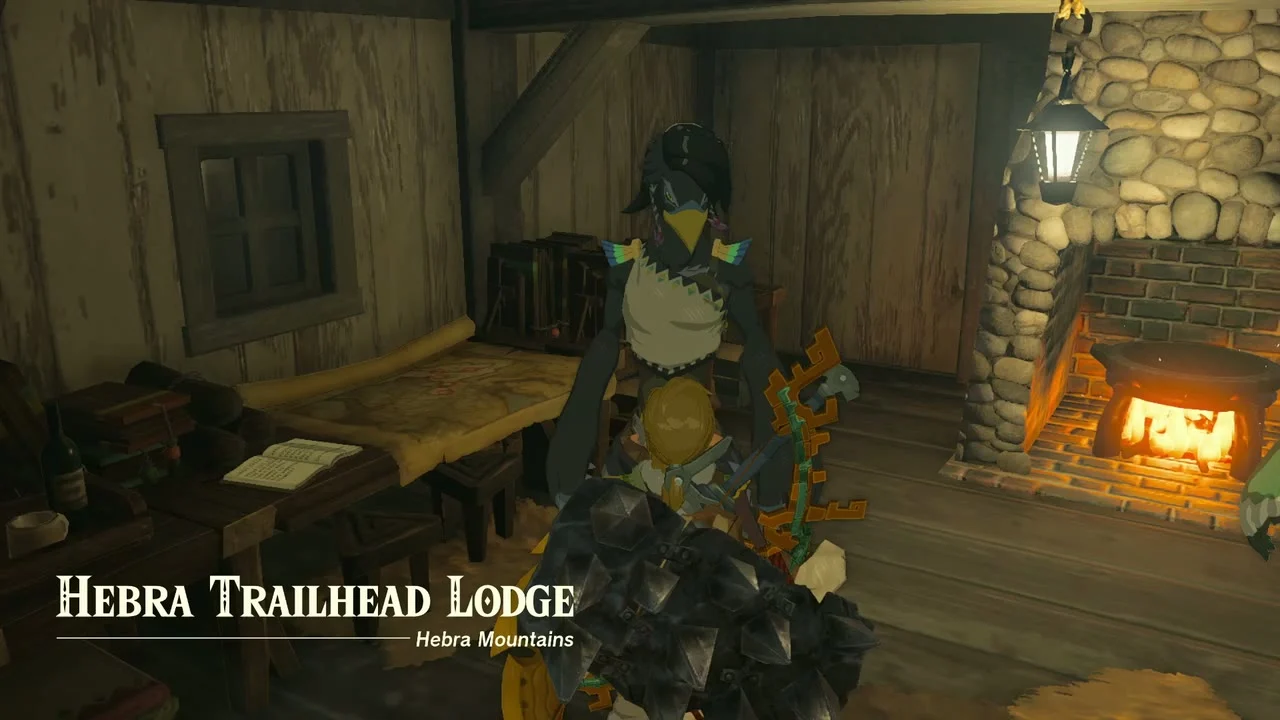
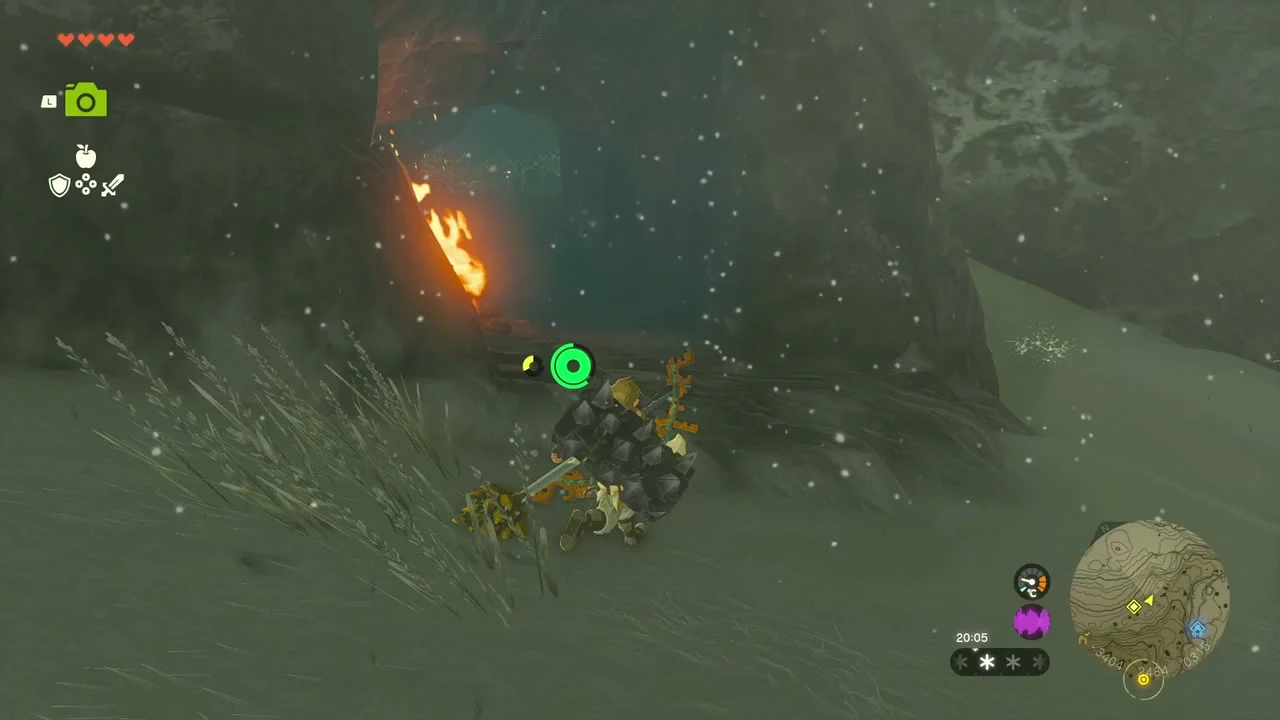
Follow the road north toward the Hebra Mountains. The lodge is marked by two large bonfires and sits at approximately -3581, 2252, 0141. Speak with Harth inside. Harth says Tulin went with Laissa and Gesane to look for food in Hebra South Summit Cave. Leave the lodge, climb the two ladders behind it, and follow the mountain path. Pass the campfire and continue uphill until a large bonfire marks the cave entrance, around -3384, 2485, 0309. If the climb is hard to navigate, activate Rospro Pass Skyview Tower first. It gives you a view of the mountain and a launch point closer to the route.
3. Search Hebra South Summit Cave
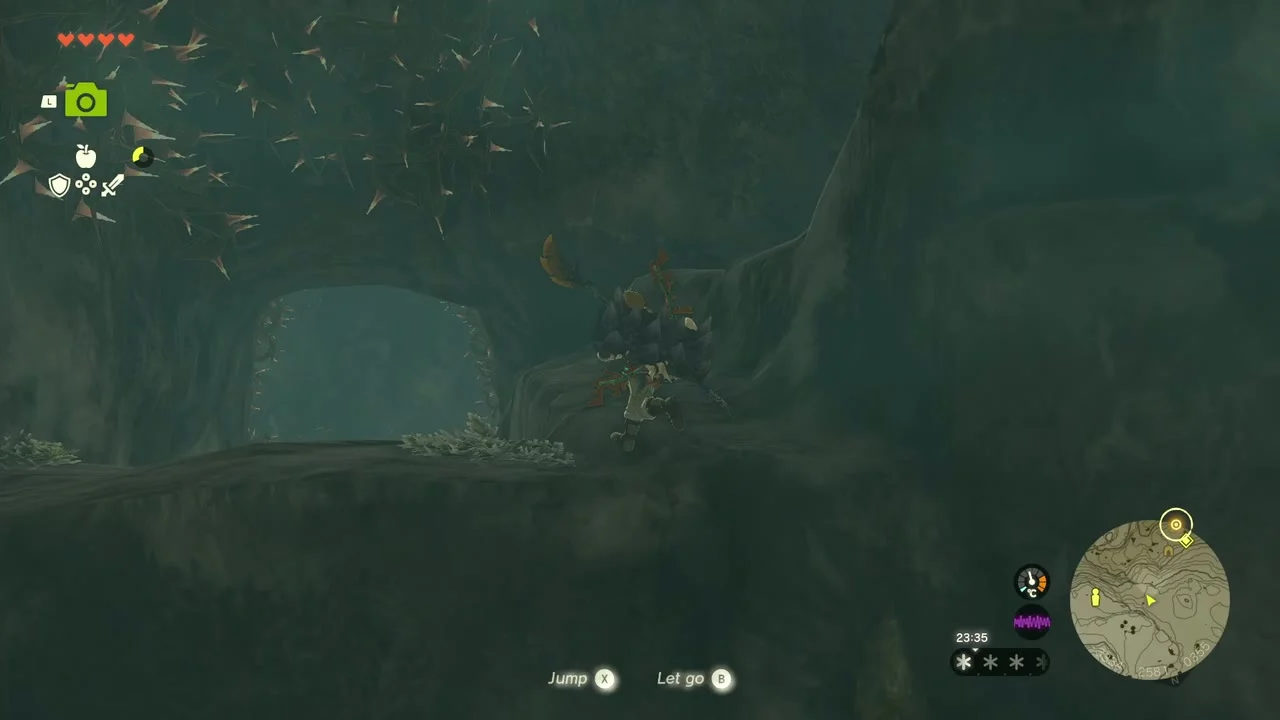
Inside, speak with Laissa near the entrance. Continue along the cave’s main path. Thorny vines block parts of the route; burn them with Fire Fruit, a fire weapon, or another fire source. When you reach a large chamber with an updraft, open the paraglider and ride the wind to the higher opening. Continue through the cave, dealing with or slipping past the ceiling creature. In the next chamber, relight the cold campfire with flint and a striking weapon or a Fire Fruit arrow. Drop a Hylian Pine Cone into the fire to create a stronger updraft, then use your paraglider to reach the upper passage. Follow the path to Gesane. He tells you Tulin has already left the cave and is heading for a lone cedar tree on Tolonto Peak.

4. Find Tulin on Tolonto Peak
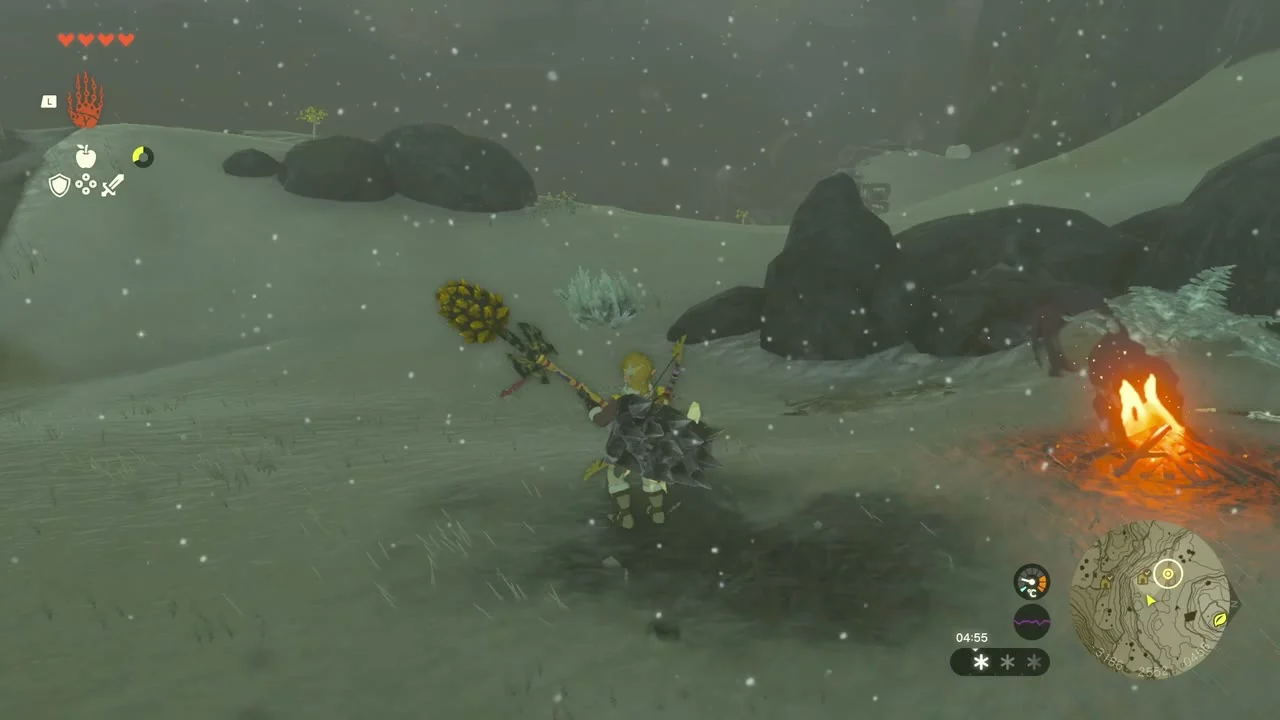
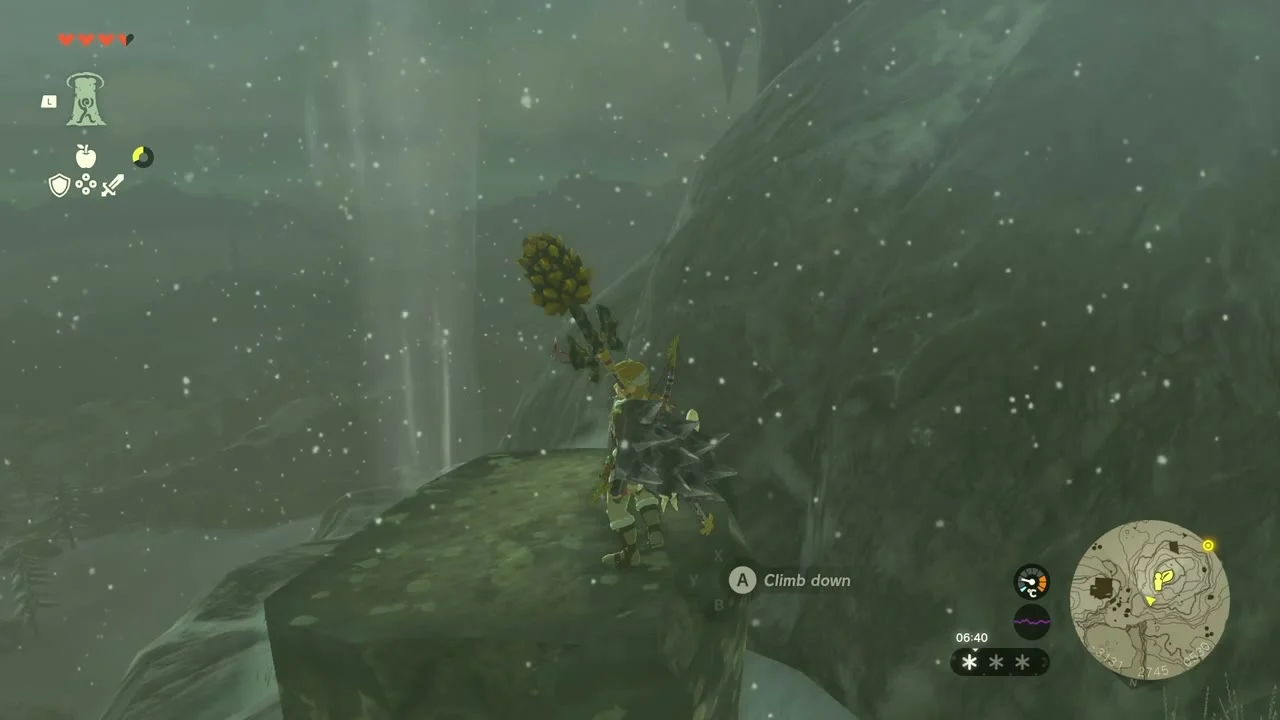
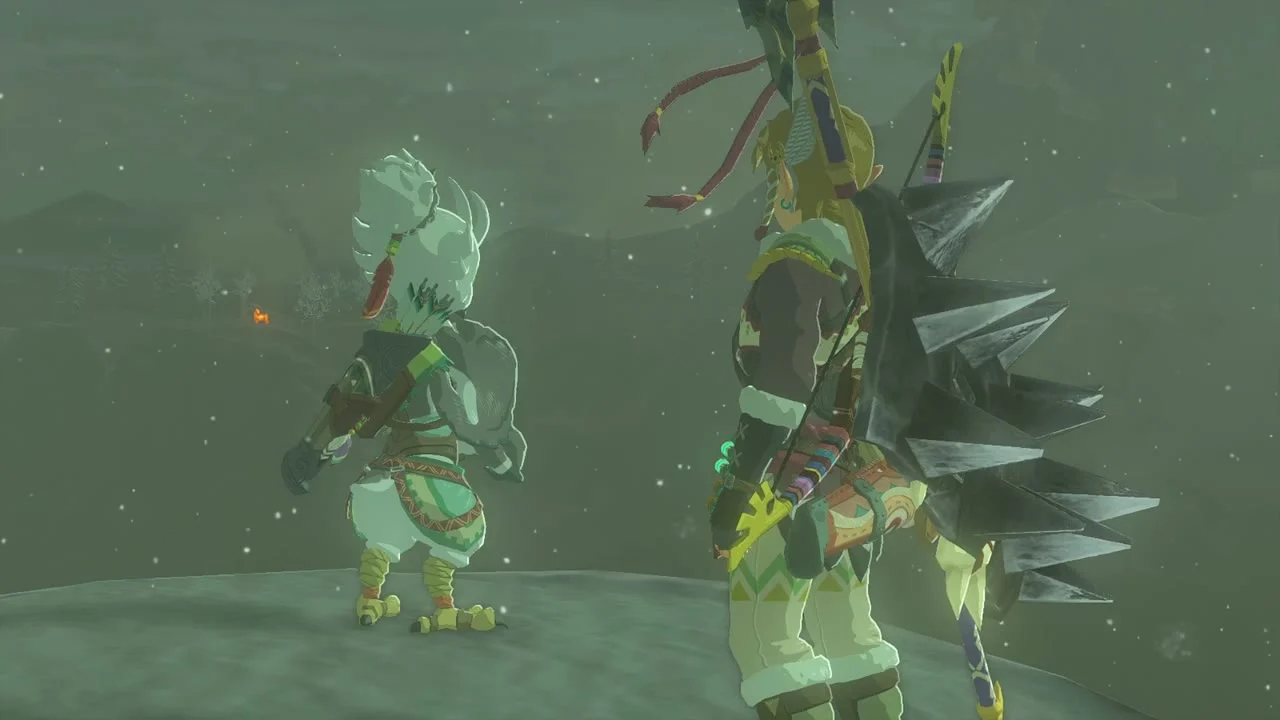
Exit the cave and climb north toward the lone cedar tree at the top of the peak. Tulin is waiting near -3152, 2688, 0567. Use the natural gusts around the mountain to glide between ledges, and watch for monsters on the way up. Talk to Tulin. A flying monster has stolen his Swallow Bow. Tulin joins you and gives you access to his gust while he is nearby.
5. Recover Tulin’s bow
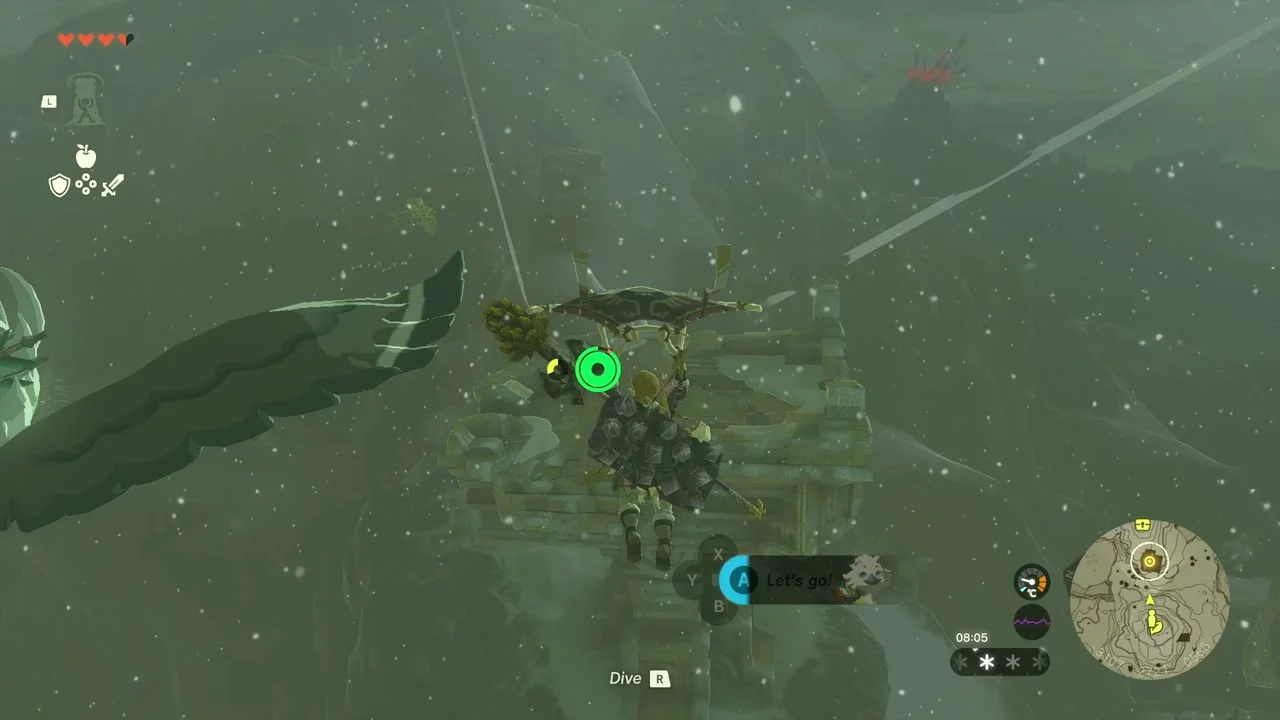
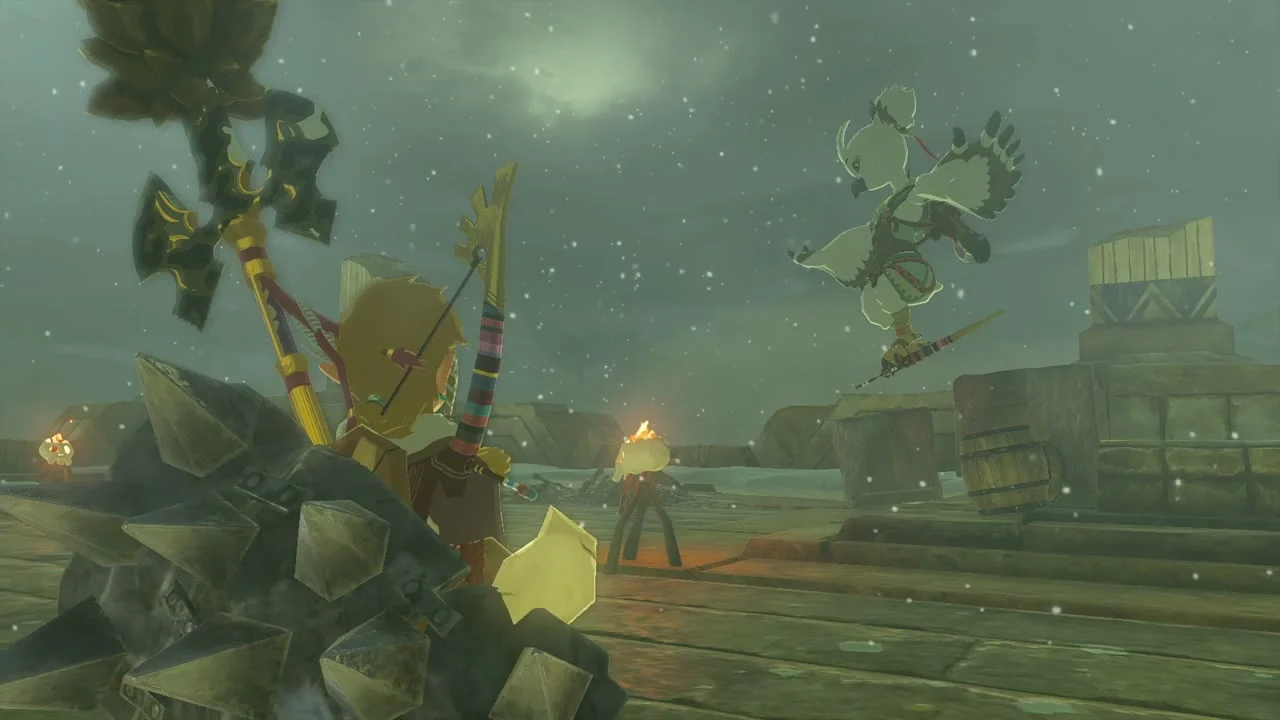
Look toward the marked platform where the Aerocuda is carrying the bow. Command Tulin to prepare a gust, then use it to glide out to the platform. Shoot the Aerocuda with an arrow. It will drop the bow. More enemies arrive after the first one falls, including Aerocudas carrying Bokoblins. Stay on the platform and shoot them out of the air before they can overwhelm you. Once the fight ends, Harth and Gesane catch up with you. They ask you and Tulin to investigate the storm above Hebra Peak.


6. Climb to Hebra Peak
Follow the new marker uphill. The route uses yellow stone ledges and platforms built into the mountain. Use Tulin’s gust to cross the gaps, climb to each higher ledge, and keep moving toward the summit. Open the chest on top of the first yellow structure as you pass it. At the highest point, speak with Huck. From here, the path continues onto the floating islands above the storm. Tulin’s gust is essential for making the longer glides.



7. Reach the Rising Island Chain
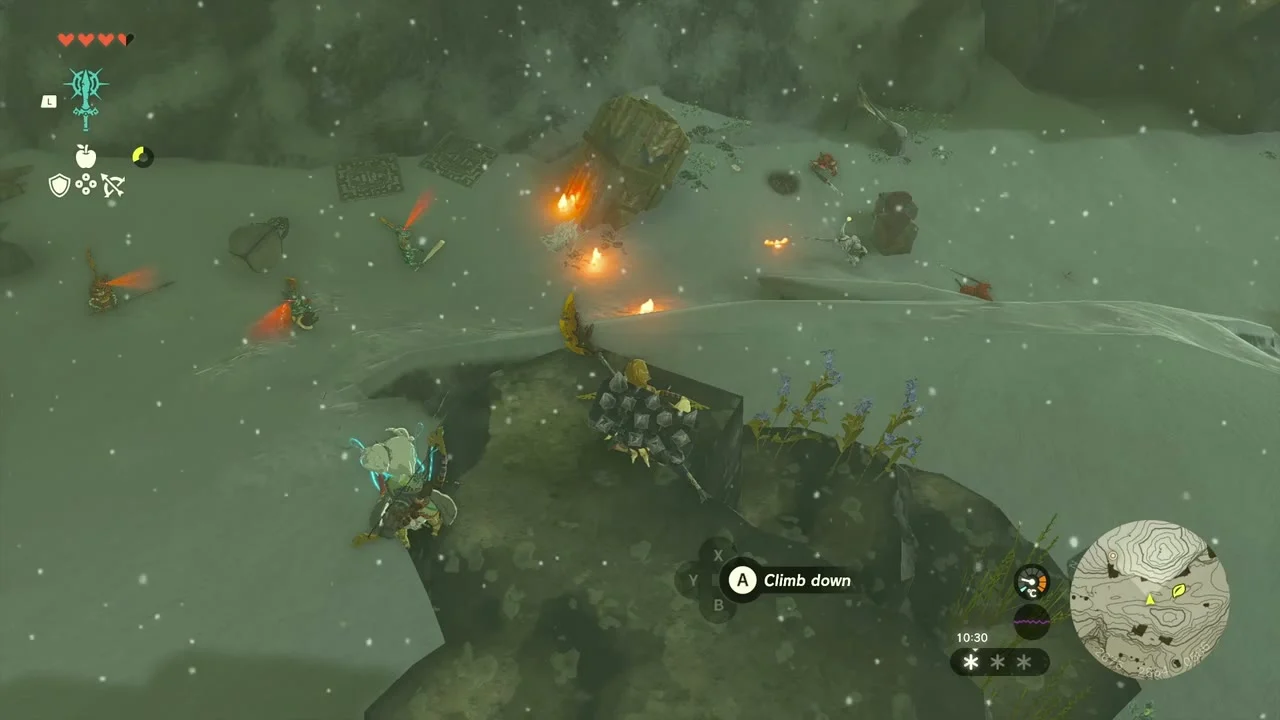
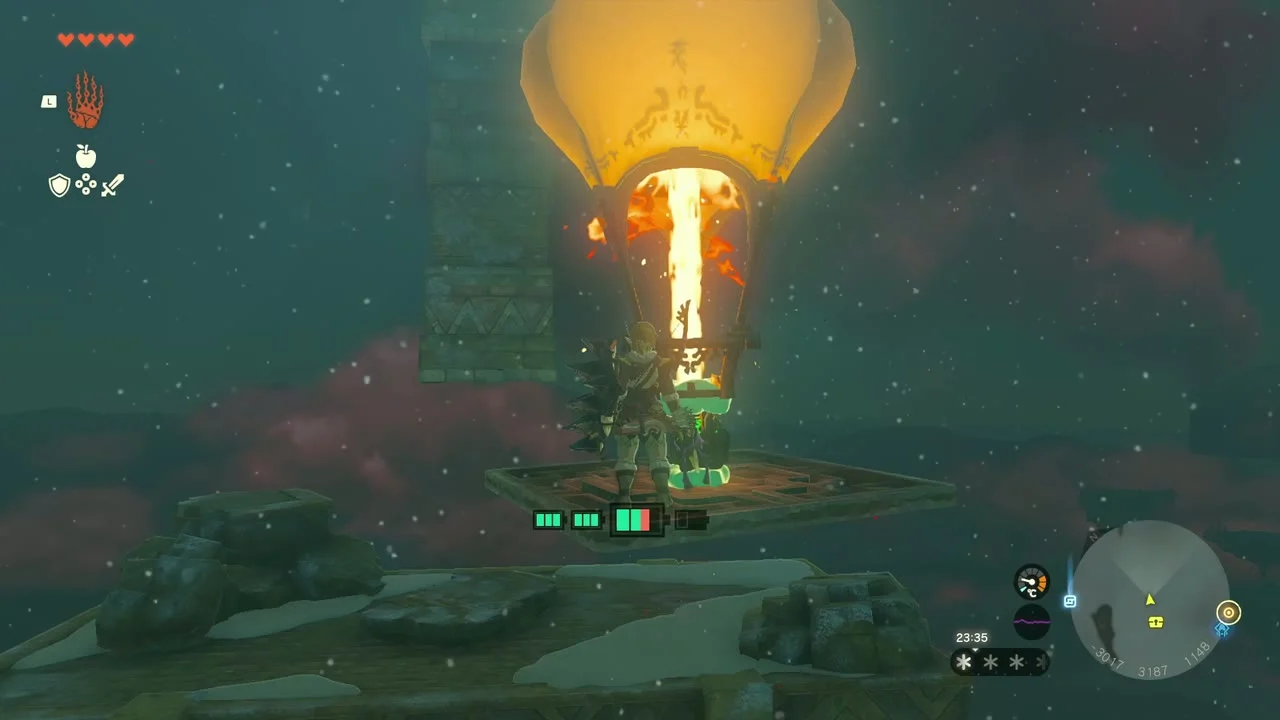
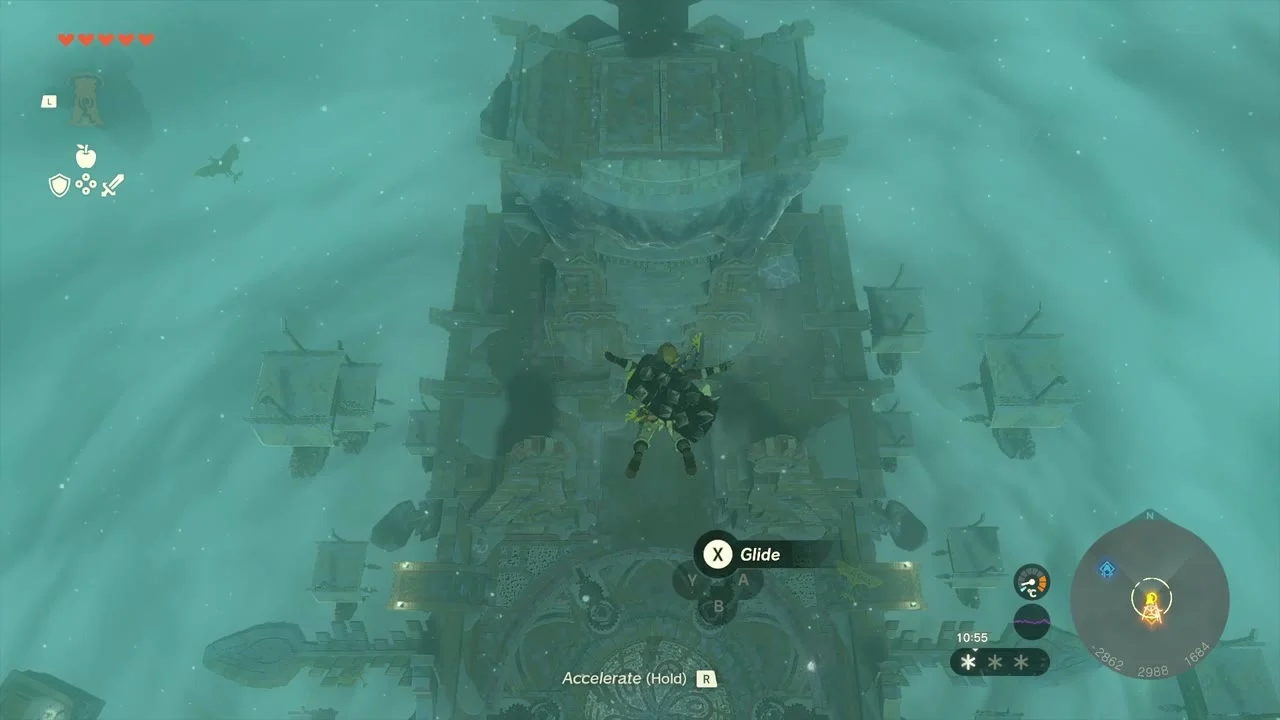
Glide from Hebra Peak to the floating structures, using Tulin’s gust to extend each jump. Land on the tower-like structure with the shrine and use Ascend from the platform below to pass through it. This brings you to the Rising Island Chain. Follow the islands upward. Several have ship-shaped platforms with sails that act like launch pads. Jump on them to gain height, then glide to the next island. Break through frozen platforms by jumping on the ice, and use Ascend where a pillar or roof gives you a clear path upward. You can also use Ultrahand to move blocks or build a small lift if a gap is awkward. Activate Mayaumekis Shrine when you reach it; the island behind it holds a chest, reached by landing on the far-left platform below the iced pillar and using Ascend. A balloon platform higher up can be raised by building a metal plate with a Flame Emitter under a Balloon with Ultrahand. Continue upward through the islands and activate Kahatanaum Shrine as well. It is a valuable checkpoint before the final climb and holds one chest. The temperature becomes especially harsh this high up, so check that your cold resistance will last. From Kahatanaum Shrine, keep following the ship platforms around the storm. Use the sails to launch between islands, then climb or Ascend through the structures when the route turns vertical. Once you reach clear sky above the cloud, dive into its center. A cutscene brings you to the Stormwind Ark, also called the Wind Temple.


8. Open the Wind Temple’s five locks
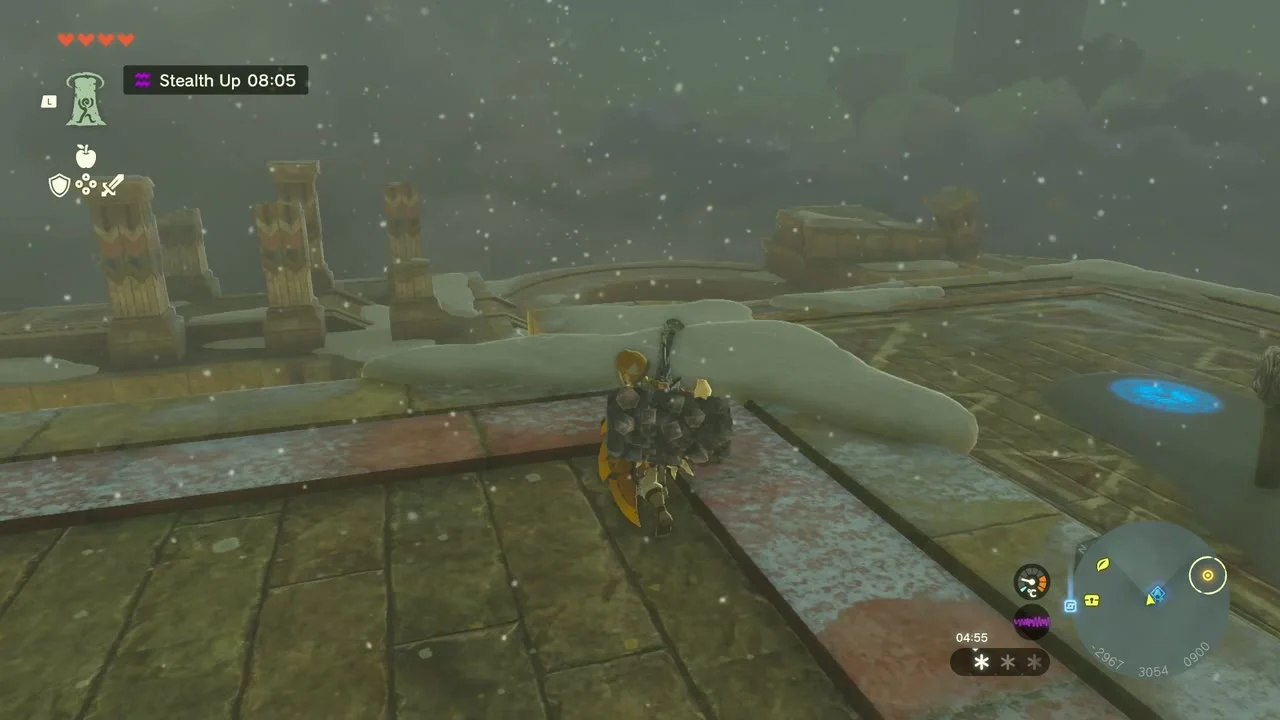
Activate the green travel point on the deck, then examine the terminal near the central hatch. The hatch is locked until five turbines are activated. Each turbine is marked on your map, and Tulin’s gust powers them. The locks can be tackled in different orders. These directions use the numbered order shown by the quest markers.


Lock 1: North side of the main deck
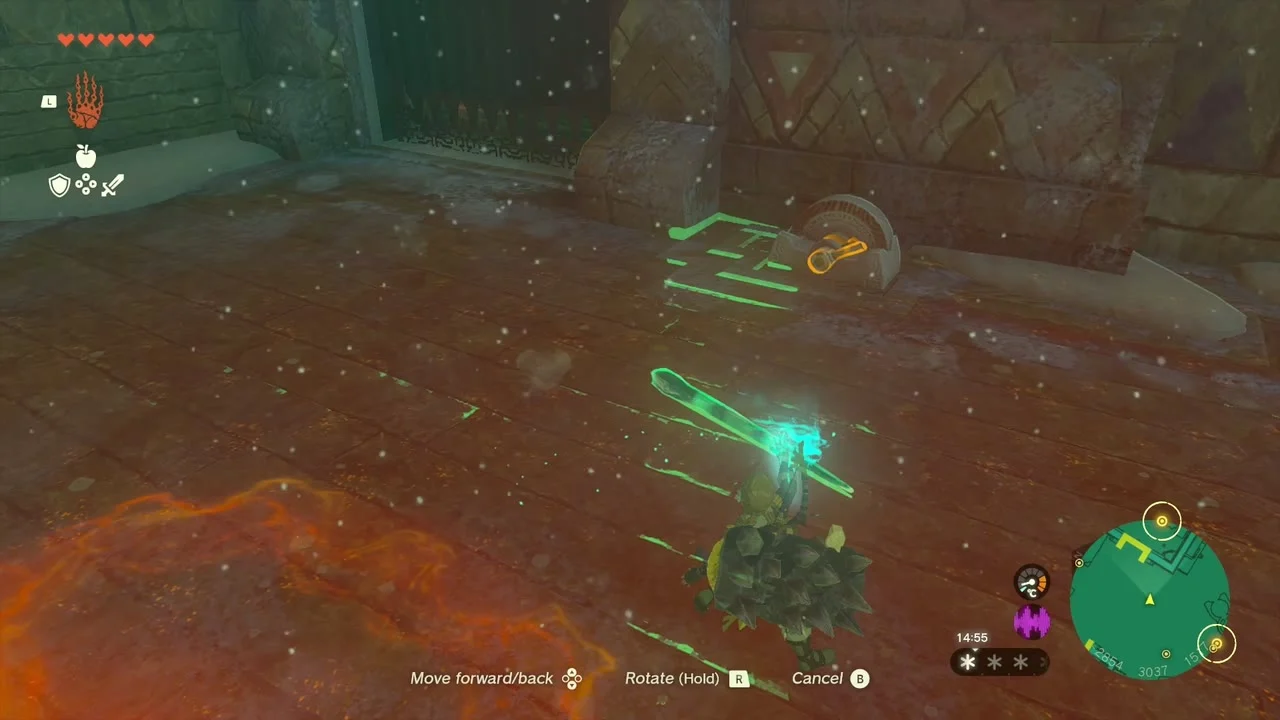
Head to the locked doors at the front of the ship. Use Ultrahand to attach an icicle or another long object to the lever on the right-hand door. Pull the lever to open it. Inside, use Tulin’s gust on the turbine.


Lock 2: Inside the tall tower
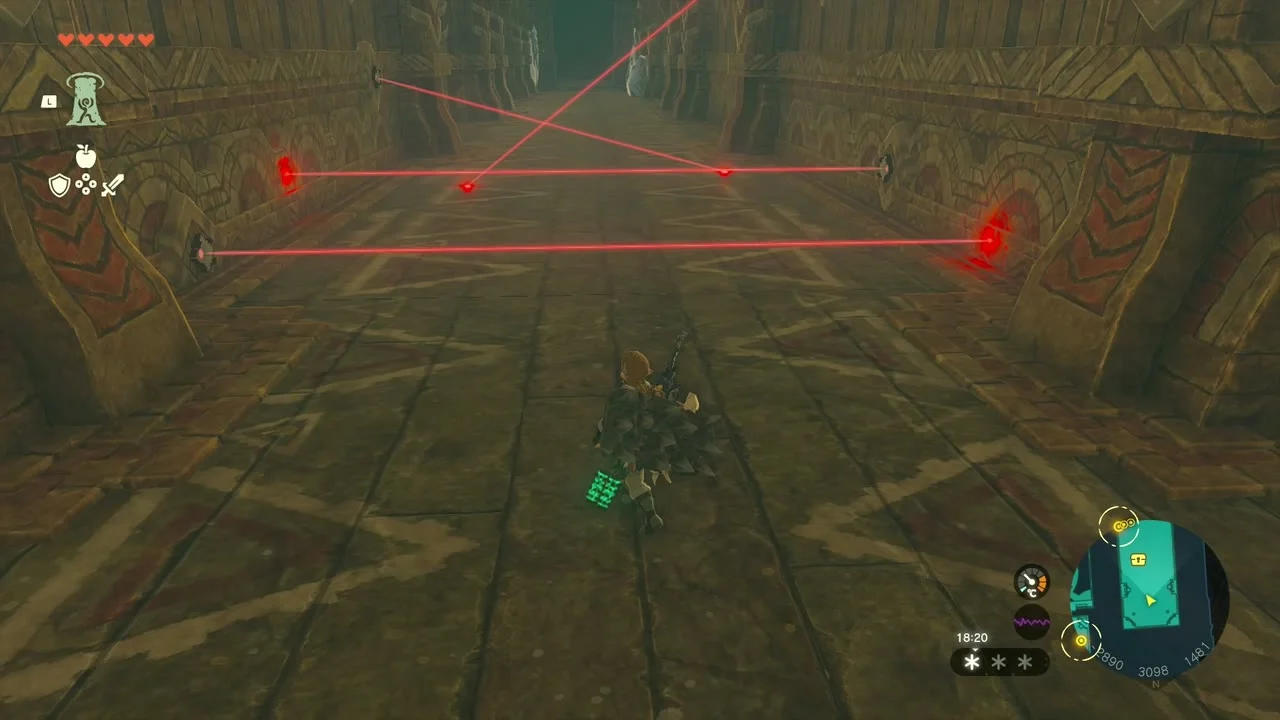
Ride the updraft from the large turbine in the middle of the main deck toward the tall tower at the north end. Open the two metal panels on its roof with Ultrahand and drop inside. Steer around the red lasers as you fall, then open the paraglider near the bottom and move into the side opening. Activate the turbine with Tulin’s gust.


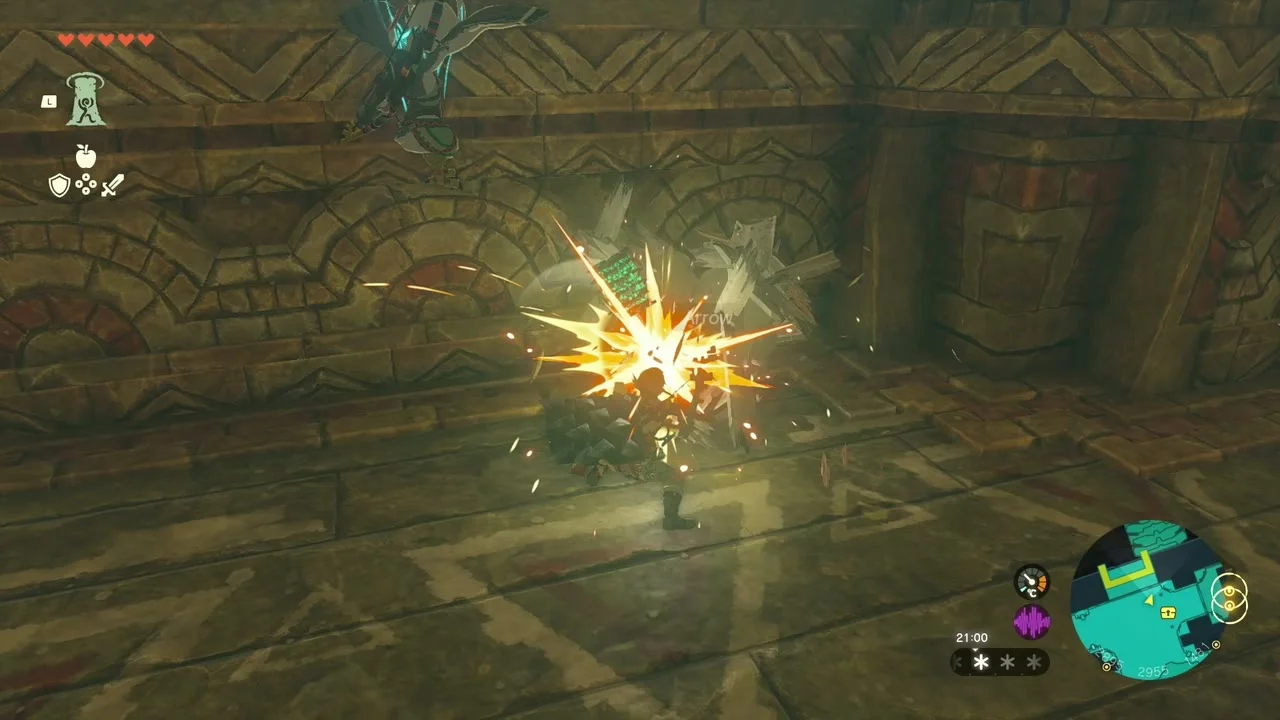
Lock 3: Right side of the ship
Glide down the right side of the ark and break through the wall of icicles to enter the lower level. Use Recall on the spinning platform to reach the next room. Shoot down a large icicle and use Ultrahand to attach it between the two gears, extending the connection so the door opens. Go through and activate the turbine.
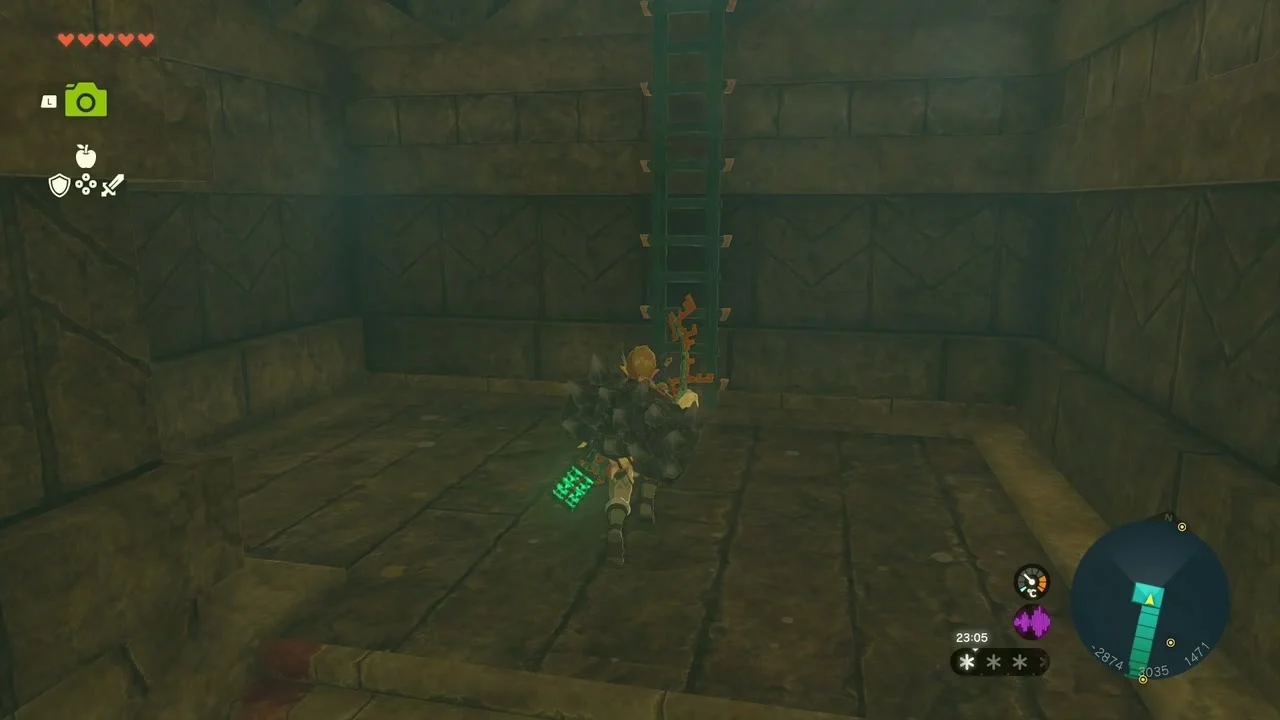
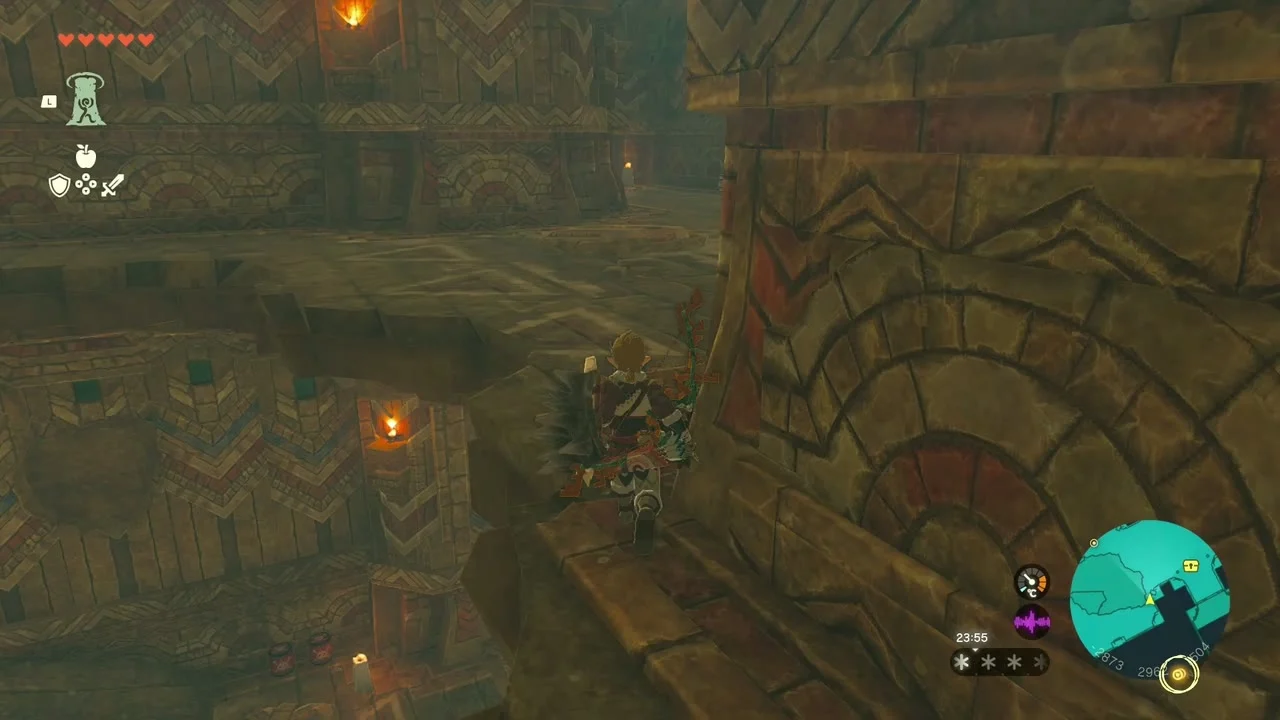

Lock 4: Underside of the ship
Glide down the left side to the opening in the hull. Work through the lower passage and drop through the opening near the icy wall to reach the underside of the ship. Defeat or avoid the Construct, then use Tulin’s gust on the exposed turbine.
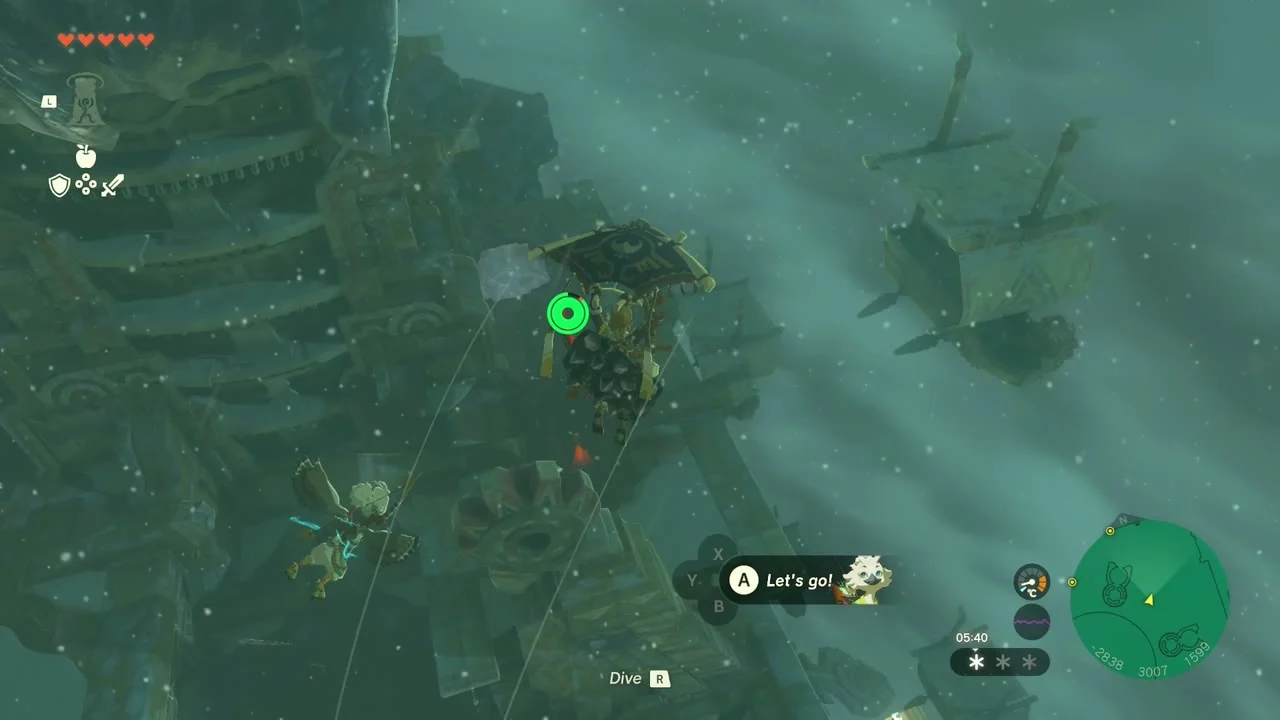

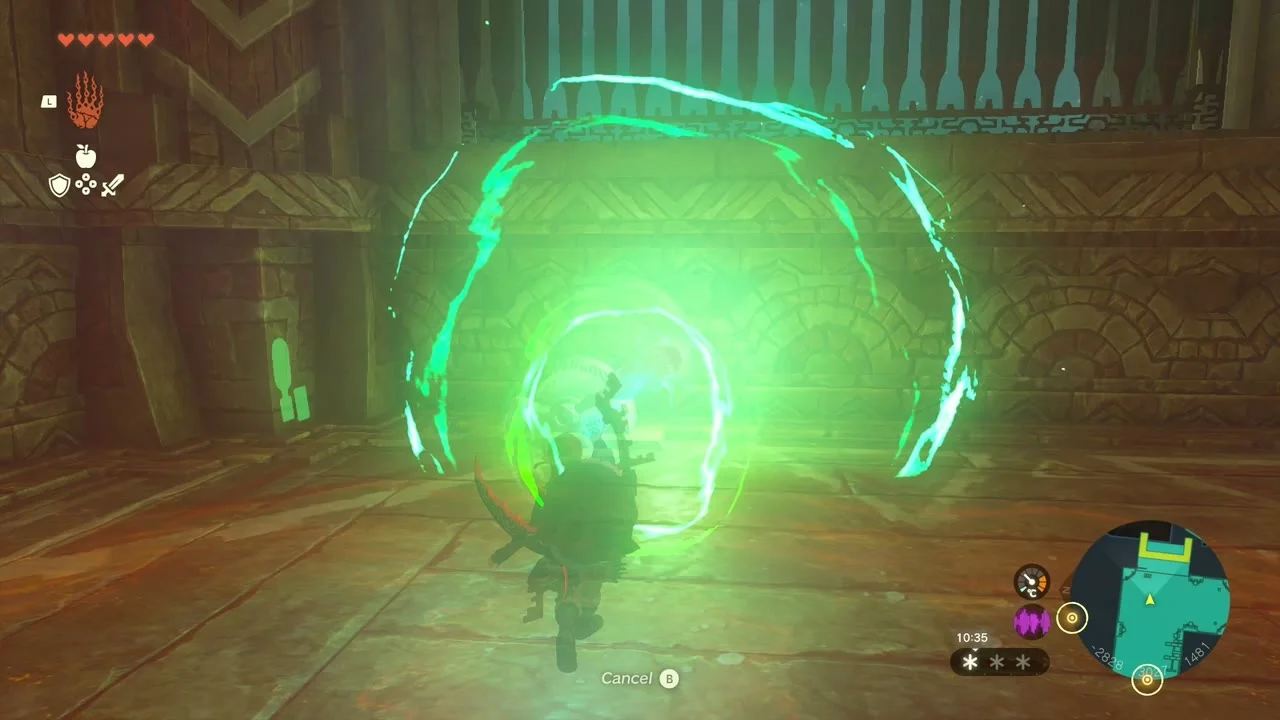
Lock 5: Lower southern section
Return to the icy wall and use Tulin’s gust to cross the gap into the southern side of the lower level. Use Ascend to reach the room above. Attach a stone slab to the exposed cog with Ultrahand and turn it until the door opens. Use Recall on the cog, then quickly climb through the door while it rewinds. Activate the last turbine with Tulin. Return to the central deck and examine the terminal to open the hatch.

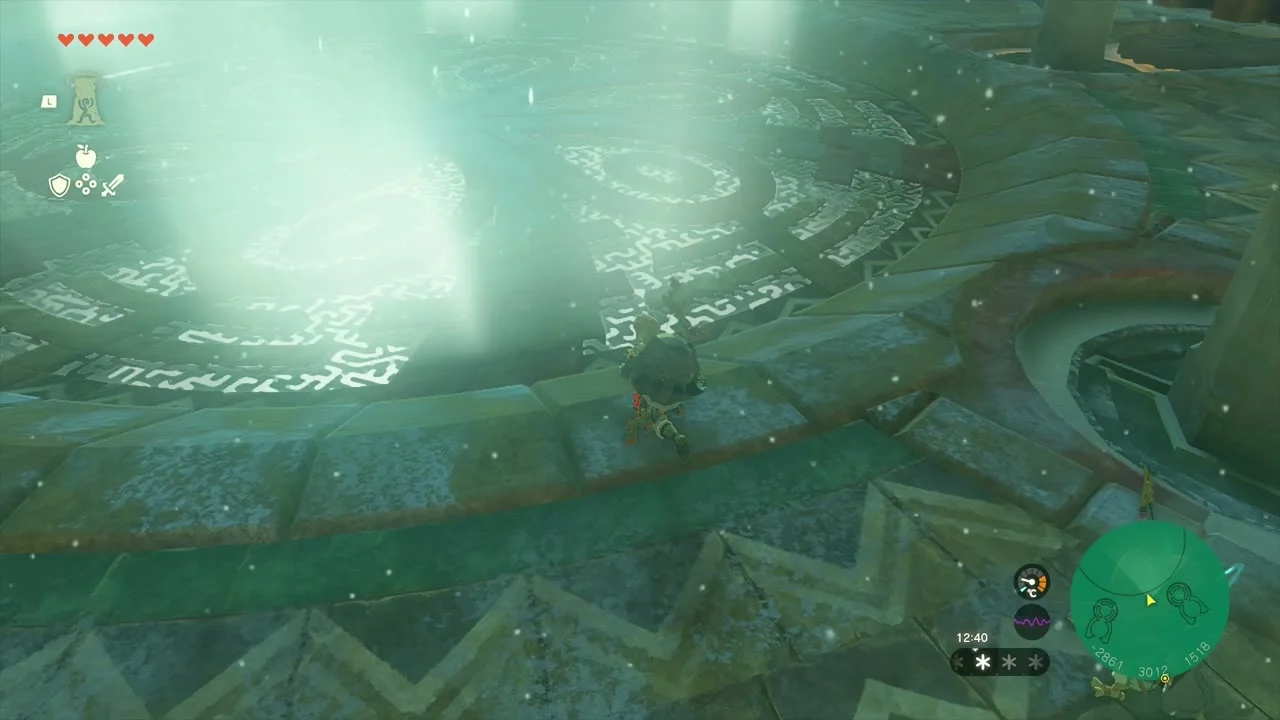

9. Defeat Colgera
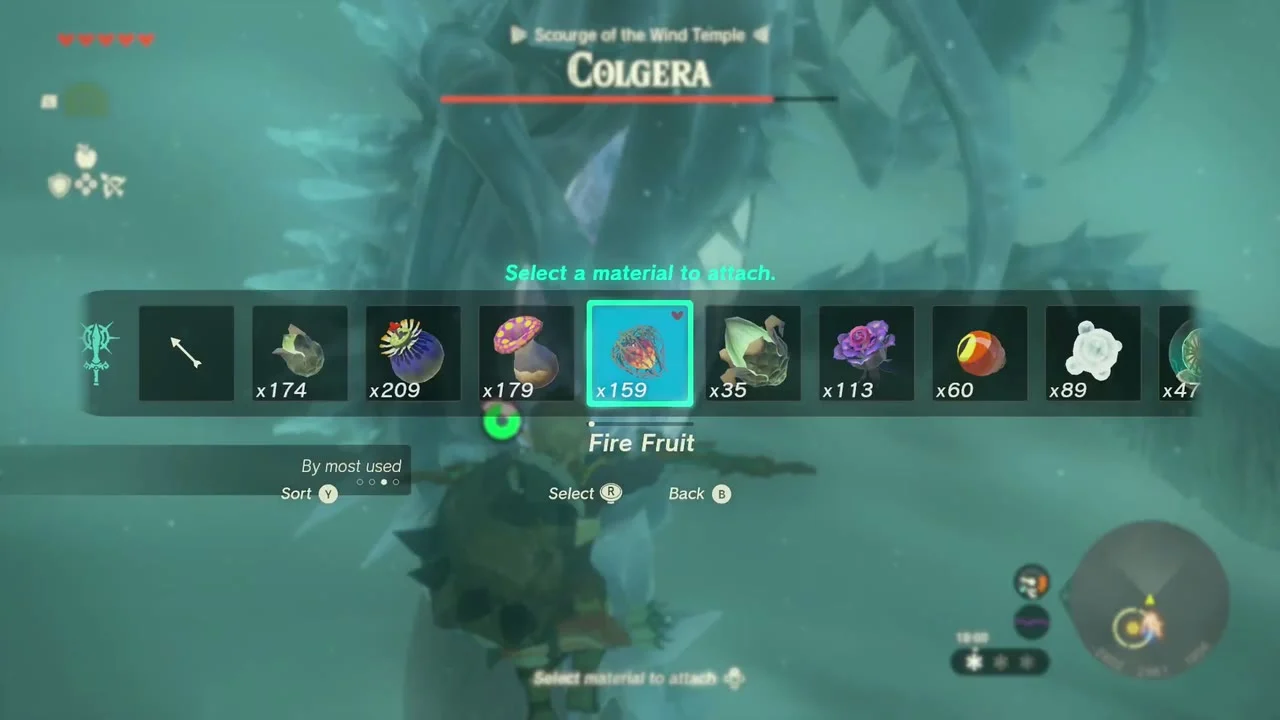
The fight can last around ten minutes and Colgera can hit very hard, so bring plenty of healing meals that do not overwrite your cold resistance. Make sure your cold resistance is active and your health is topped up before opening the hatch. The boss fight starts immediately. Colgera has three large ice plates along its body. When a plate is exposed, dive through it to shatter it. You can also use arrows if you have a clear shot, but diving through the plates is effective and saves ammunition. After each hit, Colgera moves and attacks from below, so keep gliding and use Tulin’s gust to regain position. In the second phase, Colgera adds tornadoes to the fight. Watch their paths and steer around them while you line up the next dive. Break all three exposed plates again to finish the battle.
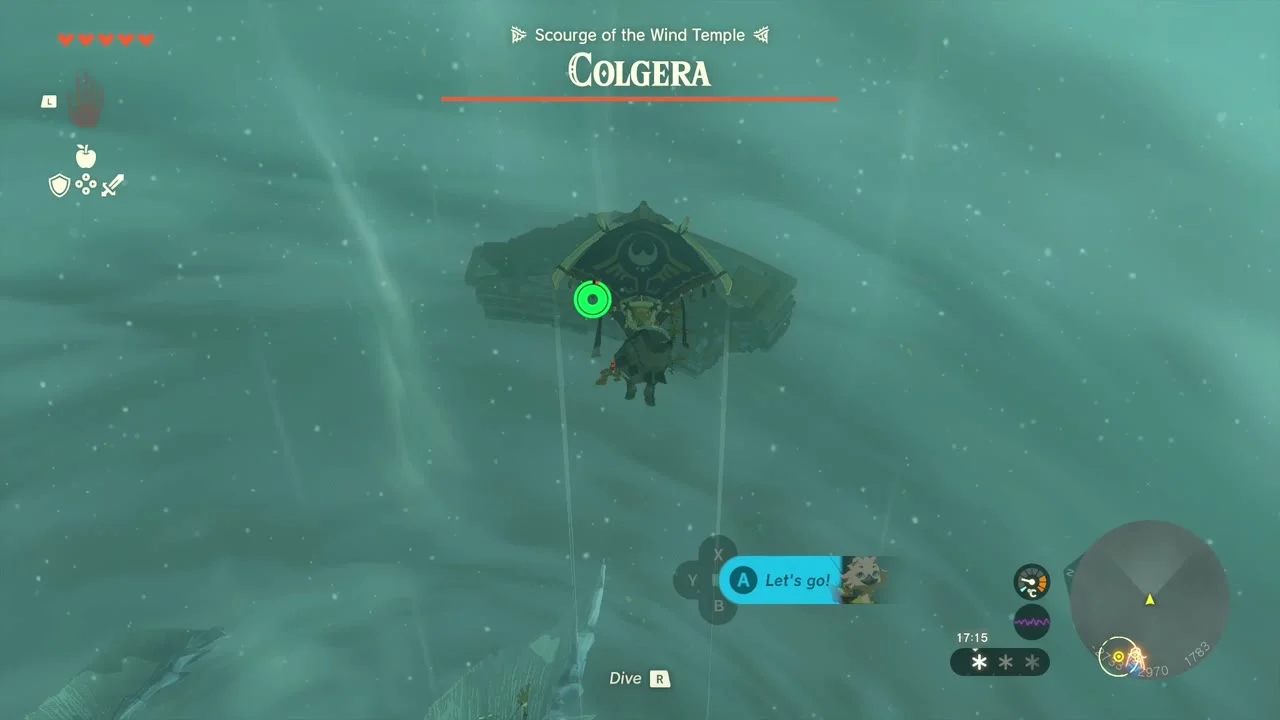

10. Return to Rito Village
Collect the Heart Container after the fight and speak with Tulin. The two of you return to Rito Village. Teba gives Tulin the Great Eagle Bow and recognizes him as a warrior. Tulin receives the Secret Stone and becomes the Sage of Wind. The Wind Temple, Mayaumekis Shrine and Kahatanaum Shrine remain as fast travel points, and finishing the quest counts toward Regional Phenomena.


Rewards
The quest rewards you with the Vow of Tulin, which lets you summon his avatar and use his gust while exploring Hyrule, plus a Heart Container from the Colgera fight.
