





















| Trial | Bridging the Sands |
|---|---|
| Type | Puzzle |
| Region | Gerudo |
| Location | Gerudo Desert |
| Coordinates | -4167, -2143, 63 |
| Lightroot below | Rasinaduk Lightroot |
How to find it
Kudanisar Shrine is at map coordinates -4167, -2143 (height 63), near Karusa Valley.
Solution
Plank across the first sand strip
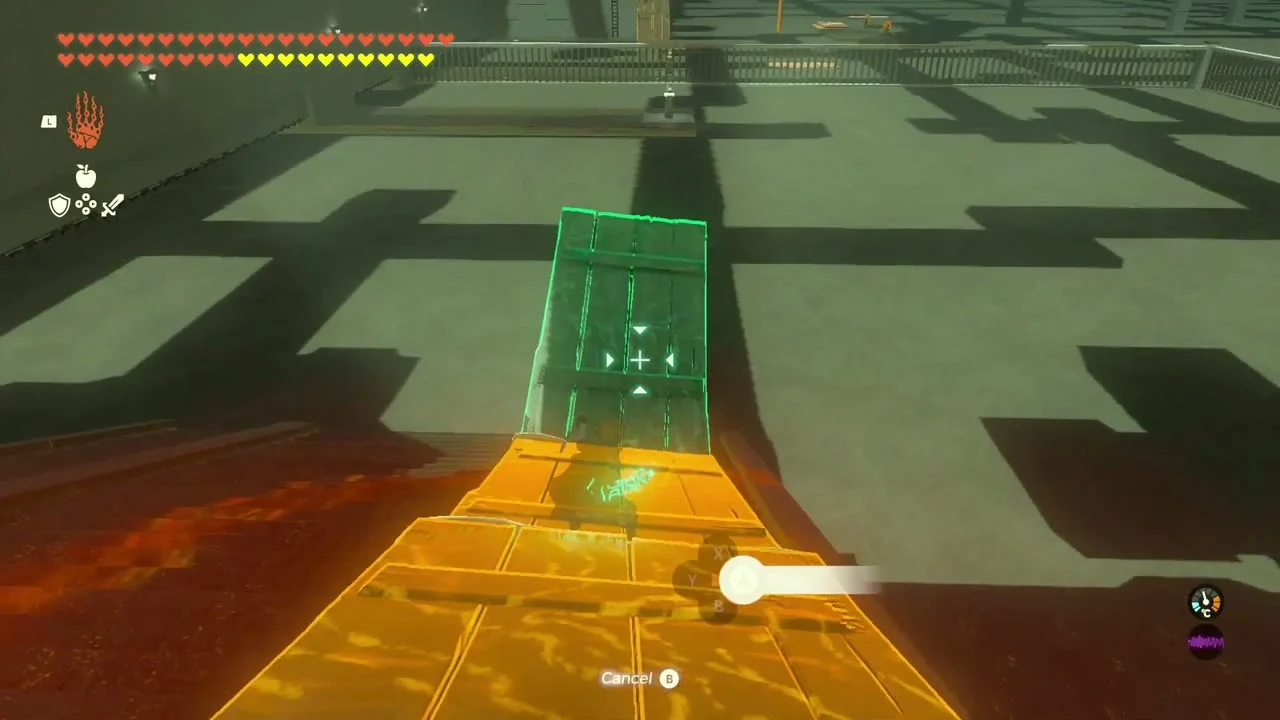
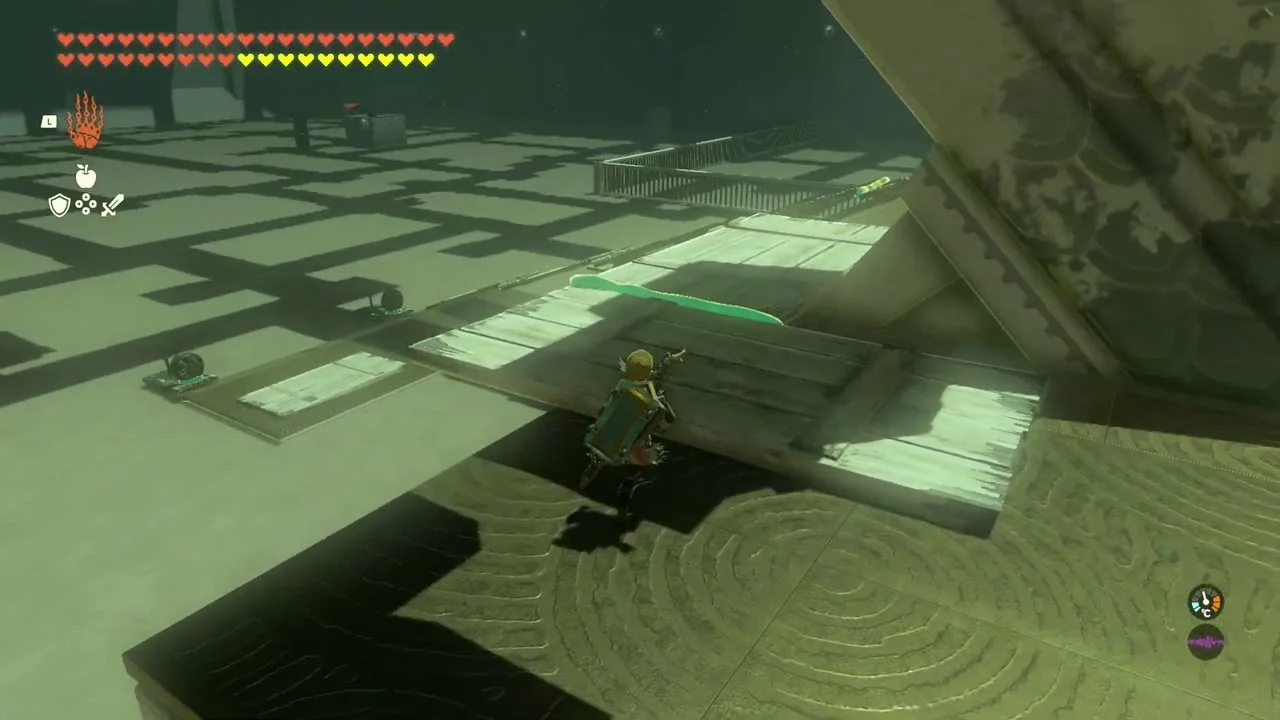
The shrine sits on top of a small structure in a sand sea, with a few Soldier Constructs around it; glide in from the Gerudo Highlands Skyview Tower and land on the higher levels to avoid them. The floor inside is moving sand that drains your stamina, so build your own bridge. Grab the boards drifting across the sand with Ultrahand and hop between them toward the fence, then join planks into a sloped bridge over it from the platform before the fence.

Chain planks to the next platform
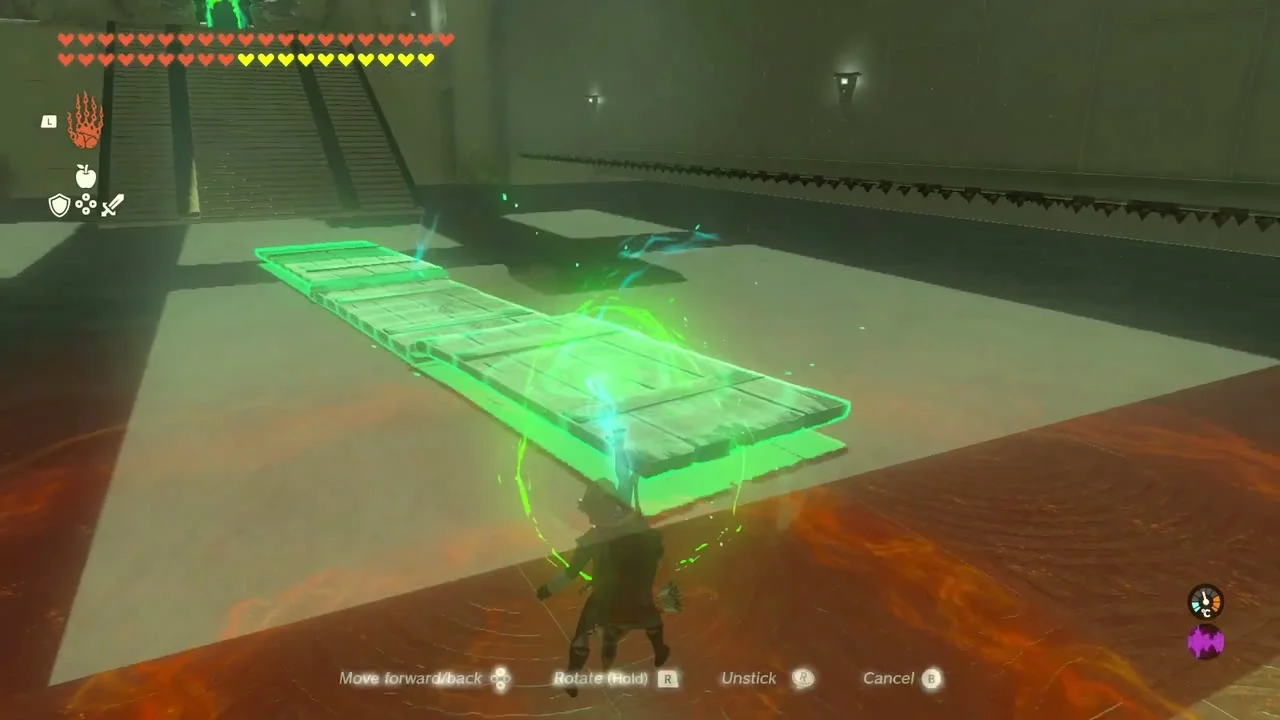
Keep joining planks to span each gap, and stand on the finished plank before you pull the next one forward. Lean a long plank over the wall if the end falls short. A Construct hides behind a vertical board: slide it aside, shoot the Construct, then extend your bridge.

Ramp over the obstacles
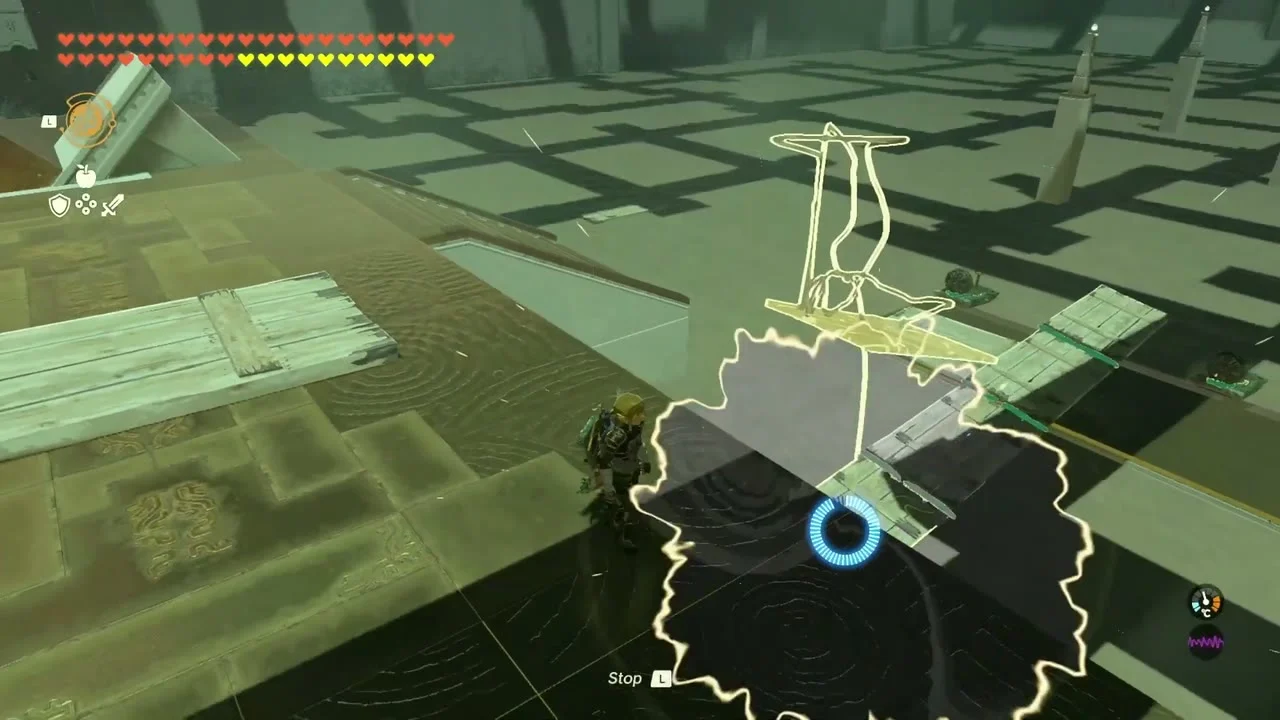
Where blocks or a wall stop you, lay a plank at an angle and run up it to the higher platform. Climb the ladder of the big structure and step on the tile there: it launches a rune ball that rolls down to another platform, and you will need that ball later.
Drive a fan board across the open sand
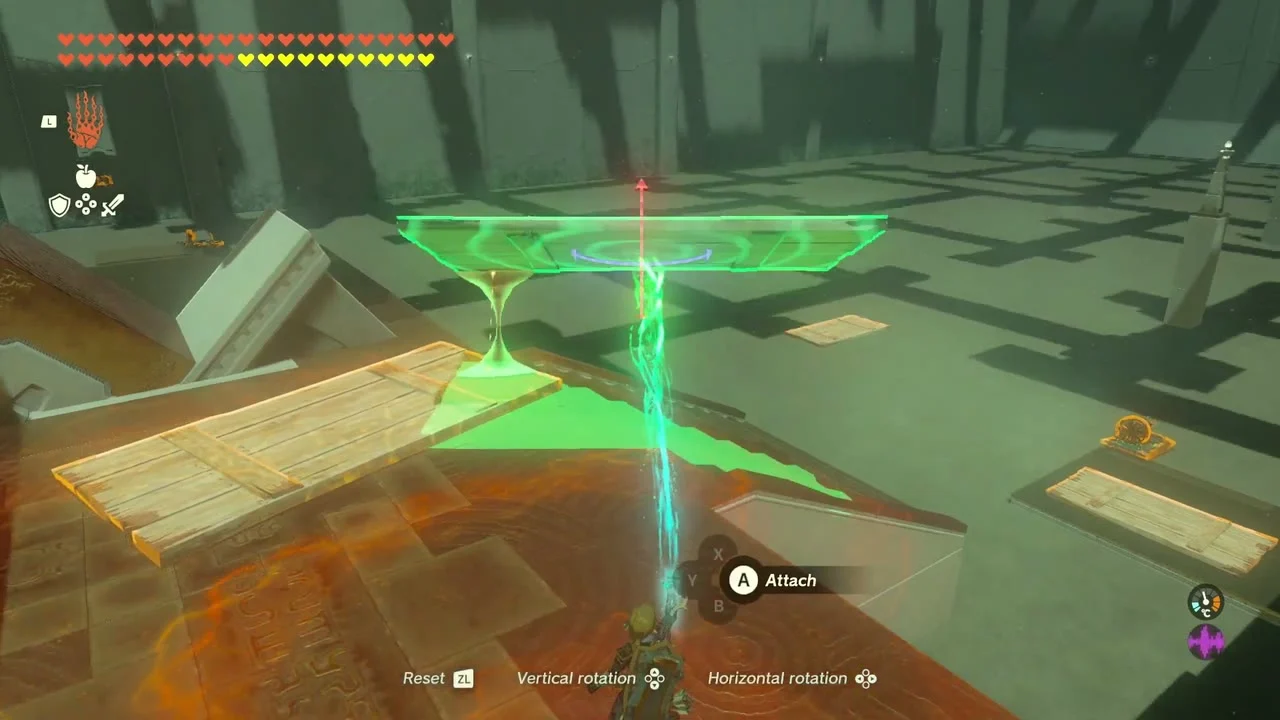
Follow the ball down the stairs to find a sand sled. Drive the sled across the open sand (a Fan on the sled helps) to reach the isolated platforms with the chests and the platform where the ball landed. Anchor the sled against a wall when you need to shoot a Construct.


Collect the chests
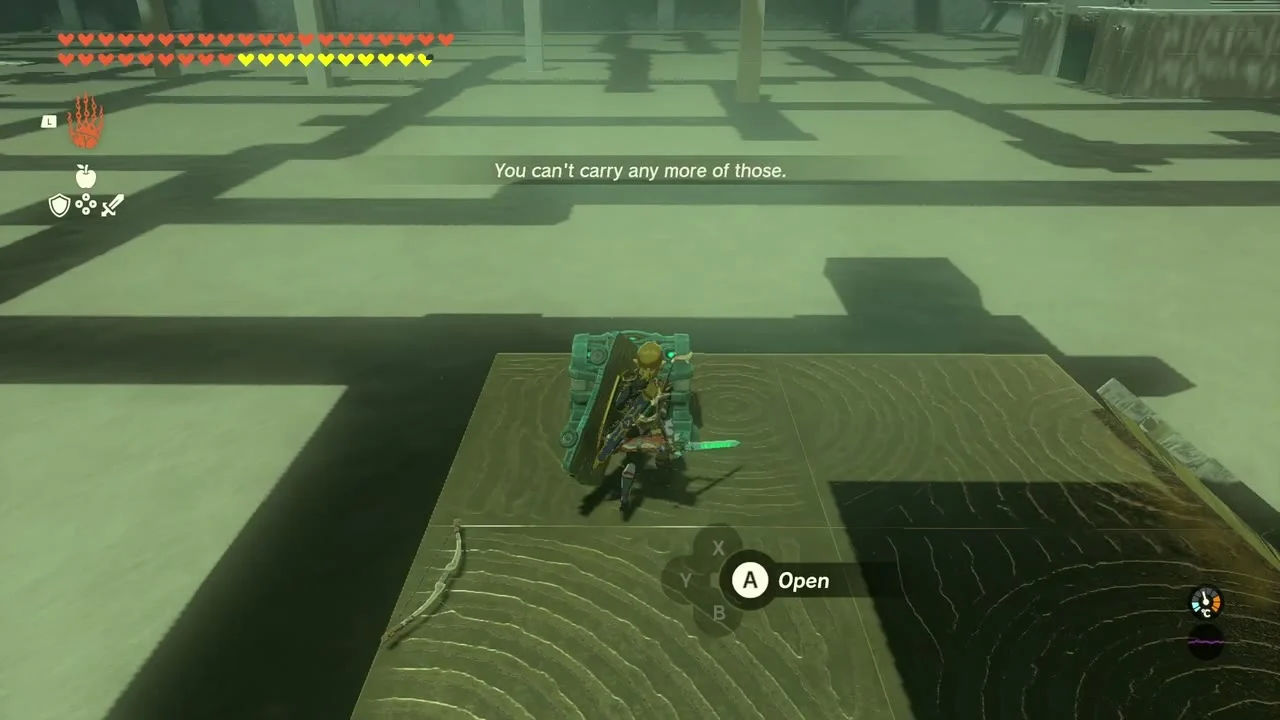
Two chests sit on separate platforms. One hangs from a rope above a platform with a sled in front of it, off the left side of the upper platform: shoot the rope, and grab the falling chest with Ultrahand before the sand carries it away (Recall on the chest also works). It holds Arrow x10. The other sits on top of a short structure in the right corner, guarded by a Construct: sled over, shoot the Construct and join planks into a ramp to climb up. It holds a Hasty Elixir.

Take the bridge to the terminal
Drive the sled to the platform where the ball landed, defeat the Constructs there and climb the grates inside. Fuse the ball to a sled, step on the tile to open the gate, and sled the ball across to the runed plate on the far side. Build a plank path up the cut-off stairs and place the ball in its slot on the plate to open the exit. Walk through to the terminal for the Light of Blessing.


The Lightroot below
Directly under this shrine, in the Depths, is the Rasinaduk Lightroot. Light it from below to reveal that part of the Depths map.
