





















| Trial | Moving the Spheres |
|---|---|
| Type | Puzzle |
| Region | Gerudo |
| Location | Gerudo Desert |
| Coordinates | -2445, -3344, 55 |
| Lightroot below | Amakawis Lightroot |
Table of Contents
How to find it
Siwakama Shrine is at map coordinates -2445, -3344 (height 55), near East Barrens.
Solution
Roll the first sphere into the gap
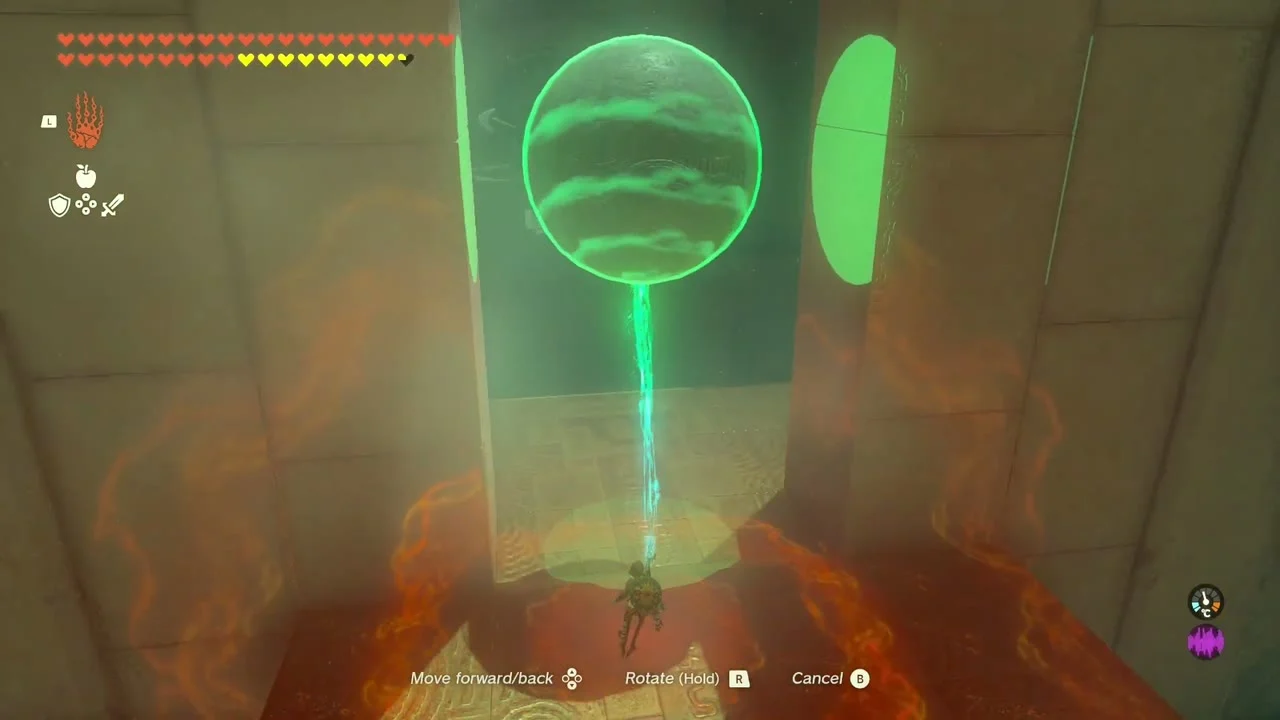
Use Ultrahand to pick up the stone sphere on the far ledge and set it in the gap below the ledge, then jump onto it and across. The spheres are heavy but roll freely, so place them where you want a step.

Break the cracked wall for the chest
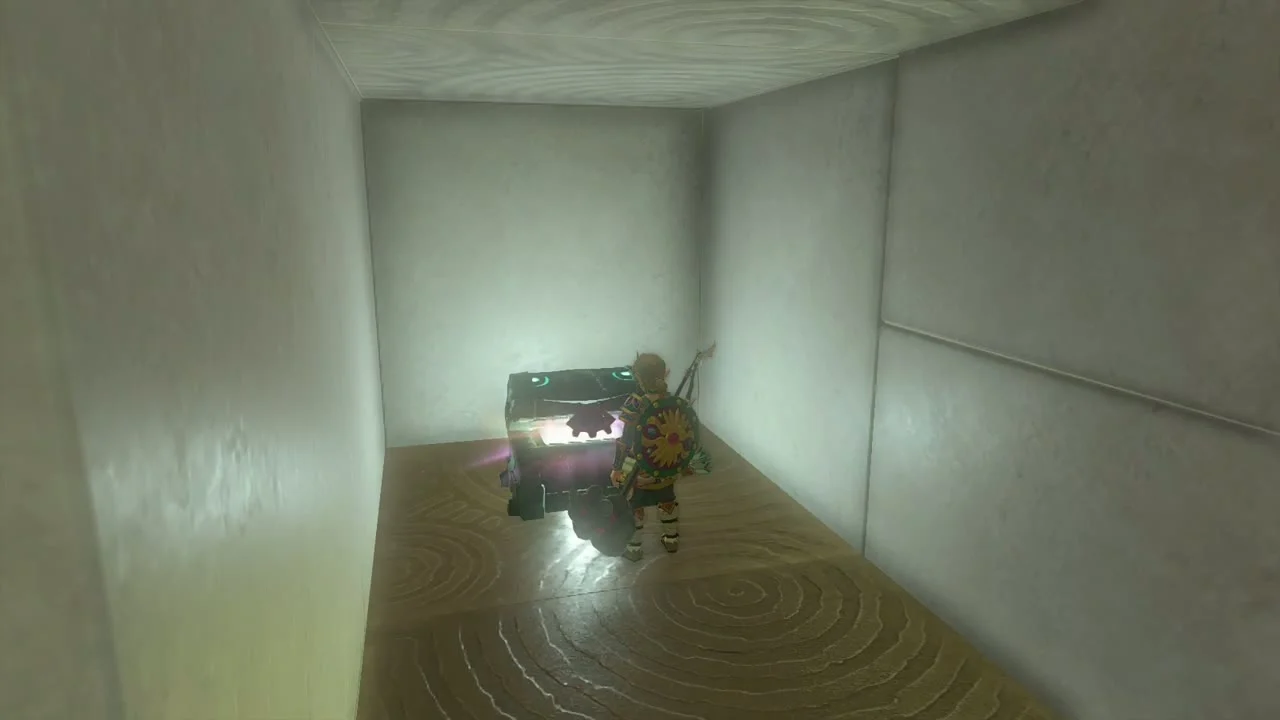
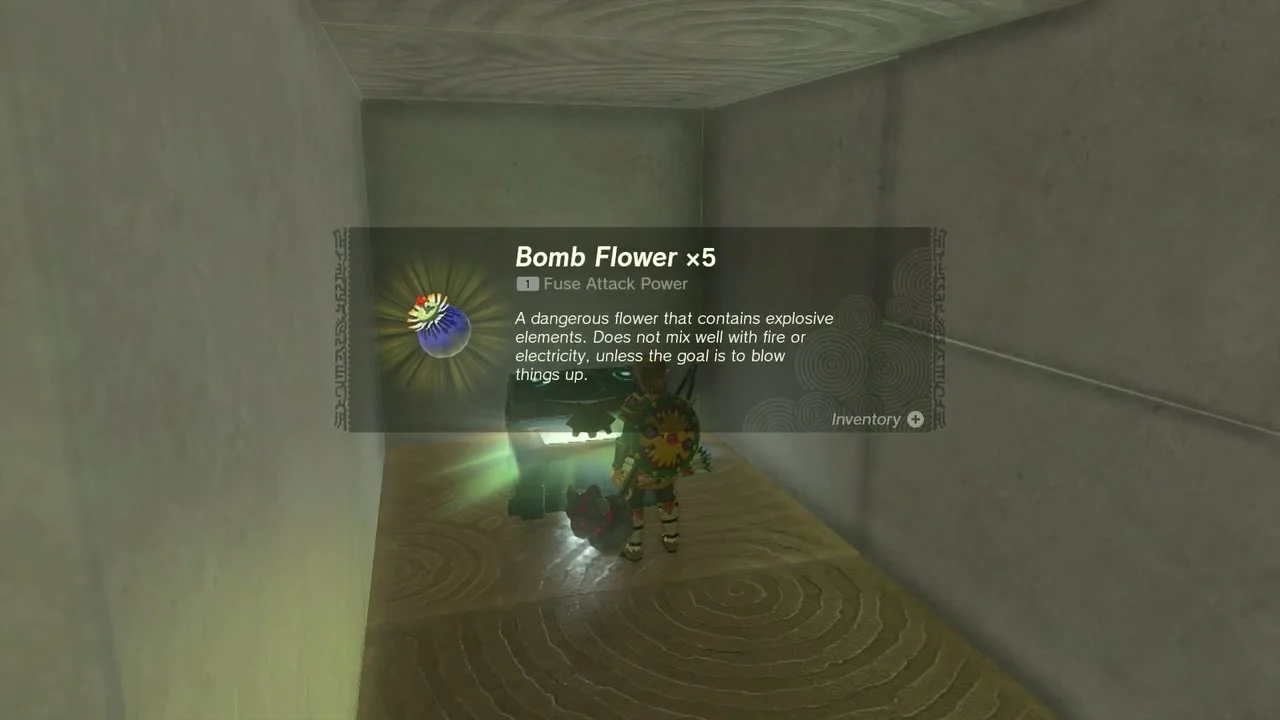
In the second room, a cracked wall sits beside the platform. Before crossing, drop down to the right: a ramp leads to the cracked wall. Smash it with a rock-breaking weapon, or drop a sphere onto the ramp so it rolls into the wall. Behind it is a chest with Bomb Flower x5; use the nearby ladder to climb back up.

Bridge the central peak with two spheres
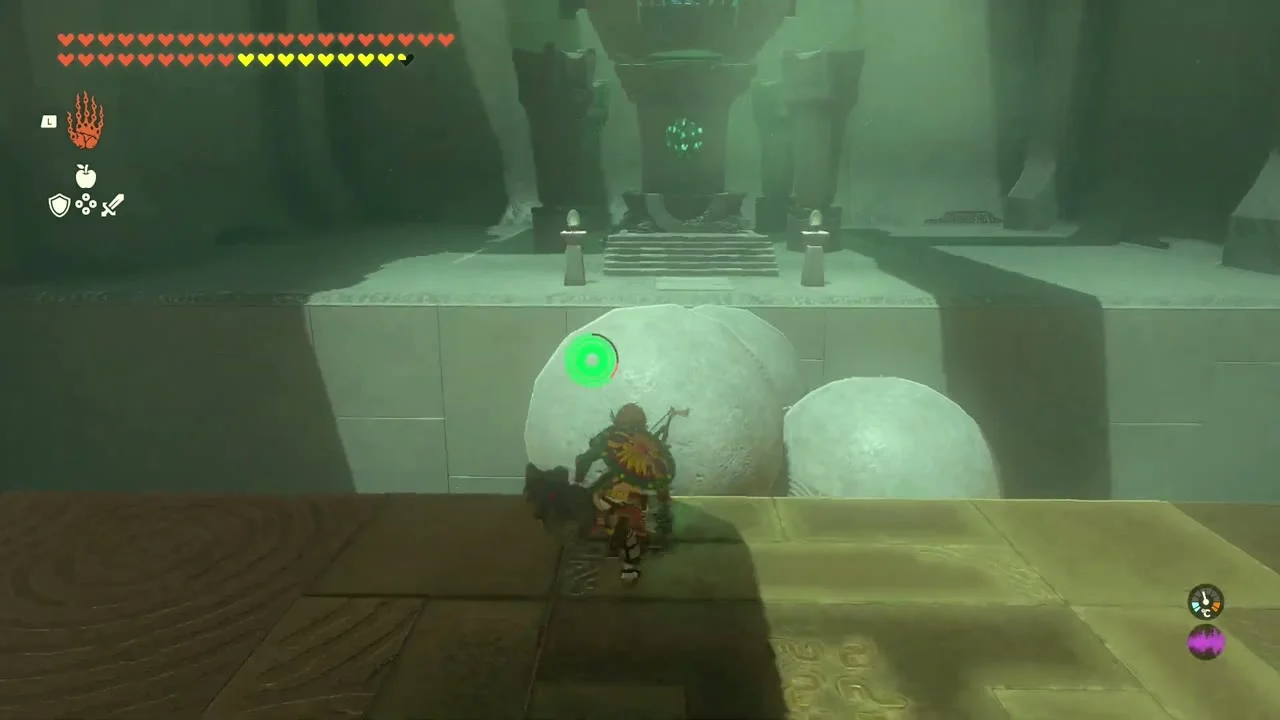
A pointed peak stands in the middle of the next gap, so a single sphere will not stay put. Stick two spheres together with Ultrahand and set them astride the peak to make a stable stepping stone, then cross.
Triangle the three spheres on the pyramid
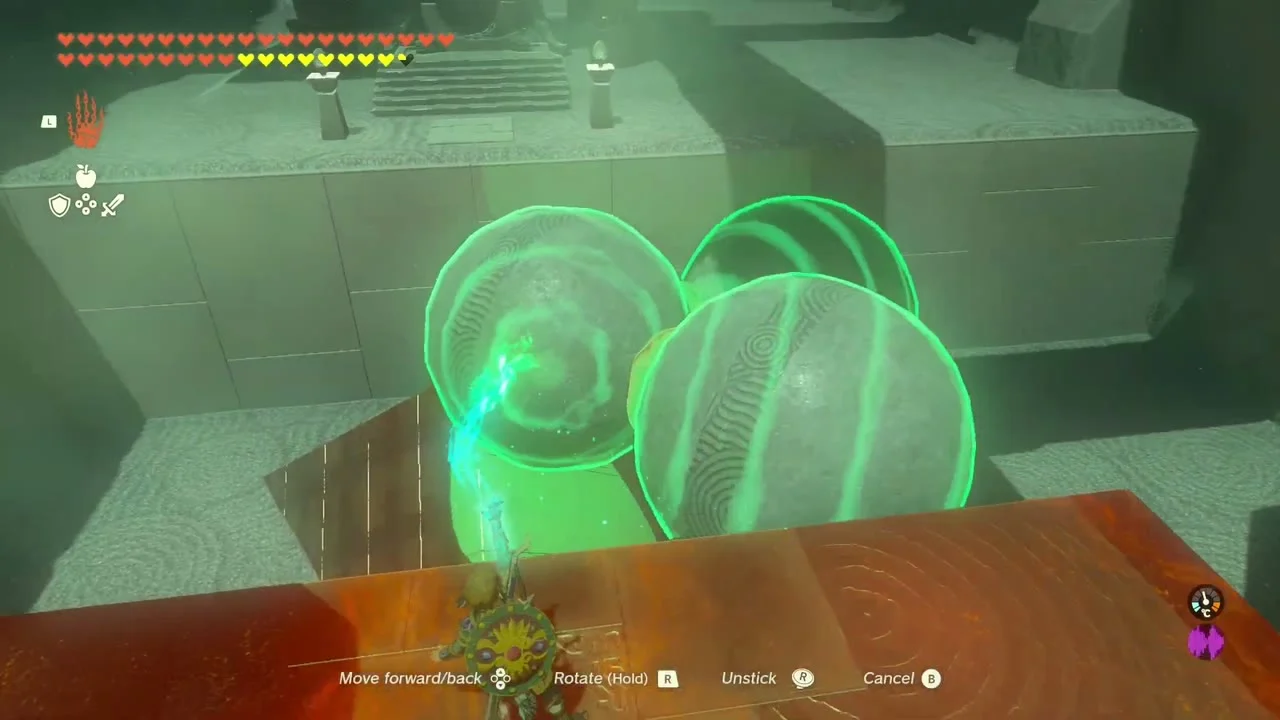
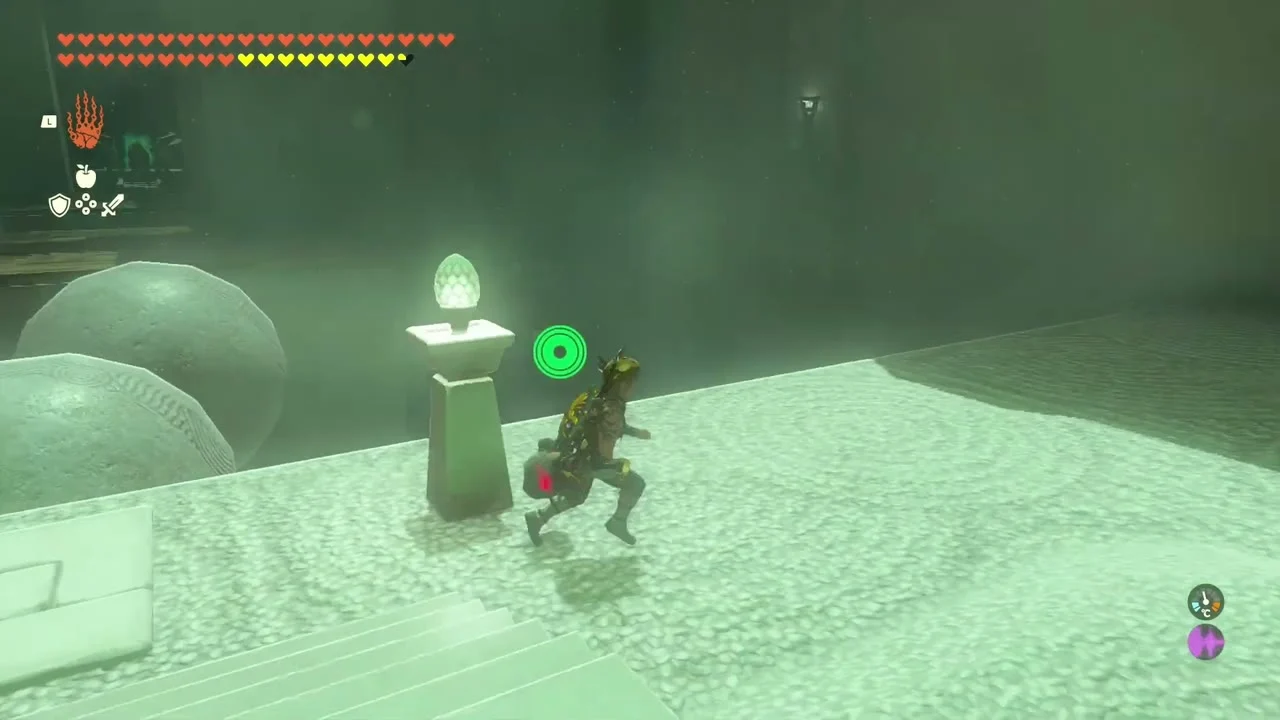
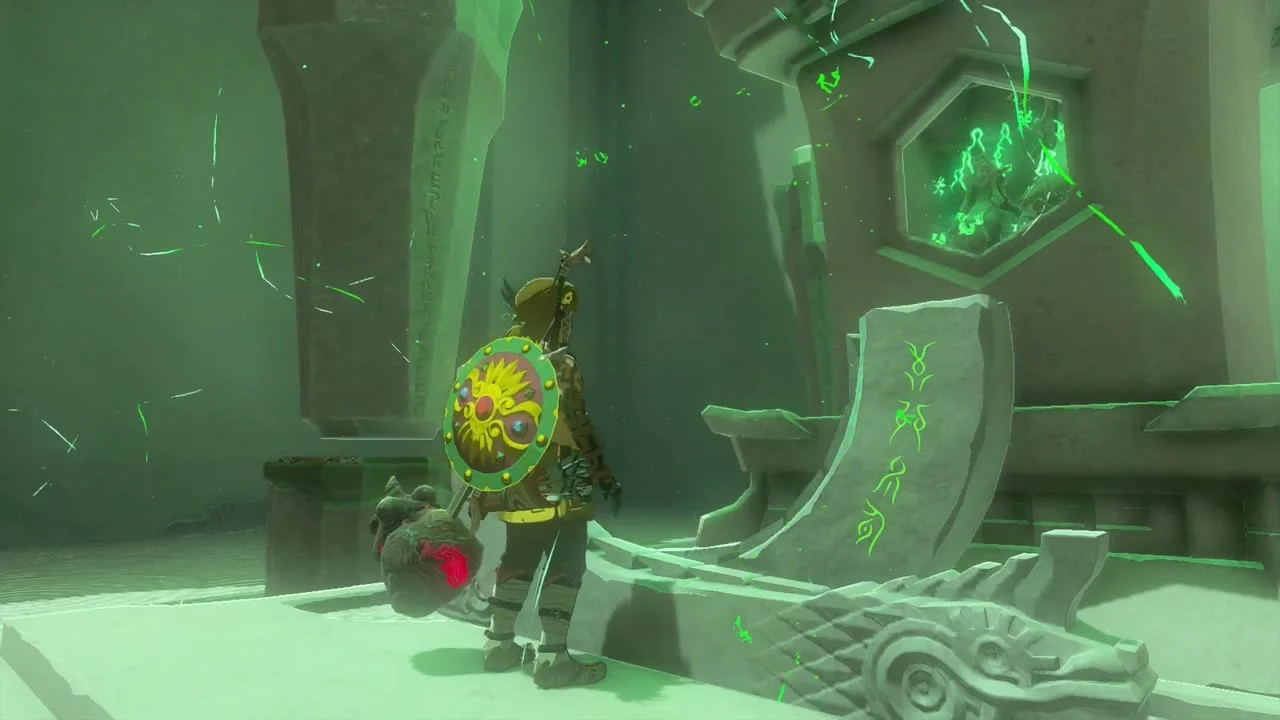
The last gap holds a pyramid. Join all three spheres in a triangle with the single sphere nearest the shrine terminal, and place it over the pyramid so it holds still while you cross to the Light of Blessing.
The Lightroot below
Directly under this shrine, in the Depths, is the Amakawis Lightroot. Light it from below to reveal that part of the Depths map.
