





















| Quest type | Side quest |
|---|---|
| Giver | Mysterious Voice |
| Starts in | North Lomei Labyrinth, north-east Tabantha, Hebra (about -824, 3407) |
| Requirements | Cold resistance, a Ruby-fused weapon or flame for the ice, Hylian Pine Cones and Zonai batteries; Brightbloom Seeds for the Depths |
| Reward | Evil Spirit Greaves (defense 4, Stealth Up), plus the surface chests, Mayaotaki Shrine and Tenbez Shrine on the way |
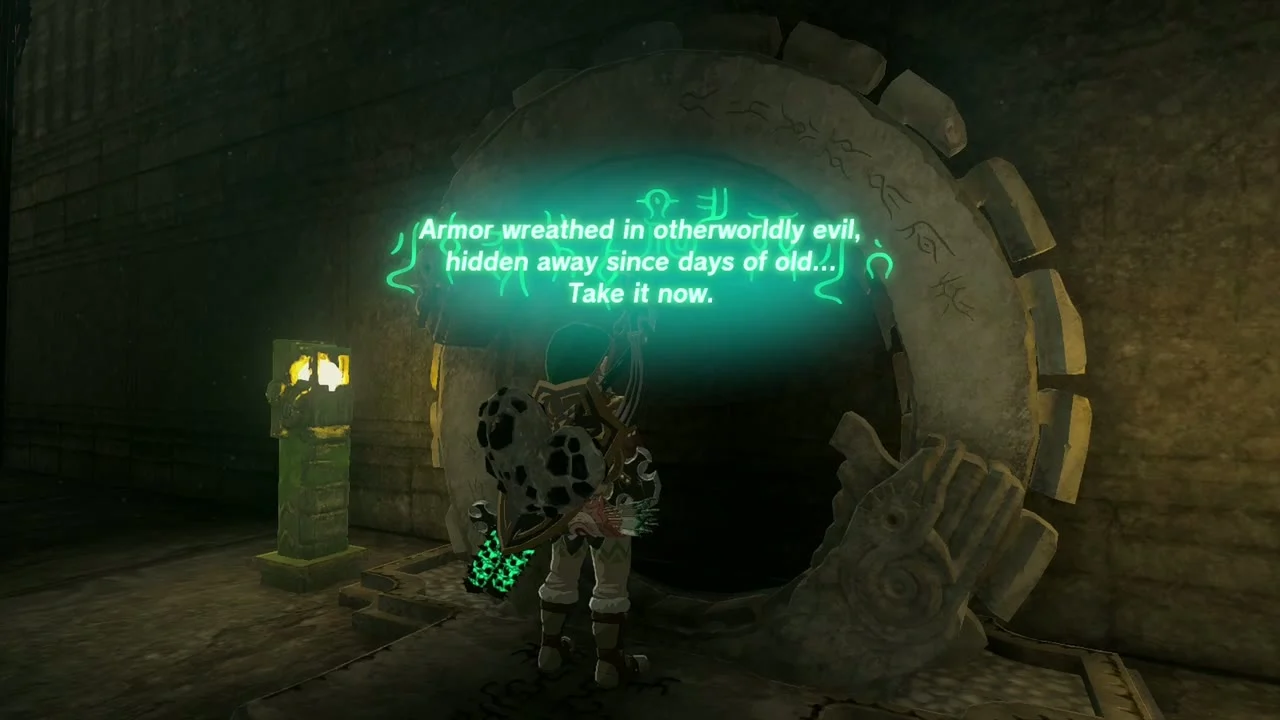
A tablet at the entrance of the North Lomei Labyrinth promises a reward to whoever wakes the dragon ring in its depths. Clear the surface maze, activate four terminals and a fifth on the roof of the labyrinth in the sky, then drop into the North Lomei Chasm and beat Flux Construct III in the Depths labyrinth to claim the Evil Spirit Greaves.
Walkthrough
Clear the surface labyrinth
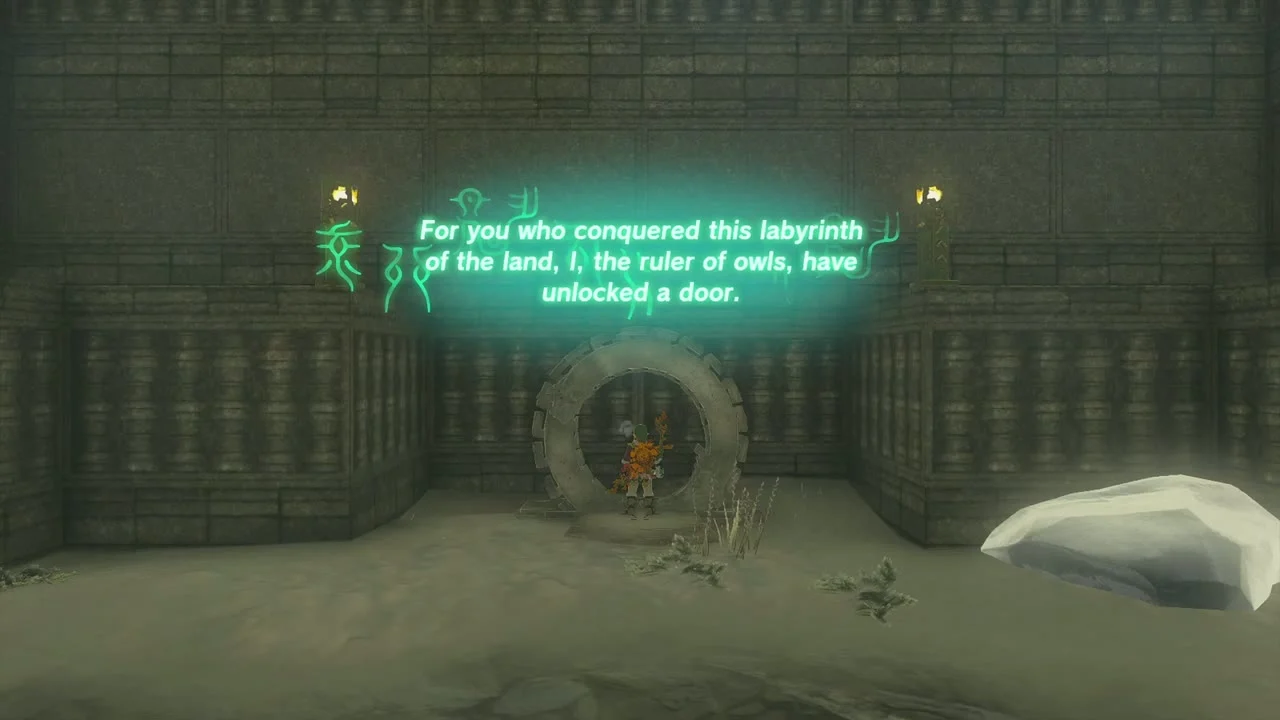
A note at a camp near the entrance mentions an explorer who left Hylian Pine Cones as a trail; follow the cones through the maze, light campfires with a cone to make updrafts, and glide over the patches of Gloom (or sprint through at some risk). Some ice blocks and large icicles need melting with a Ruby-fused weapon or other flame; the icicles and ice hide chests (see Chests below). At the centre, climb the ladder, cross the walkway and take the stairs to the last research note, then drop into the pit to find Mayaotaki Shrine (a Rauru’s Blessing shrine) and the Ikatoayam Lightroot below it. The dragon ring on the east side of the centre starts the prophecy; activating it makes the voice tell you to visit the west side of the labyrinth in the sky. Gloom Hands in the North Lomei Chasm can summon a Phantom Ganon.
Enter the labyrinth in the sky
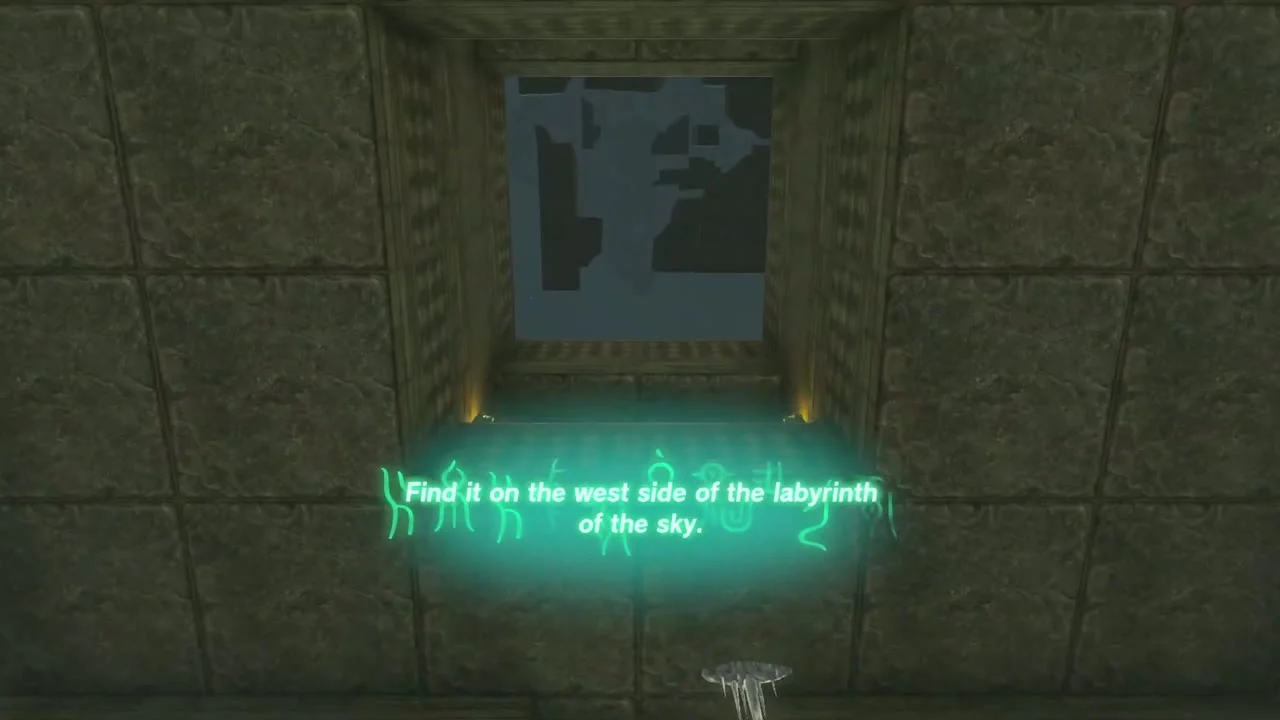
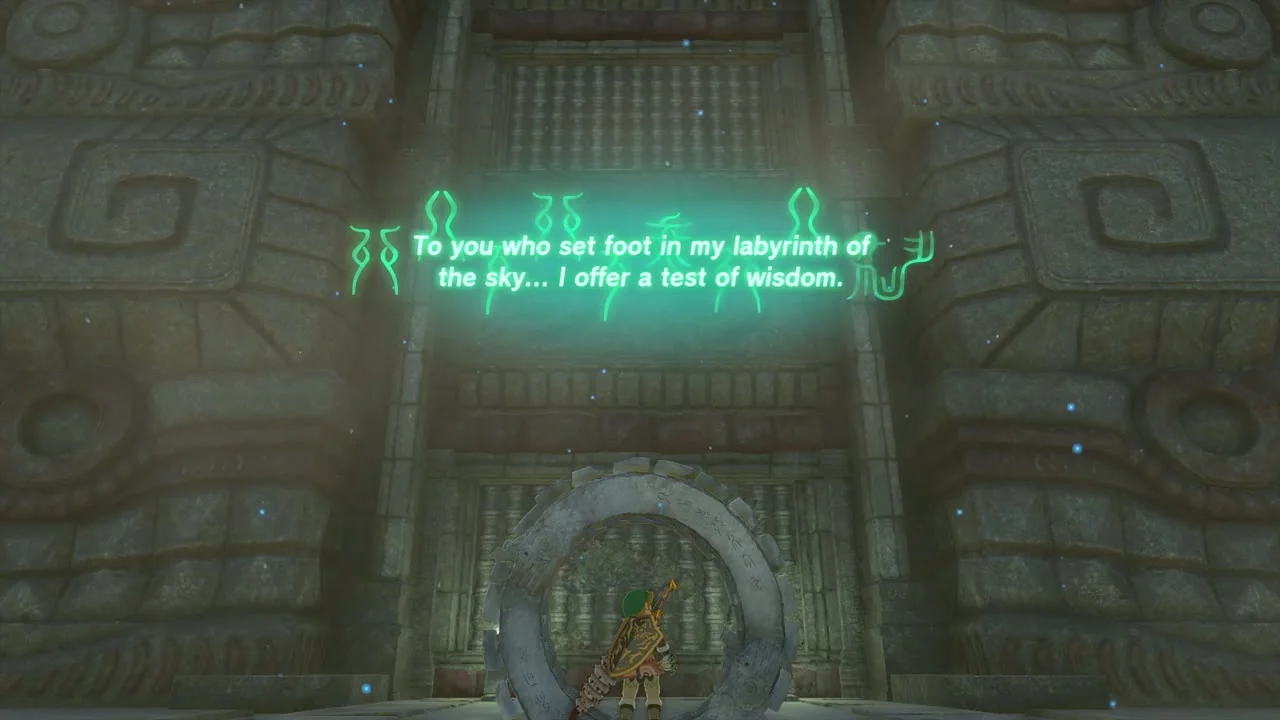
Reach the floating ruin above north-east Tabantha, North Lomei Castle. The easiest route is to launch from Pikida Stonegrove Skyview Tower, glide to the East Hebra Sky Archipelago and build or ride a Zonai flying device north-east to the labyrinth; it is also possible to climb the labyrinth wall and glide in. Land on the west side near Tenbez Shrine (about -970, 3535; a Gravity and Velocity shrine) and step up to the door ring. The voice tells you to activate the four terminals hidden inside, and the door opens.

Activate the four terminals
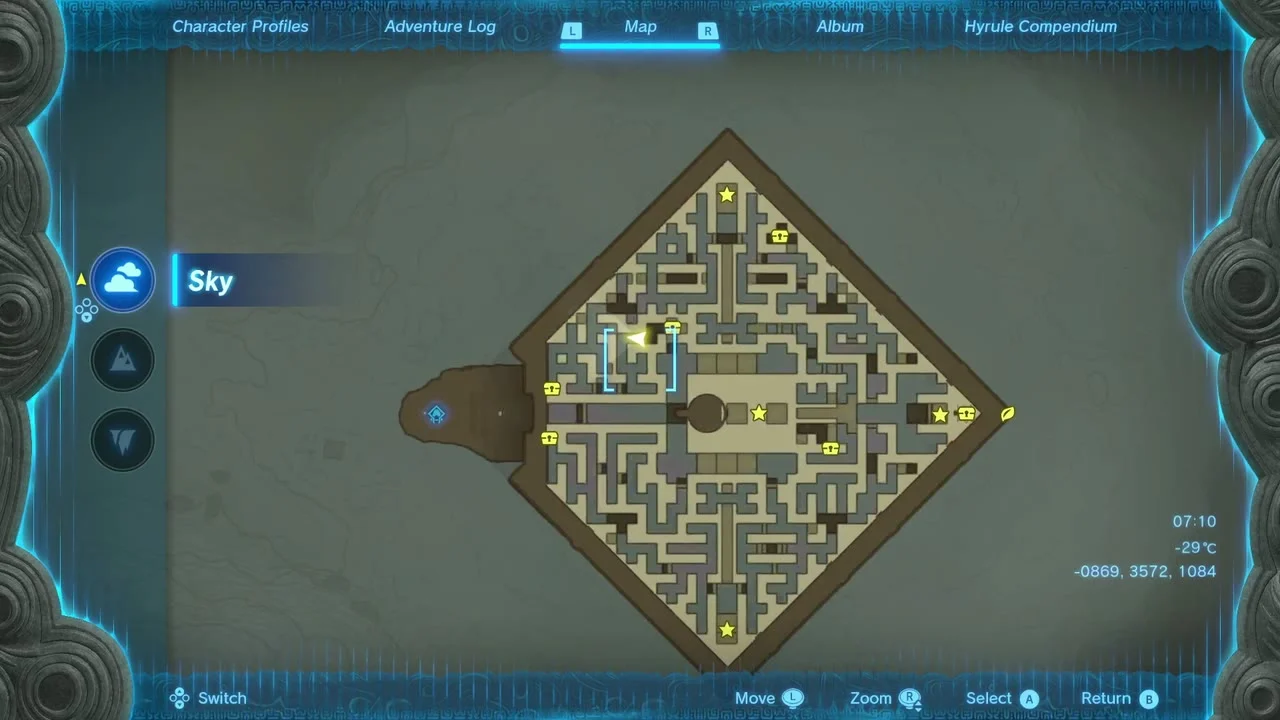
There is almost no floor and the labyrinth has strong updrafts, so glide between the walls. Per the coordinates published by guides, the terminals are at the centre (about -823, 3535), north (about -824, 3649), east (about -712, 3534) and south (about -825, 3419), all at height 1064. The centre terminal is reached by dropping through an opening just east of the top ledge; the east terminal by riding the central updraft and gliding over the tall east barrier; the south terminal by dropping through a grating on the south wall and weaving east at the corner. A Travel Medallion placed in the middle from outside lets you teleport back after each terminal. After the fourth, a fifth terminal appears on the roof.


Light the roof terminal
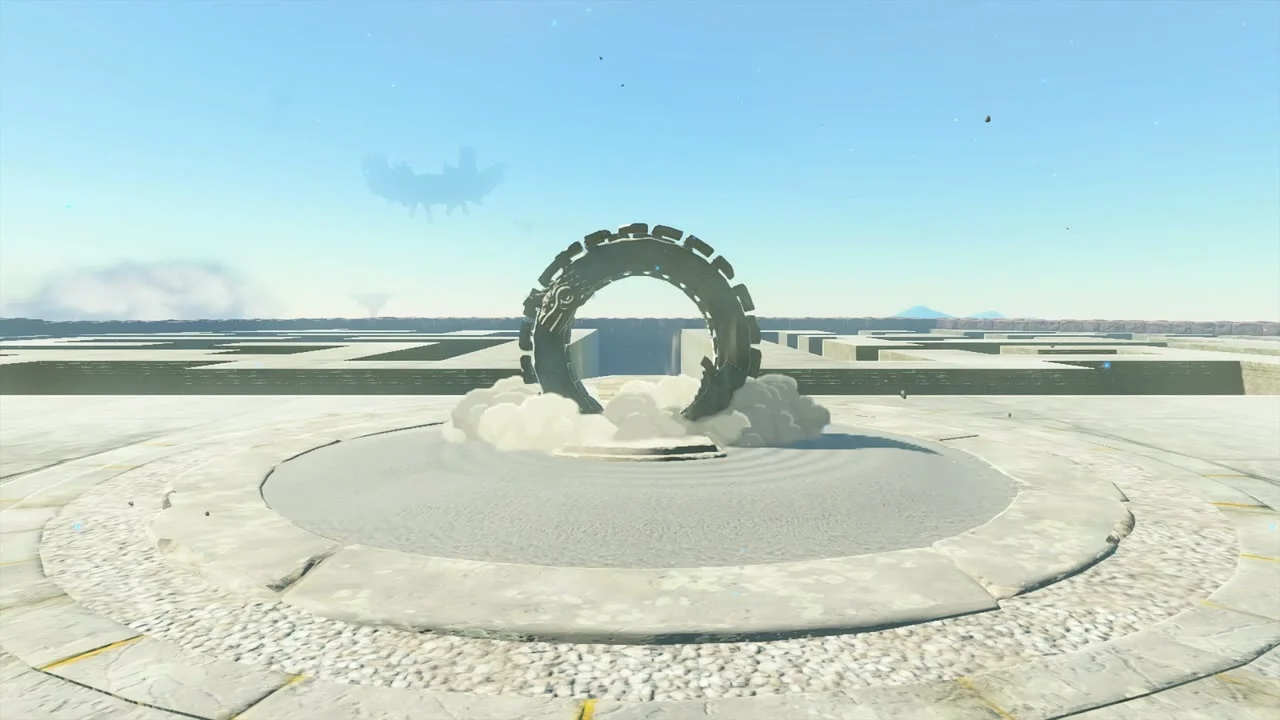
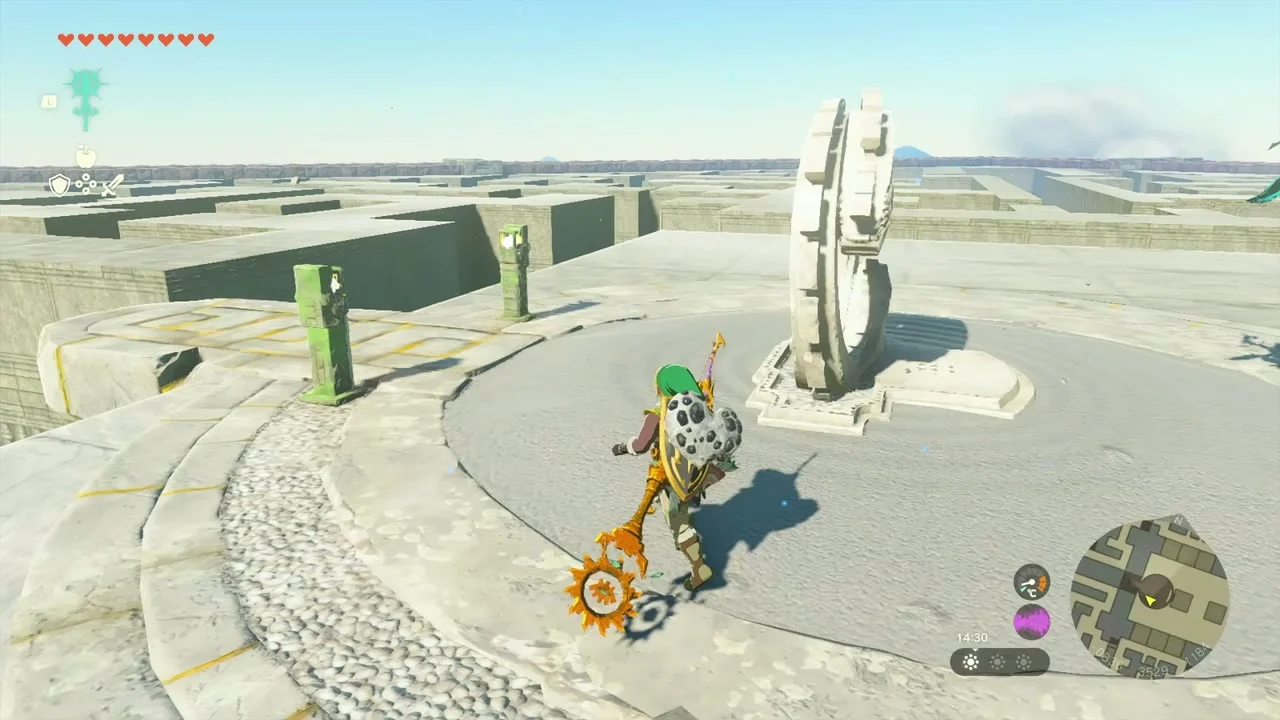
Catch the updraft up onto the roof of the labyrinth and walk to the dragon ring in the open. Activating it opens the final way and the voice tells you to prove your courage by diving into the depths of the earth.
Drop into the North Lomei Chasm
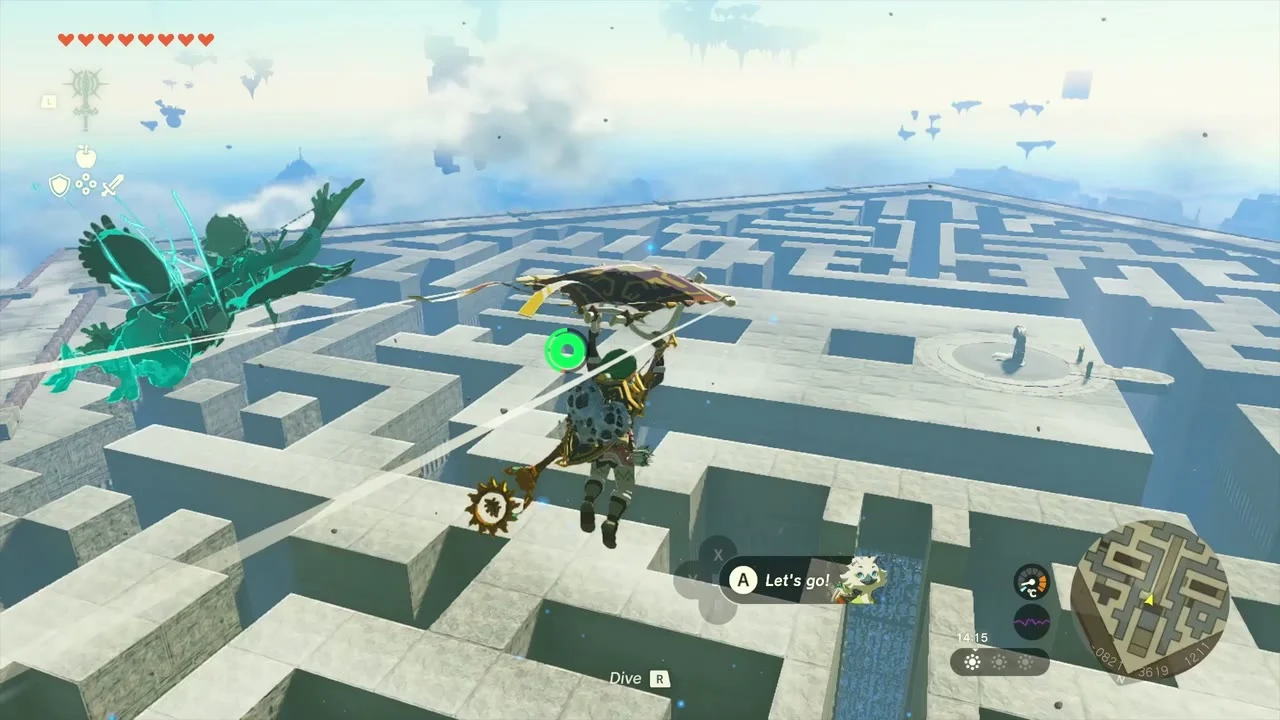
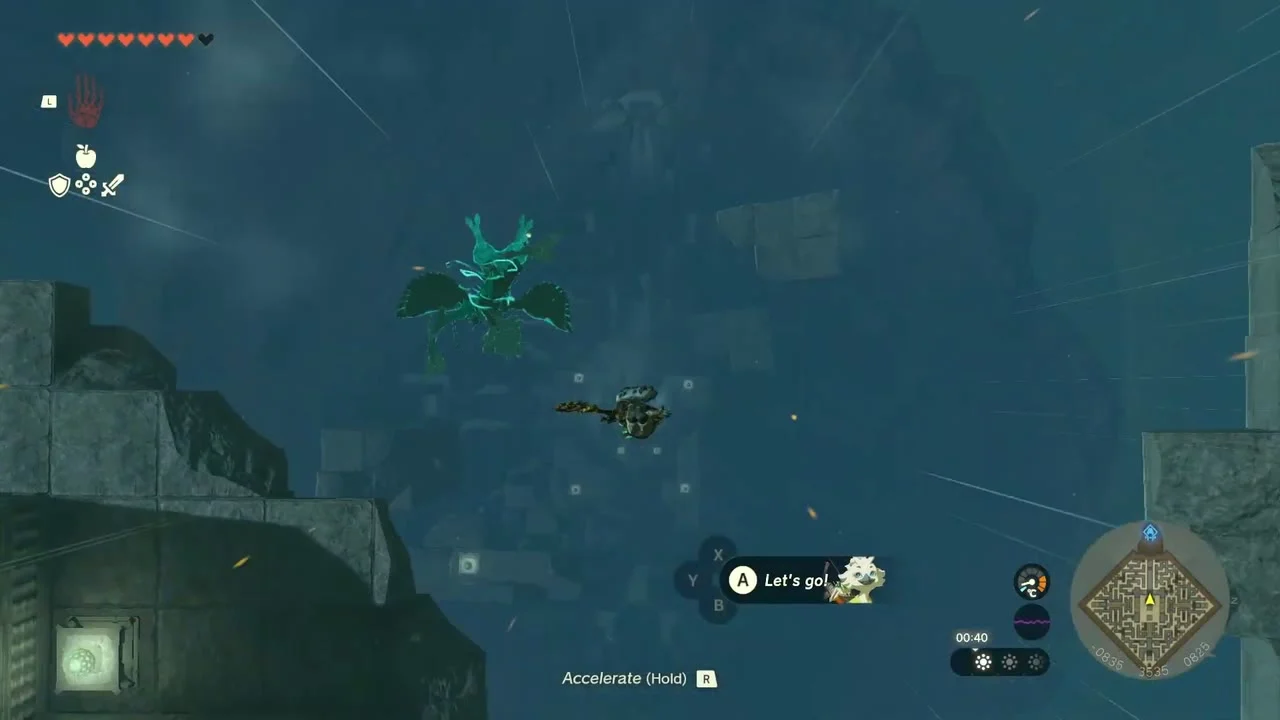
Jump off the roof from the indicated ledge and skydive down through the grate to the North Lomei Chasm at about (-814, 3535), and fall into the Depths. It is very dark: toss Brightbloom Seeds on the way down and open your paraglider when you see the red light so that you do not hit the walls.


Defeat Flux Construct III
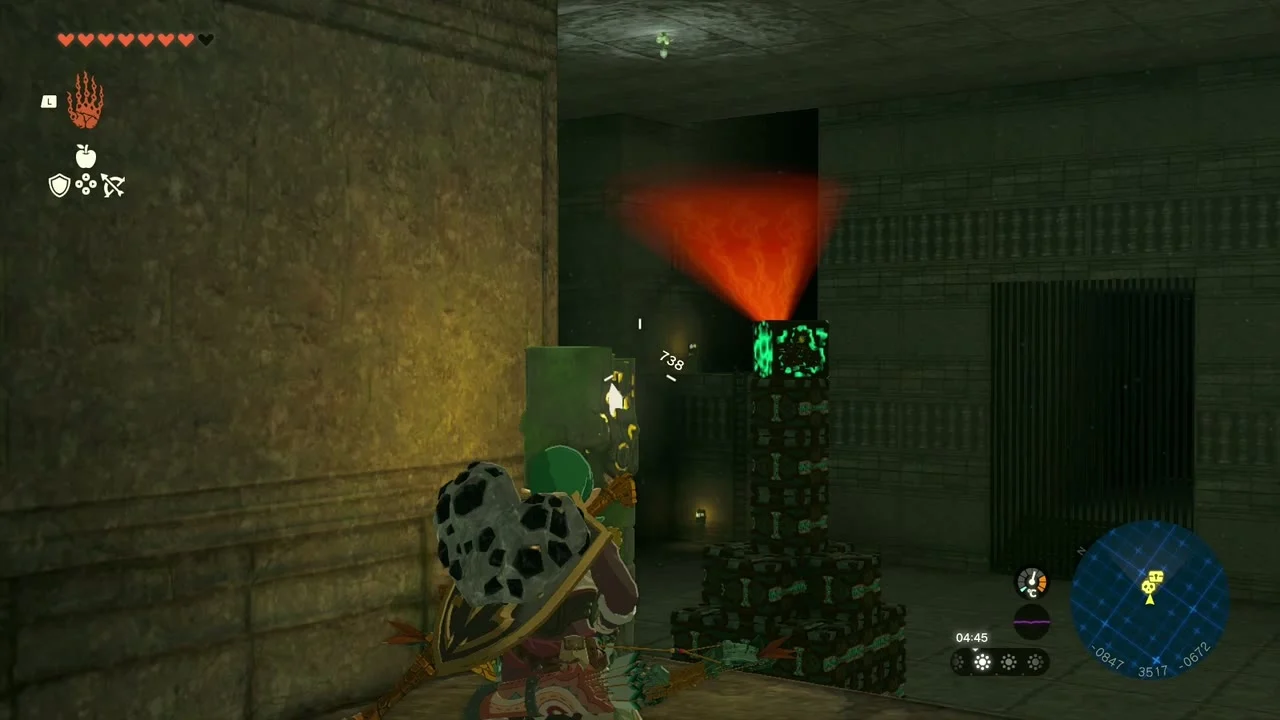
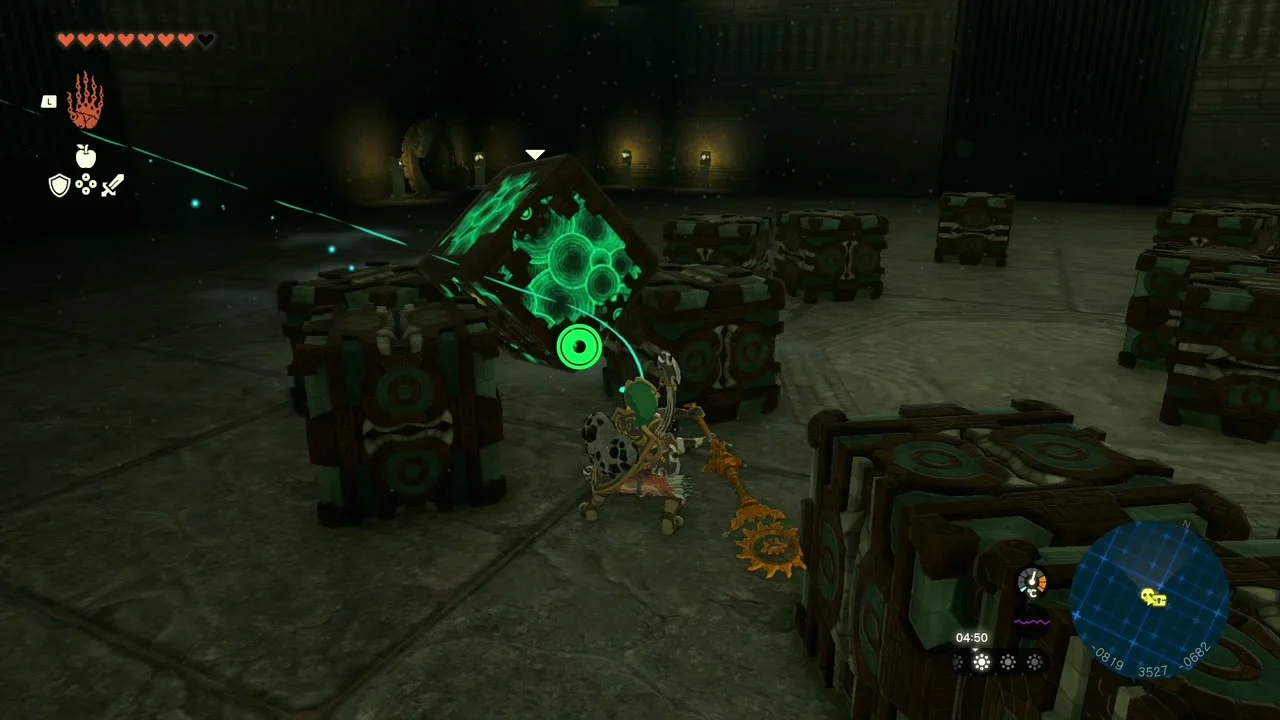
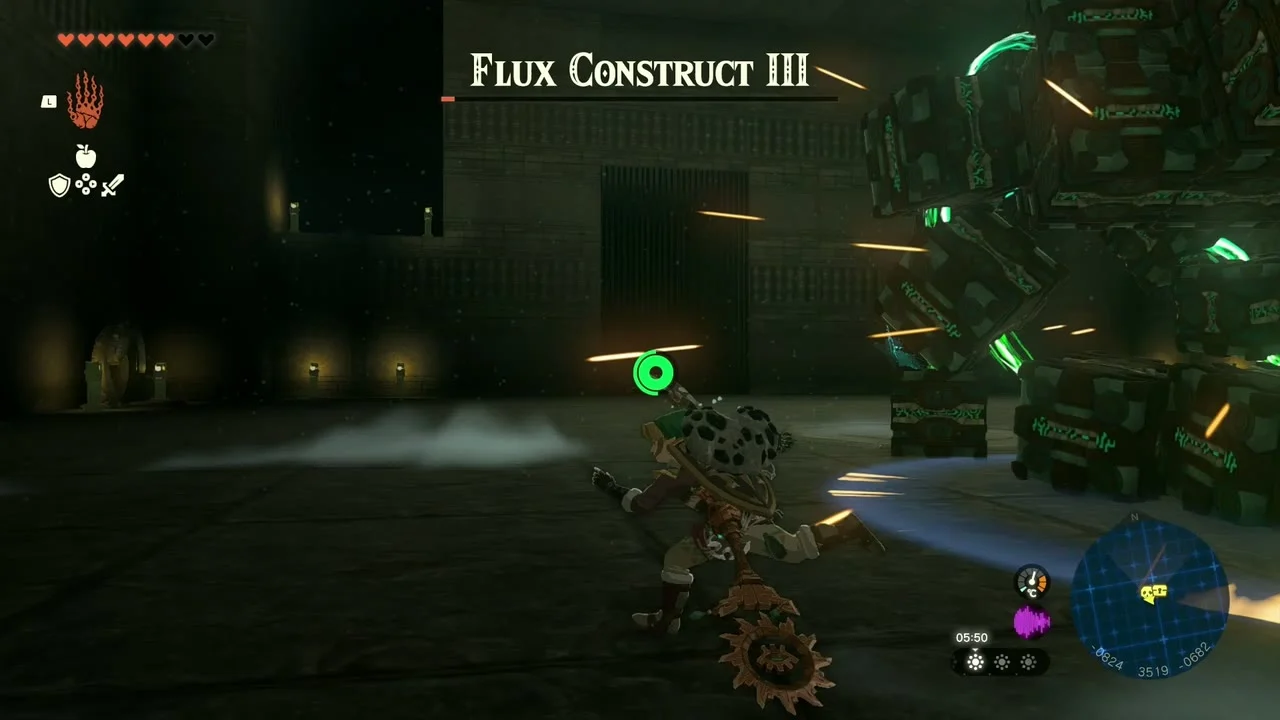
The North Lomei Depths Labyrinth lies south of the Ikatoayam Lightroot (about -814, 3434, depth -680). It is a small, dark maze; head forward or to either side, then take the stairs down around the corner to the central chamber where the boss waits. It does not attack until you enter its room, so light the arena with Brightbloom Seeds first. Hit the glowing cube core with arrows or a Bomb Flower; a bomb arrow can shatter the construct and expose the core for heavy damage. It later rolls and hovers to slam down at you, so bomb the core when it is not facing you.

Take the Evil Spirit Greaves
Once the construct is down, the final dragon ring in the chamber activates and a chest appears. Open it to receive the Evil Spirit Greaves.

Chests
- Zonaite Bow in a chest behind ice and boulder traps on the east side of the surface labyrinth, past the first Gloom crossing.
- Zonaite Shield in a chest in a corner north of a campsite, past stairs and an icicle.
- Zonaite Sword from a large icicle on the left after the first Gloom crossing, and another Zonai weapon from an icicle near the second pine cone.
- Construct Bows in a side passage beside a Gloom patch and in a Gloom patch on the right.
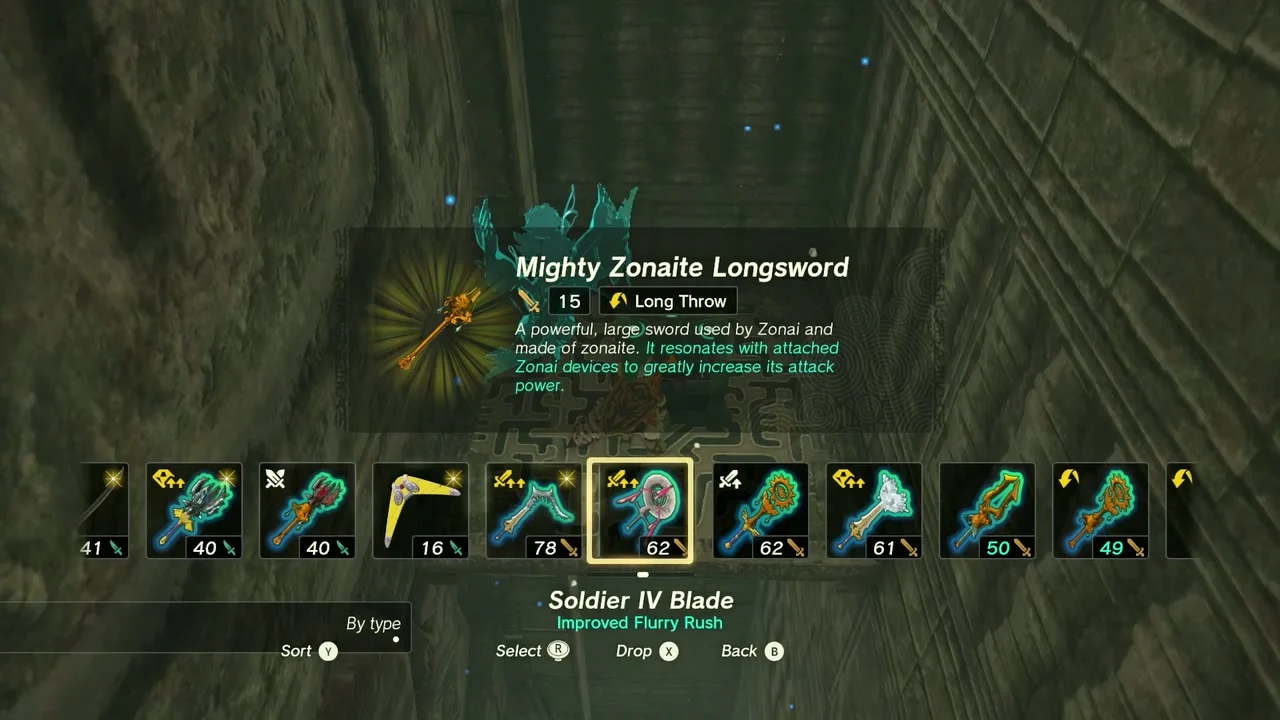
- Zonaite weapons and shields are scaling gear: Strong or Mighty, depending on your progress; Construct Bows scale too (Construct Bow up to Mighty Construct Bow, depending on your progress).
Rewards
You receive the Evil Spirit Greaves (defense 4, Stealth Up), from the chest in the North Lomei Depths Labyrinth. Worn with the Evil Spirit Mask and Armor from the other labyrinths, the set grants Disguise, boosts Bone weapon proficiency and keeps Stalkoblins, Stalmoblins and Stallizalfos from attacking. Along the way you also get the Light of Blessing from Mayaotaki Shrine and Tenbez Shrine, and the Flux Construct III Core can be fused to a weapon.
Tips
- Bring spare Zonai batteries for the flying device used to reach the sky labyrinth.
- Bring Hylian Pine Cones, fire sources and Brightbloom Seeds; they make the surface and Depths parts much easier.
