
























| Total | 57 enemy statues, plus a separate set for bosses |
|---|---|
| Where to read about them | Hall of Fallen Foes, a dream space you reach from a bed |
| Unlock | A statue appears for each monster you defeat |
| Bosses and mini-bosses | Boss Strategies |
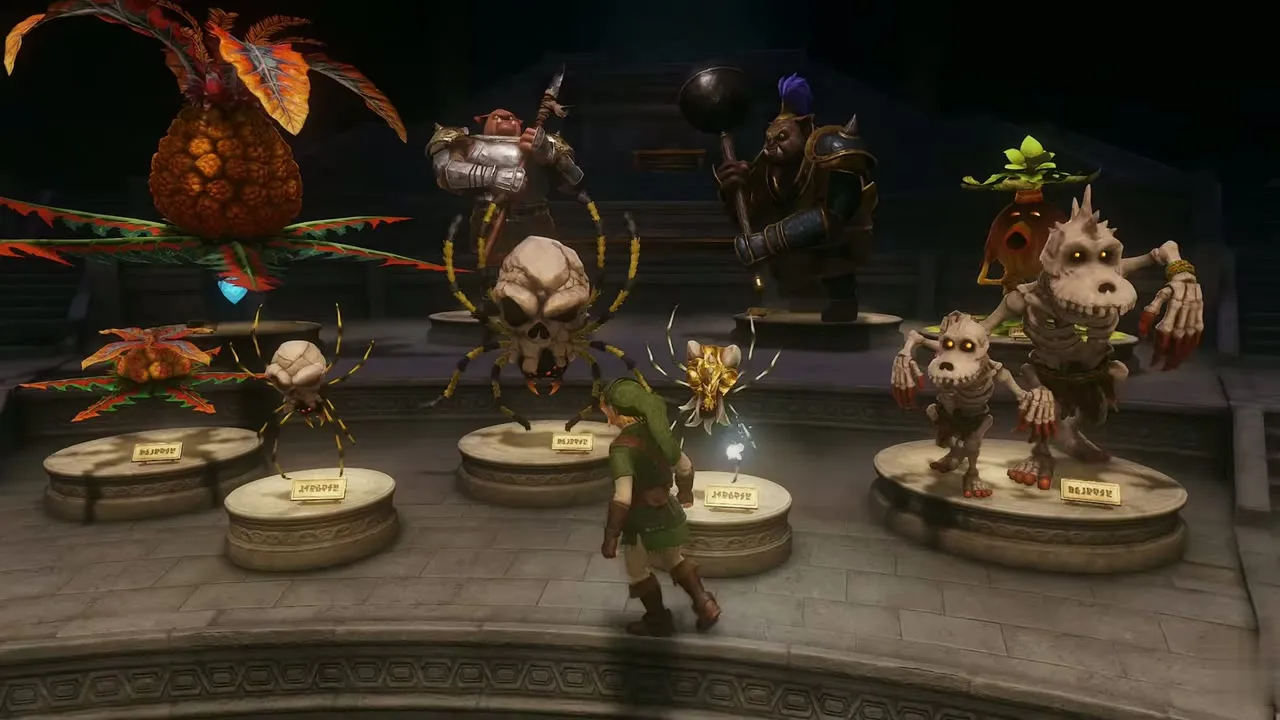
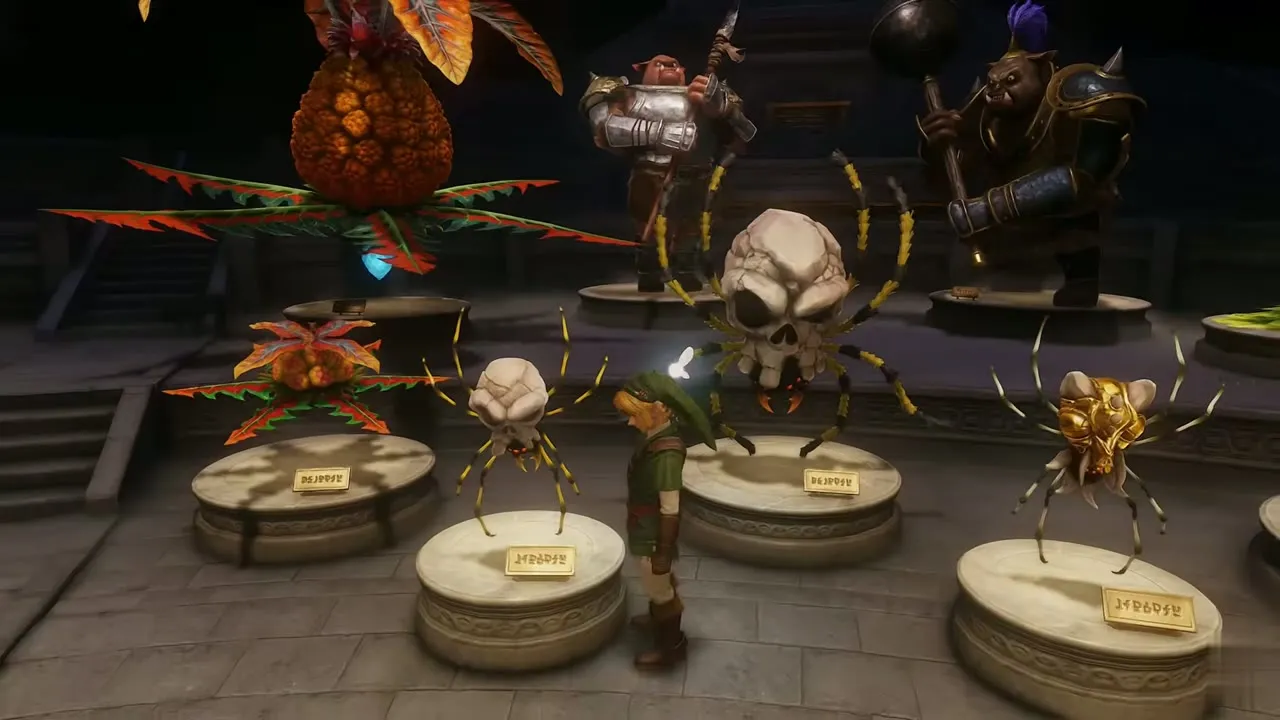
This page lists every ordinary enemy statue, with where the enemy lives and the items its statue recommends. Defeat a monster and its statue appears in the Hall of Fallen Foes, where examining it shows a description, its main locations and useful items. Bosses and mini-bosses are on Boss Strategies.

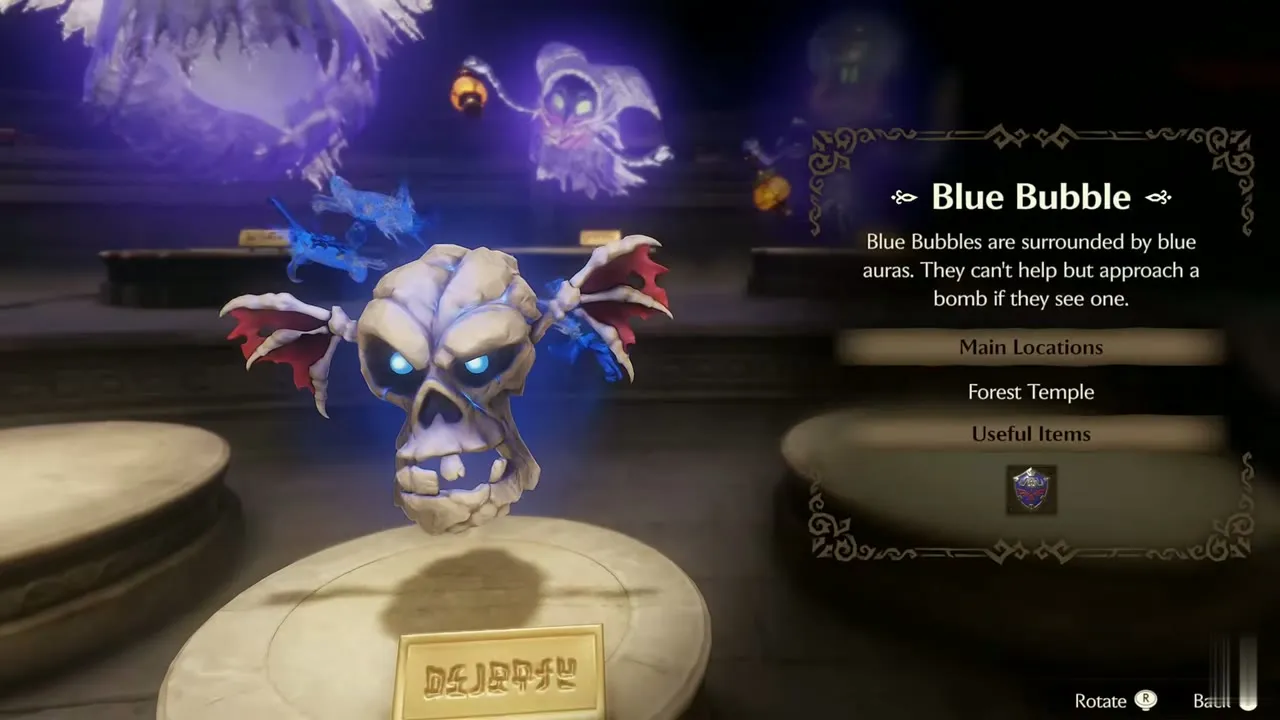
Table of Contents
Quick reference
| # | Enemy | Where | Useful items |
|---|---|---|---|
| 1 | 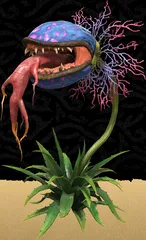 Deku Baba | Great Deku Tree, Kokiri Forest |  Megaton Hammer |
| 2 | 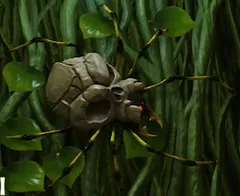 Skullwalltula | Great Deku Tree, Death Mountain Trail | Fairy Slingshot, Megaton Hammer |
| 3 | 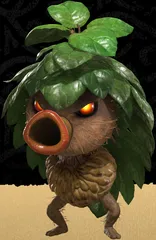 Deku Scrub |  Great Deku Tree | 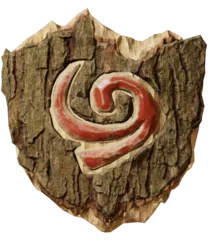 Deku Shield |
| 4 |  Gold Skulltula | Kakariko Village | none |
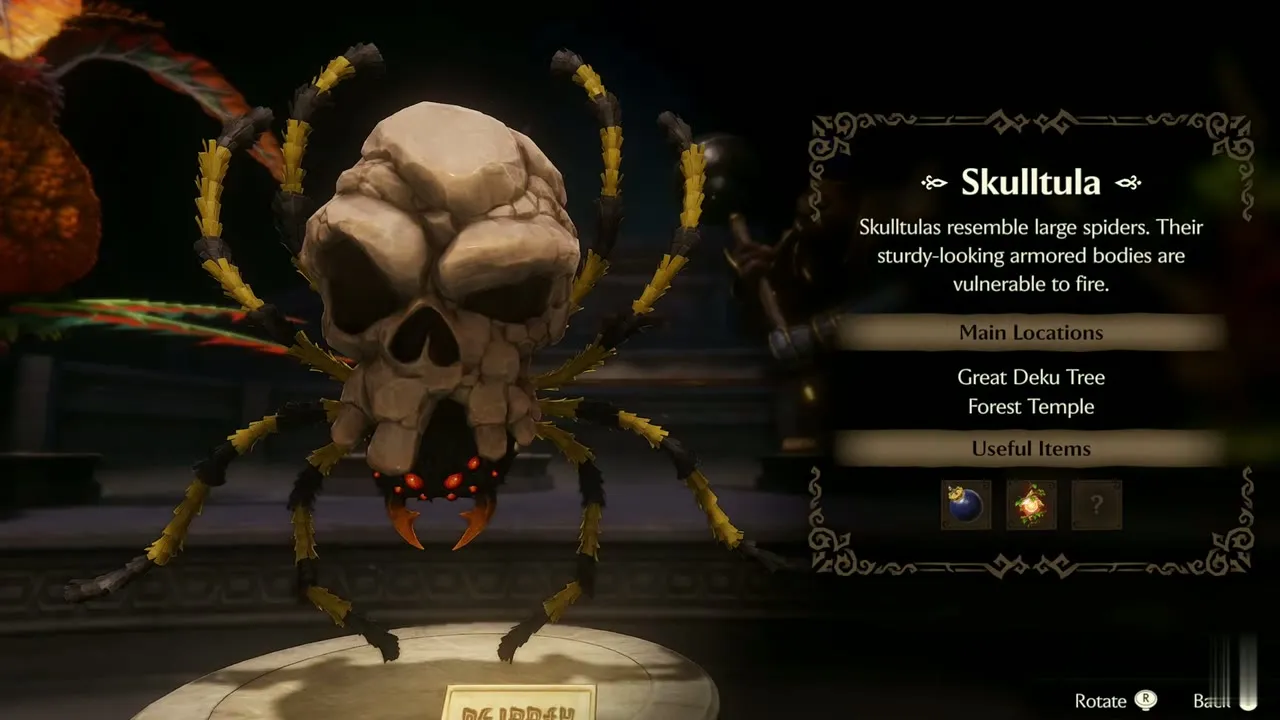
| 5 | 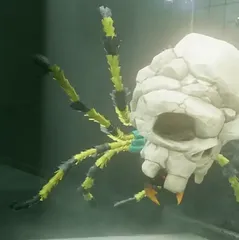 Skulltula | Great Deku Tree, Forest Temple | Bomb, Megaton Hammer, Din’s Fire |
| 6 | Gohma Larva | Great Deku Tree | Deku Nut, Deku Shield |
| 7 | Peahat | Hyrule Field |  Din’s Fire |
| 8 | 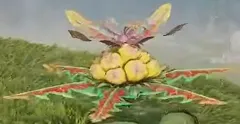 Peahat Larva | Hyrule Field | none |
| 9 | 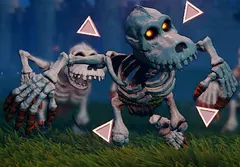 Stalchild | Hyrule Field | none |
| 10 | Business Scrub | Lost Woods | Megaton Hammer, Deku Shield, Hylian Shield |
| 11 | 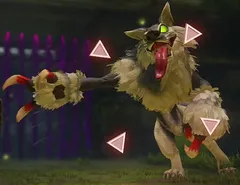 Wolfos | Sacred Grove, Forest Temple | Din’s Fire, Fire Arrow |
| 12 | Mad Scrub | Sacred Grove | Megaton Hammer, Deku Shield, Hylian Shield |
| 13 | Guay | Hyrule Field, Mirage Desert | Fairy Slingshot, Fairy Bow |
| 14 | Keese | Kakariko Graveyard, Dodongo Cavern | Fairy Slingshot, Fairy Bow |
| 15 | ReDead | Kakariko Graveyard, Hyrule Castle Town |  Light Arrow |
| 16 | Poe (Graveyard) | Kakariko Graveyard | none |
| 17 | Poe (Hyrule Field) | Hyrule Field | 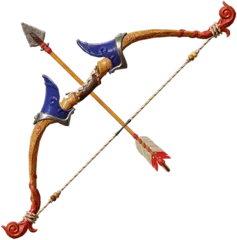 Fairy Bow |
| 18 | Flat the Younger | Kakariko Graveyard | none |
| 19 | 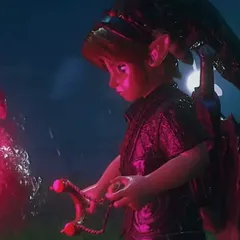 Sharp the Elder | Kakariko Graveyard | none |
| 20 | 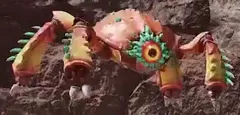 Red Tektite | Death Mountain Trail | Megaton Hammer |
| 21 |  Beamos | Dodongo Cavern, Shadow Temple | Bomb, Megaton Hammer, Mirror Shield |
| 22 | Baby Dodongo | Dodongo Cavern | Bomb |
| 23 | Dodongo | Dodongo Cavern | Bomb |
| 24 | Armos | Dodongo Cavern, Spirit Temple | Bomb, Megaton Hammer |
| 25 | Fire Keese | Dodongo Cavern, Fire Temple | Fairy Slingshot, Fairy Bow |
| 26 | Octorok | Zora River, Lord Jabu-Jabu’s Belly | Deku Shield, Hylian Shield |
| 27 | 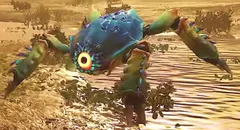 Blue Tektite | Hyrule Field, Zora River | Megaton Hammer |
| 28 | Shabom | Lord Jabu-Jabu’s Belly | 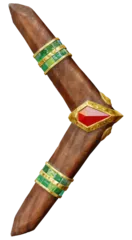 Boomerang |
| 29 | 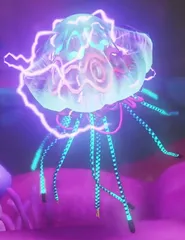 Biri | Lord Jabu-Jabu’s Belly | Deku Nut, Boomerang |
| 30 | Stinger | Lord Jabu-Jabu’s Belly, Water Temple | none |
| 31 | Bari | Lord Jabu-Jabu’s Belly | Deku Nut, Boomerang |
| 32 | Tailpasaran | Lord Jabu-Jabu’s Belly | Boomerang |
| 33 | Skull Kid | Lost Woods | none |
| 34 | Moblin | Sacred Grove | none |
| 35 | 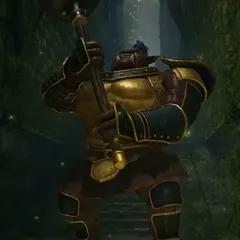 Great Moblin | Sacred Grove | none |
| 36 | Blue Bubble | Forest Temple |  Hylian Shield |
| 37 | Wallmaster | Forest Temple, Bottom of the Well | Light Arrow |
| 38 | Green Bubble | Forest Temple, Spirit Temple | Hylian Shield |
| 39 | Green Bubble (Large) | Bottom of the Well | none |
| 40 | Floormaster | Forest Temple, Shadow Temple | Light Arrow |
| 41 | 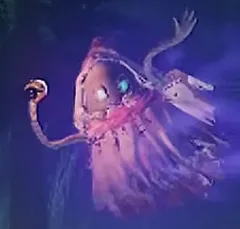 Big Poe | Hyrule Field, Kakariko Graveyard | Fairy Bow |
| 42 | Red Bubble | Death Mountain Crater, Fire Temple | Hylian Shield |
| 43 | Like Like | Fire Temple, Water Temple, Bottom of the Well | none |
| 44 |  Torch Slug | Fire Temple, Spirit Temple | Megaton Hammer |
| 45 | Flying Tile | Fire Temple | none |
| 46 | False Door (Fire Temple) | Fire Temple | Bomb, Megaton Hammer |
| 47 | Freezard | Ice Cavern | Bomb, Megaton Hammer, Din’s Fire, Fire Arrow |
| 48 | Ice Keese | Ice Cavern | Fairy Bow |
| 49 | Spike | Water Temple | Hylian Shield |
| 50 | 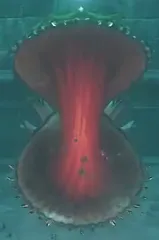 Shell Blade | Water Temple | Din’s Fire |
| 51 | Gibdo | Bottom of the Well, Shadow Temple | Light Arrow |
| 52 | Flying Pot | Shadow Temple, Spirit Temple | none |
| 53 | 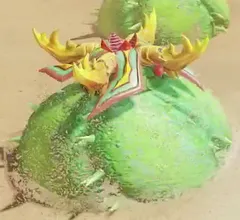 Leever (Green) | Mirage Desert, Evil Desert Colossus | Din’s Fire |
| 54 | Leever (Purple) | Mirage Desert, Evil Desert Colossus | Din’s Fire |
| 55 | False Door (Spirit Temple) | Spirit Temple | Bomb, Megaton Hammer |
| 56 | Anubis | Spirit Temple | Din’s Fire, Fire Arrow |
| 57 | White Bubble | Spirit Temple | Hylian Shield |
Enemy entries
Deku Baba
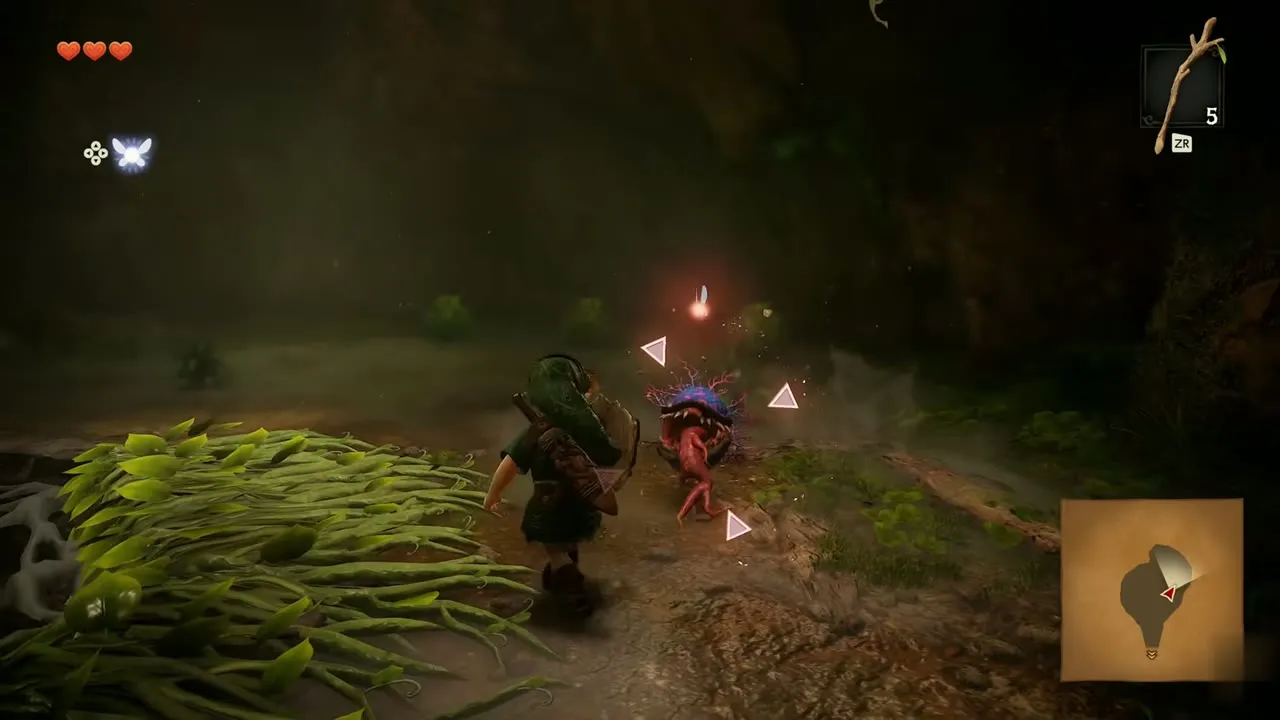
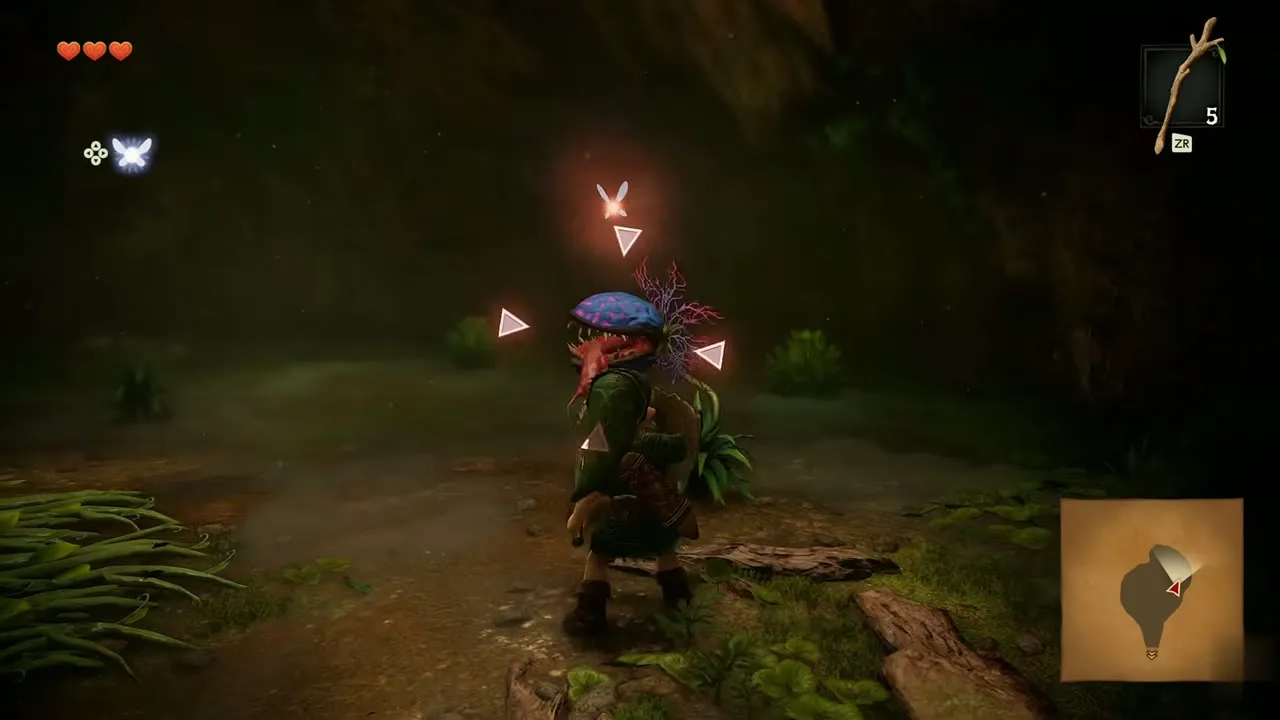
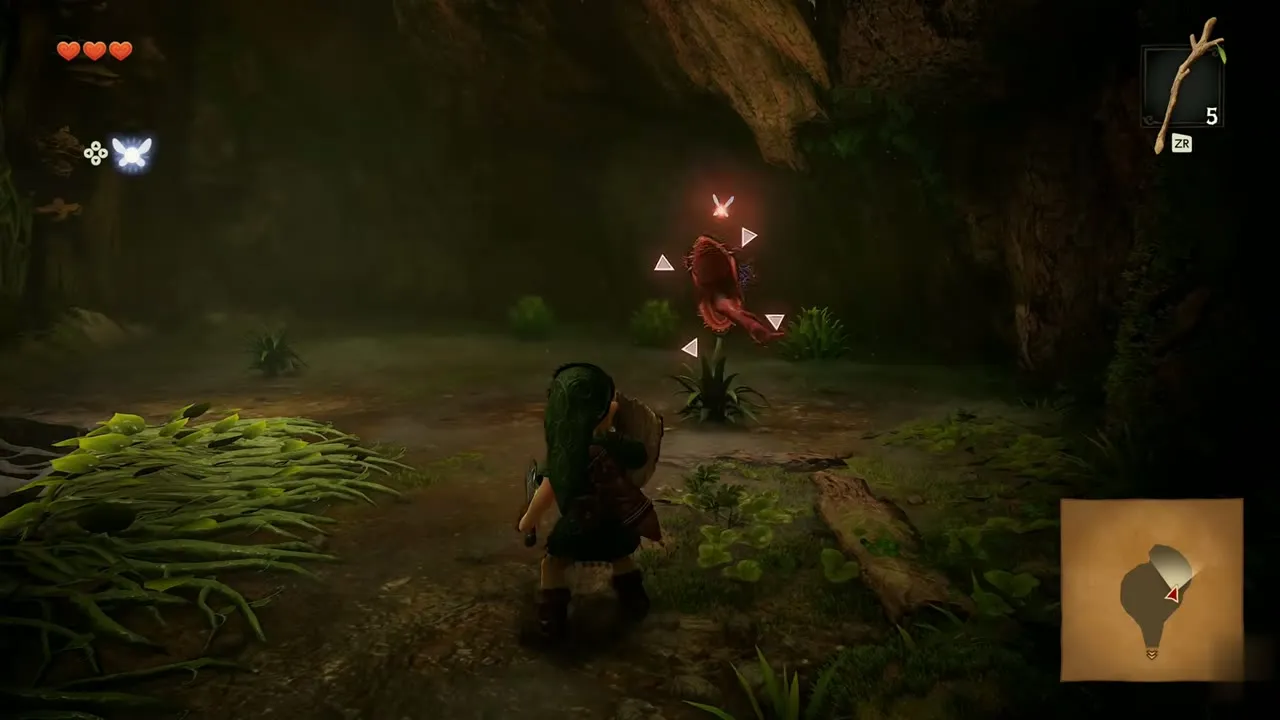
A plant that lunges at anyone who steps too close and turns red as it withers. Stay outside its reach and cut it back with the Deku Stick or sword, then collect what it drops: heads give Deku Nuts and stems give Deku Sticks. The first ones grow in the Great Deku Tree. Found in Great Deku Tree, Kokiri Forest. Useful items: Megaton Hammer.
Skullwalltula
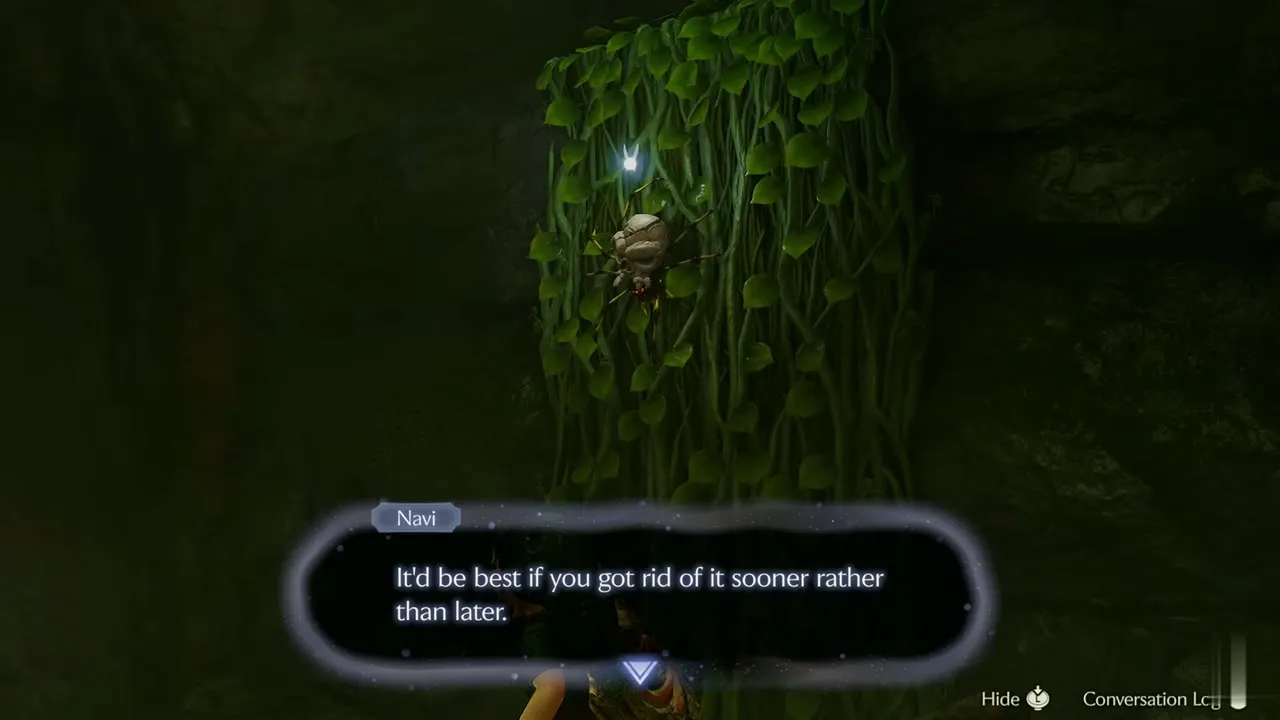
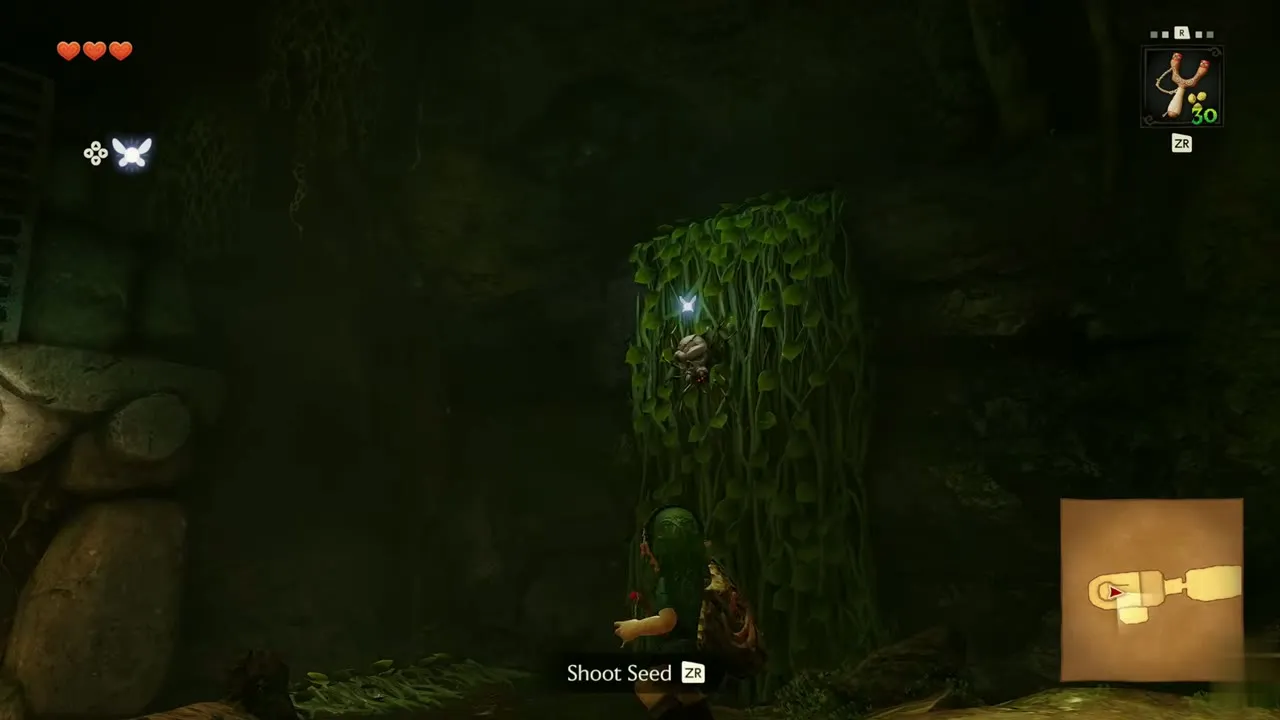
A small spider that clings to walls. It drops easily when the ground around it shakes, and the Fairy Slingshot reaches it from a distance. Found in Great Deku Tree, Death Mountain Trail. Useful items: Fairy Slingshot, Megaton Hammer.
Deku Scrub
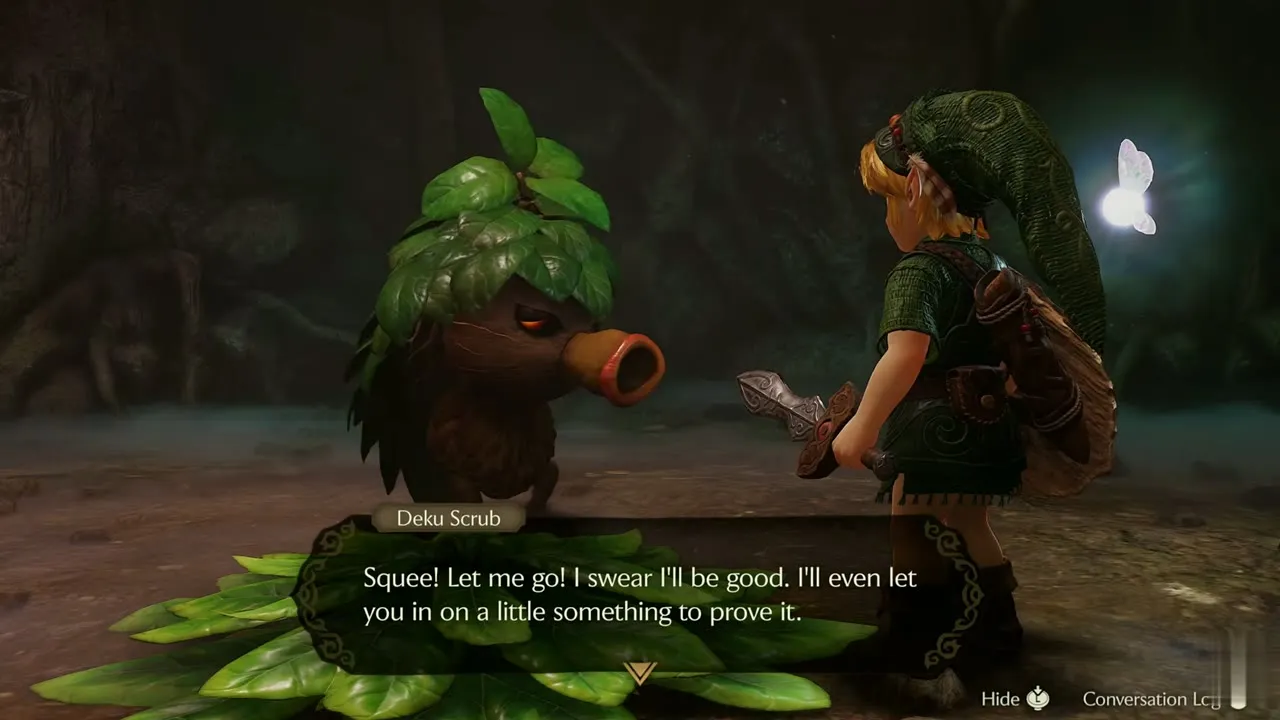
A talkative creature that fires nuts at you. Hold up the Deku Shield to bounce a nut back, then strike the Scrub directly. Once beaten it spills its secrets, such as how to get past a web. Found in Great Deku Tree. Useful items: Deku Shield.

Gold Skulltula
A Skulltula that drops a Gold Skulltula Token when it dies. A rustling sound tells you one is close. Every location is listed on Gold Skulltula Locations. Found in Kakariko Village. Useful items: none listed.

Skulltula
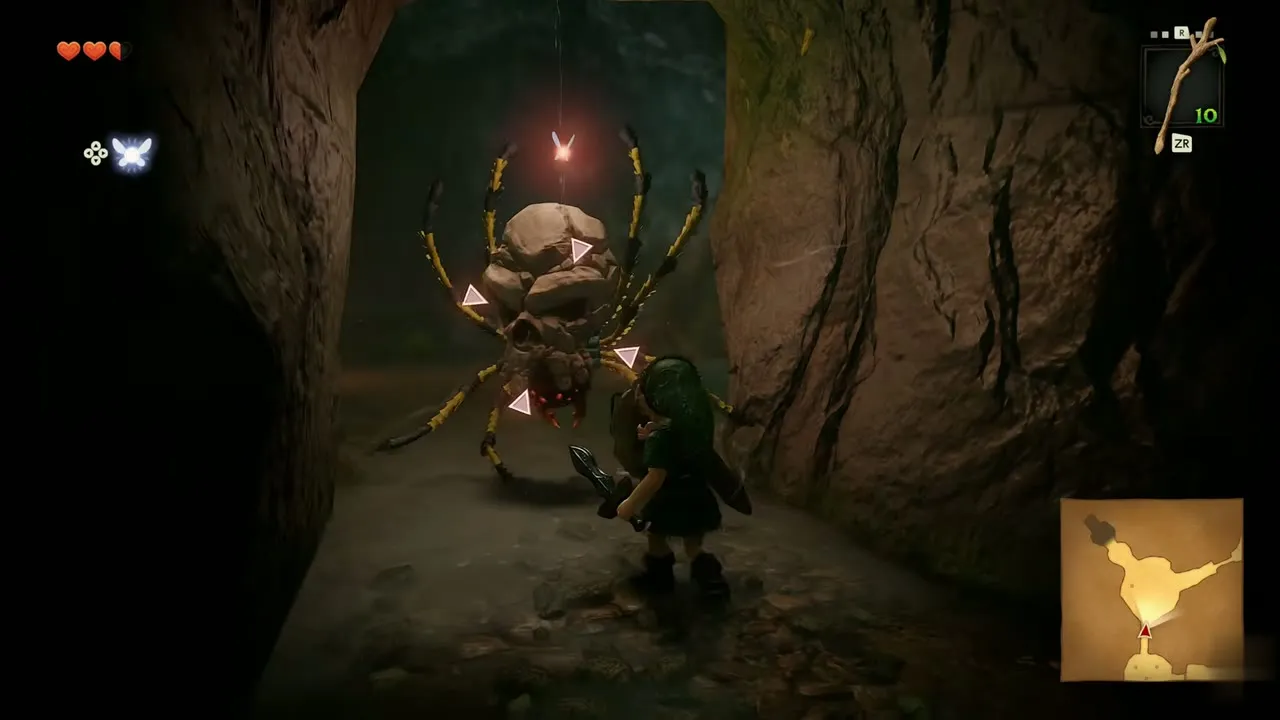
A large armored spider that is vulnerable to fire. In the Great Deku Tree, slash it when its softer underside shows. Din’s Fire also works. Found in Great Deku Tree, Forest Temple. Useful items: Bomb, Megaton Hammer, Din’s Fire.
Gohma Larva
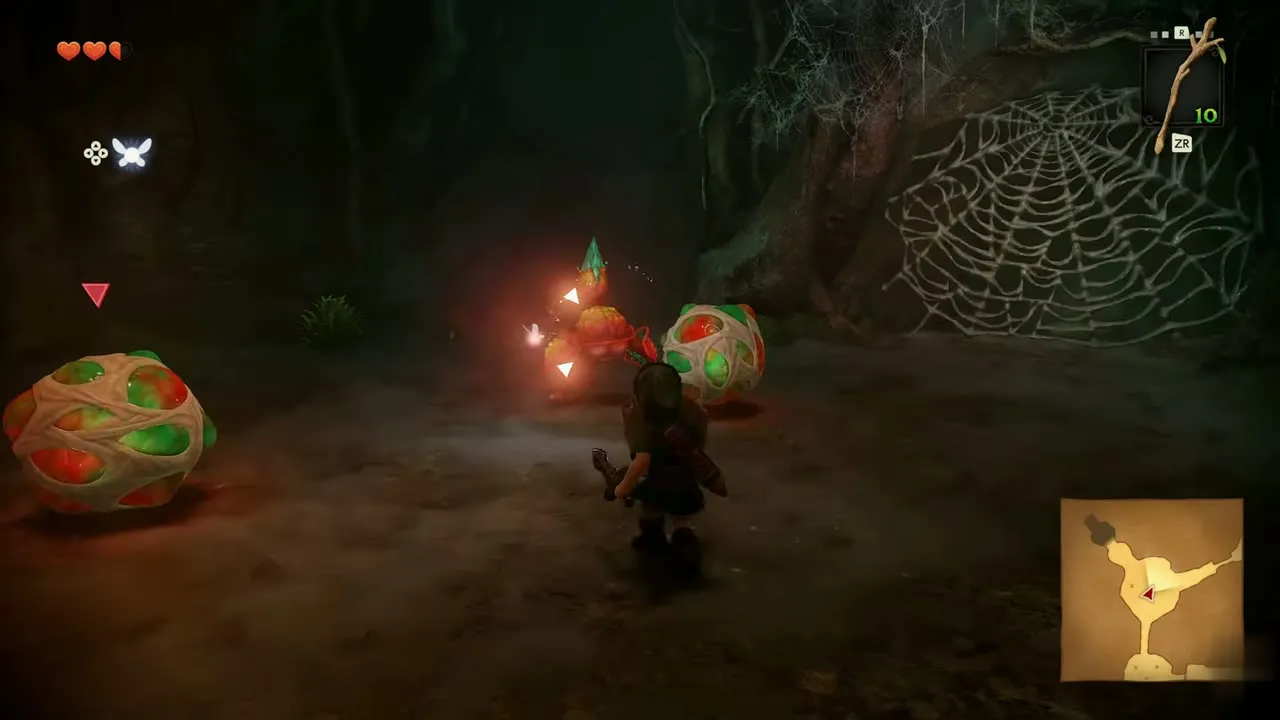
The newly born form of Gohma. The eggs they come from break at the slightest impact, so hit an egg before it opens. Navi calls out the first one with a question about Gohma. Found in Great Deku Tree. Useful items: Deku Nut, Deku Shield.

Peahat
A plant monster that becomes active during the day. Its statue recommends Din’s Fire. Found in Hyrule Field. Useful items: Din’s Fire.
Peahat Larva
The young form of the Peahat. It still chases you, so turn and cut it down as it closes in. Found in Hyrule Field. Useful items: none listed.
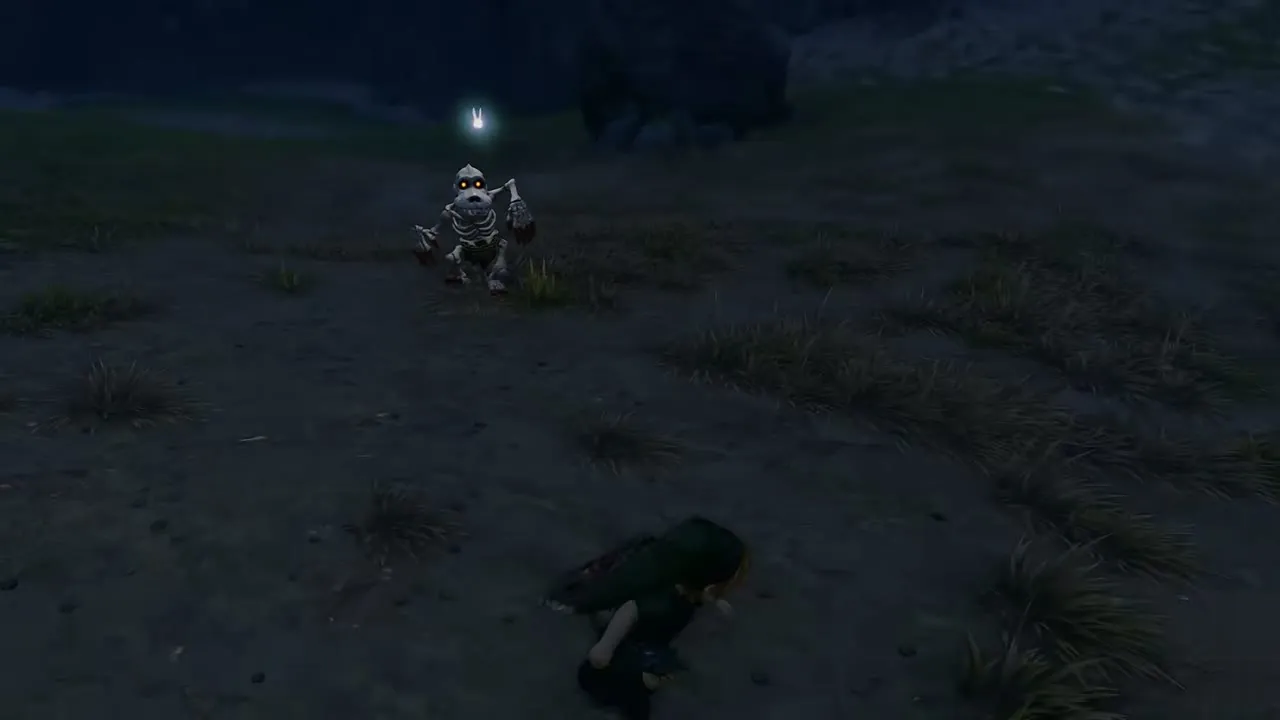
Stalchild
A skeleton that climbs out of the ground in Hyrule Field. Its statue says they stay hidden if someone appears cute enough. Found in Hyrule Field. Useful items: none listed.

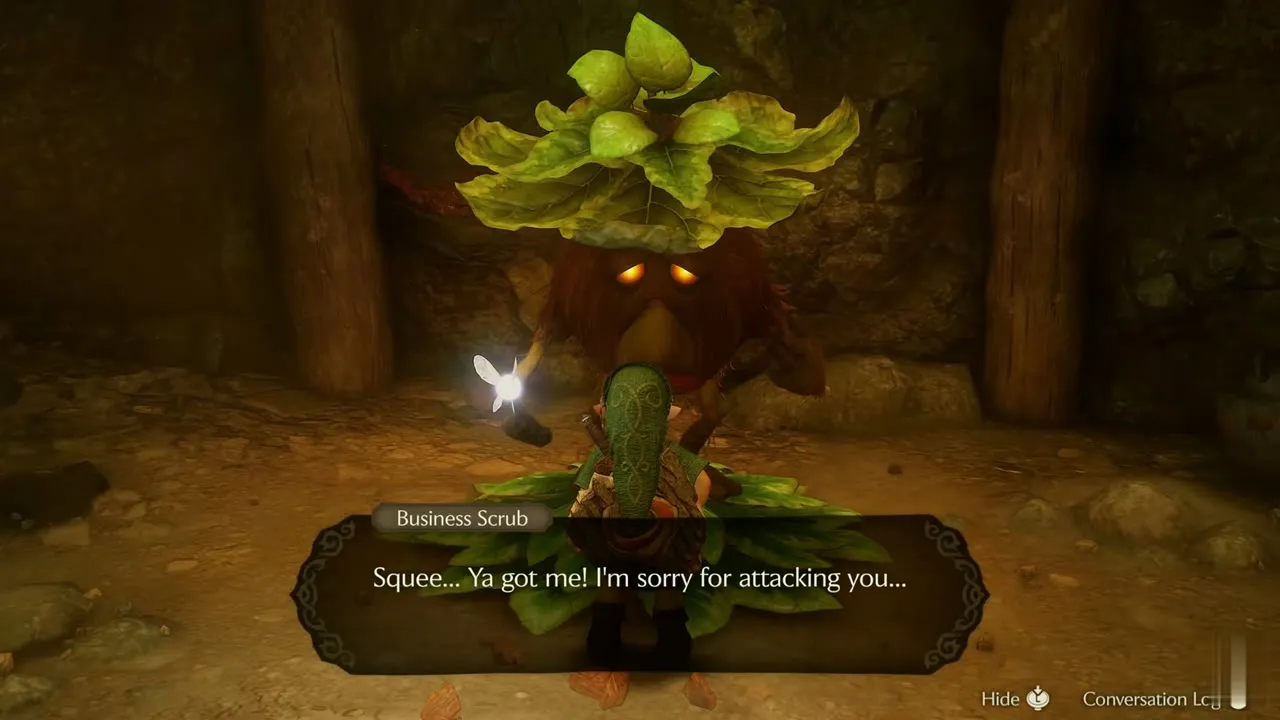
Business Scrub
A merchant Scrub that often has valuable items for sale. Talk to it instead of fighting it. Every Business Scrub is covered on Business Scrubs. Found in Lost Woods. Useful items: Megaton Hammer, Deku Shield, Hylian Shield.
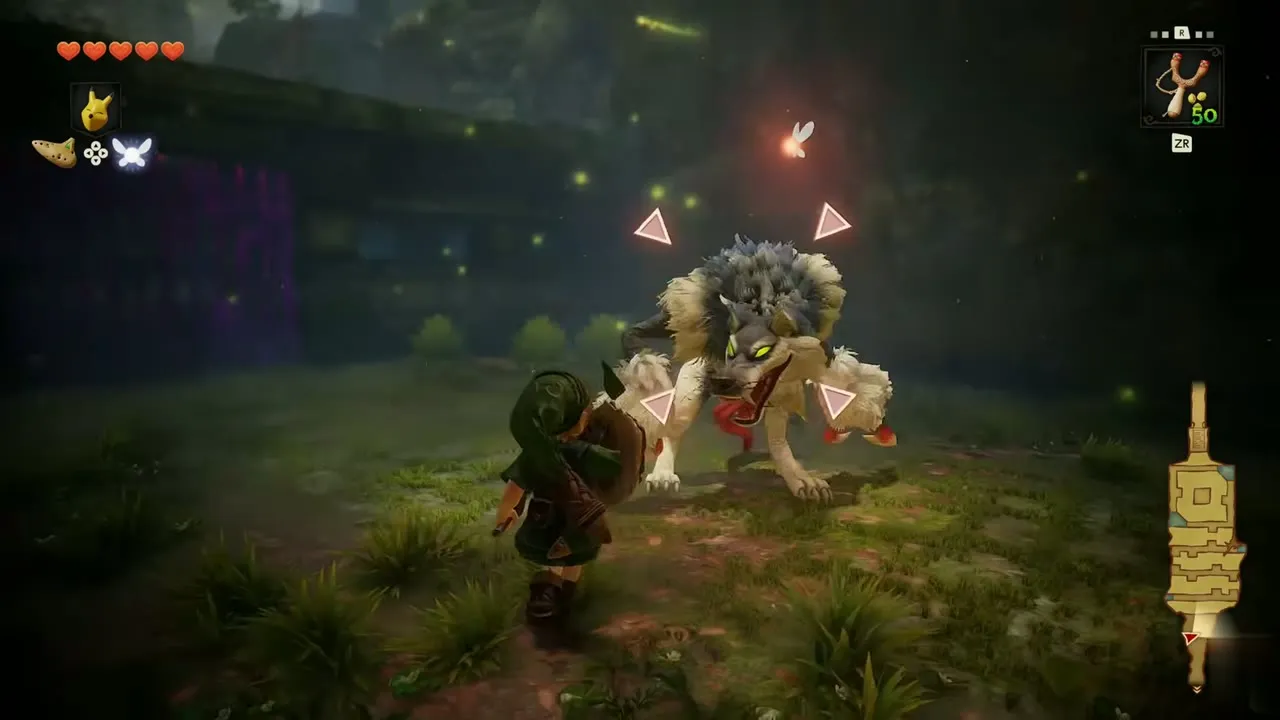
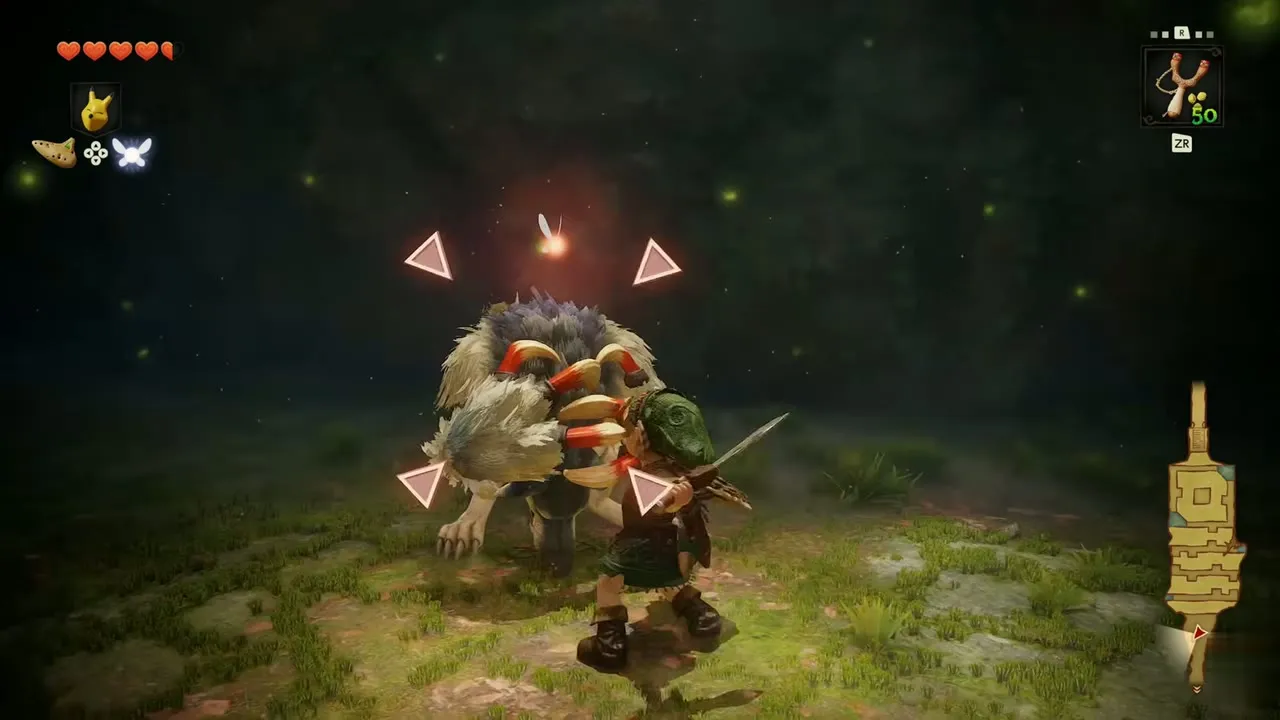
Wolfos
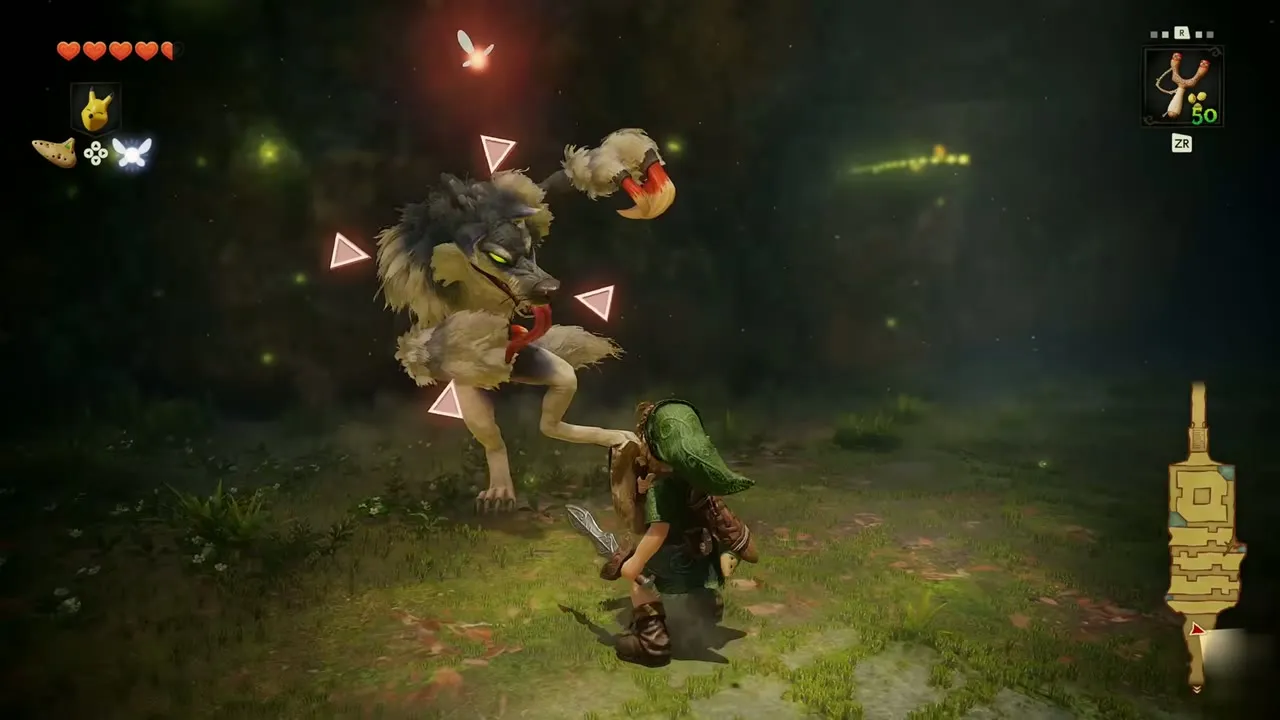
A wolf that attacks with its claws and also uses them to block your strikes. In the Sacred Grove one leaps out at you in a ring of statues. Wait for an opening and strike, or burn it with Din’s Fire or a Fire Arrow. Found in Sacred Grove, Forest Temple. Useful items: Din’s Fire, Fire Arrow.
Mad Scrub
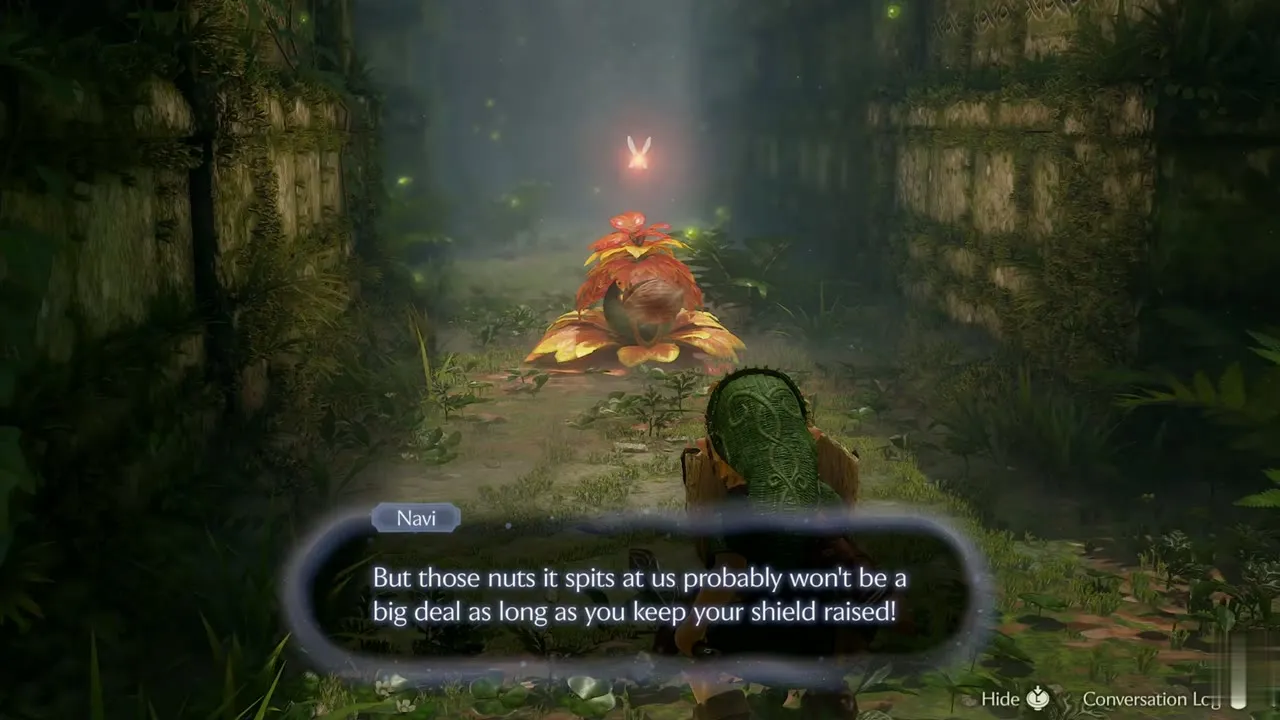
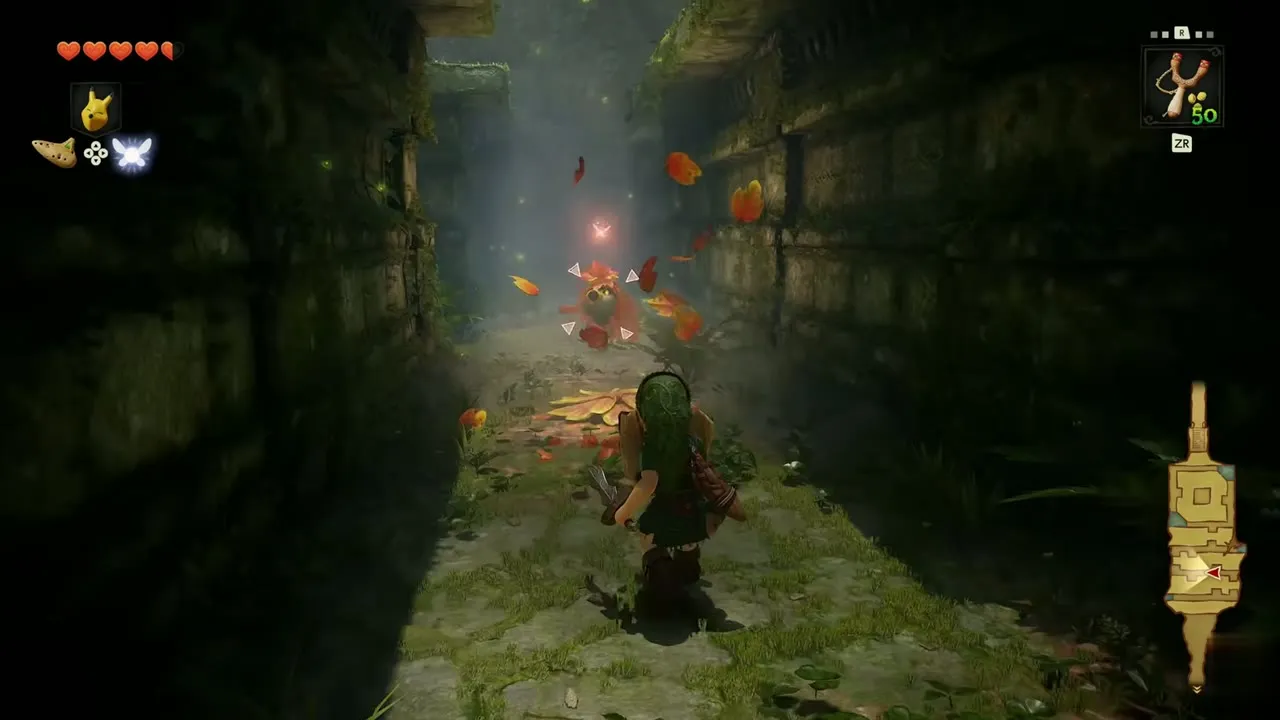
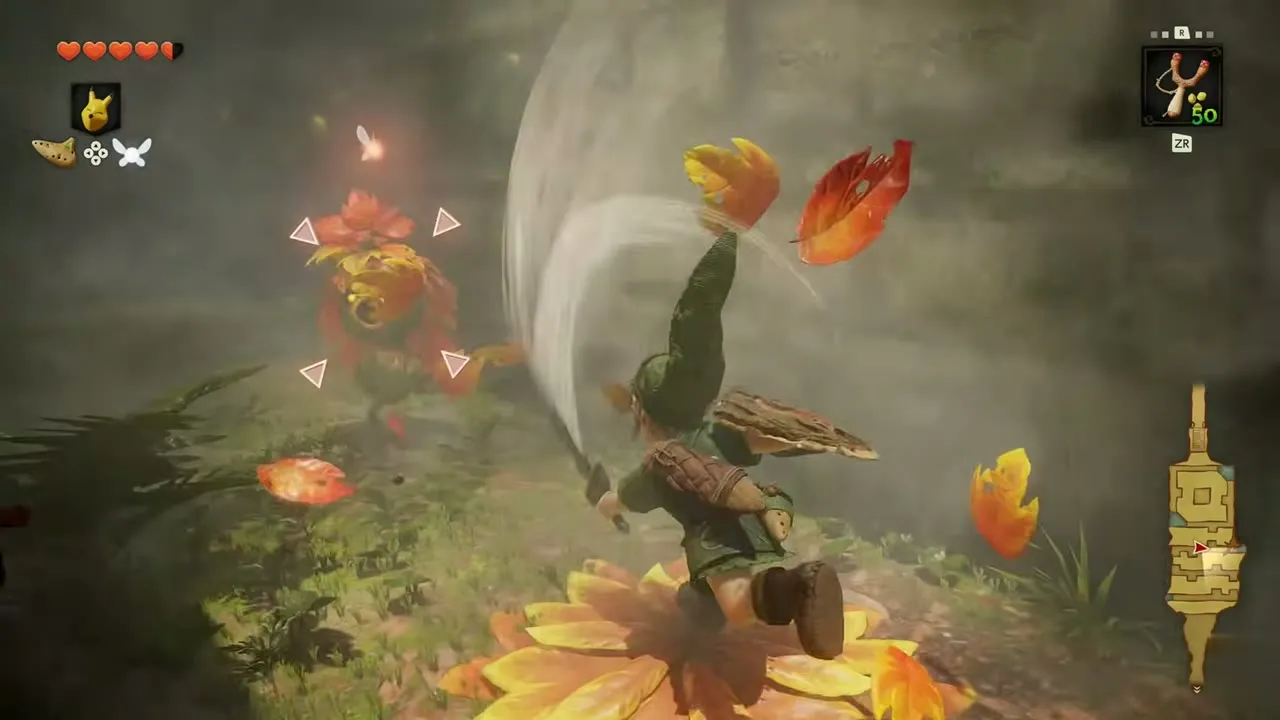
A Deku Scrub with a short temper that fires three shots in quick succession. Navi warns you about the nuts it spits. Block them with a shield, then strike. Found in Sacred Grove. Useful items: Megaton Hammer, Deku Shield, Hylian Shield.
Guay
A crow that circles in the air and attacks in packs. Shoot it with the Fairy Slingshot or Fairy Bow. Found in Hyrule Field, Mirage Desert. Useful items: Fairy Slingshot, Fairy Bow.
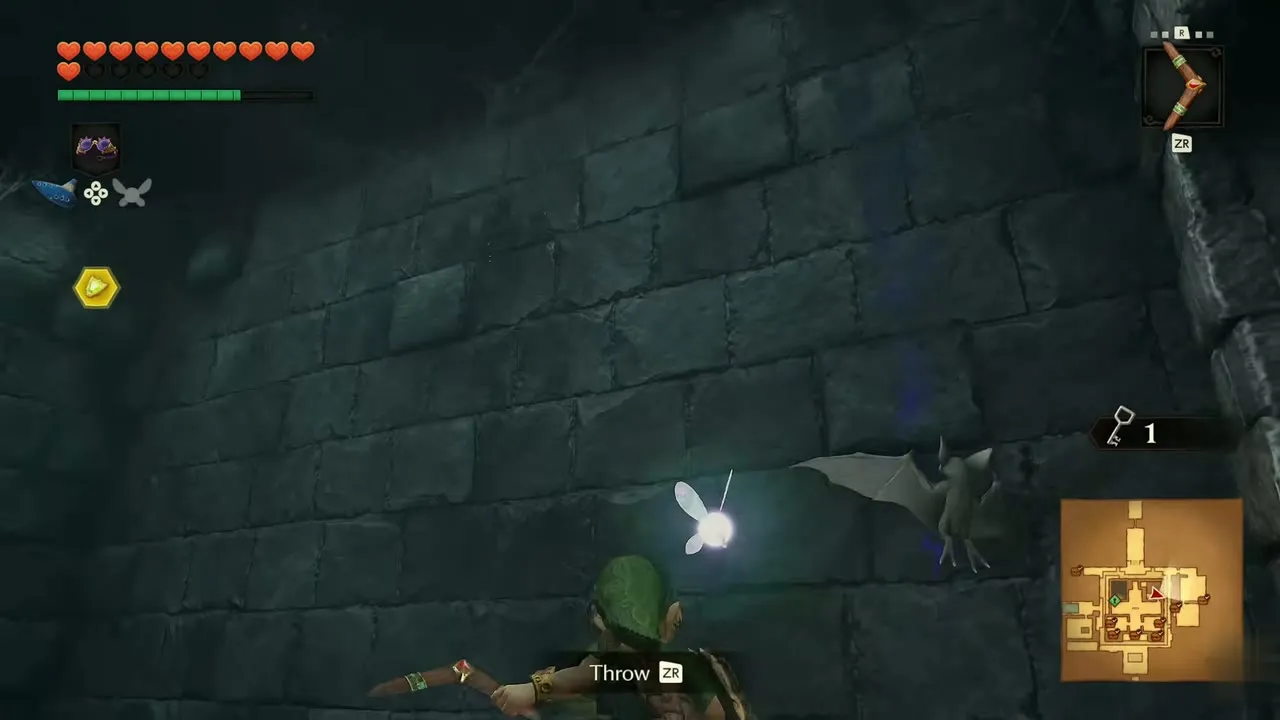
Keese
A bat that lurks in dark places and becomes a Fire Keese when it catches fire. Shoot it with the Fairy Slingshot or Fairy Bow. Found in Kakariko Graveyard, Dodongo Cavern. Useful items: Fairy Slingshot, Fairy Bow.
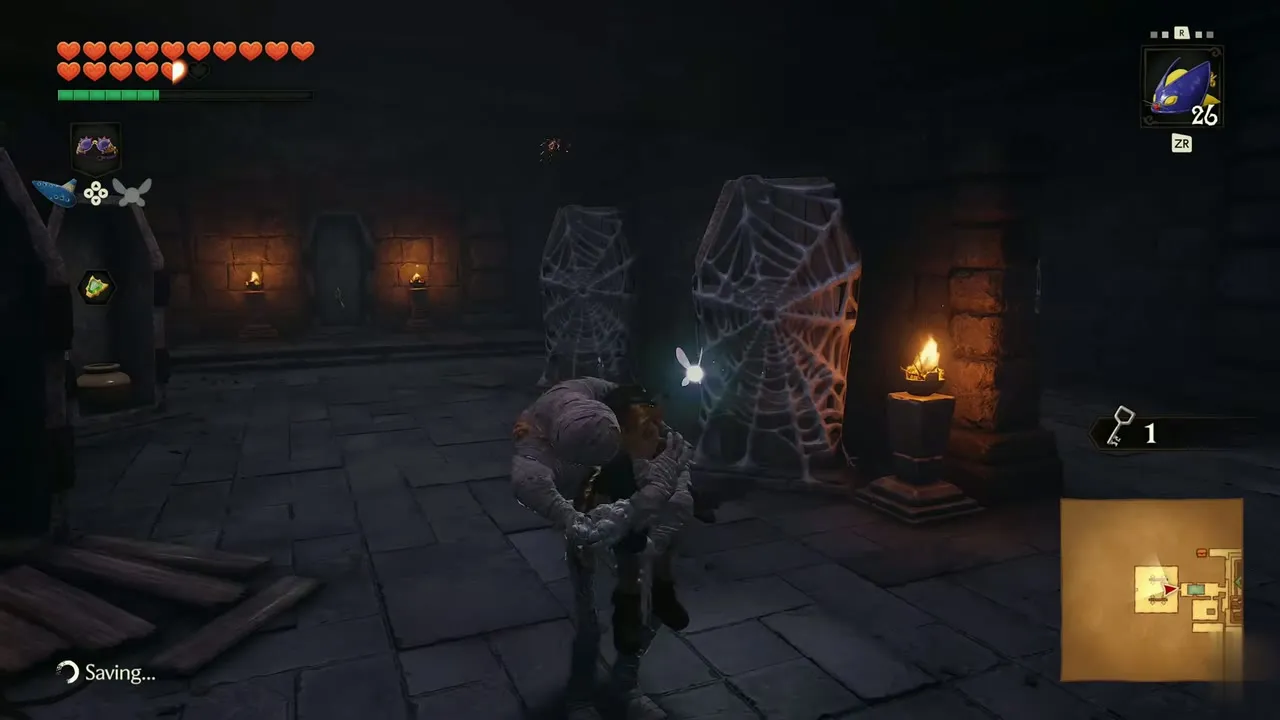
ReDead
A walking corpse in a mask. The Sun’s Song freezes it in place. In the well, thrown pots hit one in range. Found in Kakariko Graveyard, Hyrule Castle Town. Useful items: Light Arrow.
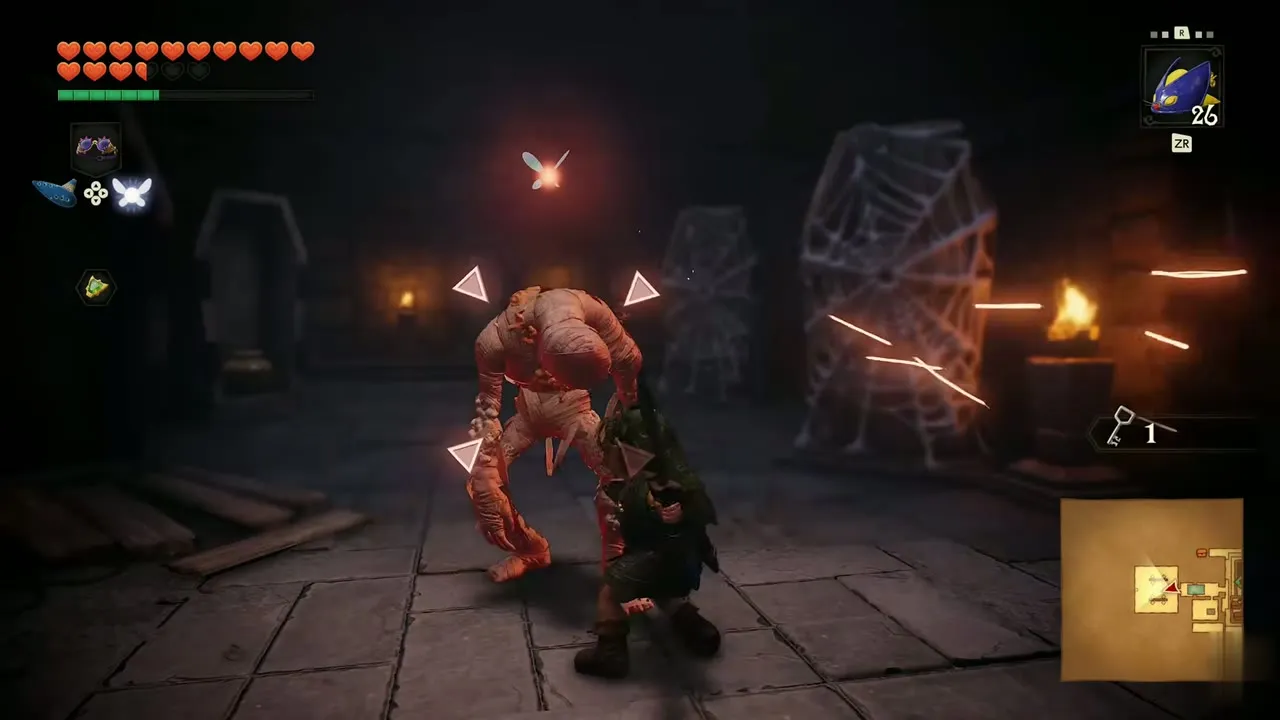

Poe (Graveyard)
A ghost with a lingering attachment to the world that roams the graveyard. Strike it when it becomes visible. Found in Kakariko Graveyard. Useful items: none listed.
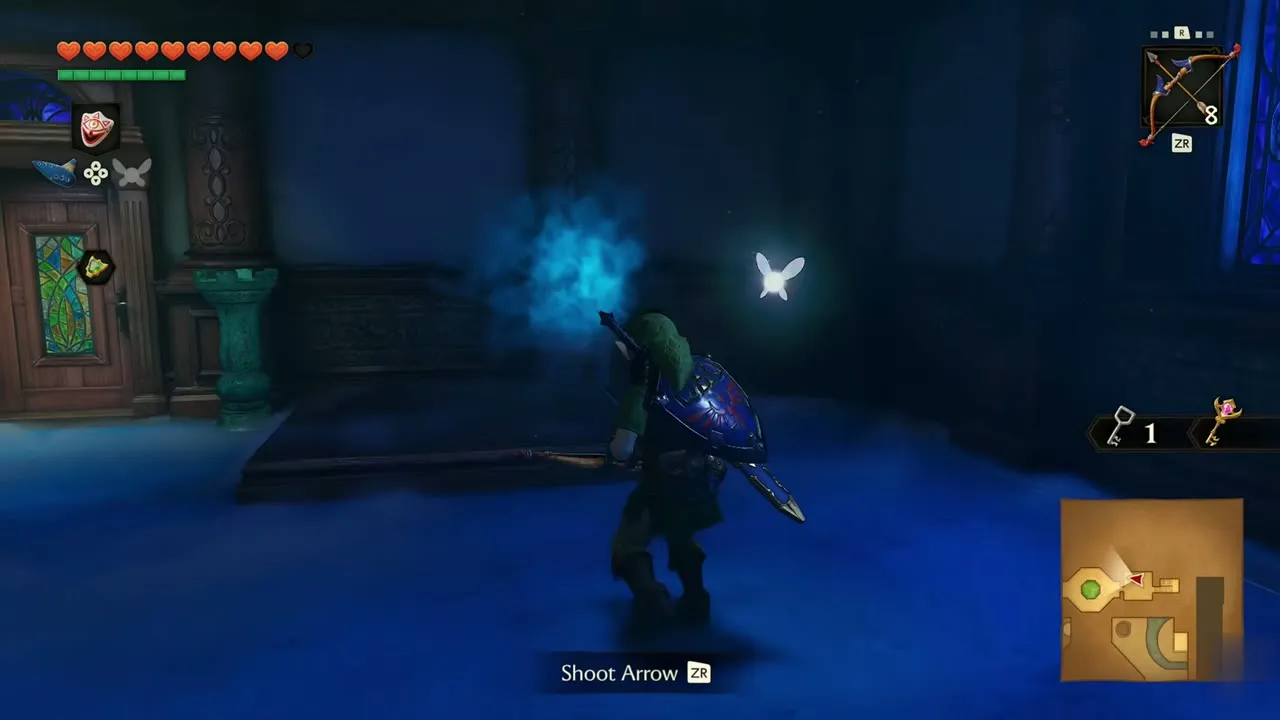
Poe (Hyrule Field)
A ghost whose soul you can drink. Shoot it with the Fairy Bow. The large ones are covered under Big Poe below. Found in Hyrule Field. Useful items: Fairy Bow.
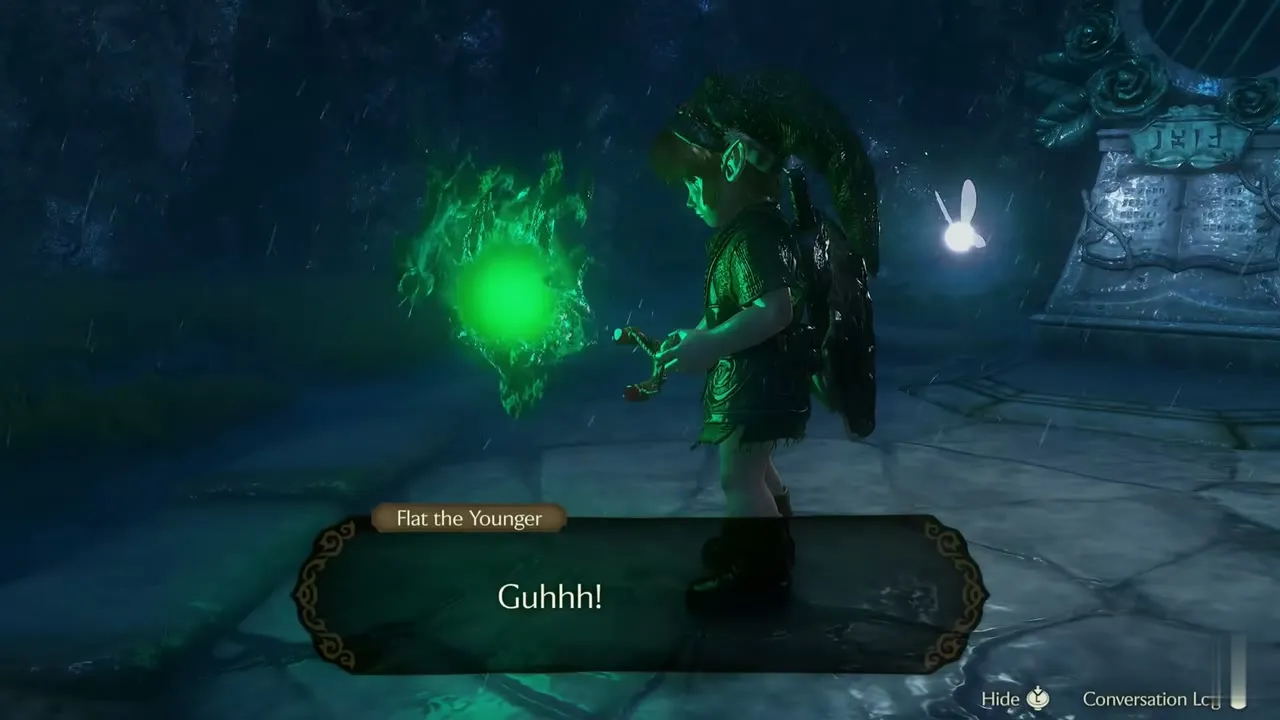
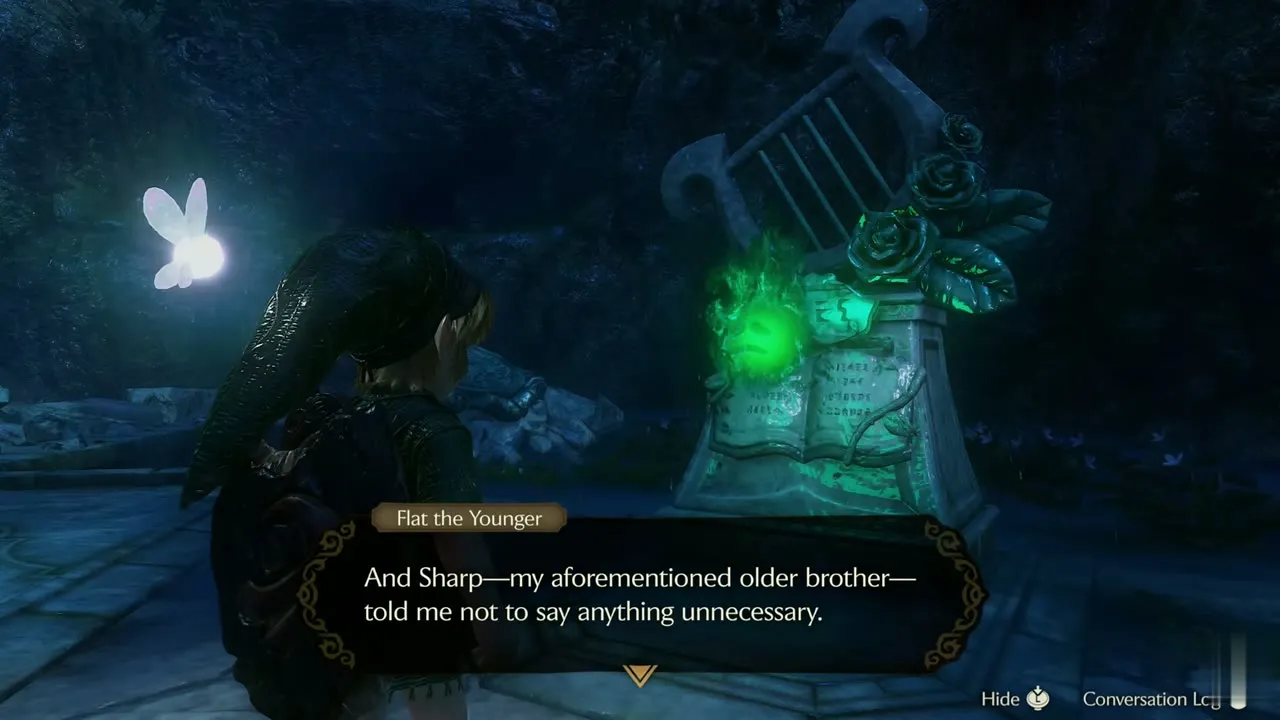
Flat the Younger
The younger of two composer brothers who served the royal family. He is a ghost but is still bullied by his older brother. He appears in the Graveyard chapter. Found in Kakariko Graveyard. Useful items: none listed.
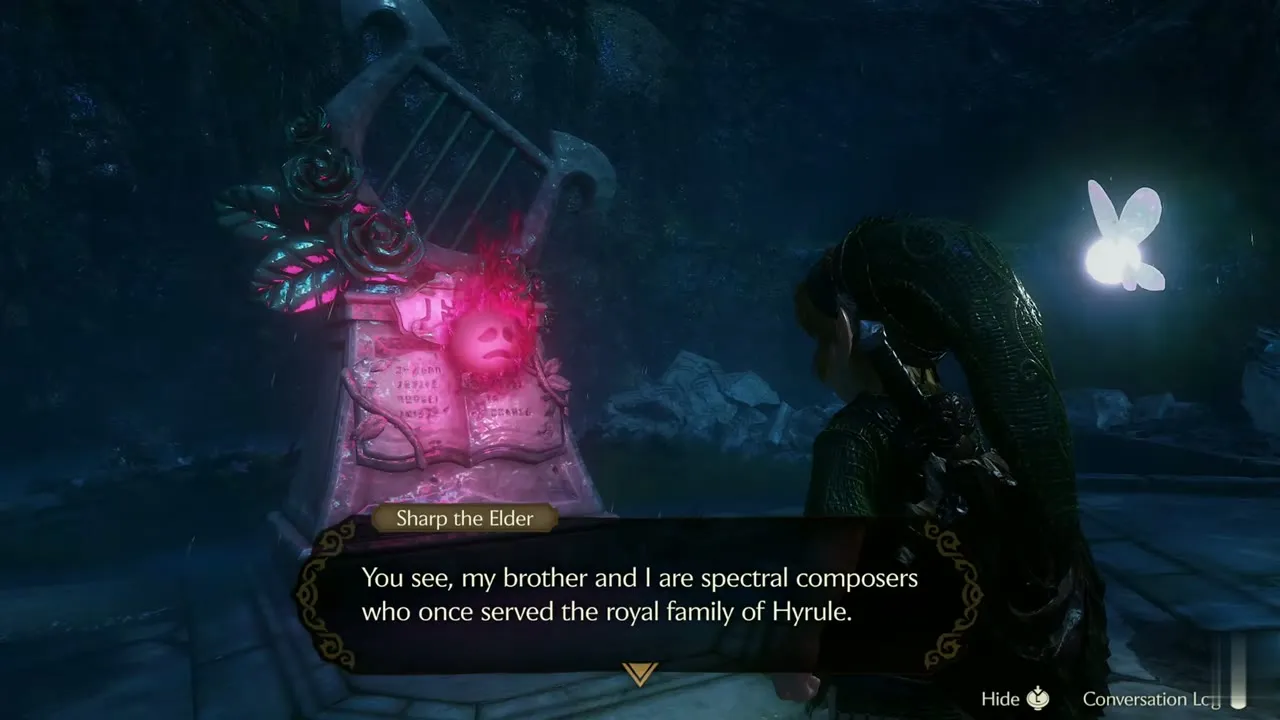
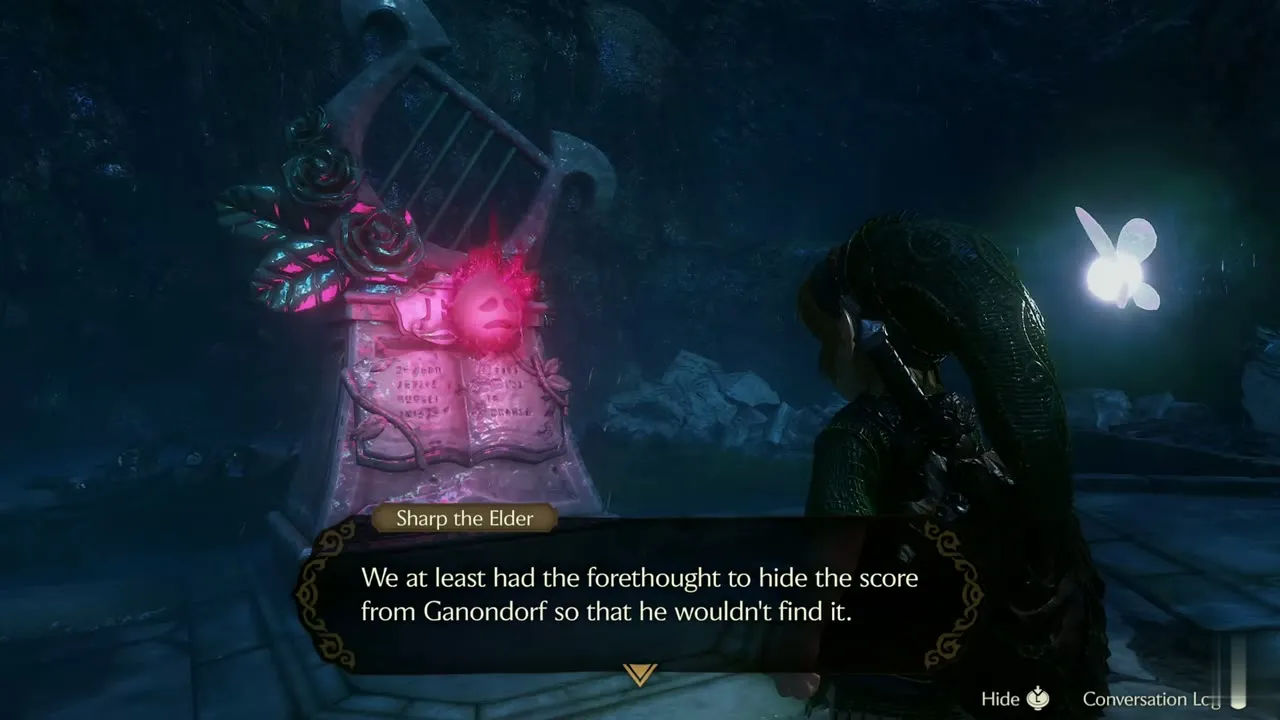
Sharp the Elder
The older composer brother, who stays loyal to the royal family even in death. He appears in the Graveyard chapter. Found in Kakariko Graveyard. Useful items: none listed.
Red Tektite
A creature in a thin shell that moves quickly across the ground on long legs. Tektites patrol the ledge on the path to Dodongo Cavern. Strike when one lands. Found in Death Mountain Trail. Useful items: Megaton Hammer.
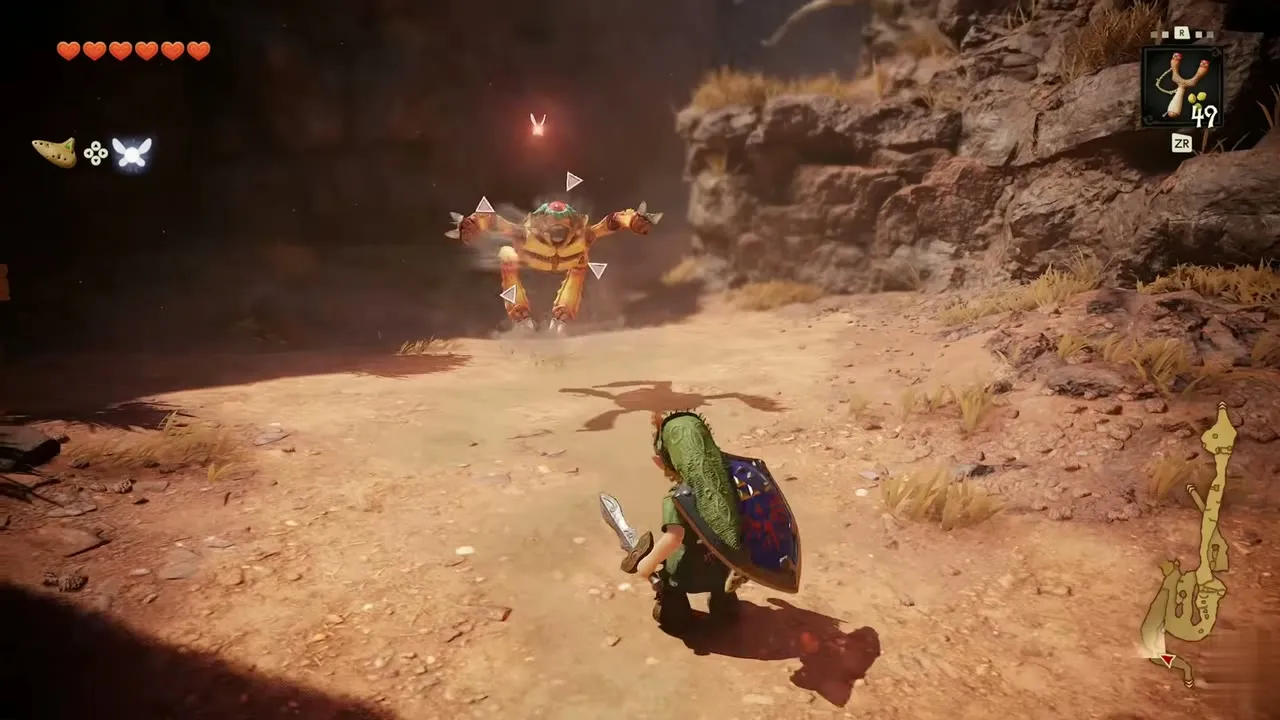

Beamos
A single-eyed statue that fires a beam when it notices you. Destroy it with a Bomb or the Megaton Hammer, or turn the beam aside with the Mirror Shield. Found in Dodongo Cavern, Shadow Temple. Useful items: Bomb, Megaton Hammer, Mirror Shield.
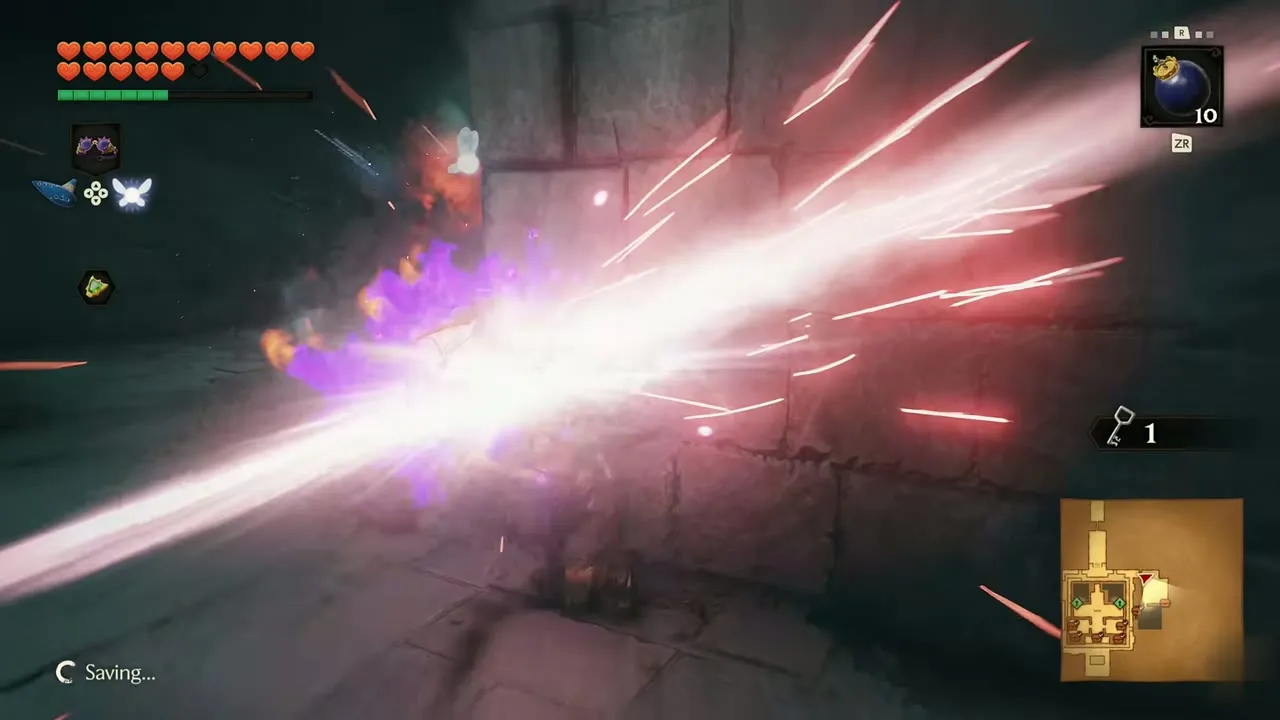

Baby Dodongo
A small Dodongo that swallows bombs. Several patrol a tunnel in Dodongo Cavern. Throw a bomb for one to eat. Found in Dodongo Cavern. Useful items: Bomb.
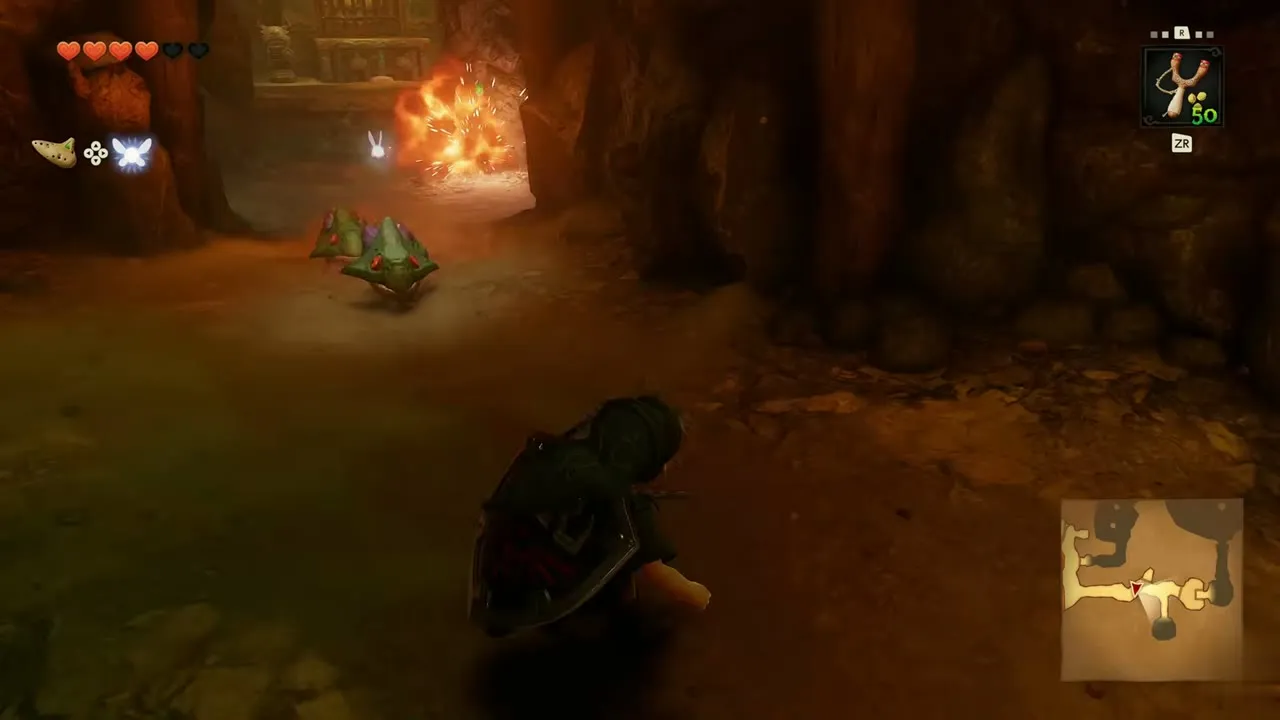
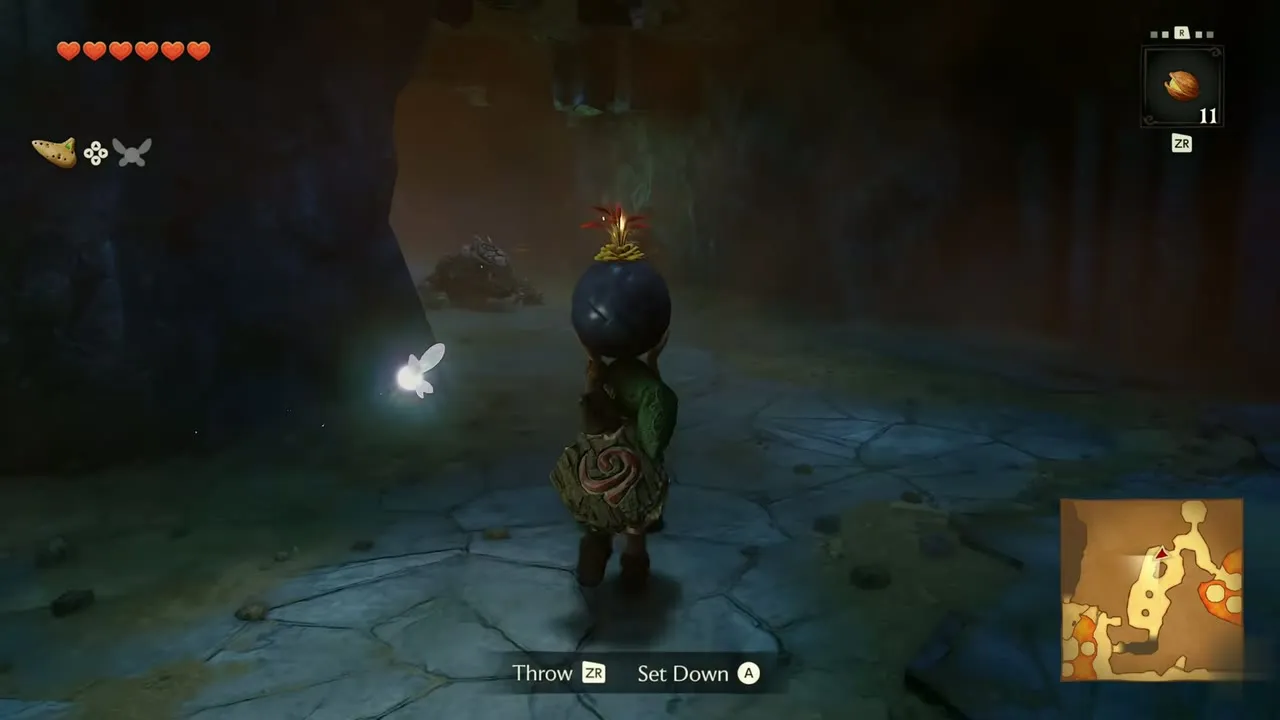
Dodongo
A Dodongo with scales as solid as steel. Pull a bomb flower from the ground and throw it at one. Found in Dodongo Cavern. Useful items: Bomb.
Armos
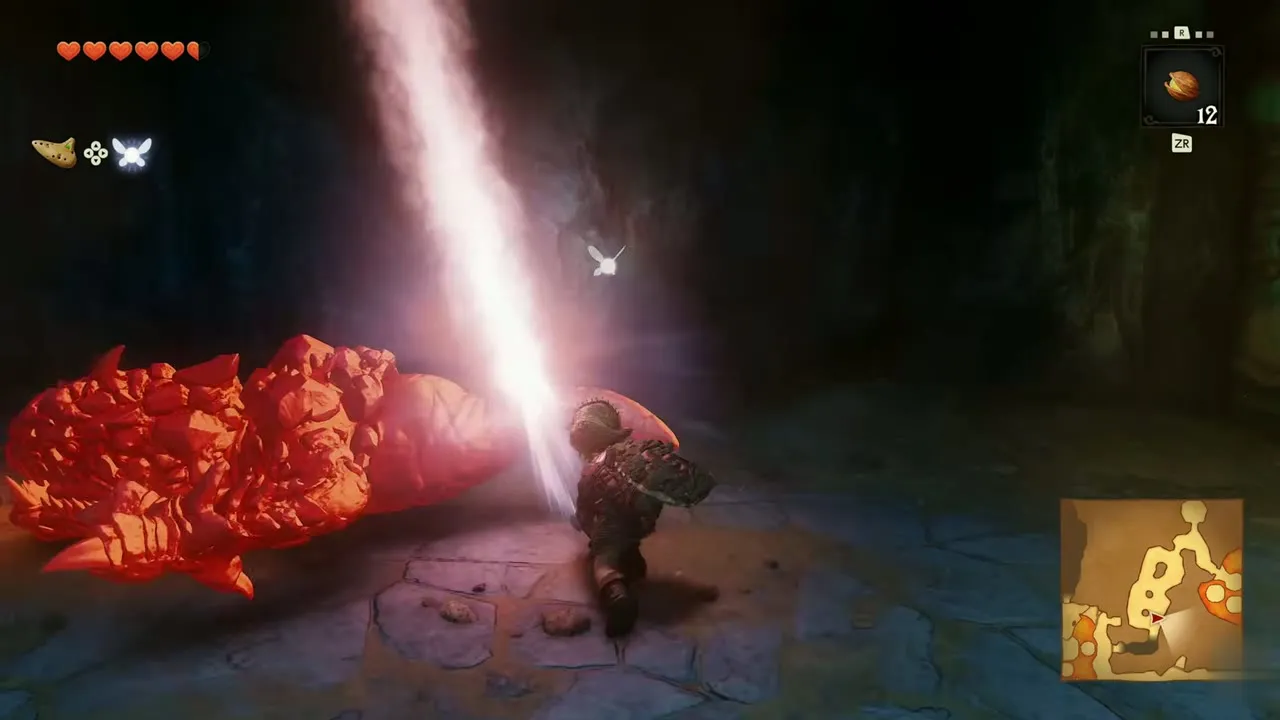
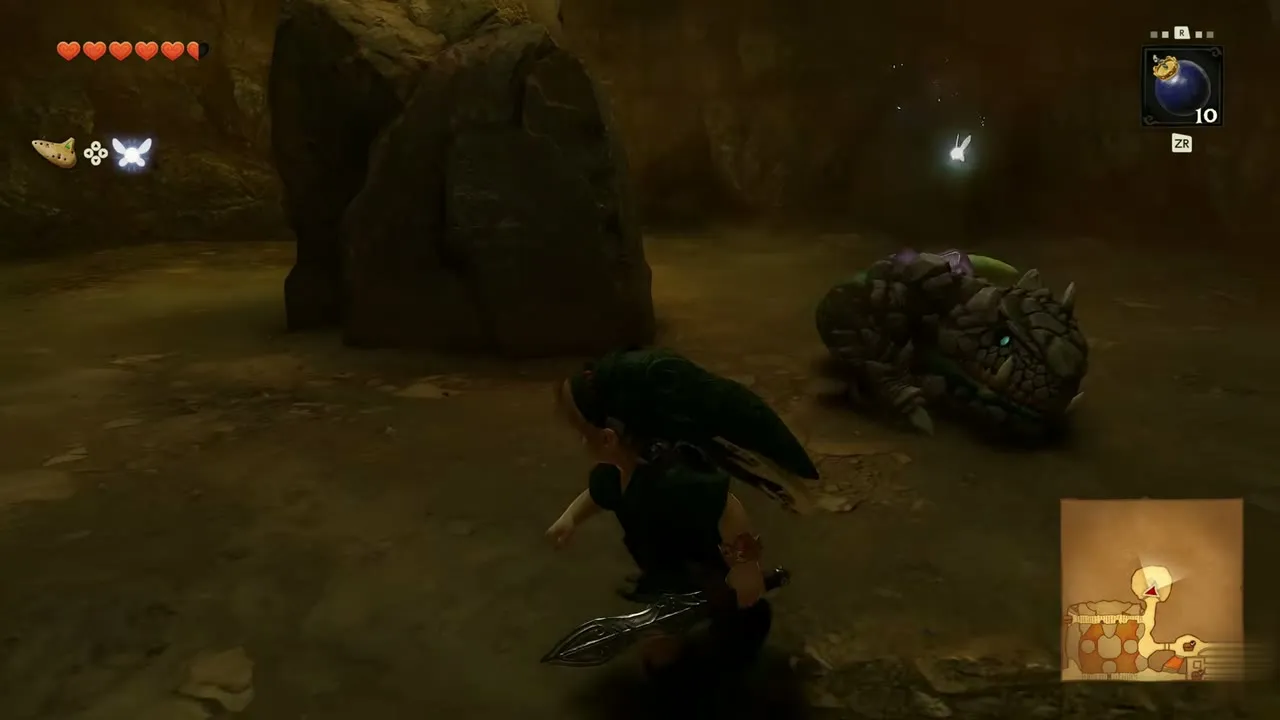
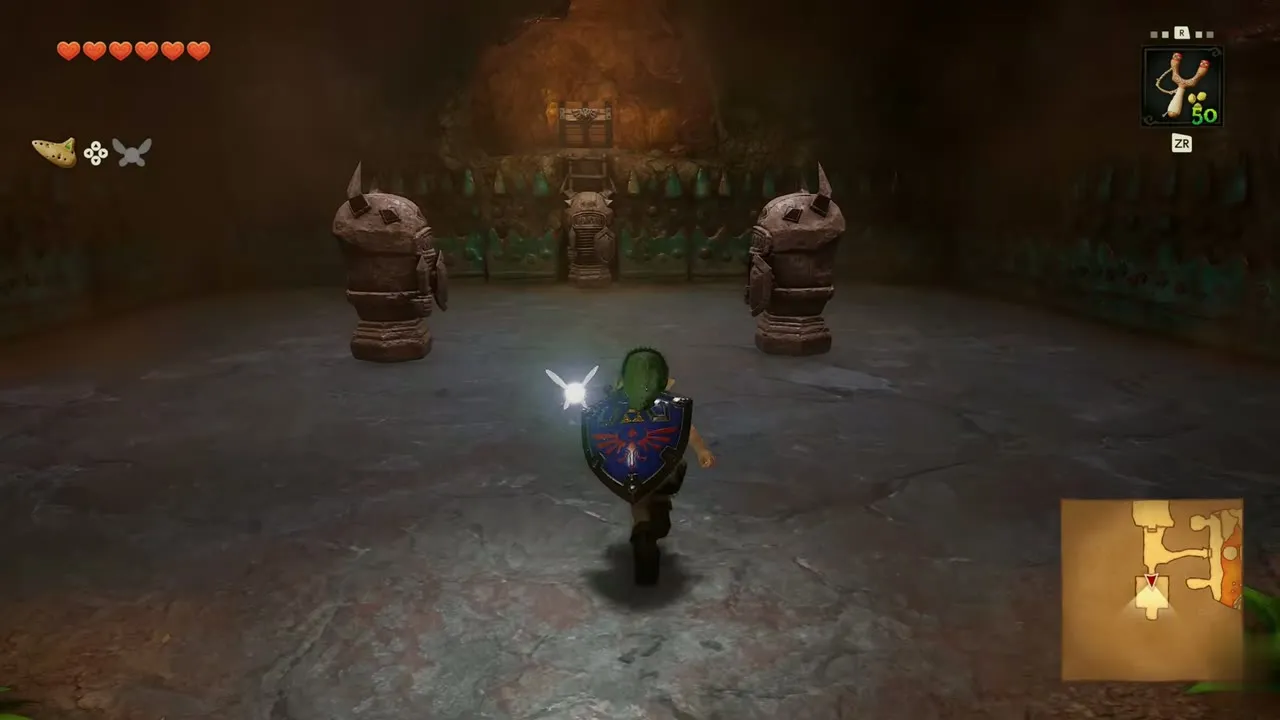
A stone statue that wakes up when you come close. In Dodongo Cavern, throw a bomb flower at one, then block with your shield while it recovers. Found in Dodongo Cavern, Spirit Temple. Useful items: Bomb, Megaton Hammer.

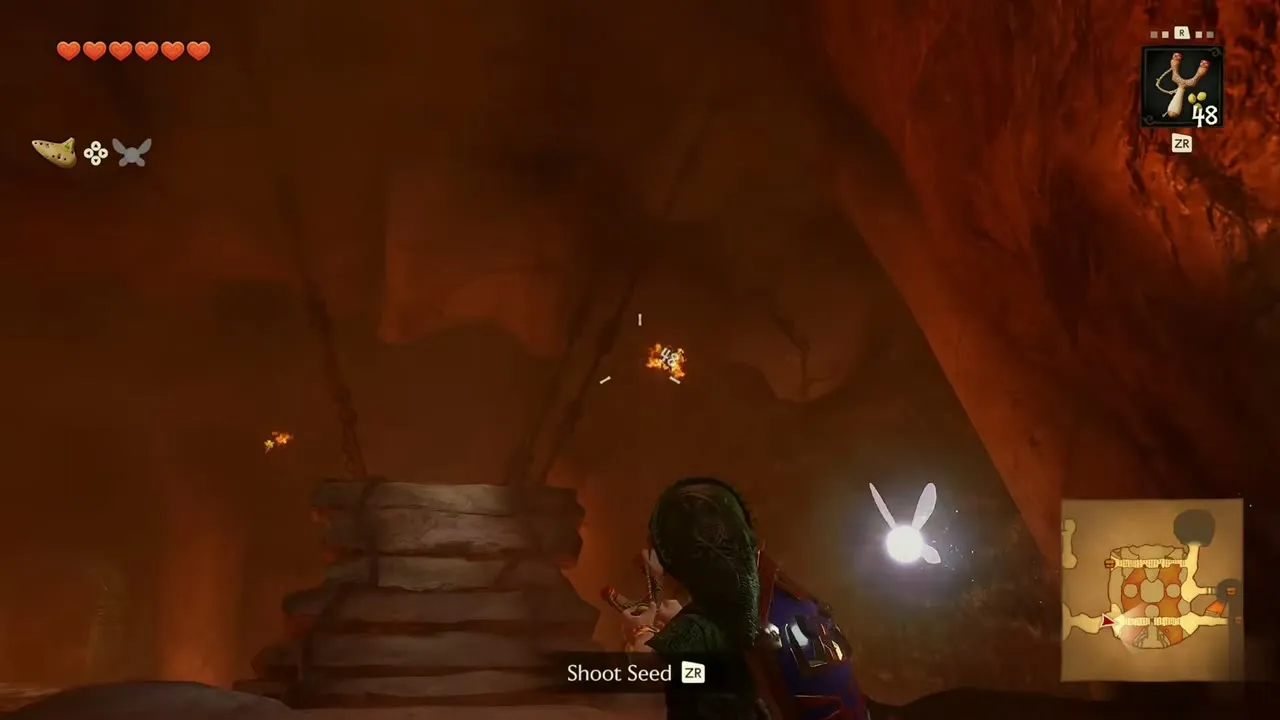
Fire Keese
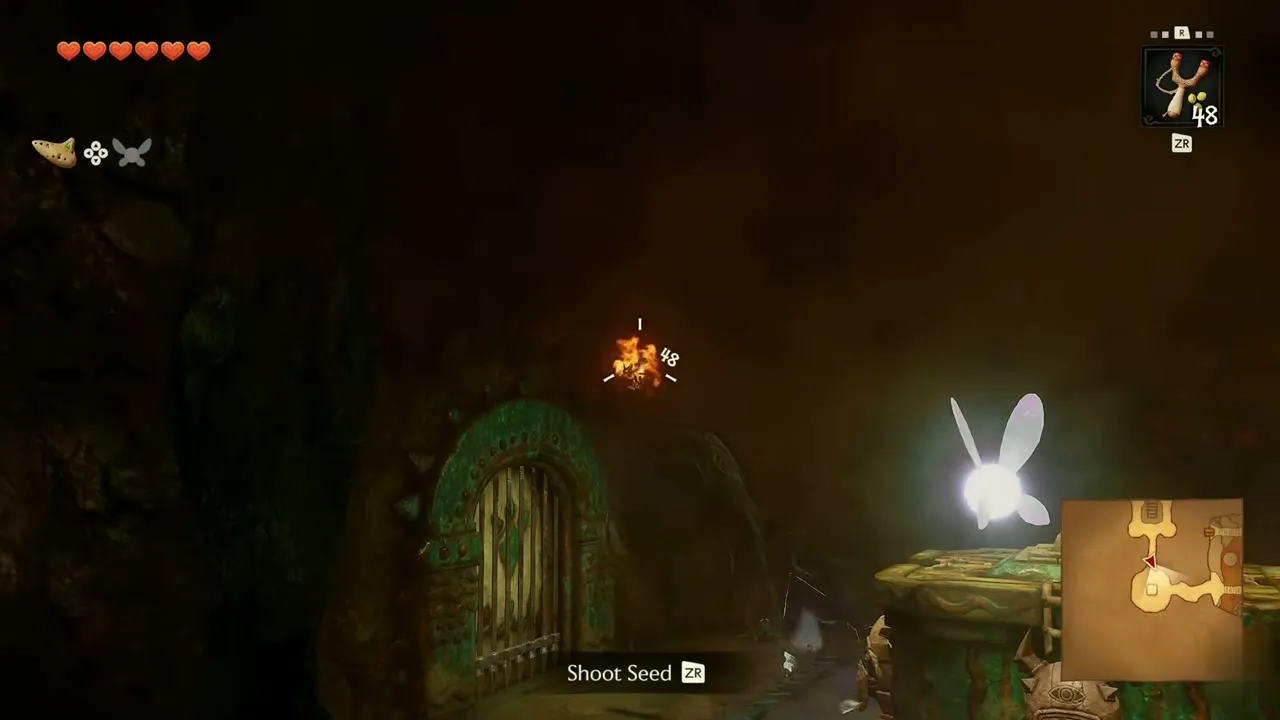
A Keese wrapped in flame that goes back to normal if the fire goes out. Shoot them with the Fairy Slingshot as they dive at you. Found in Dodongo Cavern, Fire Temple. Useful items: Fairy Slingshot, Fairy Bow.
Octorok
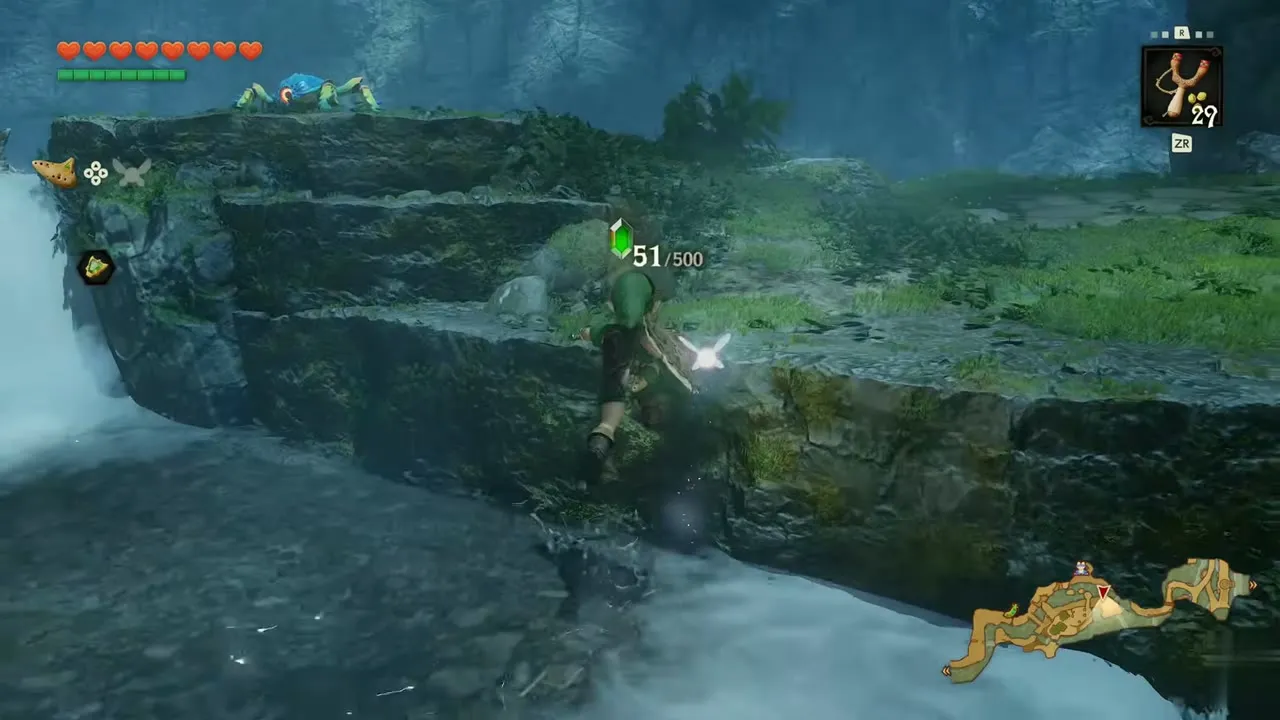
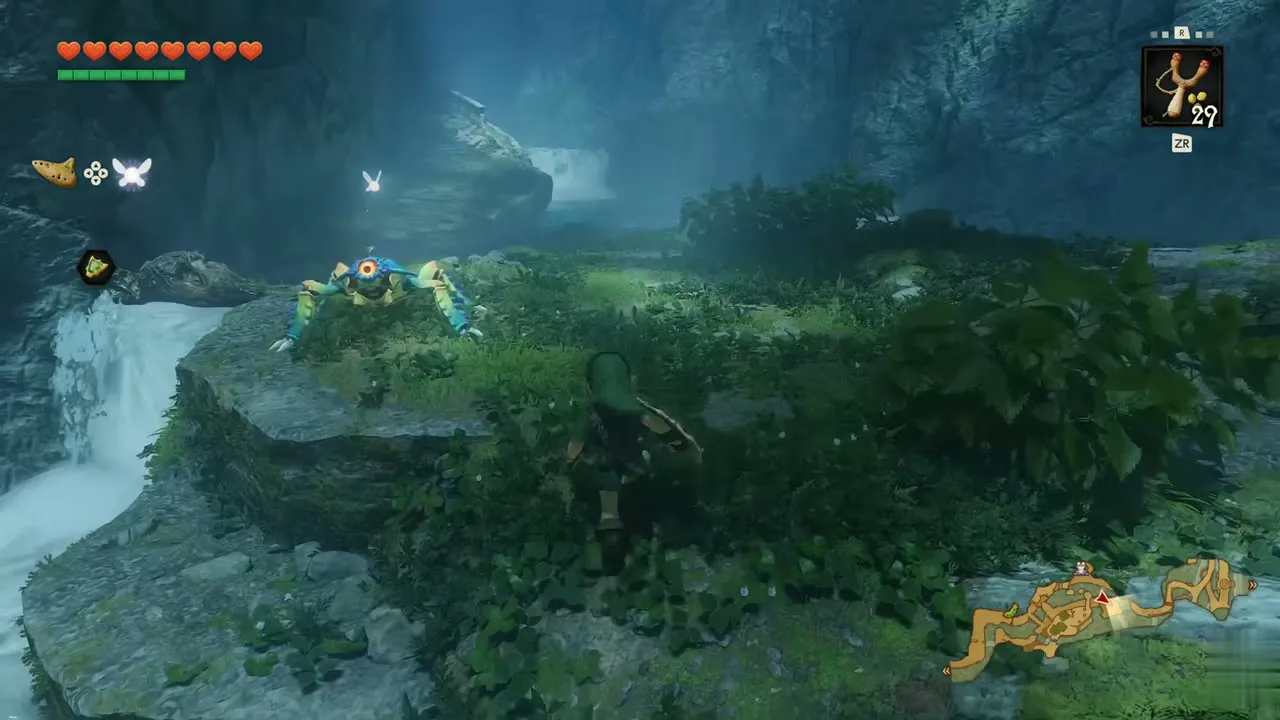
A creature that lurks in shallow water and spits clumps of mud. Raise a shield against the spit. Found in Zora River, Lord Jabu-Jabu’s Belly. Useful items: Deku Shield, Hylian Shield.
Blue Tektite
A Tektite that uses long legs to skate across the water. Strike it when it lands. Found in Hyrule Field, Zora River. Useful items: Megaton Hammer.

Shabom
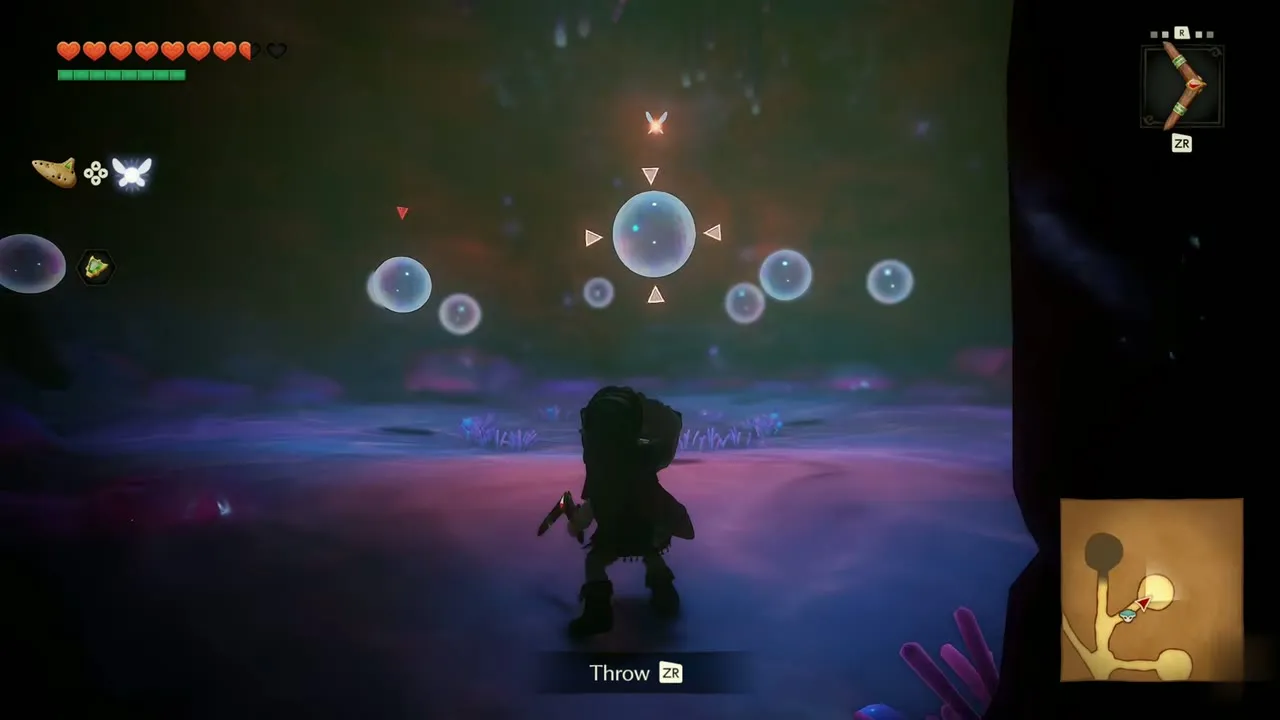
A floating bubble that drifts into your way. Cut each one with the sword and step around the blasts, or use the Boomerang. Found in Lord Jabu-Jabu’s Belly. Useful items: Boomerang.
Biri
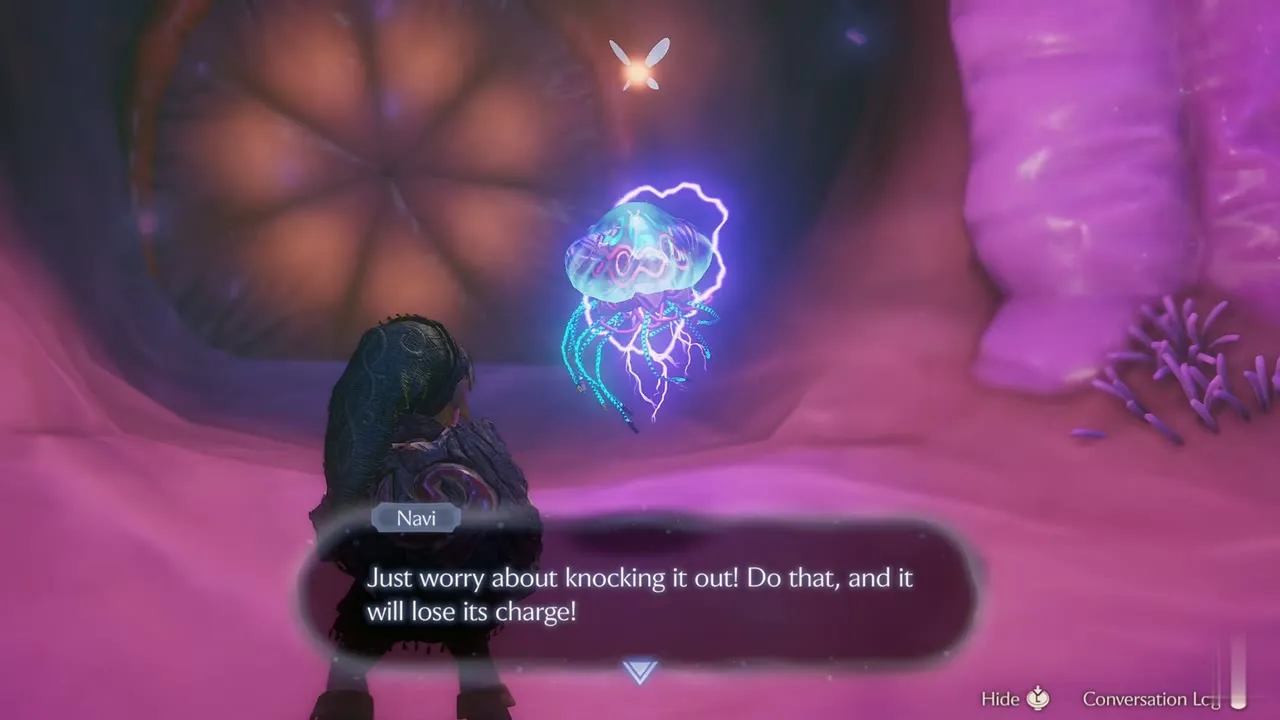
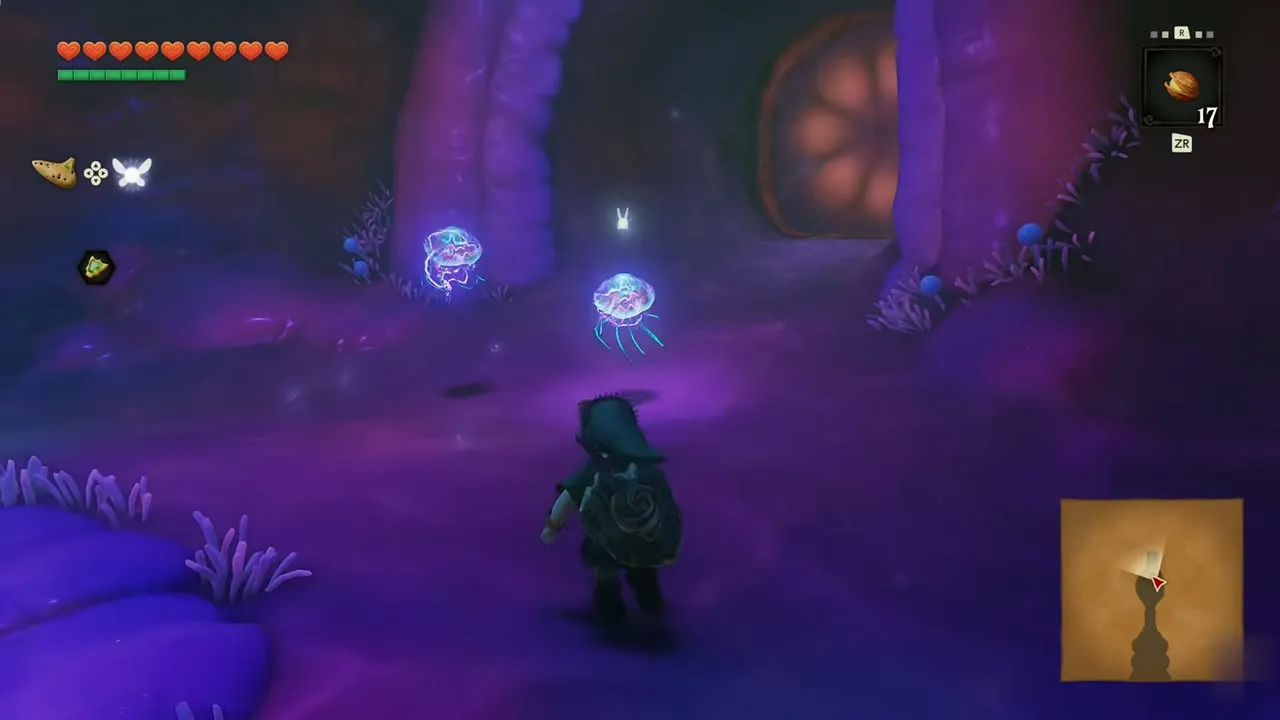
A purple jellyfish that pulses with electricity. Navi warns that touching one shocks you, so knock it out first with a Deku Nut or a seed, then finish it with the sword, or use the Boomerang. They fill the first passage in Lord Jabu-Jabu’s Belly. Found in Lord Jabu-Jabu’s Belly. Useful items: Deku Nut, Boomerang.

Stinger
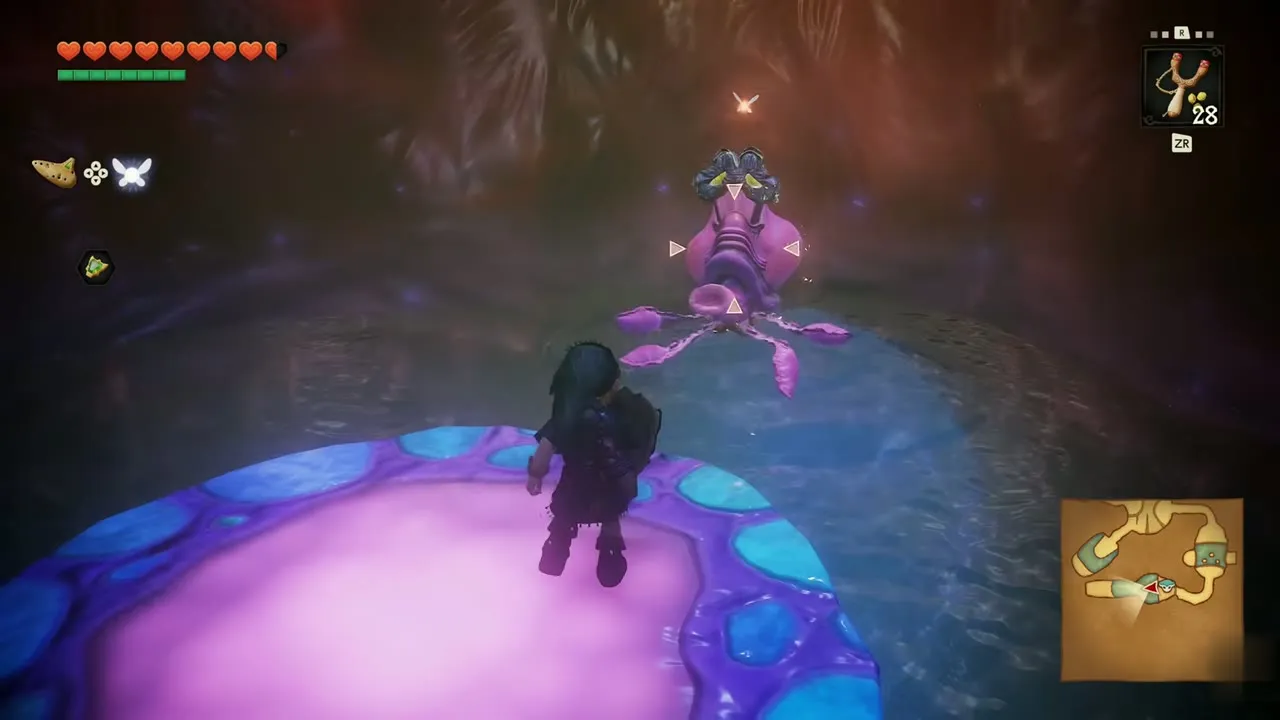
A creature that lurks underwater or inside host creatures and springs out when you draw near. Found in Lord Jabu-Jabu’s Belly, Water Temple. Useful items: none listed.
Bari
A large electric jellyfish that splits into several Biri when attacked. Use the Boomerang from a distance. Found in Lord Jabu-Jabu’s Belly. Useful items: Deku Nut, Boomerang.
Tailpasaran
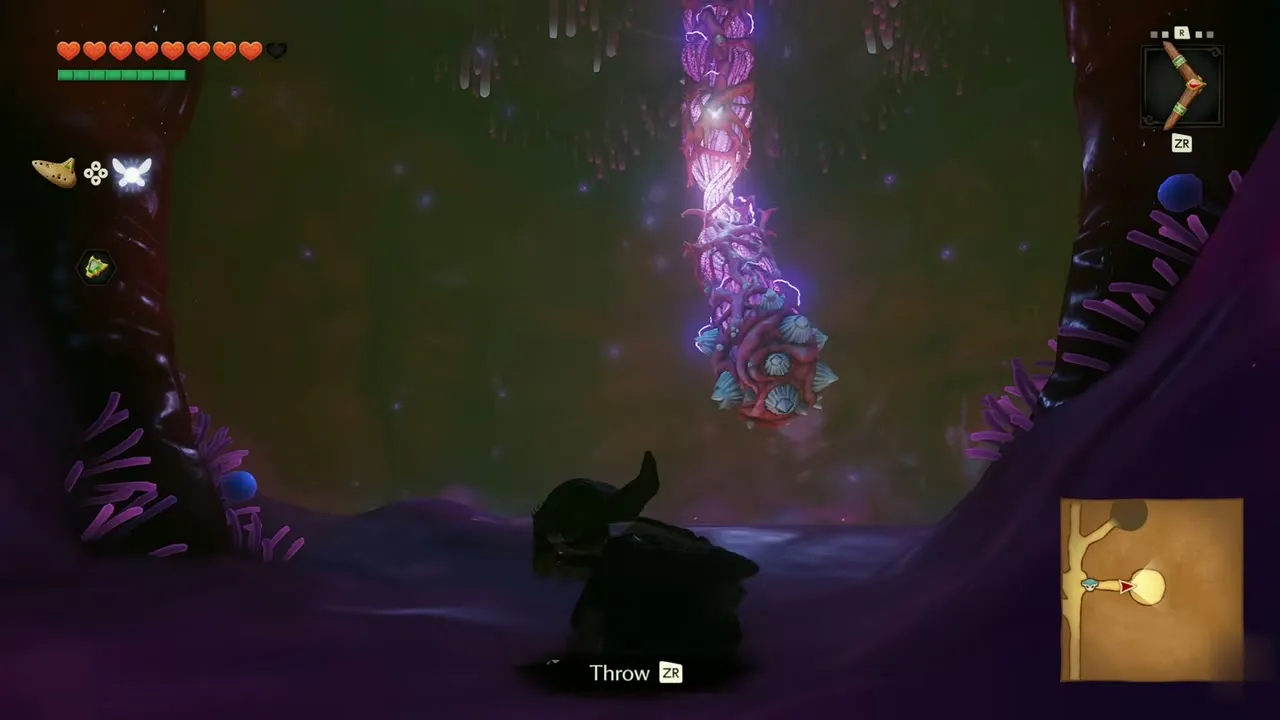
A creature that gives off electricity and moves through the bodies of other creatures. Use the Boomerang. Found in Lord Jabu-Jabu’s Belly. Useful items: Boomerang.

Skull Kid
A mischievous creature of the Lost Woods. Its statue says this is the fate of children who lose their way. The ones in the Lost Woods and Sacred Grove chapter sit on stumps and play a song game with you. Found in Lost Woods. Useful items: none listed.

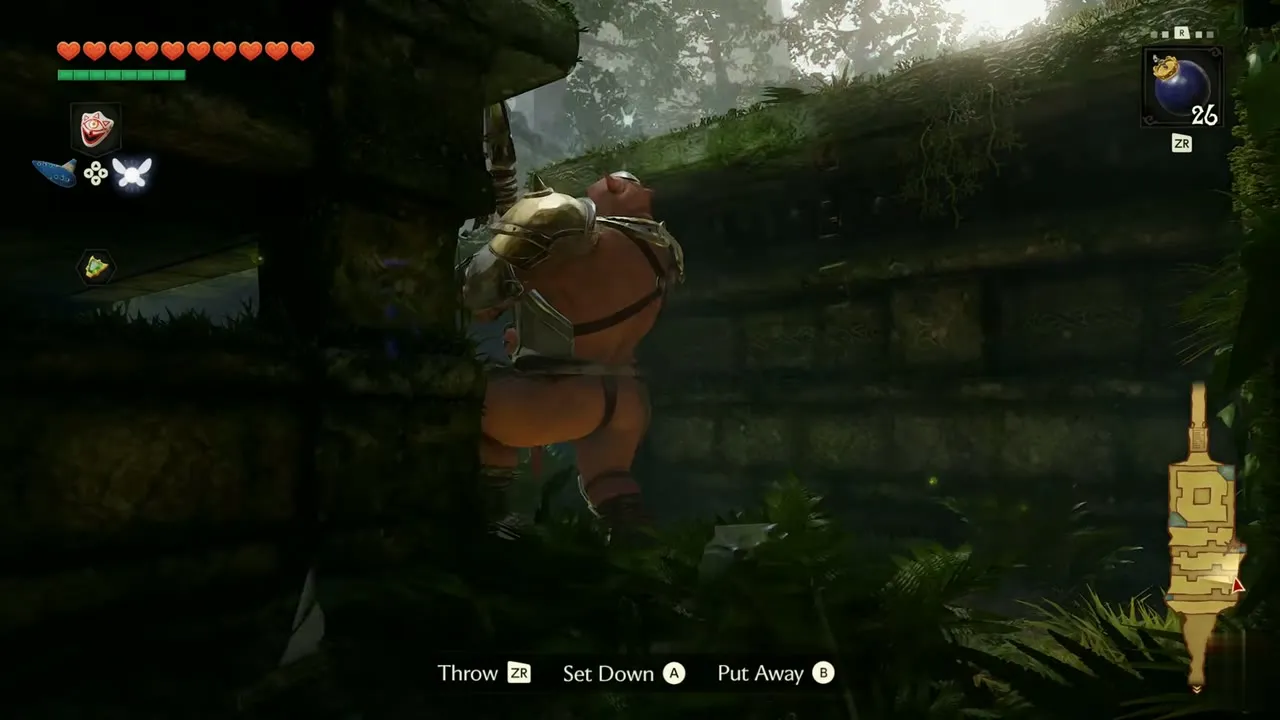
Moblin
A guard of the Sacred Grove. Its head and its back are both weak points. Found in Sacred Grove. Useful items: none listed.
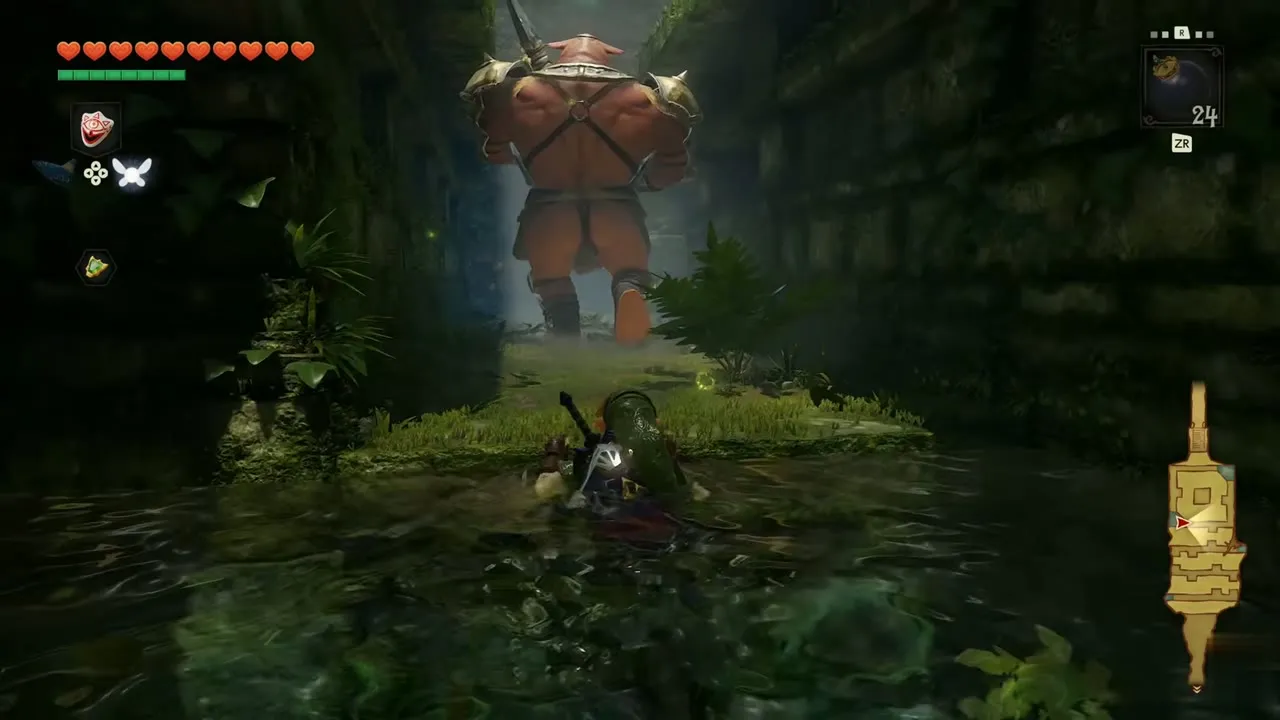
Great Moblin
The giant Moblin that blocks the way in the Sacred Grove with a massive club. Navi warns that the club is a real weapon, so dodge the swings. Found in Sacred Grove. Useful items: none listed.

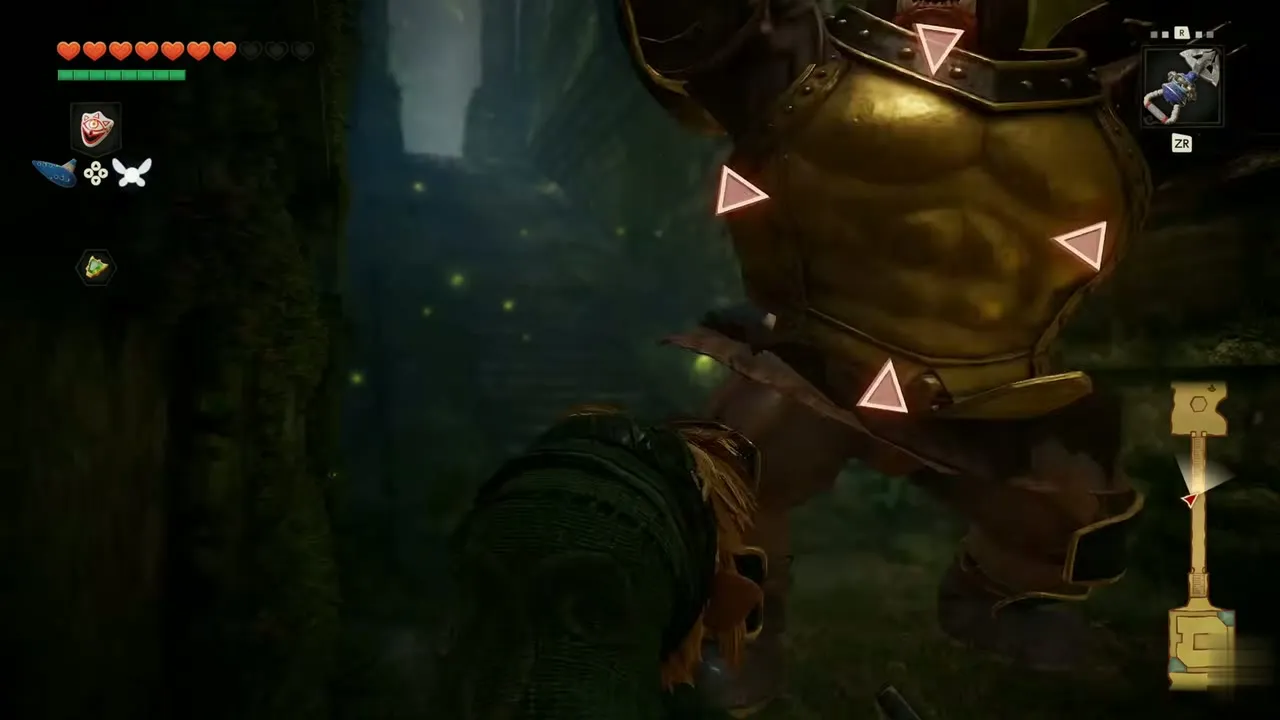
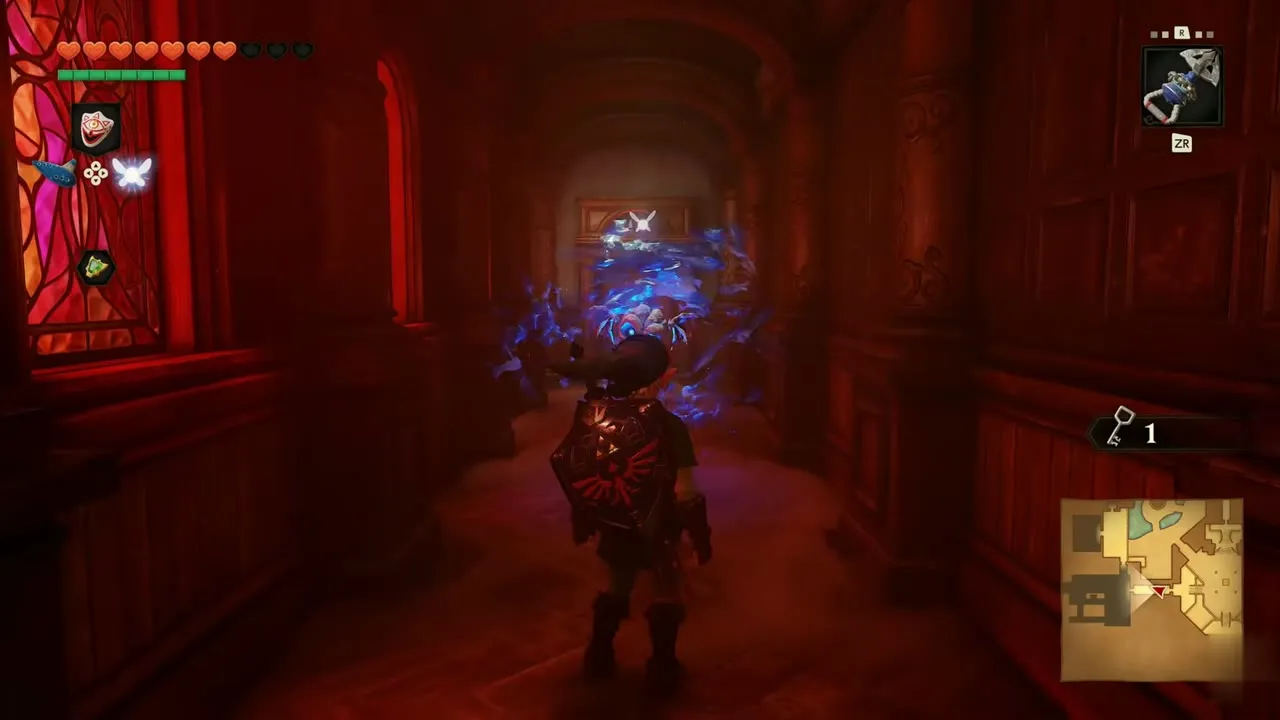
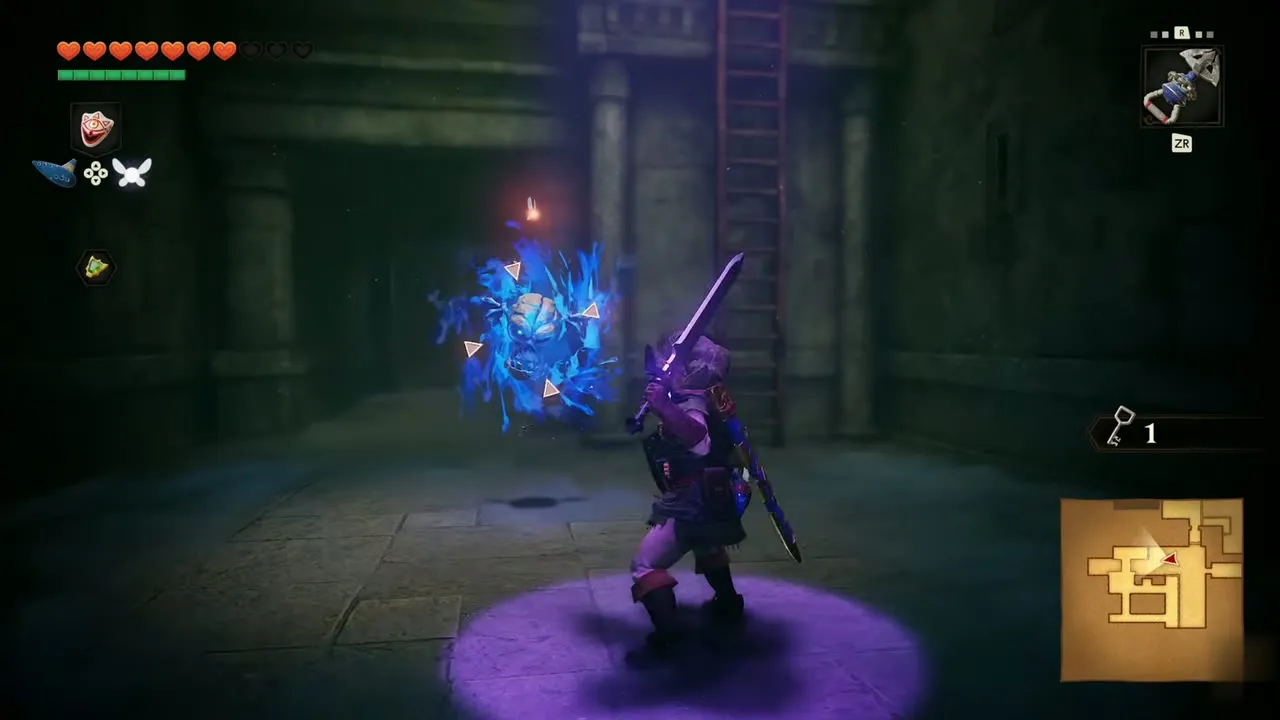
Blue Bubble
A flying skull ringed by a blue aura. It cannot help approaching a bomb if it sees one. Raise the Hylian Shield against it. Found in Forest Temple. Useful items: Hylian Shield.
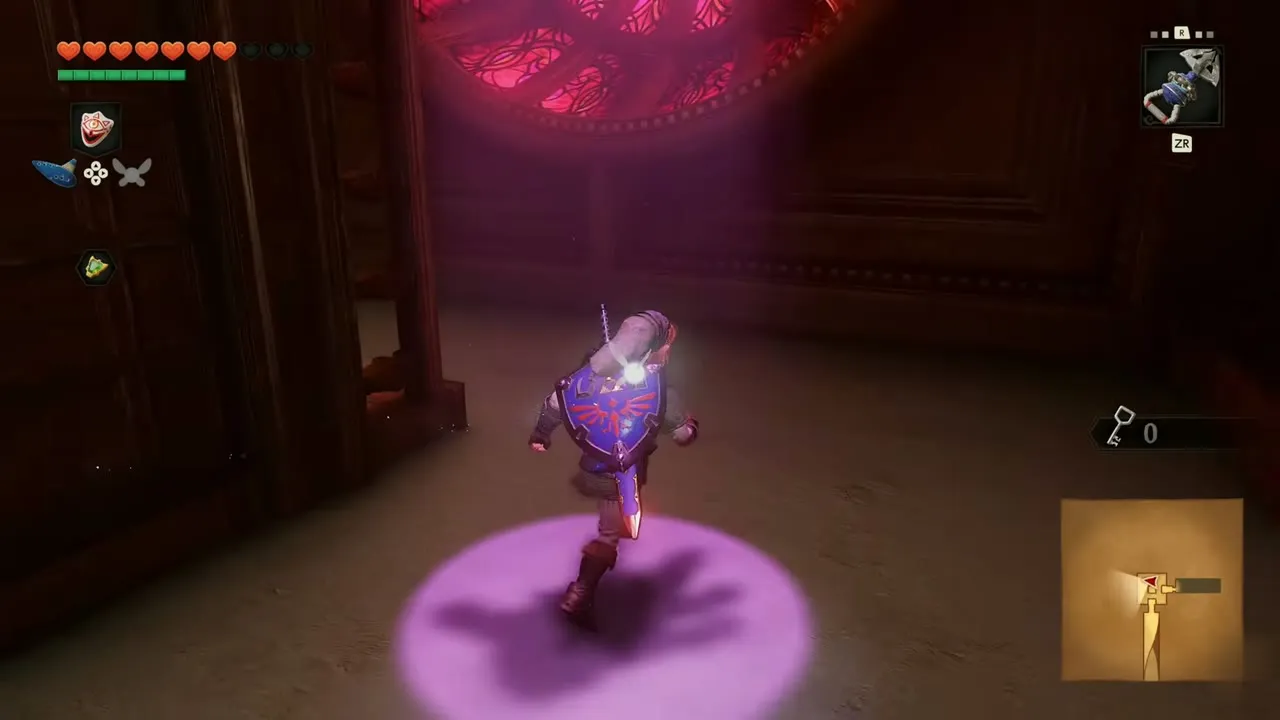
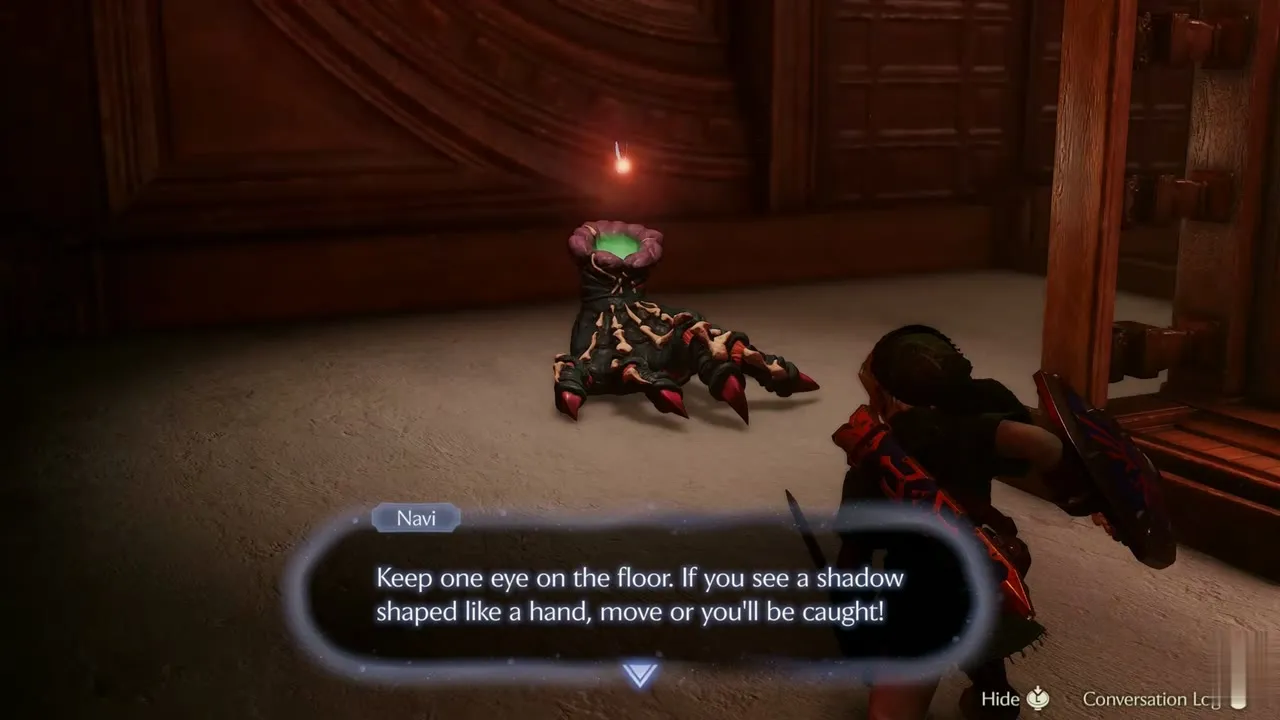
Wallmaster
A large green hand that casts you out of the area if it catches you. Keep moving and watch the ceiling. Found in Forest Temple, Bottom of the Well. Useful items: Light Arrow.
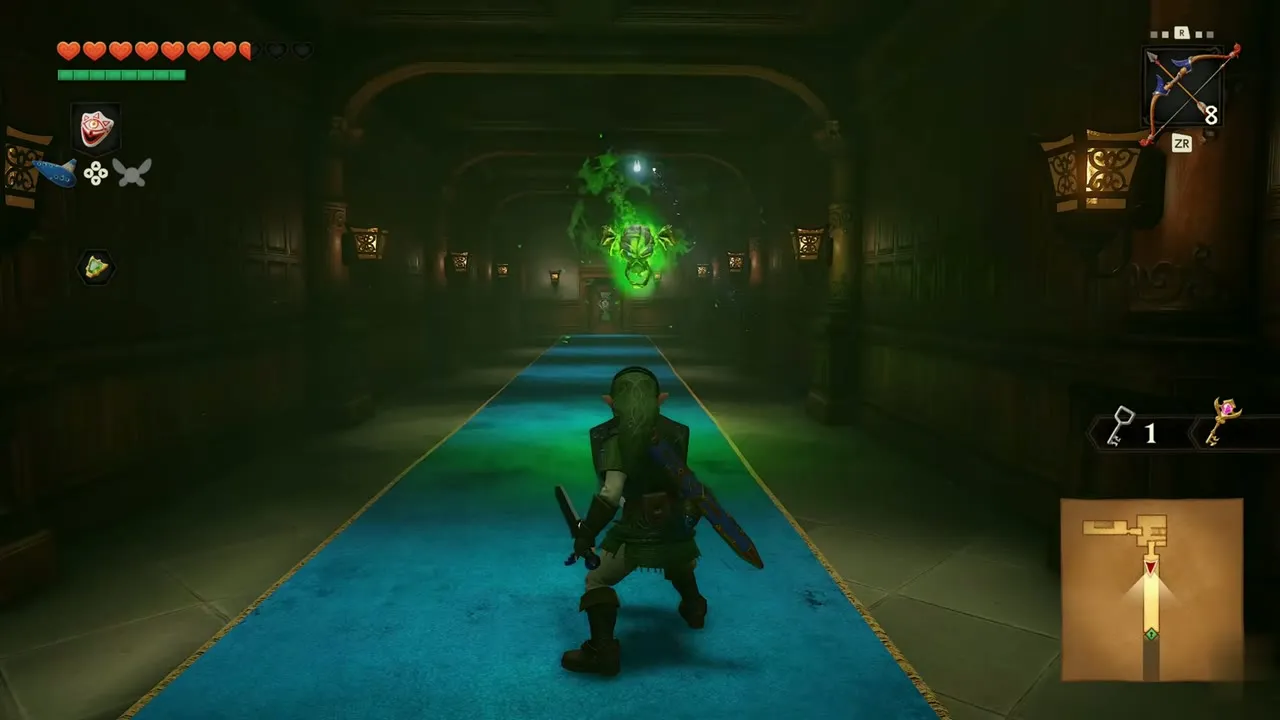
Green Bubble
A flying skull whose green aura protects it from damage while the aura lasts. Raise the Hylian Shield and wait the aura out. Found in Forest Temple, Spirit Temple. Useful items: Hylian Shield.
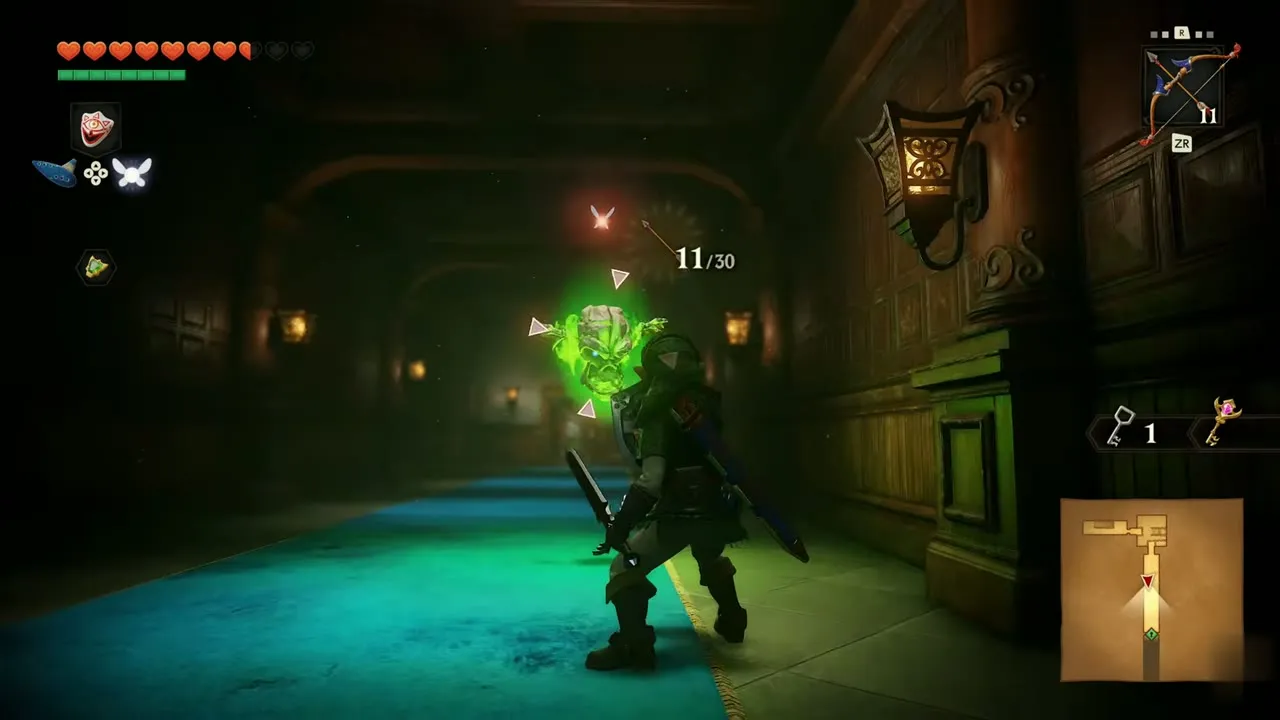
Green Bubble (Large)
A big Green Bubble at the bottom of a well, absorbed in improving its flying and ignoring everything around it. Found in Bottom of the Well. Useful items: none listed.
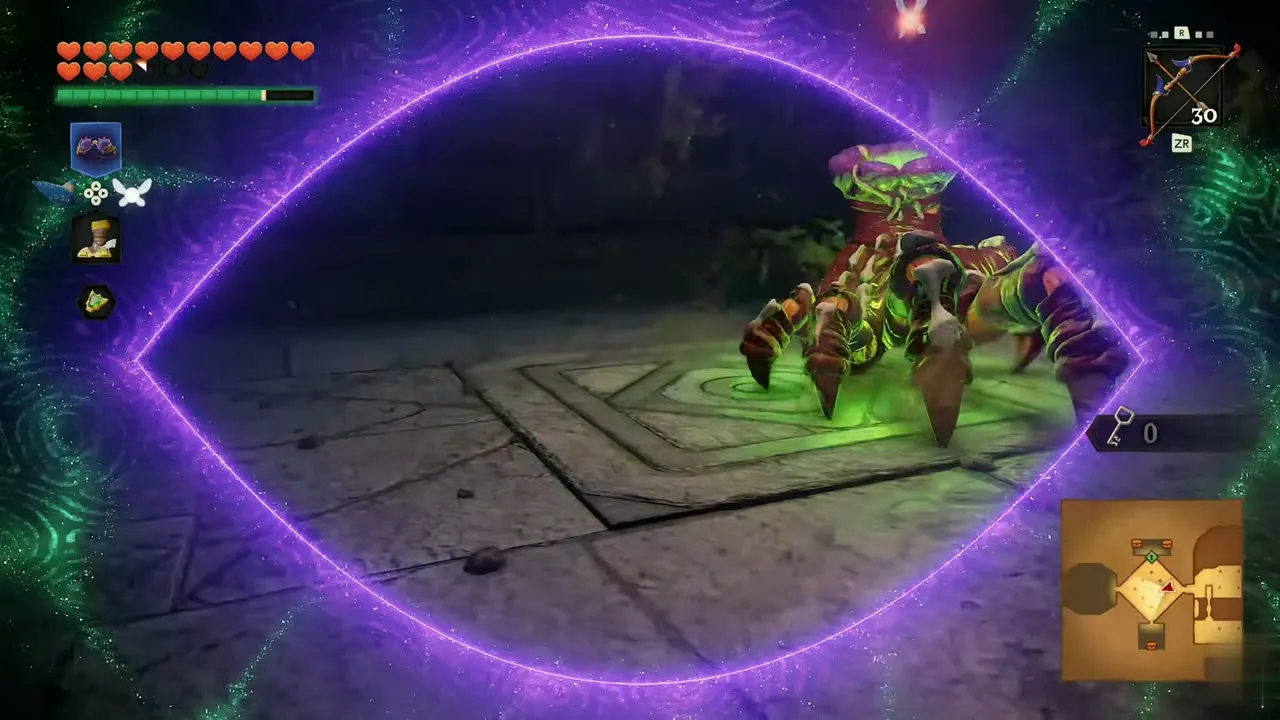
Floormaster
A large red hand that splits apart when attacked. Take down the pieces as they come. Found in Forest Temple, Shadow Temple. Useful items: Light Arrow.
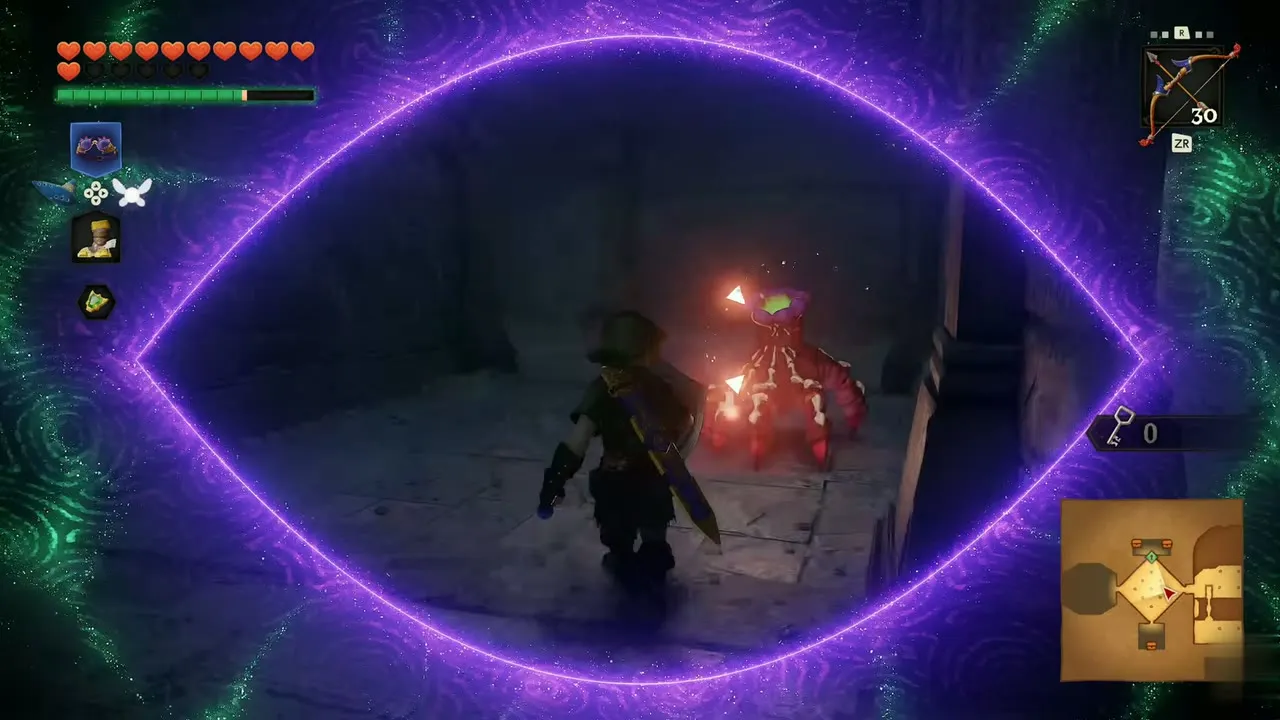
Big Poe
A large ghost that a suspicious lantern gives away. Shoot it with the Fairy Bow. Bottling and selling them is explained on Big Poes. Found in Hyrule Field, Kakariko Graveyard. Useful items: Fairy Bow.
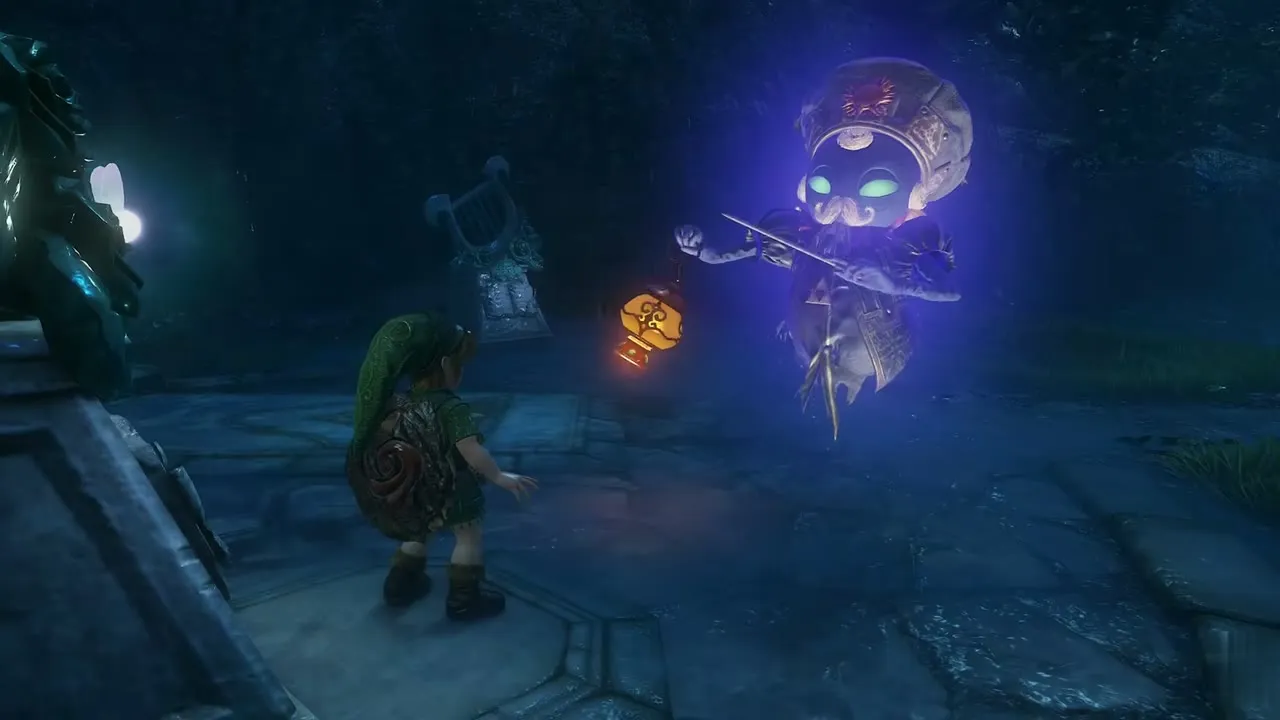
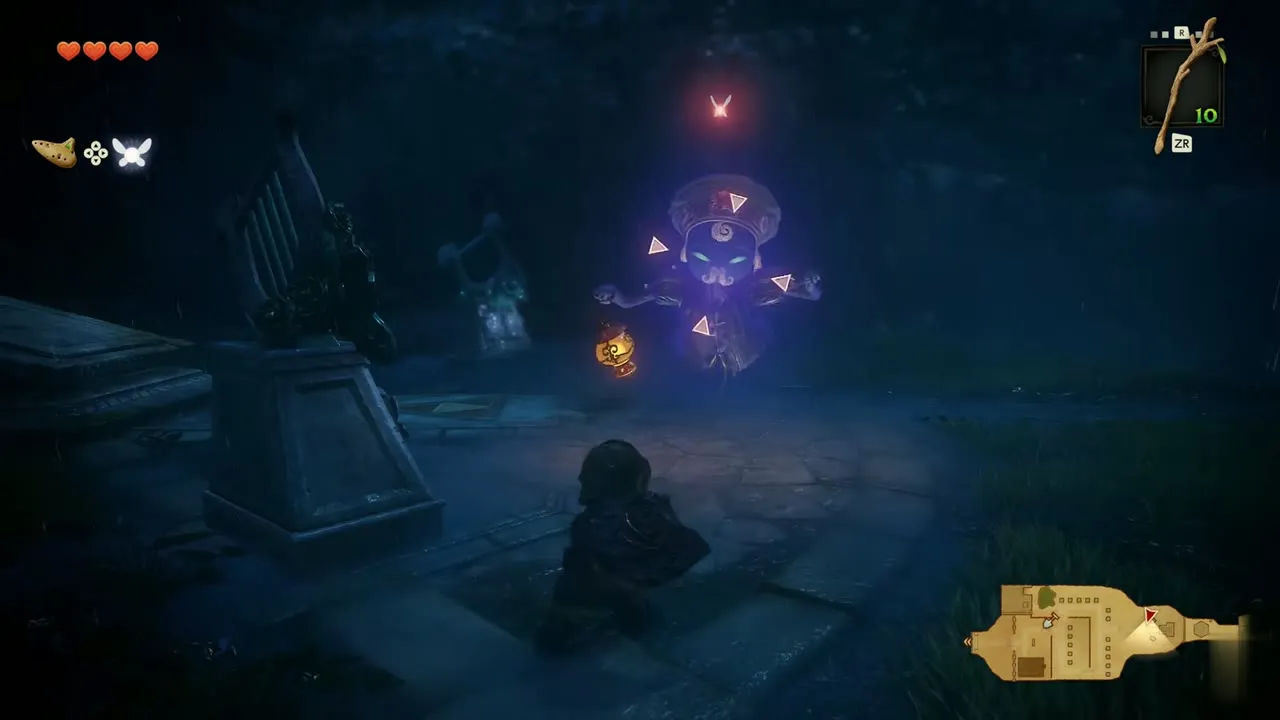
Red Bubble
A flying skull wrapped in a flaming aura, sometimes found lurking in lava or shadows. Raise the Hylian Shield. Found in Death Mountain Crater, Fire Temple. Useful items: Hylian Shield.
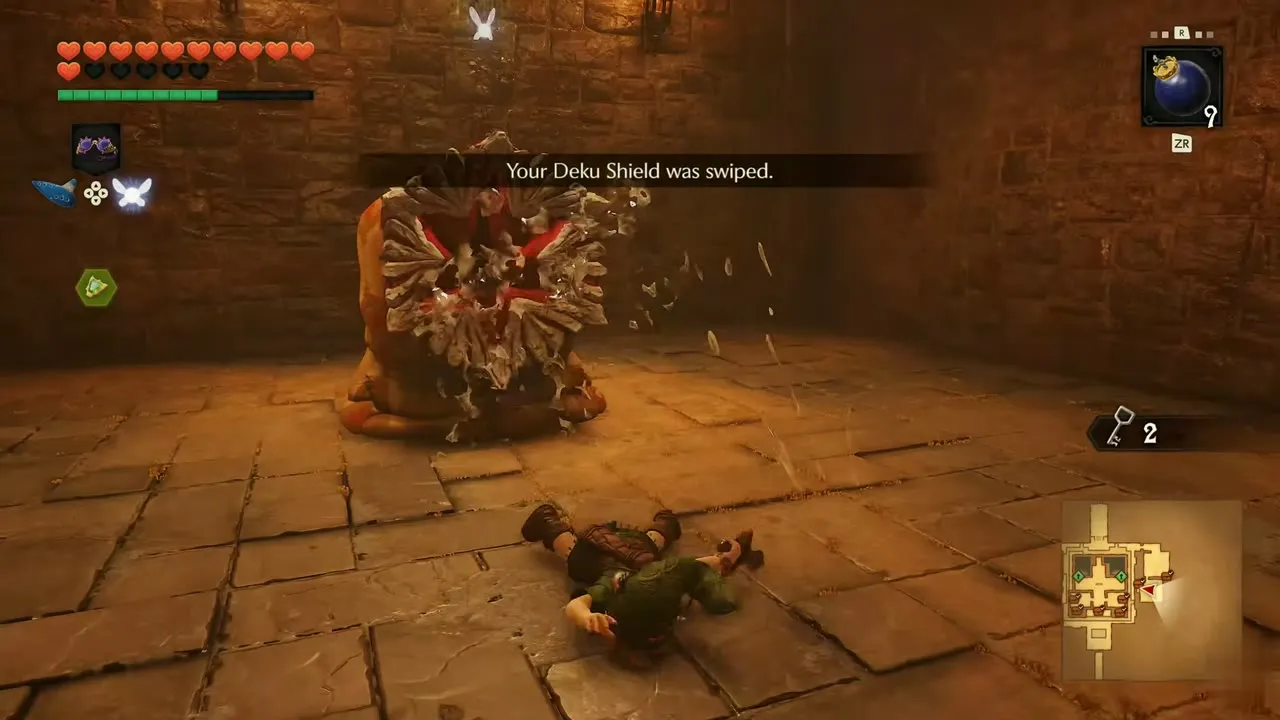
Like Like
A creature that eats nearly anything that gets close to its mouth. In the Bottom of the Well, strike it with the sword and dodge its grab. If it catches you, your shield is lost. Found in Fire Temple, Water Temple, Bottom of the Well. Useful items: none listed.
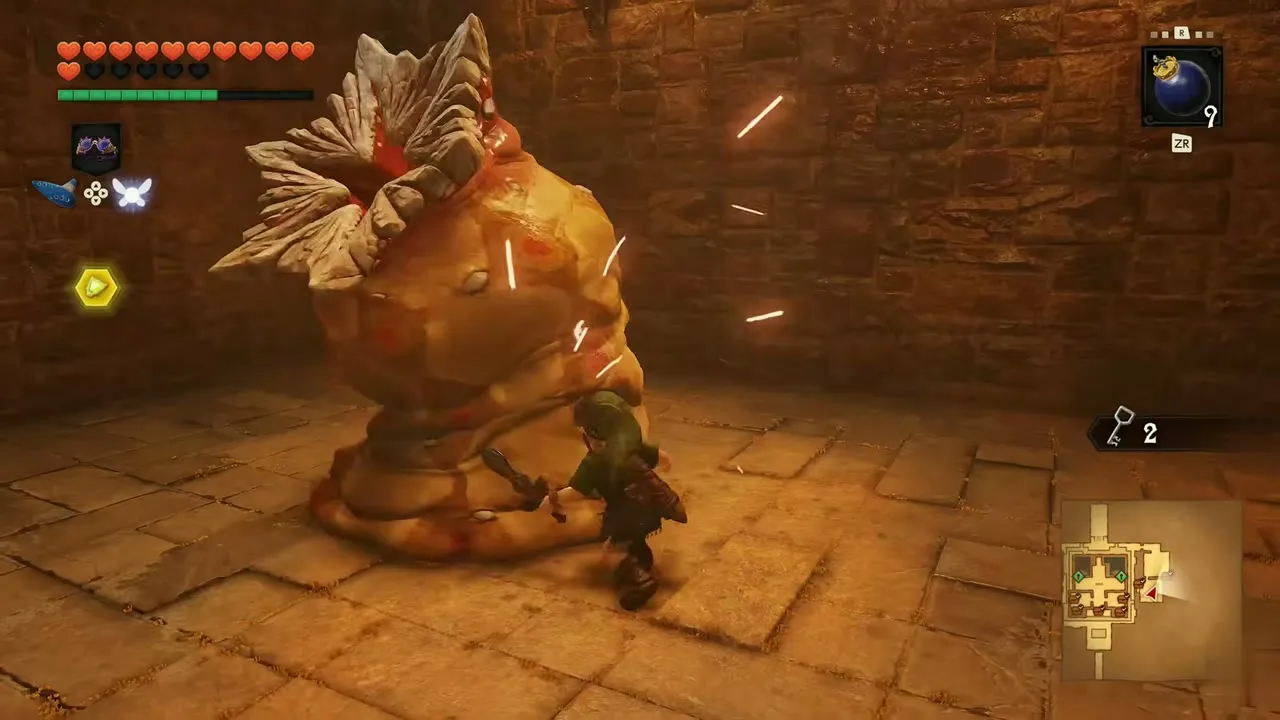
Torch Slug
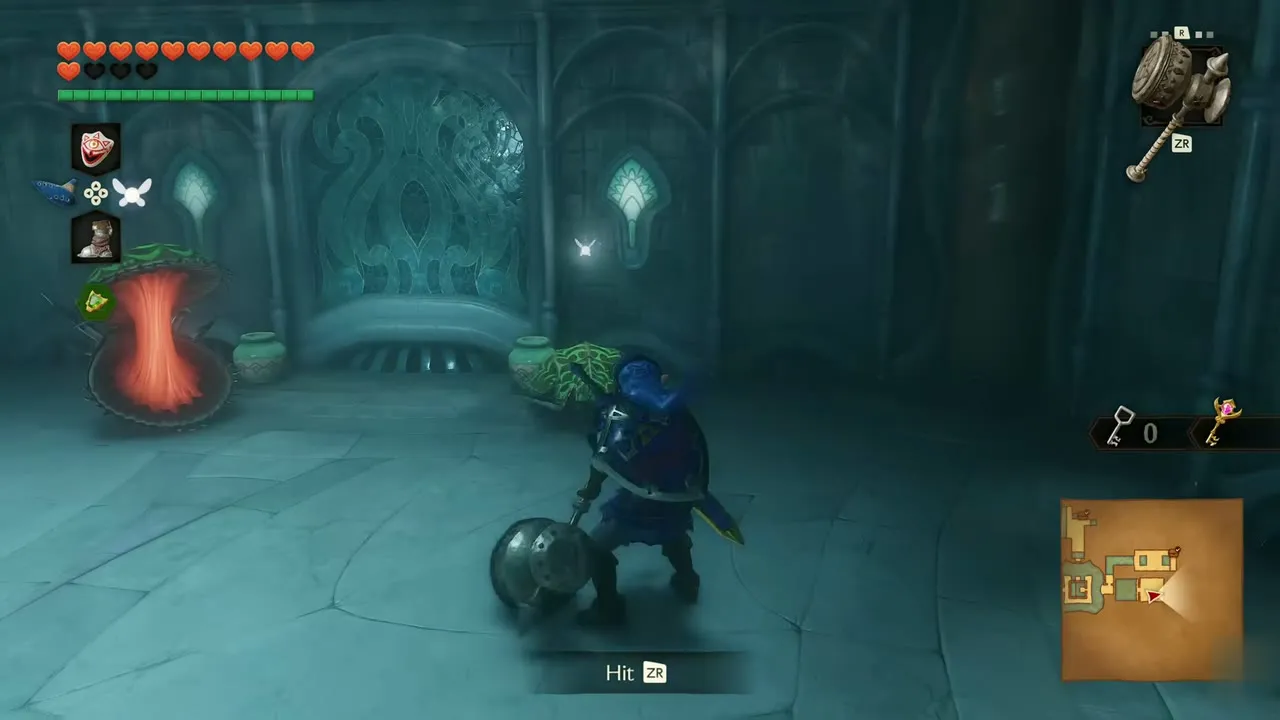
A slug with a fire burning on its back. If its flame is put out it hurries away. Found in Fire Temple, Spirit Temple. Useful items: Megaton Hammer.
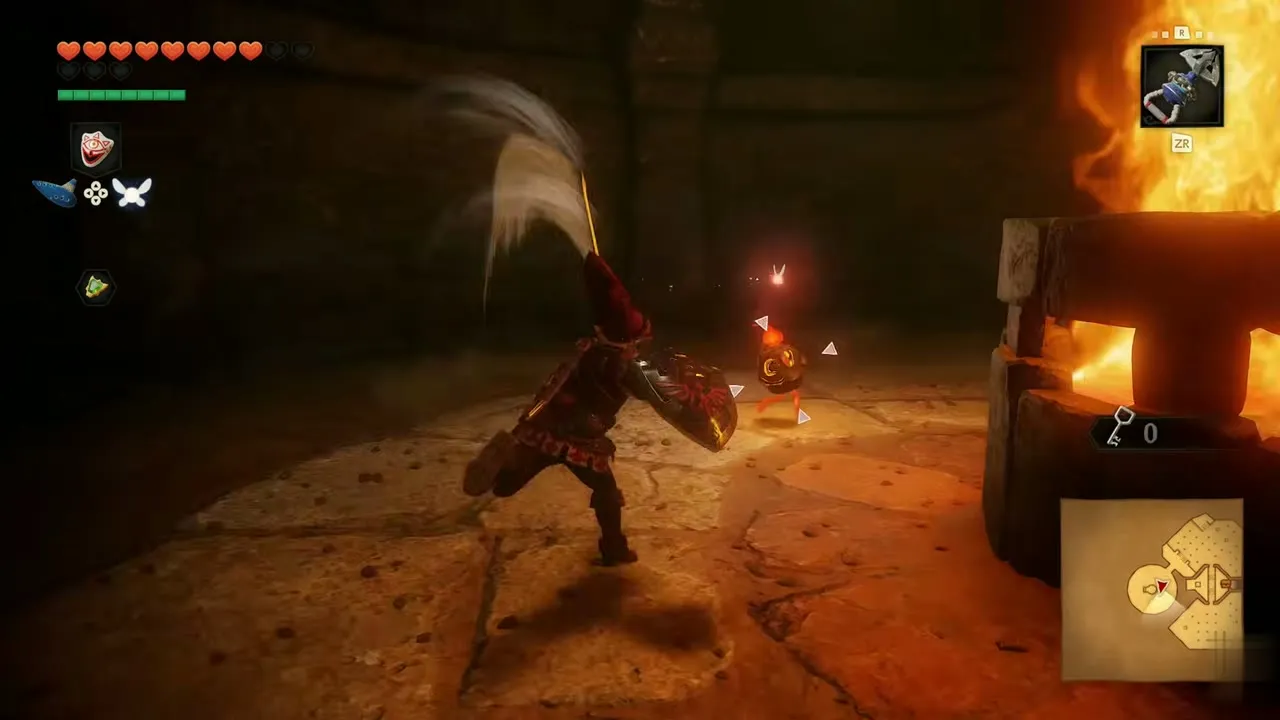
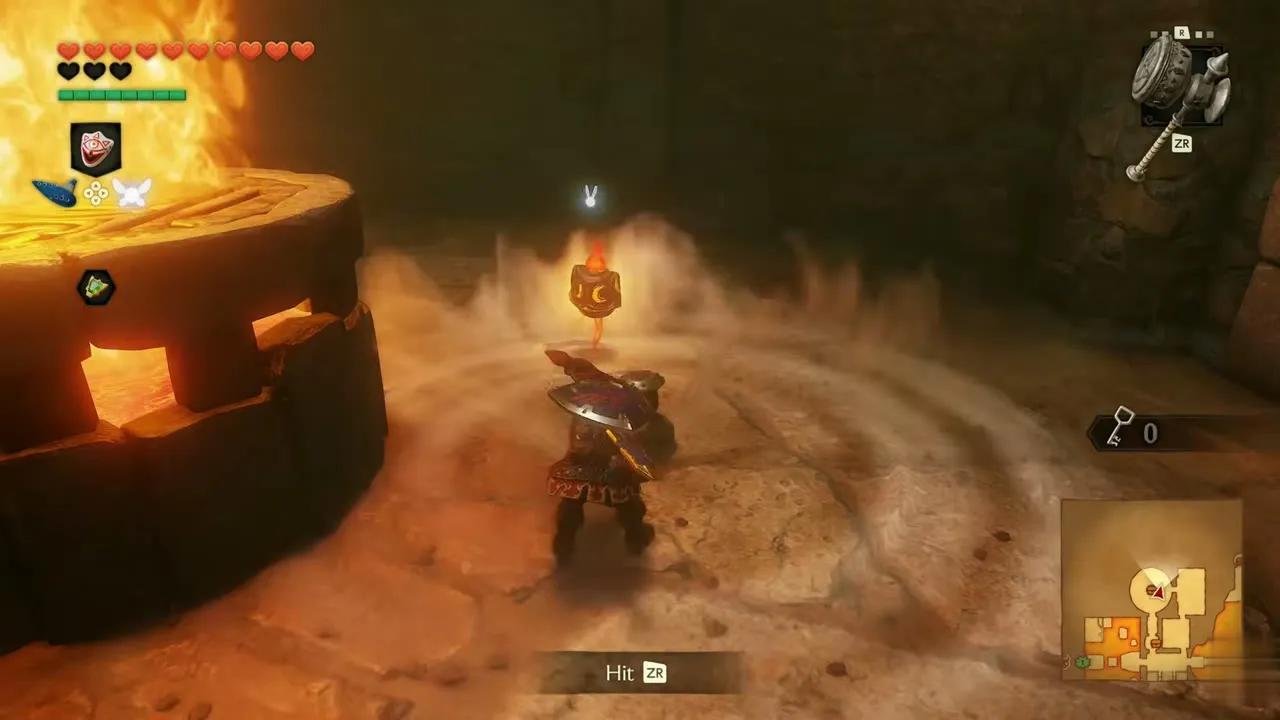
Flying Tile
A monster disguised as a floor tile. It is easy to destroy once it moves. Found in Fire Temple. Useful items: none listed.
False Door (Fire Temple)
A monster disguised as a plain door that gives itself away when it gets impatient and shifts around. Found in Fire Temple. Useful items: Bomb, Megaton Hammer.

Freezard
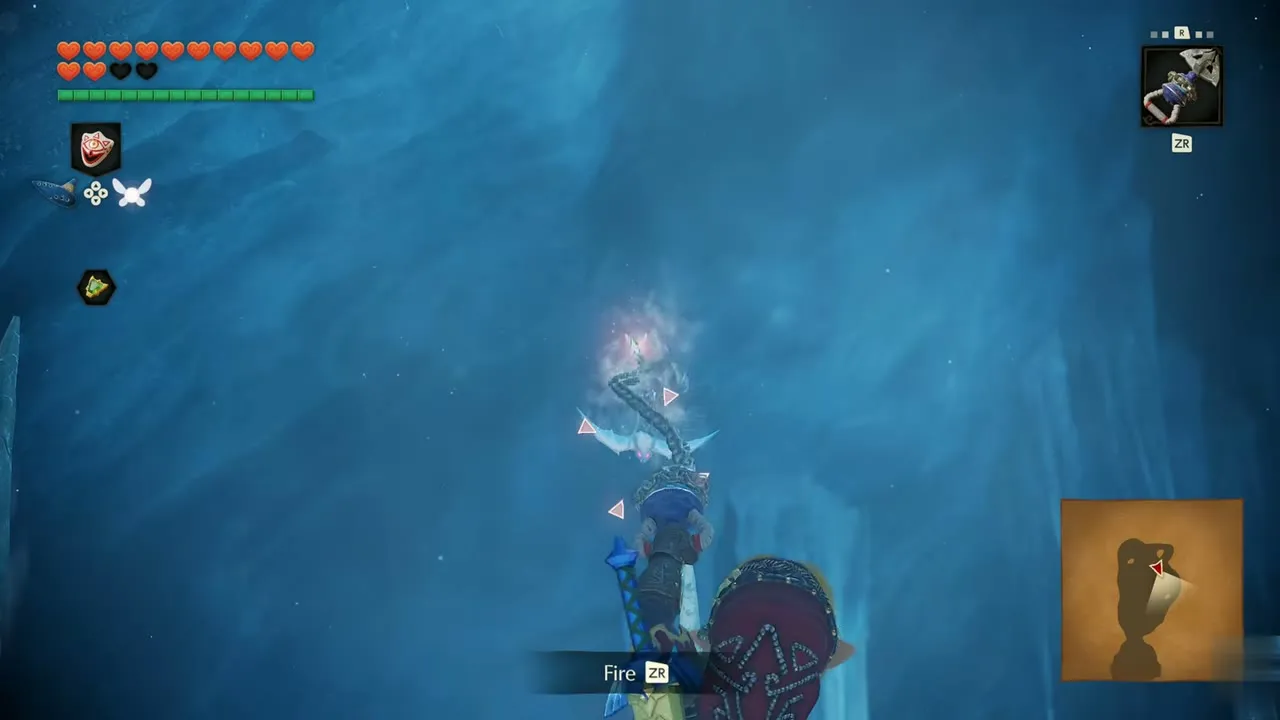
A monster made of ice that stands in the first large room like a statue. Navi warns that its freezing breath turns anyone it hits into a block of ice. Heat melts it, so use Din’s Fire or a Fire Arrow. Found in Ice Cavern. Useful items: Bomb, Megaton Hammer, Din’s Fire, Fire Arrow.


Ice Keese
A Keese covered in frost whose touch can freeze you solid. Shoot it with the Fairy Bow. Found in Ice Cavern. Useful items: Fairy Bow.
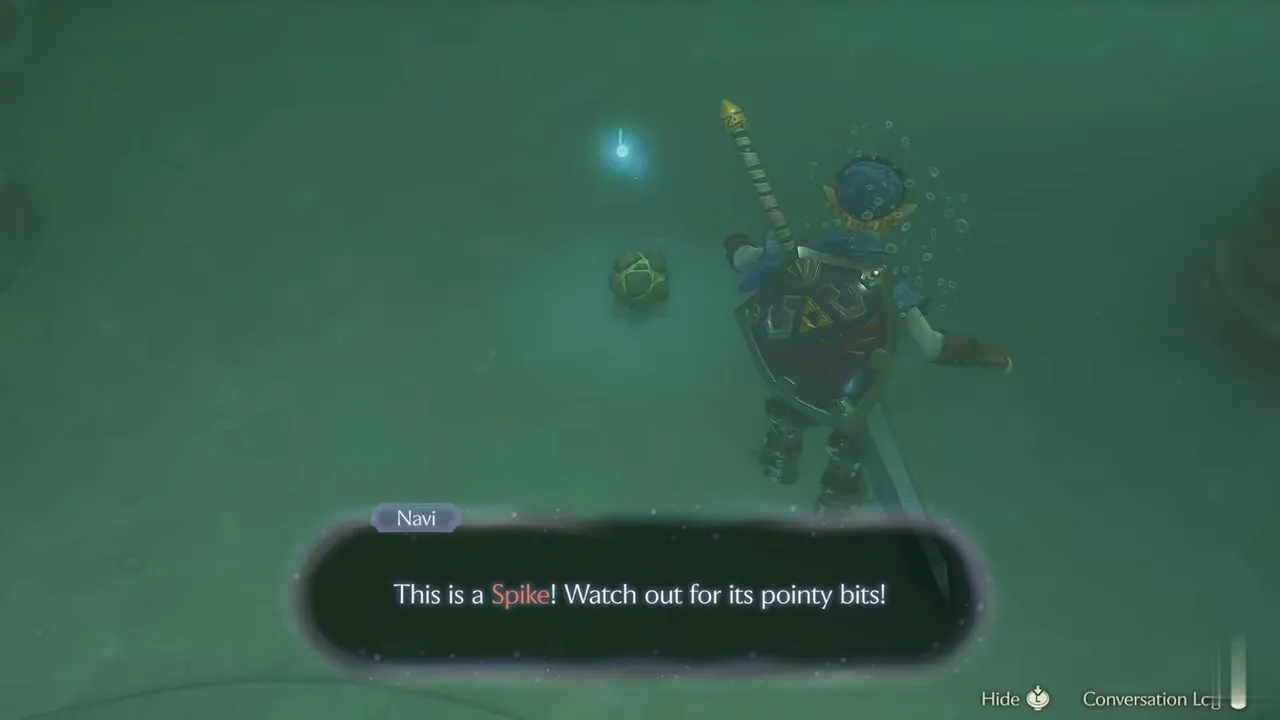
Spike
A spiny creature that rolls around and has trouble turning once it gathers speed. Raise the Hylian Shield and step aside. Found in Water Temple. Useful items: Hylian Shield.
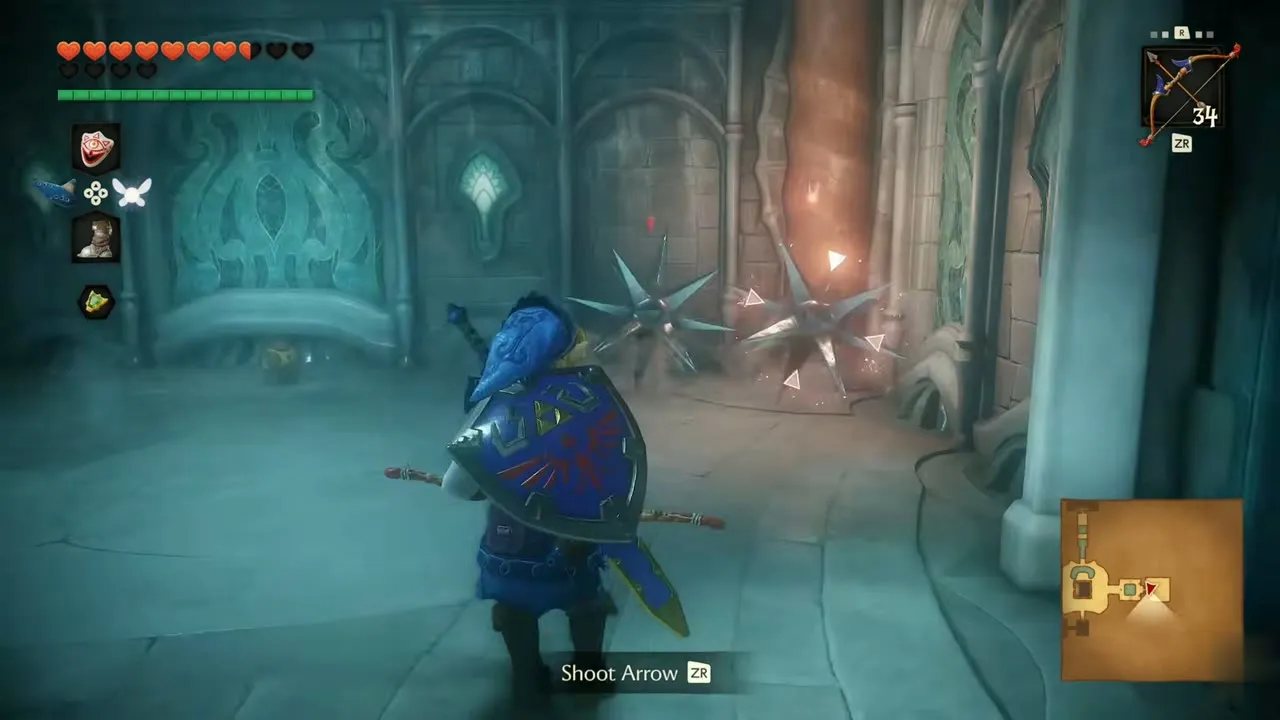
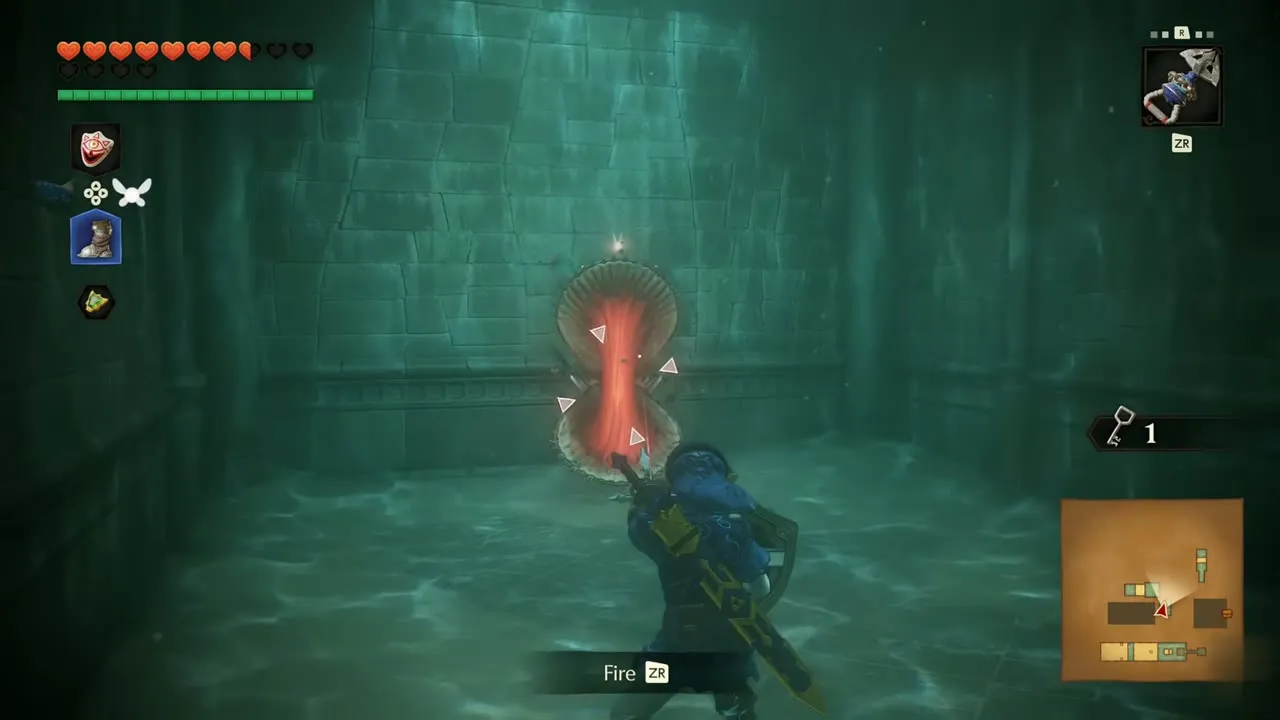
Shell Blade
A creature whose shell has sharp edges that deflect most attacks. Its statue recommends Din’s Fire. Found in Water Temple. Useful items: Din’s Fire.
Gibdo
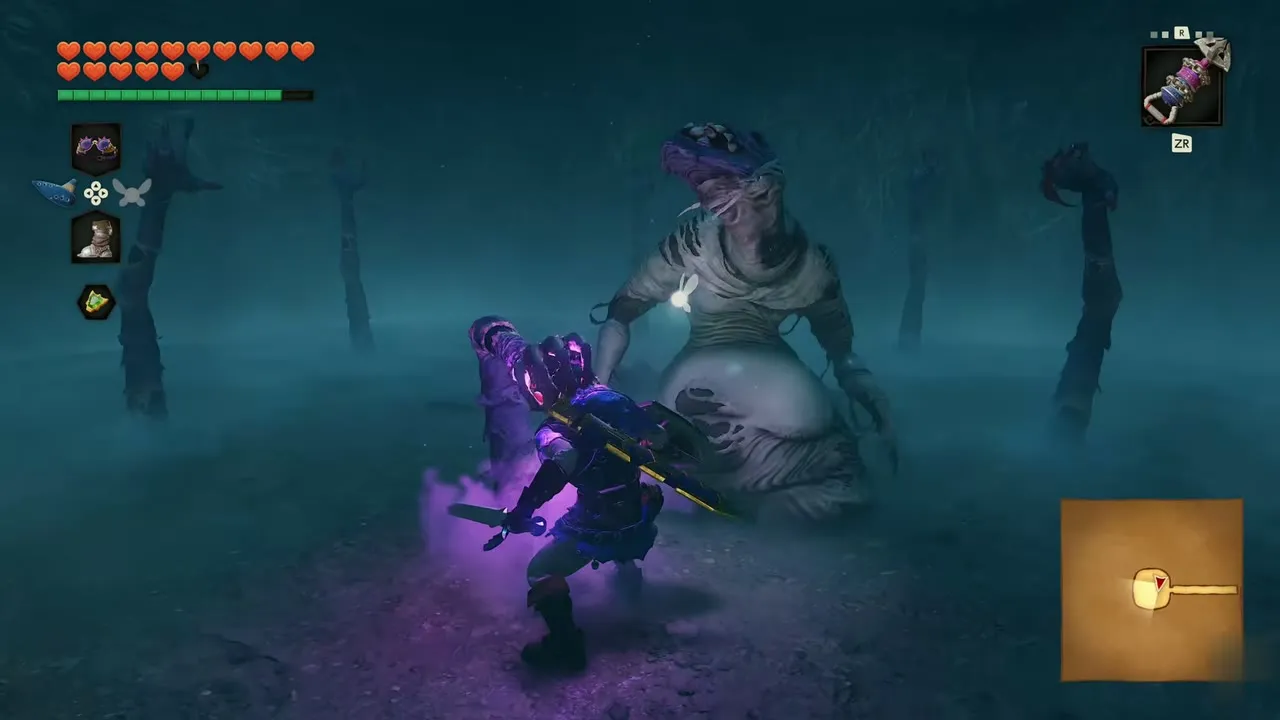
A bandaged corpse that mistakes slow-moving things for allies. The Sun’s Song freezes it in place. Found in Bottom of the Well, Shadow Temple. Useful items: Light Arrow.

Flying Pot
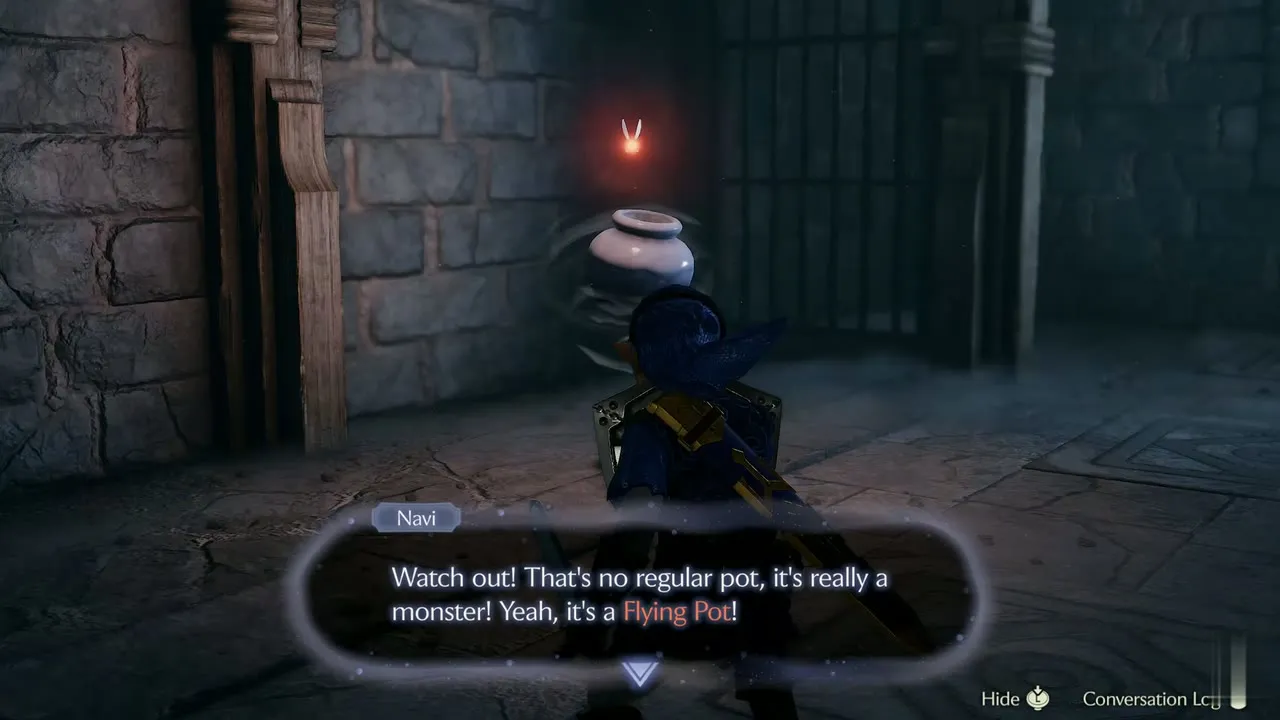
A monster disguised as an ordinary pot. One strike destroys it. Found in Shadow Temple, Spirit Temple. Useful items: none listed.
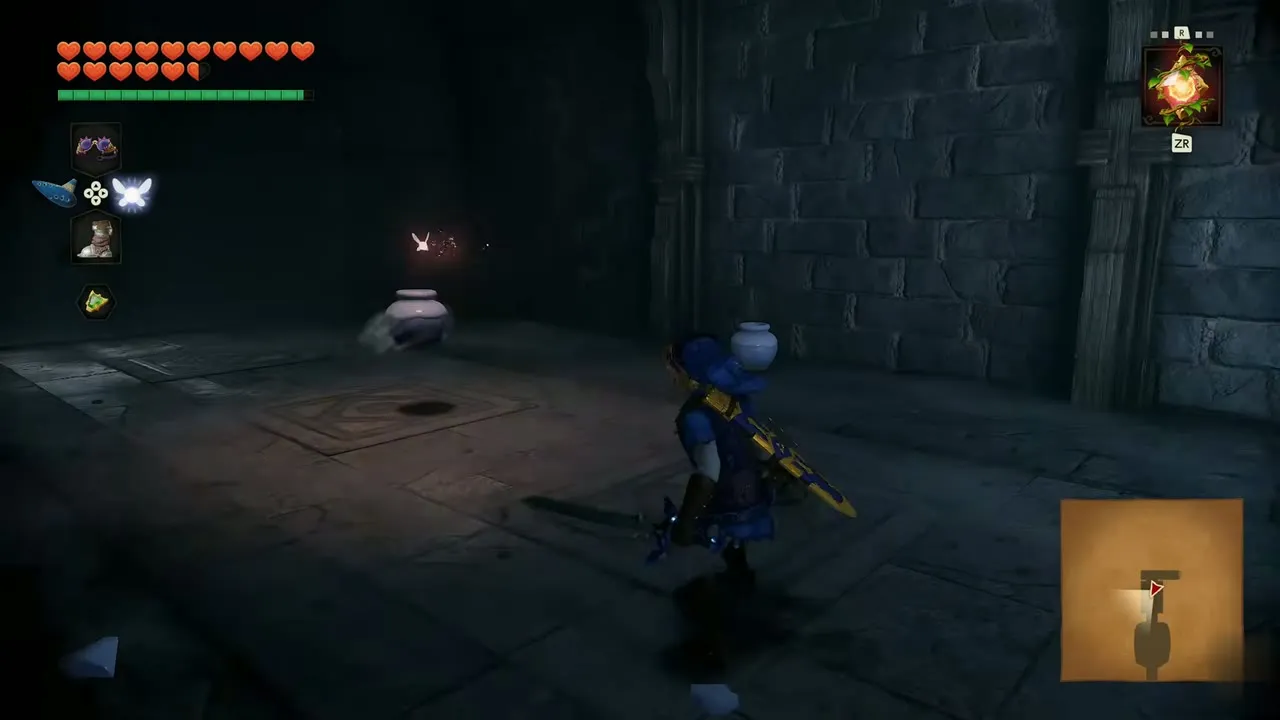
Leever (Green)
A Leever that glides across the sand and moves freely only while on it. Found in Mirage Desert, Evil Desert Colossus. Useful items: Din’s Fire.
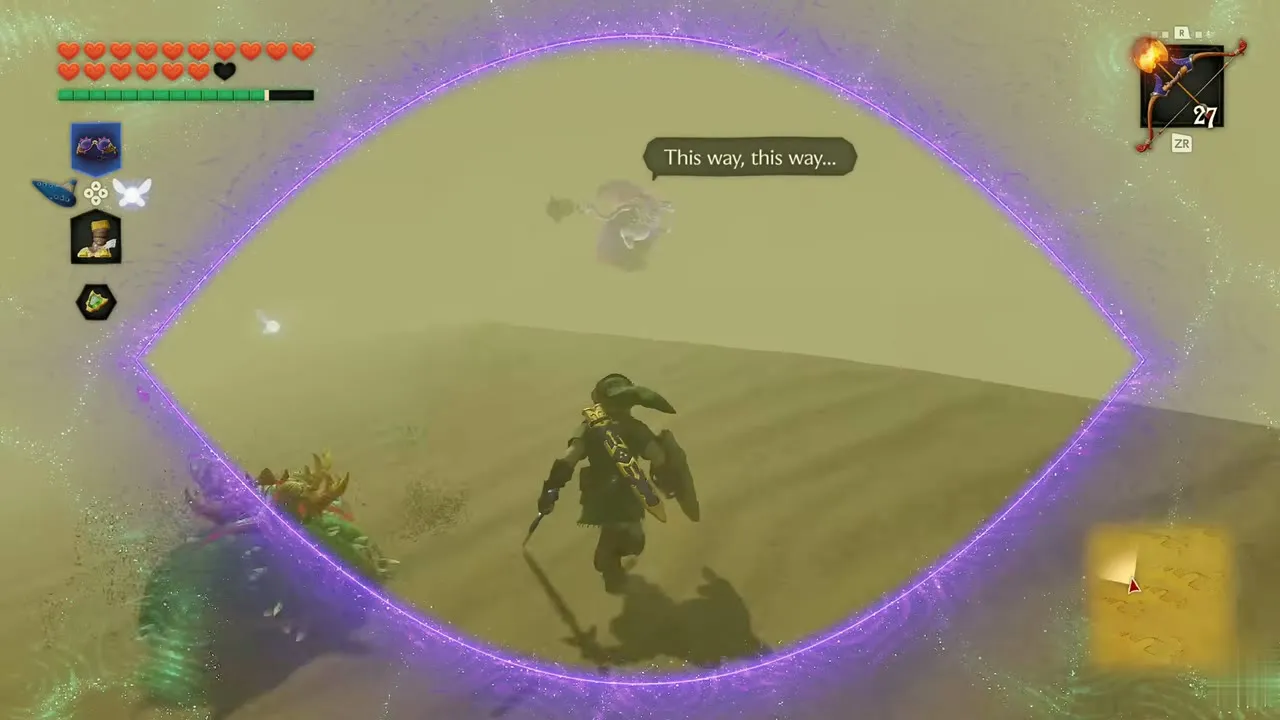

Leever (Purple)
A Leever that leads an apparently endless group of its kind and summons them in battle. Found in Mirage Desert, Evil Desert Colossus. Useful items: Din’s Fire.
False Door (Spirit Temple)
A door monster with a different design from the Fire Temple ones. It reveals itself the same way. Found in Spirit Temple. Useful items: Bomb, Megaton Hammer.
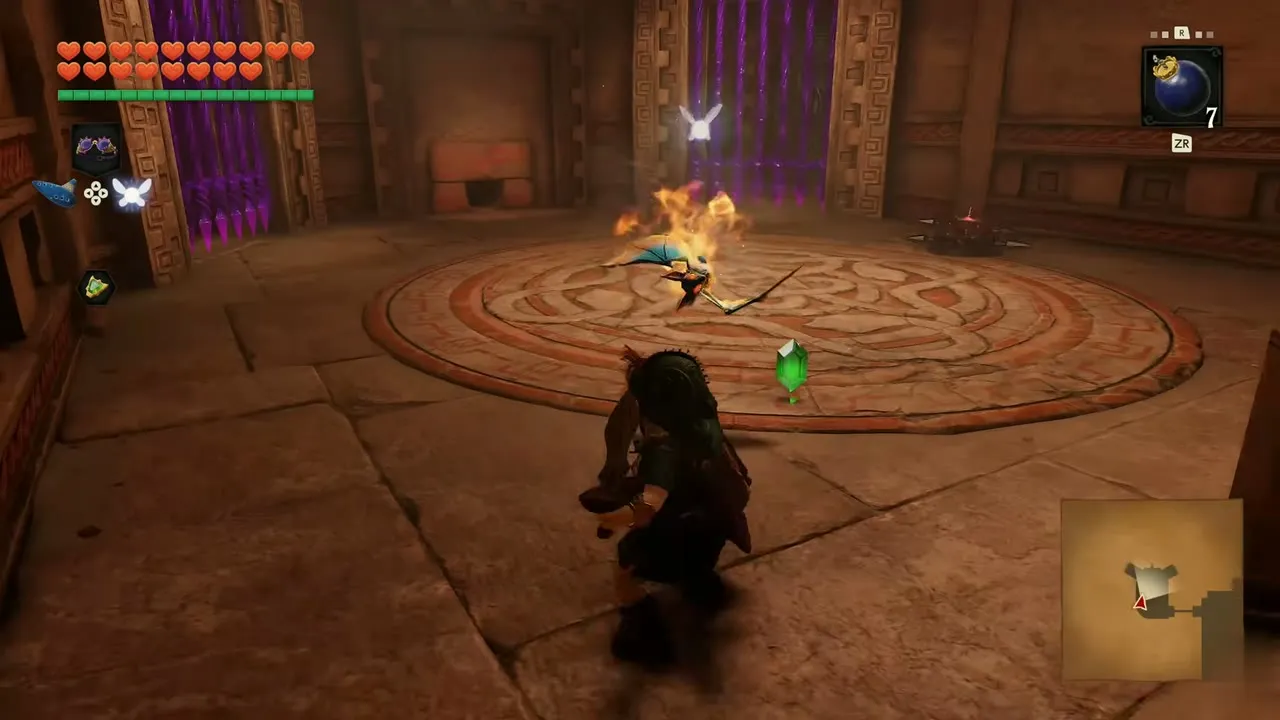
Anubis
A guardian of the Spirit Temple that tends to mimic your movements. Fire hurts it. Found in Spirit Temple. Useful items: Din’s Fire, Fire Arrow.
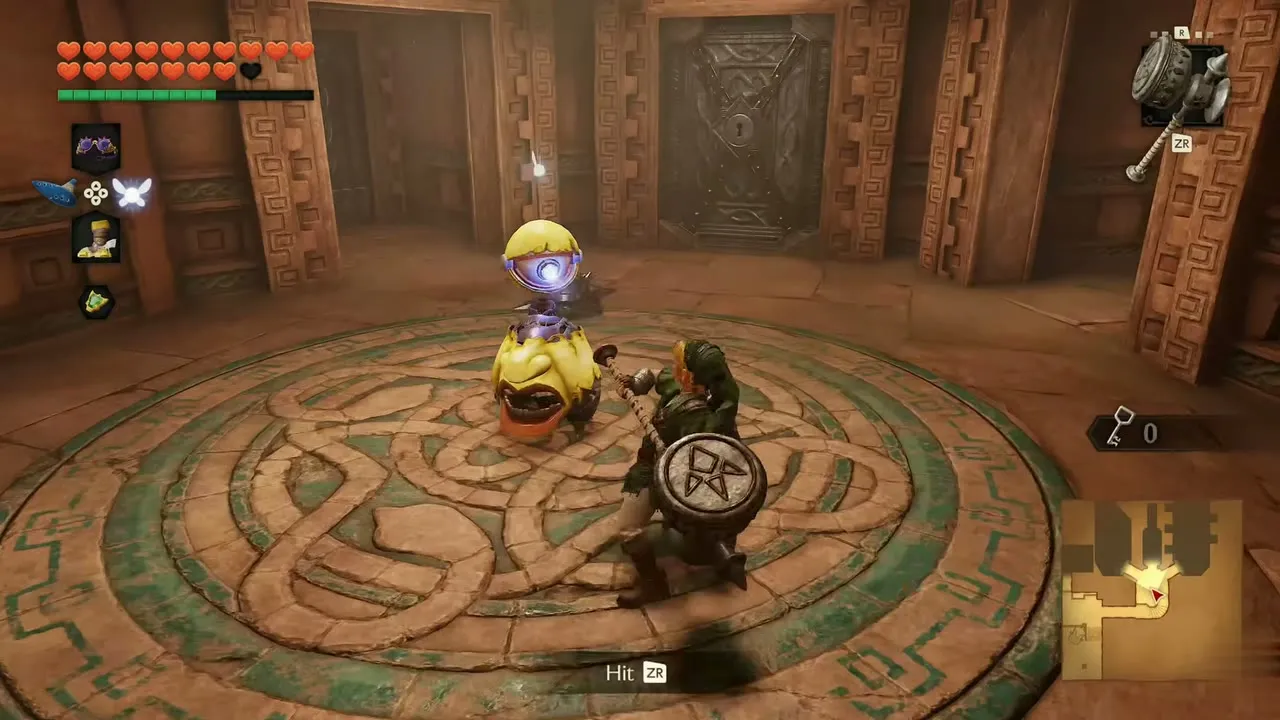
White Bubble
A flying skull ringed by a white aura that spins in place or around objects. Raise the Hylian Shield. Found in Spirit Temple. Useful items: Hylian Shield.
