Ocarina of Time Remake 100% Completion Walkthrough41 chapters
- Kokiri ForestFind the Kokiri Sword, buy the Deku Shield for 40 rupees and get past Mido to the Great Deku Tree.
- The Great Deku TreeFairy Slingshot, Dungeon Map, Compass, four Gold Skulltulas, Gohma and the Kokiri Emerald.
- Leaving Kokiri ForestSay goodbye to Mido and Saria, get the Fairy Ocarina, meet Kaepora Gaebora and cross Hyrule Field.
- Hyrule Castle TownGold Skulltula, Bazaar, Shooting Gallery seed bag, Potion Shop bottle and the Temple of Time.
- Hyrule CastleGet the Weird Egg, wake Talon, sneak in, meet Zelda, learn Zelda’s Lullaby and collect Zelda’s Letter.
- Kakariko VillageCucco Lady’s bottle, House of Skulltula, Adult’s Wallet and the rooftop Heart Piece.
- GraveyardDampé’s Grave-Diggin’ Tour Heart Piece, Sharp and Flat, the Royal Family’s Tomb and the Sun’s Song.
- Lon Lon RanchTalon’s cucco game, Lon Lon Milk, Epona’s Song, a Heart Piece and Gold Skulltula.
- Gerudo ValleyTwo Heart Pieces, Lon Lon milk from Miss Moo with Epona’s Song, and a Gold Skulltula token.
- Lake HyliaLakeside Laboratory, the scarecrow quest, a Gold Skulltula and the fishing Heart Piece.
- Lost Woods and Sacred GroveRichard’s Heart Piece, Happy Mask Shop, Skull Kid, Saria’s Song, Gold Skulltulas 16 to 19 and the Business Scrubs.
- Death Mountain Trail and Goron CityClimb to Goron City, win over Darunia with Saria’s Song and take the Goron Bracelet before Dodongo Cavern.
- Dodongo CavernDungeon Map, Compass, Bomb Bag, four Gold Skulltulas, King Dodongo and the Goron Ruby.
- Death Mountain Summit and CraterGoron City Heart Piece and Bigger Bomb Bag, Din’s Fire and magic meter, crater Heart Piece, Echo Gem.
- Bombchu Bowling and the Great Fairy of PowerWin the Bombchus, Biggest Bomb Bag and Heart Piece, then get the enhanced Spin Attack.
- Zora River and Zora DomainHeart Pieces, a Gold Skulltula, the Silver Scale, Ruto’s bottle in Lake Hylia and King Zora’s request.
- Lord Jabu-Jabu’s BellyFarore’s Wind, the Boomerang, Ruto, Barinade, the Heart Container and the Spiritual Stone of Water for child Link.
- Errands Before the Temple of TimeThe child errands before the Temple of Time in the Ocarina of Time Remake.
- Temple of TimeFind the Ocarina of Time, open the Door of Time, draw the Master Sword and earn the Light Medallion.
- Ingo Ranch and EponaIngo’s two horse races, winning Epona and teaching Bonooru the Scarecrow Song.
- Kakariko Village and the HookshotDampé’s race, the Hookshot, Song of Storms and Heart Pieces #17 to #19.
- Sacred Grove as an AdultGet past Mido with Saria’s Song, cross the Moblin maze, beat the Great Moblin.
- Forest TempleSmall keys, Fairy Bow, four Poe Sisters, Phantom Ganon, Heart Container and Forest Medallion.
- Poes, the Hall of Fallen Foes and Lake HyliaBigger Quiver, Prelude of Light, Big Poes, Golden Scale and three Heart Pieces.
- Goron City as an AdultHeart Pieces, a Gold Skulltula, the Goron Tunic from the small Goron.
- Fire TempleFree all nine Gorons, find the Megaton Hammer and Boss Key, beat Volvagia and earn the Fire Medallion.
- Double Magic and Death MountainCrater Great Fairy Fountain, doubled magic, Gold Skulltulas 60 to 62 and a Business Scrub Seed as adult Link.
- Ice CavernBlue Fire, Iron Boots, Serenade of Water, the Zora Tunic and two Heart Pieces.
- The Biggoron Sword RouteBuy the Giant’s Knife, trade from the Pocket Egg to Cojiro, and finish every step up to the Biggoron Sword.
- Water TempleTriforce doors, small keys, Longshot, Dark Link, Morpha, the Water Medallion and Gold Skulltulas 68 to 73.
- Kakariko Village and the Nocturne of ShadowLearn the Nocturne of Shadow and find two Gold Skulltulas and two Heart Pieces.
- Bottom of the WellLenses of Truth, Dungeon Map, Compass, both small keys, Dead Hand and Gold Skulltulas 76 to 78.
- Treasure Box Shop and the Way to the Shadow TempleWin the Piece of Heart with the Lenses of Truth, then warp to the Shadow Temple via the Nocturne.
- Shadow TempleFloors B1 to B4, Hover Boots, Bongo Bongo, Heart Container and the Shadow Medallion from Impa.
- Gerudo FortressRescue all four carpenters, win the Gerudo Pass, find Gold Skulltulas 84 and 85.
- Mirage Desert and Evil Desert ColossusPhantom Guide, Requiem of Spirit, five Gold Skulltulas, three Heart Pieces, Biggest Quiver, Nayru’s Love.
- Spirit TempleChild and adult routes, Silver Gauntlets, Mirror Shield, Boss Key, Iron Knuckle Nabooru, Twinrova.
- Gerudo Proving GroundsPay 30 rupees, solve every room, and claim the Ice Arrow and a Business Scrub Seed.
- Last Heart Pieces and Gold SkulltulasTokens 96 to 100, Heart Pieces 33 to 35, the Rich Man reward and Light Arrow.
- Ganondorf’s CastleClear the six barriers, get the Golden Gauntlets and the Great Fairy of Courage’s gift.
- Ganondorf and GanonTower climb, Boss Key, Ganondorf boss fight, the escape with Zelda and the Ganon boss fight.
| Covers | Dodongo Cavern (floors 1F and 2F), King Dodongo boss fight, Darunia and the Goron Ruby |
|---|---|
| Link | Child |
| You need | The Goron Bracelet to lift bomb flowers, the Fairy Slingshot with Deku Seeds, your sword and shield, and Deku Sticks |
| Rewards |  Dungeon Map, 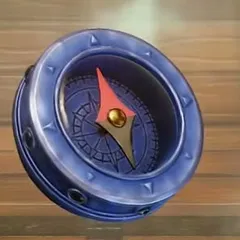 Compass, Bomb Bag, 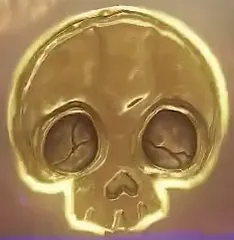 Gold Skulltula tokens #21 to #24 (4), 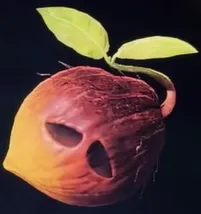 Business Scrub Seed (2), 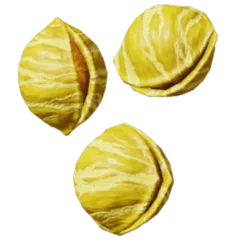 5 Deku Seeds, 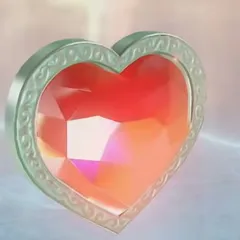 Heart Container, 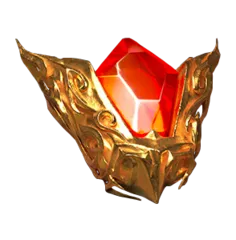 Goron Ruby (Spiritual Stone of Fire) |
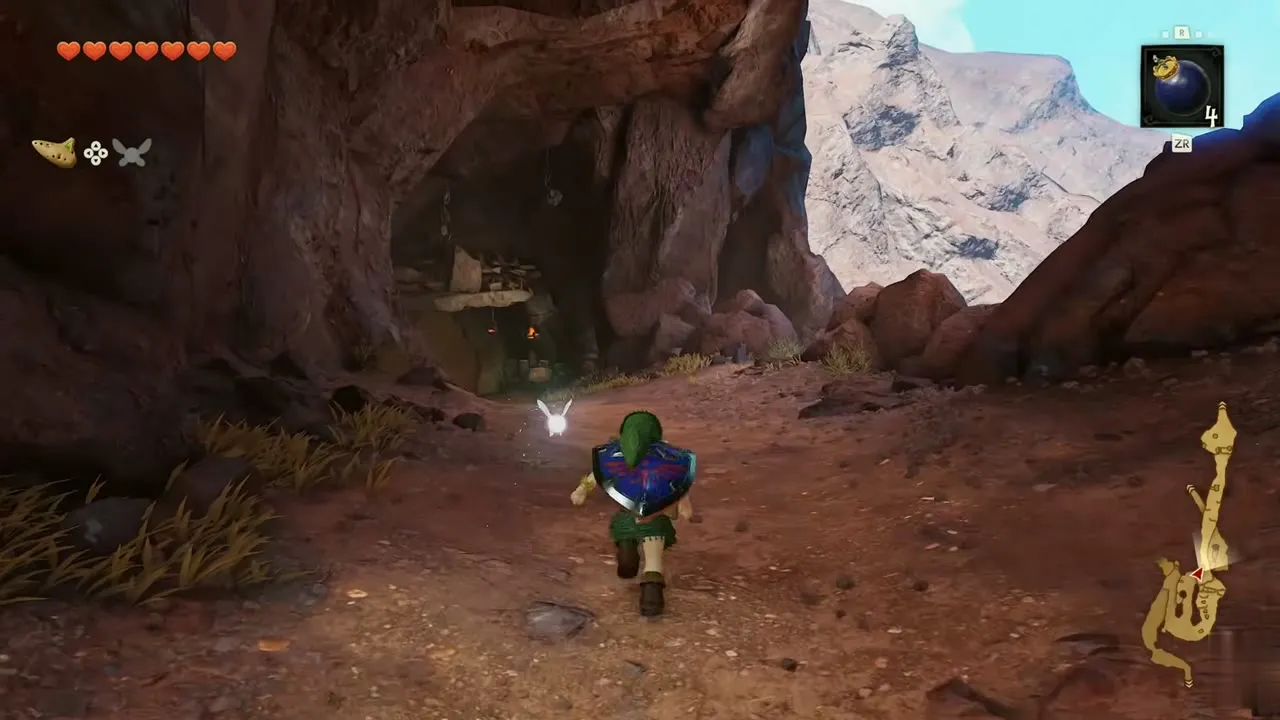
Dodongo Cavern is a lava-filled cave under Death Mountain Trail. The Goron Bracelet is what makes it playable, since bomb flowers open cracked walls almost everywhere. You take the Dungeon Map, deal with Baby Dodongos and Dodongos, win the Compass and your first token, then climb to the second floor for the Bomb Bag. Three more tokens, two Business Scrub Seeds, King Dodongo and the Goron Ruby follow.

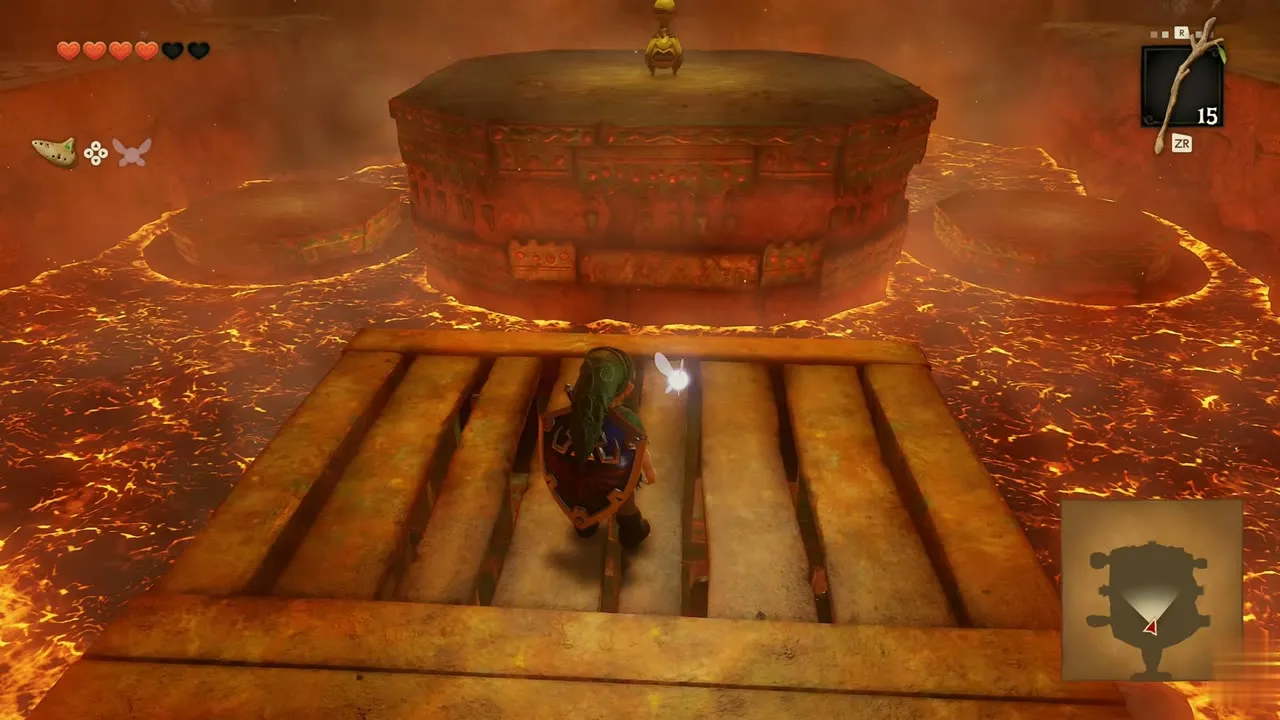
Table of Contents
Entrance and first lava hall
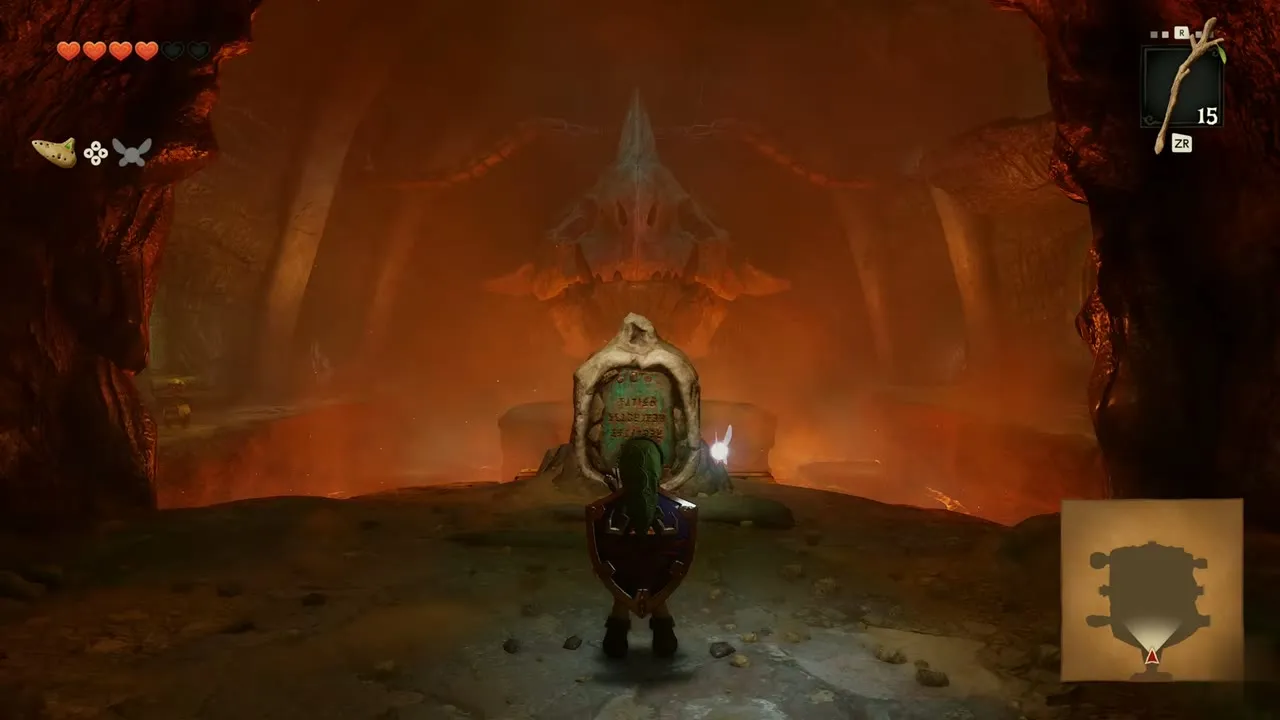
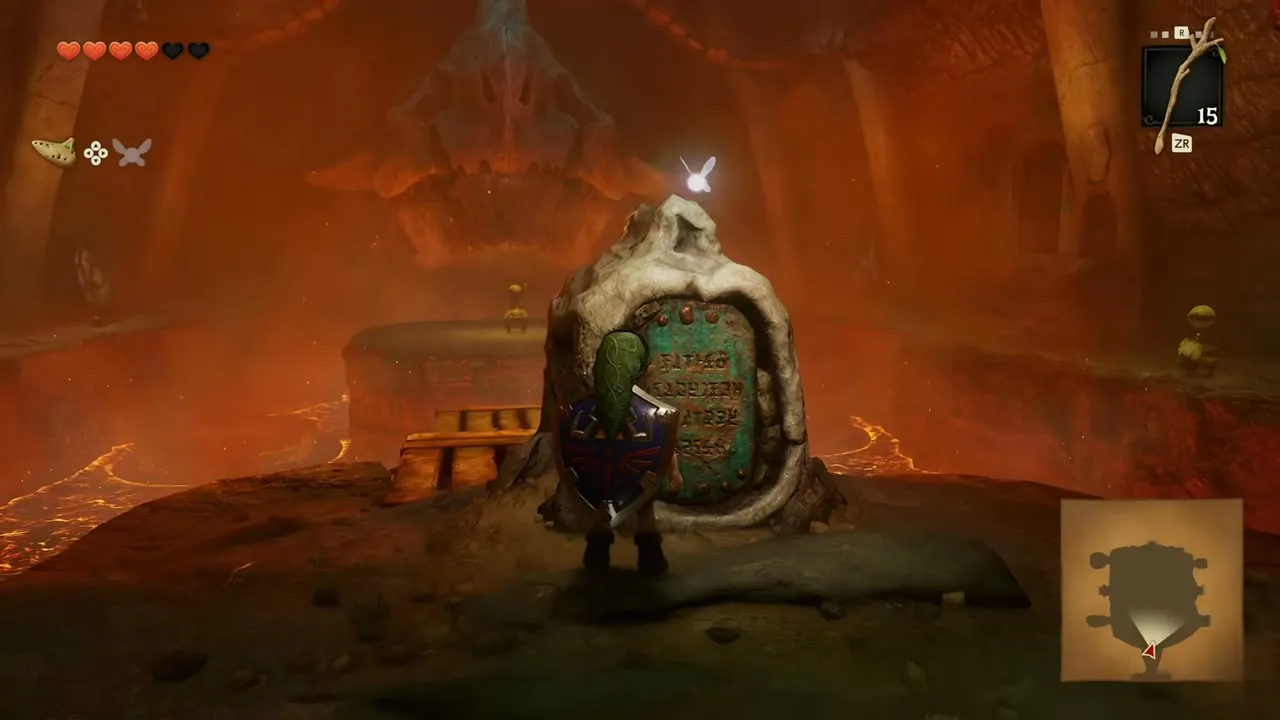
Goron statue hint
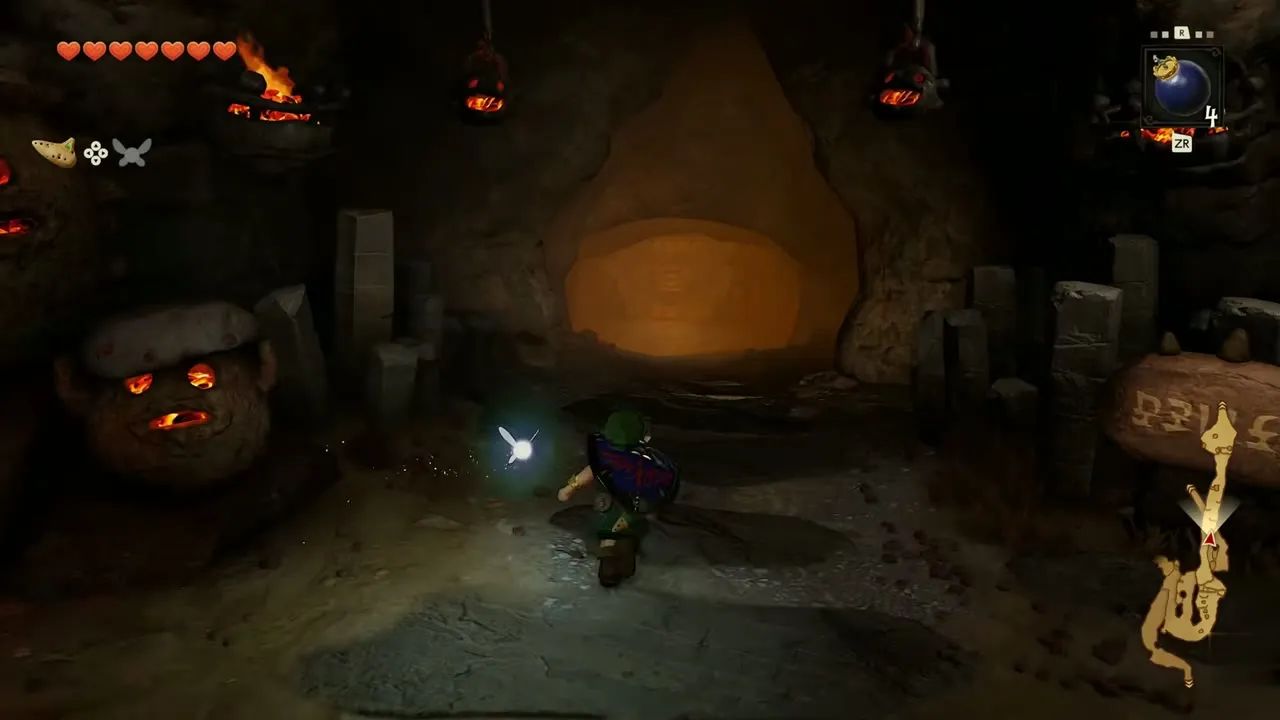
The Dodongo Cavern title card appears over a wide hall of lava with a round stone pedestal in the middle. Just inside stands a Goron statue. Read it for a hint: the long-dead Dodongo here will serve as a guide to the hidden path. Keep that in mind, because the skull that fills the centre of the cavern matters later. The cave has no small keys and no Boss Key, so the Dungeon Map and Compass are the only dungeon items to find.
Bomb flowers and the blue rupee chest
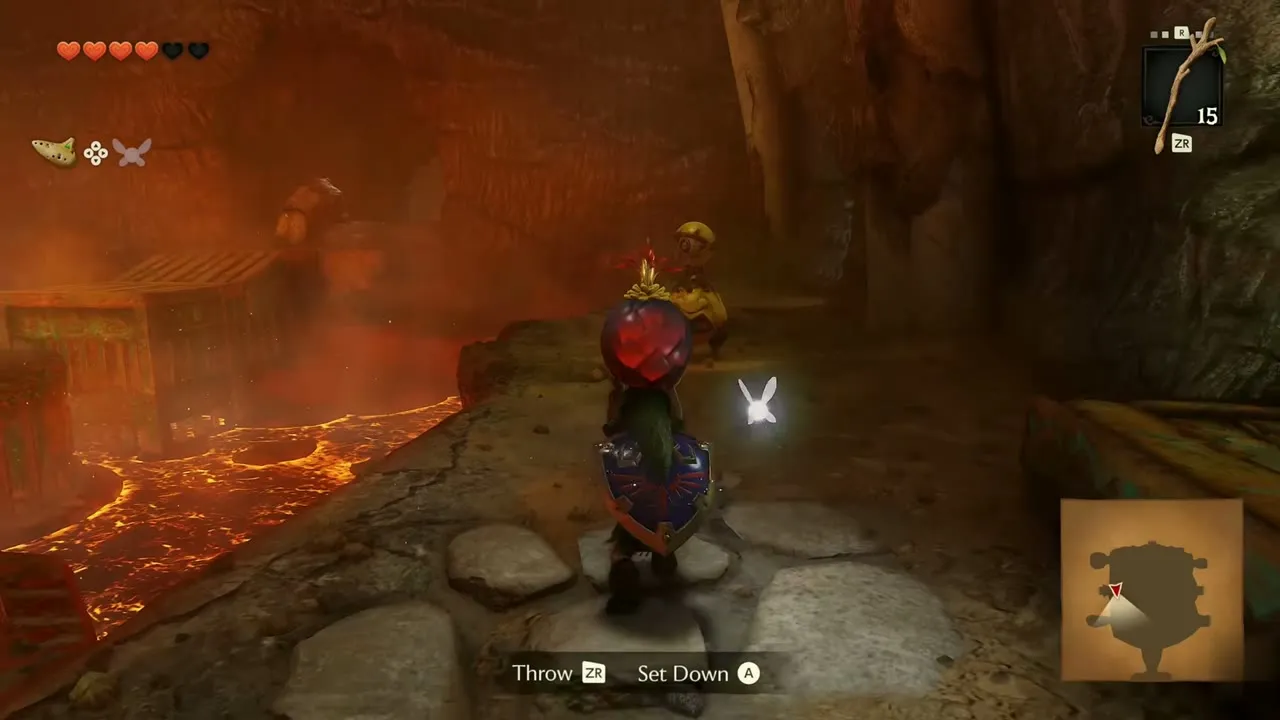
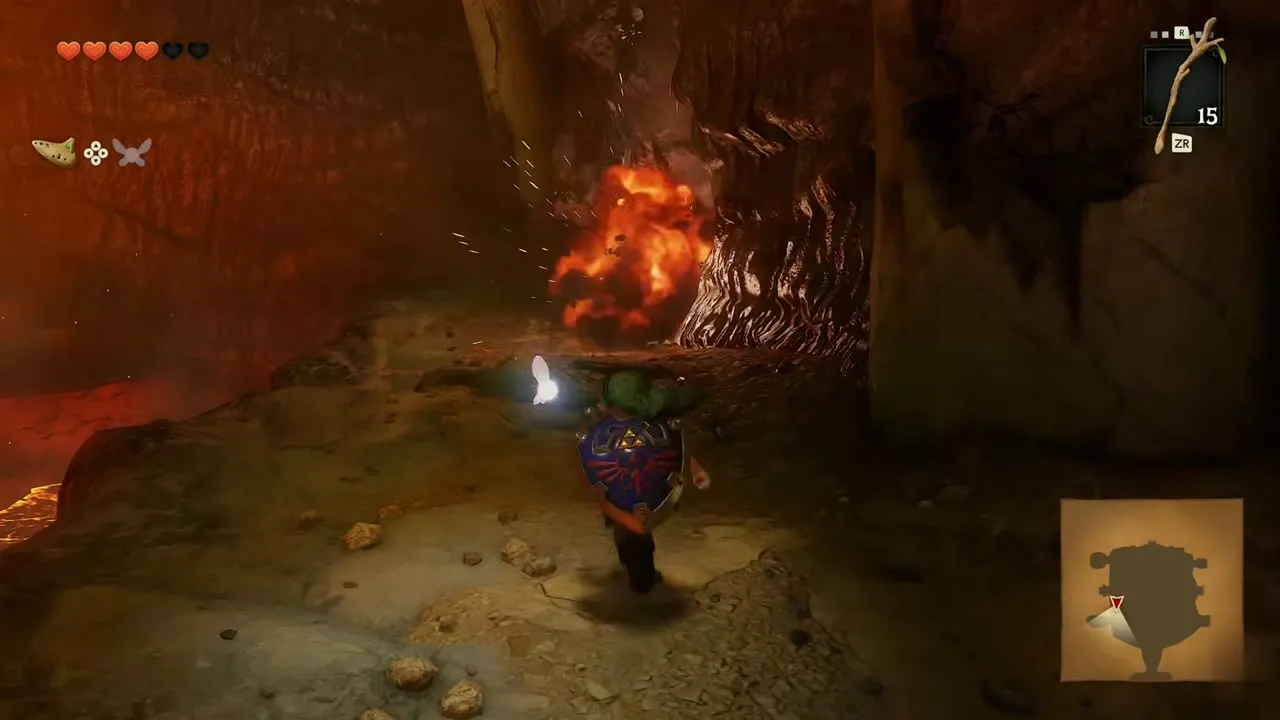
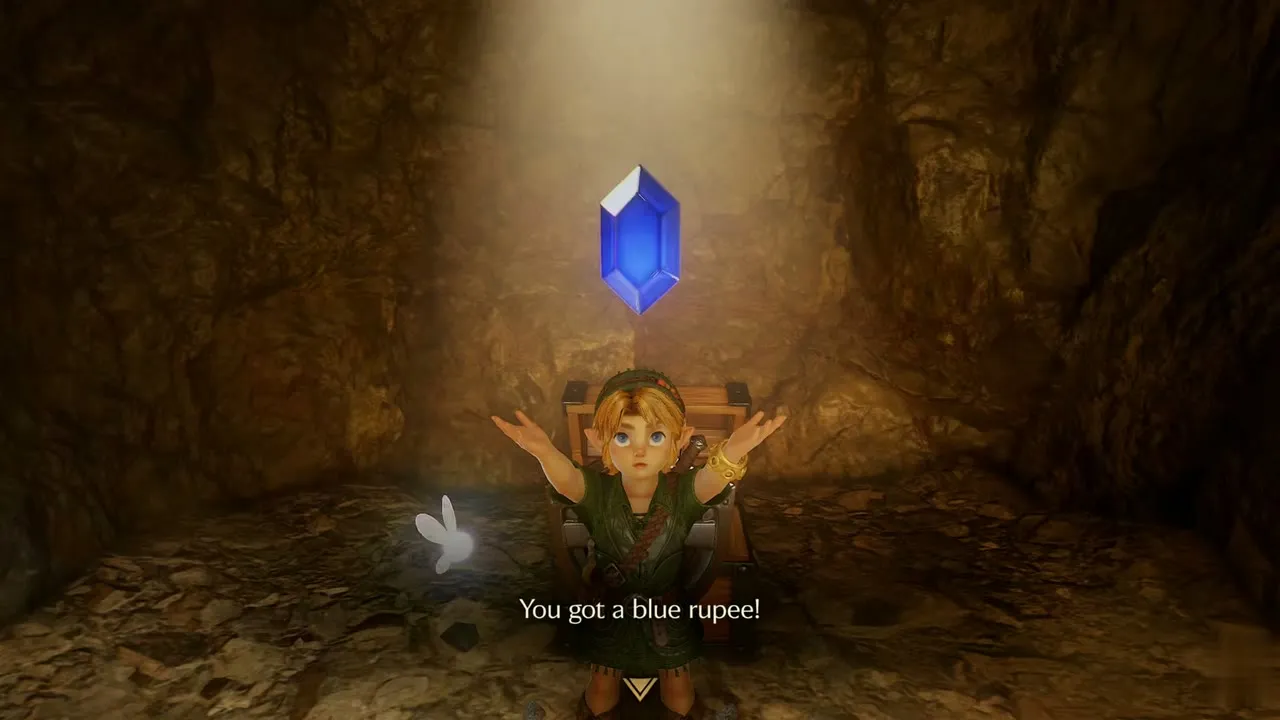
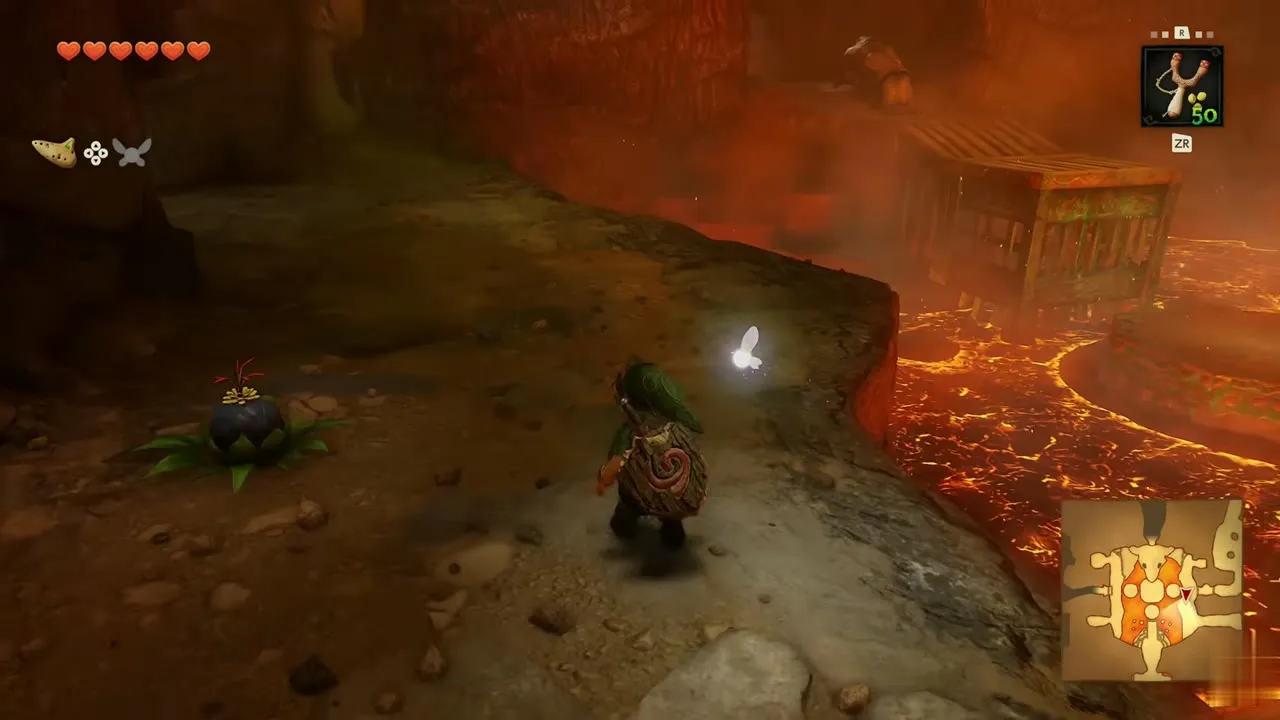
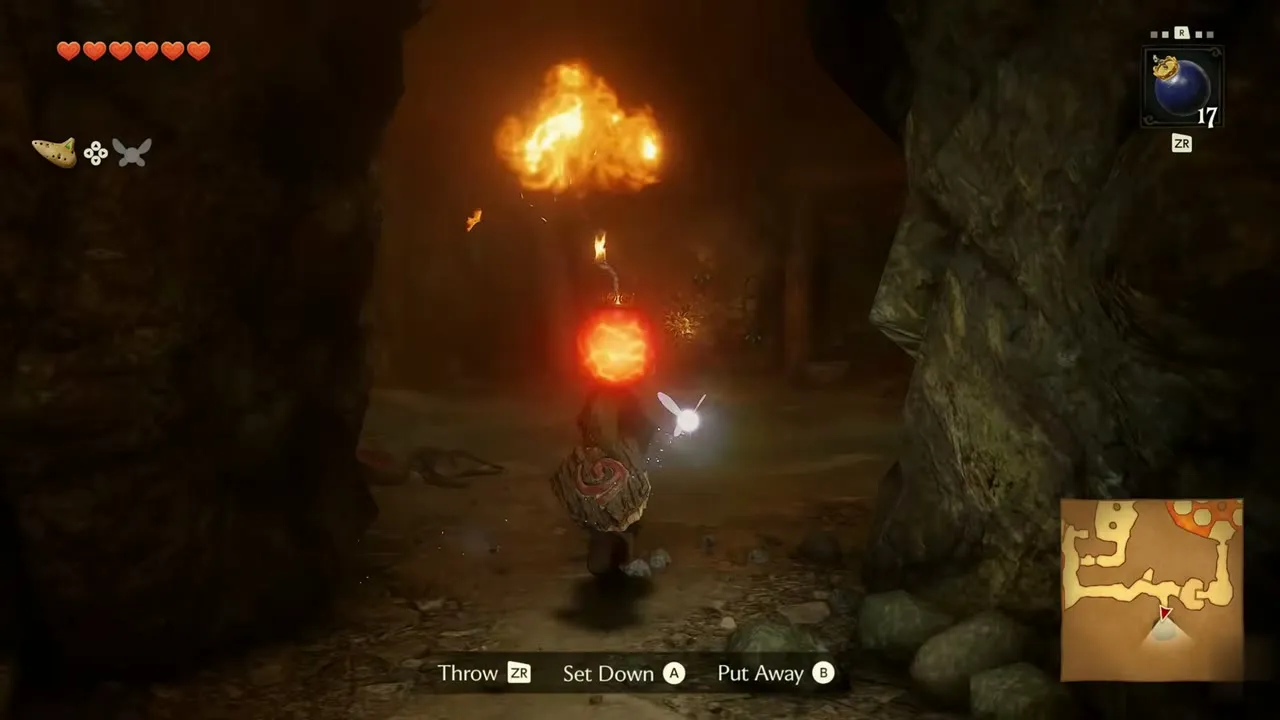
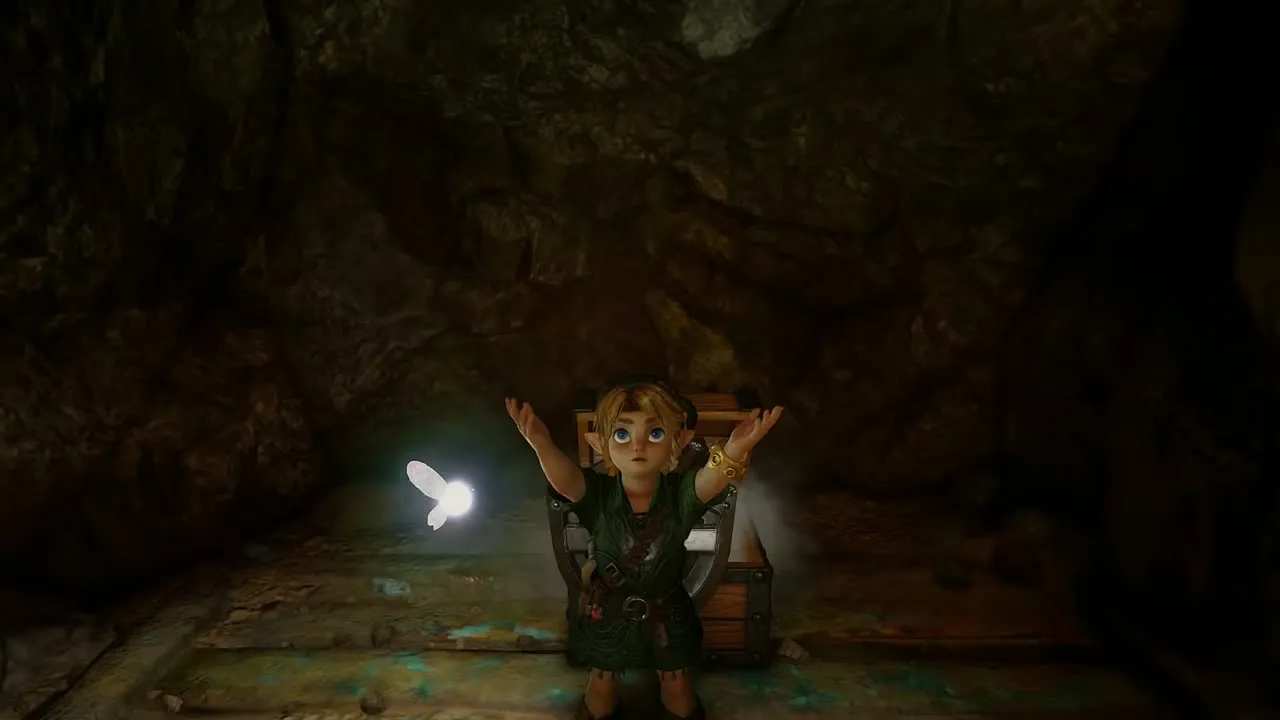
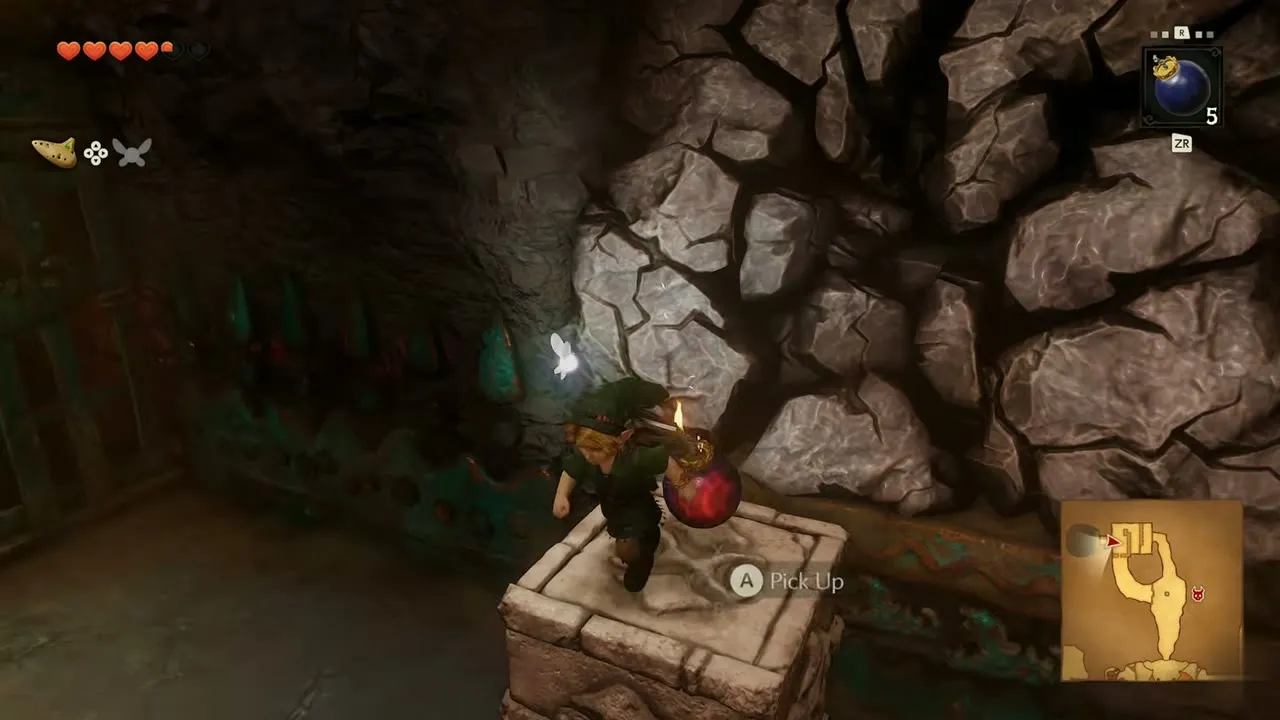
Cross the wooden planks laid over the lava to the stone rim on the far side. A bomb flower grows here: press Pick Up to lift it, carry it along the rim and press Throw before it goes off in your hands. Blast the cracked wall in the dark passage ahead. Behind it is a small chest. Open it for a blue rupee, worth five.
Dungeon Map
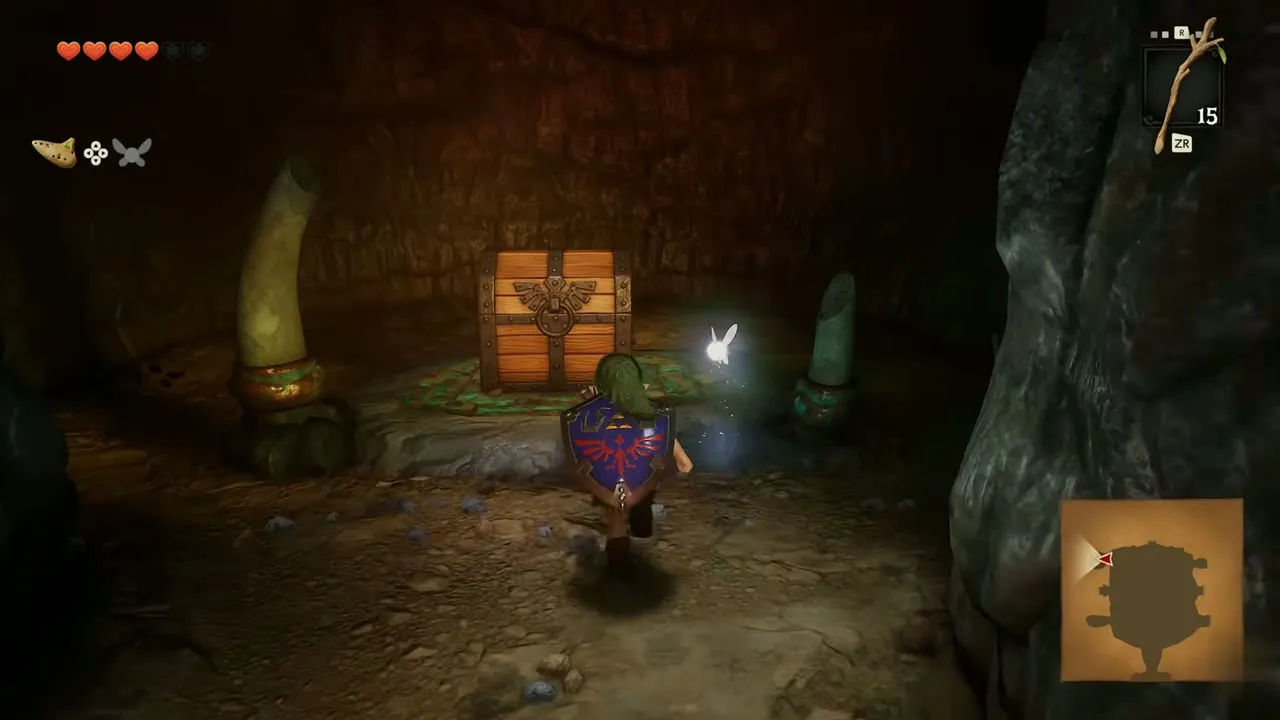
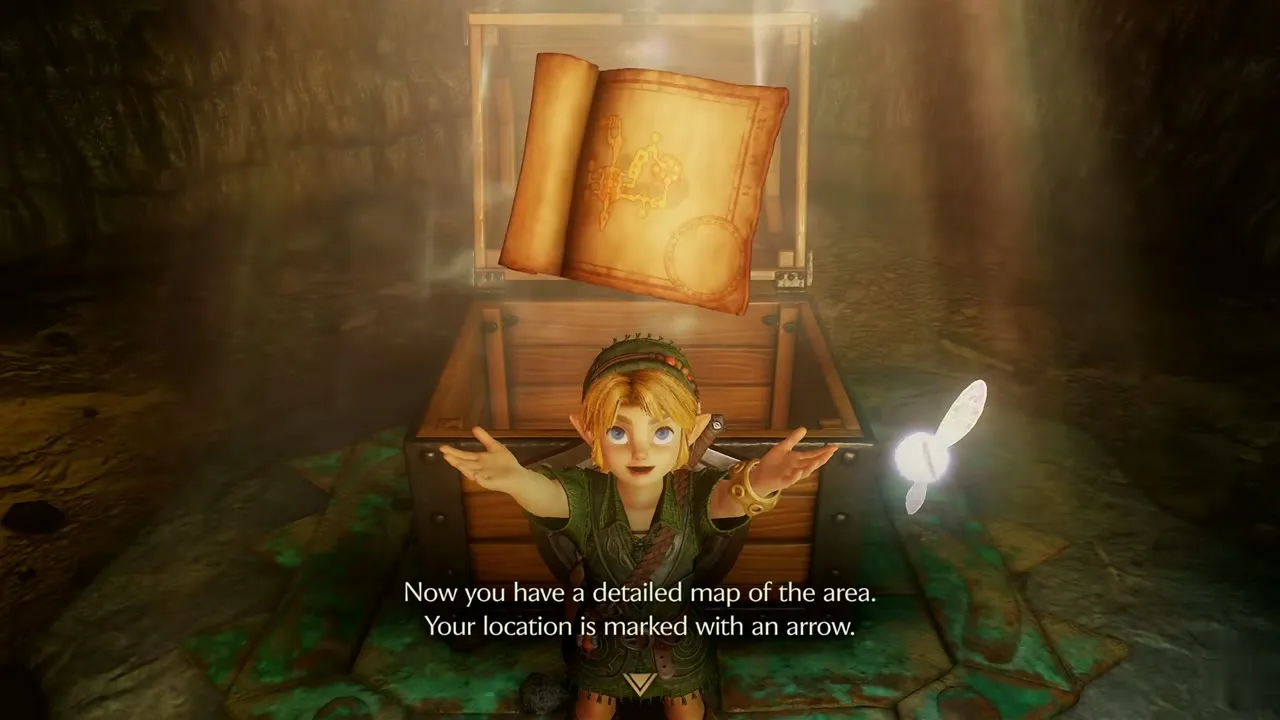
Pick up another bomb flower and carry it further down the passage to open the next wall. A chest waits in the chamber behind it. Open it to receive the Dungeon Map, which marks where you stand and shows the cavern as two floors, 1F and 2F. Head back out to the lava hall afterward and work around its rim.
Baby Dodongos and the Lizalfos door
Baby Dodongos
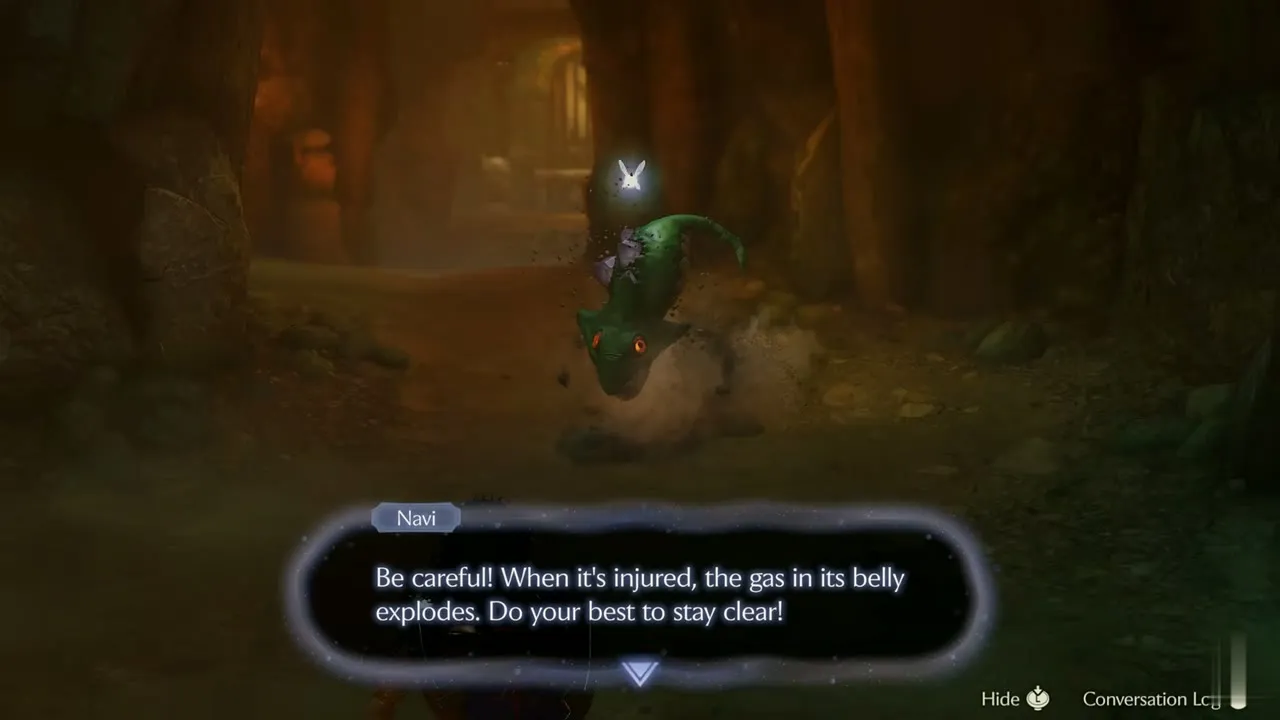
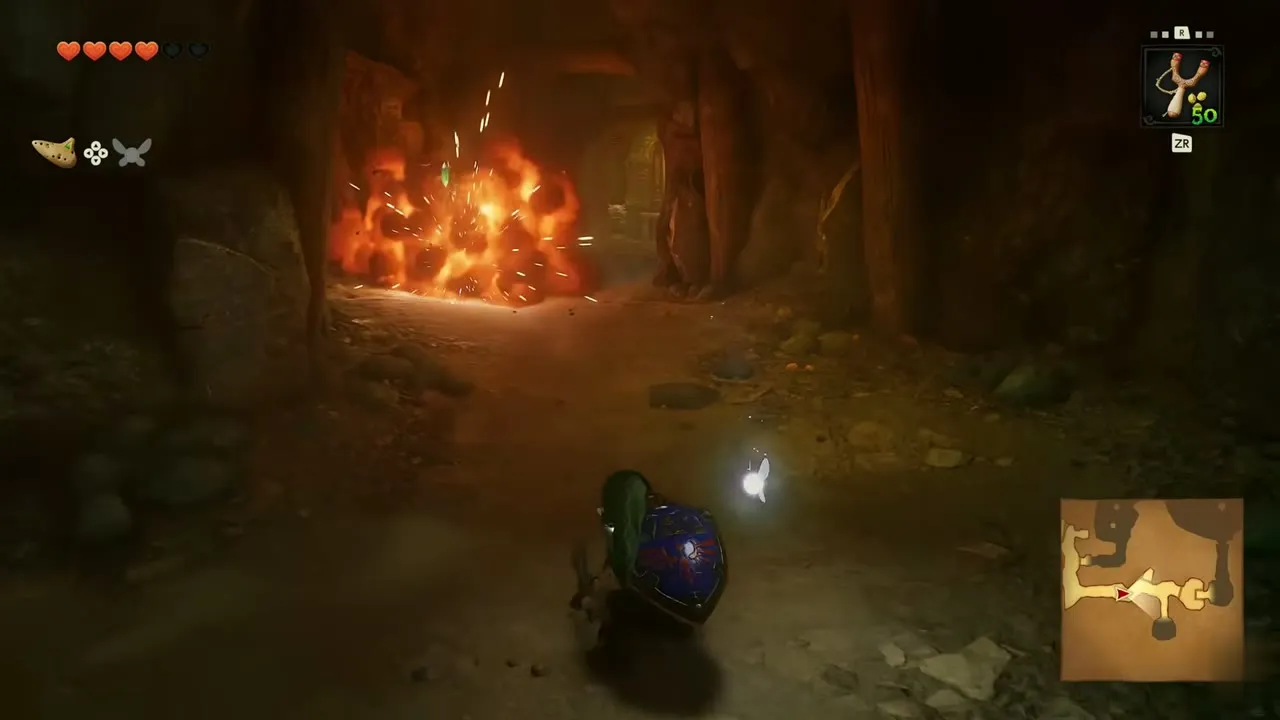
Further along the rim, a tunnel is patrolled by Baby Dodongos. Open the item menu and equip the Fairy Slingshot first. Navi warns that when one is injured, the gas in its belly explodes, so stay clear after you strike. She adds that once it sees its prey, meaning you, it hurls itself straight ahead, so sidestep the rush. A green rupee drops from the fight.
Statue door
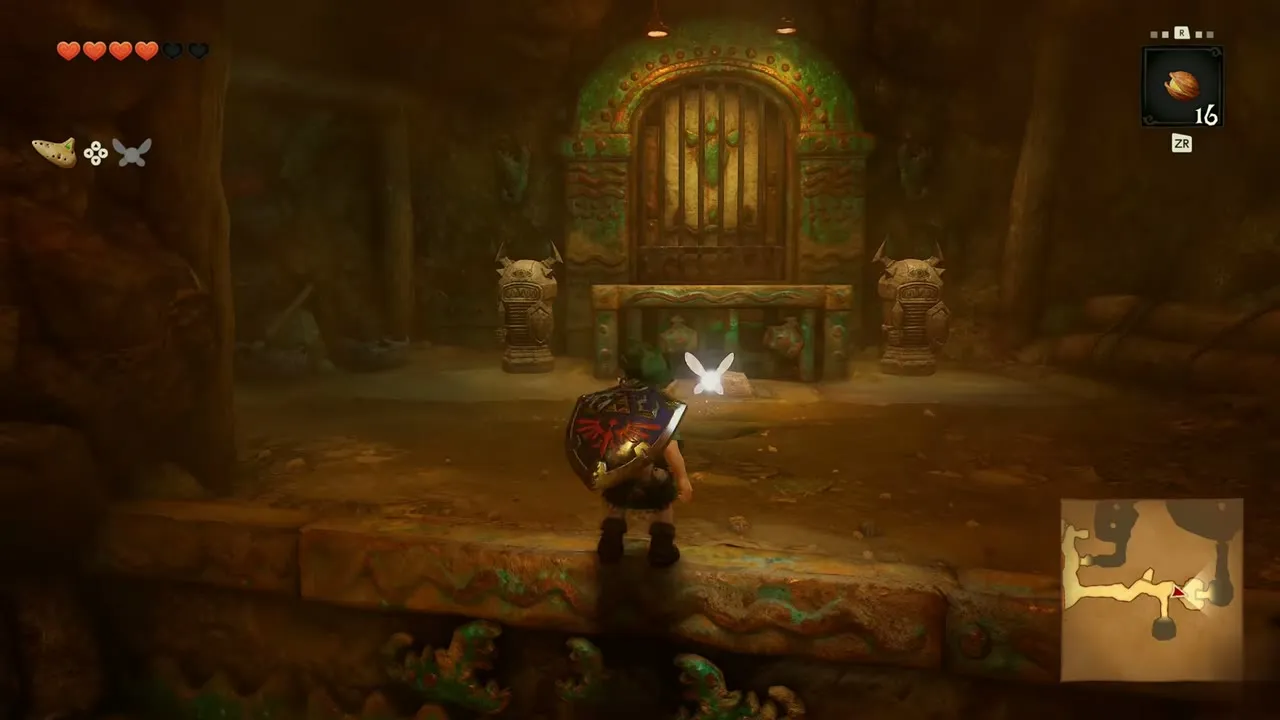
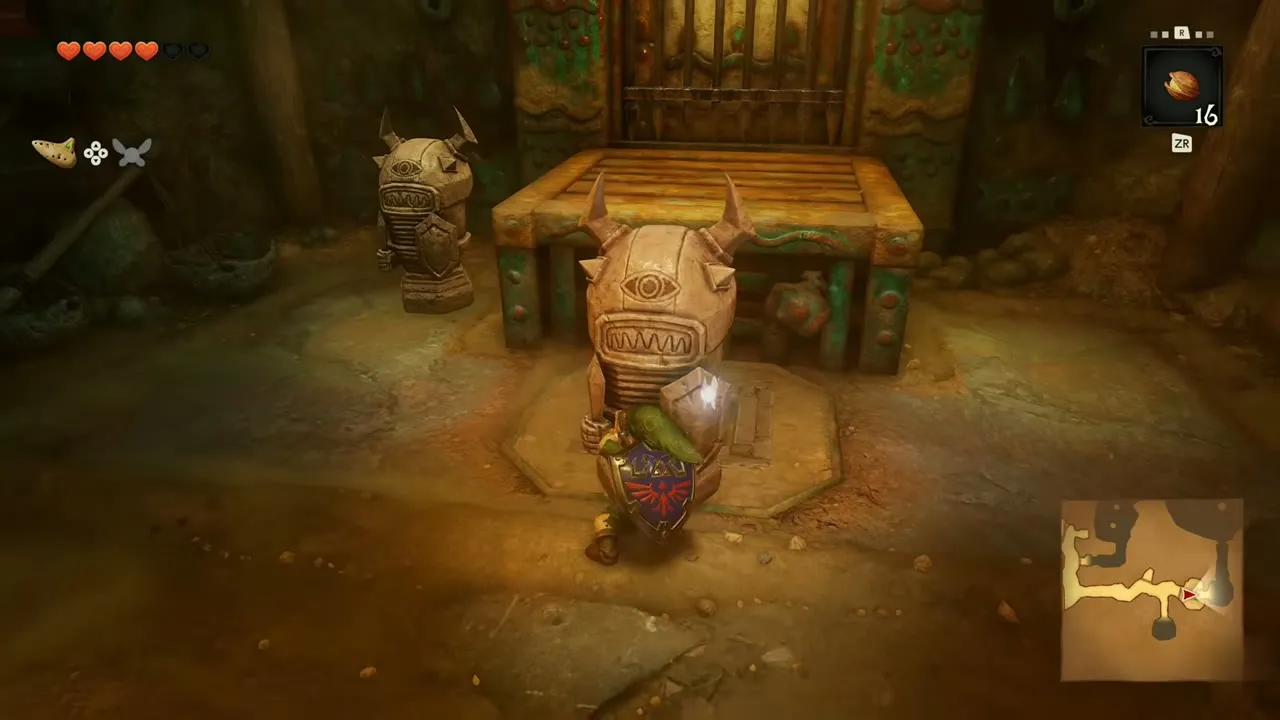
The tunnel ends at a room with a barred green-stone door flanked by two small statues, and a horned stone statue stands on the floor. Press Grab and push it onto the square pedestal in front of the door. The door then opens onto the next chamber.
Lizalfos pair
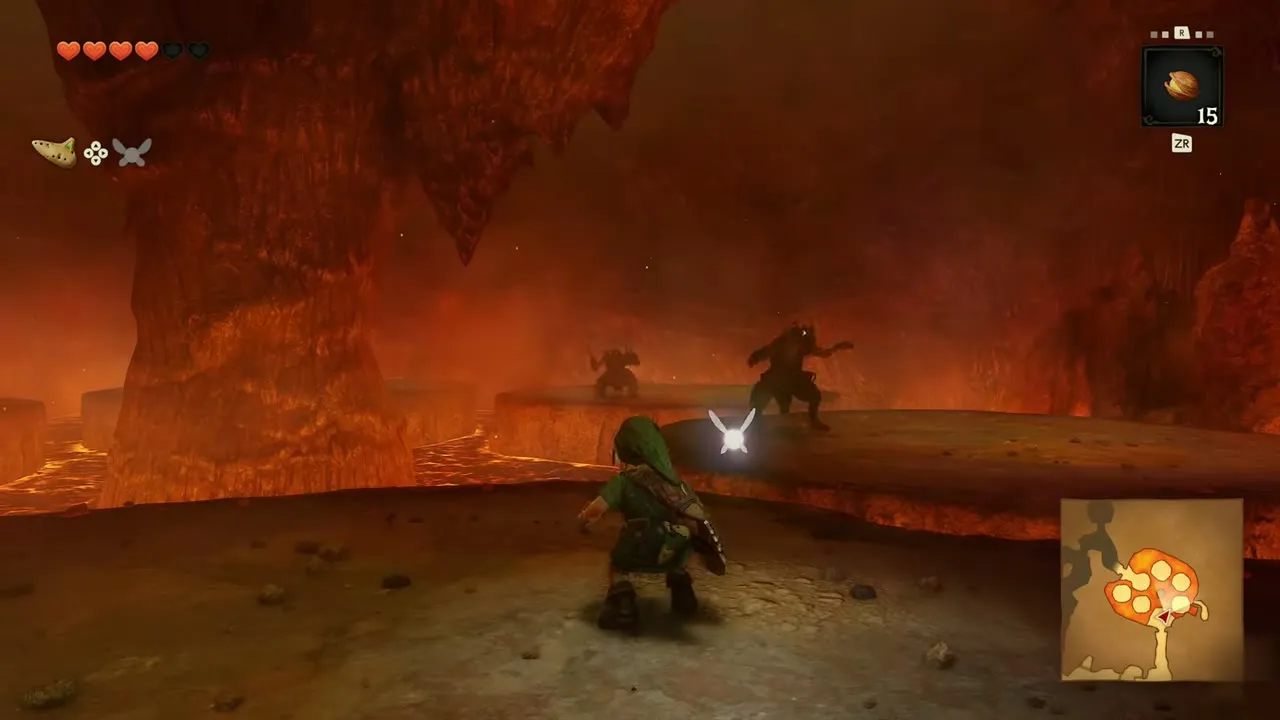
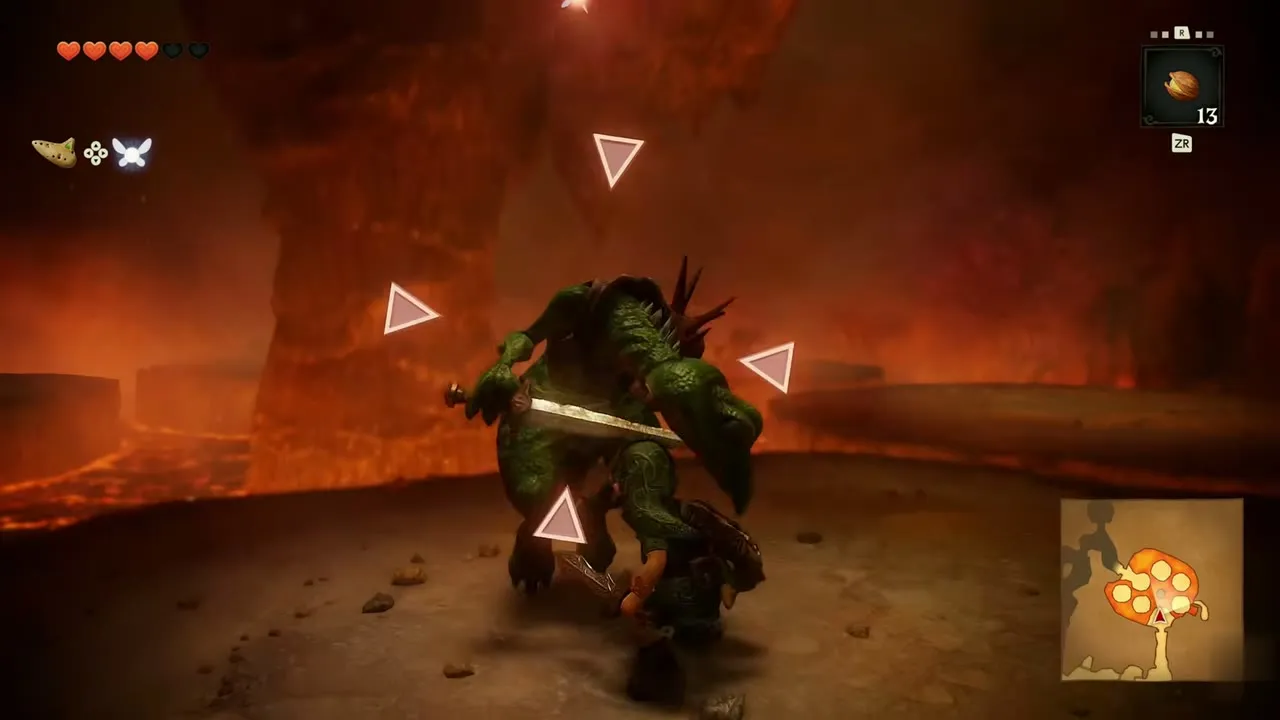
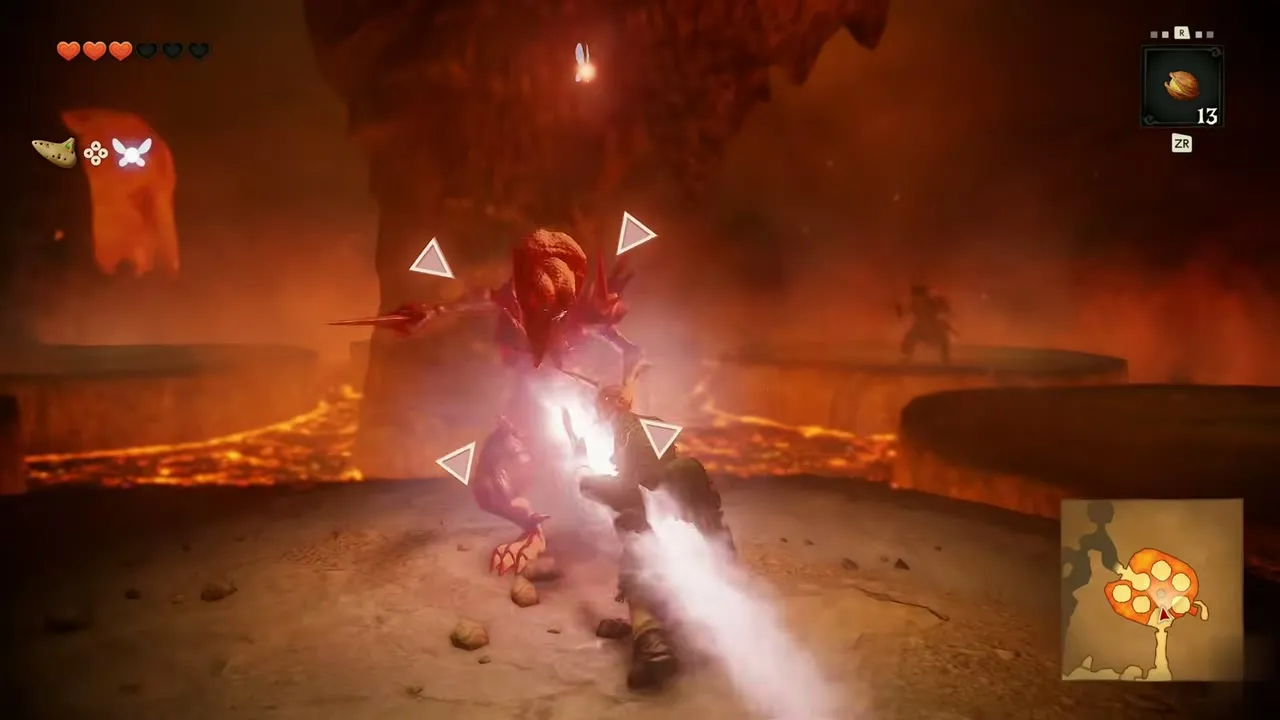
Beyond the door is a platform in a sea of lava, where two Lizalfos wait. One is green and one is red. Lock on, keep your shield raised and strike between their sword swings. Back away when your hearts run low, let them come to you and finish them one at a time. Purple flames seal the far door until both are down.
Red rupee chest
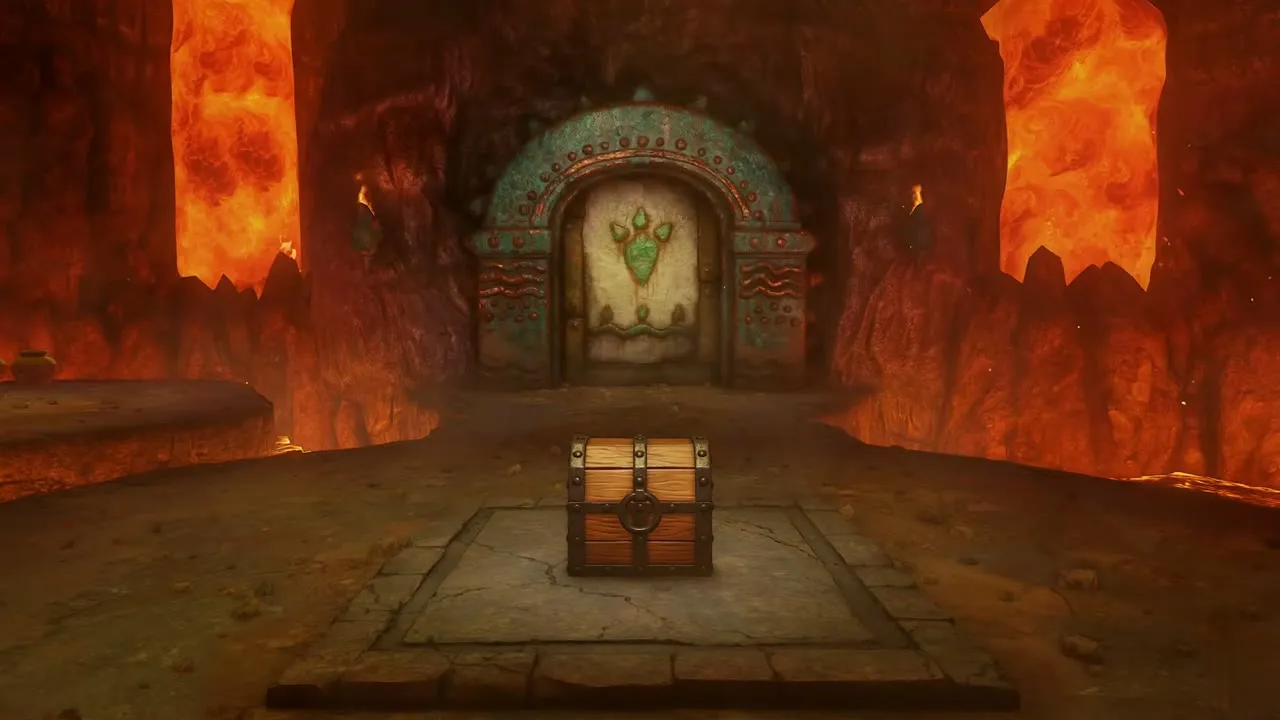
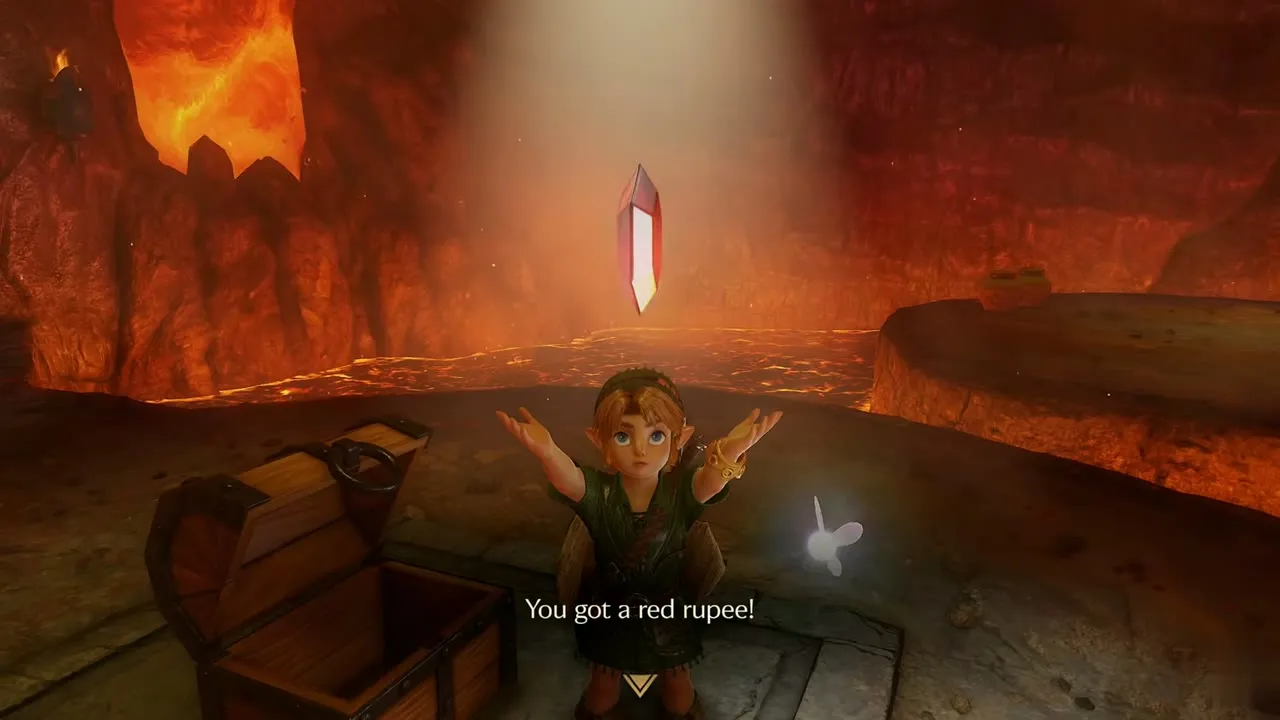
When the second Lizalfos falls, the purple flames fade and a chest glows on the stone pedestal in front of the far door. Open it for a red rupee, worth twenty. Leave through the door and follow the lava rim back to the cave passages.
Business Scrub and the Dodongos
Business Scrub shop
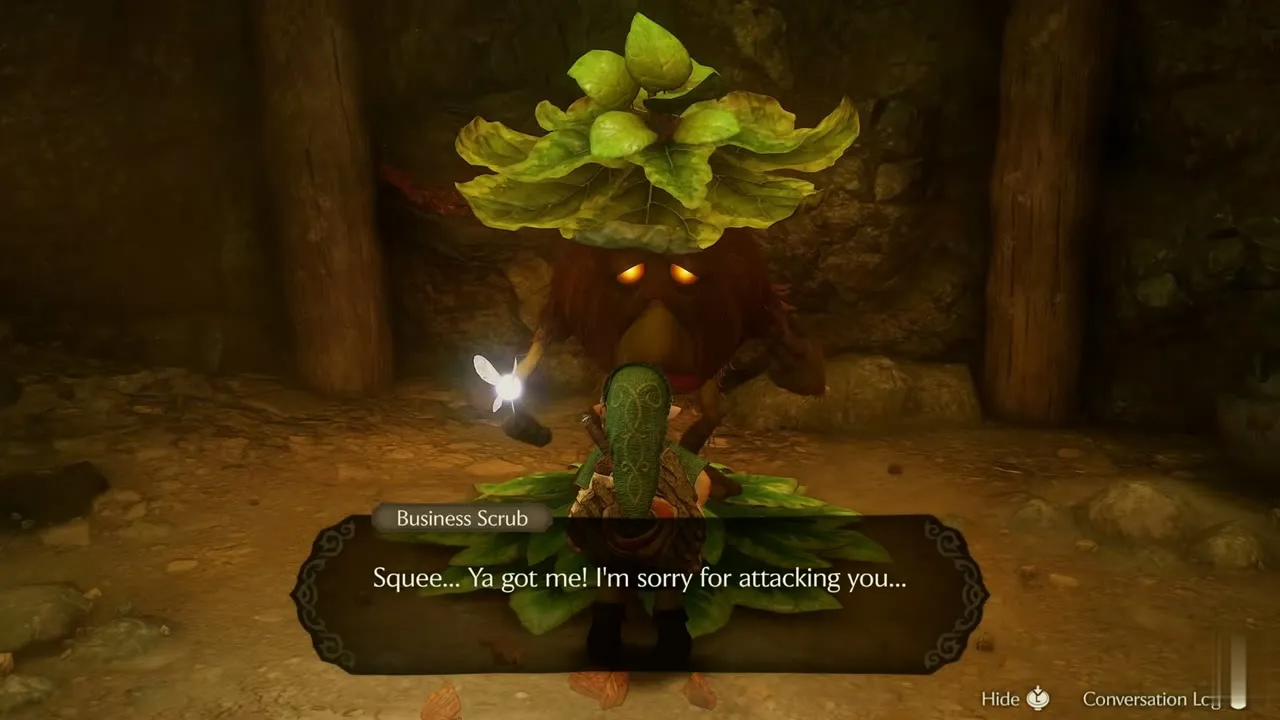
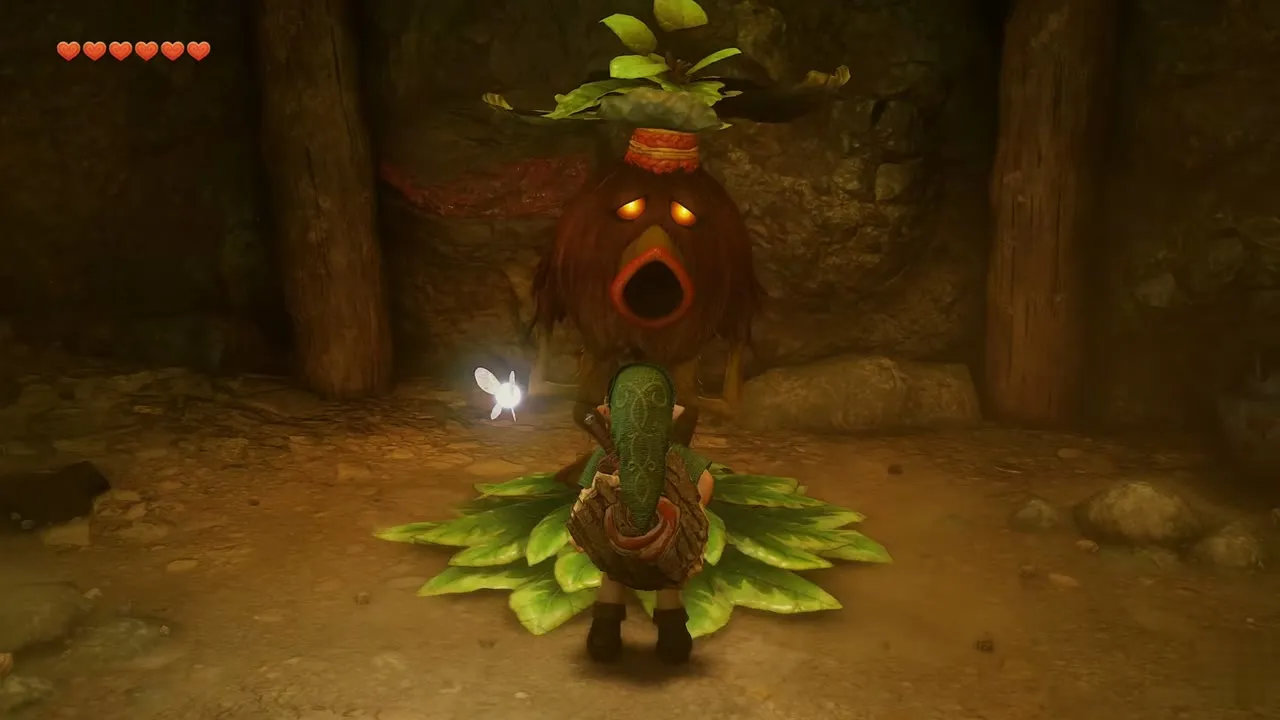
In a side cave, a Business Scrub hides among the plants. Hit it and it gives in, apologizing for attacking you. It then offers five Deku Nuts or five Deku Sticks. Buy whichever you are short of, or choose See you later to leave.
Dodongos
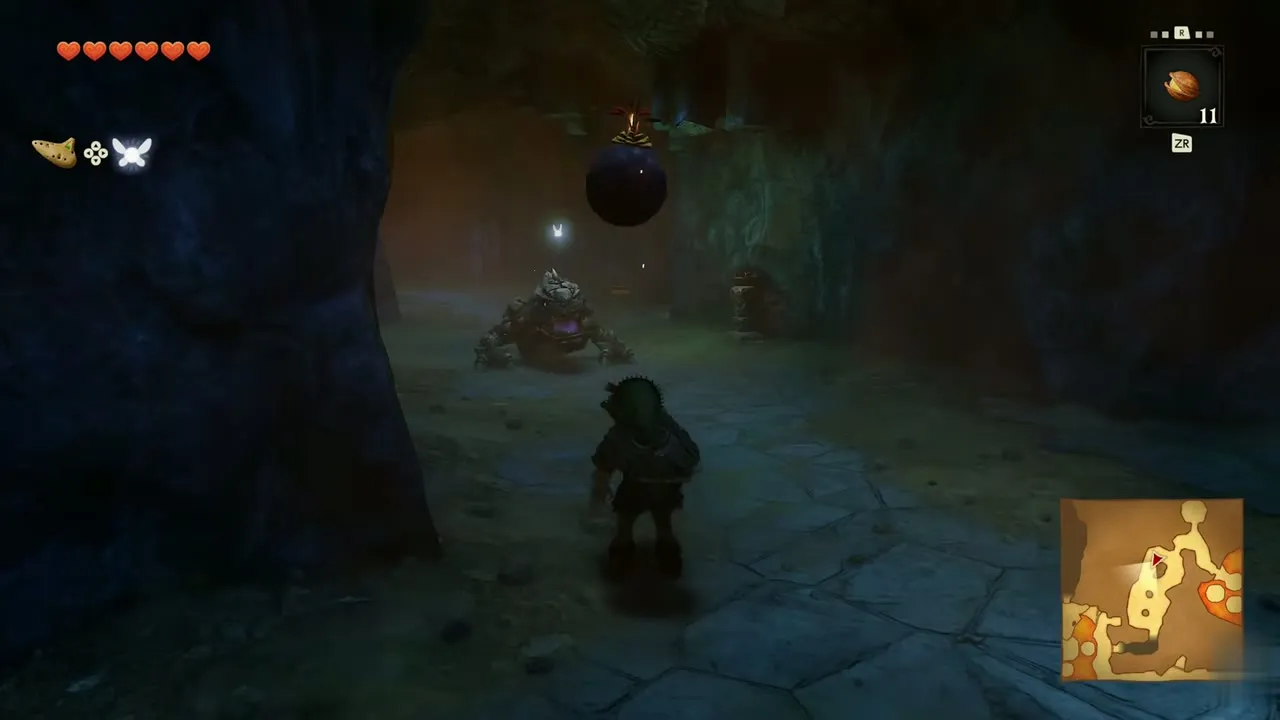
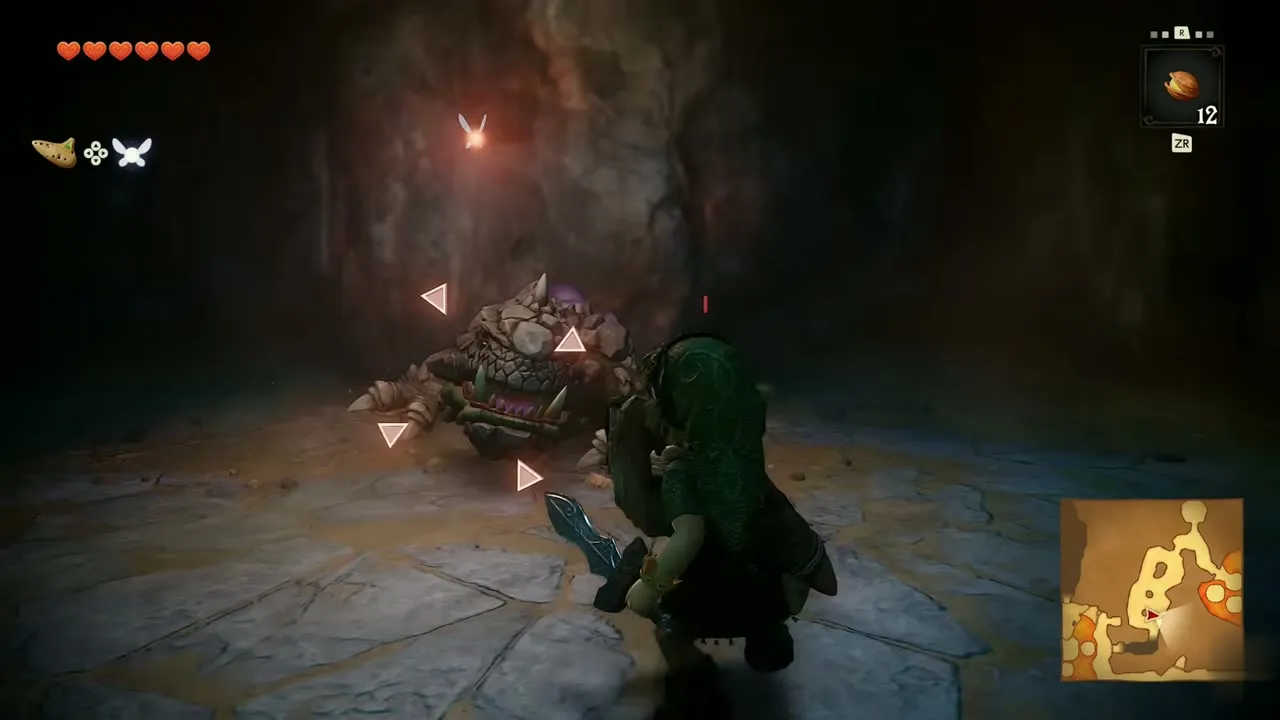
In the next cave the floor turns blue and a Dodongo lumbers toward you. Navi warns that their face scales are as hard as rock, so they are hard to hurt head-on, and suggests getting behind one. Pull a bomb flower from the ground and throw it at the Dodongo: it glows red and blows up. Finish any survivor with your sword, and pick up the rupees they leave behind.
Torch room
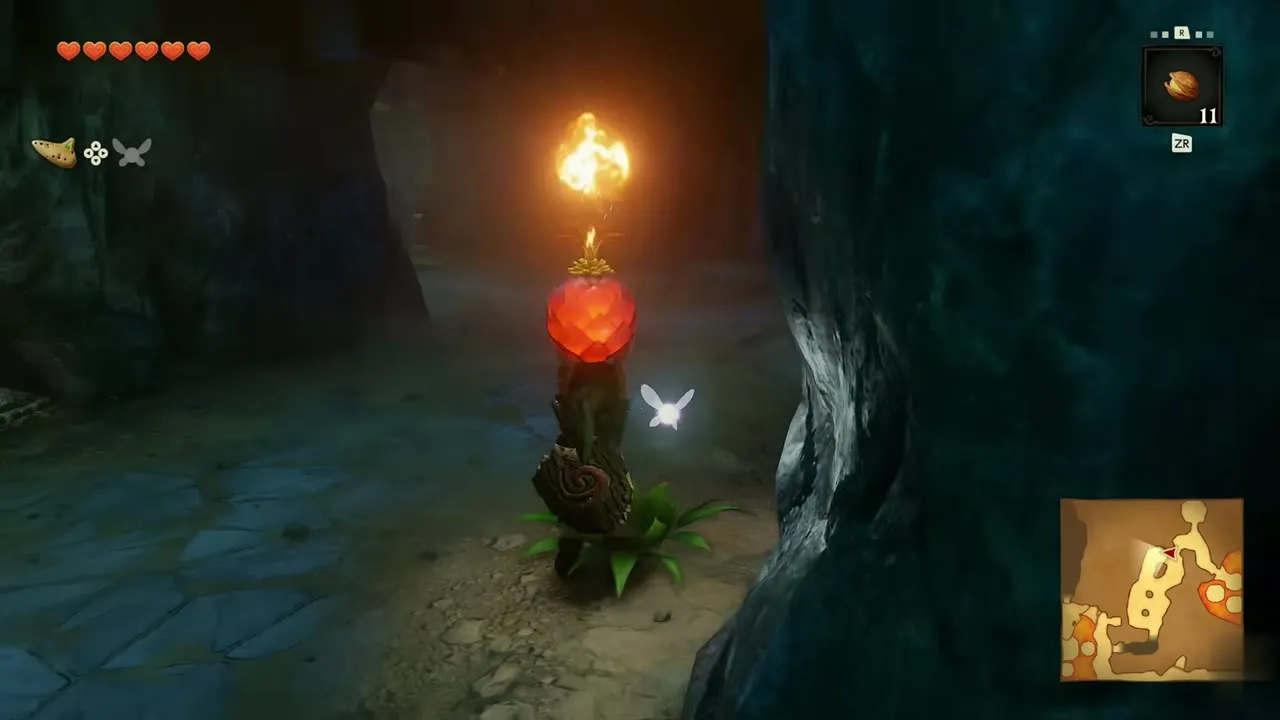
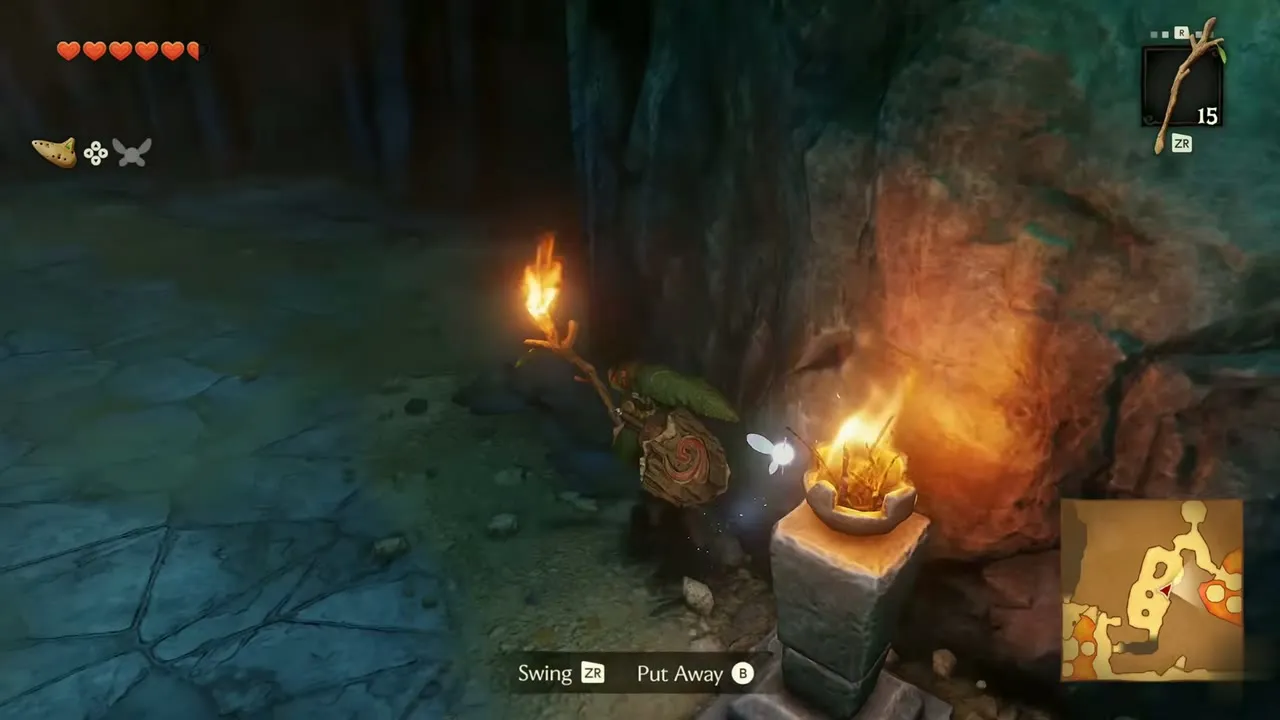
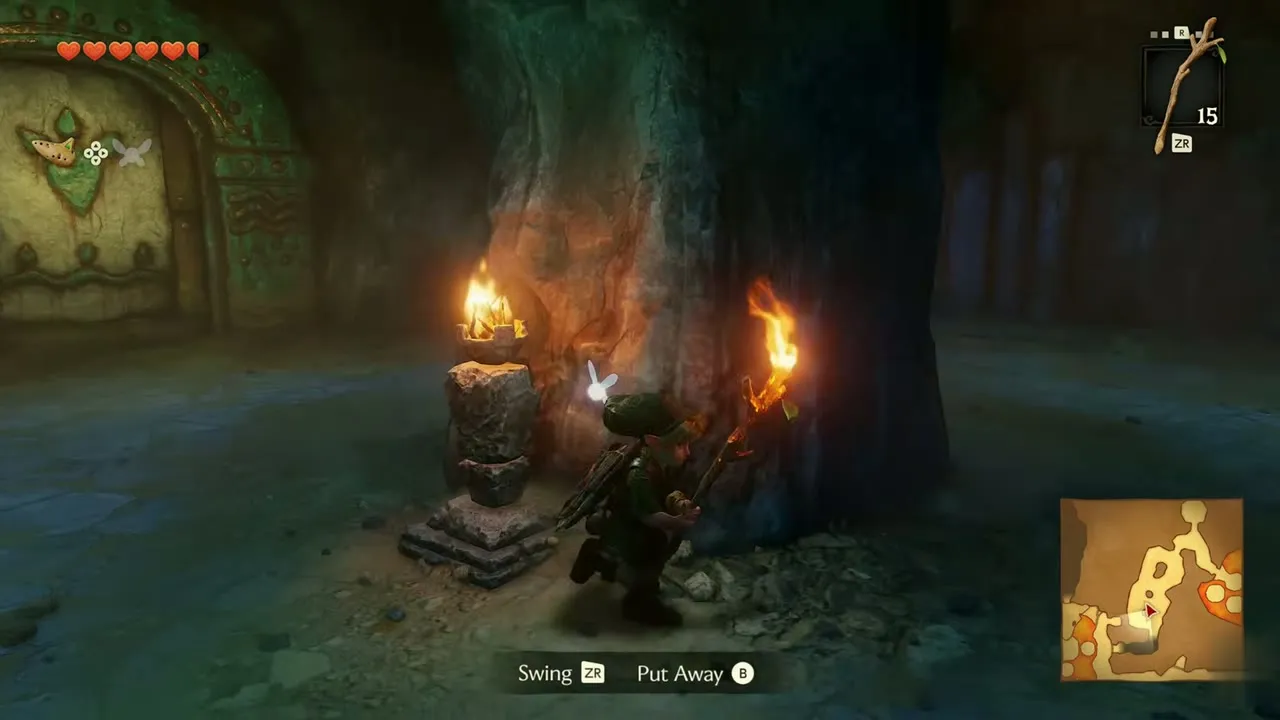
Light a Deku Stick on a wall torch and carry the flame to the unlit torches in this room, pressing Swing to wave it. Move quickly, because the stick burns up and you have to light a new one. When the last torch is burning, the barred door beside them lets you through. The passage leads back toward the lava hall.
Compass and the first Gold Skulltula
Lava rim to the green door
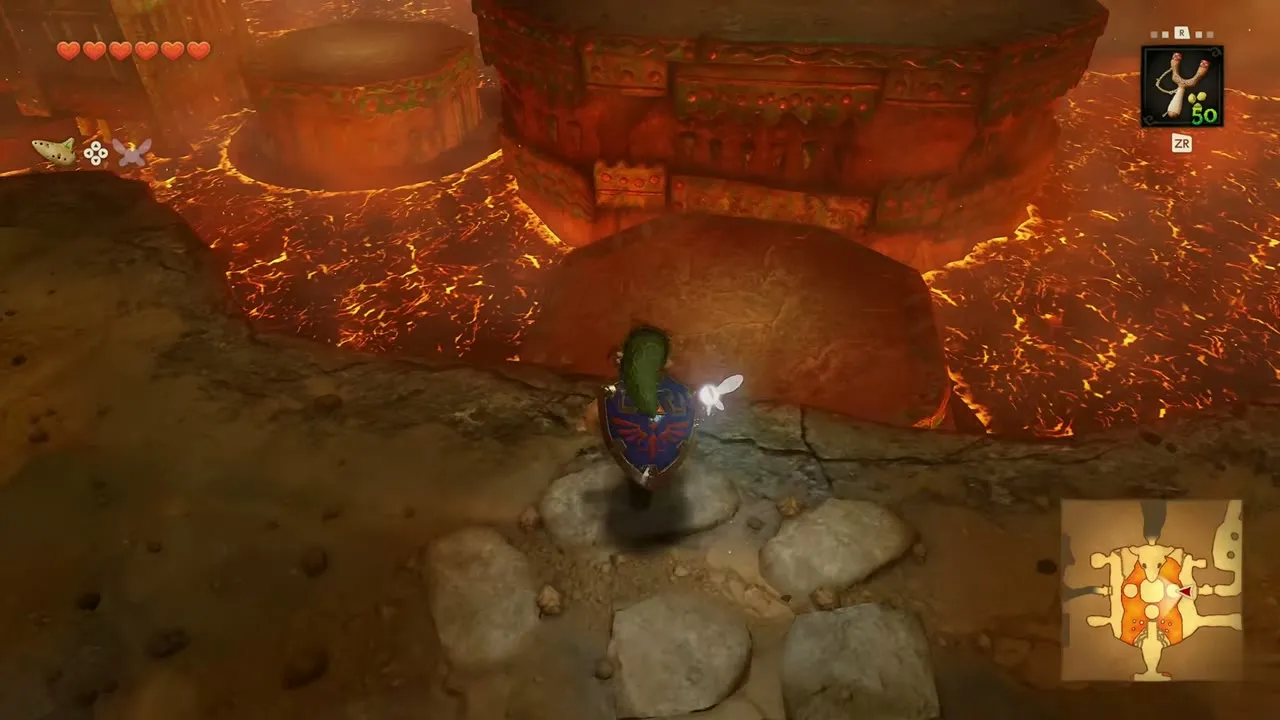
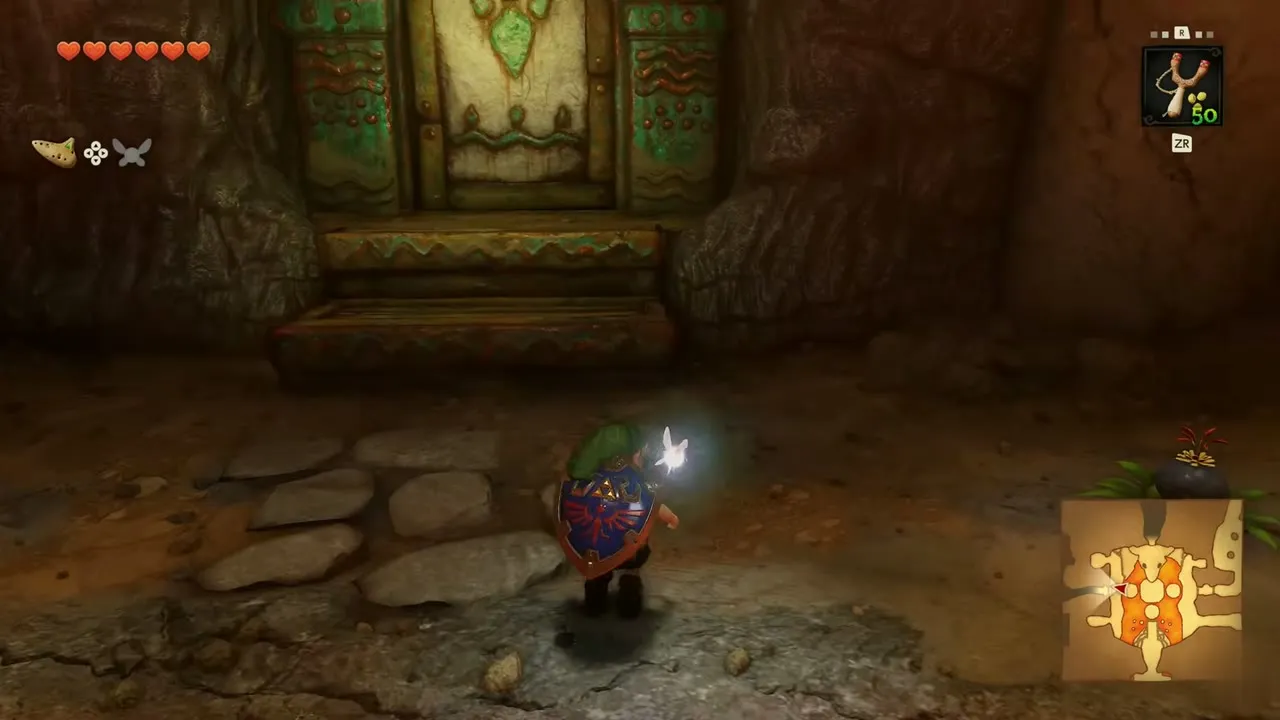
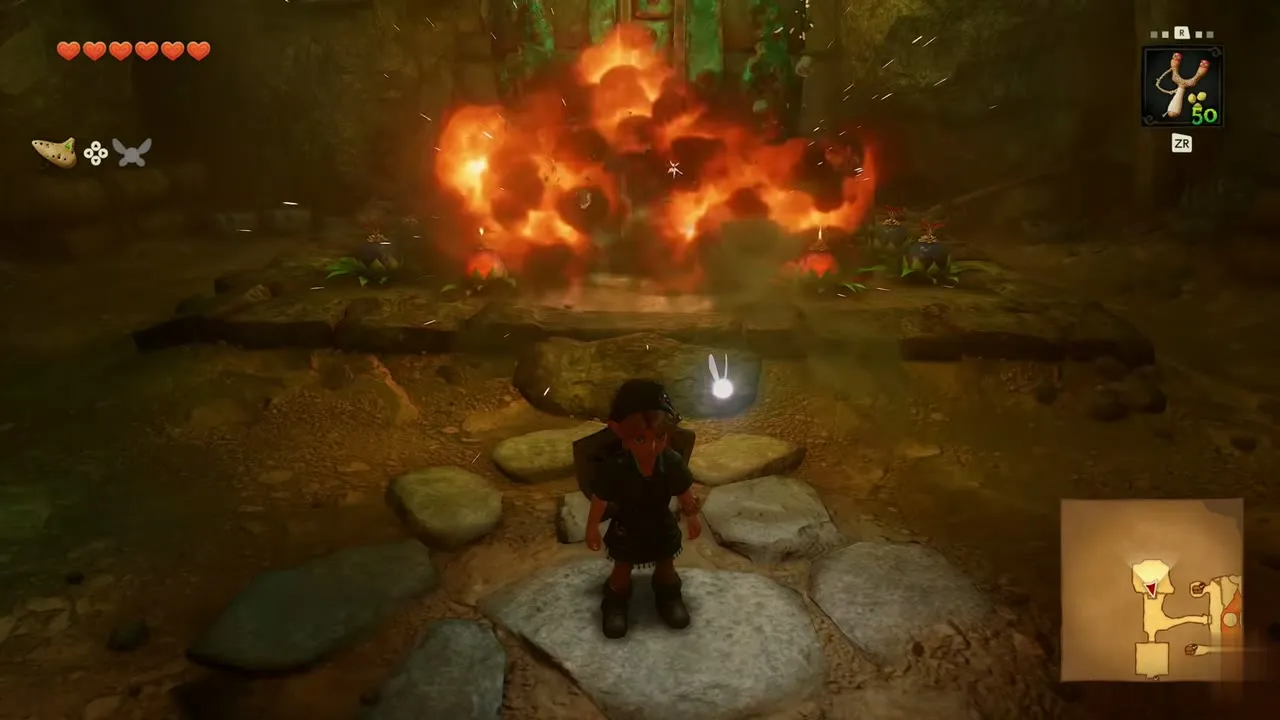
Save at the stone pad, then follow the lava rim around the hall to a stone platform in front of a green-stone door. Press Open and go through. In the passage beyond, throw a bomb flower at the cracked wall to blast it open and step into a room of stone statues.
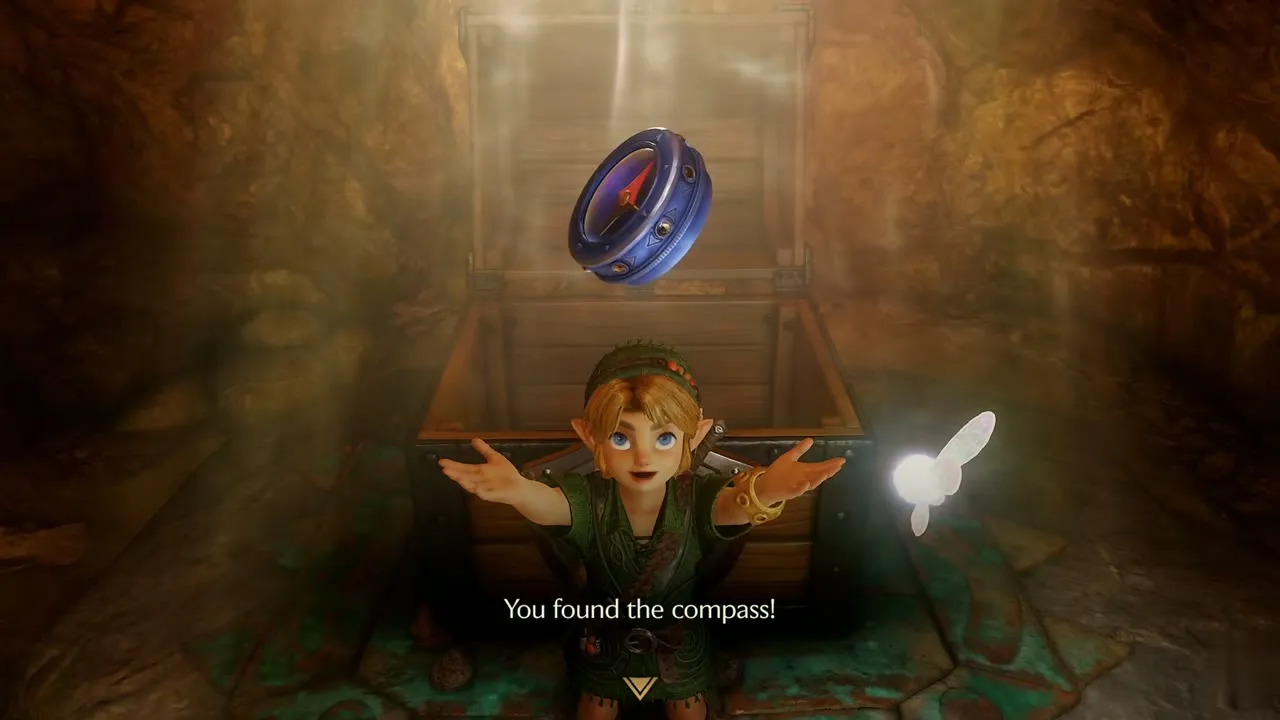
Compass
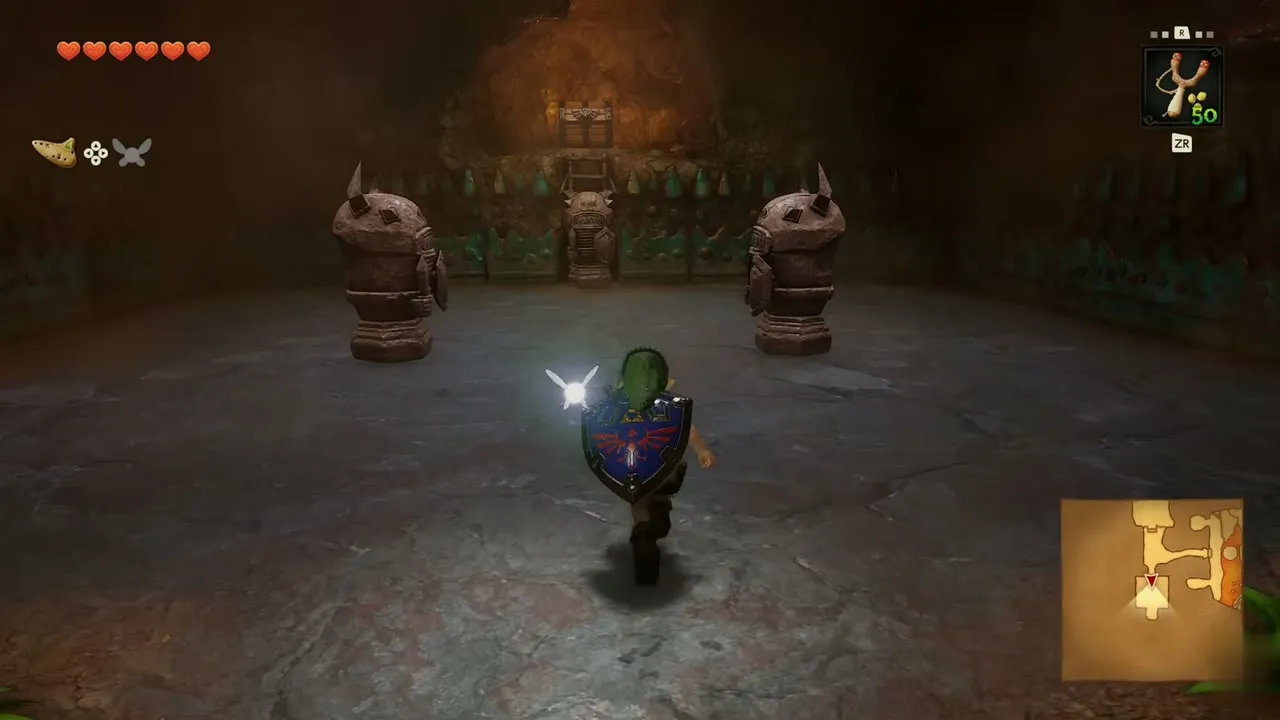
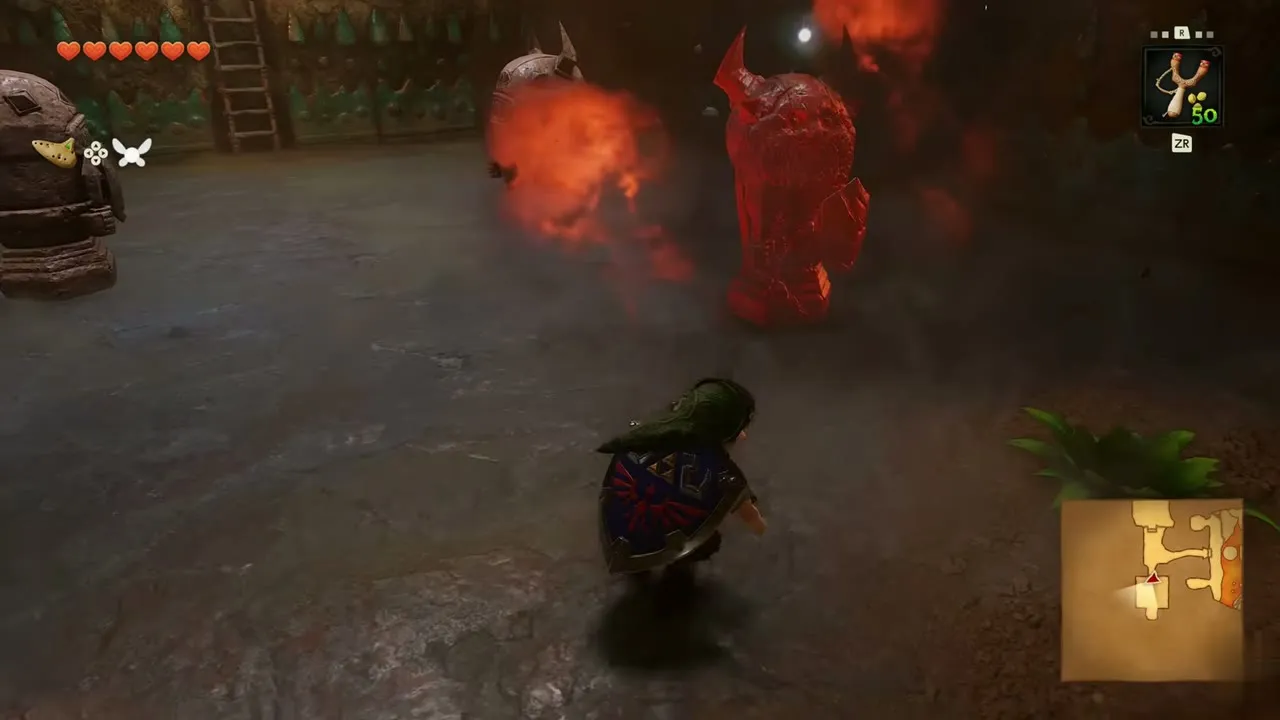
The horned stone statues in this room are Armos, and they wake up as you approach. Bomb flowers grow on the floor here: throw one at an Armos as it wakes and keep your shield up while it recovers. When the room is quiet, open the chest at the end for the Compass. It shows treasure chests and hidden secrets on the map. A green-lit door leads onward.
Gold Skulltula #21
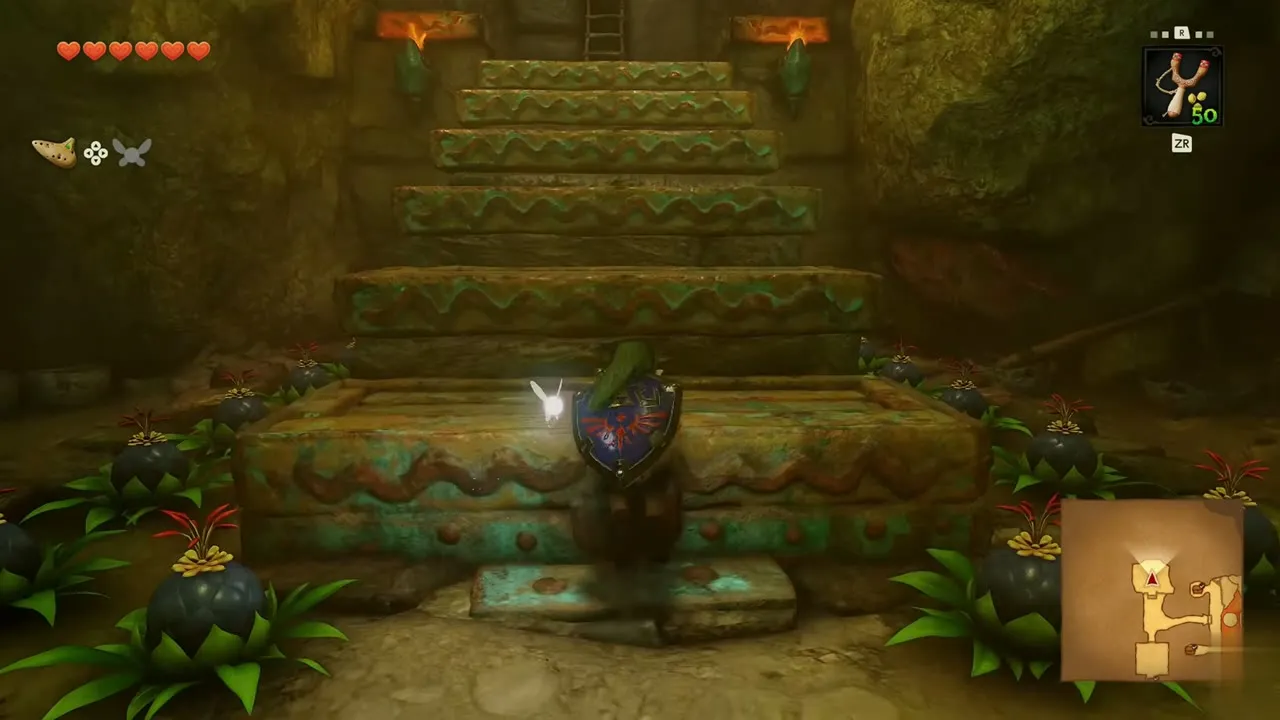
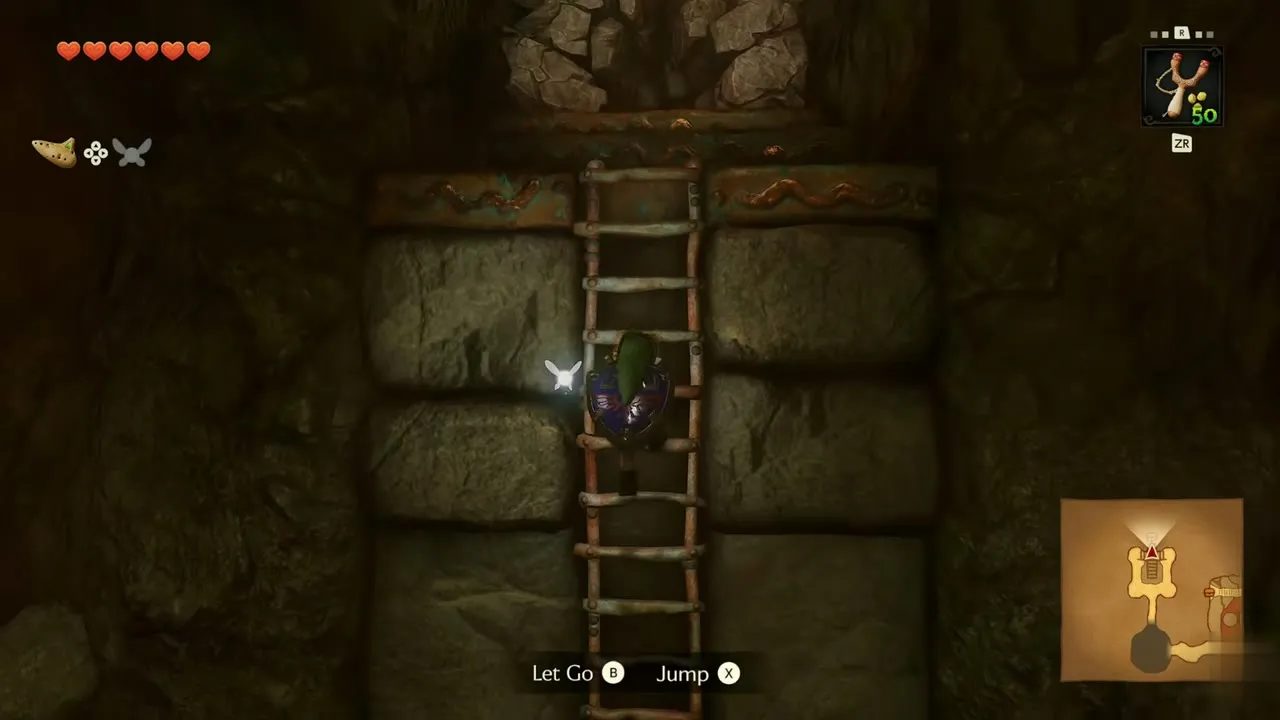
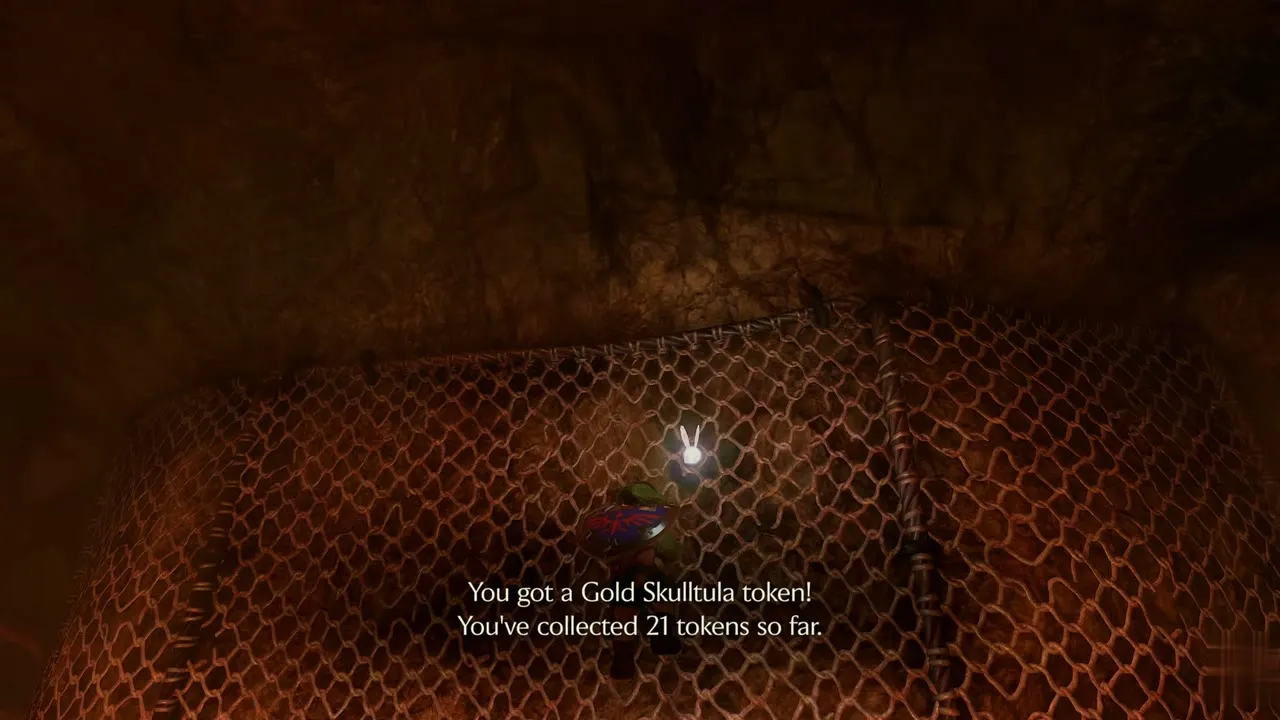
Carry a bomb flower through the next garden room to the cracked stone block and blast it open. Navi calls the stone steps behind it a surprise. Climb them, then the ladder, and jump onto the net wall above. A Gold Skulltula clings to the net, so aim the Fairy Slingshot with Shoot Seed and bring it down. You receive Gold Skulltula token #21.
Second floor and the Bomb Bag
Stone tower room
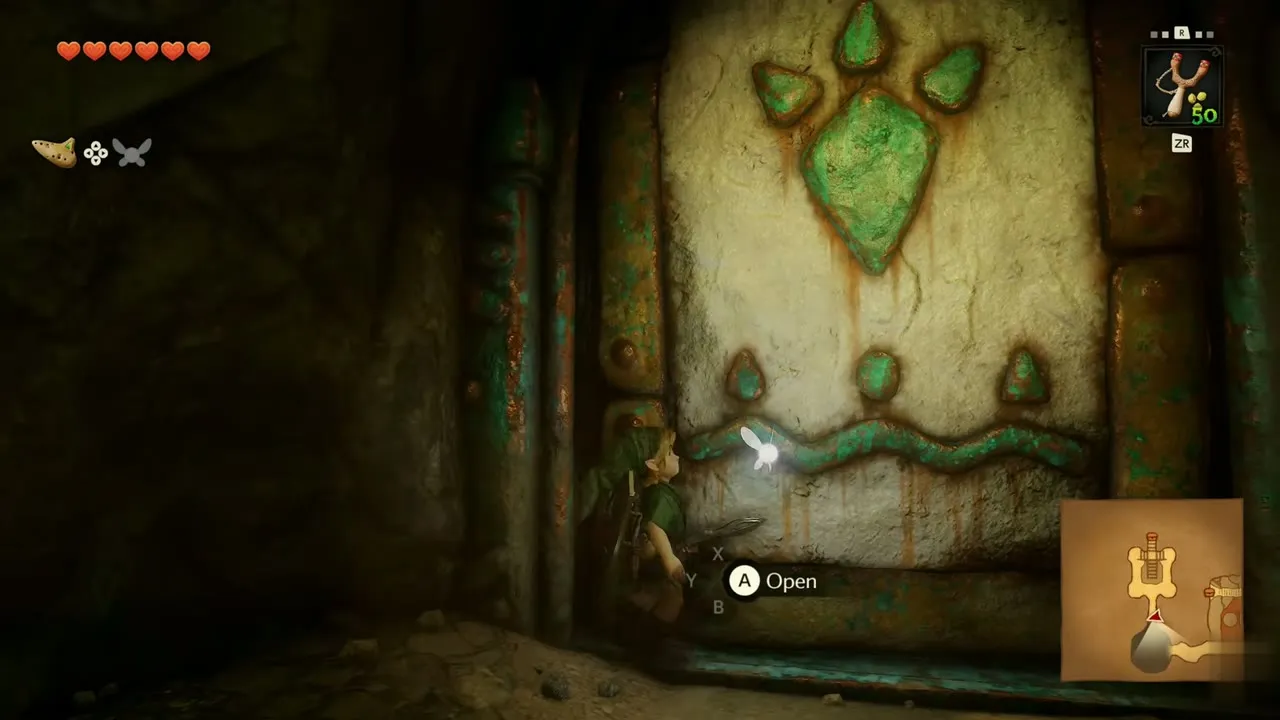
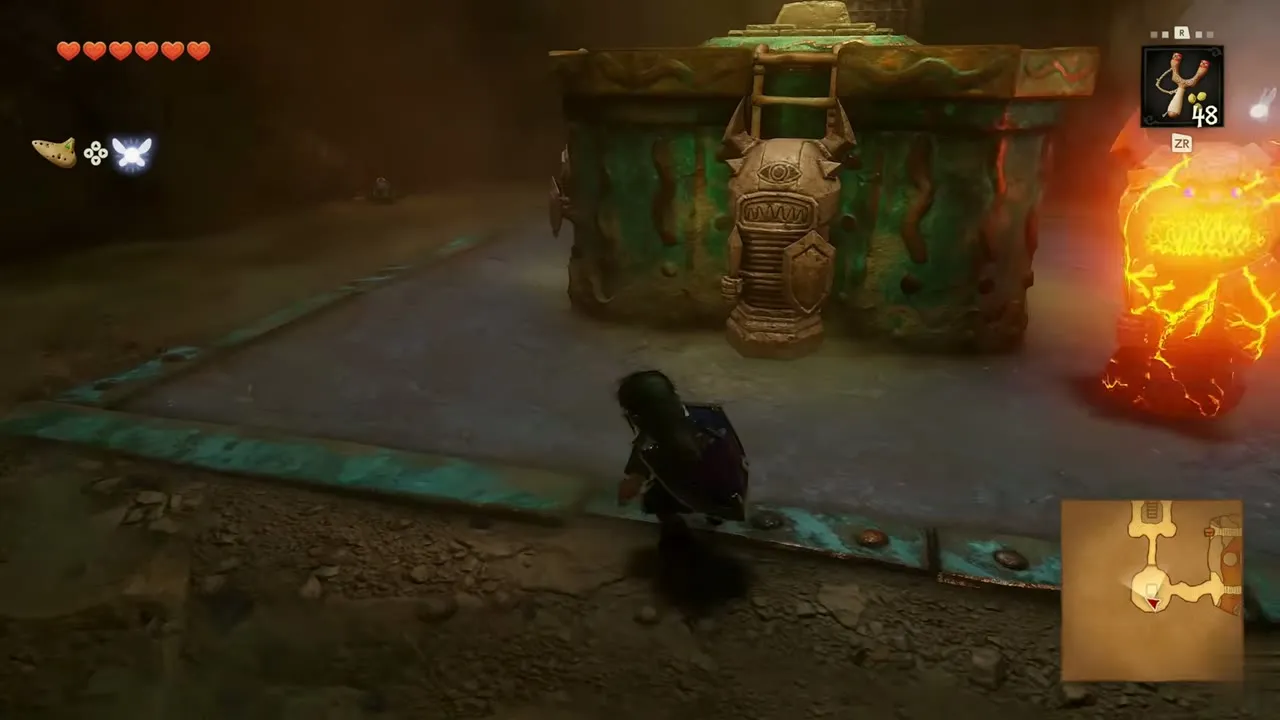
Go through the green-stone door on the second floor into a hall with a stone tower and a ladder. More Armos wake here and glow red, so throw bomb flowers at them from a distance. A green rupee waits in the corners. Climb the tower’s ladder to a wooden platform with a stone slab and a closed door.
Chained stairs over lava
Open the door and step out onto stone stairs hung from chains above the lava. Fire Keese keep dive-bombing, so shoot them with the slingshot as you climb. The chains hold your weight, so keep climbing until you reach solid floor at the far end.
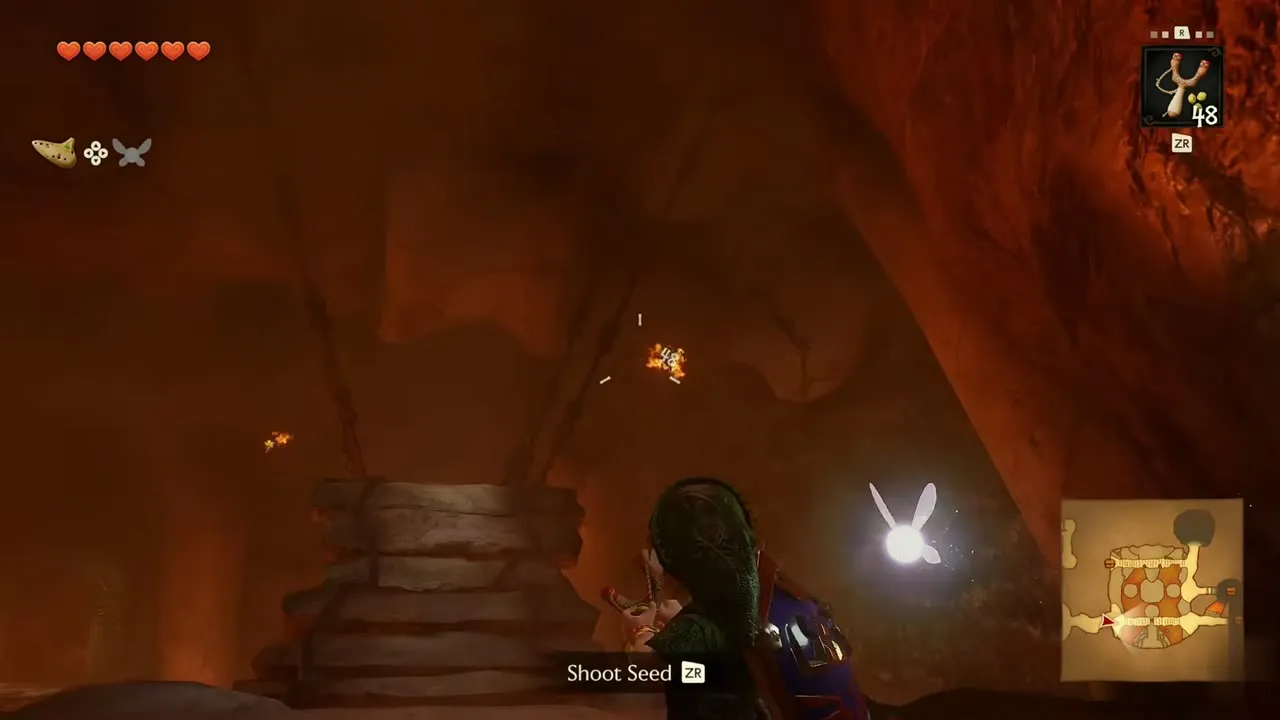
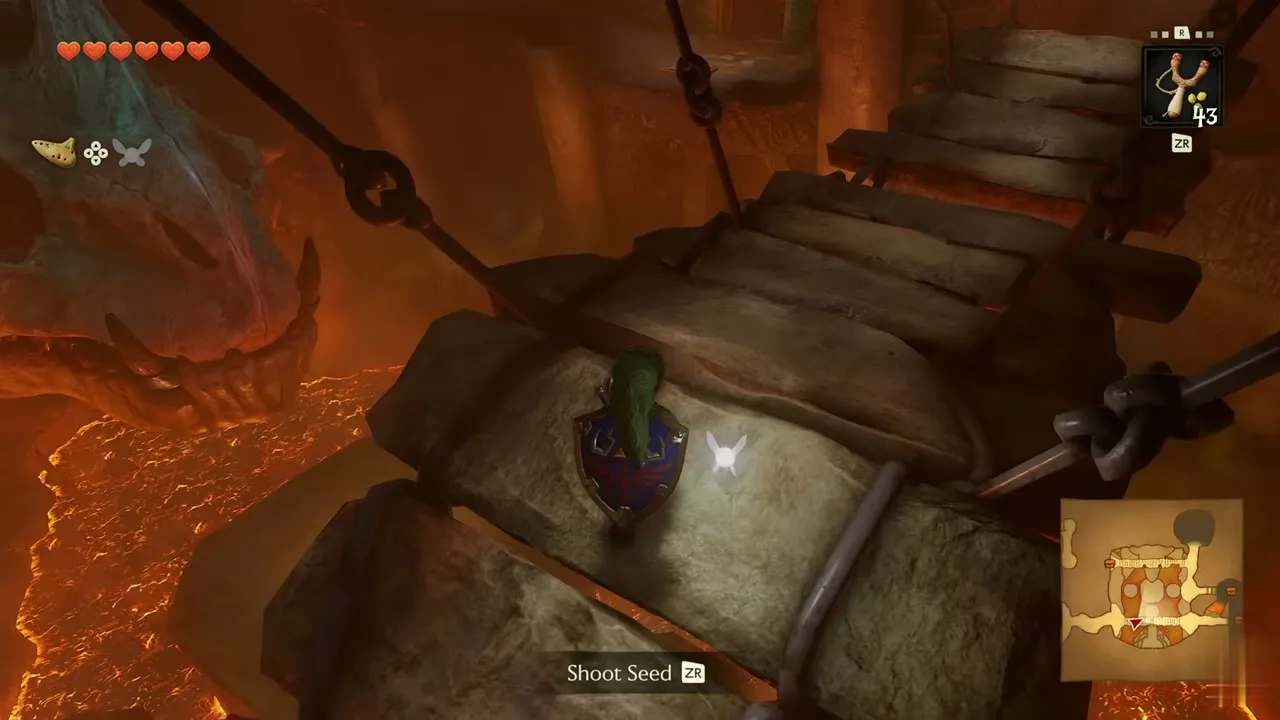
Deku Seeds chest
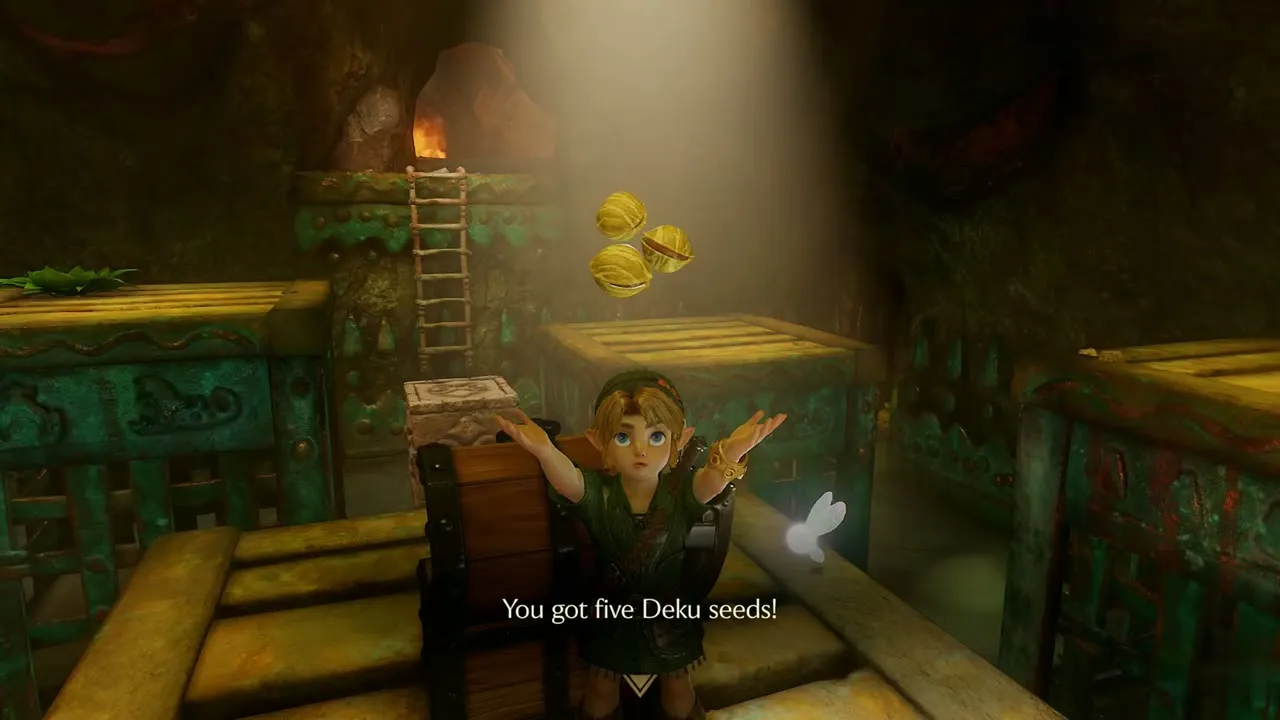
A cage of crates fills the next room. Climb onto the wooden pallets, push the crates into place and follow the ladders up. On the highest stack sits a chest. Open it to receive 5 Deku Seeds for the slingshot.
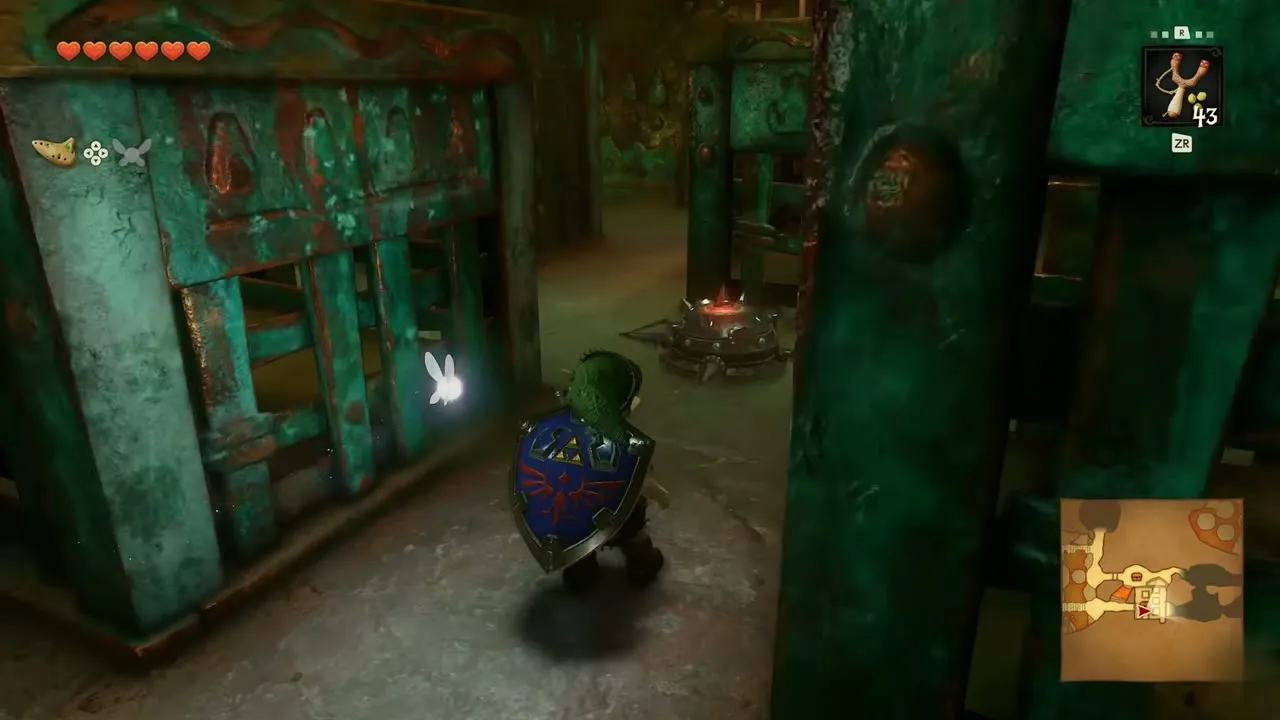
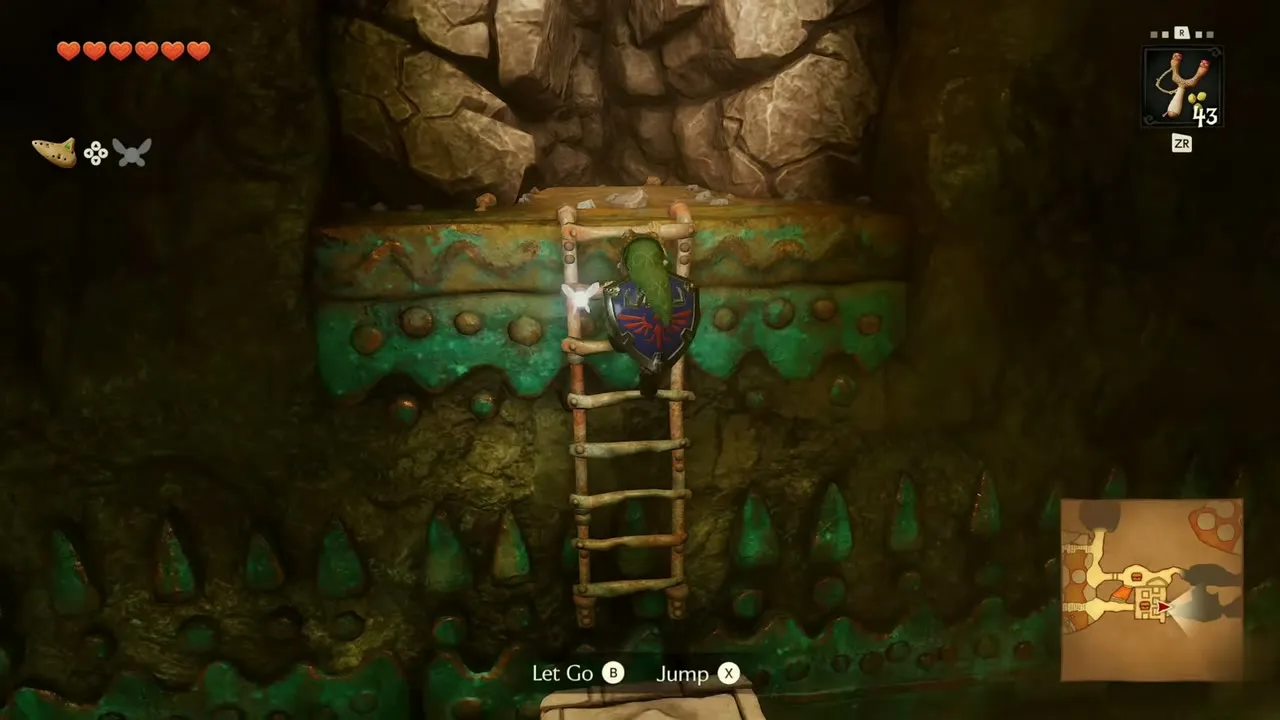
Fire and the eye switch
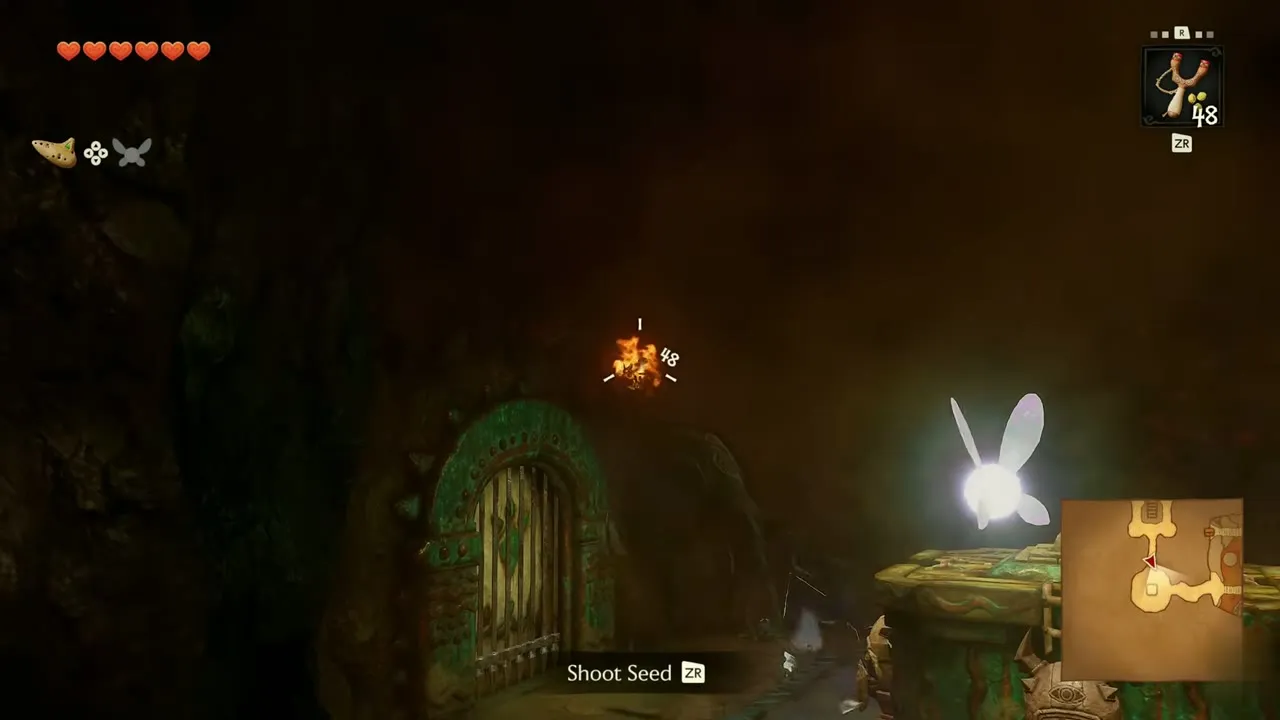
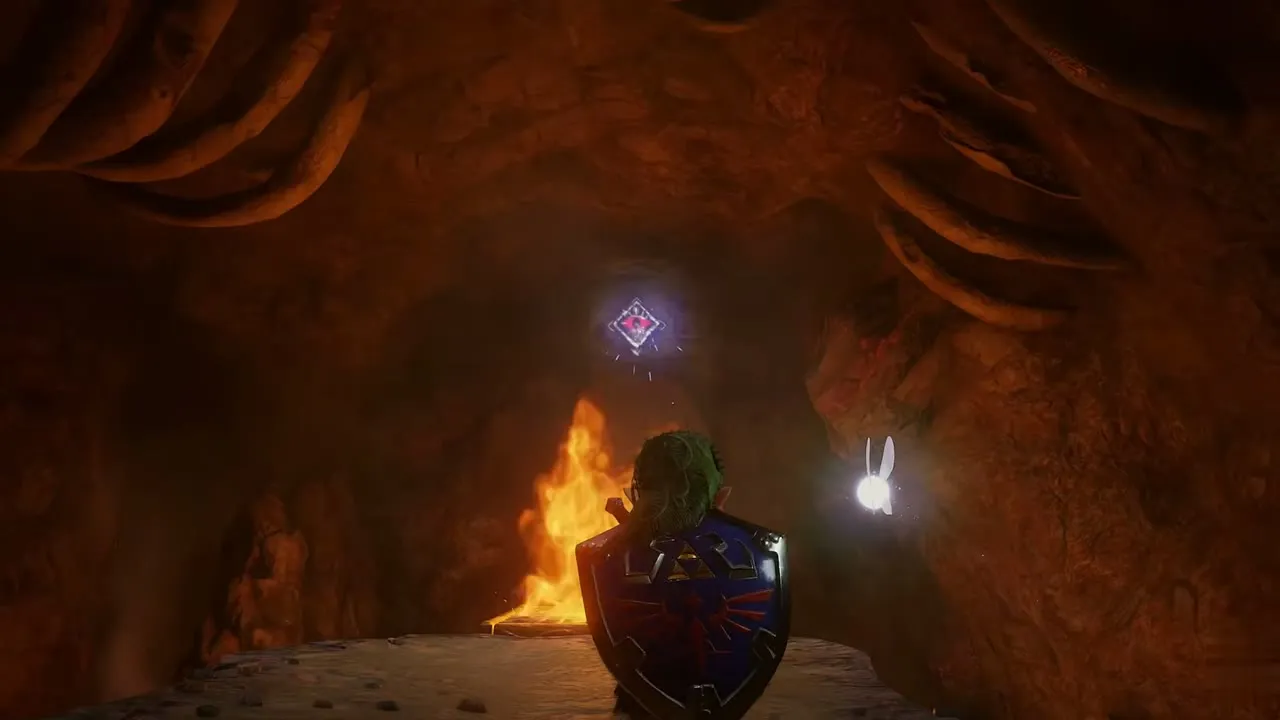
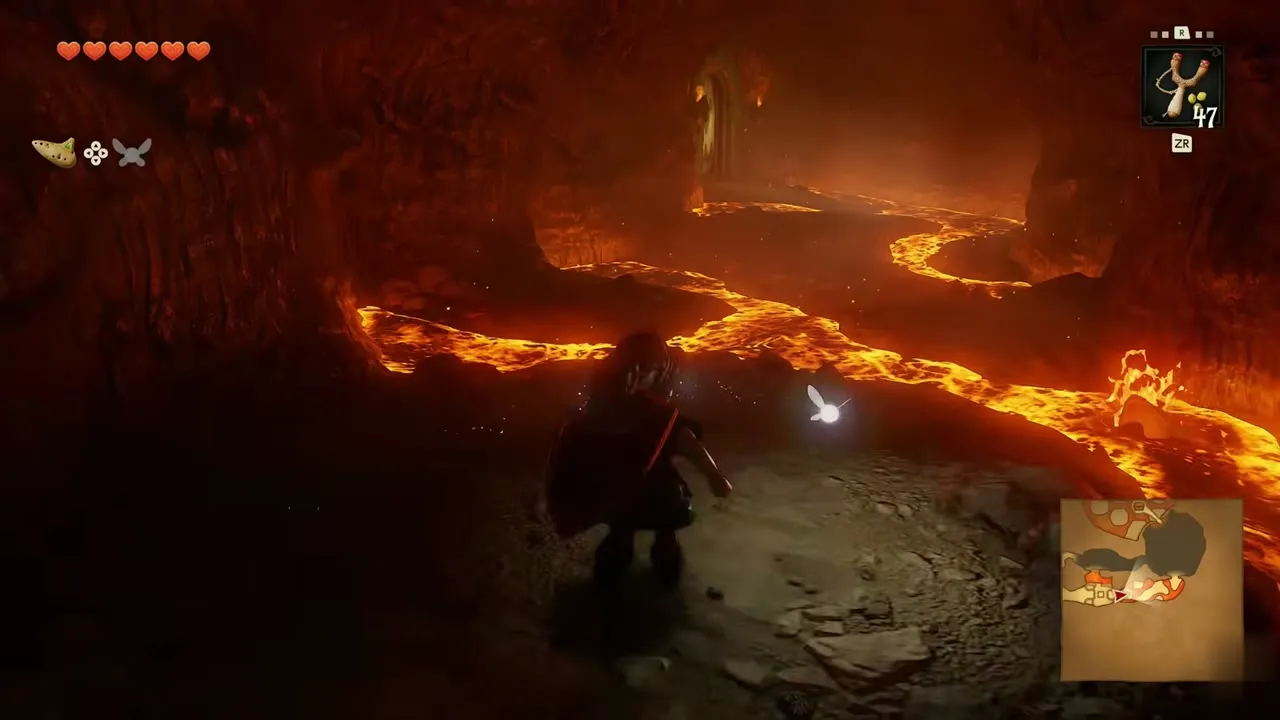
A cave runs beside a river of lava. At one point a flame blocks the path, and an eye switch glows above it. Aim the slingshot and shoot the eye to put the fire out. Walk on along the lava rim to the arena beyond, where a purple barrier seals the door.
Lava platform arena
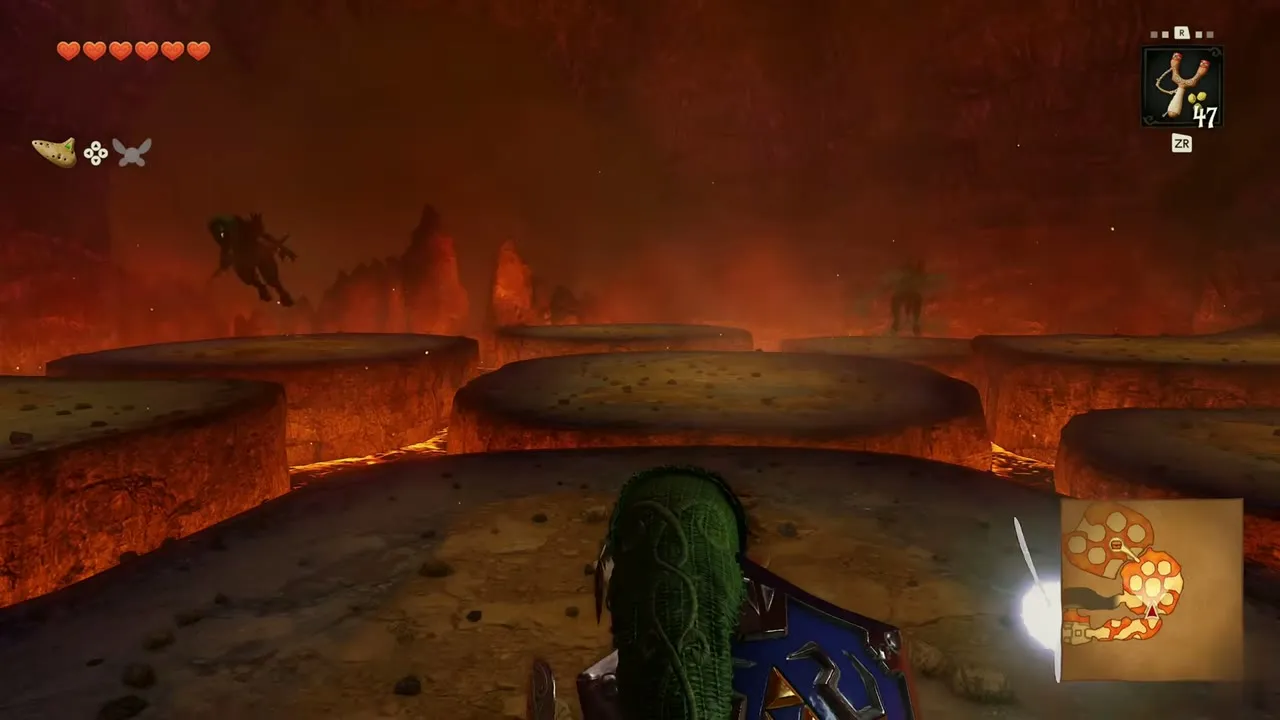
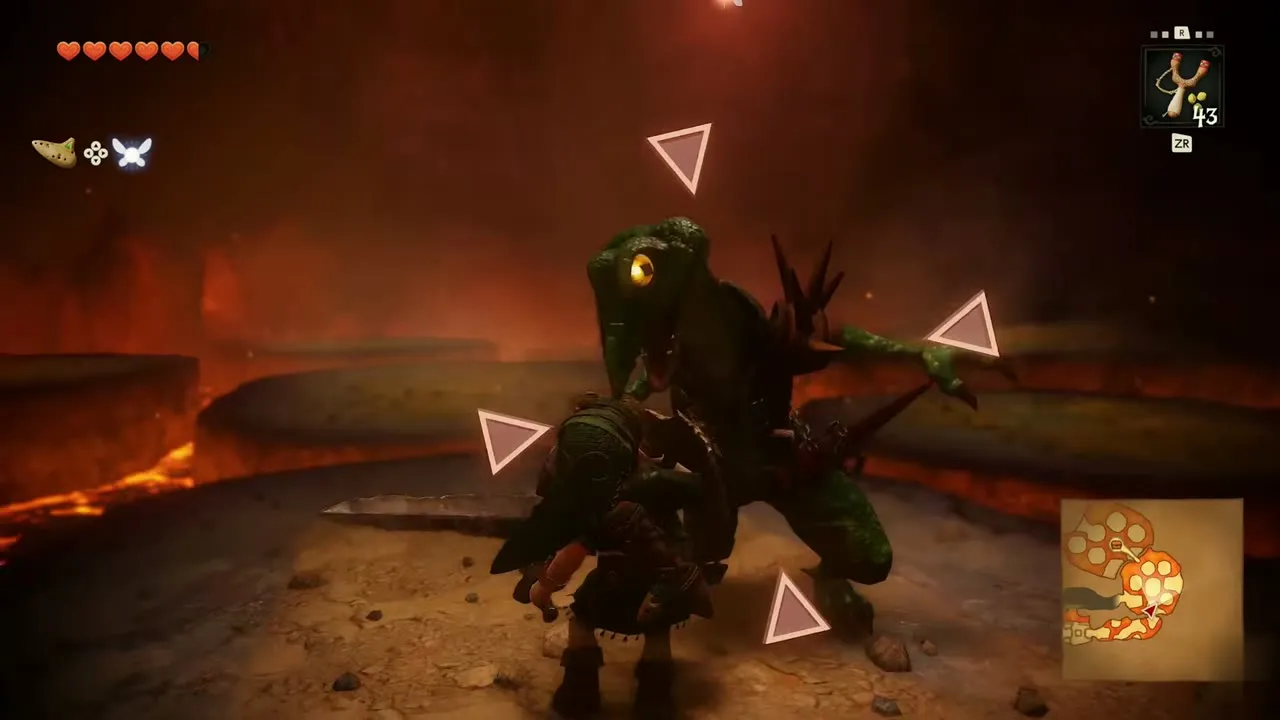
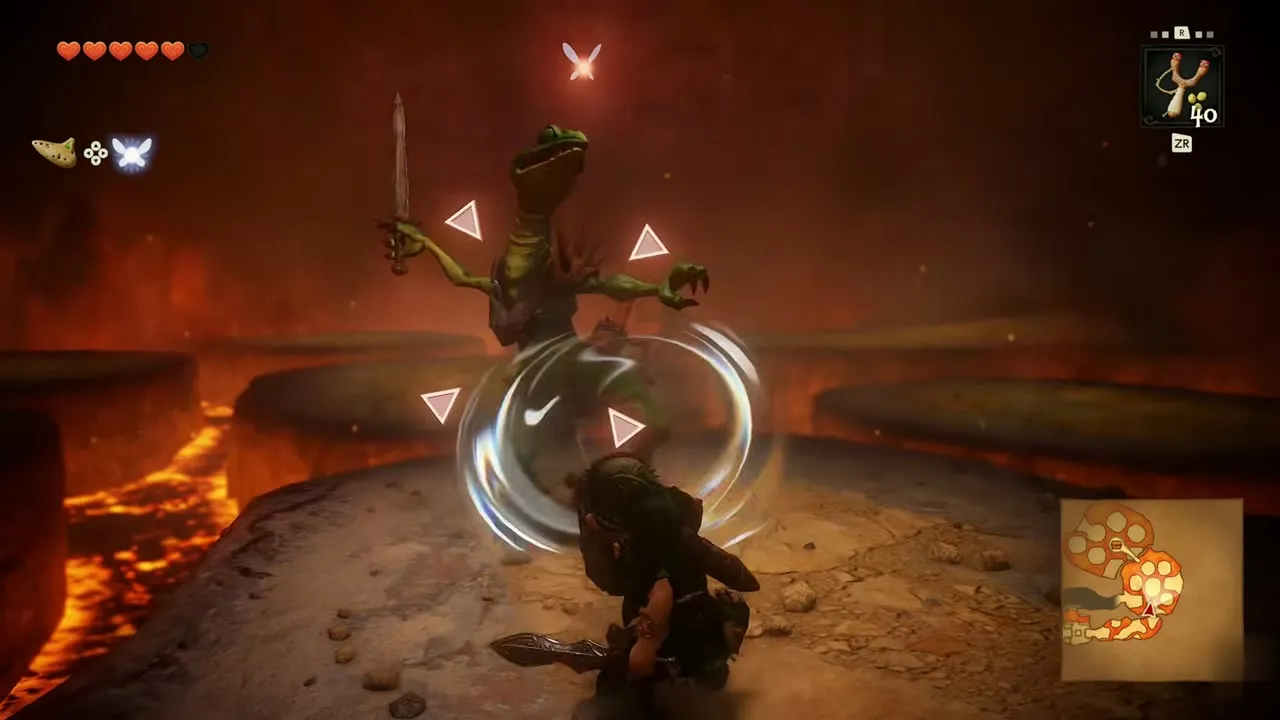
The arena is a ring of round stone platforms in lava, and Lizalfos guard it. Shoot them with seeds from range, lock on and strike with the sword when one lands next to you. Jump between the platforms carefully, since a missed landing drops you into the lava.
Business Scrub Seed on the lava pillar
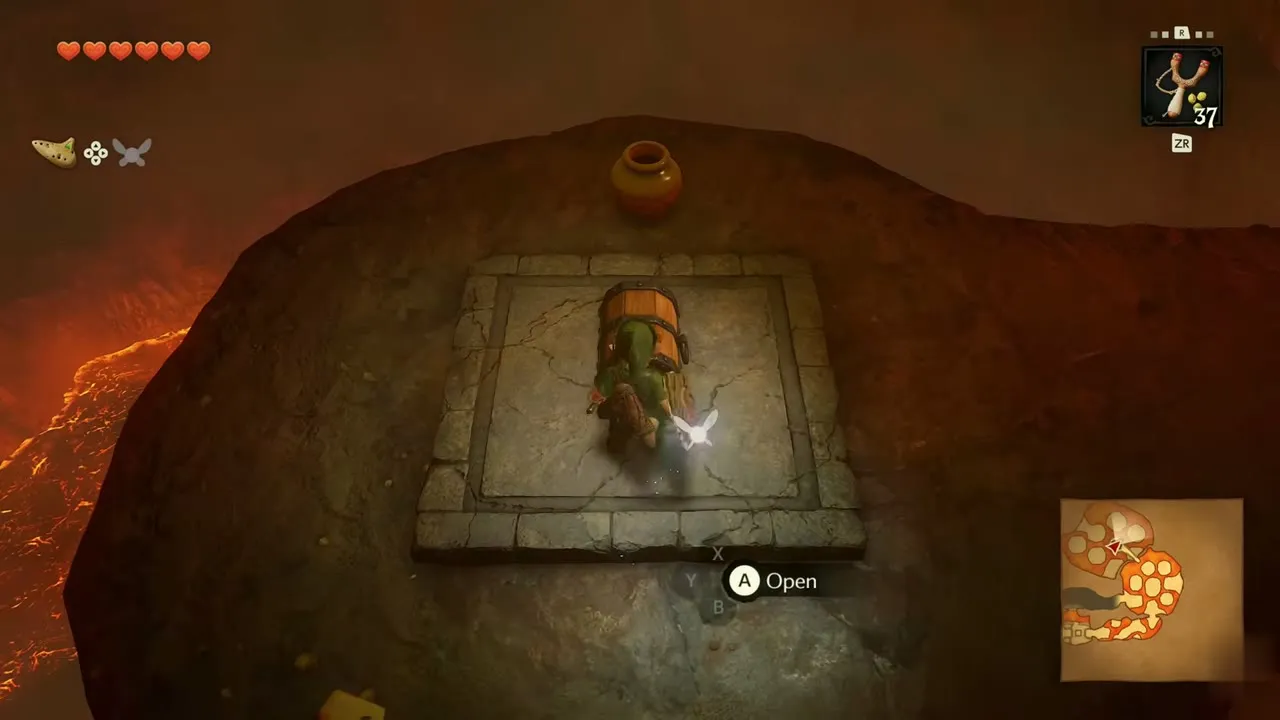
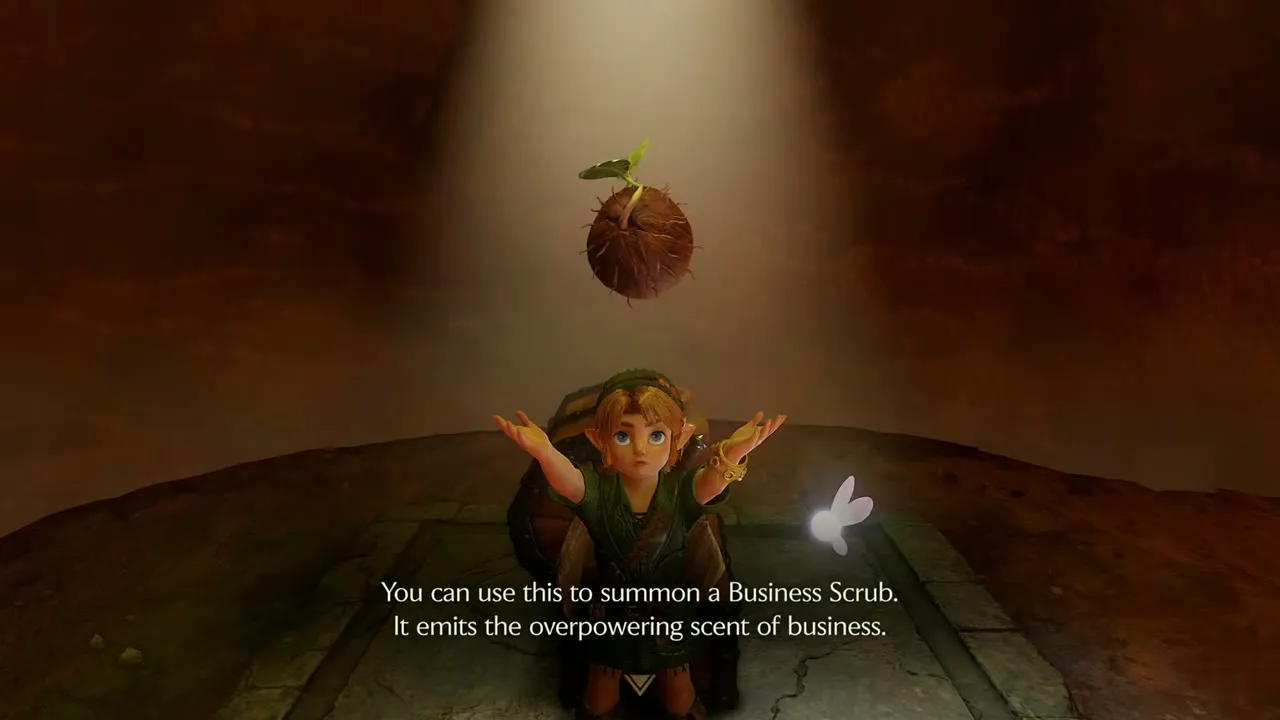
Hop across the platforms to the stone pillar and open the chest on its top. You receive a Business Scrub Seed. The box says you can use it to summon a Business Scrub, and that it gives off the overpowering scent of business. Keep it for later, since it summons a Business Scrub nearly anywhere.
Bomb Bag
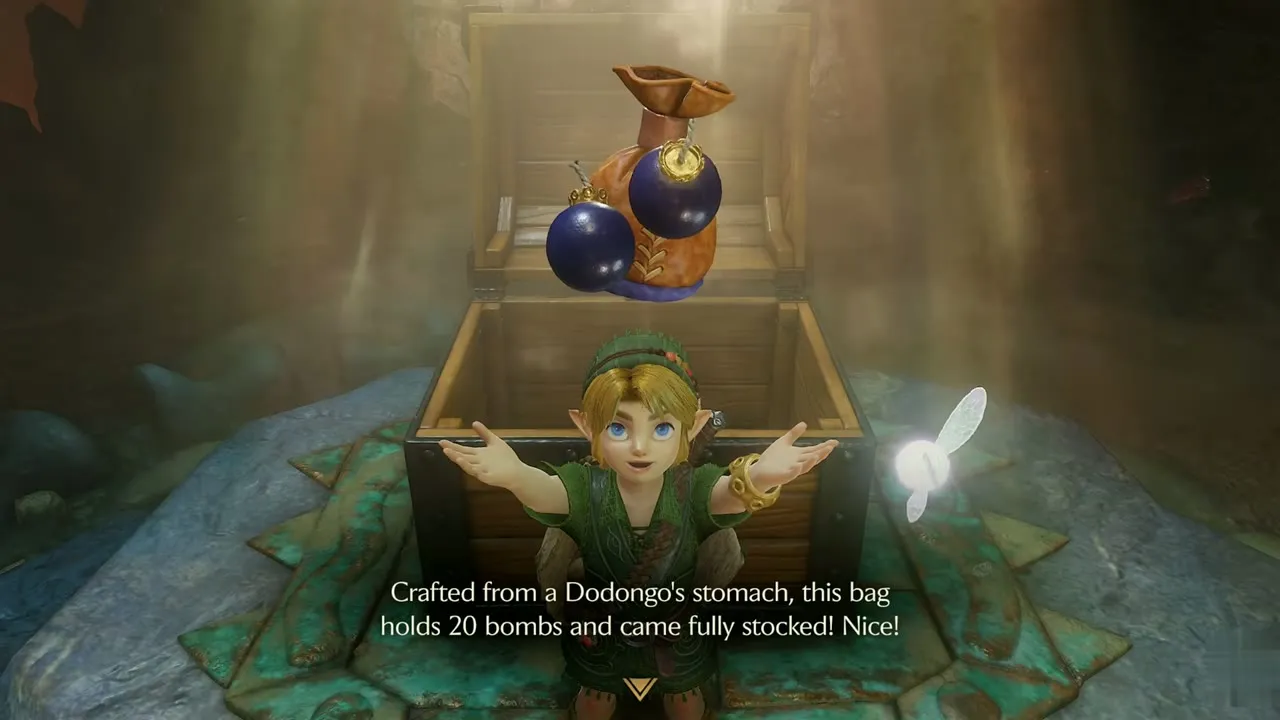
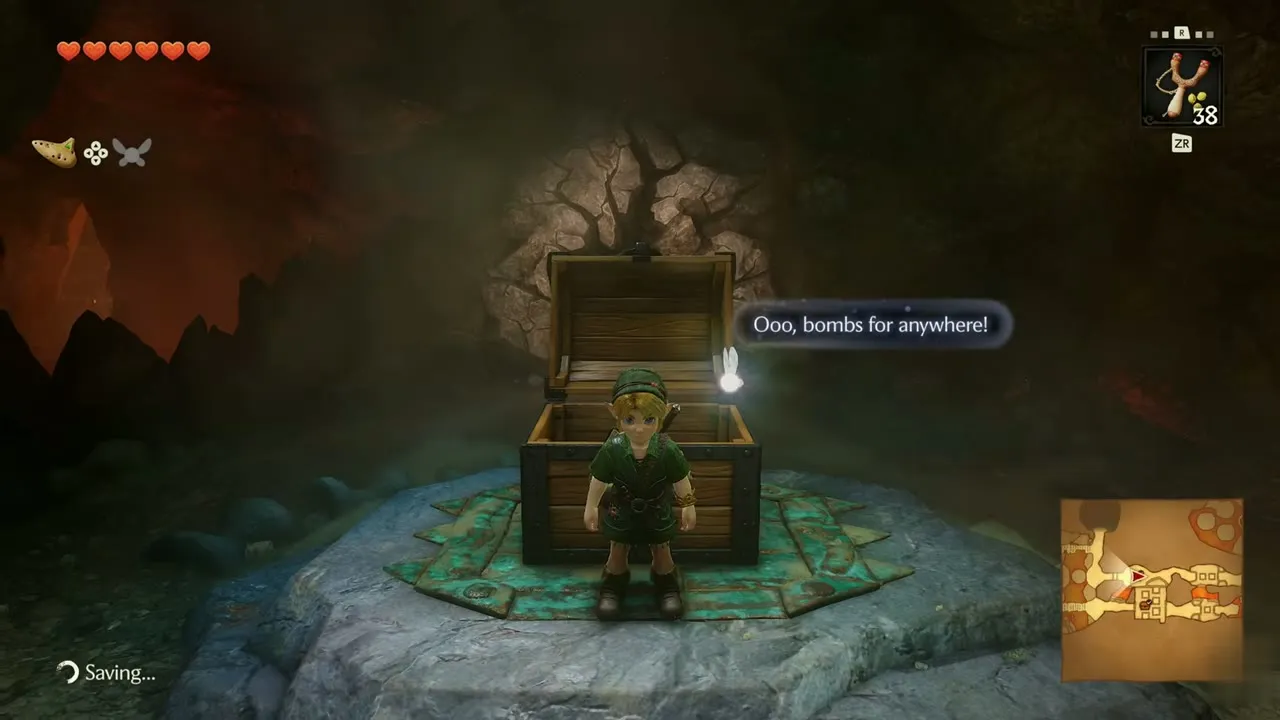
Leave the arena through the green-stone door and the cave beyond. A fire blocks the way, so shoot Deku Seeds into the eye switch in the rock face to put it out. A chest on a stone pad stands in front of a cracked wall. Open it to receive the Bomb Bag. It is made from a Dodongo’s stomach, holds 20 bombs and comes fully stocked. Press Take out on the item menu to use a bomb, and you can now blast walls anywhere.

Back down and the skull
Gold Skulltula #22
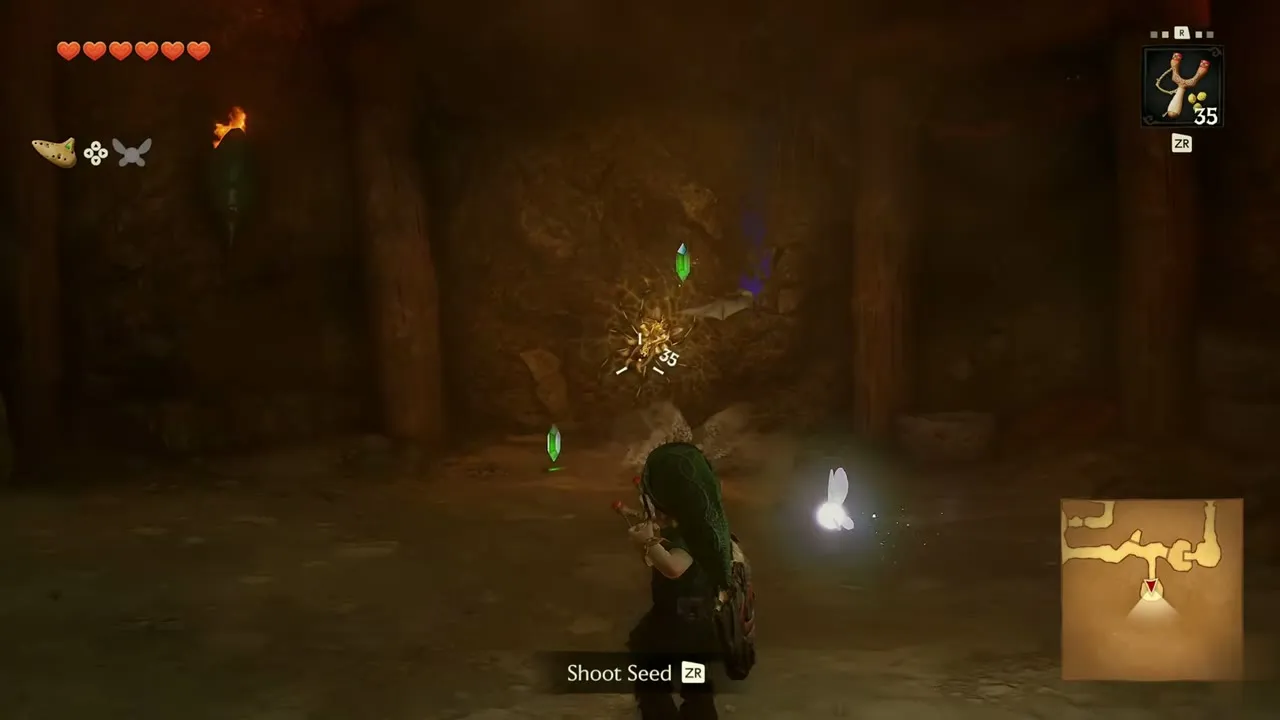
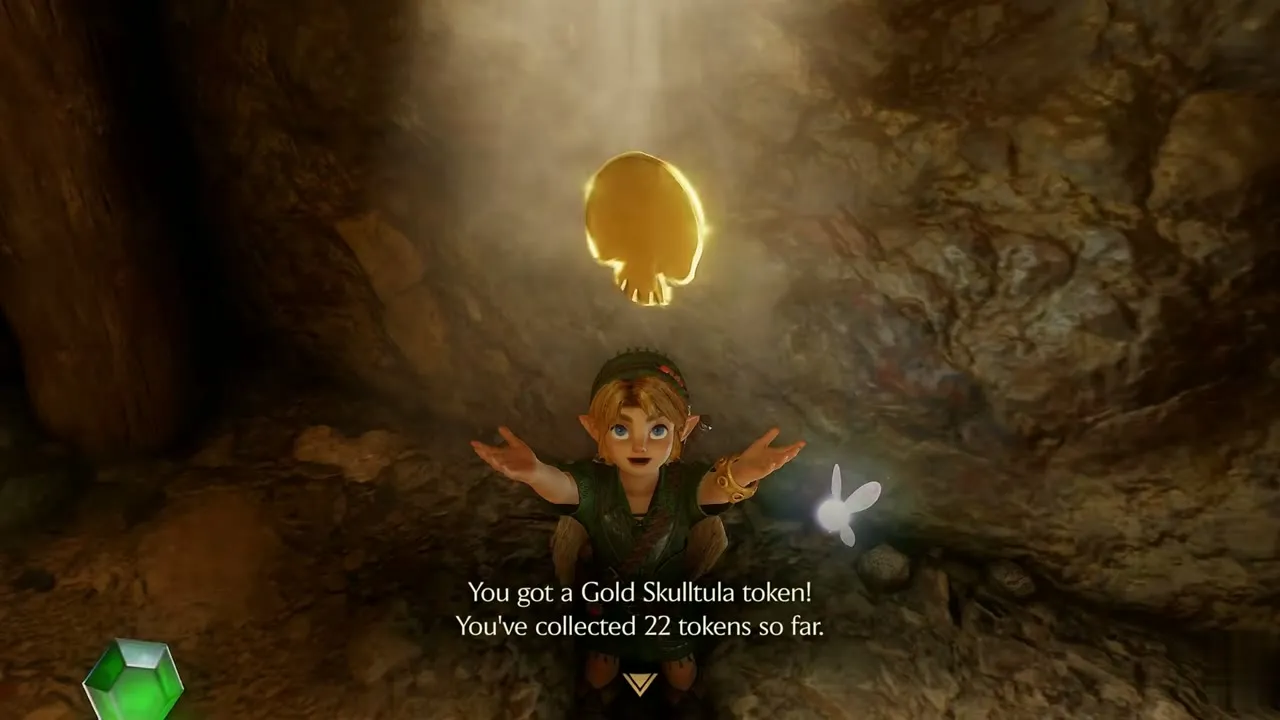
Return to the first floor and walk to the small cave in the southeast corner. Pass through the cave and shoot the glowing spot on the cave wall with the Fairy Slingshot to knock down a Gold Skulltula. You receive token #22, your second from this cavern.
Gold Skulltula #23
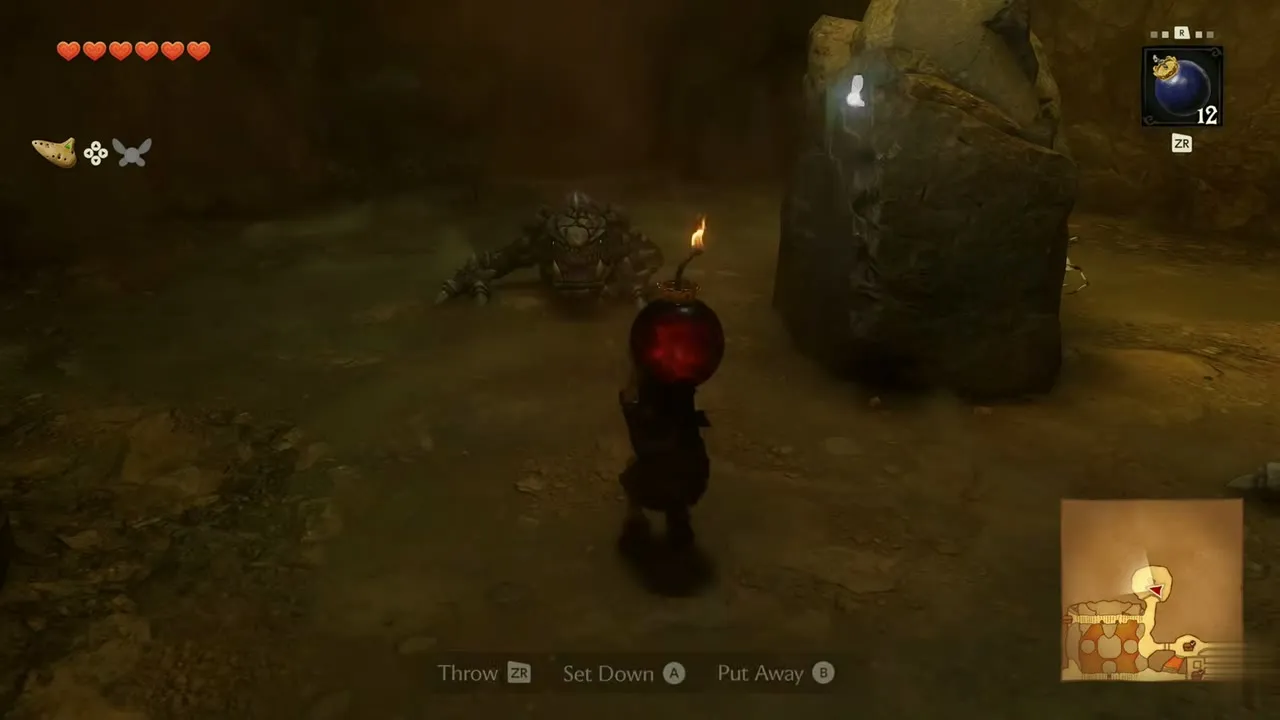
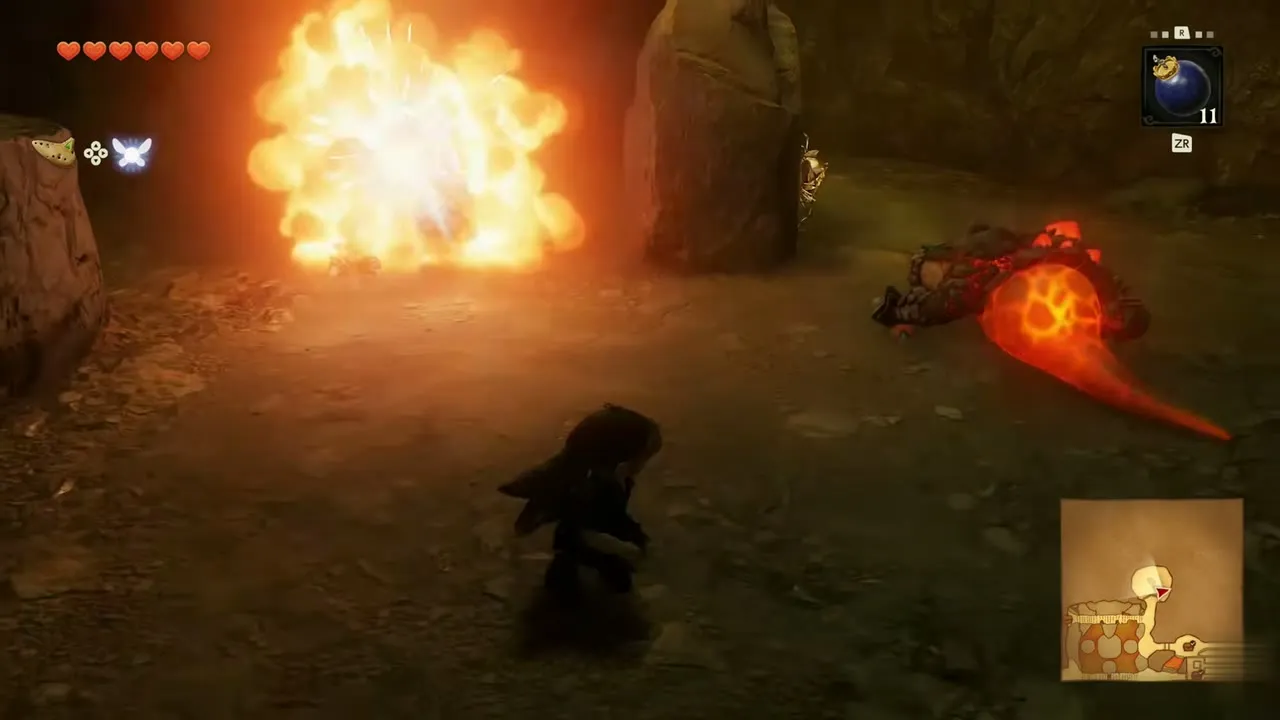
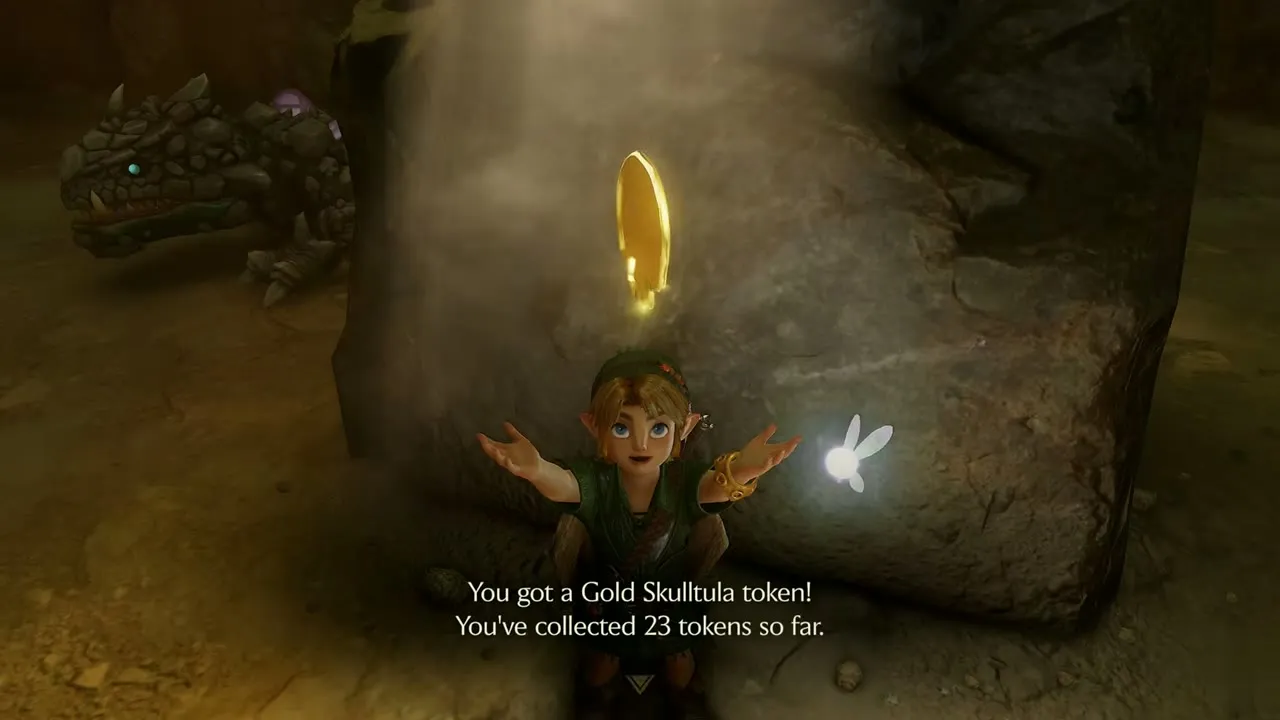
Go up to the second floor and enter the cave of Dodongos. Set bombs and throw them at the Dodongos to blow them up. A big glowing rock stands among them. Break it with a bomb and a Gold Skulltula token appears. You receive token #23, which makes three here.
Chain stairs and the sign
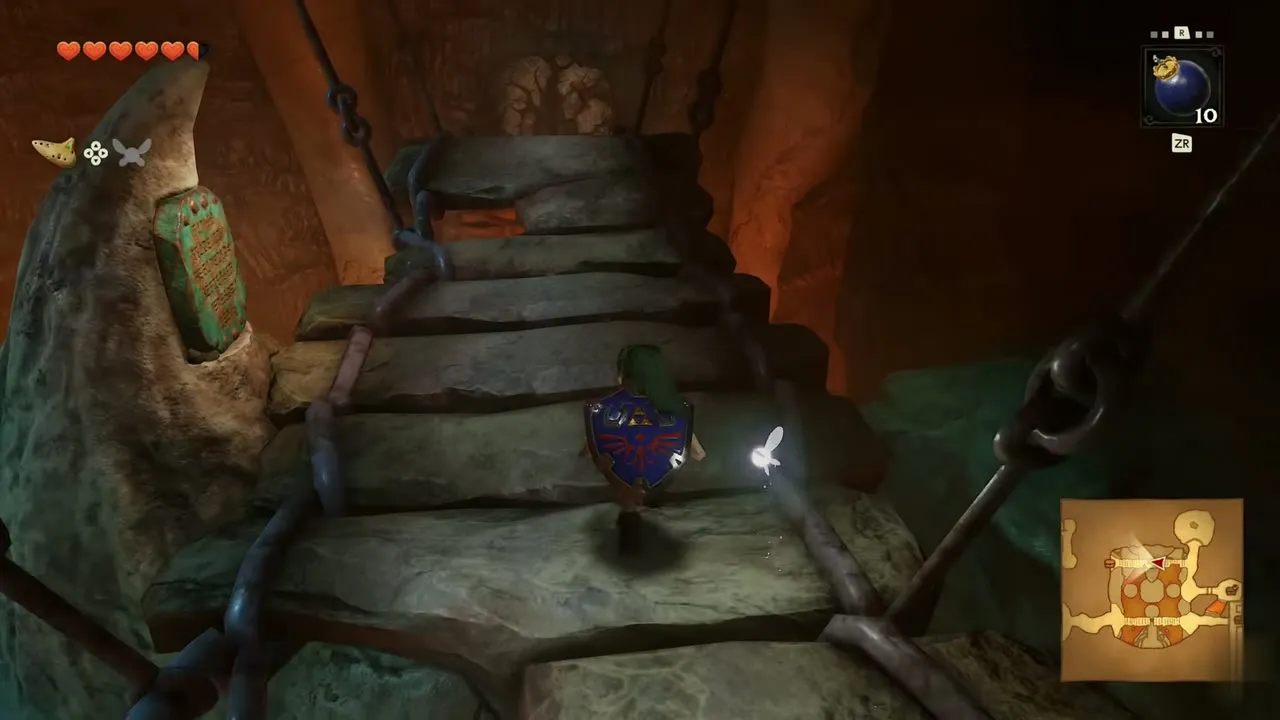
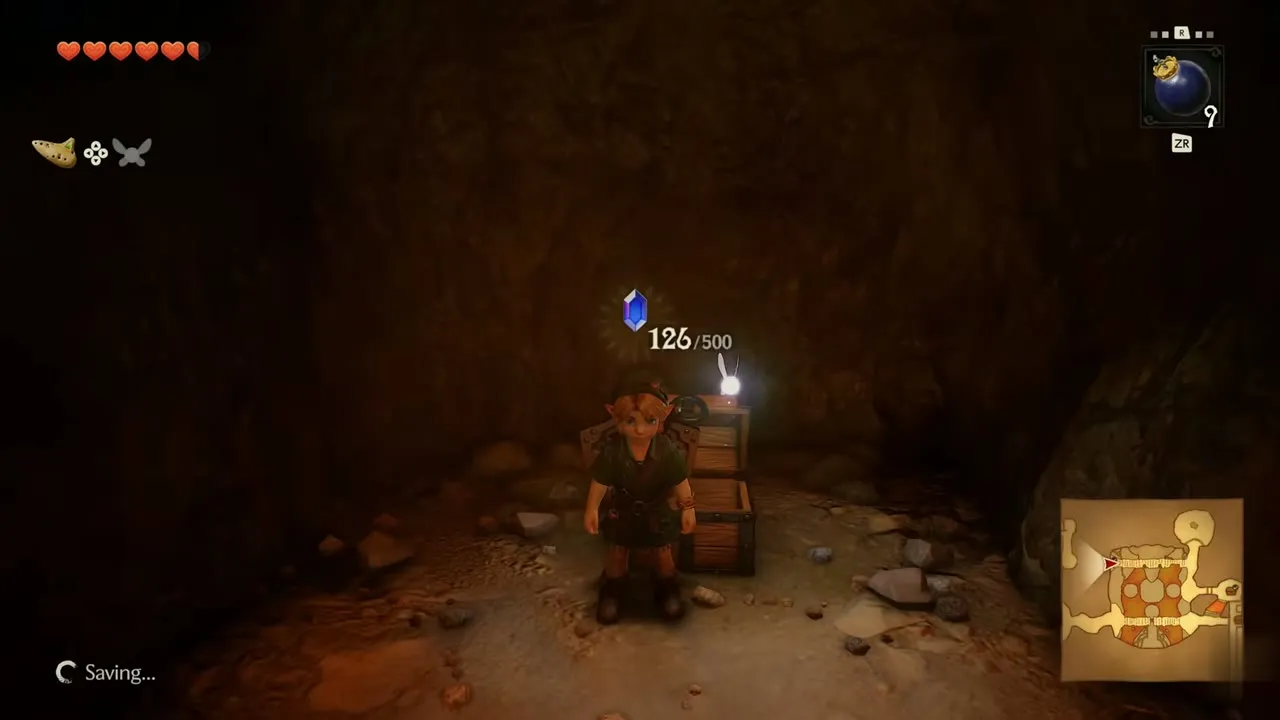
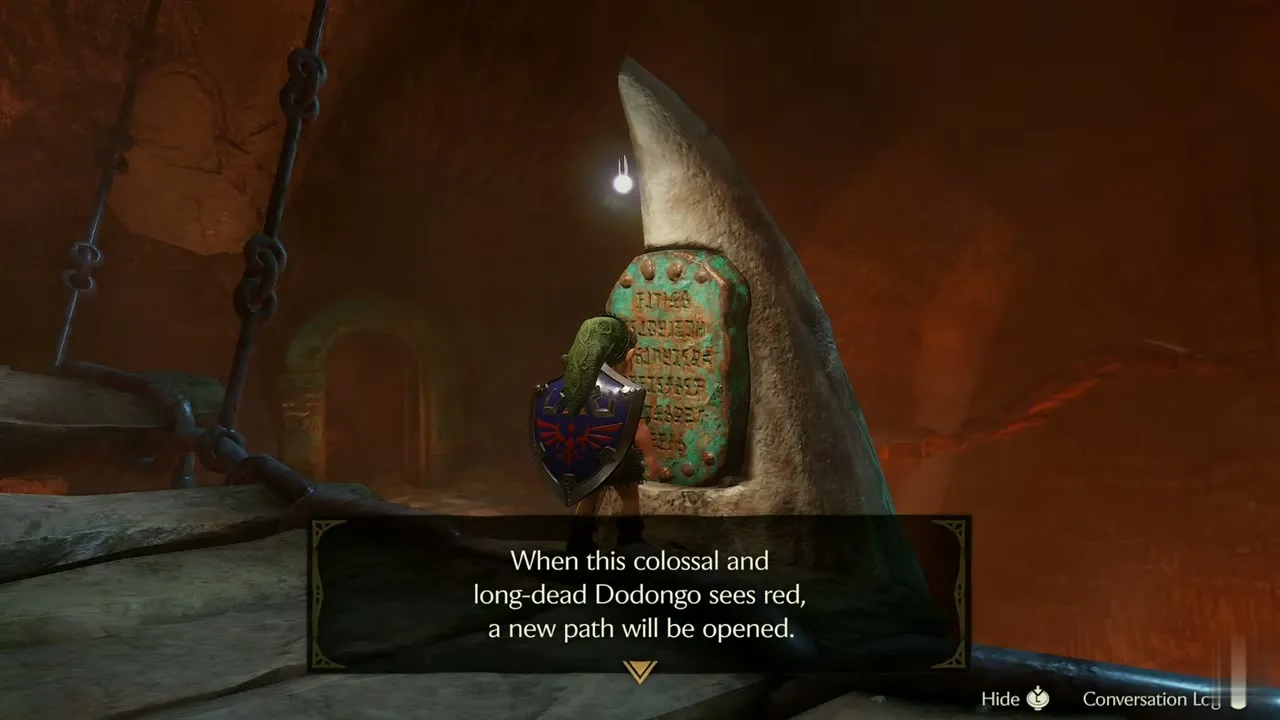
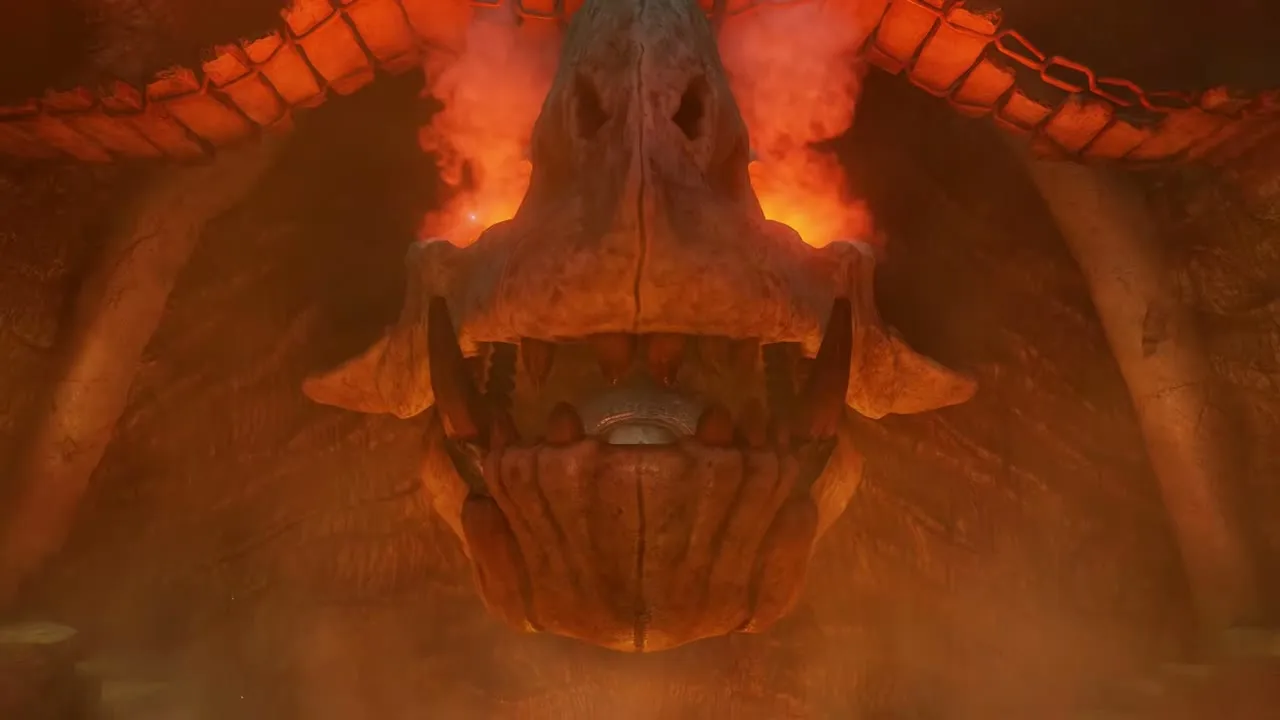
Climb the stone stairs hung on chains that rise out of the lava toward the skull. A small side cave holds a chest with a blue rupee. Further on, a carved sign says that when the colossal, long-dead Dodongo sees red, a new path will open. The huge skull overhead is that Dodongo, and one of its eyes glows red as you pass.

Skull bridge
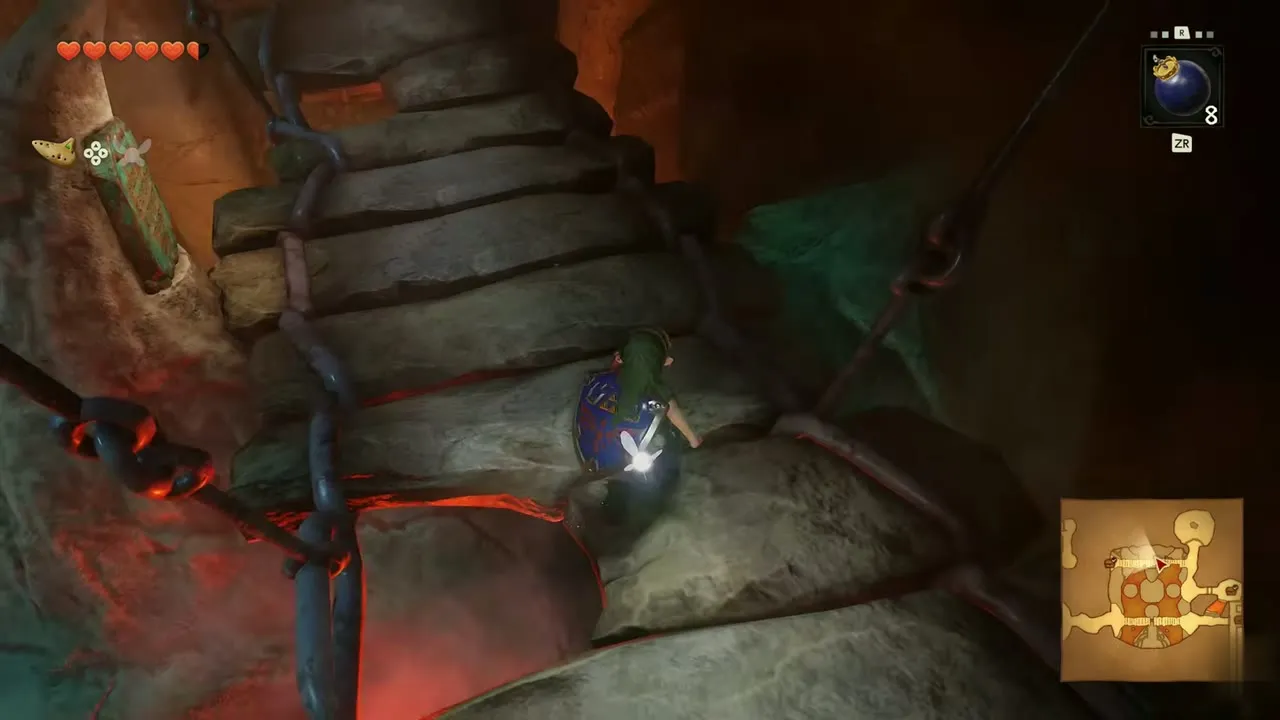
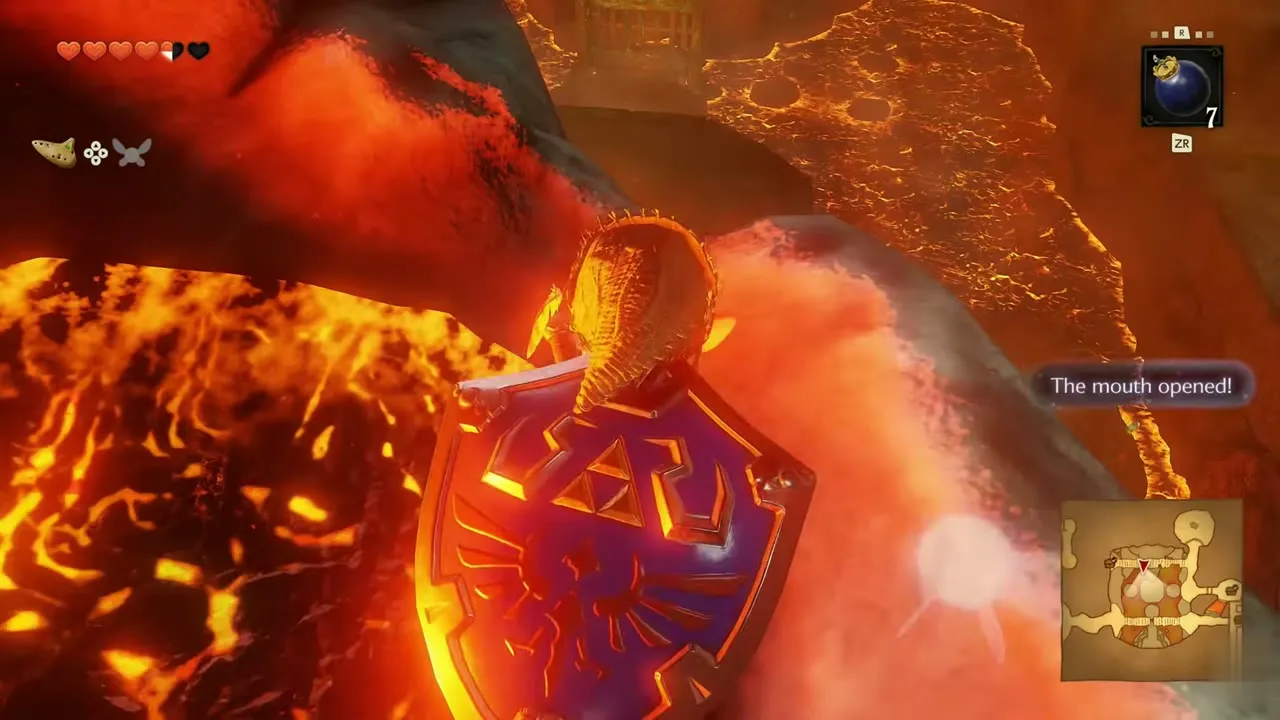
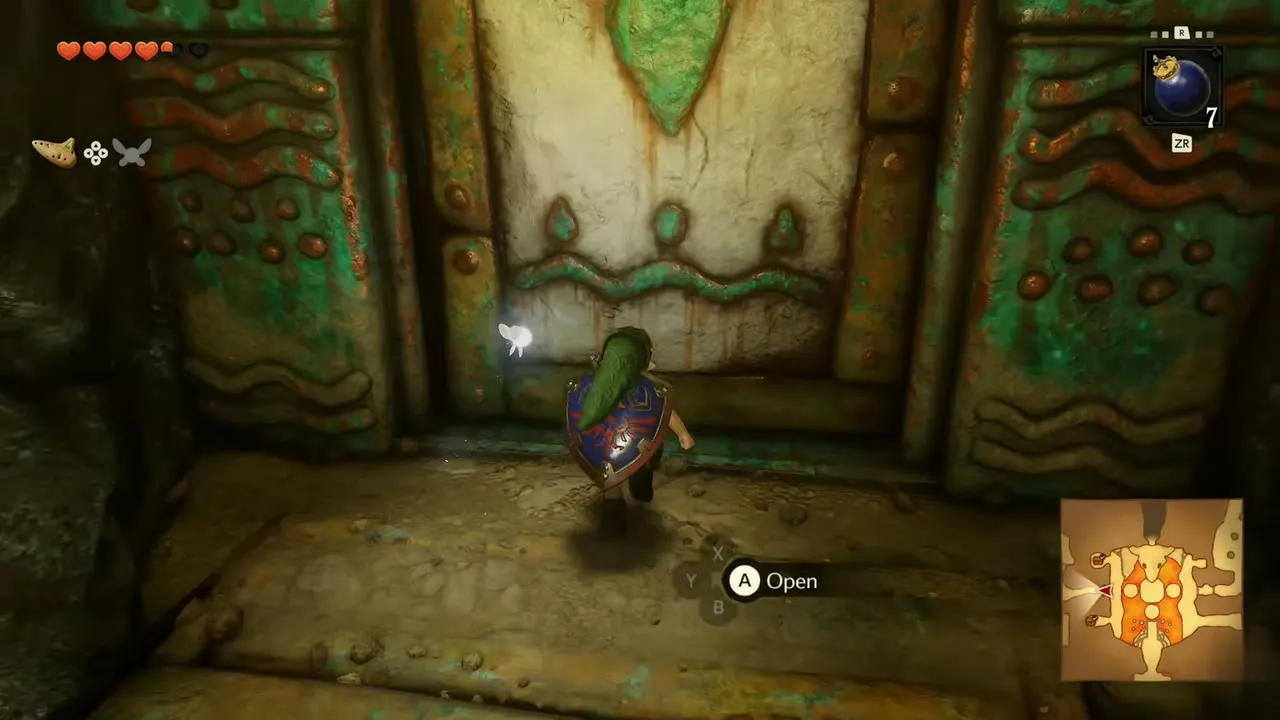
Walk out along the chain-hung stone path that runs over the Dodongo skull. Fire pits flare under it and the skull’s mouth opens as you cross. Follow it down to the ledge in front of the skull’s mouth, where a green-stone door with a Triforce-style mark stands on the first floor. Press Open to enter.
Second Business Scrub Seed
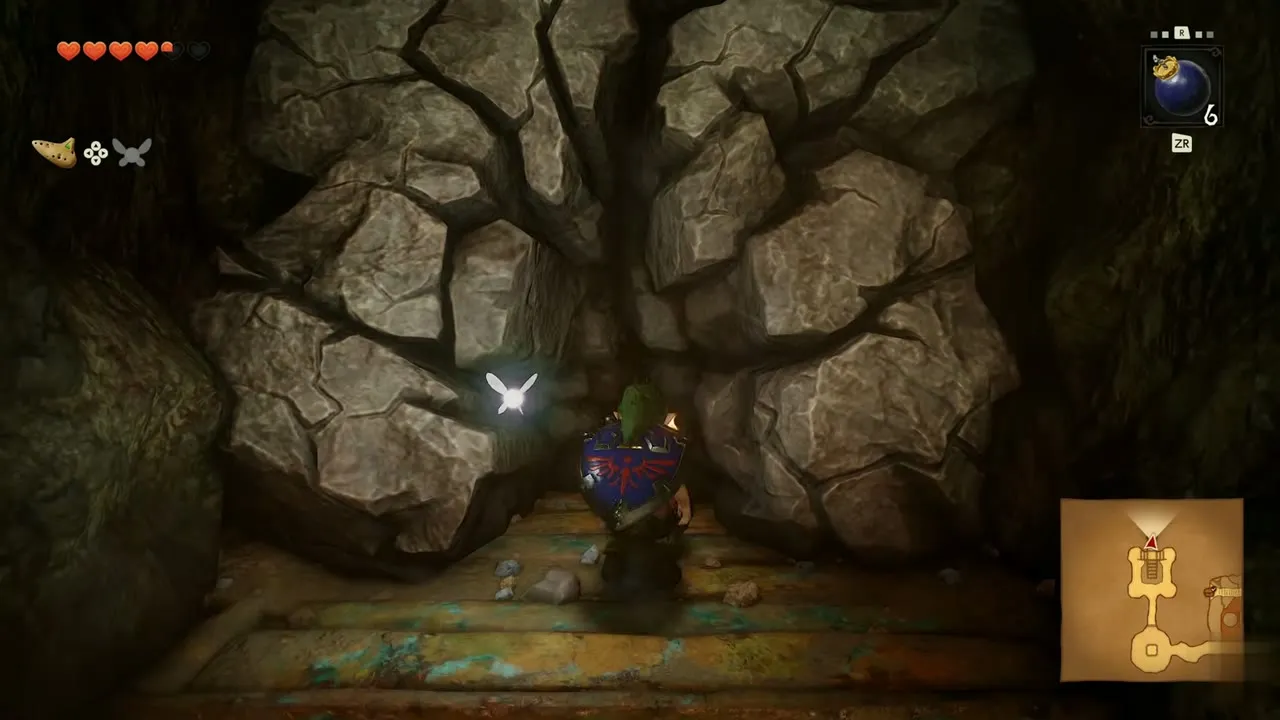
Climb the stone steps to the cracked wall at the top and bomb it. Behind it, a chest sits in a wooden cell. Open it to receive a second Business Scrub Seed. The same message appears: use it to summon a Business Scrub. Save at the pad before going on.
Stone block puzzle
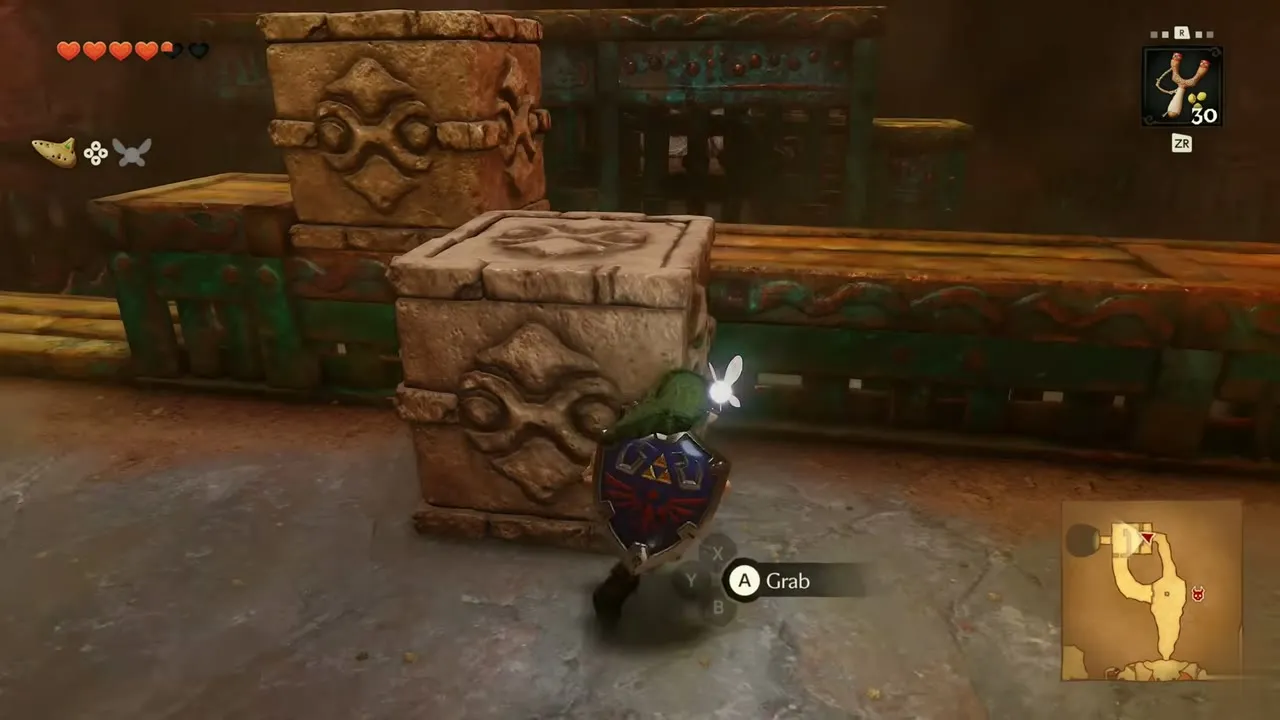
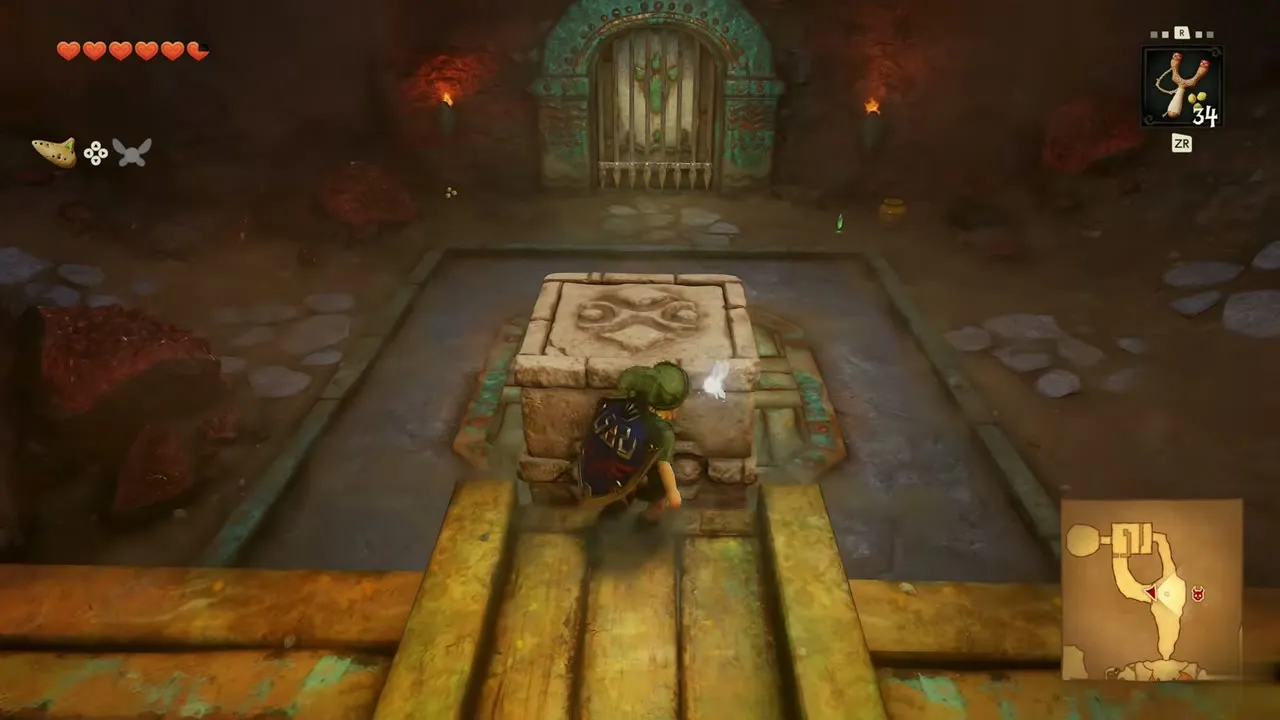
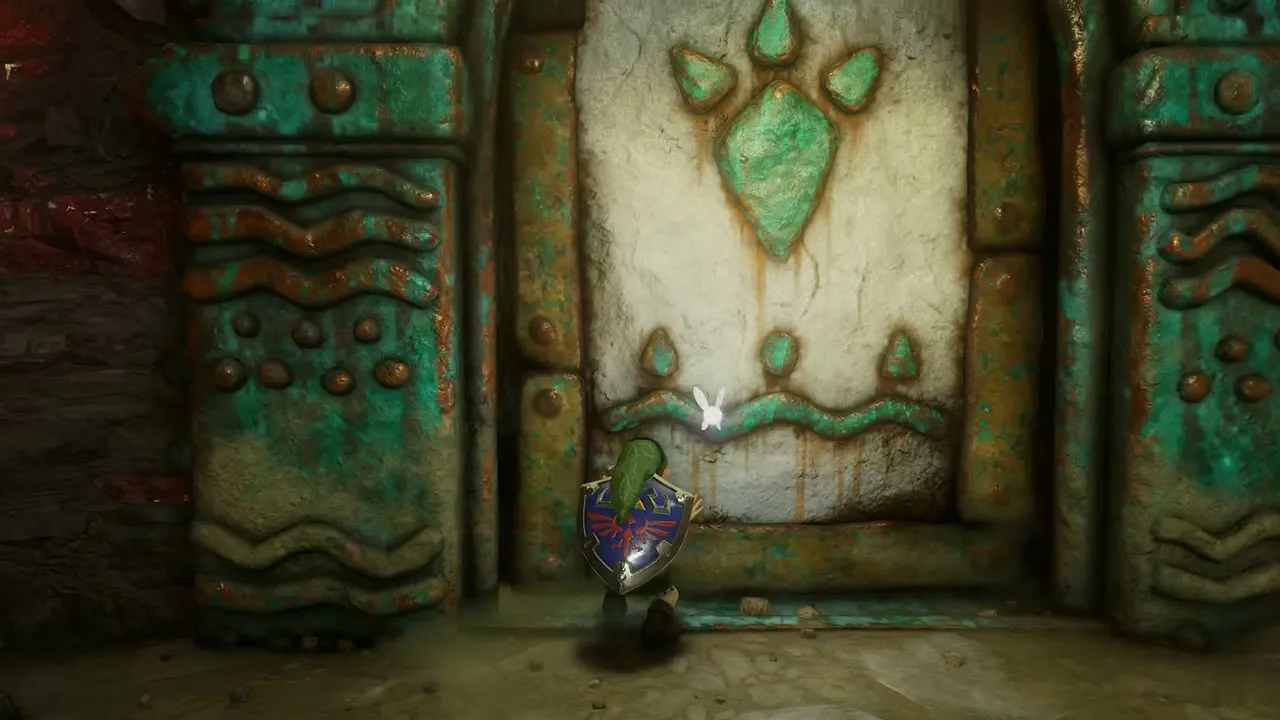
The next rooms are cages of carved stone blocks. Press Grab to take hold of a block and push it along the wooden pallets. Slide the last block onto the floor switch in the middle of the room, and the green door with the leaf mark opens. The cracked wall in the first block room hides Gold Skulltula #24, described below.
To the boss door
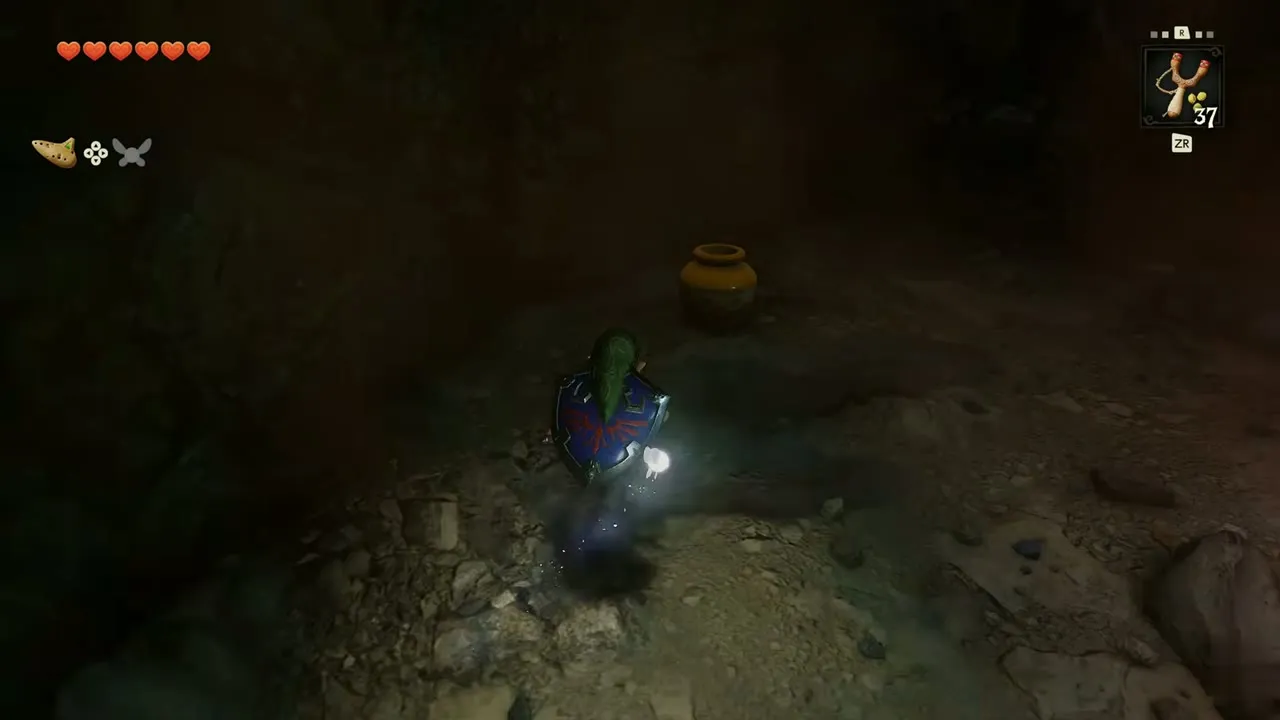
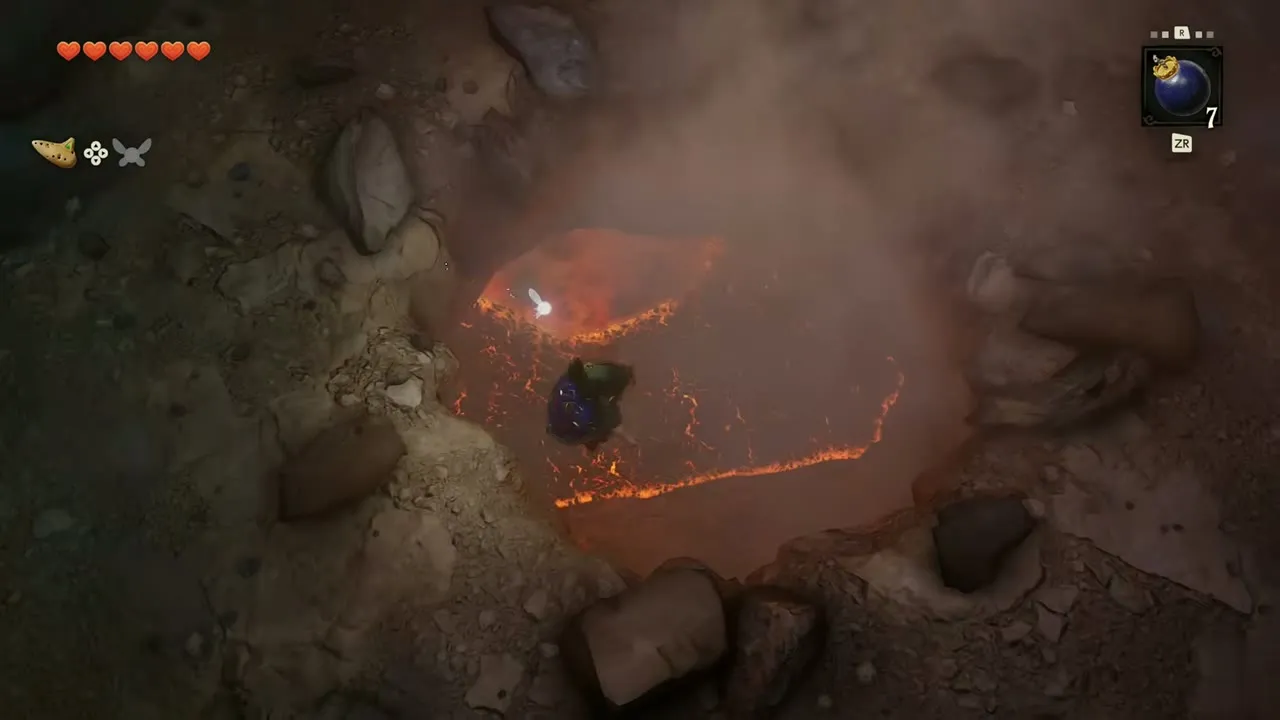
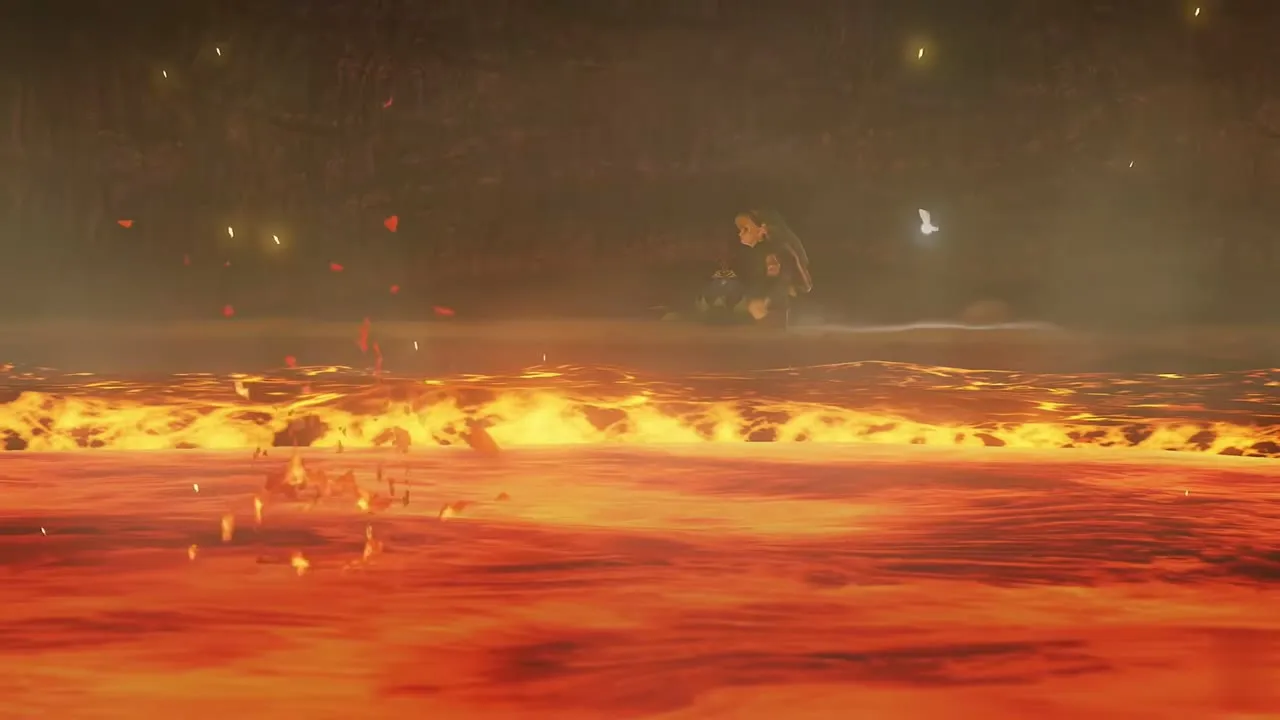
Beyond the green door is a dark cave. Pick up the bombs you find on the cave floor, blast the rubble at the end of the cave with a bomb and follow the winding path to the edge of a lava lake. The rim leads to the boss arena, where King Dodongo waits. Check that your bomb count is full before you go in.
Gold Skulltula #24
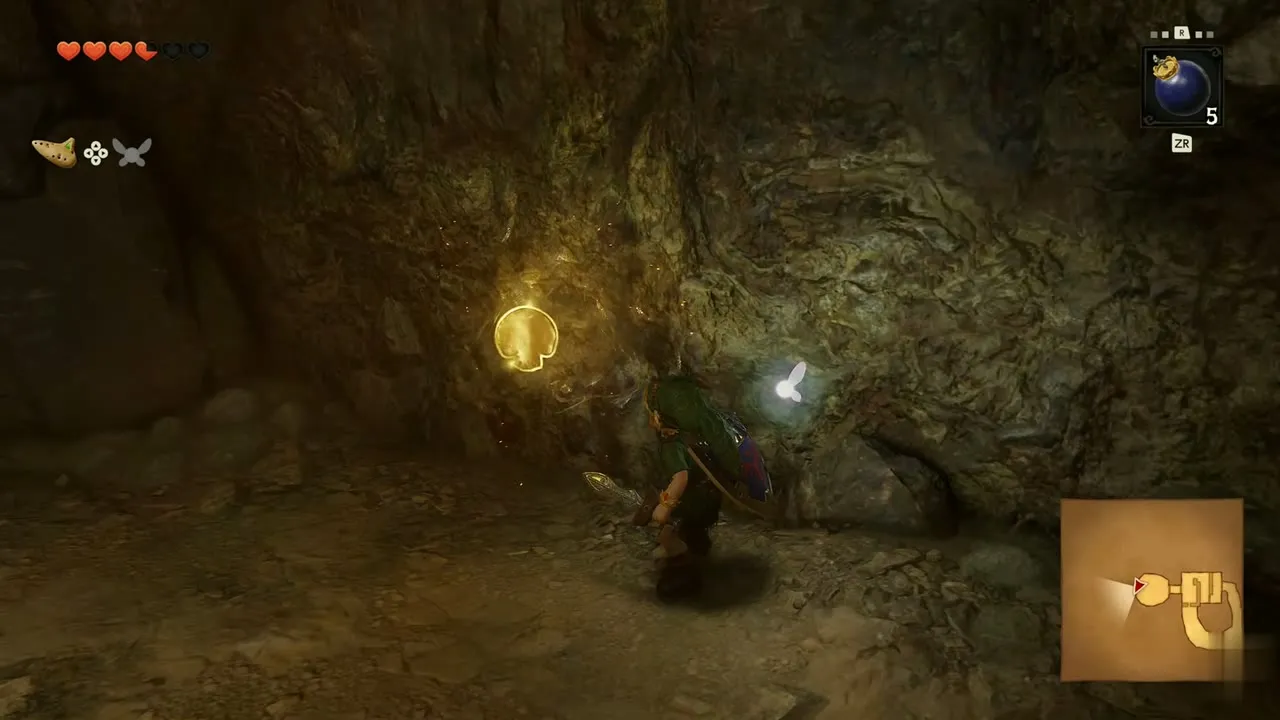
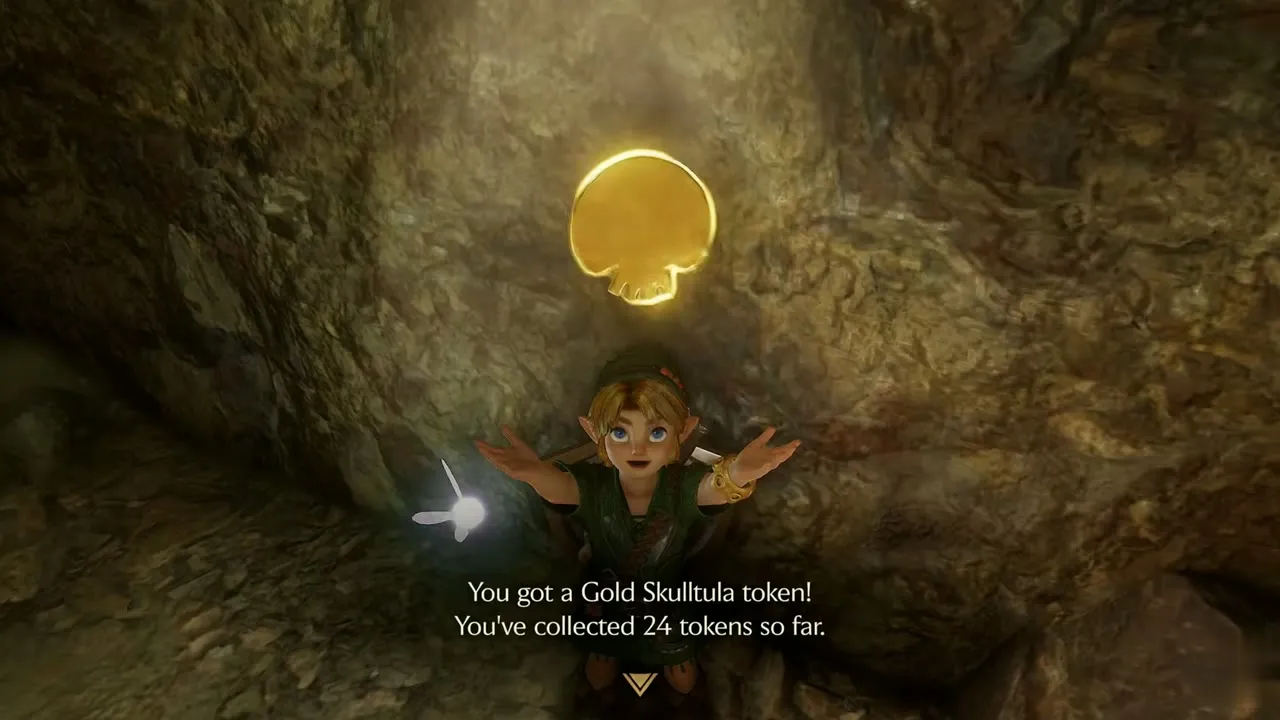
This one is easy to miss. On the first floor, push a stone block in front of the cracked wall in the block room, then blast the wall with a bomb. Inside, an Armos statue and three Baby Dodongos attack. Clear them and the Gold Skulltula is on the back wall. This is Gold Skulltula #24, the fourth in this cavern.
King Dodongo boss fight
Phase one: charge and fire
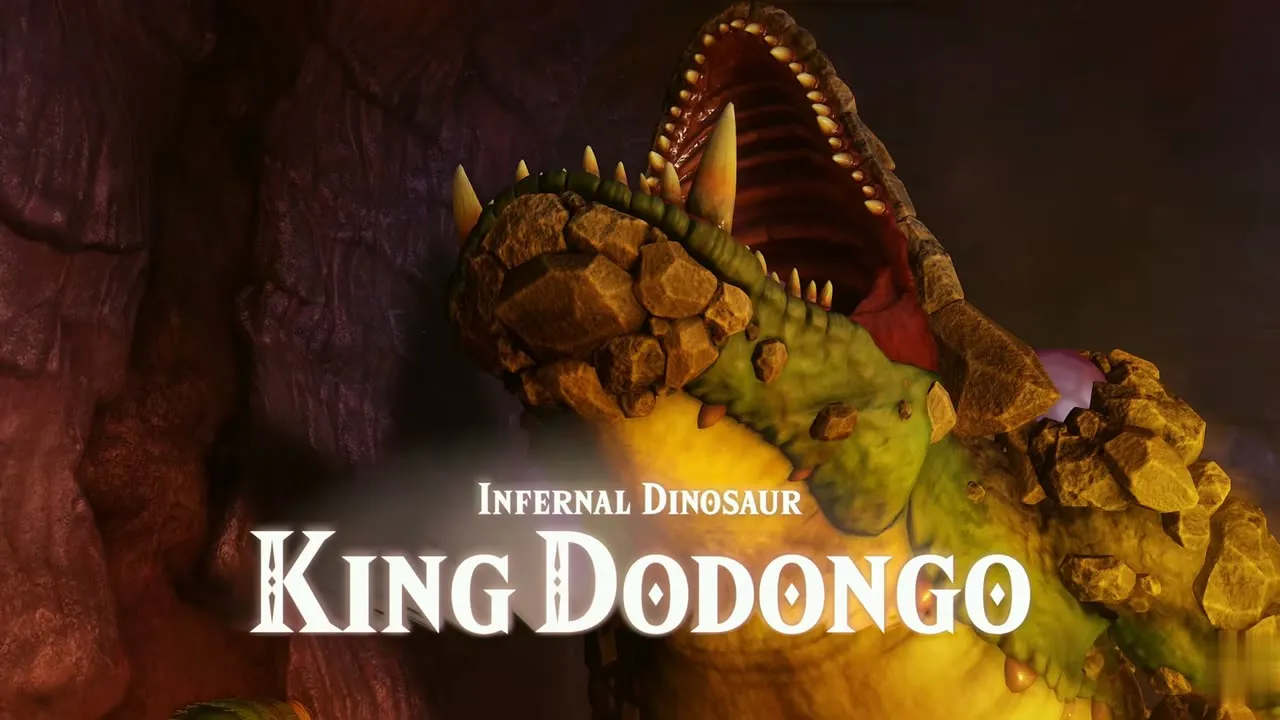
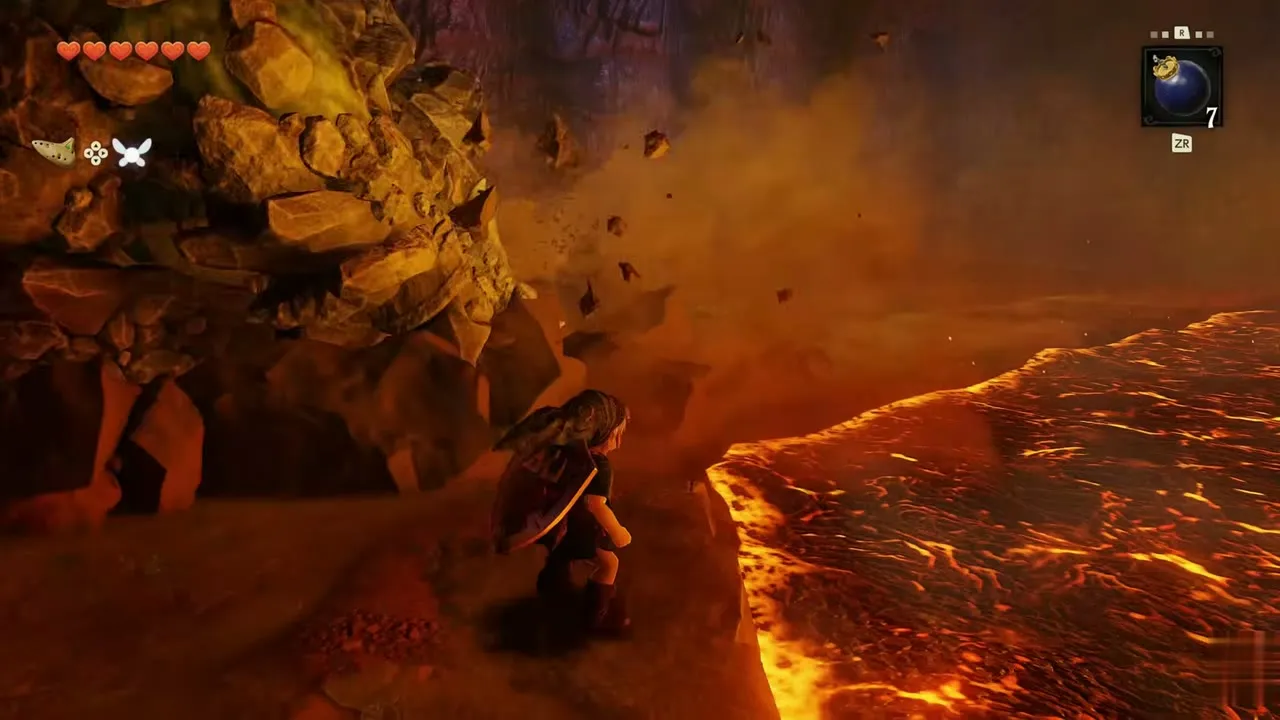
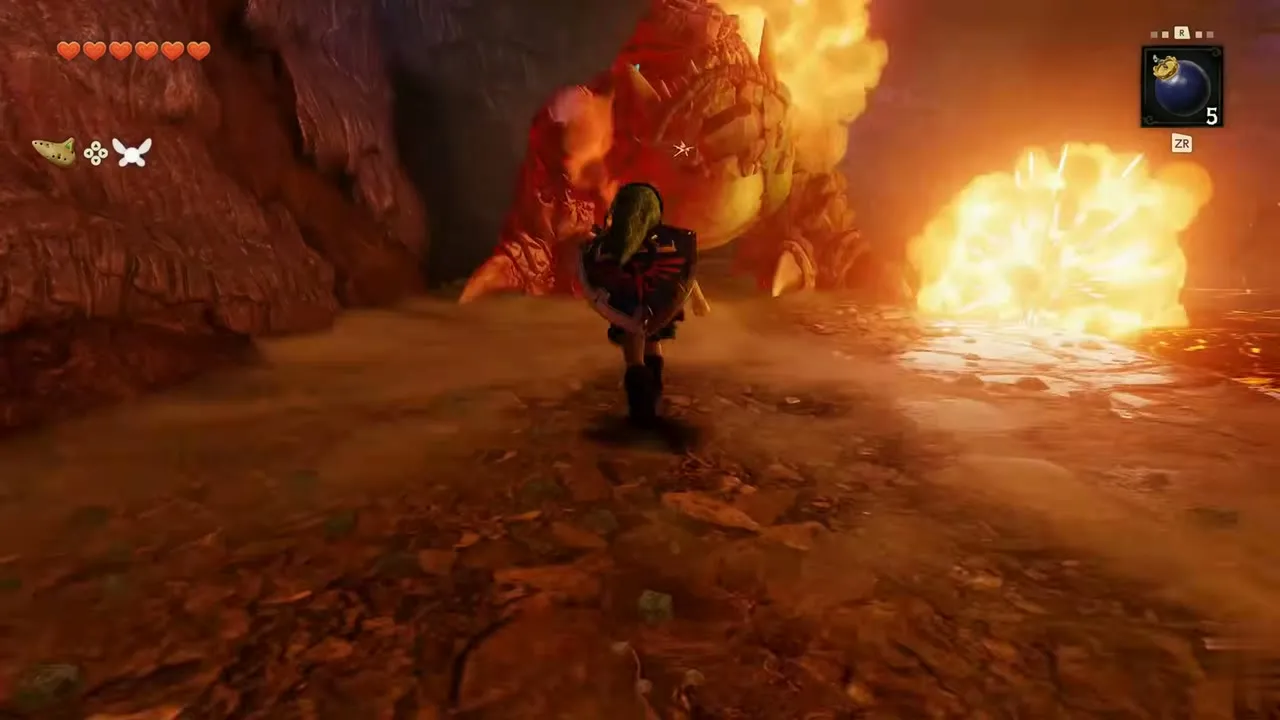
The title card names King Dodongo, the Infernal Dinosaur. The arena is a narrow strip of floor with lava on both sides. The boss charges down the strip, breathes fire and stomps to shake rocks loose. Bomb flowers grow on the floor, so you always have a supply. Run along the strip, stay away from the lava and wait for it to open its mouth wide.
Phase two: bomb in the mouth
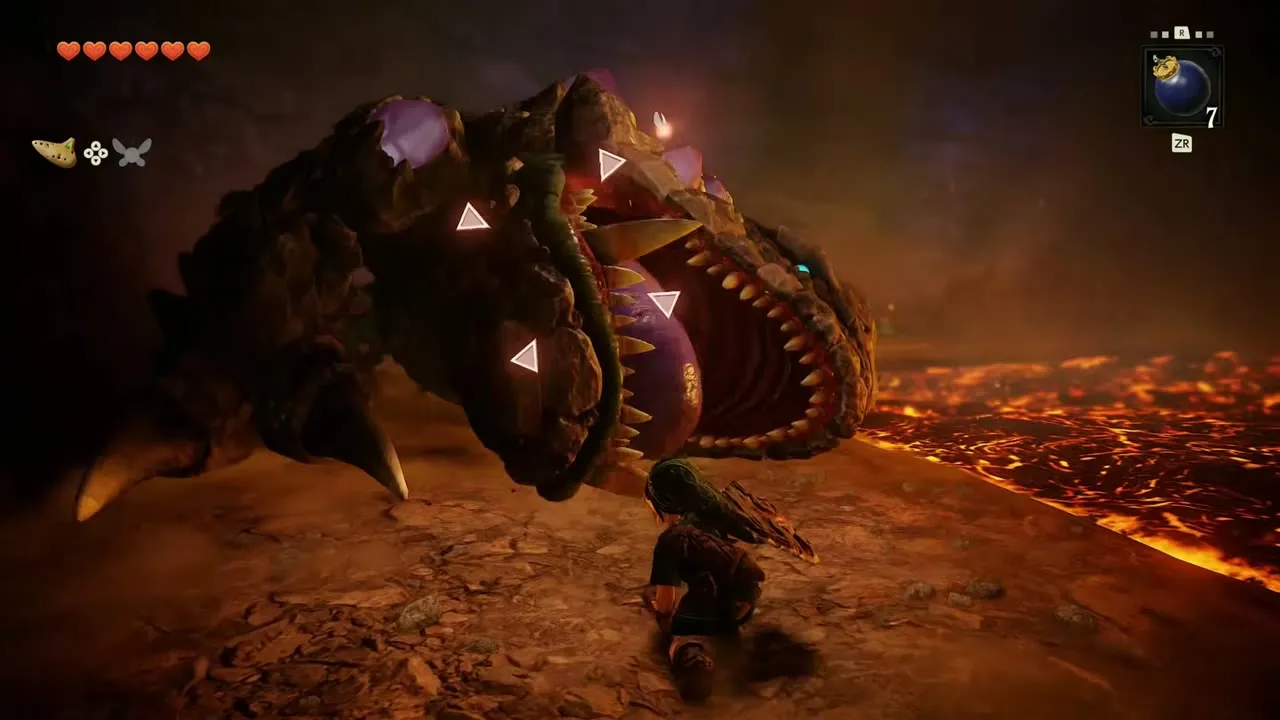
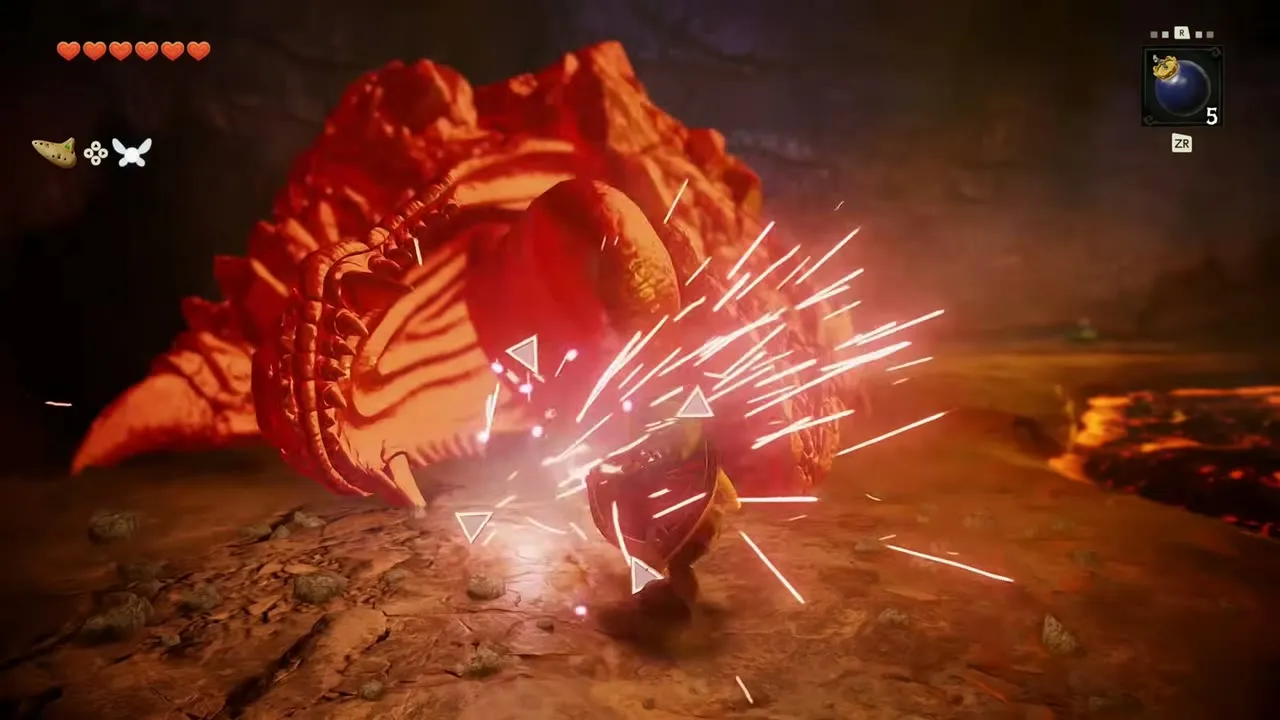
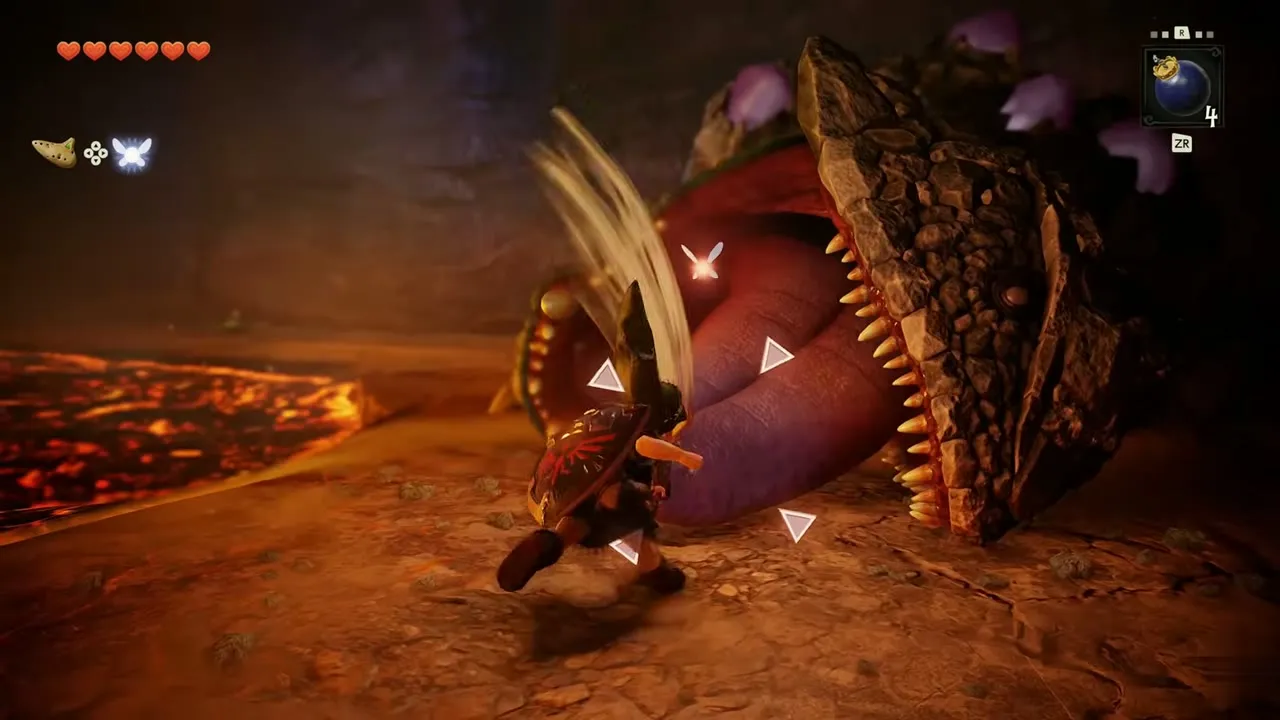
When the boss opens its mouth wide, throw a bomb or a bomb flower straight in. The blast stuns it, it falls over, and you slash with the sword while it lies there. When it recovers it charges again, so run before it reaches you. Repeat the bomb and sword routine a few times until it collapses in a haze of smoke and fire.
Heart Container
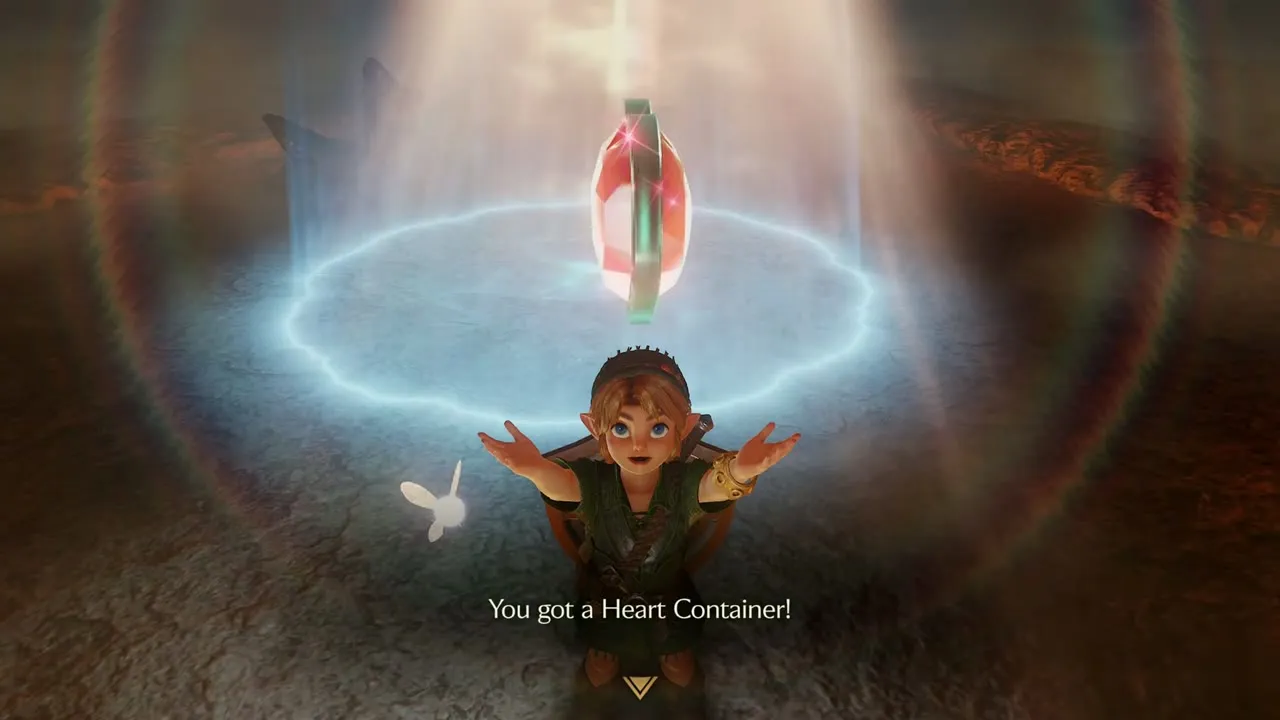
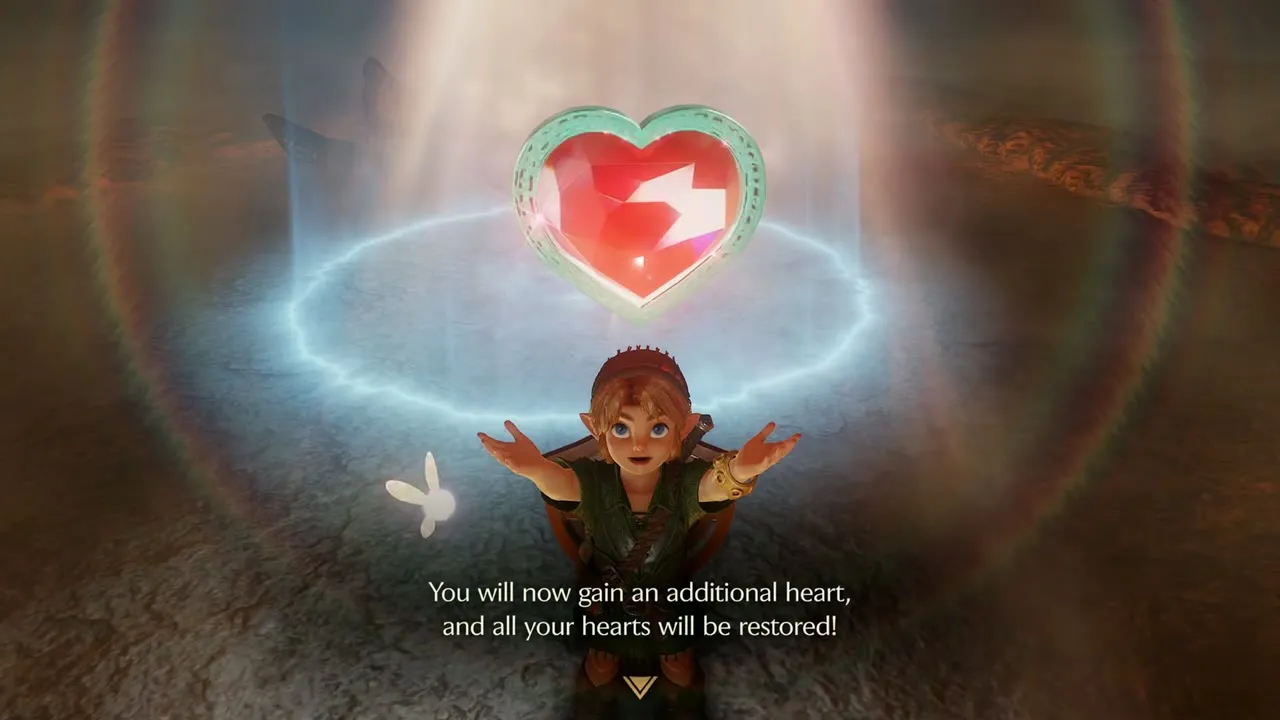
When King Dodongo falls, a Heart Container rises out of the haze. Step up to it. A box confirms you got a Heart Container, and you gain an additional heart with all your hearts restored. A blue light rises from the arena. Navi says you should tell Darunia and the others the news. Step into the light to leave the cave.
Darunia and the Goron Ruby

Darunia at the cave mouth
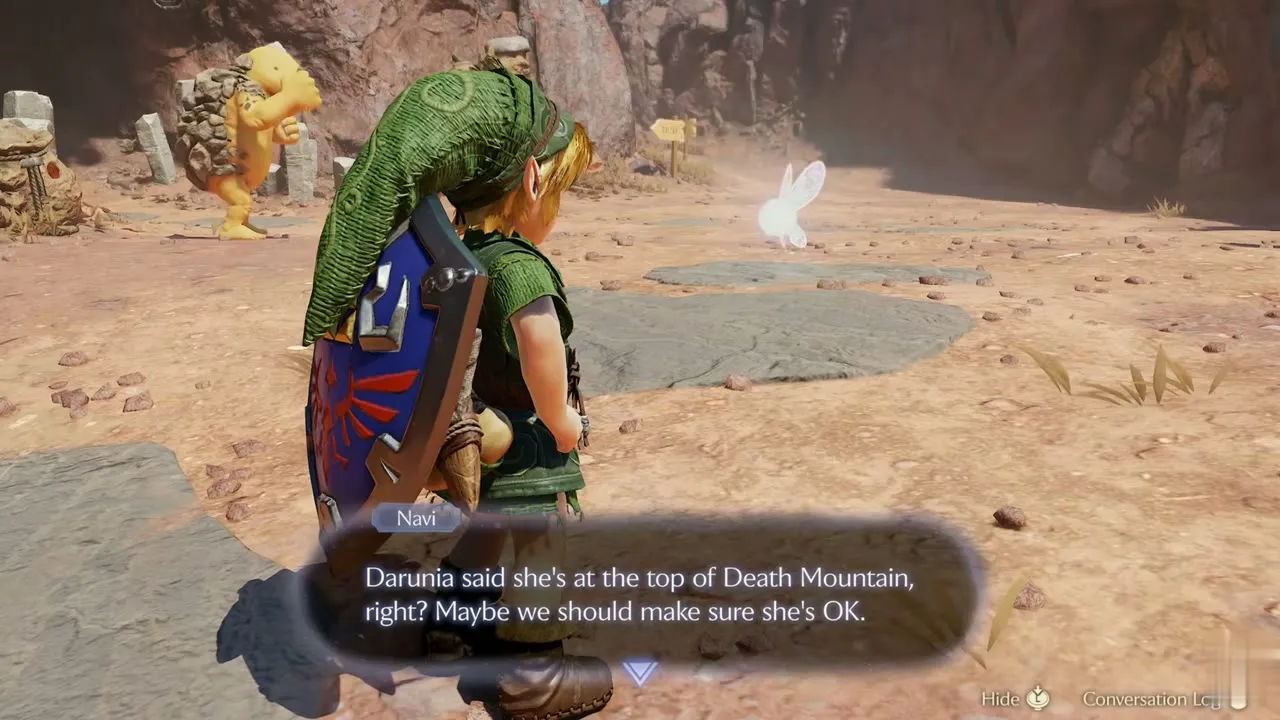
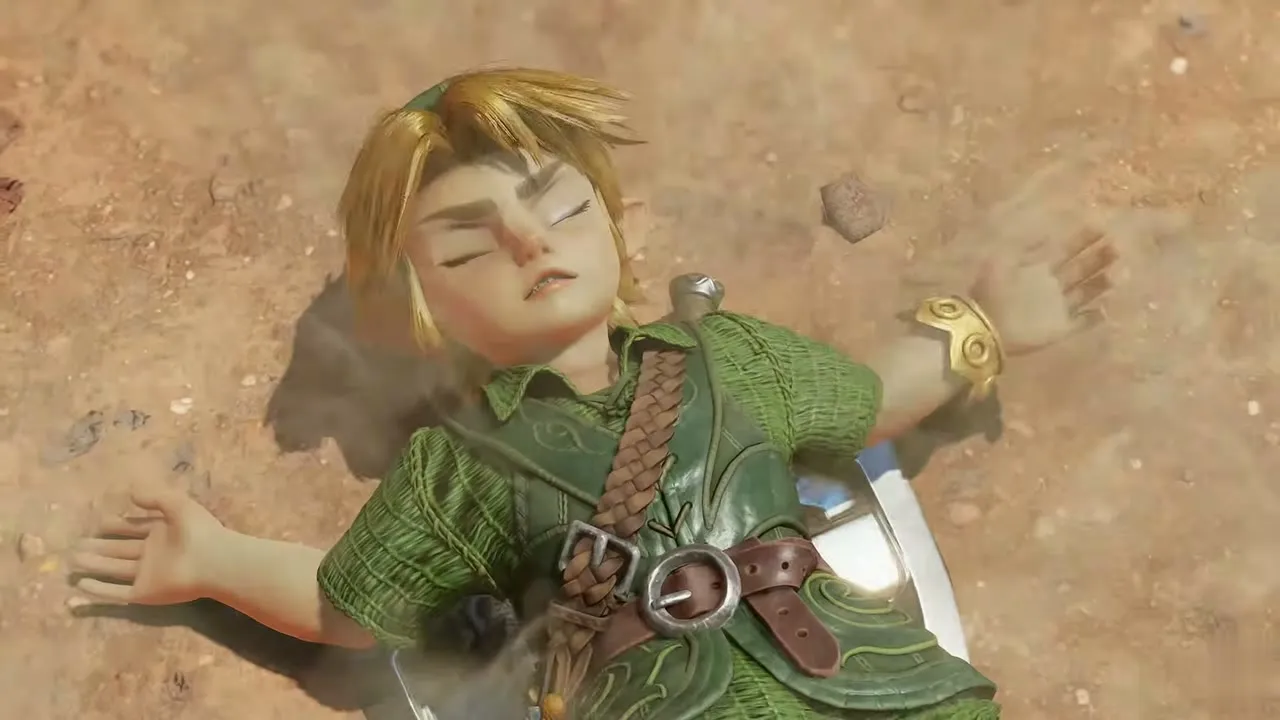
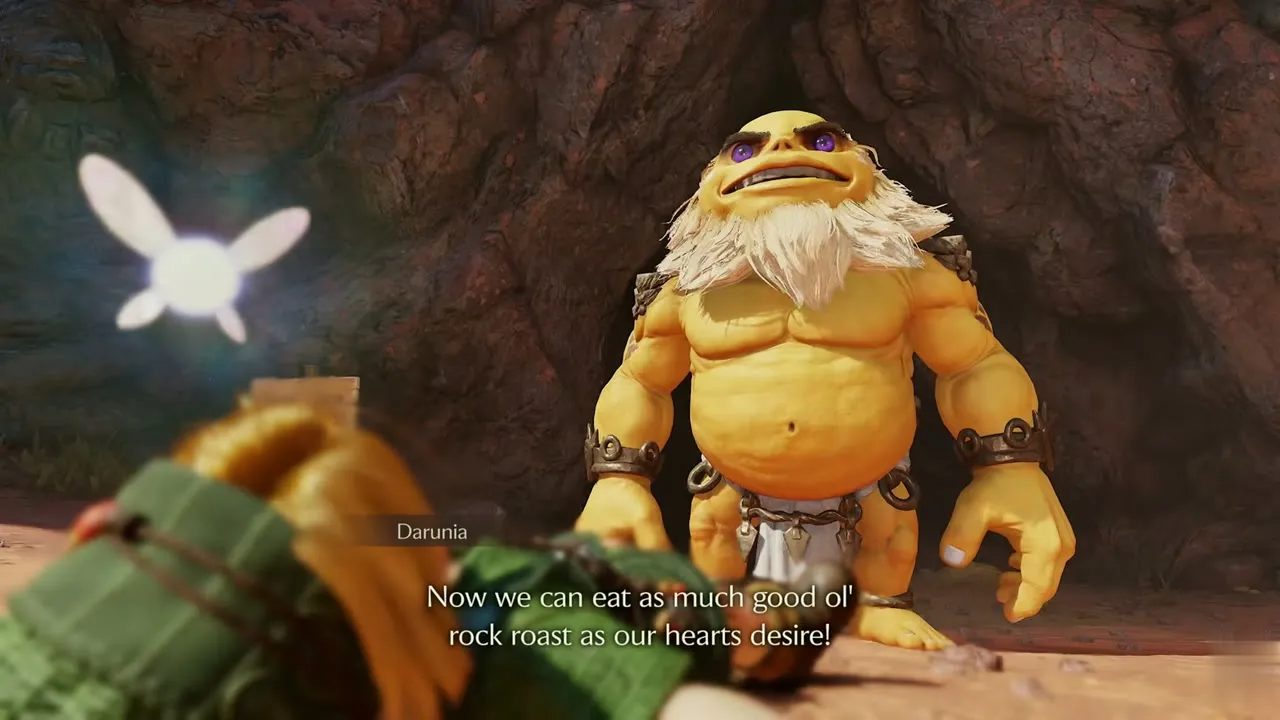
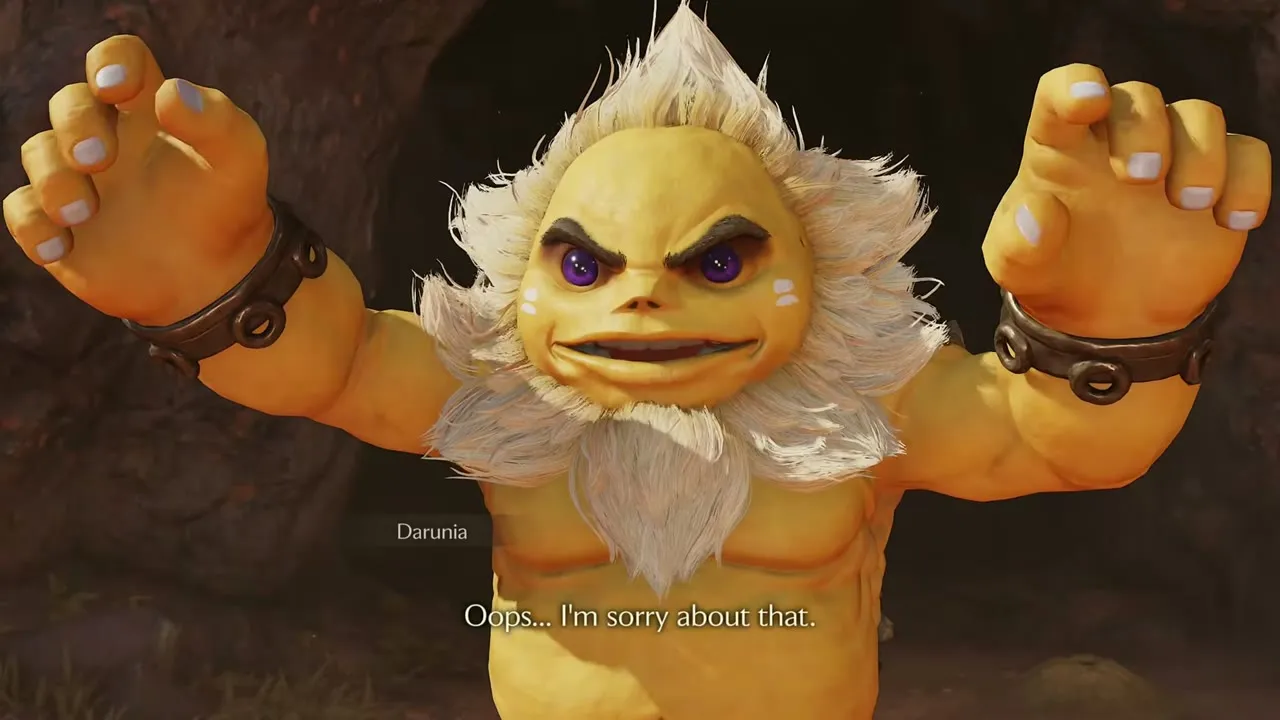
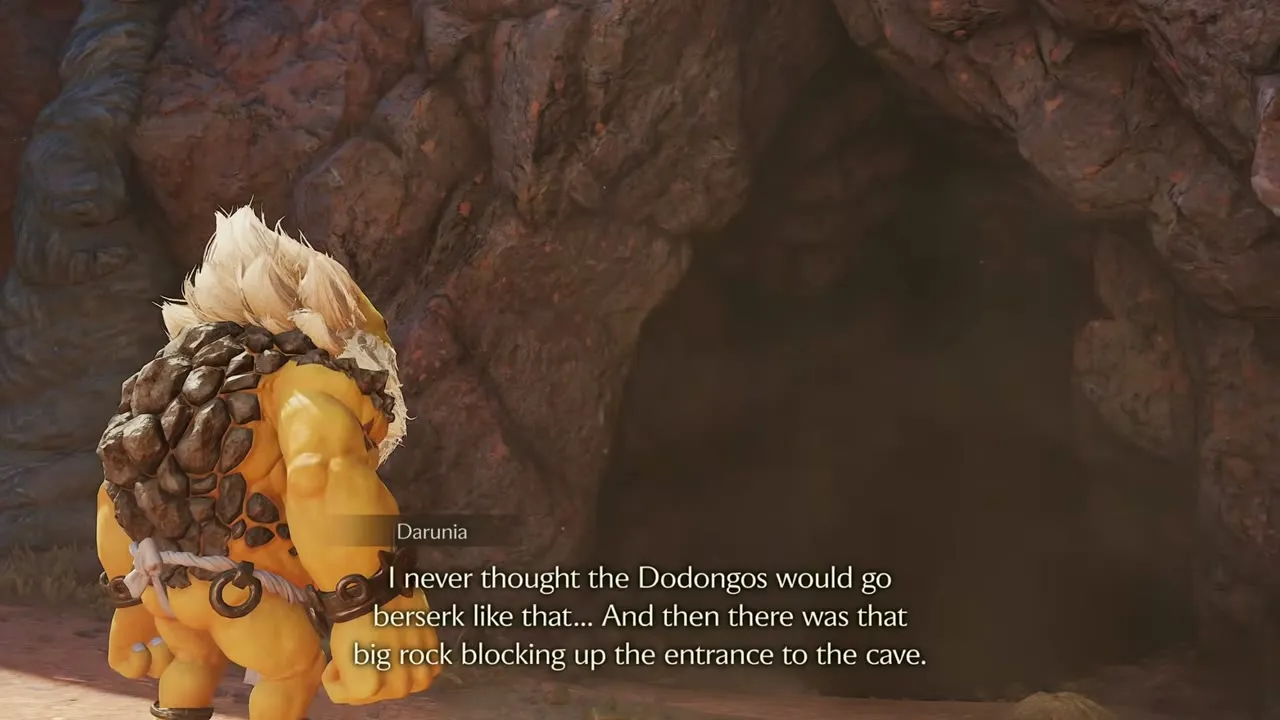
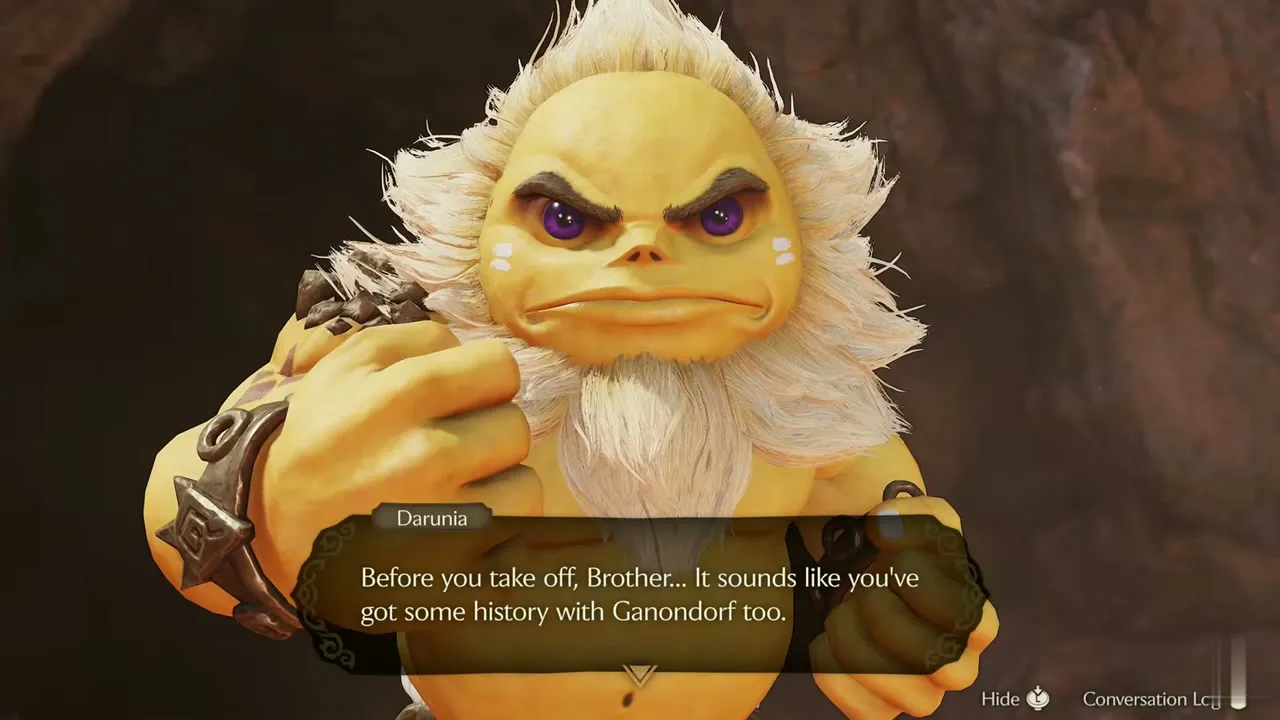
The light carries you to the cave mouth on Death Mountain Trail, where Darunia waits. He bowls you over by mistake, then apologizes for taking his anger out on you. The Gorons can eat as much rock roast as they like now, and he says it is all thanks to you. He admits that a rock blocked the cave entrance, and that Ganondorf’s lackeys passed through before you.
Goron Ruby
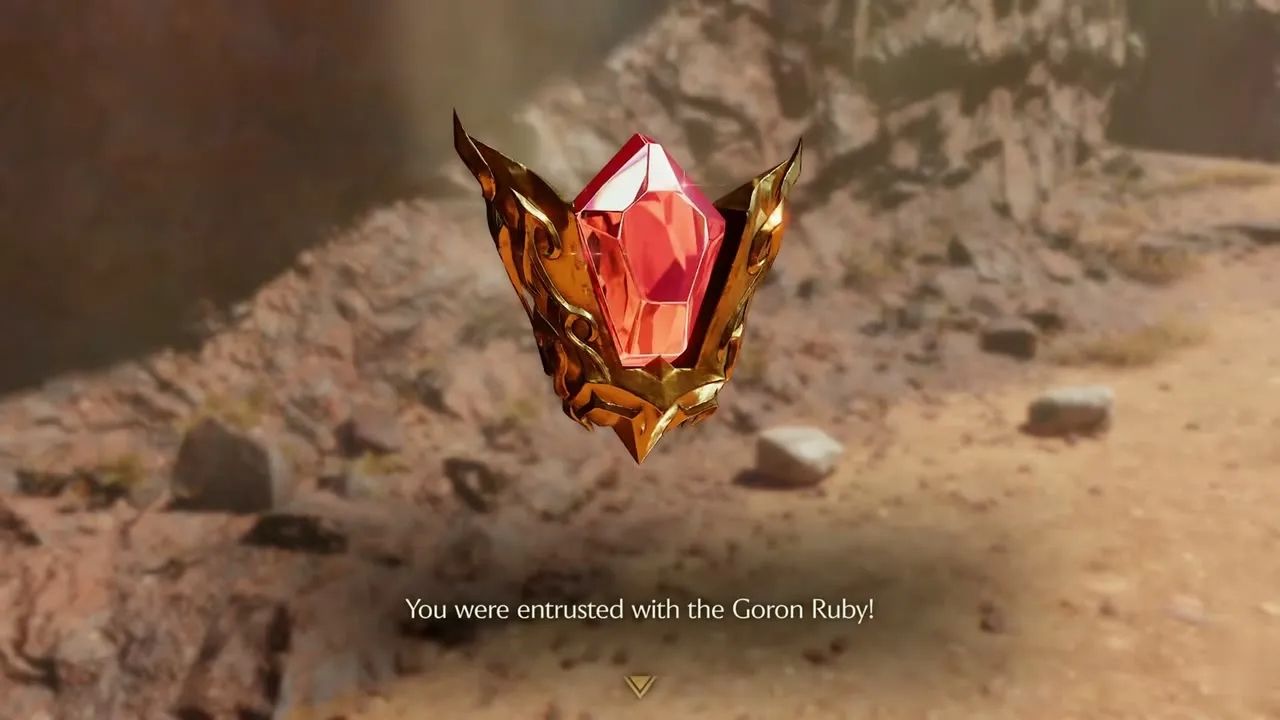
Darunia offers a token of his thanks, a symbol of your brotherhood. The Goron Ruby falls in a beam of light on the trail and floats toward you. The box says you were entrusted with the Goron Ruby, and that you have gathered two Spiritual Stones, with just one left. Darunia adds that Ganondorf is a worry and tells you to be careful.
Chapter checklist
| Collectible | Type | Where |
|---|---|---|
 Blue rupee | Rupees | Chest behind the first bomb flower wall, 1F |
| Dungeon Map | Dungeon item | Chest in the chamber past the second bomb flower wall, 1F |
| Red rupee | Rupees | Chest after the Lizalfos pair, 1F |
| Compass | Dungeon item | Chest in the Armos room, 1F |
| Gold Skulltula #21 | Gold Skulltula | Net wall above the stone steps, 2F |
| 5 Deku Seeds | Item | Chest on the crate stack, 2F |
| Business Scrub Seed | Item | Chest on the lava pillar, 2F |
| Bomb Bag | Main item | Chest past the eye switch, 2F |
| Gold Skulltula #22 | Gold Skulltula | Glowing wall spot in the southeast cave, 1F |
| Gold Skulltula #23 | Gold Skulltula | Glowing rock in the Dodongo cave, 2F |
| Blue rupee | Rupees | Chest in the side cave past the chain stairs, 2F |
| Business Scrub Seed | Item | Chest in the wooden cell behind the cracked wall, 1F |
| Gold Skulltula #24 | Gold Skulltula | Back wall of the room behind the cracked wall in the block room, 1F |
| Heart Container | Heart Container | King Dodongo arena |
| Goron Ruby | Spiritual Stone | Darunia, Death Mountain Trail |
With the Goron Ruby in hand and two Spiritual Stones gathered, head back up Death Mountain Trail. Darunia mentions a Great Fairy at the summit, and the next chapter climbs there, with a Heart Piece and a bigger Bomb Bag waiting in Goron City on the way.