| Where | Great Bay Coast, on the beach (a cracked wall inside hides the way down) |
|---|---|
| Goal | Defeat all 30 Gold Skulltulas in the house and collect the Gold Skulltula Spirit each one drops |
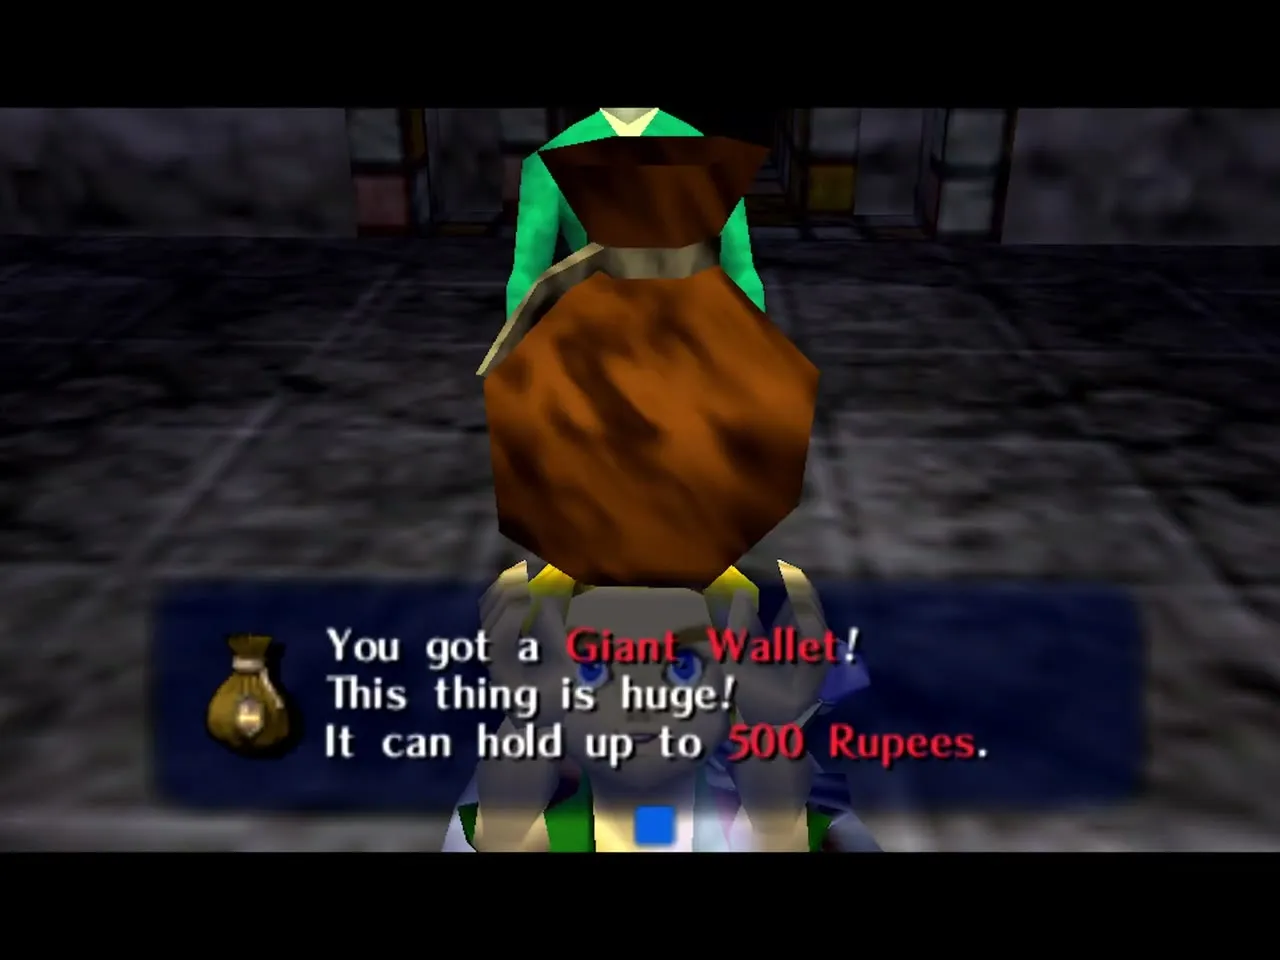
| Reward | 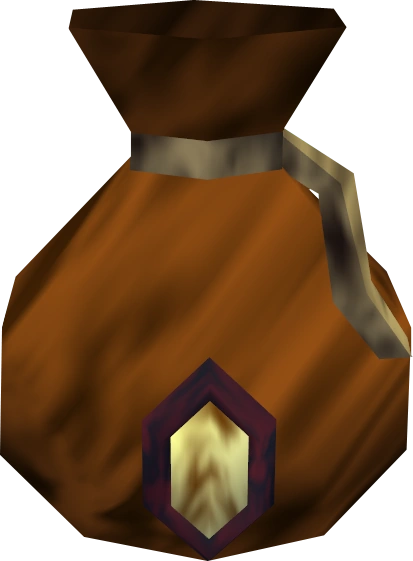 Giant’s Wallet (holds 500 rupees) if you finish on the First Day; plus a Piece of Heart from the mask puzzle |
| Time limit | Finish before the Second Day for the wallet: a later finish pays only a rupee reward |
| Bring | Bombs (or the Blast Mask), Fire Arrows, Hookshot, Goron Mask, and the Captain’s Hat for the Piece of Heart |
| Needed for | 100% completion (Giant’s Wallet and a Piece of Heart) |
The Oceanside Spider House is a haunted house on the Great Bay Coast with thirty Gold Skulltulas in its rooms. Defeat all of them on the First Day and the man who lives there hands over the Giant’s Wallet; a later finish only pays out a rupee. The house also hides a Piece of Heart behind a puzzle with skull masks, which you can solve after wearing the Captain’s Hat. Come in on the morning of the First Day with Bombs, Fire Arrows and the Hookshot, because nearly every spider needs one of them.

Table of Contents
Getting there and what to bring
Use Epona to leap the barrier west of Clock Town and reach the Great Bay Coast (see Great Bay Coast for the region). The house stands on the beach, like the Fisherman’s Hut. Step inside, then blow open the cracked wall in the first room with a Bomb or the Blast Mask and slide down the passage it reveals.


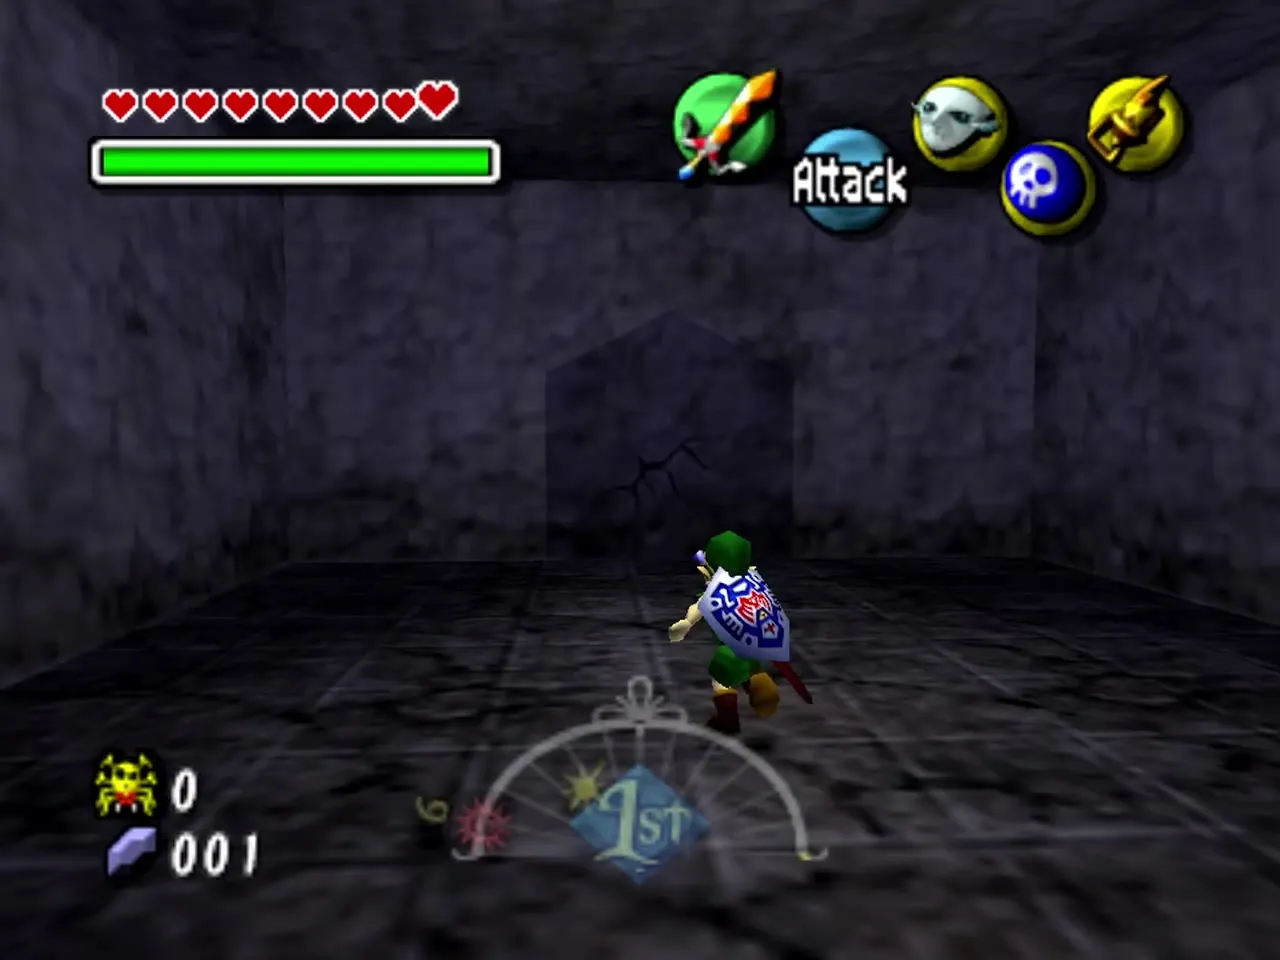
Bring the Hookshot (from the Pirates’ Fortress) for most of the spiders, Fire Arrows (from Snowhead Temple) to burn the webs that cover several of them, and the Goron Mask for the pots, crates and the last three spiders and for the climb out of the house. For the Piece of Heart, add the Captain’s Hat, which you get in Ikana Graveyard. A single day is tight, so start at 6:00 AM, or use the Inverted Song of Time to slow the clock.
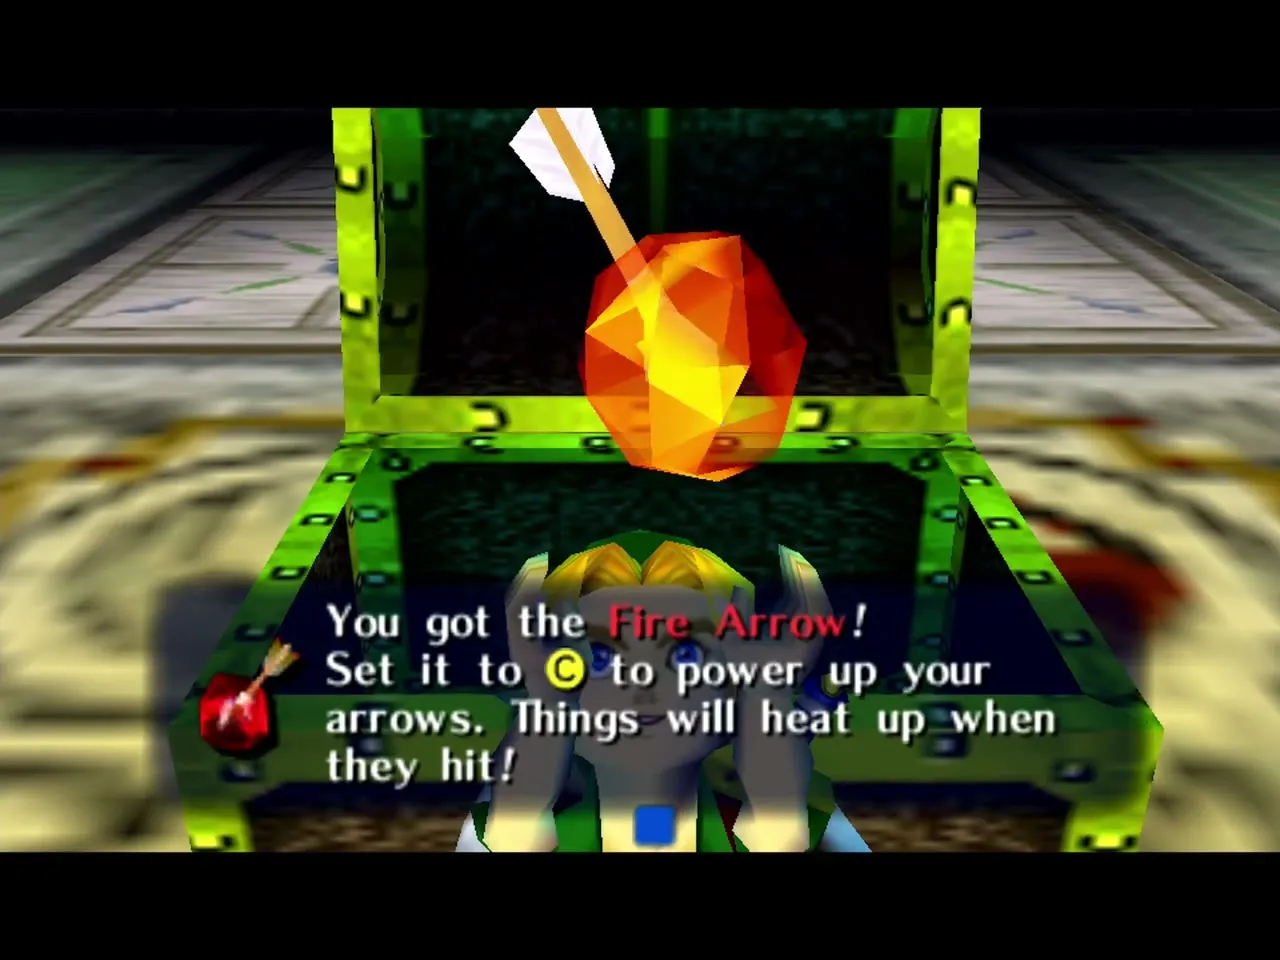
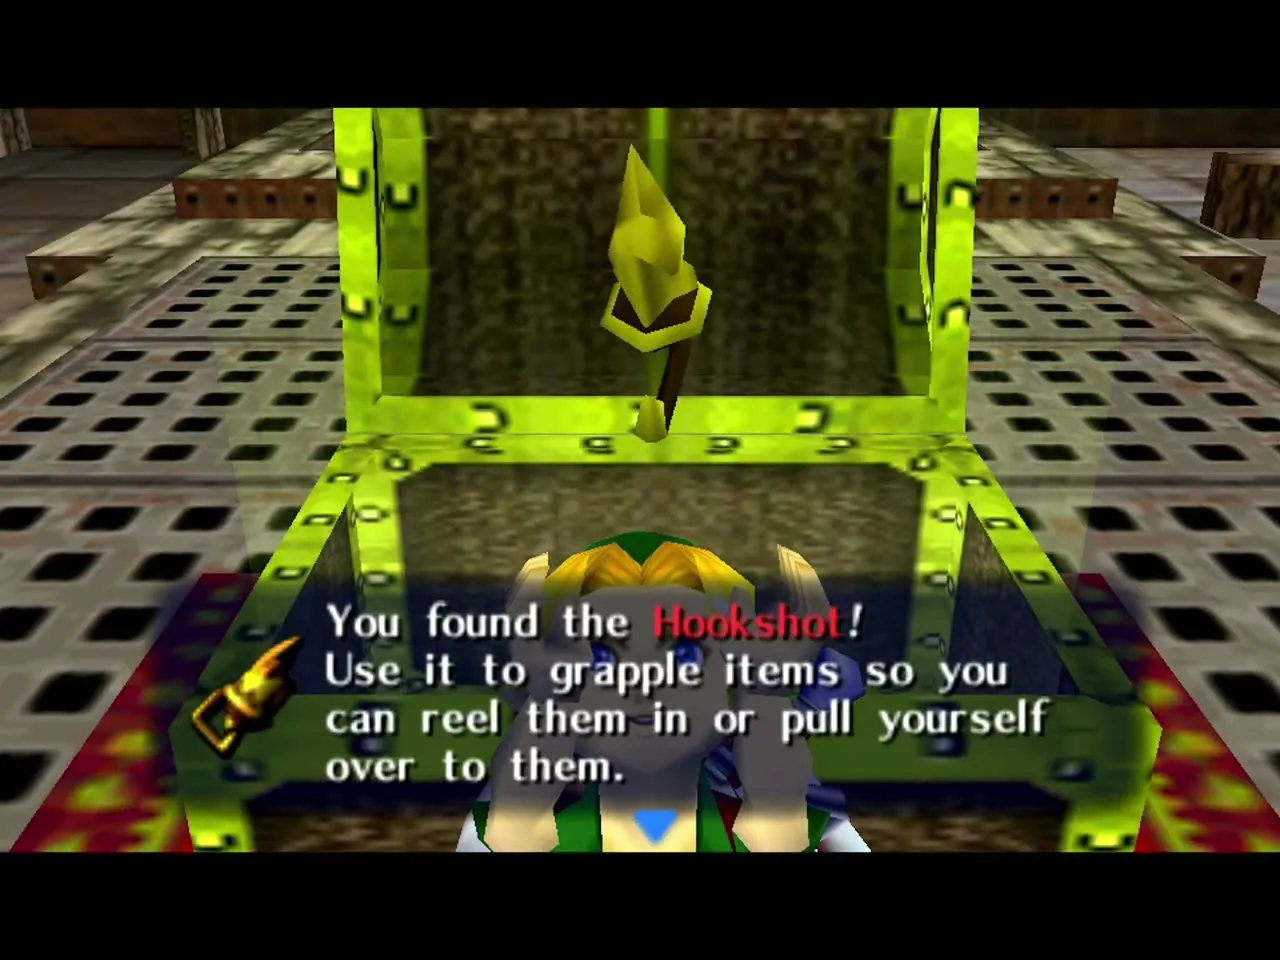
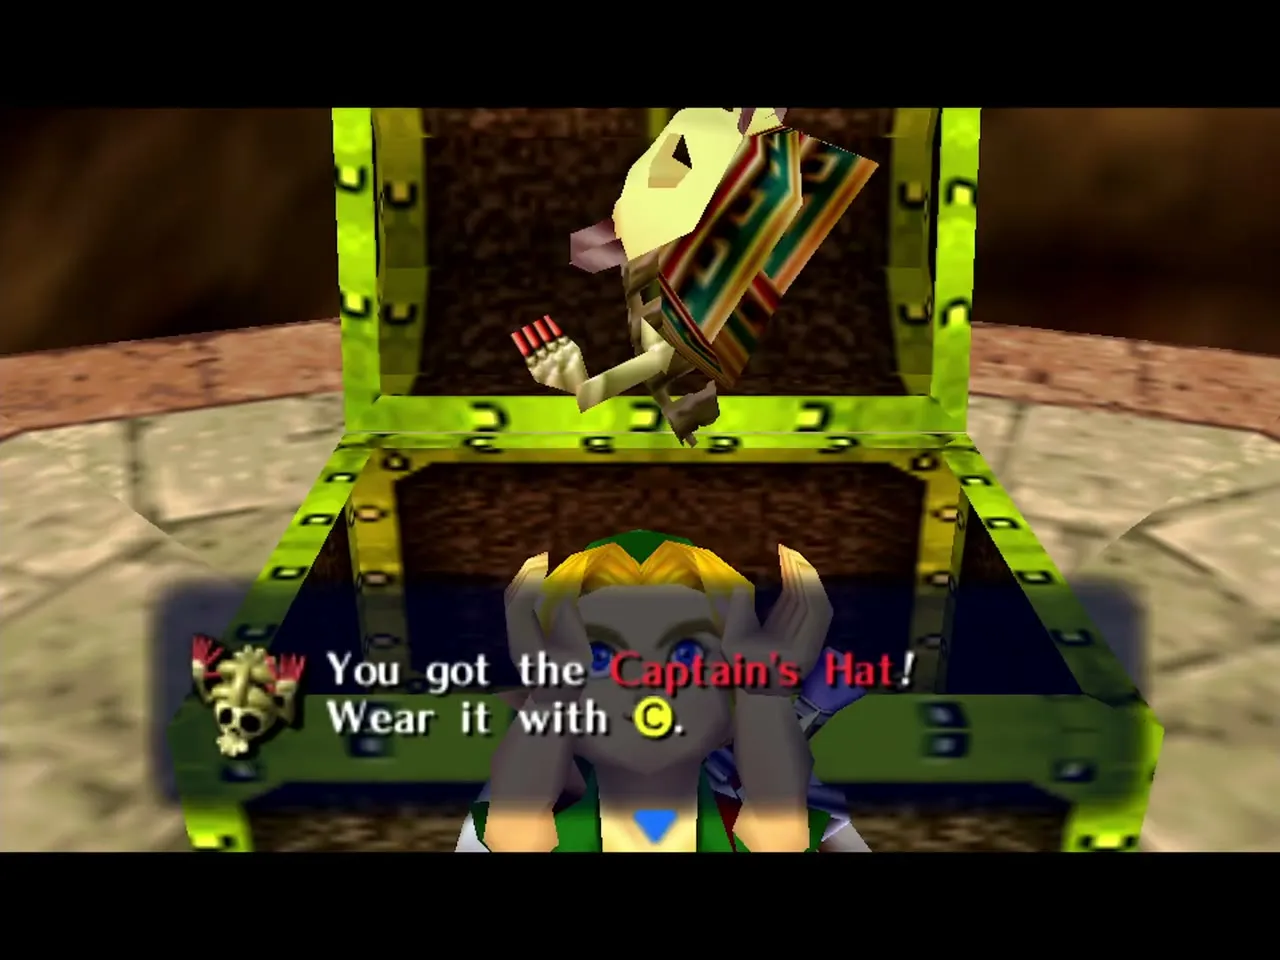
| Item | What it does here |
|---|---|
 Hookshot | Shoots spiders on walls, ceilings and behind paintings, and pulls you over the gate |
 Goron Mask | Rolling smashes jars and crates; Goron Pound shakes the last three spiders loose in the dining room |
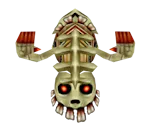 Captain’s Hat | Lets you talk to the Stalchildren and learn the mask order for the Piece of Heart |
Fire Arrows burn the webs, and Bombs or the Blast Mask open the entrance.
Quick reference
| Area | Spirits | What you need |
|---|---|---|
| Entry ramp and lower floor | 1 to 3 | Bow or Hookshot, Fire Arrows |
| Library | 4 to 10 | Hookshot, Fire Arrows to open the way in |
| Stairwell | 11 to 19 | Hookshot, Fire Arrows, Goron Mask |
| Storage room | 20 to 24 | Hookshot, Fire Arrows, Goron Mask |
| Dining room | 25 to 30 | Hookshot, Goron Mask |
The numbers follow this guide’s route. The game counts only how many you hold, so the order is up to you.
Each spider drops a Gold Skulltula Spirit when it falls. Look for the small gold crawlers on walls and ceilings, and check behind paintings and inside jars. Once you have all thirty, go for the Piece of Heart and head out.
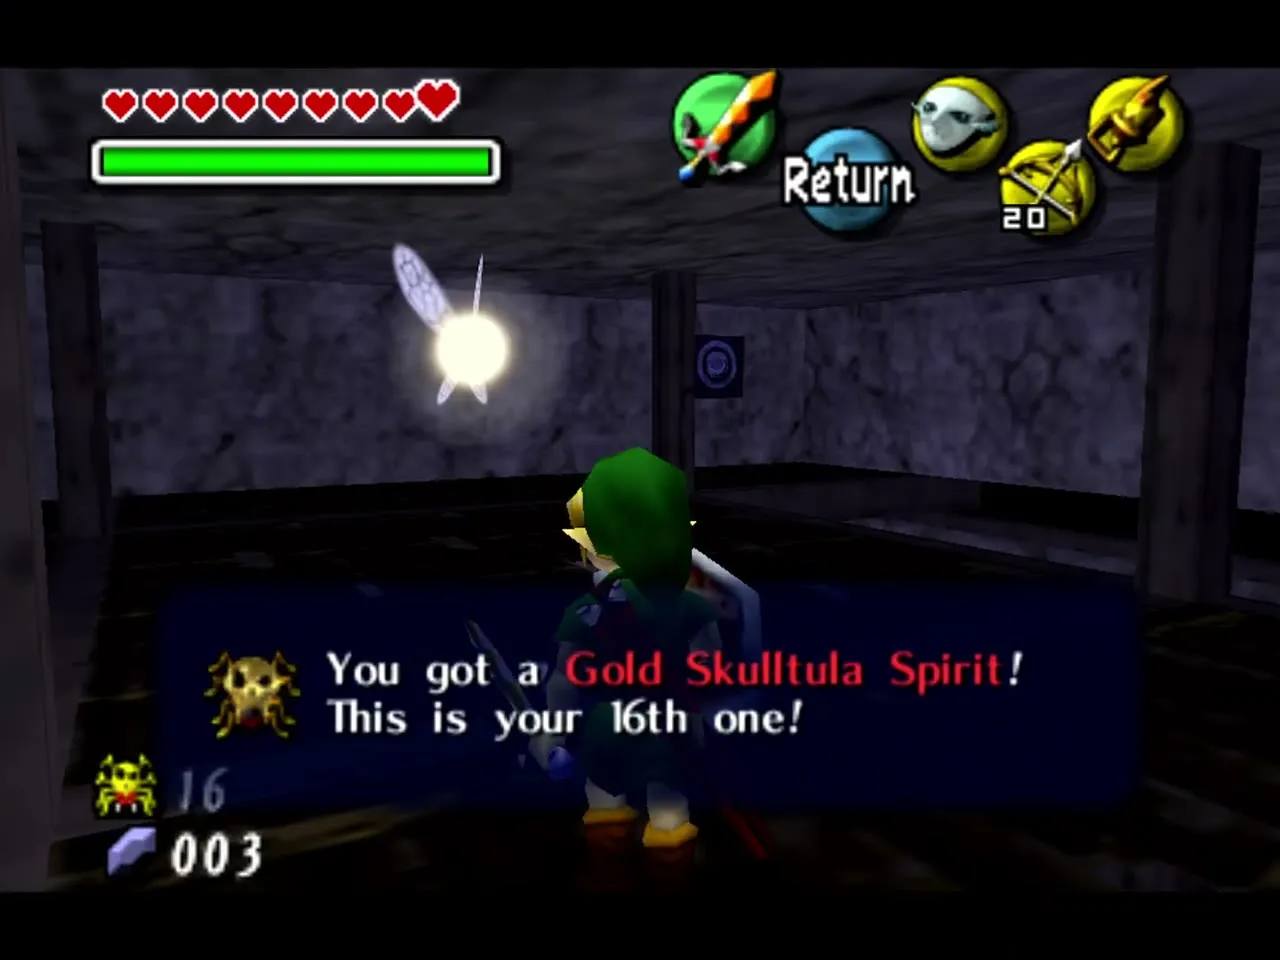
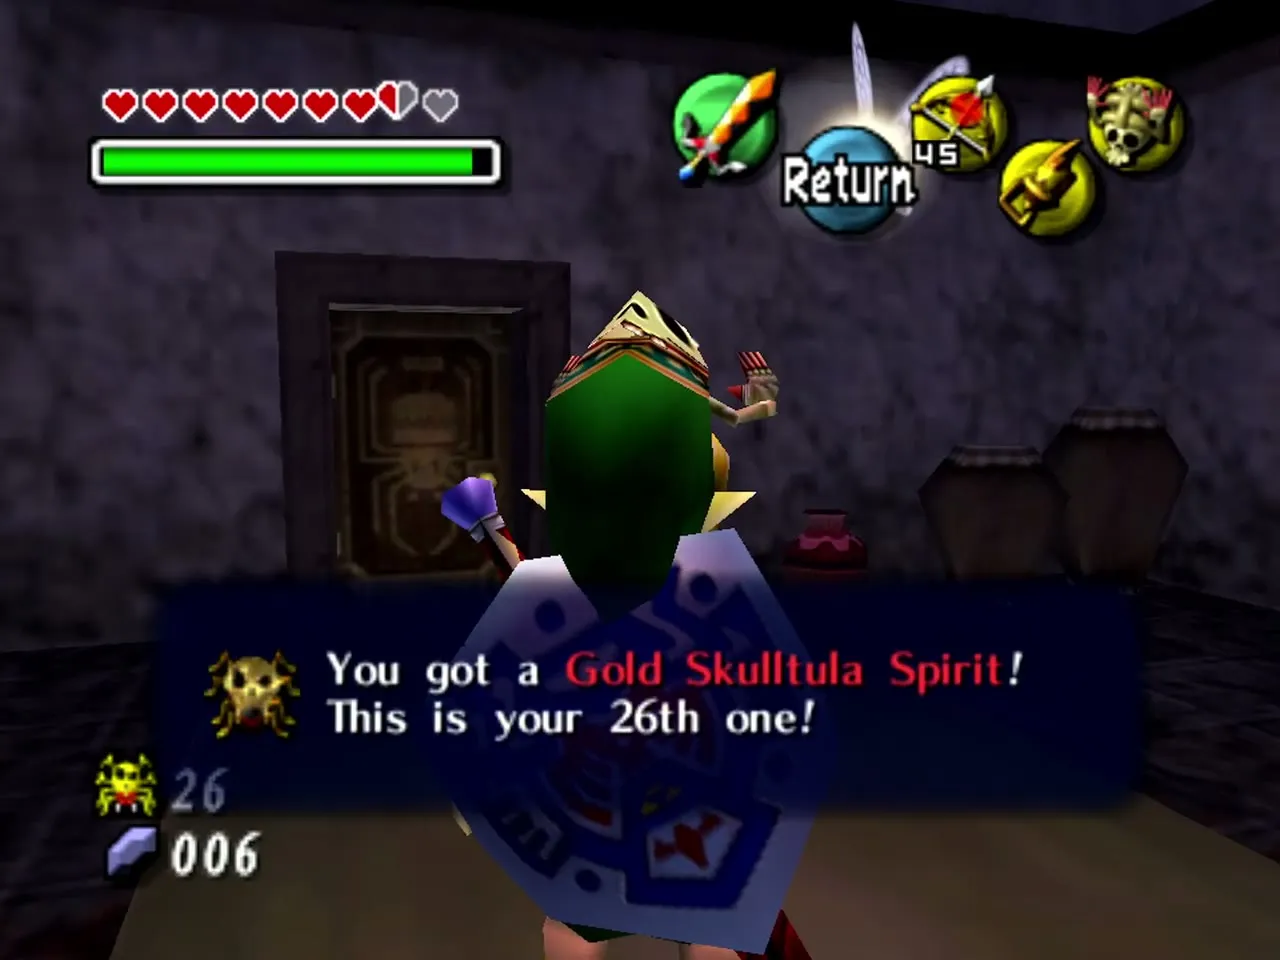
Entry ramp and lower floor (1 to 3)
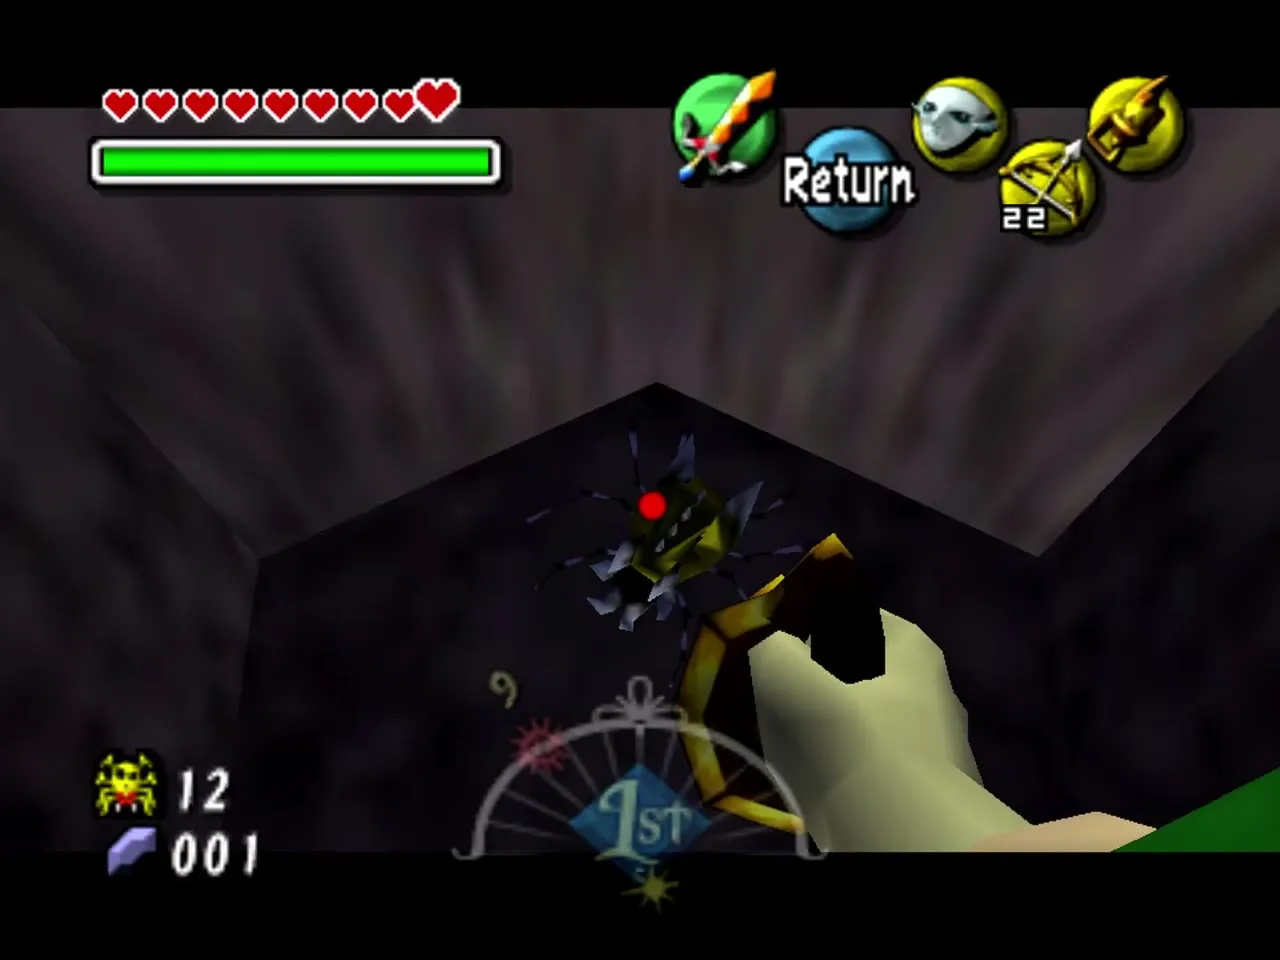
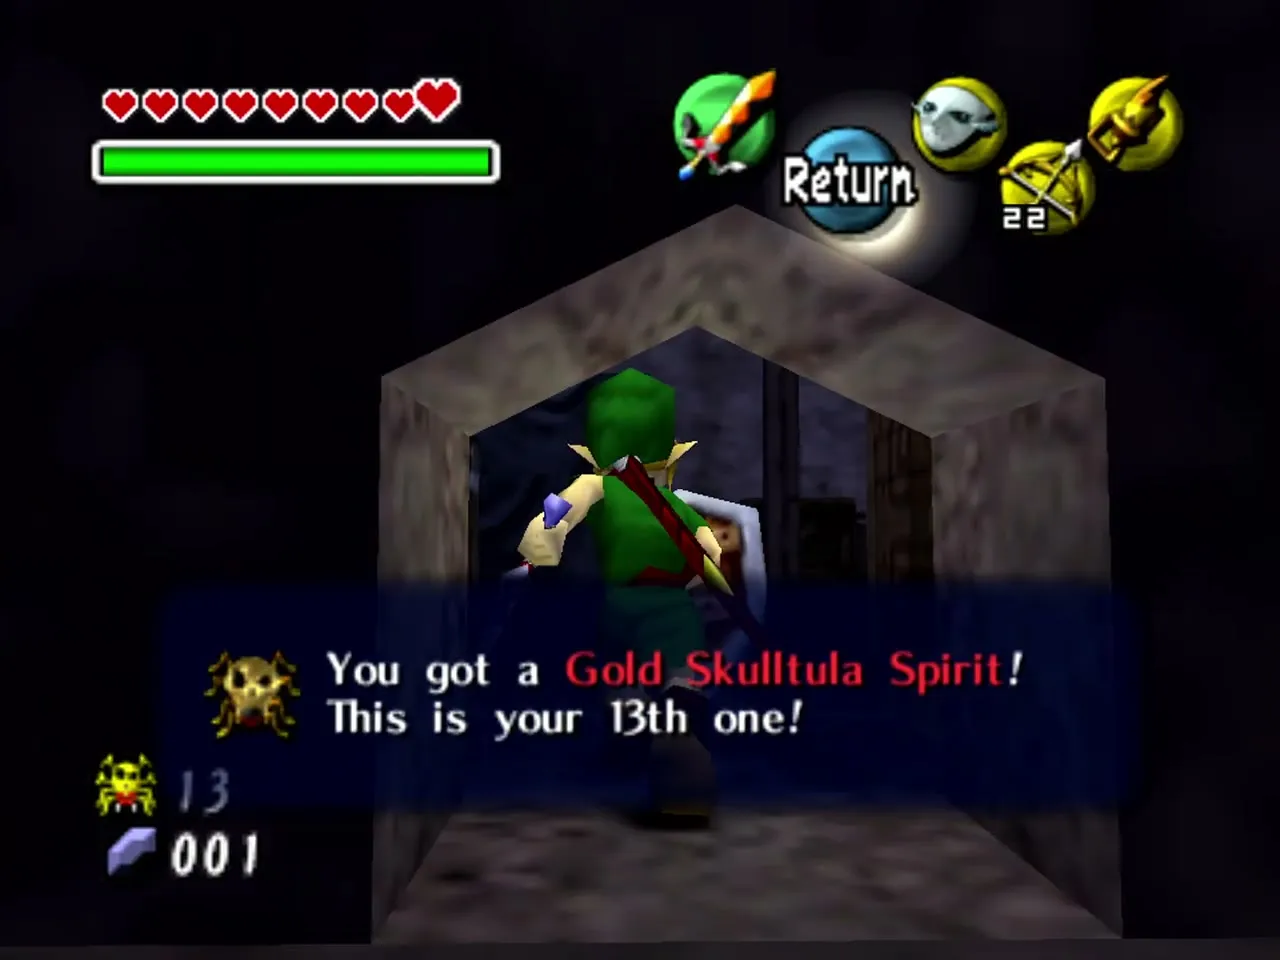
Two spiders crawl on the walls of the first corridor. Shoot each down with an arrow, or hit it with the Hookshot, and pick up the token. A gate bars the way on: Hookshot a far target to pass it.
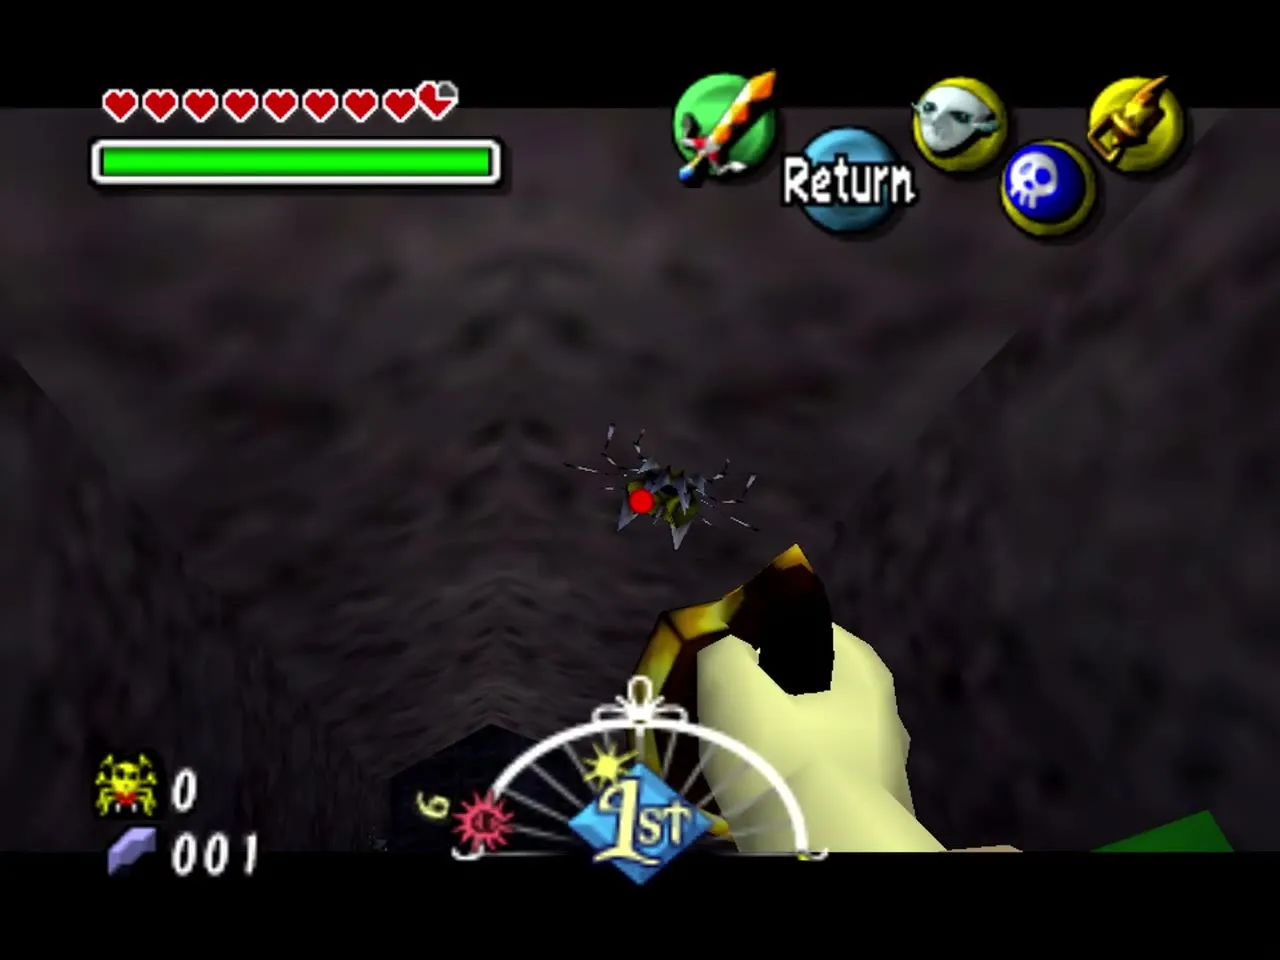

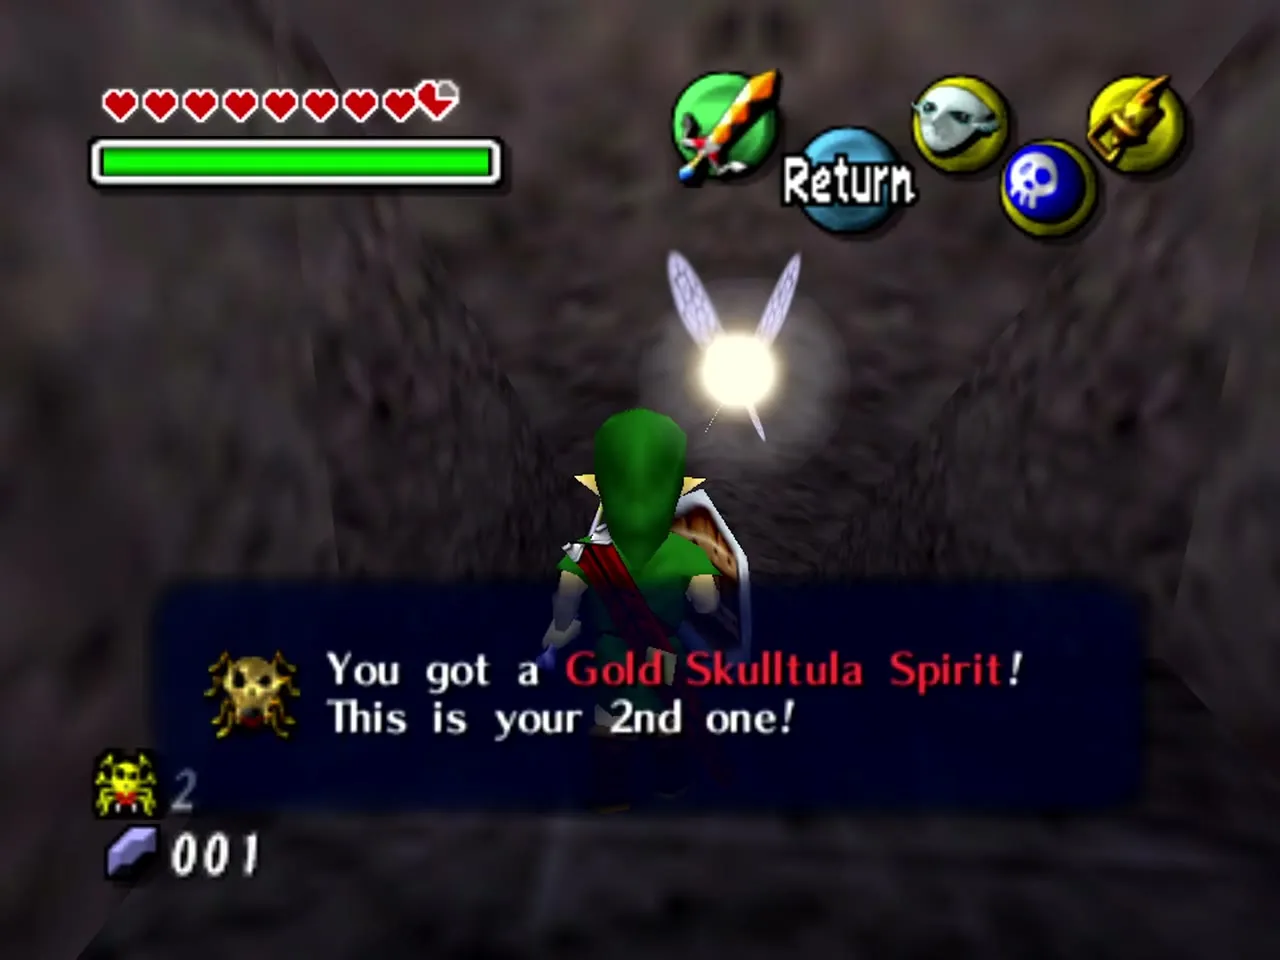
The passage is narrow, so use the Hookshot on the wall spiders and pick up each token before you move on.

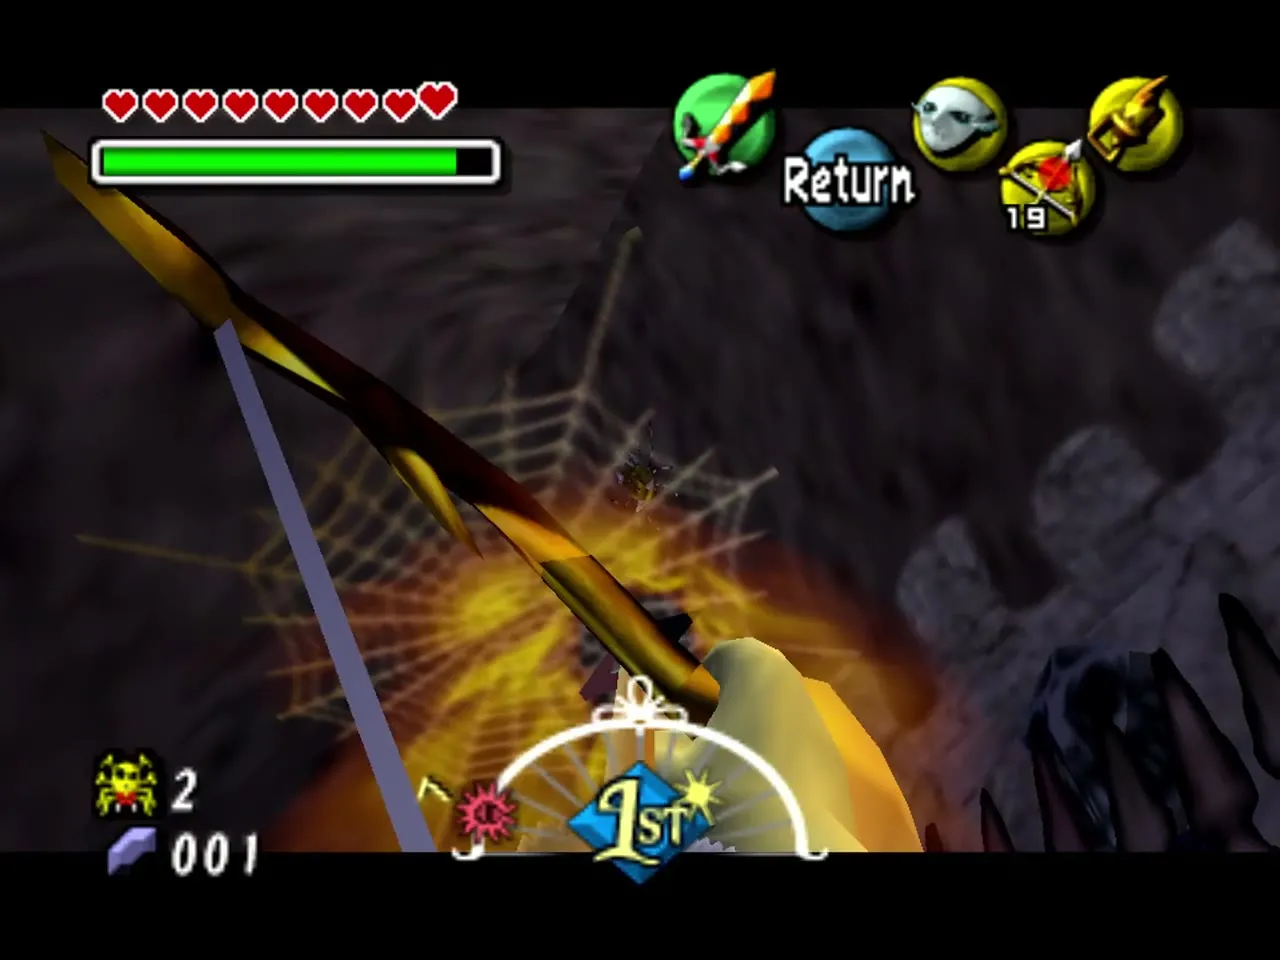
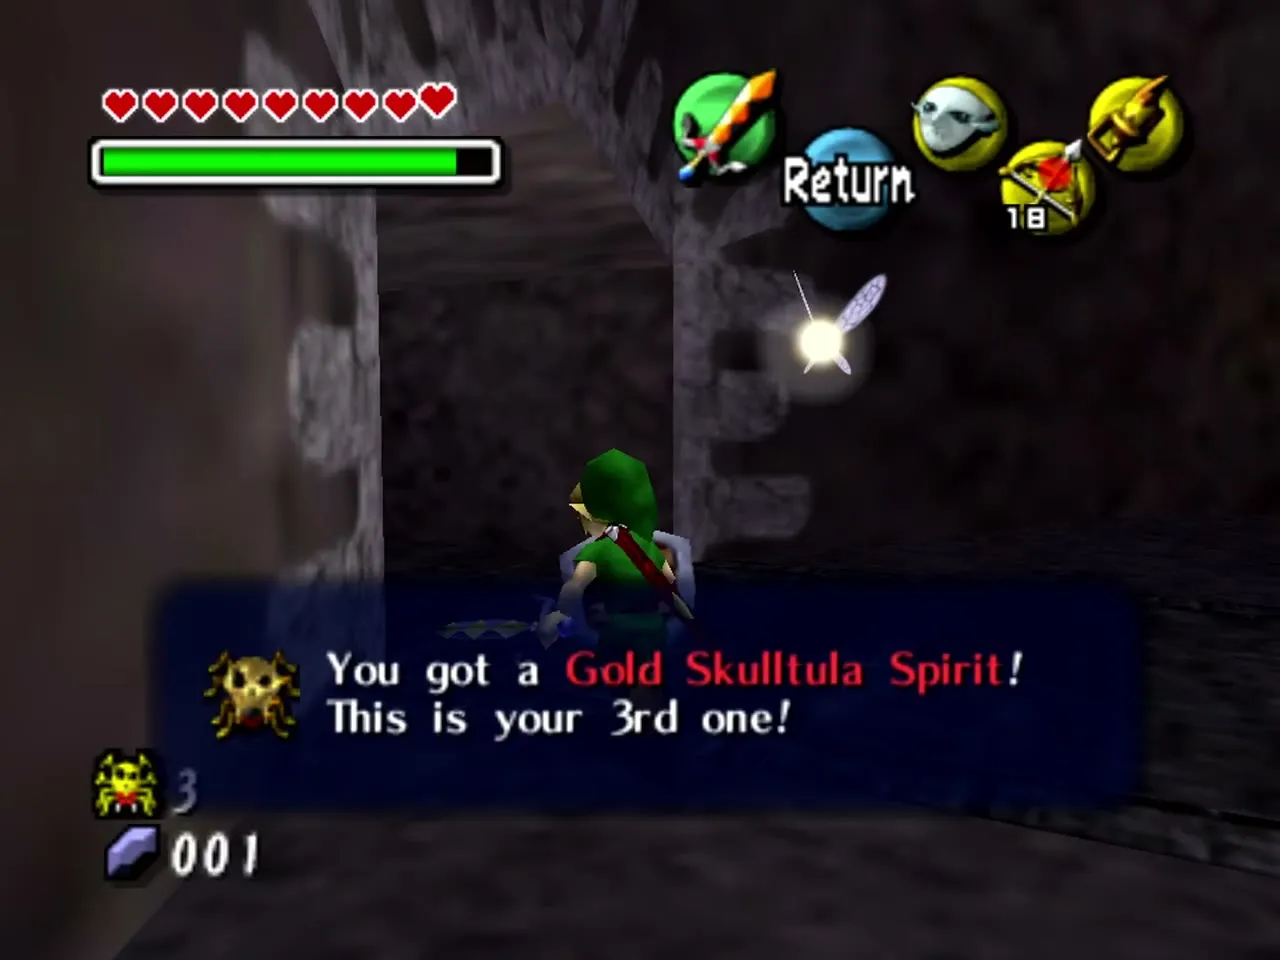
On the lower floor, one spider hangs on the ceiling behind cobwebs. Burn the webs with a Fire Arrow, then Hookshot the spider.
Library (4 to 10)
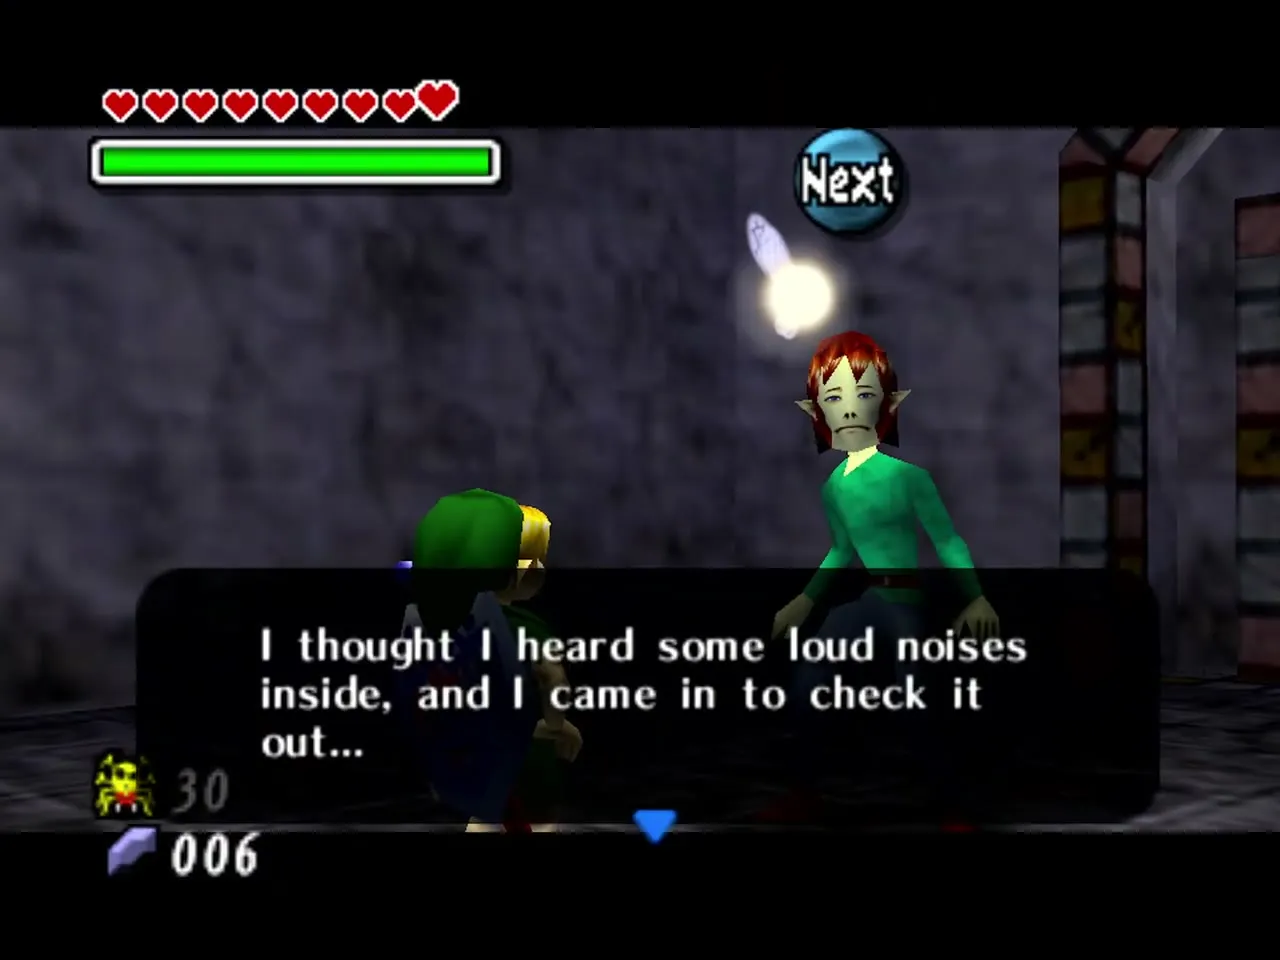
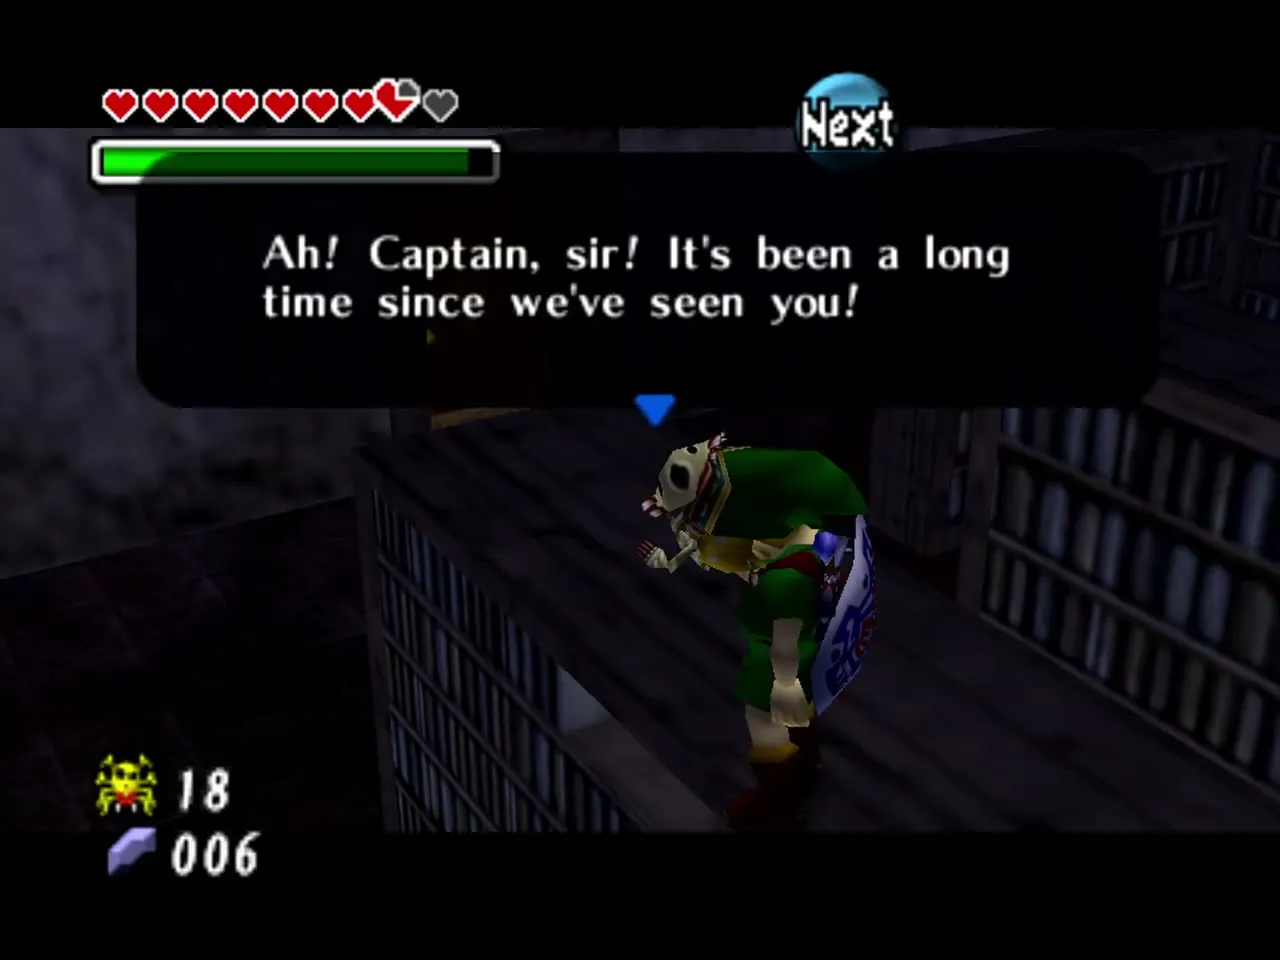
Hookshot over the fence to the stairwell and burn the cobweb on the left, which opens the way into the library. Put on the Captain’s Hat here and talk to any Stalchild you find; jot down the masks it names and the order, because you need them for the Piece of Heart.

Push the bookcase against the west wall to uncover a hidden space with two spiders. At the north end, pull the two end shelves apart, then push the middle one aside to open a hole through which you can Hookshot another spider.

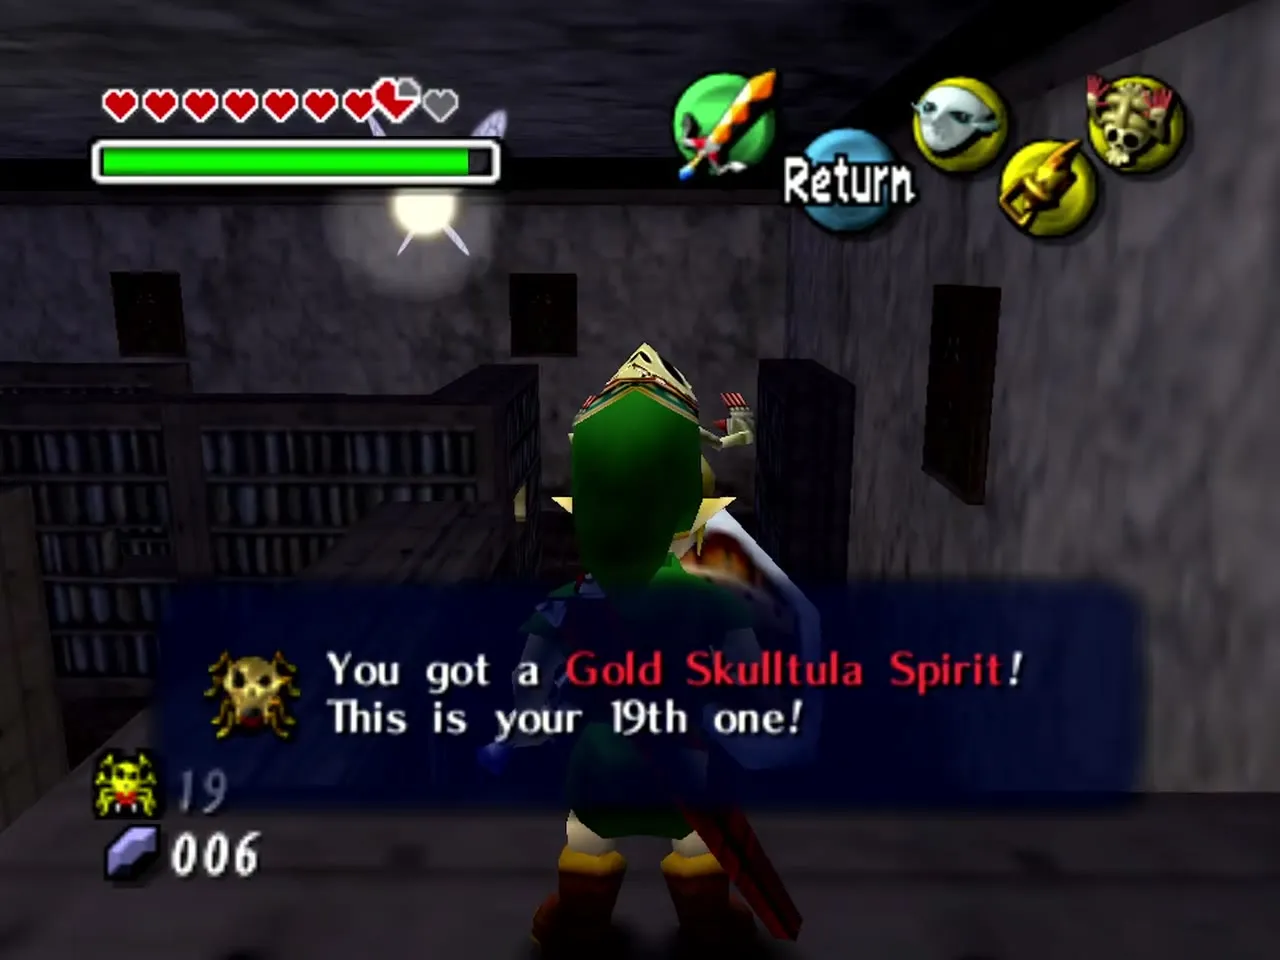

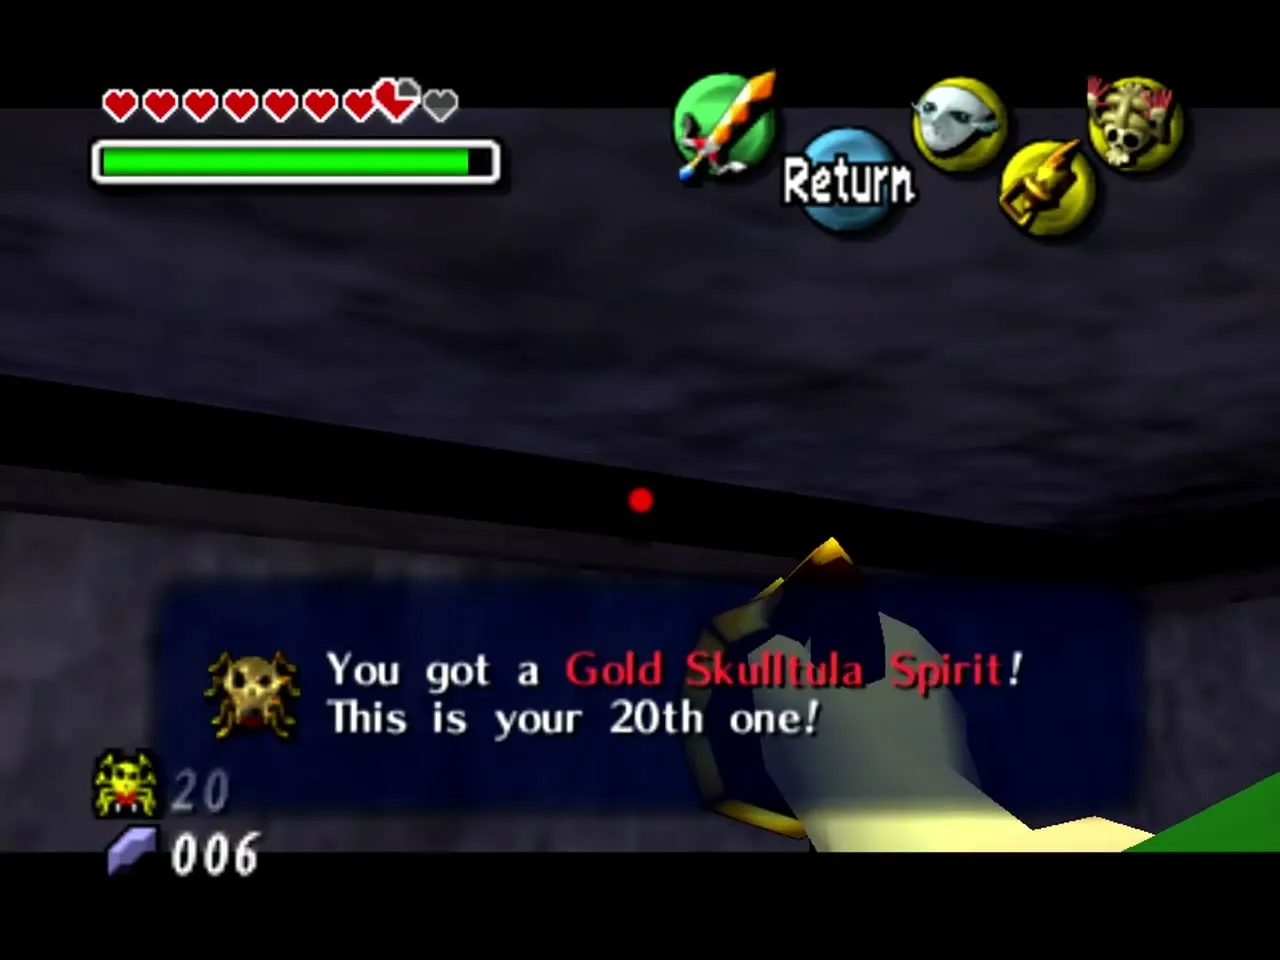
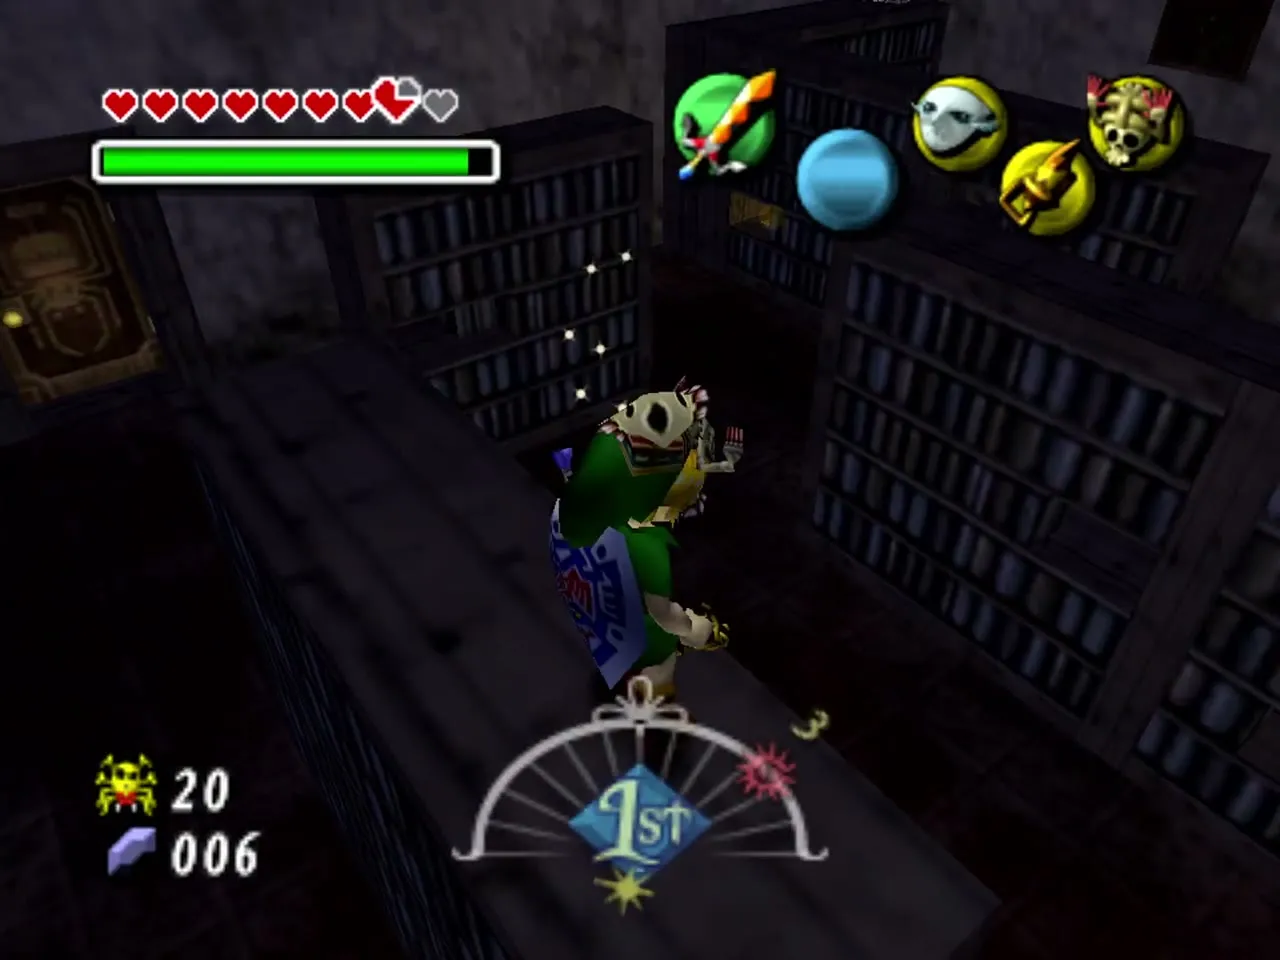
Three more are tucked away: one behind the painting in the northwest corner (pull the painting down with the Hookshot), one along the north ceiling (climb a bookshelf for a clean shot), and one on top of a bookshelf. The last spider is behind a second painting, which you again knock down with the Hookshot before you shoot the spider.

Stairwell (11 to 19)
The stairwell connects all the rooms. Roll into the first jar to flush a spider out, then burn the cobwebs on the last jar and roll into that one too. Hookshot the spider on the wall, then the one in the rafters, and look down the stairs for another in the crack between floors.
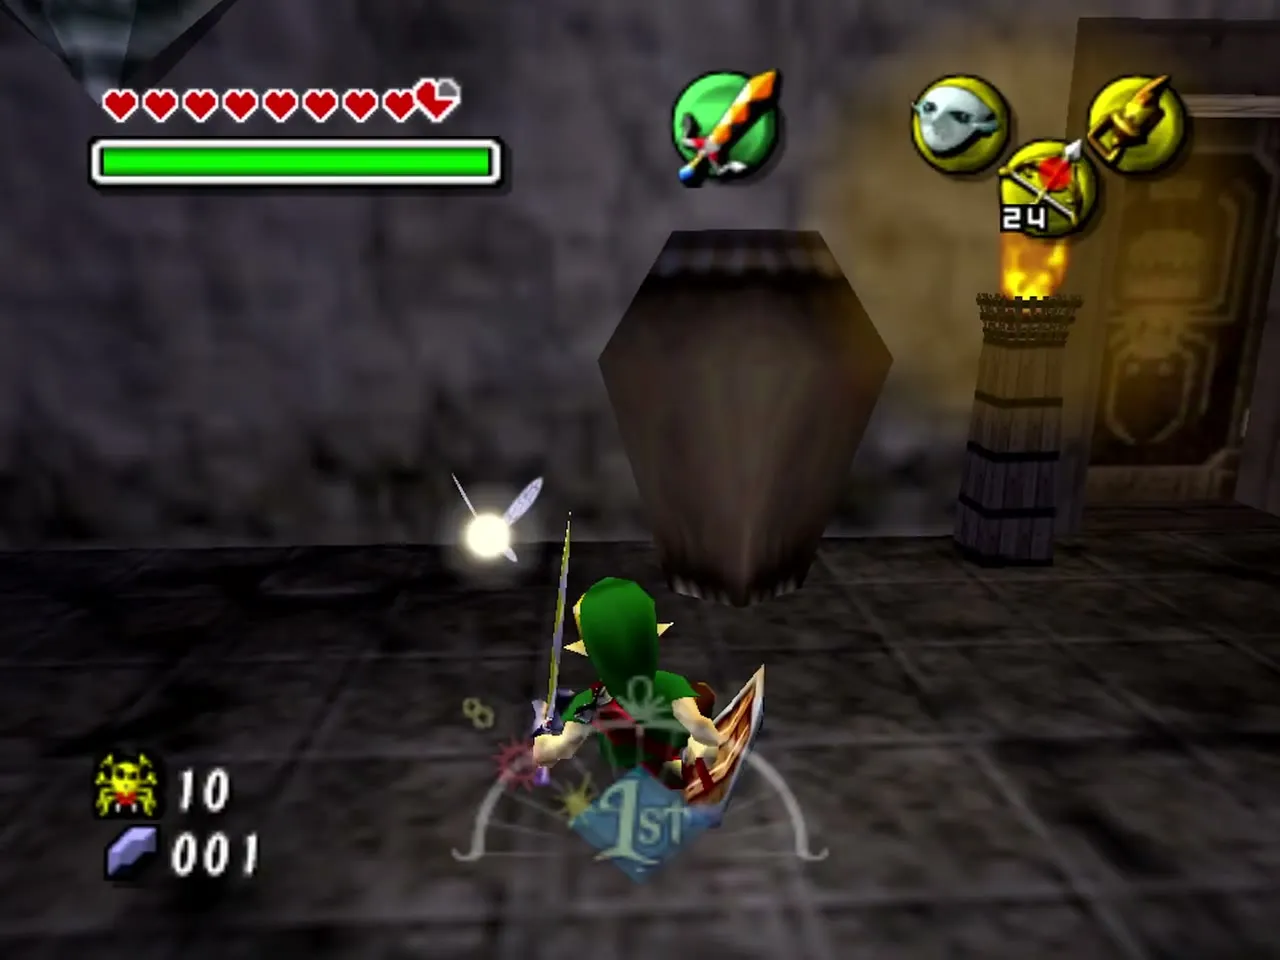
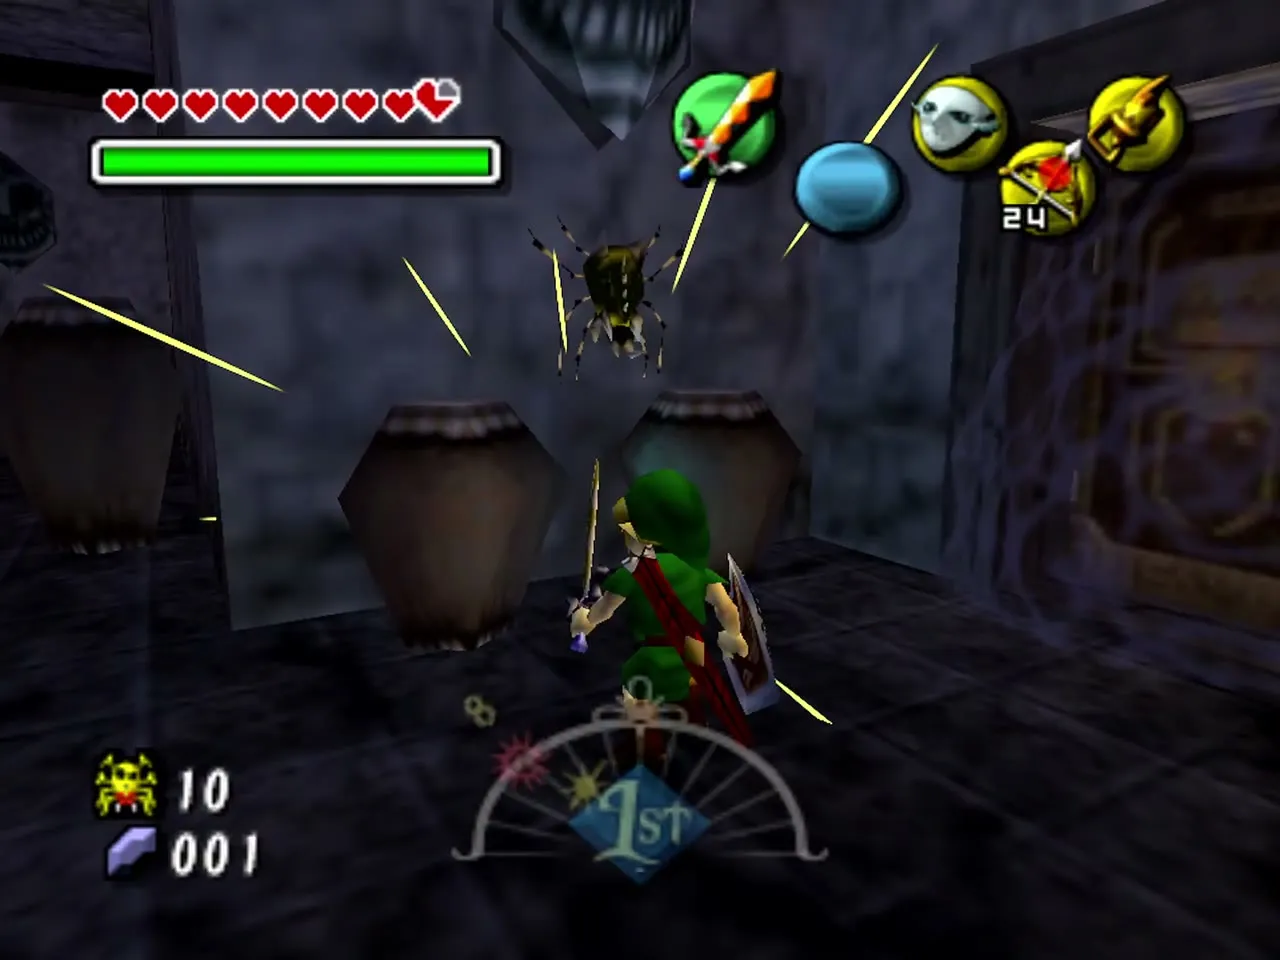
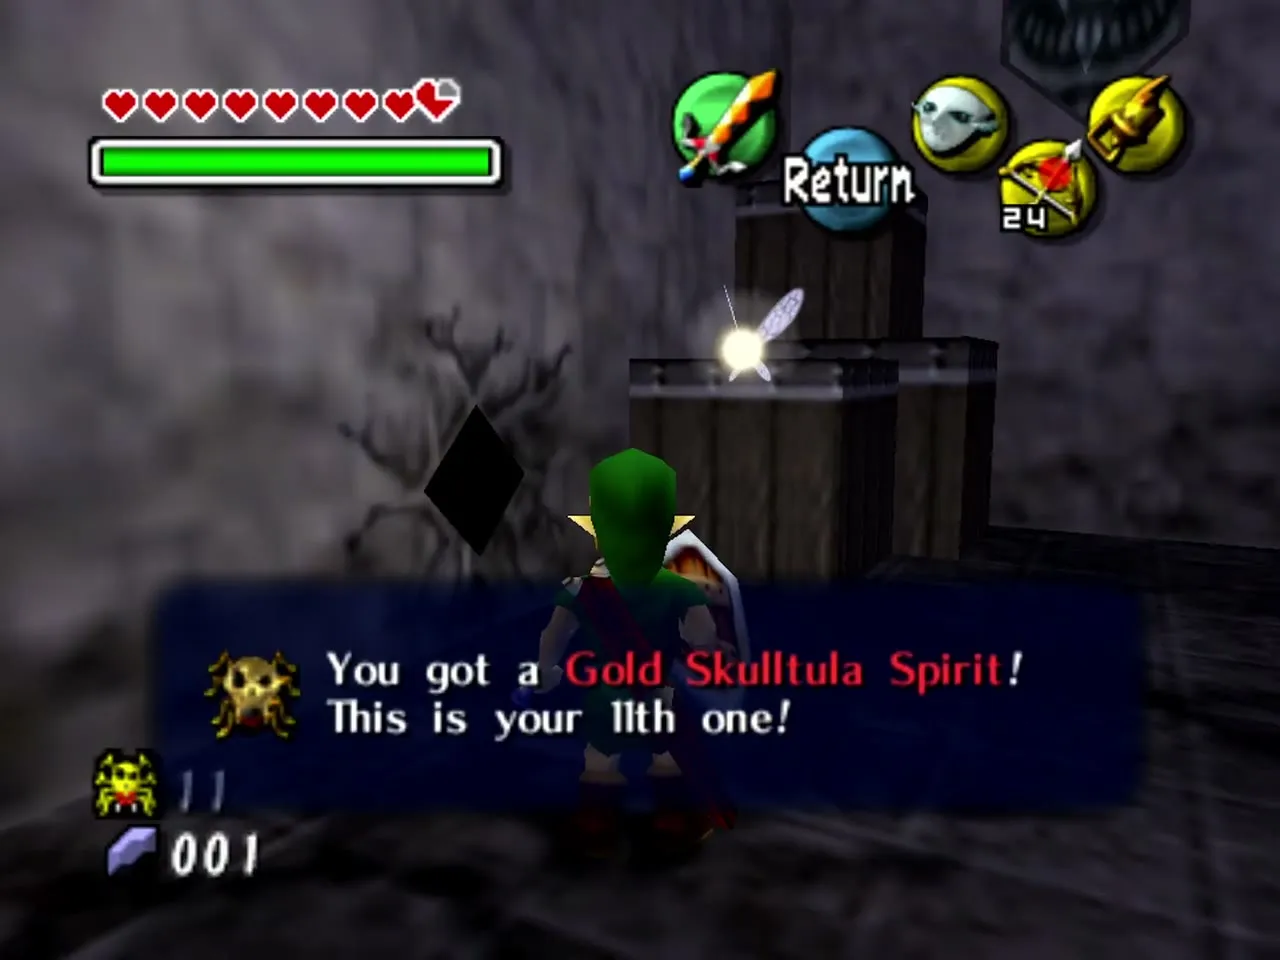
Another is in a jar beside a door; roll into it. Face north, burn the cobwebs by the stacked crates, and Hookshot the spider through the hole in the wall. Climb the crates and break the jar on top for the next one.
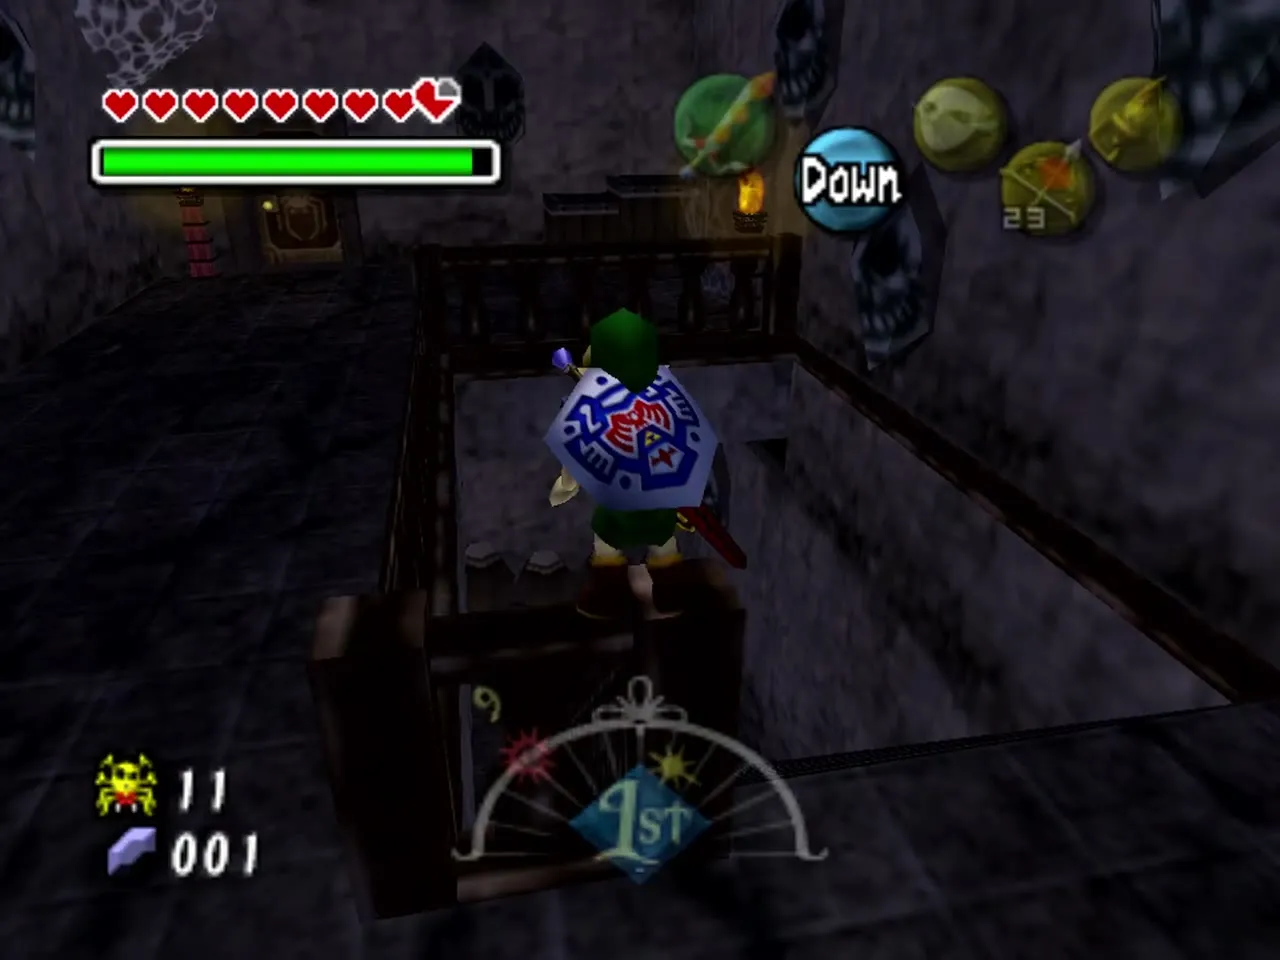
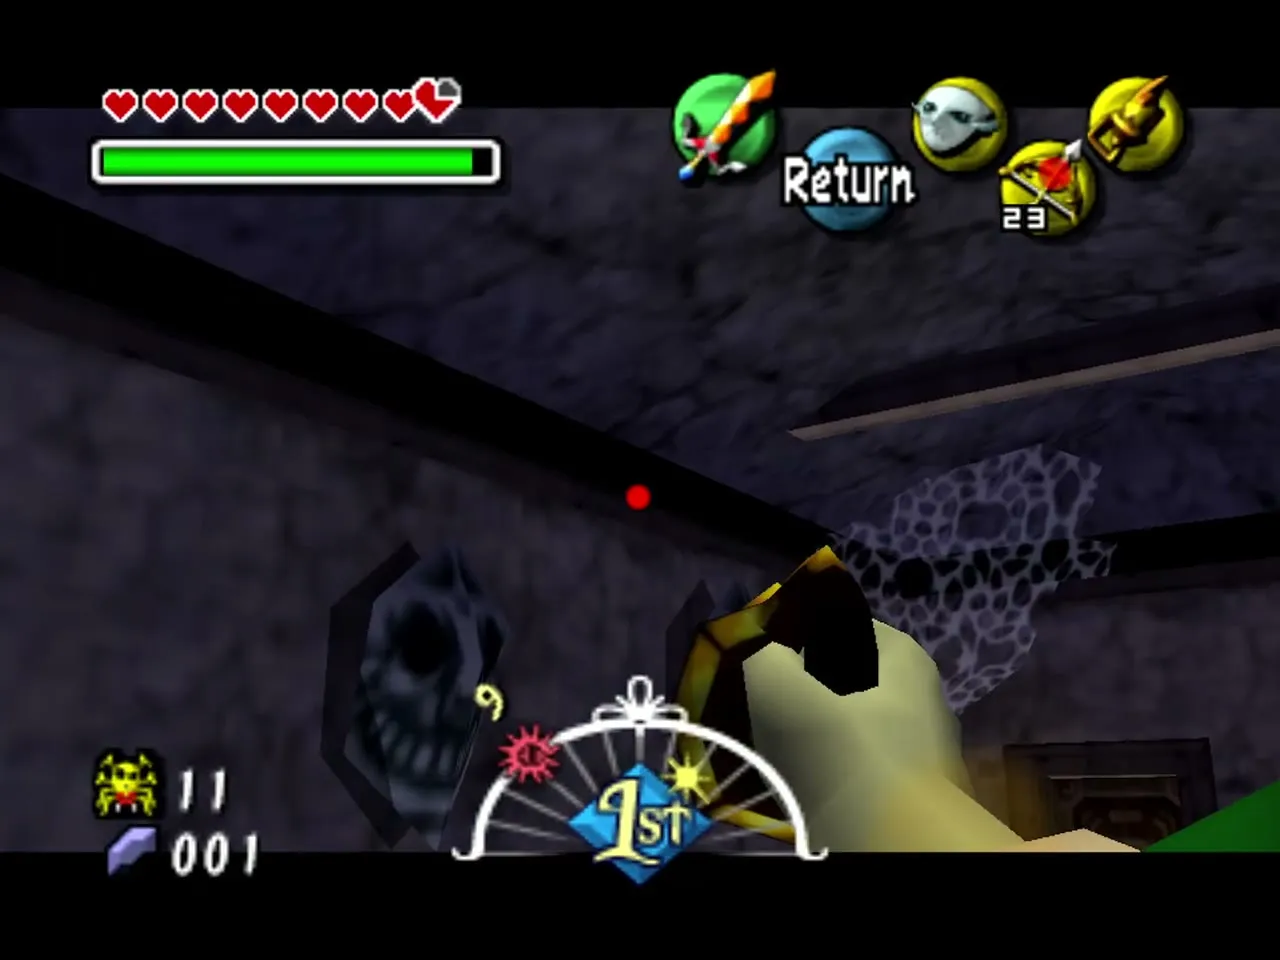

The last spider here crawls out of a mask on the wall behind you, so turn around and shoot it once it appears.
Storage room (20 to 24)
Burn the cobwebs at the north end of the stairwell to open the storage room. Roll into the brown crate on the south side to open an alcove with a spider, then into the north crate for the next. One more waits on the west wall opposite the door, and another on the ceiling behind a web: burn it and use the Hookshot.

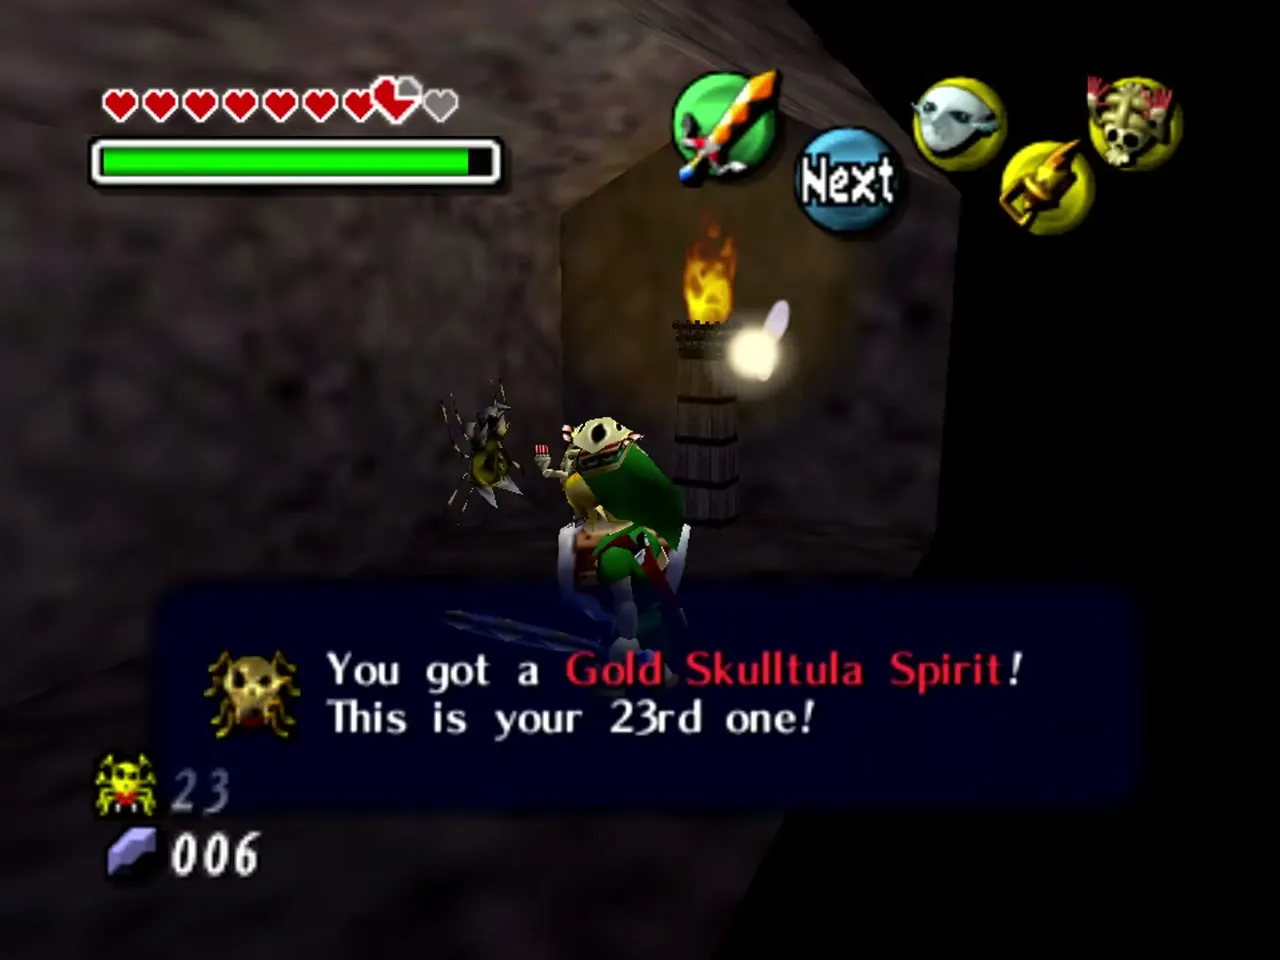

For the fifth, climb the southern crates, Hookshot the wooden barrel above, and smash the barrels to free the spider.

Dining room (25 to 30)
Return to the stairwell and take the other door into the dining room. Roll into the jar under the red mask, then take down the painting beside the red mask with the Hookshot to find another spider. Stand on the table and check the crack between the wall and the ceiling for the next one.
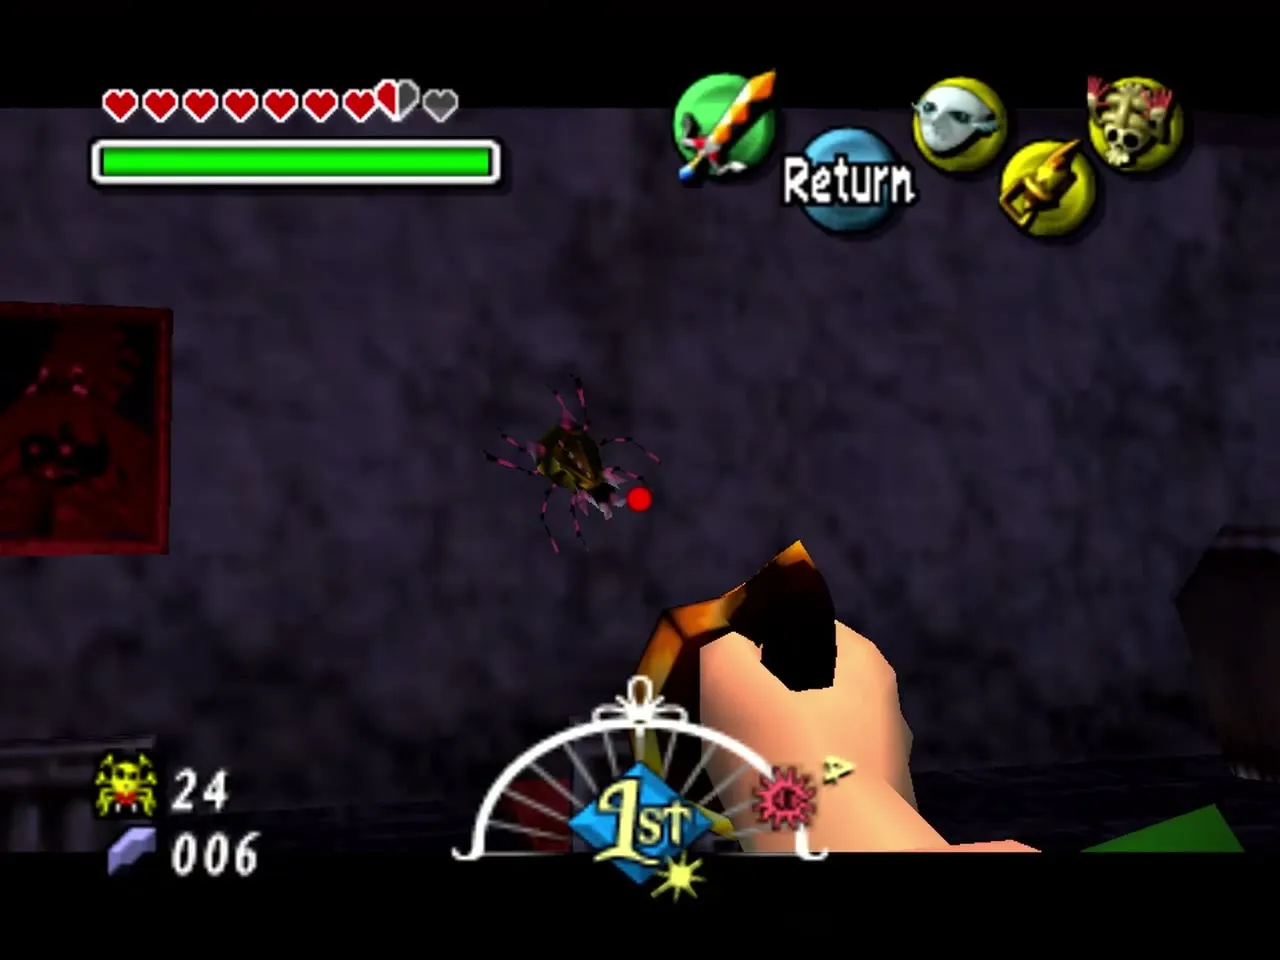
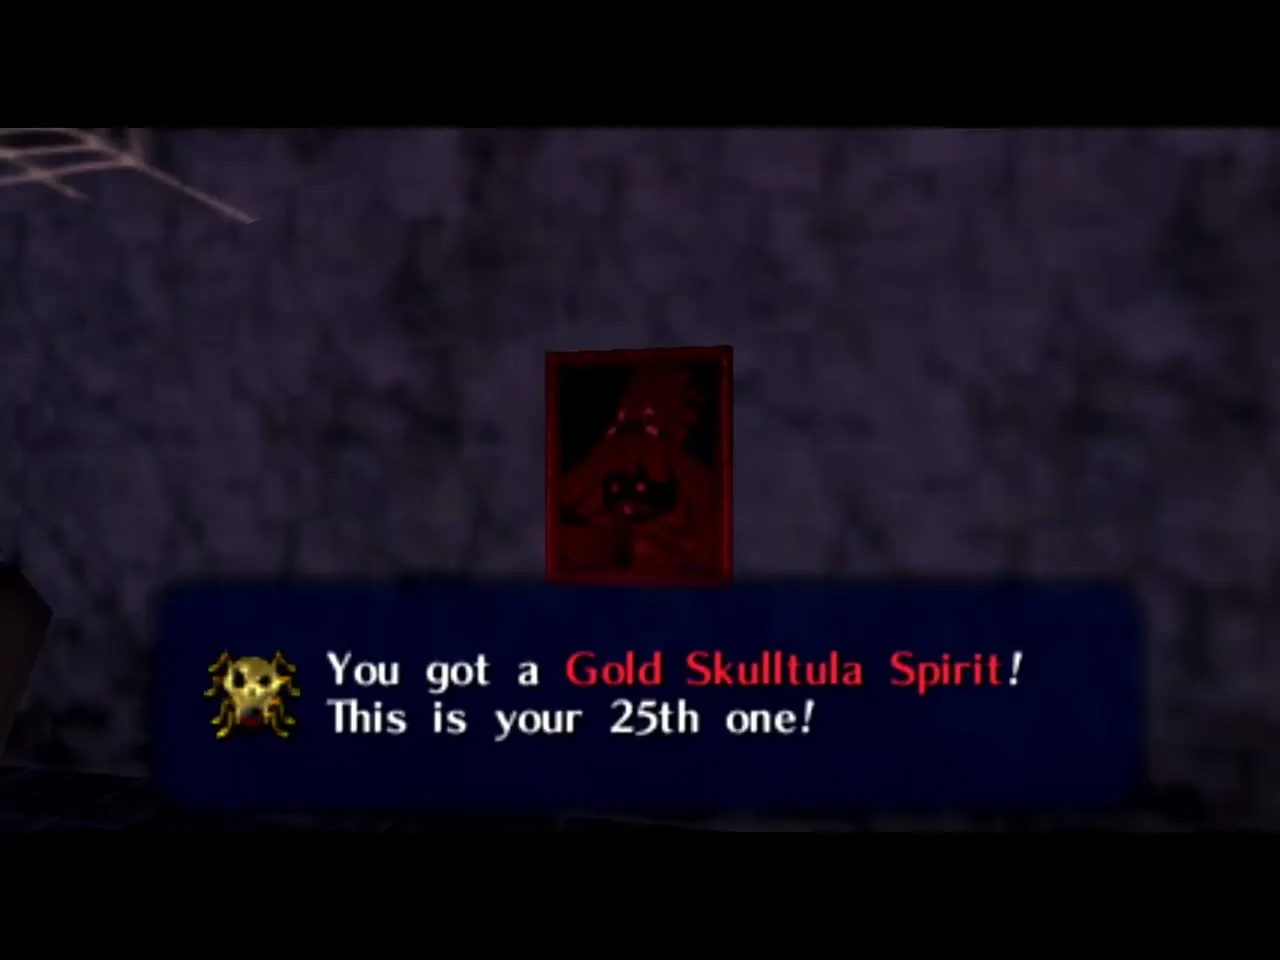
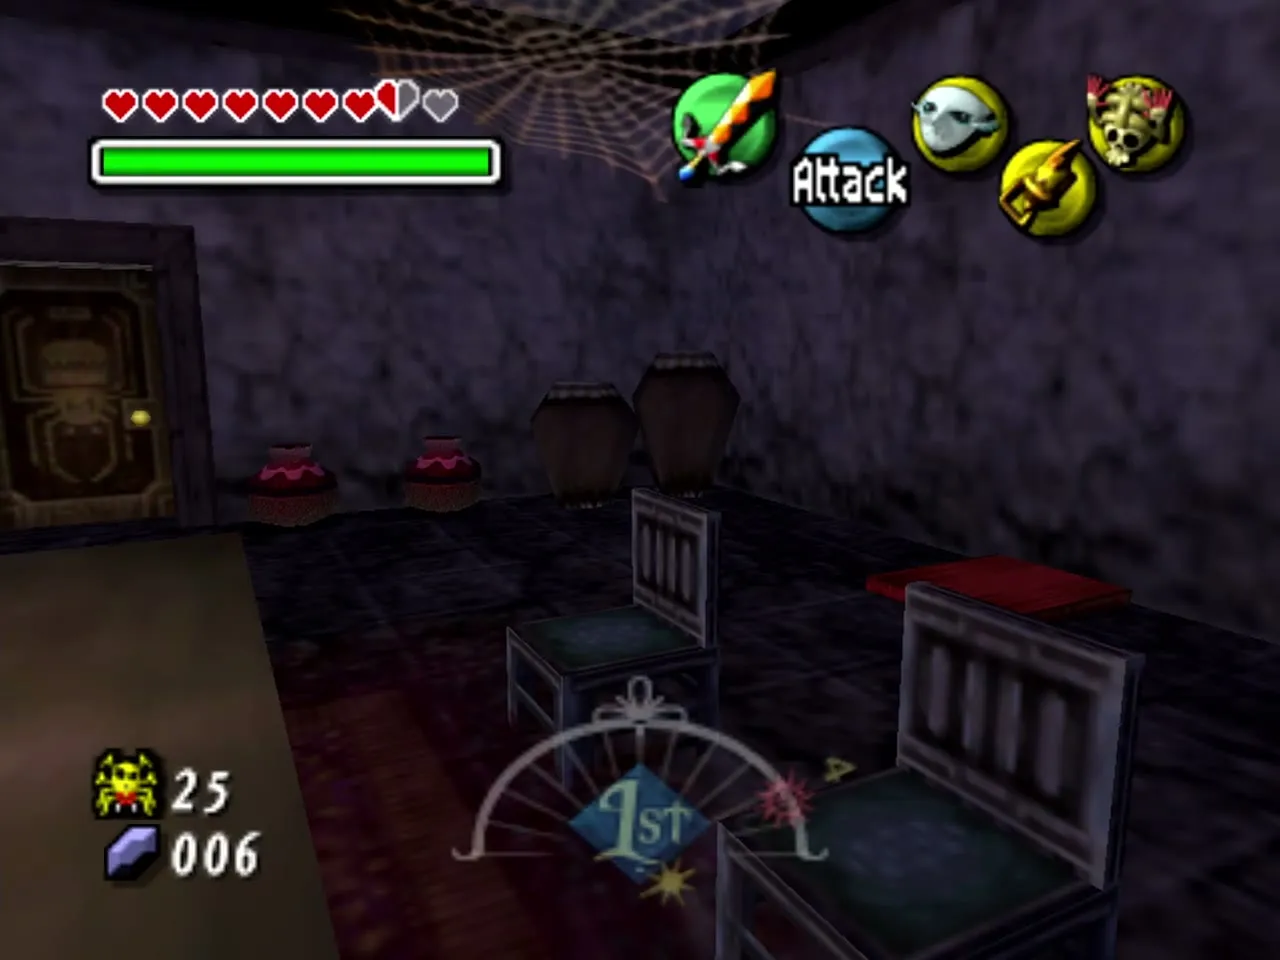
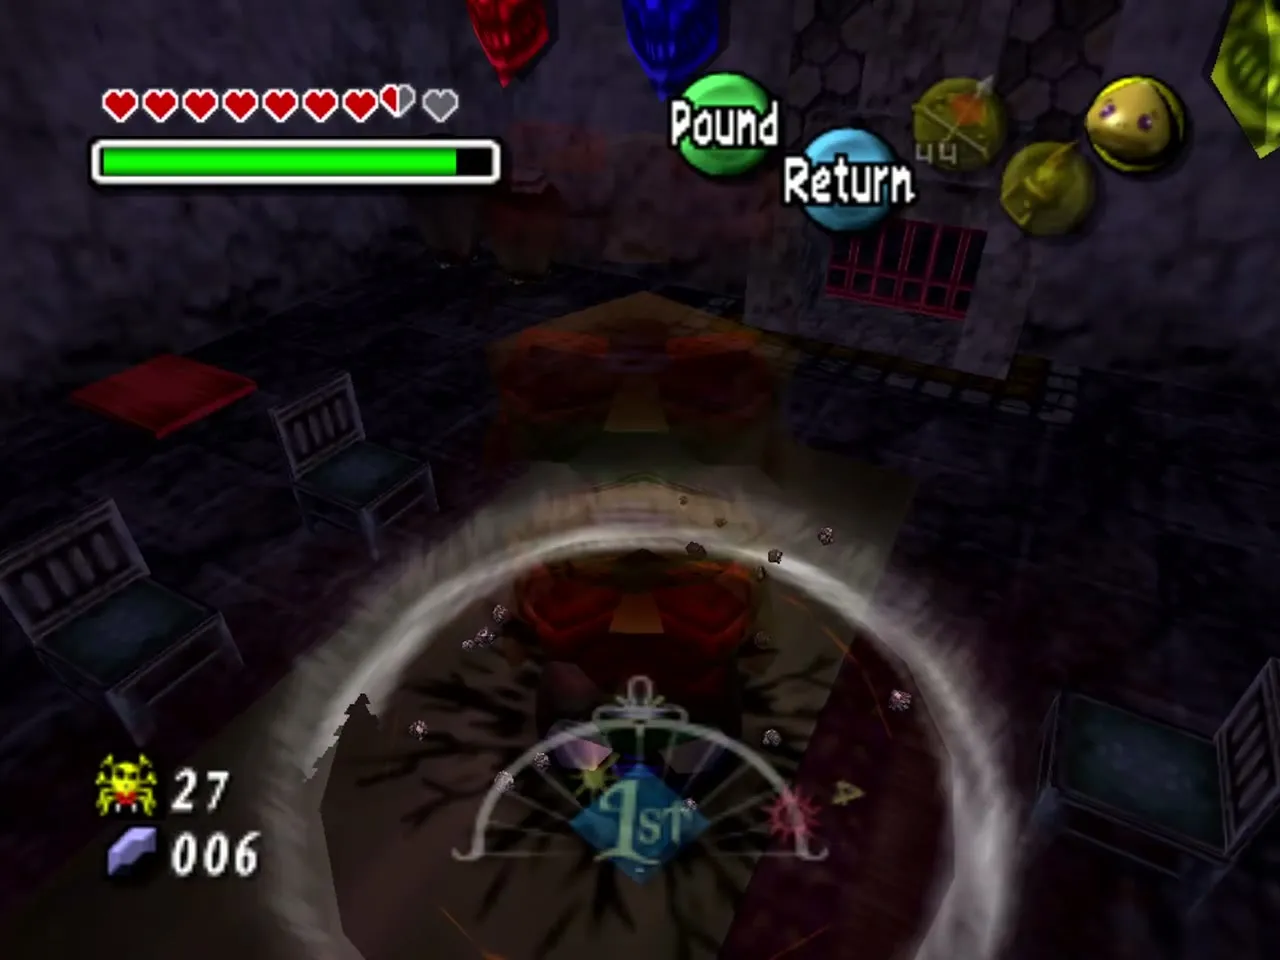
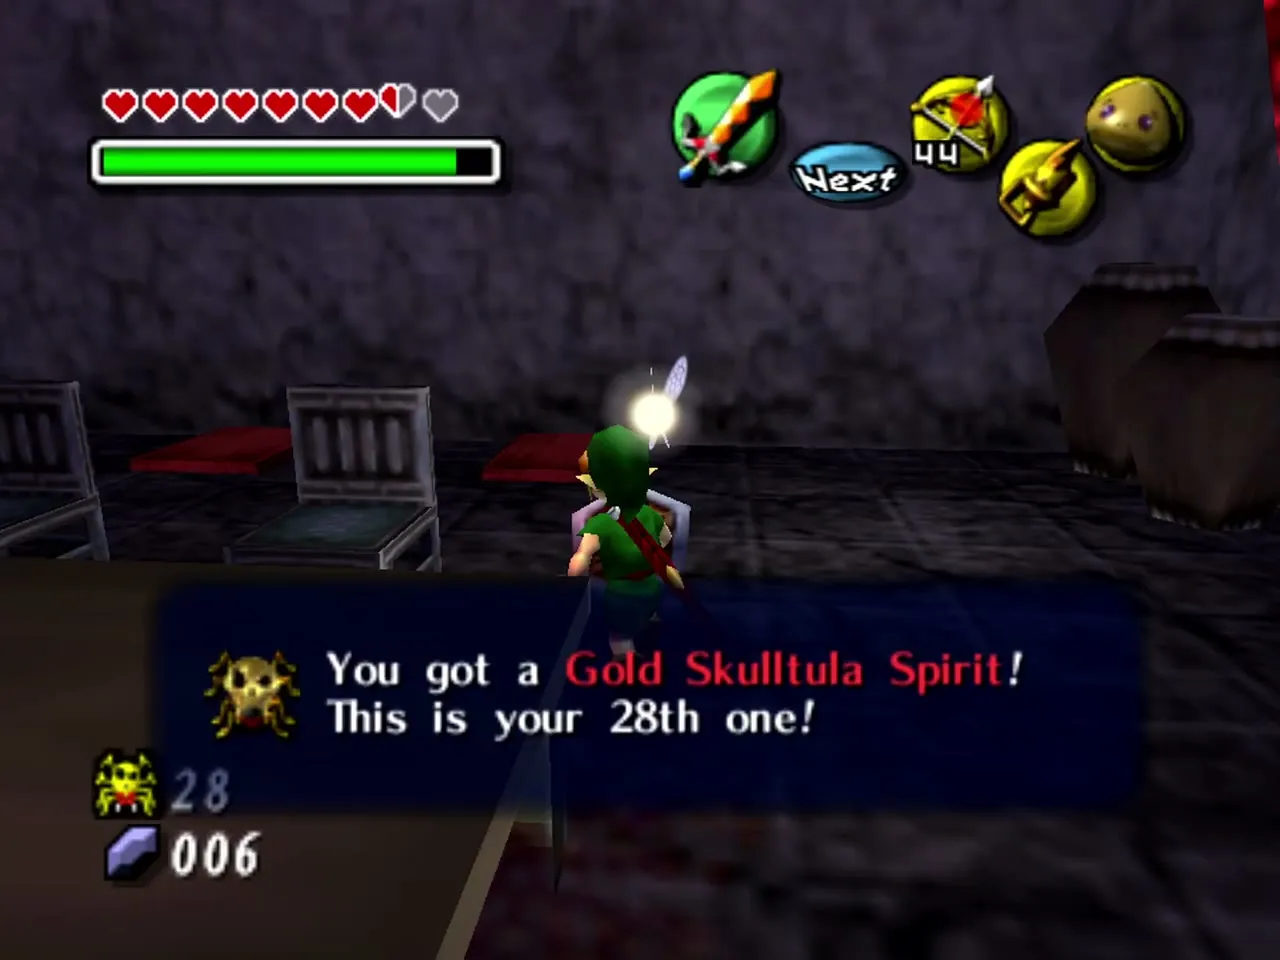
Last, put on the Goron Mask, stand on the table and use the Goron Pound. The last three spiders drop down; defeat them and take the three tokens. Talk to the Stalchildren in this room too, to get the rest of the mask order.

Piece of Heart: the skull mask puzzle
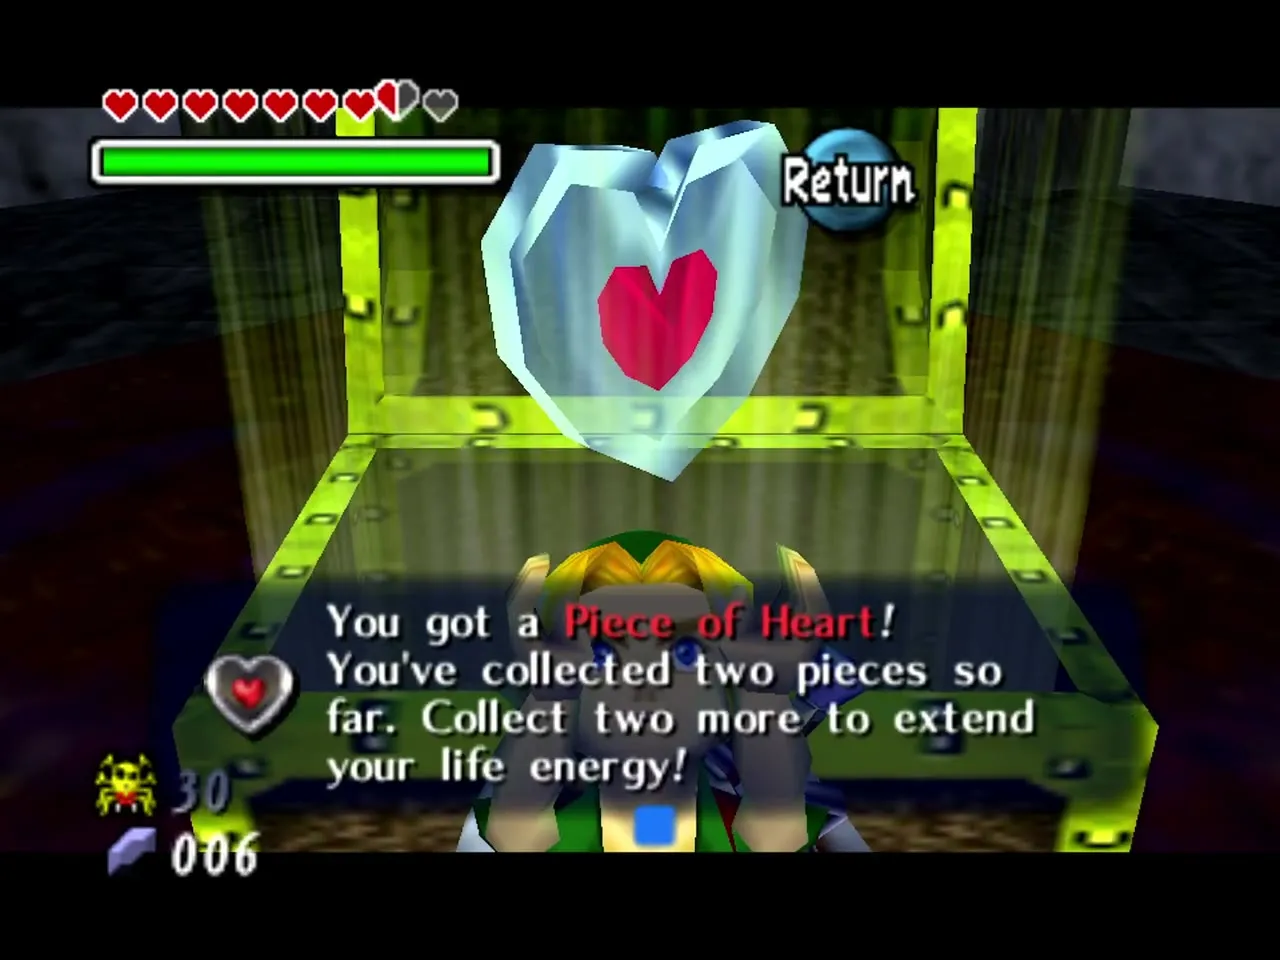
Six Stalchildren tell you the order, so wear the Captain’s Hat when you talk to them. Each one names a colour and a place in the order. Write each clue down as you hear it. Then stand in the dining room and shoot the coloured skull masks above the fireplace with arrows in that order, one arrow per mask. If you get it right, the way into the fireplace opens. Go up the stairs beyond it and open the chest to get a Piece of Heart. The message that appears shows how many pieces you now hold.


The six clues come out as Yellow first, Red second, Green third, Red fourth, Green fifth and Yellow sixth. Check each clue as you hear it, and use the order in the table below.
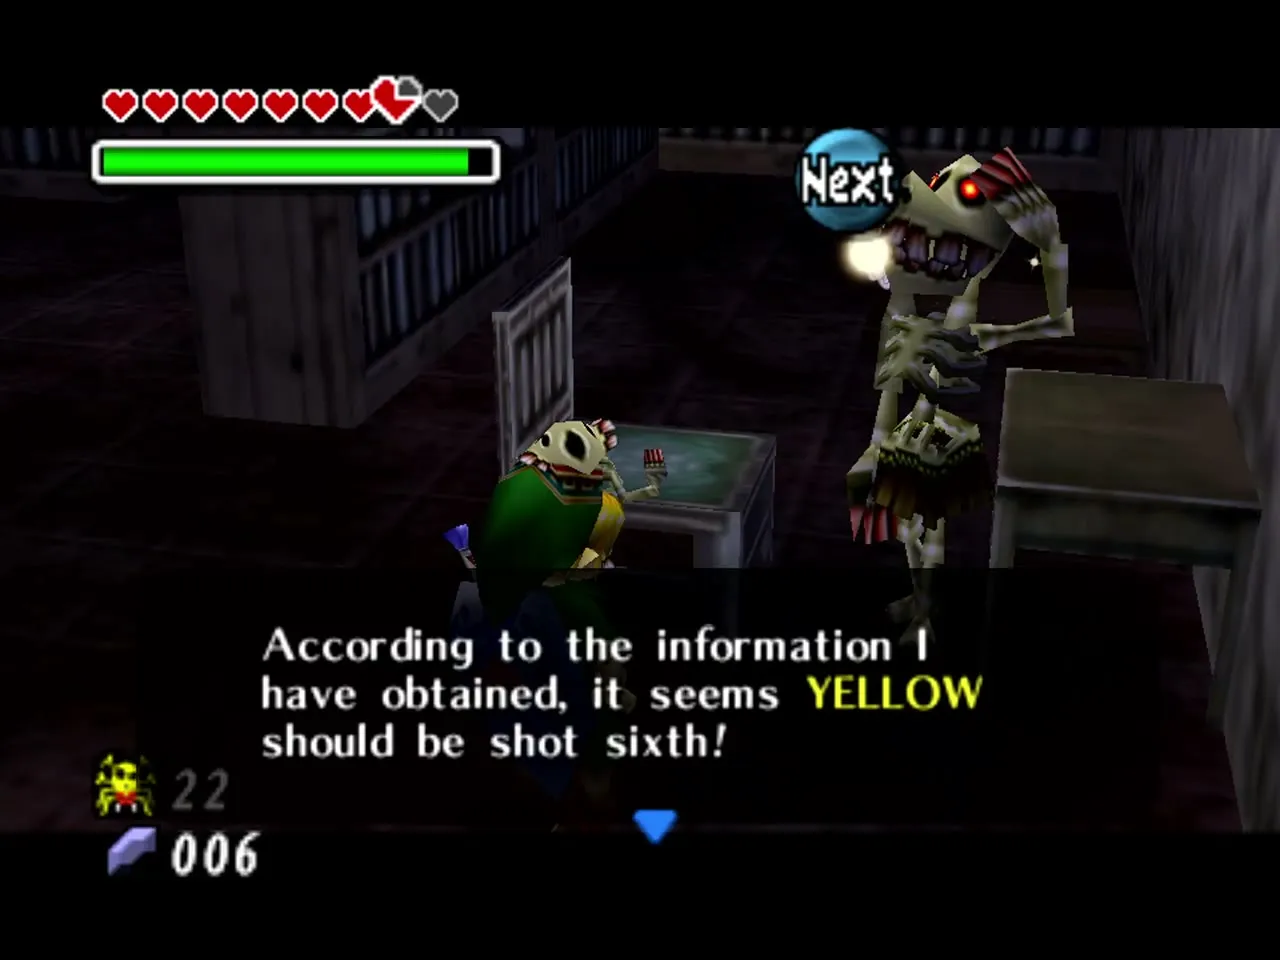
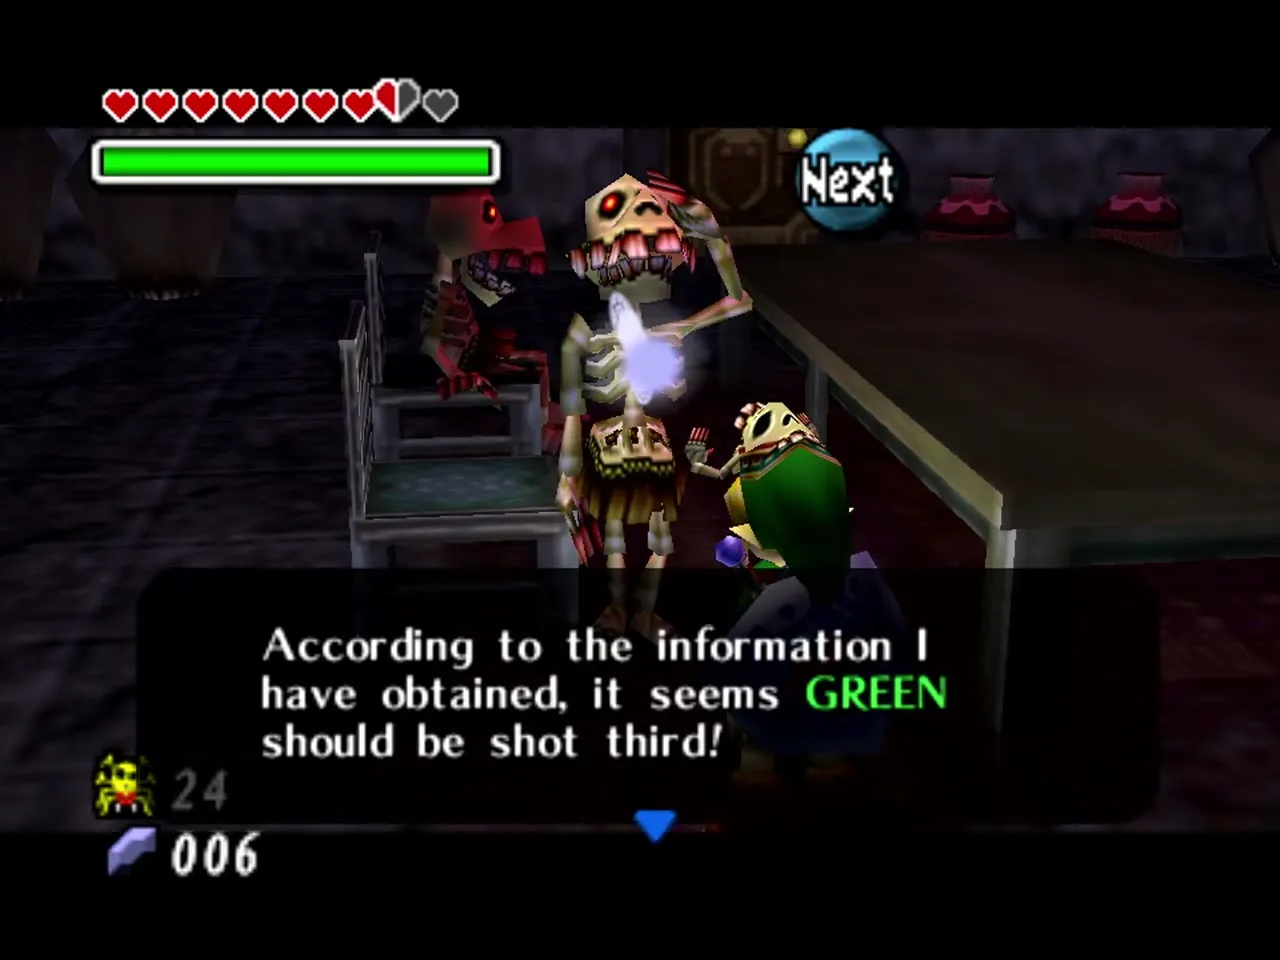
| Shot | Mask colour |
|---|---|
| 1st | Yellow |
| 2nd | Red |
| 3rd | Green |
| 4th | Red |
| 5th | Green |
| 6th | Yellow |
Reward: Giant’s Wallet
With all thirty collected, head for the exit: go up the stairs, Hookshot across the gate, and roll up the entry ramp as a Goron. A man waiting outside the entrance asks if he can have the house as shelter from the falling moon, and when you agree he gives you the Giant’s Wallet, which raises your limit to 500 rupees. The wallet is only given if you finish on the First Day; on later days he pays a rupee reward instead. The wallet stays yours across time cycles, and you need it for the All-Night Mask (see the mask collection guide) and for large rupee hauls.