





















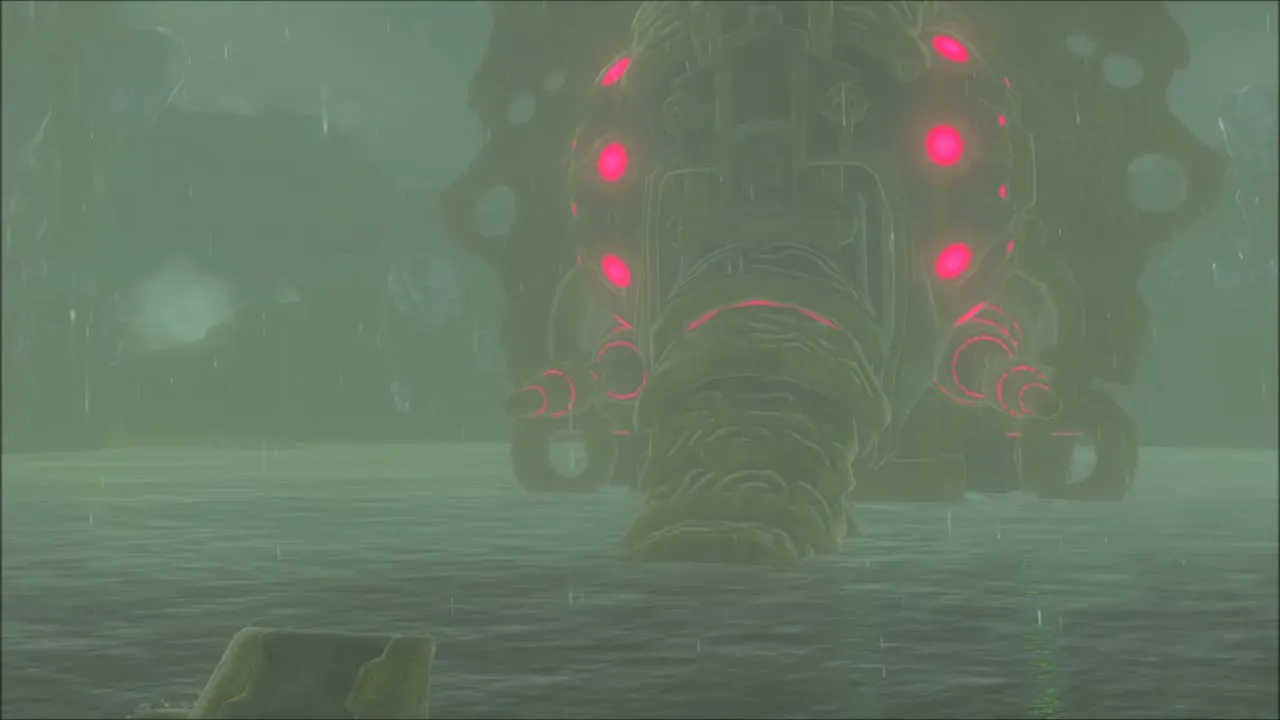
| Beast | Vah Ruta, the elephant-shaped Divine Beast of the Zora |
|---|---|
| Region | Lanayru; hovers above Zora’s Domain (settlement at x 3272, z -401, height 426, map square I-4) |
| Champion | Mipha |
| Boss | Waterblight Ganon (health 800 for the first Blight you defeat, then 1,200, 1,600 and 2,000 for the fourth) |
| Bring | Zora Armor, a bow, 20 Shock Arrows, Cryonis, Magnesis and Stasis; Ice Arrows and Remote Bombs help |
| Reward | Heart Container, Mipha’s Grace, Lightscale Trident (attack 22, durability 70) |
Before the assault
Win over Muzu
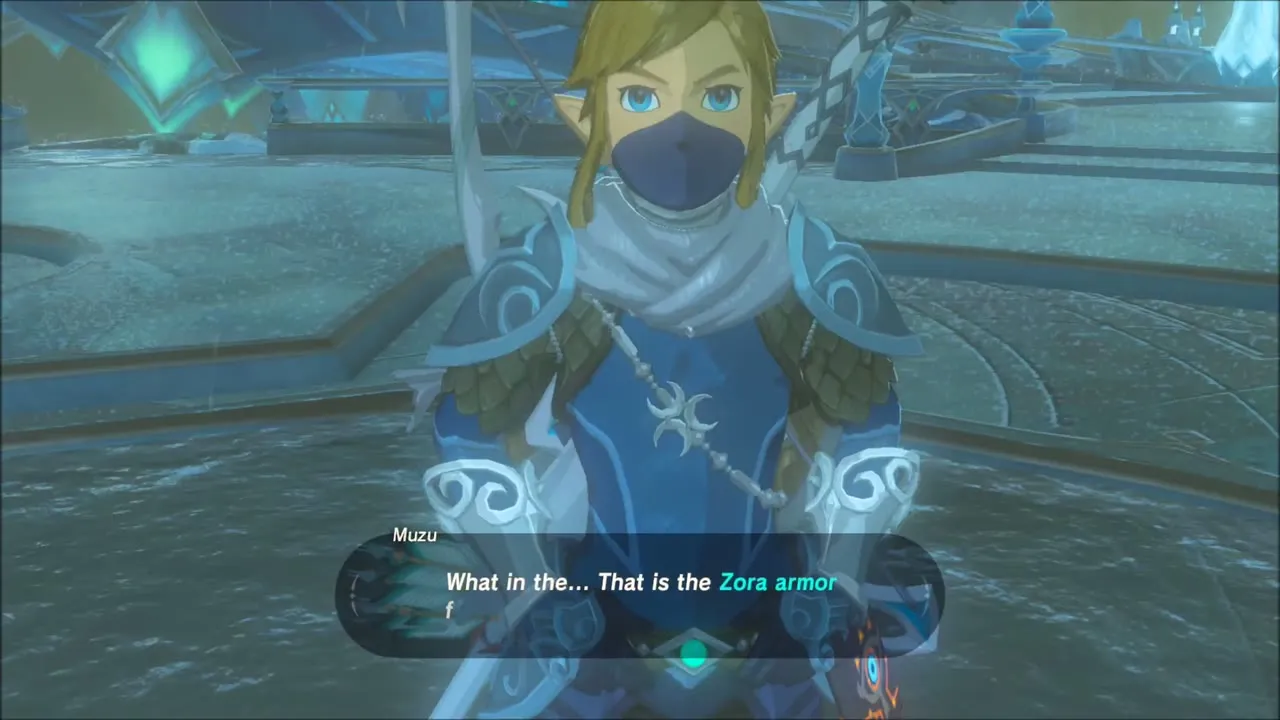
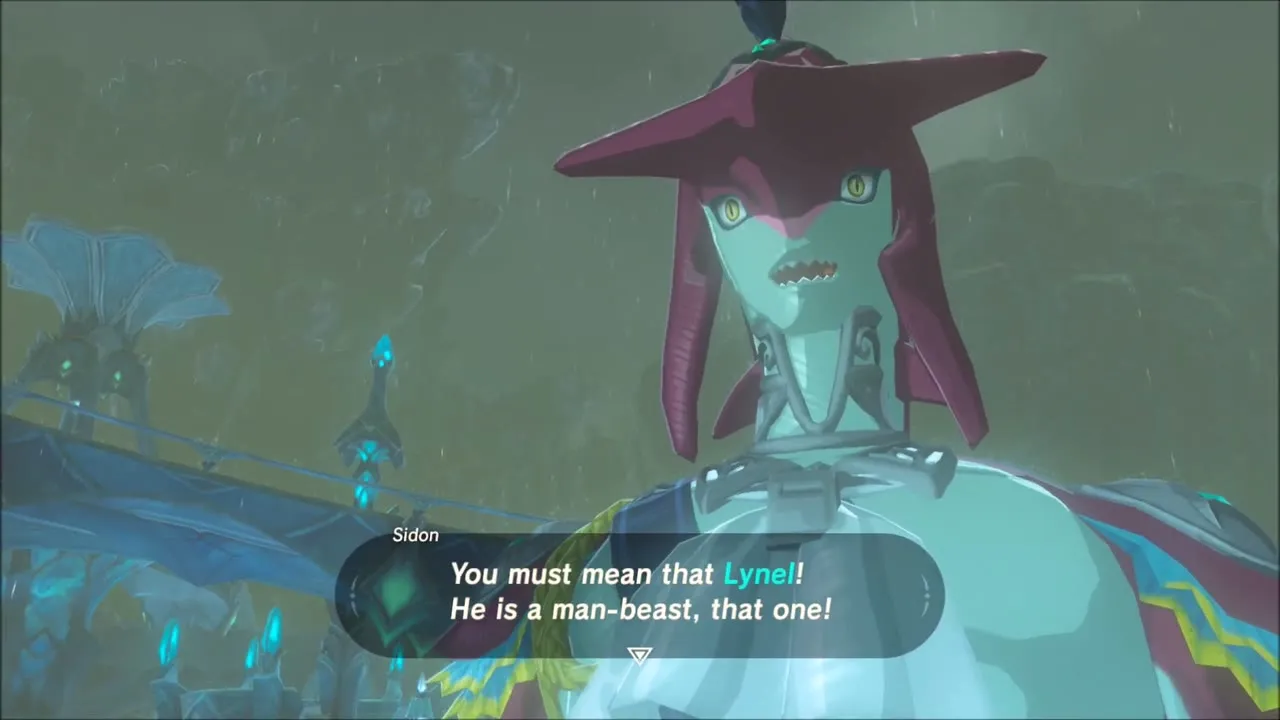
Once the Zora king has told you what has happened, put on the Zora Armor and go down to the square below the throne room. The elder Muzu is arguing with Sidon there. The armor fits you well enough that Muzu backs down and points you to the Lynel on Ploymus Mountain, whose arrows are the only thing that can hurt the Divine Beast. Sidon will wait for you at the reservoir once you carry 20.


Optional: the Zora Helm
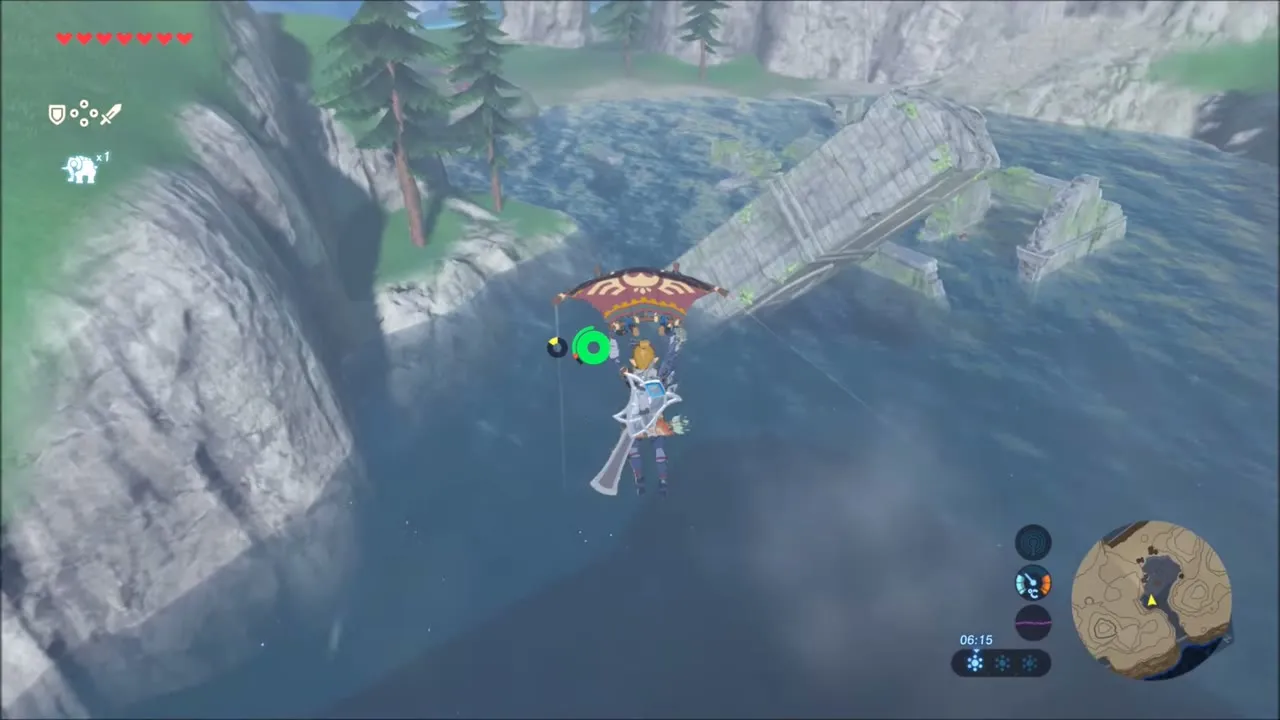
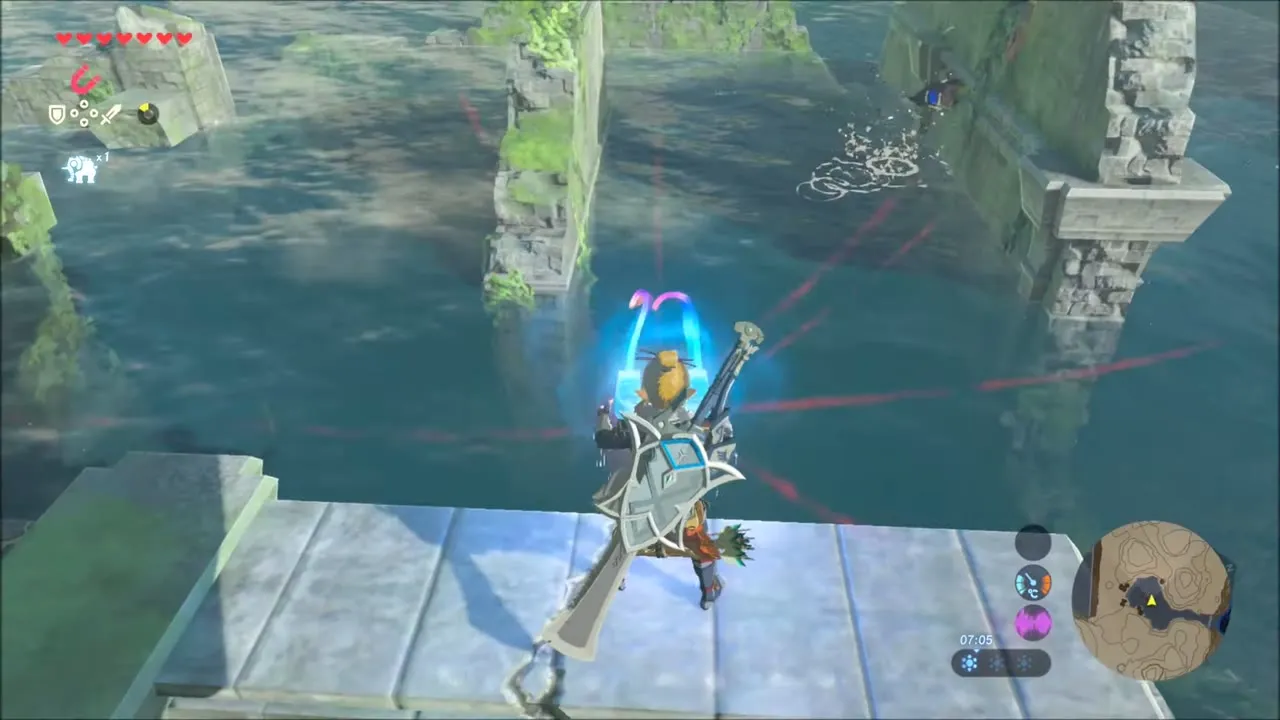
Swim up the big waterfall to the north to reach Toto Lake. Scan the sunken ruins with Magnesis, pull up the buried chest and open it for the Zora Helm, which increases your swim speed.

Collect 20 Shock Arrows
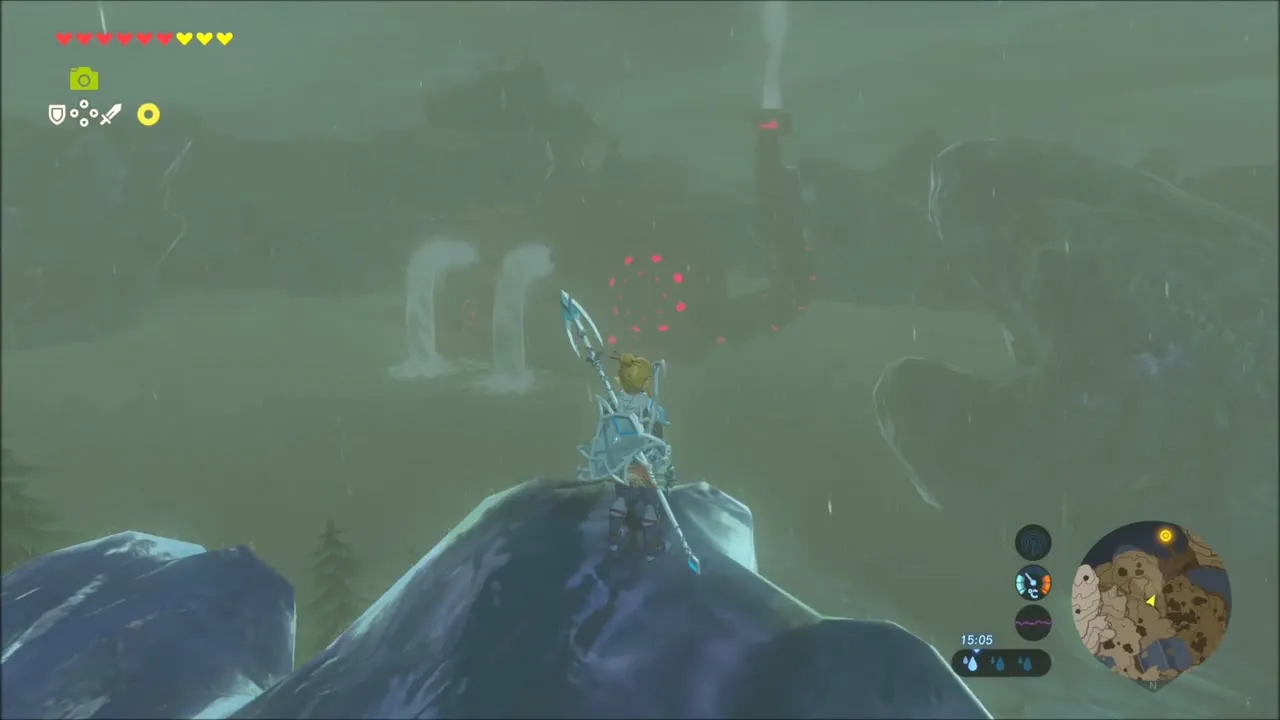
Leave by the east gate and swim up the waterfalls past Mikau Lake and Lulu Lake. Several Shock Arrows sit in trees along the climb, with more near the summit at Shatterback Point. The Lynel fires bursts of three and can lob volleys over cover, so stay behind rocks and move only when it looks away. Drop into the reservoir at the top once you have 20.

Attacking Vah Ruta
Shoot the four orbs
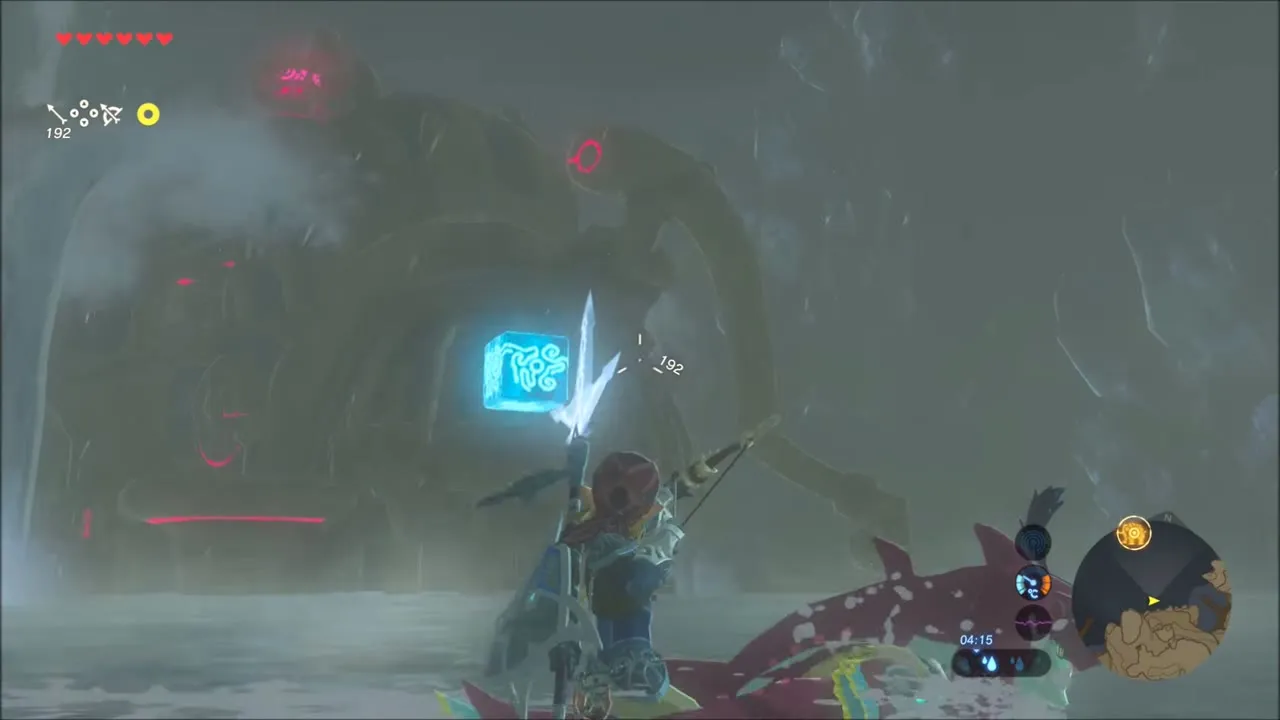
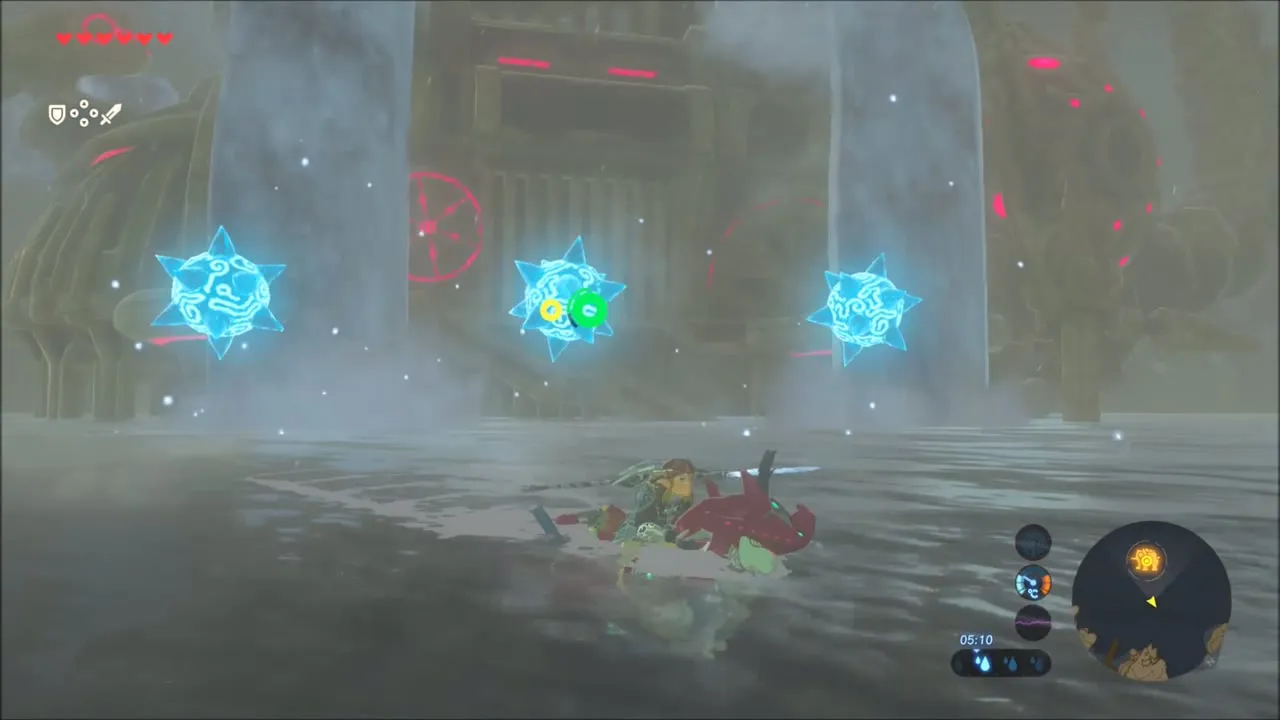
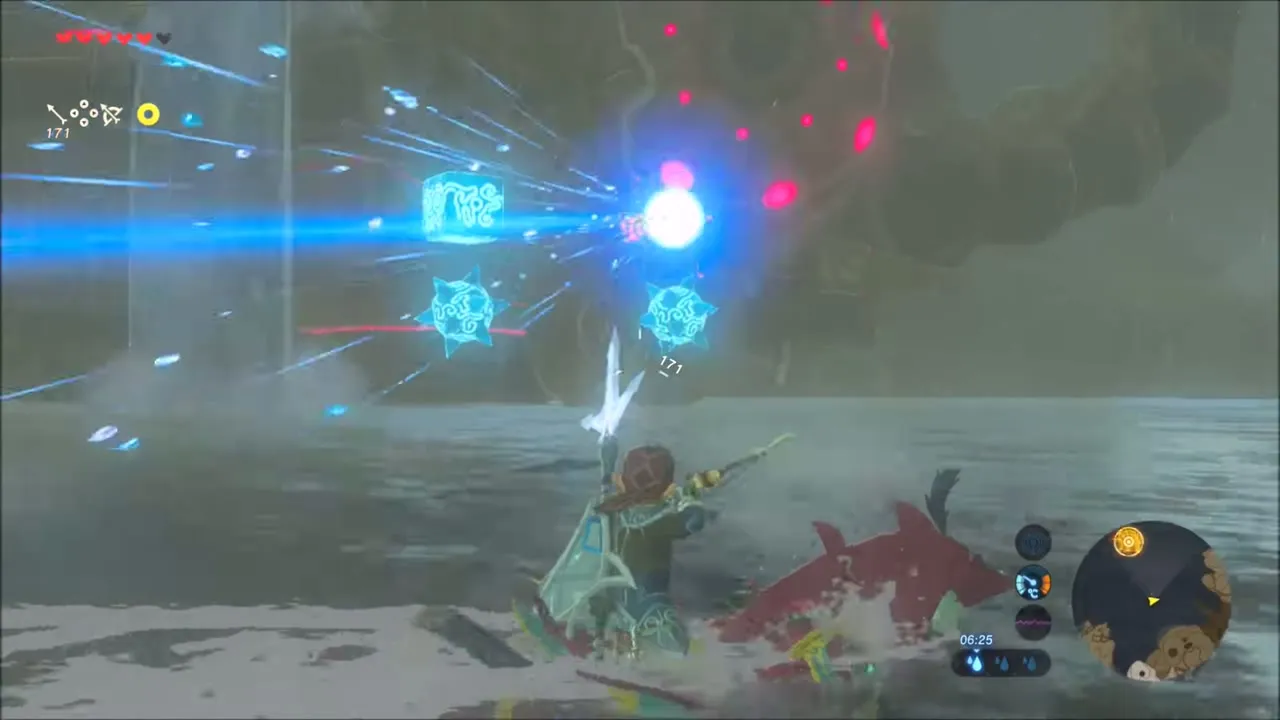
Ride on Sidon’s back as he circles the beast. Hop off near a waterfall and put a Shock Arrow into one of the four glowing orbs. Between shots the beast throws ice blocks at you; hit them with an arrow or the Cryonis rune, which also breaks existing ice.
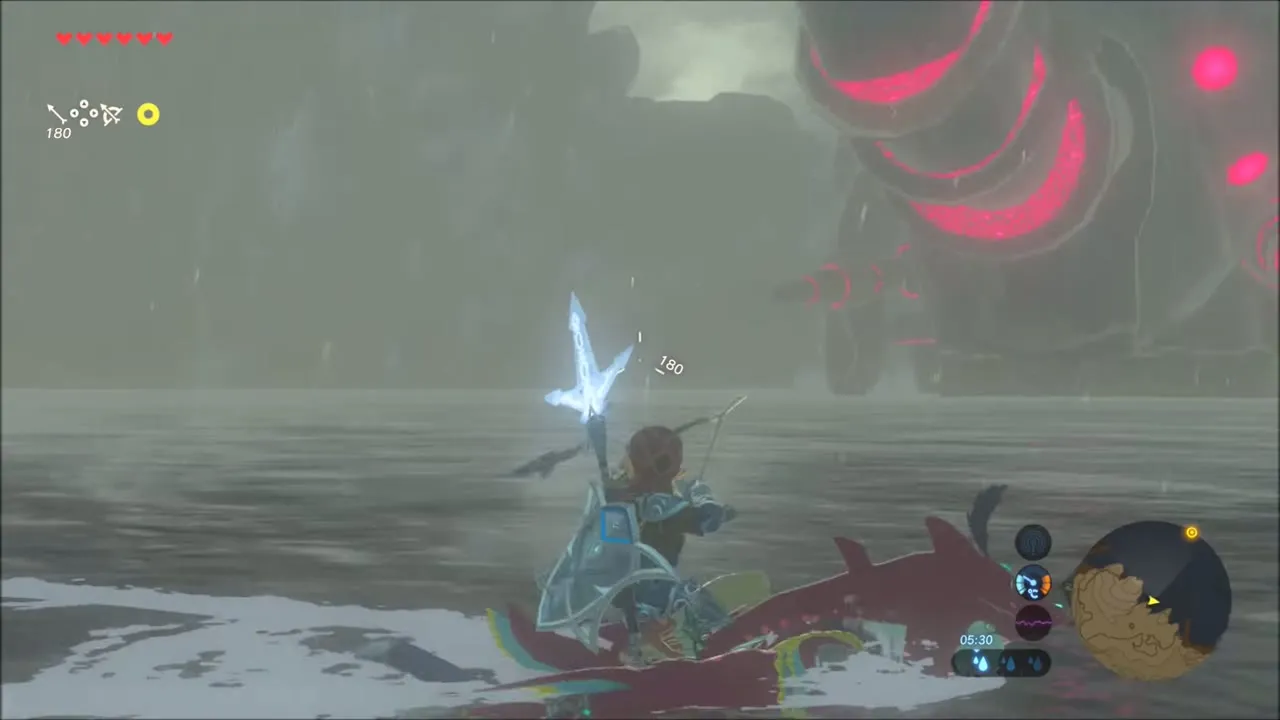
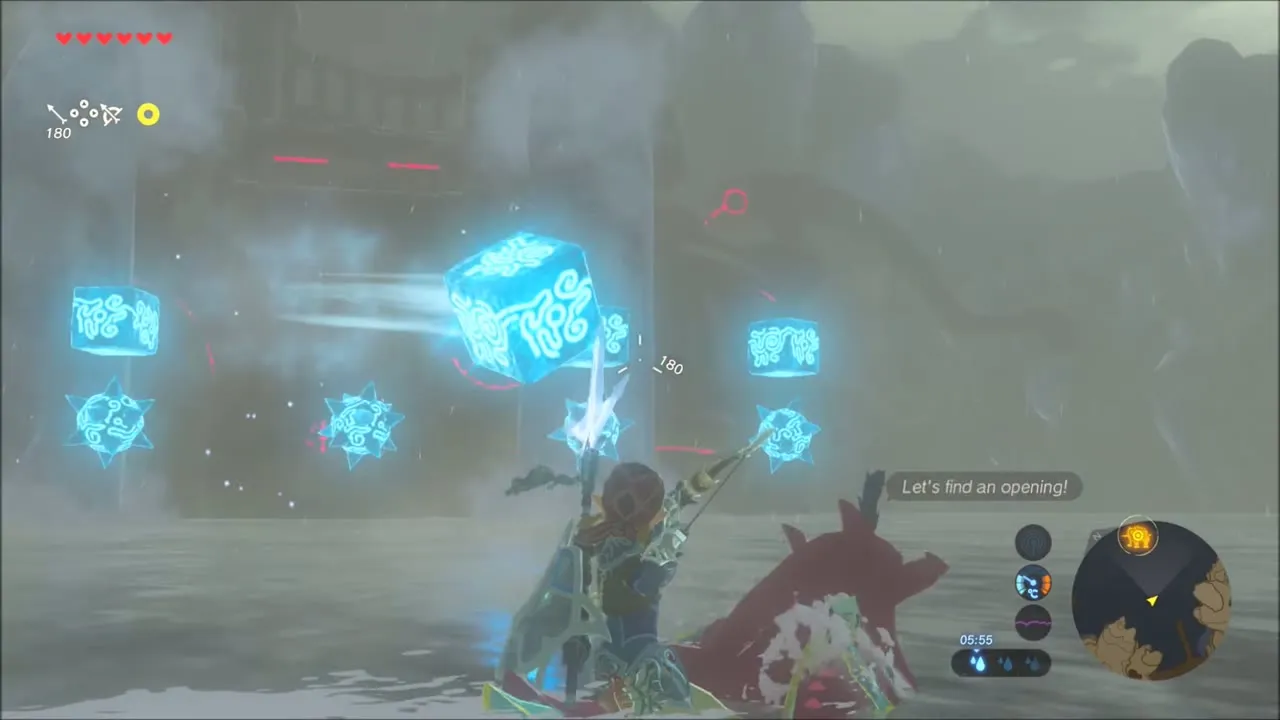
After two orbs are down, spiked ice balls start curving in from behind. Turn and shatter them the same way, glide to the remaining orbs and finish all four. The rain stops and the entrance opens.
Inside Vah Ruta
Entrance and the first terminal
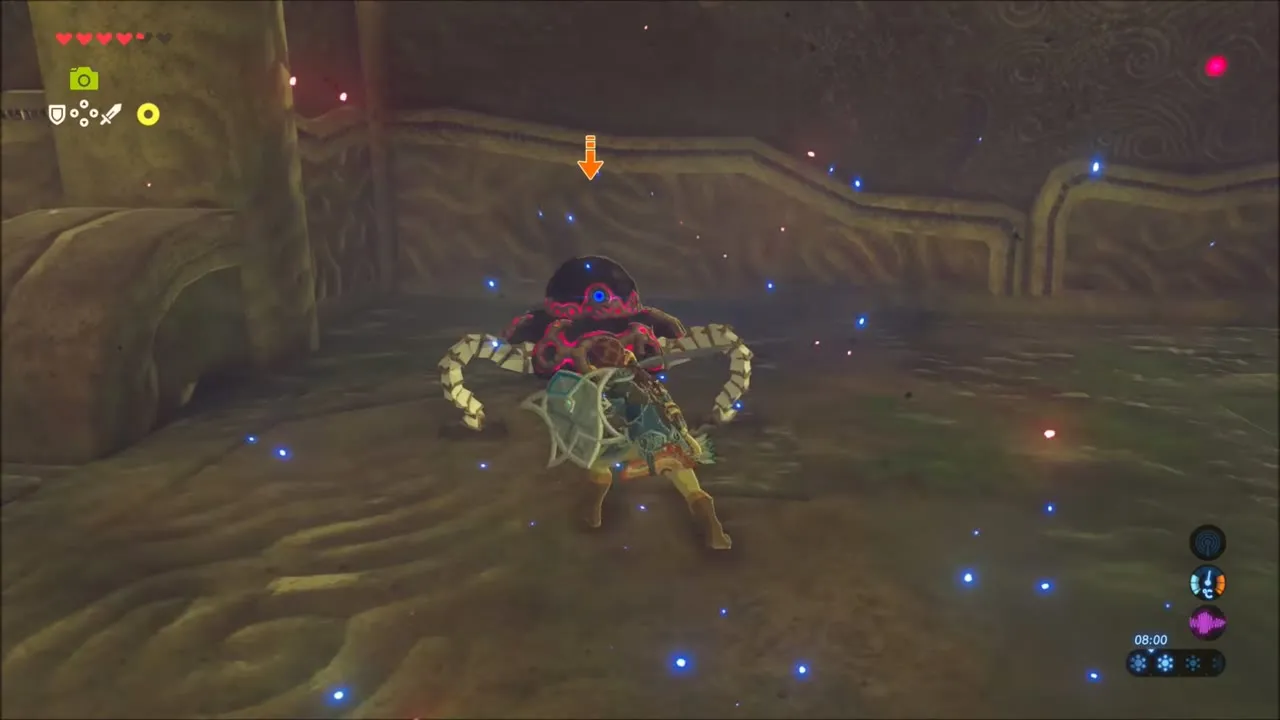
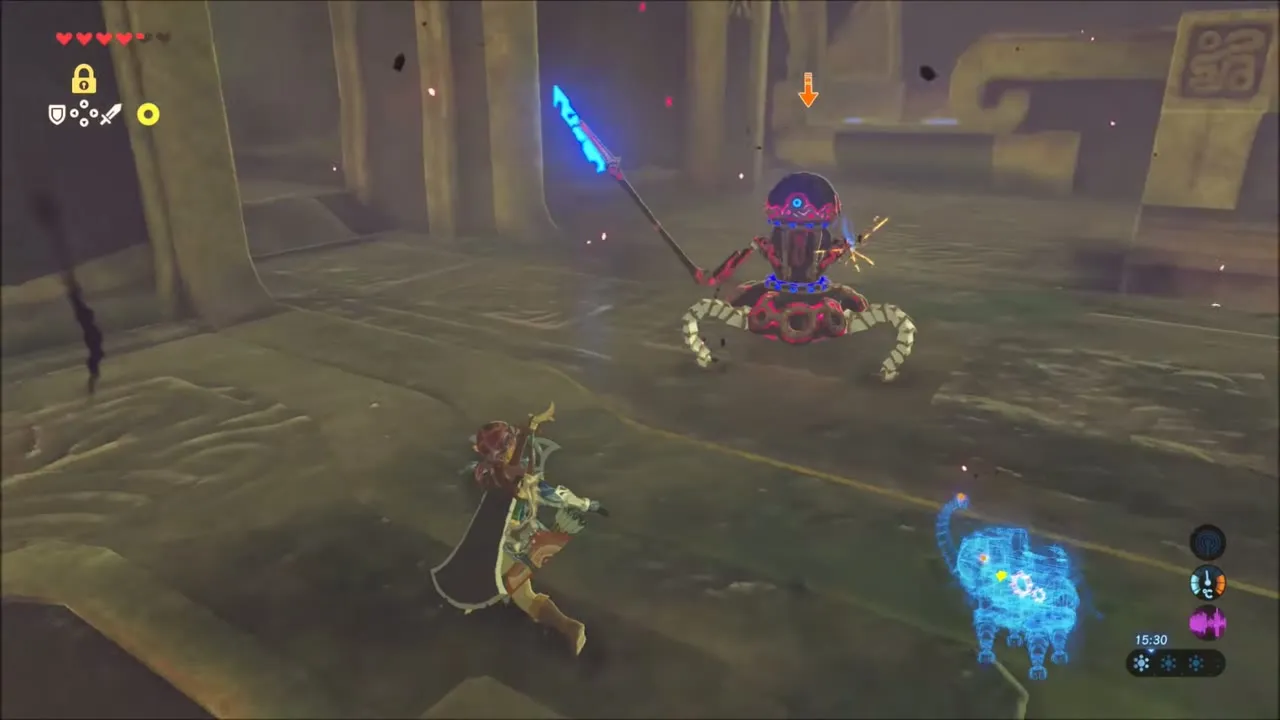
Beat the Guardian Scout, shoot the eye in the water to clear the Blight, and lift the gate with a Cryonis block. The Guidance Stone gives you the 3D map and the trunk control. Pull the chest out of the nearby pool with Magnesis for an Ancient Spring. Then turn the crank in the corner with Magnesis to raise the first terminal from the water.
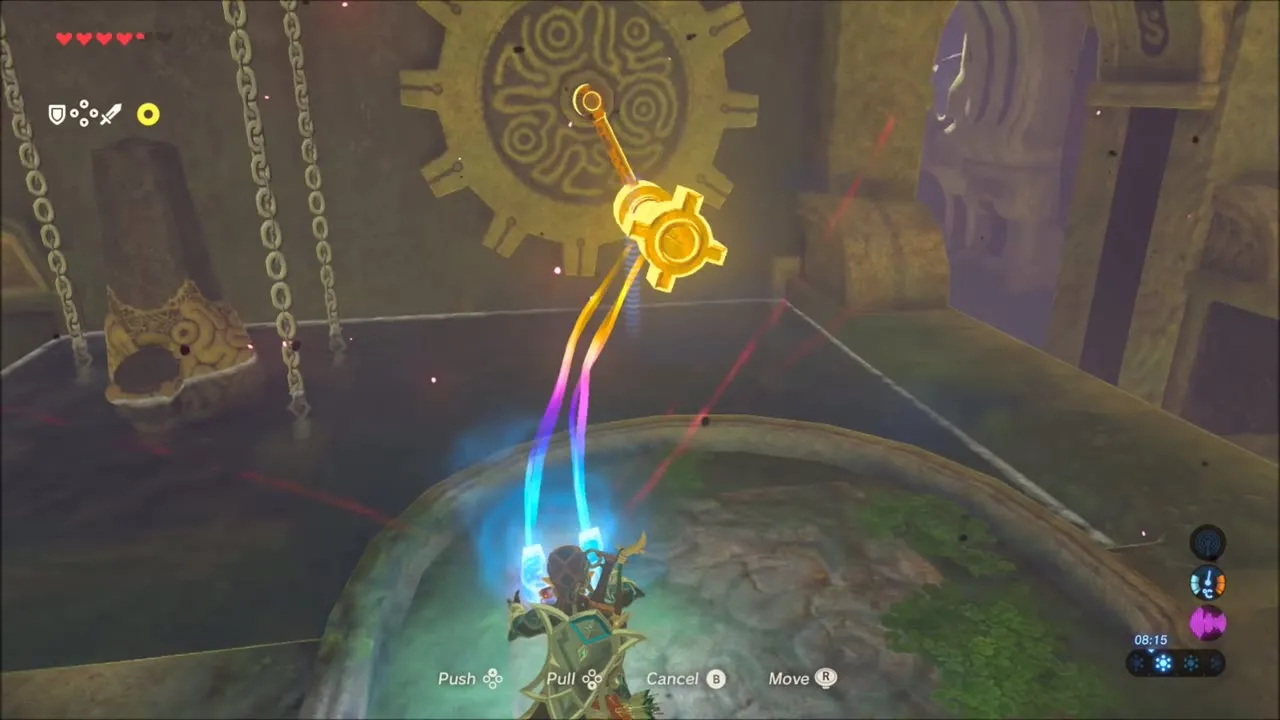
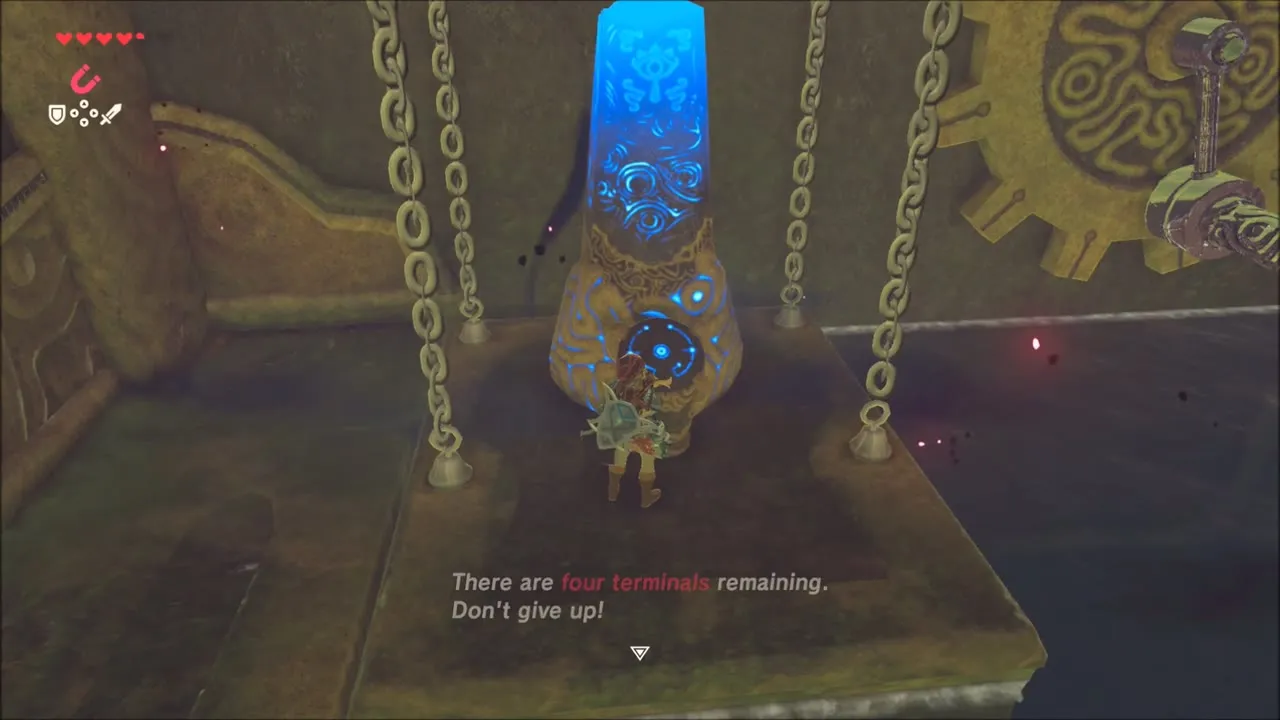
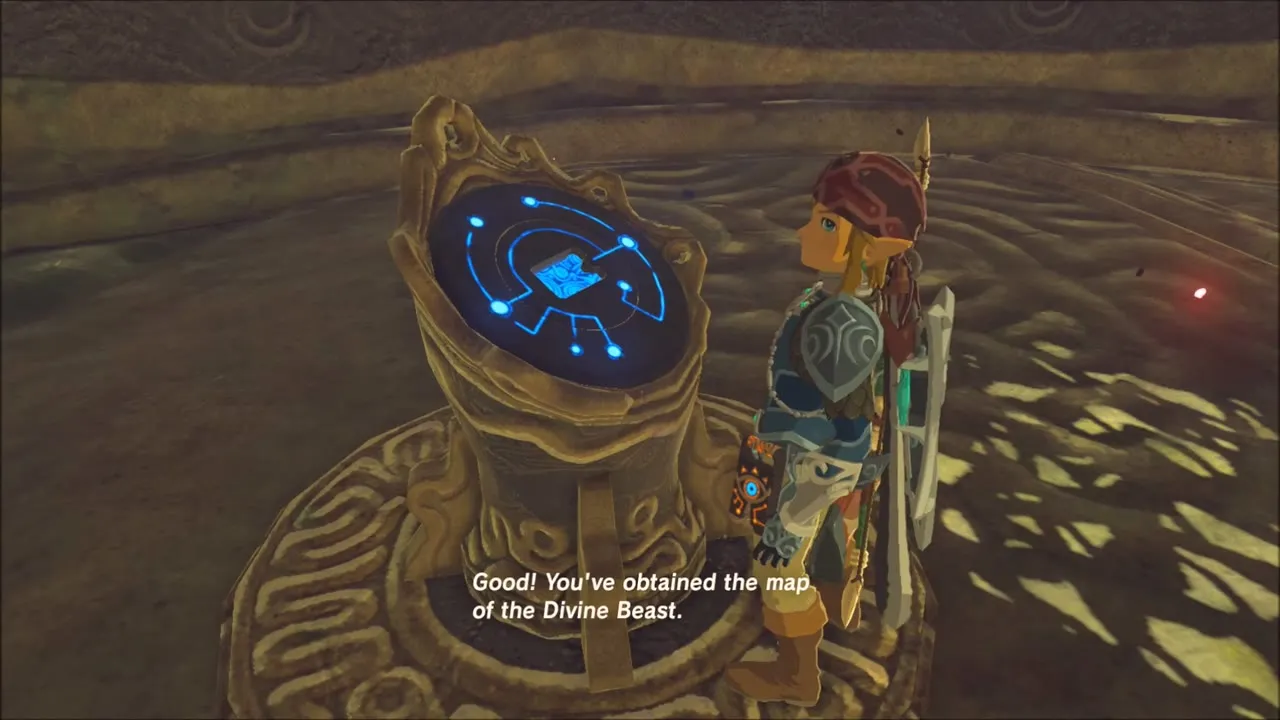
The waterwheel terminal
Climb the balconies on the far side to a room with another Guardian Scout and a terminal riding a turning wheel. Ride a paddle up and glide to the ledge behind the fountain for a chest with 100 Rupees. Wait until the terminal is low, then plug the fountain with Cryonis. The wheel stops and you can use the terminal. A chest on one of the large wheel’s paddles in the next area also holds 10 Fire Arrows.


Third terminal and Ancient Core
On the next balcony shoot the eye above the Blight maw. On the map, raise the trunk until water pours onto the next wheel and sets it turning, then stop it with the chest level. Freeze the top block with Stasis and strike it for an Ancient Core. For the terminal, swing the ball into the block opposite and Stasis that block just before it slides back so the gate stays open long enough to reach it.

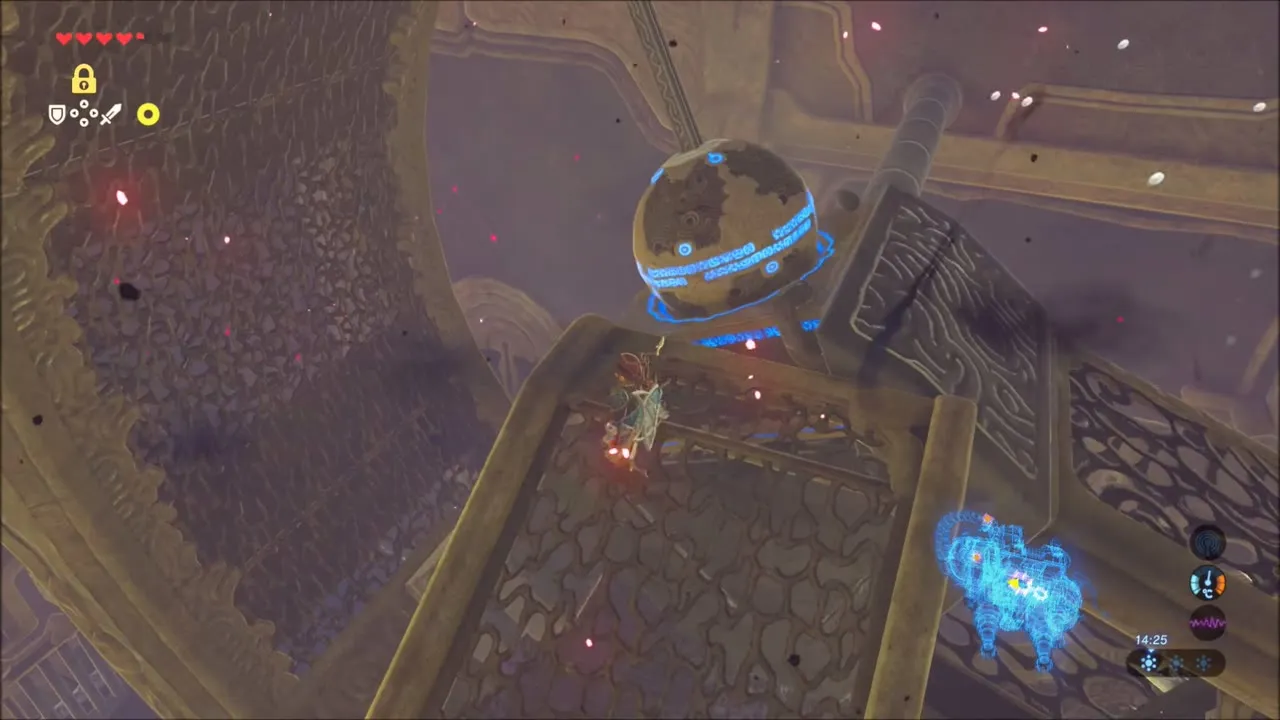
Fourth terminal
Climb to the top floor past a spear-armed Guardian Scout and press the button for a waterfall that carries you up. A chest above the waterfall holds a Knight’s Halberd. In the dead-end hall, flatten the trunk on the map to open a corridor ending at a Blight-guarded chest with an Ancient Shaft. Raise and lower the trunk to ride it across to the head and the terminal on the far side.


Final terminal and chests
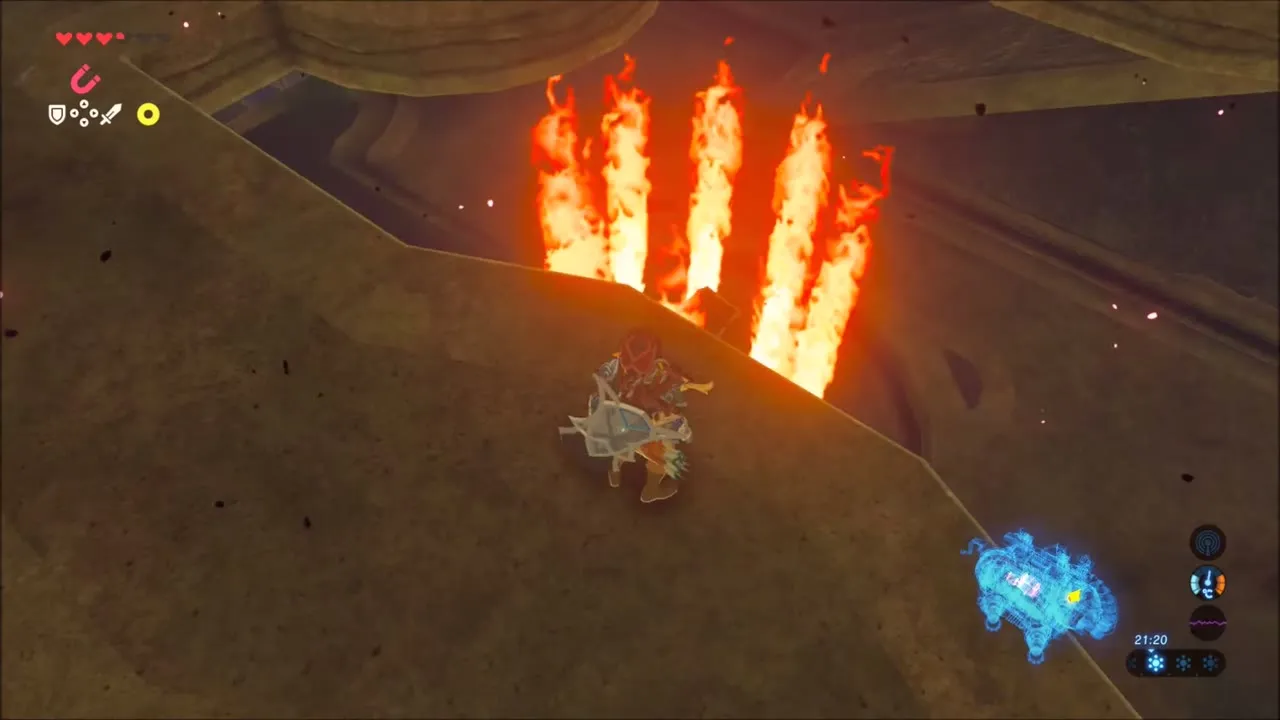
Return to the head, drop through the roof hole and clear the Blight maw and its eye. Use Magnesis on the wall crank to open the roof, then place the trunk four notches below the top to douse the flames around the last terminal. A Blight-covered chest on one shoulder holds 10 Ice Arrows; its eye sits on the opposite shoulder, so snipe it from a distance while gliding.


Boss: Waterblight Ganon
Phase one
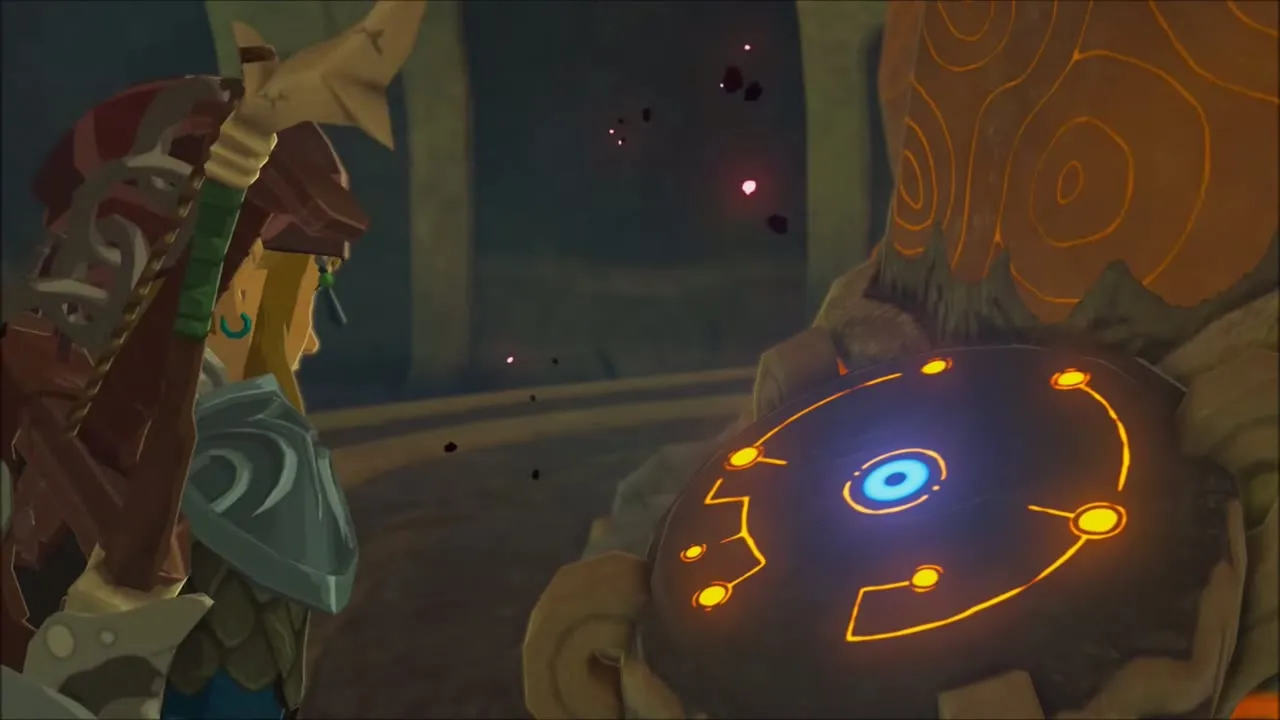
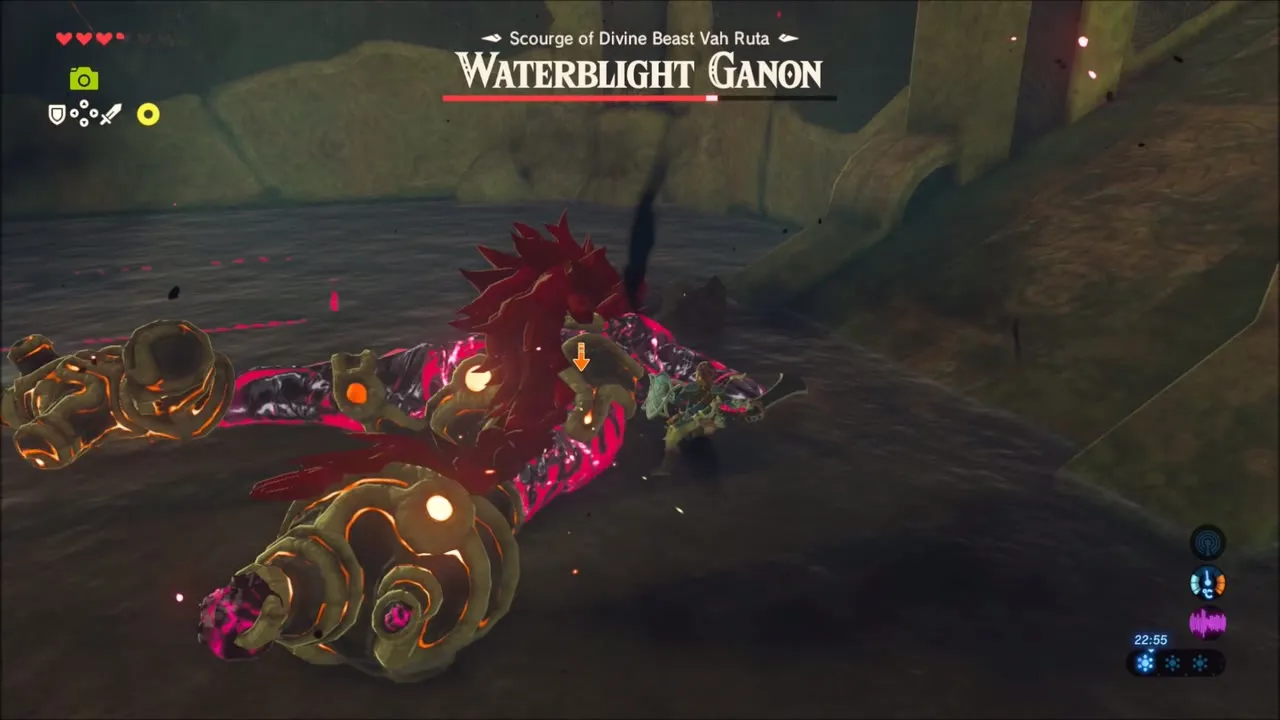
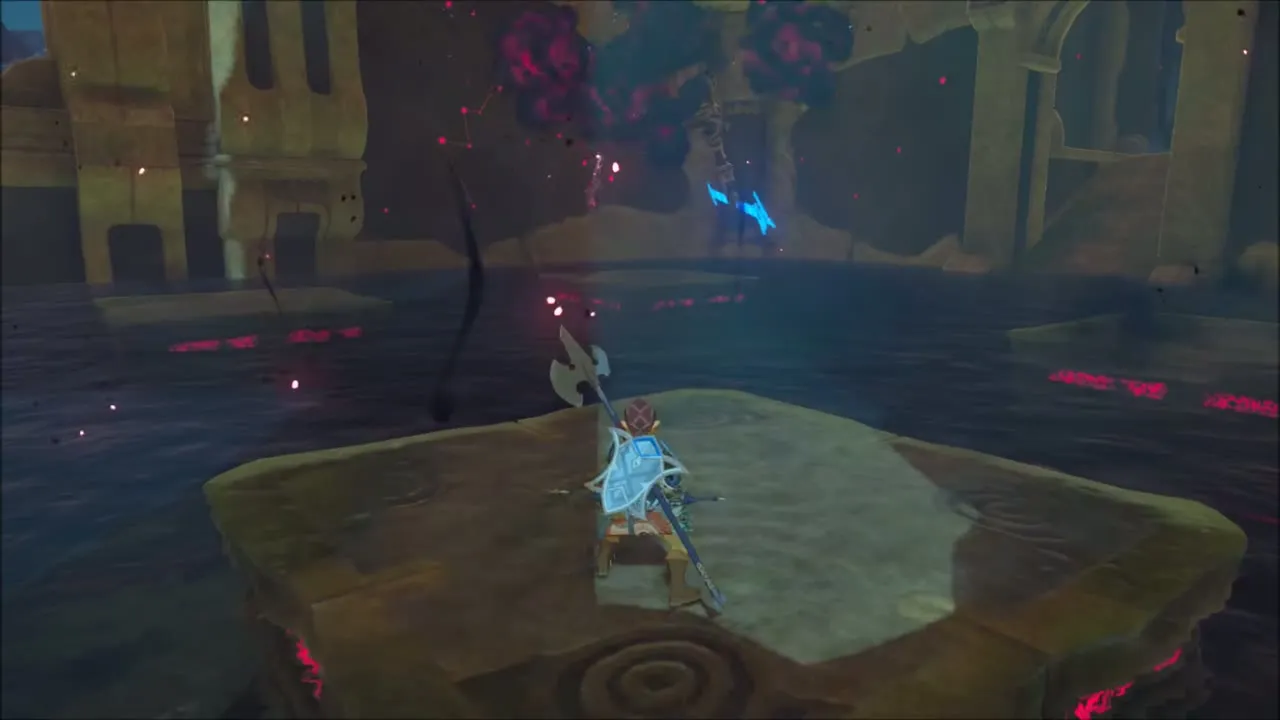
Activate the main console in the lower room. Waterblight Ganon throws his long spear at range and lunges, sweeps or stabs the floor up close. Cryonis pillars block his strikes; a spear that hits one shatters and he must teleport and rebuild it, leaving him open. Arrows to the eye stun him.


Phase two
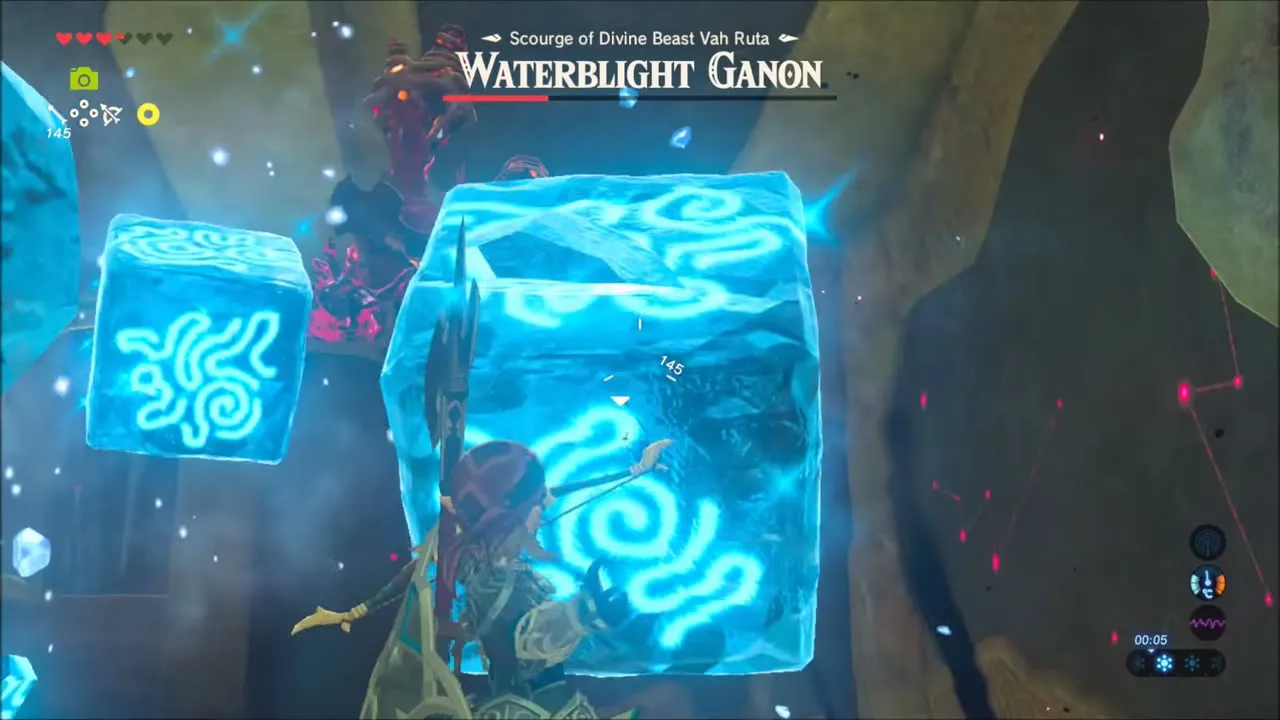
At half health he lifts four platforms, floods the room and hovers higher, tossing ice blocks like the ones outside. Break them with Cryonis, or Stasis one and knock it back at him. Build ice bridges between platforms and keep shooting the eye; Remote Bombs thrown from an ice platform work when arrows run short.


Chests and rewards
| Item | Where | |
|---|---|---|
 | Heart Container | Dropped when Waterblight Ganon is defeated |
 | Lightscale Trident (attack 22, durability 70) | Champion’s weapon, collected in Zora’s Domain afterwards |
 | Ancient Spring | Chest in the pool by the Guidance Stone |
 | Ancient Core | Third wheel chest |
 | 10 Fire Arrows | Chest on a paddle of the large wheel |
 | Knight’s Halberd | Above the top-floor waterfall |
 | Ancient Shaft | Far end of the trunk corridor |
 | 10 Ice Arrows | Blight-covered chest near the last terminal |
Defeating the boss frees Mipha, who gives you Mipha’s Grace: when you would fall, it revives you with full hearts plus extra temporary ones, then needs time to recharge.
