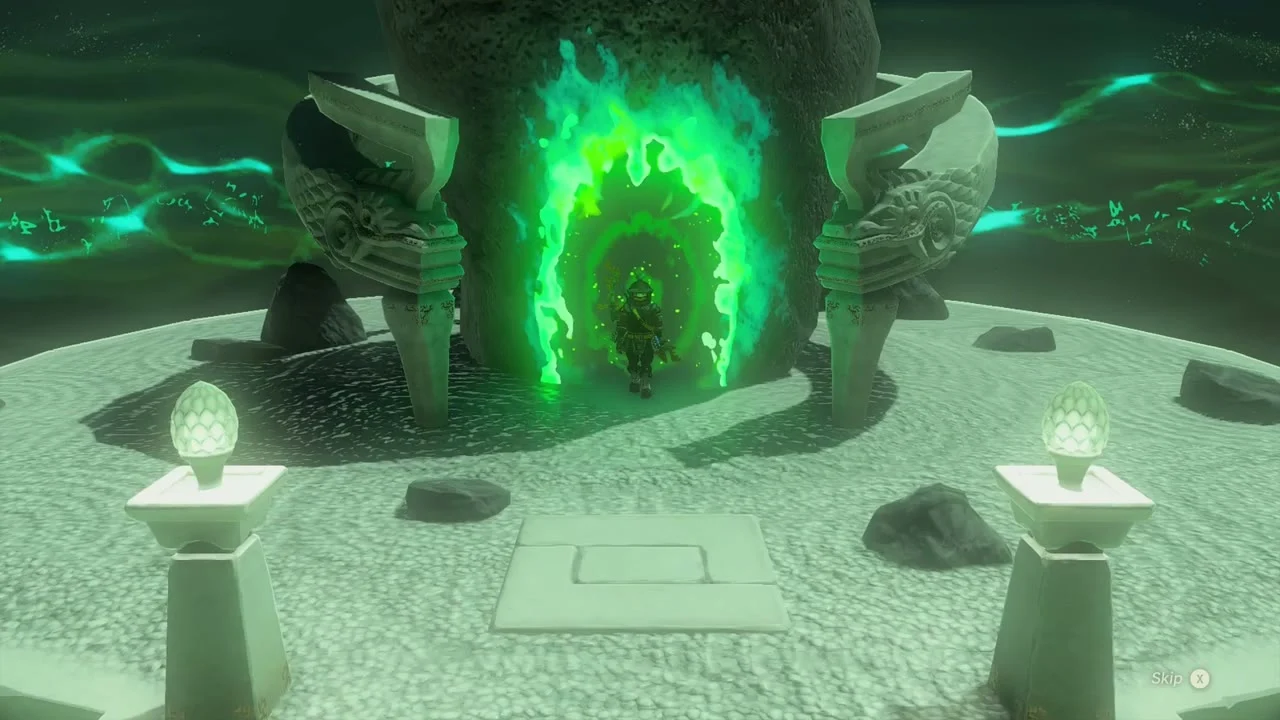
| Region | Eldin Canyon |
|---|---|
| Entrances | 1 |
| Entrance coordinates | 2485, 1792, 157 |
| Nearest landmark | Gero Pond (86 map units) |
| Nearest shrine | Moshapin Shrine (224 map units) |
| Shrine inside | Moshapin Shrine (Rauru’s Blessing), raised by delivering the cave’s crystal |
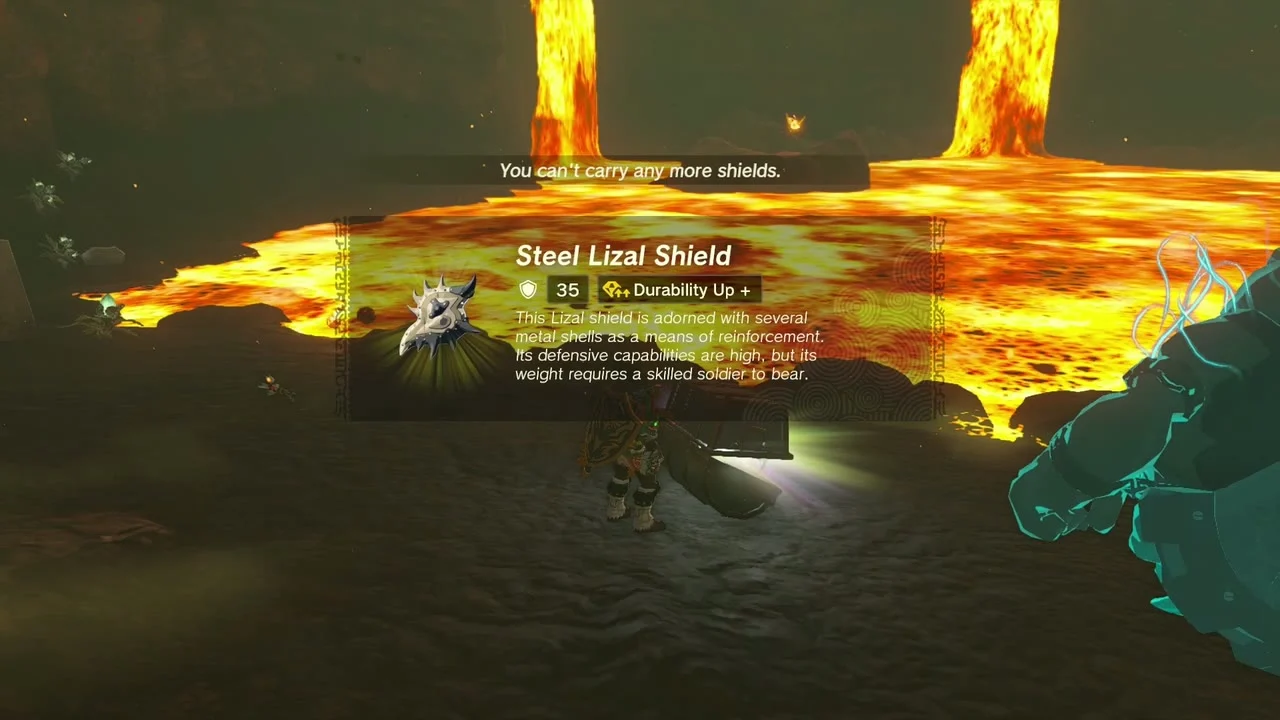
| Chests | Construct Bow (Strong or Mighty, depending on your progress), Steel Lizal Shield; Zonaite Shield (Strong or Mighty, depending on your progress) in the shrine |
| Bubbul Gem | Yes, from the Bubbulfrog in a side chamber behind a second rubble wall |
| Enemies | Horriblins, Lava Worm |
| Requirements | Heat protection (Flamebreaker or Flame Guard gear, or Fireproof Elixirs); a rock-based weapon, because bomb flowers explode in the heat |
How to find it
The entrance is at map coordinates 2485, 1792, in the canyon wall near Gero Pond. The whole cave is scorching hot, so wear Flamebreaker or Flame Guard gear, or carry Fireproof Elixirs, before you go in.
Inside the cave
Enter the cave and fireproof yourself
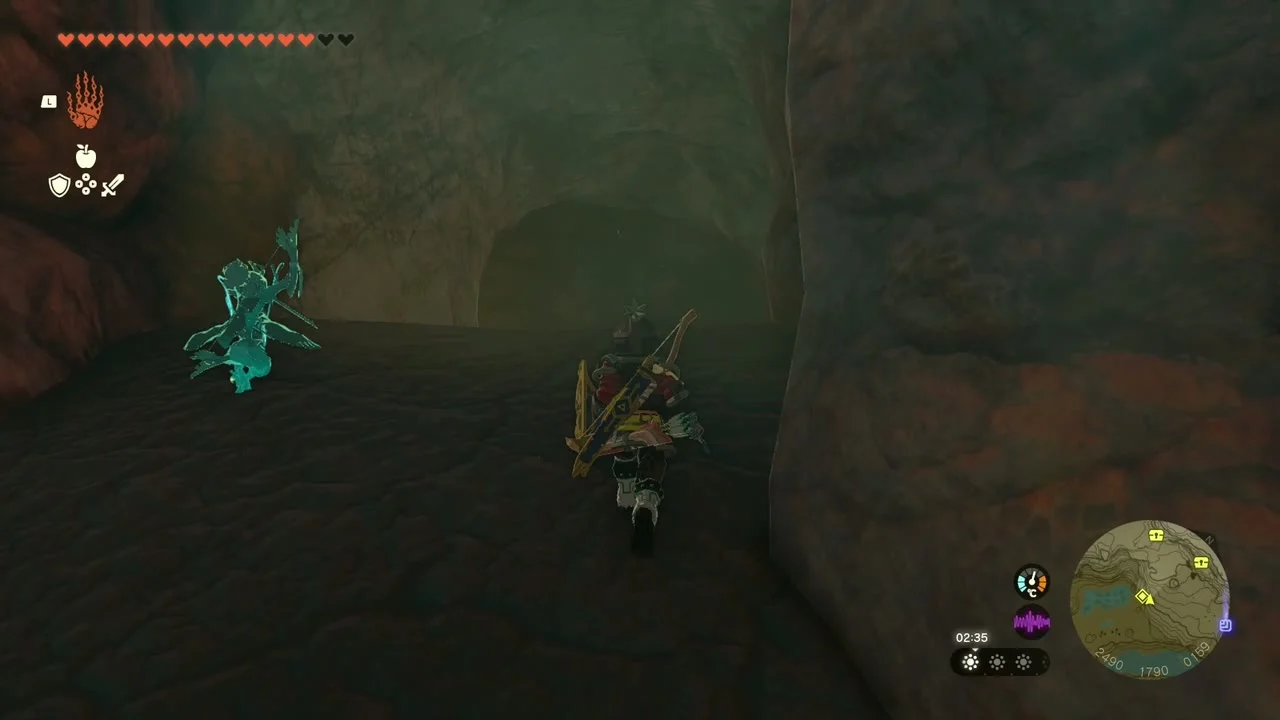
Walk into the cave mouth and follow the tunnel in. The heat starts draining you straight away, and Constructs patrol the first chambers, so put on your fire protection before you go any deeper.

Open the chest for the Mighty Construct Bow
Work your way to the stone dais between the carved pillars, where a Construct guards a chest. Break any boulders in the way with a hammer or bombs, but do not use Bomb Arrows, because bomb flowers go off at once in this heat. Defeat the Construct and open the chest for a Construct Bow (Strong or Mighty, depending on your progress). Most guides describe the route as: break the red rubble on the right of the entrance, head left into an open room, then break the next rubble wall, which splits the path in two. The left branch leads to the bow chest and the right branch leads to the Bubbulfrog.

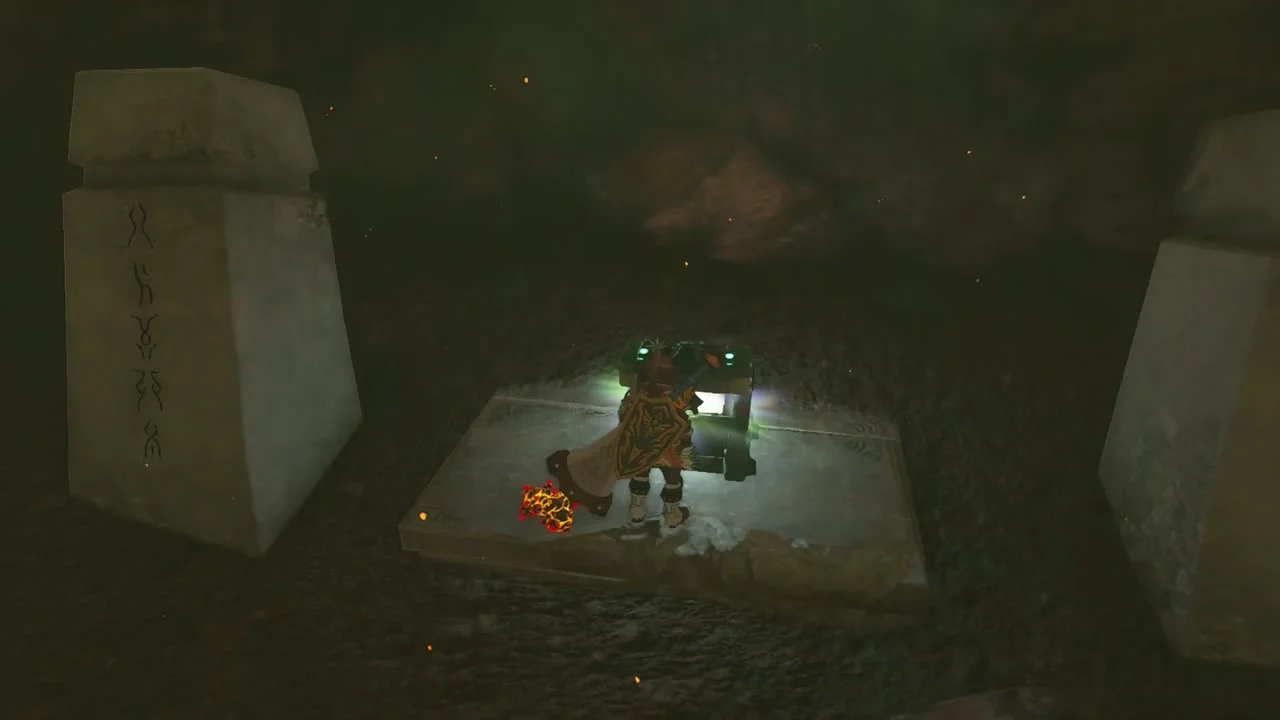
Bubbulfrog: take the right branch past the second rubble wall and shoot or hit the Bubbulfrog in the chamber behind it to collect the Bubbul Gem. It will reappear if you leave without taking the gem.
Grab the Steel Lizal Shield and the crystal
Keep following the cave to the lava pools. A second chest holds a Steel Lizal Shield, and the green crystal sits on an altar nearby. Pick the crystal up to start the shrine quest. Most guides list only the bow chest in this cave, so treat the shield chest as a bonus if your route does not pass it. Horriblins and a Lava Worm on the side wall defend the lava area; the Lava Worm sits above the Hydrant you need.
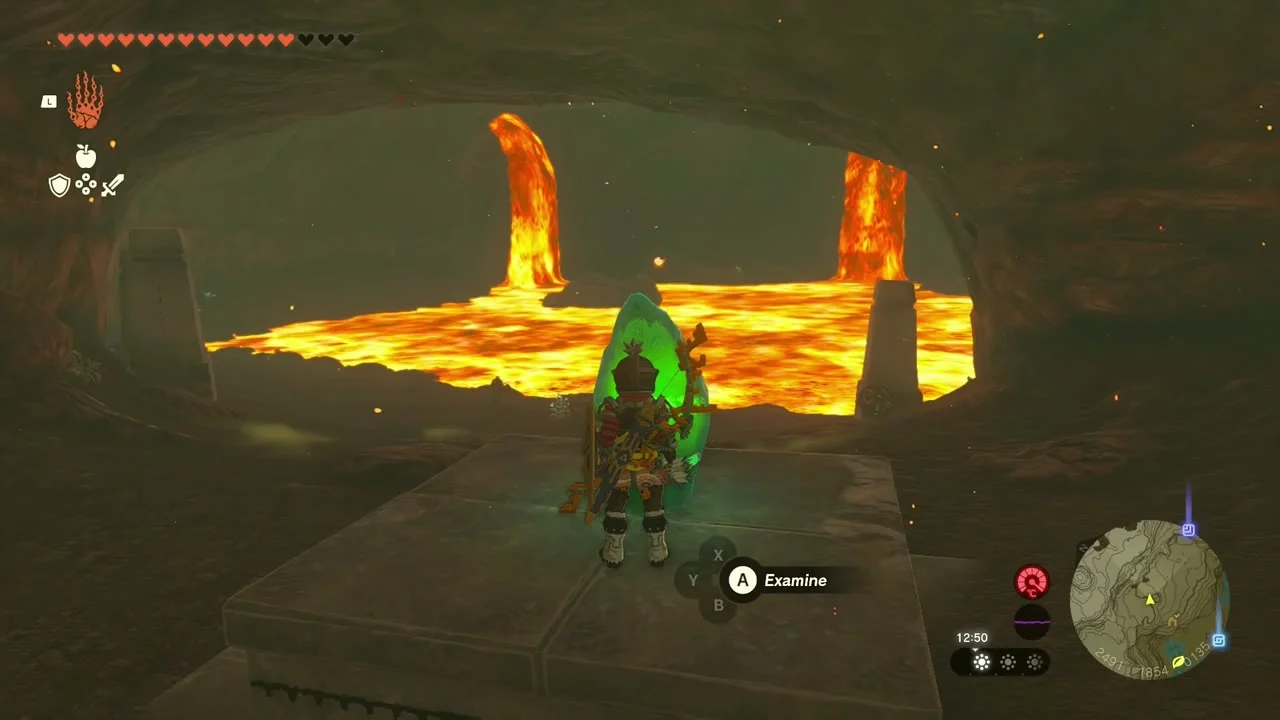
Ferry the crystal across the lava
You cannot simply walk the crystal across the lava. Pull the Hydrant out of the wall and spray the lava with its water to cool it into rock you can stand on, then attach a Fan to a raft with Ultrahand and push the crystal across on it. Do not hold the Hydrant too far ahead, or you leave gaps in your path.


Raise Moshapin Shrine
Follow the beam of light to the end of the cave and set the crystal down there. Moshapin Shrine rises from the ground. It is a Rauru’s Blessing shrine, so just walk in, open the chest for a Zonaite Shield (Strong or Mighty, depending on your progress) and take the Light of Blessing.