
























Link's Awakening 100% Completion Walkthrough9 chapters
- The Shore, Forest and Tail Cave (Level 1)Shield, Sword, Mysterious Forest, Magic Powder, Tail Key, Roc’s Feather, Moldorm and the Full Moon Cello.
- Goponga Swamp and Bottle Grotto (Level 2)BowWow’s rescue, Goponga Swamp, every key, the Power Bracelet, the Genie boss and the Conch Horn.
- Ukuku Prairie, Kanalet Castle and Key Cavern (Level 3)The Golden Leaves of Kanalet Castle, the Slime Key, Pegasus Boots, Slime Eye and the Sea Lily’s Bell.
- Yarna Desert and Angler’s Tunnel (Level 4)Wake the walrus, cross Yarna Desert, win the Flippers, beat the Angler Fish and take the Surf Harp.
- Martha’s Bay and Catfish’s Maw (Level 5)Manbo’s Mambo, the ghost, the Mermaid’s Scale, Hookshot, Master Stalfos, Slime Eel and the Wind Marimba.
- Ancient Ruins and Face Shrine (Level 6)Magnifying Lens, Frog’s Song of Soul, Boomerang, Ancient Ruins, Power Bracelet L-2, Facade, Coral Triangle.
- Tal Tal Mountains and Eagle’s Tower (Level 7)Flying Rooster, Bird Key, Mirror Shield, Evil Eagle and the Organ of Evening Calm.
- Western Mountains and Turtle Rock (Level 8)Marin’s bridge, Mad Batter, Frog’s Song of Soul, Magic Rod, Hot Head and the Thunder Drum.
- The Wind Fish’s Egg and the FinaleFinish your 100%, read the maze book, play the Ballad, beat the Shadow Nightmares, see the secret ending.
| Covers | Mabe Village errands, Ukuku Prairie, the Seashell Mansion, Richard’s Villa, Kanalet Castle, Pothole Field and Key Cavern |
|---|---|
| Dungeon | Key Cavern (Level 3): needs the Slime Key, Roc’s Feather, Power Bracelet and bombs; mini-boss Dodongo Snakes, boss Slime Eye, instrument Sea Lily’s Bell |
| Rewards | Pegasus Boots, Slime Key, Heart Container, Sea Lily’s Bell, 5 Golden Leaves, trading items 1 to 5 (Yoshi Doll, Ribbon, Dog Food, Bananas, Stick), Shovel, 4 Secret Seashells (Witch’s Hut, east of the Mansion, Richard’s Villa, Key Cavern hill) plus the Mansion bonus shells, a 50 rupee chest on the prairie, photo 10 (DX) |
This chapter takes you from the Conch Horn to the Sea Lily’s Bell. You run the opening steps of the trading sequence, collect the five Golden Leaves in and around Kanalet Castle, trade them to Richard for the right to dig up the Slime Key, and open Key Cavern. Inside you win the Pegasus Boots, defeat Slime Eye and take your third Instrument.
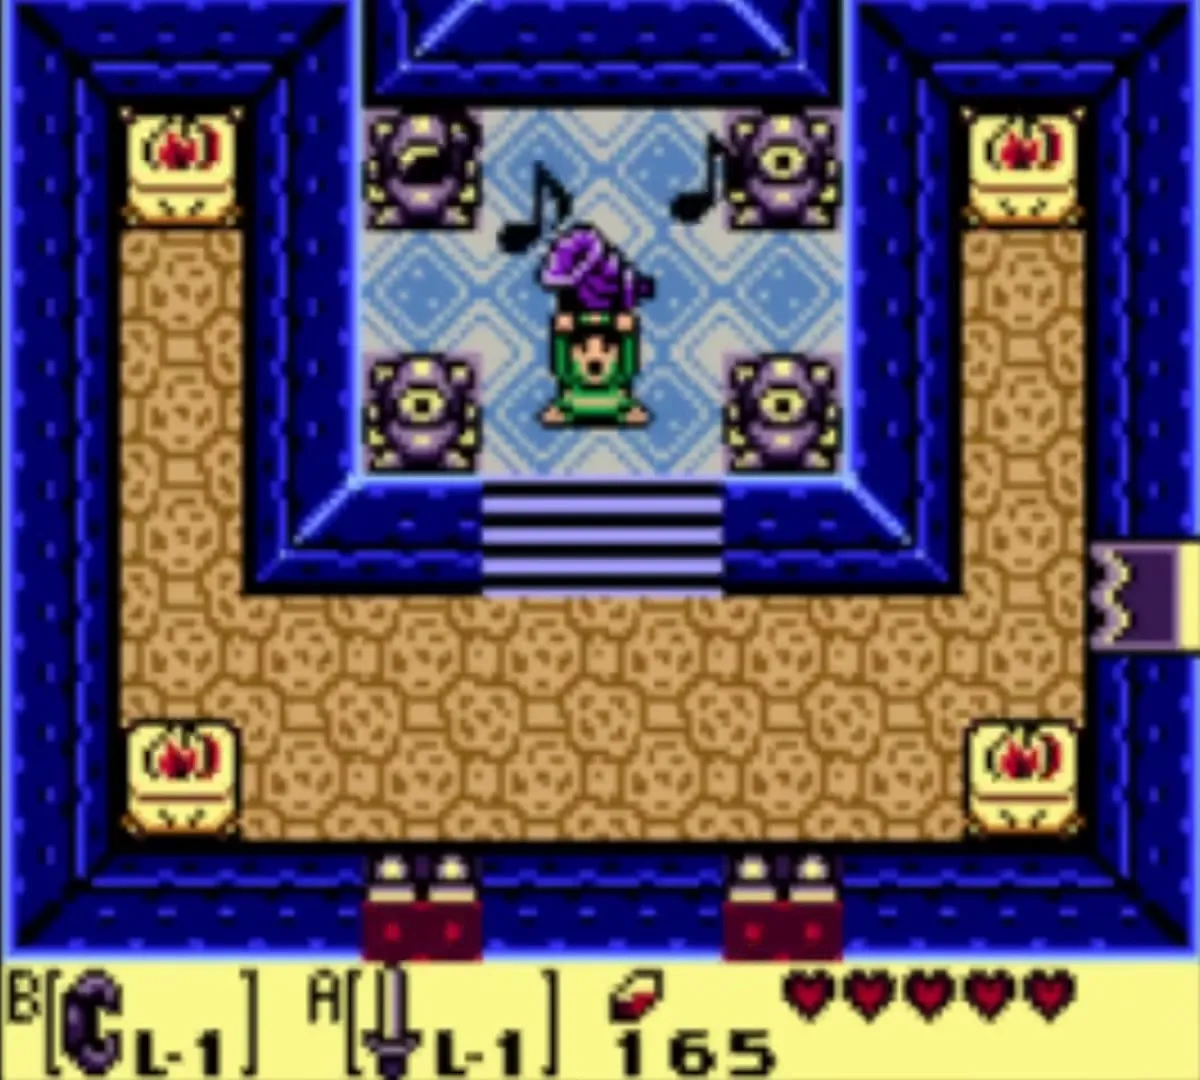
Table of Contents
Before Kanalet: shovel, trades and upgrades

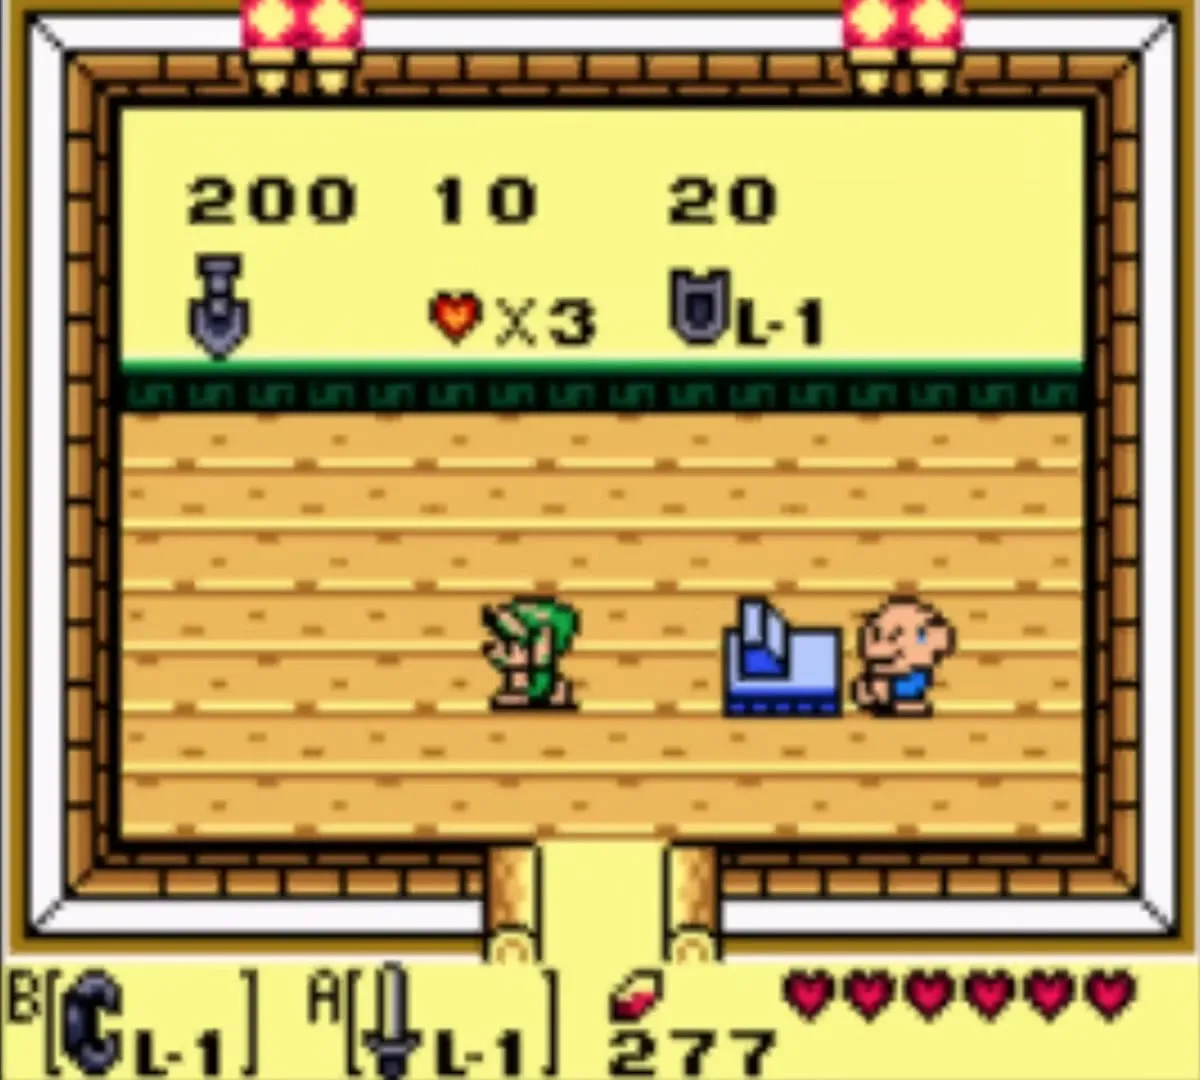
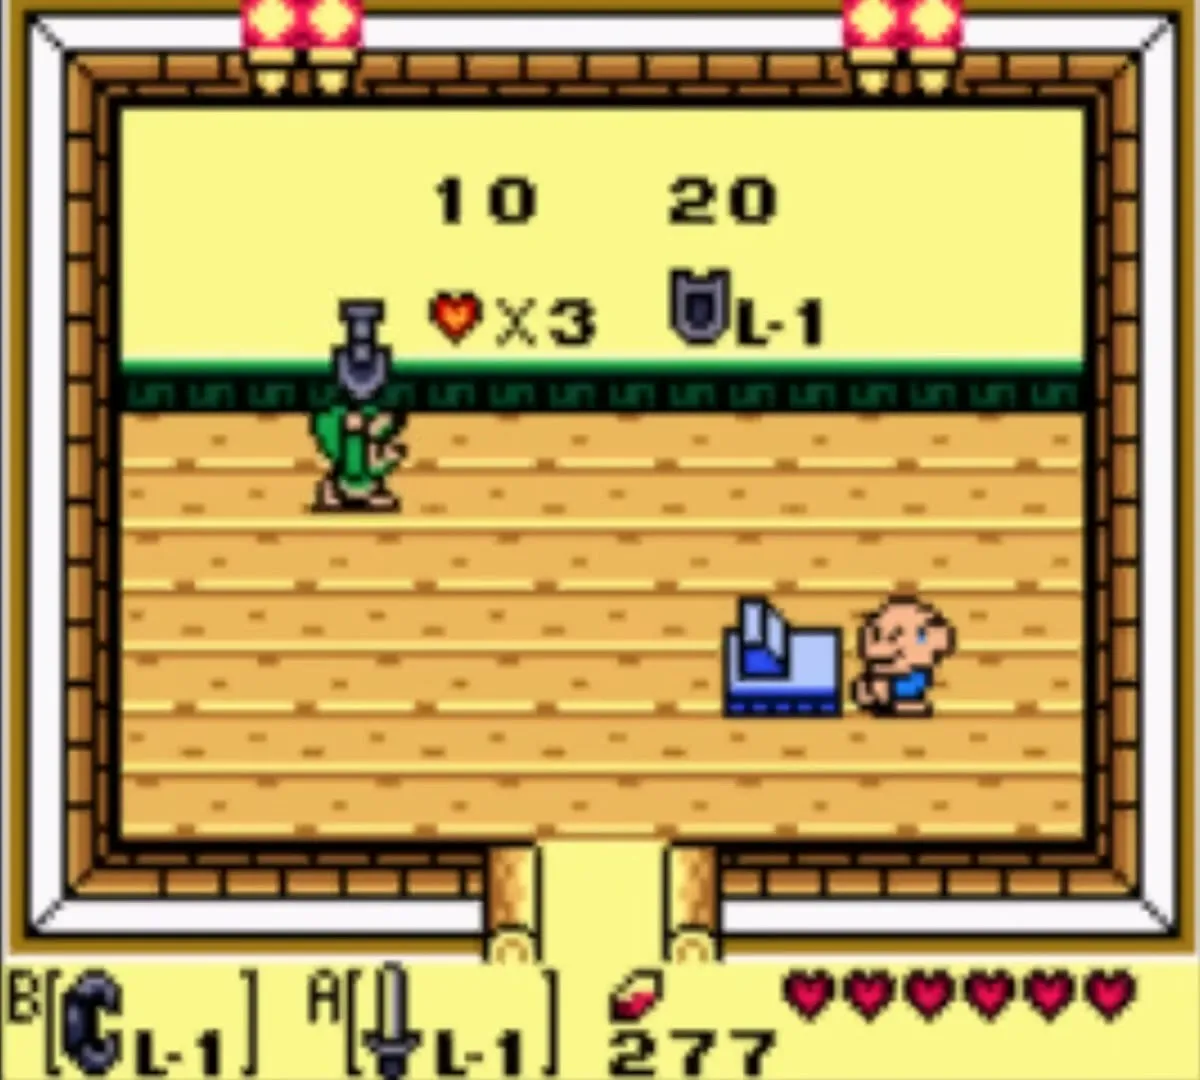
Buy the Shovel
The Slime Key is buried, so you need a digging tool. The Shovel costs 200 rupees at the Town Tool Shop in Mabe Village and the shop sells it only once. The shop also sells Bombs (10 for 10 rupees), which Key Cavern needs. Stock up on rupees first: the rocks, bushes and pots of the last few areas give plenty, and the Shovel also uncovers several Secret Seashells later. Other goods and prices are on the Mini-Games and Shops page.

Trendy Game: how to win the Yoshi Doll
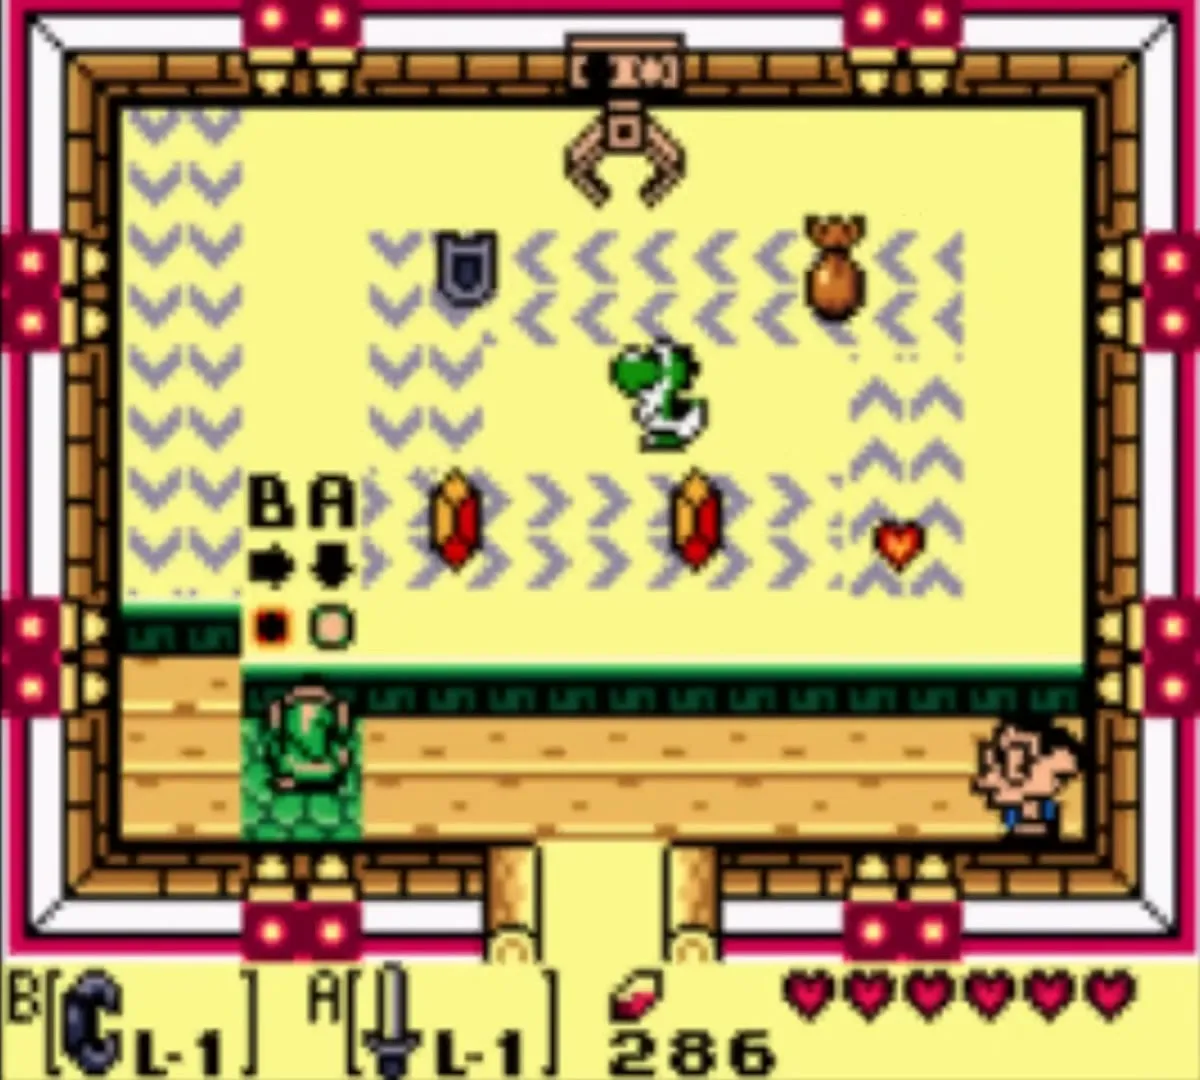
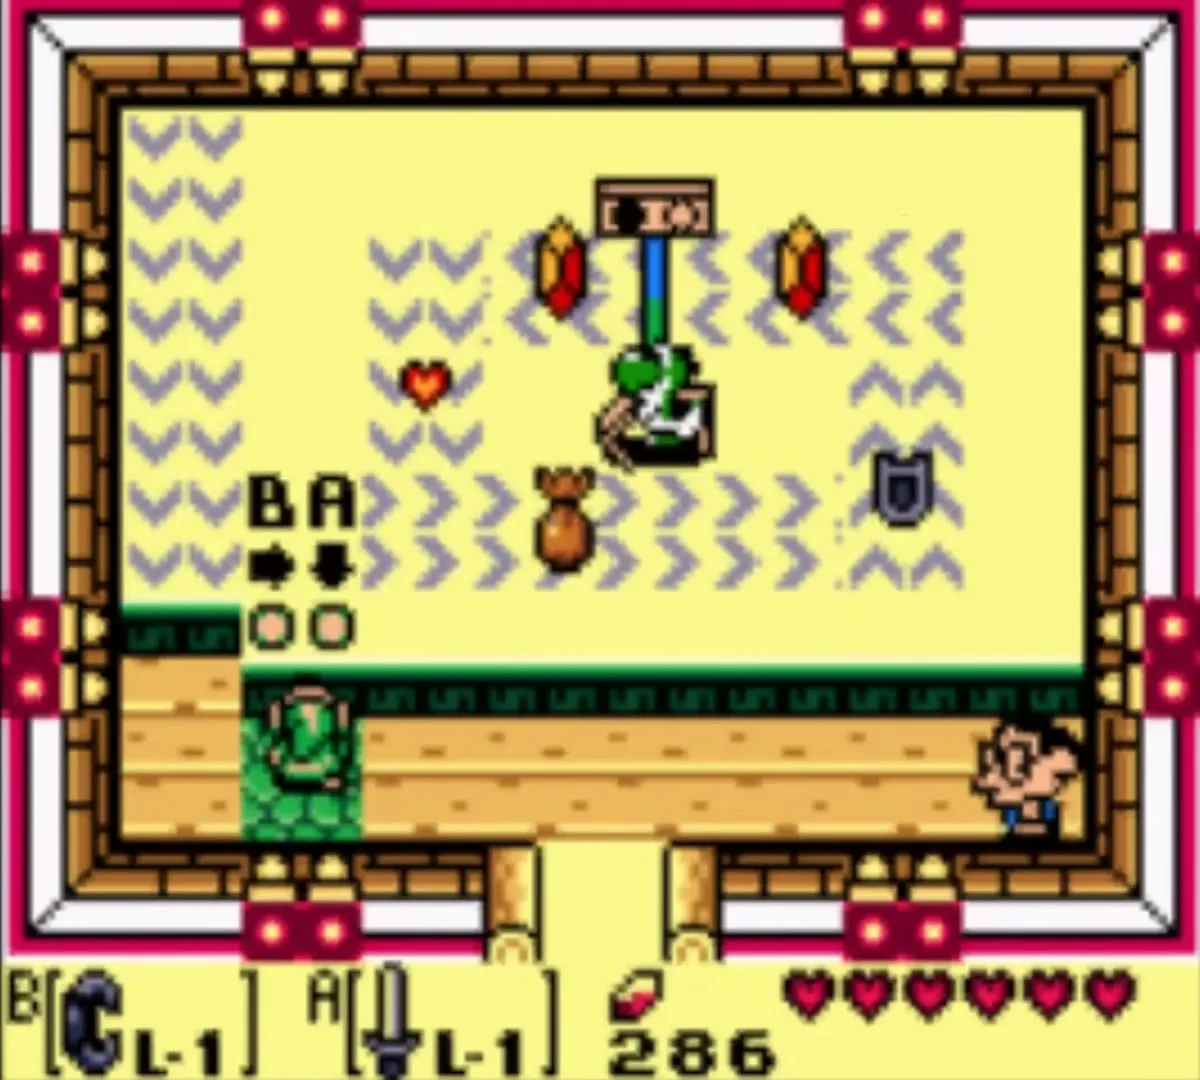
Trading step 1 is the Trendy Game, the crane game in the east of Mabe Village. Pay 10 rupees, move the crane with B and lower it with A, and aim for the Yoshi Doll as it slides past on the belt. It takes a few tries, and the other prizes include a Shield and rupees. Once you hold the doll, the trading sequence has begun; the whole list is on the Trading Sequence page.

Ribbon, Dog Food and Bananas
Trading step 2: take the Yoshi Doll to Mamasha, the woman in the house north of Marin and Tarin’s home. She gives you a Ribbon for it.
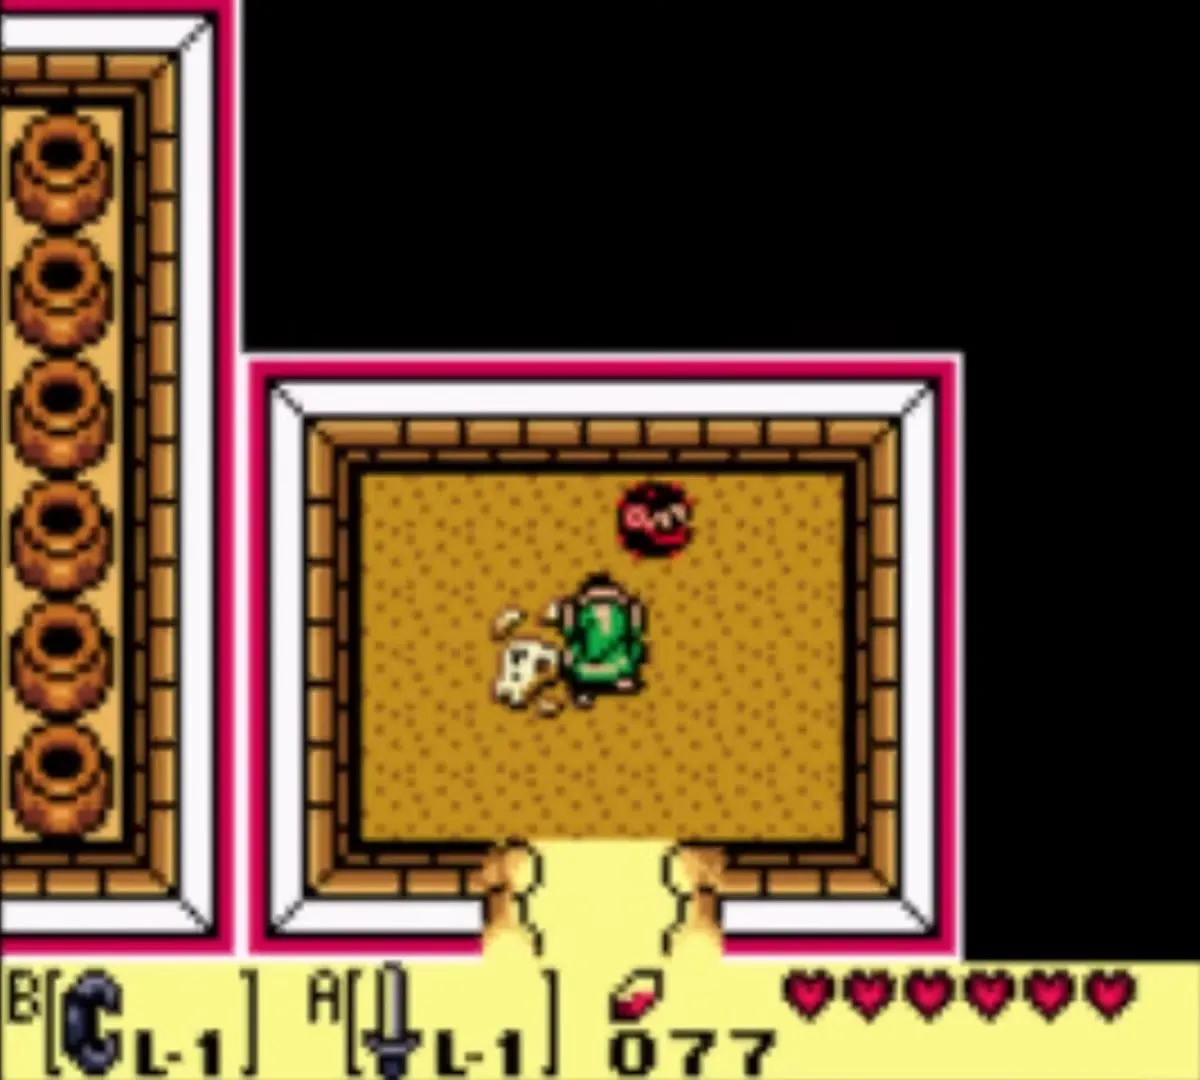
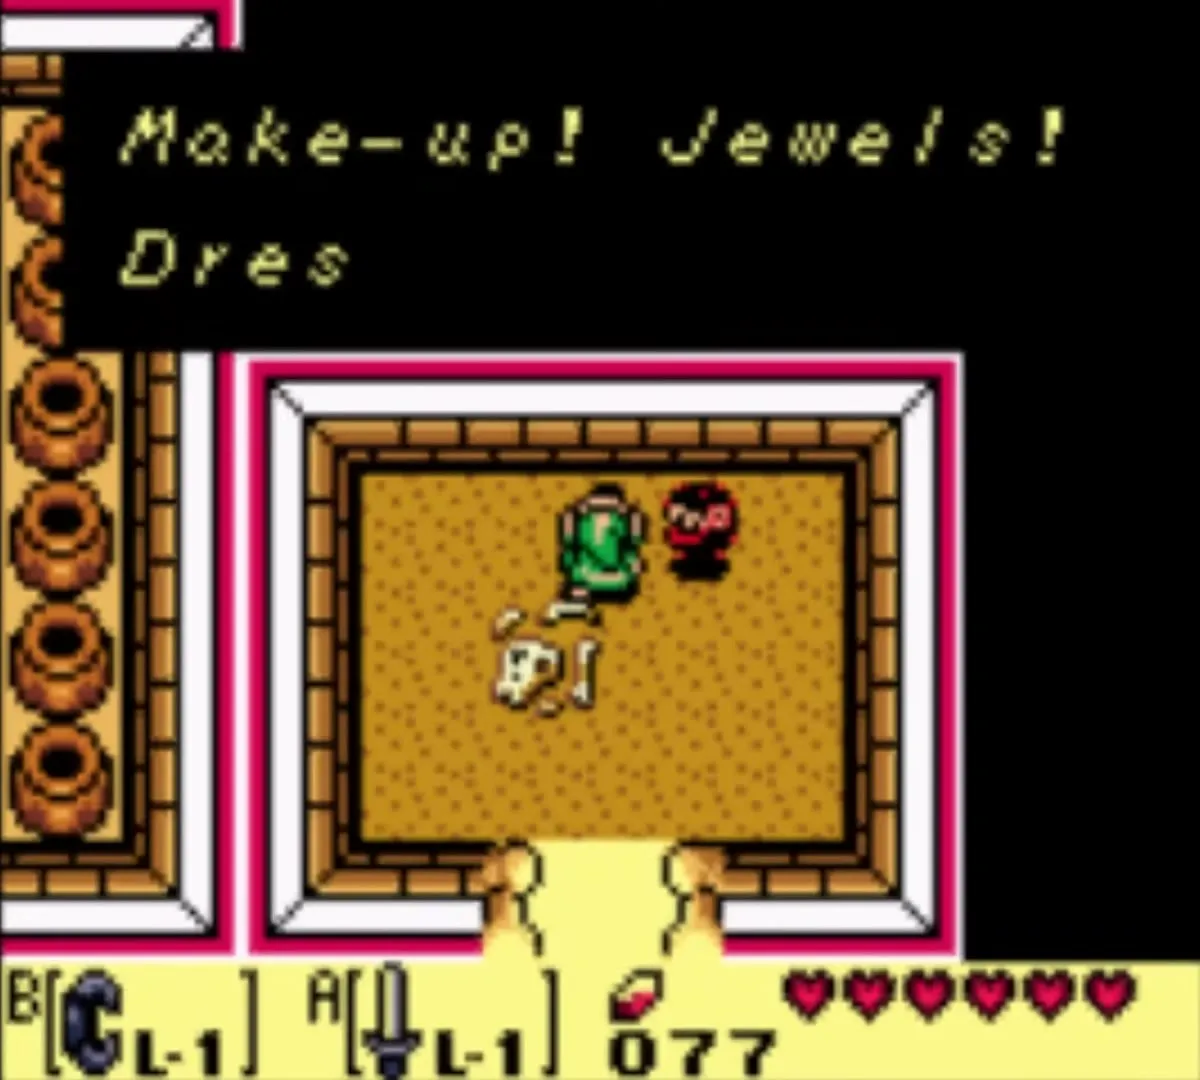
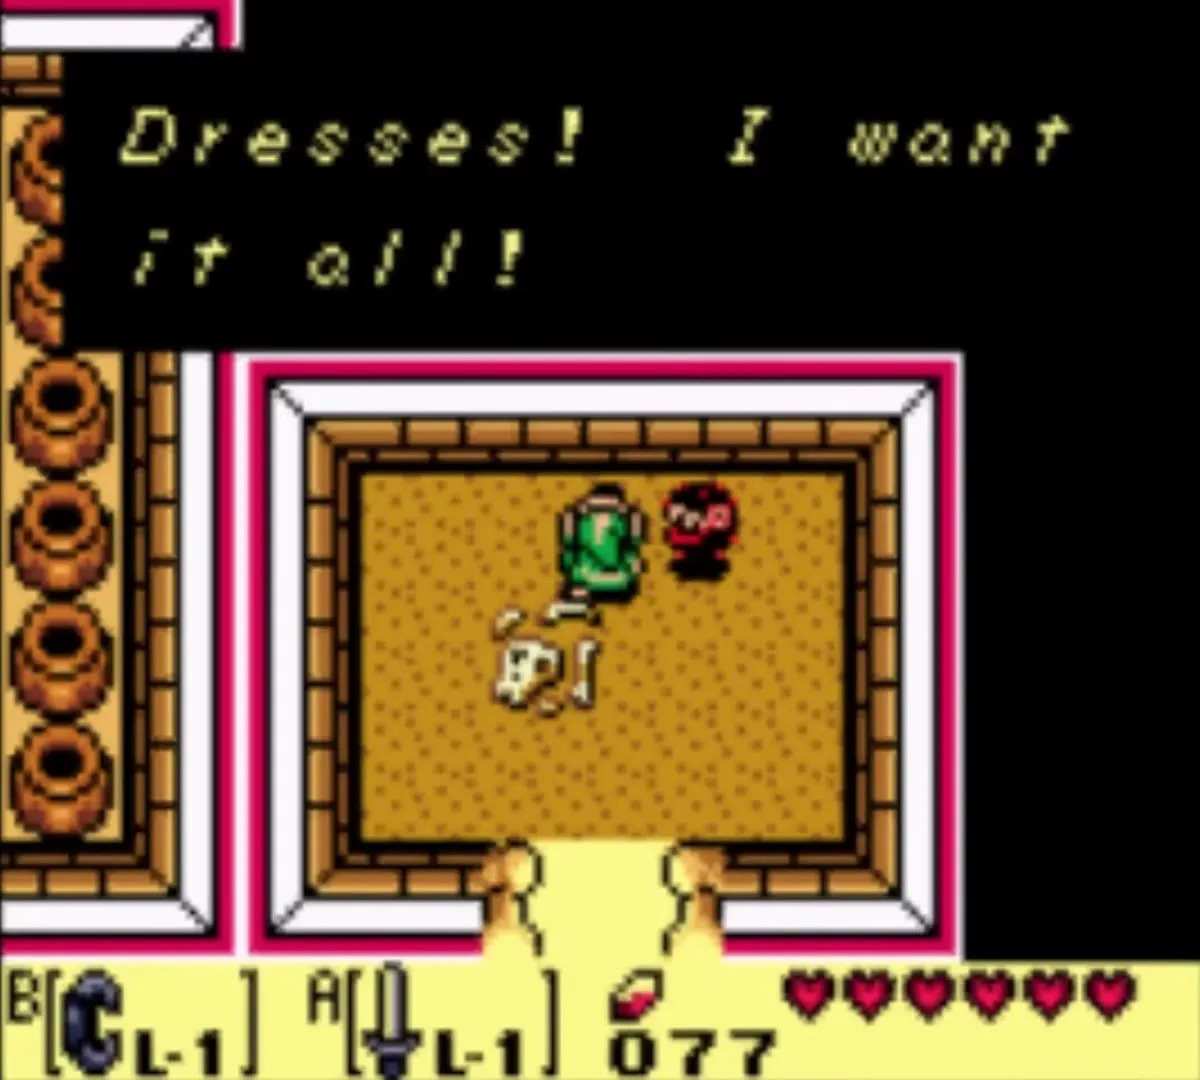
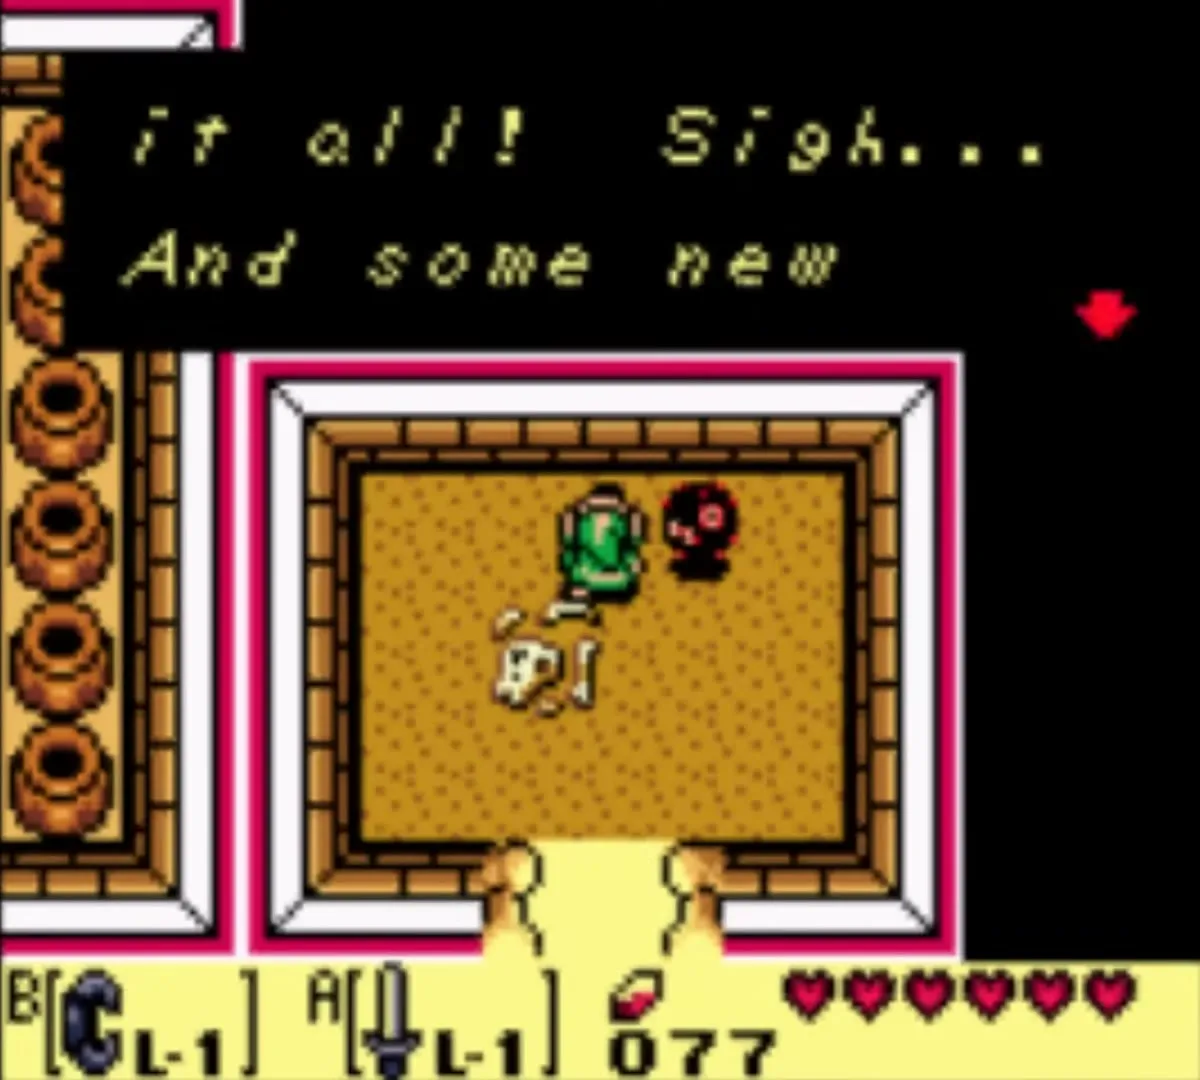
Trading step 3: BowWow’s house stands at Madam MeowMeow’s, now with a small Chain Chomp named CiaoCiao outside. Hand over the Ribbon and he swaps it for a can of Dog Food.
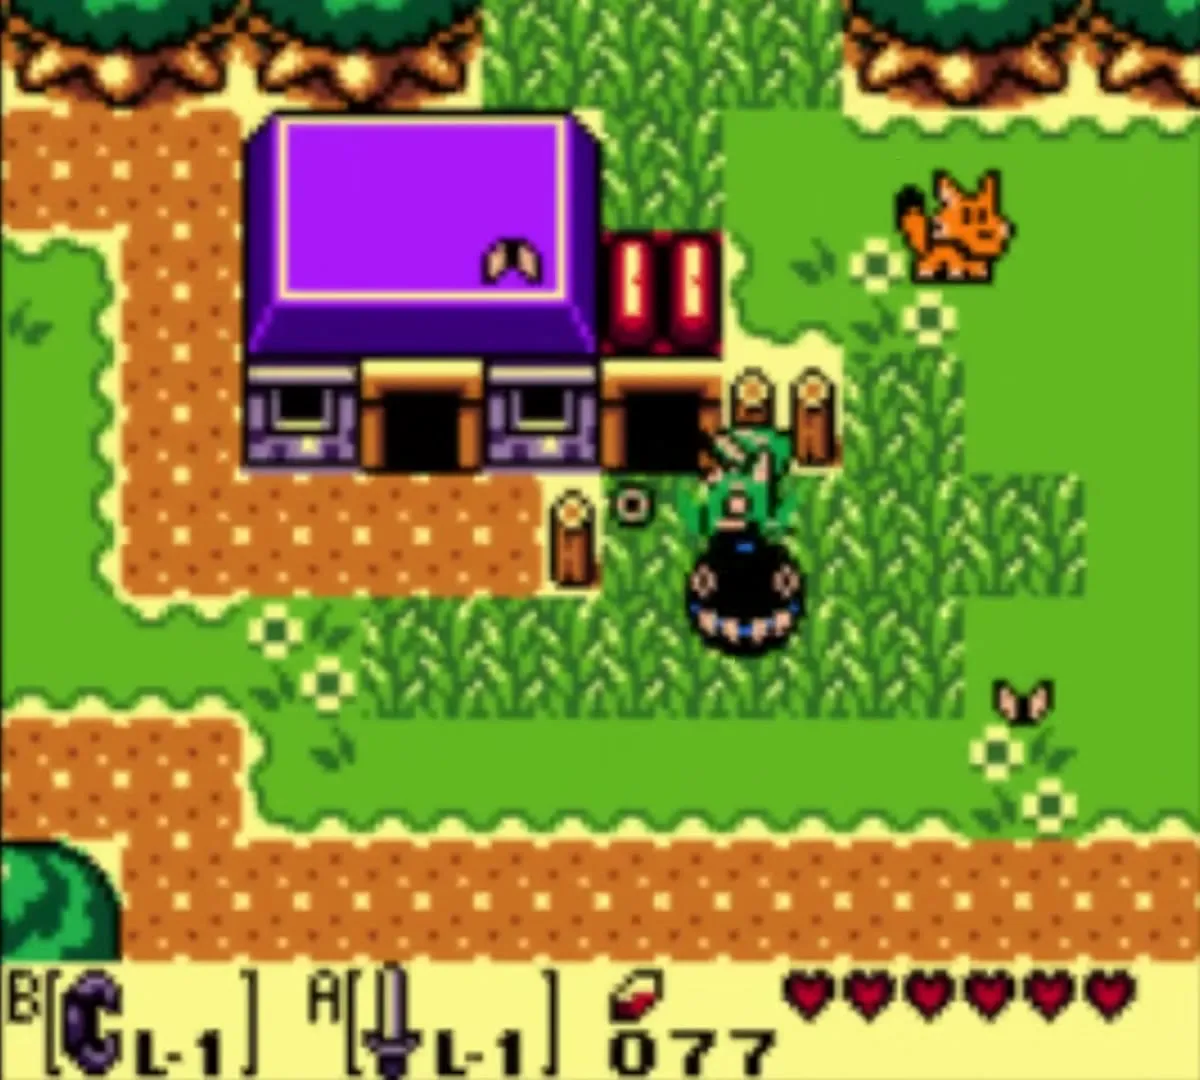
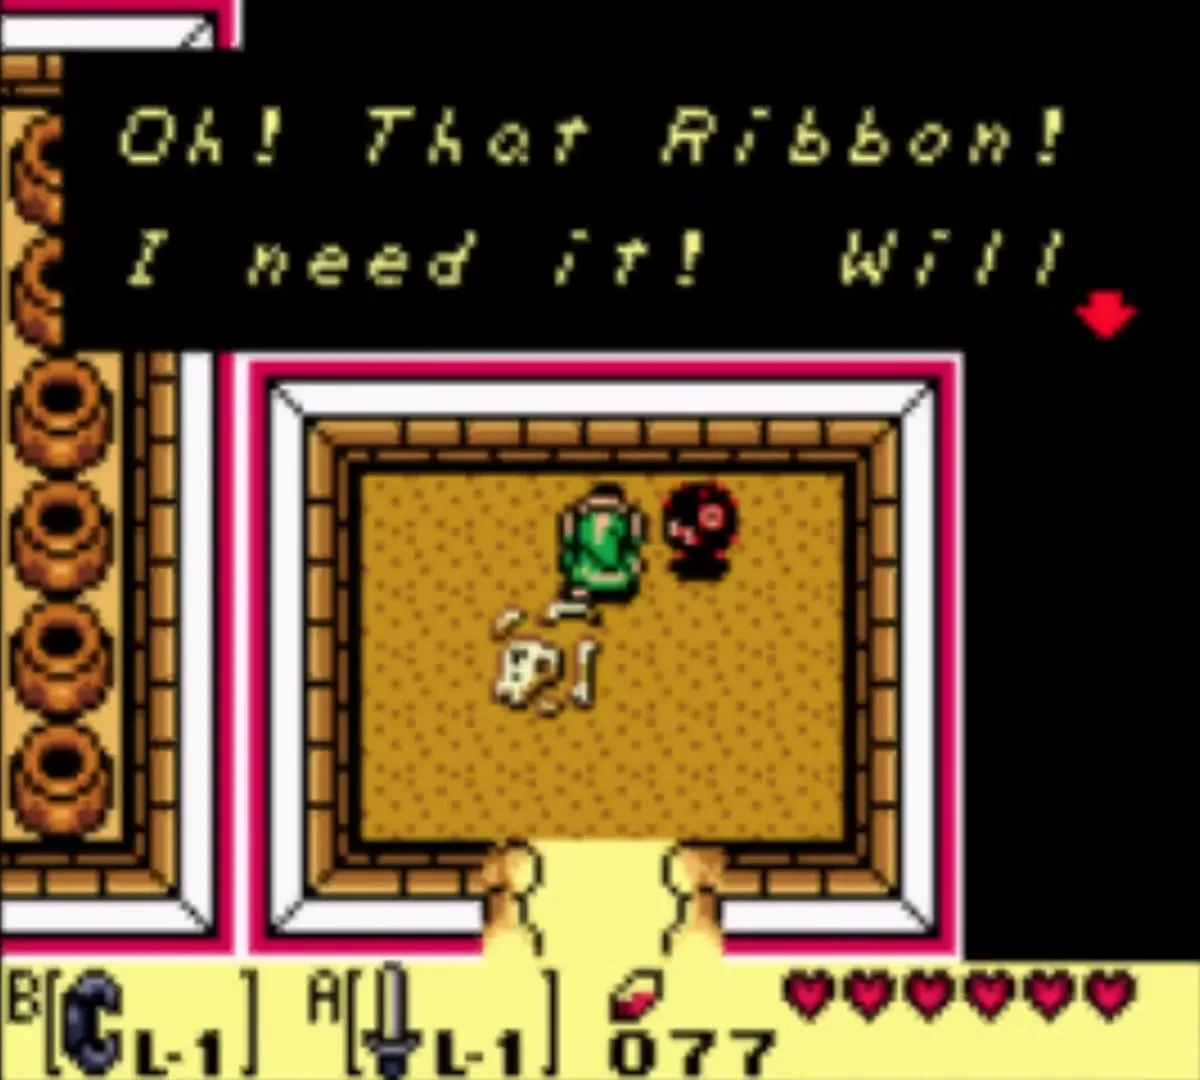
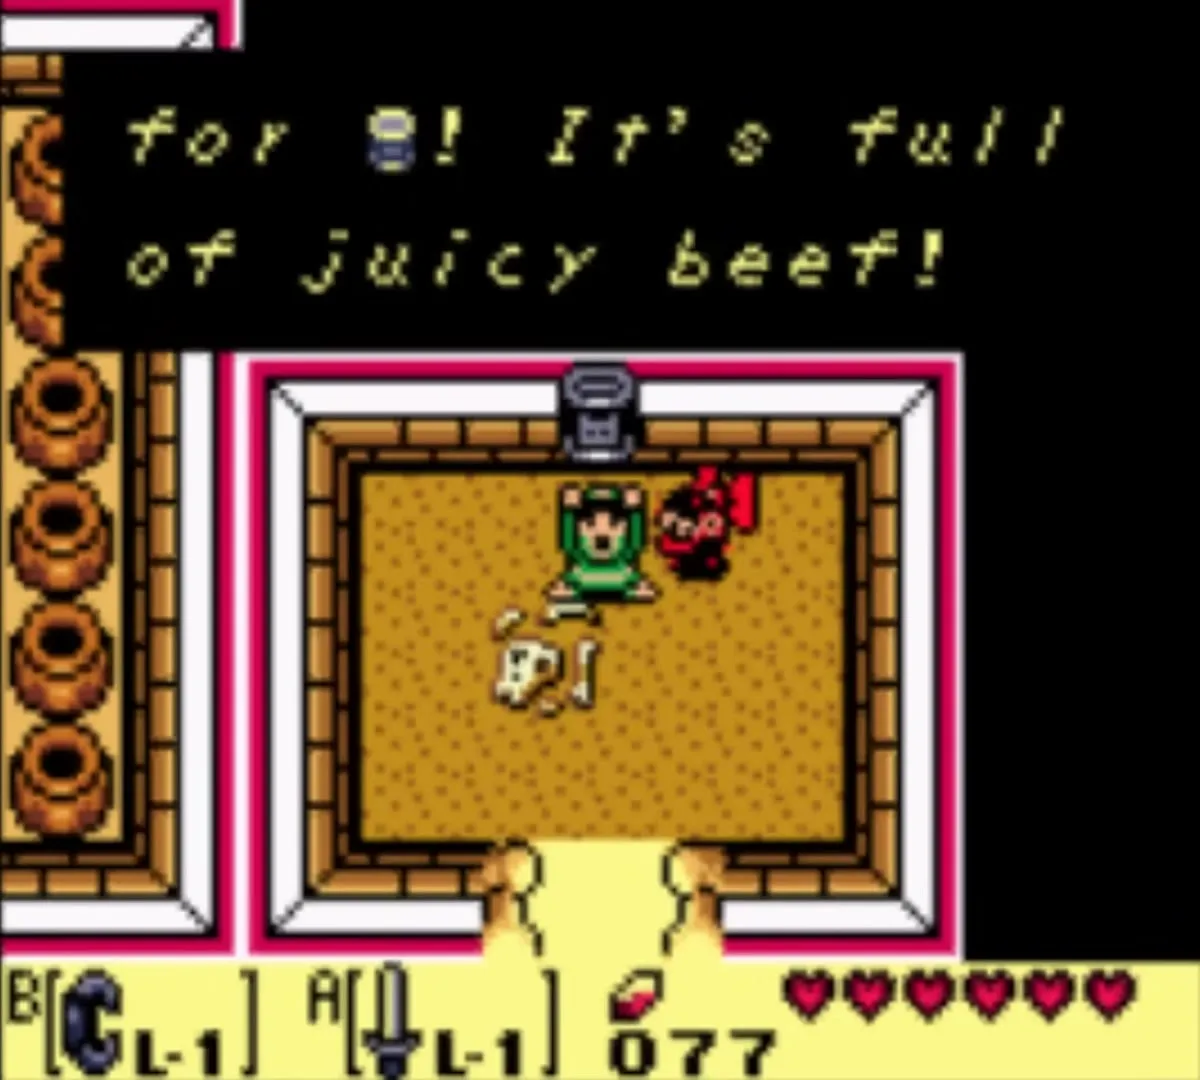
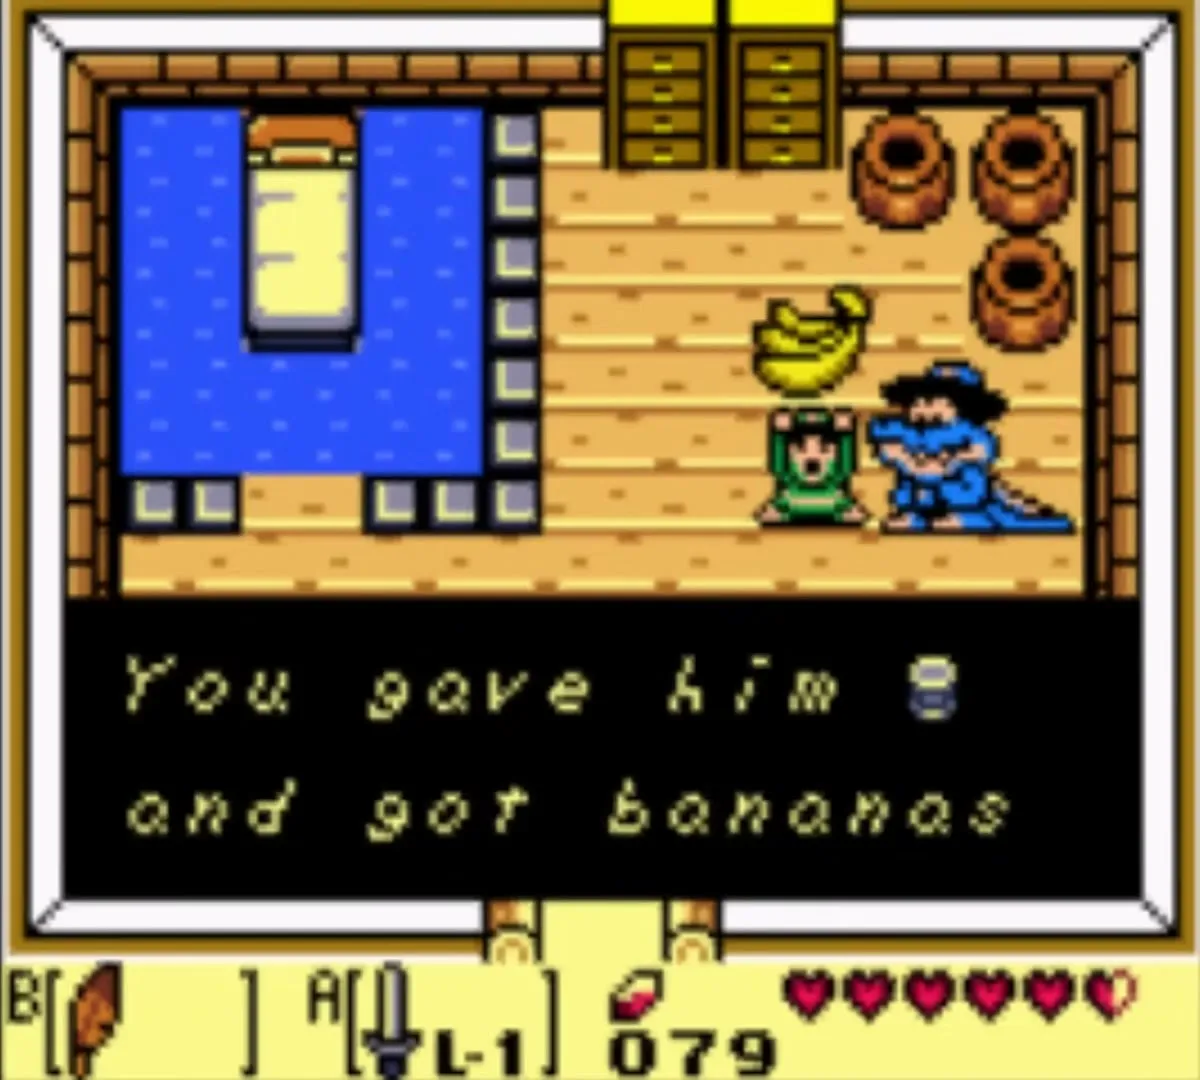
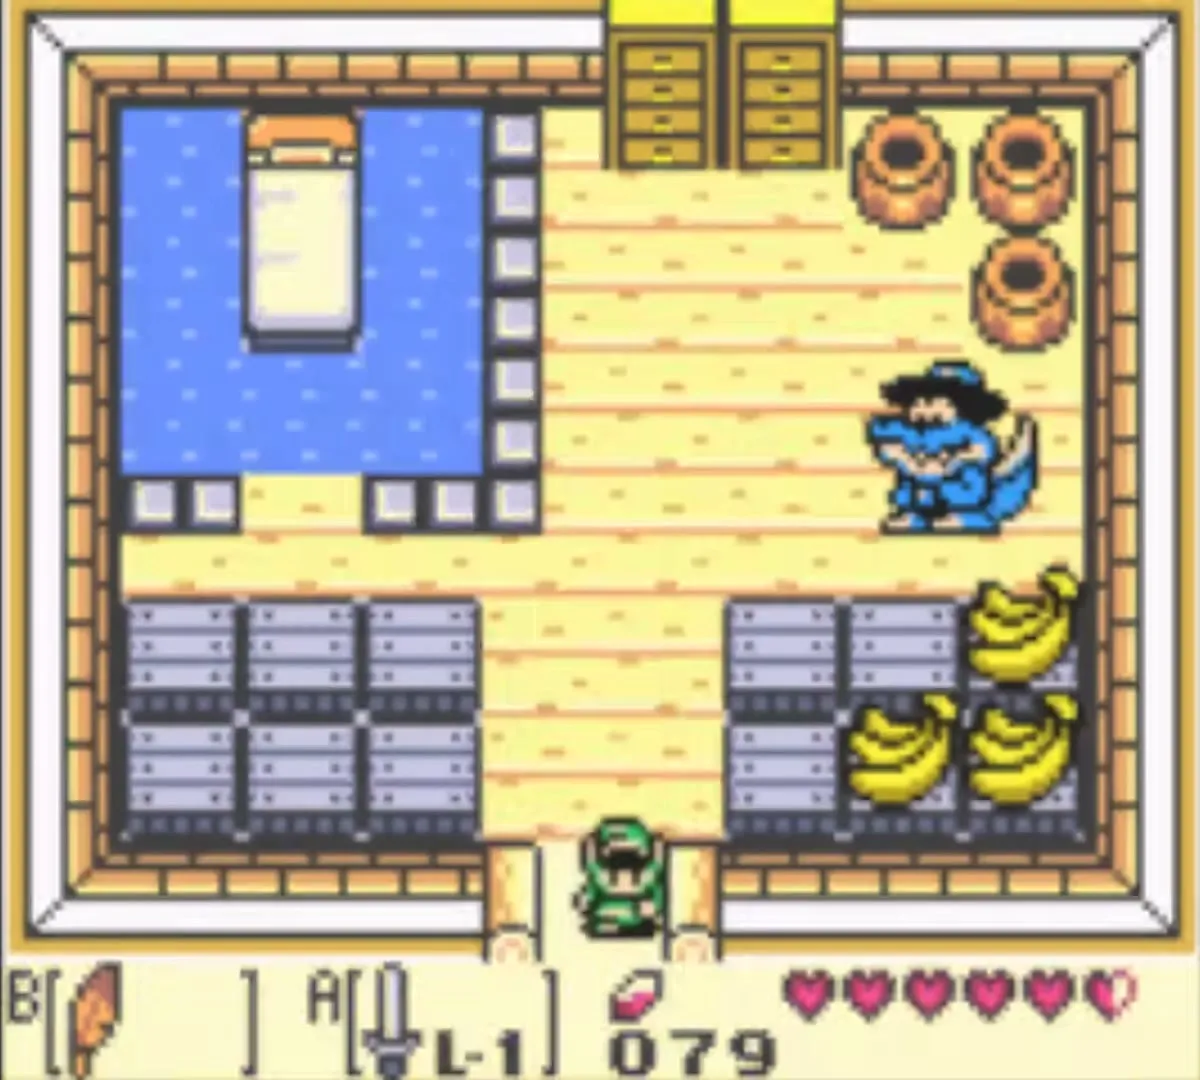
Trading step 4: go to Toronbo Shores and visit Sale’s House O’ Bananas, the alligator’s home near the beach. Sale gives you Bananas for the Dog Food. Keep them for the monkey near Kanalet Castle.

Mad Batter and bigger carrying capacity
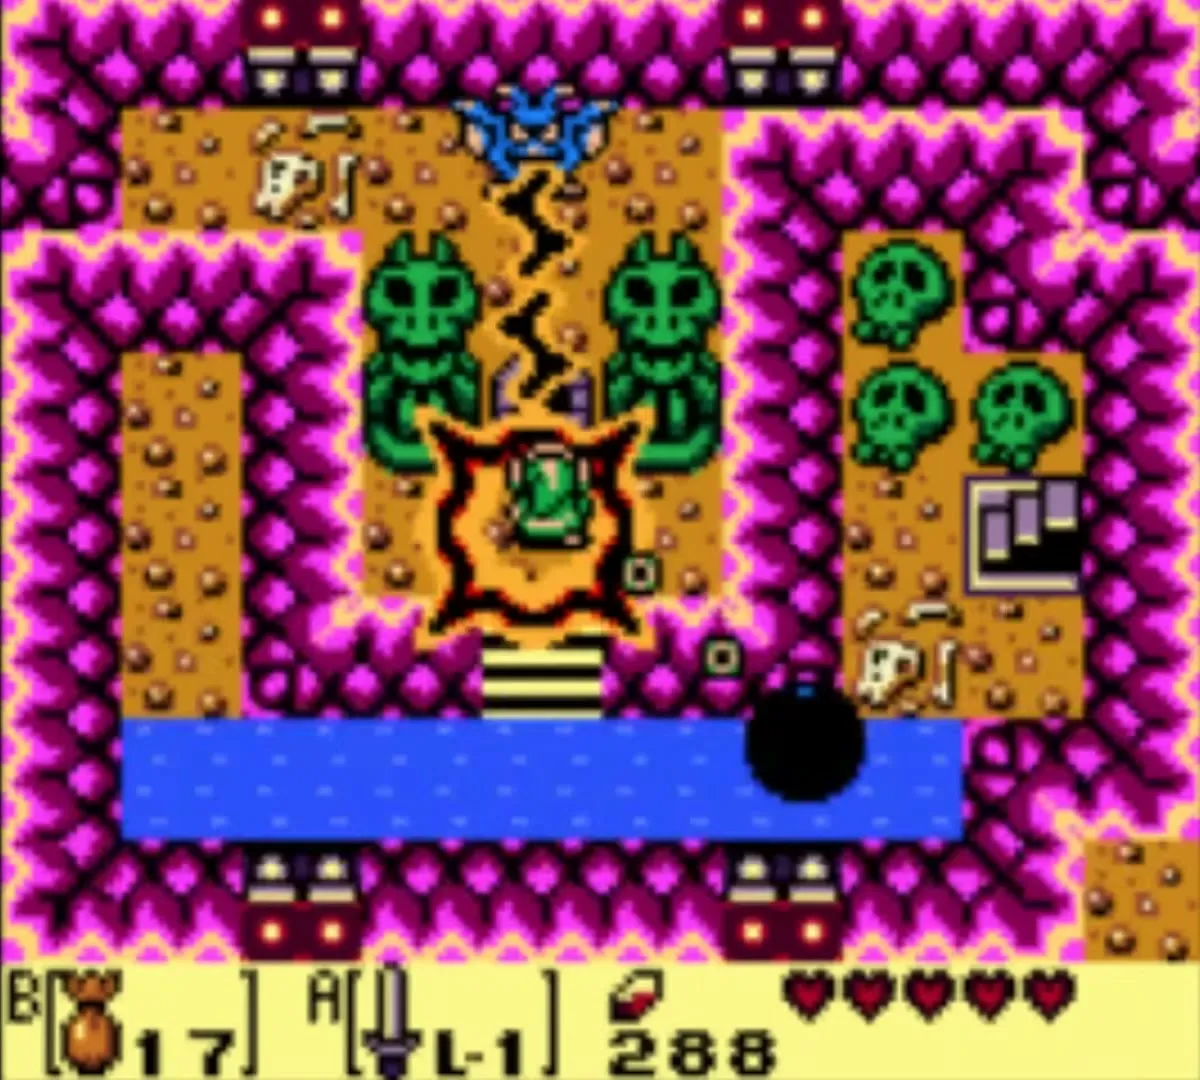
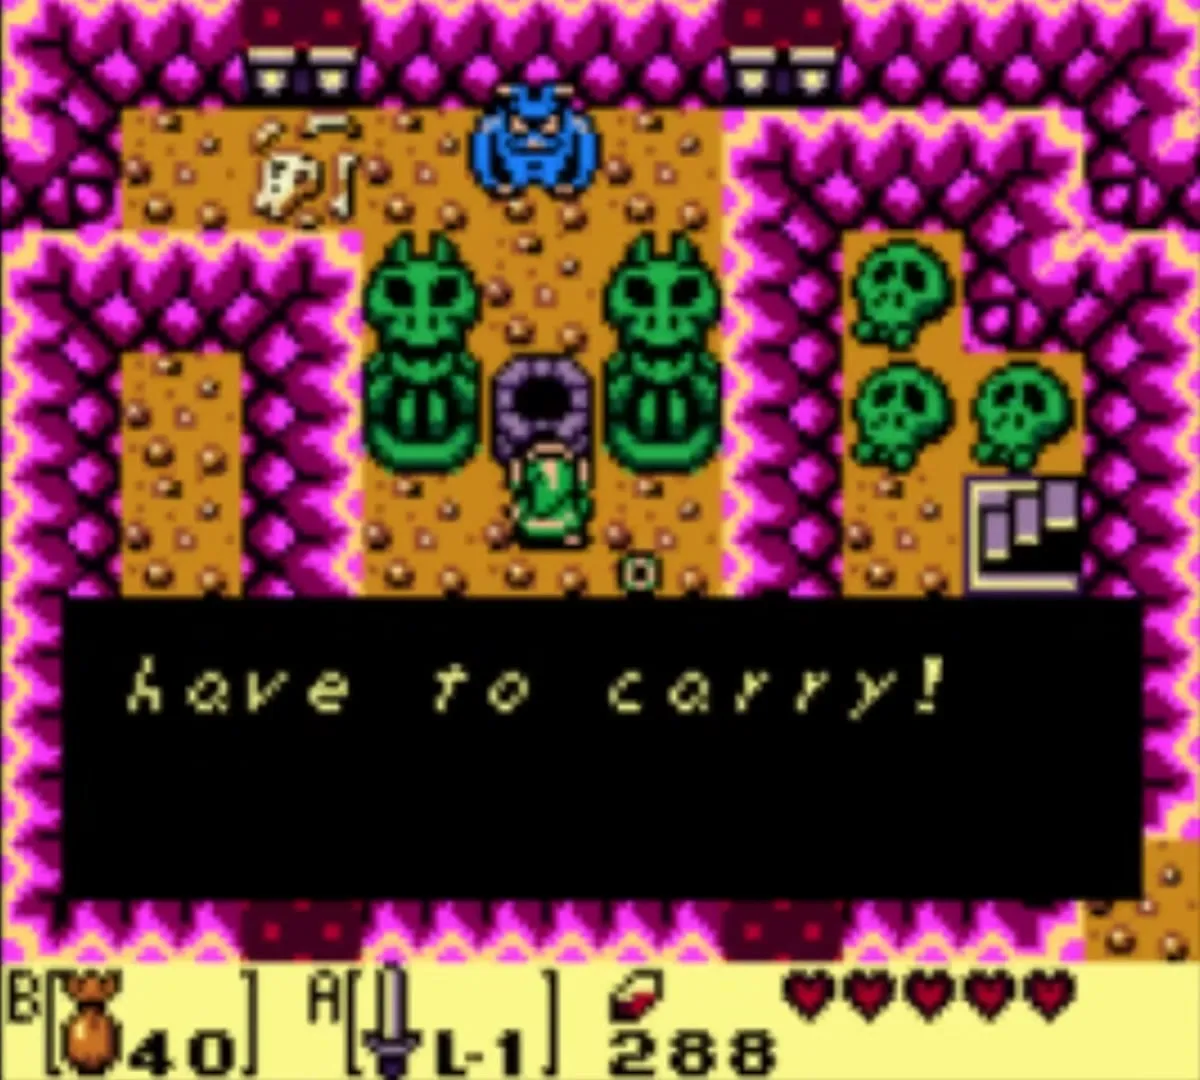
With the Power Bracelet you can reach the first of three Mad Batter altars. It lies in the Mysterious Forest, south of the hollow log. Lift the lone rock in the south corner to open stairs, then throw Magic Powder into the well in the cave. The Mad Batter lets you choose one item to enlarge and he refuses items you do not yet own, so come back with bombs if you want a bigger bomb bag. The items page lists all three altars.
Ukuku Prairie
Mabe Village to the Witch’s Hut
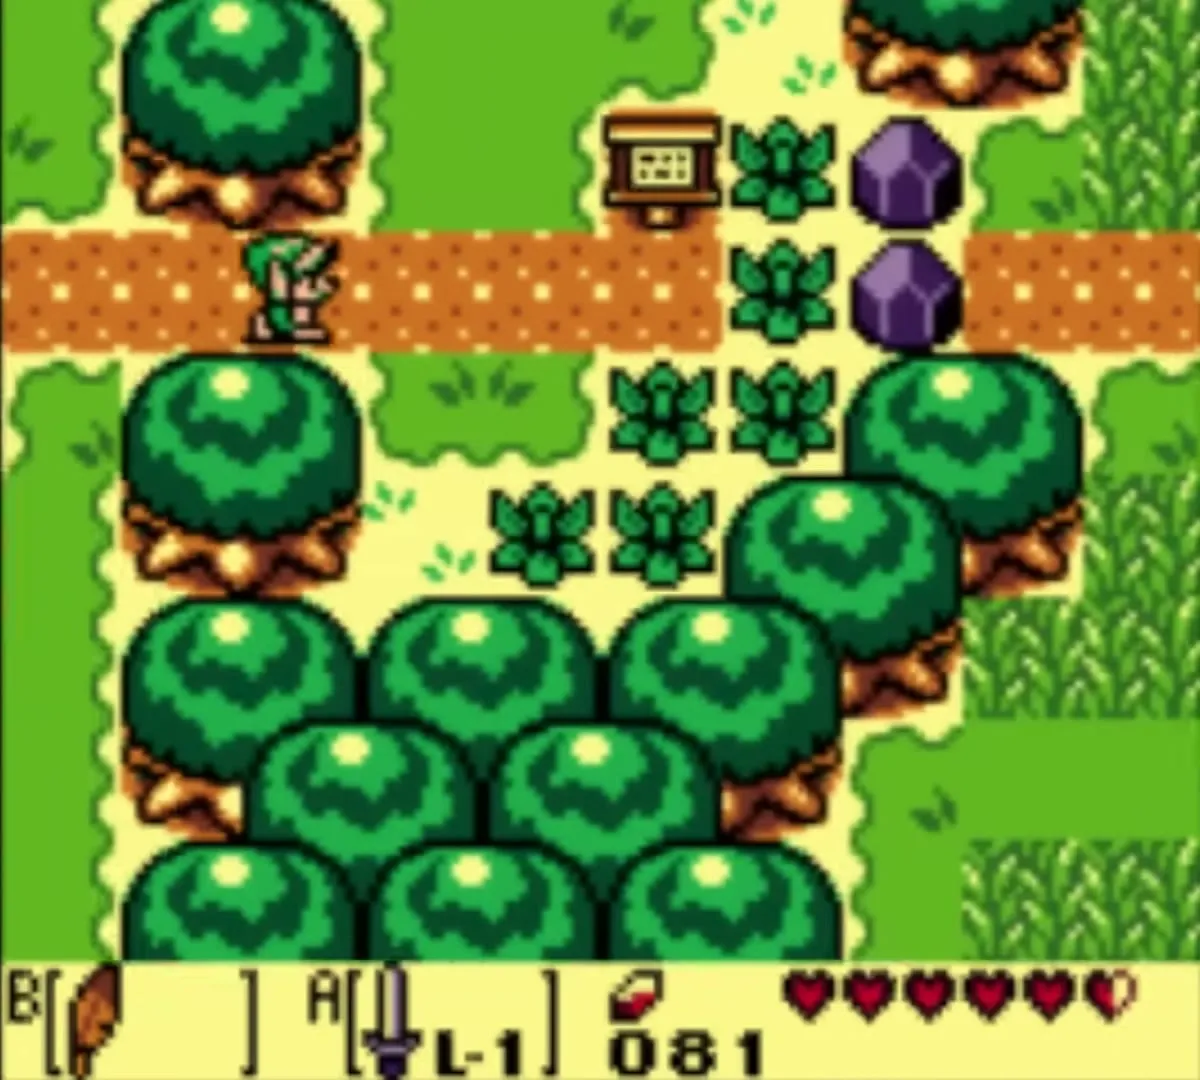
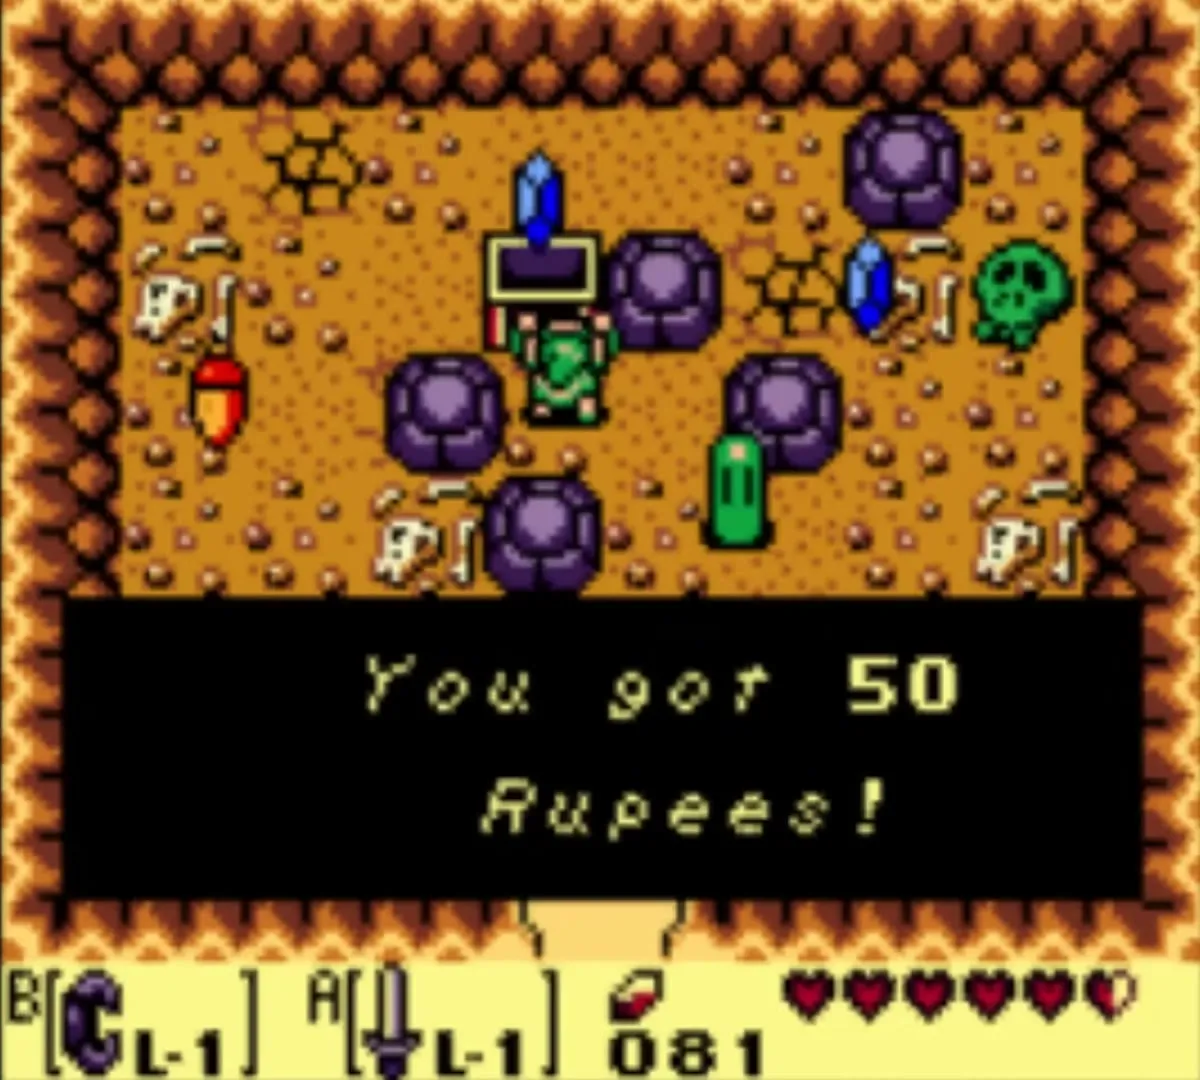
Head east from Mabe Village, past the sign, into Ukuku Prairie. Lift the rocks on the path and go north to a small cave where a chest holds 50 rupees. East of the cave, climb the stairs, lift the boulder and keep going north to the Witch’s Hut.

Secret Seashell southwest of the Witch’s Hut
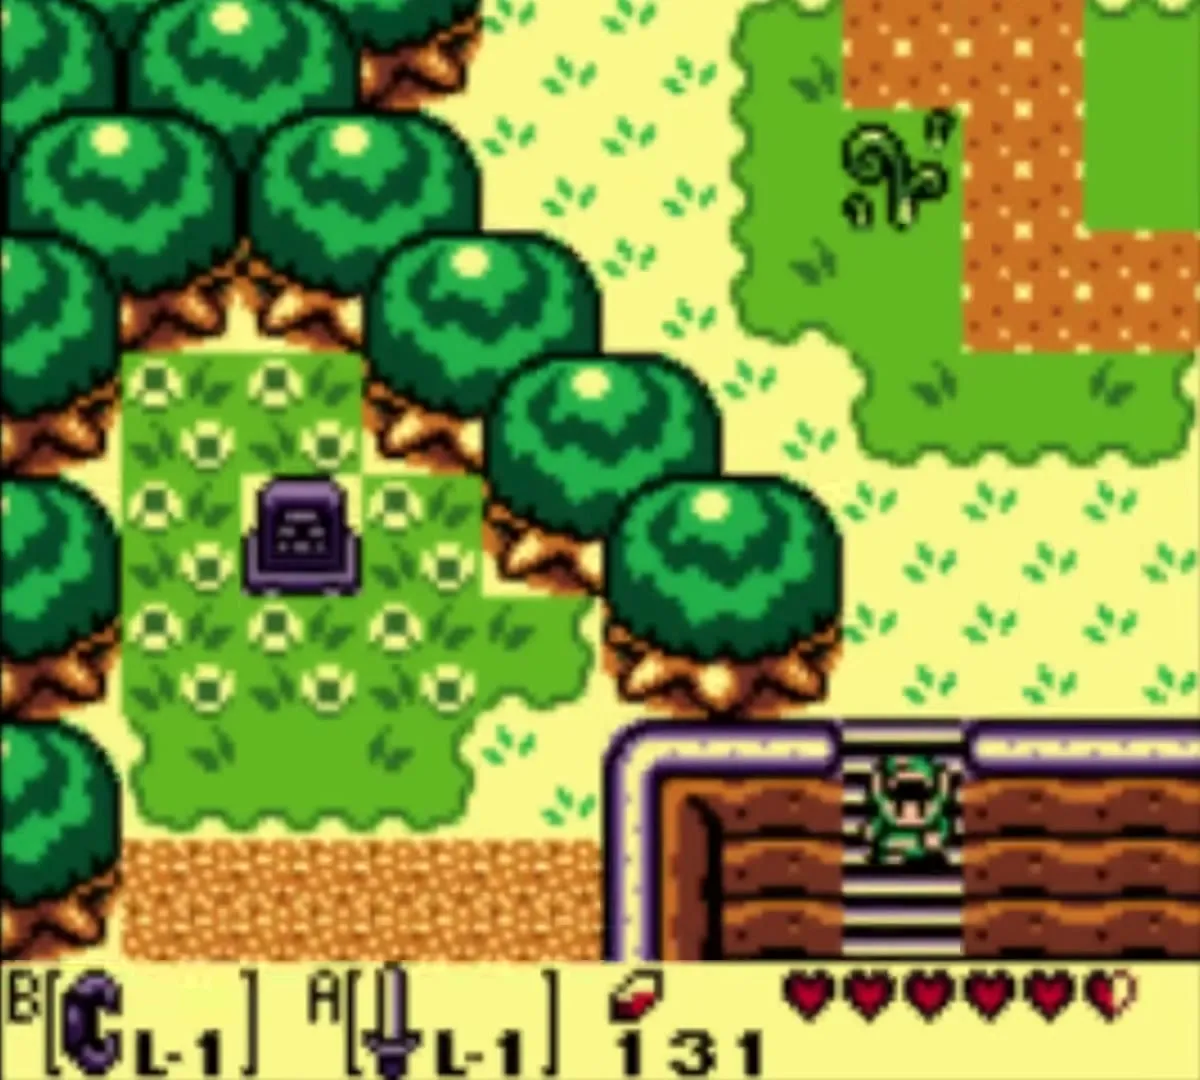
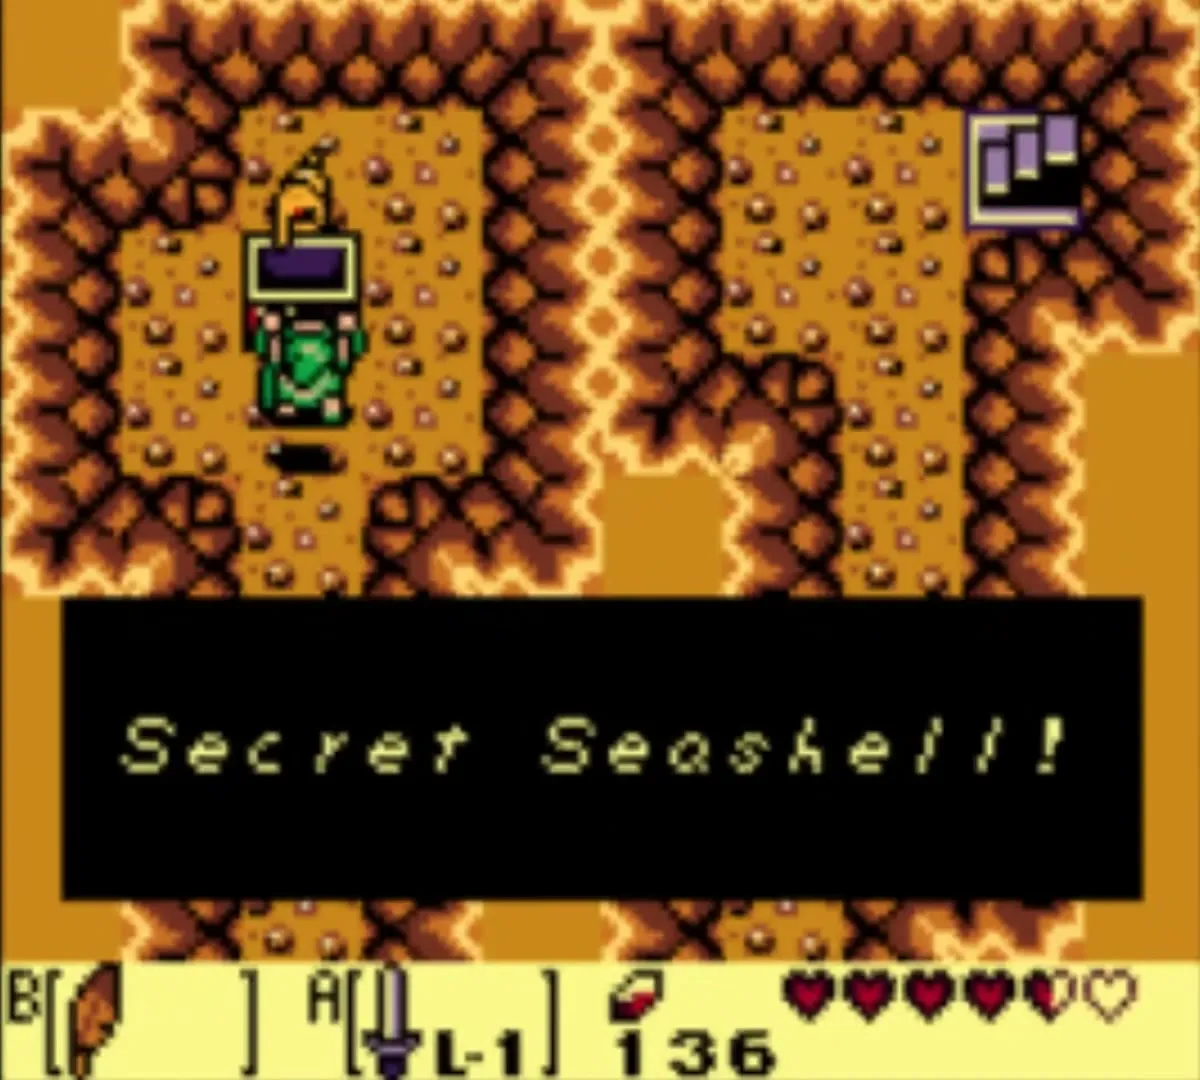
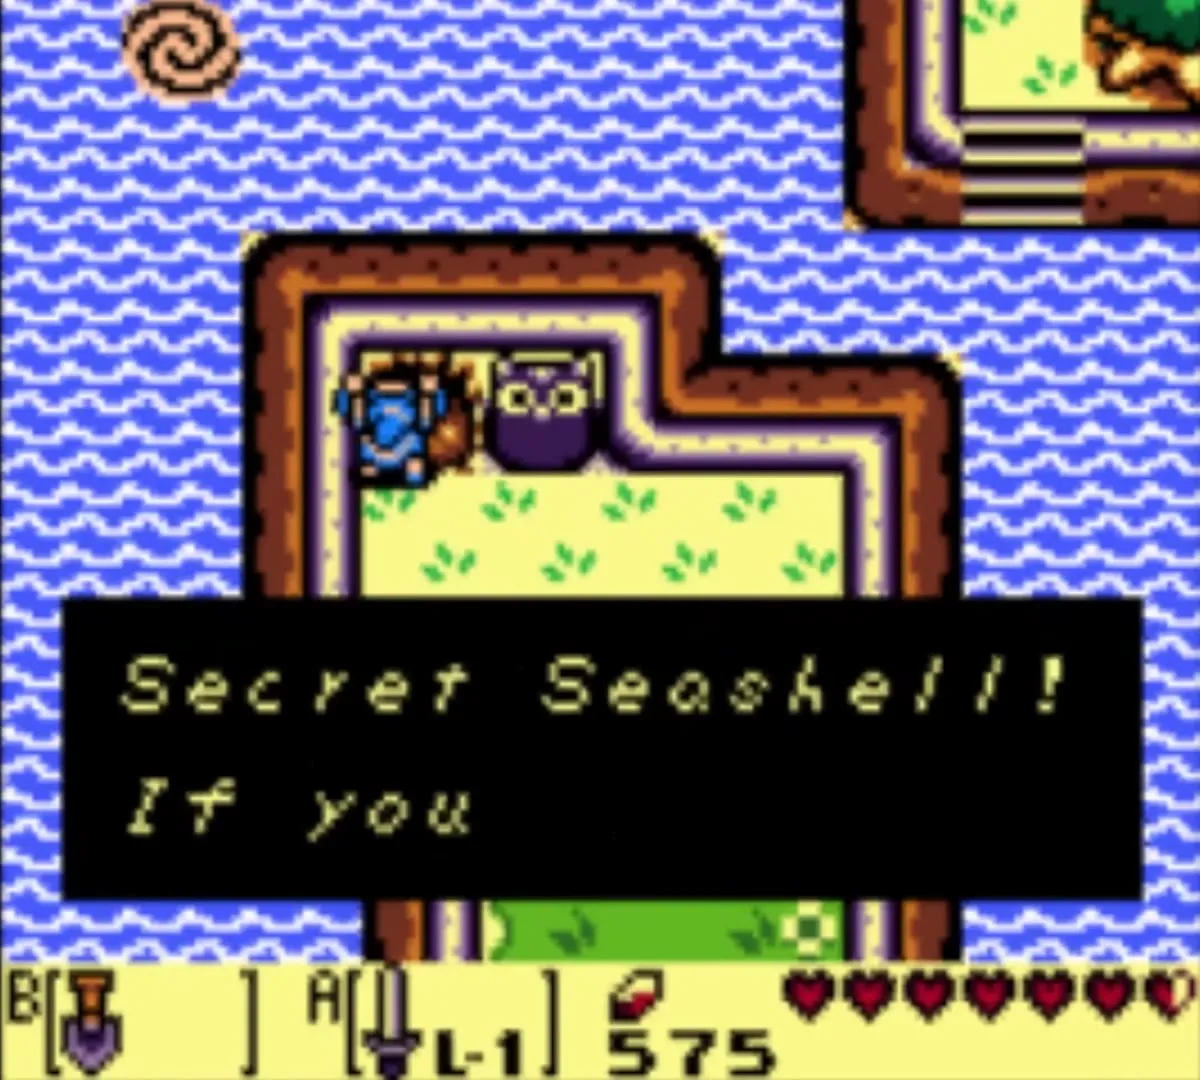
Jump the holes on the screen with the hut and go west. Lift a rock, go south and cut the bush hiding a patch of loose soil. Equip the Shovel and dig. A Secret Seashell is buried there.
Richard’s Villa
From the Witch’s Hut, cross the holes again to the south, lift the boulder and take the stairs down to a warp spot. Follow the path south to Richard’s Villa. Richard cannot get into Kanalet Castle. He asks you to bring him the five Golden Leaves and promises a reward when you do.
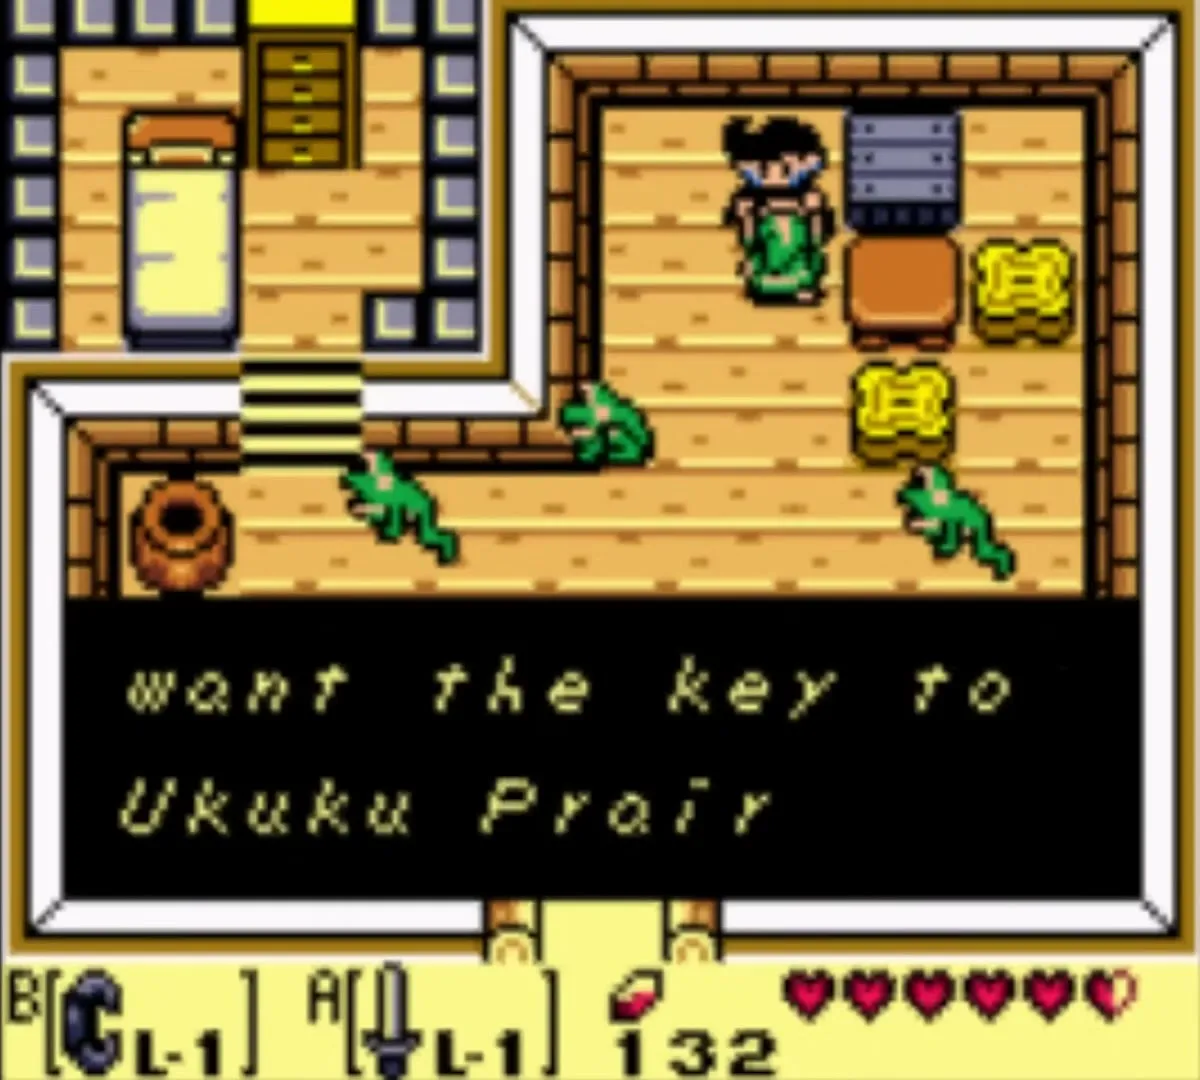
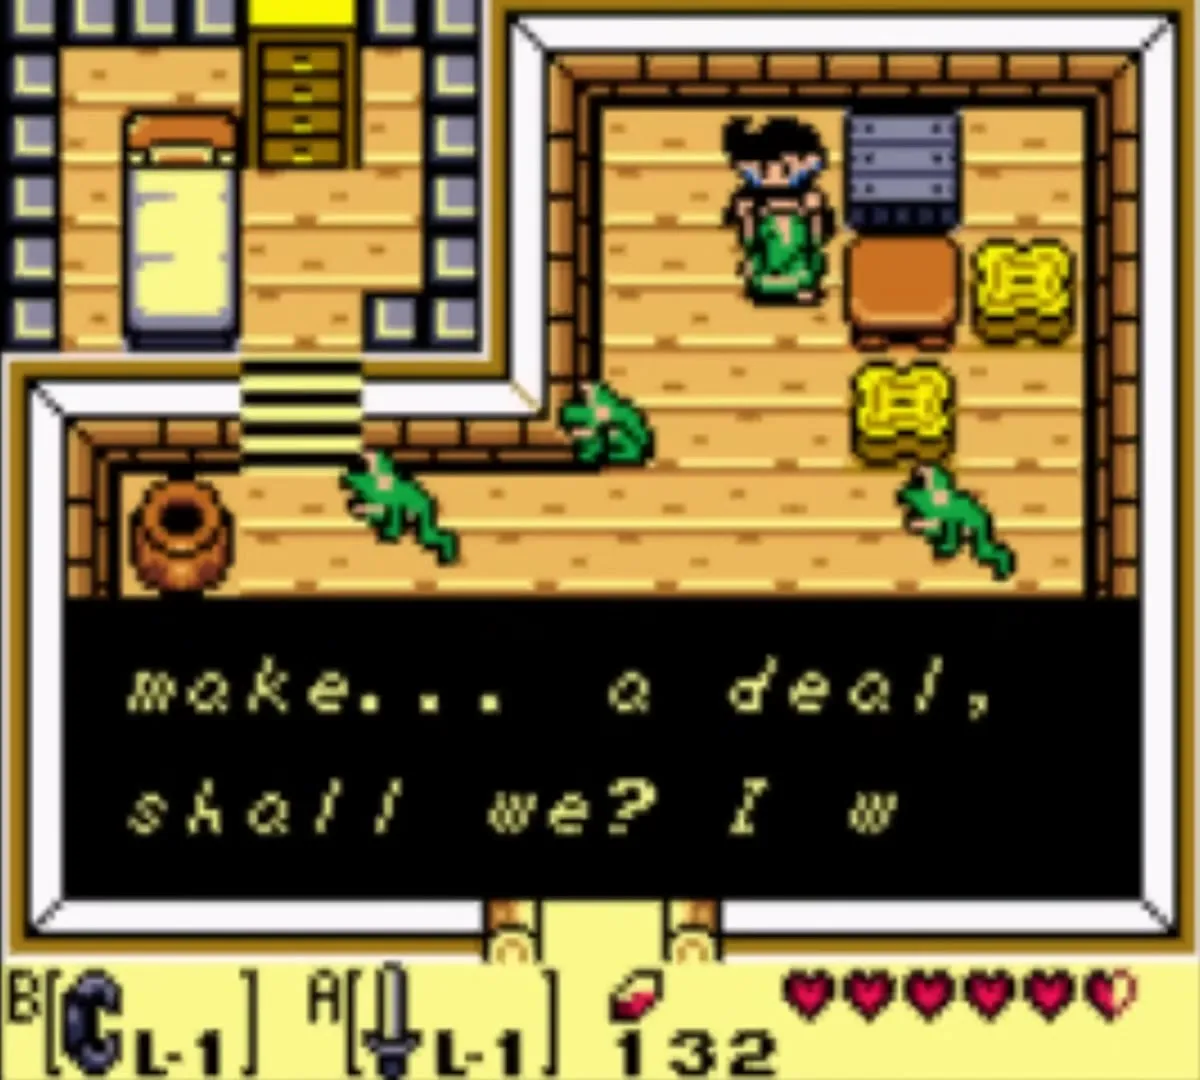
Seashell Mansion
East of Kanalet Castle, up a dirt path, stands the Seashell Mansion. Secret Seashells are exchanged here for gifts, and the number you carry when you walk in matters. Enter holding exactly 5 shells and the keeper presents you with one more shell. Enter holding exactly 10 and he gives another. At 20 shells or more he hands over the L-2 Sword. Shells beyond 20 turn into rupees. Both bonus shells are missed if you enter with a different count, so plan your visits around the totals on the Secret Seashells page.
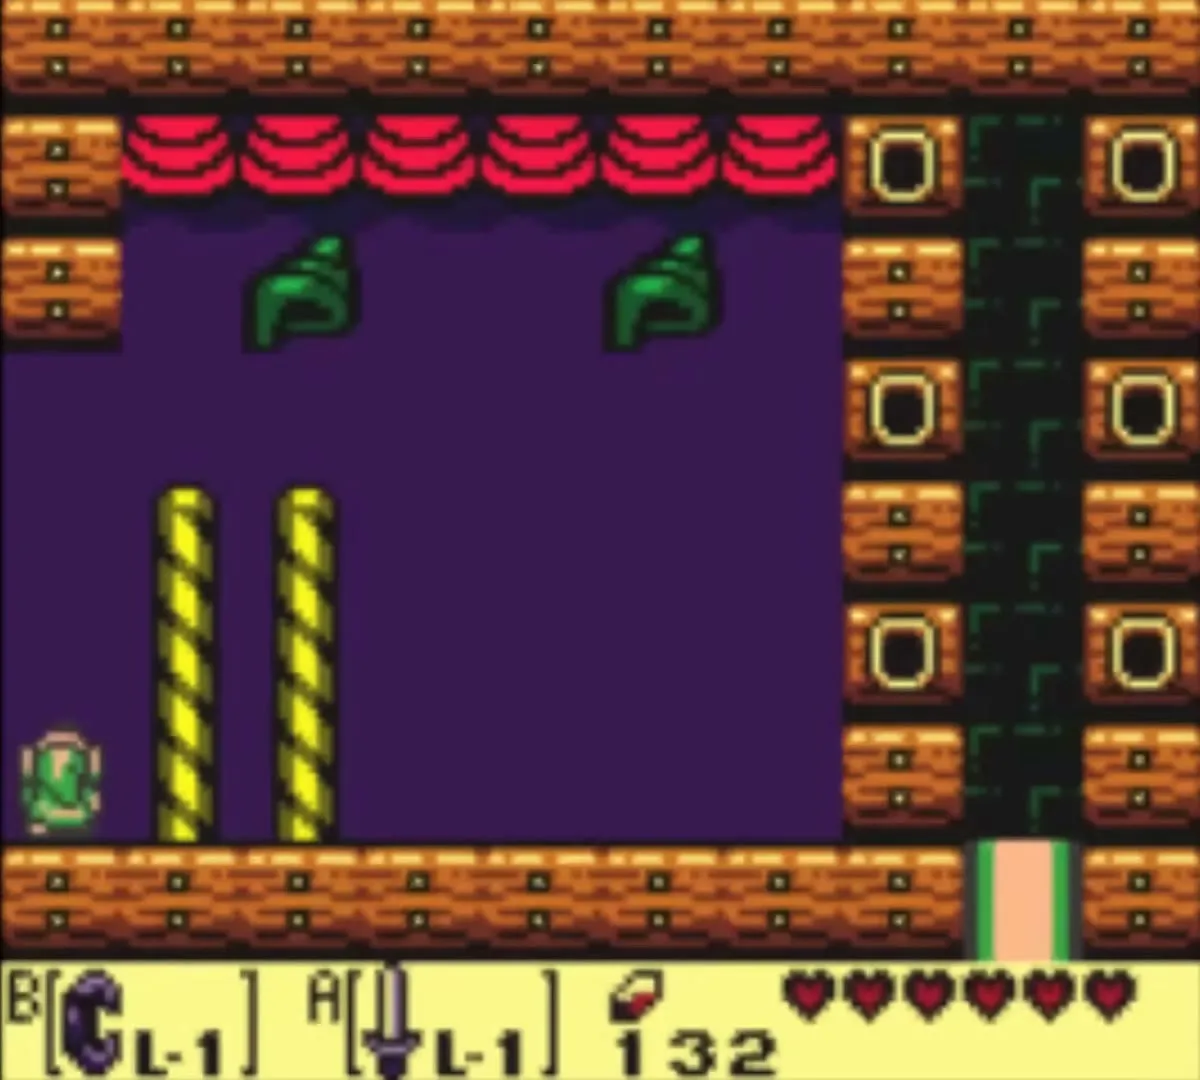
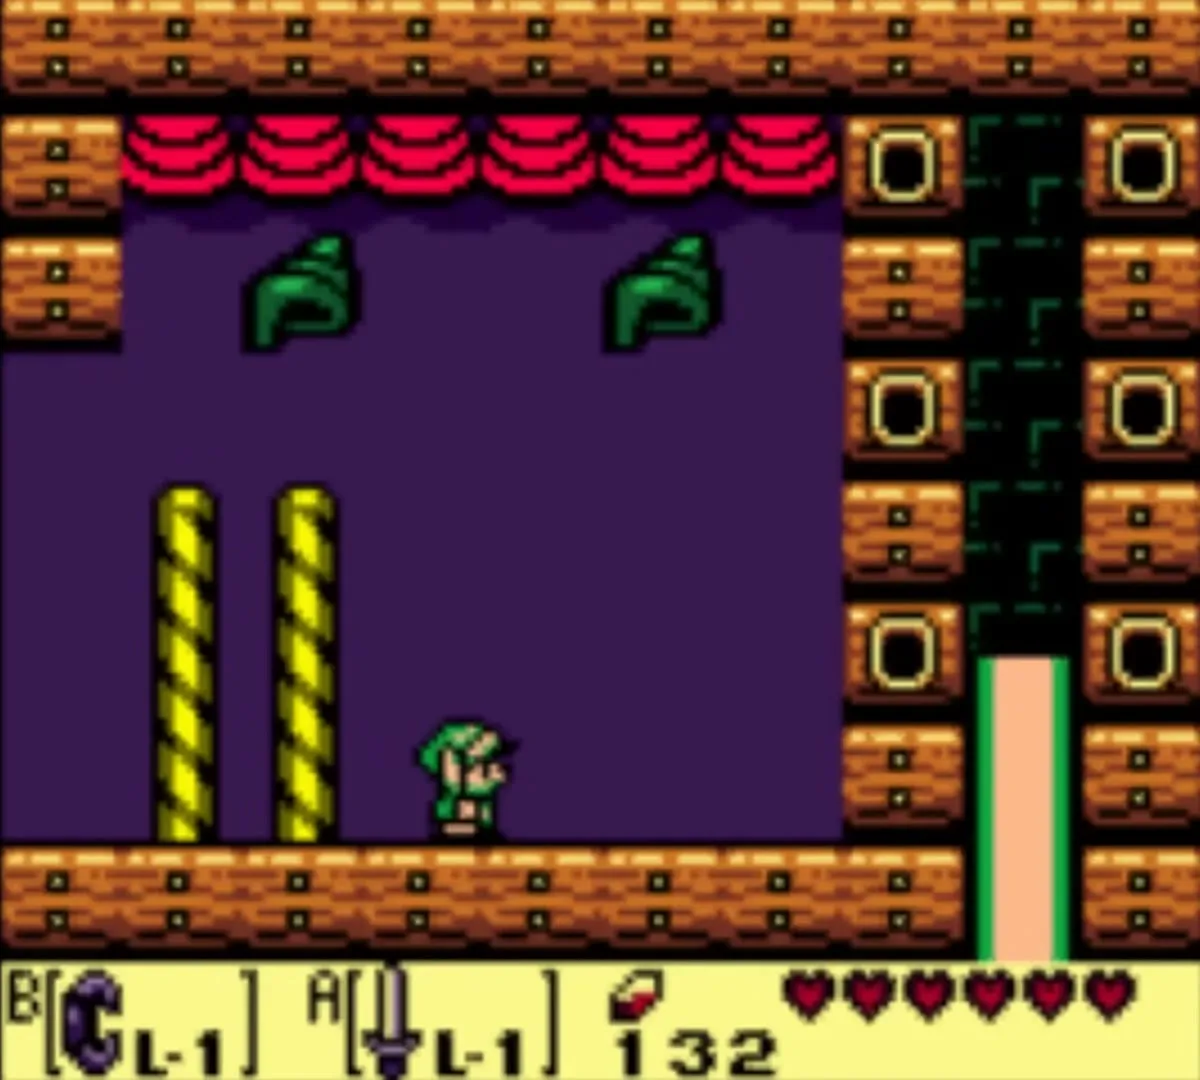
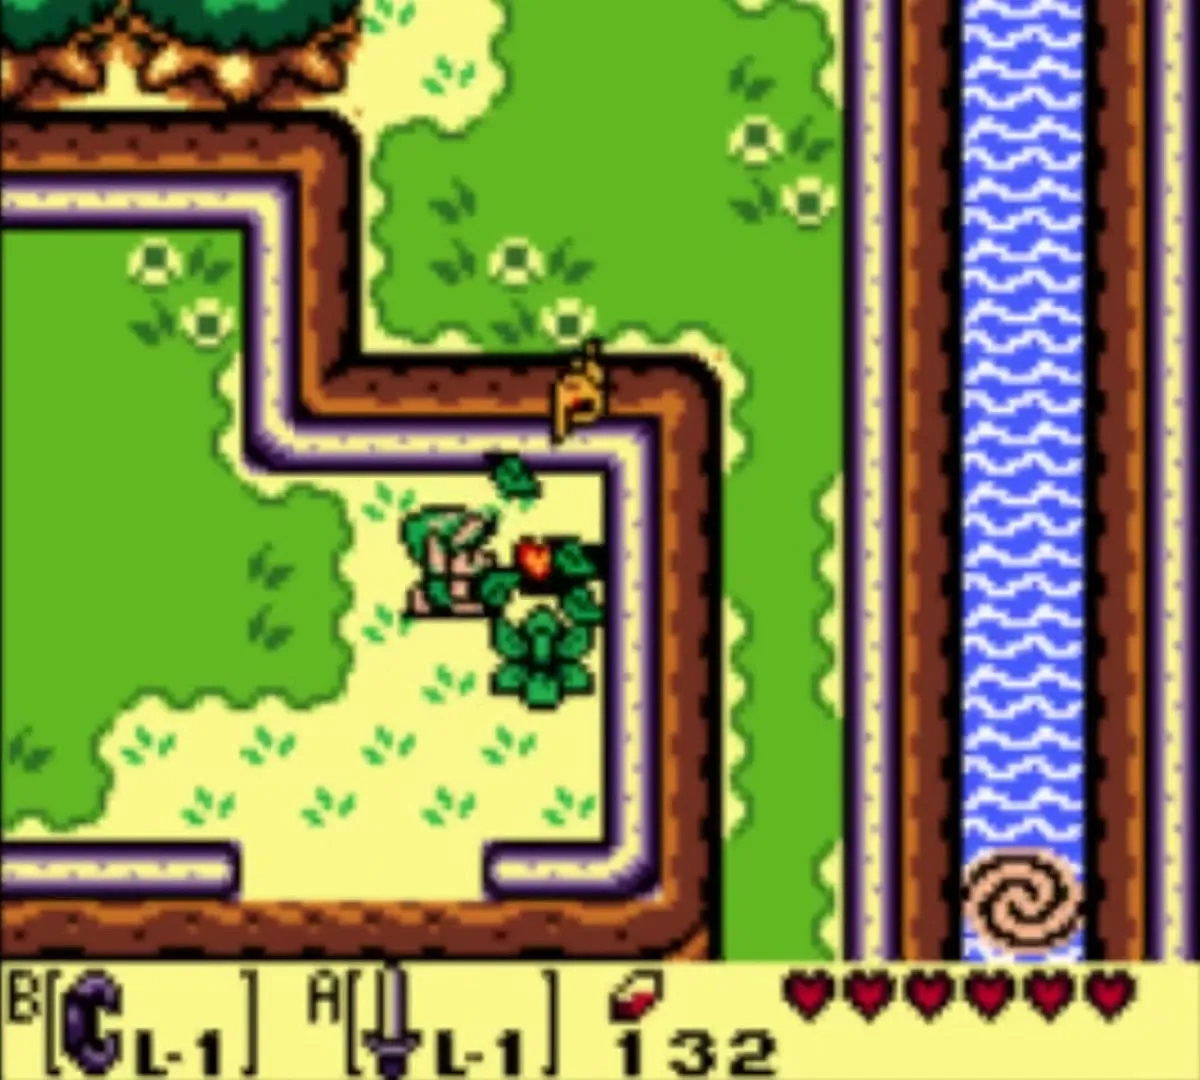
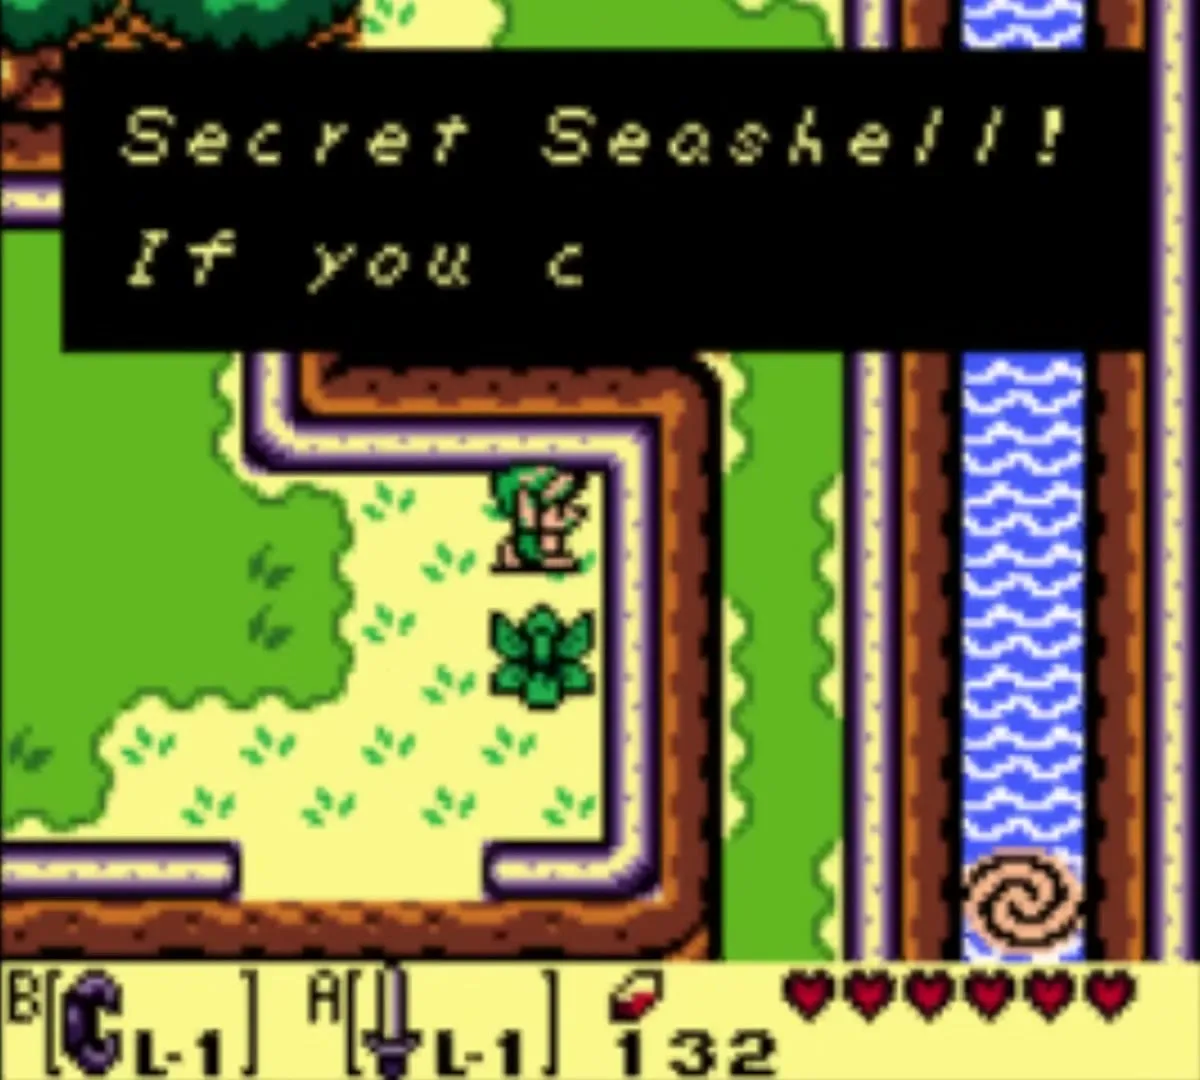
A shell sits in the bushes one screen east of the mansion, in the field where the path continues. Cut through them with your Sword.
Kanalet Castle and the five Golden Leaves

Kiki the monkey: how to get the Stick
Trading step 5: northeast of the Seashell Mansion, a hungry monkey named Kiki sits by a river. Give him the Bananas. His friends build a bridge across the water, and on the far side you find a Stick. The Stick is the item you keep; Tarin at the beehive will take it from you in the next chapter. A phone booth stands north of the bridge, and a bush west of it hides a staircase down.
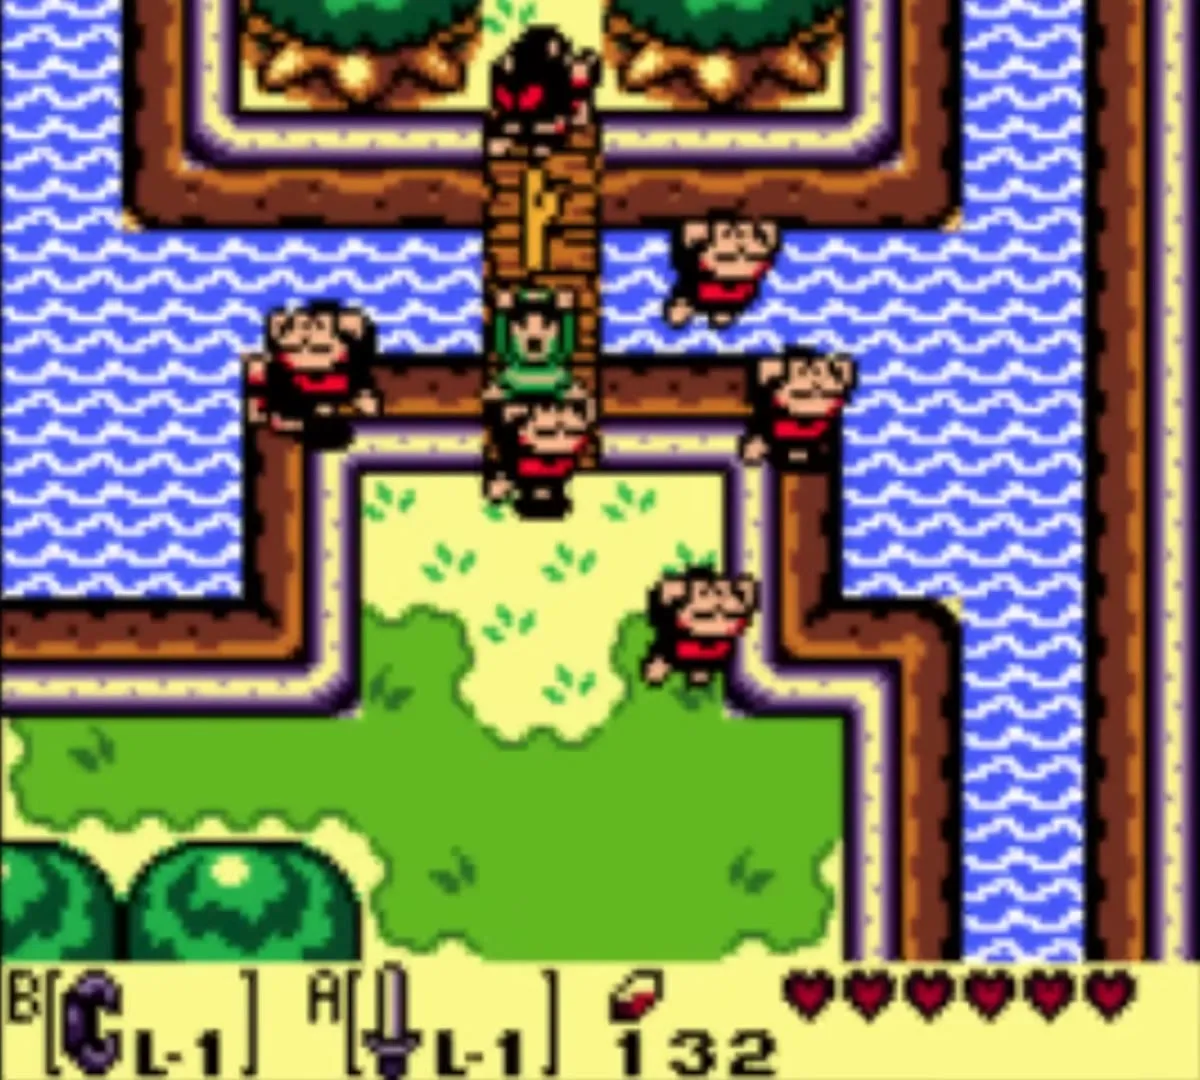
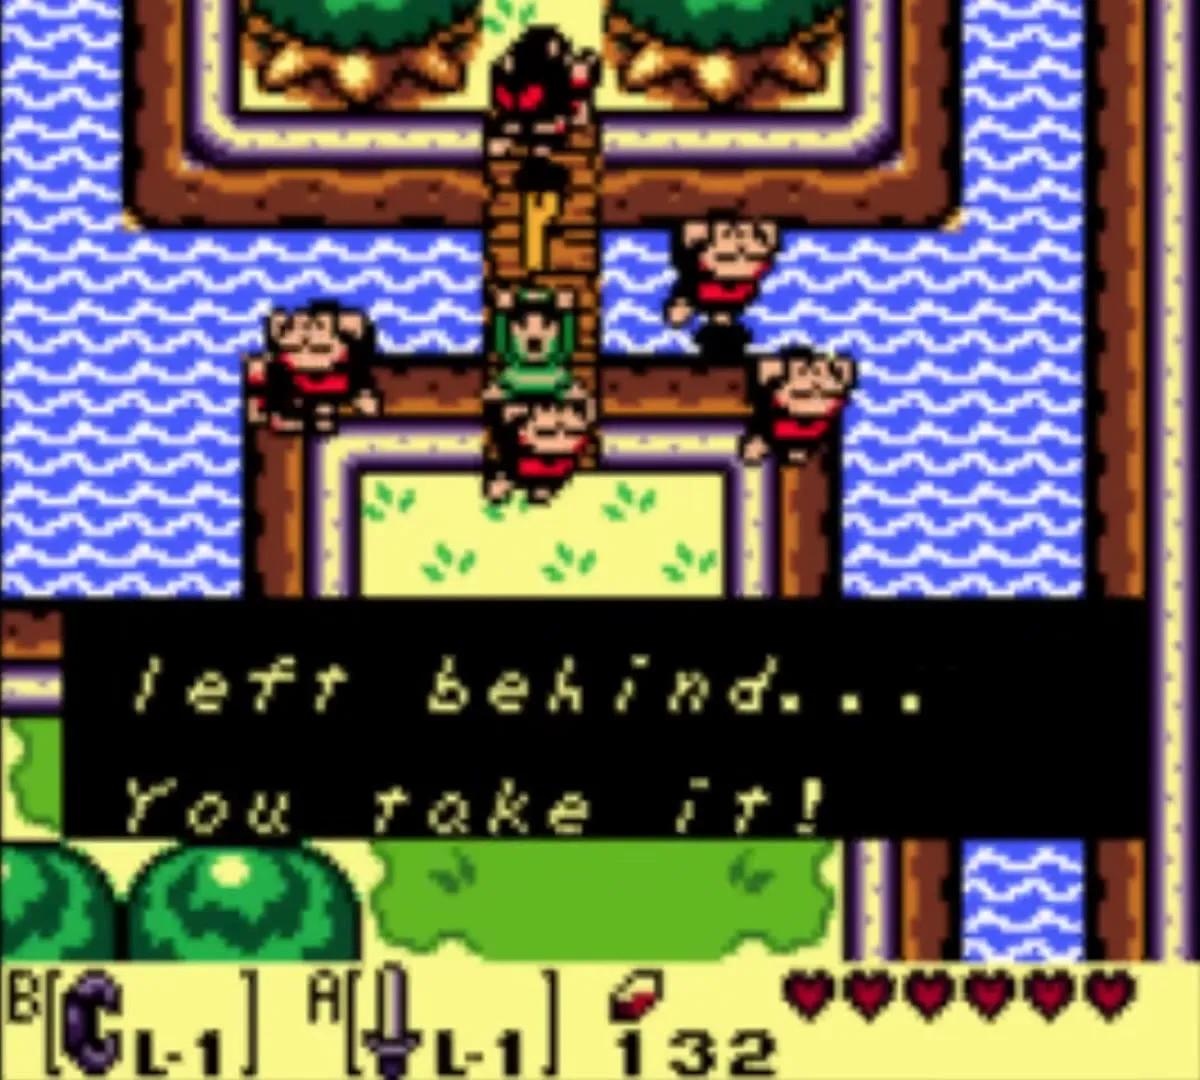
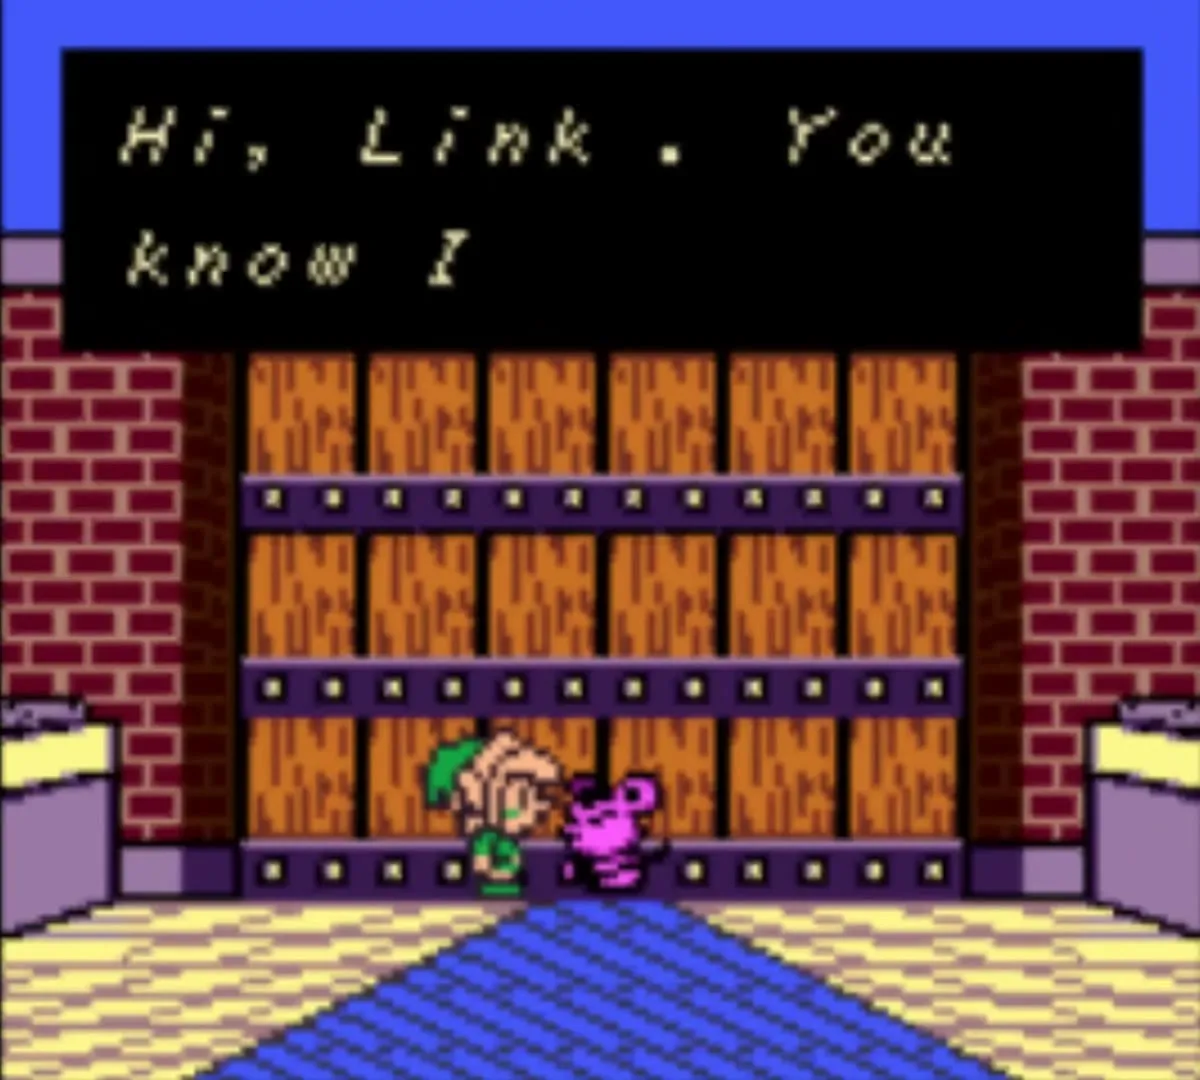
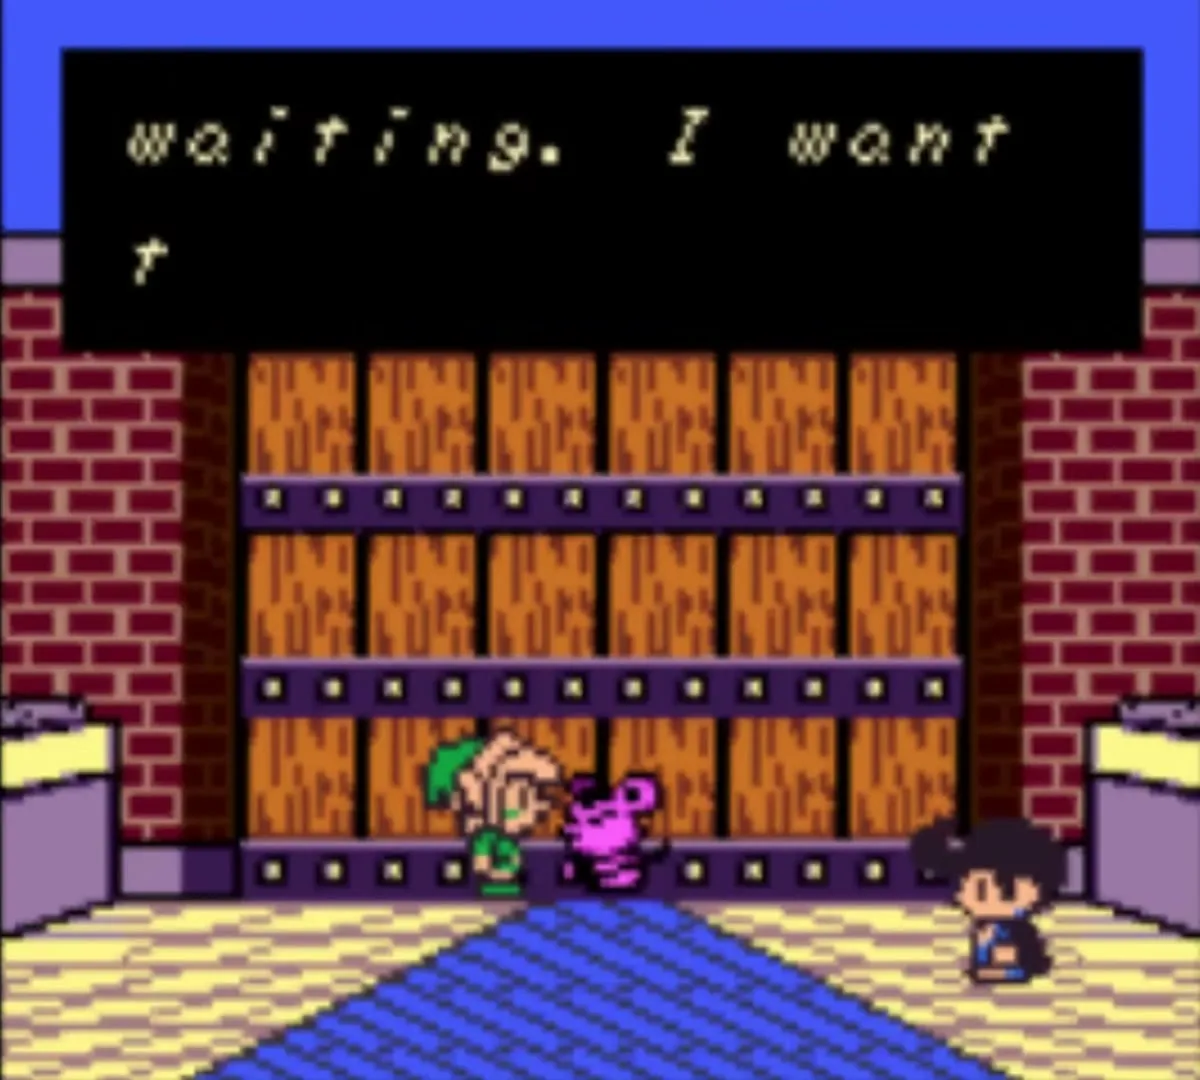
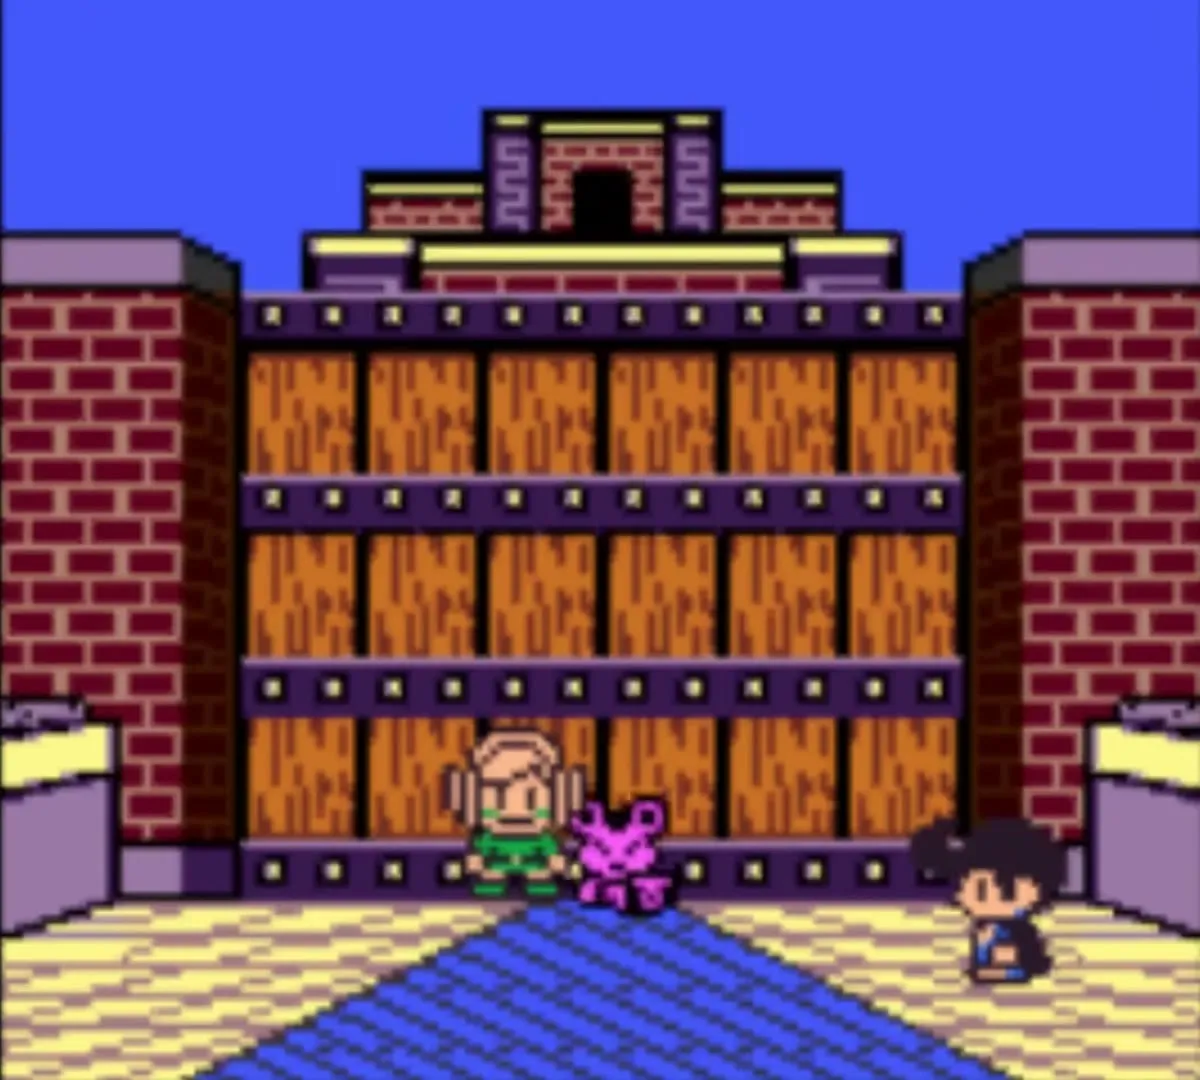
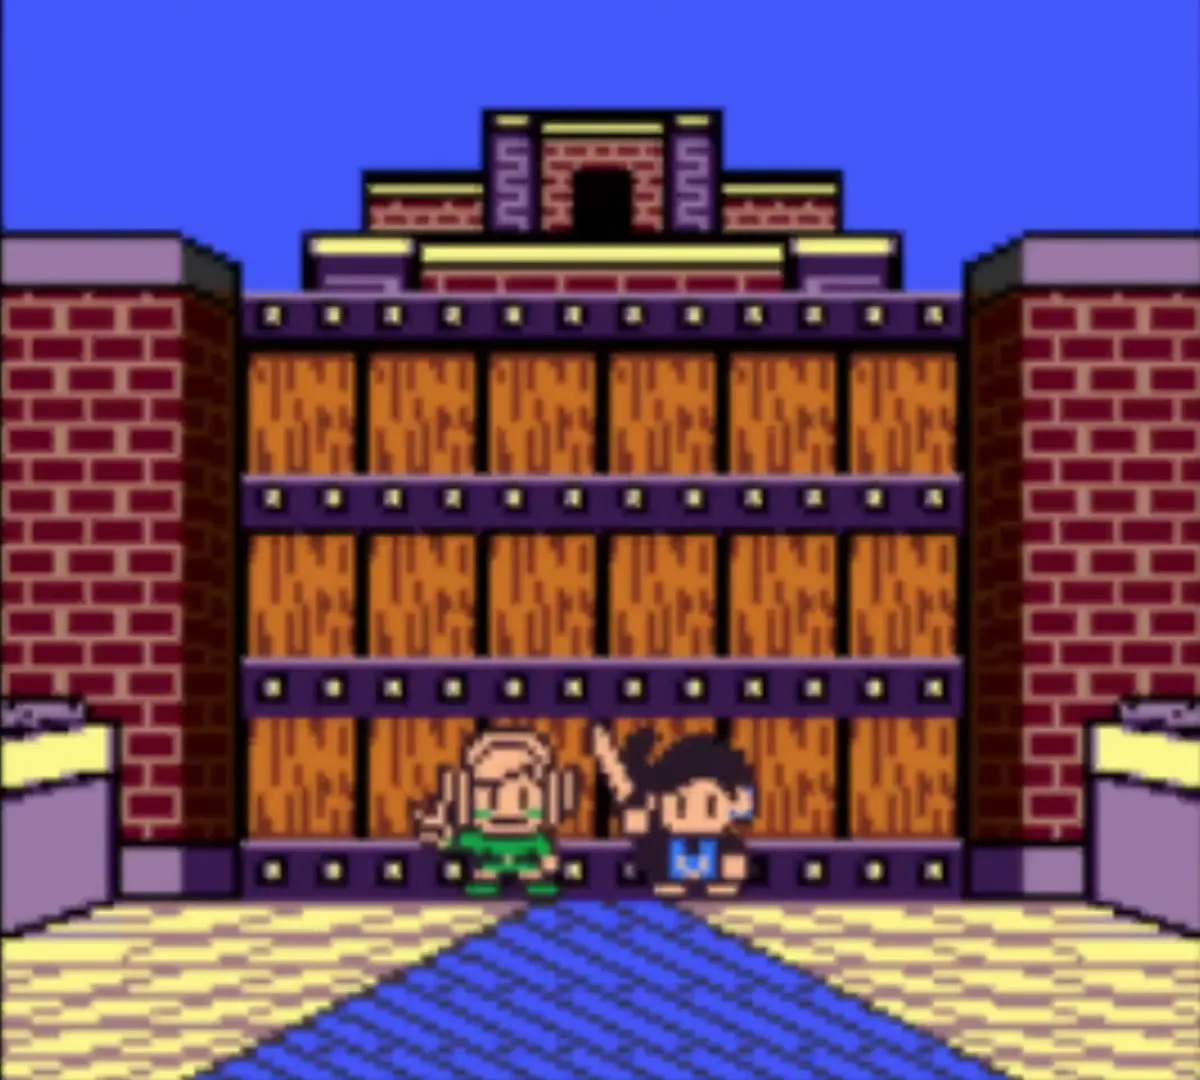
Photo 10: A Regal Home
The castle gate is shut. If you have taken photo 1 at the Camera Shop, speak to the photographer when he shows up at the gate and let him take your picture. The shot is called “A Regal Home” and is photo 10 of 12. You can only get it before the gate is opened from inside, so do it before the leaves. See Photographs for the list.

Golden Leaf 1: the Mad Bomber
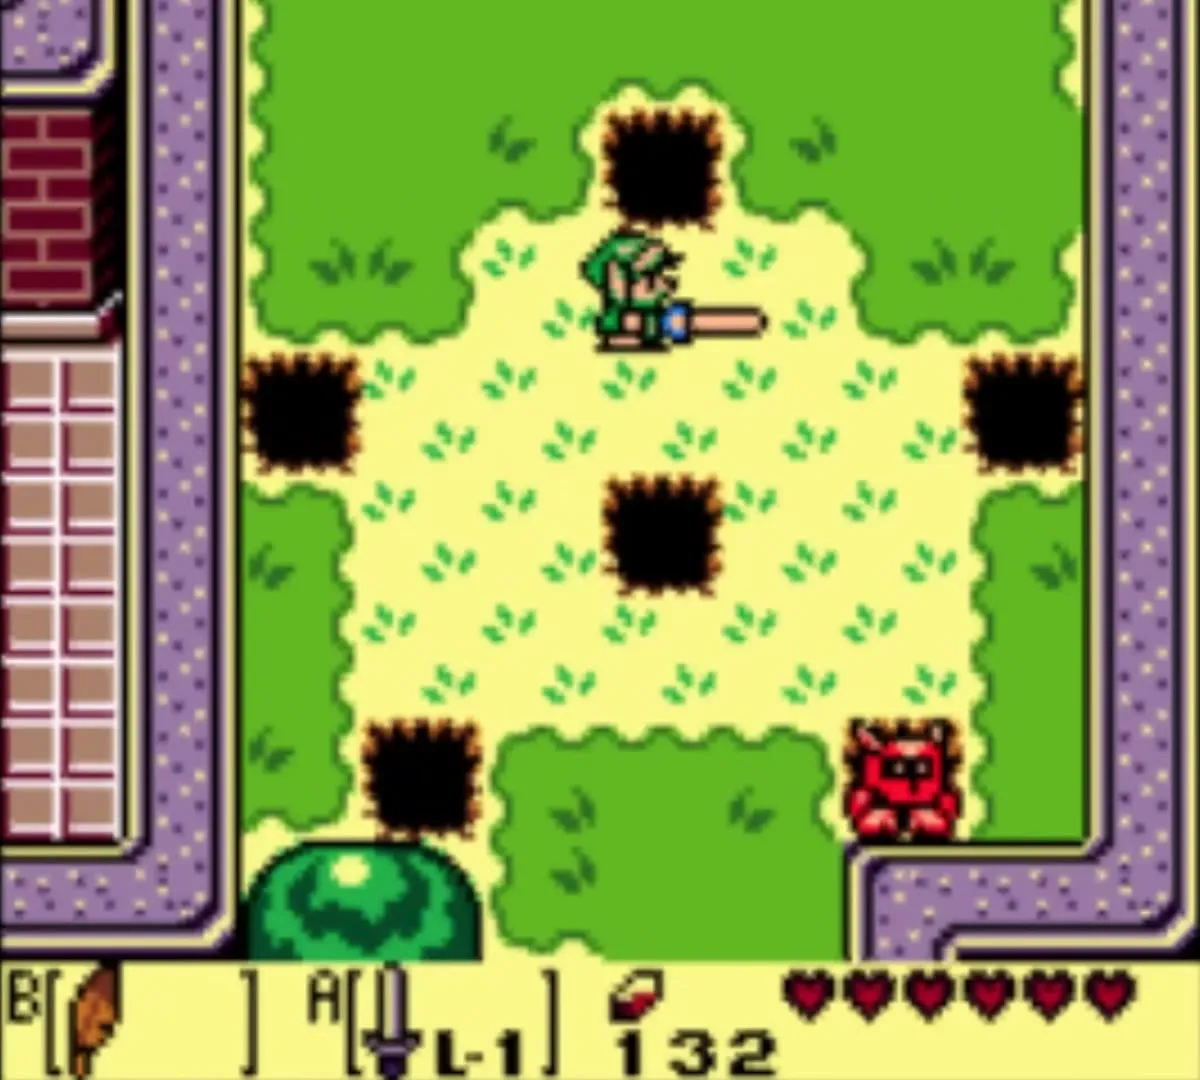
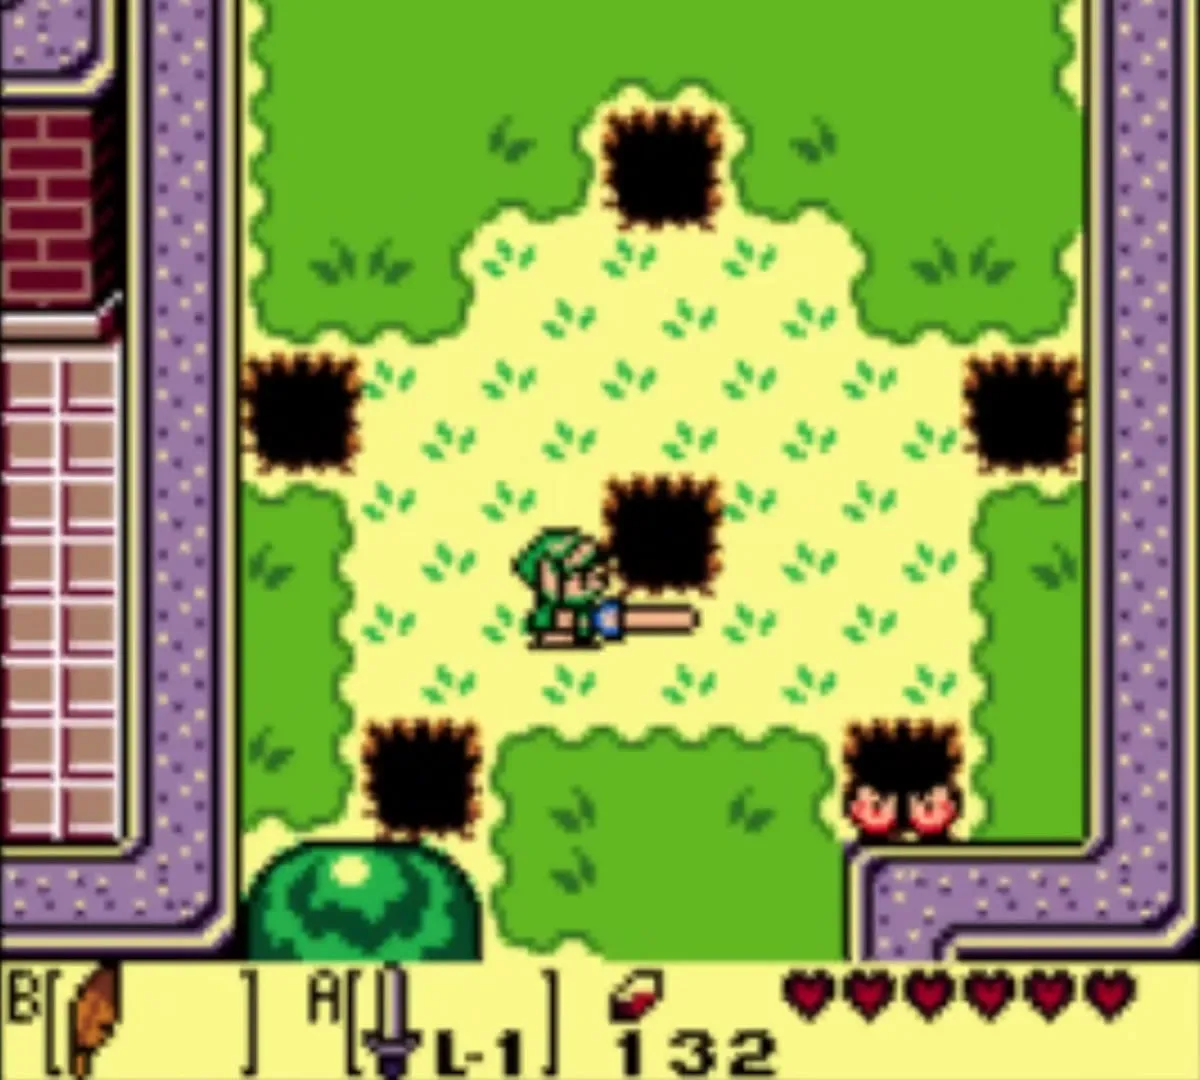
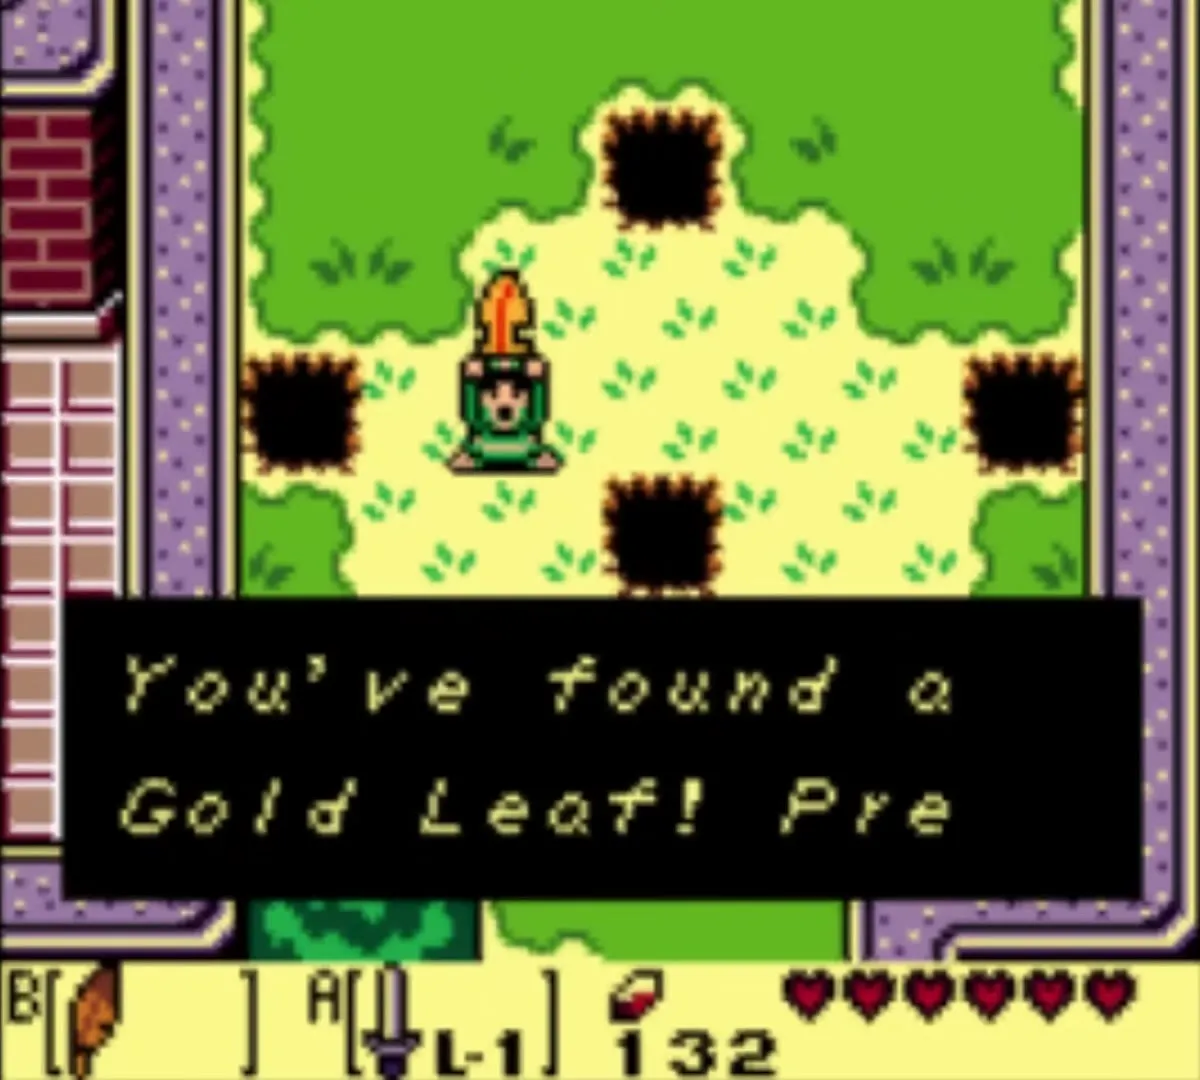
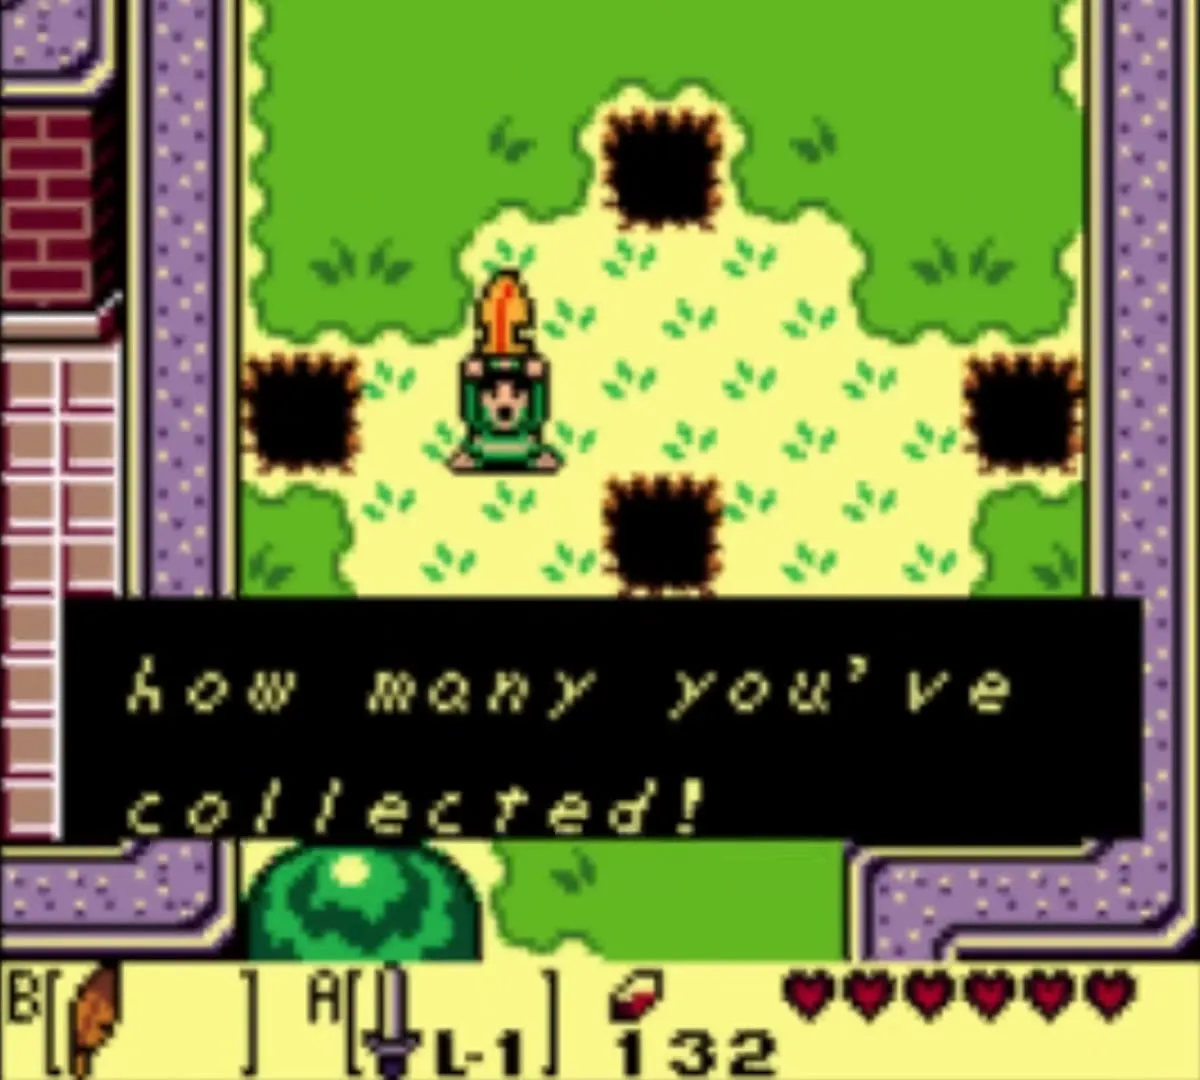
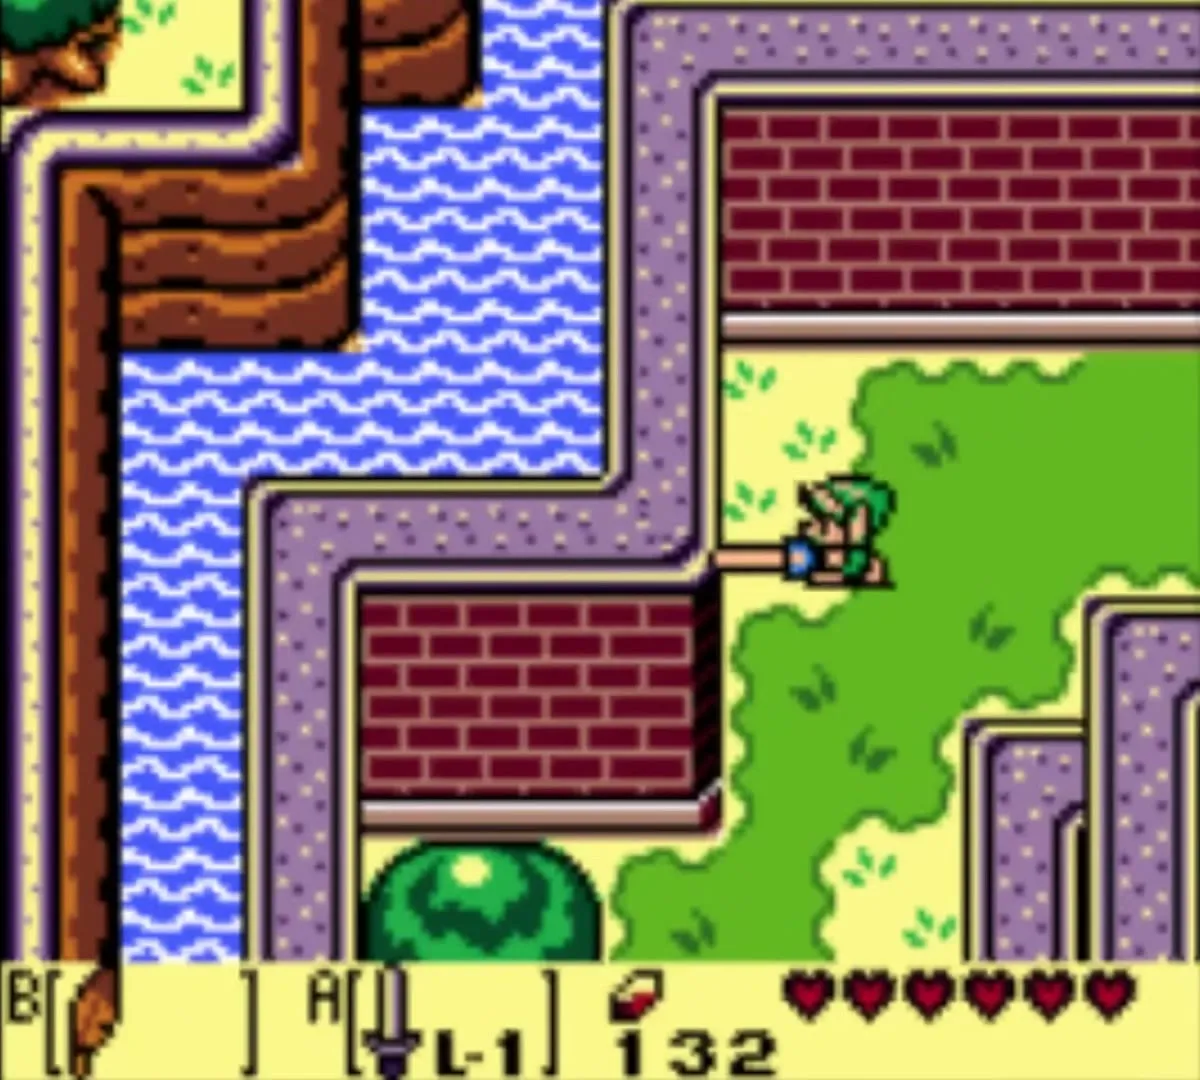
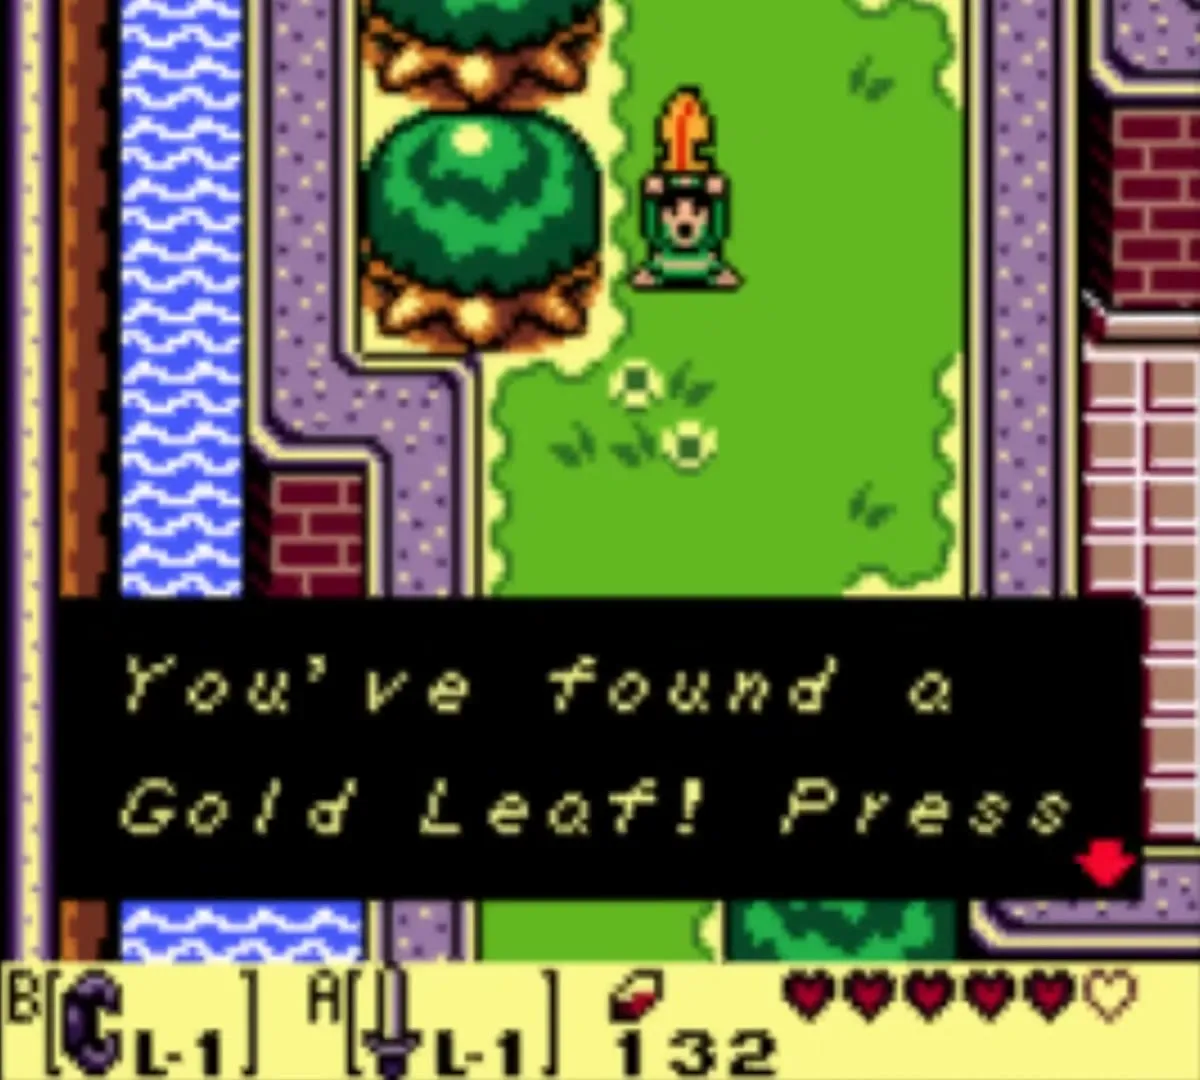
Go east of the gate, then south. A Mad Bomber pops out of one of several holes and throws bombs. Wait for him to come up and hit him with your Sword. When he goes down, a Golden Leaf appears. The game confirms that you have found a Gold Leaf.
Golden Leaf 2: the crow in the tree
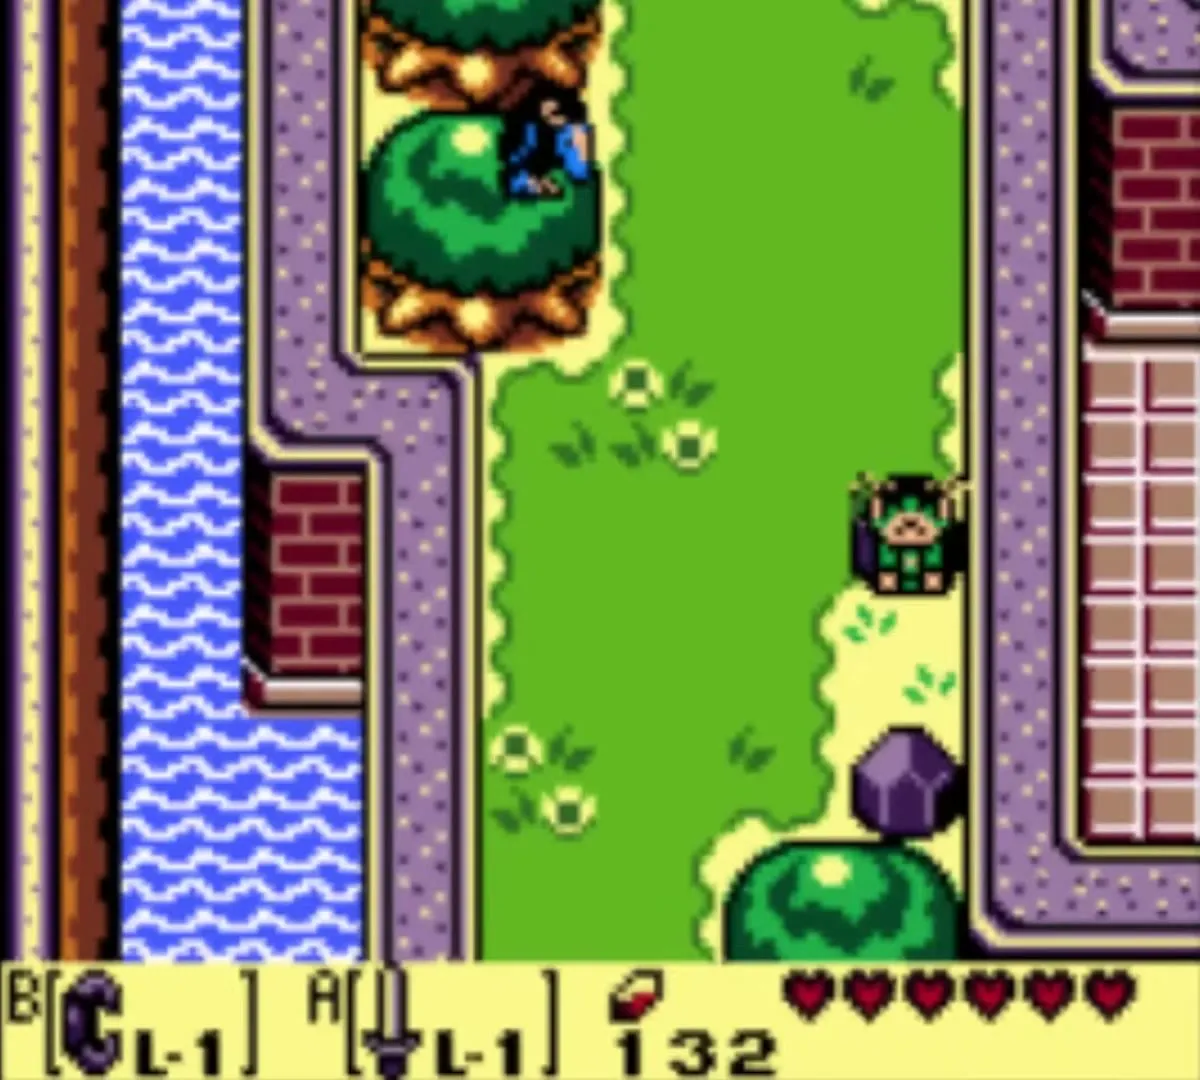
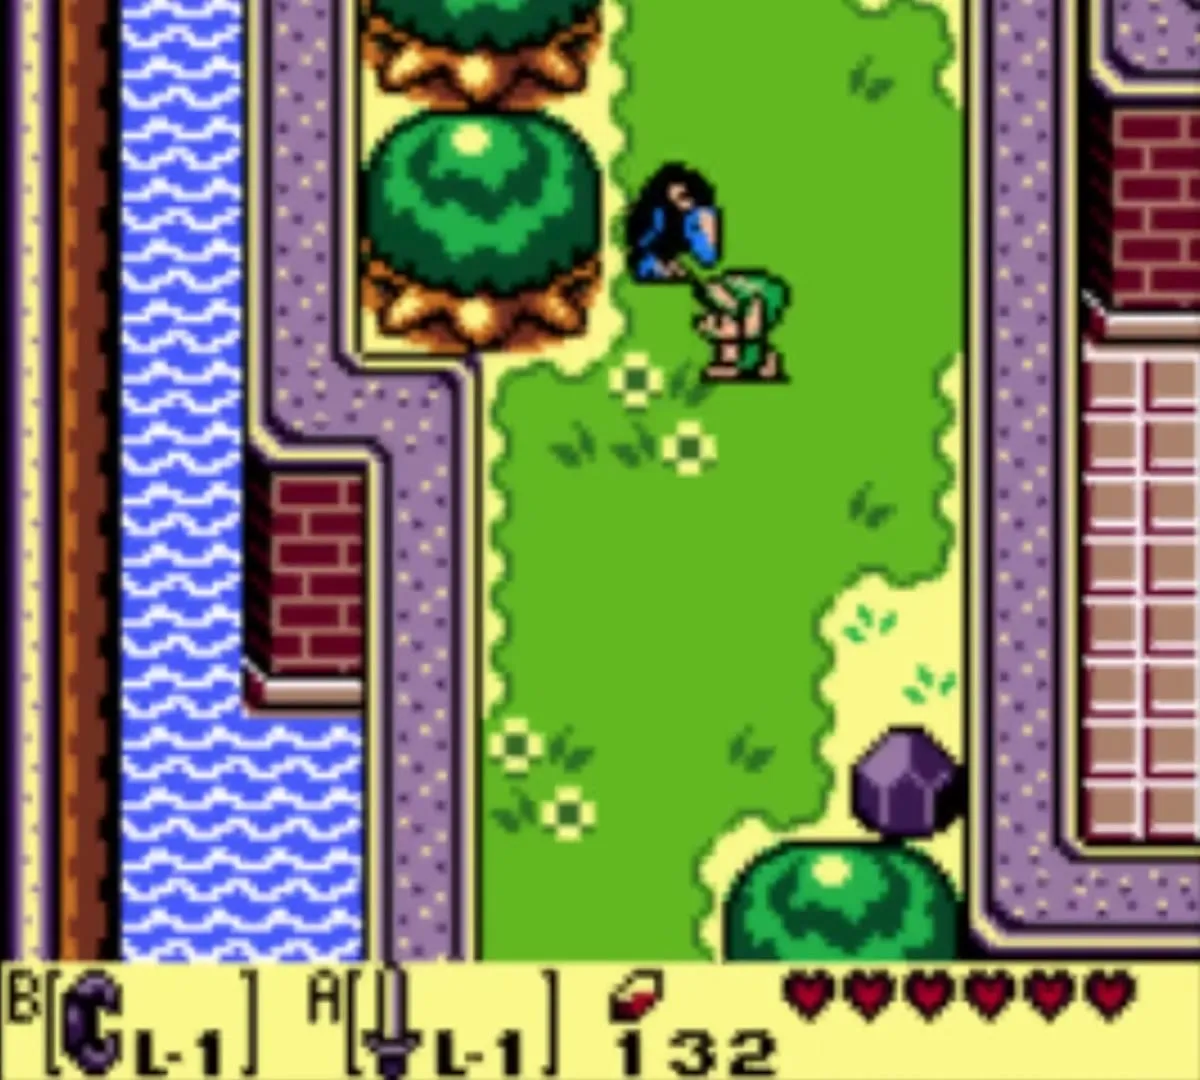
North and west of the gate, a crow roosts in a tree to the south. It will not move until you lift a rock with the Power Bracelet and throw it at the tree. When it flies down, defeat it to make the leaf drop.
Golden Leaf 3: the Iron Knuckles in the bubble room
Find the castle’s side entrance and go in. In the first big room, two Iron Knuckles guard the way, with a red Zol beside them. Beat all three and a leaf drops from the ceiling. A bubble that follows you can be cleared with Magic Powder. The castle’s rooms have blue floors and lots of pots; throw pots at the door where a hole needs opening.
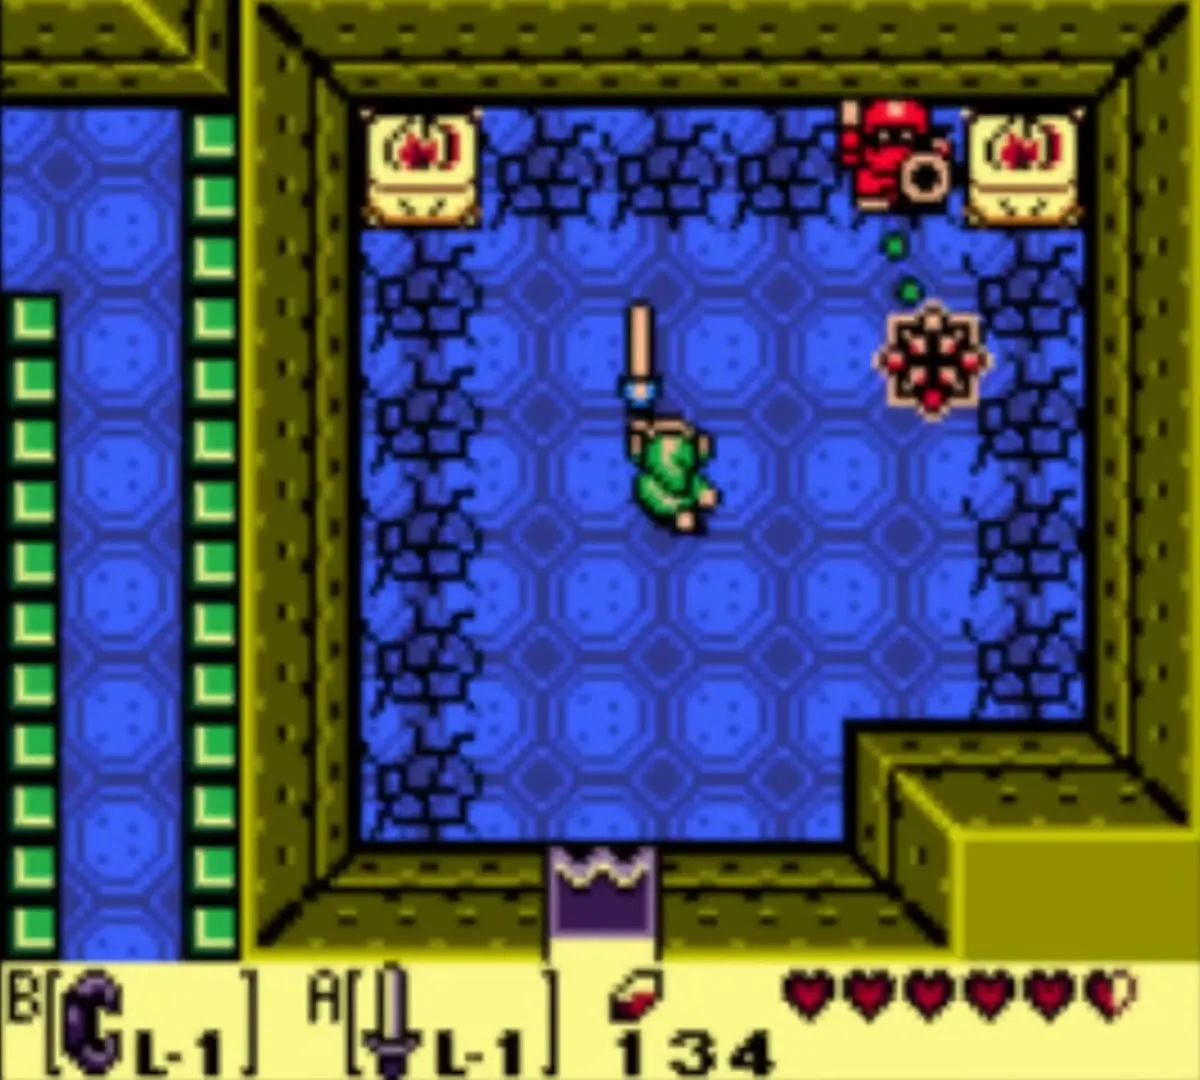
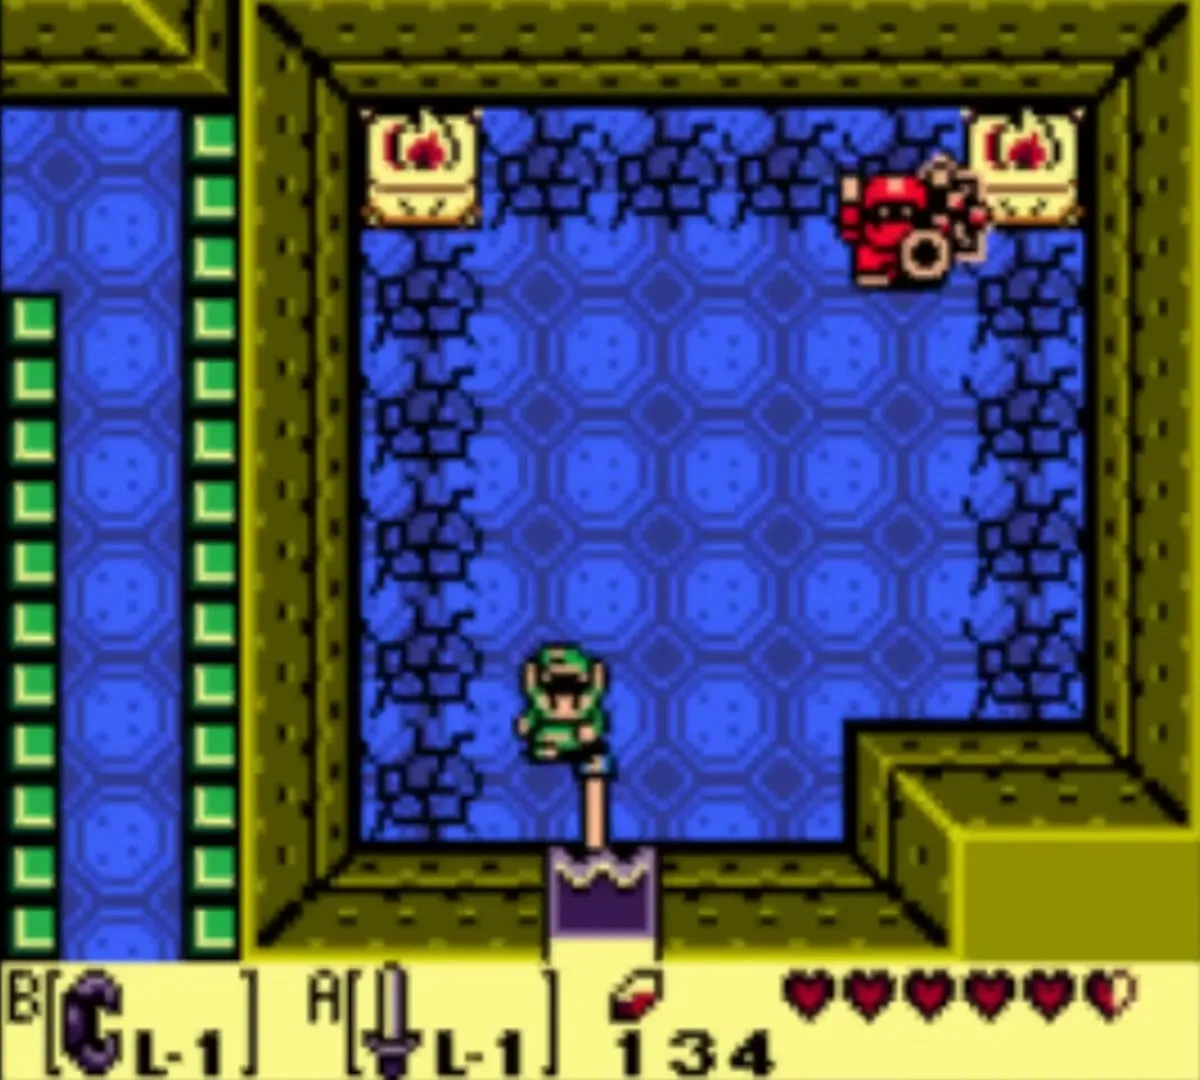
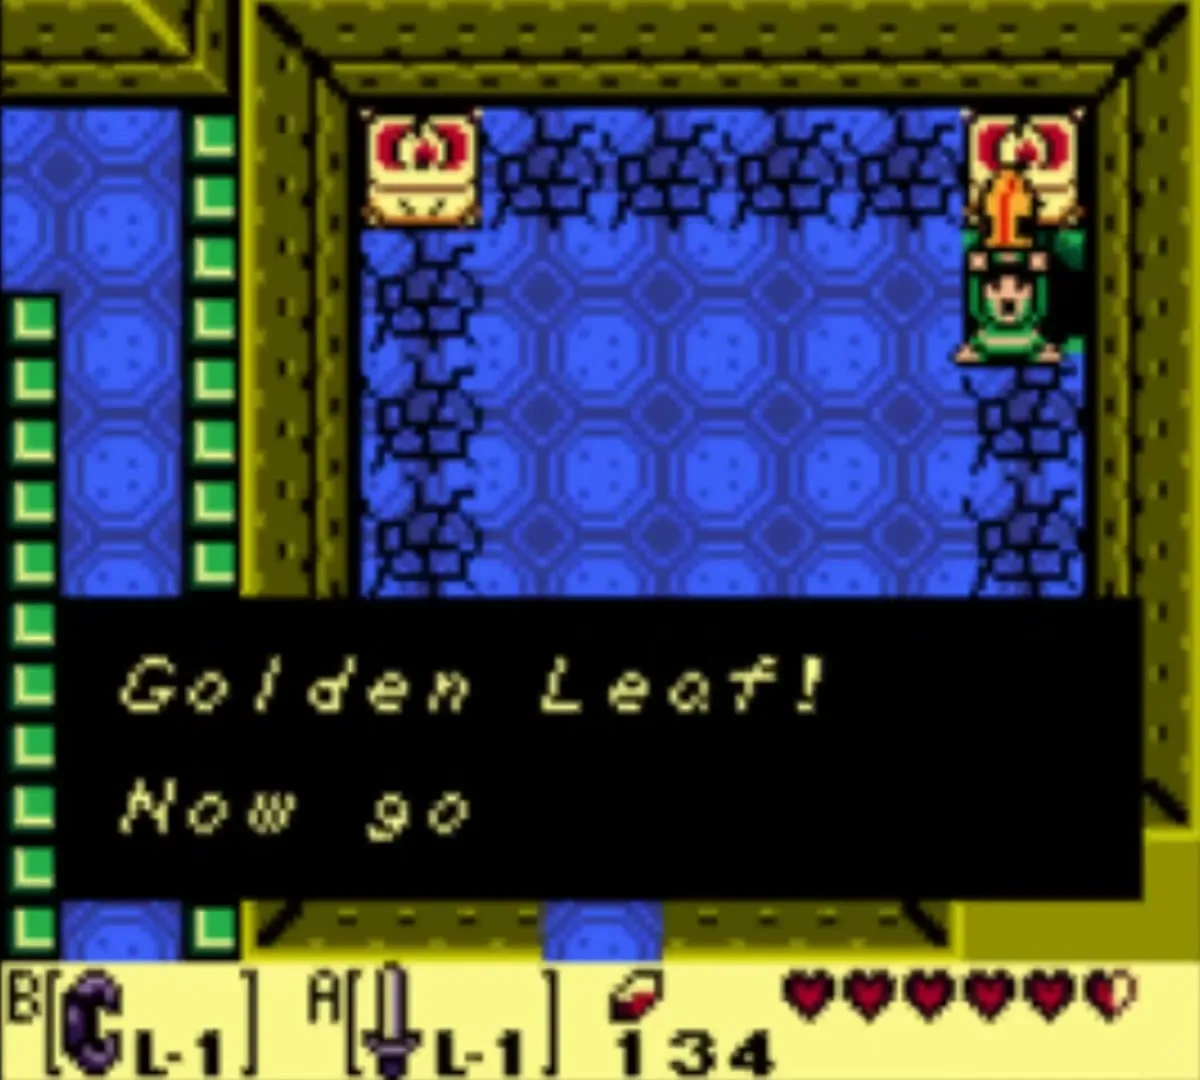
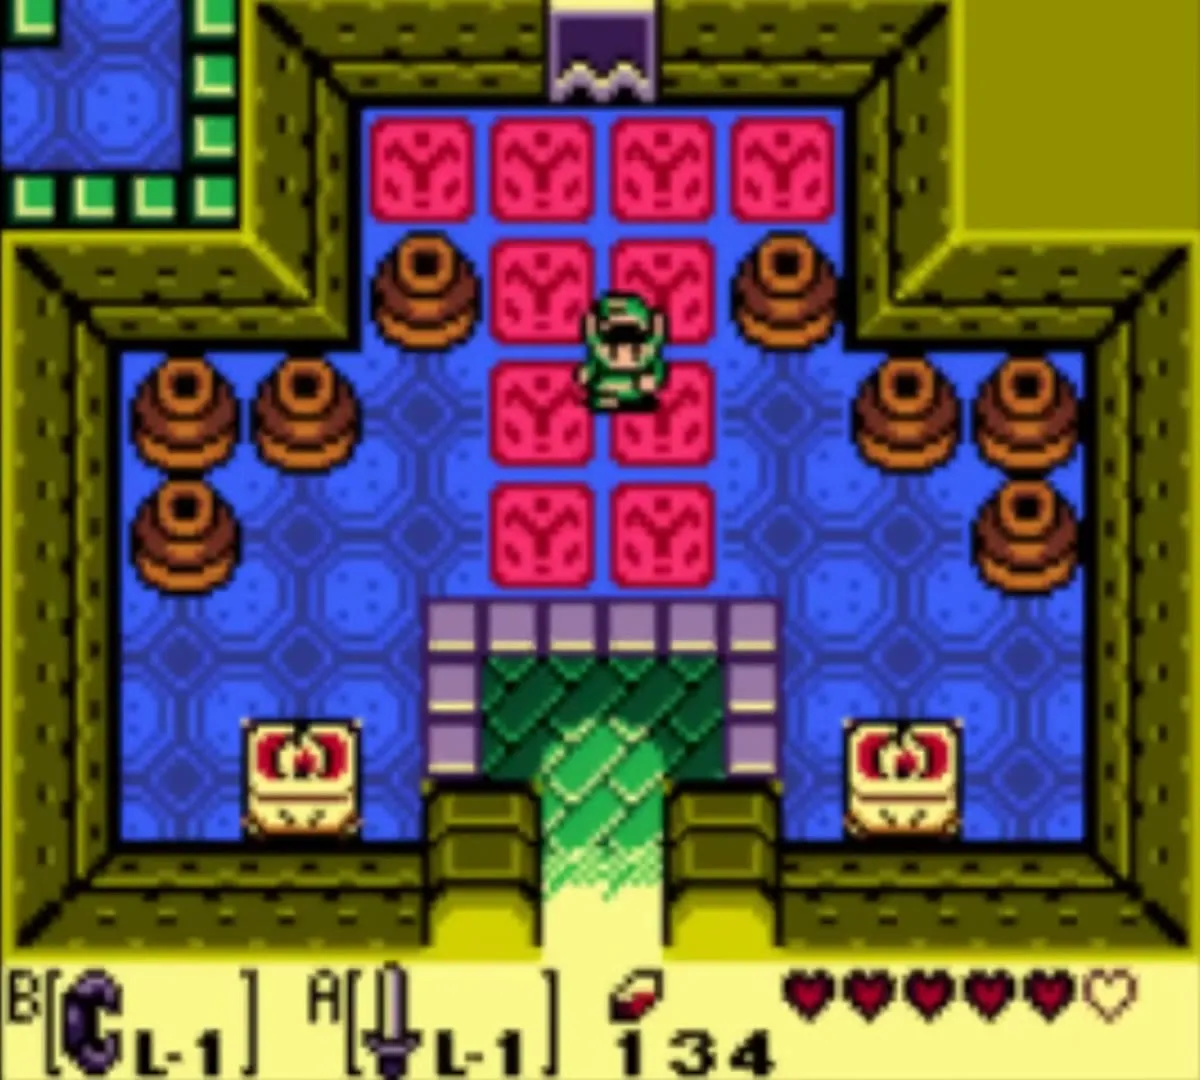
Golden Leaf 4: the Ball and Chain Trooper
Take the second entrance by smashing a pot against the closed door. Beyond it, a warrior swings a spiked ball on a chain. Stay outside the ball’s reach, strike him from the side and step back before the swing returns. Several hits bring him down.
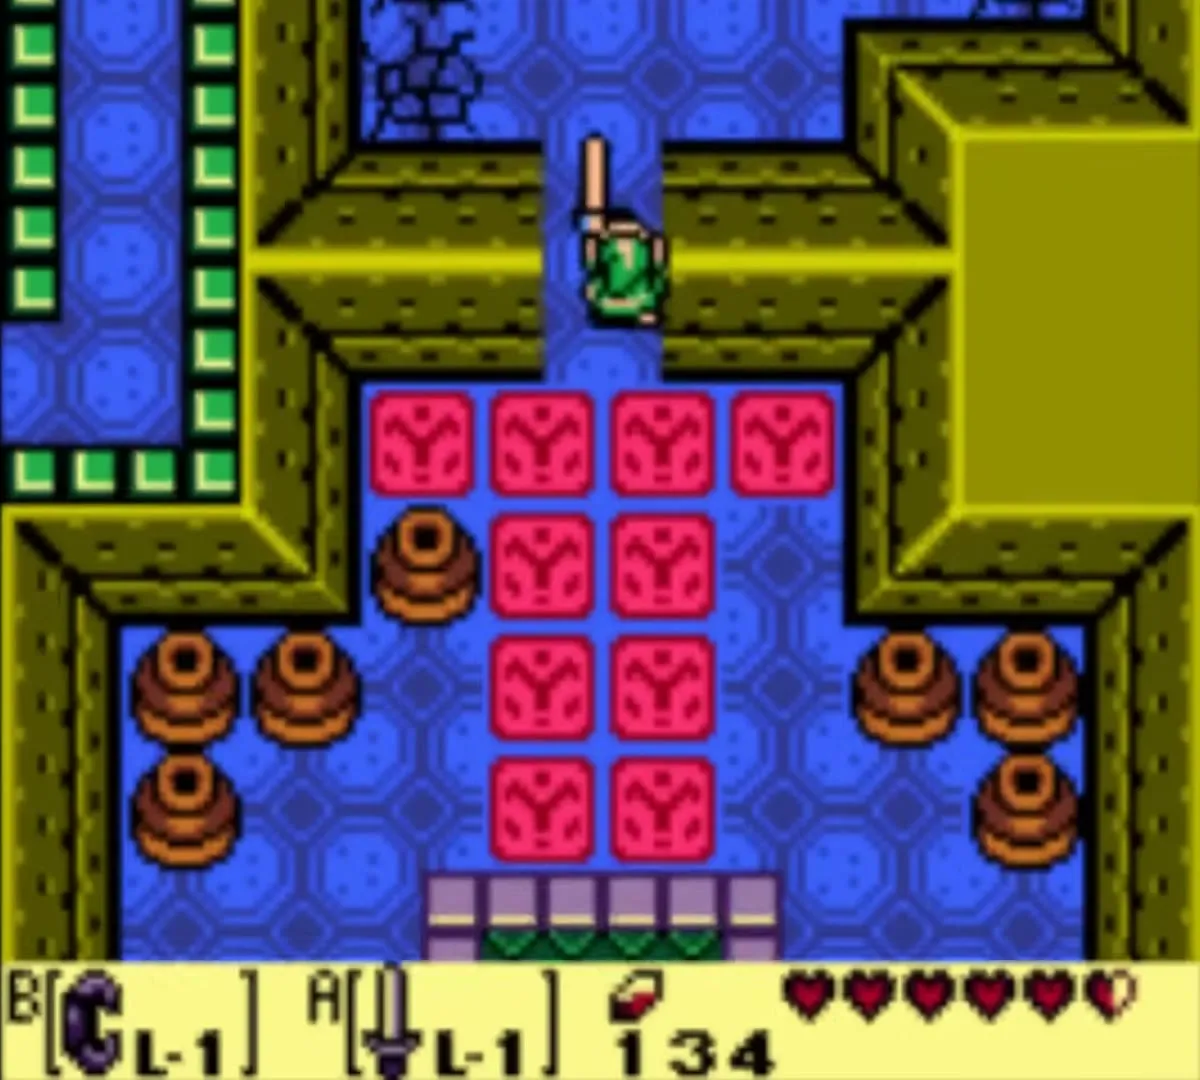
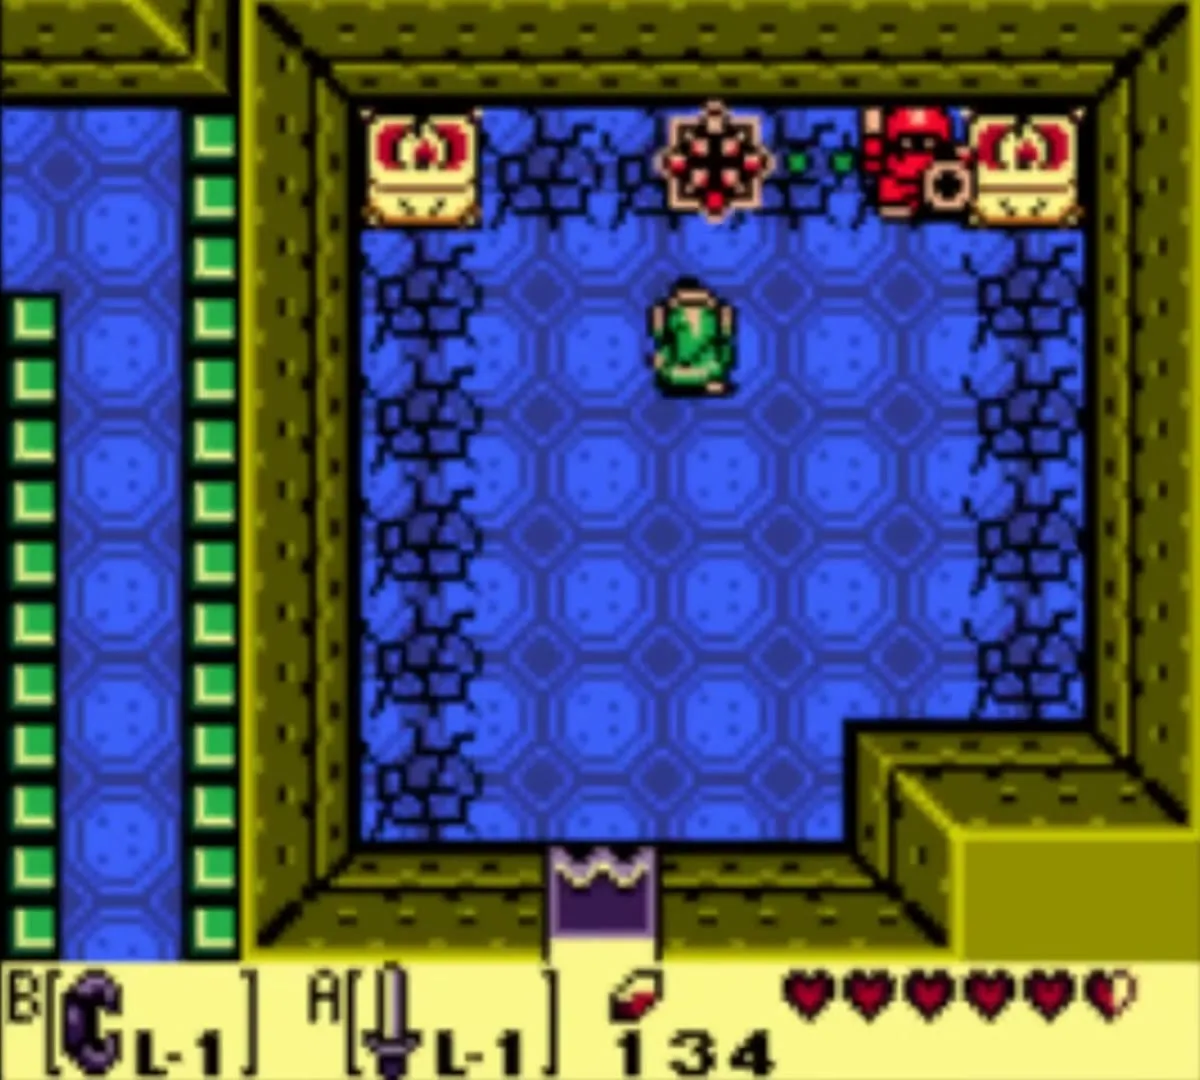
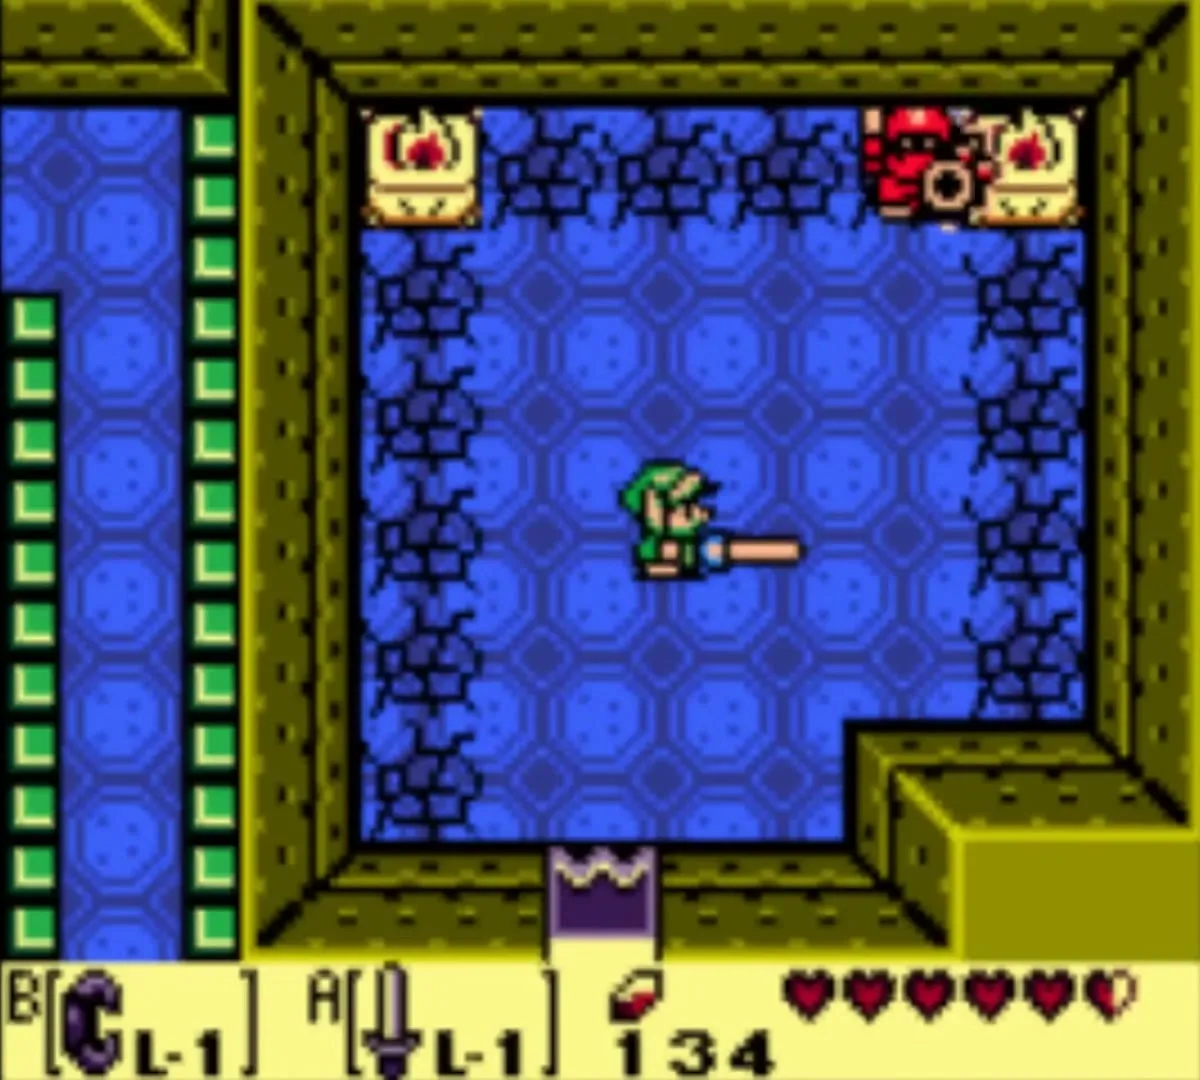
Golden Leaf 5: the Iron Knuckle behind the statue
The last leaf is in a room reached from the lower floor. Drop a bomb beside the statue on the left wall to wake the Iron Knuckle behind it, and defeat him for the final leaf.
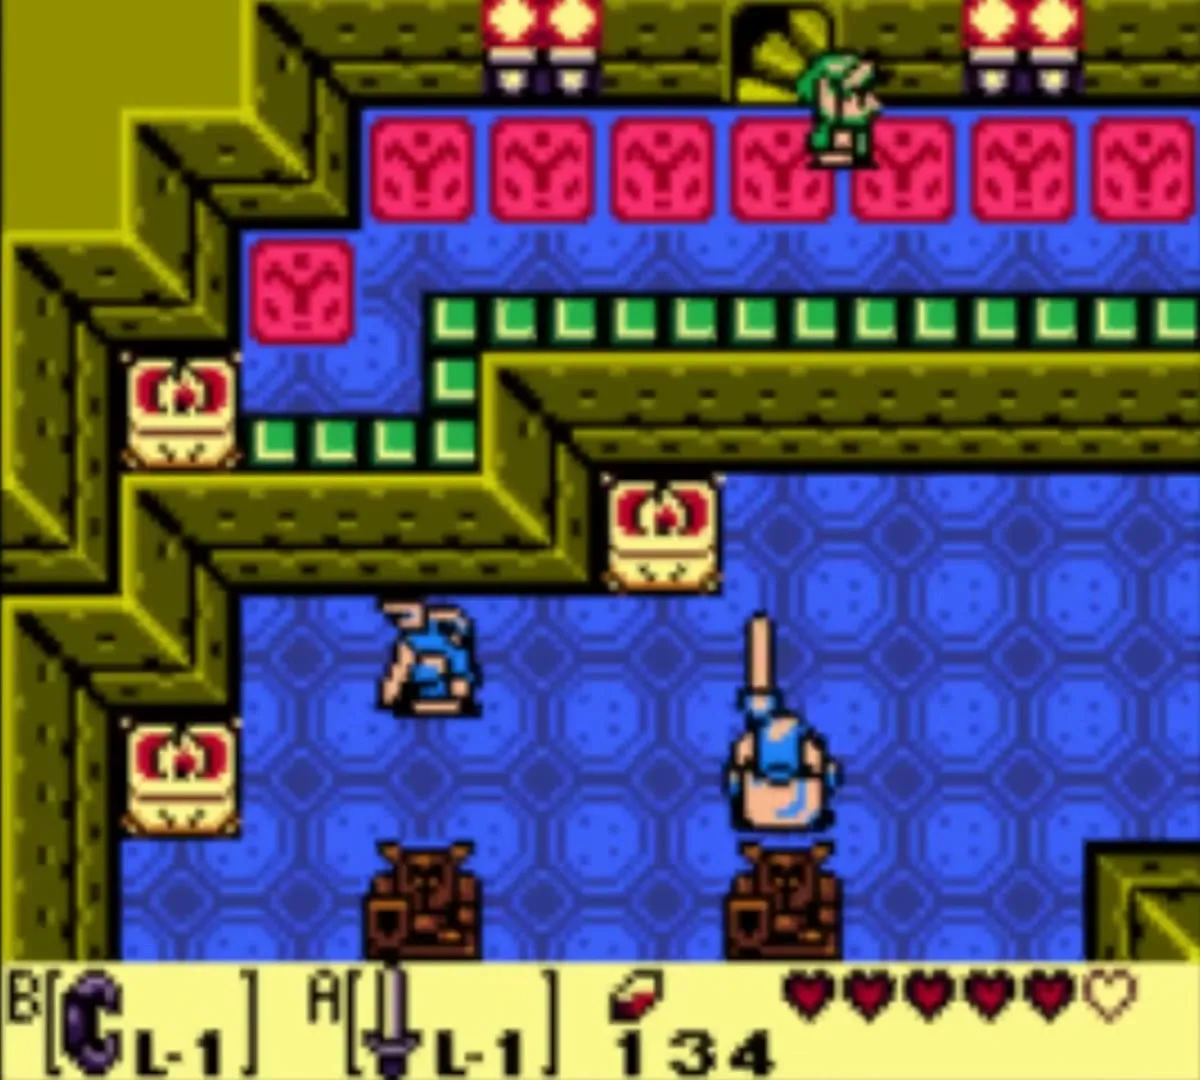
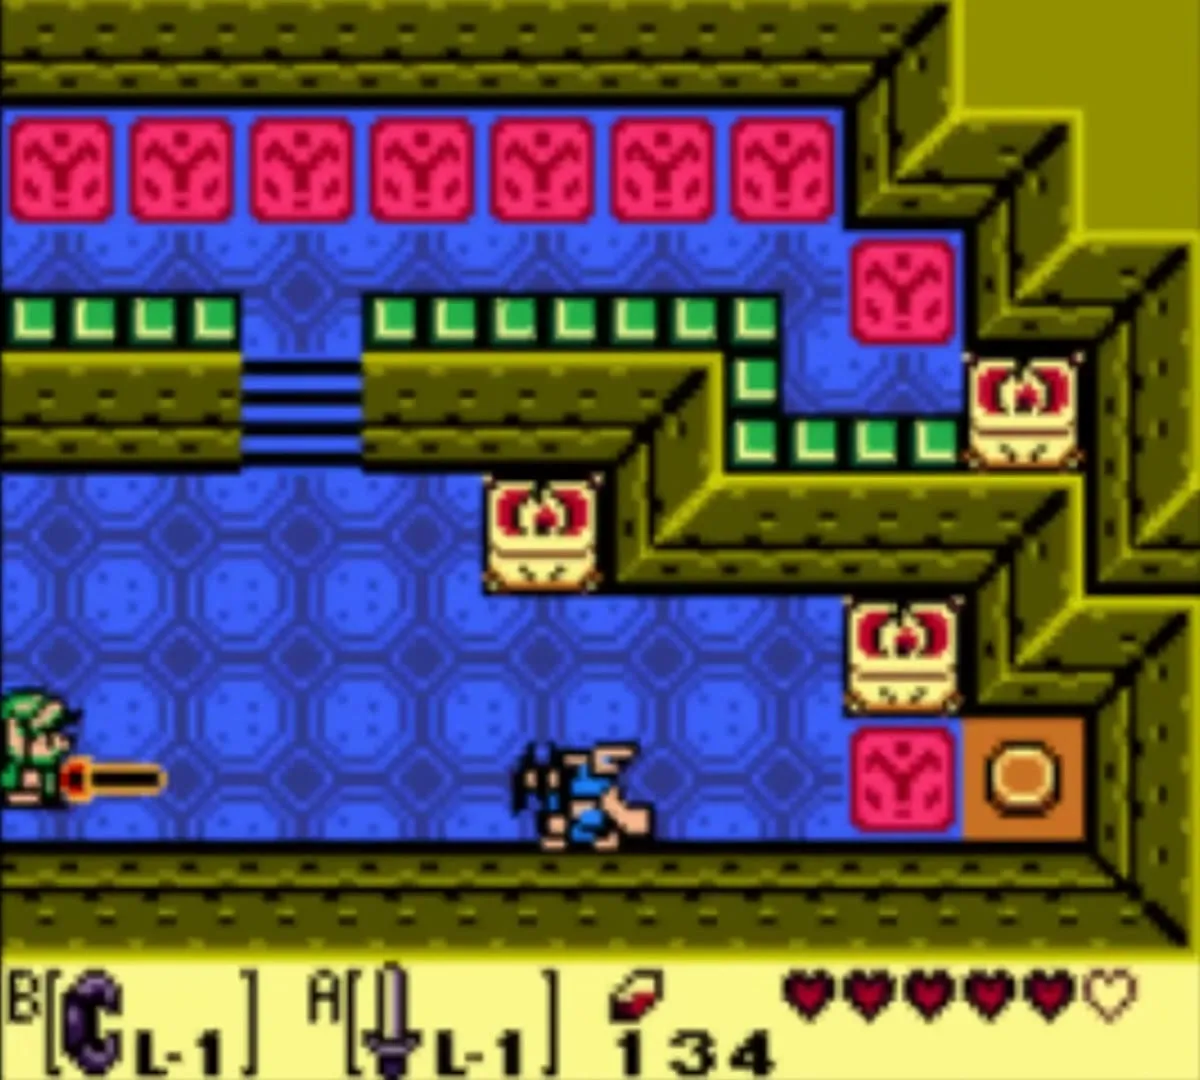
Open the castle gate
A button north and east of the castle entrance opens the gate from the inside. Press it now only if you have already taken photo 10.
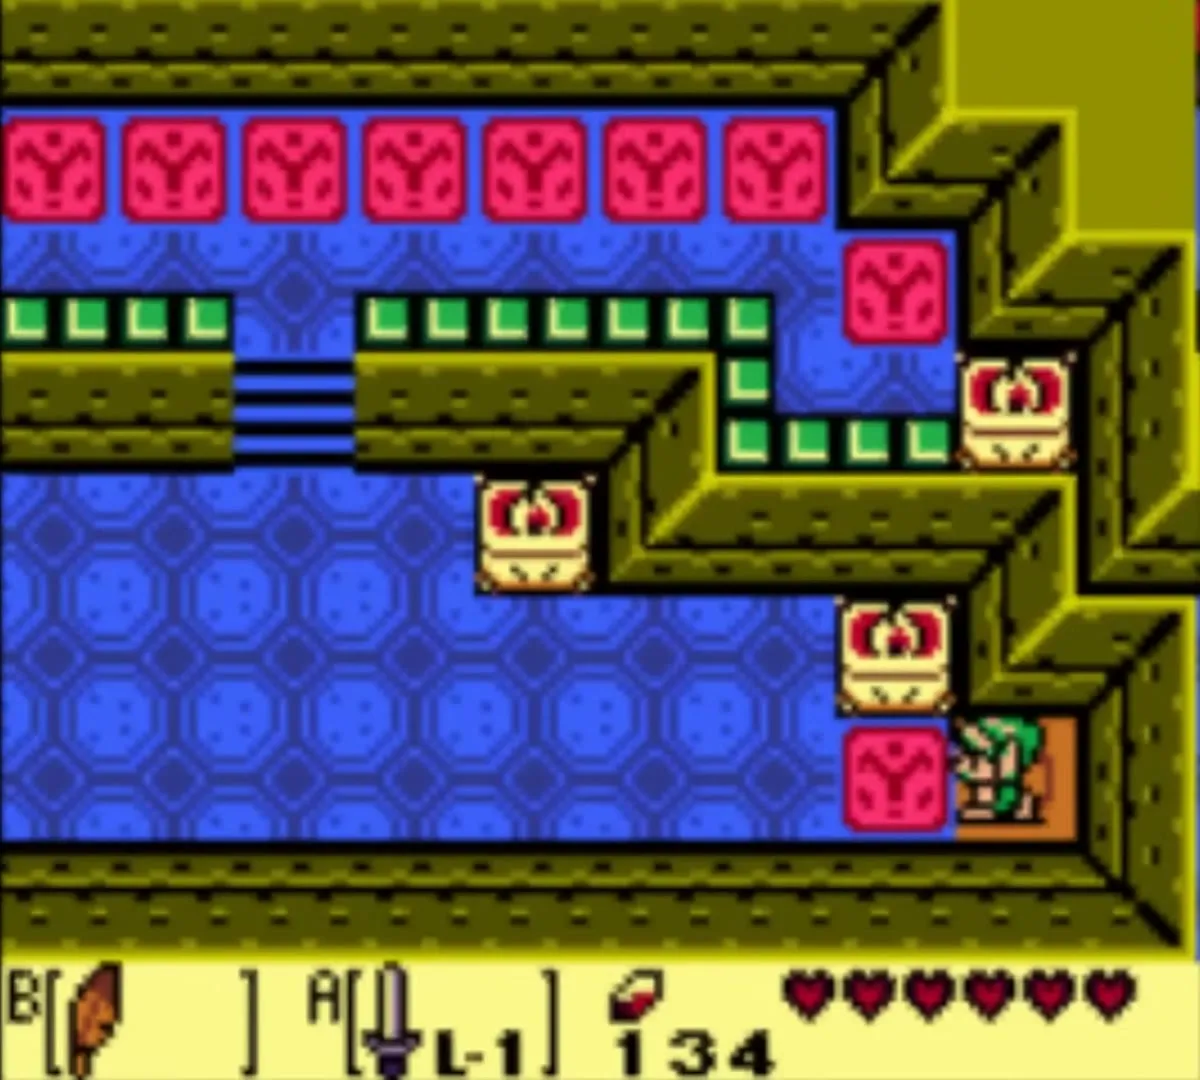
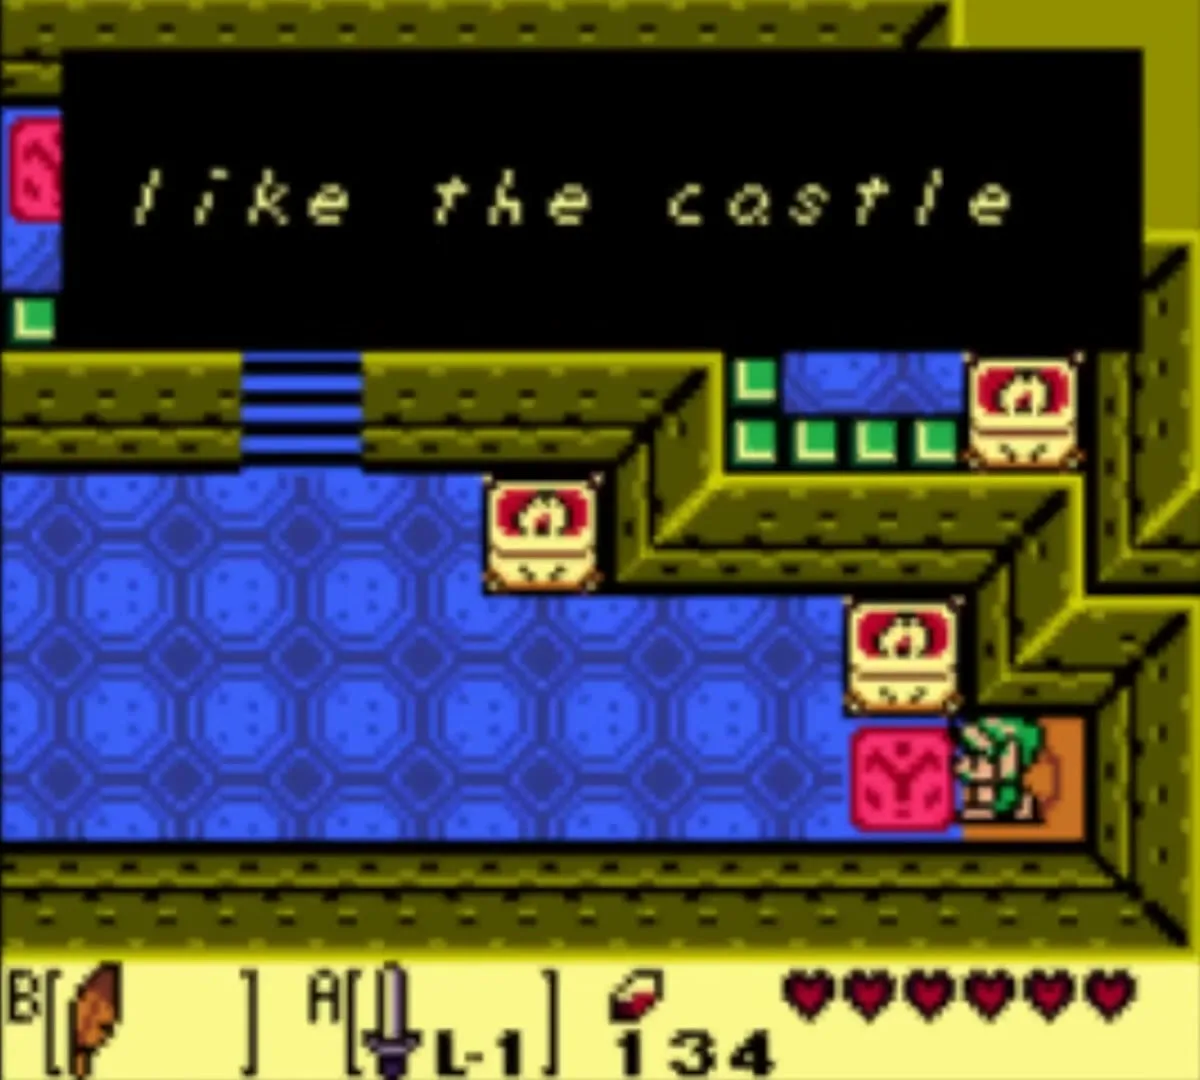
How to get the Slime Key
Give Richard the five leaves
Return to Richard’s Villa with all five Golden Leaves. Richard thanks you and lets you push the frog statue in his house aside. Take the stairs down.
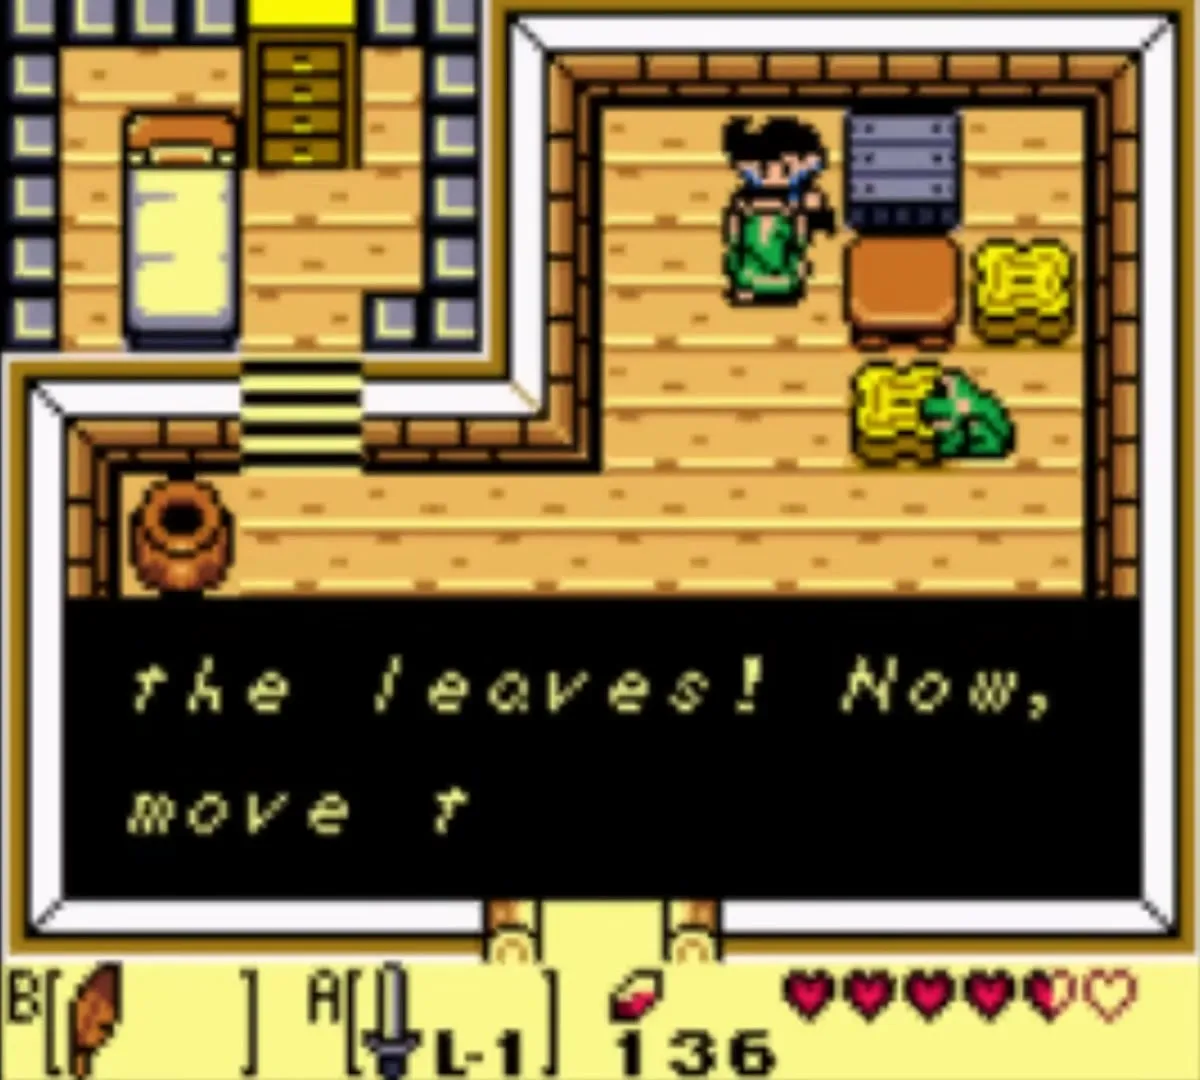
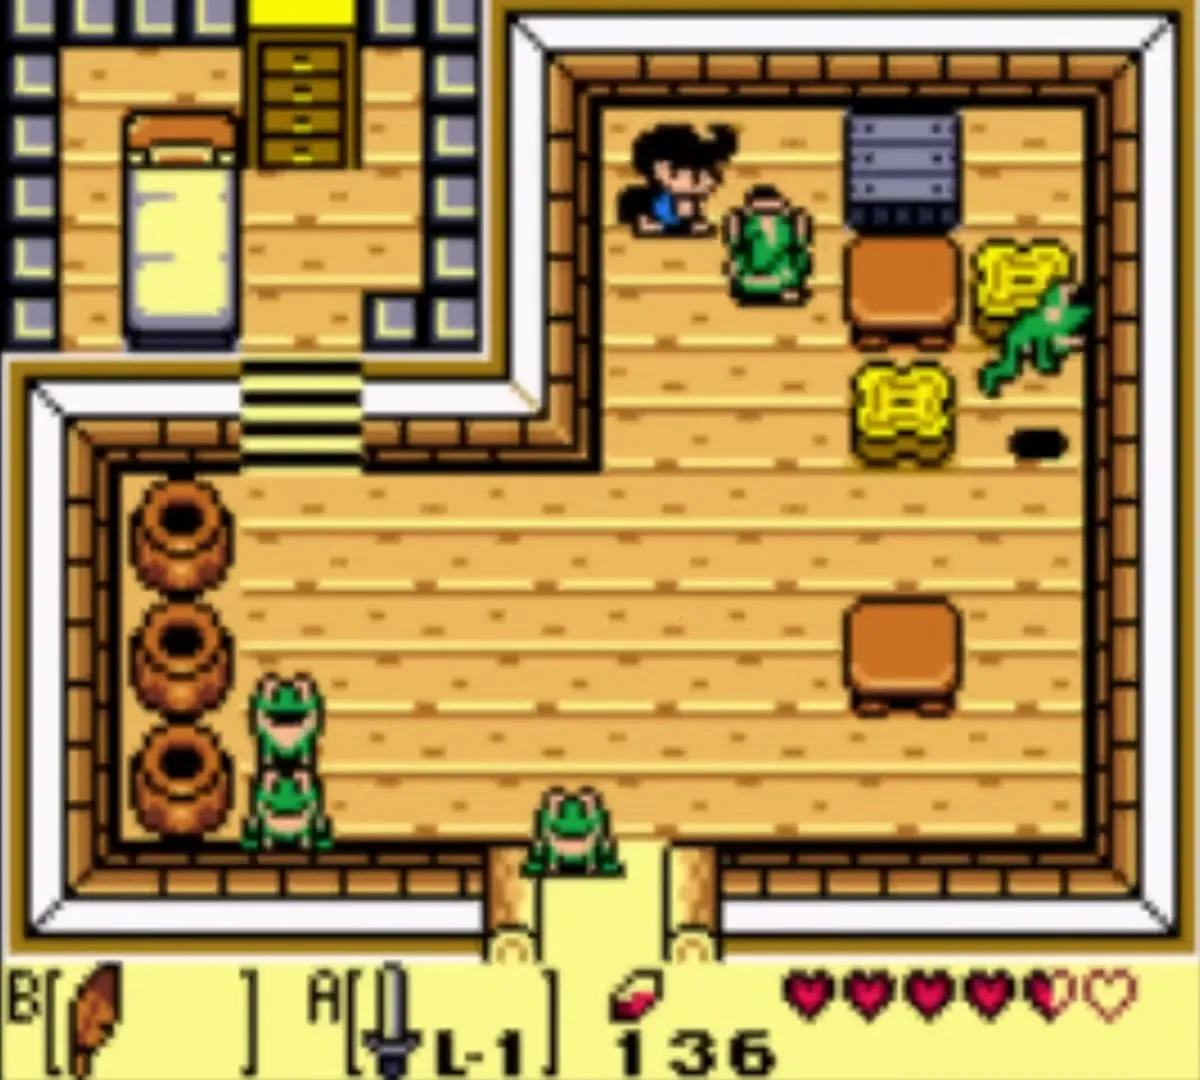
The passage beneath the villa
The passage is dark and has Zols hiding in it. Go northwest, push the rock into the pit, jump the gap with the Roc’s Feather and open the chest for a Secret Seashell. Then follow the passage northeast and go up the stairs to the outdoor maze.
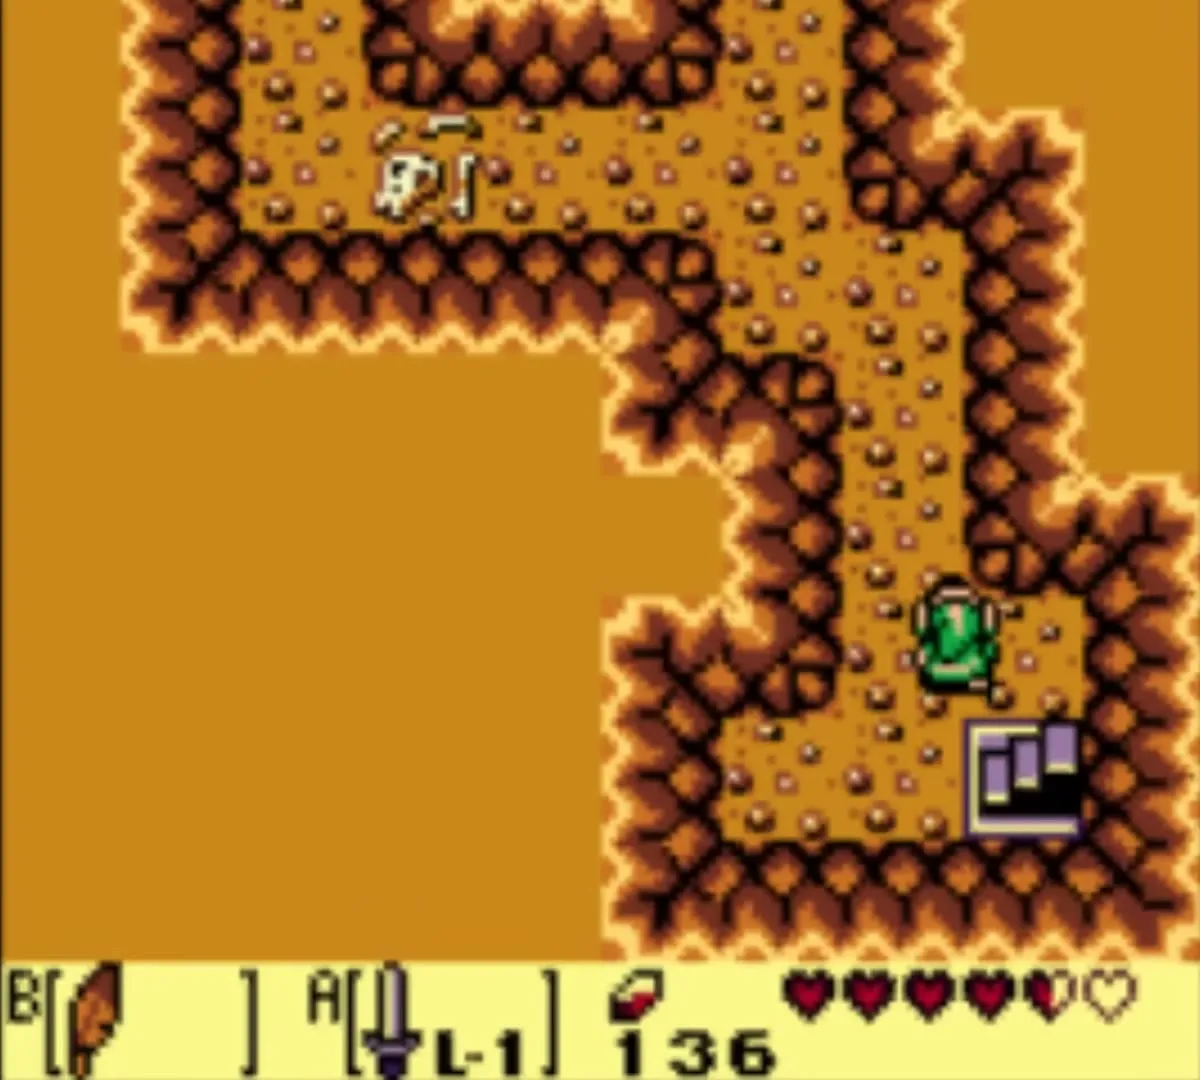
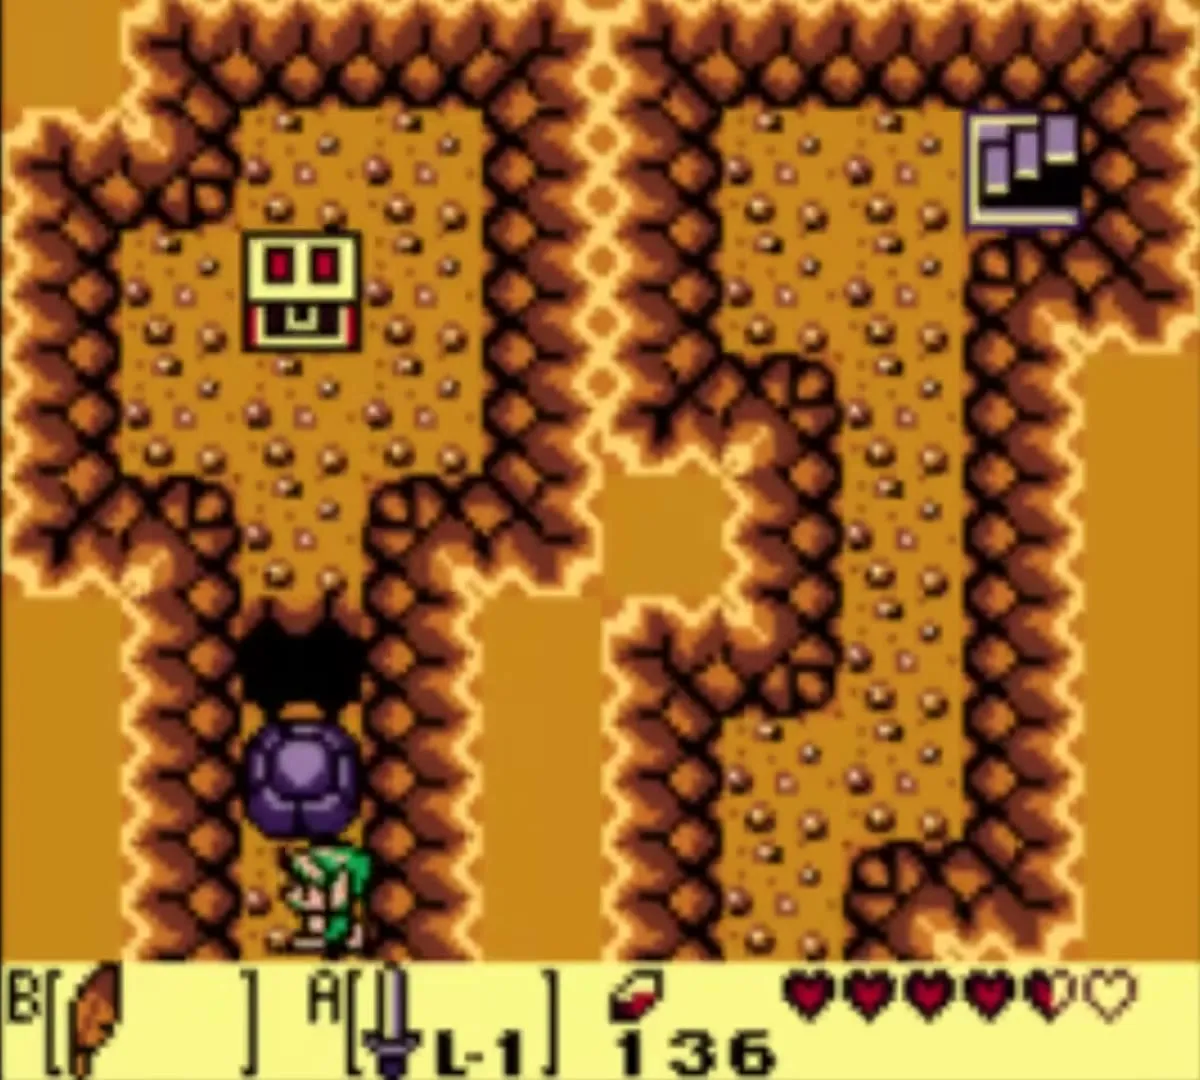
Pothole Field and the owl statue
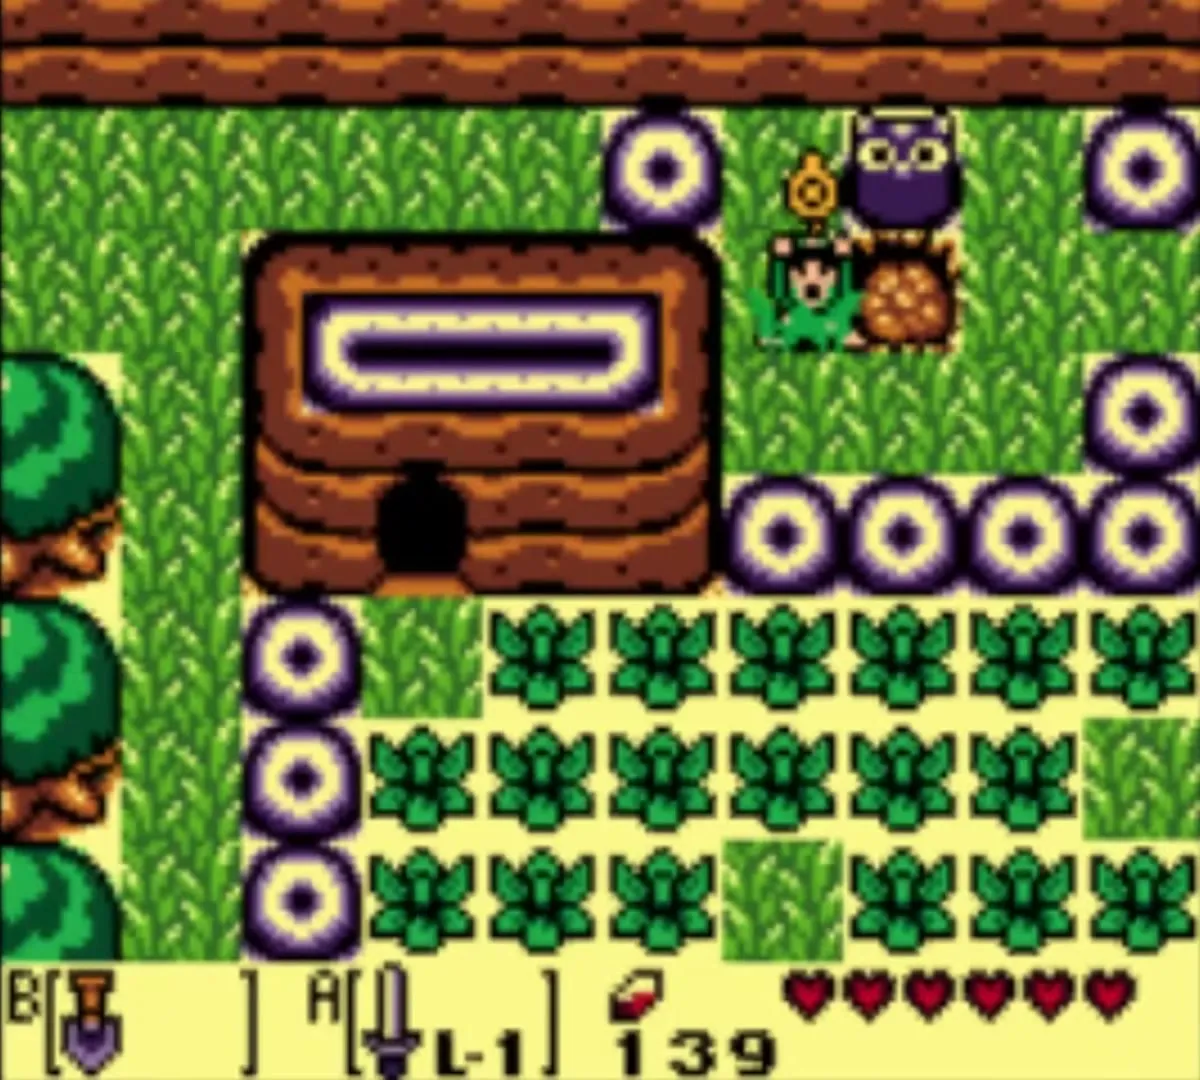
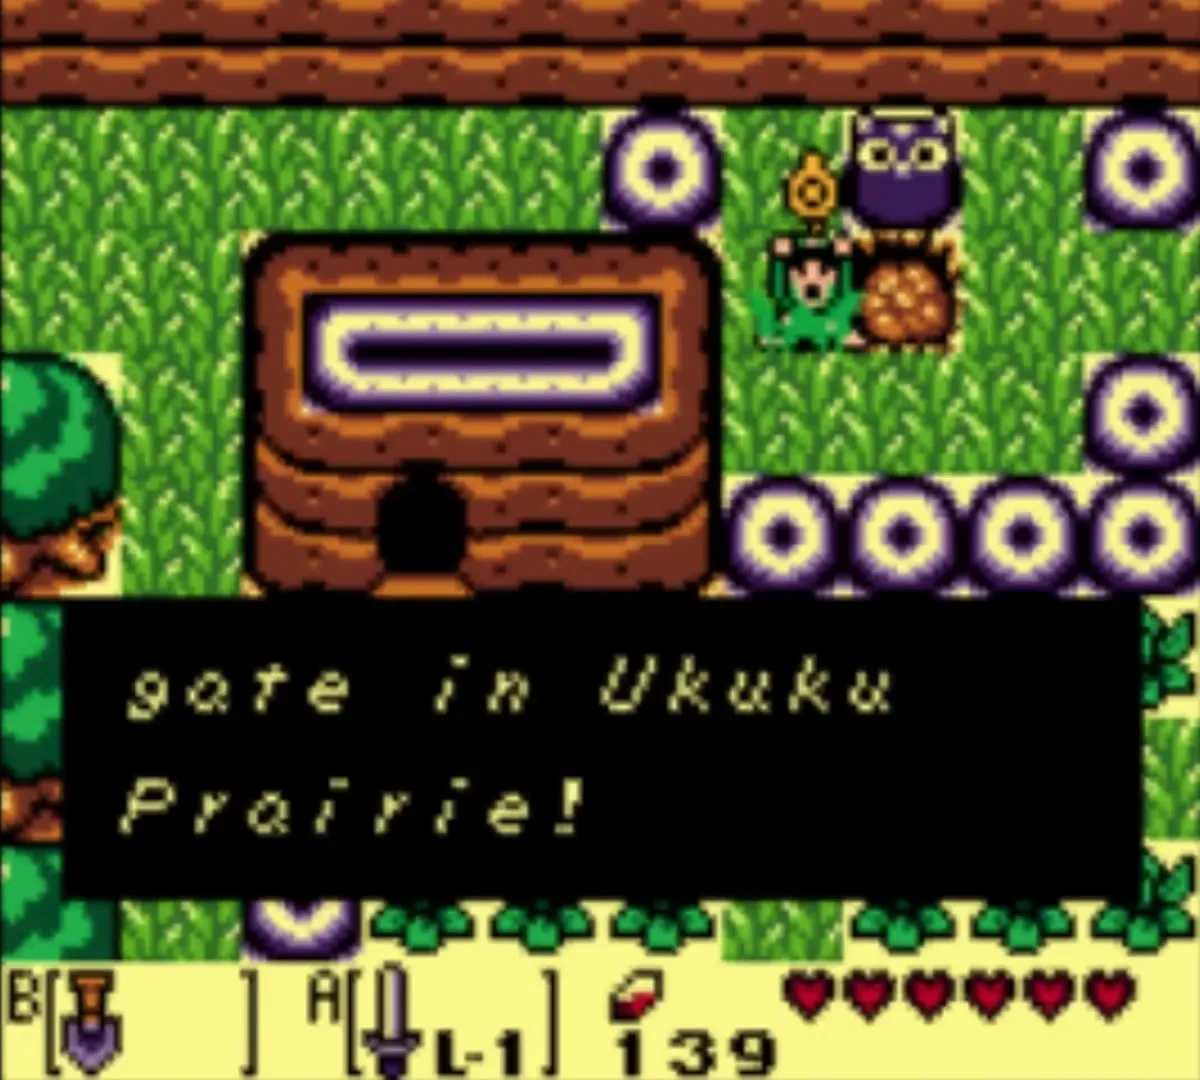
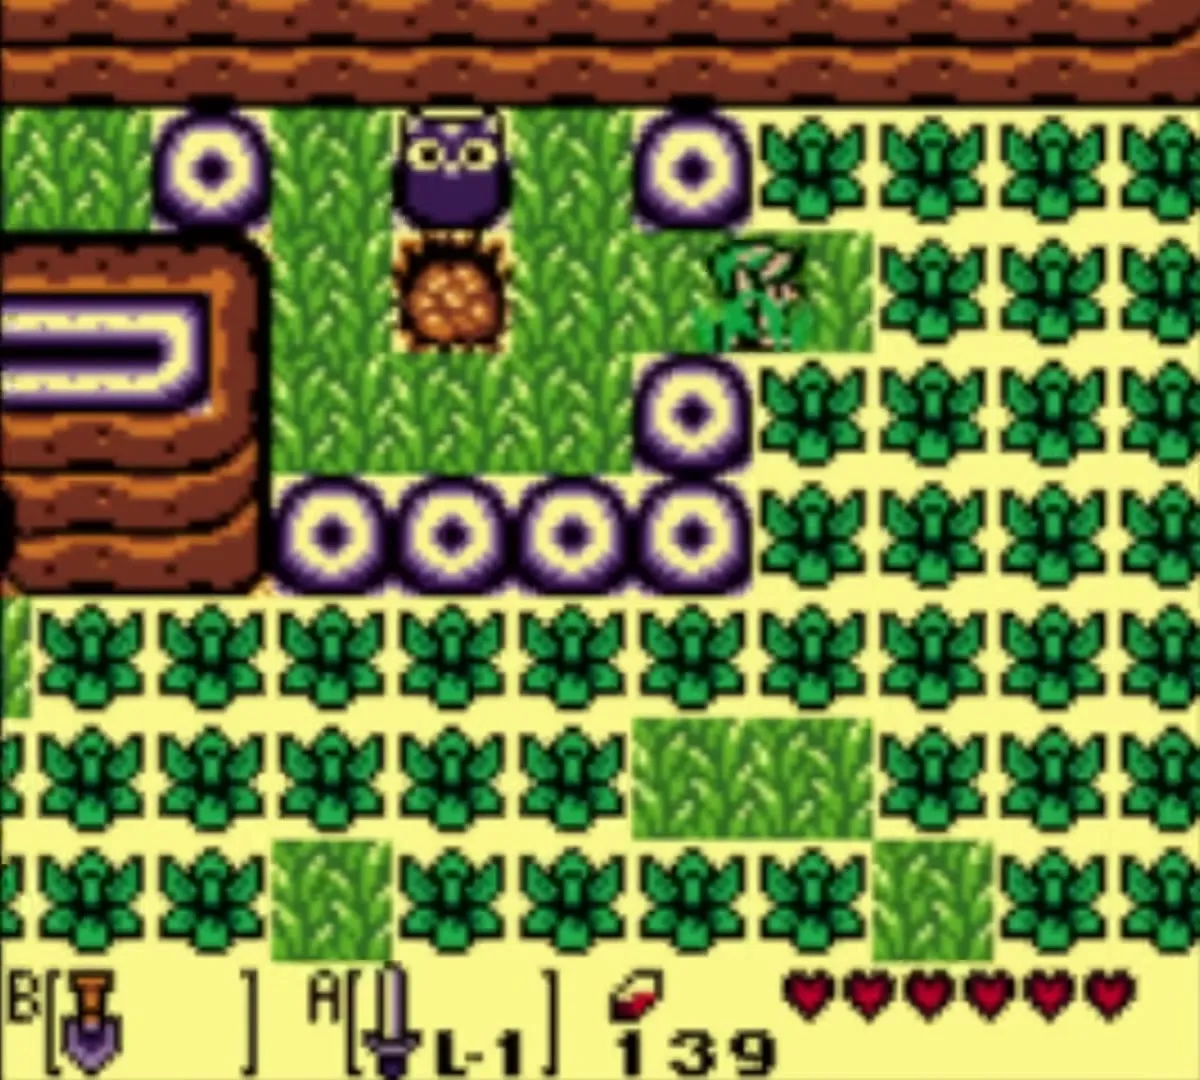
The maze is Pothole Field. Cut the bushes to reveal the holes and the dirt path. Go south, then follow the edge of the field counterclockwise until a gap opens to the west. At the end is an owl statue. Cut the bush in front of it, equip the Shovel and dig on the tile beneath you. You unearth the Slime Key.
The keyhole and the way to Key Cavern
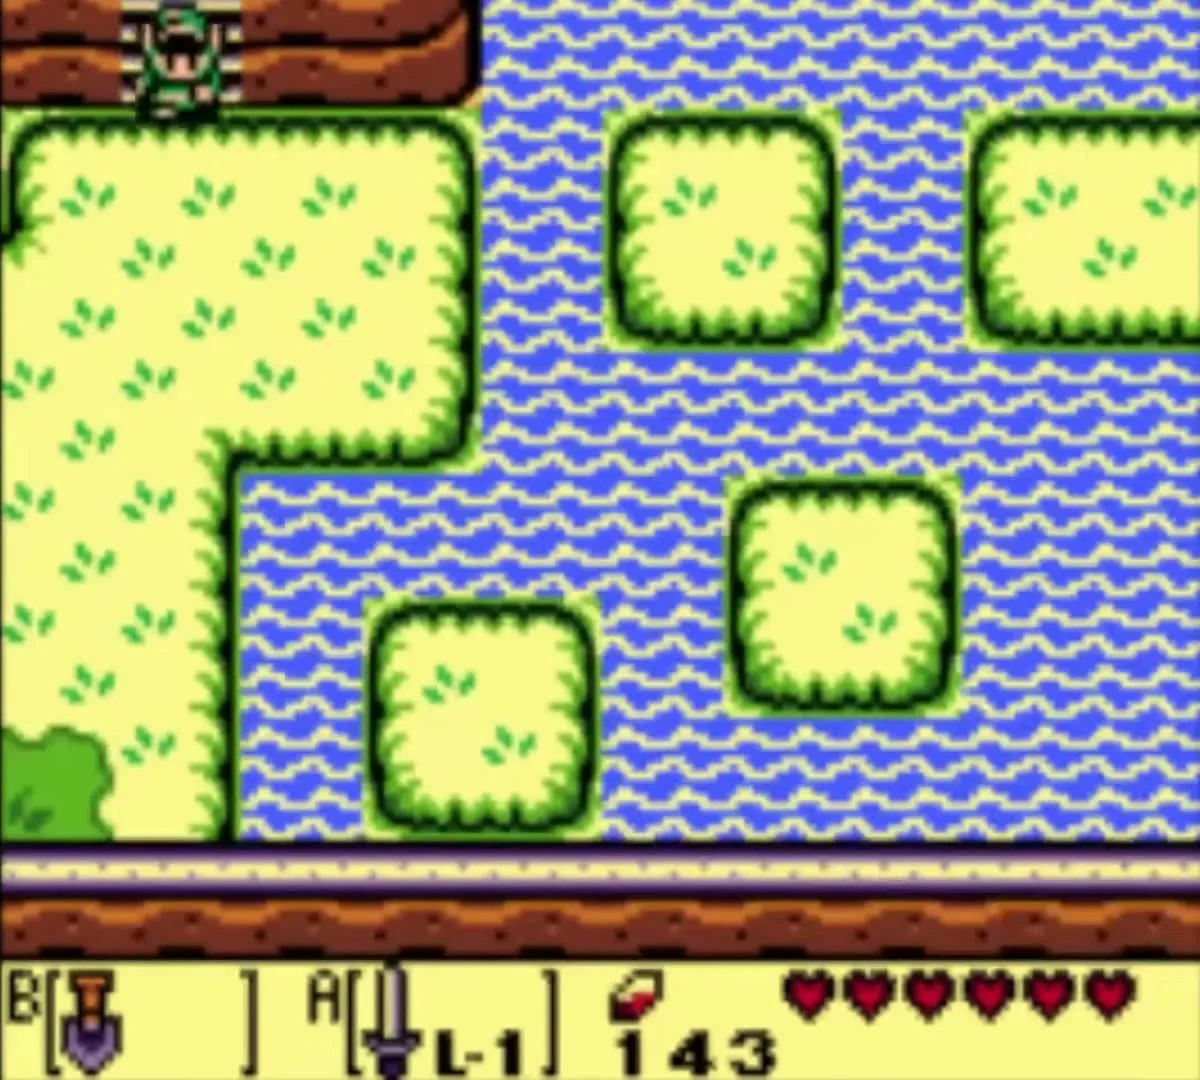
Take the key back through the maze and the passage to the villa and go north to the statue with the keyhole. Walk into the keyhole with the Slime Key. The ground shifts and a path opens to the cave. From the villa head south and west to a lake, follow its shore south and jump across the small islands to the west. A diamond of grass sits on one of the shores; dig in its centre for a Secret Seashell. Then go east, down a stair, and west to the Key Cavern entrance.
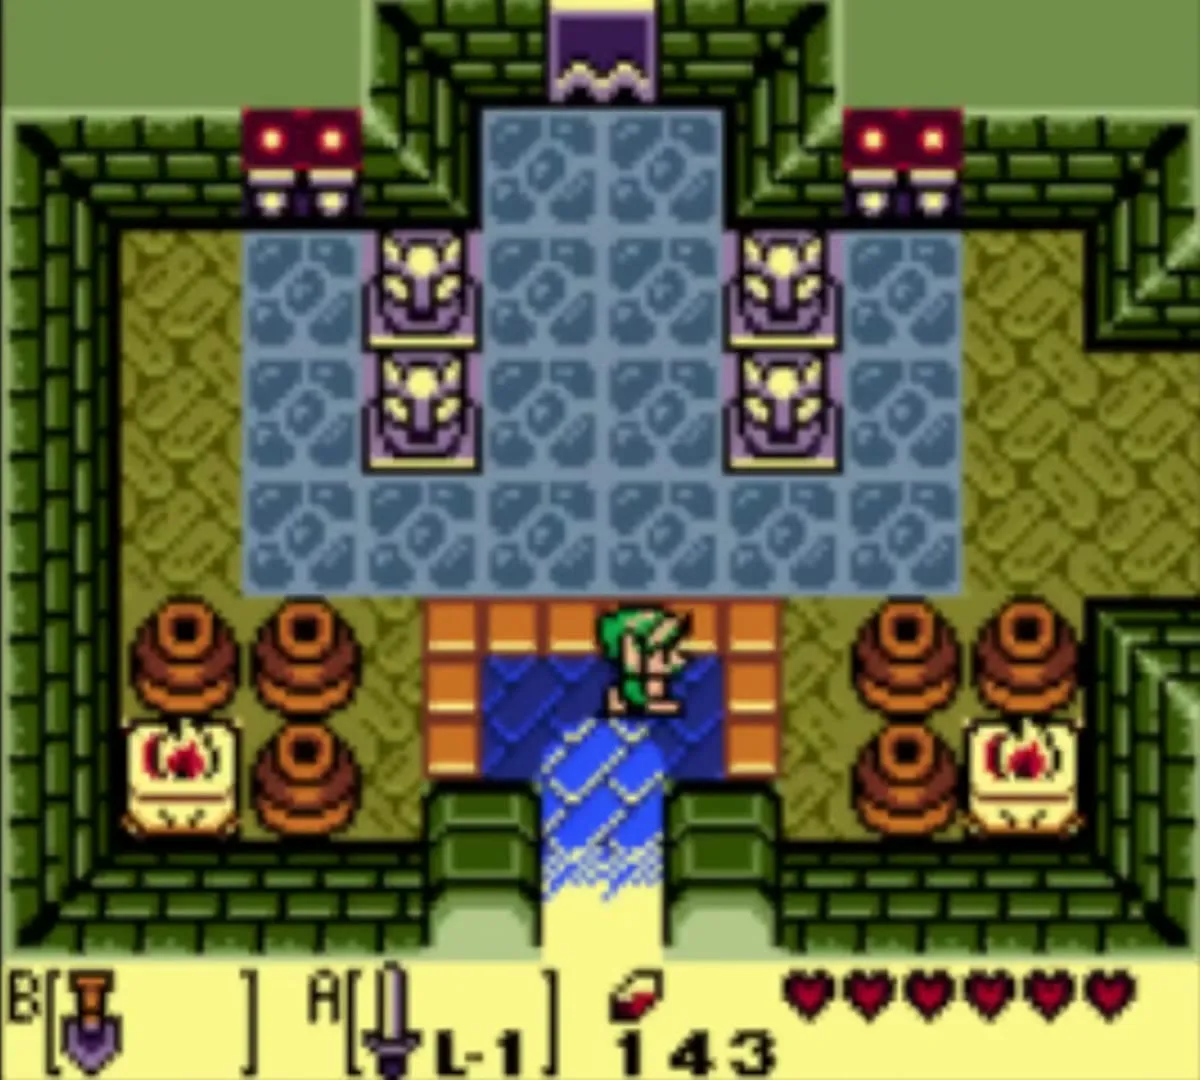
Key Cavern (Level 3) walkthrough
Key Cavern is a dungeon of key rooms. Most small keys come from clearing a room of its enemies, so keep your Sword out and take the rooms one at a time. You need bombs, the Roc’s Feather and the Pegasus Boots you find in the middle of the dungeon. The second half demands a lot of dashing, so equip the Boots and the Roc’s Feather together when asked.

First keys and the Stone Beak
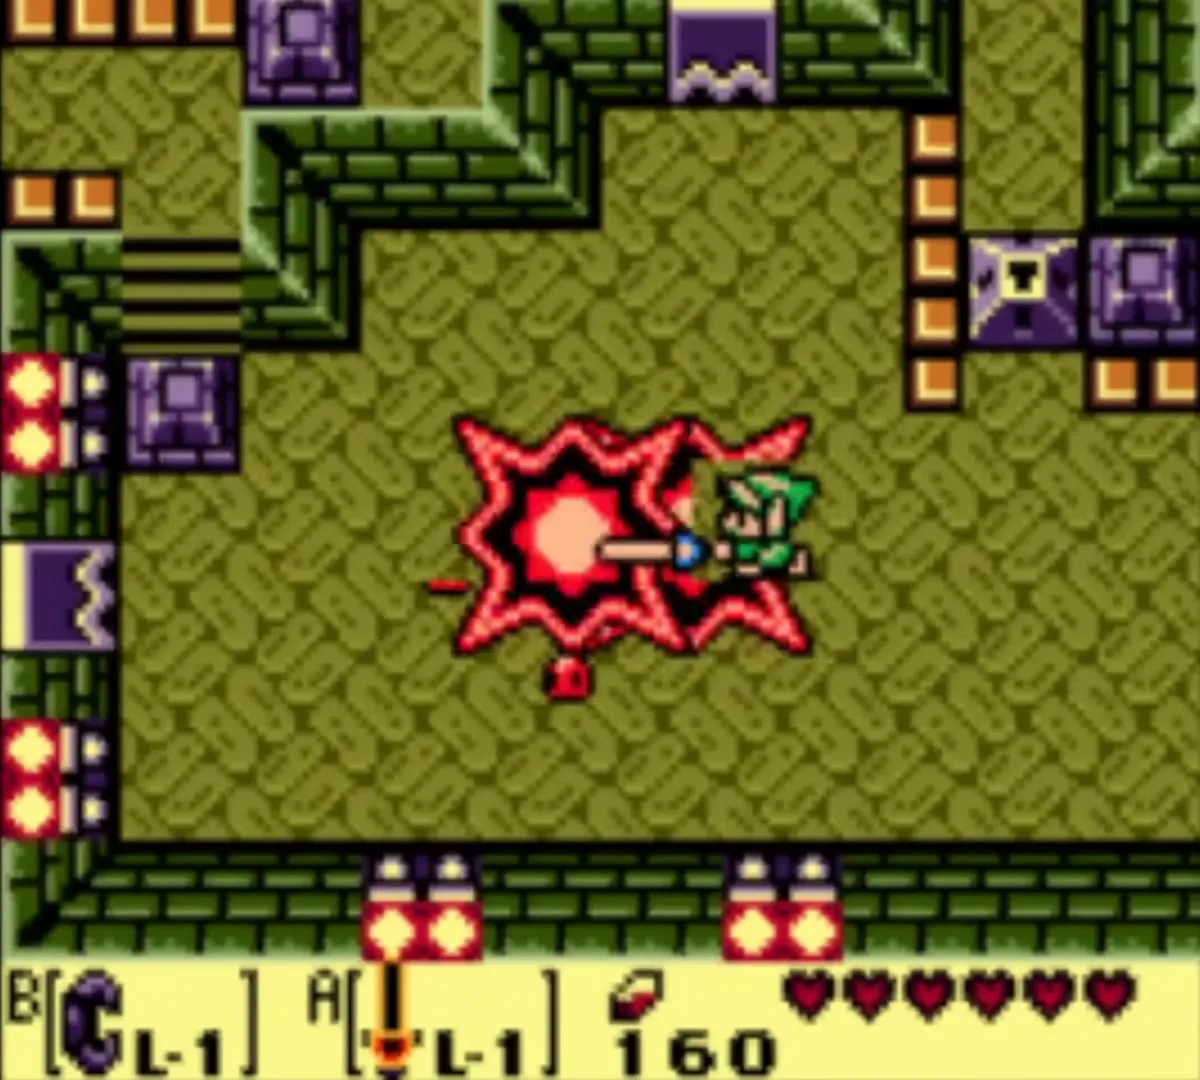
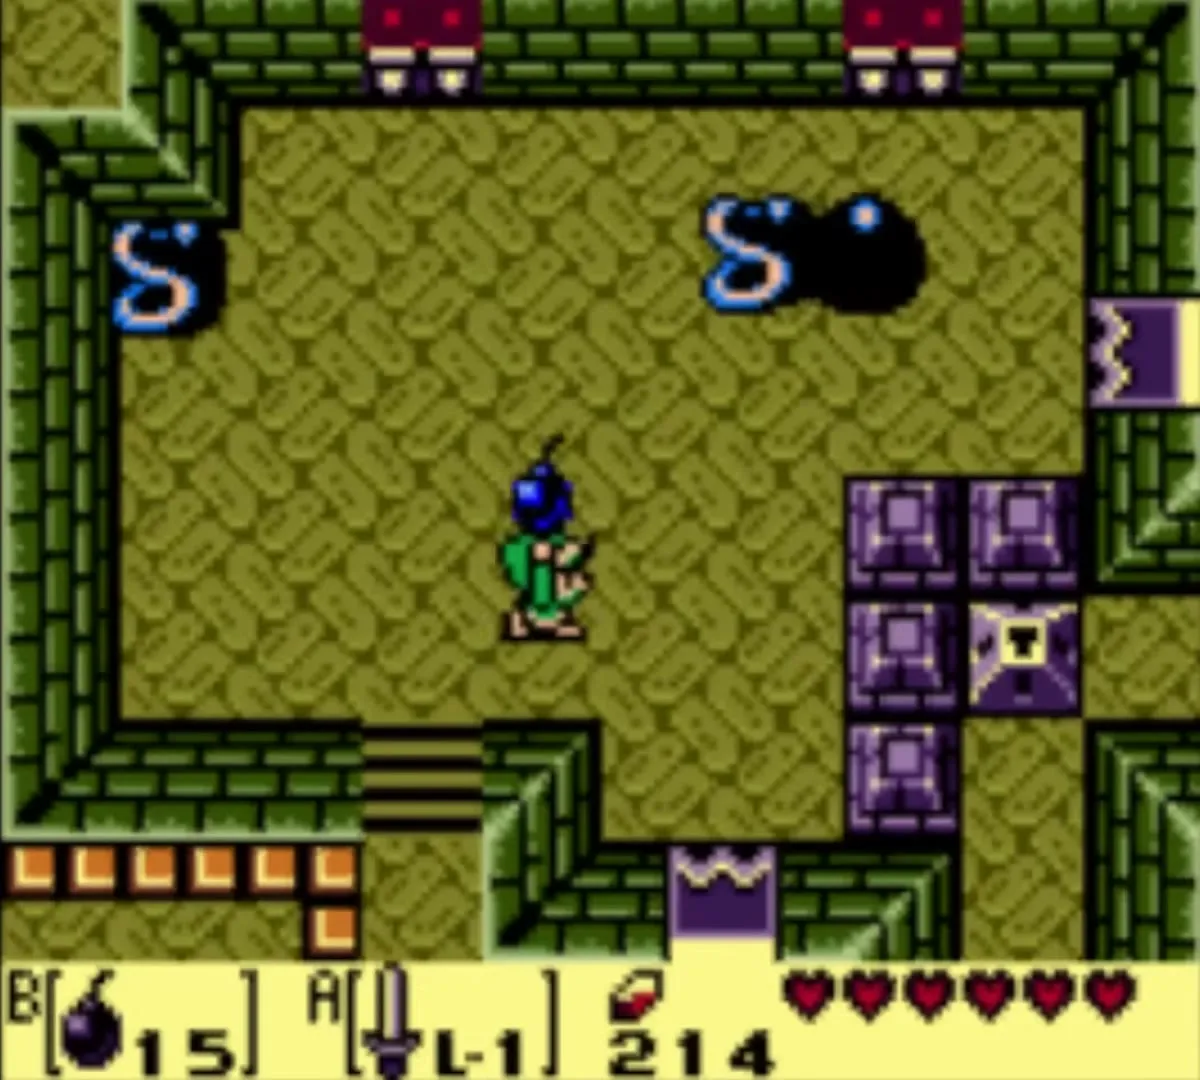
Throw a pot at the north door of the entrance room and go through. Defeat every enemy, bomb-throwing Bombites included, and a chest with the first small key appears. Take the northeast door and defeat the four Green Zols. A chest here holds only another Green Zol, so leave it. Continue north and defeat the two Stalfos.
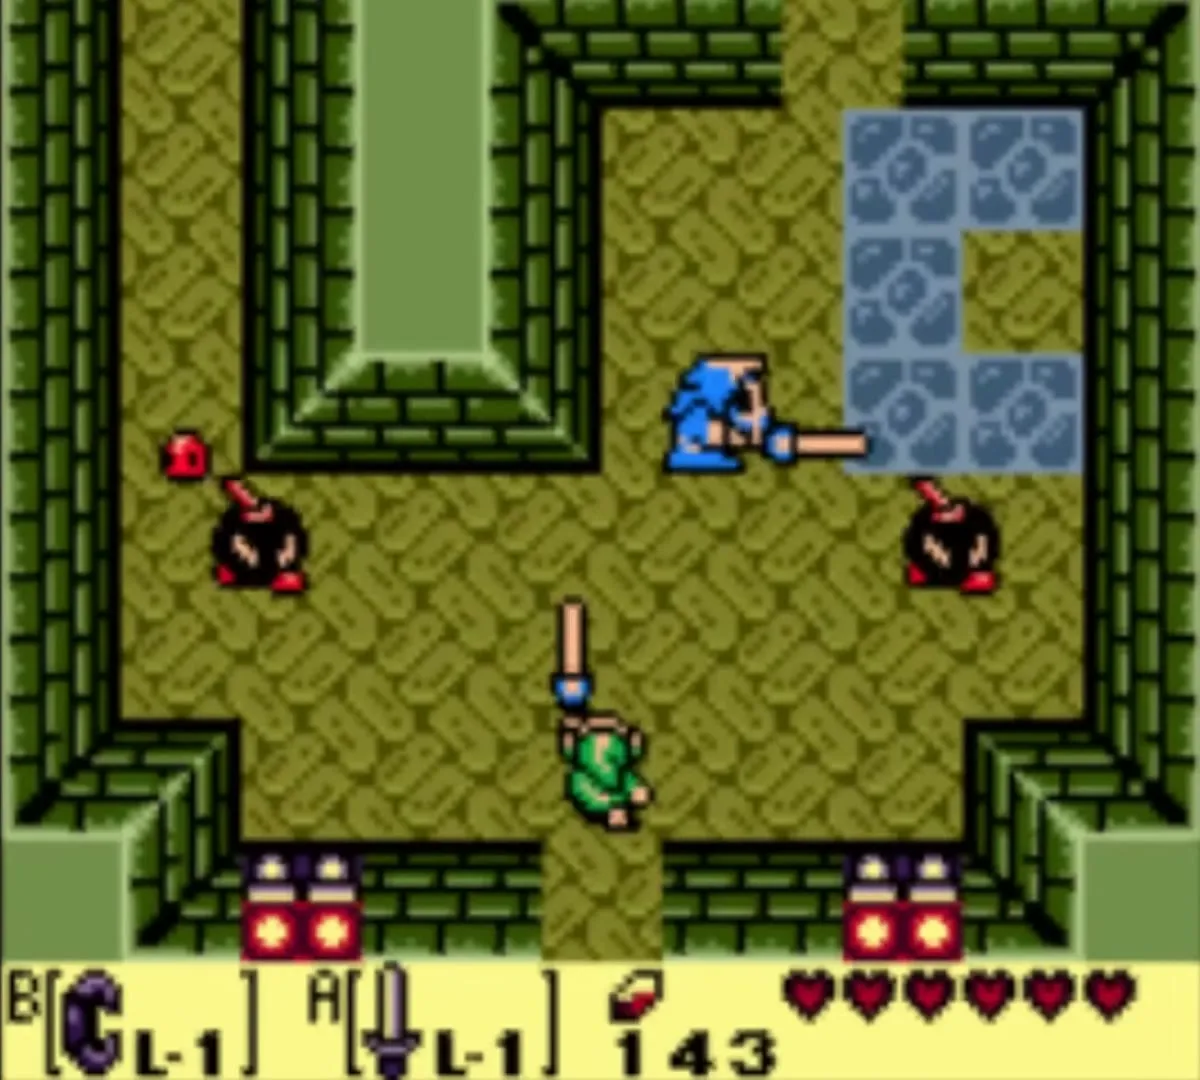
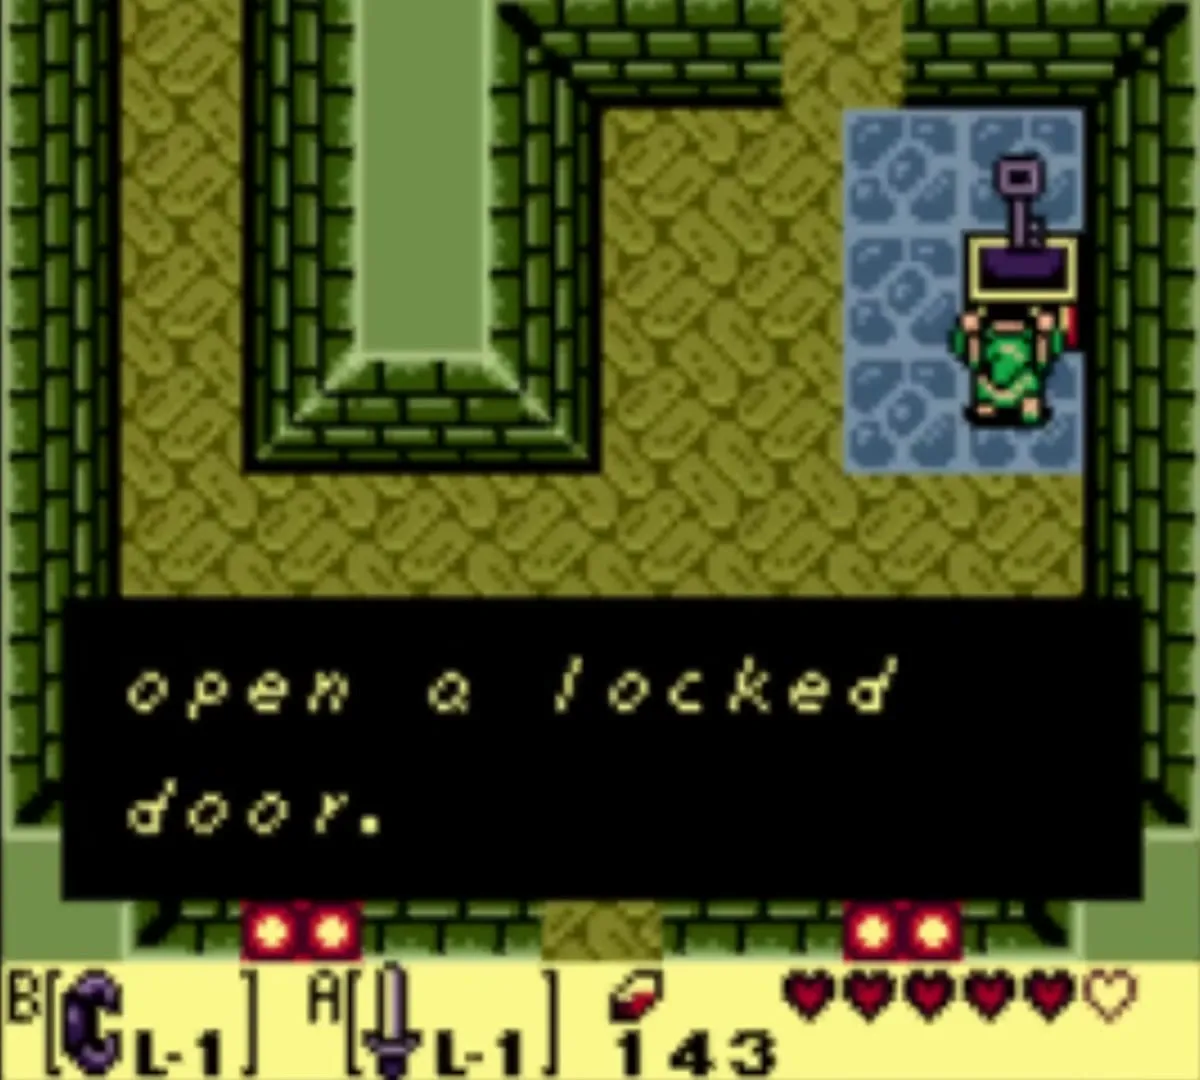
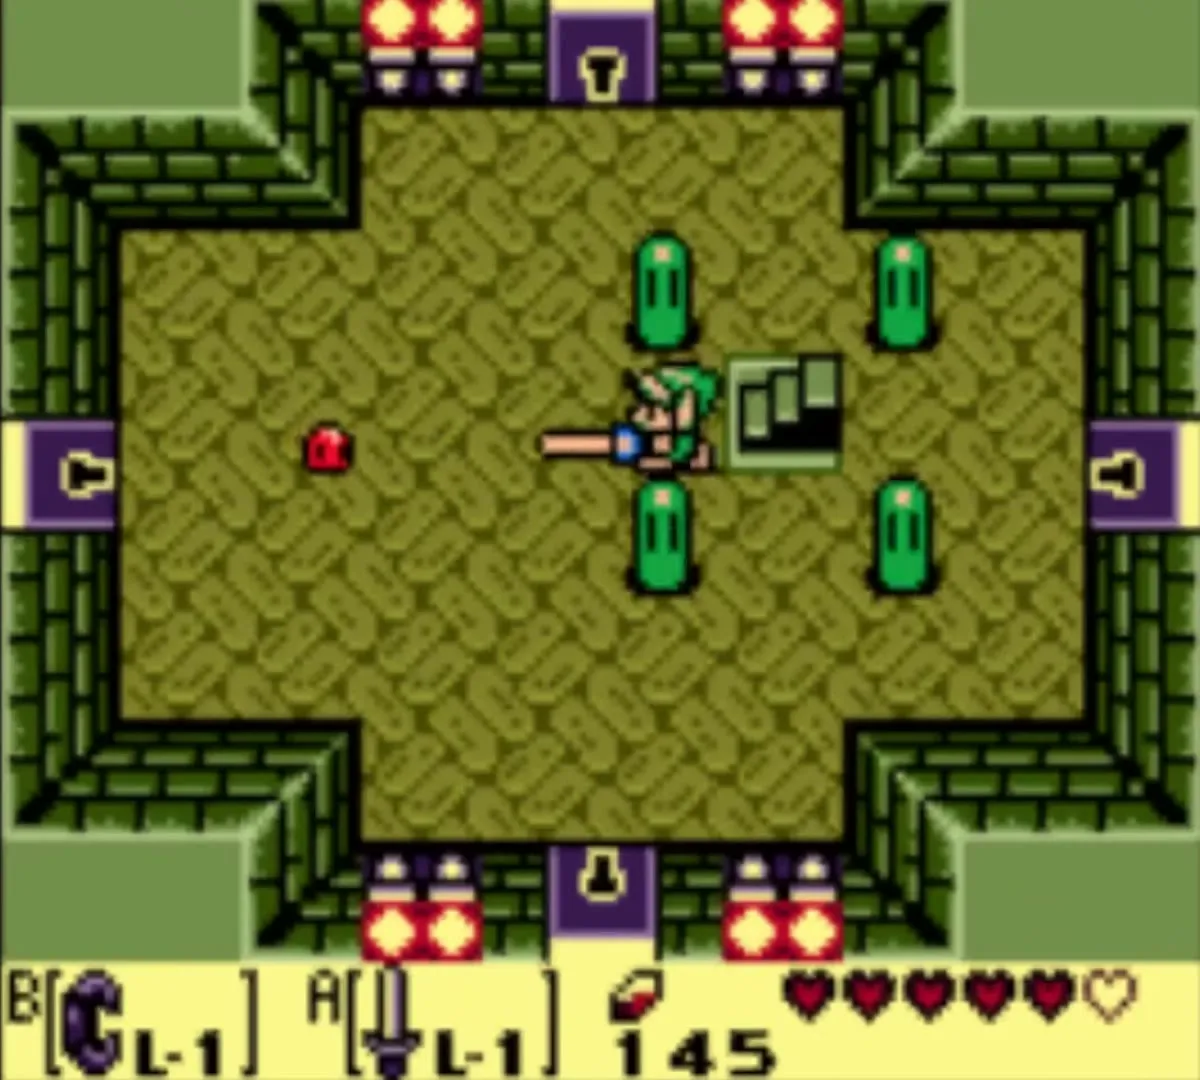
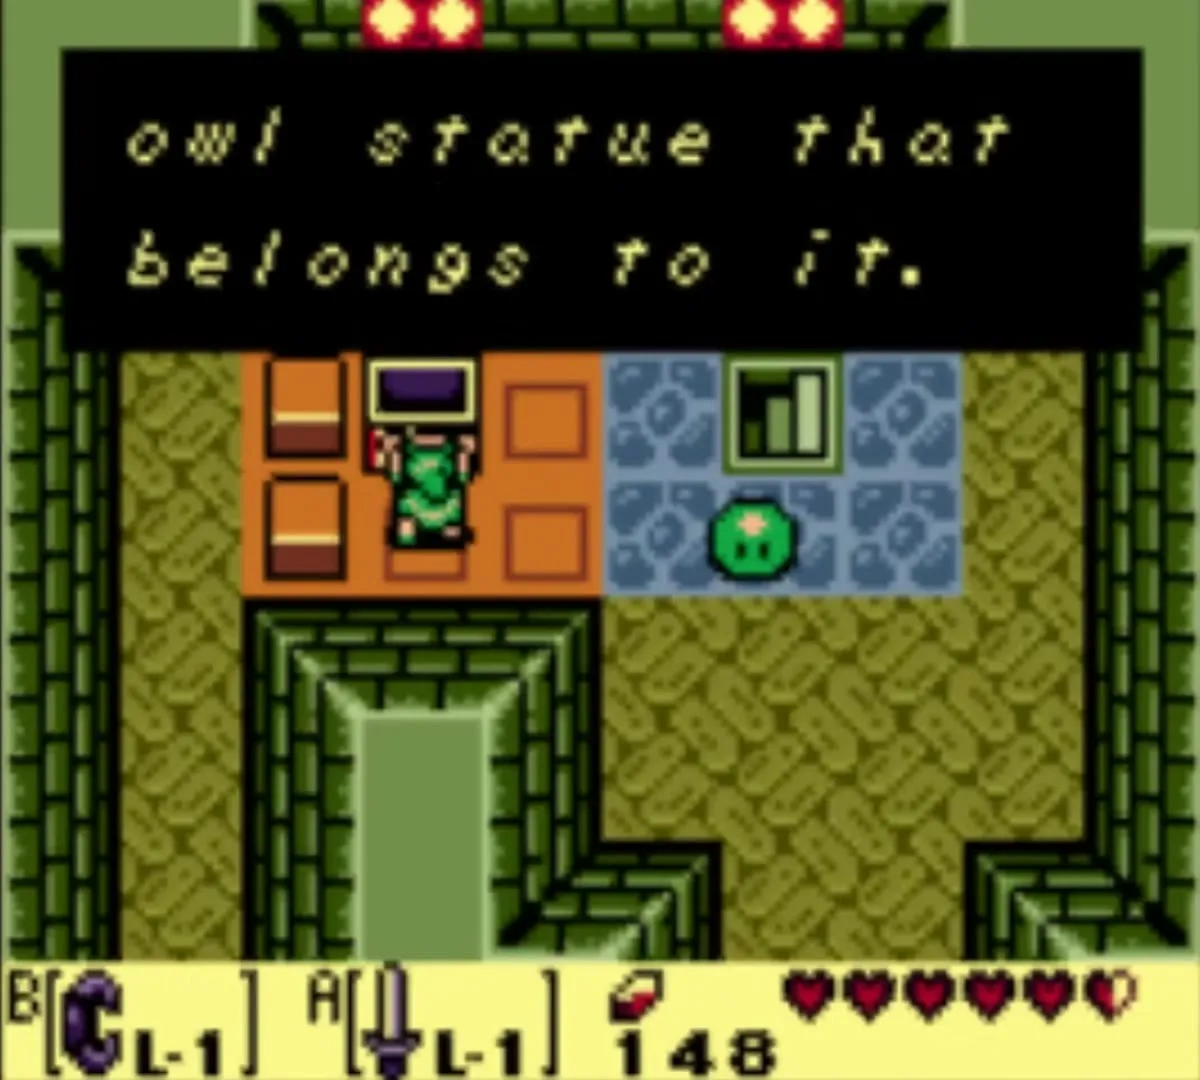
Go on, then down the stairs, past the Zols that hide near them, and take the north of the four locked doors. Defeat the two Stalfos for a second small key. Hit the crystal in this room, go back up the stairs and open the chest for the Stone Beak. The owl statues in the dungeon now give you hints.
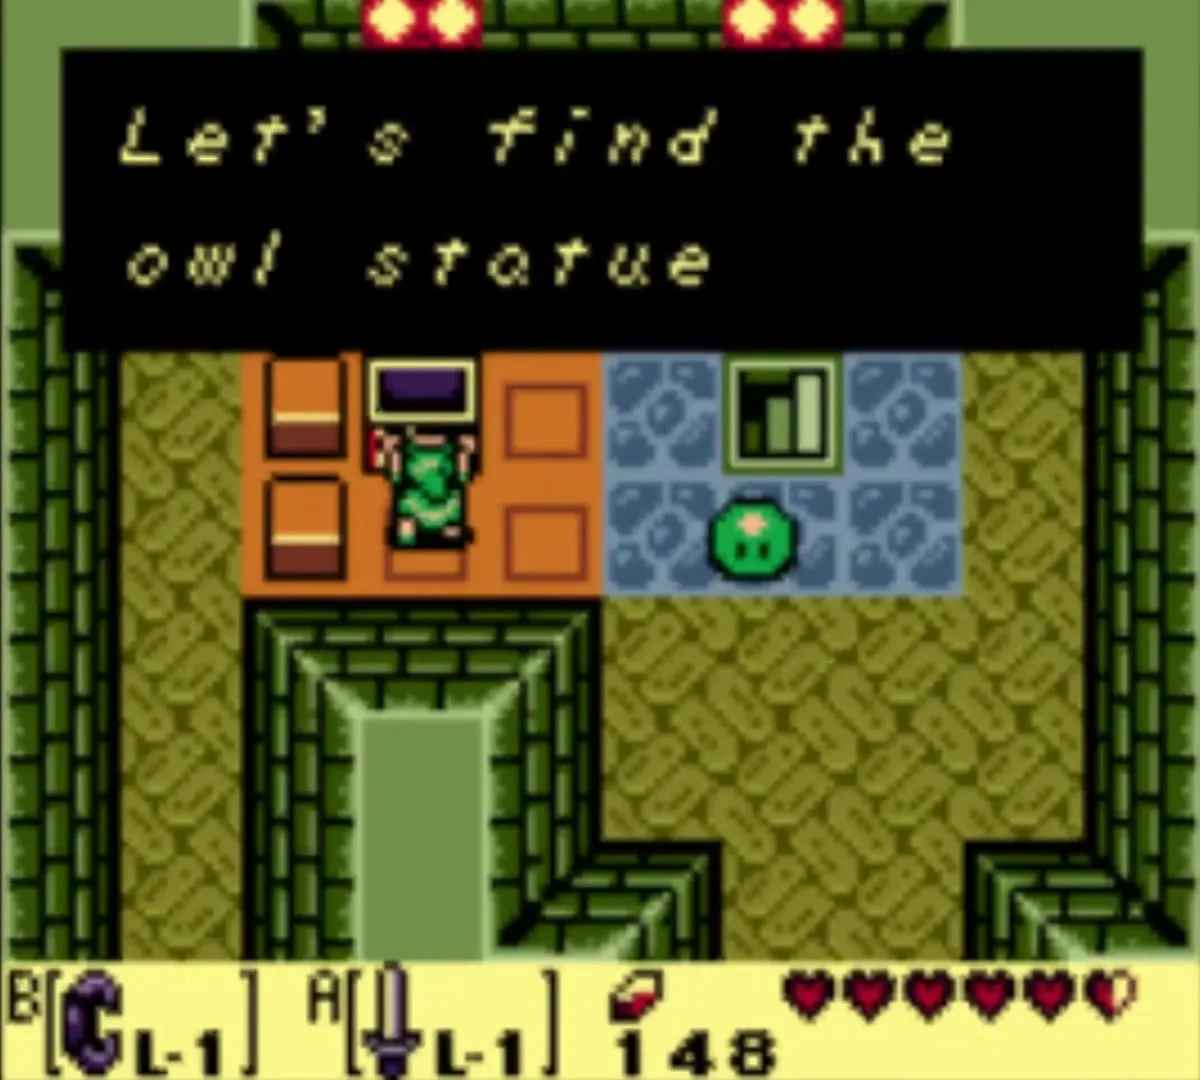

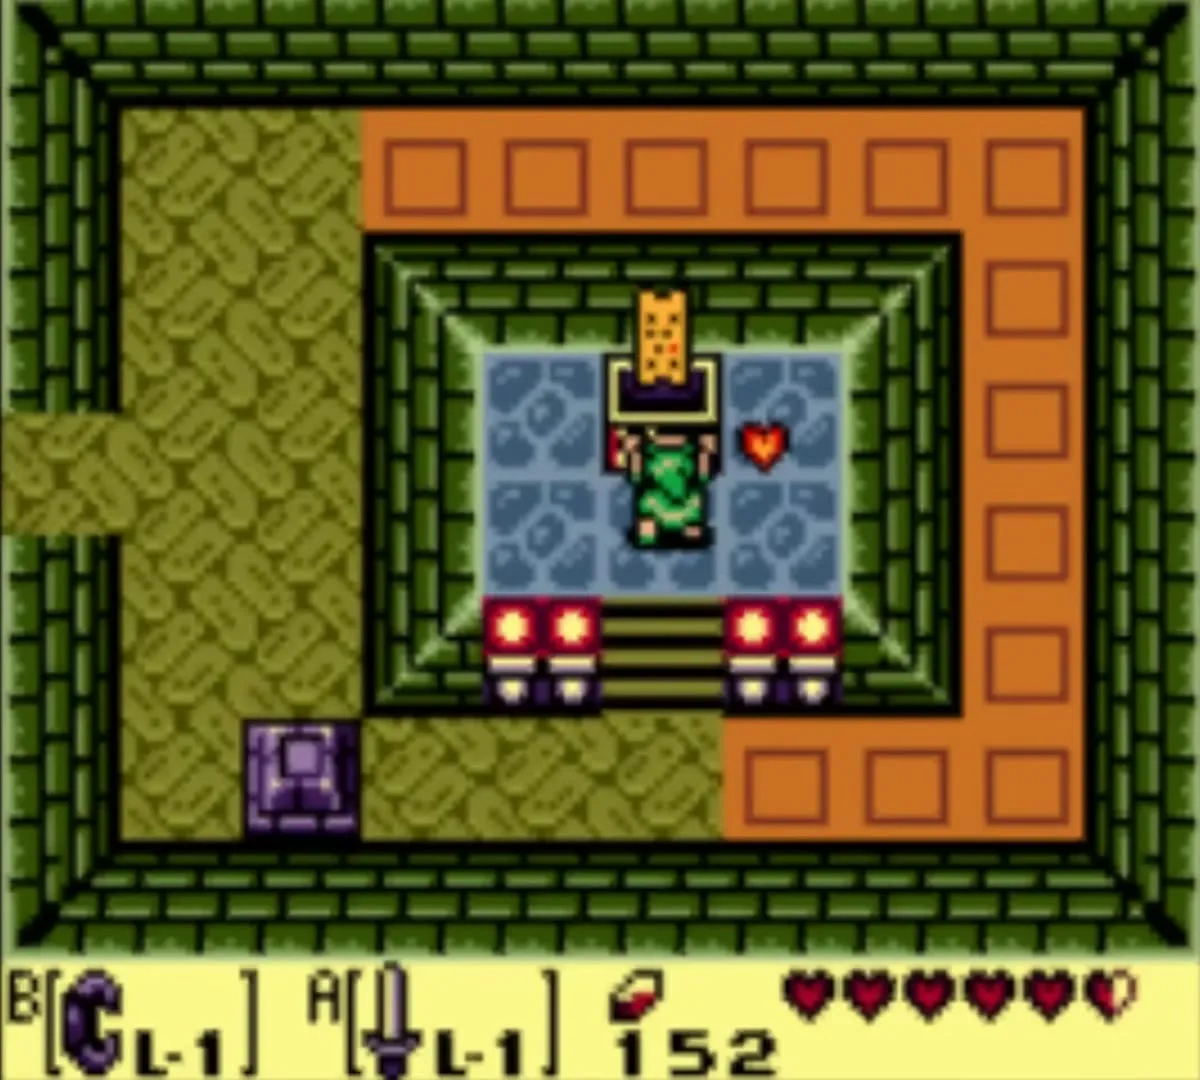
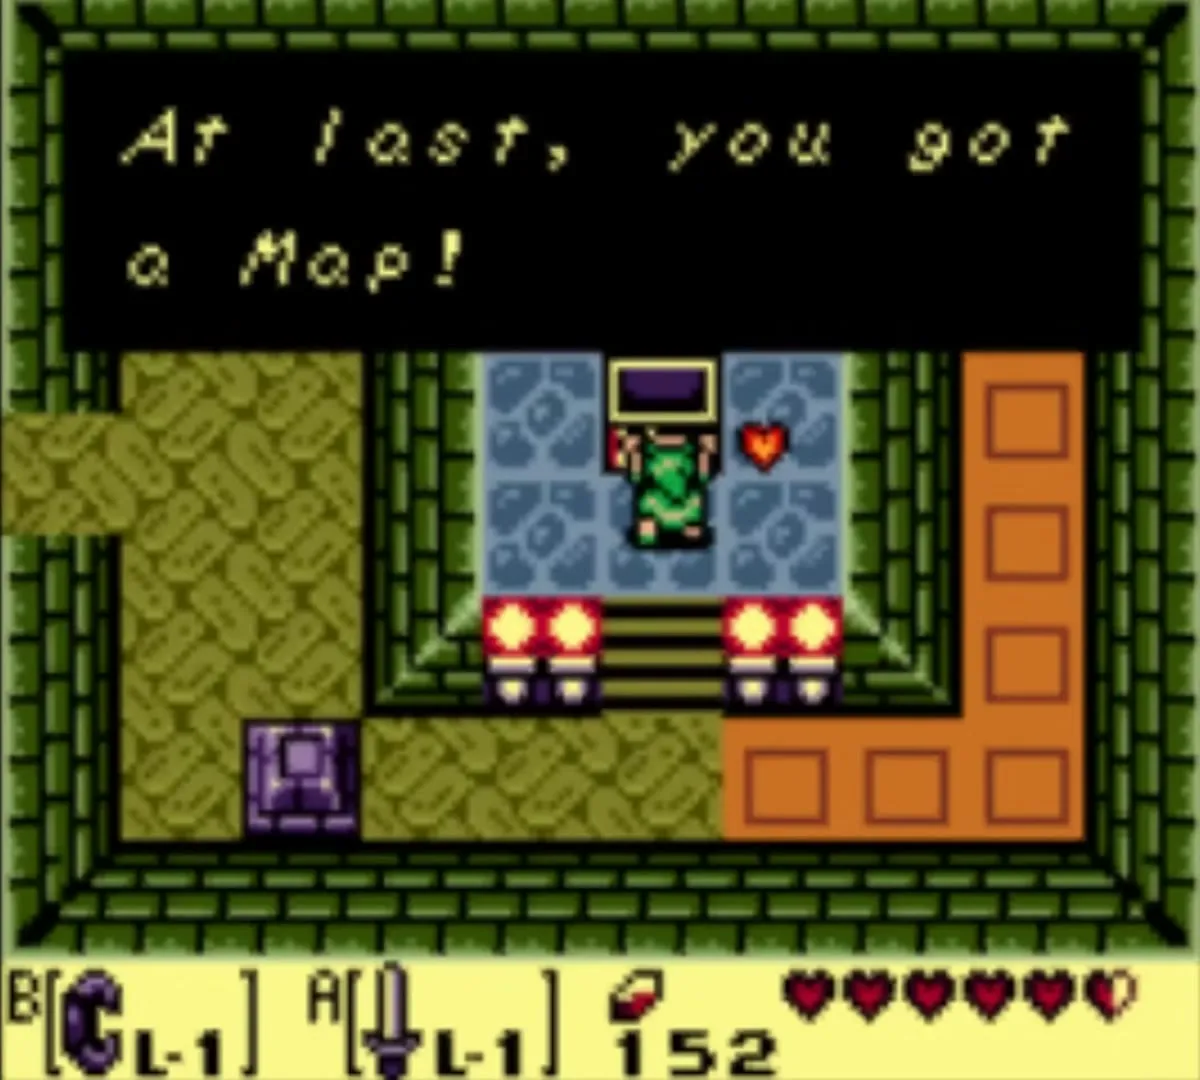
Dungeon Map
Go south and east and defeat the Stalfos and the Zols that burst from the floor. The chest in this room holds the Map.
Small keys 3, 4 and 5
West of the Map room go north, then down the stairs and unlock the south door. A Pairodd flickers between two spots; hit it the moment it reappears, with a pot or bomb if you like. When every enemy is down, a key falls.
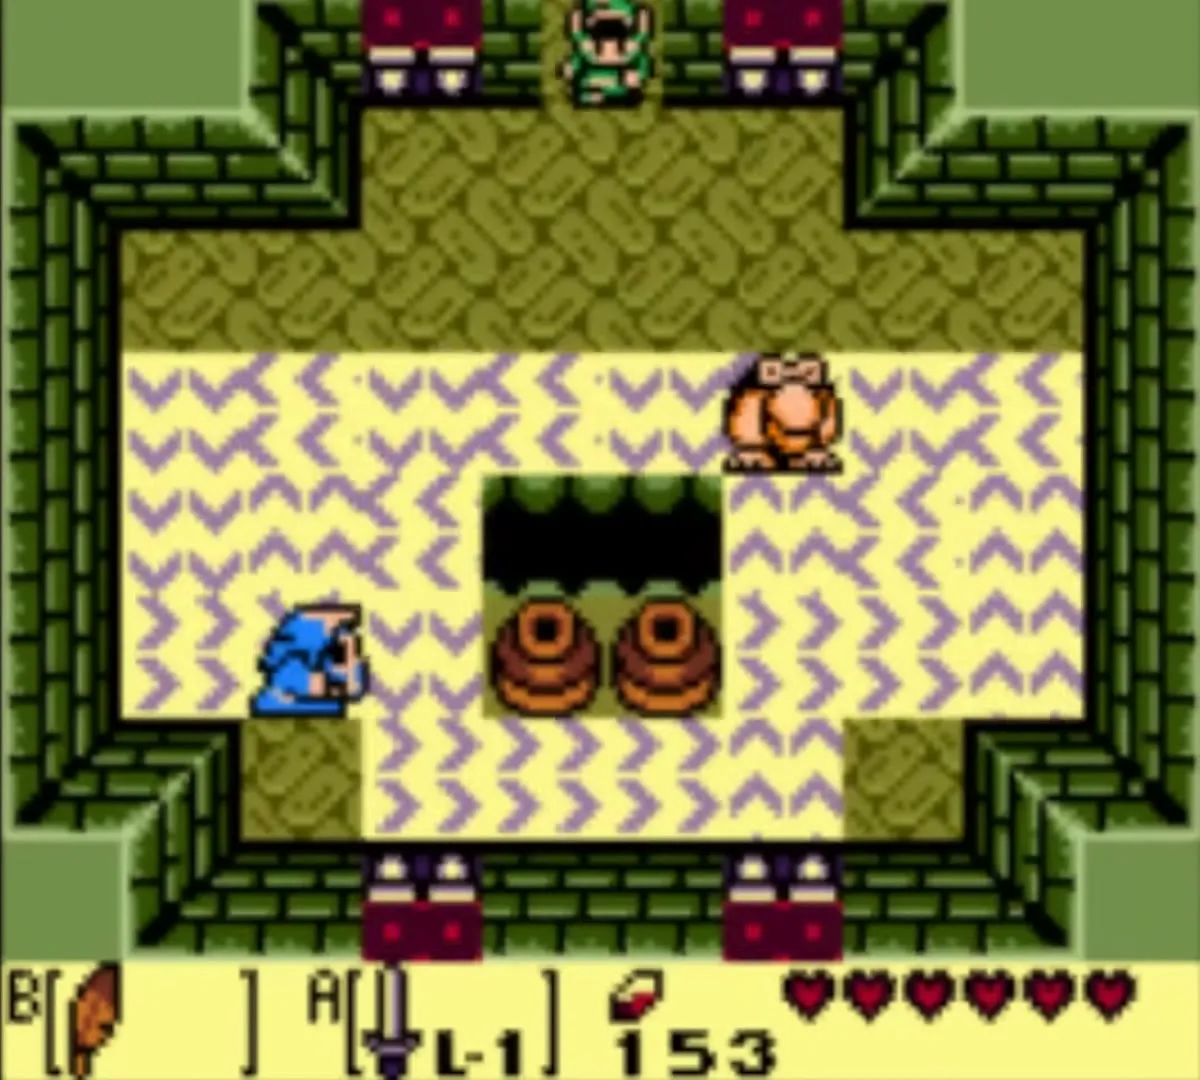
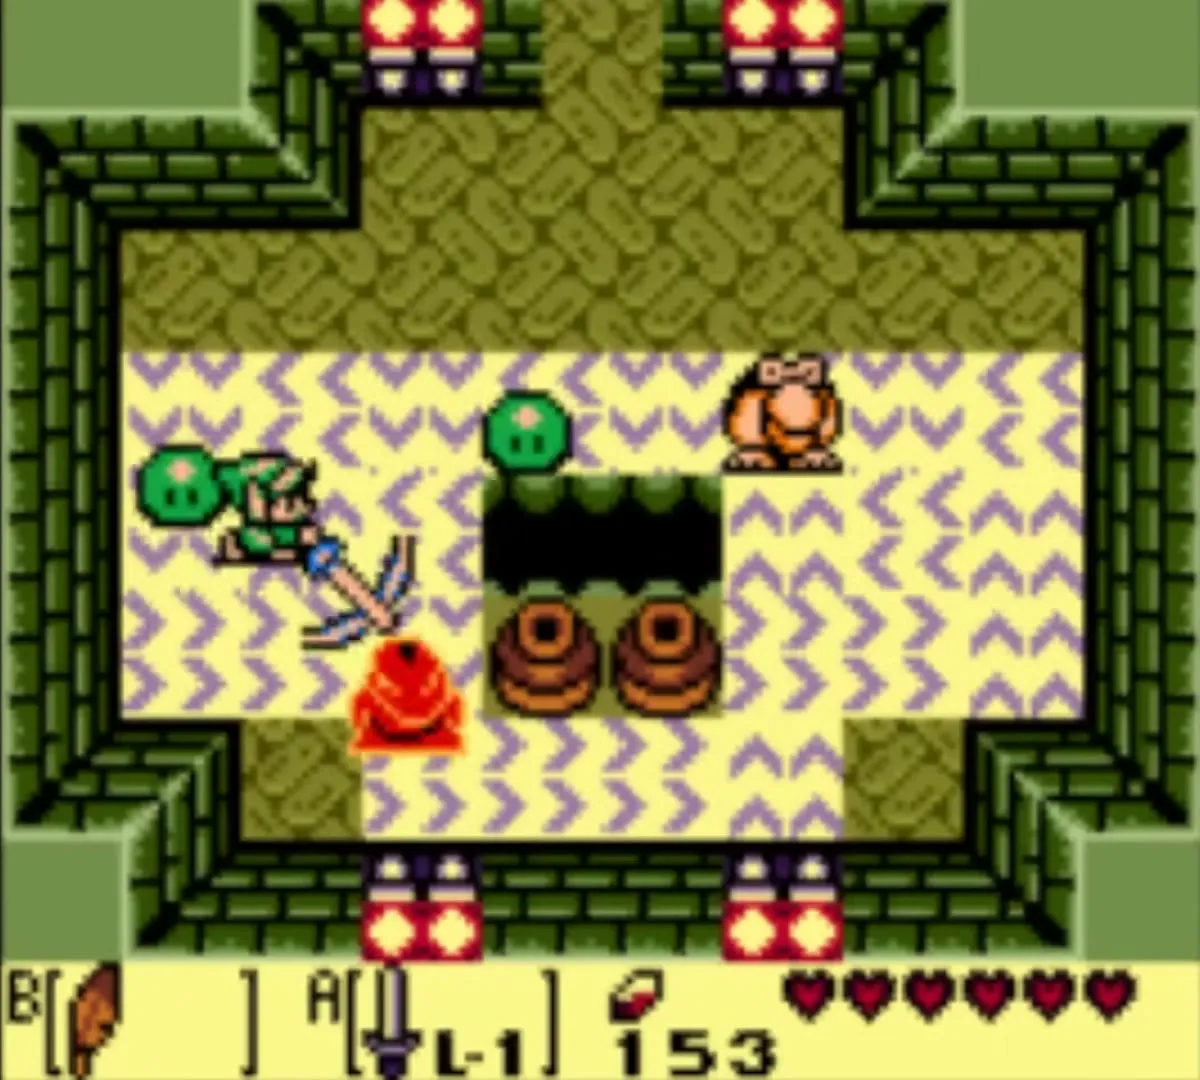
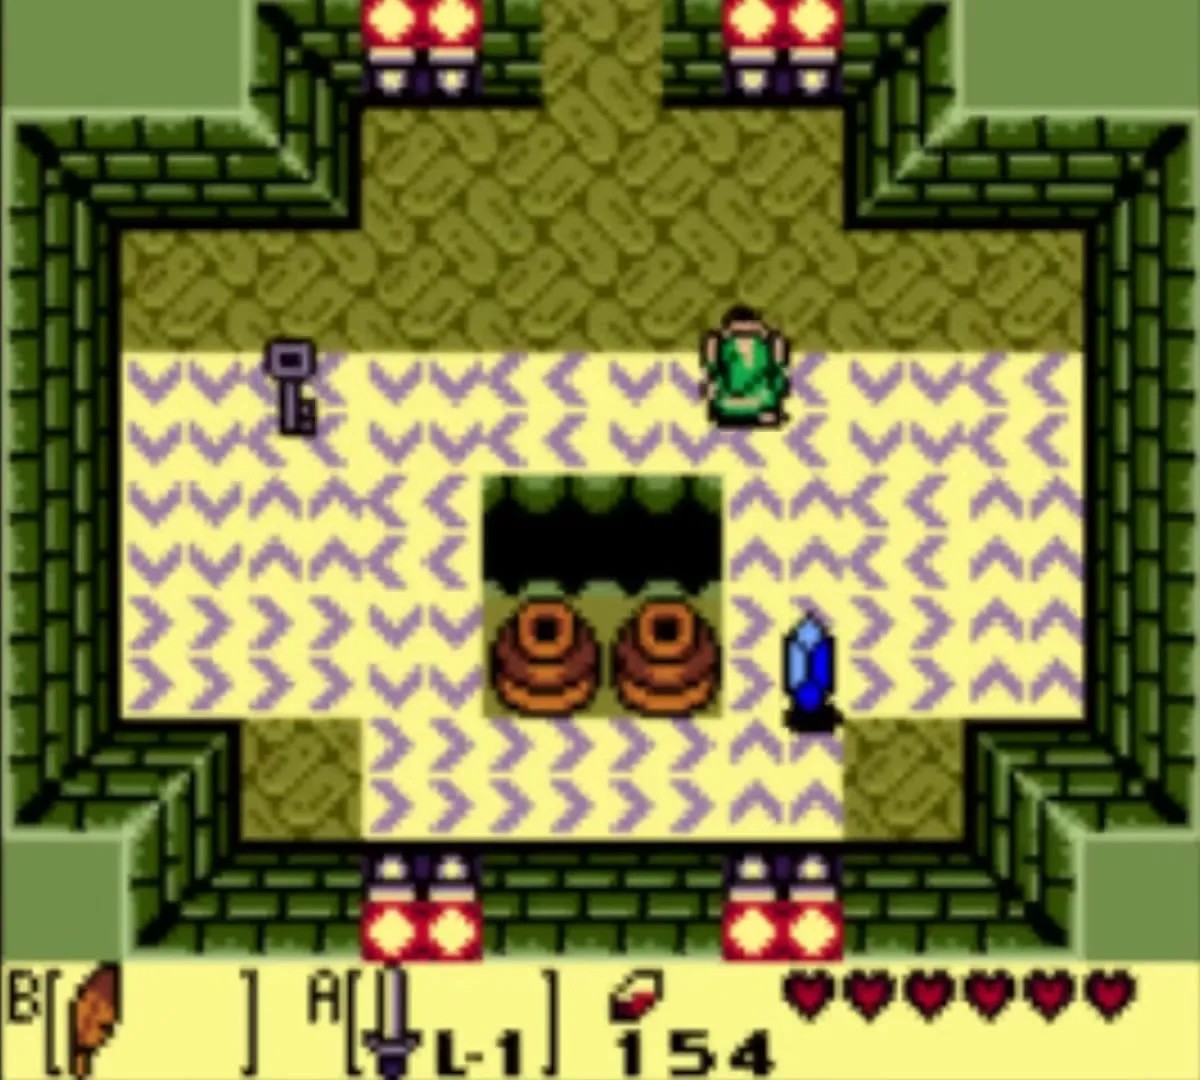
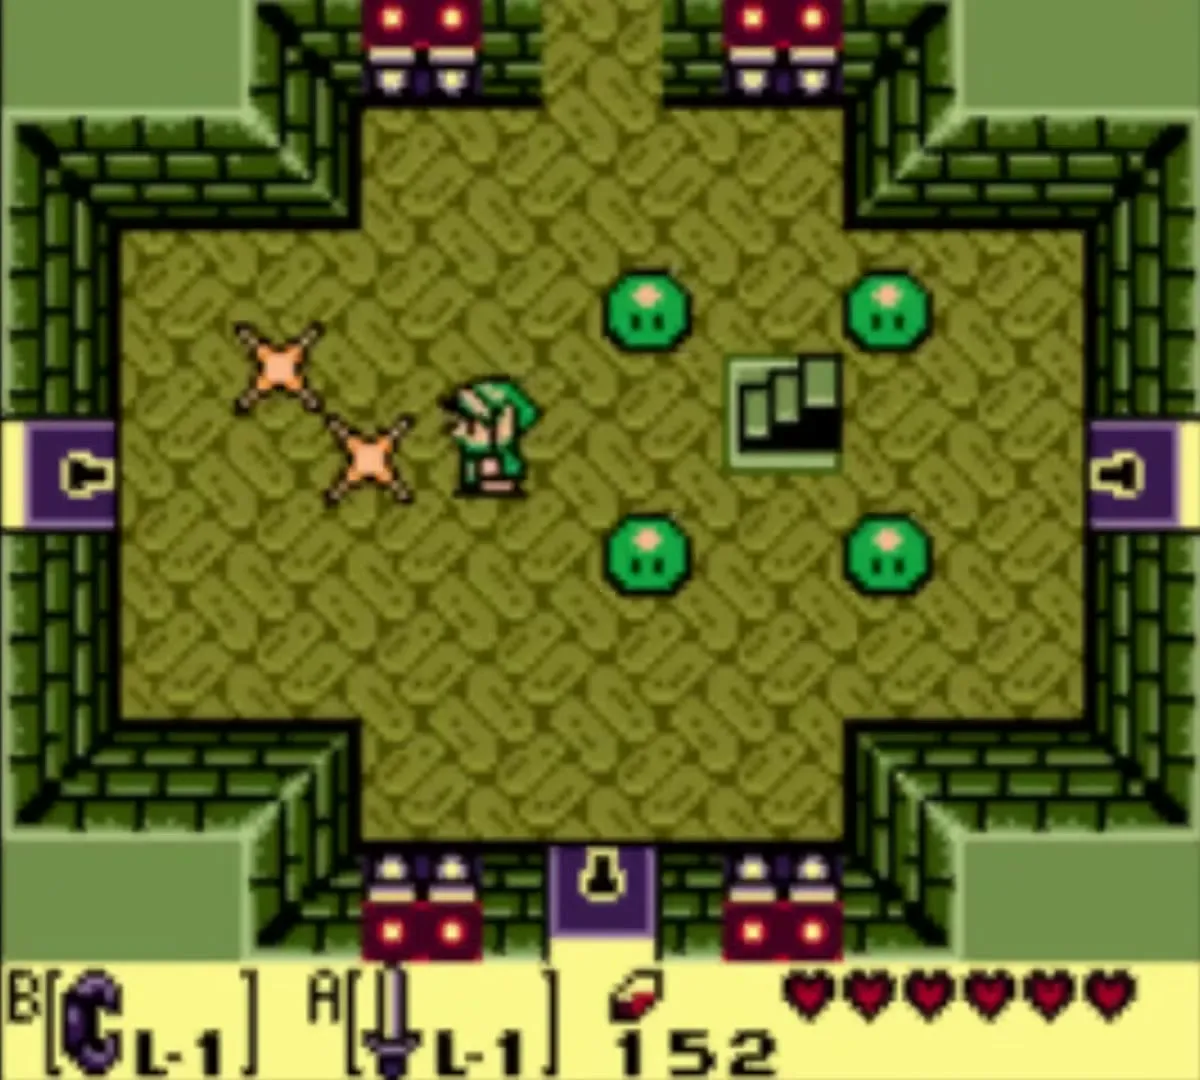
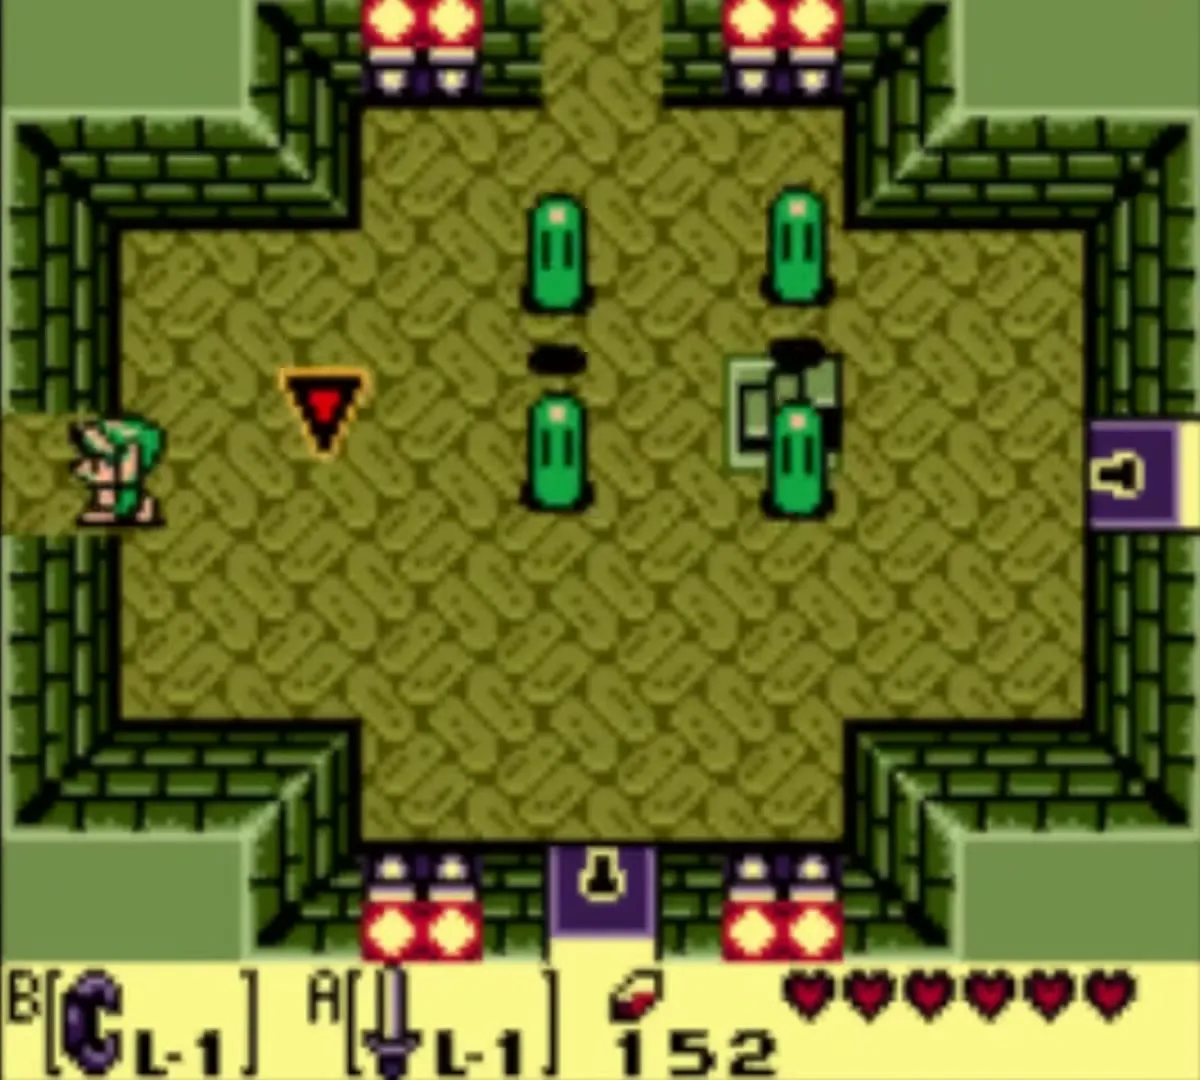
Go north and through the east locked door. Avoid the Pairodd, take the stairs up and defeat all the Green Zols for the fourth key. North and west lie more Zols that open the doors, and two Pairodds in the west room hold the fifth key.
50 rupees
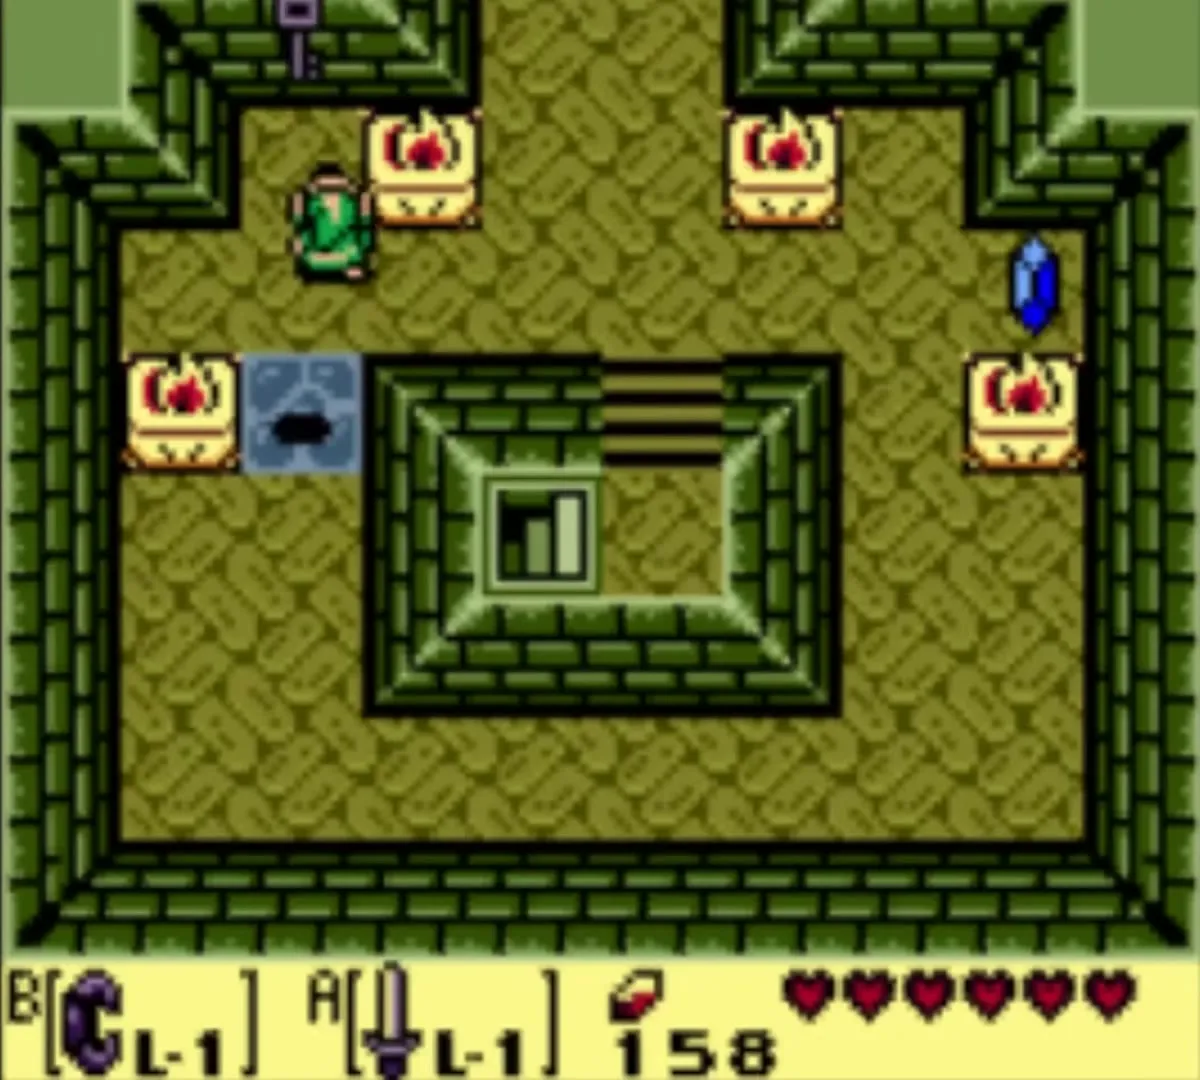
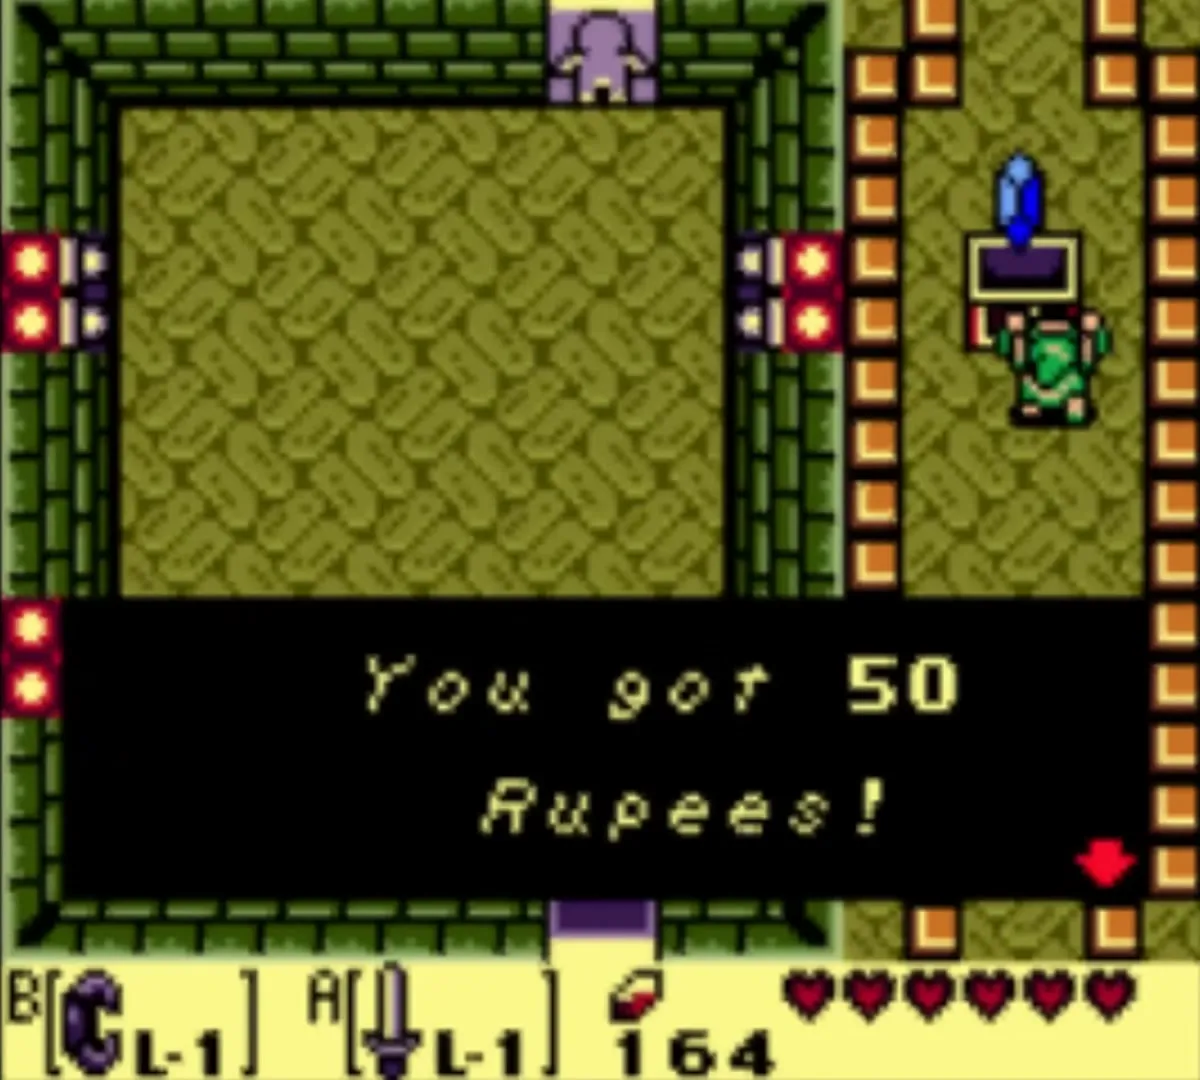
Leave through the one-way north door. Defeat all enemies in the room beyond and a chest appears above it. Go north, defeat the Bombites and Stalfos, jump up to grab the bombs that float in the air, take the corner stairs and go south. The chest holds 50 rupees.
Dodongo Snakes mini-boss
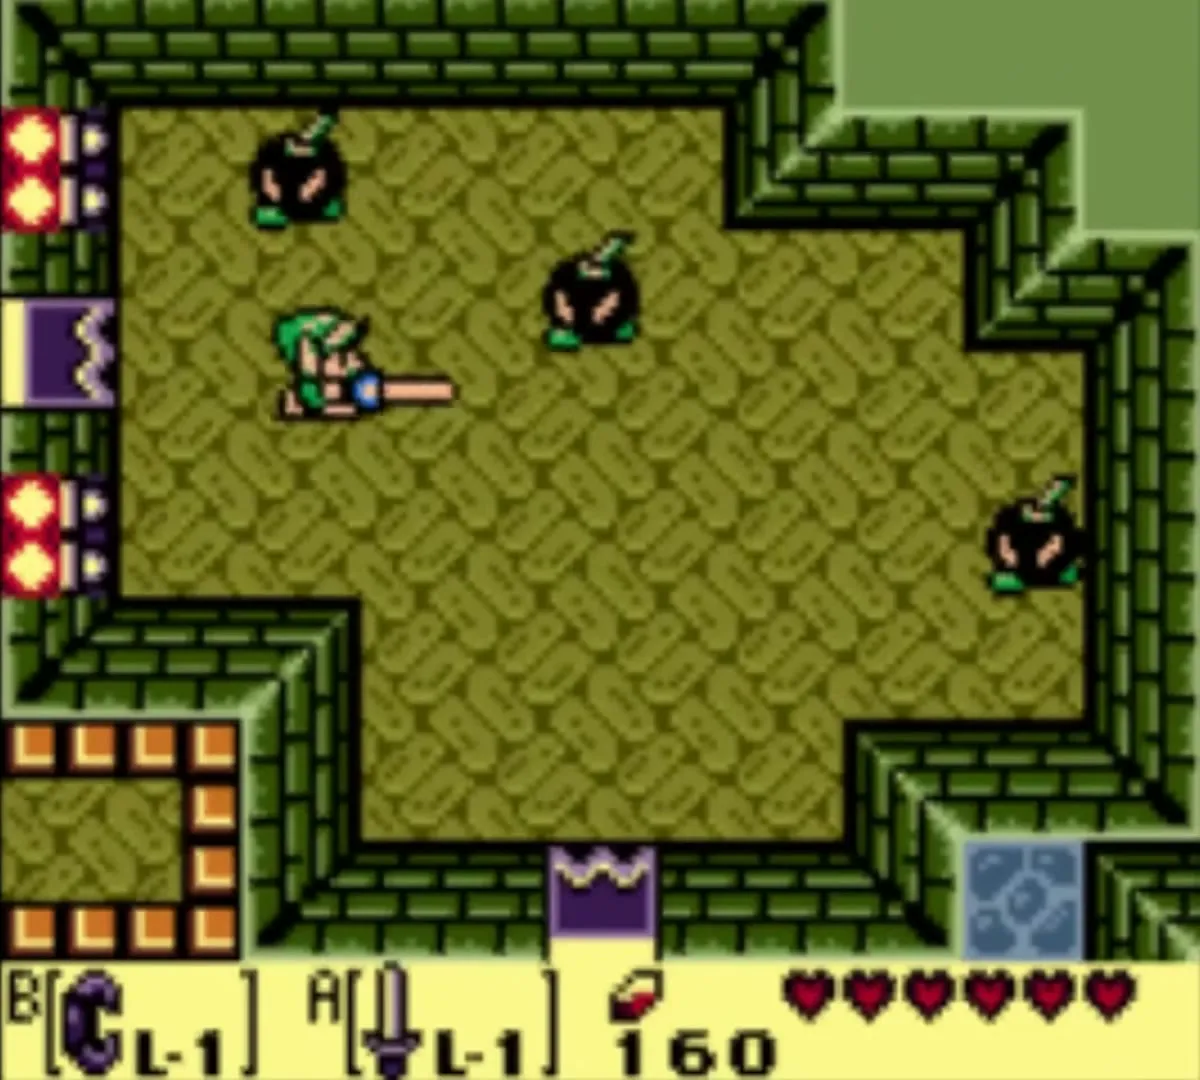
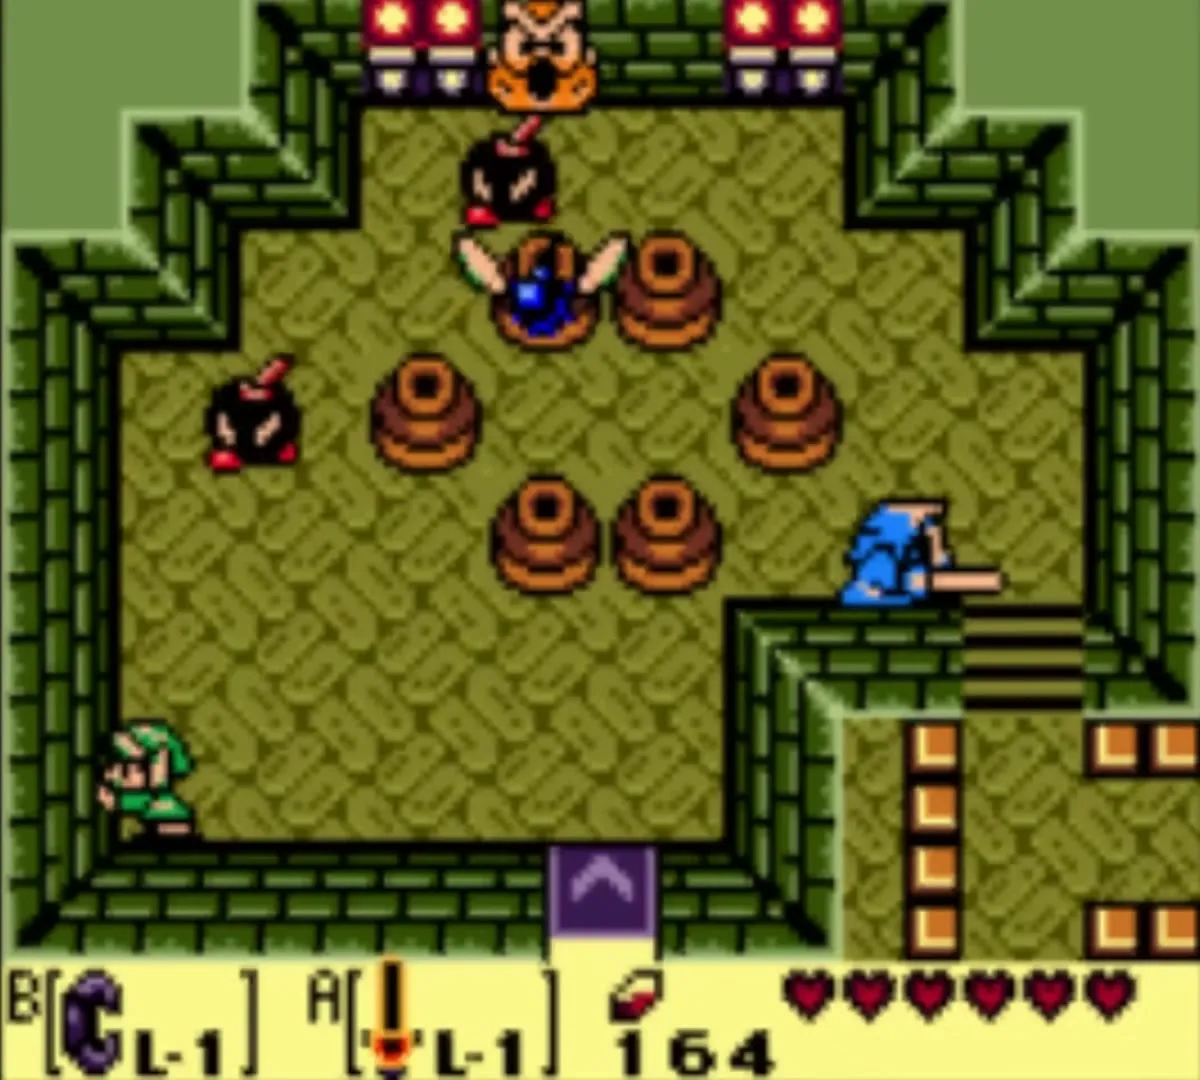
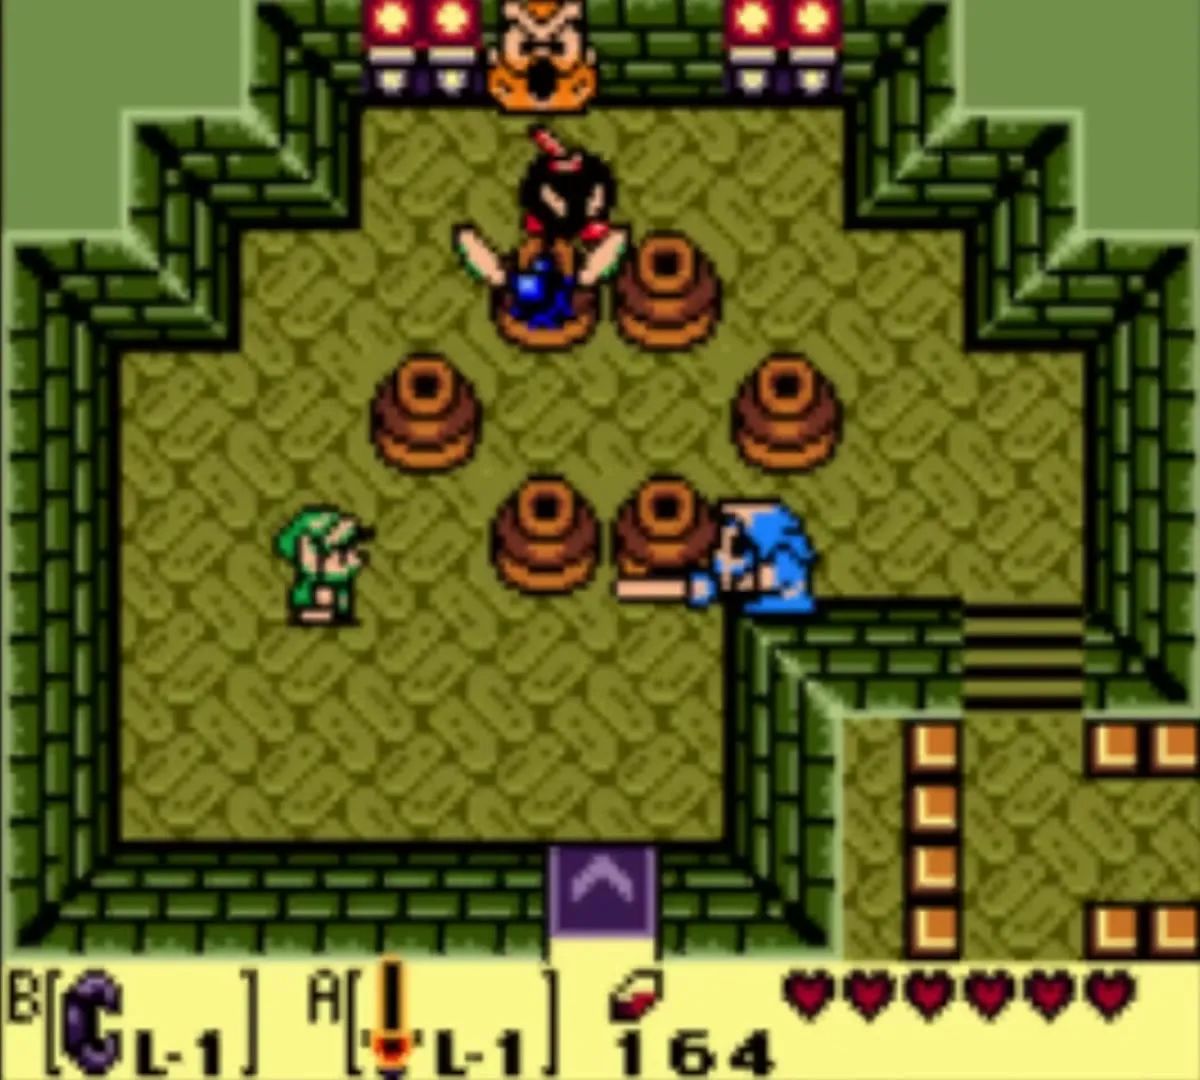
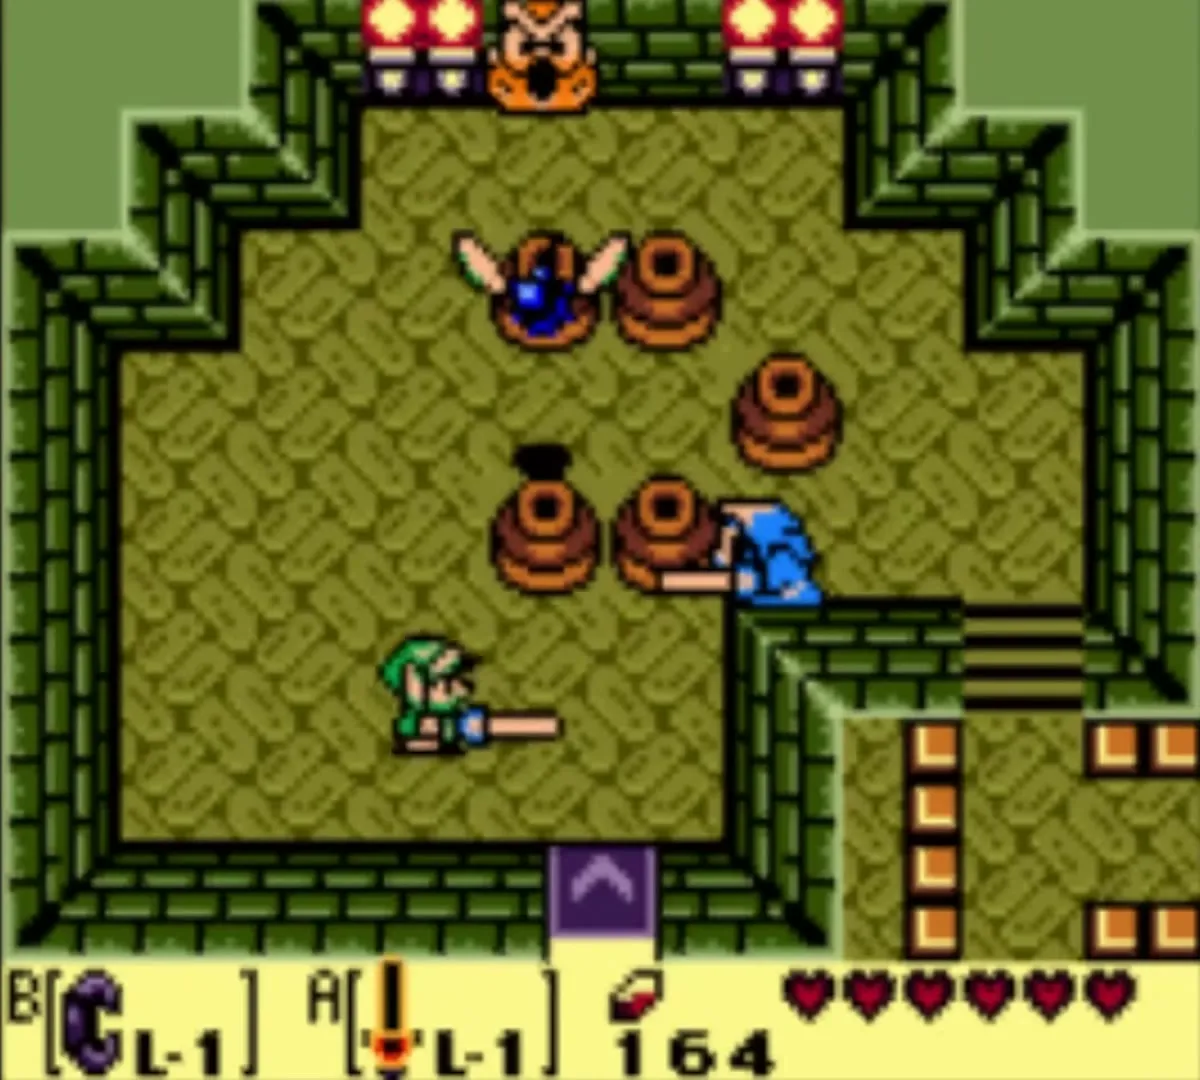
Go south and push the block off the stairs, kill the Red Zols that return and leave by the north door. The mini-boss room has two snakes. Do not use the Sword. Drop a bomb in front of each snake’s mouth, so it swallows the bomb and takes damage. Carry plenty of bombs, because each snake needs several. When the second falls, a fairy and a warp point appear.

How to get the Pegasus Boots
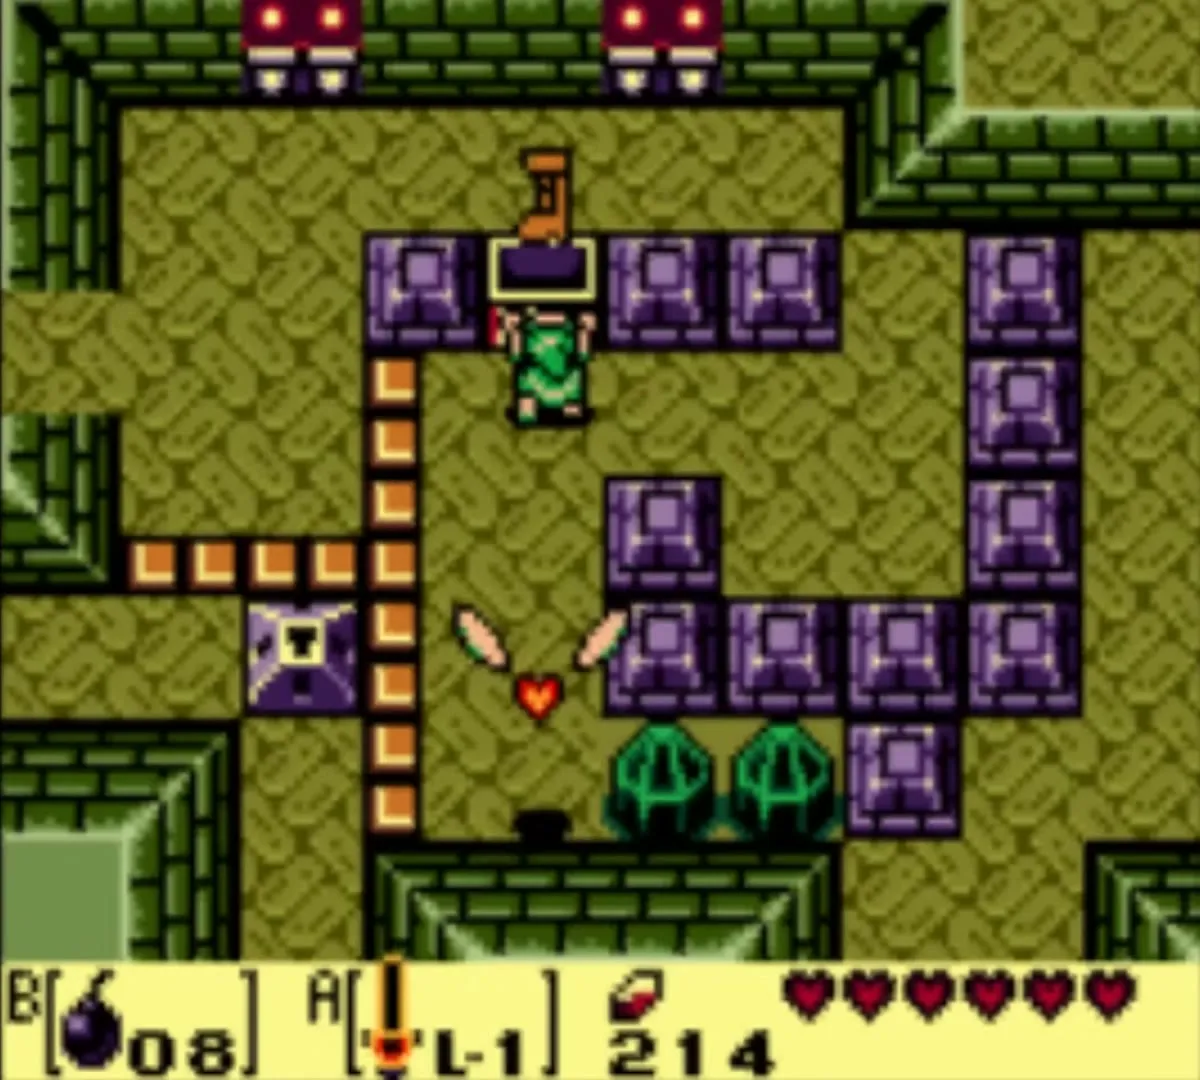
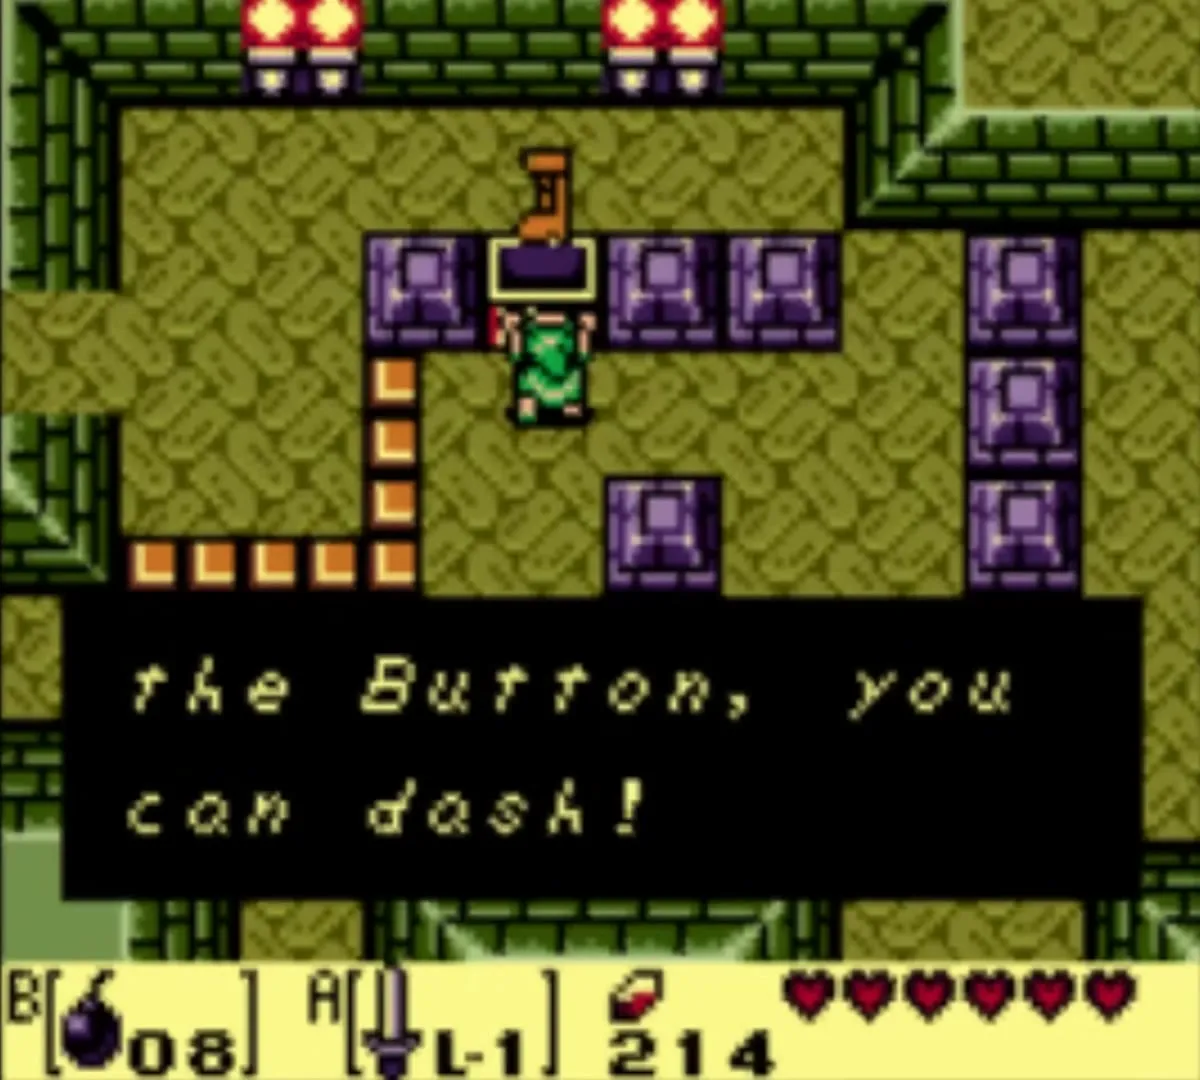
From the mini-boss room go east. On the right side, push the lower-left block to the left and the block above it up. The chest that appears holds the Pegasus Boots. Equip them and hold the button to dash. Dashing breaks the crystals at the bottom of the room. Push the block to the right and leave by the south exit.
Small keys 6 and 7, 200 rupees and the Compass
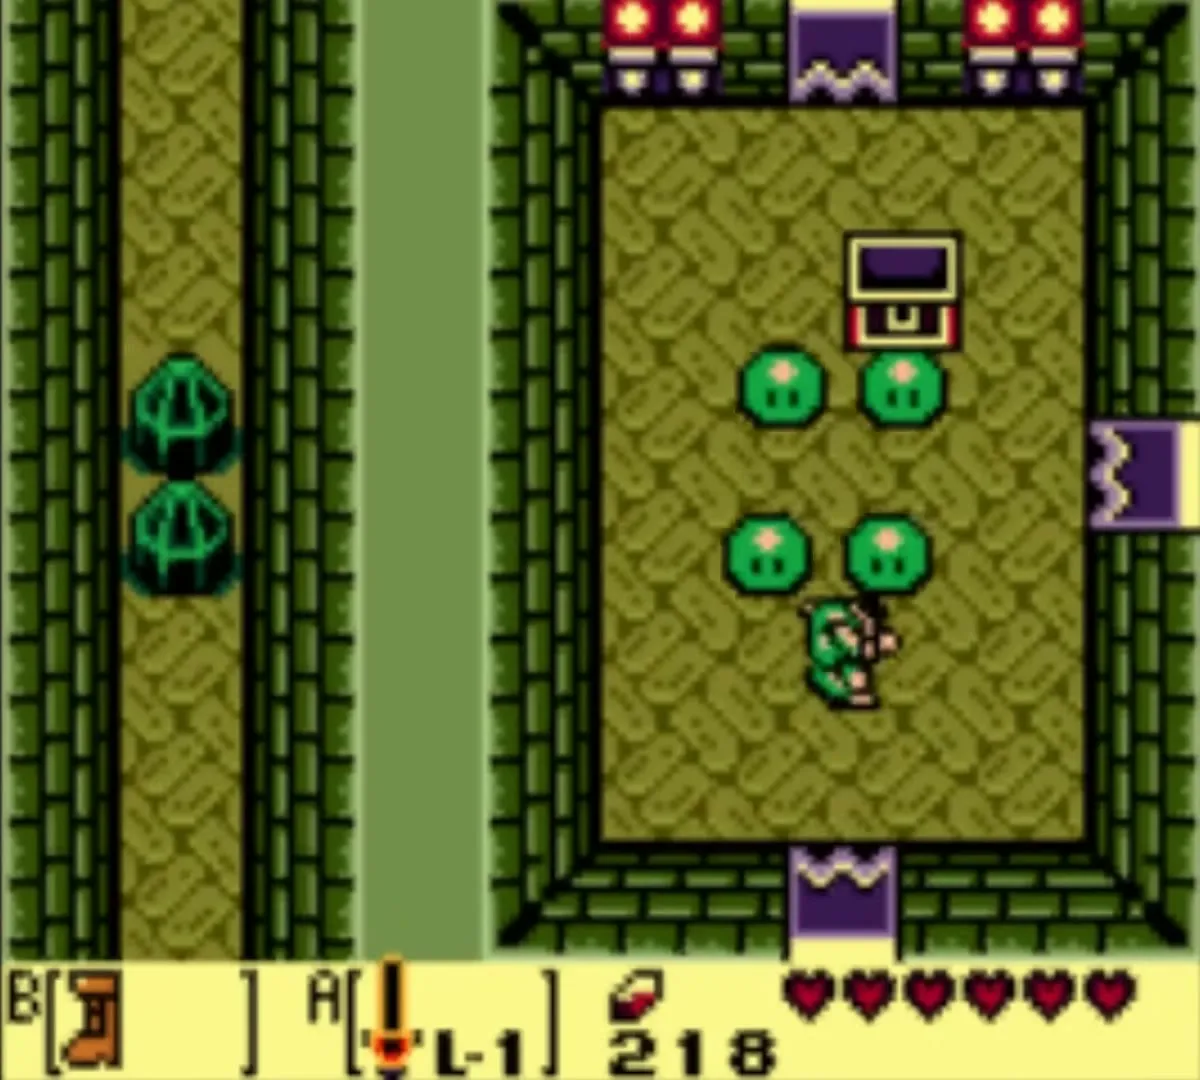
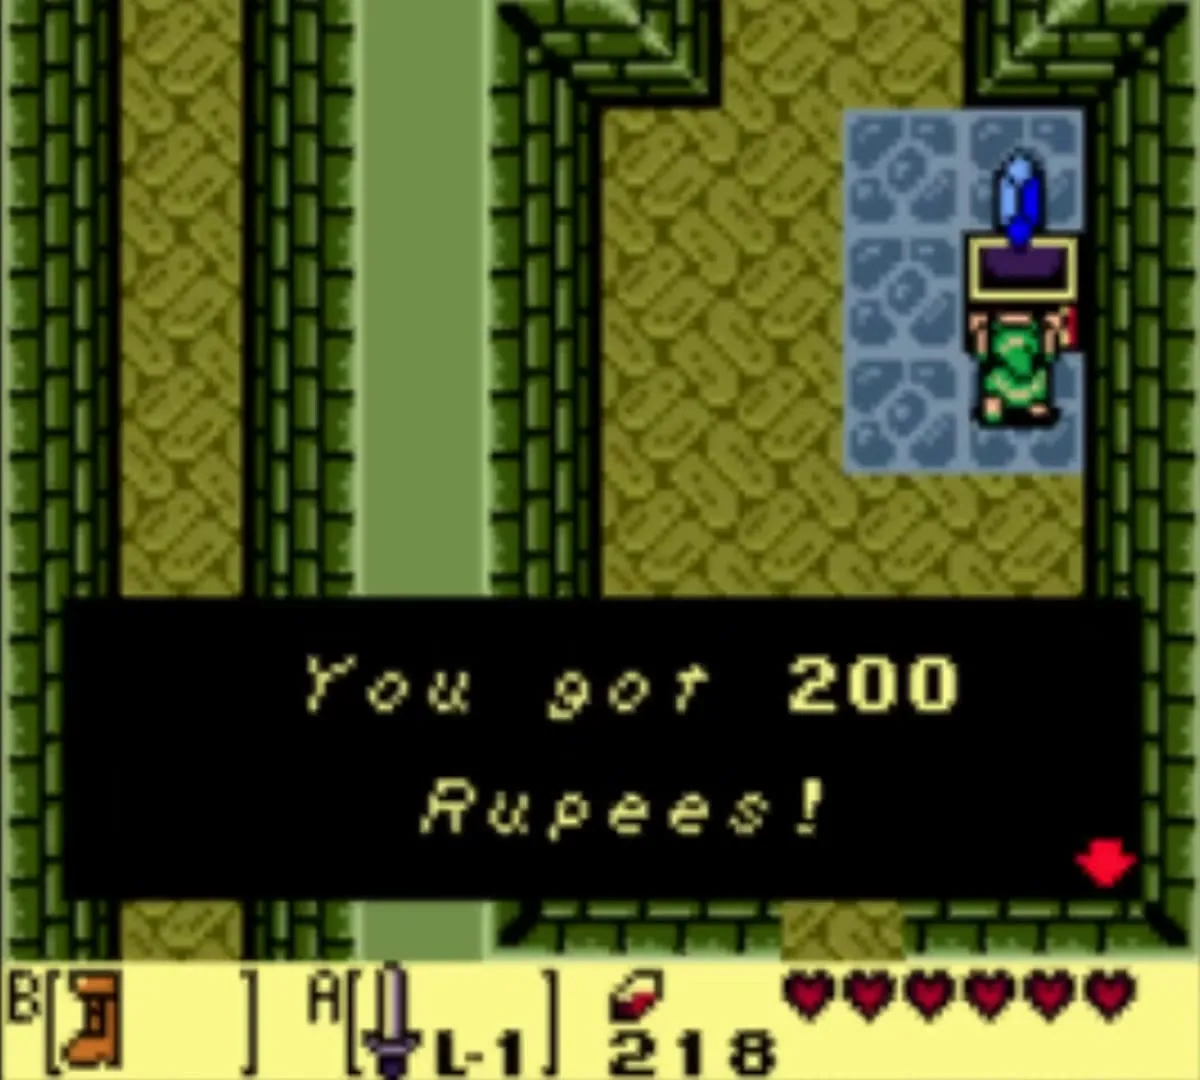
Warp back to the mini-boss room and go east. A Vacuum Mouth pushes you away from a chest. Dash into it with your Sword to defeat it and open the chest for a key. For a 200 rupee chest, return to the entrance room, take the west path, dash through the crystals and climb north. After the Red Zol, go to the Bombite room, then northeast, defeat the four Green Zols and the two Stalfos, and open the chest.
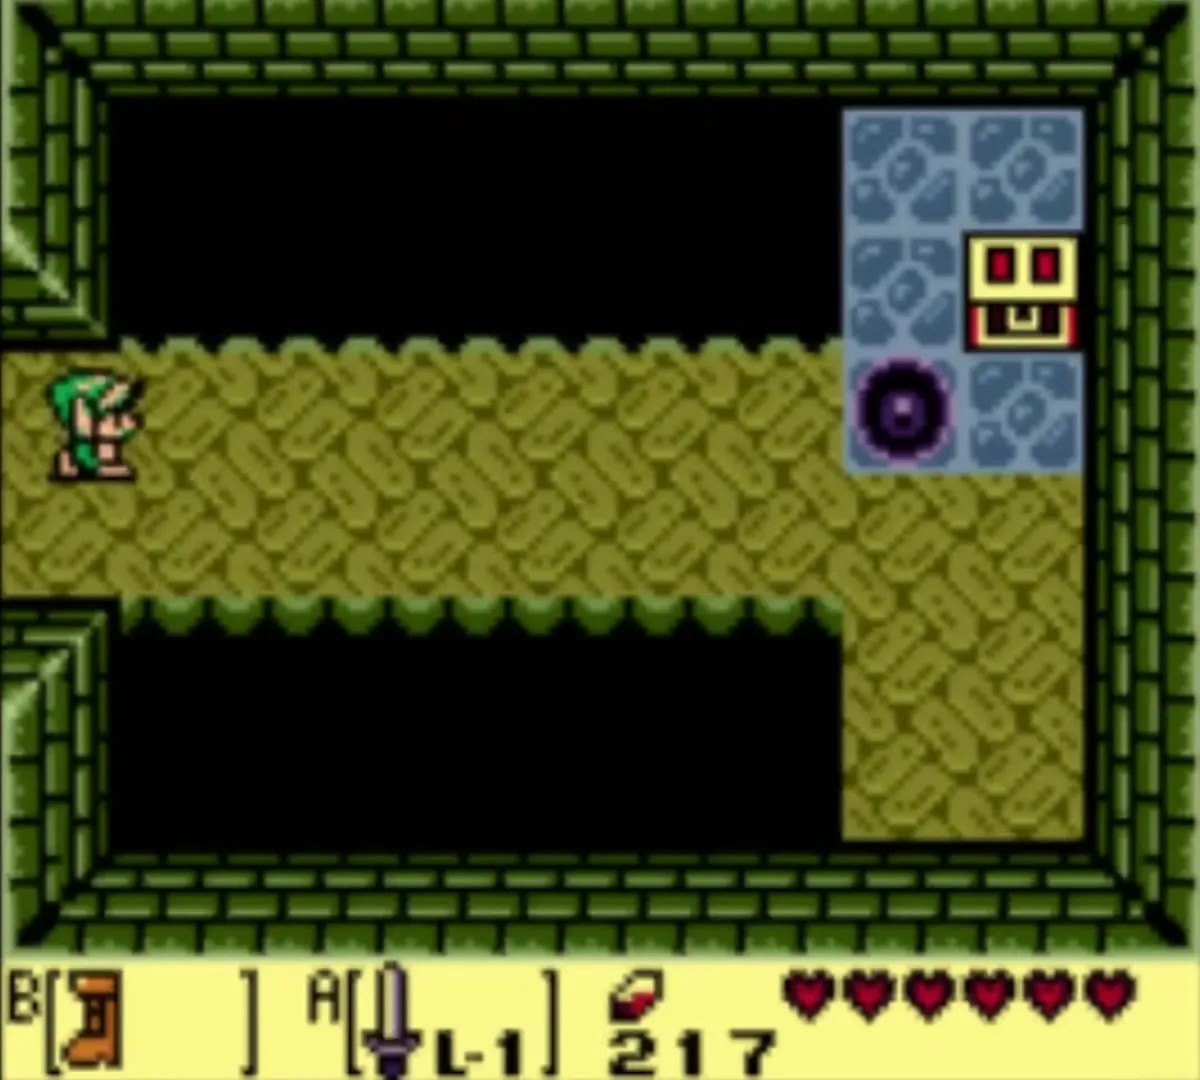
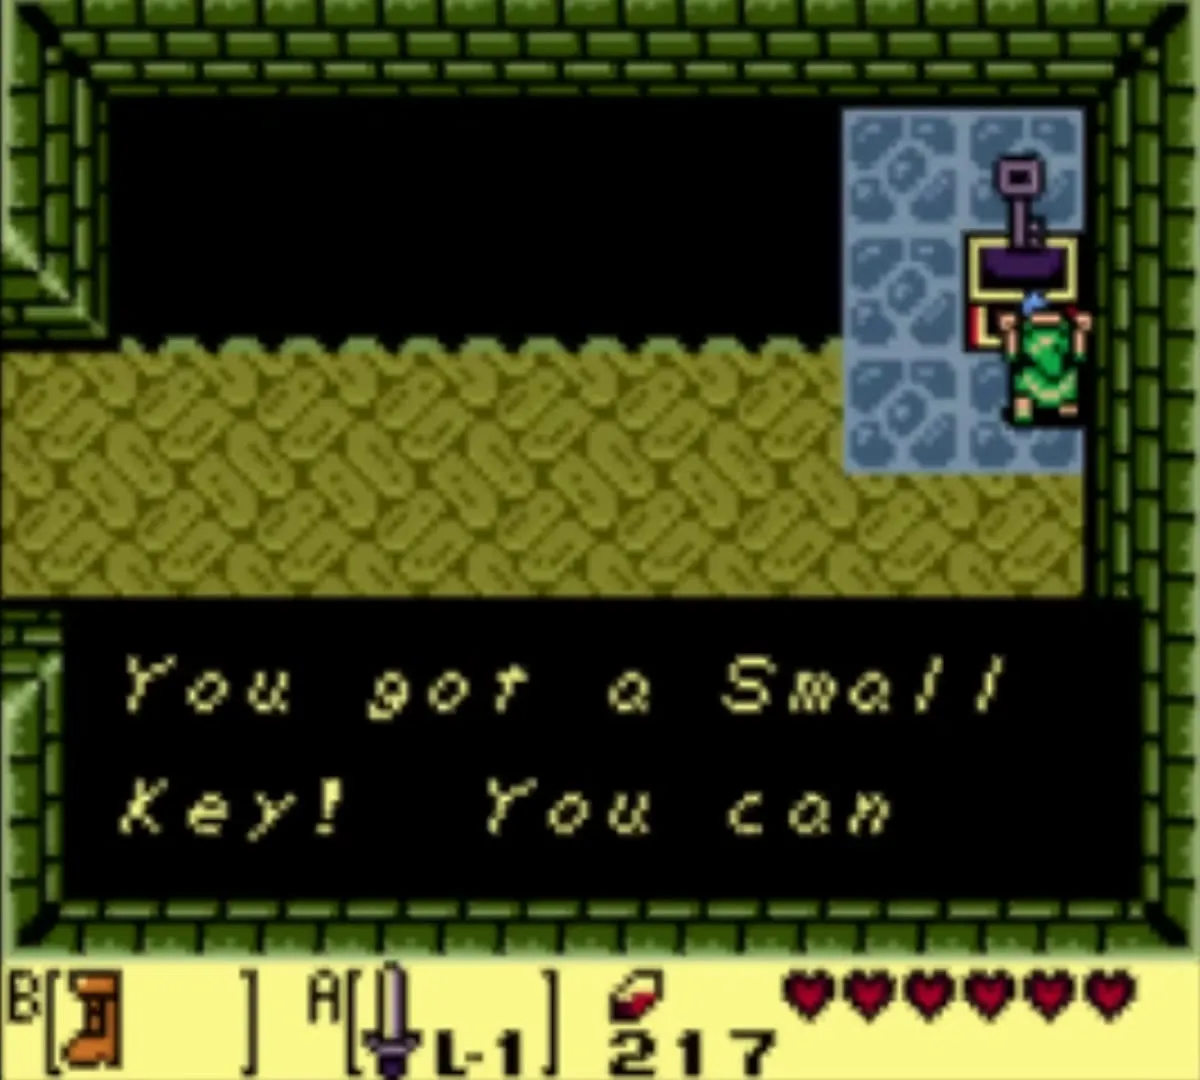
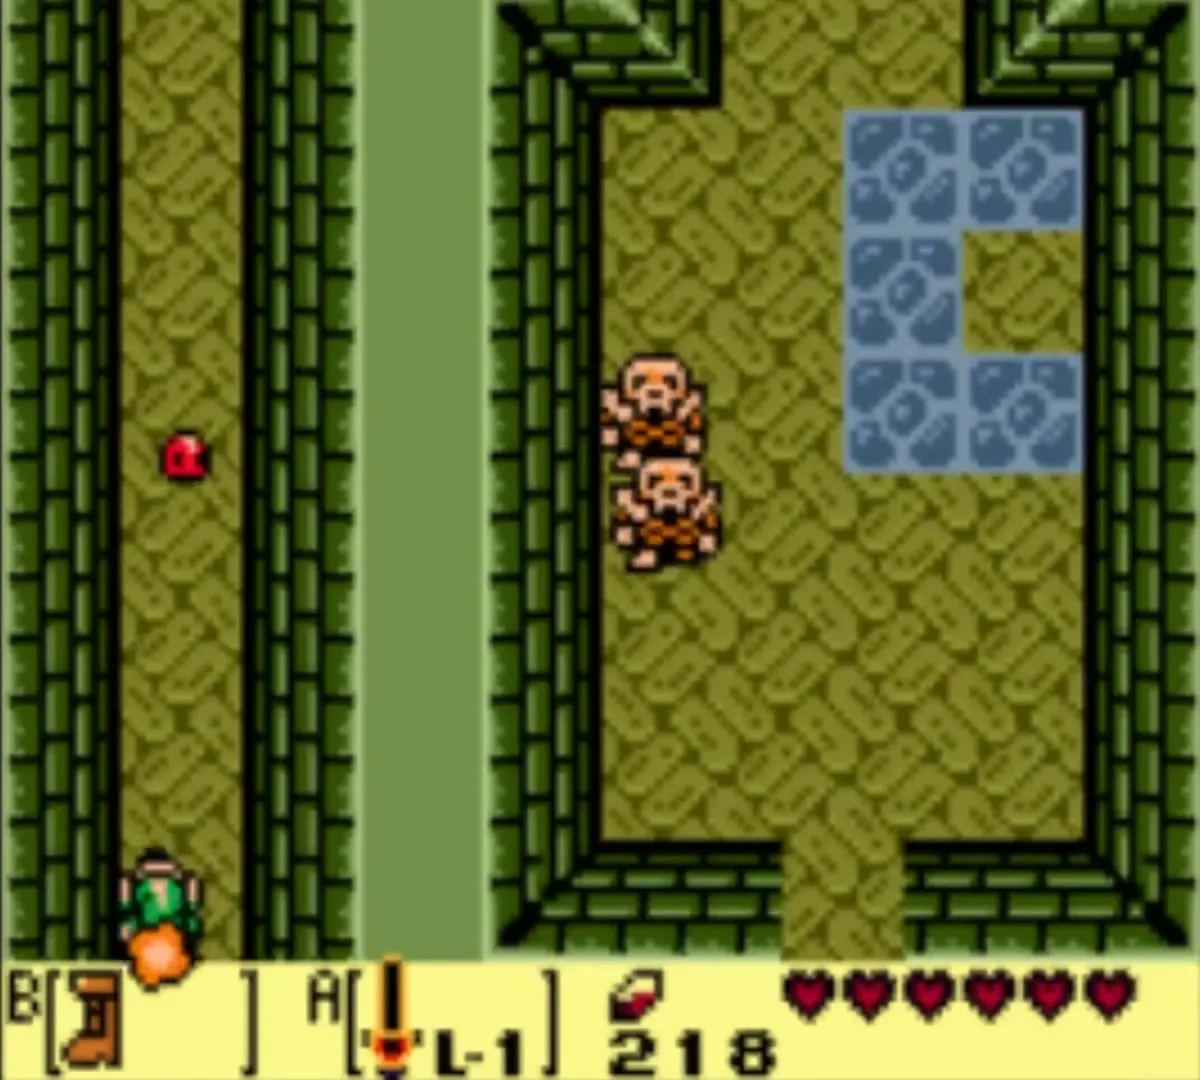
For the Compass, warp to the mini-boss room and go south, east, north, east and north into a room of three Bombites. Hit them to light their fuses and let them explode, clear the hidden Green Zols and leave west. The chest holds the Compass. Bomb the west wall of that room, walk through and defeat three Bombites for another small key.
Nightmare’s Key
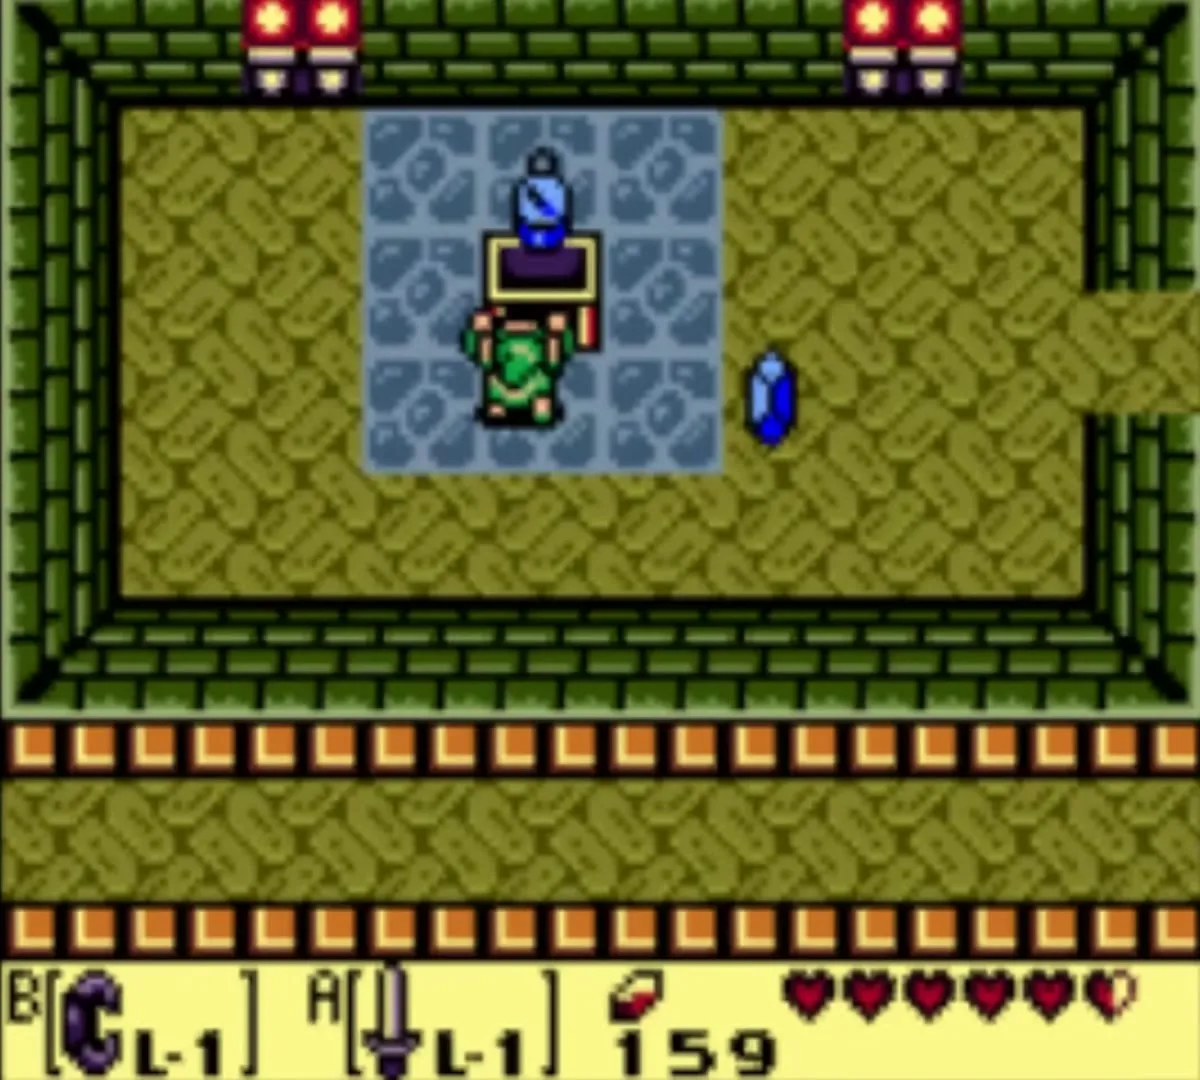
Go back to the owl statue room with the arrow pointing at the south wall and bomb the wall. Dash with the Boots, then jump the wide gap with the Roc’s Feather. Climb the stairs and go north. Dash over the hole to the chest. It holds the Nightmare’s Key.
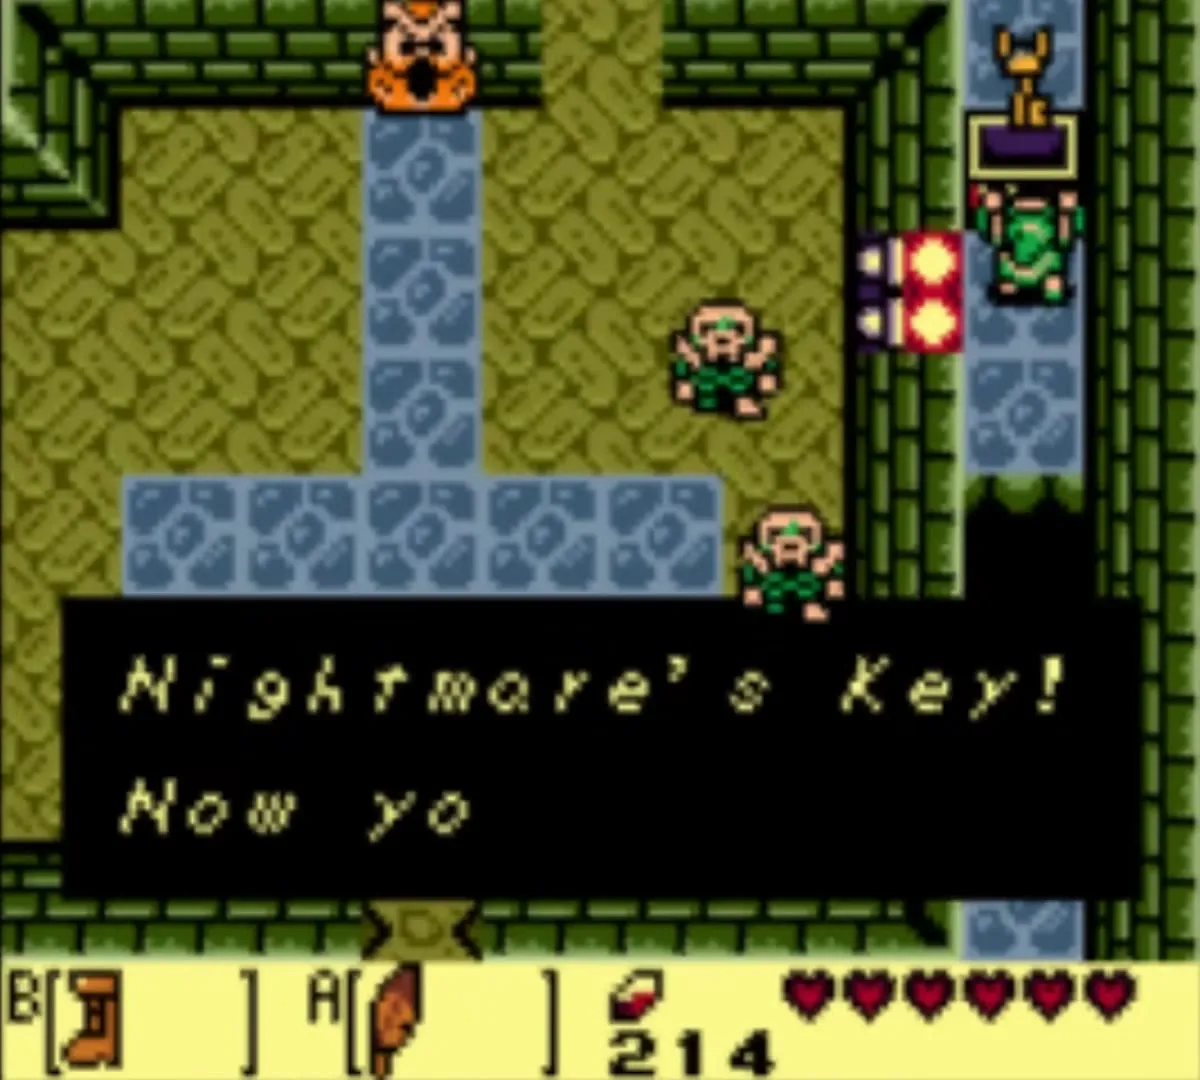
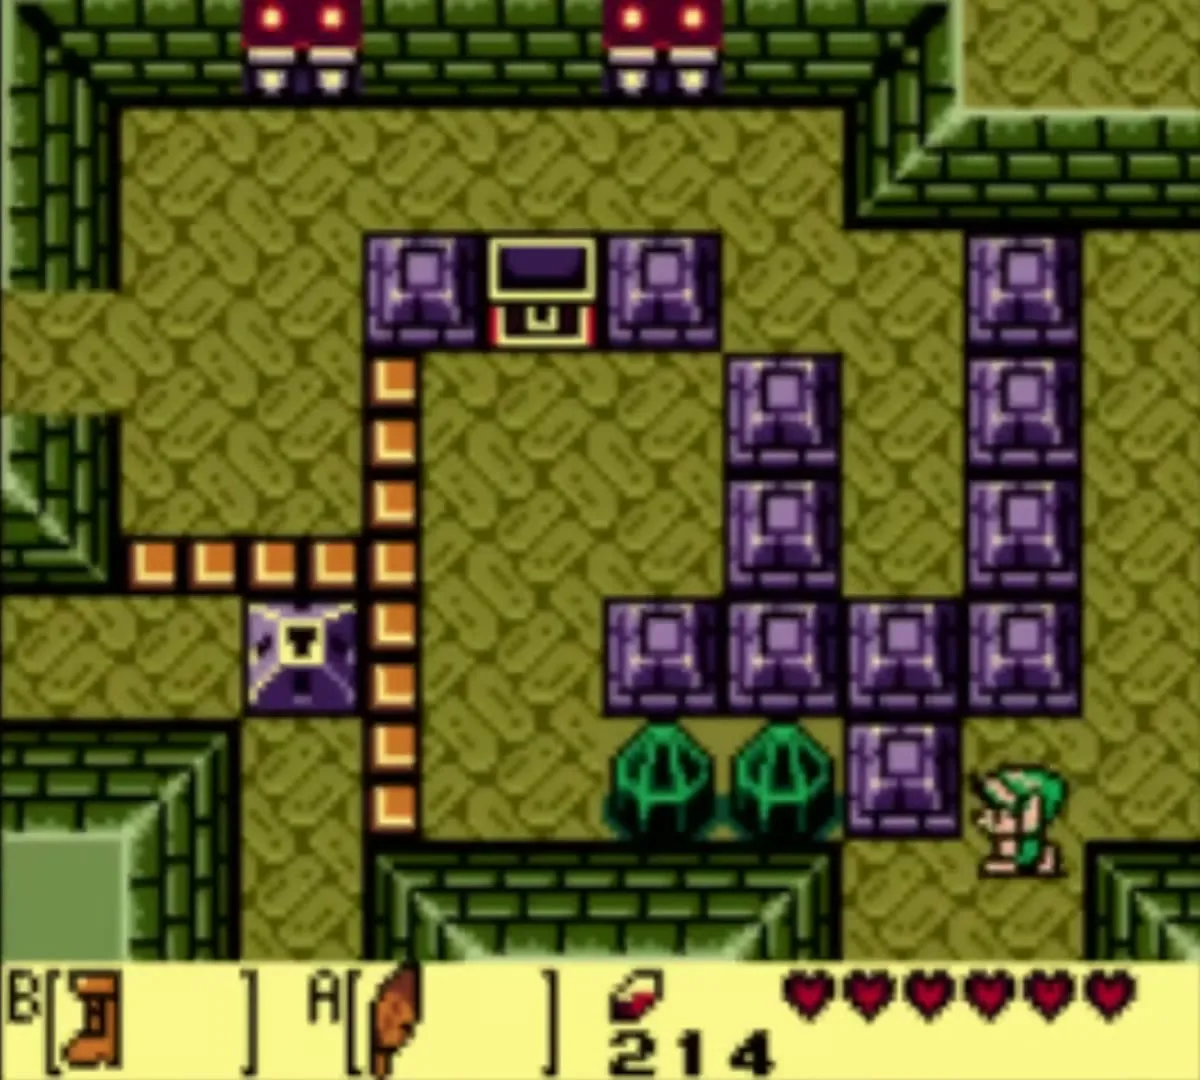
The way to the boss
Return to the room with the group of Red Zols that move together. Unlock the key blocks on the path with your keys and go down the stairs. Dash into the Thwomp to make it fall, go east, and dash and jump to reach the ladder on the far side. Take the ladder down and dash at the Pairodds in the next room before they teleport. The door opens when both are gone.
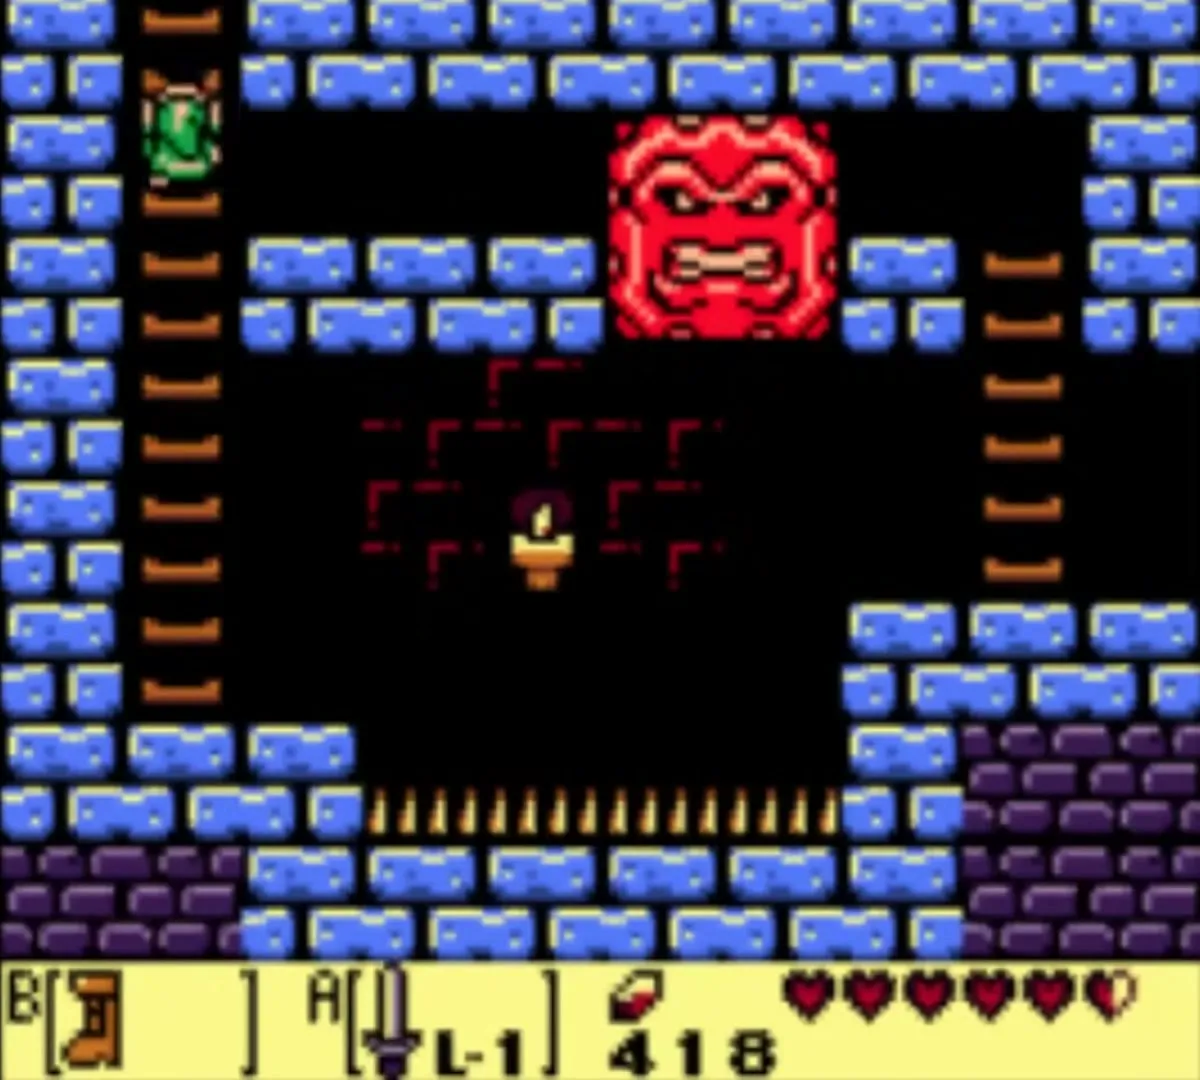
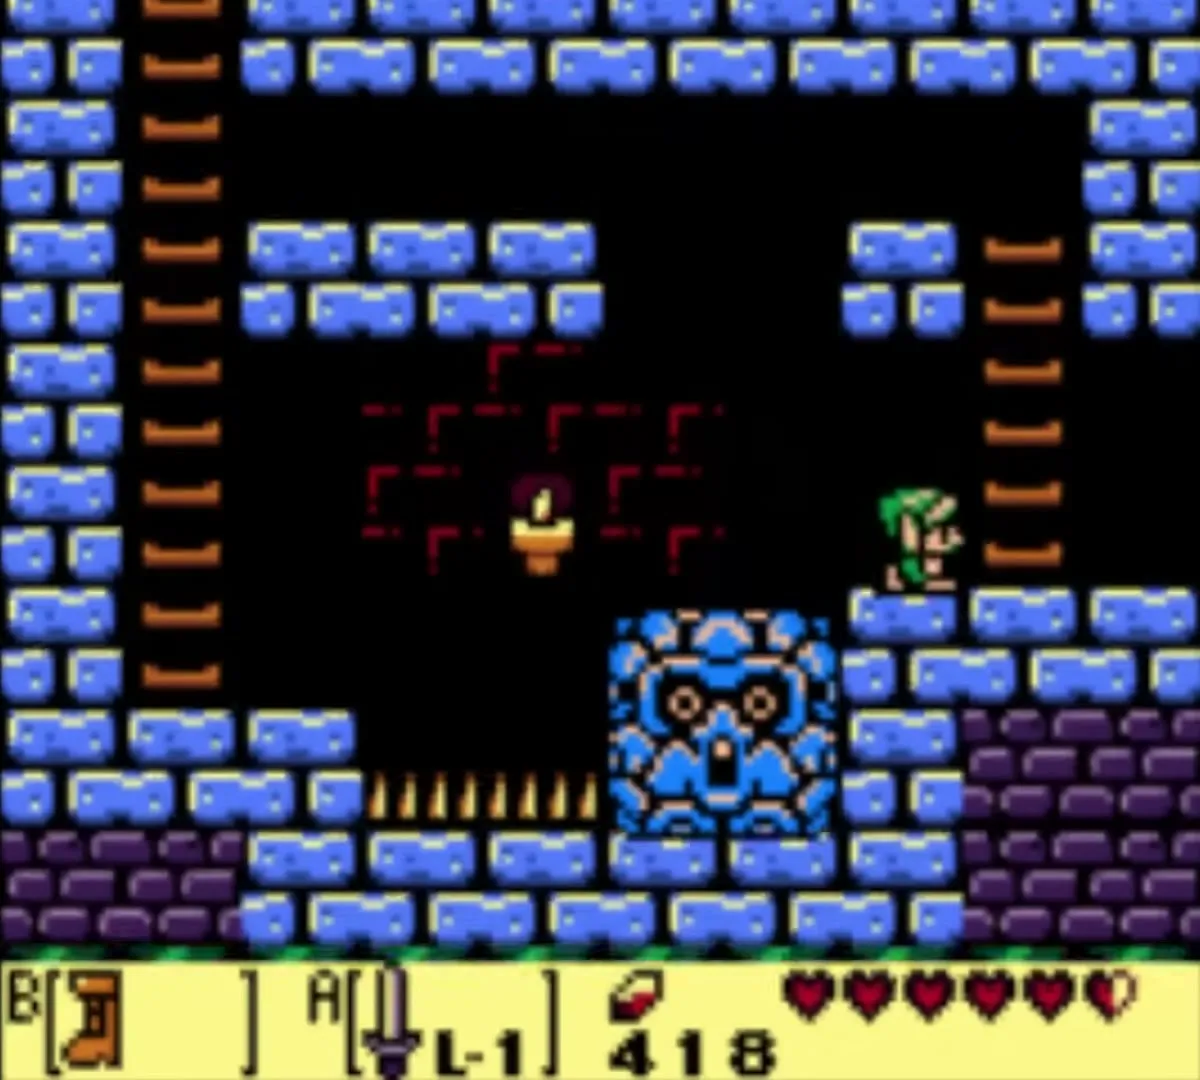
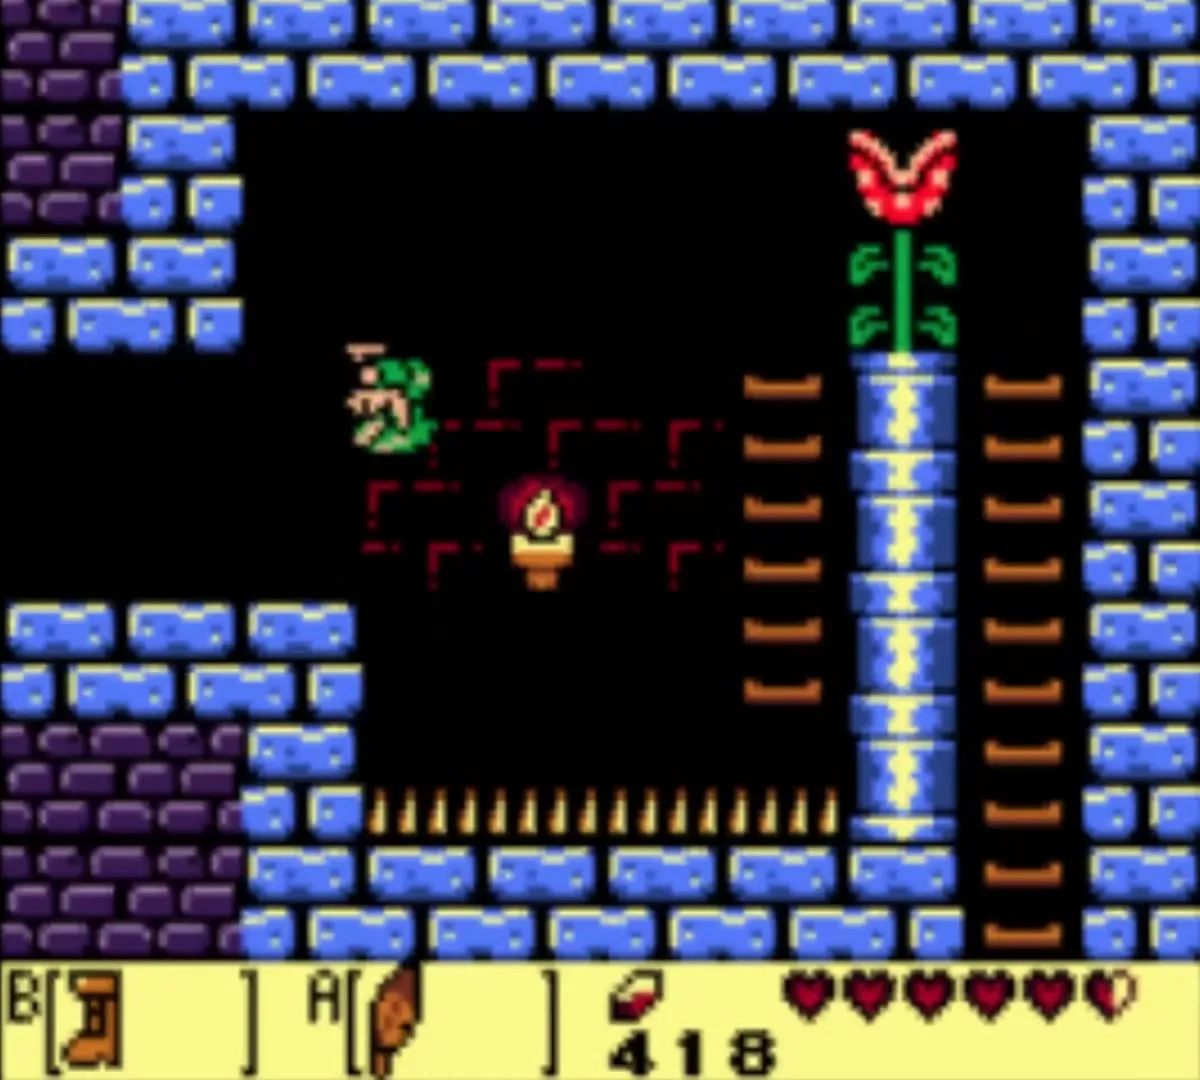
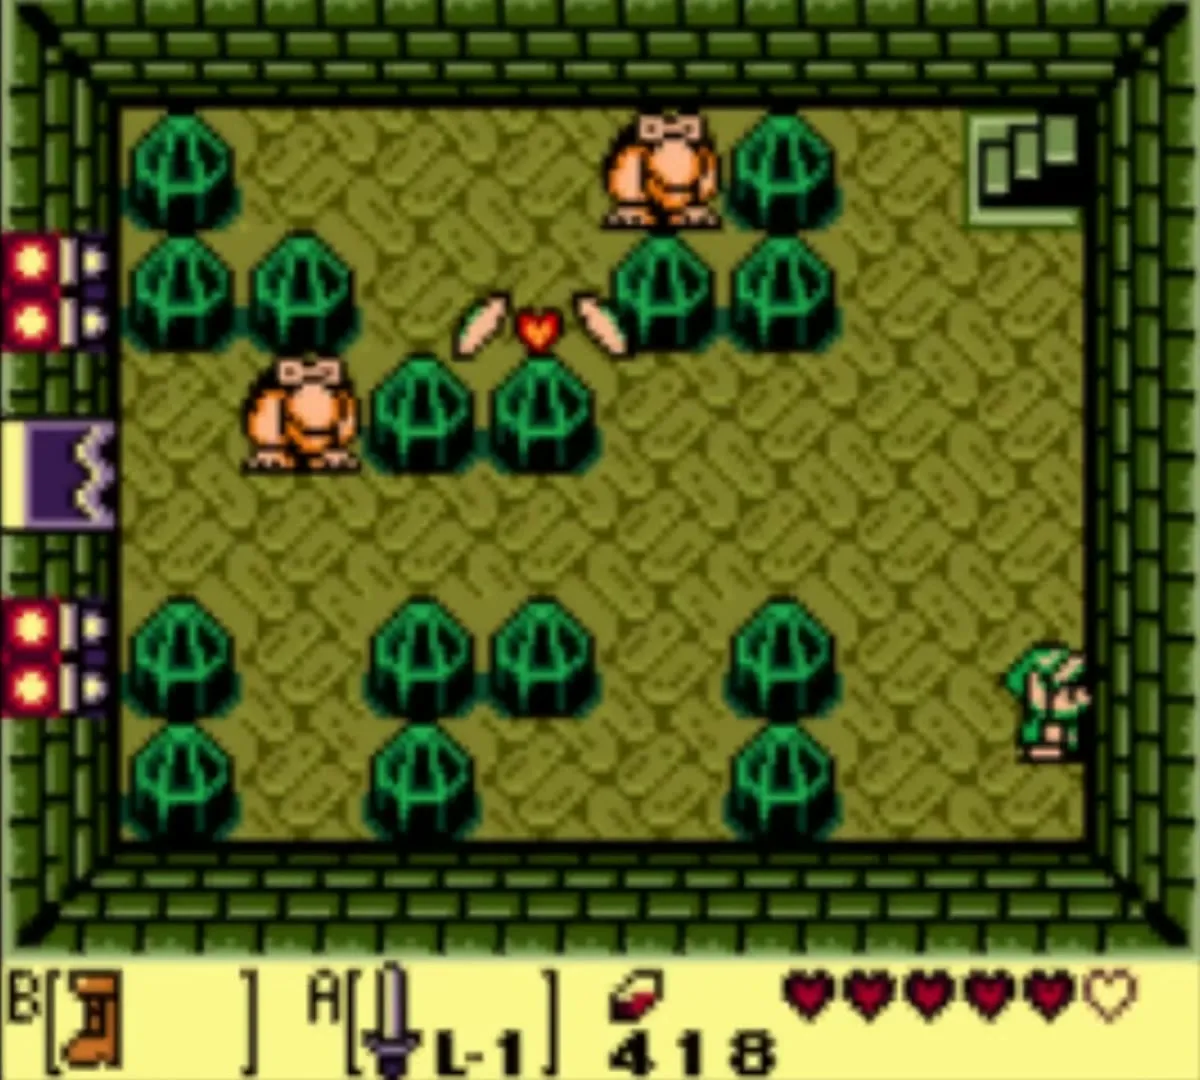
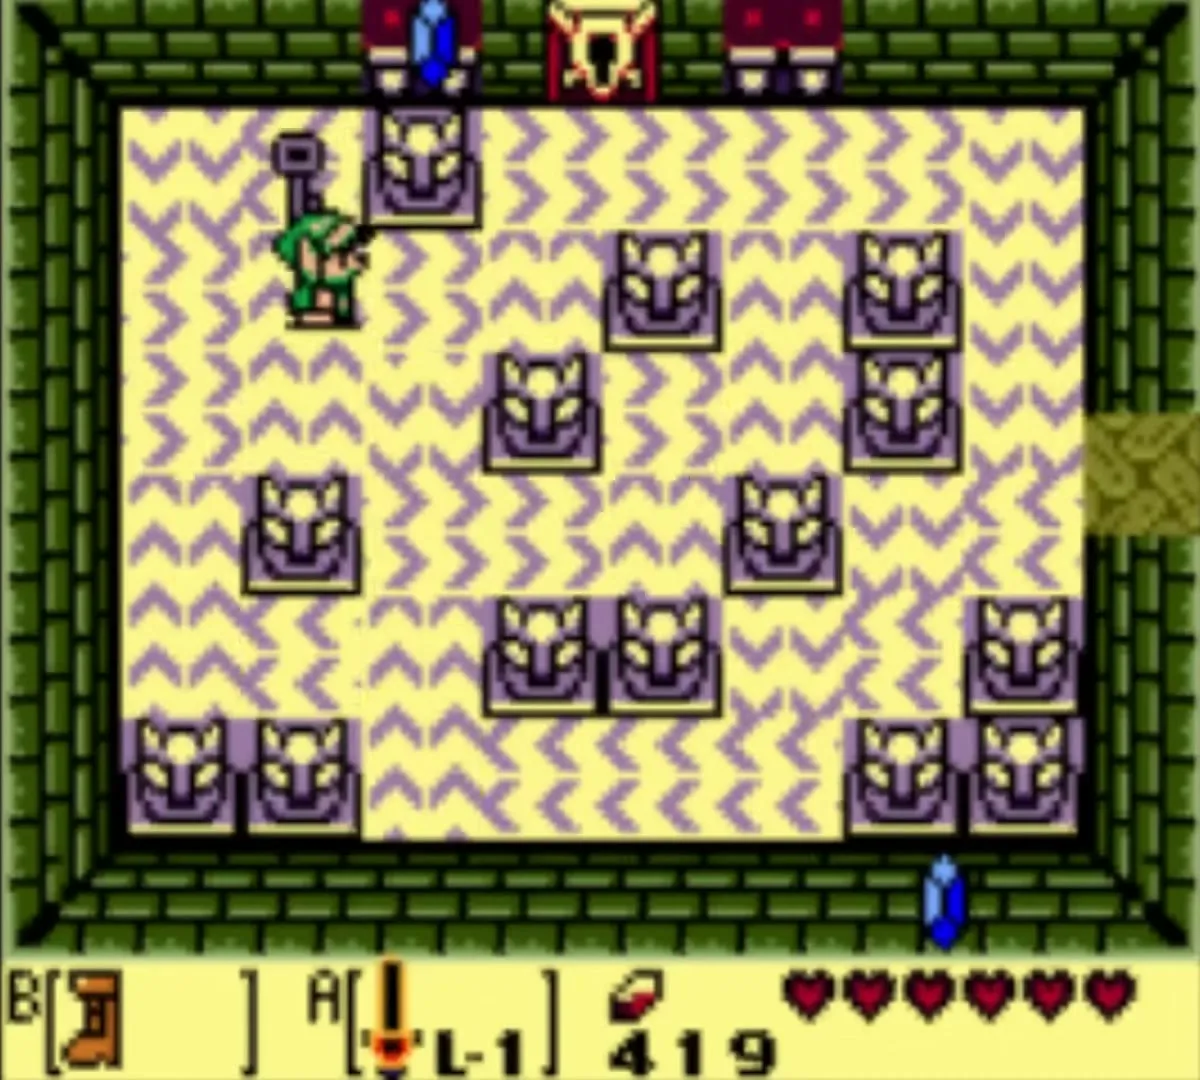
Ride the conveyor belts, dodging the Keese on the statues. Beat them all and a key drops. You do not need it. Unlock the Nightmare’s door and step in.
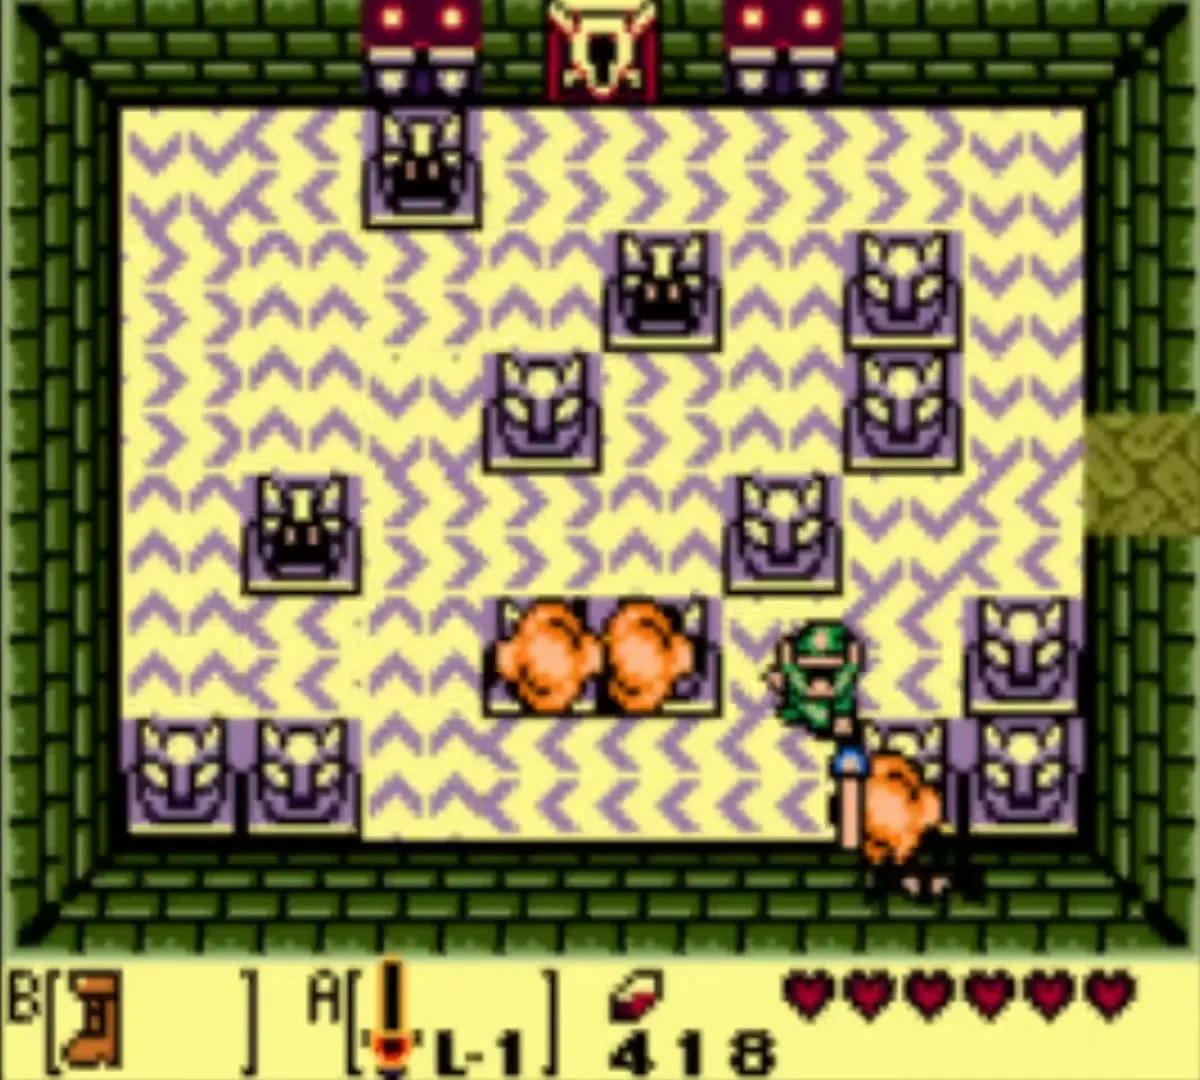
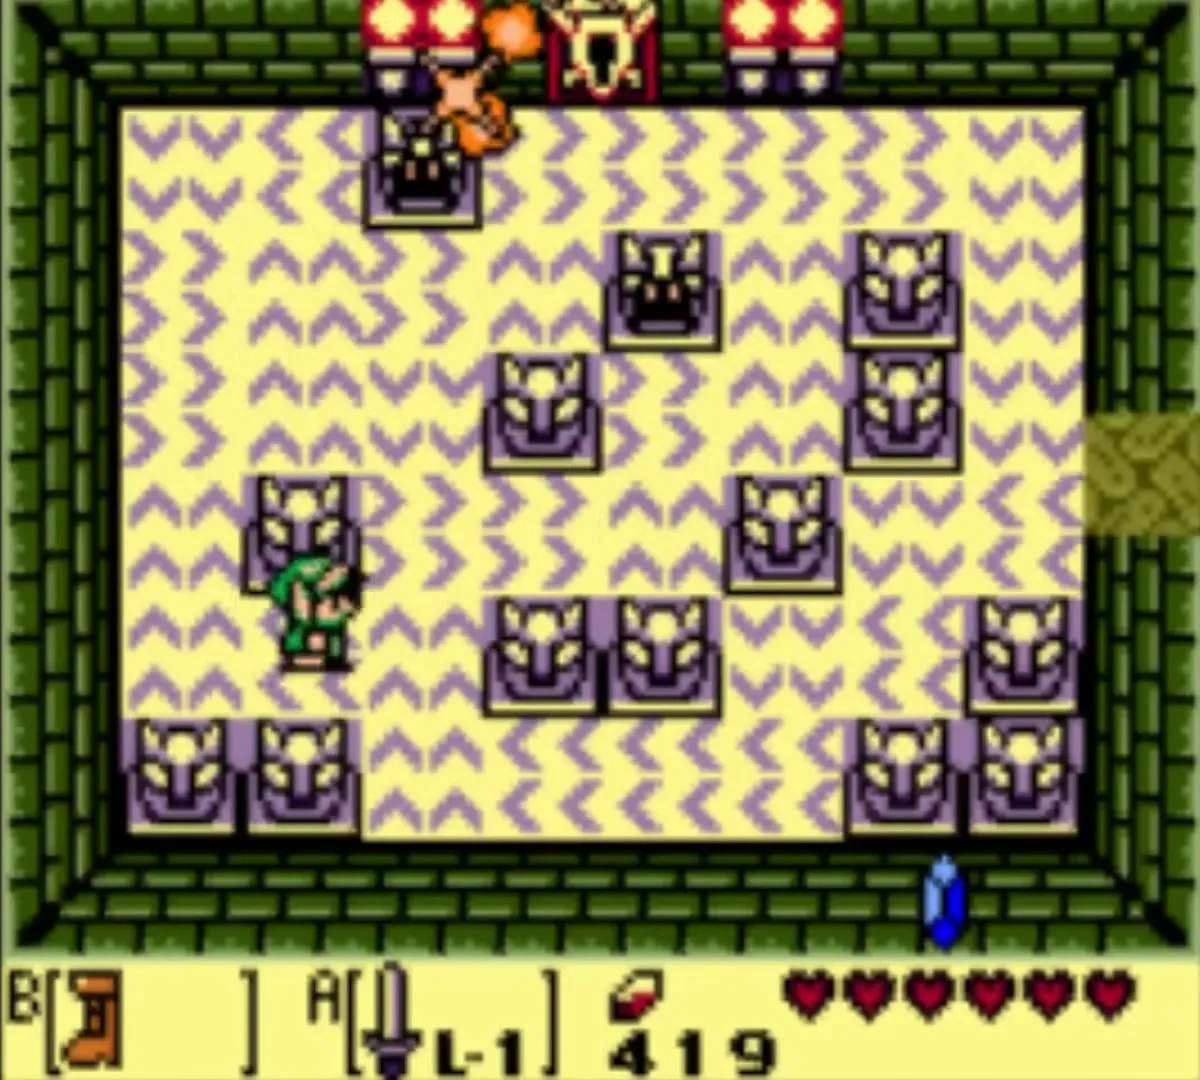
Slime Eye boss
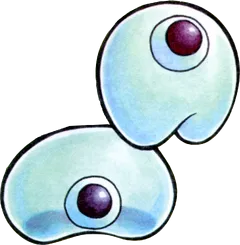
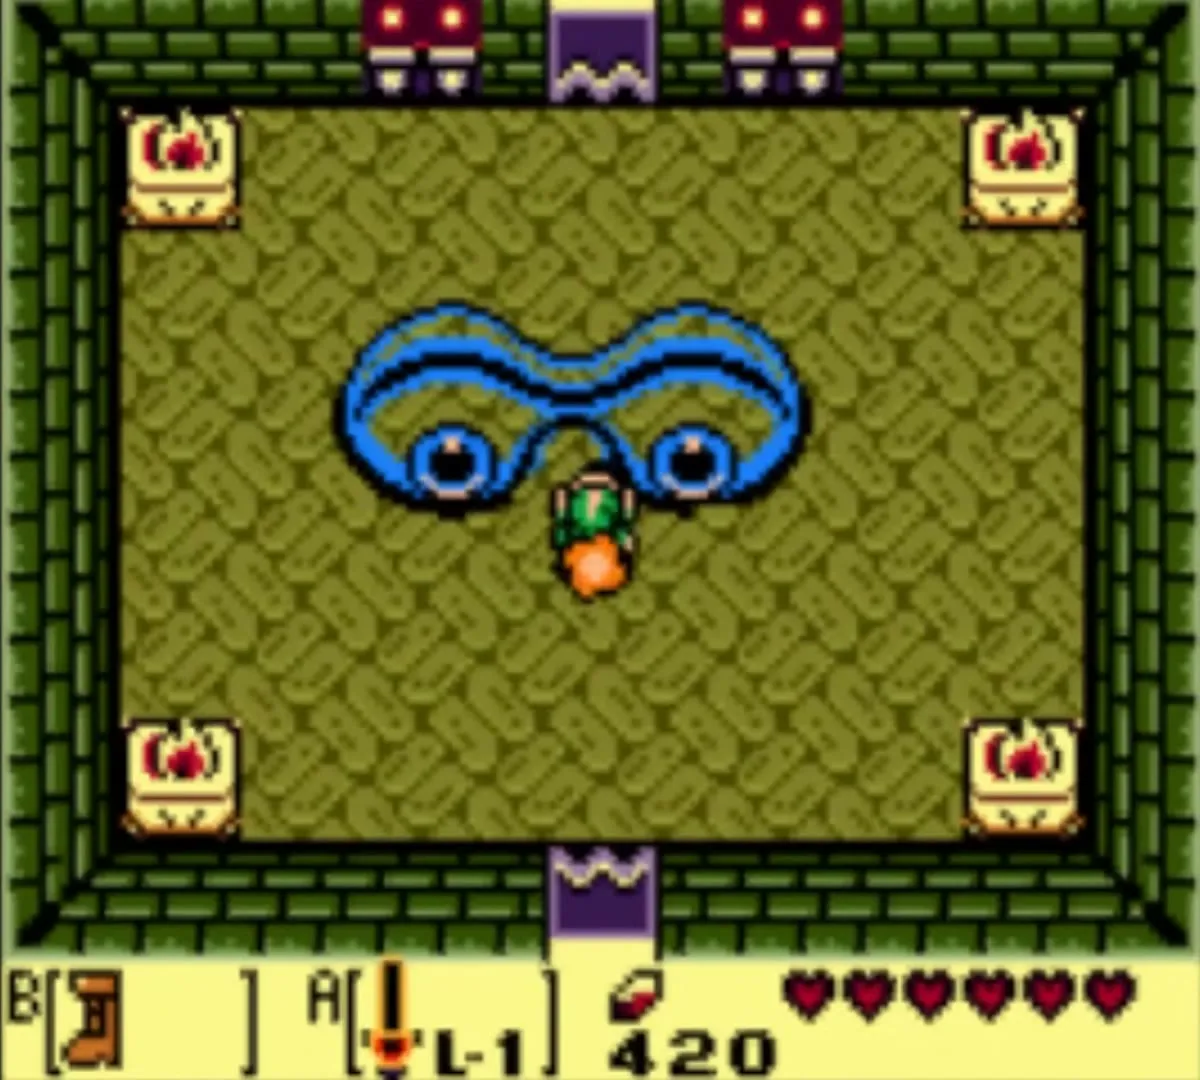
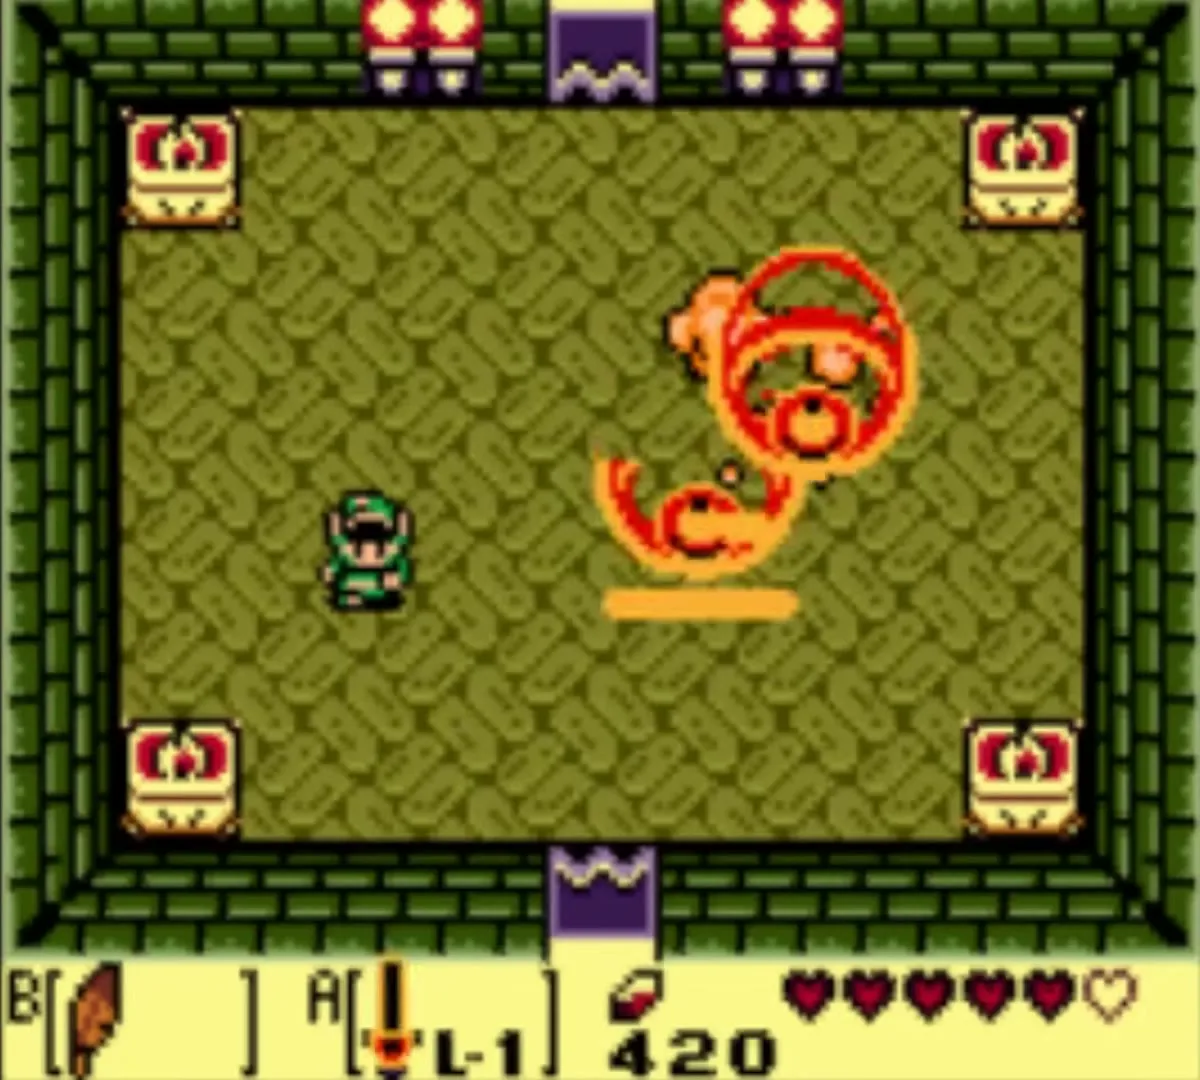
Slime Eye hangs from the ceiling. Dash into a wall to shake it down, kill any Zols it drops, and hit the eye until it splits. Dash through the middle of the blob to divide it in two, then strike each half. After each hit the pieces jump and land with a shock that stuns you, so jump with the Roc’s Feather just before they land. Keep hitting until both halves are gone.
Heart Container and the Sea Lily’s Bell
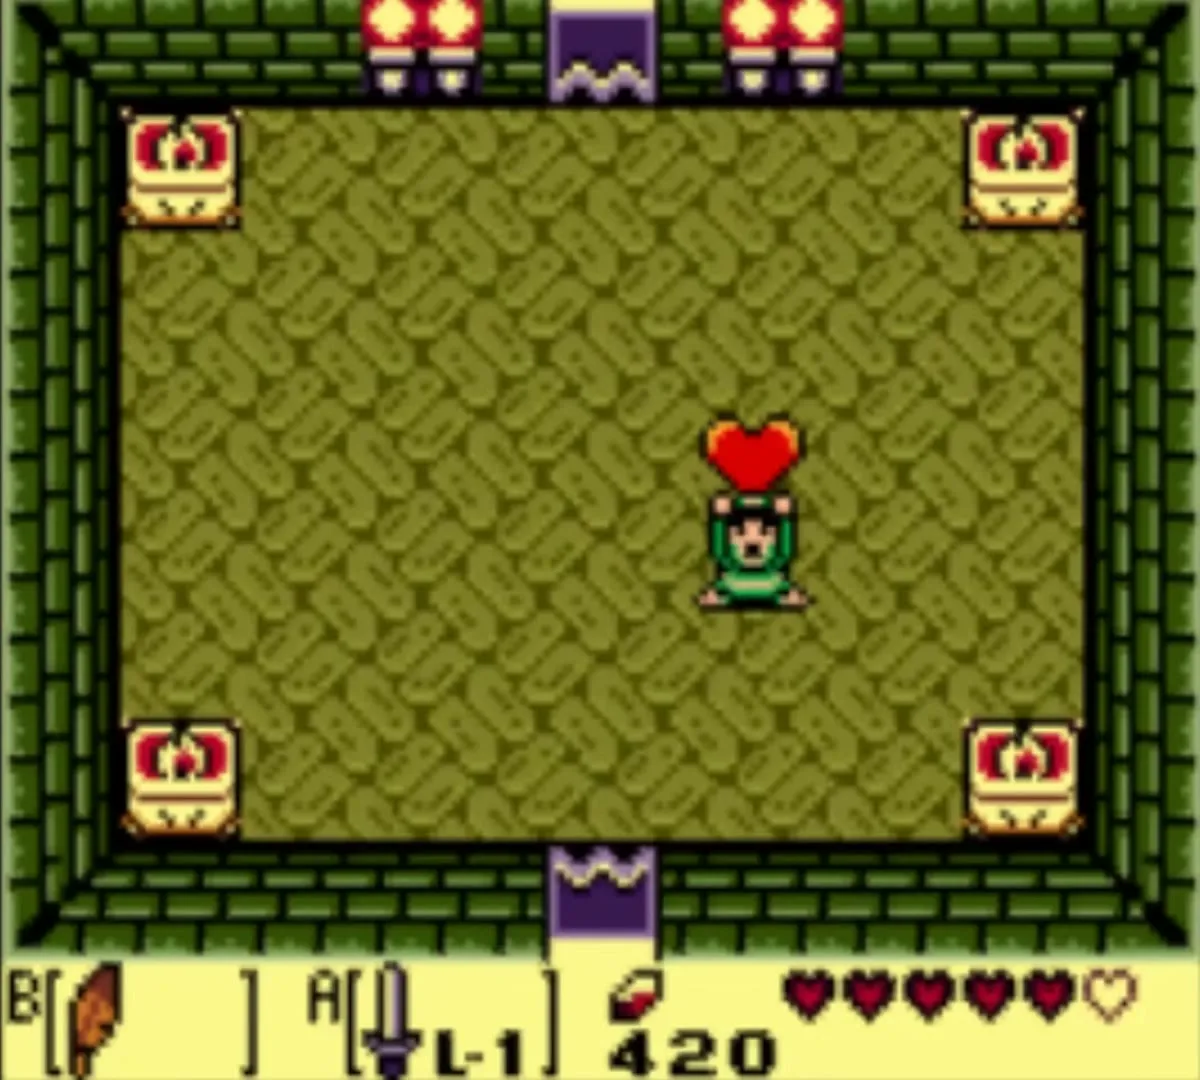
Take the Heart Container the boss leaves, which adds one heart. Go north through the door to the chamber beyond and take the Sea Lily’s Bell, your third Instrument.
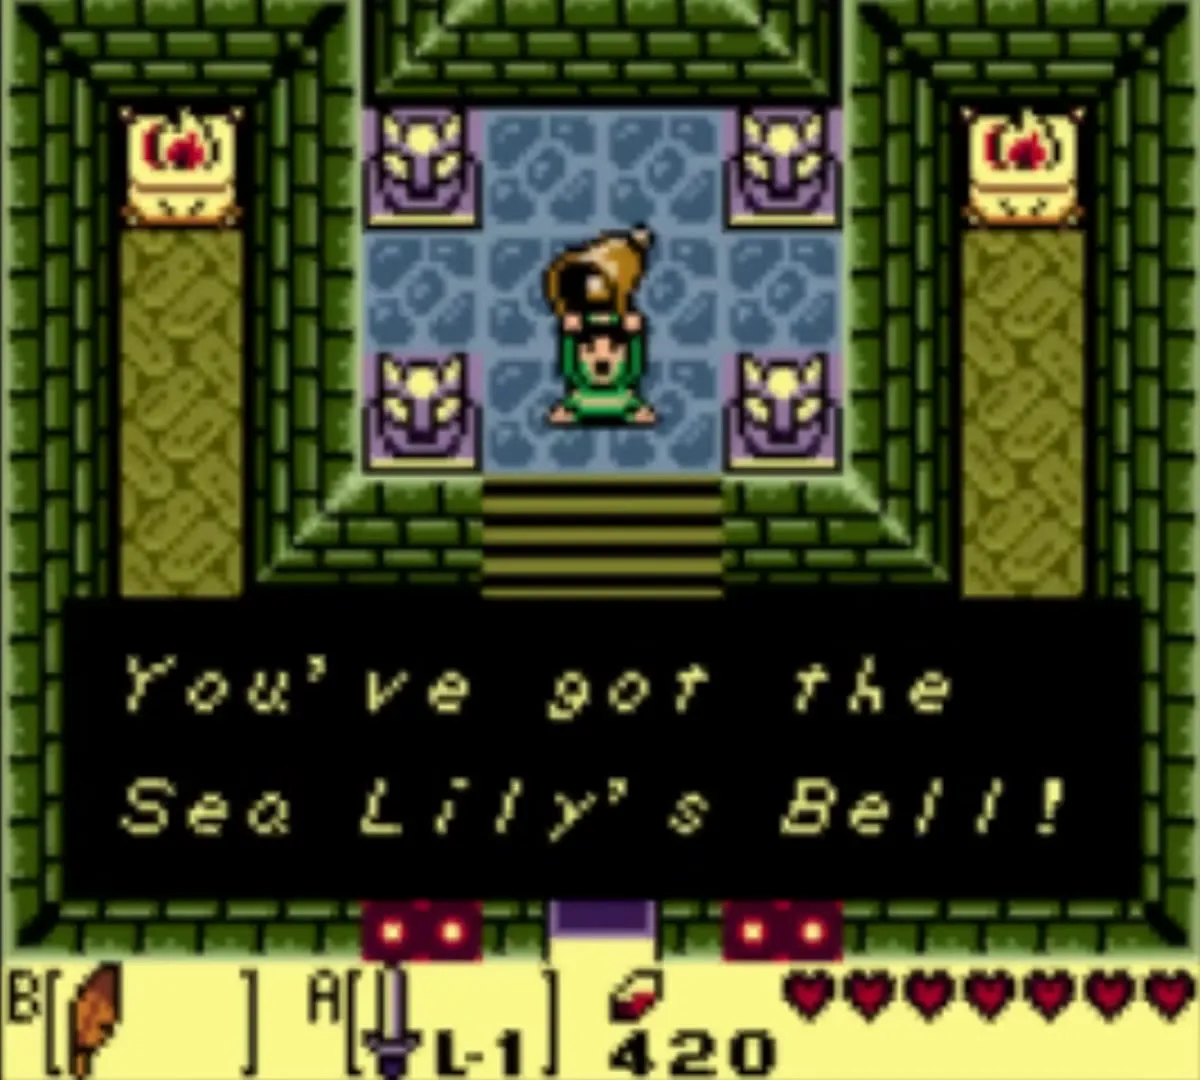
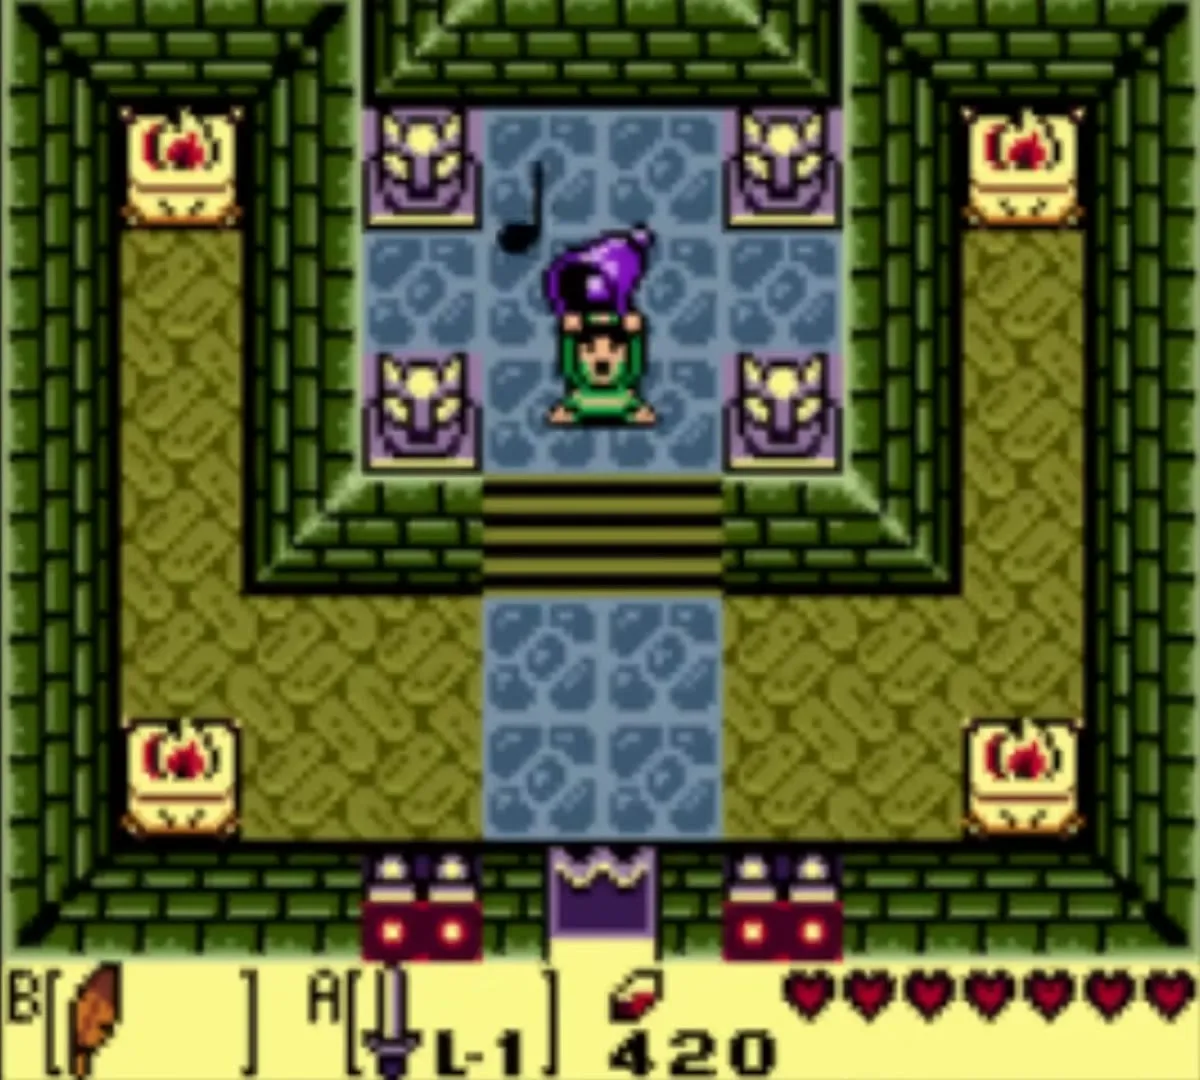
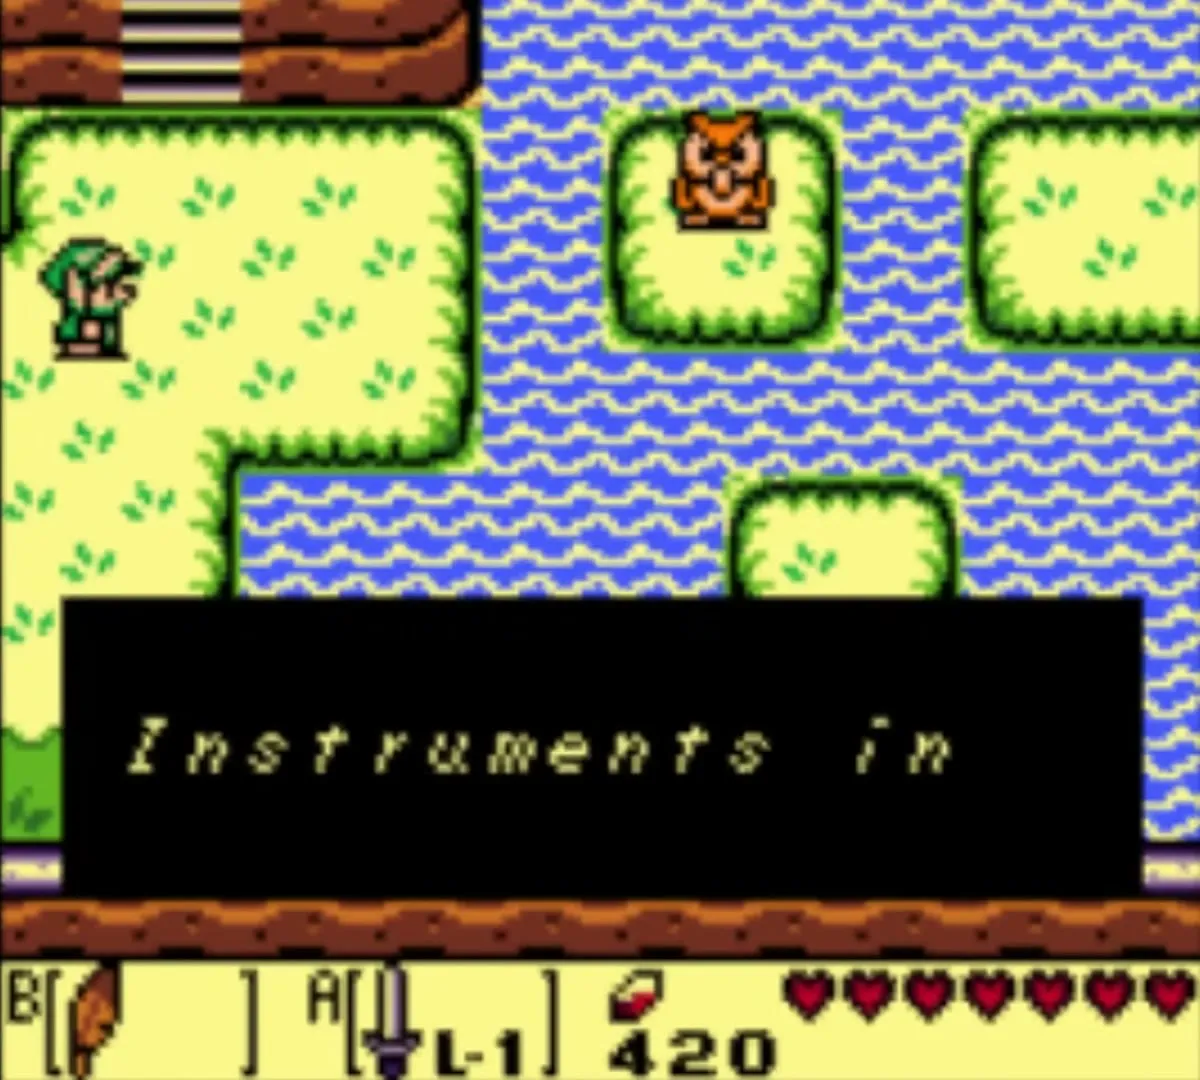
A hint follows pointing you to a waterfall in the next Instrument’s region. Outside the dungeon the owl tells you to go east, towards Yarna Desert.
Returns and secrets nearby
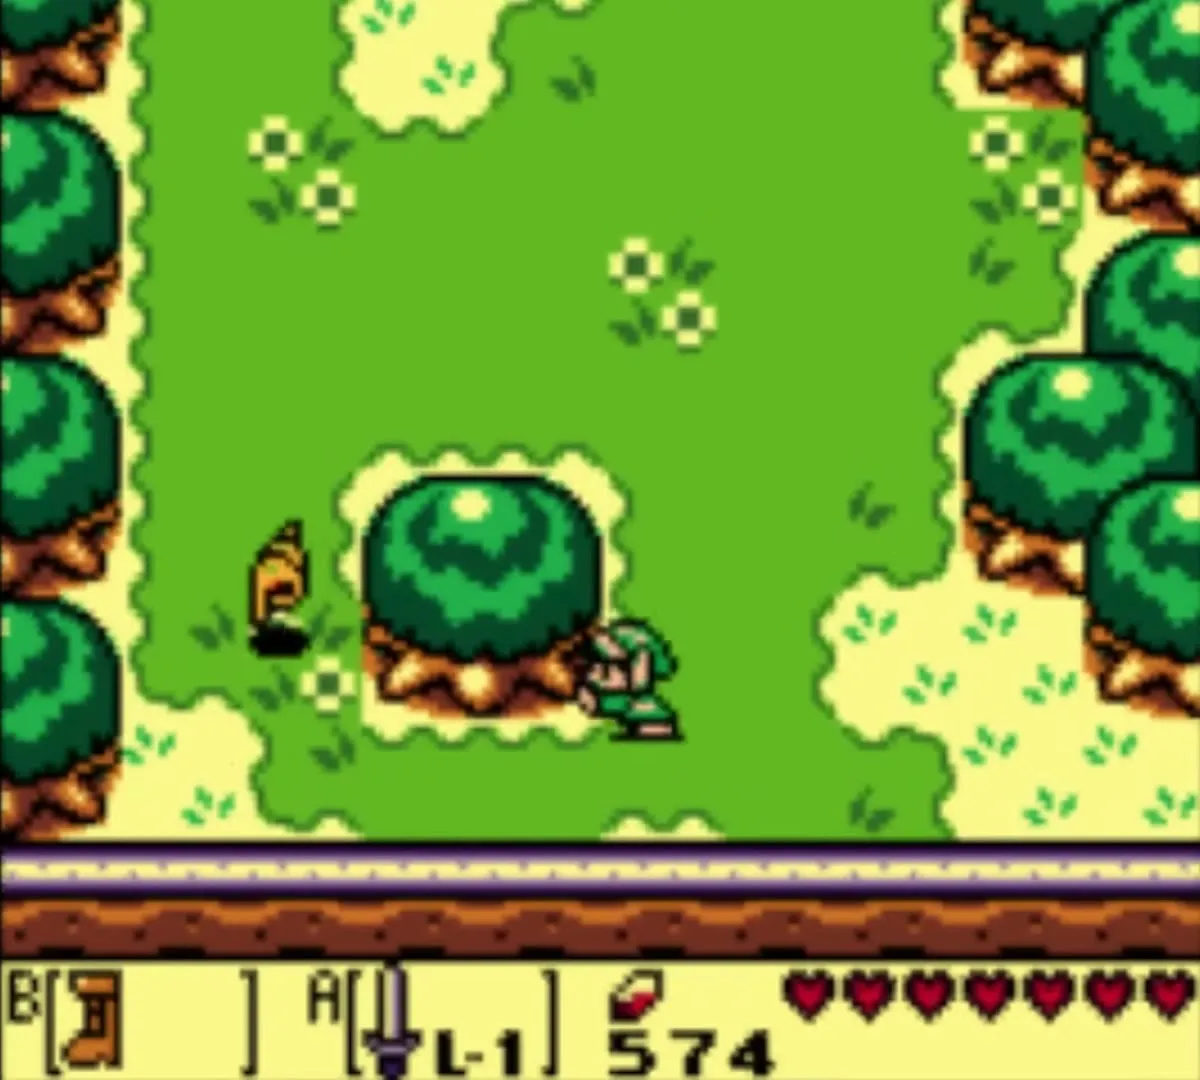
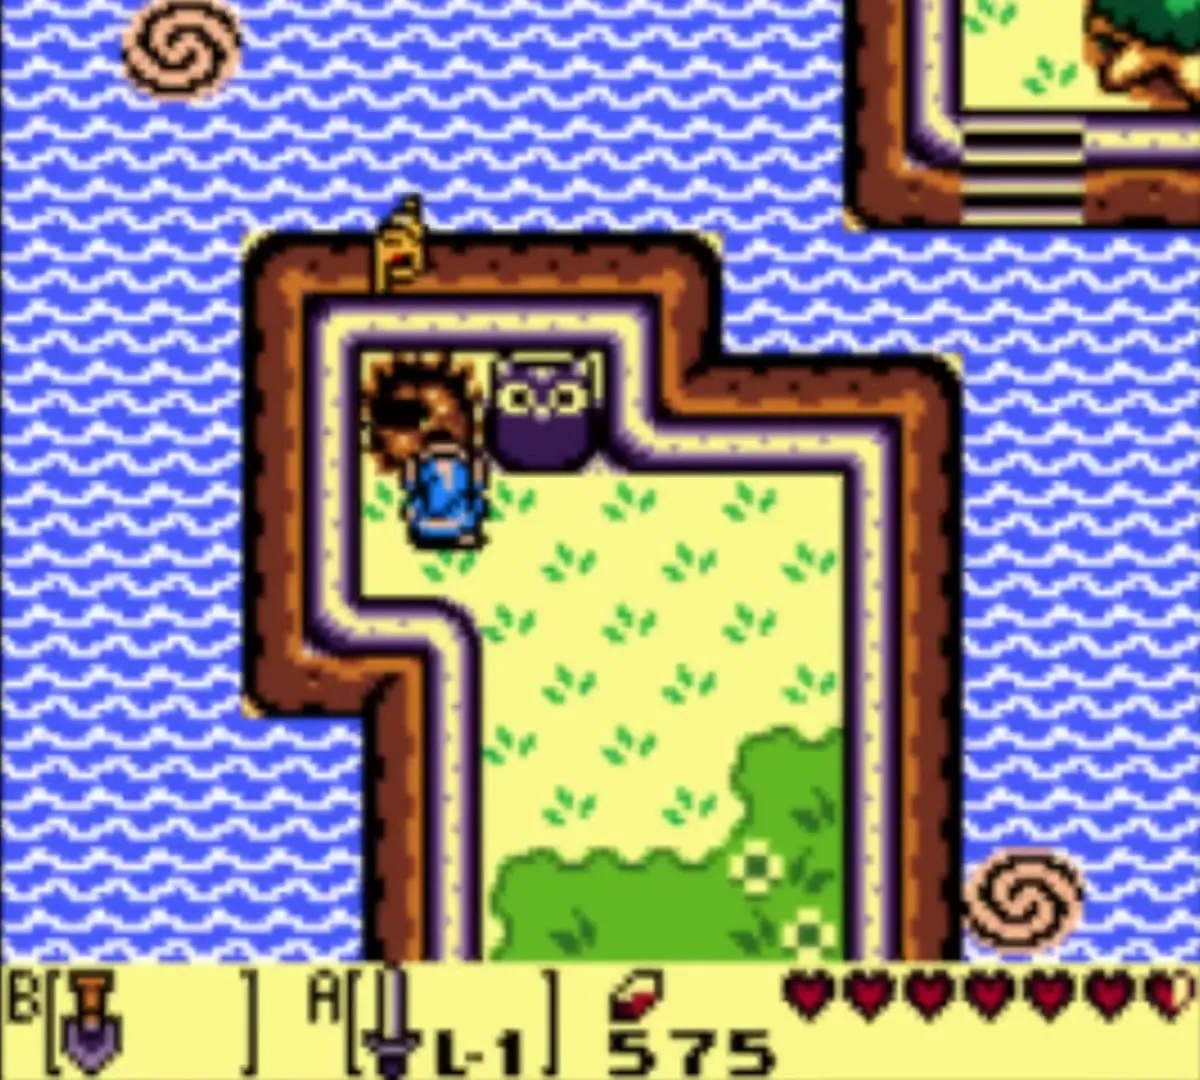
The Boots, Shovel and Power Bracelet open several more shells around the prairie. A boulder in the round-rock field south of the Kanalet entrance covers a shell that needs the Power Bracelet. A cave with a block puzzle and an owl statue near the donut stones hides a dig spot that needs bombs, the Bracelet and the Shovel. The moat Piece of Heart around Kanalet Castle and the island shell north of Key Cavern both need the Flippers, which you win in the next chapter. The shell beyond the castle’s drawbridge needs the Flying Rooster, which comes much later. These shells are all listed on the Secret Seashells page.
Chapter checklist
| Collectible | Type | Where |
|---|---|---|
 Shovel | Shop item | Town Tool Shop, Mabe Village, 200 rupees |
| Yoshi Doll | Trading item | Trendy Game, Mabe Village |
| Ribbon | Trading item | Mamasha, for the Yoshi Doll |
 Dog Food | Trading item | CiaoCiao, for the Ribbon |
 Bananas | Trading item | Sale in Toronbo Shores, for the Dog Food |
| Prairie cave chest | Rupees | 50 rupees in the small cave north of the rocks east of Mabe Village |
| Mad Batter upgrade | Upgrade | Altar in the Mysterious Forest; one item raised per altar (Power Bracelet, Magic Powder) |
| Stick | Trading item | Kiki’s bridge, for the Bananas |
| Witch’s Hut dig | Secret Seashell | Southwest of the Witch’s Hut; Power Bracelet, Shovel |
| Bushes east of the Mansion | Secret Seashell | One screen east of the Seashell Mansion |
| Richard’s Villa chest | Secret Seashell | Passage beneath the villa; five Golden Leaves, Roc’s Feather |
| Key Cavern hill dig | Secret Seashell | Diamond of grass near the Key Cavern entrance; Shovel |
| Seashell Mansion bonus | Secret Seashell | Enter holding exactly 5 shells, and again with exactly 10 |
| A Regal Home | Photo 10 (DX) | Kanalet Castle gate; before the gate is opened |
 Golden Leaves (5) | Key items | Mad Bomber, crow, bubble room Iron Knuckles, Ball and Chain Trooper, statue Iron Knuckle |
 Slime Key | Key item | Dug up by the owl statue in Pothole Field |
| Stone Beak | Dungeon | Key Cavern, chest above the second key room |
 Map | Dungeon | Key Cavern, south and east of the Stone Beak room |
| Pegasus Boots | Item | Key Cavern, chest east of the Dodongo Snakes room |
 Compass | Dungeon | Key Cavern, room of three Bombites |
 Small keys (8) | Dungeon | Key Cavern, rooms cleared of enemies and a few chests |
 Nightmare’s Key | Dungeon | Key Cavern, chest past the wide gap (Boots, Roc’s Feather) |
| 50 and 200 rupees | Chests | Key Cavern, one-way north door room; room after the Bombites |
 Heart Container | Boss reward | Key Cavern, from Slime Eye |
 Sea Lily’s Bell | Instrument | Key Cavern, chamber north of the boss room |
With the Sea Lily’s Bell in hand, continue to Yarna Desert and Angler’s Tunnel (Level 4).
