A Link Between Worlds 100% Completion Walkthrough18 chapters
- Opening and SanctuaryWake in Link’s House, deliver the captain’s sword, cross the Graveyard passage with the Lamp and meet Yuga.
- Hyrule Castle and Kakariko VillageRavio’s Bracelet, Zelda’s Pendant of Courage, Kakariko shops, Sahasrahla and the free Bow rental.
- Eastern PalaceEvery key, chest and rupee, the Compass, Big Key, Yuga boss fight and your first Heart Container.
- Pegasus Boots and Zora’s FlippersGet the Pouch, Irene’s Bell, Power Glove, Pegasus Boots, Zora’s Flippers, Ravio’s rentals and Hyrule Heart Pieces.
- House of GalesRent the Tornado Rod, swim to Lake Hylia’s island, beat Margomill and take the Pendant of Wisdom.
- Death MountainClimb the boulder caves, find two Heart Pieces and a Bottle, and reach the Tower of Hera.
- Tower of HeraEvery floor, both Small Keys, Compass, Big Key, Moldorm boss fight, Heart Container and Pendant of Power.
- Master Sword and Lost WoodsWalkthrough for pulling the Master Sword in the Lost Woods, breaking the Hyrule Castle barrier.
- Lorule and Dungeon OrderHilda, the Blacksmith, fissures, Ravio’s Shop, Thieves’ Town side content and the dungeon order.
- Dark PalaceThe guard maze, every key, the Compass, Big Key, Master Ore, Gemesaur King, Heart Container and Sage Gulley.
- Skull WoodsKeys, Compass, Big Key, Master Ore, Knucklemaster boss fight, Sage Seres and the Master Sword upgrade.
- Ice RuinsThe Hookshot route to Lorule’s Death Mountain, every floor, keys, the Stamina Scroll and Dharkstare.
- Thieves’ HideoutThe password song, the Thief Girl escort, Master Ore, Stalblind, Sage Osfala and the Sand Rod.
- Swamp PalaceBig Bomb Flower, Hookshot, water levels, keys, Compass, Blue Mail, Big Key, Arrghus and Sage Oren.
- Turtle RockRescue the baby turtles, use the Ice Rod, find every key, beat Grinexx and free Sage Impa.
- Desert PalaceReach it with the Sand Rod, find the Titan’s Mitt, beat Zaganaga and rescue Sage Irene.
- Lorule CastleThe Triforce of Courage, all four mini-bosses, the Compass, Red Mail and the way to the Throne Room.
- Final BossBeat Yuga Ganon with the Bow of Light, see Hilda’s choice, make the Triforce wish and unlock Hero Mode.
| Covers | Thieves’ Town in Lorule, the Thieves’ Hideout (B1 to B3), the Stalblind boss fight and Osfala’s painting |
|---|---|
| You need | Ravio’s Bracelet for wall merging, the Lamp, and rented Bombs from Ravio’s shop |
| Rewards |  Compass,  Small Key,  Big Key, 1  Master Ore, 1  Heart Container,  Sage Osfala, access to the  Sand Rod, plus rupee chests (a  Silver Rupee and Purple Rupees) |
The Thieves’ Hideout is a Lorule dungeon built around one companion: a Thief Girl locked in a cell, who has to walk out with you. Learn the password song, get past the guard, free her, lead her through the floors by standing on paired switches, take the Big Key from the entrance hall and beat Stalblind. Then she shows you the house where Osfala’s painting hangs.
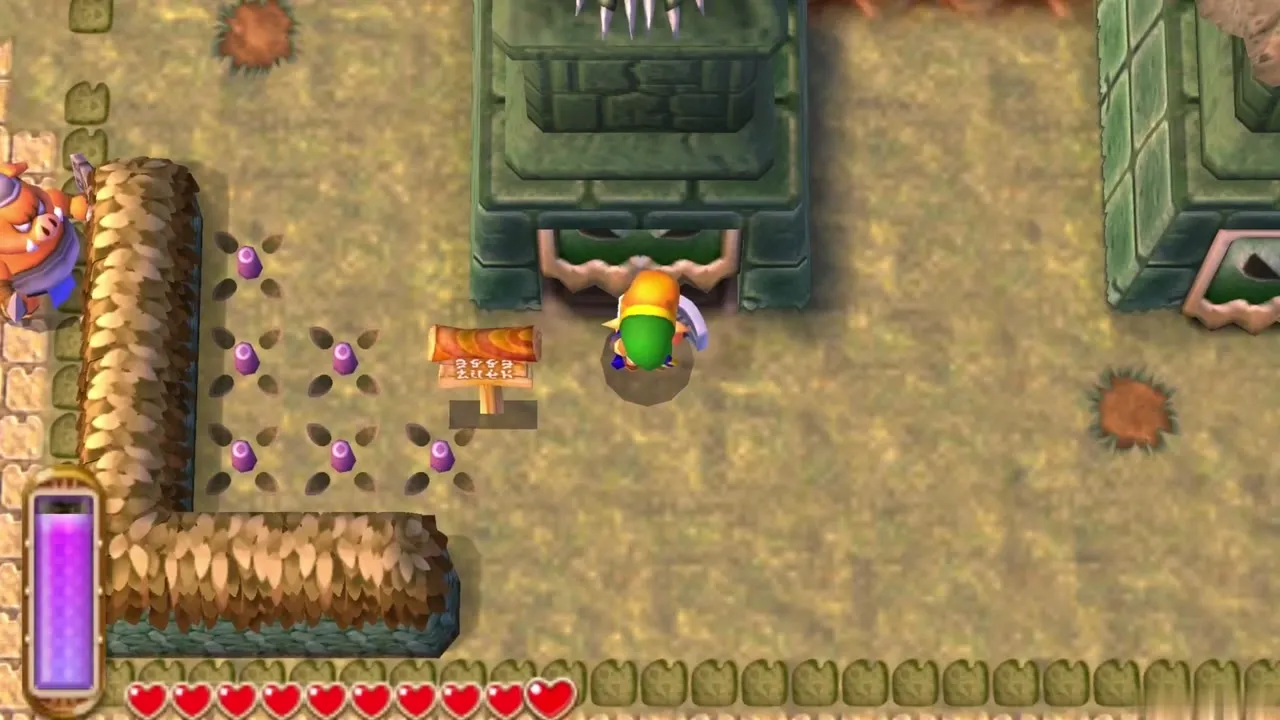
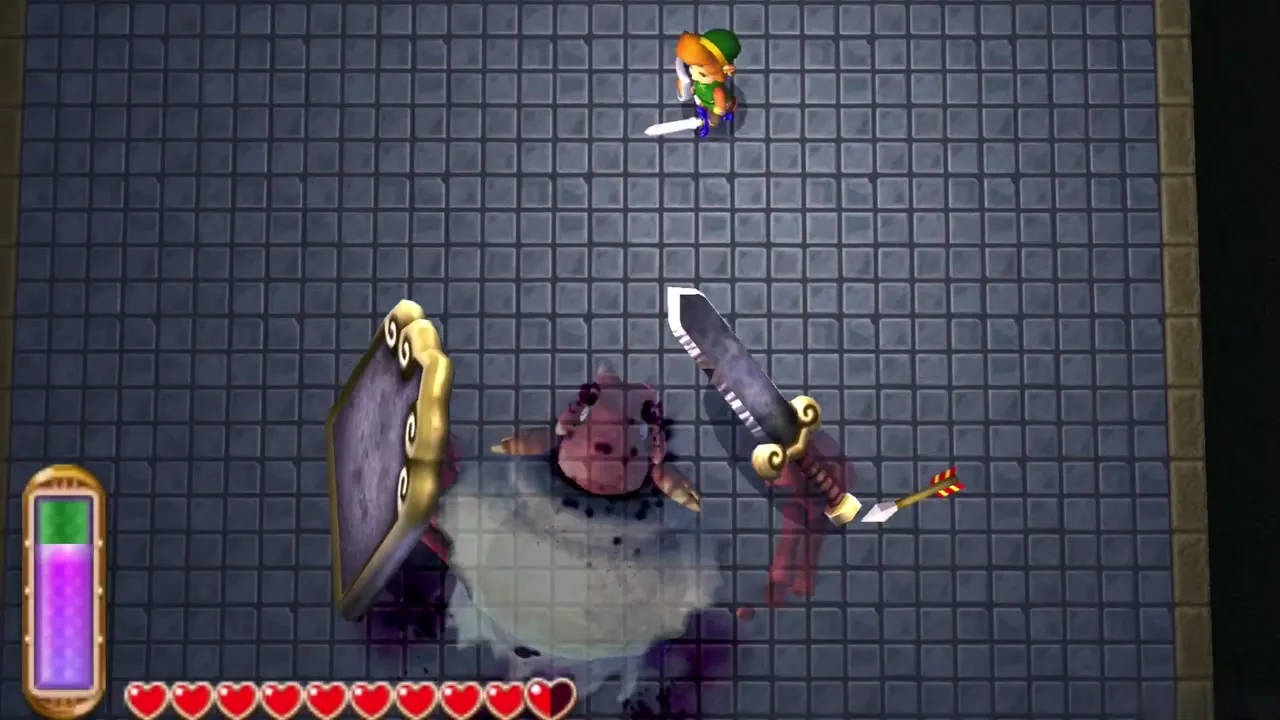
Table of Contents
How to get into the Thieves’ Hideout
Thieves’ Town password song
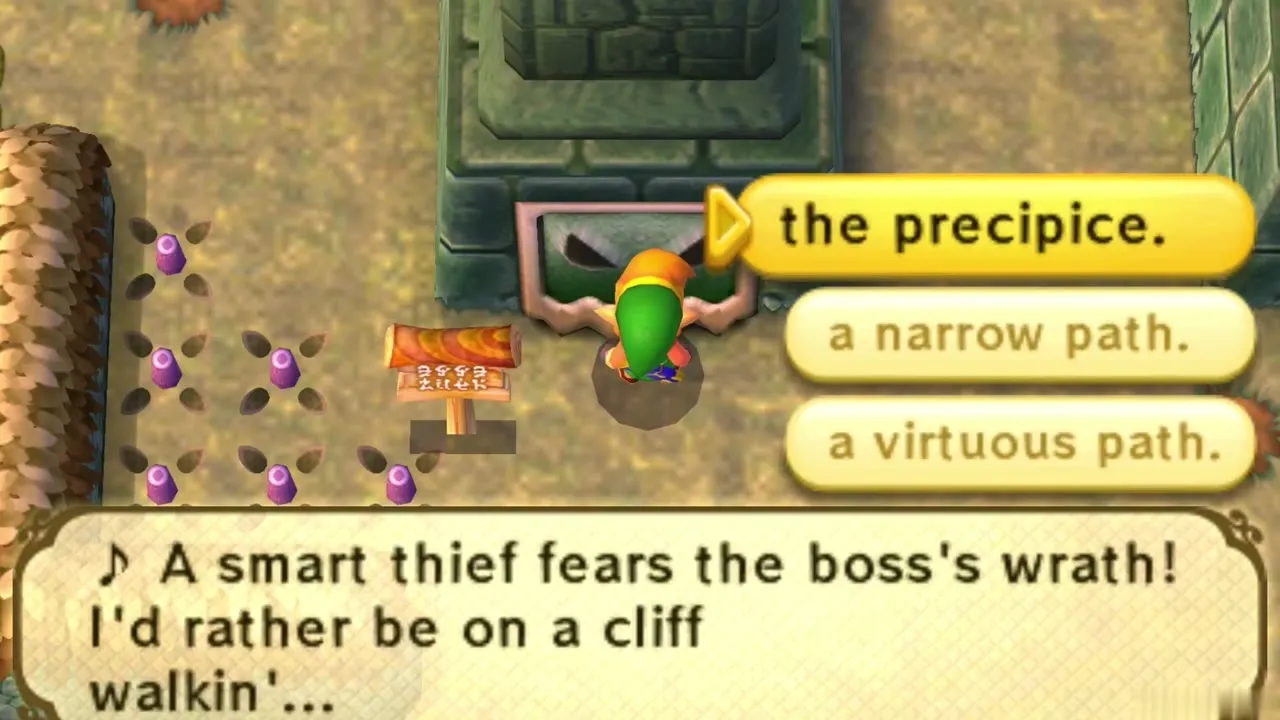
Walk to the north end of Thieves’ Town in Lorule, where two large gargoyle statues stand. Face the left statue and talk to the closed door beneath it. A voice demands the ultra-secret password song, sings the start of each verse and lets you pick the ending. Choose “a narrow path” for the cliff verse, “really despair” for the second verse and “to thievin'” for the last. A wrong choice sends you back to the start of the verse.
Getting past the Spear Boy
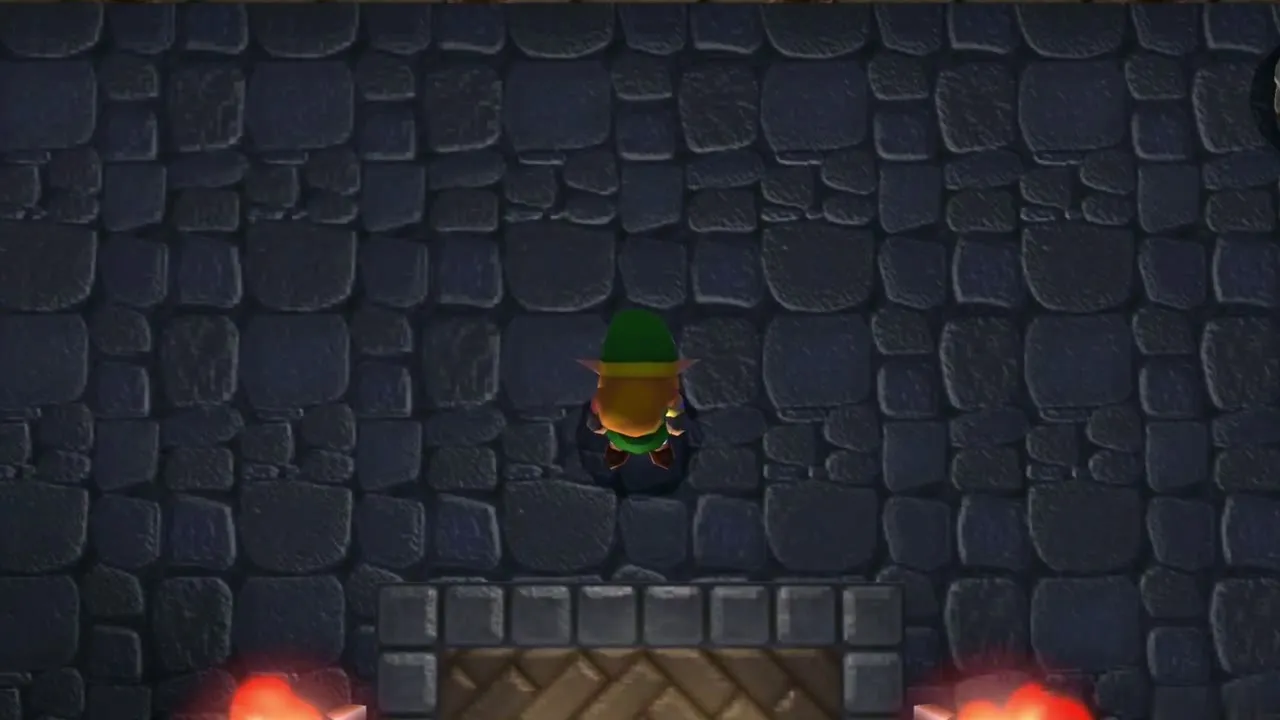
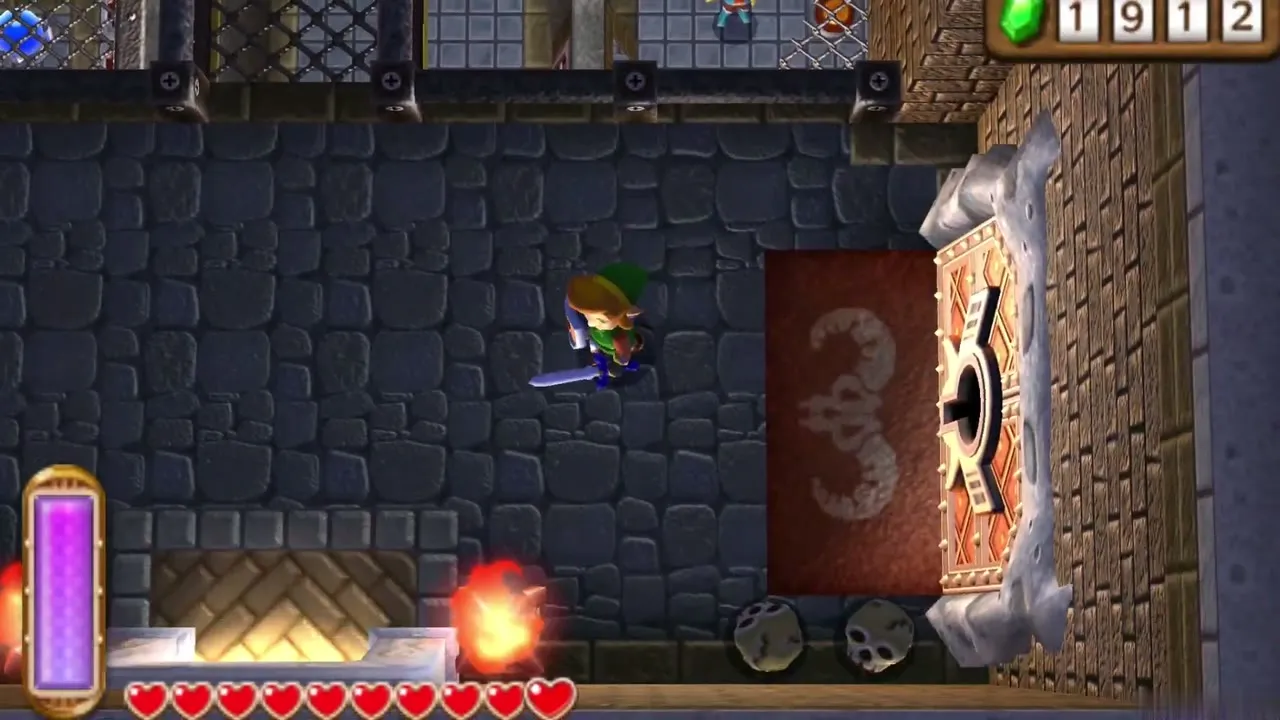
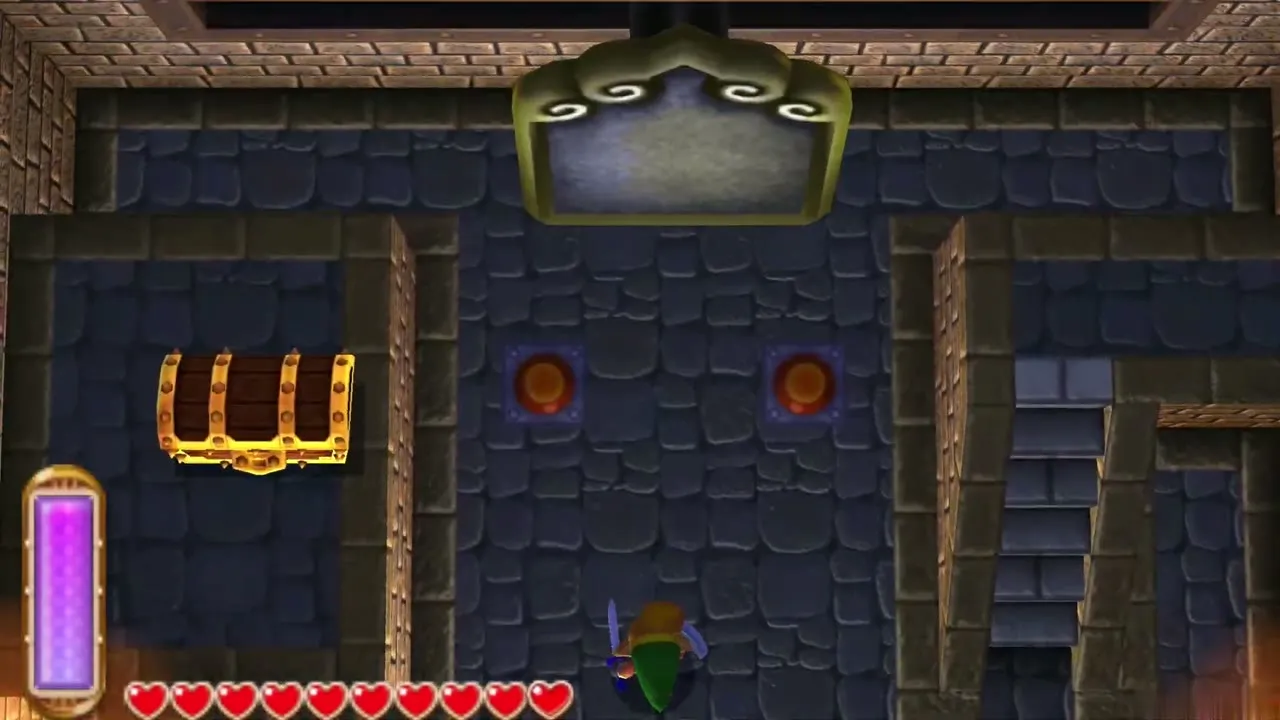
Once the song is right, a Spear Boy inside takes you for his replacement on guard duty and wanders off for some fresh air, leaving the entrance hall on B1 empty. Take a look around: the boss door by the entrance is locked, and a chest at the far end of the hall cannot be reached yet. Both belong to the end of the dungeon.
B1 and B2: the rooms before the Thief Girl
B1 gargoyle statue room
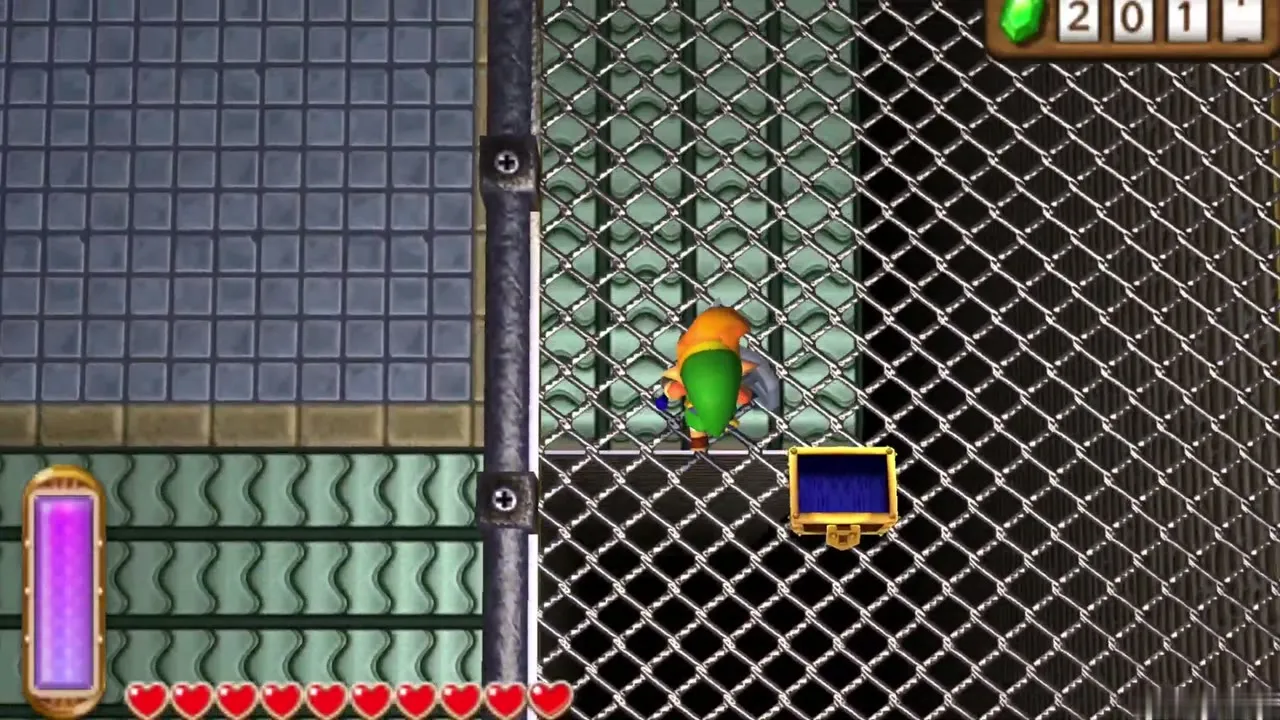
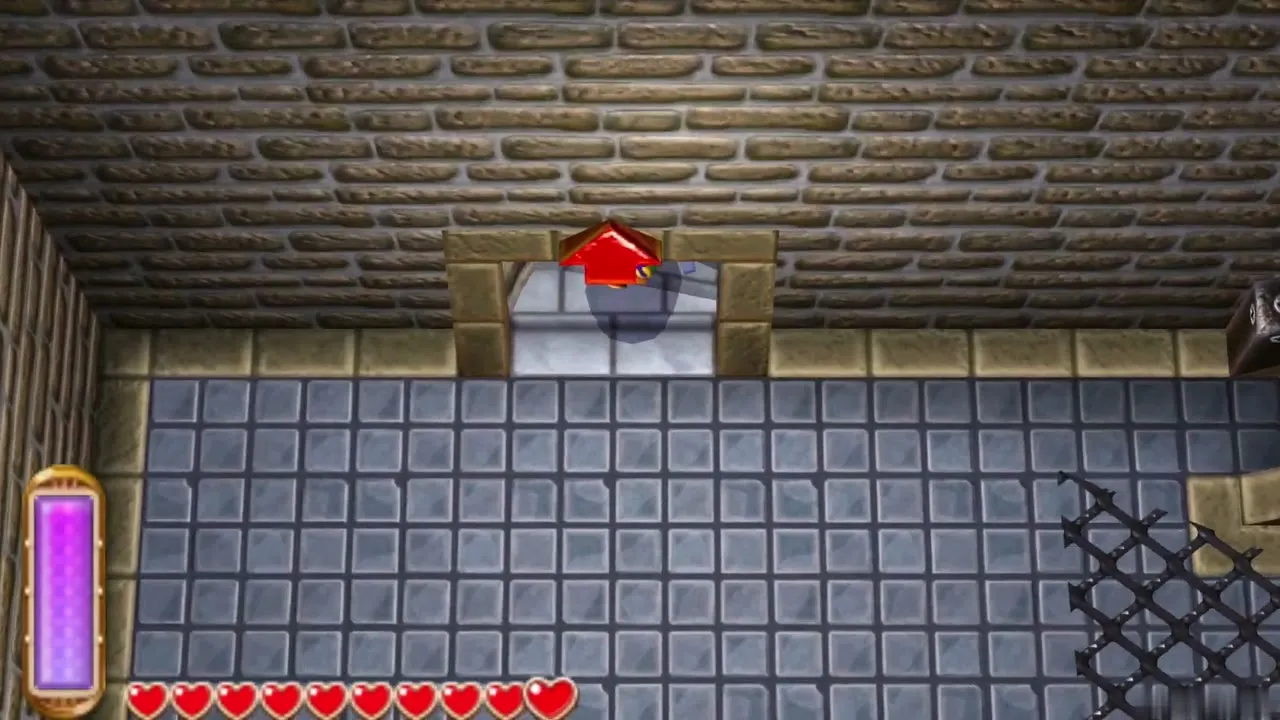
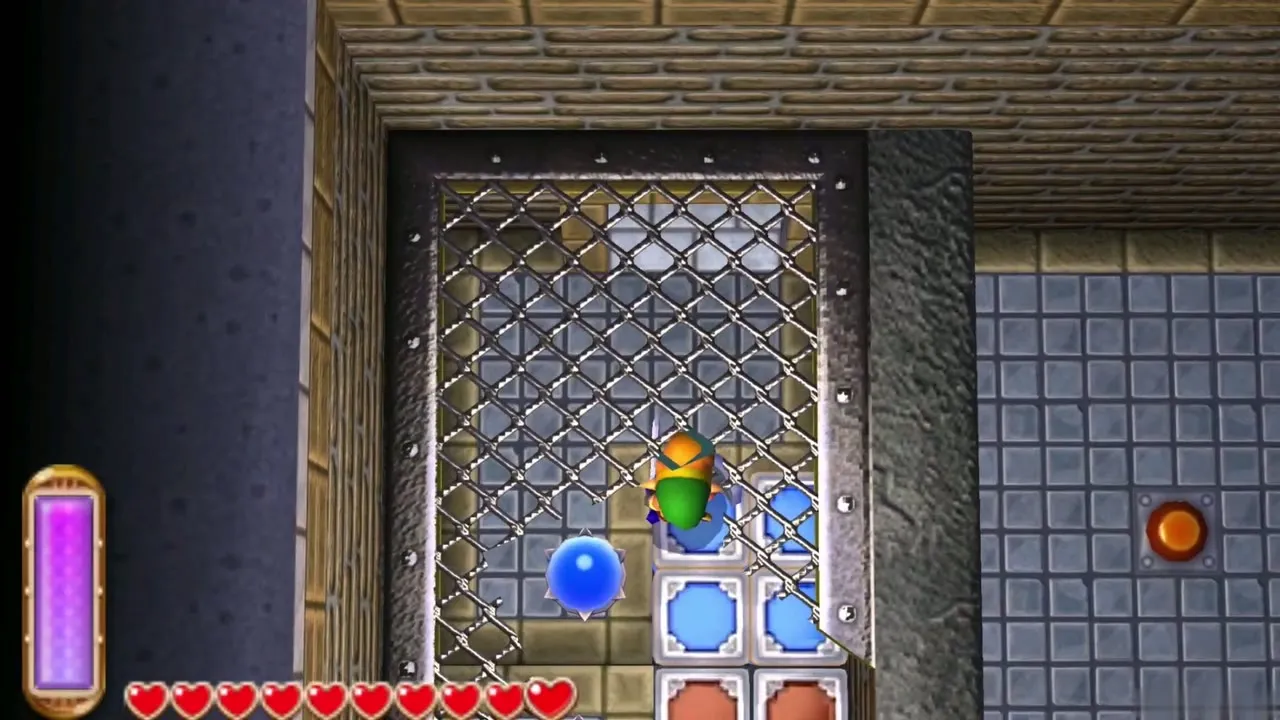
Head to the room left of the entrance hall. Hit the crystal switch in the middle to lower some bars and raise others. Pull the gargoyle statues out of the lower-left cell and put one on the floor switch beside the arrow trap and the other on the switch near the locked door. Merge into the wall to slip through the bars to the third switch in the top-right cell. With all three pressed, the door beside it opens. A caged chest in the area holds a Purple Rupee worth 50 Rupees.
B2 conveyor belt rooms
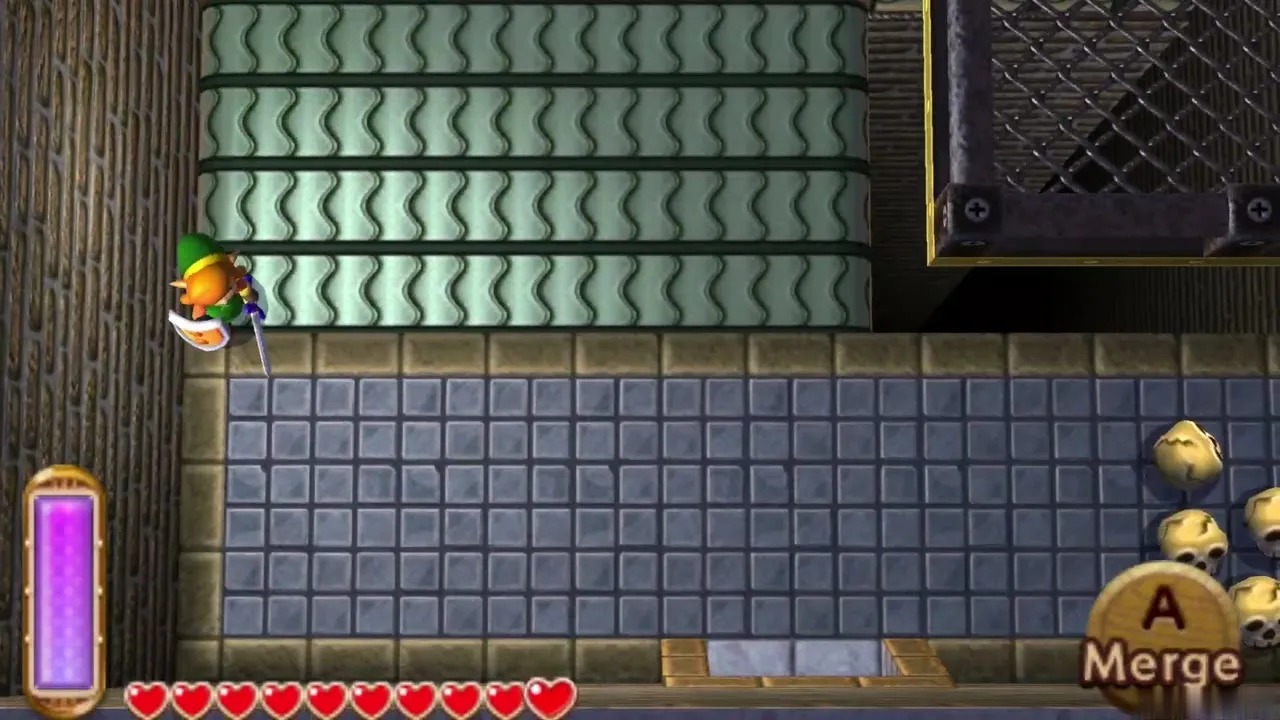
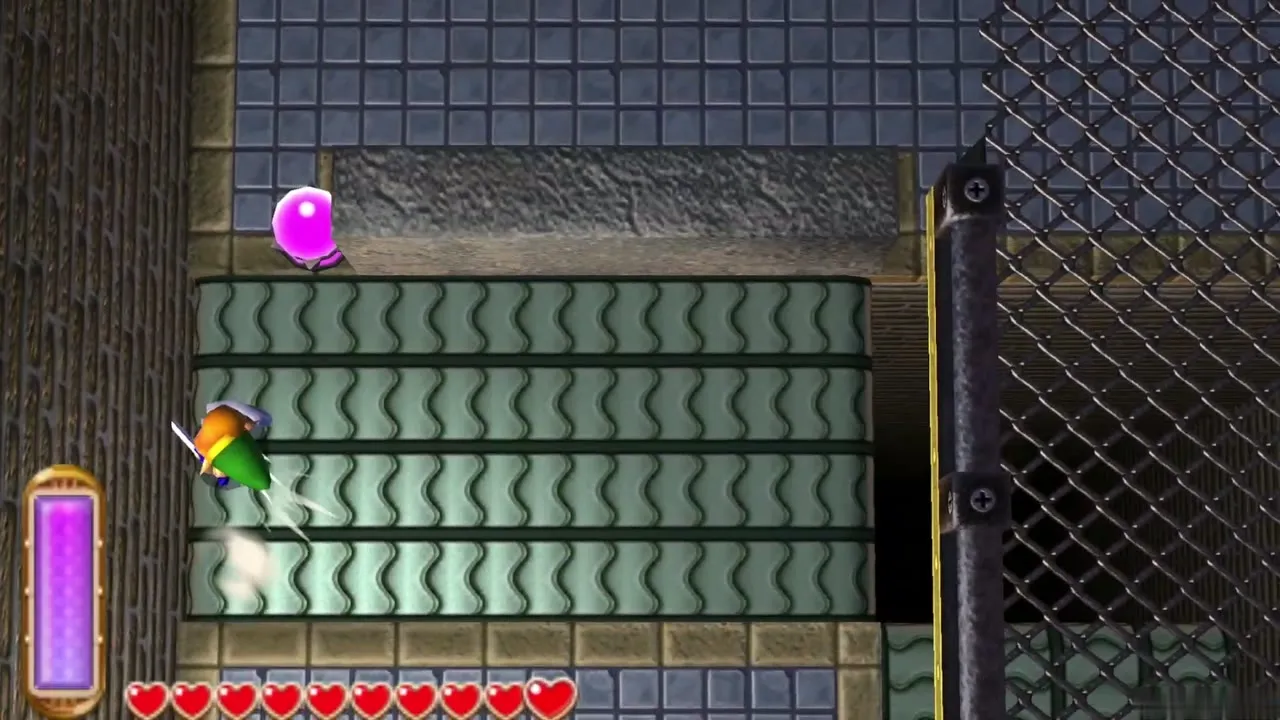
Go down to B2. Two conveyor belts carry you toward pits, so merge into the wall at the end of the first belt to hold your place and cross safely. Hit a Bawb, the walking bomb creature, so it becomes a bomb you can lift. Throw it onto the belt so it rides to the crystal switch and explodes beside it, which opens the way south. A chest in a room off the walkways holds 50 Rupees.
Hideout Compass
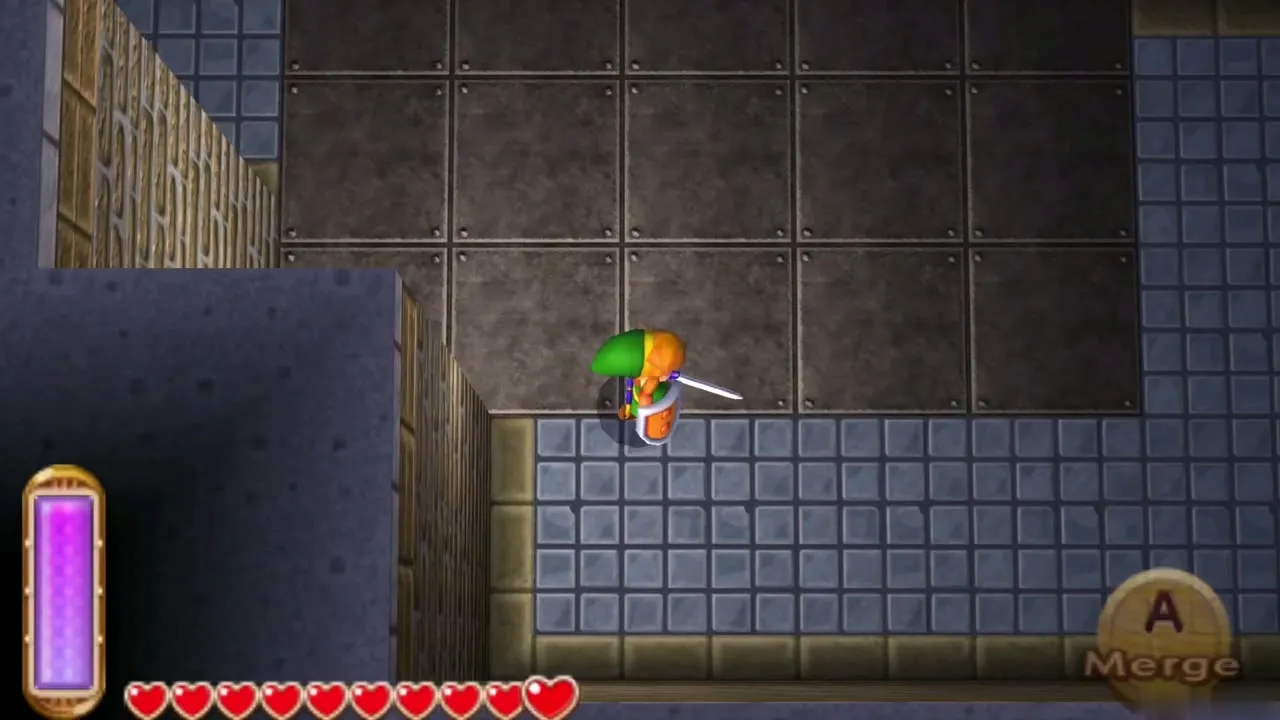
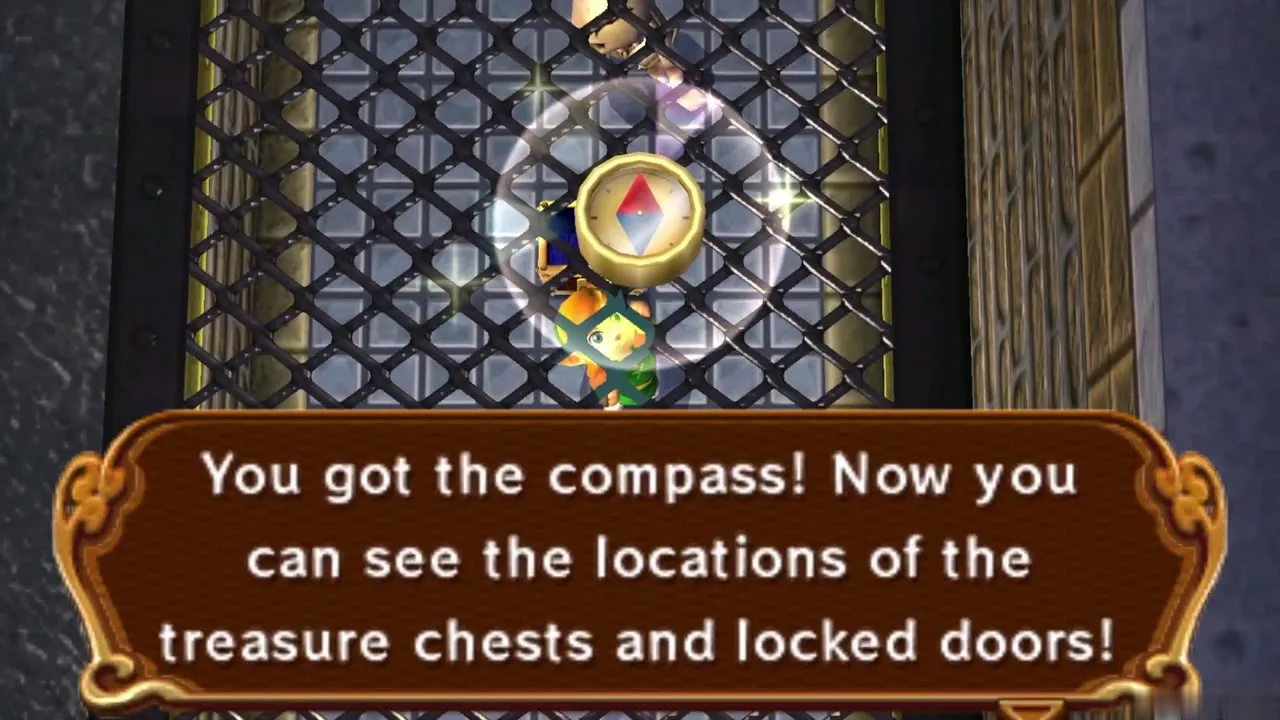
In the central room of B2, a barred cell on the right holds a chest. Merge into the wall to slip through the bars and open it for the Compass. Be ready for a Stalfos to drop in once the chest is open.
Meeting the Thief Girl
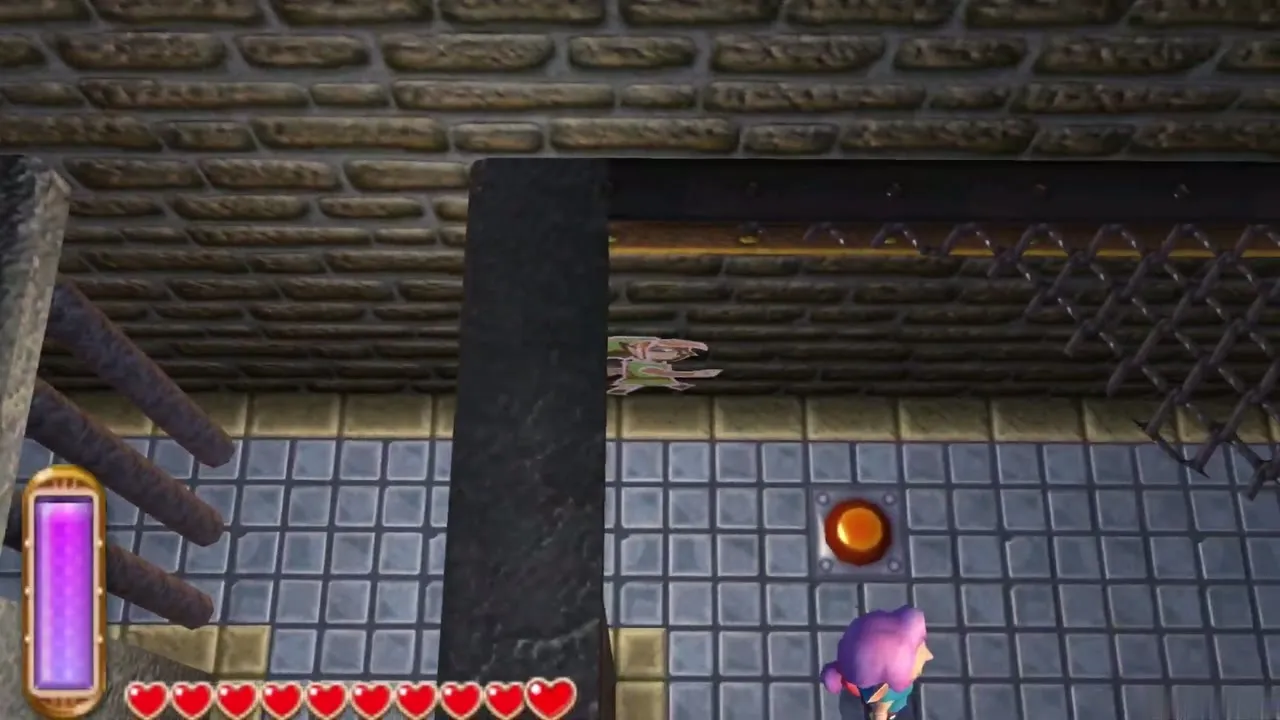
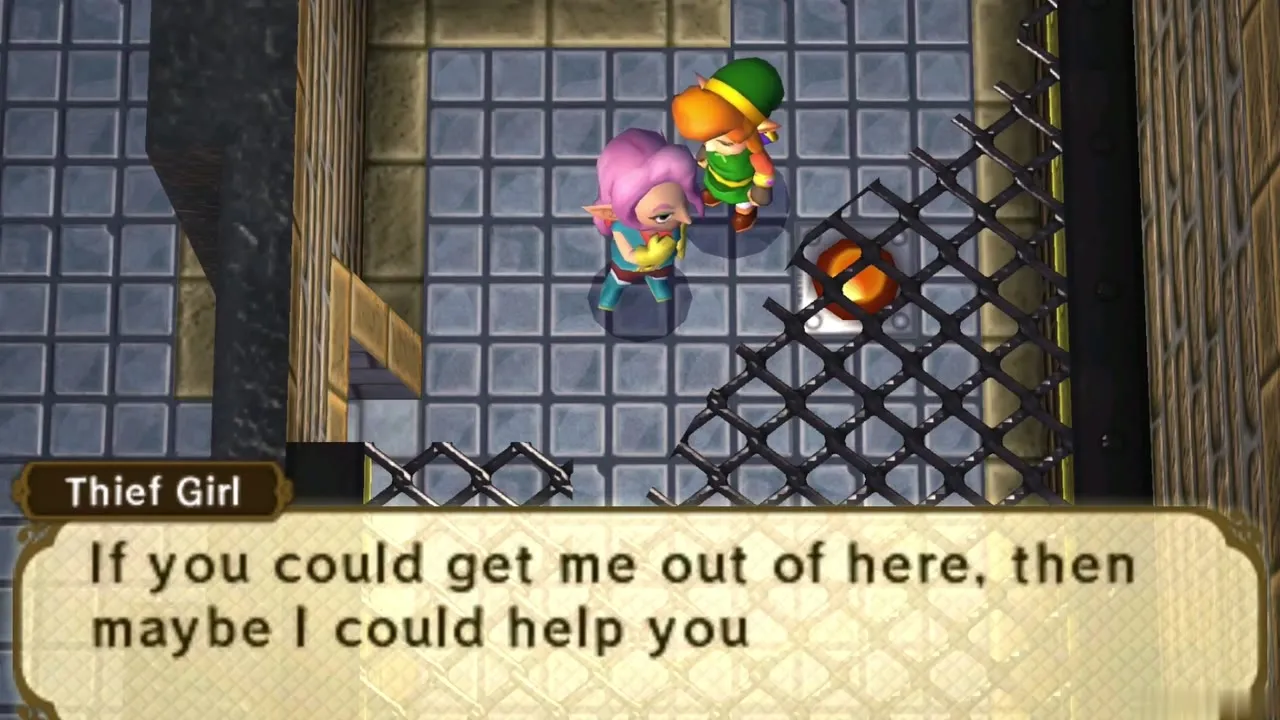
Slip into the bottom-right cell of B2 and step on the floor switch inside to open its door, then talk to the Thief Girl. She was locked up after learning where Osfala’s painting is hidden, and she offers to show you if you get her out. Her cell needs a Small Key, so leave her for now and go find it.
Thieves’ Hideout Small Key
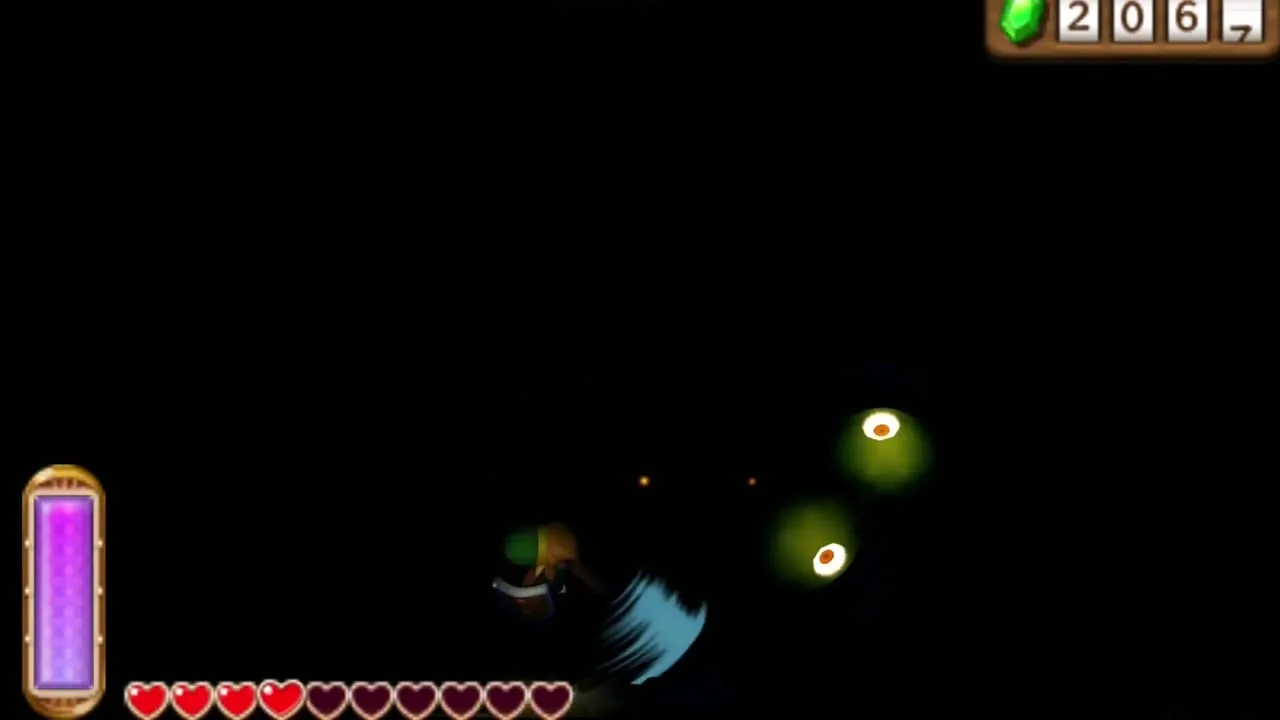
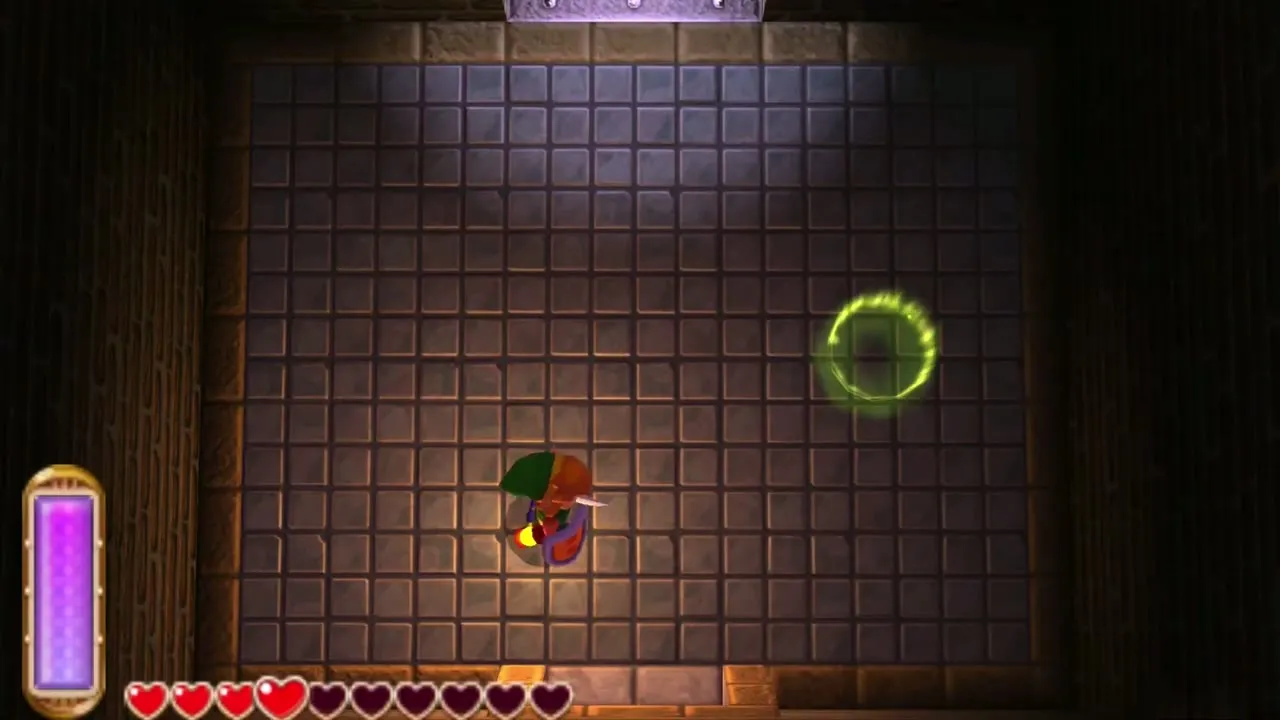
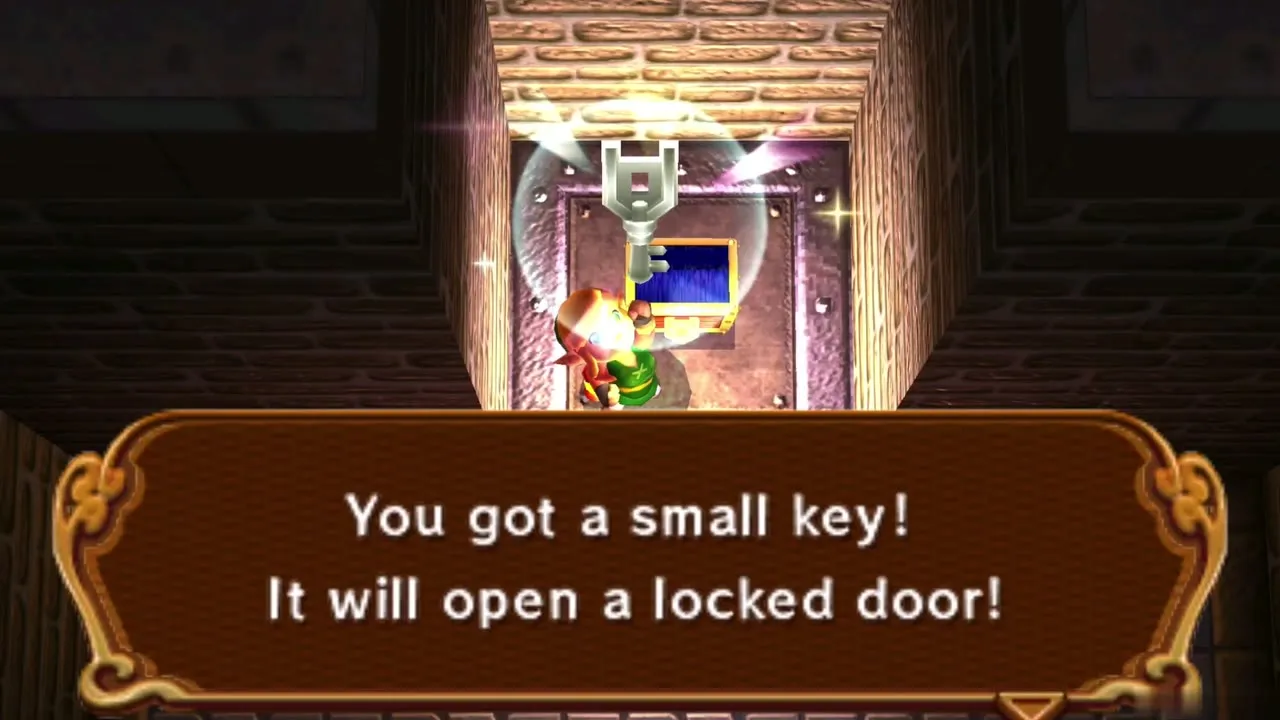
Press the cage switch to open a door, then blow the cracked wall in the next room with a Bomb or a Bawb. Take the door in the top-left corner into a dark room full of Red Eyegores. Light the room with the Lamp so you can see them and defeat them all with the Sword. This is the dungeon’s only Small Key, and a warp point appears here for later trips. Carry the key back to the Thief Girl’s cell and unlock it.
Escorting the Thief Girl through the dungeon
How the escort works
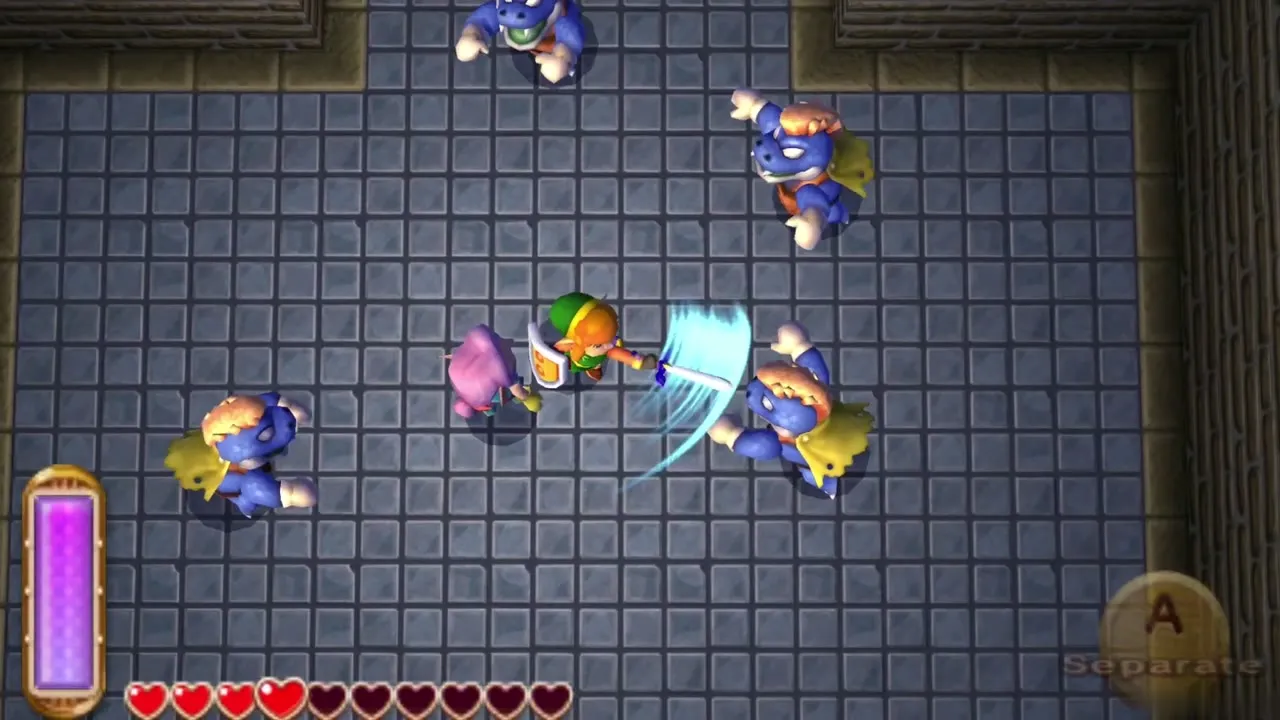
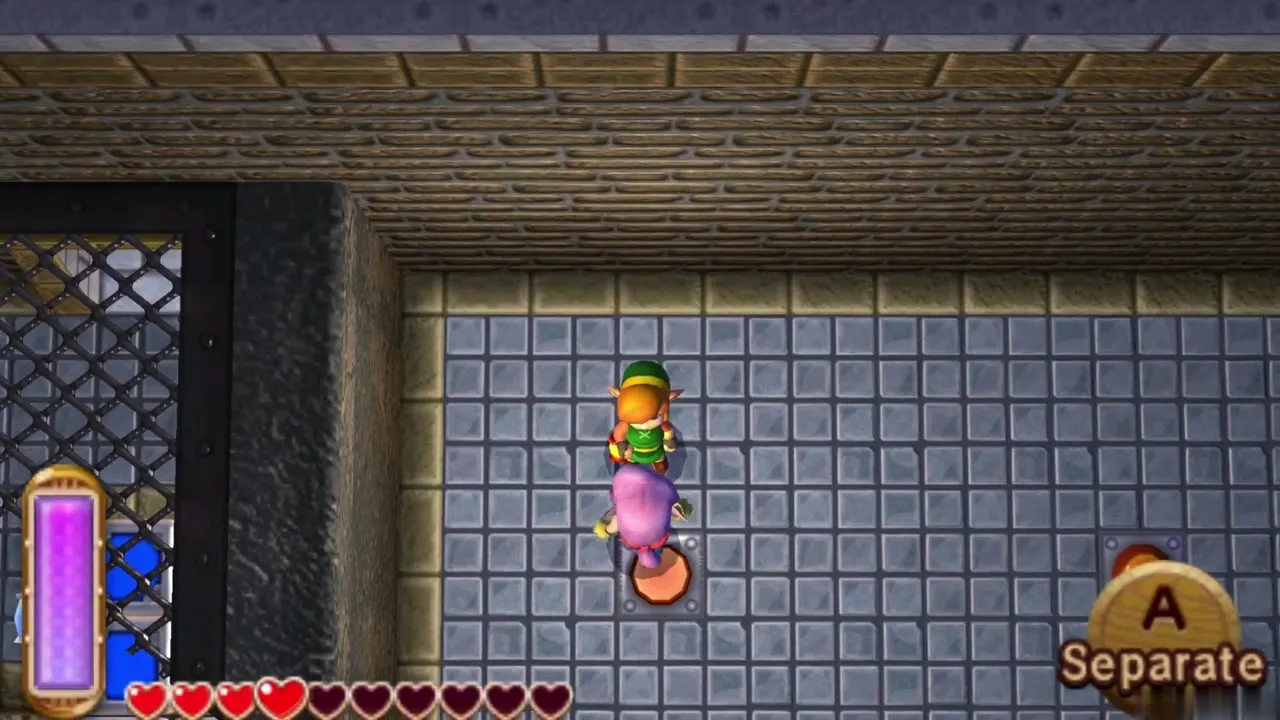
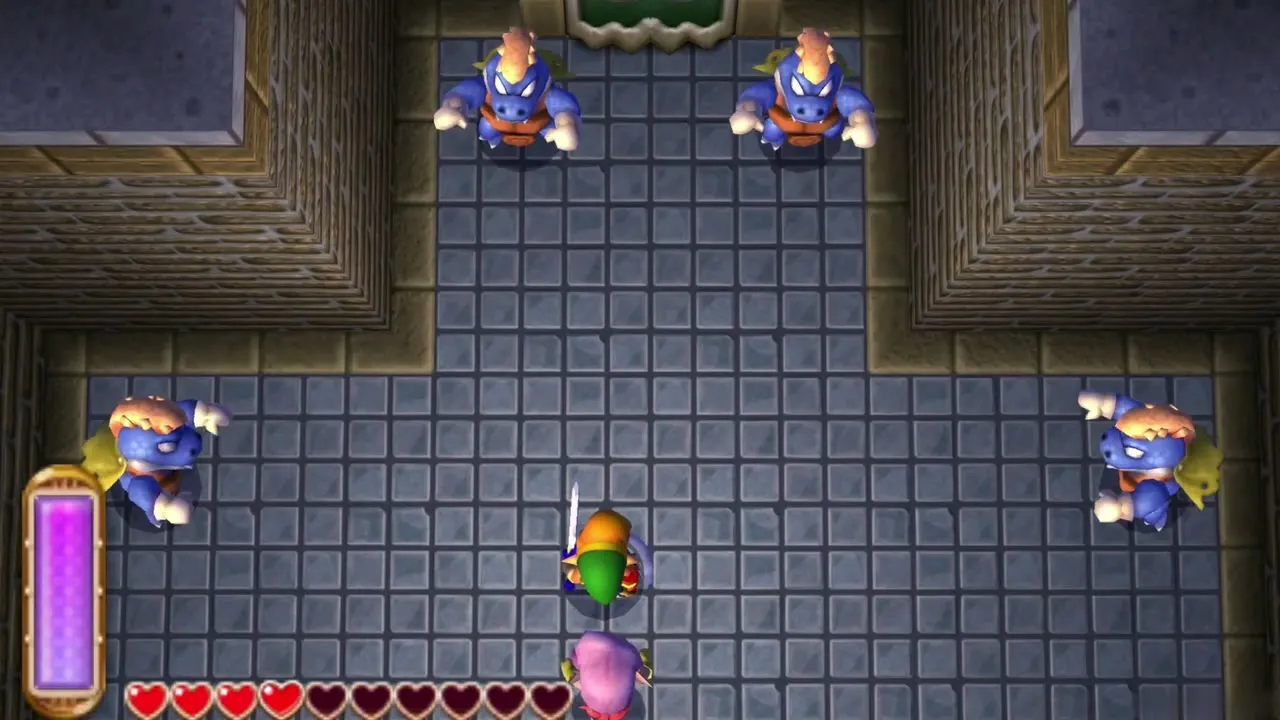
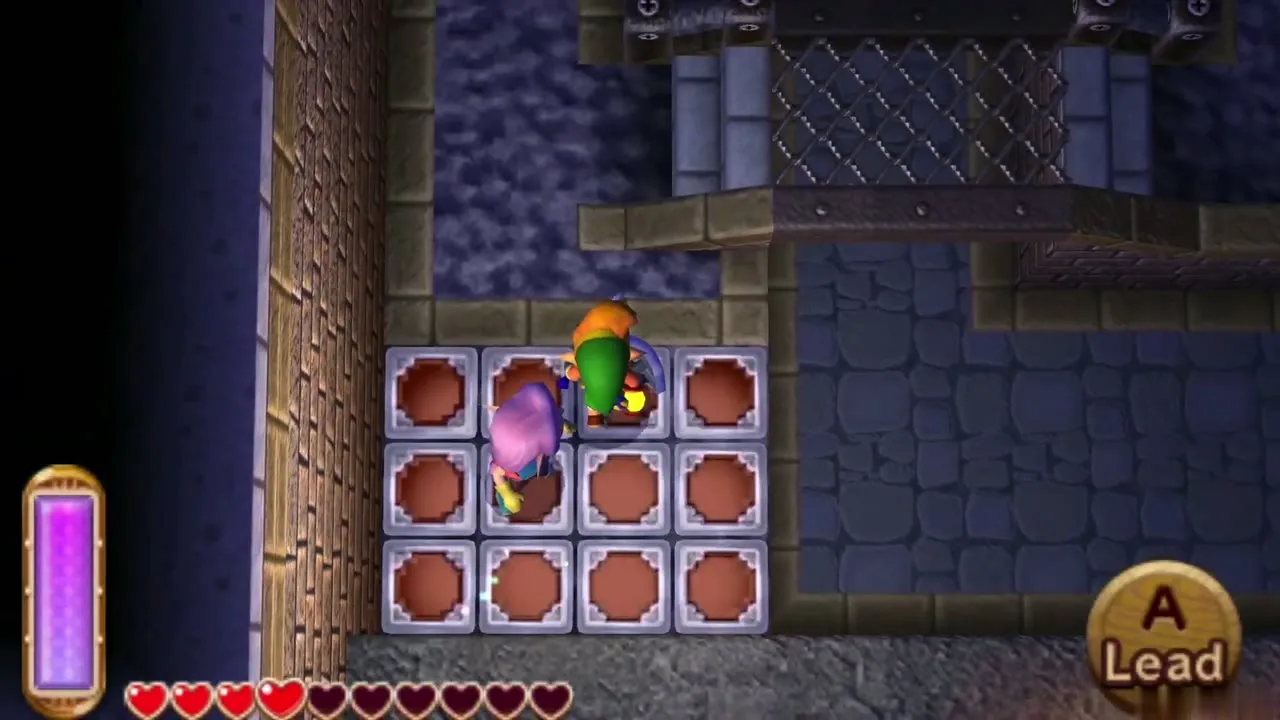
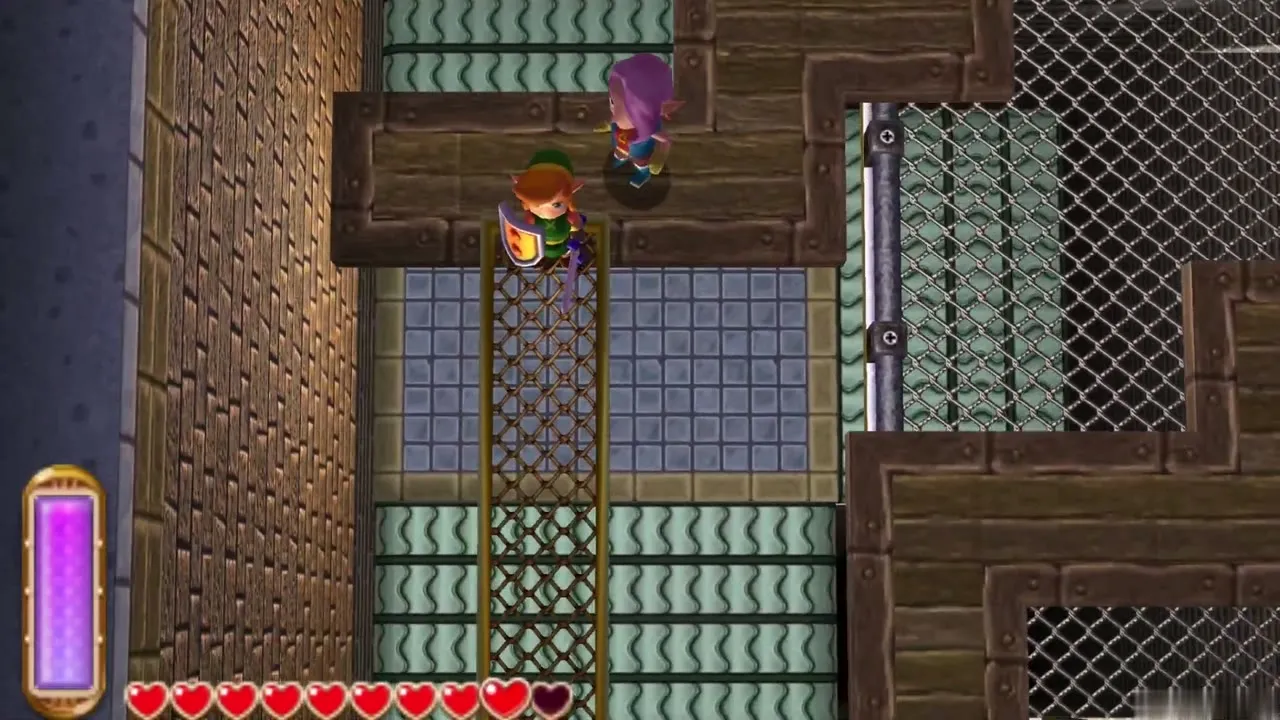
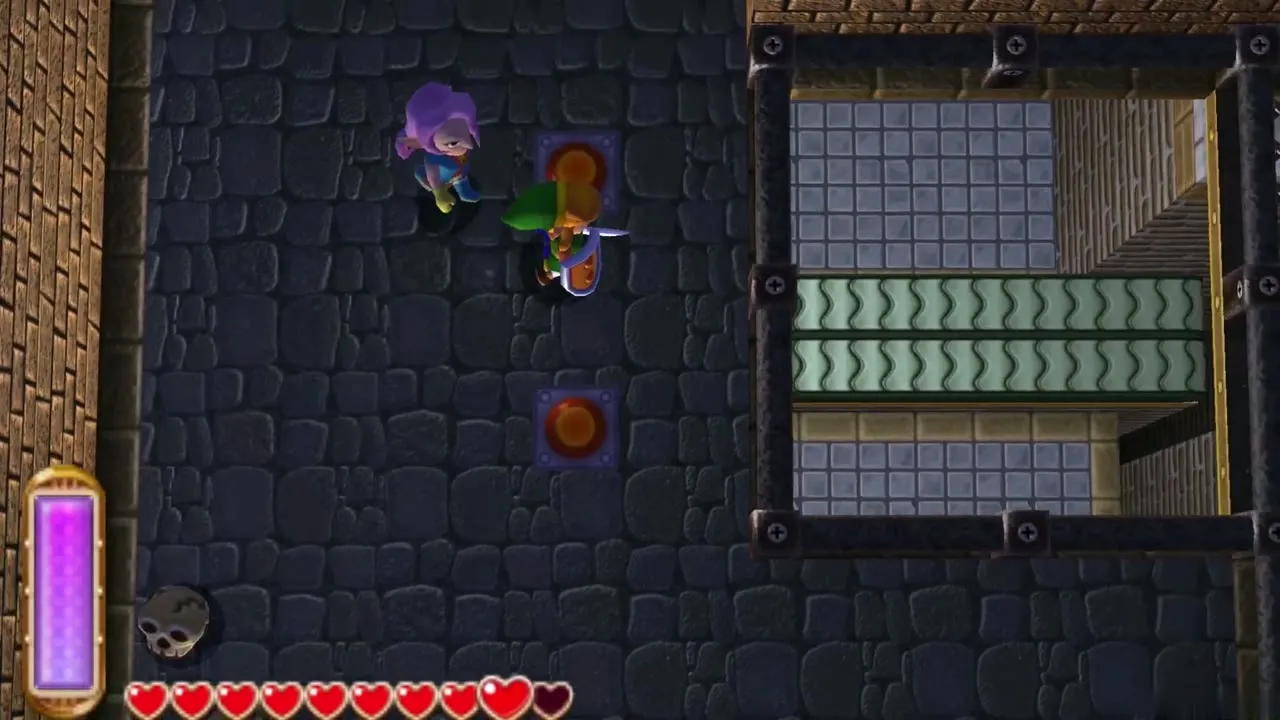
Once free, the Thief Girl follows you until you tell her to stay; the A button prompt switches between leading her and leaving her. Many doors need two switches pressed at once, so leave her on one and stand on the other. Blue Zazaks try to carry her off, and if one reaches her she goes back to her cell, so beat them before they close in. Park her somewhere safe while you fight.
B3 water room and the 100 Rupee chest
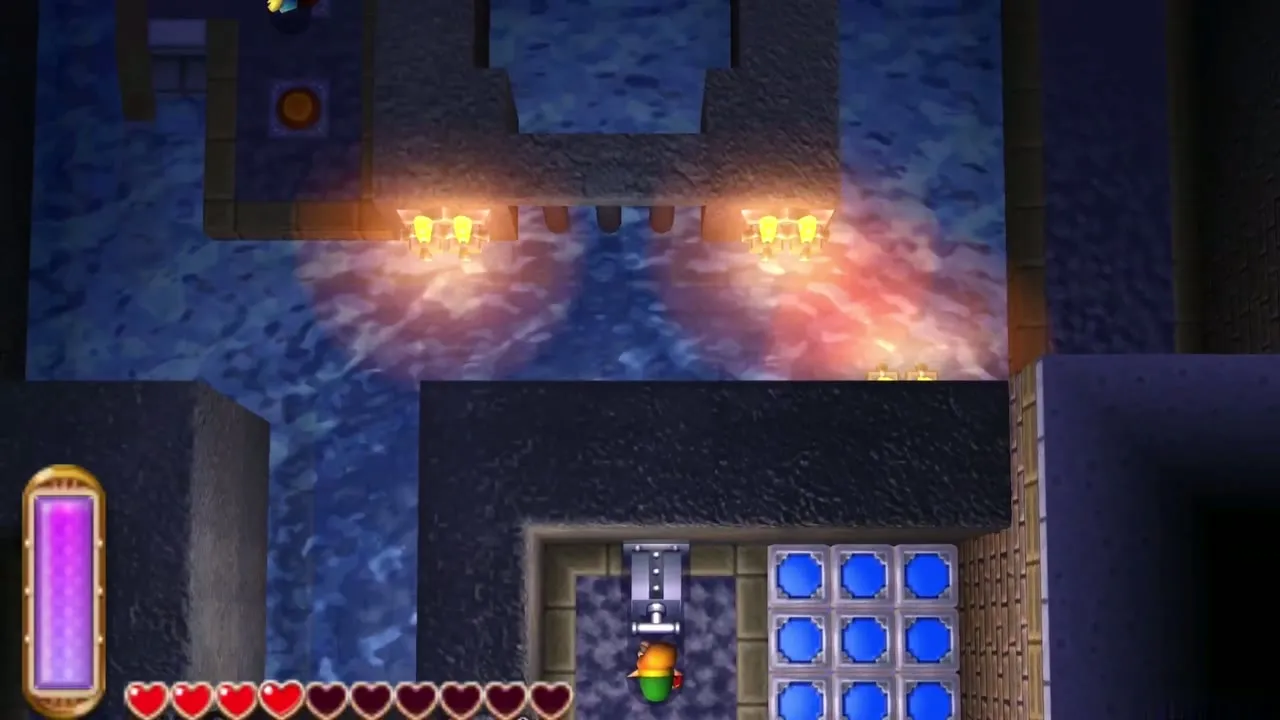
On B3 the floors are split by pools and walkways. Pull the lever that drains the water, and merge into walls to knock down walkways where needed. The lower ground opens up and a chest behind bars holds 100 Rupees. Use the red and blue blocks with their switches to get the Thief Girl over walls, and defeat the Zazaks who come for her before you move on.
Master Ore
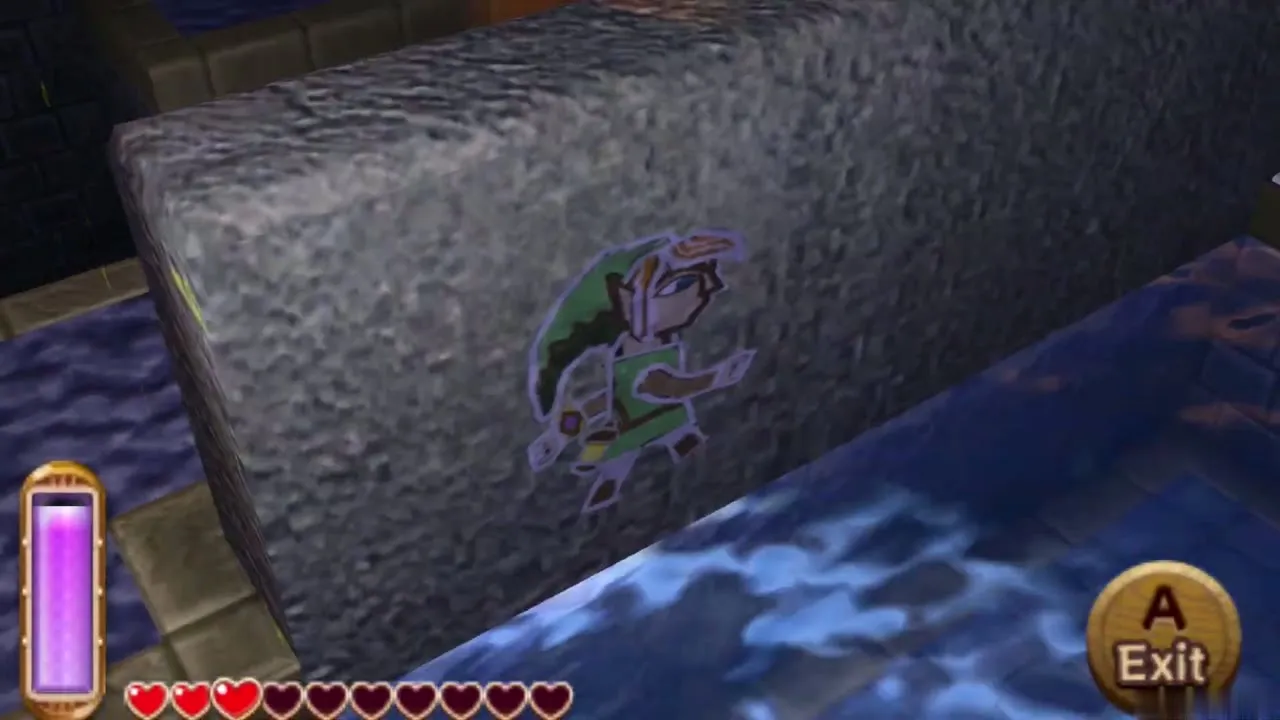
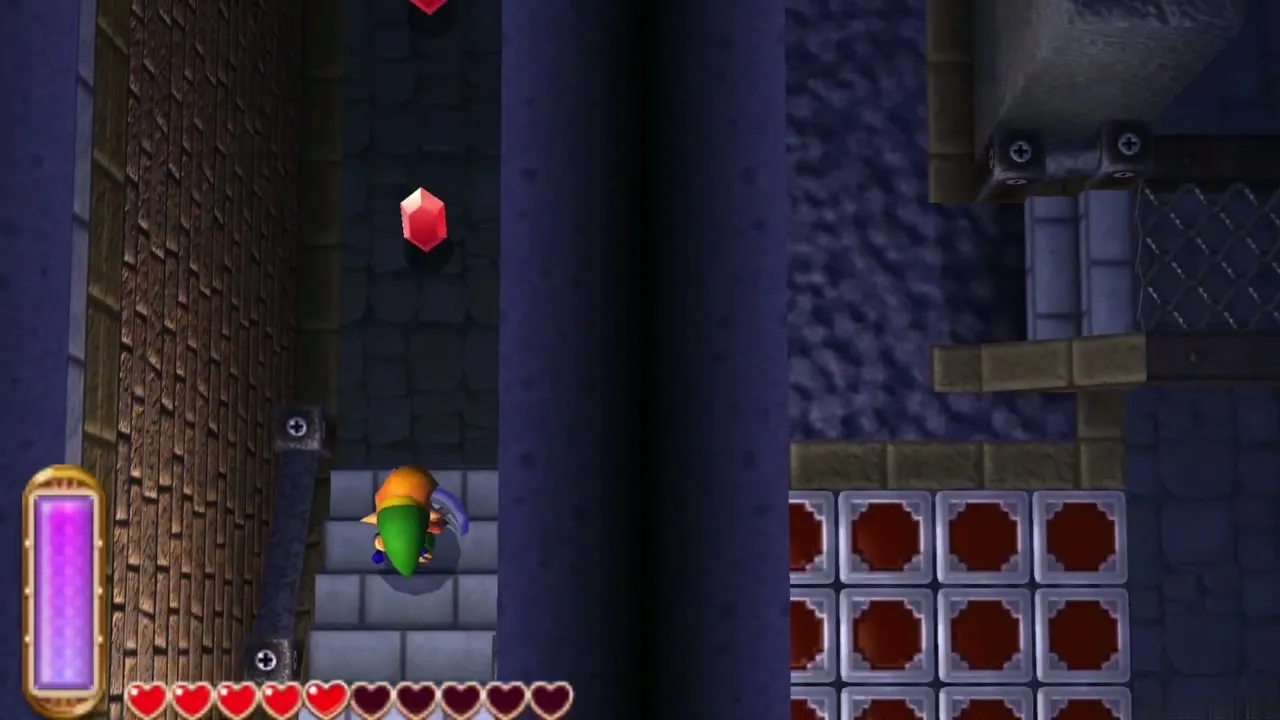
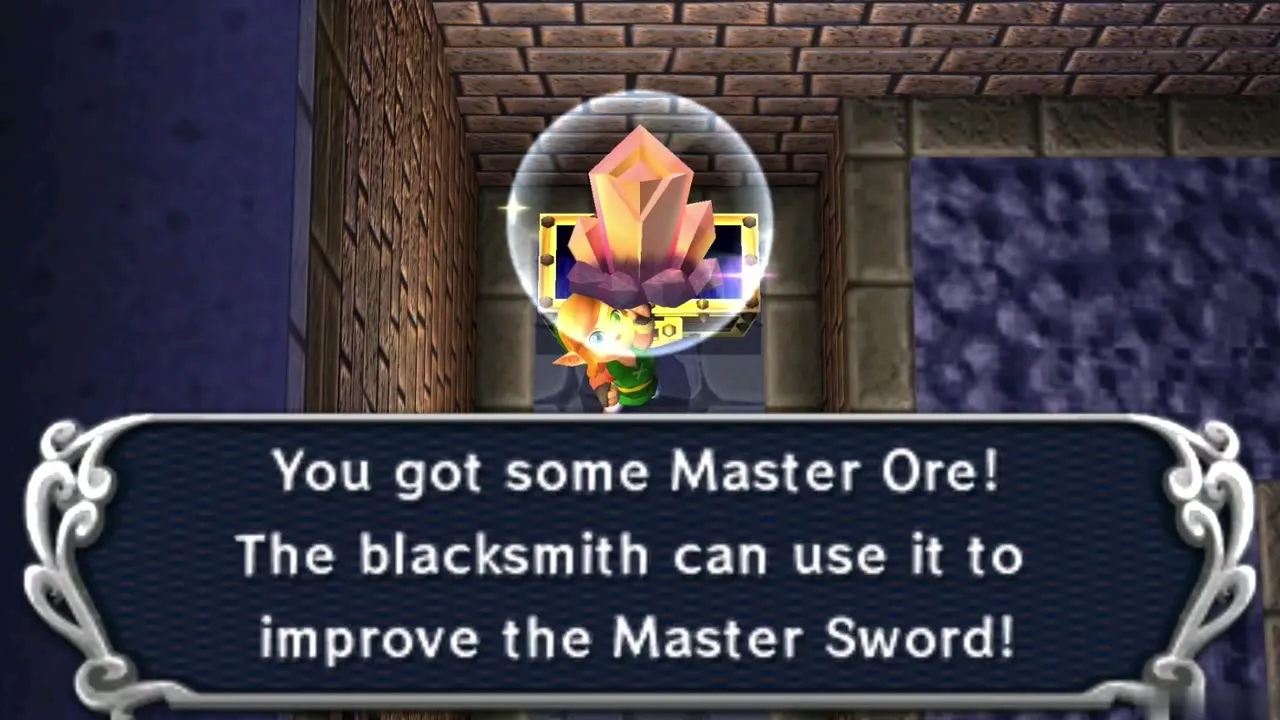
In the southwest area of B3, stand on one floor switch and leave the Thief Girl on the other. A long hall opens to the northwest corner, and a chest at the far end holds Master Ore. The blacksmith needs two chunks to improve your Master Sword. Red Rupees lie along the passage. Collect all four Master Ore in the game to reach the final sword.
Fan and conveyor rooms on the way back up
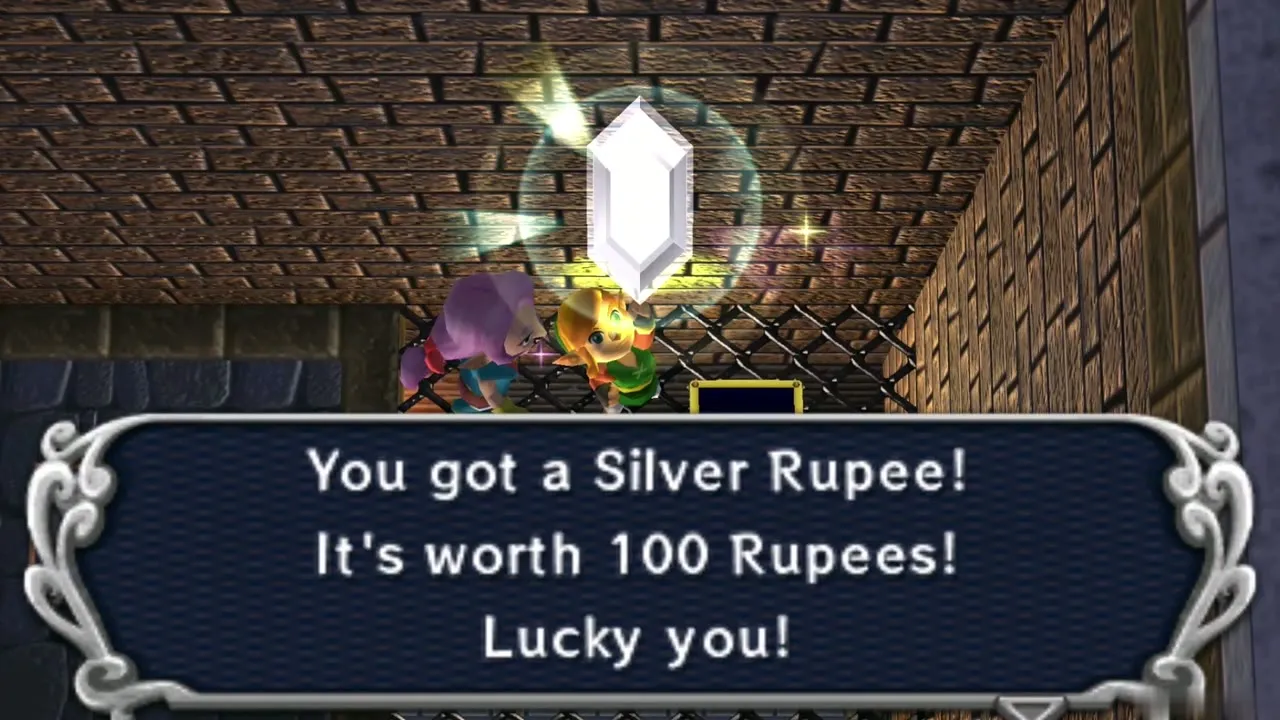
Climb back toward the entrance through the conveyor and fan rooms. Reverse the belts with the crystal switches and defeat the Zazaks who ambush you mid-room. Fans blow the Thief Girl across gaps, and the paired switches here reveal a chest with a Silver Rupee, worth 100 Rupees, and a shortcut warp down to the room below. Use shortcuts you unlock to avoid walking back through earlier fights.
Hideout Big Key
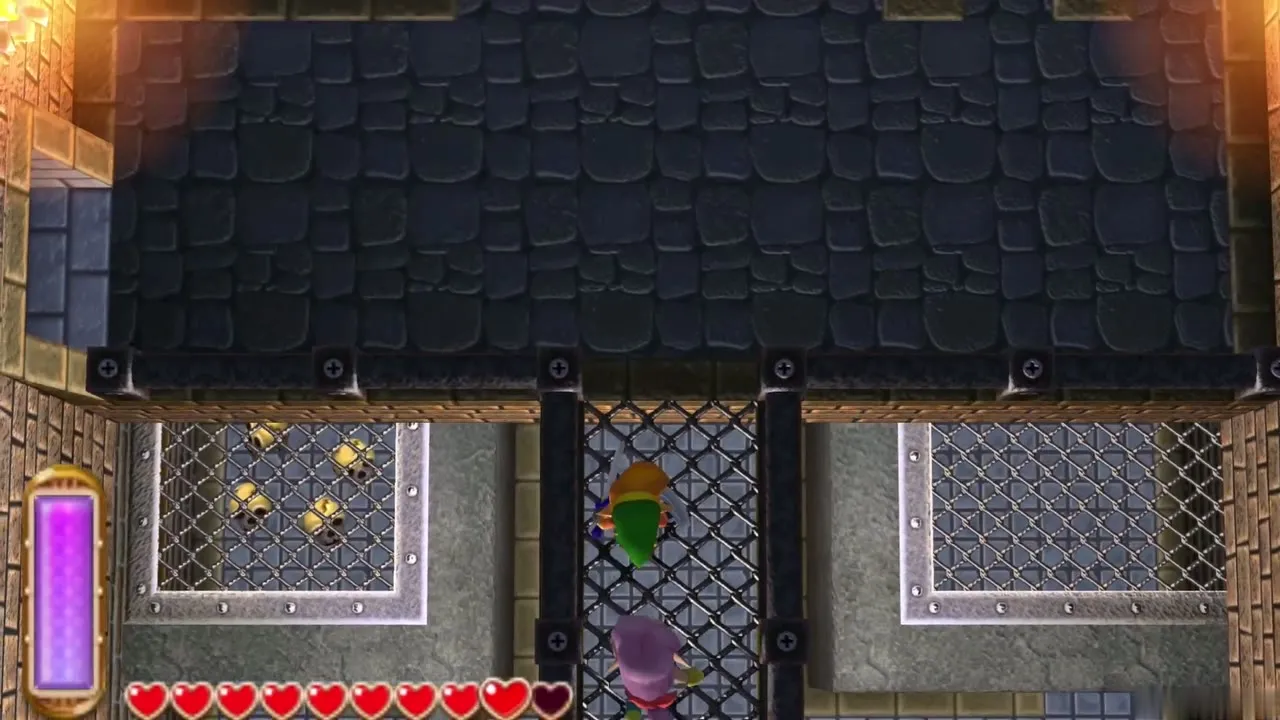
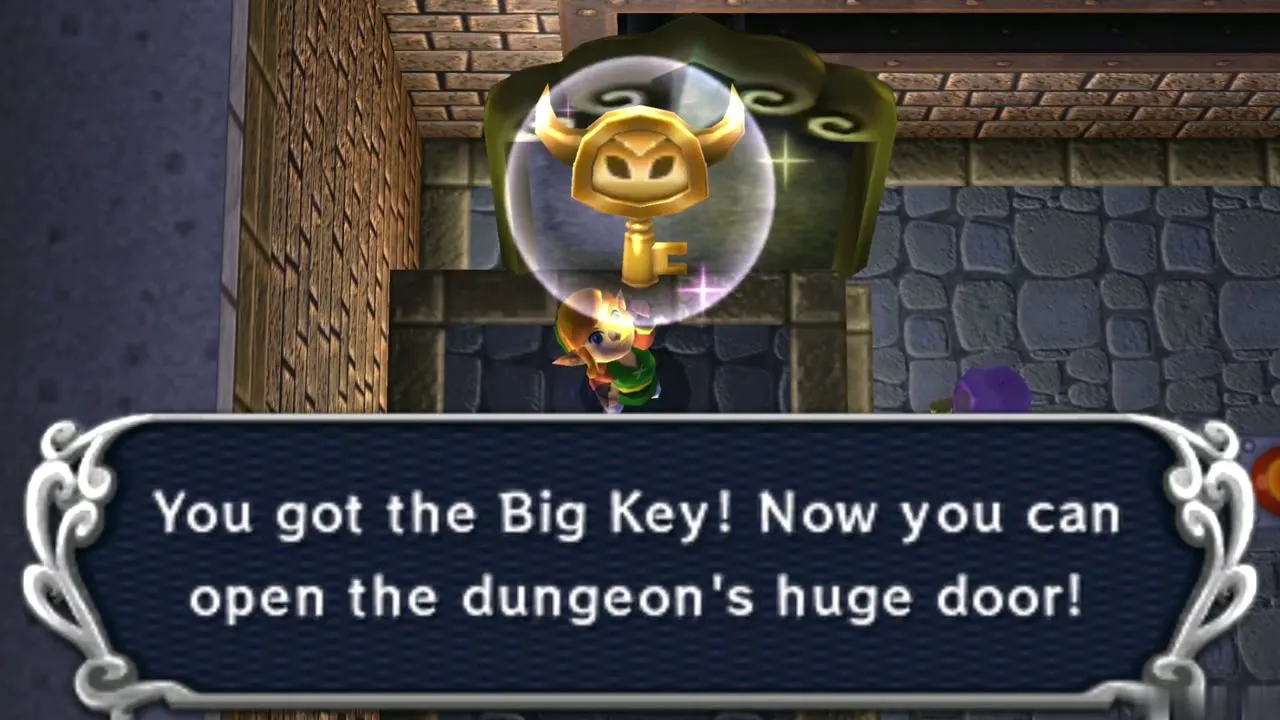
Lead the Thief Girl to the entrance hall on B1. Raise the bars to protect her from the last group of Zazaks, then have her stand on one switch and you on the other to start a moving wall. Merge into the wall, ride it across, and step out beside the chest at the north end of the hall, which holds the Big Key. It opens the boss door beside the entrance.
Stalblind boss fight
Entering Stalblind’s room
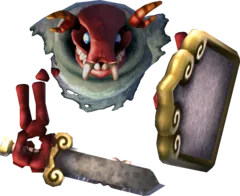
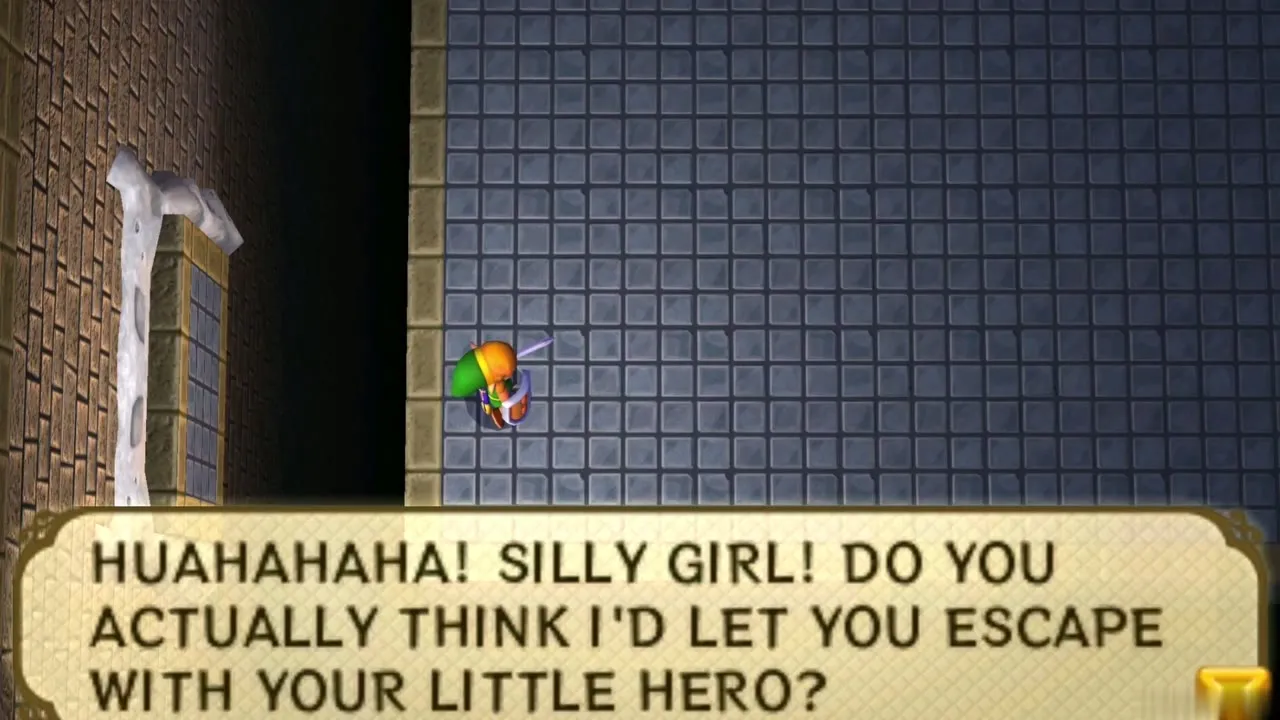
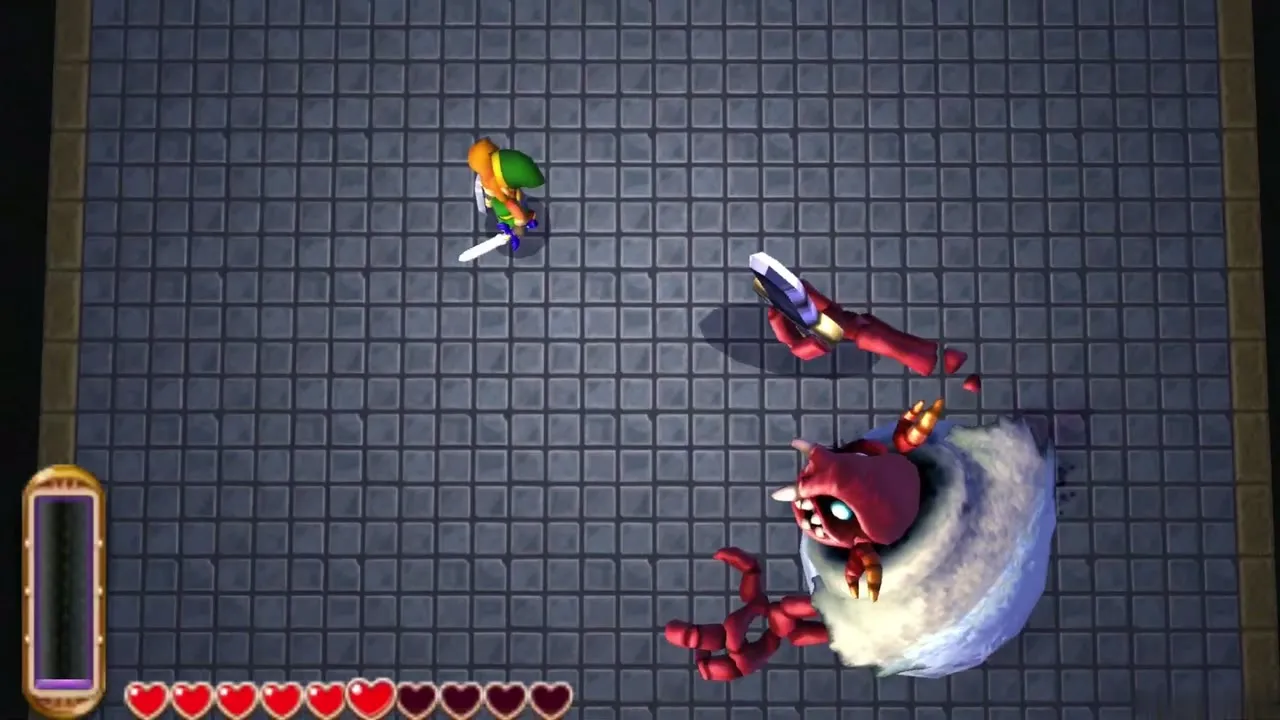
Cross the small bridge into the boss room. It lifts behind you and the door shuts, leaving the Thief Girl outside. Stalblind taunts you and appears in the middle of the platform, which sits above a bottomless pit. He carries a huge sword and shield, and your sword does nothing while he is guarded.
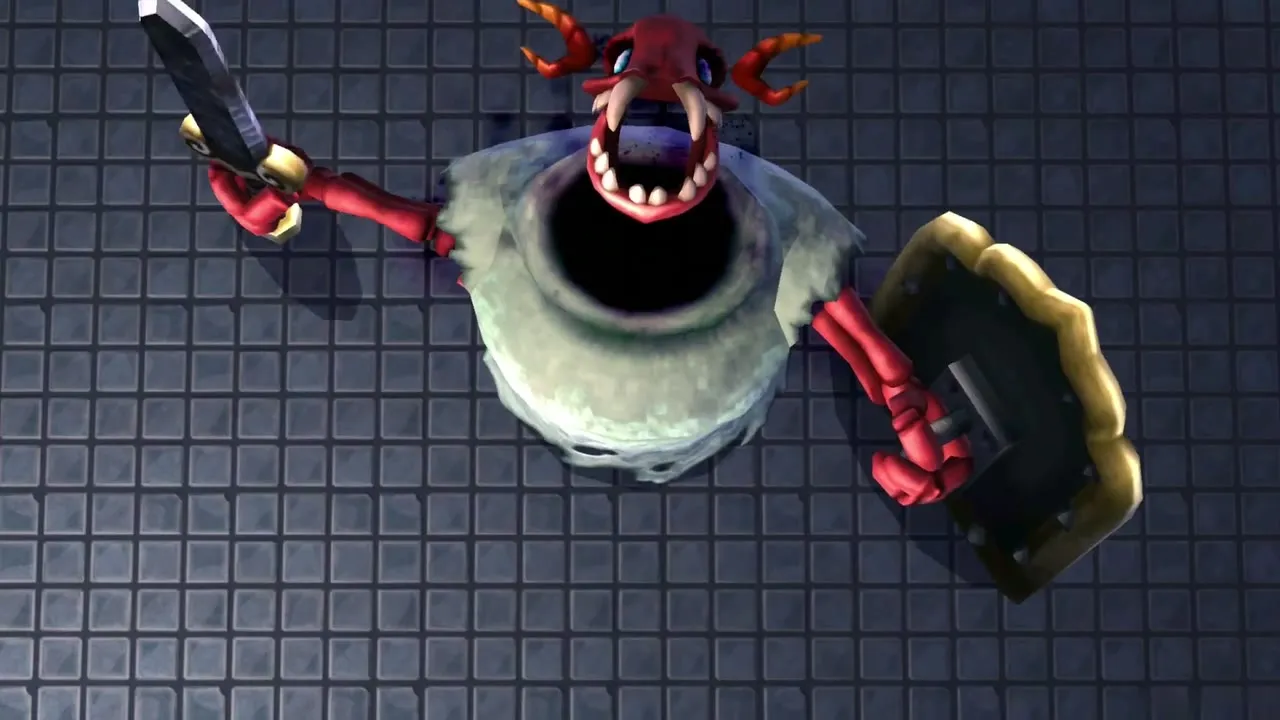

Stalblind phase 1: the shield
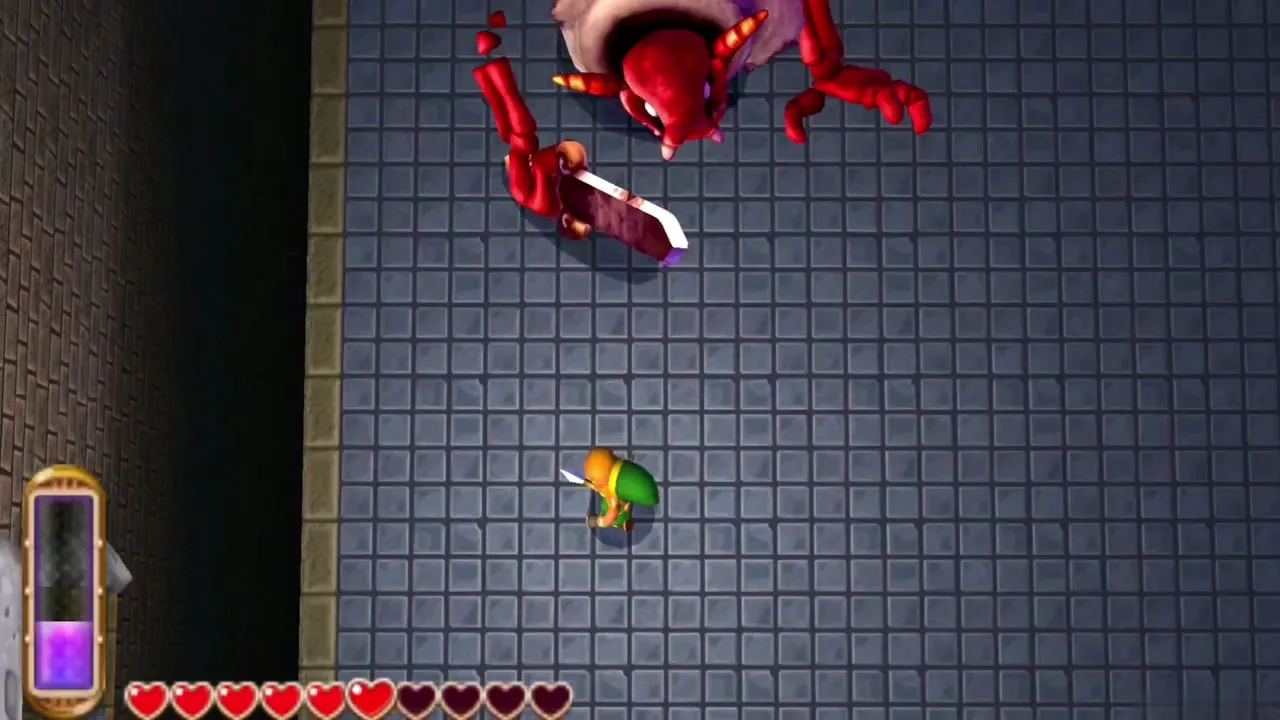
Walk up to him so he raises his shield, then merge into the shield. He loses track of you, lowers his guard and turns his back. Step out and slash his back, then back away because he answers with a burst of dark magic. Repeat this three times. His sword swipes get more frequent after the second round, but the trick stays the same.
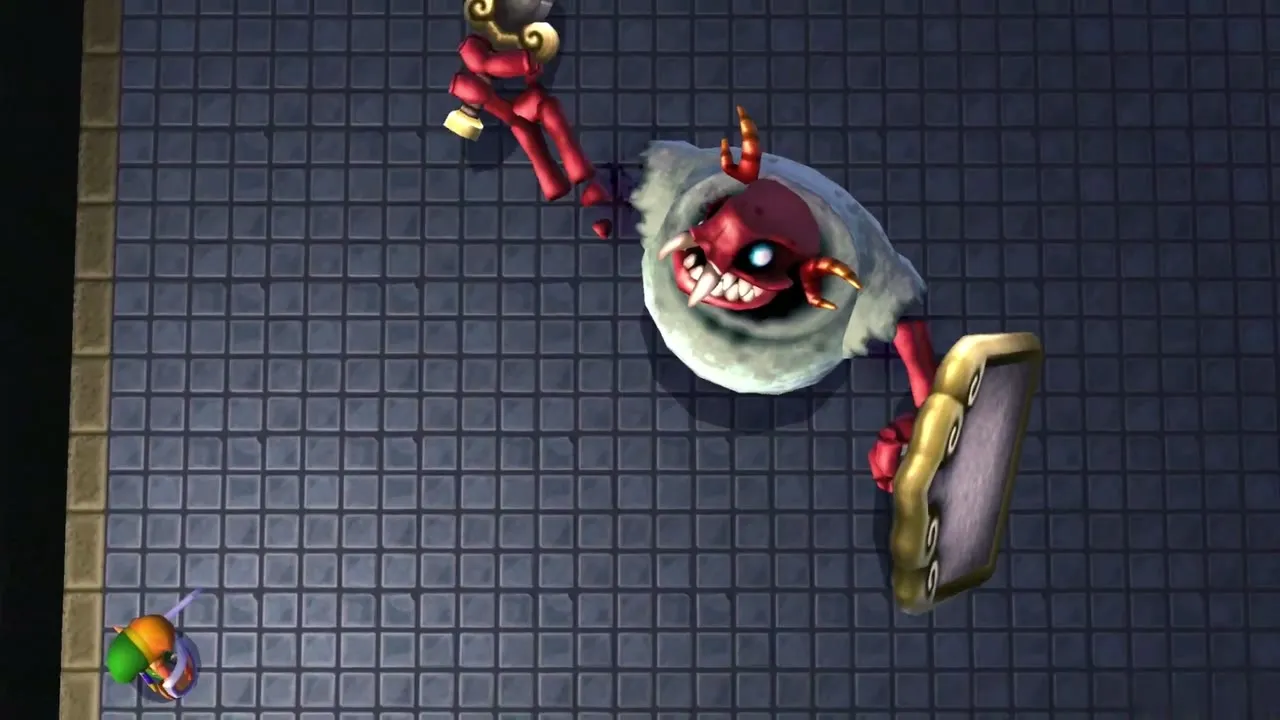
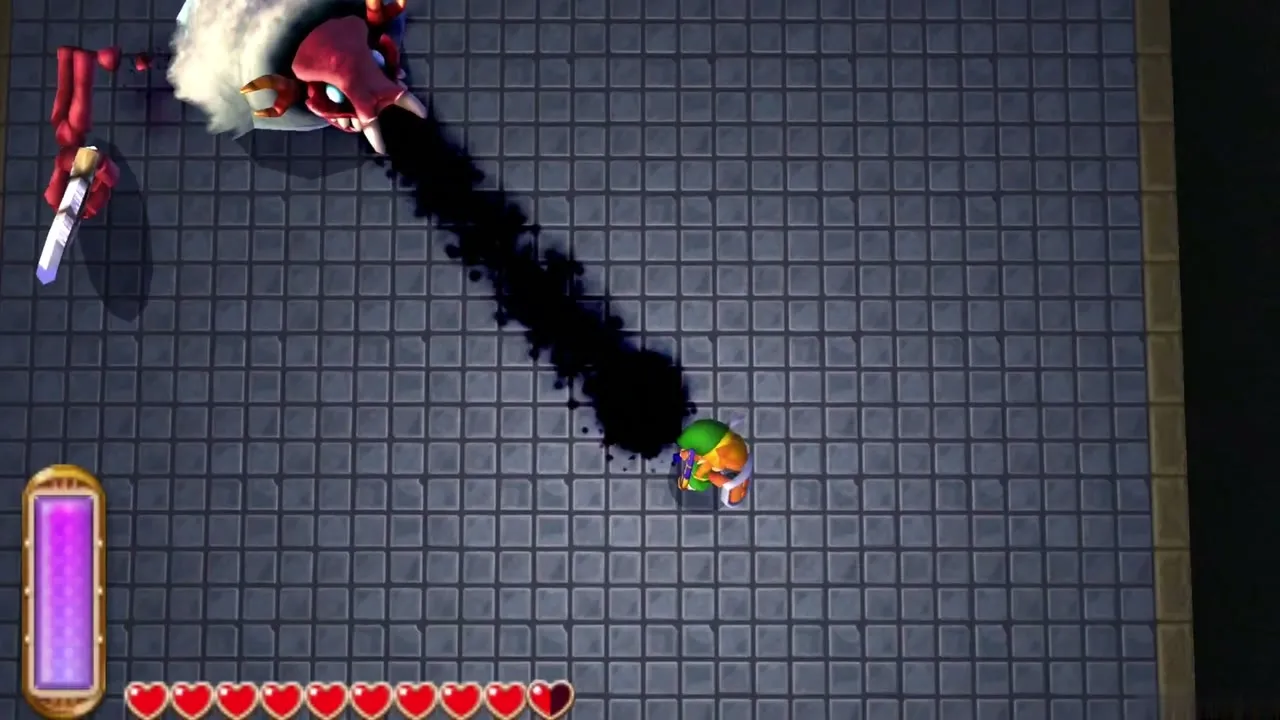
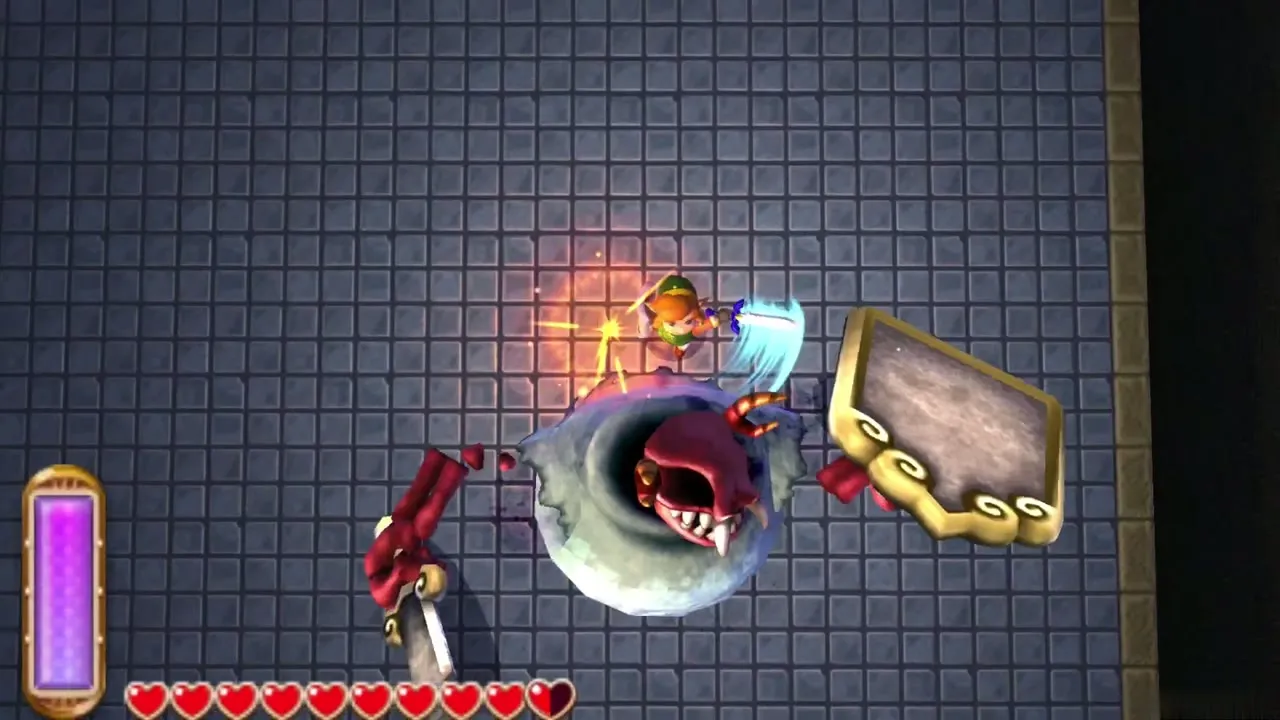
Stalblind phase 2: no shield
After the third hit he throws the shield away and rushes you. His overhead slash sticks in the floor if it misses, which gives you time to hit him. Run from his long spinning attack, or merge into a wall, and strike when he is dizzy afterward.
Stalblind phase 3: head and body
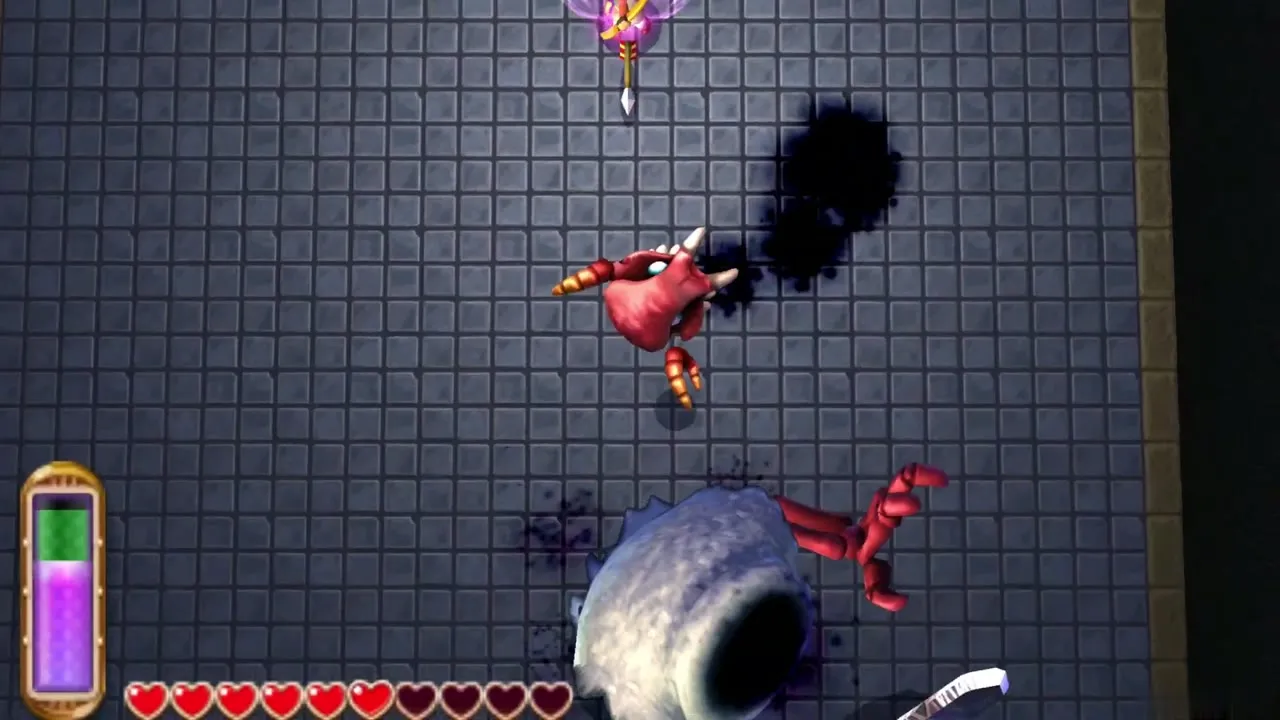
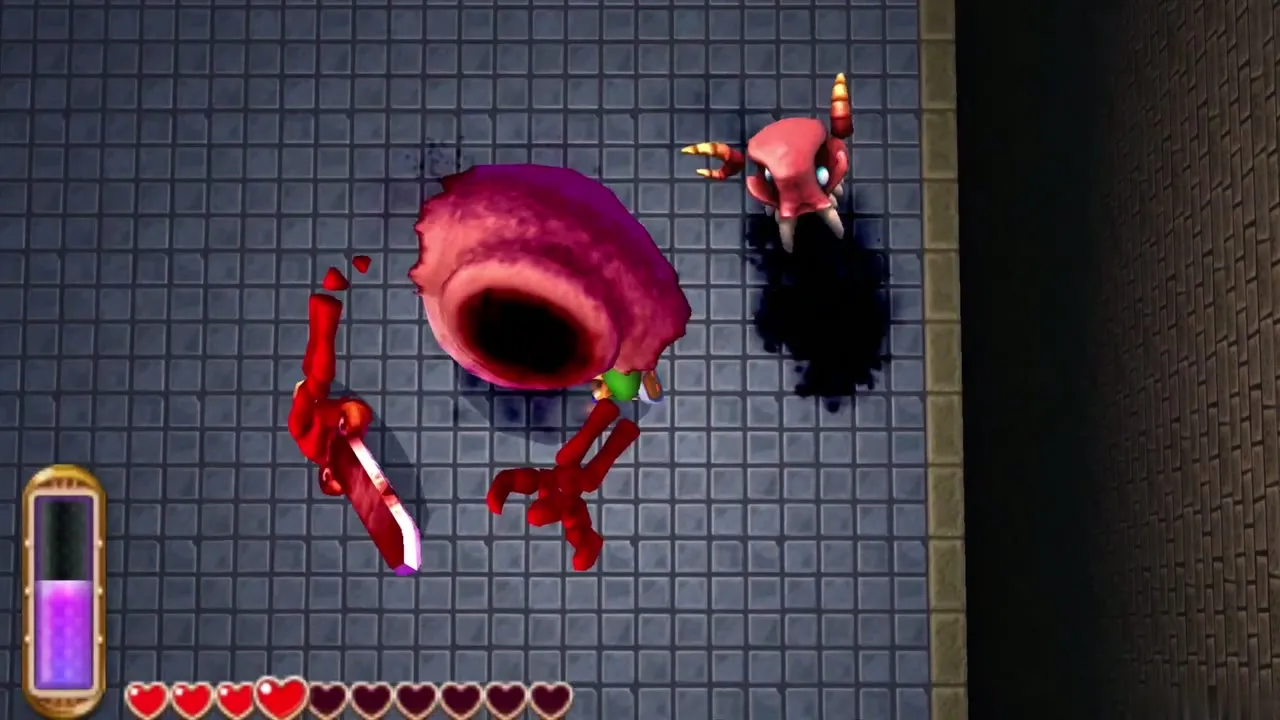
When he is badly hurt his head splits off and floats around the room, spraying dark magic. You cannot damage the head, so ignore it and keep moving. The body slashes in quick runs. Stay behind the body, hit it between swings and dodge the head’s shots until Stalblind falls.
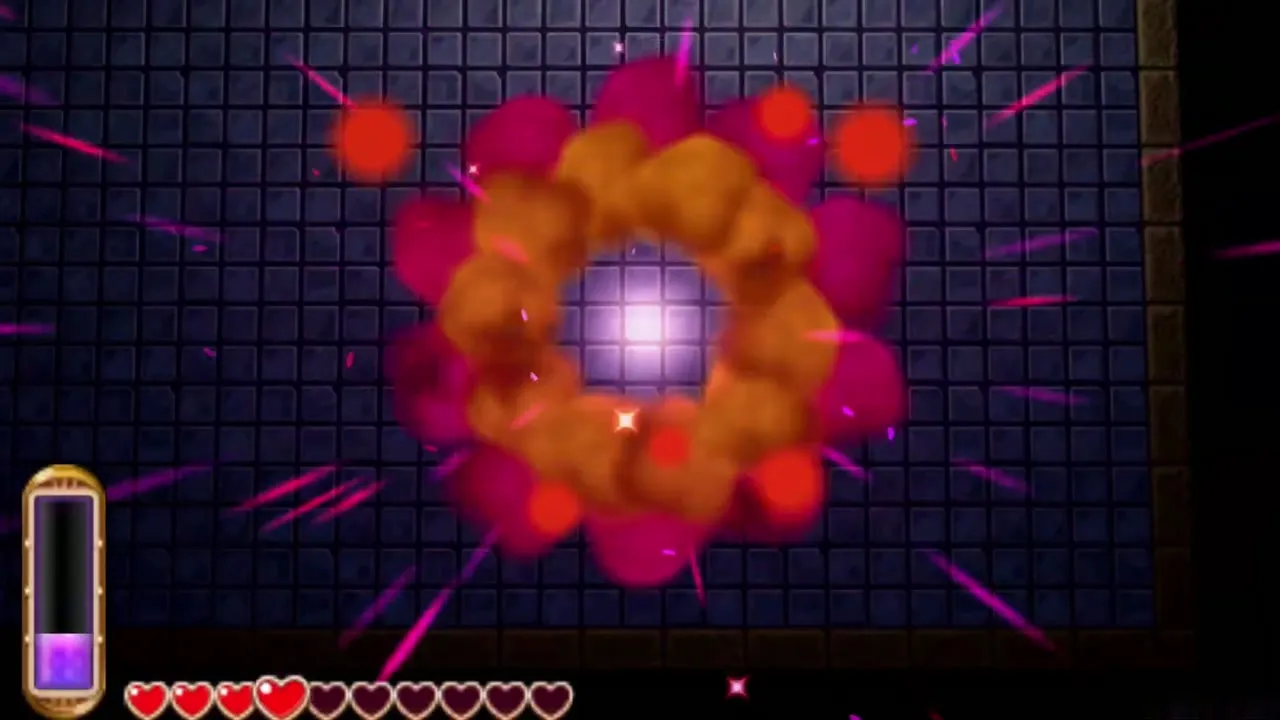
After Stalblind: Osfala and the Sand Rod
Leaving with the Thief Girl
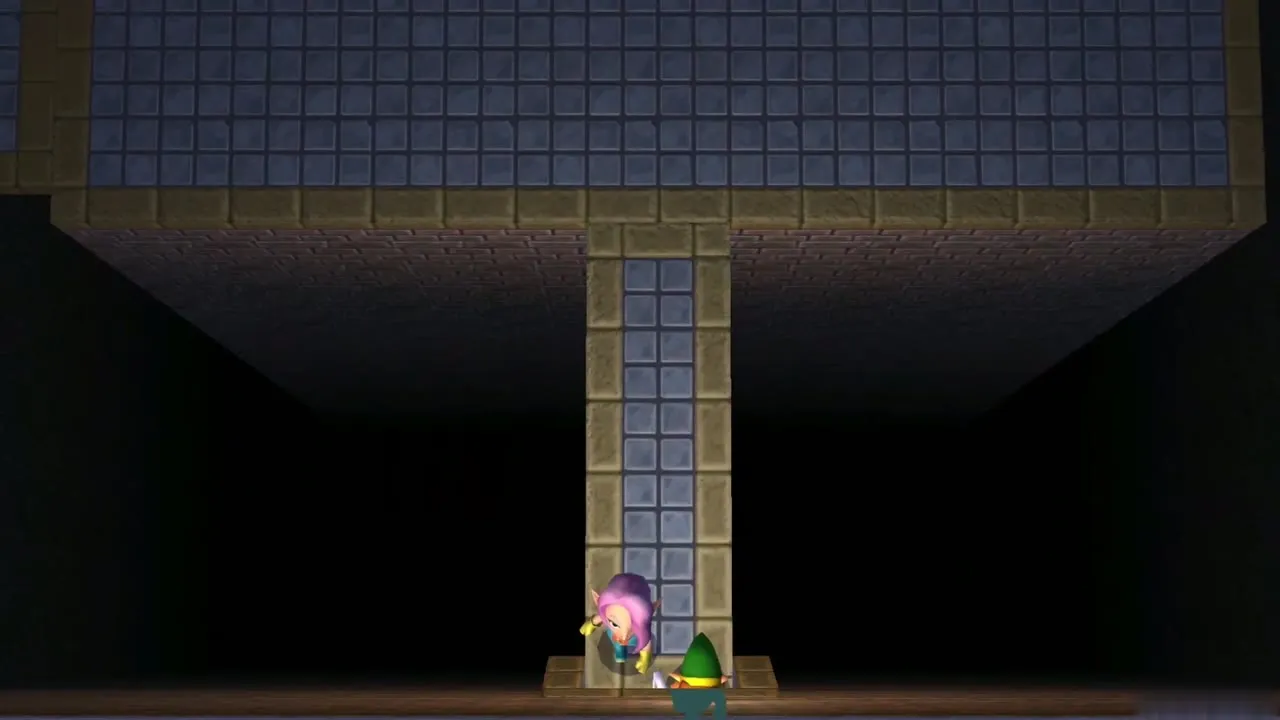
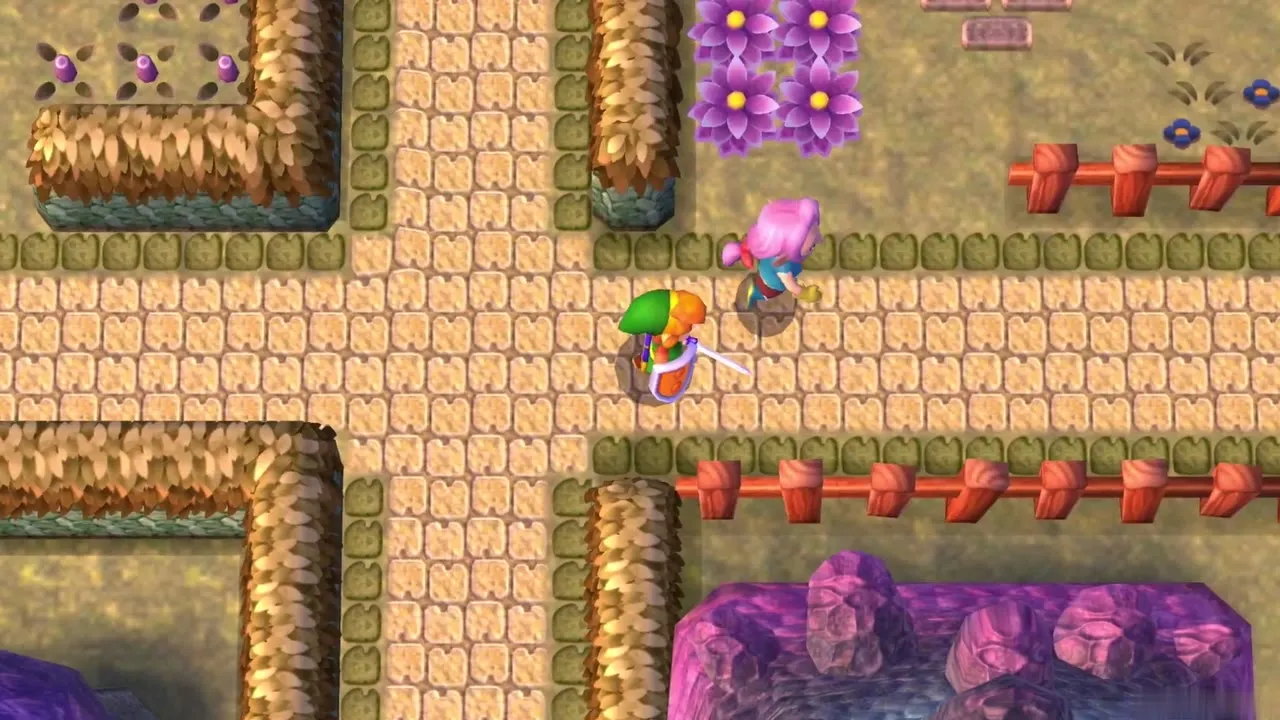
The door reopens when Stalblind is gone. Join the Thief Girl and follow her through the exit. She takes you outside to a house near the hideout entrance, where she says the painting you want is hidden.
Osfala’s painting
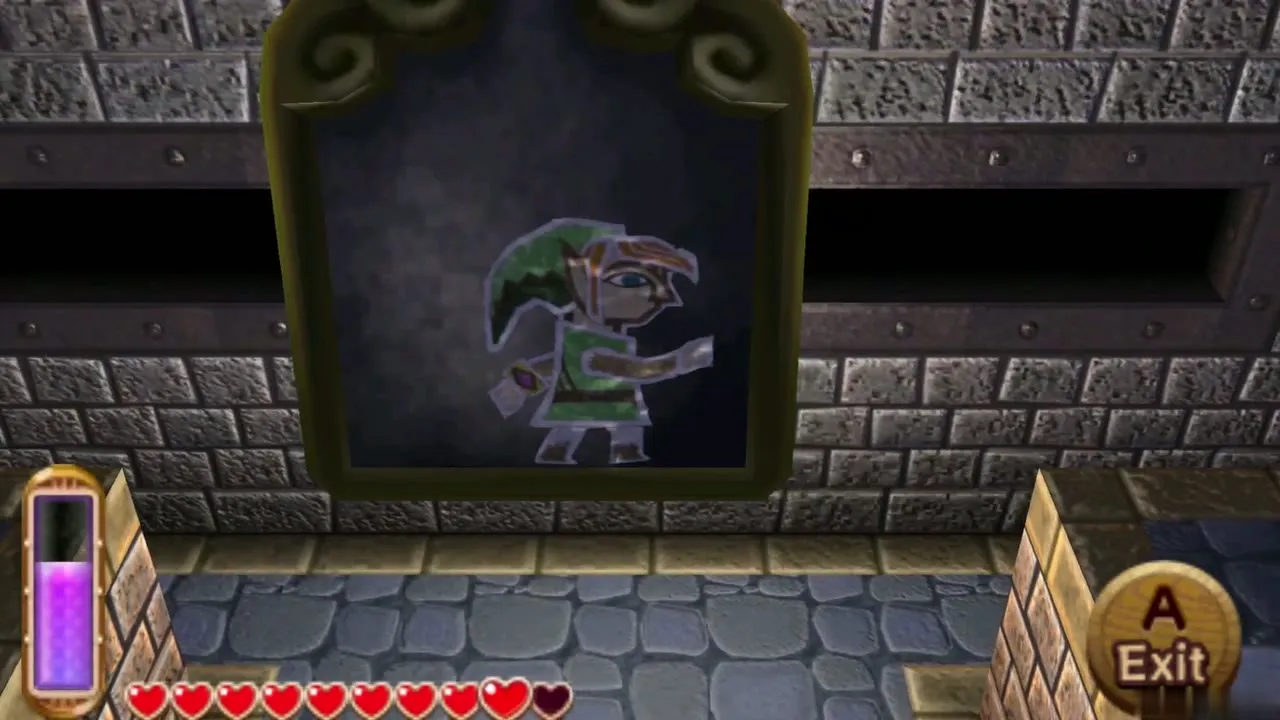
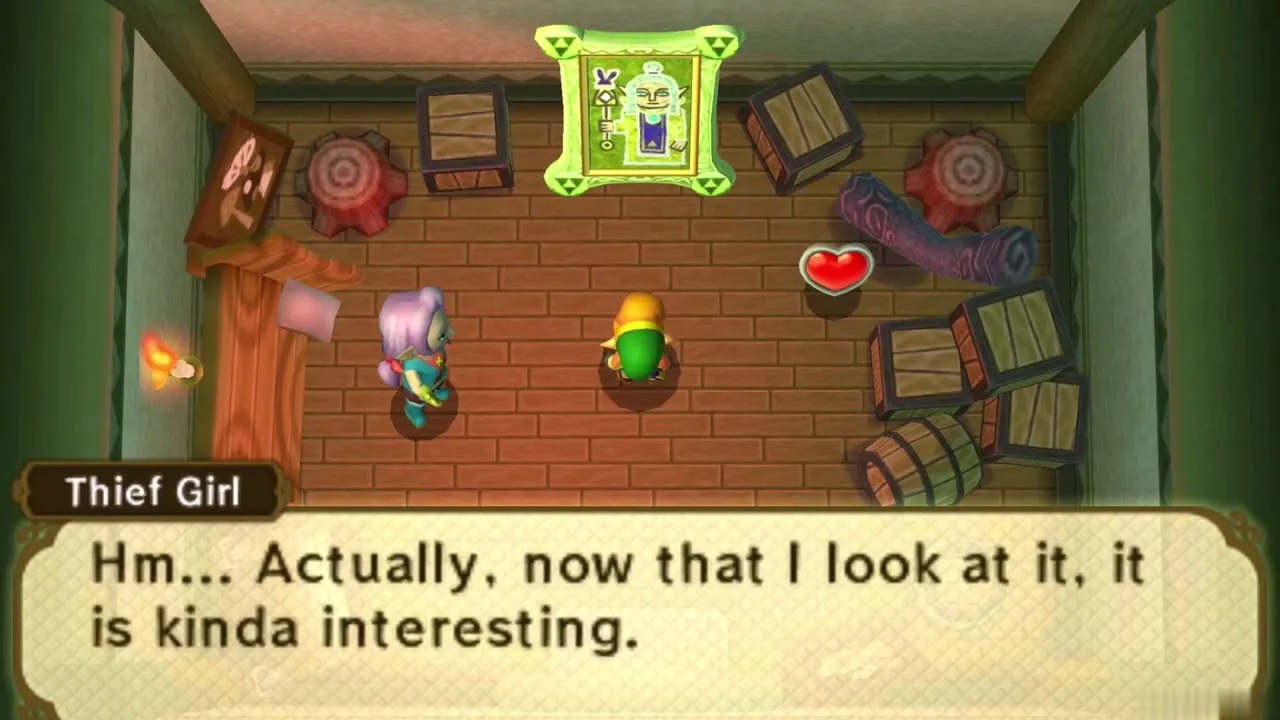
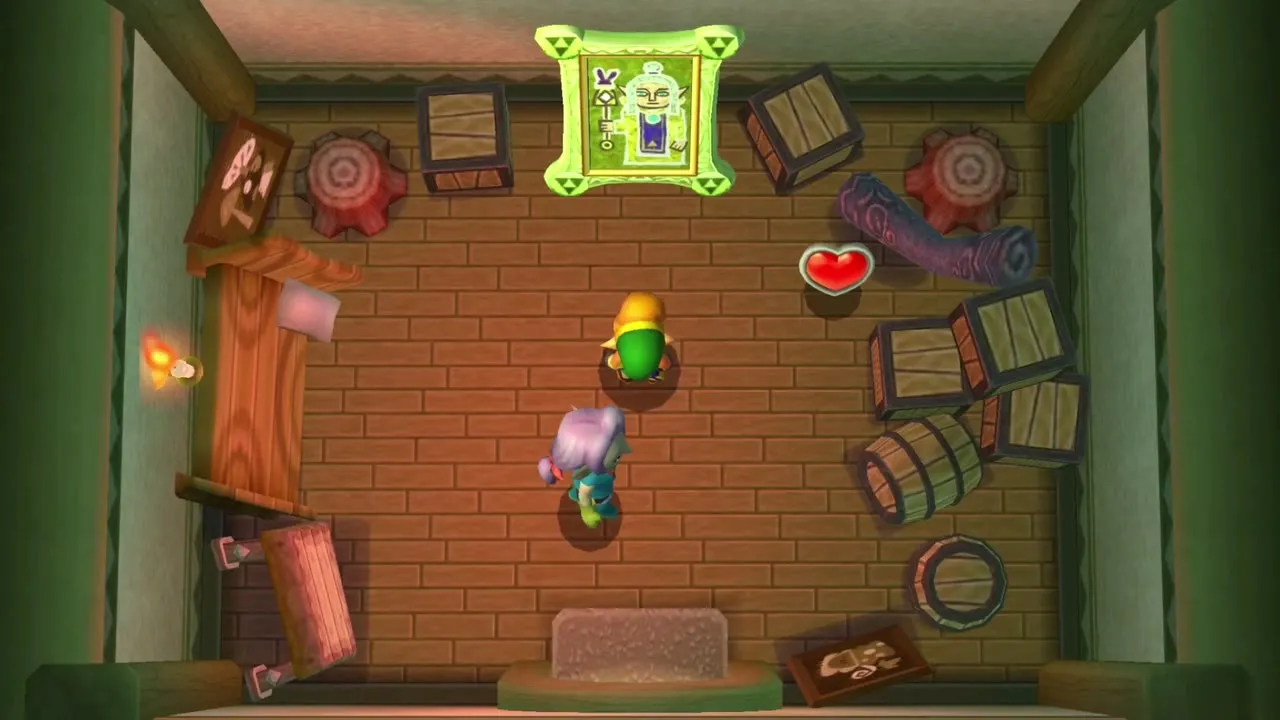
Inside the house, a green painting of Osfala hangs on the wall. Yuga turned Osfala into this painting at the Eastern Palace. Once you have seen it, the Thief Girl slips away to hide, and you can find her again later.
Thieves’ Hideout Heart Container
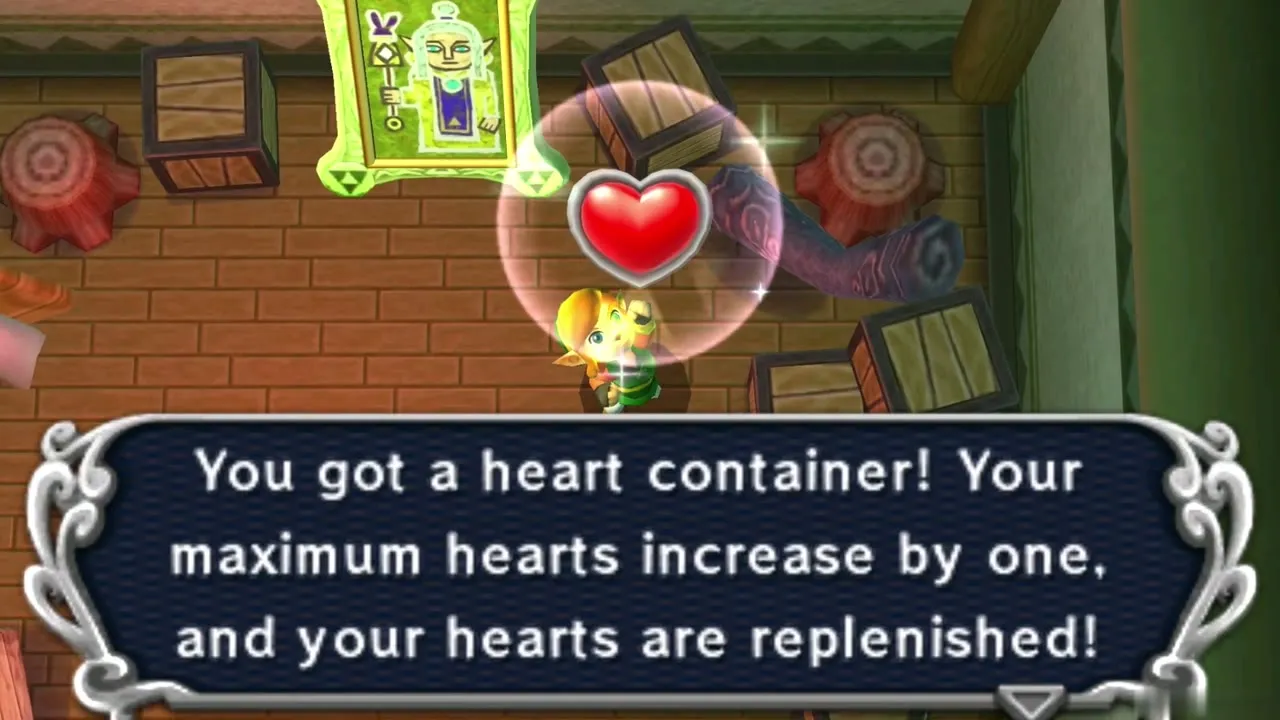
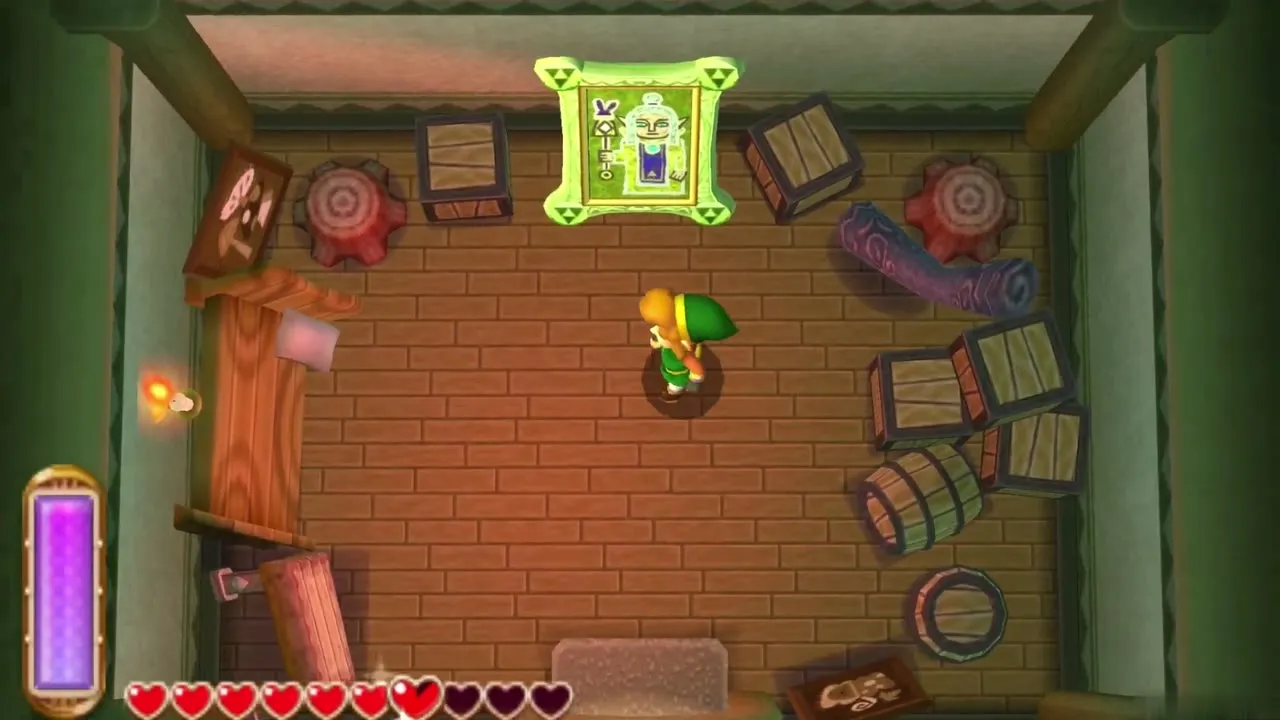
A Heart Container waits in the same house. Take it to raise your maximum hearts by one and refill your health.
Sage Osfala
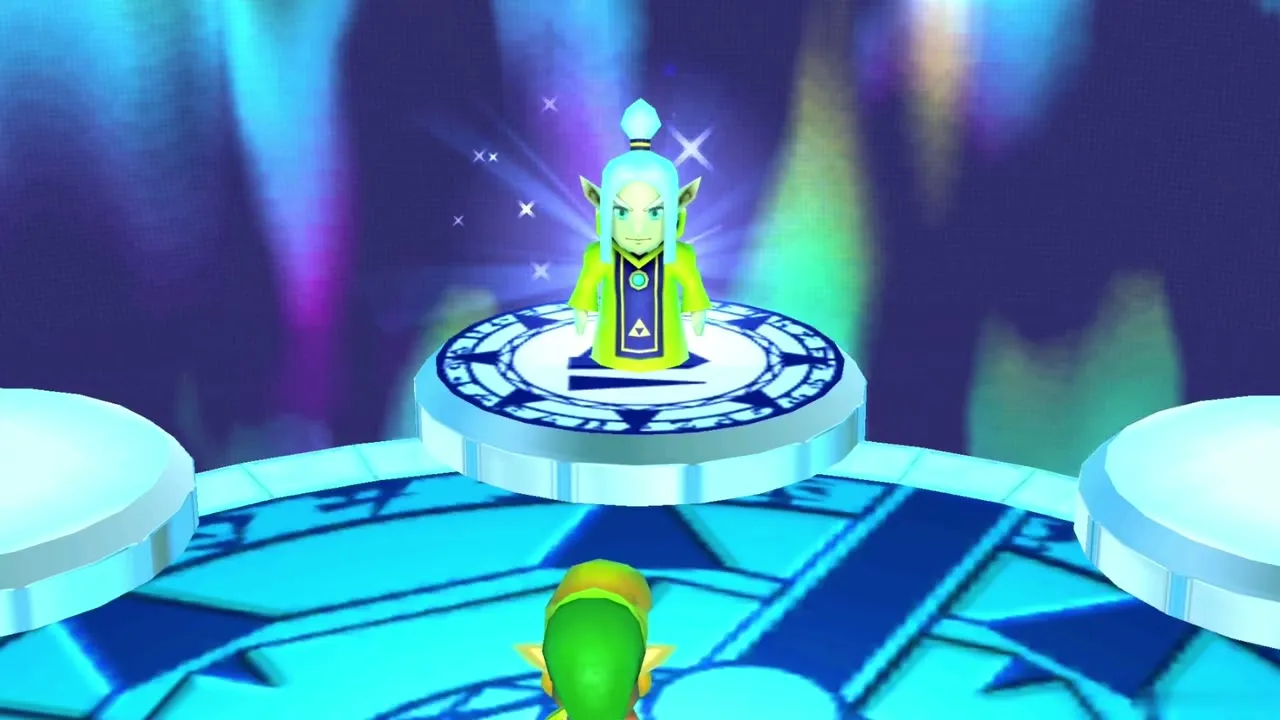
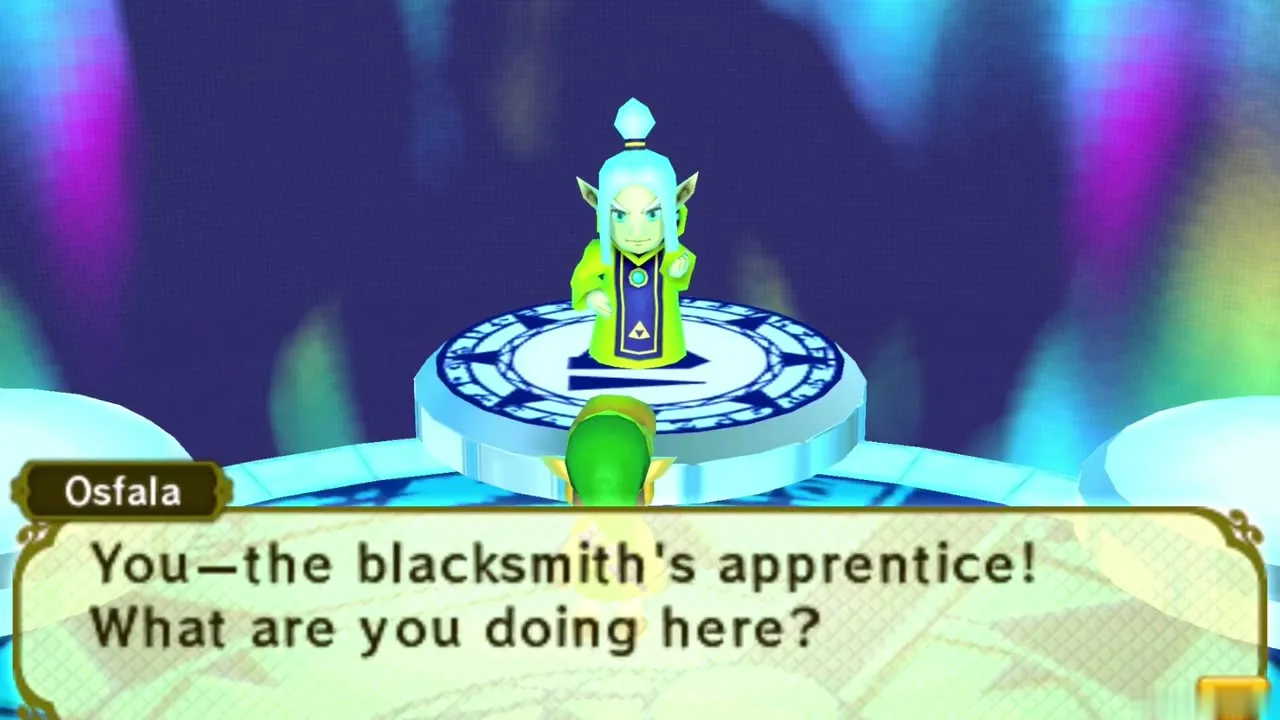
Freeing the painting sends you to Osfala, who stands on a pedestal in the Chamber of Sages. He is startled to see you, and he had expected to be the hero himself. Each Sage dungeon frees one of the seven Sages, and Osfala is the one from this dungeon.
How to get the Sand Rod
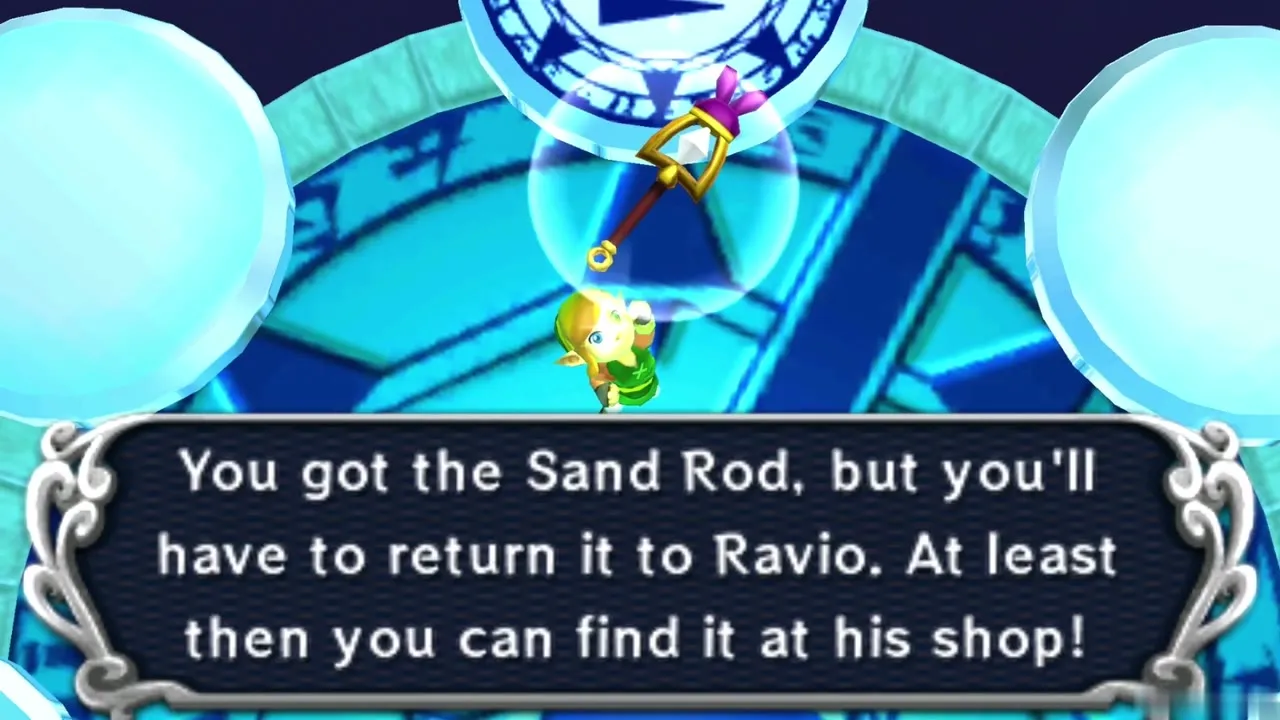
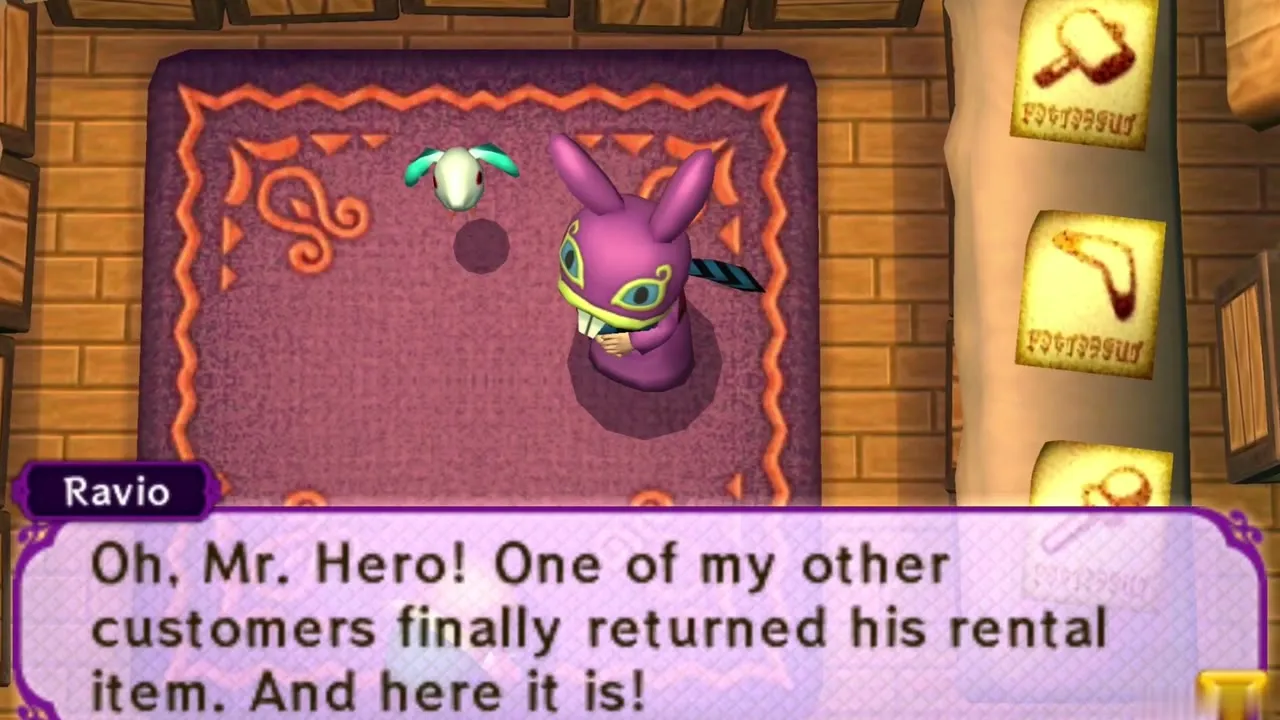
Osfala had rented the Sand Rod before Yuga painted him, so Ravio could not rent it to you. Now that he is free, Ravio’s bird Sheerow returns the rod to Ravio’s shop in Link’s House, and you can rent it (50 Rupees) or buy it. It is required for the Desert Palace, which is covered in the Desert Palace walkthrough.
Thieves’ Town side content
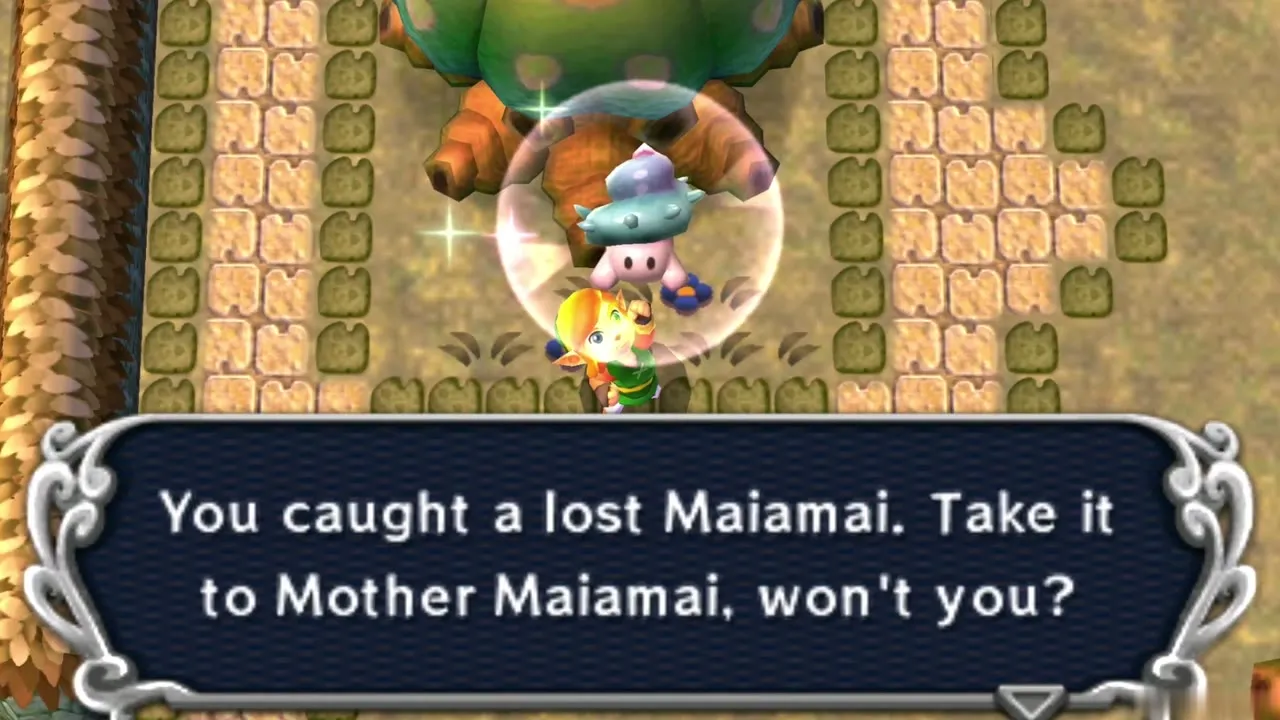
The town has more to find, and none of it needs the dungeon. Fortune’s Choice (200 Rupees, open 3 of 15 chests) and the Lorule Rupee Rush south of town (100 Rupees to play, collect 150 or more) each pay a Piece of Heart (#19 and #21). A Lost Maiamai waits for the Pegasus Boots dash into the tree north of the town arch, and another is won by slashing the northernmost grass in the ring around the Big Bomb Flower. The Thief Girl later hides in a cave south of the Vacant House, where she gives you Rupees as thanks.
Chapter checklist
| Collectible | Type | Where |
|---|---|---|
 Purple Rupee (50) | Rupees | B1, caged chest |
| Chest with 50 Rupees | Rupees | B2, off the conveyor walkways |
| Compass | Dungeon item | B2, barred cell in the central room |
| Small Key | Dungeon item | B2, dark room with Red Eyegores |
| Chest with 100 Rupees | Rupees | B3, behind bars after draining the water |
| Master Ore | Master Ore | B3, northwest corner |
| Silver Rupee (100) | Rupees | Fan rooms on the way back up |
| Big Key | Dungeon item | B1, north end of the entrance hall |
| Heart Container | Heart Container | House near the hideout entrance |
| Sage Osfala | Sage | Painting in the same house |
| Sand Rod | Rental | Ravio’s shop, after Osfala is freed |
With Osfala free and the Sand Rod in stock, head to the Bomb Shop just south of Thieves’ Town for the Swamp Palace walkthrough.