A Link Between Worlds 100% Completion Walkthrough18 chapters
- Opening and SanctuaryWake in Link’s House, deliver the captain’s sword, cross the Graveyard passage with the Lamp and meet Yuga.
- Hyrule Castle and Kakariko VillageRavio’s Bracelet, Zelda’s Pendant of Courage, Kakariko shops, Sahasrahla and the free Bow rental.
- Eastern PalaceEvery key, chest and rupee, the Compass, Big Key, Yuga boss fight and your first Heart Container.
- Pegasus Boots and Zora’s FlippersGet the Pouch, Irene’s Bell, Power Glove, Pegasus Boots, Zora’s Flippers, Ravio’s rentals and Hyrule Heart Pieces.
- House of GalesRent the Tornado Rod, swim to Lake Hylia’s island, beat Margomill and take the Pendant of Wisdom.
- Death MountainClimb the boulder caves, find two Heart Pieces and a Bottle, and reach the Tower of Hera.
- Tower of HeraEvery floor, both Small Keys, Compass, Big Key, Moldorm boss fight, Heart Container and Pendant of Power.
- Master Sword and Lost WoodsWalkthrough for pulling the Master Sword in the Lost Woods, breaking the Hyrule Castle barrier.
- Lorule and Dungeon OrderHilda, the Blacksmith, fissures, Ravio’s Shop, Thieves’ Town side content and the dungeon order.
- Dark PalaceThe guard maze, every key, the Compass, Big Key, Master Ore, Gemesaur King, Heart Container and Sage Gulley.
- Skull WoodsKeys, Compass, Big Key, Master Ore, Knucklemaster boss fight, Sage Seres and the Master Sword upgrade.
- Ice RuinsThe Hookshot route to Lorule’s Death Mountain, every floor, keys, the Stamina Scroll and Dharkstare.
- Thieves’ HideoutThe password song, the Thief Girl escort, Master Ore, Stalblind, Sage Osfala and the Sand Rod.
- Swamp PalaceBig Bomb Flower, Hookshot, water levels, keys, Compass, Blue Mail, Big Key, Arrghus and Sage Oren.
- Turtle RockRescue the baby turtles, use the Ice Rod, find every key, beat Grinexx and free Sage Impa.
- Desert PalaceReach it with the Sand Rod, find the Titan’s Mitt, beat Zaganaga and rescue Sage Irene.
- Lorule CastleThe Triforce of Courage, all four mini-bosses, the Compass, Red Mail and the way to the Throne Room.
- Final BossBeat Yuga Ganon with the Bow of Light, see Hilda’s choice, make the Triforce wish and unlock Hero Mode.
| Covers | Lake Hylia, Bird Lover’s grove, Mother Maiamai’s cave, the House of Gales (1F, 2F, 3F and top floor), the Heedles mini-boss and the Margomill boss fight |
|---|---|
| You need | Zora’s Flippers, the rented Tornado Rod (from Ravio’s Shop), the Lamp and Ravio’s Bracelet for wall merging; rented Bombs are useful on the way |
| Rewards | 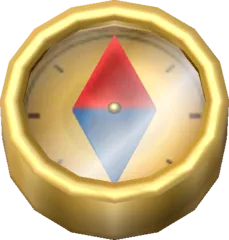 Compass,  Big Key,  Heart Container (the second),  Pendant of Wisdom (the second pendant),  Bottle #2 from the Bird Lover,  the Letter in a Bottle (Bottle #3), the Maiamai Map, Lake Hylia Maiamai #1 to #4 and the Hyrule Hotfoot course nearby (Heart Piece #9, see Pegasus Boots and Zora’s Flippers) |
The House of Gales is the second dungeon of Hyrule and sits on an island in the middle of Lake Hylia. Swim there with the Flippers, blow away the tiles in front of the door with the Tornado Rod, then use wall fans and the rod’s lift to climb through the building. You collect the Compass and the Big Key, defeat the Heedles, hop on top of Margomill, and leave with a Heart Container and the Pendant of Wisdom.
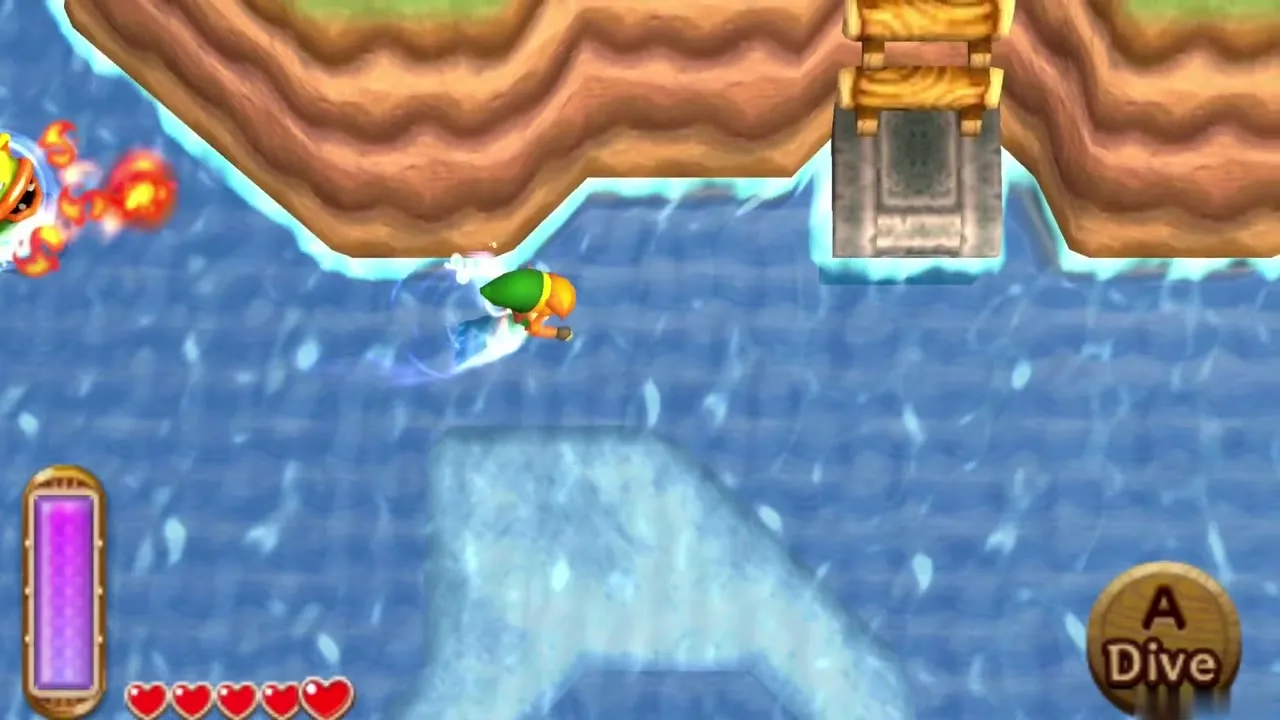
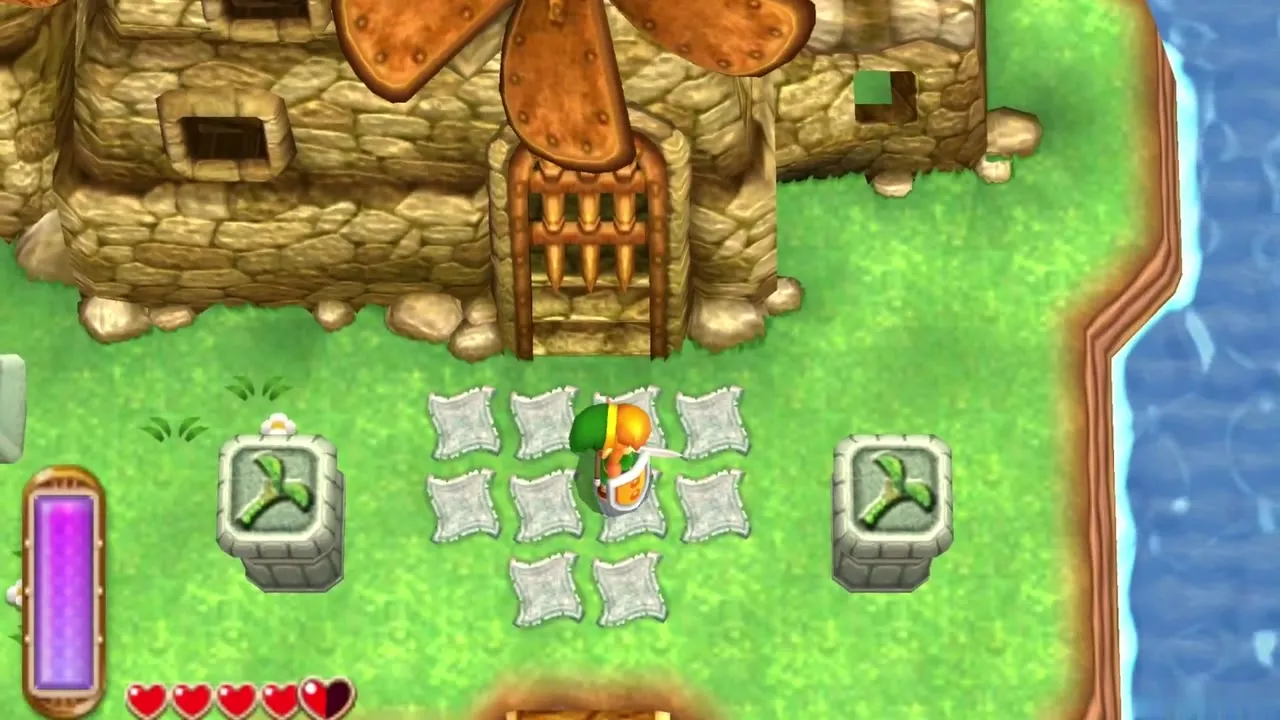
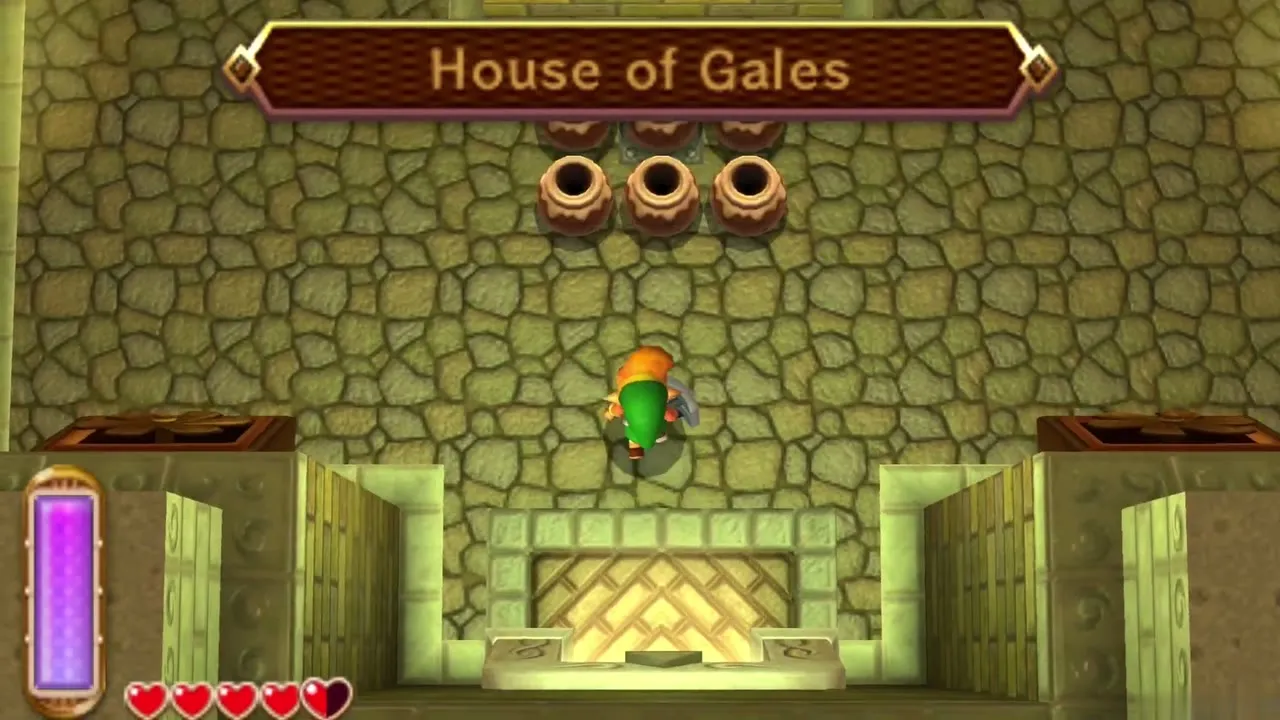
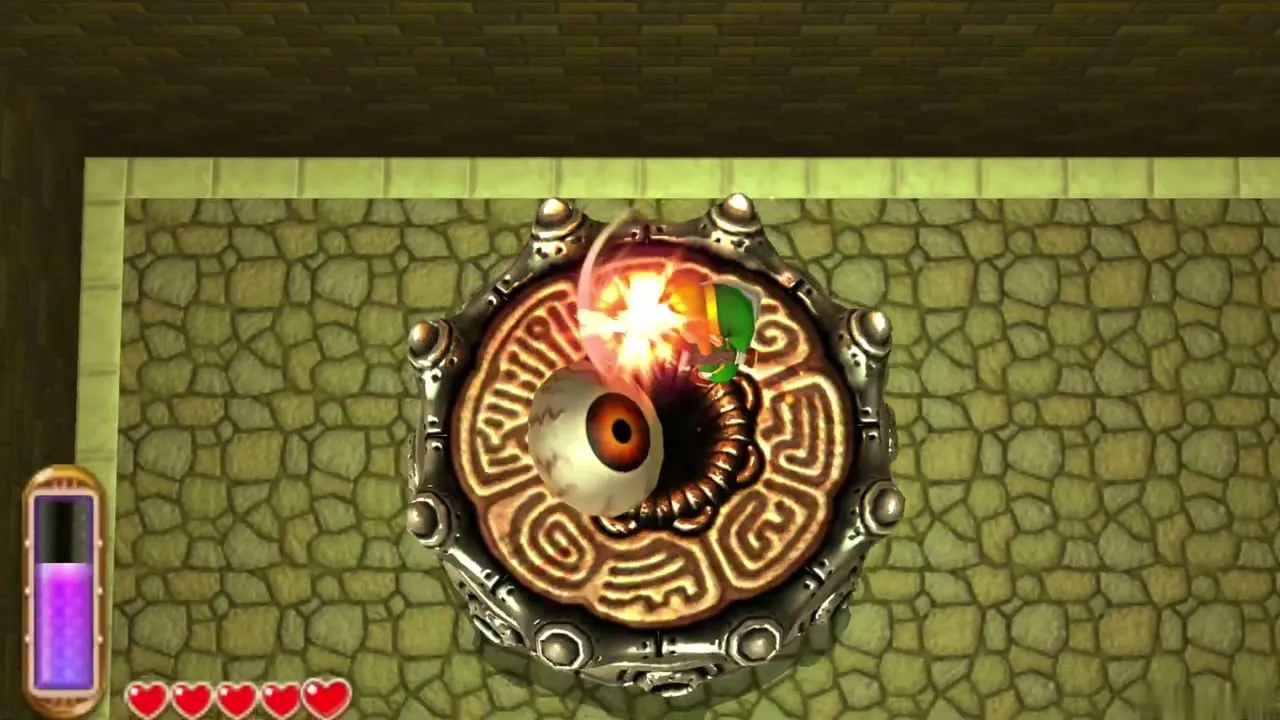
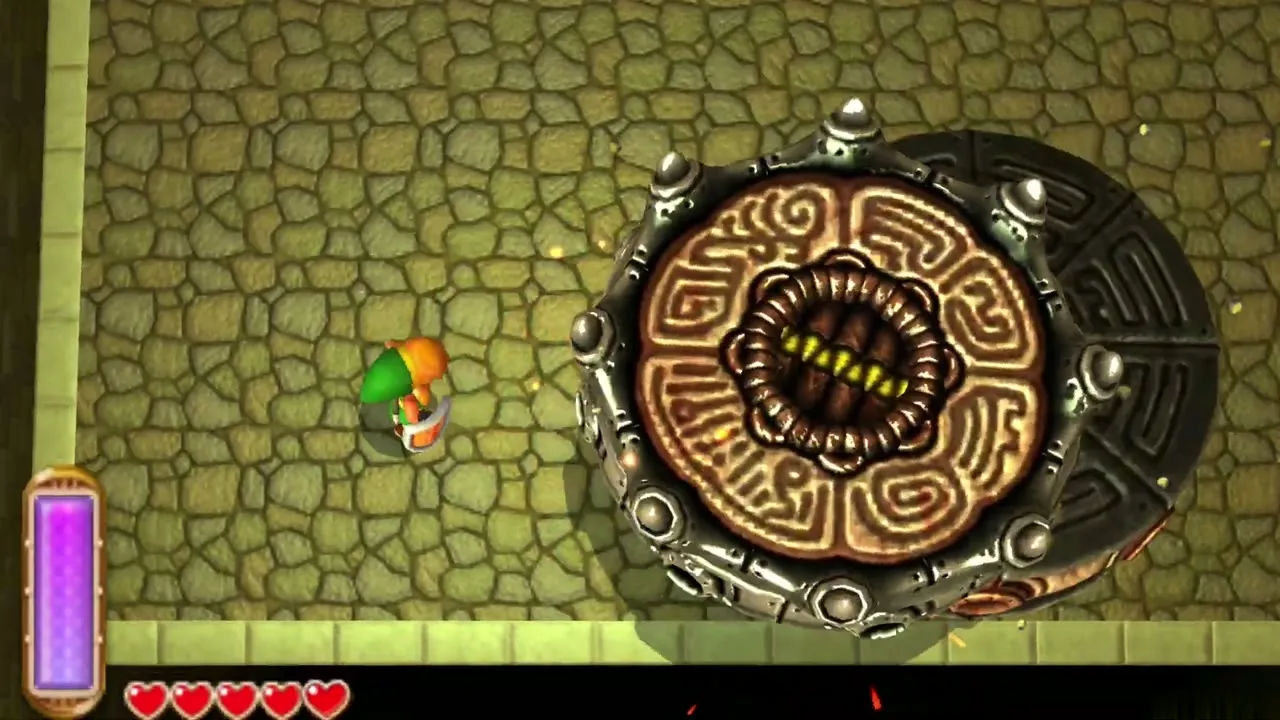
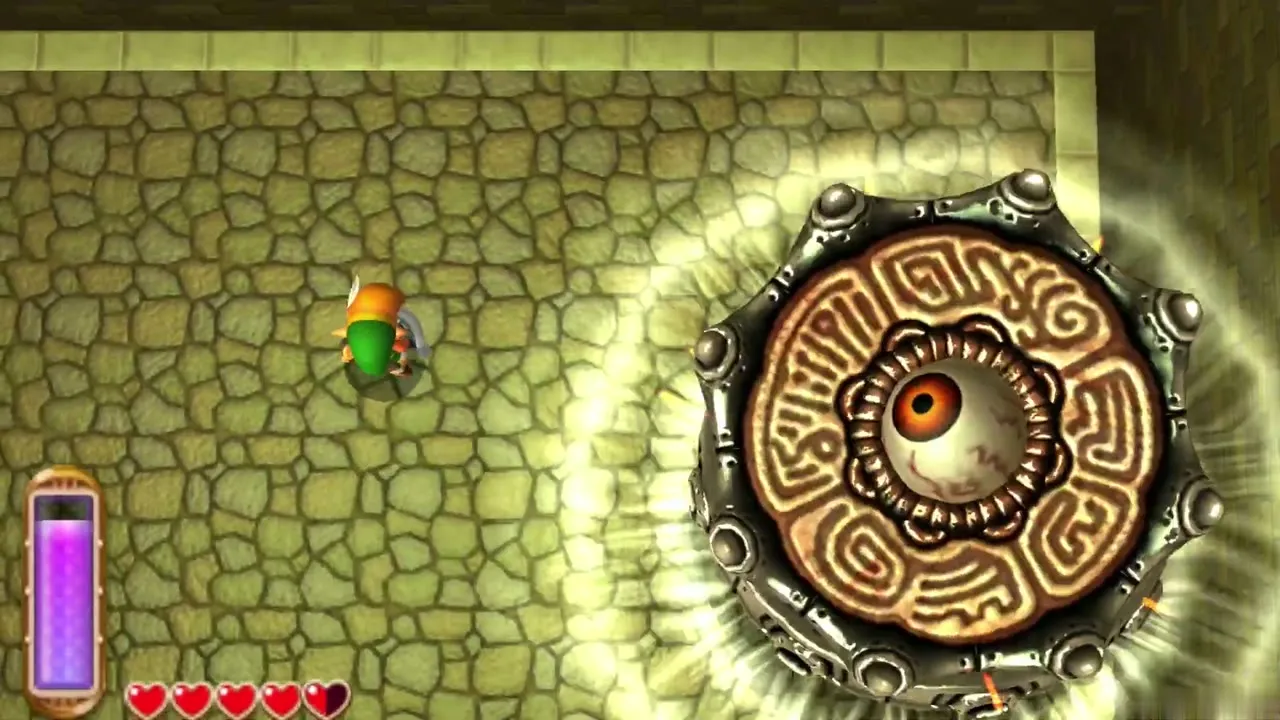
Table of Contents
Before you go to Lake Hylia
What to bring
You cannot get inside without two things. Zora’s Flippers come from Oren in Zora’s Domain once you return her stolen gem, part of the errands in Trouble in Hyrule. The second is the Tornado Rod. Bring your Lamp as well, because torches in the dungeon must be lit. Keep your hearts up: if you ever lose all of them, Ravio’s bird carries every rented item back to the shop and you have to hire them again.

Rent the Tornado Rod
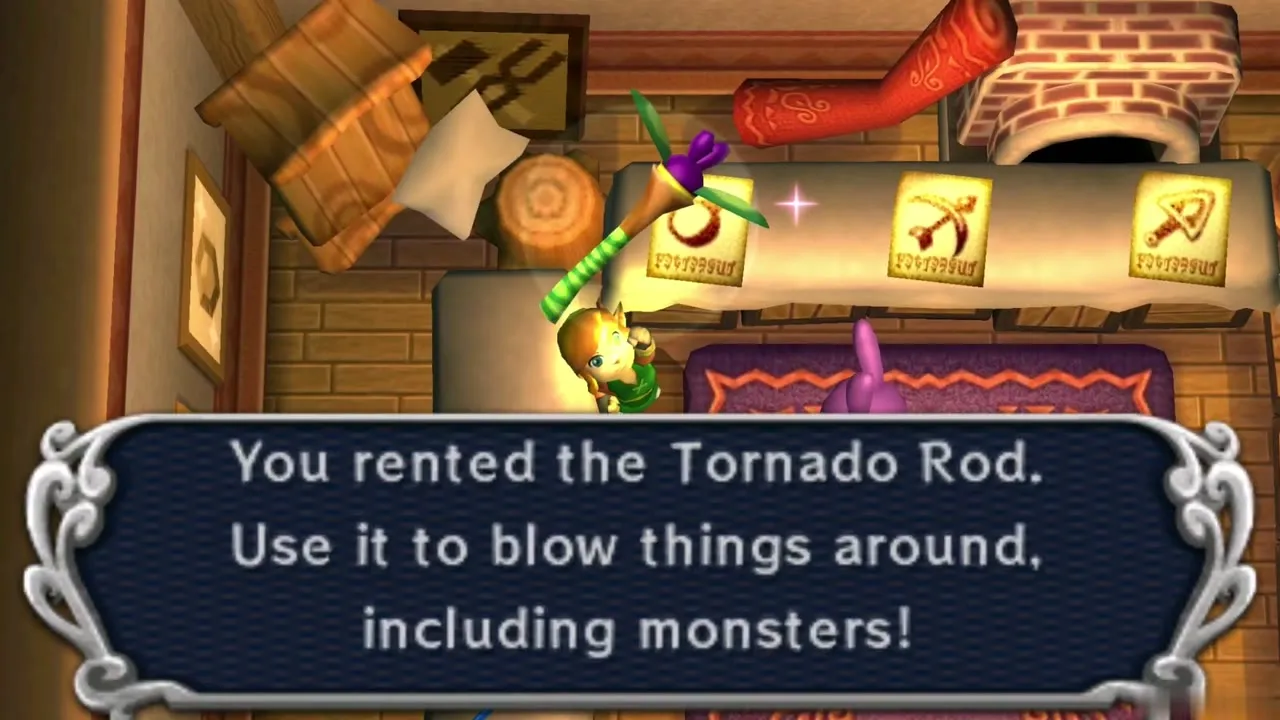
Walk into Link’s House and talk to Ravio. The Tornado Rod normally rents for 50 Rupees, though Ravio’s daily special can bring it down to as little as 20, so read the price on screen. Say yes at the counter, then open the item screen and place the rod on Y or X. It blows enemies around, puts out flames and lets you hover for a moment, which is what this dungeon is built around. The Ravio’s Shop page lists every rental.
Lake Hylia, the Bird Lover and Mother Maiamai
Bird Lover’s free Bottle
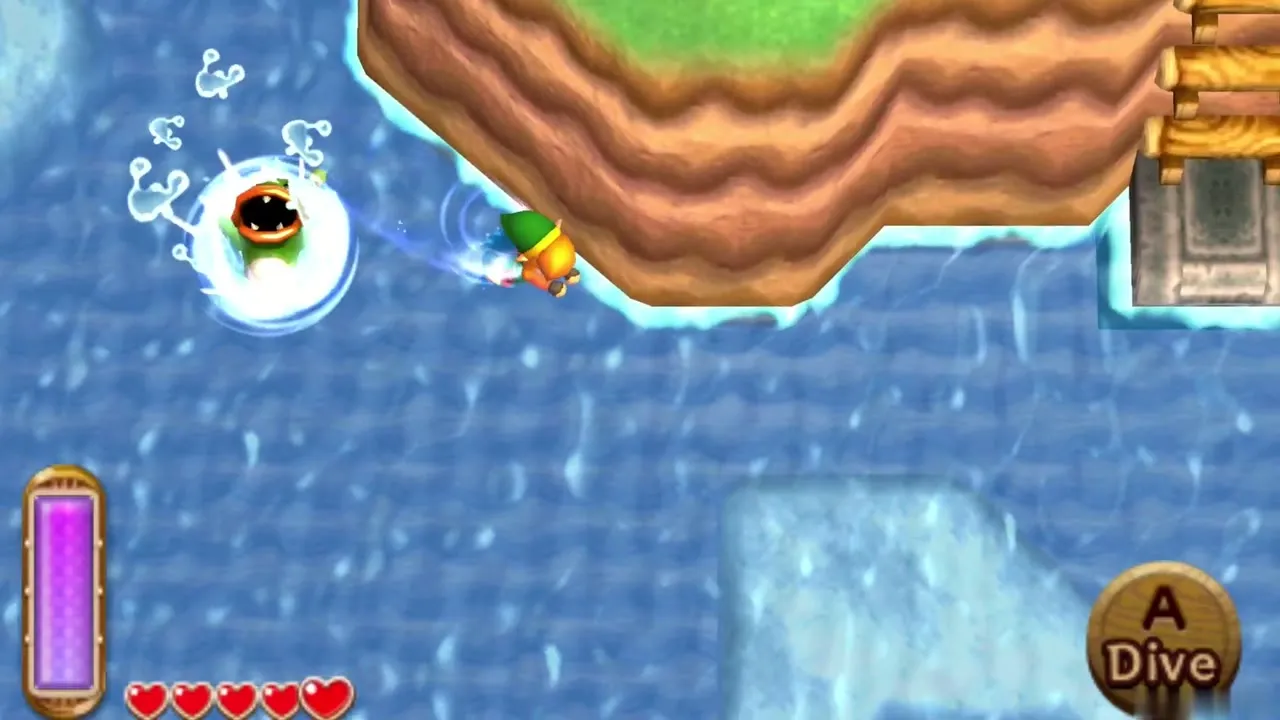
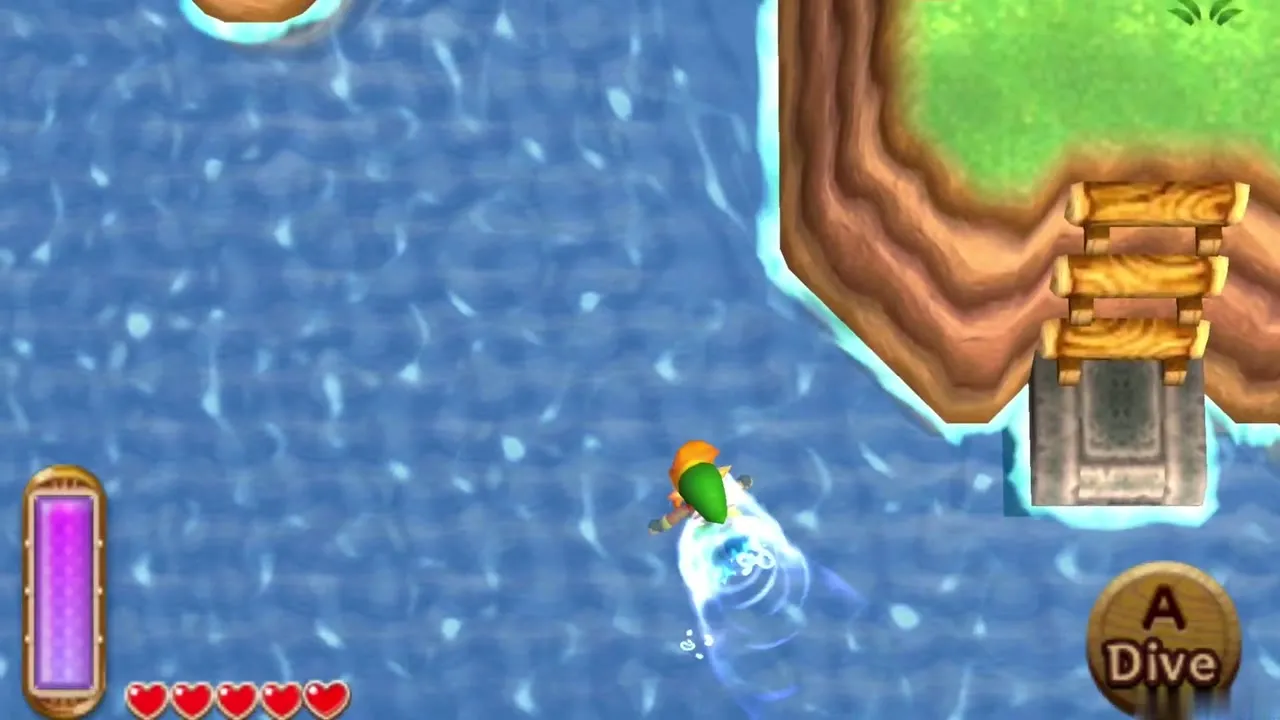
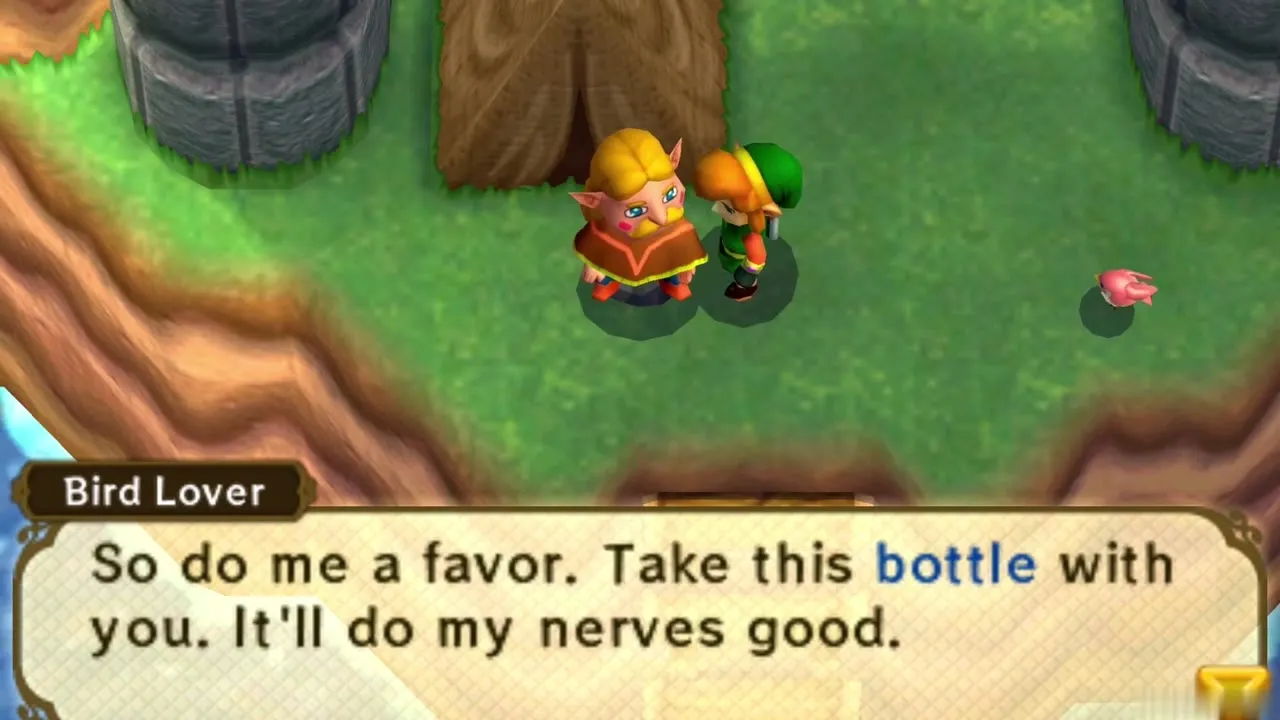
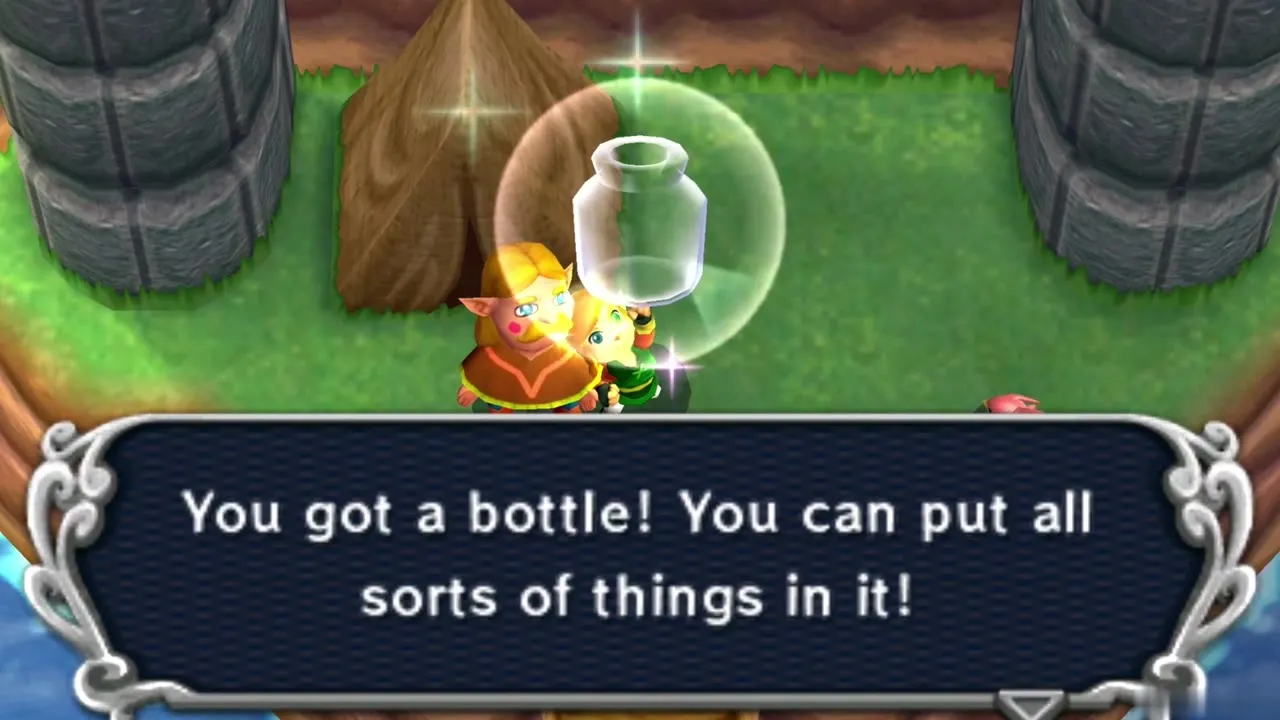
With the Flippers, swim to the stone bridge just east of Link’s House and dive where the prompt appears to reach the grassy grove under it. The Bird Lover lives here among his birds. Talk to him, choose to chat, and he gives you a Bottle, because the one that washed up near his tent makes him nervous. This is Bottle #2, and it can hold fairies, bees and potions. All five Bottles are listed on the Bottles page.
Mother Maiamai’s cave
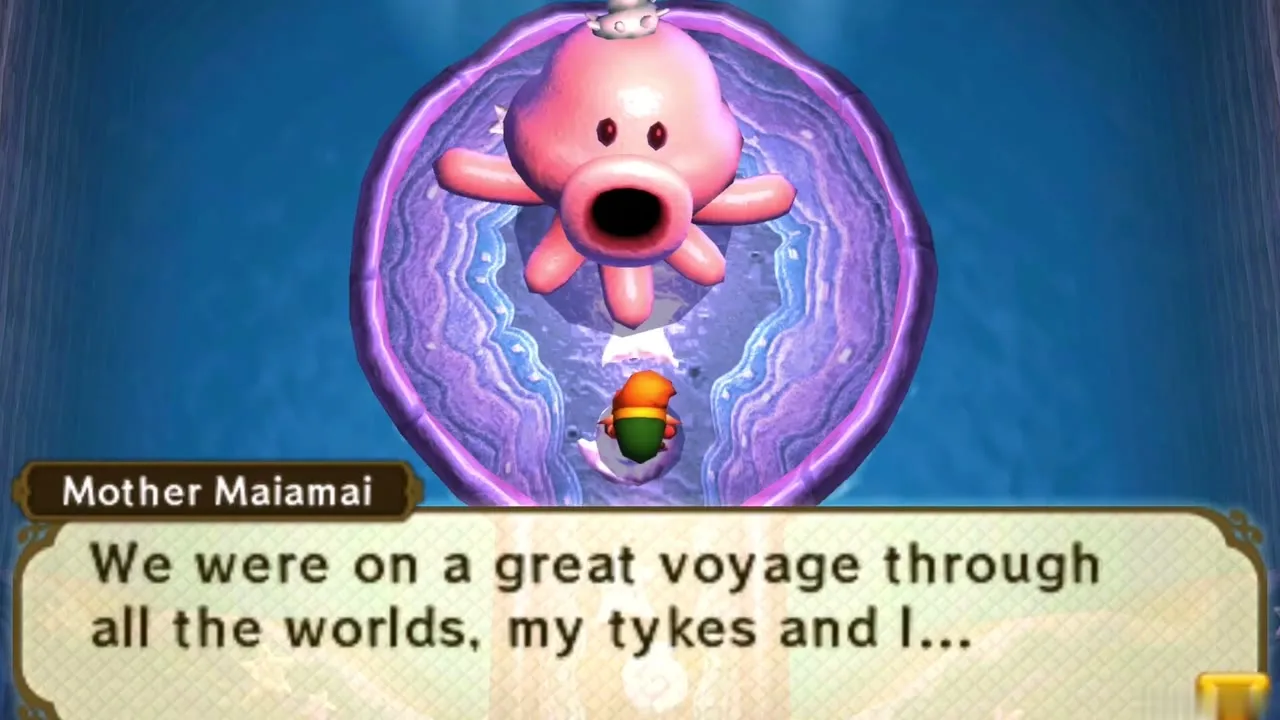
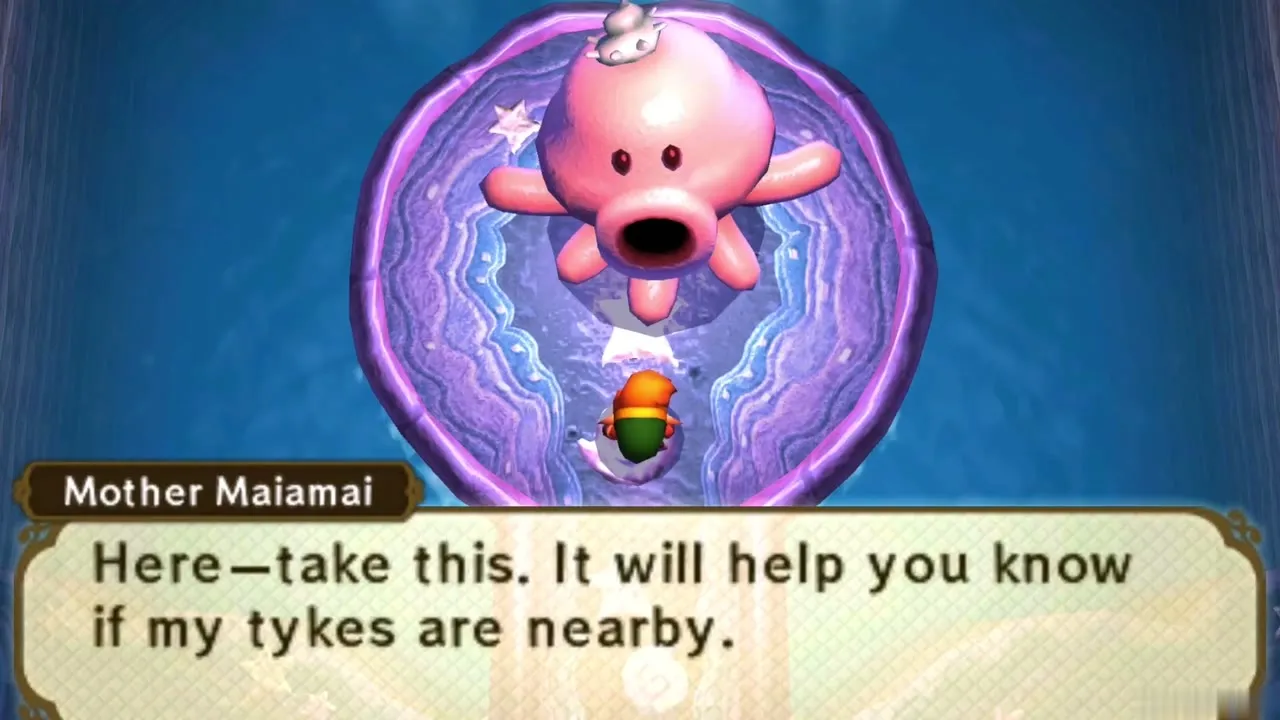
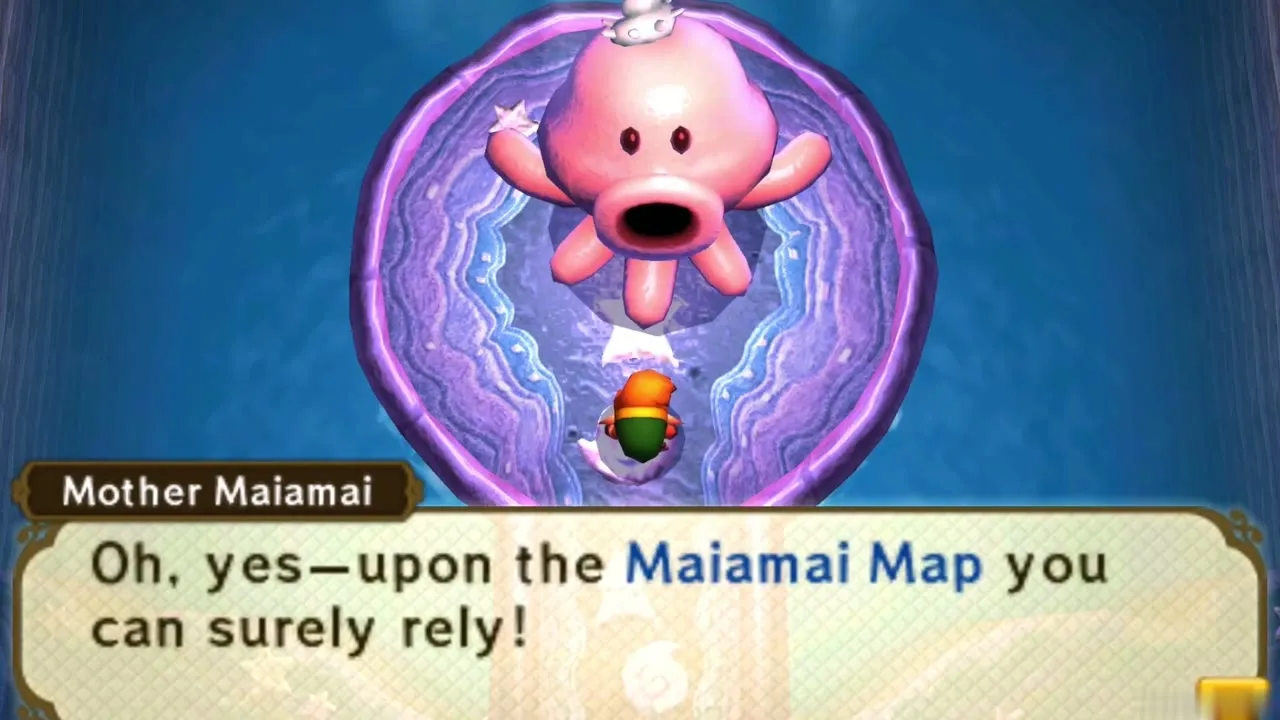
On the shore south-east of Link’s House, a signpost warns against blowing up the wall of a cave. Ignore it and bomb the wall with a rented Bomb. Inside, Mother Maiamai explains that she lost her 100 children across the worlds and gives you the Maiamai Map, which shows where they are crying out. Later you bring them back to upgrade items you have bought. Lake Hylia Maiamai #1 is beside the cave entrance: merge into the wall next to it.
Swim to the House of Gales island
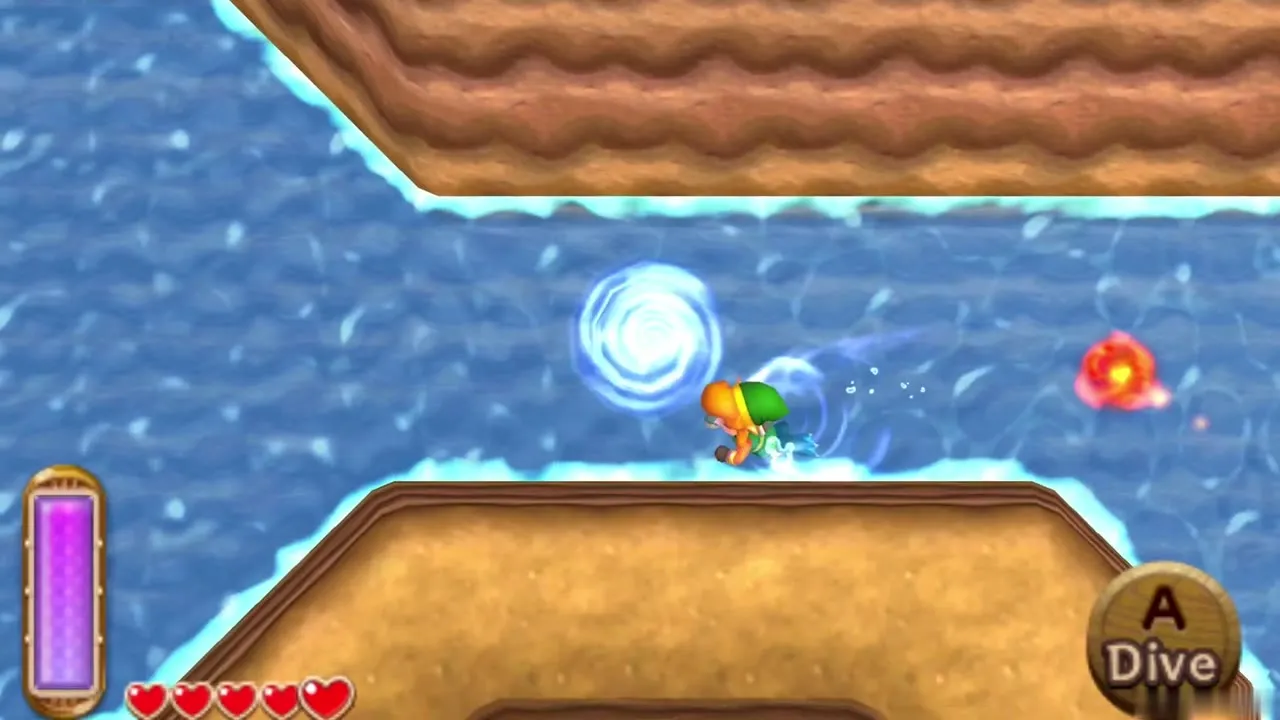
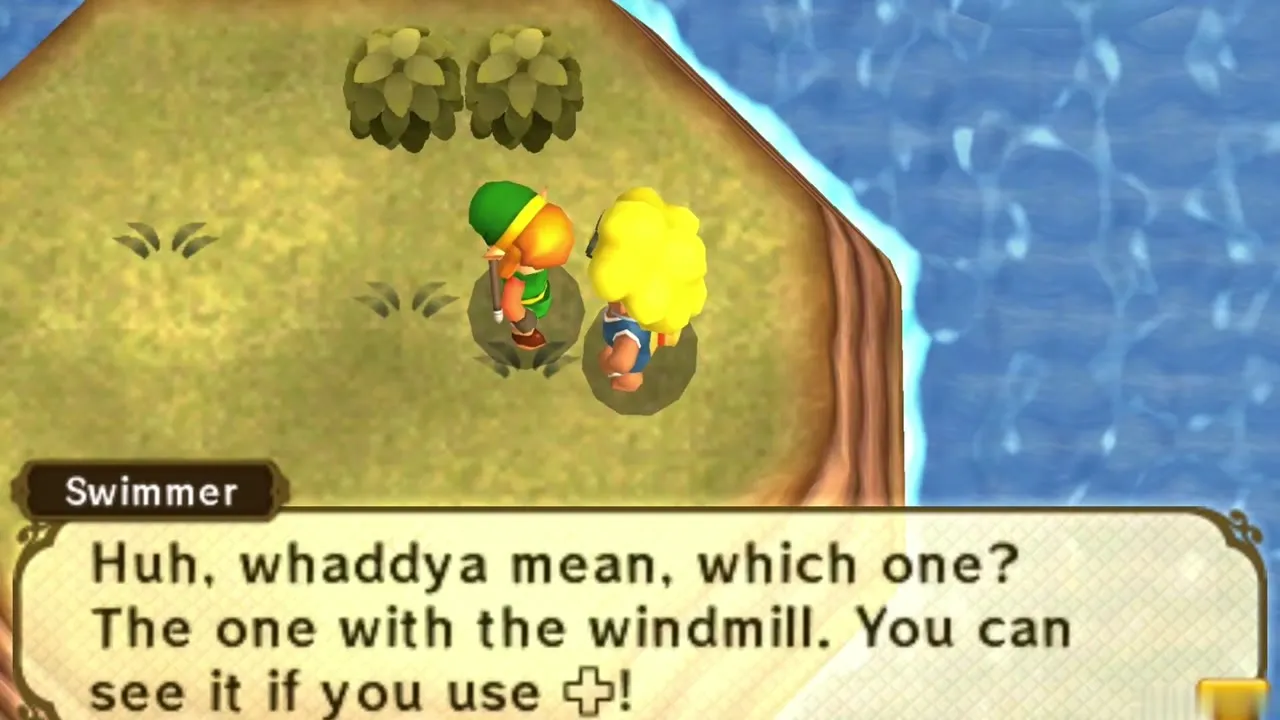
Head across the lake towards the windmill building on the central island. A swimmer on a small isle along the way tells you to look for it. Dive and swim over, then climb onto the island. A Weather Vane stands near the door: touch it to register it as a warp point, and save your game, because the dungeon is long.
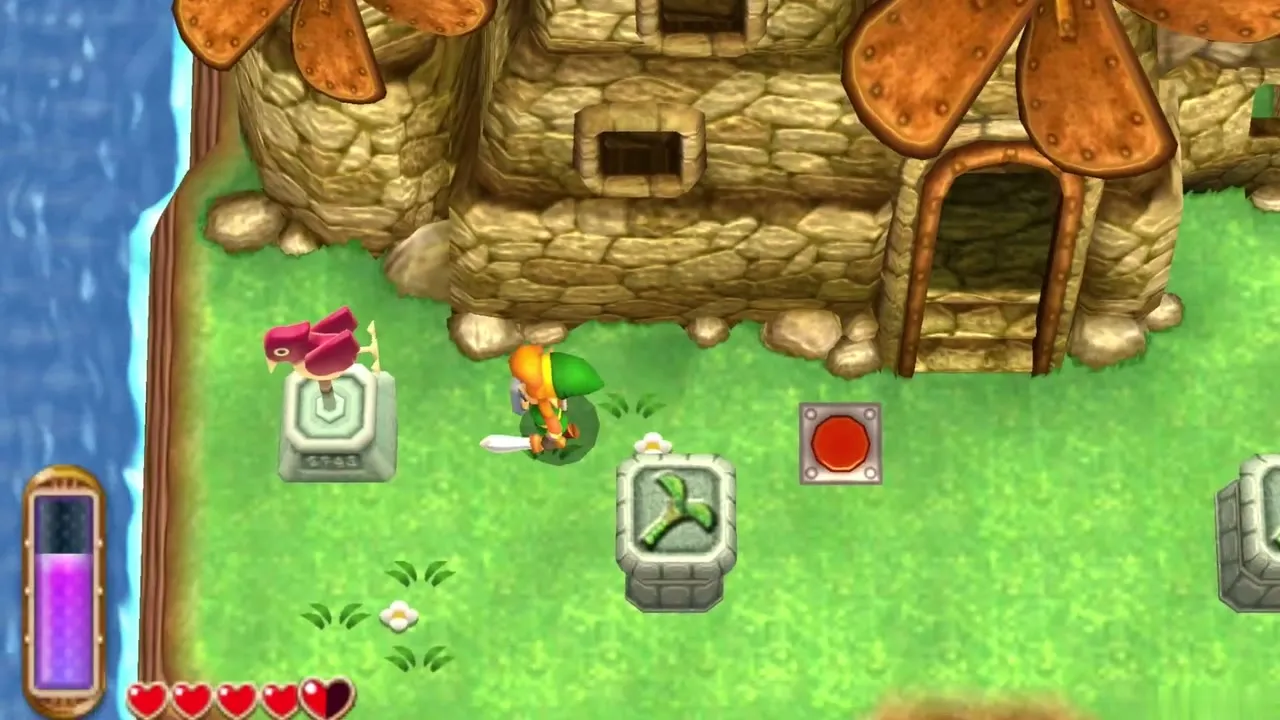
Open the House of Gales entrance
Stand in front of the building between the two pillars and look at the grey tiles on the ground. Equip the Tornado Rod and blow the tiles away to uncover a floor switch. Step on the switch and the entrance of the House of Gales opens. A second grey panel behind the building covers Lake Hylia Maiamai #3: blow it clear with the same rod and take the little creature.
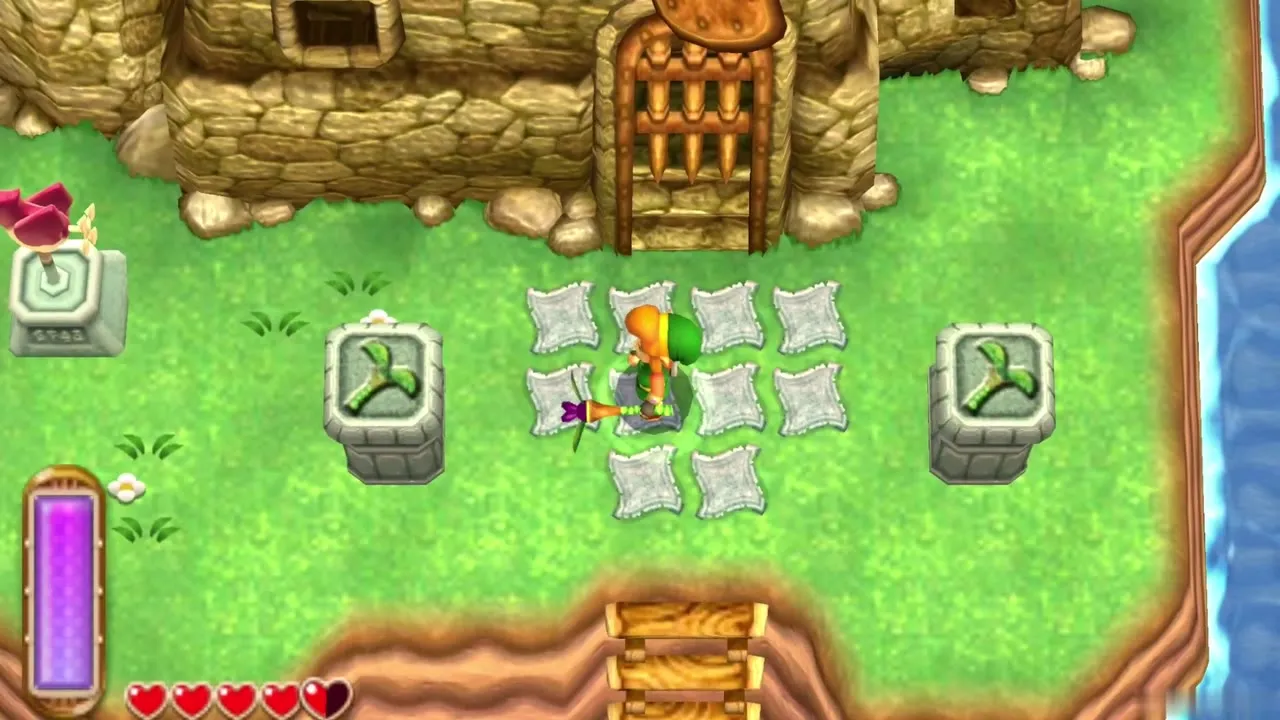
House of Gales 1F: Compass and first Small Key
Fans and the first ledge
In the entrance room, smash the pots to uncover a floor button and press it. Wall fans start blowing upward. Stand in the draft, use the Tornado Rod, and ride the air up to the high ledge, then head north. Fans appear in nearly every room from here on, and most gaps can be crossed by jumping and hovering with the rod.
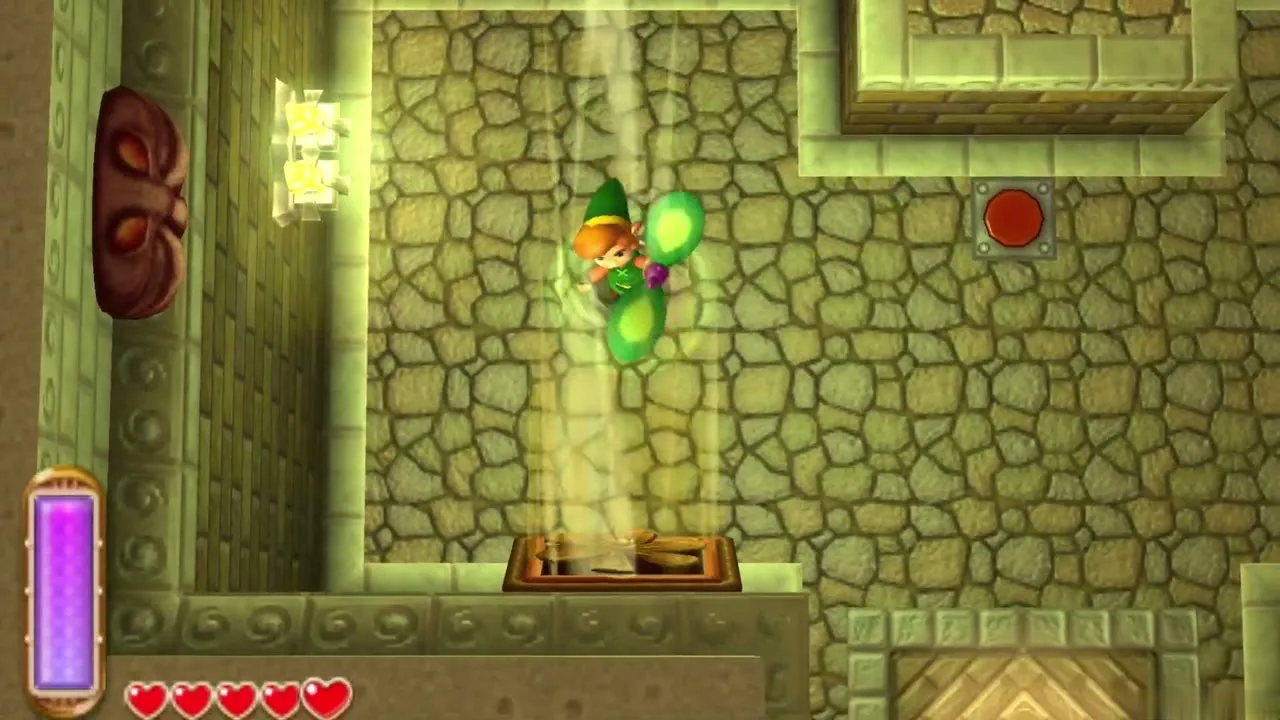
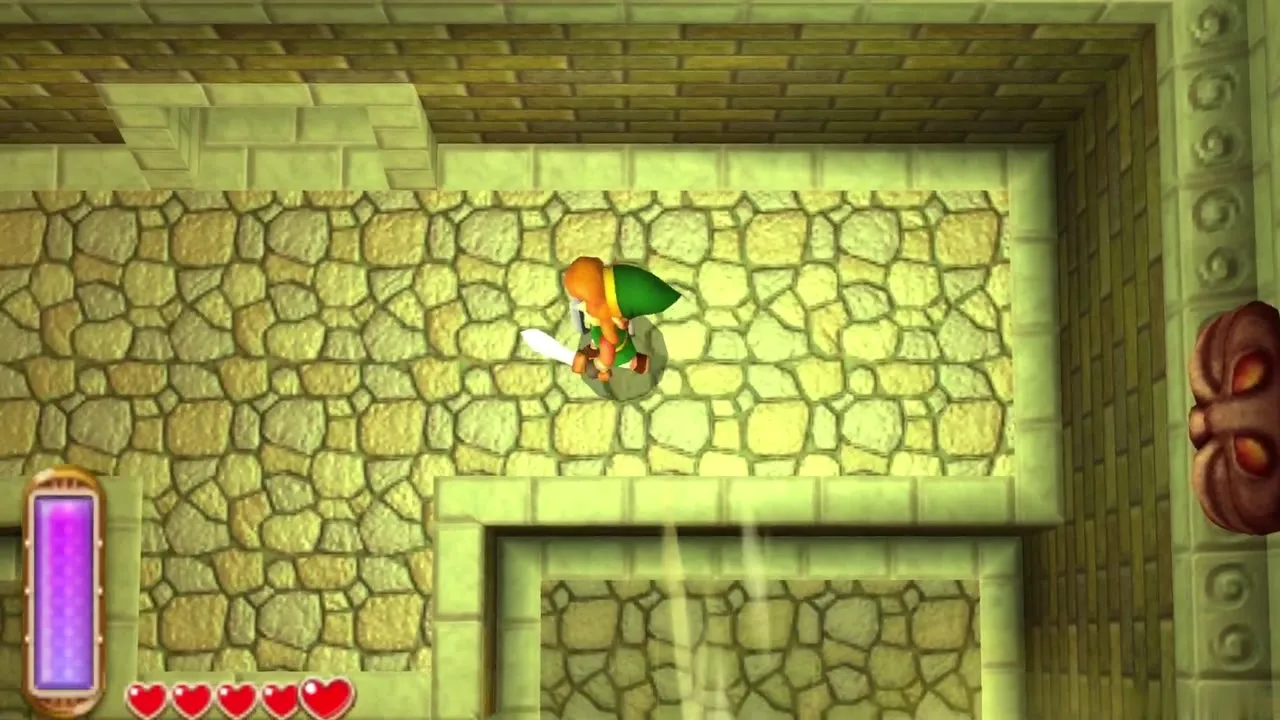
Torch chest with 20 Rupees
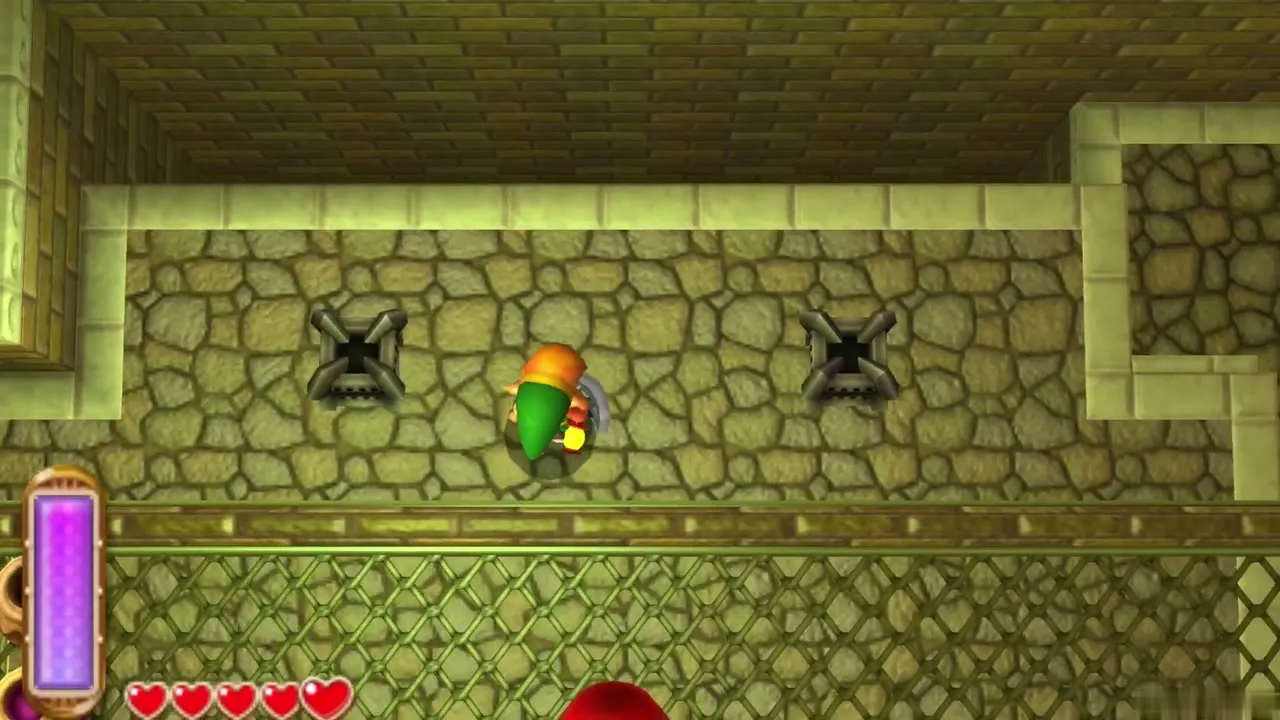
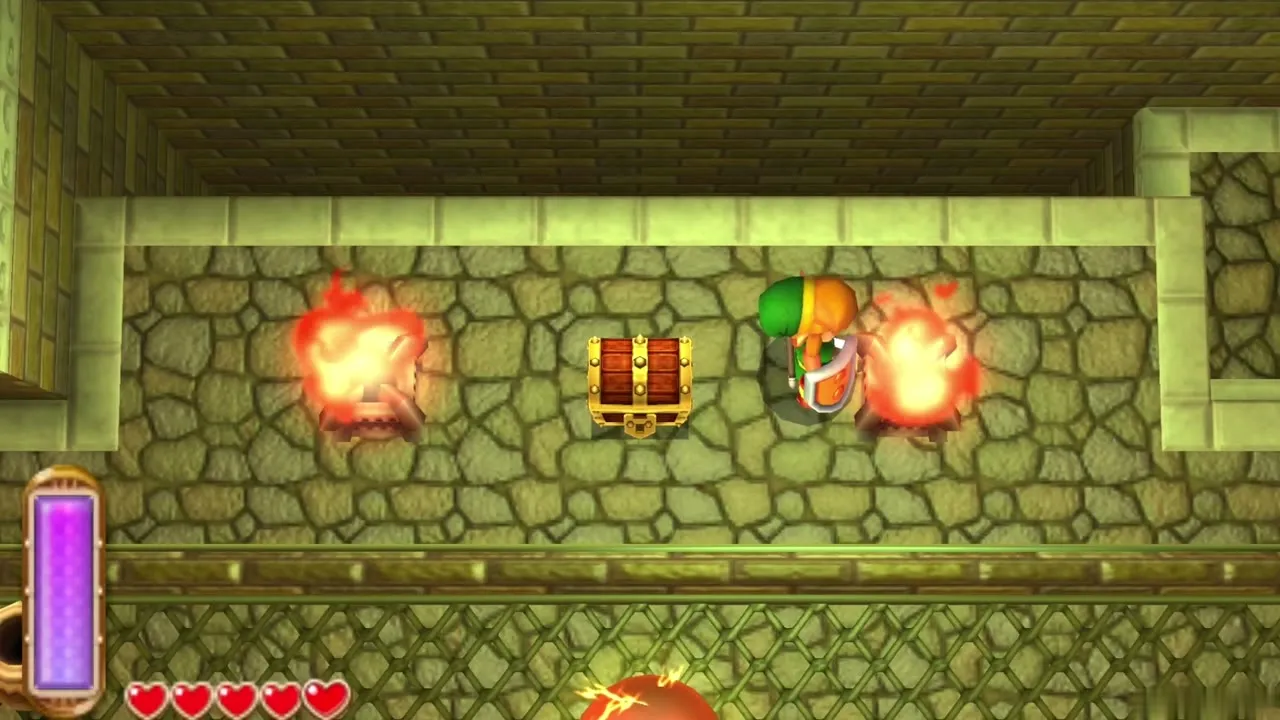
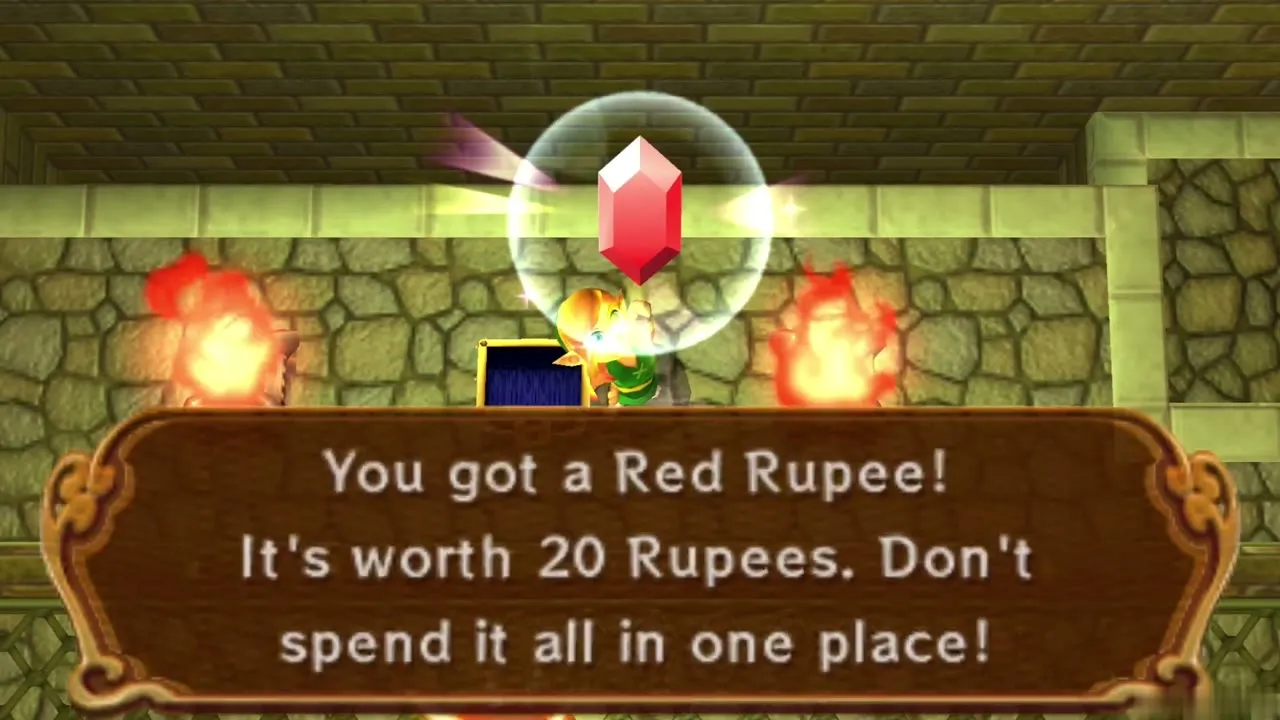
In the next room, drop into the pit on the right and strike the crystal switch to lower the wall that blocks the middle. Climb the steps nearby and use the Lamp to light both unlit torches. A chest appears holding a Red Rupee, worth 20 Rupees. Back at the pit, merge into the wall to slip across to the door on the right.
Small Key from the Fire Bubbles
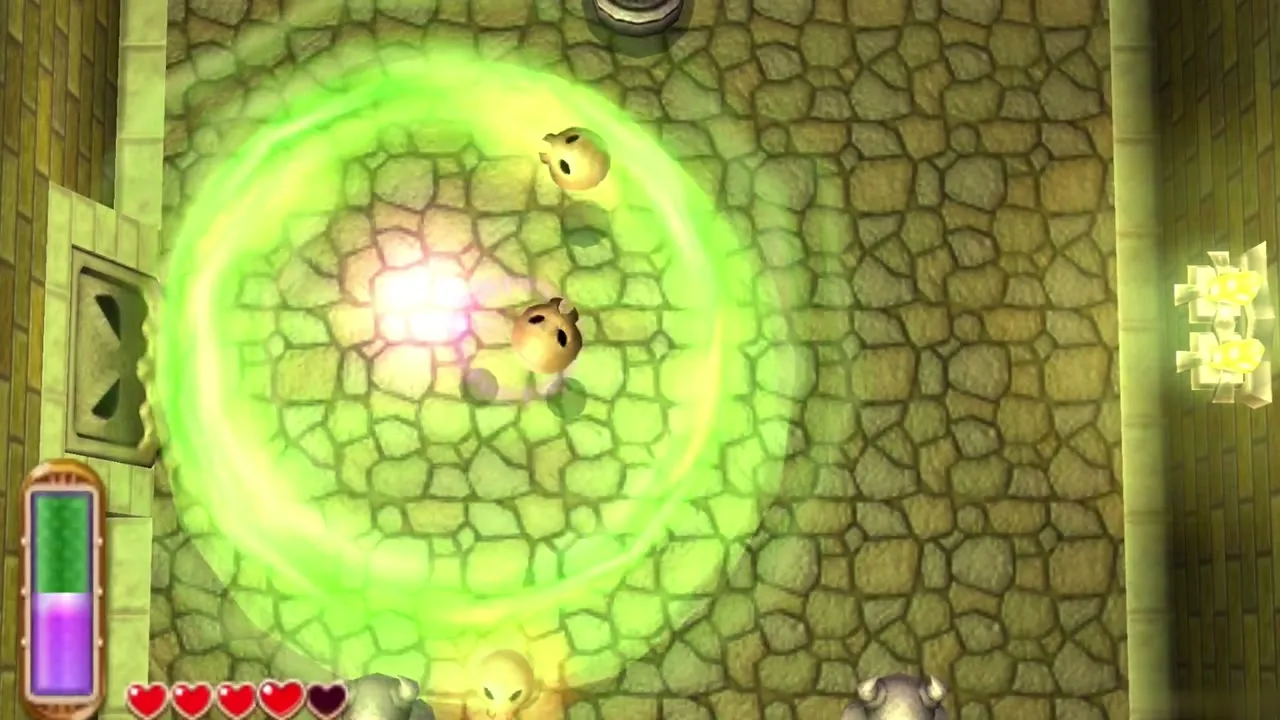
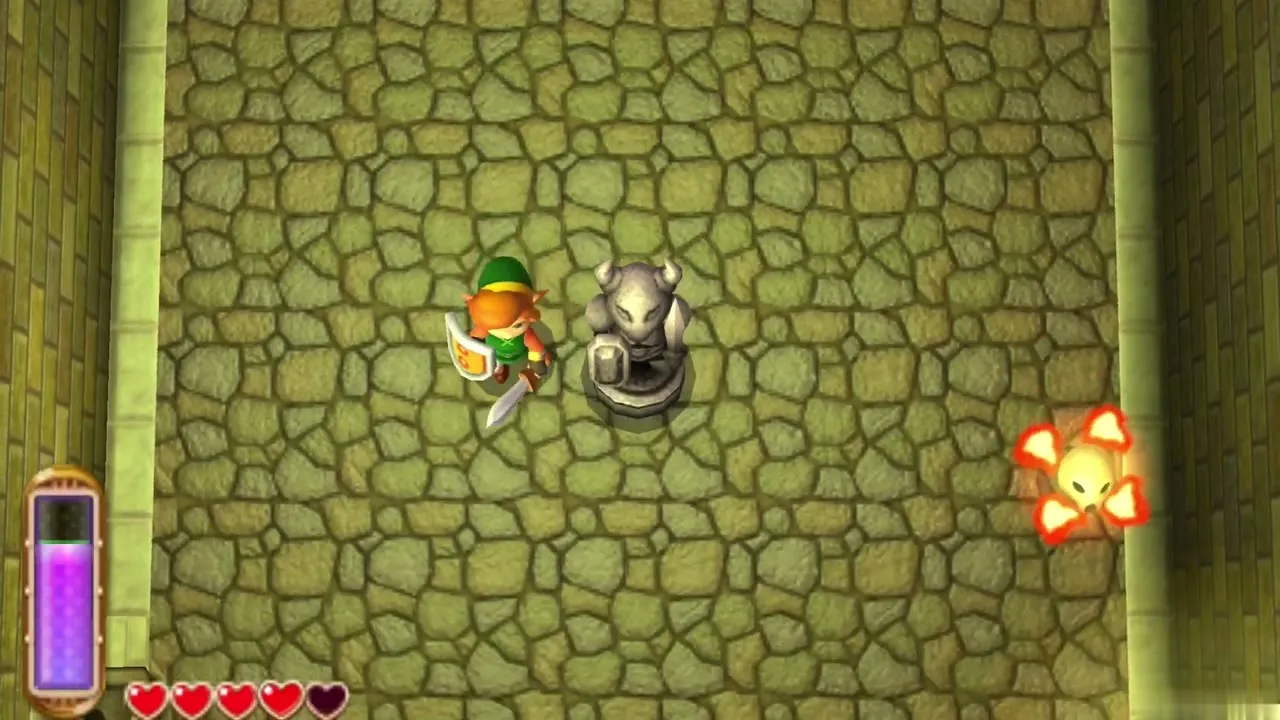
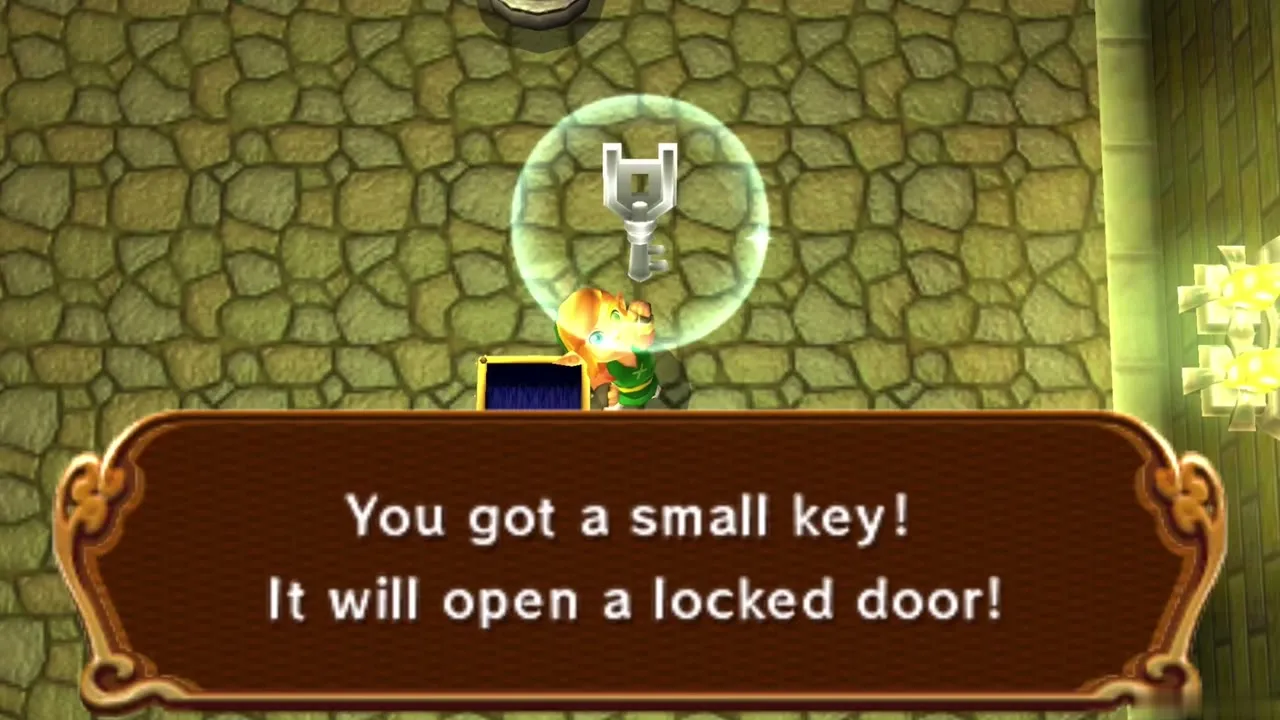
The room beyond the right door locks behind you and fills with flaming Fire Bubbles. Point the Tornado Rod at each one to blow out its flame, then slash it with the sword before it relights. Once all are gone a chest appears with a Small Key. Return to the main room and use the key on the locked door in the south-west corner.
House of Gales Compass
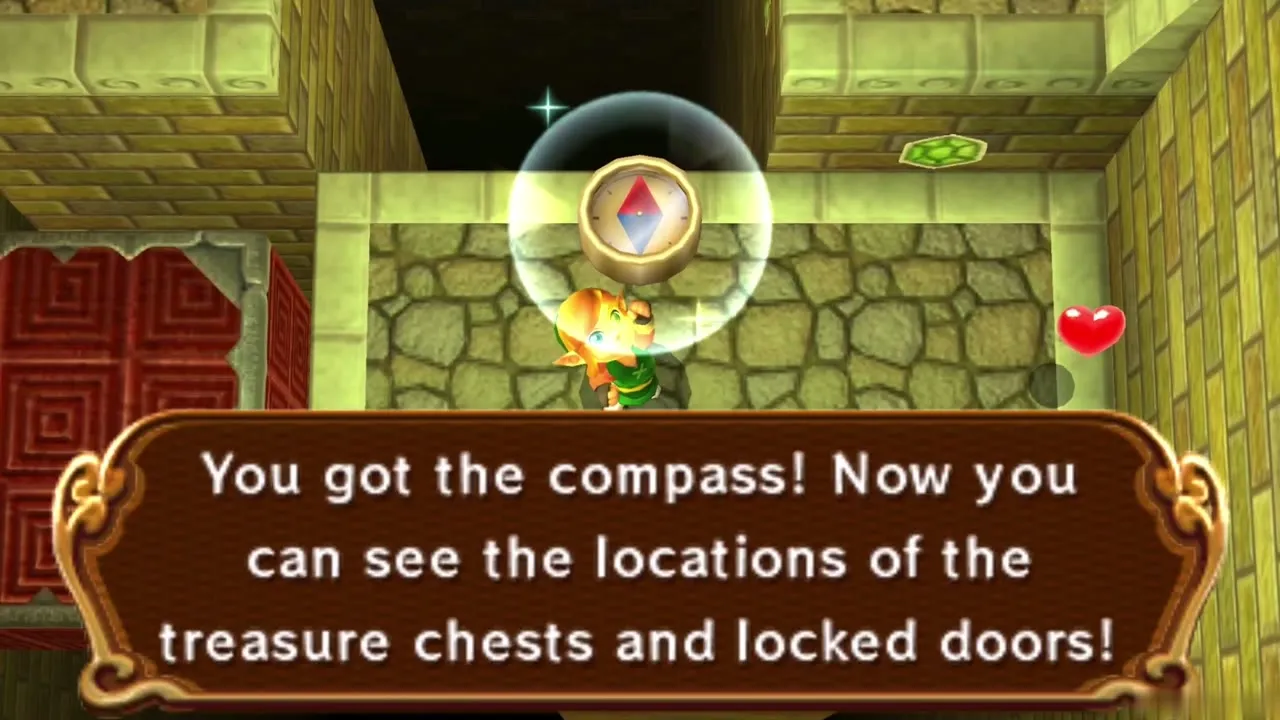
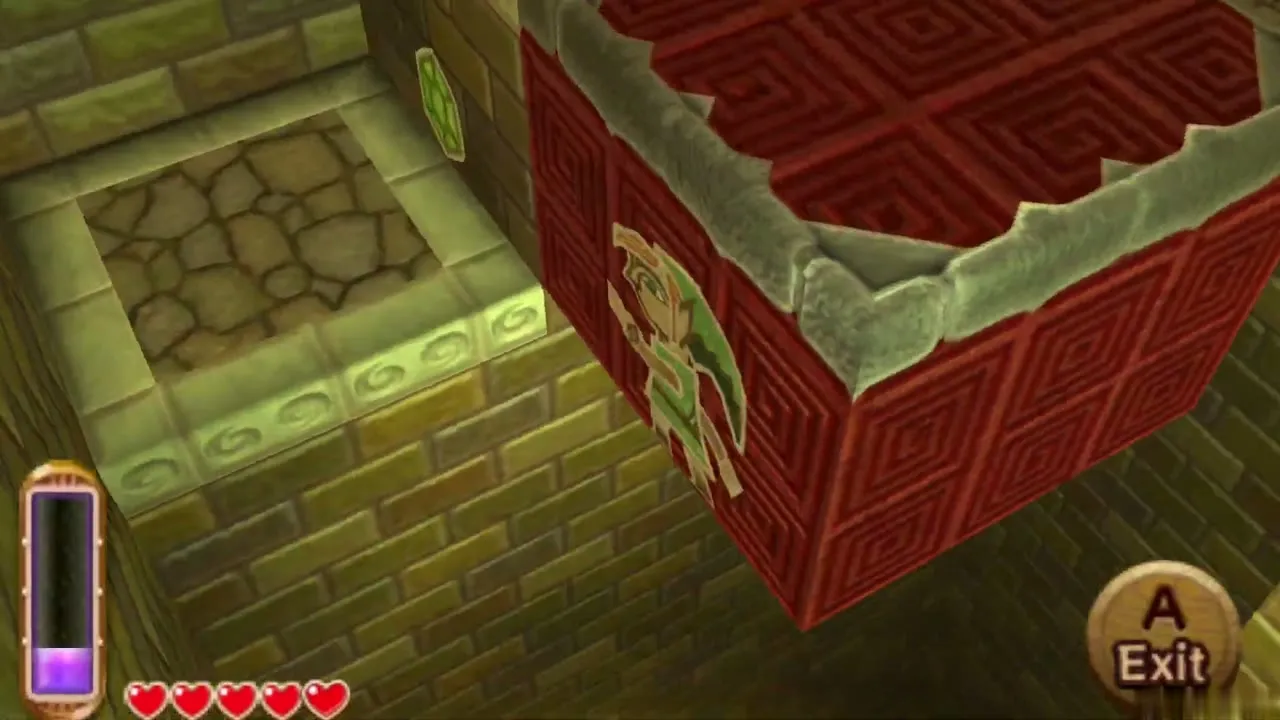
Behind the locked door, a red block slides up and down a wall. Merge into it, ride it to the top, and step out on the highest platform. Beat the Bari floating nearby and open the chest to take the Compass. It marks the chests and the boss door on your dungeon map, so check the touch screen as you go.
House of Gales 2F: Big Key
Climb to 2F with the central fan
Return to the main room and work your way up. Merge along the wall behind the chest and cross the moving blocks, then press the floor button that starts another wall fan and ride it to the back platform. Go right, merge into the wall to reach the next ledge, and strike the switch there. It powers the big fan in the middle of the room: walk into its air to rise to 2F.
Dodge the rolling spike traps
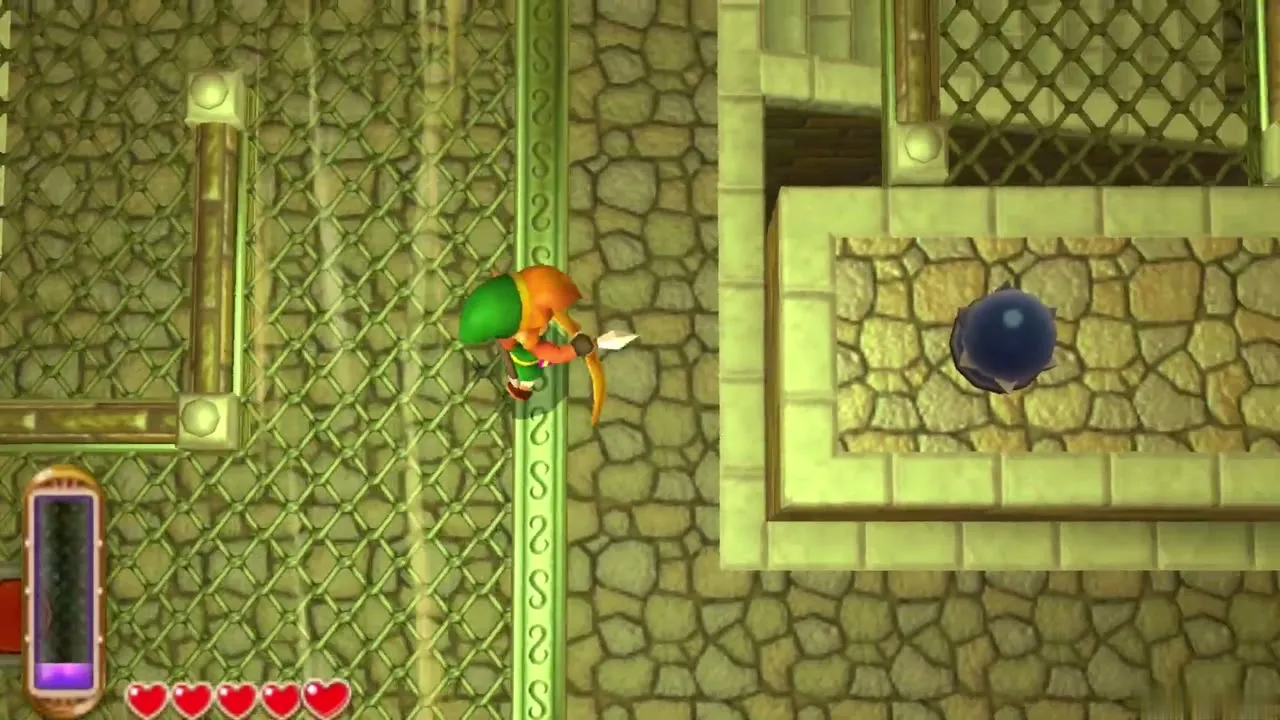
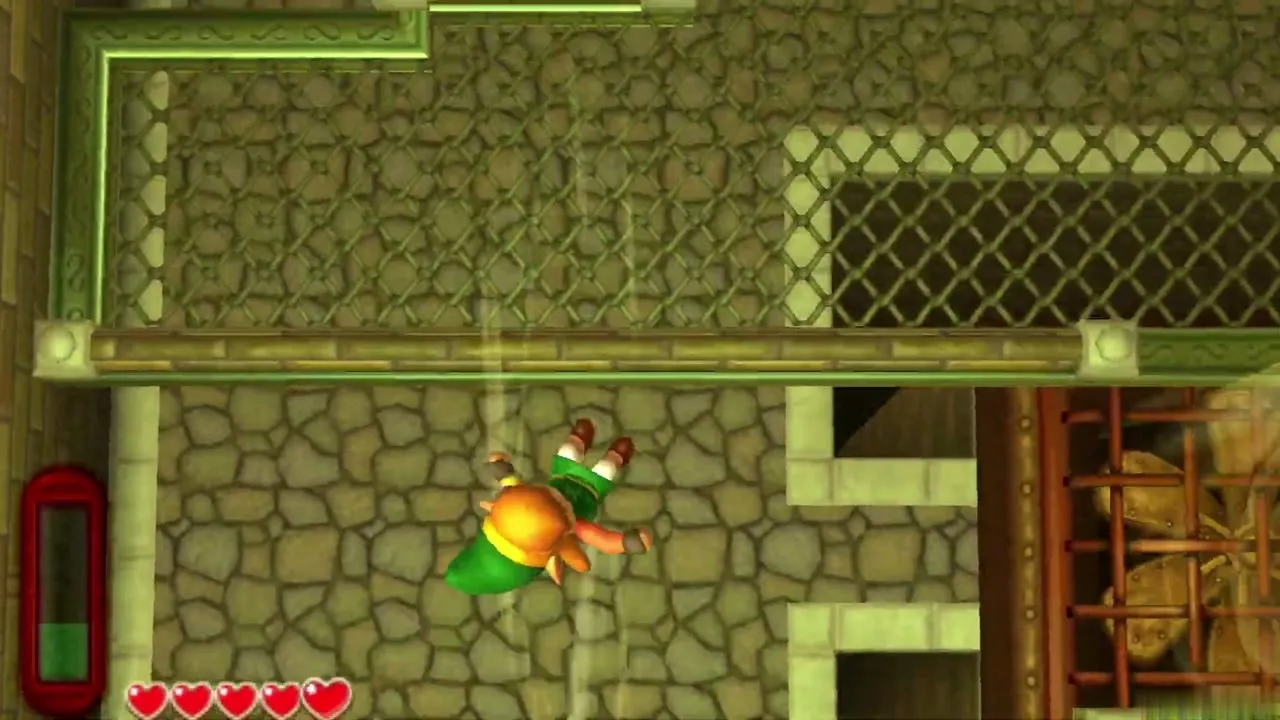
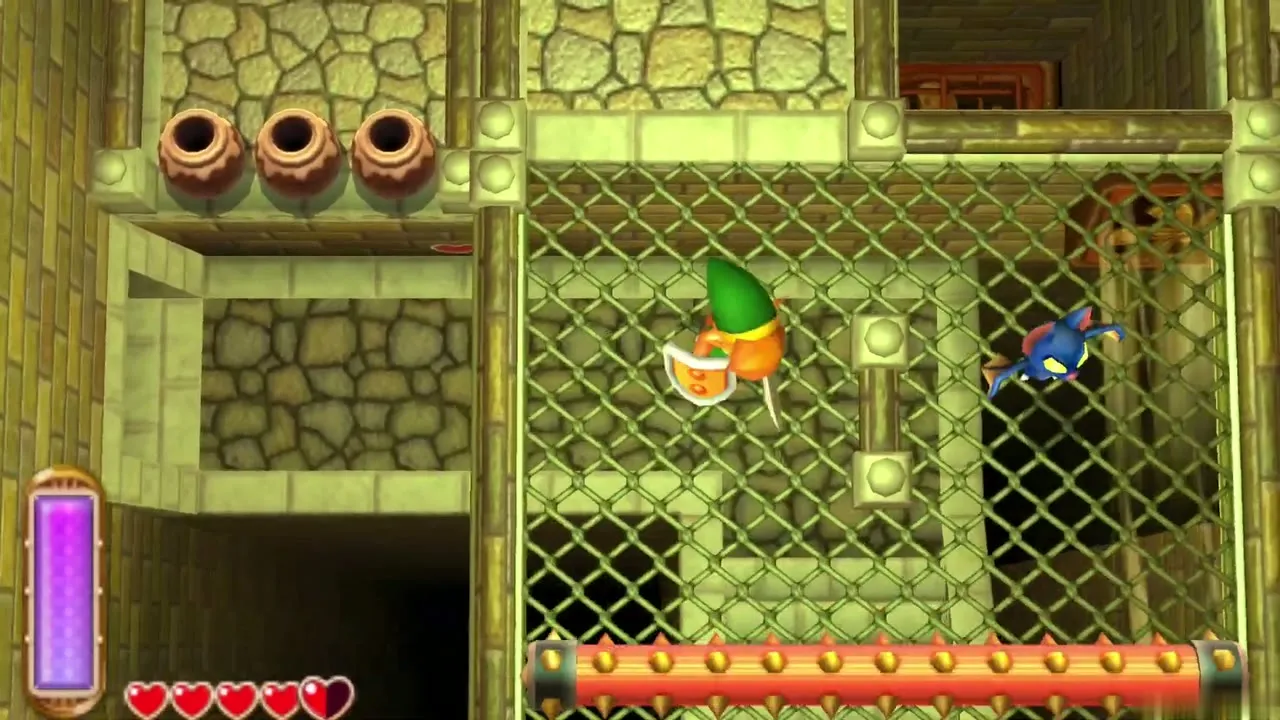
On 2F a spiked roller thunders along a corridor. Follow it as it moves away, then hover over it with the Tornado Rod when it comes rolling back toward you. Take the steps down at the end and go around to the south-west corner of the floor.
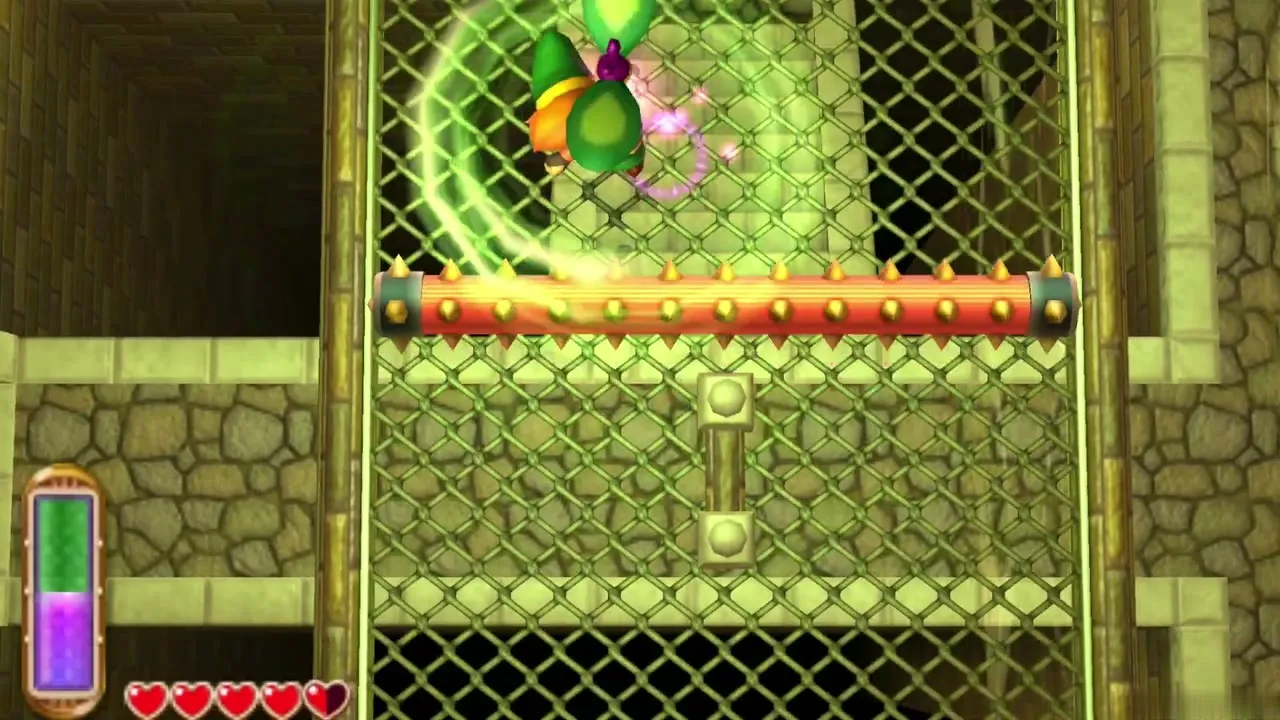
Second Small Key
Smash the pots in the south-west corner to find a floor button and step on it. A Small Key appears on a ledge you cannot walk onto. Go east, climb the stairs, merge into the south wall beside the door frame, slide along it and step out beside the key. Pick it up; it is the second Small Key.
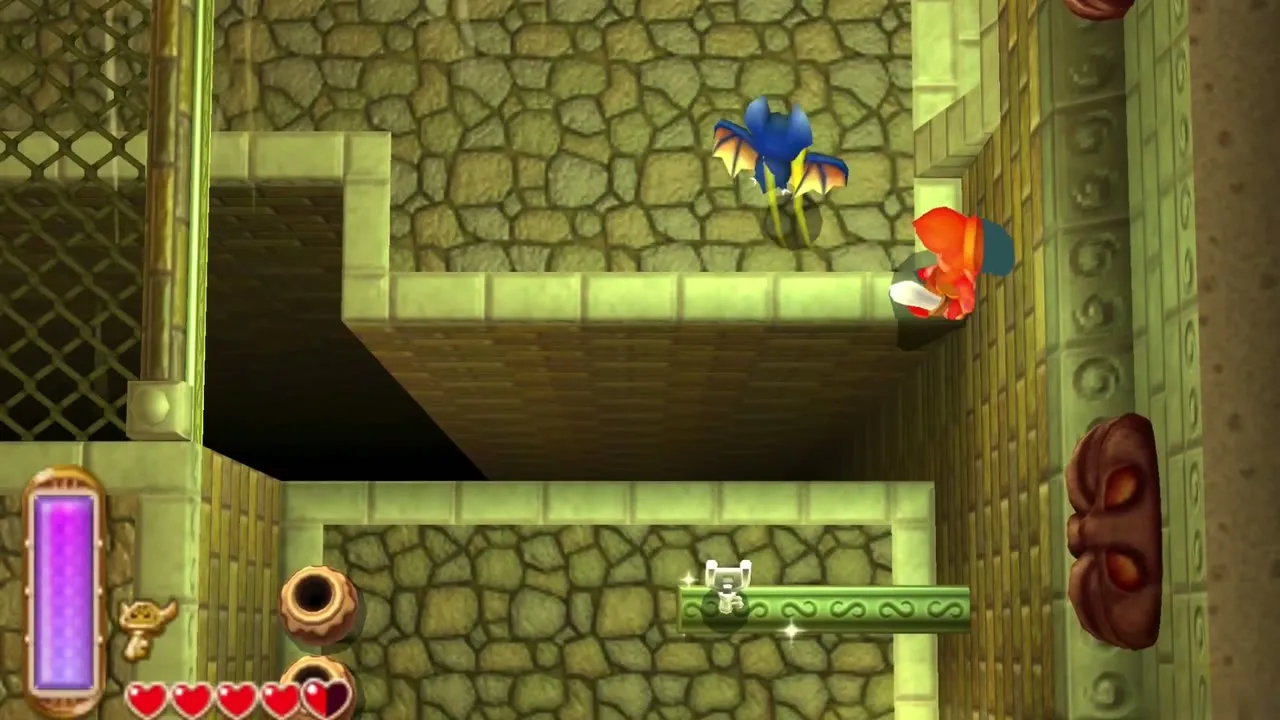
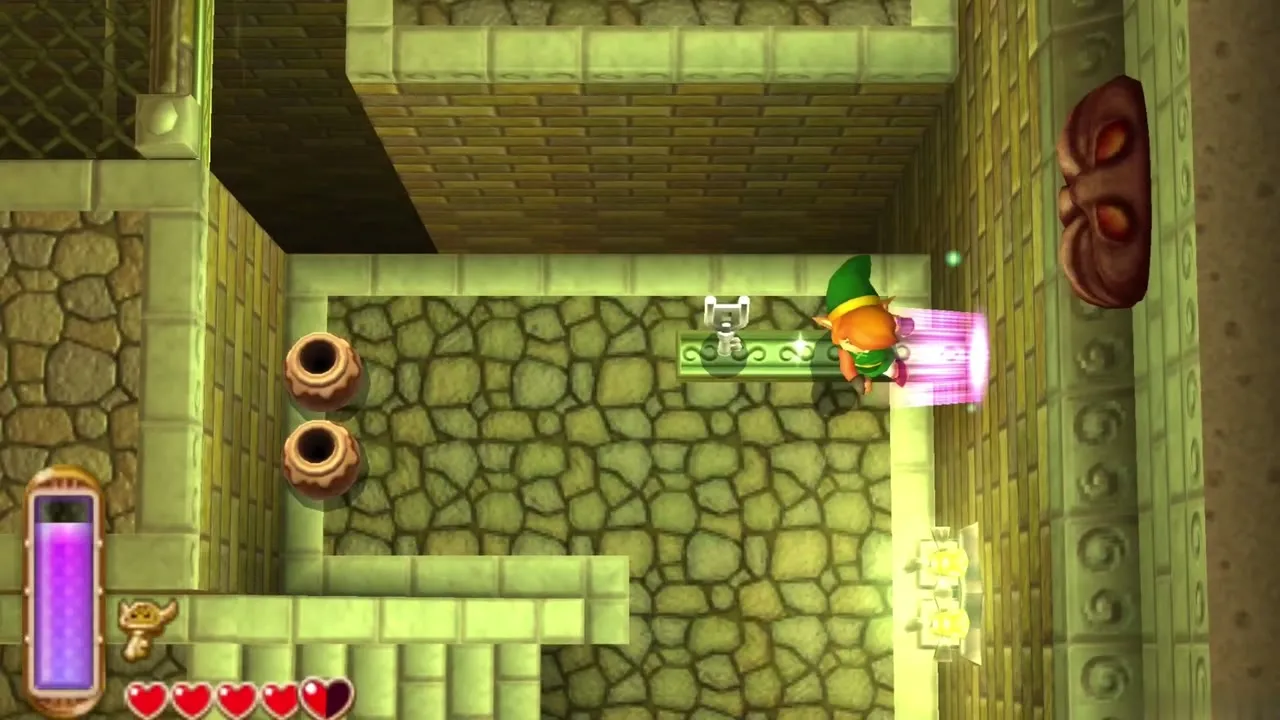
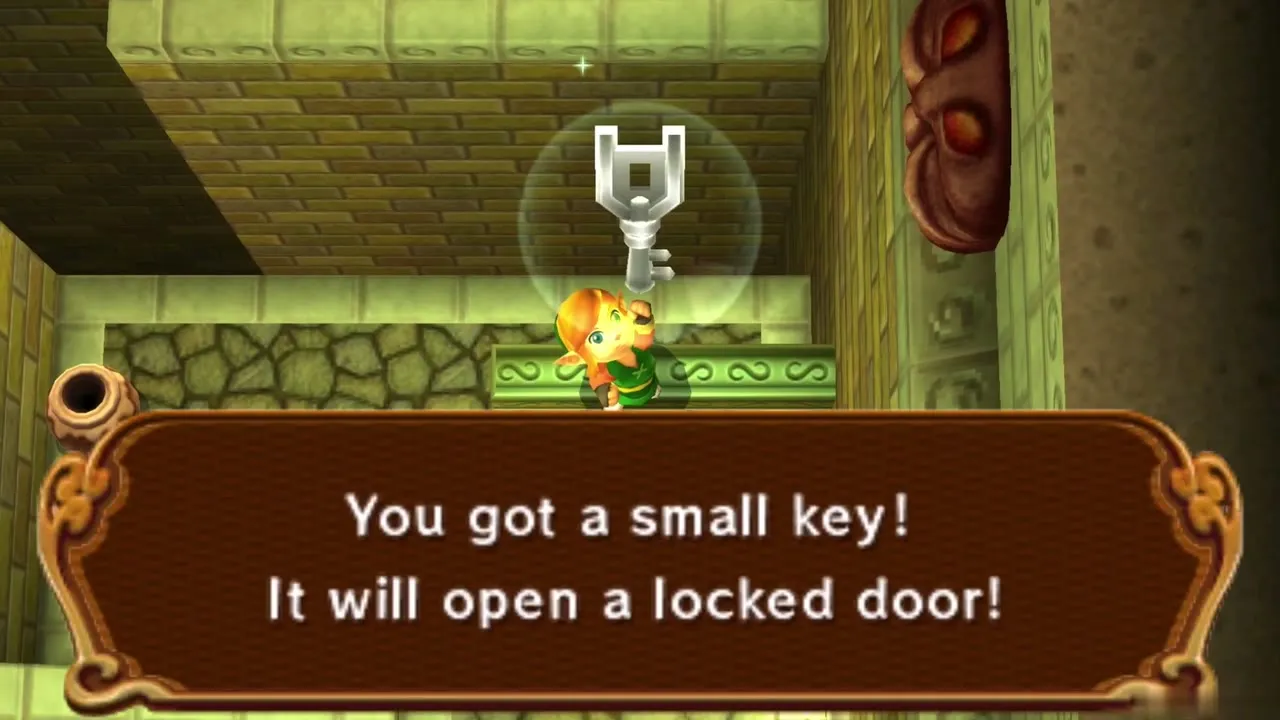
House of Gales Big Key
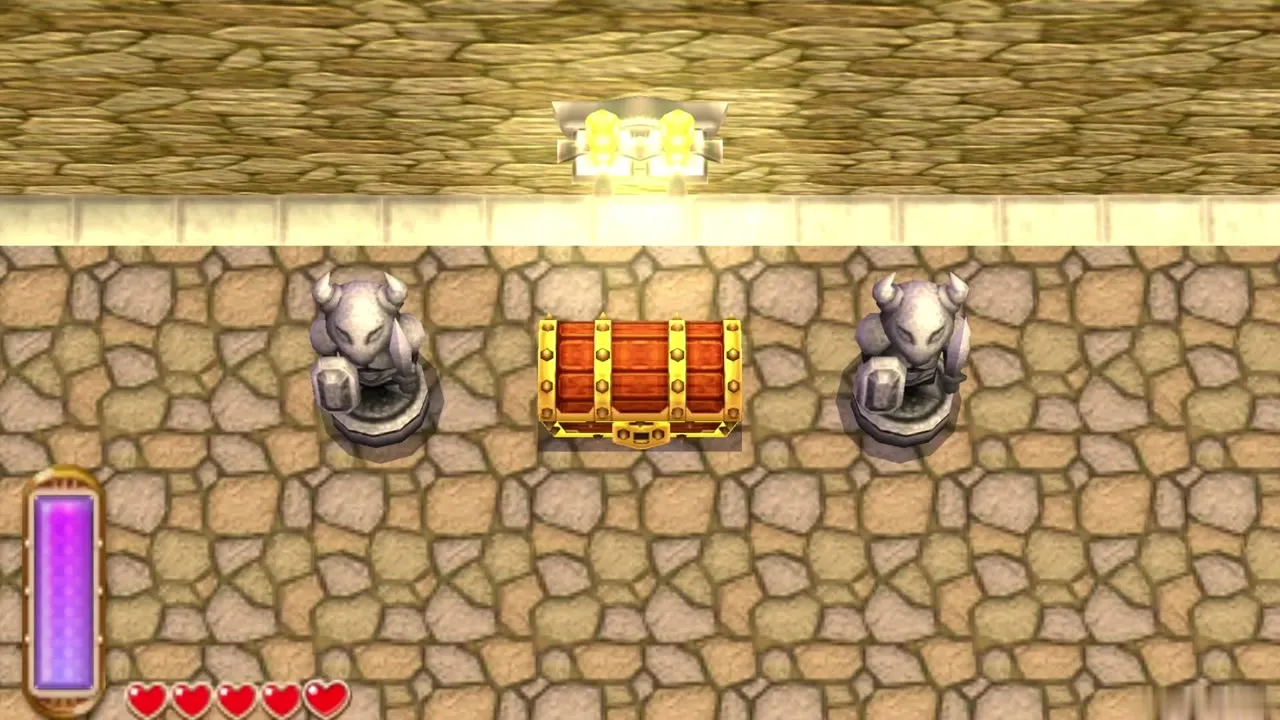
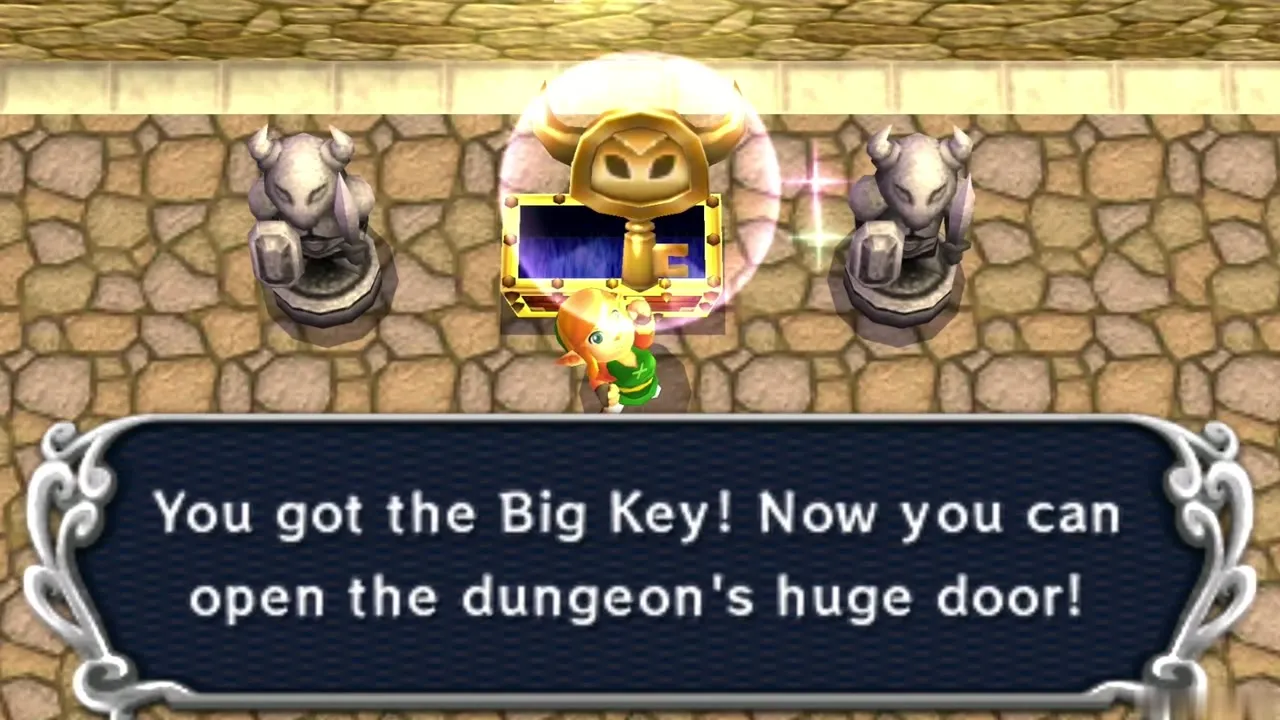
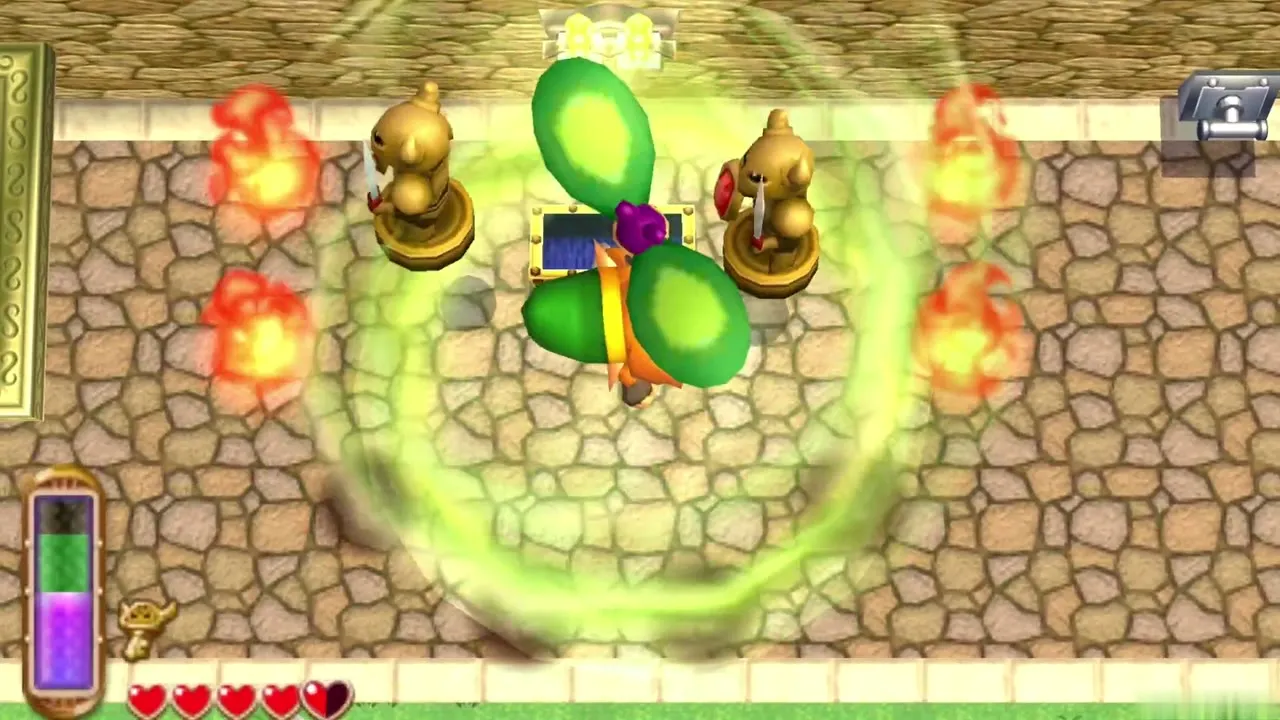
Go out through the south door and drop to the outer ledge on the right. Pull the lever at the far right end and a large chest appears, but stone Armos statues come alive around it. Beat them, then open the chest to take the Big Key. A ring of flames and more Armos follow: blow out the fire with the Tornado Rod, defeat the Armos, and the door back inside unlocks.
House of Gales 3F: Heedles and the fan rooms
Outside platform and the ring key
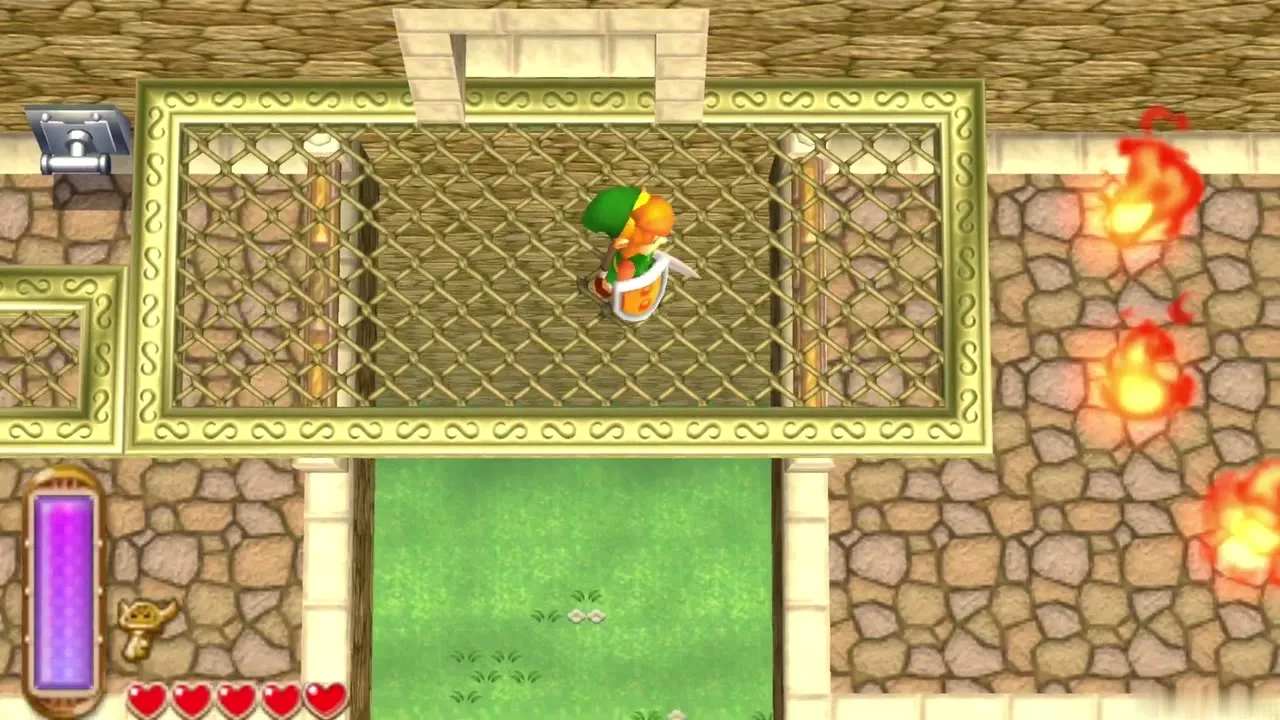
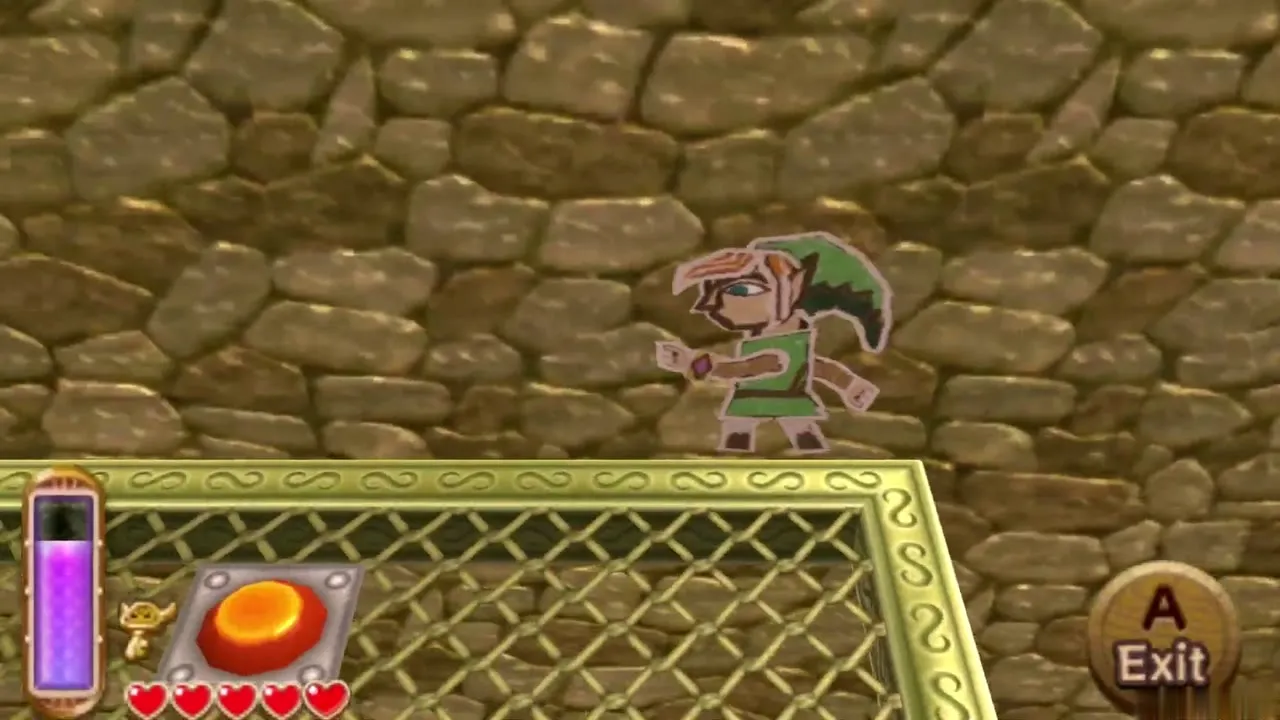
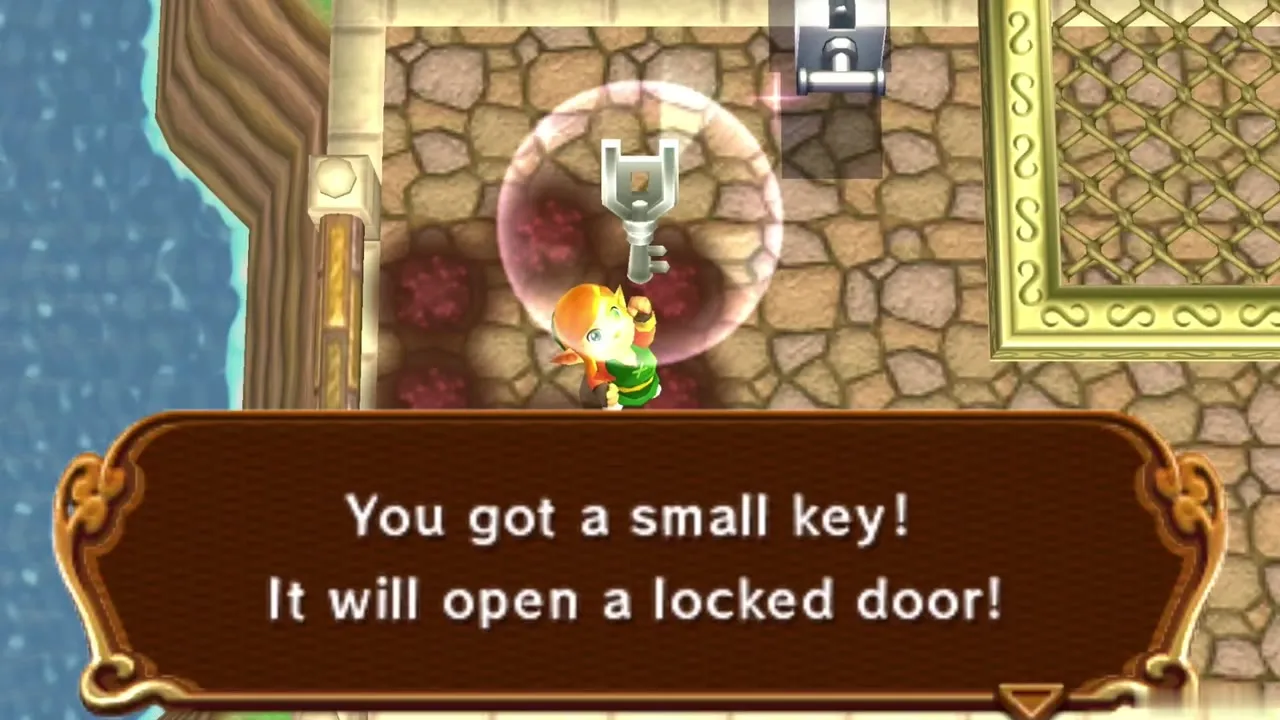
Go back outside and walk left along the outer wall. Pull the lever at the far left to set a platform moving, jump aboard with a Tornado Rod hover, ride it left, then merge into the wall by the locked door and slide to the west side of the building. A floor button here makes a Small Key appear inside a ring of fire. Blow the flames out with the rod and take the key; it is the third.
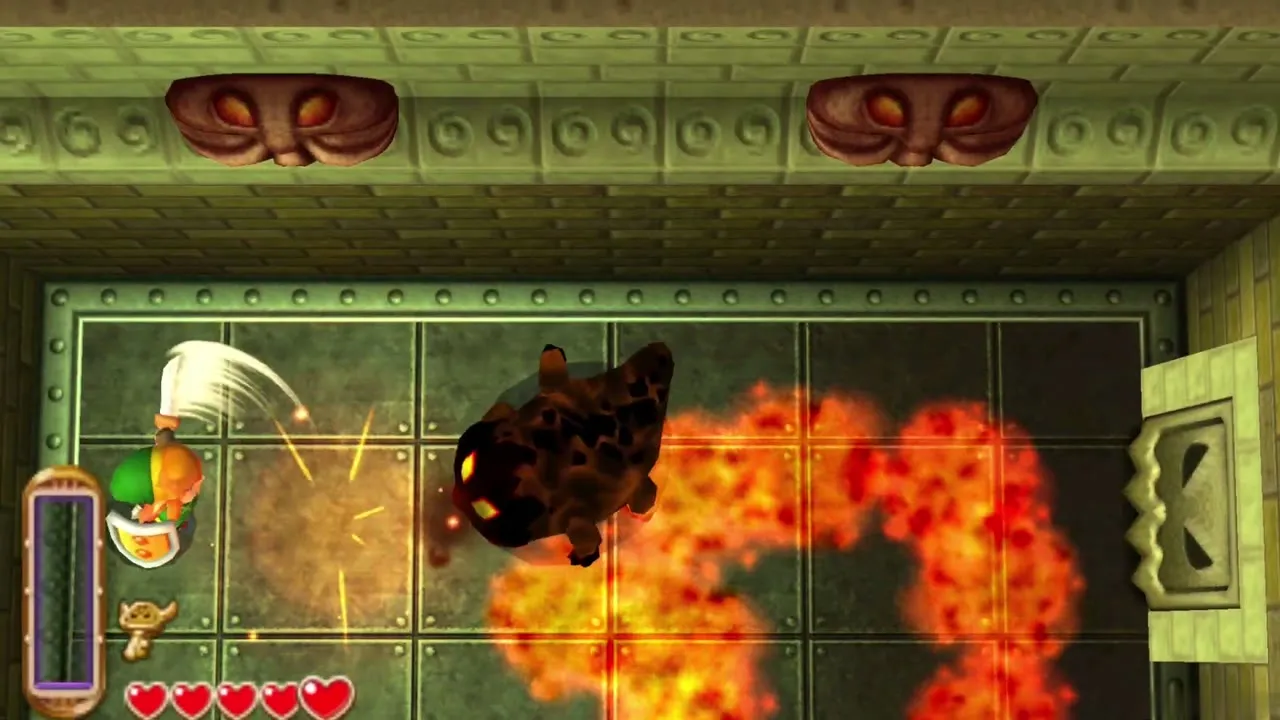
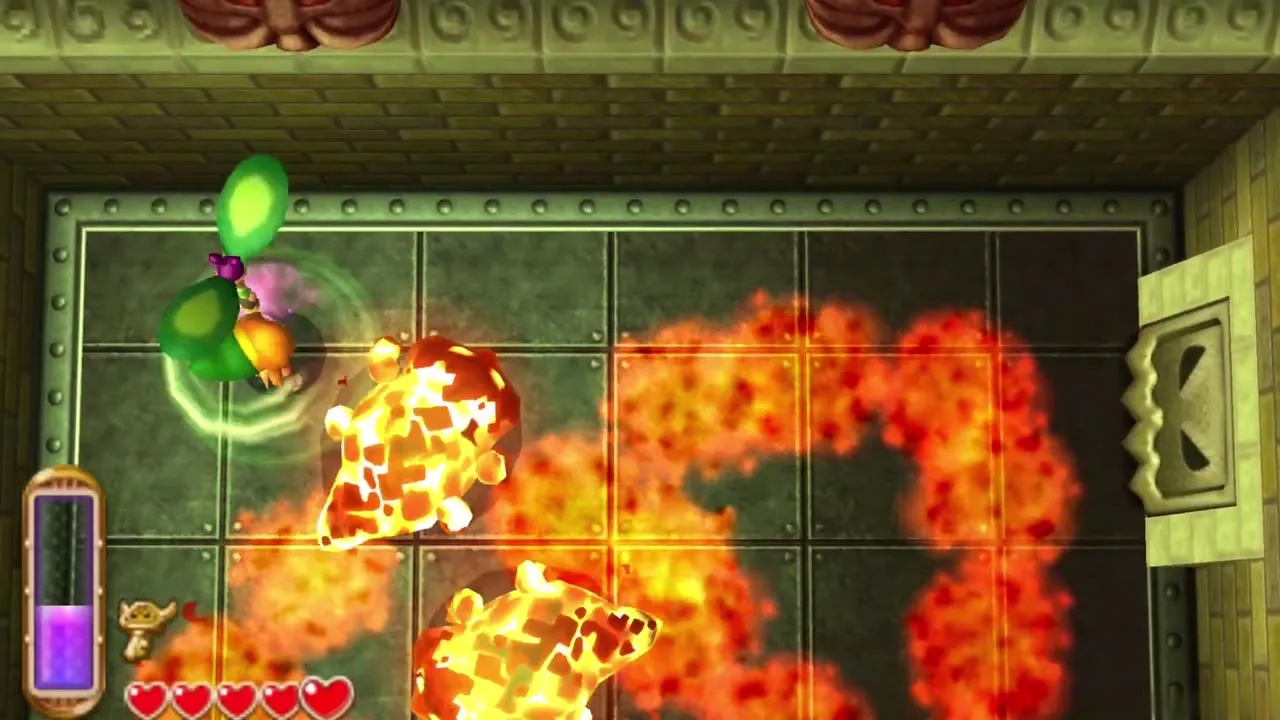
Heedles mini-boss fight
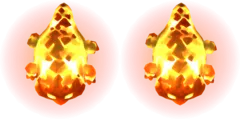
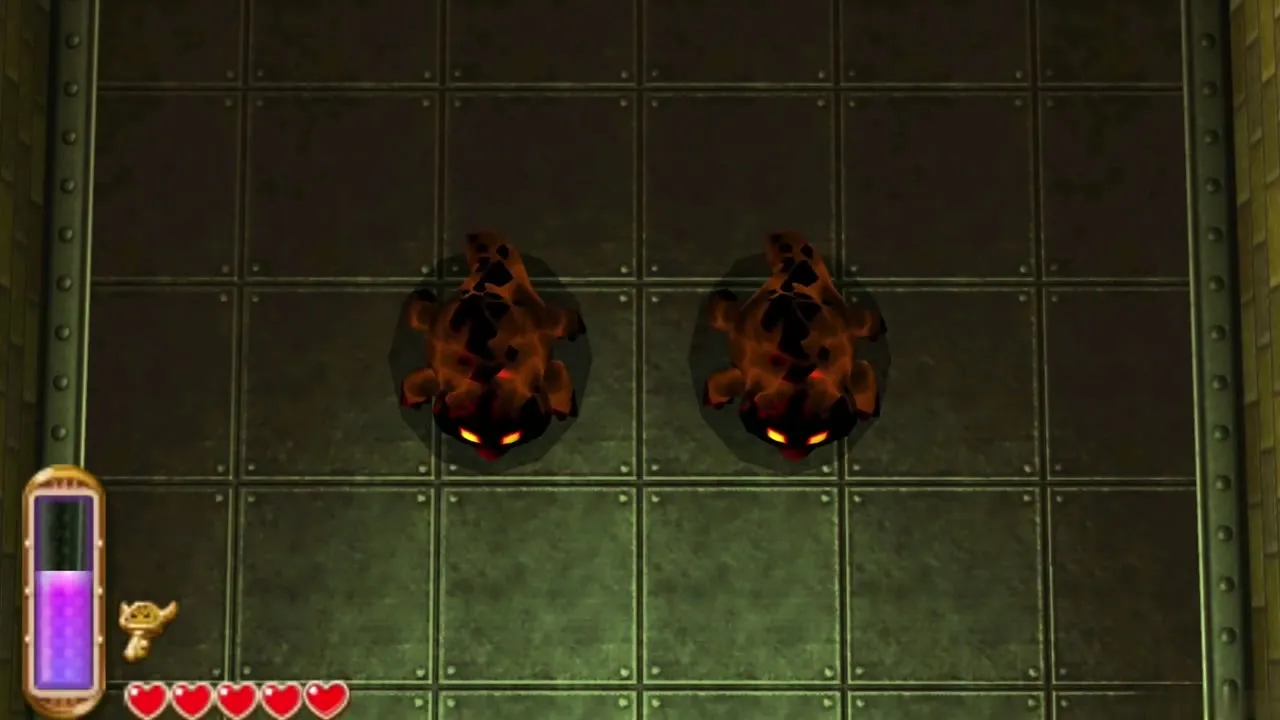
Use the key on the locked door. Inside, two fiery Heedles race around leaving pools of lava. Blow each one with the Tornado Rod to put out its flame, then slash it before it relights. Beat both and the doors open, and a warp point to the dungeon entrance appears, which saves a long walk if you leave to restock.
Fan room puzzle and the Eyegore
Take the right door to the central room, skip the blocked door and enter the upper-left door into a room of fans. Step on the floor buttons one after another, working upward from the left one; a wrong order blows you back out, so leave and enter again to reset it. Exit to the right, strike the switch to stop the fans, and take the upper-right door.
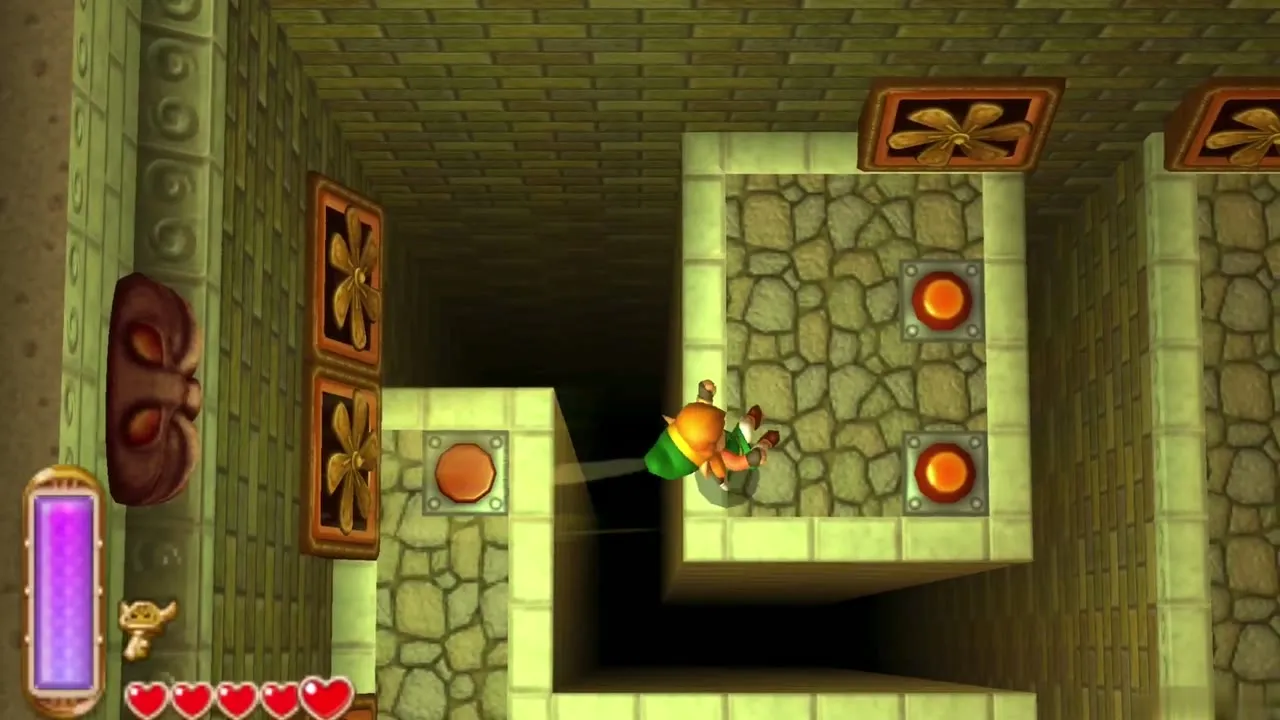
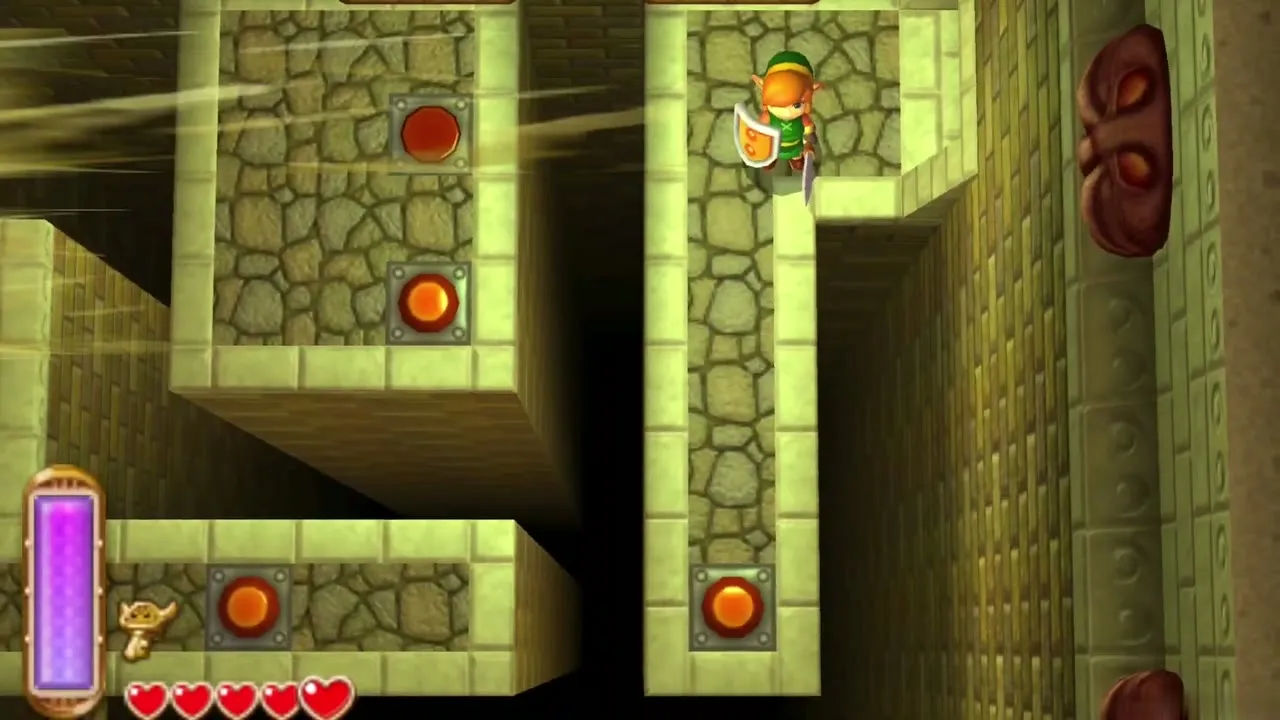
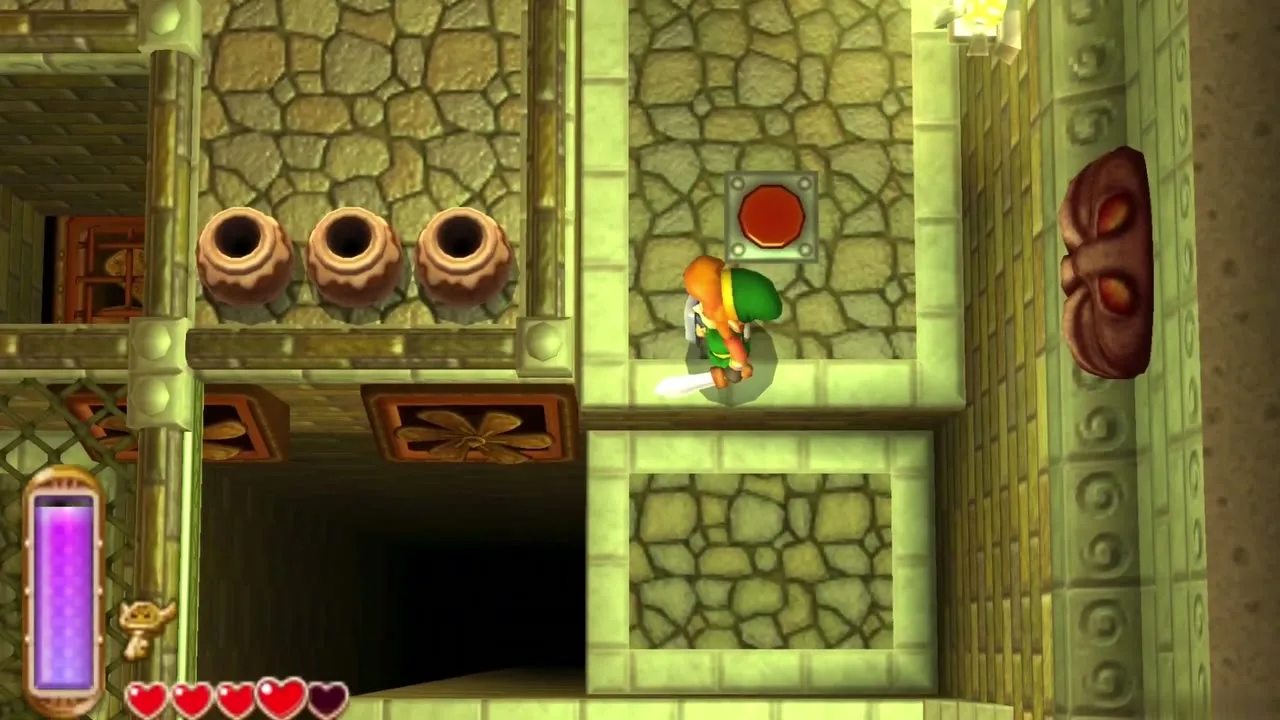
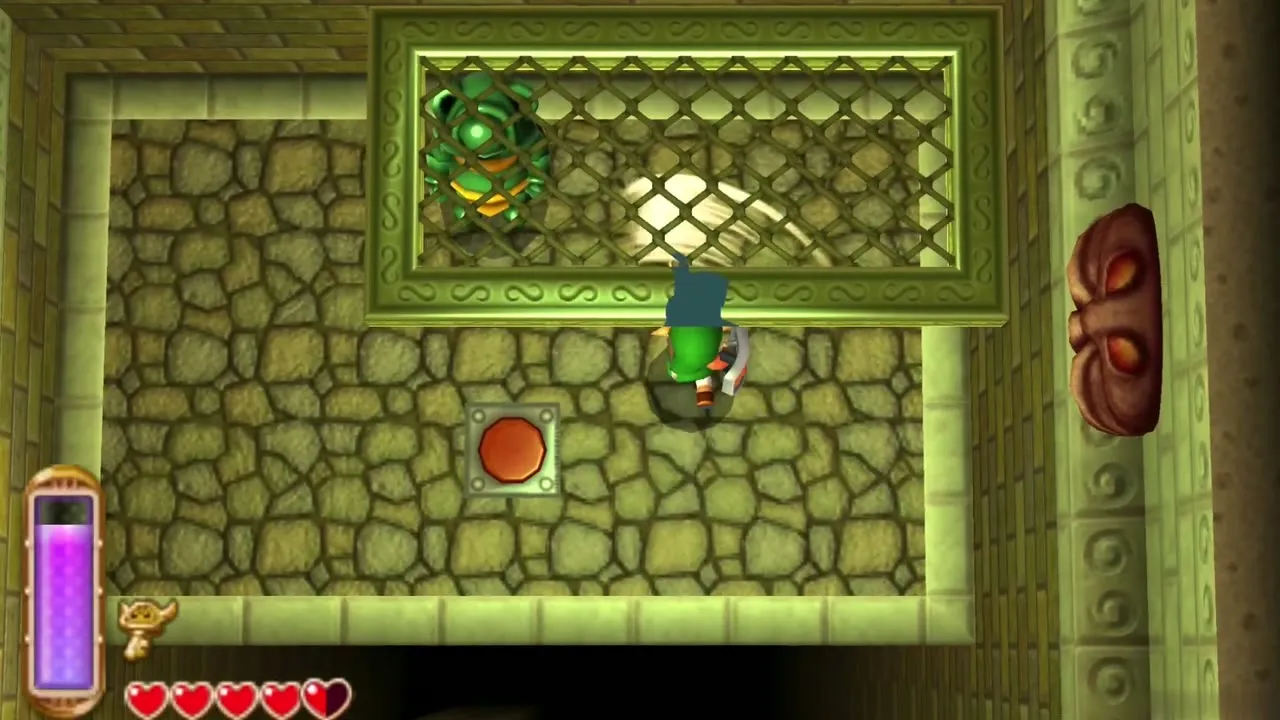
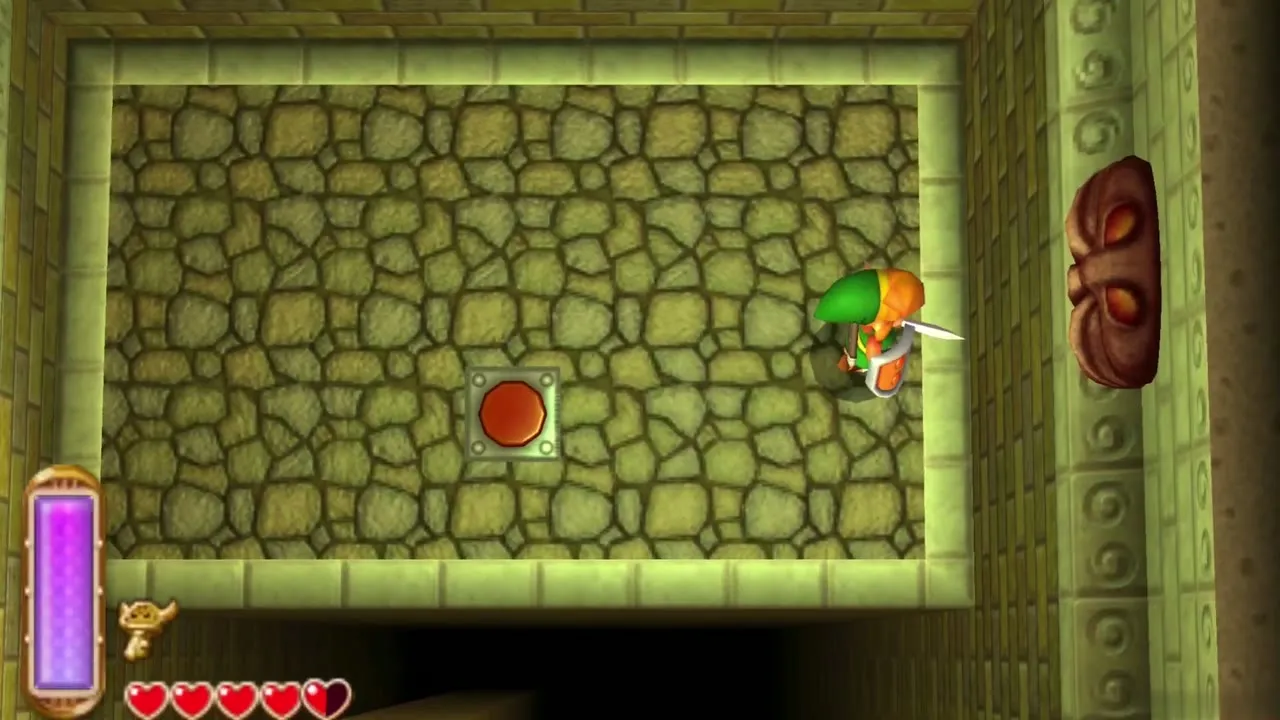
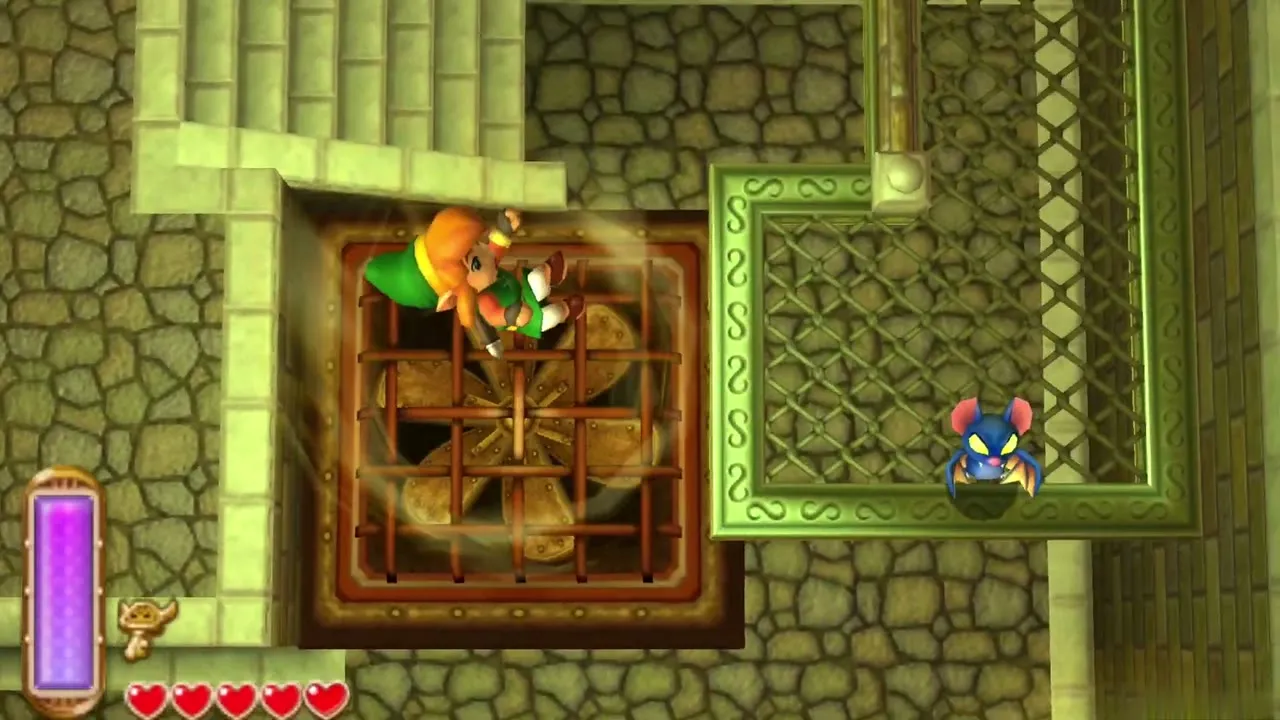
Climb the stairs and drop down into the room beyond, where a green Eyegore guards a floor button. Beat it with the sword and step on the button to start a platform overhead. Merge into the right wall to go around the pit, step through the upper-left door, then return to the upper-right door. Merge into the wall where you dropped in, ride the moving platform, and strike the switch as you pass to start the second big fan.
House of Gales top floor: last Small Key and boss door
Into the top rooms
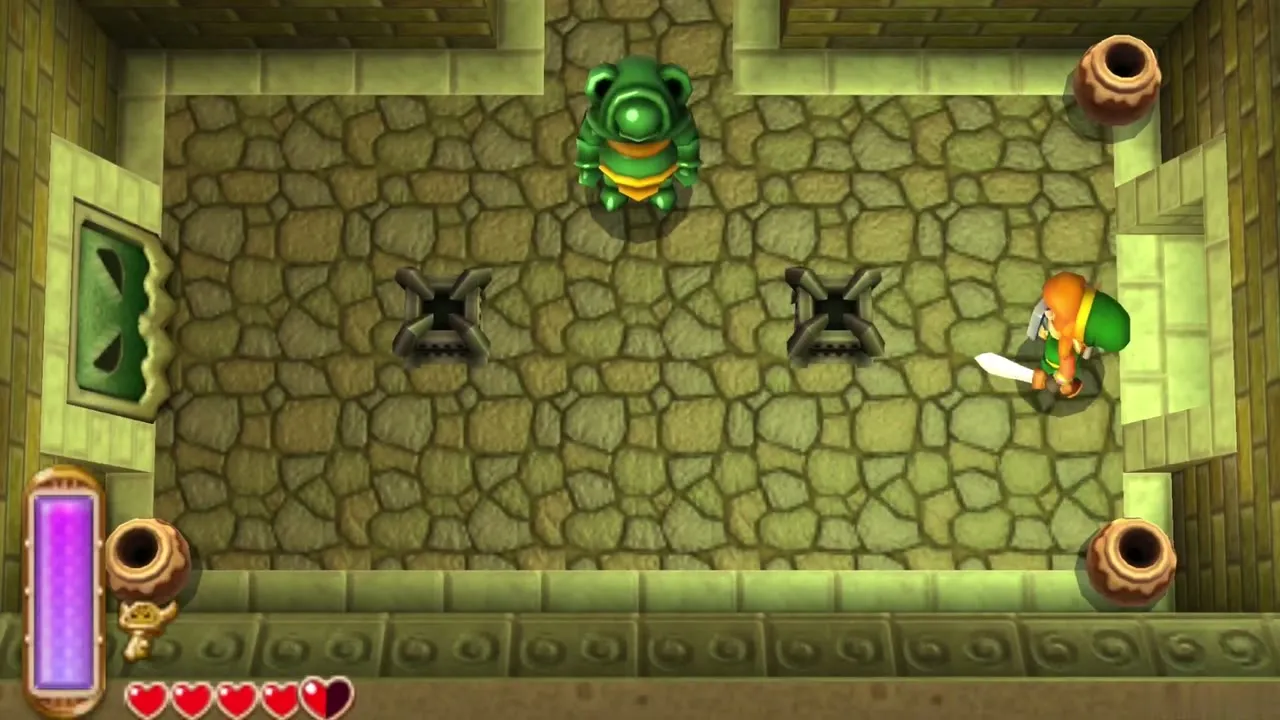
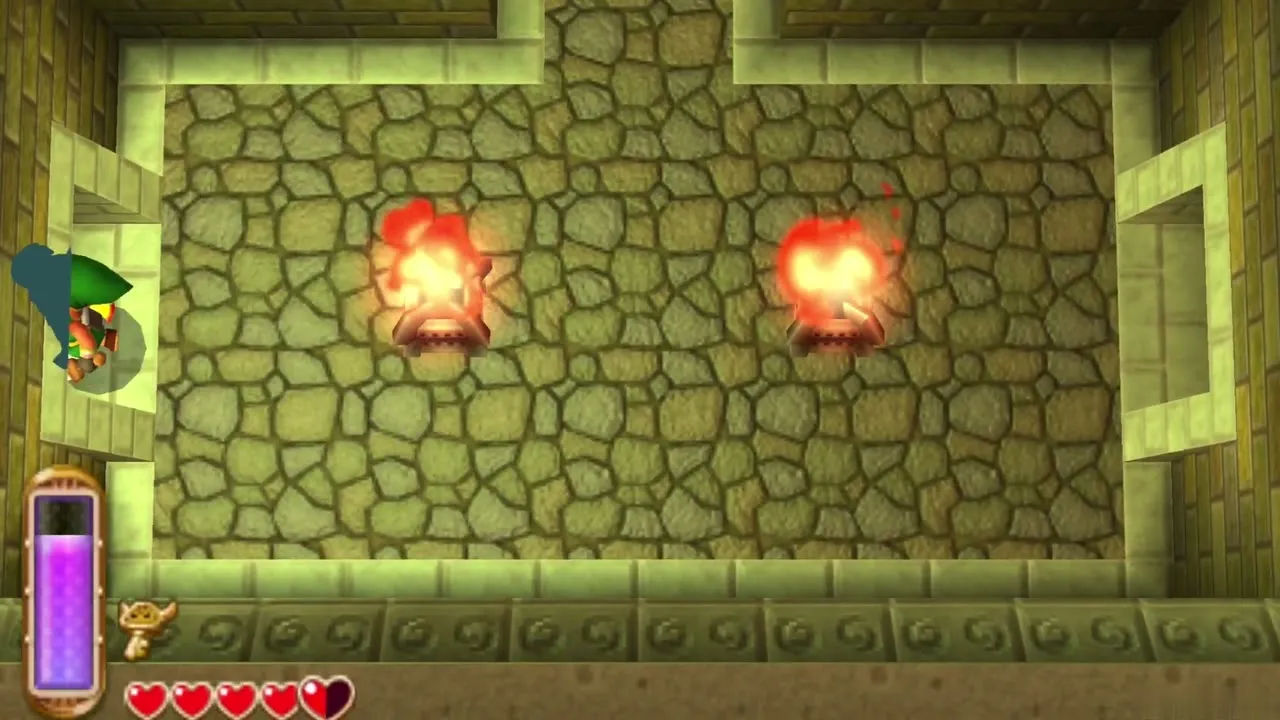
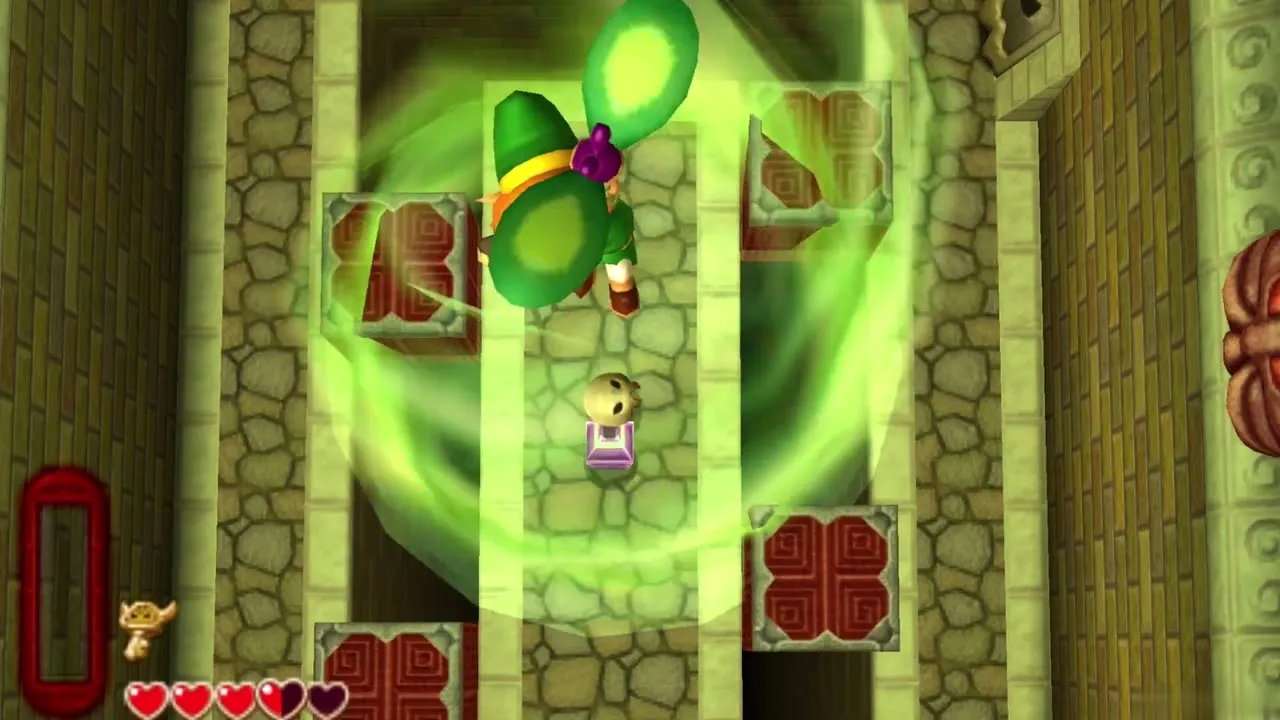
Run into the second big fan to be lifted to the top floor. Merge into the right wall of the first room and slide along it to get past the fans, then step out in the room beyond. A second Eyegore waits there. Defeat it and light both torches with the Lamp to open the left door.
Fire Bubble room and the 50 Rupee chest
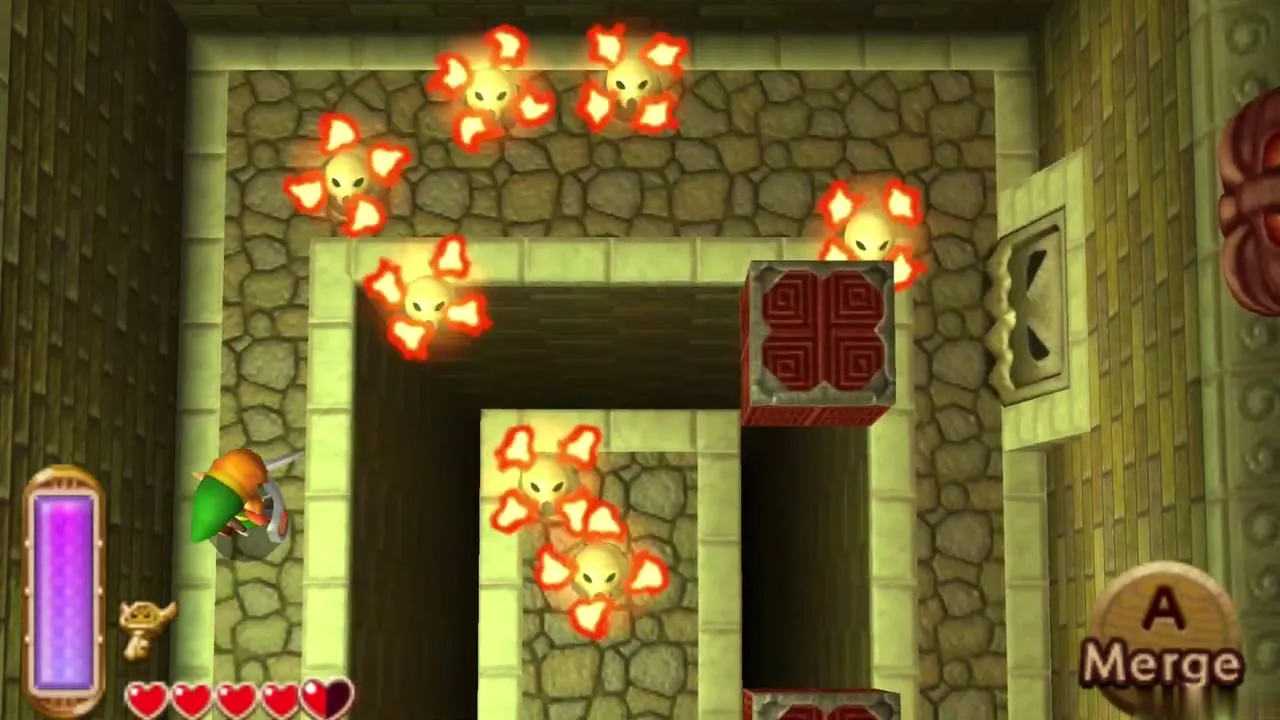
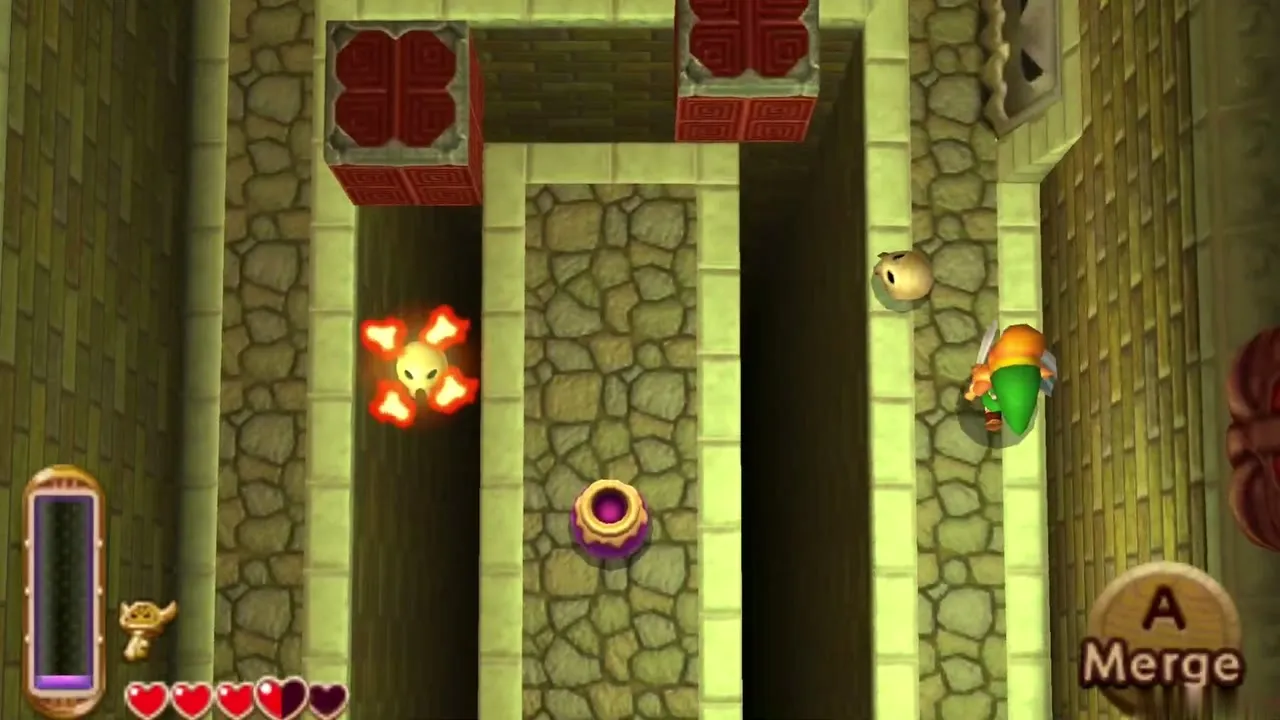
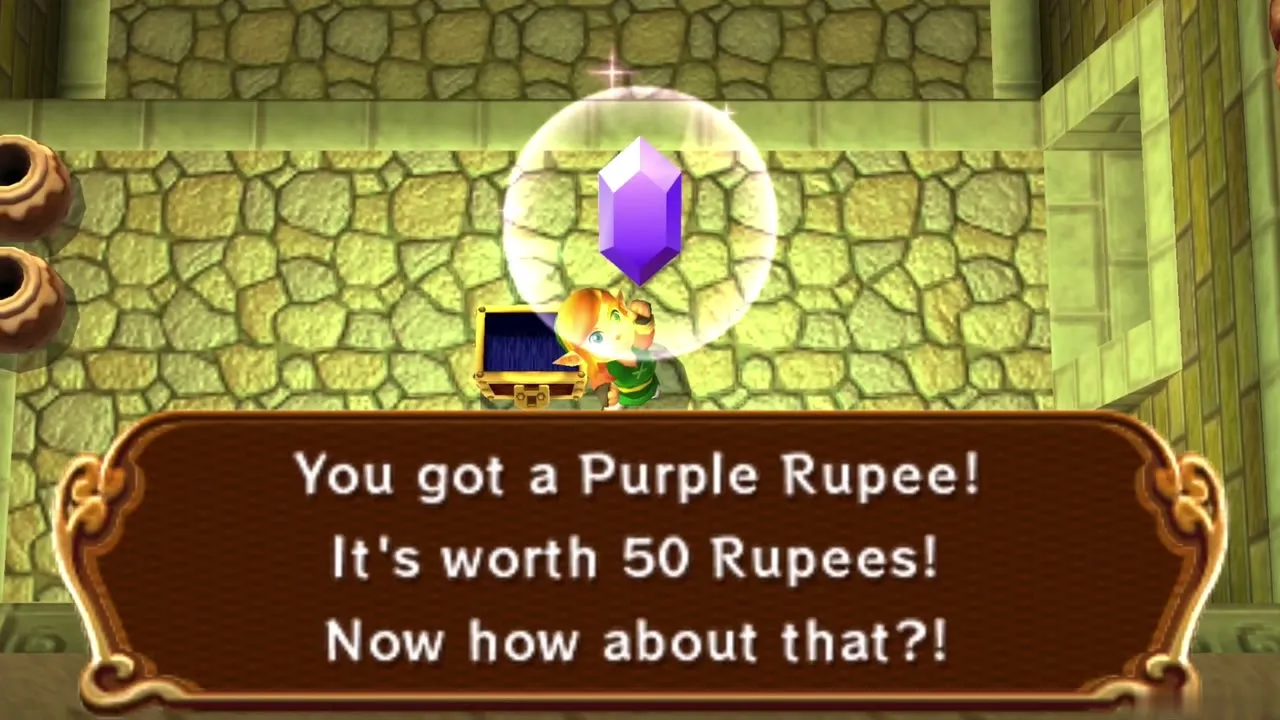
The next room seals itself and releases more Fire Bubbles. Drop off the ledge, blow out the flames with the Tornado Rod and kill every one to open the doors. A chest holding a Purple Rupee, worth 50 Rupees, appears on the ledge by the entrance; reach it by going back through the right door and merging into the wall to cross the pit.
Last Small Key
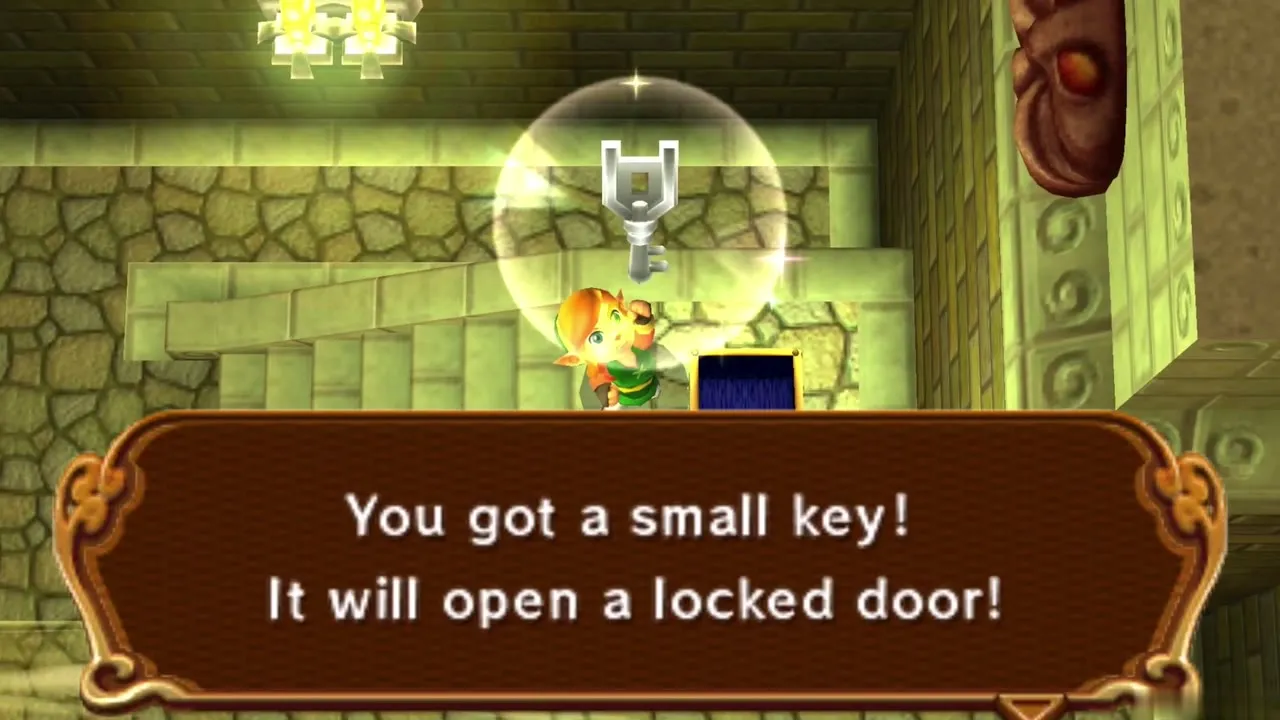
Return to the first room of the floor and open the chest there for the fourth and last Small Key. Use it on the locked door in the second room. The Big Key from 2F opens the boss door, so make sure you are carrying it.
Ride the platform to the boss door
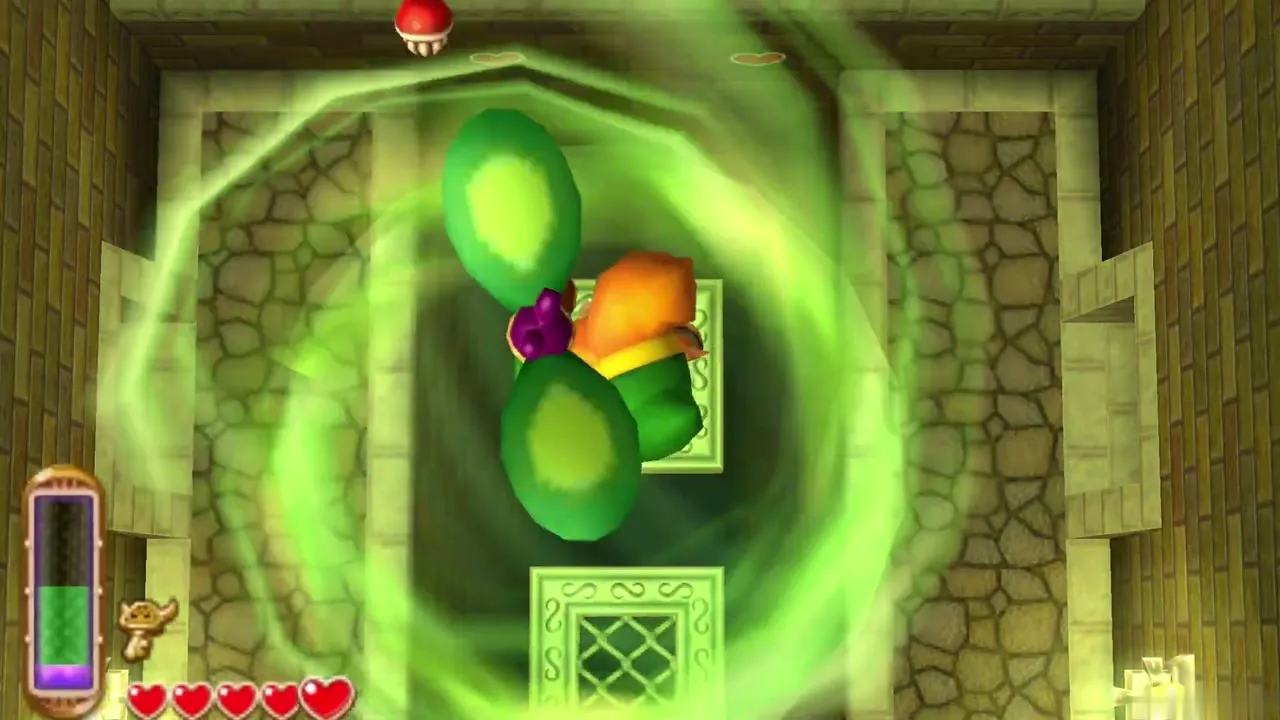
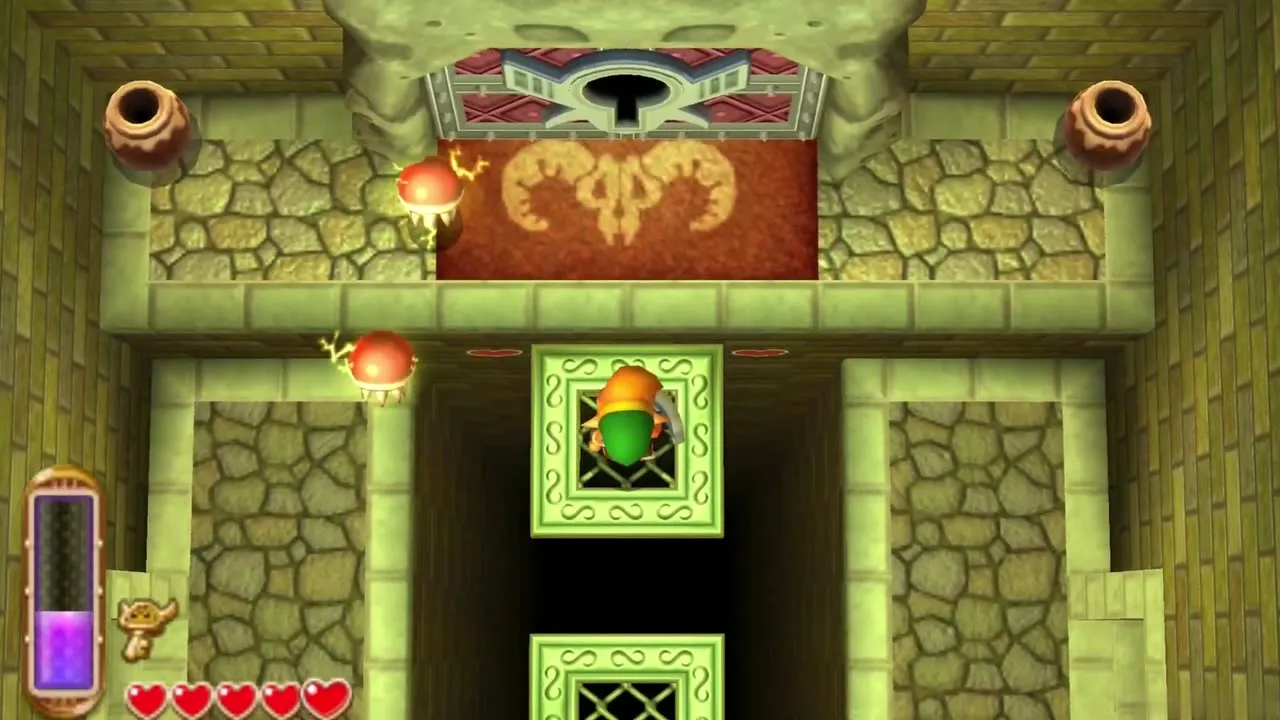
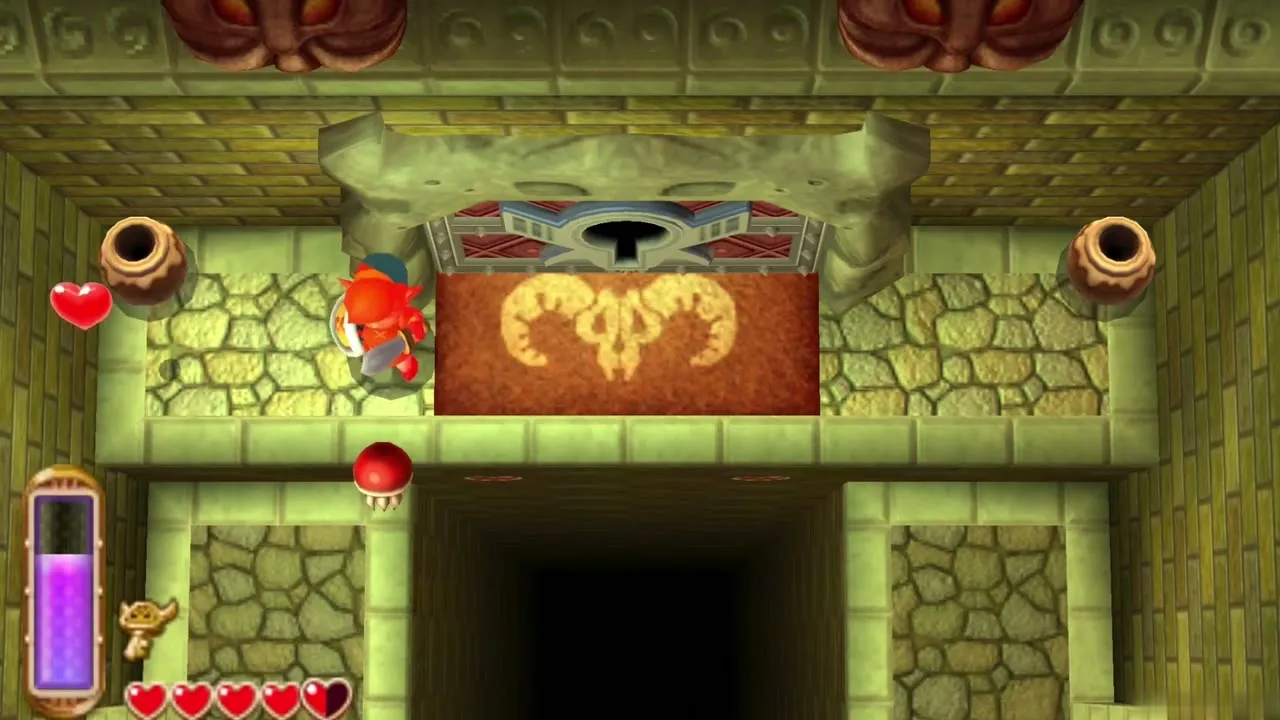
Beyond the locked door, step on the moving platform and ride it as far as it goes. When the next platform swings toward you, jump and hover with the Tornado Rod to reach it, avoiding the Red Bari. Walk to the large door at the end and open it with the Big Key. Refill hearts first if you need to, because the boss is next.
Margomill boss fight
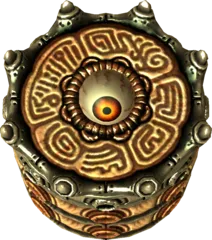
Margomill boss fight: phase 1, the eye
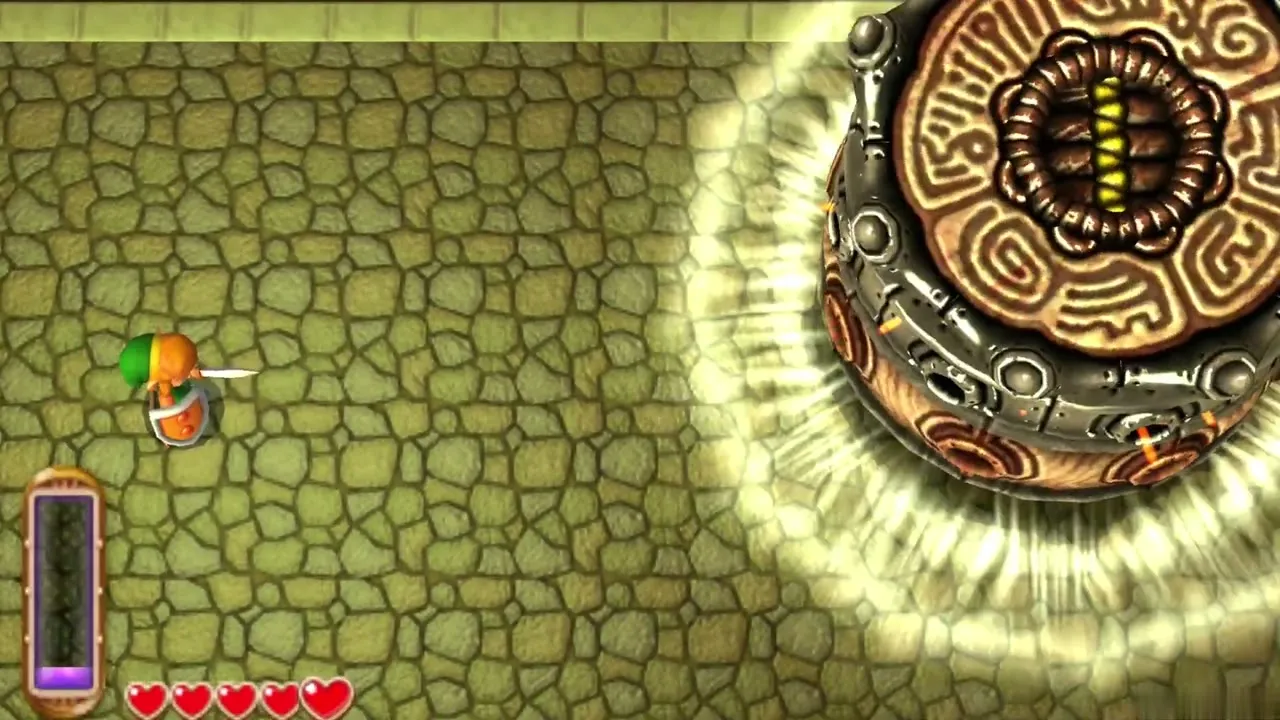
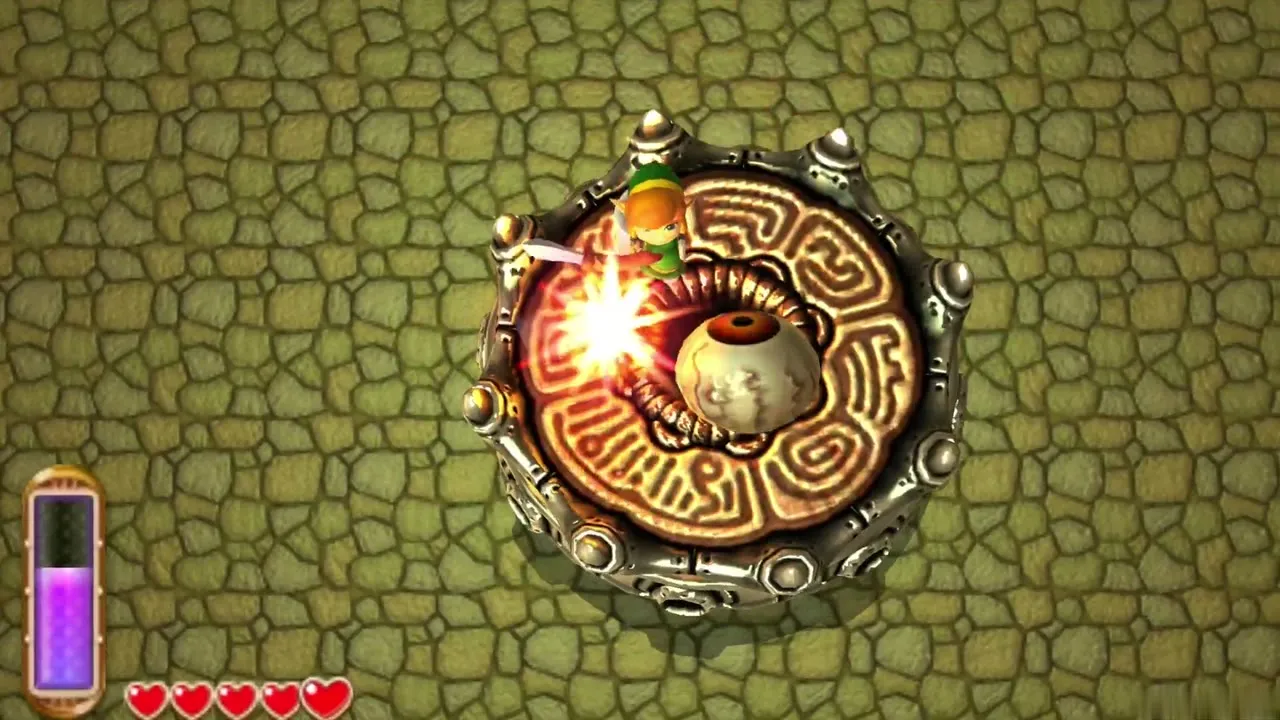
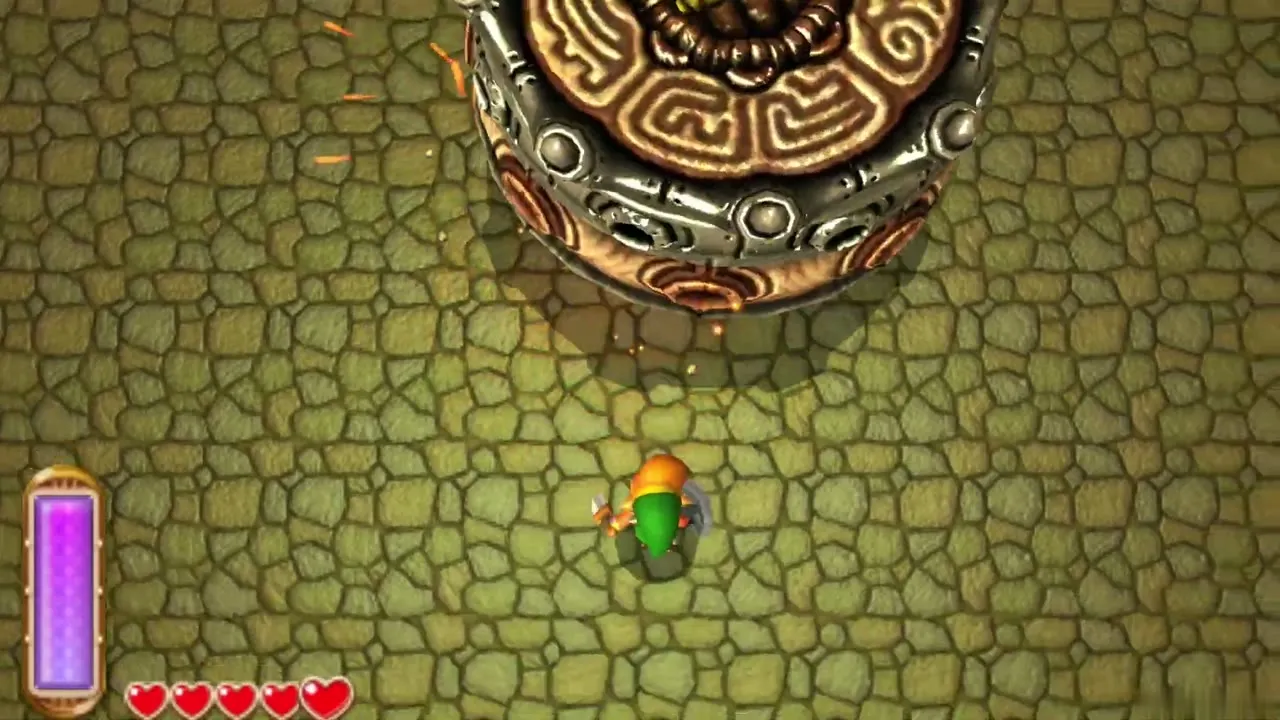
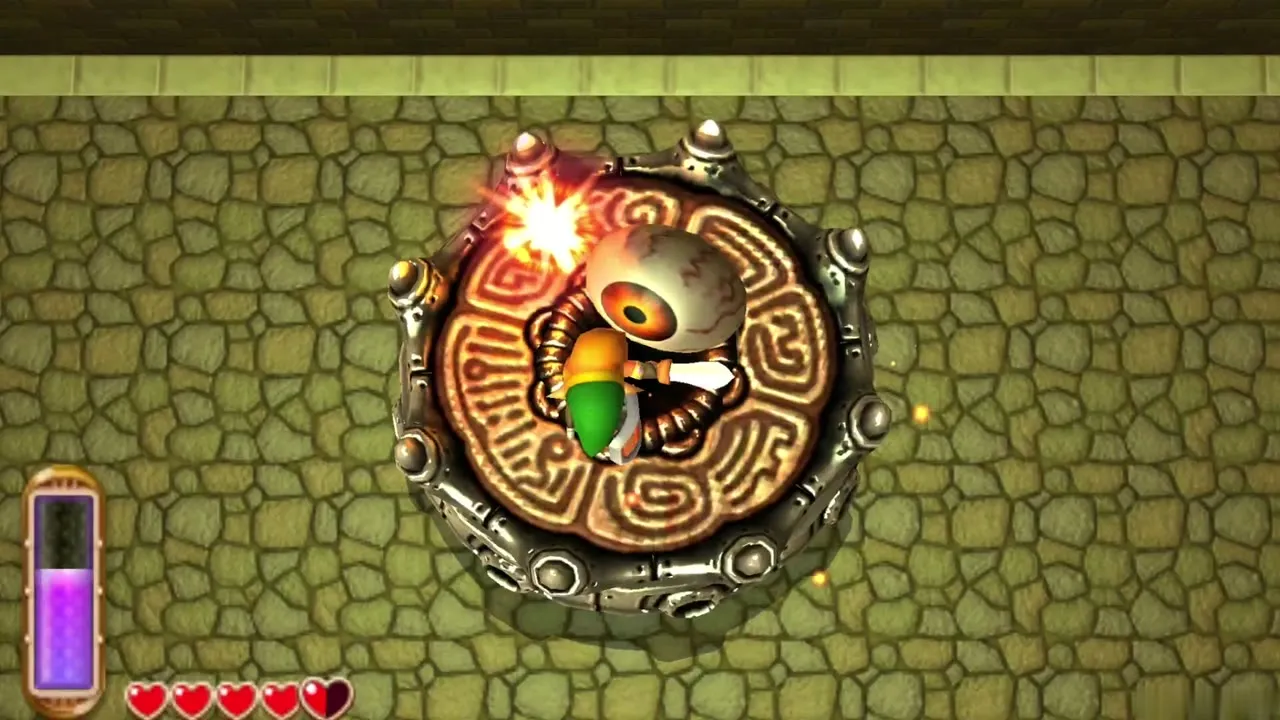
Margomill is a spinning stack of rings with one eye on top, fought on a platform edged by a bottomless pit. It sweeps across the floor, and its gusts or its bulk can push you over the edge. When it comes close, use the Tornado Rod to launch yourself onto its top, then slash the eye until you are thrown off. Repeat until it reacts.
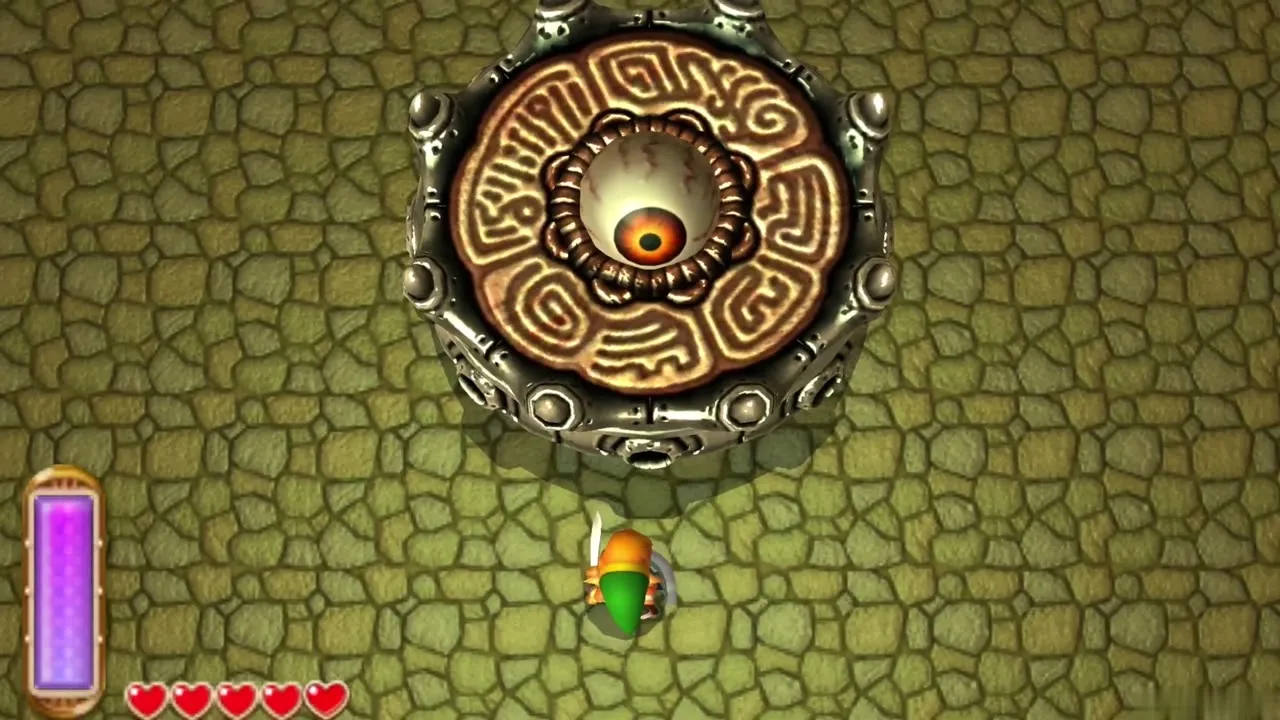
Margomill phase 2: two extra rings
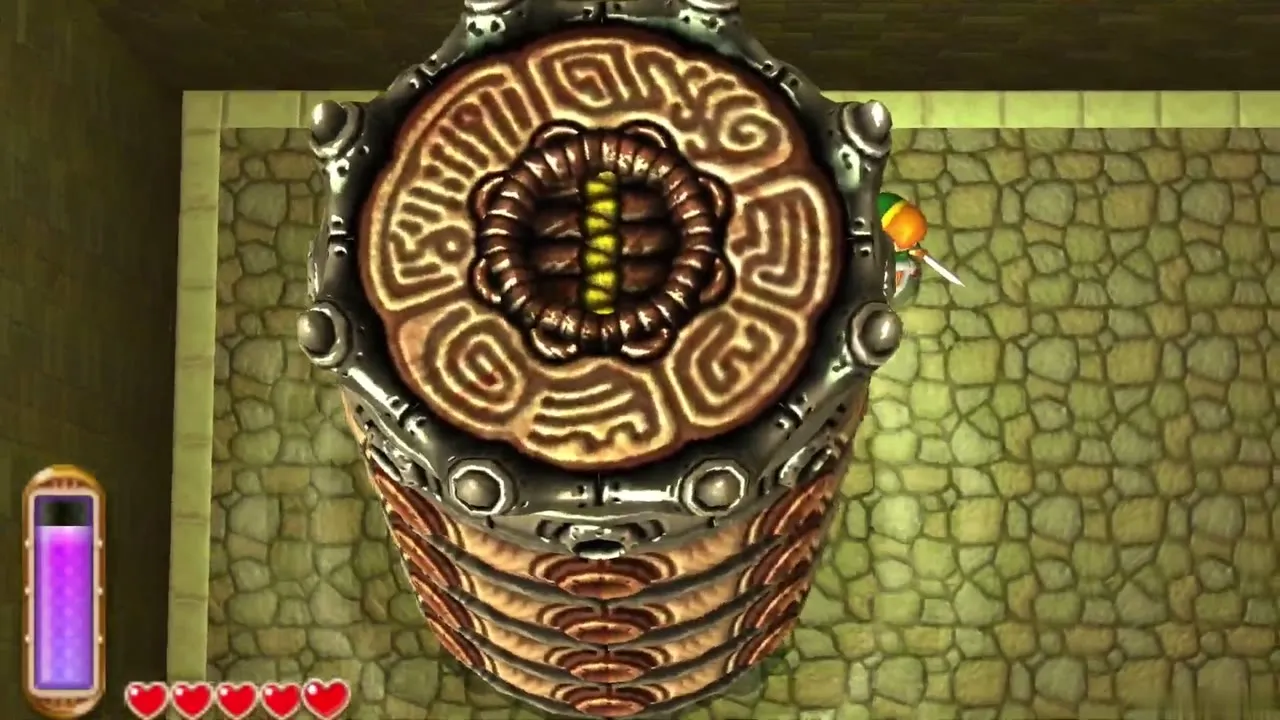
Once the eye is damaged, Margomill stacks two rings onto its body, which lifts the eye out of reach and closes it. Slash the rings from the side, several swings each, until they are gone, and keep out of its path. When the last ring falls away the eye opens again, so hover onto the top once more and strike it.
Margomill phase 3: four more rings
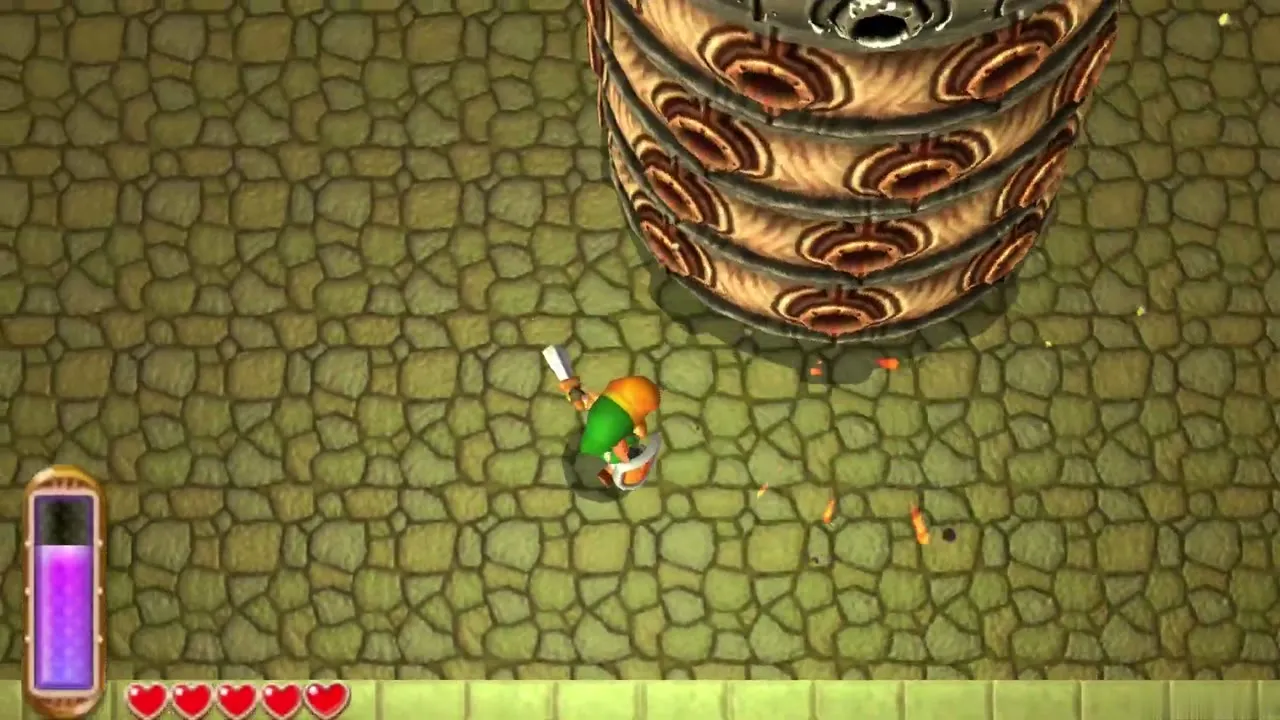
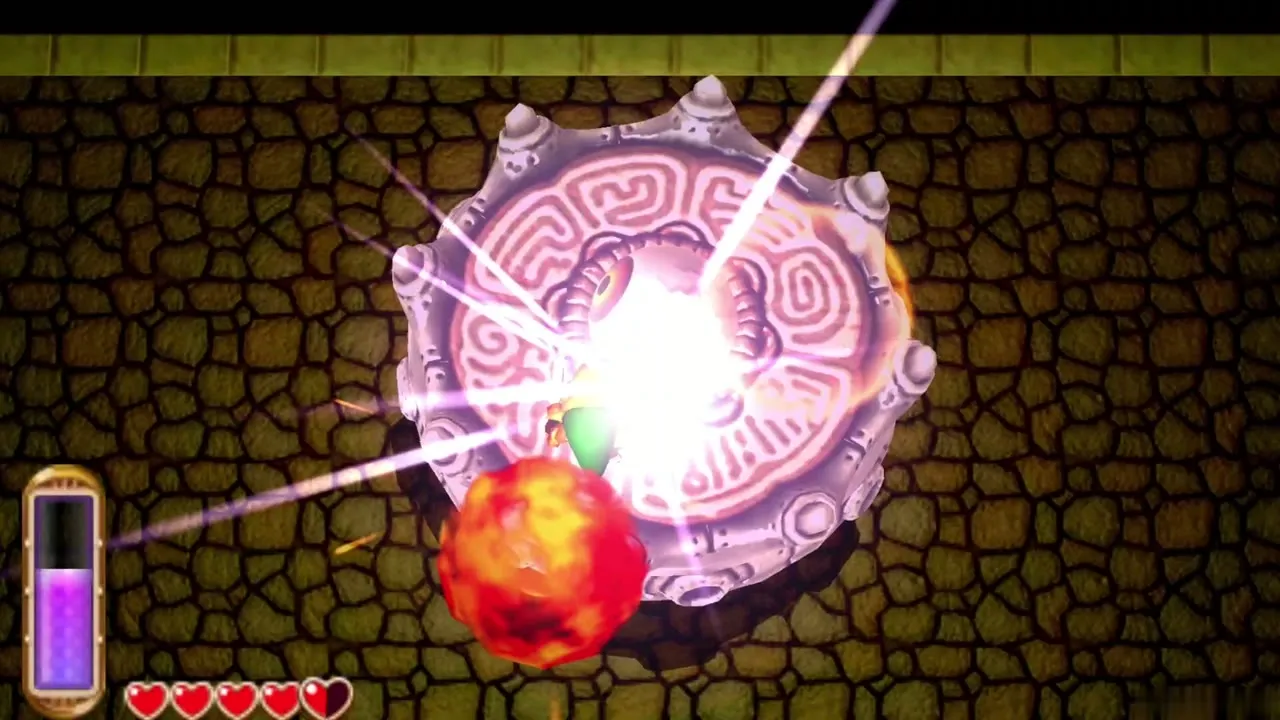
The last phase adds four rings, and Margomill moves much faster. Dodge to the side, cut the rings down with the sword, then use the Tornado Rod to climb on and land the remaining hits on the eye. Margomill bursts, and a Heart Container appears.
House of Gales Heart Container
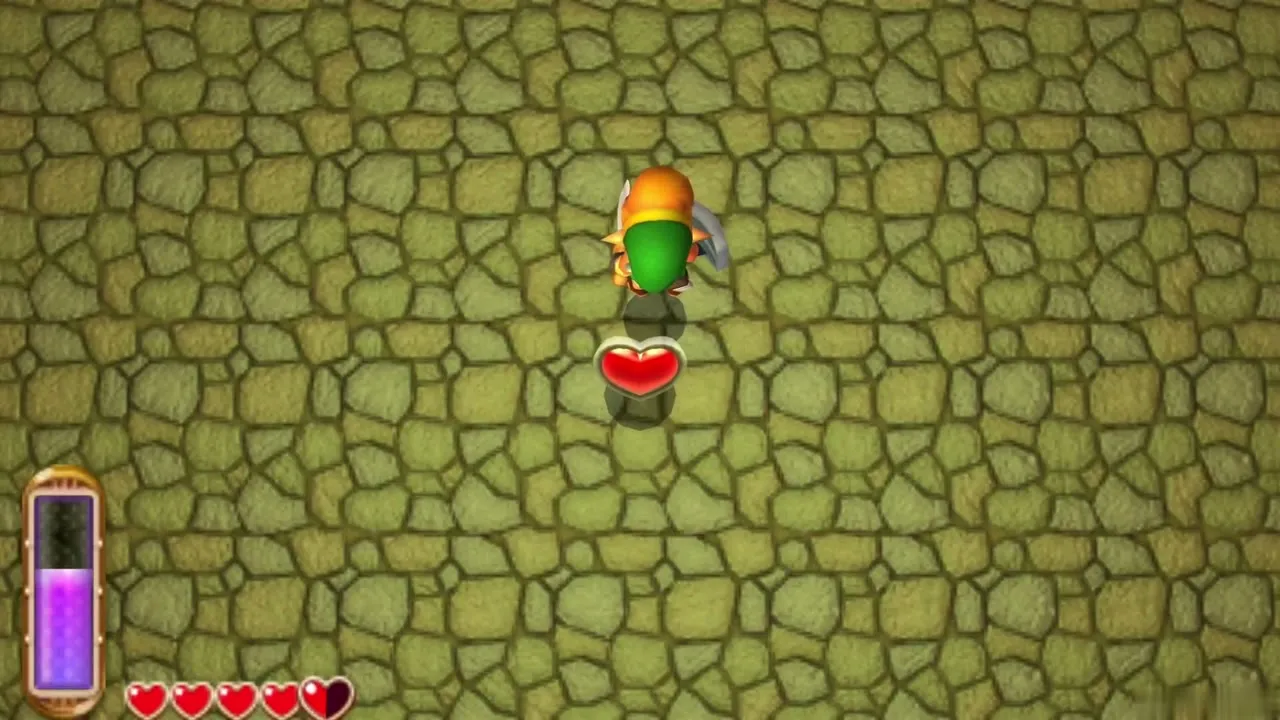
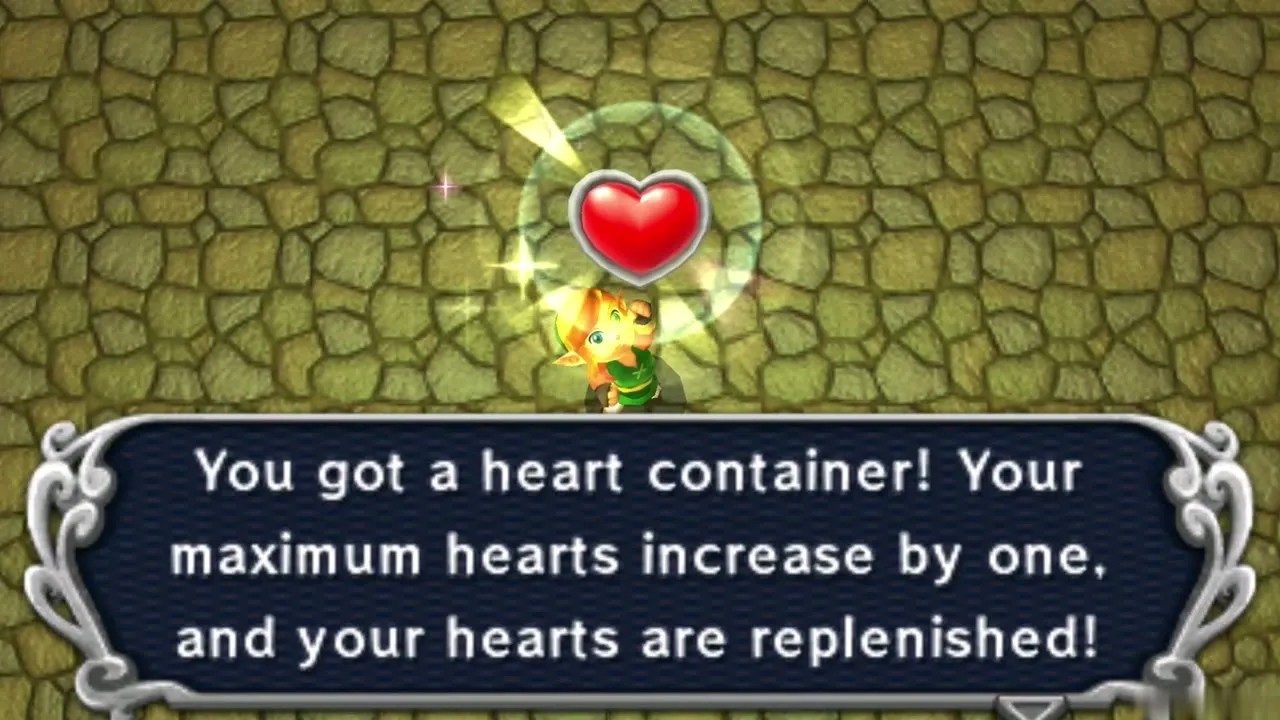
Step into the Heart Container that drops from Margomill. It raises your maximum health by one heart and refills every heart you have. It is the second Heart Container in the game, after the one from the Eastern Palace.
Pendant of Wisdom
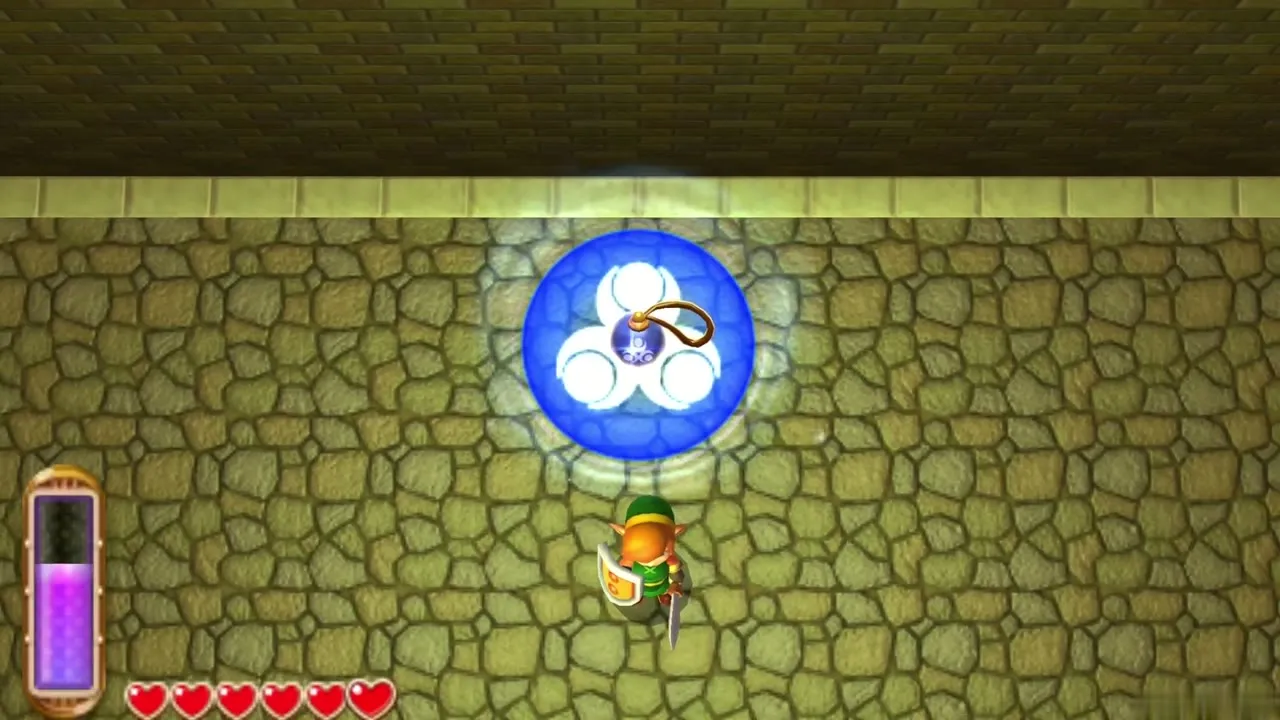
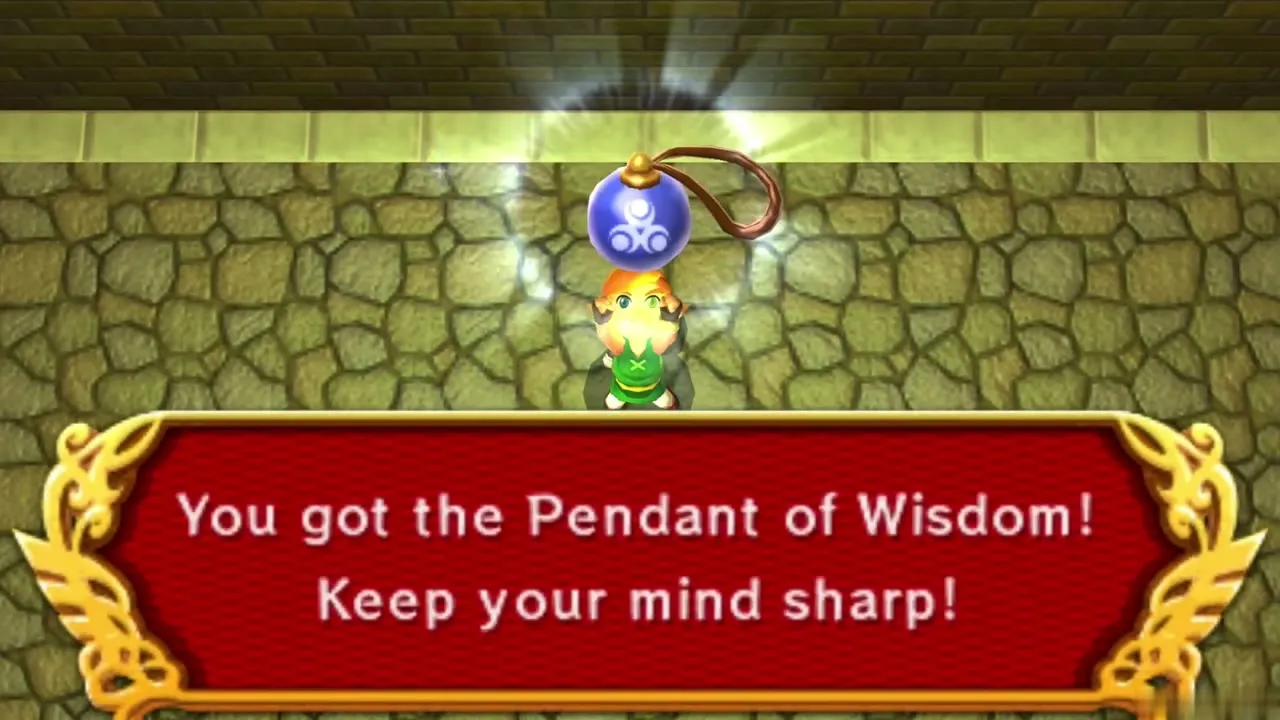
Right after the Heart Container, a blue light appears and Link receives the Pendant of Wisdom. It is the second of the three Pendants of Virtue, next to the Pendant of Courage from Zelda. Only the Pendant of Power from the Tower of Hera is missing before you can pull the Master Sword. Walk out of the room to return to the island.
After the House of Gales
Letter in a Bottle
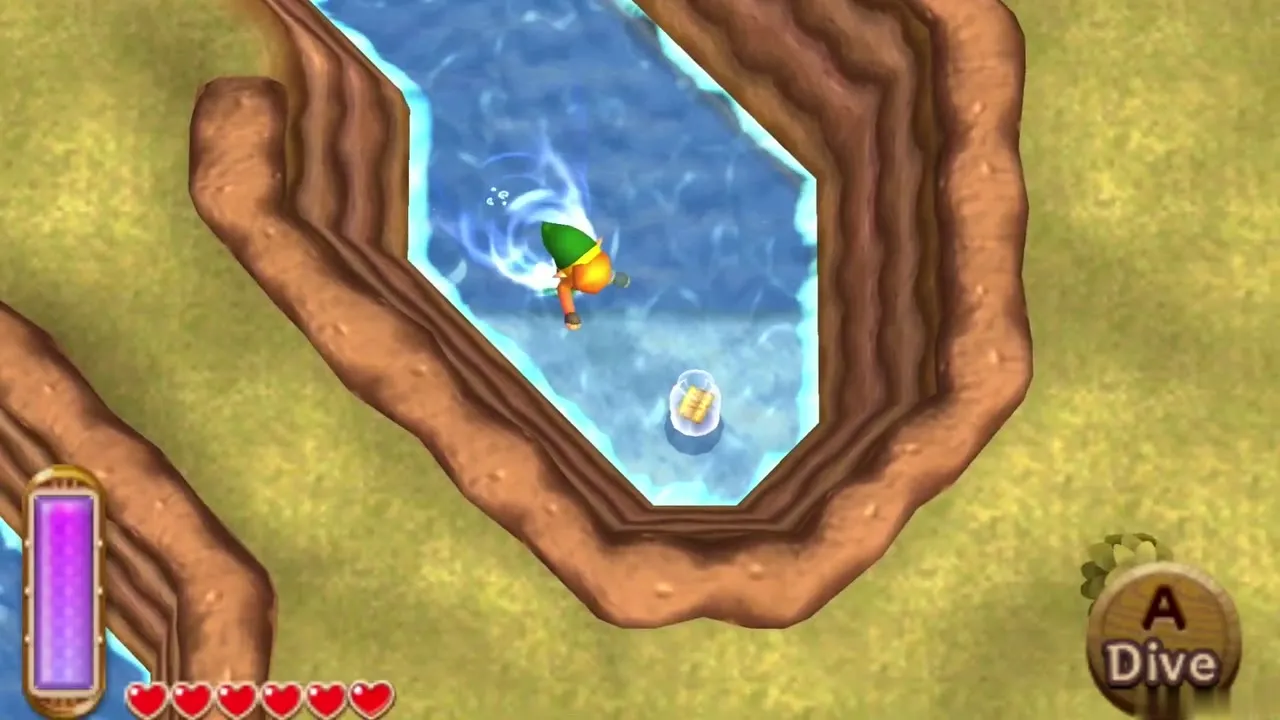
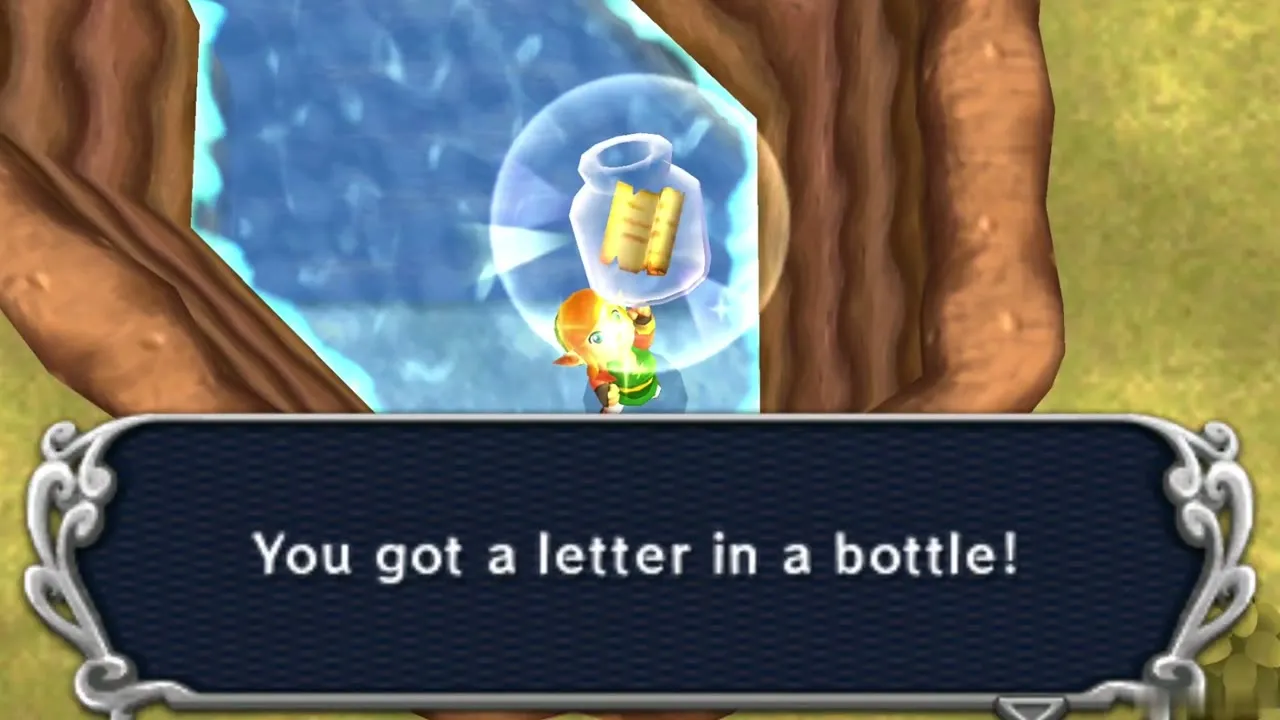
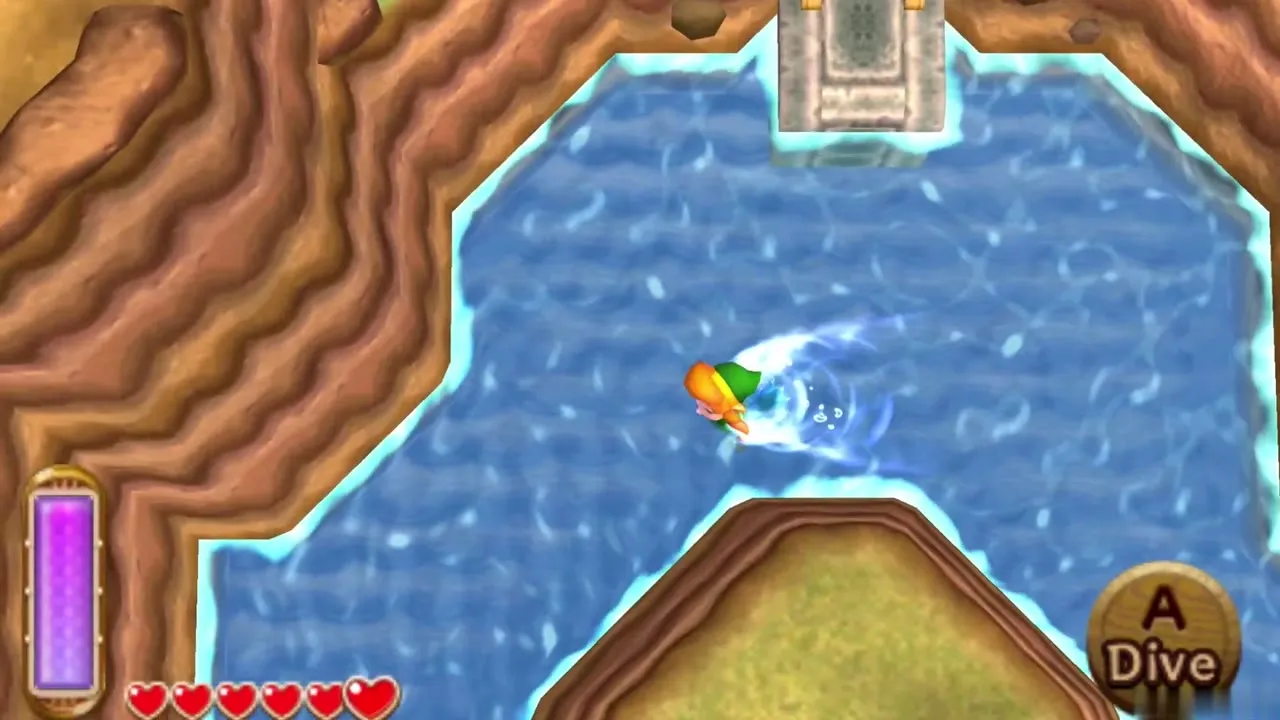
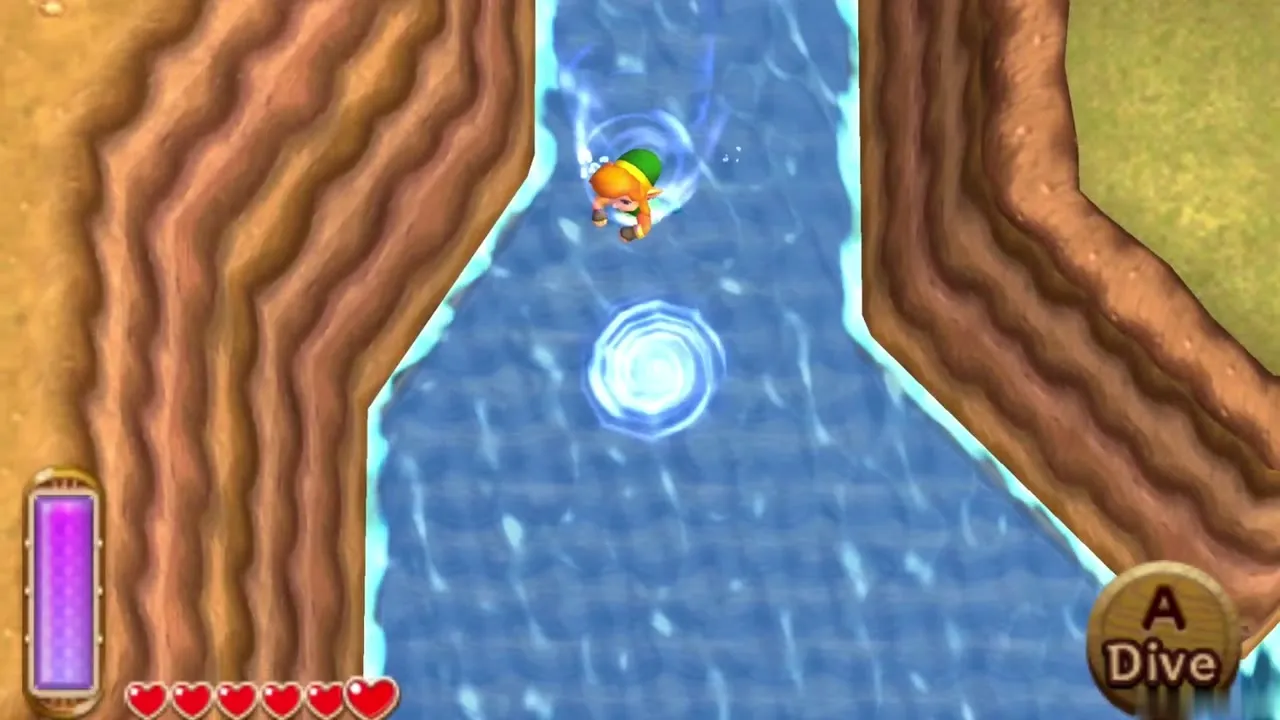
Swim to the south-eastern part of Lake Hylia and look for a bottle floating in the water. Dive to pick it up and you receive a Letter in a Bottle. Take it to the Milk Bar owner in Kakariko Village, who trades it for Premium Milk, which you later give to a climber stranded on Death Mountain. The empty Bottle you get at the end is Bottle #3.
More to find on the lake
Two more Maiamai are within reach now. Lake Hylia Maiamai #2 is at the bottom of the shallow hole just south of the dungeon island: dive with the Flippers. Lake Hylia Maiamai #4 is underwater, west of the ladder. The fifth, in the north-east corner behind a large rock, needs the Titan’s Mitt found later in the Desert Palace. The Maiamai Locations page has the full list.
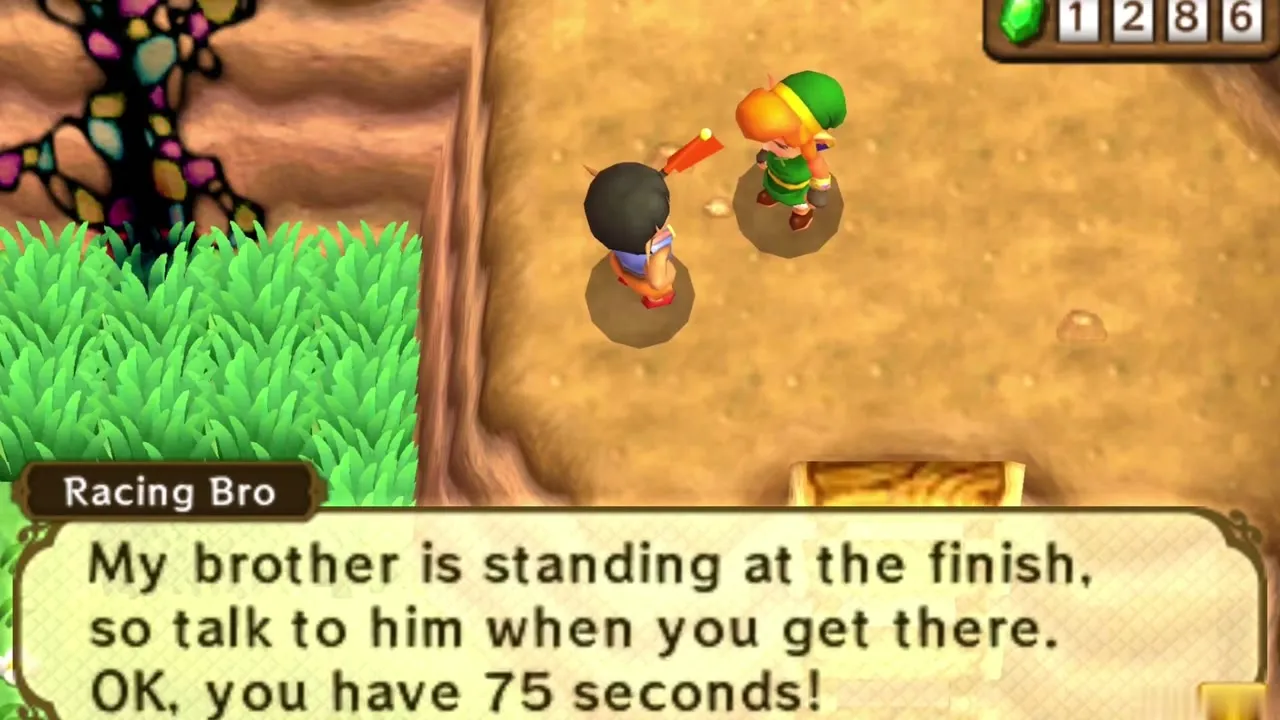
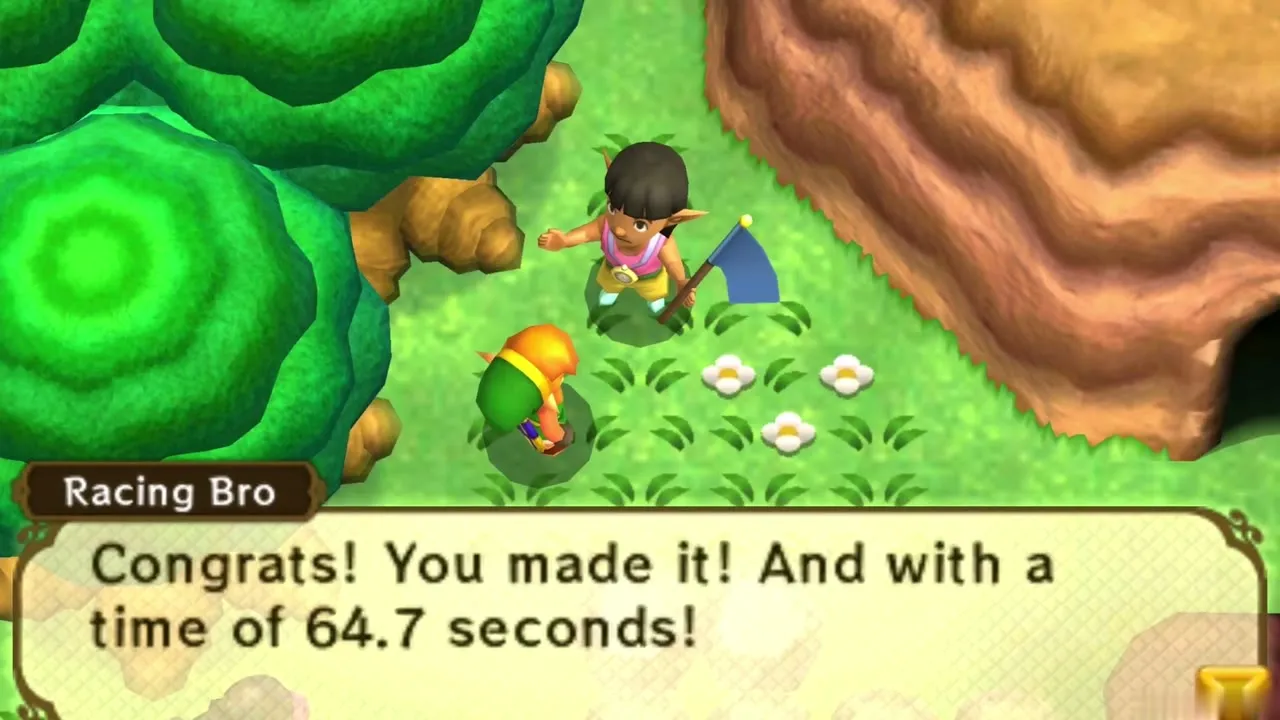
On the north-east side of the lake, a Racing Bro runs the Hyrule Hotfoot for 20 Rupees. Its prizes, including Heart Piece #9, are covered in the Pegasus Boots and Zora’s Flippers walkthrough. All the mini-games are listed on the Mini-Games page.
Chapter checklist
| Collectible | Type | Where |
|---|---|---|
| Bottle #2 | Bottle | Bird Lover’s grove under the bridge east of Link’s House; Flippers needed to reach it |
 Maiamai Map | Item | Mother Maiamai’s cave, bomb the wall by the lake |
 Lake Hylia Maiamai #1 | Maiamai | Merge into the wall beside Mother Maiamai’s cave entrance |
| Lake Hylia Maiamai #2 | Maiamai | Dive in the hole in the shallows south of the House of Gales |
| Lake Hylia Maiamai #3 | Maiamai | Under a tile panel behind the House of Gales, Tornado Rod |
| Lake Hylia Maiamai #4 | Maiamai | Underwater west of the ladder, Flippers |
| Lake Hylia Maiamai #5 | Maiamai | North-east corner behind a large rock; needs the Titan’s Mitt (Desert Palace), so it waits until later |
 Red Rupee (20) | Rupees | 1F, chest from lighting the two torches with the Lamp |
 Small Key 1 | Key | 1F, chest in the Fire Bubble room |
| Compass | Dungeon item | 1F, west room, ride the red block with a wall merge |
| Small Key 2 | Key | 2F, pots button spawns it on a ledge; merge to reach it |
| Big Key | Dungeon item | 2F, outer ledge: the far-right lever makes the chest appear |
| Small Key 3 | Key | 3F, west side, ring of fire; a floor button spawns it |
| Heedles | Mini-boss | 3F, behind the third locked door |
 Purple Rupee (50) | Rupees | Top floor, chest on the entrance ledge after the Fire Bubble room |
| Small Key 4 | Key | Top floor, chest in the first room |
| Heart Container | Heart Container | Margomill’s arena |
| Pendant of Wisdom | Pendant | Margomill’s arena |
| Letter in a Bottle (starts the Bottle #3 errand) | Bottle | Floating in the south-eastern part of Lake Hylia |
 Hyrule Hotfoot | Heart Piece #9 (see the Pegasus Boots and Zora’s Flippers walkthrough) | Racing Bro north-east of the lake, second race in 65 seconds |
With two of the three pendants collected, head up Death Mountain with the Power Glove to reach the Tower of Hera in Death Mountain.