A Link Between Worlds 100% Completion Walkthrough18 chapters
- Opening and SanctuaryWake in Link’s House, deliver the captain’s sword, cross the Graveyard passage with the Lamp and meet Yuga.
- Hyrule Castle and Kakariko VillageRavio’s Bracelet, Zelda’s Pendant of Courage, Kakariko shops, Sahasrahla and the free Bow rental.
- Eastern PalaceEvery key, chest and rupee, the Compass, Big Key, Yuga boss fight and your first Heart Container.
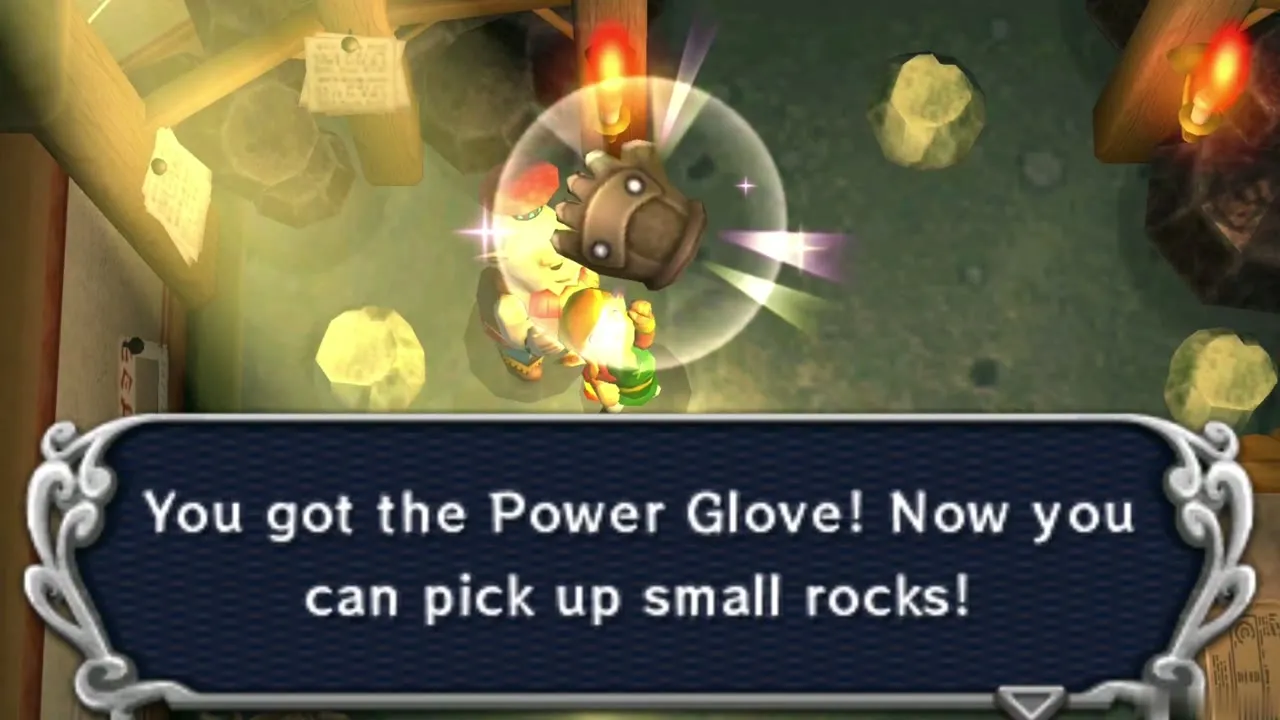
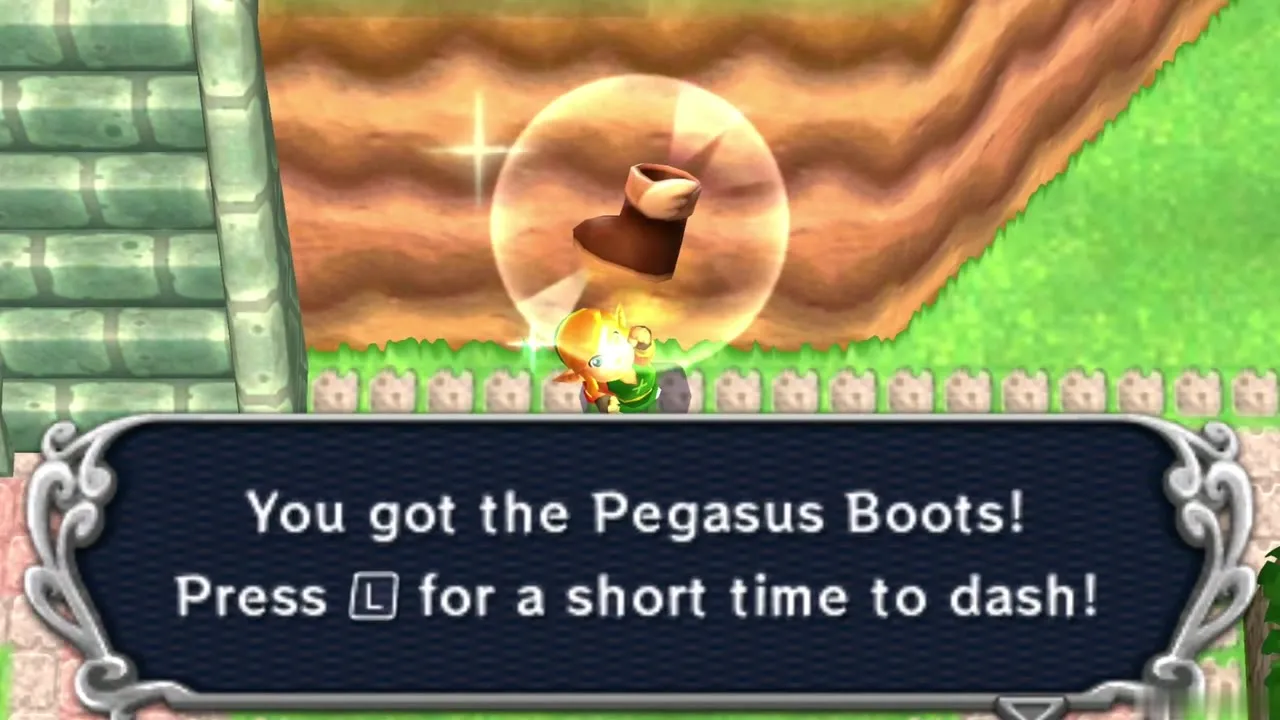
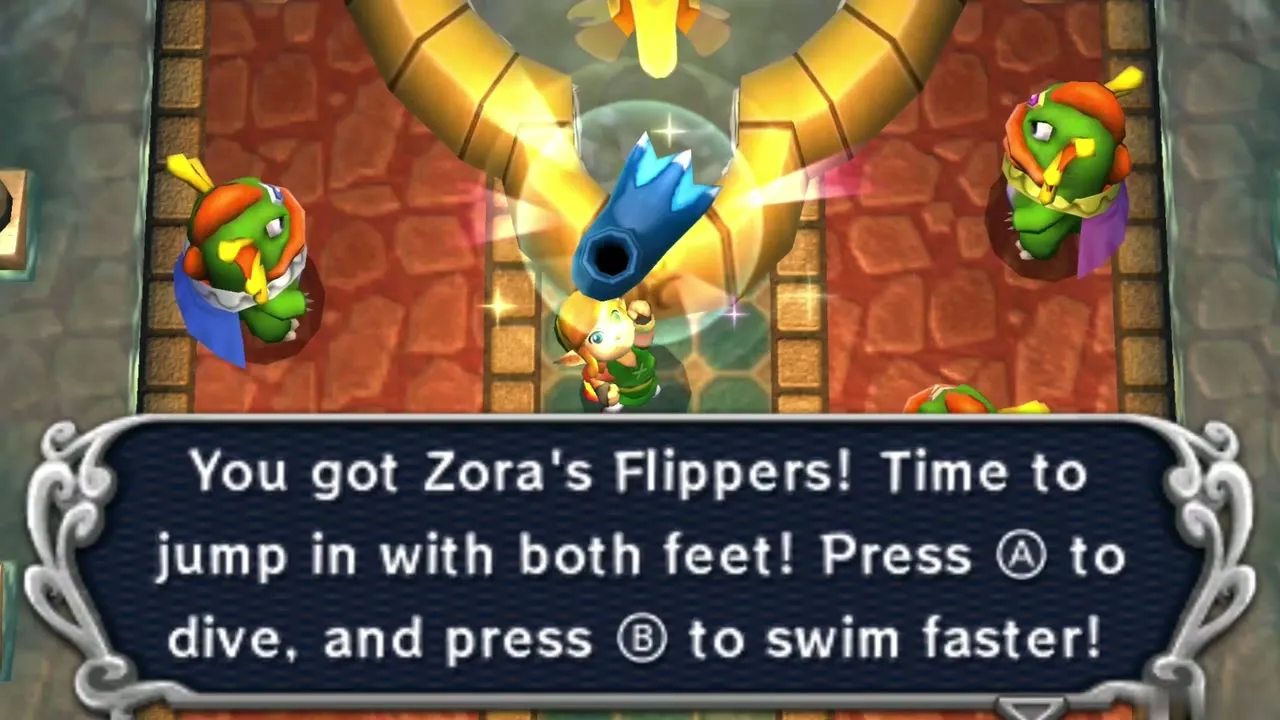
- Pegasus Boots and Zora’s FlippersGet the Pouch, Irene’s Bell, Power Glove, Pegasus Boots, Zora’s Flippers, Ravio’s rentals and Hyrule Heart Pieces.
- House of GalesRent the Tornado Rod, swim to Lake Hylia’s island, beat Margomill and take the Pendant of Wisdom.
- Death MountainClimb the boulder caves, find two Heart Pieces and a Bottle, and reach the Tower of Hera.
- Tower of HeraEvery floor, both Small Keys, Compass, Big Key, Moldorm boss fight, Heart Container and Pendant of Power.
- Master Sword and Lost WoodsWalkthrough for pulling the Master Sword in the Lost Woods, breaking the Hyrule Castle barrier.
- Lorule and Dungeon OrderHilda, the Blacksmith, fissures, Ravio’s Shop, Thieves’ Town side content and the dungeon order.
- Dark PalaceThe guard maze, every key, the Compass, Big Key, Master Ore, Gemesaur King, Heart Container and Sage Gulley.
- Skull WoodsKeys, Compass, Big Key, Master Ore, Knucklemaster boss fight, Sage Seres and the Master Sword upgrade.
- Ice RuinsThe Hookshot route to Lorule’s Death Mountain, every floor, keys, the Stamina Scroll and Dharkstare.
- Thieves’ HideoutThe password song, the Thief Girl escort, Master Ore, Stalblind, Sage Osfala and the Sand Rod.
- Swamp PalaceBig Bomb Flower, Hookshot, water levels, keys, Compass, Blue Mail, Big Key, Arrghus and Sage Oren.
- Turtle RockRescue the baby turtles, use the Ice Rod, find every key, beat Grinexx and free Sage Impa.
- Desert PalaceReach it with the Sand Rod, find the Titan’s Mitt, beat Zaganaga and rescue Sage Irene.
- Lorule CastleThe Triforce of Courage, all four mini-bosses, the Compass, Red Mail and the way to the Throne Room.
- Final BossBeat Yuga Ganon with the Bow of Light, see Hilda’s choice, make the Triforce wish and unlock Hero Mode.
| Covers | Eastern Ruins, Hyrule: the Eastern Palace (1F, 2F and 3F) and the wall-merging trip around its outer walls |
|---|---|
| You need | The Bow rented from Ravio; a Shield helps, and a Bottle is optional for the fairies |
| Rewards |  Compass,  Big Key, 2  Small Keys, the first  Heart Container, wall merging, 2  Monster Guts, an Energy Potion, 2  Silver Rupees, a Purple Rupee and three 20-rupee chests; no Heart Pieces, Maiamai, Master Ore or Bottles inside |
The Eastern Palace is the first dungeon, and it is a short one. Shoot crystal switches with the rented Bow to open doors and raise platforms, collect two Small Keys, the Compass and the Big Key, then face Yuga on the top floor. Defeating Yuga gets you painted onto a wall by his parting spell, which gives you wall merging and a Heart Container, and lets you loot the palace’s outer walls before you leave.
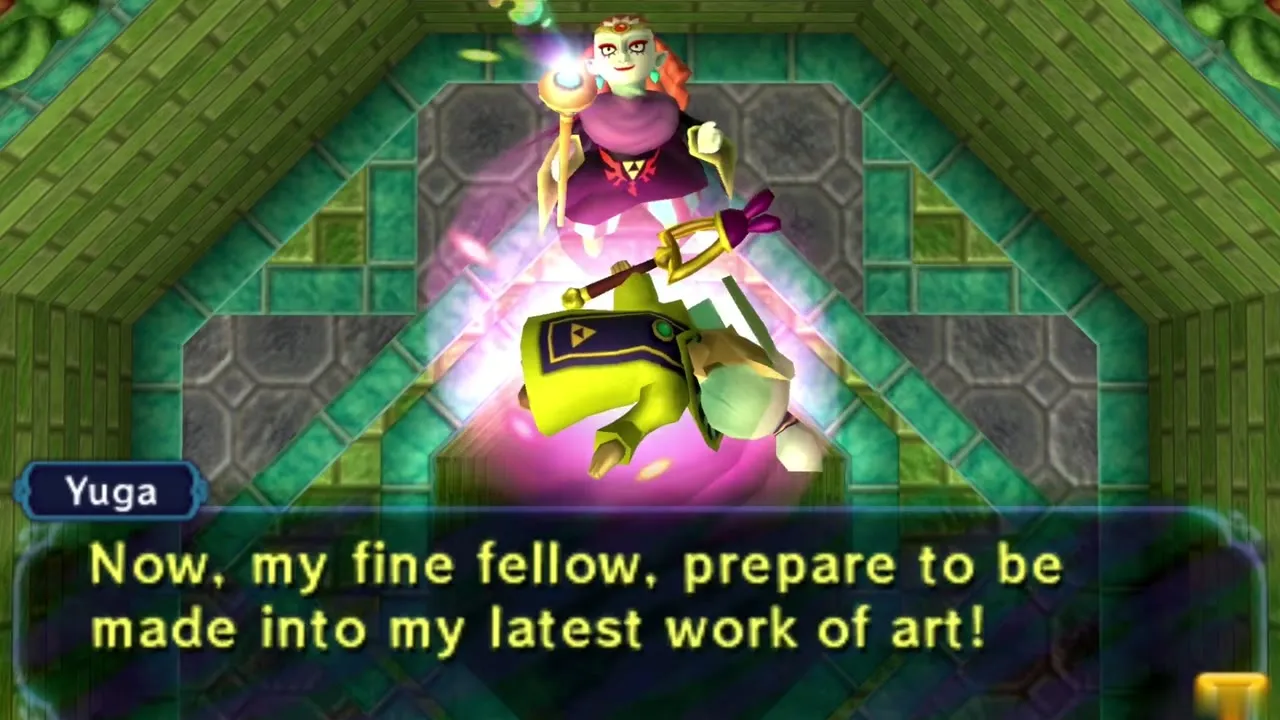
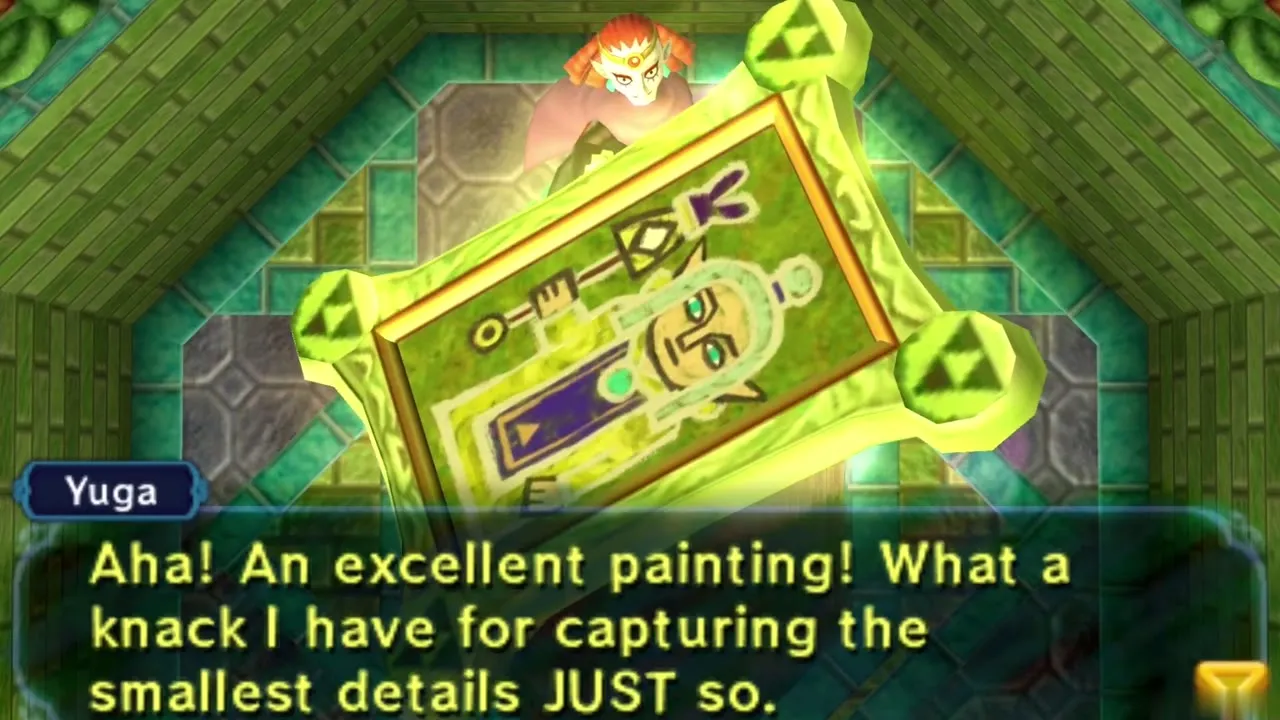
Table of Contents
Eastern Palace entrance
Osfala and the Weather Vane
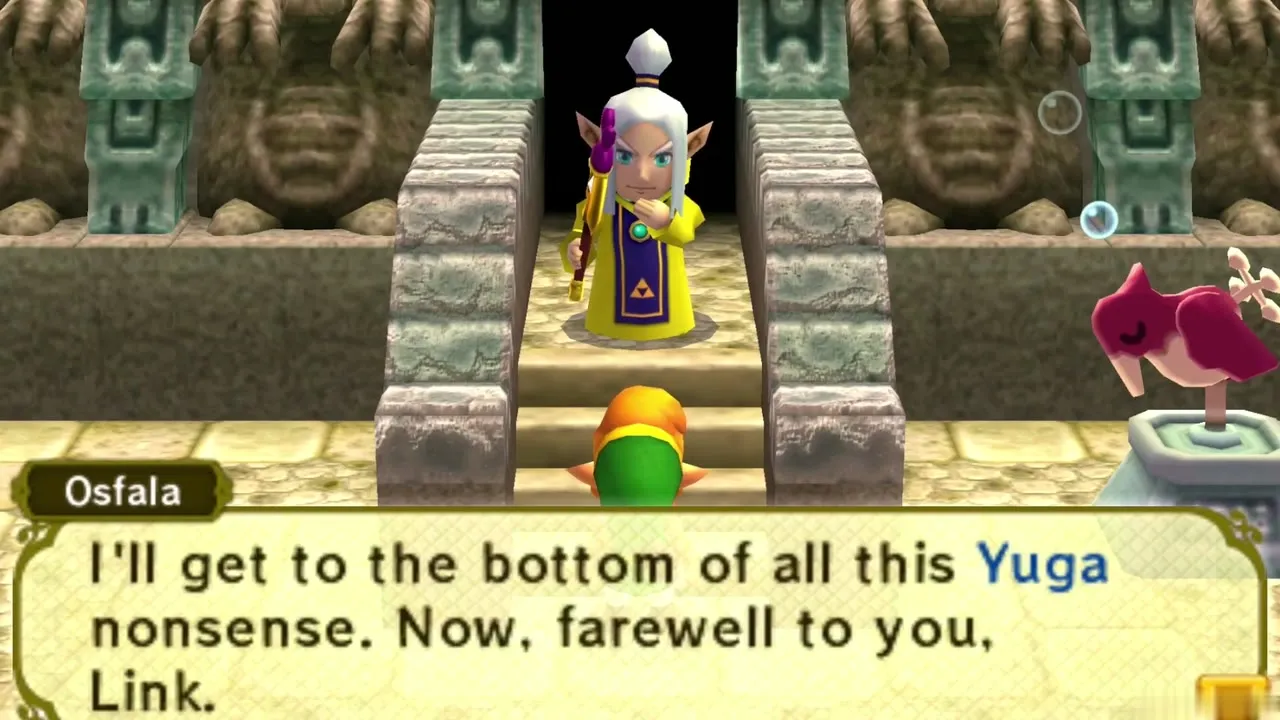
Climb the stone steps at the east end of Hyrule and you meet Osfala, Sahasrahla’s pupil, who hears your warning about Yuga. Beside the stairs stands the palace’s Weather Vane. Activate it now, because it gives you a quick way back to the entrance. The Weather Vane list covers every other warp point. Walk through the door when you are ready.
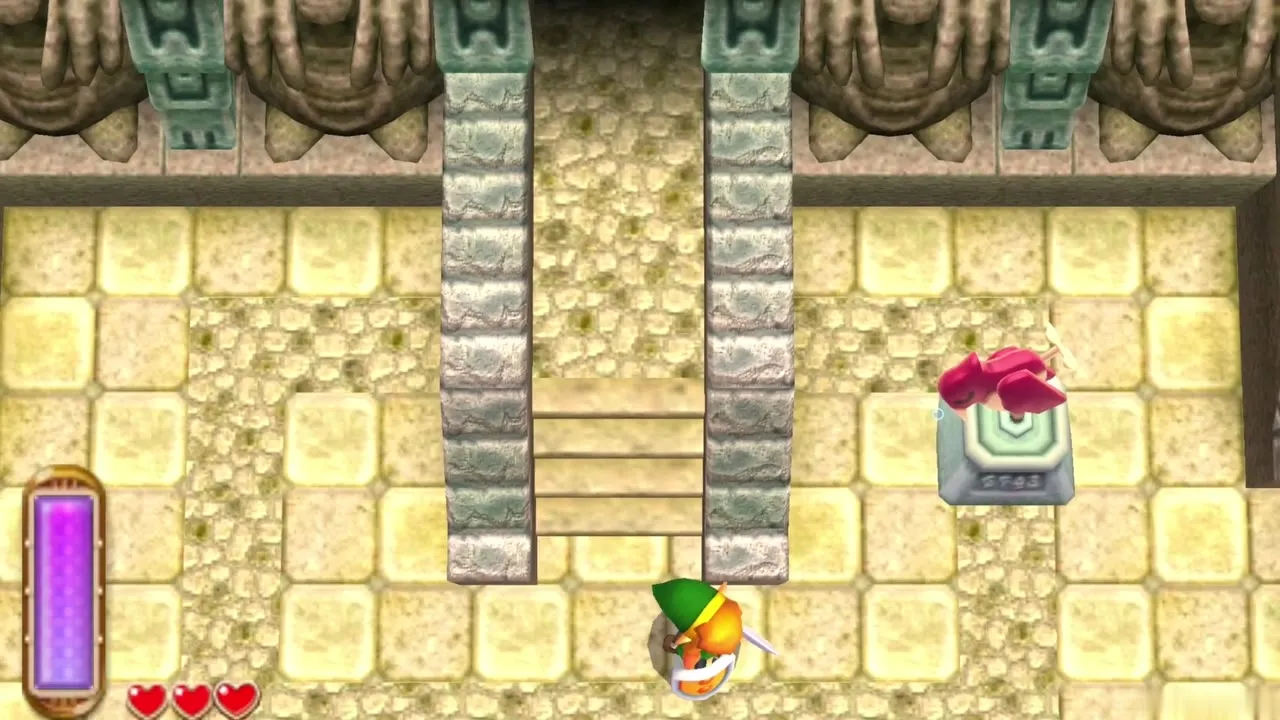
Eastern Palace 1F
Crystal switch bridge
The first room ends at a gap with a crystal switch on the far side. Equip the Bow, aim across the pit and shoot the switch. A bridge extends and you can walk over. Any switch you cannot reach on foot is a target for an arrow. Arrows draw on your energy gauge, which refills by itself, so wait a moment if it runs low.
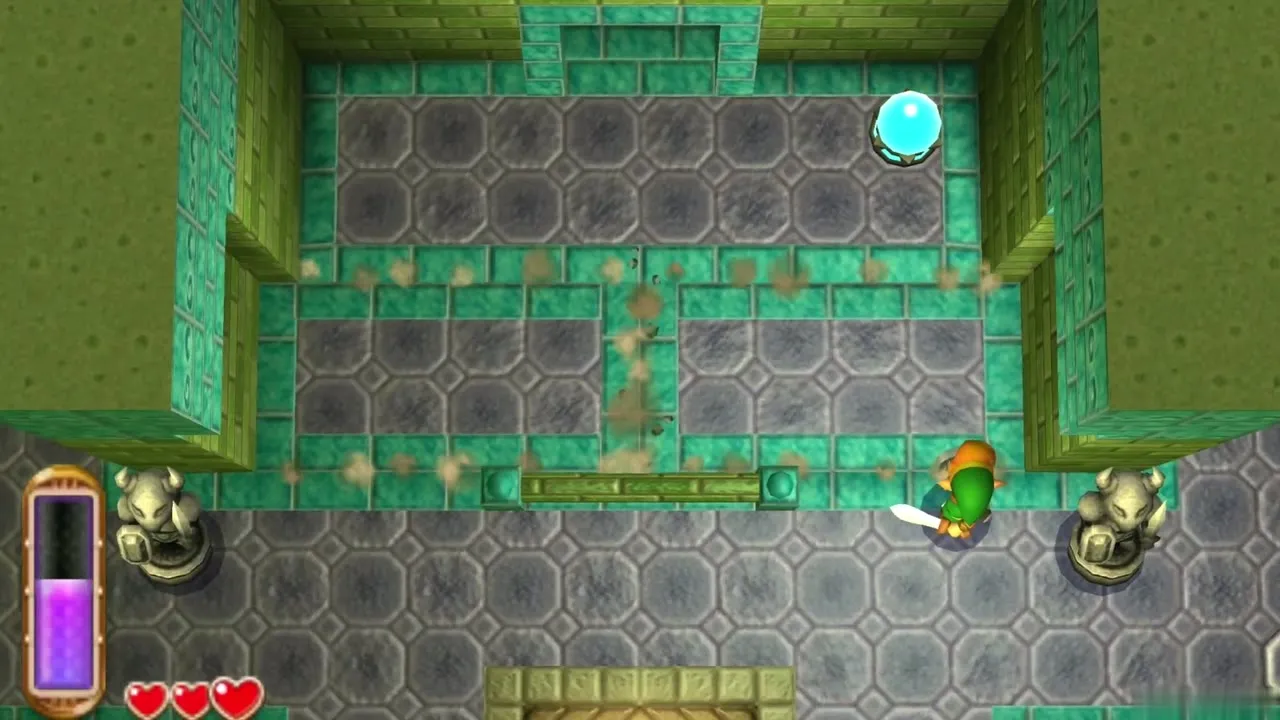
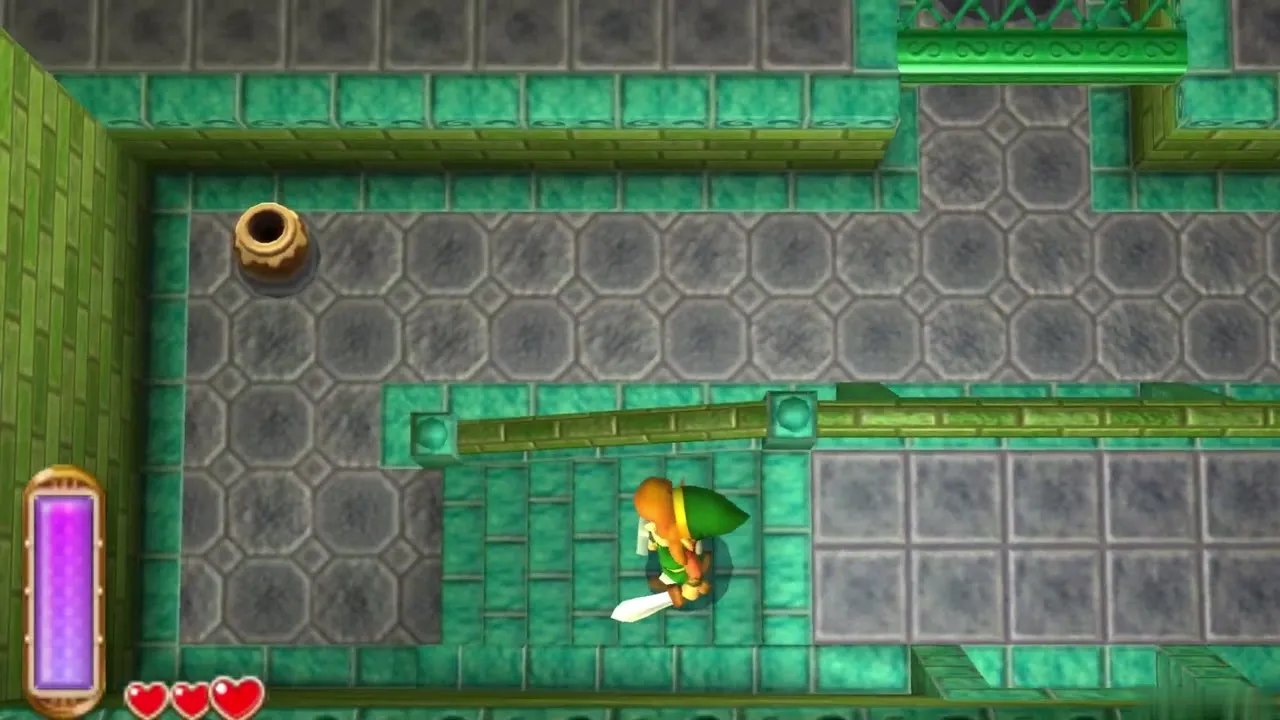
Rolling ball hallway
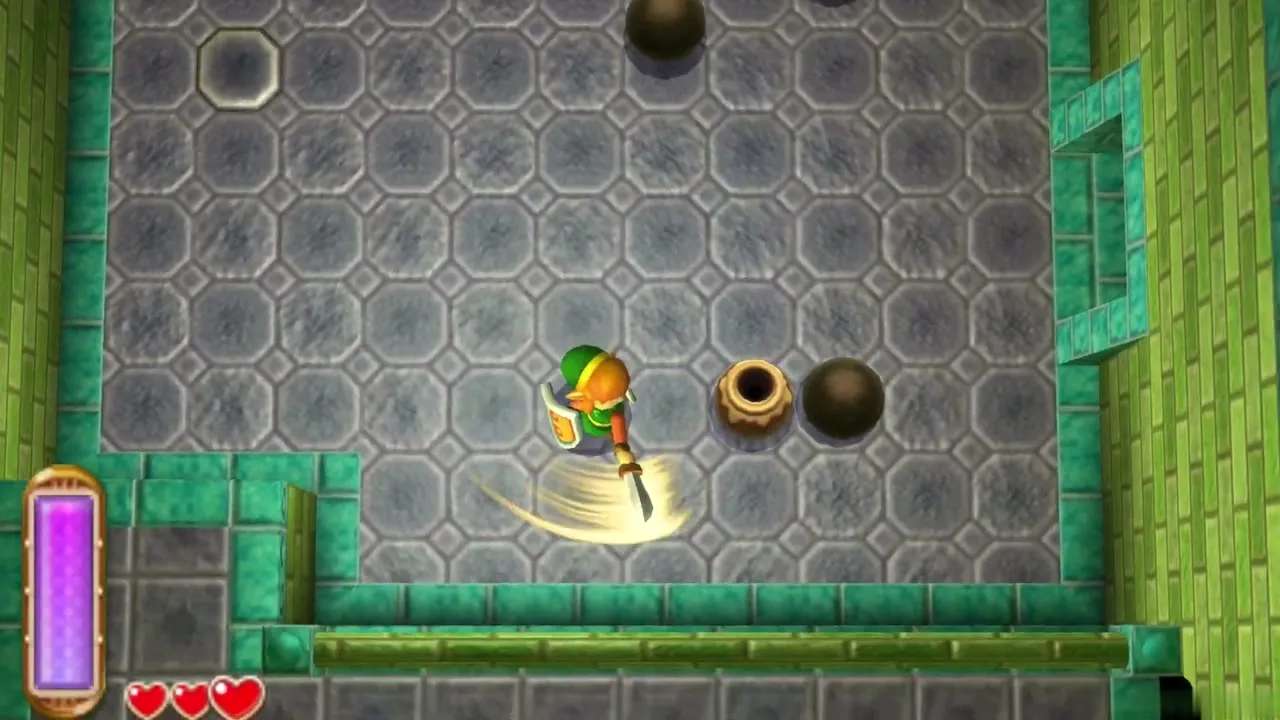
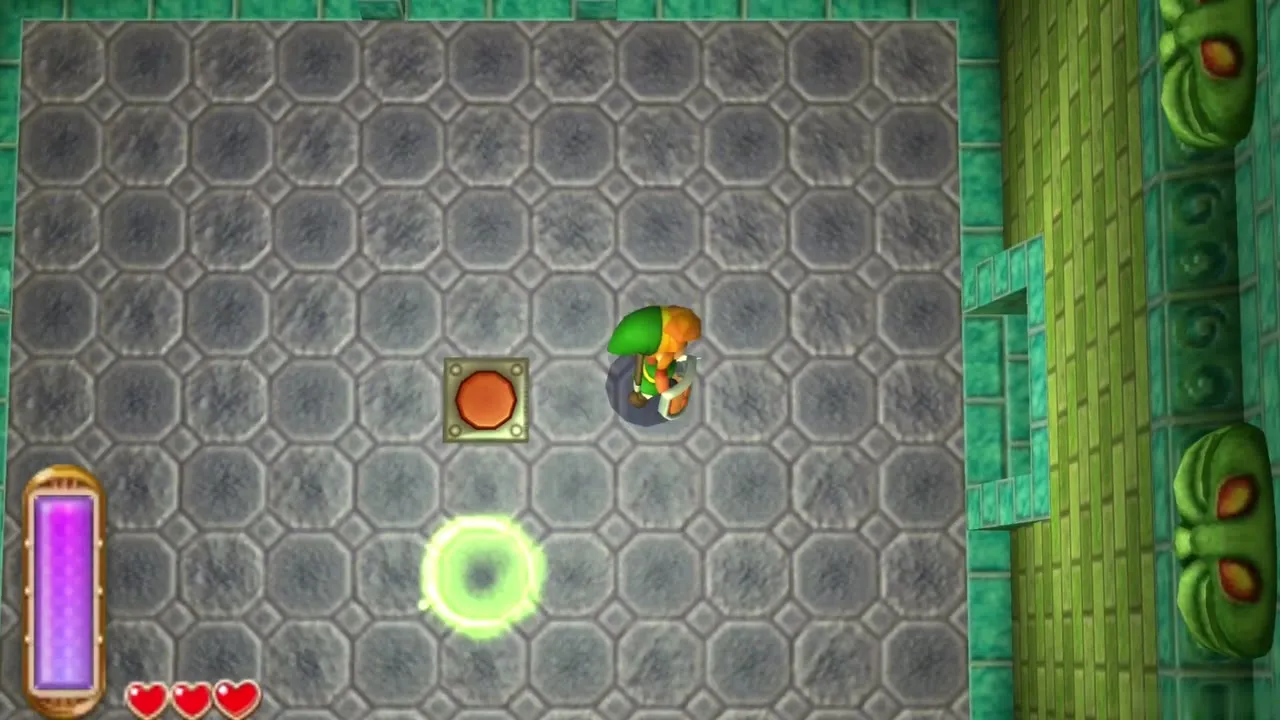
The next hallway sends rolling balls at you, small ones in a pattern and a big one after a pause. Ride out each wave inside the side alcoves, then run on during the pause. At the end turn left through the door. A switch room off this path holds a chest with a Red Rupee worth 20, and a second 20-rupee chest sits in the central room, where you press a floor switch to reveal it.
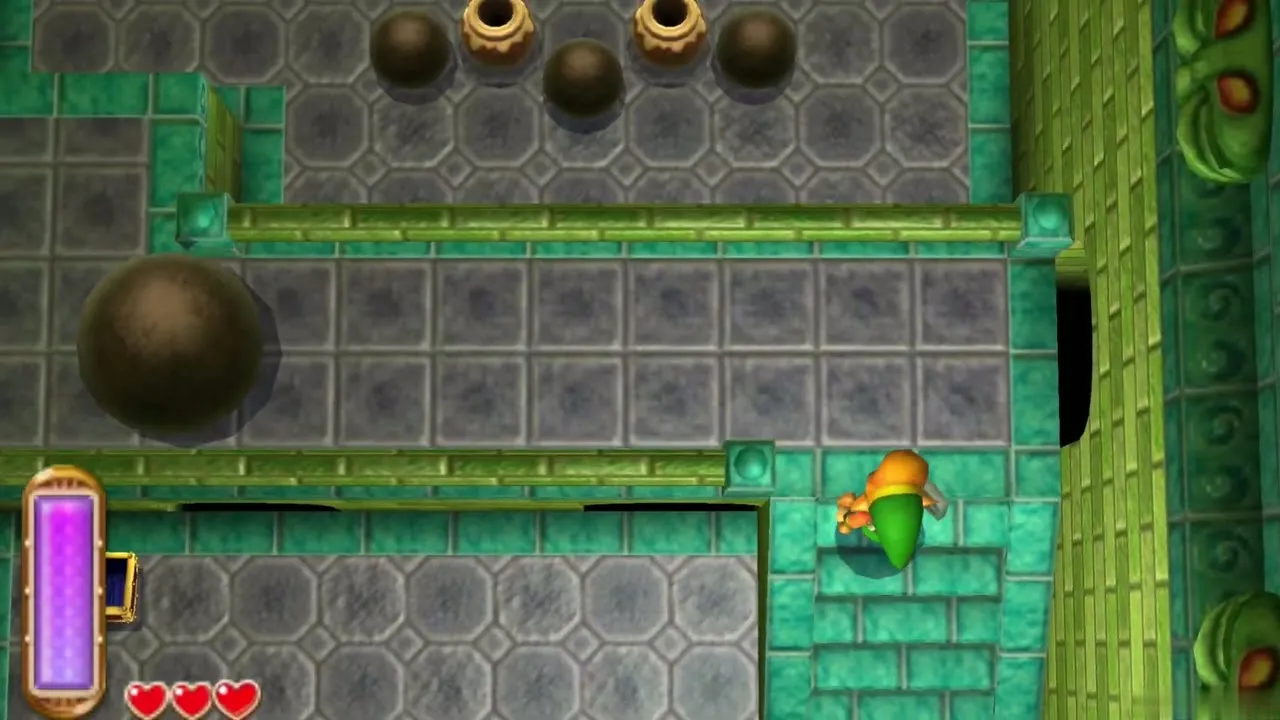
Eastern Palace Compass
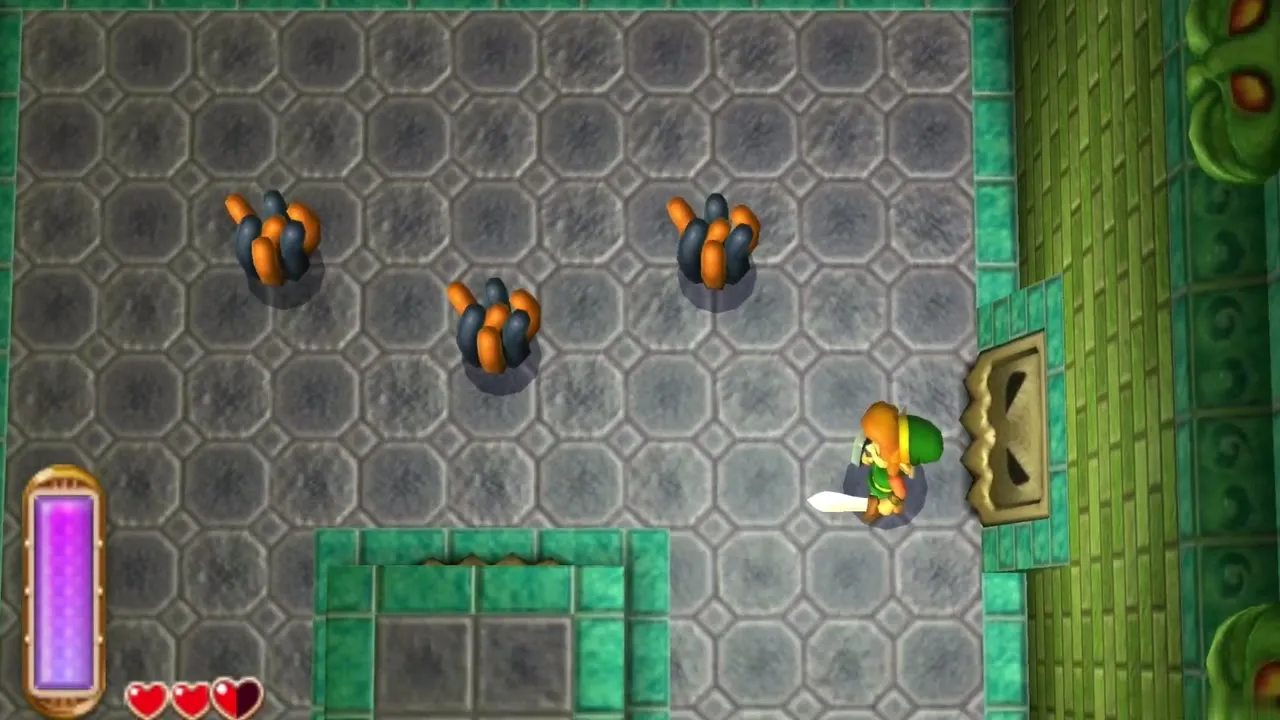
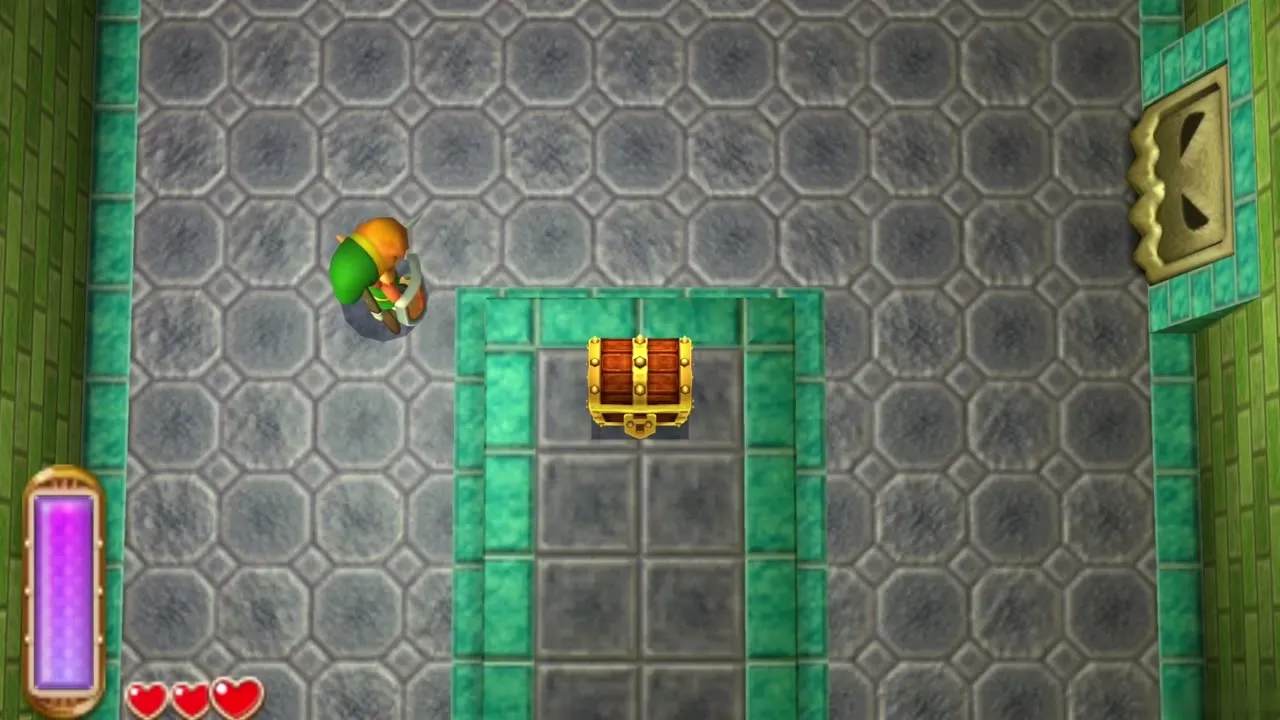
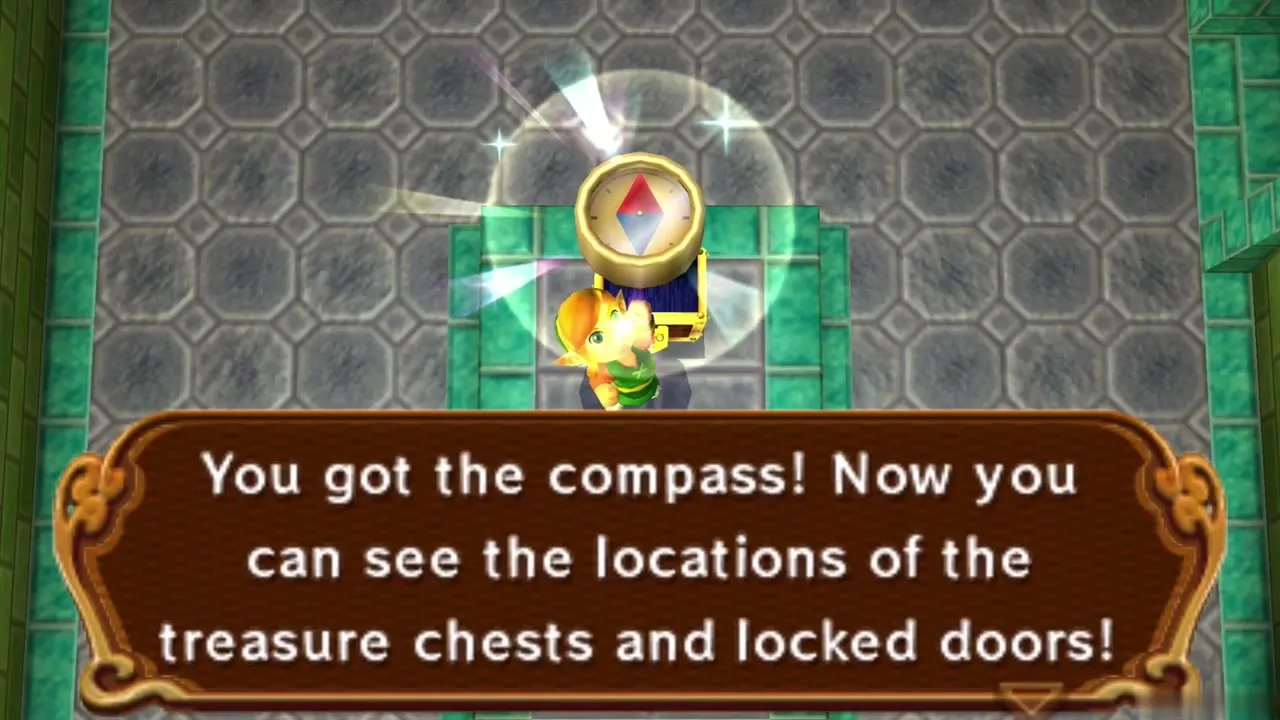
In the north-west room, slash the Popos, slimy blobs that die to one sword hit. A chest appears on a raised platform. Do not climb straight up: go south from the platform to find a hidden doorway, and take the 20 Rupees from the chest in the room beyond. Come back, climb the steps and open the chest for the Compass, which marks chests and locked doors on your map.
First Small Key
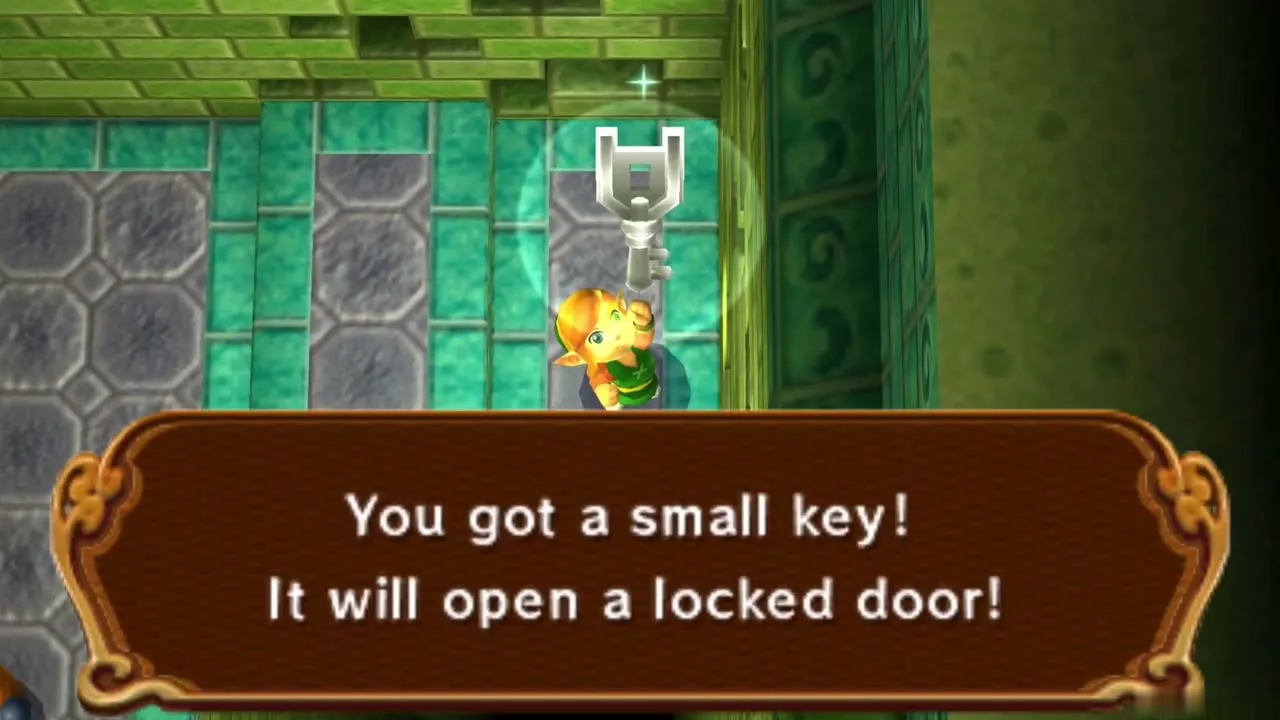
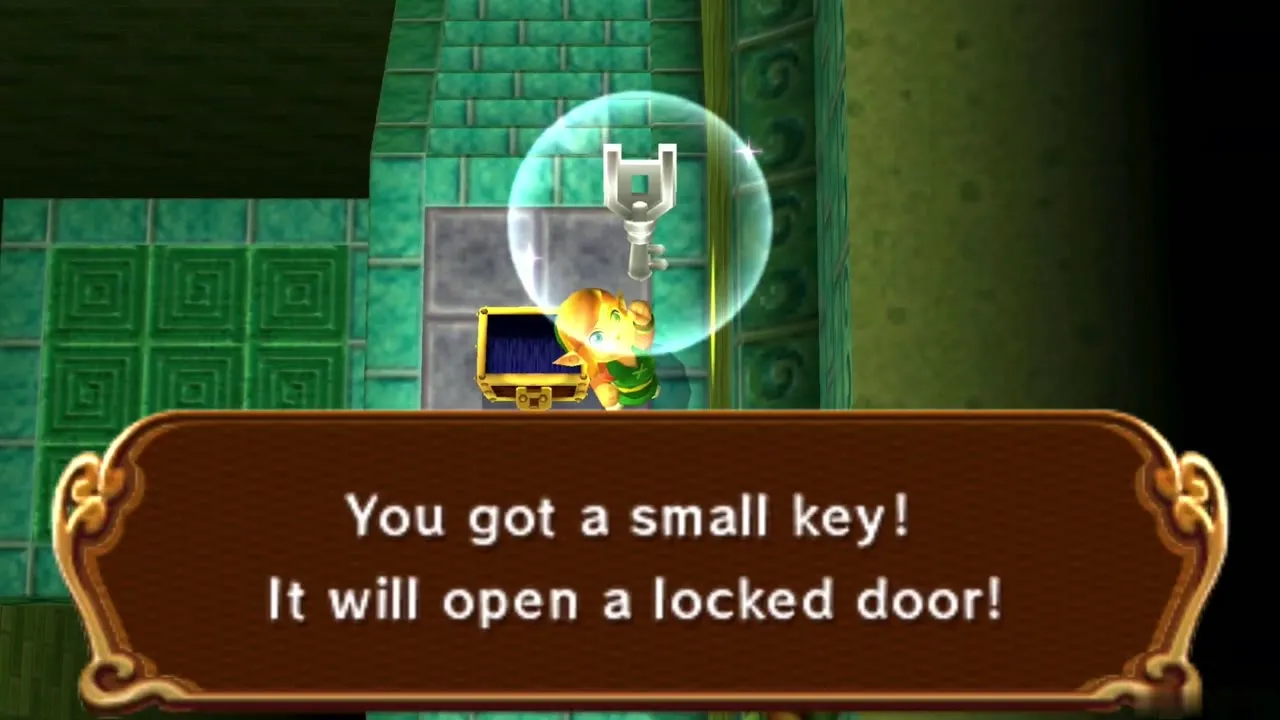
Back in the central room, cross the narrow bridge on the right and walk between the two Armos statues. A floor switch there unlocks the door. In the next room, step onto the moving platform, which rises and falls. Shoot the left crystal switch while the platform is low, then the right one while it is high. The floor shifts and lets you reach a chest holding a Small Key.
Fairy pool
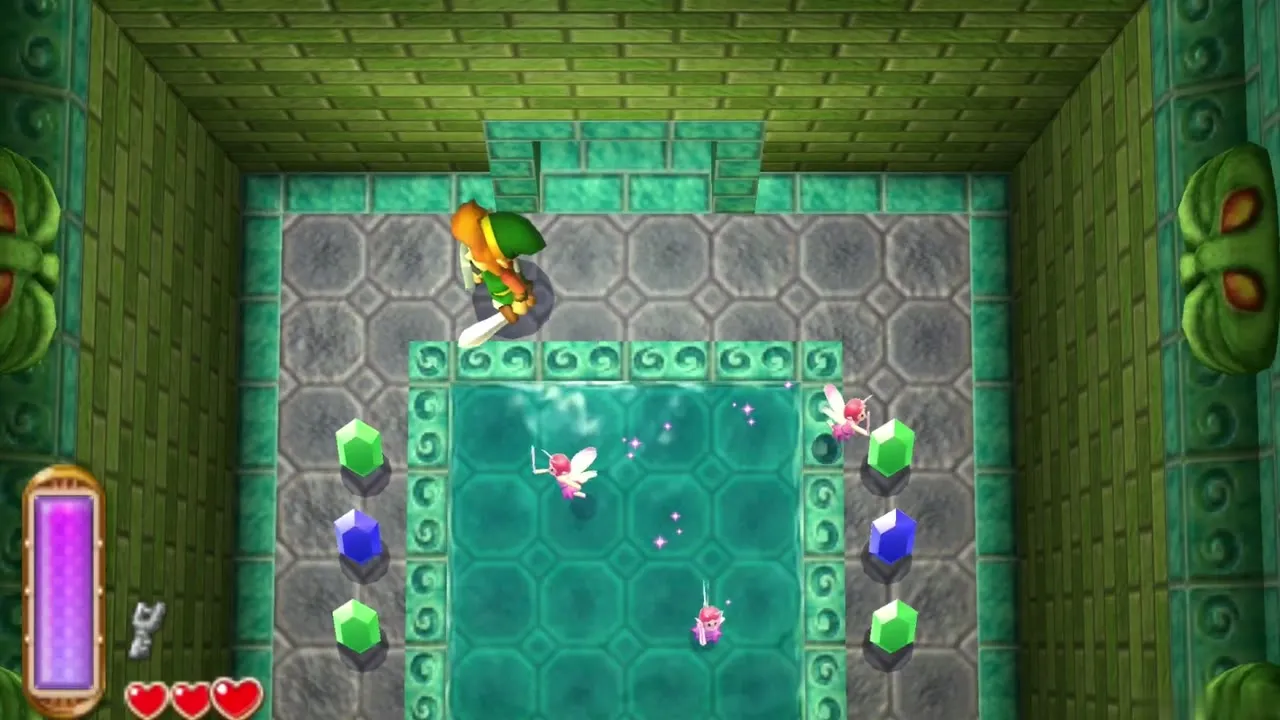
Before you leave, ride the platform down to its lowest point and step off. A hidden room with a pool of fairies and Blue and Green Rupees waits there. The fairies restore your hearts when you touch them, and if you own a Bottle you can catch one to keep. Take the rupees, then return to the central room.
Eastern Palace 2F
Locked door to 2F
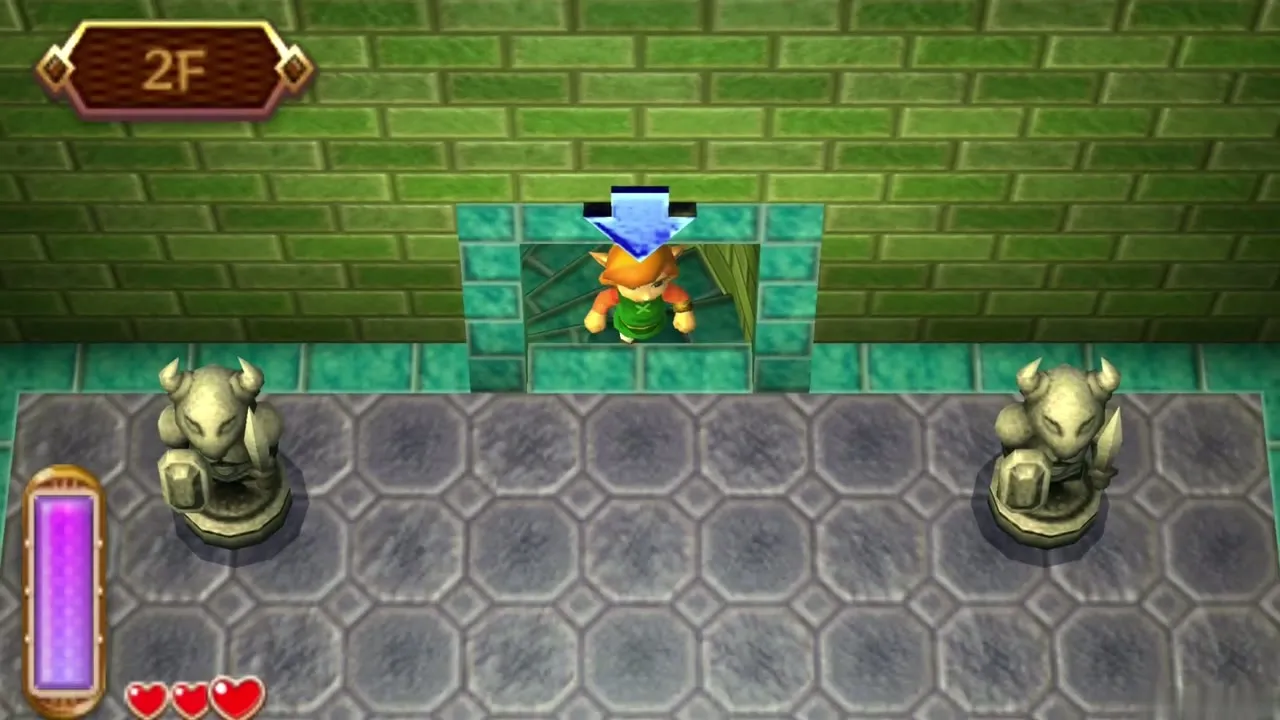
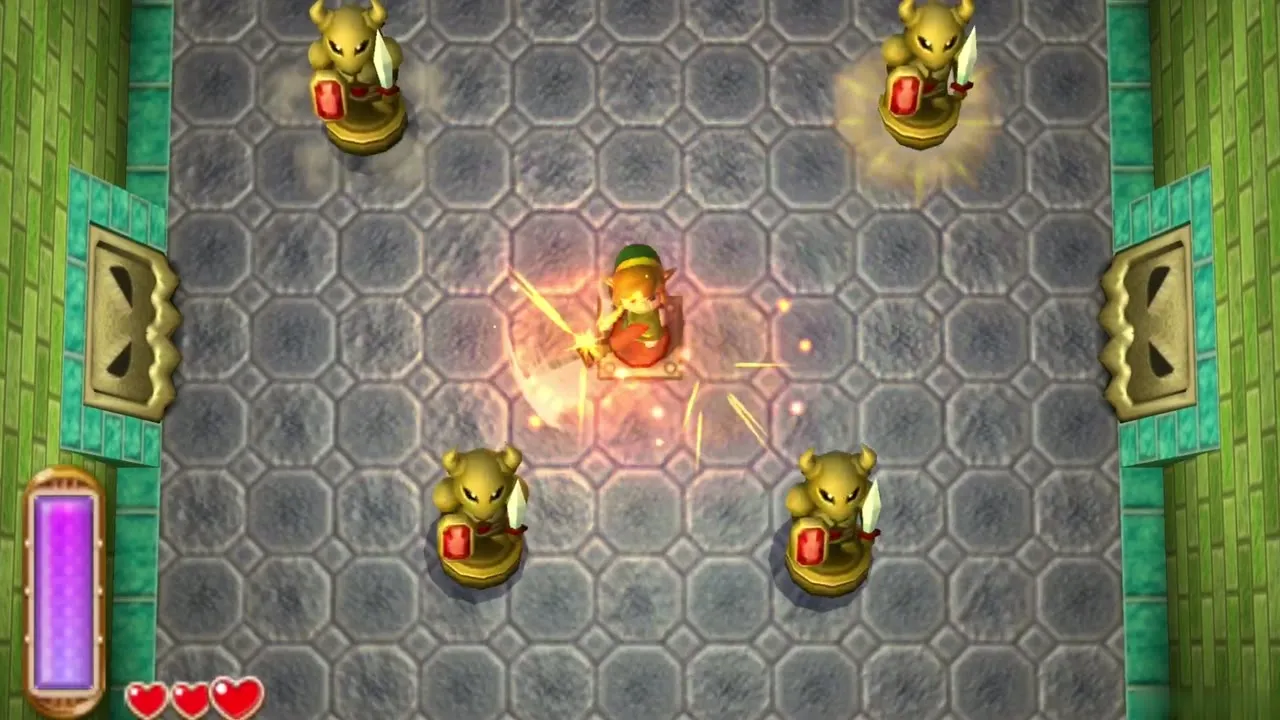
Spend the Small Key on the locked door at the north end of the central room and climb the stairs to 2F. The doors shut behind you, and a floor switch in the middle of the room wakes the Armos statues. Defeat them all and both doors open. A green warp circle also appears that carries you back to the entrance, so use it whenever you want to leave the dungeon.
Two ways to Monster Guts
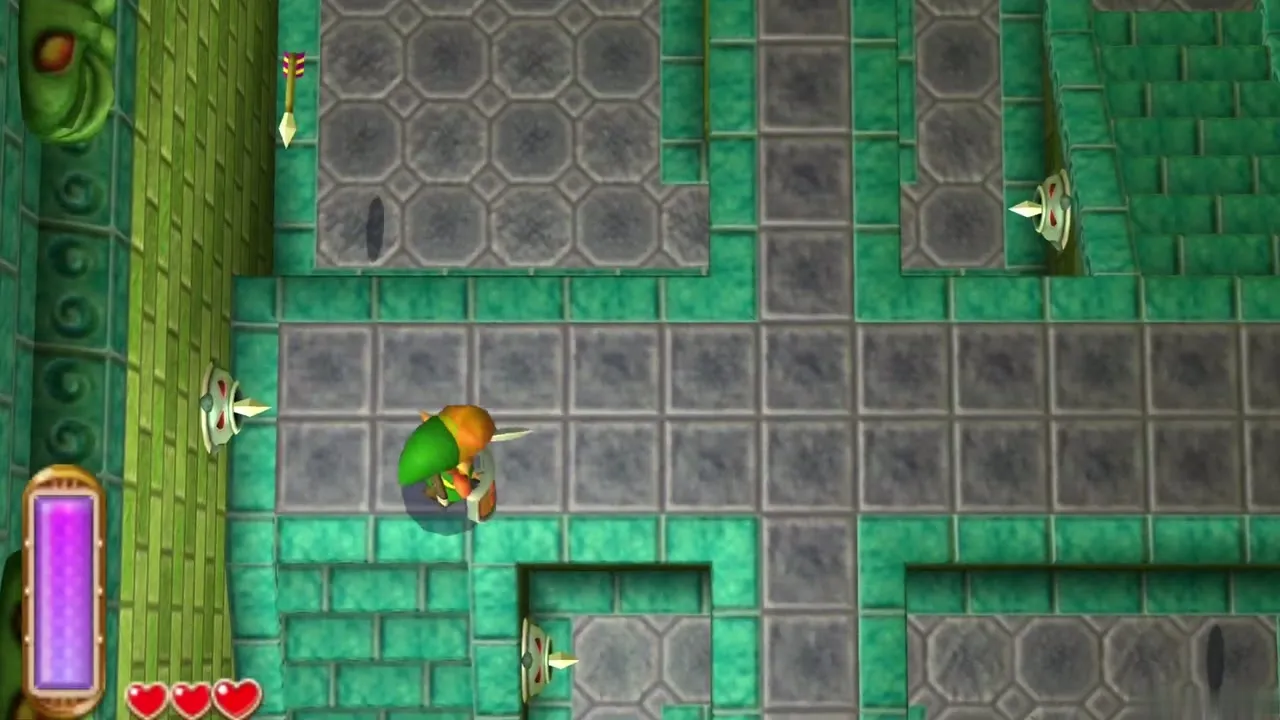
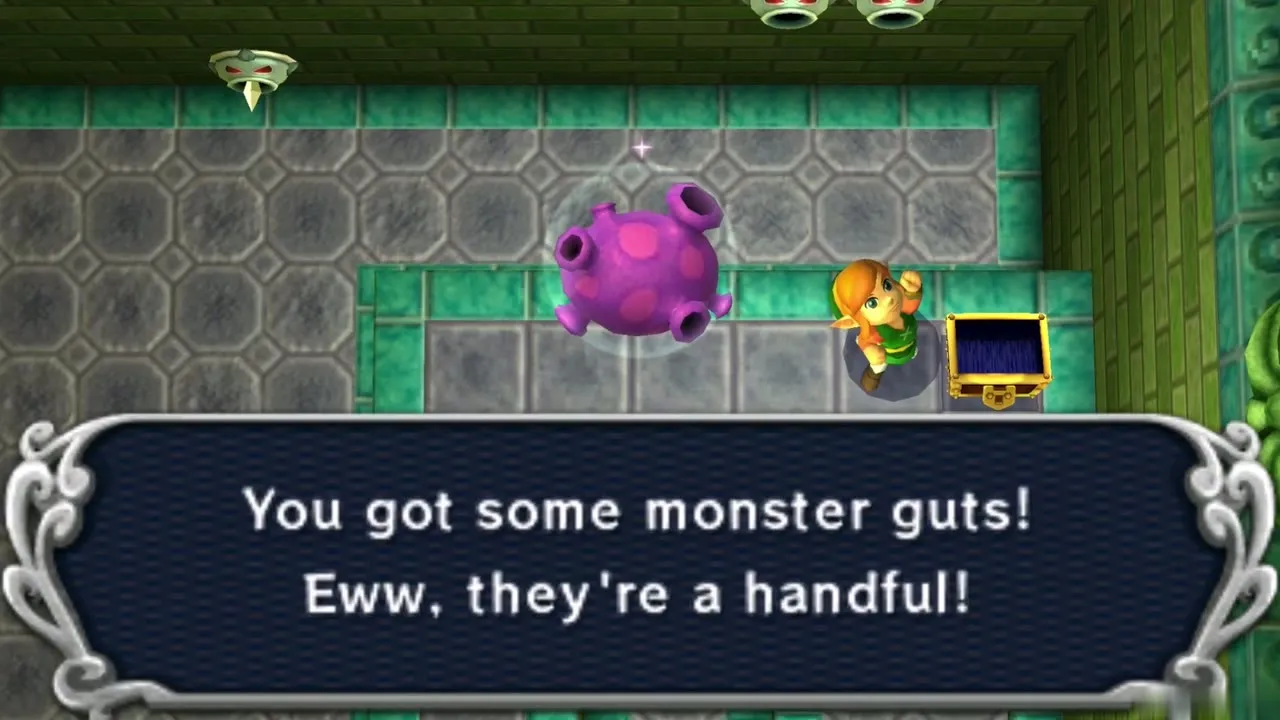
Two doors lead on. The left room has ball traps, so shoot the pots with your Bow, hit the floor switch to slide the stairs out and run up while the balls pause. The right room has arrow-shooting walls, so hold your Shield up, hit the floor switch on the ledge and defeat the enemy in the lower corner. Each side ends at a chest holding Monster Guts, and you can take both.
Boss door and Big Key
Second Small Key
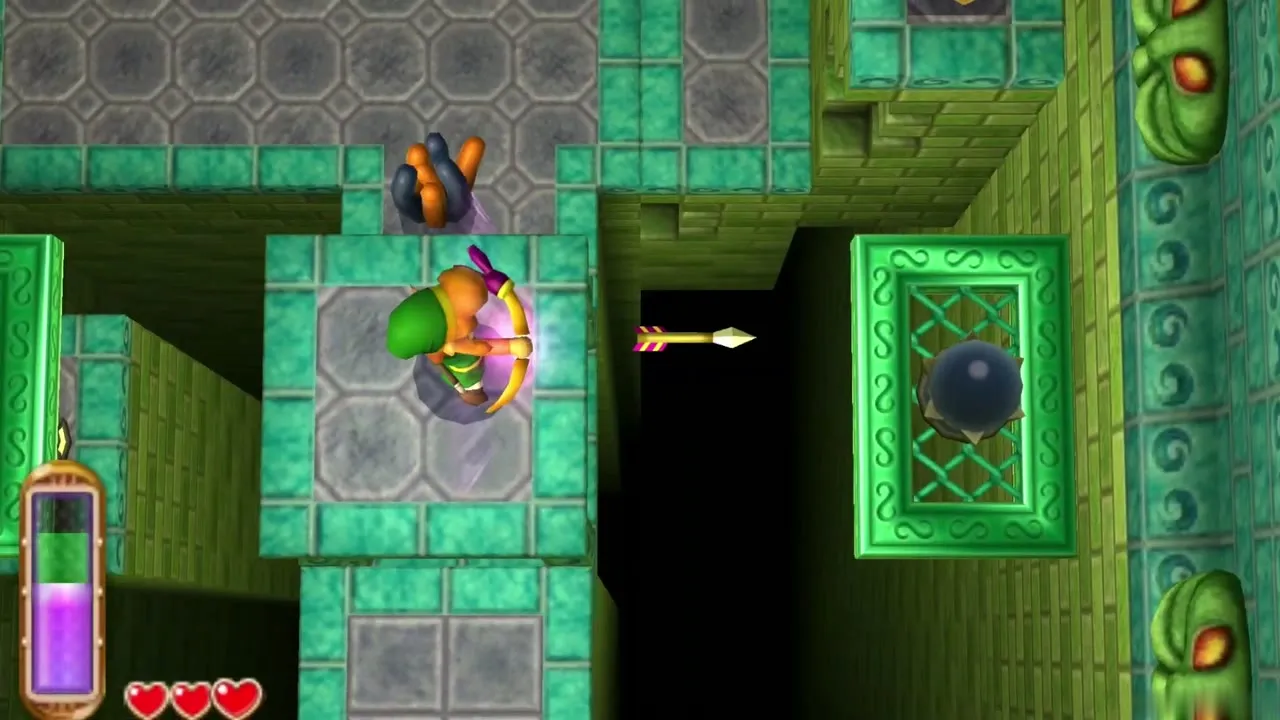
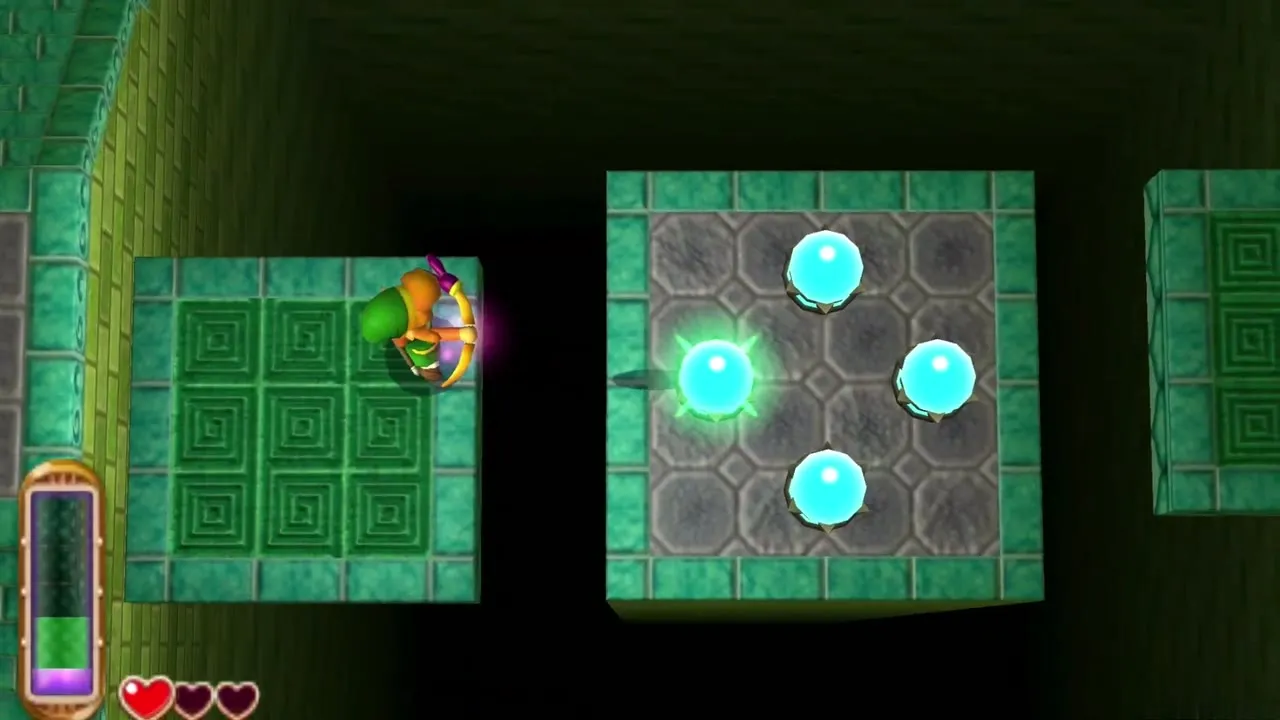
In the room before the boss door, stand in the top-right corner and shoot left to start a moving platform. Ride it and shoot upward to open the next door. Beyond it, ride the platform again and shoot the four crystal switches in the middle while dodging arrows from the walls. A chest appears on the far side with the second Small Key. Return to the boss door room.
Eastern Palace Big Key
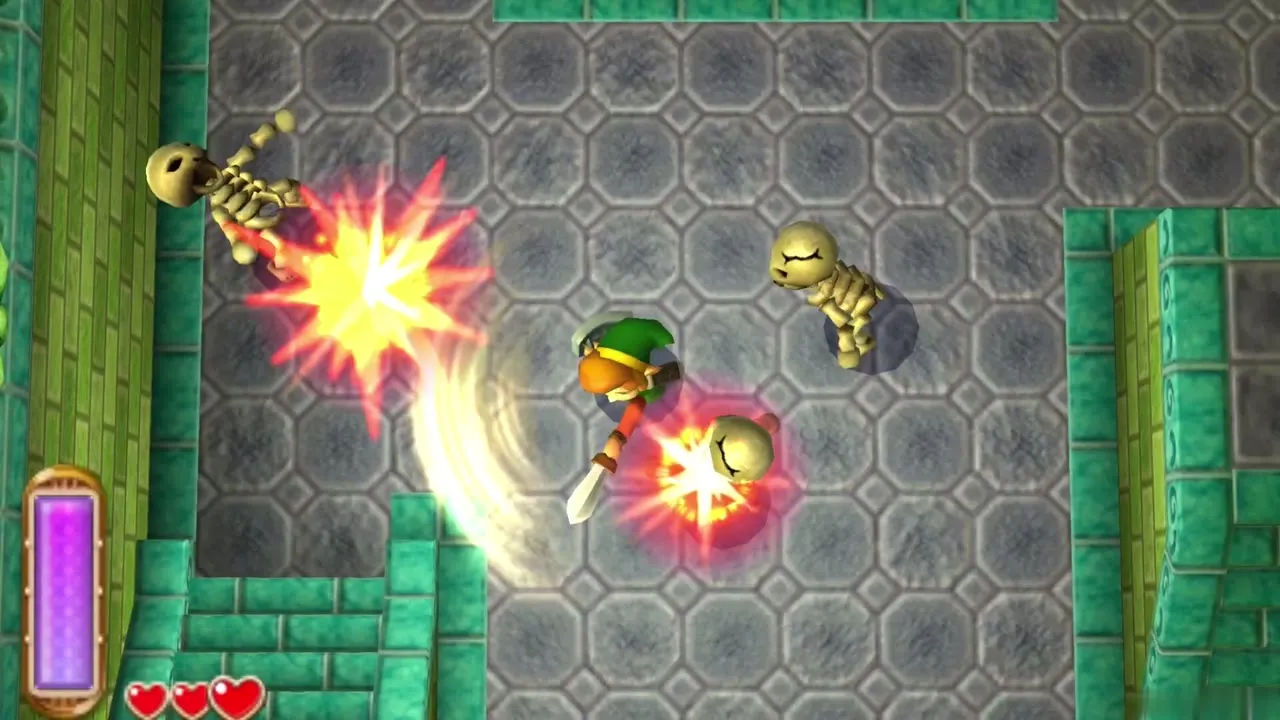
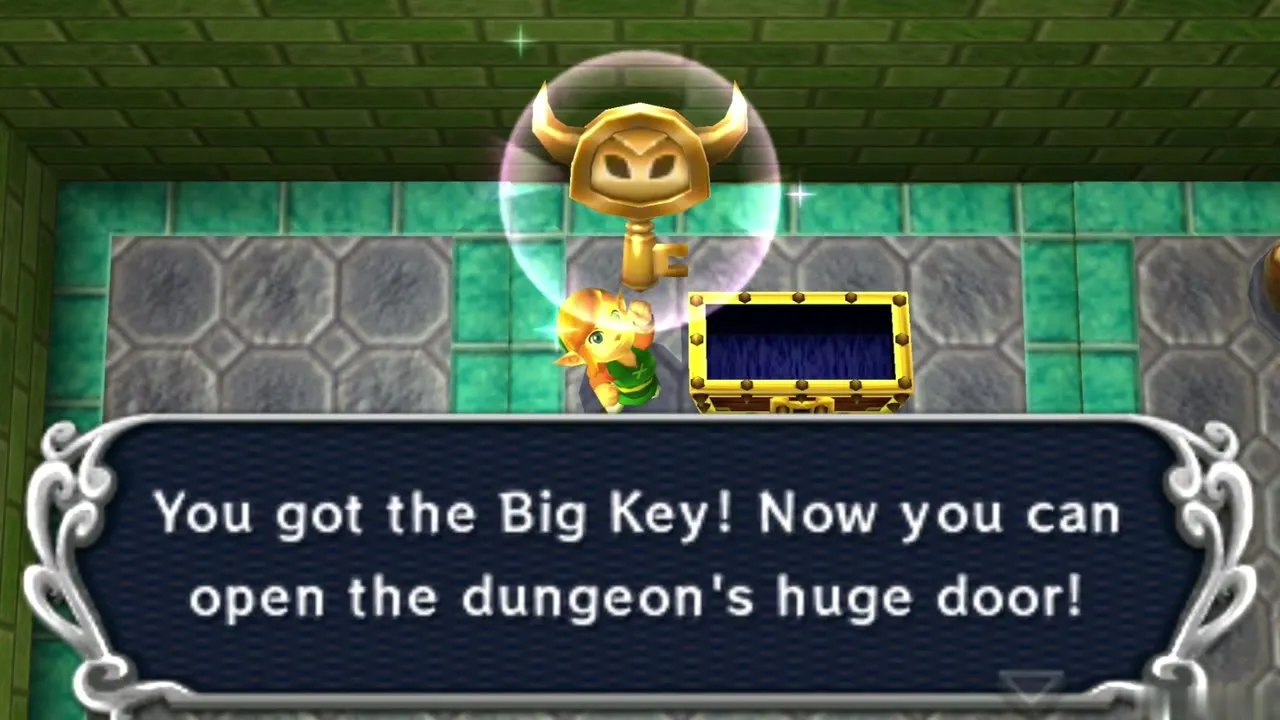
Shoot the switch to the left of the boss door to raise a platform, ride it up and unlock the door with your Small Key. Three Stalfos wait in the room, so dodge their jumps and hit them from the side. Once all three fall, the chest opens and gives you the Big Key, which fits the large door that guards Yuga.
Opening the boss door
Leave through the lower-right door and press the switch there, which lowers a barrier around one last crystal switch. Go back to the boss door room, stand on the moving platform and shoot that switch. A section of floor turns and brings the large boss door within reach. Check your hearts and energy gauge first, then step through.
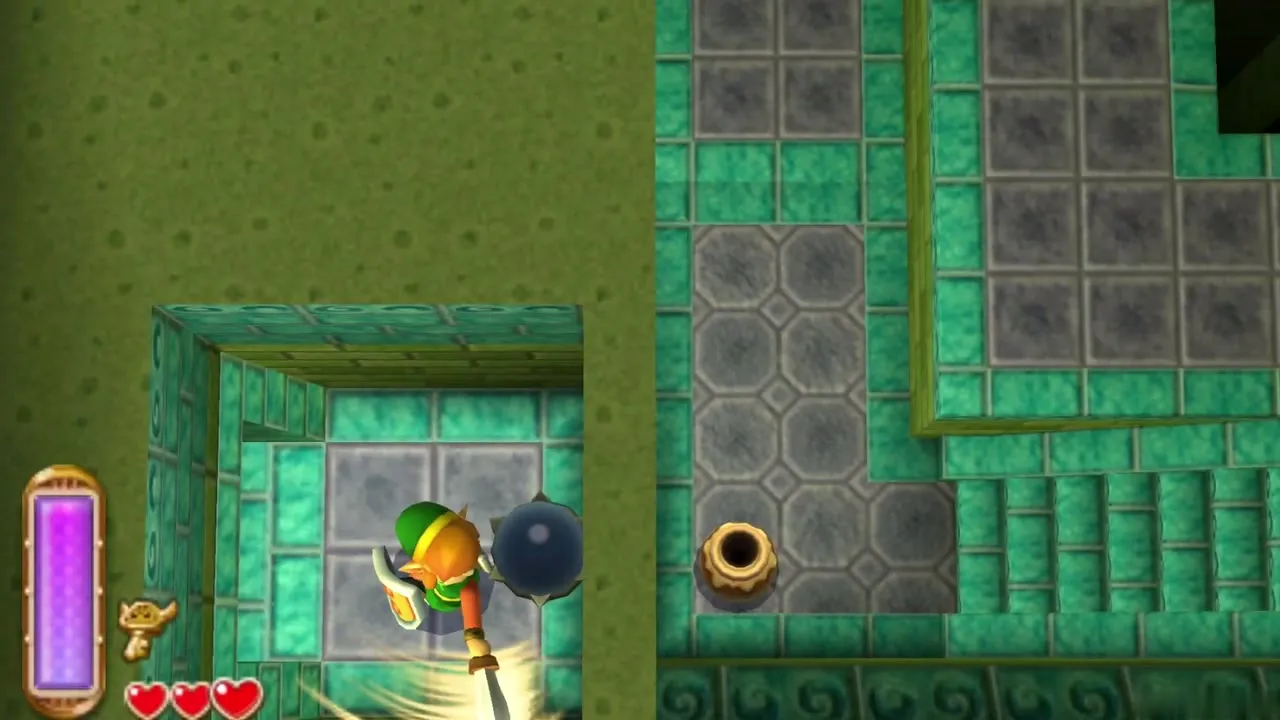
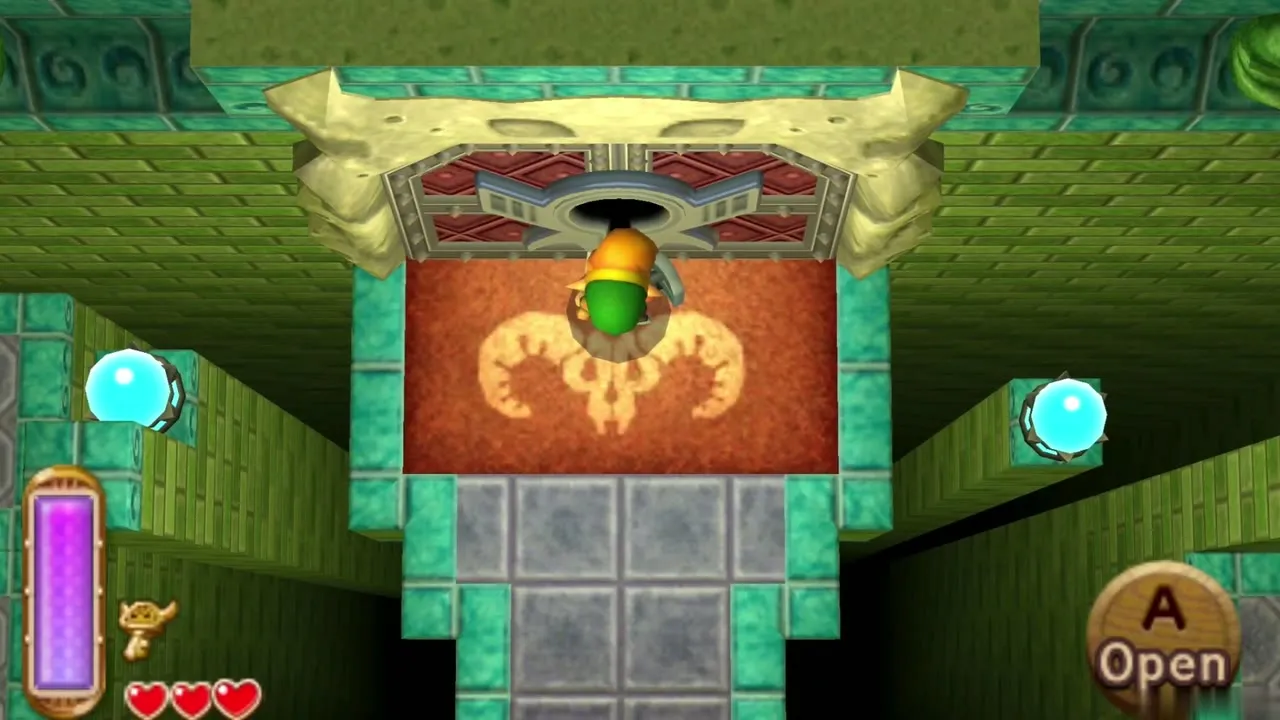
Yuga boss fight
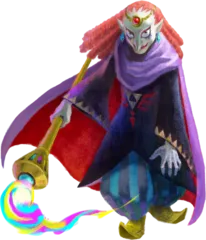
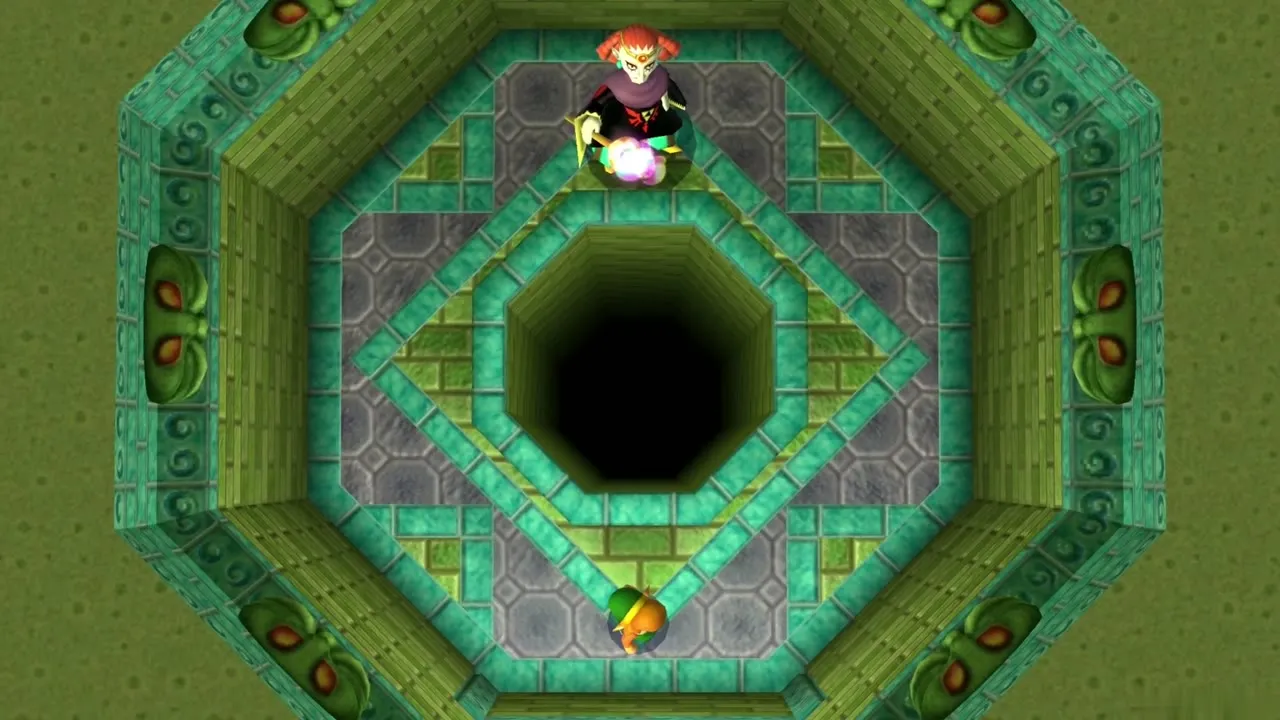
Yuga boss fight: the arena
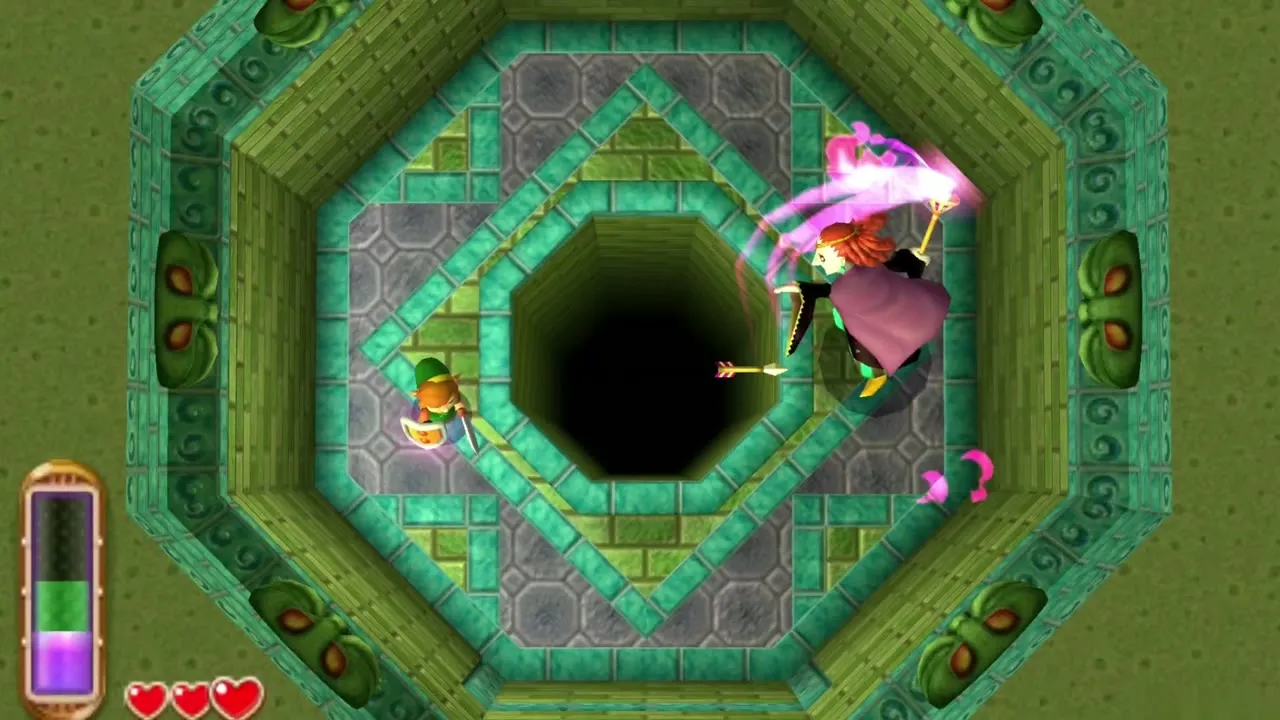
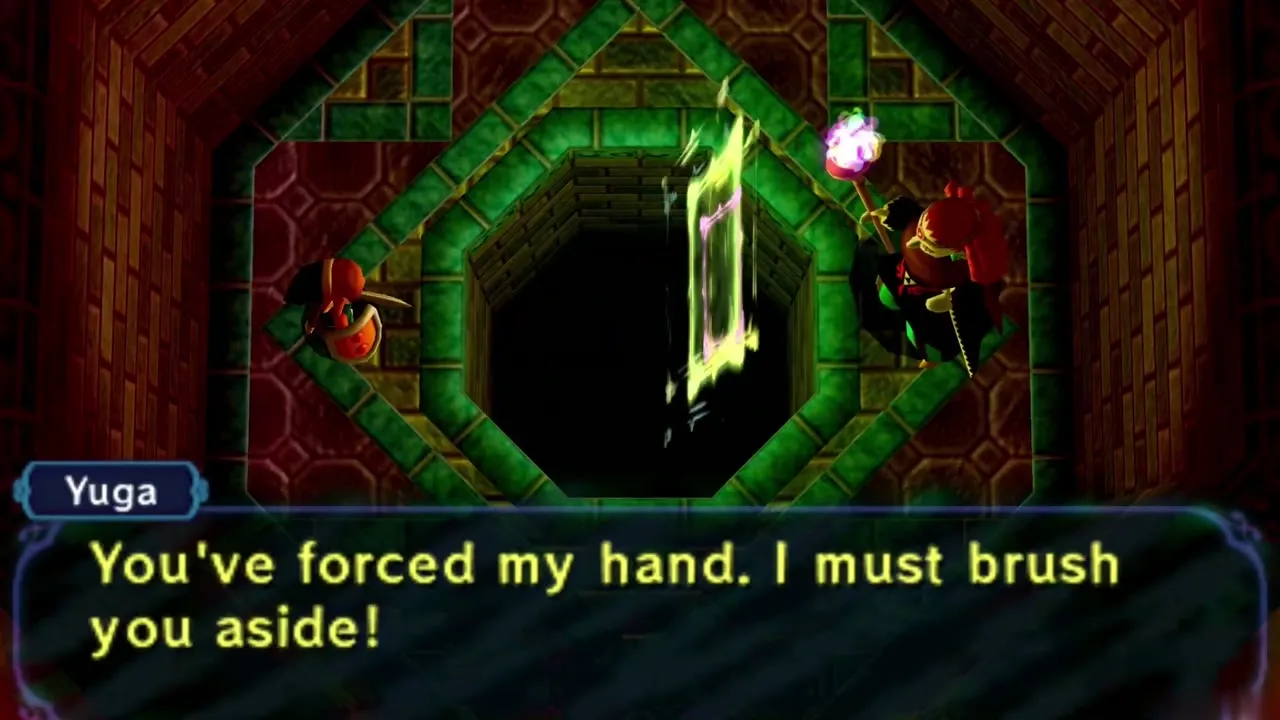
The boss room on 3F is a ring of floor around a bottomless pit. Yuga has just turned Osfala into a painting, and he turns on you next. He floats around the ring and fires energy balls, so keep moving and sidestep each shot. If you charge him on foot he is too quick and slips into the wall as a flat painting, so use the Bow instead.
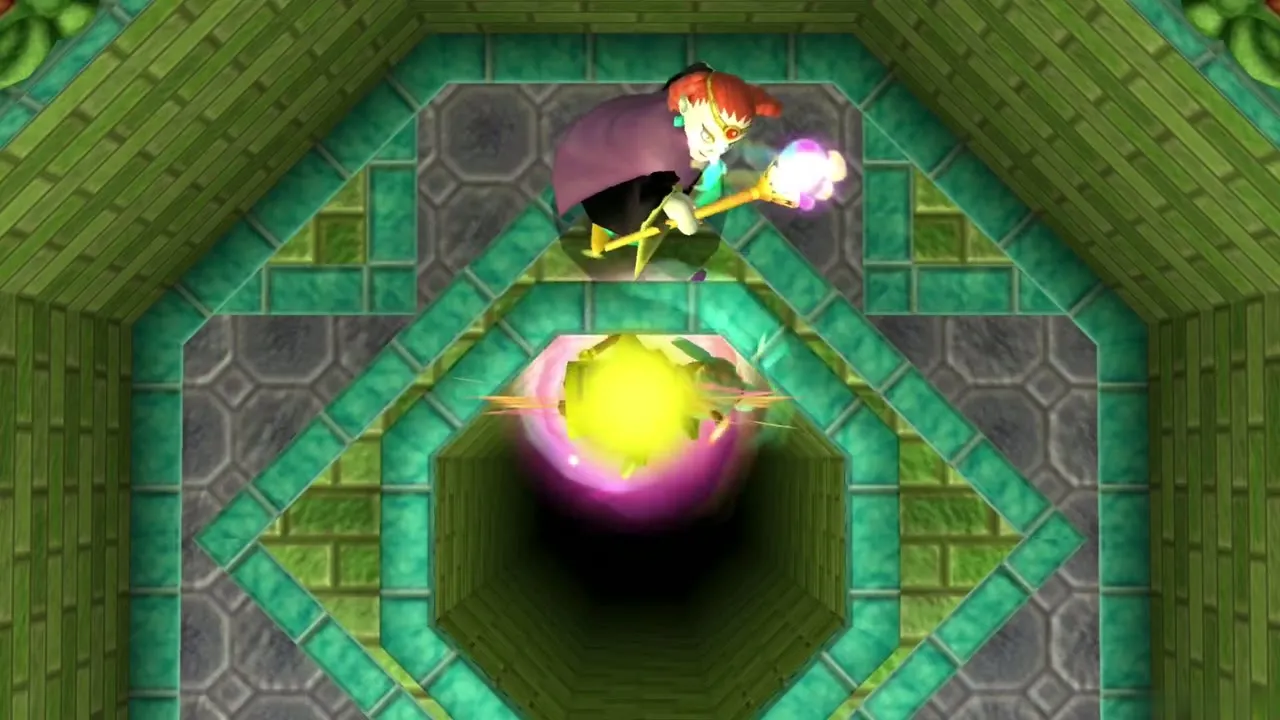
Yuga boss fight: arrows and sword
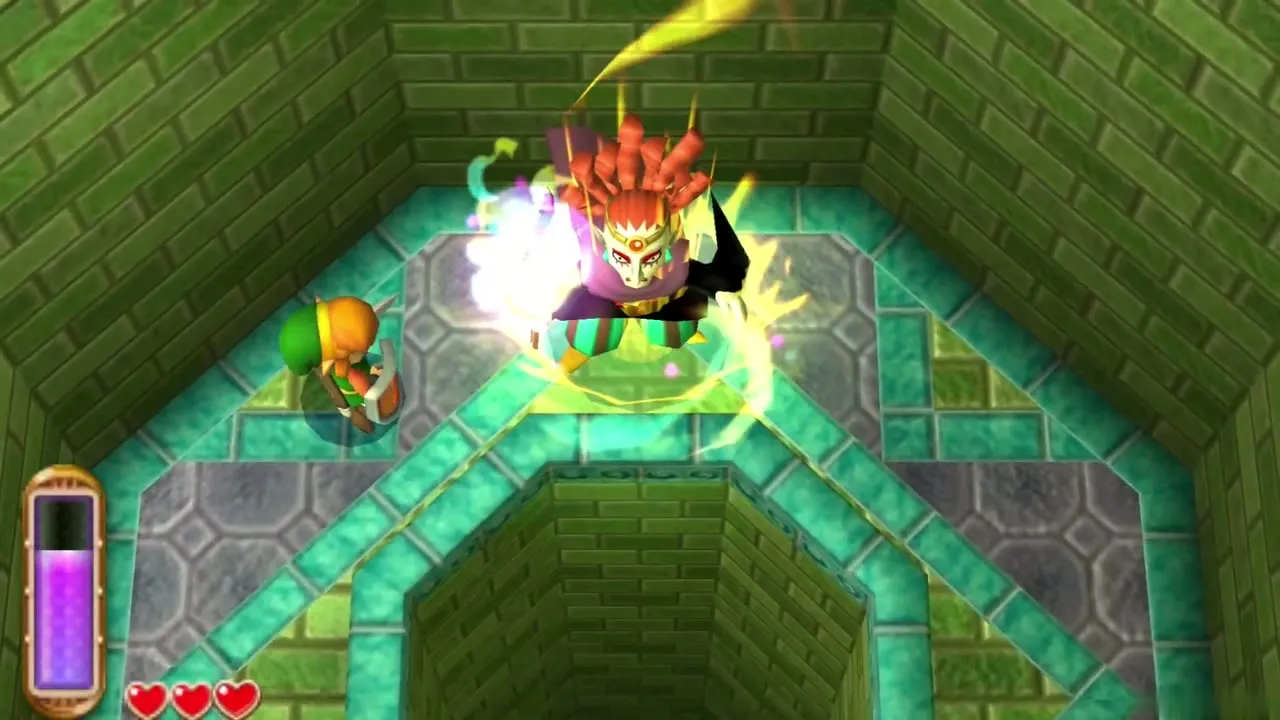
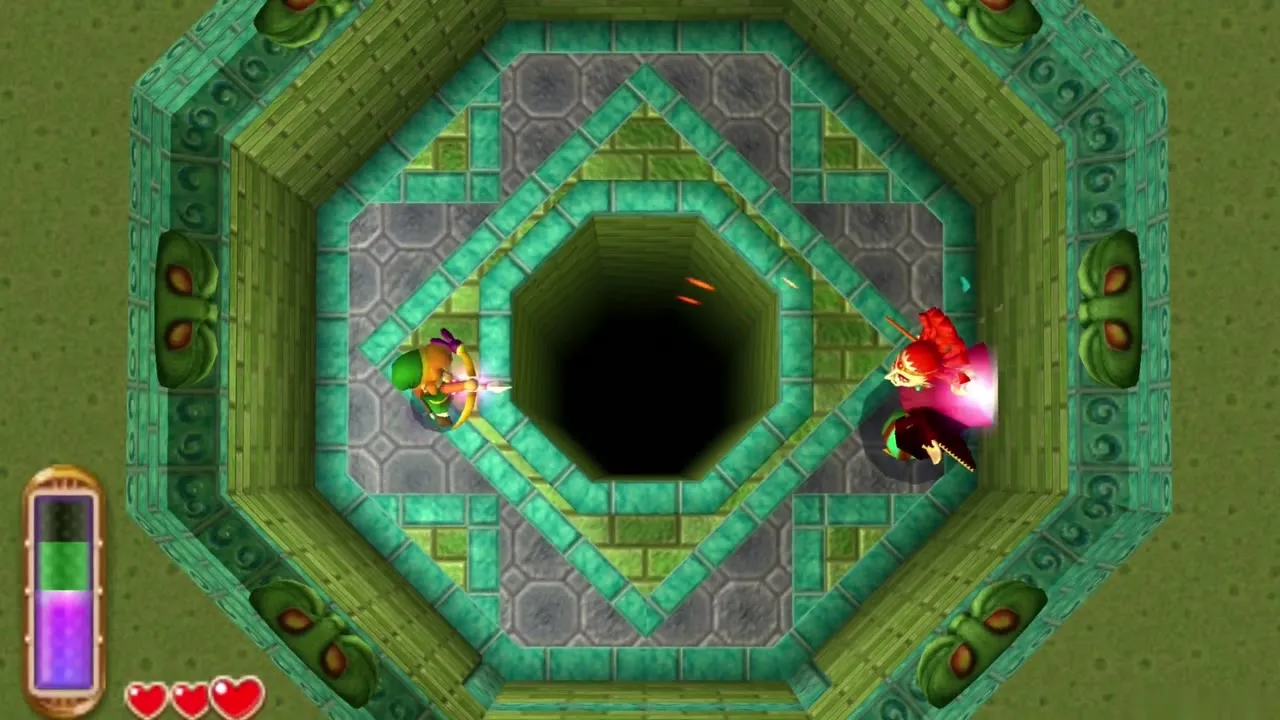
Whenever Yuga is in view, even while he slides along the wall, loose an arrow at him. A hit stuns him and leaves him standing. Run in and cut him with your sword until he recovers, then back off and repeat. He comes out of the wall at new spots each time, so watch where he travels and keep your distance between hits.
Yuga boss fight: final phase
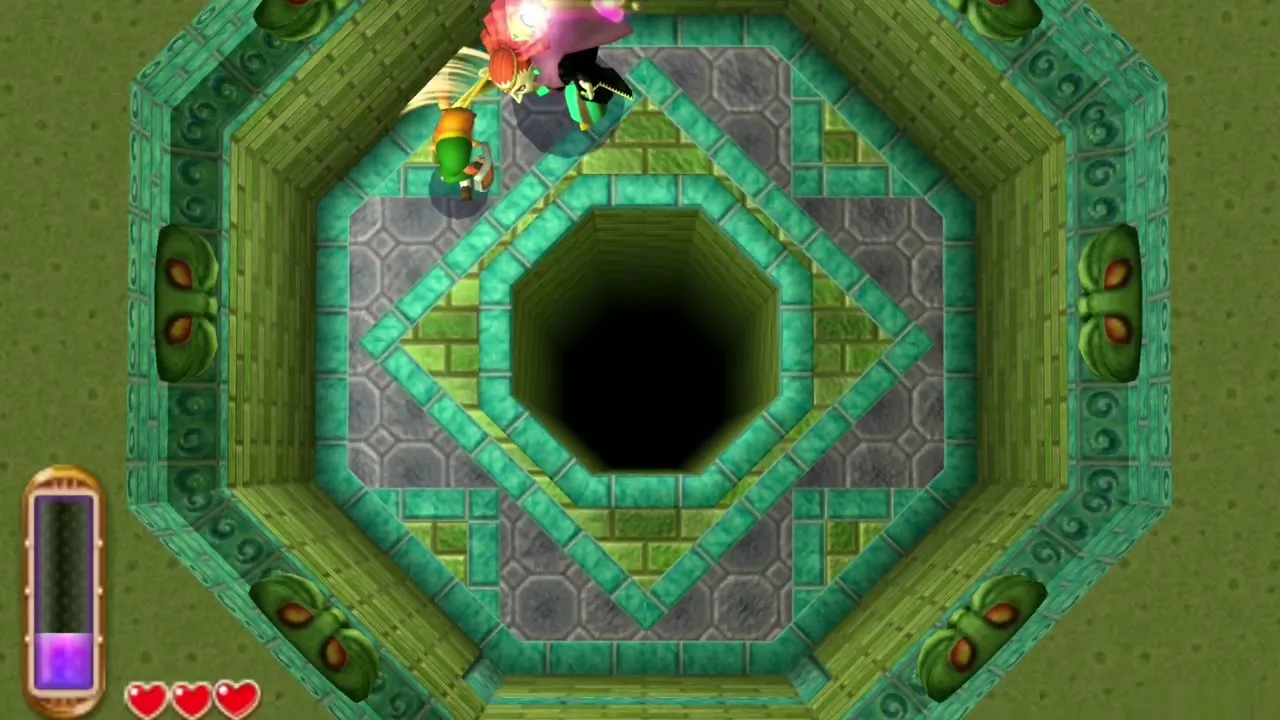
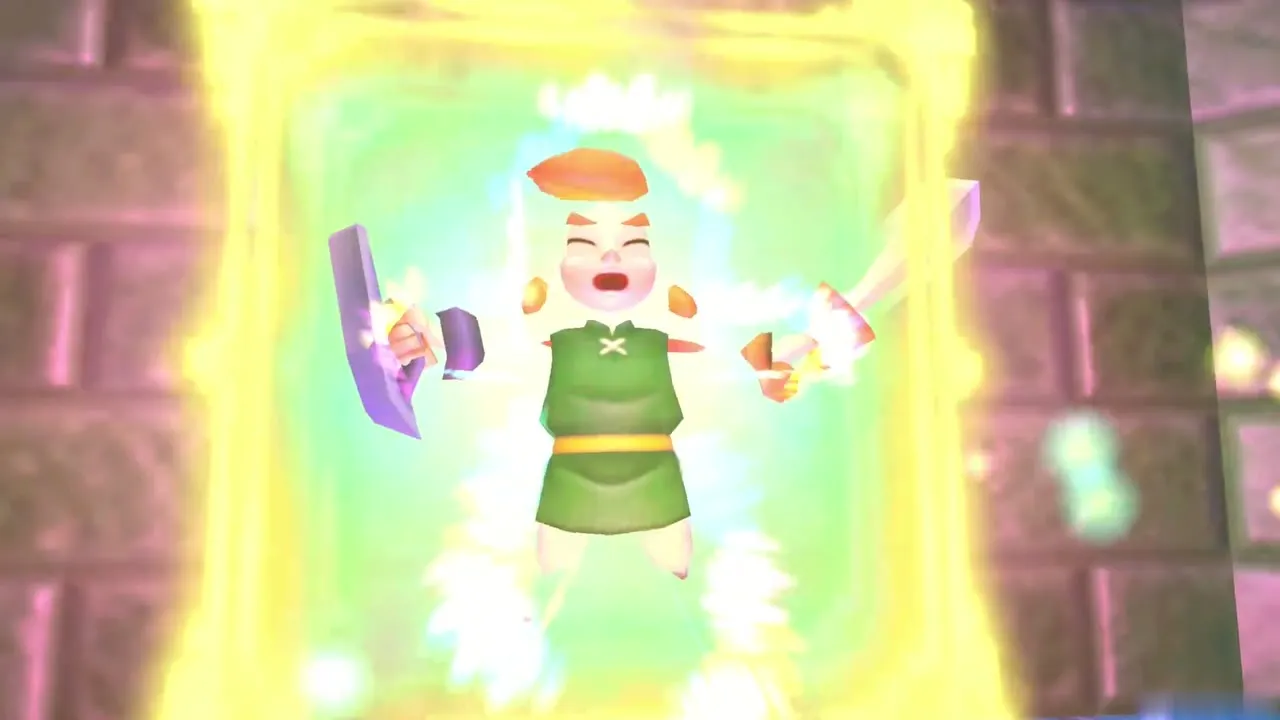
After enough damage Yuga loses his composure and speeds up, gliding along the walls in less predictable lines and casting more often. The plan stays the same: dodge, arrow, sword. Pause between volleys so your energy gauge does not run dry. When the last blow lands he casts a spell that turns you into a painting.
Ravio’s Bracelet and wall merging
Ravio’s Bracelet merges you into walls
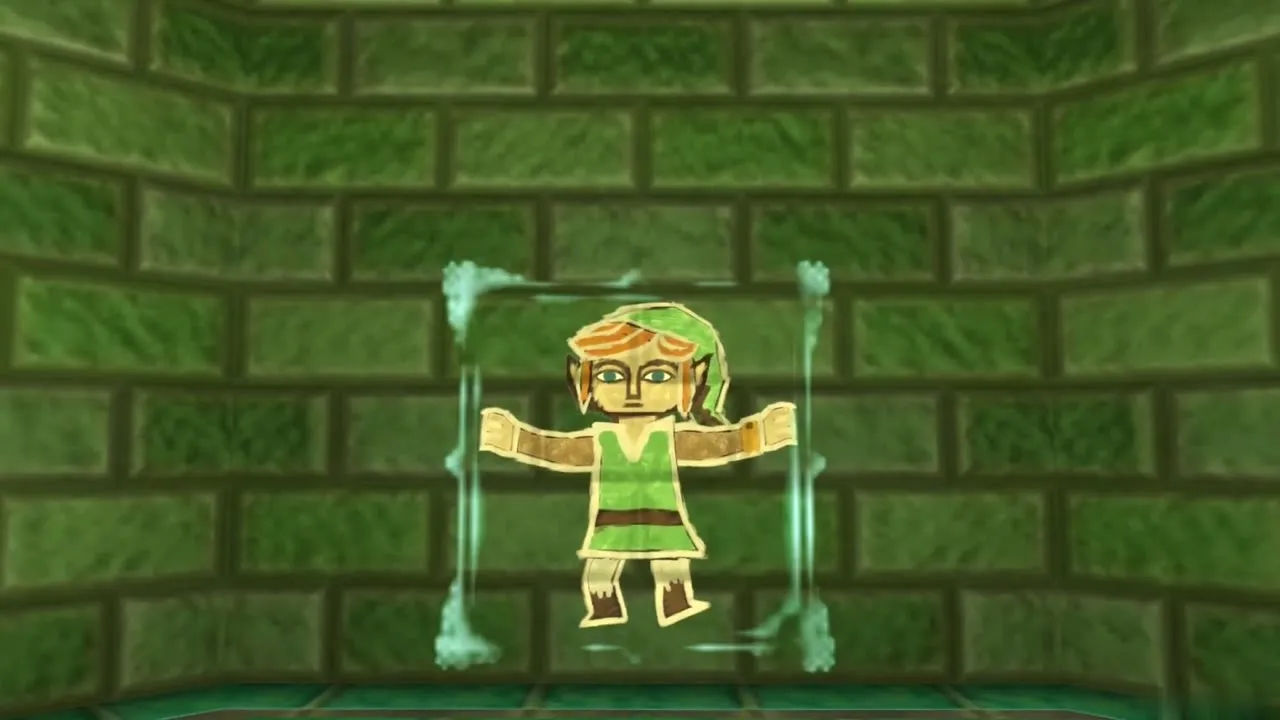
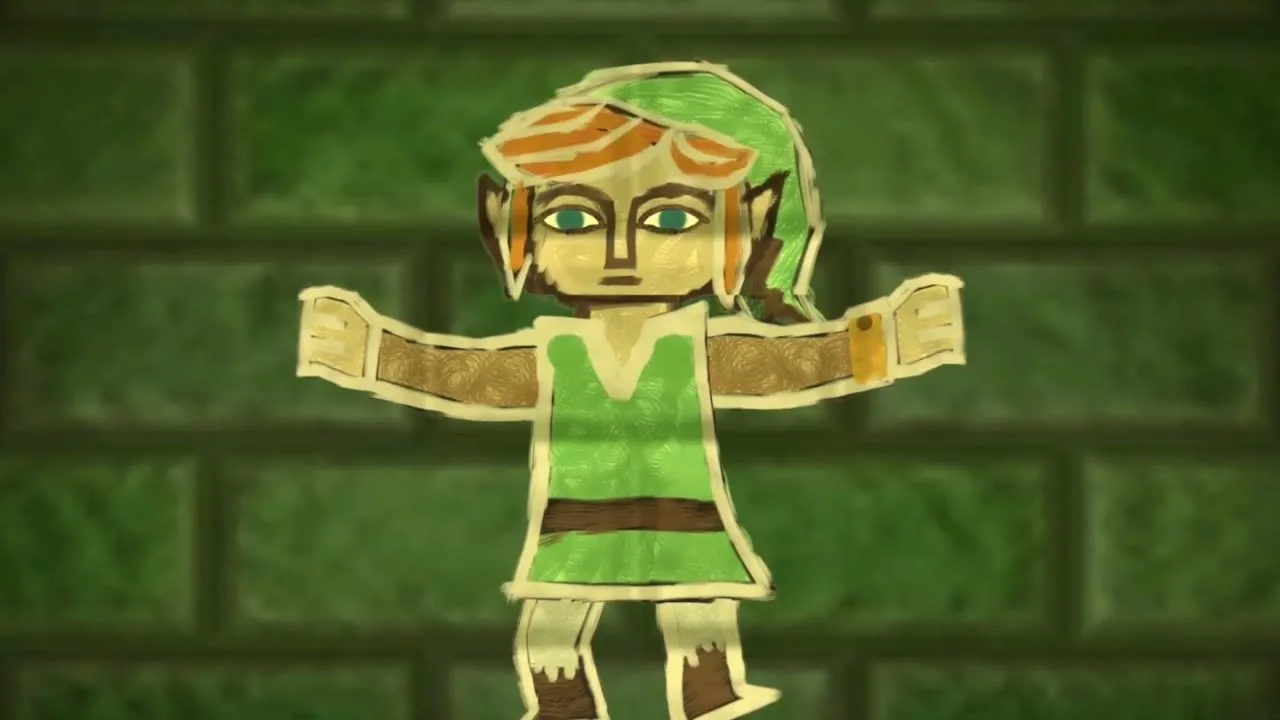
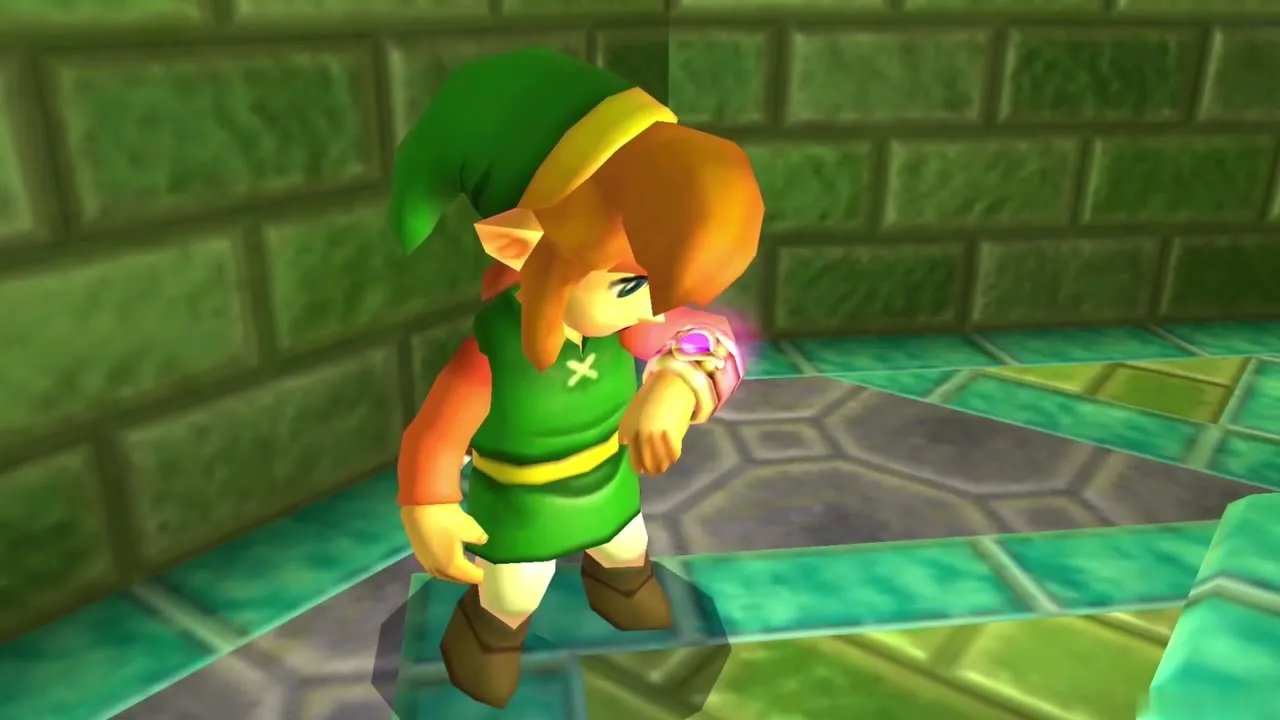
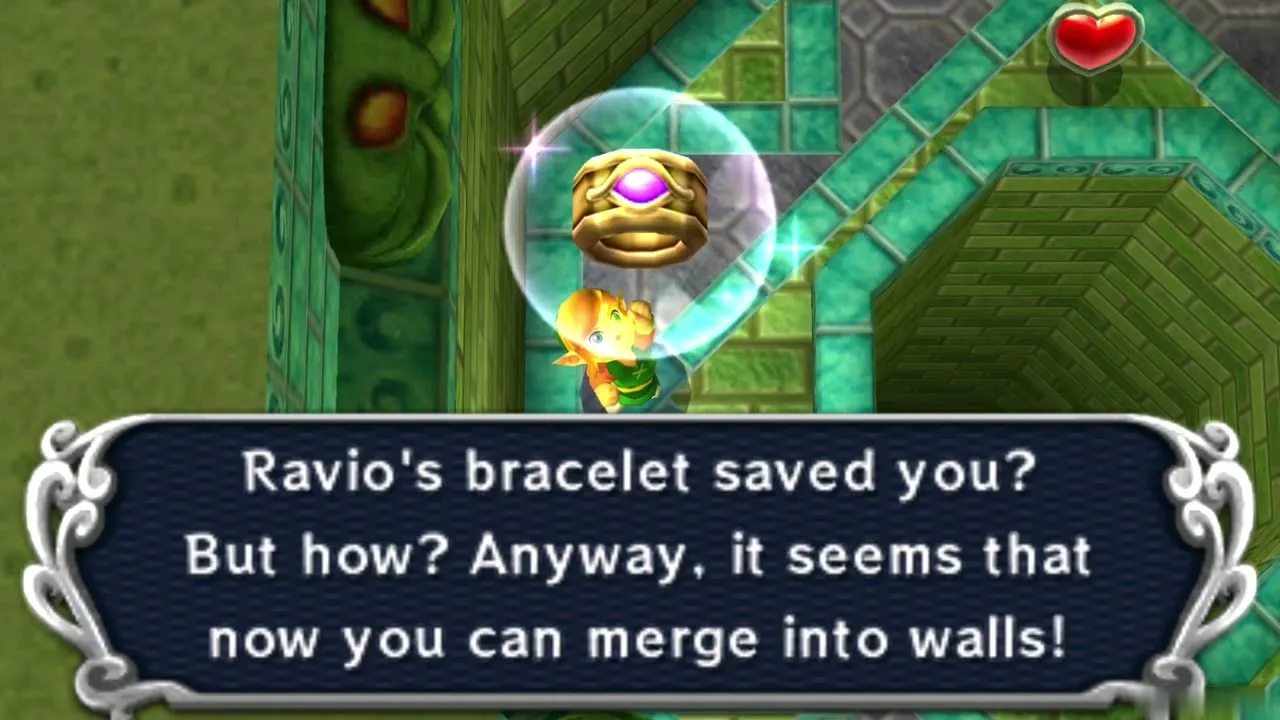
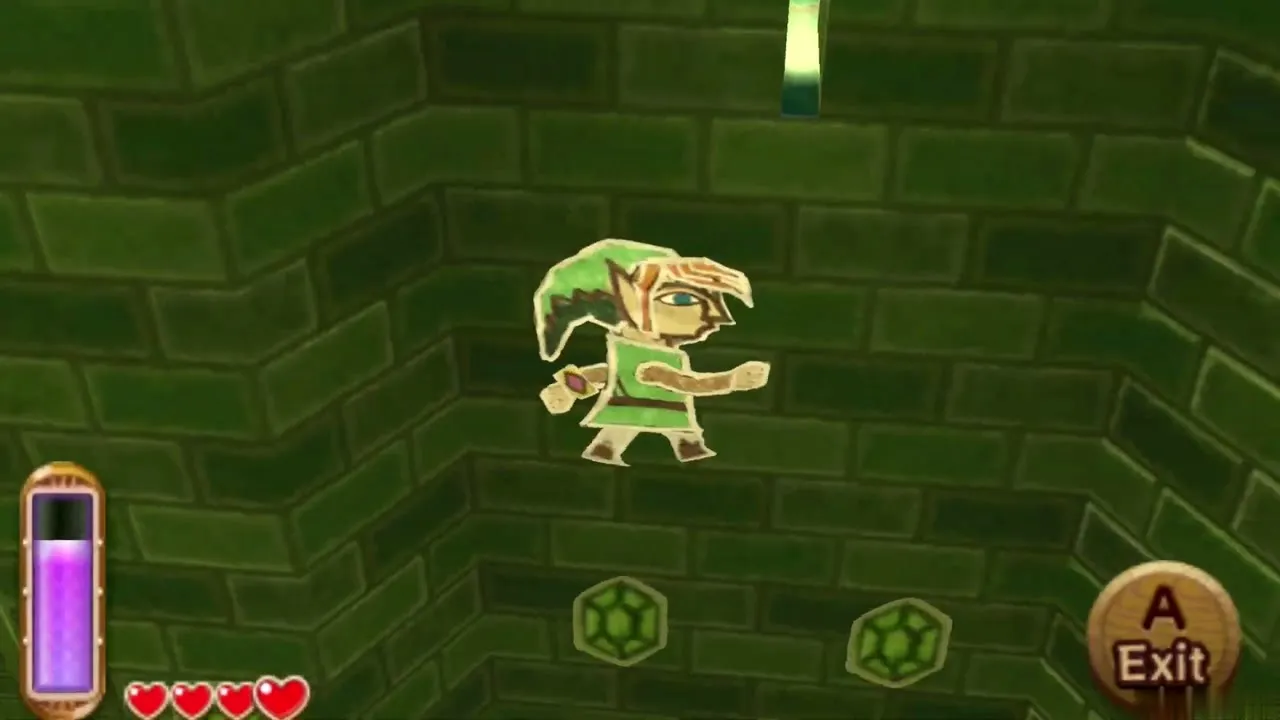
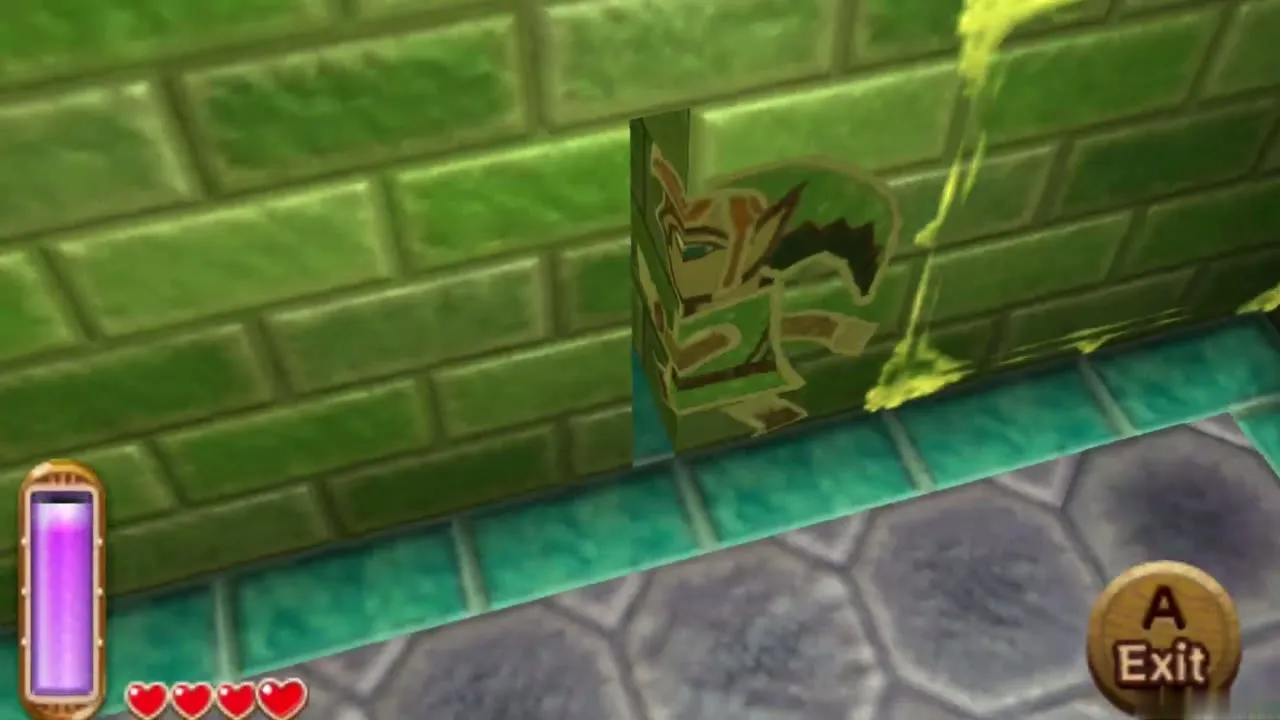
Yuga leaves you stuck as a flat painting on the wall and heads off to Hyrule Castle. The bracelet Ravio gave you saves you, and from now on you can melt into any wall with the action button. Link slides along the wall as a painting, passes through narrow gaps and goes around corners. Merging drains a little energy, and you can step back out whenever there is floor in front of you.
Eastern Palace Heart Container
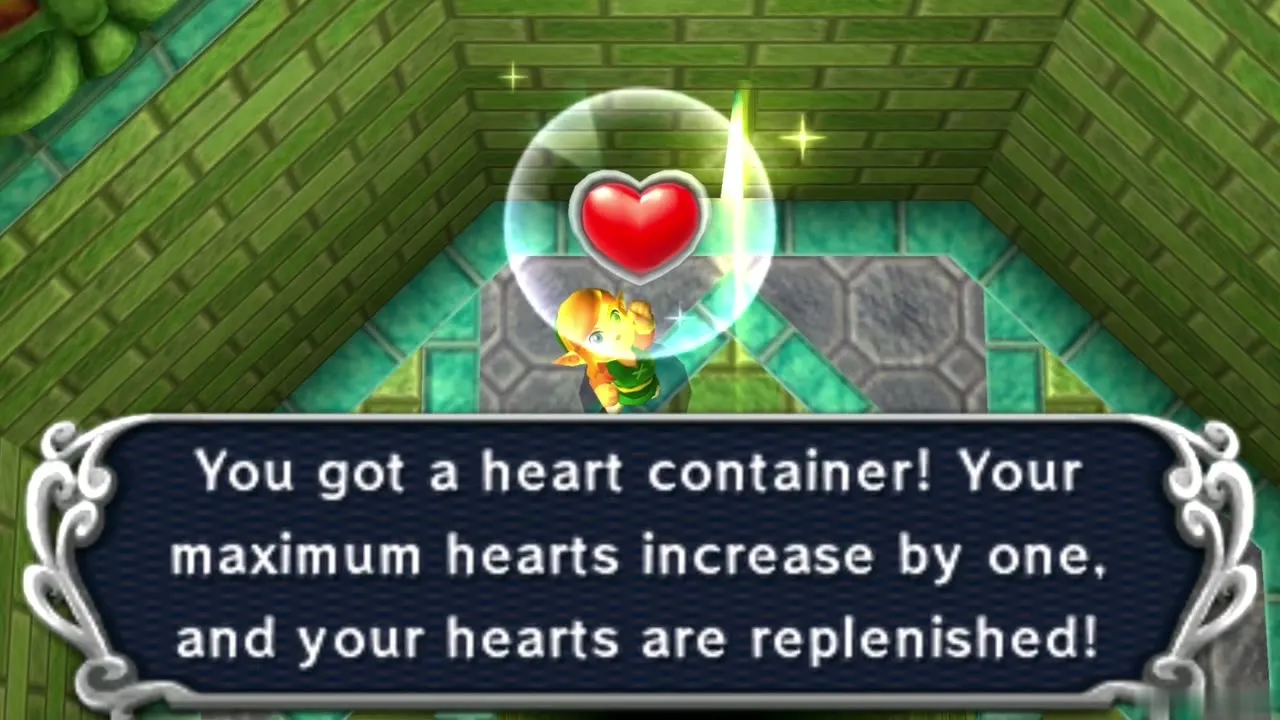
Once you are free, a Heart Container is waiting in the boss room. Take it and your maximum health rises by one heart, and all your hearts refill. This is the first of ten dungeon Heart Containers, one for each of the ten dungeon bosses. Walk to the crack in the wall nearby, merge into it and follow it out onto the palace’s outer wall.
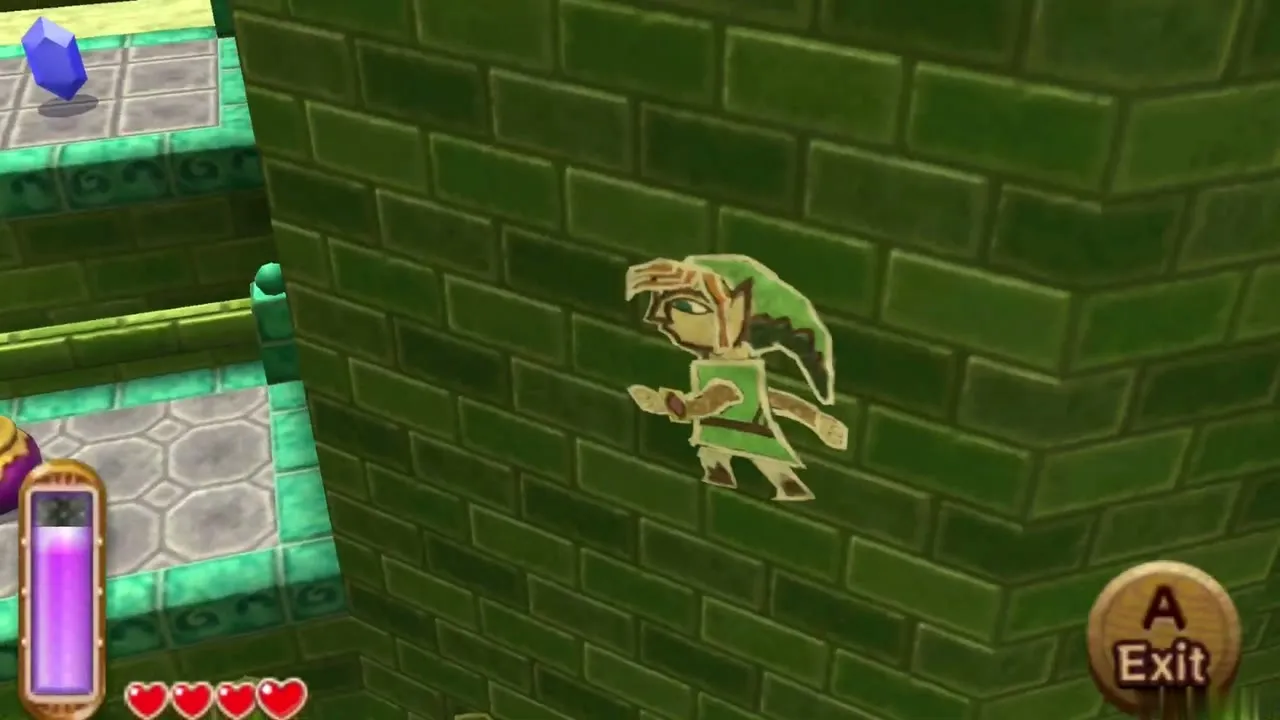
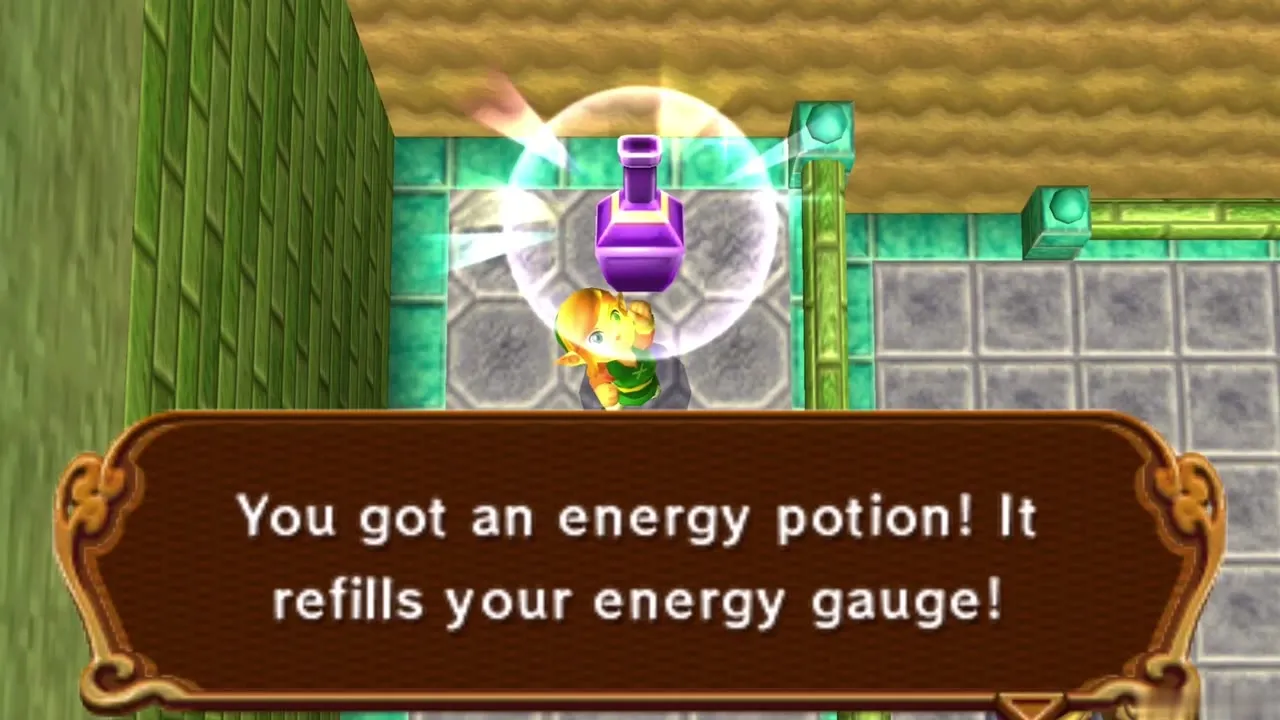
Energy Potion on the outer wall
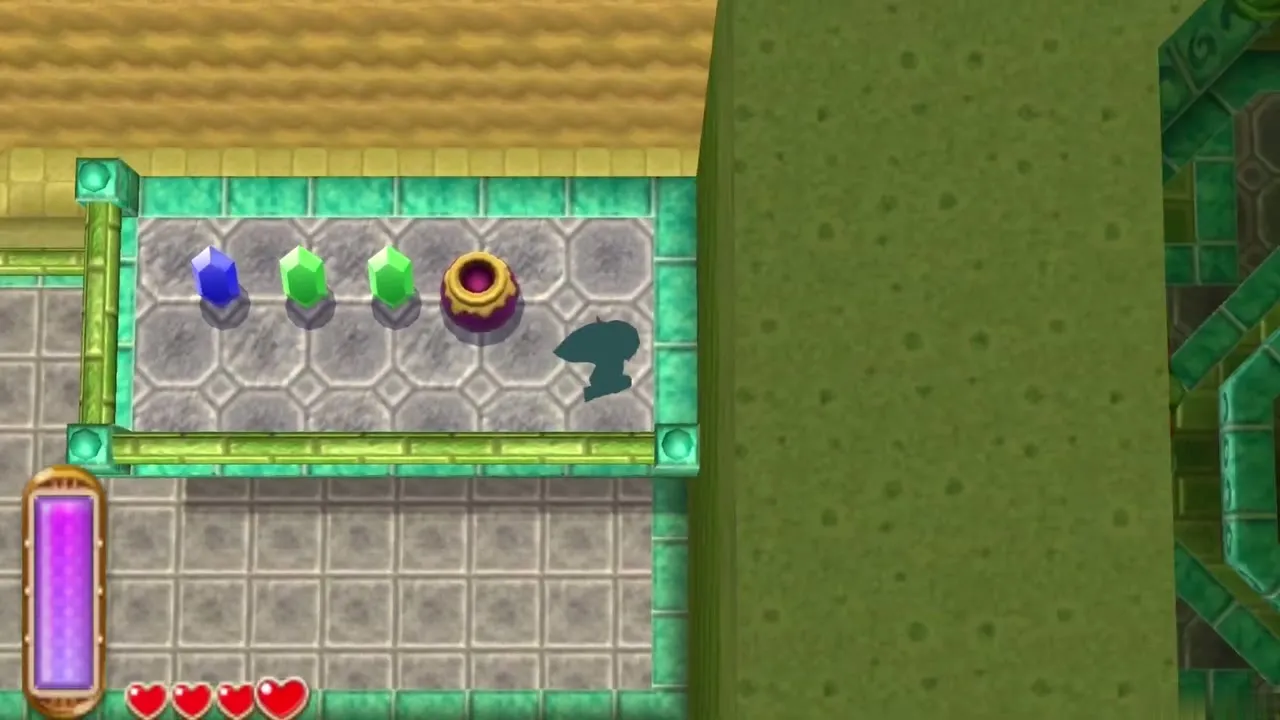
Slide along the outside of the palace to the first ledge, where an Energy Potion sits. Drinking it fills your energy gauge. A little further on is a ledge scattered with Blue and Green Rupees. Merge into the wall again to cross every gap, since you cannot jump over them, and look for cracks and openings in the bricks that continue the route.
Silver Rupee chest on the outer wall
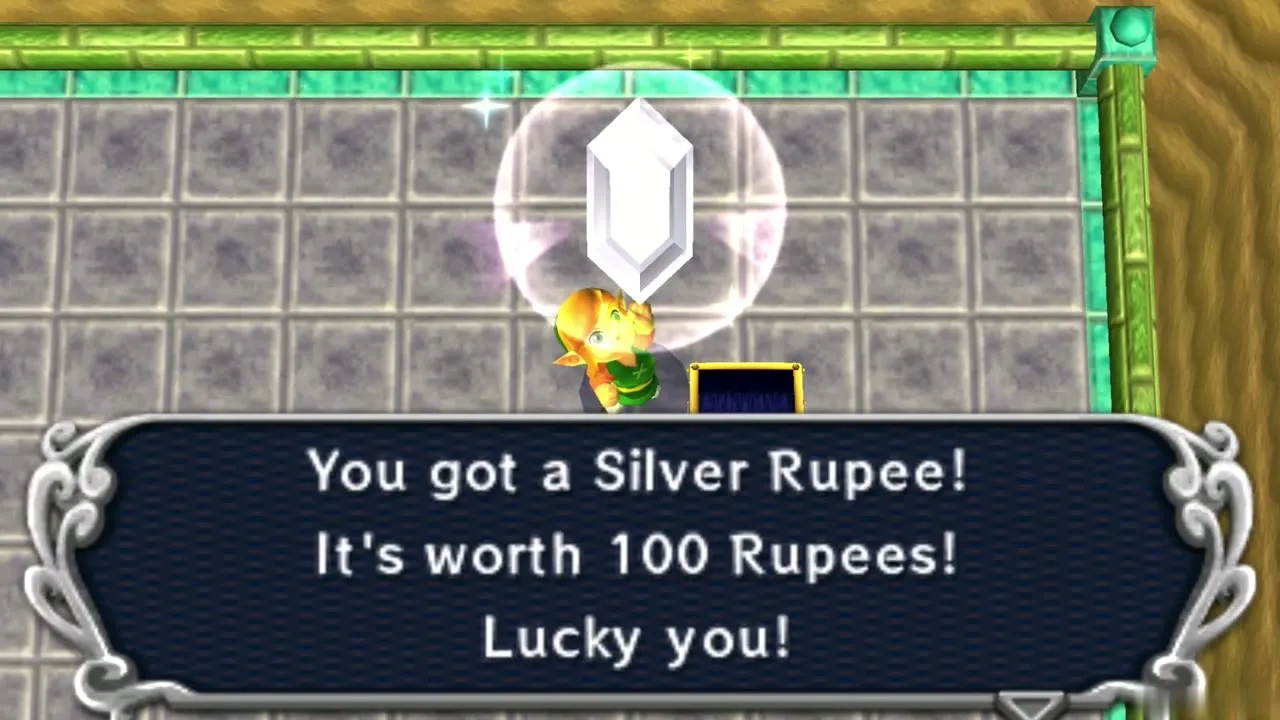
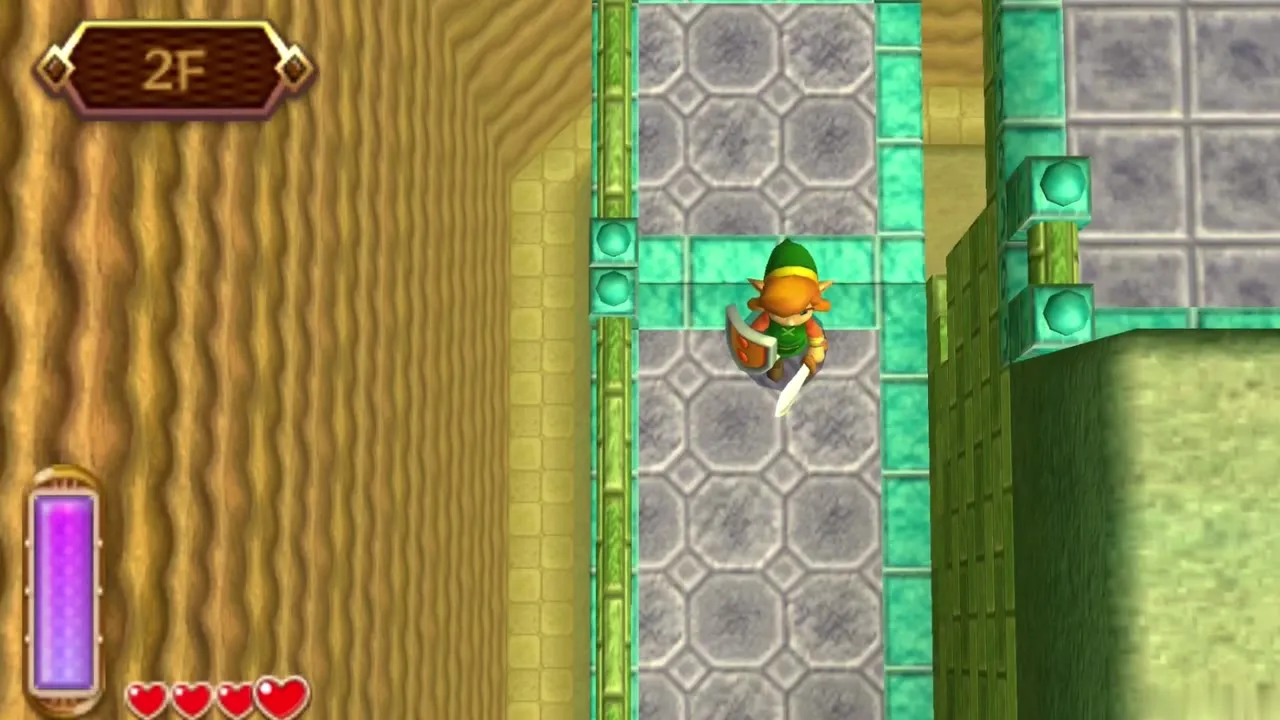
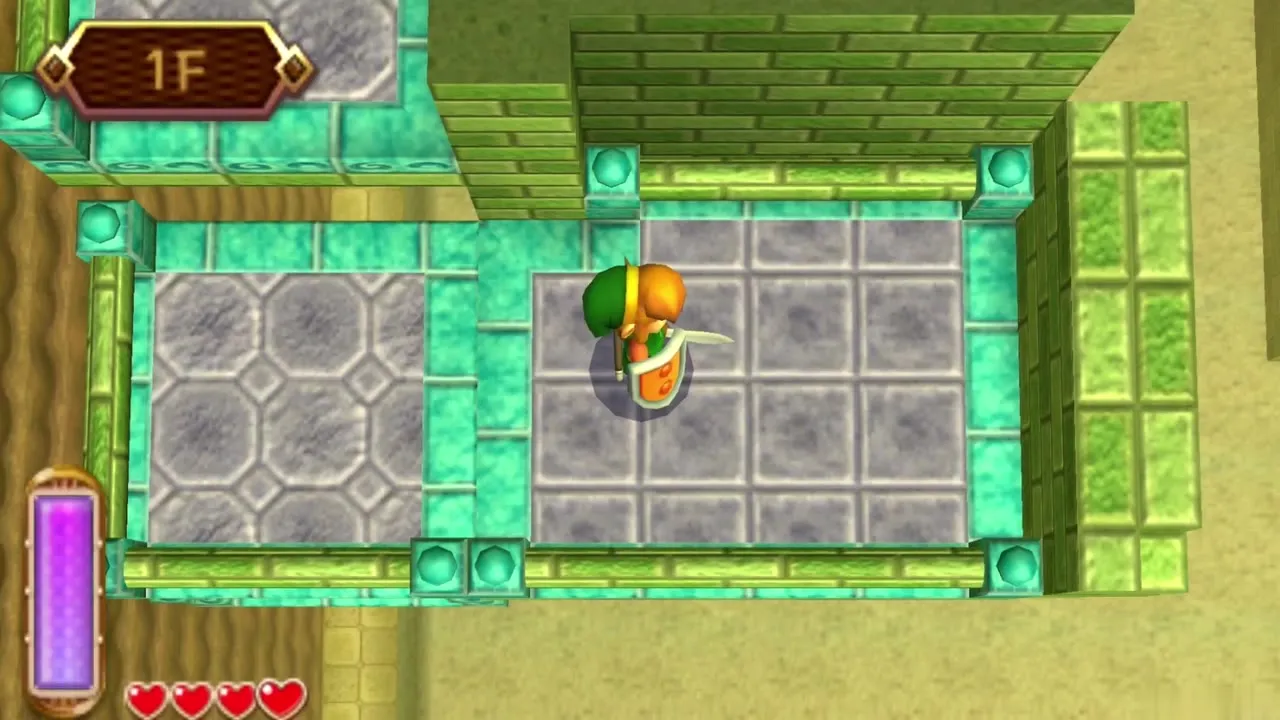
On a platform farther along the wall is a chest. Open it for a Silver Rupee worth 100. Keep following the wall west until you reach an elevator. Ride it down to 2F, wait for a retracting platform to return, then step over and take the next elevator down to 1F.
Purple Rupee chest
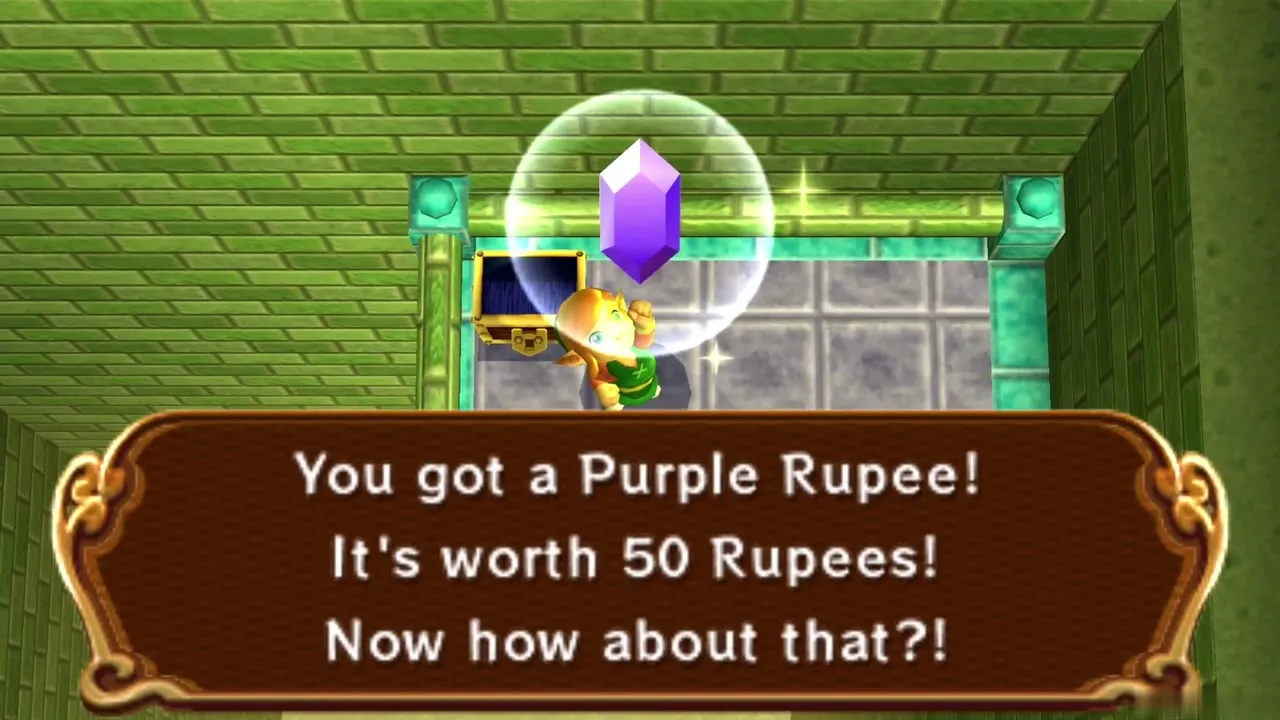
On 1F a swinging section of wall carries you across a gap to a crack that leads back inside. Before you take it, turn left along the wall and open a chest on a small ledge for a Purple Rupee worth 50. Then ride the swinging wall across to the crack.
Second Silver Rupee
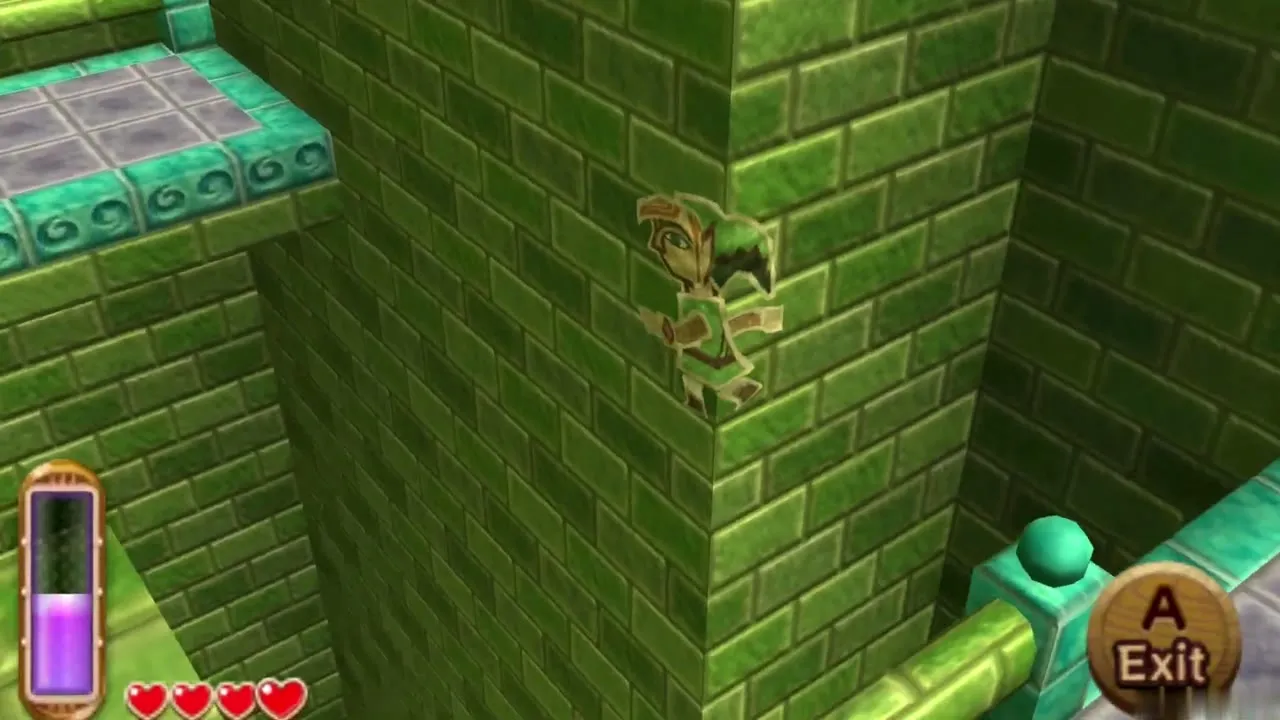
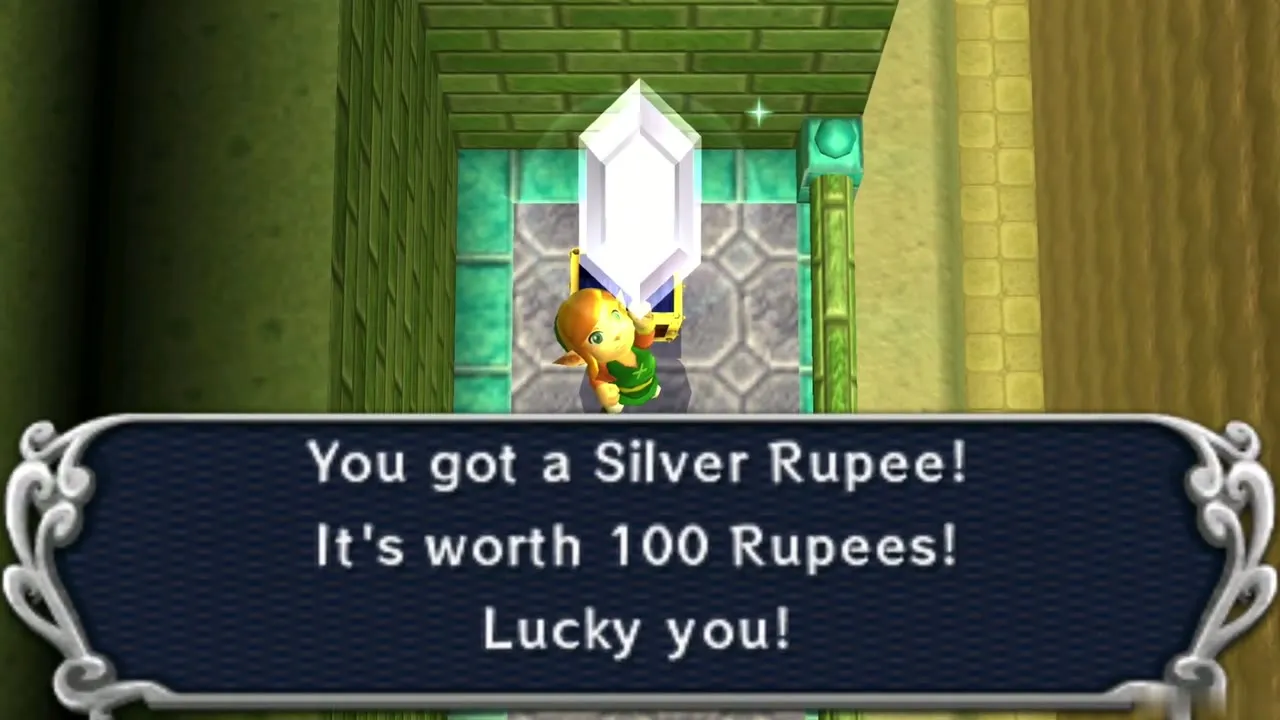
The crack leads you back to the first room. Before you step out, merge into the right-hand wall to reach one more chest, which holds another Silver Rupee worth 100. After that you can walk out of the entrance, or use the green warp circle on 2F if you are still higher up.
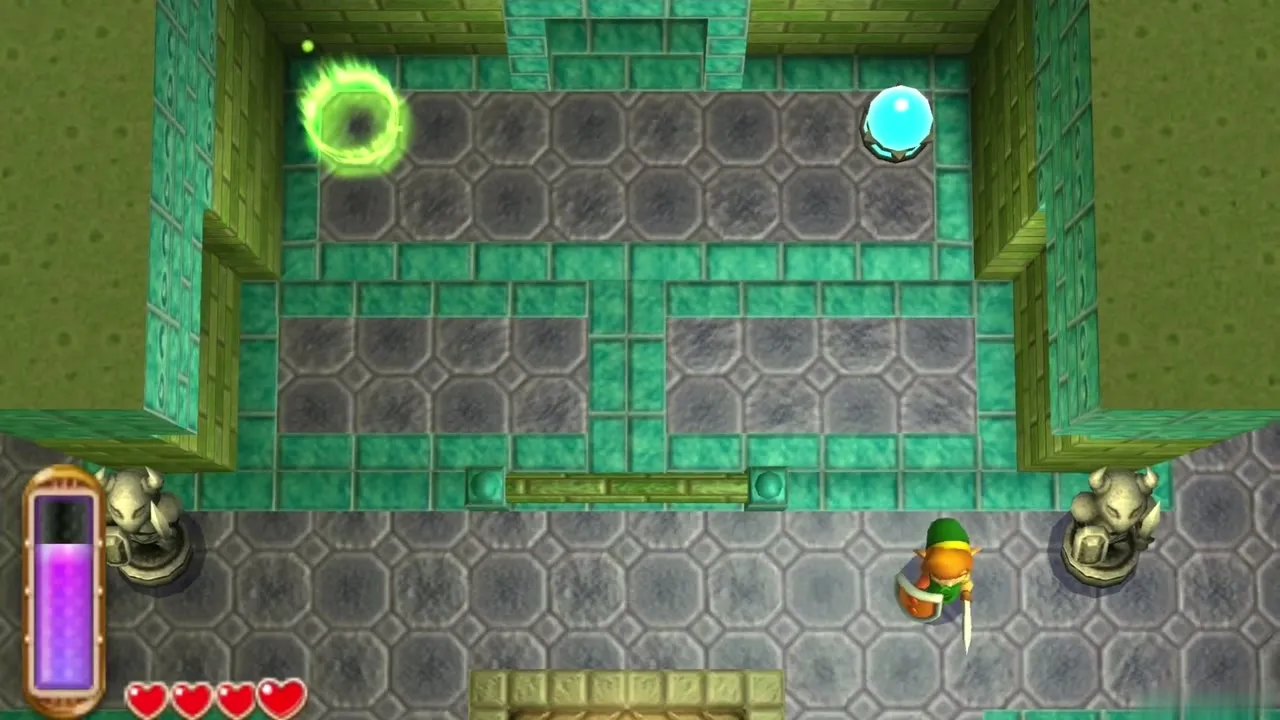
Leaving the Eastern Palace
Sahasrahla at the gate
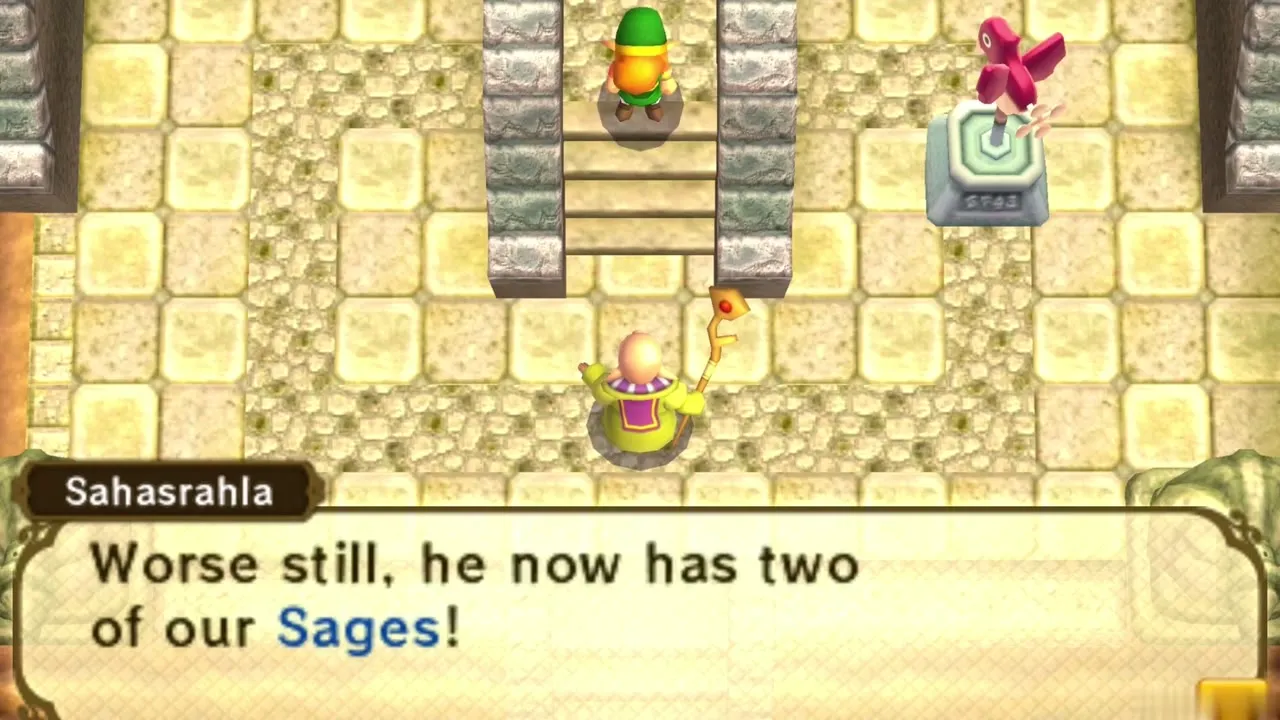
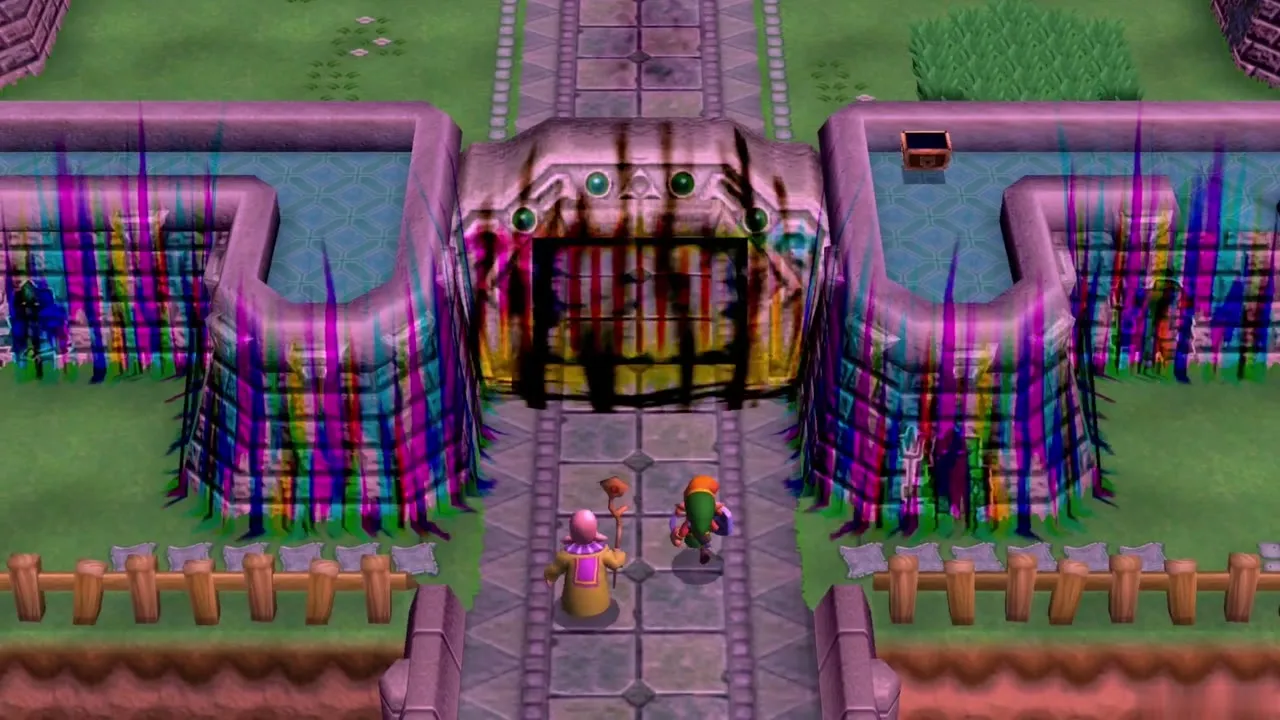
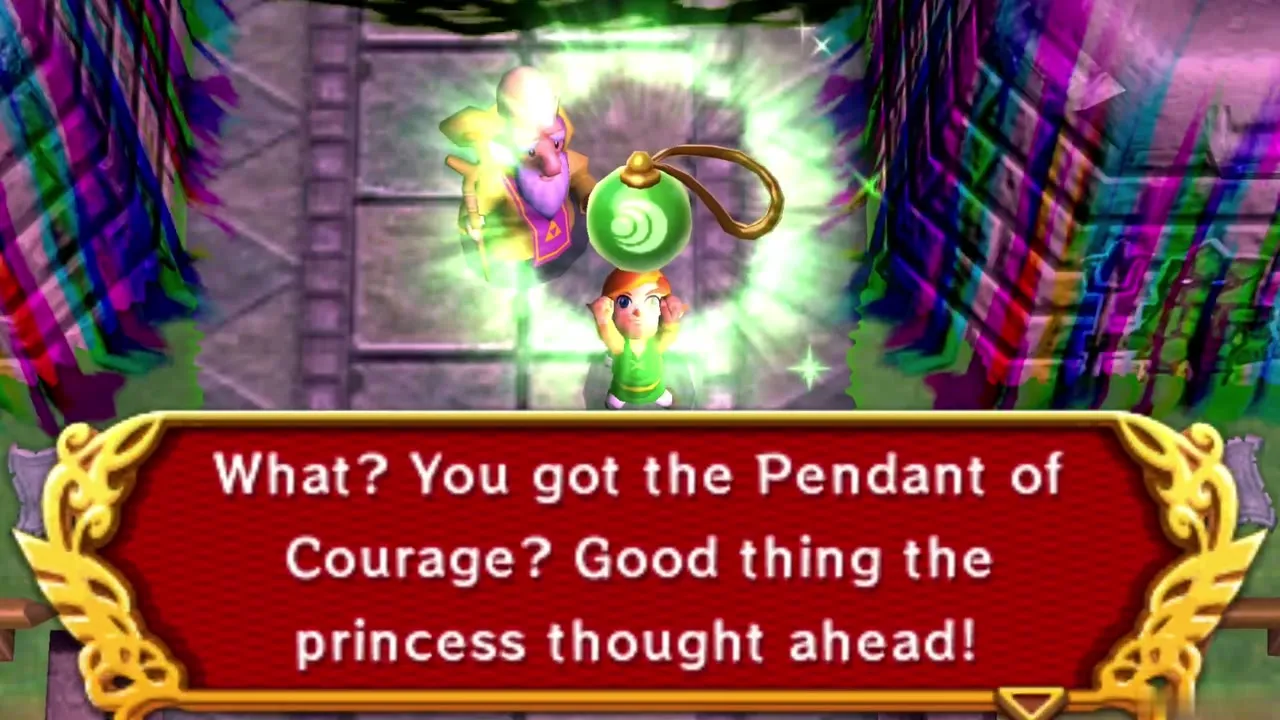
Step outside and Sahasrahla is waiting at the gate. He learns that Osfala is gone and that Yuga now holds two Sages. The two of you walk to Hyrule Castle, which is sealed by a purple barrier. He explains that the Master Sword needs the three Pendants of Virtue, of which you already hold the Pendant of Courage, and points you to the House of Gales and the Tower of Hera for the other two.
What is left in the Eastern Ruins
Some prizes nearby need items you do not own yet. Heart Piece #10, in a cave south of the palace, needs Bombs and merging. Heart Piece #11, in a ring of stakes nearby, needs the Hammer. A Maiamai in the Eastern Ruins sits in an alcove you reach by merging into the wall. The Pegasus Boots and Flippers come in the next chapter and unlock more Maiamai here.
Chapter checklist
| Collectible | Type | Where |
|---|---|---|
 Red Rupee (20) | Rupees | 1F, chest in the switch room after the first bridge |
| Red Rupee (20) | Rupees | 1F, central room, chest after the floor switch |
| 20 Rupees | Rupees | 1F, hidden room south of the Popo room |
| Compass | Dungeon item | 1F, north-west room, raised chest after the Popos |
| Small Key | Key | 1F, rising platform room, chest after the two crystal switches |
 Fairies and rupees | Healing, rupees | 1F, hidden pool room below the rising platform |
| Monster Guts | Item | 2F, left room chest |
| Monster Guts | Item | 2F, right room chest |
| Small Key | Key | 2F, four-switch platform room |
| Big Key | Dungeon item | Chest beside the boss door, after three Stalfos |
| Heart Container | Heart Container | Boss room, after the Yuga fight |
 Ravio’s Bracelet merge | Ability | After Yuga paints you |
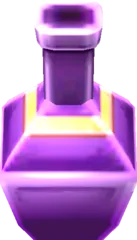 Energy Potion | Potion | Outer wall, first ledge |
| Silver Rupee (100) | Rupees | Outer wall, chest after the rupee ledge |
 Purple Rupee (50) | Rupees | Outer wall at 1F, ledge left of the exit crack |
| Silver Rupee (100) | Rupees | Outer wall by the entrance, right-hand wall |
With the palace done and Yuga gone ahead of you, the road to the Pendants opens. Head to the Pegasus Boots and Zora’s Flippers walkthrough for the Pegasus Boots, Power Glove and Zora’s Flippers.