A Link Between Worlds 100% Completion Walkthrough18 chapters
- Opening and SanctuaryWake in Link’s House, deliver the captain’s sword, cross the Graveyard passage with the Lamp and meet Yuga.
- Hyrule Castle and Kakariko VillageRavio’s Bracelet, Zelda’s Pendant of Courage, Kakariko shops, Sahasrahla and the free Bow rental.
- Eastern PalaceEvery key, chest and rupee, the Compass, Big Key, Yuga boss fight and your first Heart Container.
- Pegasus Boots and Zora’s FlippersGet the Pouch, Irene’s Bell, Power Glove, Pegasus Boots, Zora’s Flippers, Ravio’s rentals and Hyrule Heart Pieces.
- House of GalesRent the Tornado Rod, swim to Lake Hylia’s island, beat Margomill and take the Pendant of Wisdom.
- Death MountainClimb the boulder caves, find two Heart Pieces and a Bottle, and reach the Tower of Hera.
- Tower of HeraEvery floor, both Small Keys, Compass, Big Key, Moldorm boss fight, Heart Container and Pendant of Power.
- Master Sword and Lost WoodsWalkthrough for pulling the Master Sword in the Lost Woods, breaking the Hyrule Castle barrier.
- Lorule and Dungeon OrderHilda, the Blacksmith, fissures, Ravio’s Shop, Thieves’ Town side content and the dungeon order.
- Dark PalaceThe guard maze, every key, the Compass, Big Key, Master Ore, Gemesaur King, Heart Container and Sage Gulley.
- Skull WoodsKeys, Compass, Big Key, Master Ore, Knucklemaster boss fight, Sage Seres and the Master Sword upgrade.
- Ice RuinsThe Hookshot route to Lorule’s Death Mountain, every floor, keys, the Stamina Scroll and Dharkstare.
- Thieves’ HideoutThe password song, the Thief Girl escort, Master Ore, Stalblind, Sage Osfala and the Sand Rod.
- Swamp PalaceBig Bomb Flower, Hookshot, water levels, keys, Compass, Blue Mail, Big Key, Arrghus and Sage Oren.
- Turtle RockRescue the baby turtles, use the Ice Rod, find every key, beat Grinexx and free Sage Impa.
- Desert PalaceReach it with the Sand Rod, find the Titan’s Mitt, beat Zaganaga and rescue Sage Irene.
- Lorule CastleThe Triforce of Courage, all four mini-bosses, the Compass, Red Mail and the way to the Throne Room.
- Final BossBeat Yuga Ganon with the Bow of Light, see Hilda’s choice, make the Triforce wish and unlock Hero Mode.
| Covers | The Chamber of Sages, the road to Lorule Castle, the castle’s central hall from 1F to 4F, four puzzle rooms and their mini-bosses |
|---|---|
| You need | All seven Sages rescued, Bombs, the Hookshot and the Lamp; the Ice Rod, a Bow and a full stock of Potions and Fairies make it easier |
| Rewards | Triforce of Courage, 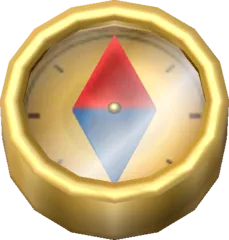 Compass,  Red Mail (or  Blue Mail if you do not own it yet), 5  Small Keys, 1  Monster Horn, 3 Red Rupees, 1  Silver Rupee, 1 Purple Rupee; no Heart Pieces, Maiamai, Master Ore or Heart Containers |
Once the last Sage is free, the Sages give Link the Triforce of Courage and Hilda lowers the barrier around her castle. Inside, climb to the third floor, clear the four puzzle rooms (a purple Moldorm, a purple Gigabari, a second Ball and Chain Soldier and Arrghus) and take a Small Key from each. The big door then opens onto Hilda’s study and the Throne Room.
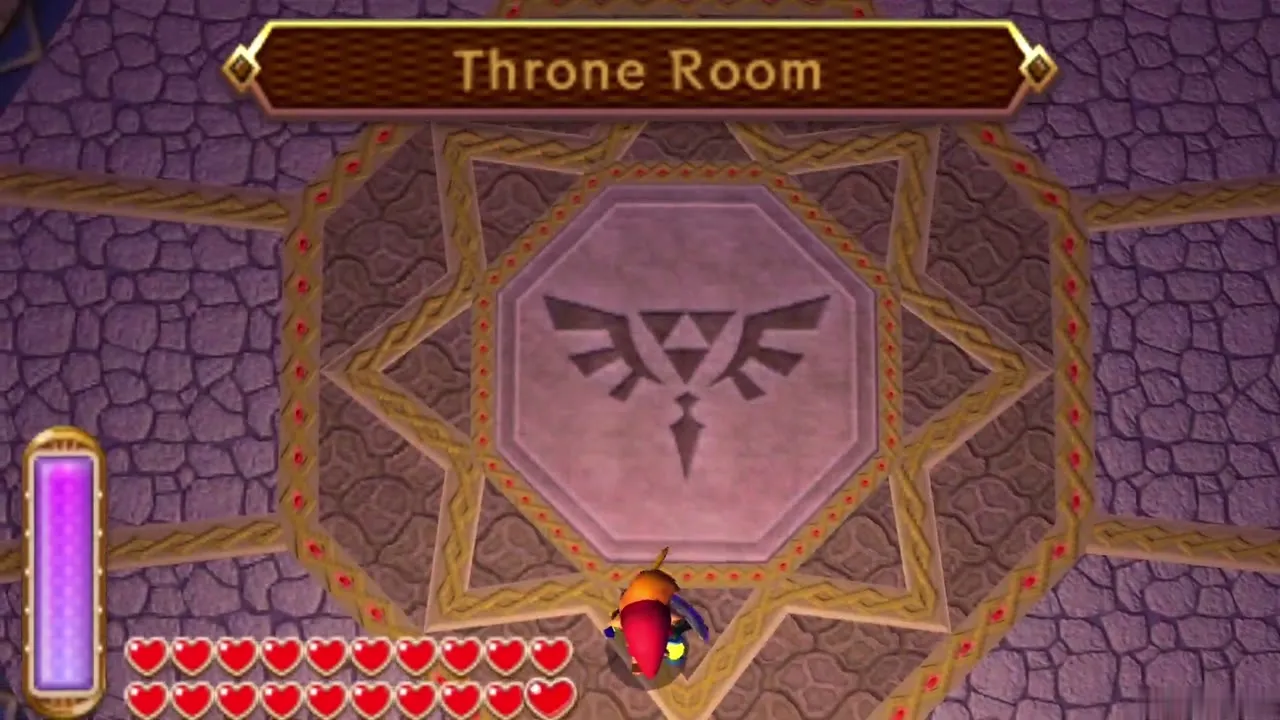
Table of Contents
Chamber of Sages and the Triforce of Courage
Triforce of Courage
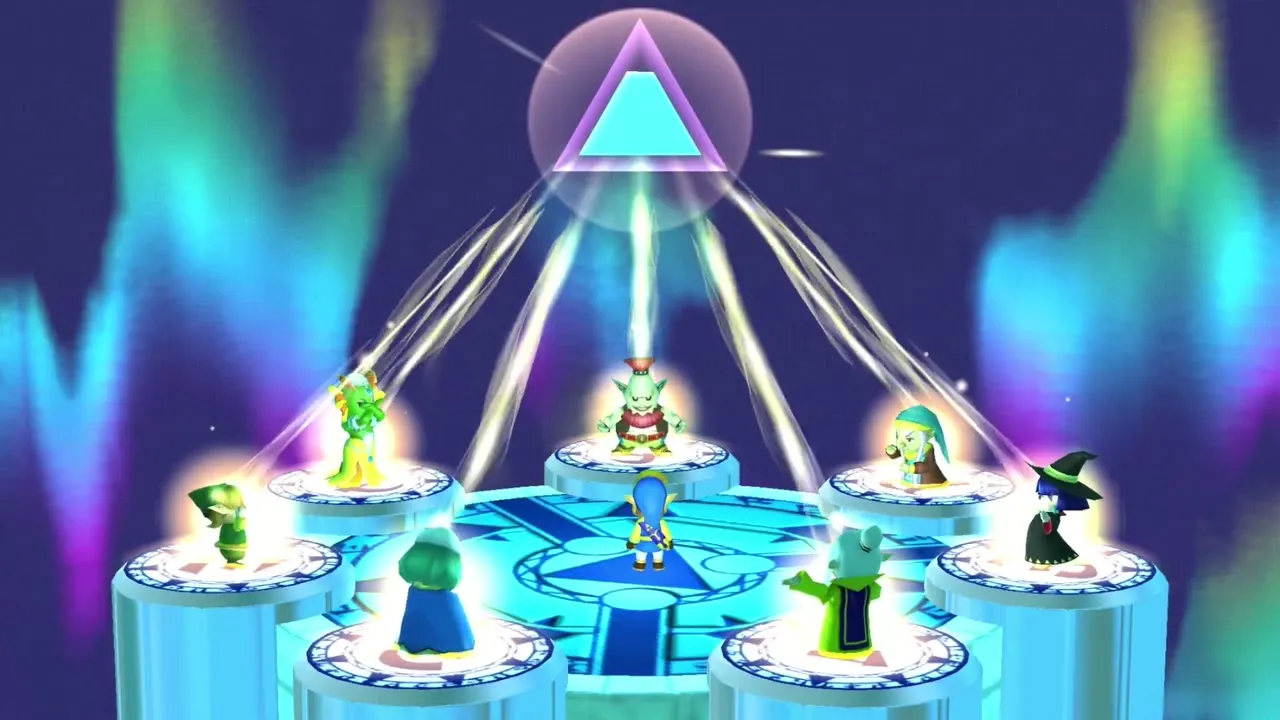
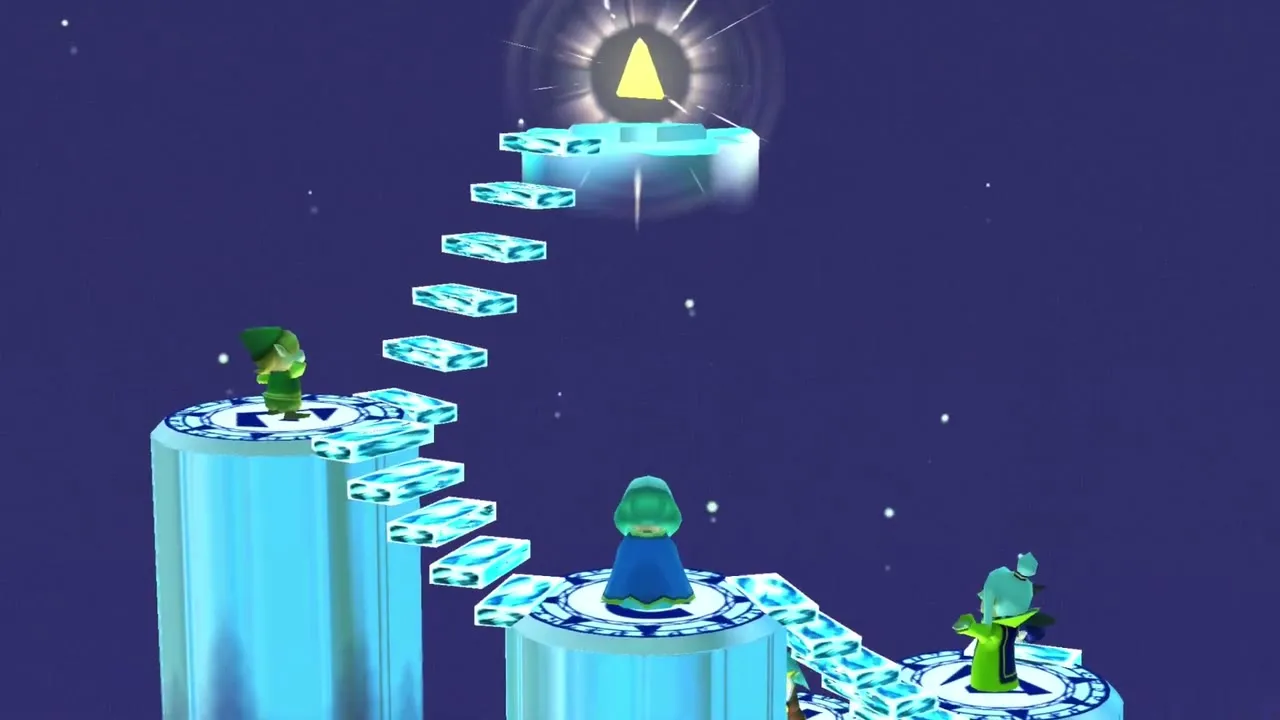
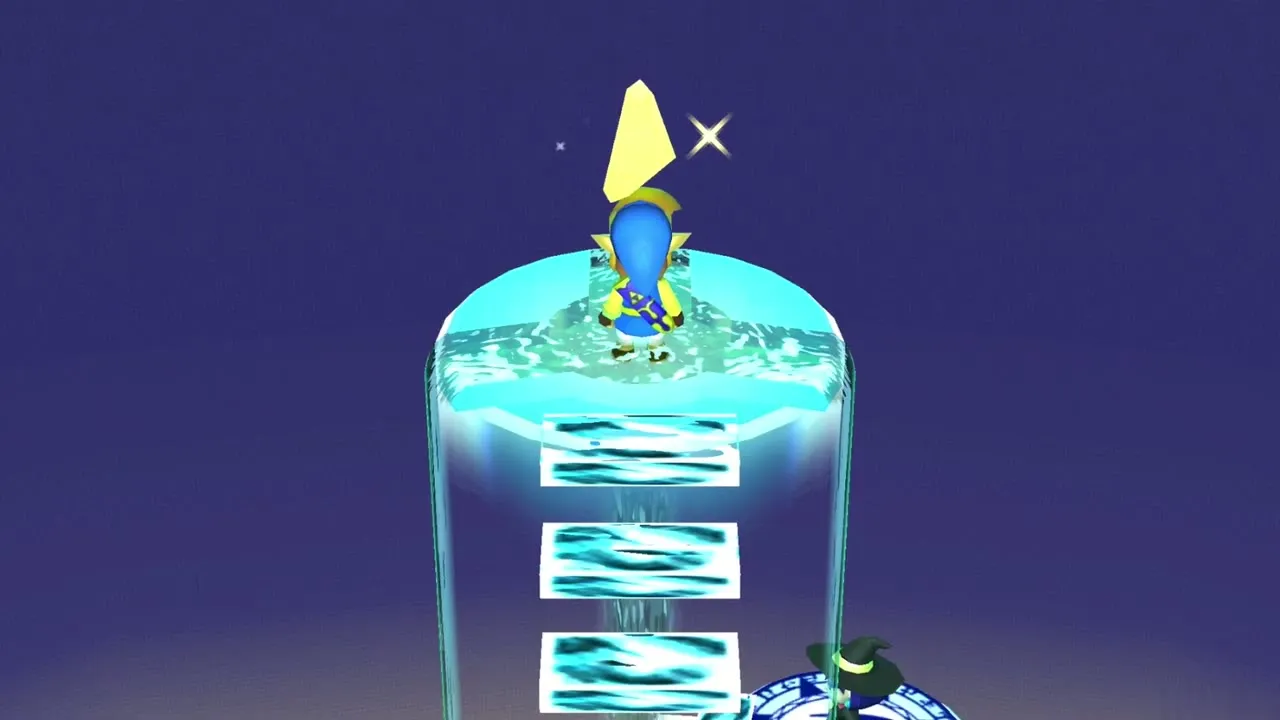
Free the seventh Sage and Link is carried to the Sages’ hall, where the rescued Sages stand on pedestals in a ring around a Triforce-marked platform. Climb the stairway of glowing blocks to the symbol. The Sages thank you and awaken the Triforce of Courage in Link. No trial is needed; it is a gift. Impa then tells you to take the fight to Lorule Castle.
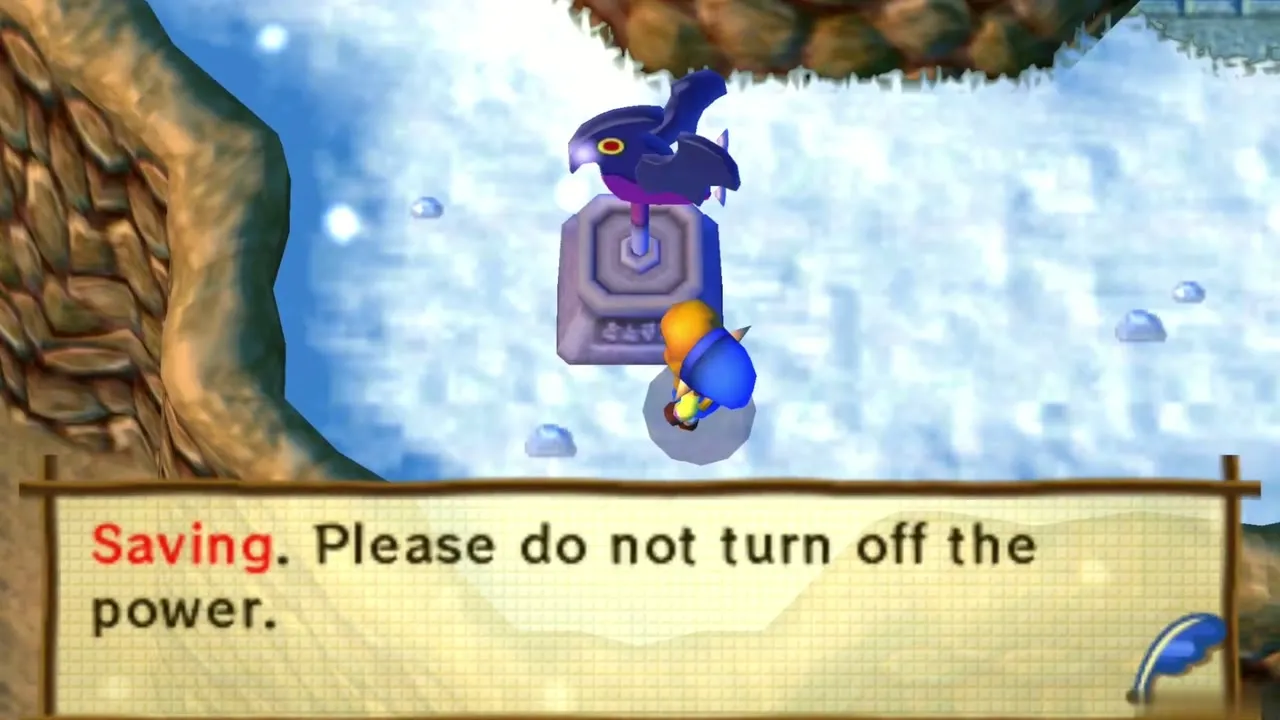
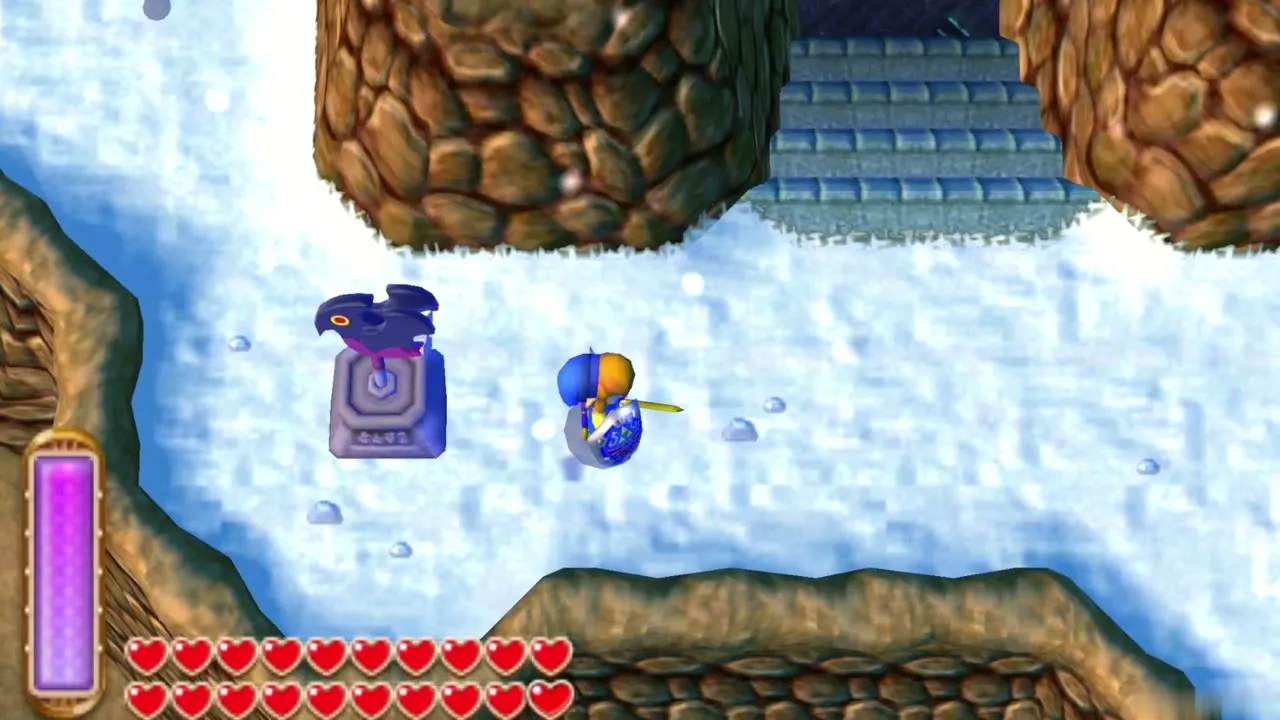
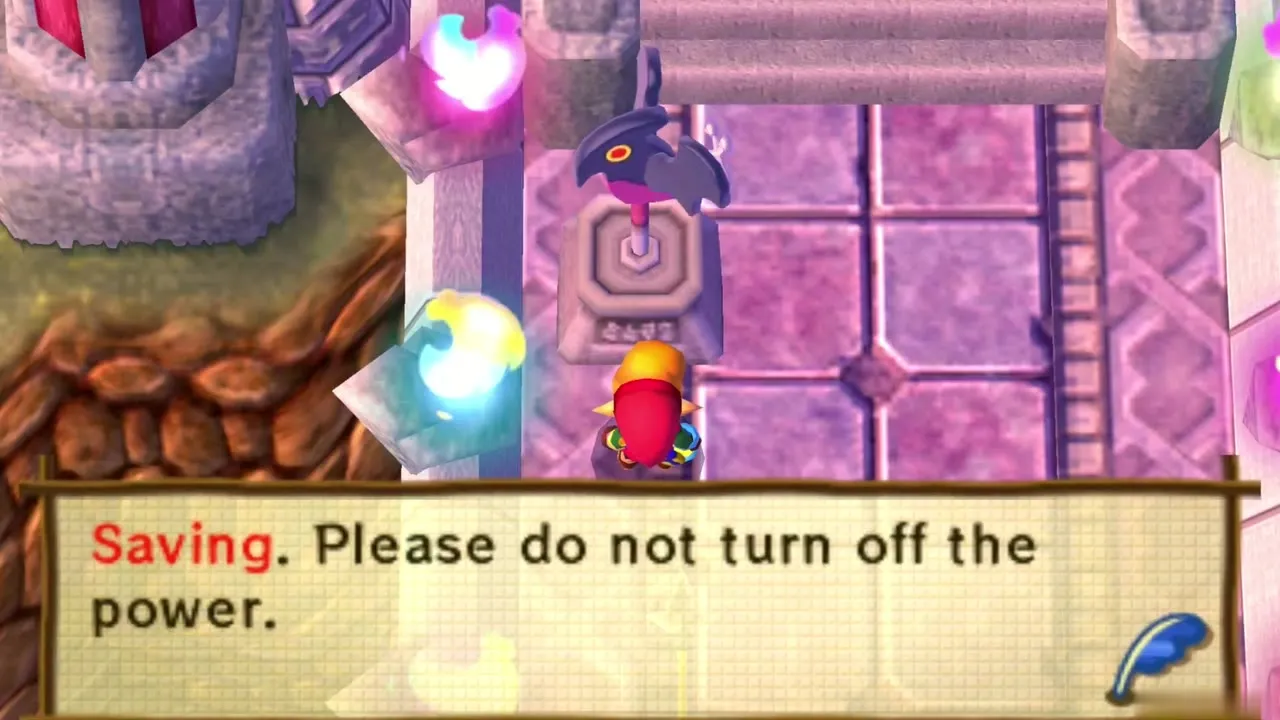
The Sages return you to Lorule. Save at the first save point you find, because the castle is long and the last fight cannot be saved halfway. If you prefer to arrive by warp, the Lorule Castle Weather Vane stands at the end of the bridge to the castle.
Reaching Lorule Castle
Lorule Castle gate
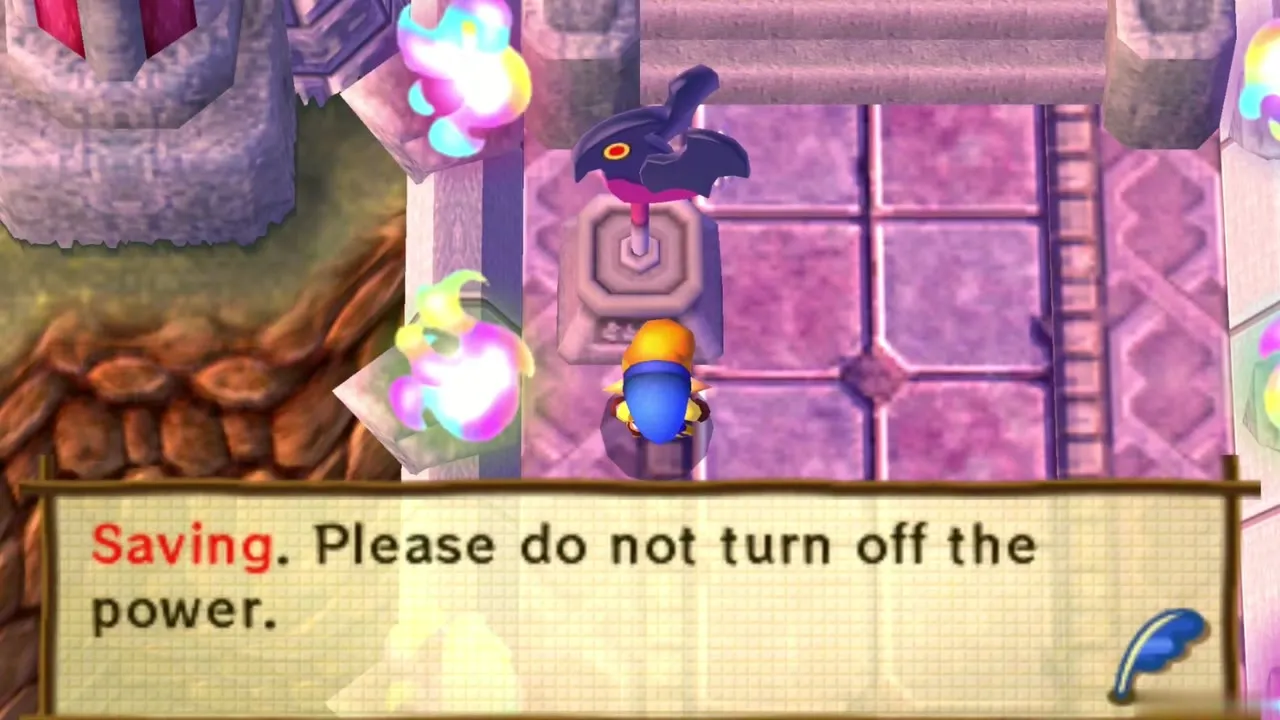
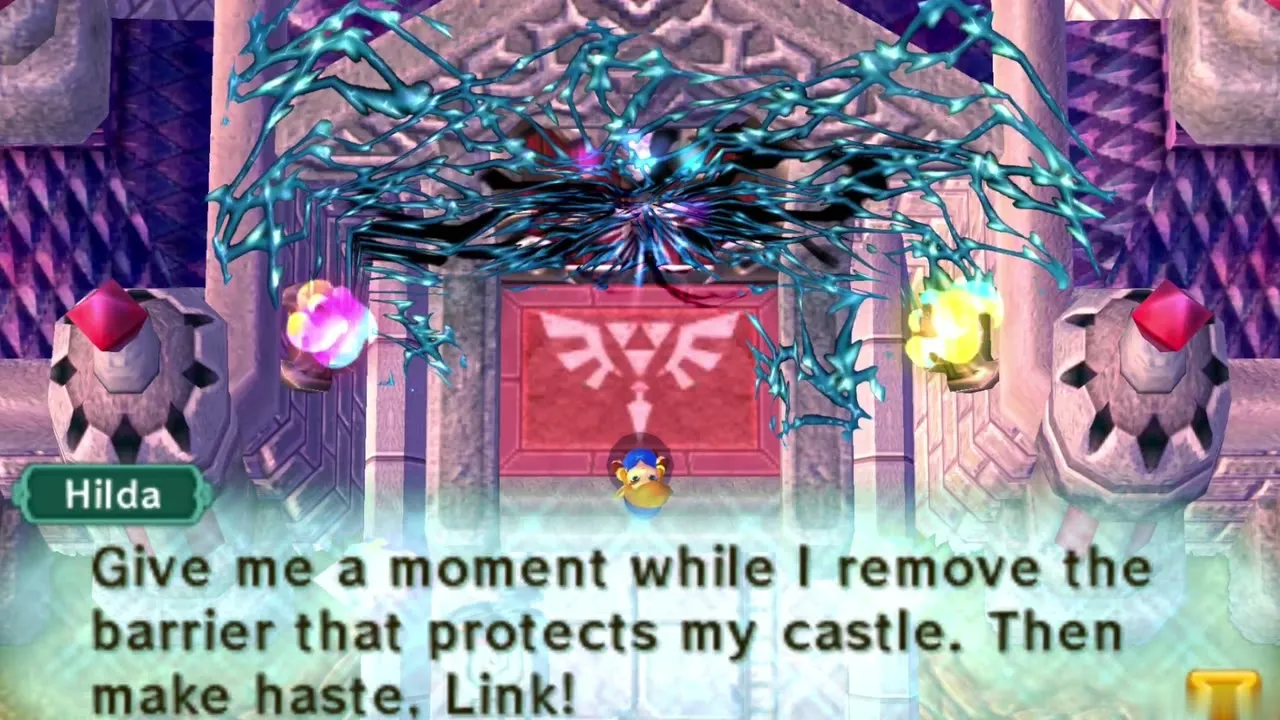
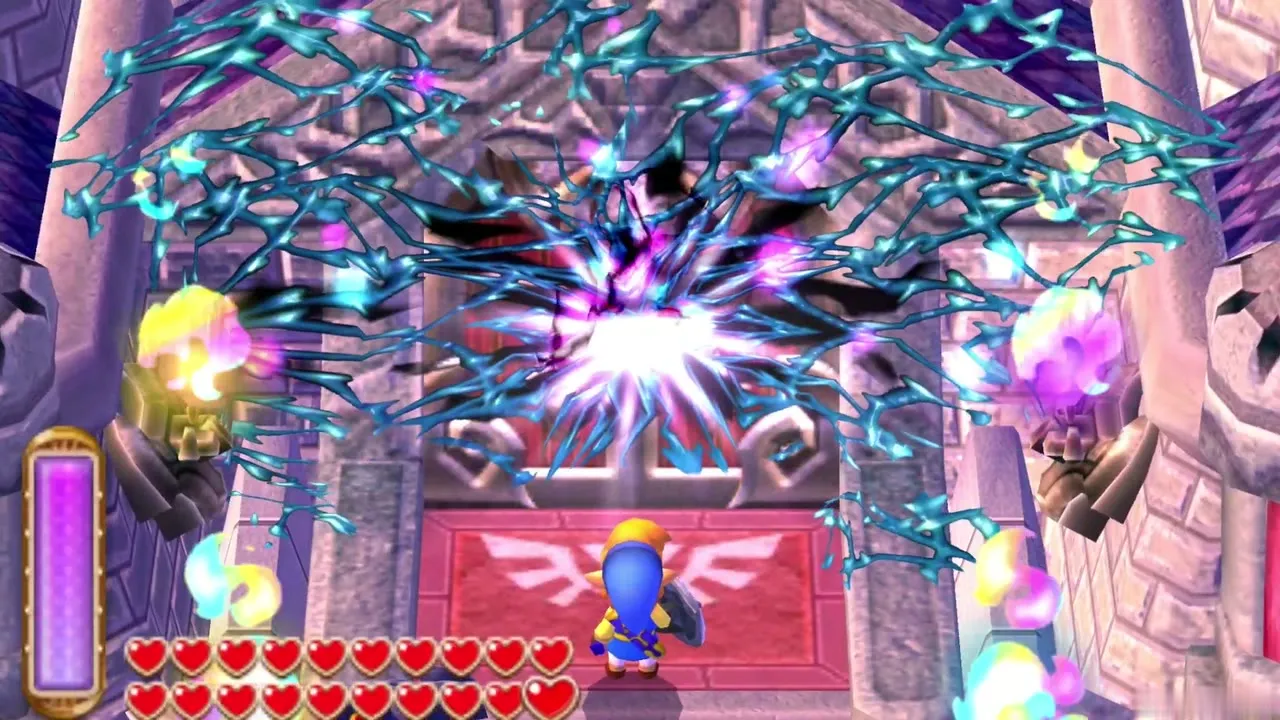
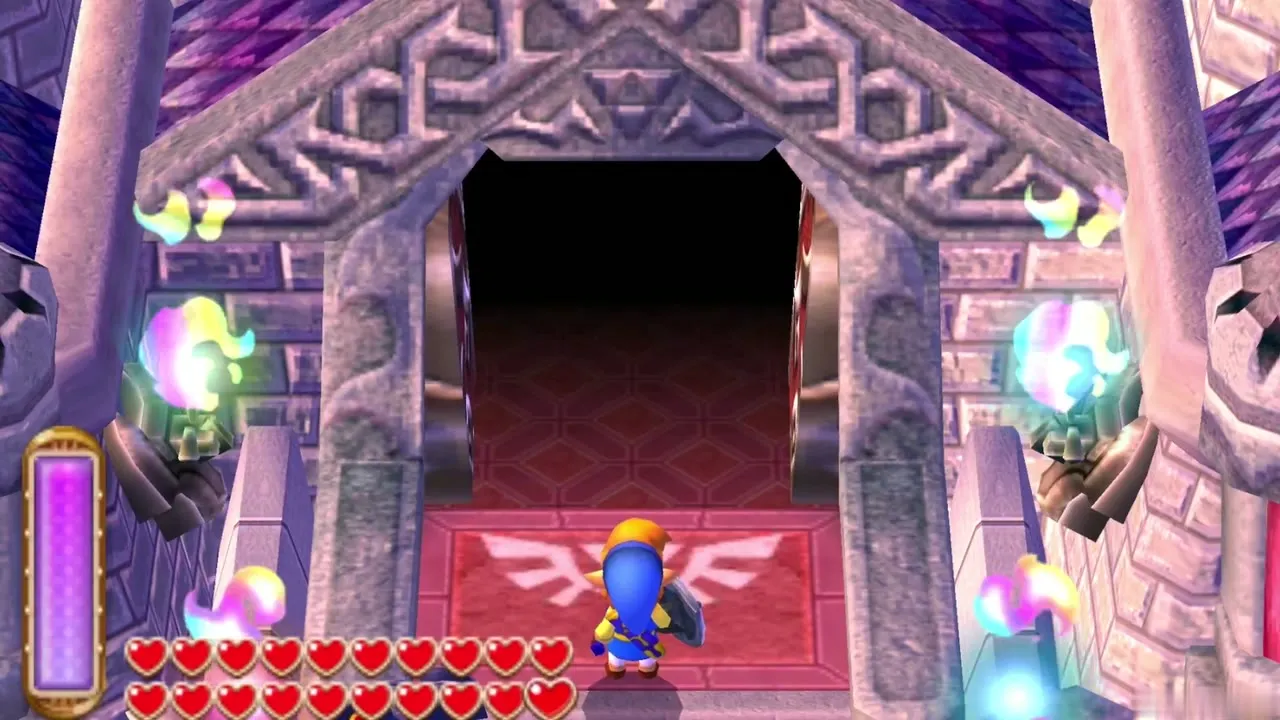
Cross the bridge from the Weather Vane to the castle gate and save once more. Hilda speaks to you, removes the barrier and the gate opens. Heal up and carry Fairies and Potions before you step inside, because the title card for Lorule Castle marks the start of the last dungeon.
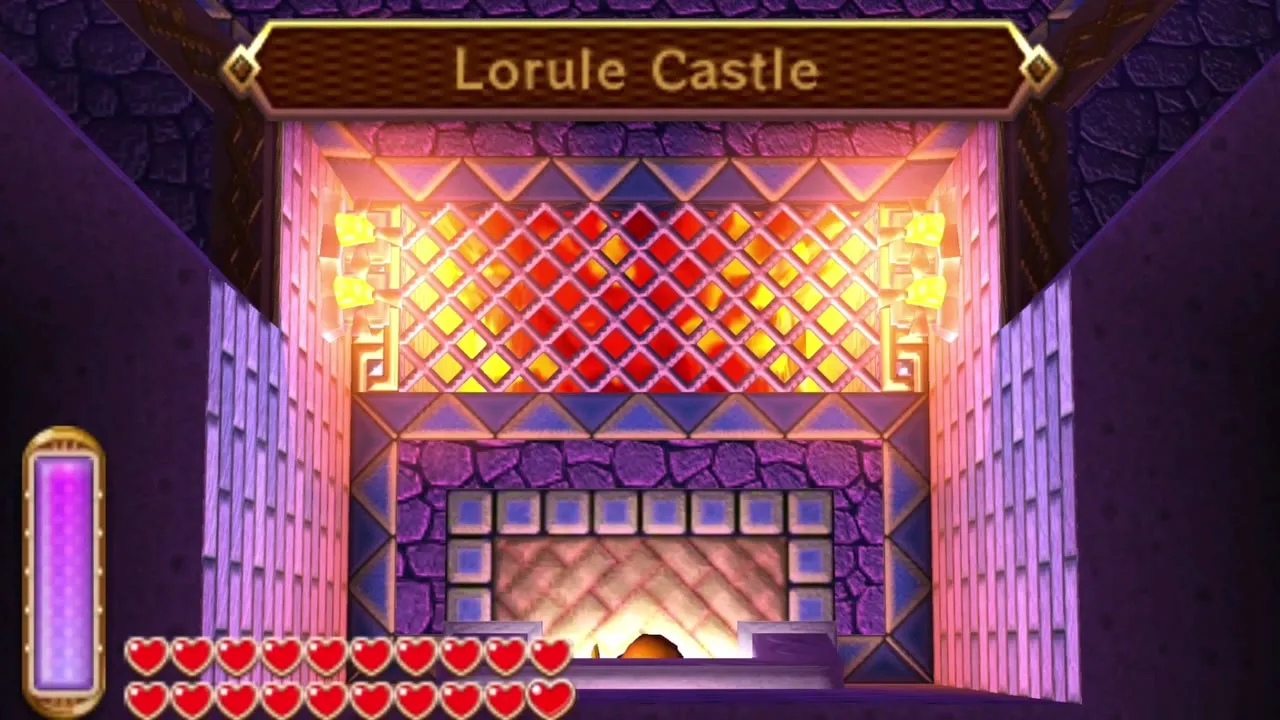
Lorule Castle 1F and 2F
1F lava bridges
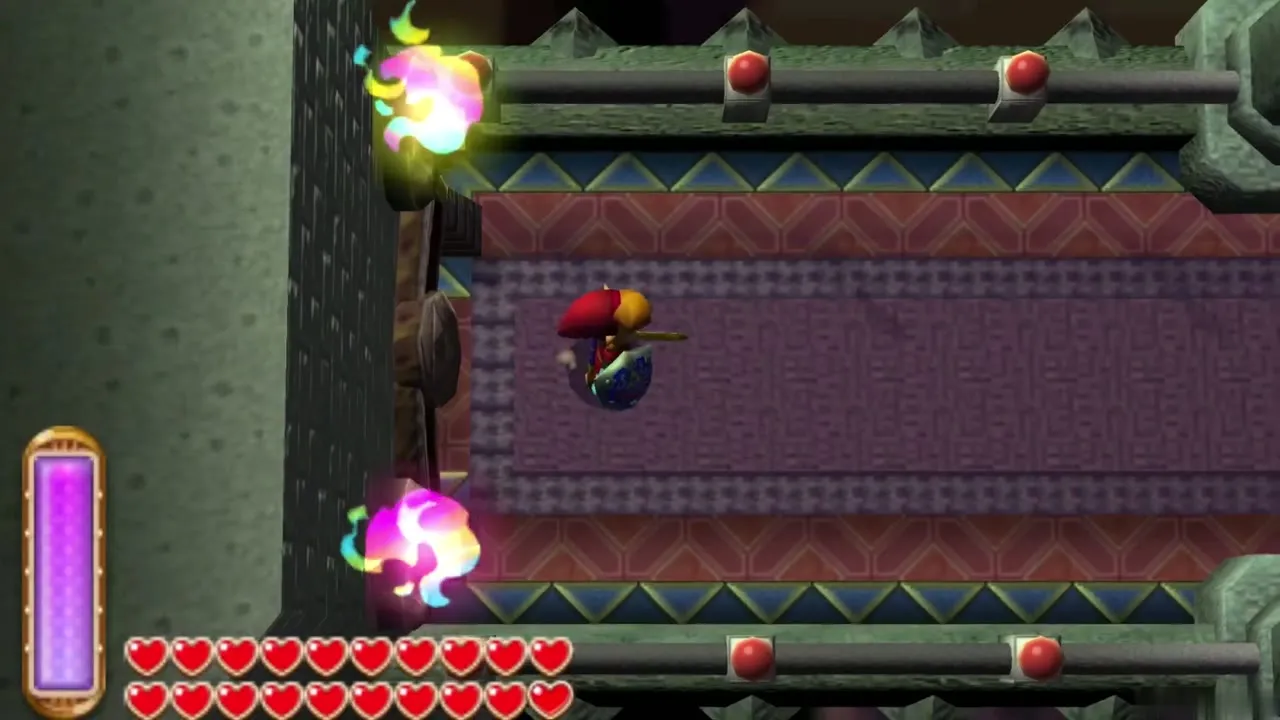
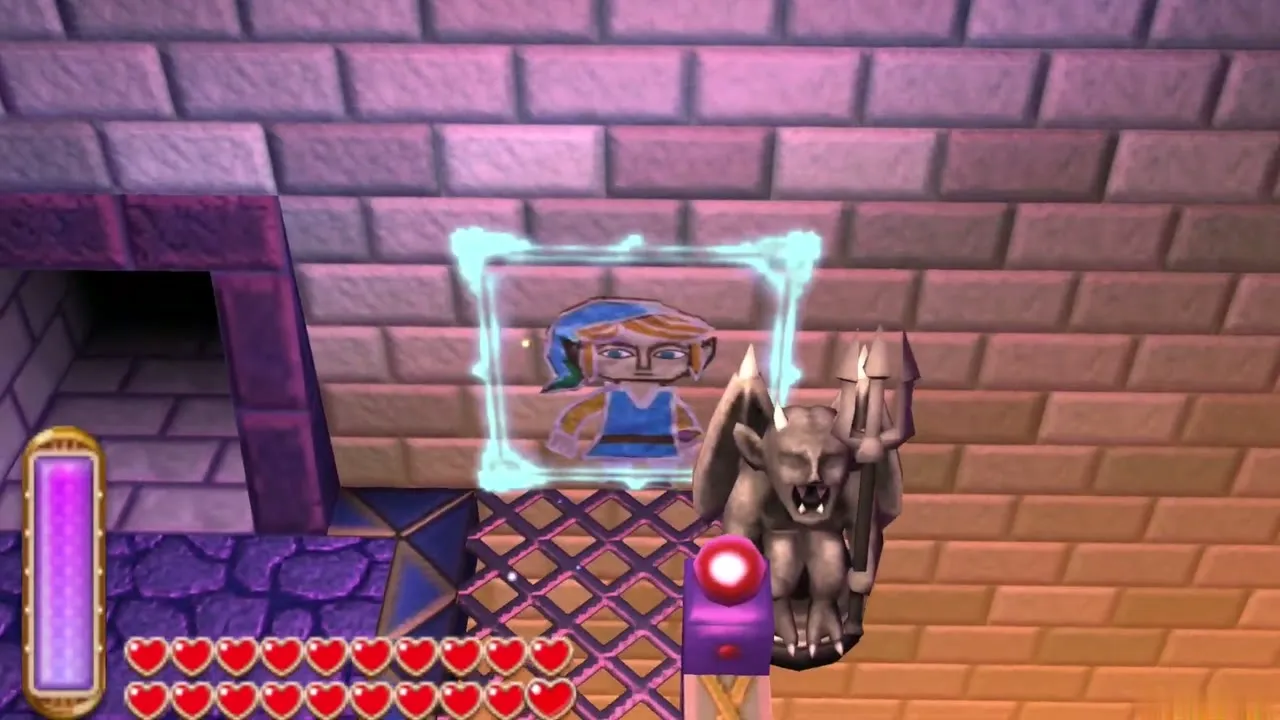
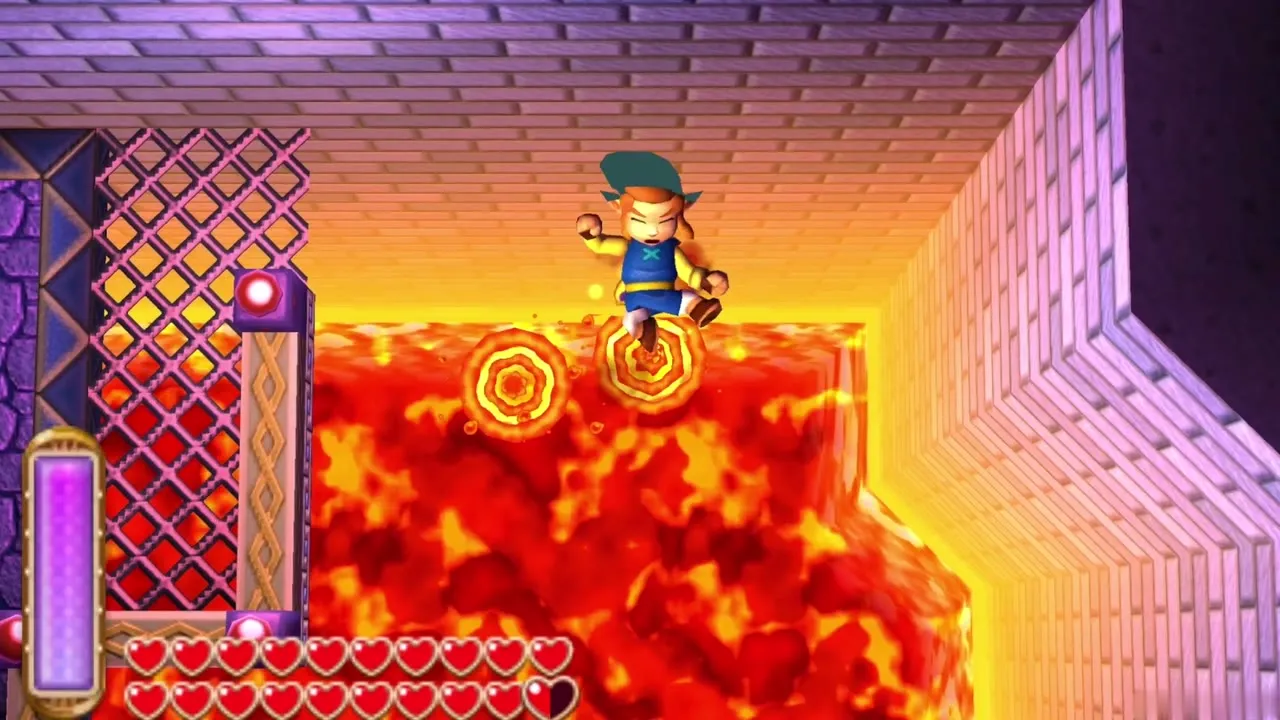
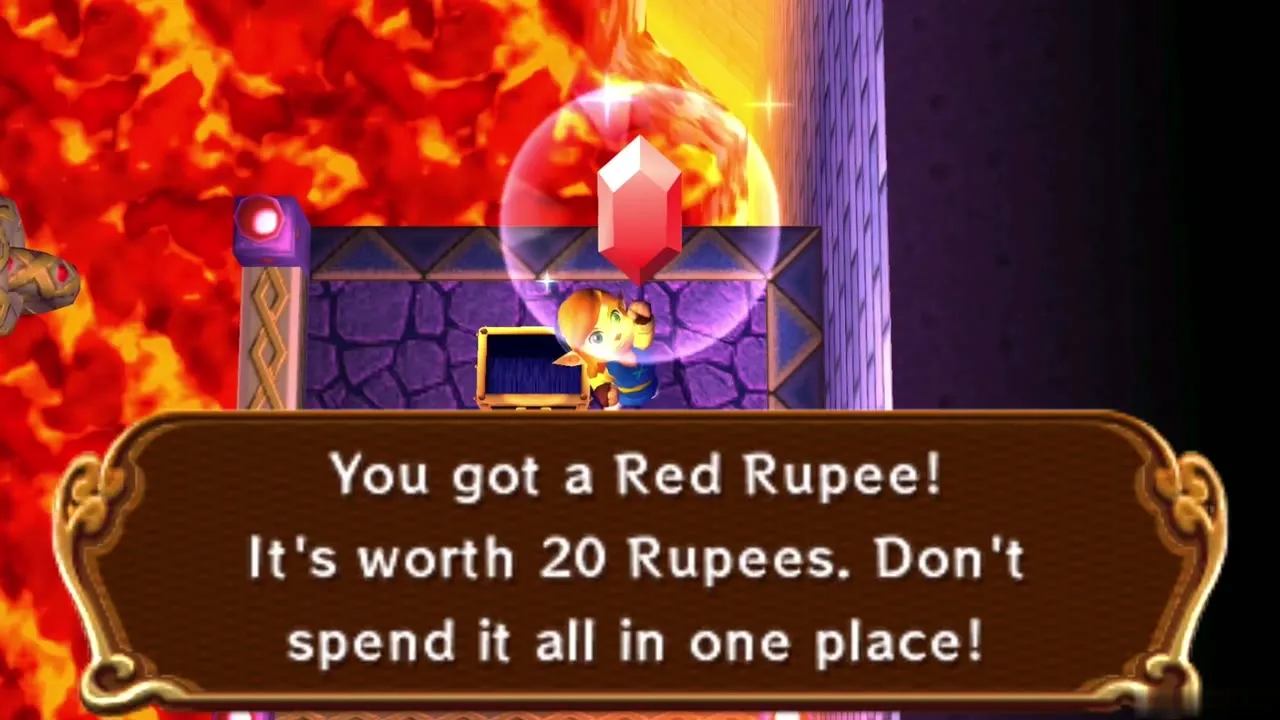
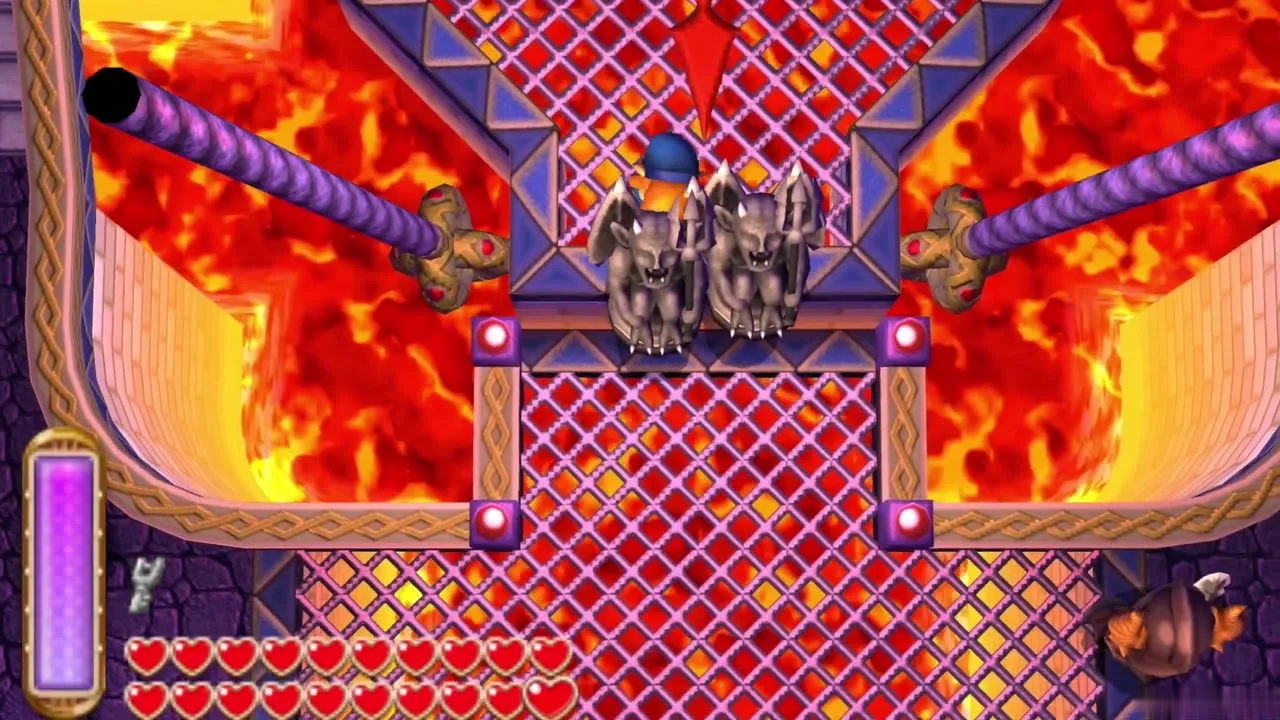
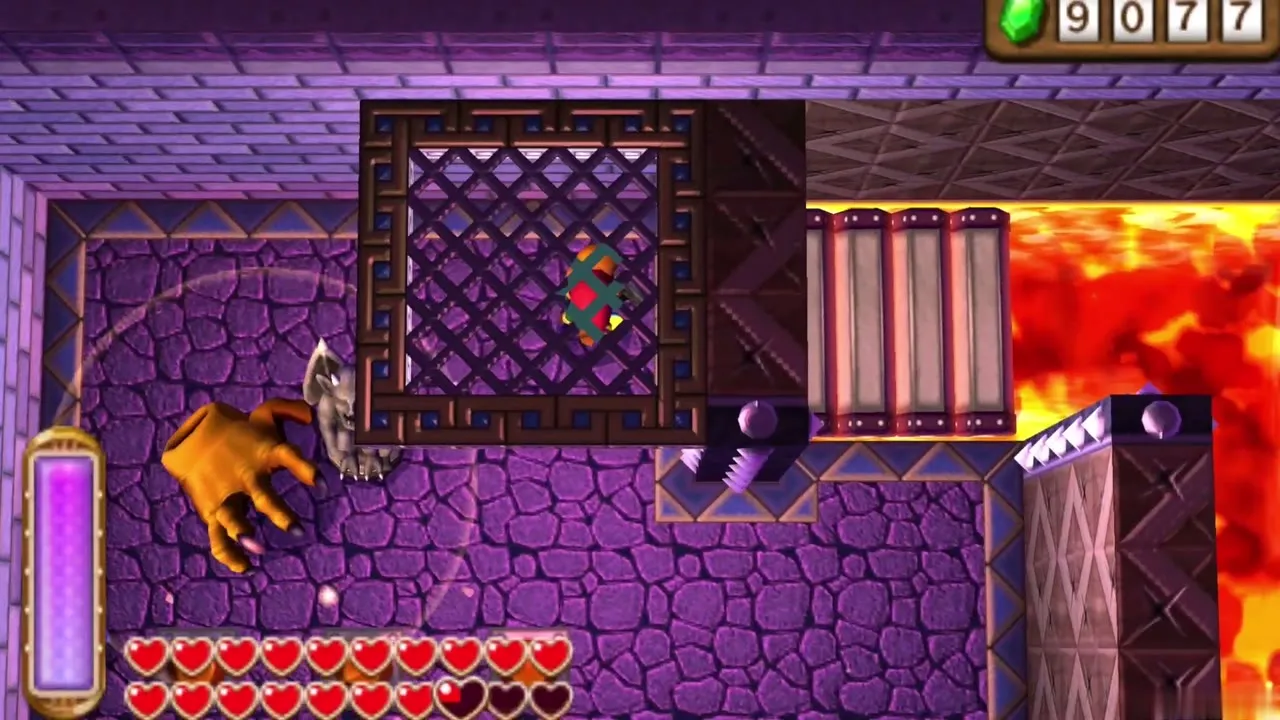
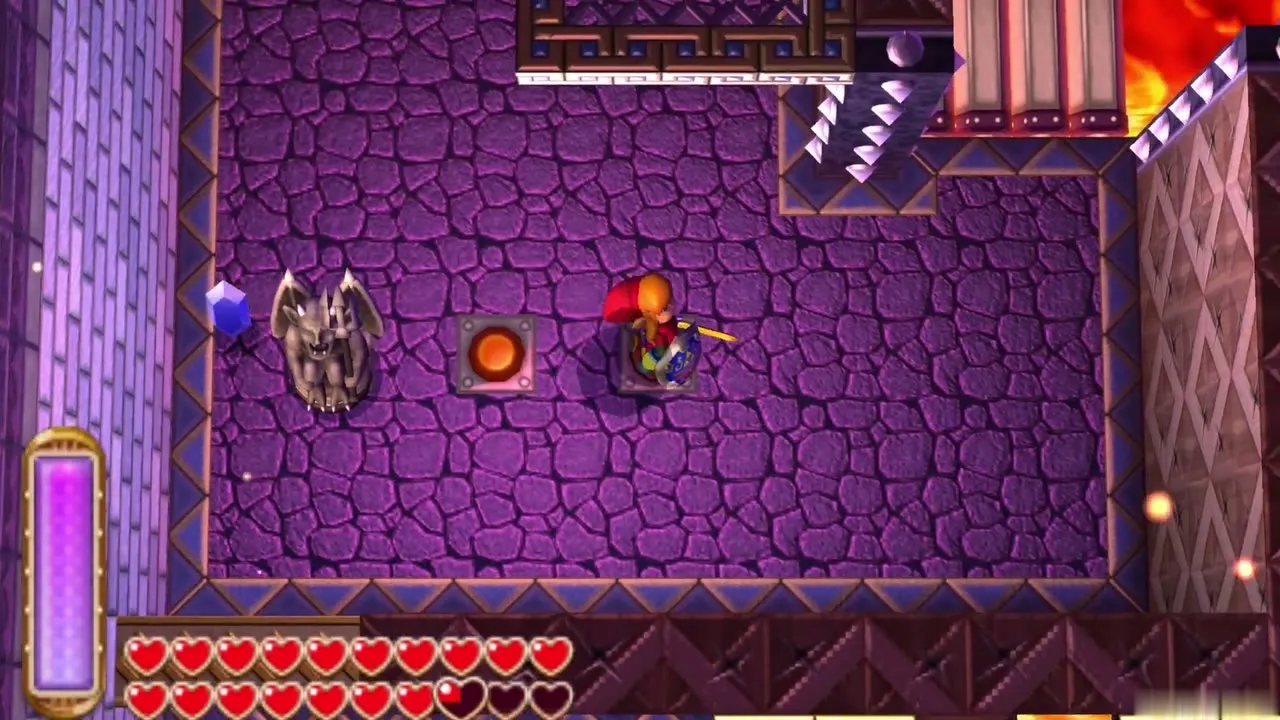
On 1F you cross lattice bridges over lava. In the first side room, push or pull the gargoyle statue on the right into the lava, merge into the wall beside it and slide right to a chest holding a Red Rupee. Go back and take the north door. Lorule soldiers patrol the narrow bridges, so keep your shield up while you cross.
First Ball and Chain Soldier
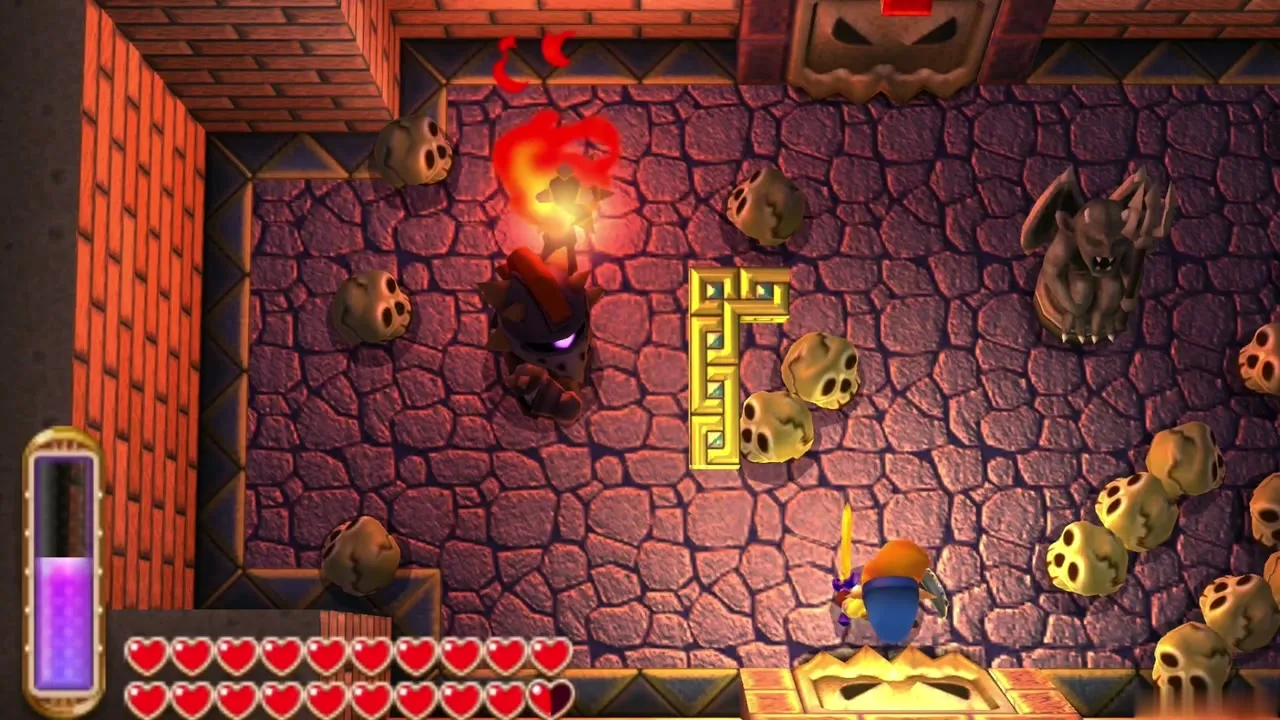
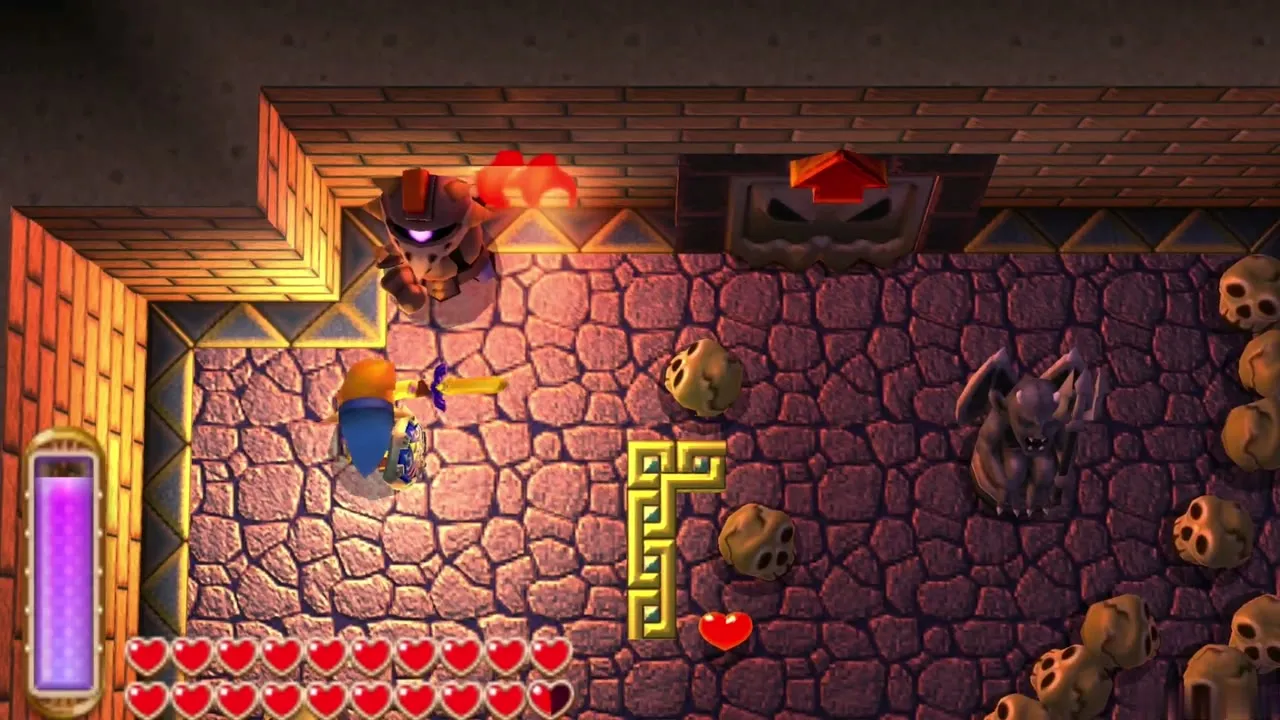
The next room locks its doors and a Ball and Chain Soldier whose weapon is on fire attacks. Stun him with the Hookshot or the Boomerang, then slash him while he is dazed, and merge into a wall to avoid the swinging ball. After several rounds he falls and the doors open. The stairs beyond lead to 2F.
2F chests and the fairy room
On 2F, follow the south path past soldiers and a smiley block that shoots fire, then merge into the end wall and cross the gap to a chest containing a Monster Horn. Return and go through the right door. A soldier and an ice-spitting block guard a chest with a Red Rupee in the south-east room.
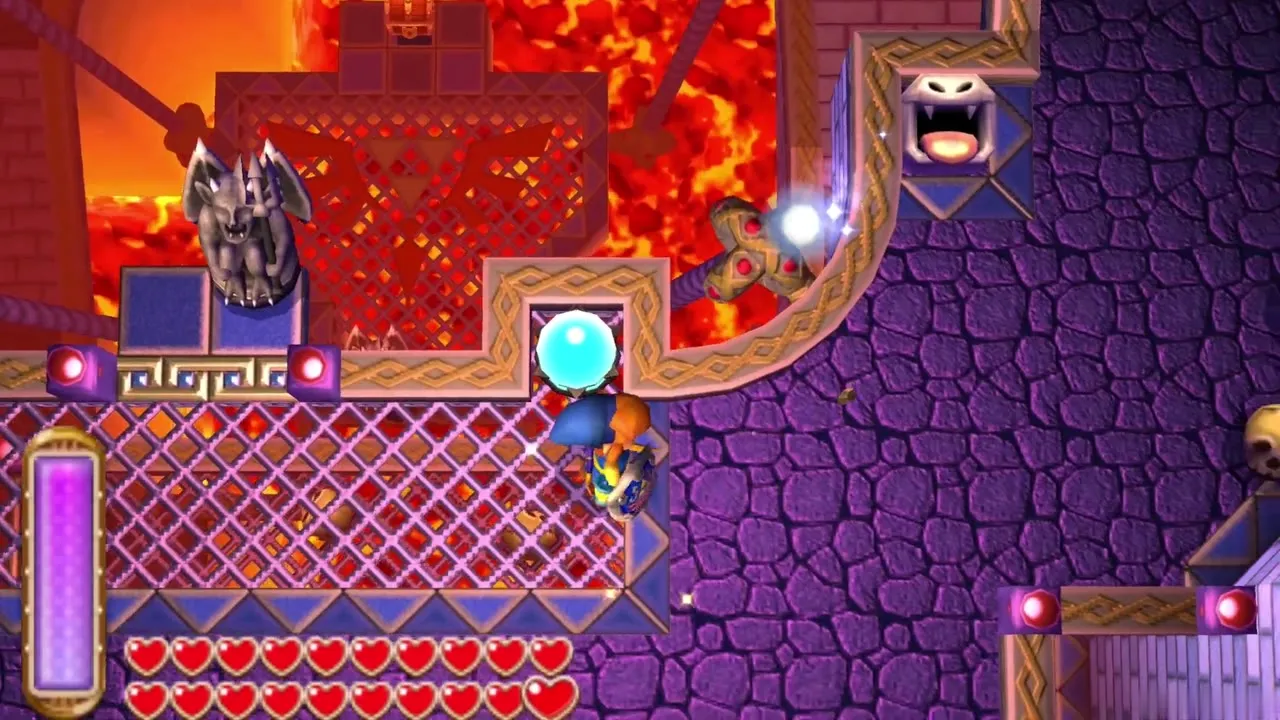
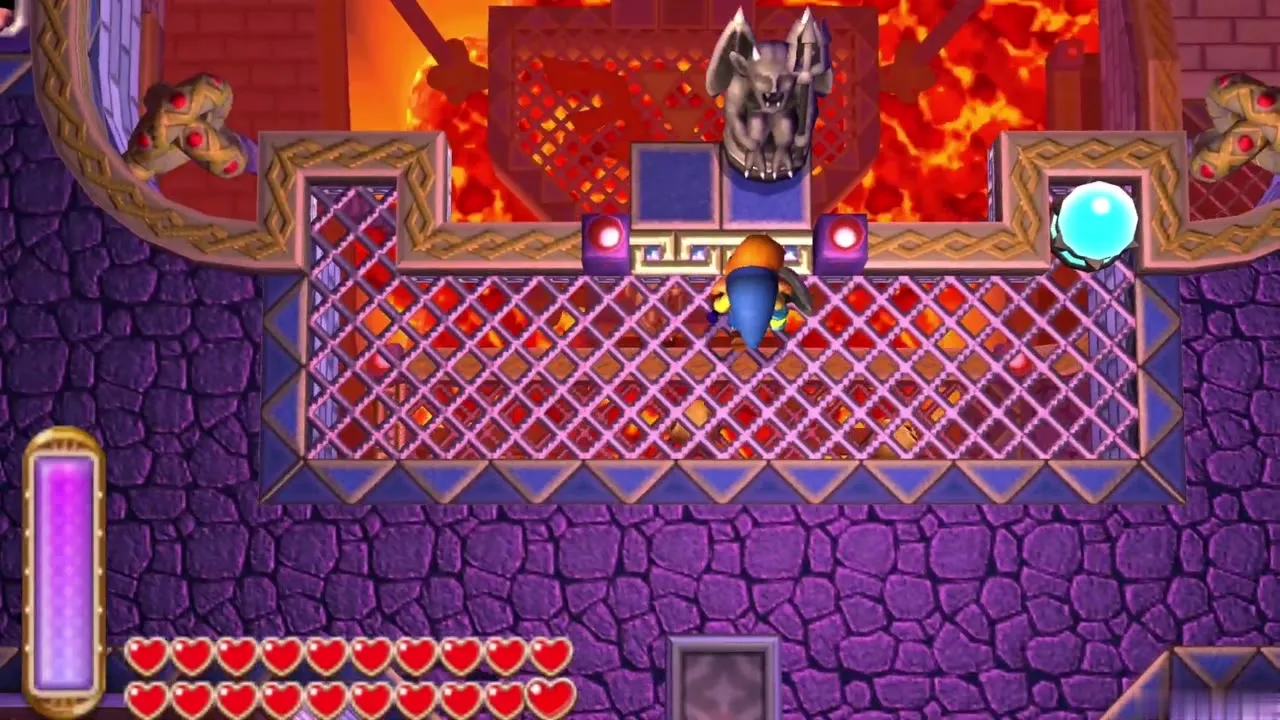
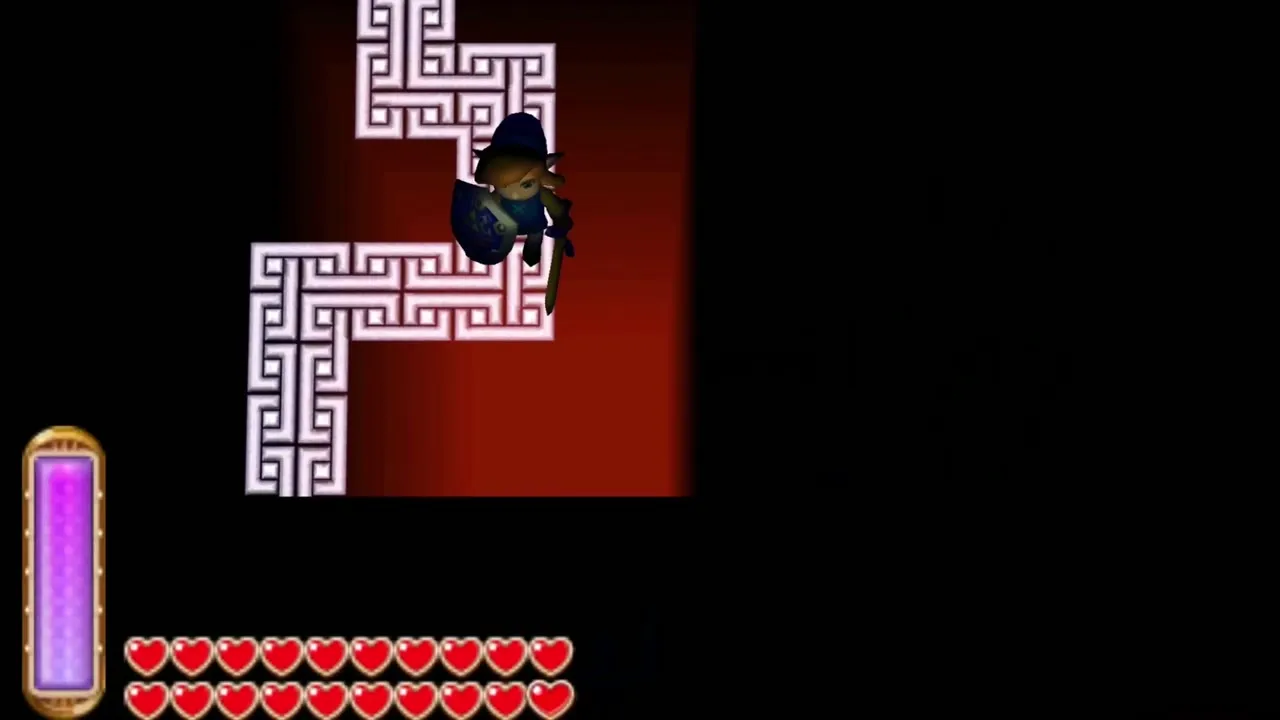
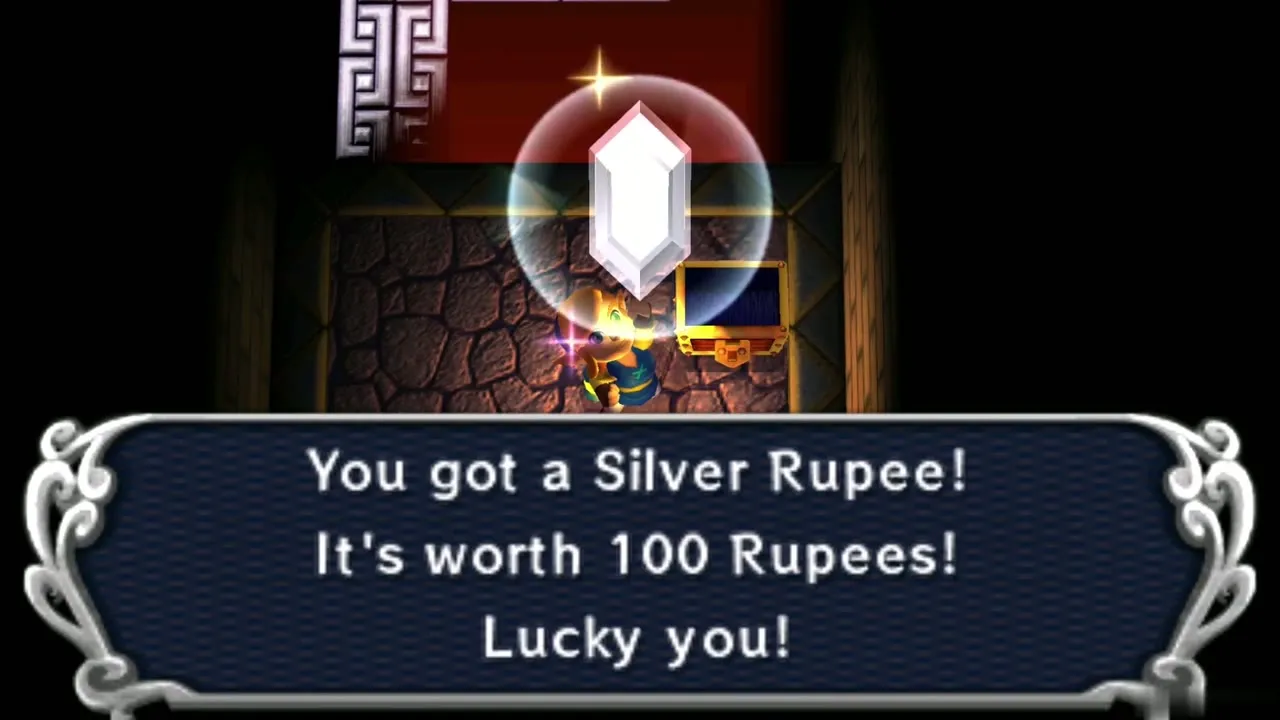
Put out the torches near that chest to reveal a narrow glowing path across the dark pit. Walk it to a chest holding a Silver Rupee, worth 100. The path shows only while the torches are out, so memorize its turns before you walk it.
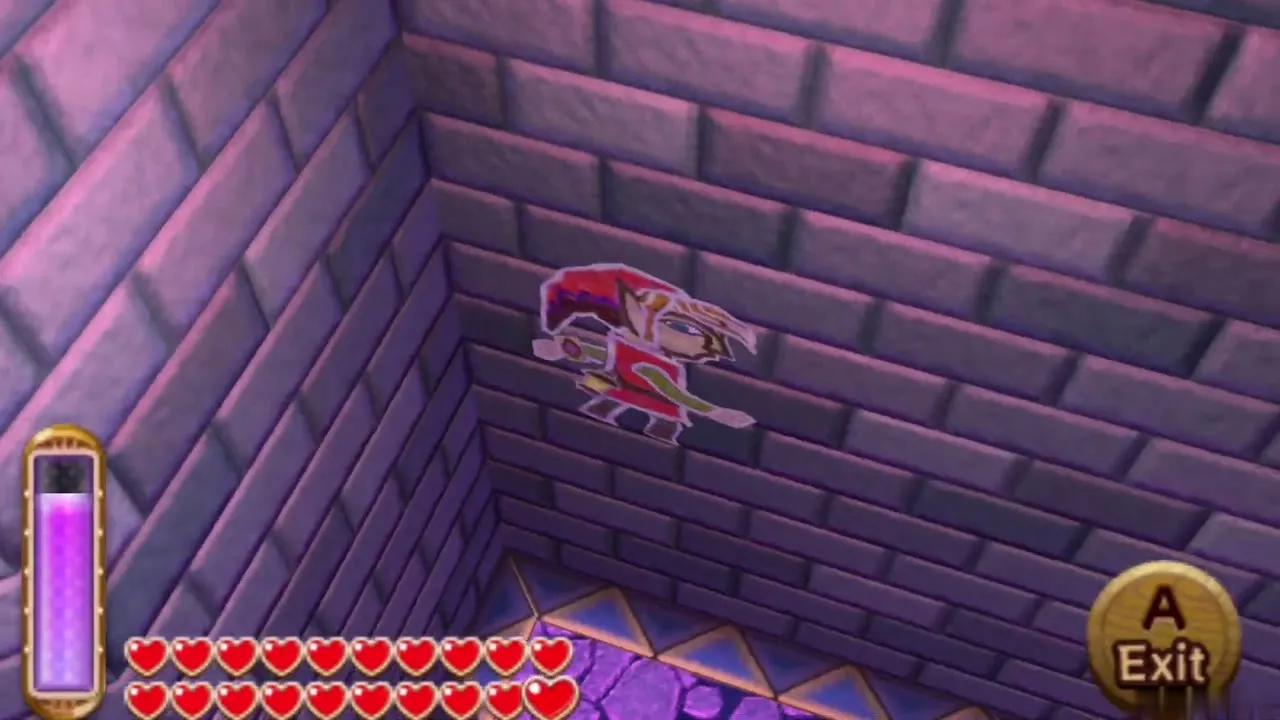
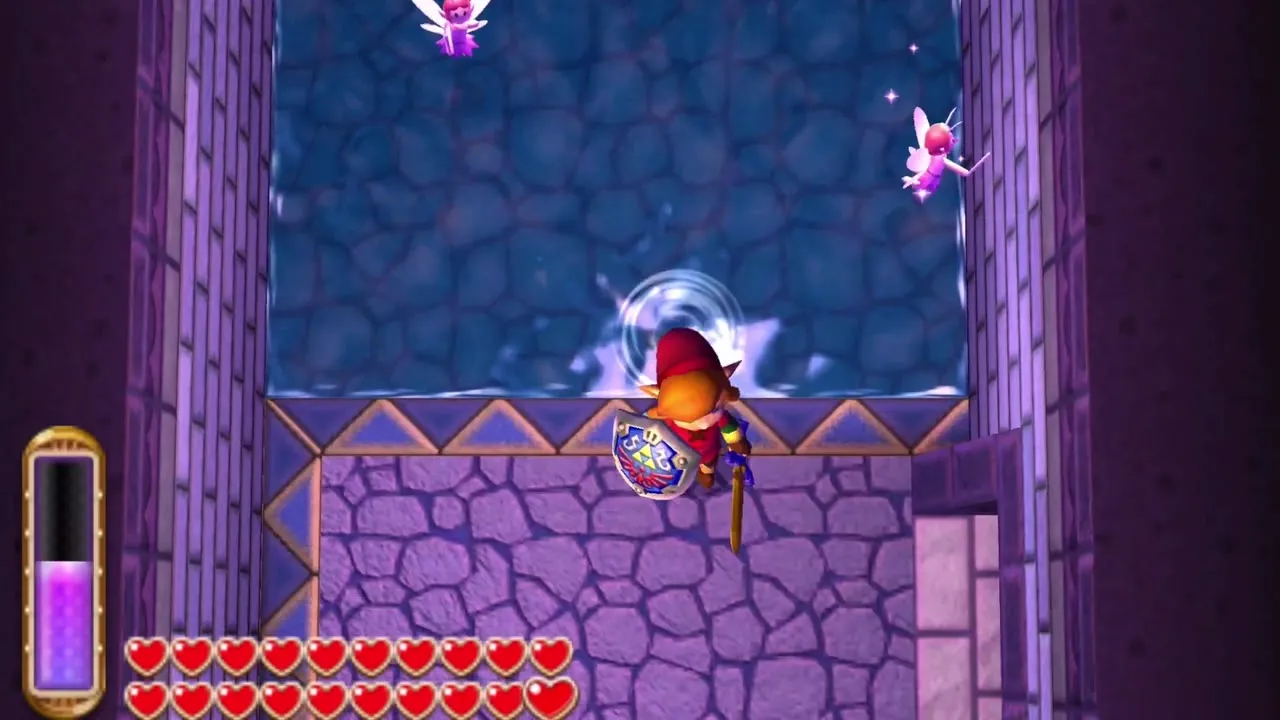
The 2F pool of Fairies is reached from above. Use the lower-left door to climb to 3F, merge into the right wall at the top of the steps, walk right and leave the wall above the hole, then drop down. Back on 2F, merge into the wall and travel right to the Fairies. Catch one in an empty Bottle if you have one, since it works as a spare life.
3F central hall and the Small Key
Warp switch and the 1F Small Key
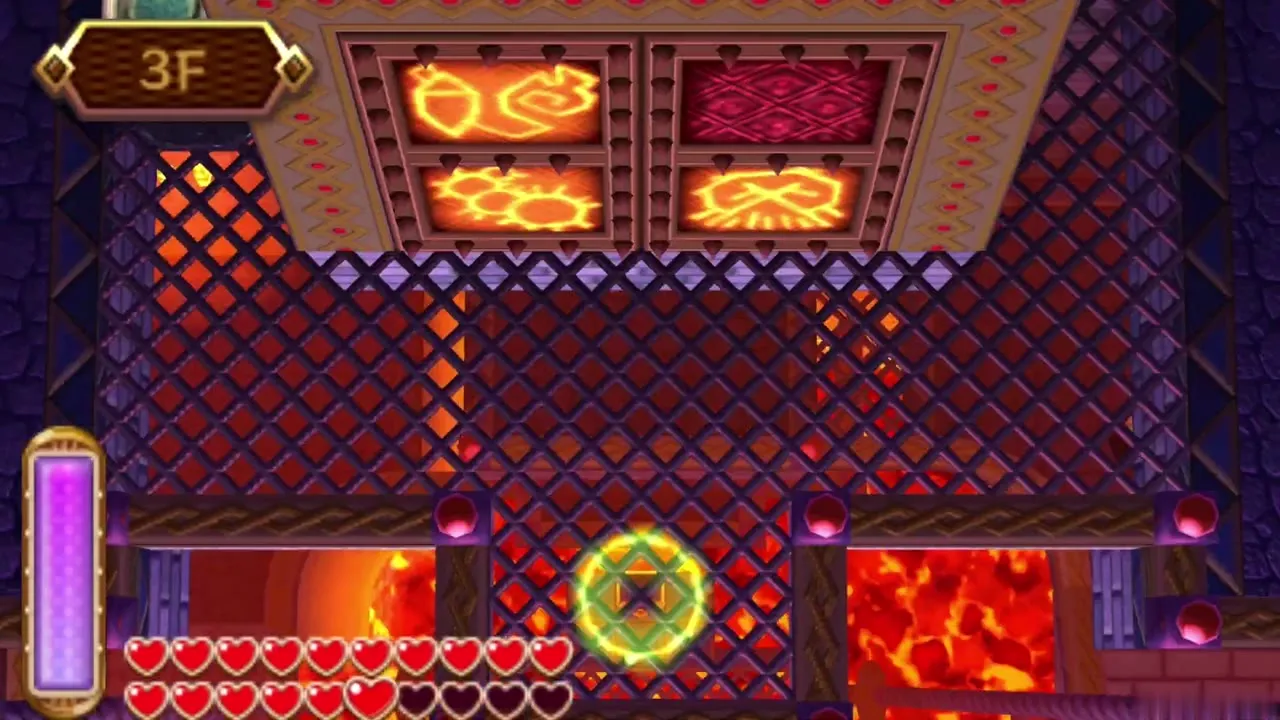
On 3F, strike the round switch in the middle of the hall. It creates a warp between this ledge and the entrance, which saves a lot of backtracking. The huge door ahead shows four mini-boss emblems and will not open until all four are beaten.
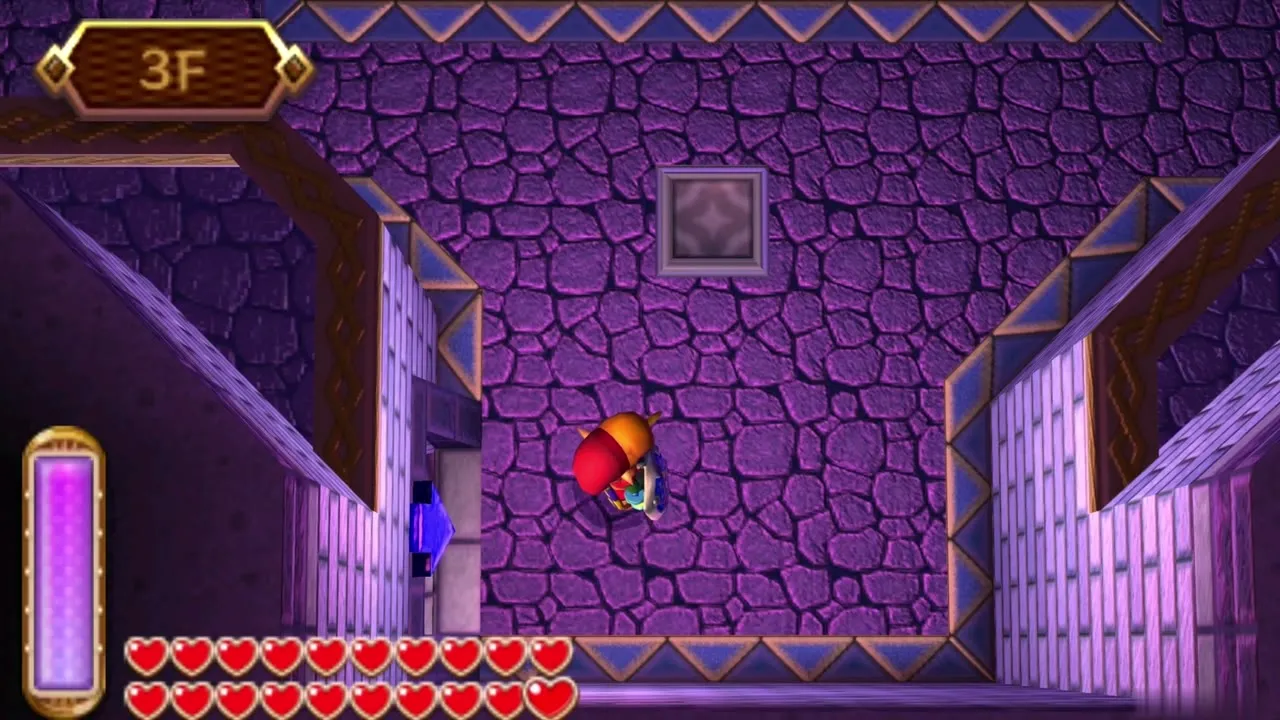
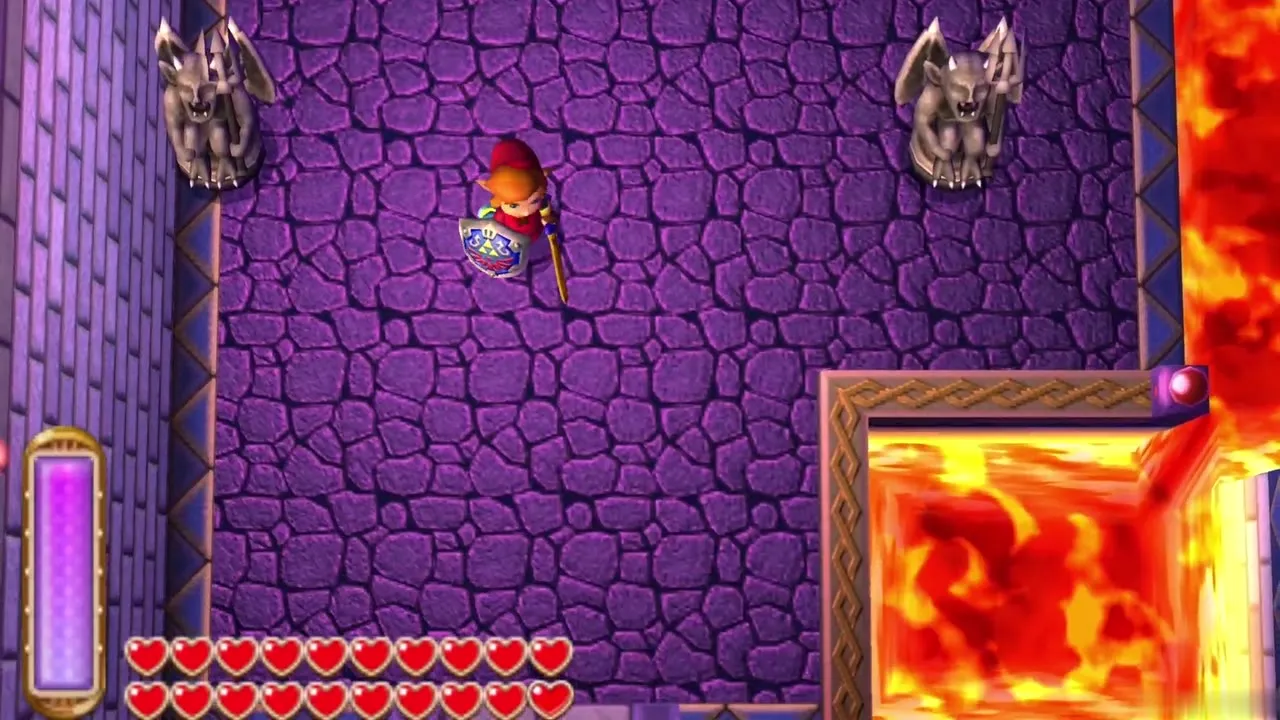
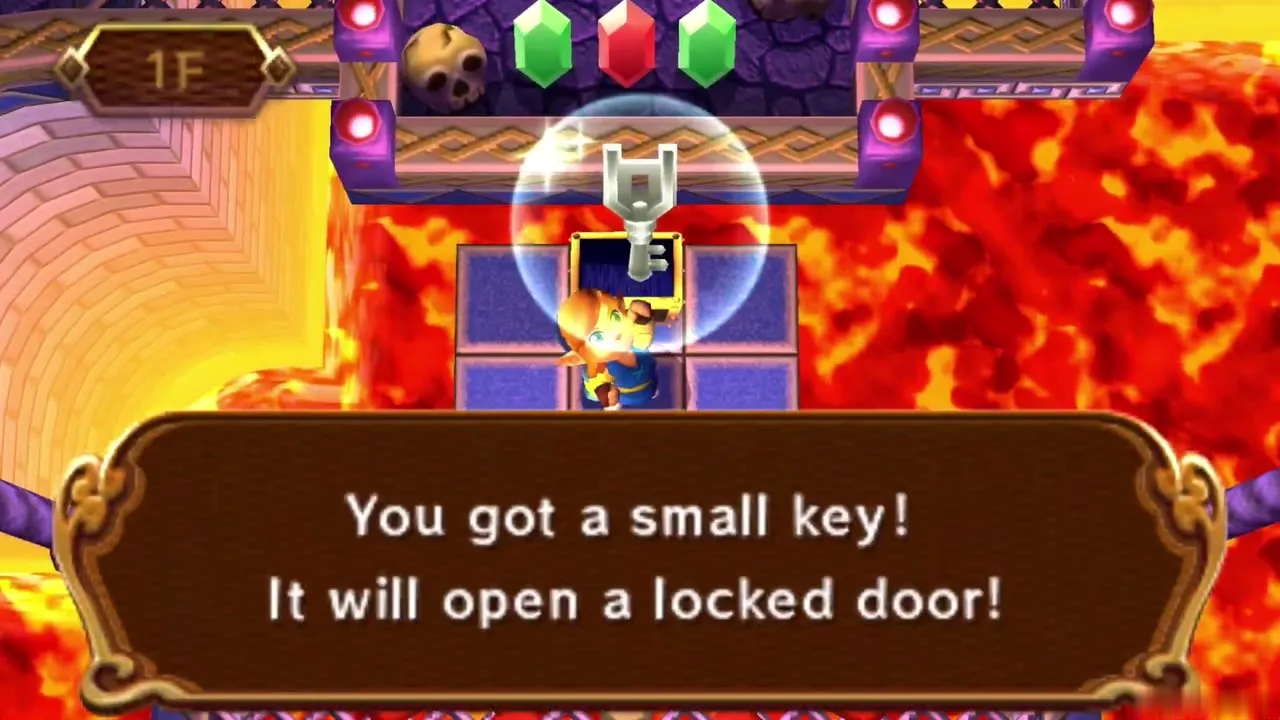
Push the two gargoyle statues off the platform’s north edge so they fall to 1F, then drop down after them. A chest on 1F holds a Small Key. Step on the warp, return to 3F and use the key on the locked door that leads up to 4F. Four more Small Keys wait inside the four puzzle rooms.
4F Compass and Red Mail
Compass
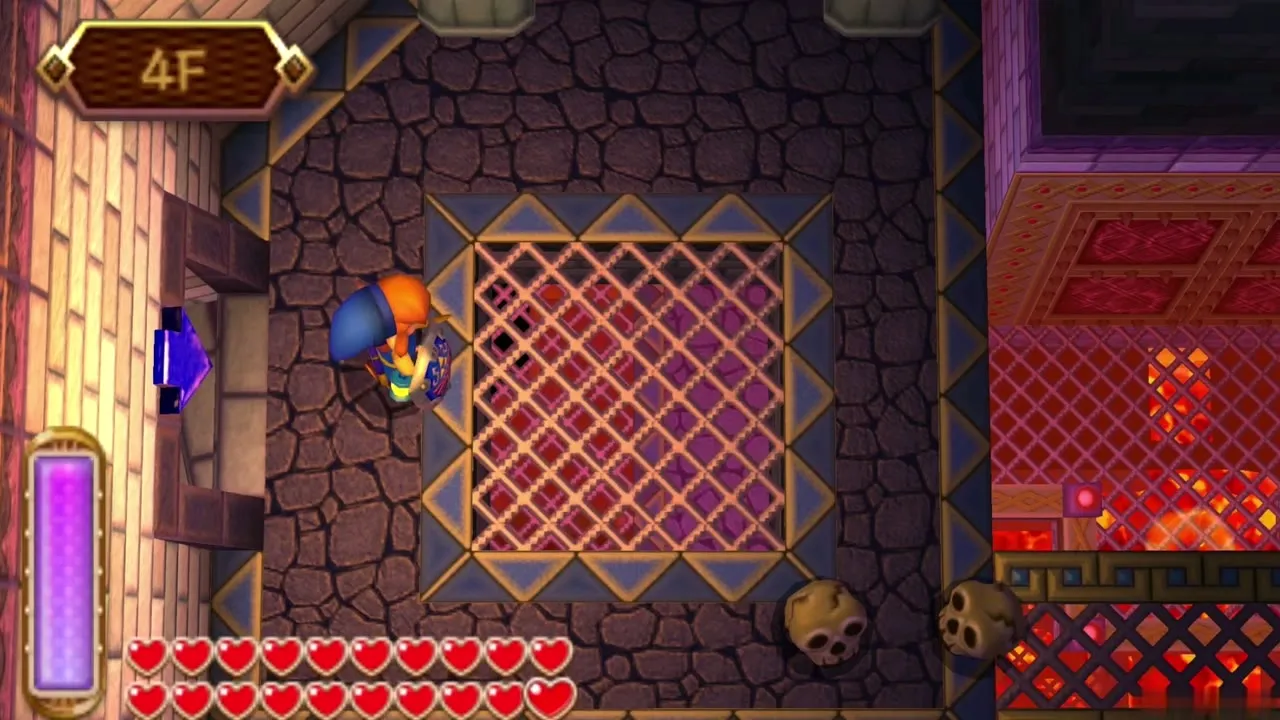
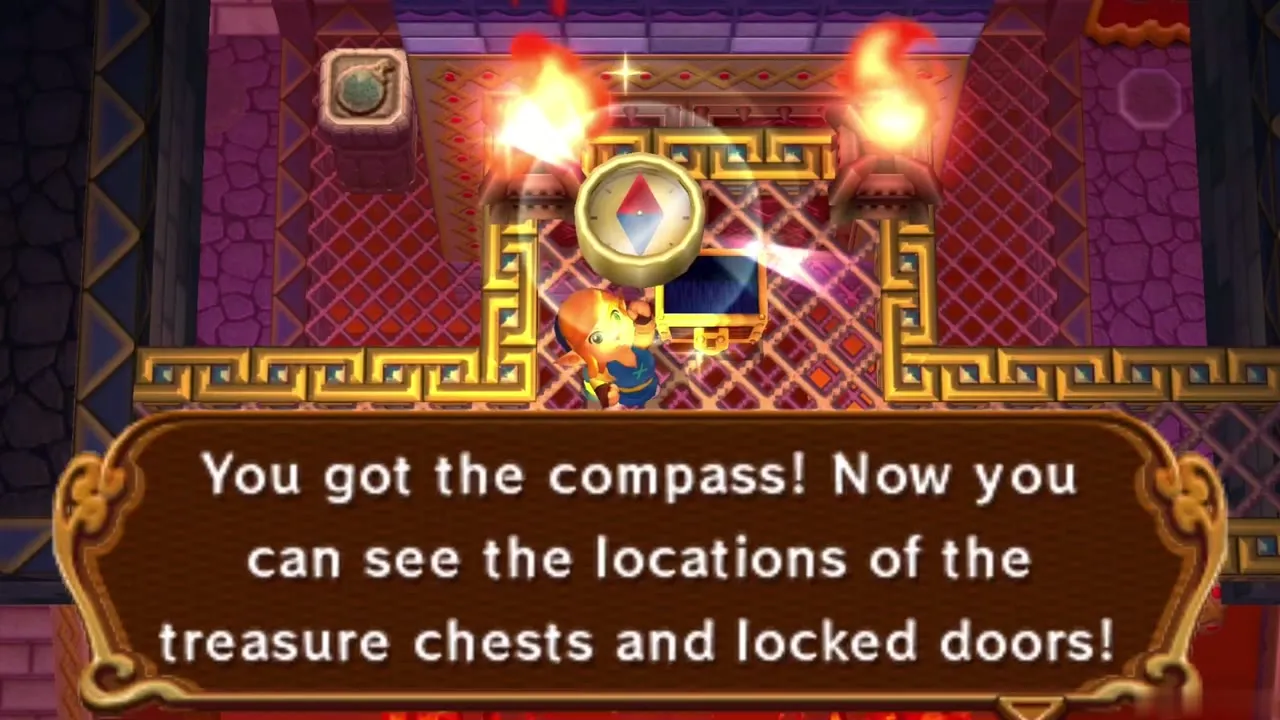
On the 4F landing, open the chest near the top of the central column to take the Compass. It shows the chests and locked doors on every floor. Four doors lead into the puzzle rooms, two on 3F and two on 4F. Tackle them in any order.
Red Mail
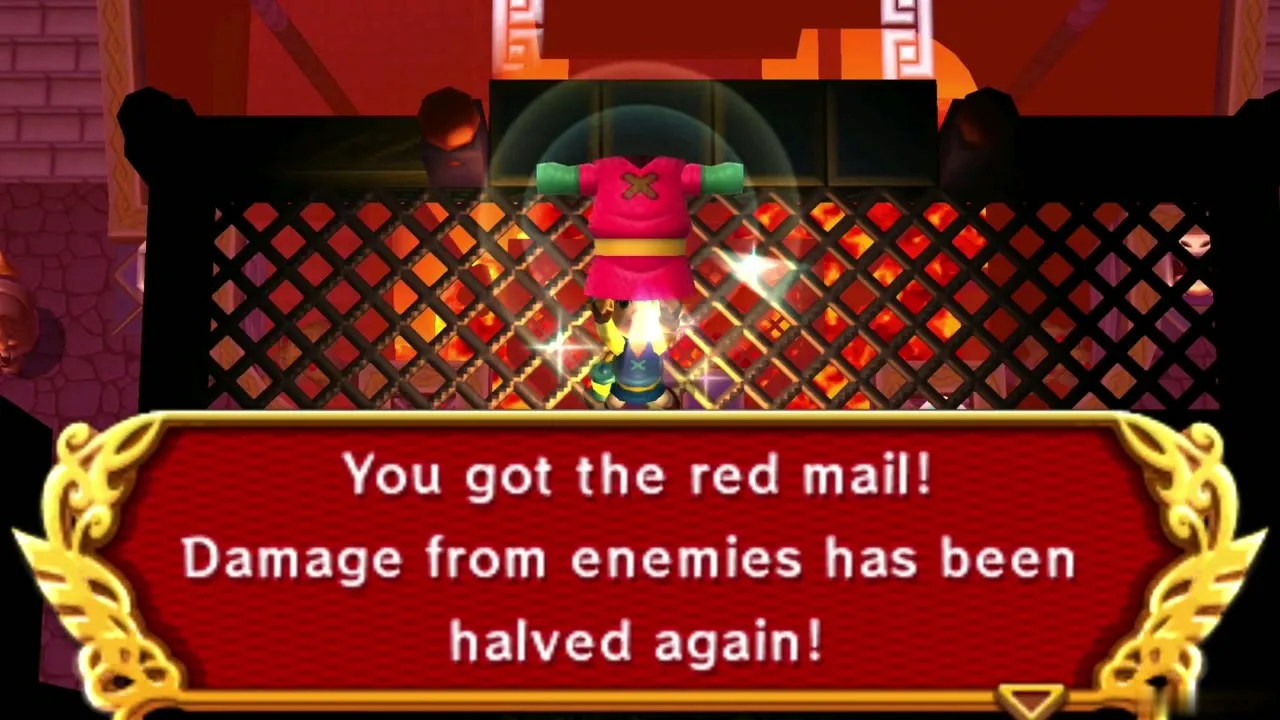
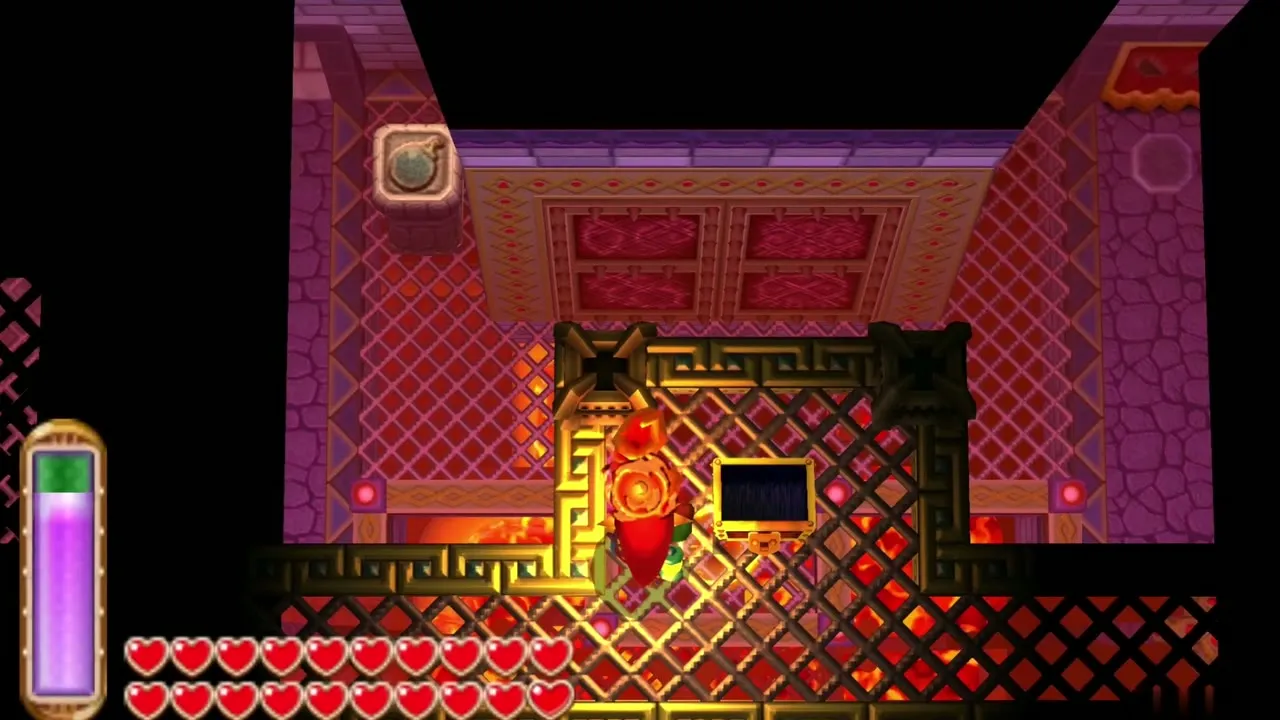
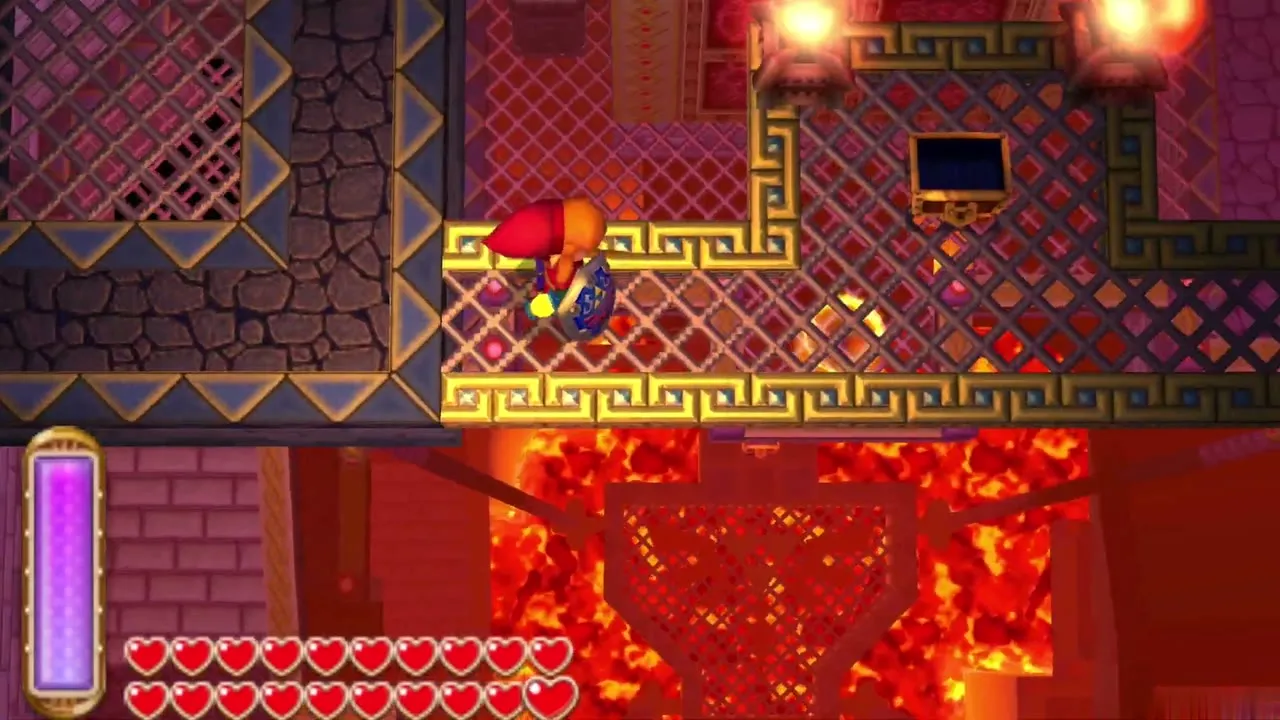
South of the Compass chest, a ledge holds the dungeon’s main item, but the way is hidden. Put out all of the torches on this floor and two narrow glowing paths appear across the pit. Walk them to the chest to take the Red Mail, which cuts the damage you take. If you do not own the Blue Mail yet, it is in this chest instead, and the Red Mail turns up in the Swamp Palace.
Moldorm room (3F)
Bomb maze
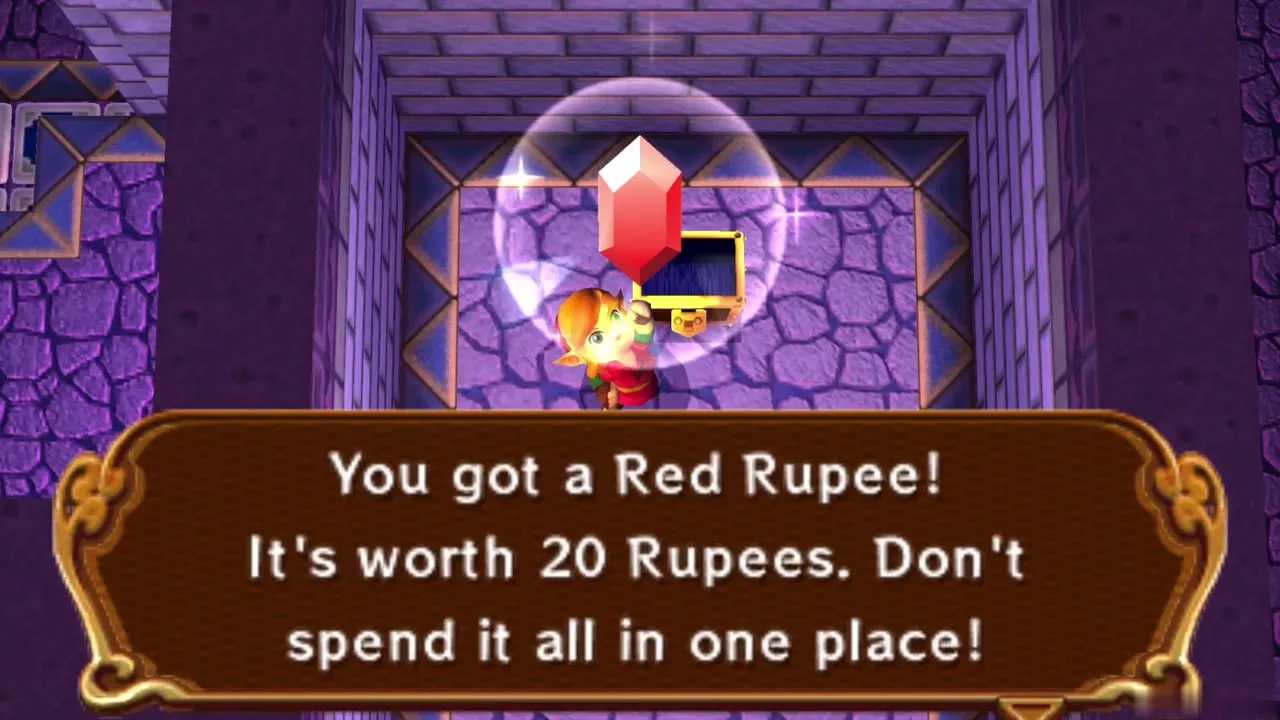
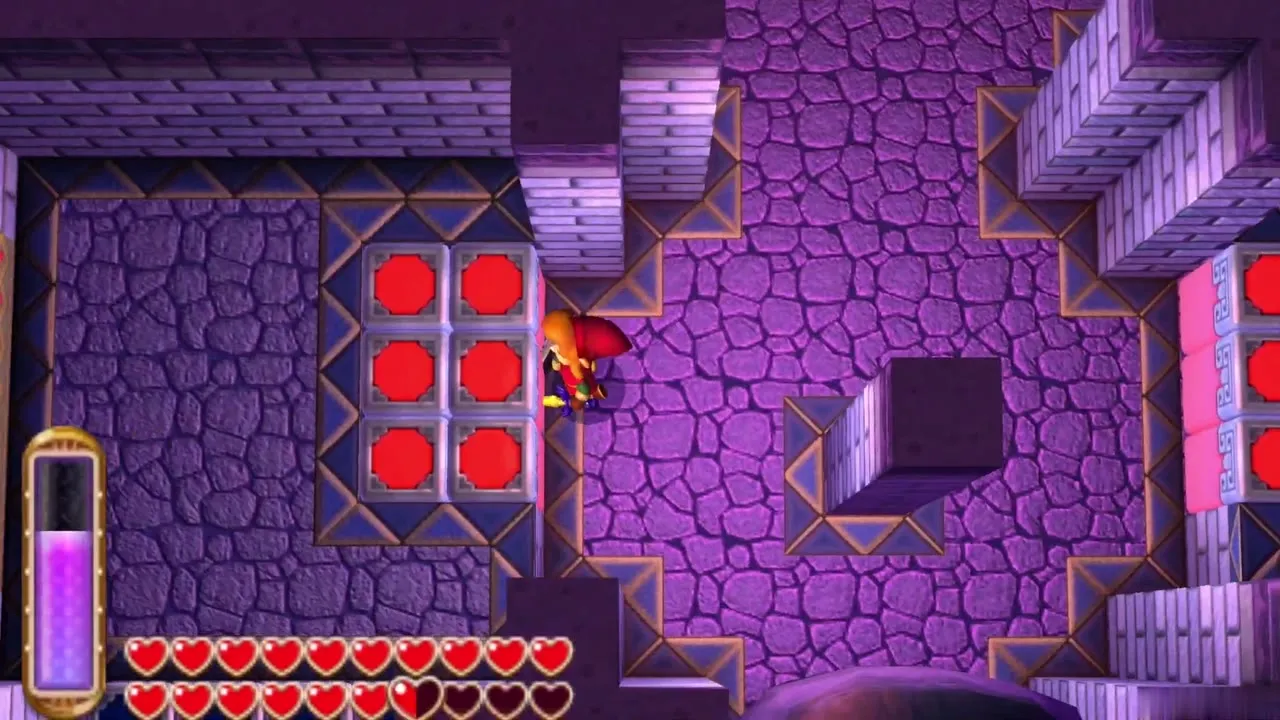
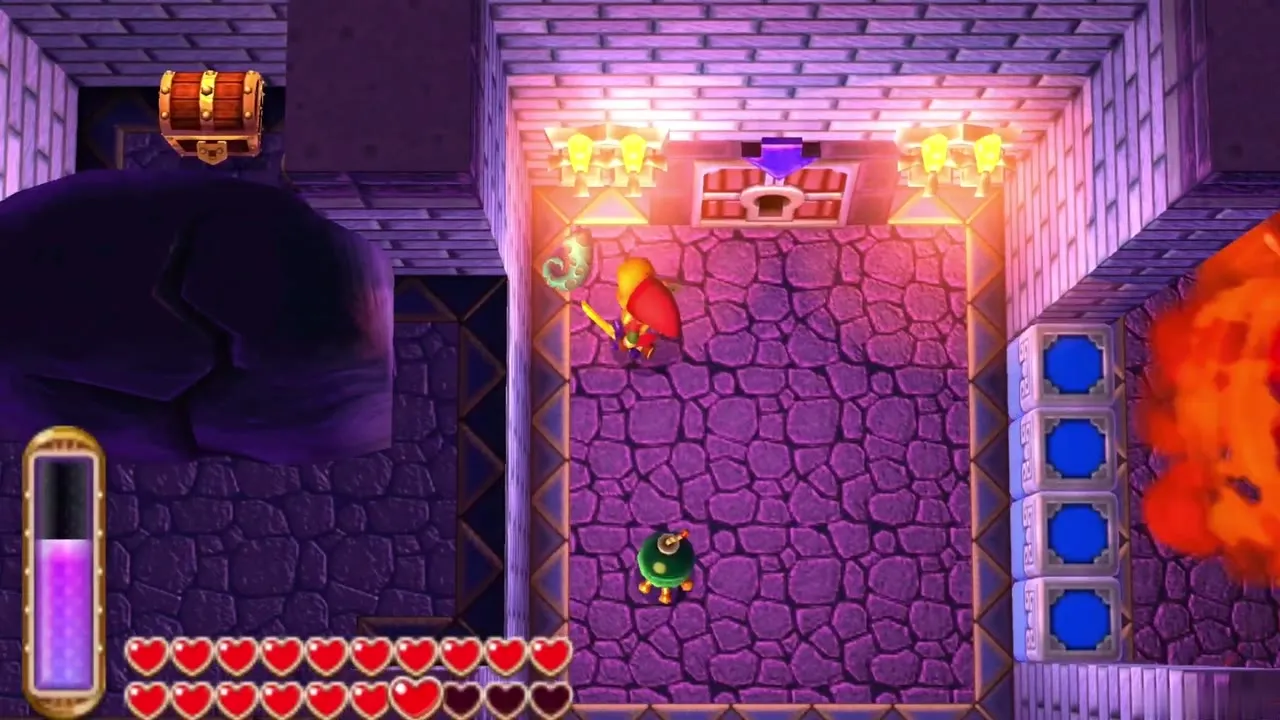
Step on the raised tile to enter. Round switches raise and lower red and blue blocks, so throw Bombs onto the switches from behind the walls to change them, then cross the open floor before it rises again. A chest on the way holds a Red Rupee, and the lowered blocks let you drop down to the next part.
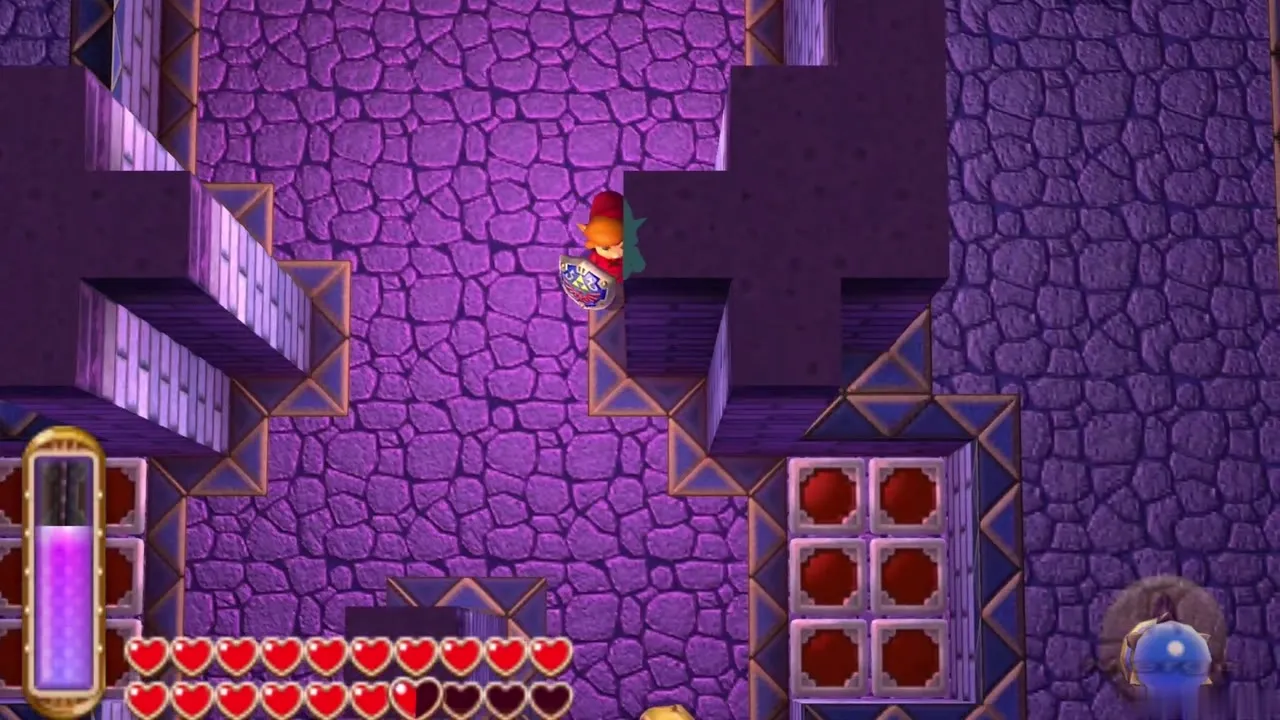
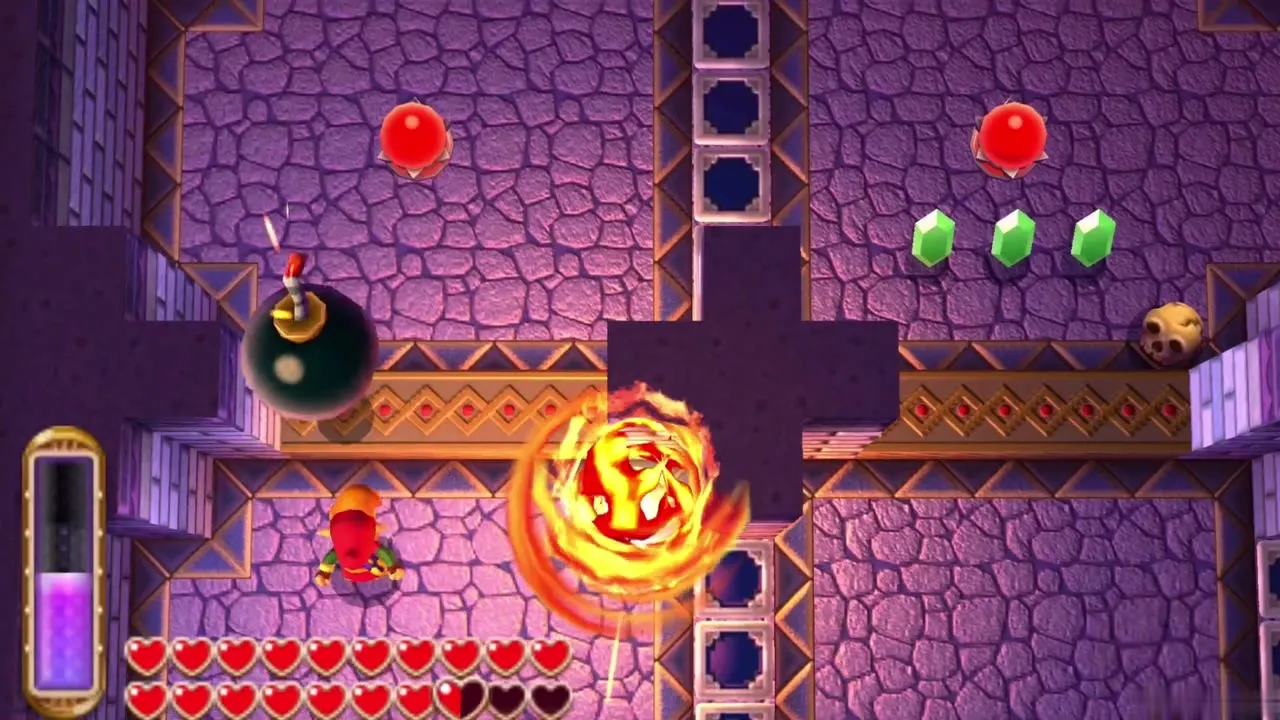
Partway through you meet a Big Bomb Flower. Pull it up and carry it carefully, because dropping it sets it off. Lead it past soldiers, a fire-spitting block and an ice-spitting block, clearing them with ordinary Bombs and the Ice Rod. Set it down against the large cracked rock at the end. The blast opens a chest with a Small Key.
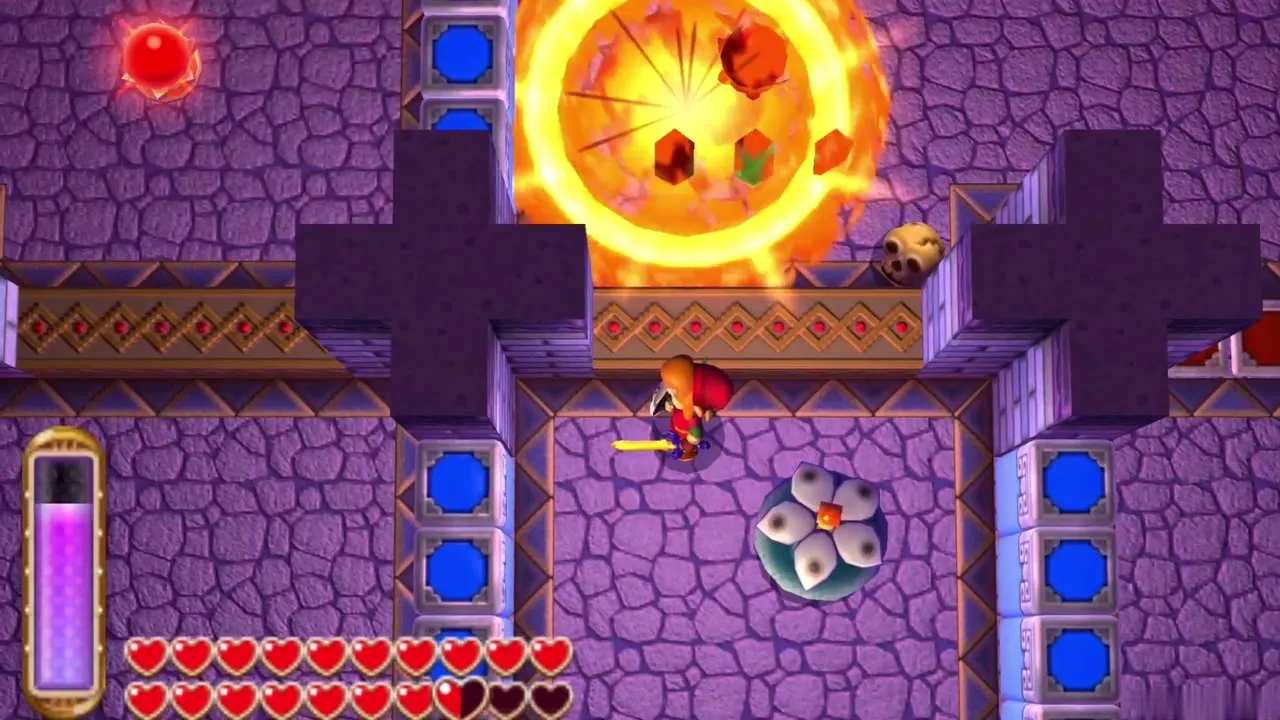
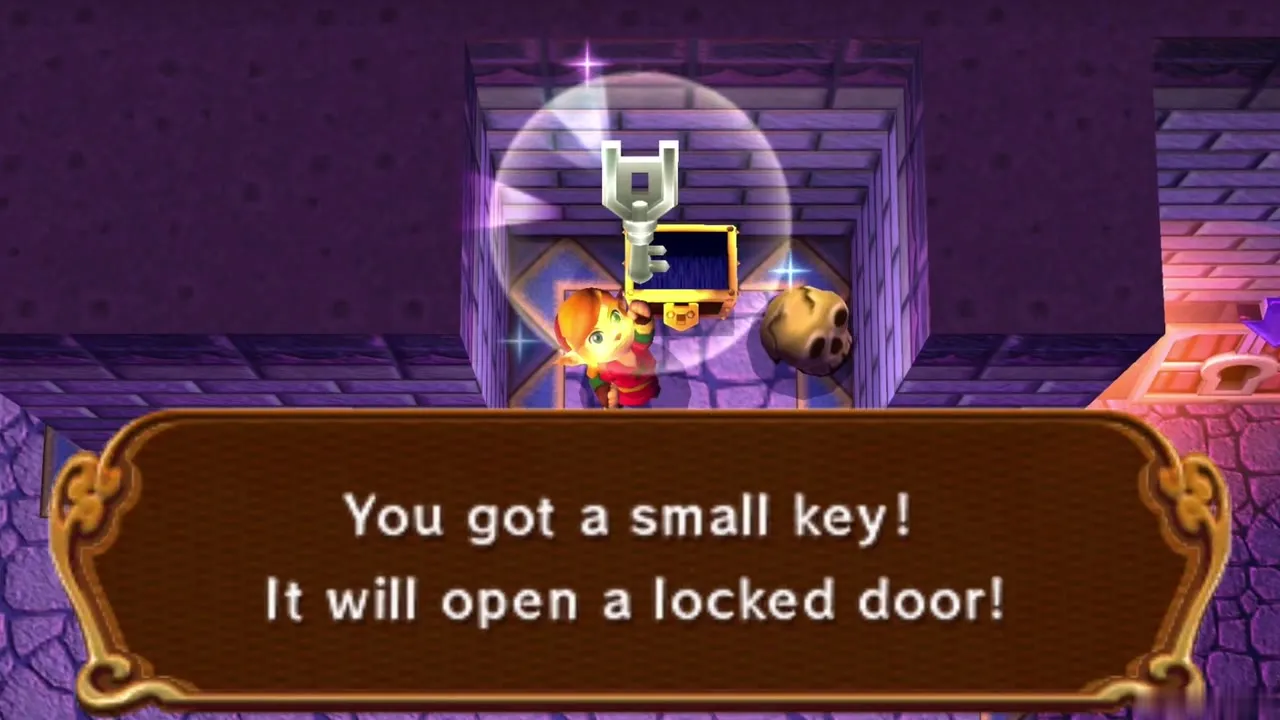
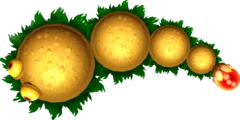
Purple Moldorm boss fight
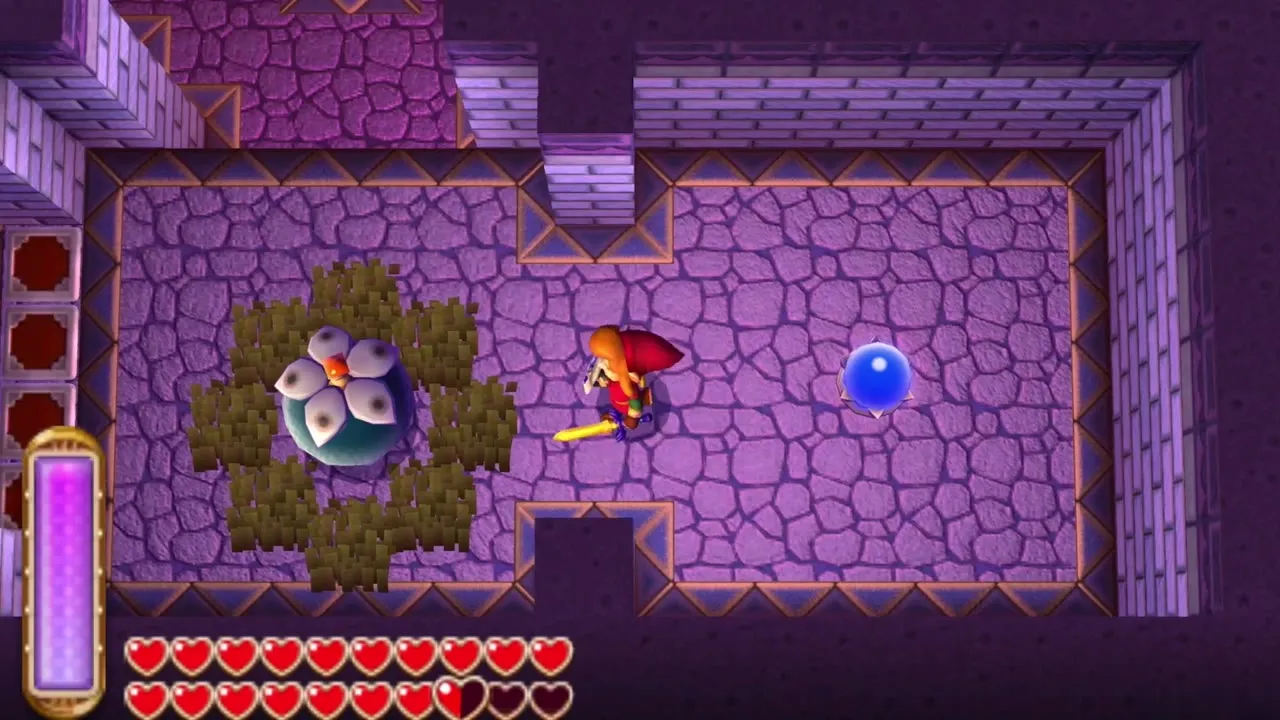
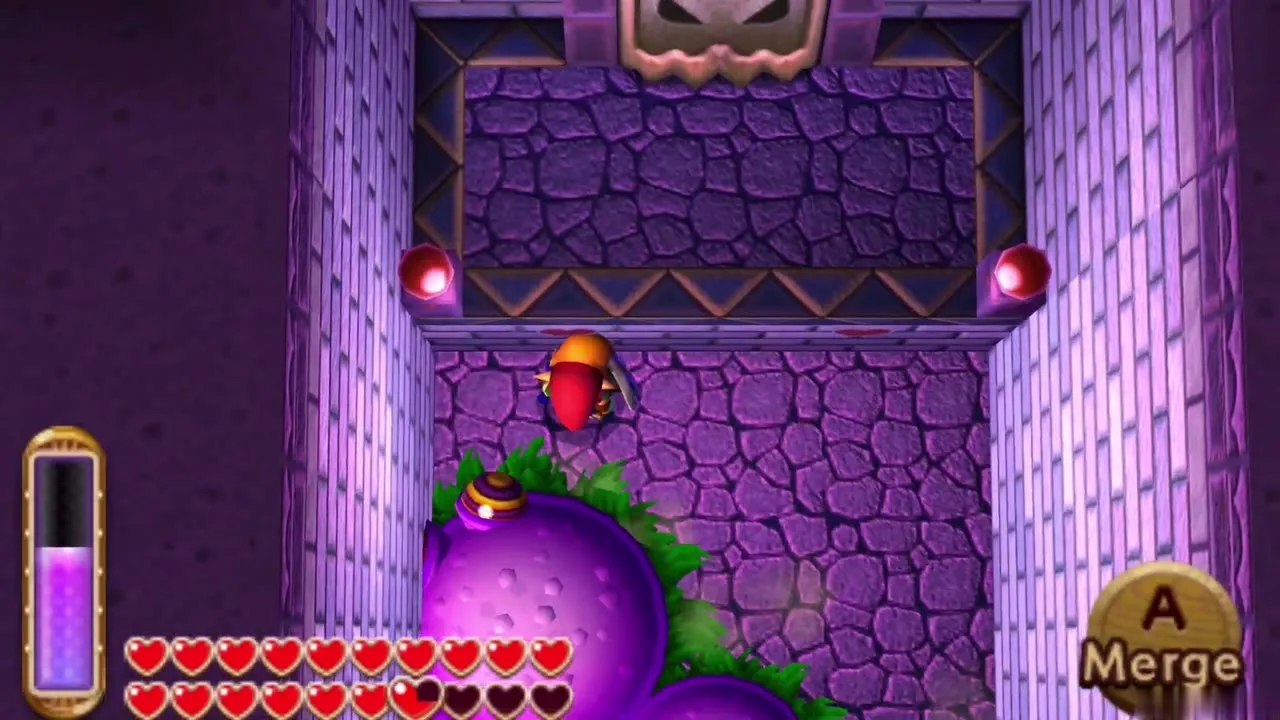
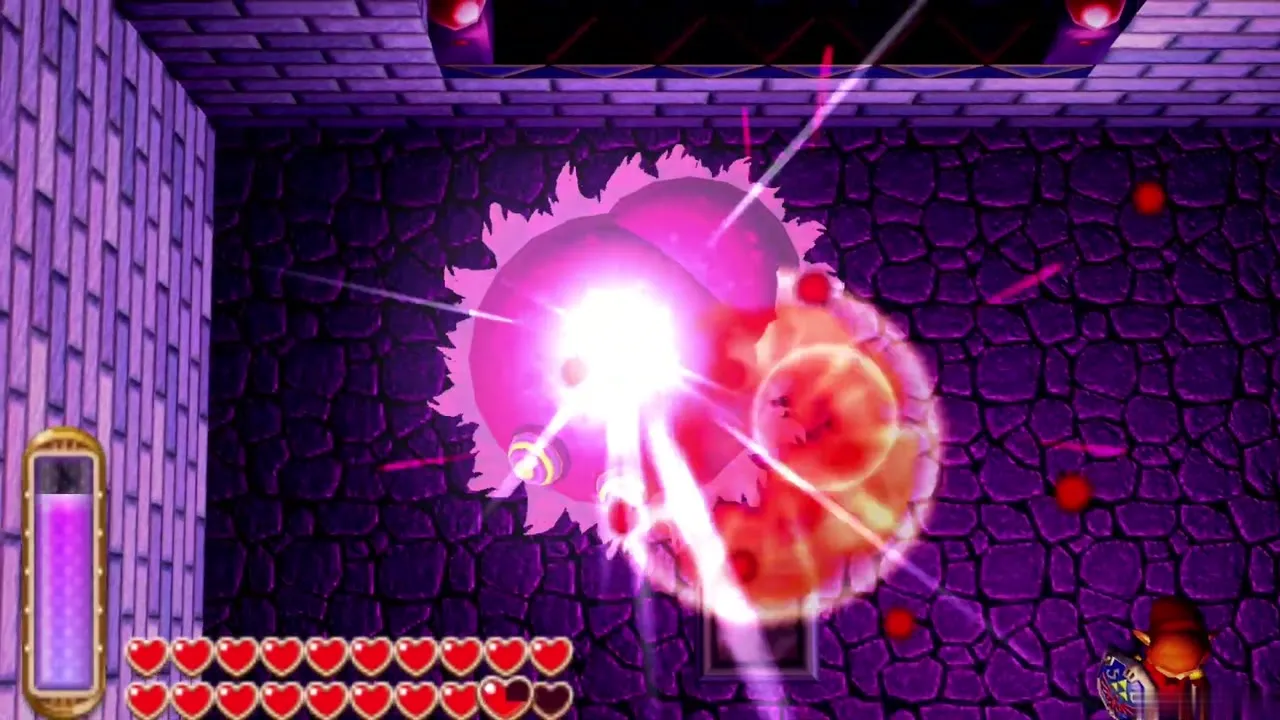
Use the key on the locked door and drop into a small room. A purple Moldorm wriggles around it while the walls squeeze closer. Merge into a wall when it comes near and hit its glowing tail with your sword, or throw Bombs at it. When it falls, a red warp tile returns you to 3F and lights one corner of the big door.
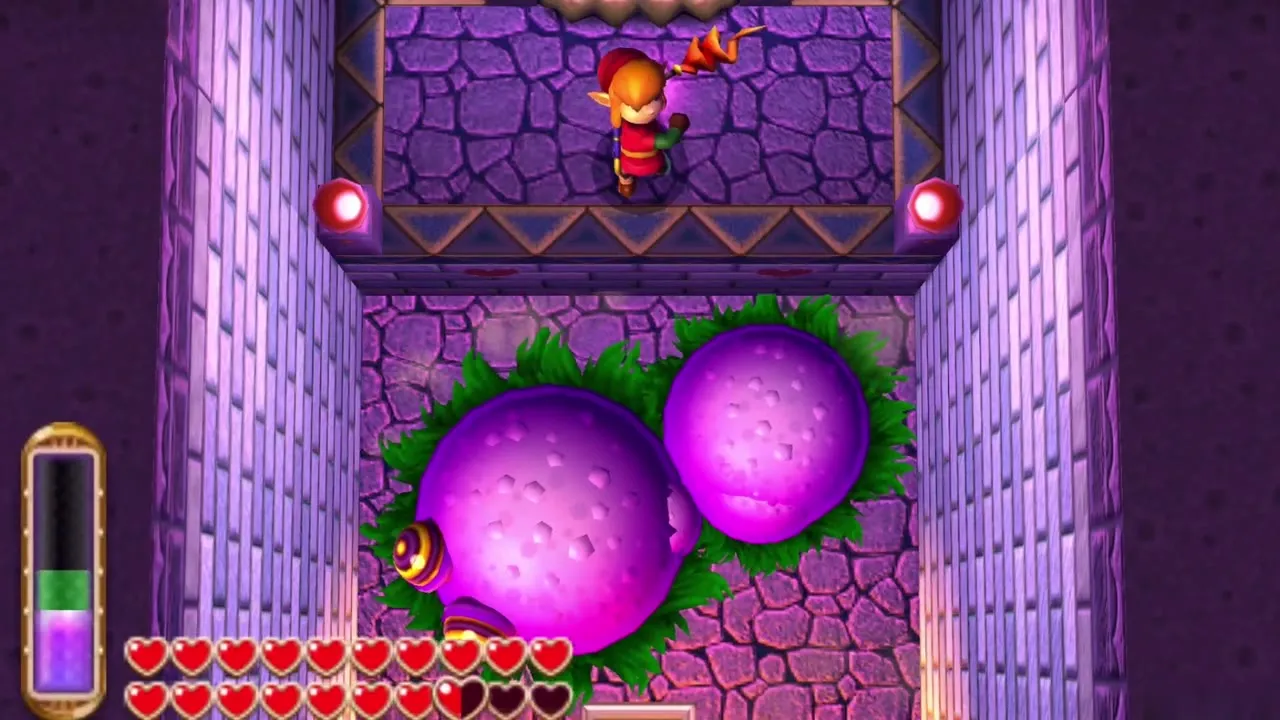
Gigabari room (3F)
Lava platforms and spiked balls
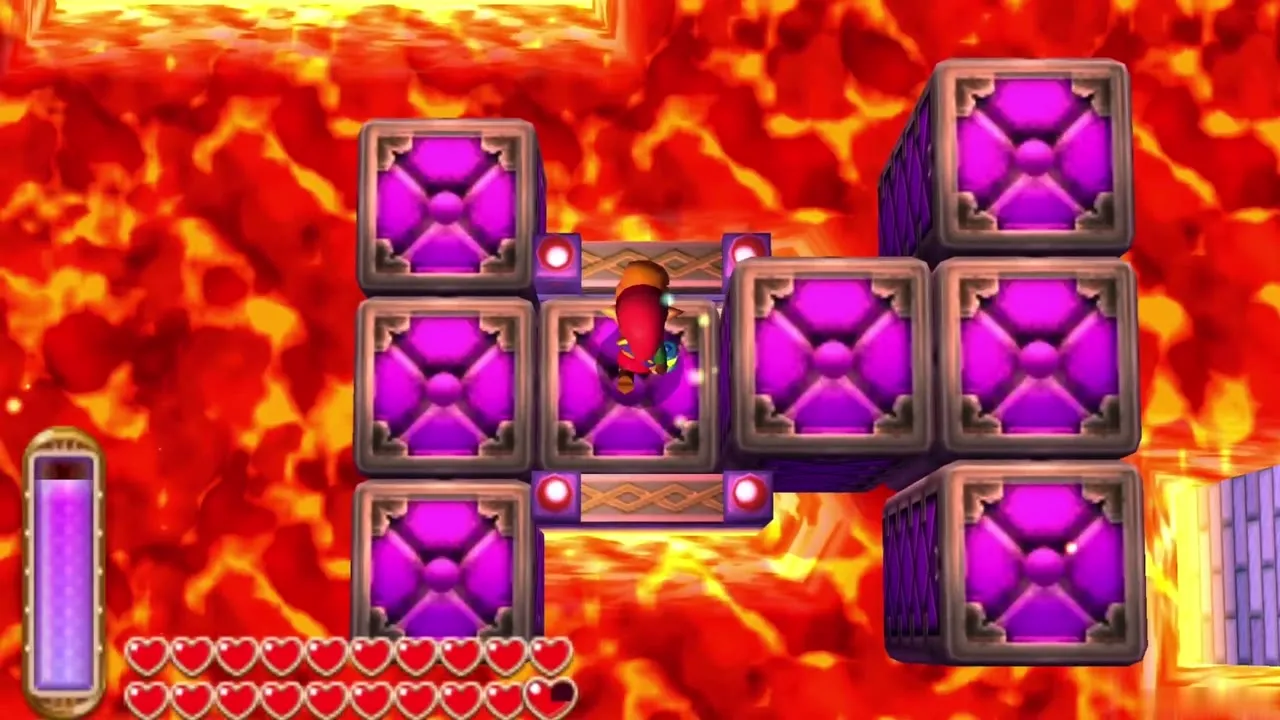
This room is mostly lava. Platforms rise only while you stand near them, so walk the purple path slowly. Pull the statue at the north edge to release a spiked ball, then follow it closely so the platforms keep rising beneath it. Another ball blocks the way to a small room, and the first one rolls into it and clears the route.
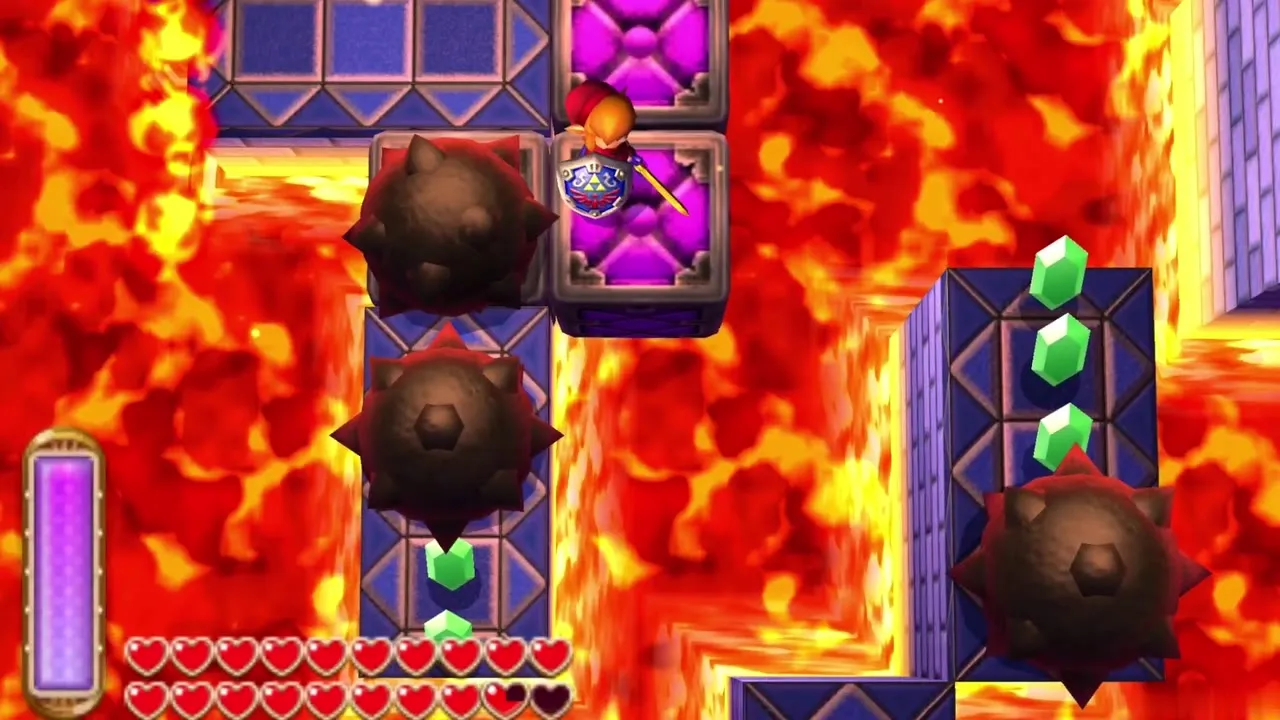
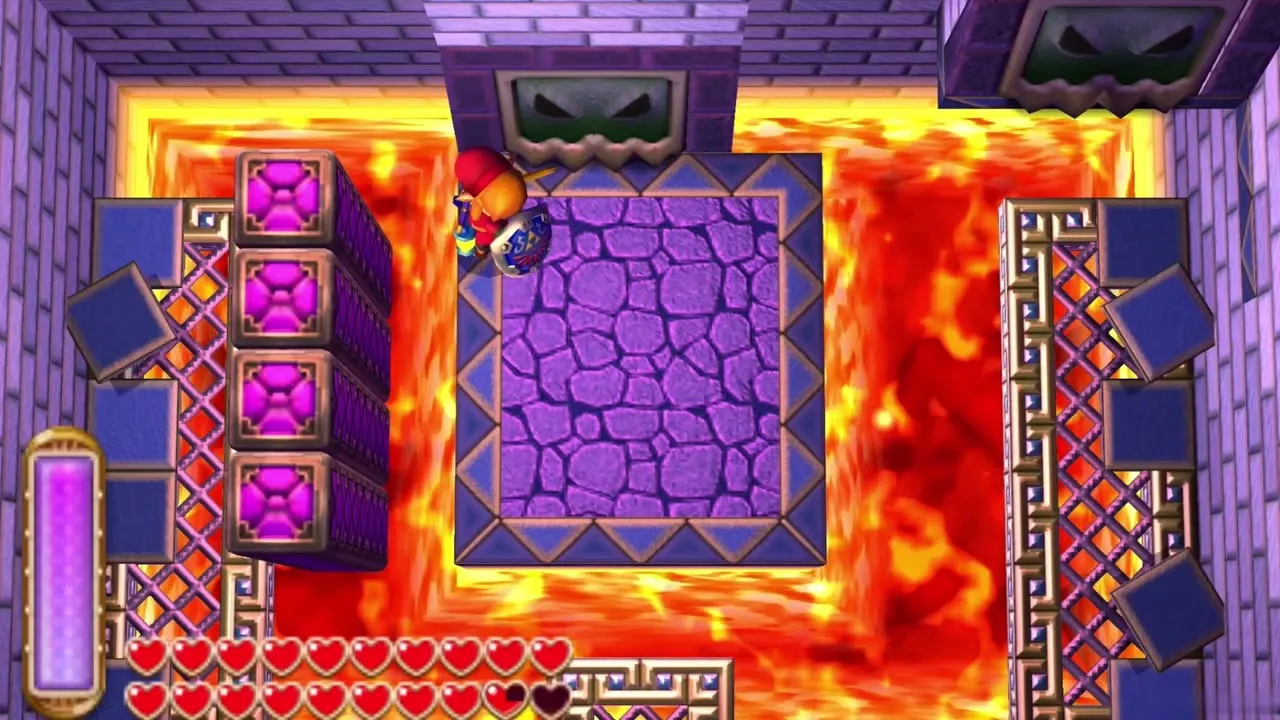
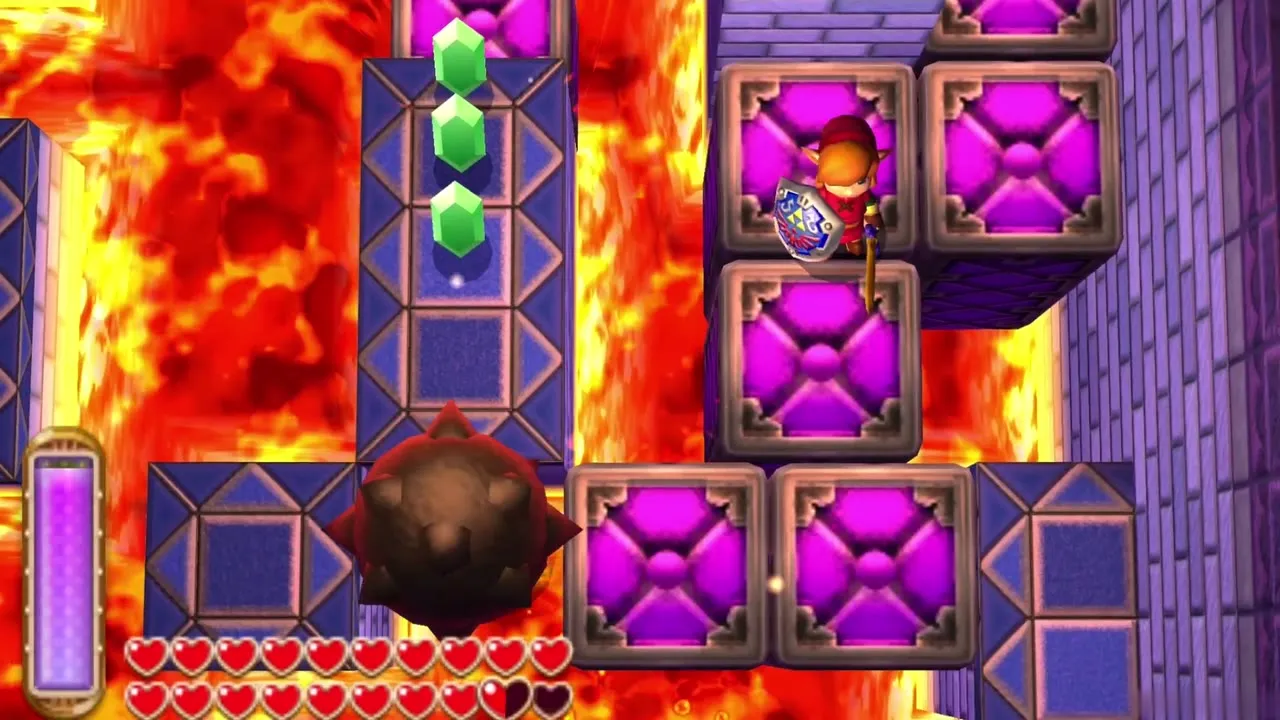
The small room holds flying floor tiles that fly at you. Hold your shield up until they have all attacked. A second exit then opens onto the rest of the lava. Repeat the trick with a second spiked ball, merging into obstacles to keep up with it. This reaches a chest holding a Small Key.
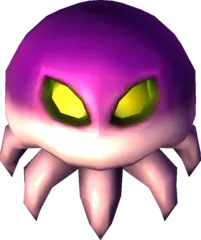
Purple Gigabari boss fight
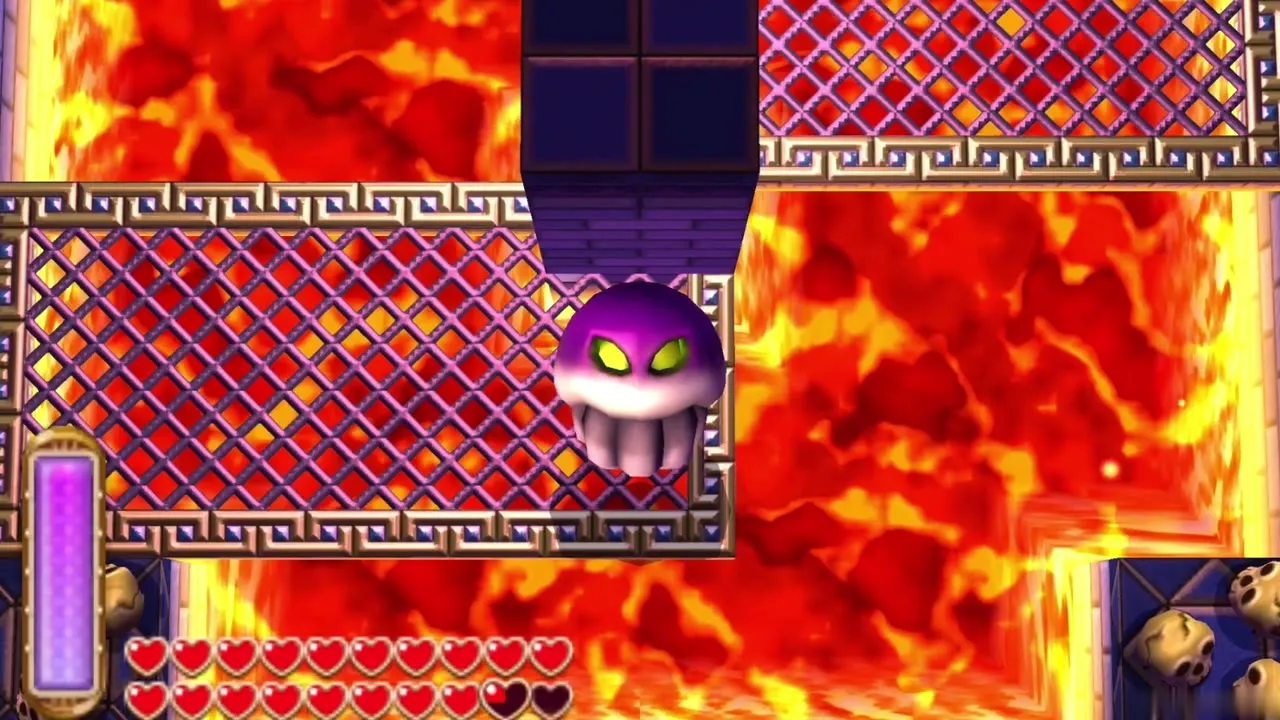
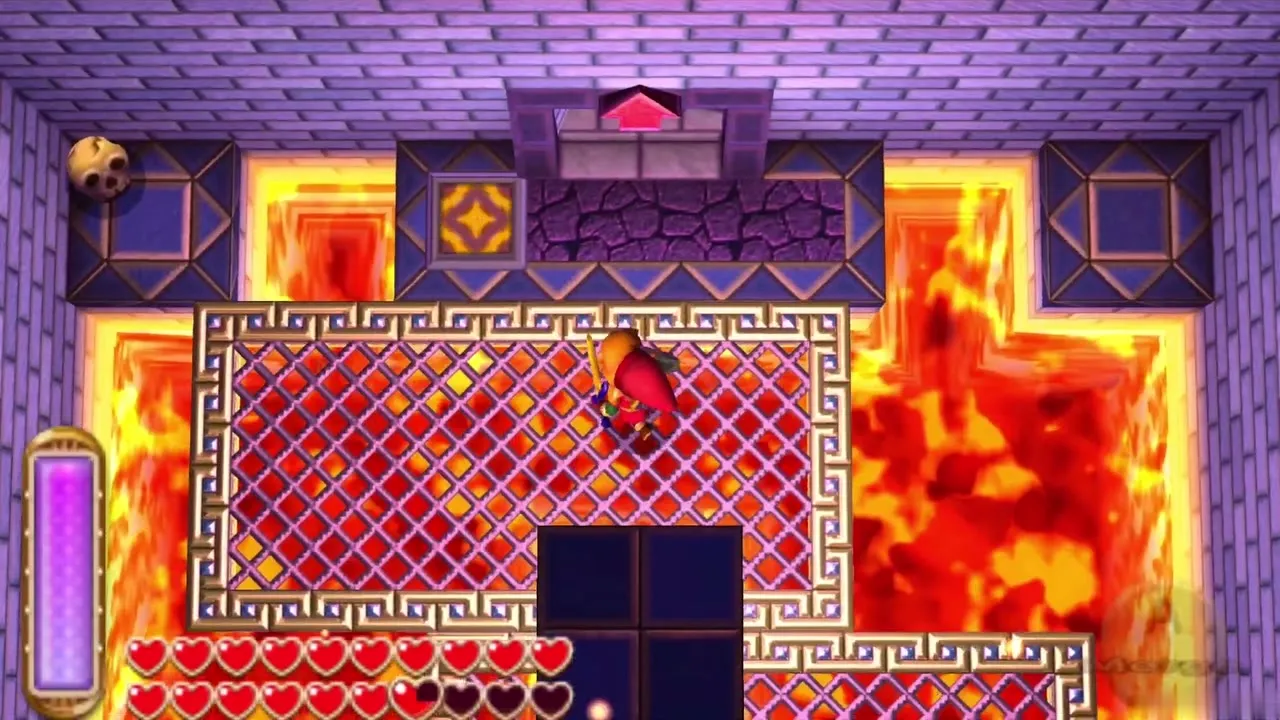
Open the locked door in the corner of the room. A purple Gigabari fights on grated platforms above lava. Slash it only while it is not charged with electricity. When it crackles, use the Hookshot, Bow or Ice Rod from range. When it splits into small Biri, shoot them or stun them first. The second corner of the big door lights.
Lantern room (4F)
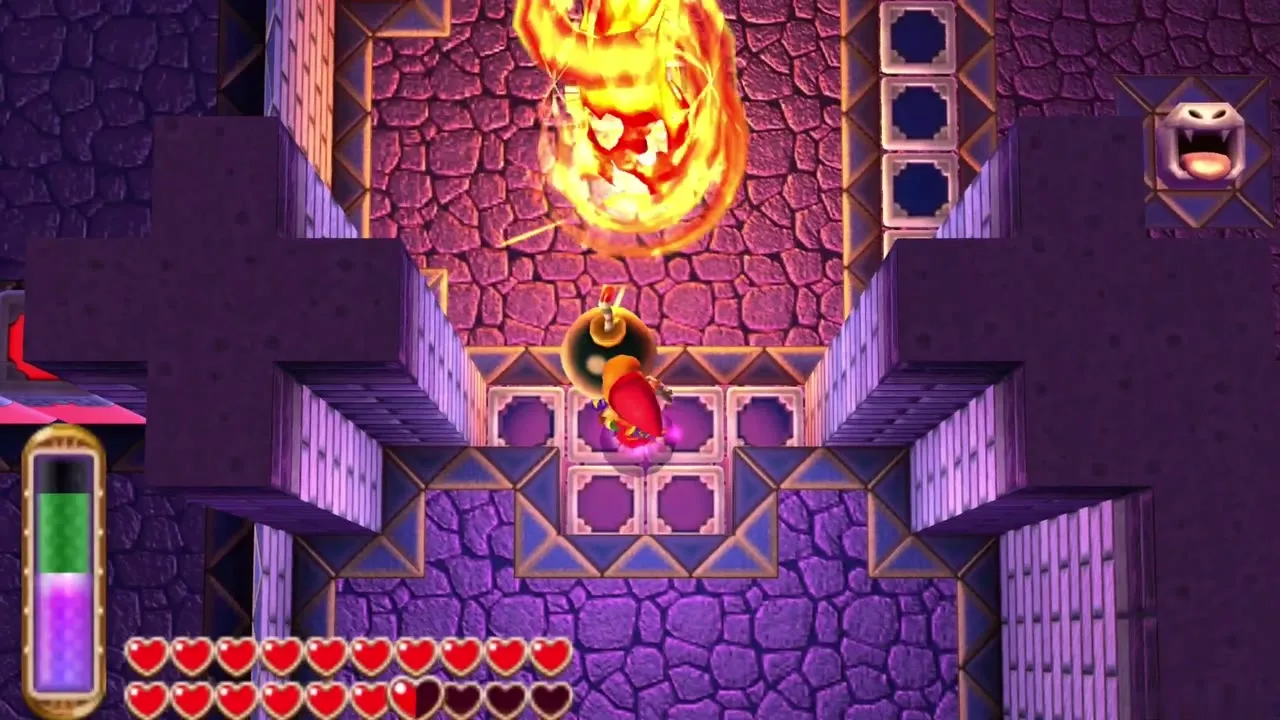
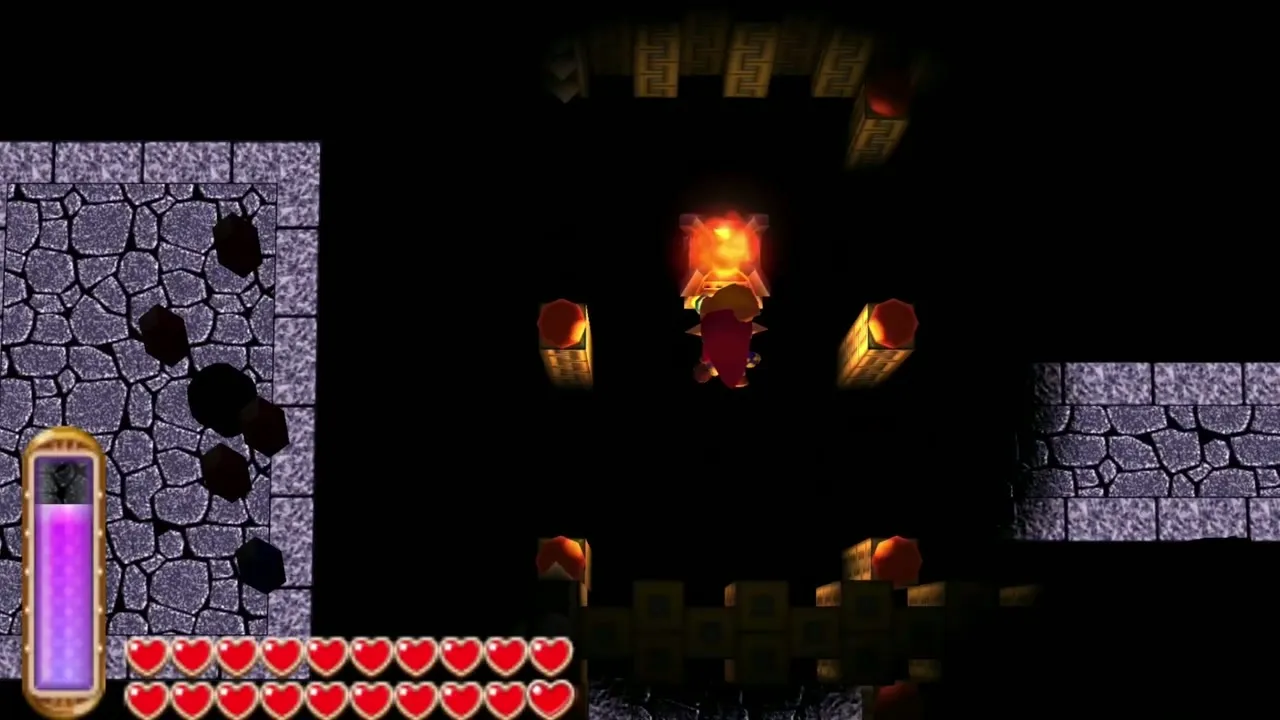
Invisible floor puzzle
The floor is invisible in this dark room, and walls block the way whenever it shows. Put out a torch to see the path, memorize it, then relight the torch so the walls retract. Walk the path in the dark to the next torch and repeat. At the north end a chest holds a Small Key. Ignore rupees placed as bait.
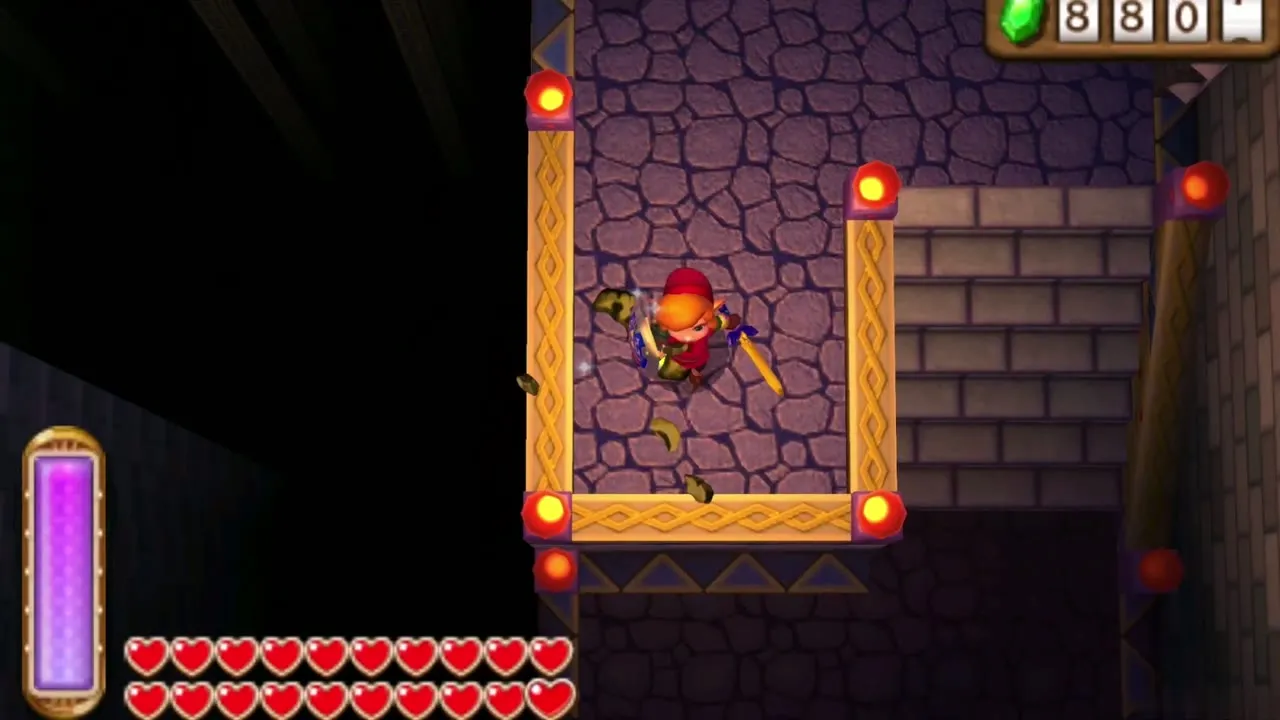
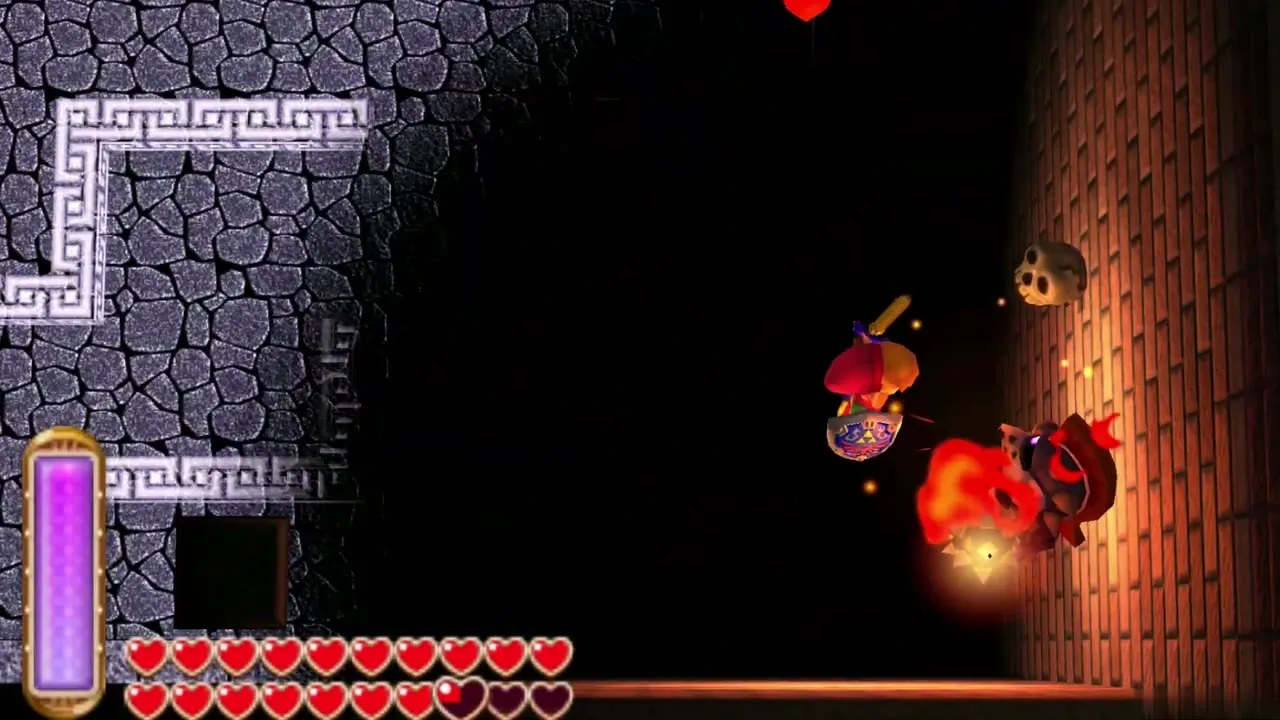
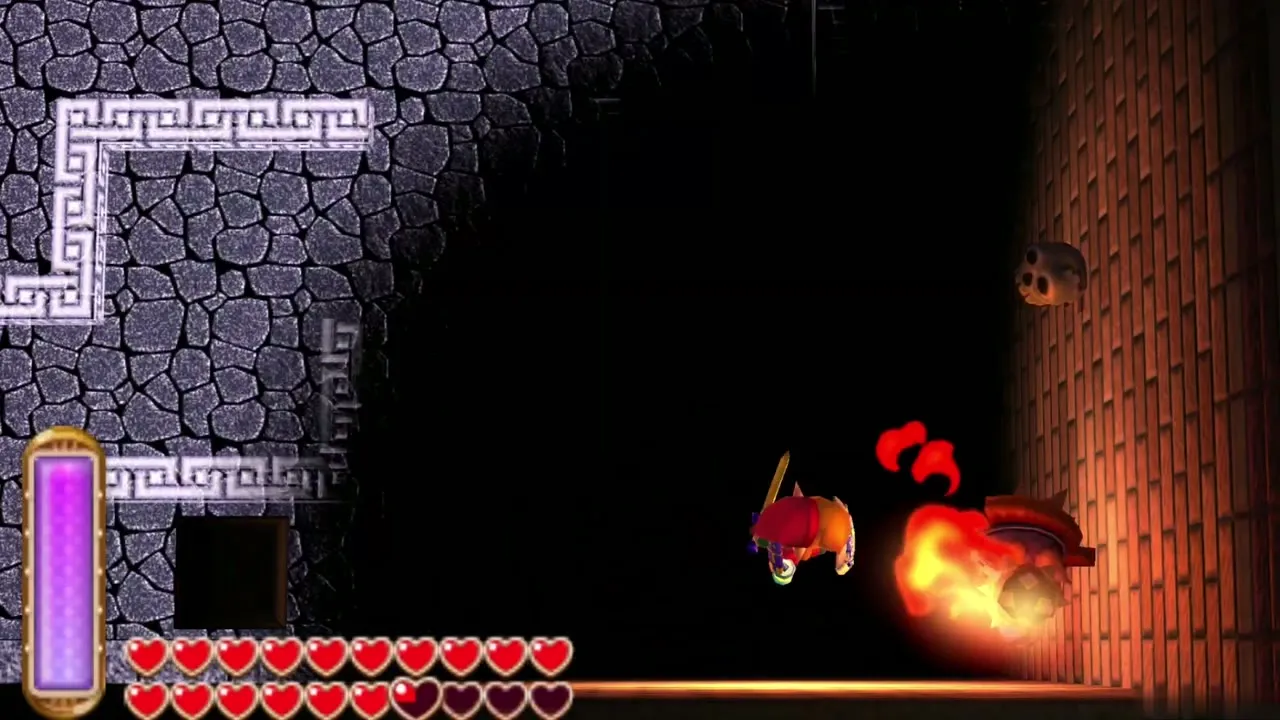
Second Ball and Chain Soldier boss fight
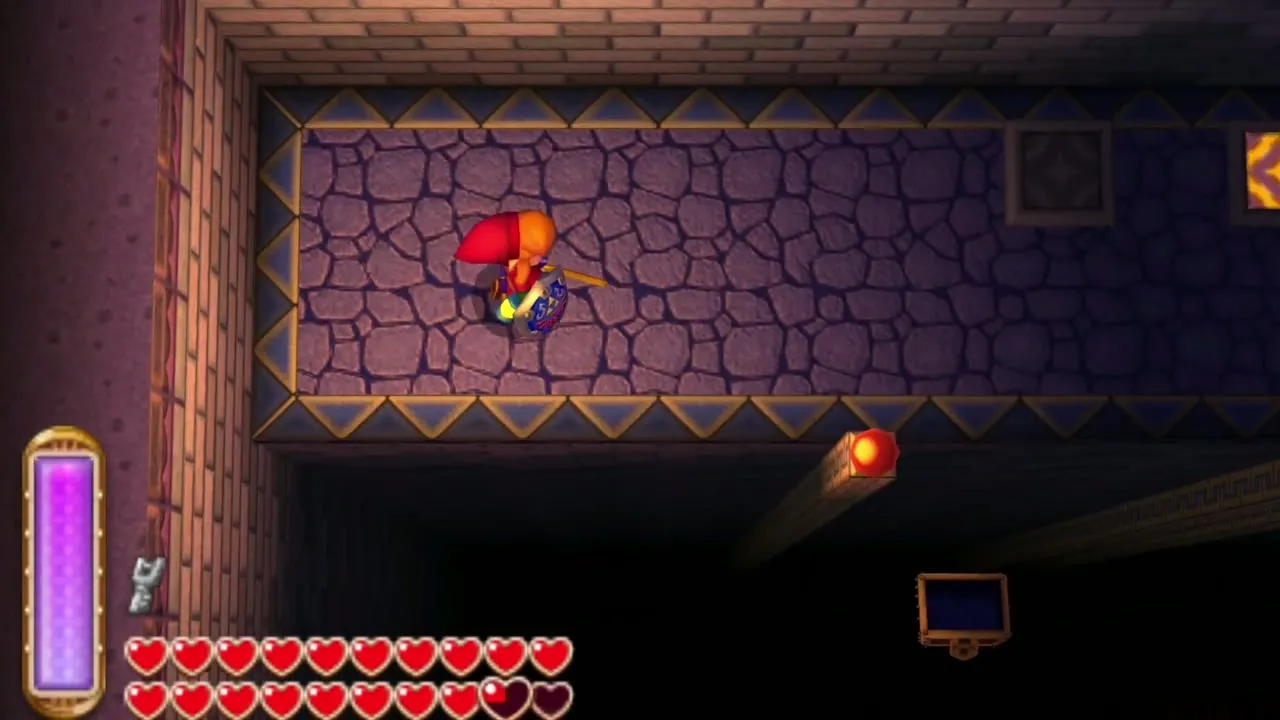
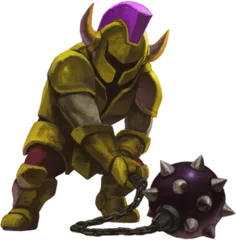
The key opens the door to a dark room with pits and a second flame-weapon soldier. His fire is the only light, so sidestep the ball and chain when it flies, then hit him as it retracts. Arrows and the Fire Rod keep you out of reach. Stay off the edges because of the pits. After he falls, the third corner lights.
Hookshot room (4F)
Wallmasters and eyeballs
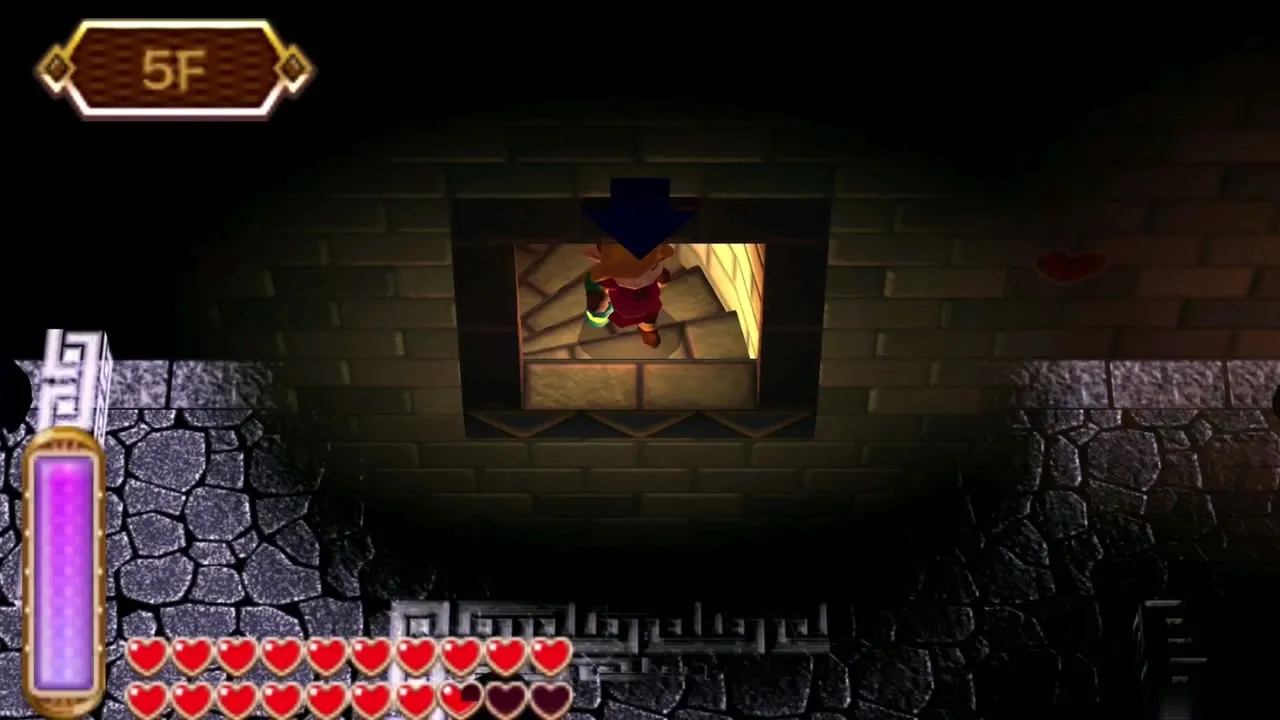
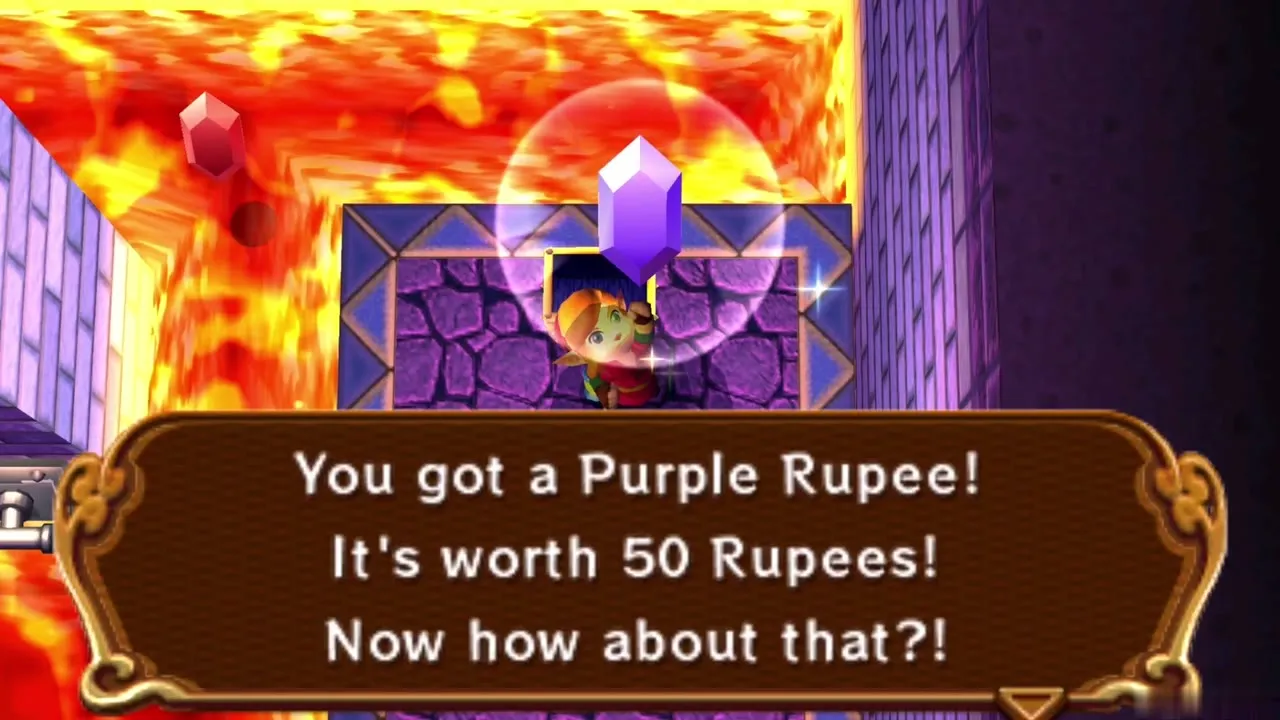
Wallmasters drop here, so shelter under the metal grating. Hookshot to the brown walls to cross gaps, pull the lever to bring a platform, and move the raft with the Hookshot. A chest in one corner holds a Purple Rupee, worth 50. A Wallmaster can press a switch for you if it comes down on it.
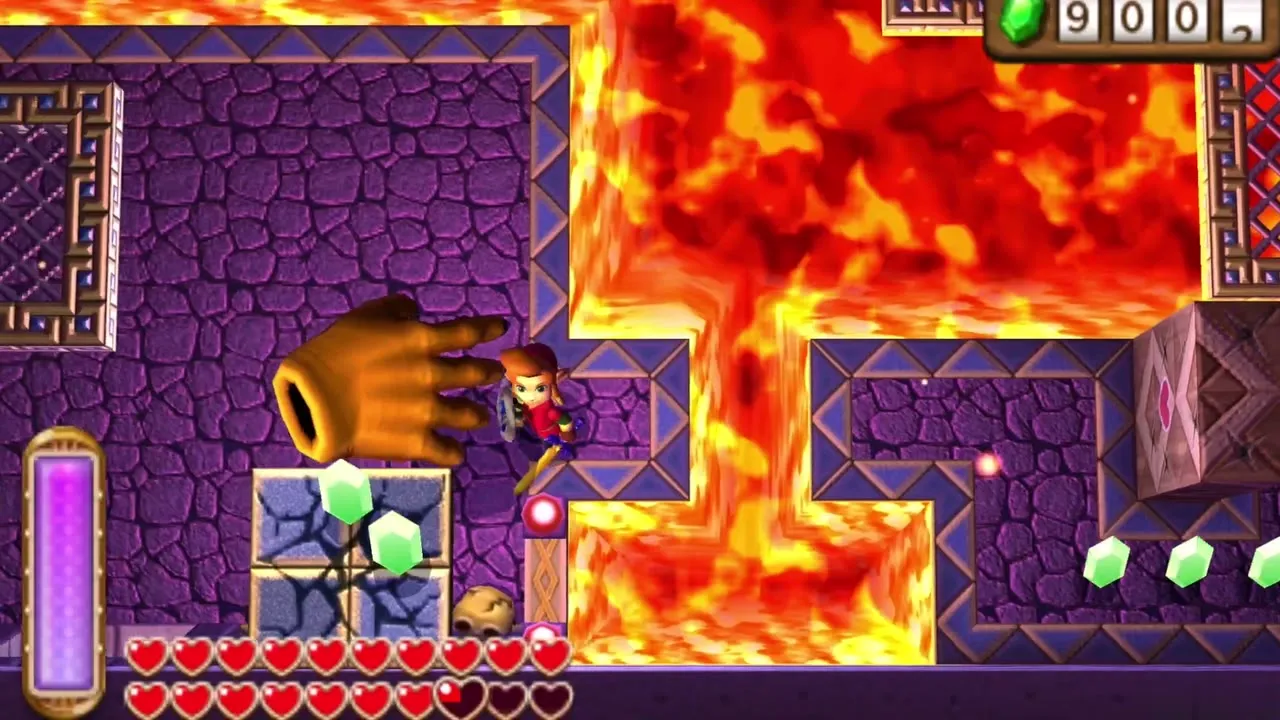
Two hidden eyeballs open the way. Lure a Wallmaster to smash the platform holding one, drag it to its pedestal, then Hookshot the second one to you and set it on the other pedestal. A chest appears between them with the last Small Key. Open the locked door on the left.
Arrghus boss fight
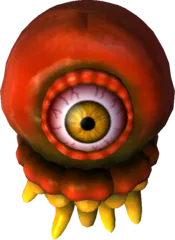
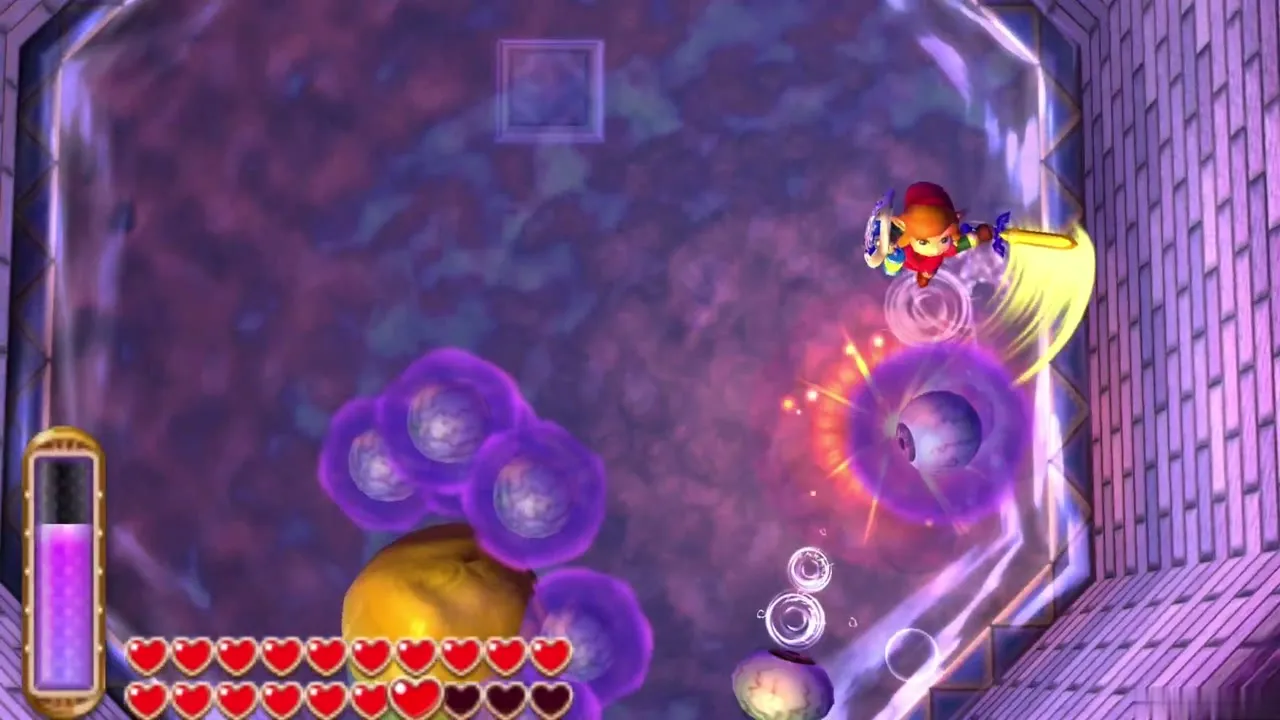
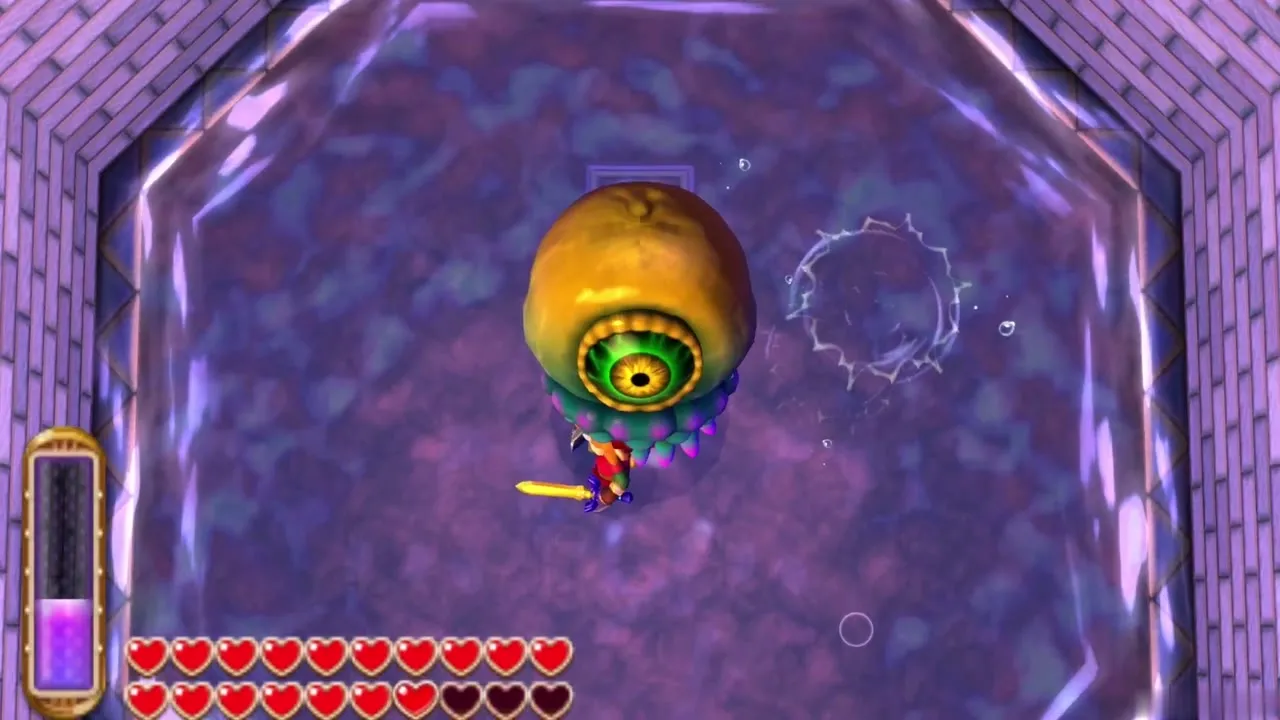
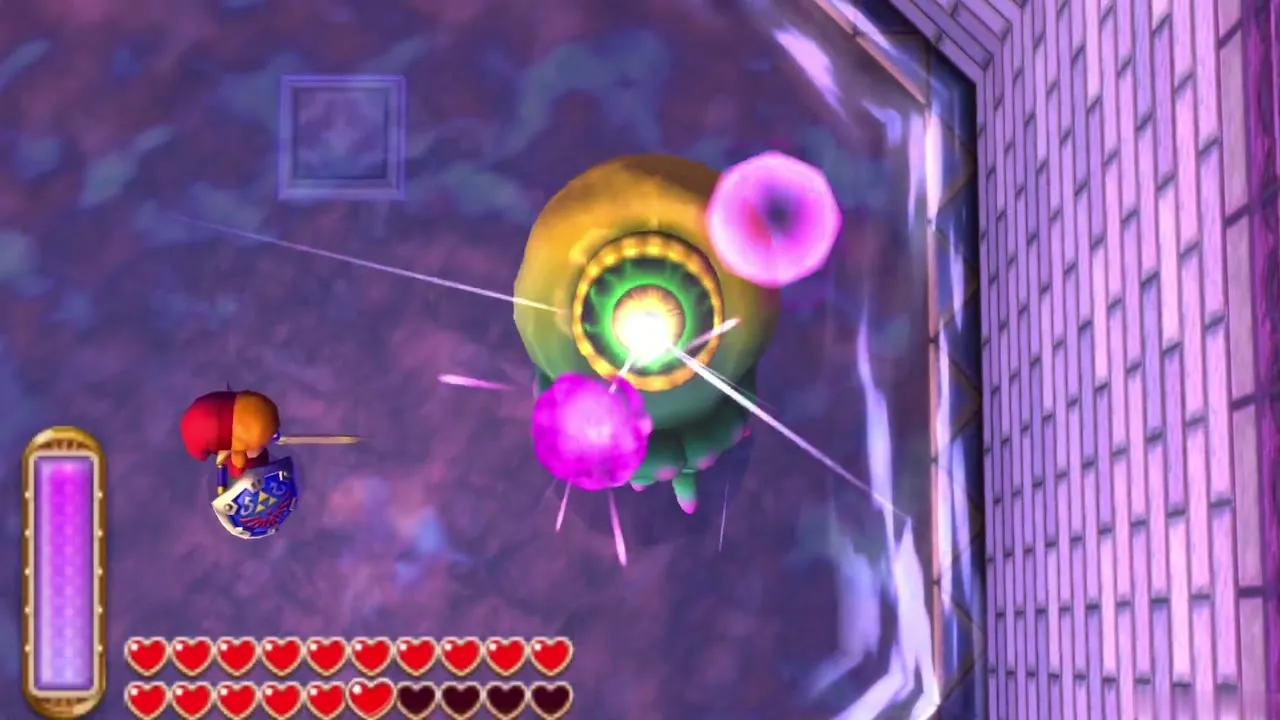
Arrghus is ringed by little eyeballs. Pull each one off with the Hookshot and slash it before it returns. With the shield gone, he drops and fires lasers, so keep moving, then hit his big eye. The Ice Rod freezes him briefly. Once he is down, the fourth corner of the big door lights.
The big door and the way to the Throne Room
Big door to Hilda’s study
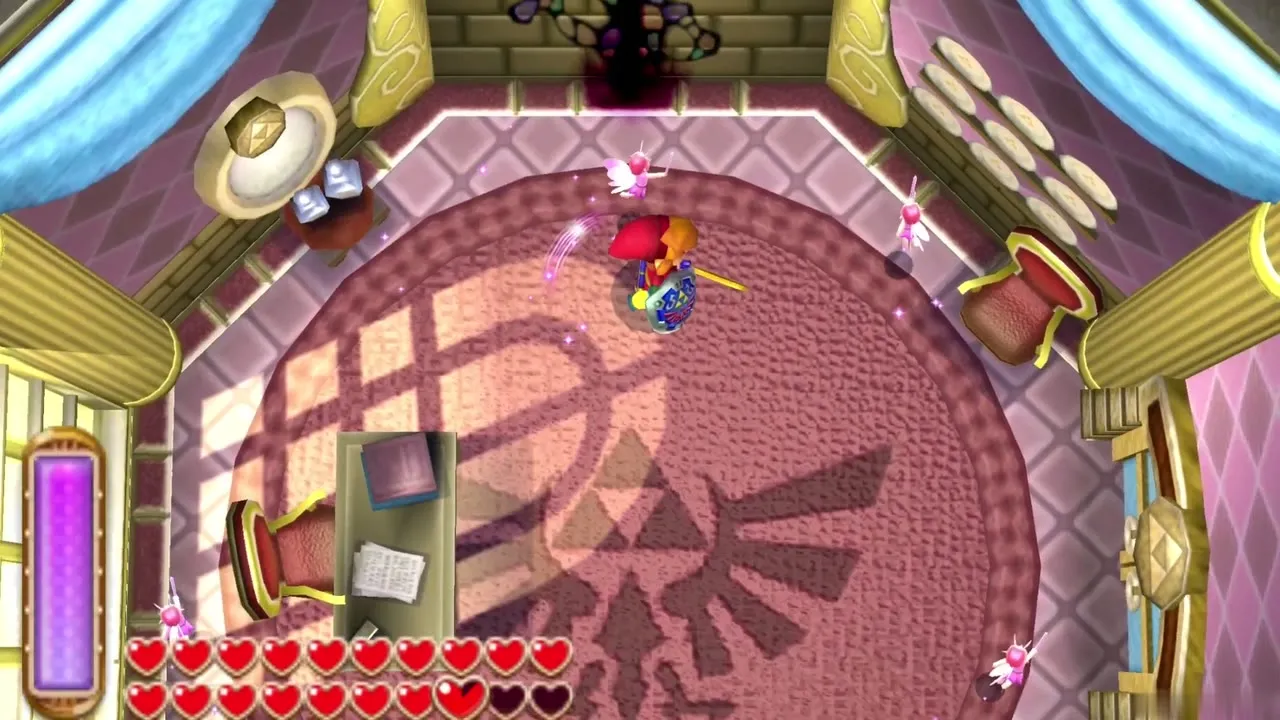
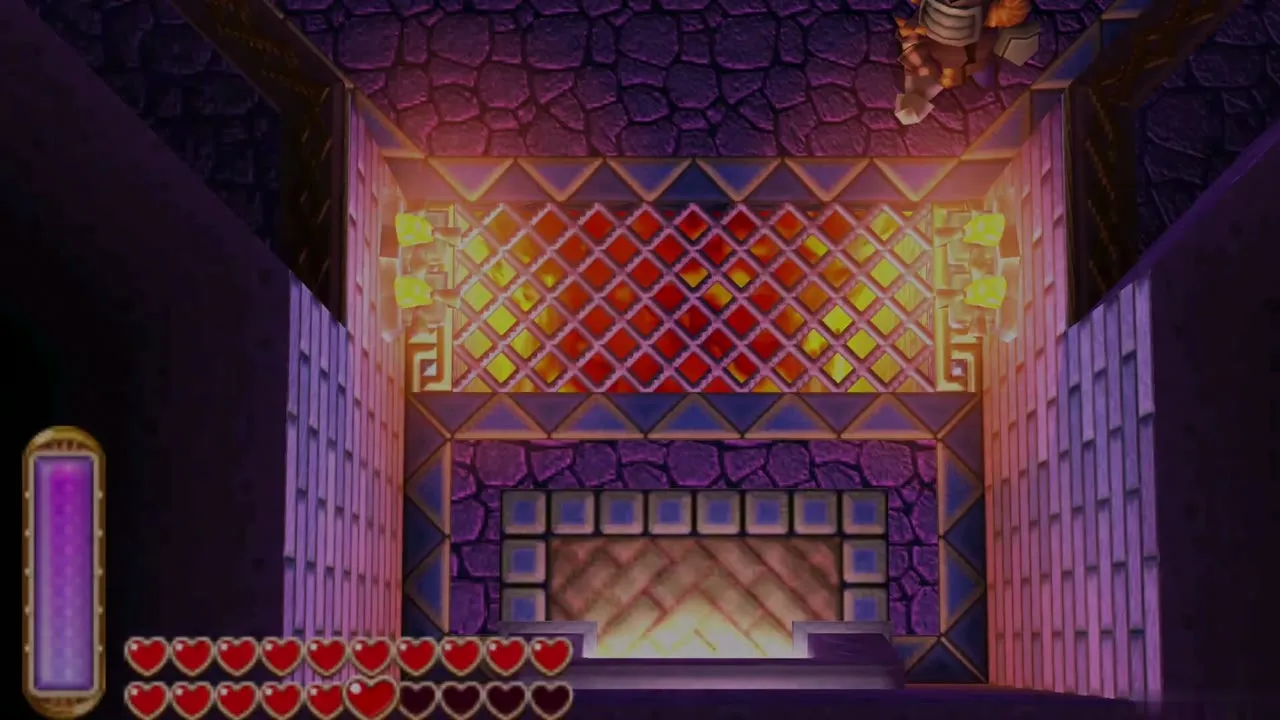
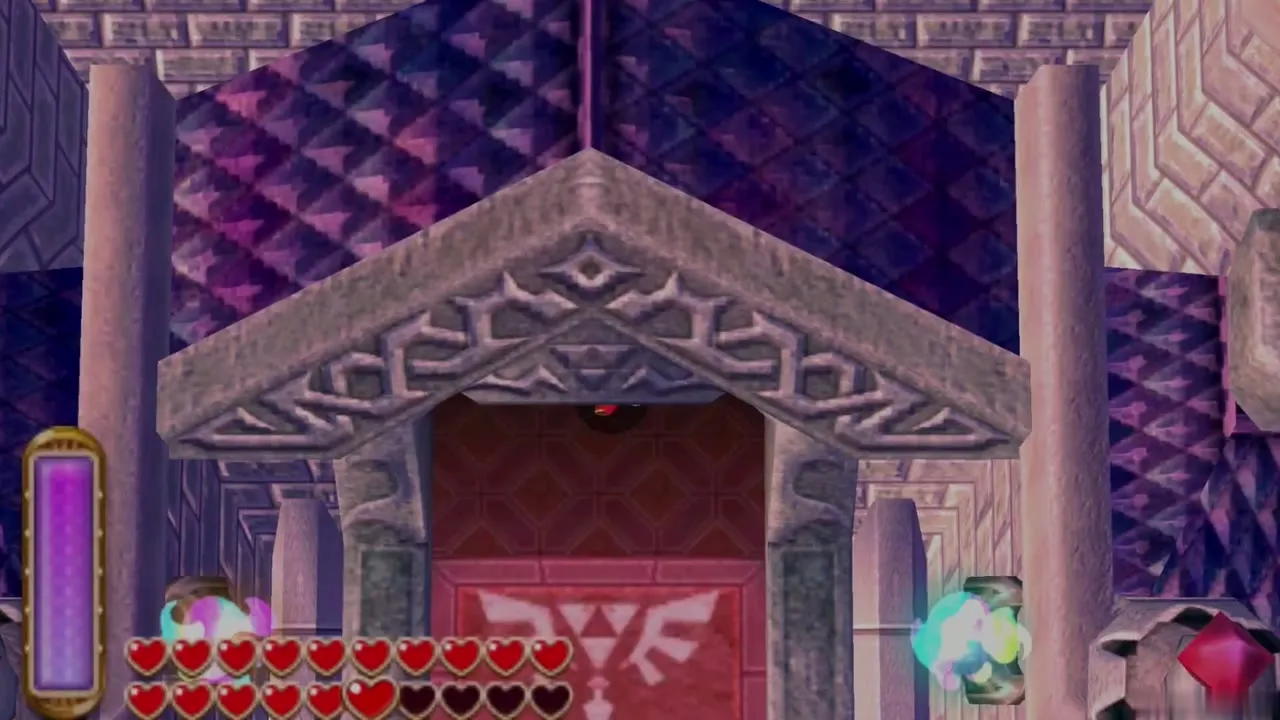
With all four emblems lit, return to 3F and the big door swings open. Save and restock Potions first. Hilda’s study is beyond, and a balcony leads out to the Throne Room, where the last battle begins.
Chapter checklist
| Collectible | Type | Where |
|---|---|---|
| Triforce of Courage | Story reward | Chamber of Sages |
 Red Rupee (20) | Chest | 1F, behind the right-hand statue |
| Small Key | Chest | 1F, reached by dropping from 3F |
| Monster Horn | Chest | 2F, across the gap at the end of the south path |
| Red Rupee (20) | Chest | 2F south-east room |
| Silver Rupee (100) | Chest | 2F, along the narrow path in the dark pit |
 Fairies | Fairy pool | 2F, reached from 3F |
| Compass | Chest | 4F central column |
| Red Mail (or Blue Mail) | Chest | 4F ledge south of the Compass |
| Red Rupee (20) | Chest | Moldorm room |
| Small Key | Chest | Moldorm room, behind the cracked rock |
| Small Key | Chest | Gigabari room |
| Small Key | Chest | Lantern room |
 Purple Rupee (50) | Chest | Hookshot room, corner chest |
| Small Key | Chest | Hookshot room, between the pedestals |
The Throne Room awaits beyond the big door, so go on to the Final Boss: Yuga Ganon walkthrough.