A Link Between Worlds 100% Completion Walkthrough18 chapters
- Opening and SanctuaryWake in Link’s House, deliver the captain’s sword, cross the Graveyard passage with the Lamp and meet Yuga.
- Hyrule Castle and Kakariko VillageRavio’s Bracelet, Zelda’s Pendant of Courage, Kakariko shops, Sahasrahla and the free Bow rental.
- Eastern PalaceEvery key, chest and rupee, the Compass, Big Key, Yuga boss fight and your first Heart Container.
- Pegasus Boots and Zora’s FlippersGet the Pouch, Irene’s Bell, Power Glove, Pegasus Boots, Zora’s Flippers, Ravio’s rentals and Hyrule Heart Pieces.
- House of GalesRent the Tornado Rod, swim to Lake Hylia’s island, beat Margomill and take the Pendant of Wisdom.
- Death MountainClimb the boulder caves, find two Heart Pieces and a Bottle, and reach the Tower of Hera.
- Tower of HeraEvery floor, both Small Keys, Compass, Big Key, Moldorm boss fight, Heart Container and Pendant of Power.
- Master Sword and Lost WoodsWalkthrough for pulling the Master Sword in the Lost Woods, breaking the Hyrule Castle barrier.
- Lorule and Dungeon OrderHilda, the Blacksmith, fissures, Ravio’s Shop, Thieves’ Town side content and the dungeon order.
- Dark PalaceThe guard maze, every key, the Compass, Big Key, Master Ore, Gemesaur King, Heart Container and Sage Gulley.
- Skull WoodsKeys, Compass, Big Key, Master Ore, Knucklemaster boss fight, Sage Seres and the Master Sword upgrade.
- Ice RuinsThe Hookshot route to Lorule’s Death Mountain, every floor, keys, the Stamina Scroll and Dharkstare.
- Thieves’ HideoutThe password song, the Thief Girl escort, Master Ore, Stalblind, Sage Osfala and the Sand Rod.
- Swamp PalaceBig Bomb Flower, Hookshot, water levels, keys, Compass, Blue Mail, Big Key, Arrghus and Sage Oren.
- Turtle RockRescue the baby turtles, use the Ice Rod, find every key, beat Grinexx and free Sage Impa.
- Desert PalaceReach it with the Sand Rod, find the Titan’s Mitt, beat Zaganaga and rescue Sage Irene.
- Lorule CastleThe Triforce of Courage, all four mini-bosses, the Compass, Red Mail and the way to the Throne Room.
- Final BossBeat Yuga Ganon with the Bow of Light, see Hilda’s choice, make the Triforce wish and unlock Hero Mode.
| Covers | Lorule Lake, the three baby turtles and Mama Turtle, Turtle Rock (1F, B1 and the B2 boss arena) and the Sages’ chamber afterwards |
|---|---|
| You need | Ice Rod (rent it from Ravio for 100 rupees or buy it for 1,200), Zora’s Flippers and Ravio’s Bracelet for wall merging; Bombs and the Bow help |
| Rewards |  Hylian Shield, 3  Small Keys,  Compass,  Big Key,  Heart Container,  Sage Impa,  Heart Piece #27, 5 Lorule Lake Maiamai (some need later items), rupee chests |
Turtle Rock is the Lorule dungeon where lava becomes a puzzle. You reunite three lost baby turtles with Mama Turtle, ride her to a lava platform, and then use the Ice Rod to freeze fire jets, steady seesaws and bridge gaps. Collect three Small Keys, the Compass and the Big Key, win the Hylian Shield, defeat Grinexx for a Heart Container, and free Impa.
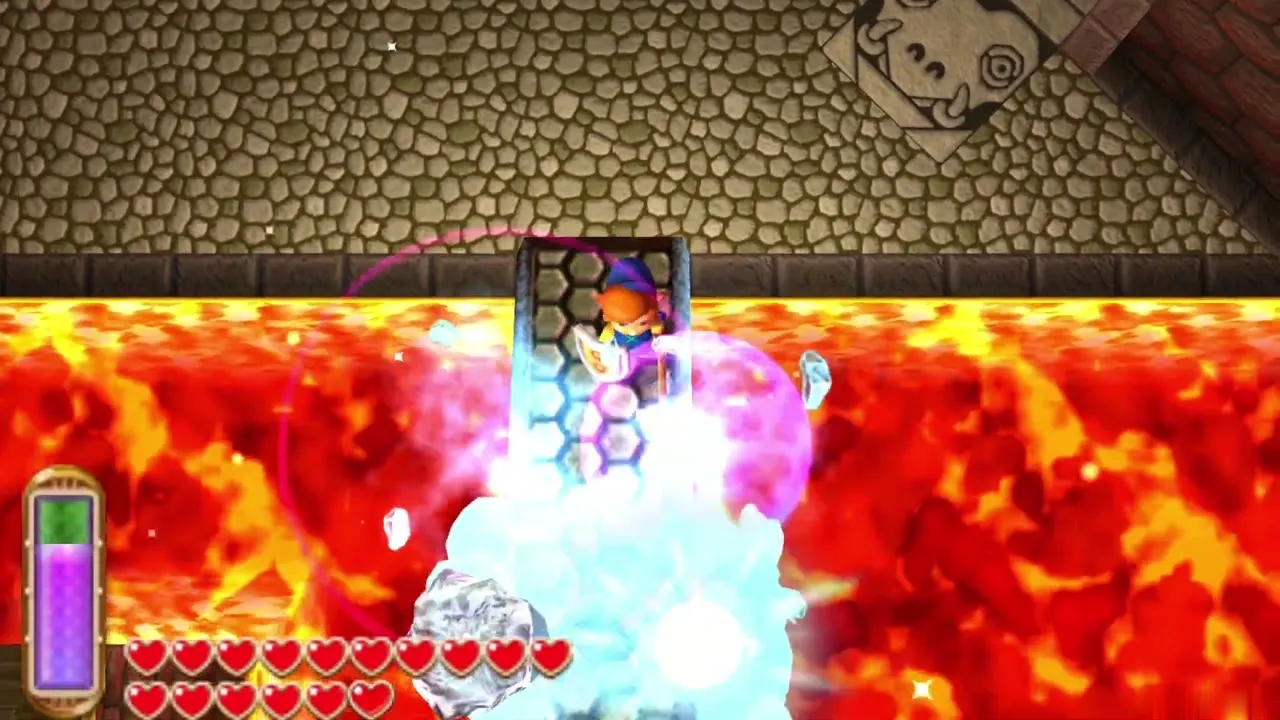
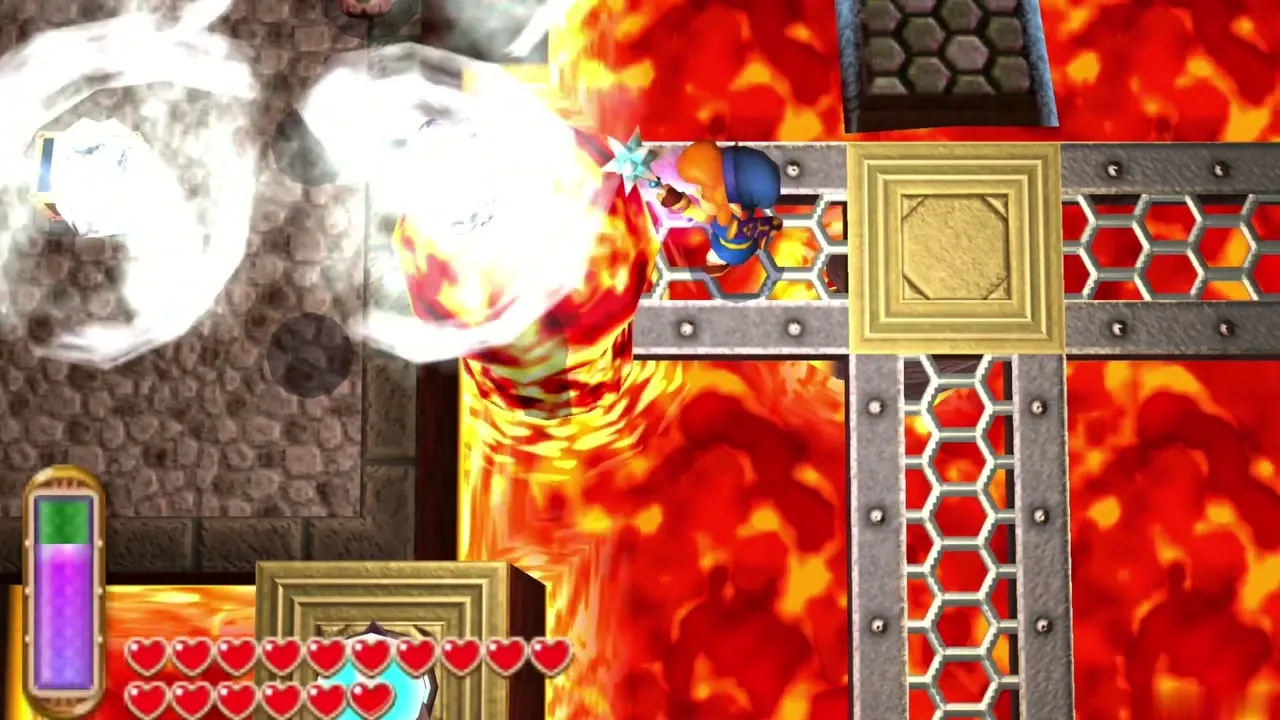
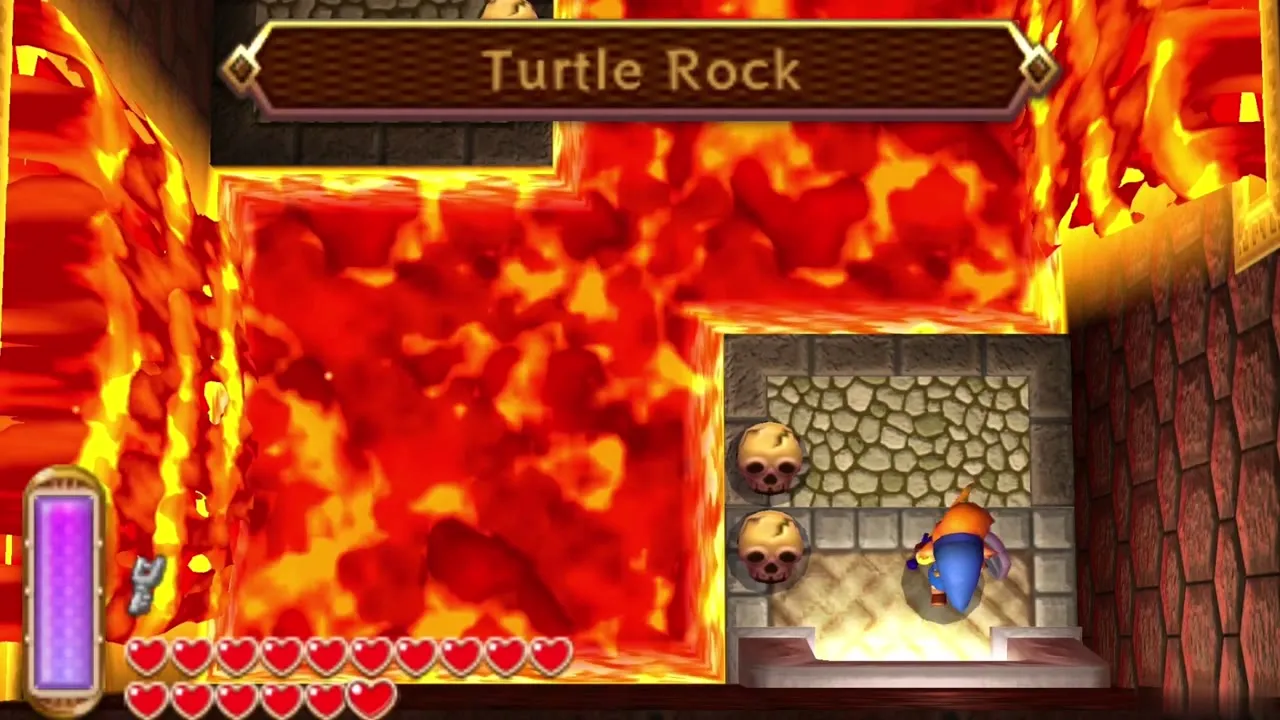
Table of Contents
Reaching Turtle Rock across Lorule Lake

Get the Ice Rod before you leave
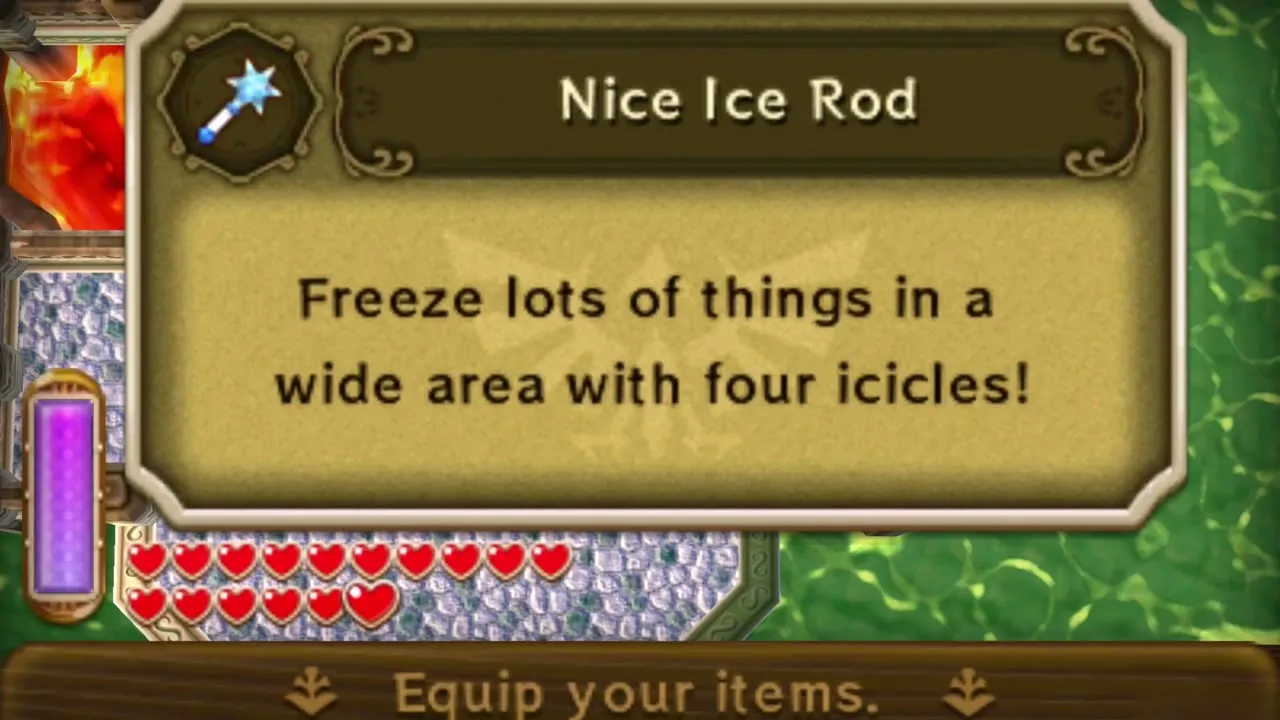
Turtle Rock cannot be finished without the Ice Rod, so check Ravio’s Shop first. It costs 100 rupees to rent and 1,200 to buy (800 if it is your first purchase), and a rental goes back to Ravio if Link is defeated, so buy it if you can. An owned rod can be upgraded by Mother Maiamai to drop four ice blocks at once, which speeds up every lava crossing. Bring Bombs and the Bow as well; a few rooms ask for them.
Enter Lorule Lake
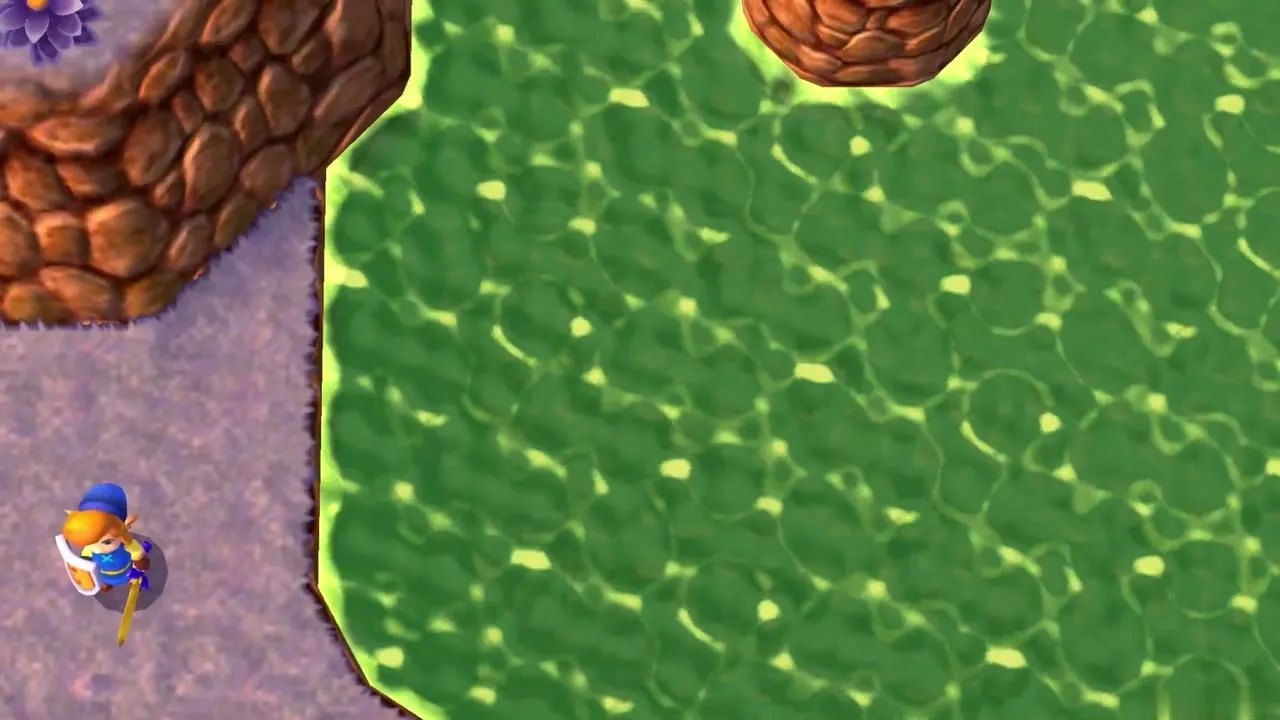
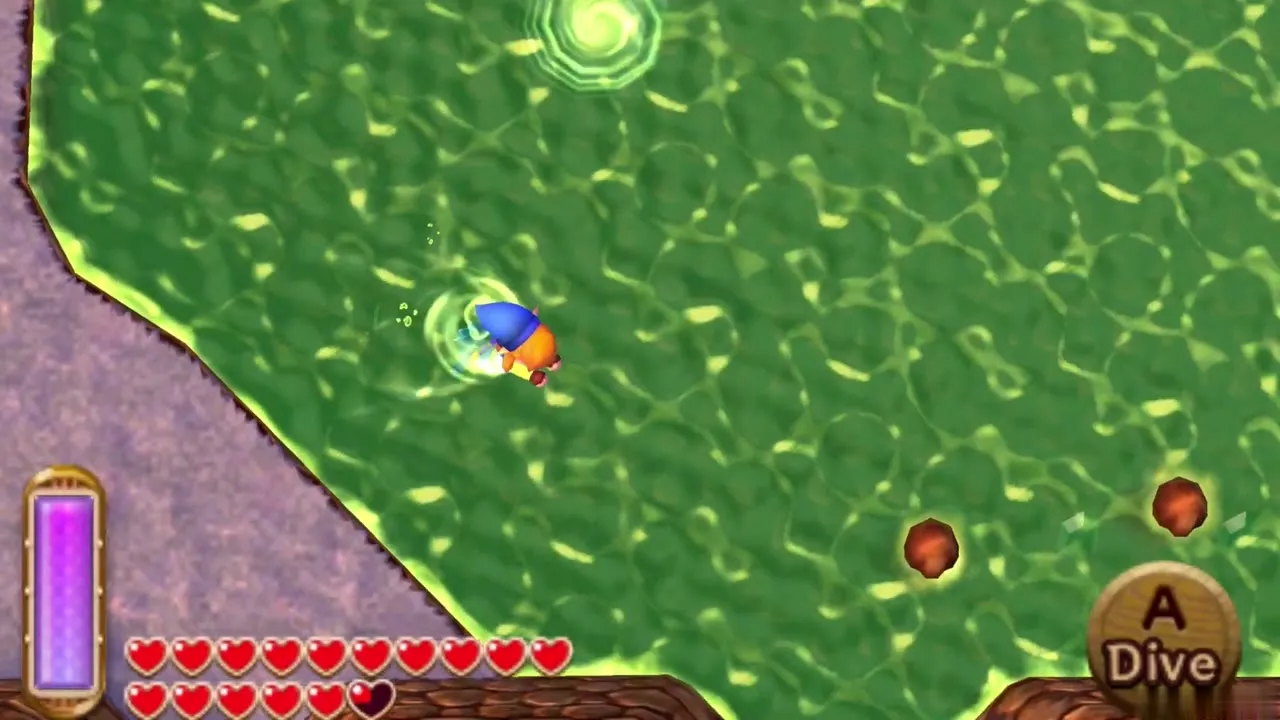
Lorule Lake fills the south-east corner of Lorule. Cross into Lorule and head for the south-east corner of the map, or fly to a nearby Weather Vane with the Bell, and walk to the shore. Zora’s Flippers let you dive and swim here. Mama Turtle floats in the middle of the water and cannot reach her three children herself, so you will collect them first.
First baby turtle
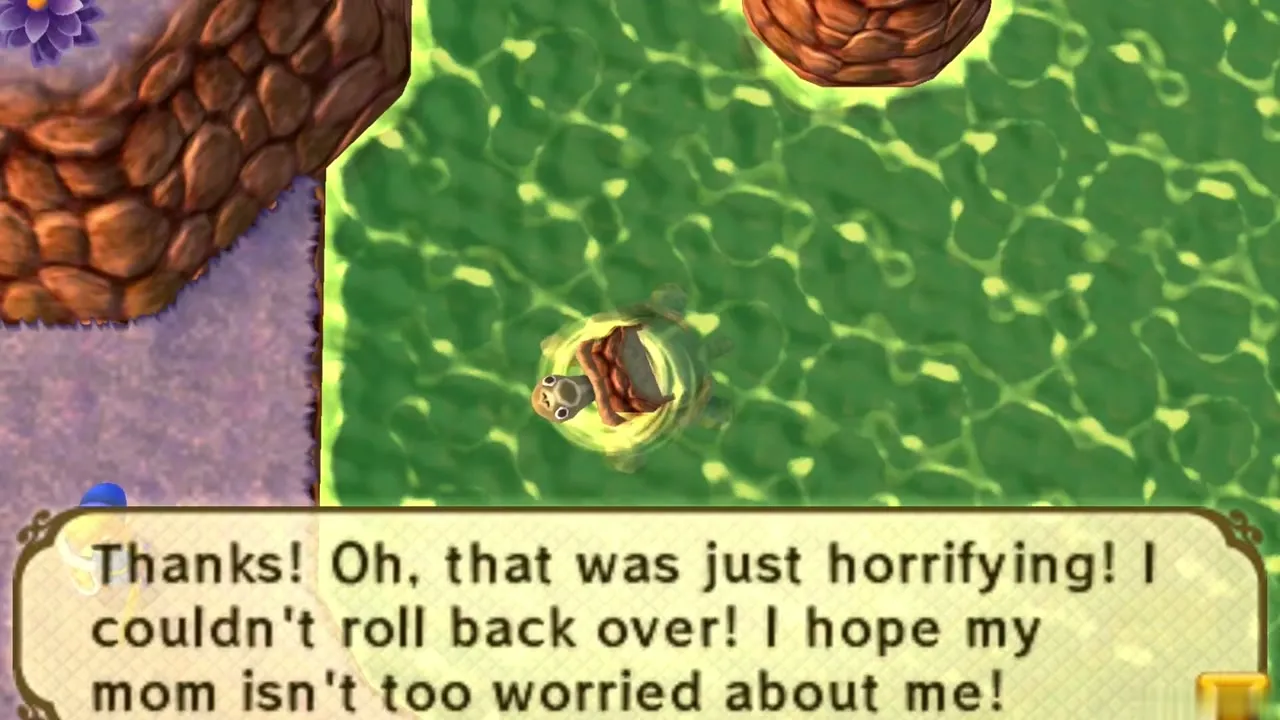
Walk along the south-west shore until you find a turtle lying on its back, unable to turn over. Stand beside it and press A to flip it upright. It slides into the water and says it hopes its mother is not too worried. Then swim out into the lake and search for the other two.
Second baby turtle
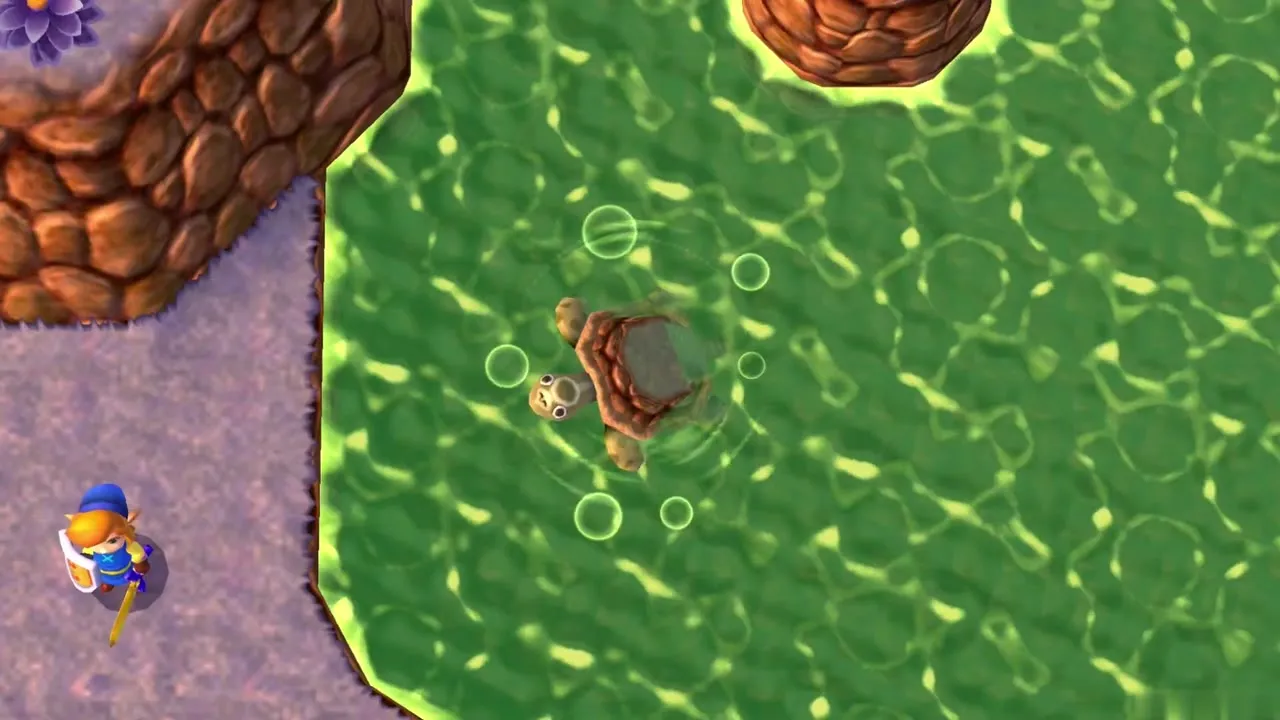
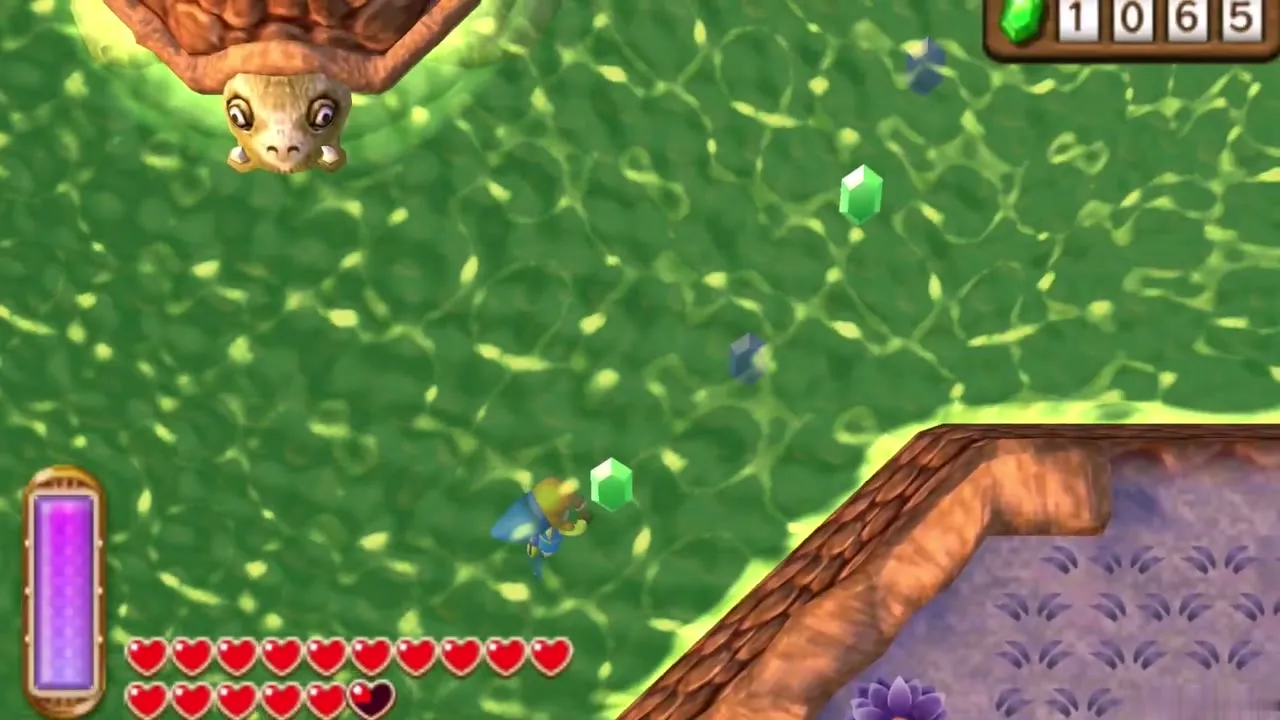
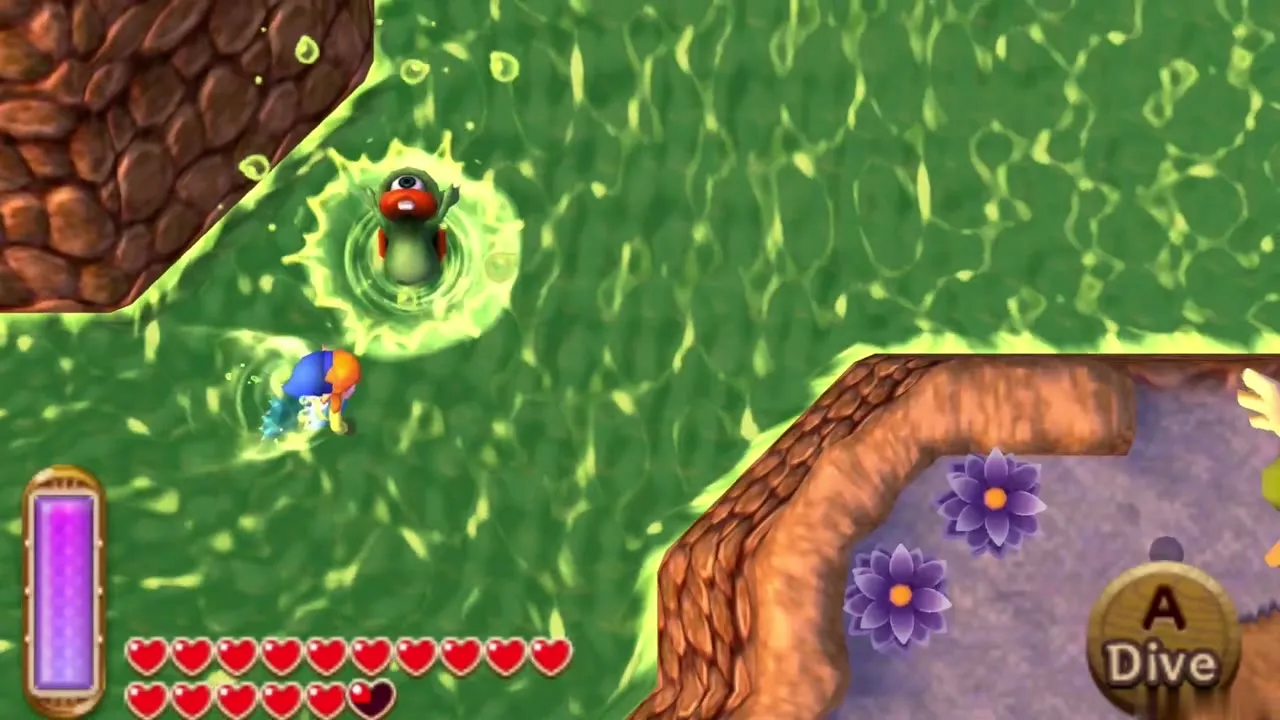
Look for a patch of shallow water in the lake where a baby turtle is cornered. Ku pop out of the water around it. Cut down every one of them, then talk to the turtle. Once the enemies are gone it is free and thanks you.
Third baby turtle
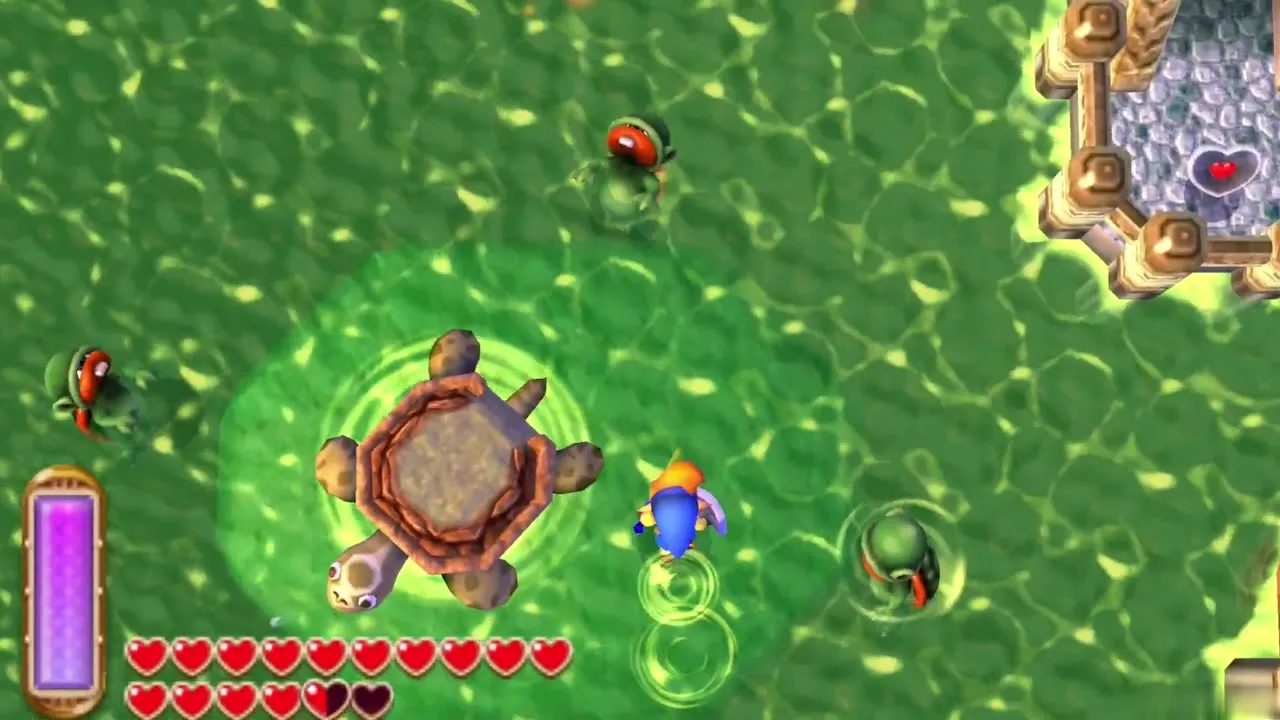
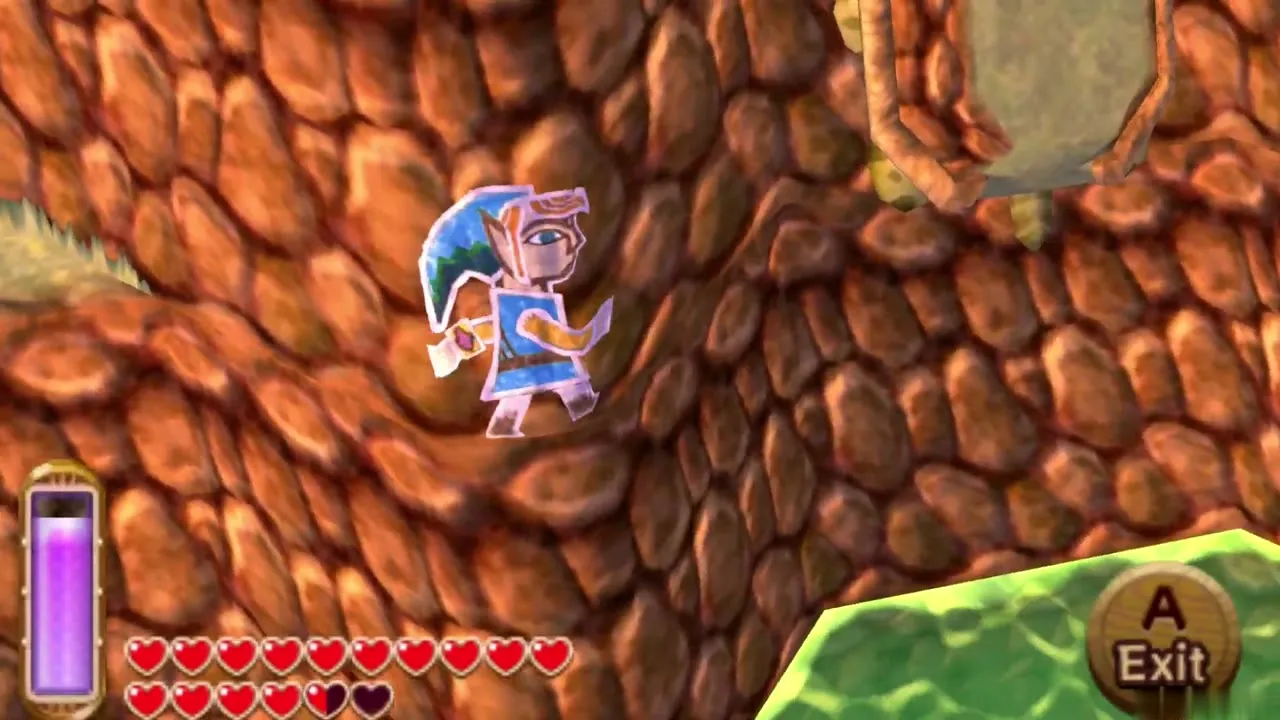
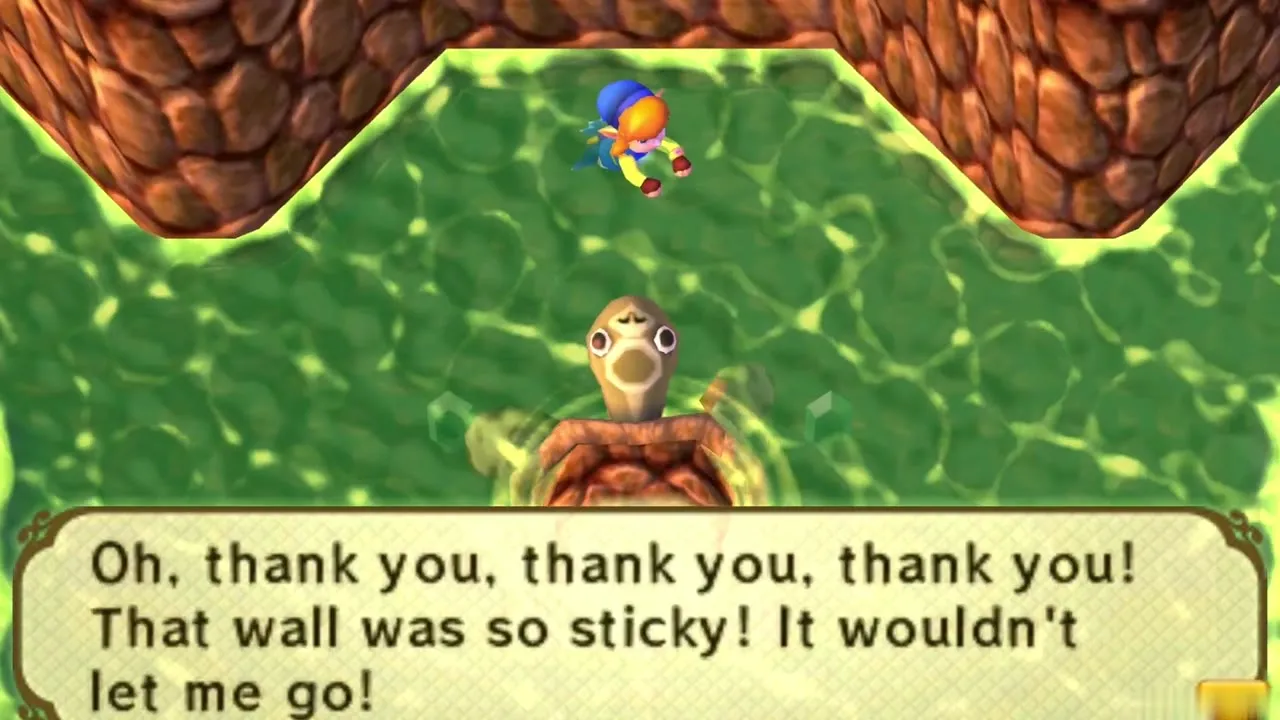
Keep swimming north until you reach a set of steps and climb out onto the cliff. Merge into the wall and slide right until you reach a turtle stuck to the rock on a sticky green patch. Slip behind it and step out of the wall. The turtle drops into the lake, and says the wall was far too sticky to escape from by itself.
Mama Turtle’s ride
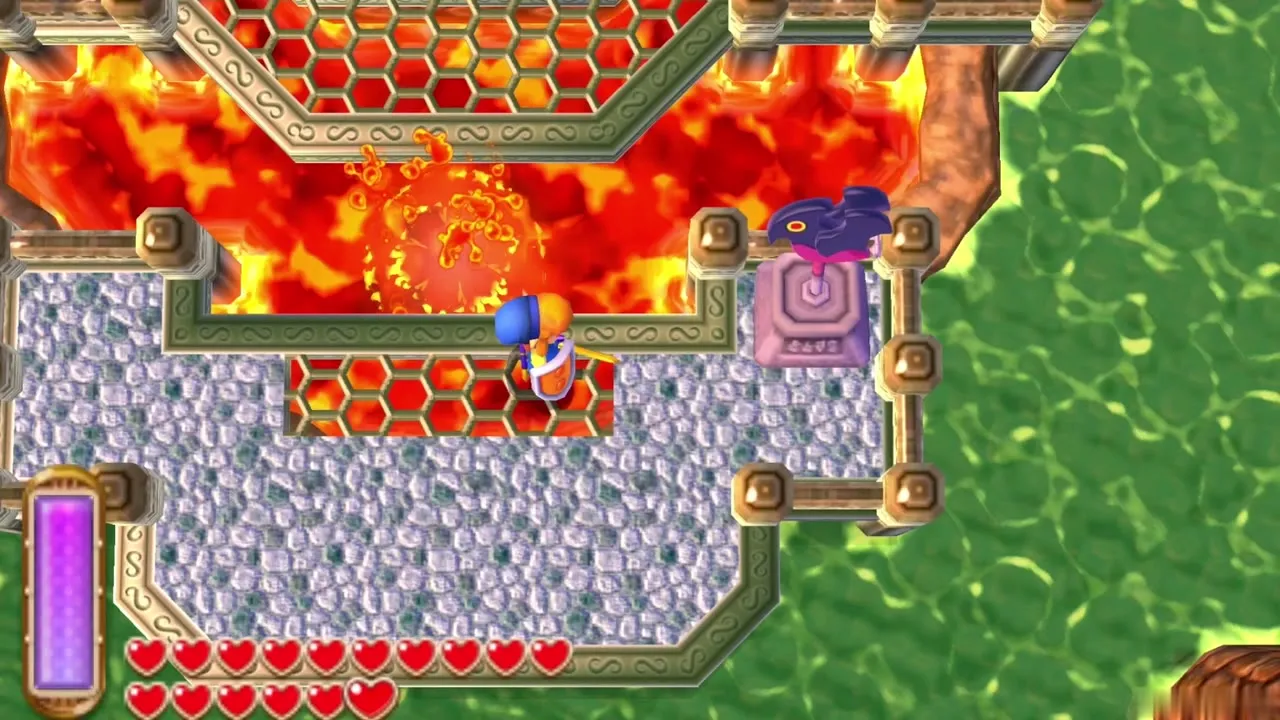
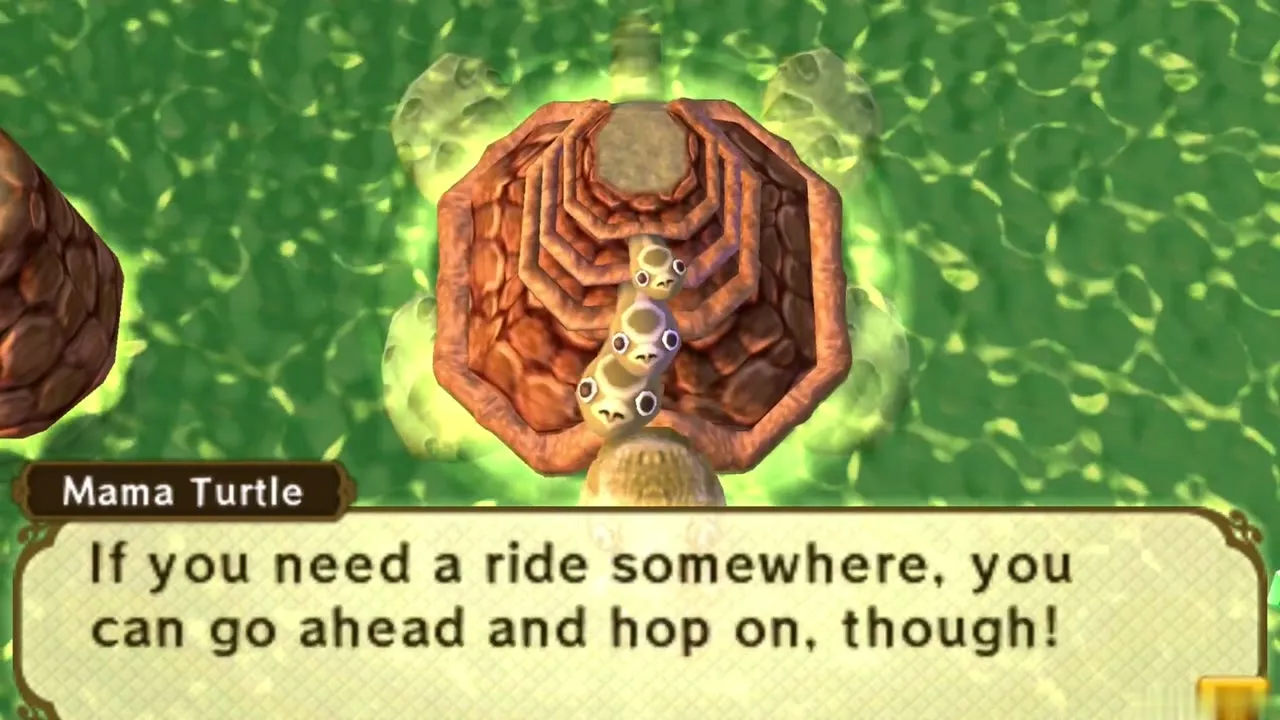
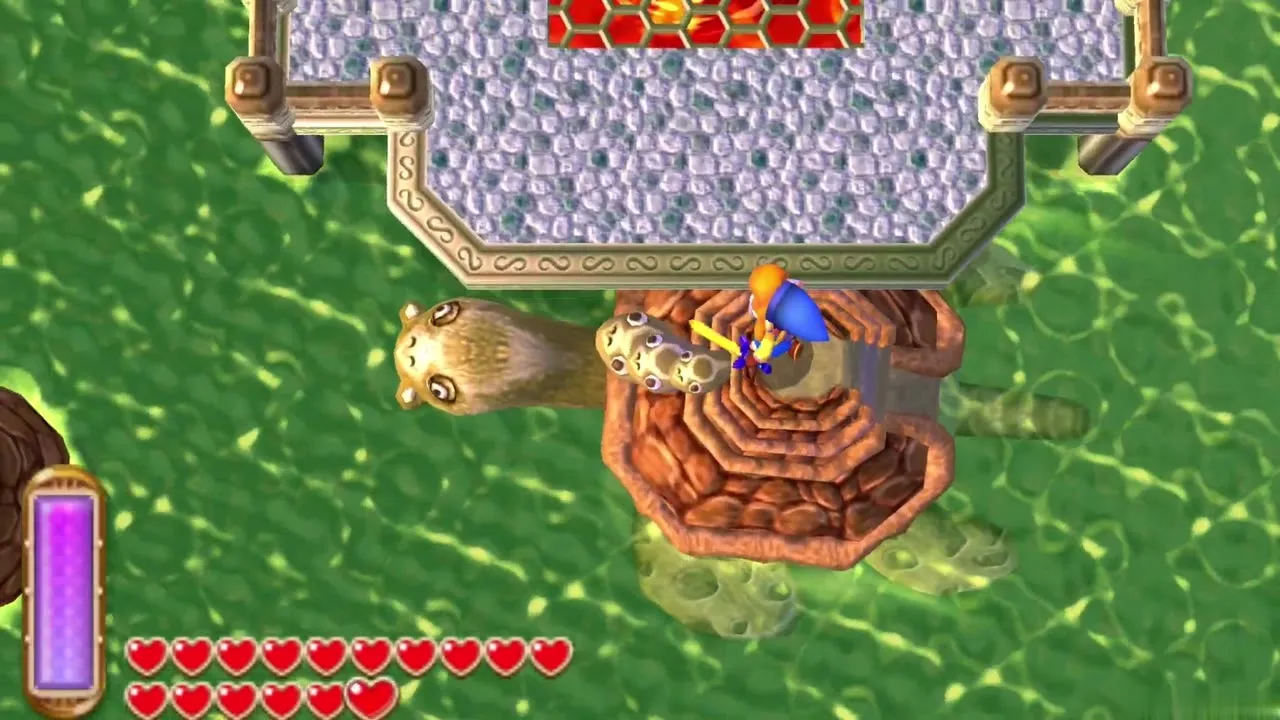
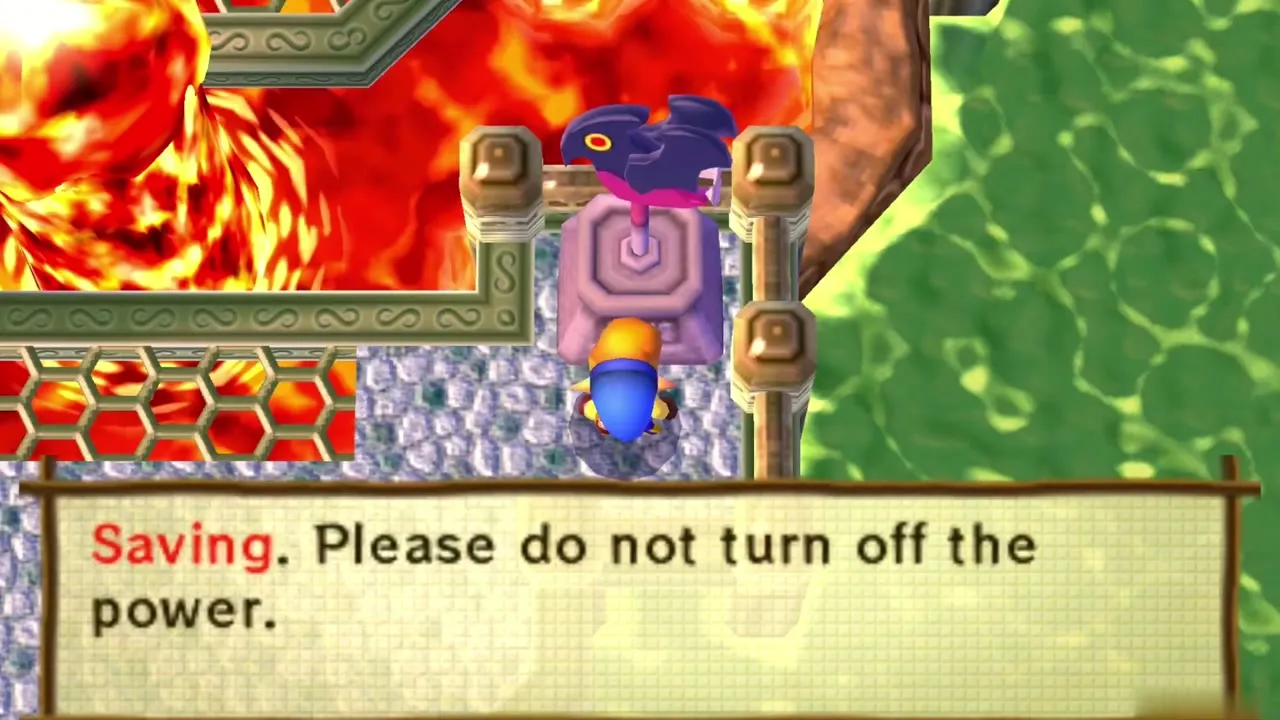
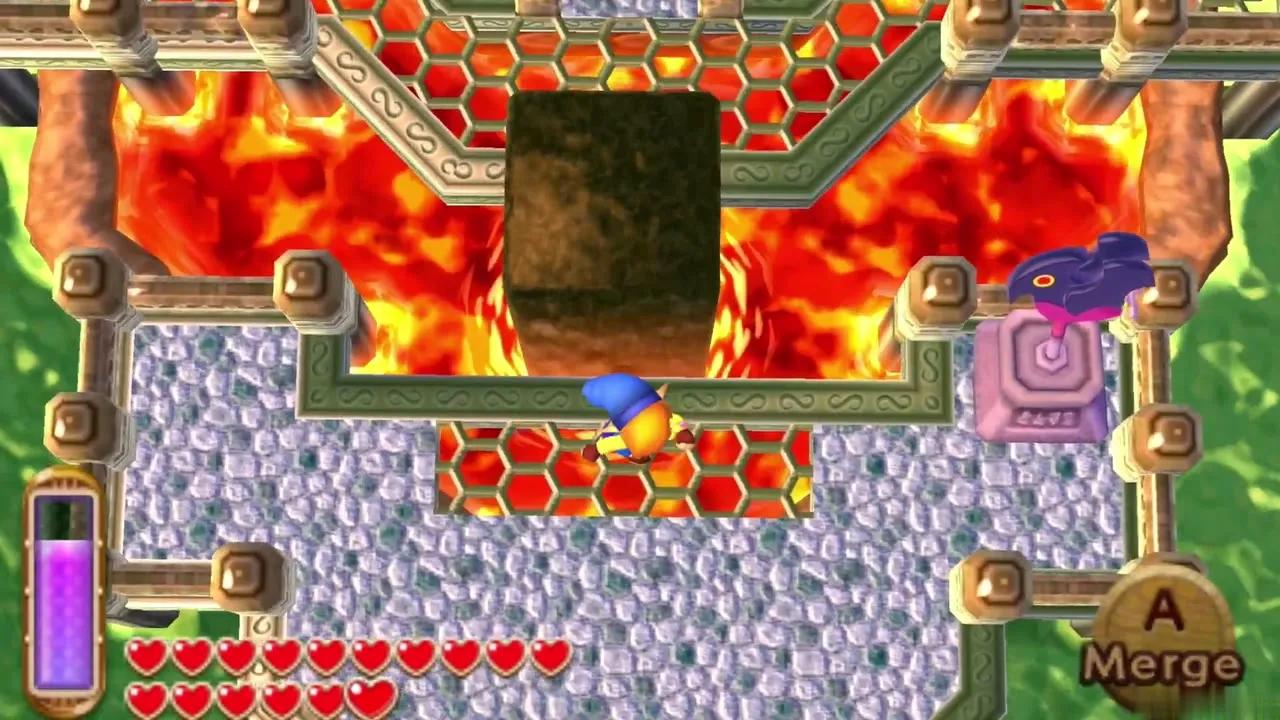
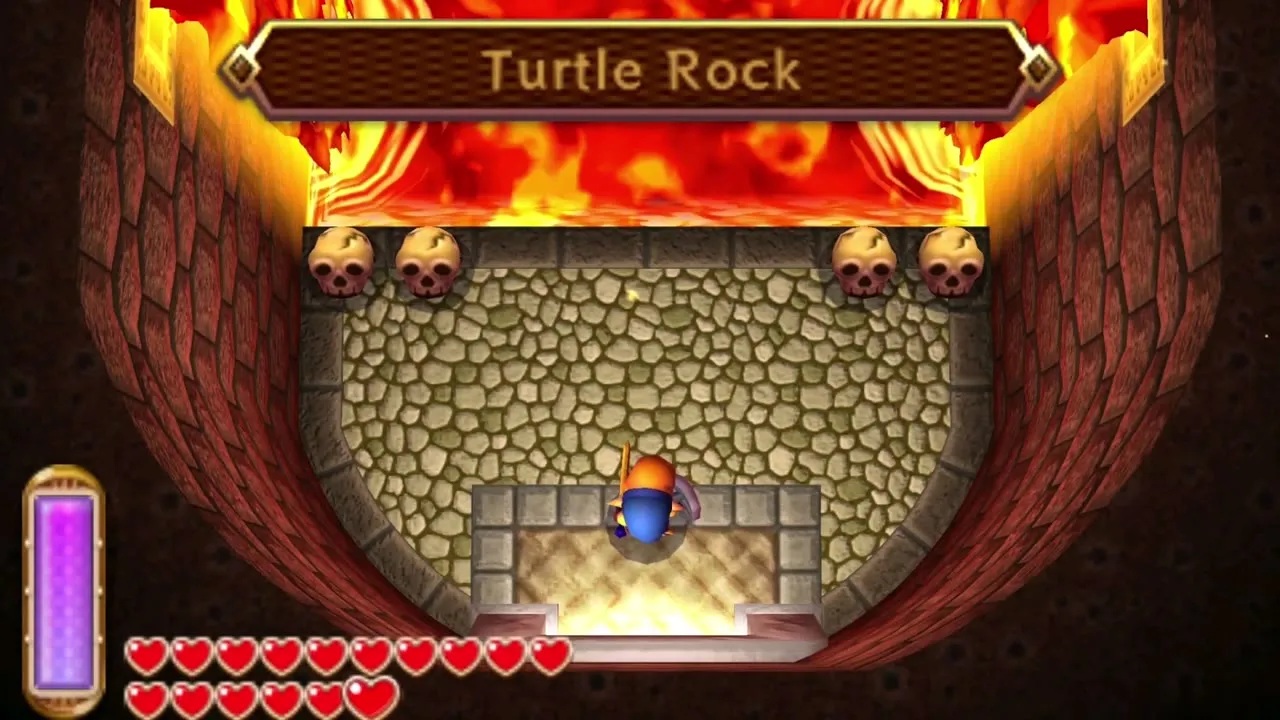
With all three babies safe, talk to Mama Turtle in the lake. She carries you across the water to a small stone platform surrounded by lava, with a save point next to a pedestal. Use the save point before you go in. A lava jet erupts in front of the entrance: freeze it with the Ice Rod while it is up, merge into the frozen pillar and step out on the far side to enter Turtle Rock.
Lorule Lake Maiamai
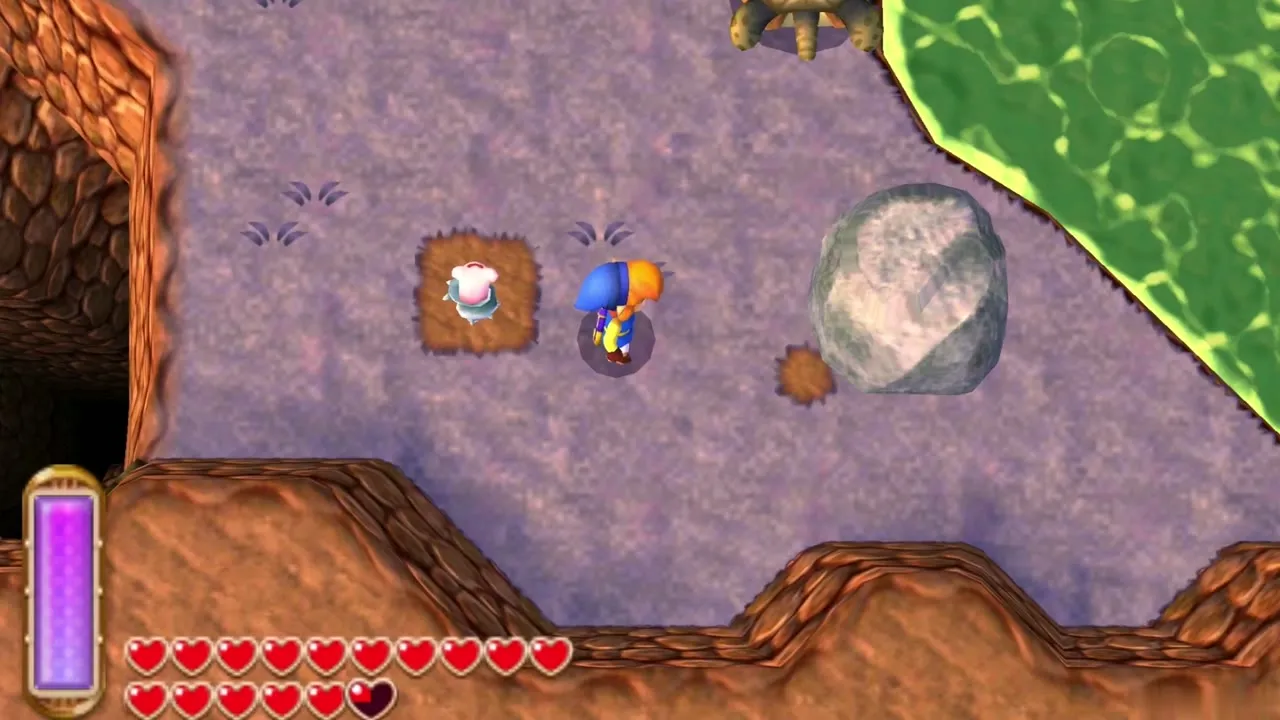
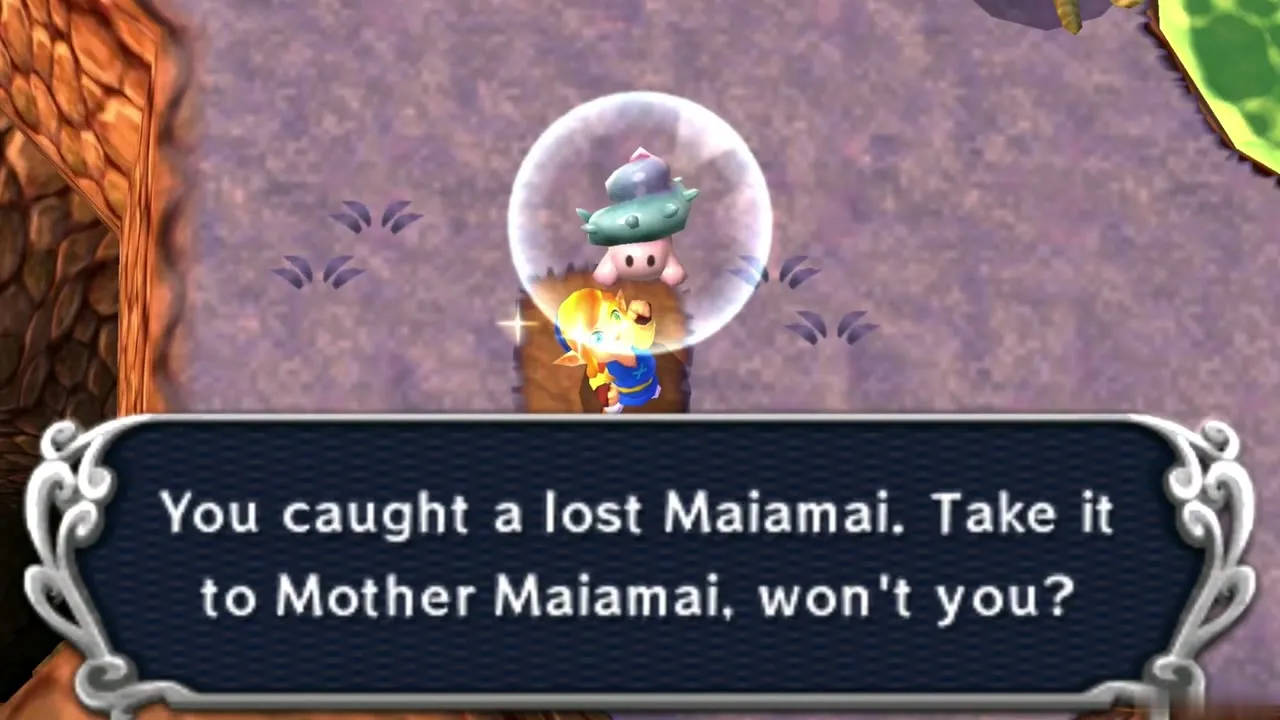
Five lost Maiamai live around the lake. One is on the wall south of the Lakeside Item Shop; merge into the wall to knock it down. A second is on the south-west shore beneath a large rock that needs the Titan’s Mitt, which you find in the Desert Palace. The third is at the centre of a rock formation in the water, so dive there. The fourth is in the south-east corner along a wall, and the fifth is on the north-east platform, where you merge to the next platform and hit the skull.
Turtle Rock 1F
Entrance and the first lava room
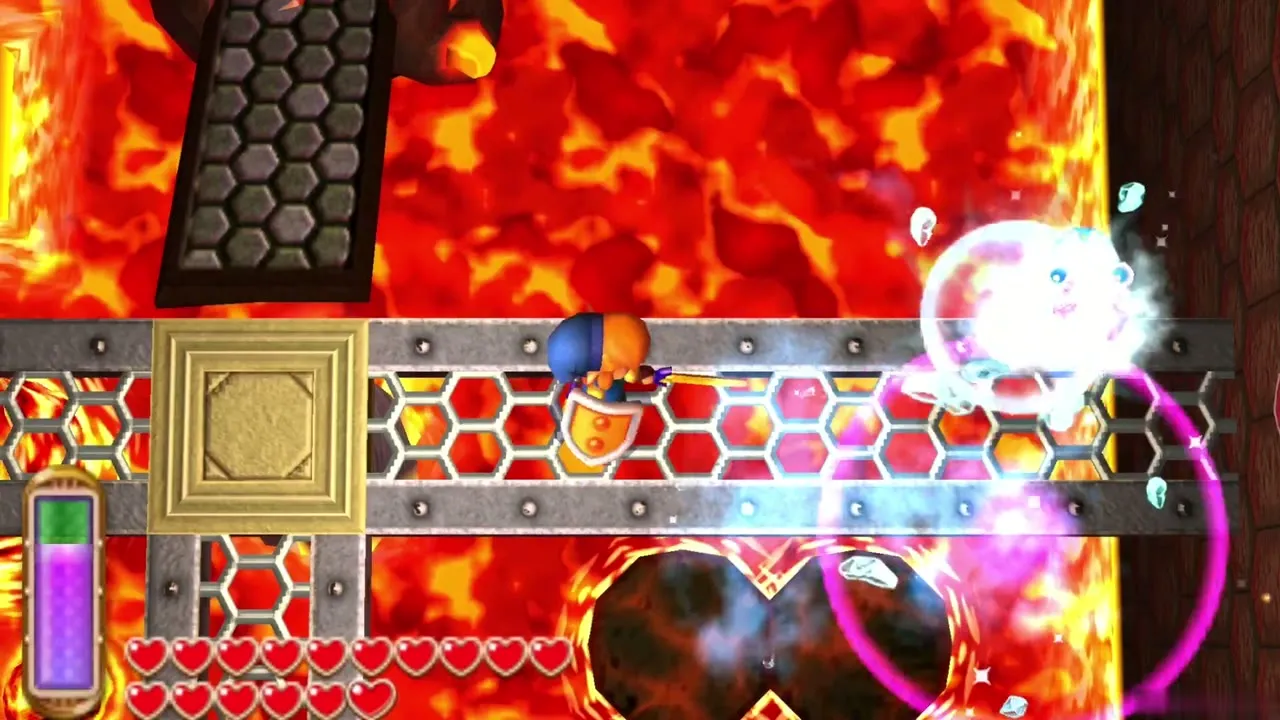
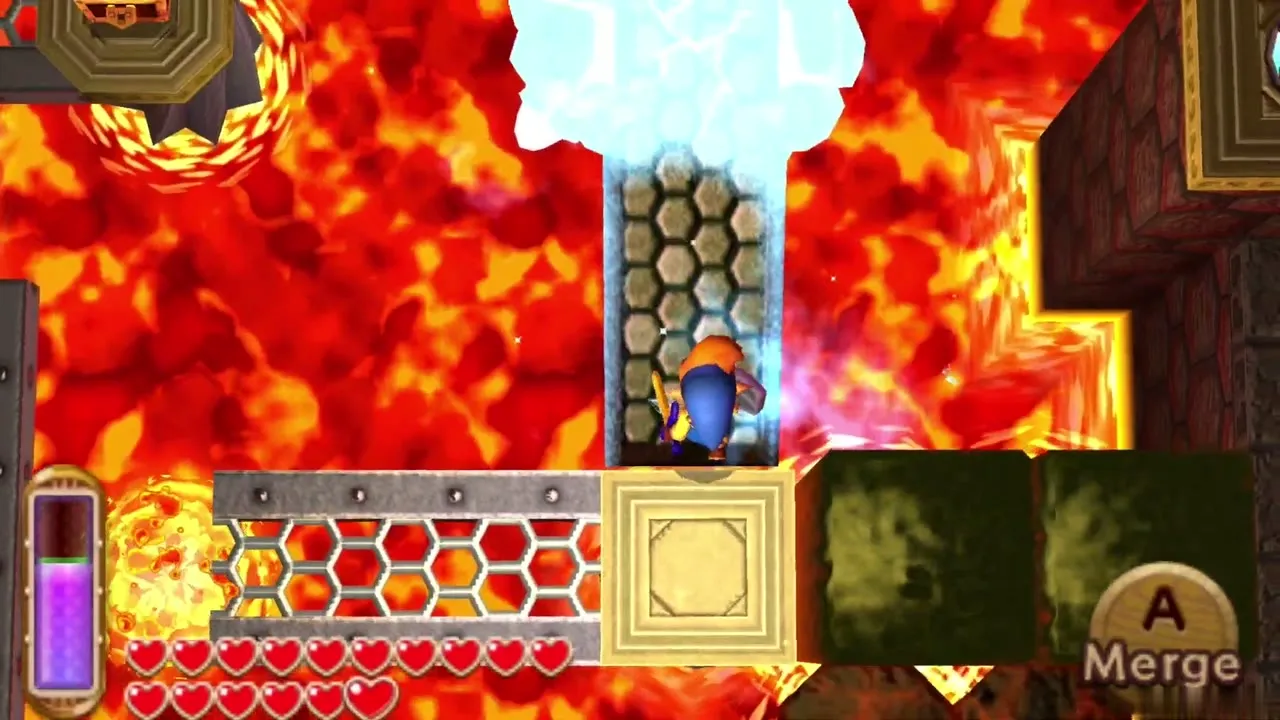
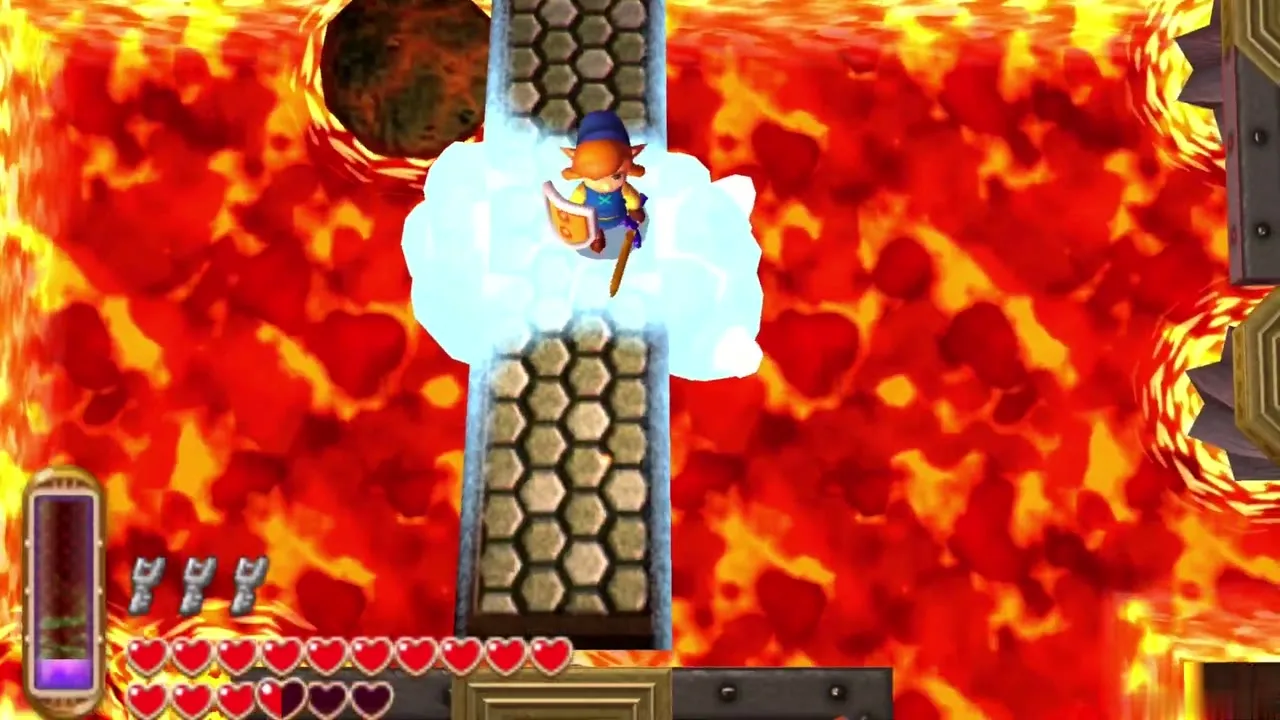
The first room is a lava pit with a grated path across it. Aim the Ice Rod at the lava and a block of ice forms over the gap, giving you somewhere to stand. Ice blocks melt after a short time, so freeze, cross and keep moving. The door at the far end leads into the huge central chamber, where most of the first floor connects.
Warp tiles and lava jets
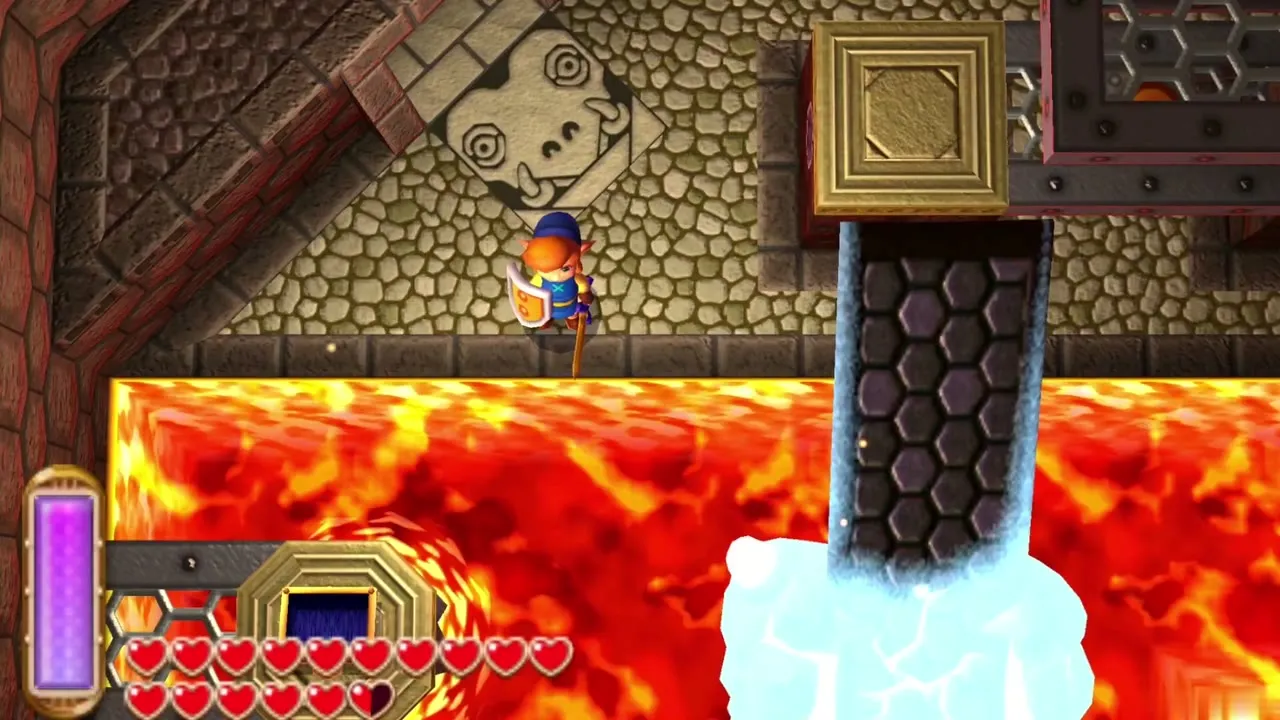
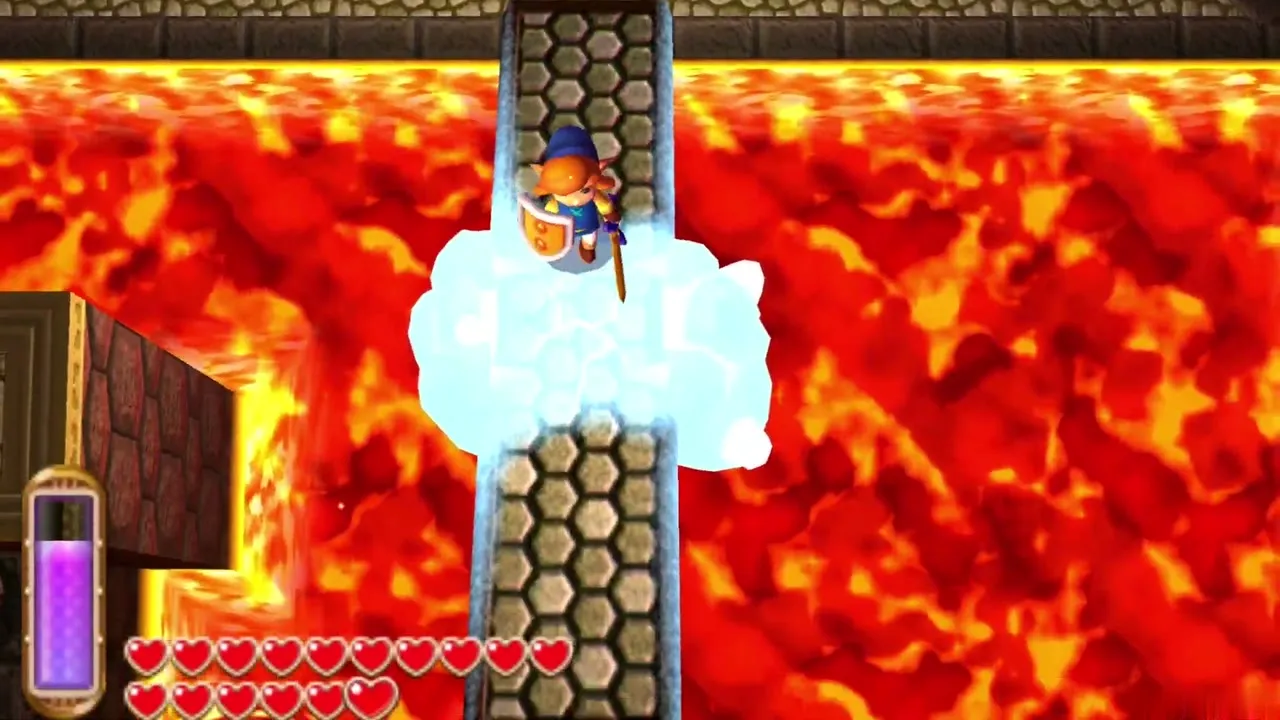
Turtle Rock is small, but it sends you back and forth with warp tiles and locked doors. Red warp tiles carry you to ledges the walkways do not reach. Lava jets rise and fall in the pits; freeze one when it erupts and it becomes a pillar. You can merge into the side of that pillar and slide round it to cross lava without any other platform.
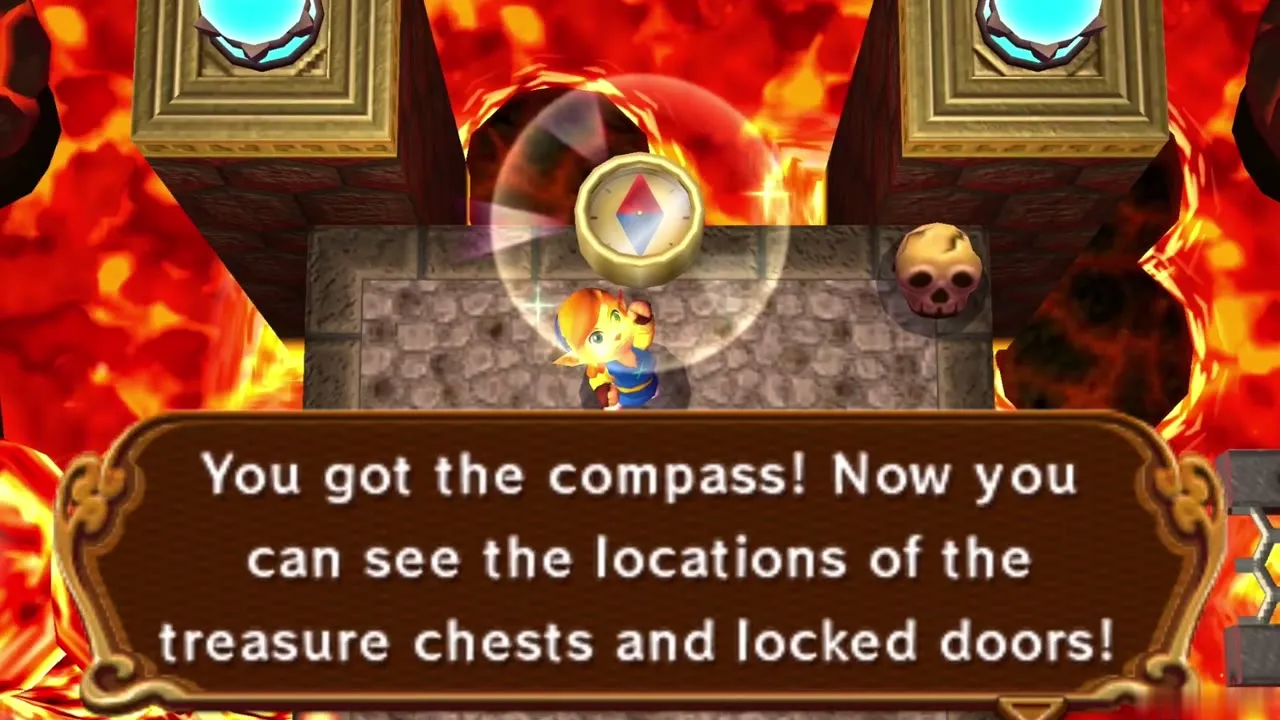
Turtle Rock Compass
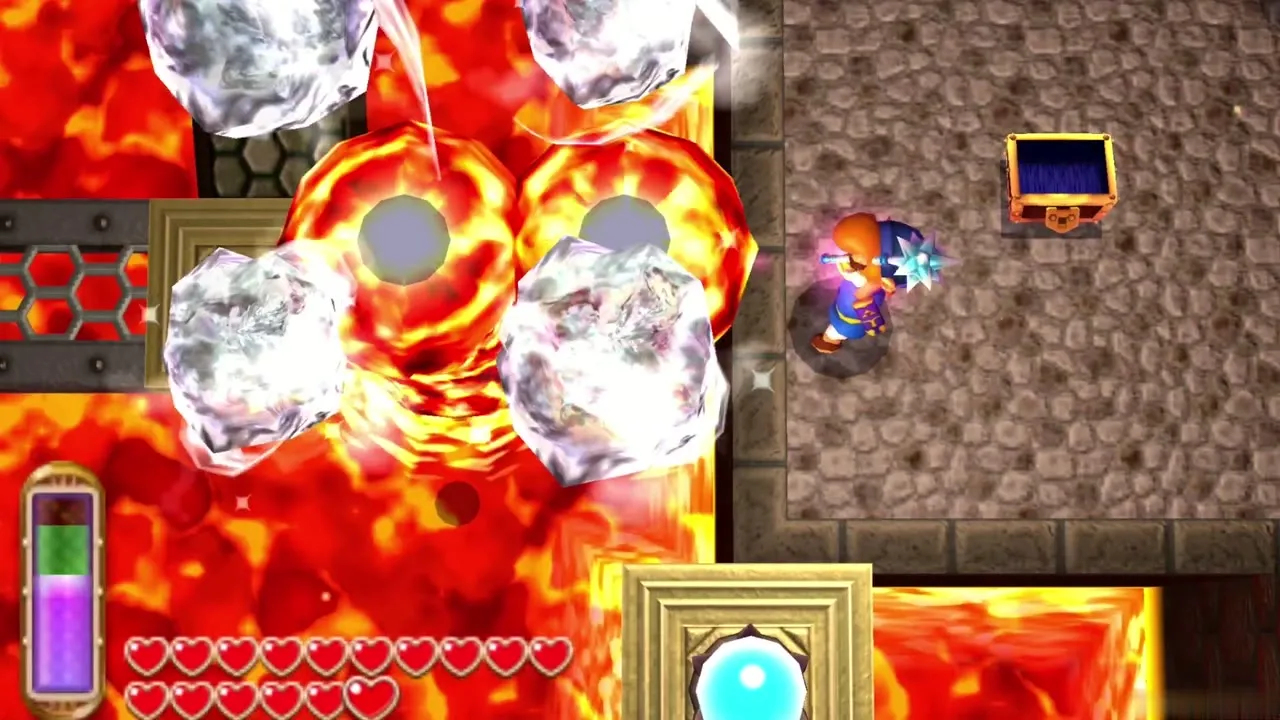
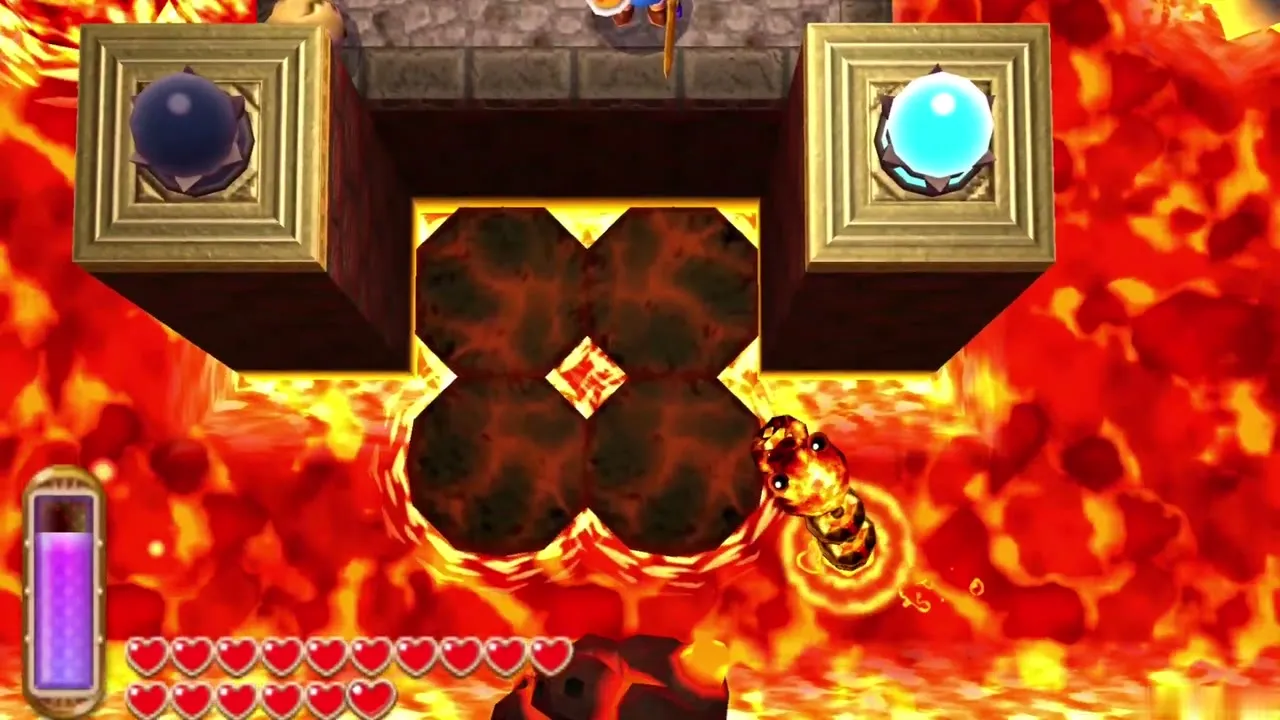
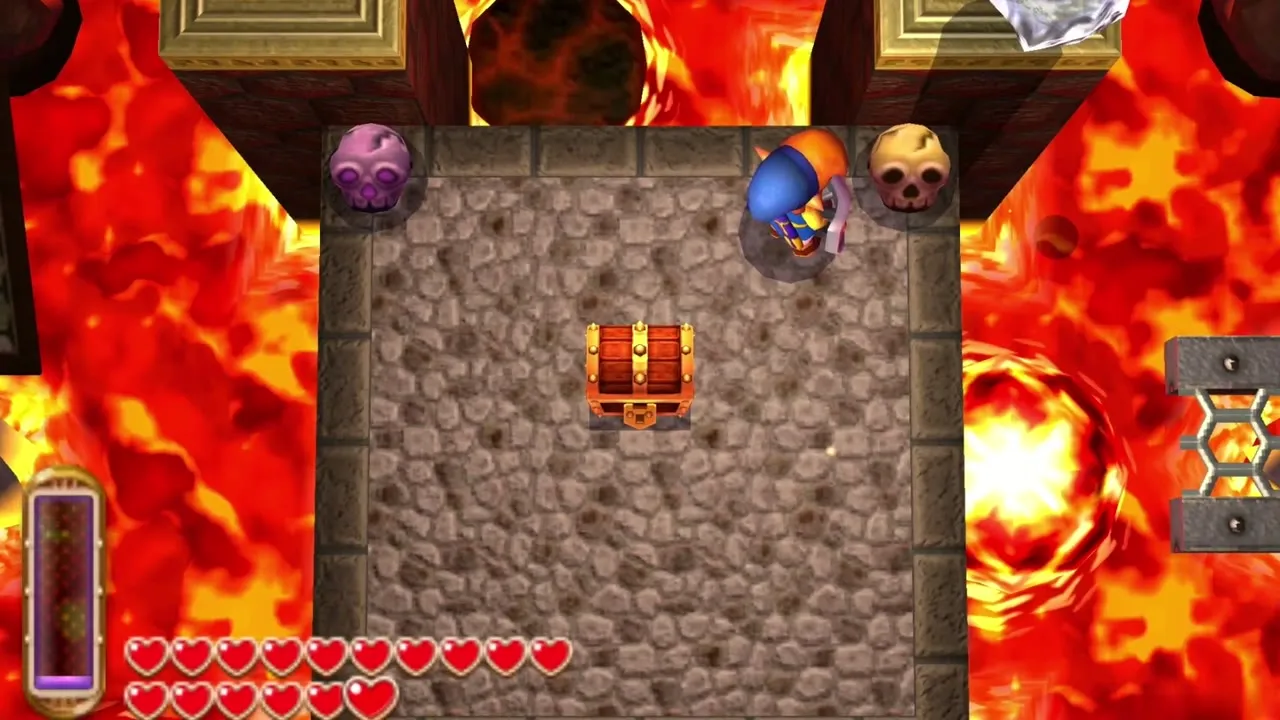
In the centre of the main chamber is a platform surrounded by lava. Step onto the left side of the first seesaw and shoot its middle with the Ice Rod so it stops tilting, then cross to the right side. Freeze the lava pillar beside the central platform to make a bridge. Hit the four crystal switches at the platform’s corners with the Ice Rod and a chest rises with the Compass.
First Small Key
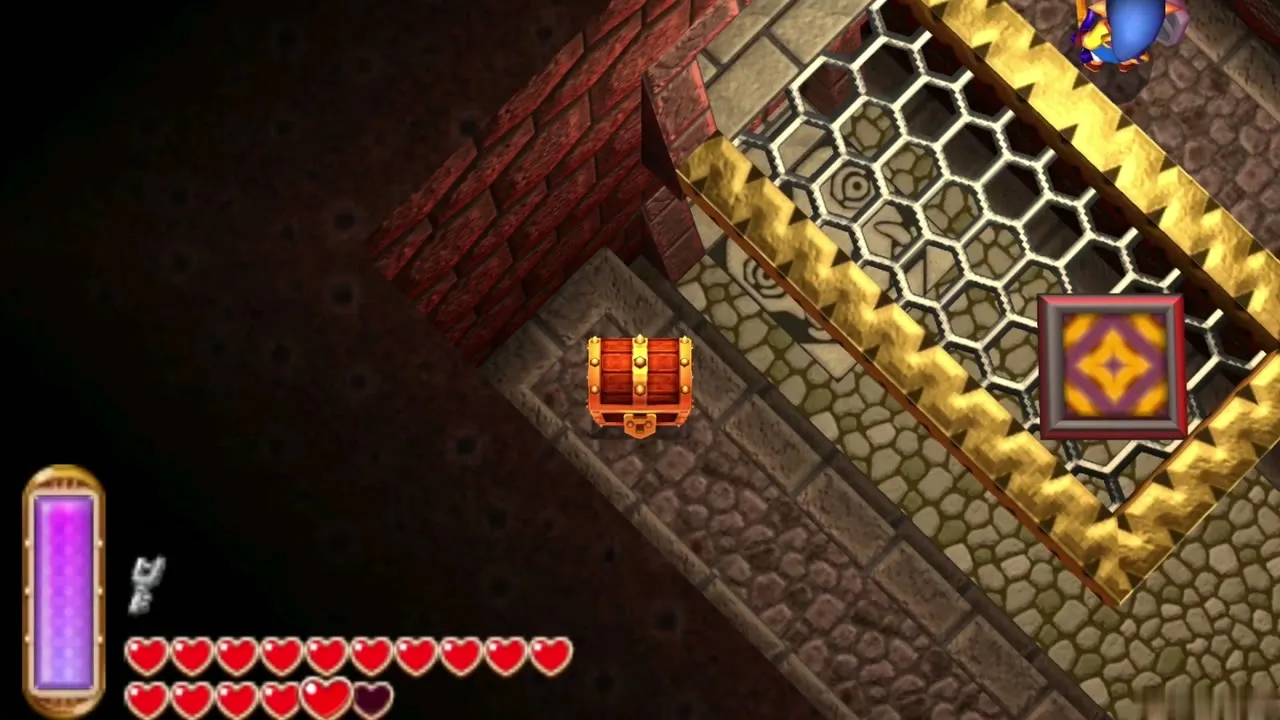
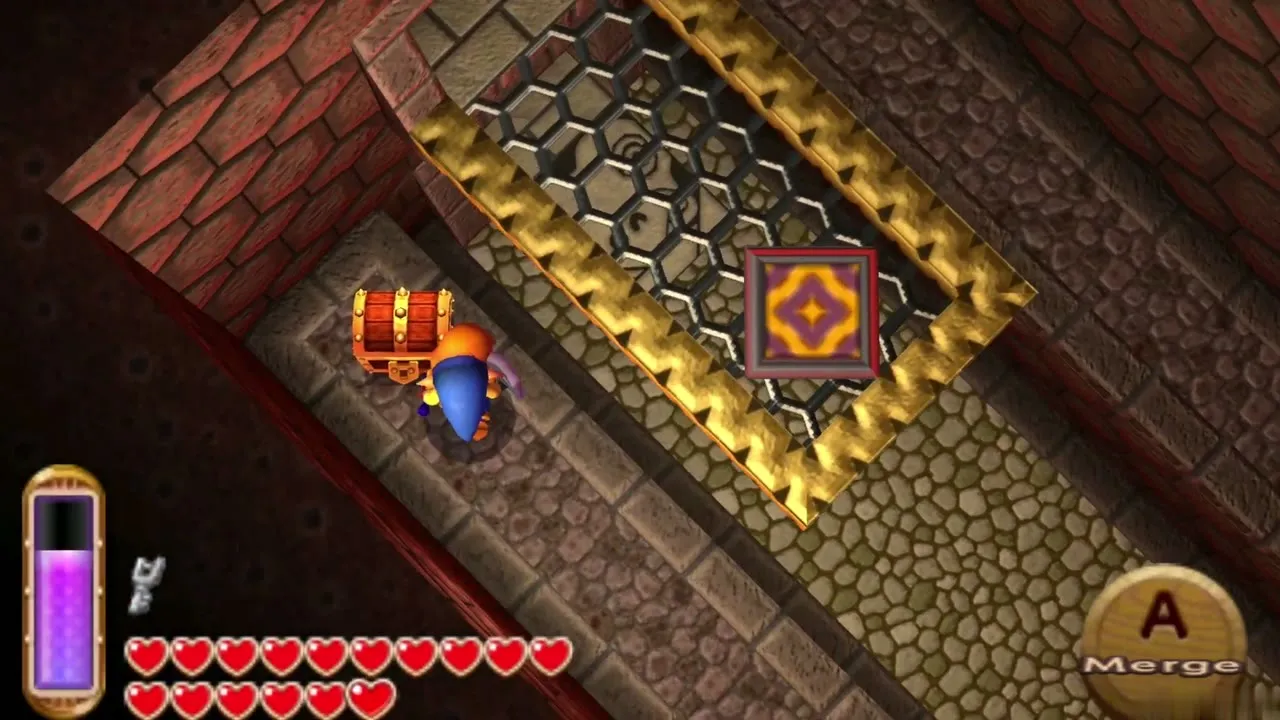
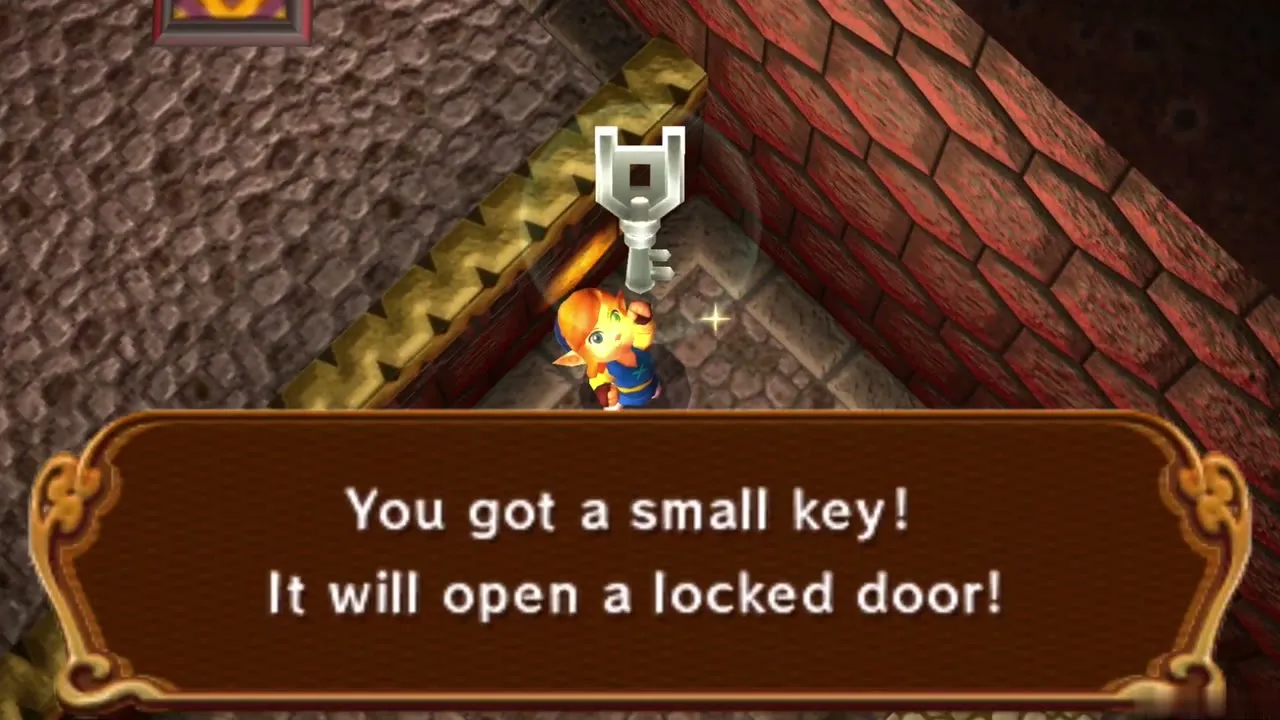
Find the bottom-left room of the first floor and press the floor switch above its door to open it. Inside, freeze the seesaw so you can climb to the upper ledge, then drop to the lower ledge where a red warp tile waits. The tile takes you to a hidden ledge in the north-west with a Small Key in a chest.
Second Small Key
Return to the main chamber and freeze the centre of the seesaw platform on the east side to hold it still. Climb to the east walkway and follow it to the right, then merge into the wall and slide to the north-east ledge, where the second Small Key waits. Use the keys on the locked doors that lead north and down; a third key waits on the next floor.
1F rupee chests and fairies
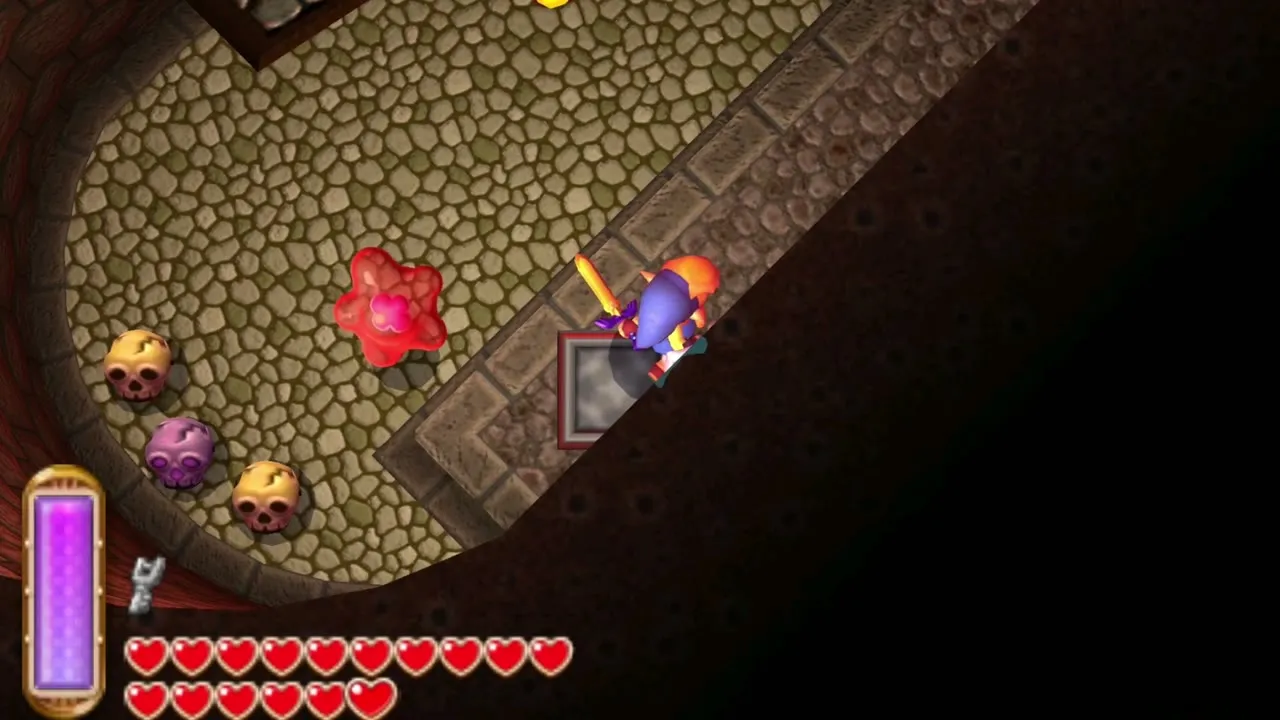
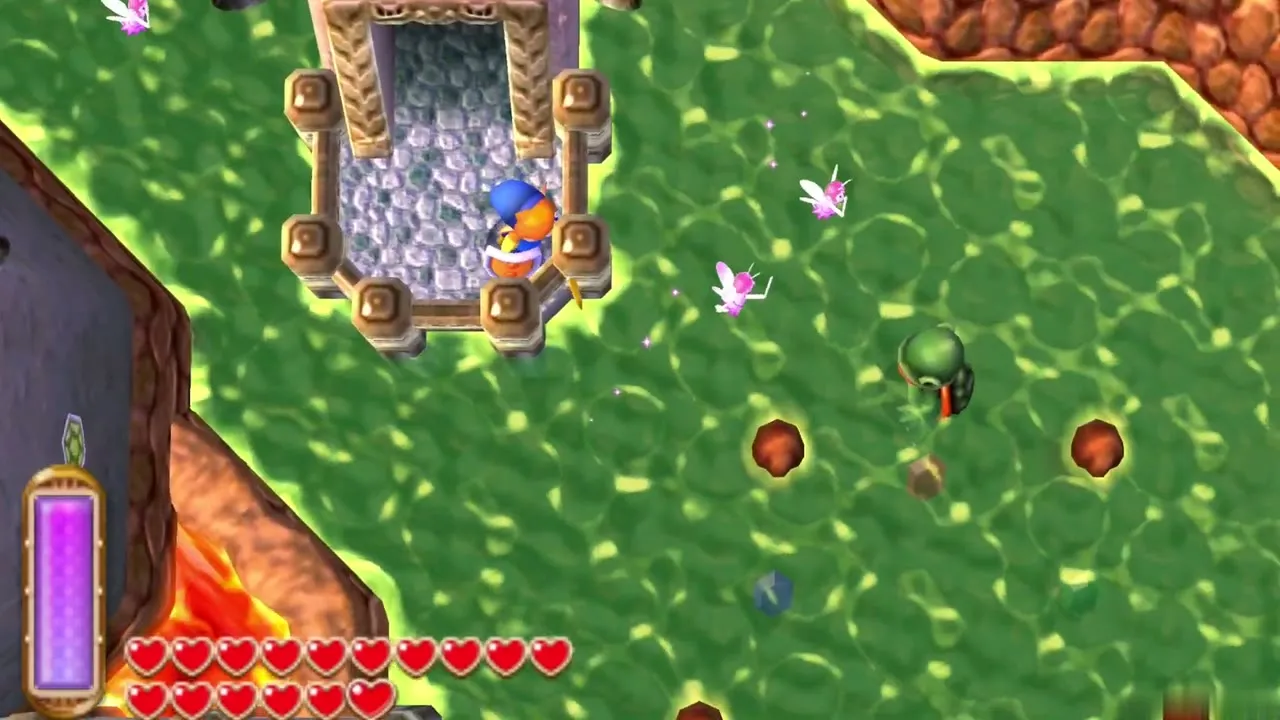
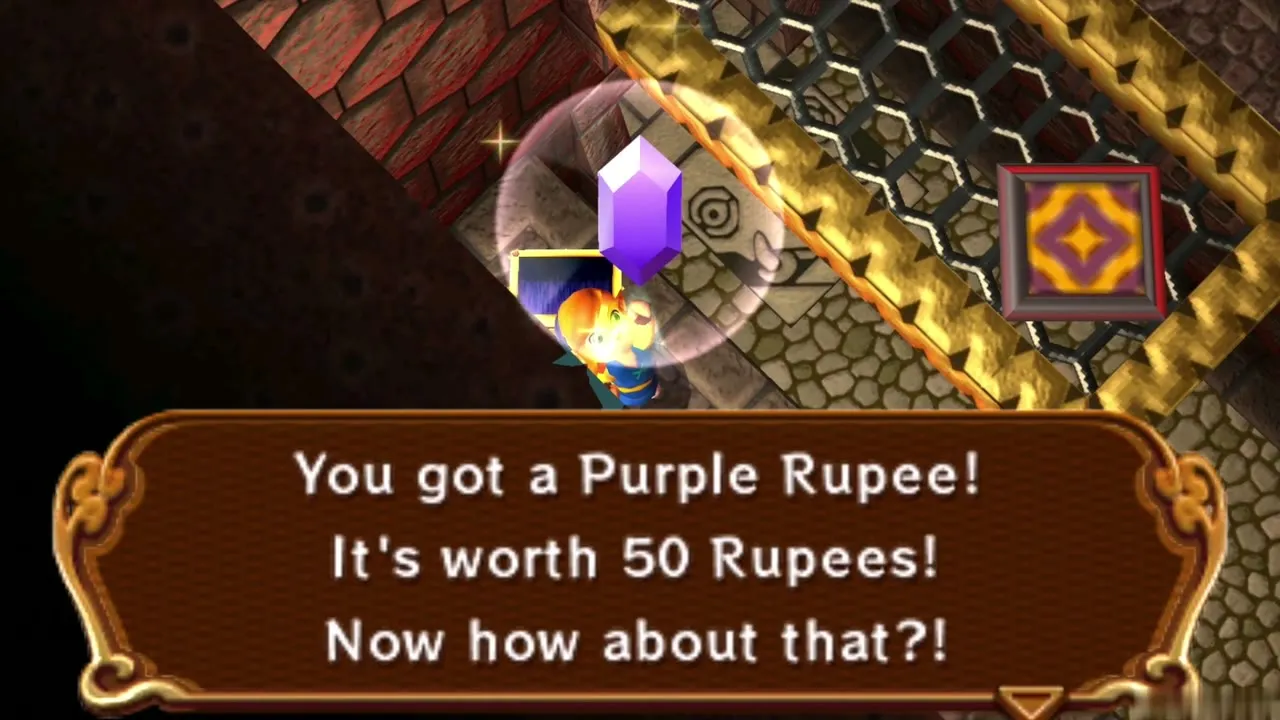
Several rooms on the first floor hold rupees. Defeating the Kodongos in the south-east room and the Flamolas in the main chamber makes chests appear, and one of them holds a Purple Rupee worth 50. The red warp tiles can also drop you on a small outdoor balcony in the east, where fairies hover. Catch one with the Net and an empty Bottle to carry into the boss fight.
Turtle Rock Heart Piece
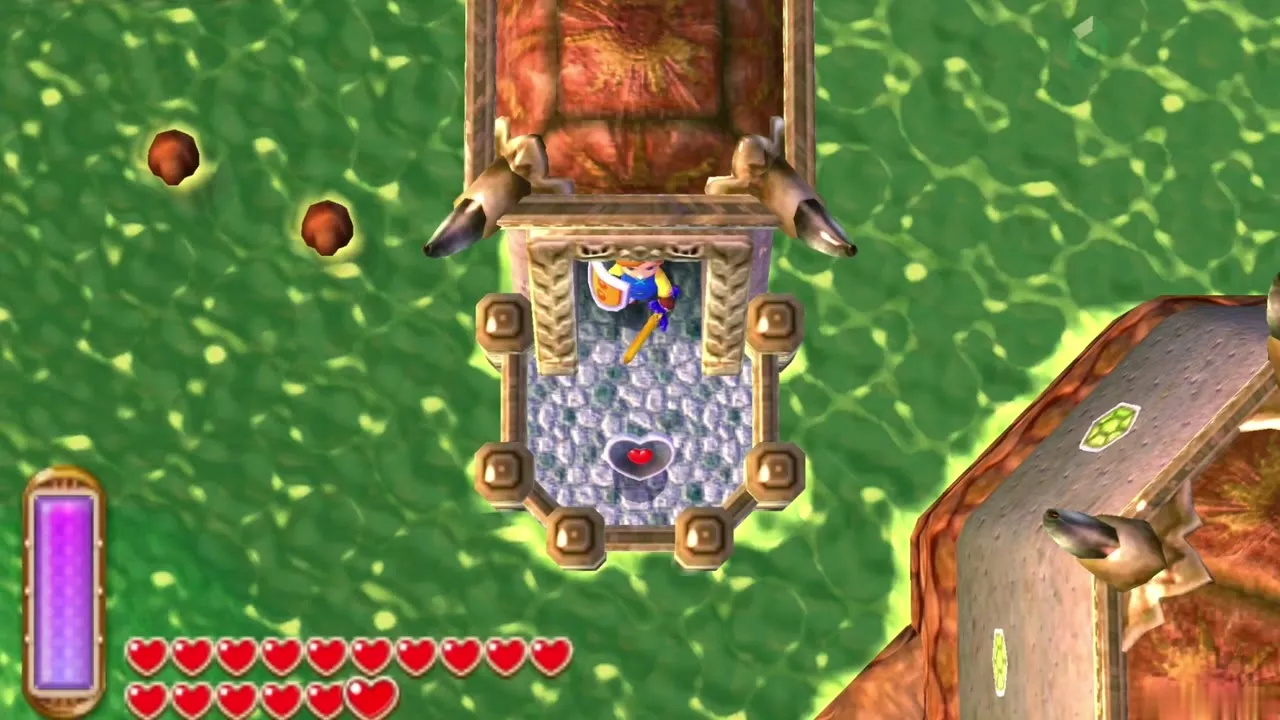
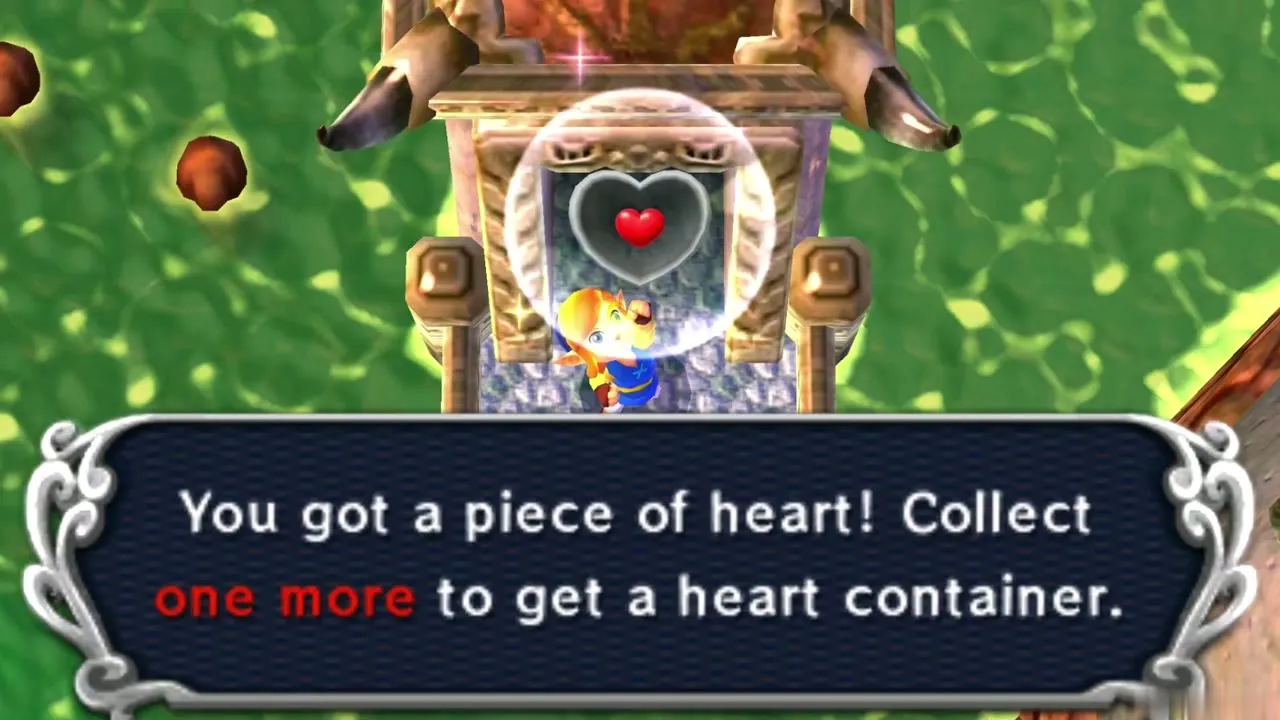
This is Heart Piece #27. Use the other warp tile on the first floor to reach the dungeon’s western exit and step out onto the balcony. The Piece of Heart sits on the island beyond it, and the Ice Rod gets you across the lava gaps. When you have it, go back inside and continue down the dungeon.
Turtle Rock B1
Basement Wizzrobes and the lava walkways
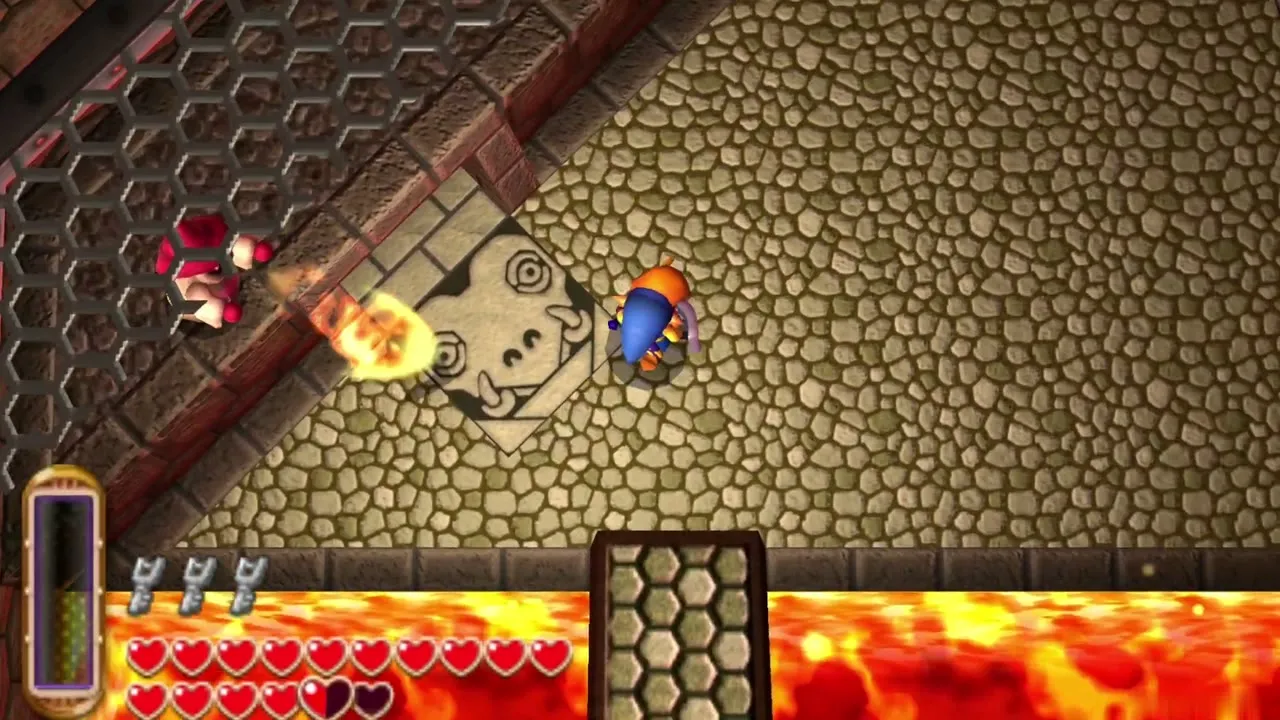
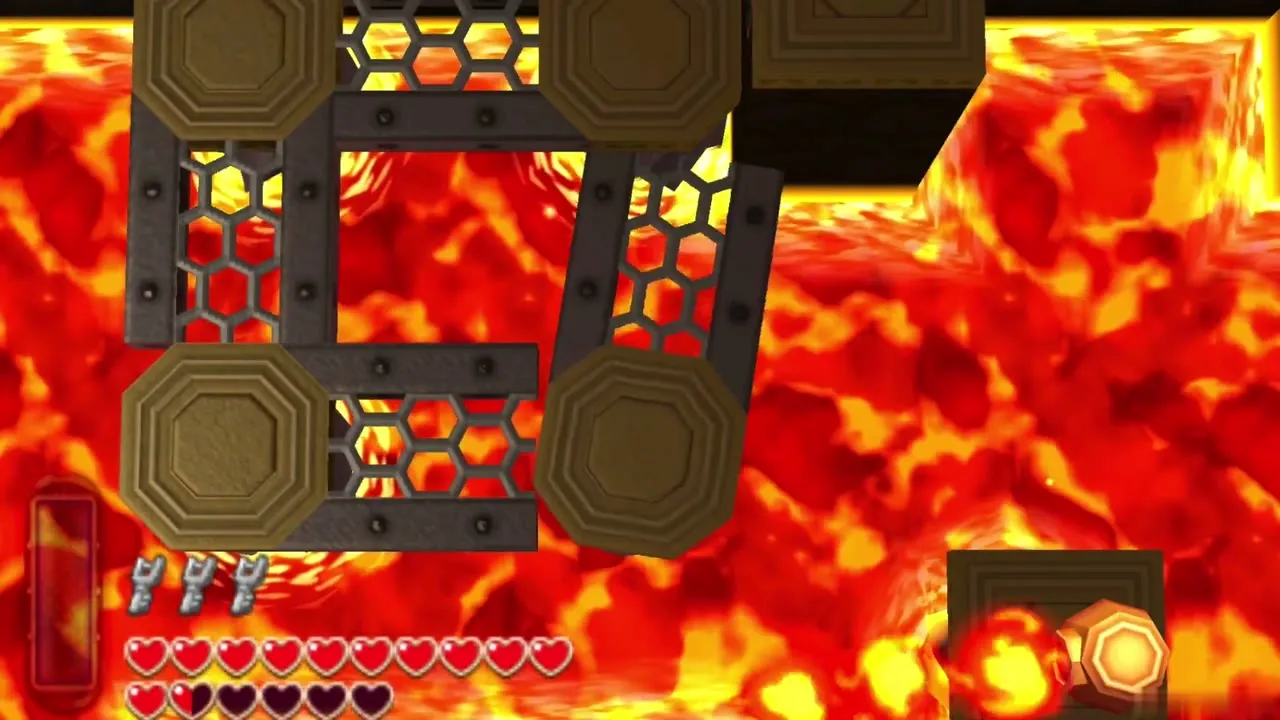
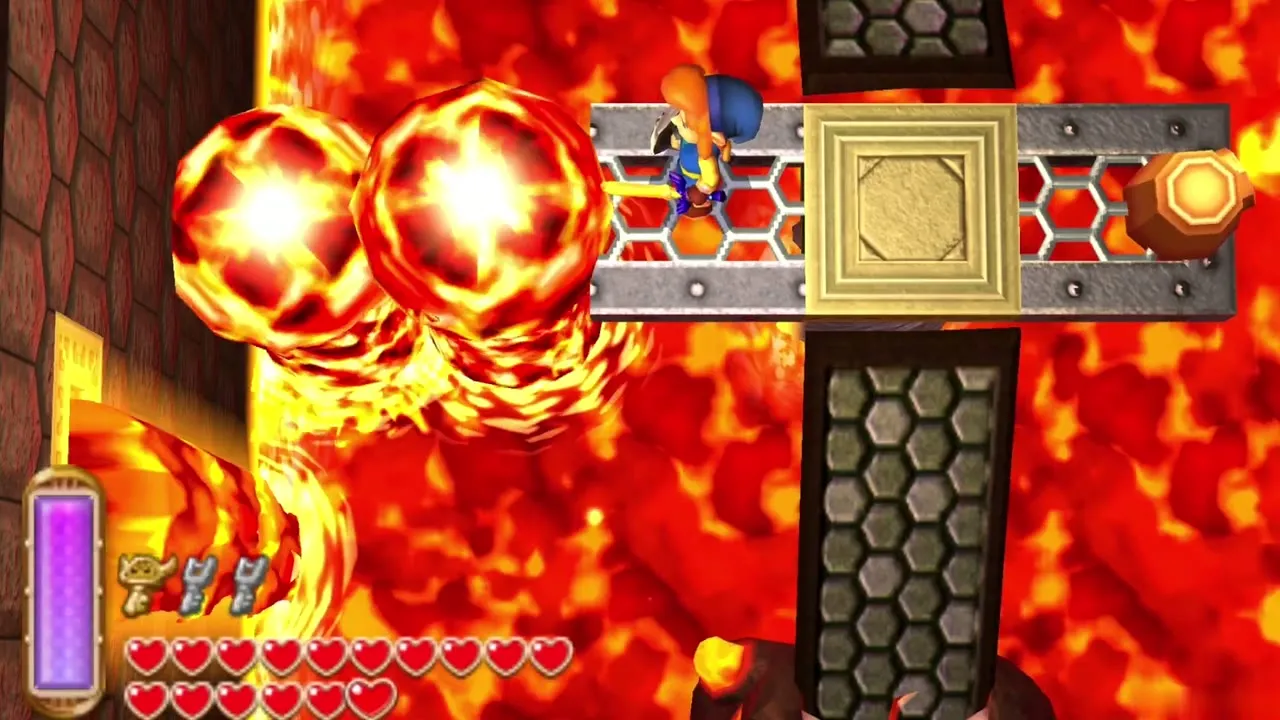
Unlock the north door on the first floor and go down to B1. The big room here is a maze of lava, seesaws and wire grates, with Wizzrobes teleporting in to shoot at you. Freeze them with the Ice Rod or shoot them with arrows; each defeat makes a platform rise out of the lava. Work around the room this way until you can see a route to the doors on each side.
Third Small Key
Take the door to the north-east room on B1. A Beamos stands guard over a Small Key and fires along a fixed line. Freeze the lava in front of you, then sneak behind the Beamos, or freeze it, and open the chest. This is the dungeon’s last Small Key, and you will spend it on the door that leads to the Big Key.
Fire Gimos mini-boss
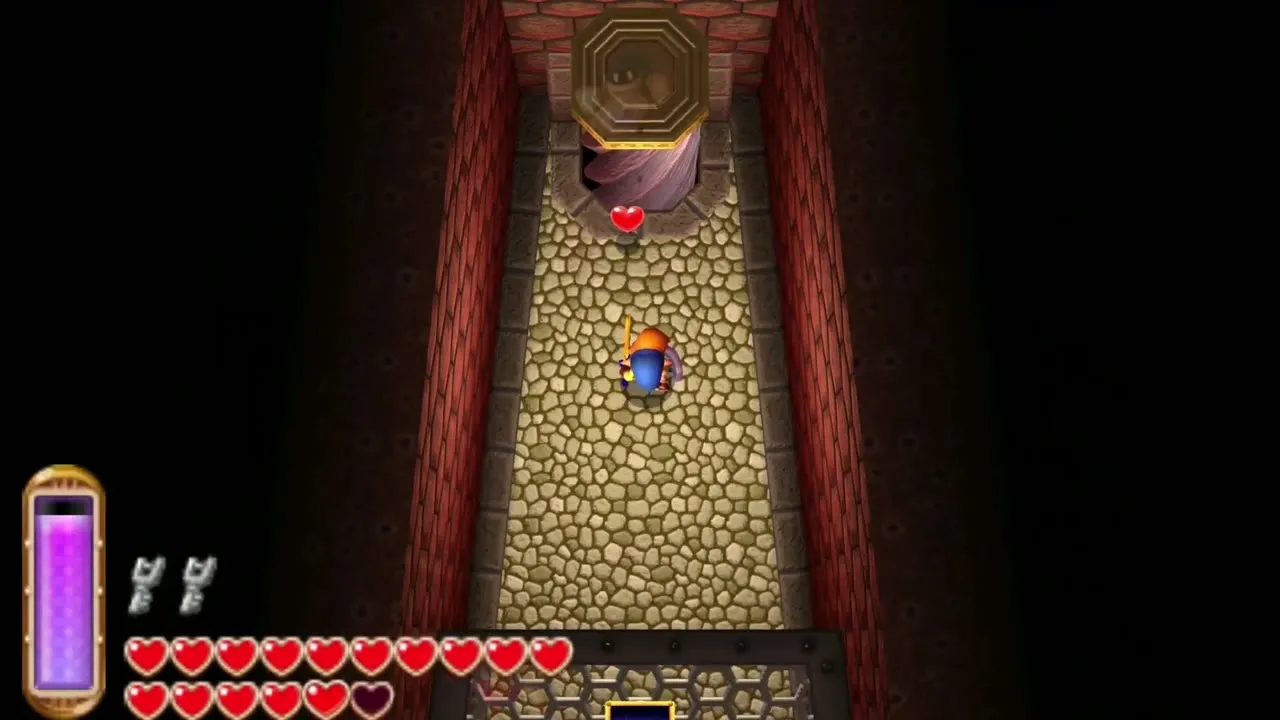
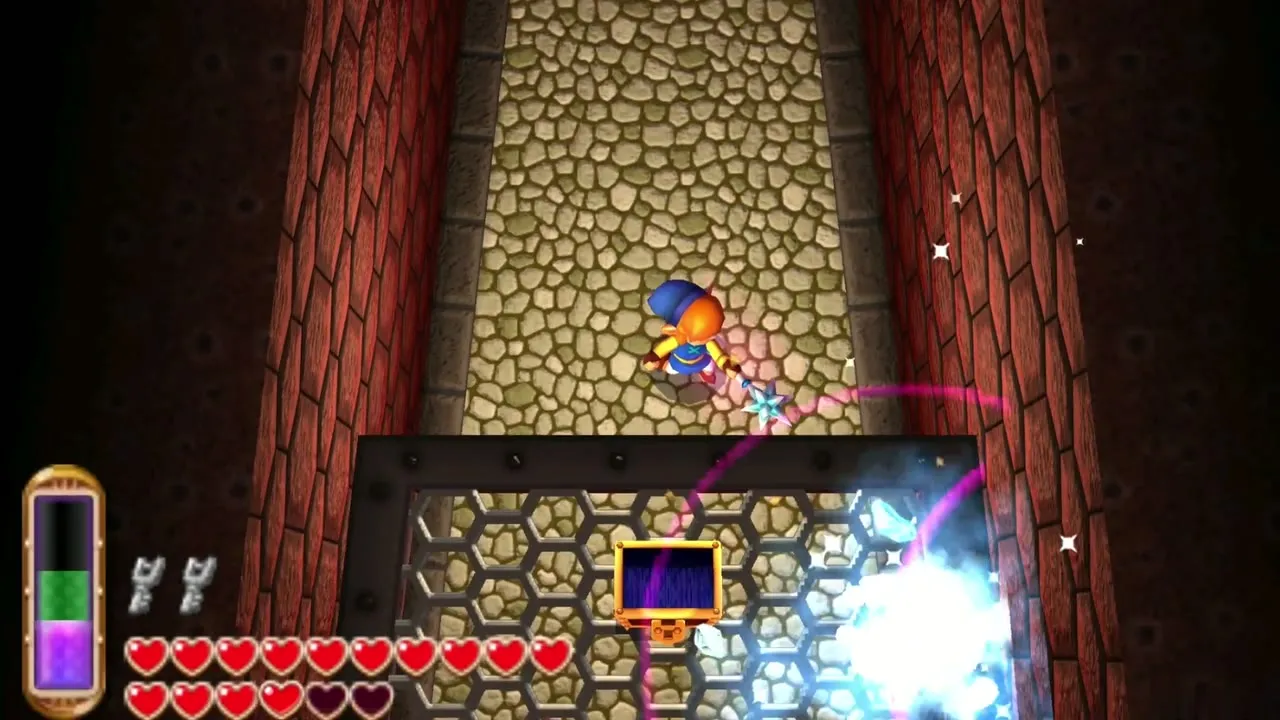
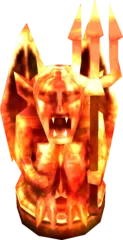
Enter the north-west room on B1. Five Fire Gimos appear, one large and four small, and the doors lock behind you. The Ice Rod works well on them, and your sword finishes whatever it freezes. When all five are down the doors unlock and a warp tile appears that returns you to the dungeon entrance, which saves a long walk.
Skull switches and the bridges
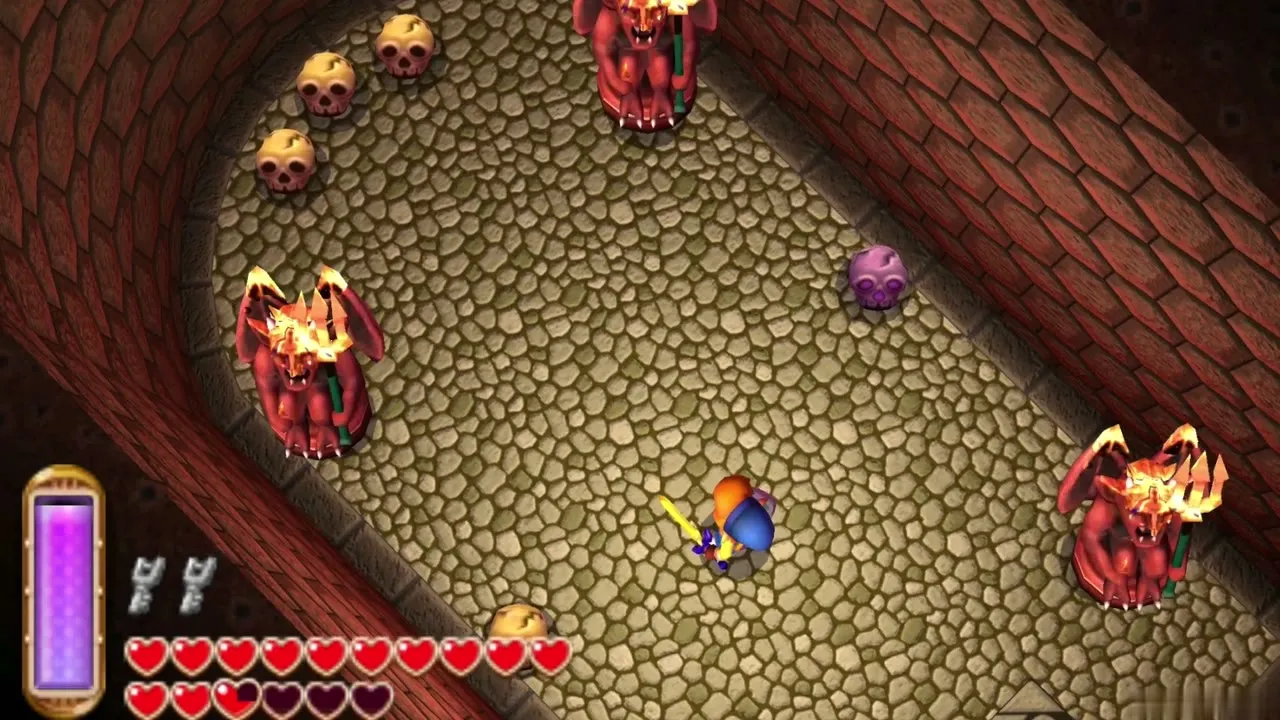
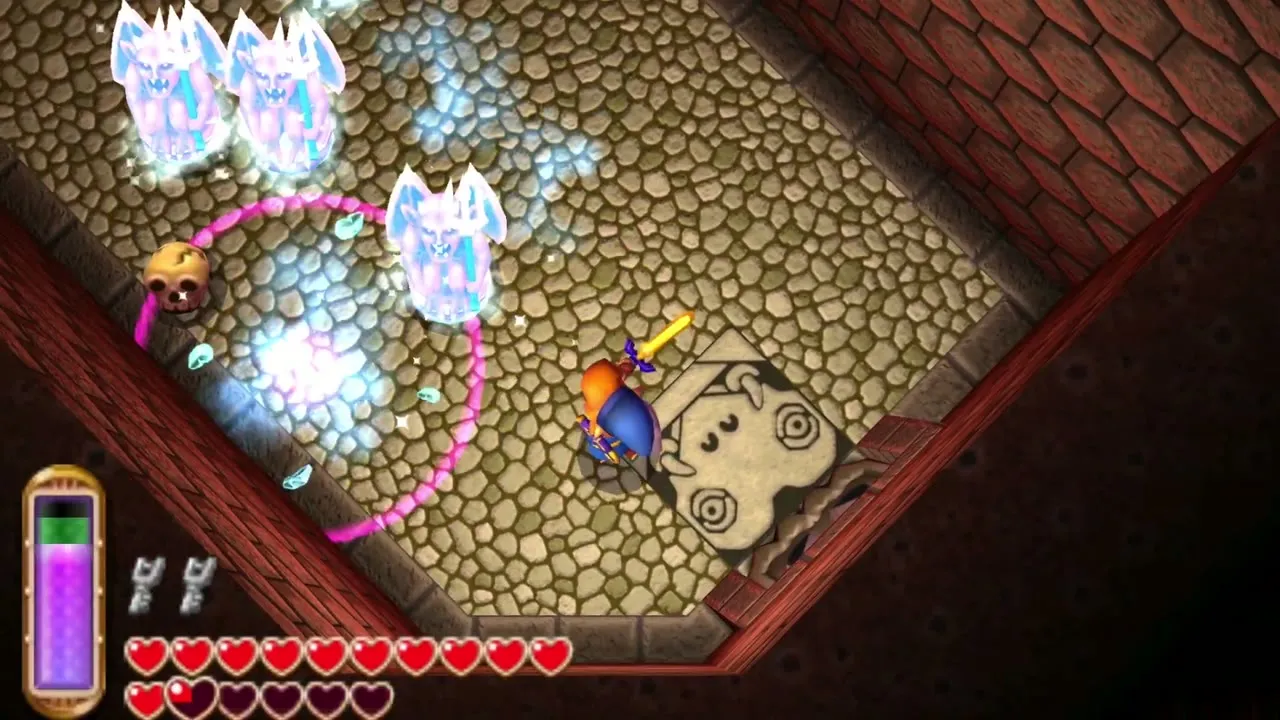
Two side rooms on B1 are packed with Medusa heads and lava. Freeze the lava and the fireballs as you cross, then smash the skulls at the back of each room to uncover a floor switch. Stepping on it makes a bridge rise in the large B1 room. One of these bridges runs along the front wall toward the boss door.
Turtle Rock Big Key
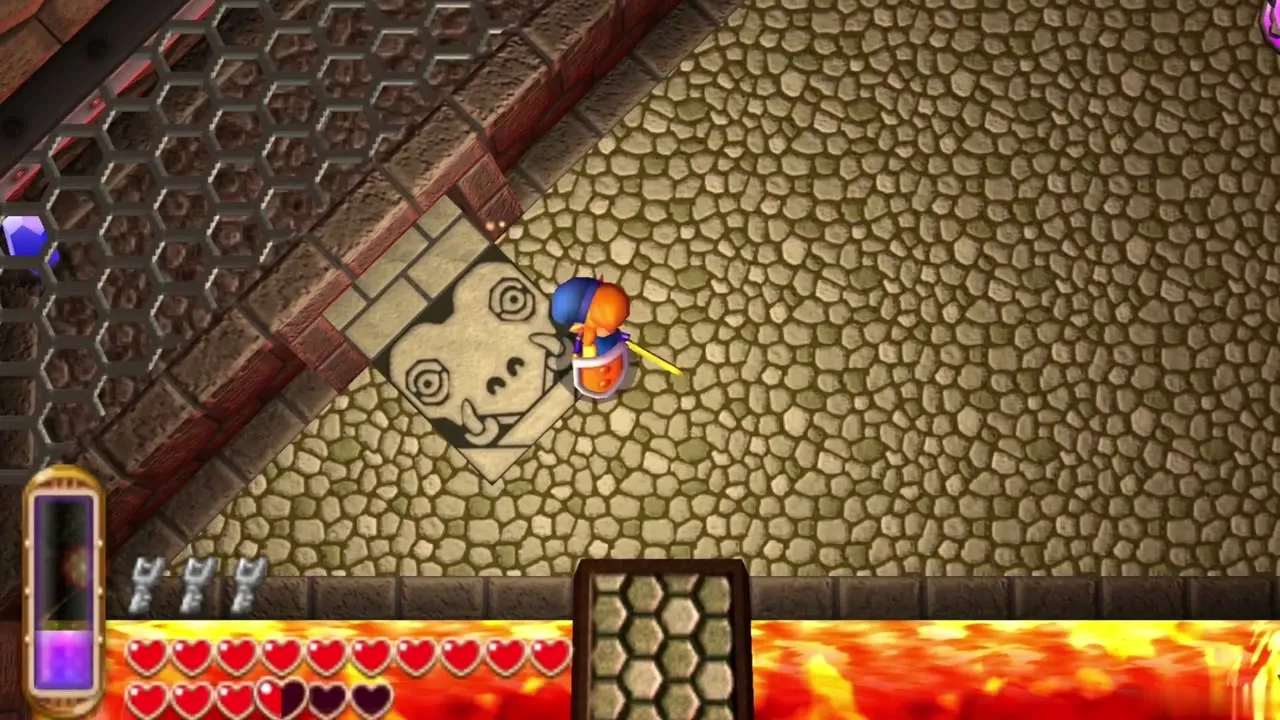
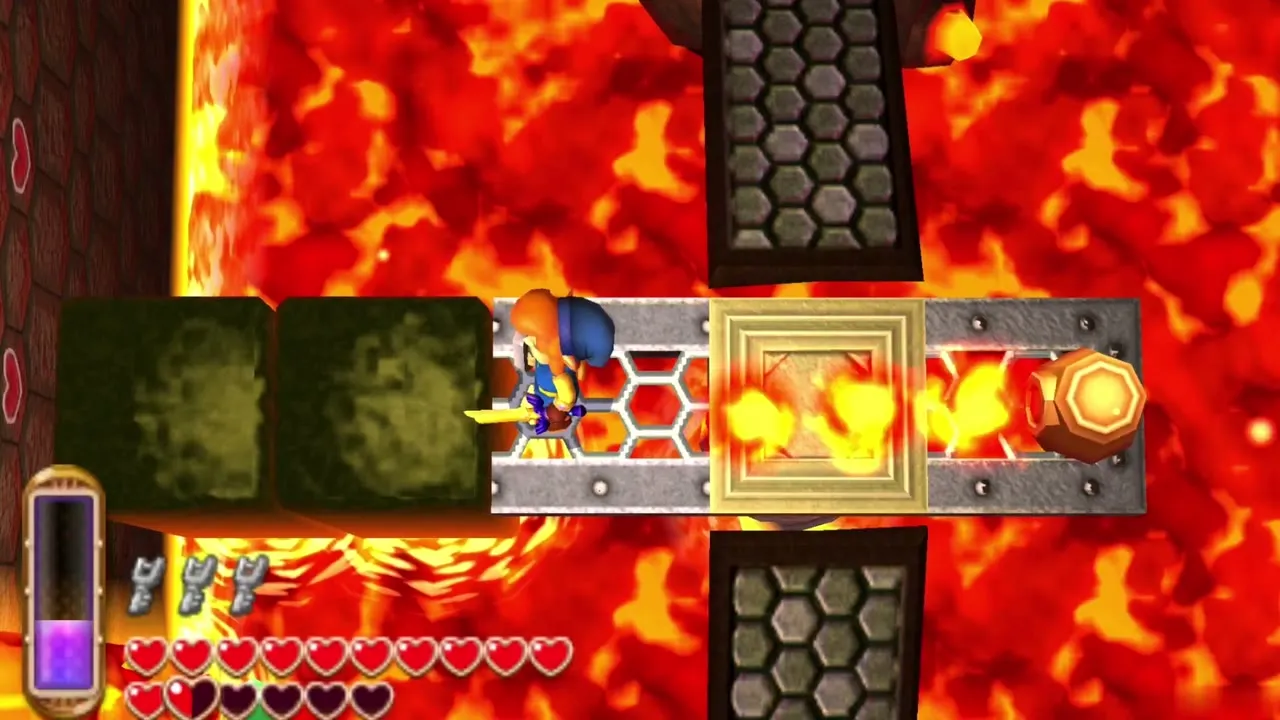
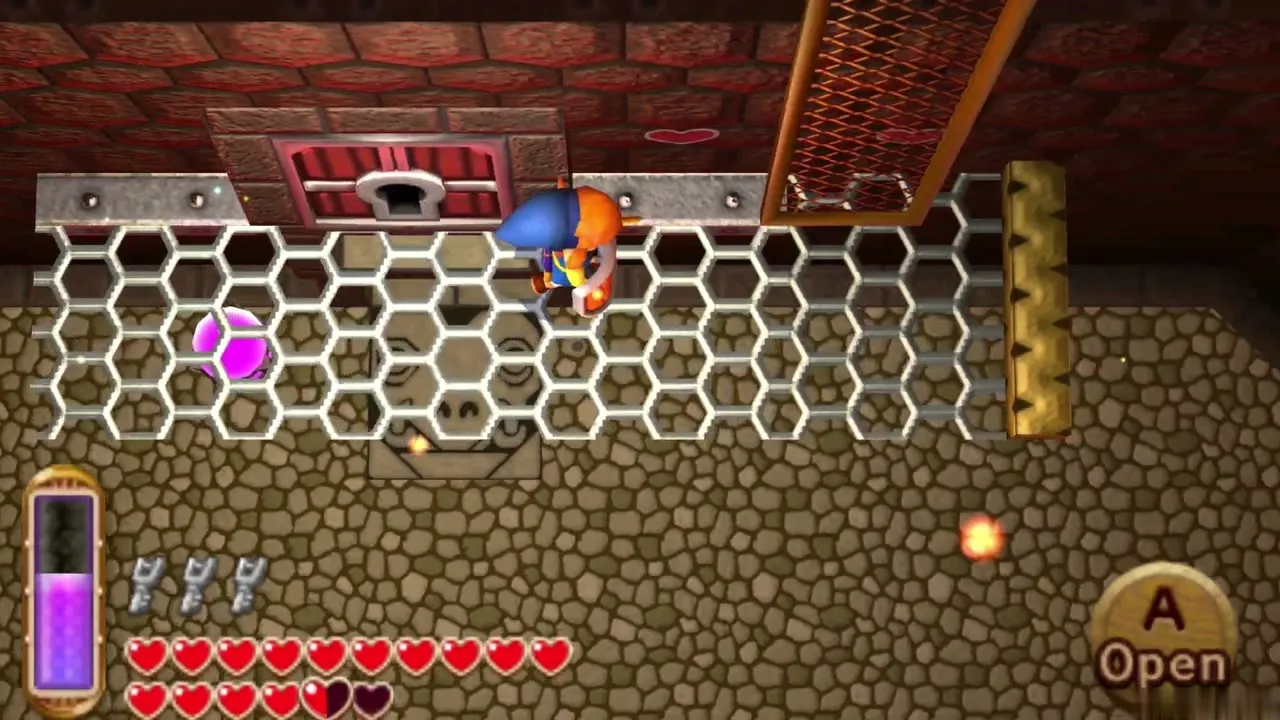
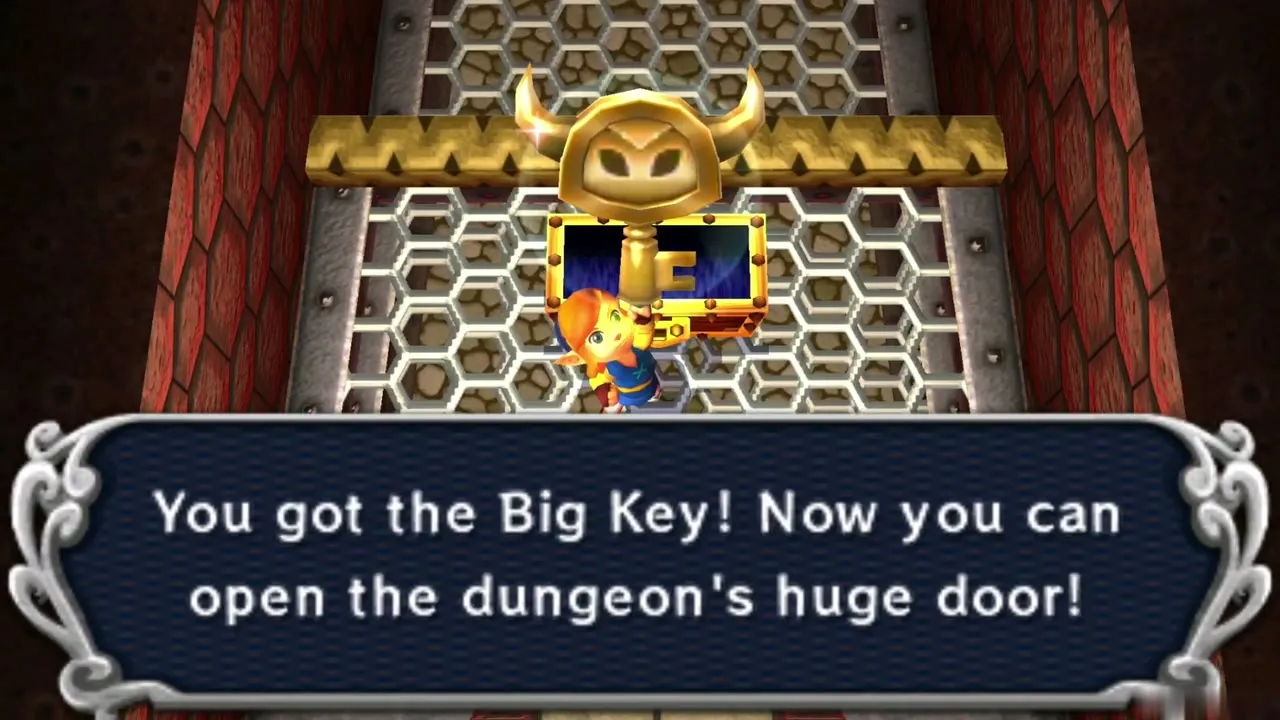
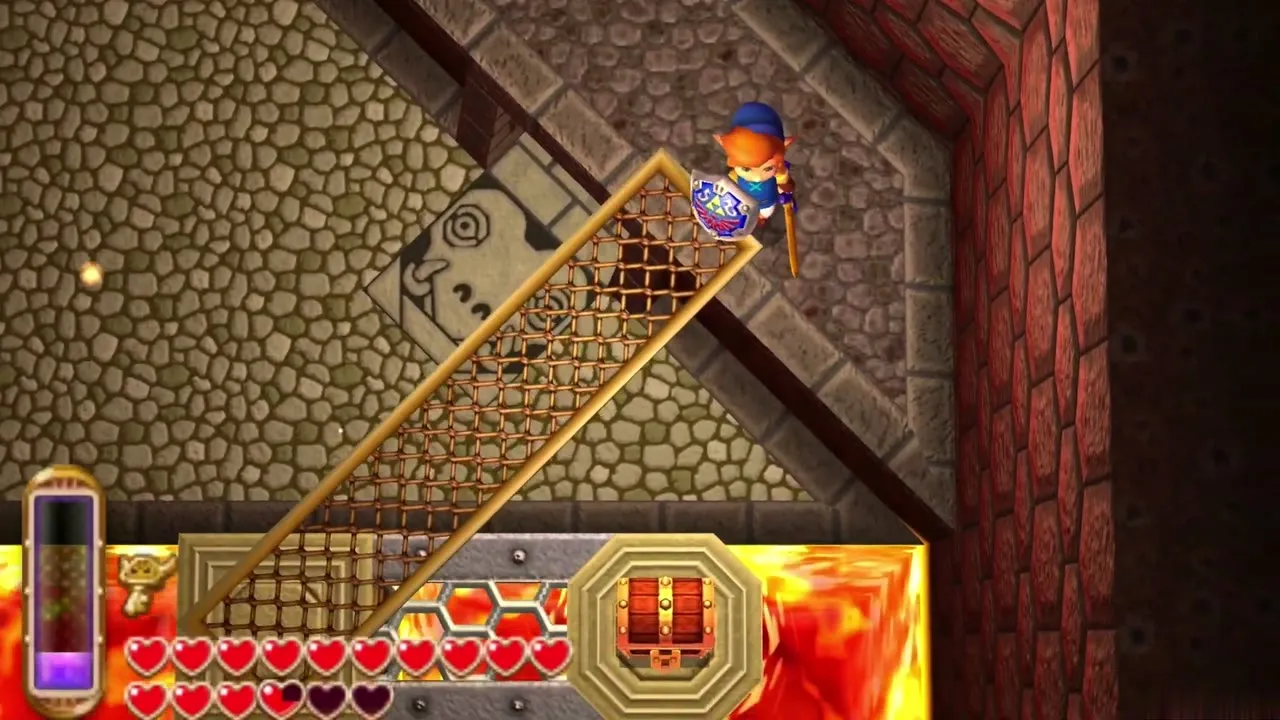
The Big Key chest is in the north-central room on B1, on a high grate that you cannot reach from the floor. Climb the seesaws, merge into the wall and slide to the door that opens onto the upper grate. Unlock it with your last Small Key and open the chest. The Big Key lets you open the huge door to the boss.
Hylian Shield
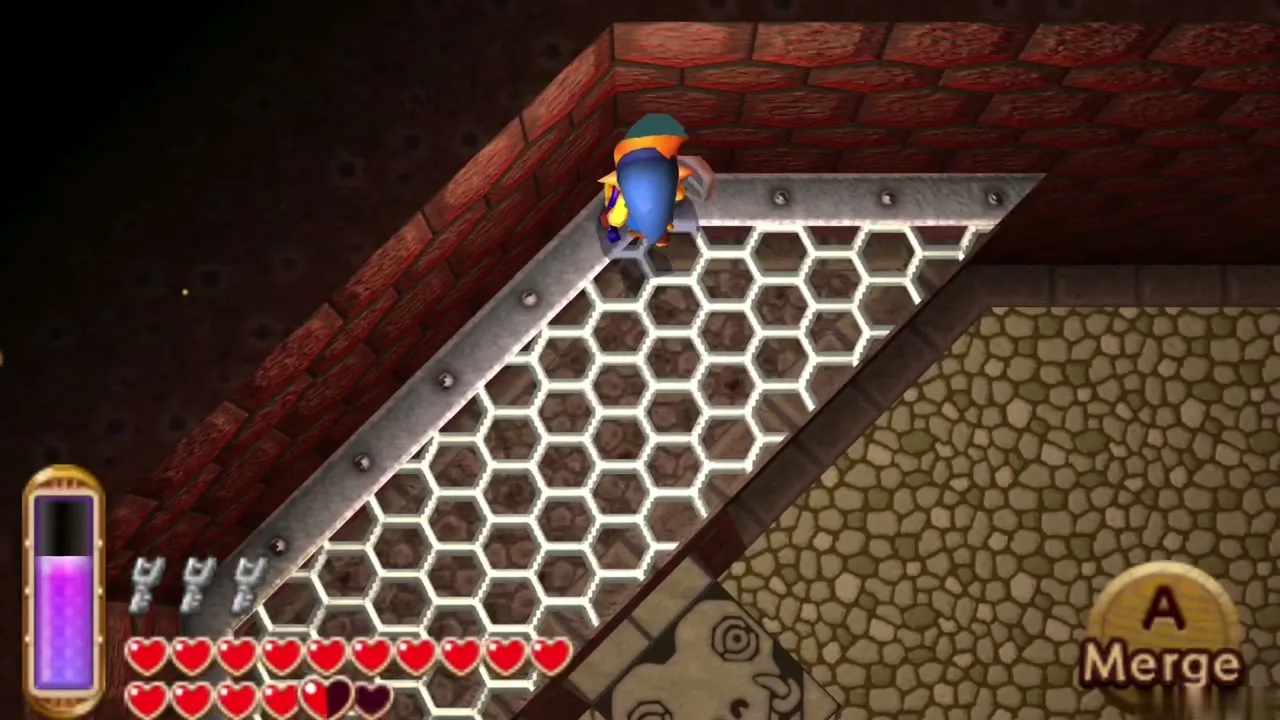
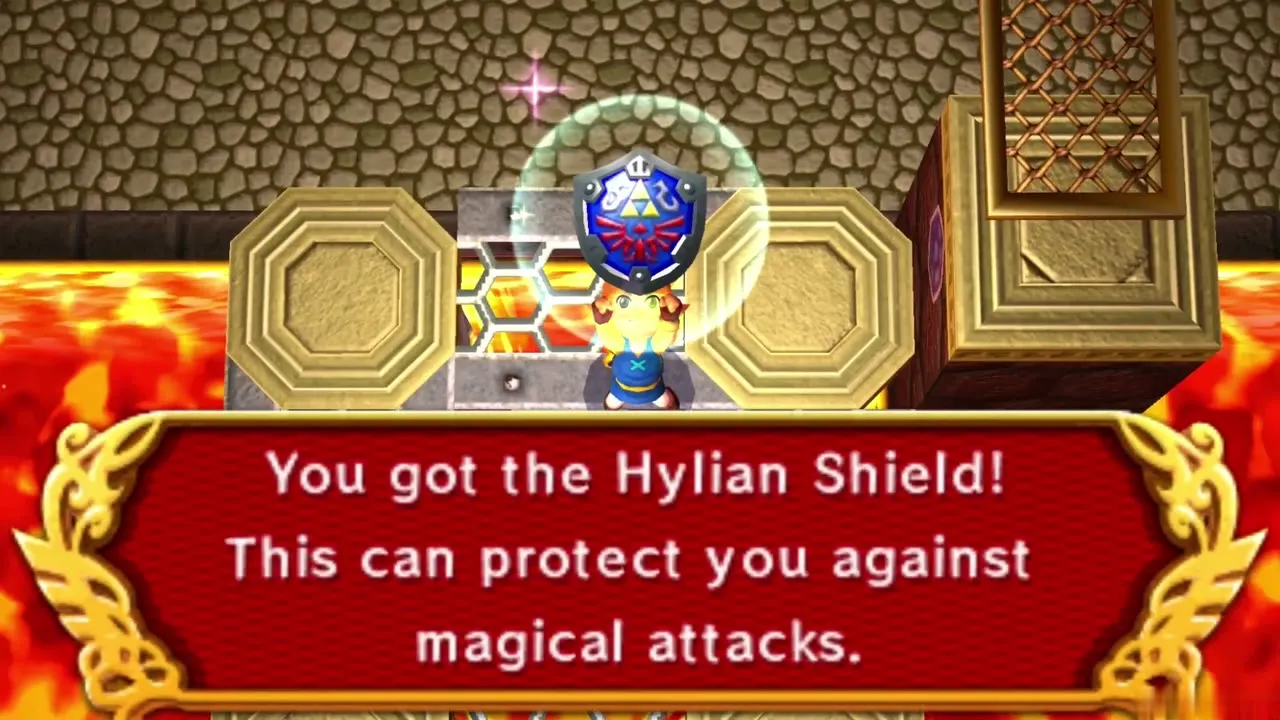
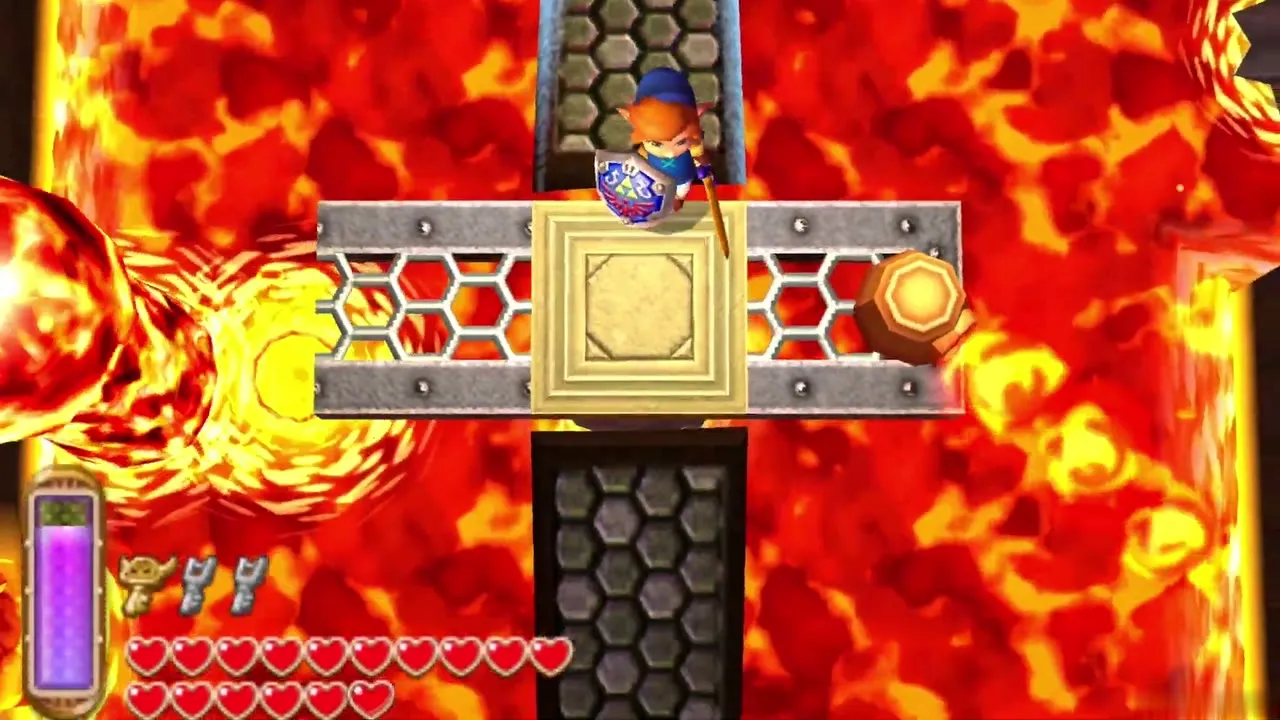
Just outside the Big Key room, step out of the wall and push the loose grate over in the central room to form a bridge across the lava. Cross it and open the big chest on the far platform for the Hylian Shield. It blocks magical attacks such as fireballs and Beamos shots, and you need it for Grinexx’s explosion. Hold R to raise it.
B1 rupee chests
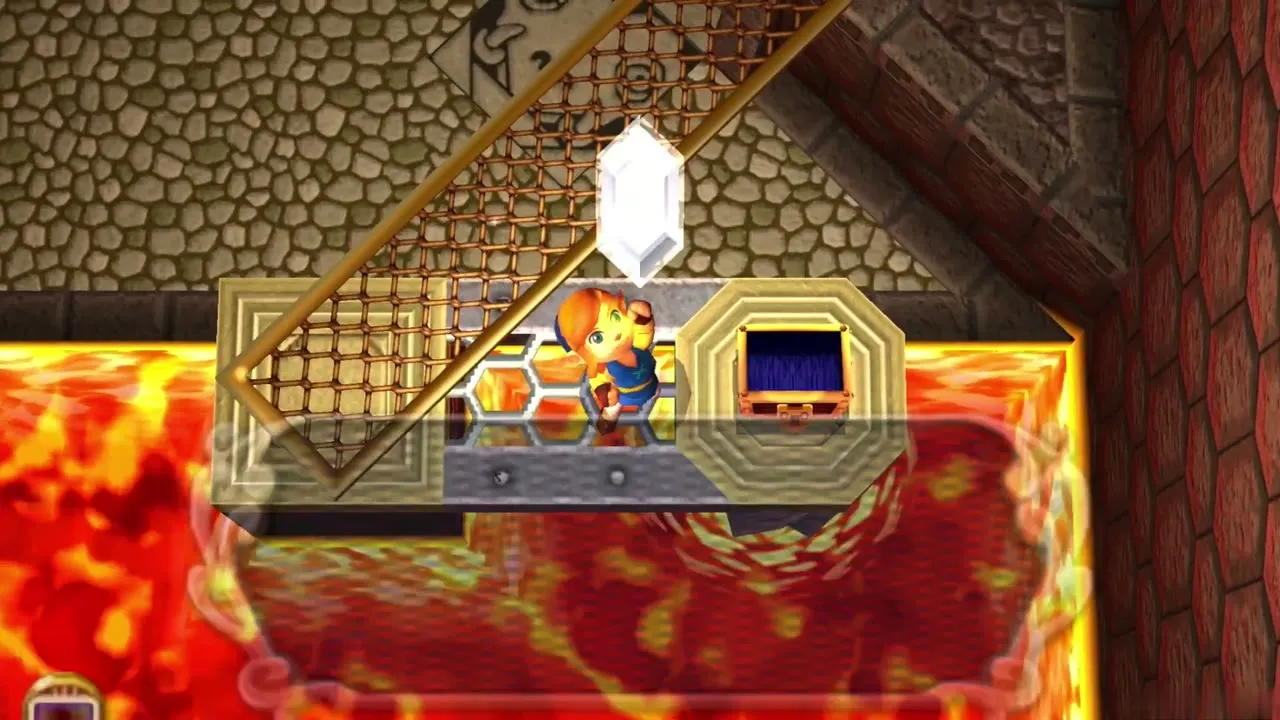
Before you leave B1, collect the extra rupees. Chests here hold a second Purple Rupee, worth 50, and a Silver Rupee, worth 100. Freeze the lava pillars, defeat the Wizzrobes that guard the walkways and merge along the back walls to reach them. They are optional, but a full wallet helps with the Maiamai upgrades and Ravio’s prices.
Turtle Rock B2
The boss door
Return to the central room and use the walkway along the front wall to reach the huge door on B1. Open it with the Big Key. Beyond it, freeze the rolling spiked traps as you pass, smash the skulls to reveal a floor switch and step on it. Two Wizzrobes appear; defeat both and a gap opens in the floor. Drop through to B2 and the boss arena.
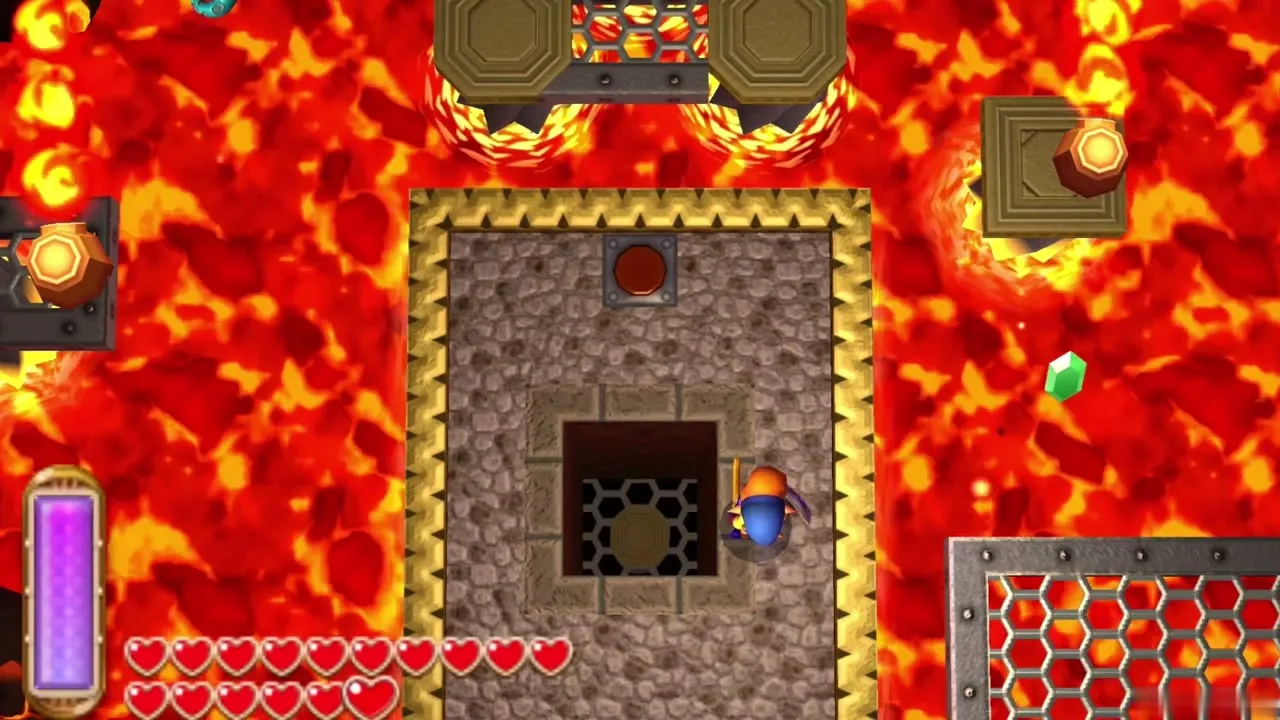
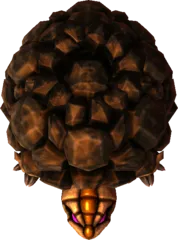
Grinexx boss fight
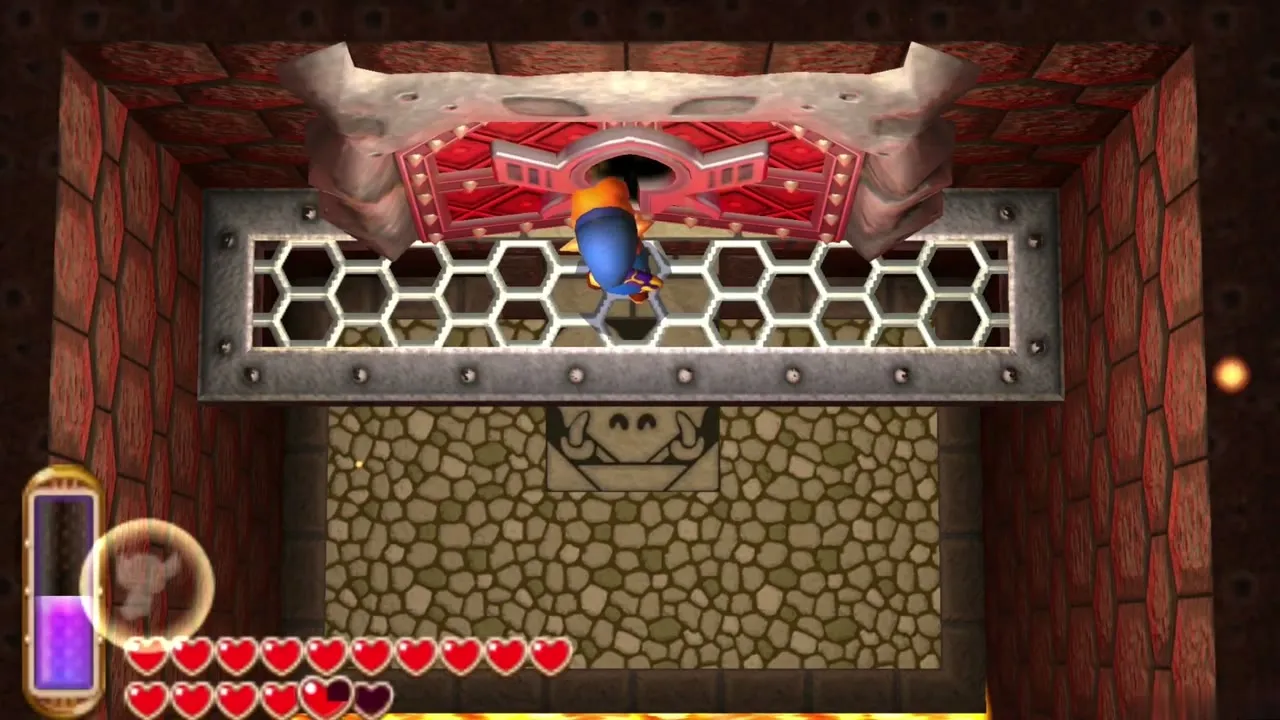
You fight on a metal grate above a lava pool, with larger holes in the middle and in the corners. Grinexx swims beneath you and bursts lava up through the openings. Wait until it passes under one of the large holes, then drop an ice block onto it with the Ice Rod. After a couple of hits it chases you with a stream of lava; run in circles around the central hole until it tires. Repeat until it leaps up onto the grate.
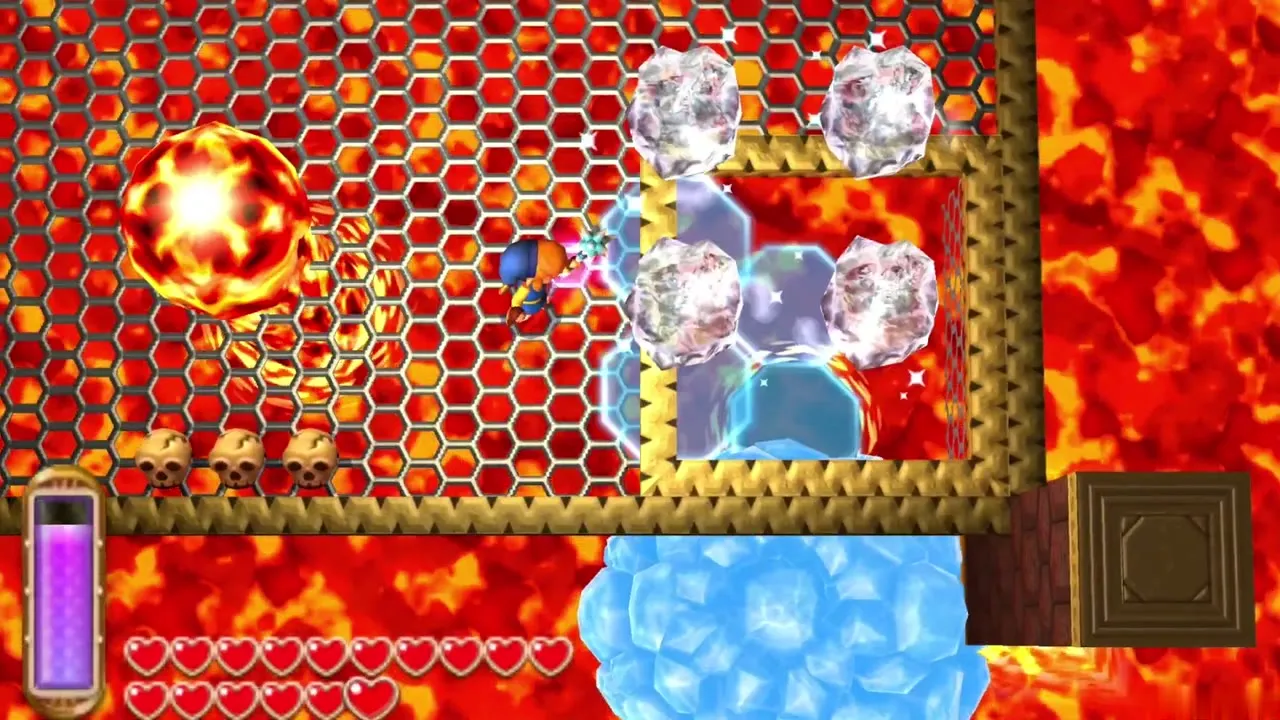
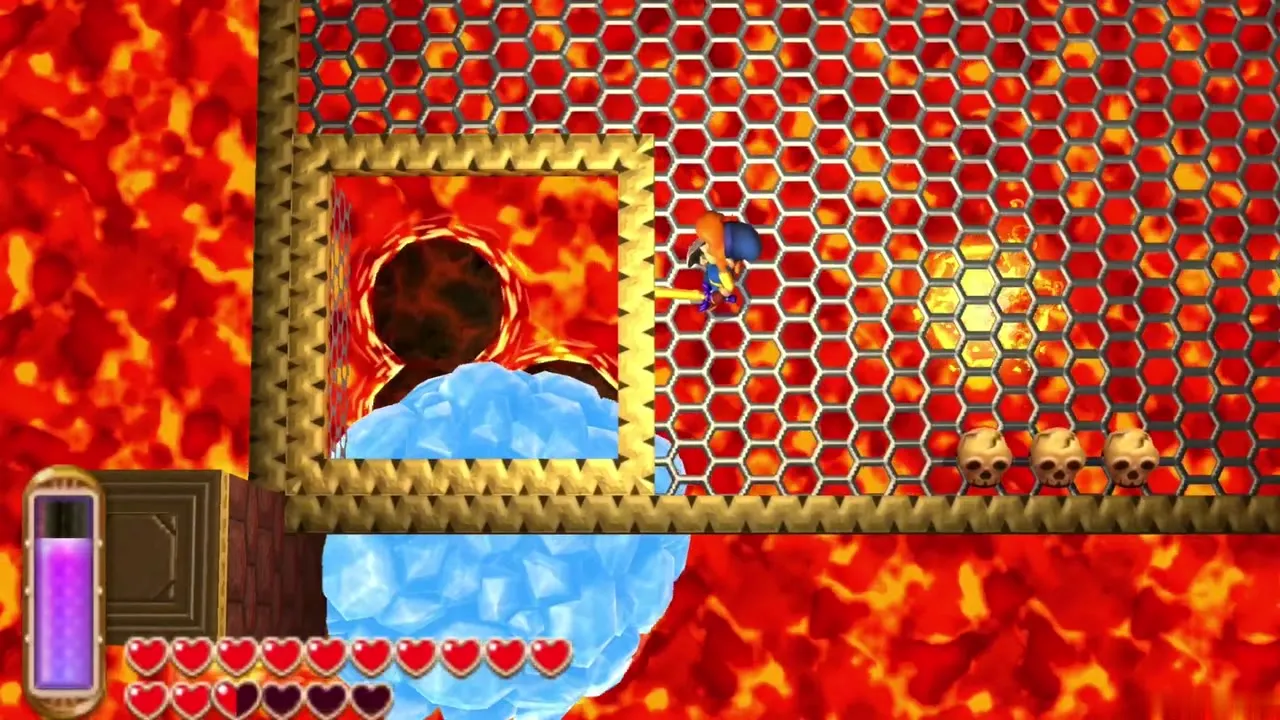
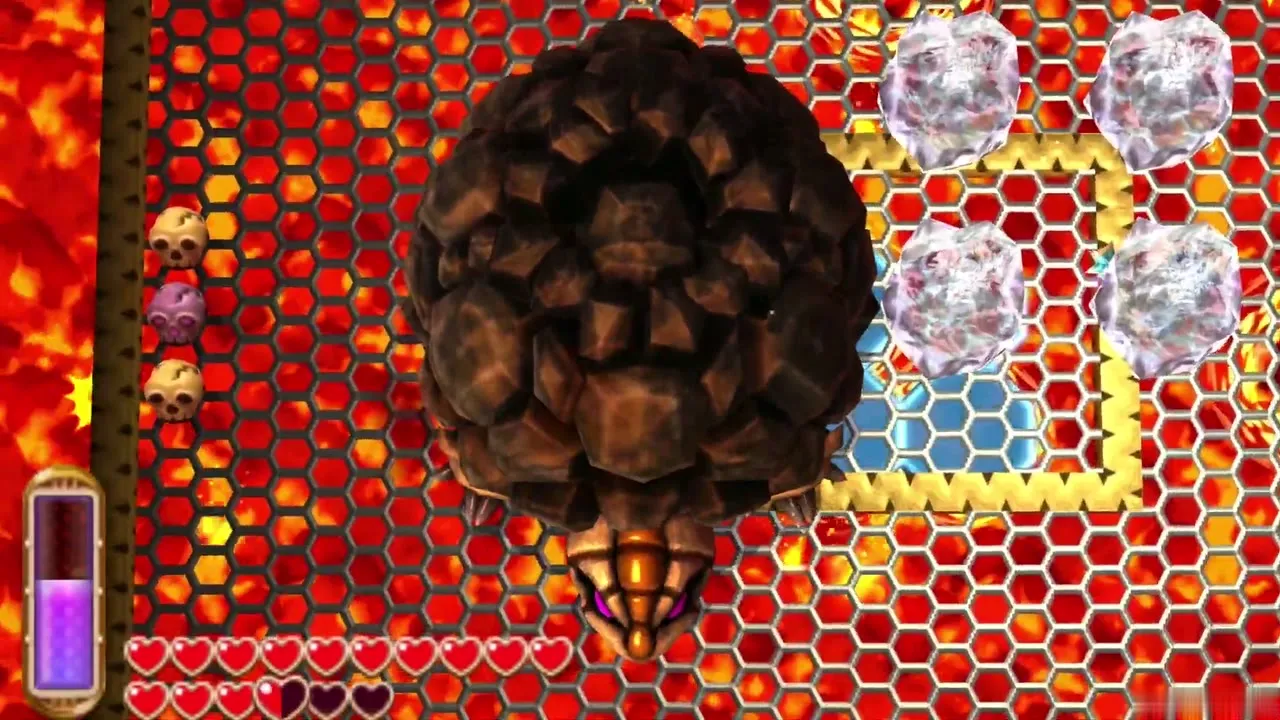
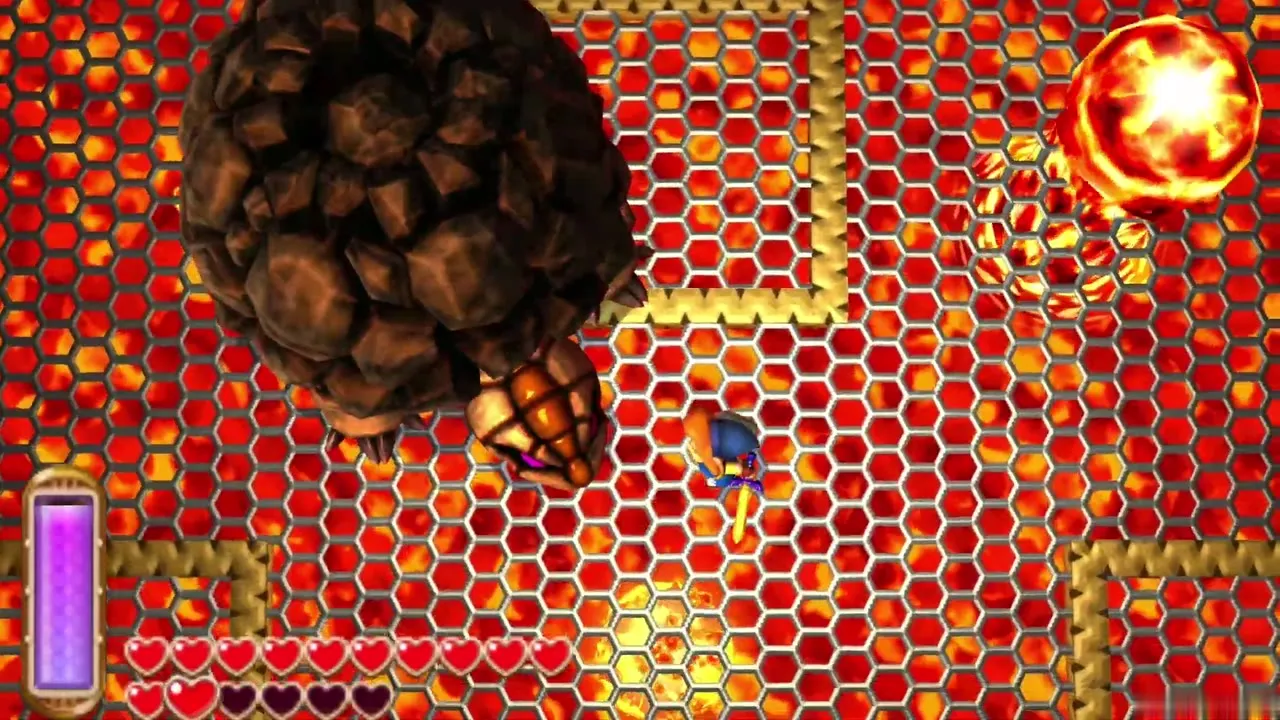
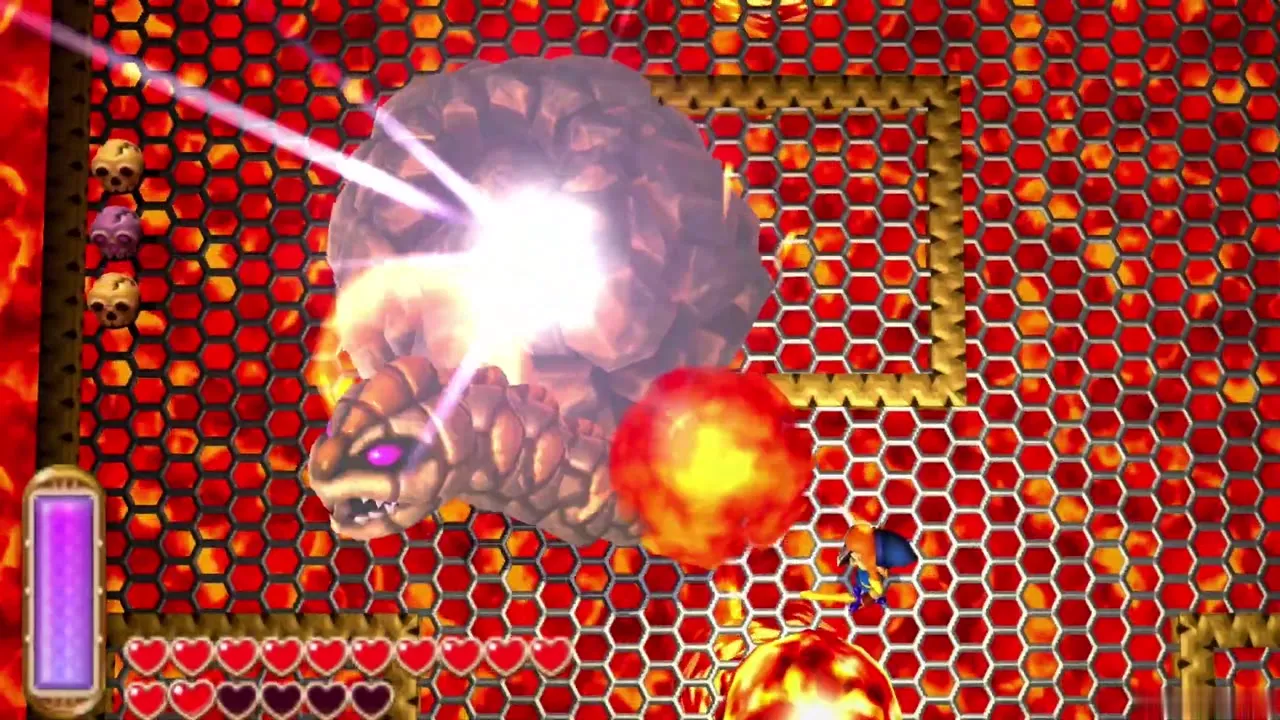
On the grate, Grinexx stretches its neck to bite. Raise the Hylian Shield, then slash its head when it recoils, or hit it from range with the Ice Rod or arrows. It also tucks into its shell and spins across the arena, so stay near a corner. When it pulls in, smokes and glows, it is about to explode; back away and keep the Hylian Shield up. Keep striking its head until it falls.
Turtle Rock Heart Container
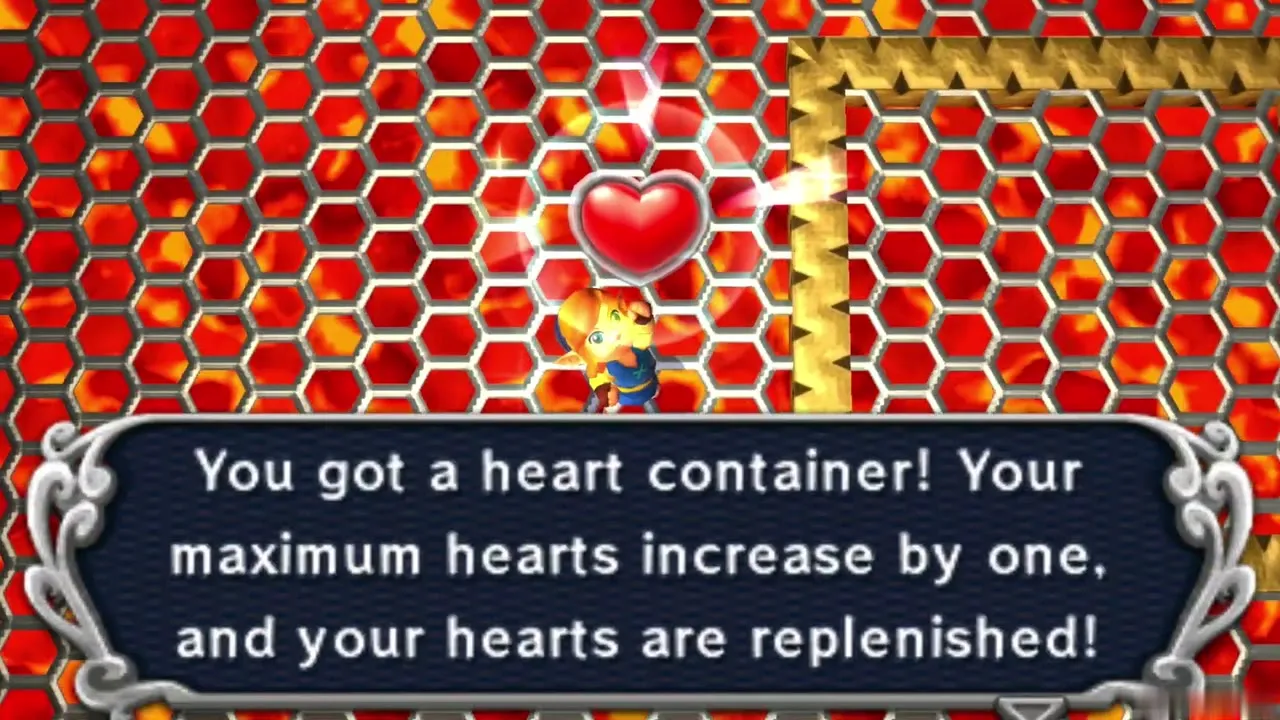
Grinexx leaves a Heart Container behind. Pick it up to raise your maximum health by one heart and refill all your hearts. Turtle Rock is one of the seven Sage dungeons, each of which gives a Heart Container.
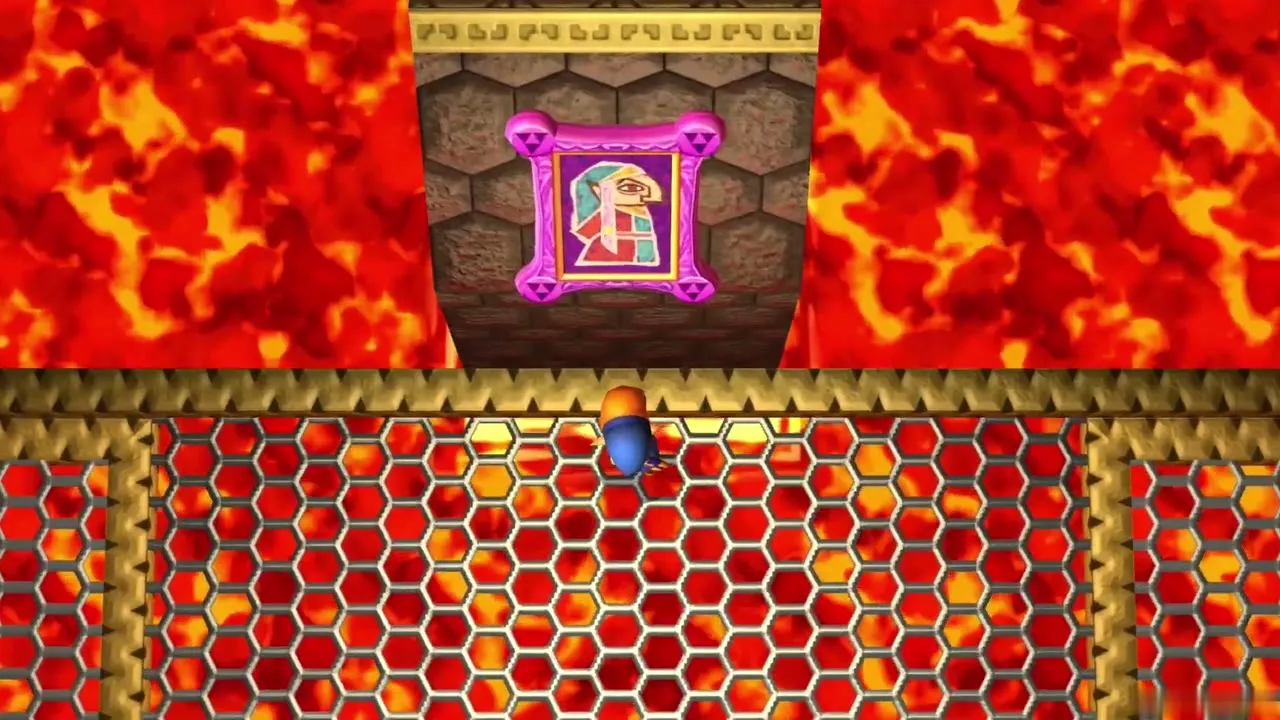
Sage Impa
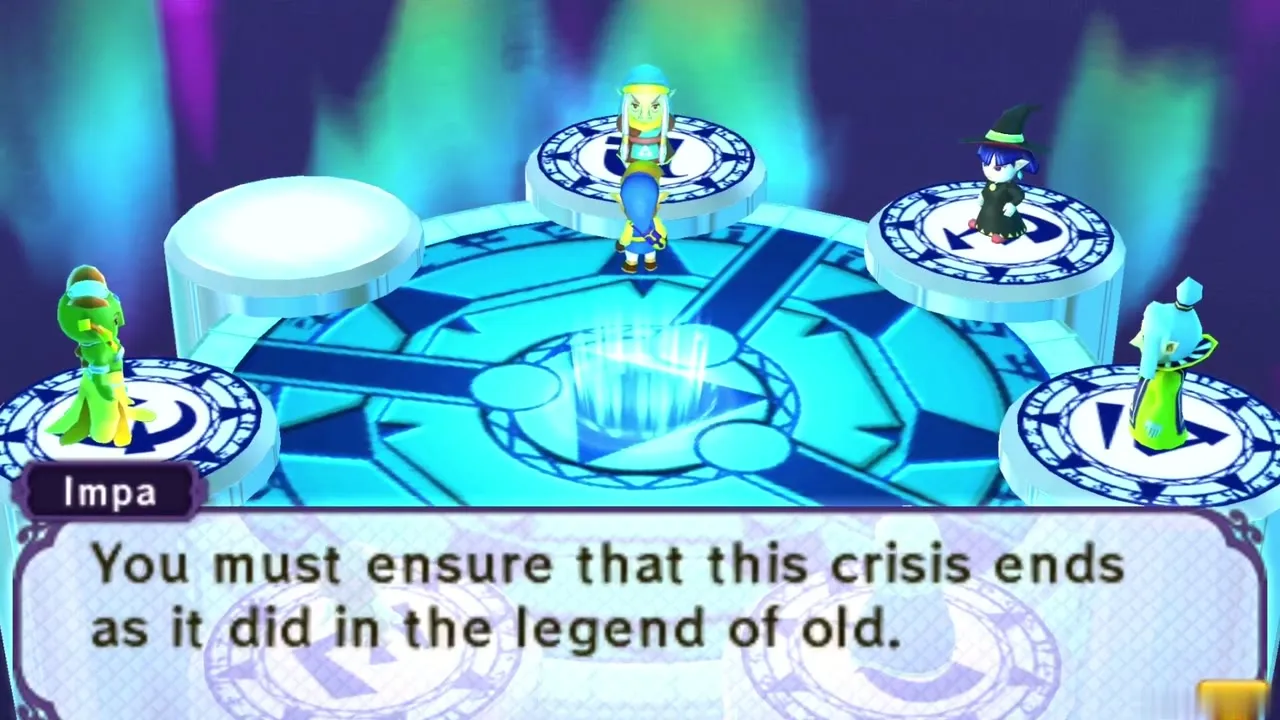
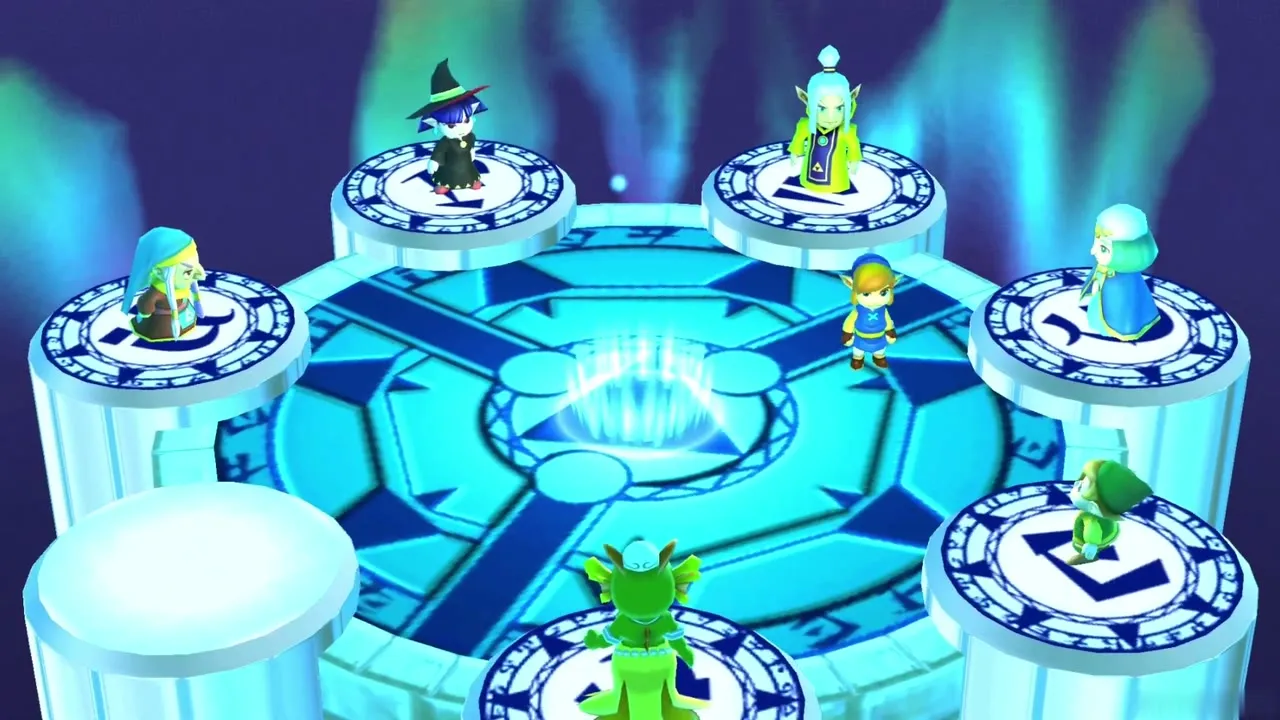
A column holding Impa’s painting rises out of the lava. Touch it to free her. Touching it carries Link to the Sages’ chamber, where Impa speaks with him and the Sages already freed look on. A portal then returns you to Lorule.
After Turtle Rock
Things to do before moving on
Back at the lake, use the save point and pick up anything you left behind. The Octoball Derby in Lorule gives a Heart Piece the first time you score 100 or more, so try it if you have not yet. Keep the rock Maiamai on the lake’s south-west shore for later, once you hold the Titan’s Mitt.
Chapter checklist
| Collectible | Type | Where |
|---|---|---|
 Baby turtles (3) | Quest | South-west shore, west shallows and north cliff wall of Lorule Lake |
 Lorule Lake Maiamai (5) | Maiamai | Wall by the Lakeside Item Shop, large rock (Titan’s Mitt later), rock formation (dive), south-east corner, north-east platform |
| Compass | Dungeon item | 1F centre platform, four crystal switches |
| Small Key 1 | Key | 1F, north-west ledge reached by warp tile |
| Small Key 2 | Key | 1F, north-east ledge reached by merging into the wall |
| Small Key 3 | Key | B1, north-east room behind a Beamos |
| Heart Piece #27 | Heart Piece | 1F west exit, island balcony |
 Purple Rupees and Silver Rupee | Rupees | Chests on 1F and B1 |
| Big Key | Key | B1 north-central room, high grate |
| Hylian Shield | Equipment | B1 big chest across the grate bridge |
| Heart Container | Heart Container | B2, after Grinexx |
| Sage Impa | Sage | Impa’s painting after Grinexx |
Next you head to the Desert Palace, which opens once Thieves’ Hideout has returned the Sand Rod: continue with the Desert Palace walkthrough.