





















Link's Awakening 100% Completion Walkthrough9 chapters
- Toronbo Shores, Mabe Village and Tail Cave (Level 1)Link’s Awakening Switch walkthrough from the start: get the Sword, Shovel and Magic Powder, find the Tail Key, then.
- Mysterious Forest, Goponga Swamp and Bottle Grotto (Level 2)Rescue BowWow, collect three Heart Pieces and Secret Seashells, cross Goponga Swamp and clear Bottle Grotto (Level 2).
- Ukuku Prairie, Kanalet Castle and Key Cavern (Level 3)Link’s Awakening Switch walkthrough for Kanalet Castle Golden Leaves, the Slime Key, Key Cavern (Level 3), the Pegasus.
- Yarna Desert and Angler’s Tunnel (Level 4)Yarna Desert and Angler’s Tunnel walkthrough for Link’s Awakening: get the Angler Key, the Flippers and the Surf Harp.
- Martha’s Bay and Catfish’s Maw (Level 5)Martha’s Bay and Catfish’s Maw walkthrough for Link’s Awakening: learn Manbo’s Mambo, free the Ghost, win the Hookshot.
- Southern Face Shrine and Face Shrine (Level 6)Southern Face Shrine and Face Shrine (Level 6) walkthrough for Link’s Awakening: Magnifying Lens, Koholint Sword.
- Tal Tal Heights and Eagle’s Tower (Level 7)Tal Tal Heights and Eagle’s Tower walkthrough for Link’s Awakening: the Flying Rooster, Bird Key, Mirror Shield, Evil.
- Western Tal Tal Mountains and Turtle Rock (Level 8)Western Tal Tal Mountains and Turtle Rock (Level 8) walkthrough for Link’s Awakening: Secret Seashell 50, Magic Rod.
- The Wind Fish’s Egg and Final BossesThe Wind Fish’s Egg and final bosses walkthrough for Link’s Awakening: read the maze book, play the Ballad, beat all.
| Covers | Manbo’s Pond, Kanalet Castle moat, Ukuku Prairie, Tal Tal Mountain Range, the Ghost’s House and grave, Martha’s Bay, the Cemetery |
|---|---|
| Dungeon | Catfish’s Maw (Level 5): needs the Flippers, Bombs and the Hookshot you win inside; boss Slime Eel; instrument Wind Marimba |
| Rewards | Manbo’s Mambo, Fairy Bottle, Mermaid’s Necklace and Mermaid’s Scale, Compass, Stone Beak, Dungeon Map, Hookshot, Nightmare Key, Heart Container, Wind Marimba, Cheep Cheep figure, Chamber Stone; 5 Pieces of Heart (the 20th completes a set of four), 9 Secret Seashells |
This chapter turns the Flippers and the Ocarina into new ground to cover. You learn the warp song from Manbo, collect five Pieces of Heart and nine Secret Seashells on the way, lead the pink Ghost home and to its grave for a Fairy Bottle, trade the Fisherman’s Necklace to the Mermaid for a Scale, and then dive into Martha’s Bay to clear Catfish’s Maw, where the Hookshot is waiting.
Manbo’s Pond: learn Manbo’s Mambo
Find Manbo and play the Ocarina
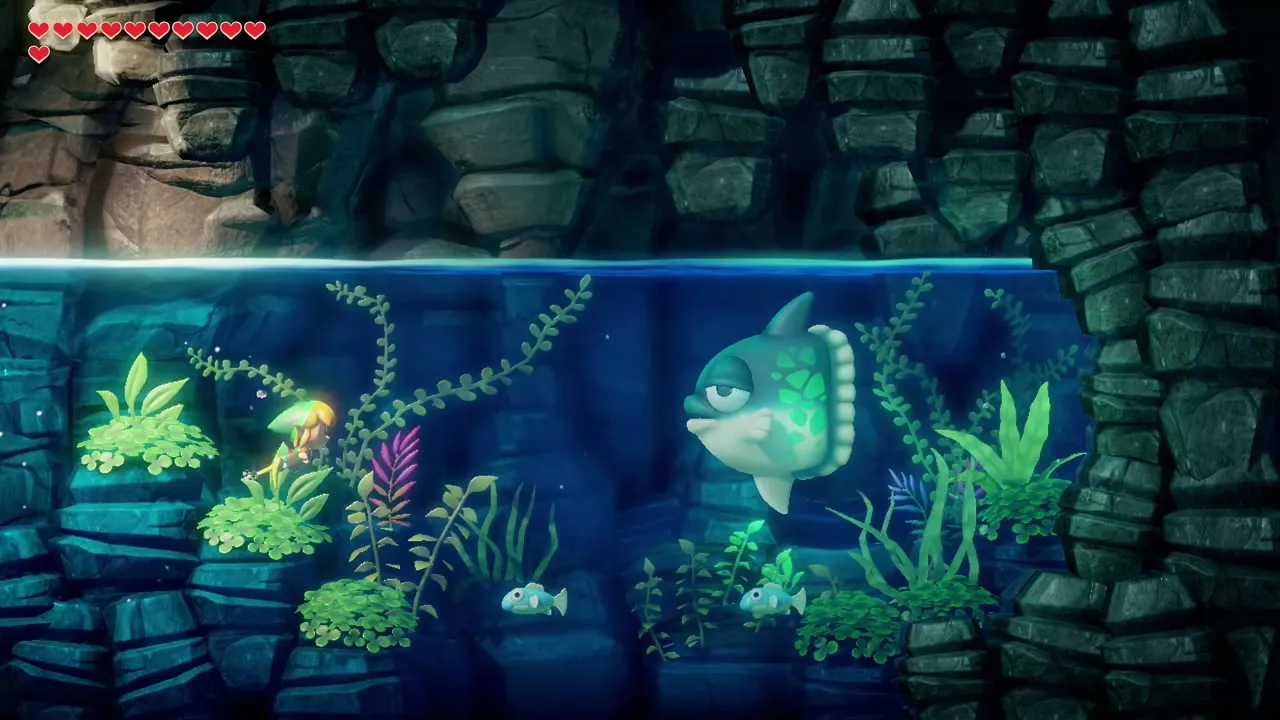
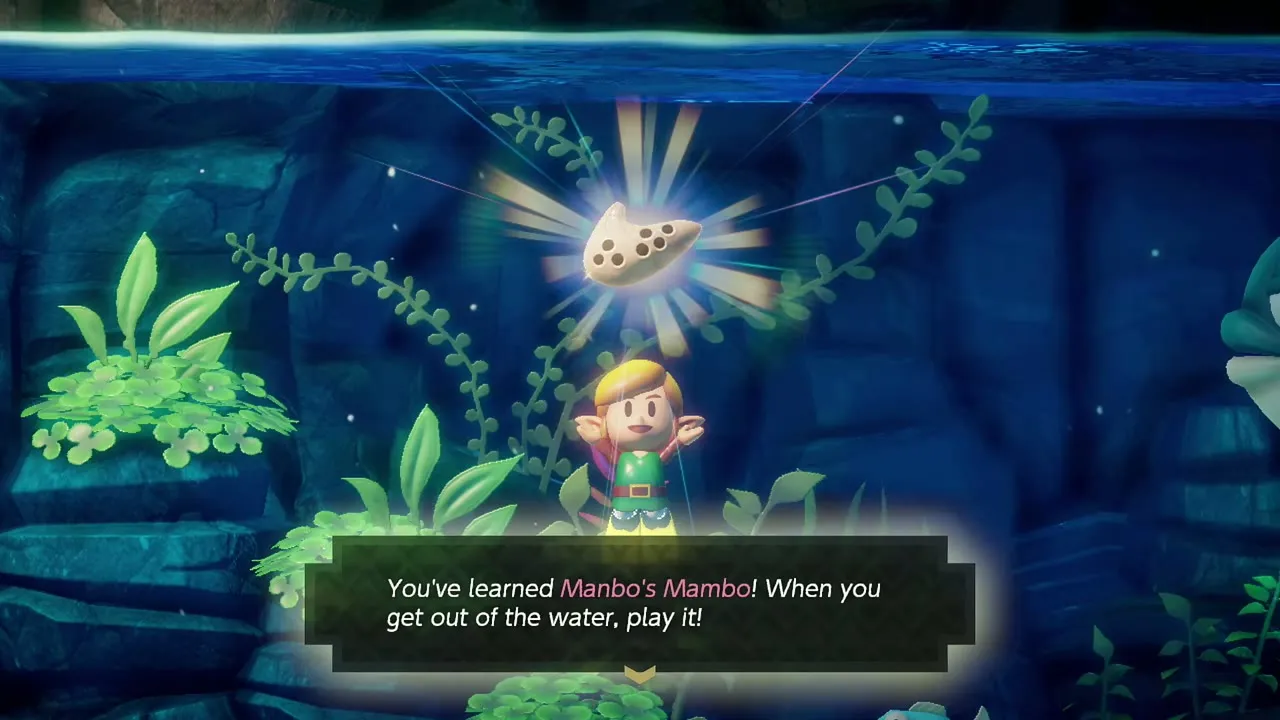
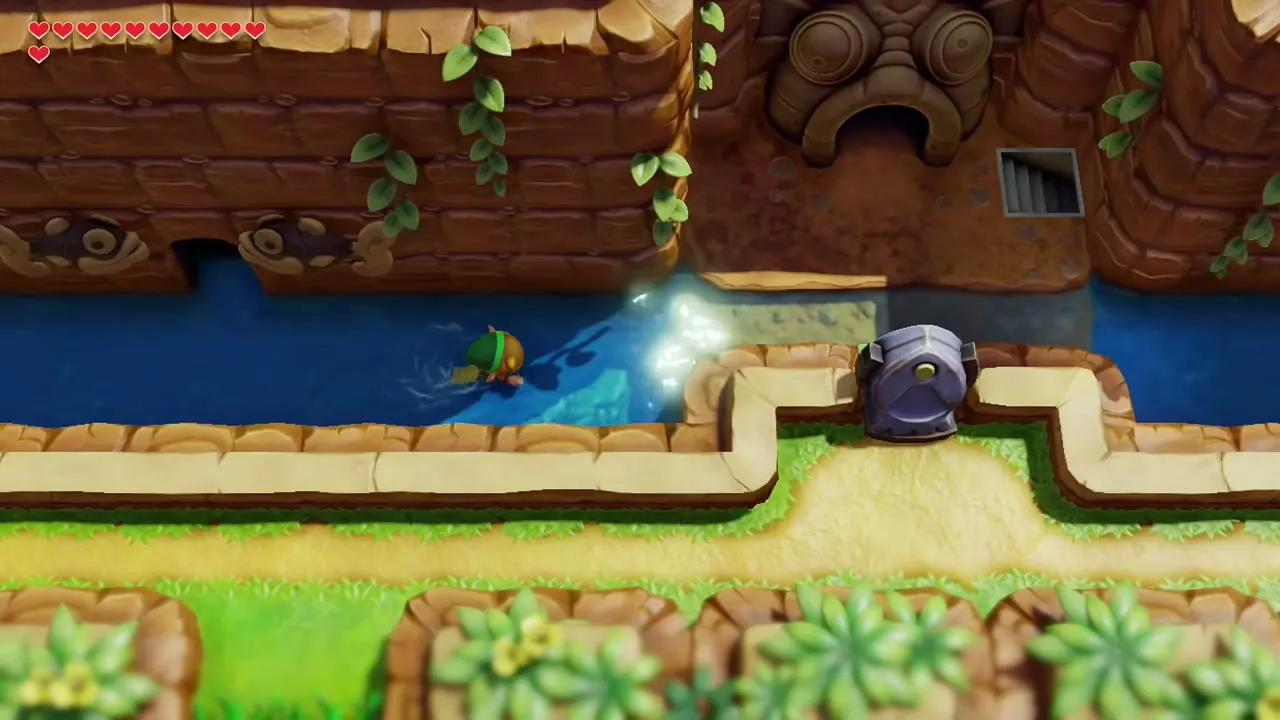
Swim to the cliff face just west of the Angler’s Tunnel entrance and dive into the cave flanked by two fish carvings. Manbo the Sun Fish floats inside, asks whether you have an Ocarina, and waits for you to say yes. Play the instrument and answer his tune; he teaches you Manbo’s Mambo, a warp song you can play anywhere with the Ocarina.


How to use the warp song
Play the song and a map titled “Where to?” appears with every warp point you have switched on, plus Manbo’s Pond. Pick a spot and Link vanishes and reappears there. Manbo also tells you to try the tune in dungeons, where it returns you to the dungeon entrance, which saves a lot of backtracking in Catfish’s Maw. The full song list is on the Ocarina songs page.


Pieces of Heart around Kanalet Castle and Ukuku Prairie
Dive in the Kanalet Castle moat
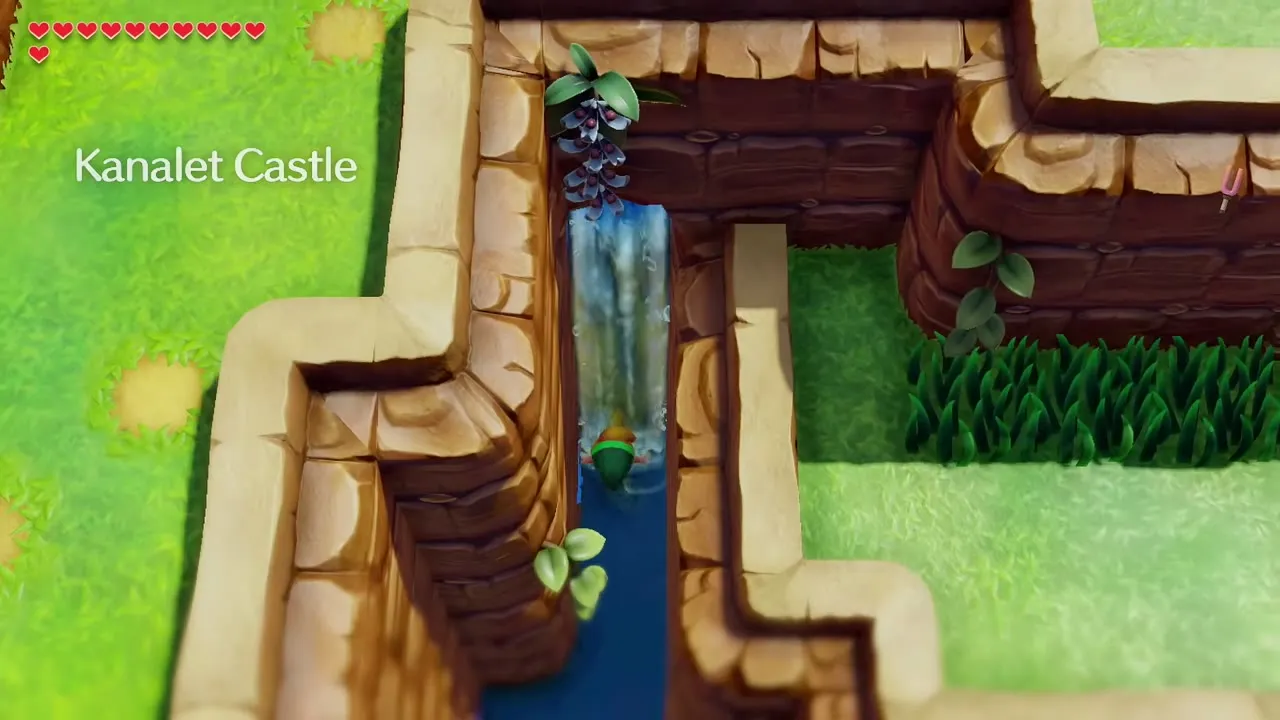
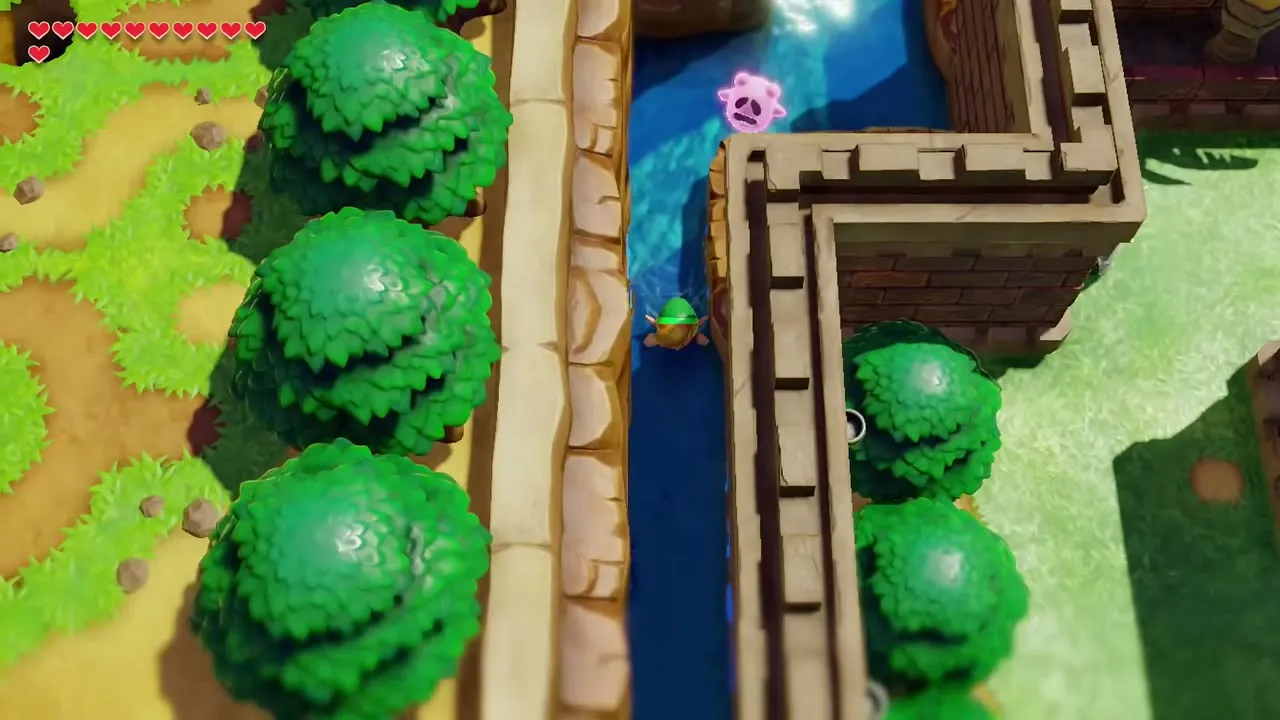
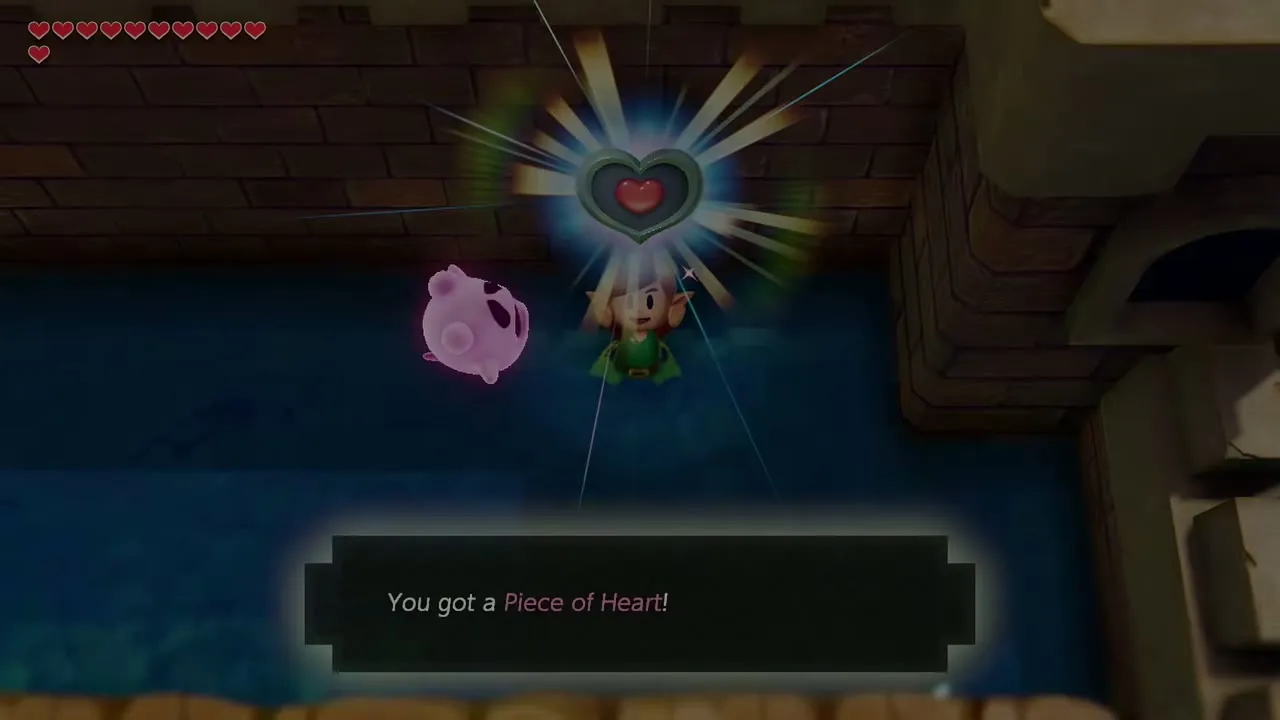
Follow the stream out of the Pond to the moat around Kanalet Castle and swim along the water to the corner just west of the castle entrance. Dive with the Flippers and pick up the Piece of Heart that sits on the moat floor. Then swim to the waterfall that pours into the moat and dive beside it for a Secret Seashell on the bottom. That is your 30th shell, so a detour to the Seashell Mansion in Ukuku Prairie now pays out the Chamber Stone.

Dive in the flooded Ukuku Prairie tunnel for a Piece of Heart
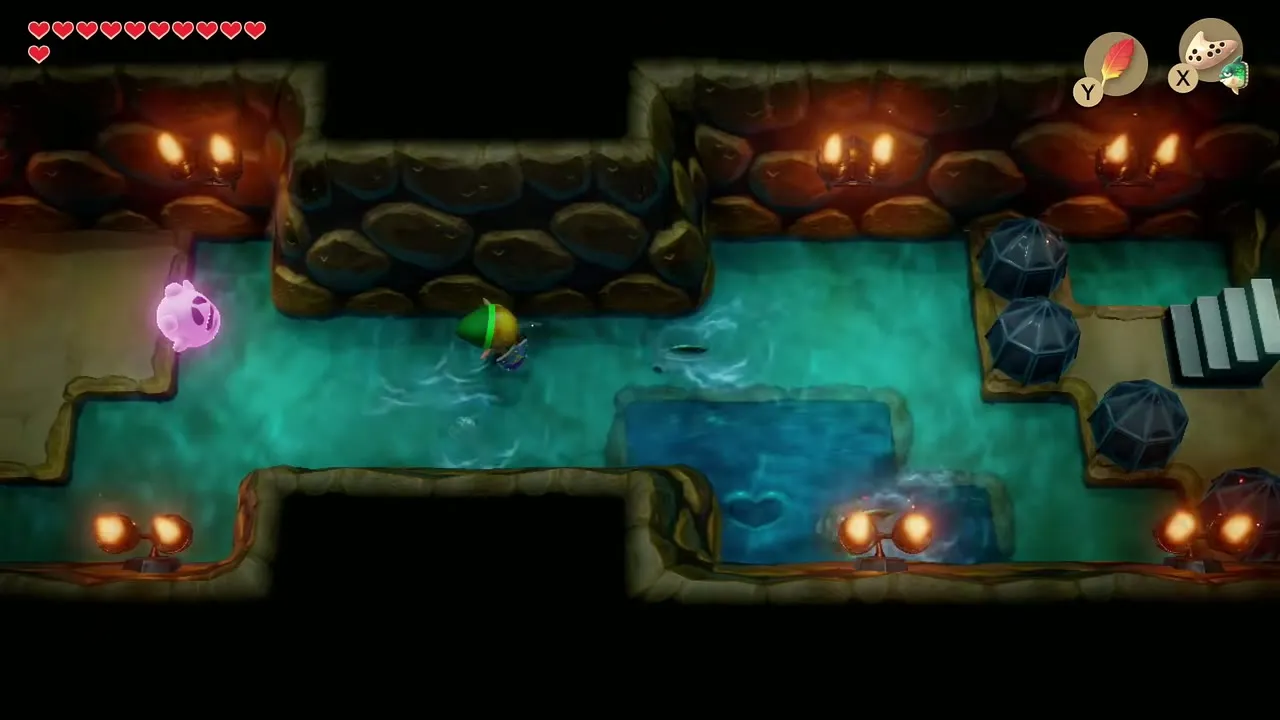
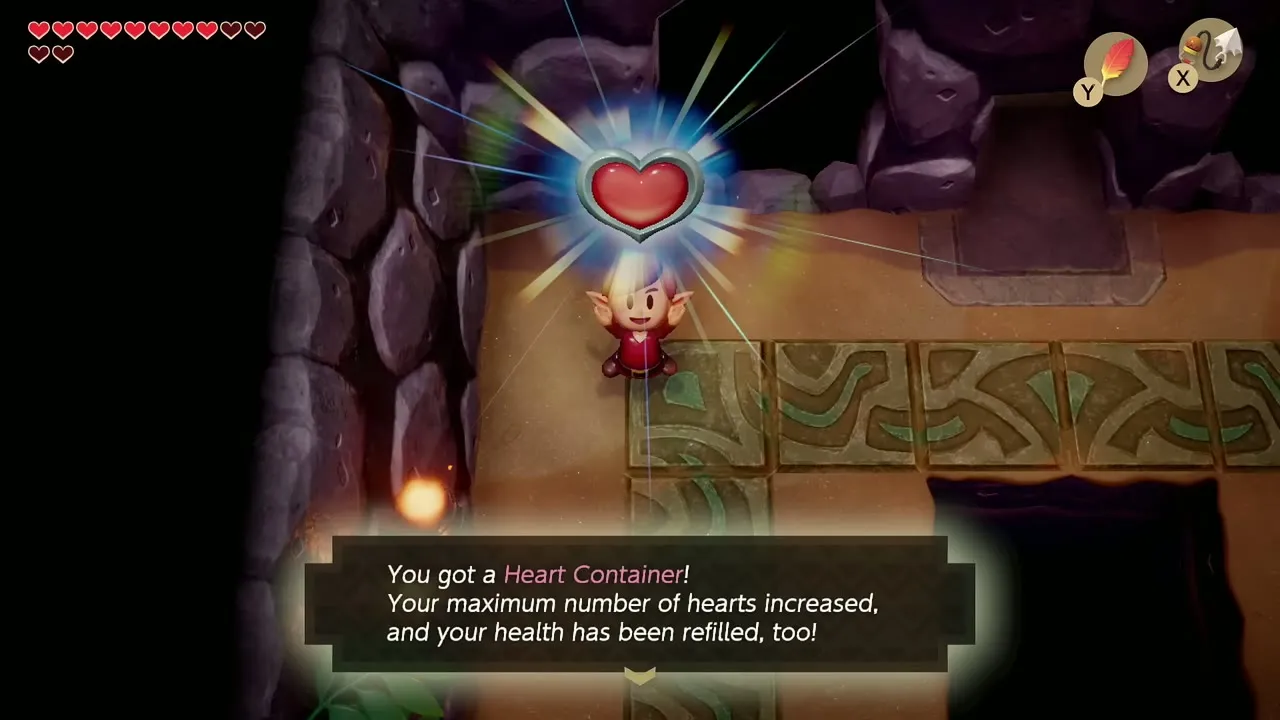
Cross Ukuku Prairie to the stairs beside the canal and go down into the flooded tunnel. Swim to the patch of deep water just before the dark barriers and dive for the Piece of Heart there. With it you finish another set of four: the game tells you that your maximum hearts went up and refills your health.

Bomb the cracked wall in the Ukuku Prairie cave
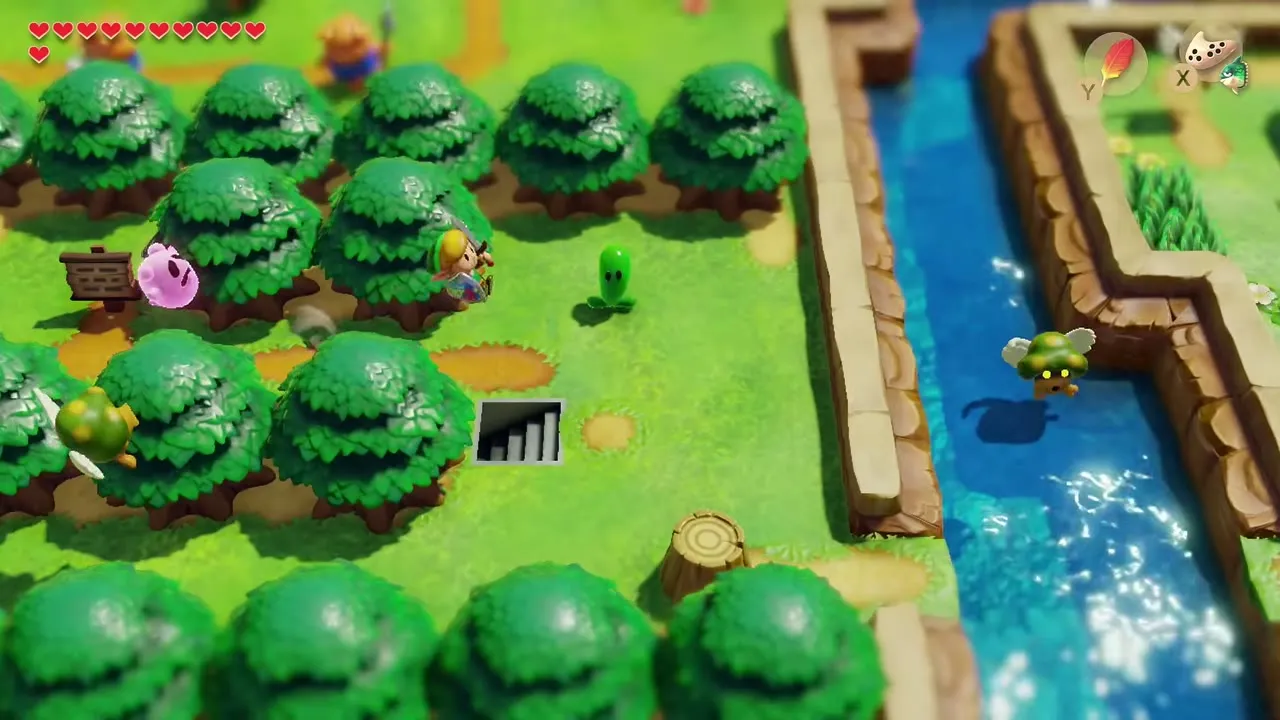
Walk to the warp point in Ukuku Prairie and head north-east to a cave in the tree line. Inside, the path is blocked by black barriers and stones; dash through them with the Pegasus Boots. In the room beyond, open the chest for 50 rupees.

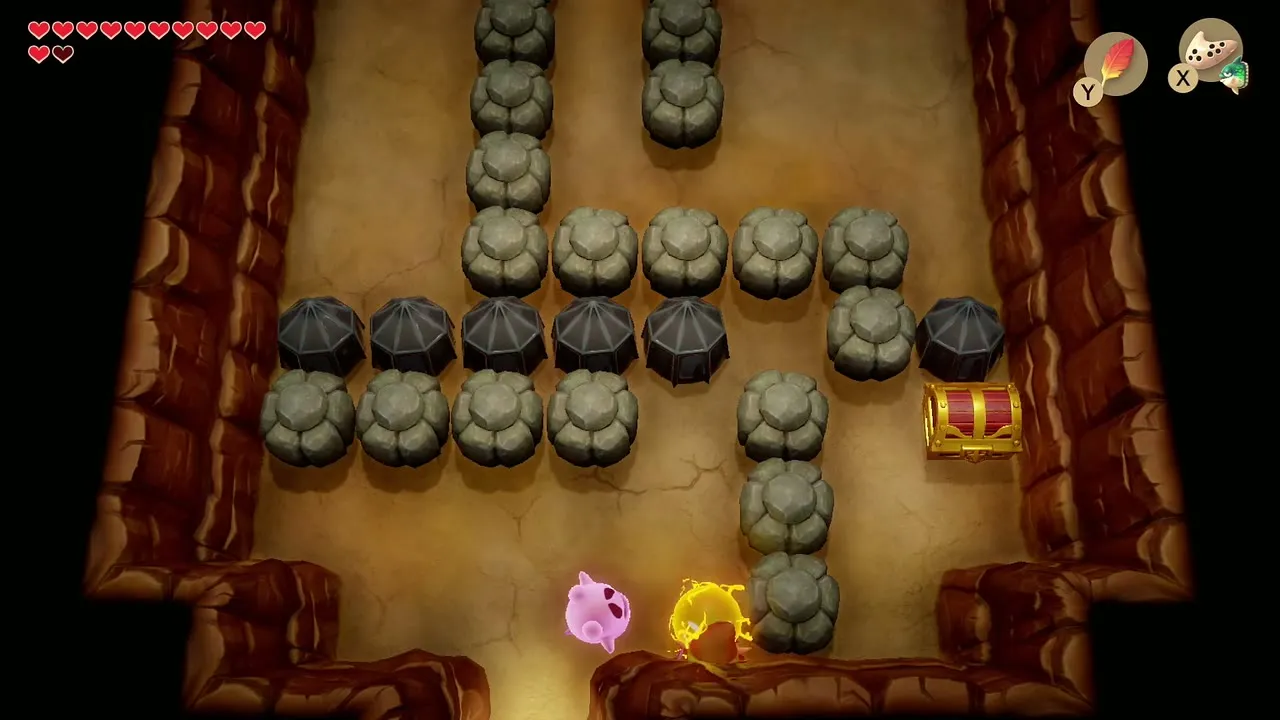

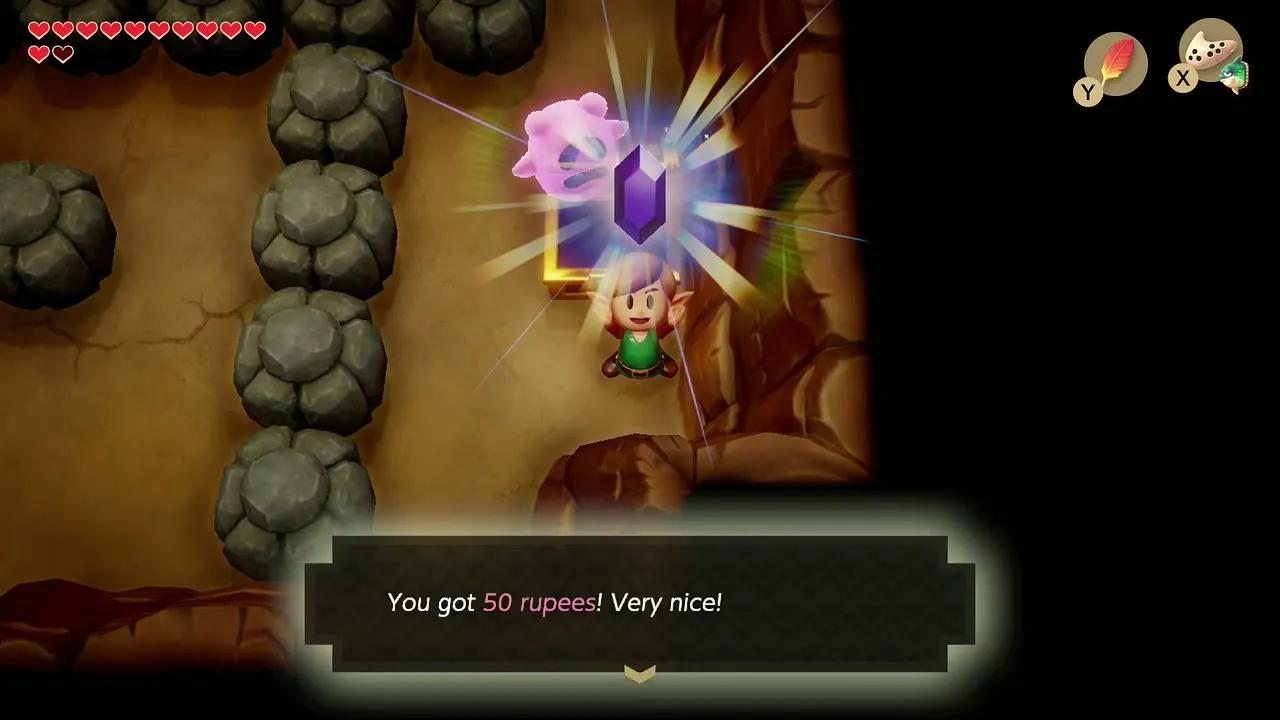
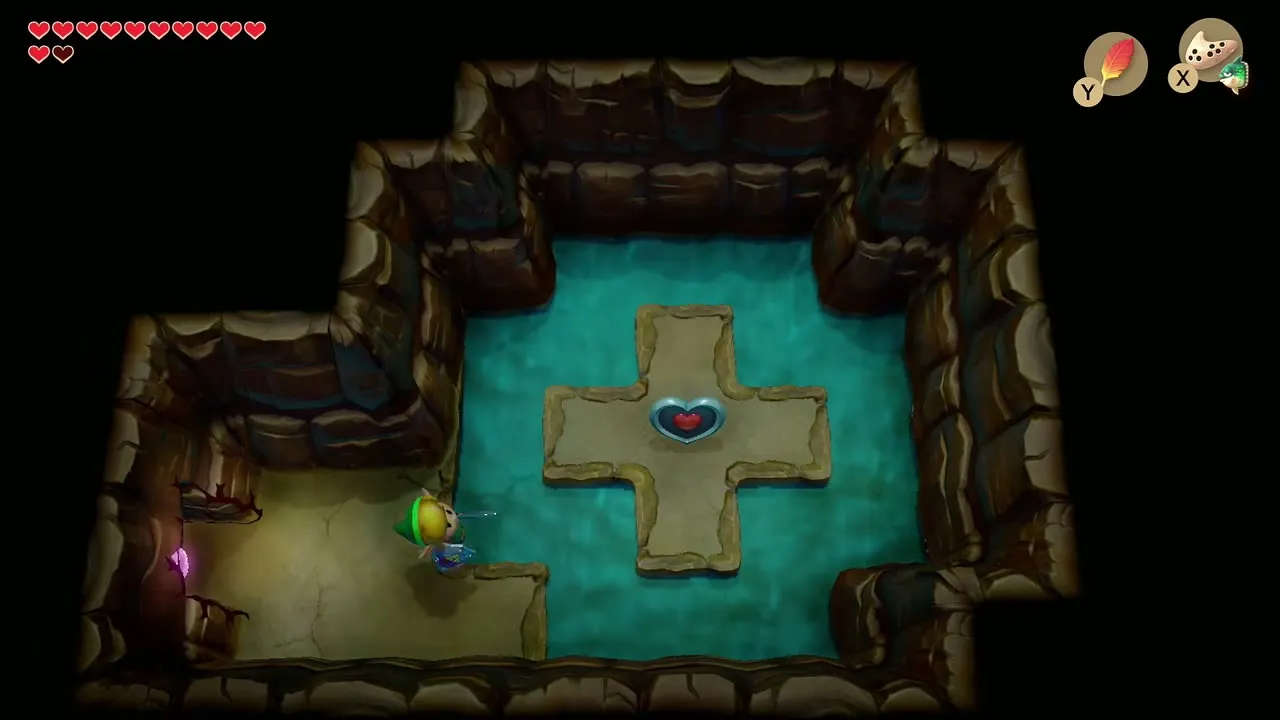
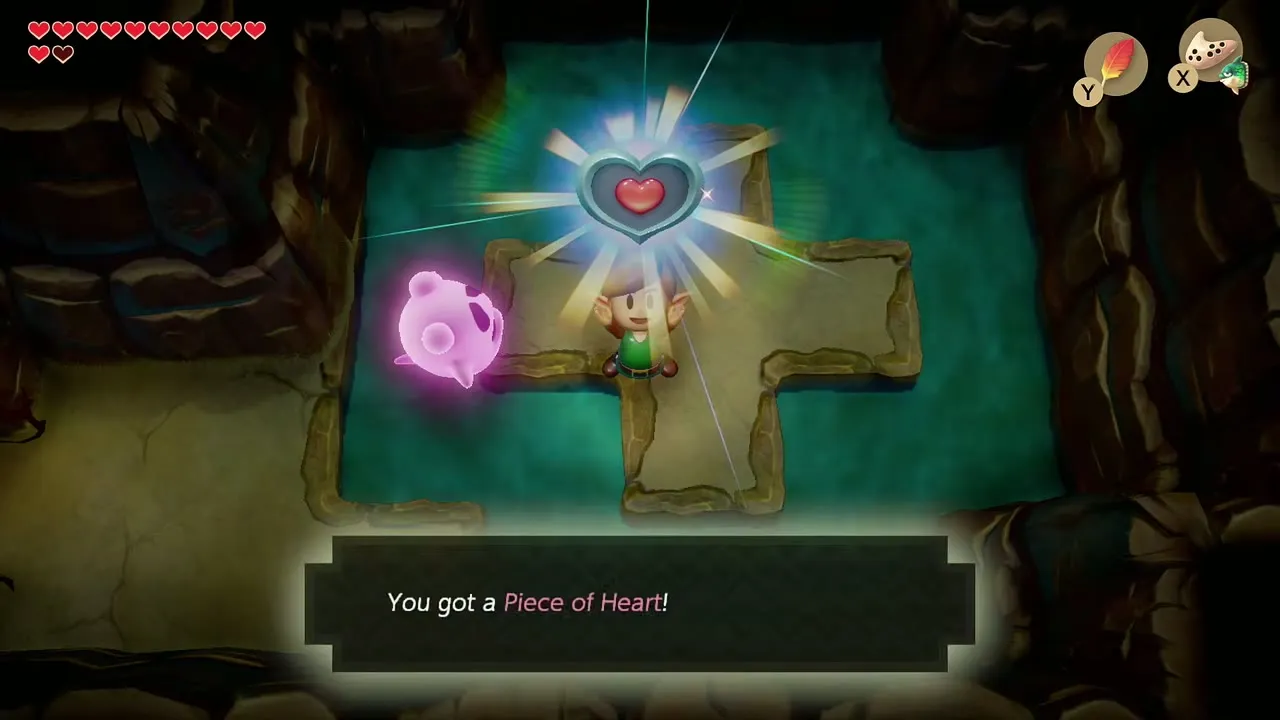
Place a Bomb against the cracked wall on the right side of the same room. It opens into a flooded chamber where a Piece of Heart rests on a cross-shaped platform; swim to it and take it. It is the first piece of your next set of four.

Mabe Village: Secret Seashell, Piece of Heart and Cheep Cheep figure at the Trendy Game
Win the shell with the crane
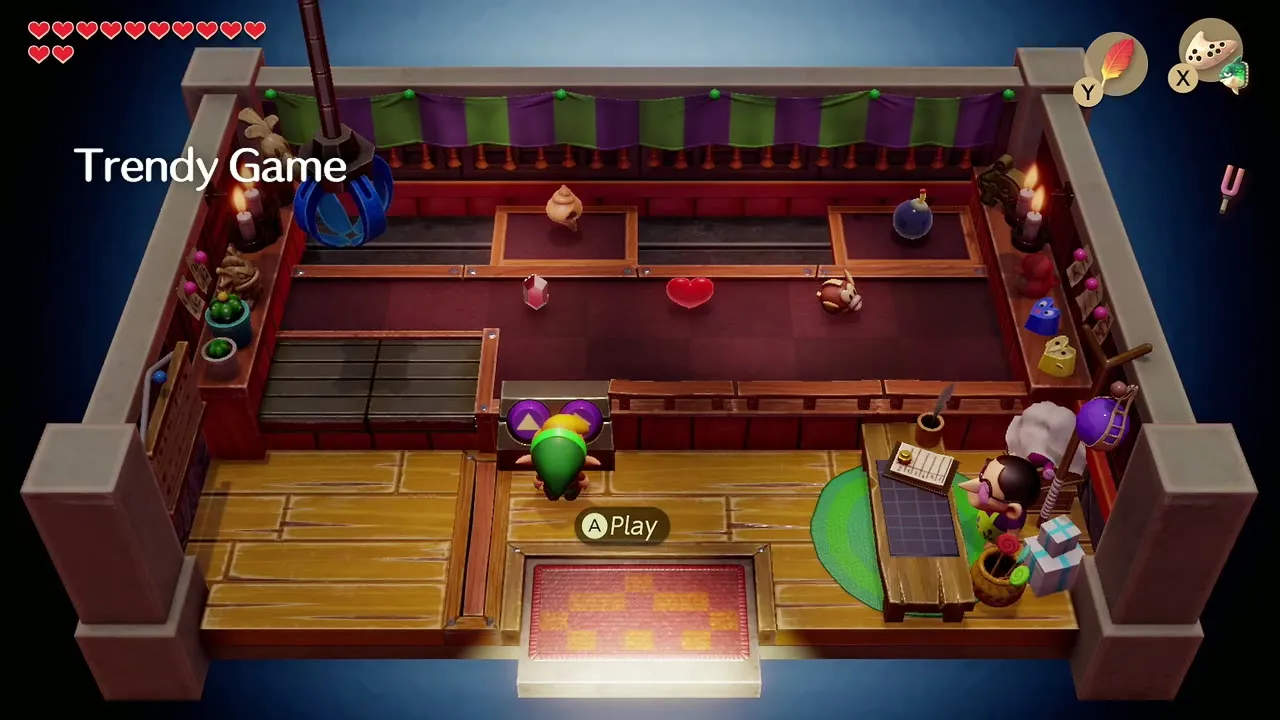
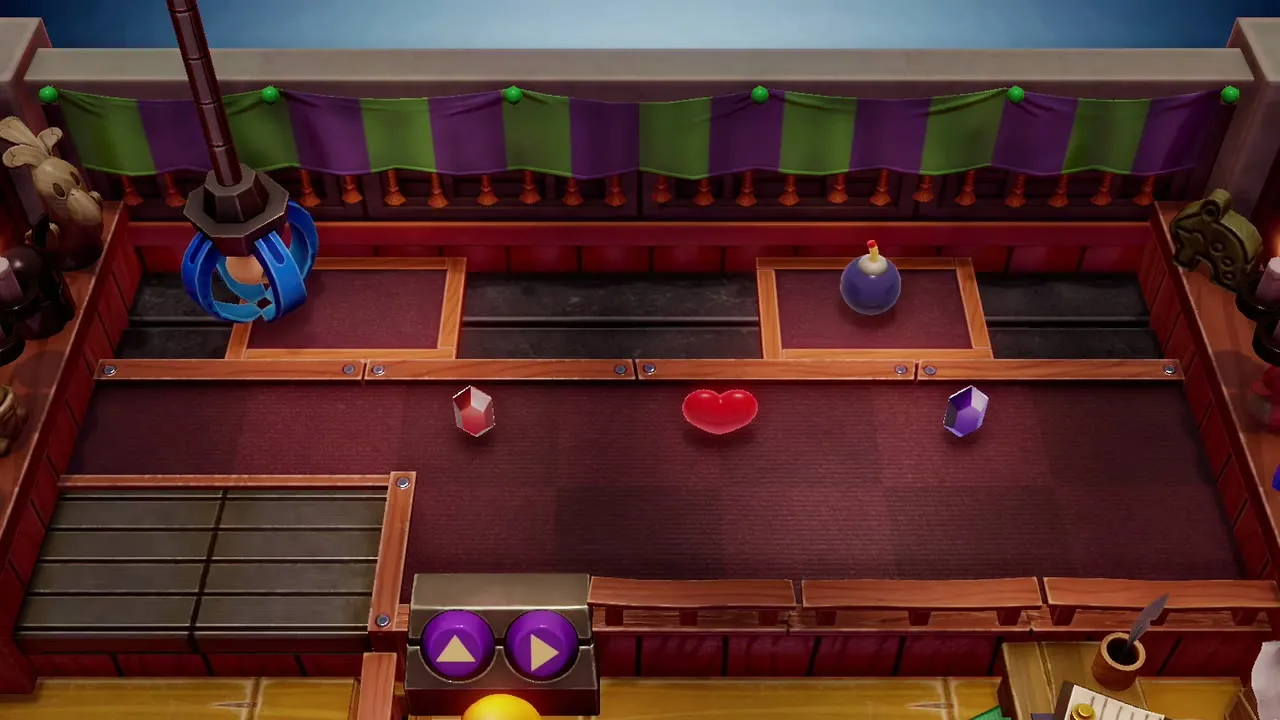
Once Angler’s Tunnel is behind you, a Secret Seashell joins the prizes at the Trendy Game in Mabe Village. Pay 10 rupees for each try, steer the claw to the shell and lower it; it can take several attempts. The Cheep Cheep figure joins the prizes after Angler’s Tunnel too, and because Key Cavern is behind you, a second Piece of Heart now rides on the moving platform at the top of the prize area; time the claw as it passes. Other prizes are covered in the figures and Trendy Game guide.


Tal Tal Mountain Range: three Secret Seashells
Bomb the hole beside the Hen House bridge
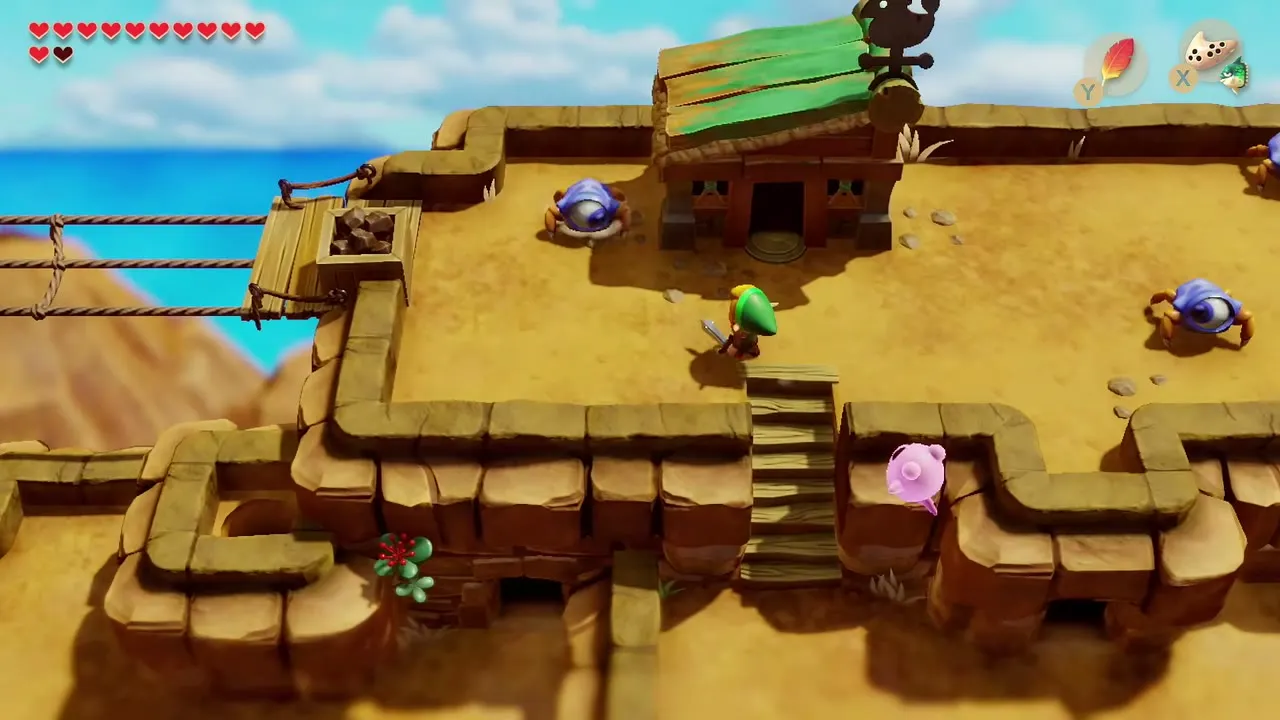
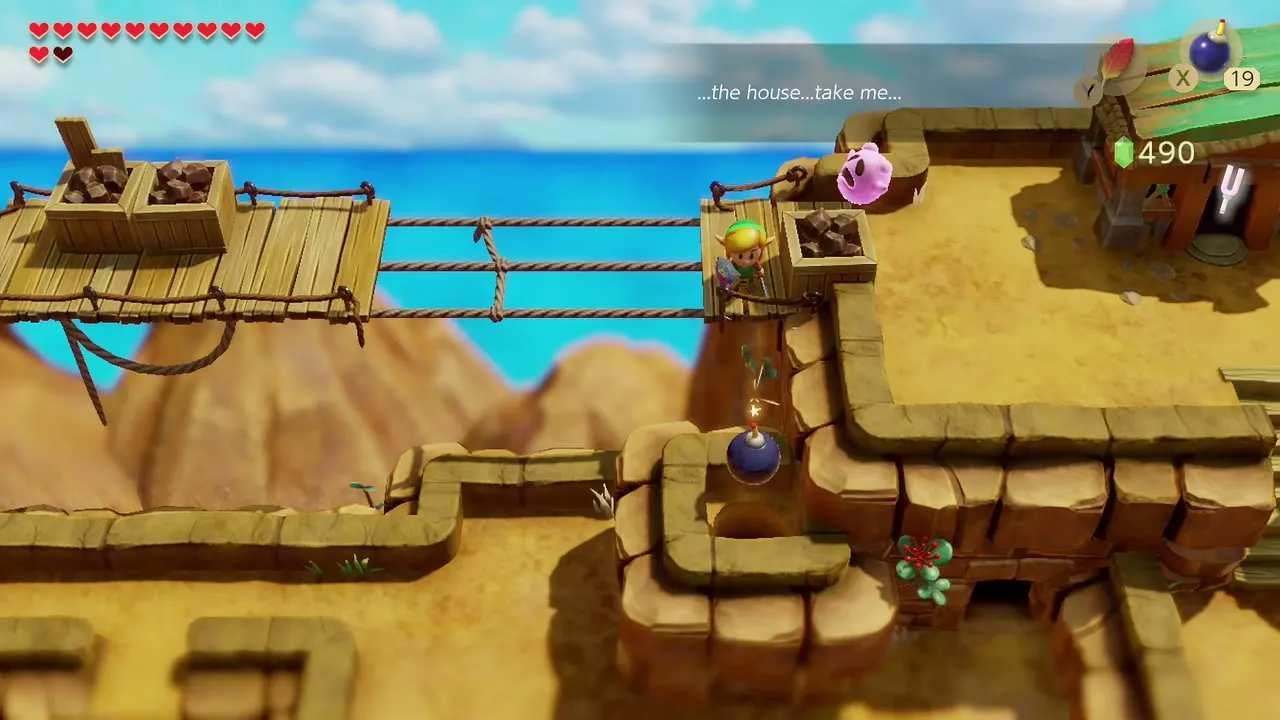
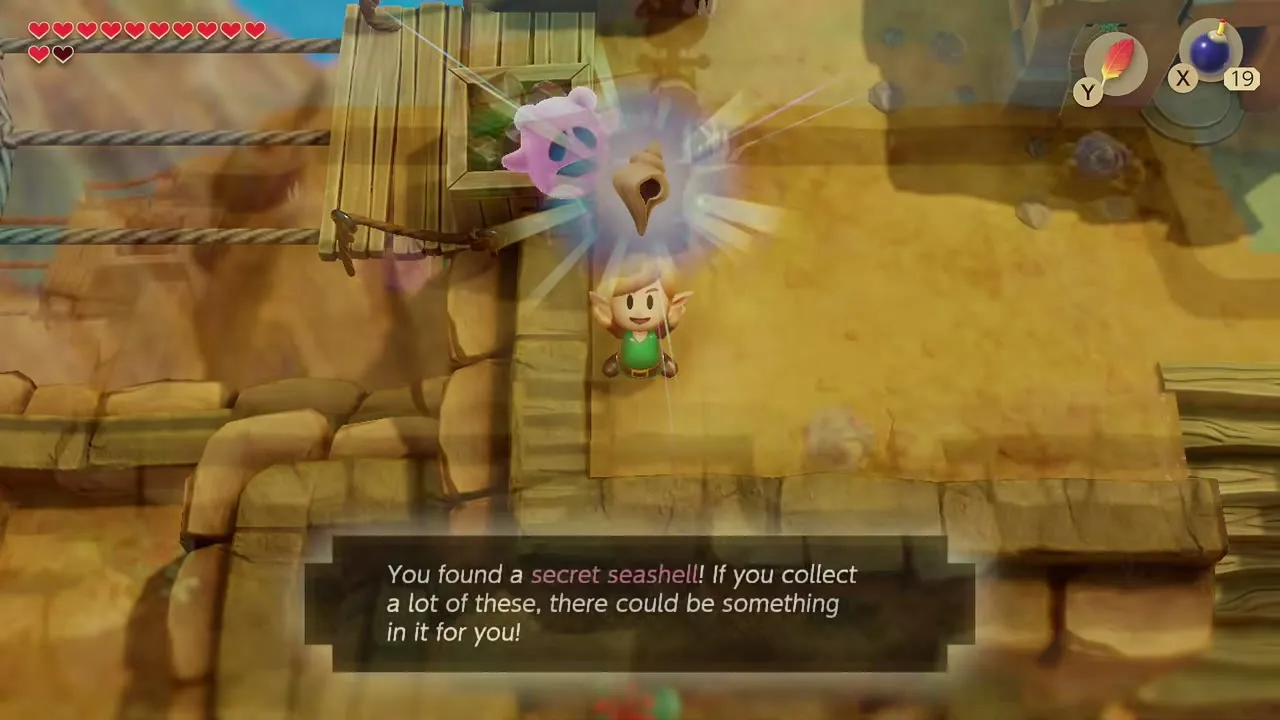
Climb the Tal Tal Mountain Range ledges and bridges until you reach the Hen House. Next to the wooden bridge just west of it, set a Bomb in the small hole in the ground and a Secret Seashell pops out. Near the ladder up to the Hen House the water is deep: dive with the Flippers just past the old waterfall for a second shell.
Bomb the cave wall for the chest on the ledge
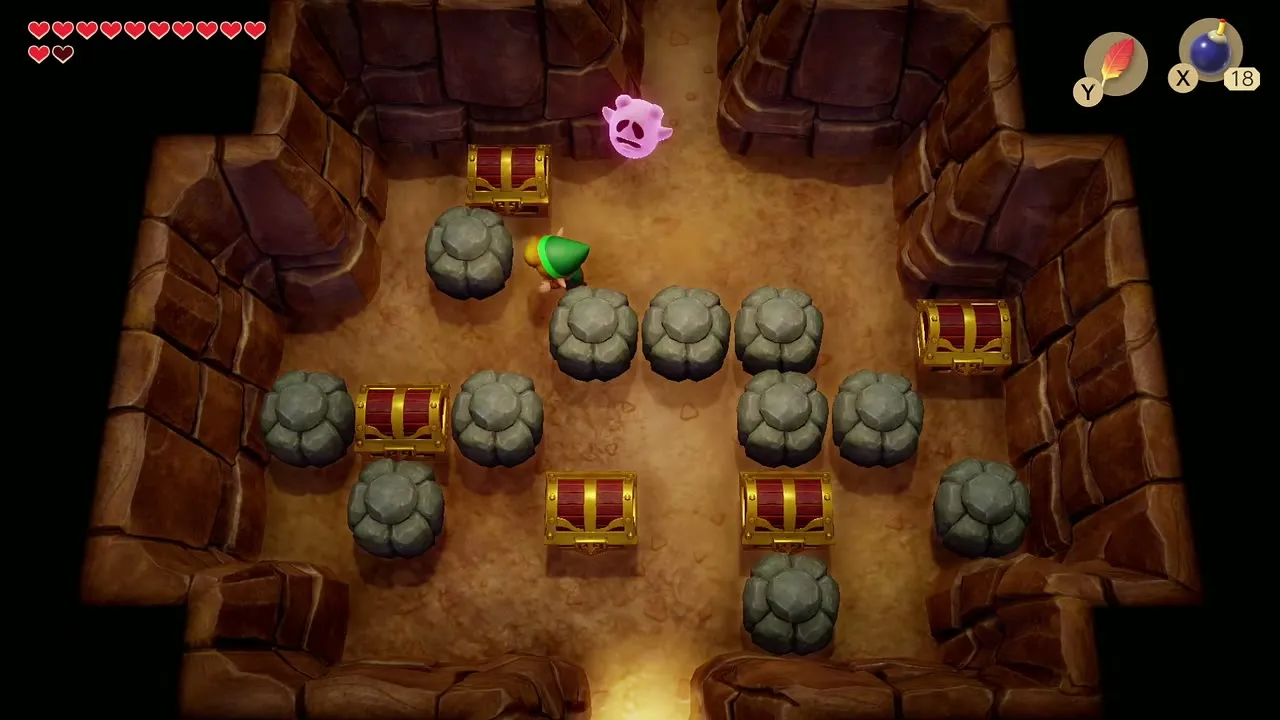
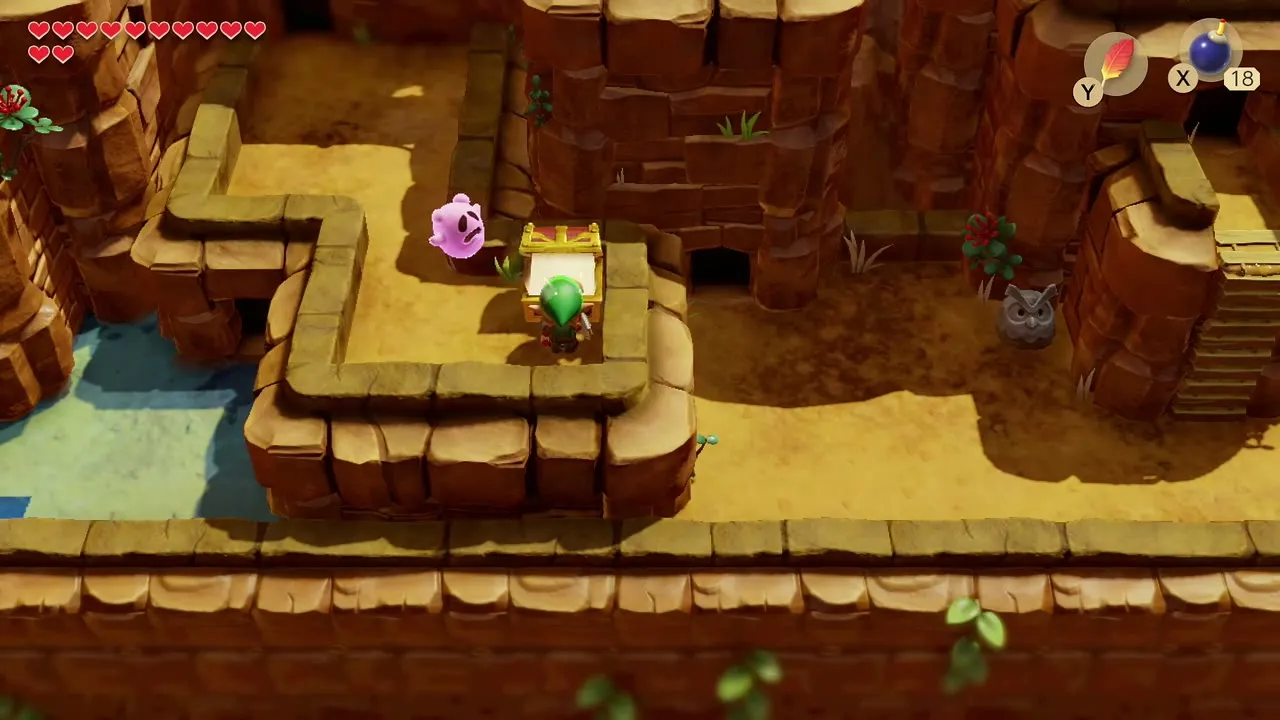
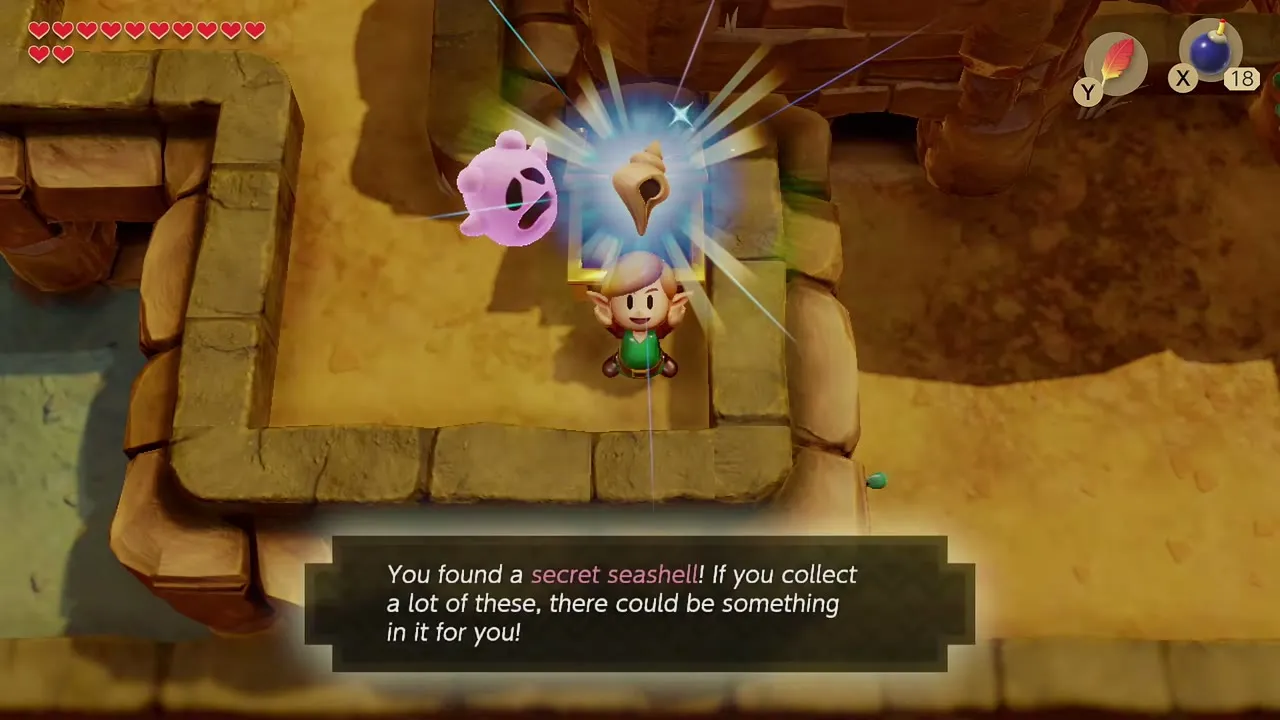
Continue through the mountain caves until you reach a flooded room with a cracked wall in the north. Bomb the wall, climb the stairs behind it and drop down into a room full of chests. Ignore them, push the rocks aside and leave through the south exit onto an outside ledge. The chest on that ledge holds a Secret Seashell. A full list of shell spots is on the Secret Seashells page.


Help the Lost Ghost: Ghost’s House, grave and Fairy Bottle
Take the Ghost to its house
After Angler’s Tunnel, a pink Ghost begins to follow you and mutters about a house. Travel to the south coast in the Martha’s Bay area, where a stretch of trees and pits lies next to the Martha’s Bay warp point; dash-jump the pits if you have not stepped on the warp pad yet. The house is a short walk beyond, and the Ghost drifts in with you.
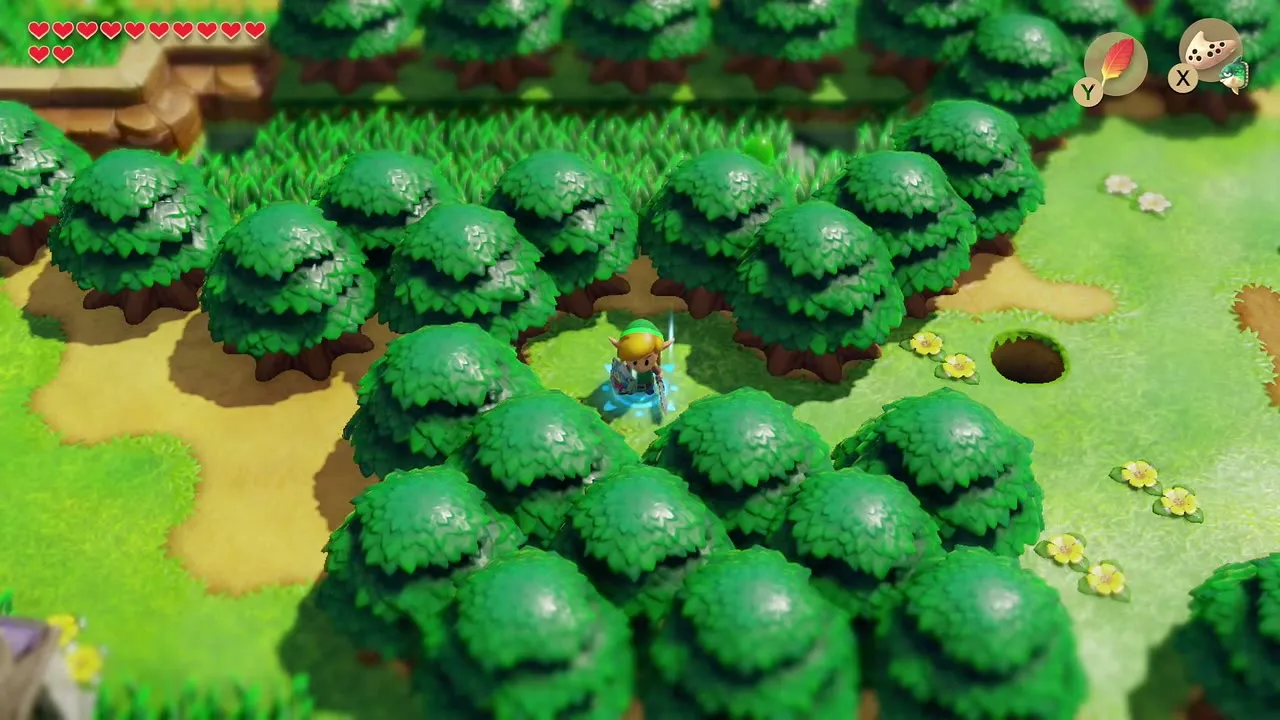

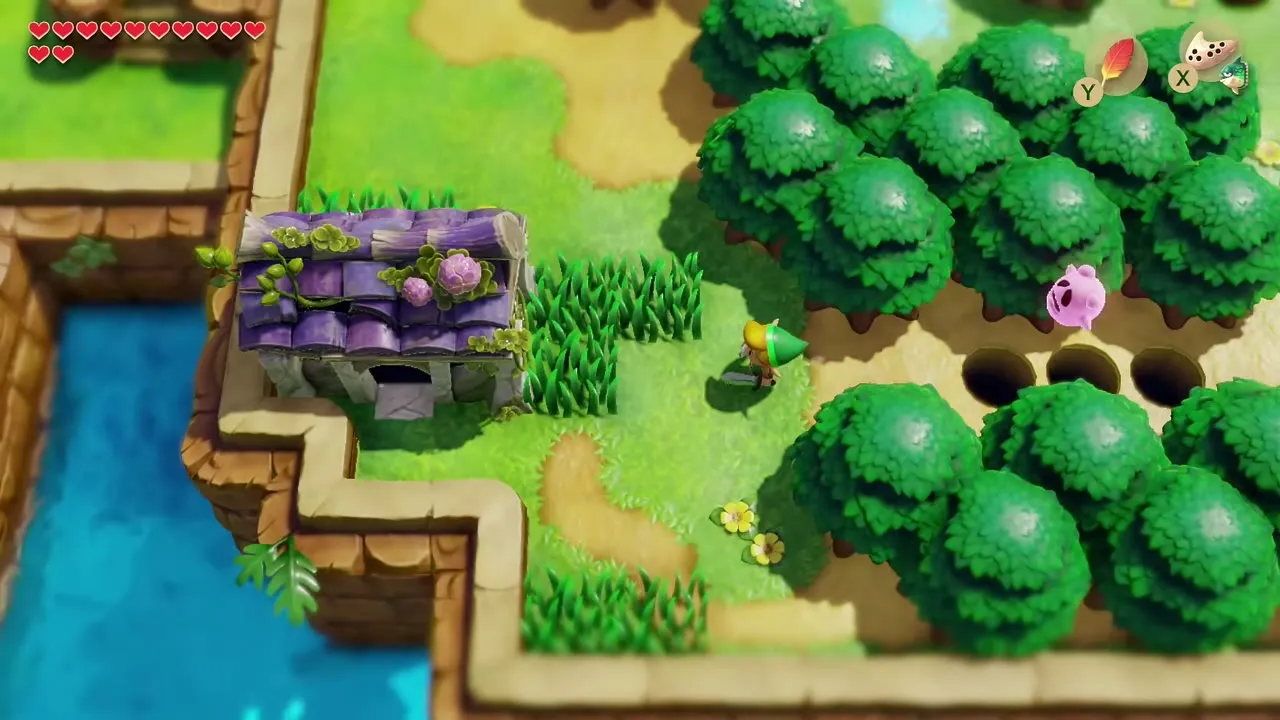
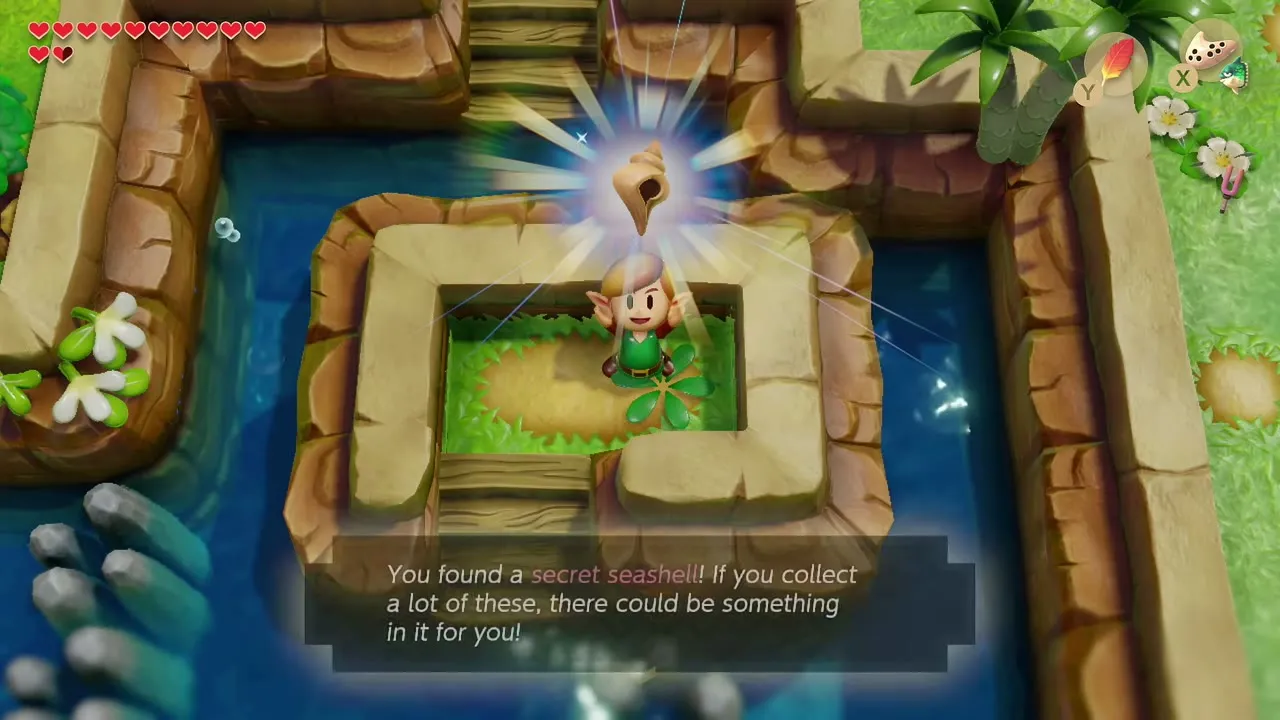
Inside, the Ghost sobs over its old things, then begs to be taken to its grave. Lift the jars in the room to find a Secret Seashell hidden under one of them.
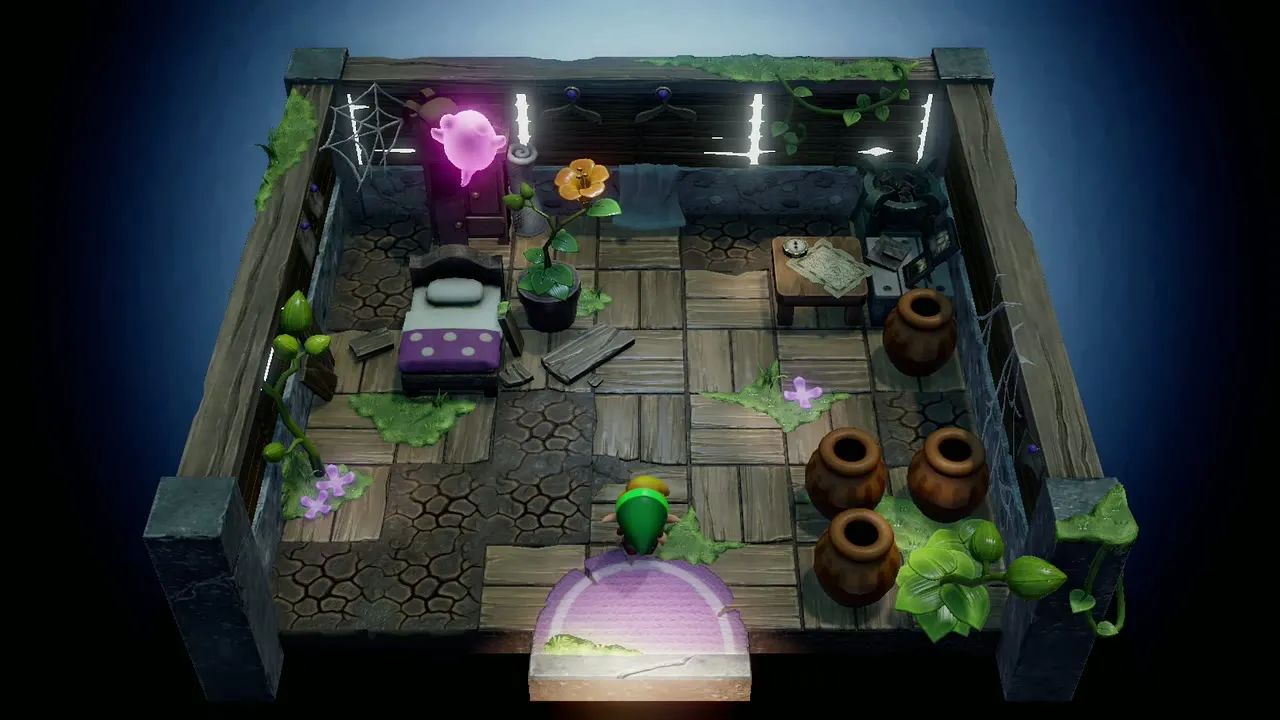
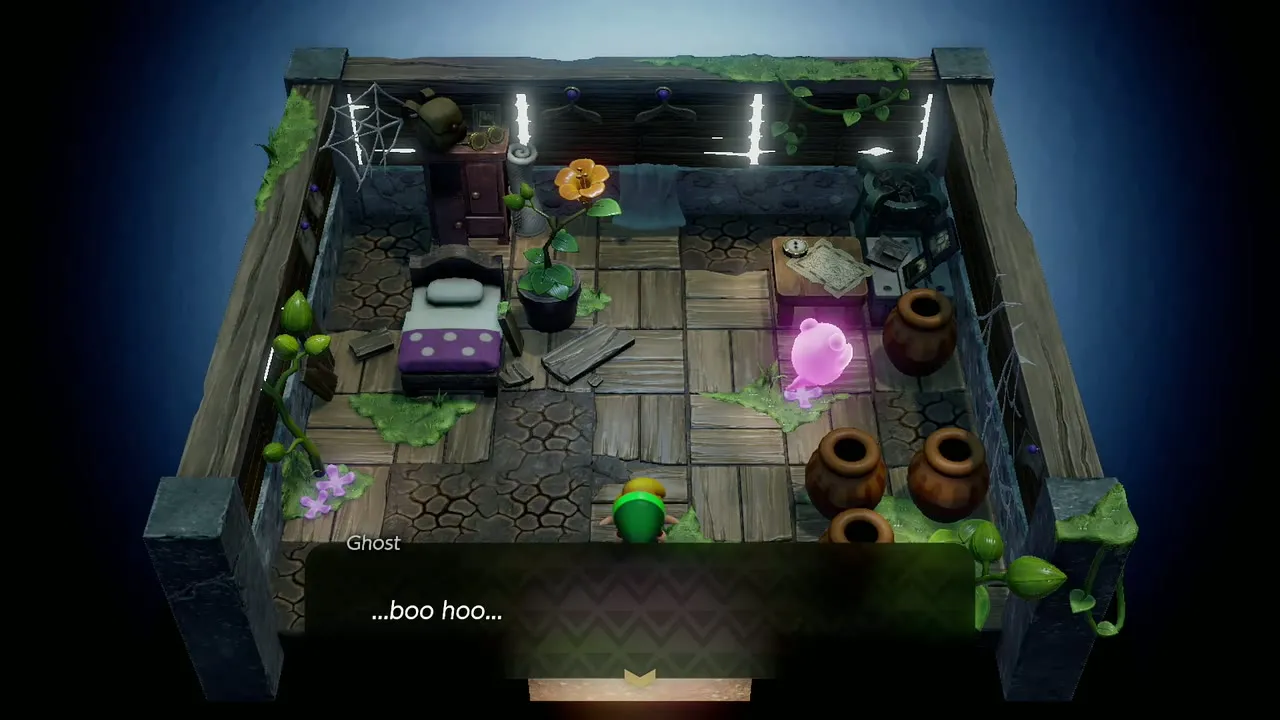
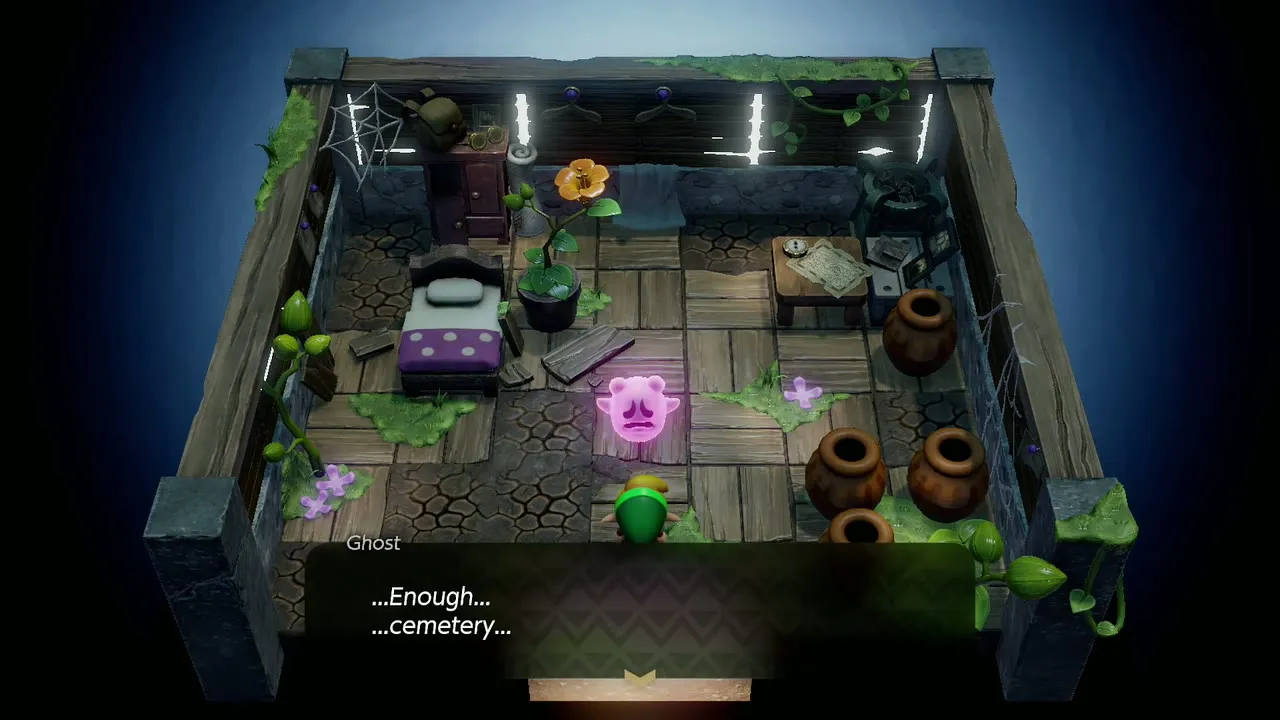
Lead the Ghost to its grave
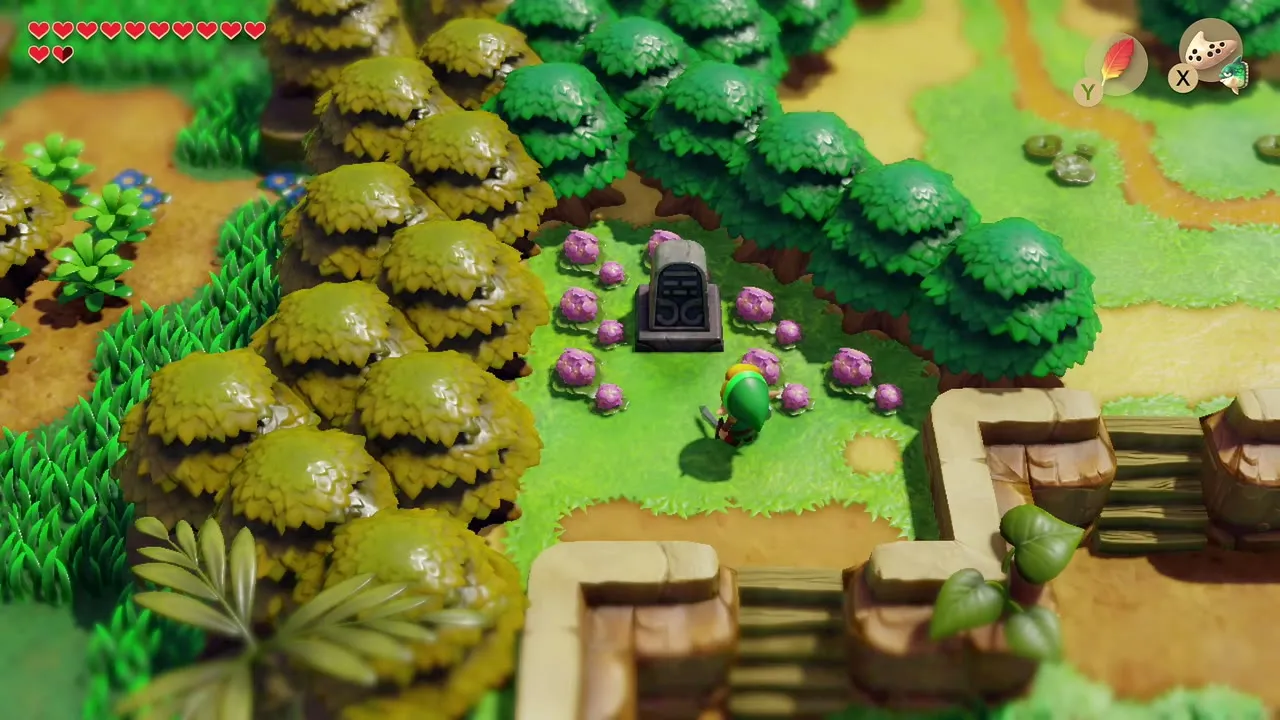
Warp to Manbo’s Pond with the Ocarina; the grave is close by. From the pond, go to the Witch’s Hut and the Cemetery edge, and follow the Ghost to a lone headstone ringed with flowers. It says goodbye, mentions a jar for you and fades away.
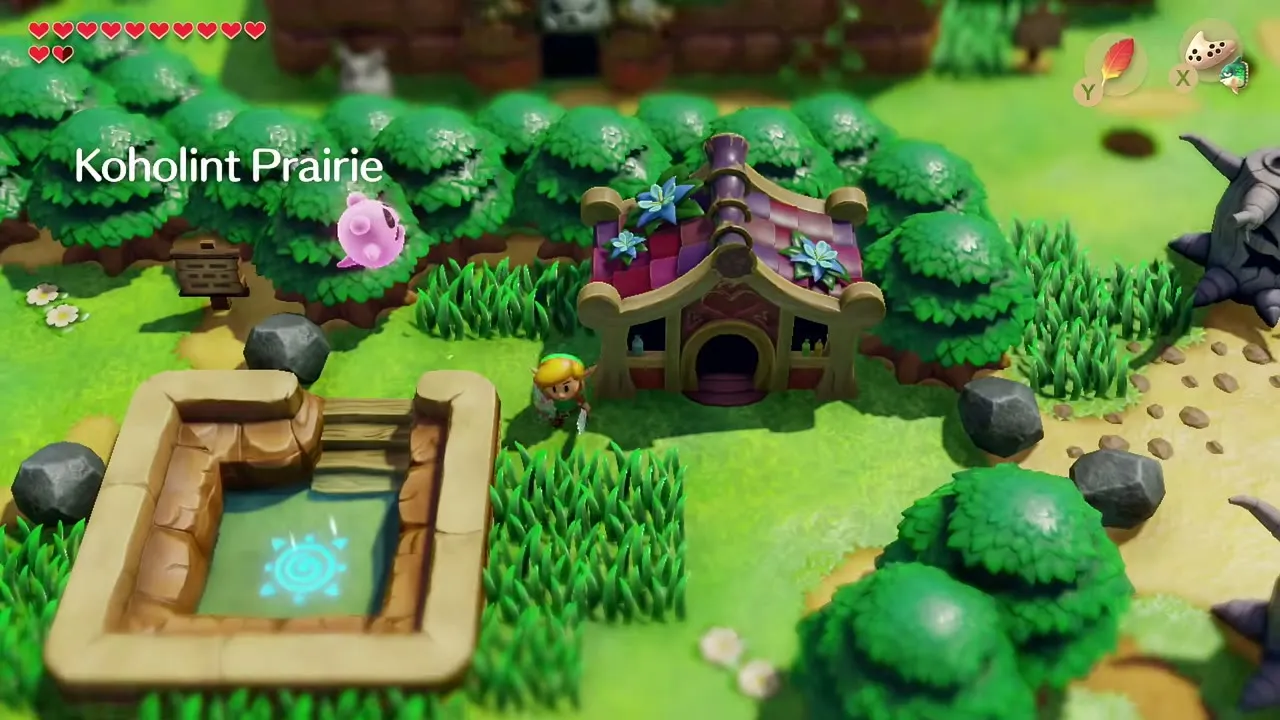
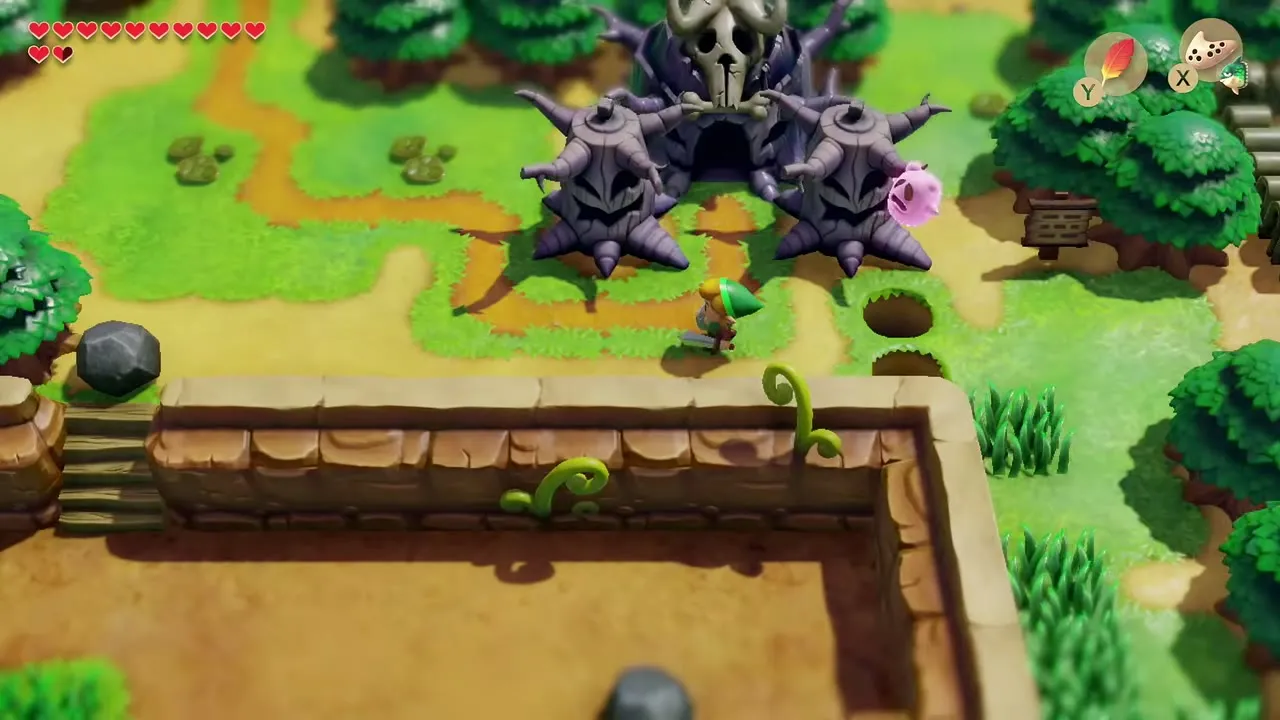
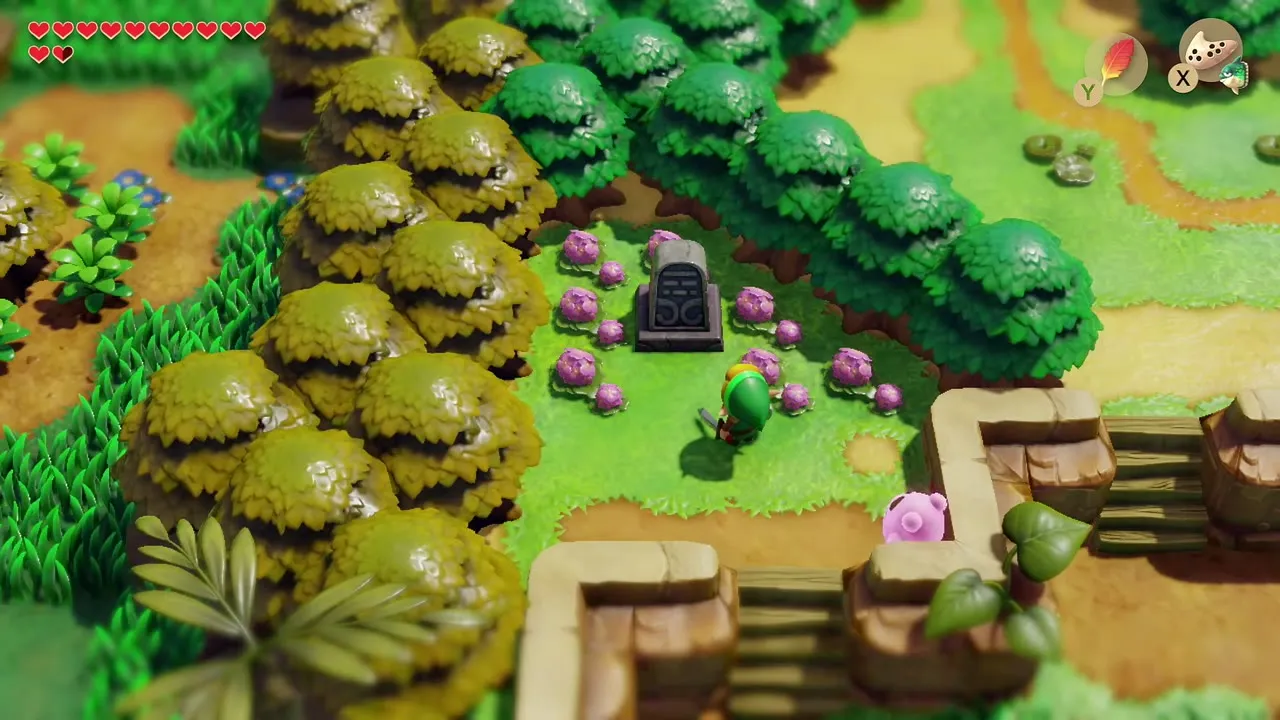

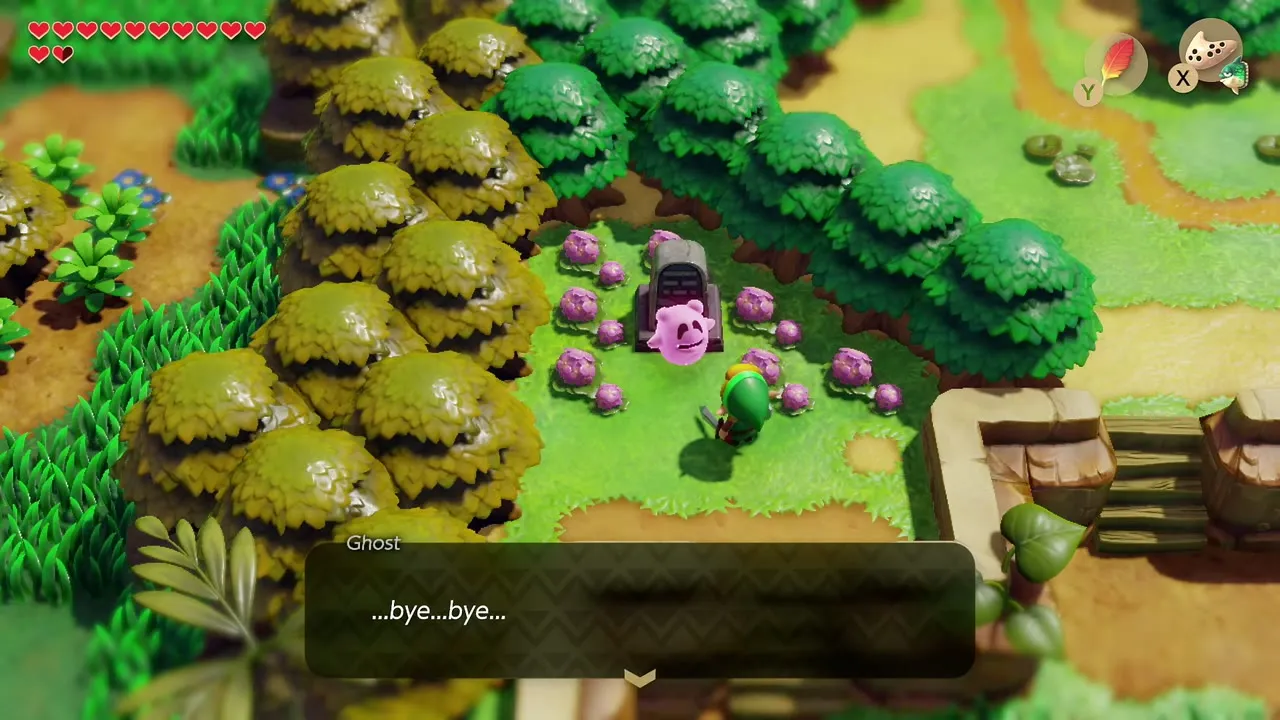
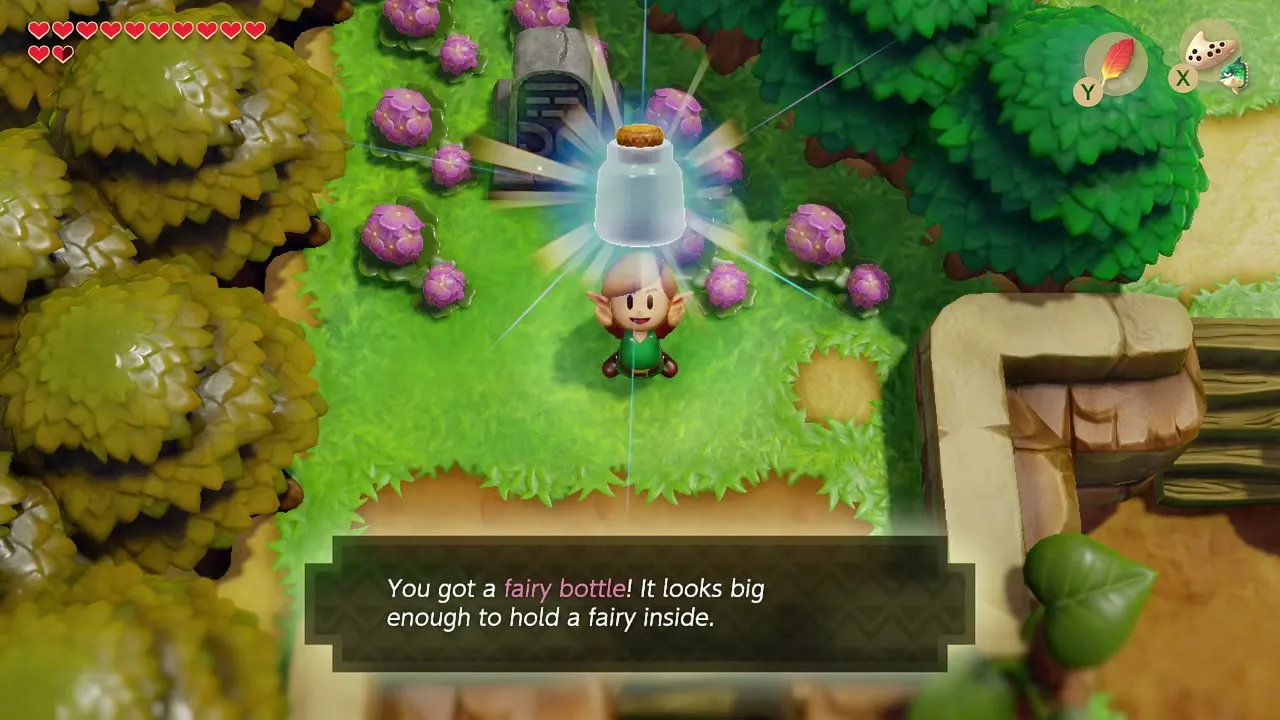
Pick up the gift: “You got a fairy bottle.” A fairy caught in the Bottle will refill your health when you use it, so keep one on you. The Fairy Bottles page lists the other two.

Martha’s Bay: Secret Seashells, Necklace and Mermaid’s Scale
Swim to the island with the lone bush
Walk to Martha’s Bay and look for the telephone booth in a hollow tree. Swim to the small island just south-west of the booth that has stairs and a single bush, step ashore, cut the bush and dig where it stood for a Secret Seashell. East of the booth, tucked against the upper wall, a single bush hides one more shell; cut it with the Sword.

Talk to the Mermaid
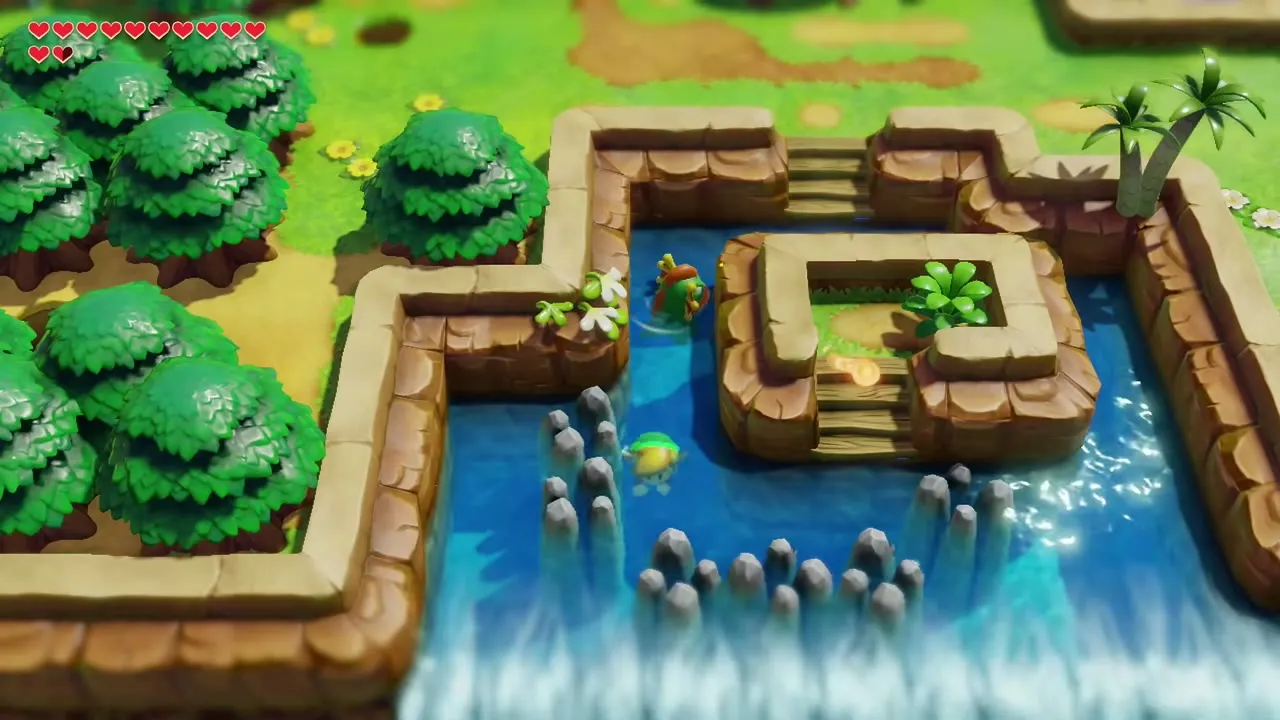
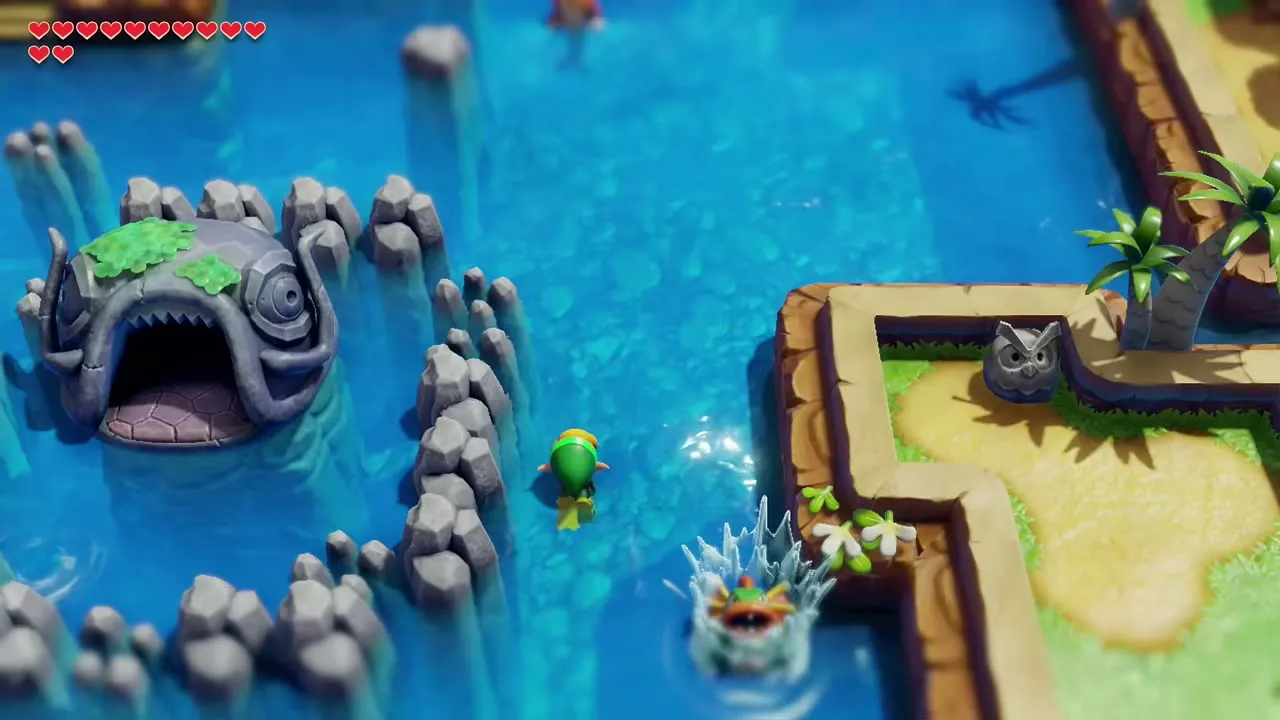
Swim out into the bay near the rocks around Catfish’s Maw and talk to the Mermaid. She has lost her necklace and promises to let you take a scale from her tail if you find it.


Get the Necklace from the Fisherman
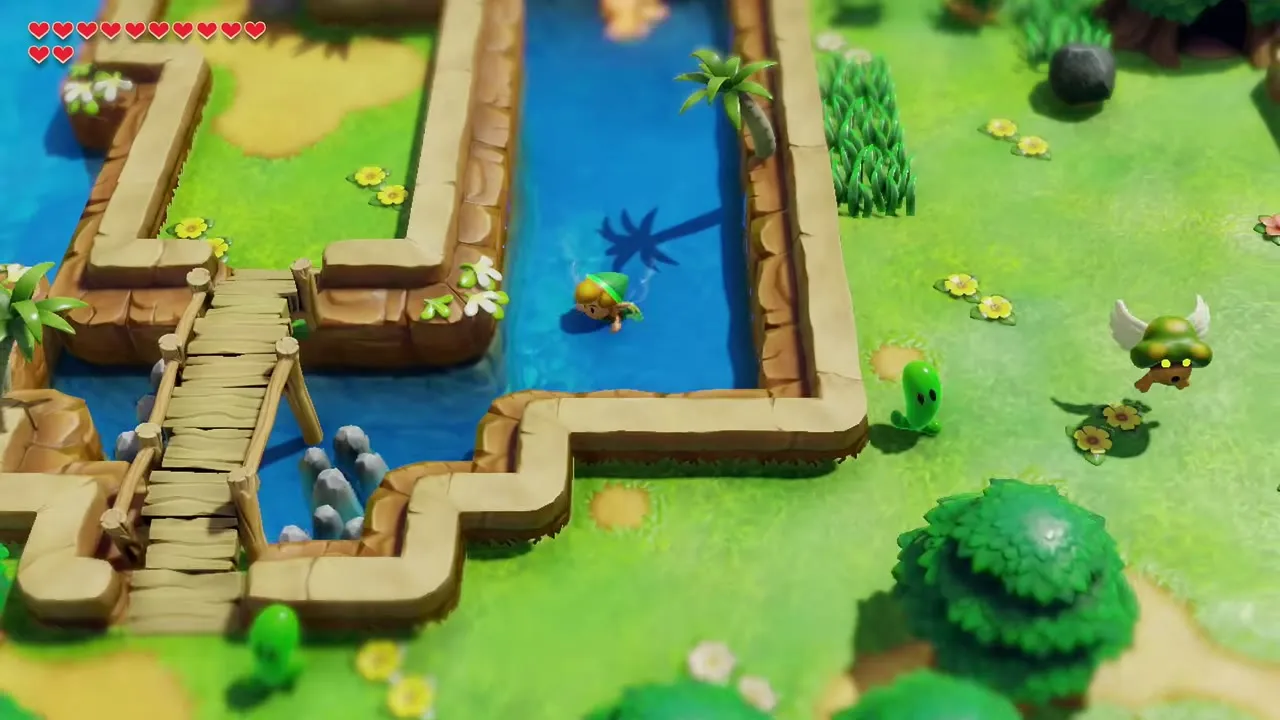
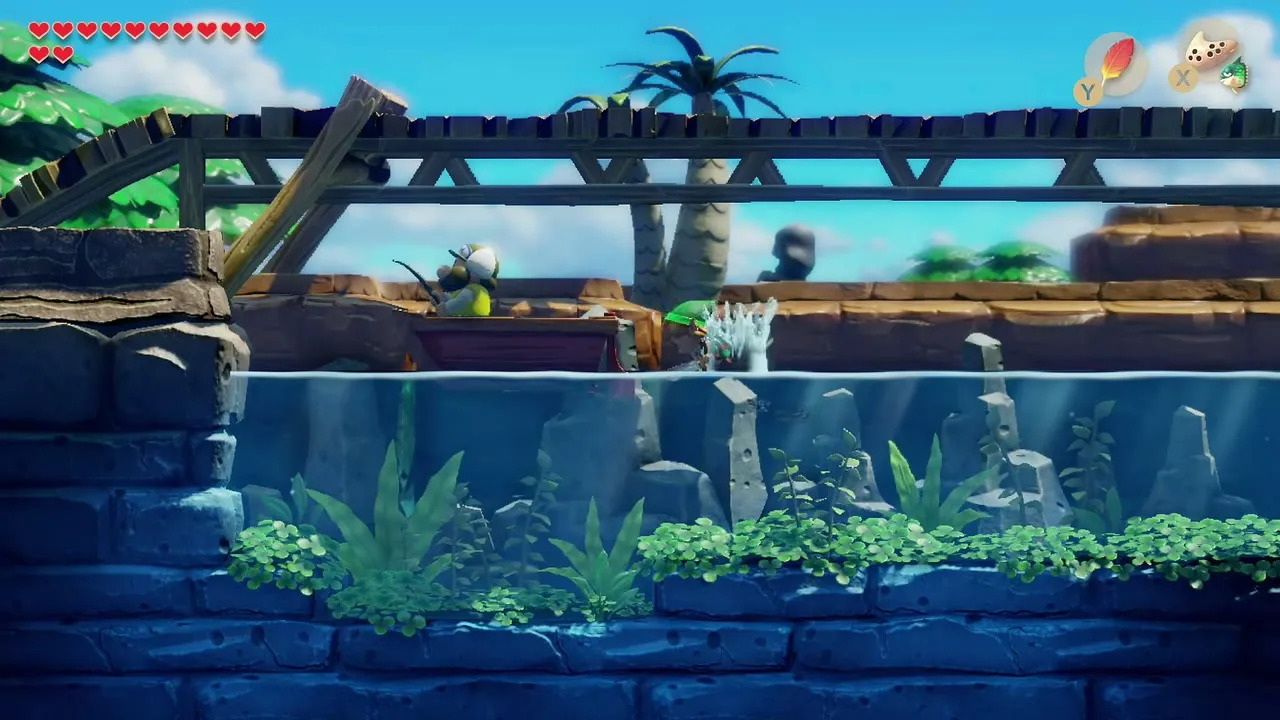
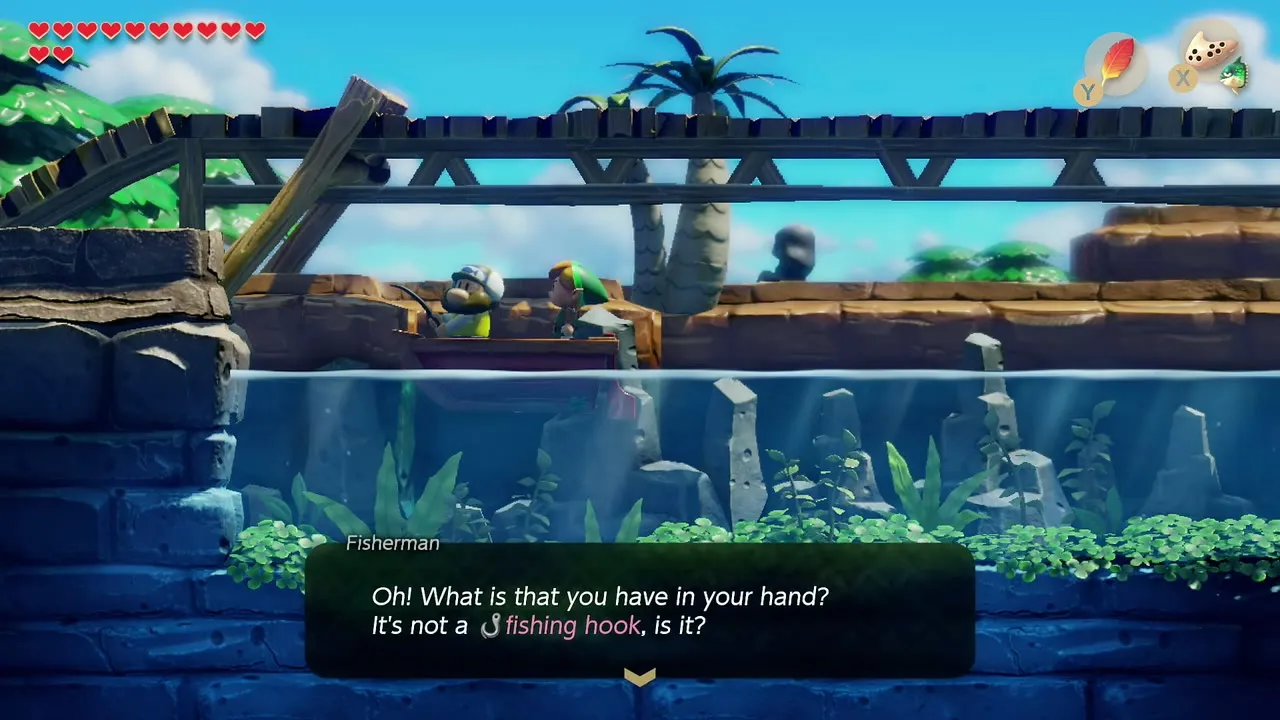
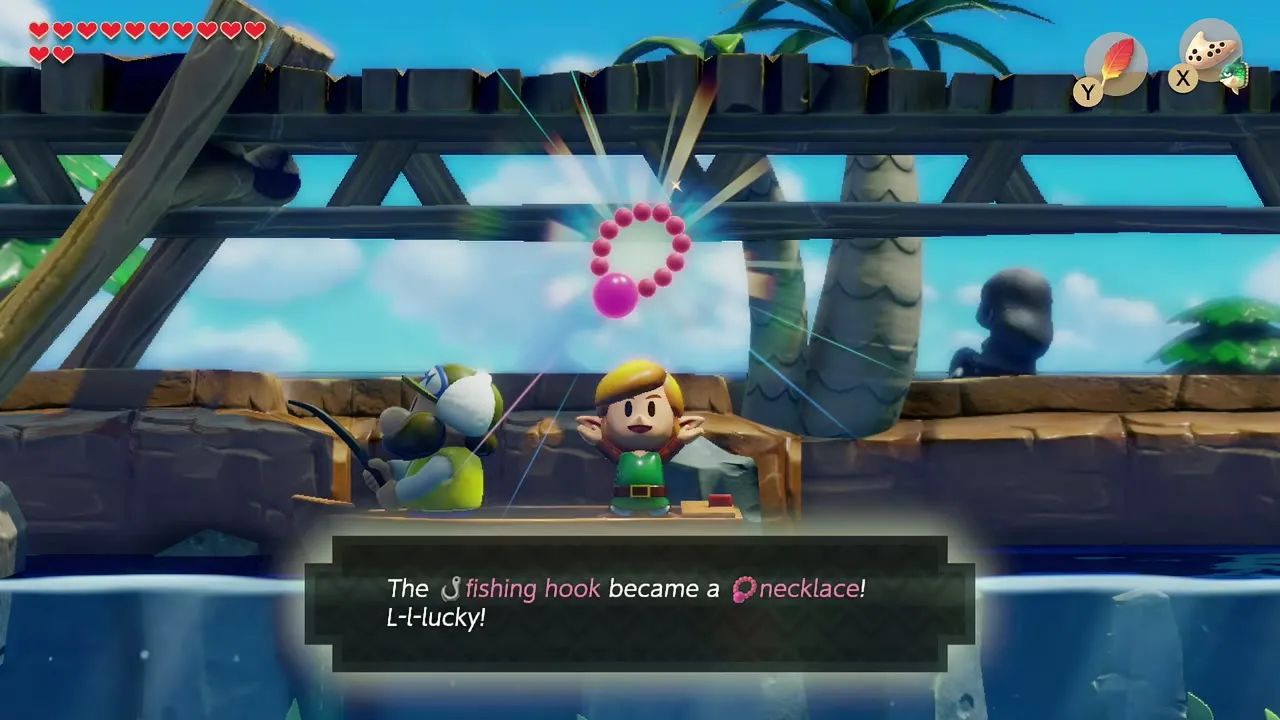
Swim to the wooden bridge east of the Catfish’s Maw rocks and dive where the rocks do not block the passage. Under the bridge a Fisherman sits in a boat. Jump aboard with Roc’s Feather and give him the Fishing Hook from the trading sequence; his next catch is a Necklace, which he hands to you. The whole chain is in the trading sequence guide.
Return the Necklace for the Mermaid’s Scale
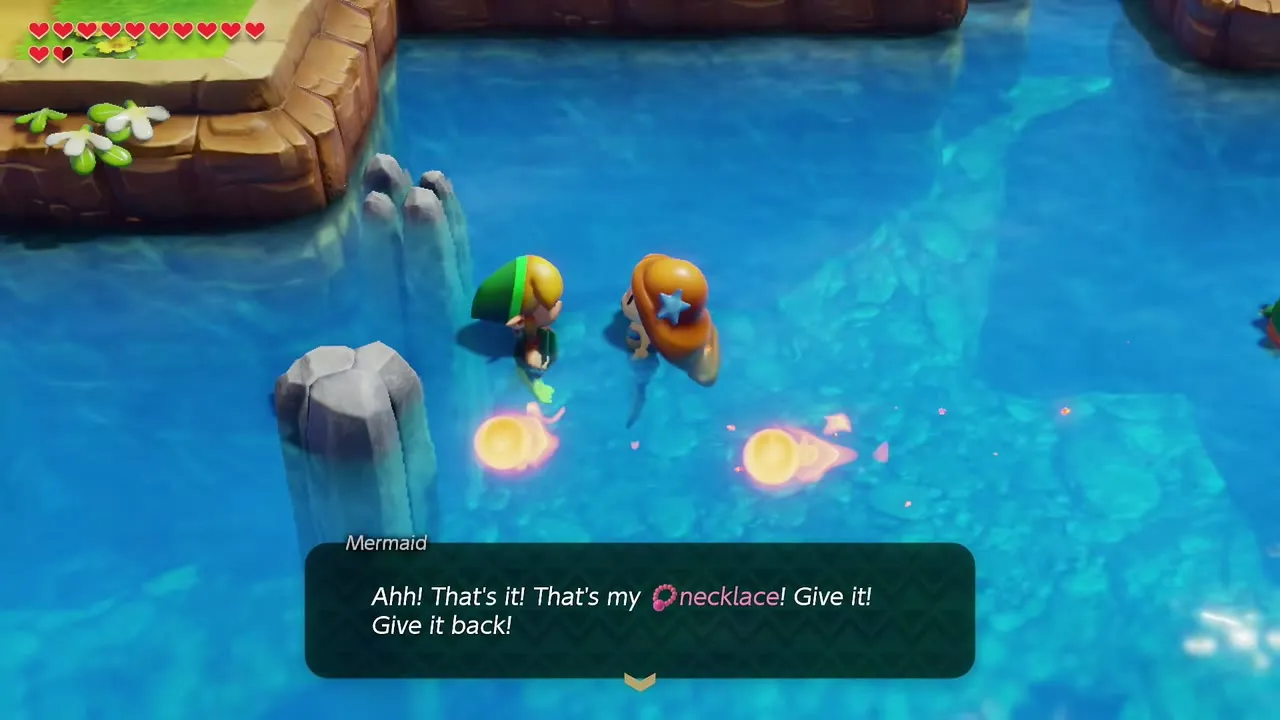
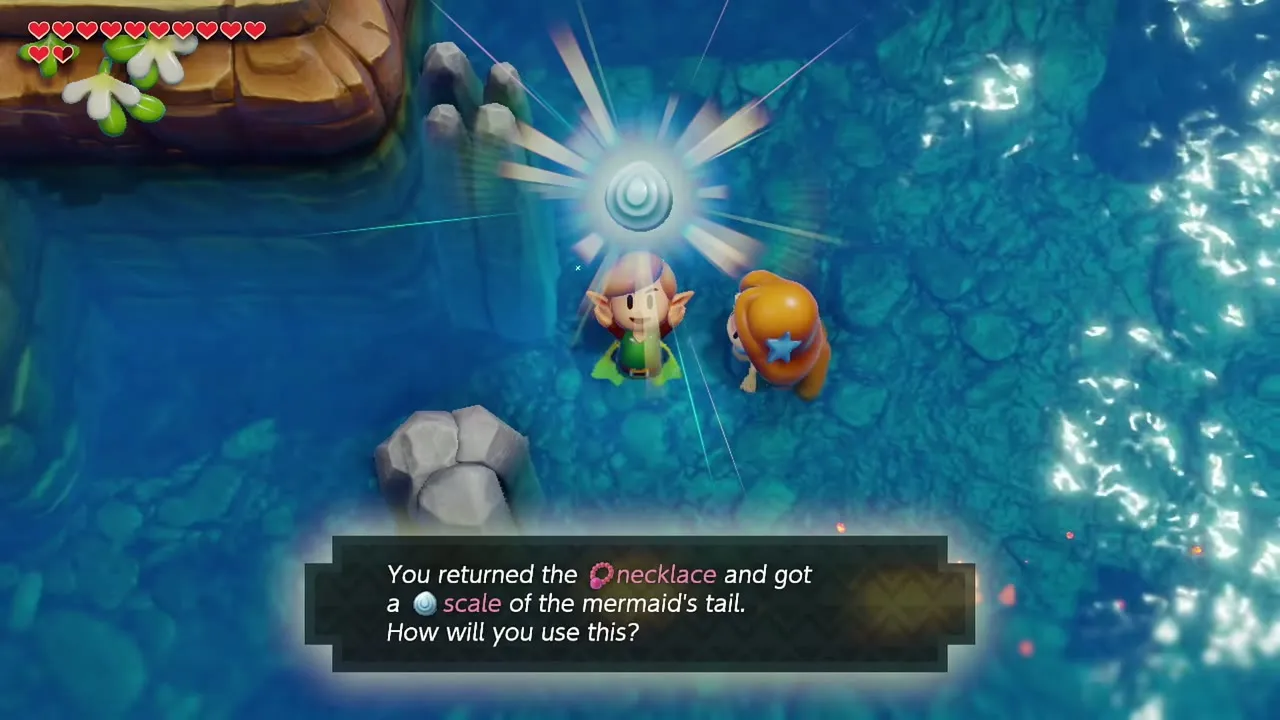
Take the Necklace back to the Mermaid. She cheers, asks you to take only one, and gives you a Mermaid’s Scale. You cannot use the Scale yet, so keep it for later.
Optional side trip: the Color Dungeon
Warp to the Cemetery
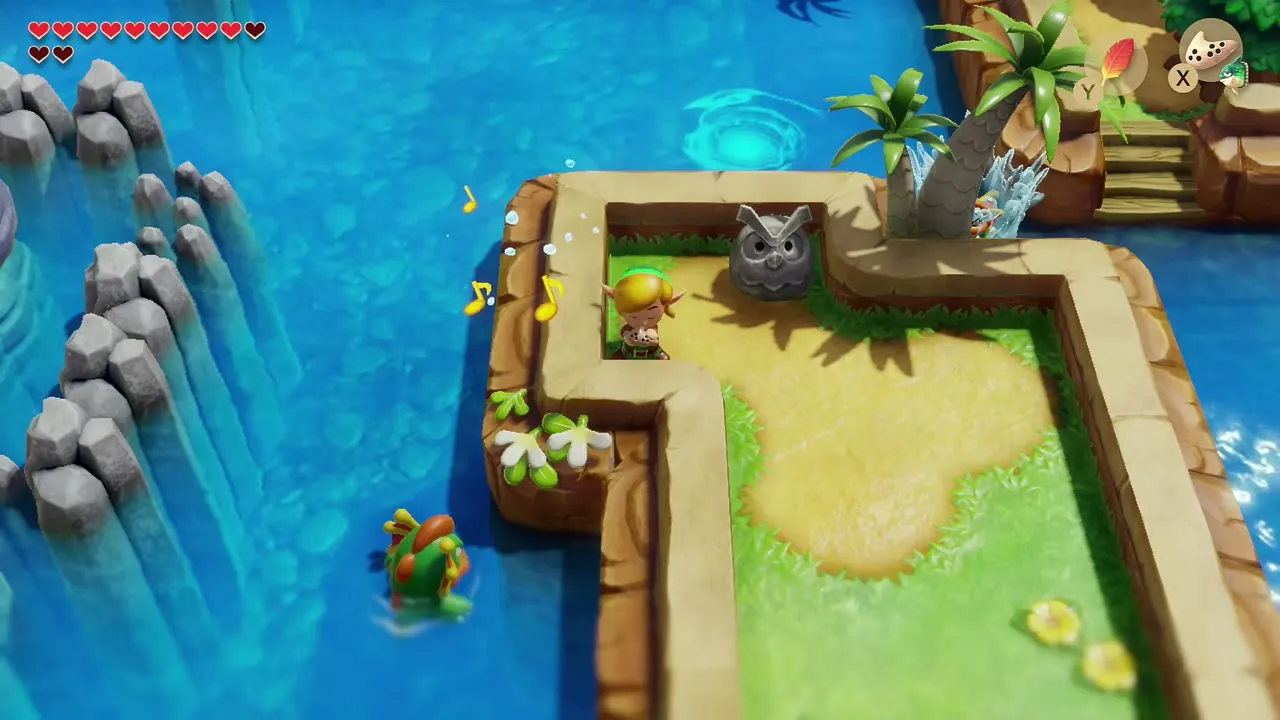
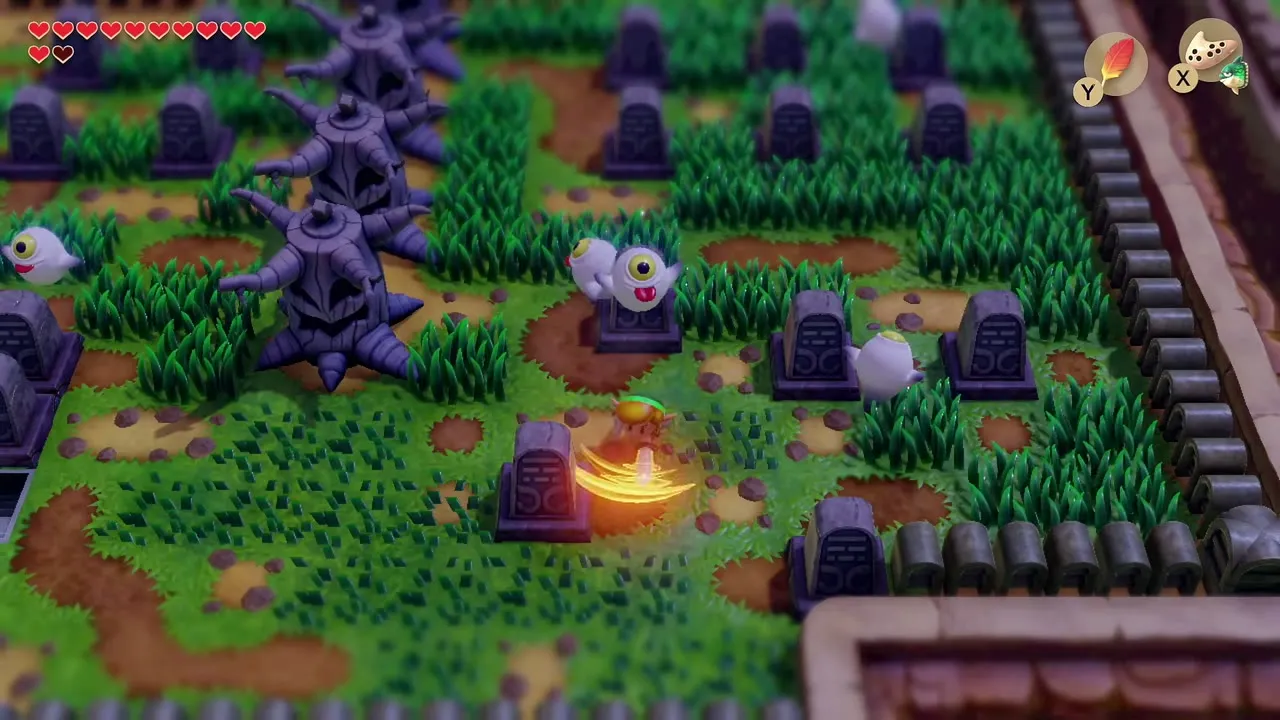
Play Manbo’s Mambo from the little island with the owl statue and warp to the Cemetery. The Color Dungeon entrance is hidden among the graves there and the guards inside expect you to carry Magic Powder. You can skip it for now; the rooms, the Fairy Queen and the mail choice are on the Color Dungeon page. Then return to Martha’s Bay.

Enter Catfish’s Maw
Dive into the bay
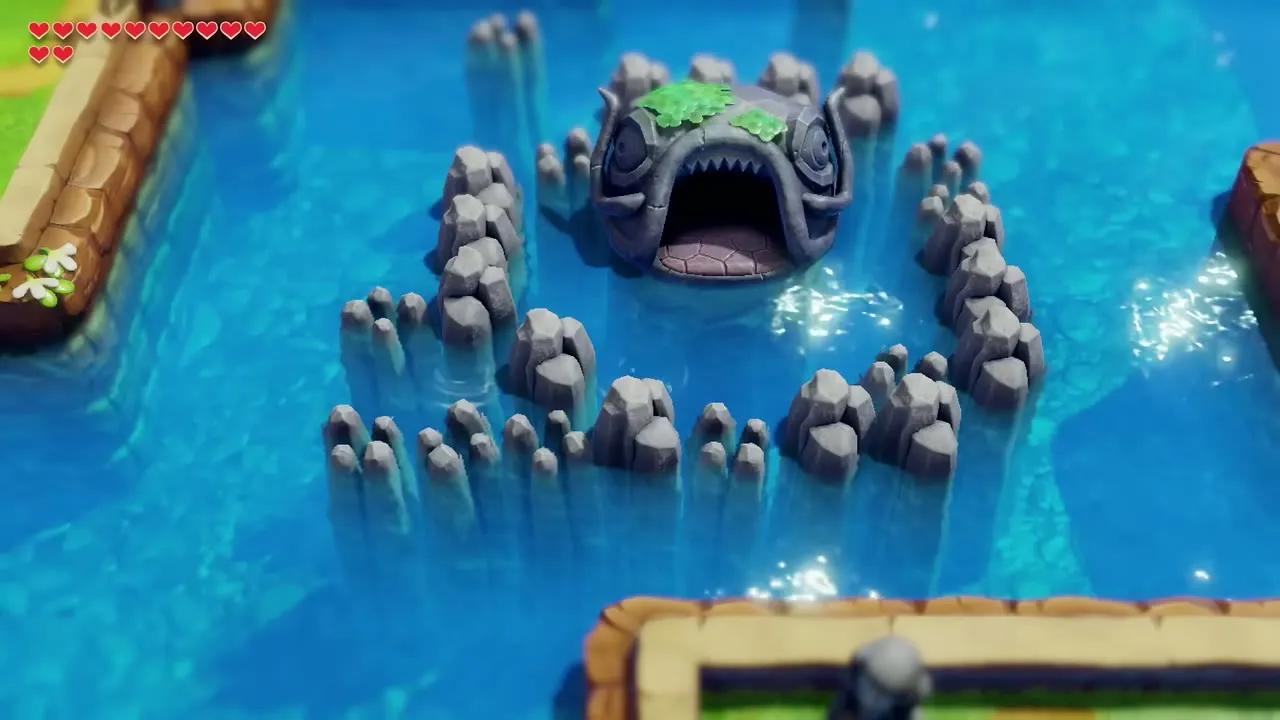
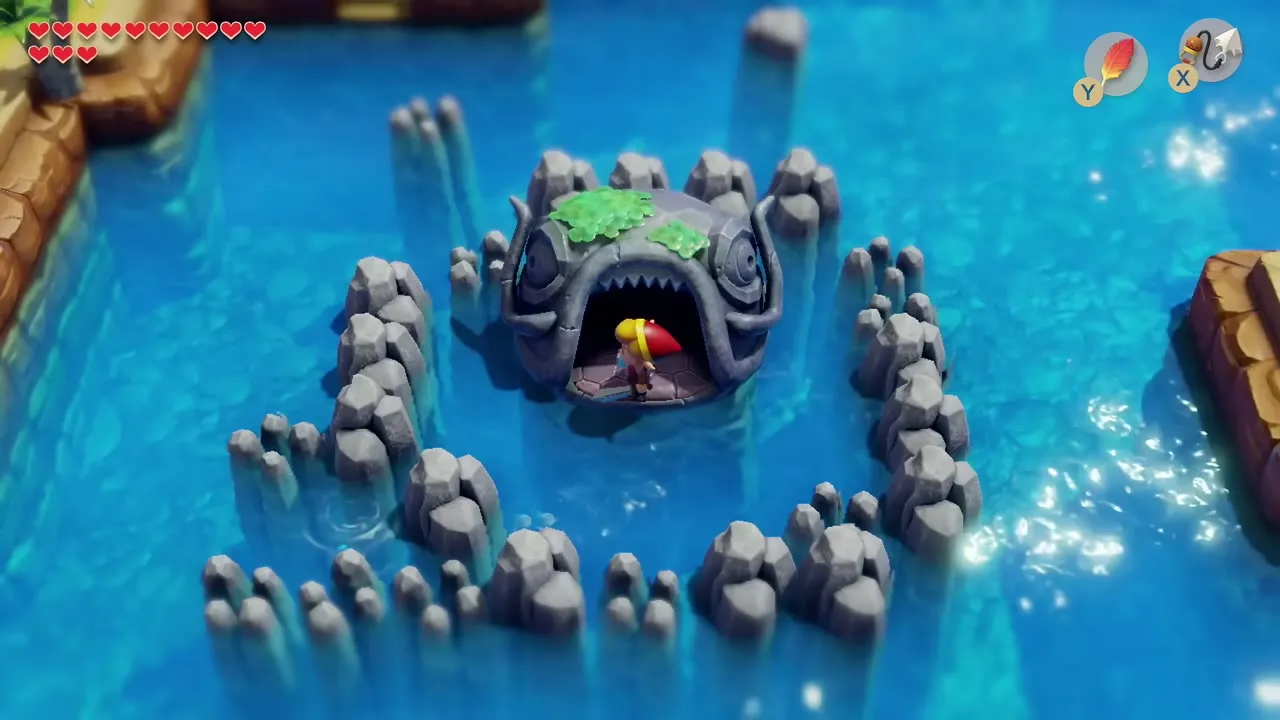
Back in Martha’s Bay, swim to the gaping stone mouth surrounded by rocks and find the whirl of water at its base. Dive in, swim across the short underwater passage and surface at the dungeon entrance.


Dungeon: Catfish’s Maw (Level 5)
Compass in the first rooms
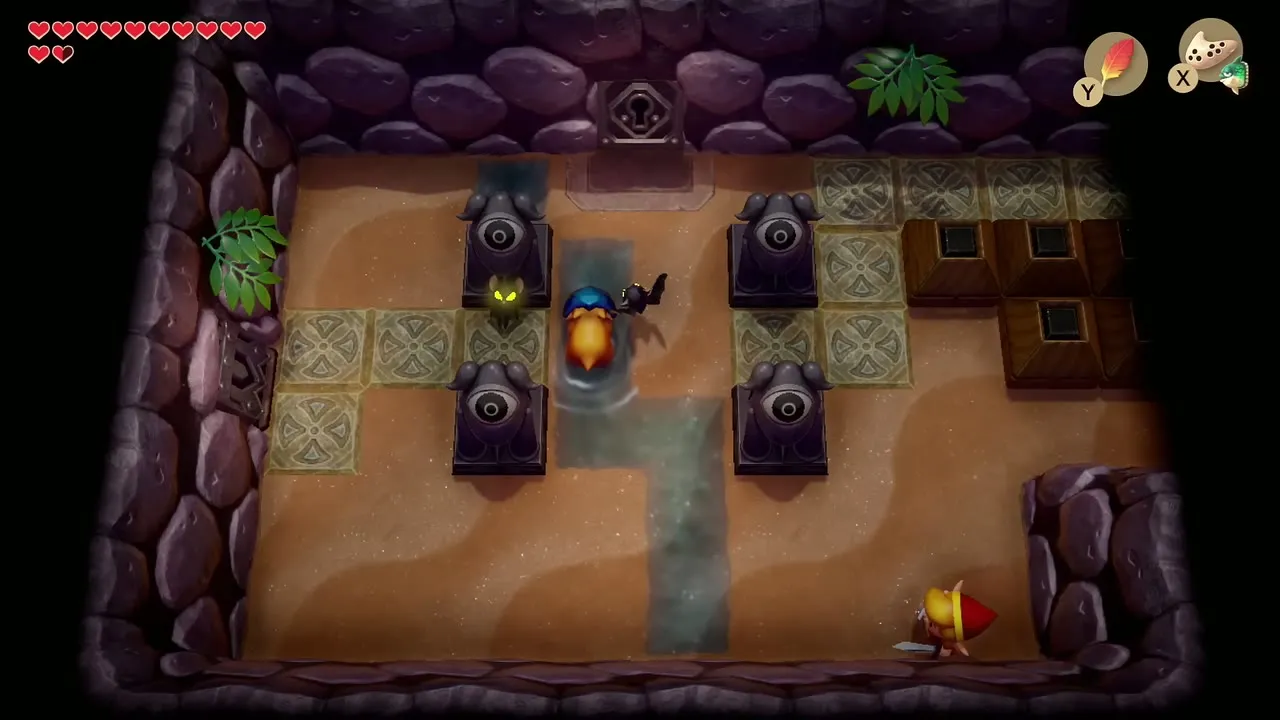
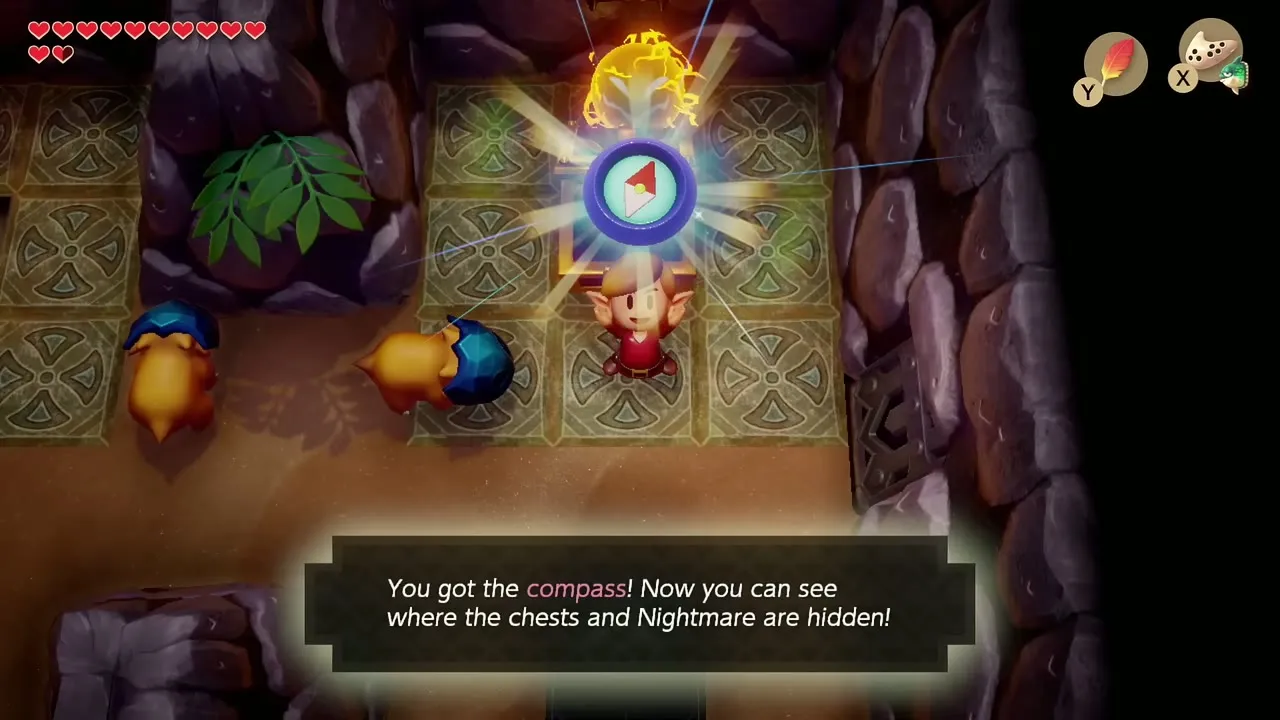
The first rooms are sandy chambers with eye statues, raised blocks and pots, full of Sparks and masked enemies. Fight through them and head left: a chest in the room beyond holds the Compass. A chest on a tiled ledge across a gap stays out of reach until you have the Hookshot, so come back to it later.

Small Key from the basement
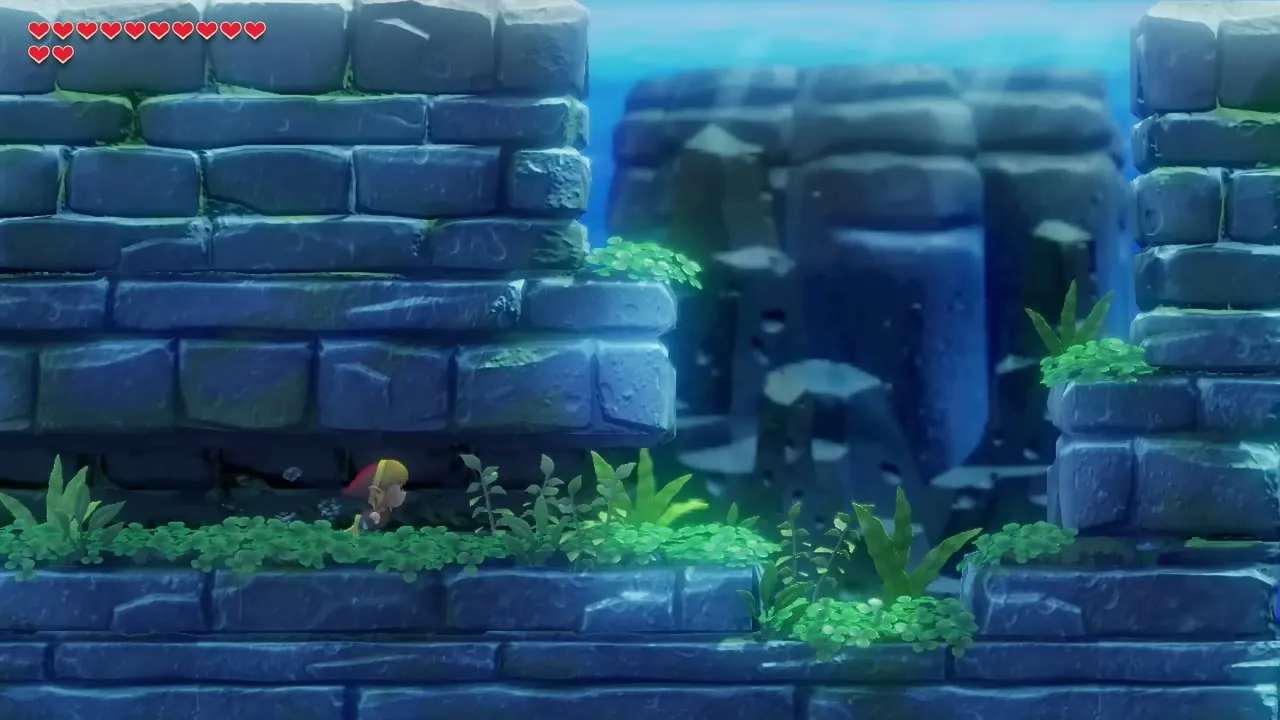
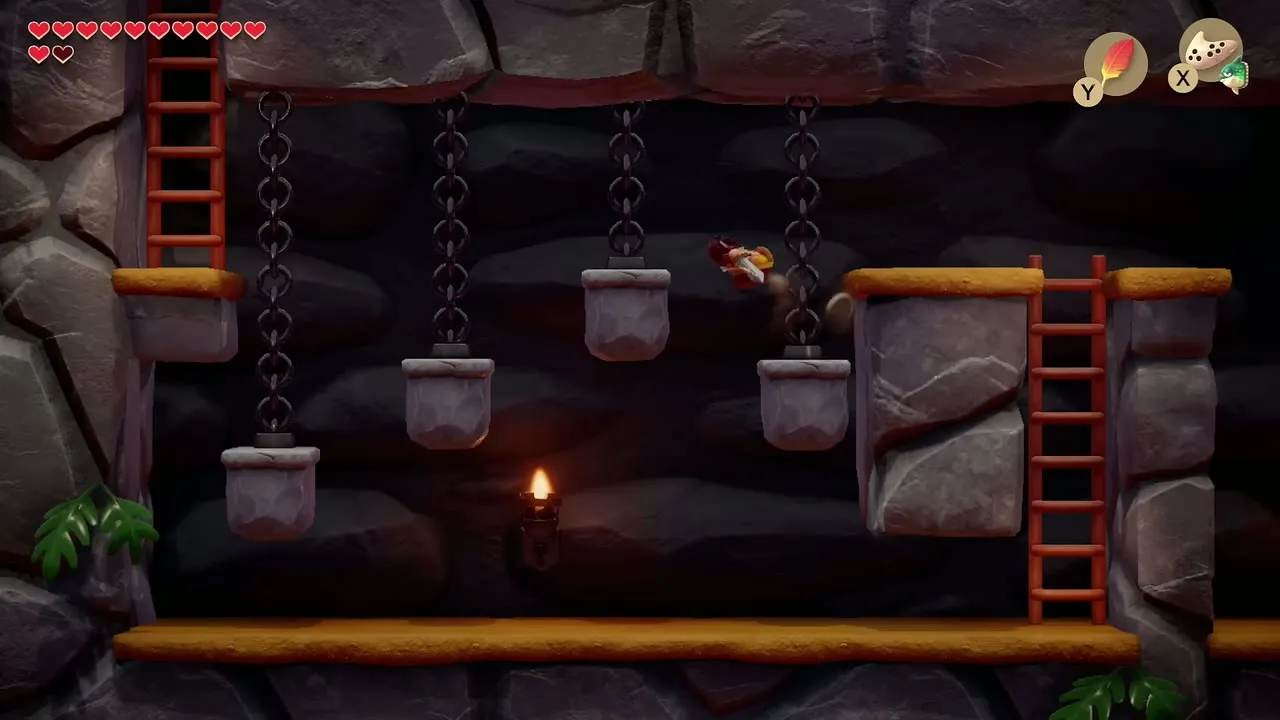
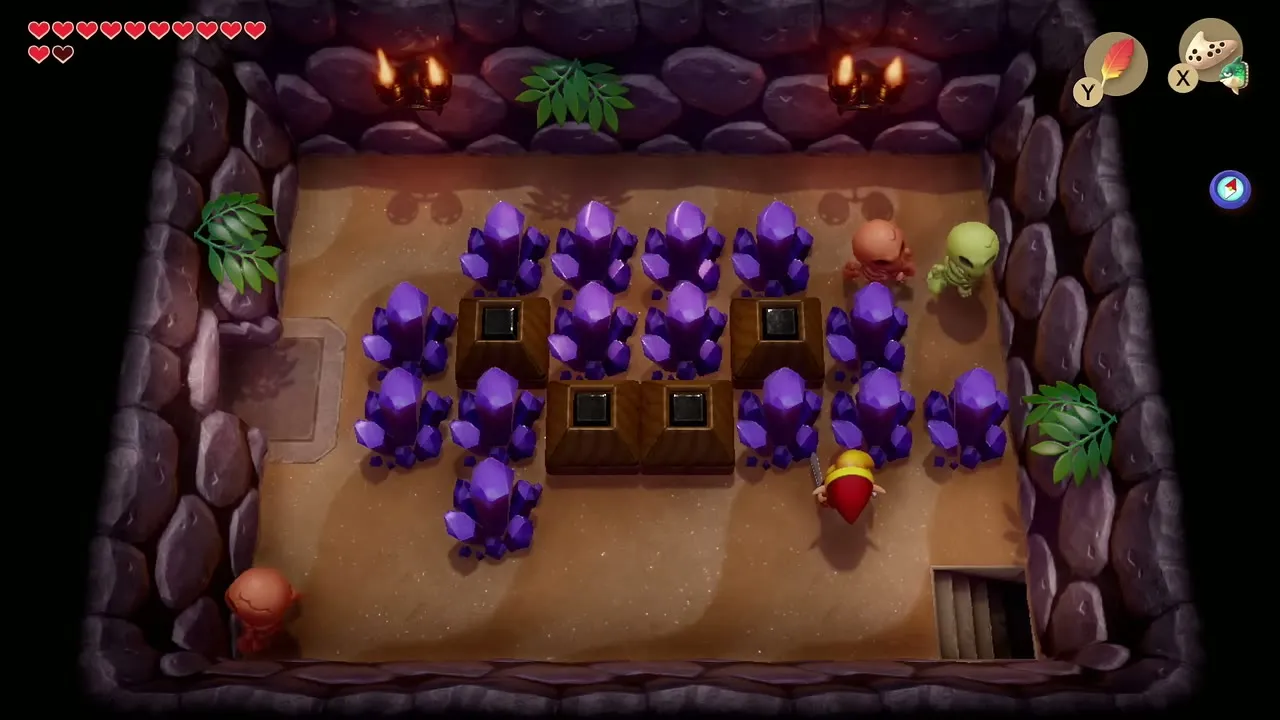
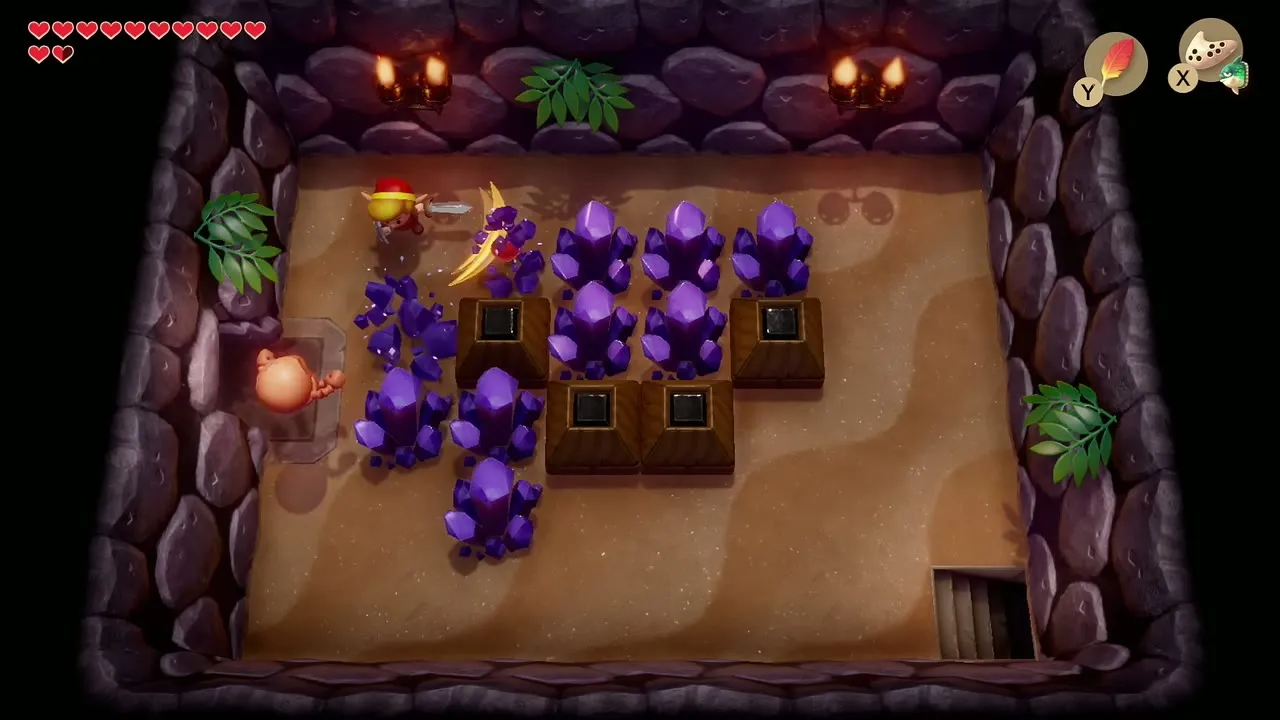
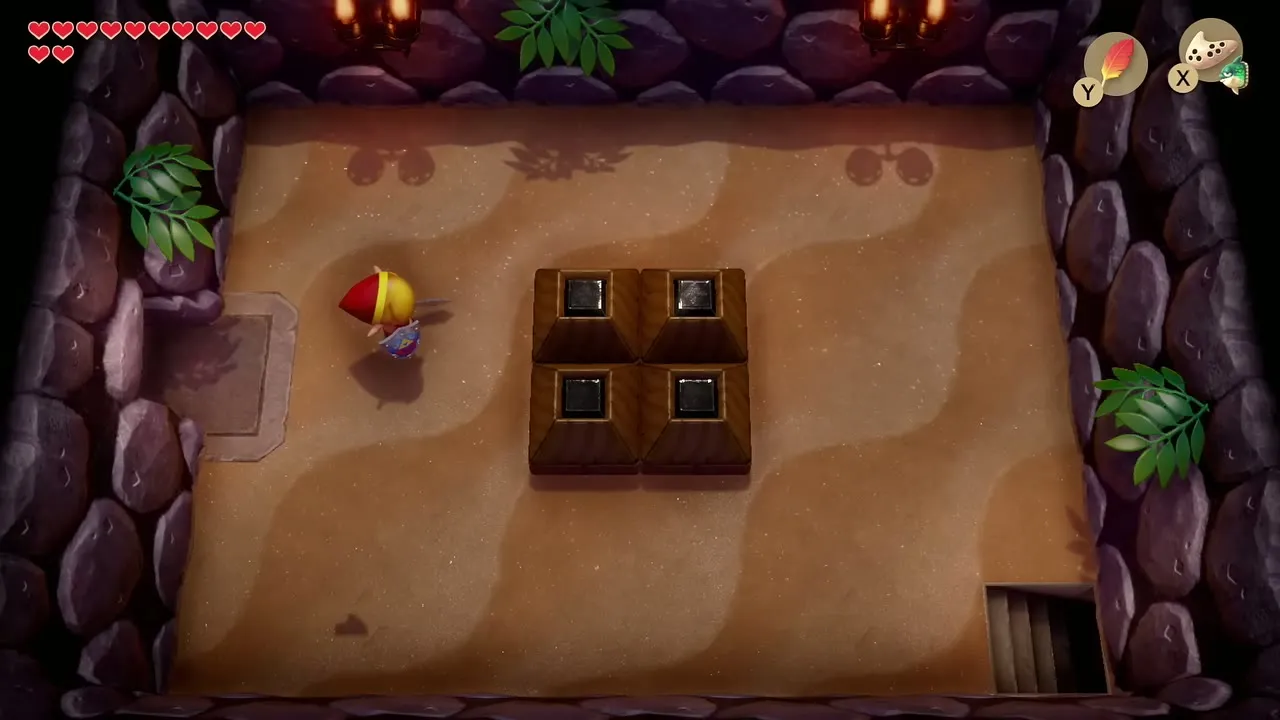
Take the stairs down to a side-scrolling room hung with chain platforms. Time your jumps across the swinging platforms and climb the ladder on the far side. Upstairs, smash the purple crystals and push the two loose blocks together into a square; a Small Key falls from the ceiling.
Master Stalfos and the Map
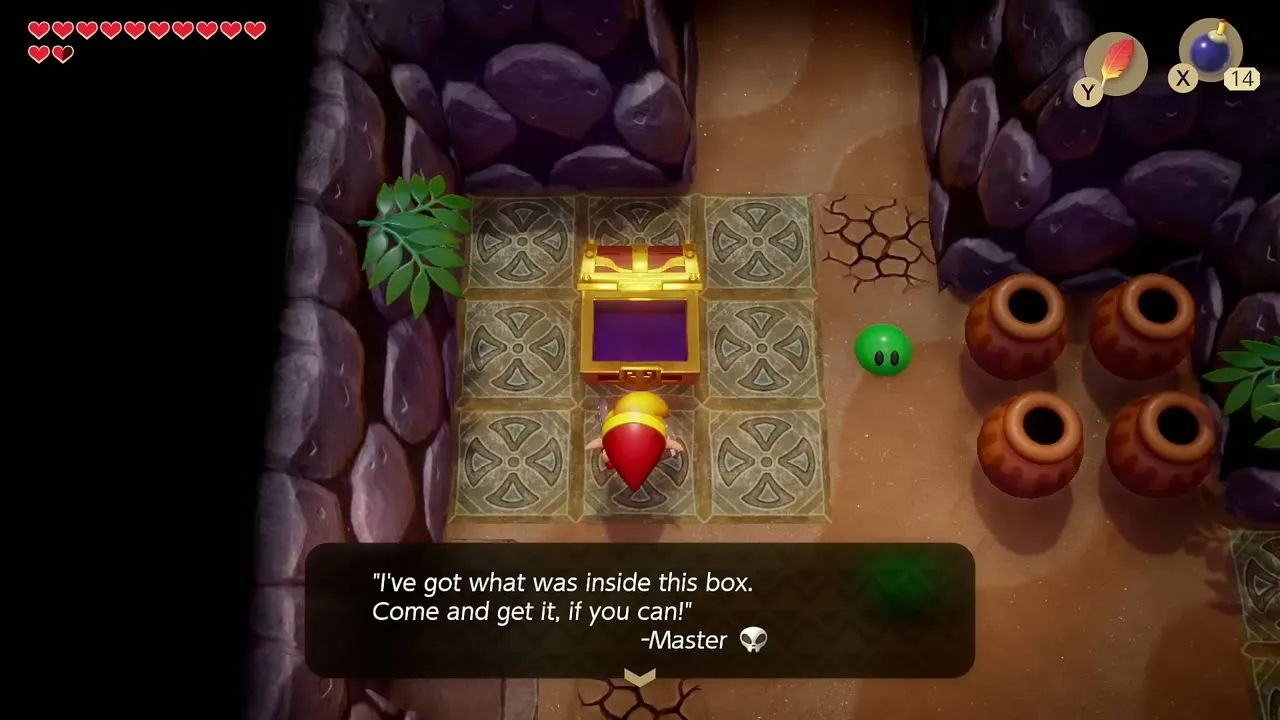
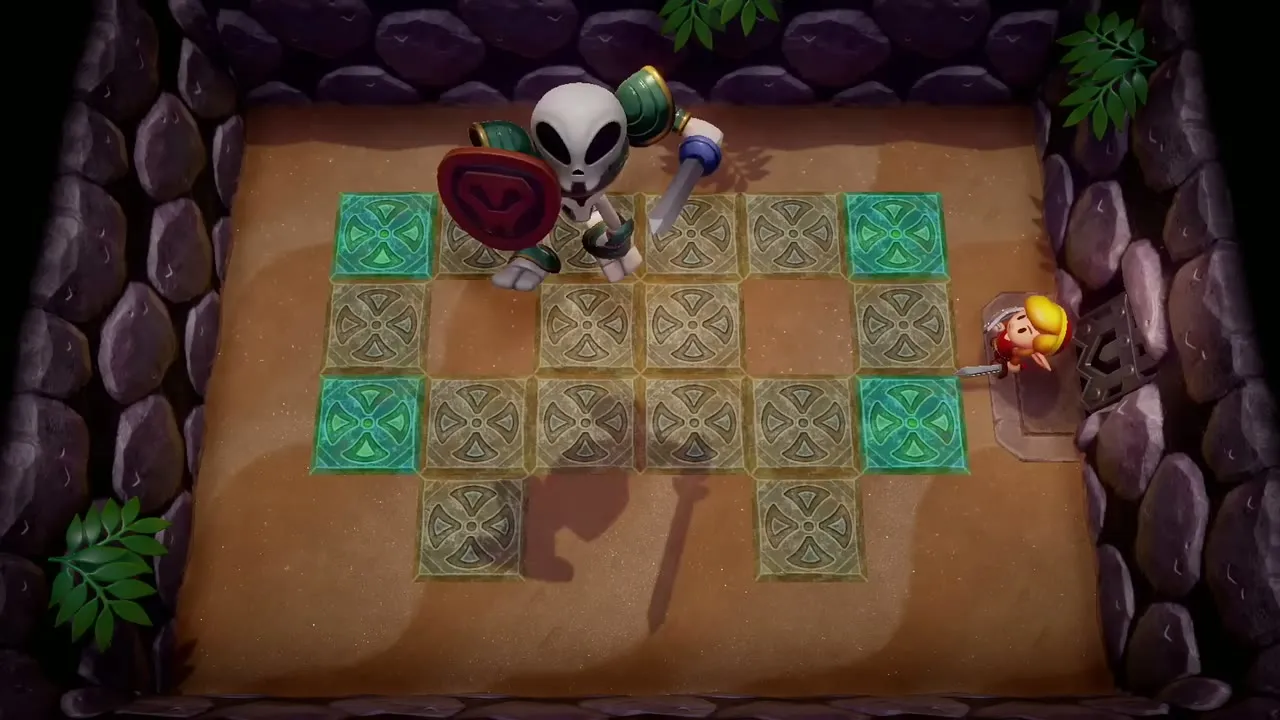
Use the key on the locked door and work through the floor-tile rooms. Master Stalfos waits in these rooms and you must meet him four times. Wait for him to swing, hit him from the side, and when he collapses drop a Bomb beside him. Three bomb hits make him run away. He leaves behind an empty chest with a note boasting that he took what was inside, which is the Hookshot.
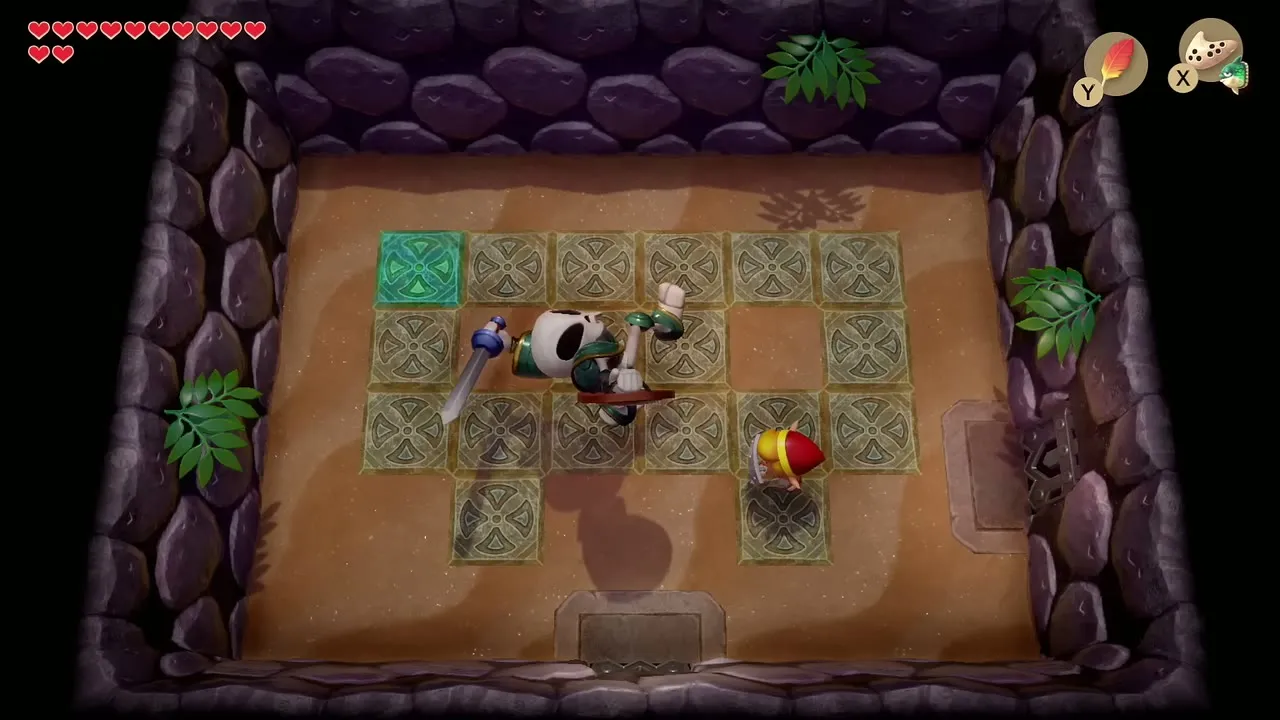
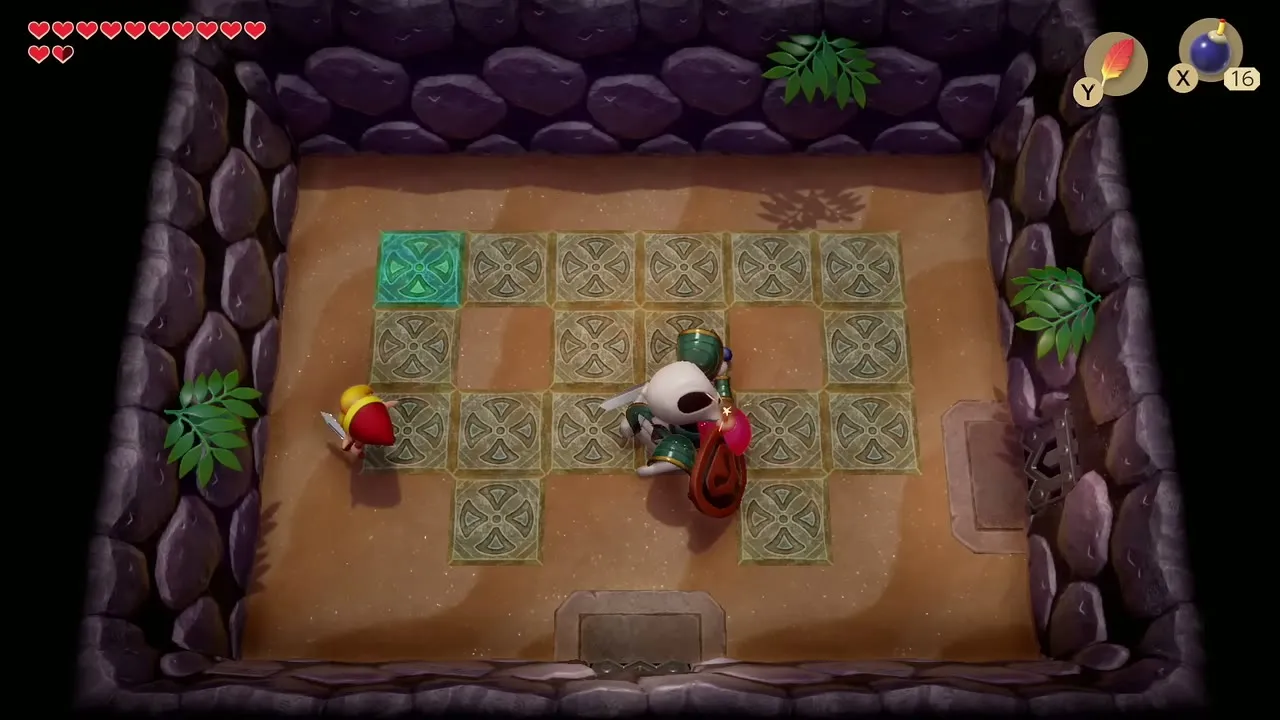

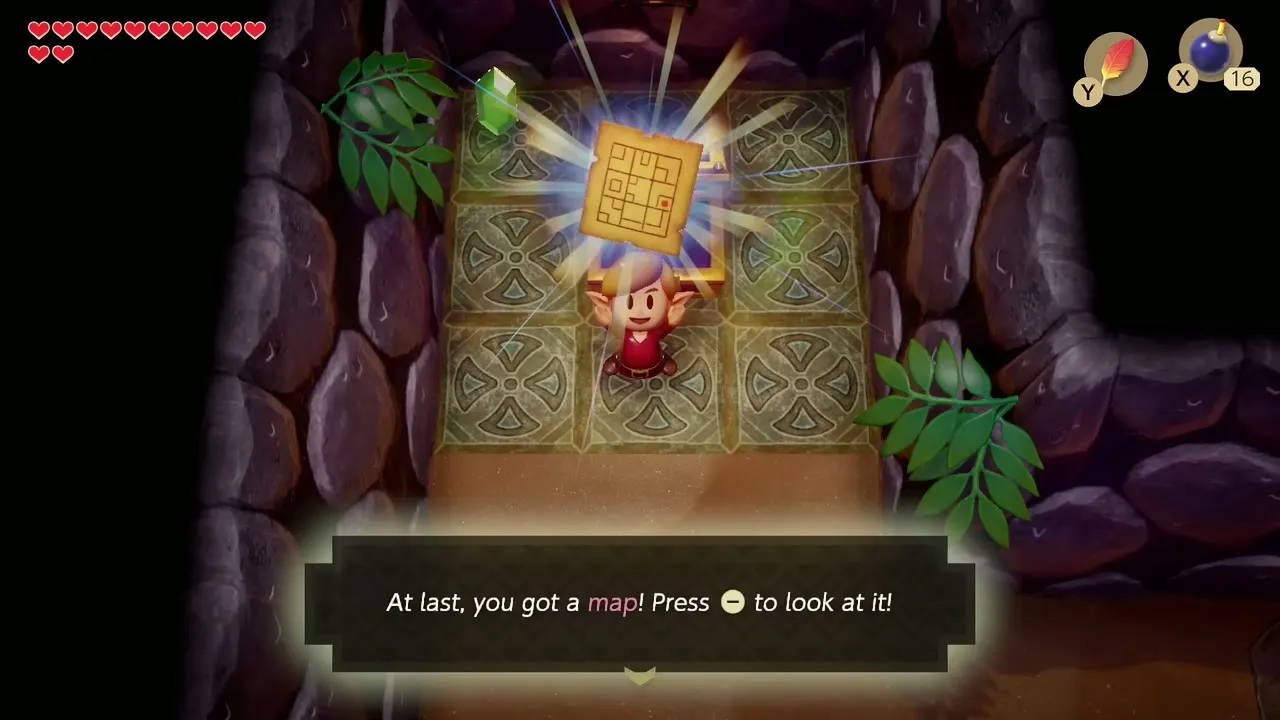
Keep going through the block rooms to a room with a few Zols and a chest at the back. After the third encounter with Master Stalfos you can reach that chest, which contains the Dungeon Map.

Win the Hookshot
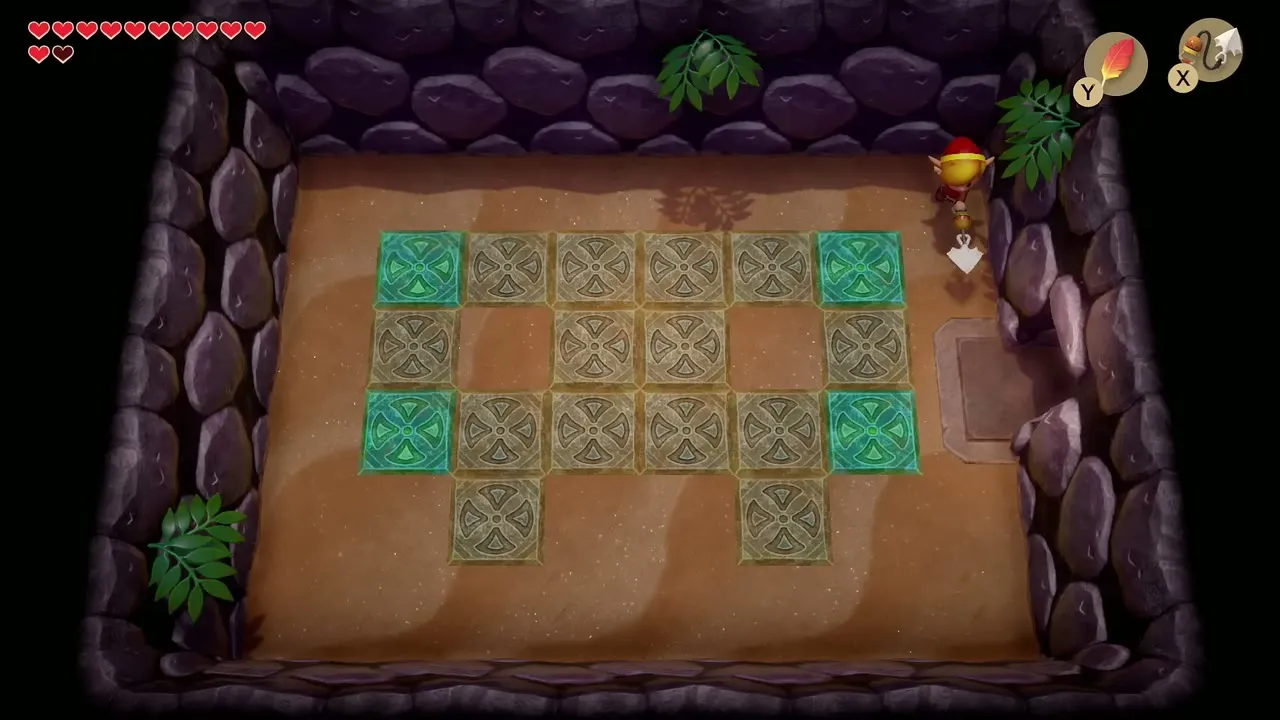
On the fourth fight, hit Master Stalfos with the sword and bomb him again. This time he blows apart for good and drops the Hookshot he stole. Equip it on a button: it pulls you to chests and posts across gaps, stuns enemies and drags wooden bridges out of walls.


Rupees, Stone Beak and Small Key
Return to the first sandy room and Hookshot the chest on the tiled ledge for a pile of rupees. Then go to the room with blade traps in the corners and masked enemies. Defeat them all and a chest appears with the Stone Beak. Slot it into an owl statue for hints.
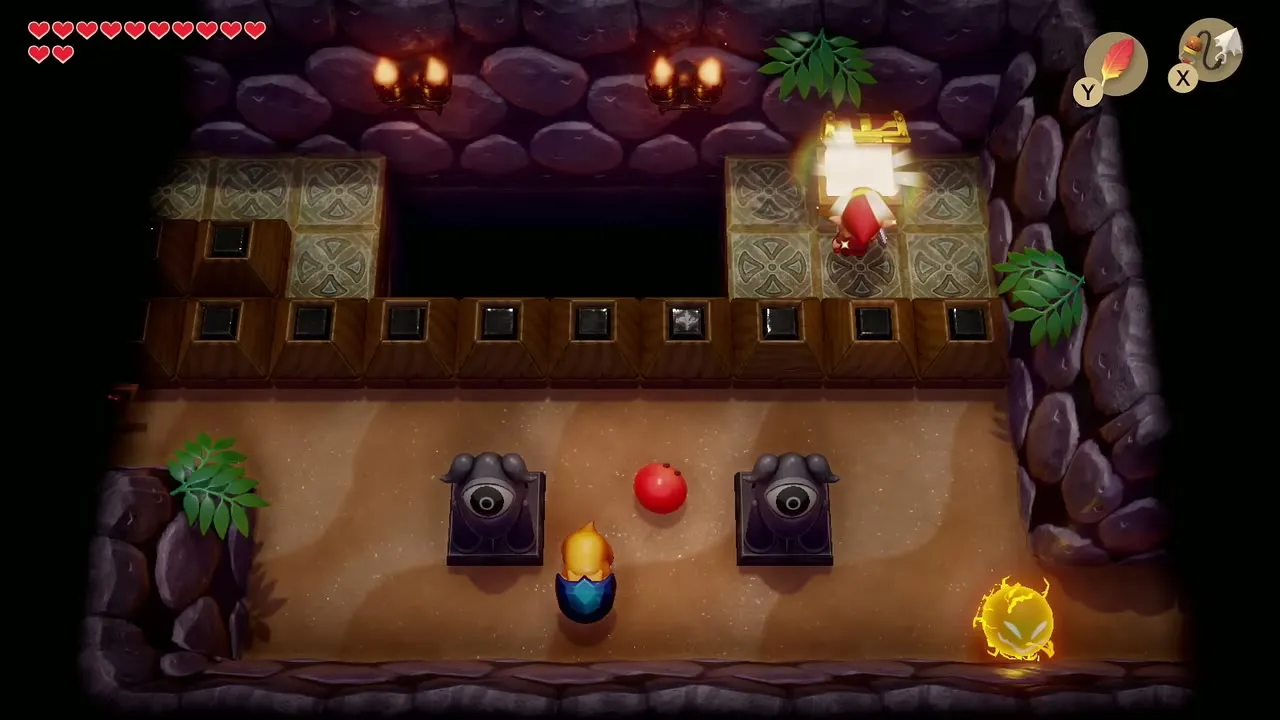
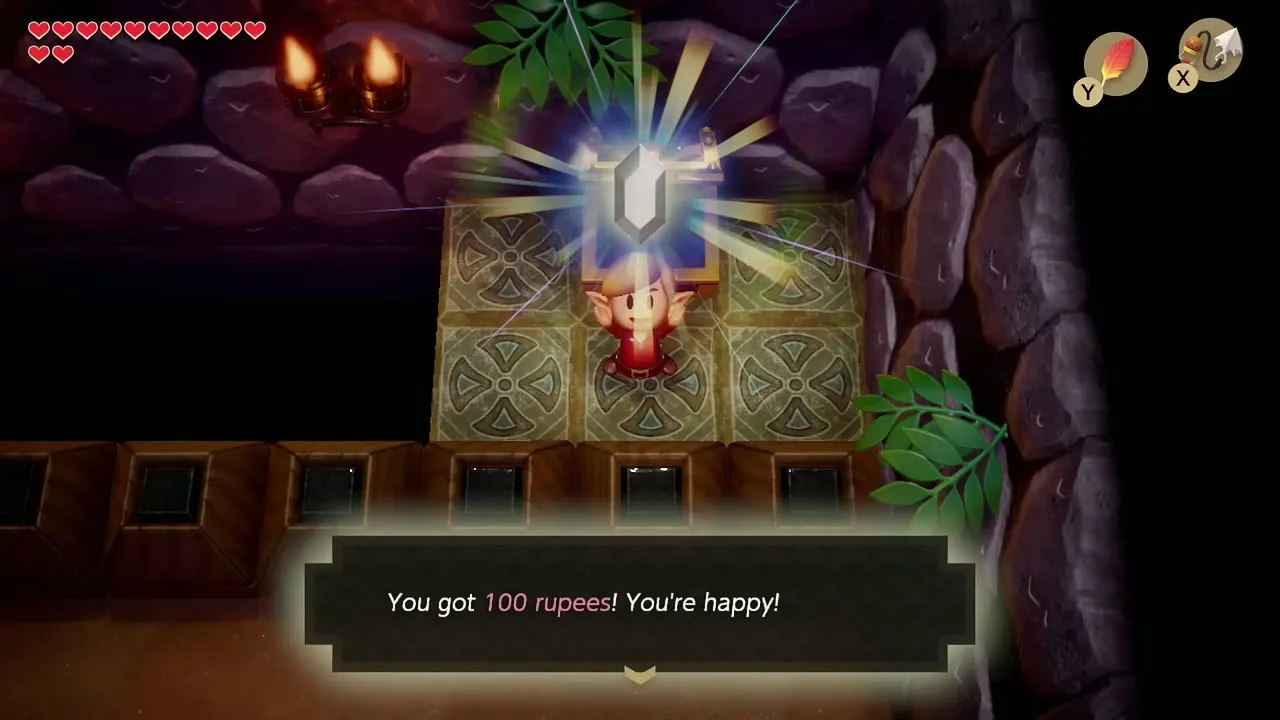
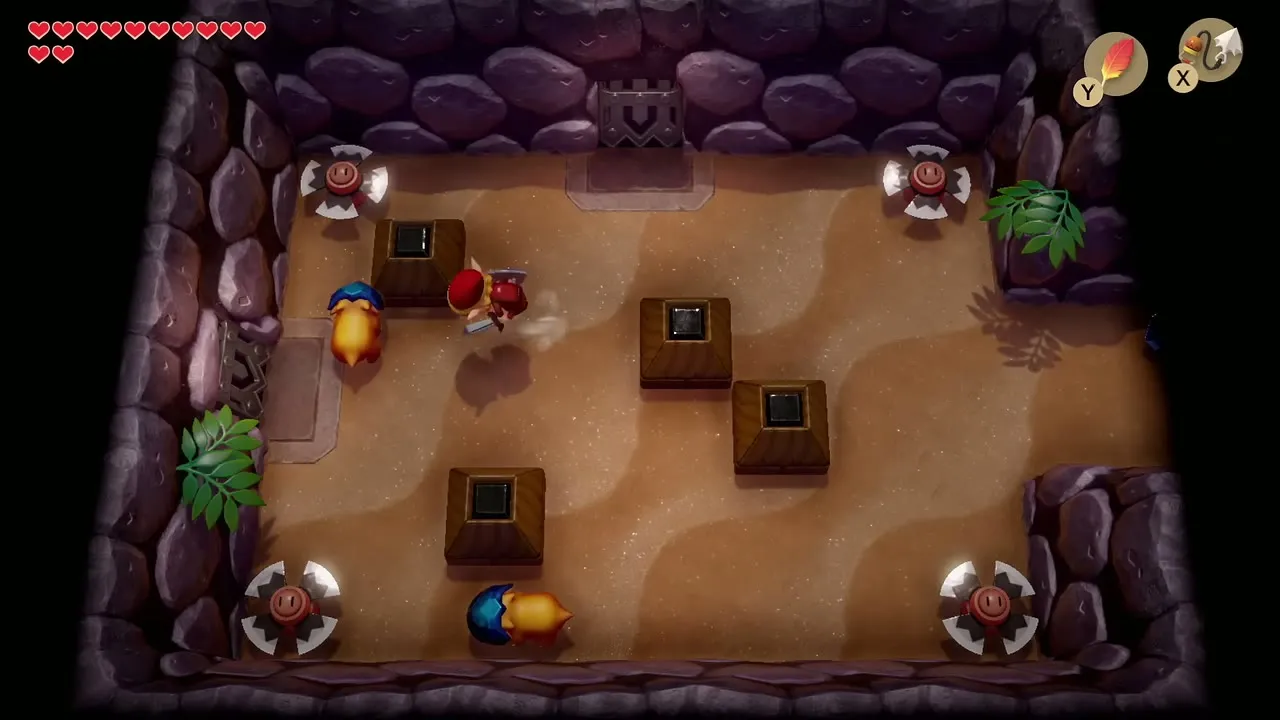

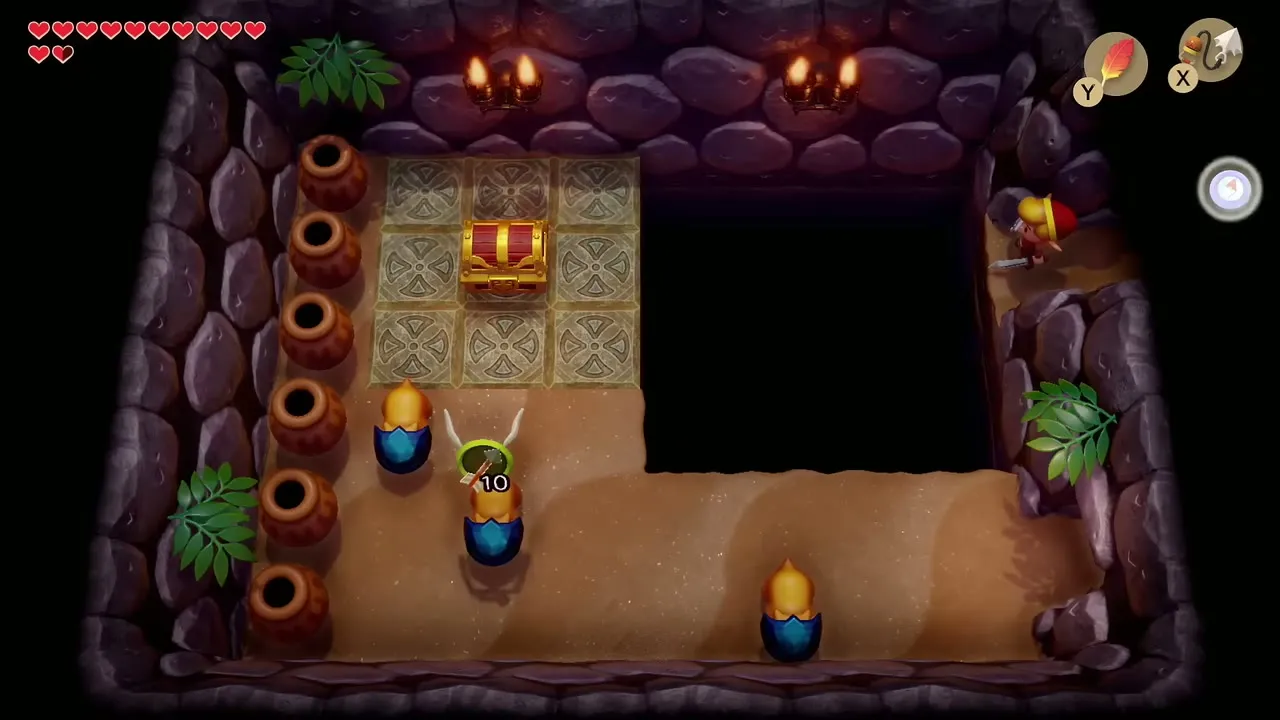
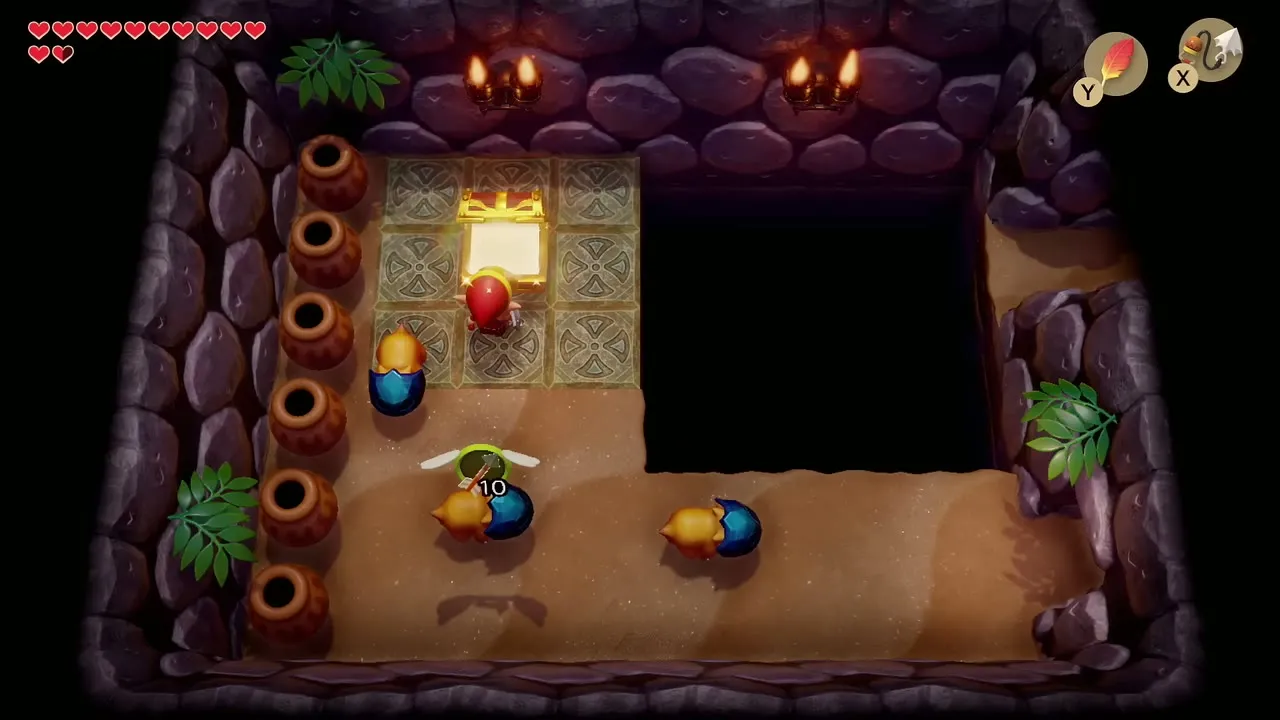
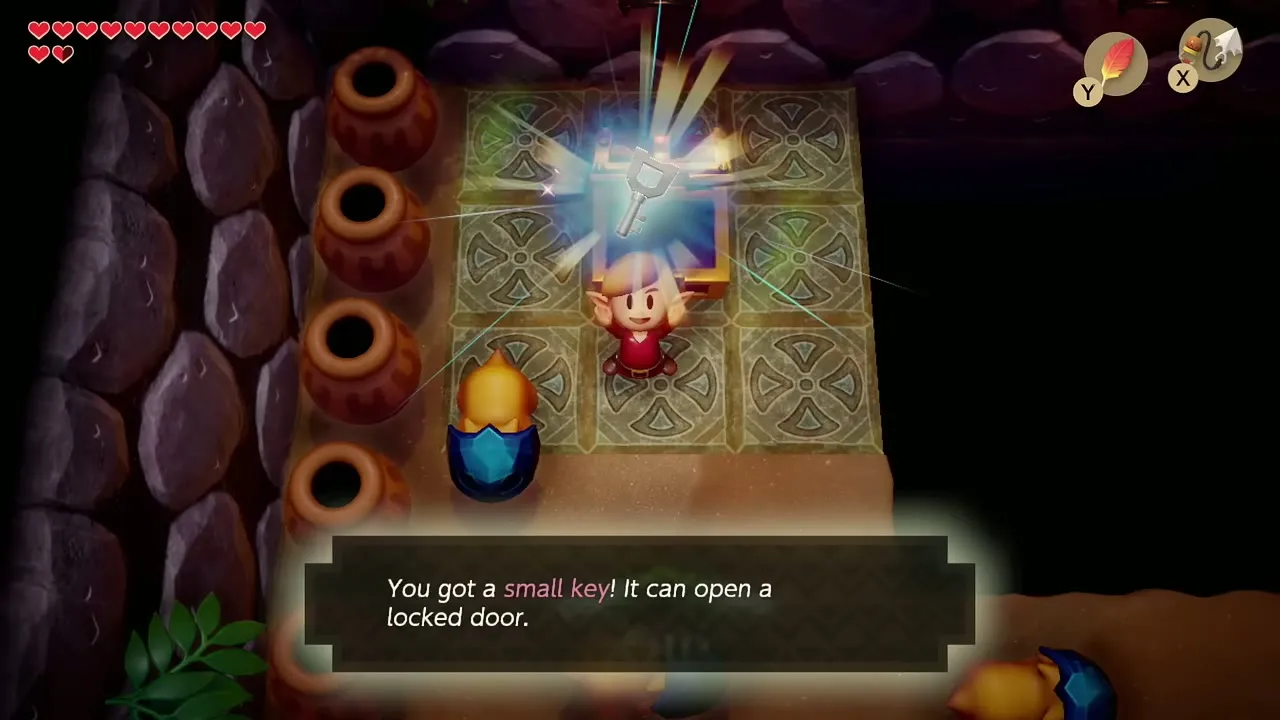
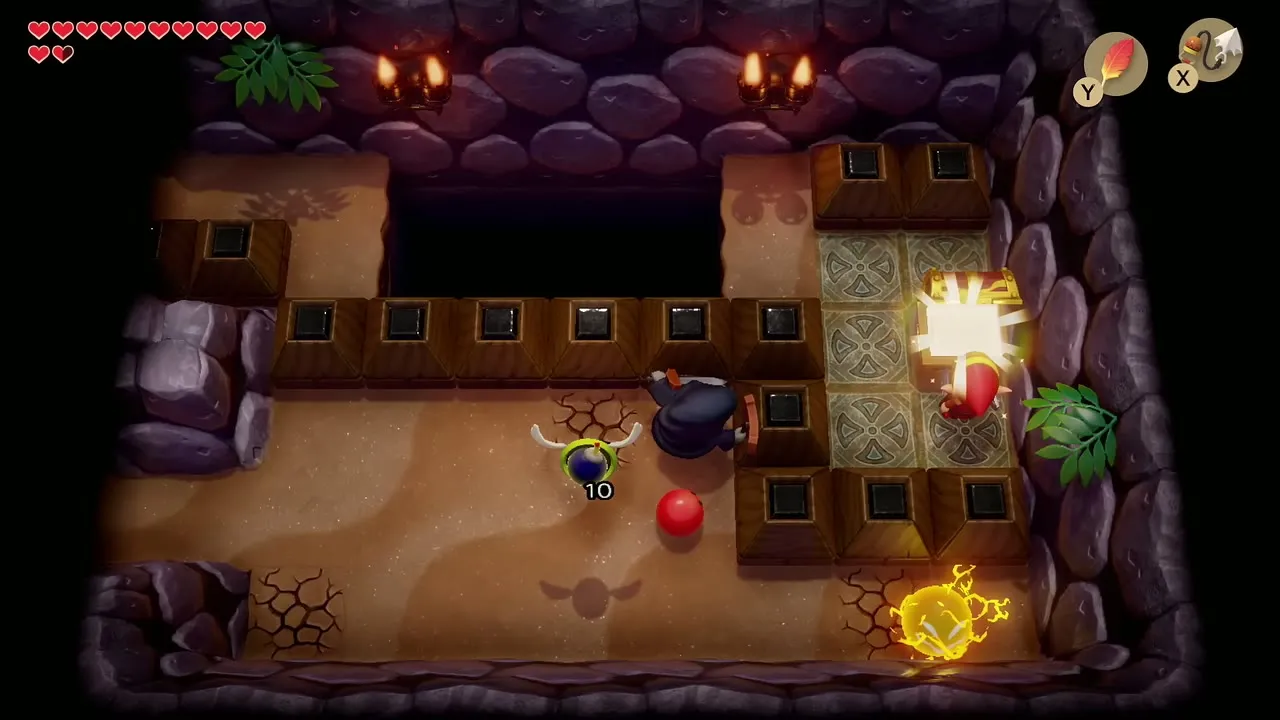
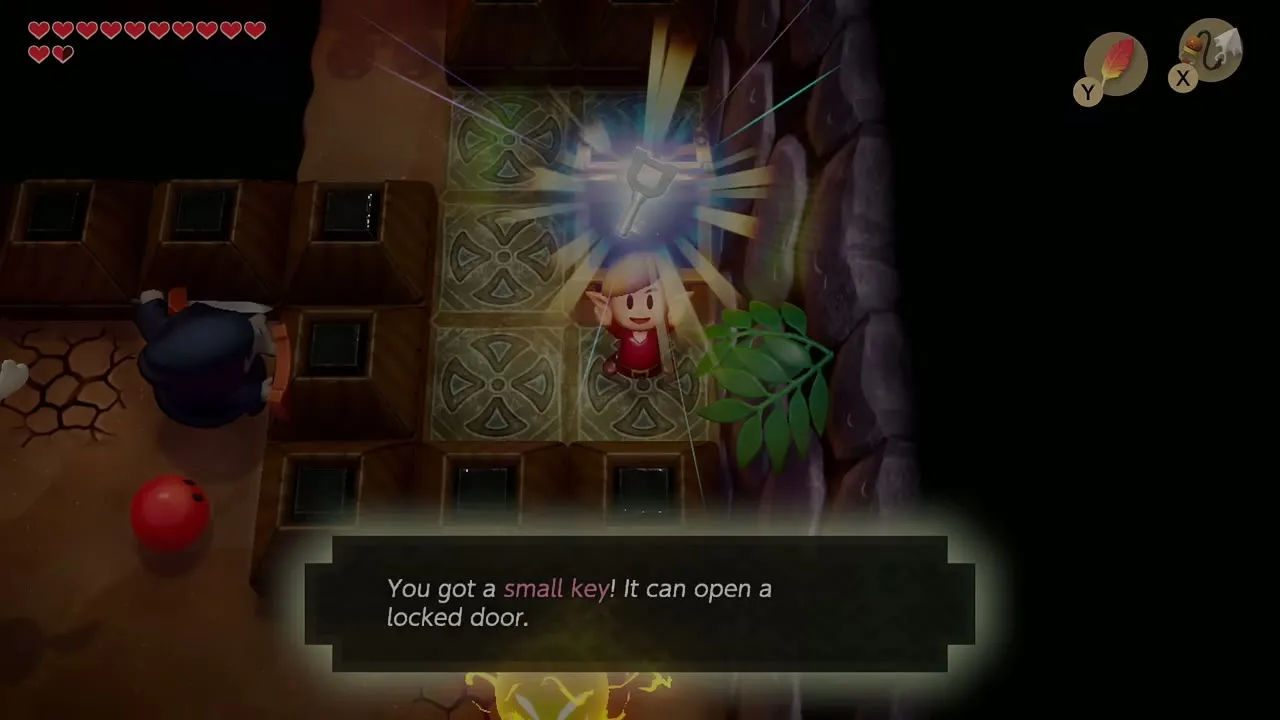
The next room is a corridor of blade traps and gaps. Hookshot across the gap to the chest on the tile platform behind the pit and take the second Small Key.
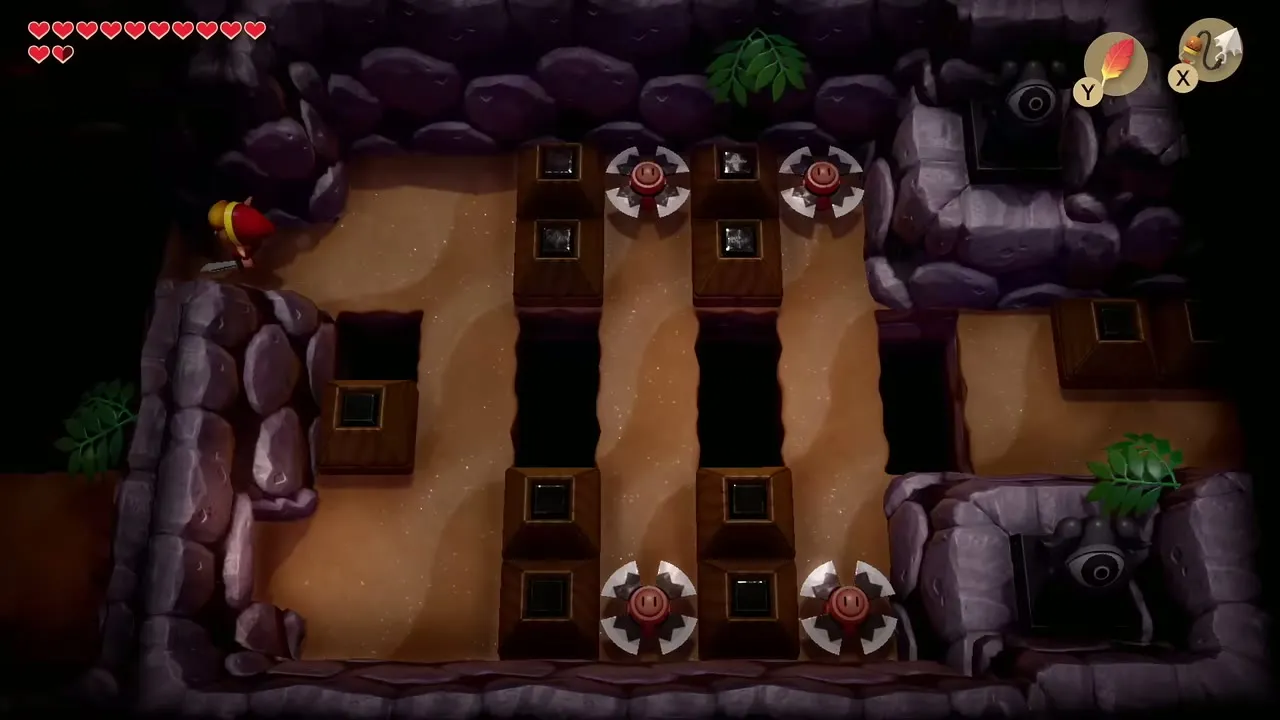
Gohma and the warp portal
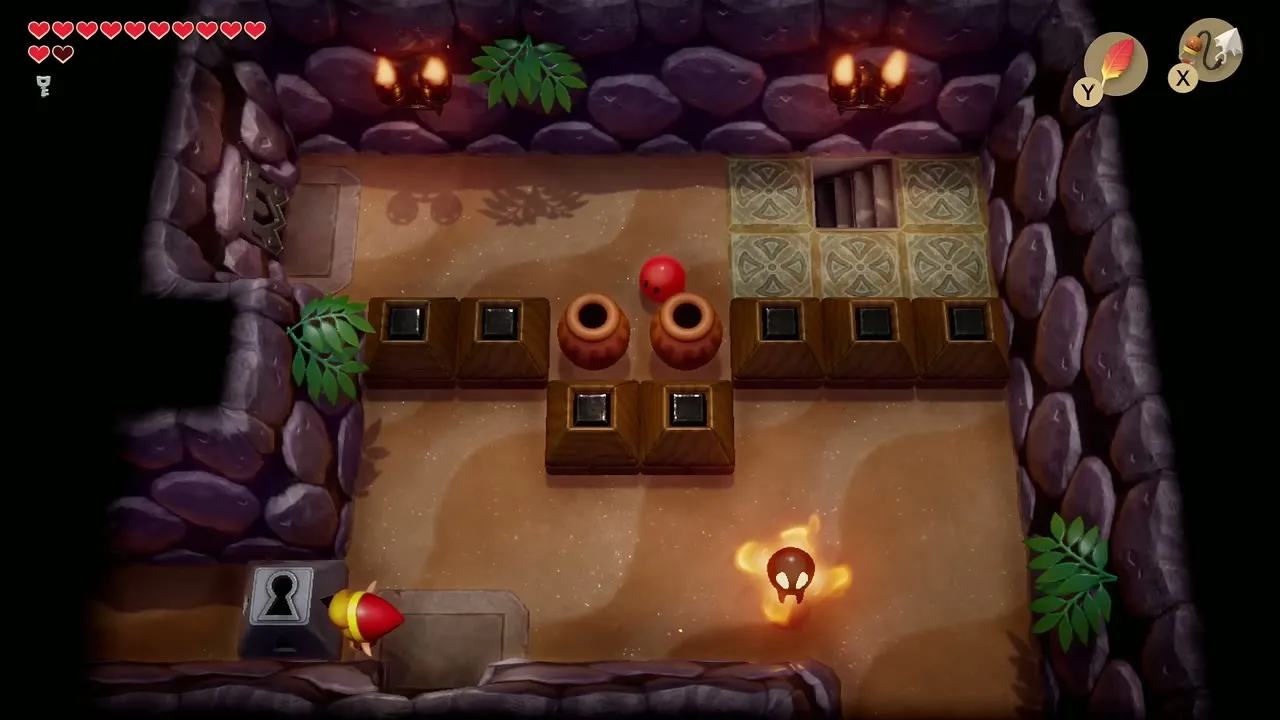
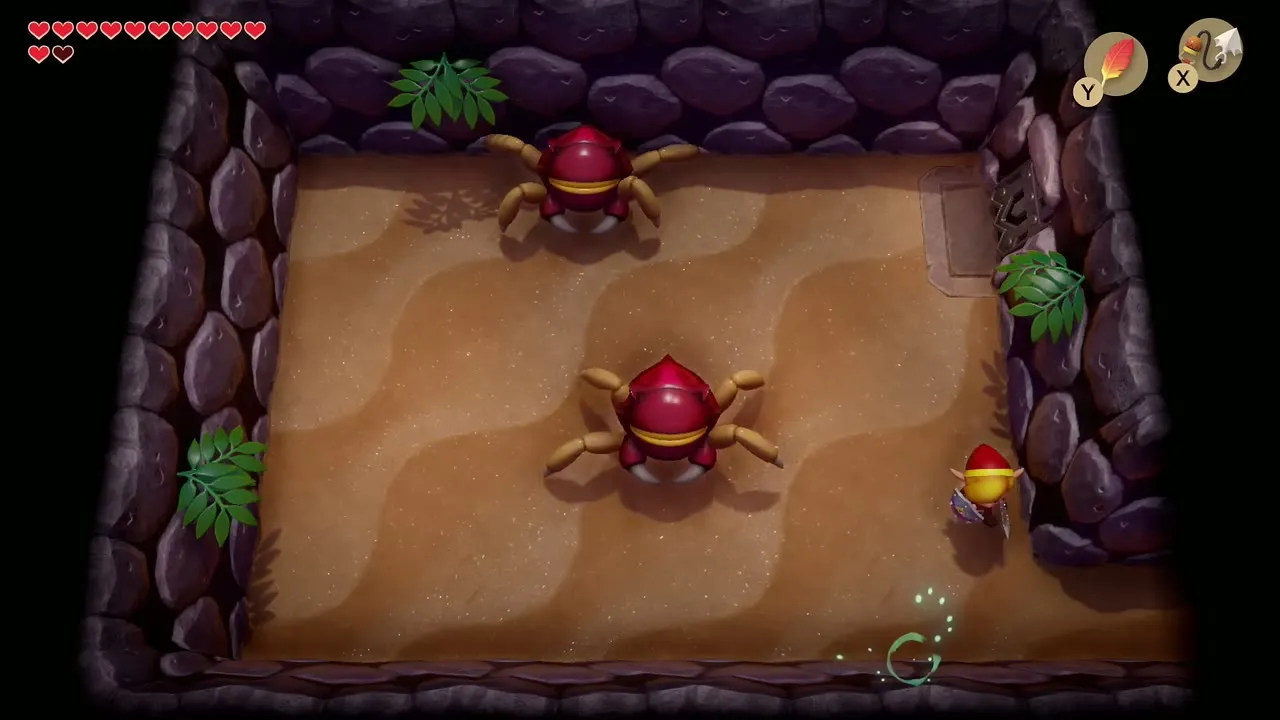
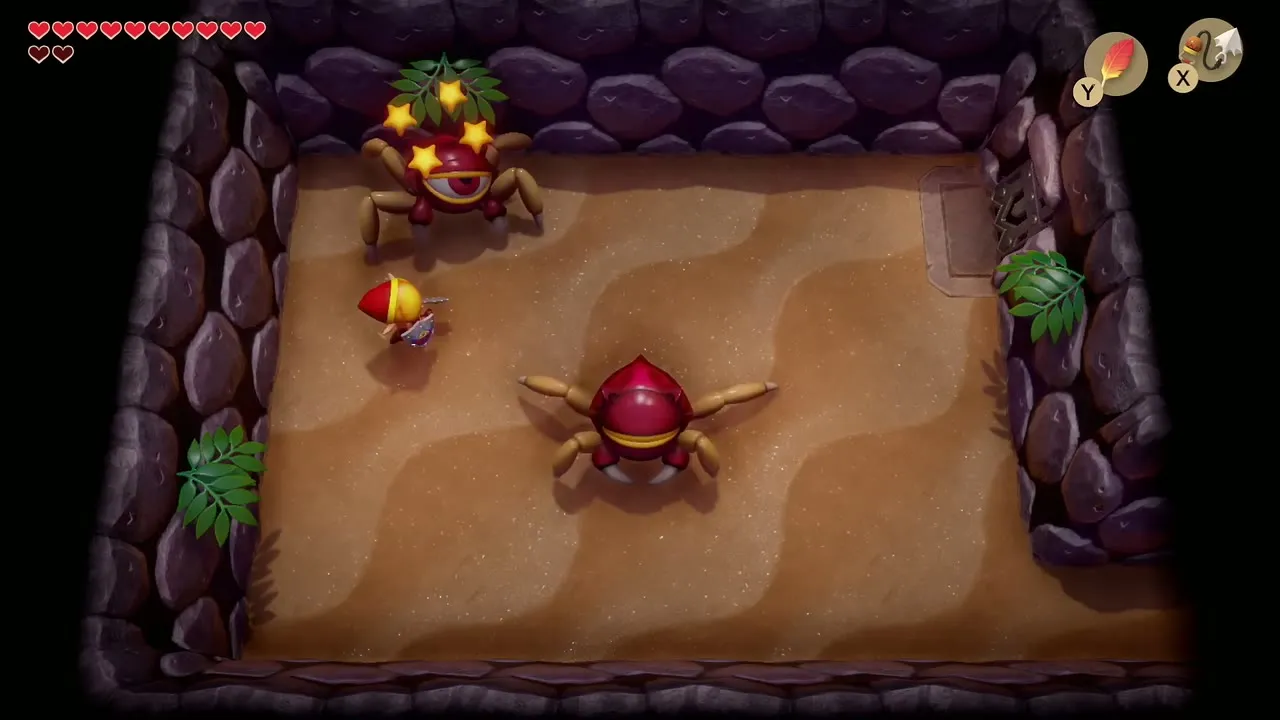
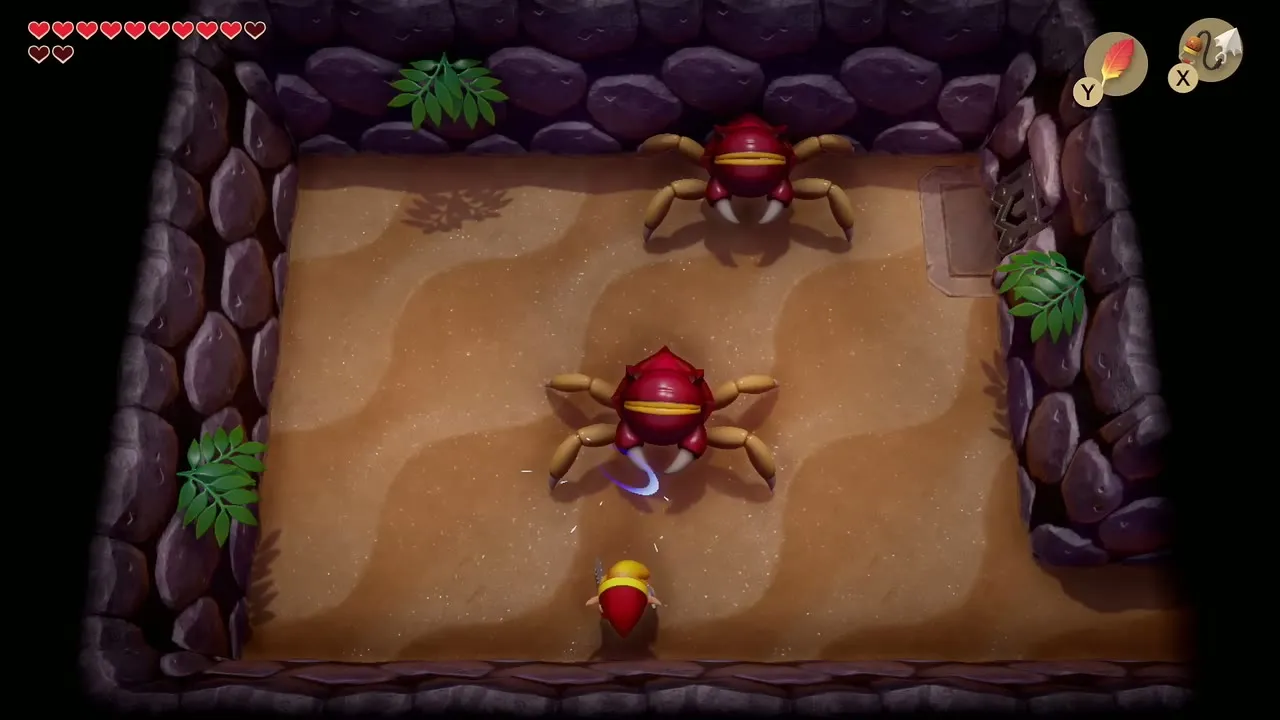
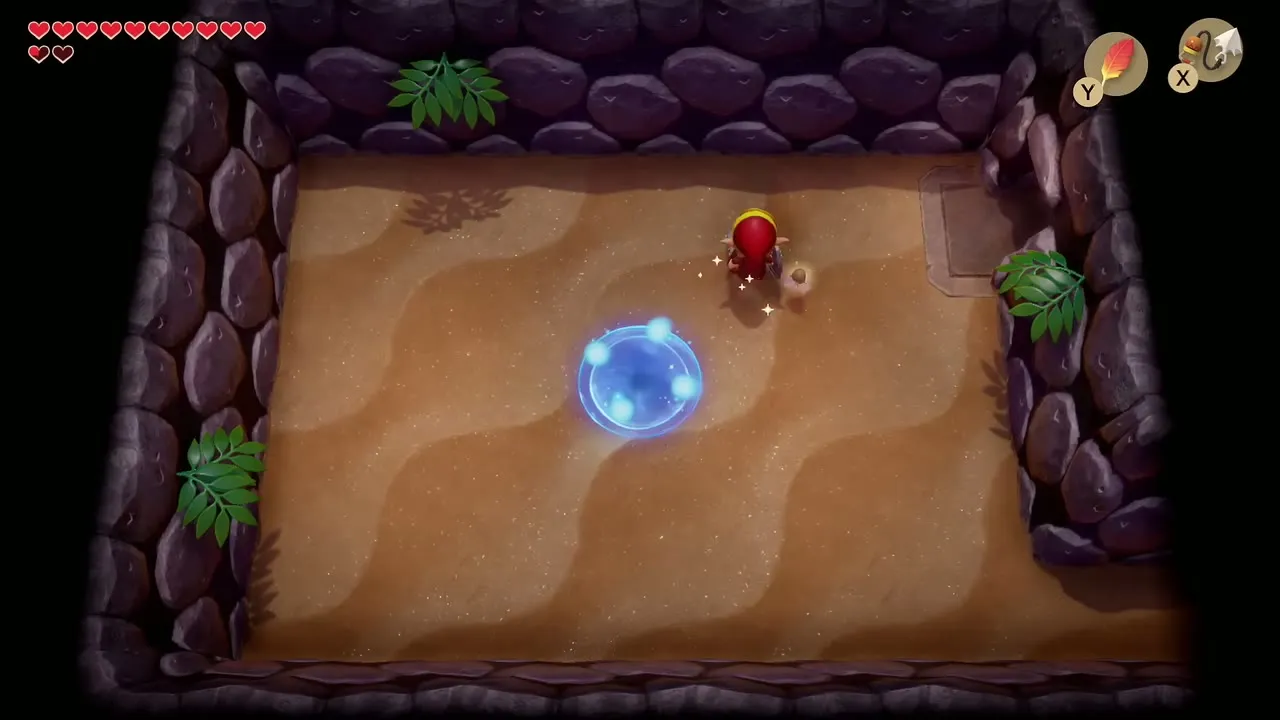
Open the locked block with that key and enter the large empty sand room. Two Gohma, red spiders with one eye each, scuttle around it. Wait until the eye opens, Hookshot the eye to stun it and then slash the body until it falls. When they are gone a warp portal appears, which saves the walk back to the entrance.
Third Small Key and 50 rupees
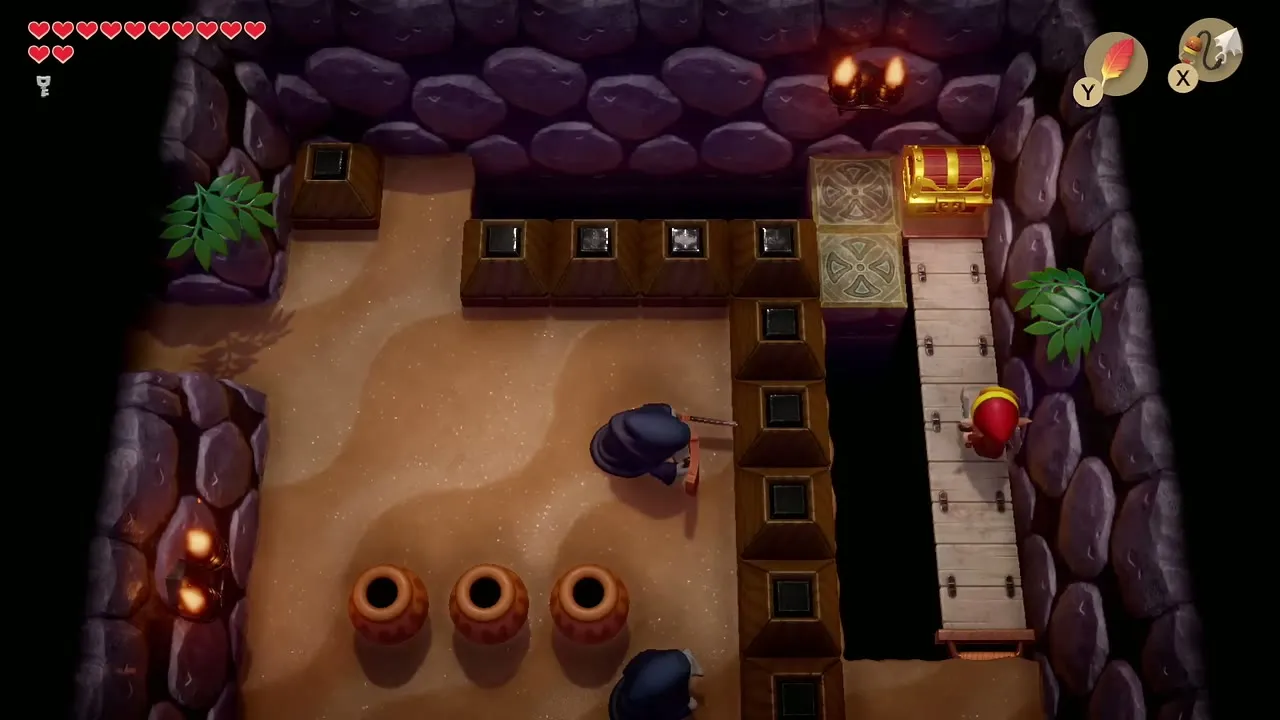
In the block rooms north of the pit corridors, Hookshot across the gap to the chest beyond it for the third Small Key. In the next room, Hookshot the far chest to pull a wooden bridge out, cross it and open that chest for 50 rupees.

Nightmare Key
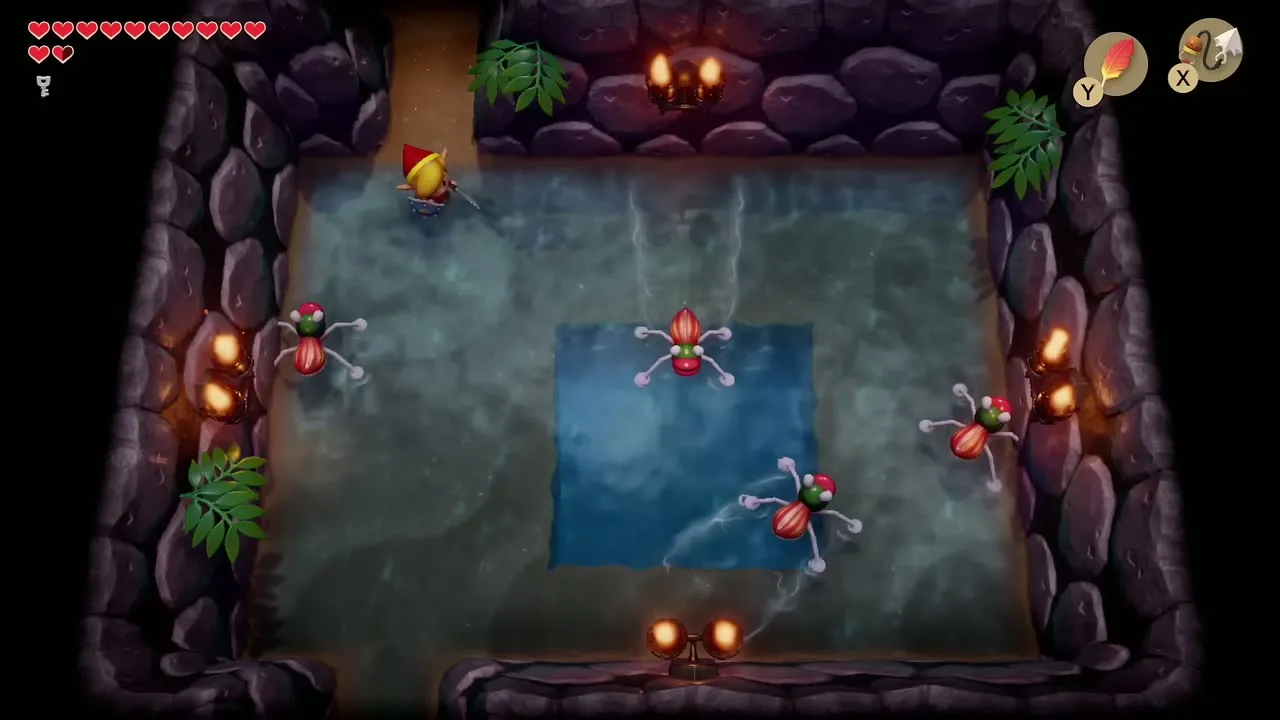
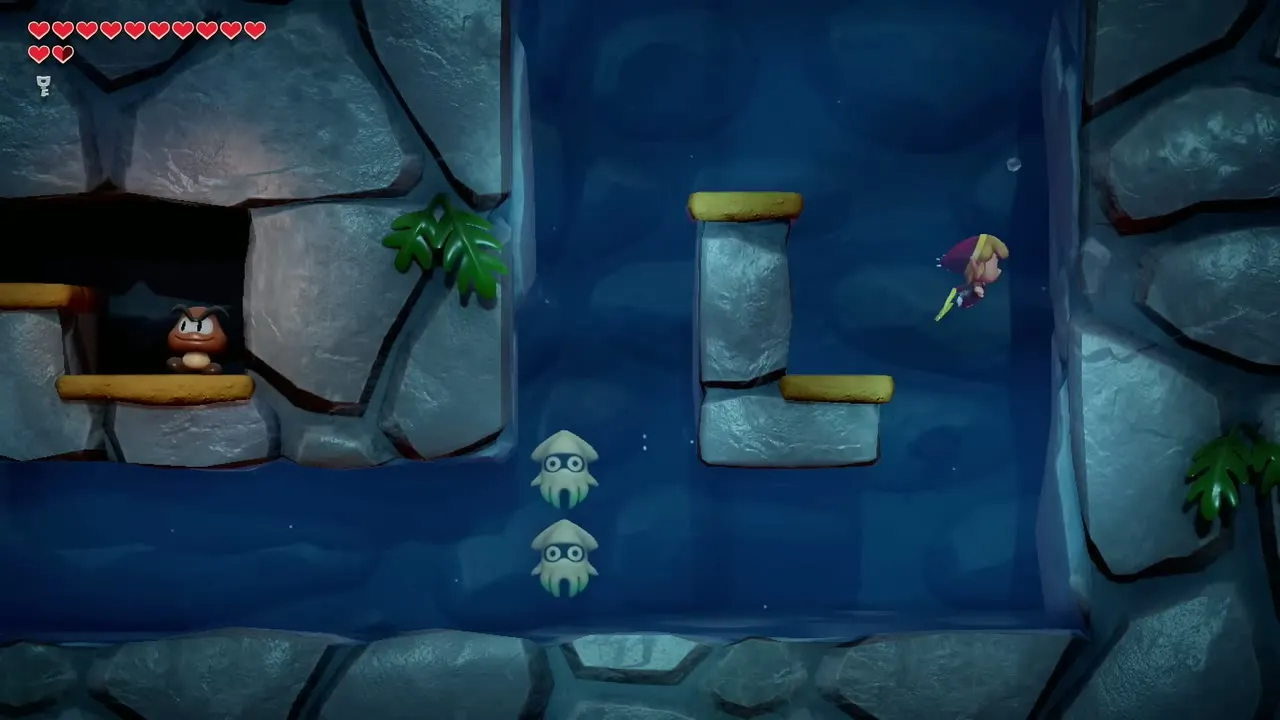
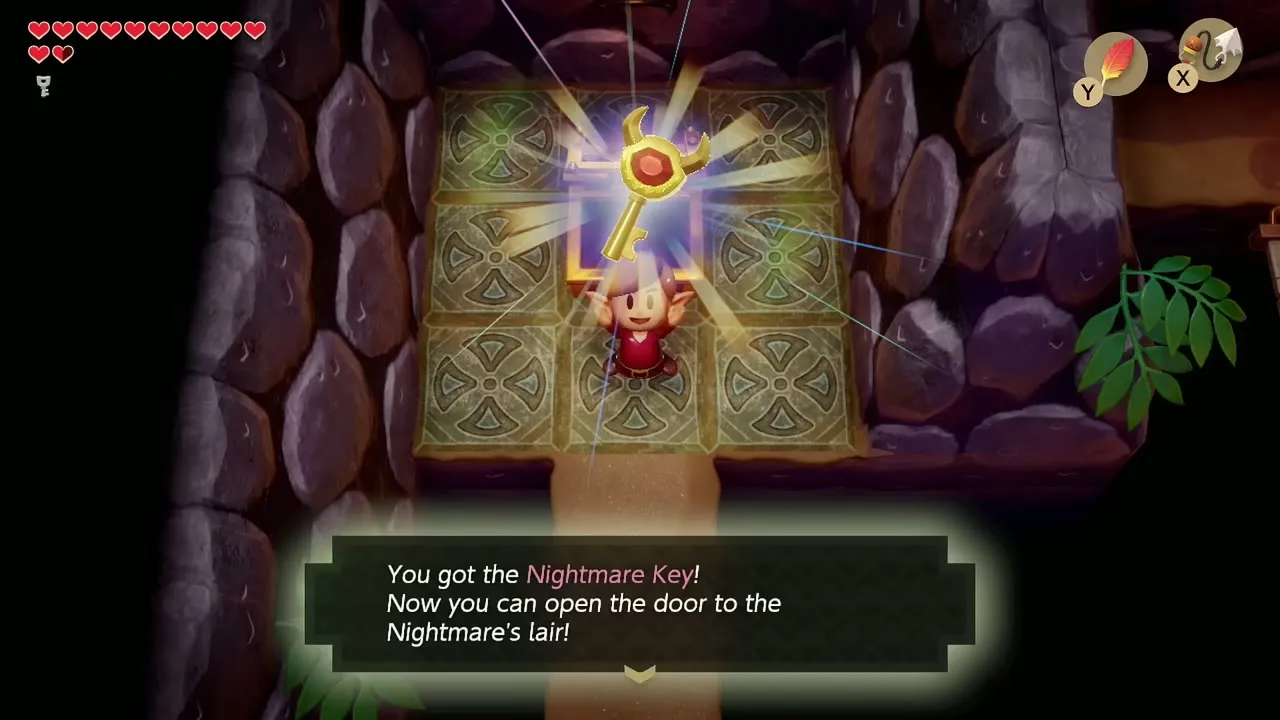
Find the pool room, where Water Tektites skate on the surface, and jump into the deep water at its center. Swim through the side-scrolling underwater passage, climb out by the ladder and Hookshot across to build a bridge. The chest at the end holds the Nightmare Key.

Boss door
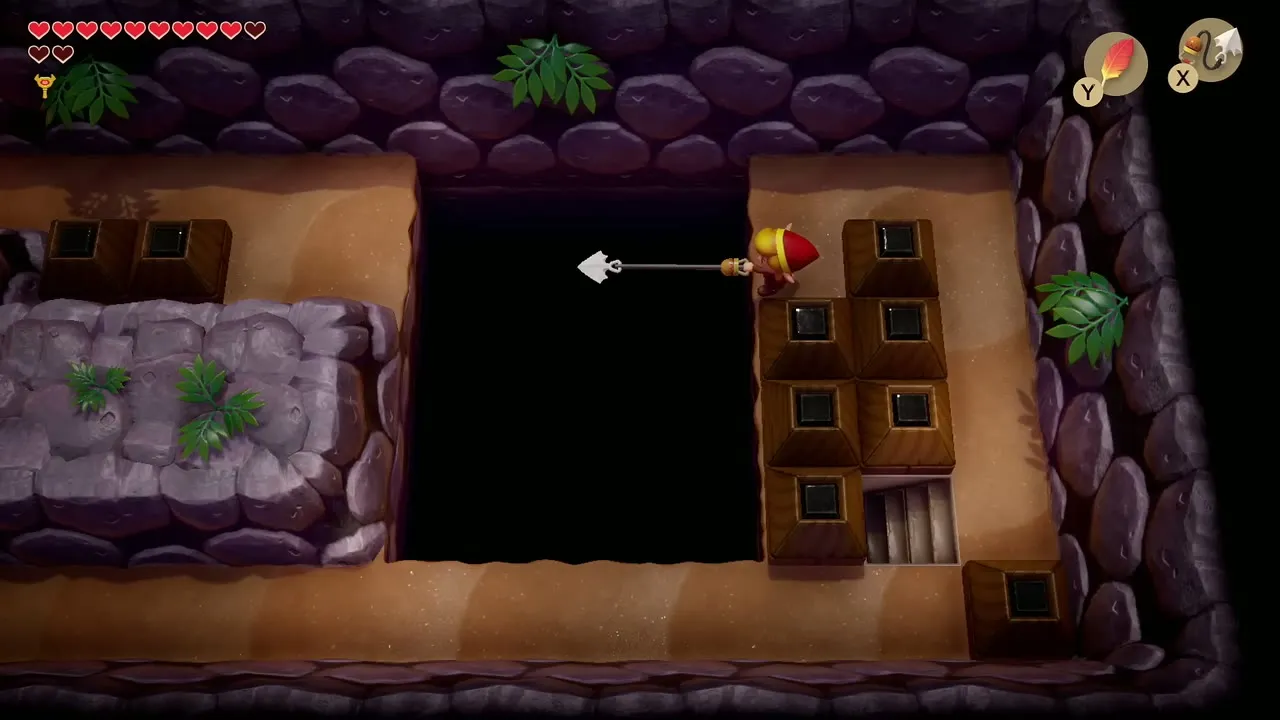
Climb back to the upper block room, open the locked block with a Small Key and Hookshot across the pit to the left. The boss door is beyond; open it with the Nightmare Key.

Boss: Slime Eel
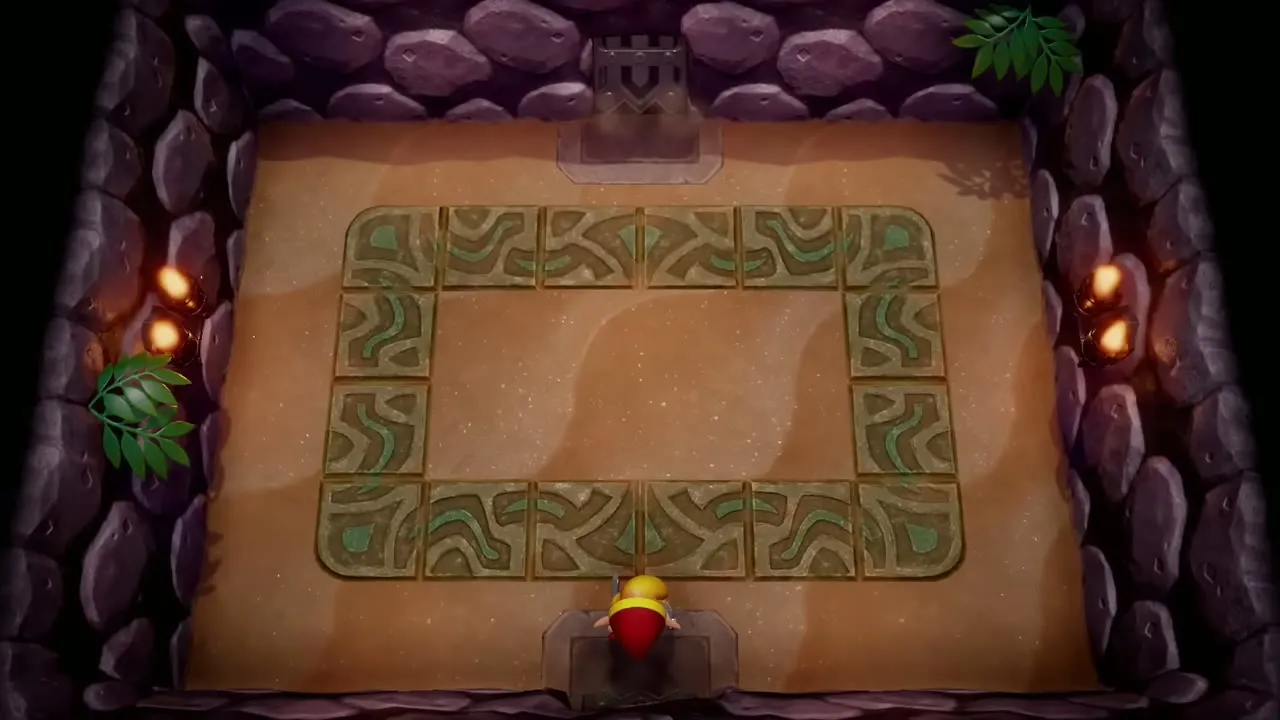
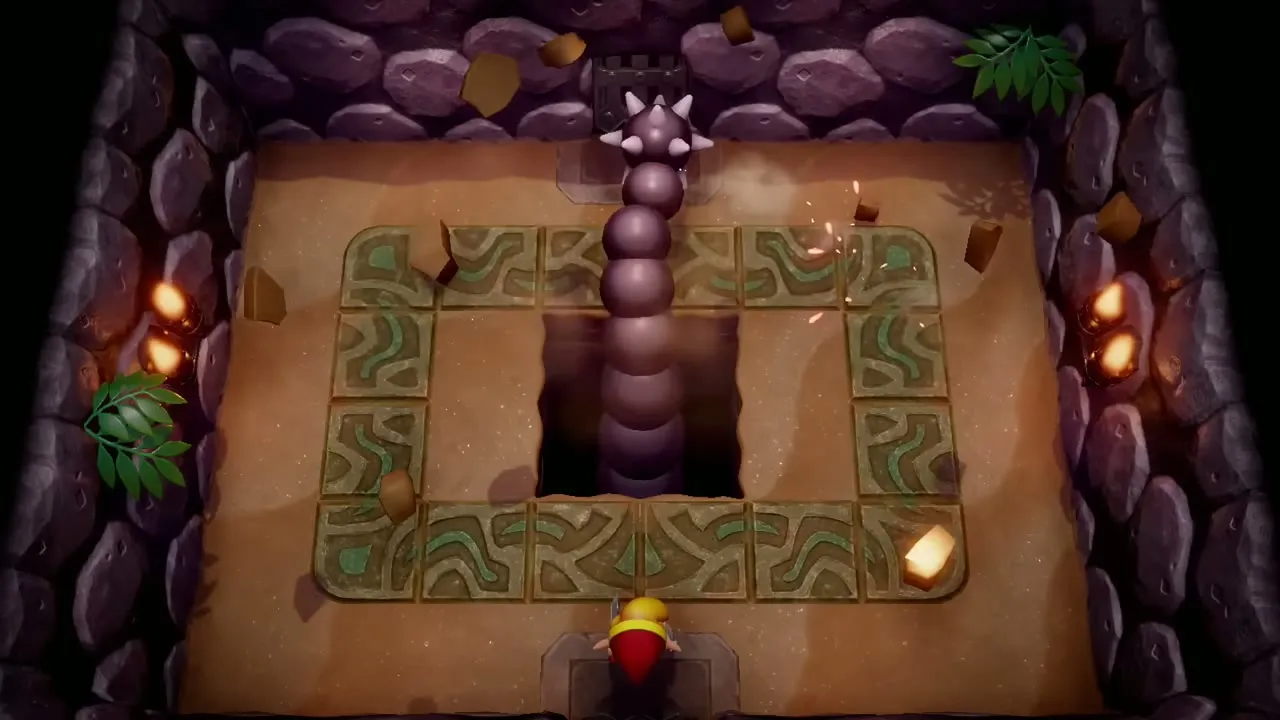
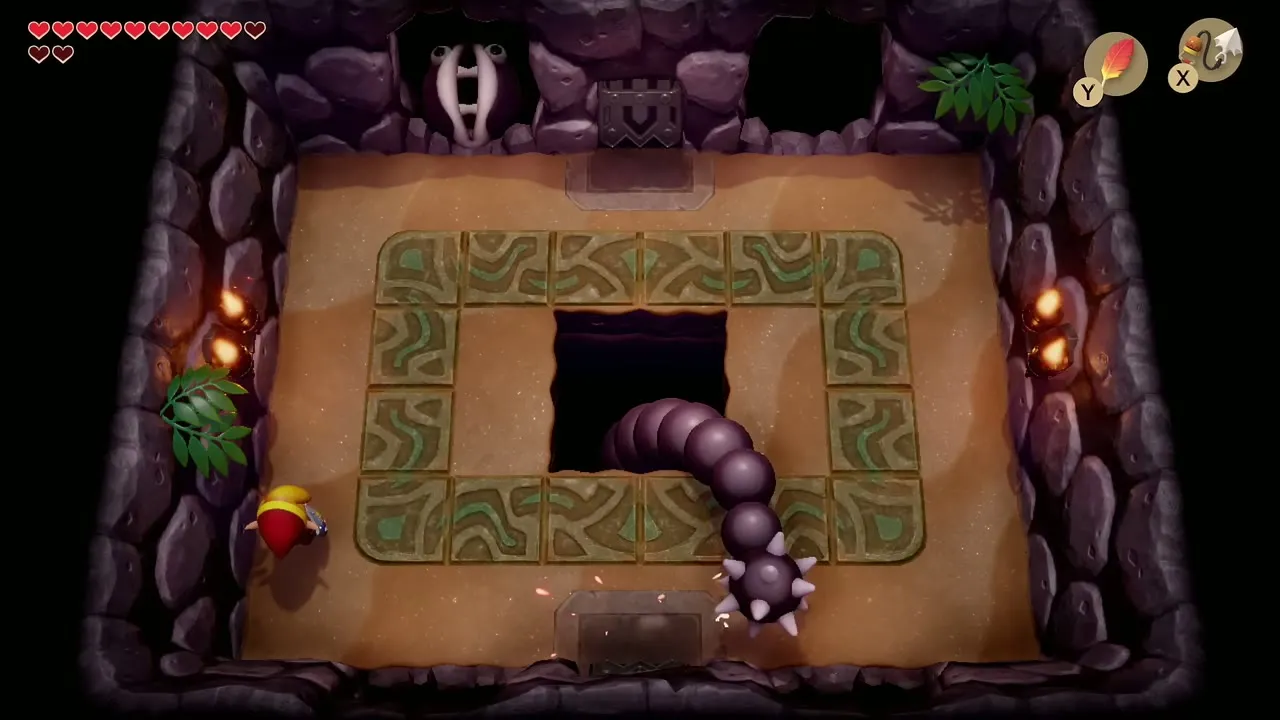
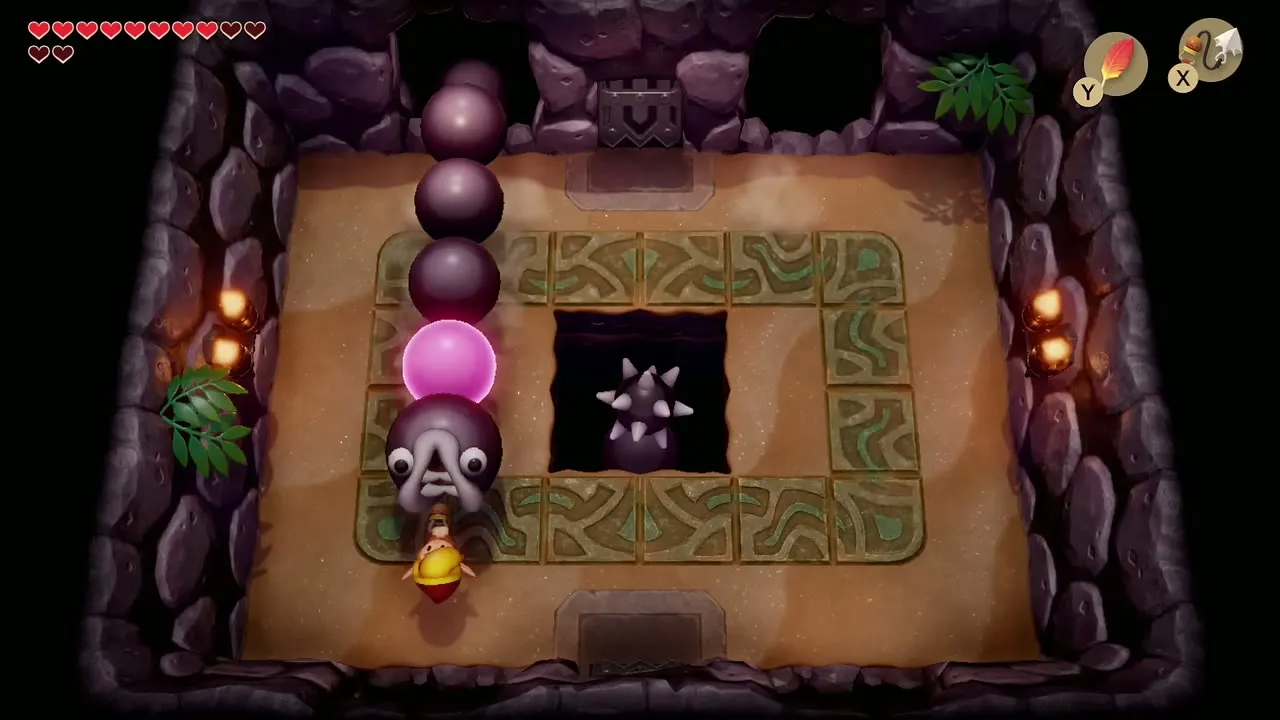
The arena is a ring of stone floor around a central pit. A spiked tail rises from the pit and sweeps around the ring, so keep running around it and do not stand still. Heads poke out of holes in the walls and some are decoys, so if a head you hook turns out fake, leave it and wait for the next one. Hookshot the real head to pull the body out, then slash the glowing pink segment before it retreats. Repeat until the Slime Eel falls.
Heart Container and Wind Marimba
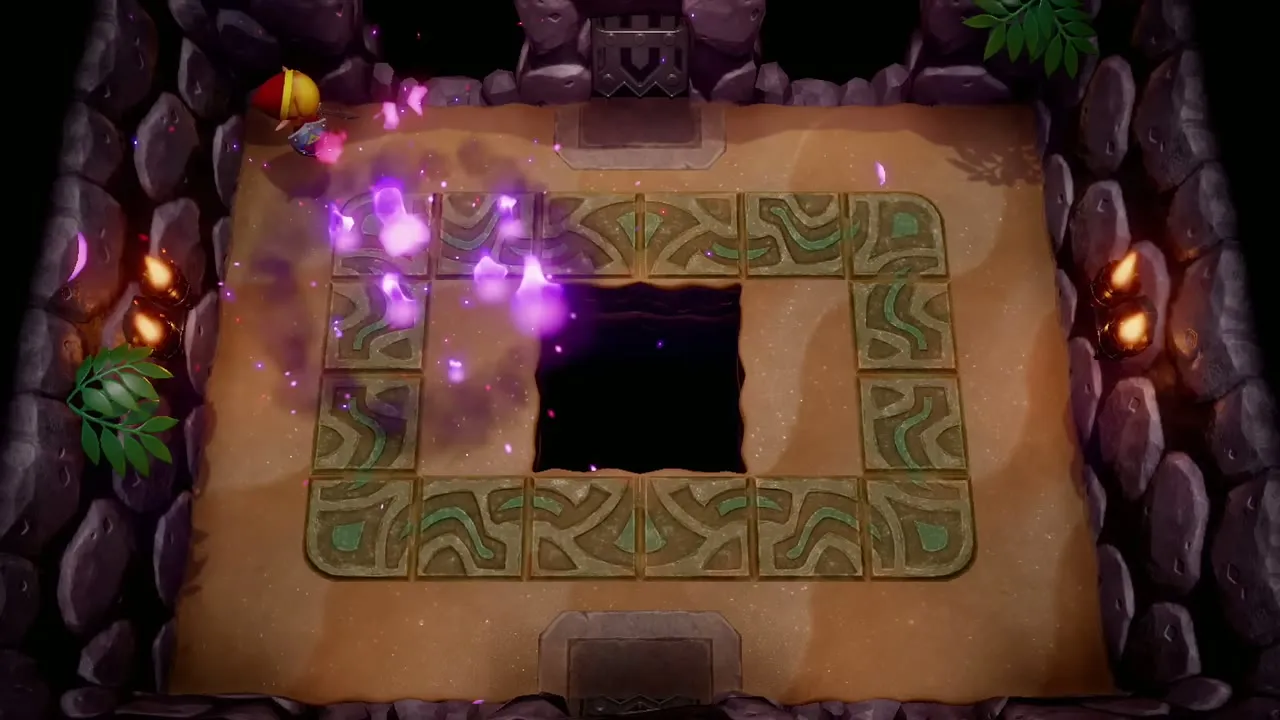
The Slime Eel leaves a Heart Container, which raises your maximum hearts by one. Walk through the door in the north wall to the instrument chamber and take the Wind Marimba. Link raises it above his head, and the Siren Instrument is added to the Memories menu.

You surface at the dungeon entrance in Martha’s Bay. Check the Memories menu to see how many Secret Seashells you have found, then head for the Face Shrine. Dampé’s Shack opens new layouts after this dungeon, covered at the Dampé’s Shack guide. Two last pickups wait now. With the Hookshot in your pack, stand just west of Kanalet Castle’s main gate, cross the row of pits and open the chest at the bottom of the stairs for a Secret Seashell. At Dampé’s Shack, the Passageway Central challenge, which opens after Treasure Vault, pays a Piece of Heart.

Chapter checklist
| Type | Name | Where |
|---|---|---|
| Song | Manbo’s Mambo | Manbo’s cave, west of the Angler’s Tunnel entrance |
| Piece of Heart | Kanalet Castle moat | Dive in the corner west of the castle entrance |
| Piece of Heart | Flooded tunnel (19th piece) | Ukuku Prairie tunnel, deep patch before the barriers |
| Piece of Heart | Cross-shaped platform (20th piece, makes four) | Ukuku Prairie cave behind the black barriers; bomb the right wall |
| Piece of Heart | Trendy Game, second heart | Moving platform at the top of the prize area, Mabe Village |
| Piece of Heart | Dampé: Passageway Central | Dampé’s Shack, after Catfish’s Maw and Treasure Vault |
| Secret Seashell | Kanalet Castle moat | Dive beside the waterfall that pours into the moat |
| Item | Chamber Stone | Seashell Mansion (30 shells) |
| Figure | Cheep Cheep figure | Trendy Game, Mabe Village |
| Rupees | 50 rupees | Chest in the same Ukuku Prairie cave |
| Secret Seashell | Trendy Game prize | Trendy Game, Mabe Village |
| Secret Seashell | Hen House bridge hole | Tal Tal Mountain Range, bomb the hole next to the bridge west of the Hen House |
| Secret Seashell | Ledge chest | Tal Tal cave past the cracked wall and the chest room |
| Secret Seashell | Ghost’s House jar | Lift the jars inside the Ghost’s House |
| Secret Seashell | Hen House ladder dive | Deep water near the ladder up to the Hen House (Flippers) |
| Secret Seashell | Bush east of the booth | Corner east of the telephone booth in Martha’s Bay |
| Secret Seashell | Kanalet Castle stairs | Hookshot over the pits west of the castle gate |
| Secret Seashell | Bush island | Island south-west of the telephone booth in Martha’s Bay |
| Bottle | Fairy Bottle | Ghost’s grave near the Witch’s Hut |
| Trading item | Mermaid’s Necklace, then Mermaid’s Scale | Fisherman under the bridge; then the Mermaid |
| Dungeon item | Compass, Dungeon Map, Stone Beak | Catfish’s Maw |
| Key item | Hookshot | Dropped by Master Stalfos in Catfish’s Maw |
| Key | Three Small Keys, Nightmare Key | Catfish’s Maw |
| Rupees | Rupee chests | Catfish’s Maw: Hookshot chest in the first room, 50-rupee chest beyond the bridge |
| Heart Container | Slime Eel reward | Boss room |
| Instrument | Wind Marimba | Chamber north of the boss room |
