Link's Awakening 100% Completion Walkthrough9 chapters
- The Shore, Forest and Tail Cave (Level 1)Shield, Sword, Mysterious Forest, Magic Powder, Tail Key, Roc’s Feather, Moldorm and the Full Moon Cello.
- Goponga Swamp and Bottle Grotto (Level 2)BowWow’s rescue, Goponga Swamp, every key, the Power Bracelet, the Genie boss and the Conch Horn.
- Ukuku Prairie, Kanalet Castle and Key Cavern (Level 3)The Golden Leaves of Kanalet Castle, the Slime Key, Pegasus Boots, Slime Eye and the Sea Lily’s Bell.
- Yarna Desert and Angler’s Tunnel (Level 4)Wake the walrus, cross Yarna Desert, win the Flippers, beat the Angler Fish and take the Surf Harp.
- Martha’s Bay and Catfish’s Maw (Level 5)Manbo’s Mambo, the ghost, the Mermaid’s Scale, Hookshot, Master Stalfos, Slime Eel and the Wind Marimba.
- Ancient Ruins and Face Shrine (Level 6)Magnifying Lens, Frog’s Song of Soul, Boomerang, Ancient Ruins, Power Bracelet L-2, Facade, Coral Triangle.
- Tal Tal Mountains and Eagle’s Tower (Level 7)Flying Rooster, Bird Key, Mirror Shield, Evil Eagle and the Organ of Evening Calm.
- Western Mountains and Turtle Rock (Level 8)Marin’s bridge, Mad Batter, Frog’s Song of Soul, Magic Rod, Hot Head and the Thunder Drum.
- The Wind Fish’s Egg and the FinaleFinish your 100%, read the maze book, play the Ballad, beat the Shadow Nightmares, see the secret ending.
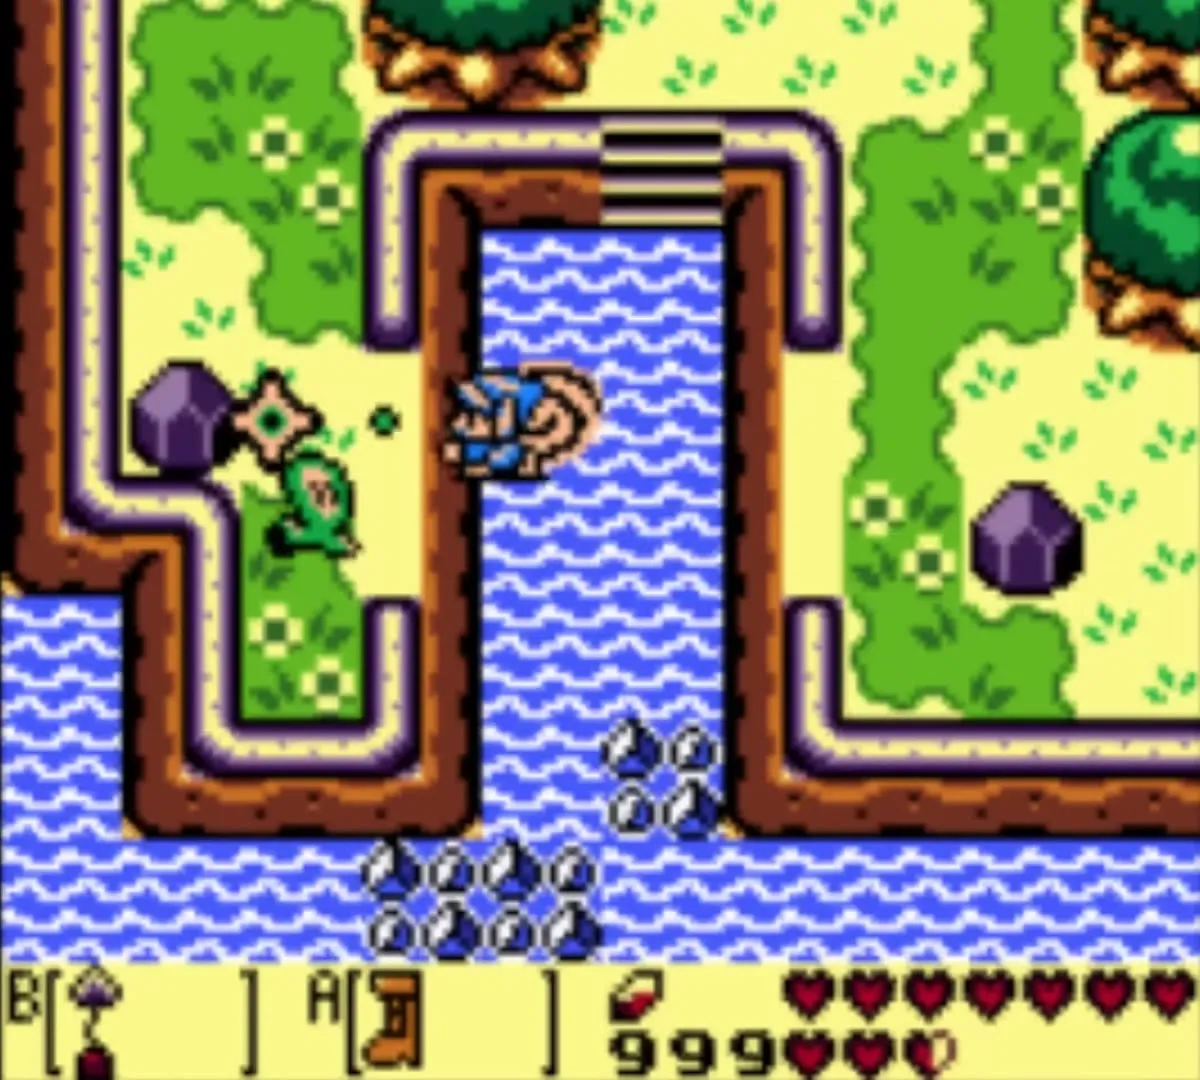
| Covers | Manbo’s Pond, the river by Angler’s Tunnel, Kanalet Castle’s moat, Animal Village, Martha’s Bay, the House by the Bay, the Seashell Mansion and Catfish’s Maw |
|---|---|
| Dungeon | Catfish’s Maw (Level 5): needs the Flippers, Roc’s Feather, bombs and the Bow if you have it; mini-bosses Master Stalfos (four fights) and Gohma, boss Slime Eel, instrument Wind Marimba |
| Rewards | Bomb capacity raised to 60, L-2 Sword, Hookshot, Heart Container, Wind Marimba; 2 Pieces of Heart (Kanalet moat and the cemetery); 4 Secret Seashells; 5 trading items (Letter, Broom, Fishing Hook, Necklace, Mermaid’s Scale); 1 photo (DX only), with a second photo waiting for the Magnifying Lens |
This chapter runs from the Surf Harp to the Wind Marimba. You dive for the moat Piece of Heart, take the cemetery piece, carry the trading sequence from the Hibiscus to the Mermaid’s Scale, take a ghost home, upgrade your bombs, claim the L-2 Sword at the Seashell Mansion and then dive into Martha’s Bay for Catfish’s Maw. Inside, you beat Master Stalfos for the Hookshot, use it to cross the dungeon, and finish the Slime Eel for a Heart Container and the fifth Instrument.
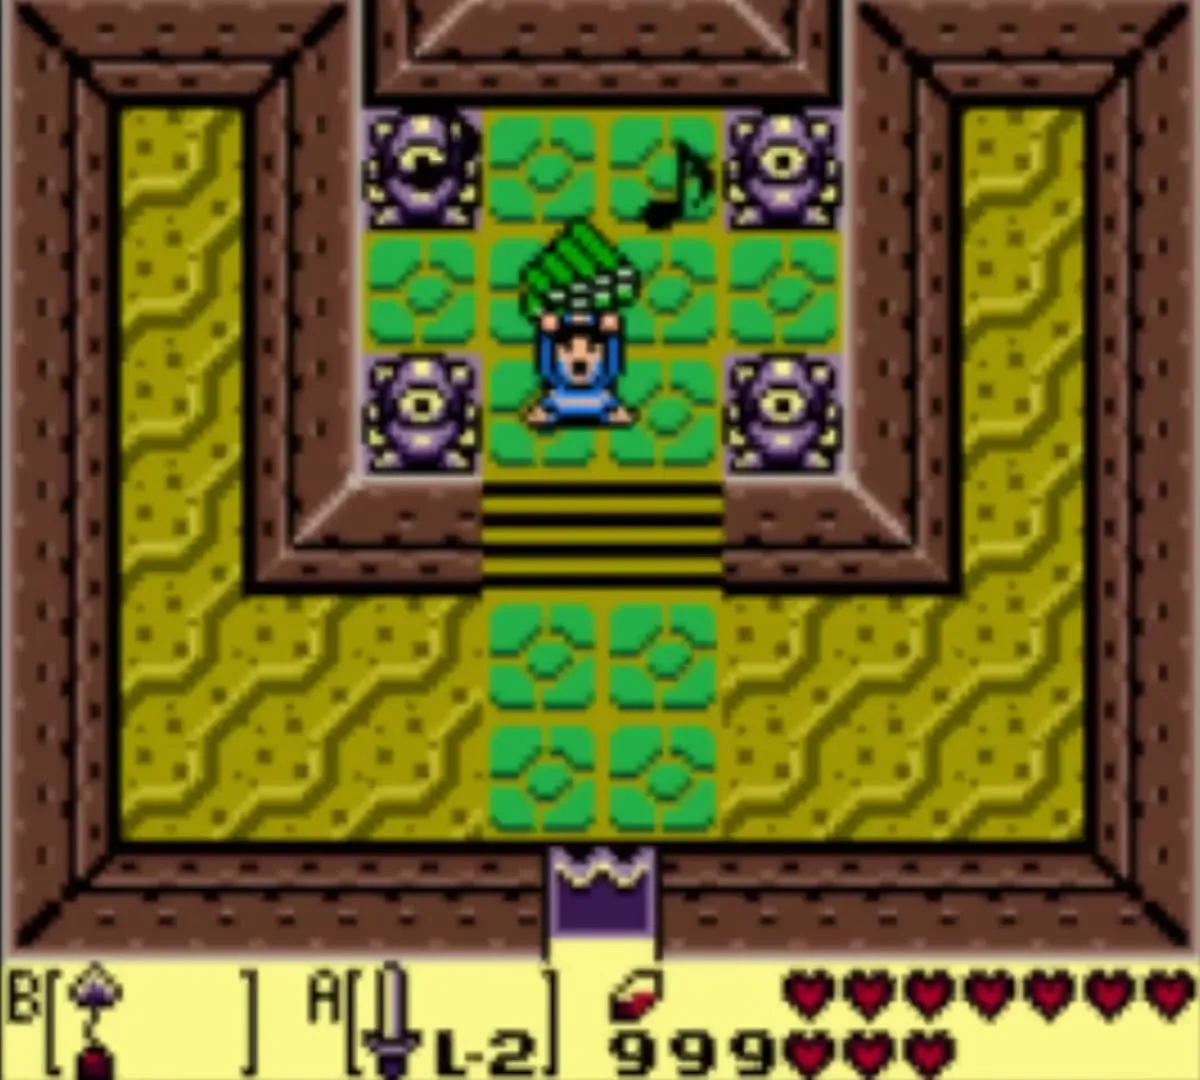
Table of Contents
After the Surf Harp: Manbo’s Mambo

How to learn Manbo’s Mambo
Manbo teaches you Manbo’s Mambo right after you leave Angler’s Tunnel with the Surf Harp; the scene is at the end of the Angler’s Tunnel chapter.
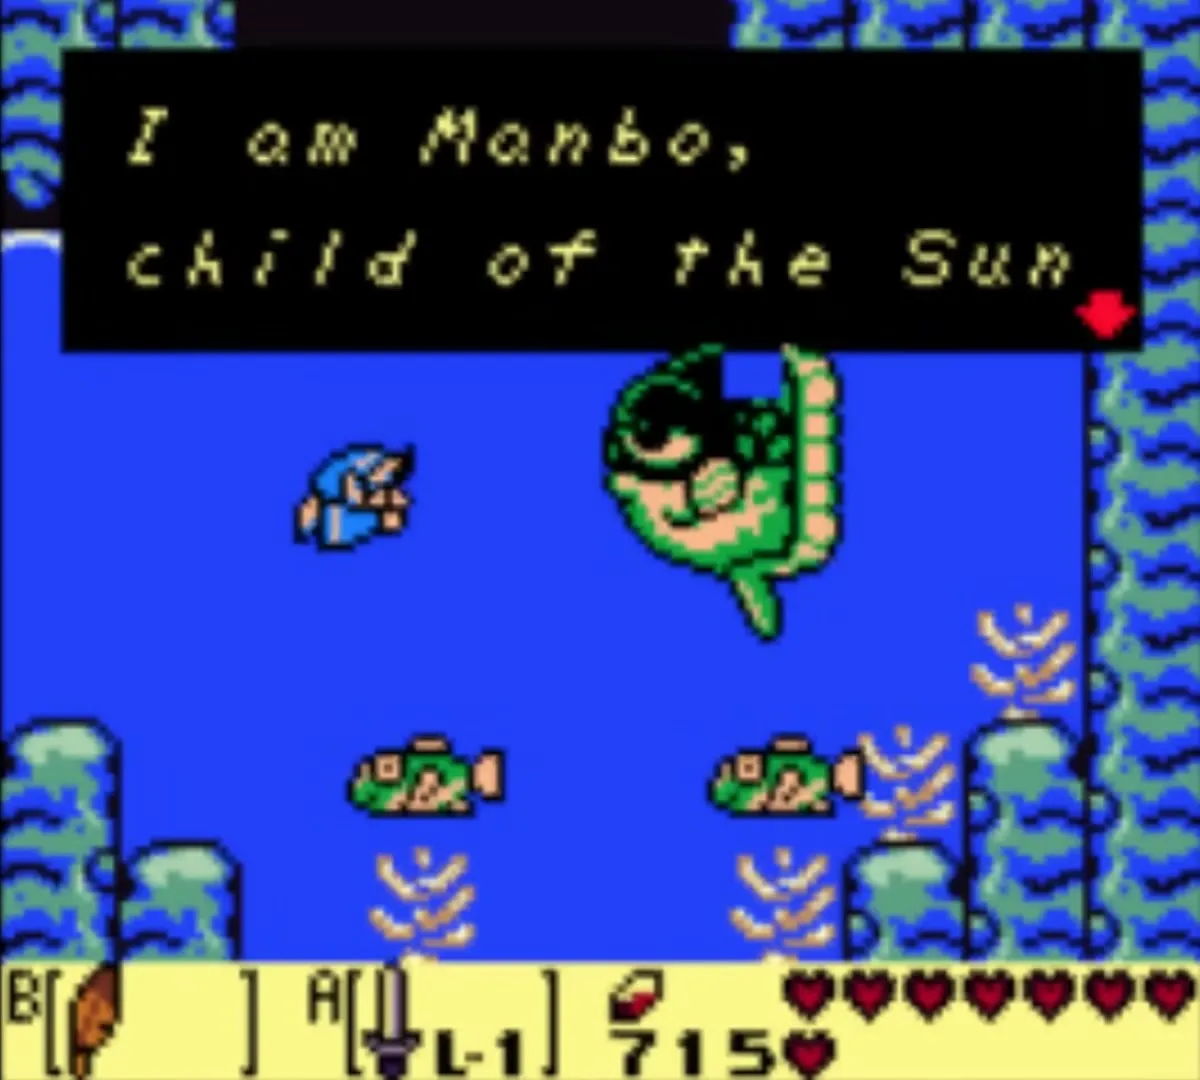
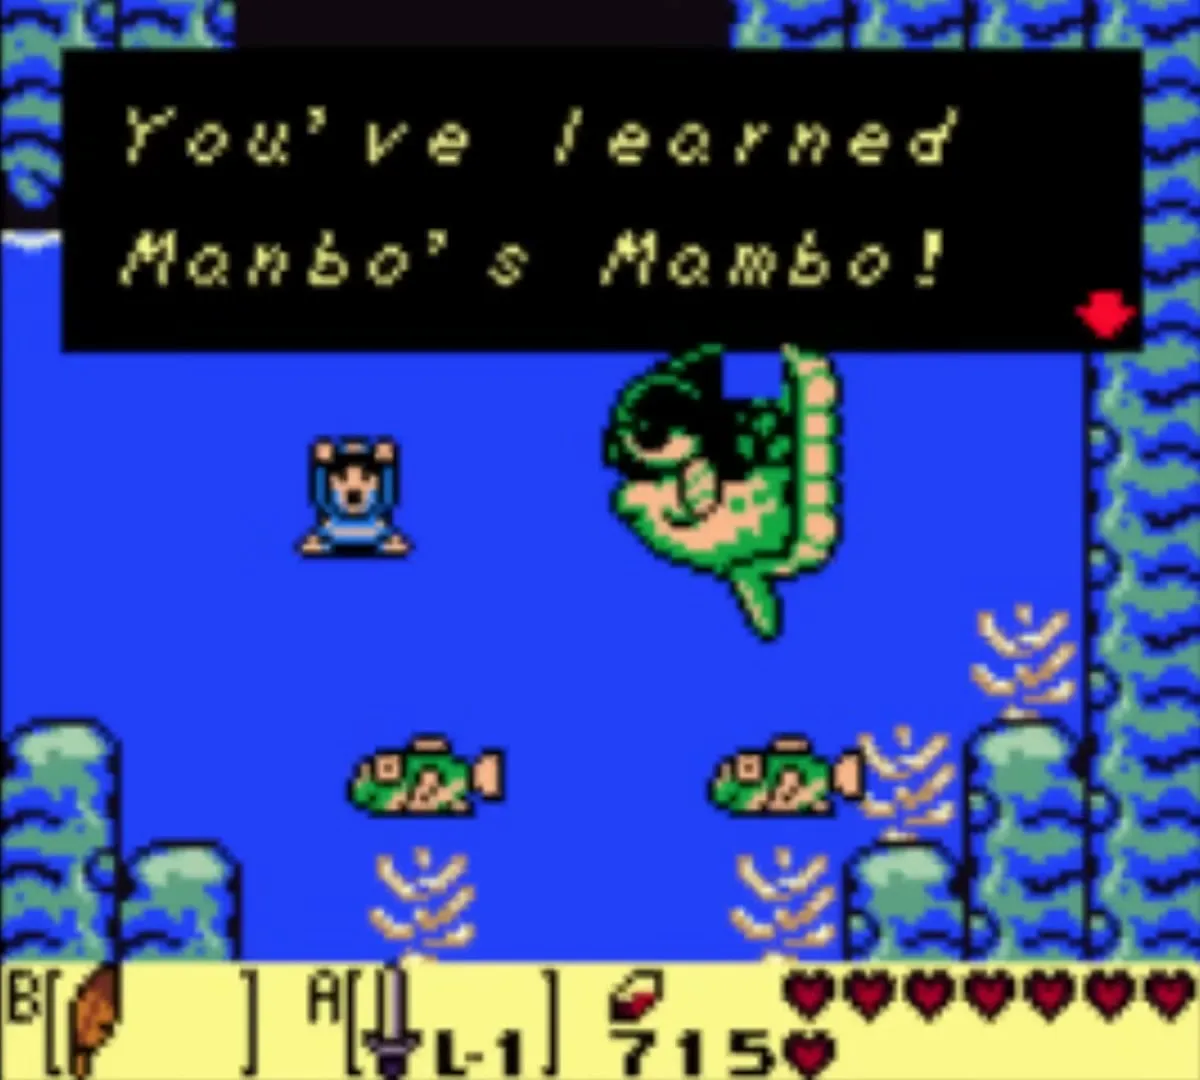
Played inside a dungeon, Manbo’s Mambo takes you back to the entrance, which is the quickest way out of Catfish’s Maw. All three songs are on the Ocarina Songs page.
Flooded cave Piece of Heart
The flooded cave east of the Angler’s Tunnel entrance holds a Piece of Heart, described at the end of the previous chapter. If you skipped it, take it now with the Flippers. Four pieces make one Heart Container, so when a fourth piece comes in you get the full heart at once. The whole set is on the Heart Pieces page.
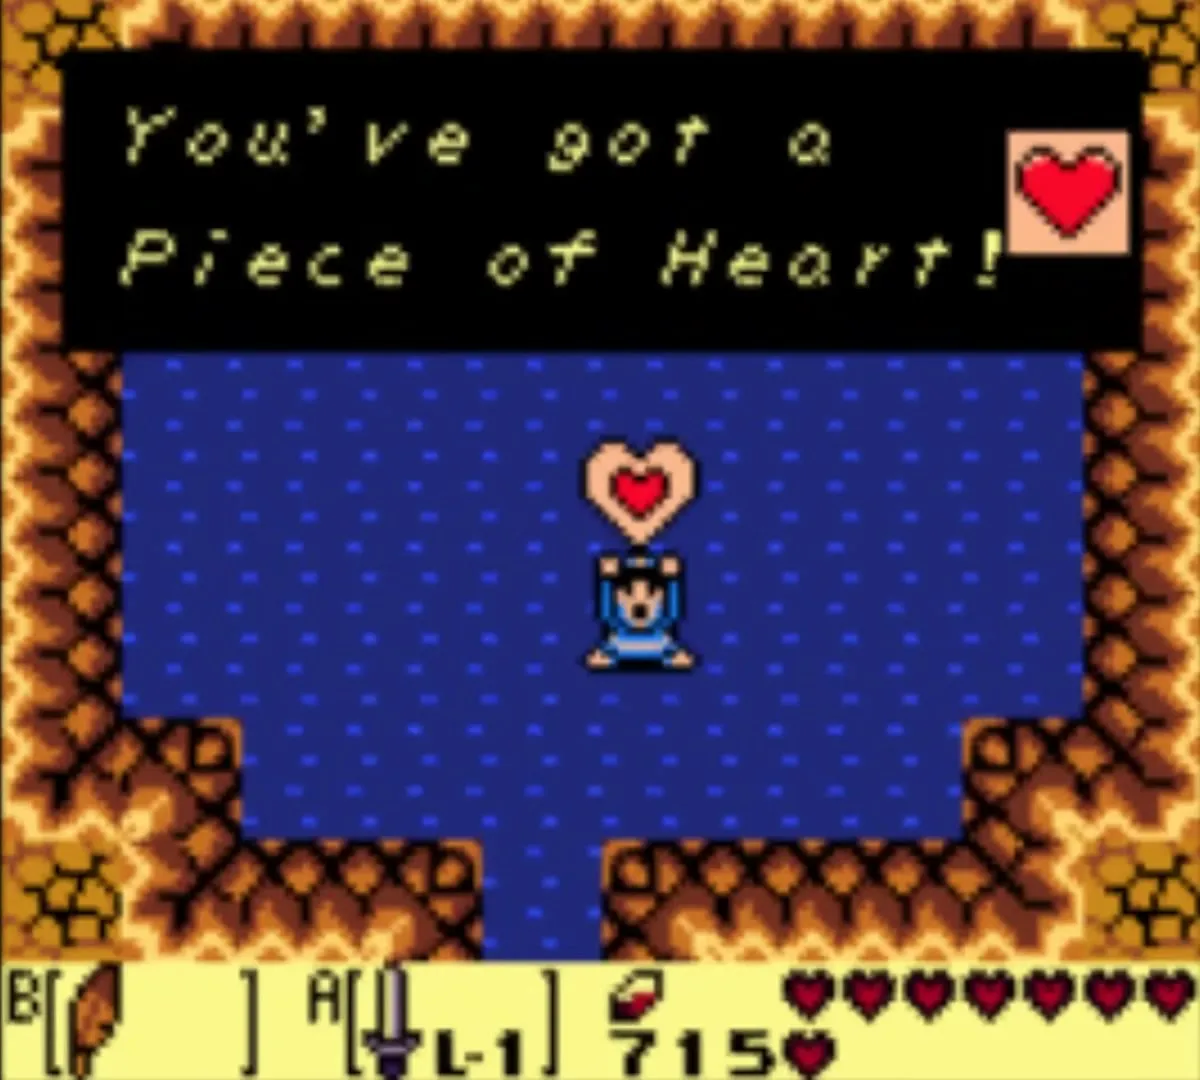
Kanalet Castle moat Piece of Heart
Make your way to Kanalet Castle and swim into the moat that runs along the foot of the brick wall. Follow the moat round to its southwest stretch, press against the south wall and press B to dive; a Piece of Heart is waiting on the bottom, a little north of the second drain hole from the left. Like the flooded cave, it needs only the Flippers.
Animal Village: the Letter
The trading sequence continues in Animal Village. Carry the Hibiscus you got from Papahl to Christine the goat, who lives in the village. Give her the Hibiscus and she asks if you will listen to a favour. Say yes: she has written a letter to Mr. Write, who lives by the Mysterious Forest, and wants you to deliver it. The Letter goes into your pack. The whole chain from the Yoshi Doll to the Magnifying Lens is on the Trading Sequence page.

Martha’s Bay: the island, the Ghost and the Mad Batter

Secret Seashell on the island in Martha’s Bay
Swim out into Martha’s Bay to the small island with a flight of stairs and a bush on top. Climb the stairs and cut the bush; a Secret Seashell is hidden there. You need the Flippers, because the island is surrounded by water. Back on the shore, walk to the telephone booth and then east to a lone bush: cutting it gives another Secret Seashell (the Power Bracelet opens the way).
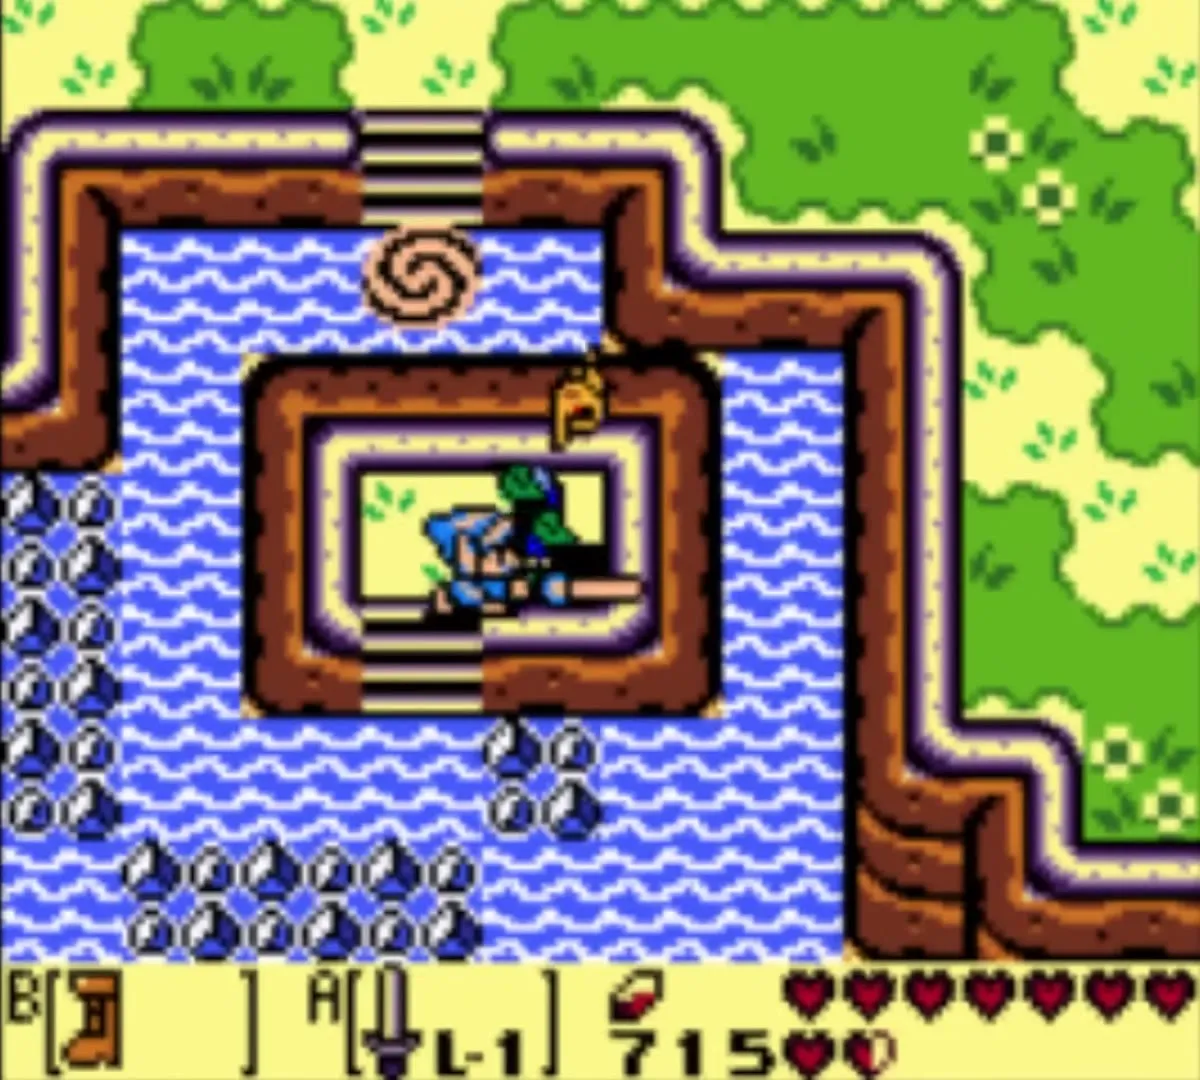
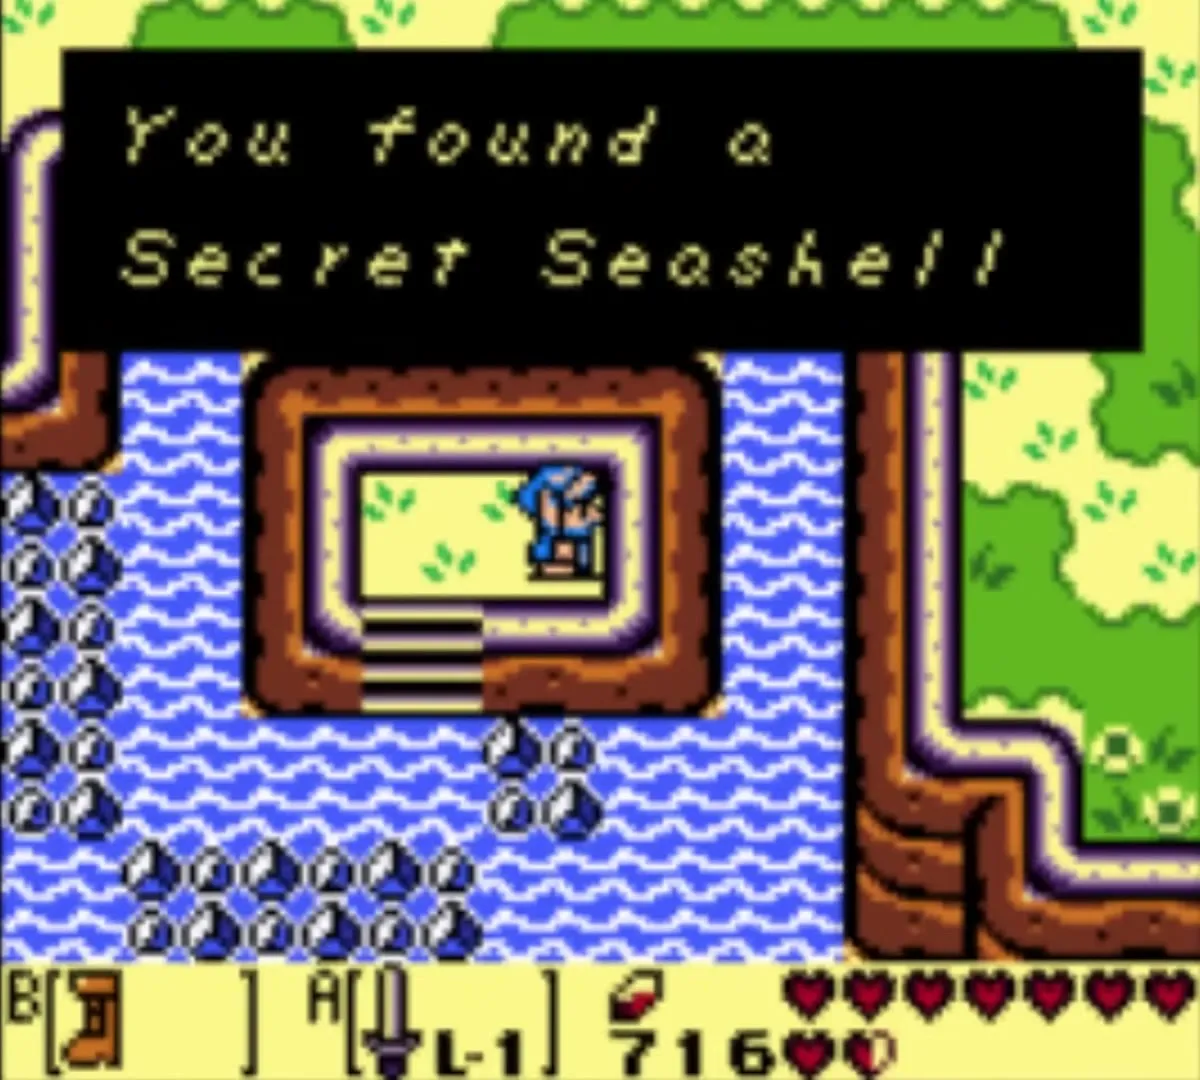
The Ghost appears
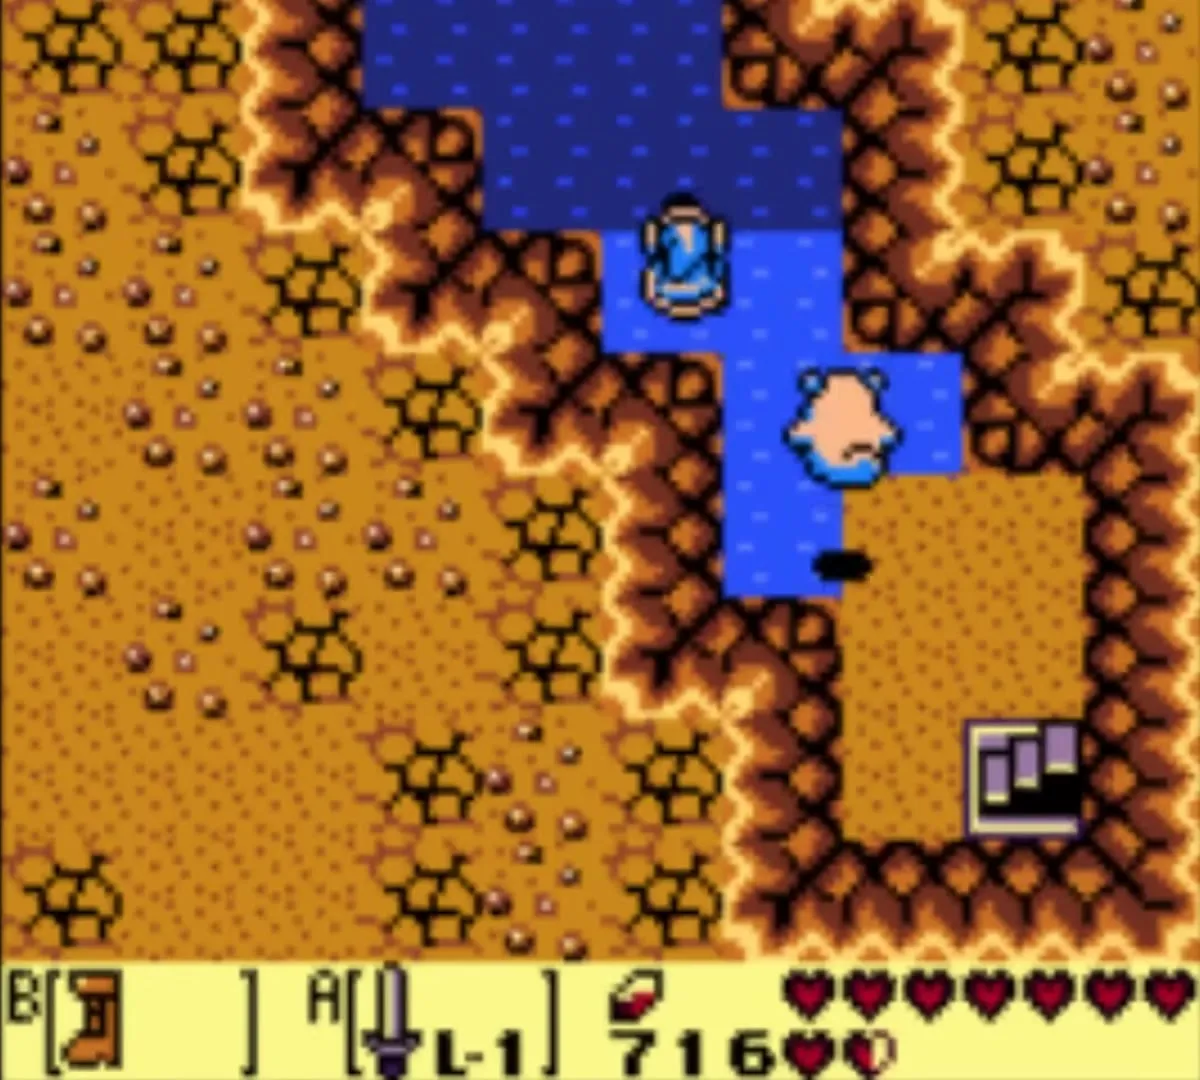
Now that Angler’s Tunnel is behind you, a ghost appears and begins to follow you. He wants to be taken to his old house. He tags along across the map, so you can run other errands with him in tow.
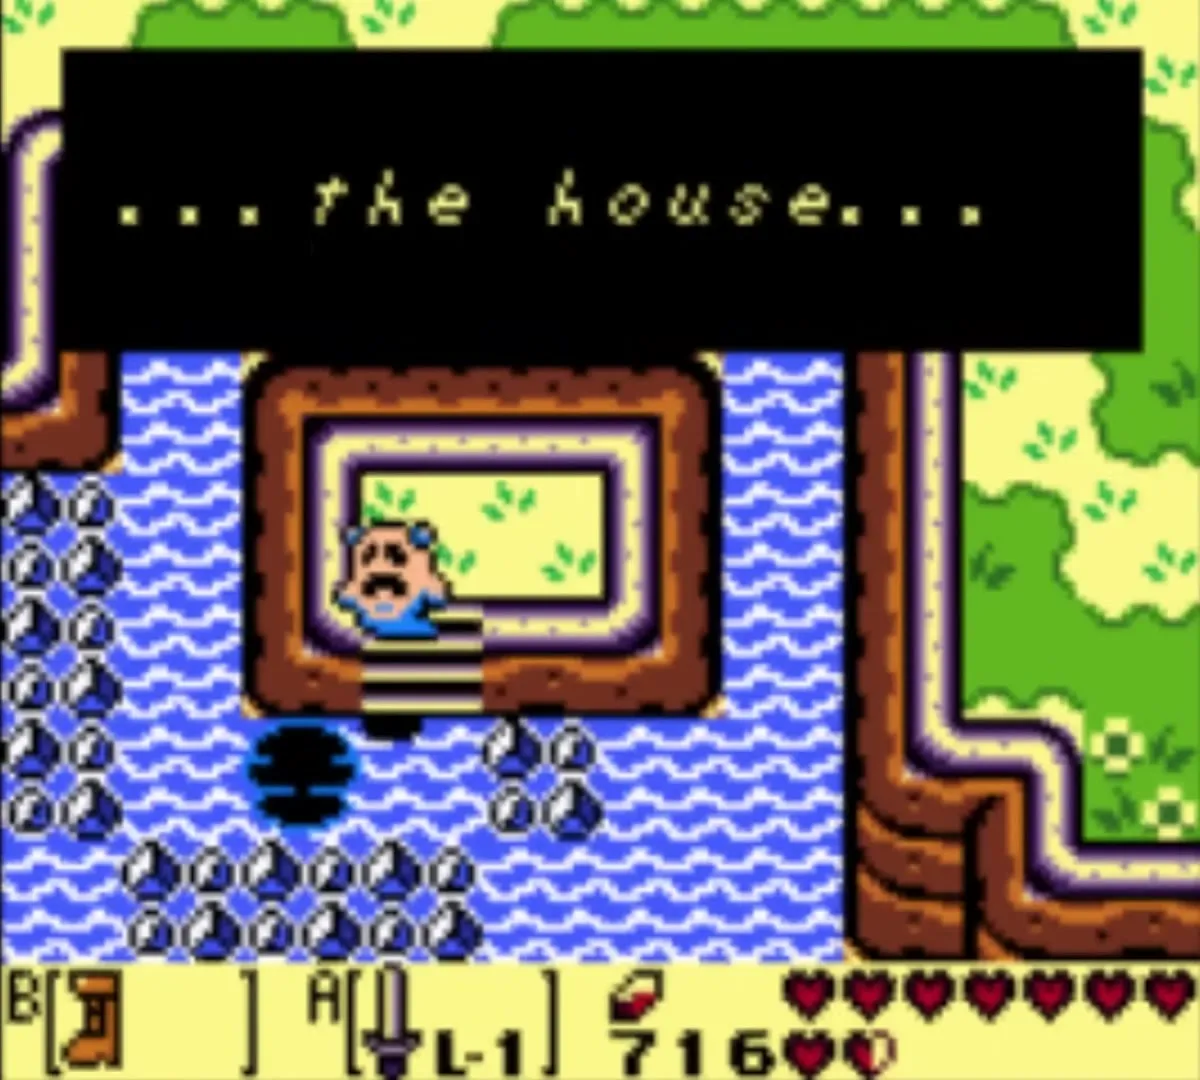
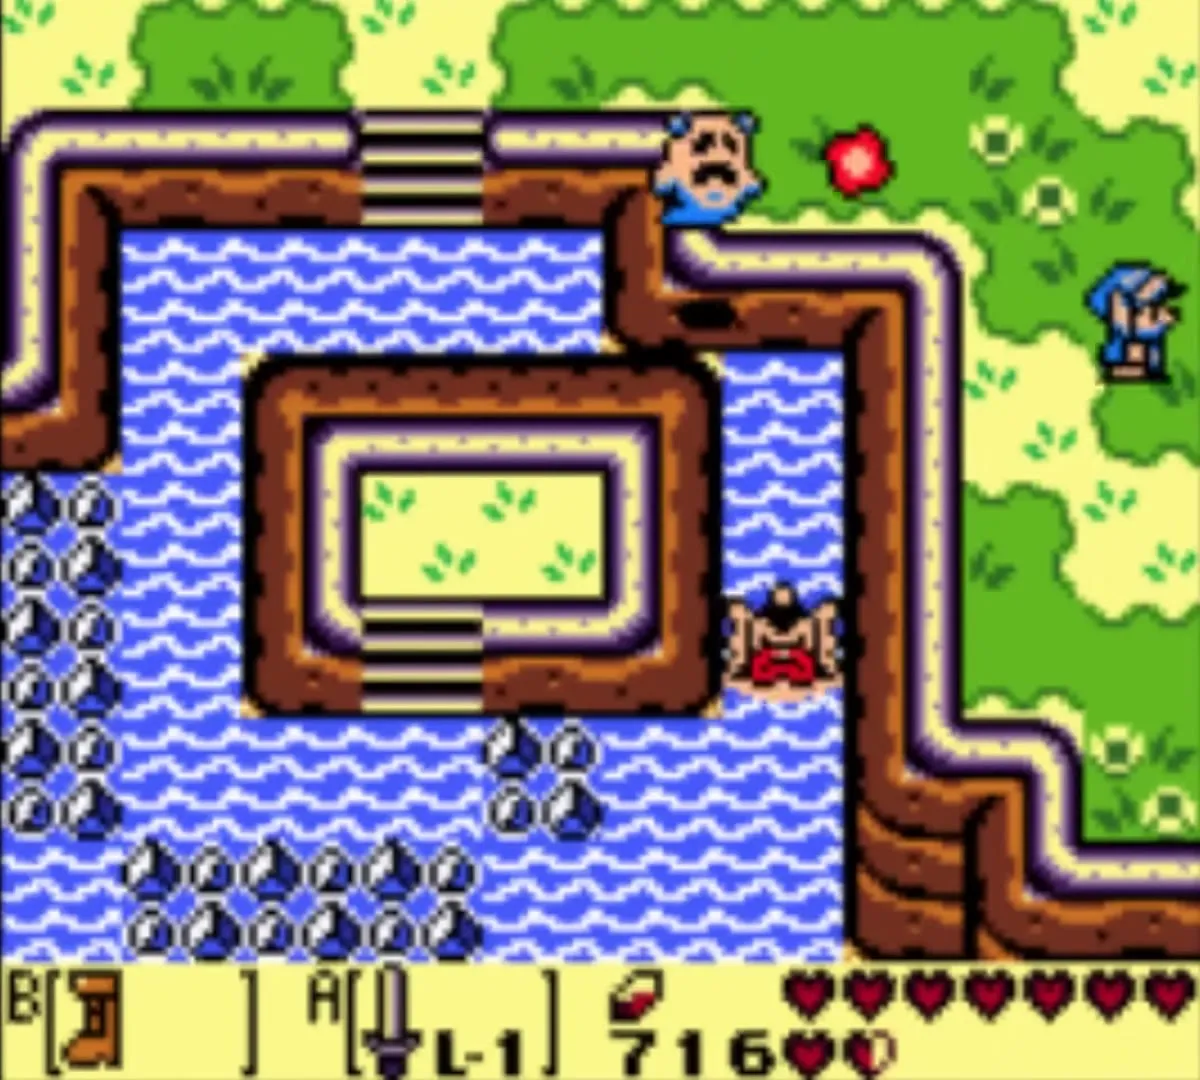

Mad Batter in Martha’s Bay: bombs to 60
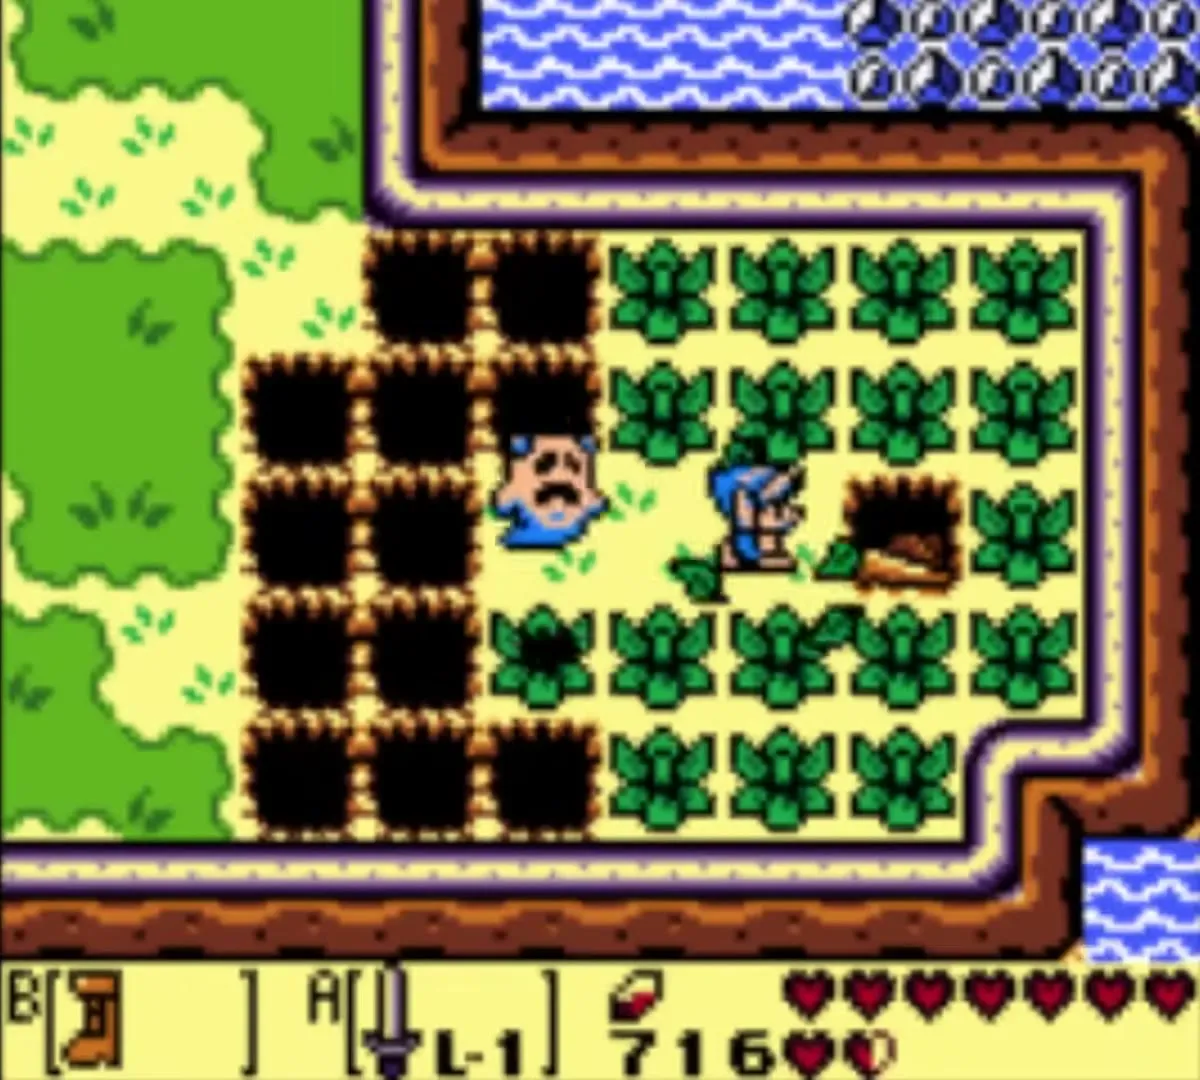
The second Mad Batter altar lies near Martha’s Bay, past a field of bushes full of holes. Use the Roc’s Feather, and the Pegasus Boots for the wider gaps, to cross the holes, and clear the bushes with bombs or arrows if your Sword cannot reach them. Then take the stairs down and follow the cave.
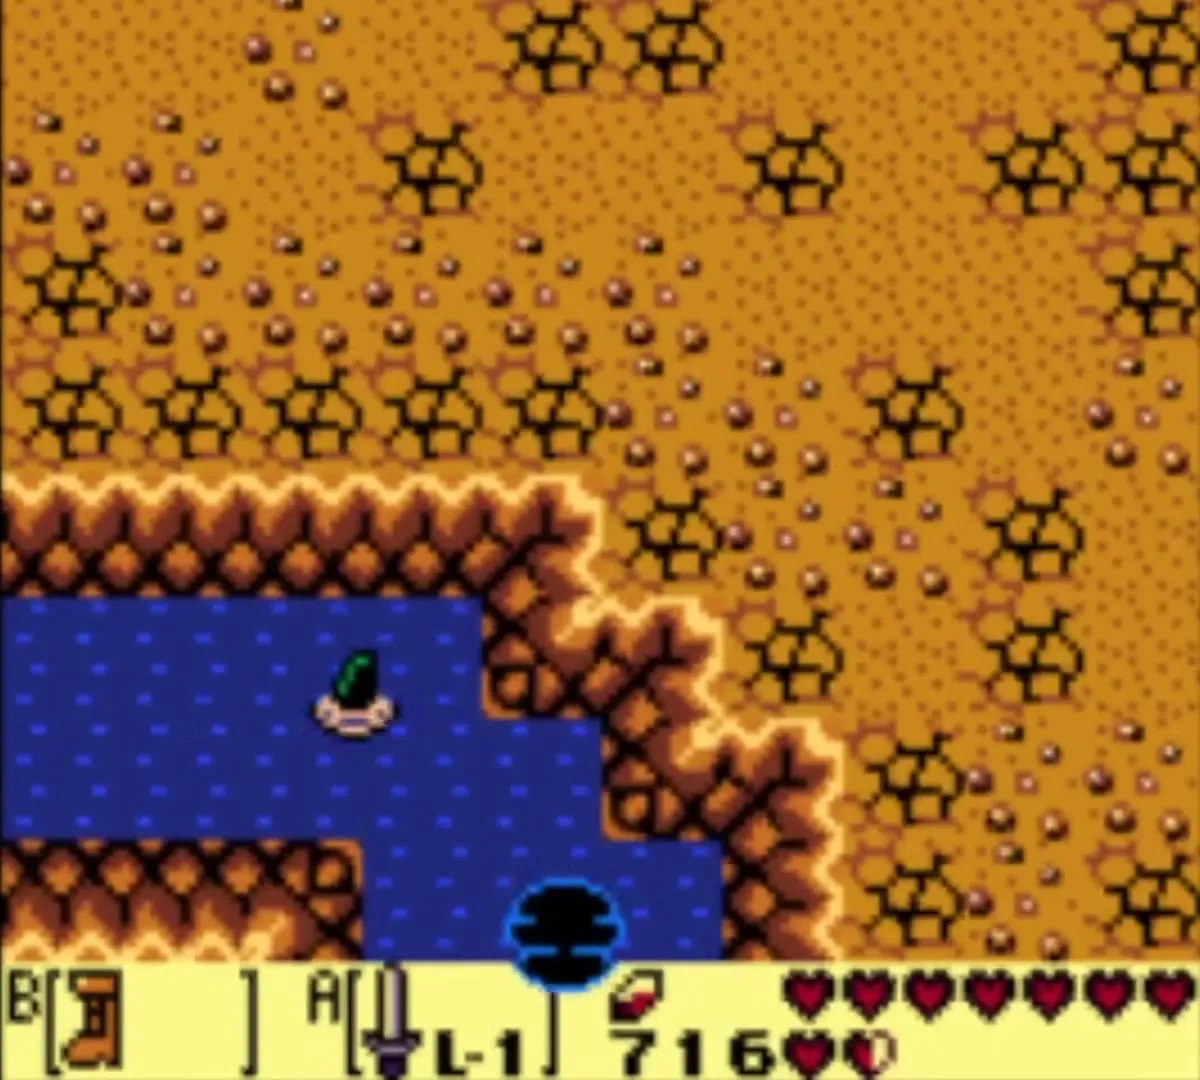
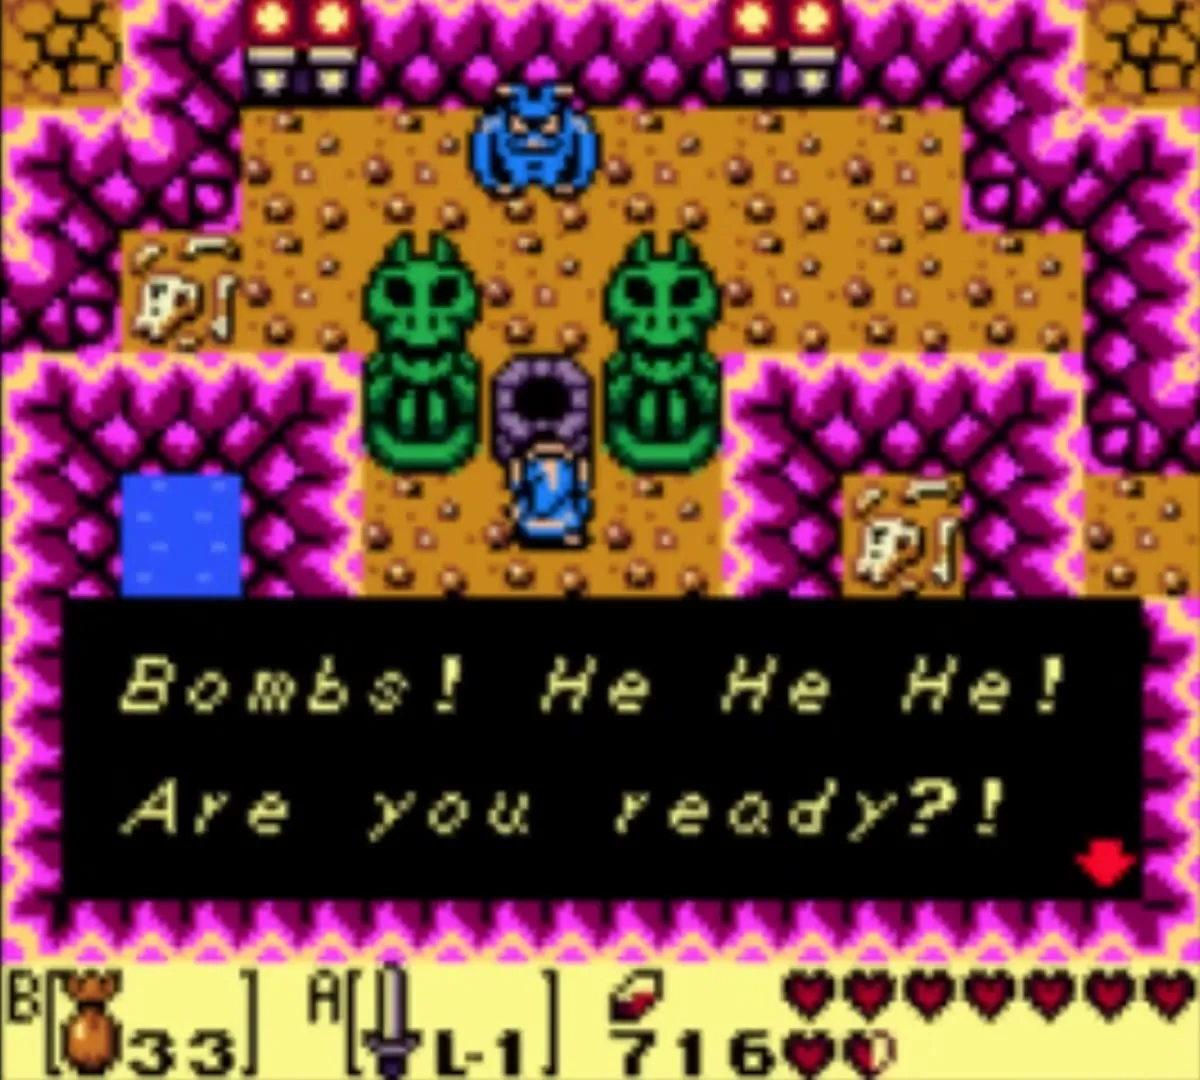
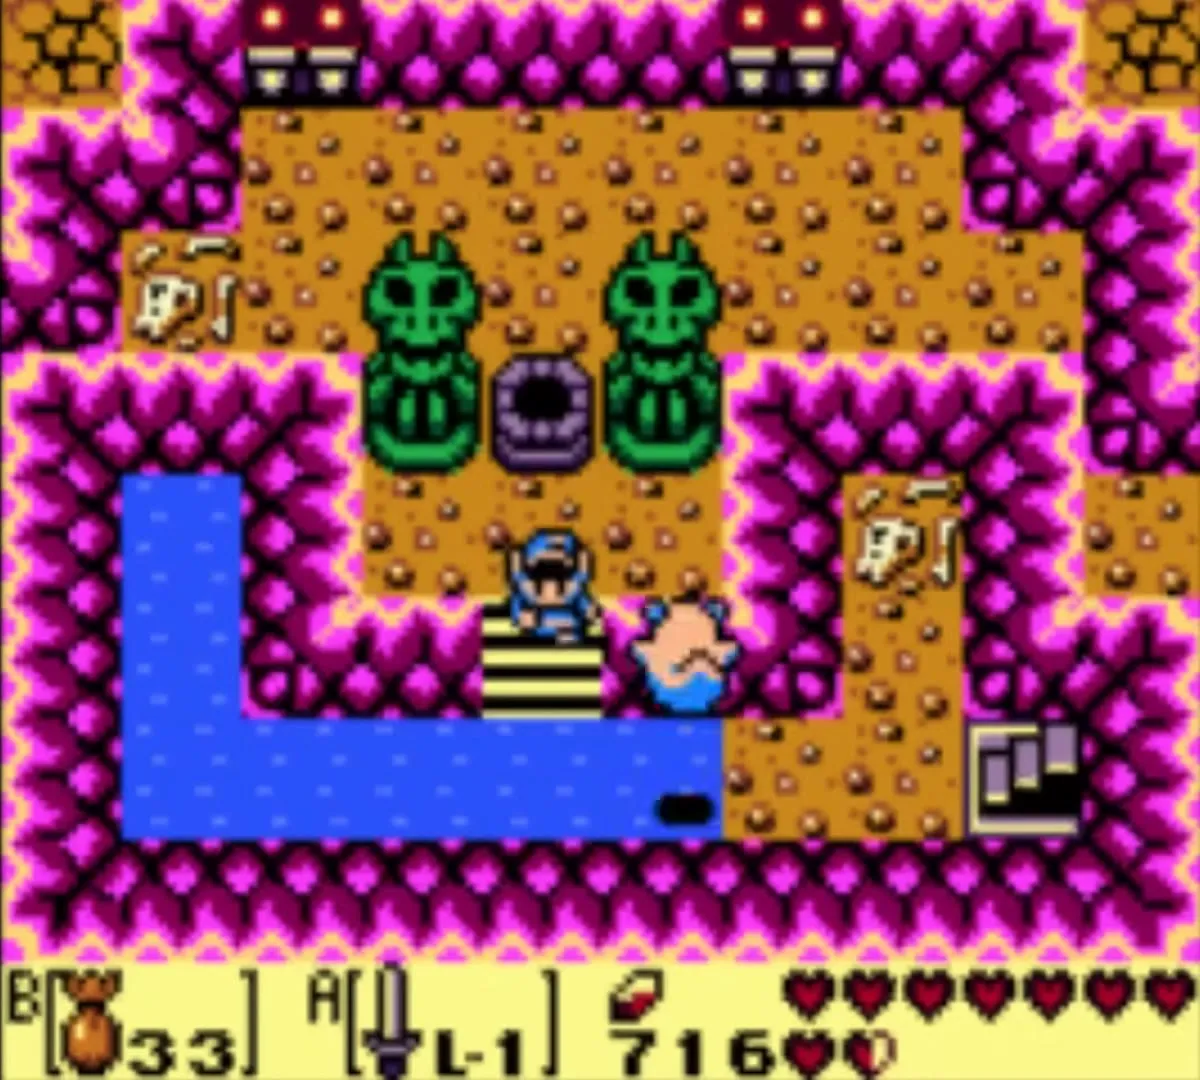
Below is a pink cave with a well between two green statues. Equip the Magic Powder and throw some onto the well. The Mad Batter wakes up and offers to let you carry more. Each altar upgrades one item, and you choose which: he names an item and asks if you are ready, and if you say no he offers the next one. Pick the bombs and the limit rises from 20 to 60. The other two altars, in the Mysterious Forest and the Tal Tal Mountains, raise the remaining items (Magic Powder to 40, arrows to 60). See the Items and Equipment page.

House by the Bay and the Ghost’s grave
Walk to the House by the Bay, the lonely cottage by the shore, with the ghost behind you. He goes inside and looks around, then follows you out again.
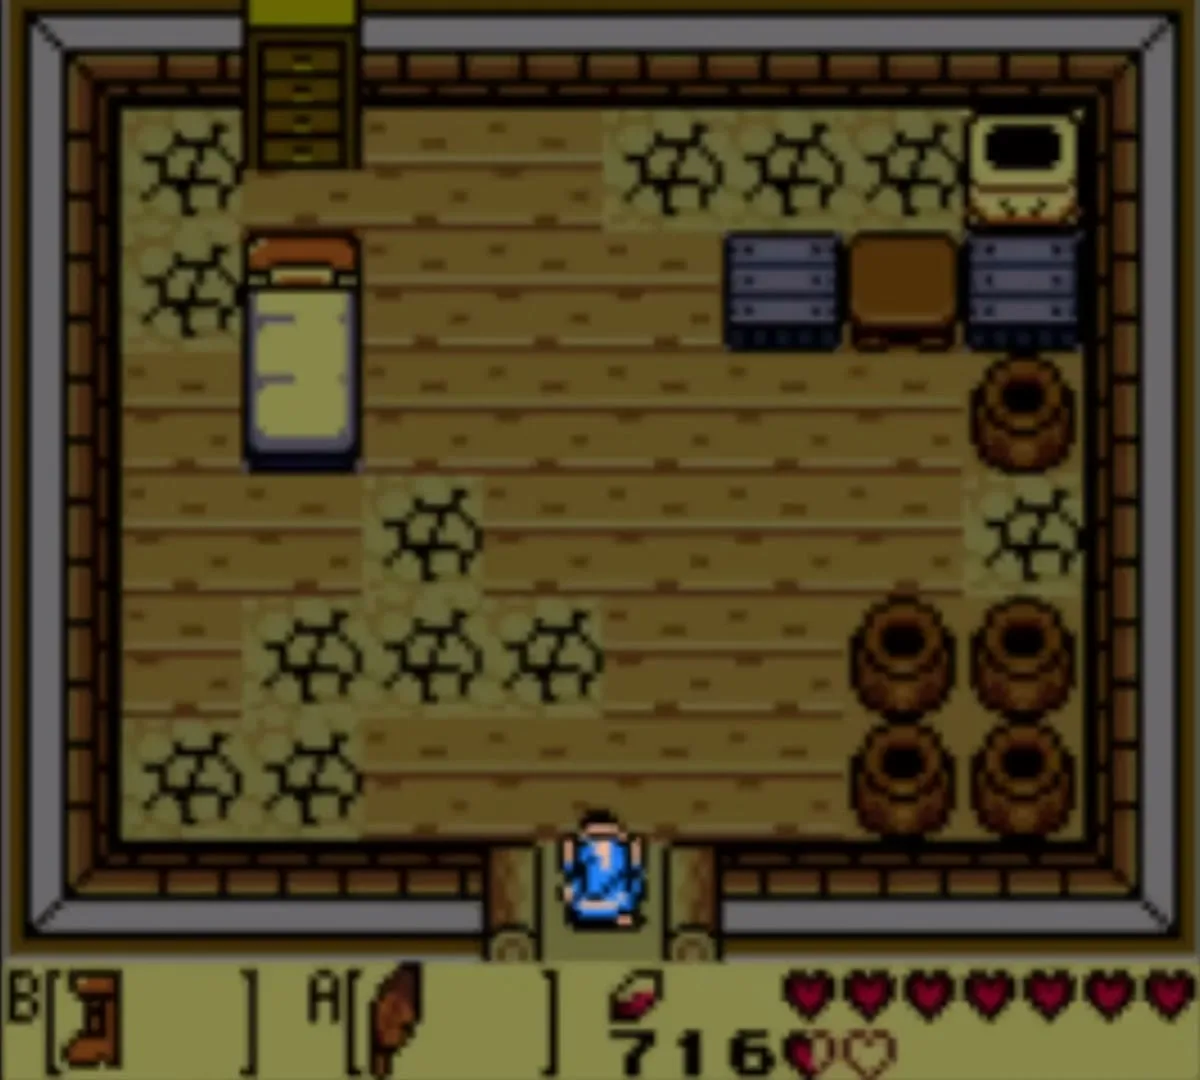
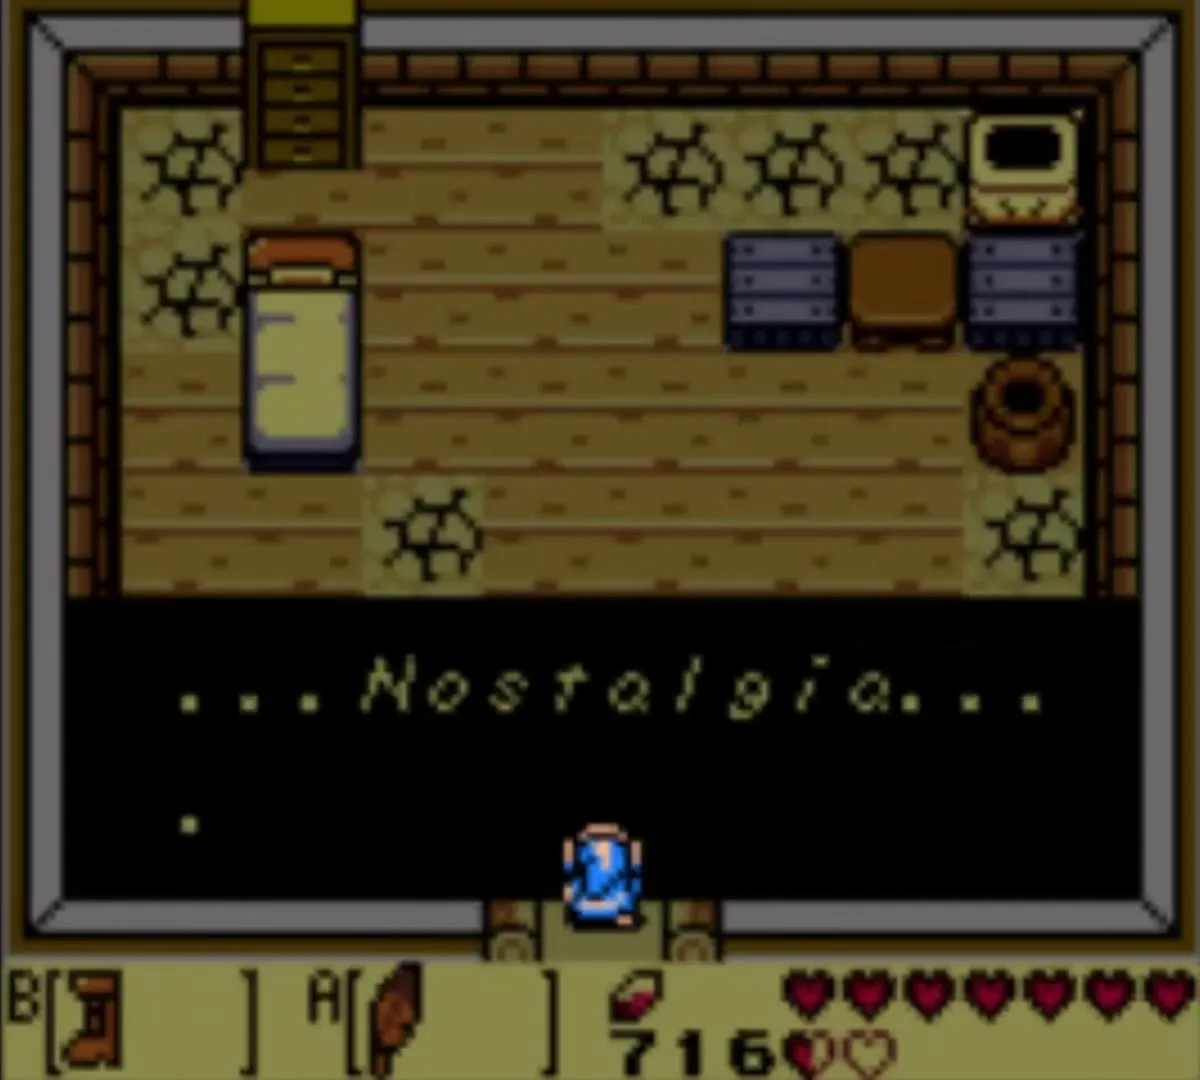
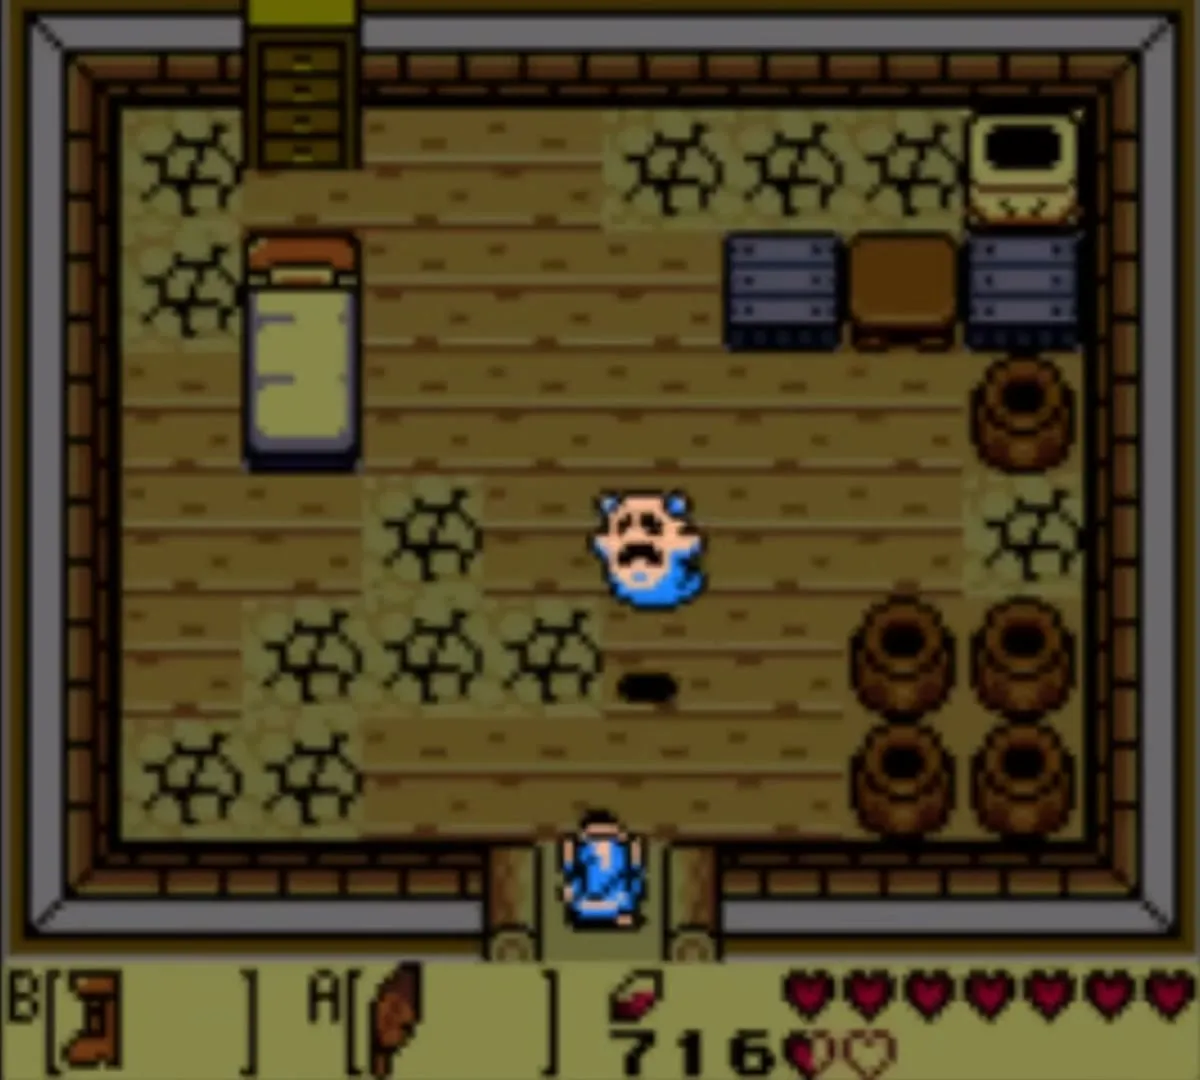
Now take him to his grave: a lone tombstone in a small clearing, one screen west of the Witch’s Hut. Walk up to the stone and the ghost thanks you and says goodbye.
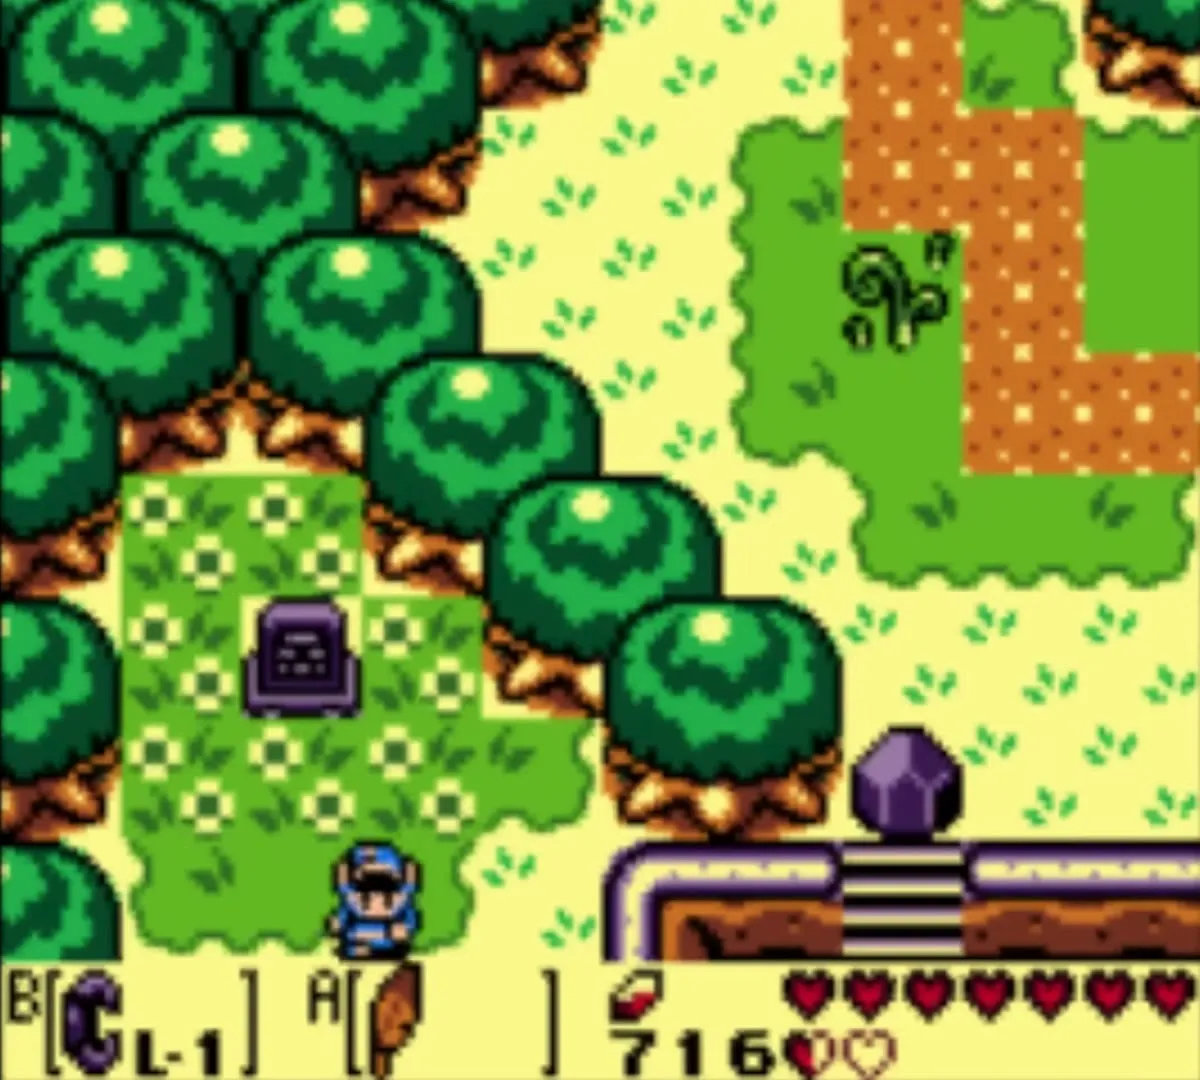
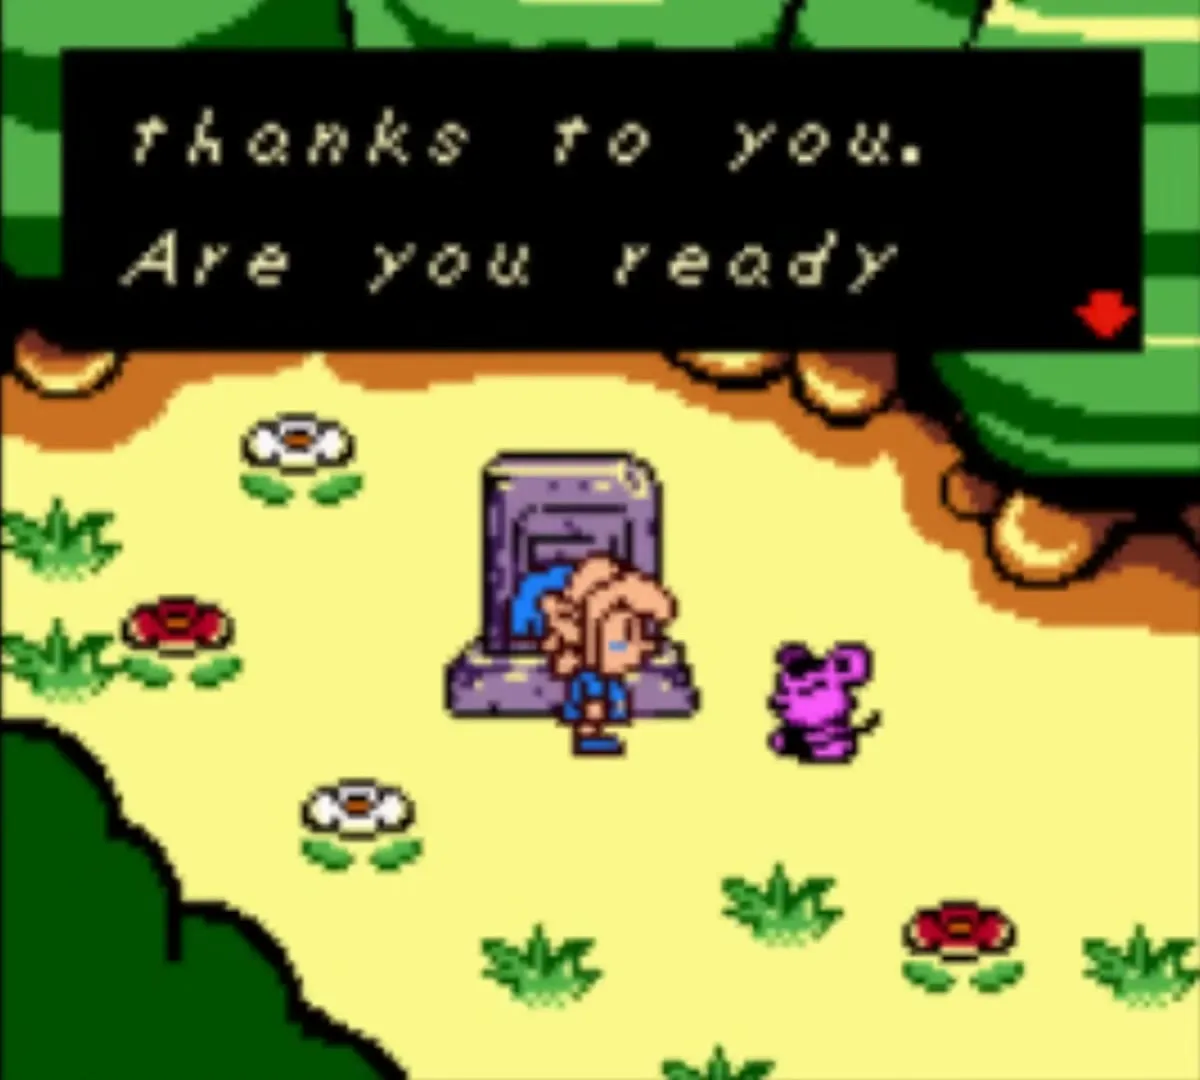
While you are in the graveyard, take its Piece of Heart. In the southwest of the graveyard one screen has four graves in a group. Push the bottom-right grave up and a staircase opens. Go down, cross to the south-east ledge with the Roc’s Feather and climb to the upper level, where the heart sits. The Heart Pieces page has the details.
Walk up to the tombstone once more. The photographer mouse arrives and takes a picture of you at the grave, with the ghost smiling beside you. This is photo 11, “I Was Very Afraid”. It is DX only and needs the first photo from the Camera Shop. The full set is on the Photographs page.
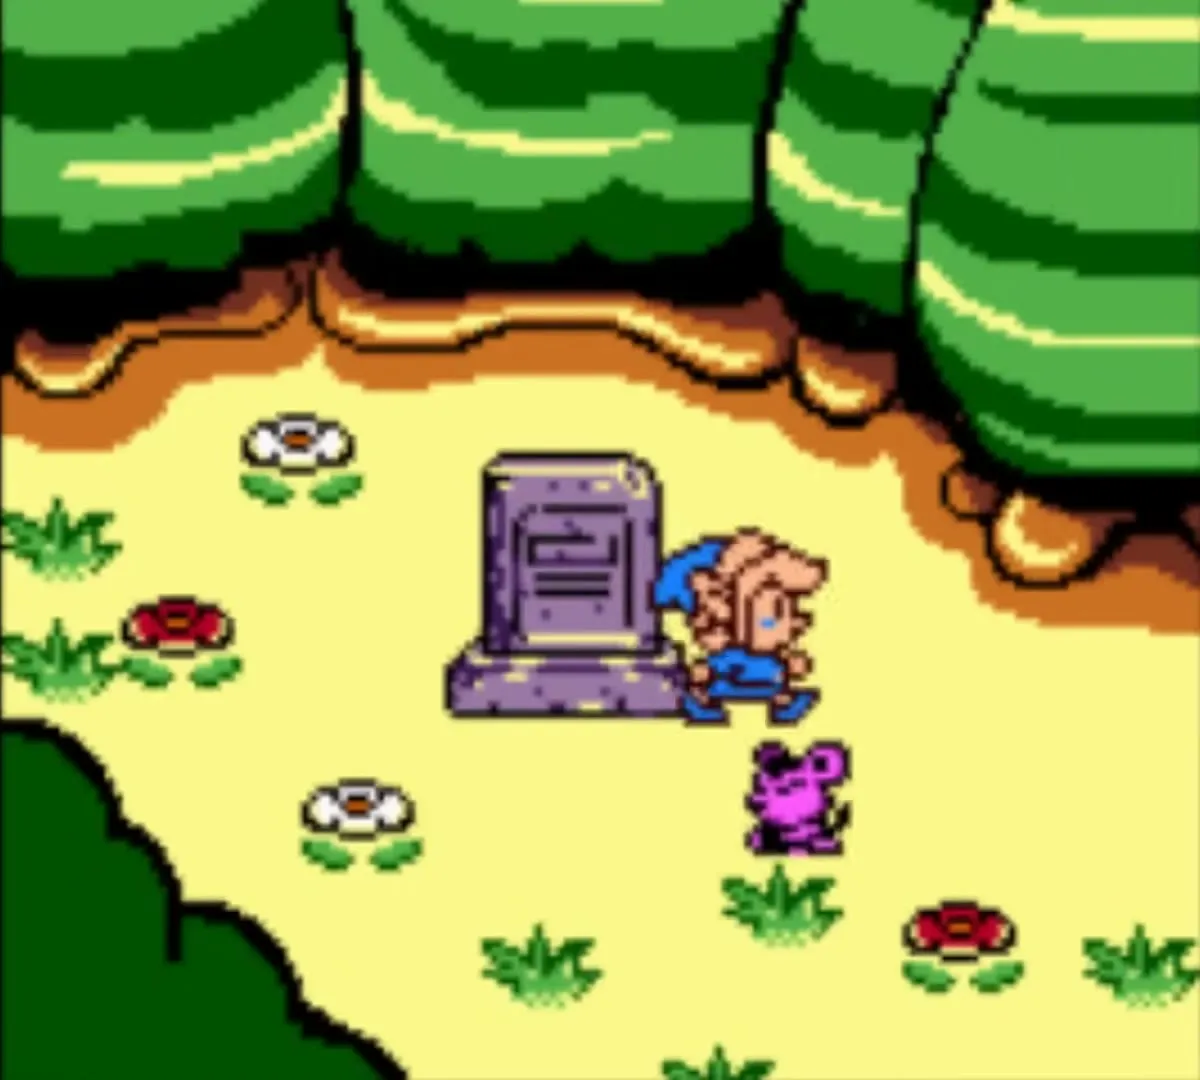
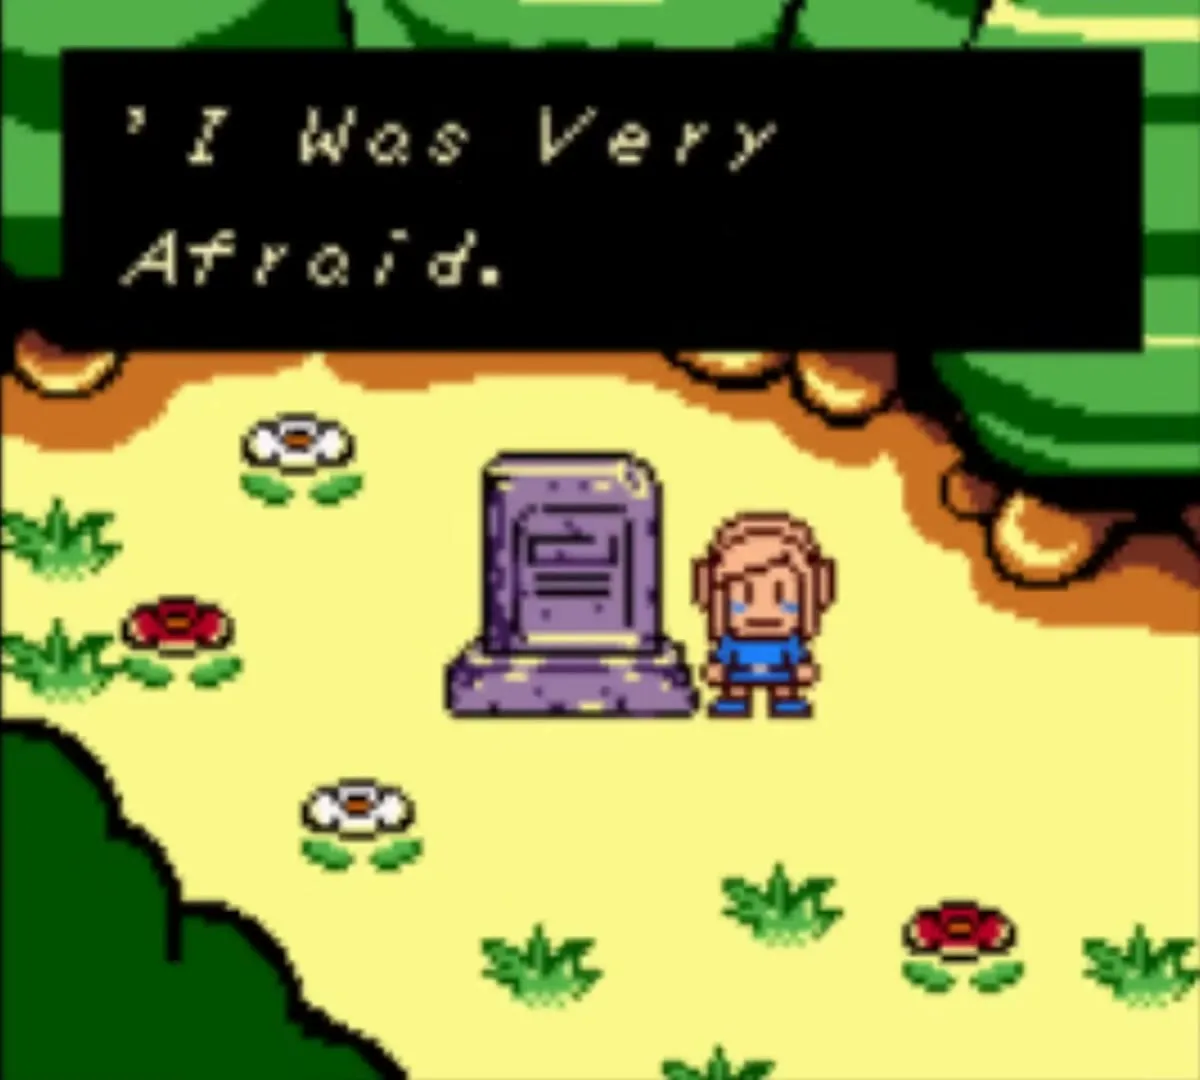
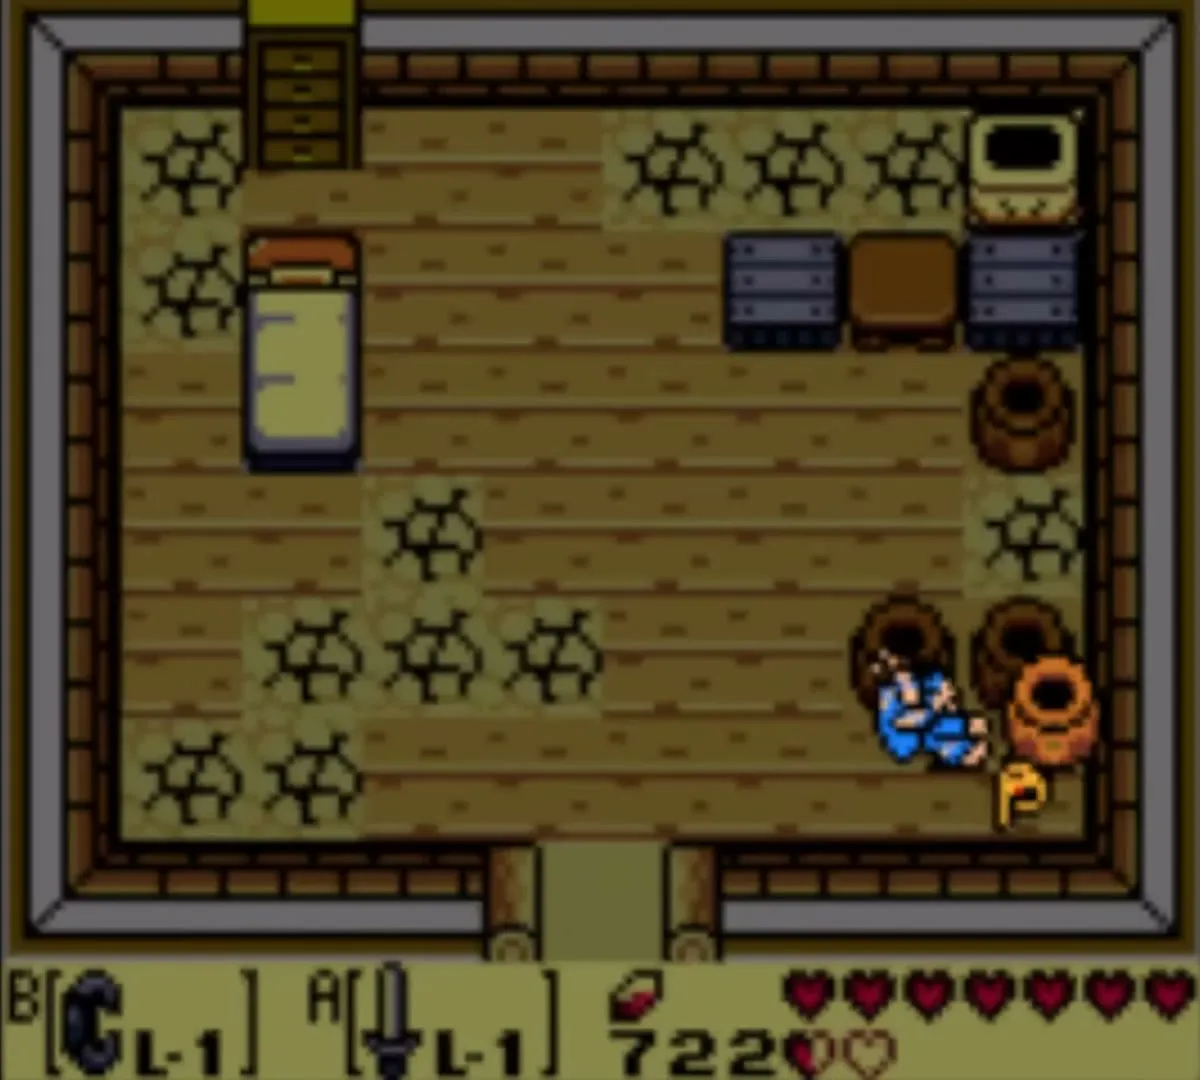
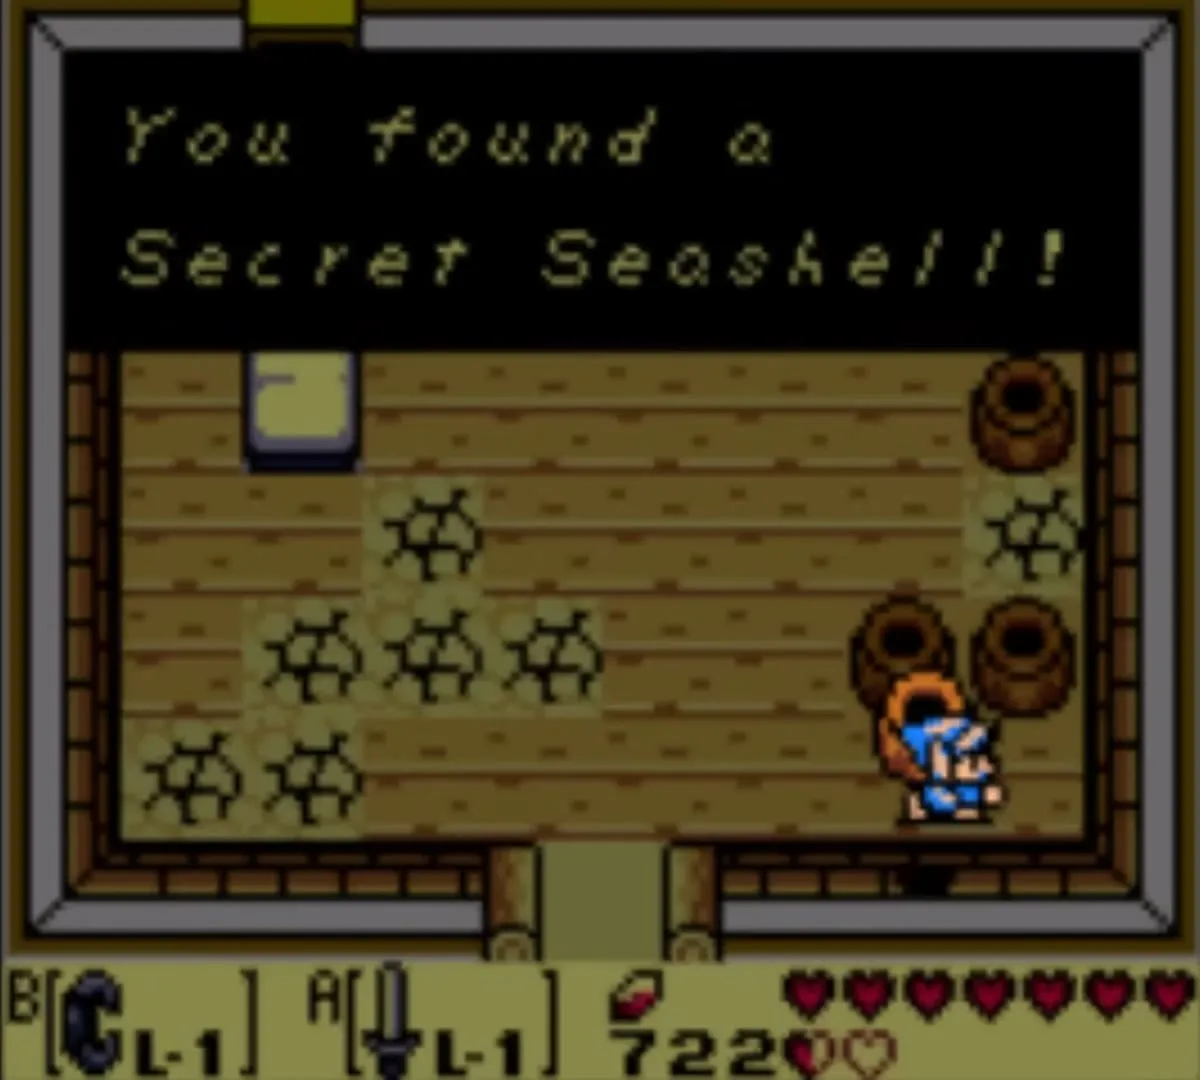
Go back to the House by the Bay and lift the pot in the bottom-right corner of the room. A Secret Seashell is hidden under it. It only turns up once you have returned the ghost to his grave.
Broom and Fishing Hook
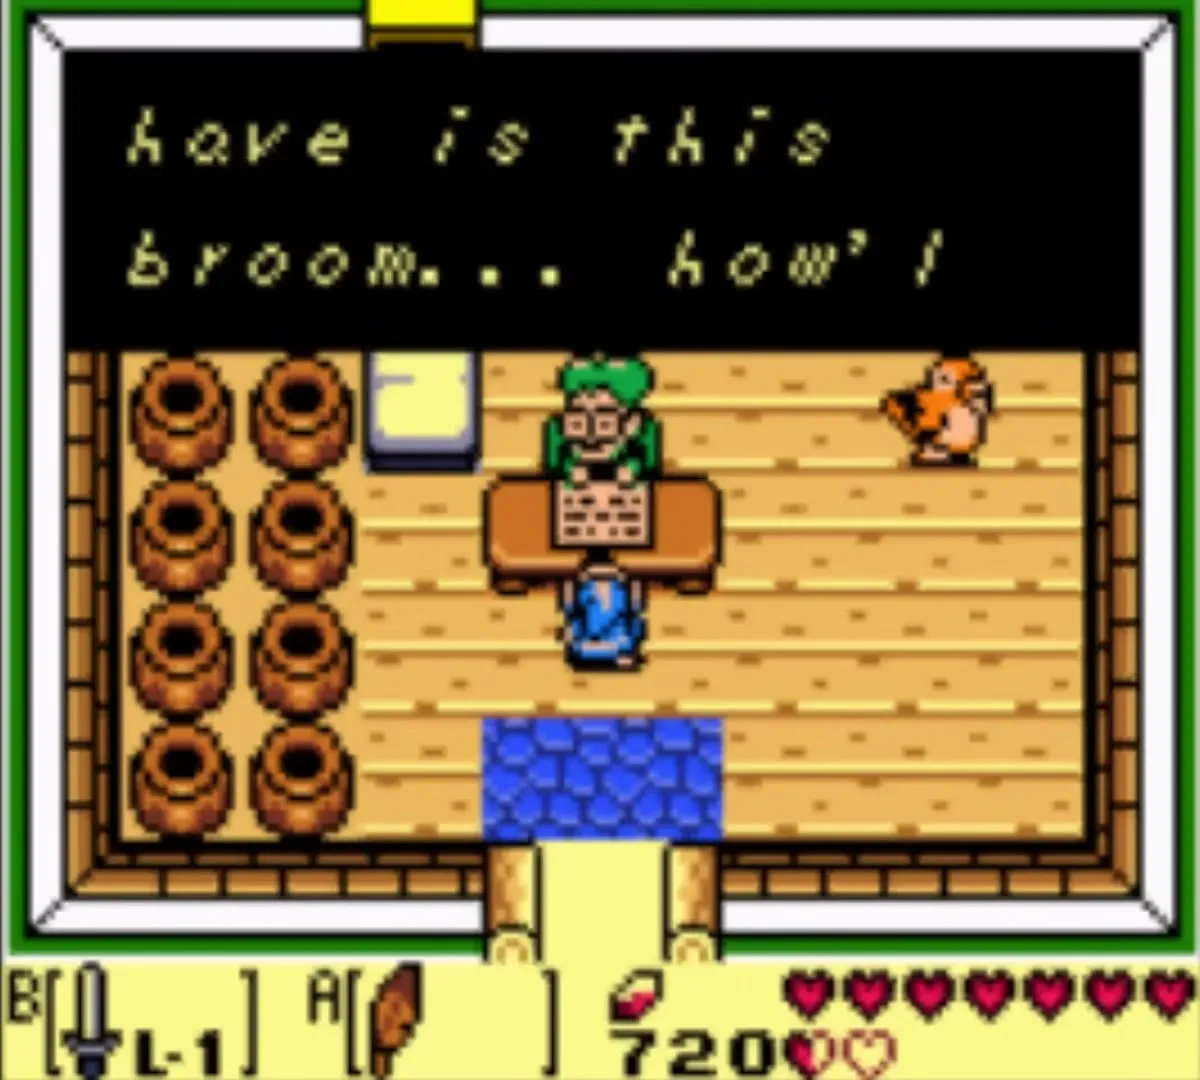
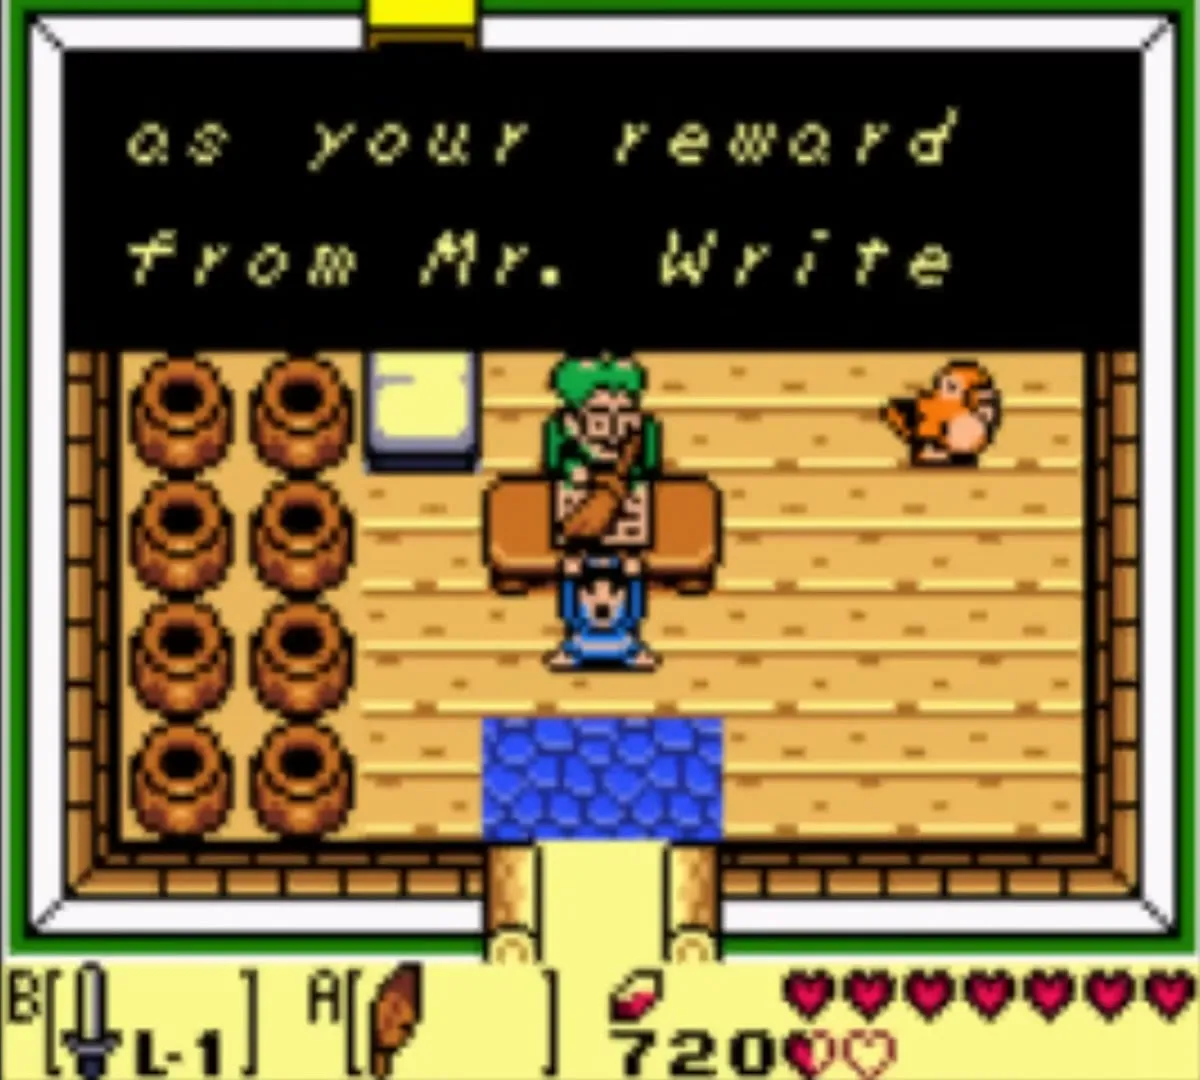
Take the Letter to Mr. Write’s house by the Mysterious Forest. He is delighted with it and gives you a Broom in return.
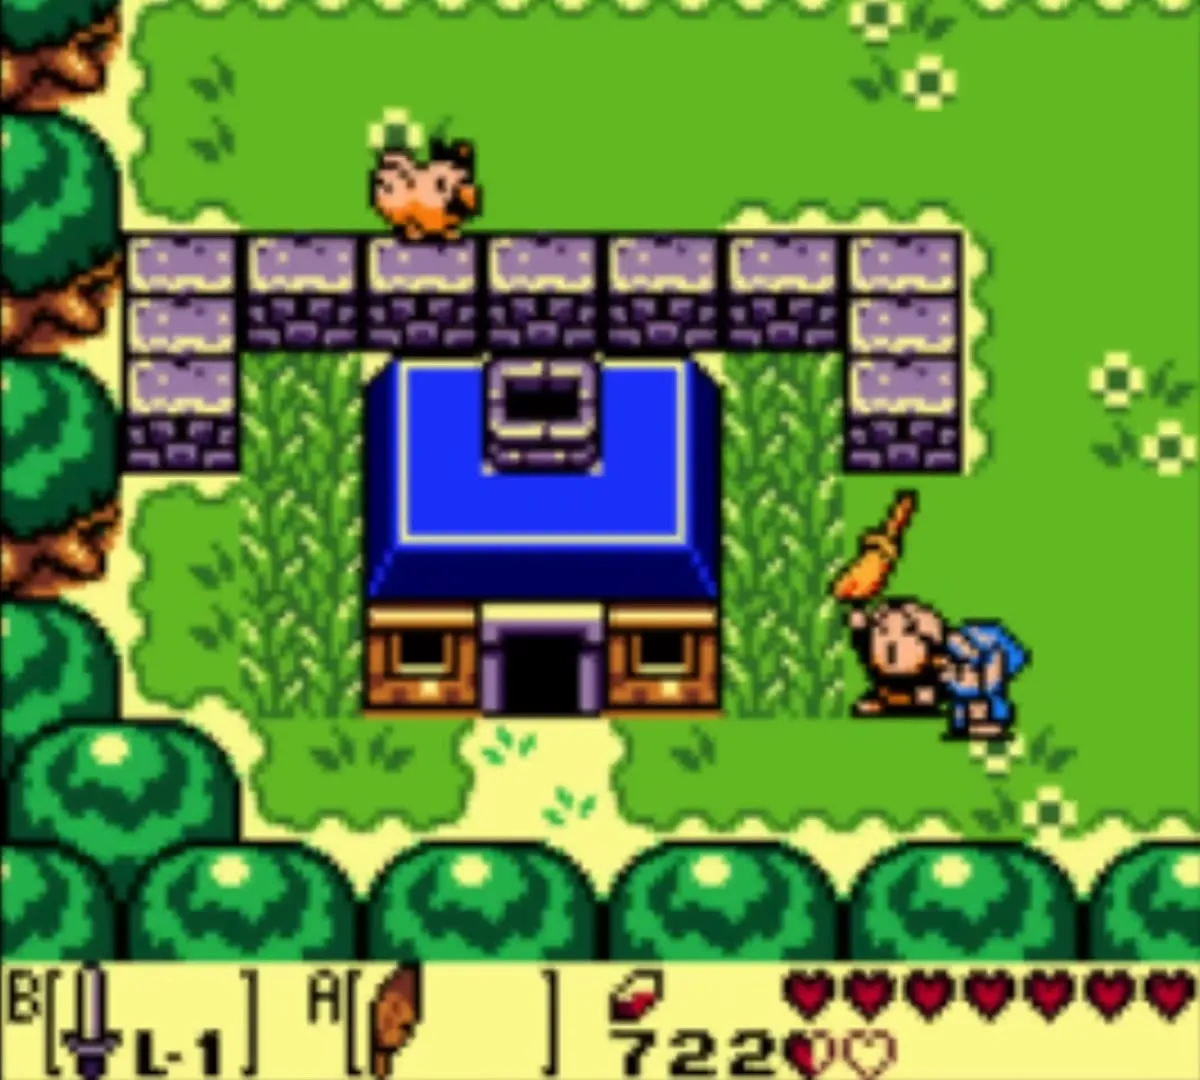
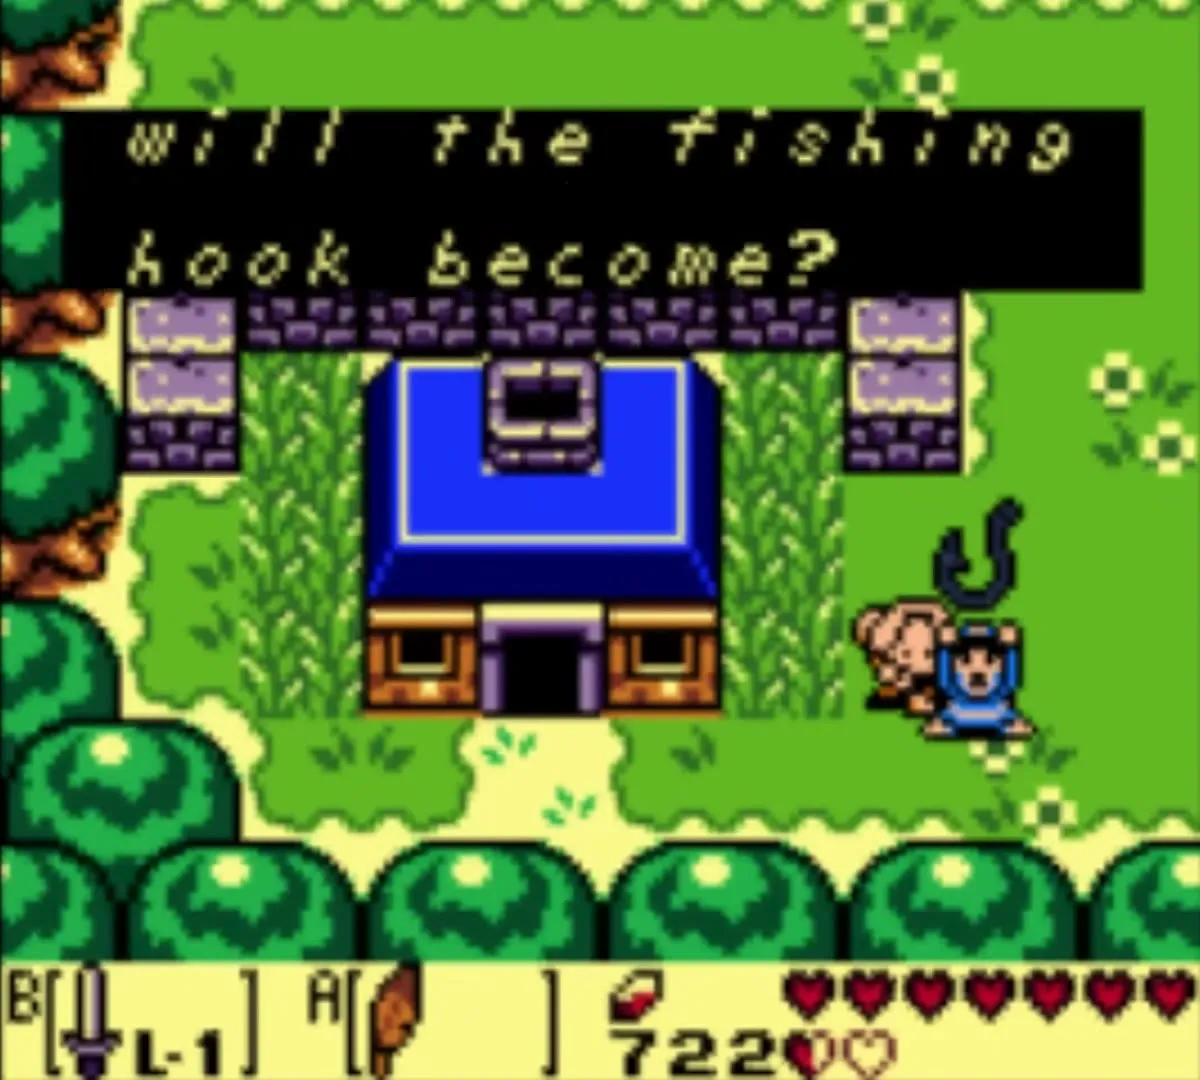
Carry the Broom to Mabe Village and give it to Grandma Ulrira, who is sweeping outside her house. She is thrilled with the new broom and swaps it for a Fishing Hook. The Fishing Hook is what you need for the fisherman in Martha’s Bay.
Secret Seashell on the island near Key Cavern
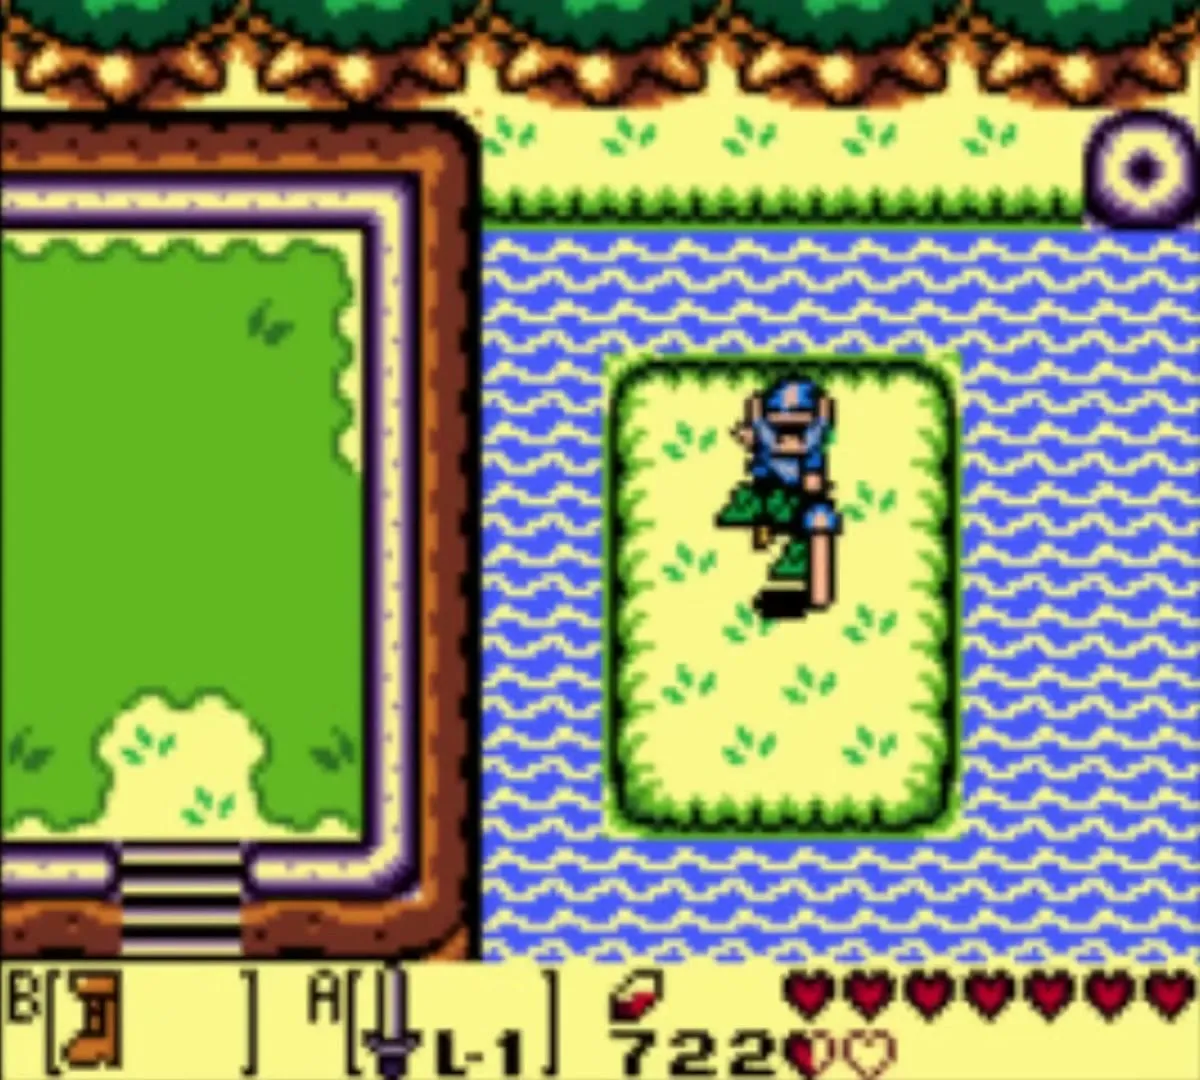
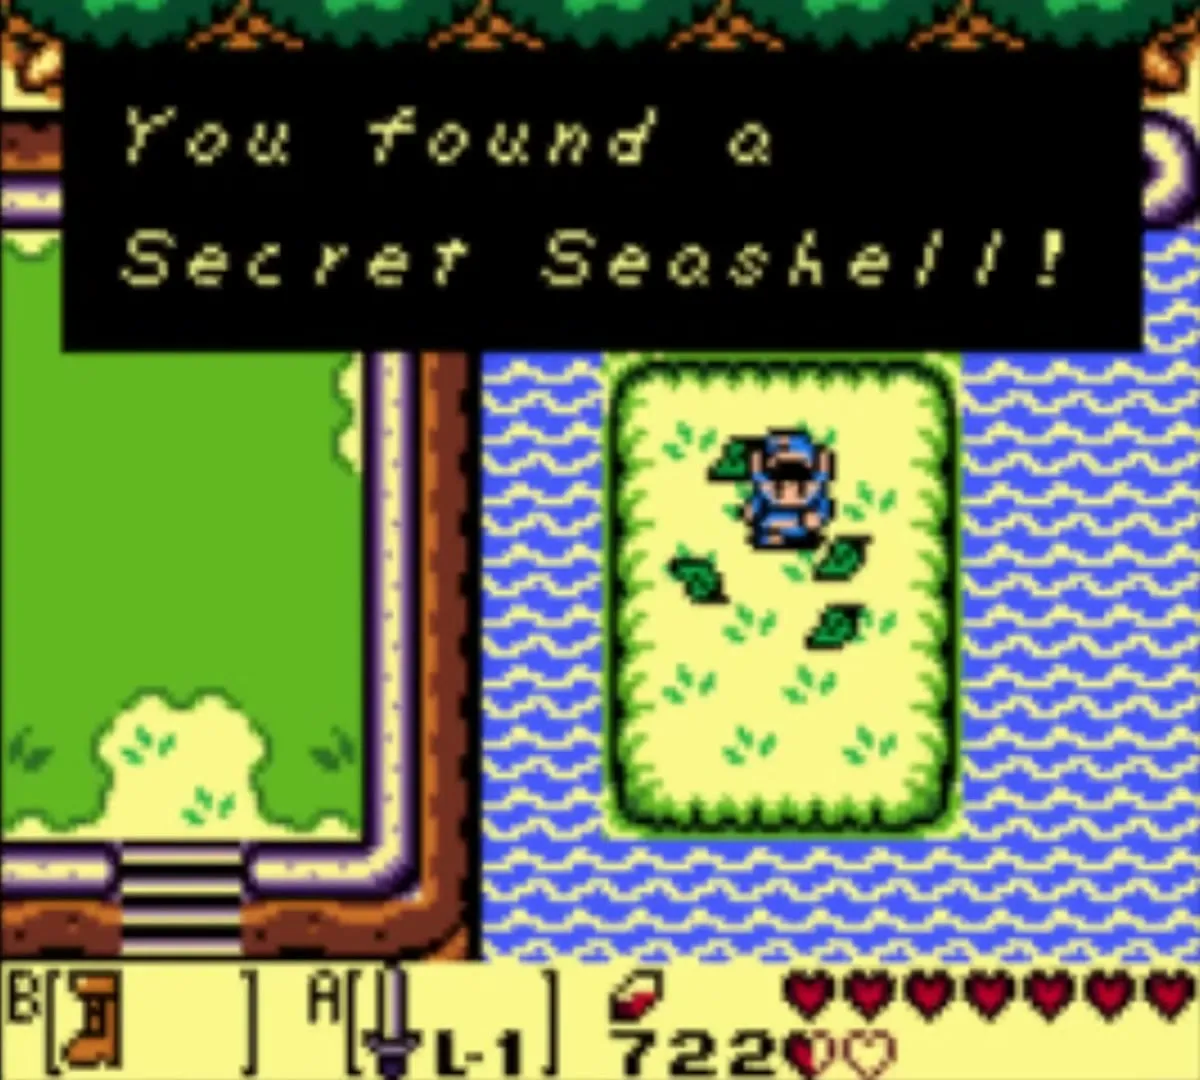
Another island shell is northeast of the Key Cavern entrance. Swim to the small island in the lake there, walk to its north edge, and cut the bush from above. A Secret Seashell is under it. The Flippers are required.
Seashell Mansion: the L-2 Sword
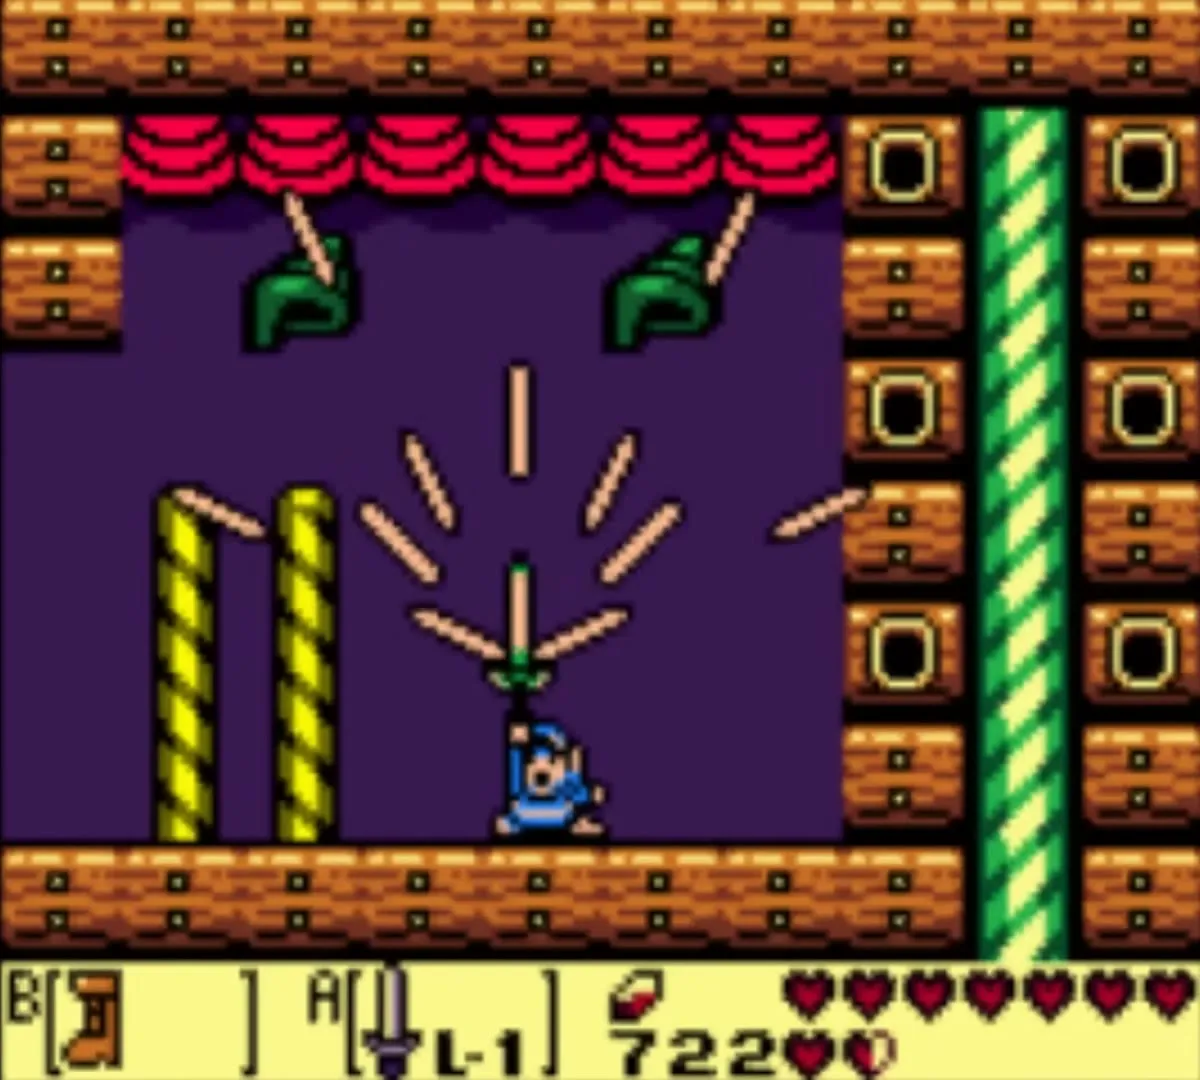
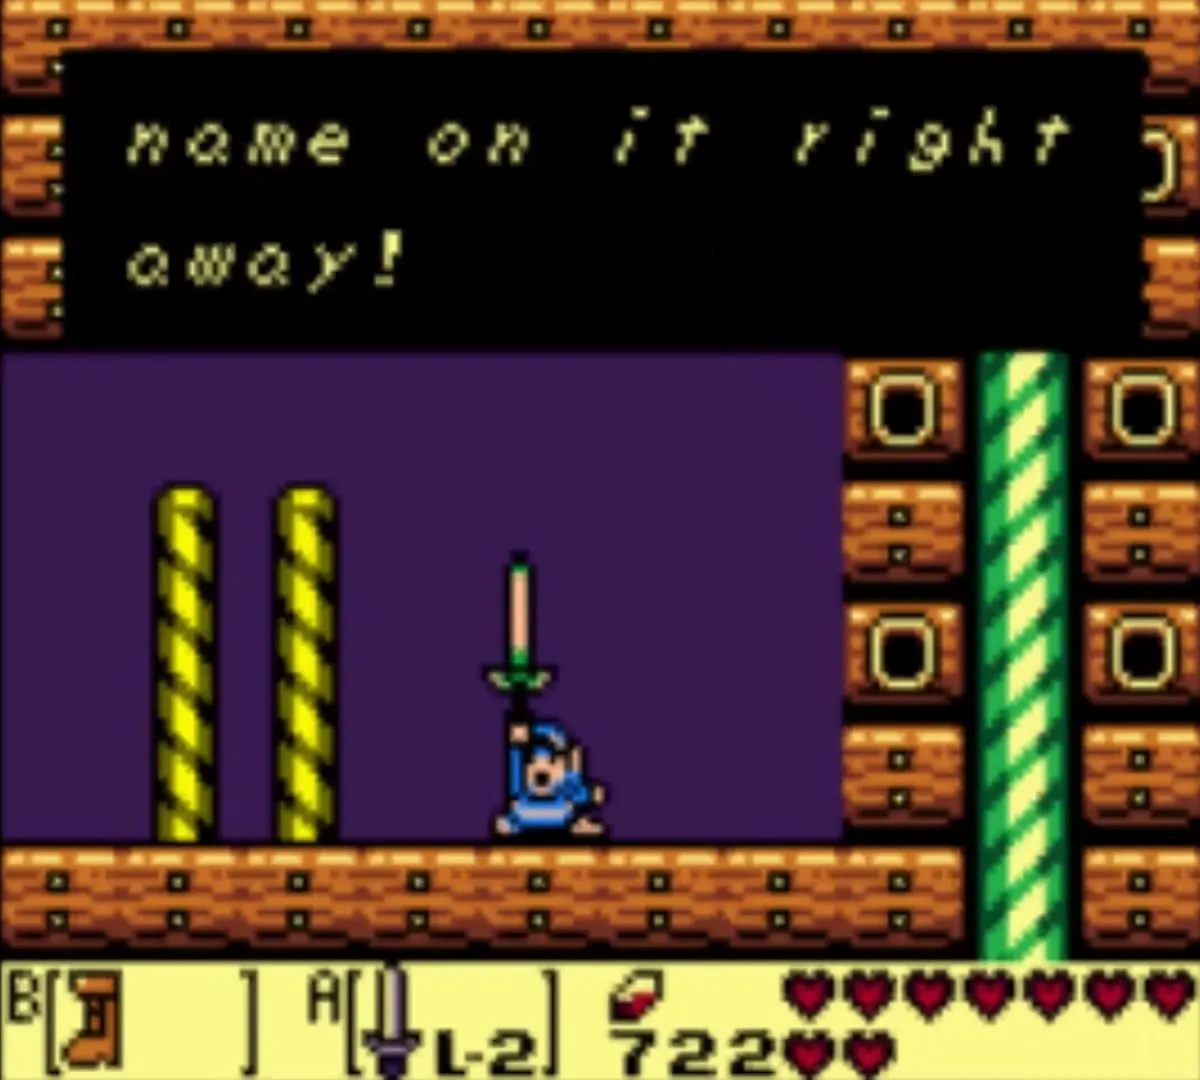
The Seashell Mansion stands in Ukuku Prairie, east of Kanalet Castle. If you hold 20 or more Secret Seashells, walk in and take the sword that is waiting there. It is the L-2 Sword, and it hits harder than the L-1 Sword you have used so far. If you are short, come back later, because the next chapters add more shells. The bonus shells need exact counts: walk in with exactly 5 shells for one and exactly 10 for the other. The full list is on the Secret Seashells page.
The Fisherman, the Necklace and the Mermaid’s Scale
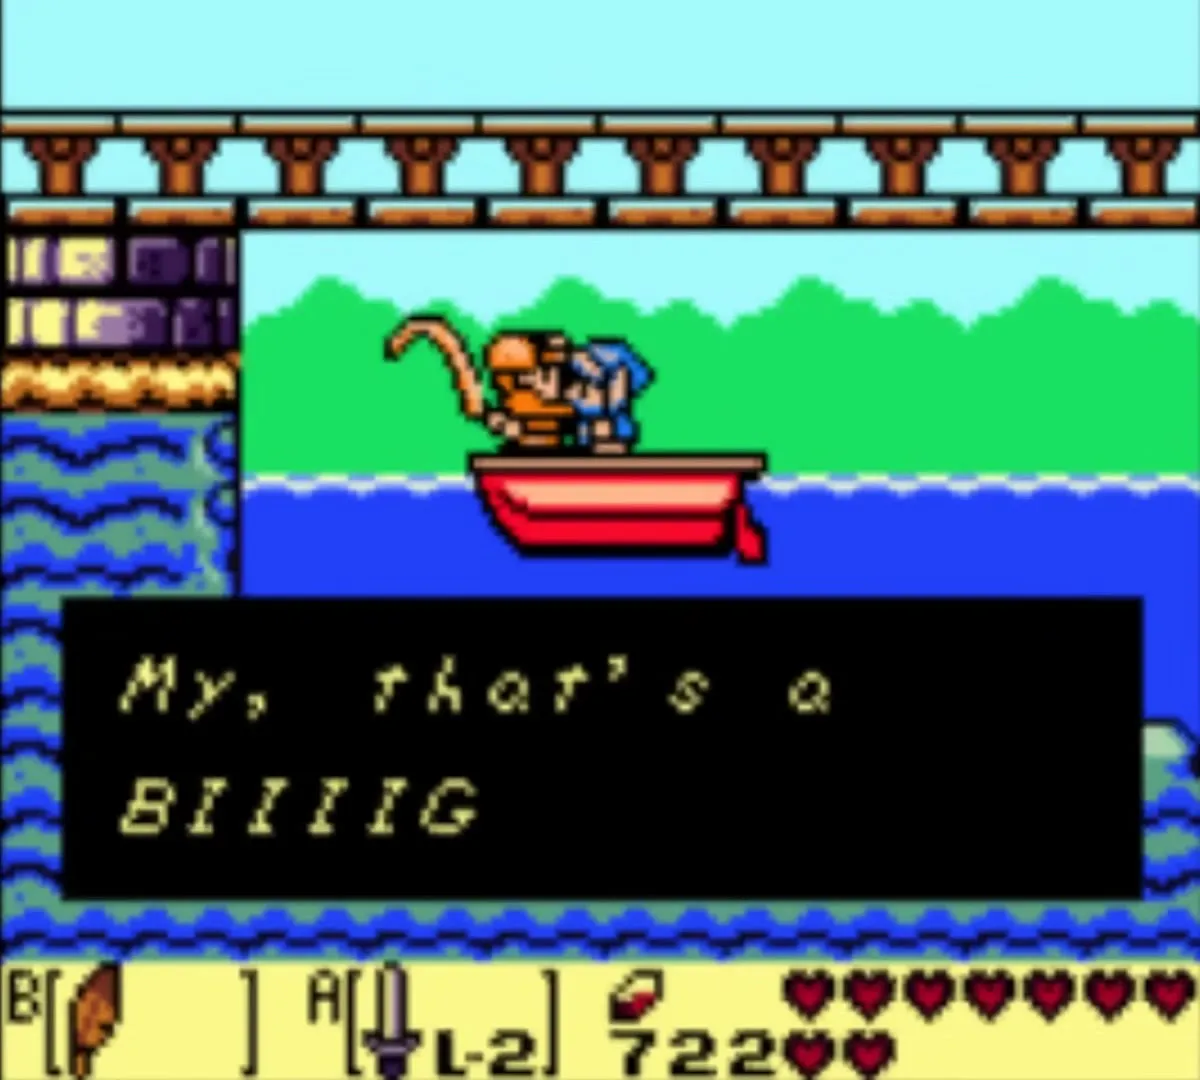
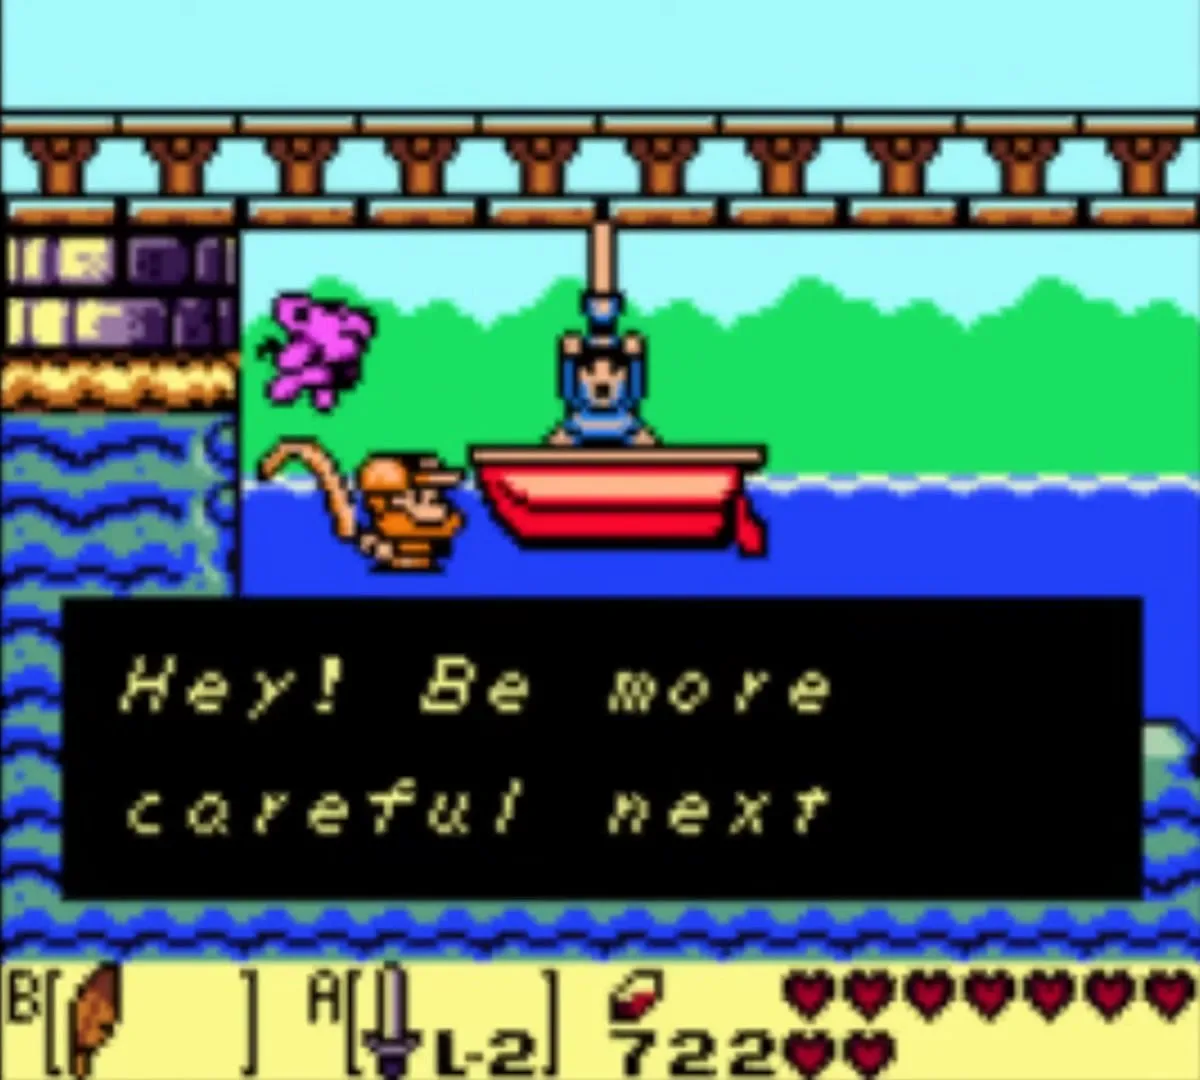
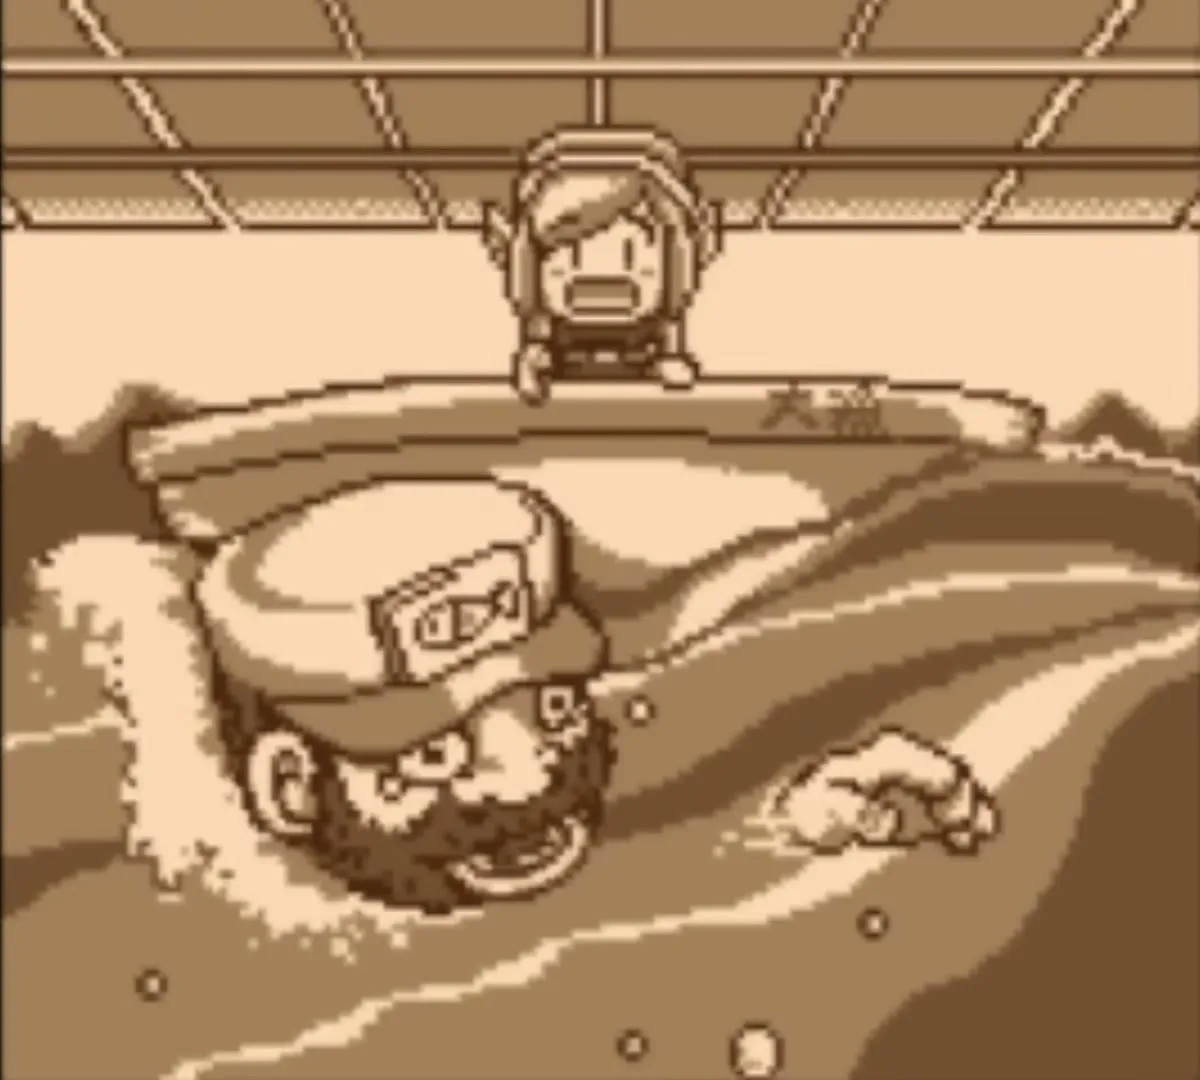
Swim to the southeast corner of Martha’s Bay, where a wooden bridge crosses the water. Dive right next to the bridge to reach a protected alcove, then use the Roc’s Feather to hop out of the water and talk to the fisherman in his boat. Hand him the Fishing Hook and he fishes out a Necklace.
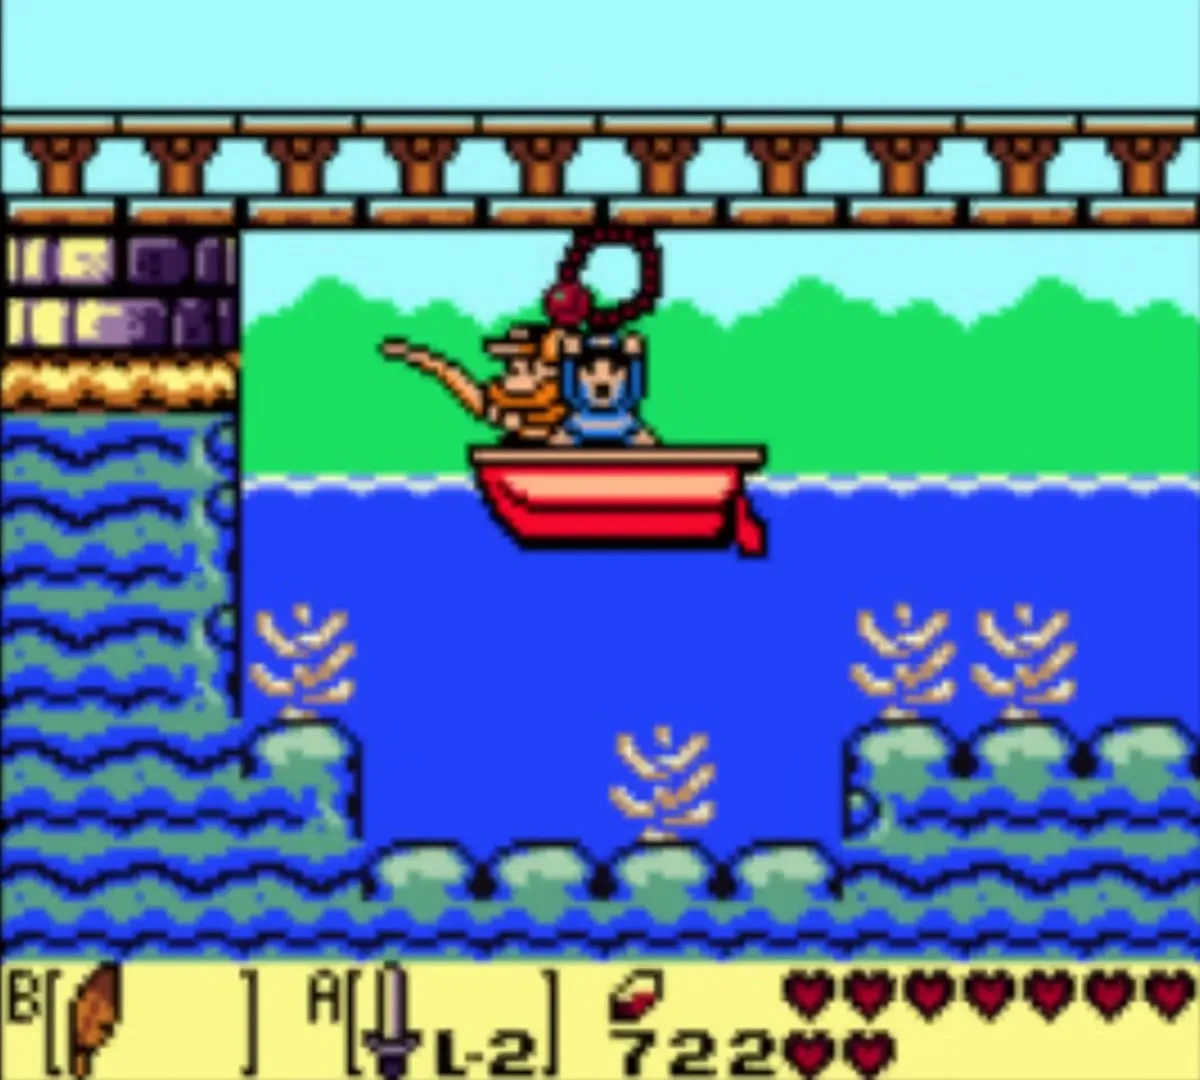
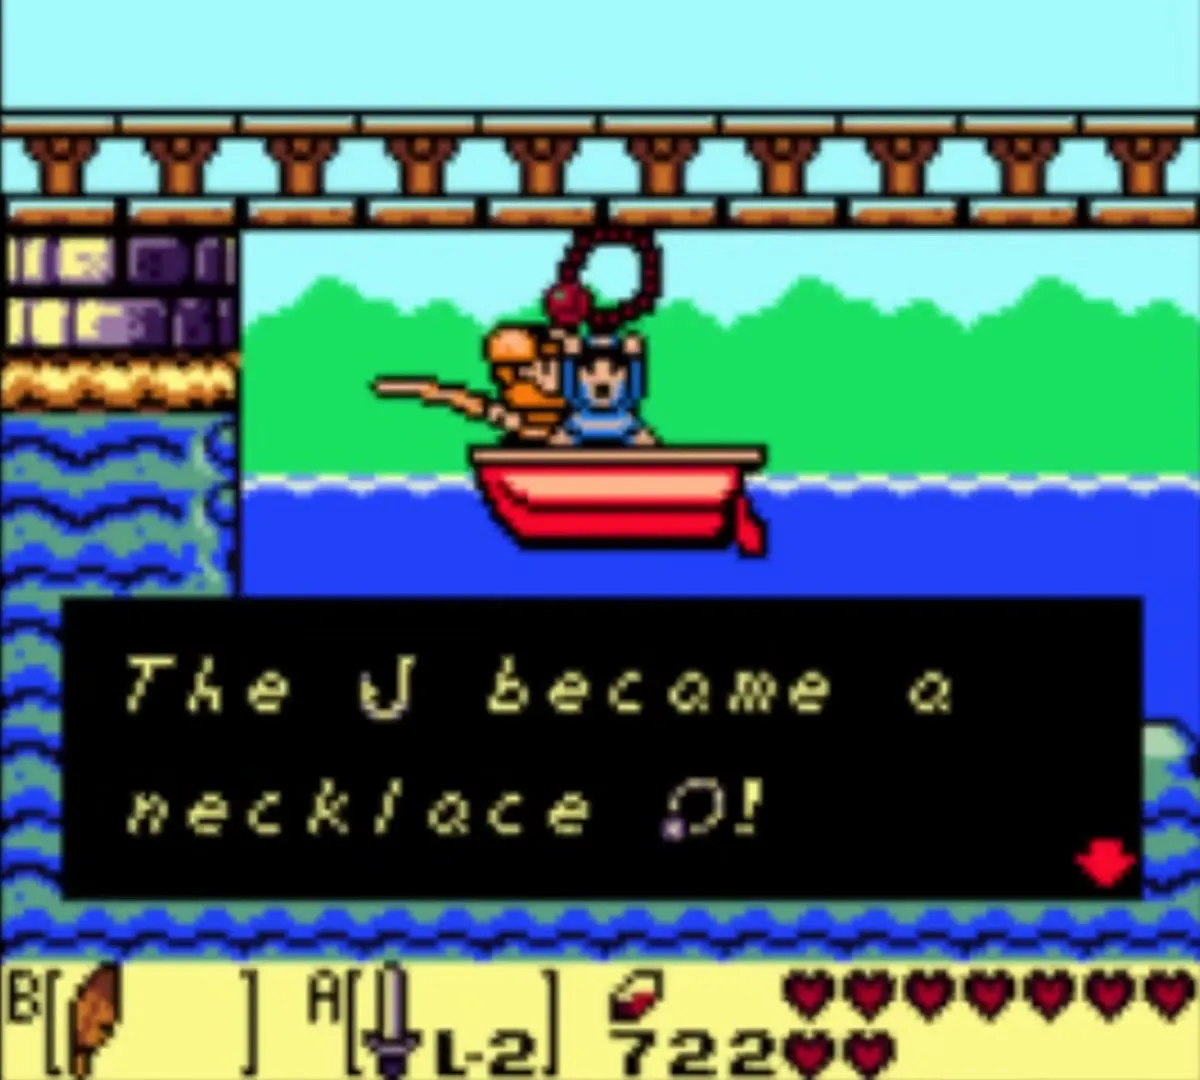
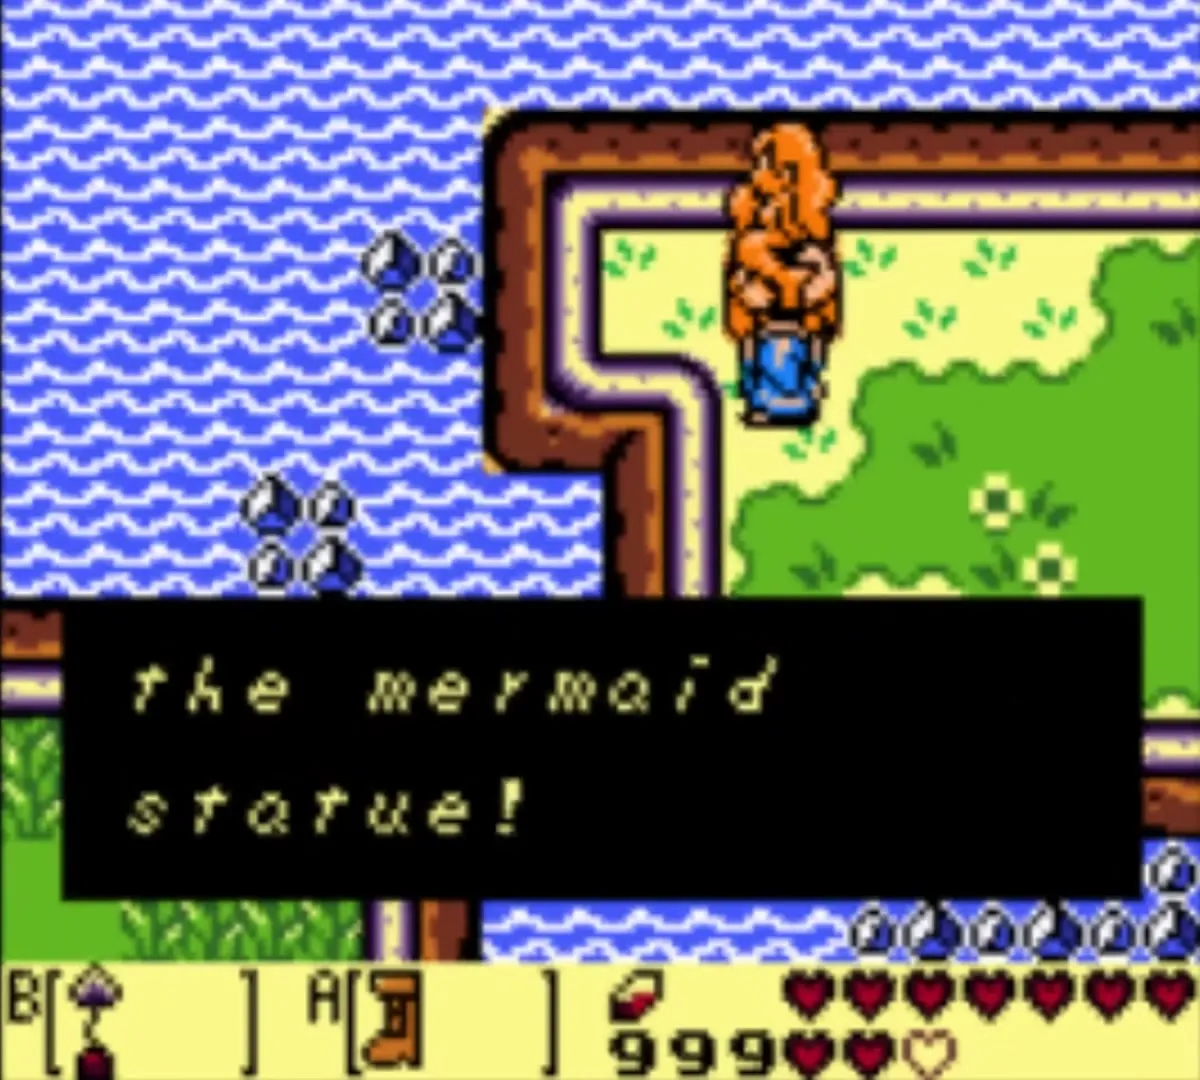
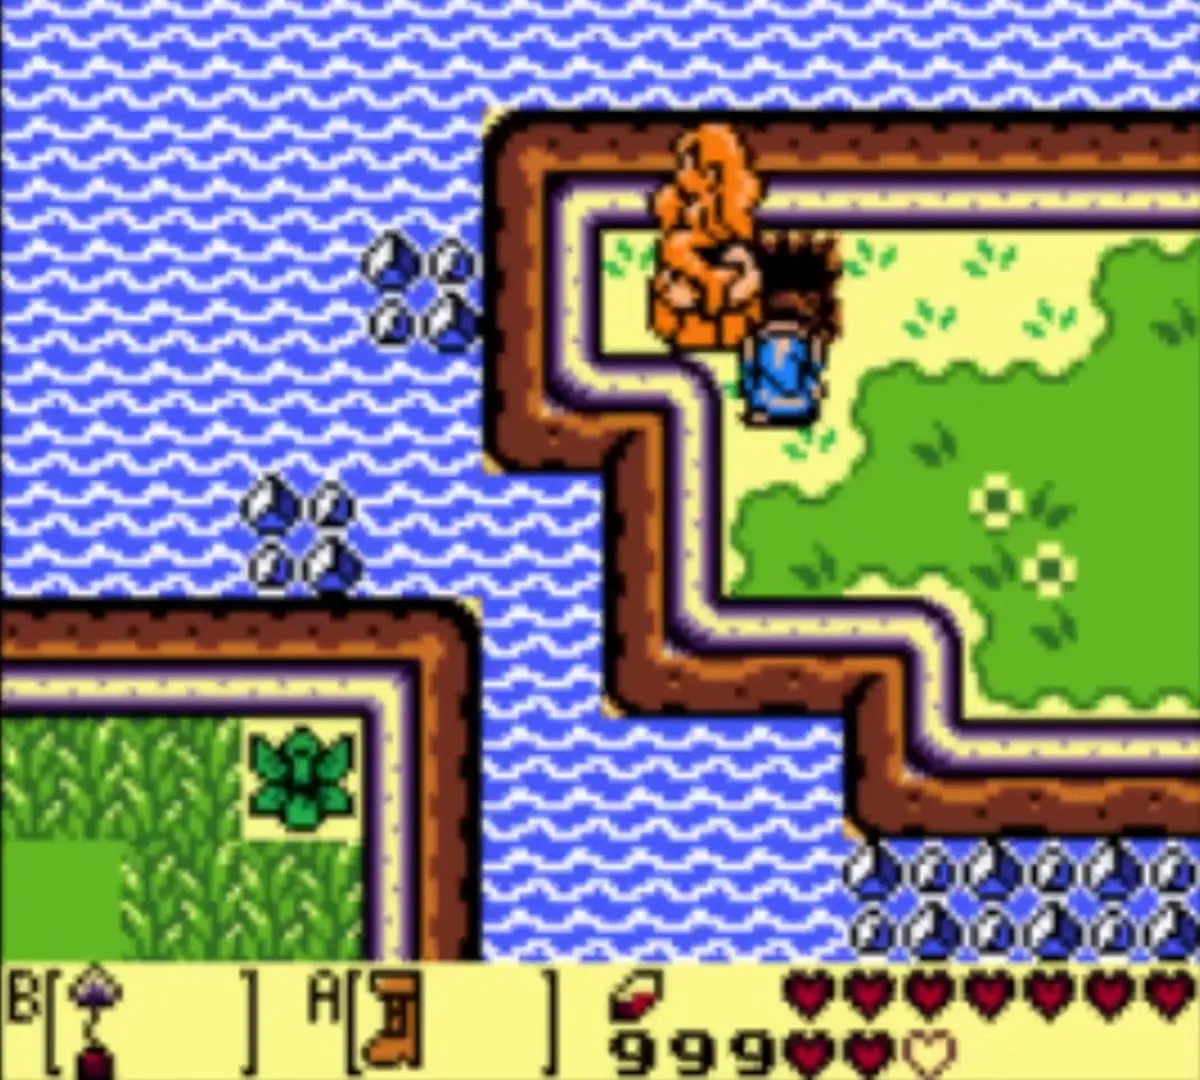
Swim to the Mermaid, who floats just north of the Catfish’s Maw entrance. She cries that the Necklace is hers, takes it, and rewards you with the Mermaid’s Scale. That is the thirteenth item of the trading sequence. You cannot trade the Scale yet: the Mermaid Statue is across the bay near Animal Village and you need the Hookshot to reach it. The next chapter picks it up.
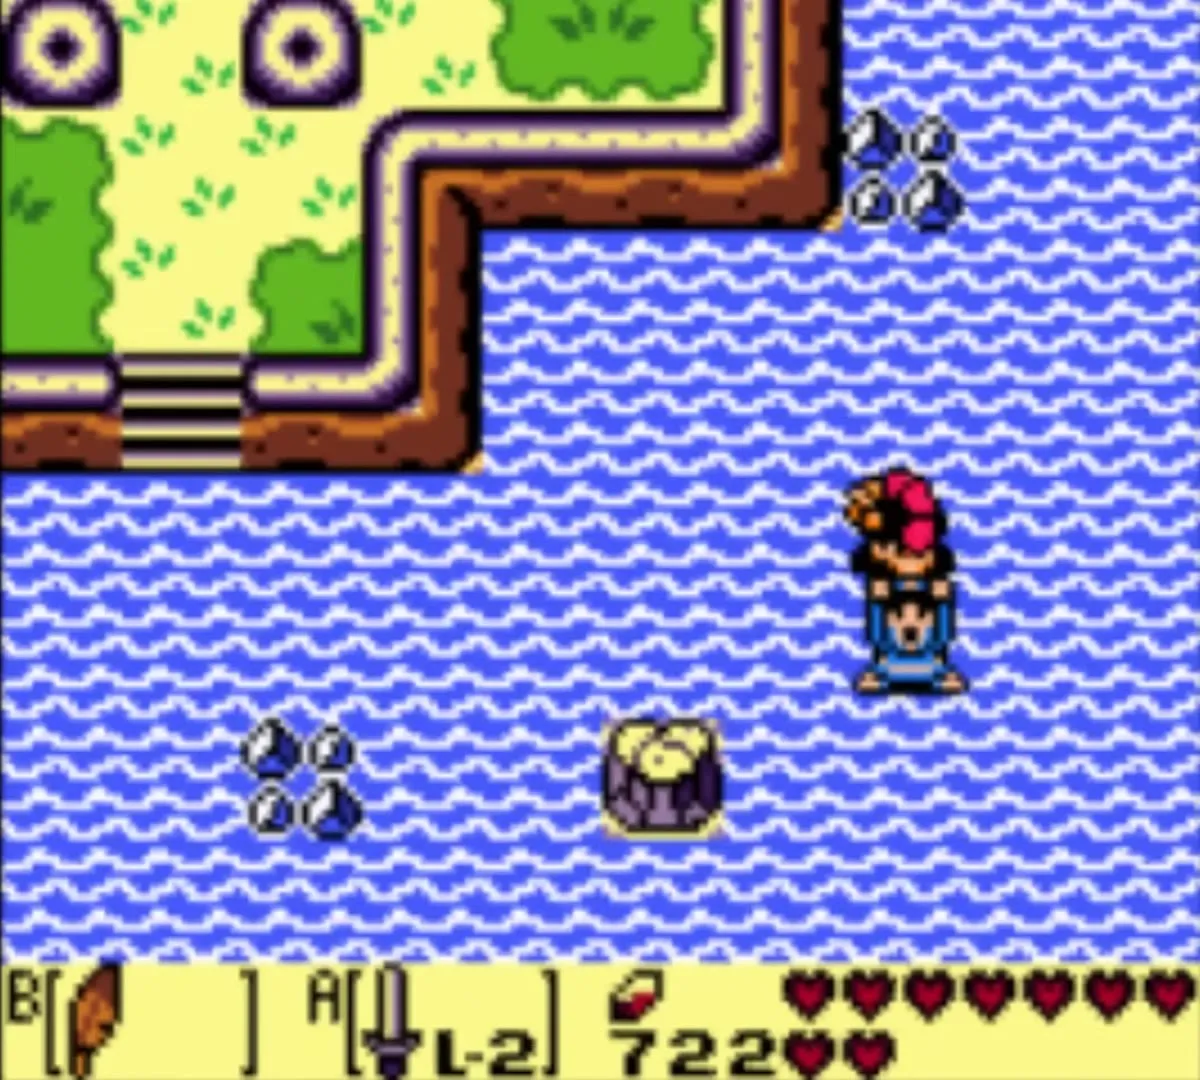
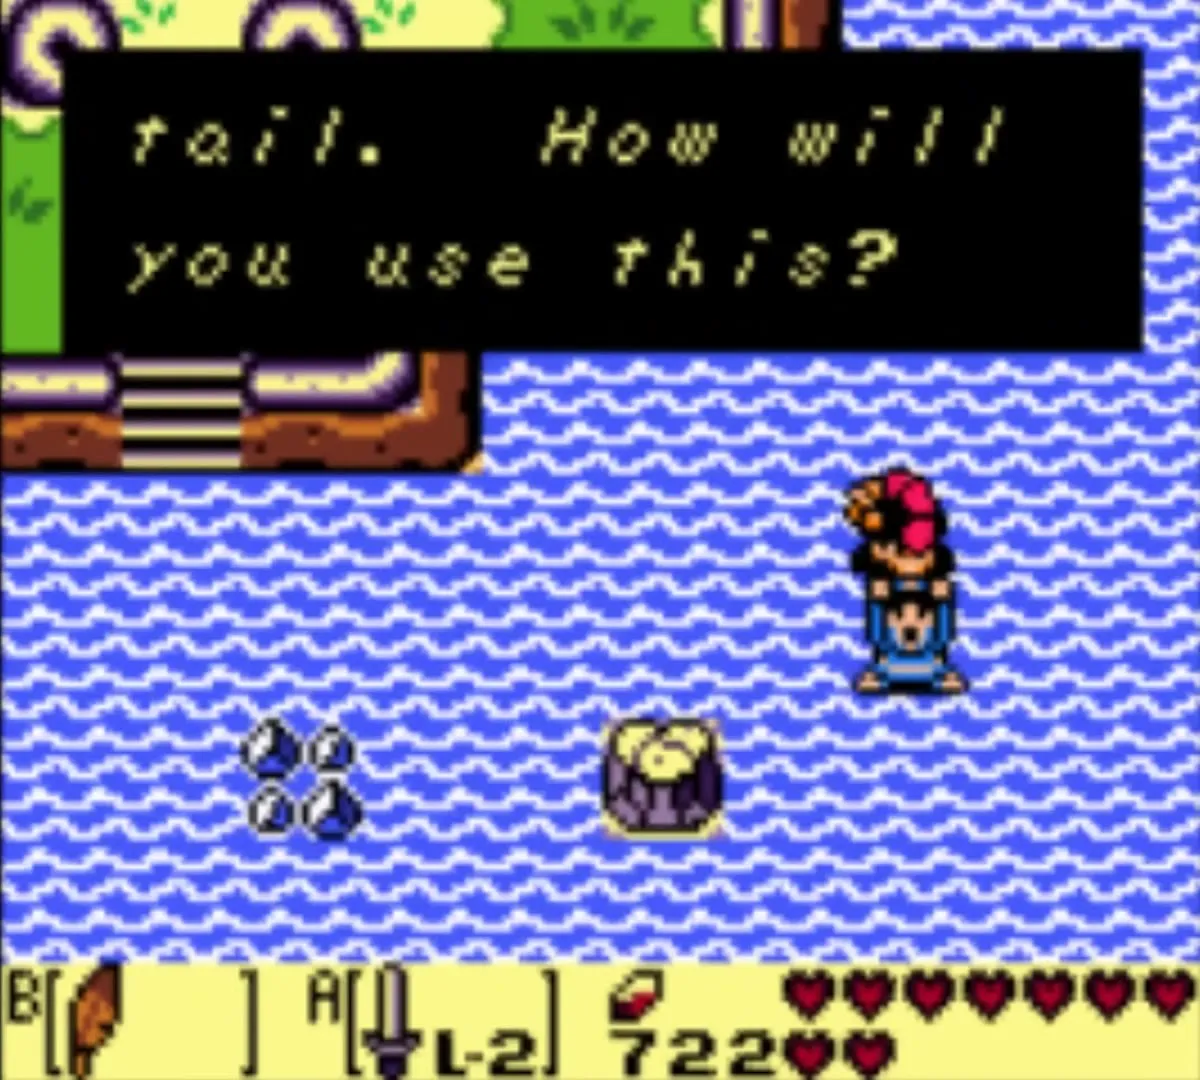
Once you own the Magnifying Lens from the next chapter, come back and talk to the fisherman again. He casts his line, pulls up the photographer mouse, and tips over into the water as the shutter clicks. This is photo 8, “Can’t Swim?”. It needs the first photo from the Camera Shop as well as the Lens. The alcove is only reachable by diving, so it is easy to miss.
Catfish’s Maw walkthrough (Level 5)
How to enter Catfish’s Maw
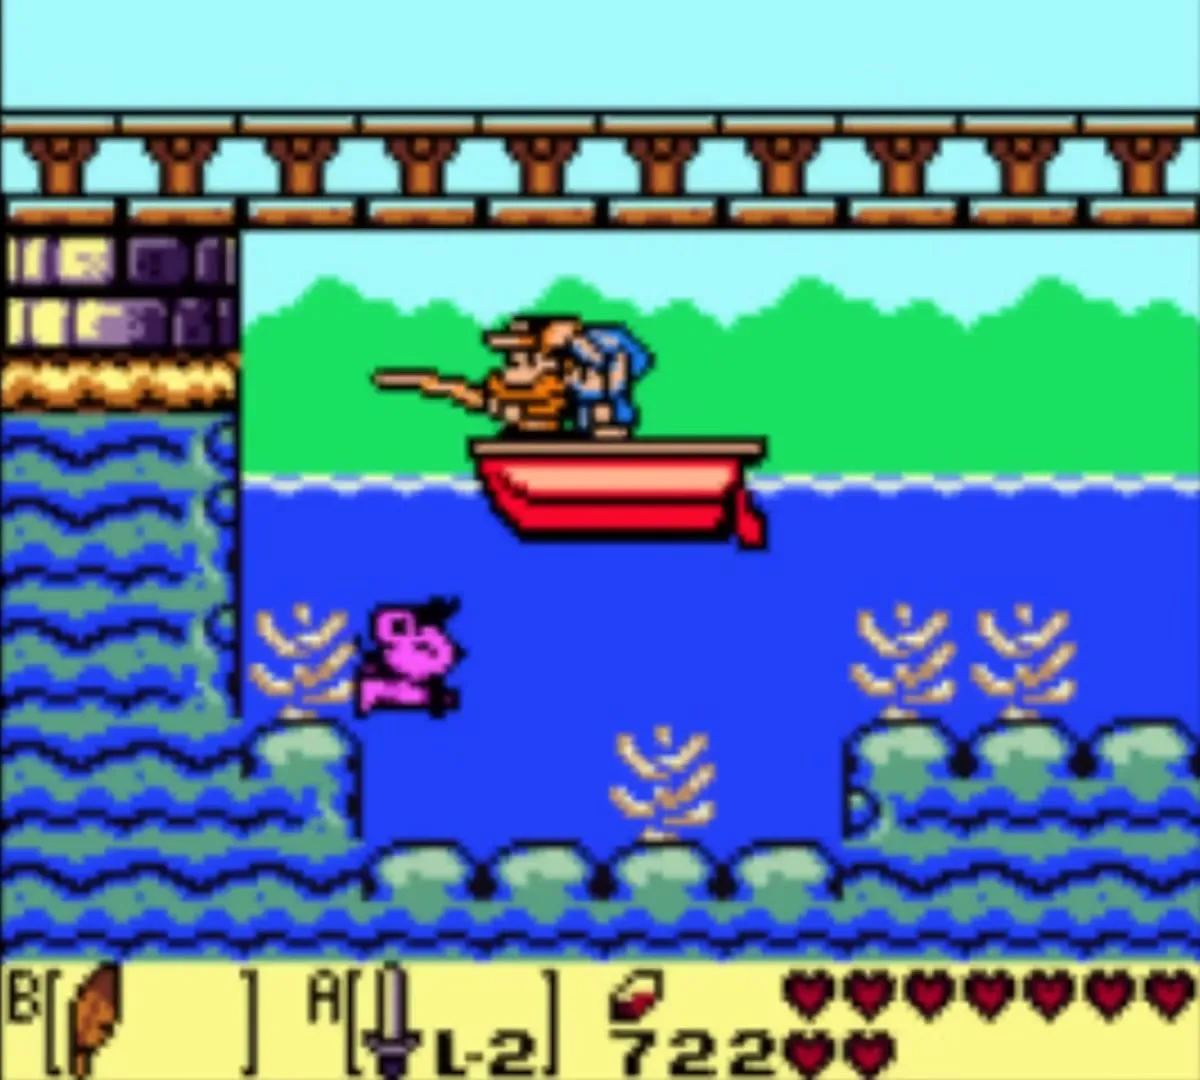
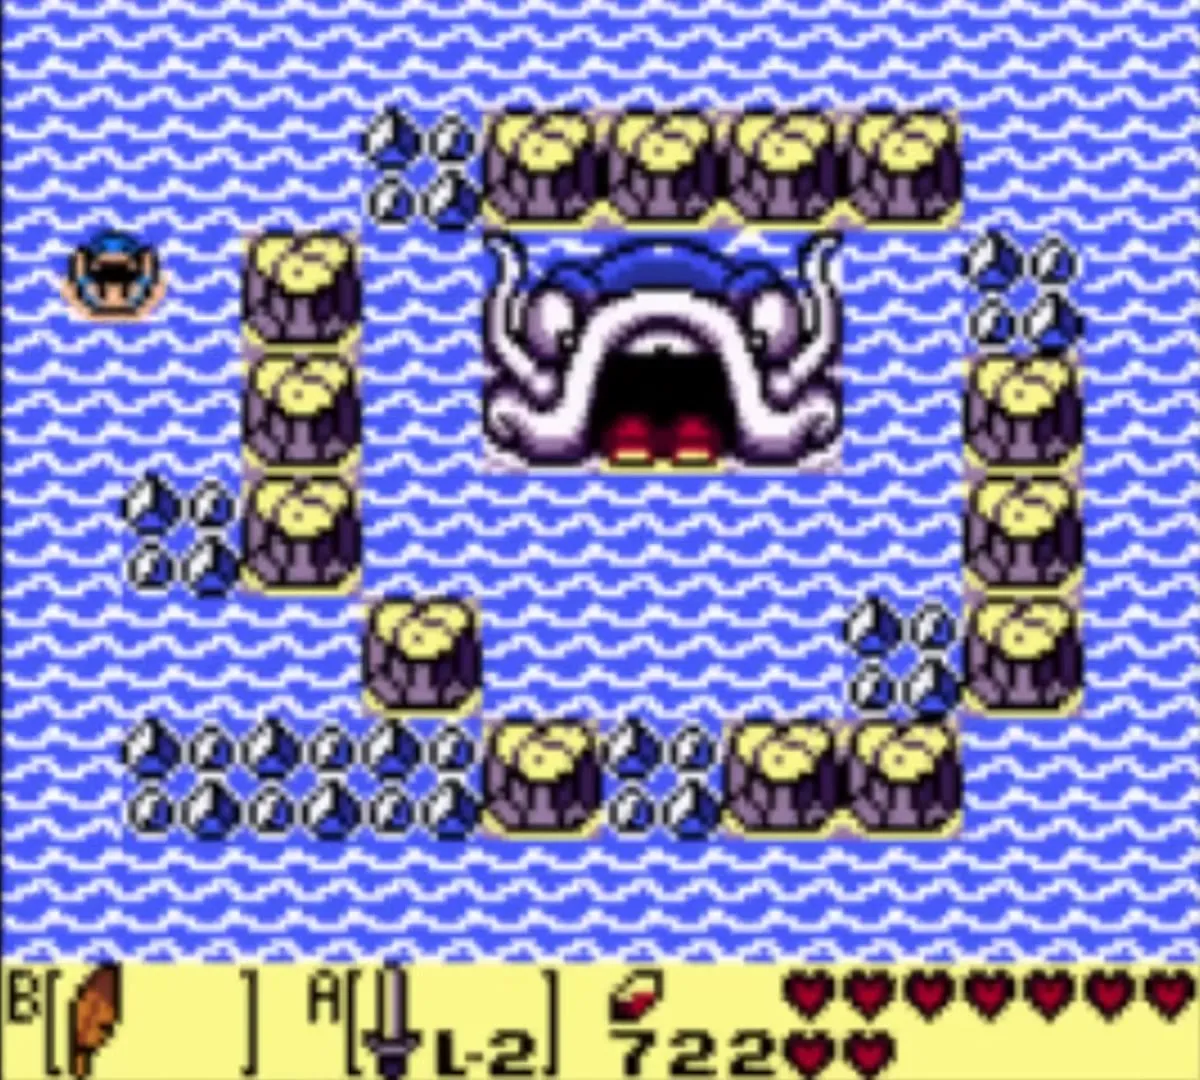
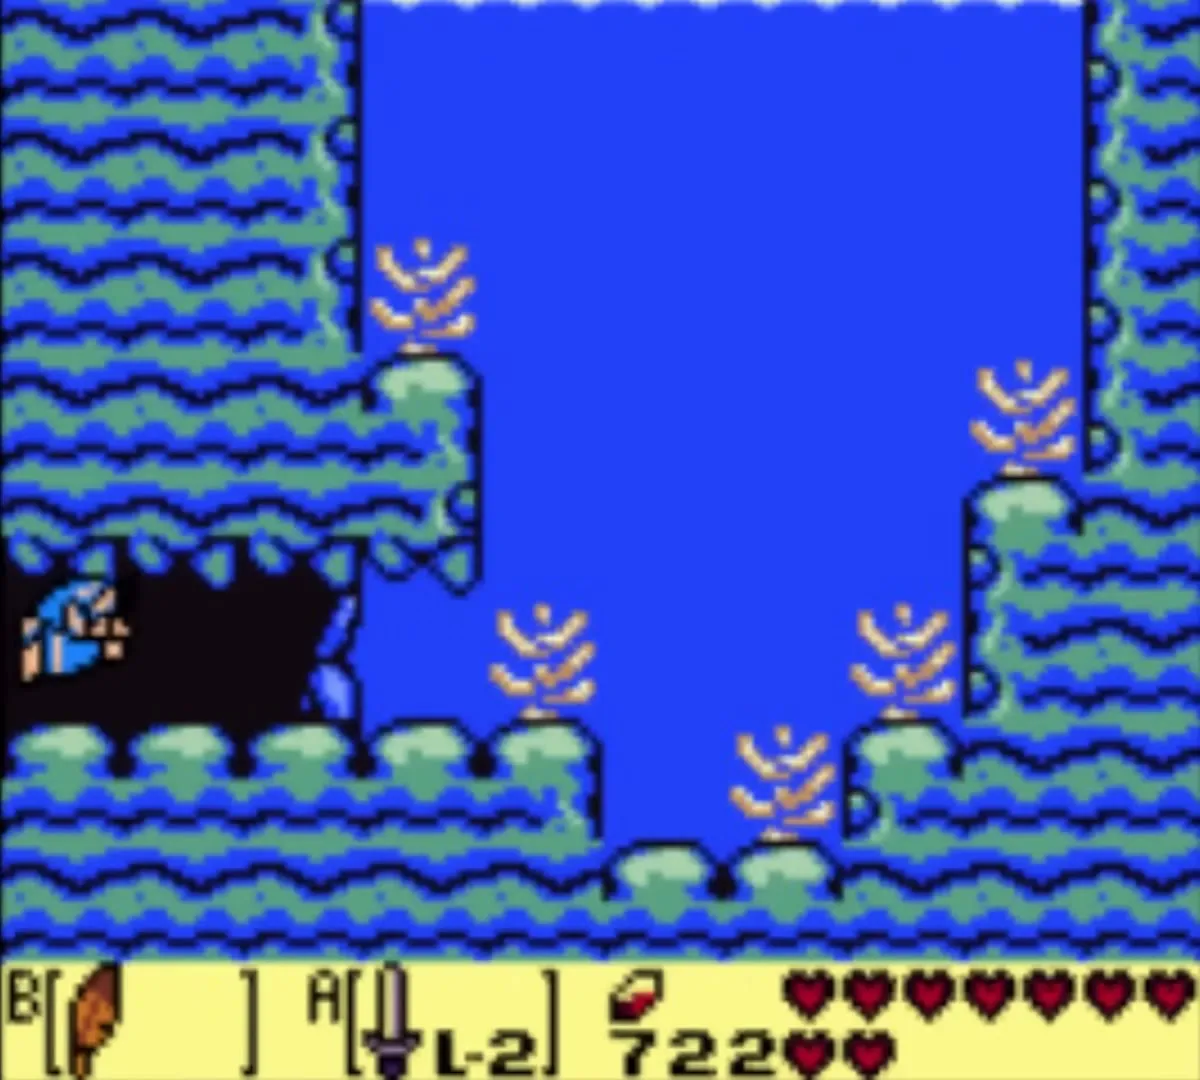
Catfish’s Maw lies in Martha’s Bay inside a ring of tree stumps with a giant fish head in the middle. At the lower left of the ring, bubbles rise to the surface. Swim over them and press B to dive into a short side-scrolling swim. Follow it to the end, surface, and walk into the dungeon. The Level 5 title card appears.
Catfish’s Maw Compass
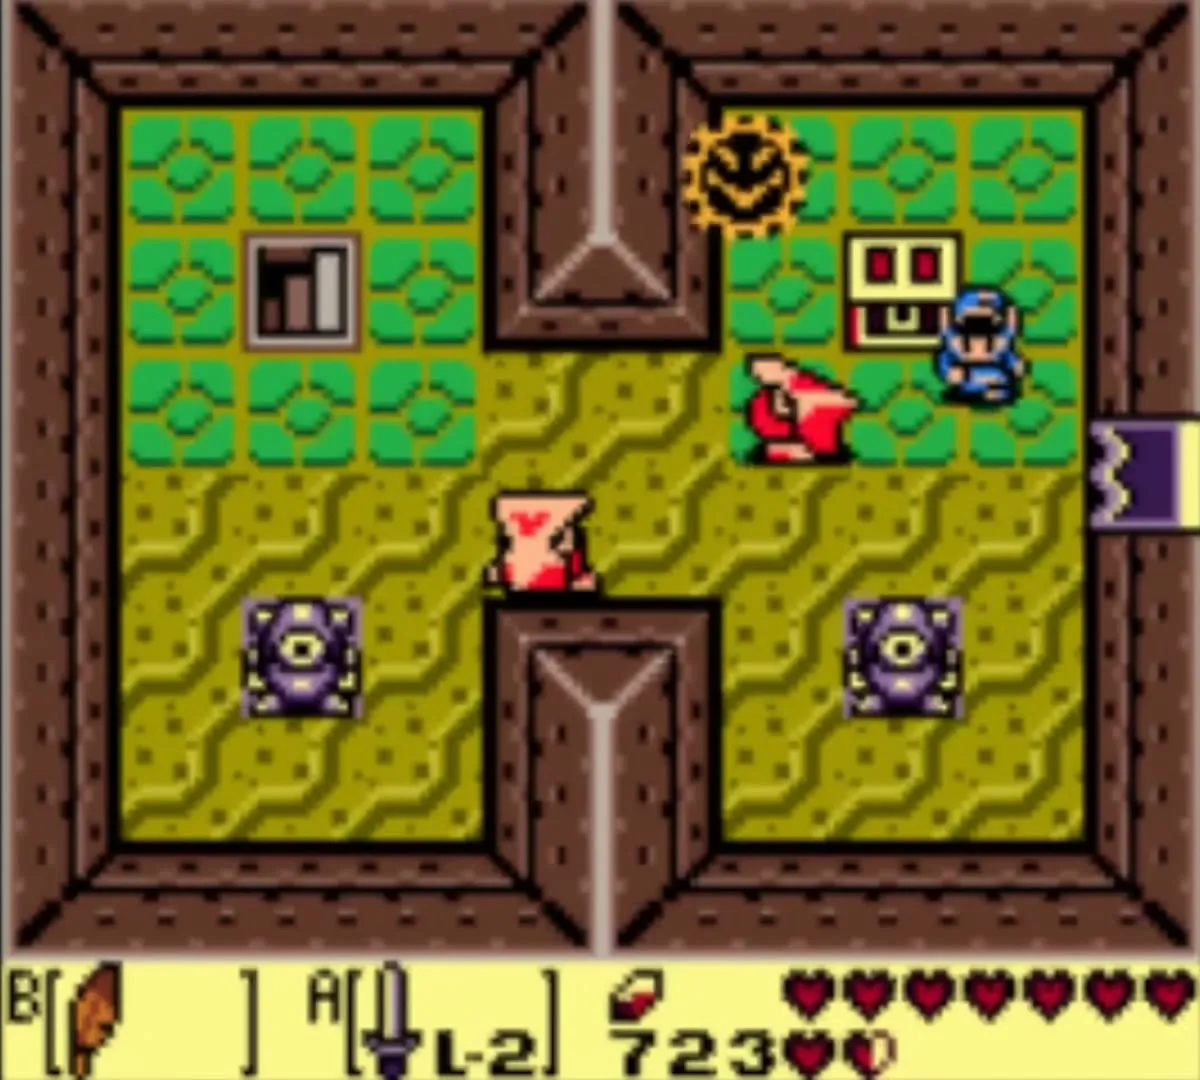
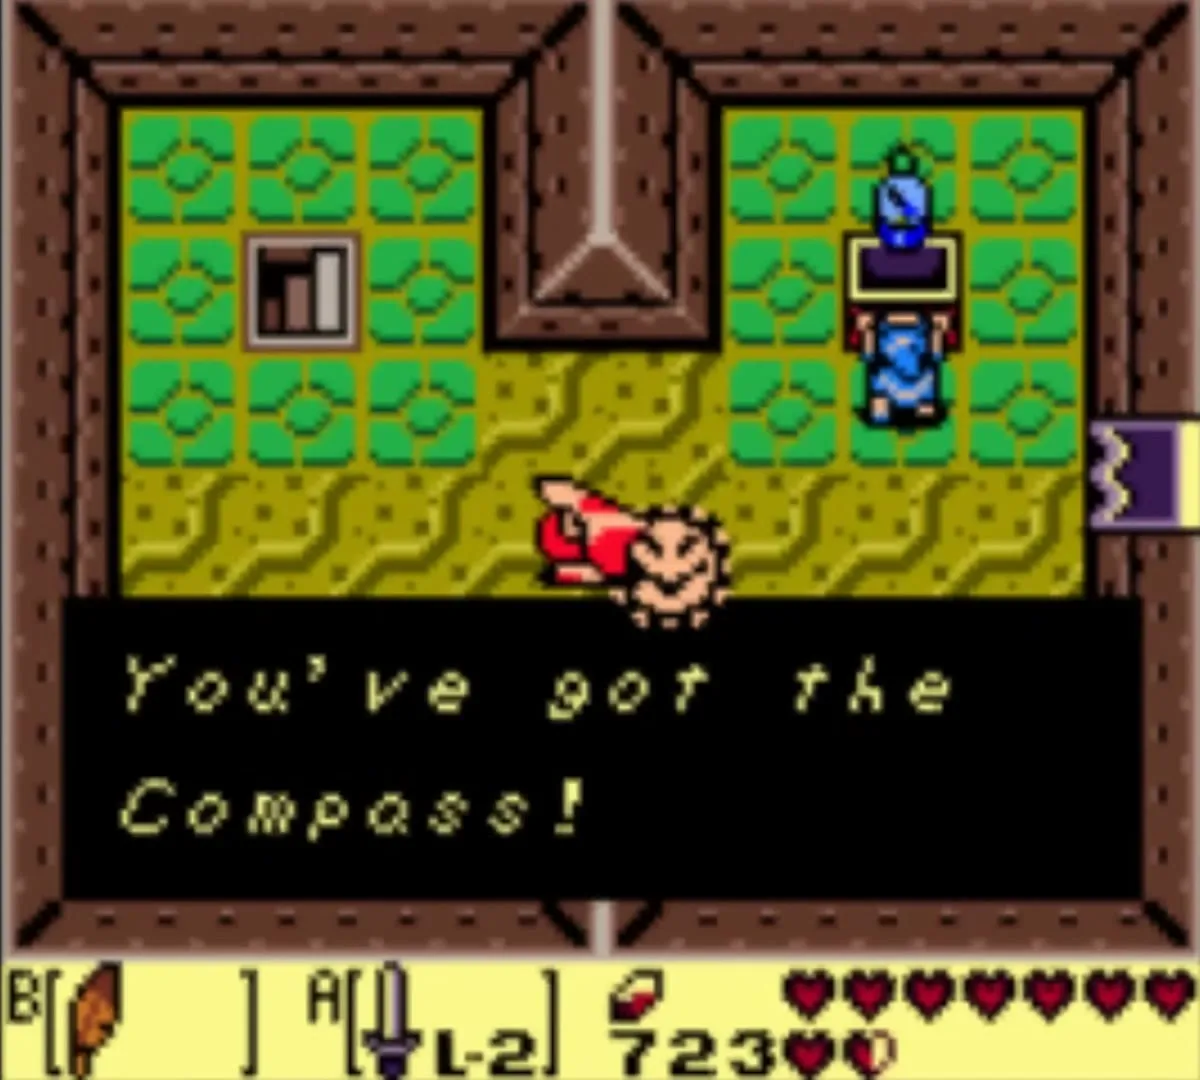
Go west from the entrance room to the room with statues. Four Keese cling to the statues: kill them to open the door. In the next room a Helmasaur patrols the floor and can only be hurt from behind. Beat it, go west through the door that opens, and open the chest for the Compass. It shows where the chests are on your map.

First Small Key
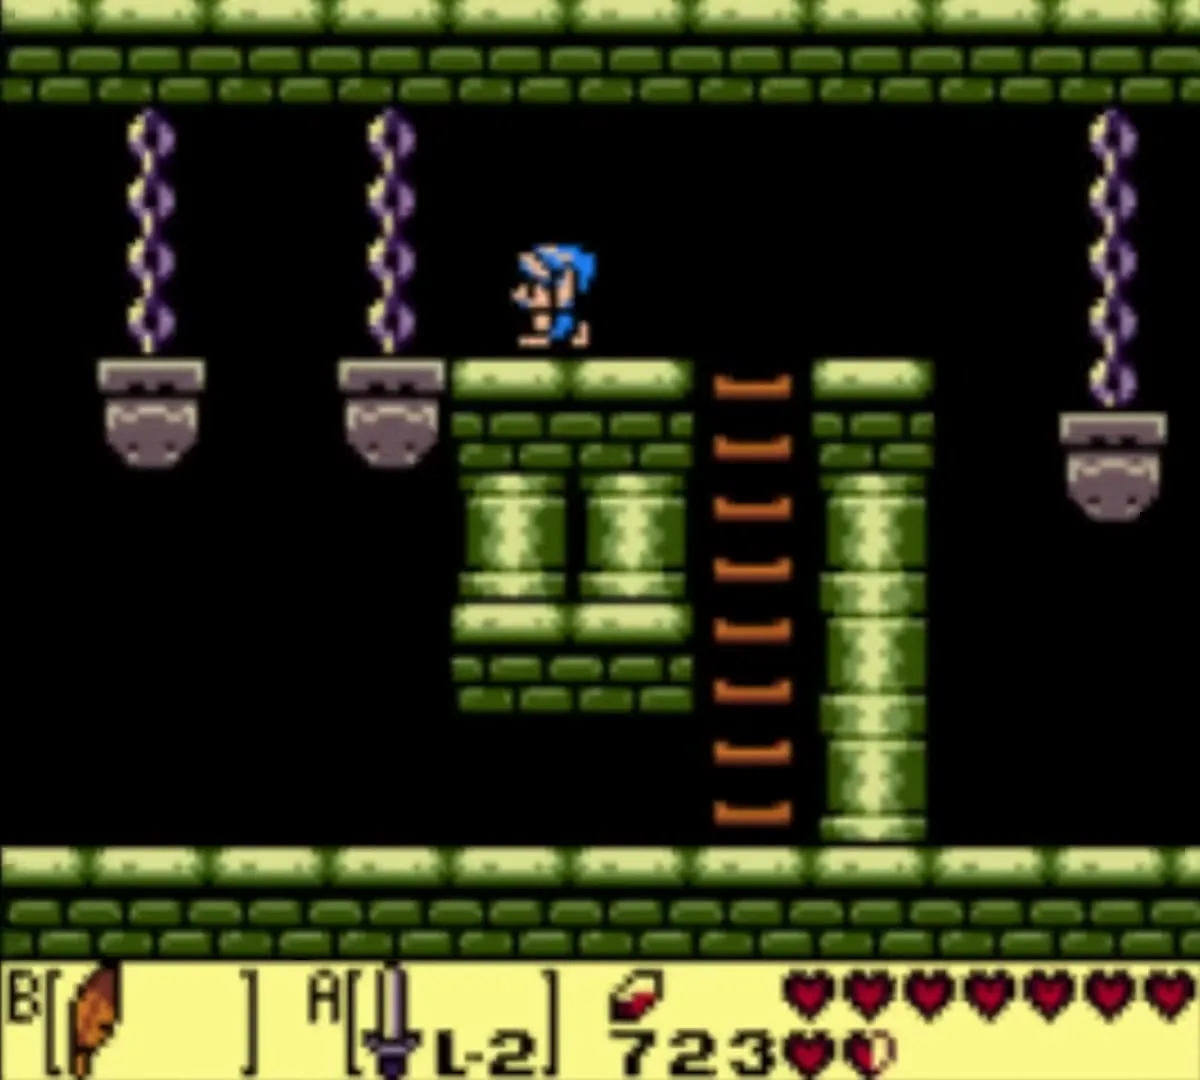
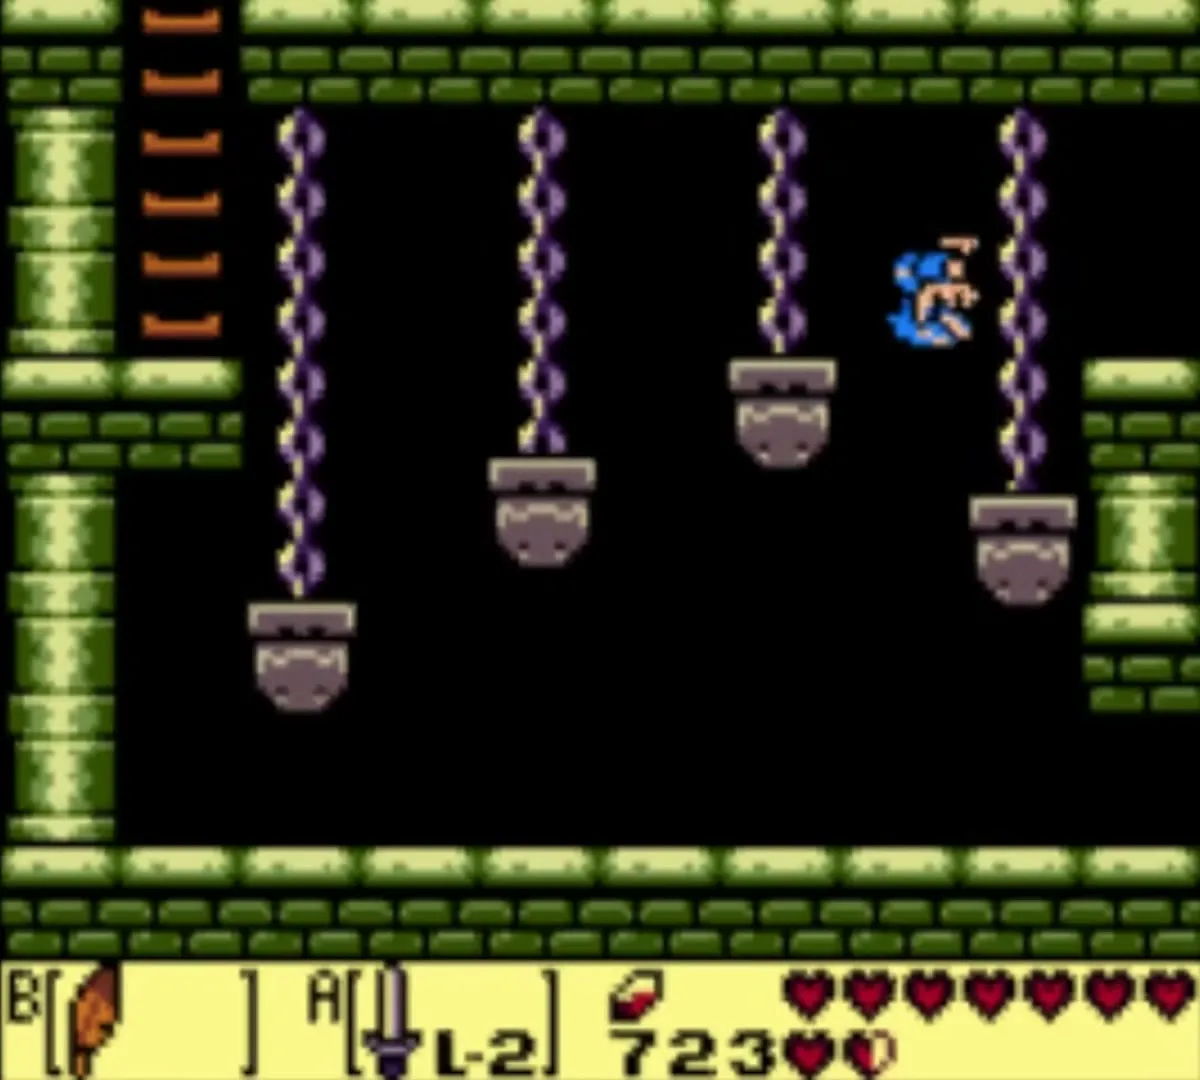
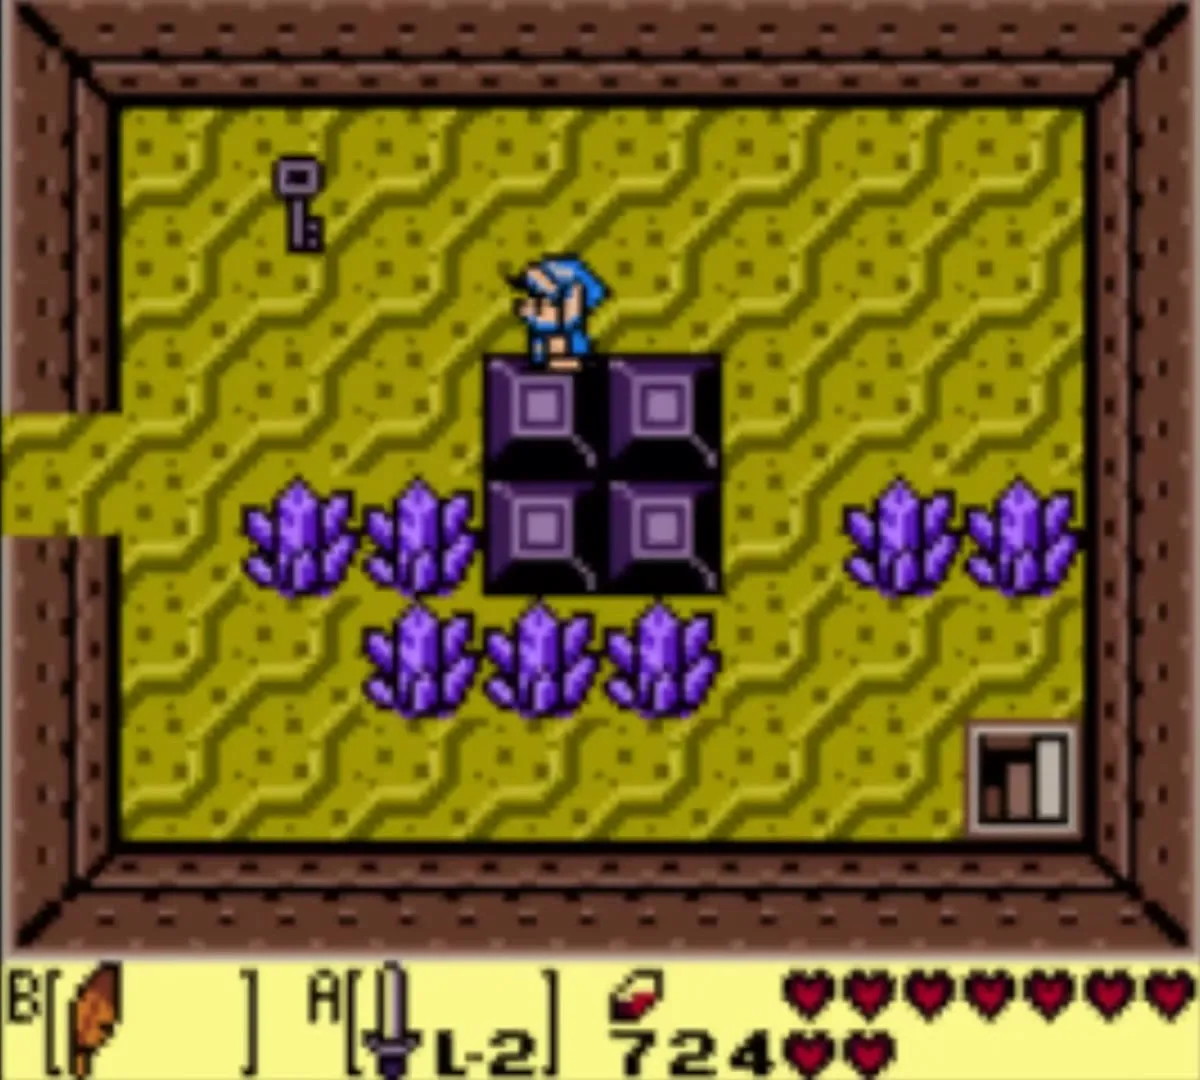
Take the stairs down from the Compass room into a side-view room of swinging chain platforms. Jump from platform to platform with the Roc’s Feather, waiting for each one to line up. If you fall, go back up and try again. Climb the ladder at the far left to reach a room of purple crystals.
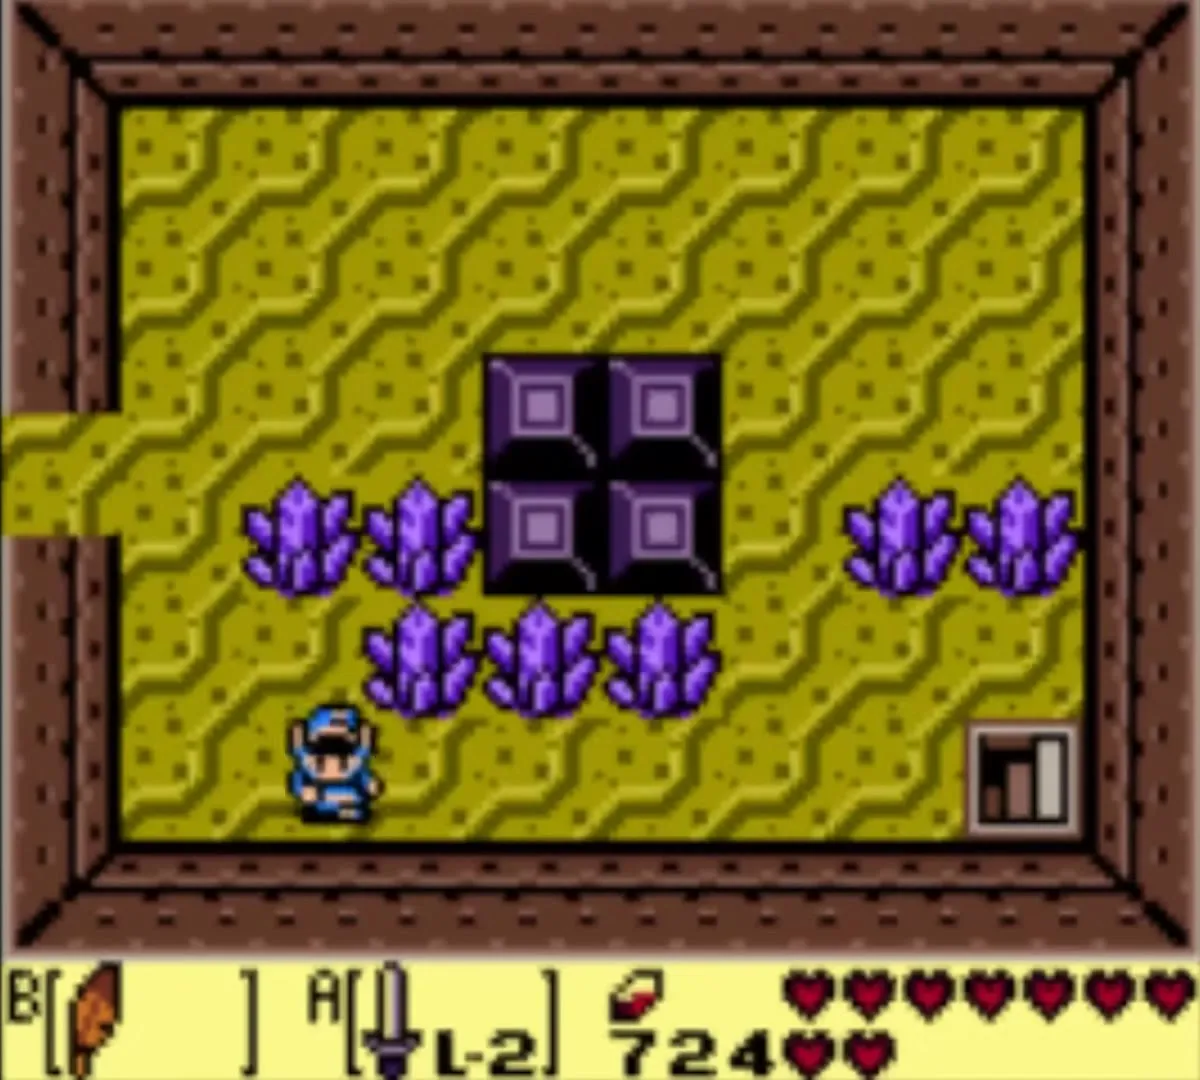
Kill the Stalfos, smash the crystals with your sword, and push the blocks together into a two-by-two square. A Small Key drops from the ceiling. Take it and head back up.

Stone Beak
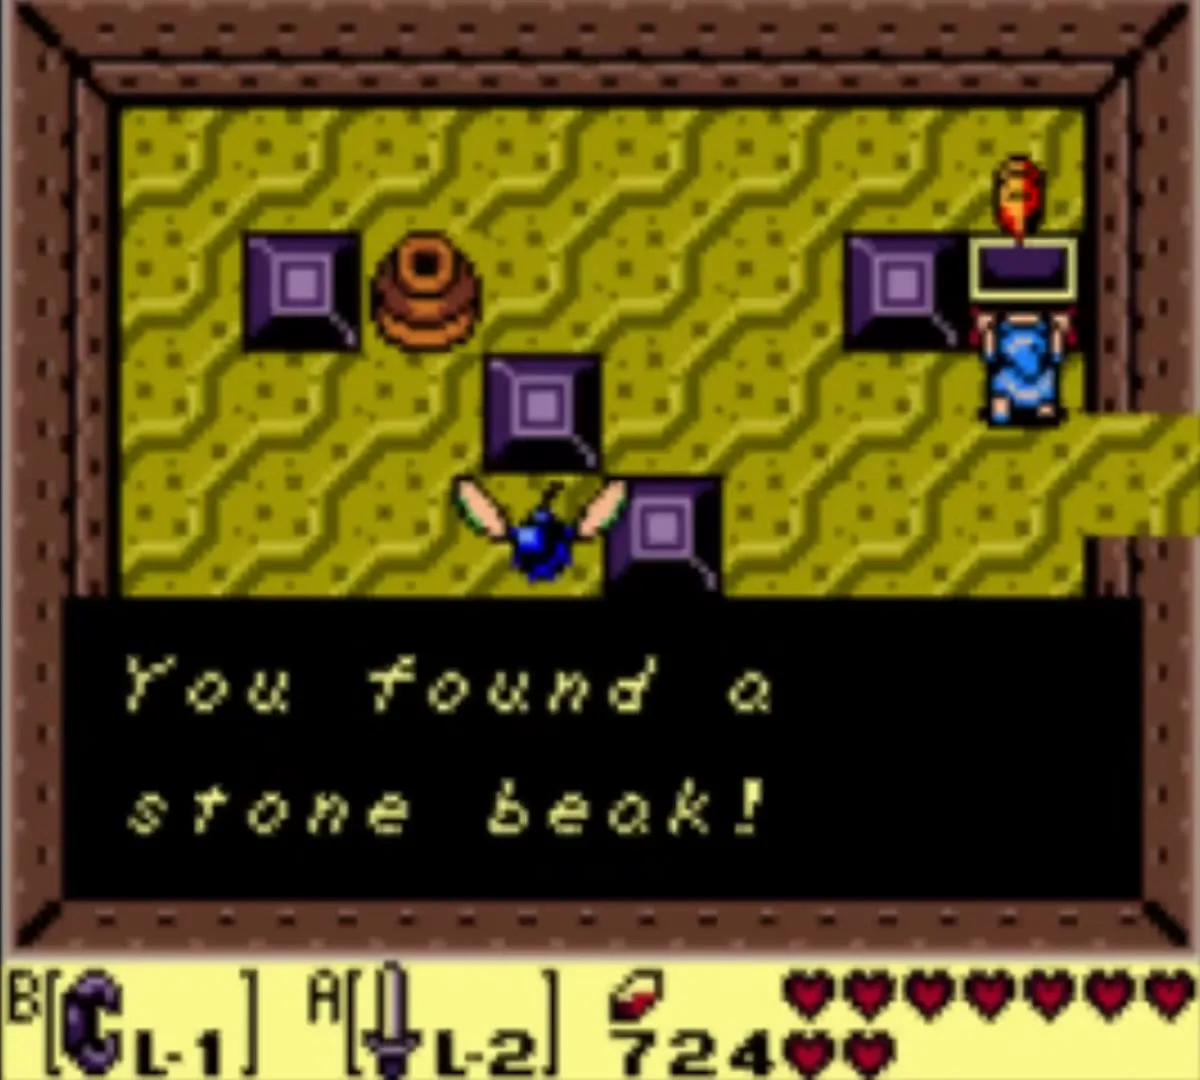
Use the key on the locked door in the statue room and go west. Defeat the enemies in the next room to open its doors, go through, and clear the room beyond, where floating bombs and a Helmasaur guard a chest. When they are gone, the chest appears. Open it for the Stone Beak, which lets the dungeon’s owl statues give hints.
Master Stalfos mini-boss (four fights)
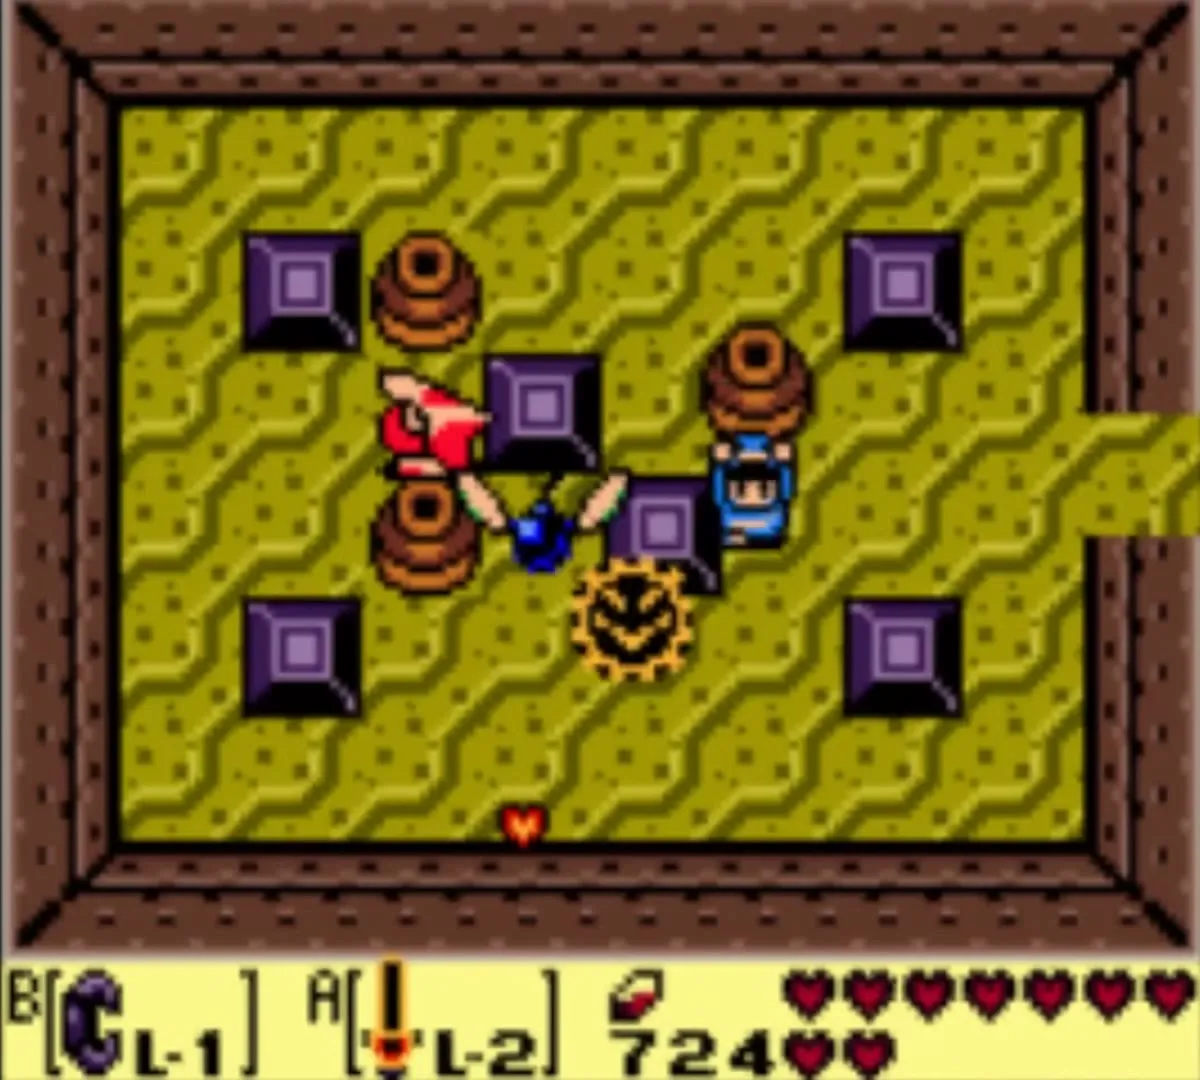
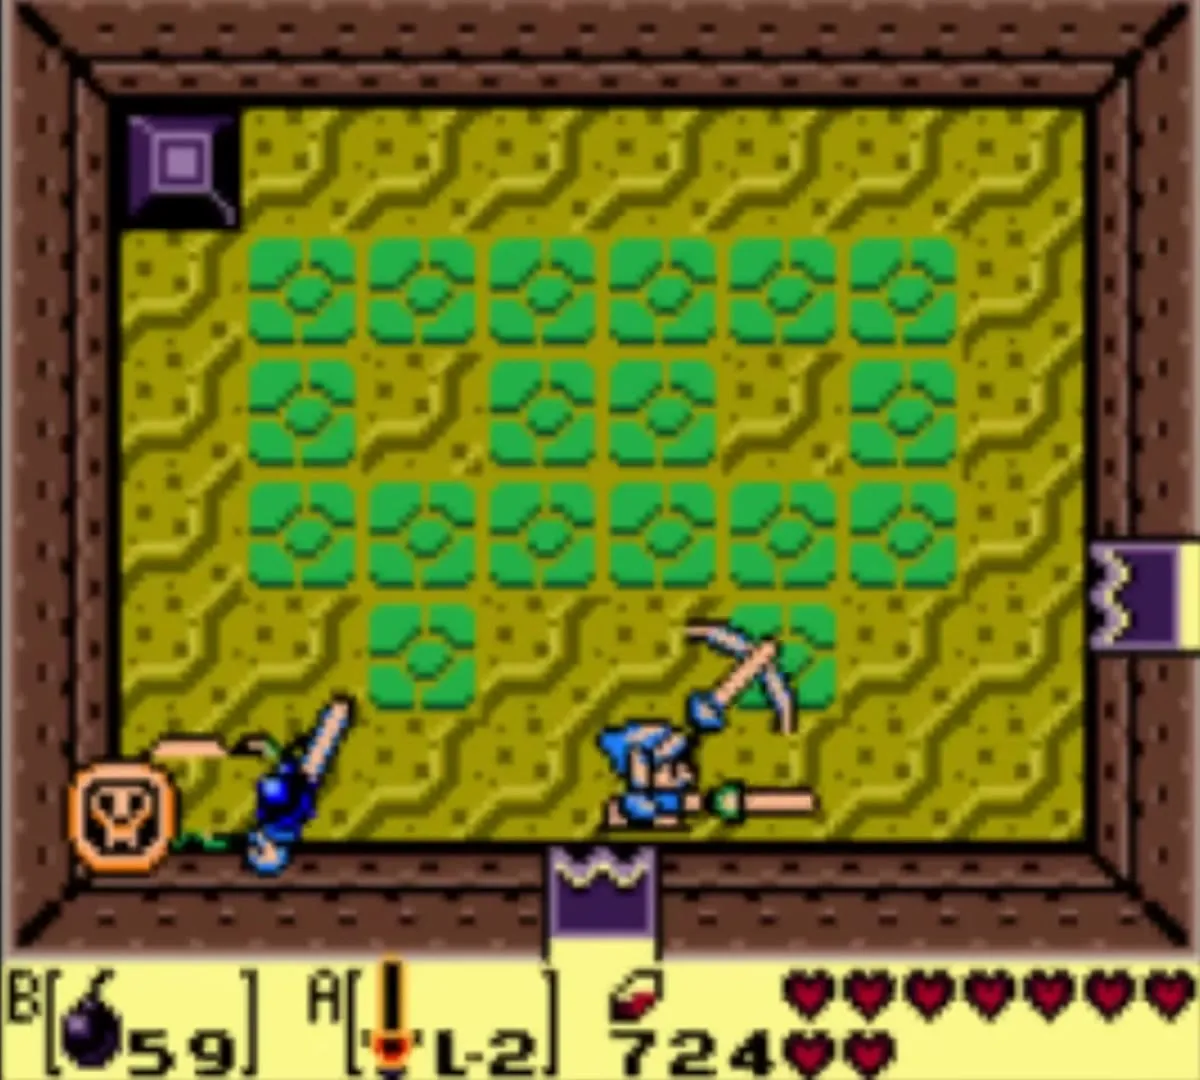
Go east through two crystal rooms and north to a room with an owl statue. Kill all the Stalfos to open the north door, and Master Stalfos waits in a tiled room beyond. Hit him between his sword swings until he collapses, then drop a bomb on the heap. Bring plenty of bombs, because the fight repeats. Pots in the nearby rooms hold more.
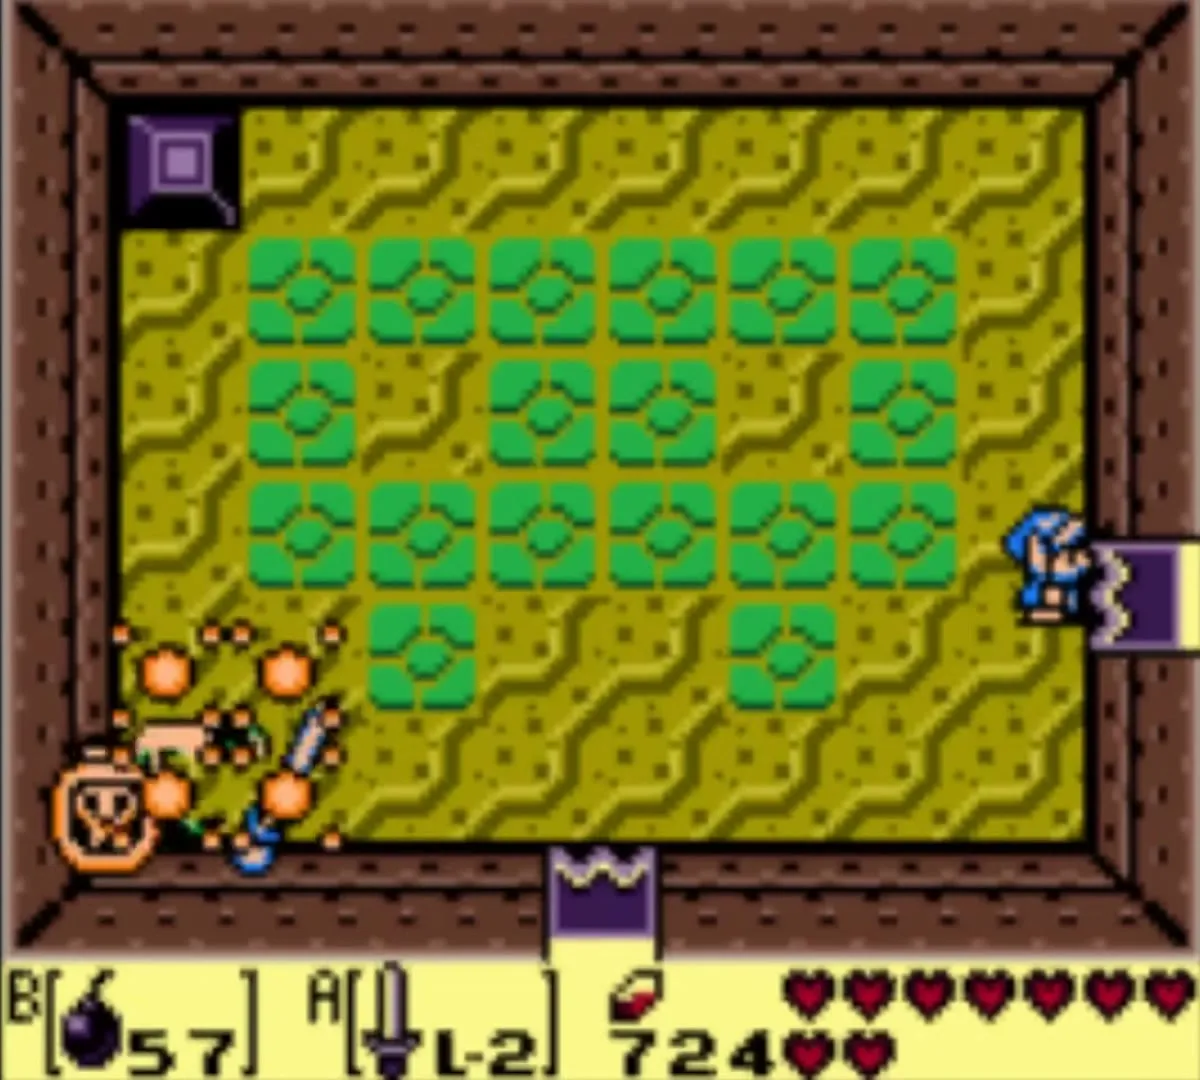
He escapes after the first defeat. A chest in the next room is empty, and a note says he took what was inside and challenges you to get it back. That treasure is the Hookshot, so you have to chase him.
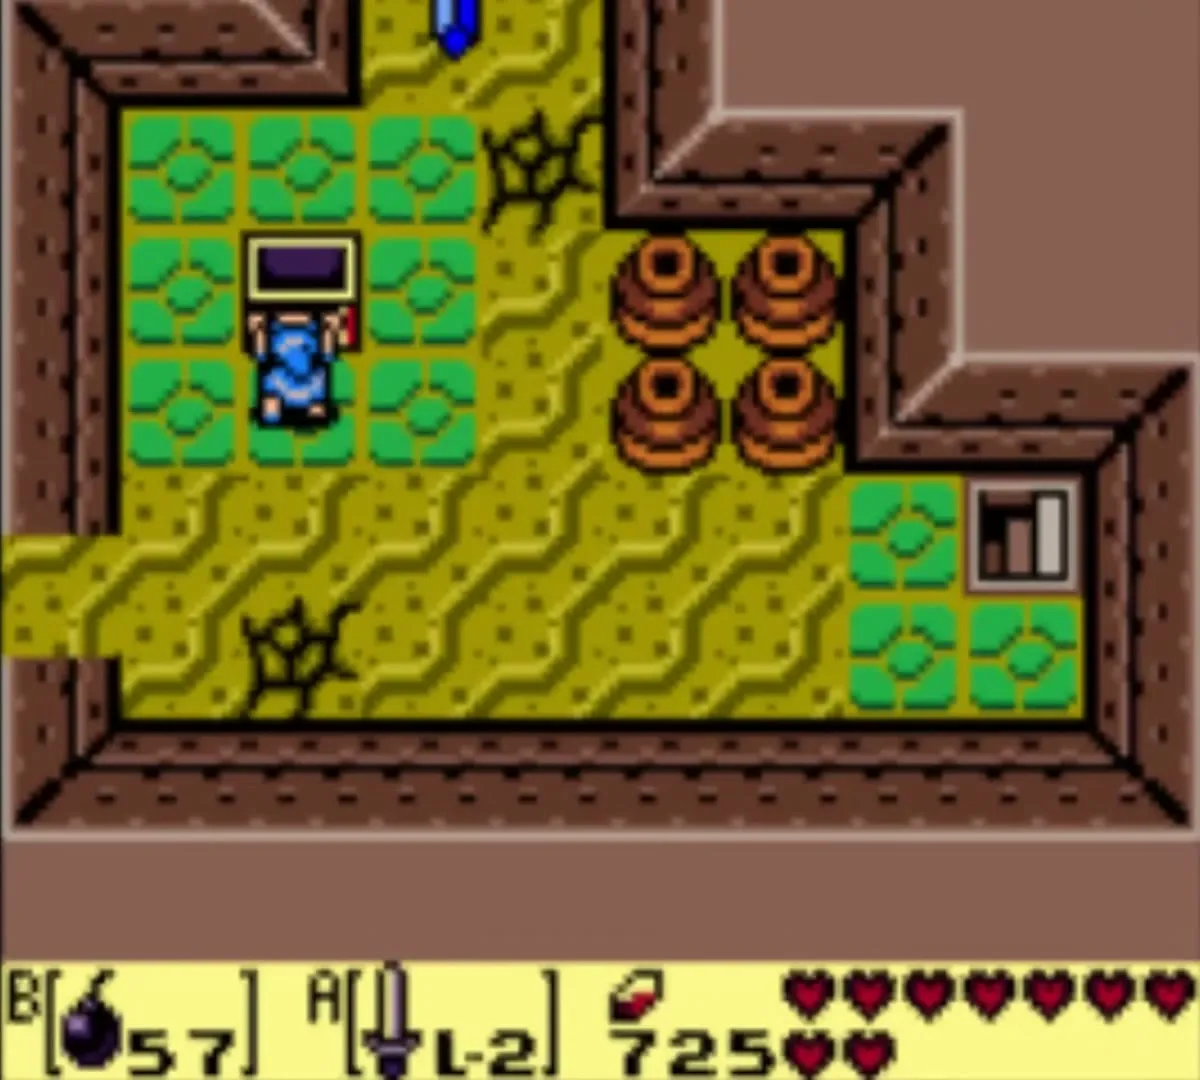
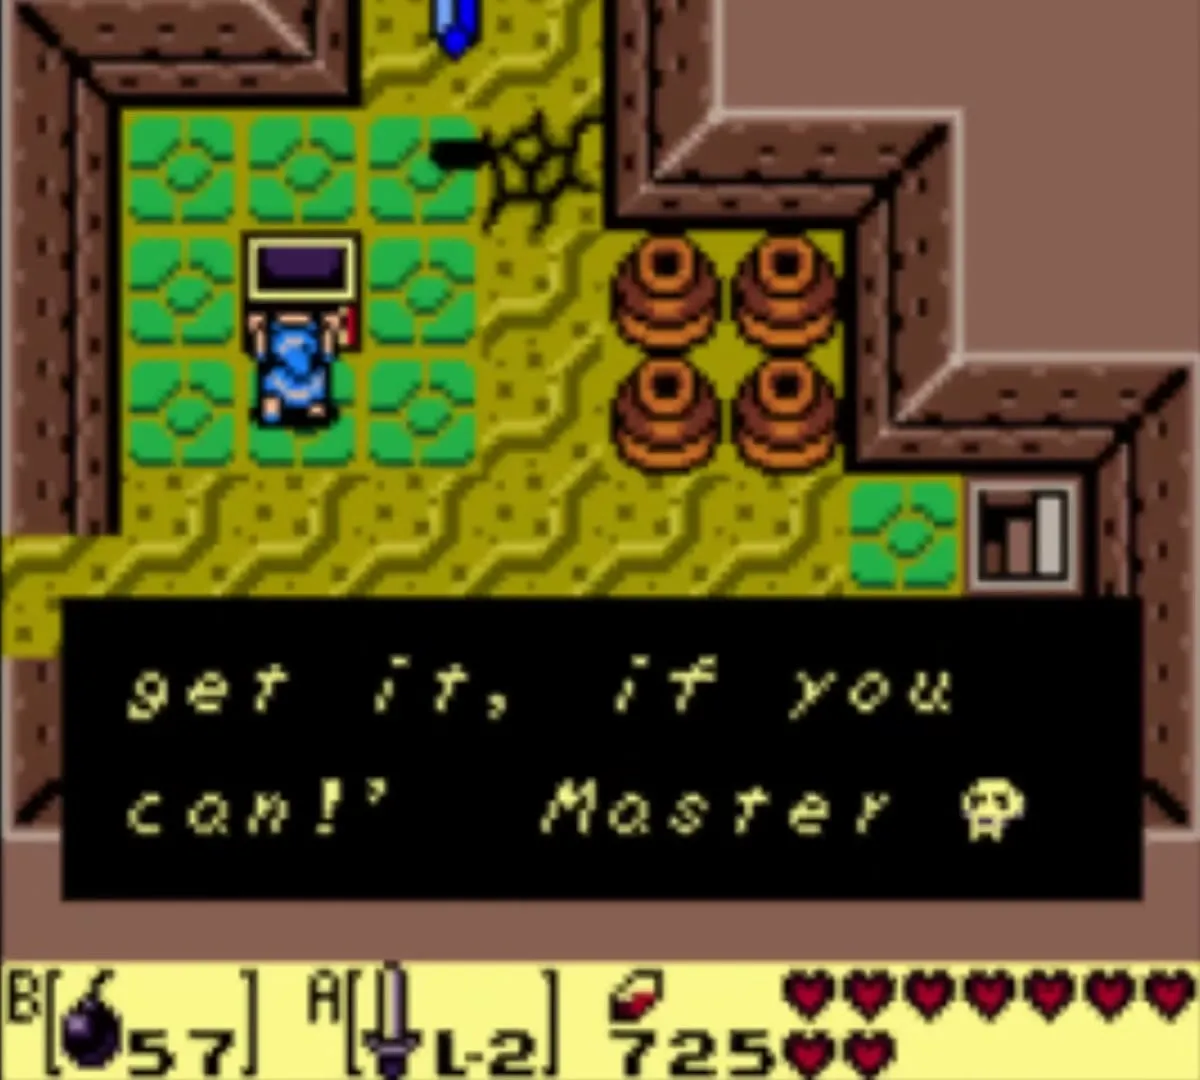
Each time he runs, a nearby puzzle room of blocks and a floor switch leads you back to the tiled room. Step on the switch, slide the blocks out of the way and return to him. The second fight is the same as the first: sword until he collapses, then a bomb.
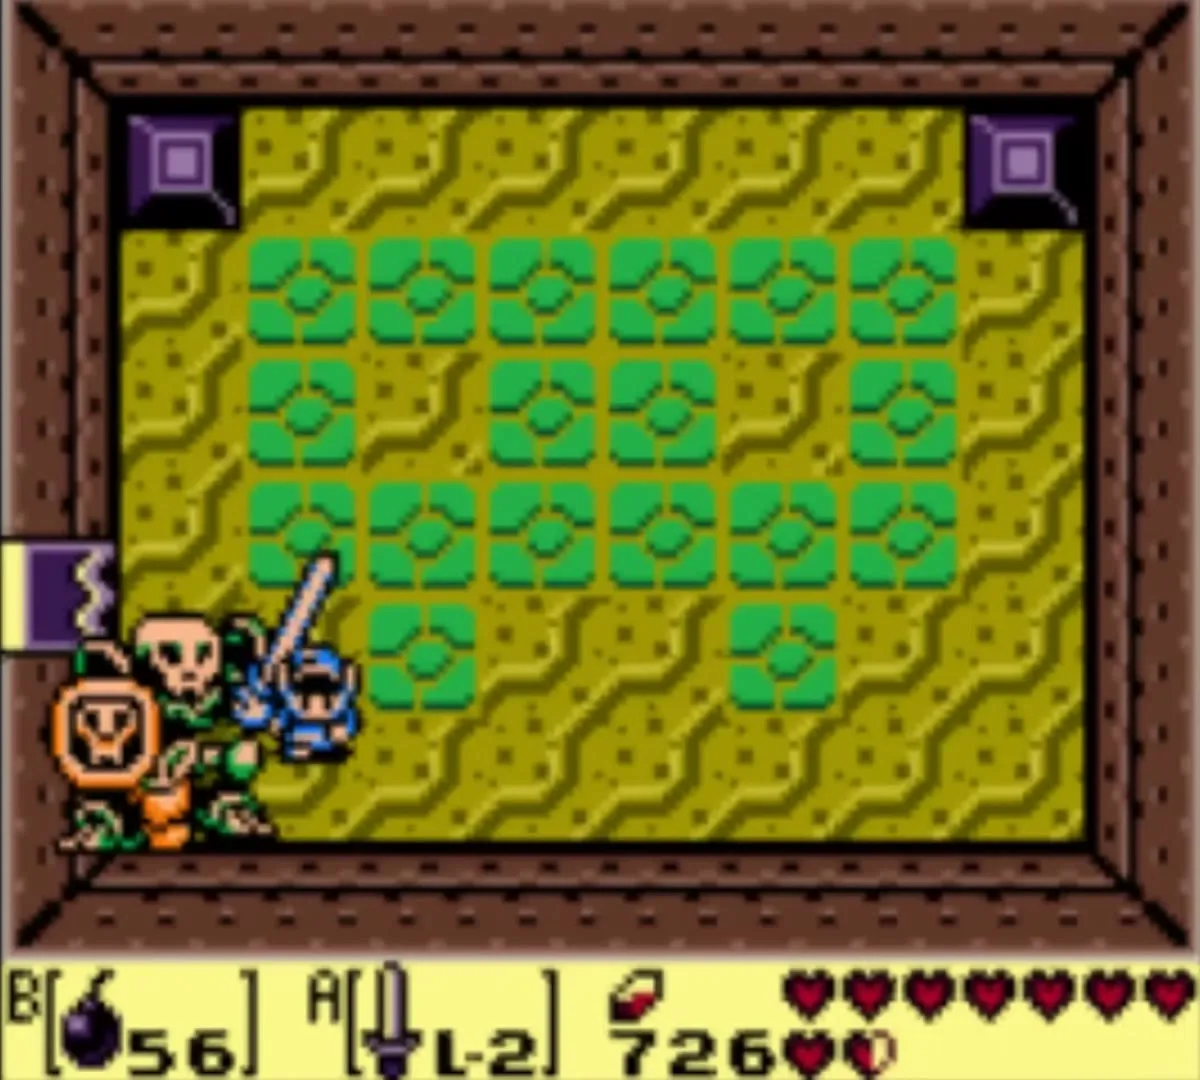
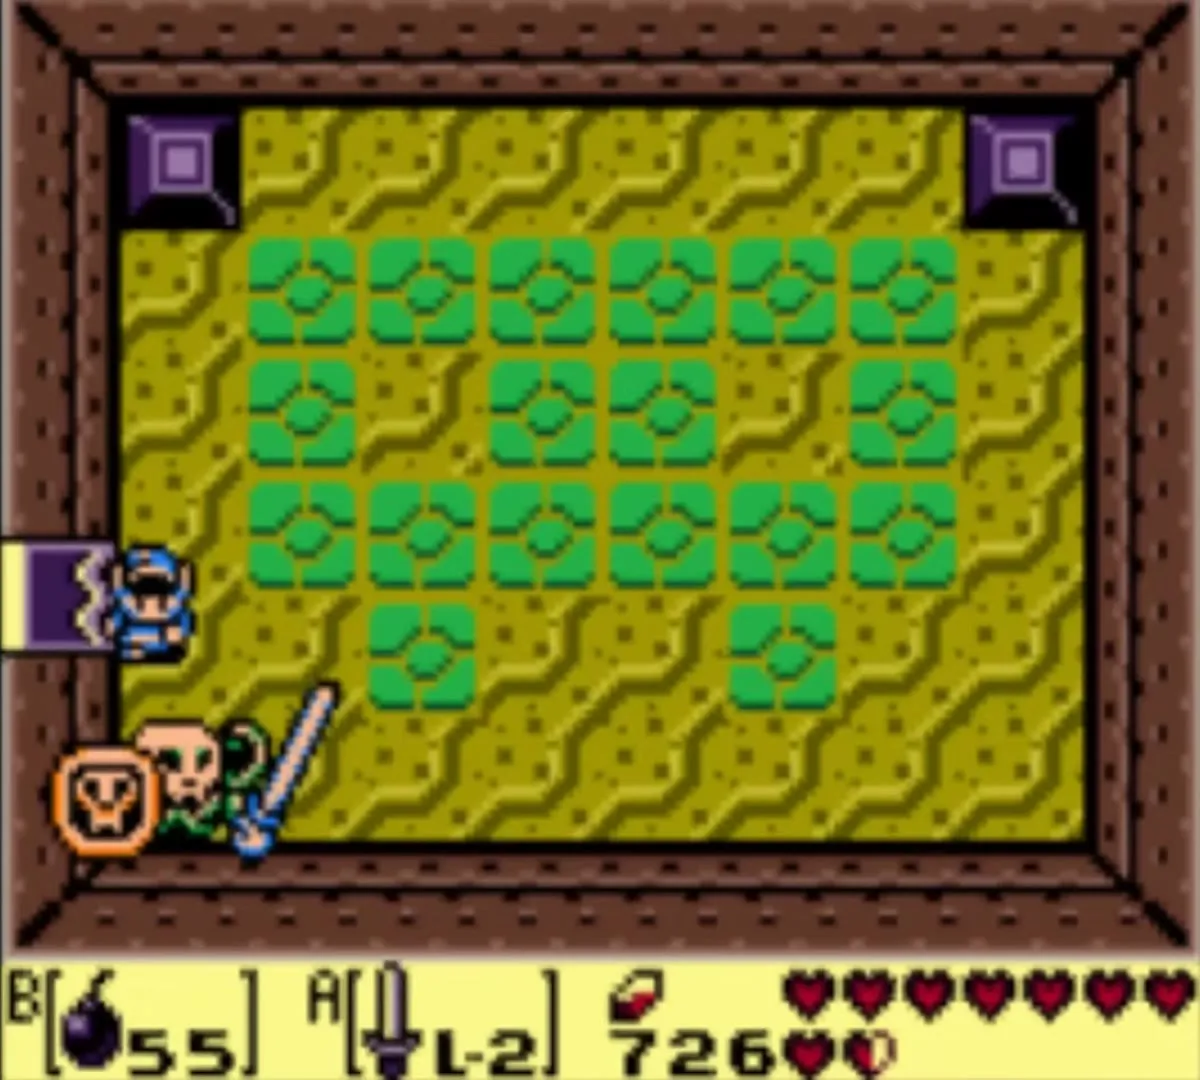
The third fight works the same way. After it, go out through the west exit of the room beyond, and a chest holds the Dungeon Map. Open the item screen to see the whole layout.
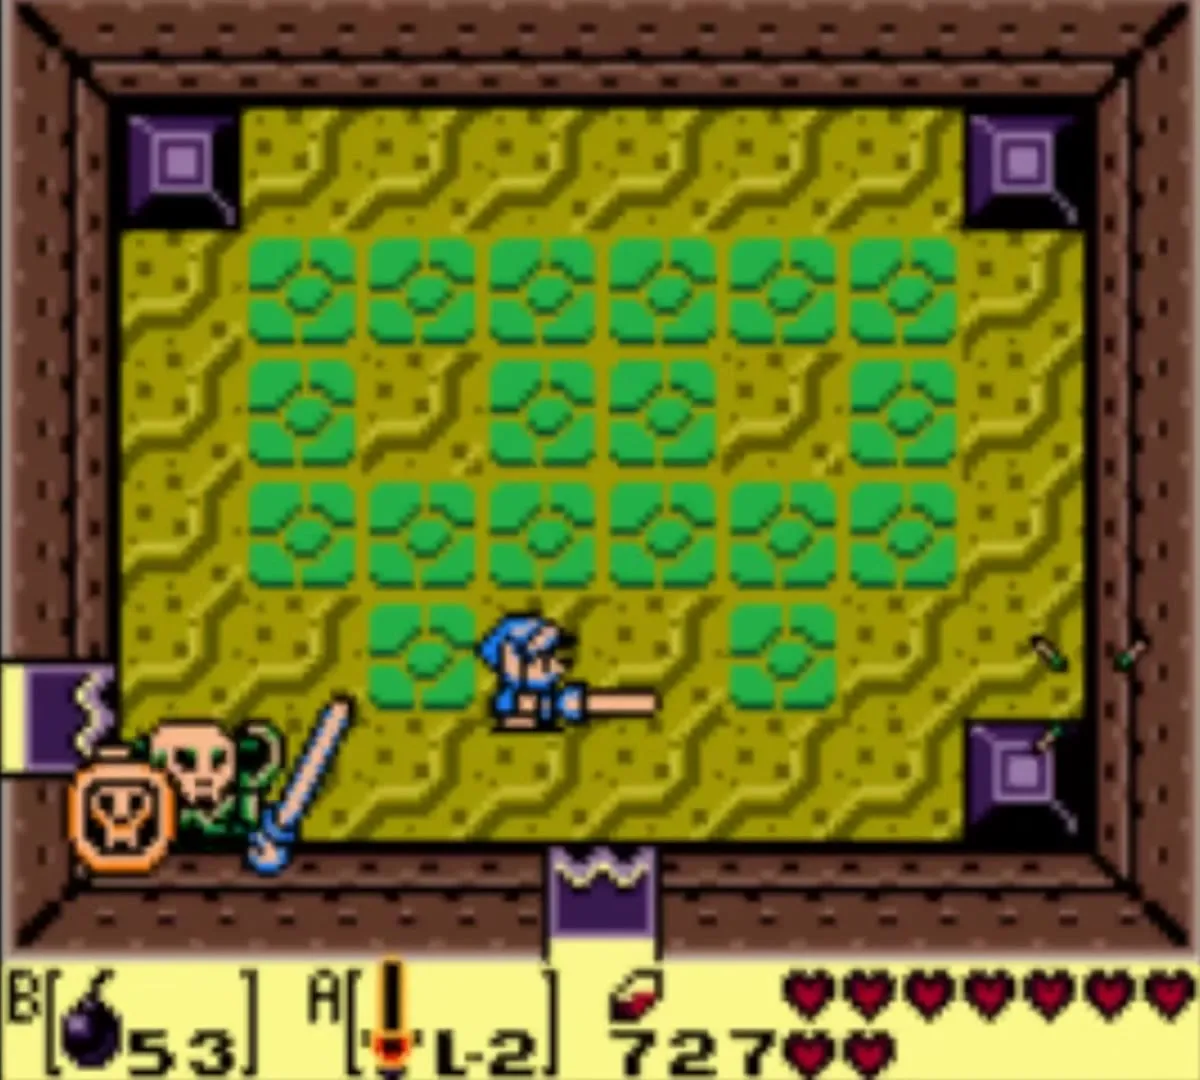
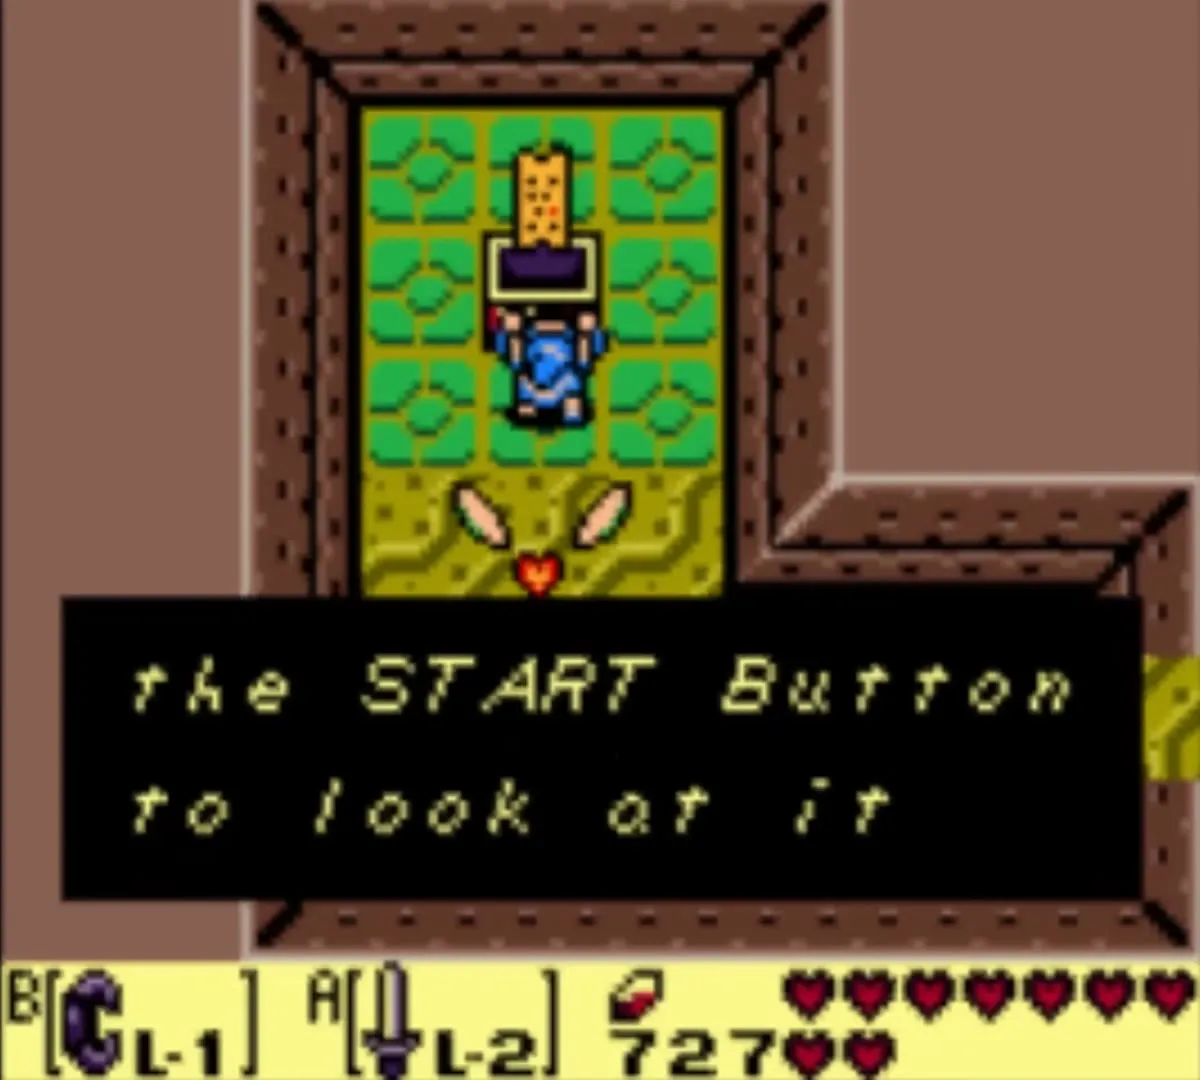
Go back through the dungeon to the tiled room for the last time. Master Stalfos stays to fight, and this time the sword and bomb finish him.
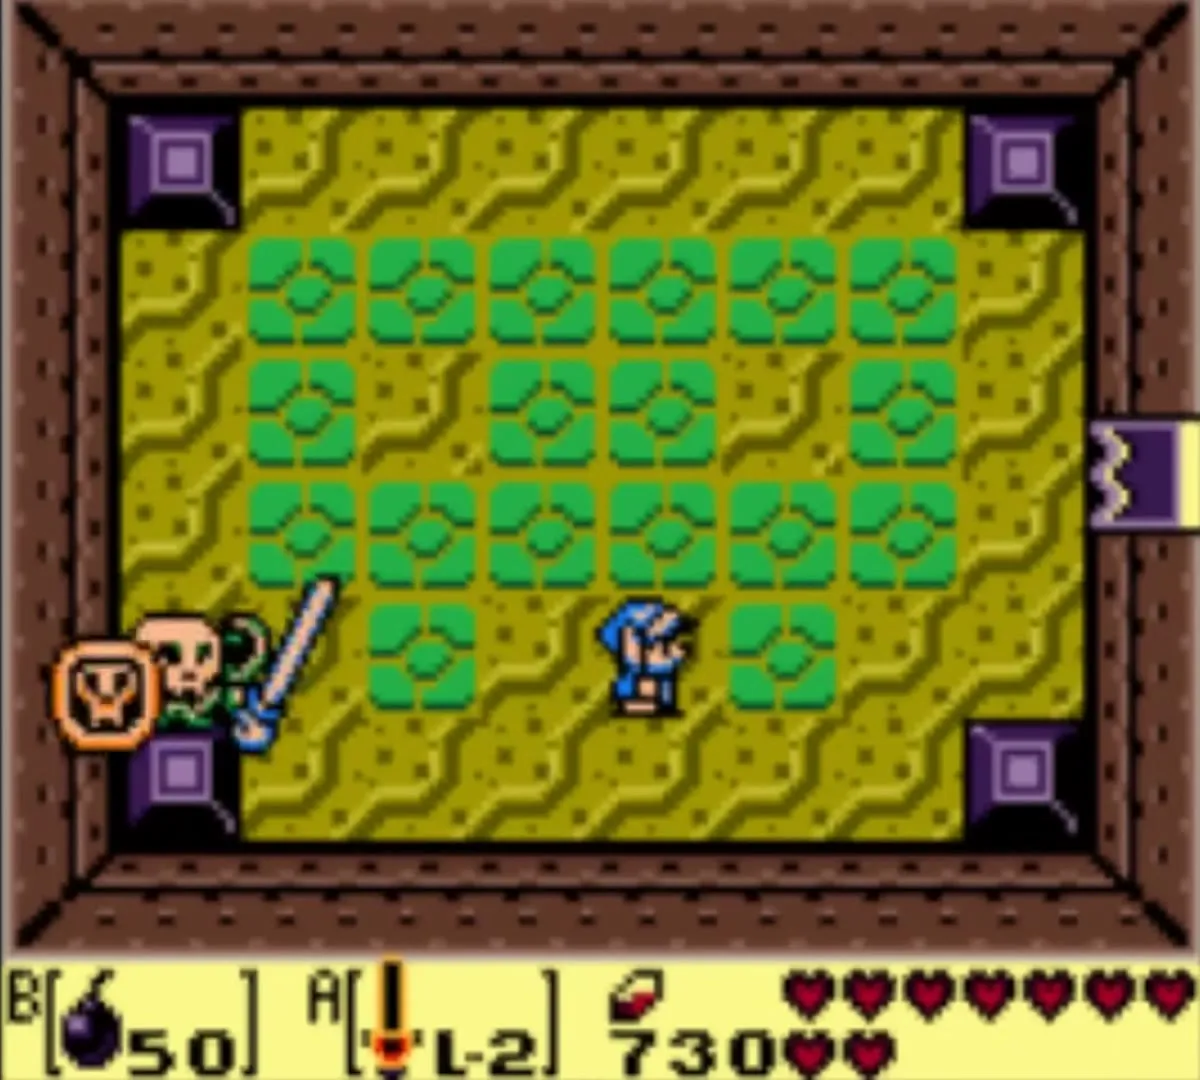
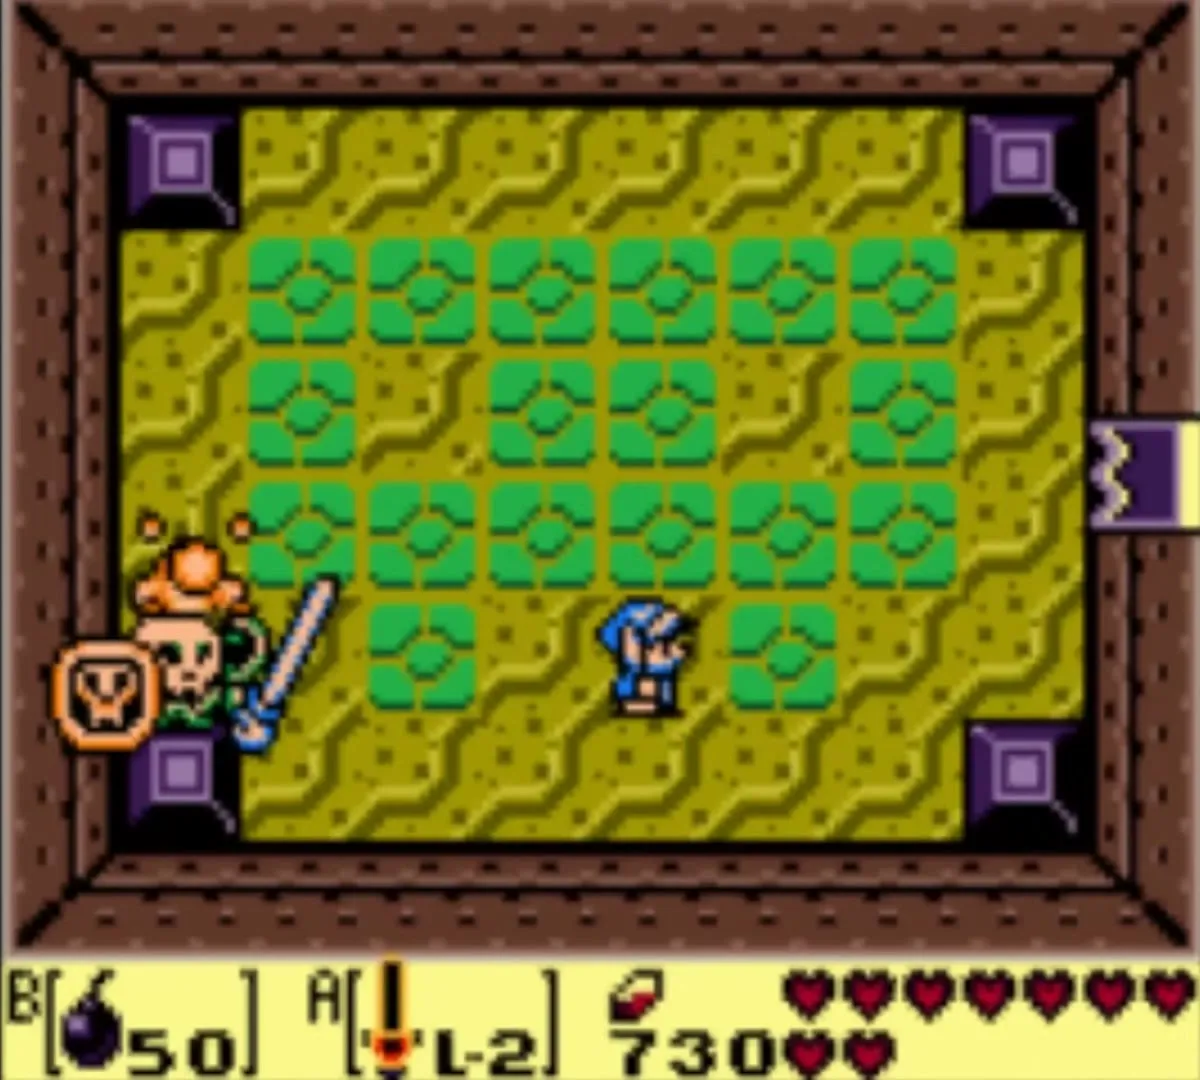
He drops the Hookshot. Equip it and fire it at hooks and blocks to pull yourself across gaps; it also pulls objects toward you. It opens the rest of the dungeon. See the Items and Equipment page.
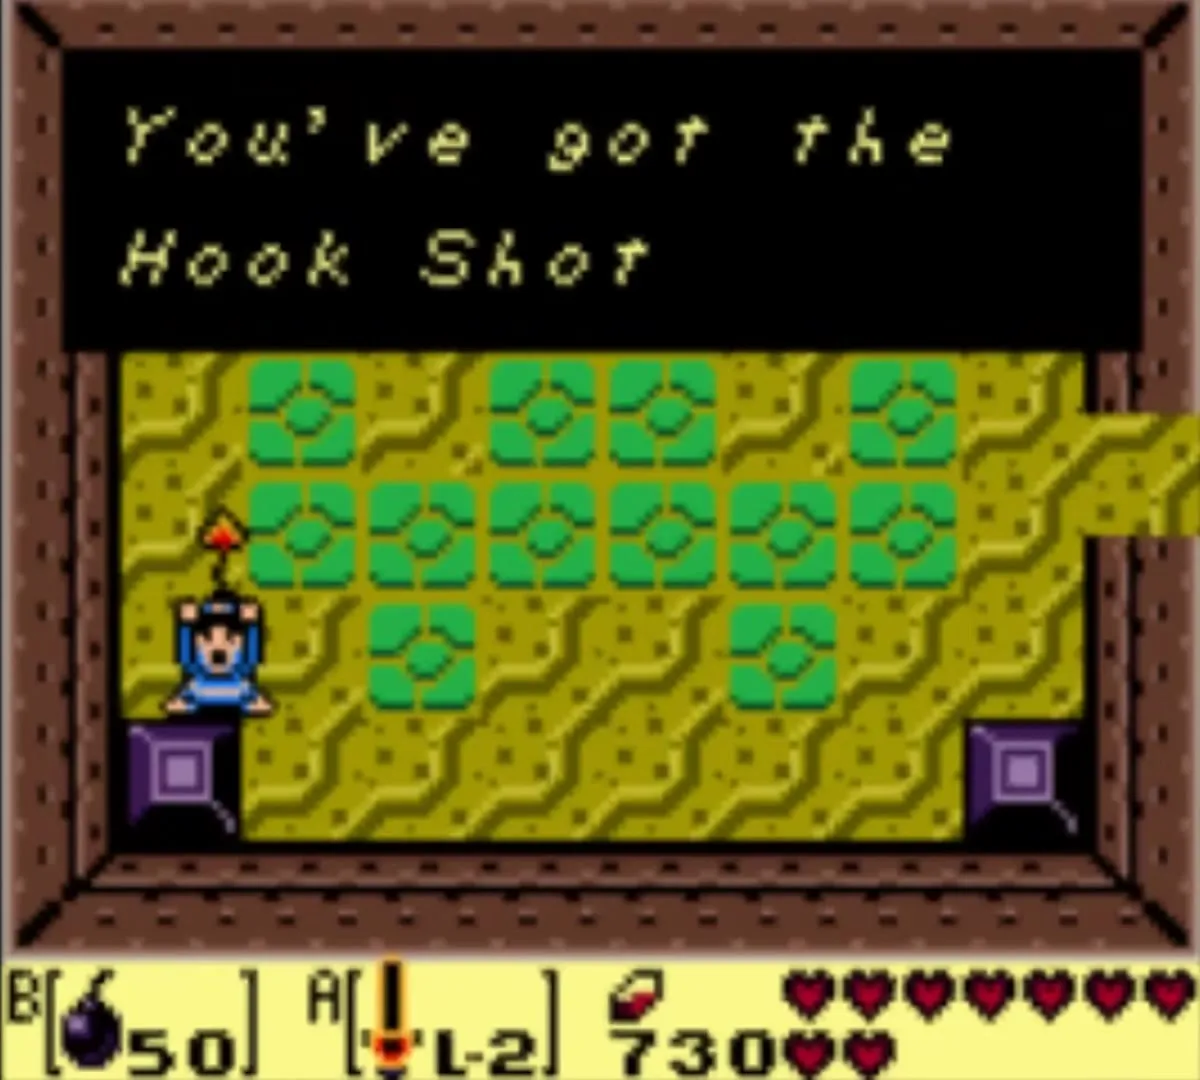
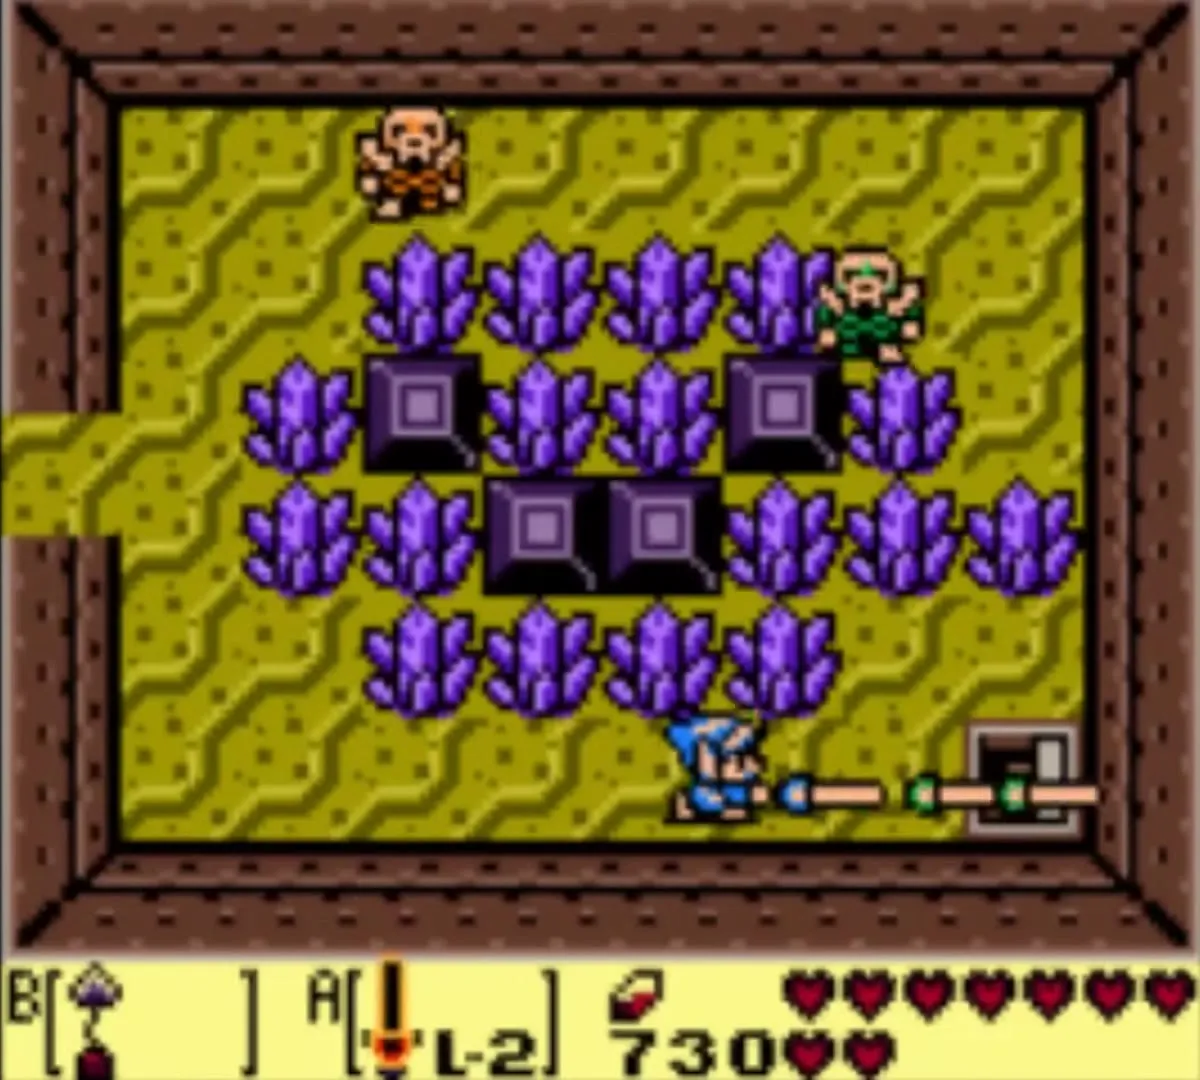

Using the Hookshot: rupees and the second key
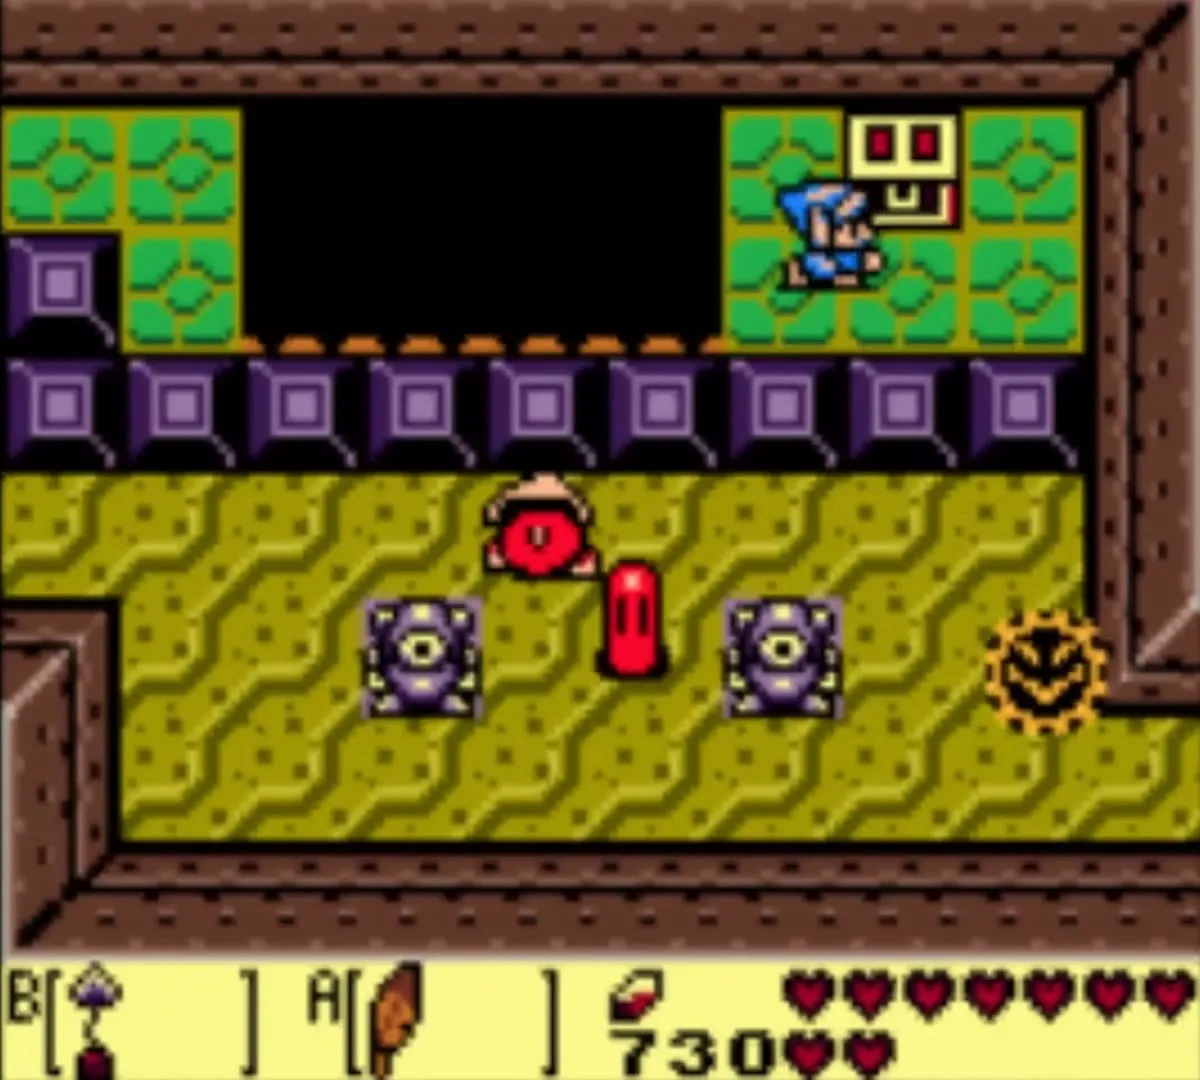
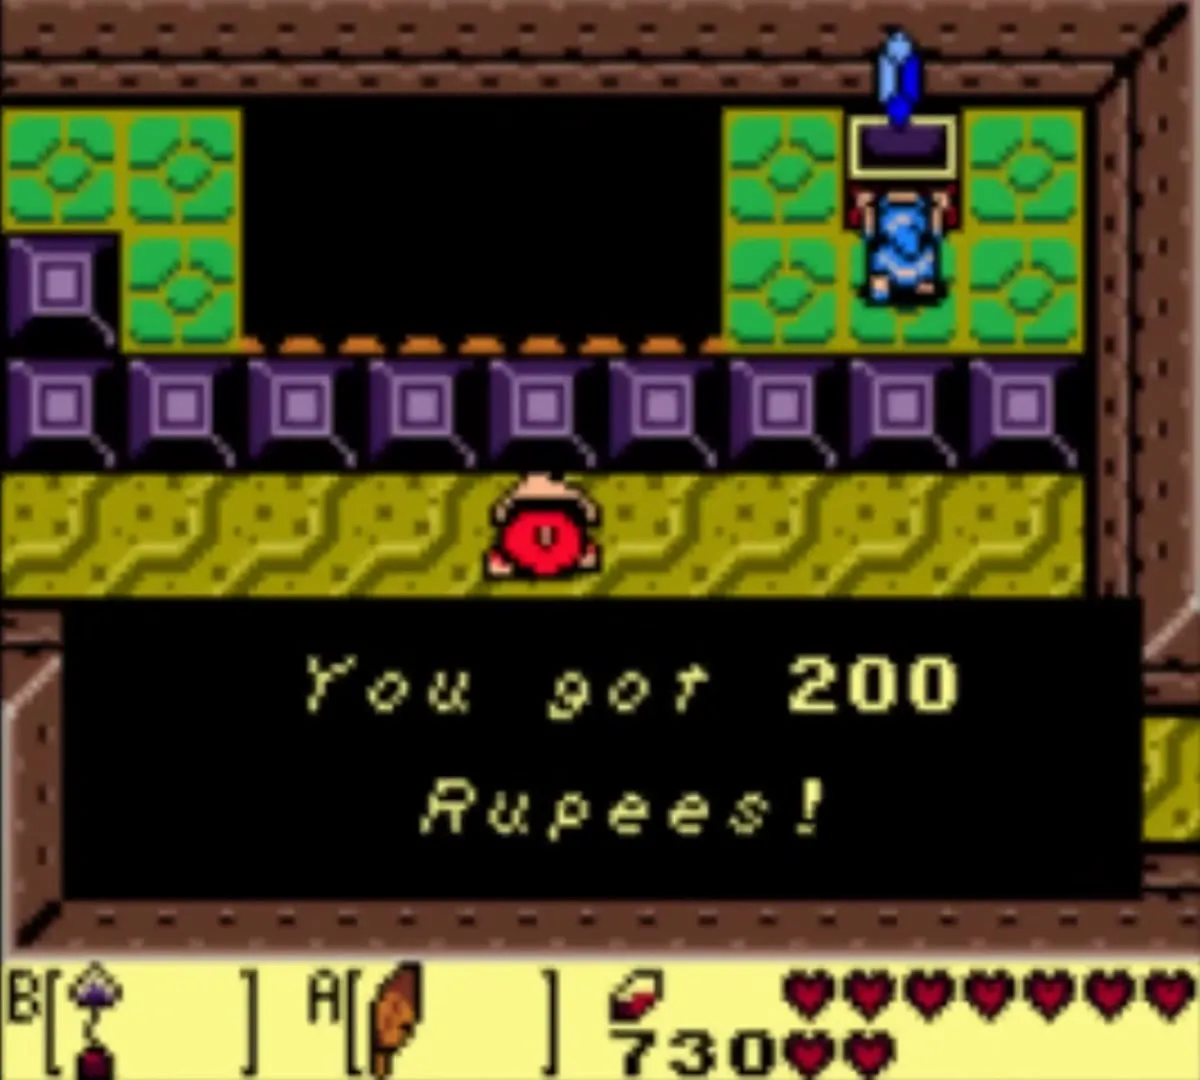
Walk back through the dungeon. In the statue room east of the entrance, a chest sits across a pit that you could not cross before. Fire the Hookshot at the chest to pull yourself over and open it for 200 rupees. Hookshot a block to return.
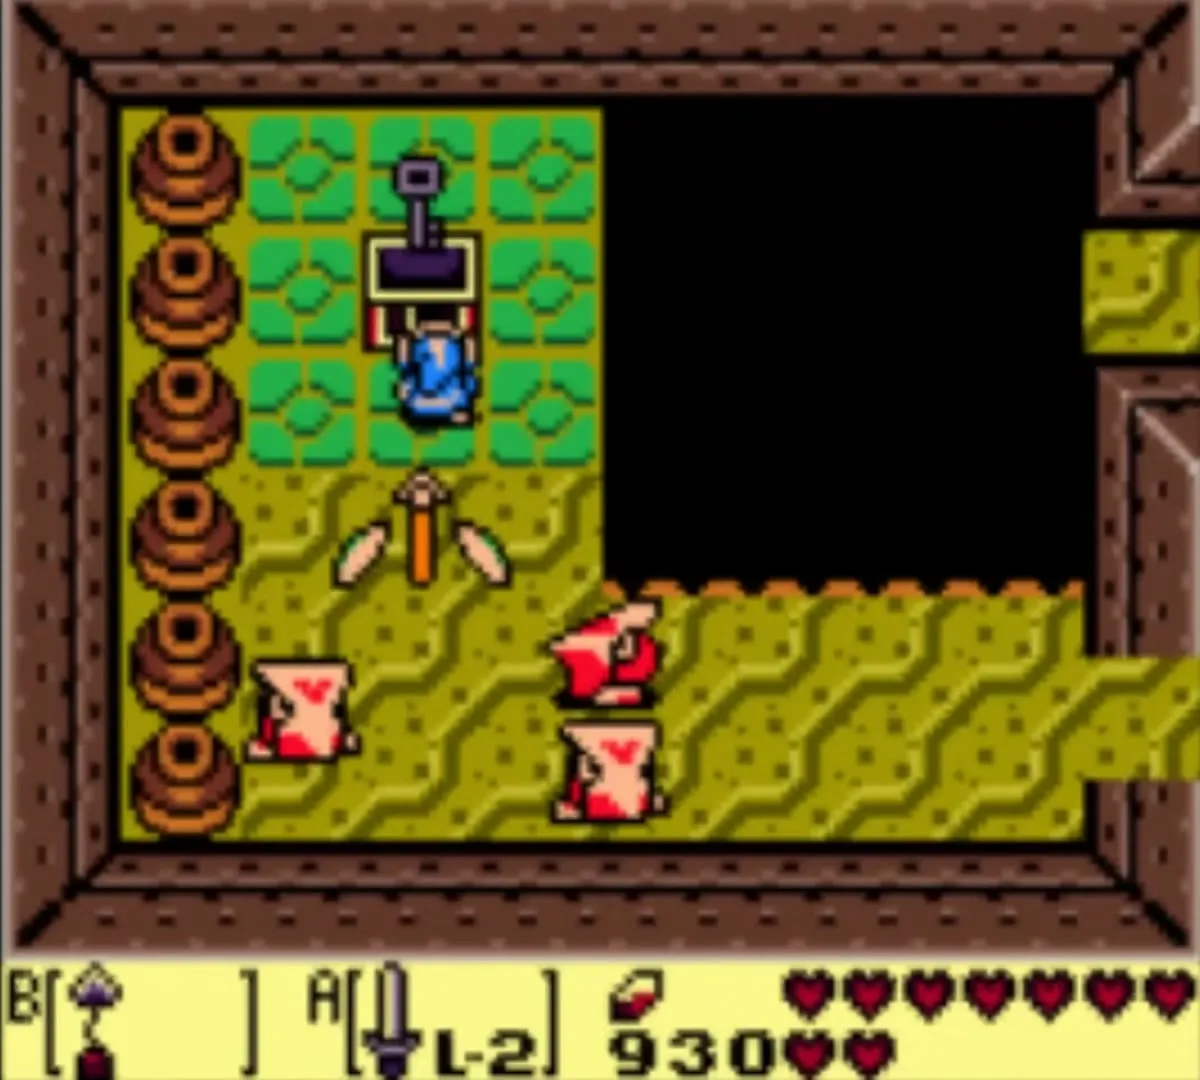
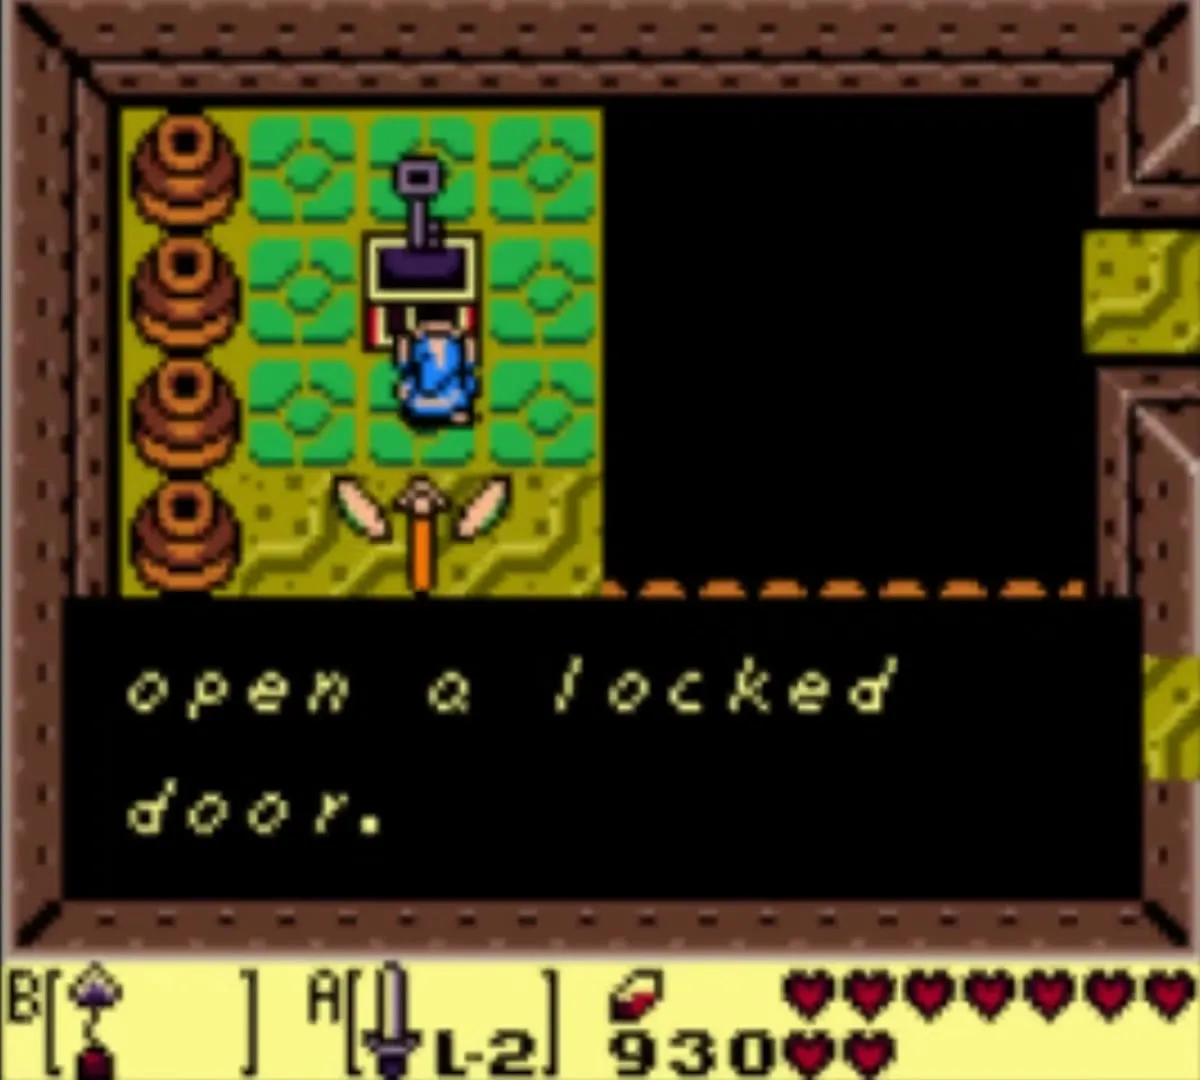
Go to the crystal room north of there and head west. Defeat the Helmasaurs and go on; in a room with a pit, a chest sits across the gap. Hookshot over to it and open it for the second Small Key.
Gohma mini-boss
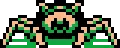
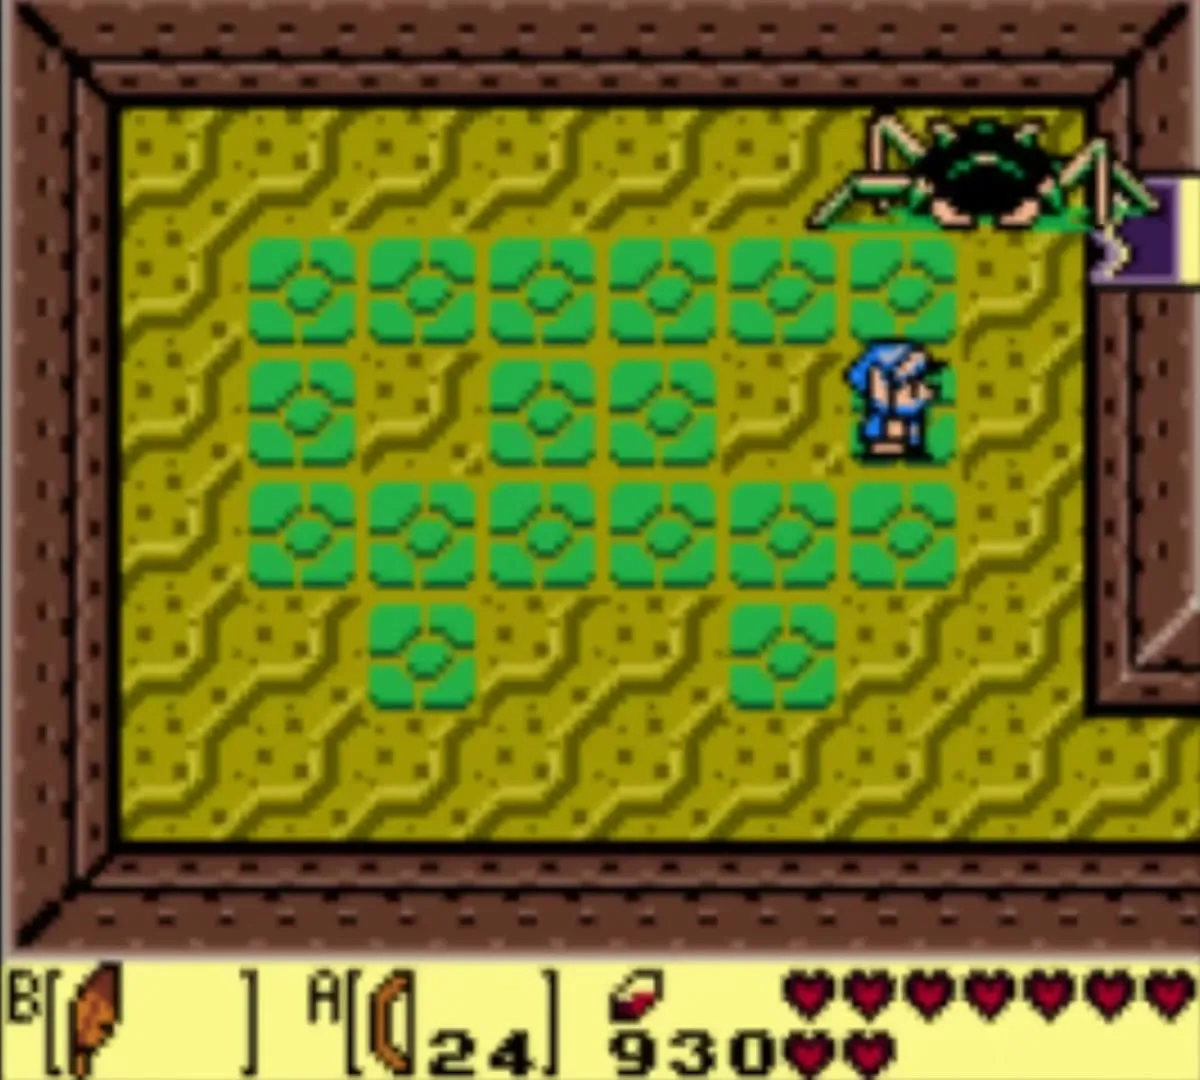
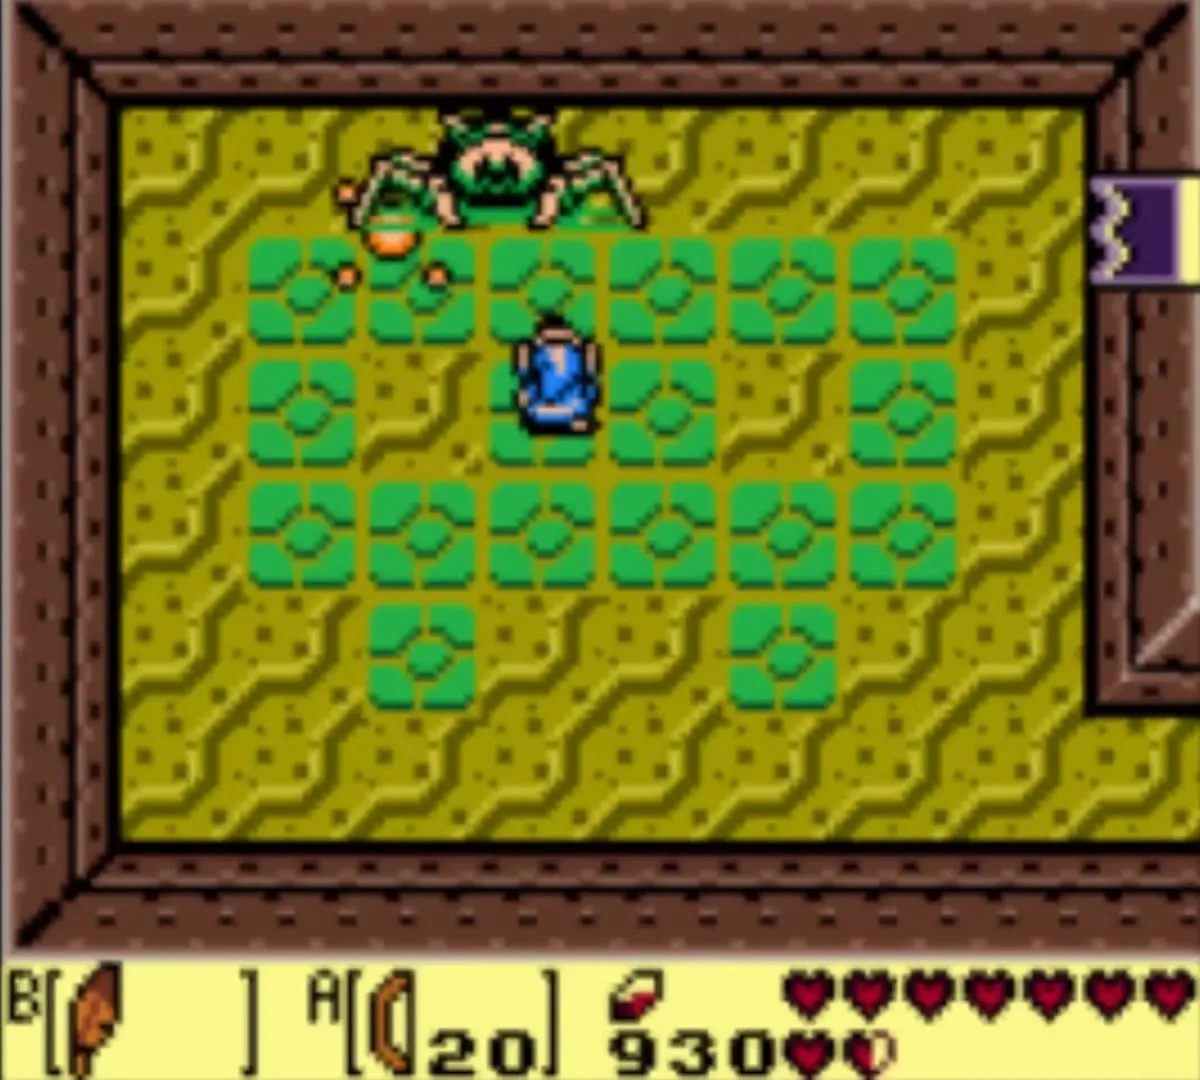
Use the key on the key block nearby and walk through. The room beyond belongs to Gohma, a big one-eyed creature. It crawls from side to side across the top of the room, and when it stops and opens its eye it spits a fireball. Keep moving so the fireball misses you.
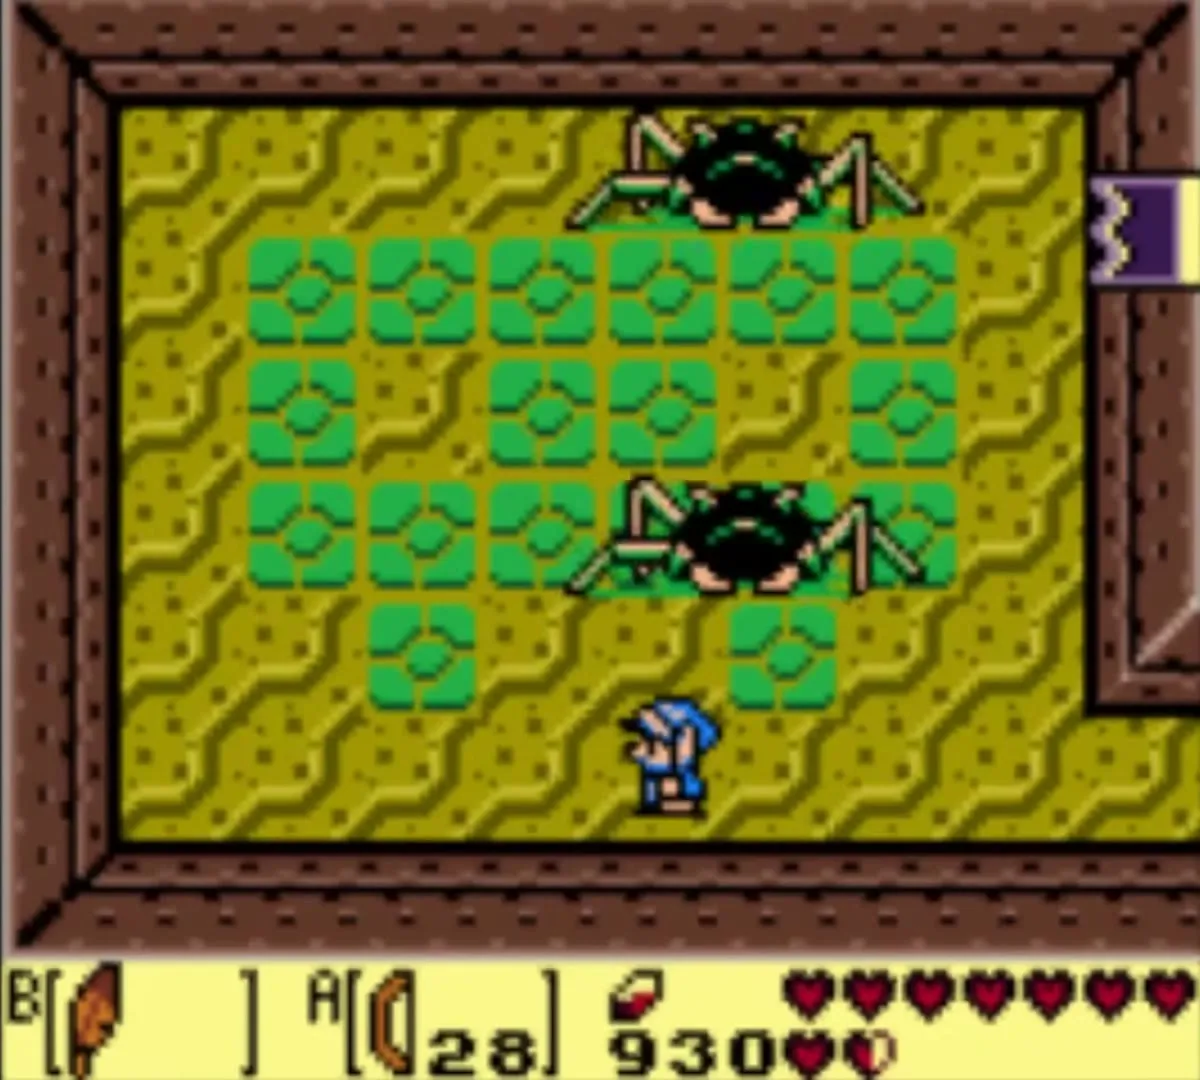
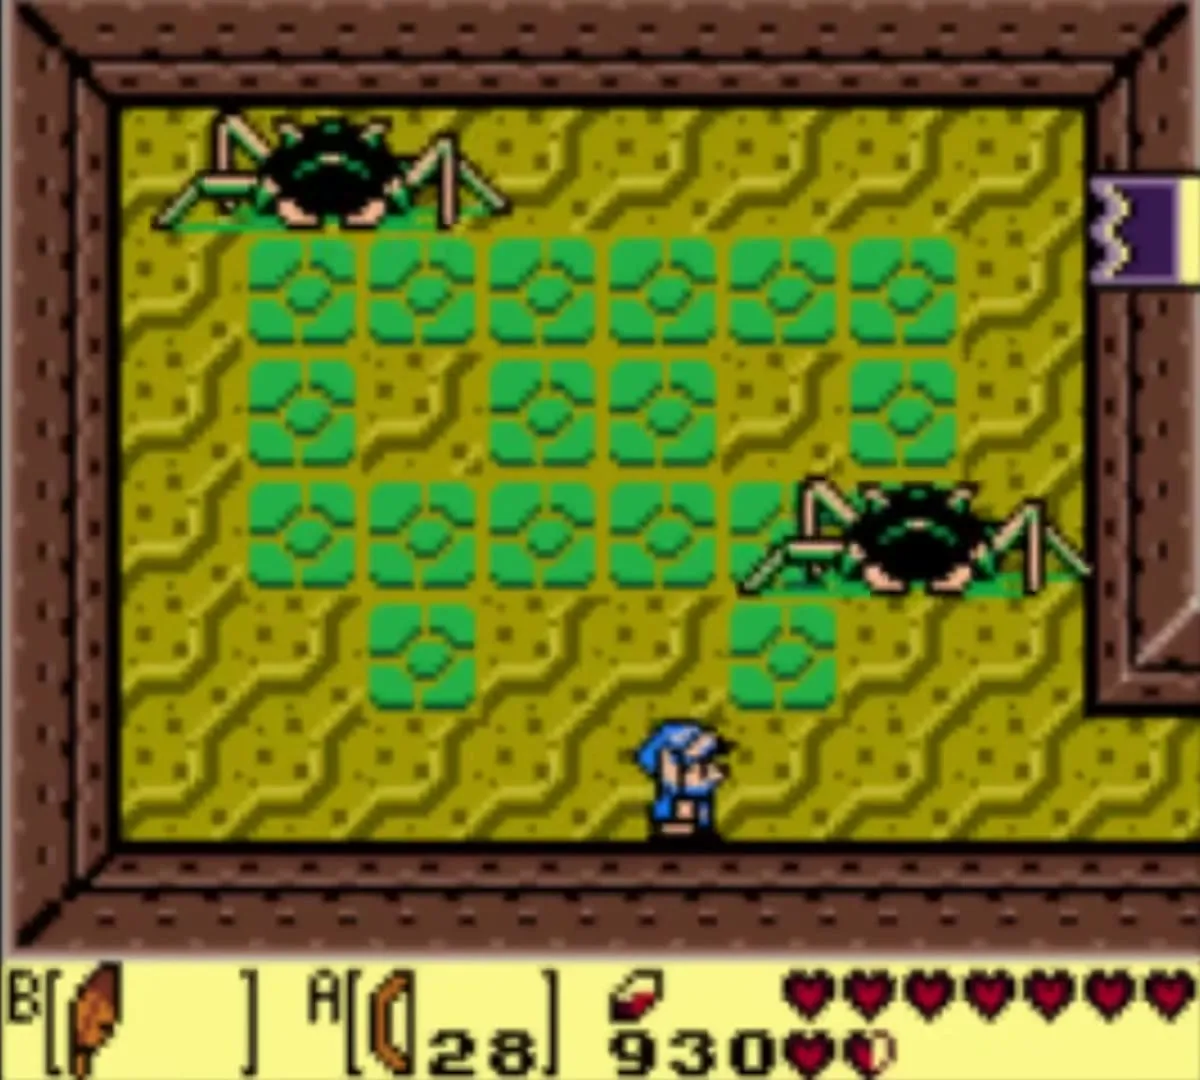
Shoot the eye while it is open. The Bow makes this easy. Without the Bow, hit the eye with the Hookshot and slash it. After Gohma falls, move on through the room.
Nightmare’s Key
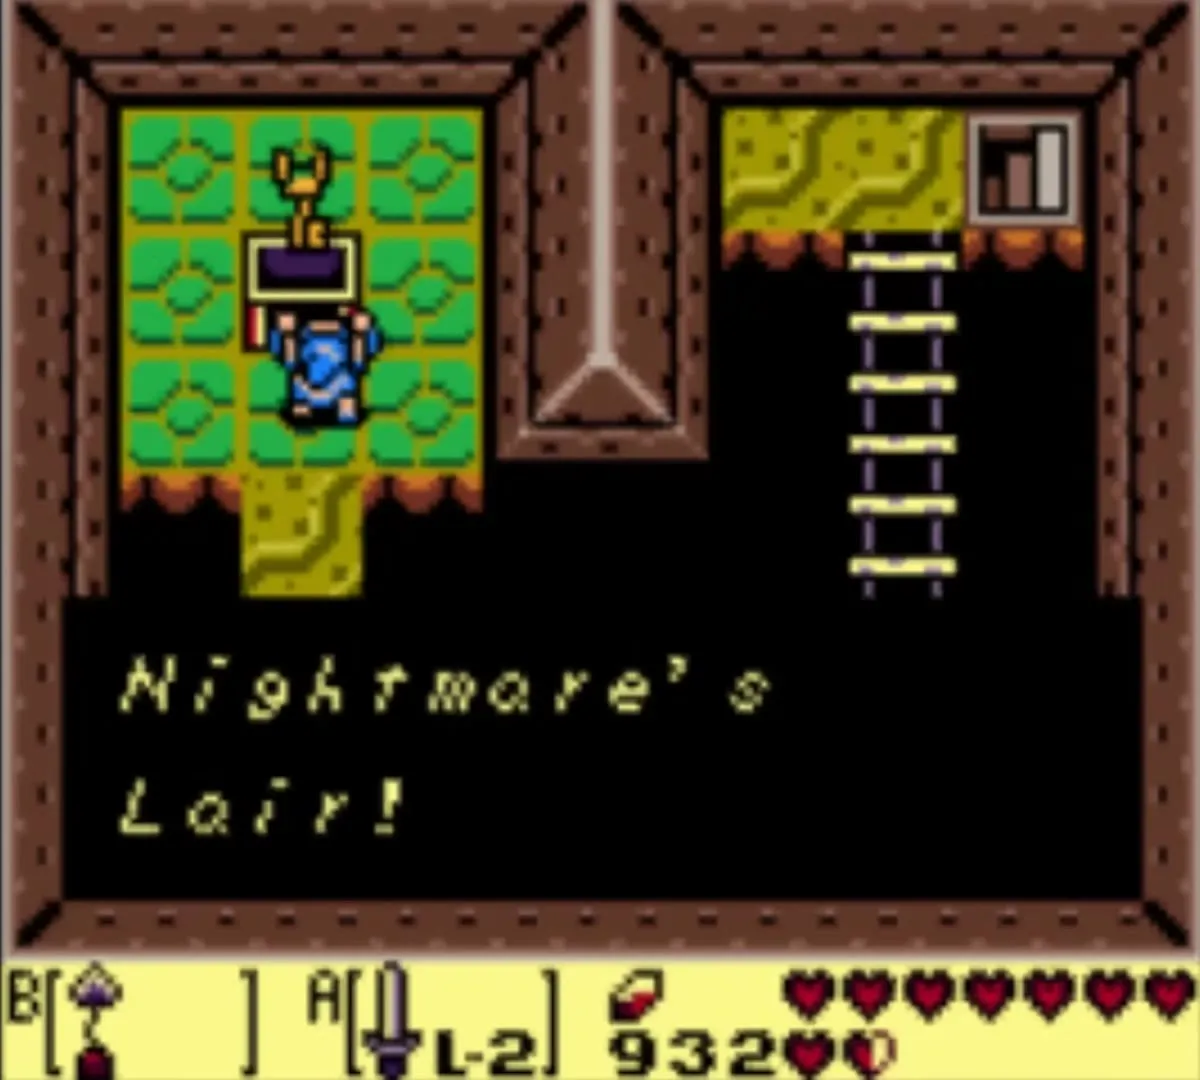
The Nightmare’s Key is on the far side of a flooded room. In the room with the deep pool, wade into the water, swim to the middle, and press B to dive. A short side-scrolling tunnel takes you west. Climb the ladder at the end.
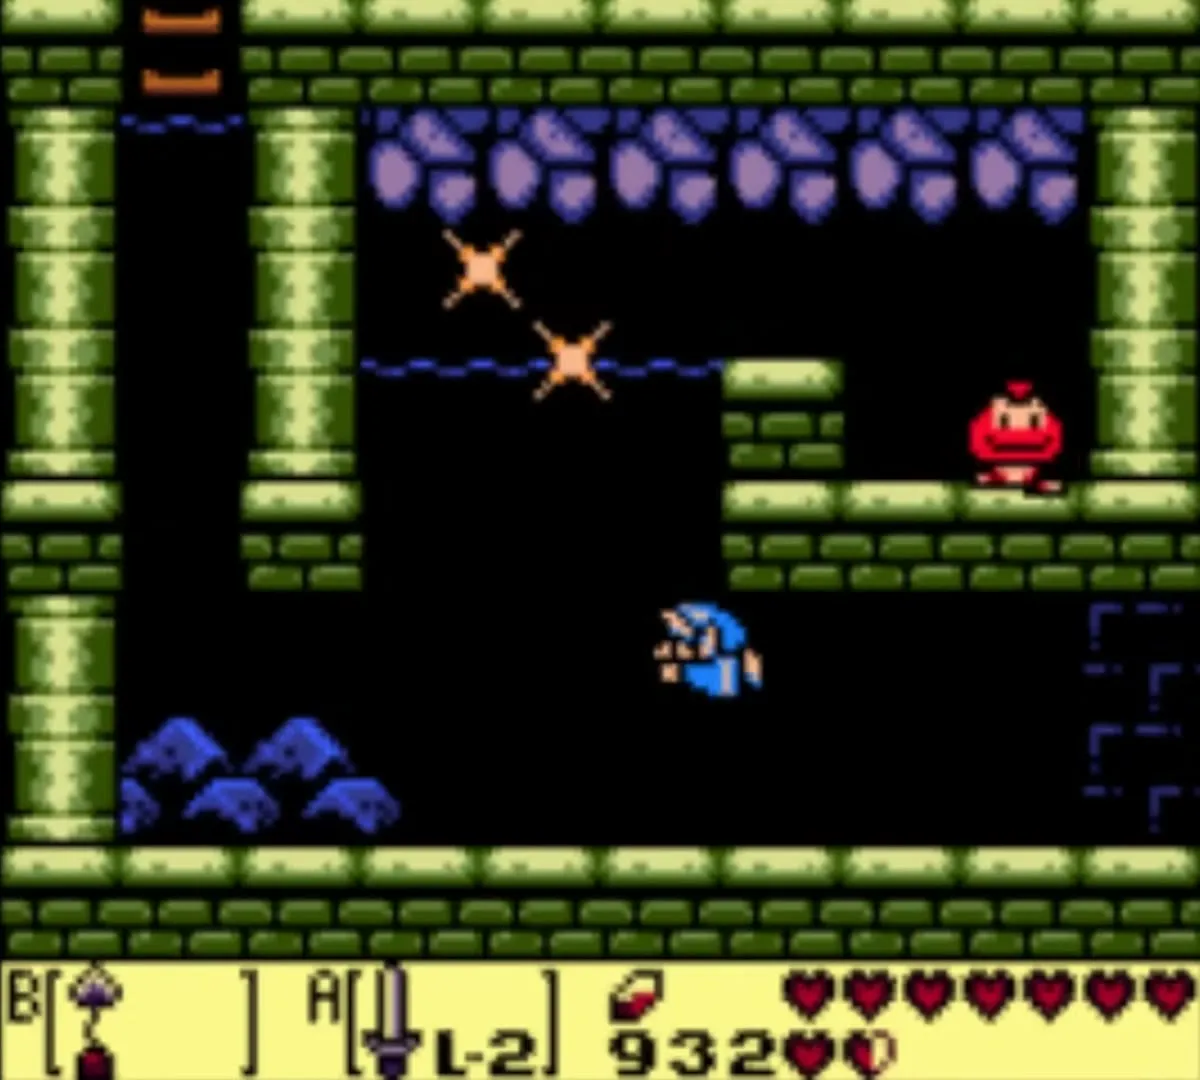
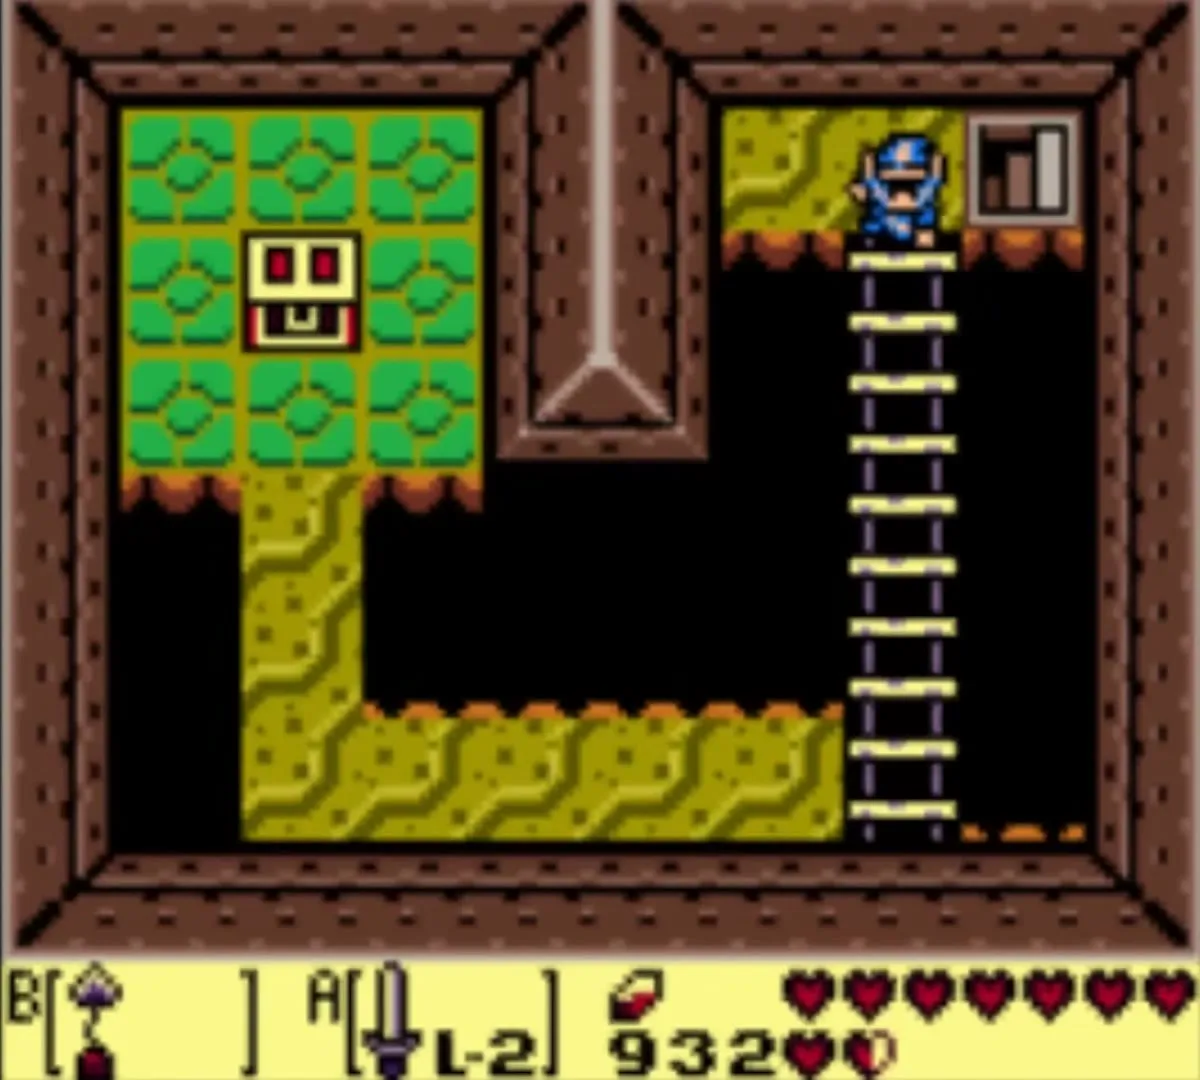
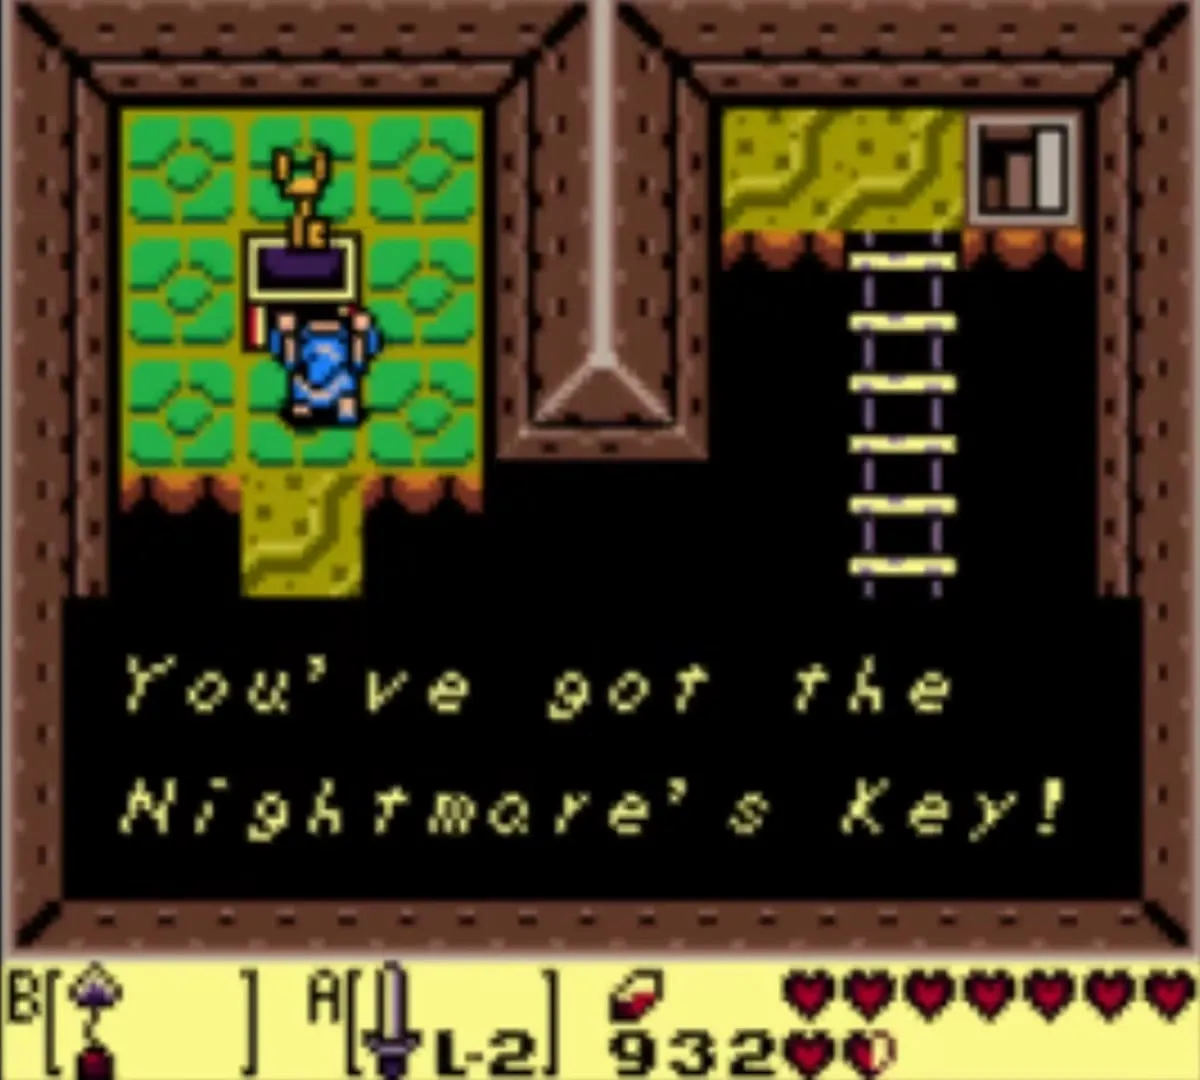
Up the ladder, fire the Hookshot at the hook across the gap. A bridge unrolls. Cross it and open the chest for the Nightmare’s Key. This opens the boss door.
Last Small Key and rupee chests
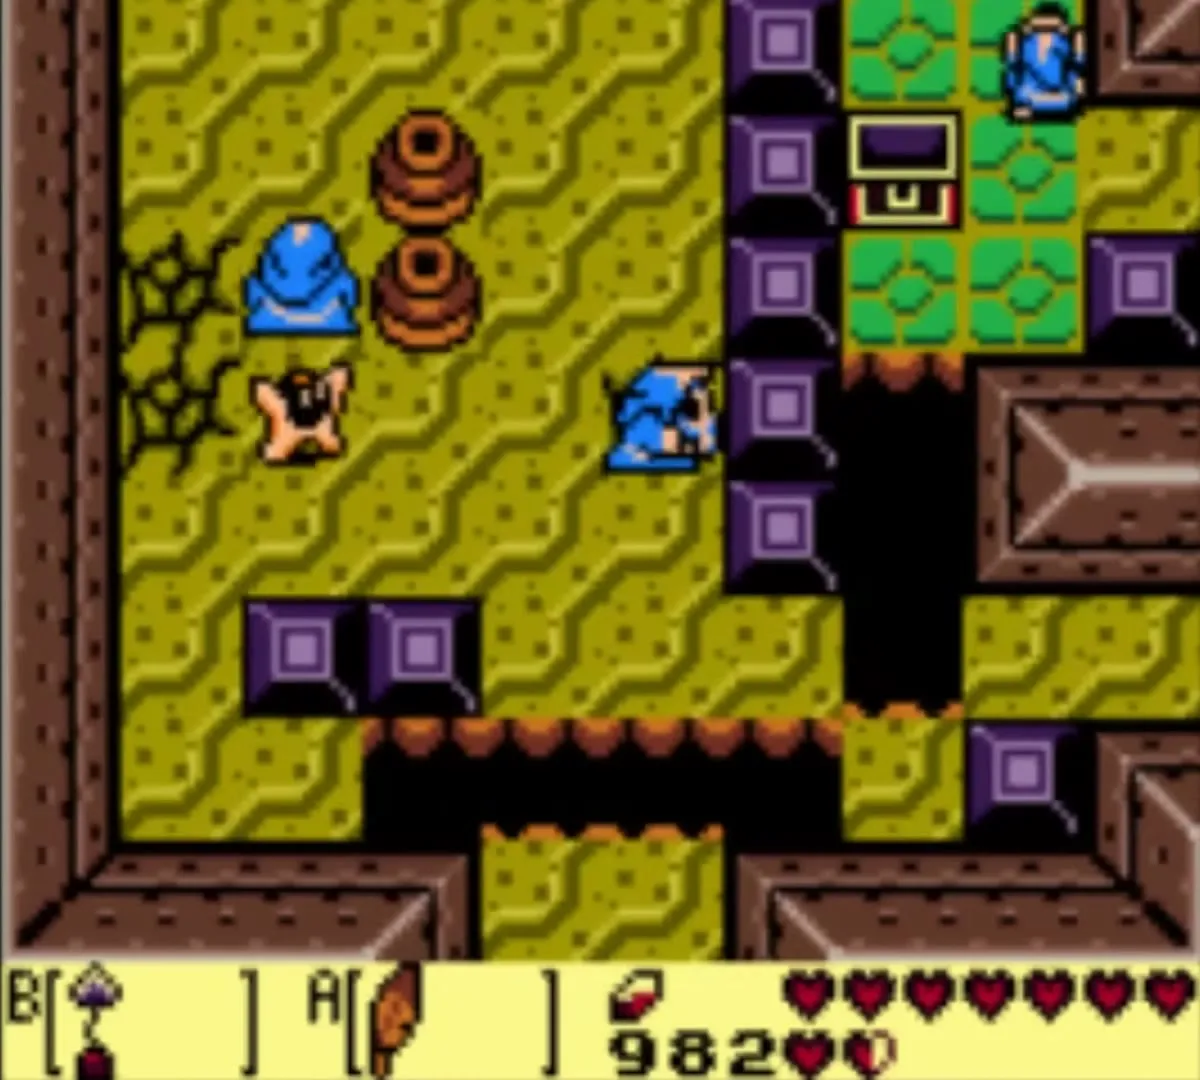
Back in the switch room, push the middle block to the right and go north. Jump the gap, jump diagonally to the southeast tile, and Hookshot the chest above for 50 rupees. East of that, Hookshot the blocks across a gap for another chest with 50 rupees. If your wallet is almost full, the extra rupees are lost, since it holds 999.
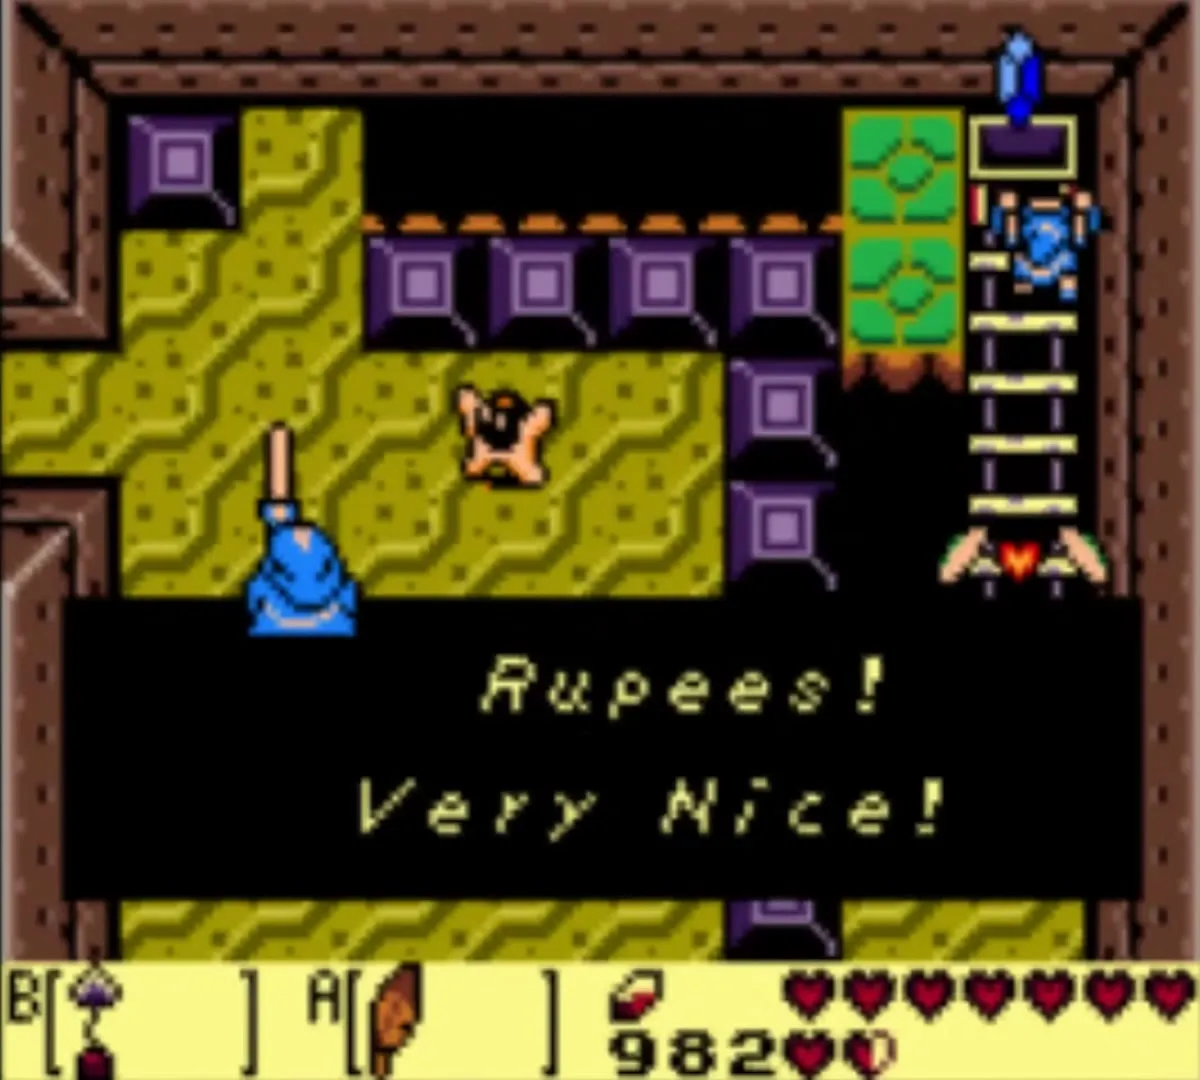
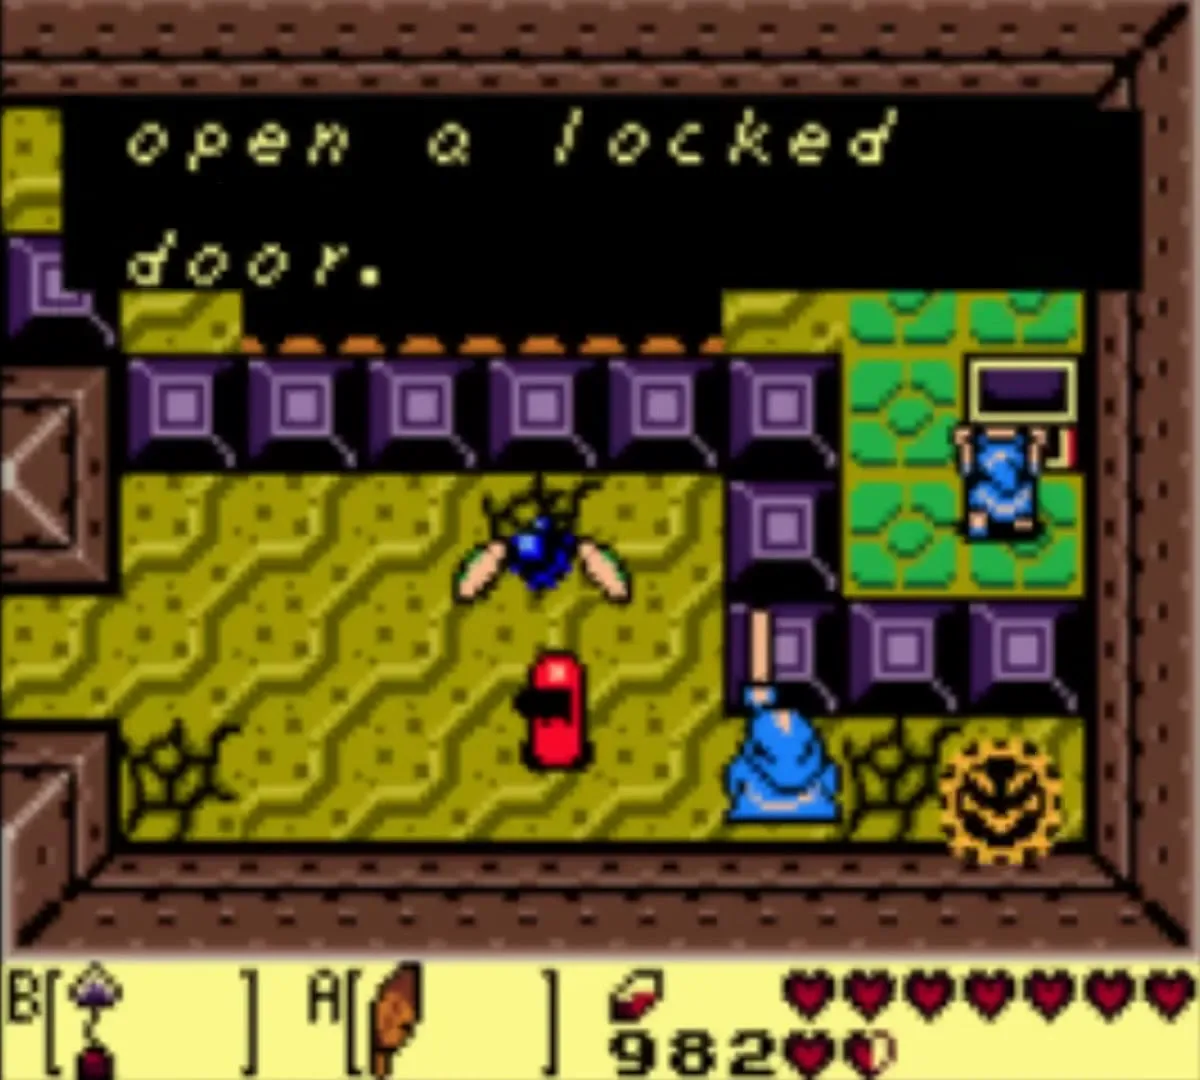
The third Small Key is in a chest across another gap on the same side: Hookshot over and open it. This key unlocks the key block in front of the Nightmare’s lair. The dungeon also holds one optional Small Key in a room with two Skulltulas, which you do not need.
Slime Eel boss
Beyond the key block, Hookshot across a gap and go west to the Nightmare’s door. Use the Nightmare’s Key.
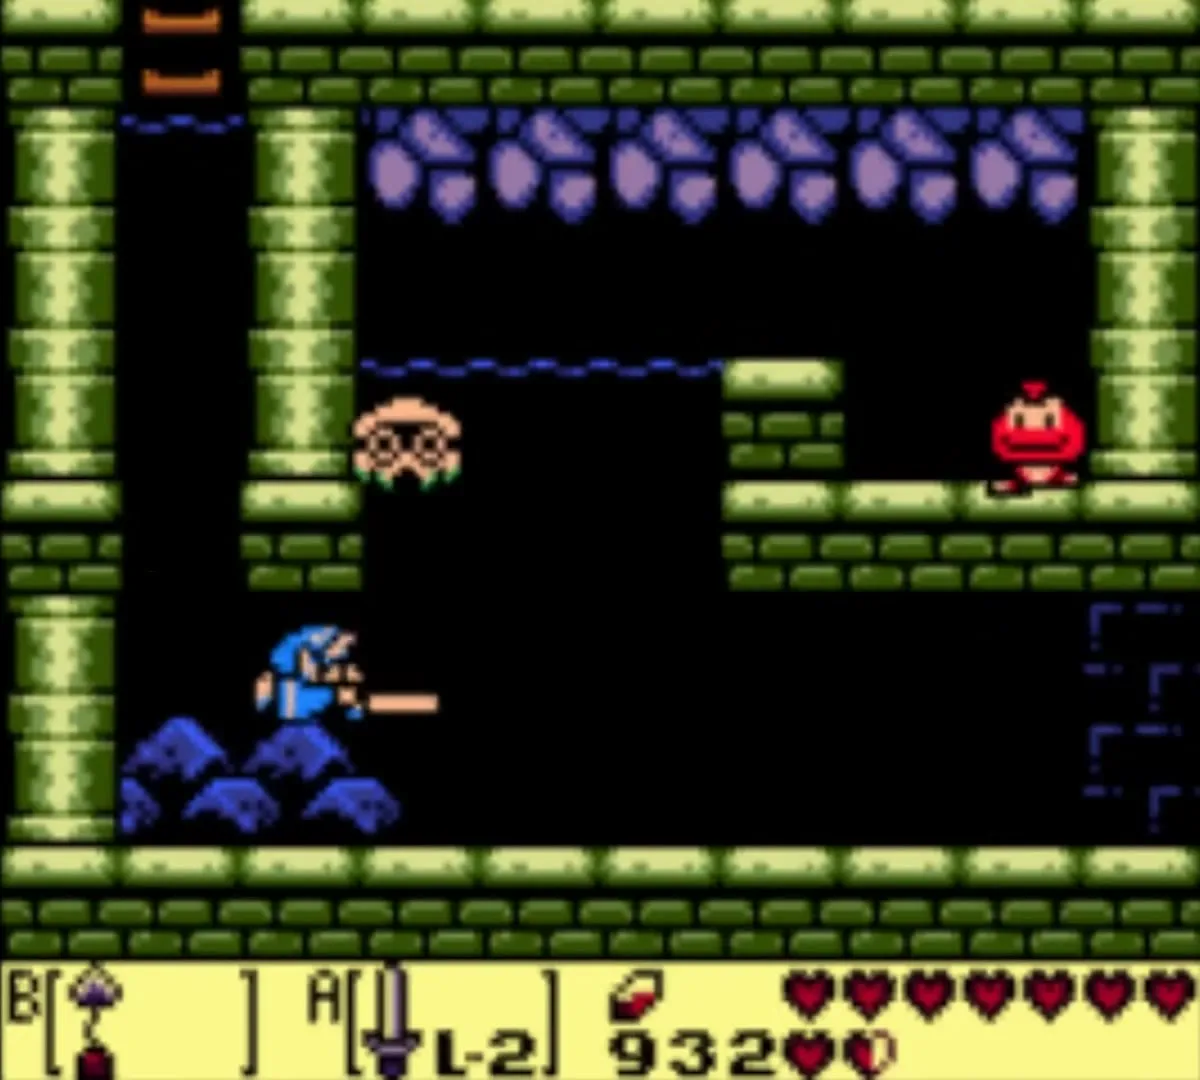
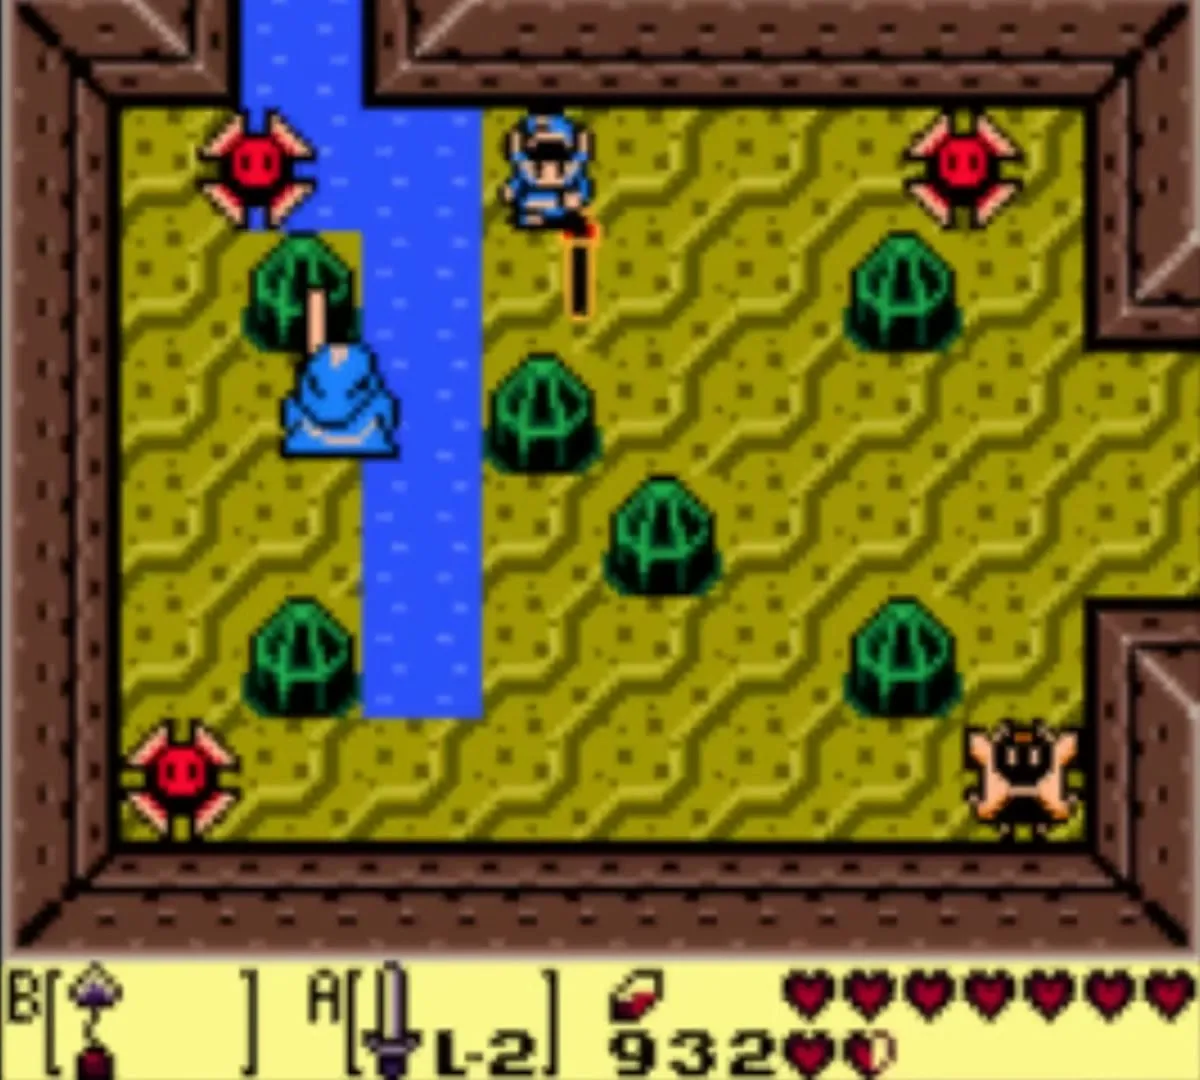
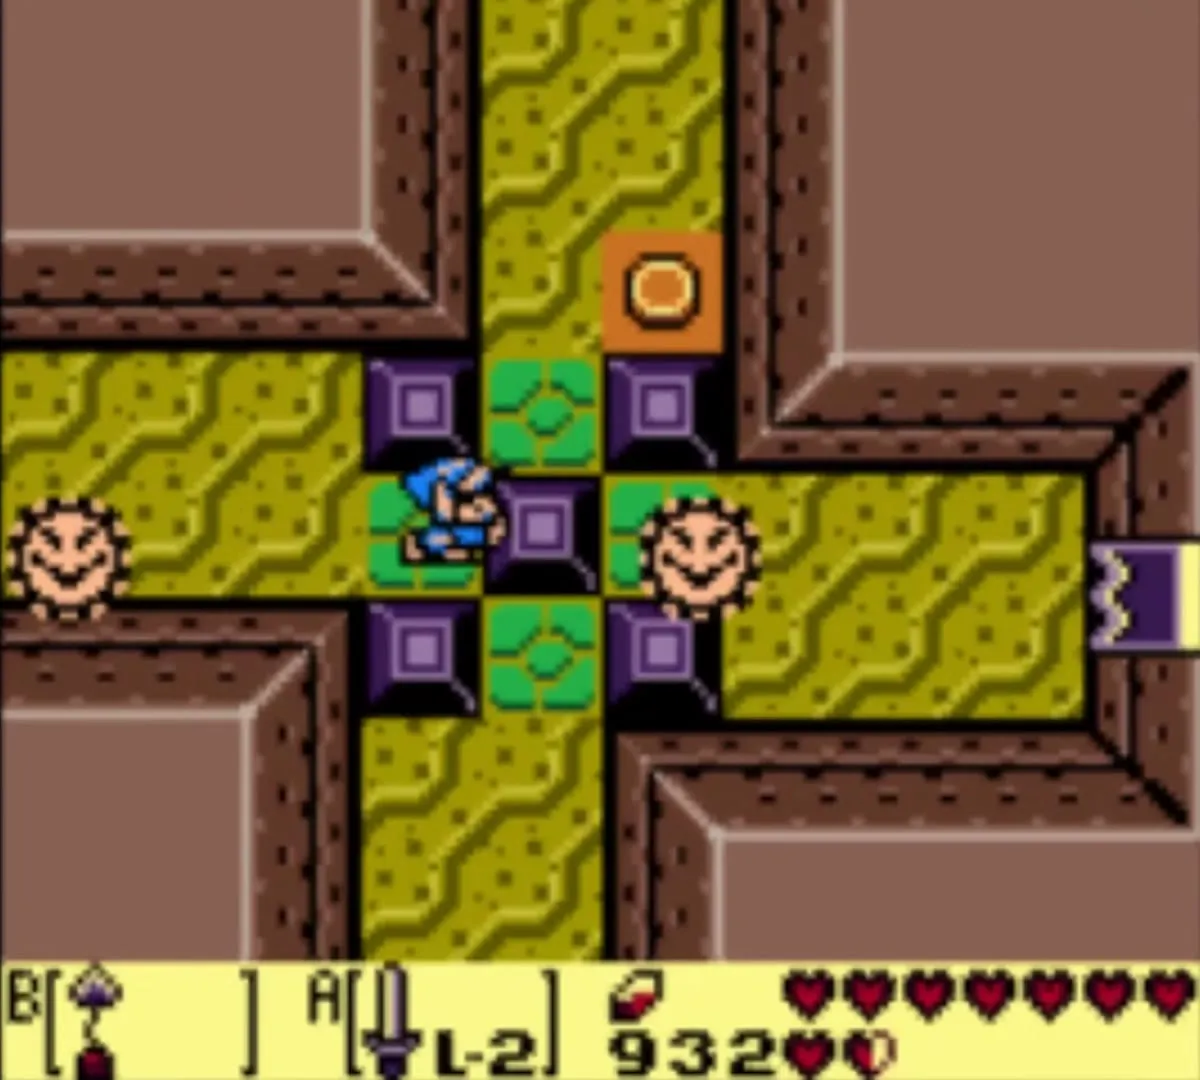
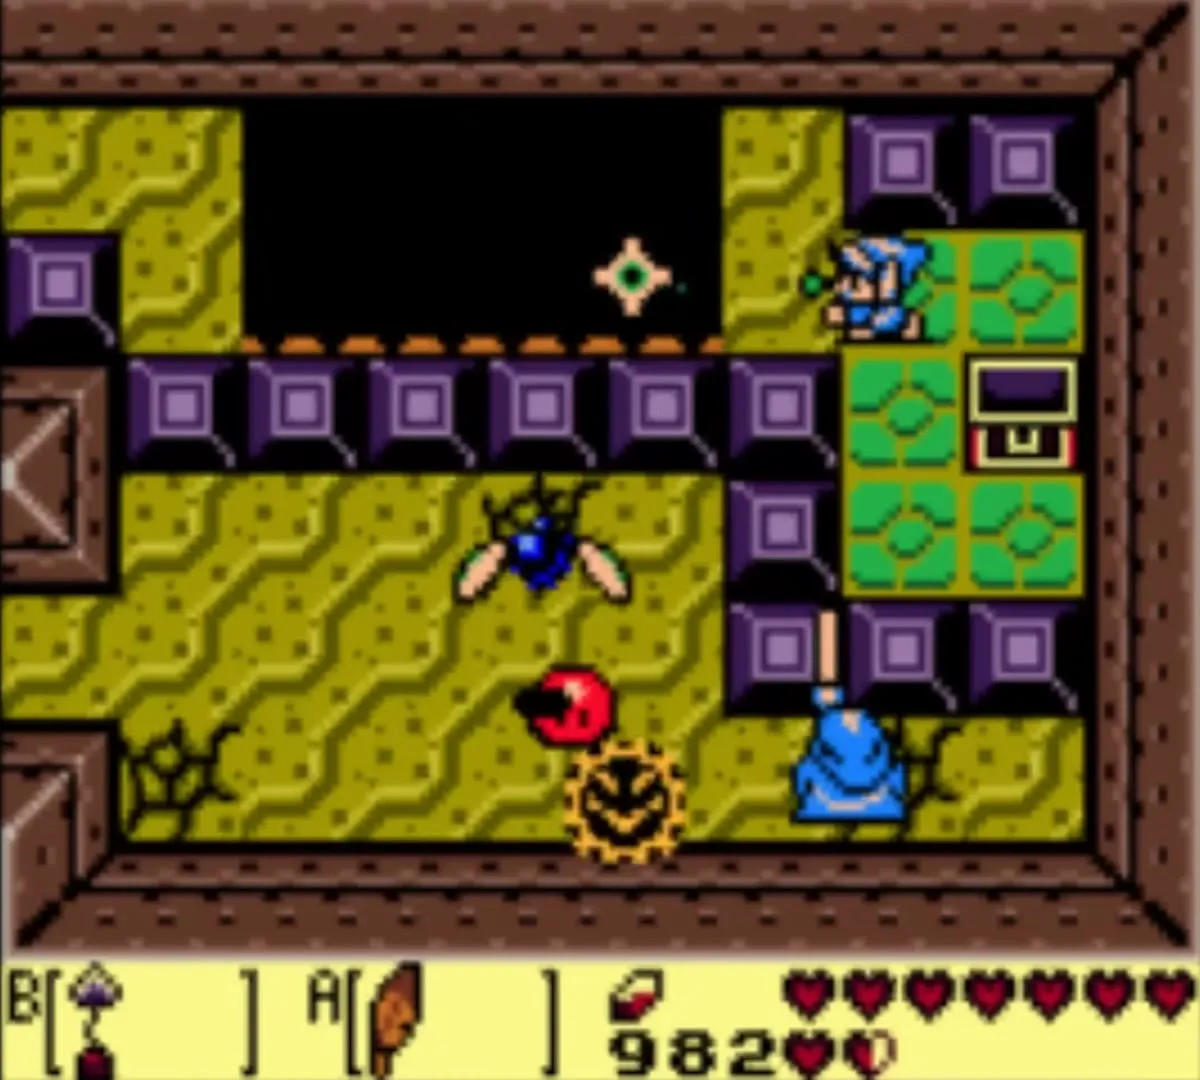
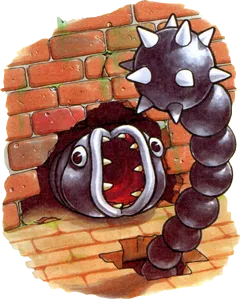
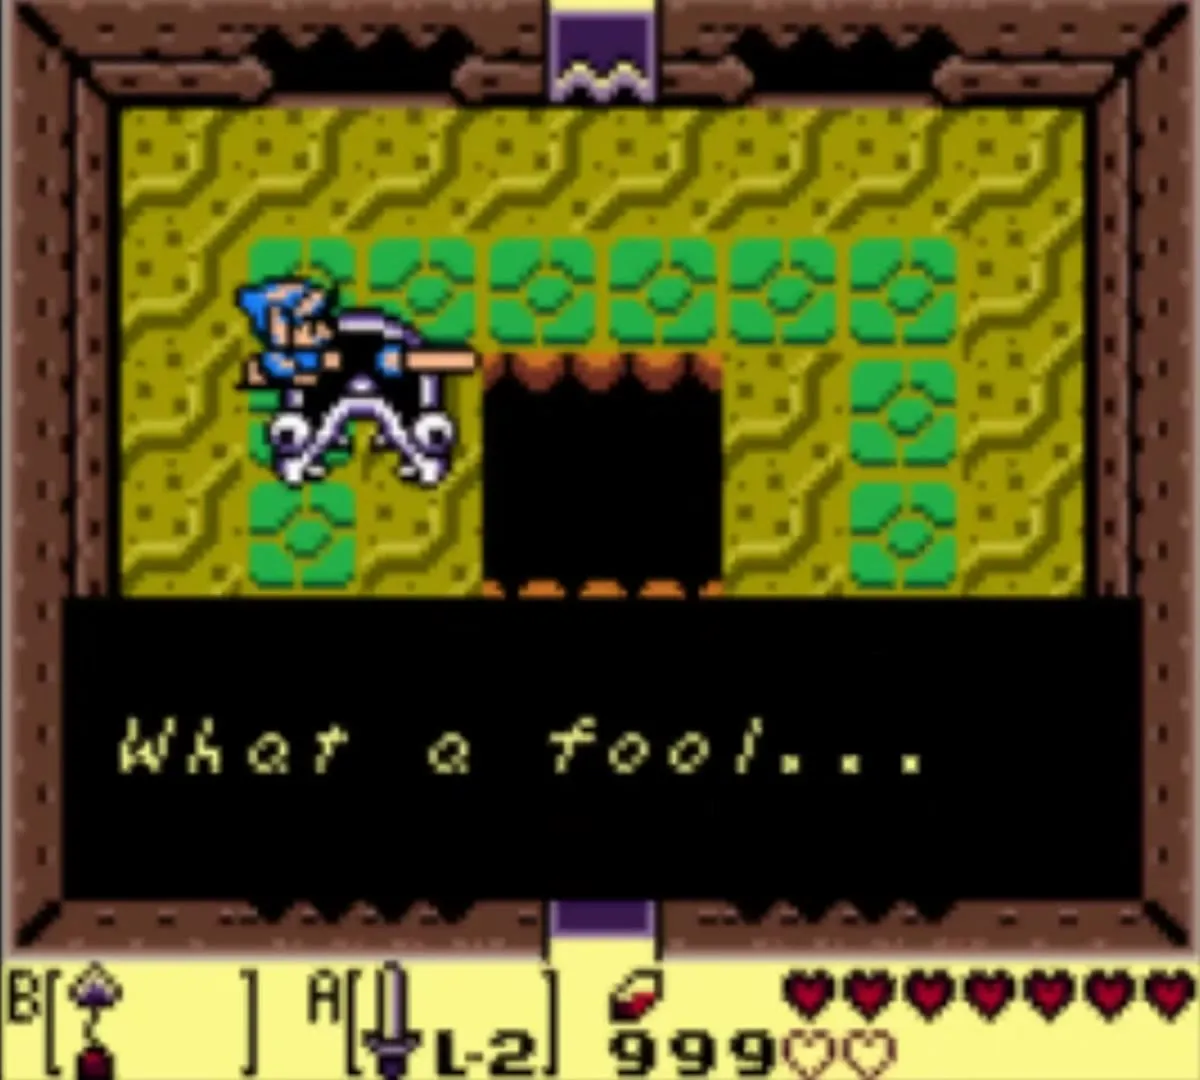
The Slime Eel lives in the pit in the middle of the room. Its spiked tail sweeps around the pit, so circle the room and stay out of the way. Every so often its head pops out of the wall opposite you. Stand in front of it, fire the Hookshot and drag it out. That exposes a glowing heart on its body. Slash the heart with your sword before the eel retreats.
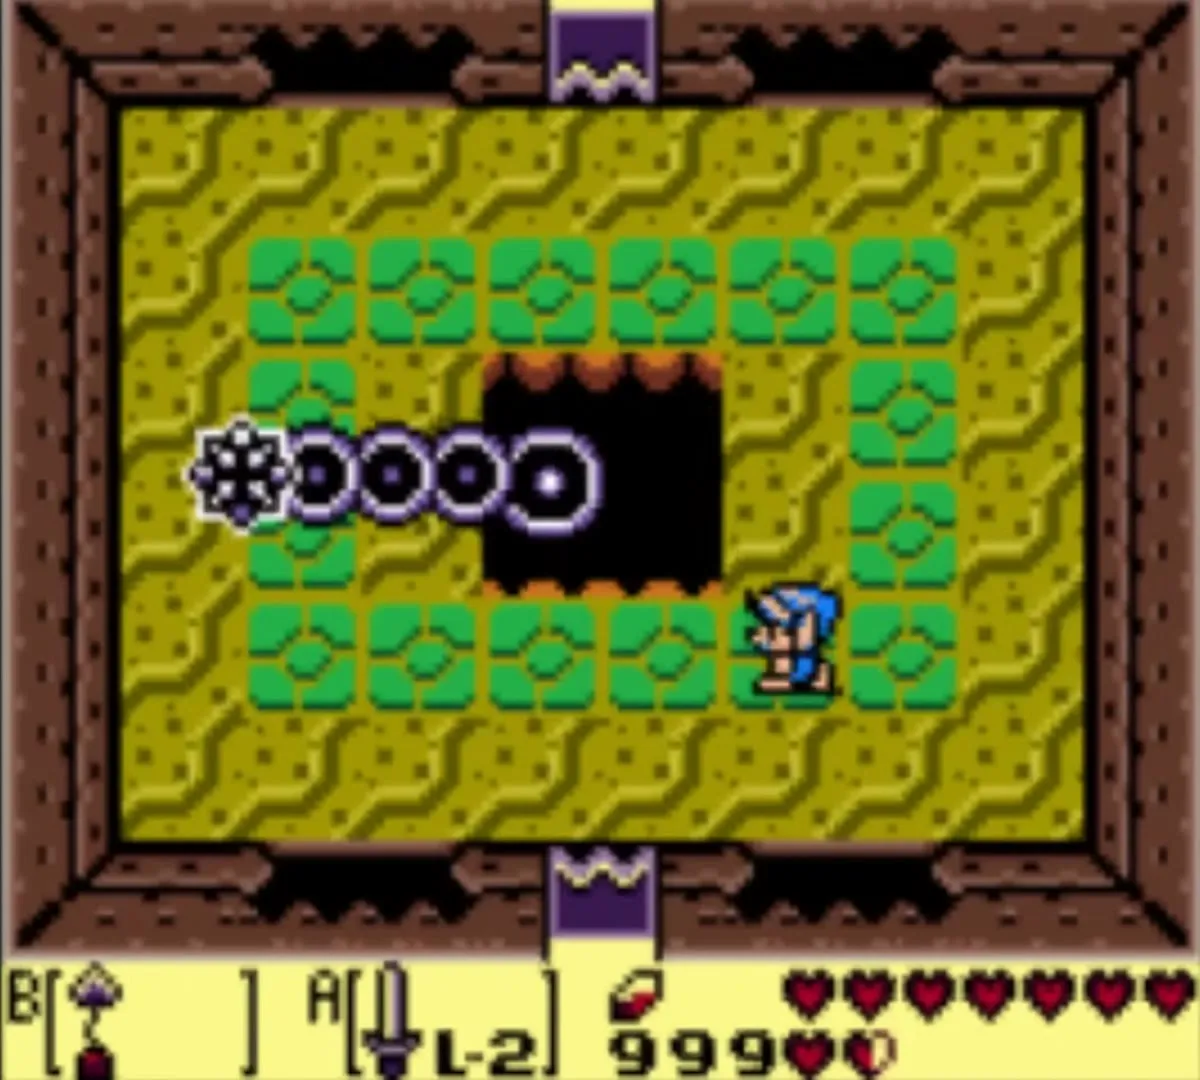
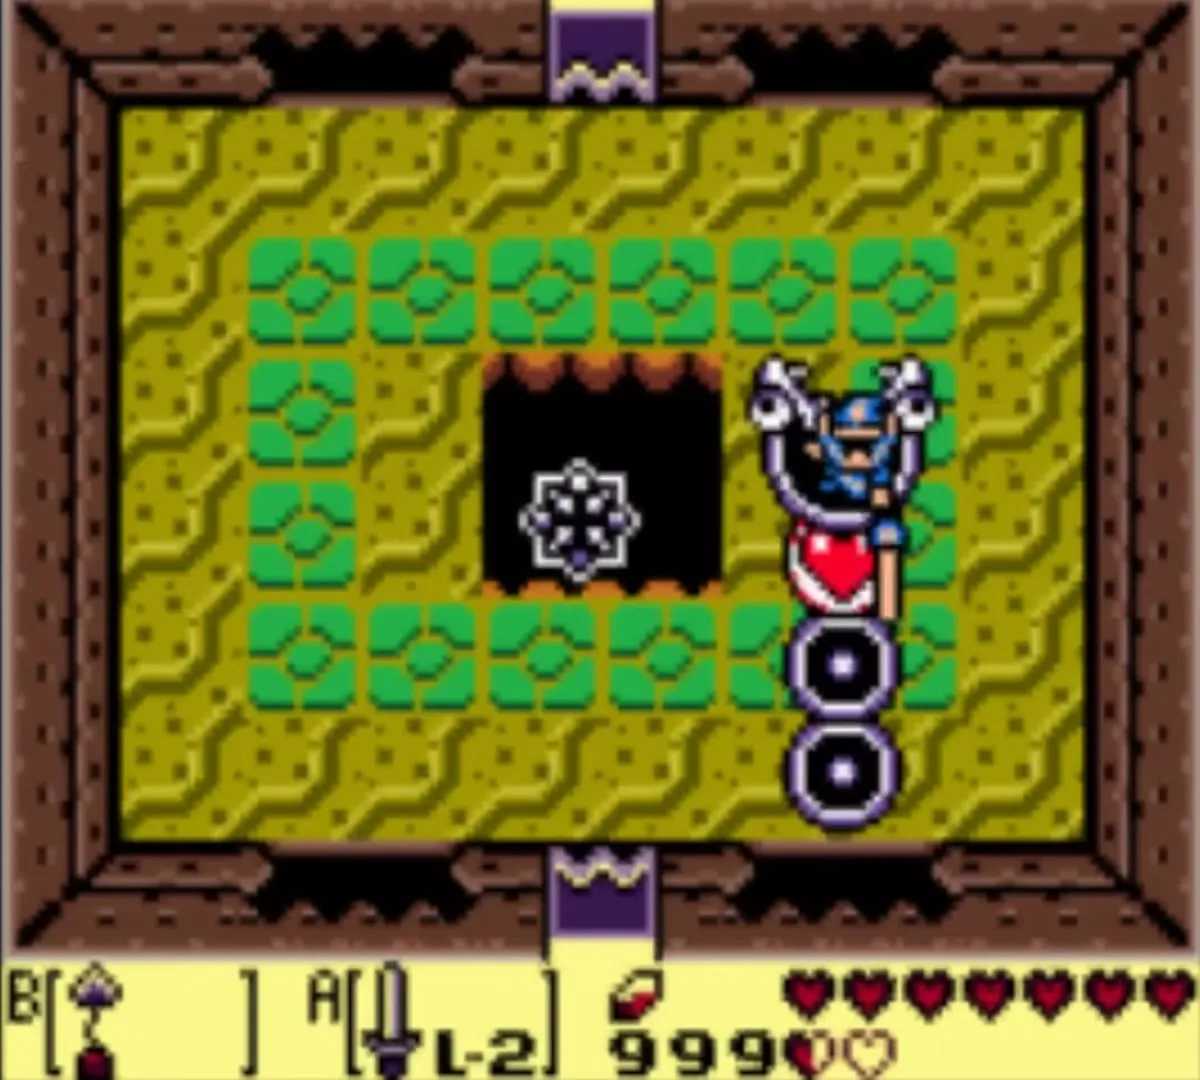
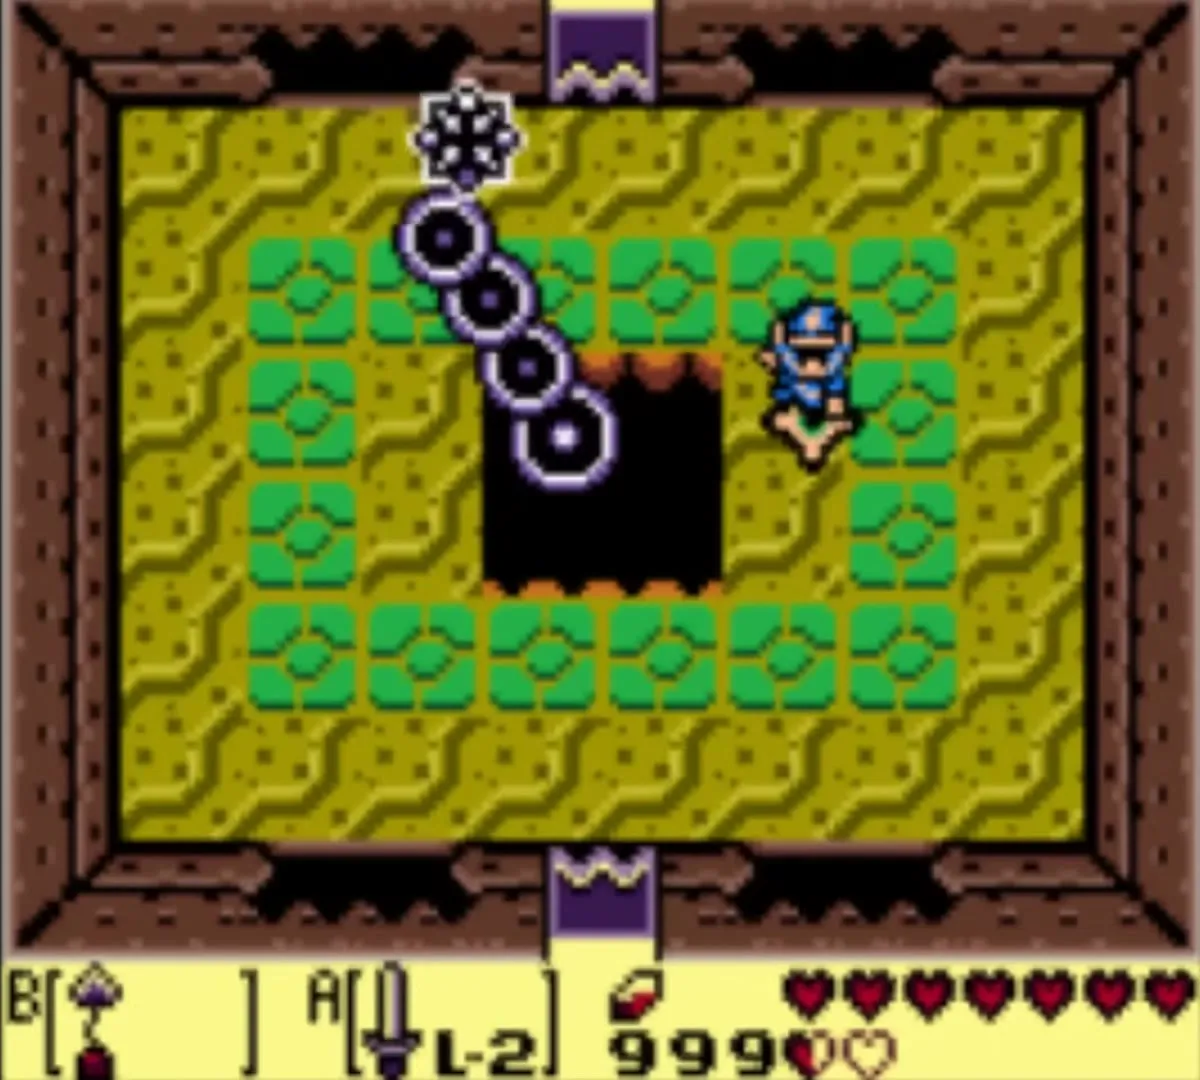
Repeat this several times. Some eel heads in the walls are decoys that slither around and explode, and the tail can reverse direction after a hit, so keep moving. When the last blow lands, the Slime Eel is beaten. The boss list is on the Boss Strategies page.

Heart Container and Wind Marimba
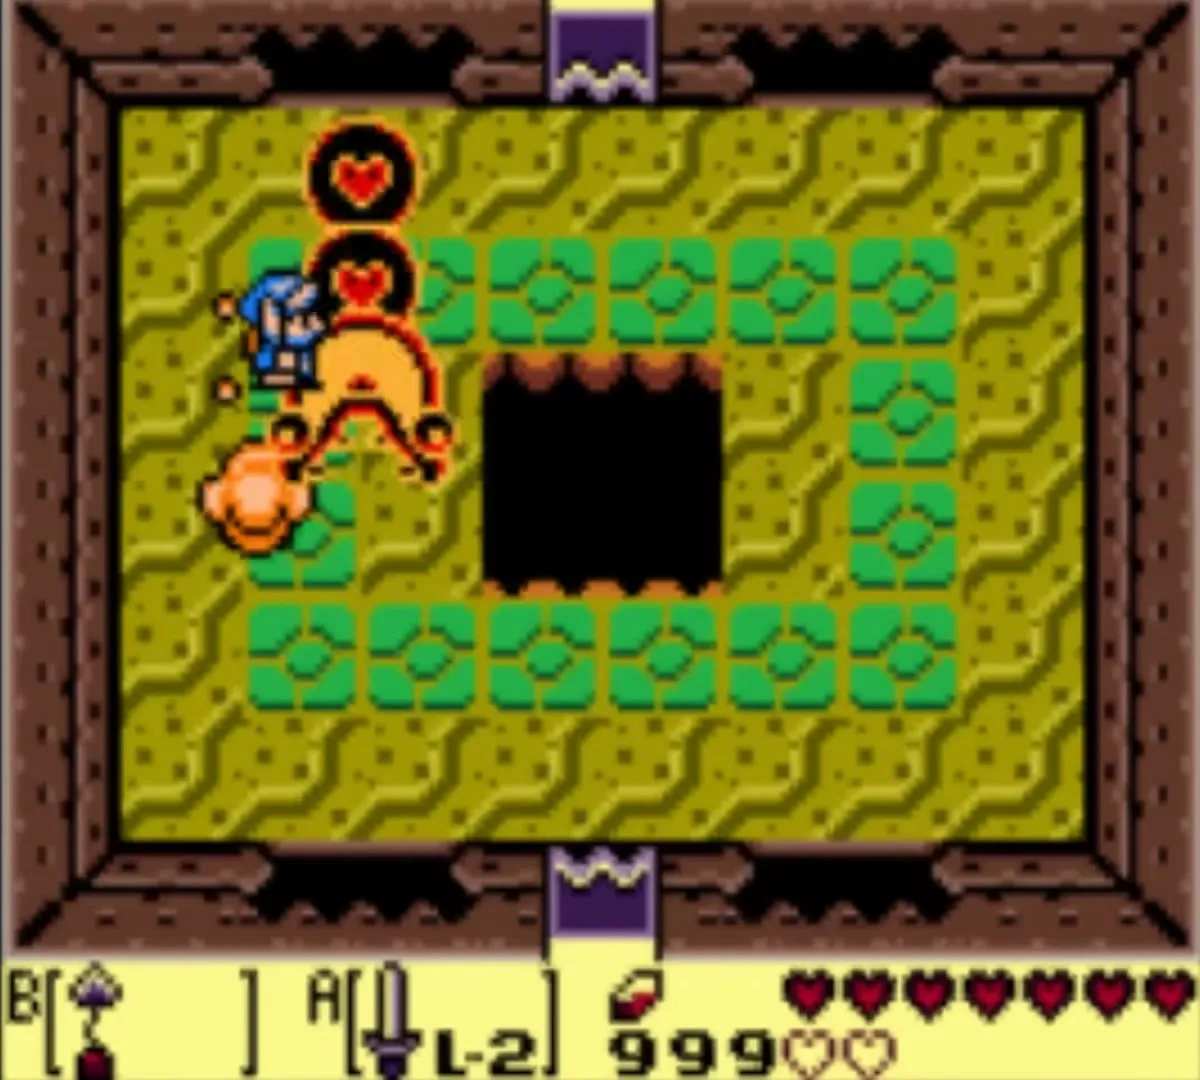
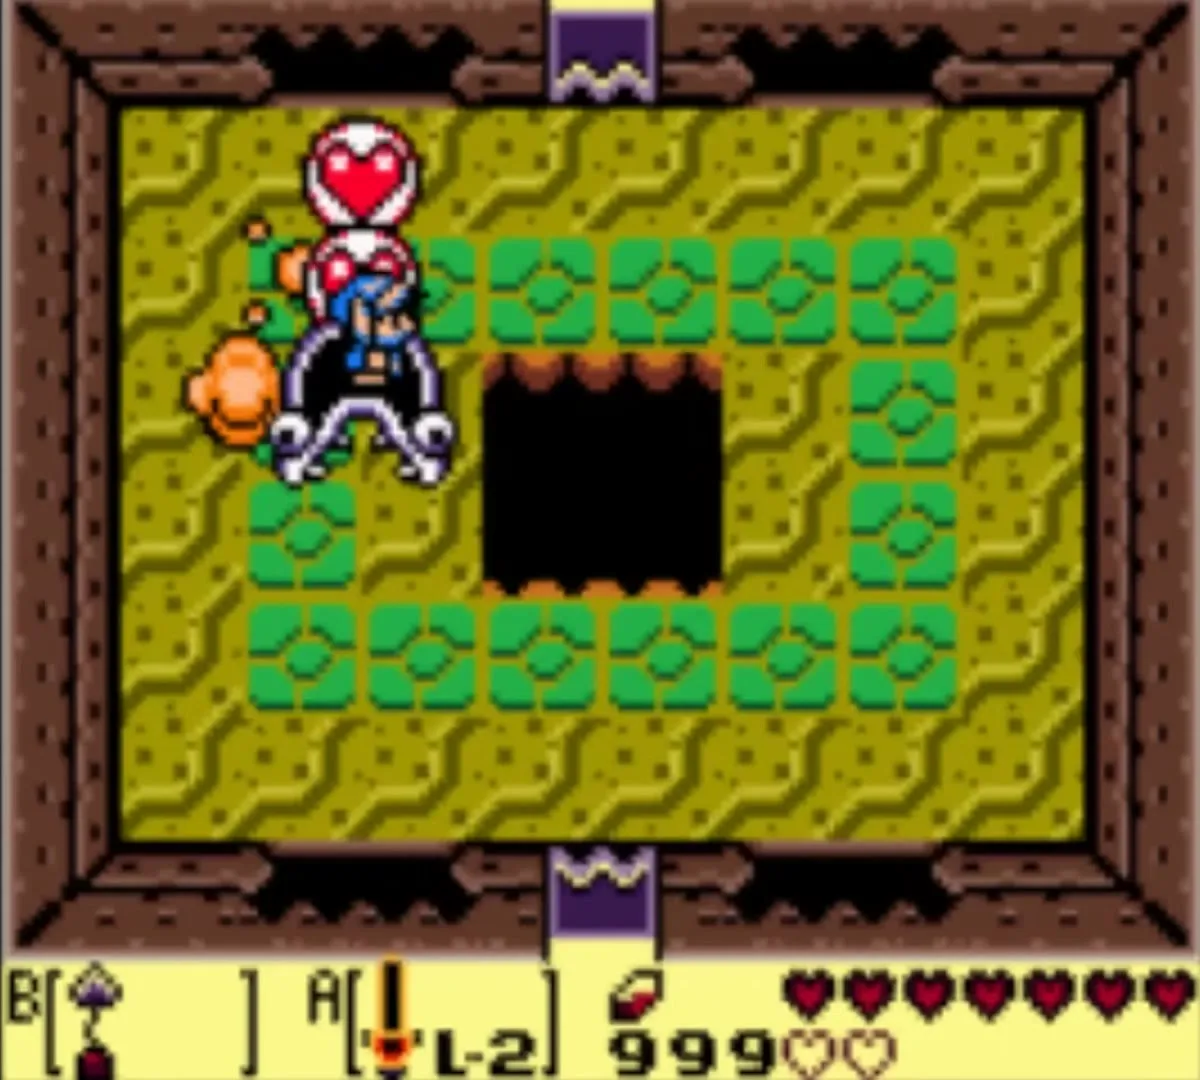
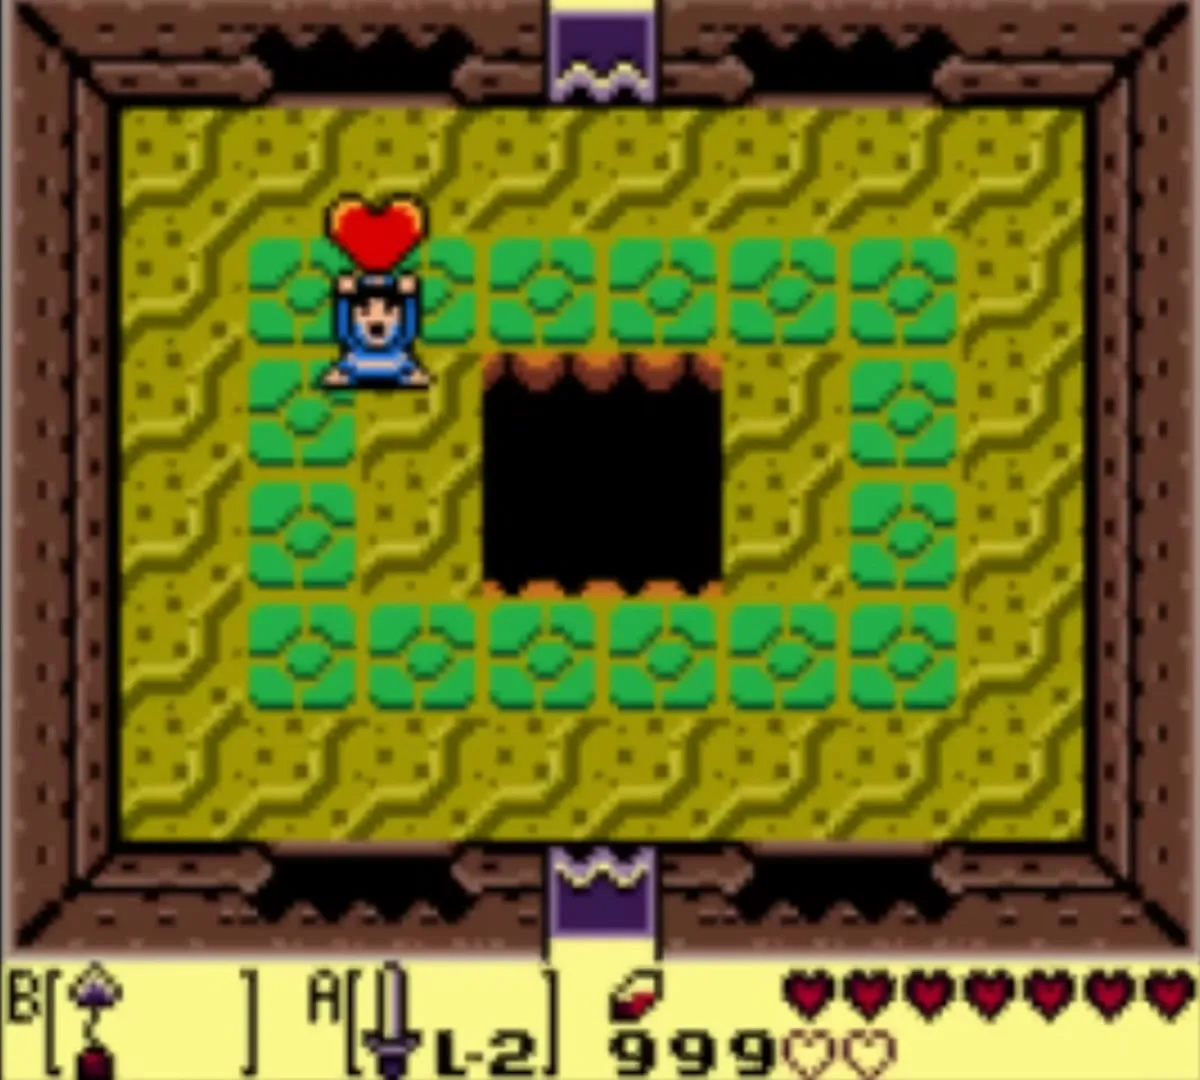
A Heart Container appears where the eel fell. Walk into it to raise your maximum health by one heart.
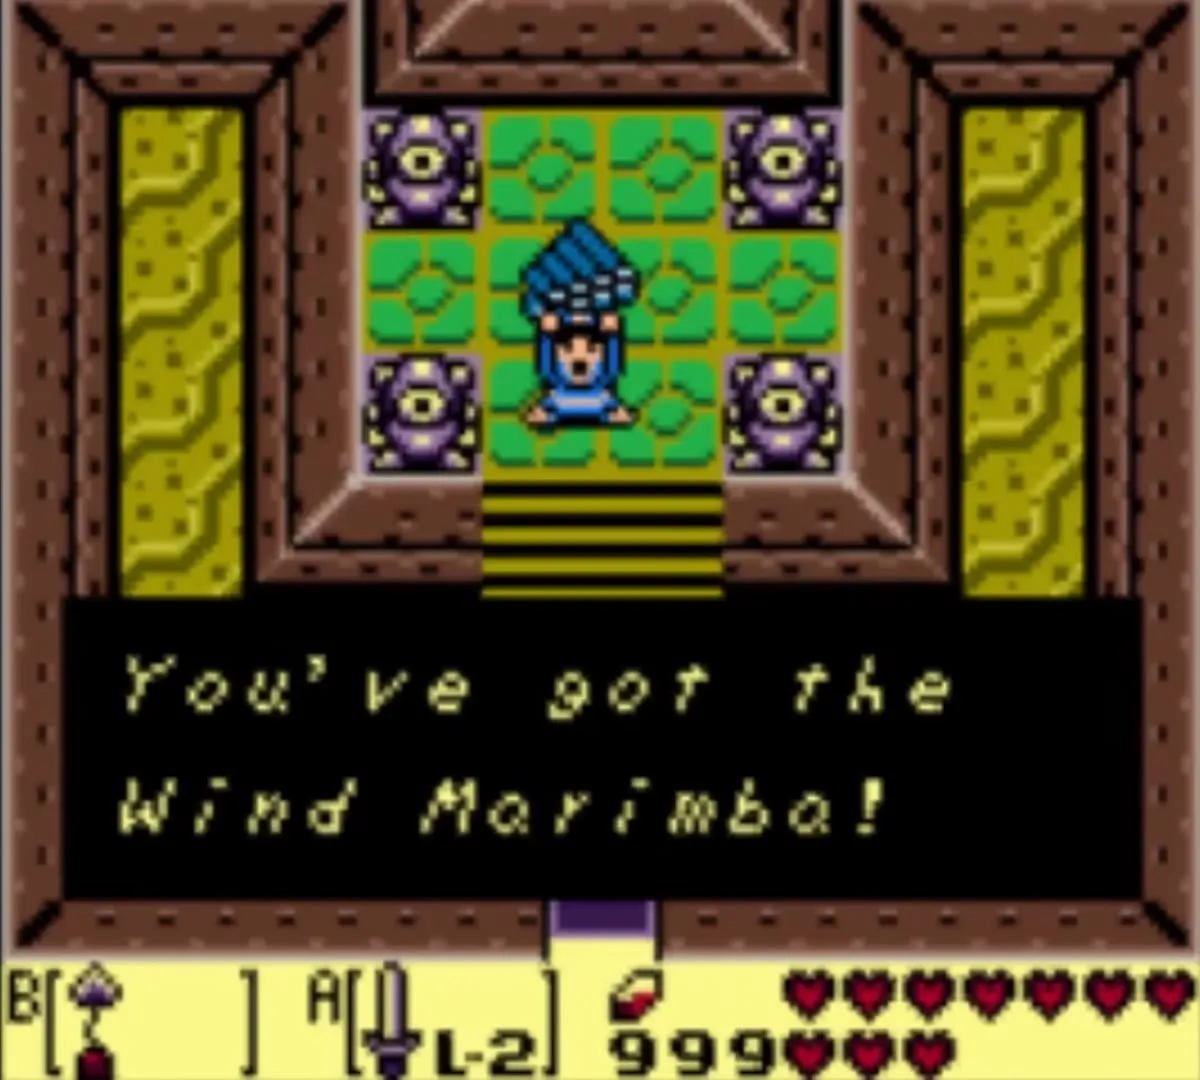
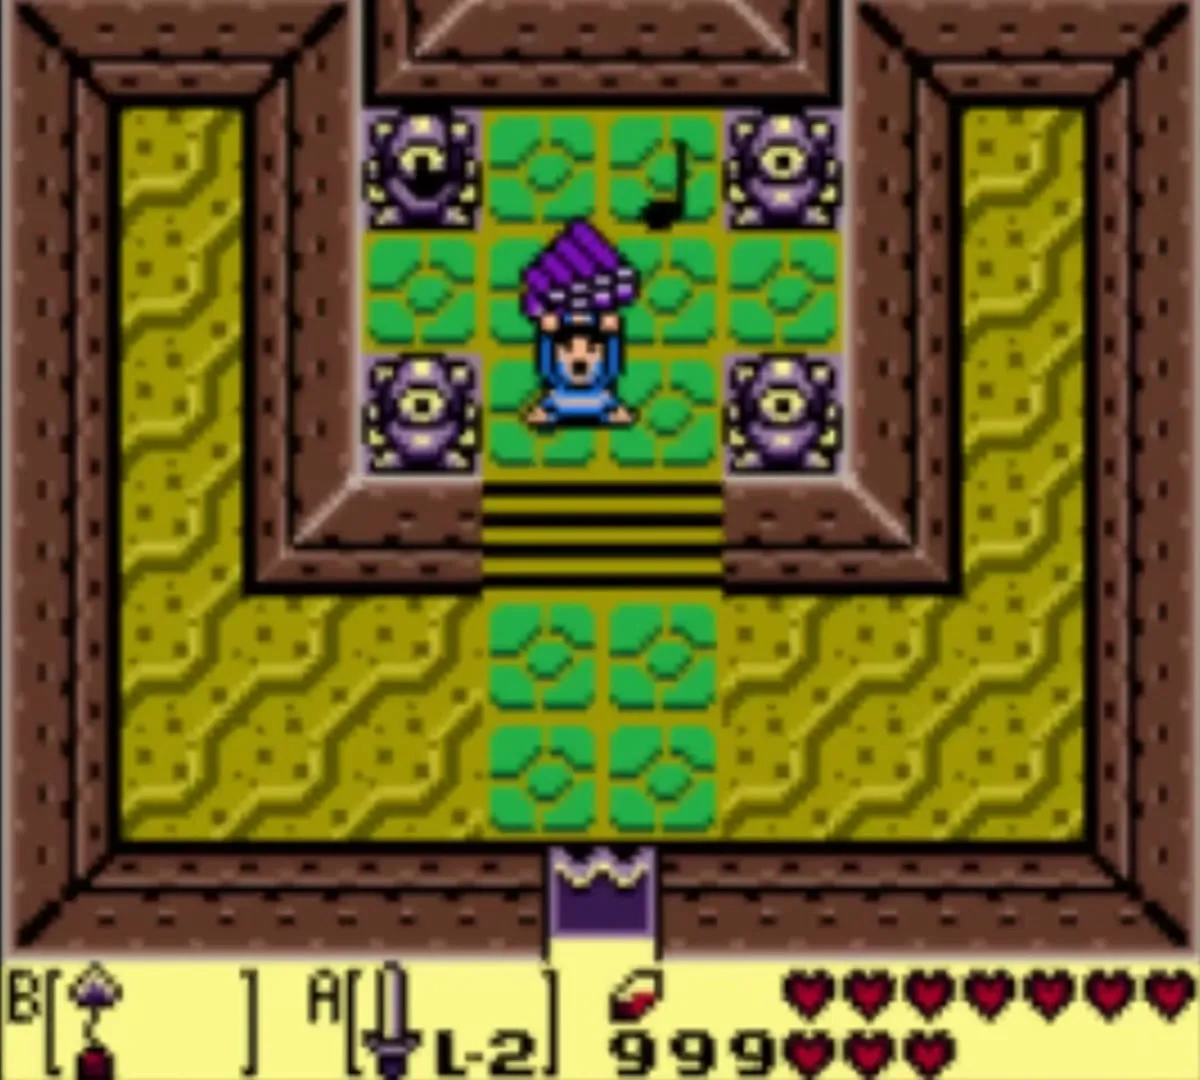
Go through the room north and up the stairs to the Instrument. Take the Wind Marimba, the fifth Instrument. Its hint points you toward the Face Shrine. With the Hookshot in your pack you can now reach places across gaps that used to block you, starting with the Mermaid Statue.
Chapter checklist
| Collectible | Type | Where |
|---|---|---|
| Cemetery Piece of Heart | Heart Piece | Graveyard, southwest; push the bottom-right grave (Roc’s Feather) |
| Kanalet moat Piece of Heart | Heart Piece | Dive in the moat near its southwest corner (Flippers) |
 Letter | Trading item | Christine, Animal Village, for the Hibiscus |
| Secret Seashell | Seashell | Bush on the island with stairs in Martha’s Bay (Flippers) |
| Secret Seashell | Seashell | Lone bush east of the Martha’s Bay telephone booth (Power Bracelet) |
| Bomb capacity 60 | Upgrade | Mad Batter in Martha’s Bay (Magic Powder) |
| I Was Very Afraid | Photo 11 | The ghost’s grave, after he rests |
| Secret Seashell | Seashell | Pot in the House by the Bay, after the ghost is home |
 Broom | Trading item | Mr. Write, for the Letter |
 Fishing Hook | Trading item | Grandma Ulrira, Mabe Village, for the Broom |
| Secret Seashell | Seashell | Bush island northeast of the Key Cavern entrance (Flippers) |
 L-2 Sword | Upgrade | Seashell Mansion, with 20 or more shells |
 Necklace | Trading item | Fisherman in Martha’s Bay, for the Fishing Hook |
 Mermaid’s Scale | Trading item | The Mermaid, for the Necklace |
| Can’t Swim? | Photo 8 | The fisherman’s boat in Martha’s Bay; needs the Magnifying Lens, so return after the next chapter |
 Compass,  Map, Stone Beak | Dungeon items | Catfish’s Maw |
 Hookshot | Item | Master Stalfos, Catfish’s Maw |
 Nightmare’s Key | Dungeon key | Chest past the dive tunnel, Catfish’s Maw |
| Heart Container | Boss reward | Slime Eel, Catfish’s Maw |
 Wind Marimba | Instrument | Catfish’s Maw |
With five Instruments and the Hookshot, you are ready for the next dungeon. Use the Hookshot to trade the Mermaid’s Scale at the Mermaid Statue, then carry on with the Ancient Ruins and Face Shrine chapter.