| Secret types | 6: burnable trees, bombable walls, Armos staircases, Power Bracelet passages, whistle-revealed stairs and lakes |
|---|---|
| Map grid | 16 columns (A to P) by 8 rows (1 to 8); you start on H8 |
| Power Bracelet passages | 4 secret exits, opened by moving a rock |
| Lost Woods route | North, West, South, West |
Most of the rupee caves, shops and potion sellers in the first quest are hidden in plain sight on the overworld. Each one is opened by burning a tree with a candle, bombing a wall, touching an Armos or pushing a rock. Use the table below to find the secret you are looking for, then read the section that explains how to reach it.
Table of Contents
How the overworld is laid out
Every secret here is named by a map square: a letter for the column, A on the far west edge to P on the far east edge, and a number for the row, 1 along the north edge to 8 along the south edge. The start screen is H8, so L8 is four screens east of it and H5 is three screens north. Death Mountain fills the north of the map, the Lost Woods and the graveyard are in the west, and the lakes and the sea are in the centre and east.
Quick reference
| Secret | Where | Tool | What it leads to |
|---|---|---|---|
| Lone tree on the south-east path | N7 | Candle | Staircase to Level 8 |
| Tree in the eastern column | N5 | Candle | Hidden shop: Magical Shield, Monster Bait, hearts |
| Stairwell under the Armos field | M2 | Touch the Armos | Old Man with information |
| Rock on the Death Mountain peak | F1 | Bombs | Entrance to Level 9 |
| Middle Armos in the top row | E4 | Touch the Armos | Hidden Blue Ring shop |
| Rightmost Armos in the top row | E3 | Touch the Armos | Power Bracelet |
| Waterfall beside the Lost Hills | K2 | Walk to the falls | Secret cave where information is sold |
| Rock at a secret passage exit | N2 | Power Bracelet | Secret passage to the exits at J5, J8 and D3 |
| Lake without a fairy | C5 | Recorder | Stairs to Level 7 |
| Lost Woods entrance | B7 | Walk through the route | Route to the west of Hyrule |
Burnable trees and bushes
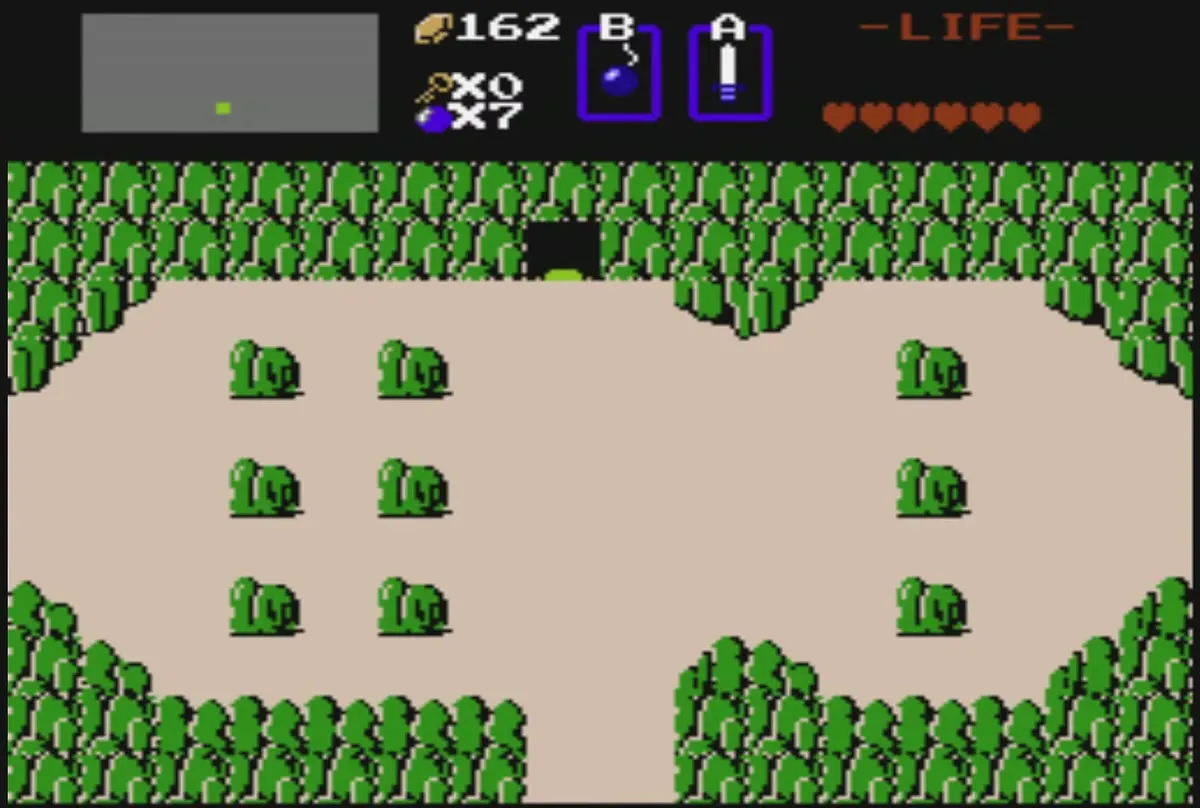
Burn a tree or bush with the candle to reveal what is under it. Trees that hide a shop are worth checking first, because the stock includes the Magical Shield. Burning a tree near a dungeon entrance also opens the route to a few of the dungeons.


| Square | Tree to burn | What you get |
|---|---|---|
| N7 | Lone tree that blocks the path | Entrance to Level 8 |
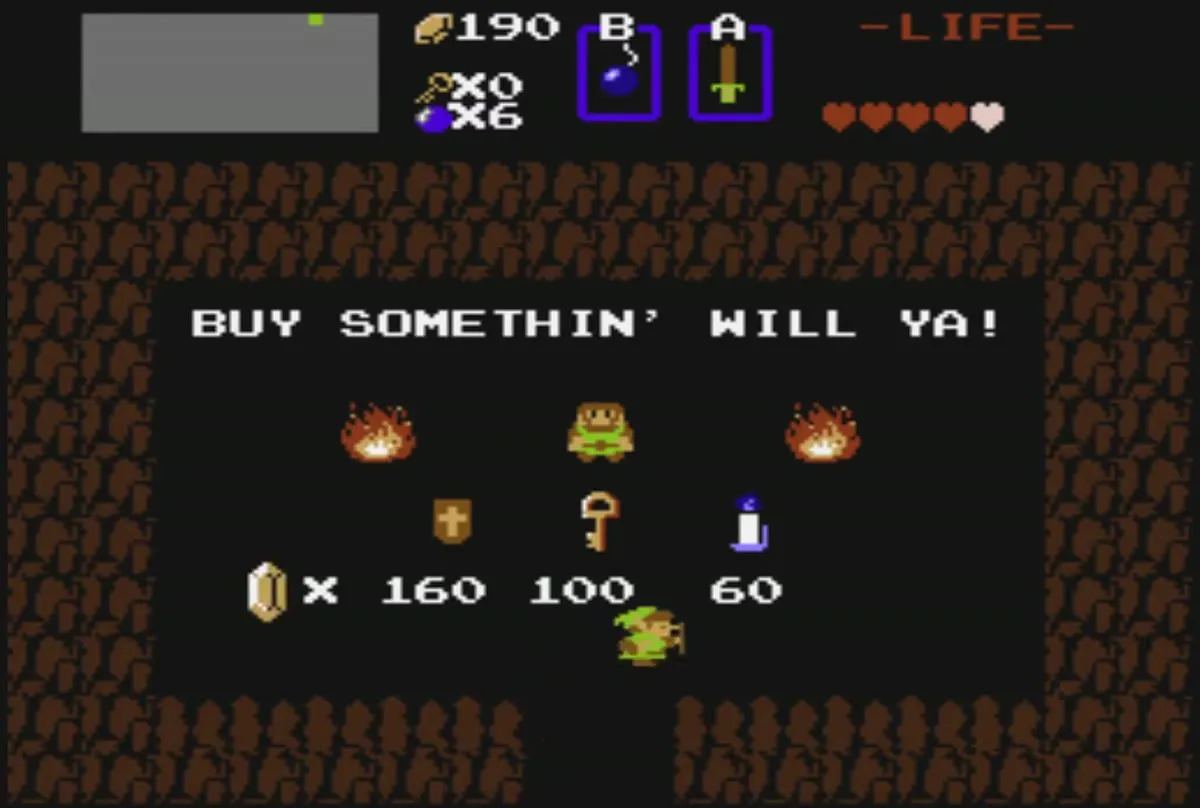
| N5 | South tree in the eastern column | Shop with Magical Shield 90, Monster Bait 100 and hearts 10 |
| I5 | Topmost tree on the right border | Cave with 30 rupees |
| L5 | Tree closest to the desert entrance | Medicine woman who sells Potions |
| L6 | Lower solitary tree on the left | Stairwell with 10 rupees |
| I7 | Bottom leftmost tree | Stairwell where the man charges 20 rupees for repairs |
| K7 | Bottom solitary tree | Stairwell where the man charges 20 rupees for repairs |
| L7 | Bottom centre tree in the group on the right | Moblin who gives 100 rupees |
| I8 | Bottom centre tree in the group on the left | Medicine woman who sells Potions |
| G5 | Tree in the top-left corner | Shop with Magical Shield 90, Monster Bait 100 and hearts 10 |
| H5 | Tree along the top row toward the right | Stairwell to a Heart Container |
| I3 | Lower rightmost tree before the desert | Moblin who gives 30 rupees |
| C7 | Top tree of the single column of trees | Moblin who gives 100 rupees |
| D7 | Lower tree just left of centre | Stairwell where the man charges 20 rupees for repairs |
Bombable walls and cliffs
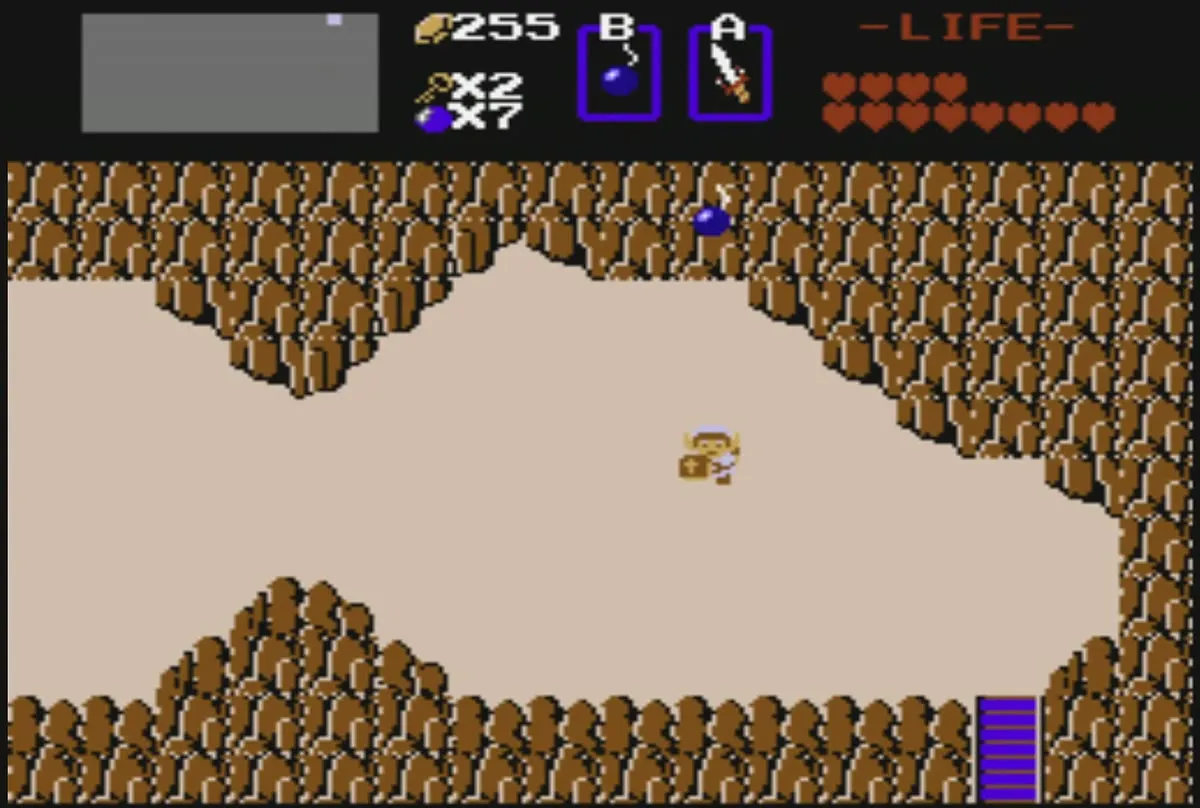
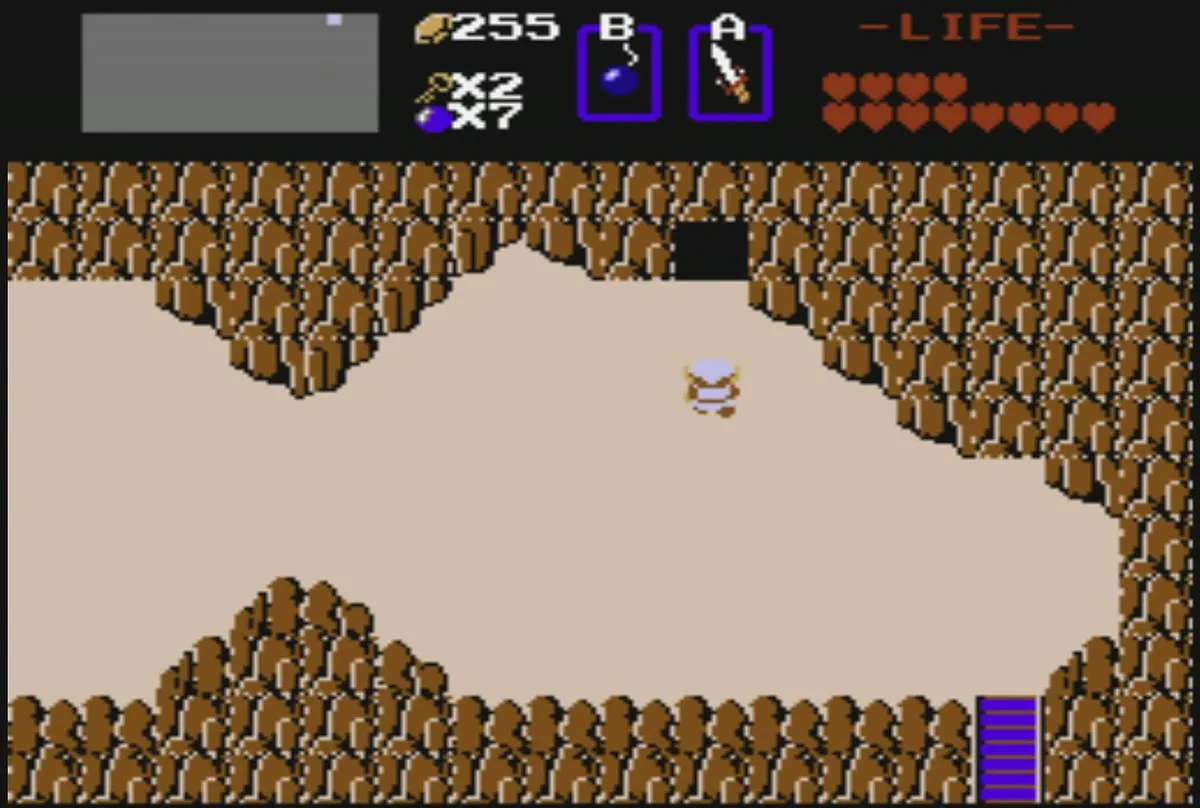
Bomb a flat section of a north wall or a cliff to open a cave or a locked door. Some of these walls hide a shop or a potion seller, and others lead to rupee caves. A man behind a locked door will ask for 20 rupees to repair it, so decide before you bomb whether the trip is worth it.
| Square | Wall or rock to bomb | What you get |
|---|---|---|
| N1 | Flat section of the north wall | Medicine woman who sells Potions |
| N3 | Small section of the north wall right of the stairs | Secret cave with 30 rupees |
| M3 | South side of the large boulder | Cave with a Heart Container, offered by an Old Man |
| O2 | North wall, to the right | Secret door, with a man who charges 20 rupees |
| M8 | Cliff wall, just left of centre | Cave with the Money Making Game |
| N8 | Cliff wall, just left of centre | Secret door, with a man who charges 20 rupees |
| H3 | North wall, all the way to the right | Medicine woman who sells Potions |
| F1 | South side of the left rock on Spectacle Rock | Entrance to Level 9 |
| E2 | Right end of the north wall | Cave where the man charges 20 rupees |
| H1 | Flat part of the north wall on the right | Cave where the man charges 20 rupees |
| G2 | Flat section of the north wall, avoiding the rocks | Cave with the Money Making Game |
| G3 | North wall directly above the southern path | Hidden shop with Magical Shield 90, Monster Bait 100 and hearts 10 |
| G8 | Middle of the north wall | Cave with the Money Making Game |
| H7 | North wall directly above the southern path | Cave with 30 rupees |
| B1 | Northernmost flat wall | Door, with a man who charges 20 rupees |
| D1 | North wall not far from the stairs | Door, with a man who charges 20 rupees |
| A2 | Wall to the right of the stairs | Cave with the Money Making Game |
| C2 | Wall to the left of the leftmost tree | Hidden shop with Magical Shield 90, Monster Bait 100 and hearts 10 |
| D2 | Right side of the northernmost wall | Cave with 30 rupees |
| D4 | Wall between the two staircases | Cave where a medicine woman sells Potions |
| B8 | Wall just right of the crack | Cave where a Moblin gives 30 rupees |
Armos staircases
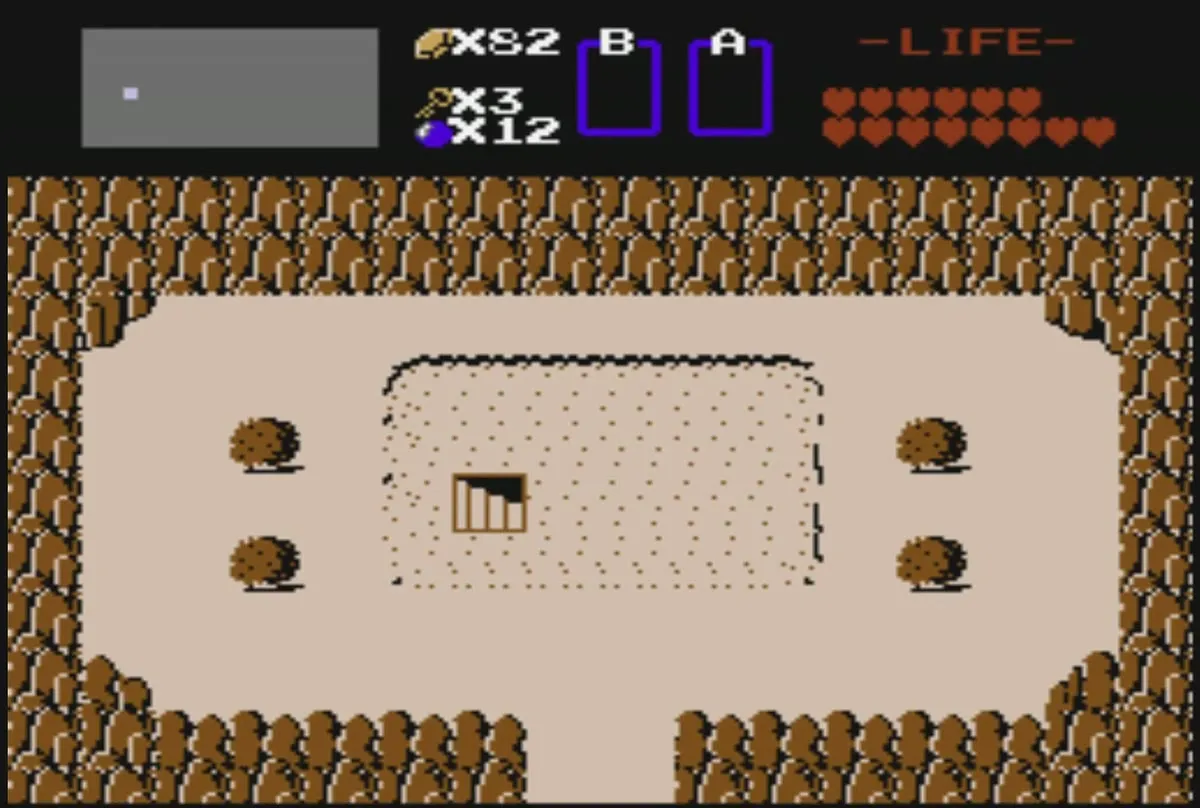
Touch an Armos statue to wake it, and it moves off the staircase it was guarding. Walk down the stairs for the reward. Some Armos hide shops rather than rupees, so look at every Armos in a row before you give up.

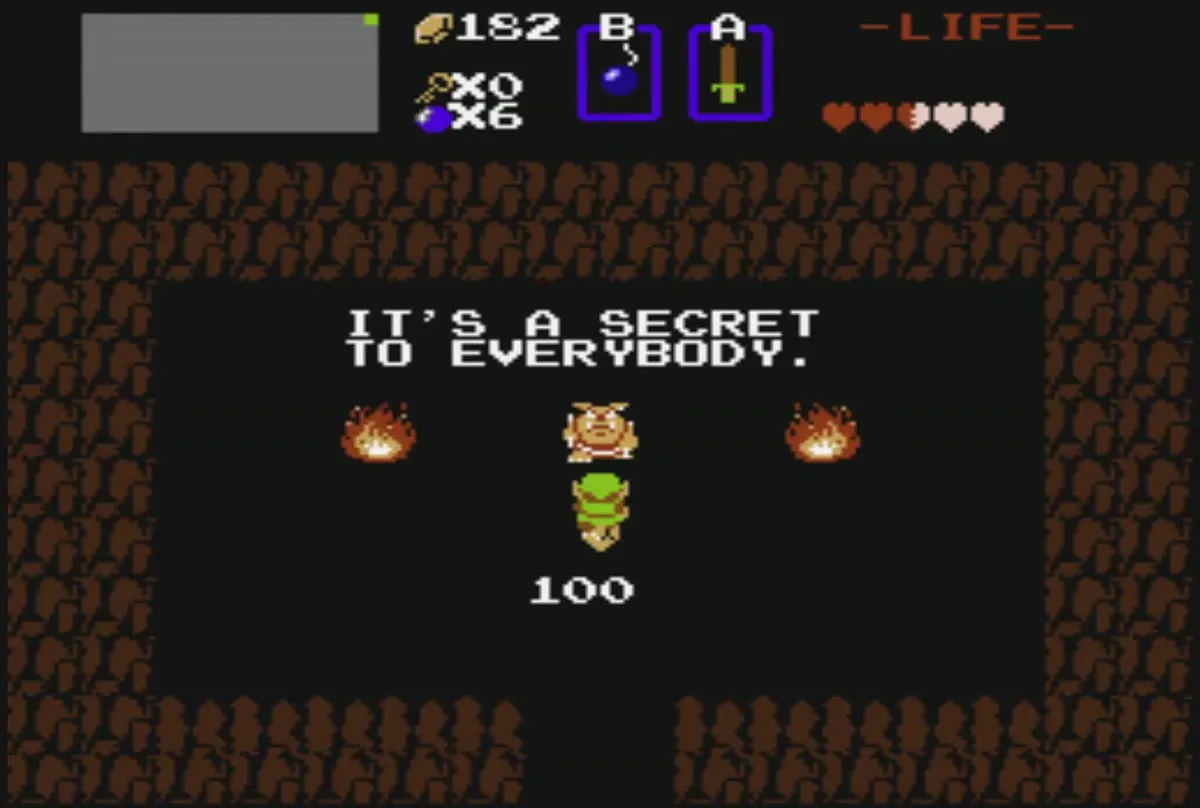
- M2: a stairway under one Armos leads to an Old Man who has information for you.
- N4: touch the right Armos to reach a staircase with 30 rupees.
- O5: touch the right Armos to reach a staircase with 10 rupees.
- E3: the rightmost Armos in the top row hides the Power Bracelet.
- E4: the middle Armos in the top row hides a shop with a Key for 80 rupees, the Blue Ring for 250 rupees and Monster Bait for 60 rupees.
Power Bracelet passages
The Power Bracelet is the item that lets you push the large rocks at the secret passage exits. Take it from the Armos in E3, and then use it on the rocks below. Each of these passages links to the others.
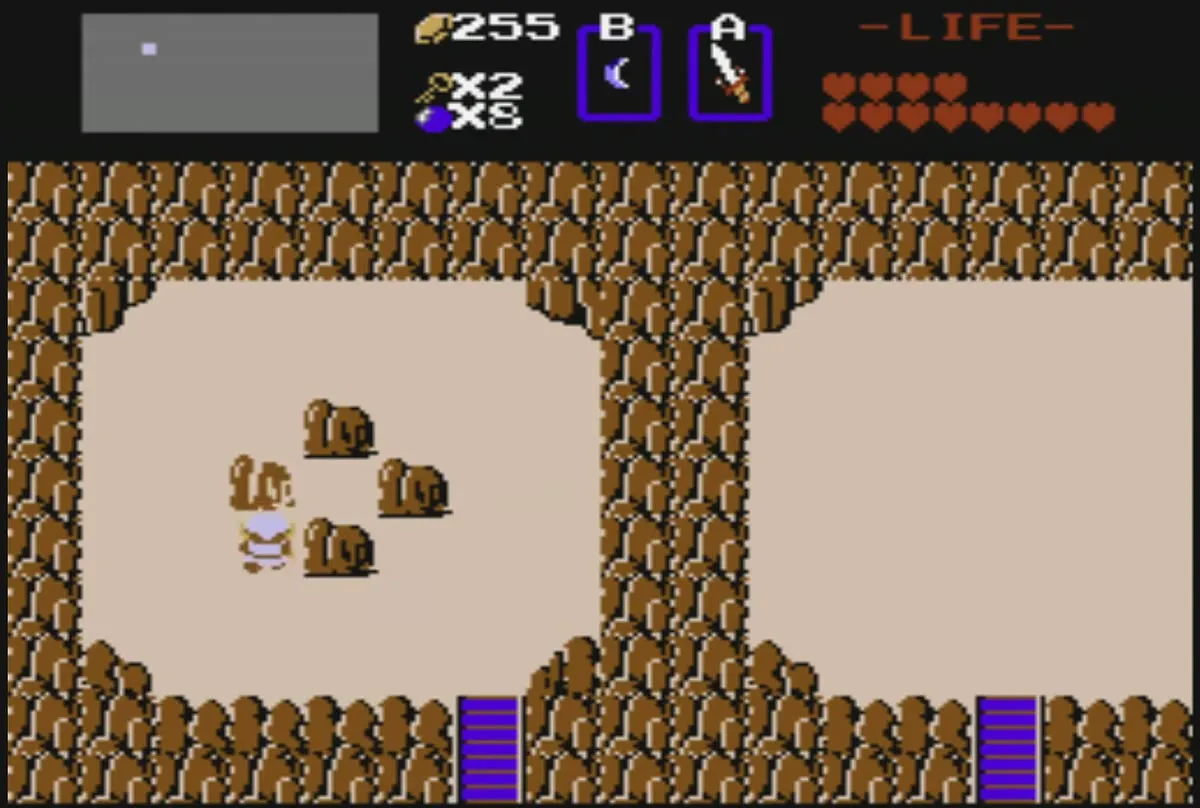
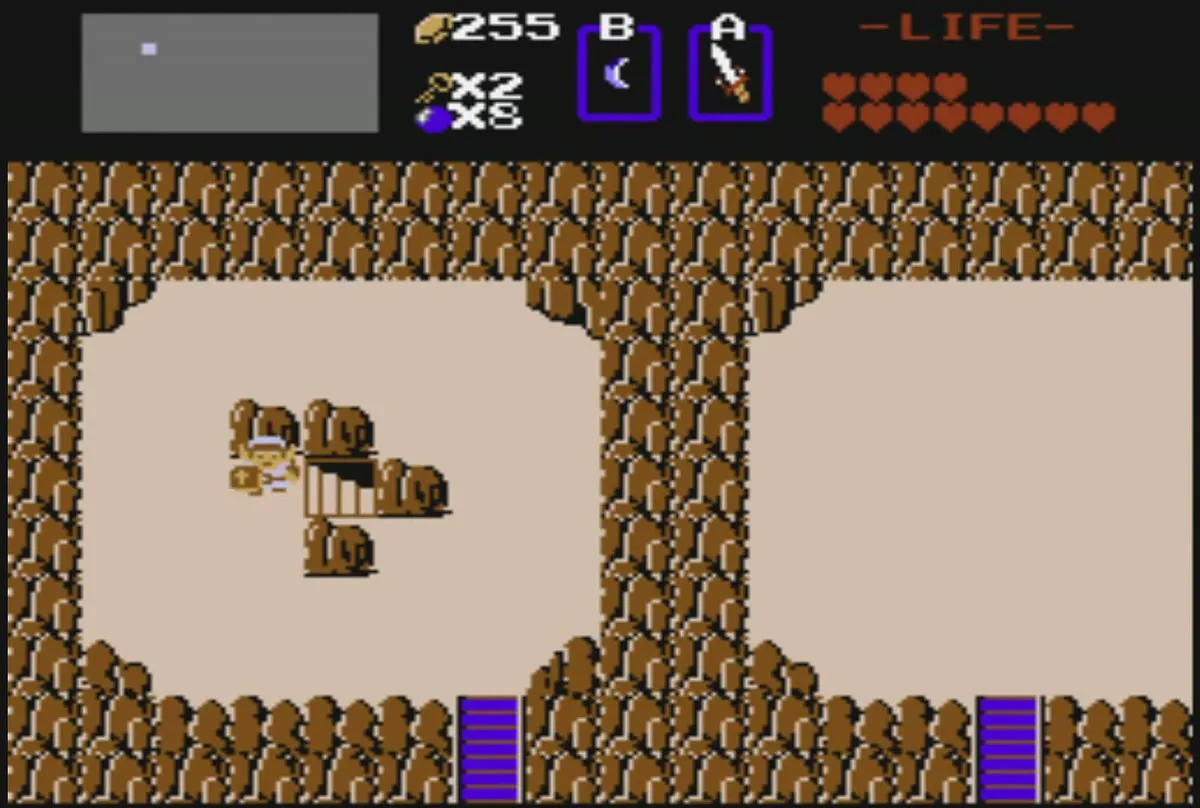
- N2: the rock opens a passage that links to the exits at J5, J8 and D3.
- J5: the rock opens a passage that links to N2, D3 and, straight down the column, J8.
- J8: the rock opens a passage that links to N2, D3 and, straight up the column, J5.
- D3: the rock opens a passage that links to N2, J5 and J8. It sits on the graveyard screen, so it is a quick way back to the east side of the map.
The Lost Woods
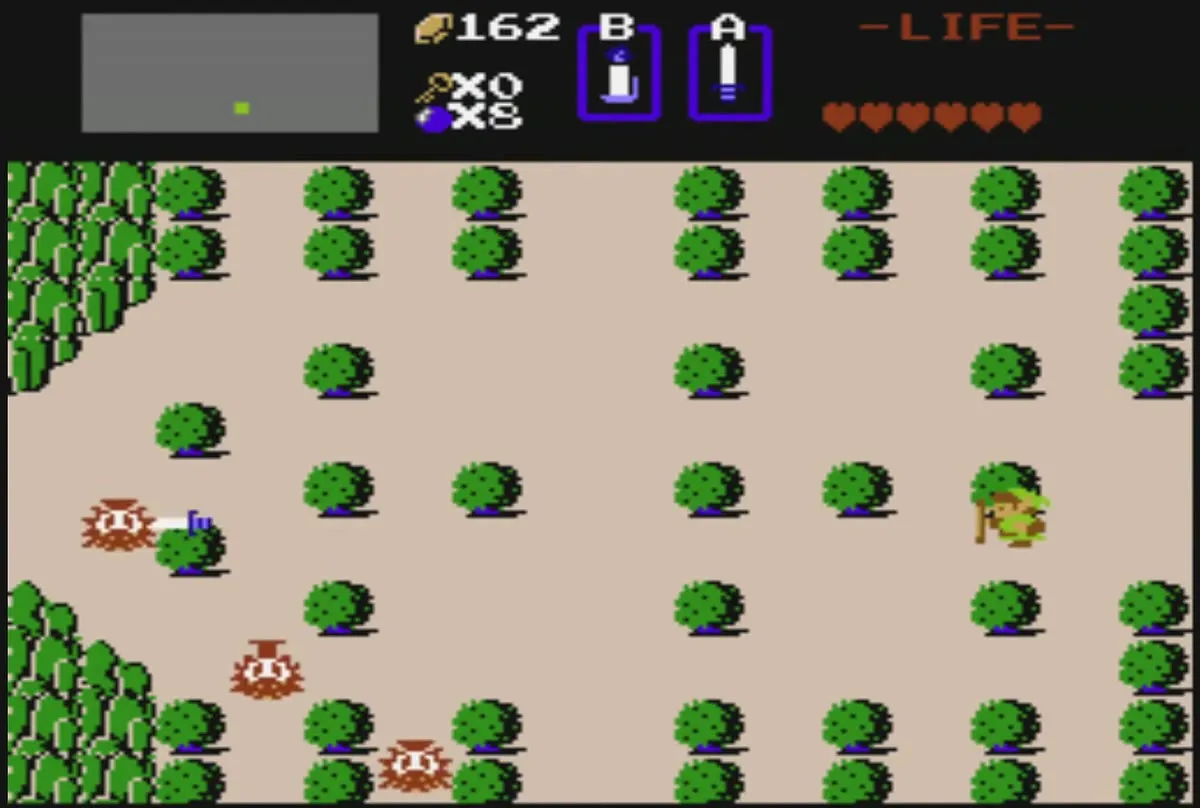
The Lost Woods are the forest screen at B7, in the south-west, and the only way out to the west is to leave in the right order: north, then west, then south, then west. Any other move puts you back at the start of the screen. The woman in the cave at A8, the lower-left corner of Hyrule, will tell you the order if you pay her. She offers three amounts and only talks at the middle one, which is 30 rupees.

Fairies, whistle spots and water
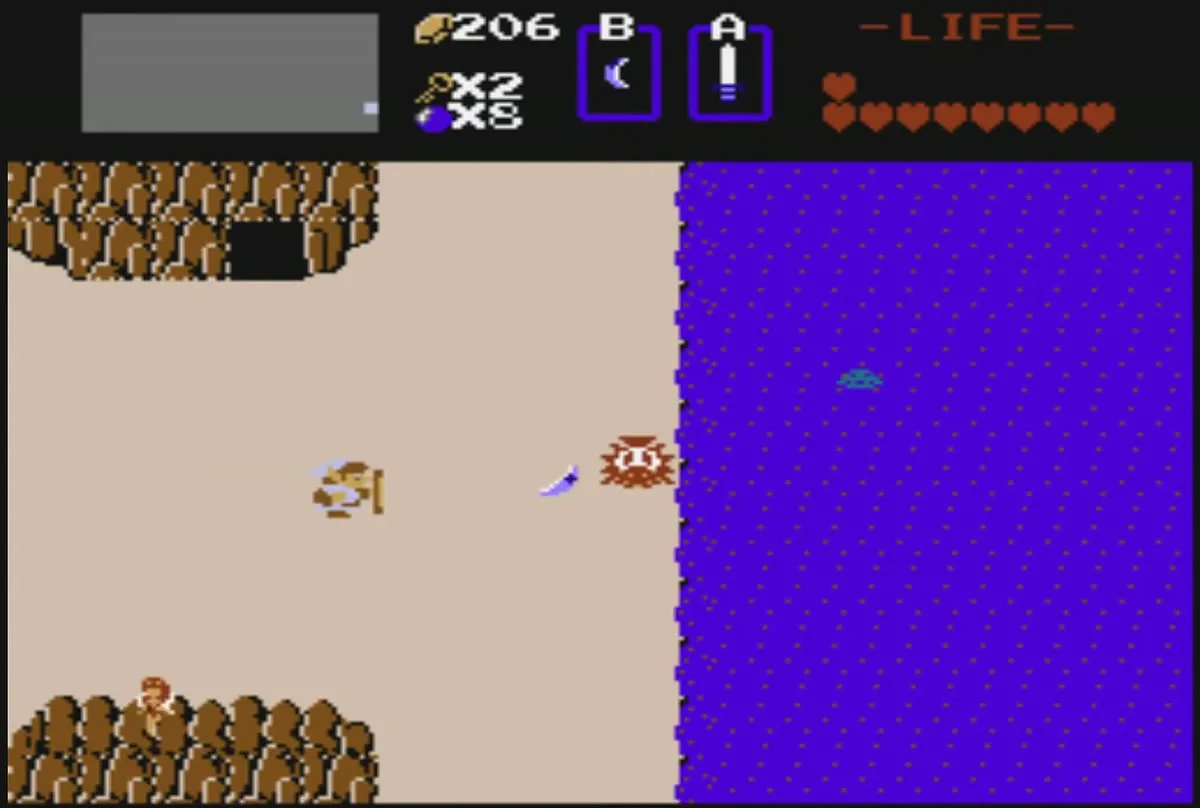
Two of the lakes on the overworld hold healing fairies, at J4 and D5. Walk into the pond and the fairy refills every heart. A third lake, at C5, has no fairy in it. Stand beside that lake and play the Recorder: the water drains away and a staircase appears that leads to Level 7. The in-game hint for the spot is that secrets hide where fairies do not live.
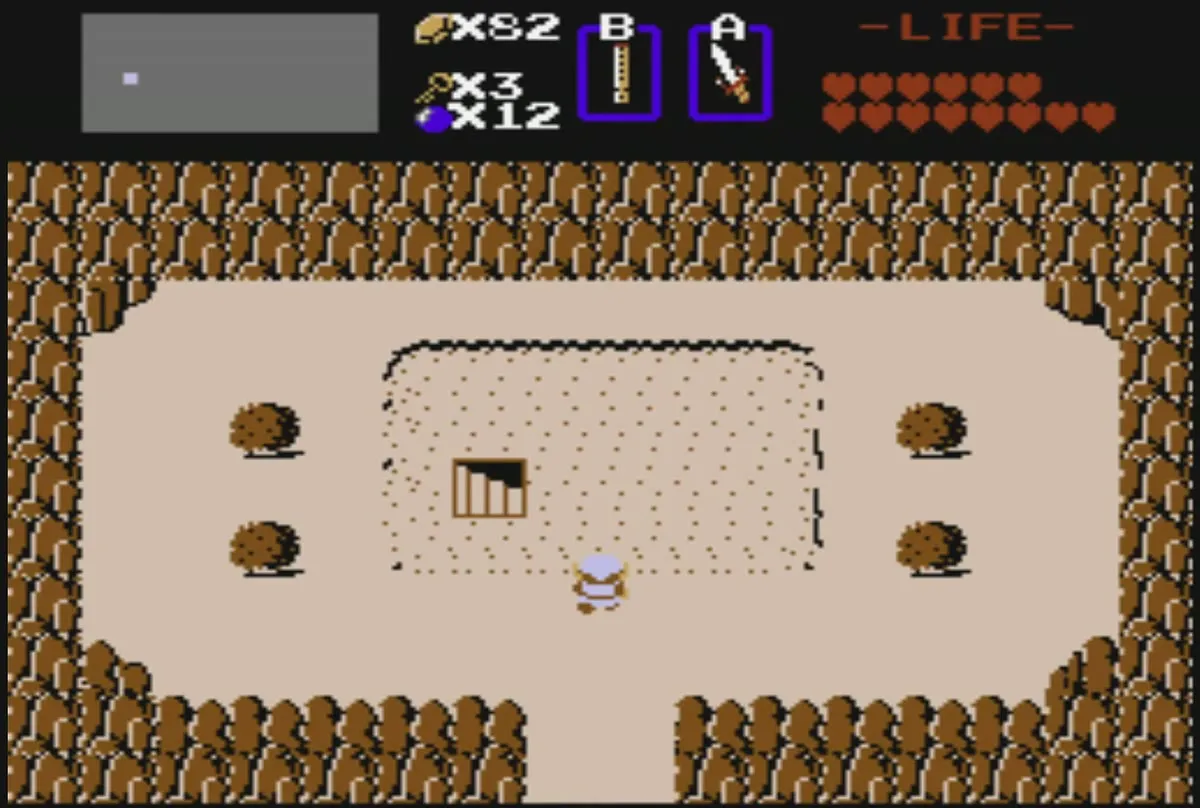
The waterfall screen at K2, just south of the White Sword cave at K1, hides a cave where an Old Woman sells a hint. She offers three amounts and talks only at the middle one, 20 rupees, and her hint is about climbing the Lost Hills to Level 5. Inside Level 4 an Old Man also tells you to walk into the waterfall, which points back to this cave.
Hidden shops and rupee caves
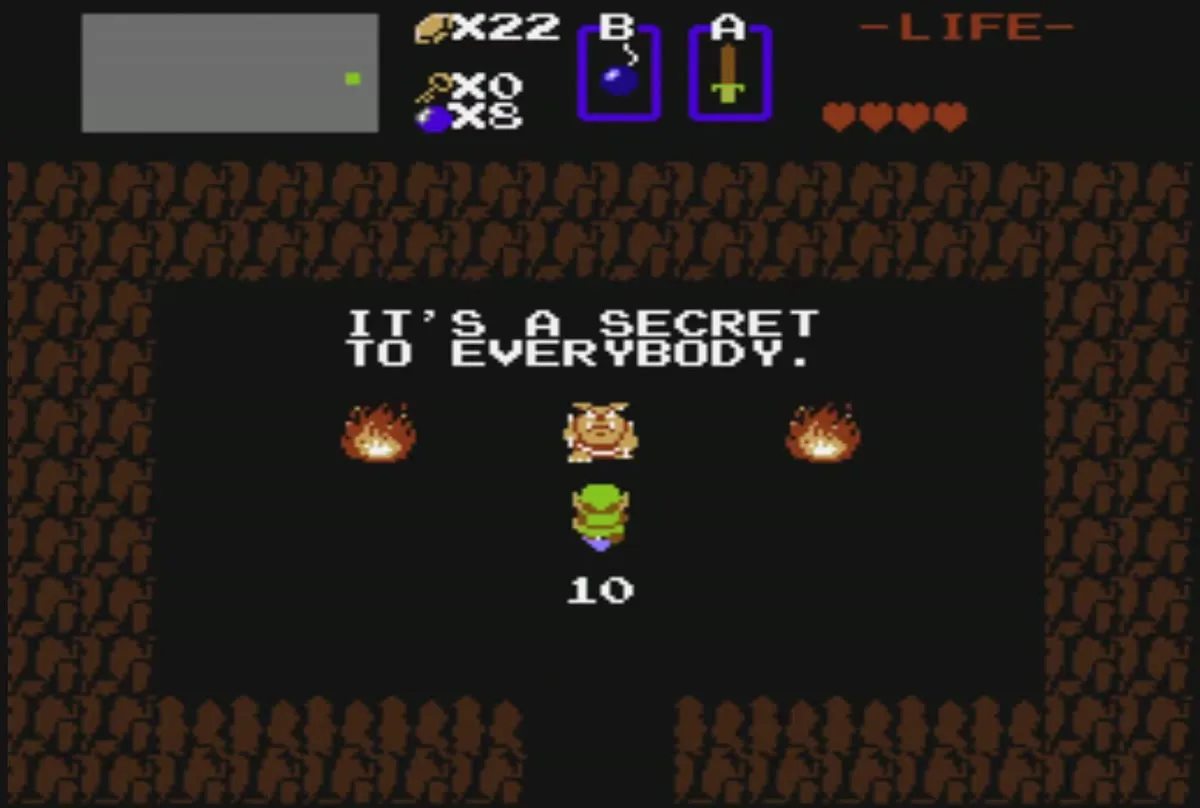
Several hidden shops sell Monster Bait, the Magical Shield and hearts, and the most useful ones are at N5, G5, G3 and C6. The Money Making Game is in a handful of caves, including the tree you walk into at P2 and the caves at M8, G2, G8 and A2. Rupee caves pay 10, 30 or 100 rupees, and the 100-rupee cave at P1 is reached through an invisible passage from the screen below it.
The Lost Hills
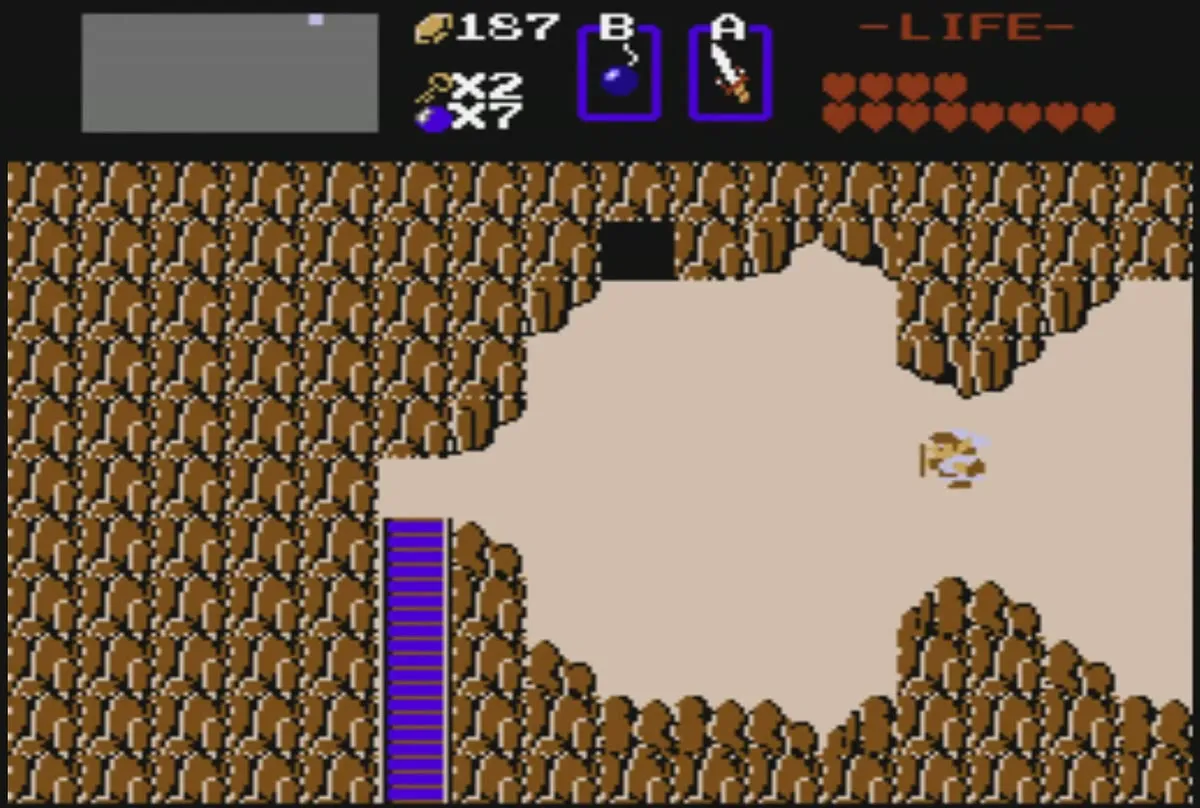
Level 5 is not on the screen where you first meet the hills. Start at L2, the Lost Hills screen, and keep walking north: the screen scrolls but you seem to stay in place, and after four climbs you arrive on L1 beside the dungeon door. The K2 waterfall woman will give you this hint if you would rather not guess.
The Recorder whirlwind
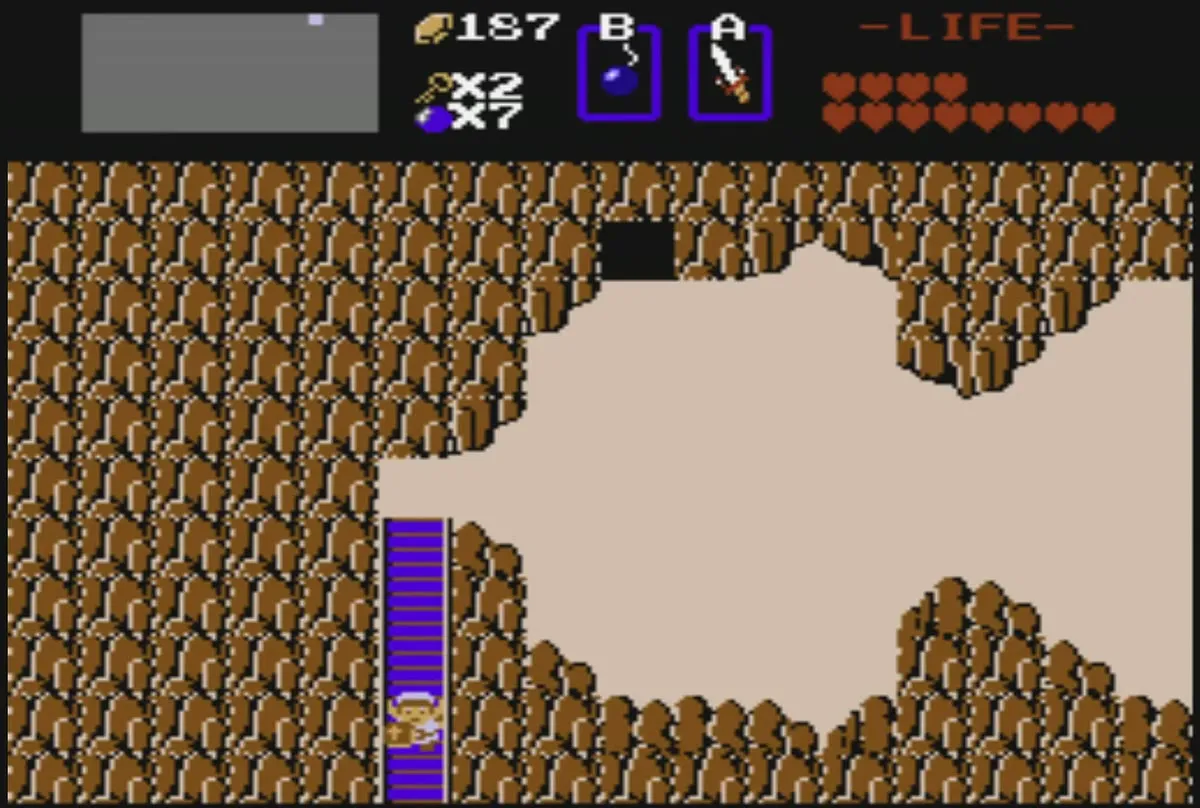
Play the Recorder on the overworld and a whirlwind carries you to the entrance of one of the dungeons you have already finished. Facing up or right when it picks you up sends you to the next numbered dungeon after the one you used last, and facing down or left sends you to the previous one. Blow the Recorder again while the whirlwind is on its way to keep cycling. It is the quickest way back to the east coast after Level 4, or from one dungeon to the next. With all eight Triforce pieces the whirlwind also reaches the Level 9 entrance.
Take-any-road caves
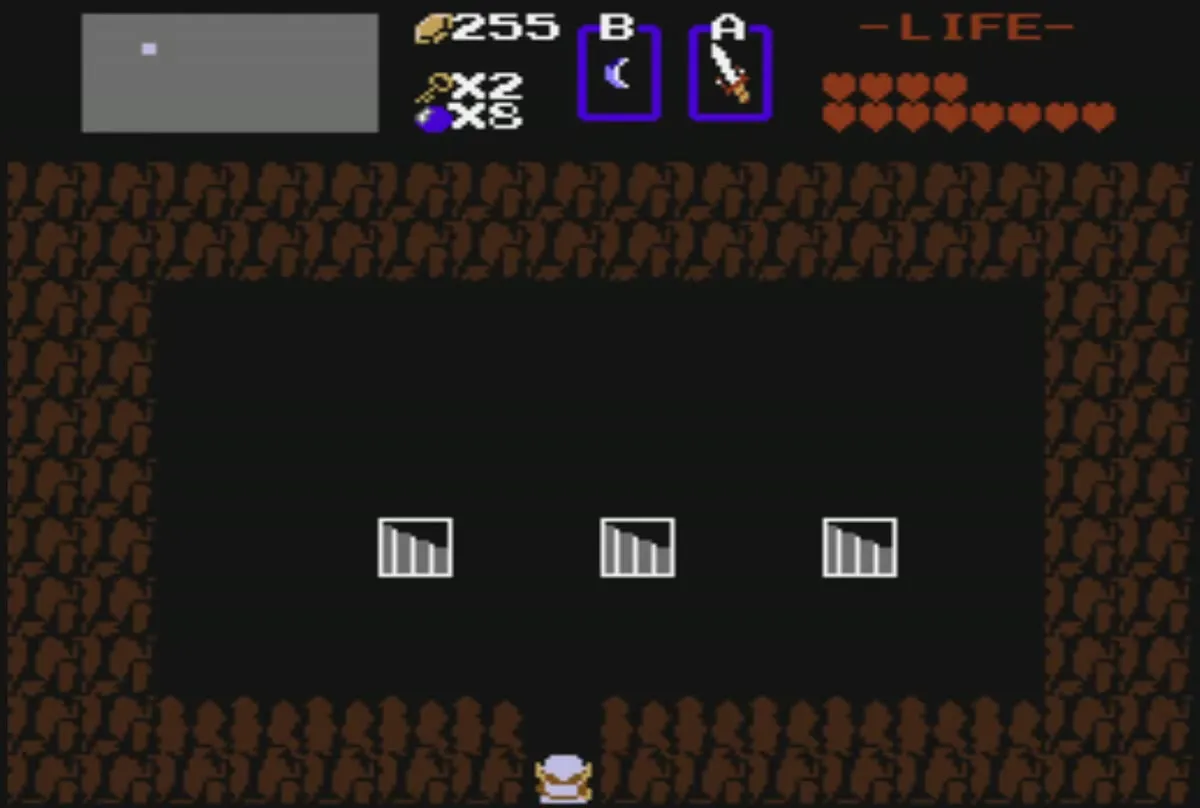
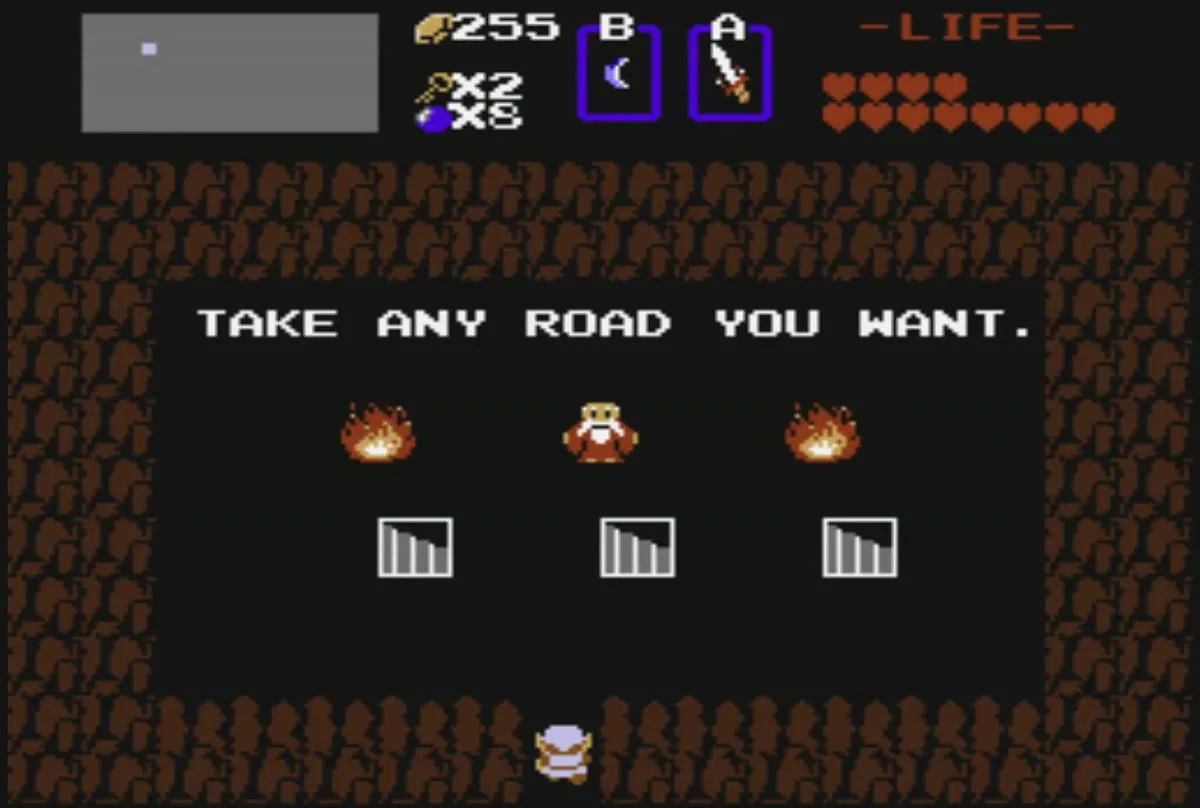
A few caves hold an Old Man, a row of fires and three stairways. Each stairway leaves you on a different screen of the map, so choose the one that lands nearest your next goal. They are opened by pushing rocks rather than by bombs or fire.