
























The Legend of Zelda 100% Completion Walkthrough14 chapters
- The GatheringGet the Wooden Sword, buy bombs, take your first Heart Container, collect early rupees and buy the Blue Candle.
- Money Caves, the Red Potion and the Blue RingMoney cave payouts, the Blue Candle, a Heart Container gift, the Magical Shield for 90, Red Potion for 68.
- Level 1 The EagleKeys, Bow, Boomerang, Dungeon Map, Compass, the Aquamentus boss, and the Heart Container.
- Level 2 The MoonReach the entrance, get the Magical Boomerang and Map, then beat Dodongo for a Heart Container and a Triforce piece.
- Level 3 The ManjiTake its keys, the Raft, Compass and Map, then defeat Manhandla for a Heart Container and the third Triforce piece.
- Level 4 The SnakeLevel 4 The Snake walkthrough with the lake route, keys and dark rooms, Stepladder.
- The Magical Sword and the Medicine ShopThe graveyard cave with the Magical Sword, the three-staircase warp cave.
- Level 5 The LizardReach the statue cave on the Lost Hills, collect small keys, and buy the 100-rupee bomb upgrade that raises bomb.
- Level 6 The DragonKeys, the Magical Rod, Gleeok mini-boss and Gohma boss tactics for its Heart Container and sixth Triforce piece.
- The Potion Shop and the Ring Shop AgainBuy the Red Potion and the Monster Bait between Level 6 and Level 7 in The Legend of Zelda NES.
- Level 7 The DemonRecorder entrance, bomb upgrade, Monster Bait, Red Candle, Map, Compass, Aquamentus and Triforce piece 7.
- Level 8 The LionBurn the entrance bush, get the Book of Magic and Magical Key, then beat four-headed Gleeok for its Heart Container.
- Level 9 Death MountainReach Spectacle Rock, clear the skull-shaped dungeon, and get its Map, Compass, Red Ring and Silver Arrows.
- The EndingBeat Ganon in his dark room with a Silver Arrow after the sword hits, take the Triforce of Power.
| Covers | the lake entrance, the Level 7 Demon labyrinth, and the boss room and Triforce room at its end |
|---|---|
| Dungeon | Level 7 (Demon): Recorder to open the entrance, Monster Bait for the hungry Goriya, Aquamentus as boss, Triforce piece 7 |
| Rewards | Red Candle, Map, Compass, bomb upgrade (100 rupees, bombs 12 to 16), small keys, Heart Container from Aquamentus, Triforce piece 7 |
Level 7 is the Demon labyrinth. Bring the Recorder, Monster Bait and a supply of bombs. Open the entrance from the lake with the Recorder, clear the keys and rooms, buy the bomb upgrade for 100 rupees, feed the Monster Bait to the hungry Goriya, collect the Compass, Map and Red Candle, then beat Aquamentus for a Heart Container and the seventh piece of the Triforce.
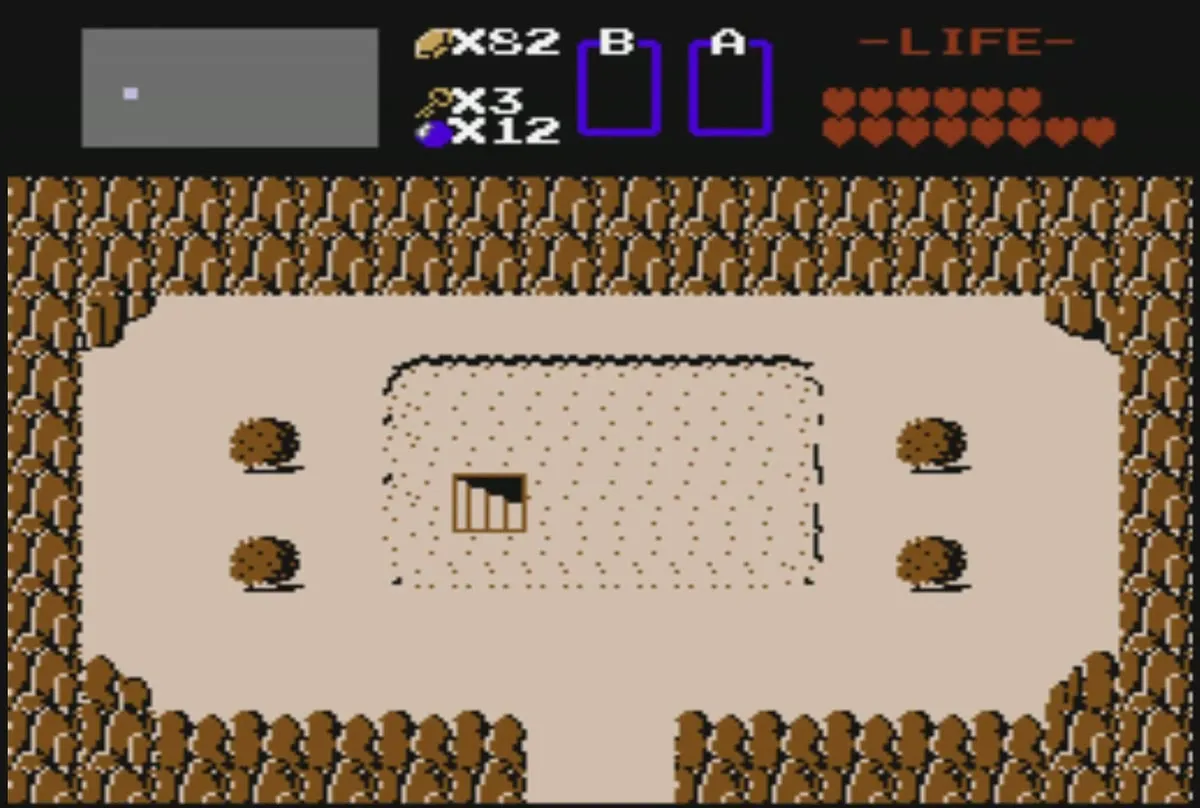
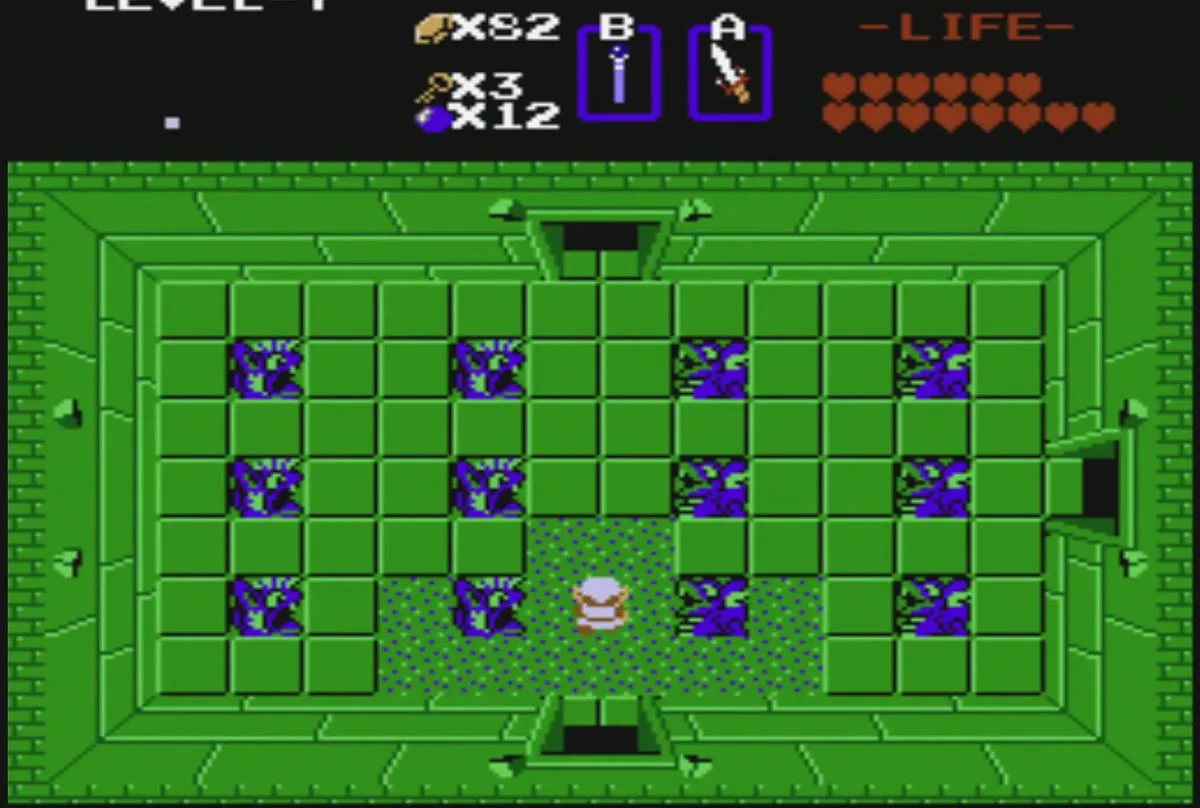
Table of Contents
Reach the Level 7 entrance
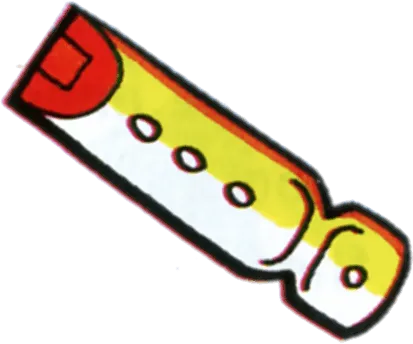
Play the Recorder at the lake
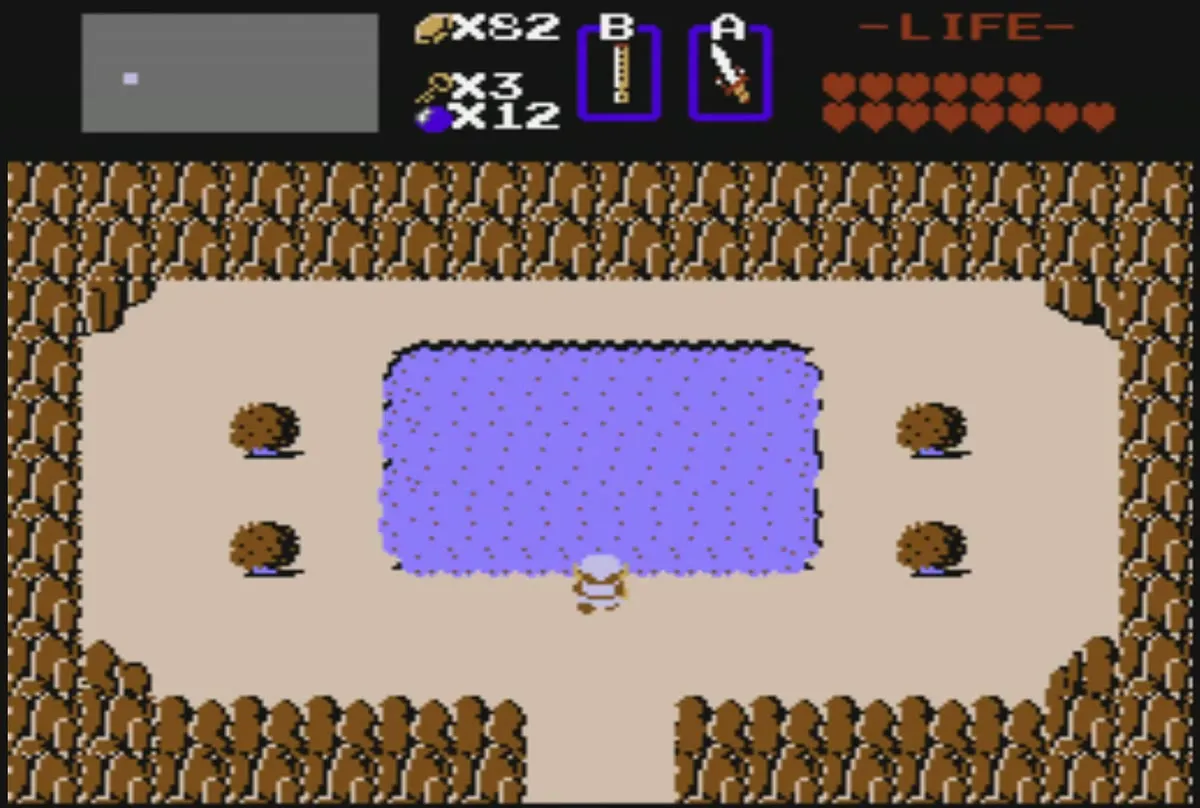
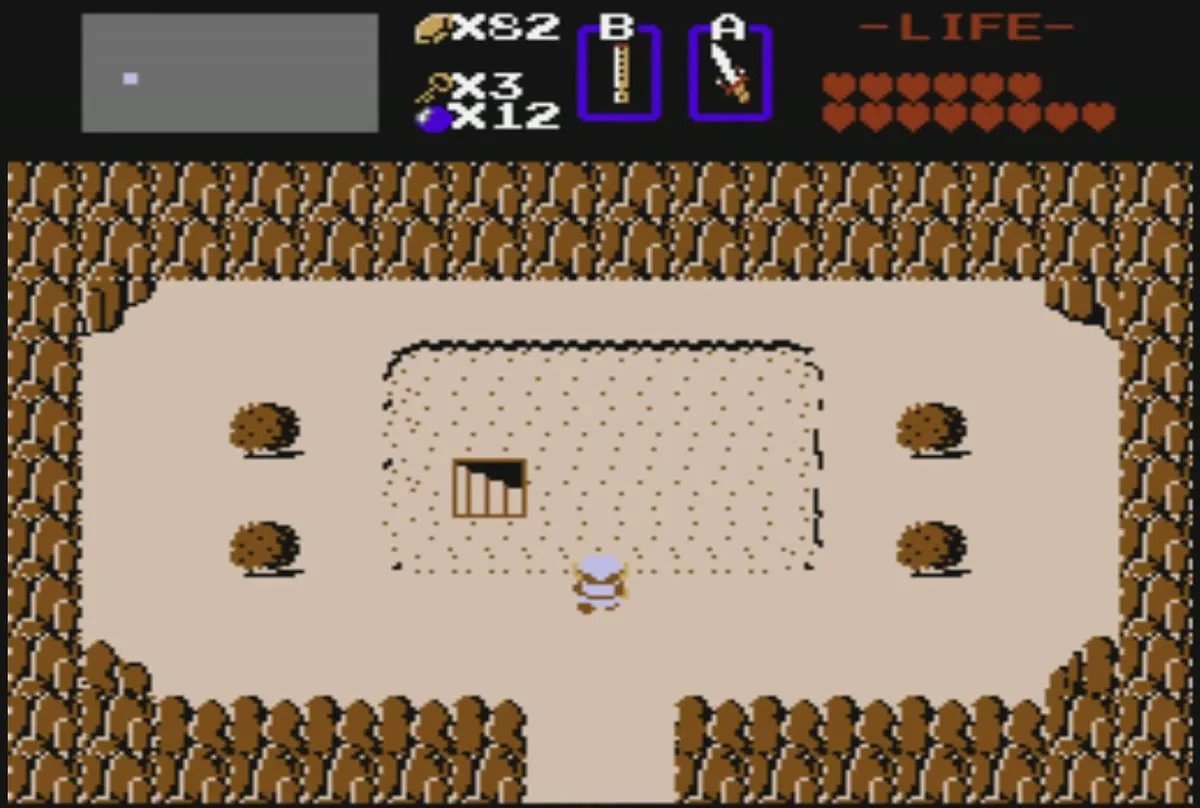
The entrance is hidden in the lake at C5, the lake with no fairy, which you reach from the ring shop. Stand at the water’s edge and play the Recorder. The lake drains away and a staircase appears in a sand patch where the water was. Walk onto the stairs to go down into Level 7.
Clear the first green room
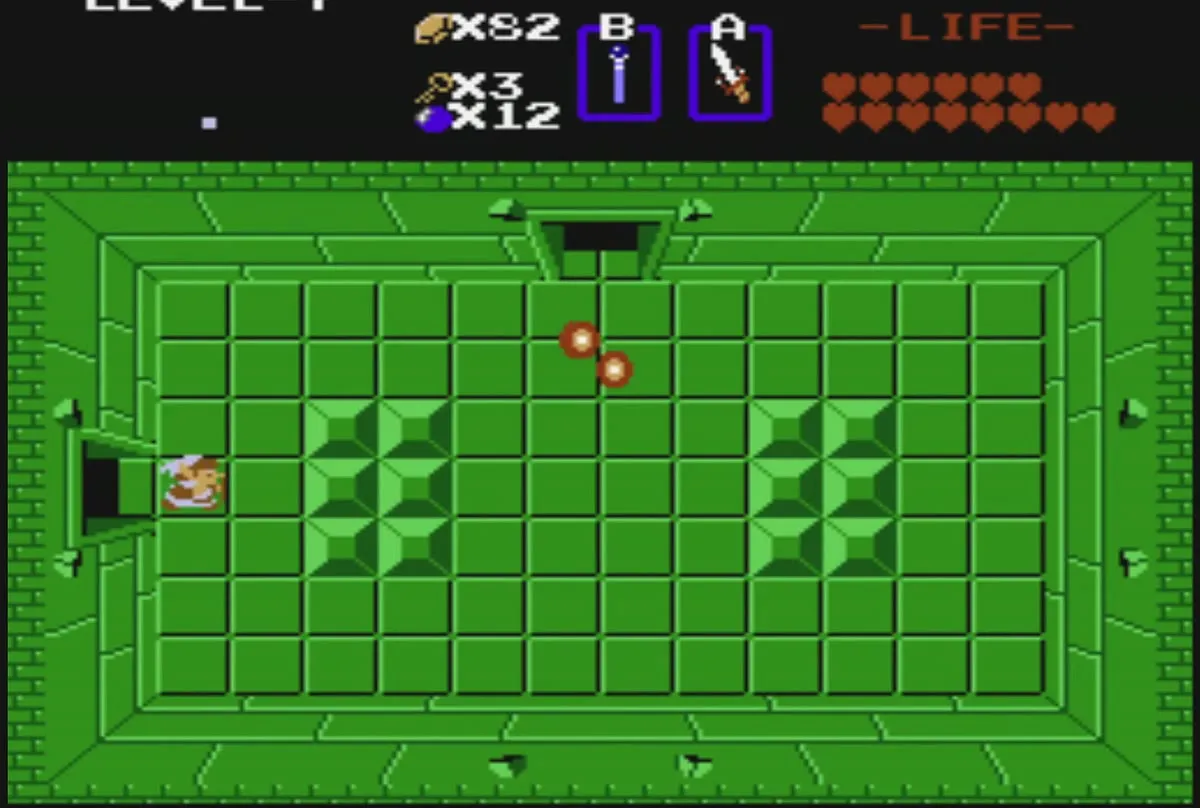
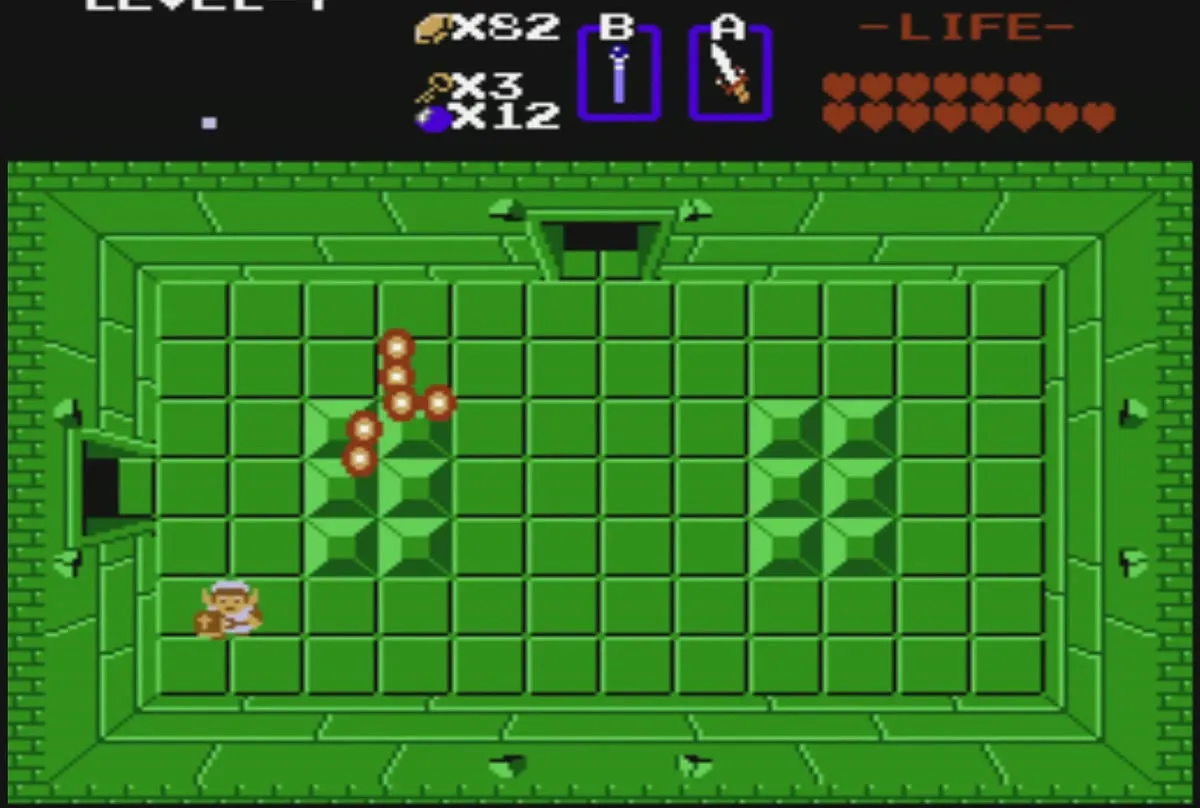
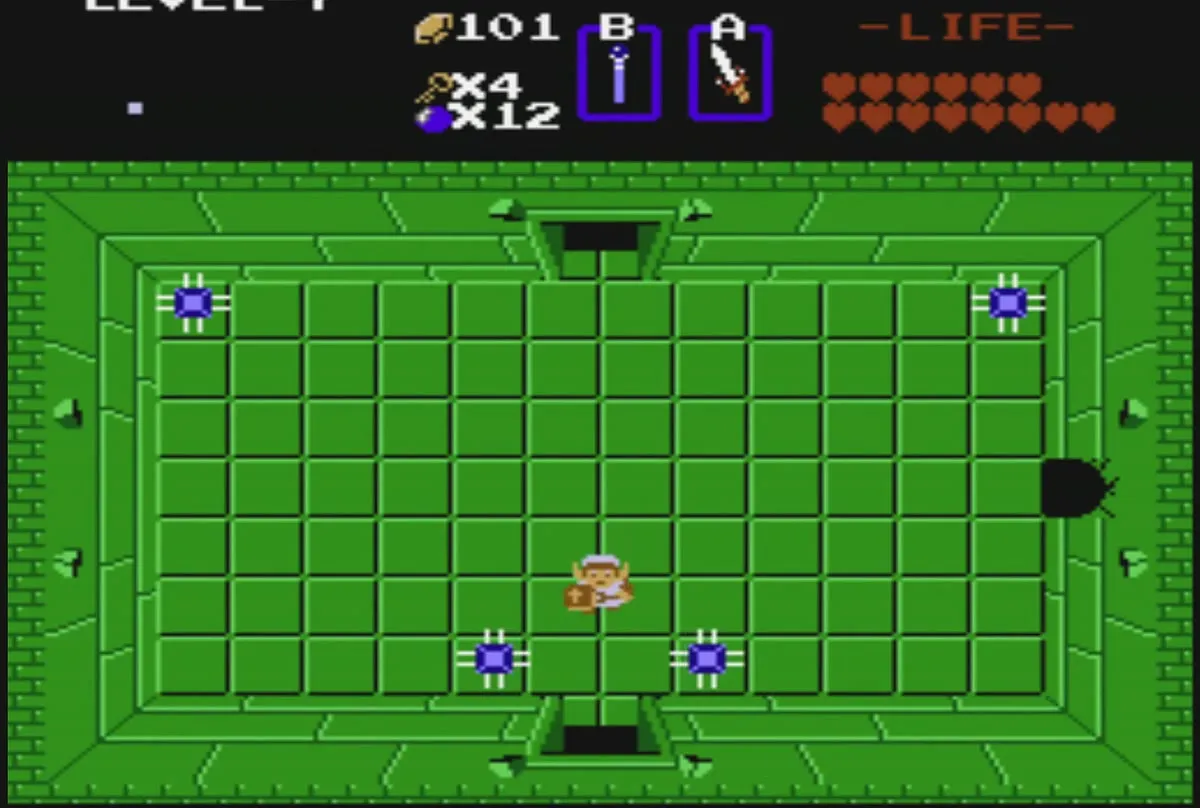
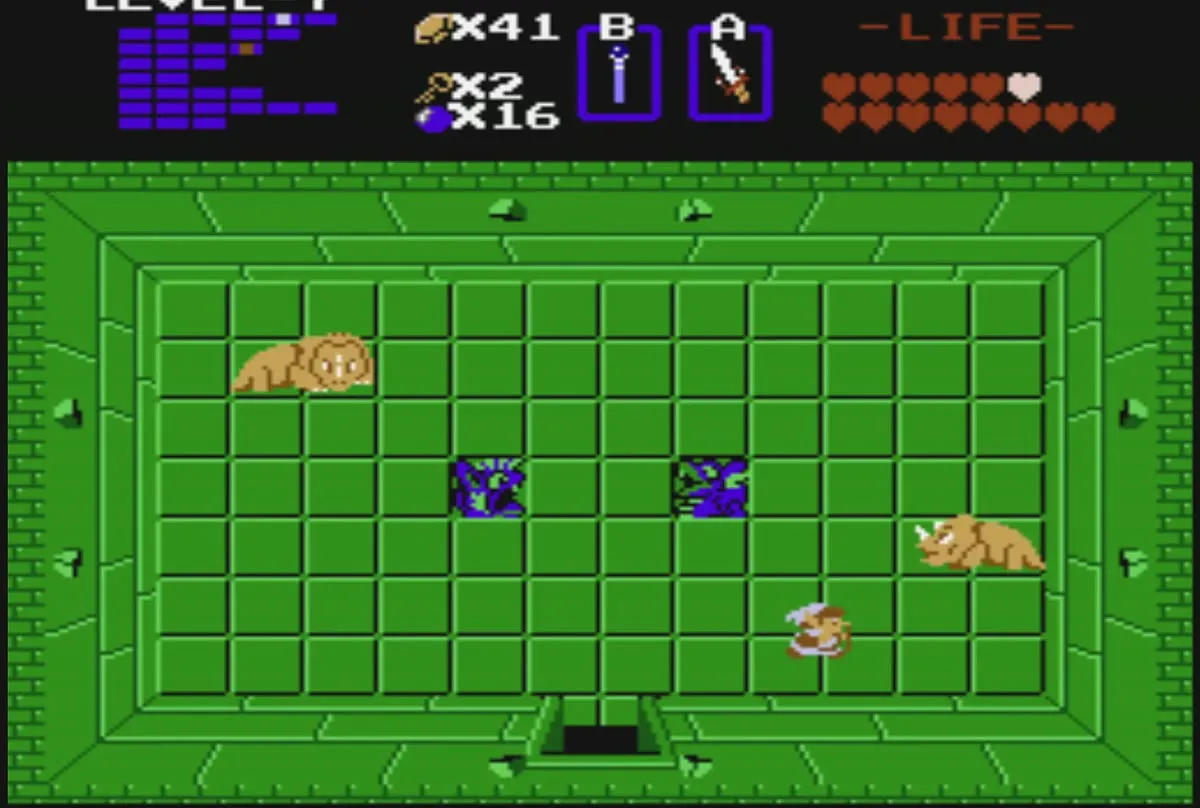
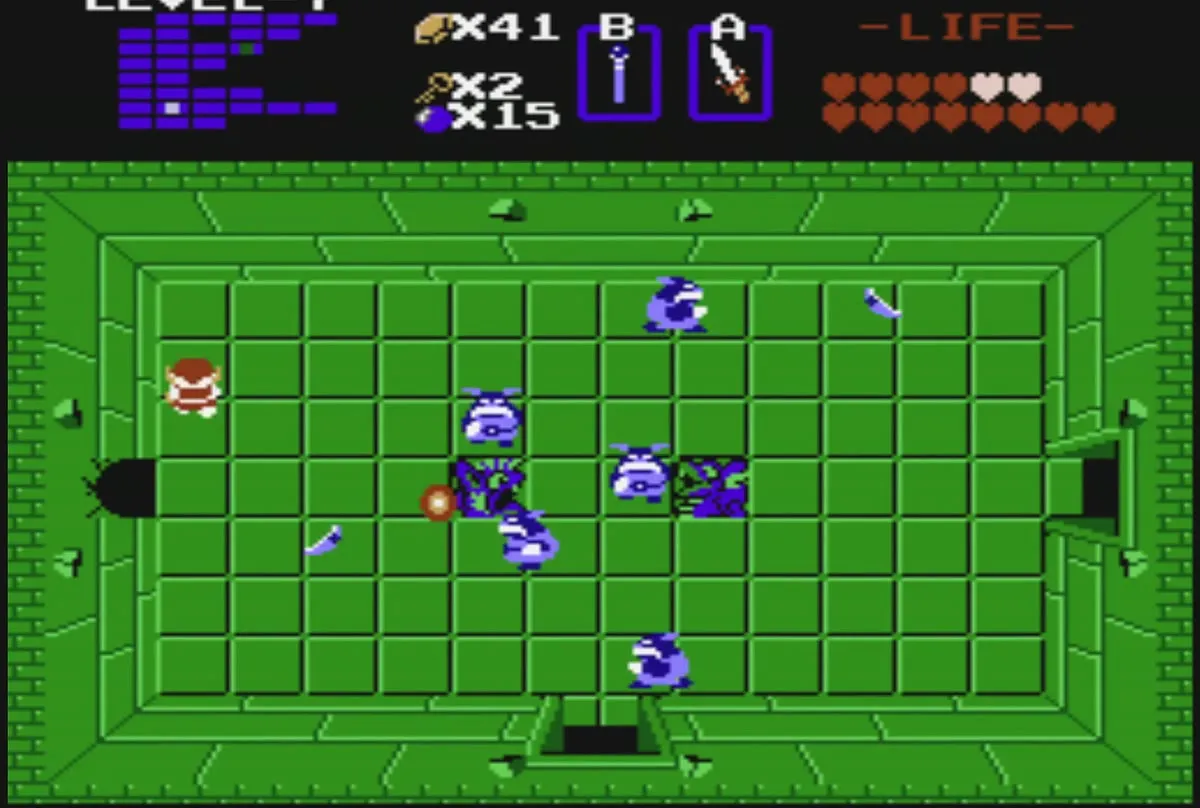
Level 7 opens in a green room with diamond-shaped blocks on the floor. Red Goriyas are the main enemies you meet in this labyrinth. Keep moving through the room and clear the enemies that come at you.
Small keys and the dark rooms
Collect the floor keys
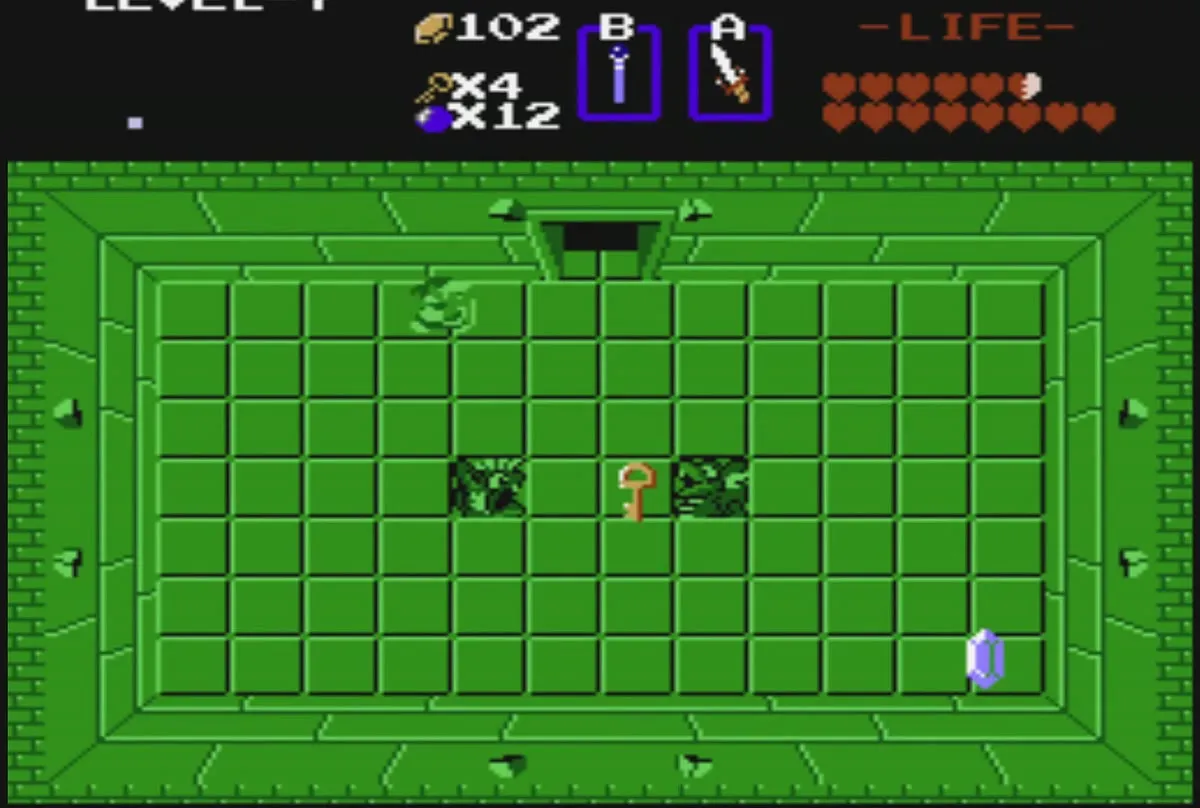
Green rooms in Level 7 hold small keys lying on the floor. Walk over every key you can reach, because you need them for the locked doors along the way. Your key count rises to four and then five as you pick them up.
Clear the dark rooms
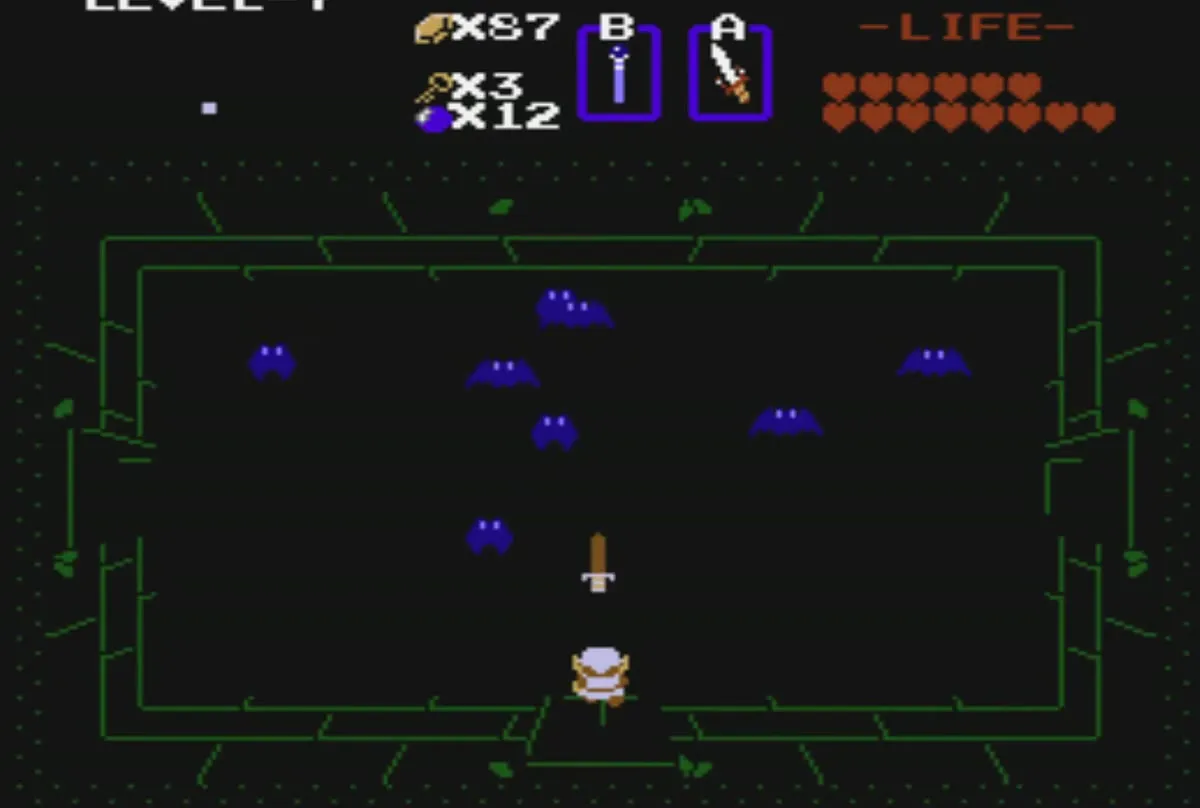
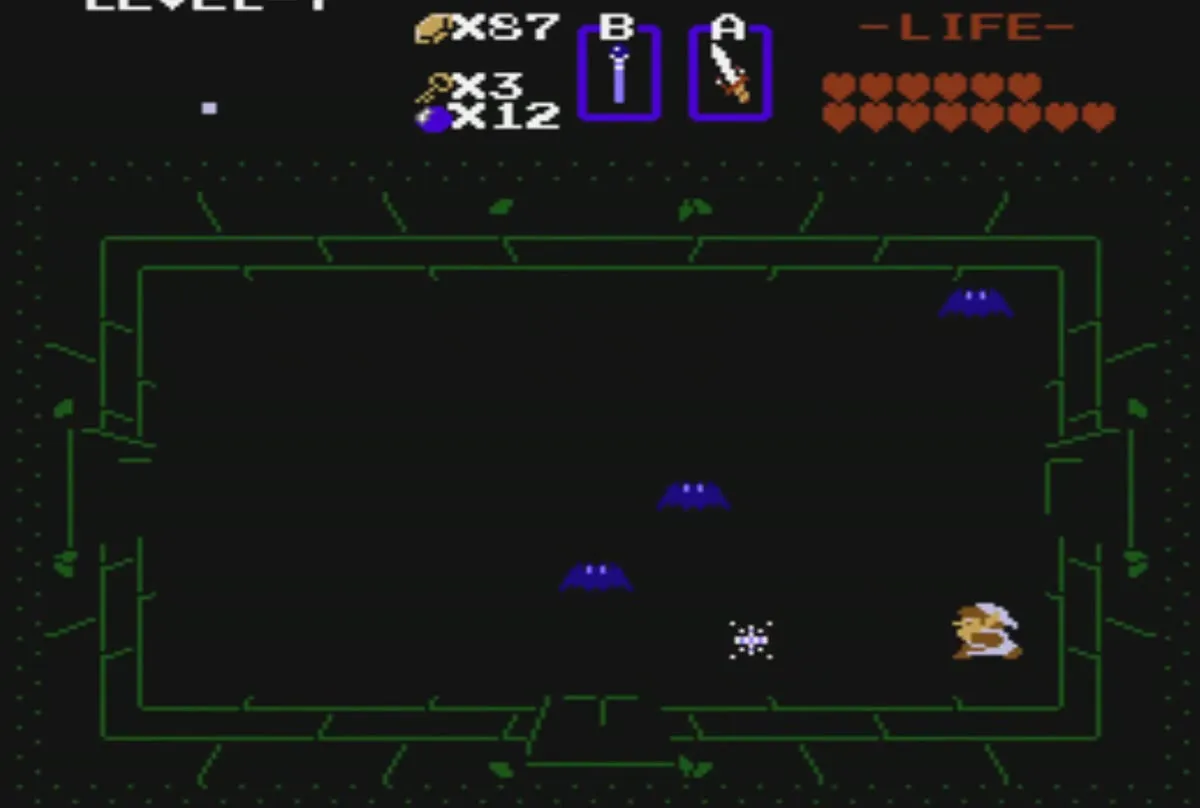
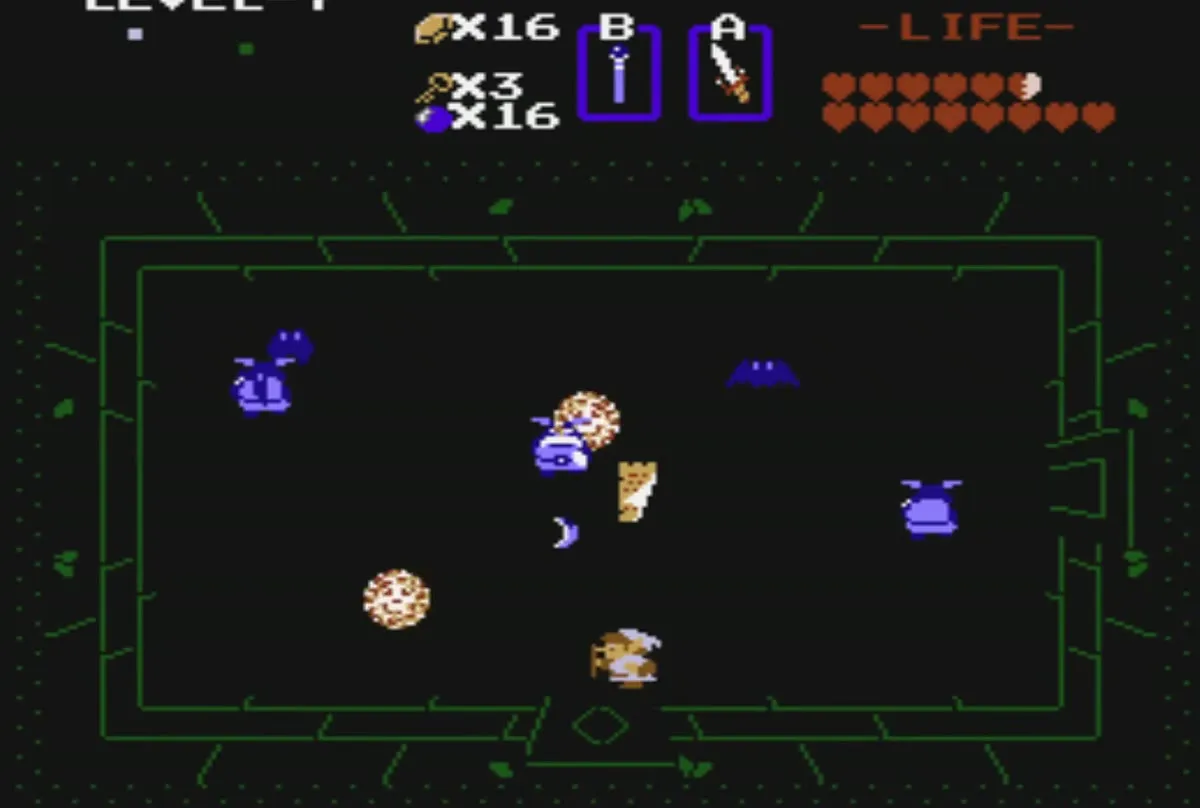
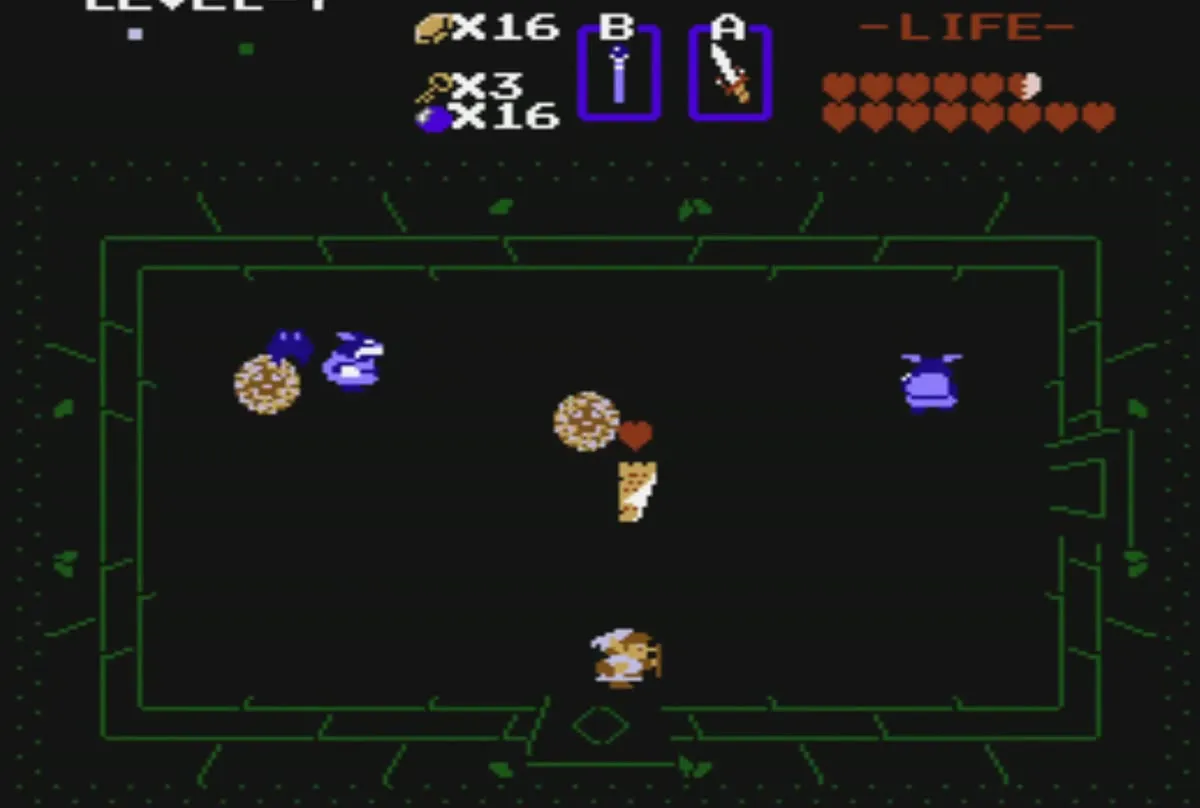
Dark rooms hold groups of blue bats, which are Keese. Clear them before you try the doors, because the doors stay shut until the room is empty. Bomb any wall that looks flat, because the labyrinth hides passages behind several of them.
Bomb upgrade for 100 rupees

Buy four more bombs
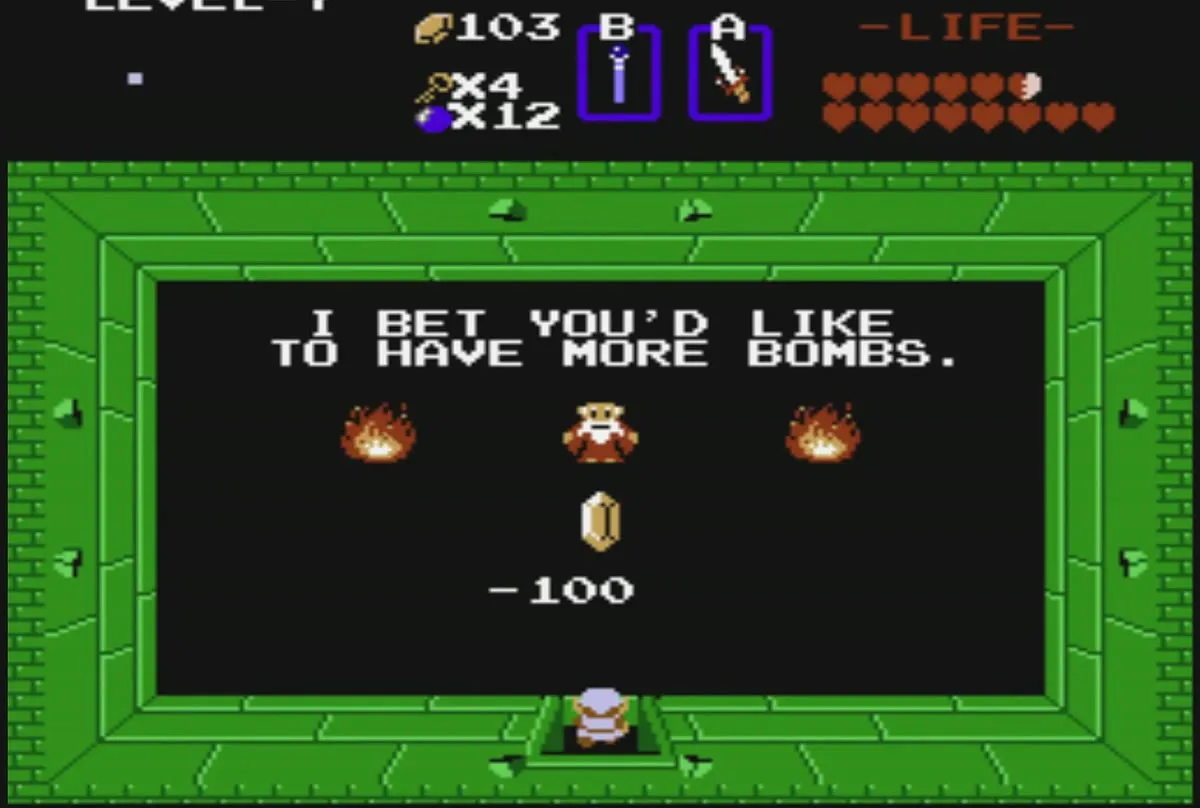
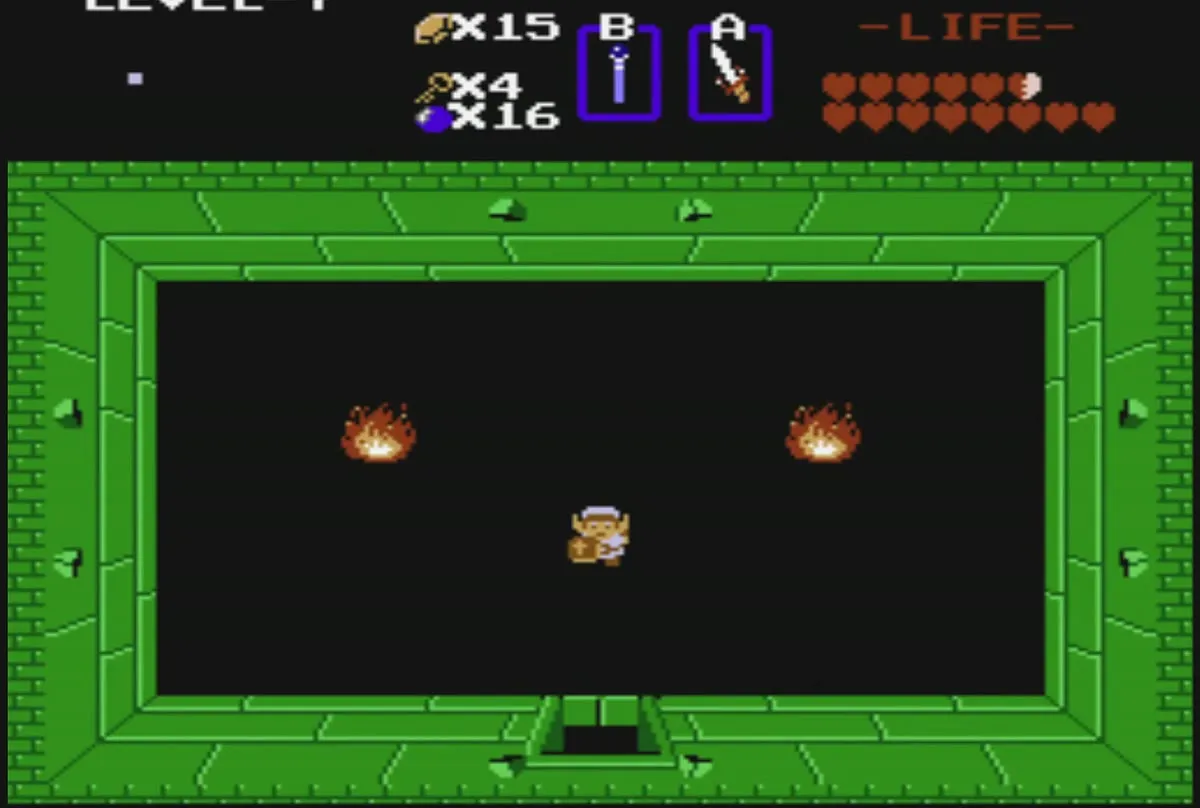
Unlock the door to the room with three fires and an old man at the centre. He offers four more bombs for 100 rupees. Stand in front of him and buy the upgrade. Your bomb count goes from 12 to 16, and your rupees drop by 100, so bring at least 100 rupees into this room.
Feed the hungry Goriya
Use the Monster Bait
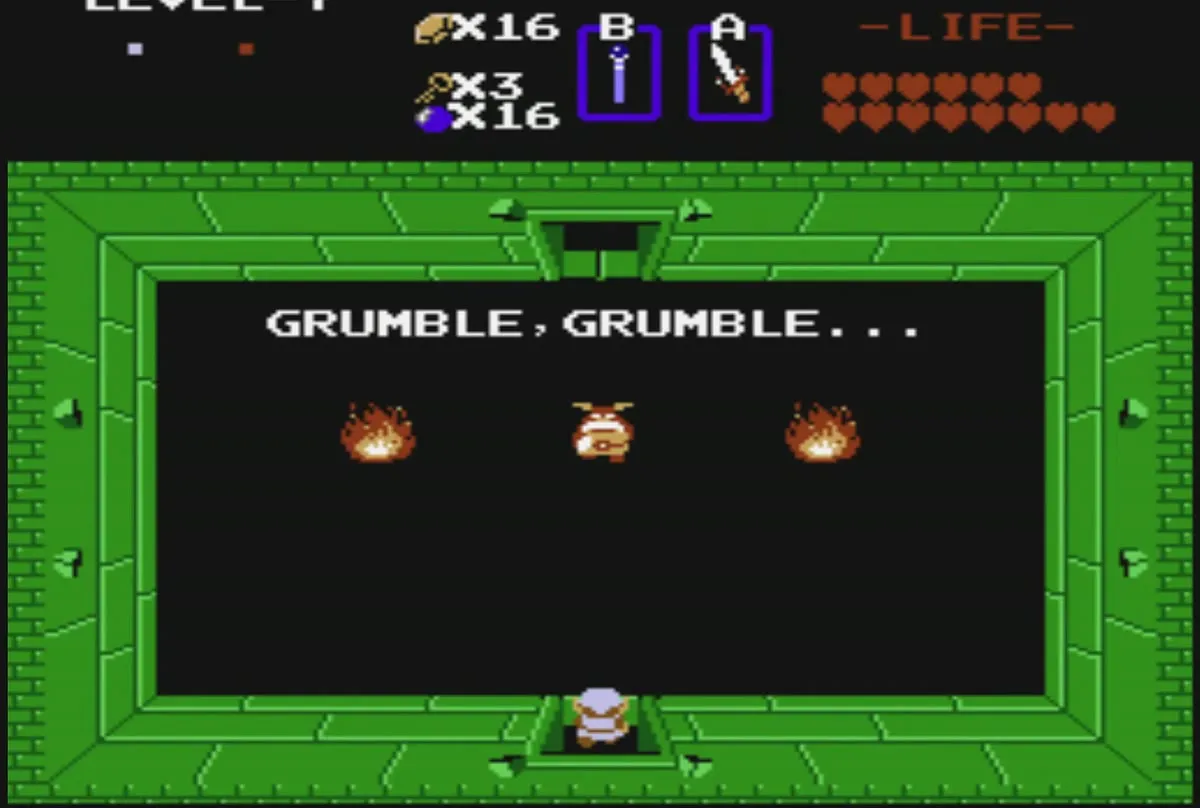
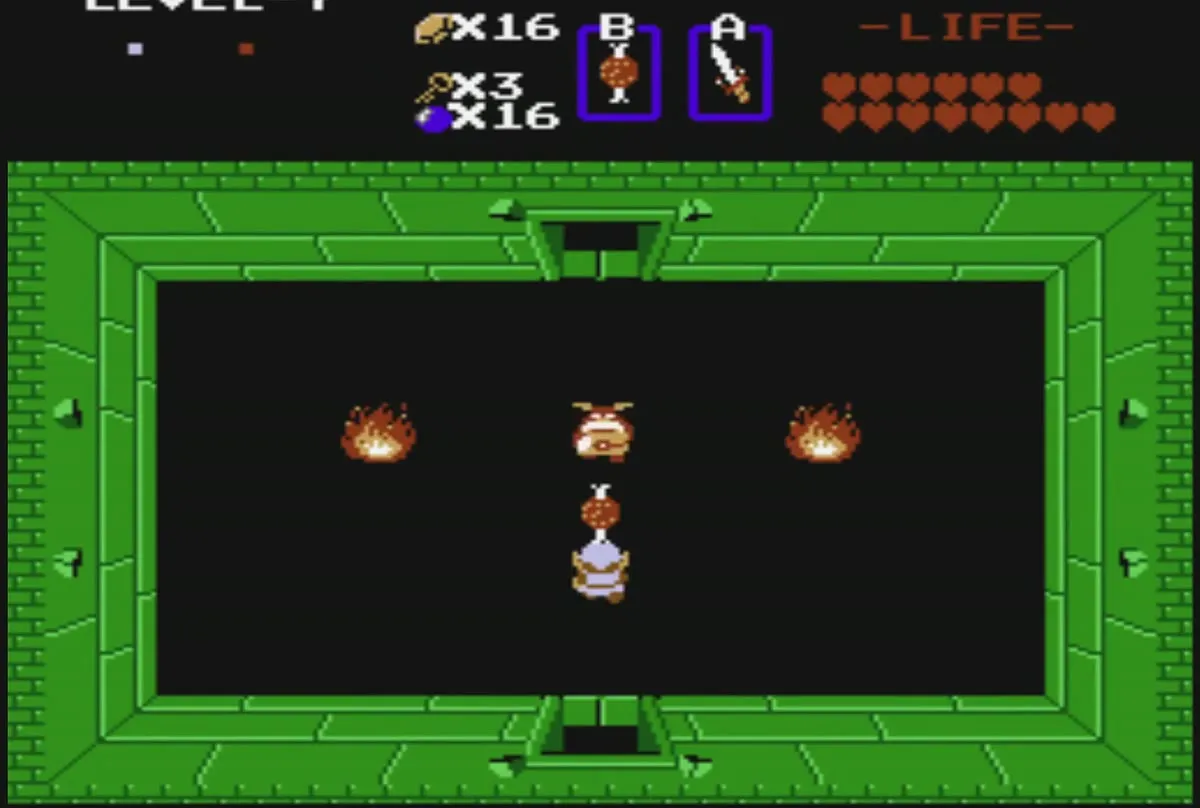
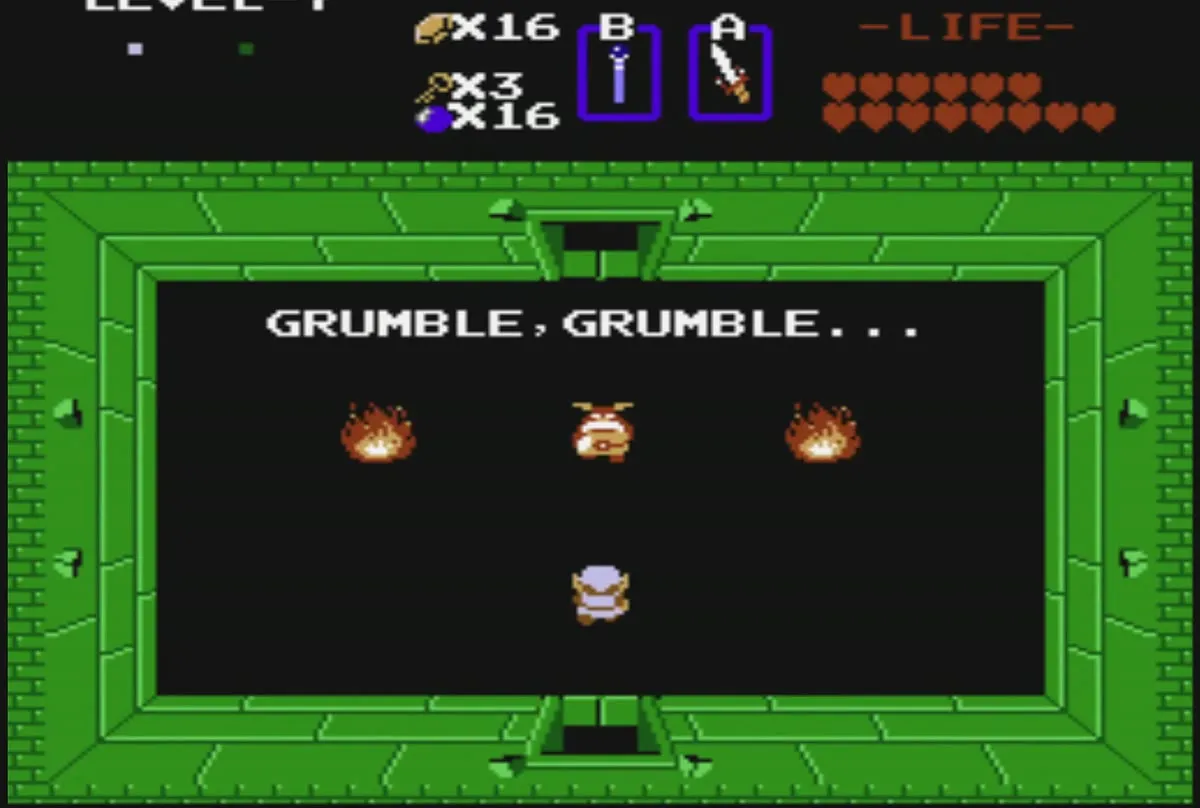
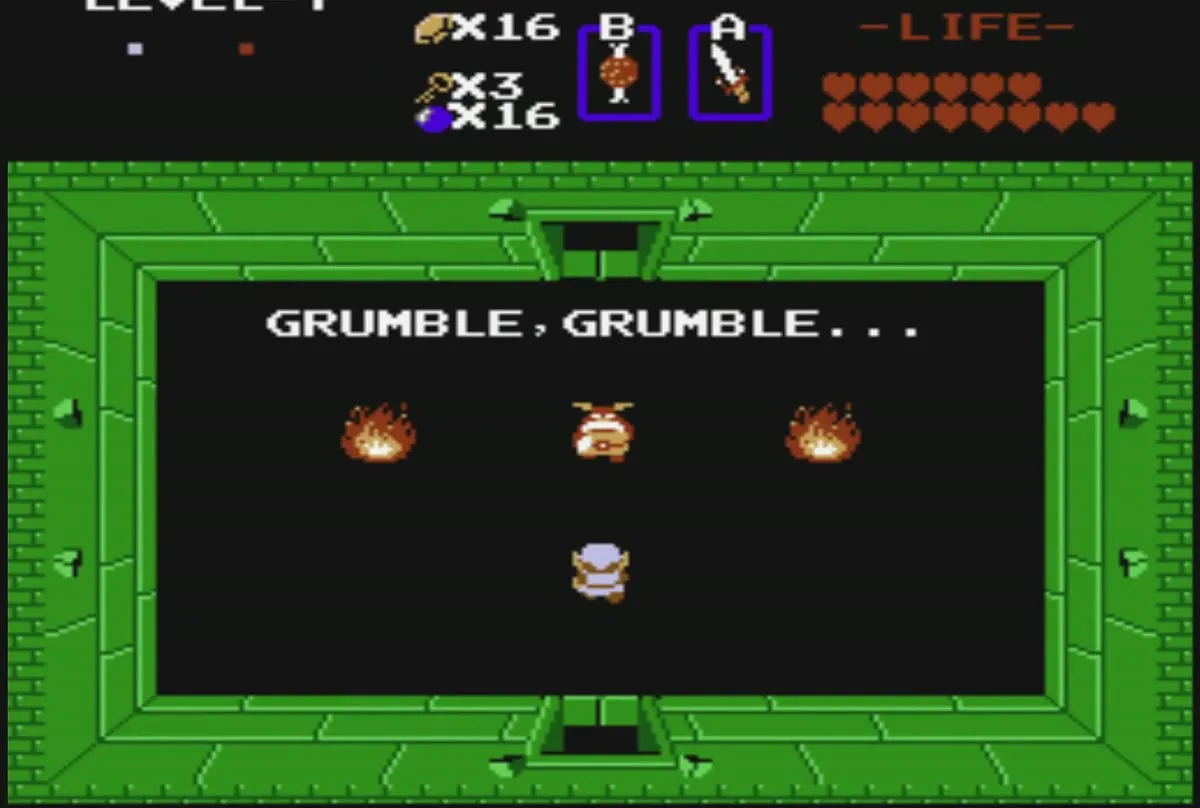
Further in, a room with three fires holds a Goriya that grumbles and blocks the way forward. Move up to it and select the Monster Bait on the B button. Use it on the Goriya. The Goriya leaves the room, and the path opens.
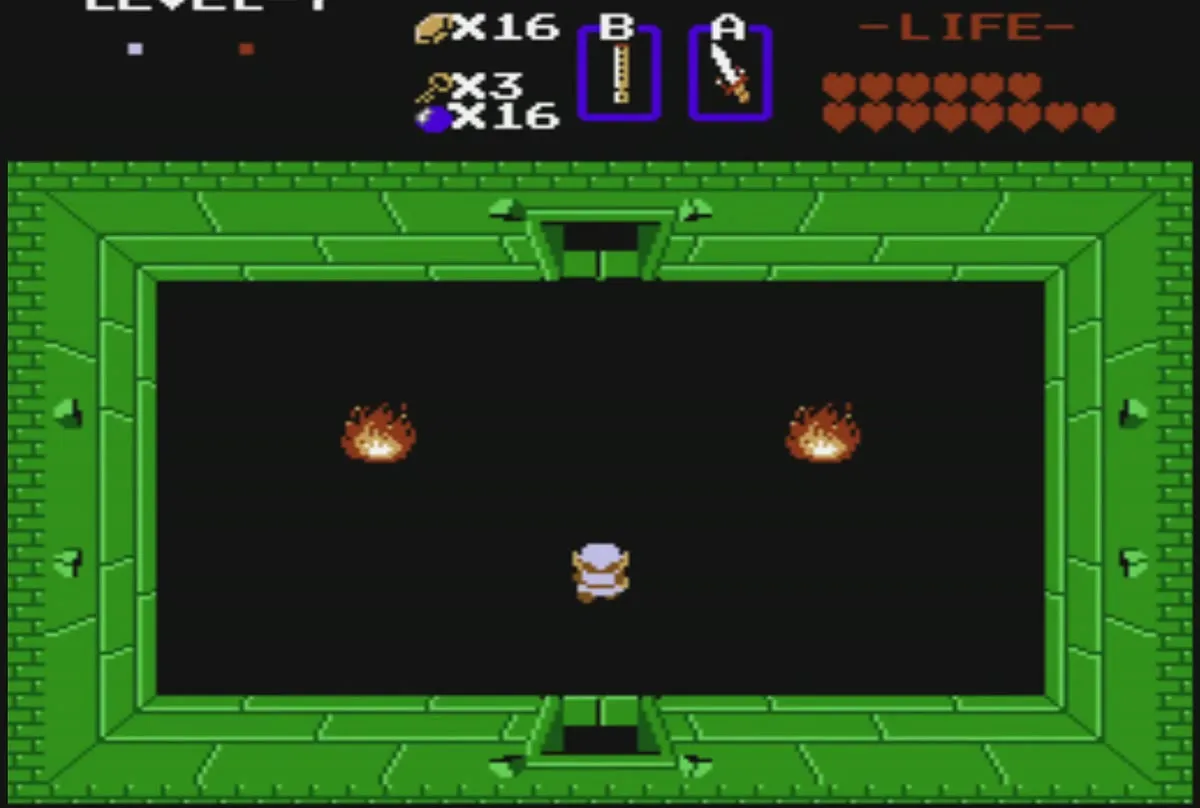
You carry the Monster Bait from the ring shop on the previous stretch. Without it, this room is a dead end, so check your inventory before you enter.
Compass, Map and Red Candle
Get the Compass through the top wall
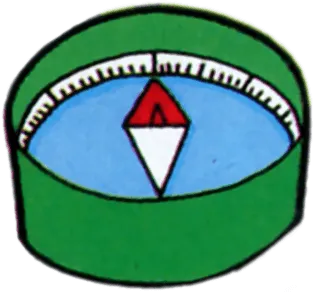
Find the dark room with Keese and a ring of blocks in its centre. Bomb the top wall of that room, and a passage opens to a shortcut room. The Compass lies in that room, so take it before you go back.
Find the Map above the Goriya room
The Map is in the room directly above the hungry Goriya’s room. From the map room, go into the room to the right and bomb its right wall. Go through the right passage, defeat the Goriyas in the room beyond, push the leftmost block aside, and walk down the stairwell you find.
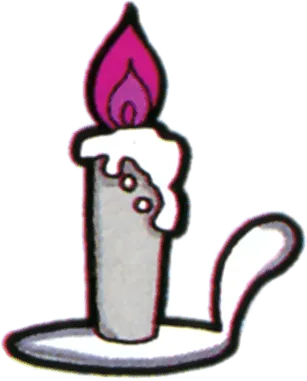
Take the Red Candle below the stairs
Below the stairwell you find the Red Candle, the main item of Level 7. Unlike the Blue Candle, it can place more than one fire in an area at the same time. Return to the room above and bomb its right wall to reach the next room.
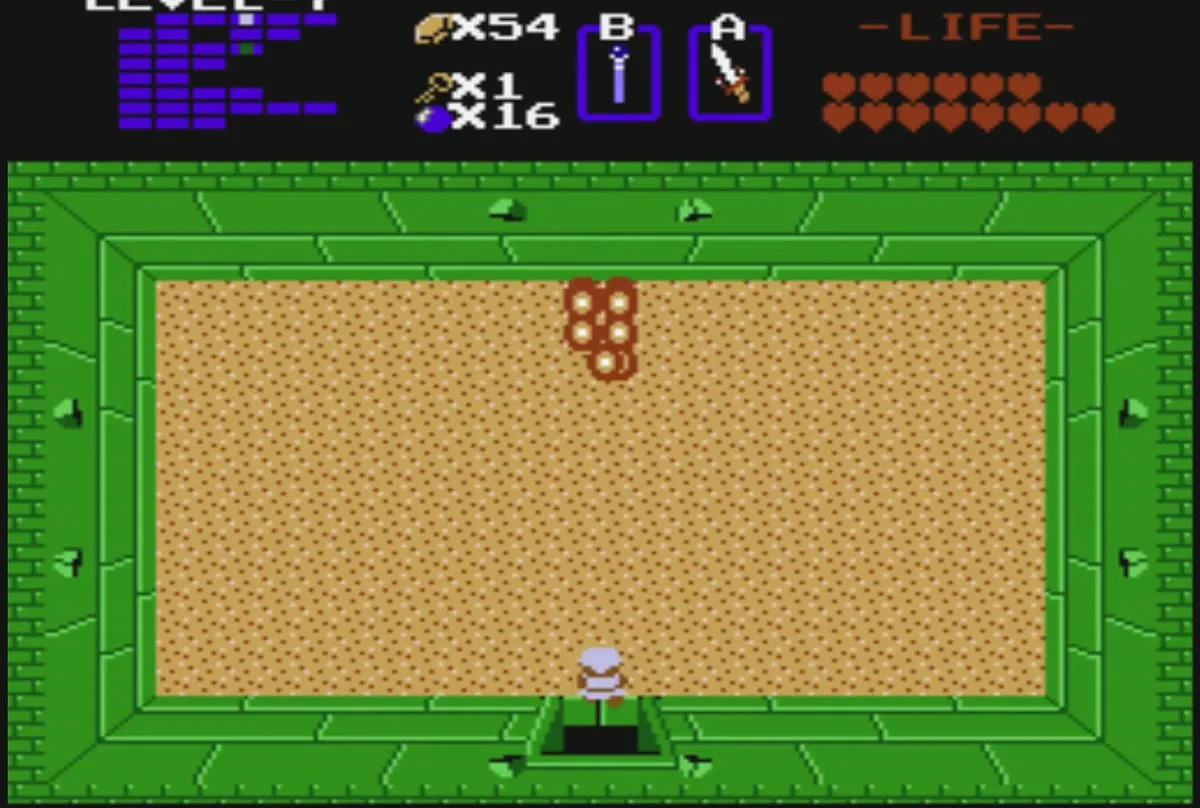
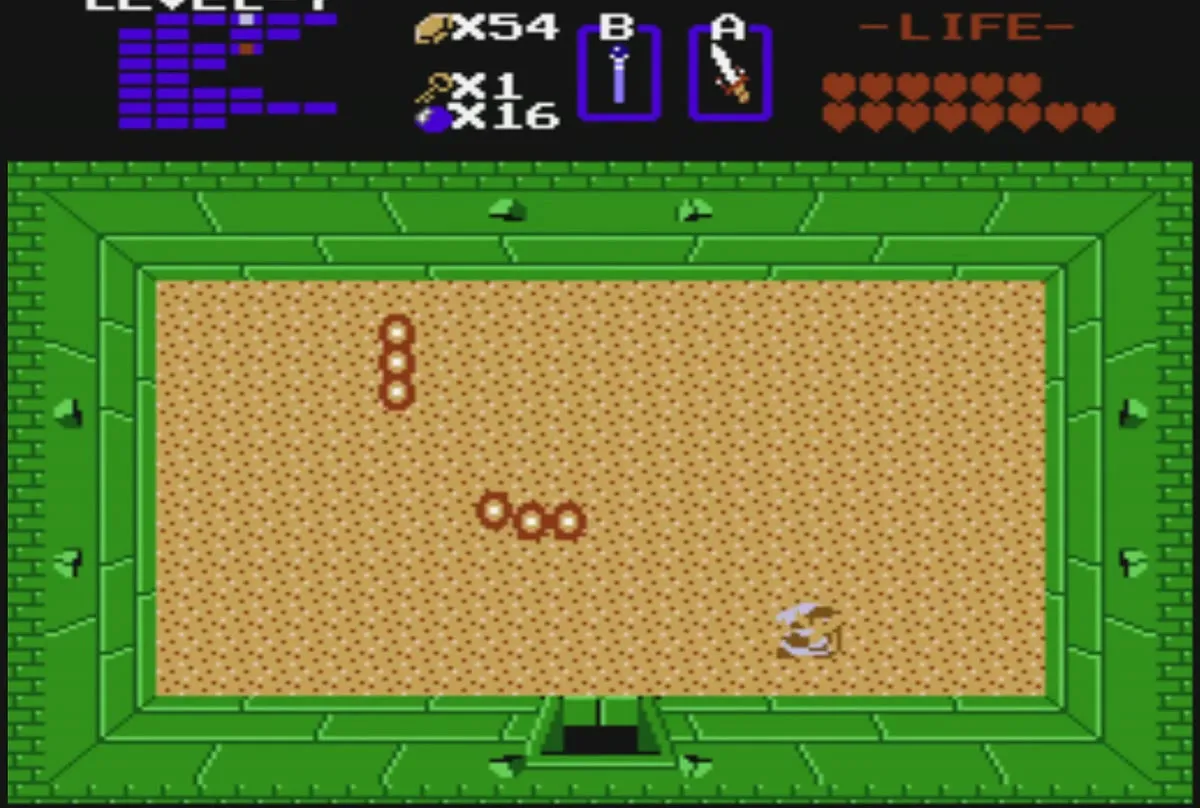
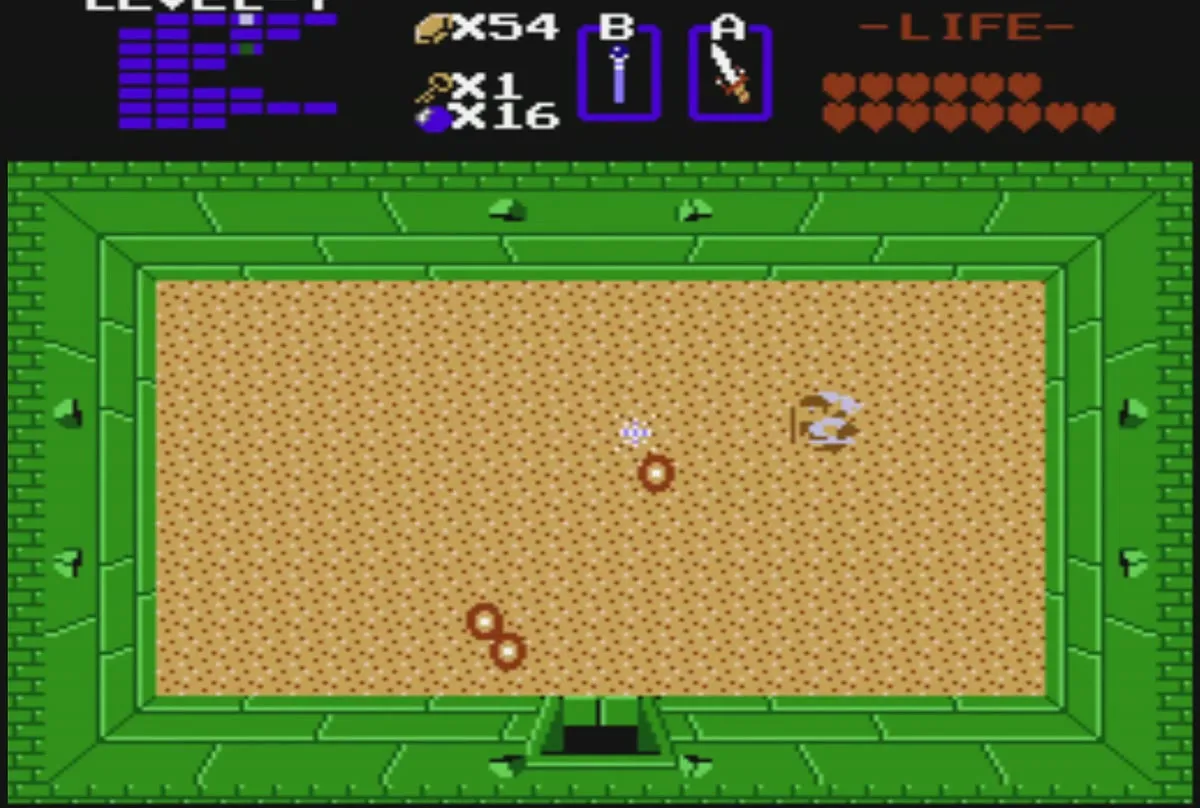
Digdoggers in the sand rooms

Defeat each Digdogger in full
Aquamentus and the Heart Container

Enter the boss room
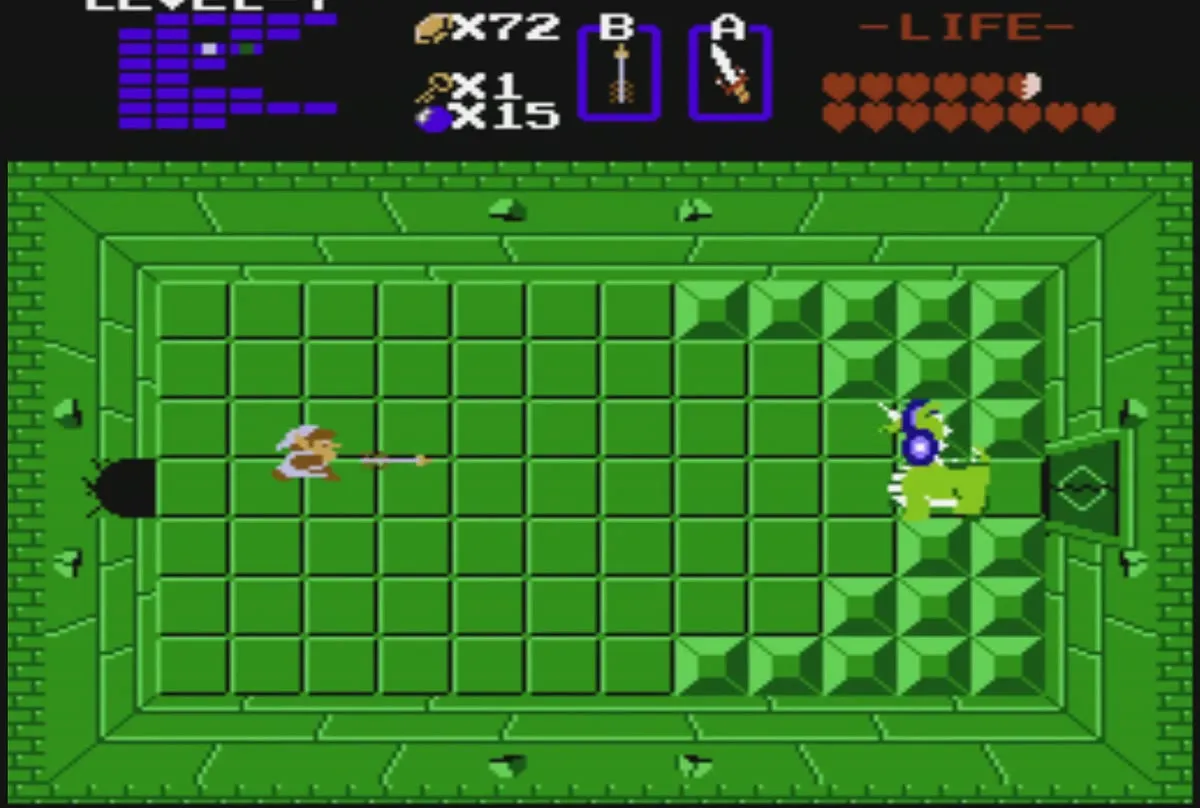
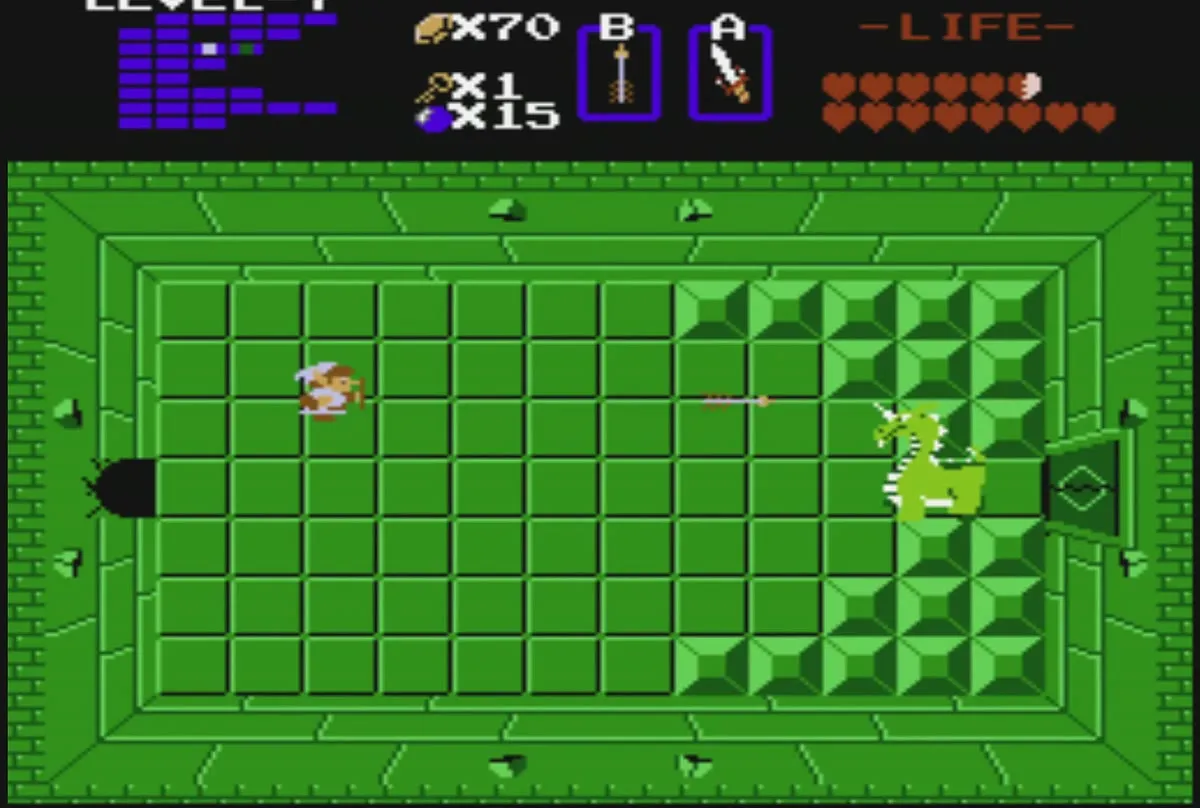
The boss of Level 7 is Aquamentus, the green dragon that also guards the Level 1 Triforce piece. It fires energy orbs from its horn. Use the same plan as Level 1: strike between the orbs, and never block them with a regular shield, because the orbs hurt you when you do.
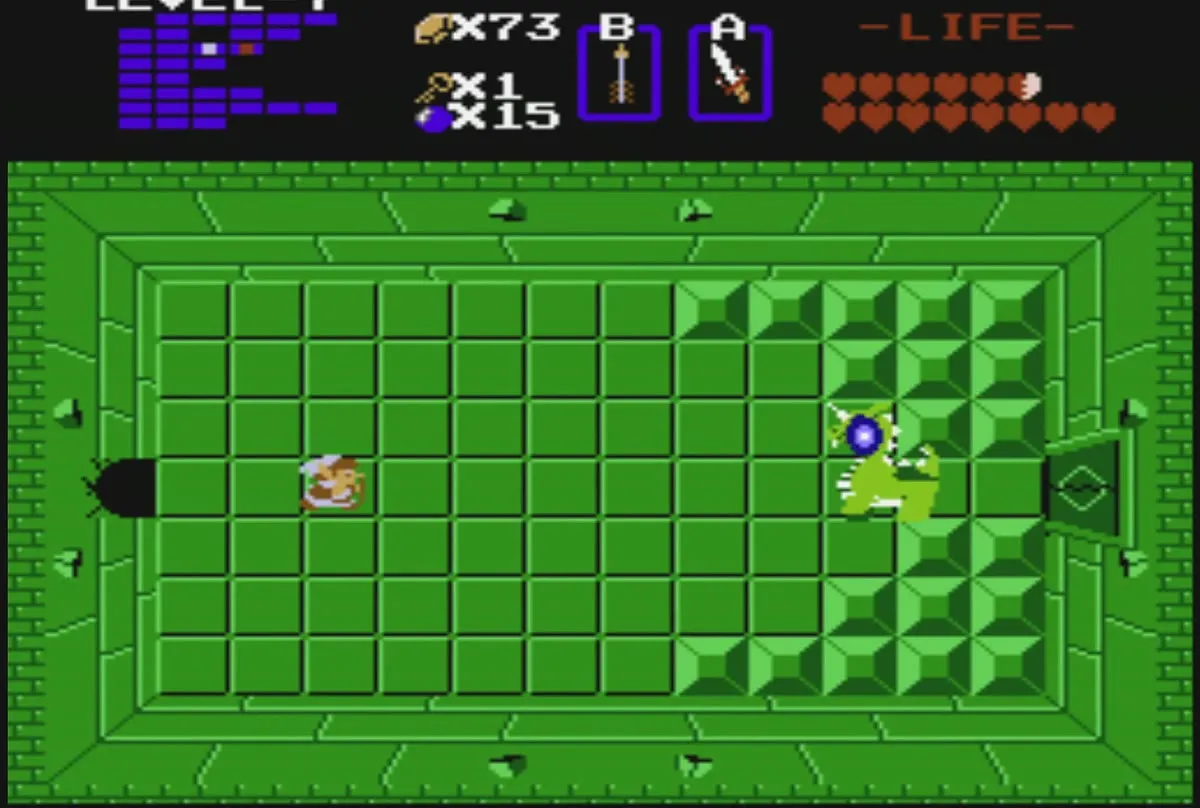
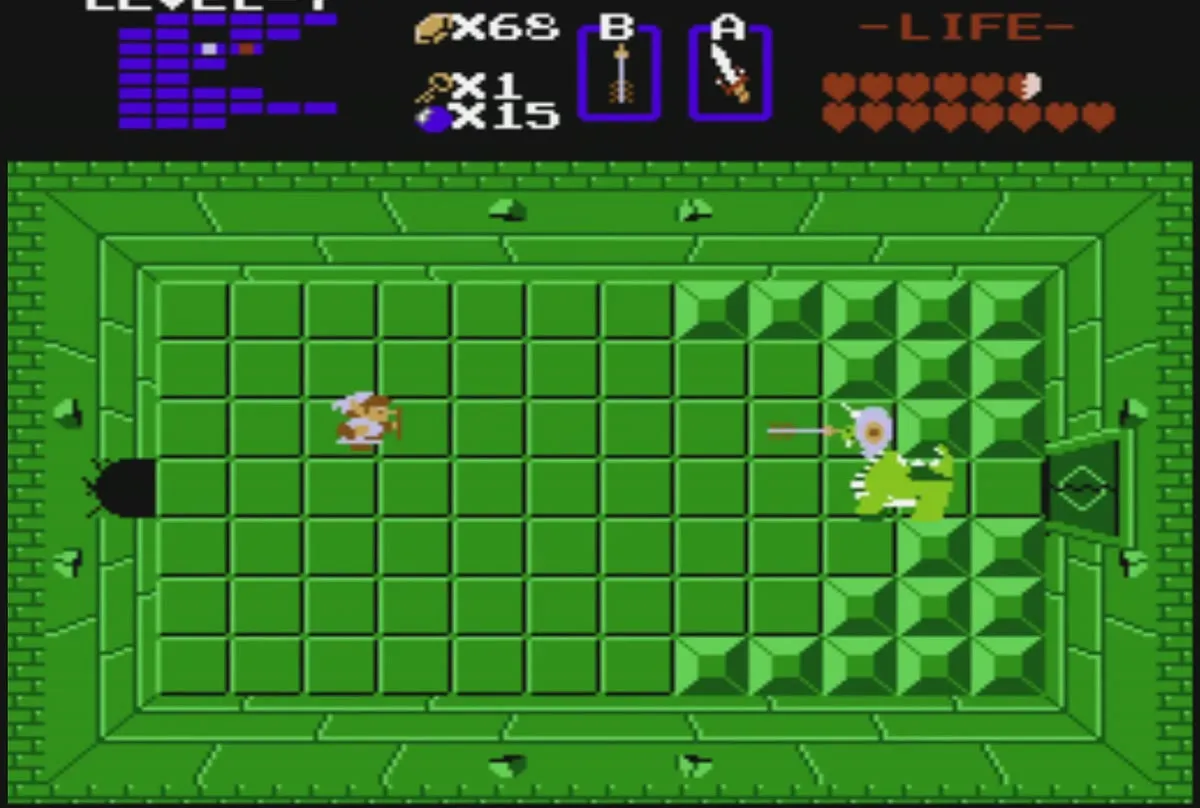
Strike the head six times with the Wooden Sword, or three times with the White Sword. Sword beams can hit any part of the dragon’s body, so fire them when you have full health.

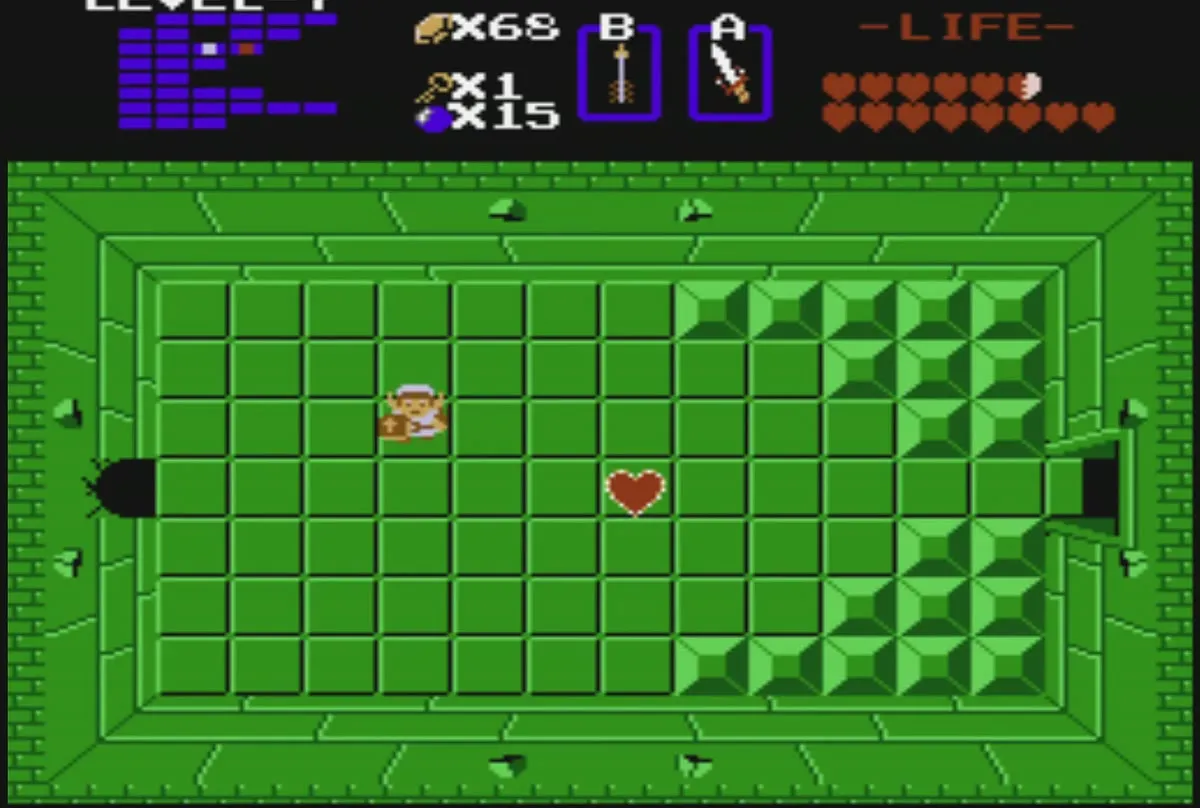
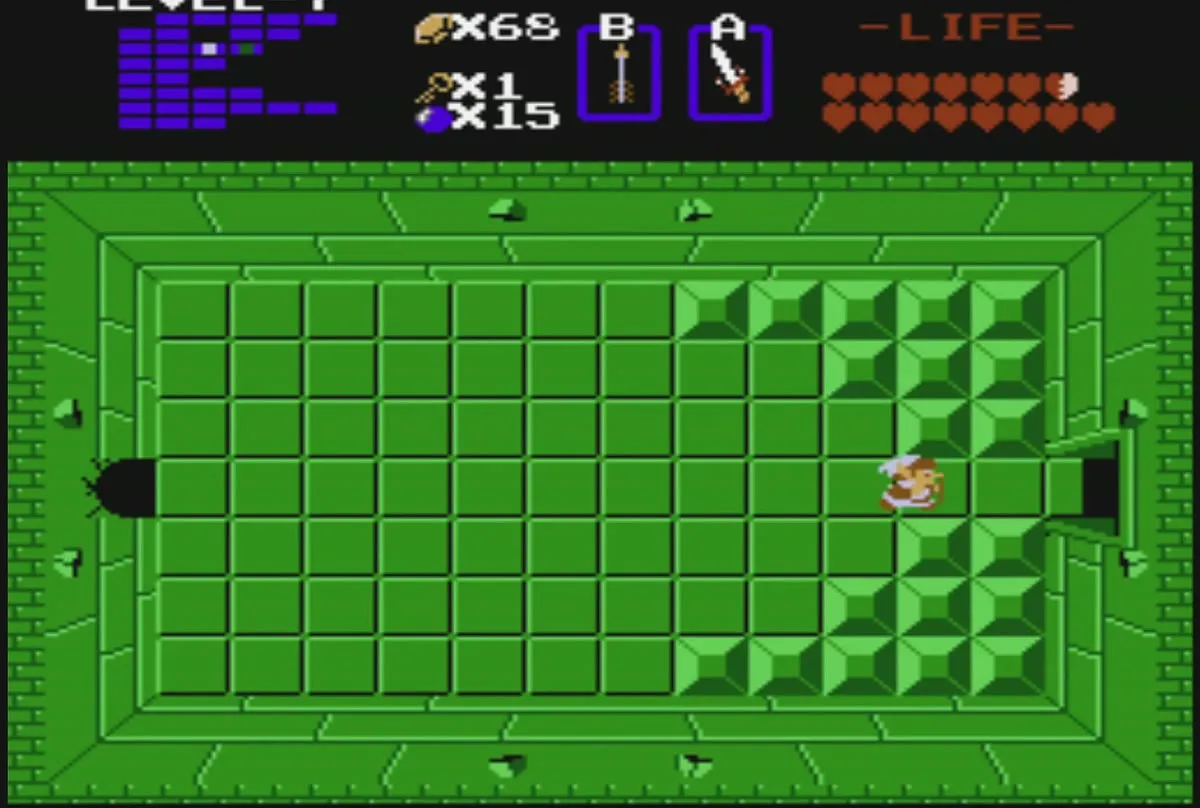
Collect the Heart Container
Defeating Aquamentus gives you a Heart Container, which takes you from fourteen hearts to fifteen. Walk over the item where the dragon fell to take it before you leave the room.
Triforce piece 7
Take the piece in the room to the right
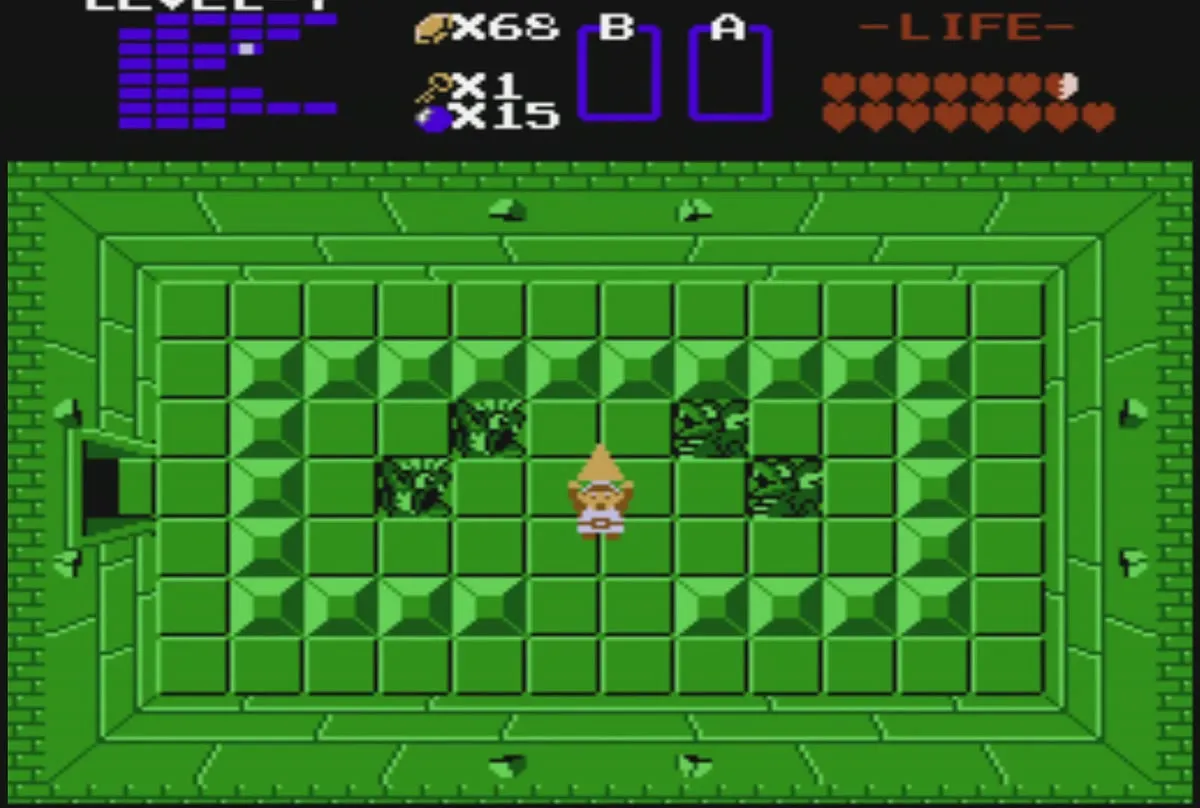
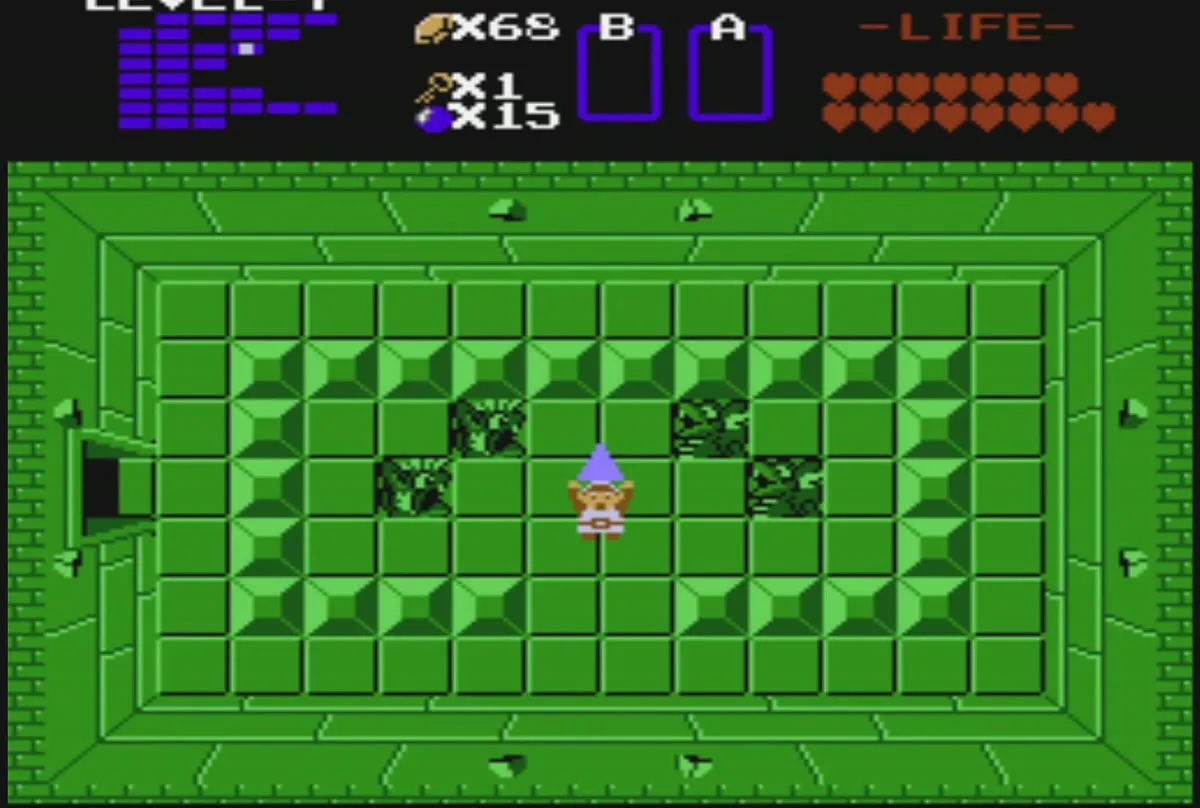
Go through the door on the right side of the boss room into the next room. The seventh Triforce piece lies on the floor in the middle of this room as a small triangle.
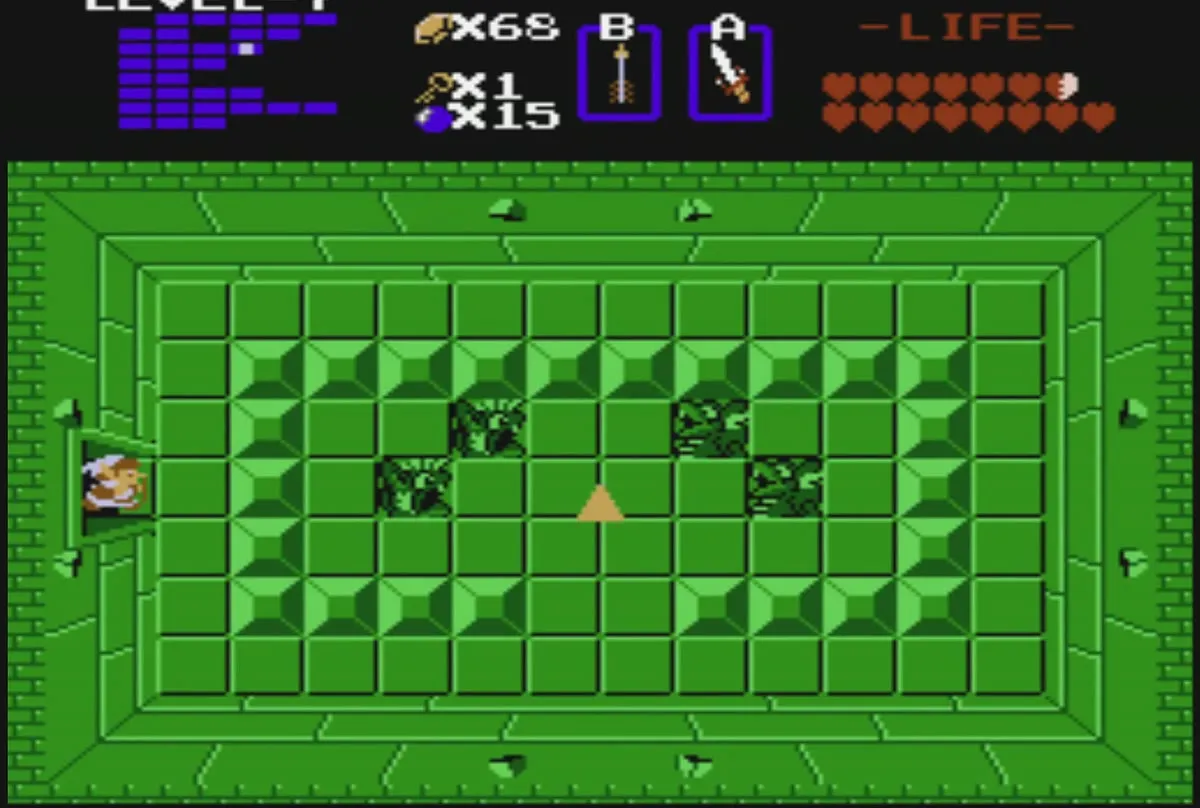
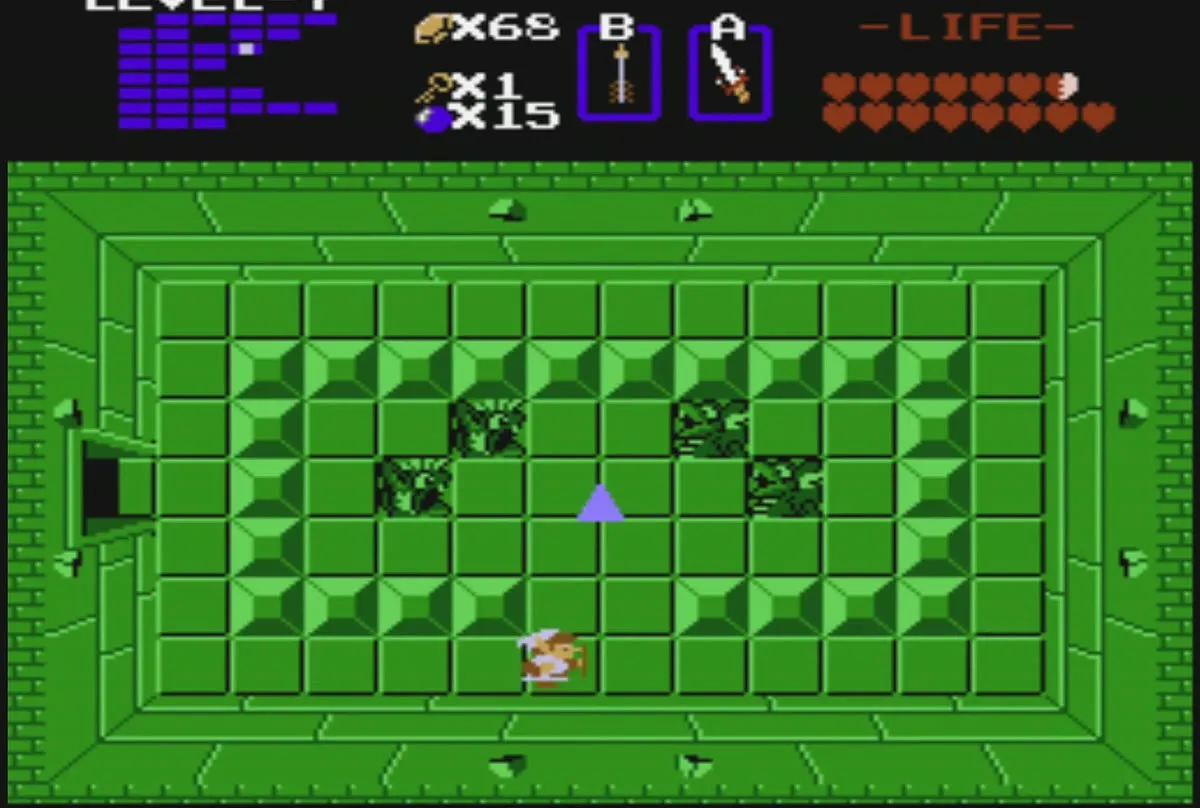
Walk onto the piece and Link lifts it over his head. Your Triforce count goes up by one, and you are done with the labyrinth.
Leave Level 7
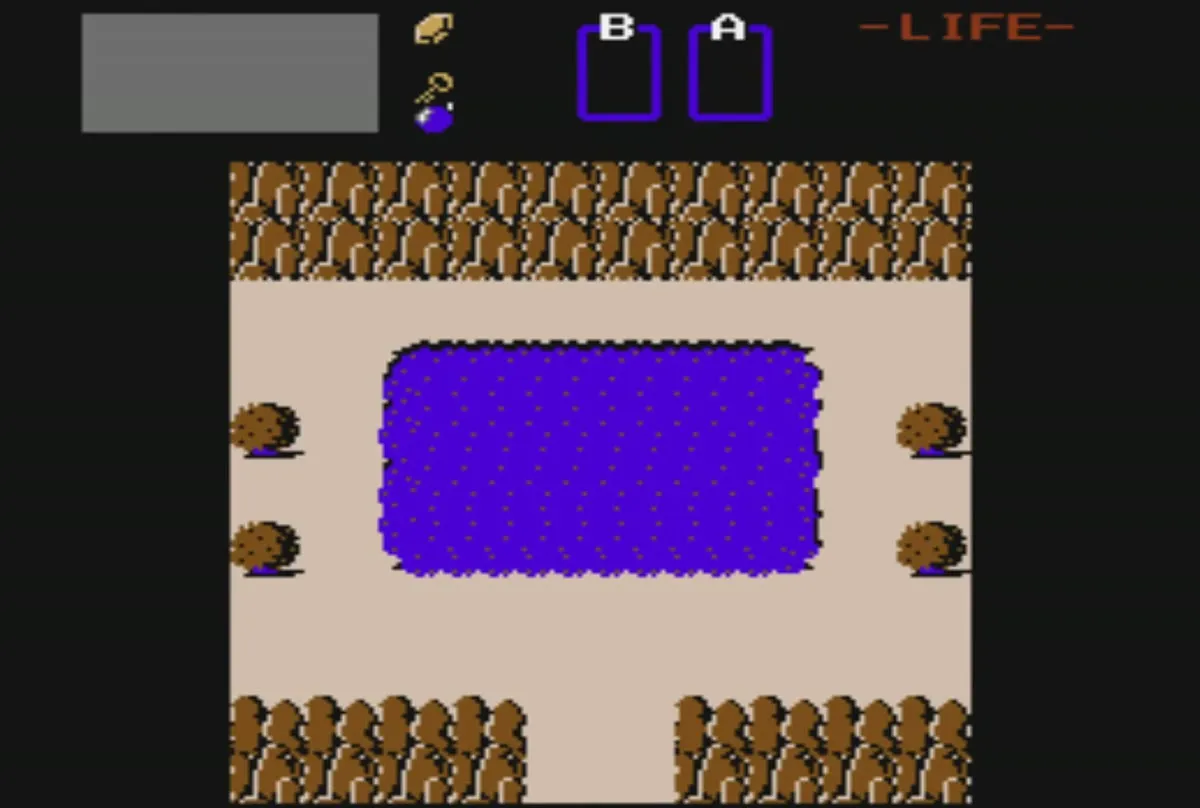
Head back to the overworld
Walk back out of the room through the nearest door and head for the overworld. Your key count is down to one by this point.
Chapter checklist
| Type | Name | Where | Notes |
|---|---|---|---|
| Item | Red Candle | stairwell below the room of the Goriyas, reached through the right passage | places more than one fire at a time |
| Item | Map | room directly above the hungry Goriya‘s room | shows the labyrinth layout |
| Item | Compass | shortcut room behind the bombed top wall of the dark Keese room | dungeon item |
| Upgrade | Bomb upgrade | old man’s room with three fires | bombs 12 to 16; costs 100 rupees |
| Item | Monster Bait | used on the hungry Goriya | bought in the hidden ring shop on the previous stretch |
| Keys | small keys | floors of the green and dark rooms | key count up to five at its peak |
| Heart Container | Heart Container | boss room, where Aquamentus falls | boss reward |
 Triforce | Triforce piece 7 | room to the right of the boss room | seventh piece of the Triforce |
