
























The Legend of Zelda 100% Completion Walkthrough14 chapters
- The GatheringGet the Wooden Sword, buy bombs, take your first Heart Container, collect early rupees and buy the Blue Candle.
- Money Caves, the Red Potion and the Blue RingMoney cave payouts, the Blue Candle, a Heart Container gift, the Magical Shield for 90, Red Potion for 68.
- Level 1 The EagleKeys, Bow, Boomerang, Dungeon Map, Compass, the Aquamentus boss, and the Heart Container.
- Level 2 The MoonReach the entrance, get the Magical Boomerang and Map, then beat Dodongo for a Heart Container and a Triforce piece.
- Level 3 The ManjiTake its keys, the Raft, Compass and Map, then defeat Manhandla for a Heart Container and the third Triforce piece.
- Level 4 The SnakeLevel 4 The Snake walkthrough with the lake route, keys and dark rooms, Stepladder.
- The Magical Sword and the Medicine ShopThe graveyard cave with the Magical Sword, the three-staircase warp cave.
- Level 5 The LizardReach the statue cave on the Lost Hills, collect small keys, and buy the 100-rupee bomb upgrade that raises bomb.
- Level 6 The DragonKeys, the Magical Rod, Gleeok mini-boss and Gohma boss tactics for its Heart Container and sixth Triforce piece.
- The Potion Shop and the Ring Shop AgainBuy the Red Potion and the Monster Bait between Level 6 and Level 7 in The Legend of Zelda NES.
- Level 7 The DemonRecorder entrance, bomb upgrade, Monster Bait, Red Candle, Map, Compass, Aquamentus and Triforce piece 7.
- Level 8 The LionBurn the entrance bush, get the Book of Magic and Magical Key, then beat four-headed Gleeok for its Heart Container.
- Level 9 Death MountainReach Spectacle Rock, clear the skull-shaped dungeon, and get its Map, Compass, Red Ring and Silver Arrows.
- The EndingBeat Ganon in his dark room with a Silver Arrow after the sword hits, take the Triforce of Power.
| Covers | the overworld from the Level 8 exit to Death Mountain, and all of Level 9 up to the door to Ganon’s lair |
|---|---|
| Dungeon | Level 9, Death Mountain (First Quest): enter by bombing the west peak of Spectacle Rock. Mini-bosses: Patra and Lanmola. Boss: Ganon. |
| Rewards | Map, Compass, Red Ring, Silver Arrows. No Heart Container and no Triforce of Wisdom piece. Ganon drops the Triforce of Power. |
Level 9 is the last dungeon of the First Quest. It holds the Map, the Compass, the Red Ring and the Silver Arrows, and it has no Heart Container and no Triforce of Wisdom piece. This chapter takes you from the Level 8 exit across Death Mountain, through the skull-shaped dungeon in order, and up to the last door. The fight with Ganon, the rescue of Princess Zelda and the ending are in The Ending Walkthrough.
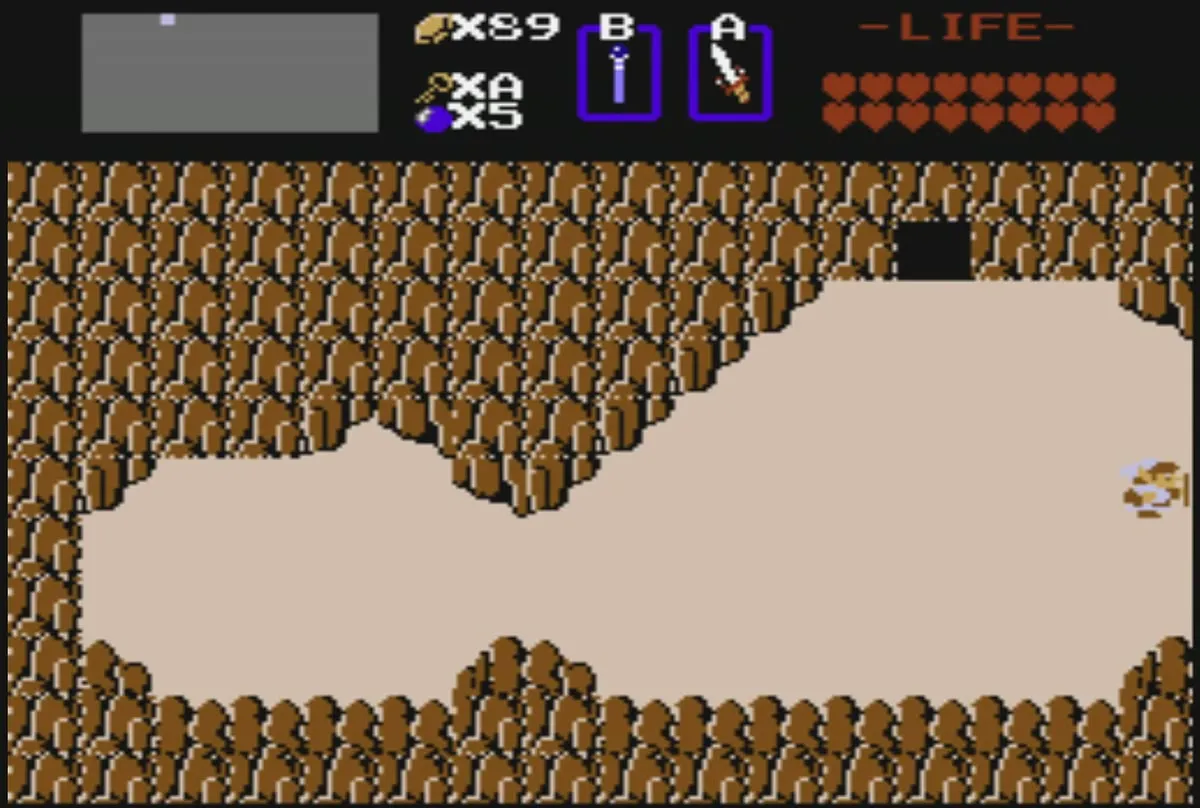
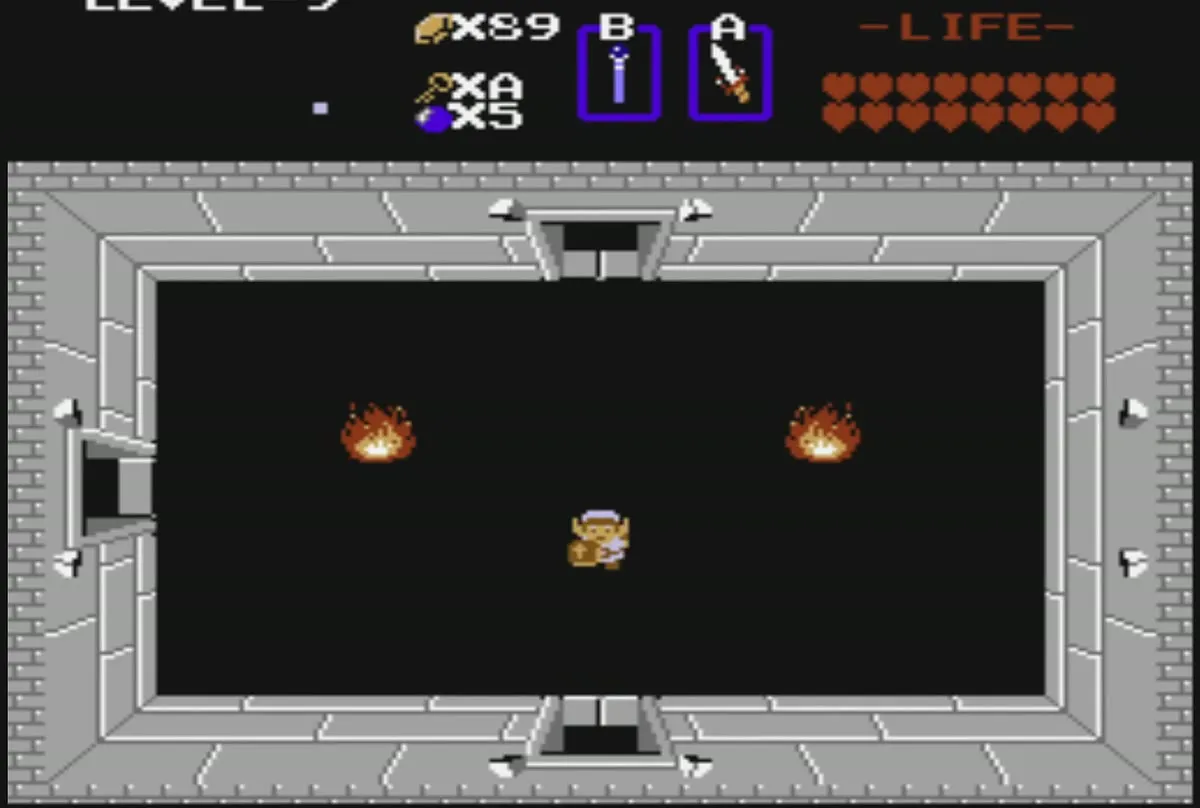
Table of Contents
Overworld route to Spectacle Rock
Leave Level 8 and head east
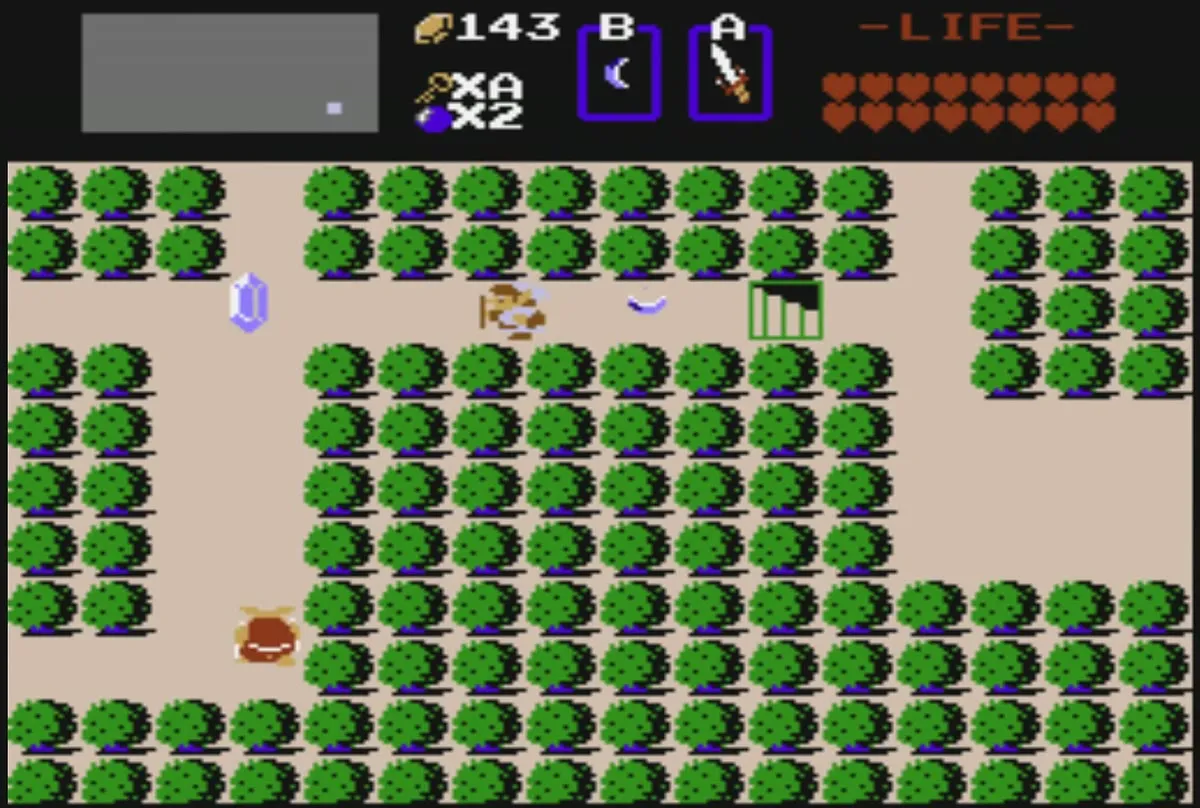
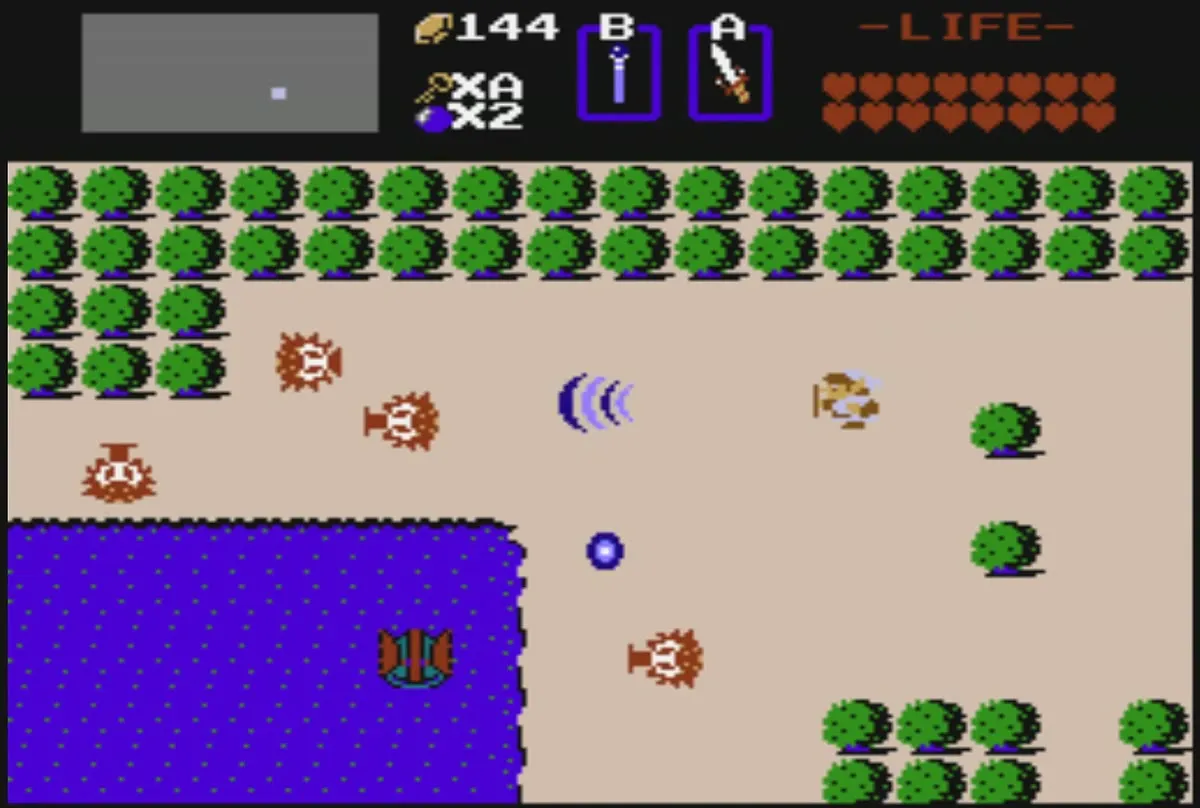
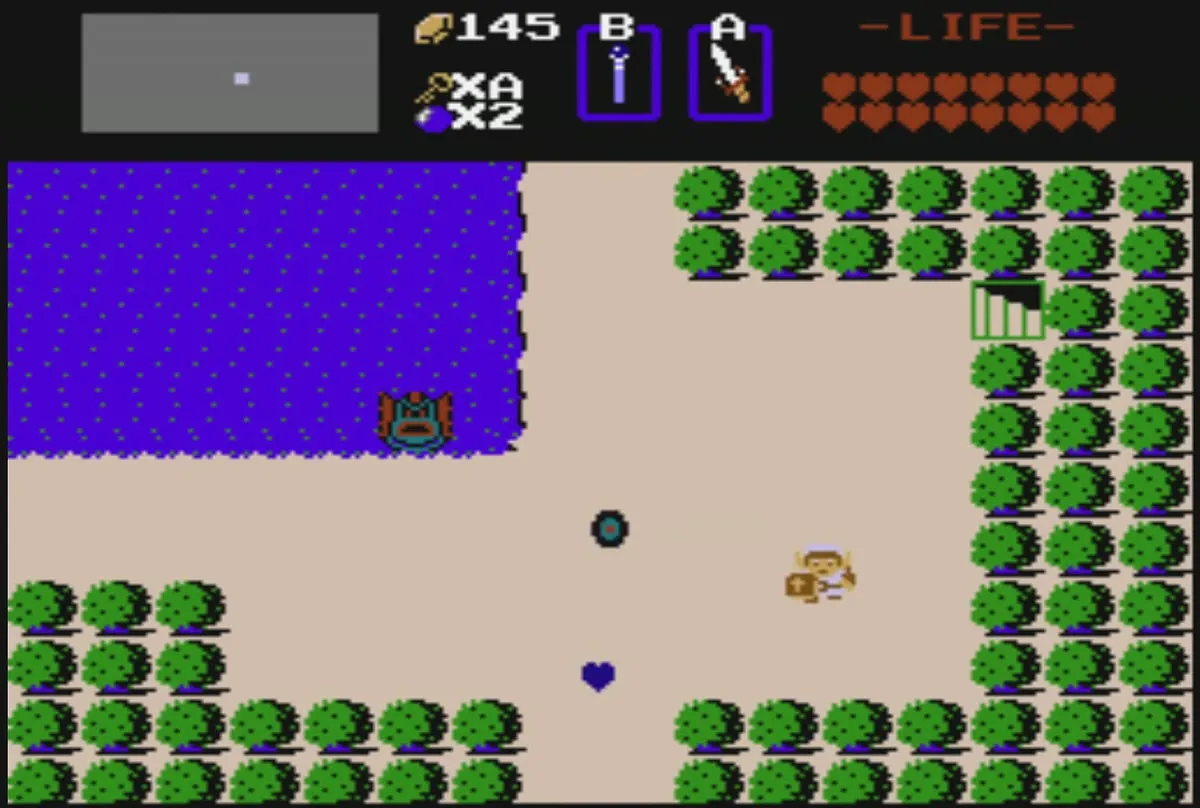
From the Level 8 exit, walk east through the bush fields and along the edge of the purple lake. Cross the wooden bridge over the river, then keep going through the brown rock hills. You can walk past most of the enemies on this stretch.
Find the entrance at Spectacle Rock
Climb through the rock hills and past the two rock mounds until you reach the clearing at the top of the area. Spectacle Rock is the rock formation on the left side of the clearing. The entrance is on F1. Stand at the south side of the left rock of Spectacle Rock and place a bomb against it to open the way in.
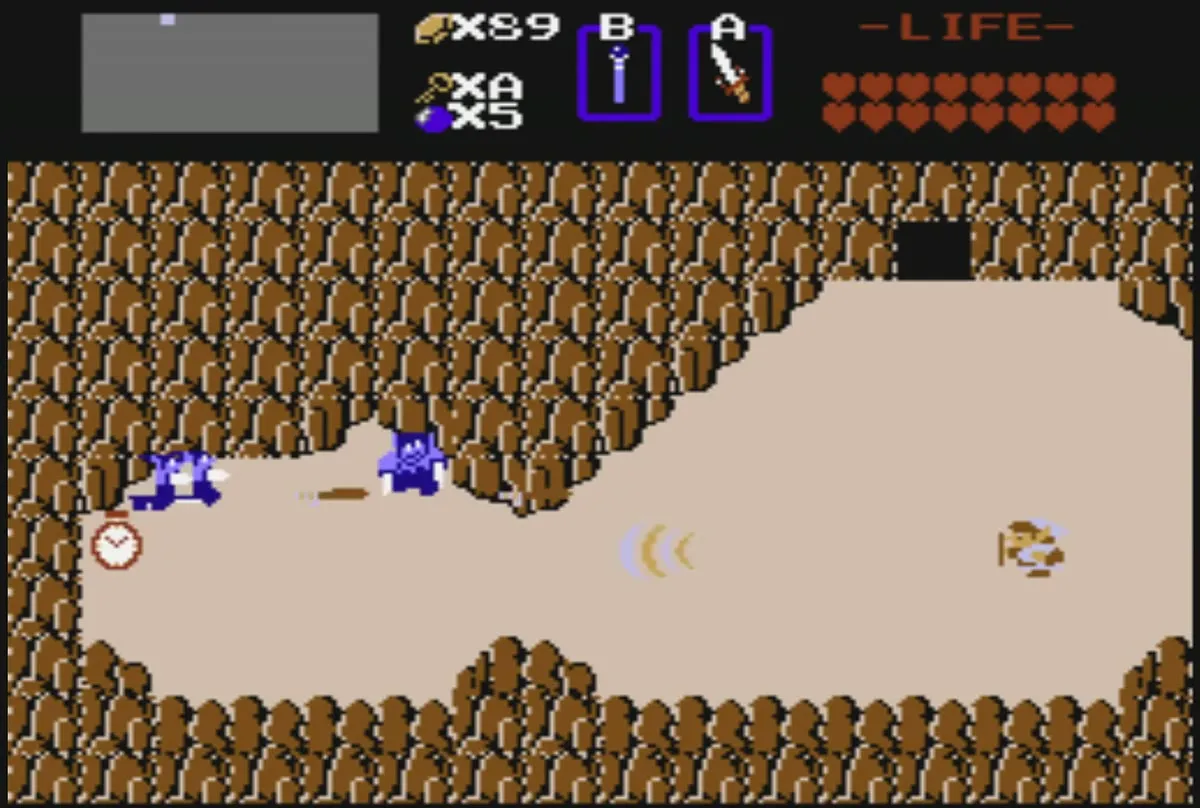
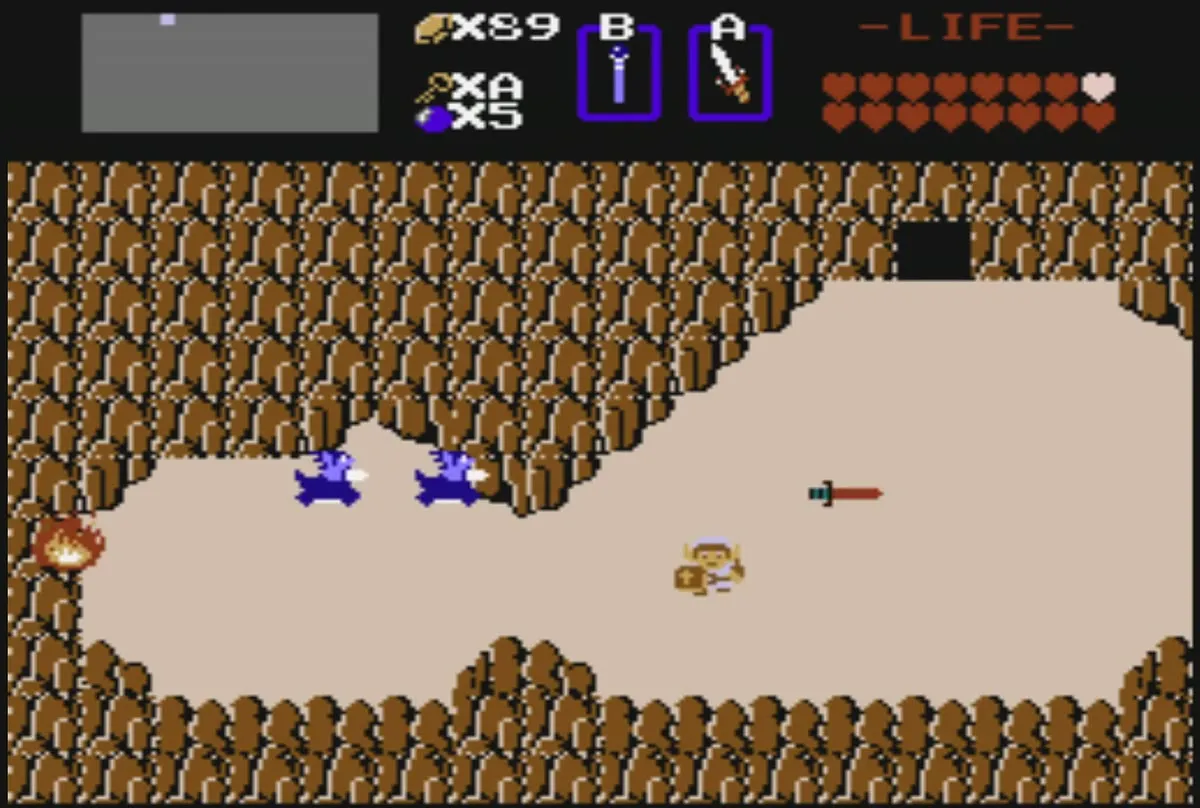
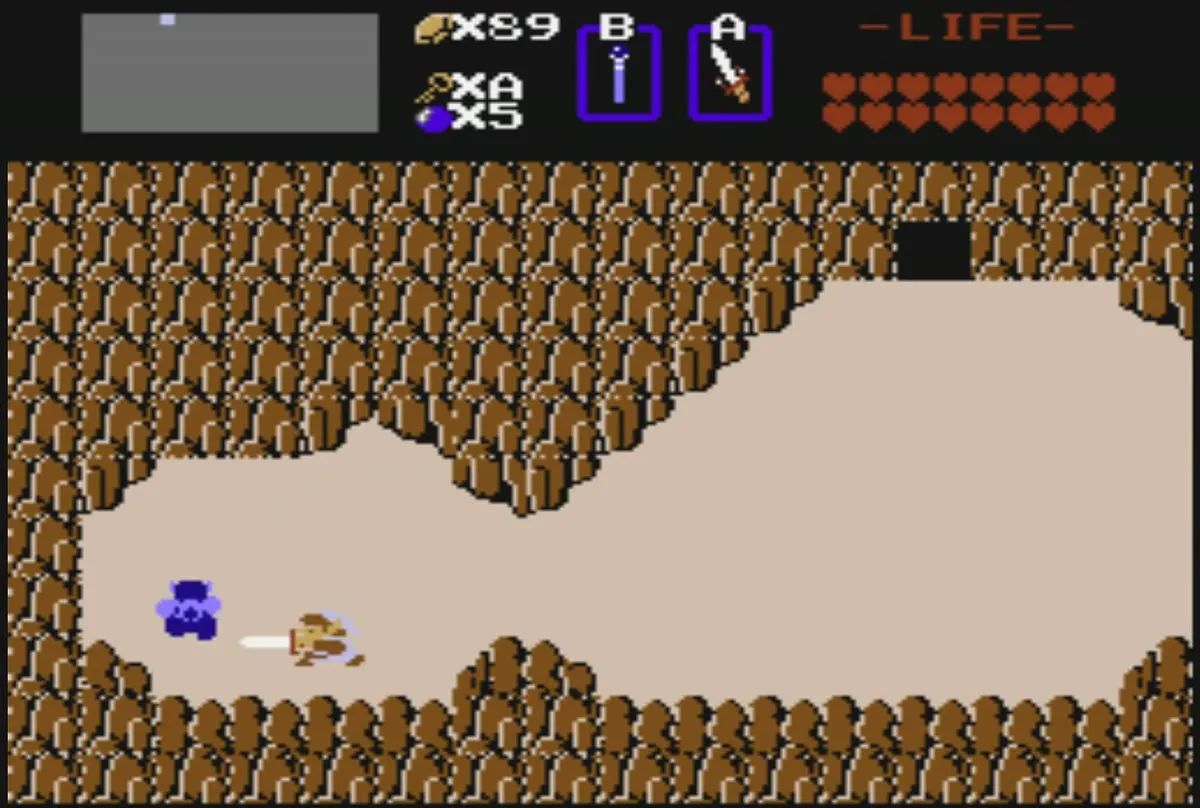
Step into the cave to reach a corridor with stone statues on both sides, and walk up to the first room. An old man waits at the entrance of Level 9. He will not let you past until you hold all eight pieces of the Triforce of Wisdom.
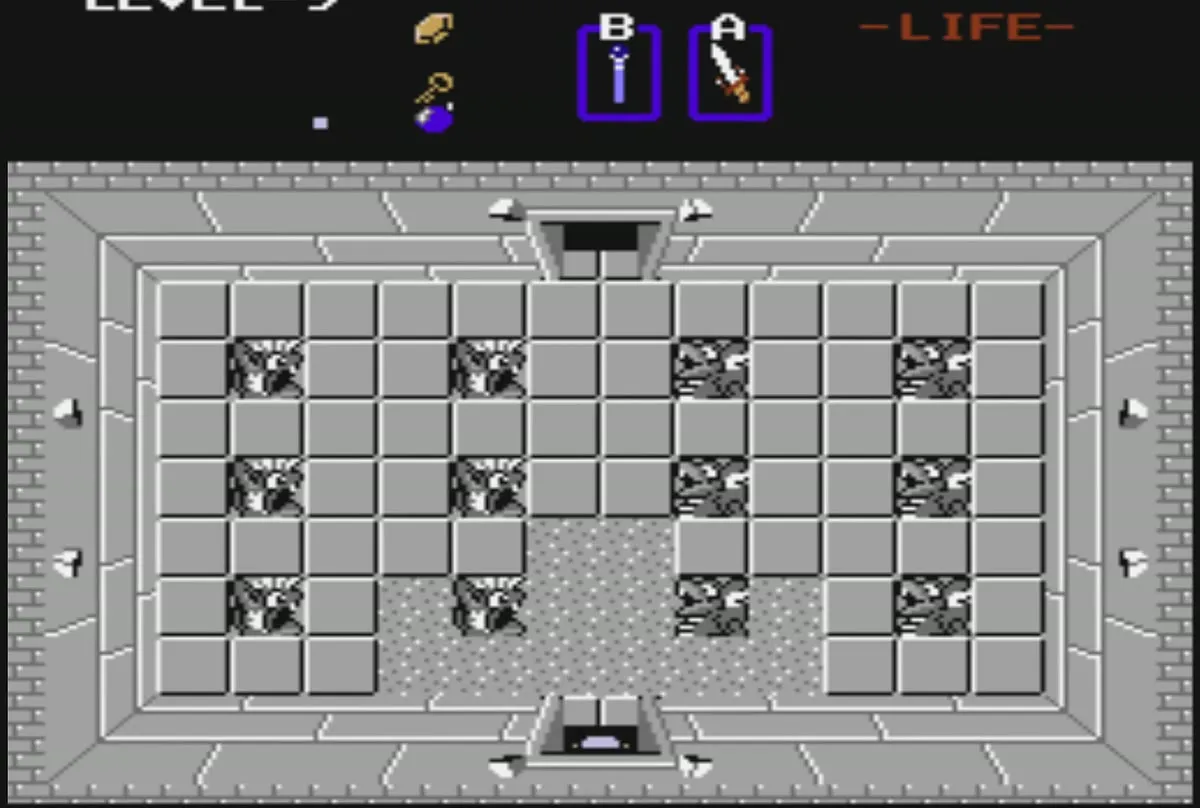
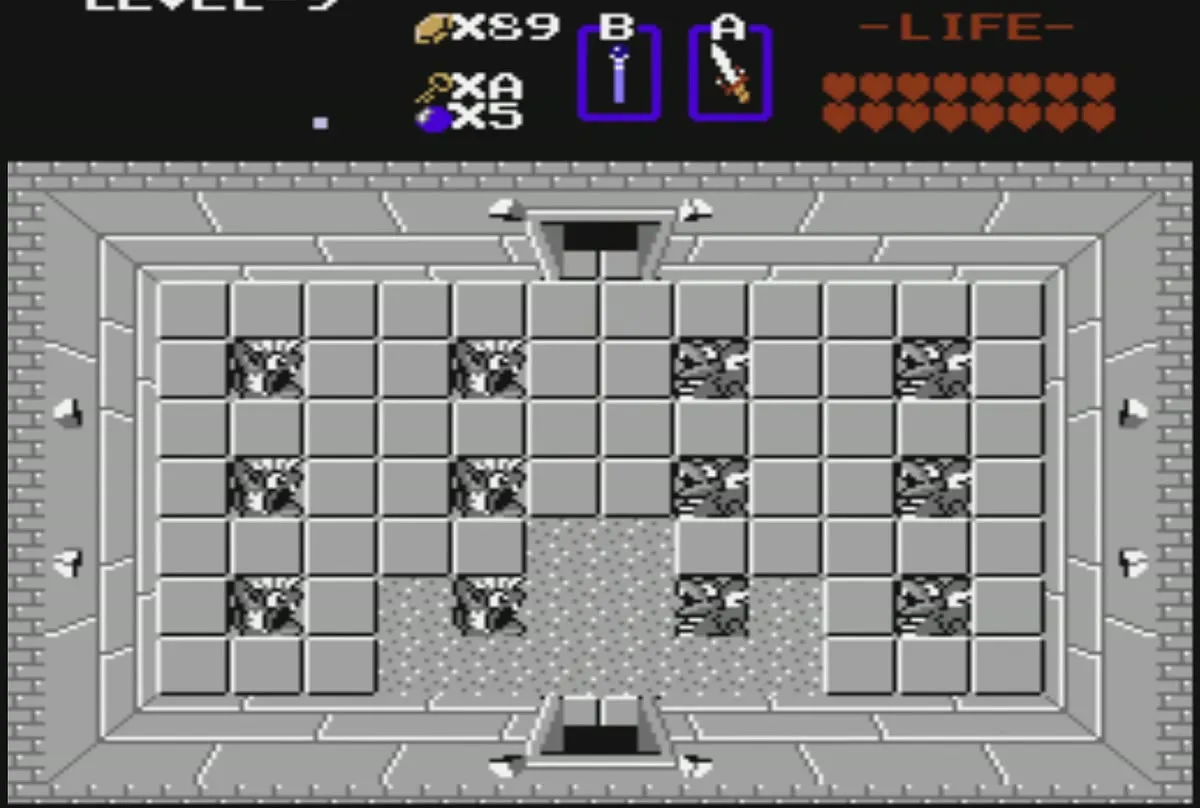
Level 9 first rooms
The Zol and Like-Like room
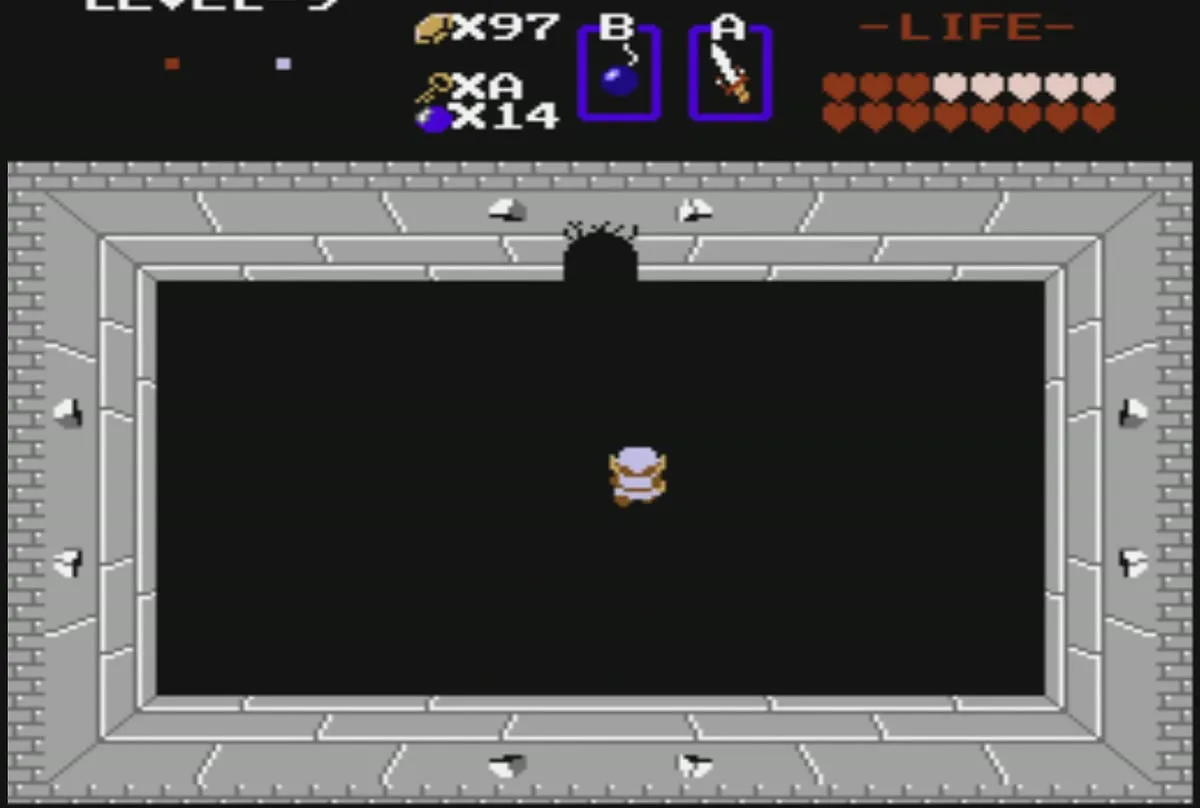
From the entrance go up one room, then left into a dark room of Wizzrobes and Bubbles (light it with a candle). Bomb the north wall of that room. The wall gives way to a passage into the Lanmola room.
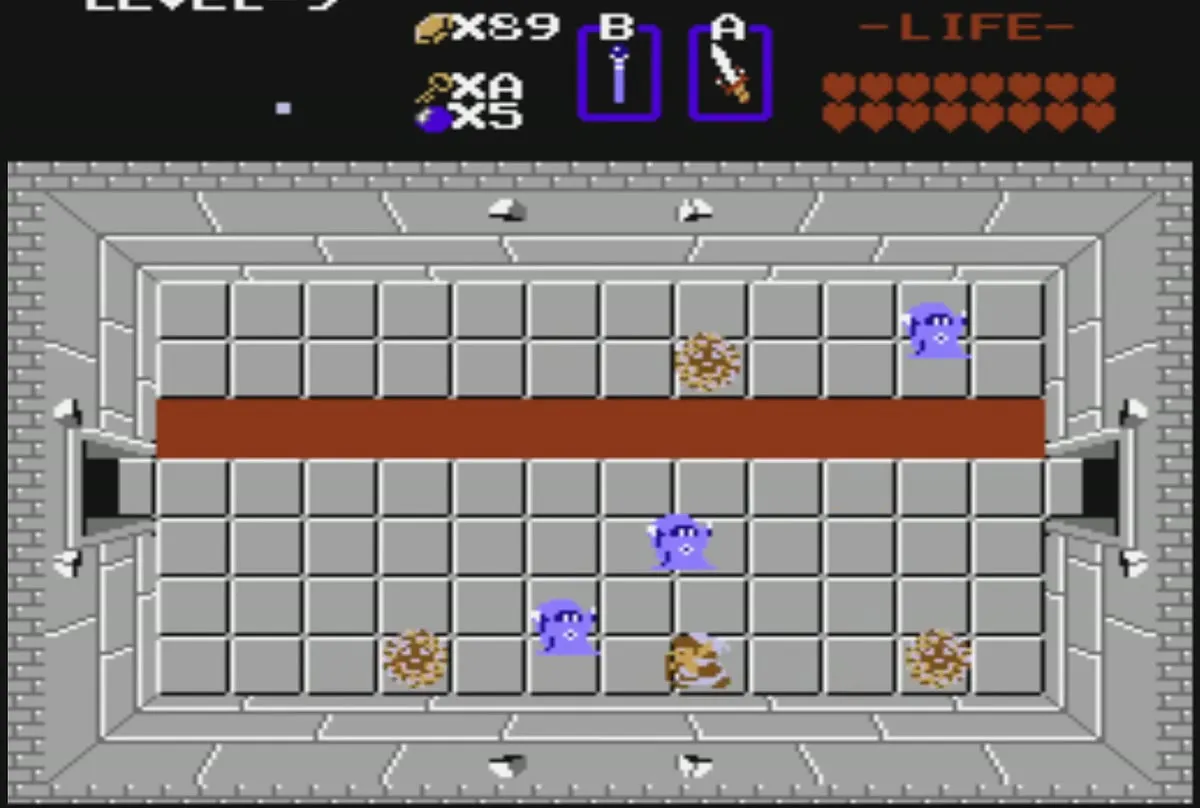
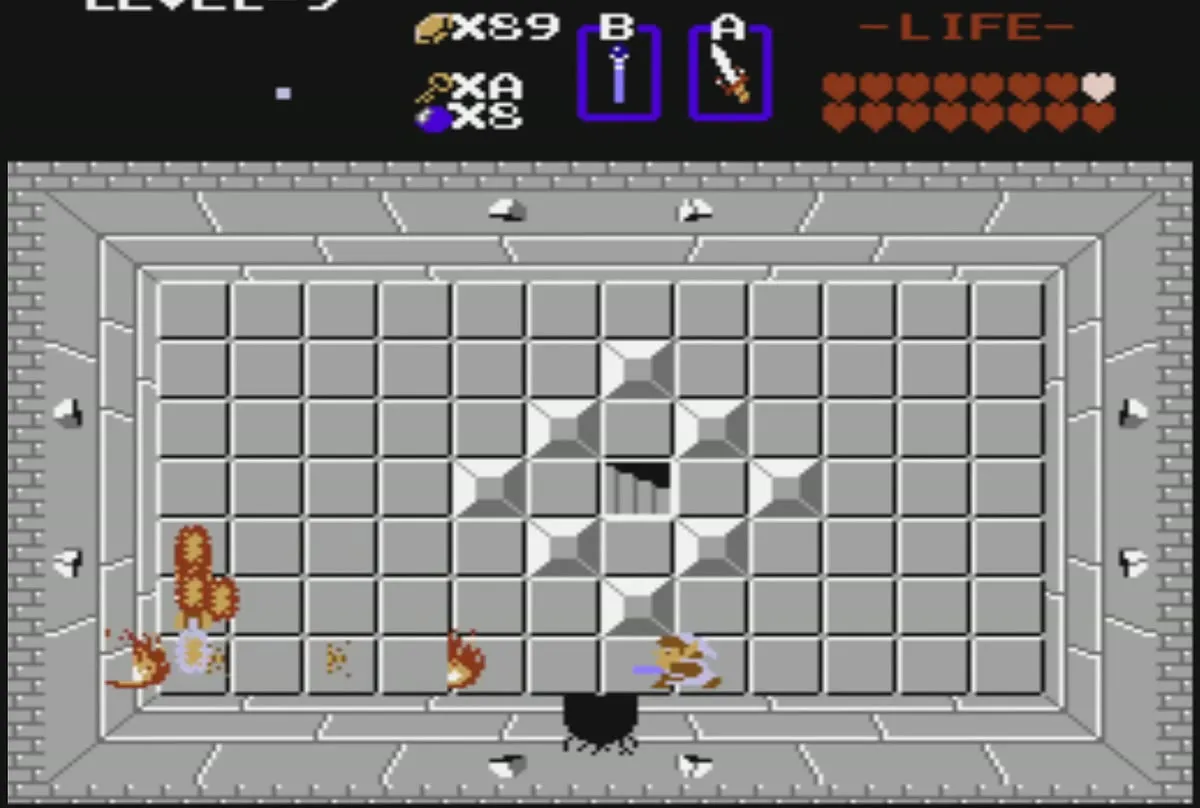
Lanmola is a fast worm, and attacking only its head does nothing, so keep slicing its body until it is gone. Push the leftmost block in the Lanmola room to uncover the staircase that leads down to the first underground passage. Take the stairs to continue into the dungeon.
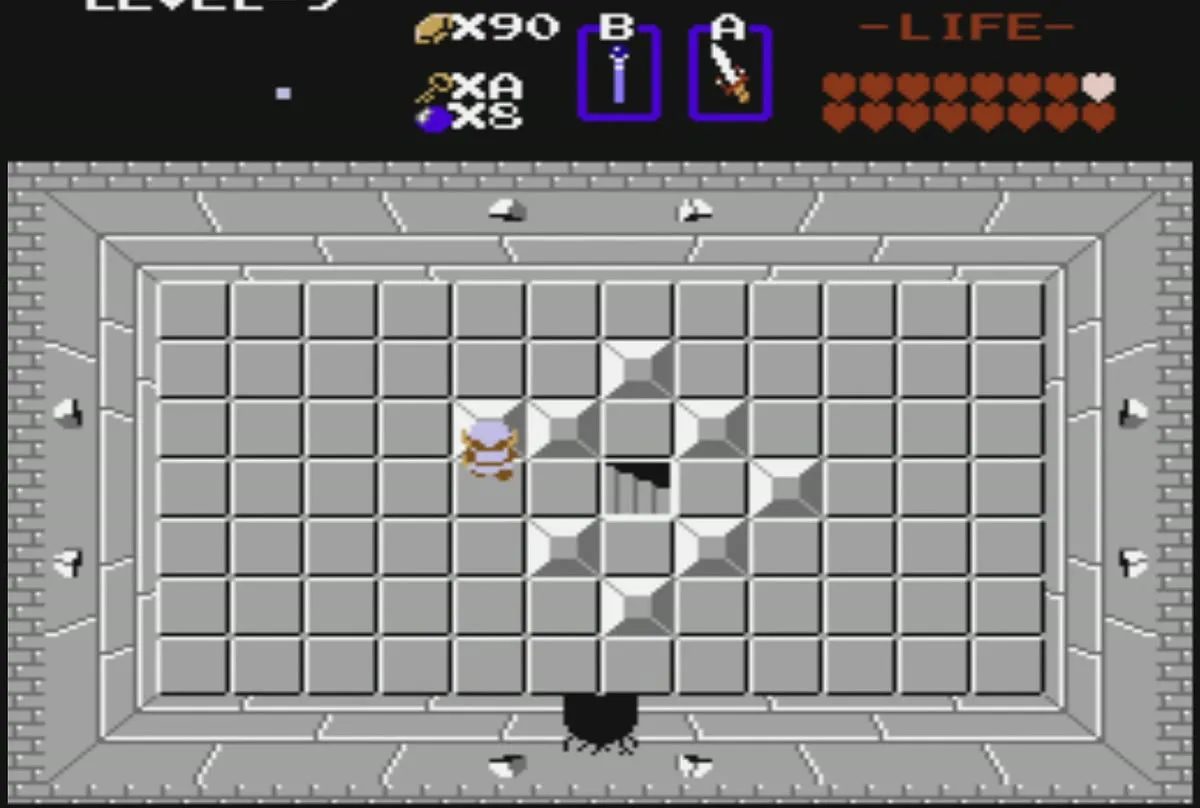
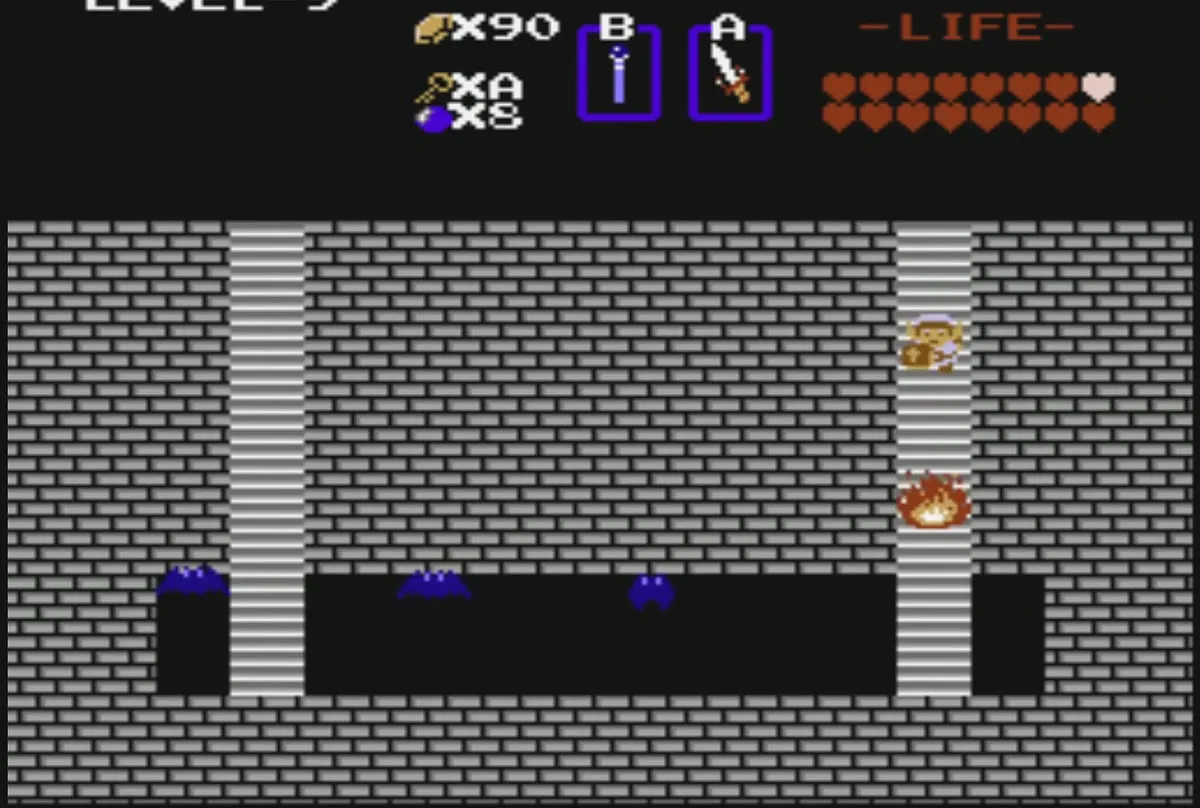
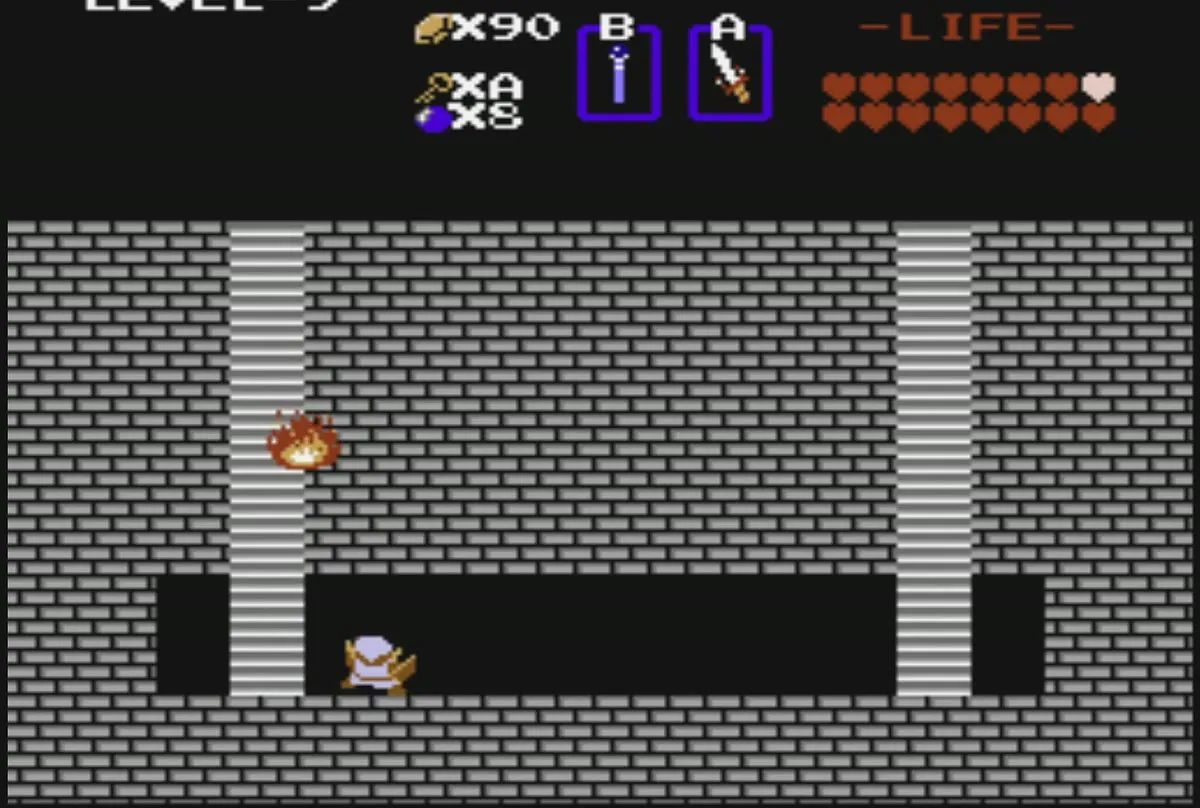
Level 9 Map and Red Ring

Clear the Wizzrobe and Patra rooms
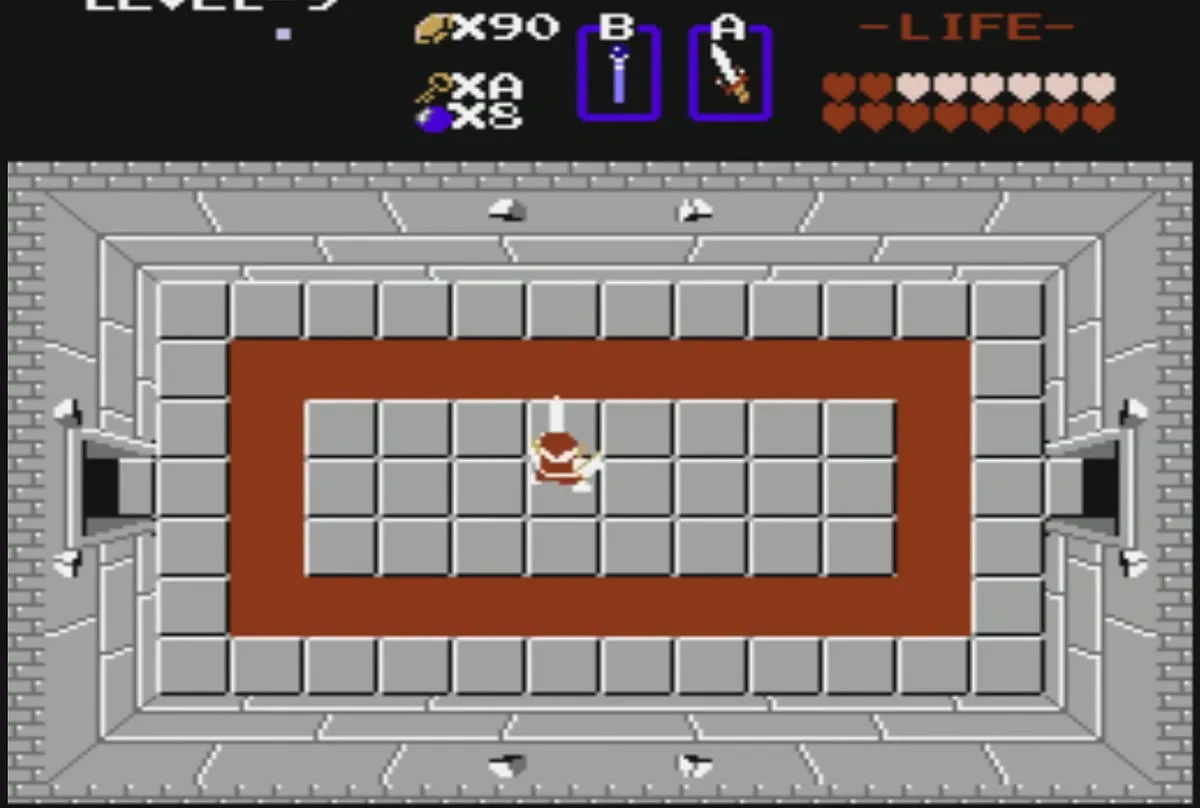
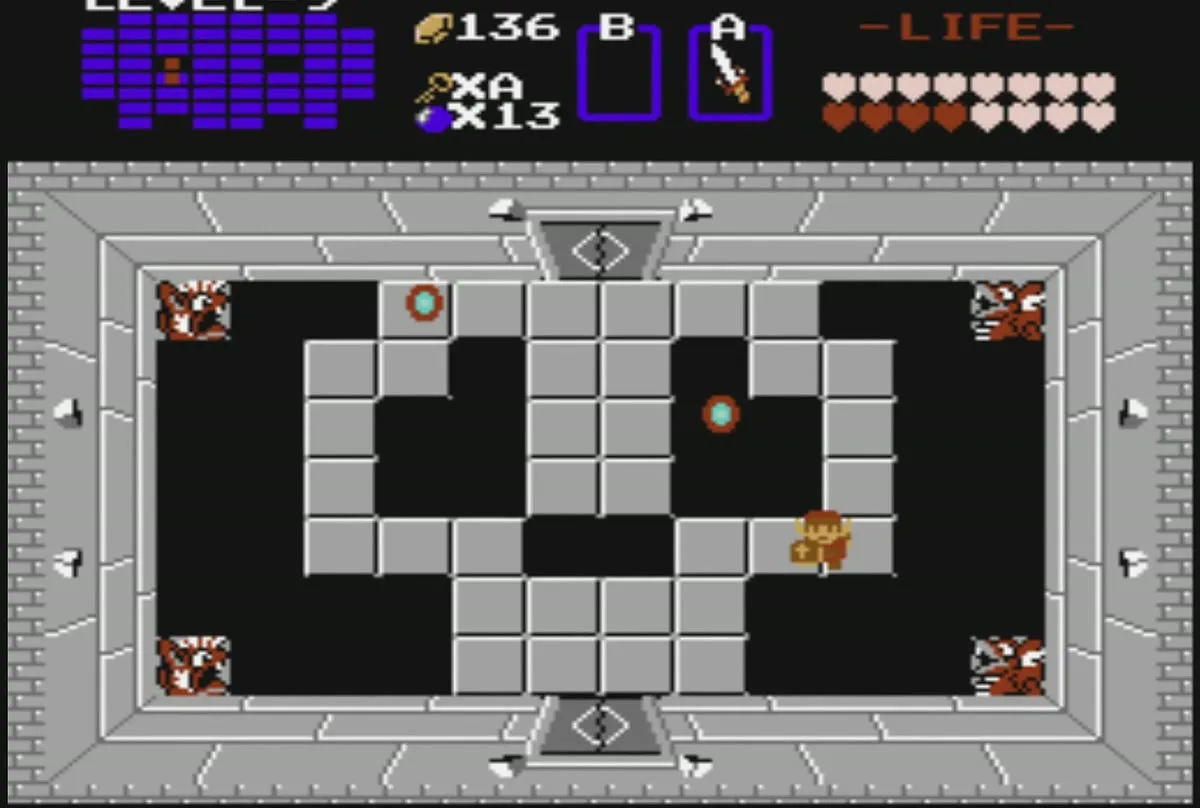
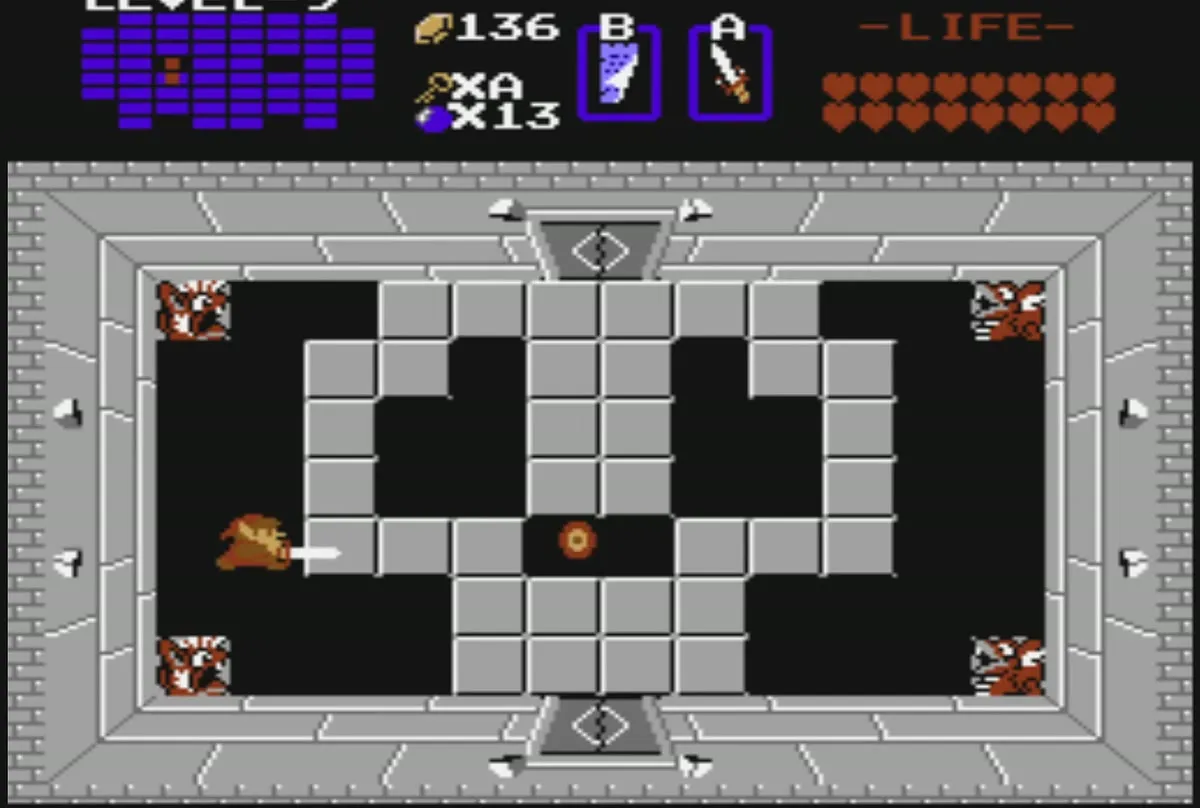
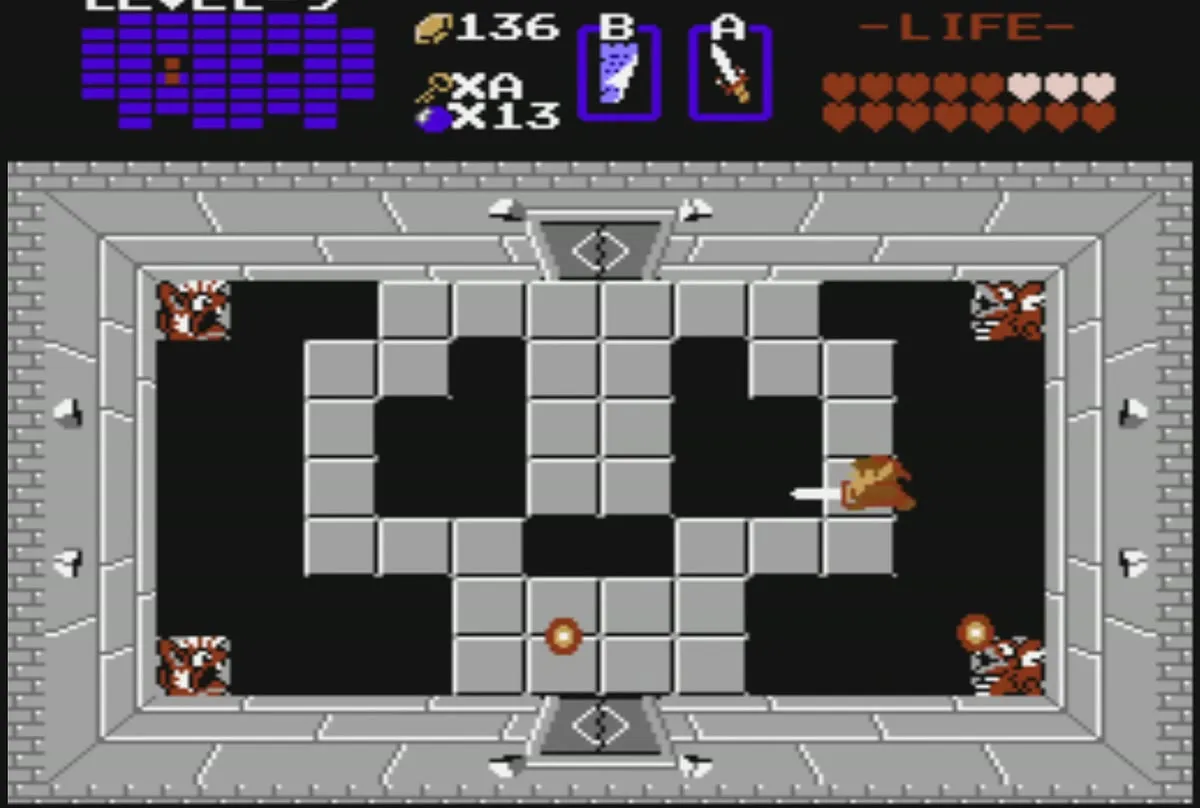
You arrive near the top of the dungeon. Unlock the door on the right and fight the Wizzrobes in that room. Then enter the room to the right and defeat the Patras there.
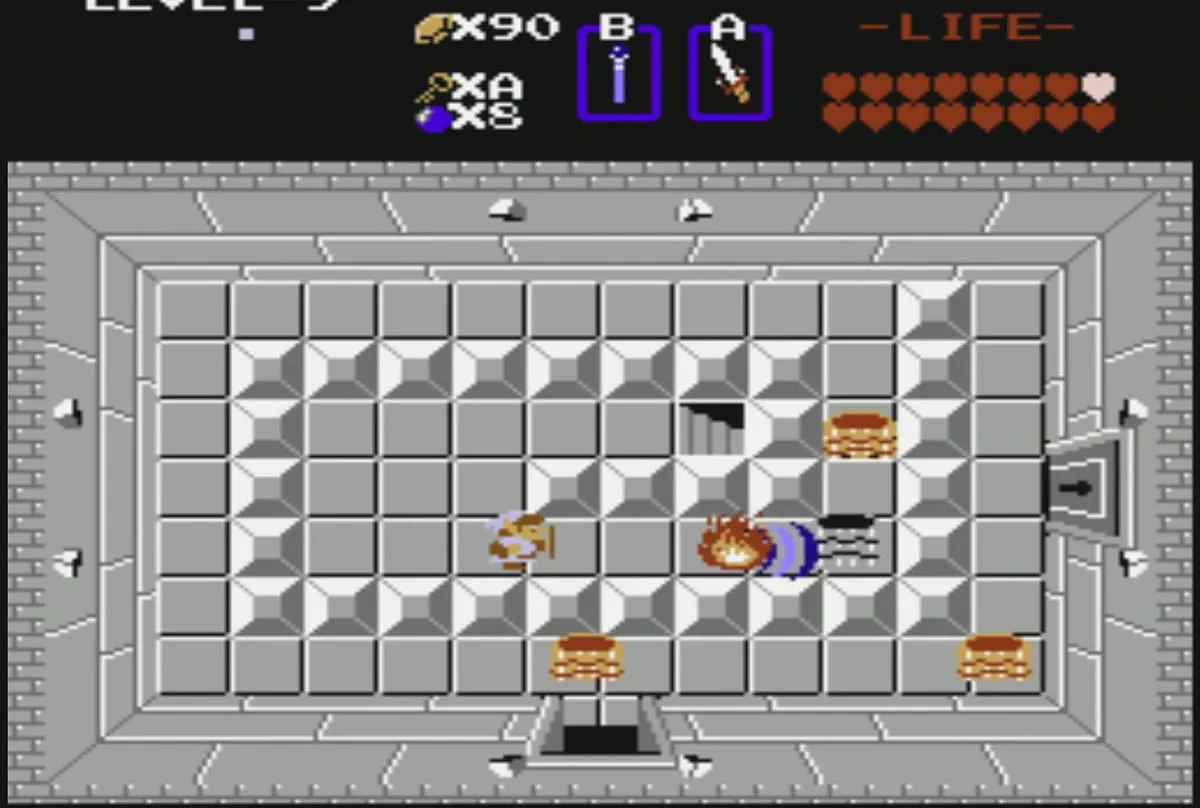
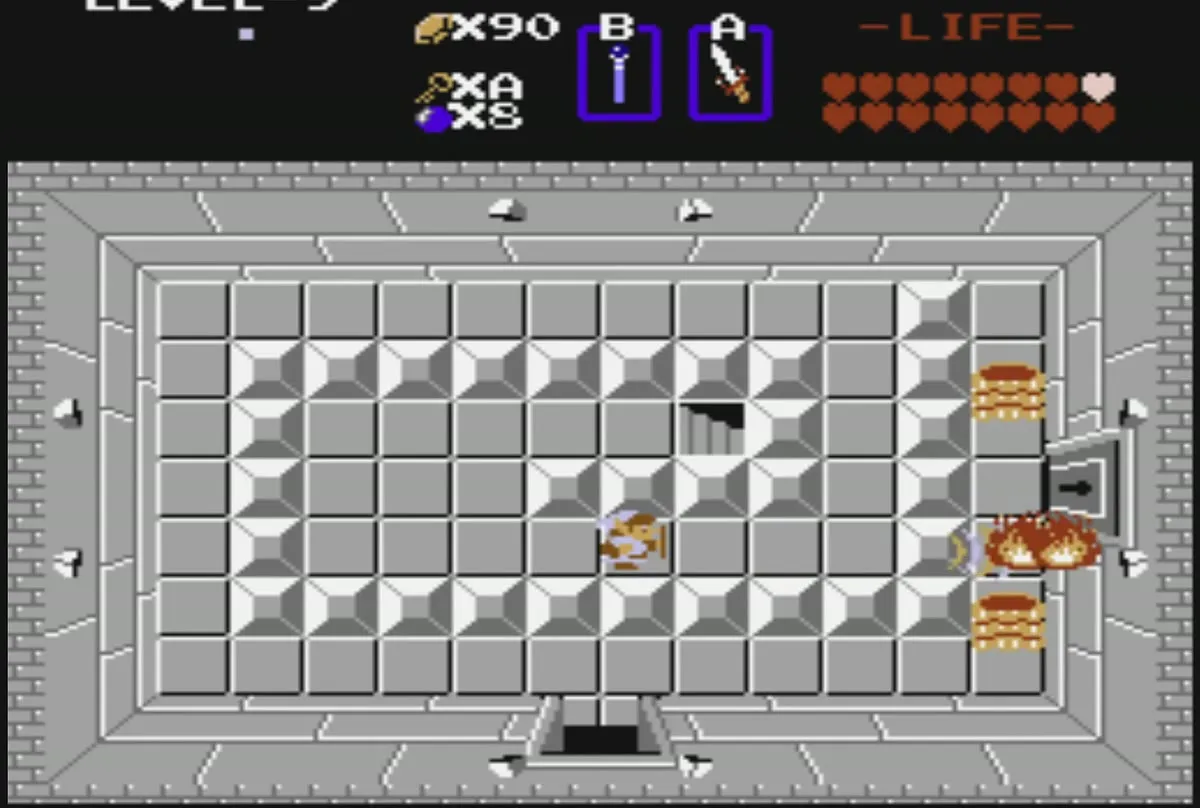
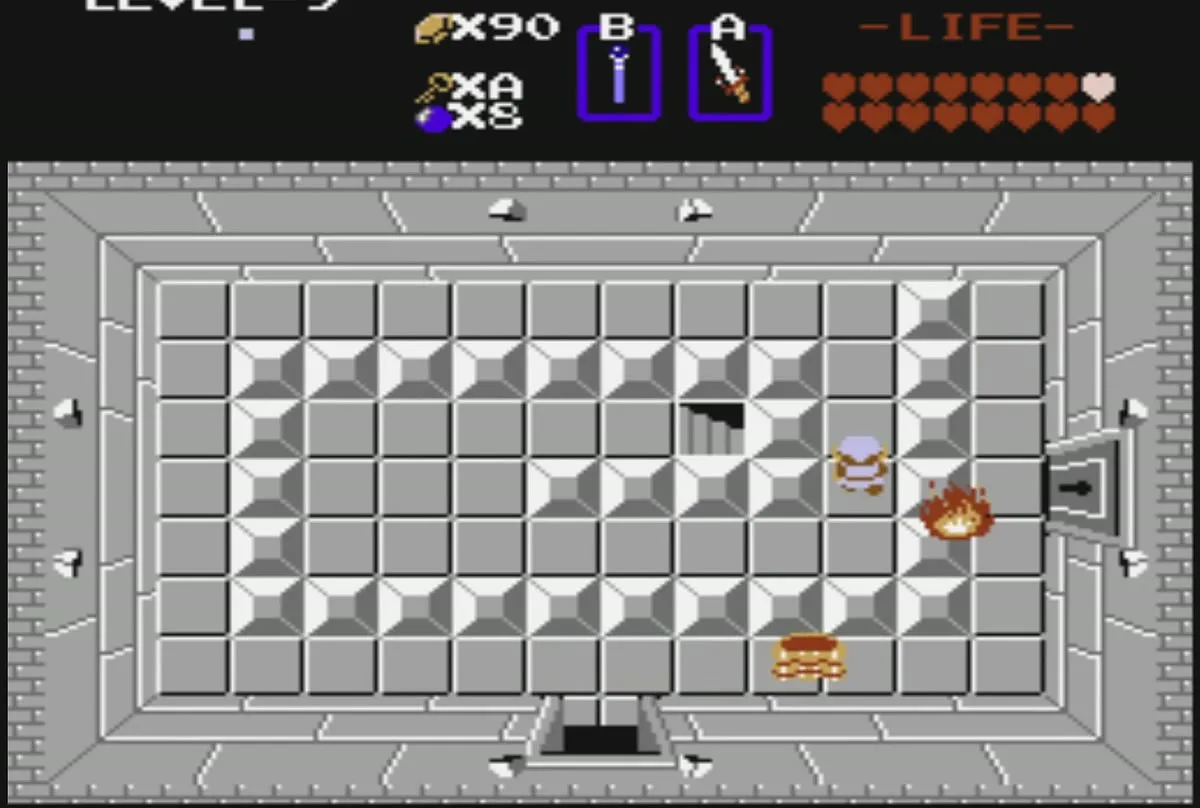
Move to the room below, which is full of Gels, and bomb its right wall. Go through the passage behind it to find another Patra. Defeat that Patra to collect the Map. An old man in the dungeon gives the hint Patra has the map, which points to this fight.
Get the Red Ring
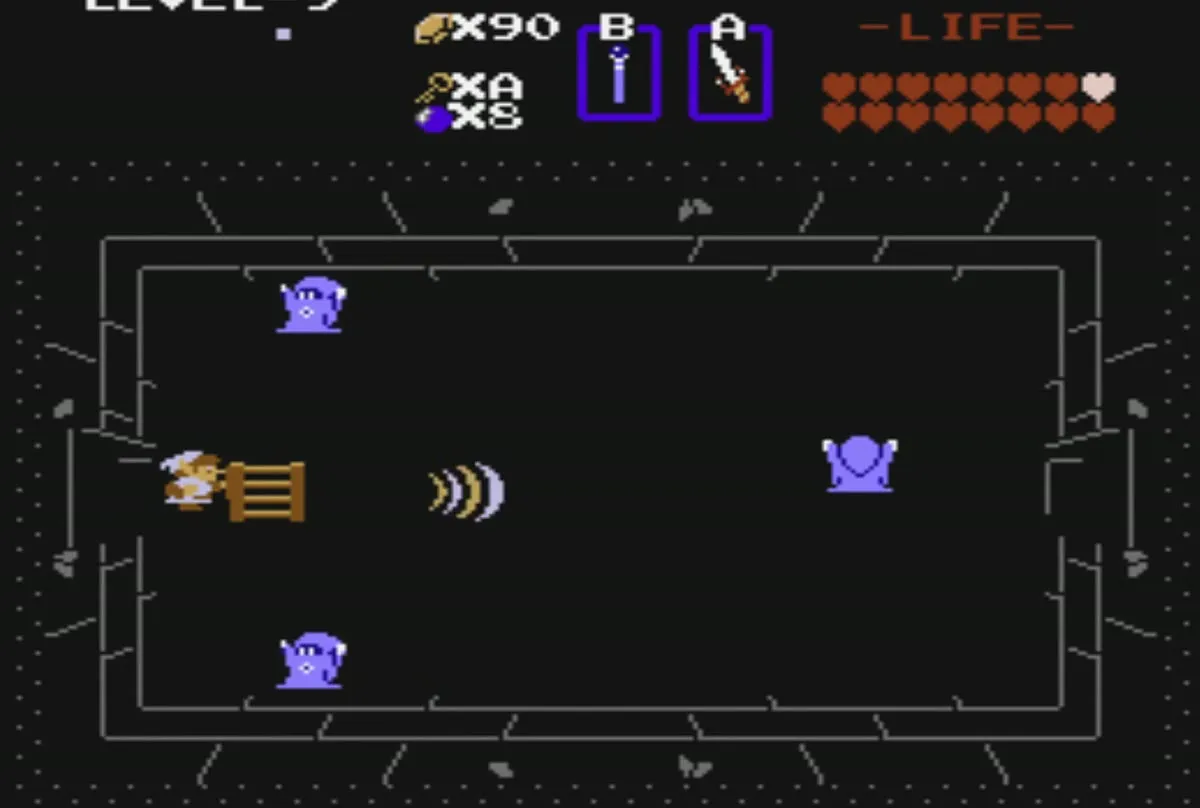
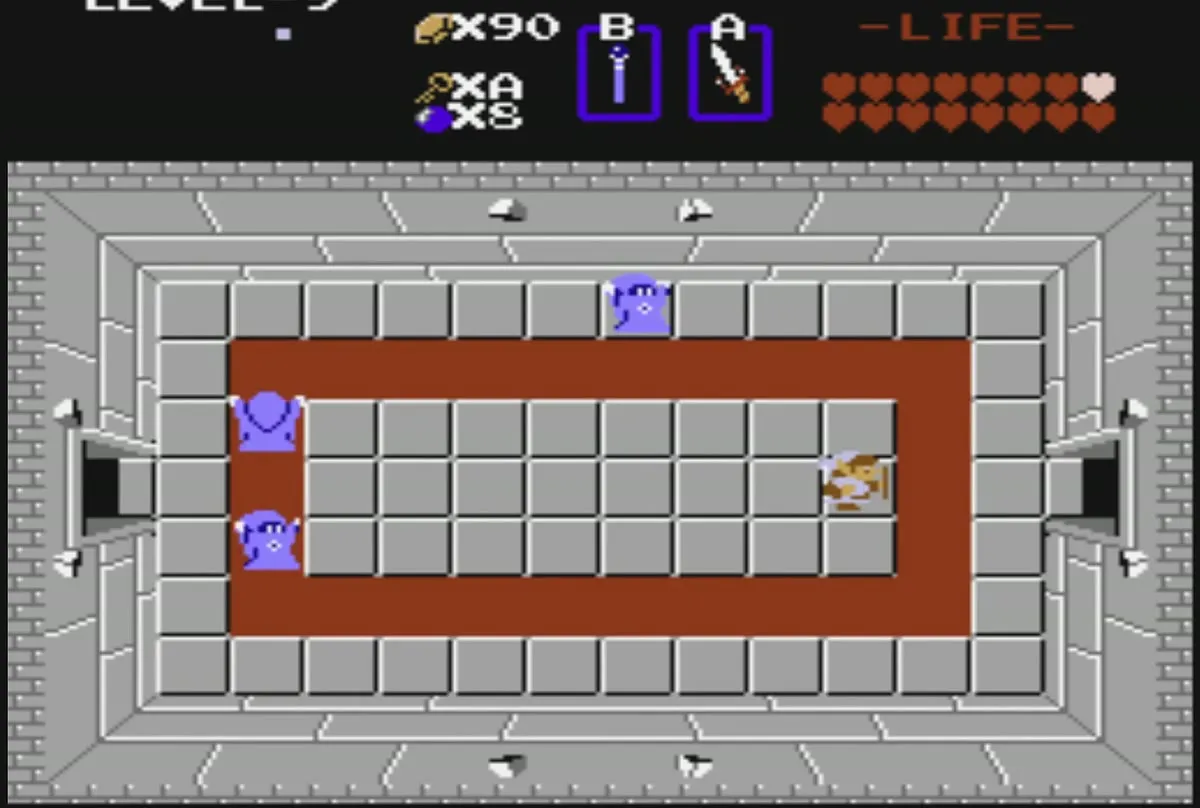
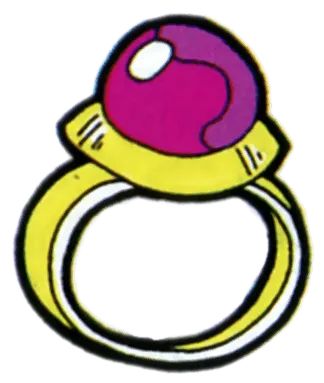
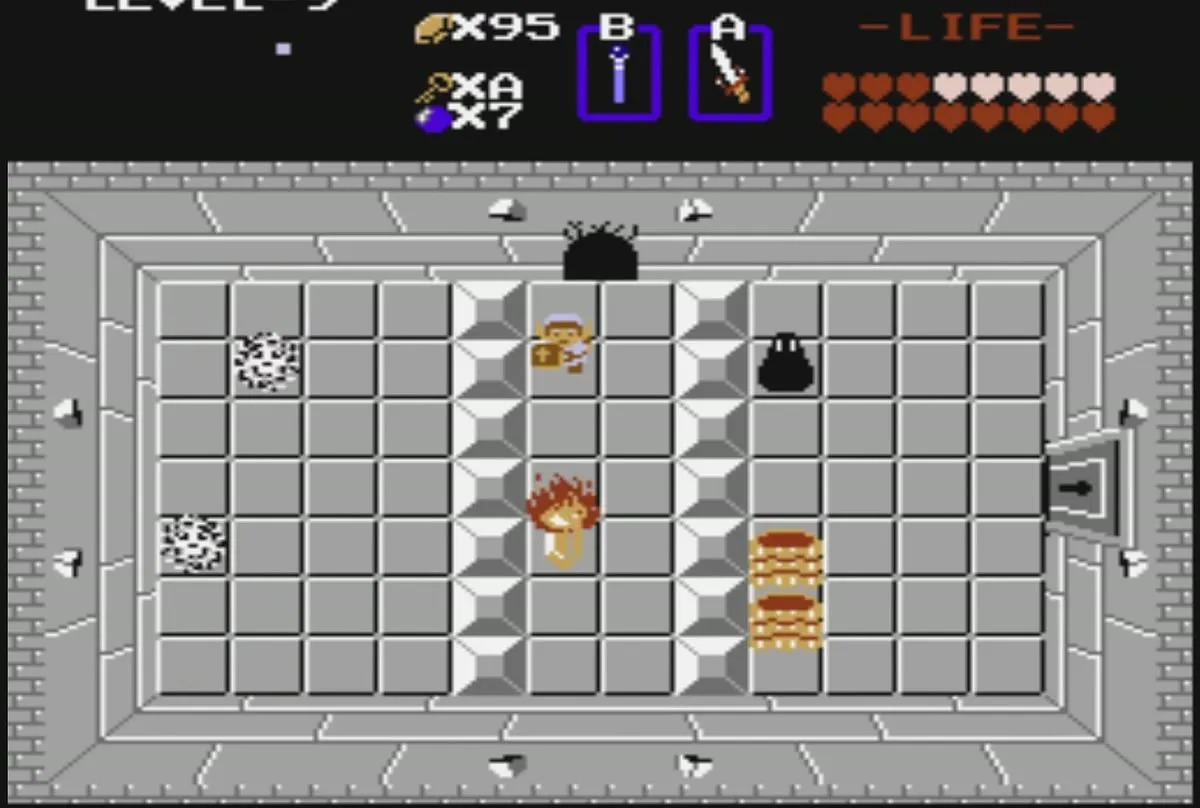
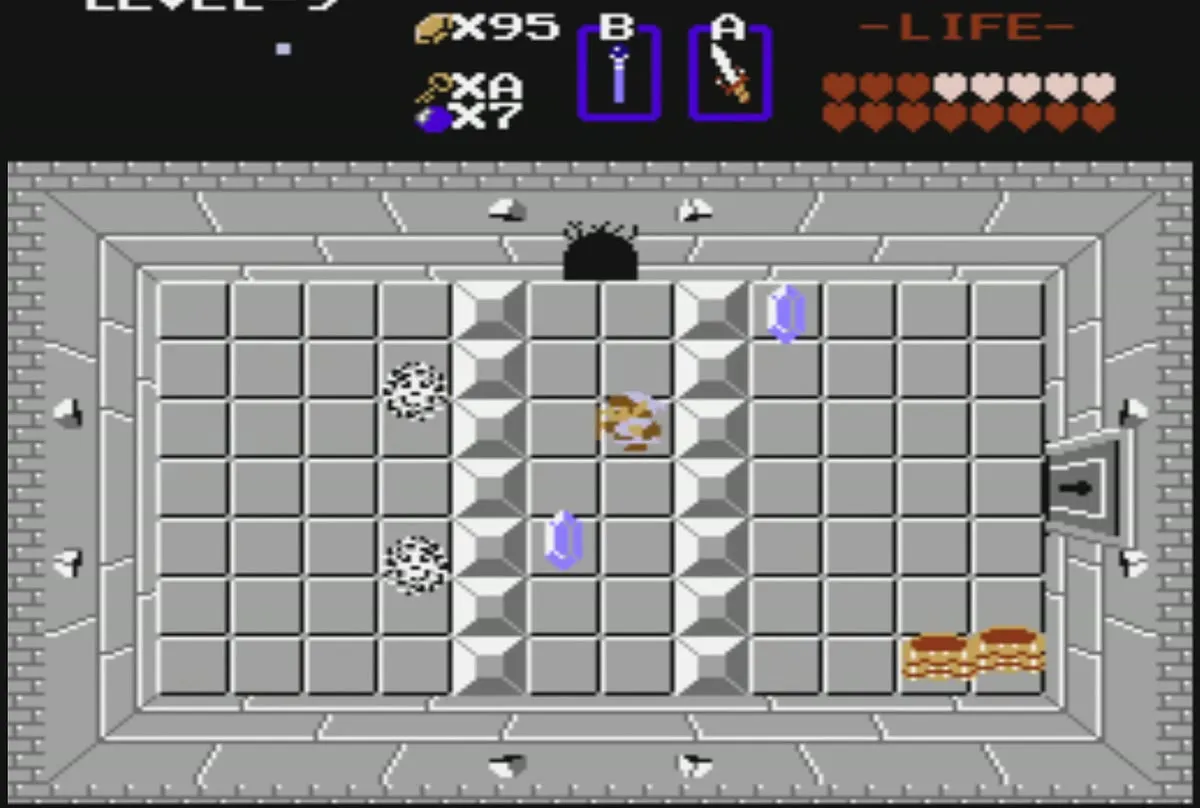
From the Map, bomb the top wall, go through the passage, and bomb the top wall again. Defeat all the Wizzrobes in the room beyond, then push the leftmost block to uncover the staircase. Take the stairs to find the Red Ring. It cuts the damage you take to a quarter, which matters for the rest of the dungeon.
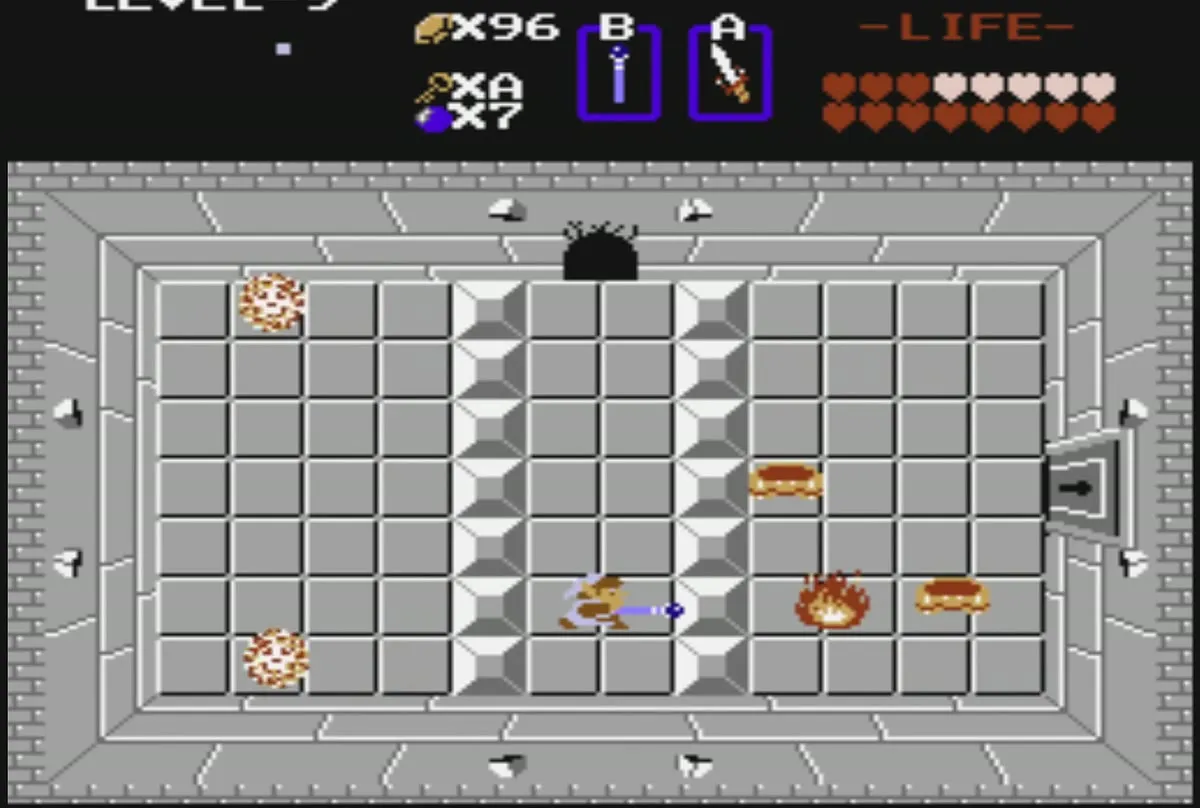
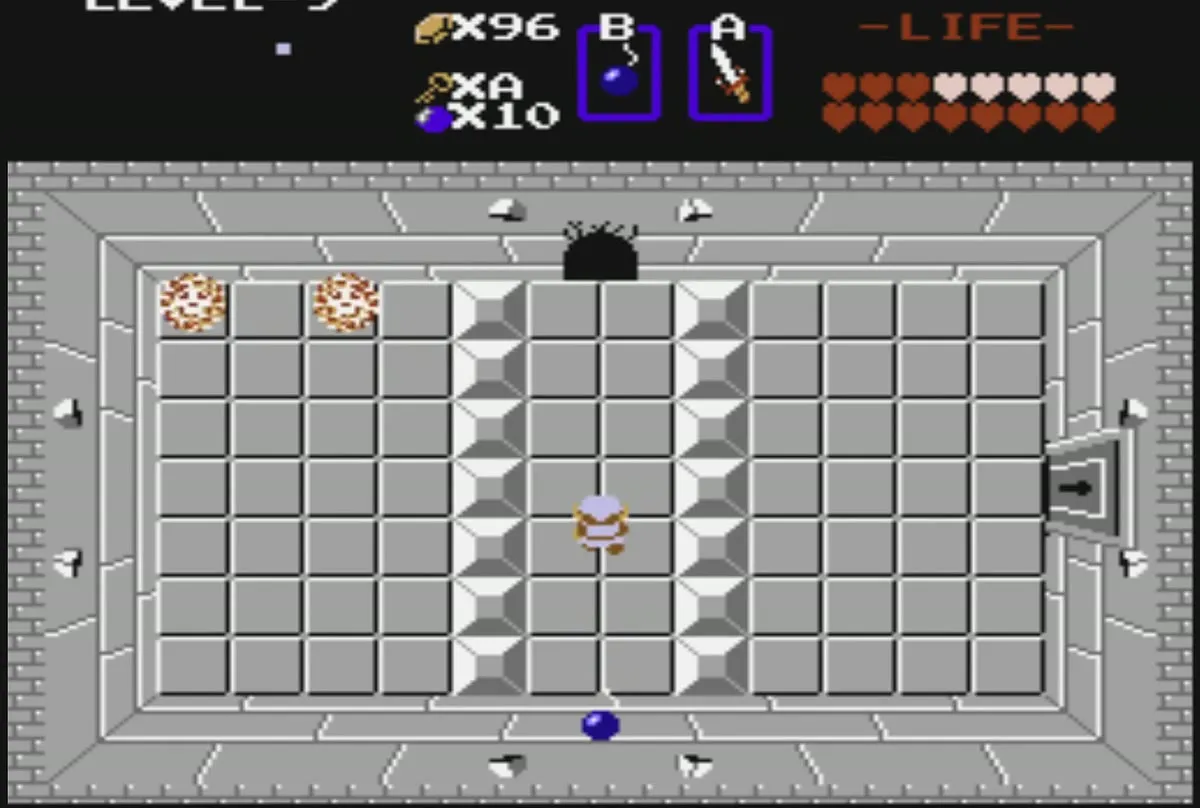
Level 9 Compass
The dark Wizzrobe room
Walk back to the room where you bombed the first wall, bomb its bottom wall, and go into the room below. Bomb the bottom wall of that room as well, and enter the dark room with Wizzrobes. The Compass is in that room. With the Compass in your inventory, the map marks the room where Princess Zelda is held.
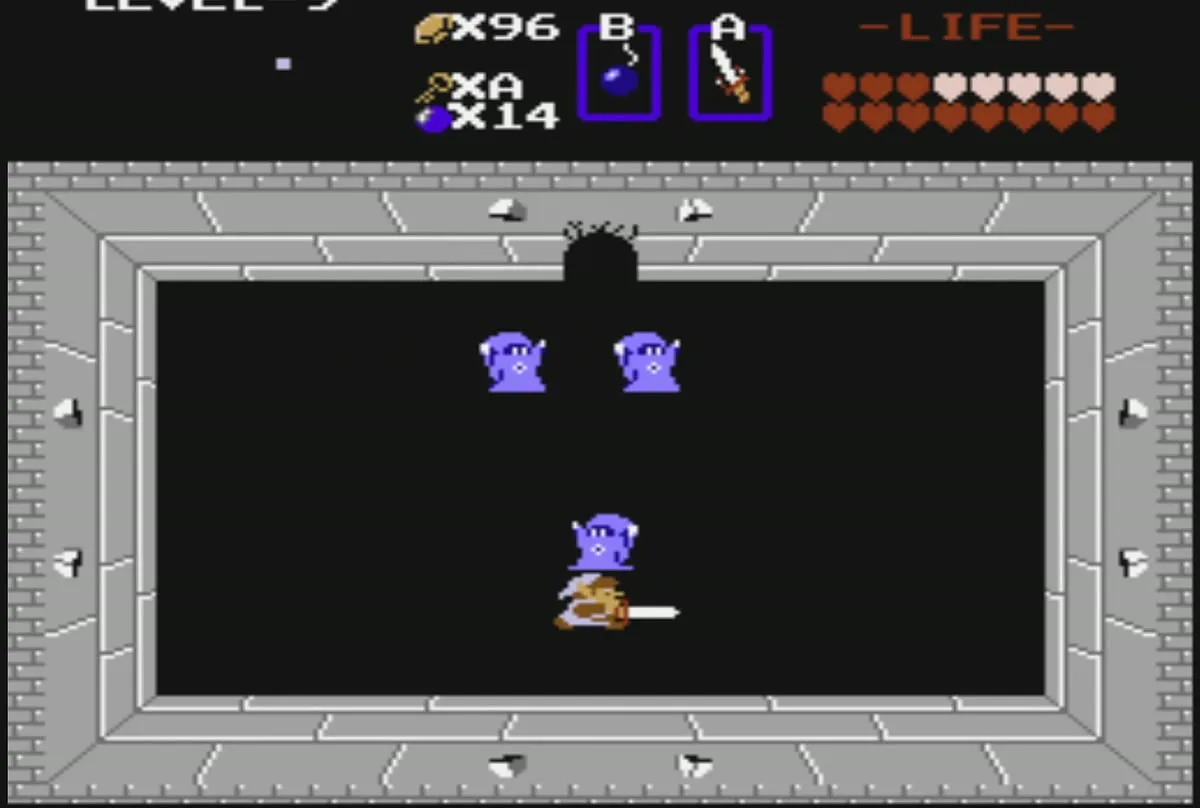
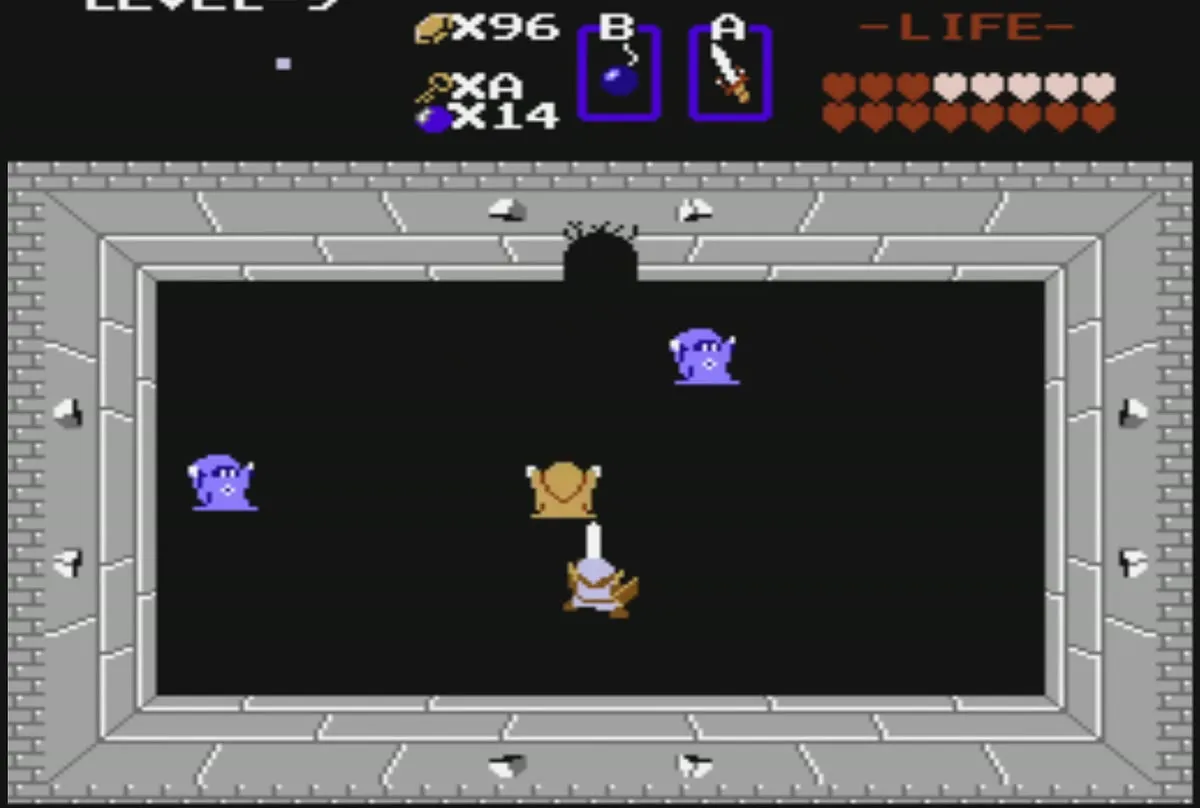
Level 9 Silver Arrows
Return through the bombed passages
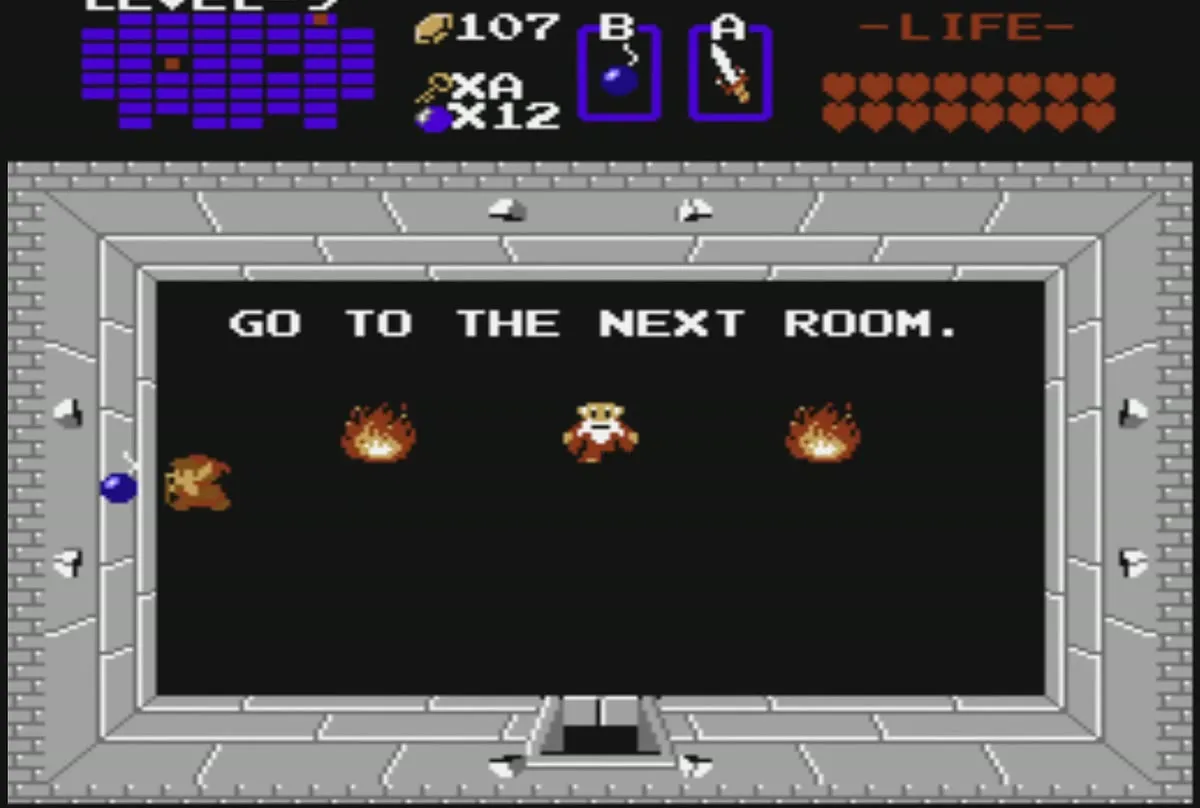
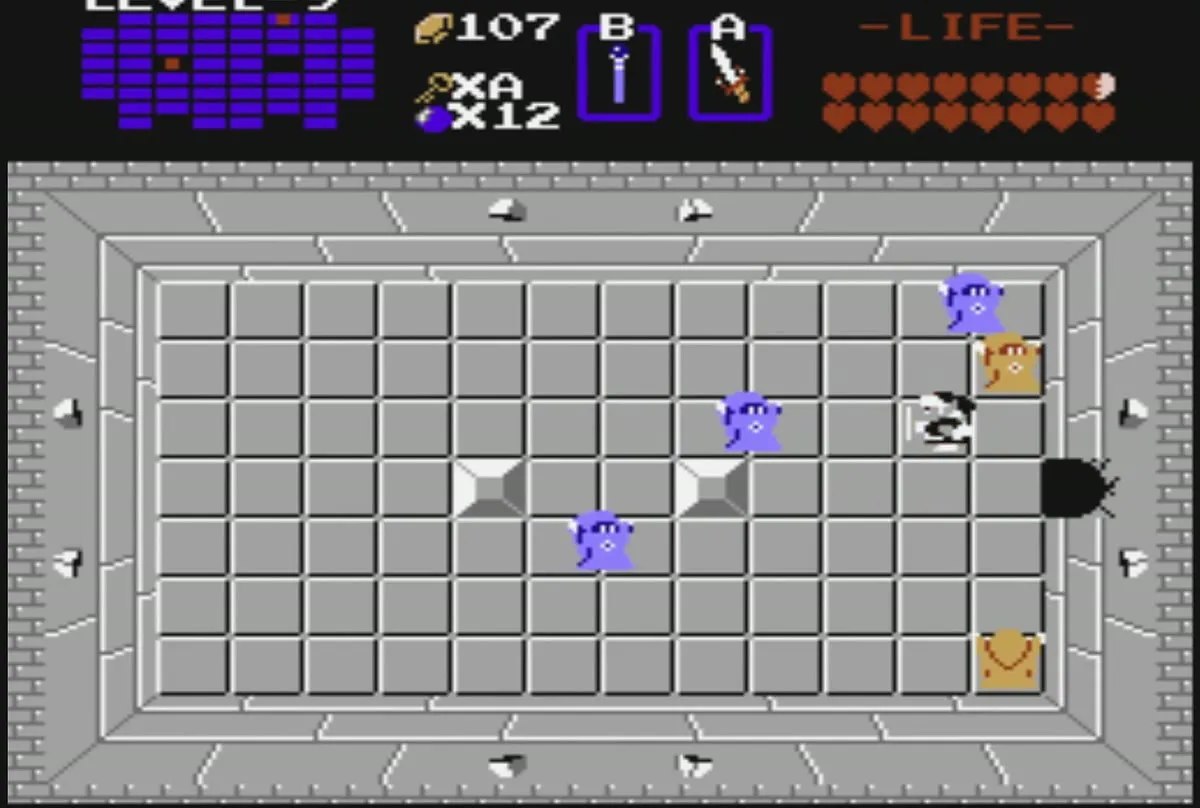
Return through the bombed passages, two rooms back, to the first Patra room. Unlock the door above it, then bomb the left wall to hear the old man’s advice. Defeat all the Wizzrobes in the left room, and push the left block to reveal a stairwell.

Get the Silver Arrows
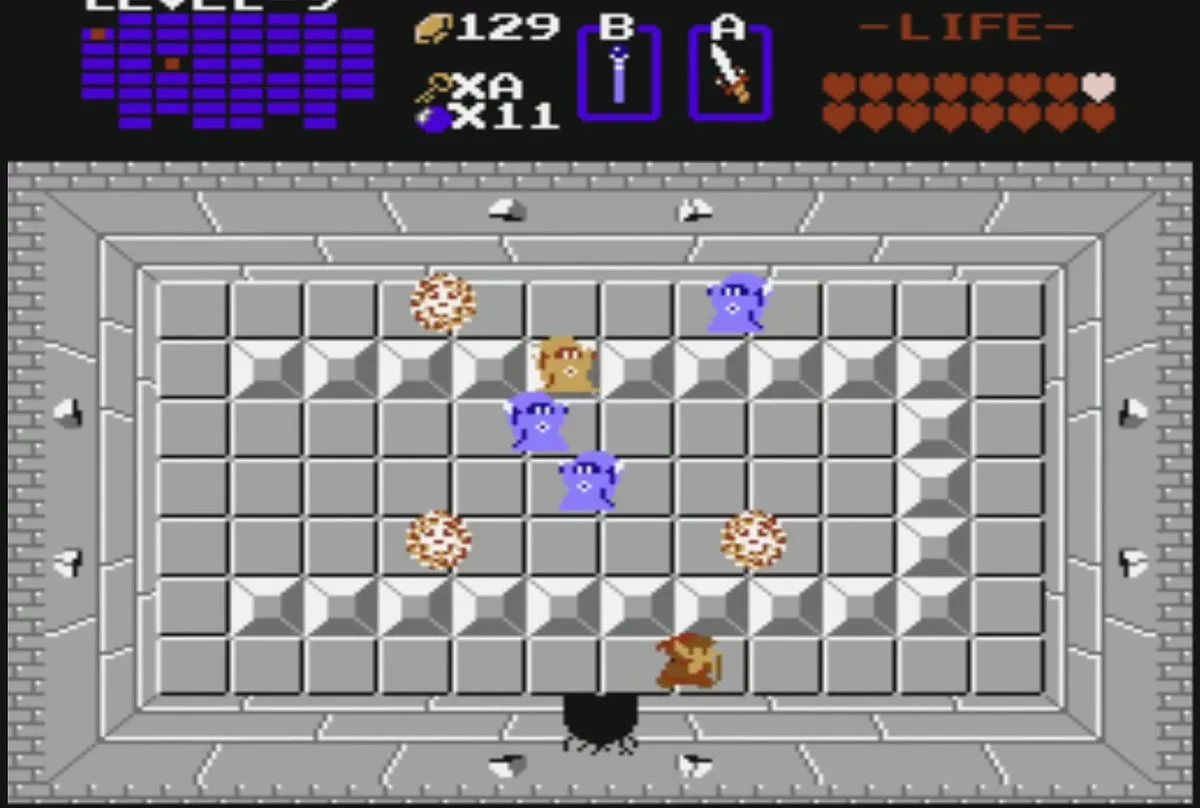
Descend the stairs through the second underground passage to the bottom of the dungeon. Kill the Zols there, unlock the left door, and fight the Keese in the next room.
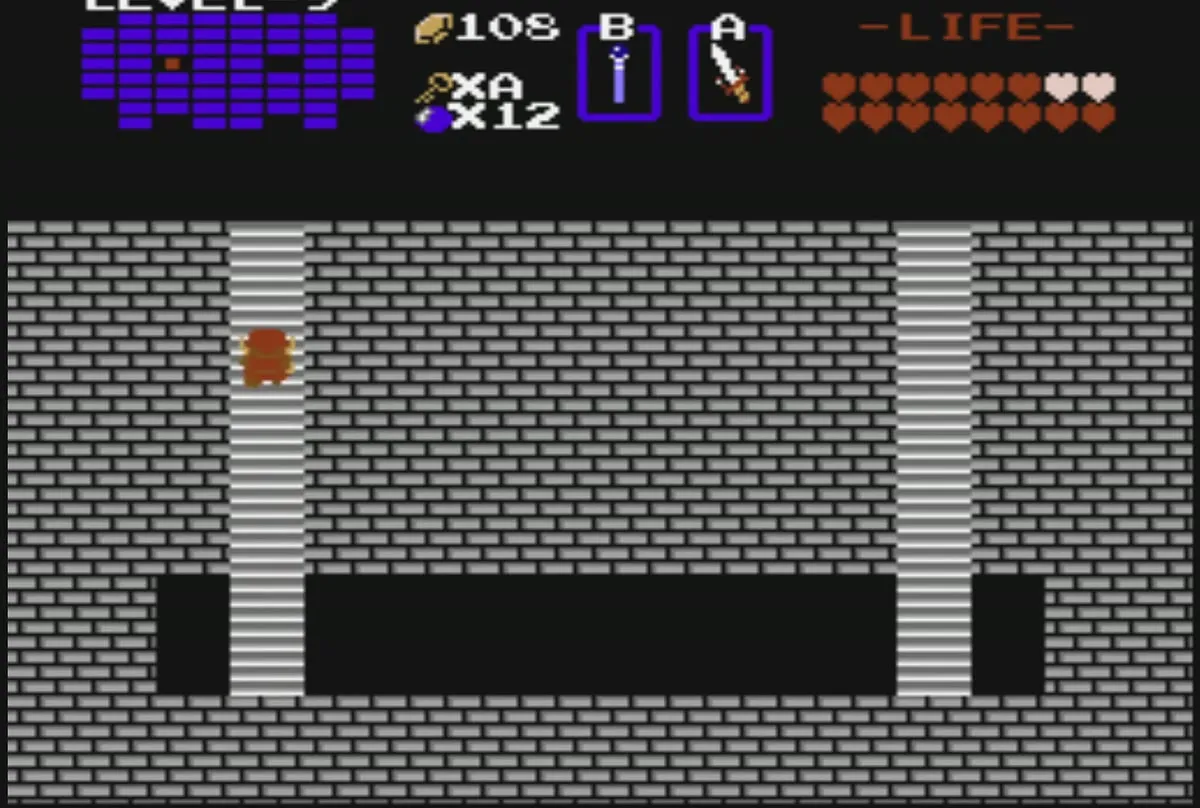
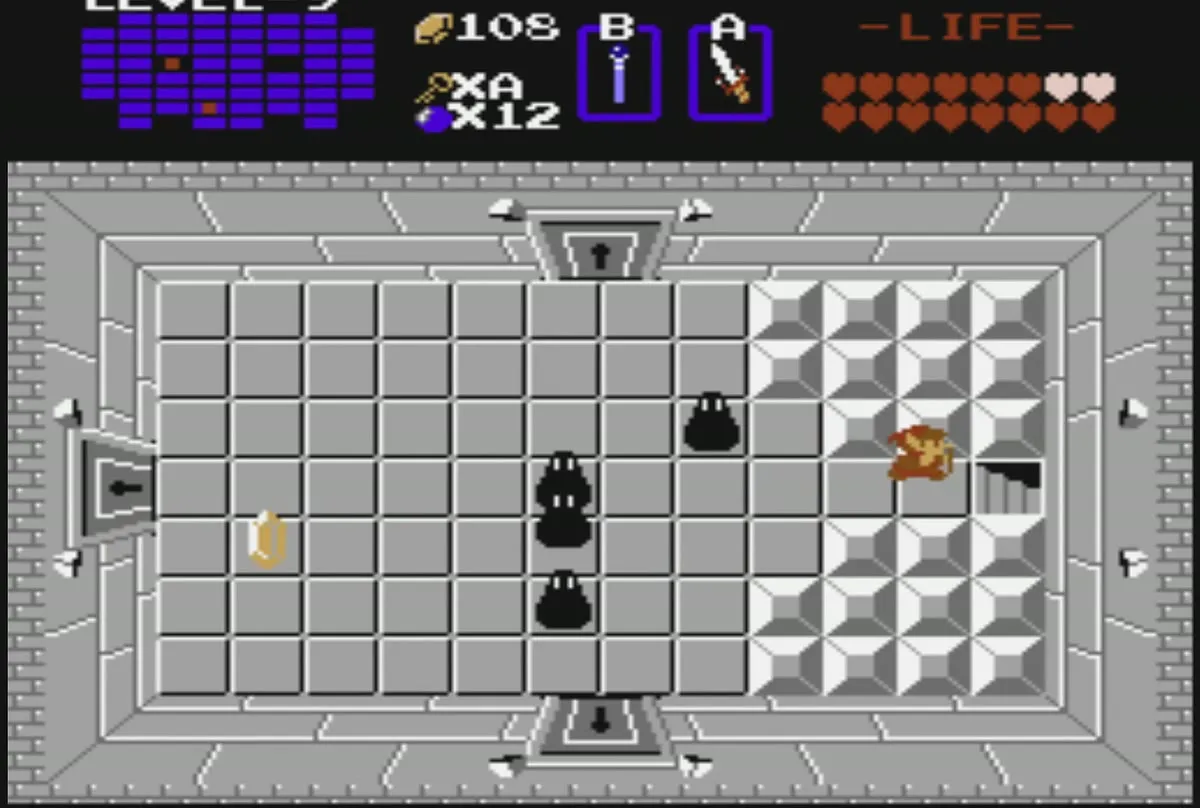
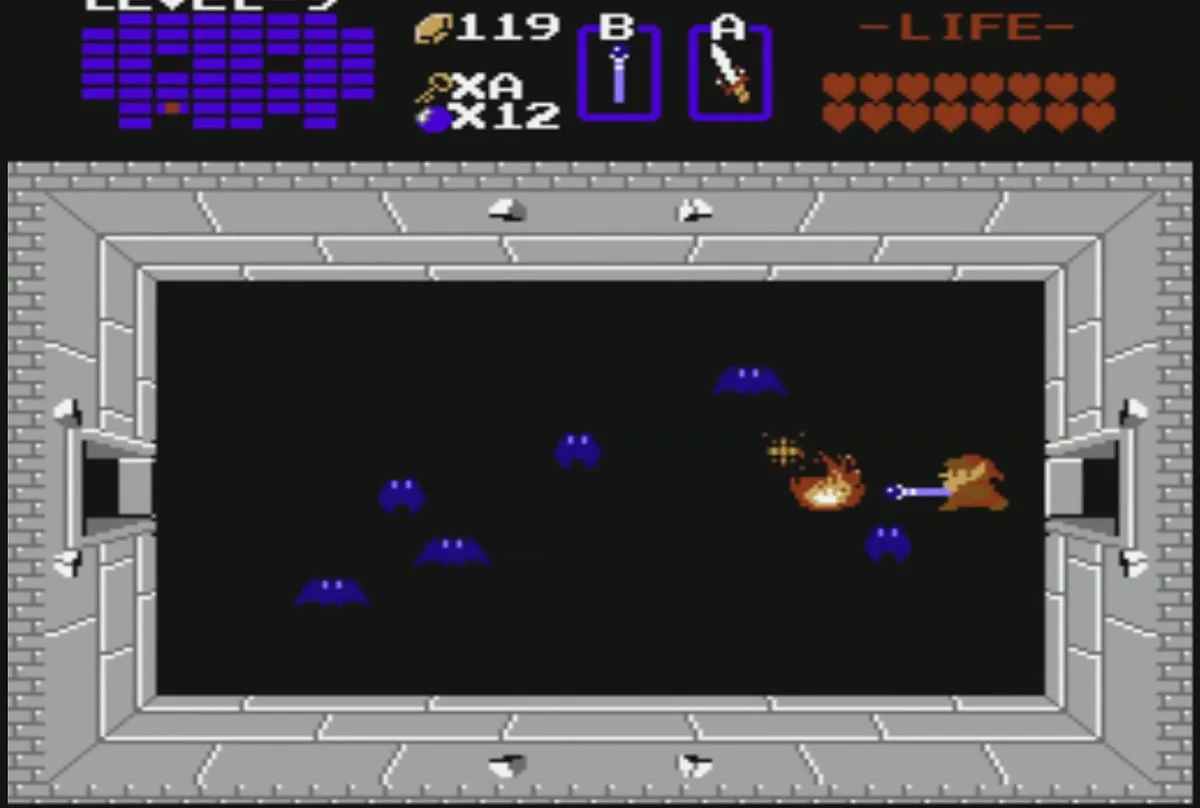
Go through the left door to meet another Patra, and defeat it. Push the leftmost block to reach the stairs, then take the underground passage to the upper-left corner of the dungeon. Bomb the north wall to open a passage, and walk through it.
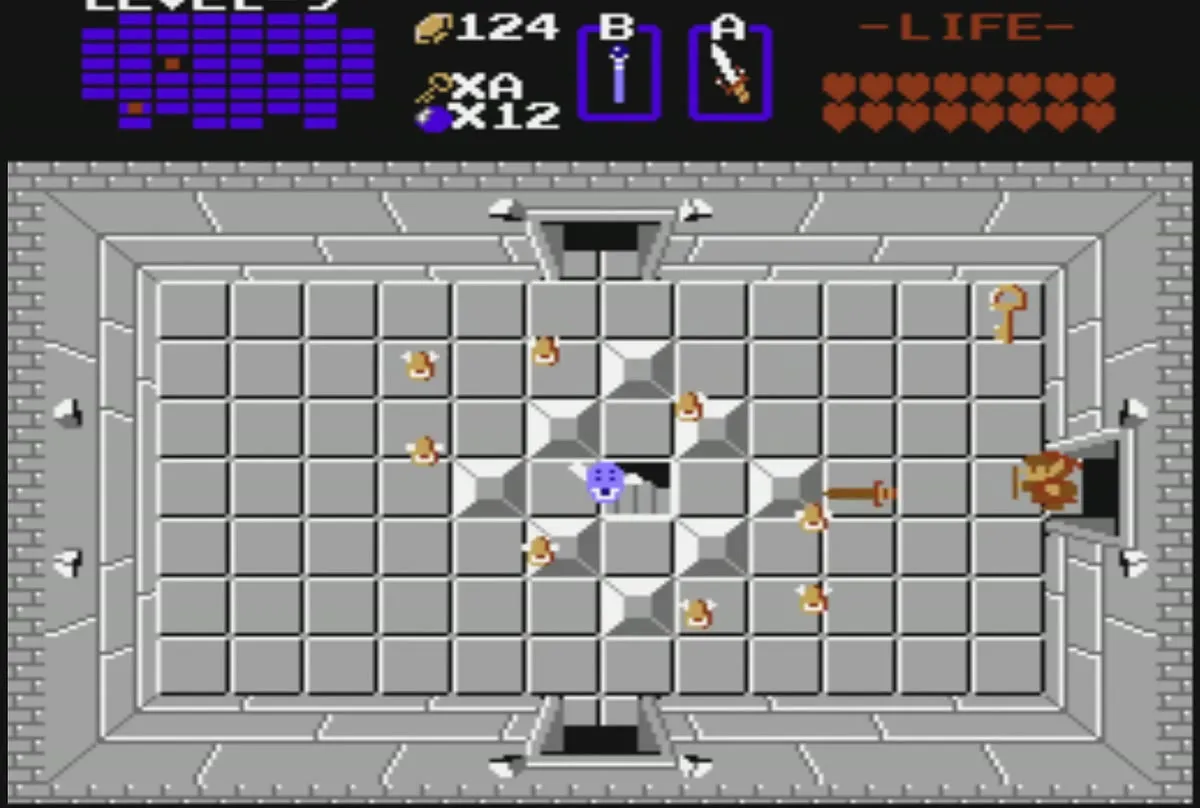
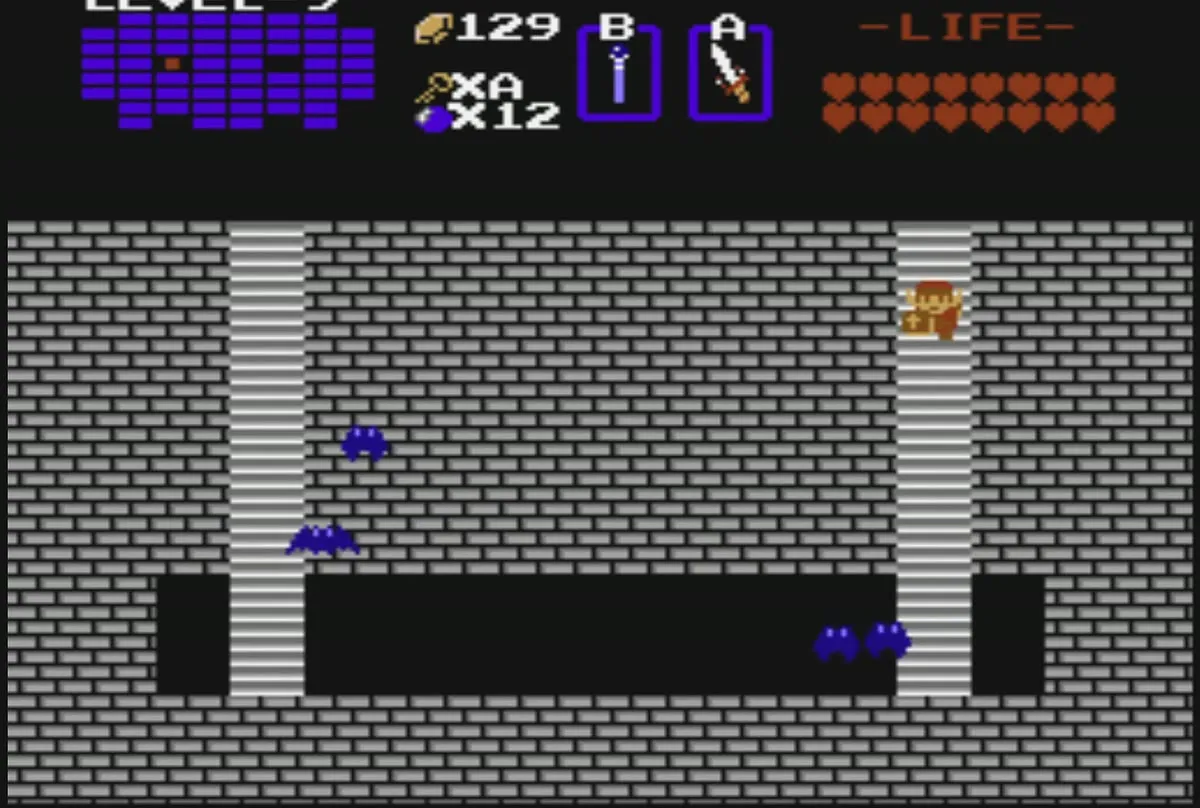
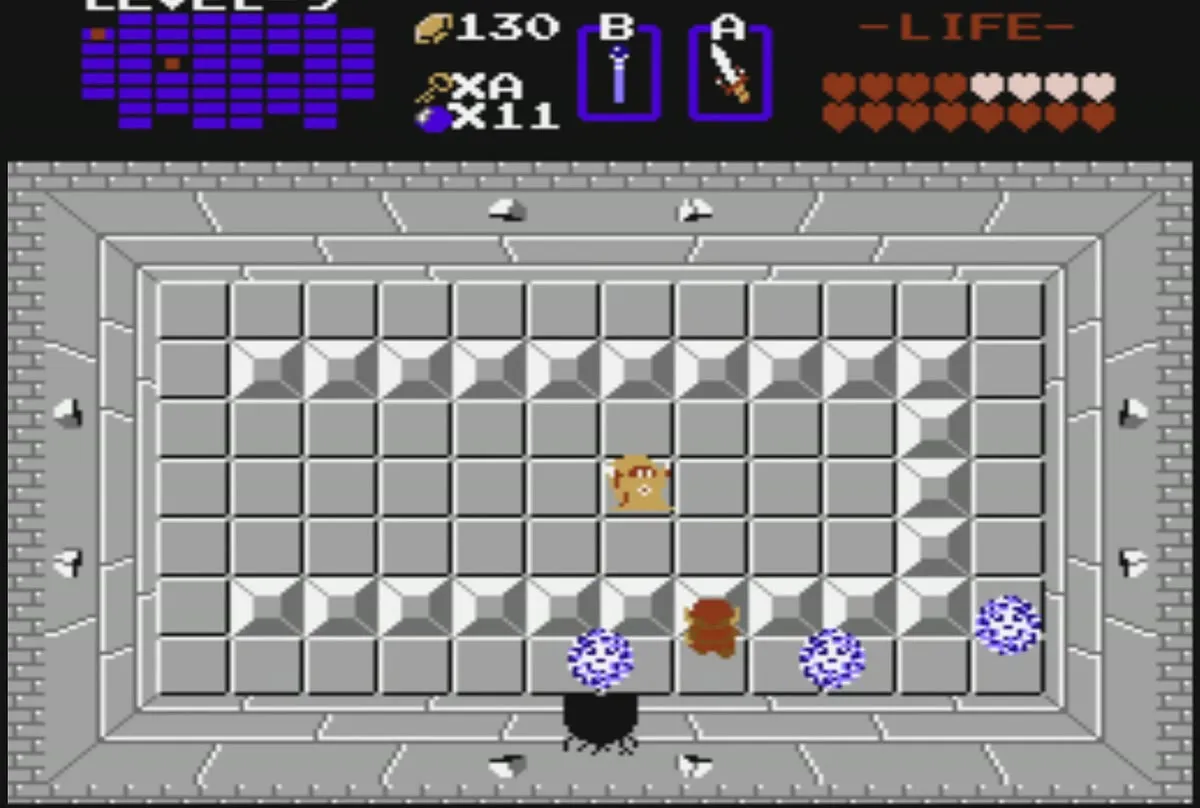
Defeat the Wizzrobes in this room, then push the central block along the right side to uncover a staircase. Take it to find the Silver Arrows. Ganon can only be finished with them, so do not leave the dungeon without them.
Level 9 route to Ganon
The last underground passages
Return to the bottom room and defeat all the Wizzrobes there. Take the underground passage back to the Patra room, then head into the room above. Defeat the Like-Likes in the room on the left, kill the Zols, and unlock the door above.
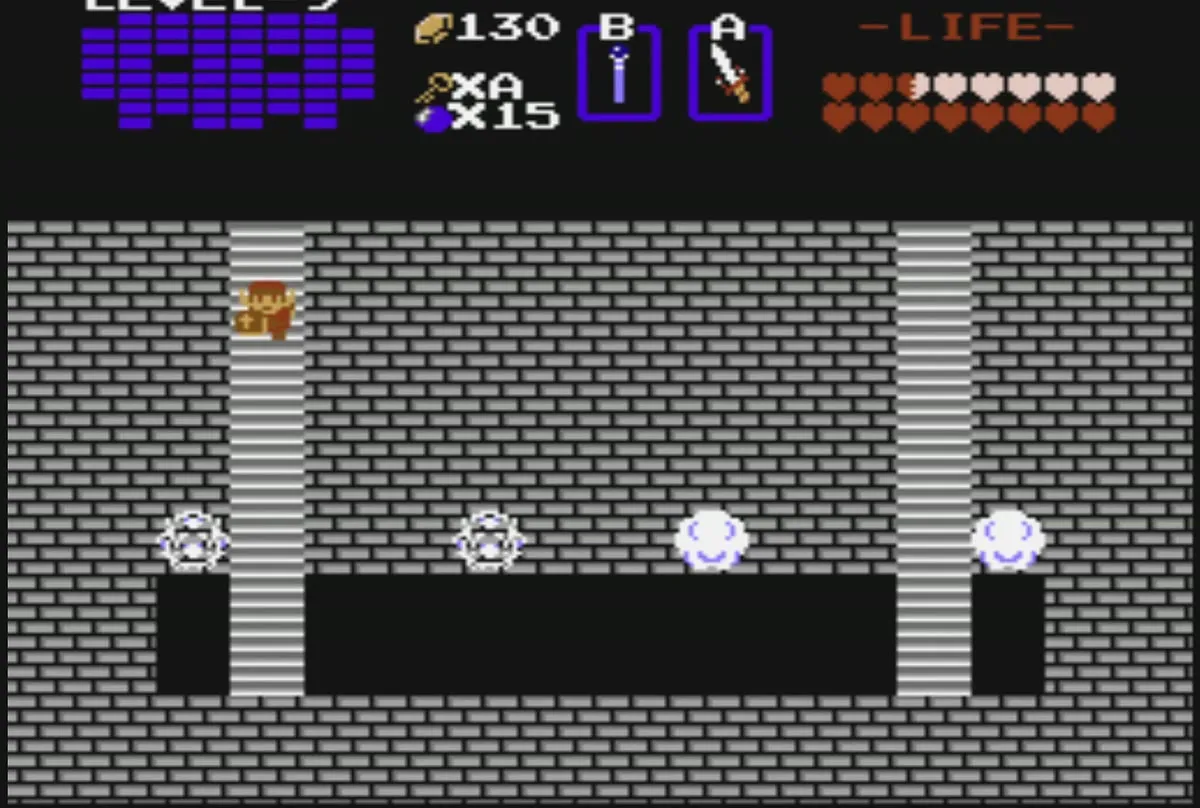
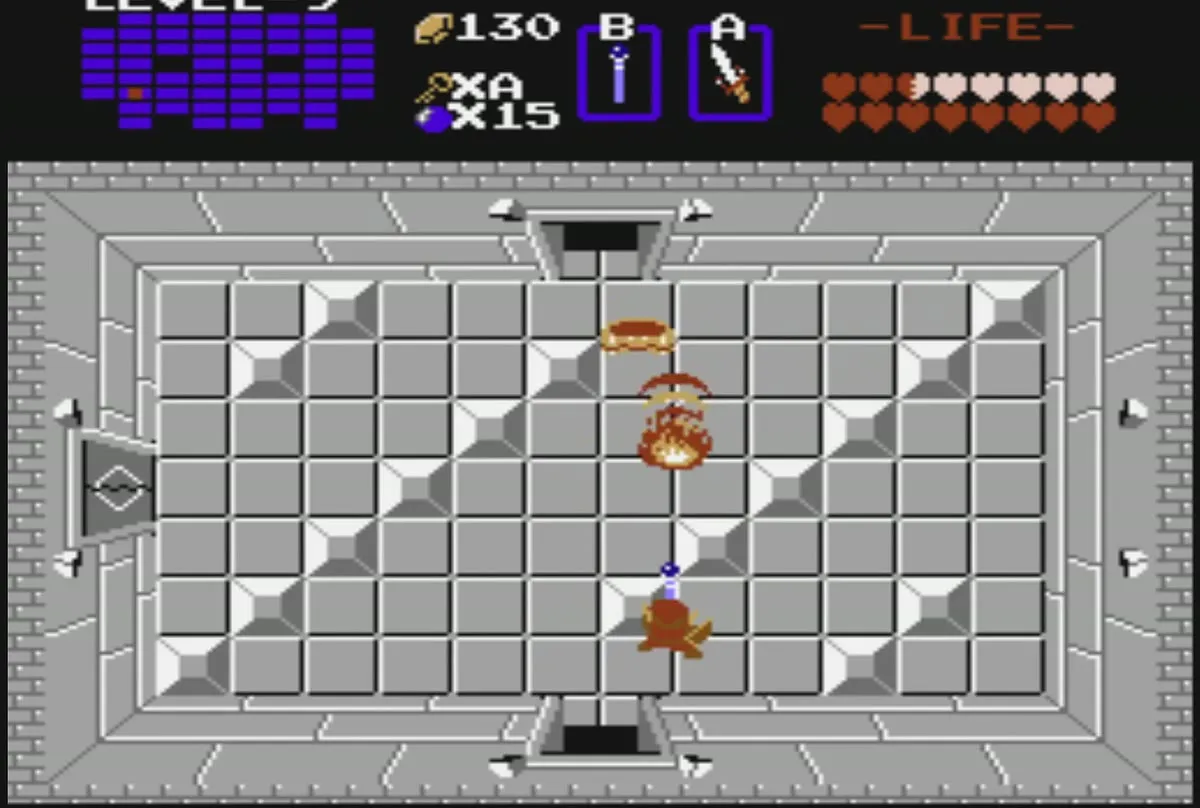
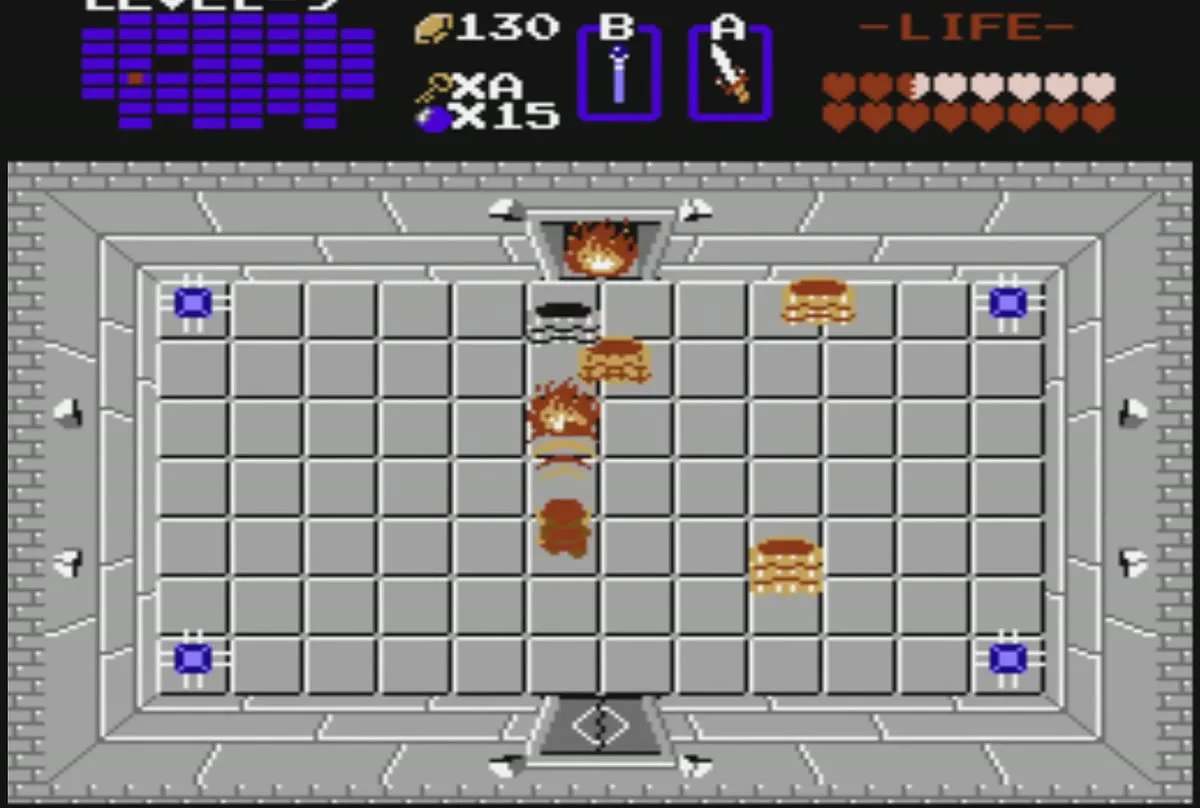
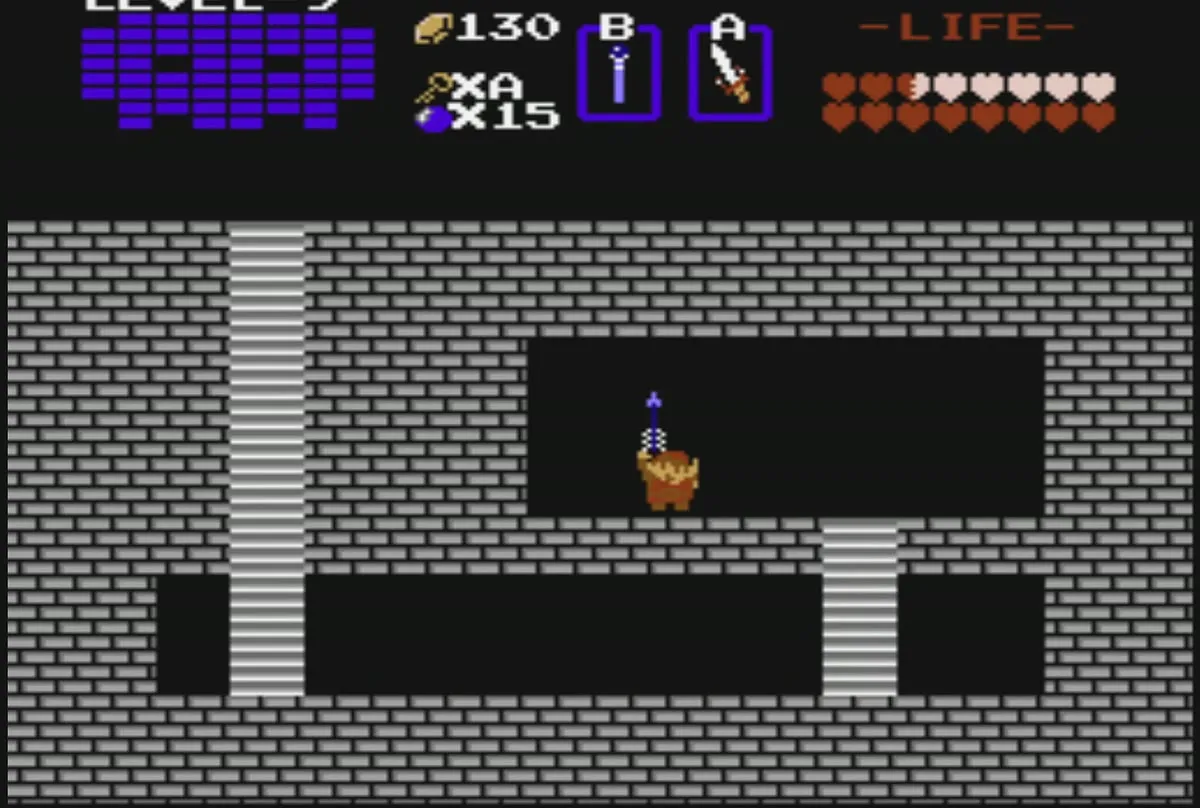
Defeat the Wizzrobes in the next room and unlock the door above. Push the leftmost block to reveal a staircase hidden under one of the trap blades, then trigger the trap and cross to the stairs.
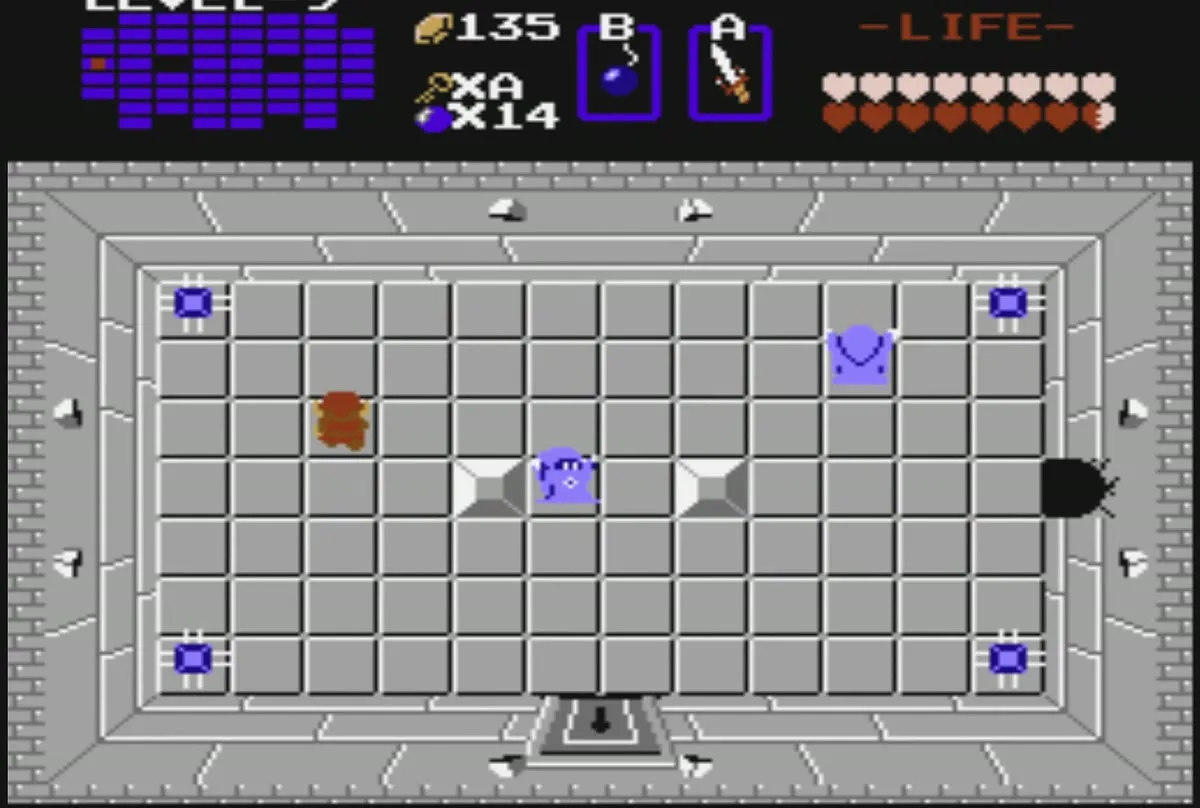
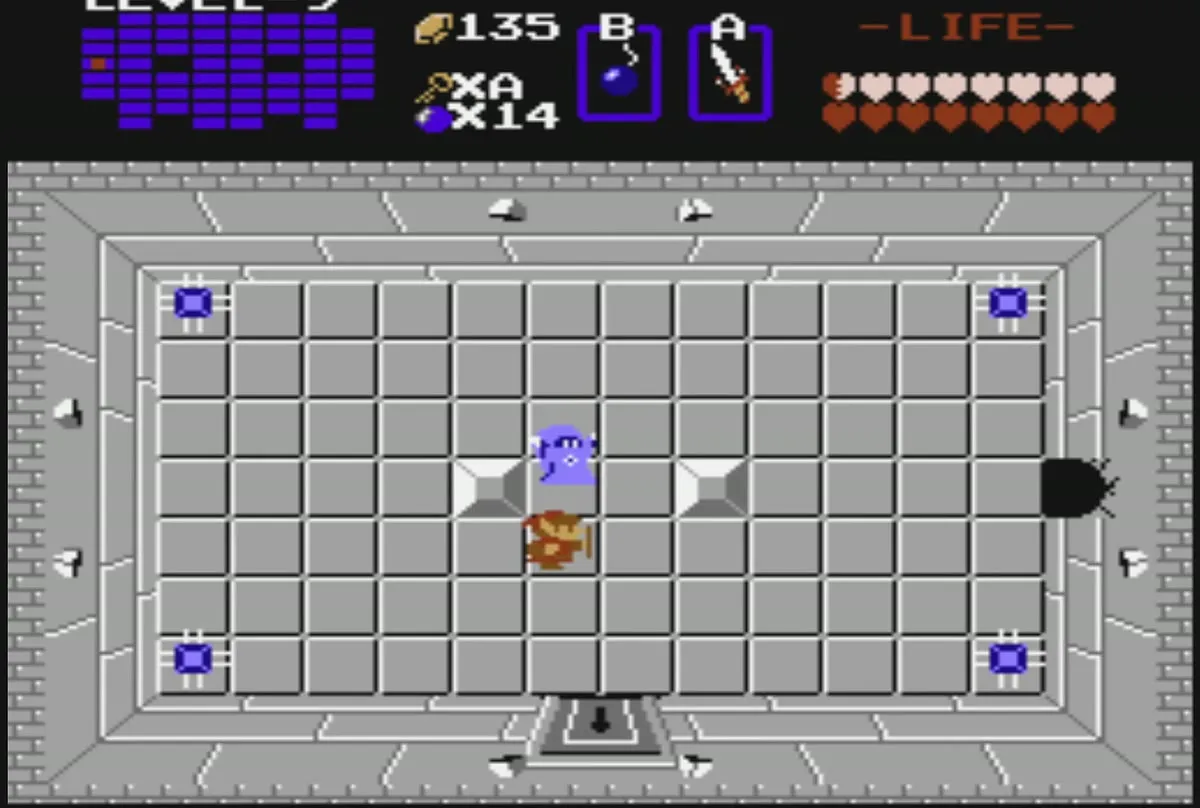
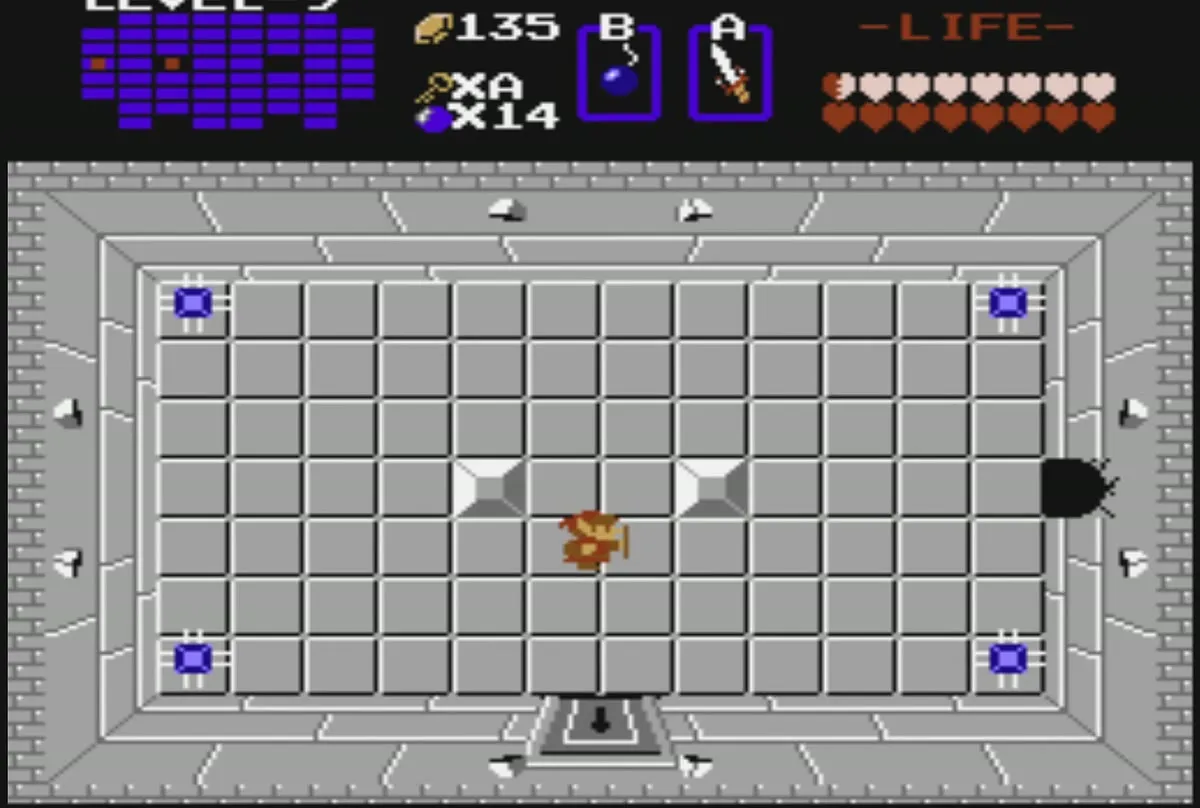
Take the underground passage to the top centre of the dungeon. Bomb the left wall, kill the enemies behind it, and push the left block. Go down the staircase to the last underground passage, which opens into a room where Patra eyes float directly beneath Ganon.
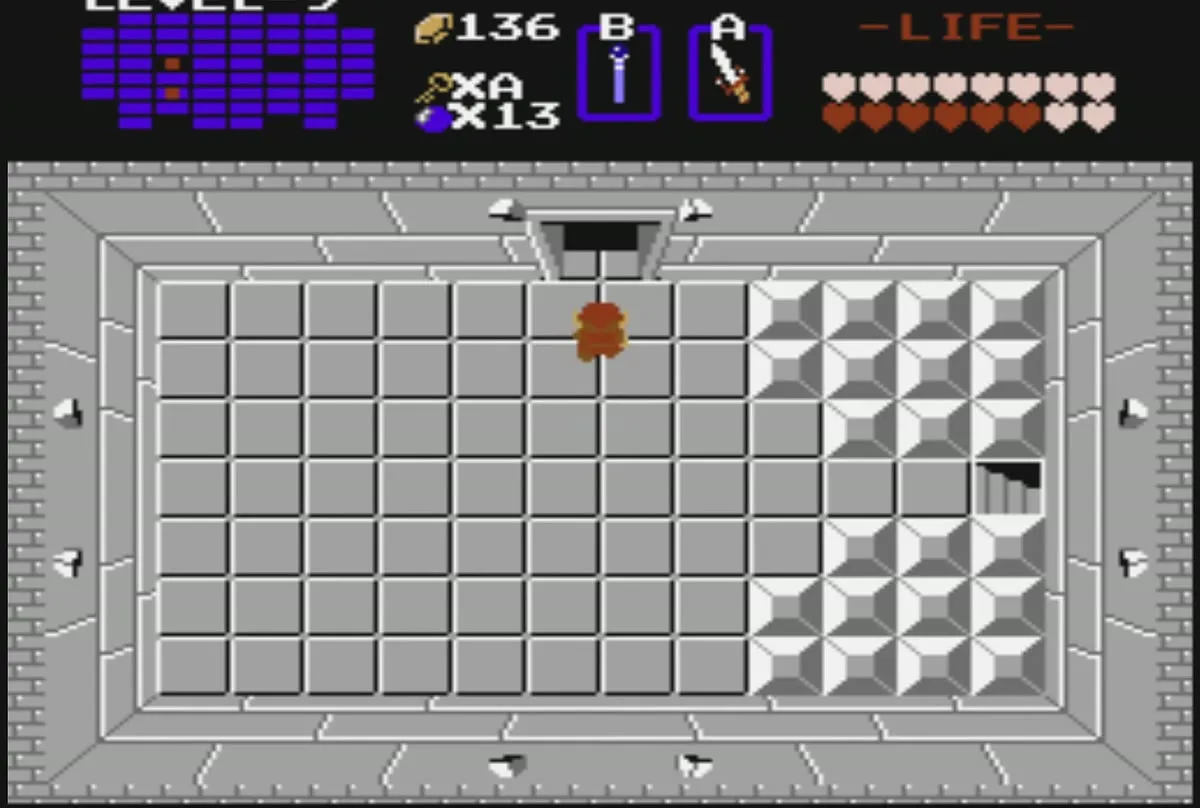
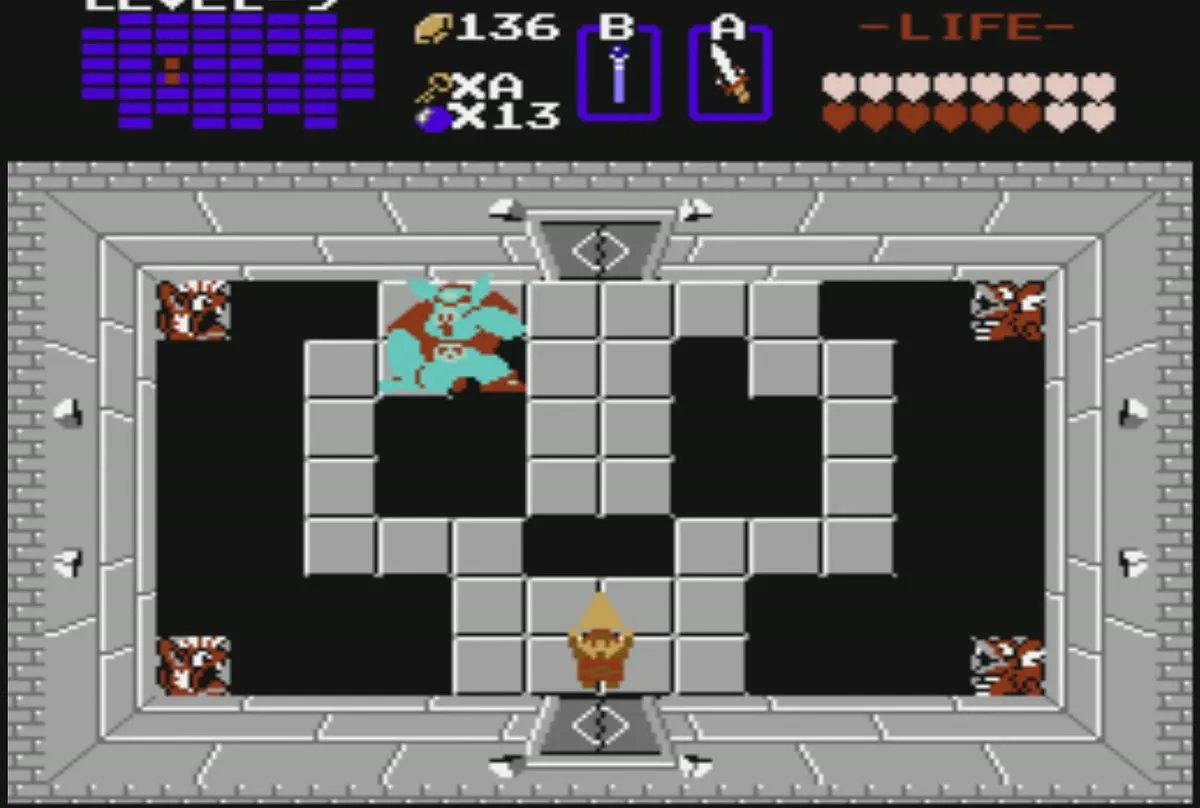
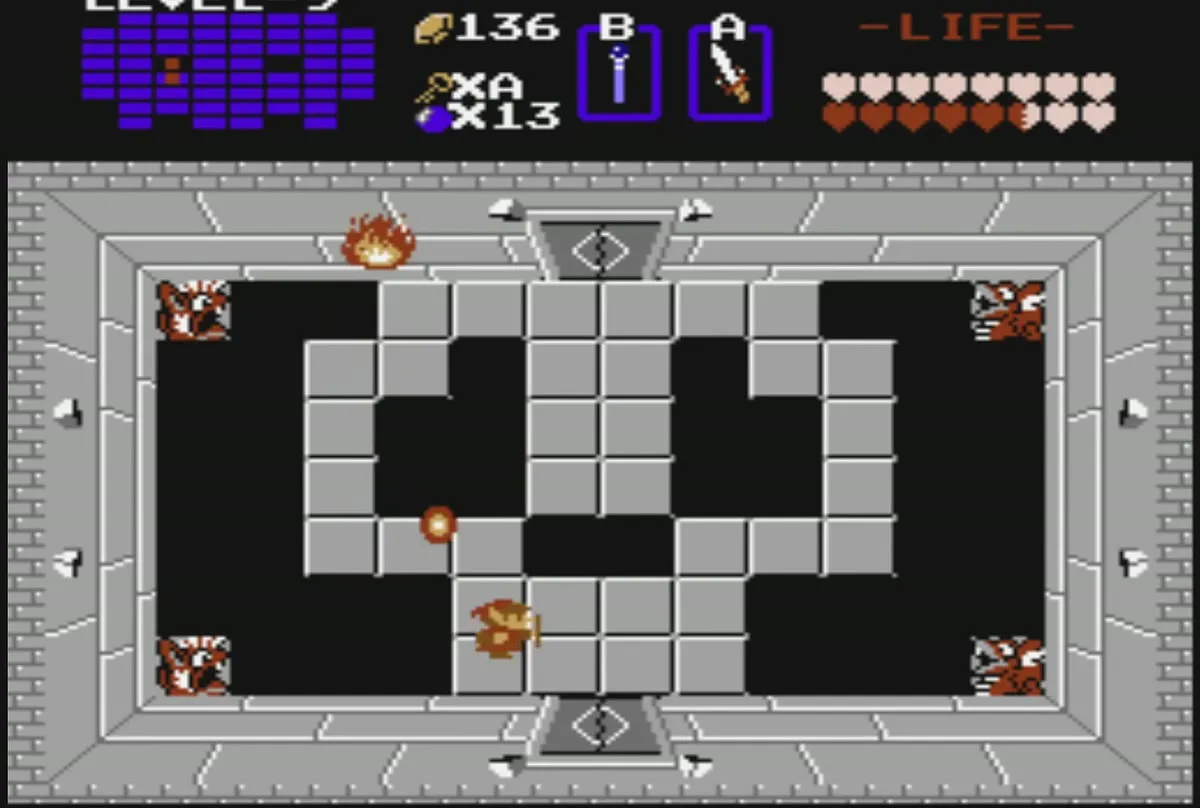
Defeat the Patra in that room to open the door to Ganon’s lair. The fight with Ganon is the final boss of the game, and it is covered in The Ending Walkthrough.
Chapter checklist
| Type | Name | Where |
|---|---|---|
| Dungeon item | Map | From the Patra in the passage past the Gel room |
| Dungeon item | 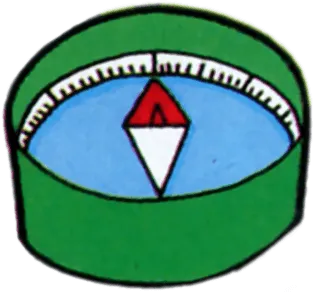 Compass | Dark room full of Wizzrobes, reached through two bombed walls |
| Ring | Red Ring | Staircase behind the Wizzrobe room, reached from the Map passage |
| Key item | Silver Arrows | Staircase behind the central block in the upper-left passage |
 Heart Container | None in this dungeon | Level 9 has no Heart Container |
 Triforce | None in this dungeon | The Triforce of Power is taken from Ganon |
