
























The Legend of Zelda 100% Completion Walkthrough14 chapters
- The GatheringGet the Wooden Sword, buy bombs, take your first Heart Container, collect early rupees and buy the Blue Candle.
- Money Caves, the Red Potion and the Blue RingMoney cave payouts, the Blue Candle, a Heart Container gift, the Magical Shield for 90, Red Potion for 68.
- Level 1 The EagleKeys, Bow, Boomerang, Dungeon Map, Compass, the Aquamentus boss, and the Heart Container.
- Level 2 The MoonReach the entrance, get the Magical Boomerang and Map, then beat Dodongo for a Heart Container and a Triforce piece.
- Level 3 The ManjiTake its keys, the Raft, Compass and Map, then defeat Manhandla for a Heart Container and the third Triforce piece.
- Level 4 The SnakeLevel 4 The Snake walkthrough with the lake route, keys and dark rooms, Stepladder.
- The Magical Sword and the Medicine ShopThe graveyard cave with the Magical Sword, the three-staircase warp cave.
- Level 5 The LizardReach the statue cave on the Lost Hills, collect small keys, and buy the 100-rupee bomb upgrade that raises bomb.
- Level 6 The DragonKeys, the Magical Rod, Gleeok mini-boss and Gohma boss tactics for its Heart Container and sixth Triforce piece.
- The Potion Shop and the Ring Shop AgainBuy the Red Potion and the Monster Bait between Level 6 and Level 7 in The Legend of Zelda NES.
- Level 7 The DemonRecorder entrance, bomb upgrade, Monster Bait, Red Candle, Map, Compass, Aquamentus and Triforce piece 7.
- Level 8 The LionBurn the entrance bush, get the Book of Magic and Magical Key, then beat four-headed Gleeok for its Heart Container.
- Level 9 Death MountainReach Spectacle Rock, clear the skull-shaped dungeon, and get its Map, Compass, Red Ring and Silver Arrows.
- The EndingBeat Ganon in his dark room with a Silver Arrow after the sword hits, take the Triforce of Power.
| Covers | the lake and sand country east of Level 3, the old man’s cave on the lake shore, and Level 4 The Snake |
|---|---|
| Dungeon | Level 4 The Snake: small keys, dark rooms that need a candle, the Stepladder, Map and Compass, the Gleeok boss, and the fourth Triforce of Wisdom piece |
| Rewards | 1 Heart Container (from Gleeok), 1 Triforce of Wisdom piece, Stepladder, Map, Compass, several small keys, 1 hidden heart or potion choice in the old man’s cave |
This chapter takes you from the exit of Level 3 to the east coast for the island Heart Container, then back across the map to the Raft dock at F6 and into Level 4 The Snake. Level 4 is a dark, key-heavy dungeon with a long water maze, and it ends with the Gleeok boss, which drops a Heart Container and the fourth Triforce of Wisdom piece. The route is short once you know the order: keys and the Stepladder first, then the boss room.
Table of Contents
Lake route east from Level 3
Walk east along the sand and boulders
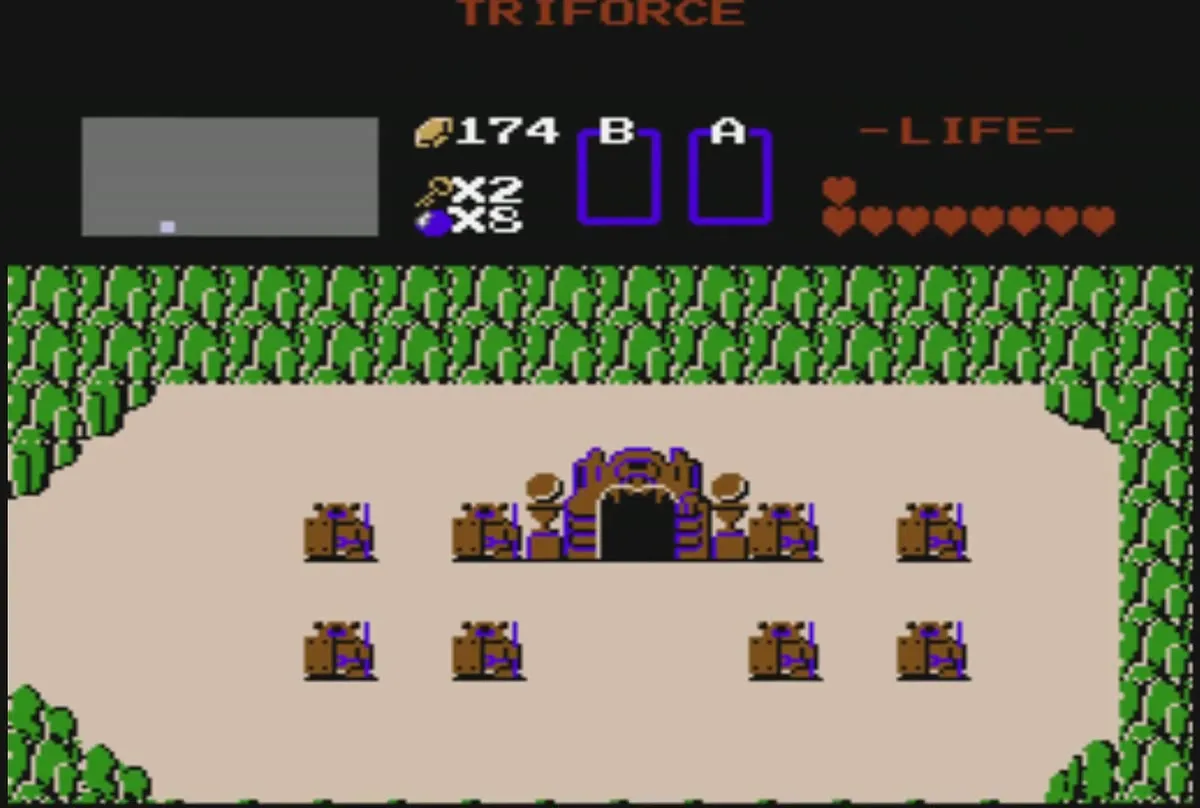
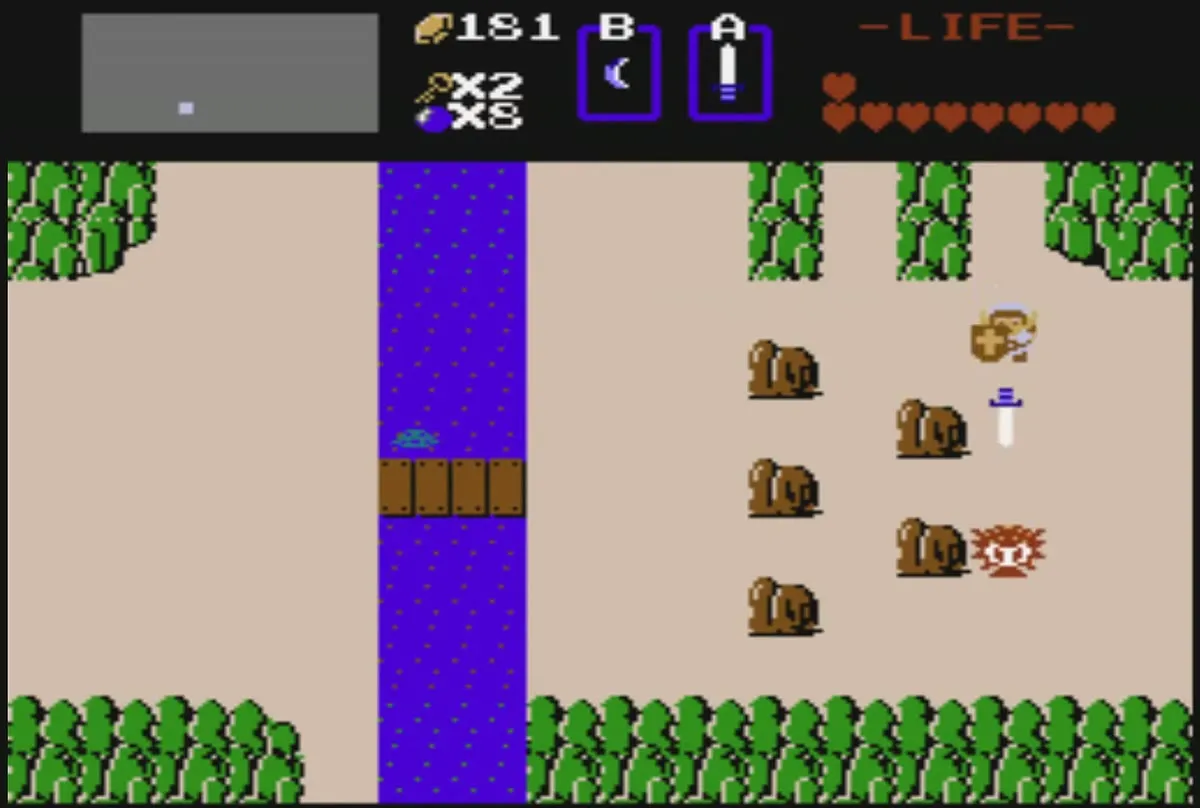
Leave Level 3 through its purple-trimmed stone gateway at E8 and cross the sand field with its brown boulder walls. You need the Raft you just collected for the next two stops. The first is the east-coast dock at P4, a long walk east; the second is the dock at F6, only one screen east and two north of Level 3. Clear only the enemies that block your path.
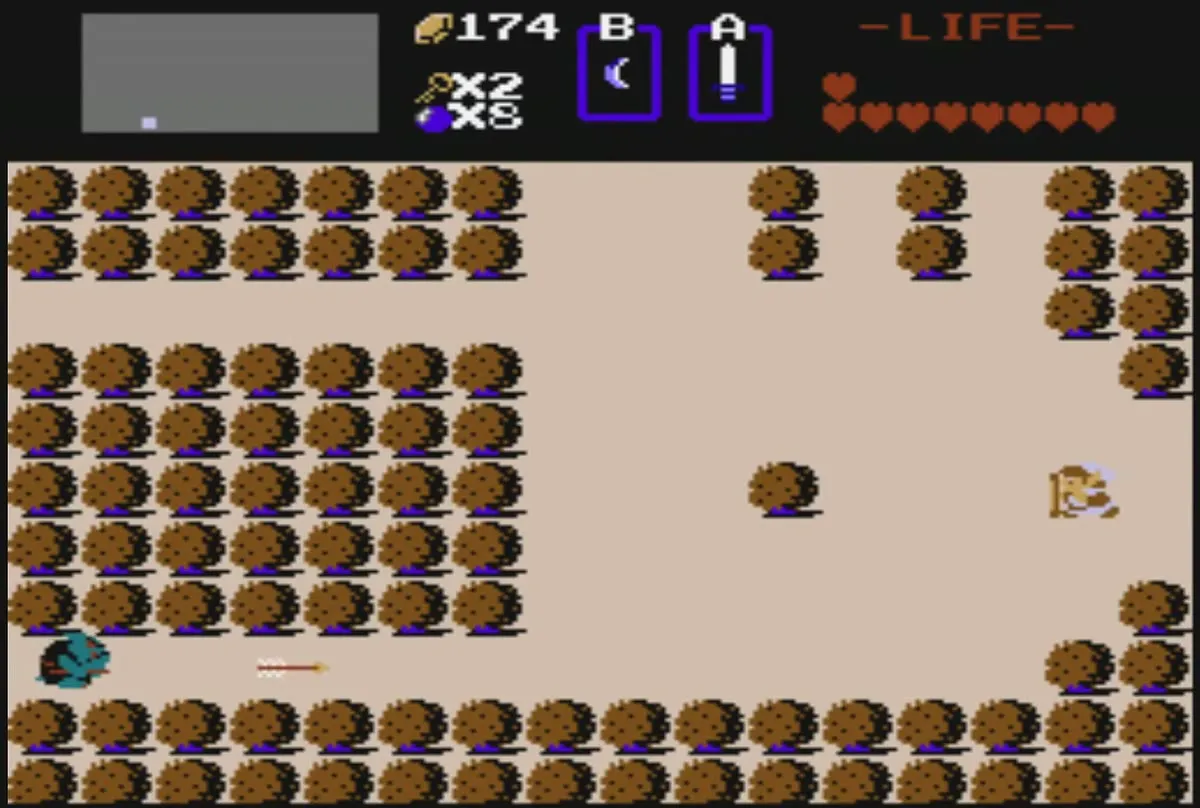
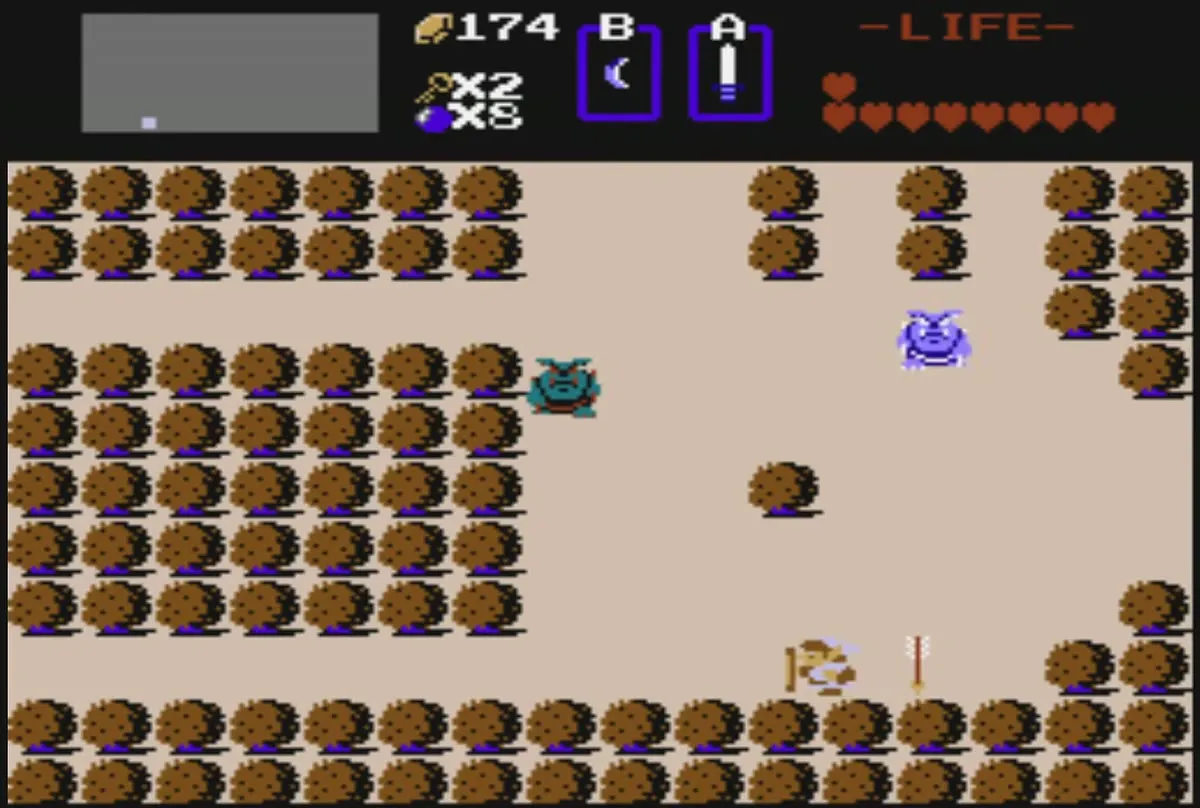
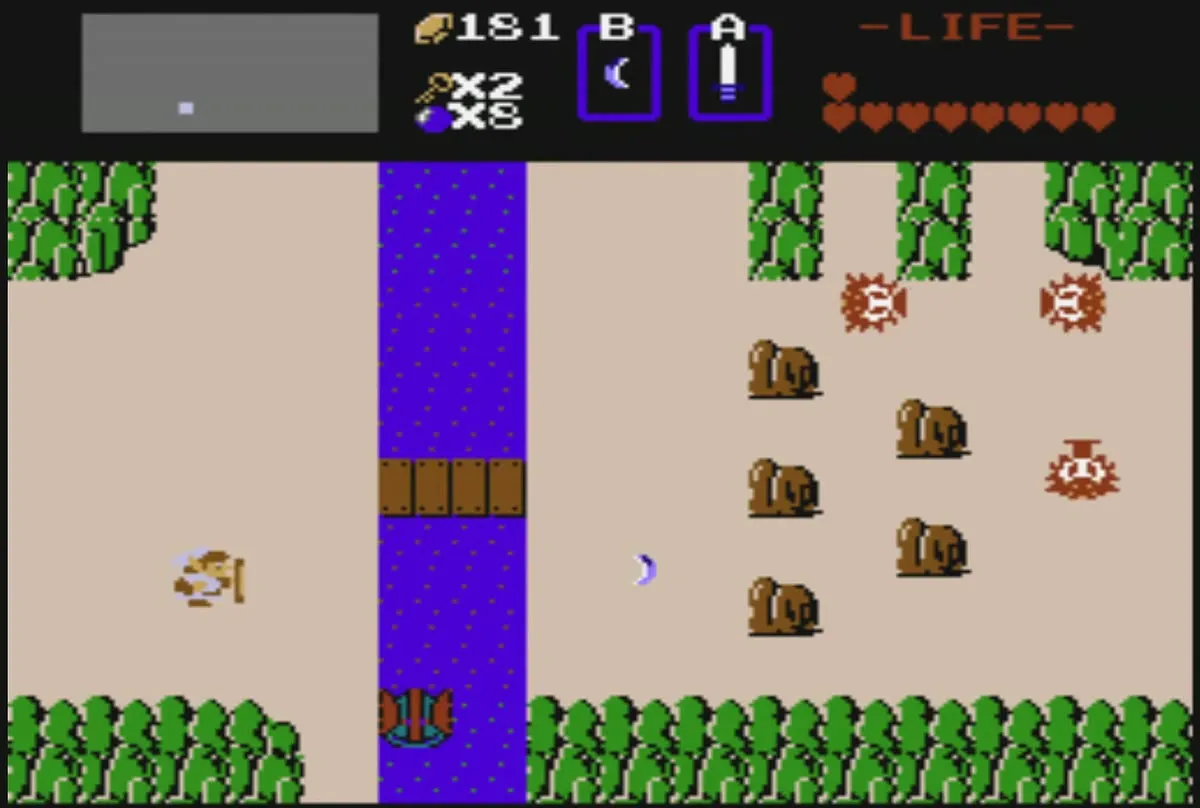
Continue east past the log bridge that crosses the water. The sand strip runs along the lake for several screens, with bushes on one side and a rock wall on the other. Keep walking east to the coast and then north to the dock at P4, where the land ends at open sea.
Follow the lake shore to the old man’s cave
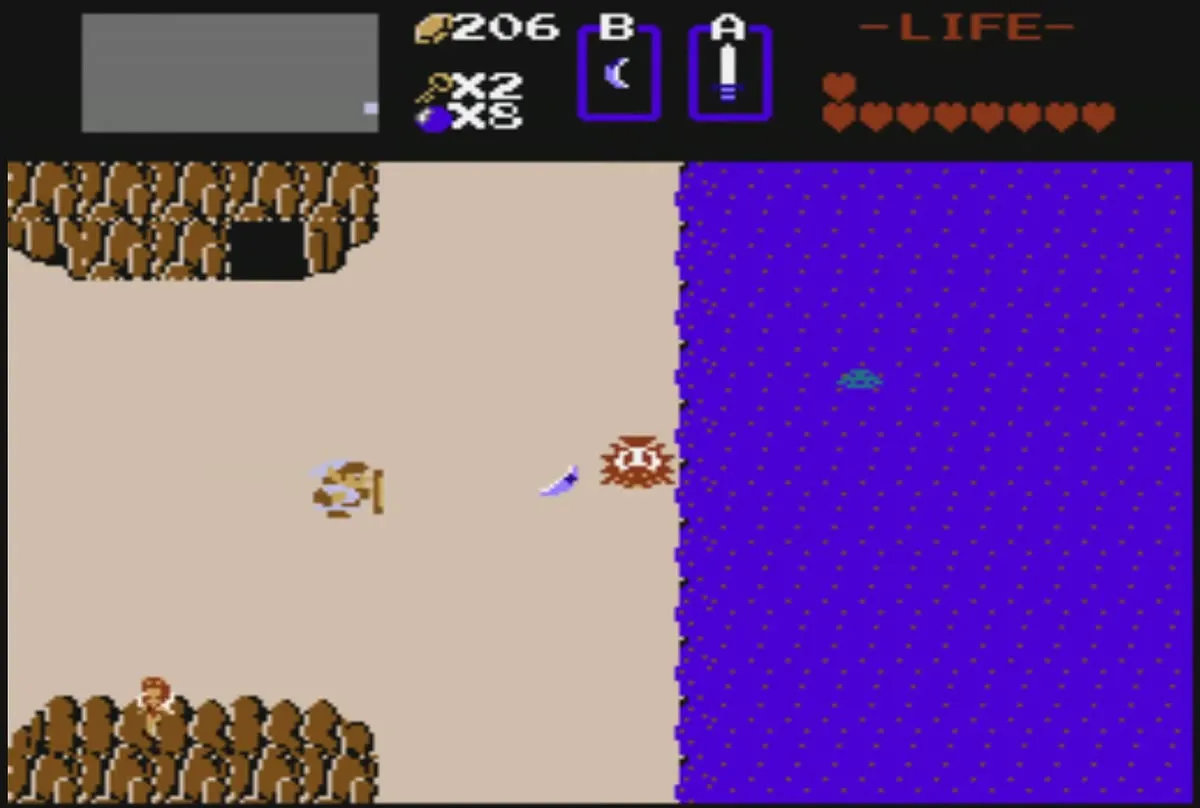
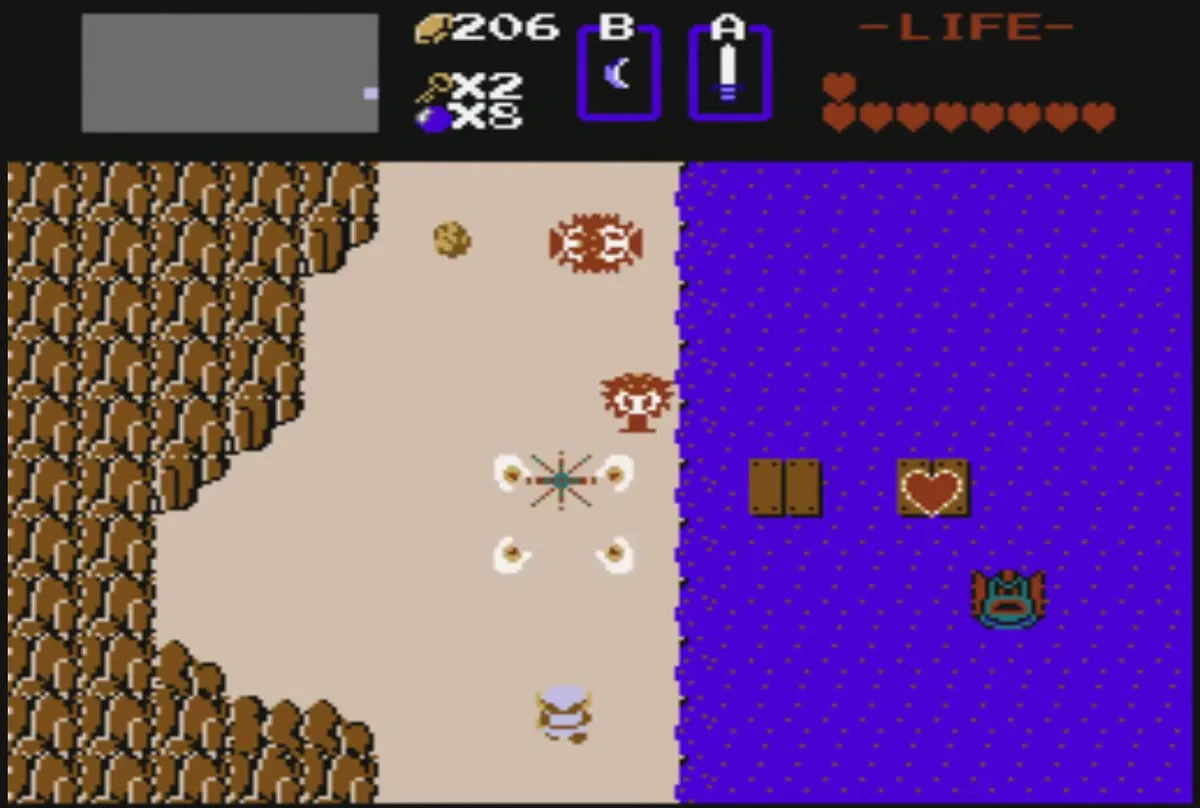
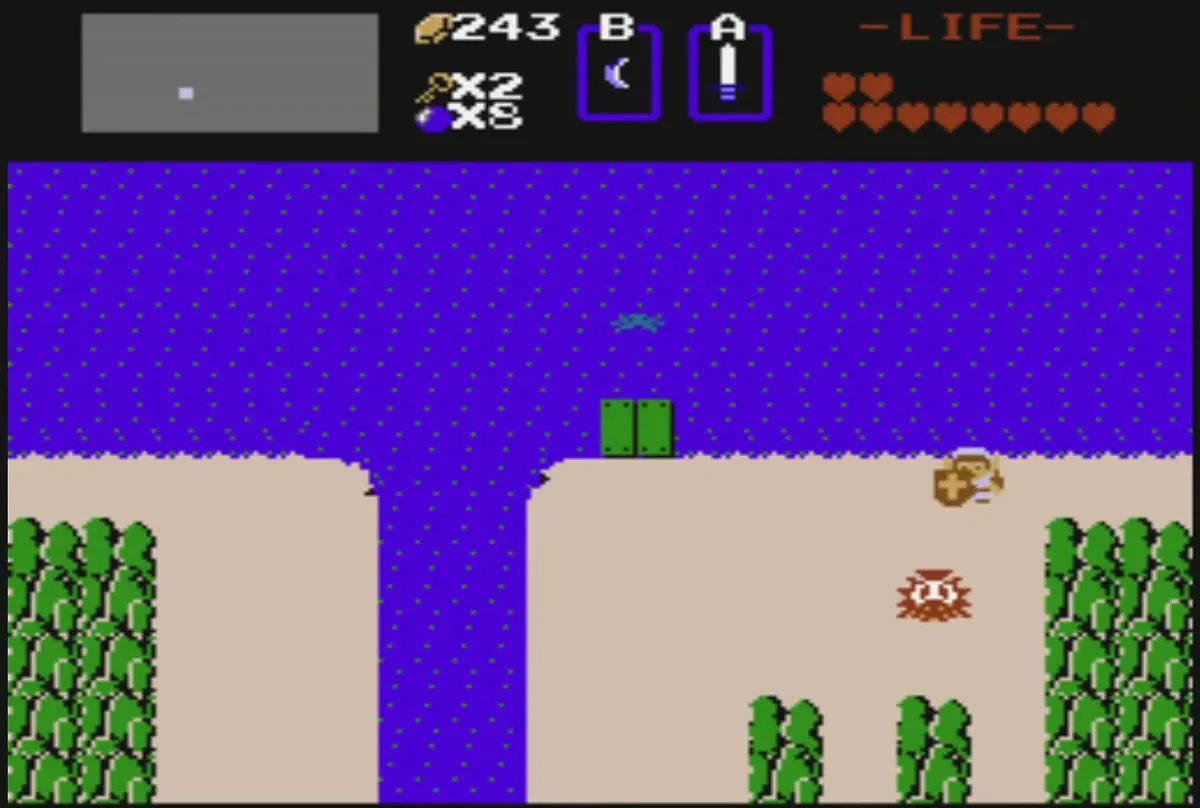
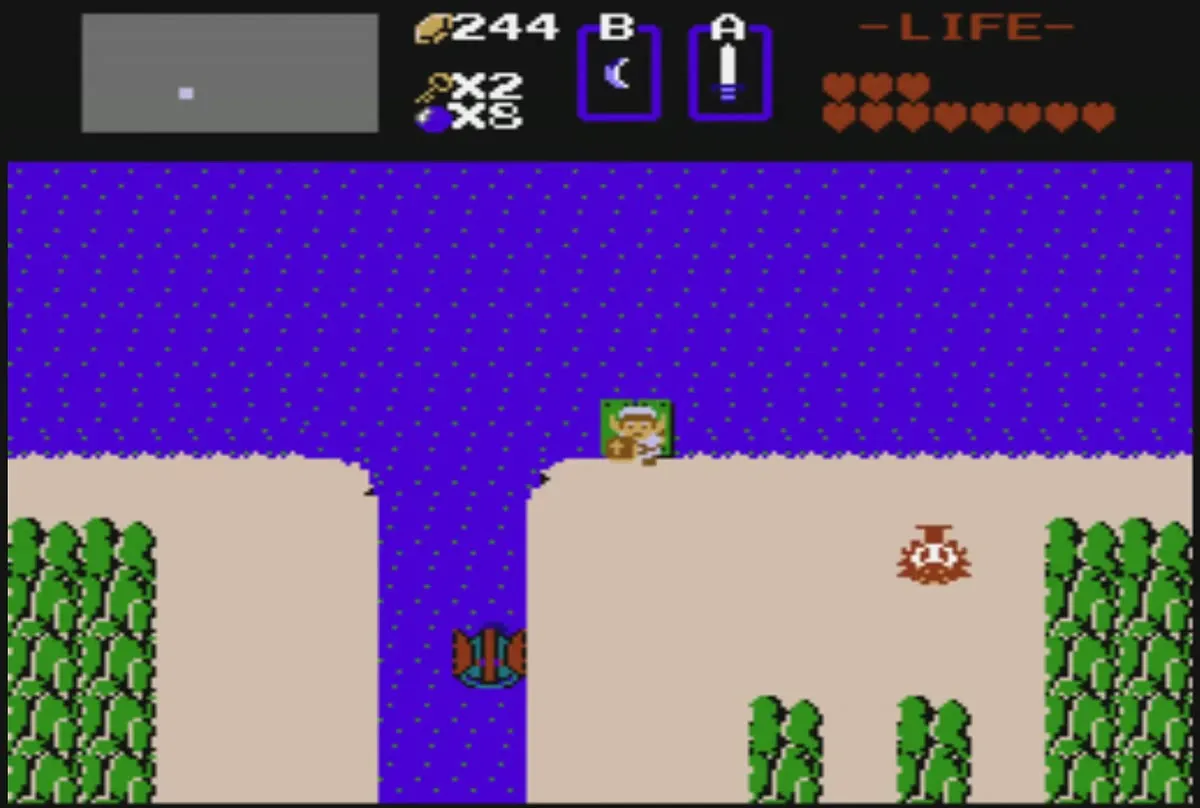
Turn north along the coast. A dark cave sits in the rock wall at the top of the sand shore, and orange and white enemies roam the sand. Two screens south of the dock, at P6, a red heart rests on a wooden dock out on the water. You cannot reach that one yet: it is the far-dock Heart Container, and you need the Stepladder from this level to cross to it. Carry on north to the dock at P4. Step onto it and the Raft carries you one screen north to the island at P3, where another cave waits in the rock.
Old man’s cave: heart or potion
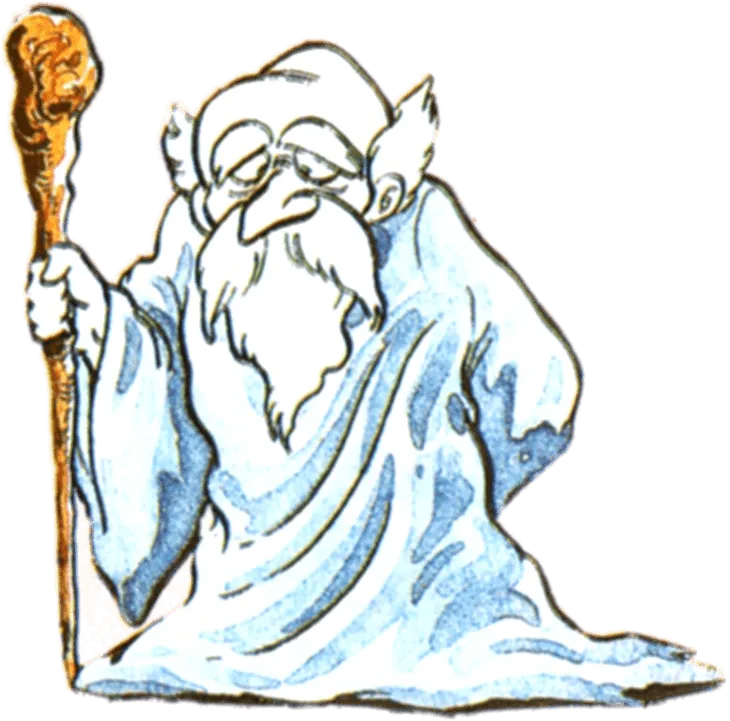
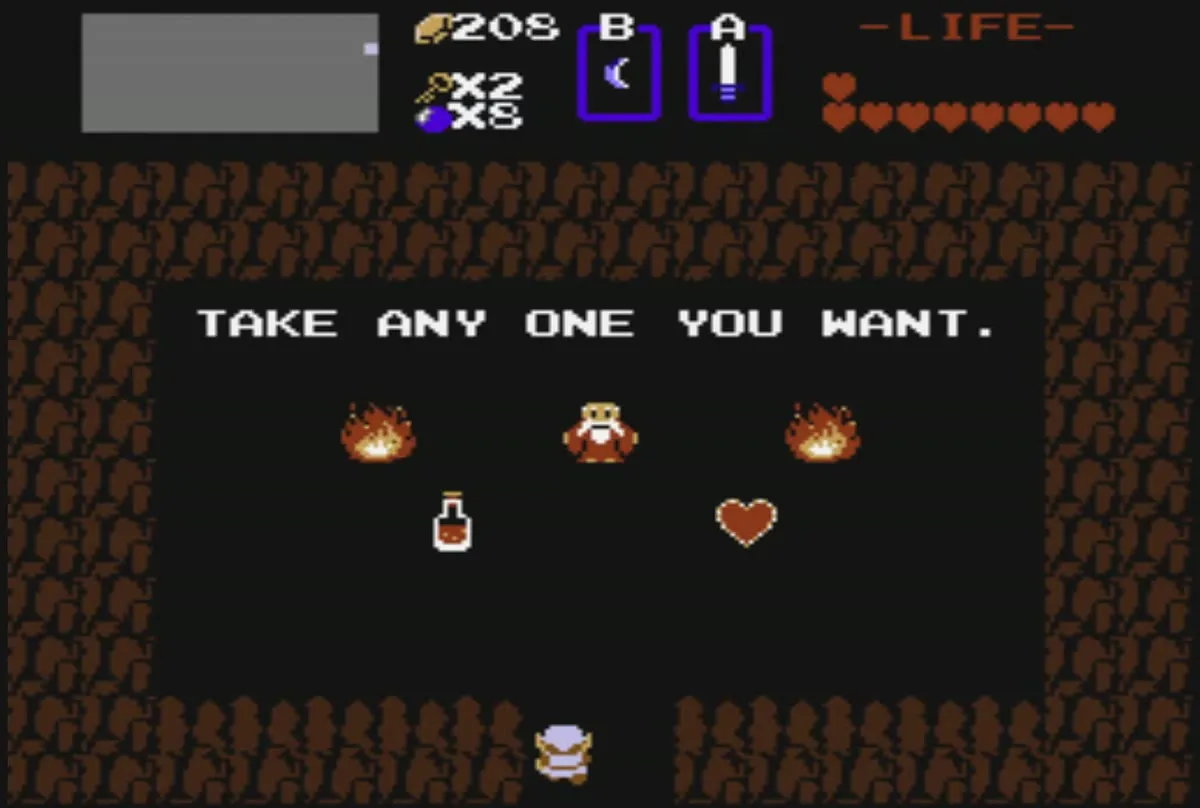
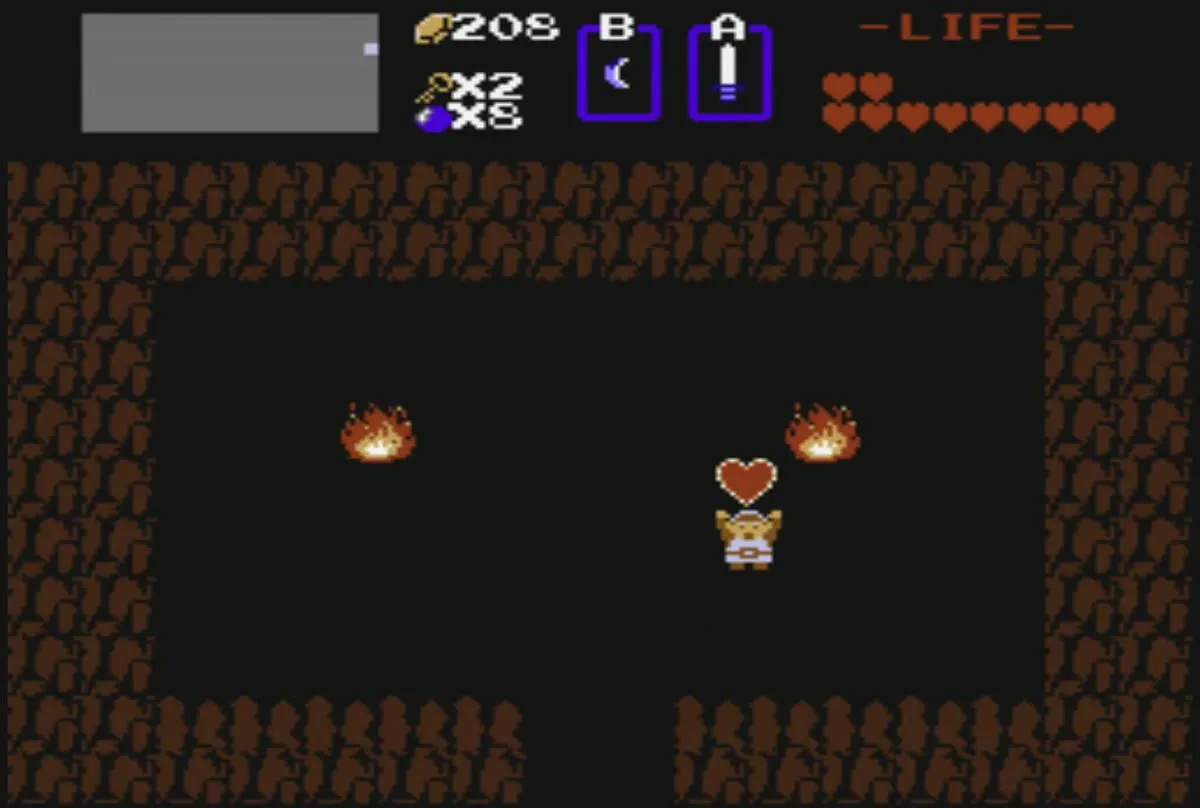
Enter the island cave, which has dark brown walls and an old man between two fires. The old man stands in the middle of a shelf that holds a bottle on the left and a red heart on the right. The old man offers one of the two, not both. Choose the heart if you want the Heart Container, because the potion is the other option and it costs you that container. The heart takes you from nine hearts to ten.
Back west to the Level 4 entrance
Leave the cave, ride the Raft back to the dock at P4, and walk west along the sand shore, which runs past a rock mound and another cave. Cross the sand field and the rocks and bushes toward the middle of the map, where the central lake lies.
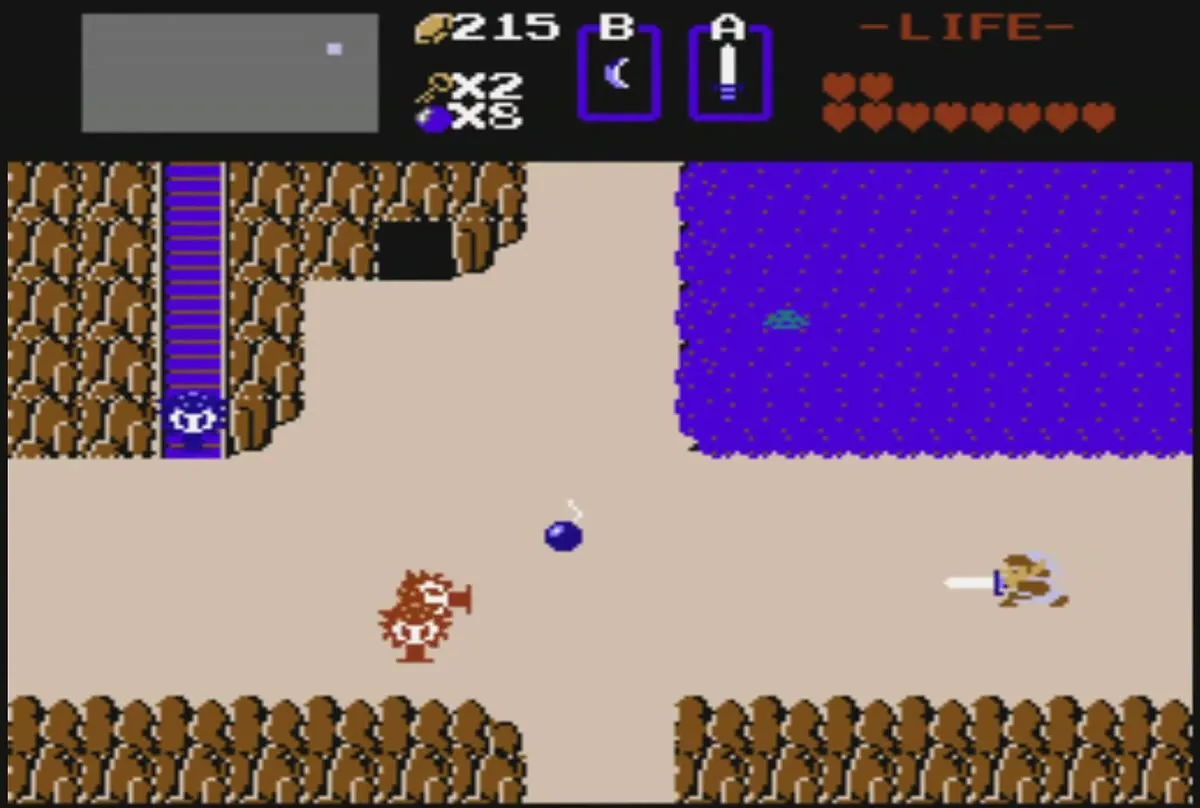
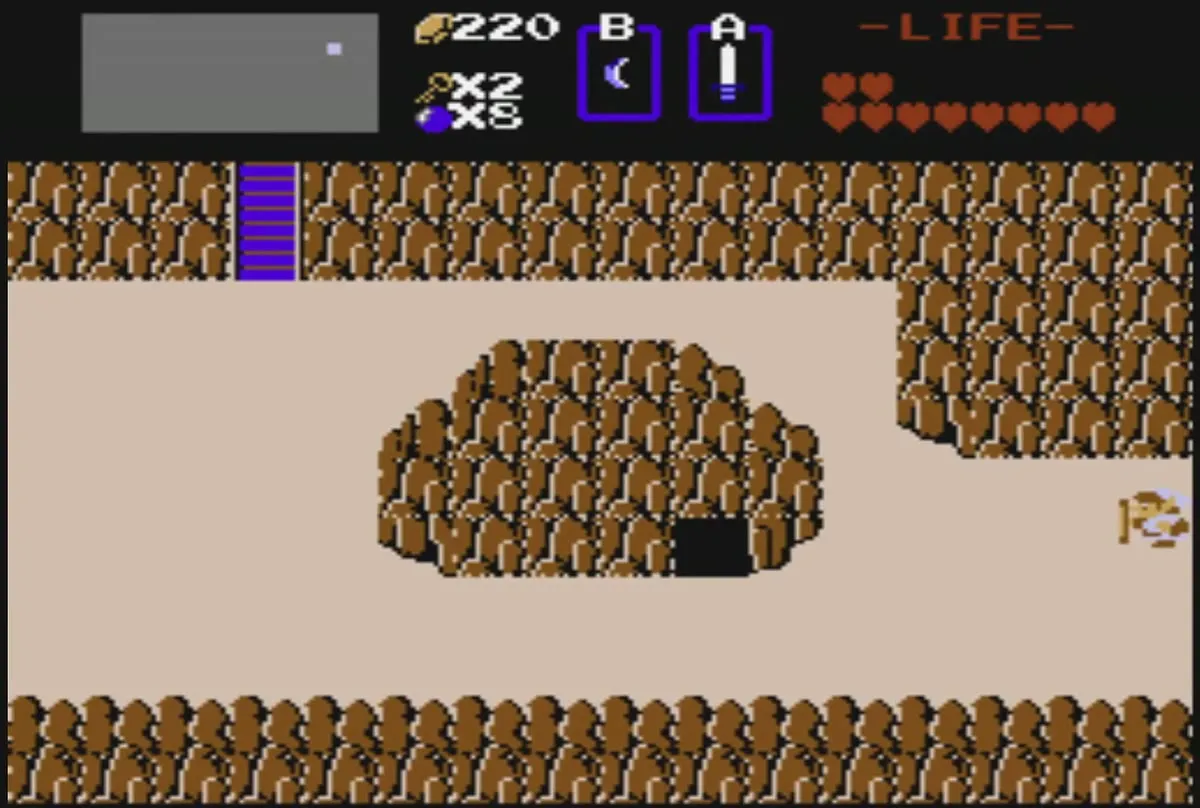
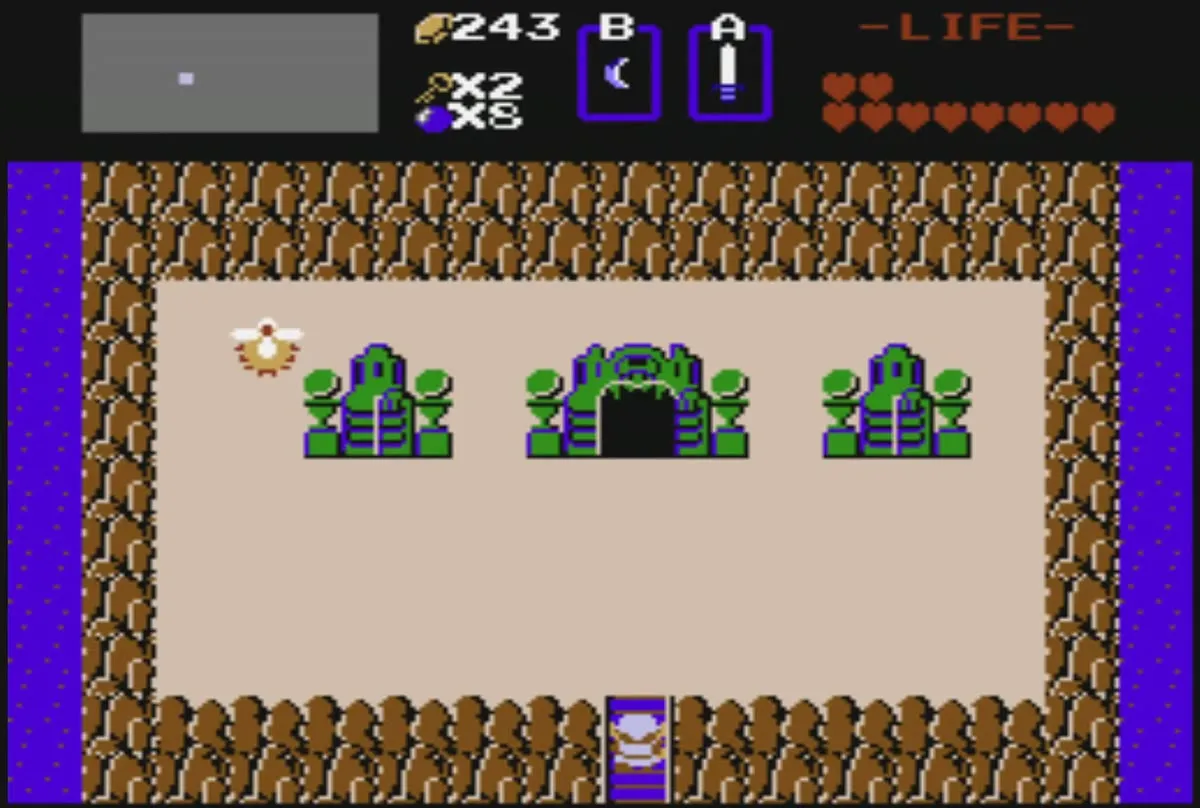
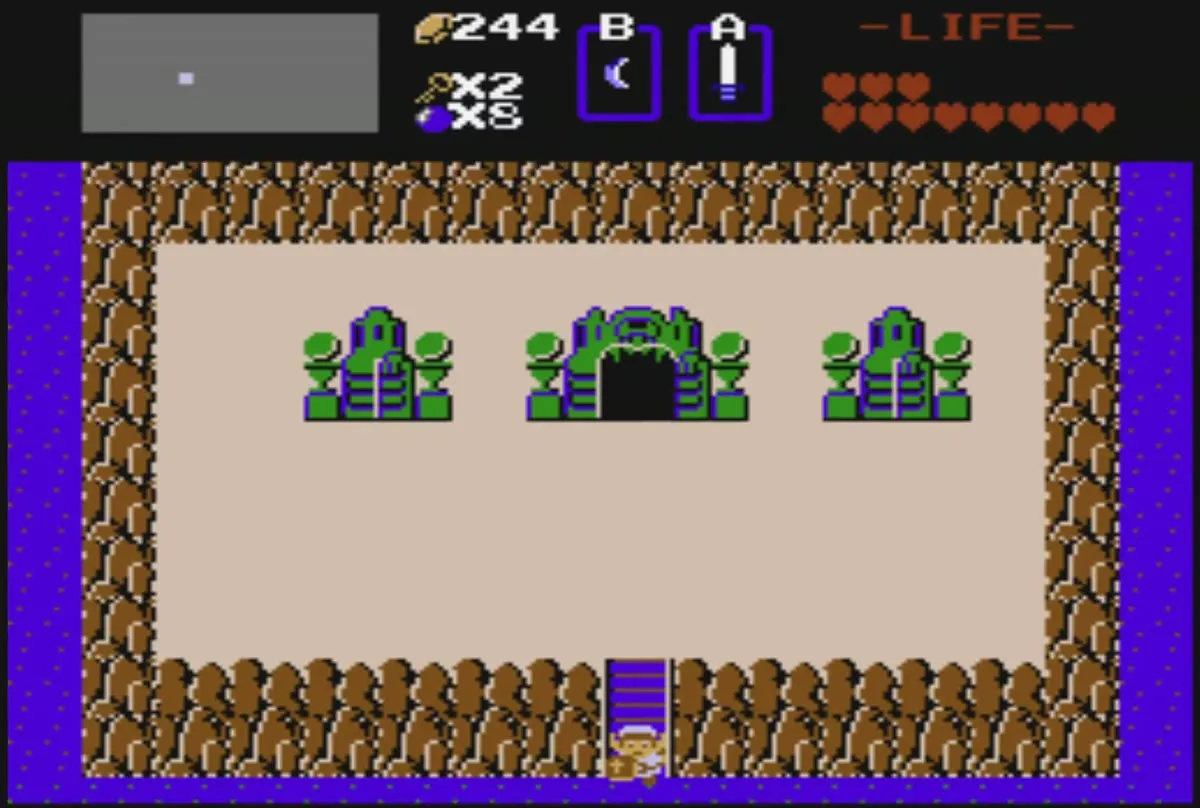
Go to the dock at F6, on the south shore of the lake, board the Raft and sail one screen north to F5. The strip of land there has three green stone statues, and the cave between the statues is the Level 4 entrance. The Raft only works from a dock, and it will not start at the two-tile docks that are only decoration.
Level 4: The Snake
Entry rooms and the first small key
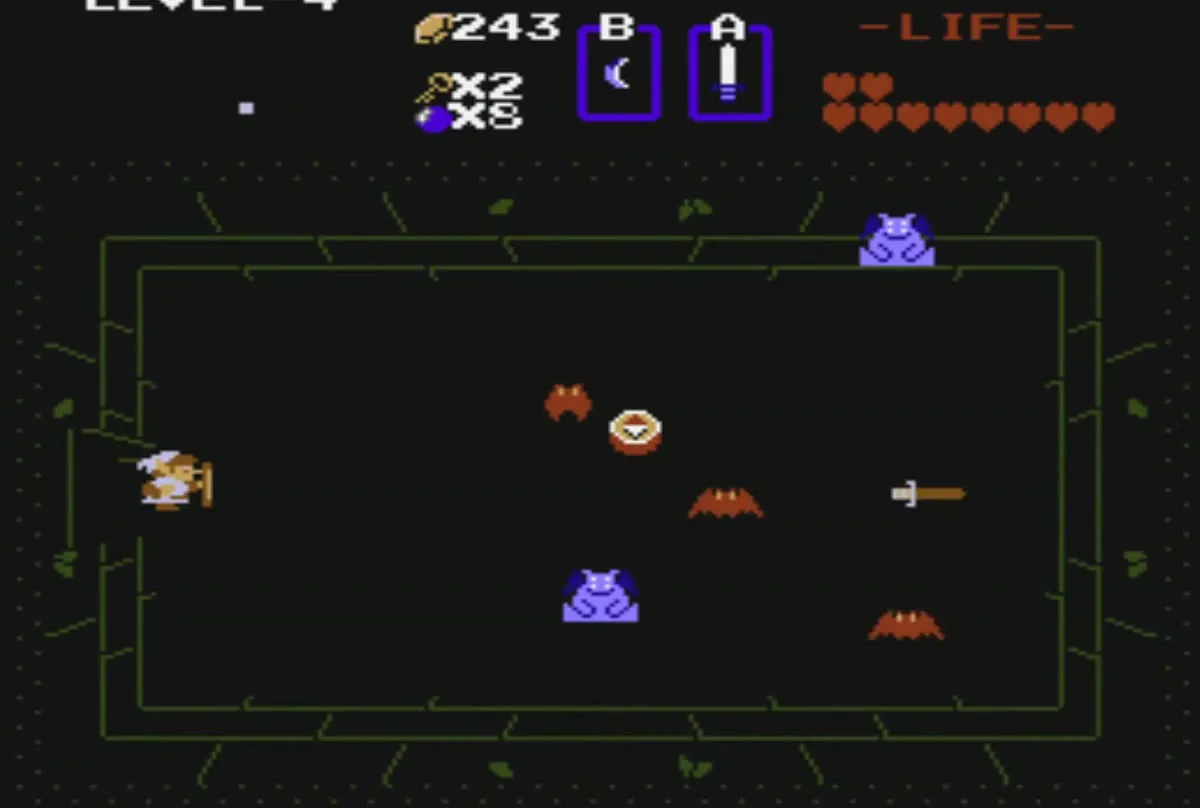
Walk into the cave to enter the olive entry room, which has rows of statue blocks on the floor. Take the left door into the next room, where blue bats swoop from the corners. Clear them all and a gold small key appears on the floor. Pick it up, then head back east through the entry room, because the key count on your HUD has just gone up by one.
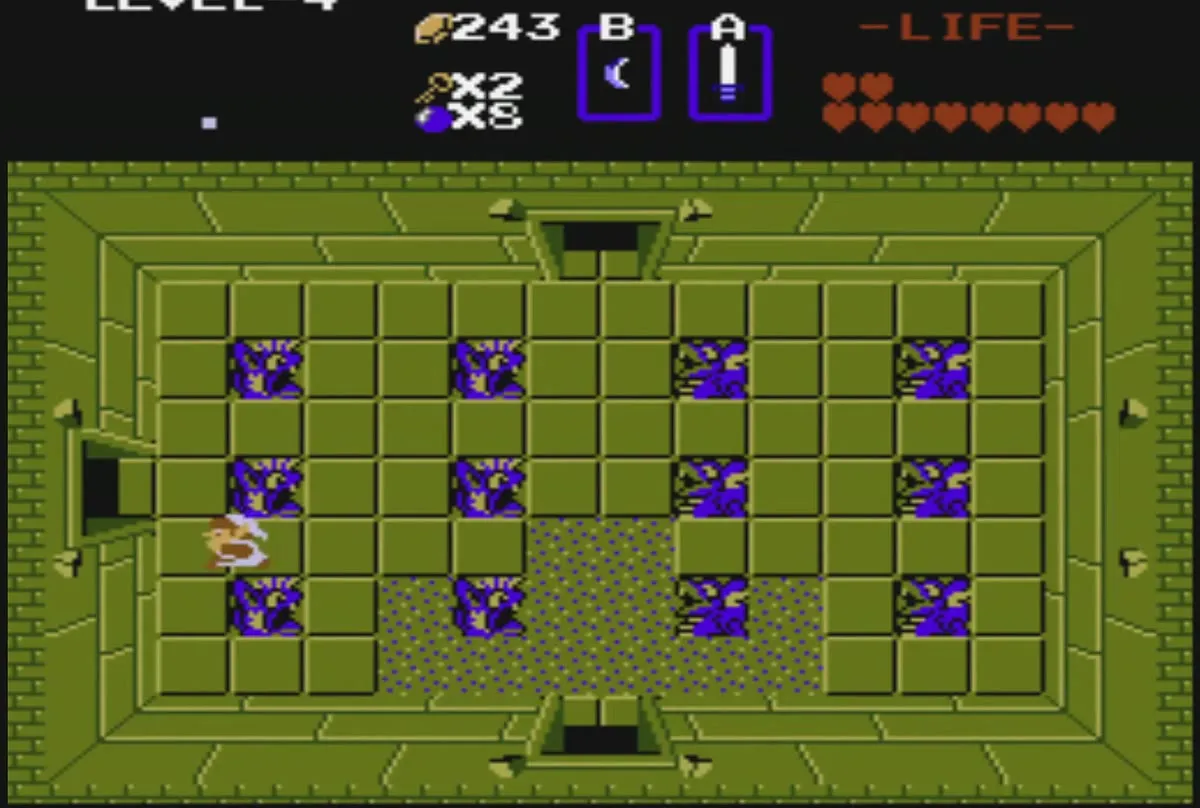
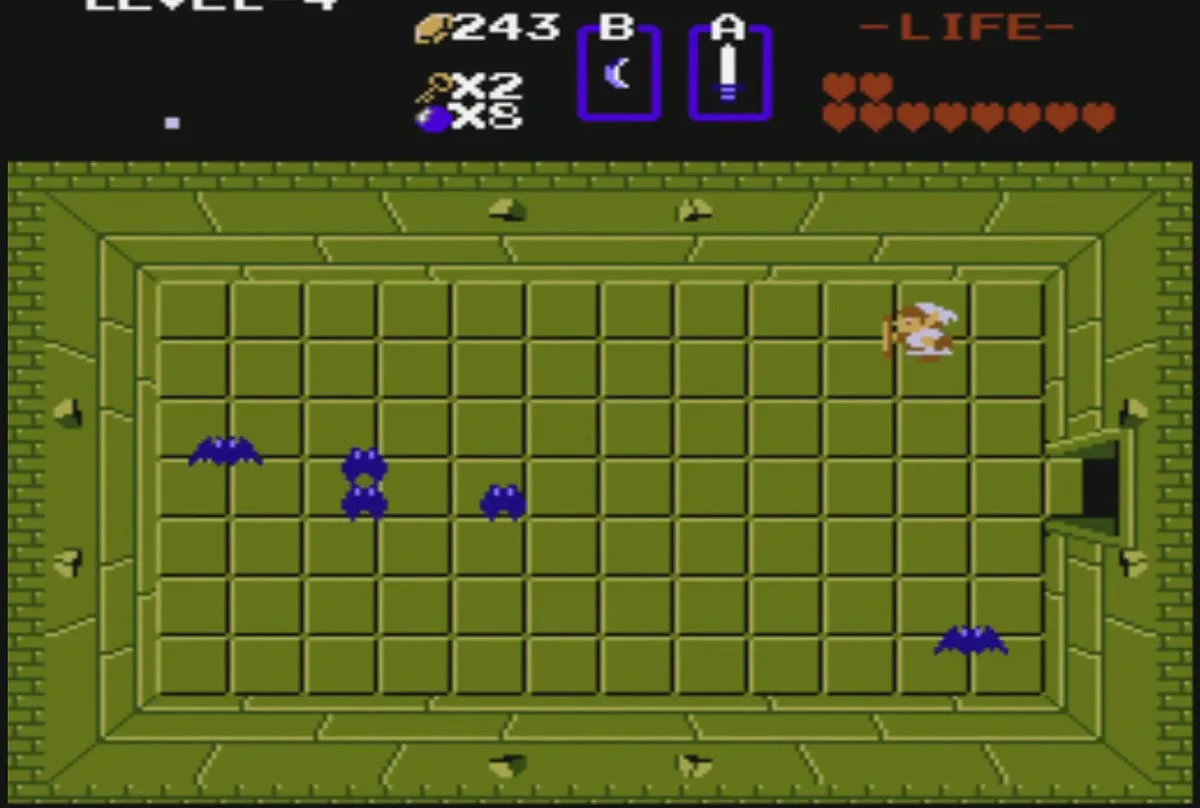
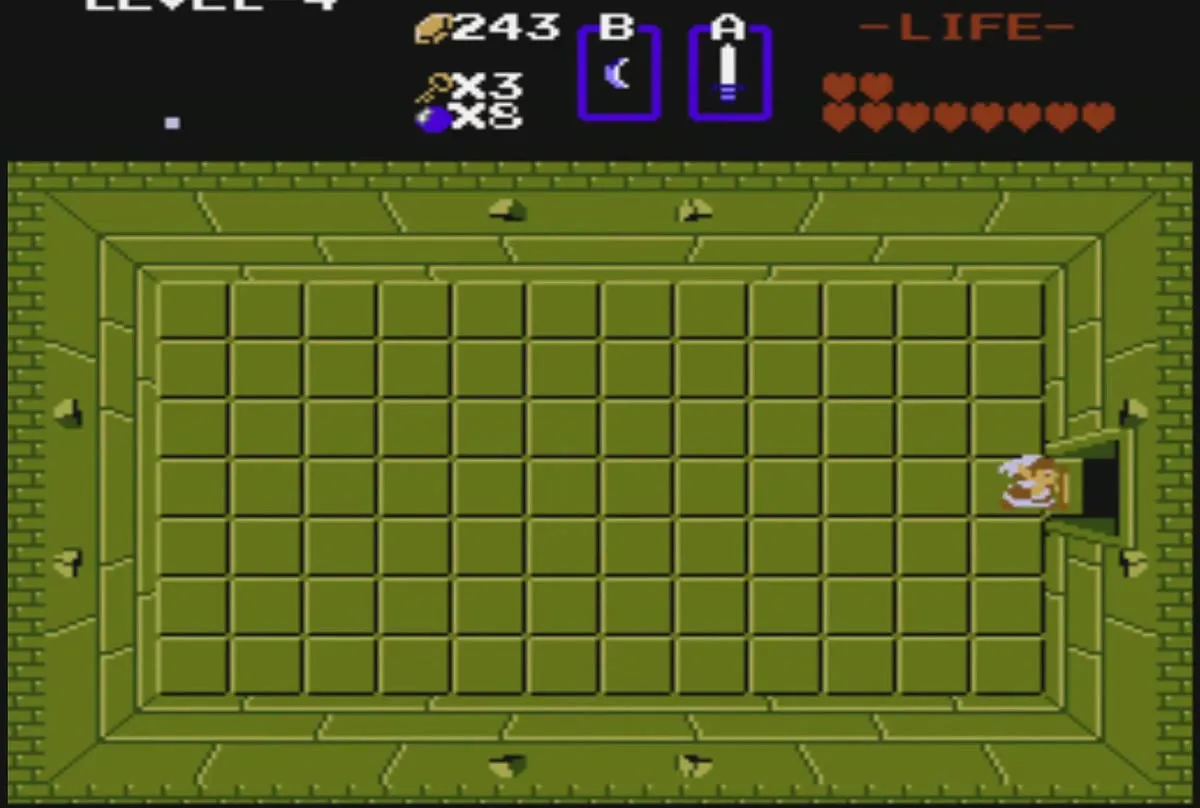
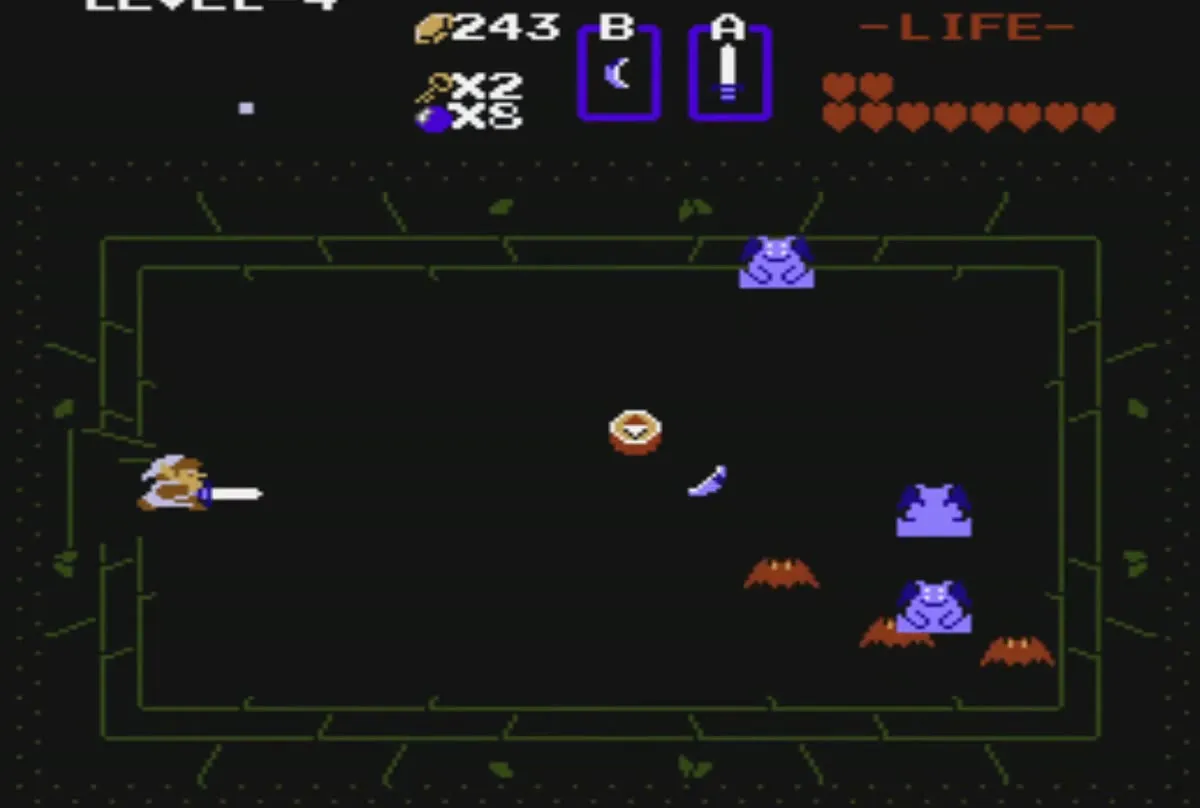
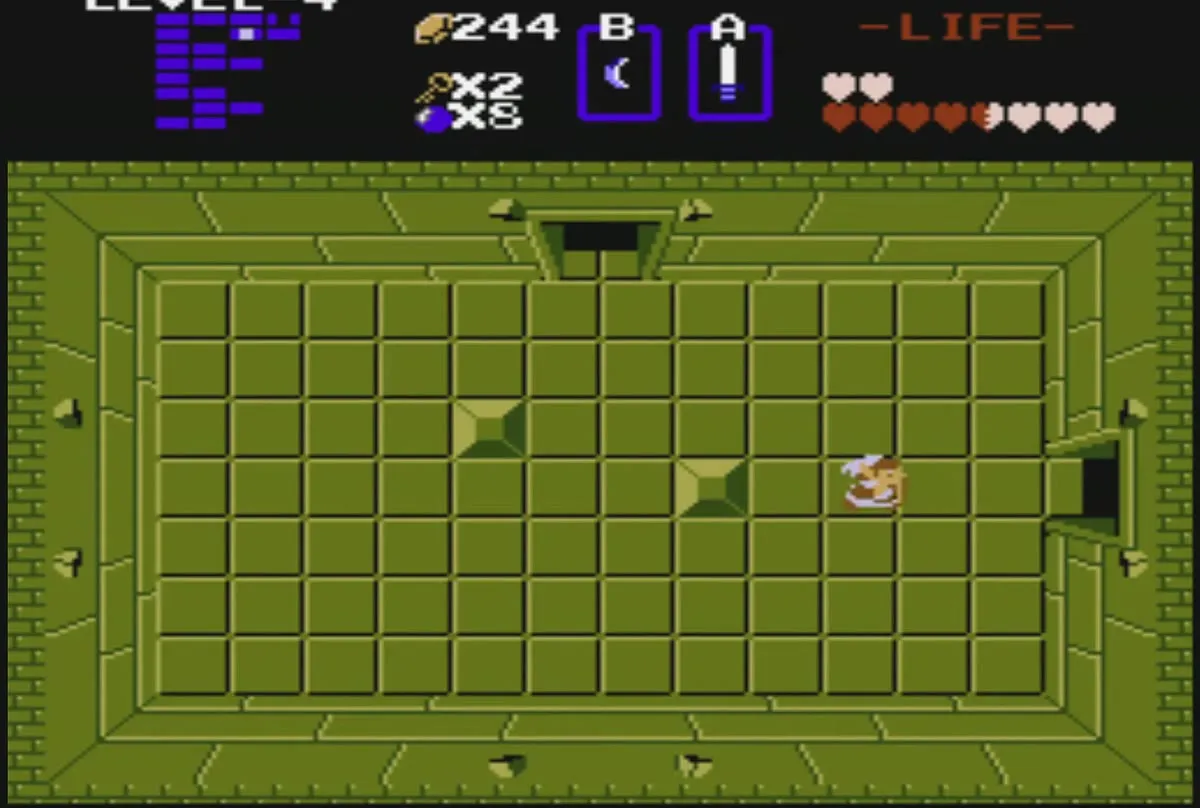
From the entry room, head up and open the right door to reach one of the first dark rooms. Some rooms are dark, with only the outline of the walls and the enemies visible. A candle lights them, but you can cross them by sight and sound if you keep moving. Vires and Keese attack here, and a Vire splits into two Keese when hit unless you carry the Magical Sword. The Compass lies on the floor of this dark room, so grab it.
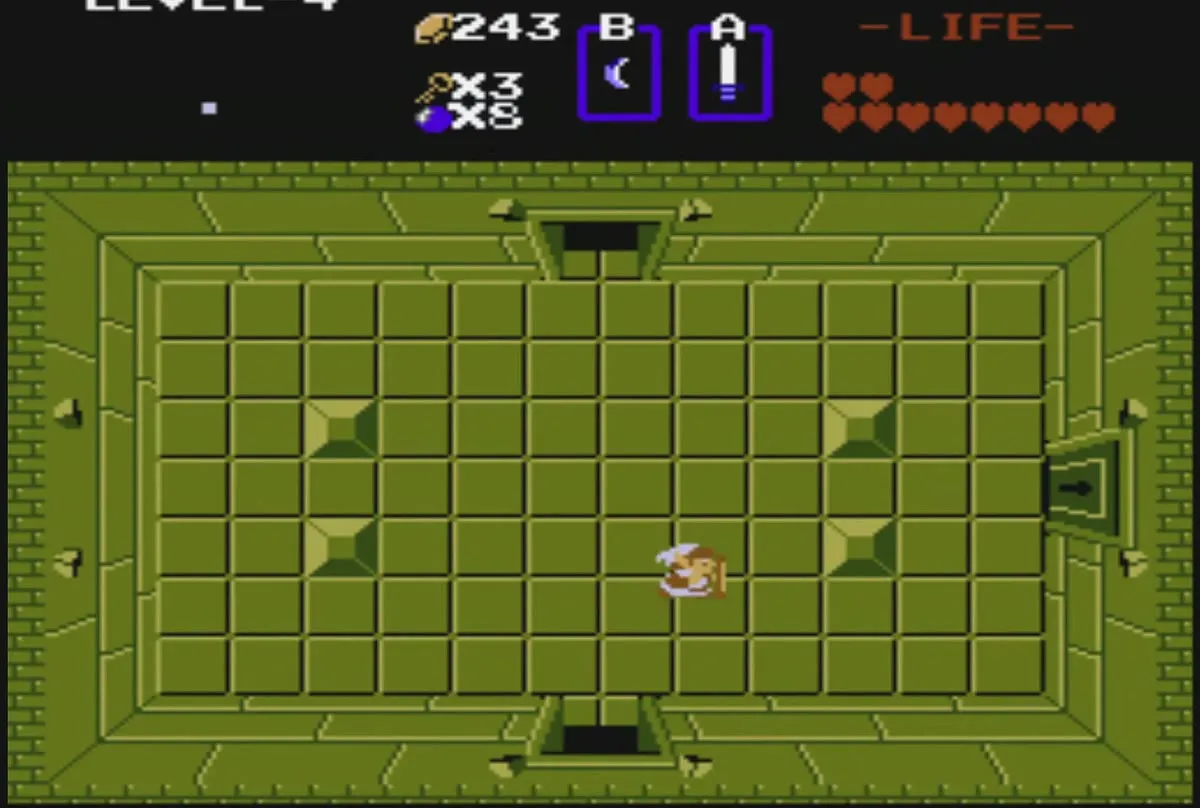
Dark rooms and the second key
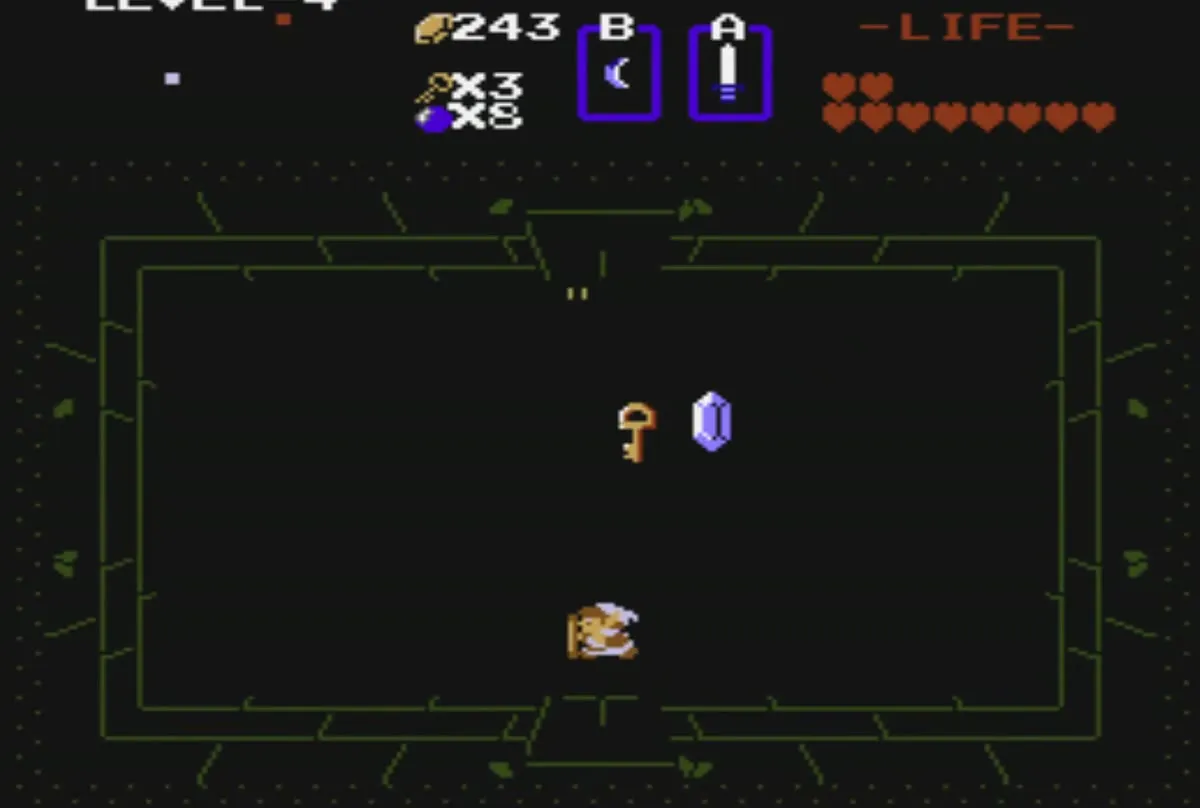
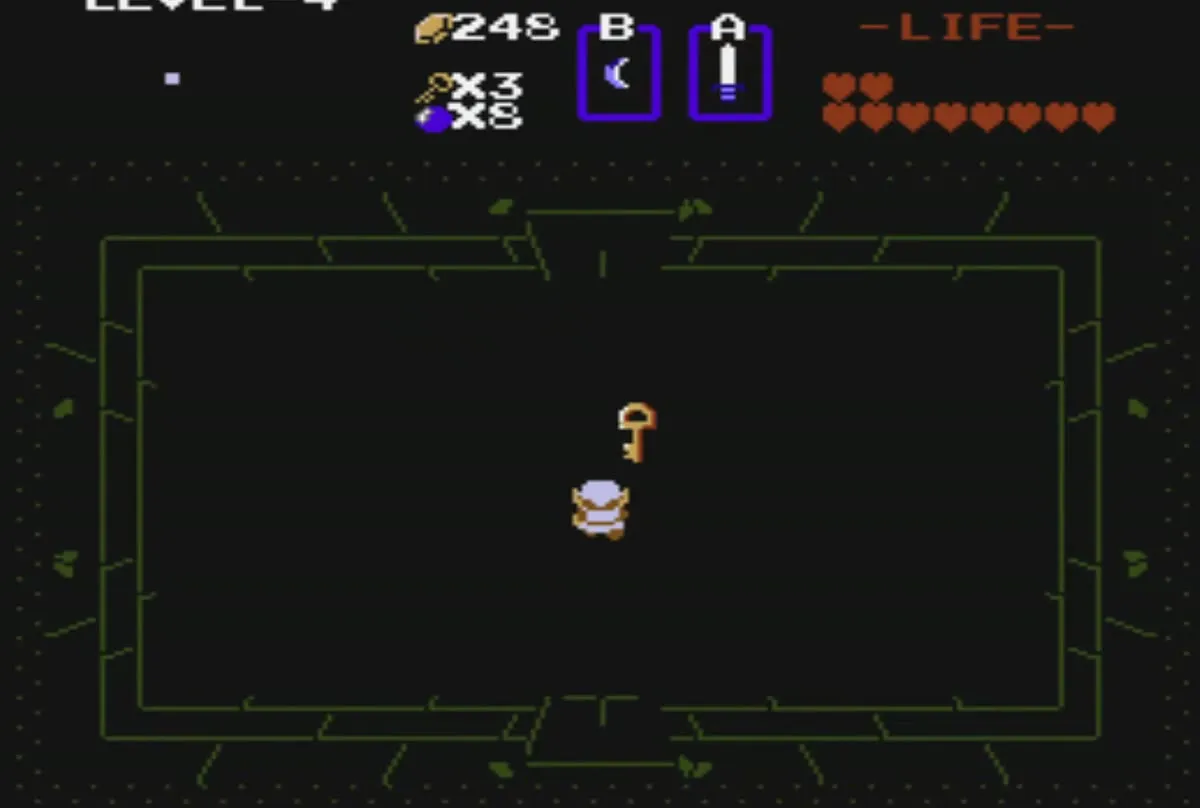
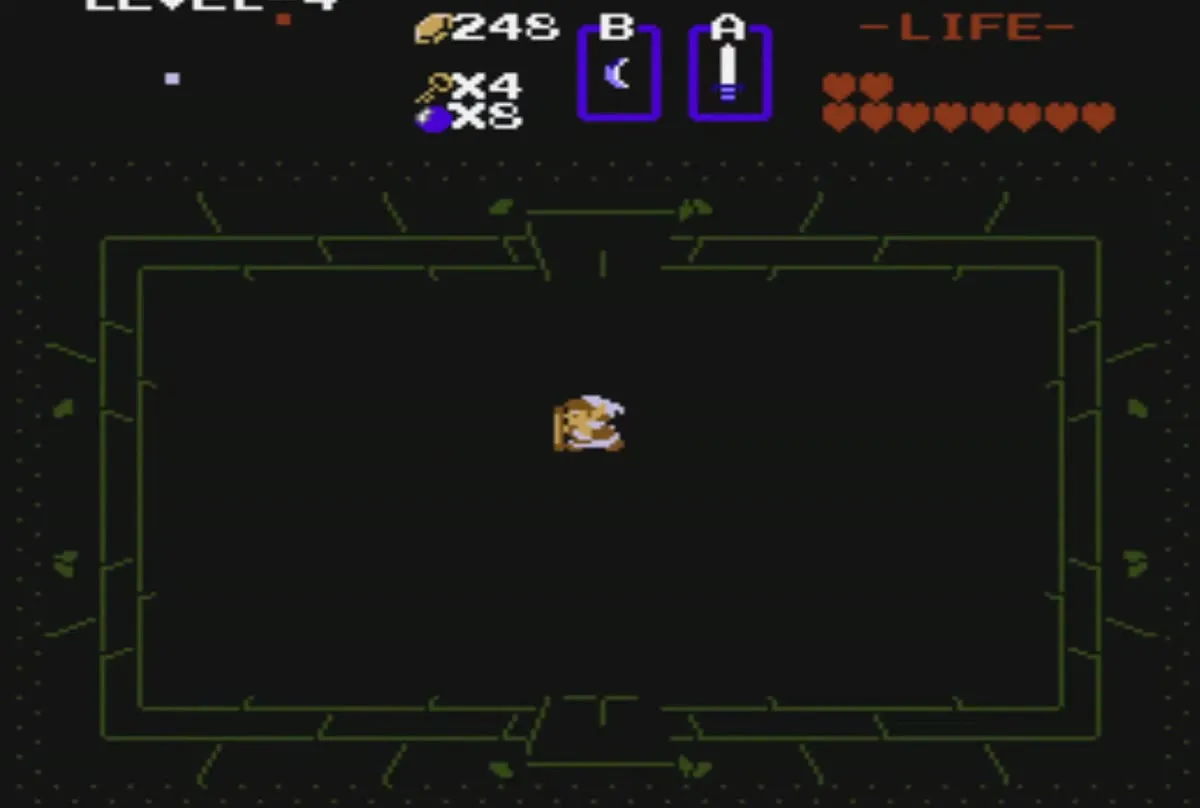
In the dark rooms near the middle of the dungeon, more small keys lie on the floor, one of them beside a blue rupee. Pick up everything you see, and then use the keys on the locked doors you pass. Keep track of your key count, because each locked door uses one.
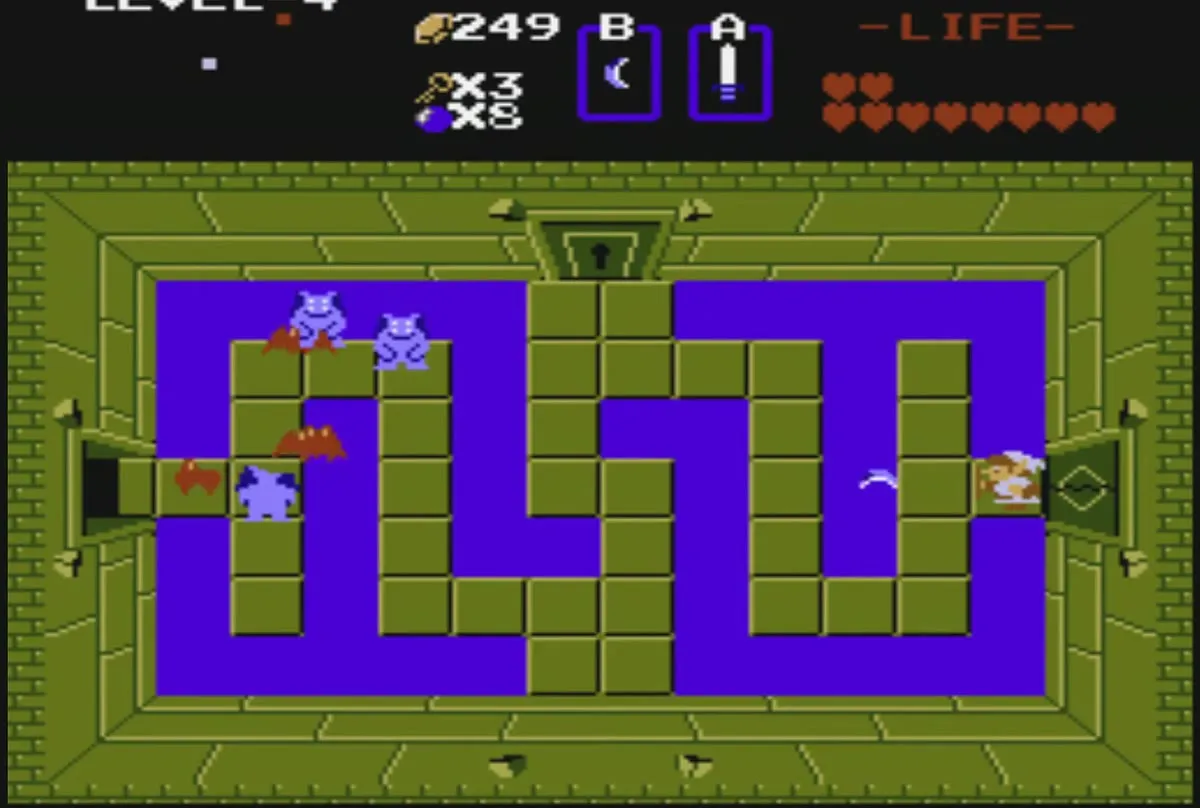
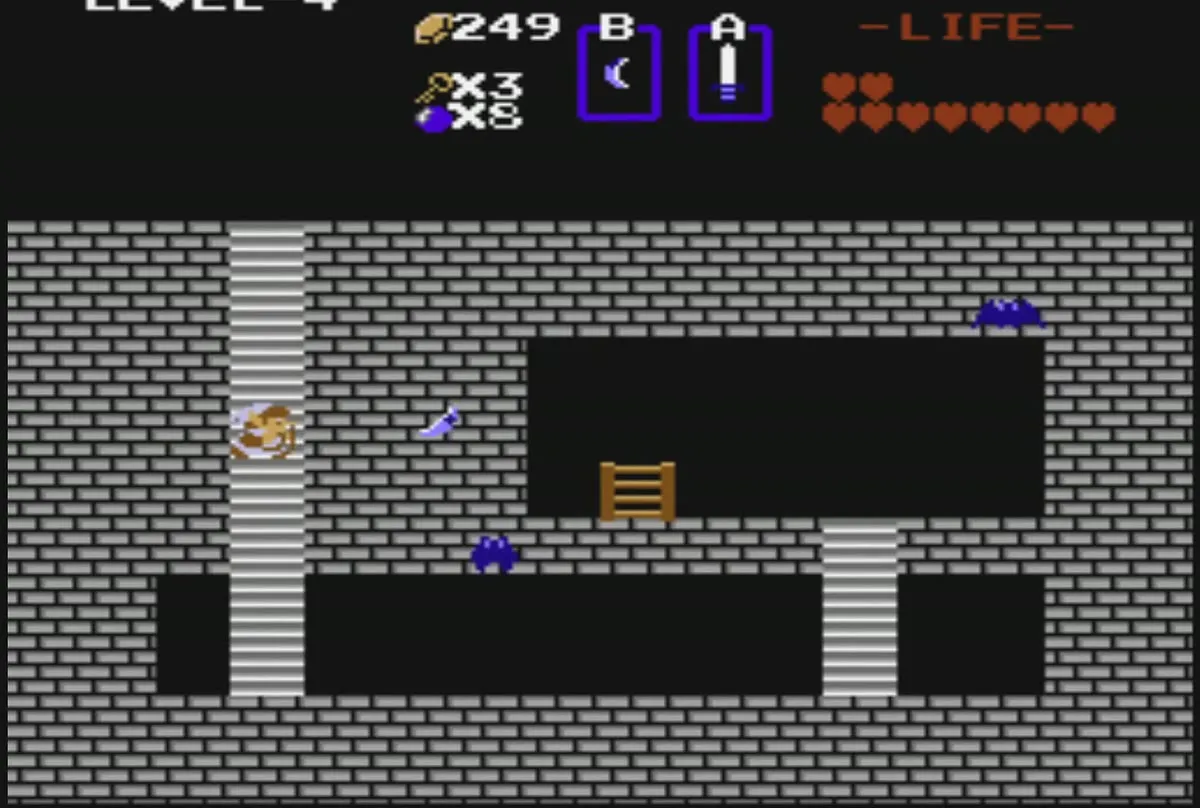
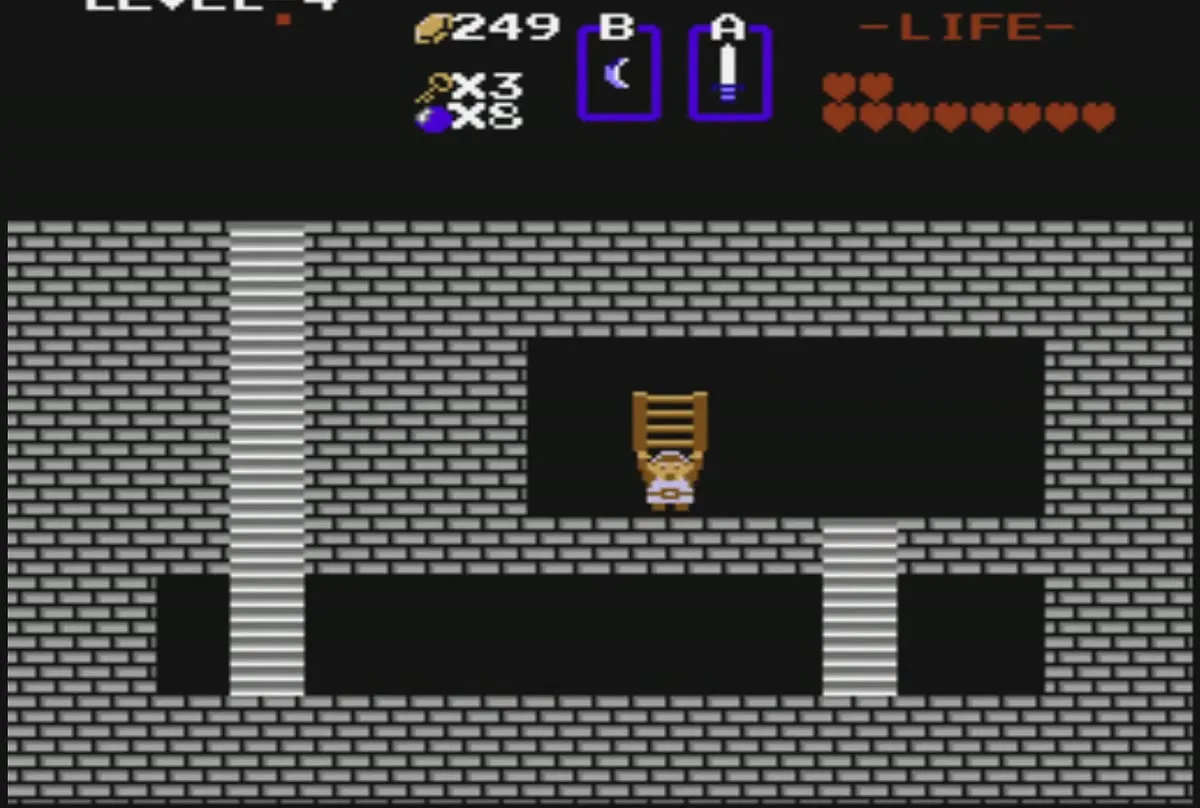
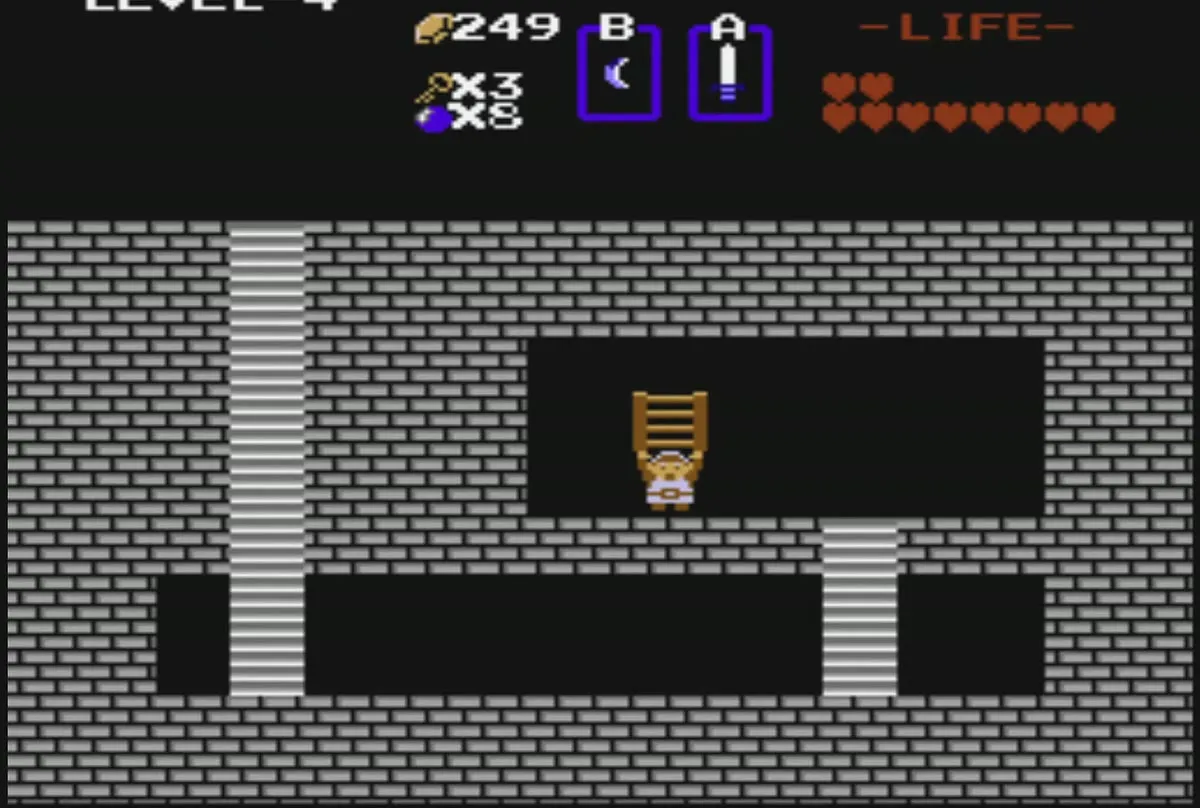
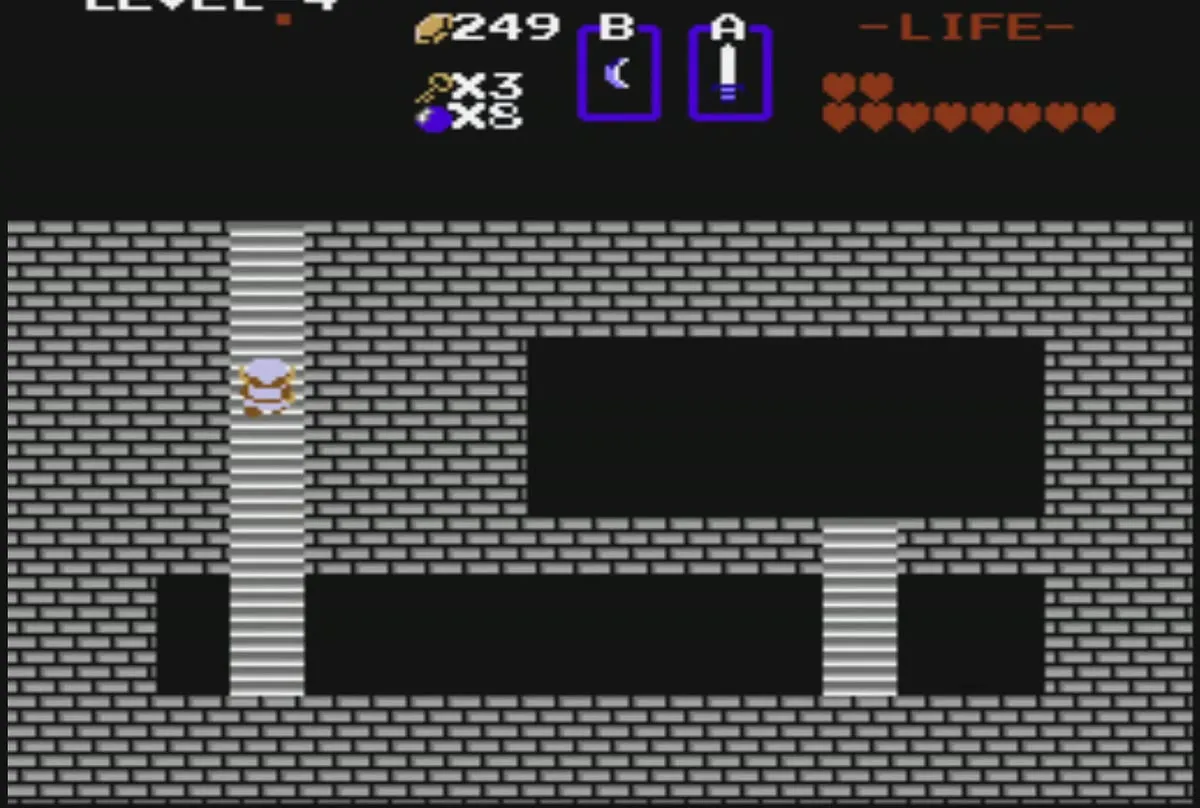
Next comes the purple water maze room, where the water forms U-shaped channels that you walk around, with a locked door at the top. Blue bats and orange enemies gather here, so clear them first. Later, find the room of Zols and Like Likes with two lone blocks, clear it, and push the left block to reveal a staircase. Descend into the grey-brick underground passage, climb past the ladder column, and take the Stepladder from the pit. It lets you cross small gaps and water, so you will use it to reach parts of the dungeon that are otherwise cut off.
The old man’s hint
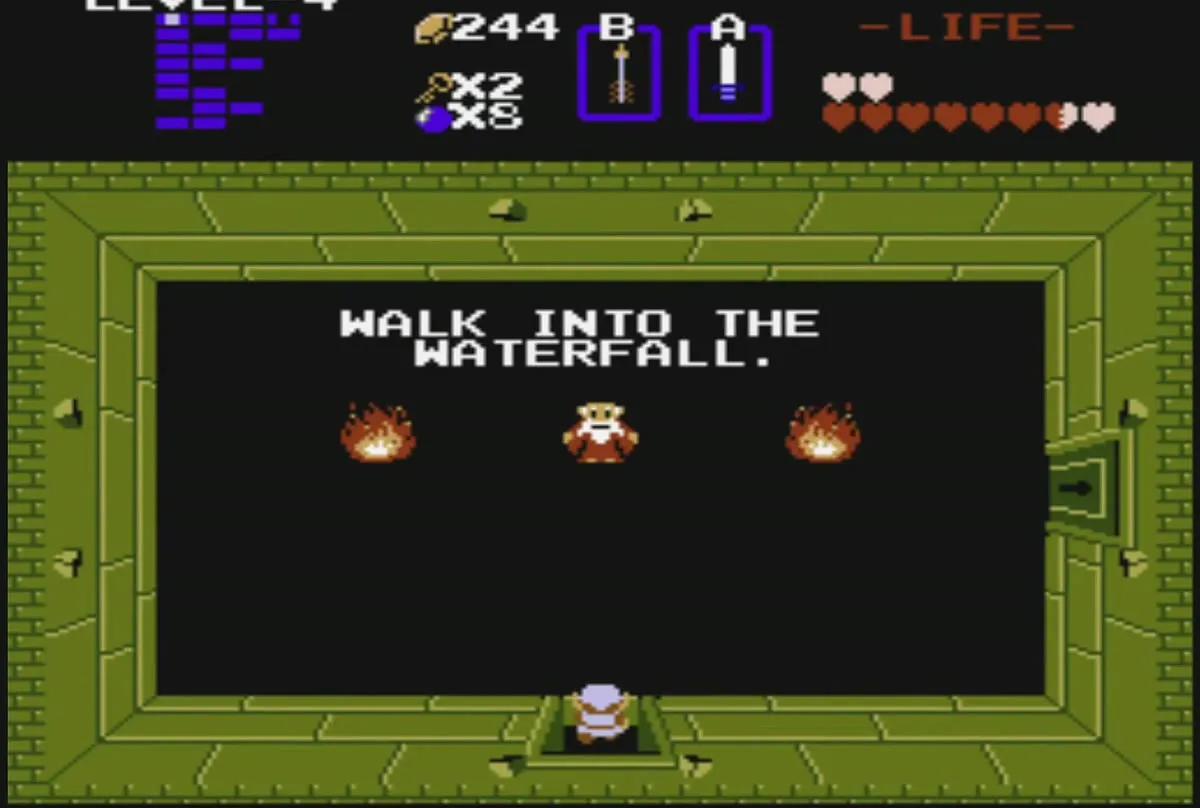
Continue into the room where an old man stands between two fires. He gives you a hint: “WALK INTO THE WATERFALL.” The hint points to a hidden waterfall you can walk into later in the game, so write it down.
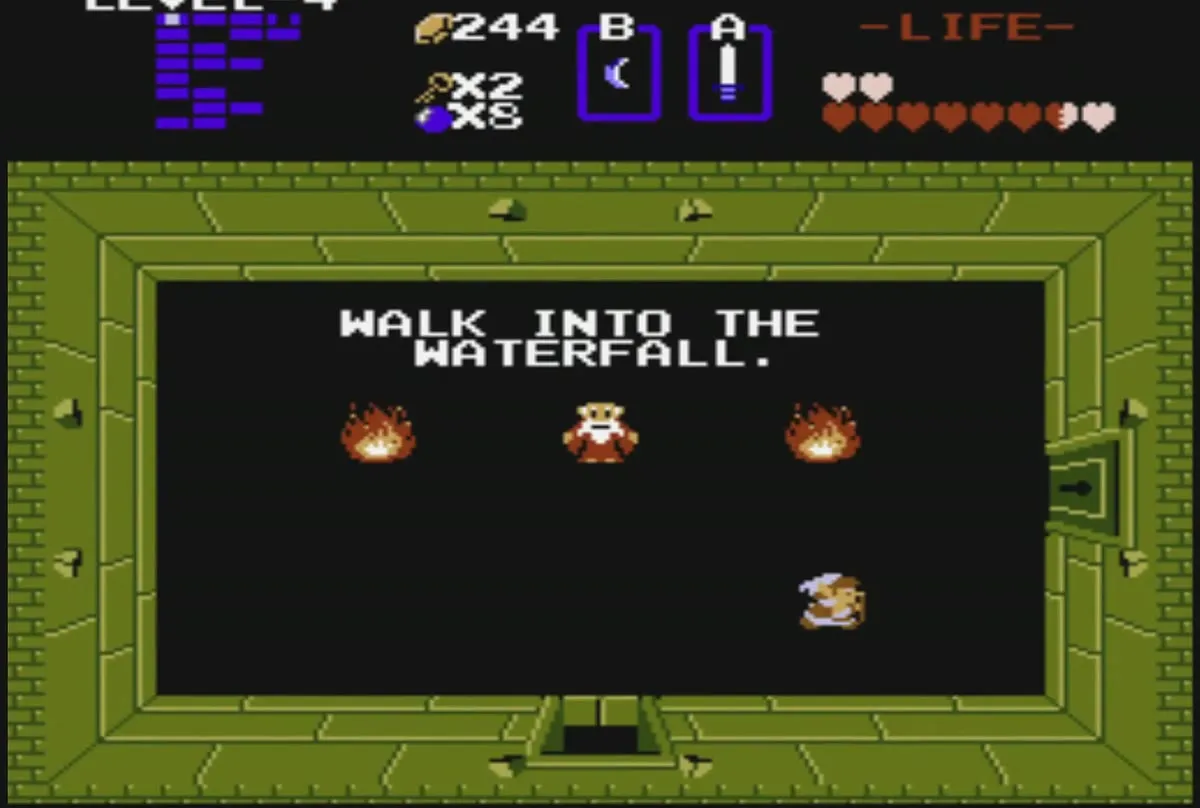
Key in the dark room
Enter the dark room beyond the old man and collect the small key on the floor. Blue Keese flutter around the key, so keep an eye on your hearts before you go on.
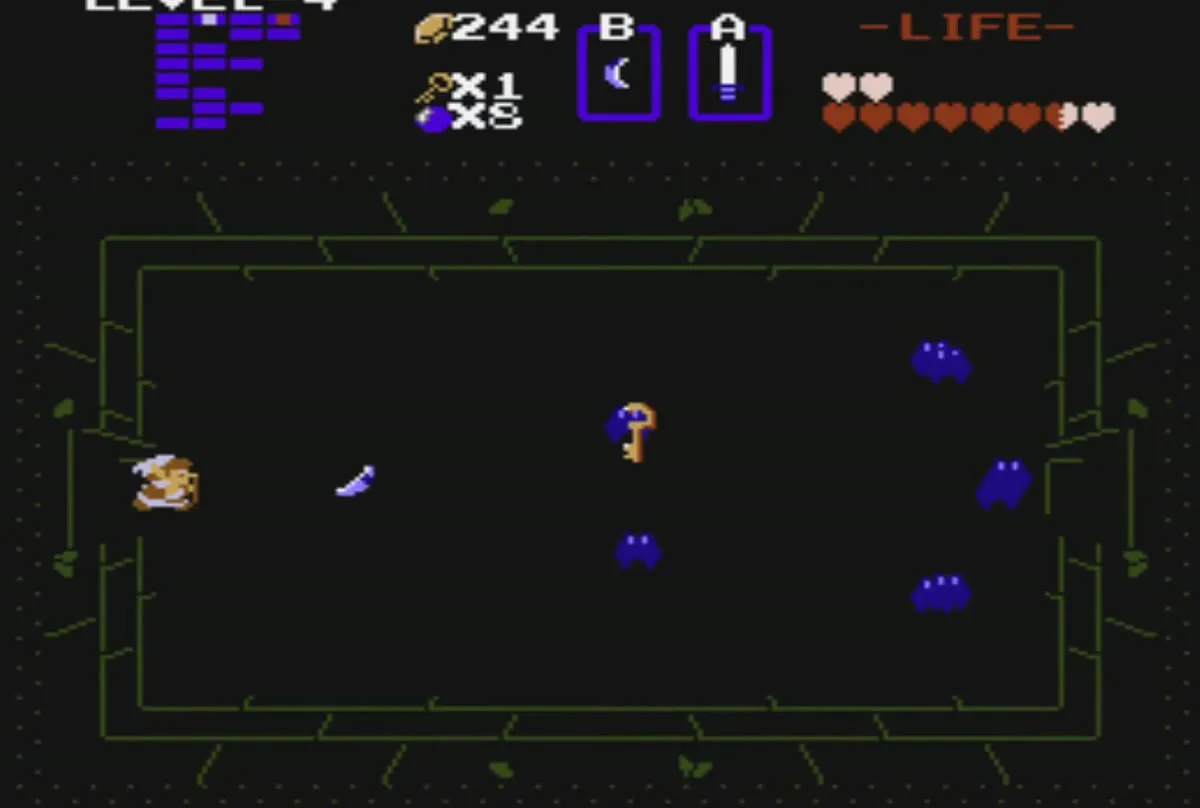
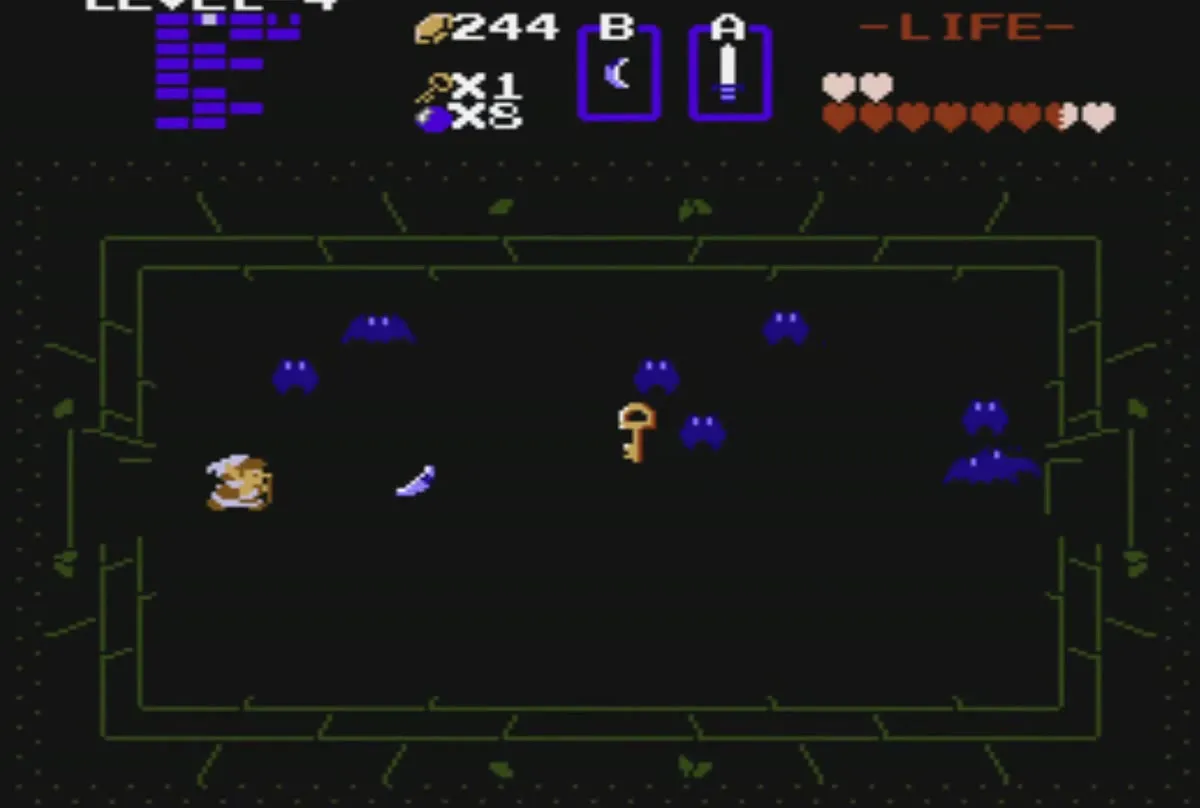
Stepladder, Map and Compass
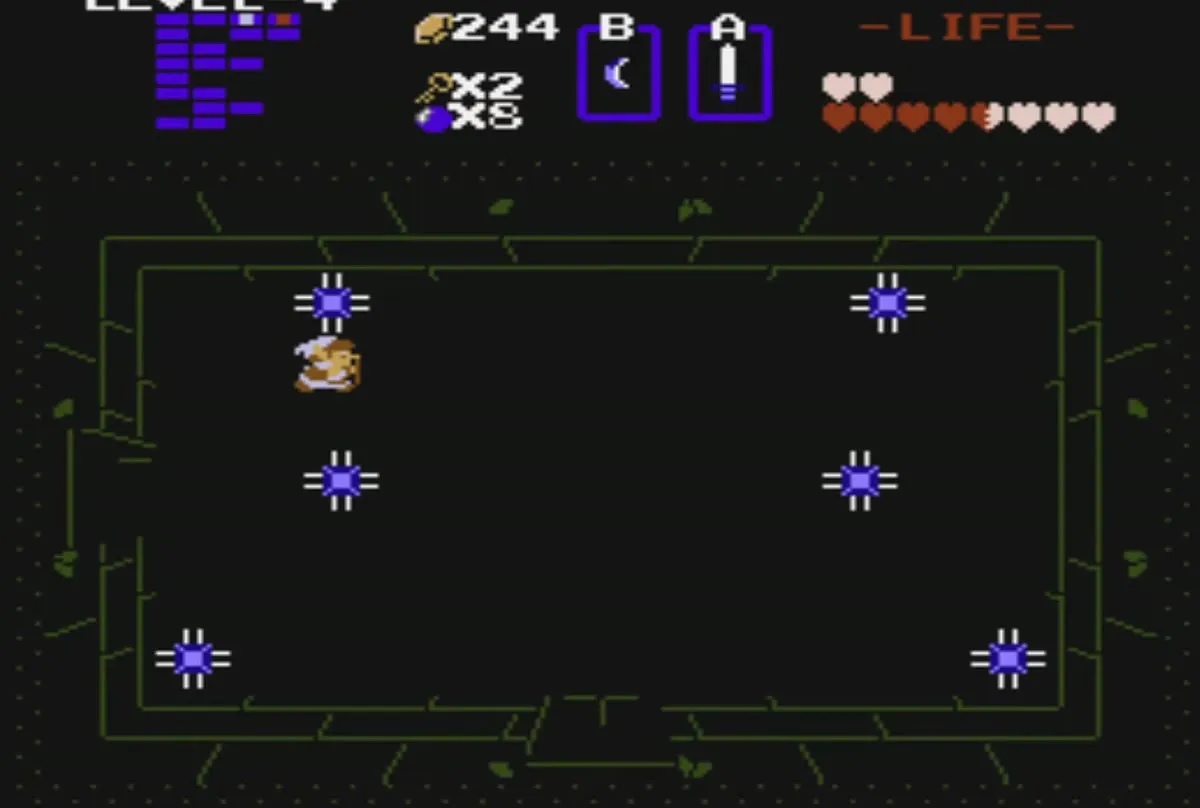
Head right through the next dark room, which is a trap room: a blade trap sits in each corner and darts at you when you line up with it, so cross carefully to the bottom door. The next room holds several Vires. Defeat all of them and the Keese they split into so that the way on opens, then push the left block.
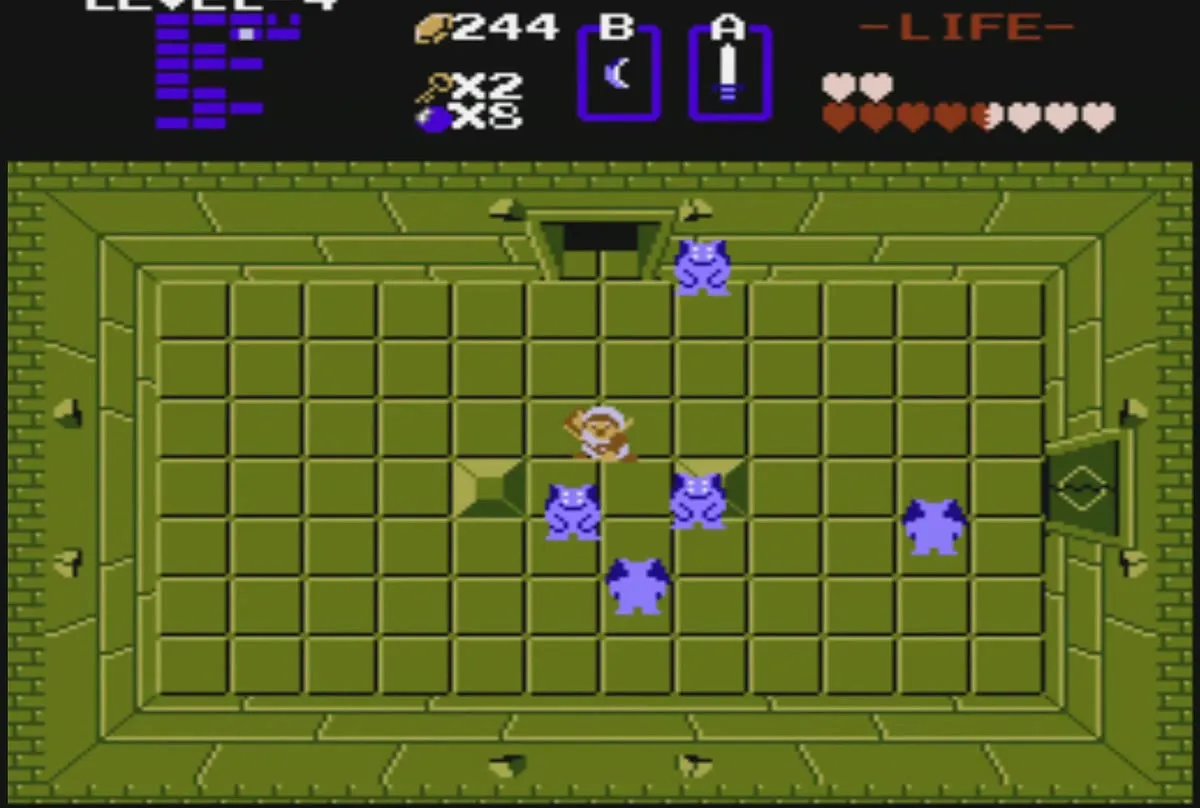
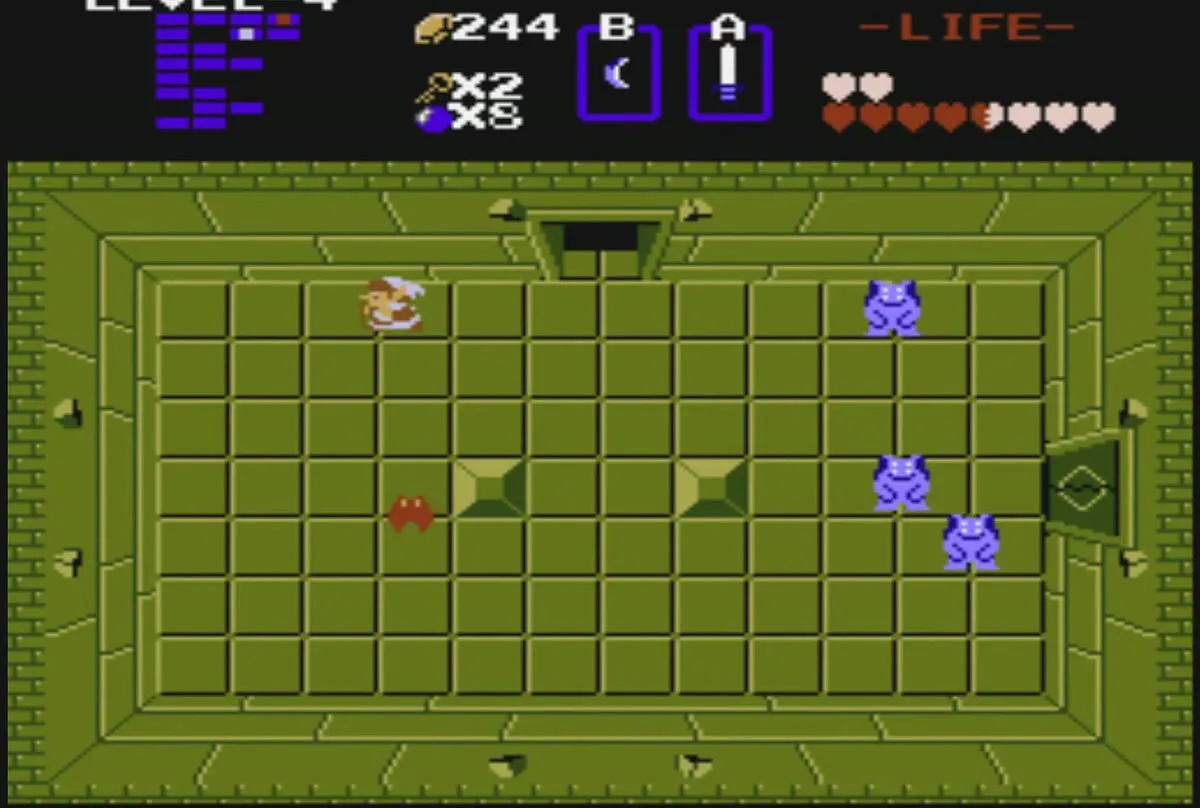
Return up the steps, cross the gap with the Stepladder, and use a key on the locked door. Head right to find the Map. With the Compass from earlier, the Map is in your inventory by the time you reach the boss.
If you have bombs, bomb the north or right wall in the nearby rooms to find a hidden rupee room. The room is reached from any of the four sides, so bomb whichever wall you can reach. The rupee room lets you bypass a few rooms on the way to the boss.

Gleeok boss
Once the room is clear, the right door stands open. Go right to face the boss of Level 4, Gleeok, a two-headed dragon. Gleeok emerges from the triangle door at the top of the room during the fight, so stay alert to where its necks come from.
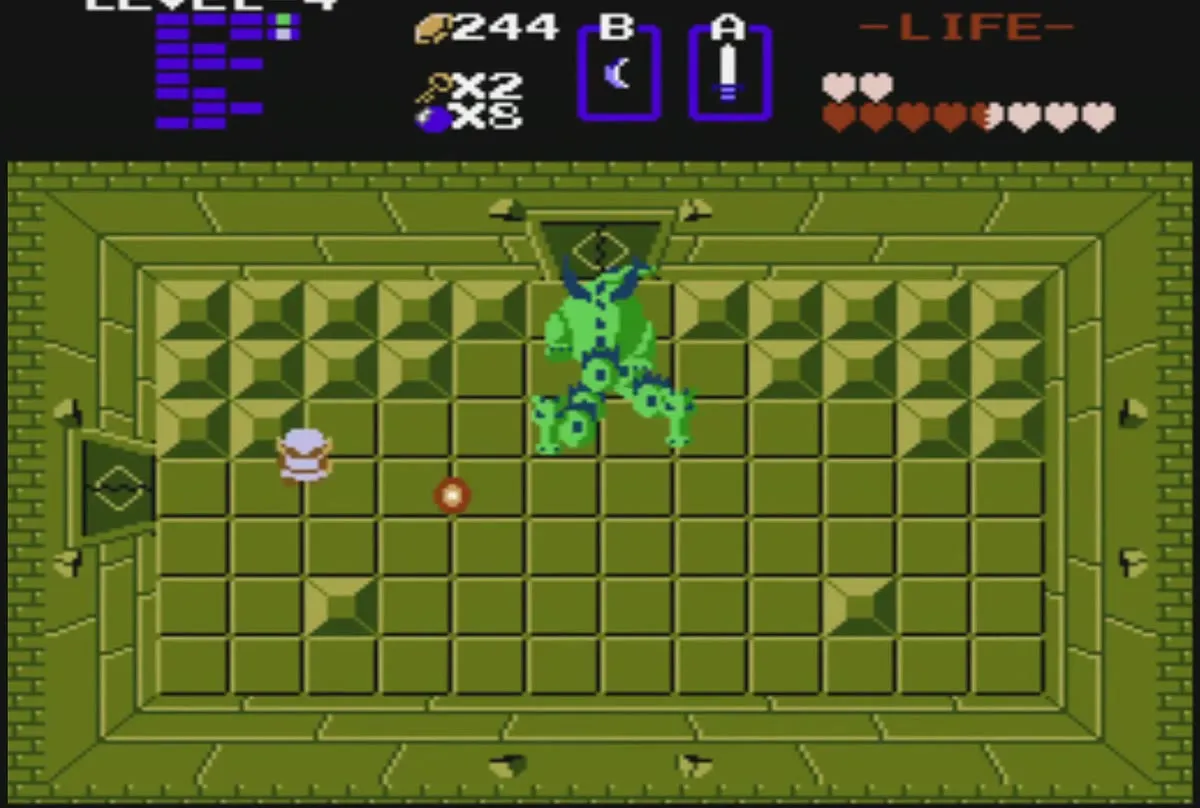
Gleeok’s fireballs cannot be blocked, so rely on movement. Strike the heads with your sword while dodging the fireballs they shoot. Once a head has taken enough damage it detaches from the body and bounces around the room, still shooting fireballs. Keep moving and finish off the loose head before it corners you.
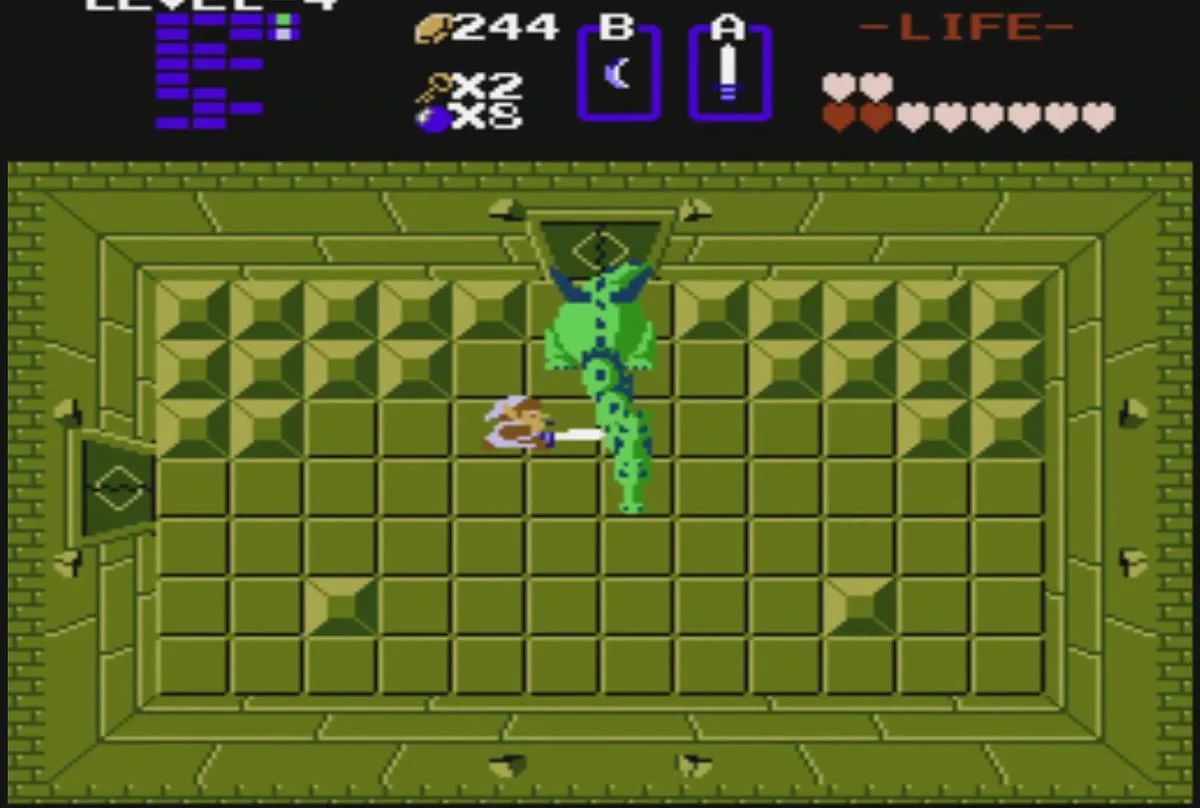
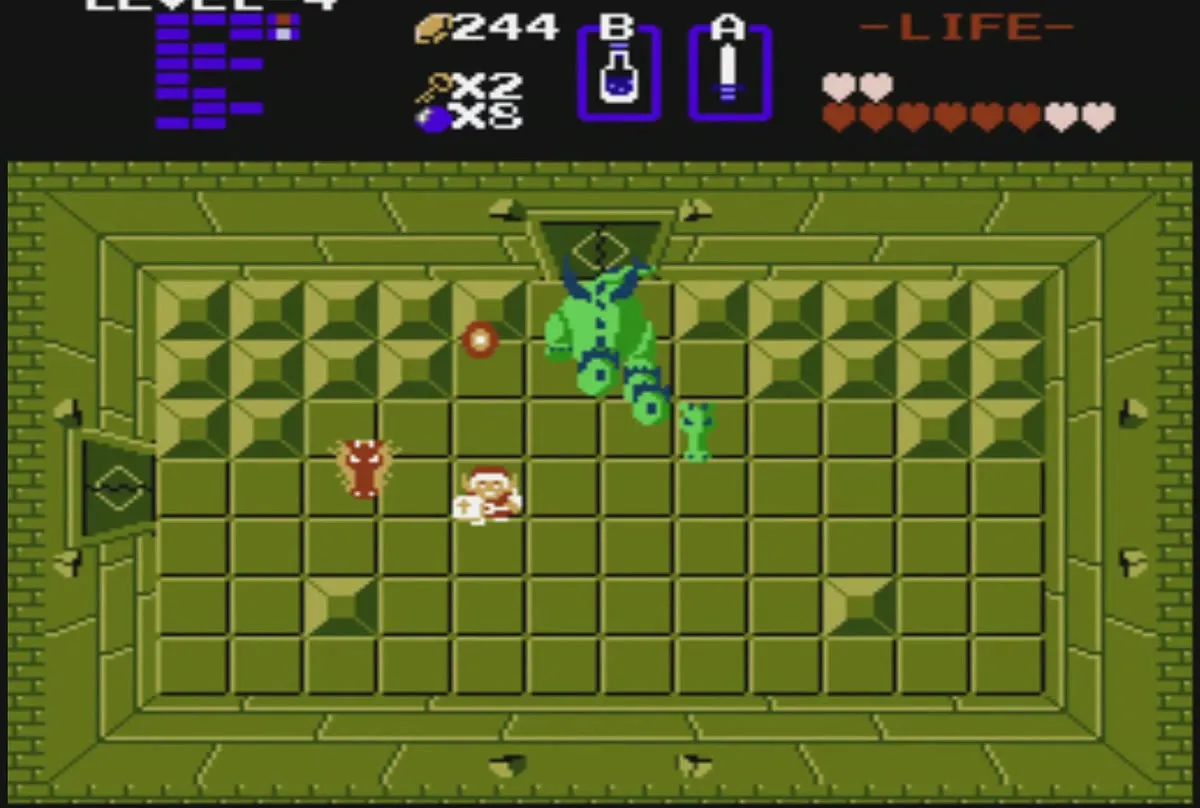
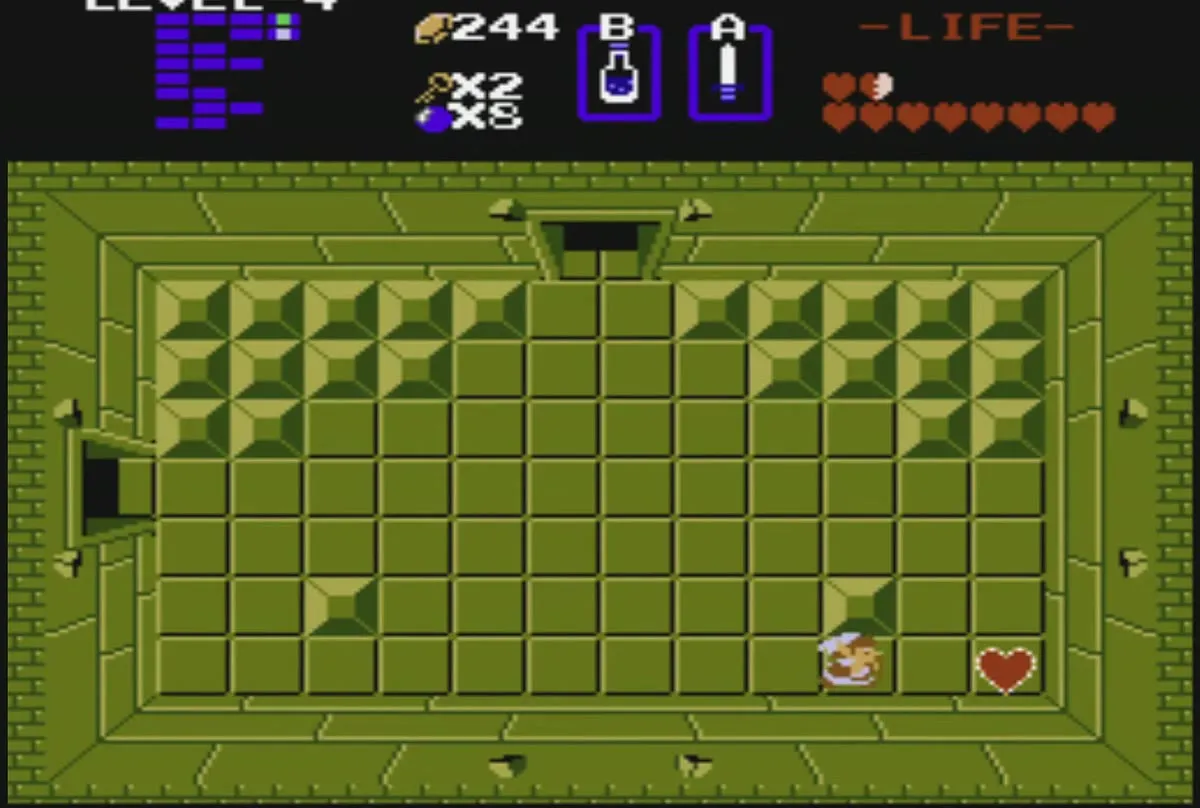
Defeat both heads to finish Gleeok. The boss leaves a Heart Container in the lower-right corner of the room. Walk to the corner and collect it. Your maximum health rises by one heart, from ten to eleven, and you will see the extra heart on the top row of the life meter.
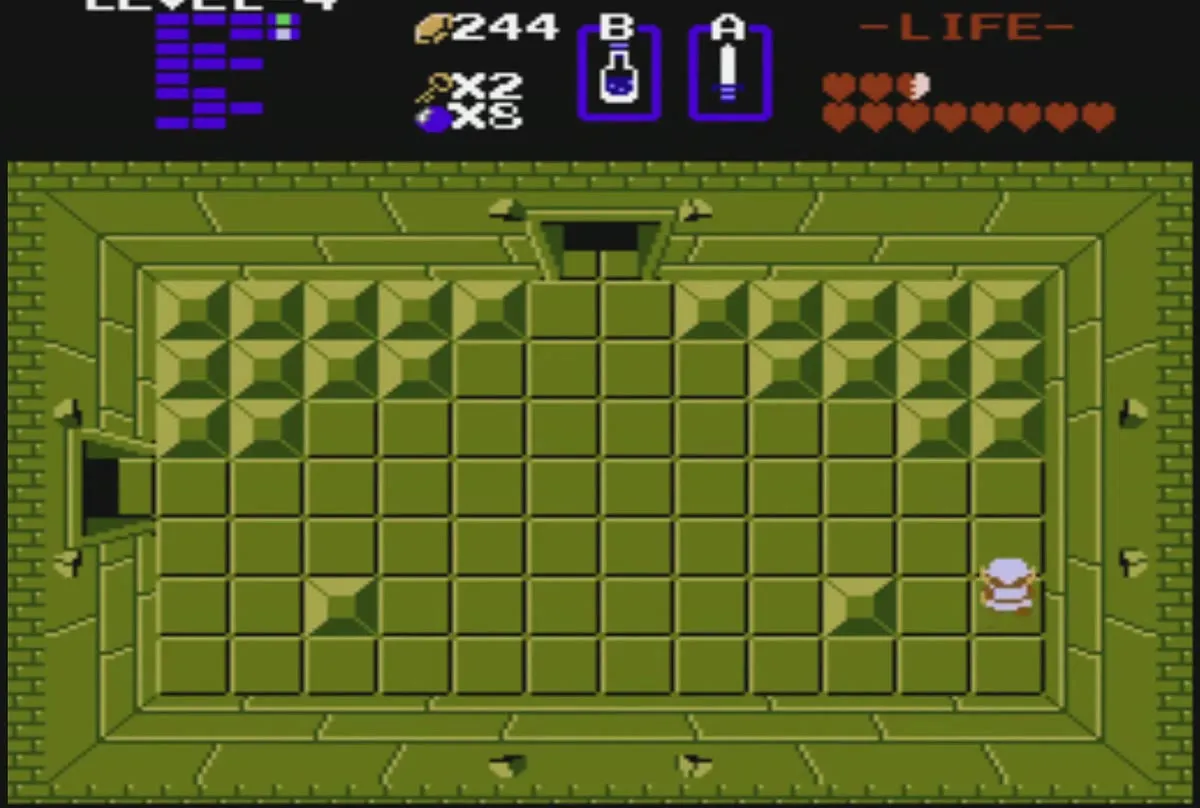
Leave by the door at the top of the boss room into the room above and walk to its centre to collect the fourth Triforce of Wisdom piece. The piece is the reward for beating Gleeok, and the blocked door opens once the boss is gone.
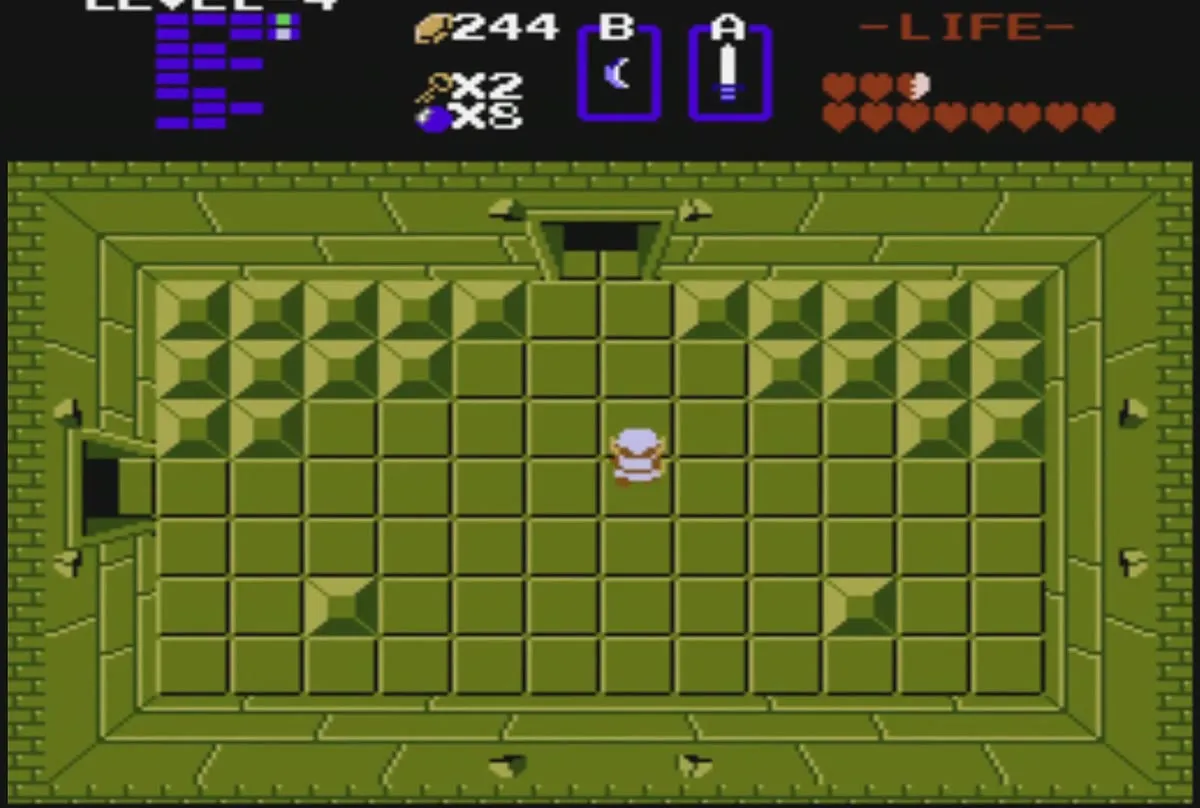
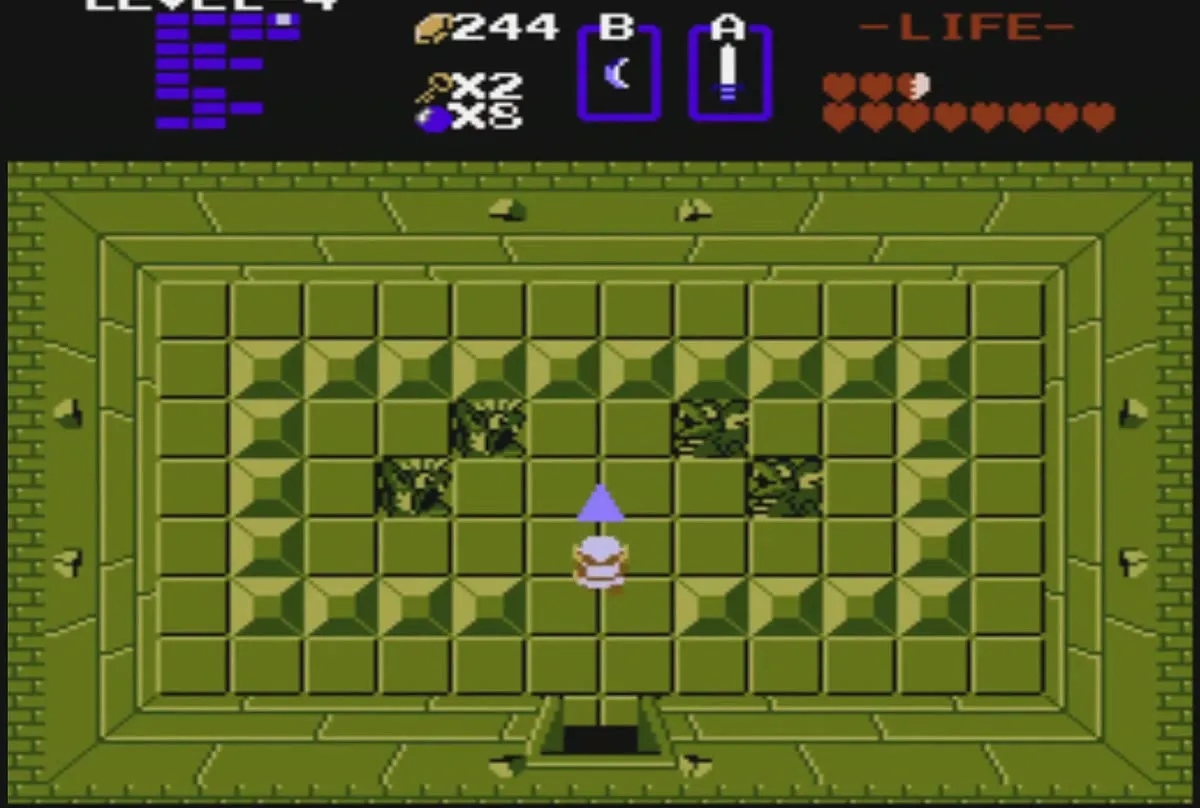
Taking the Triforce piece carries you straight out of the dungeon, to the cave between the statues. Cross the island to the purple landing stair at the bottom. Level 4 is now complete. Ride the Raft back to the dock at F6. With the Stepladder in hand, walk back to the east coast at P6, to the wooden dock with the red heart, lay the Stepladder across the gap and take that Heart Container, which brings you to twelve hearts. The next dungeon lies farther along the route.
Chapter checklist
| Type | Name | Where |
|---|---|---|
 Heart Container | Gleeok reward | lower-right corner of the boss room |
| Triforce piece | Triforce of Wisdom, fourth piece | centre of the boss room, after Gleeok dies |
| Key item |  Stepladder | underground passage behind the block in the Zol and Like Like room |
| Dungeon item | Map | room past the gap you cross with the Stepladder |
| Dungeon item |  Compass | dark room just above the entry room |
| Small keys | Several on the floor | entry room, dark rooms, and past the old man’s hint |
| Old man cave | Heart or potion (one choice) | island cave at P3, reached by Raft from the dock at P4 |
| Secret | Hidden rupee room | bomb a wall in the nearby rooms |
