






Tri Force Heroes 100% Completion Walkthrough8 chapters
- Hytopia and the WoodlandsMeet King Tuft, then clear Deku Forest, Buzz Blob Cave, Moblin Base and Forest Temple.
- RiversideSecret Fortress, Abyss of Agony, Cove of Transition and the Water Temple, with Water Rod and Gripshot puzzles.
- VolcanoBlazing Trail, Hinox Mine, Den of Flames and Fire Temple, with every stage, the Hinox Brothers and Moldorm.
- Ice CavernFrozen Plateau, Snowball Ravine, Silver Shrine and the Ice Temple, with the Freezlord and Blizzagia fights.
- FortressSealed Gateway, Bomb Storage, Training Ground and The Lady’s Lair, with every puzzle, chest and boss.
- The DunesInfinity Dunes, Stone Corridors, Gibdo Mausoleum and Desert Temple, with Vulture Vizier and Stalchampion tips.
- The RuinsIllusory Mansion, Palace Noir, Lone Labyrinth and Grim Temple, with Grim Repoe and Prismantus.
- Sky RealmFloating Garden, Deception Castle, Dragon Citadel and Sky Temple, with Gigaleon, Lady Maud and the ending.
| Levels | Floating Garden, Deception Castle, Dragon Citadel, Sky Temple |
|---|---|
| Items used | Bow, Bombs, Gripshot, Gust Jar, Boomerang, Magic Hammer, Water Rod; all eight items in the Sky Temple (Fire Gloves included) |
| Boss | Gigaleon (Level 2 mini-boss), Lady Maud (Level 4 final boss) |
| Unlocks | The ending (the Lady’s Ensemble is finished with the Parasol), Princess Styla’s  Cursed Tights, the Area’s Drablands Challenges |
The Sky Realm is the eighth and last Area of the Drablands: a castle built on floating islands high above the clouds. It borrows tricks from every earlier Area, so expect wind that shoves you off ledges, Cuccos you can carry to glide across gaps, tilting platforms, coloured tiles and gold-plated Sky Soldiers. It introduces no new item and mixes the ones you already know. Clear the Sky Temple and you win Lady Maud’s last Material, which is all Madame Couture needs to finish the Lady’s Ensemble and end the story.

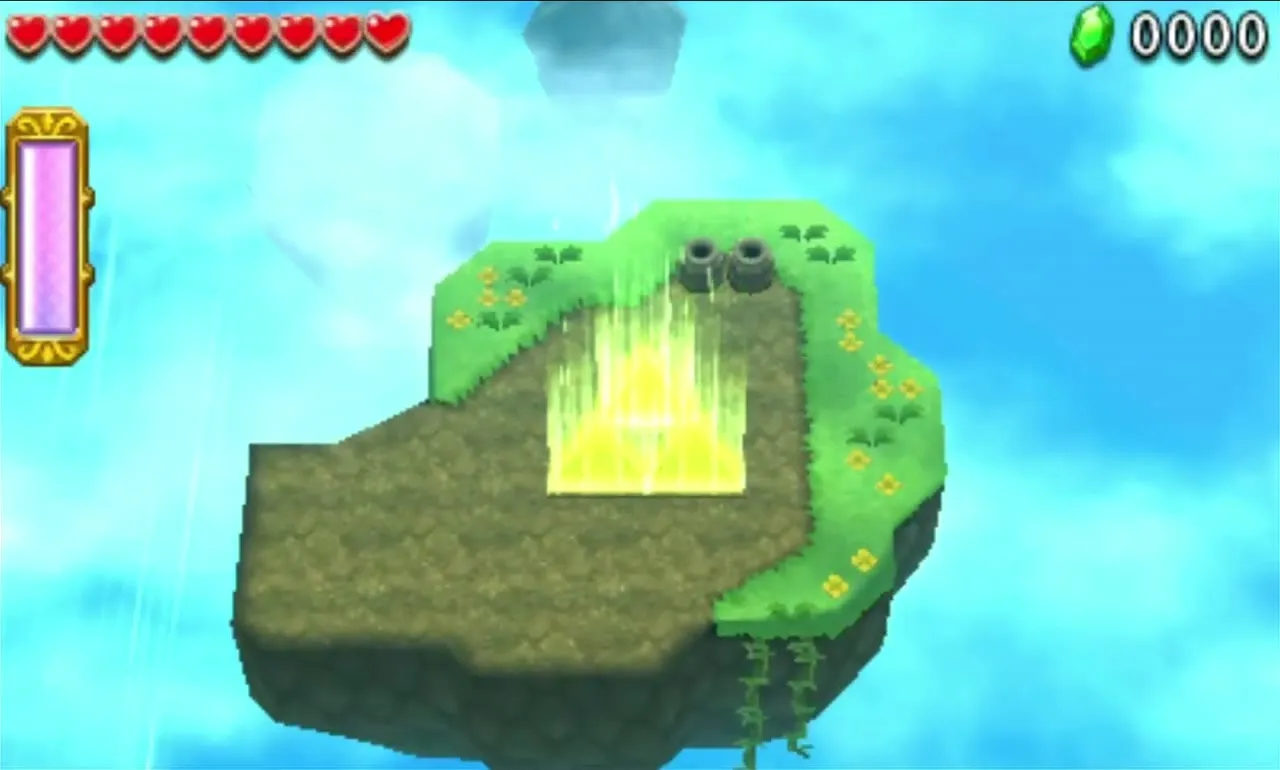
Table of Contents
Floating Garden
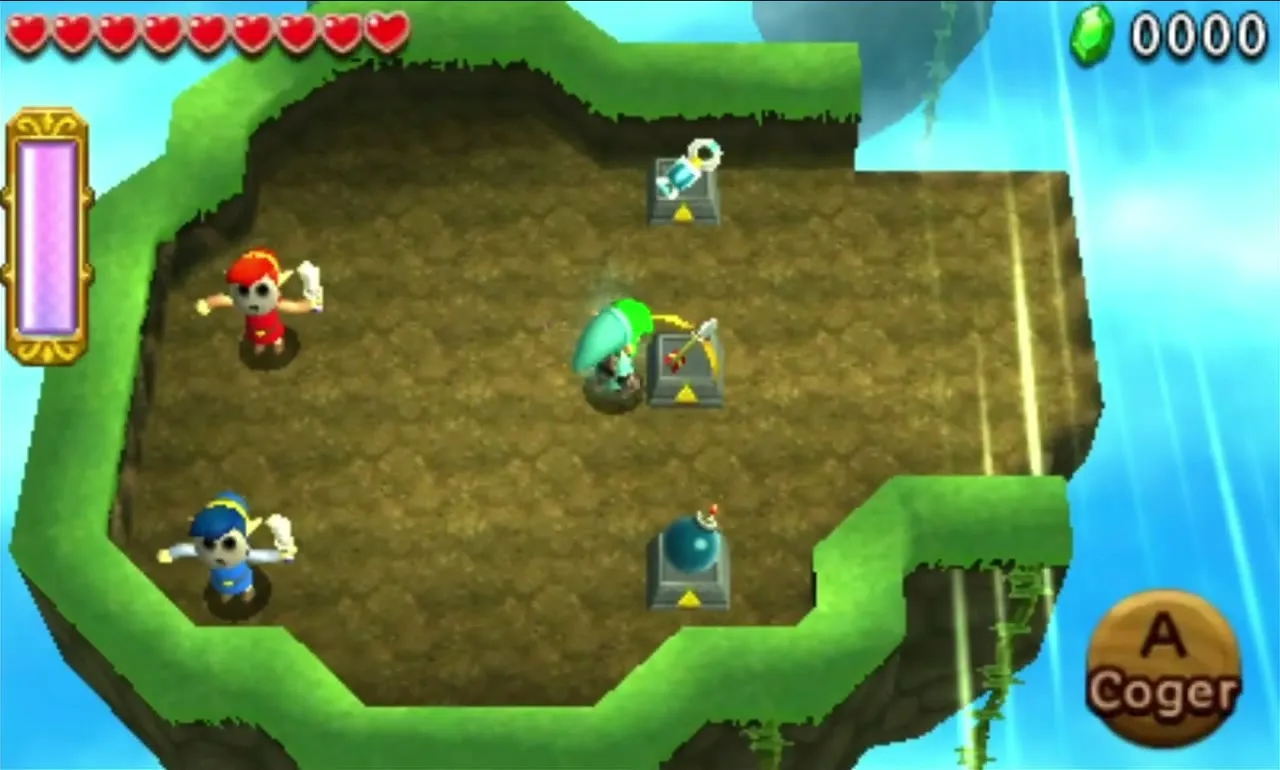
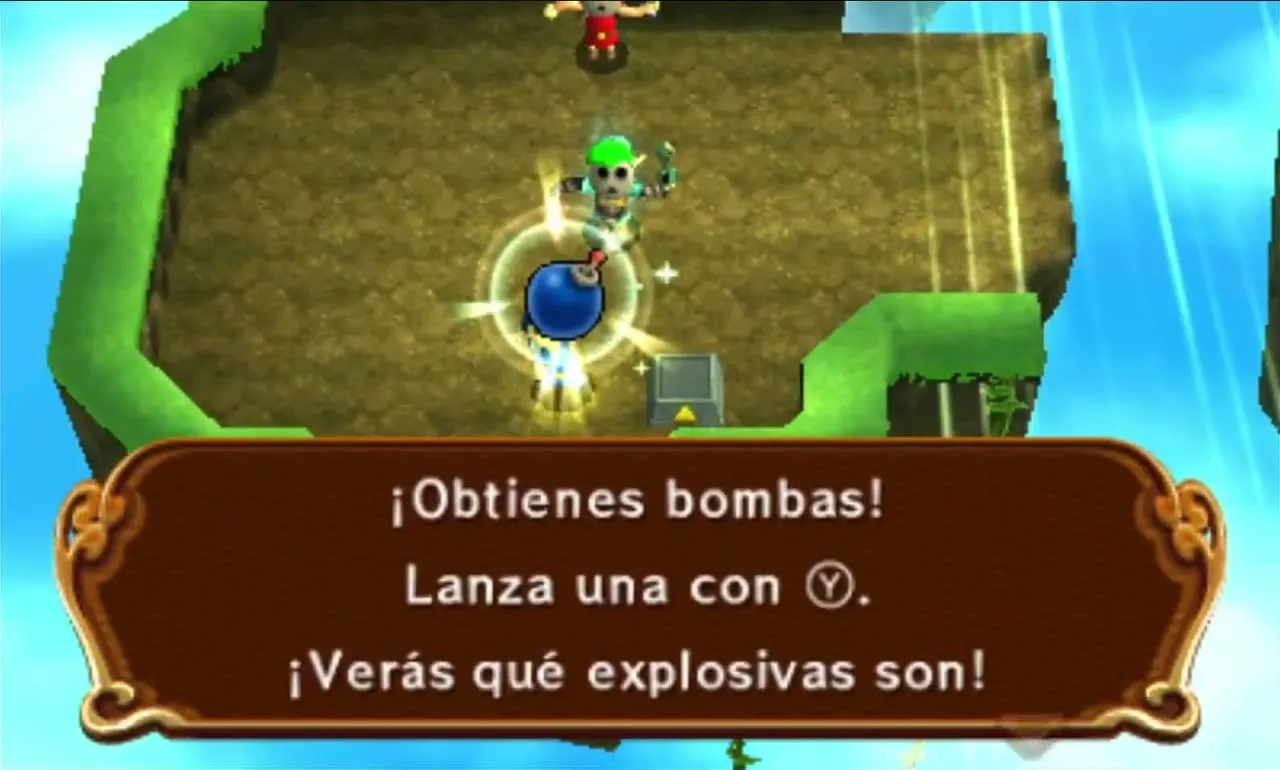
The first Level hands out the Bow, Bombs and the Gripshot, one each, so decide who holds what before you step on the starting pedestals. Wind blows across most gaps and will push you, your Arrows and your thrown Bombs sideways. Cuccos are your friends here: pick one up, jump off an edge and you float a long way instead of dropping. If one flaps away, grab a spare.
Floating Garden Stage 1
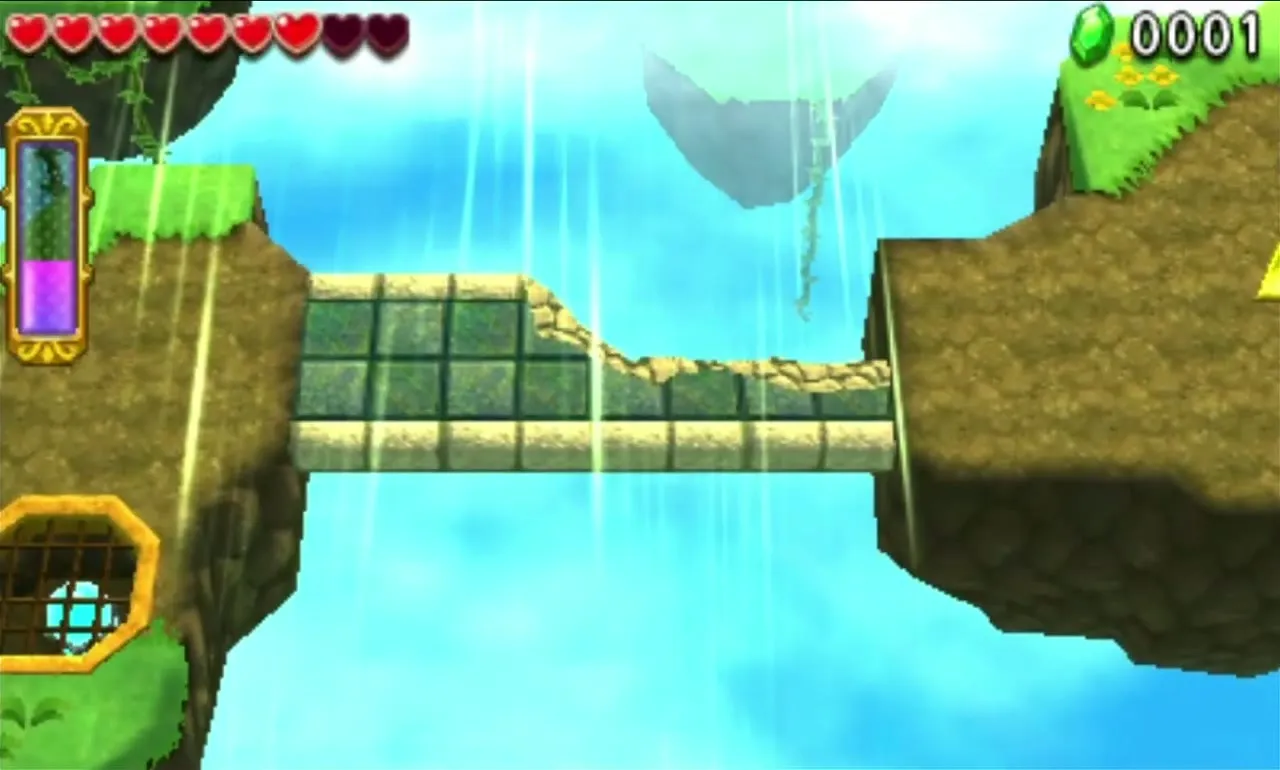
Take the Bow, a Bomb and the Gripshot, then look at the first gap, where a strong wind blows across the way. Two Shock Switches sit on the far side. The Link with the Bow has to aim into the wind, a little off the target, so the Arrows curve onto both switches and unfold the bridge. In single player, switch to the Doppel holding the Bow for this shot.

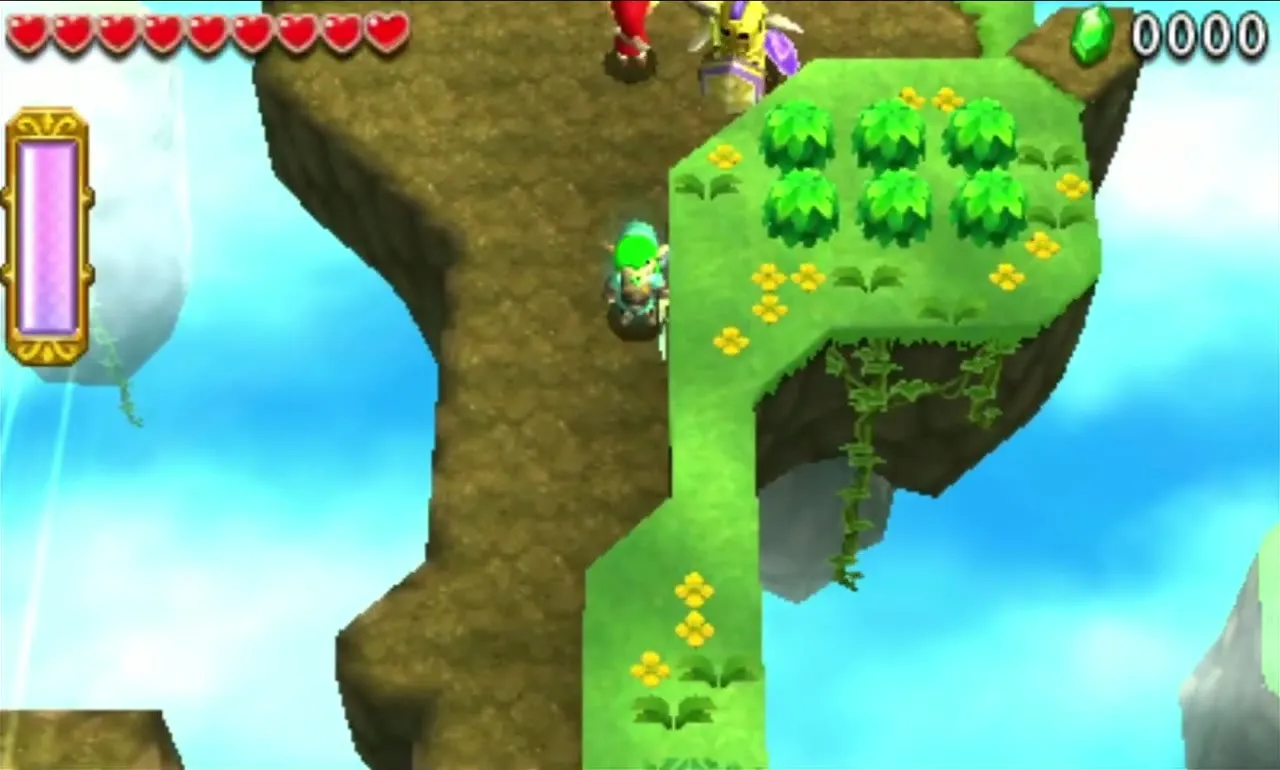
On the greener island, slash the long grass for Hearts and Rupees. Two Sky Shield Soldiers guard the way on: strike them from behind, or have the Gripshot Link yank each shield away so the Sword can reach them.
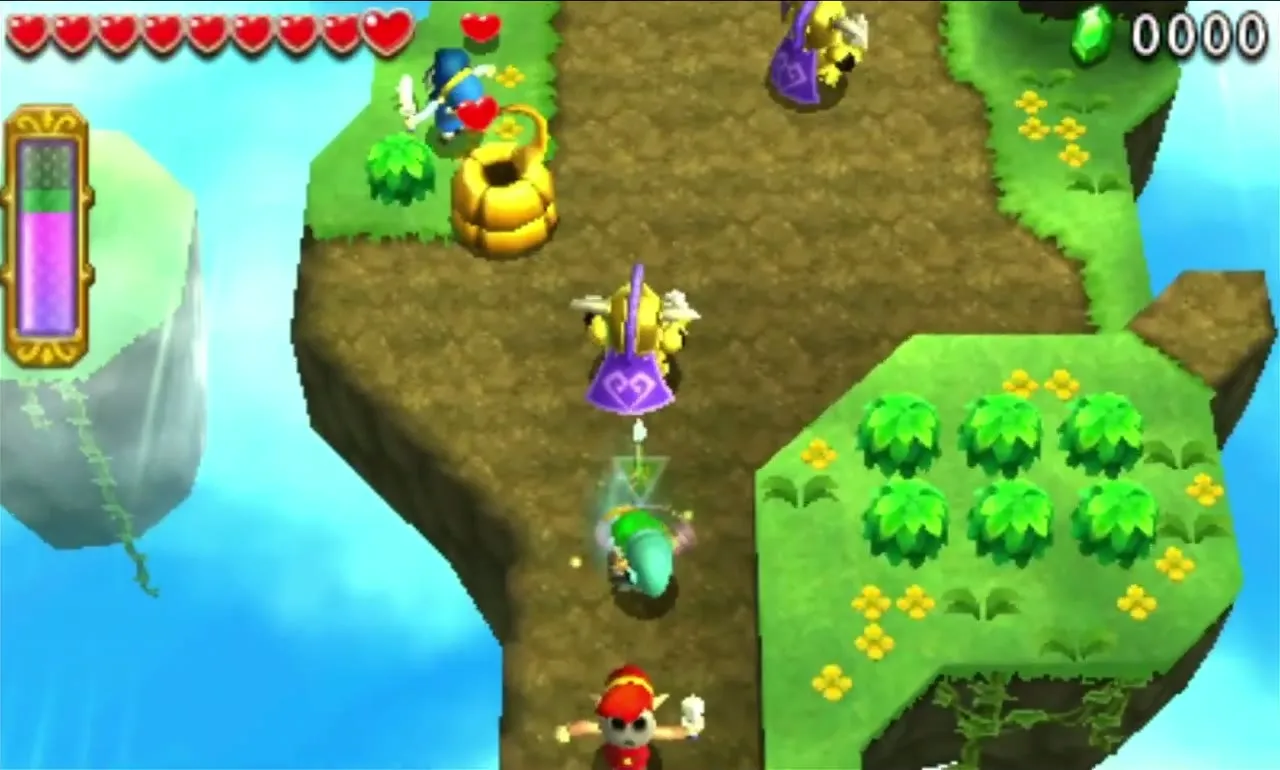
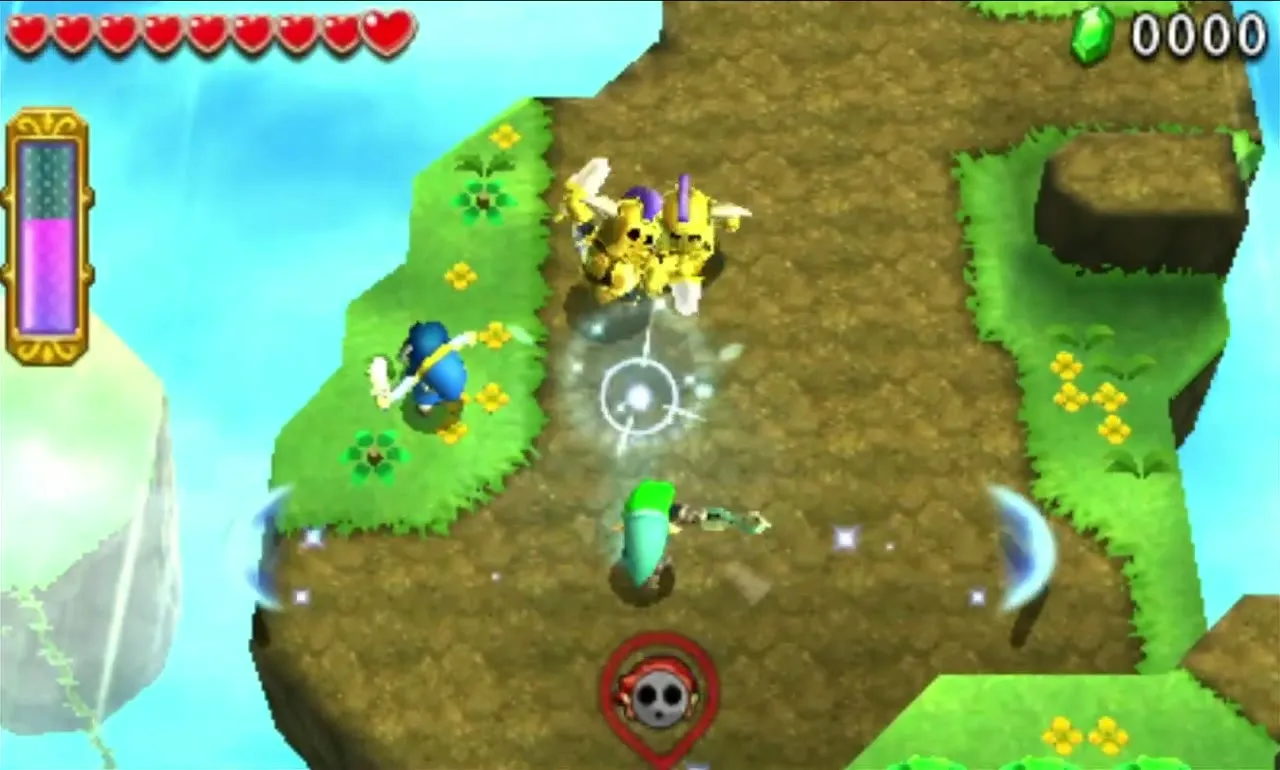
The next gap hides its Shock Switch on a ledge your Arrows cannot reach. Build a Totem so the top Link can Gripshot onto the Stake across the gap, then have another Link throw a Bomb nearby, pull it over with the Gripshot and toss it at the switch. On the third island a second switch sits under a metal grate; time a Bomb throw between wind gusts to drop it through. Cross the narrow, windswept bridge to the Triforce Gateway.

Floating Garden Stage 2
Three Cuccos wait on the starting island. Each Link holds one overhead and runs off the east edge to glide from island to island. Every little island has Pots, Green Rupees and a spare Cucco, so a Link who loses his bird can pick up another. Keep gliding until you reach the large island with ruined walls.
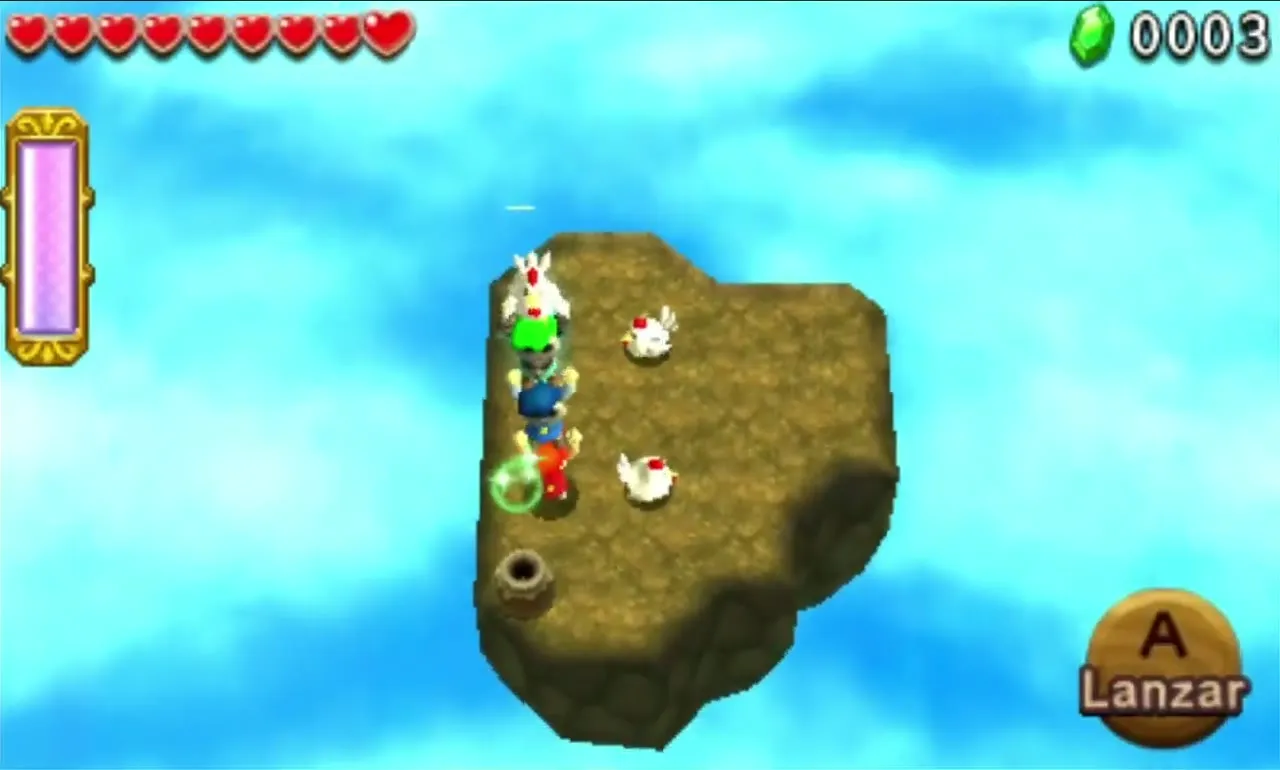
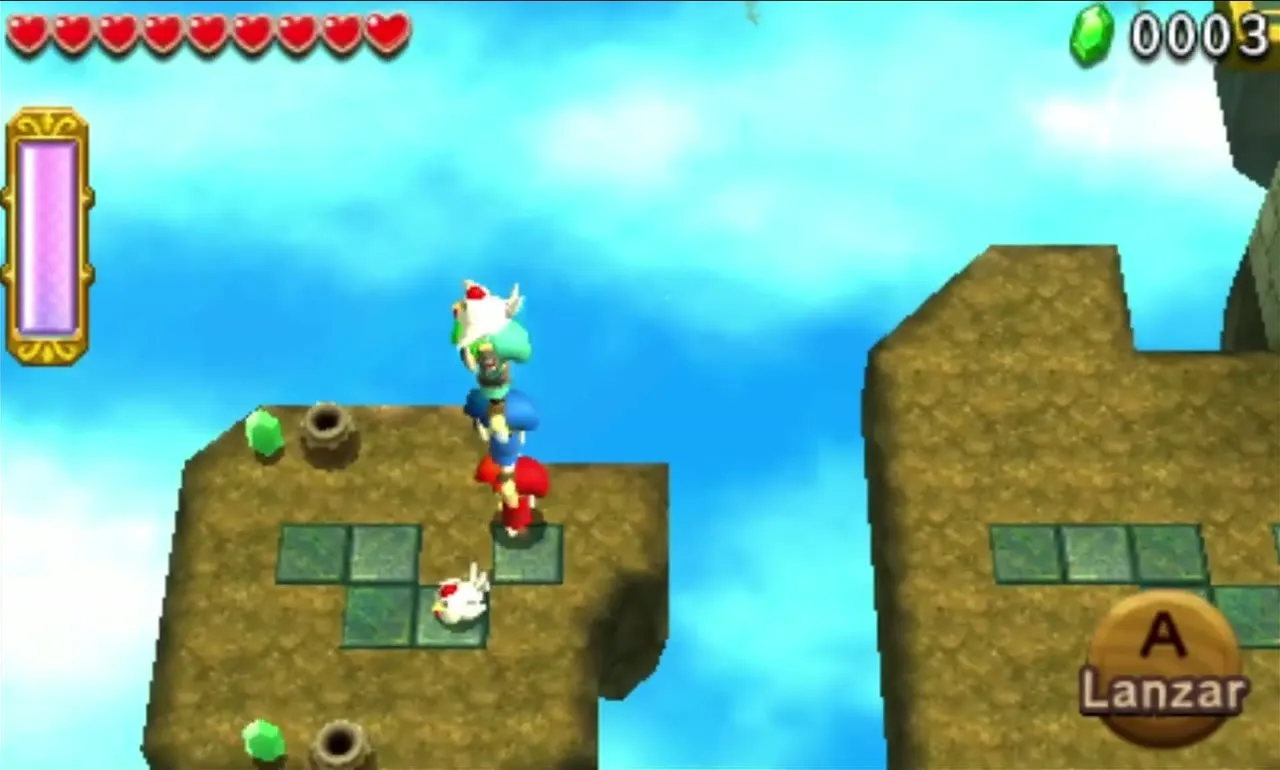
Head for the castle courtyard in the north, either gliding in directly or taking the nearby lift to the ruins and gliding from there. A tall pillar holds a Treasure Chest with a Silver Rupee (100 Rupees), so aim a Cucco at it. When every Link has landed, a pack of Helmasaurs charges out. Hit each one from behind, or Gripshot its Iron Mask away first. The castle doors then open onto the Triforce Gateway, and a Totem reaches the Hearts and Rupees on the courtyard ledges.


Floating Garden Stage 3
A narrow walkway runs south, and the wind pushes you toward the edge. Carry the Bow Link on top of the Totem so he can shoot the Shock Switch beside the path while the bottom Links hold against the current. A staircase appears that leads into a walled garden with a Squiddy for Hearts and Rupees.
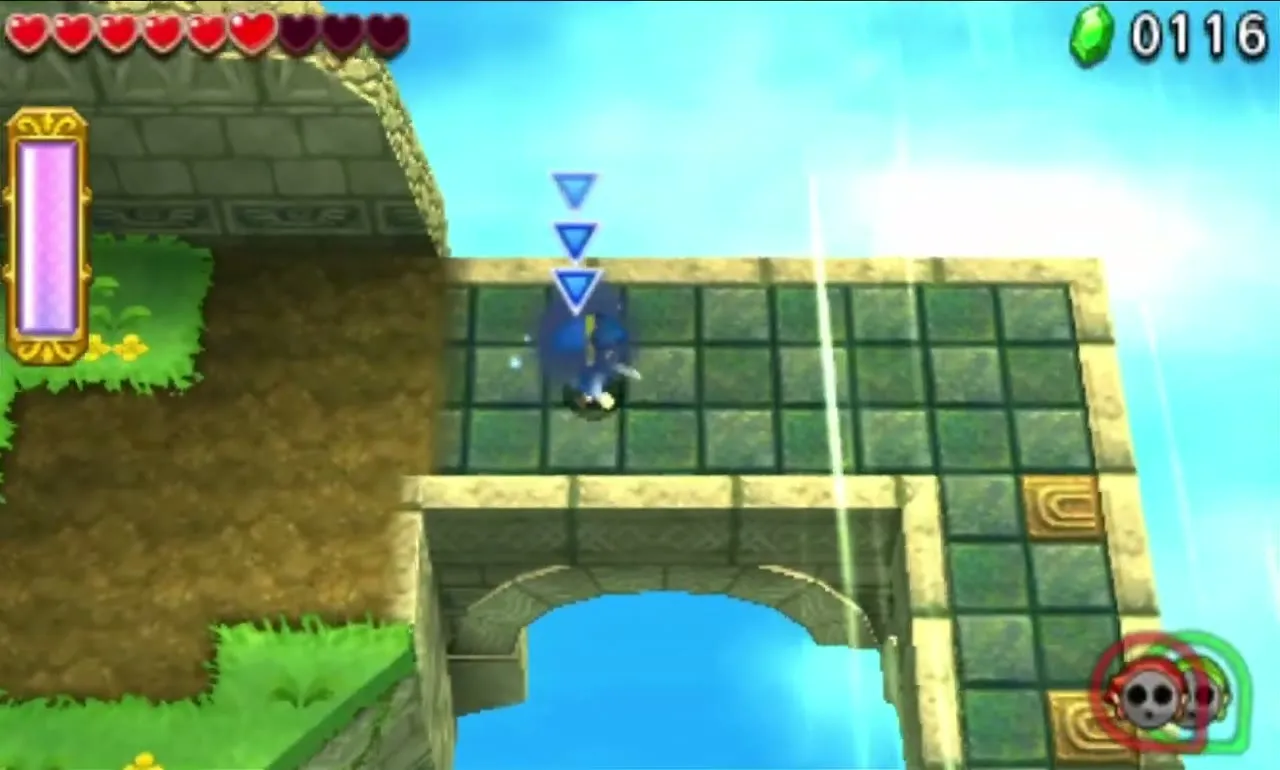
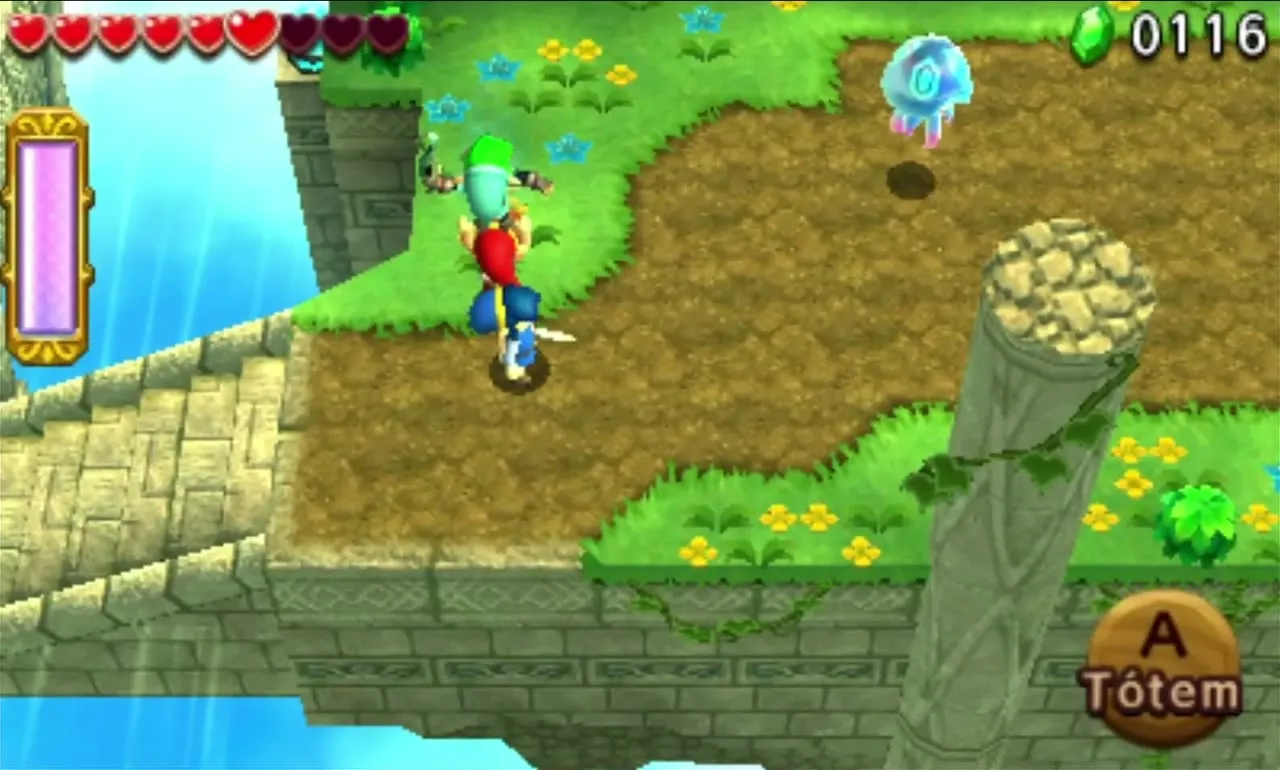

A large gap blocks the north corner. Blow open the Cracked Blocks on the ledge to the south with a Bomb, reach the two Cuccos there with a Totem, and glide so you land on the small platform that shuttles back and forth in the gap. Hit the Shock Switch on the far side to summon more floating platforms, which lets the remaining Links walk across.


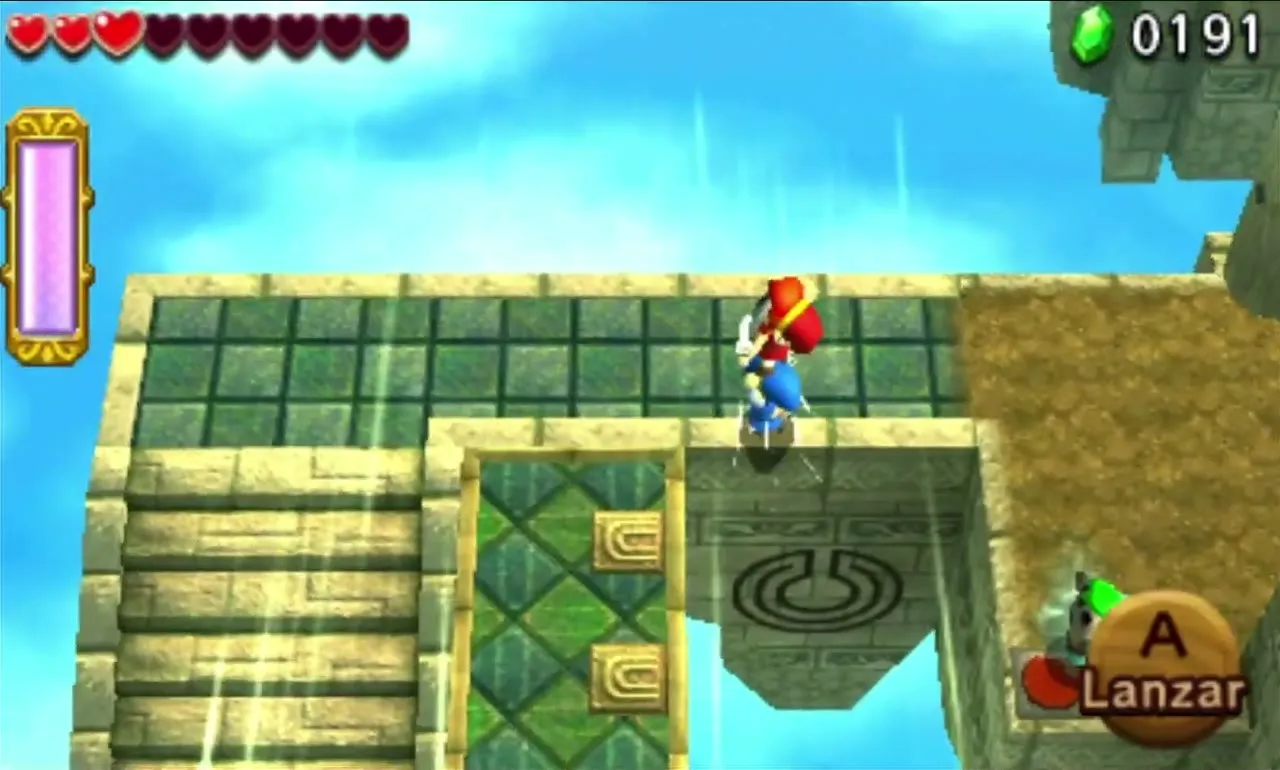
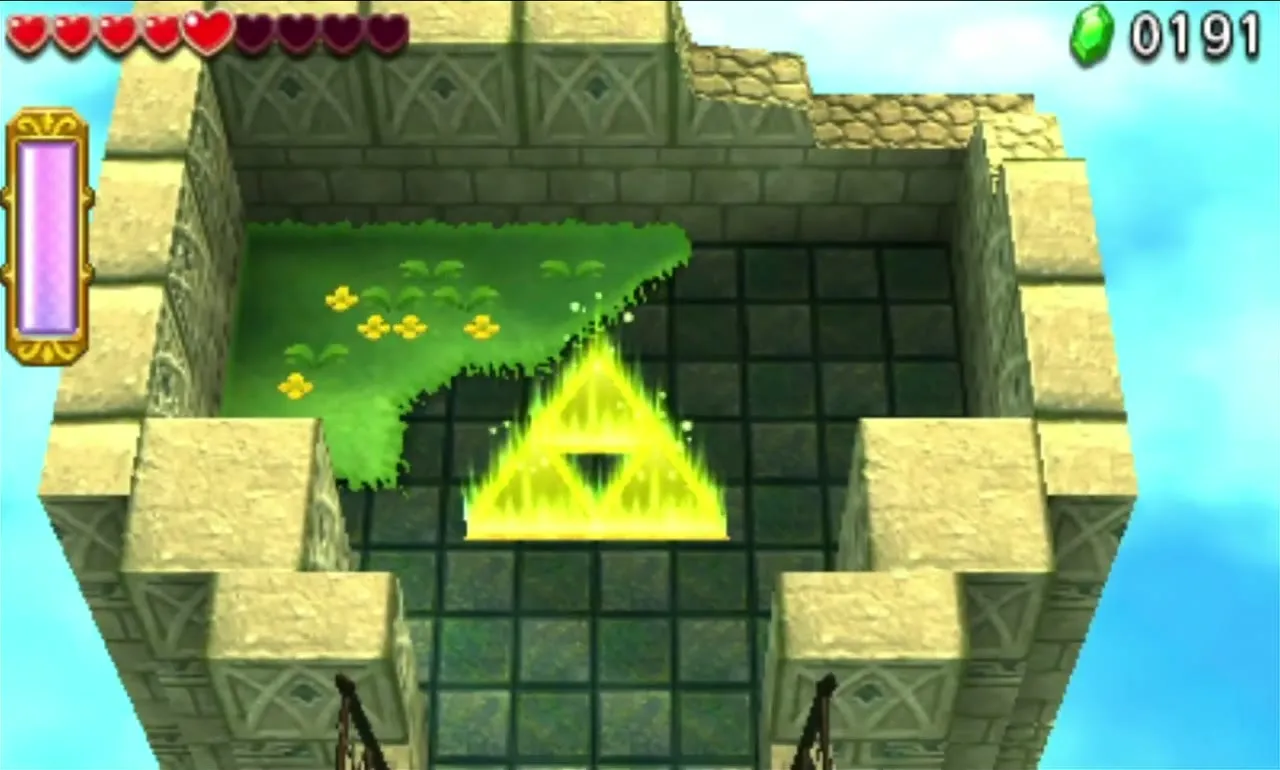
A locked door is watched by two Sky Shield Soldiers. The Key rests on a ledge behind a shield, and you need all three Links. Two of them stand on Floor Switches, one to pull the shield back and one to lift a platform, while the Gripshot Link seizes the Key as the wind tries to blow him away. Then open the door and enter the Triforce Gateway.
Floating Garden Stage 4
Walk north into the garden; the path crumbles behind you and a horde of Helmasaurs appears with two Fire Keeleons. Hit the Keeleons with an item from the top of a three-Link Totem, or throw a Link onto one of the high platforms. In the second wave the Keeleons stand two Links high and the platforms drop away, leaving pits, so stay on your feet and keep the Helmasaurs facing away from you.
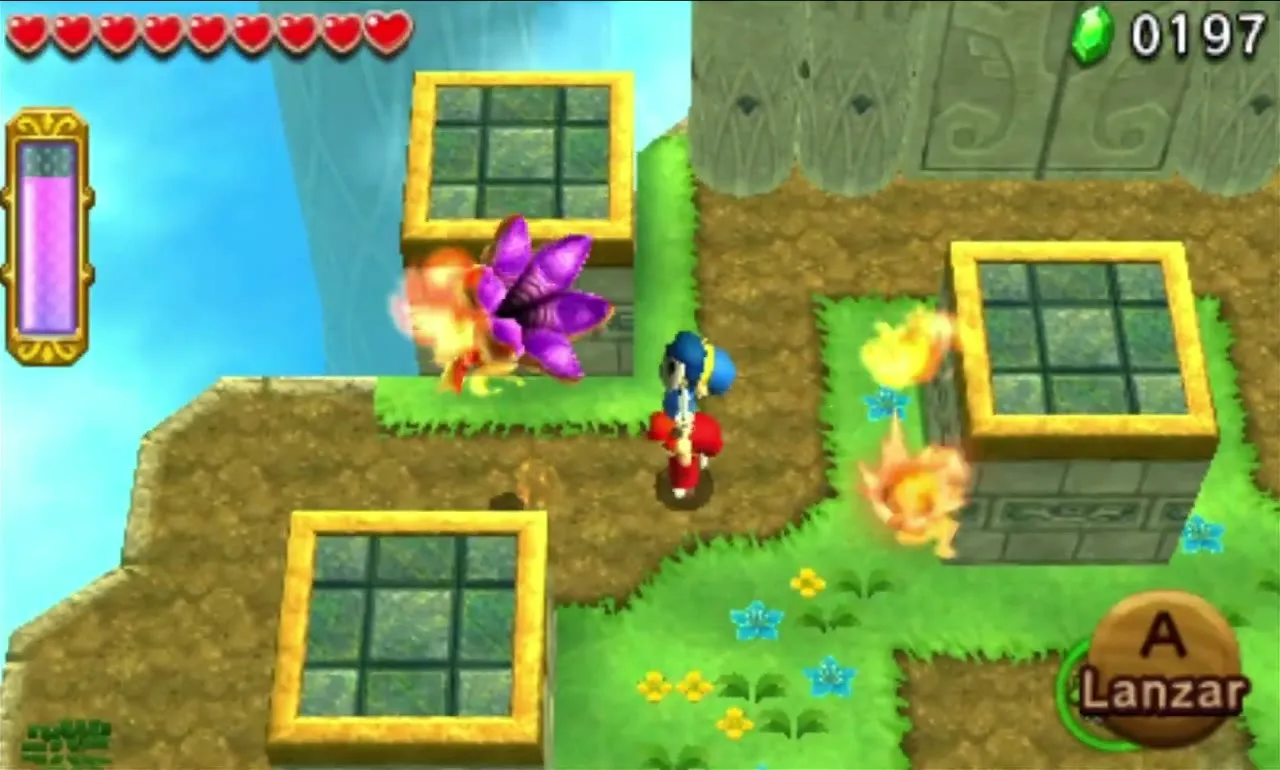

When the last enemy falls, the doors open onto the Triforce Gateway below a stone monument. Two Treasure Chests next to it hold Red Rupees, and floating platforms nearby carry more Green and Blue Rupees.
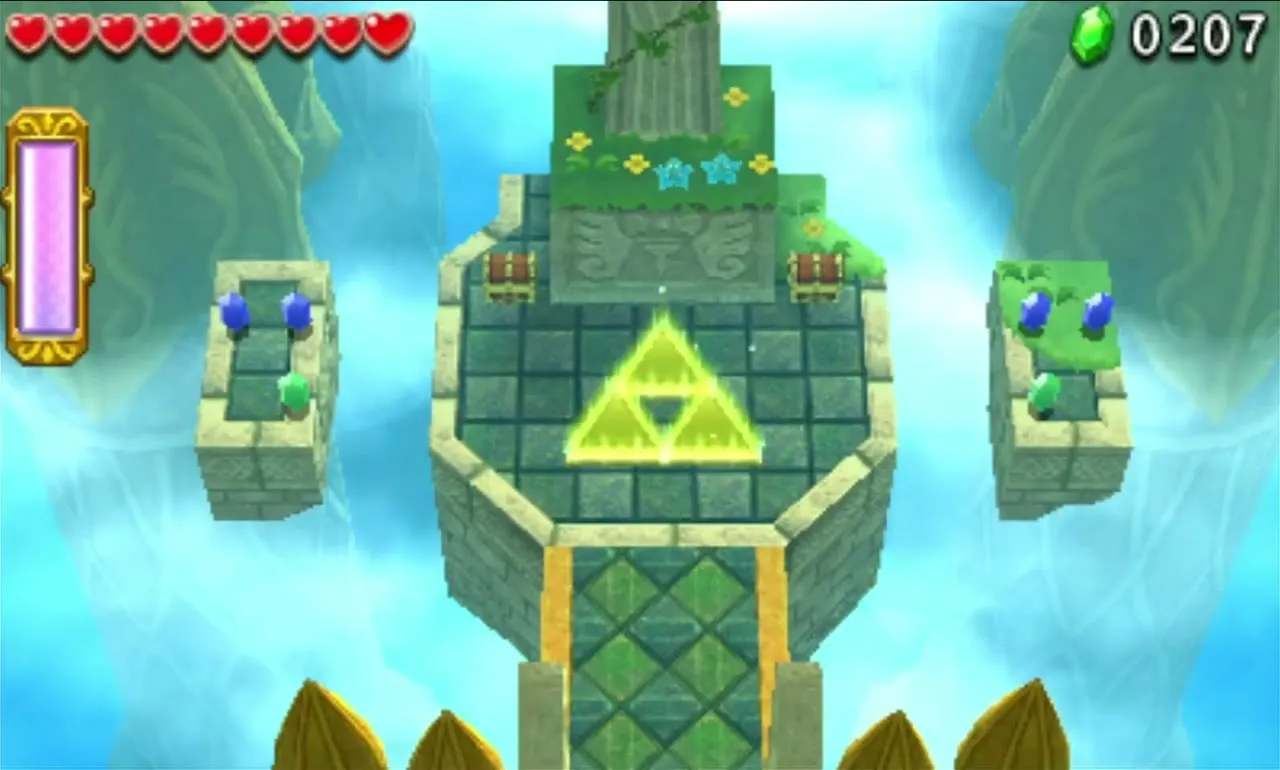
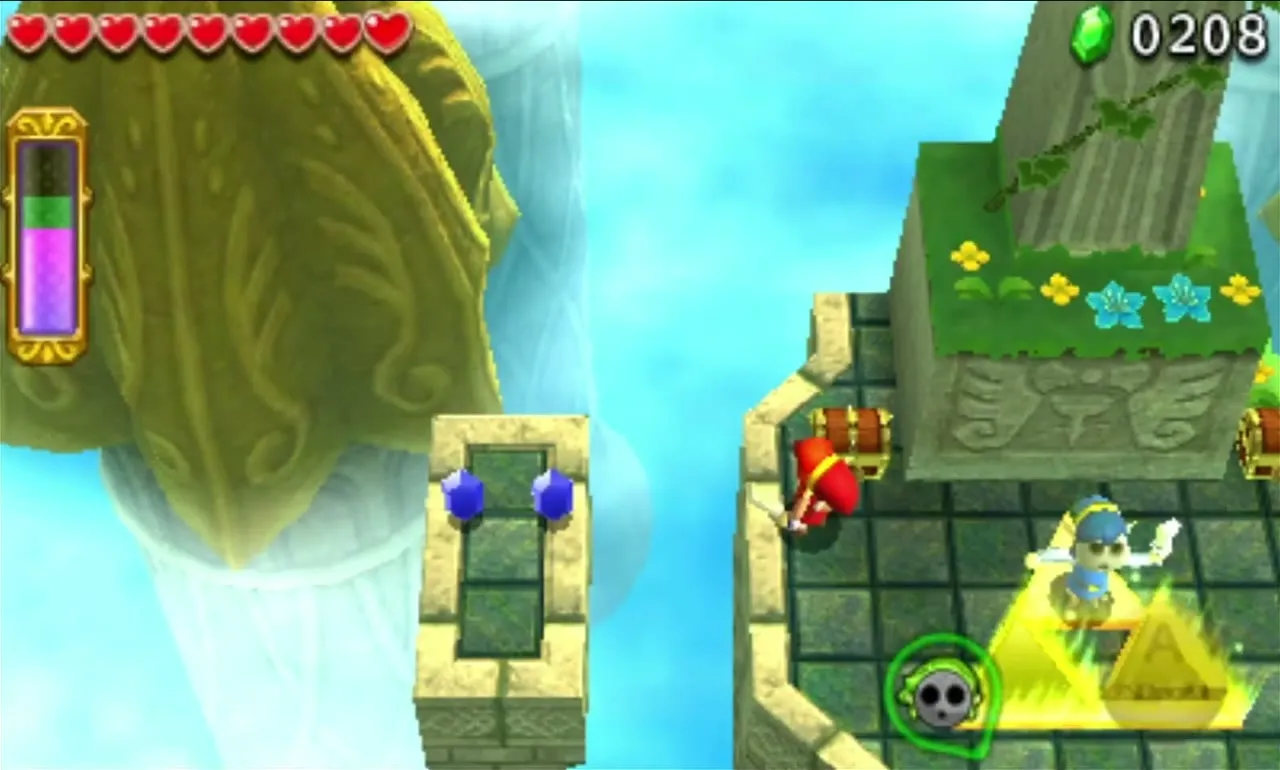

Floating Garden treasure chests
Each Link opens one of the three Treasure Chests at the end. Two hold the same Material and one holds a rarer one. A plain clear pays 2 Cucco Feathers and 1 Carmine Pearl. Only this Level and Deception Castle give Cucco Feathers, so replay them if you are short for the Materials list.
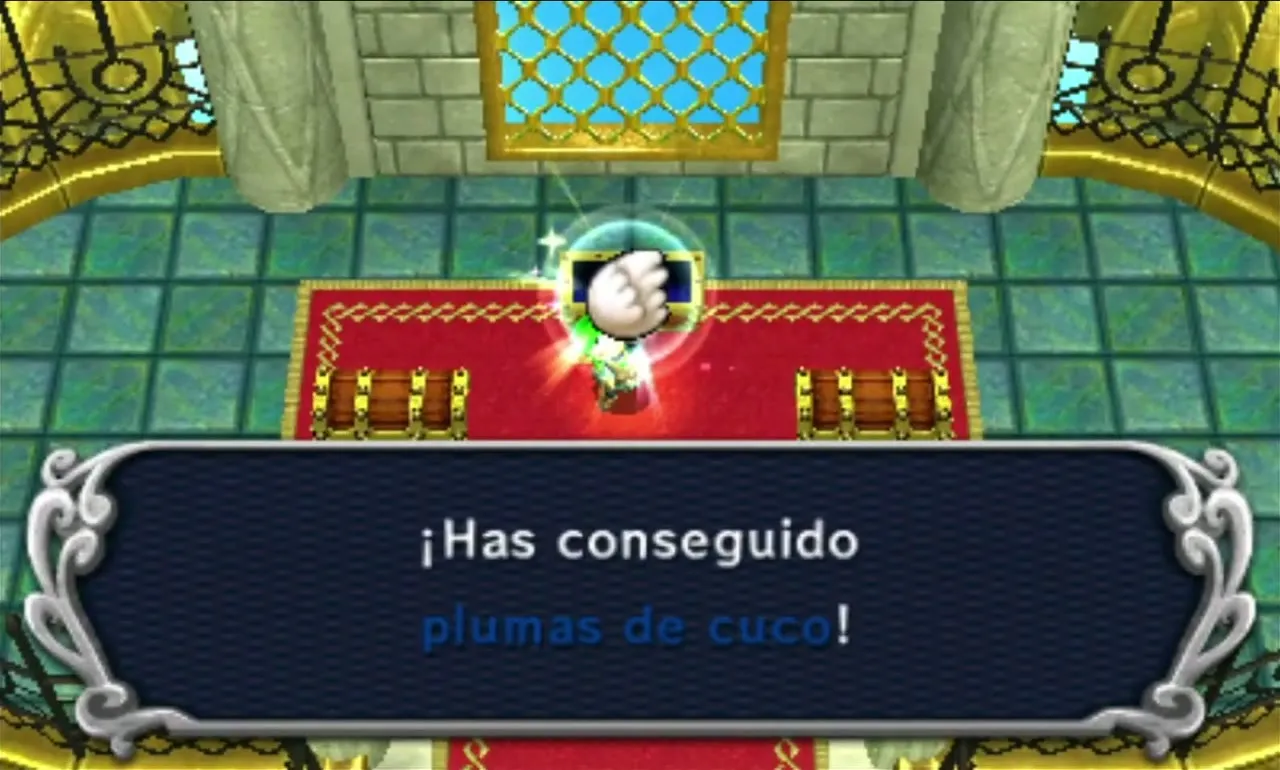
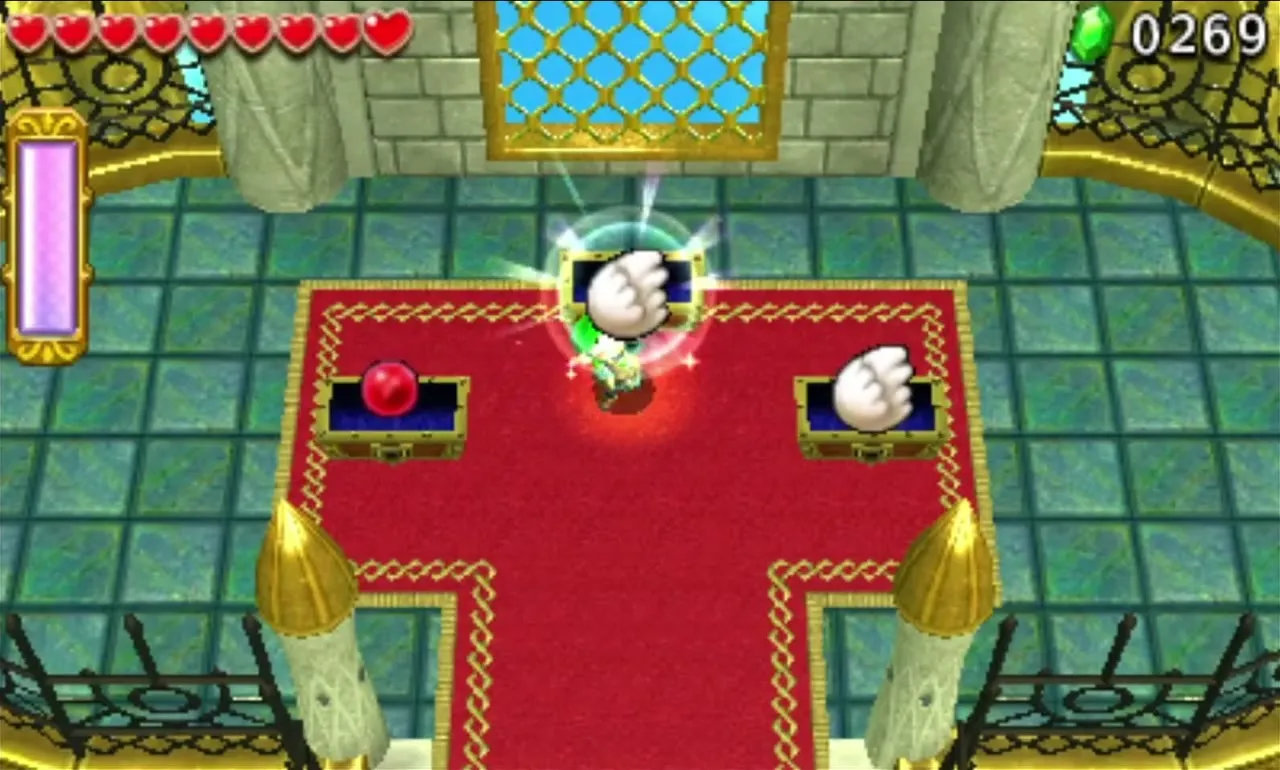
Beat Lady Maud and Floating Garden gets three Drablands Challenges: “Win without using a sword!”, “Evade the Wallmaster!” and “Don’t fall at all!”. Rewards grow with difficulty, ending with 2 Sky Dragon Tails and 1 Mock Fairy for never falling.

Deception Castle
Deception Castle gives you two Gripshots and one Gust Jar, and almost every puzzle is built around them: a Gripshot swings you across, the Gust Jar pushes your friends along. Expect fans, tilting platforms and a Gigaleon fight at the end.
Deception Castle Stage 1
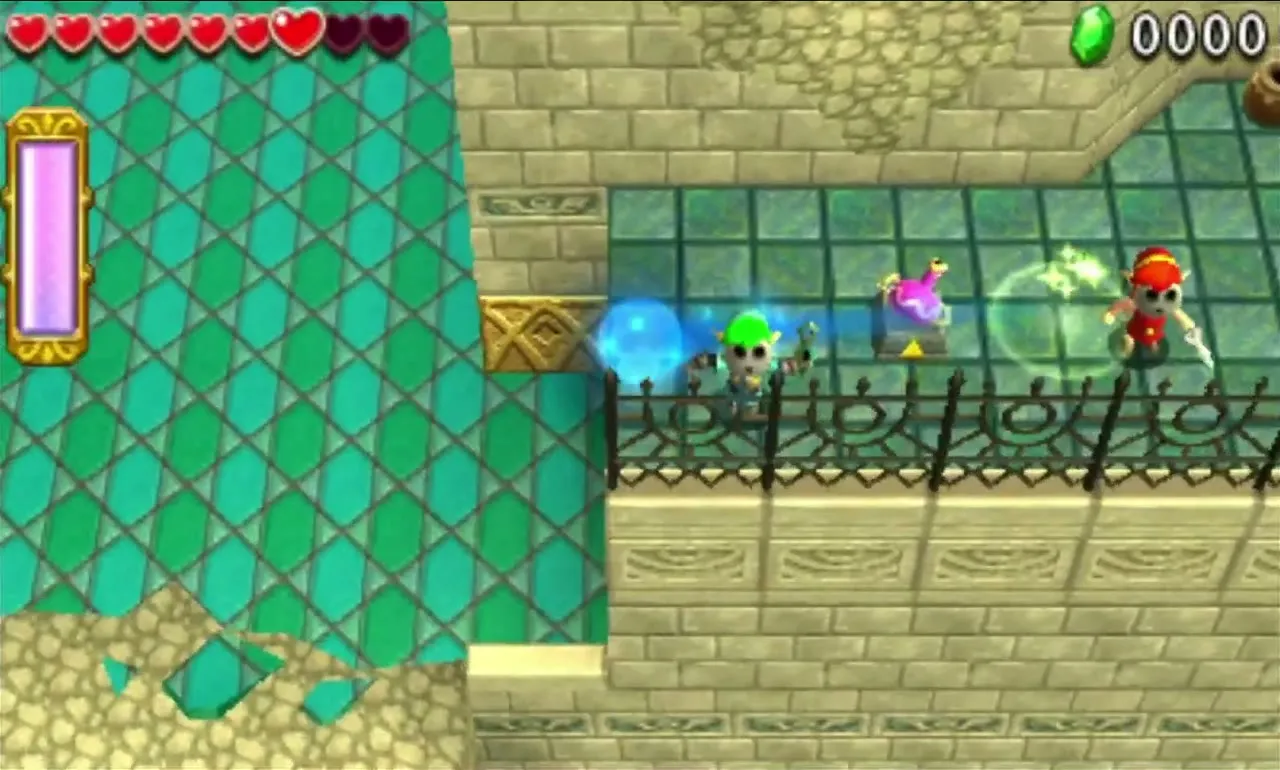
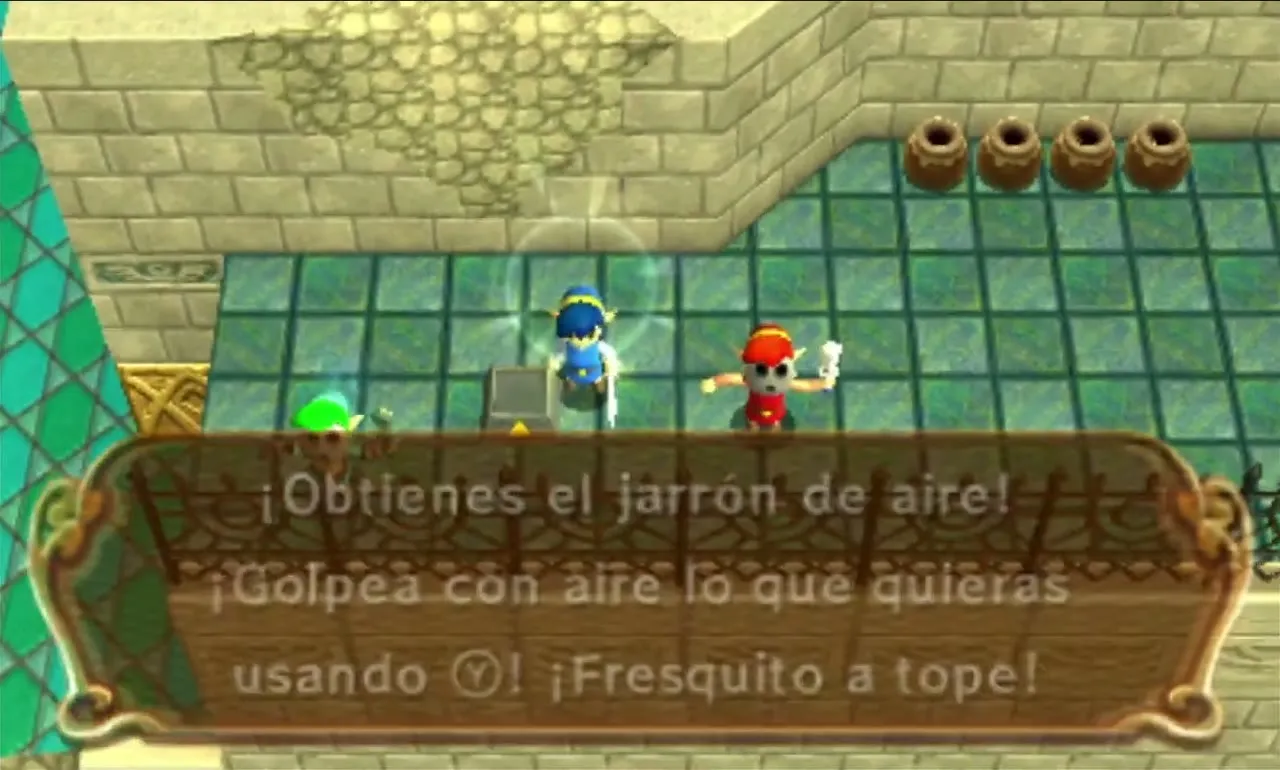
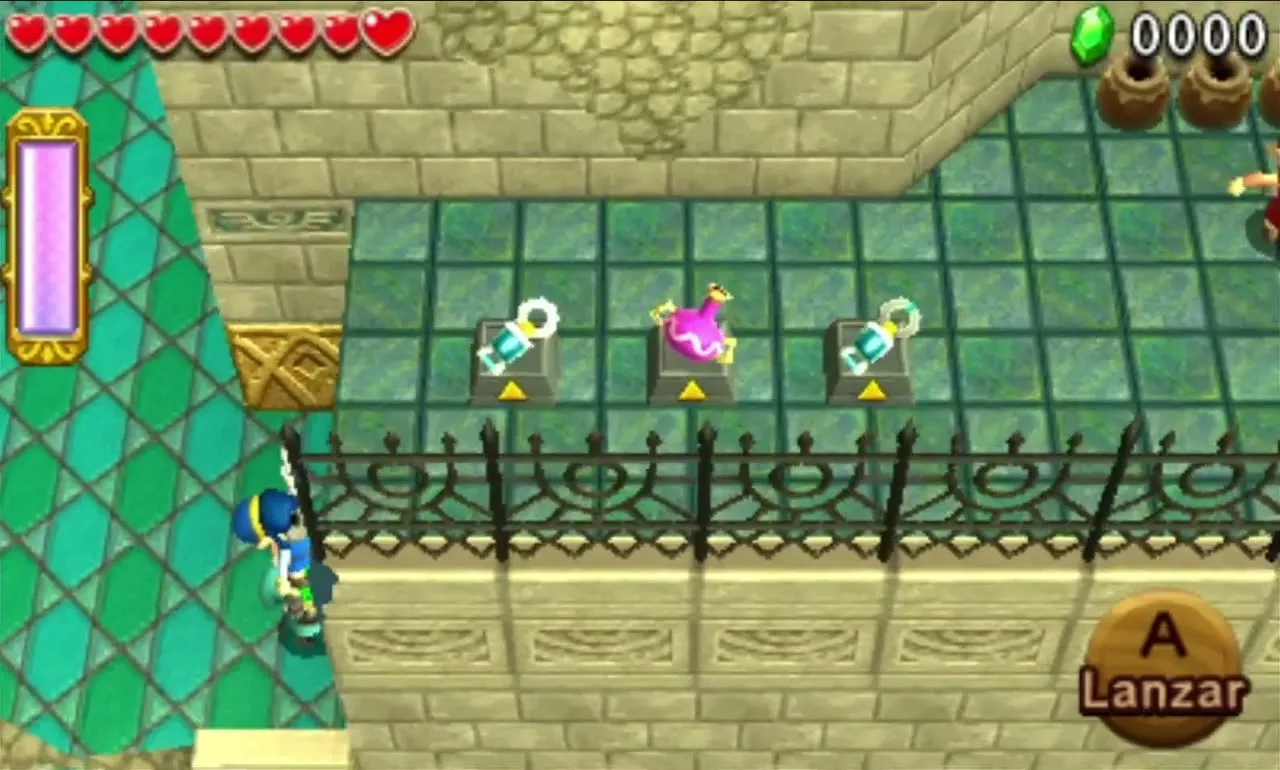
Take both Gripshots and the Gust Jar off their pedestals. As soon as you do, the Sky Spear Soldier and Sky Bomb Soldier show up beneath you, each riding a Totem Armos, and strong winds blast through three windows. Stand firm and defeat both soldiers to close the windows and open the northeast door.
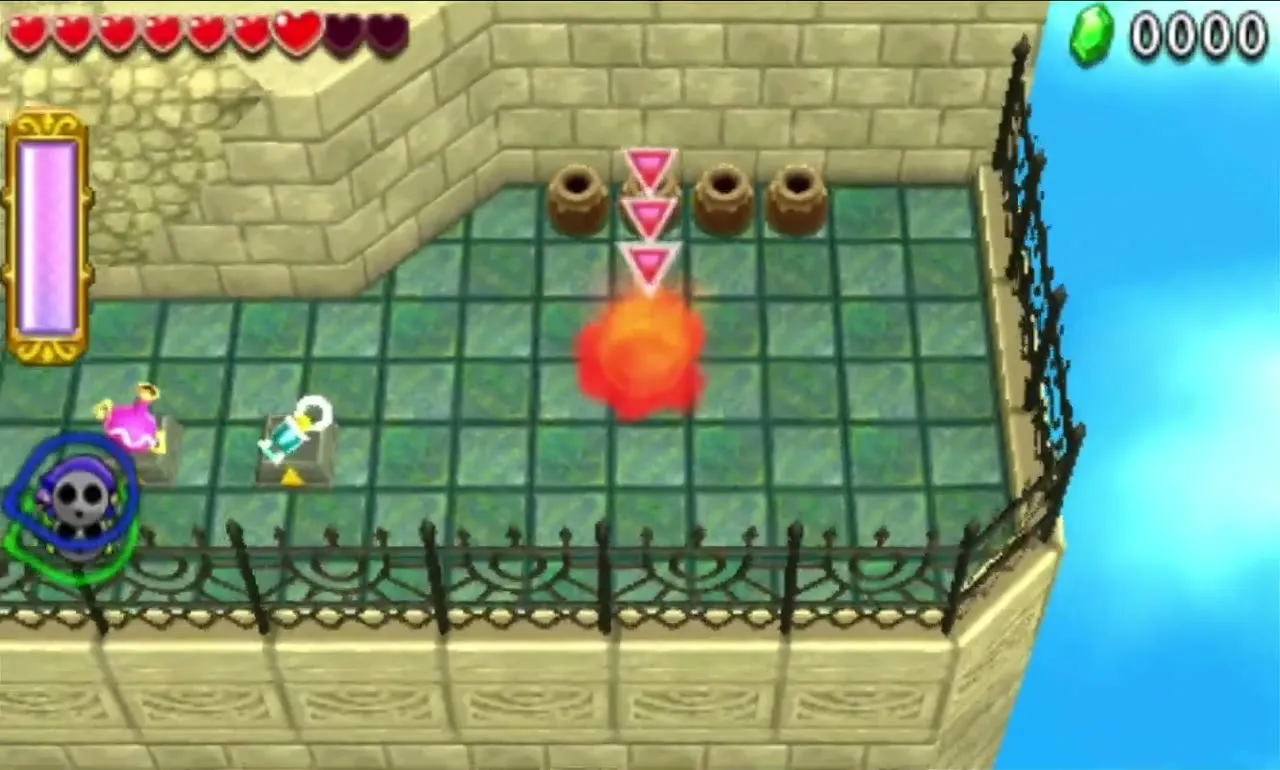
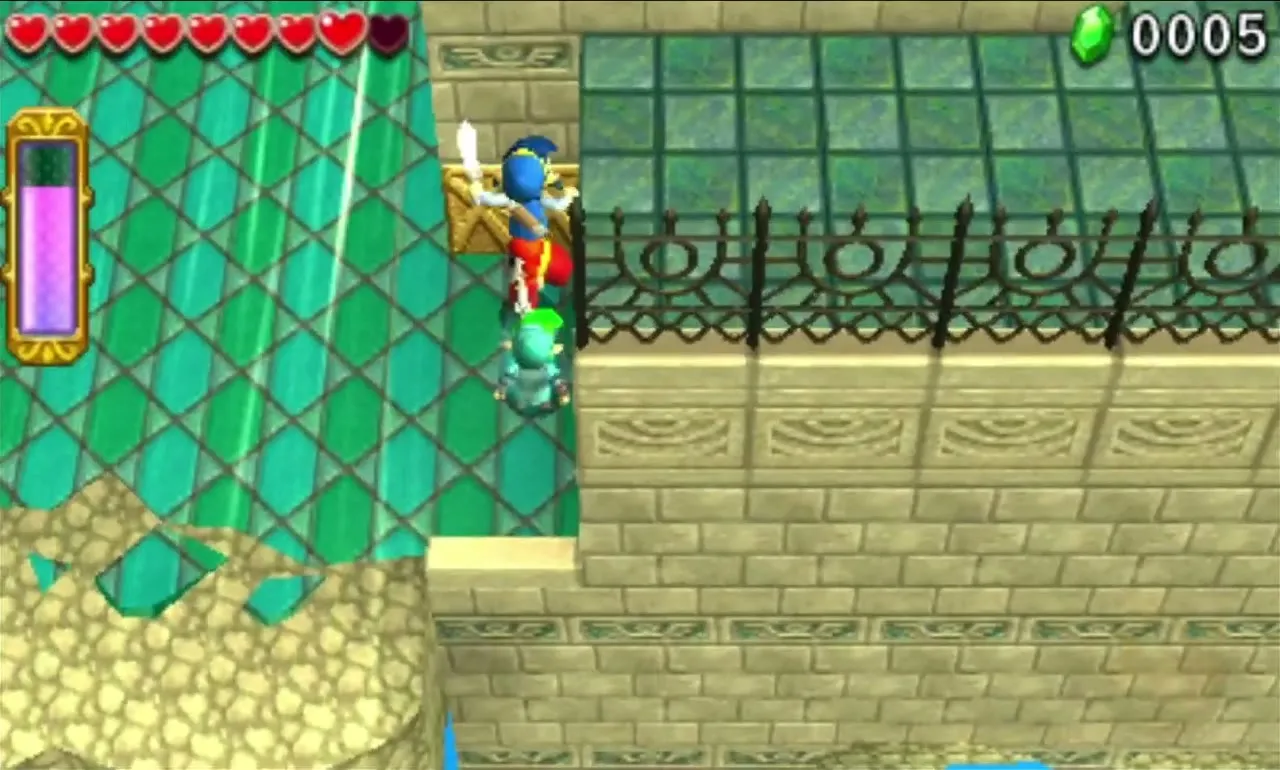
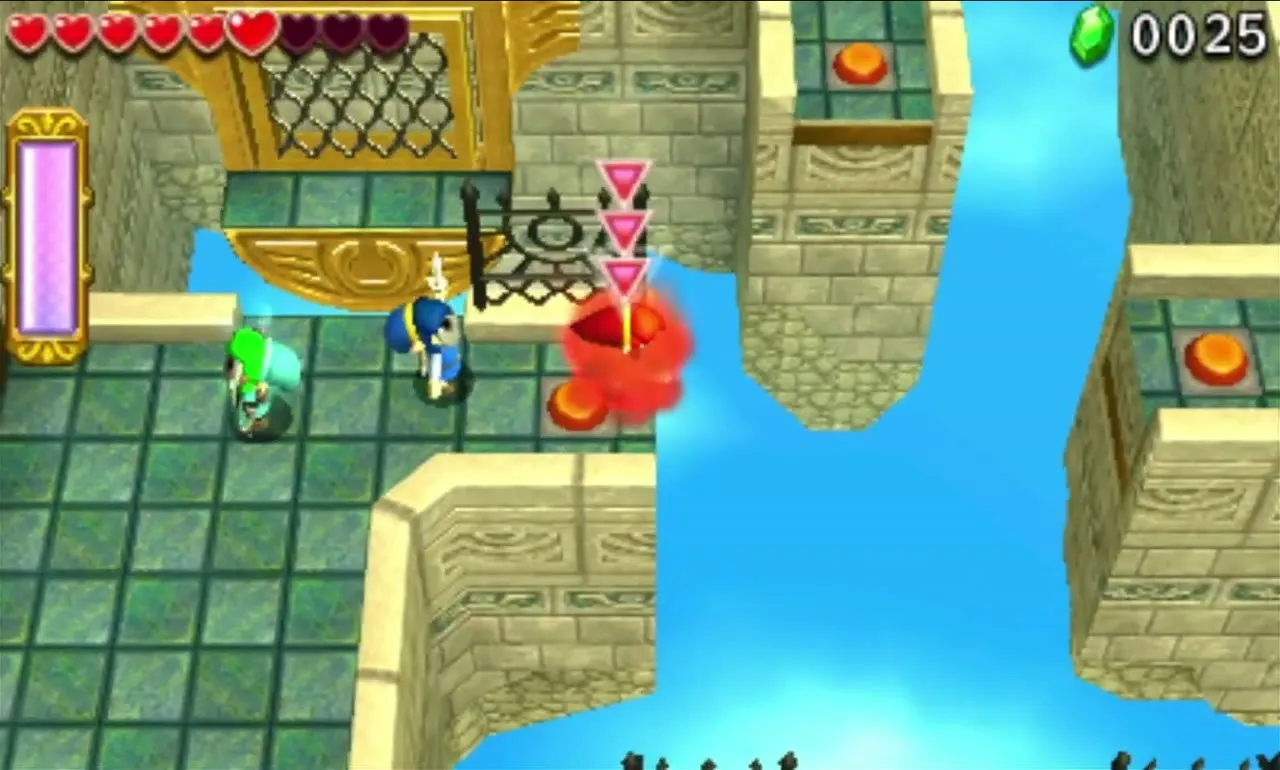
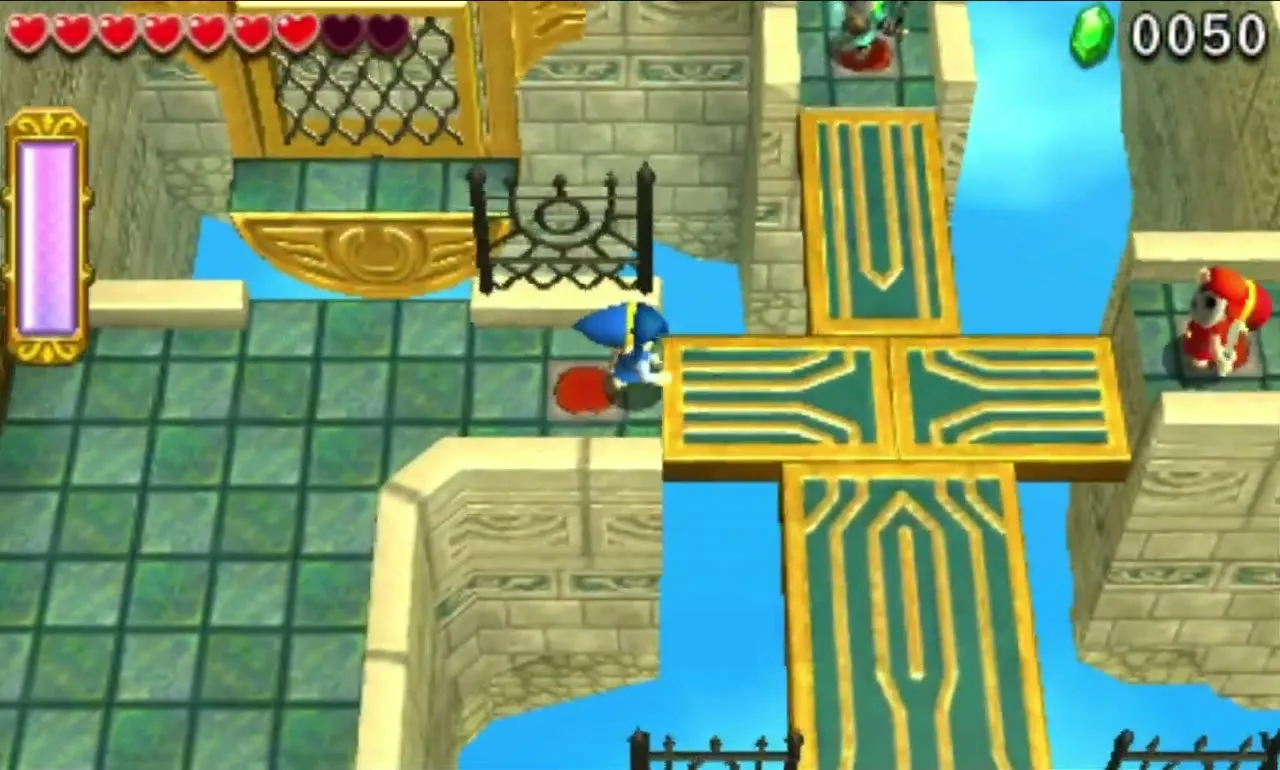
All three Floor Switches have to be held down together. The two Gripshot Links hook the nearby grated wall, which carries them to the far side, and the Gust Jar Link blows each one forward to a platform with a Blue Rupee and a switch. For the final switch, form a two-Link Totem so the top Link can Gripshot the second, moving wall and ride it to a platform with a Red Rupee. With all three pressed, bridge platforms appear and the party meets again at the Triforce Gateway.


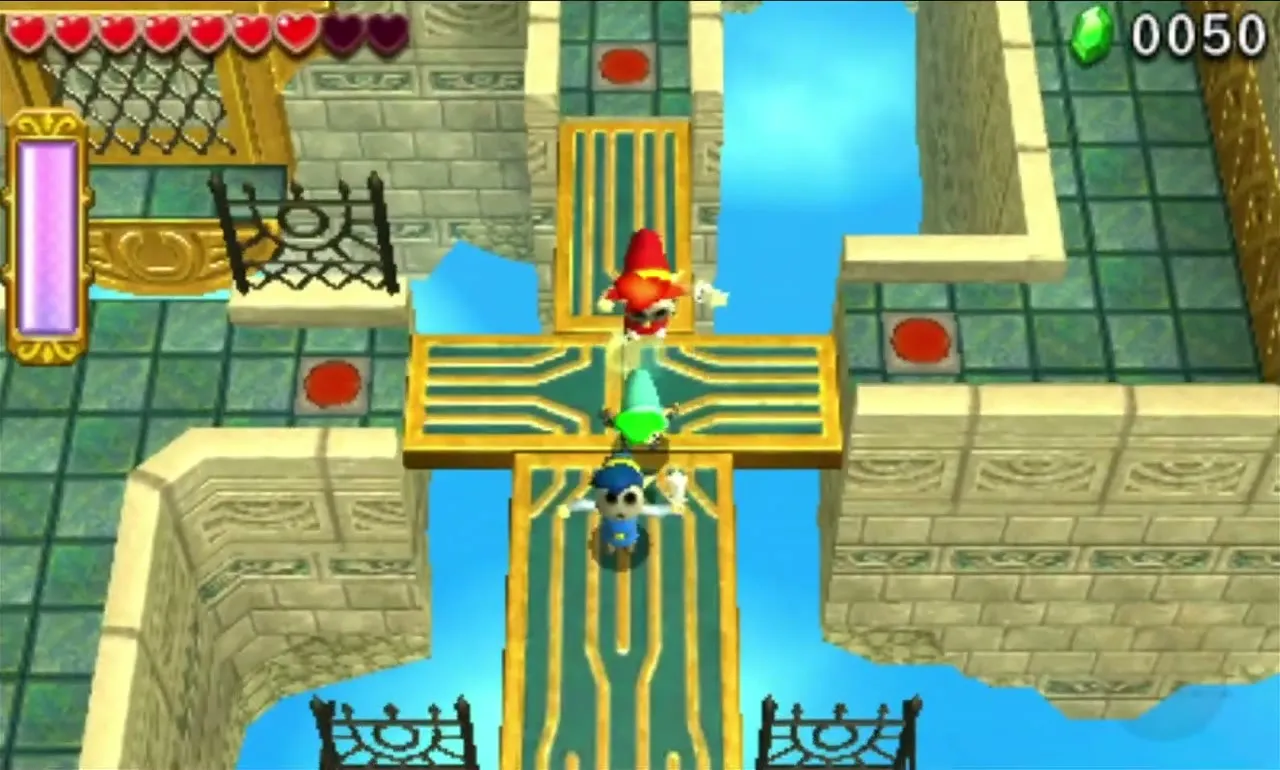
Deception Castle Stage 2
The Level starts on a platform over a grated Fan. Enter the updraft to float up to a higher, rotating platform. After all three Links arrive, four enemies settle on far platforms your Swords cannot touch (a Sky Spear Soldier, a Sky Bomb Soldier, a Sky Ball and Chain Soldier and a Vulture), and another Vulture joins later.


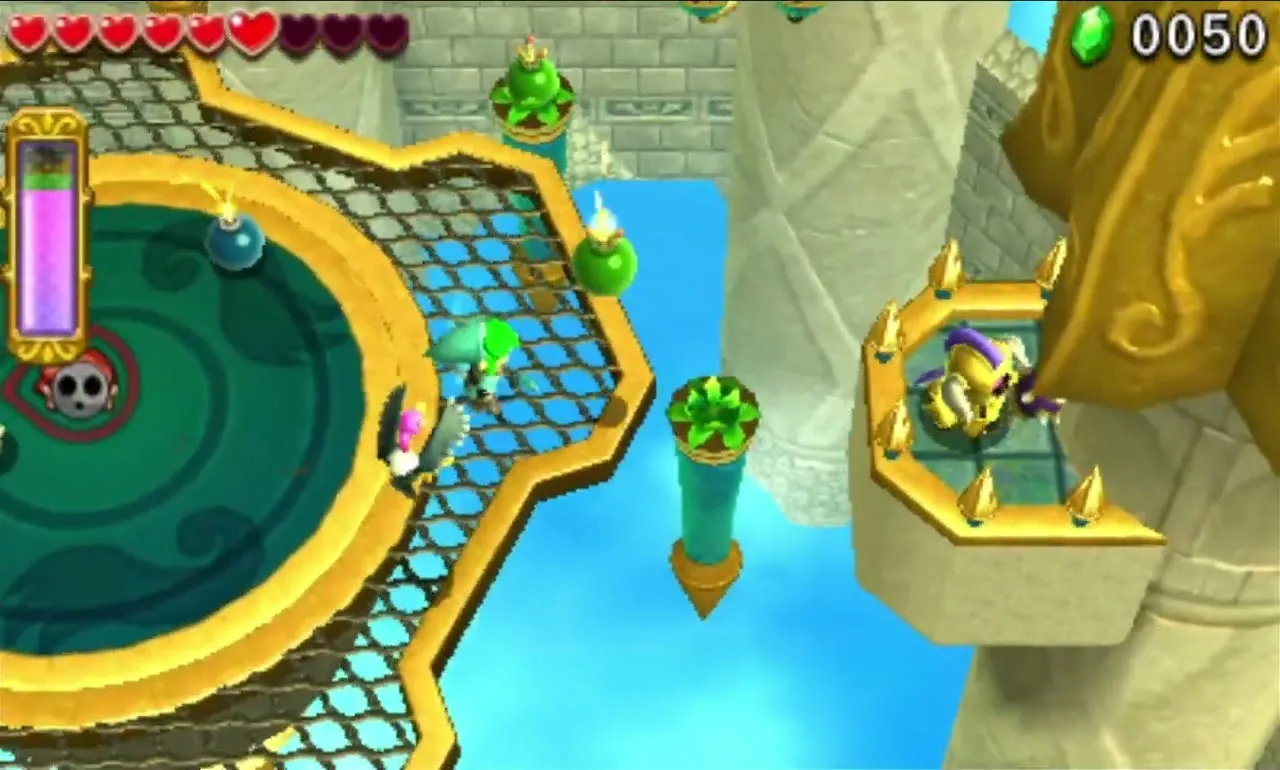
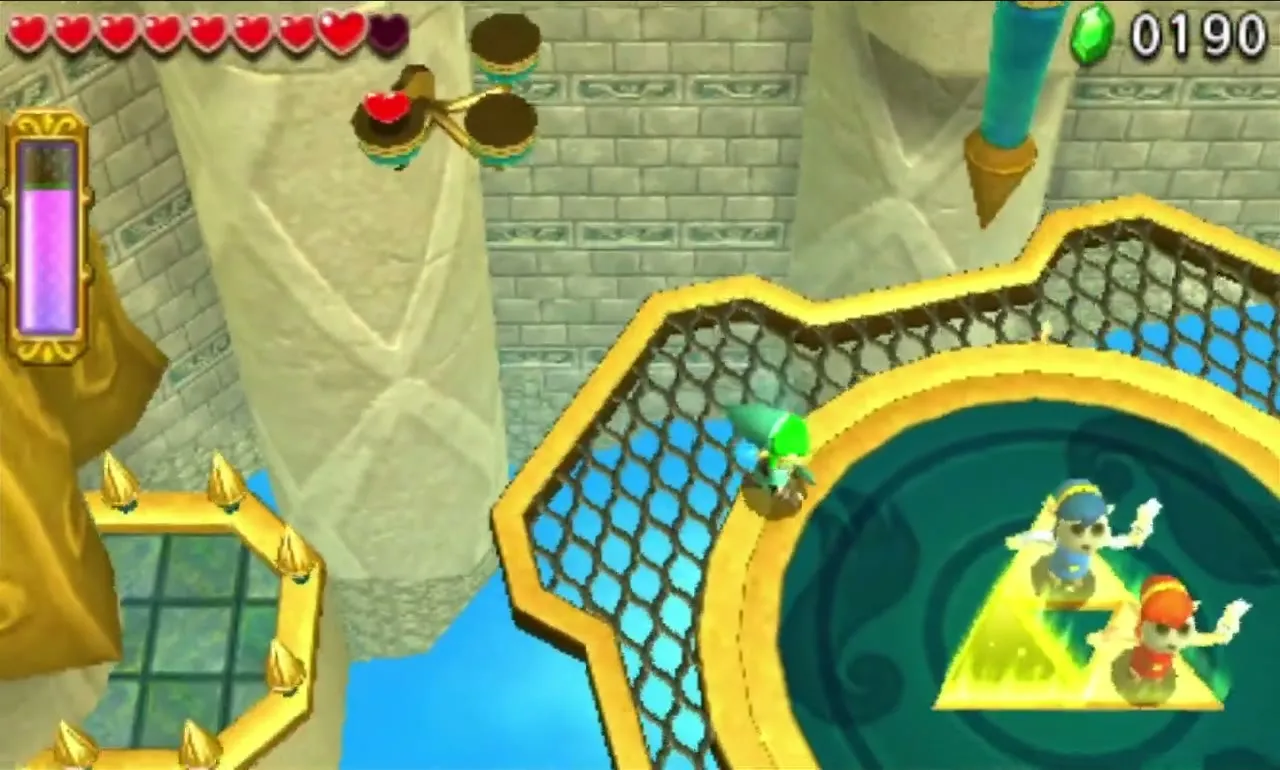
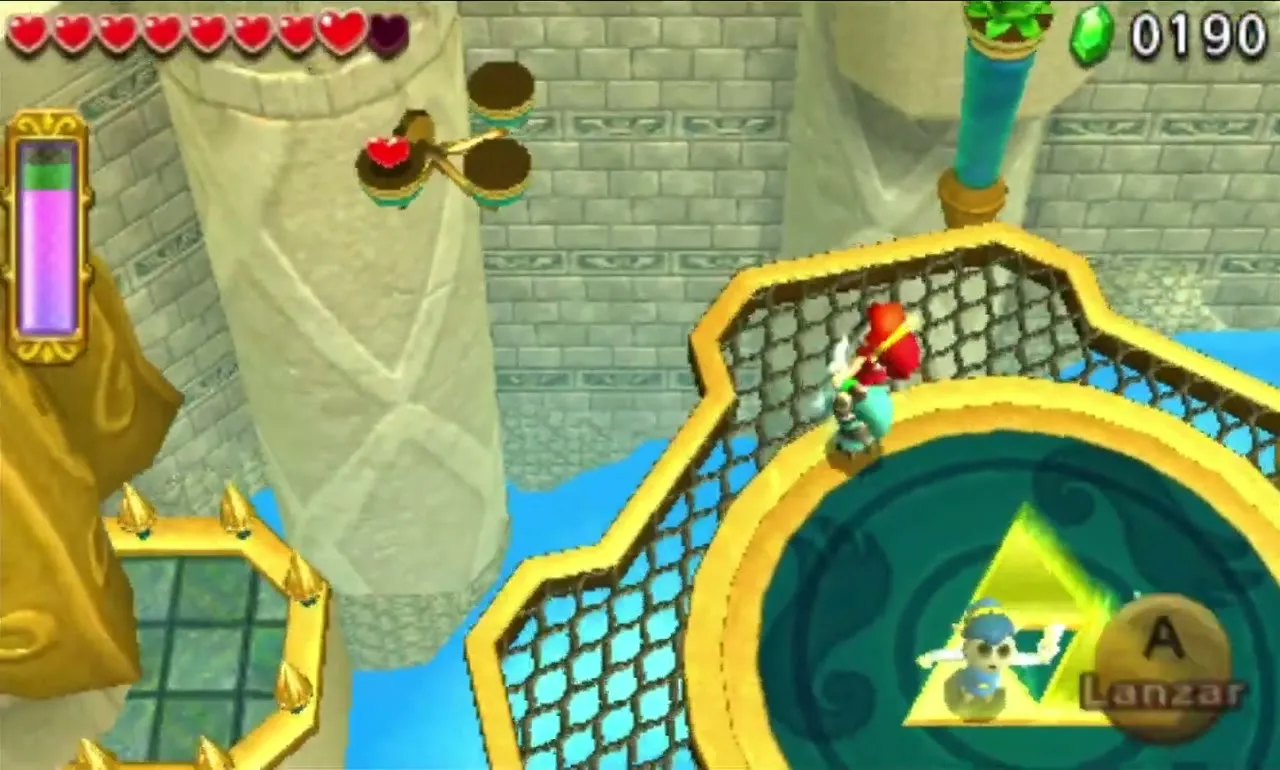
Turn their explosives against them. Catch the Bombs the Bomb Soldier throws and send them back, push the Bomb Flower by the Ball and Chain Soldier toward him with the Gust Jar, or drag it over using the Gripshot. The Bomb Soldier stands higher, so have the top Link of a full Totem use the Bomb Flower in front of him. Once all are beaten, the Triforce Gateway shows up in the centre. Gripshot toward the outer edges for Hearts, an Energy Potion and a Red Rupee, and a two-Link Totem can get a Silver Rupee.


Deception Castle Stage 3
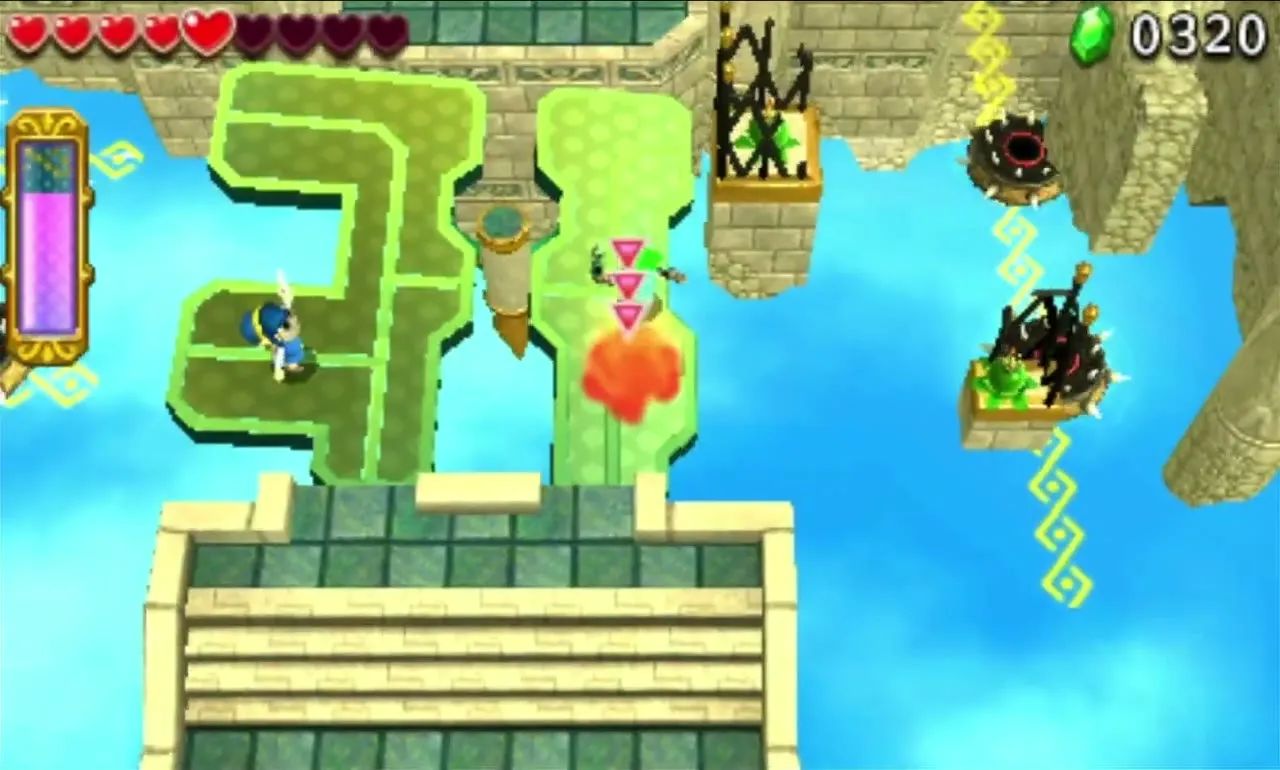
A series of tilting platforms hangs in the sky. They stay steady when empty but tip toward whichever side carries weight, sliding Links off the edge. Move quickly or spread out to balance them, and use the Gripshot to pull a stranded Link over to a friend who has already crossed. Two Beamos on pillars fire at you during the first crossing. A Silver Rupee waits at the far left end of one tilting platform.
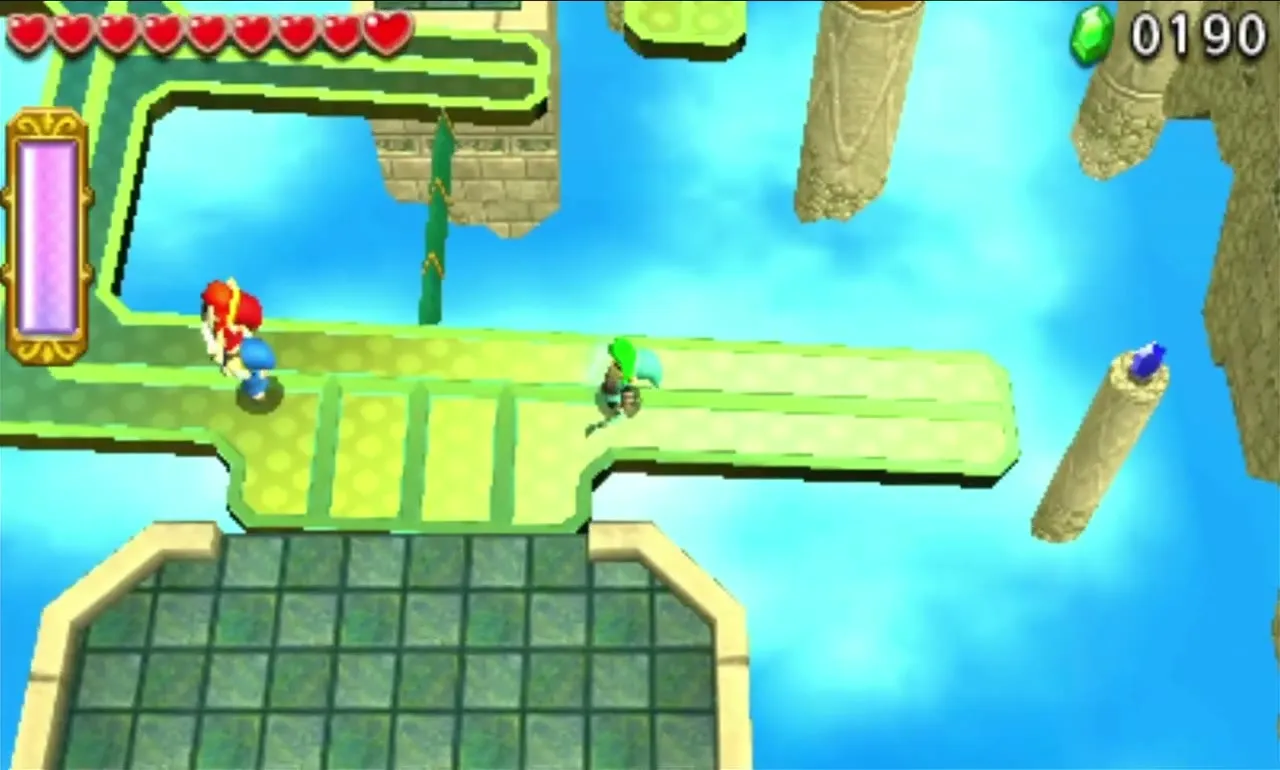
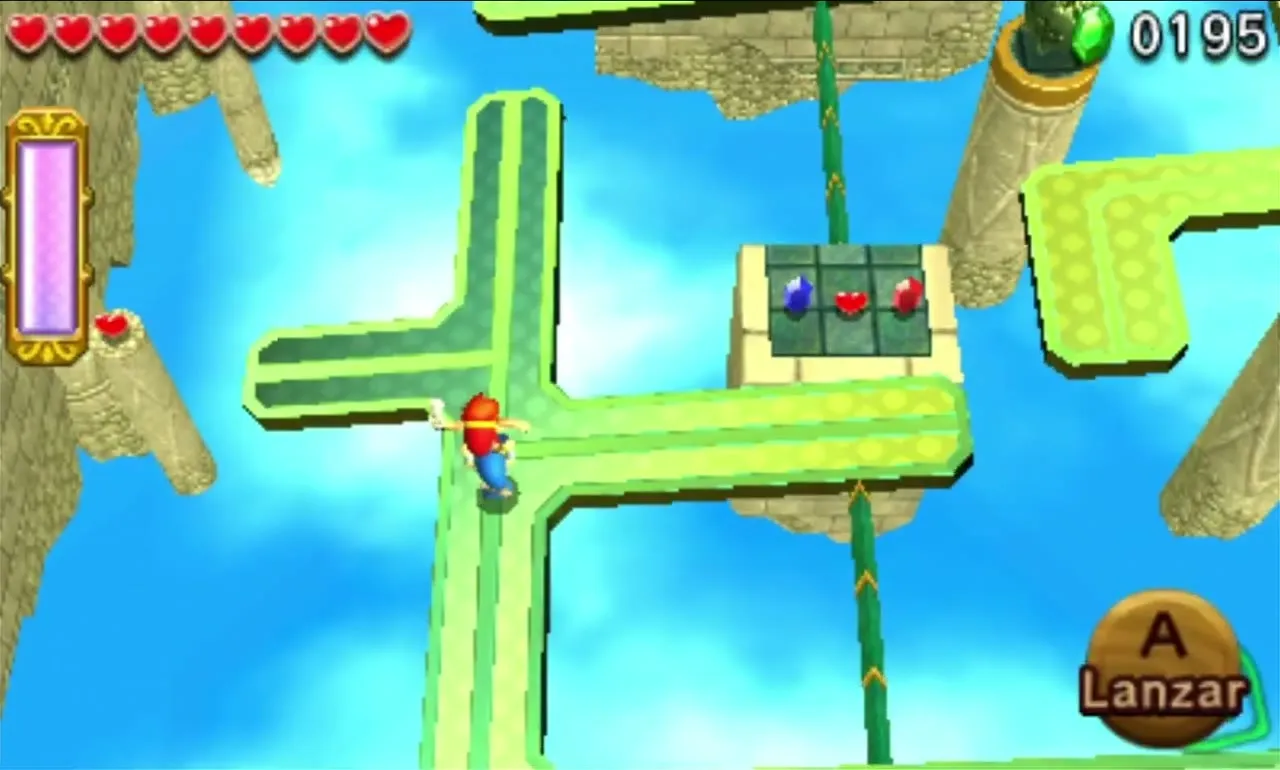


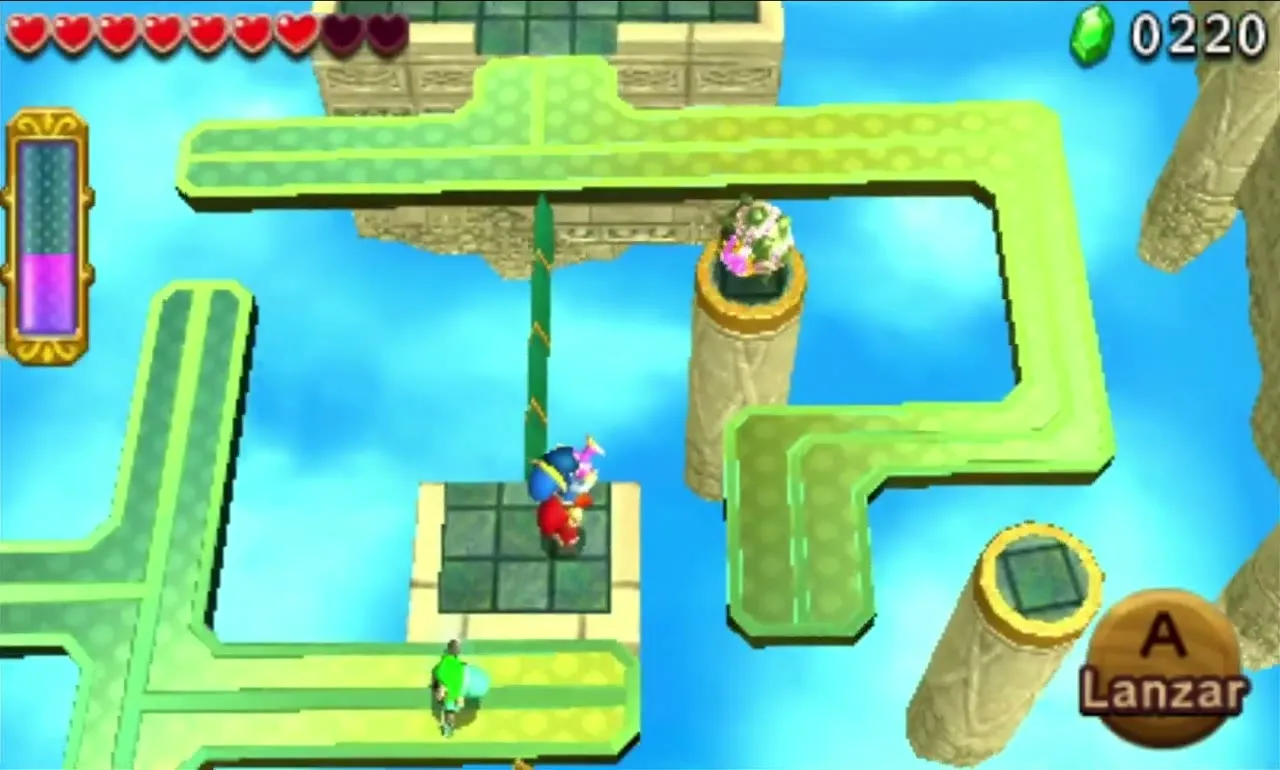

Past the stone landing, four Mini-Margos roam two joined tilting platforms, with a locked door further on. The Gripshot Link on the right platform takes a Bomb Flower and hands it to the Link on the left, who throws it at two Mini-Margos when they line up. The Gust Jar Link pushes the second Bomb Flower into the right-hand pair. When all four are dead, a Key appears. Throw the Gust Jar Link over the final gap, Gripshot to him, unlock the door, and inside wait a Squiddy and the Triforce Gateway.


Deception Castle Stage 4
A stone path with Jars full of Hearts leads to a round arena. Once all three Links are on it, the path behind you falls away and the mini-boss appears. Hearts, Jars and an Energy Potion lie around the platform and on the pillars, and Bomb Flowers grow on ledges to either side.
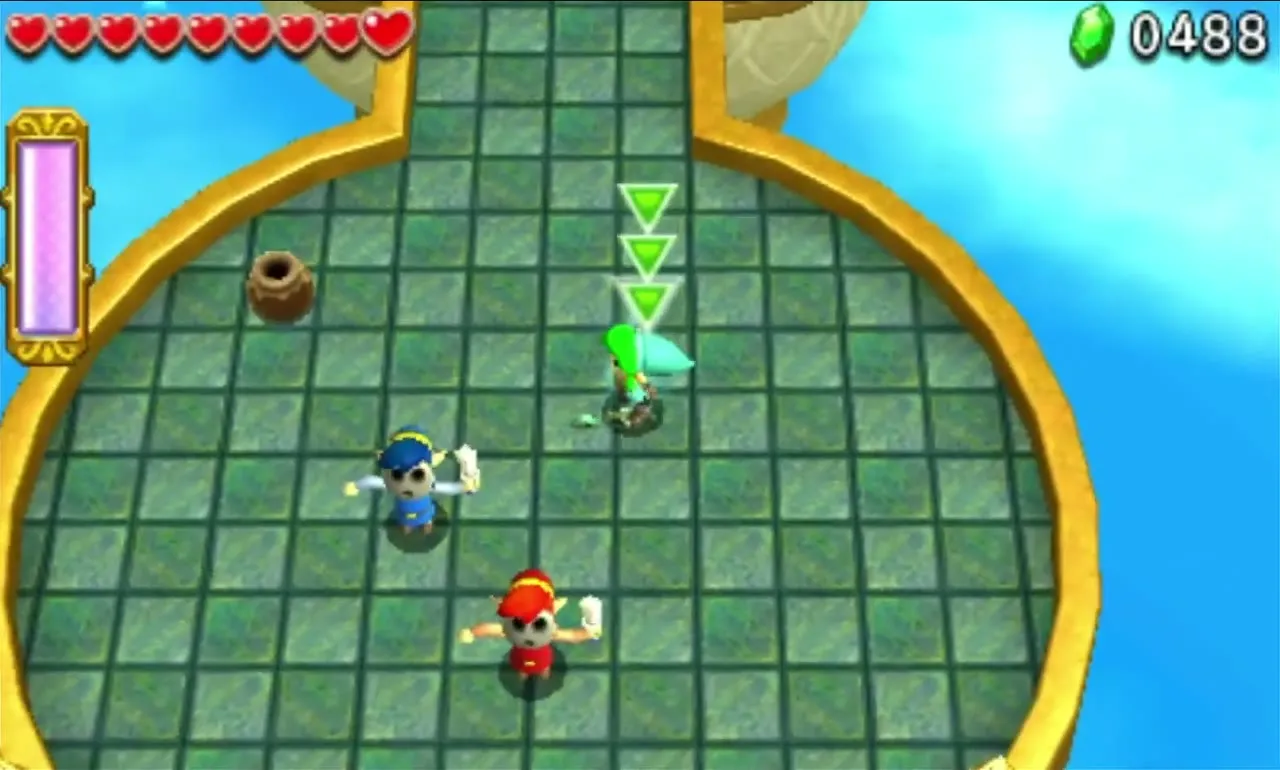
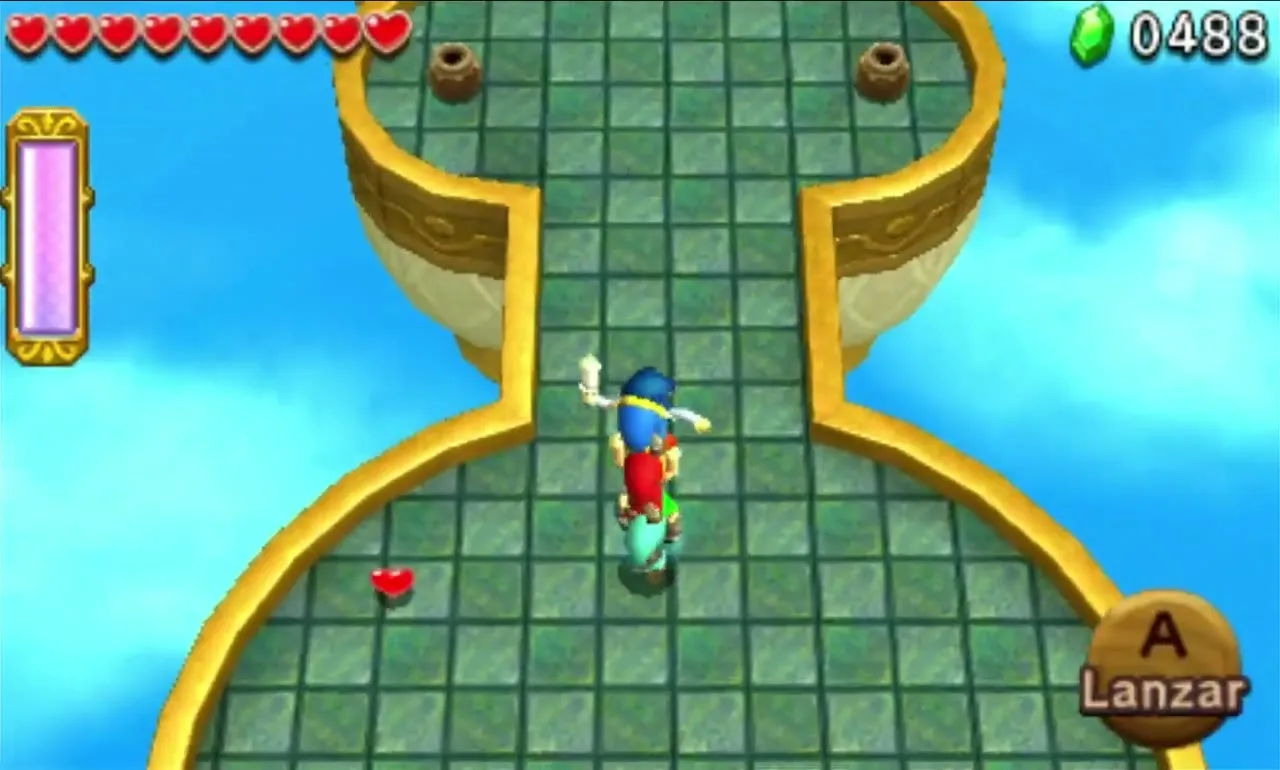
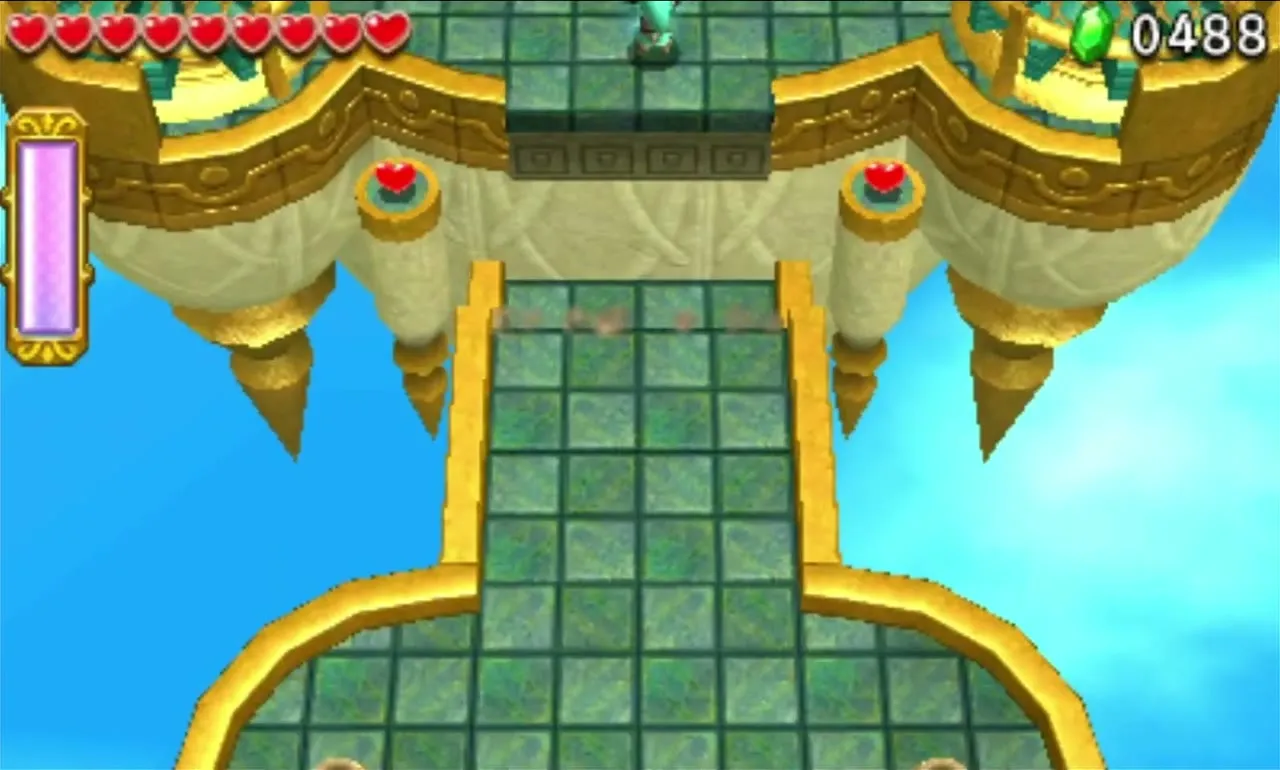
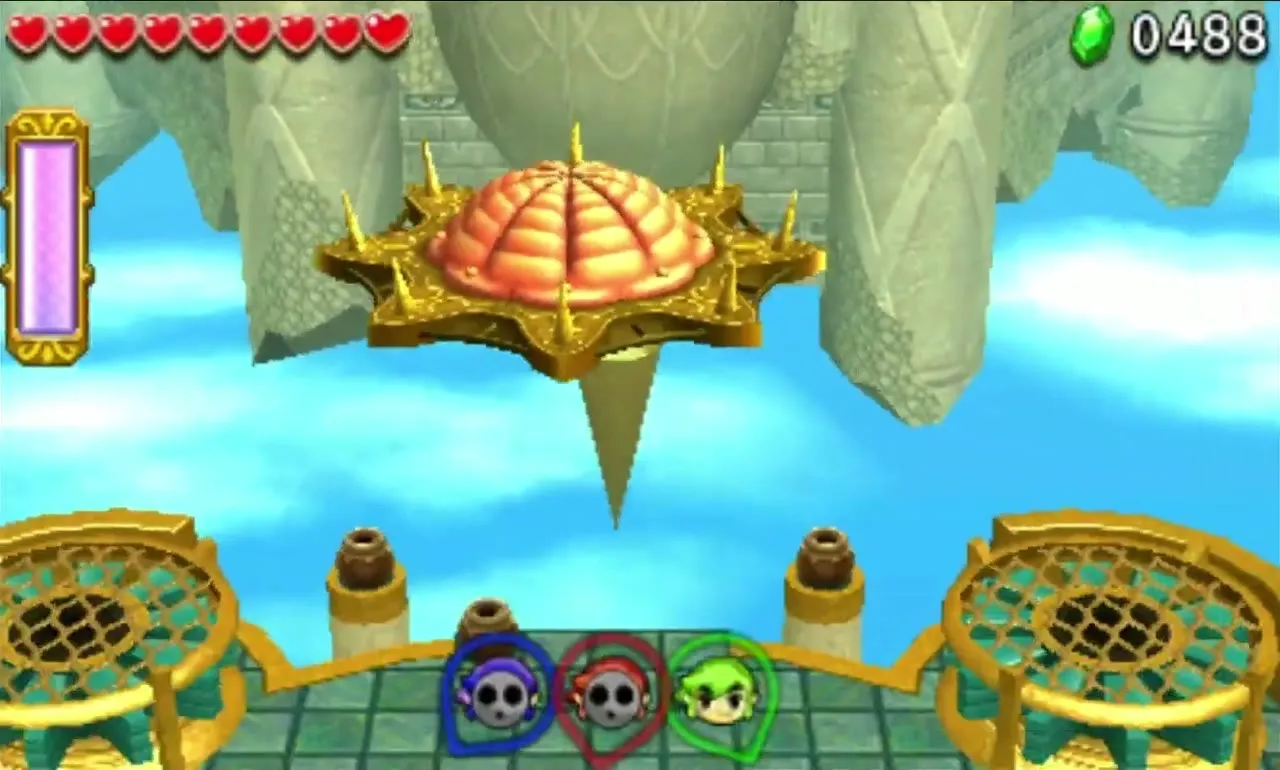

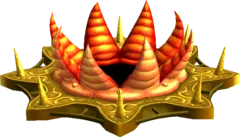
Gigaleon mini-boss fight
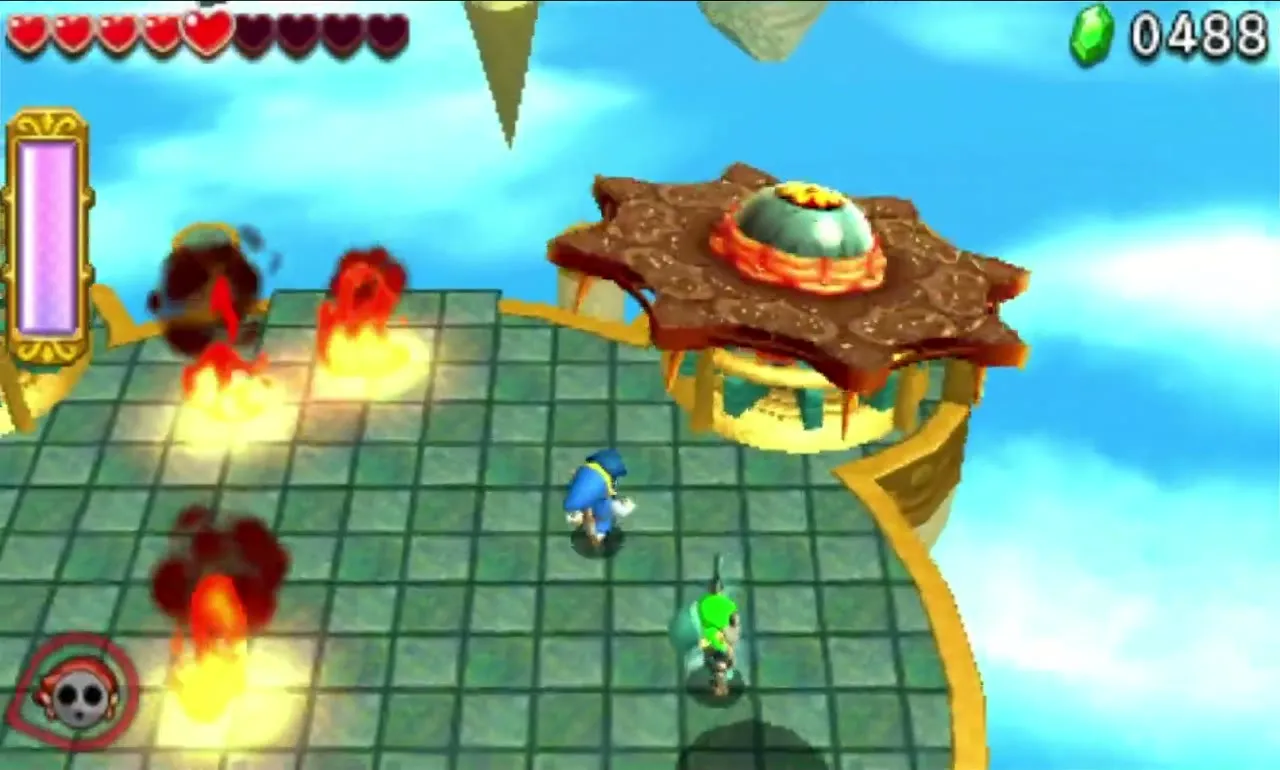
Gigaleon is a flying saucer with one exposed eye on its underside. It drops balls of fire that burn the floor for a few seconds, so keep moving. A grated Fan sits in every corner of the arena. When Gigaleon flies over one, point the Gust Jar at it to start the twister, which stuns the saucer. Another Link Gripshots a Bomb Flower from a side ledge and throws it into the twister; the Bomb flies up and explodes against the eye.
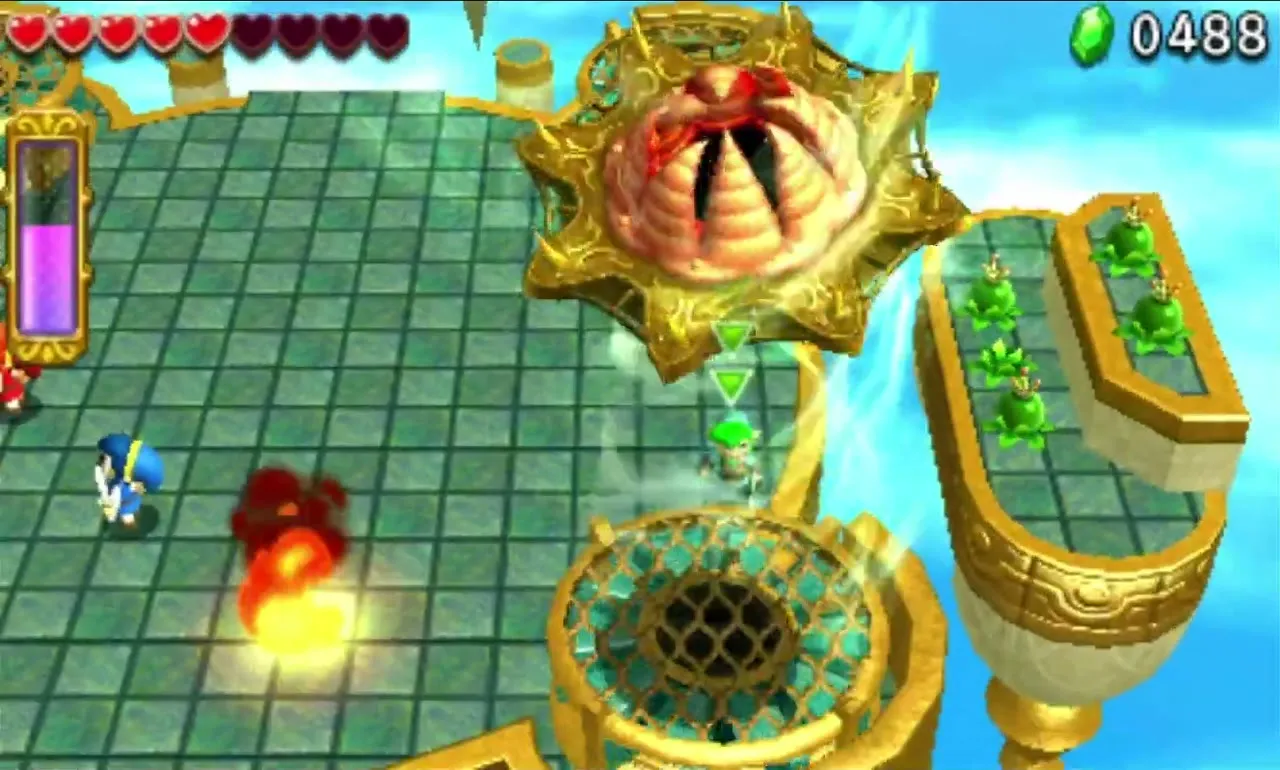
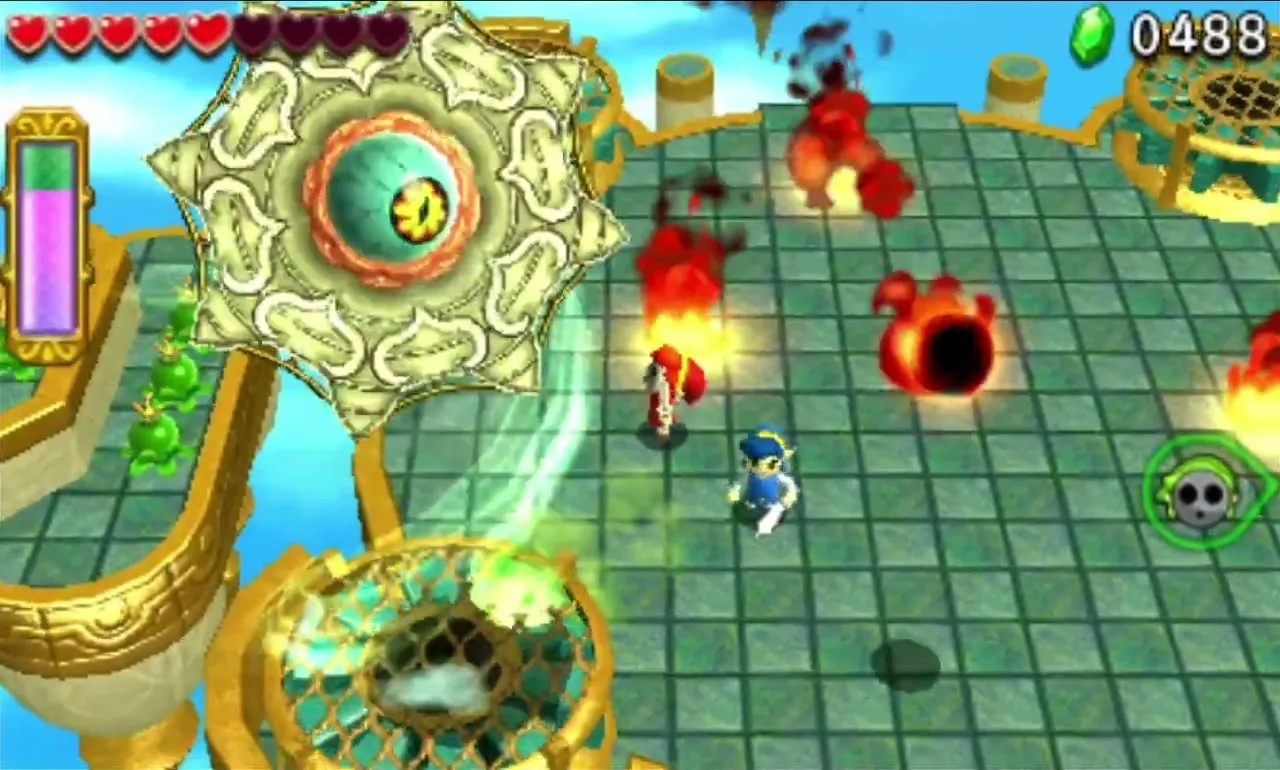
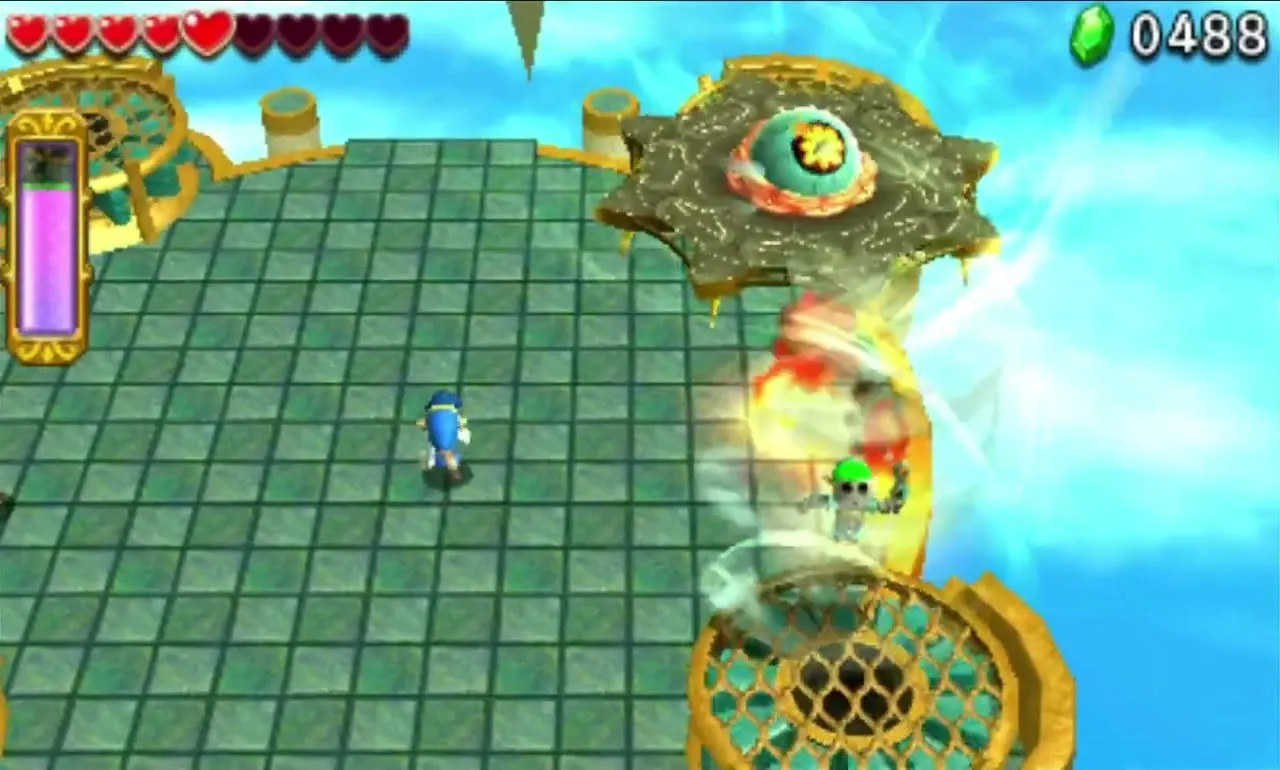
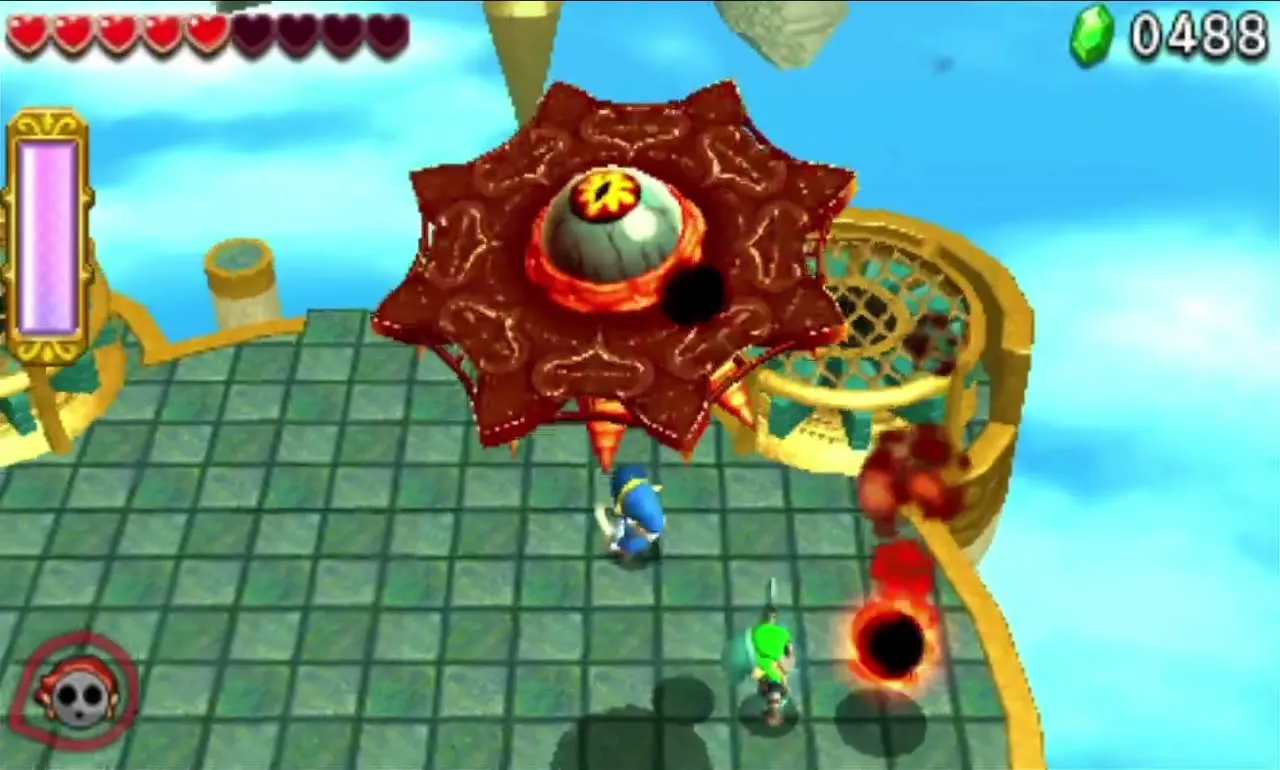
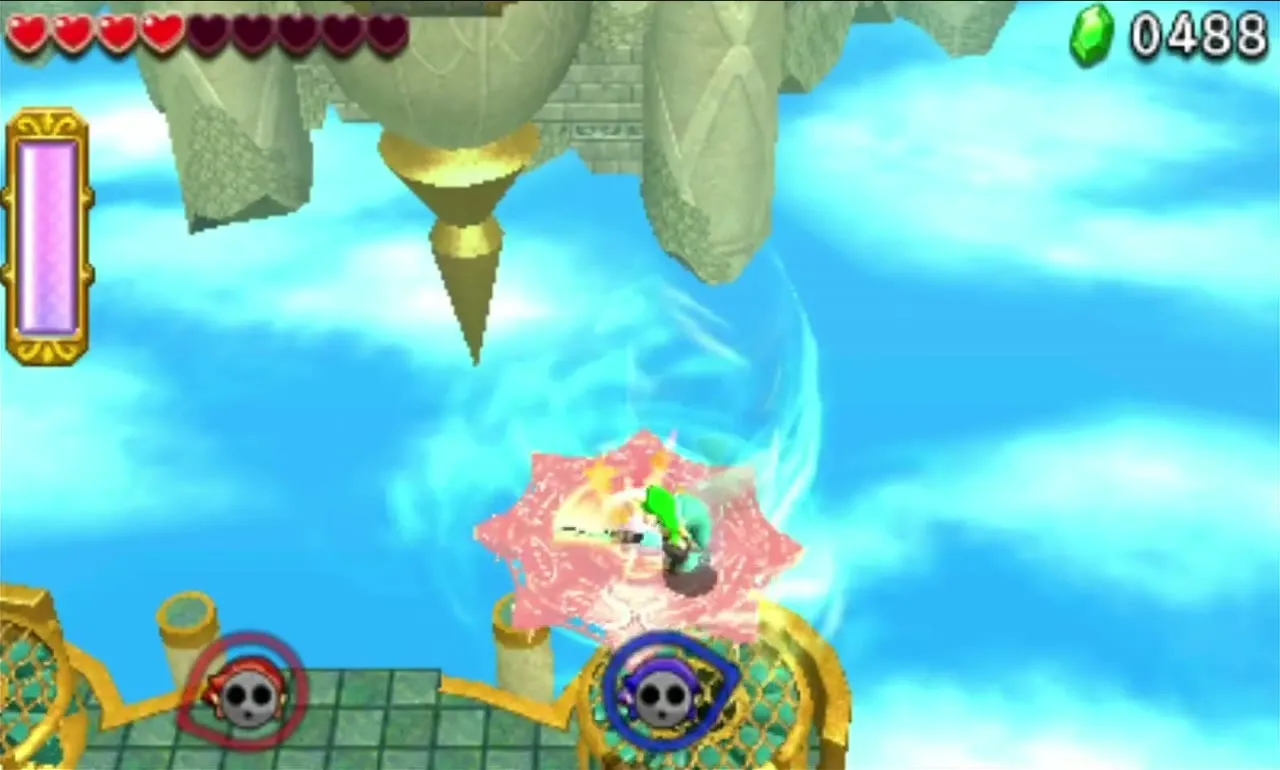
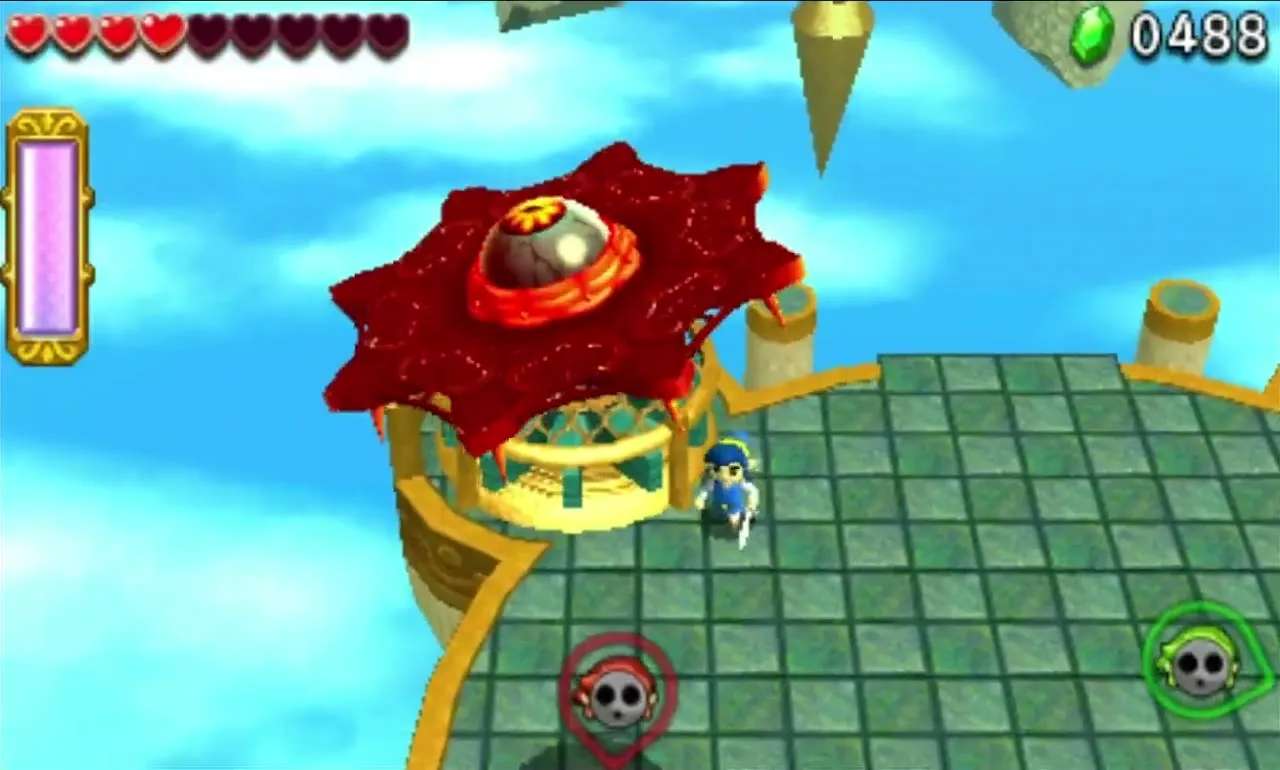
When it is hurt enough, Gigaleon burns away the Bomb Flower ledges and flips over, eye up, moving faster. Start the twister again, but this time throw a Link into it so he flies up onto the saucer and strikes the eye with his Sword. After enough hits Gigaleon crashes onto the platform, and all three Links can attack it until it is defeated.
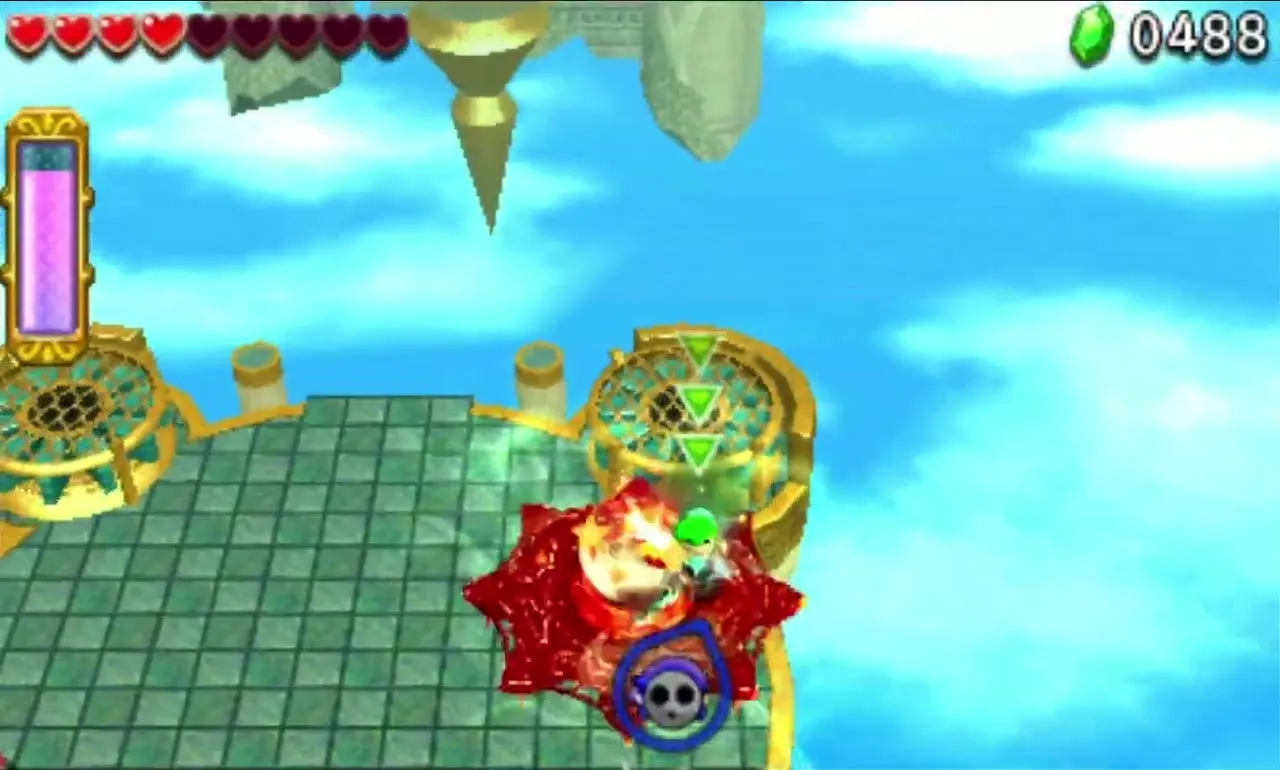
Three more Fans appear ahead after the fight. Stand in the updrafts to reach the stone platform where the Triforce Gateway waits.
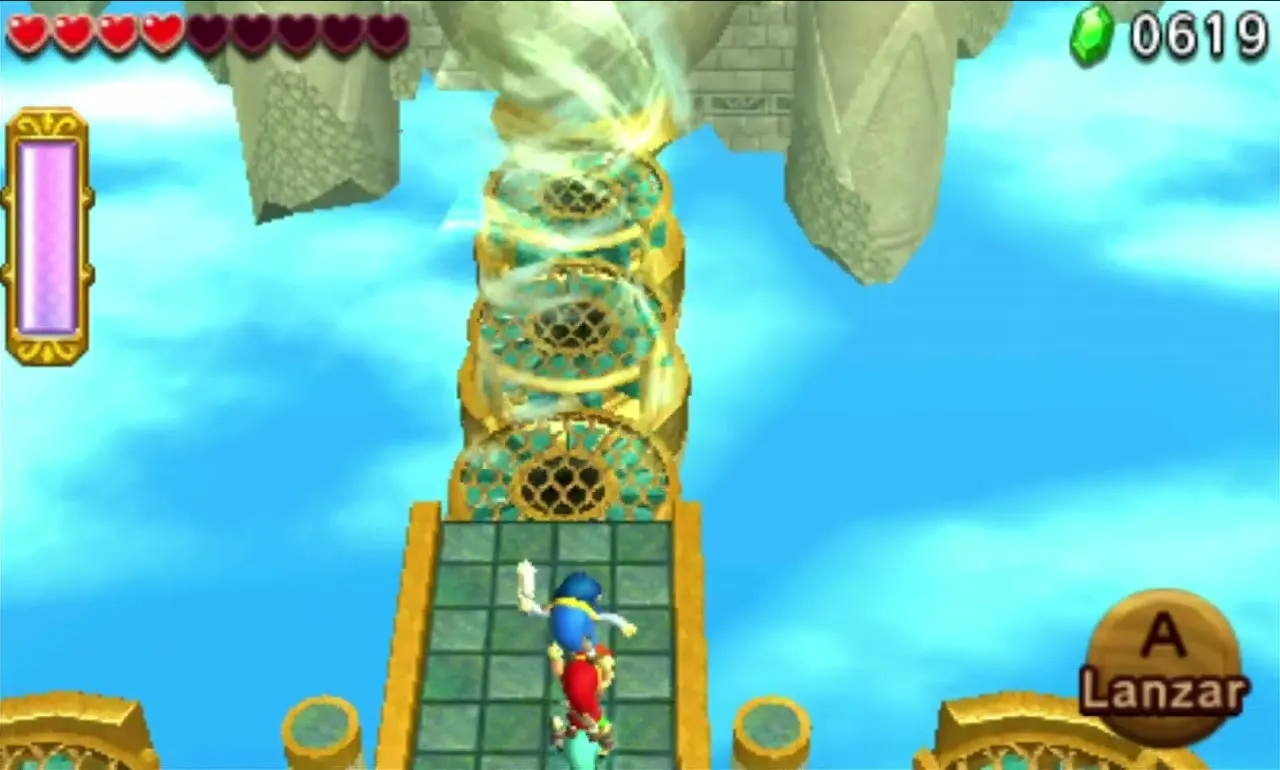
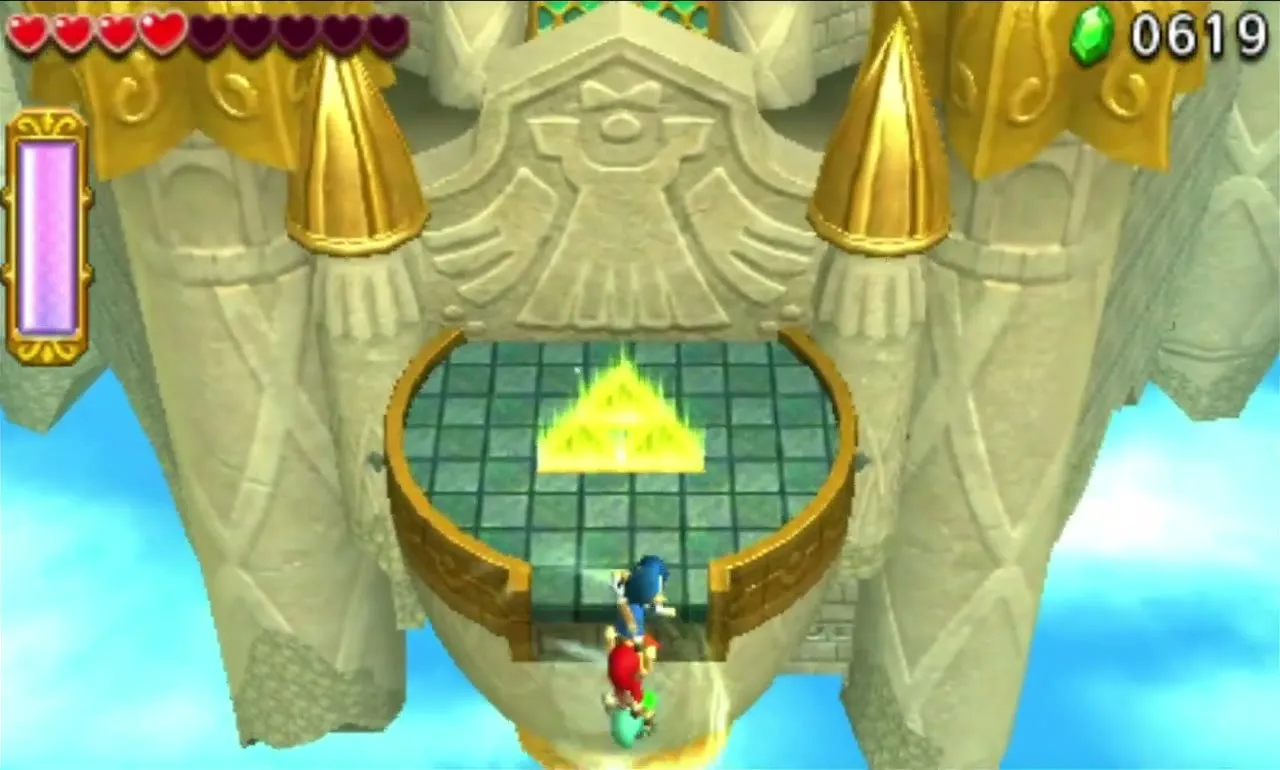

Deception Castle treasure chests
A plain clear pays 2 Cucco Feathers and 1 Sky Dragon Tail. The Level can also give Carmine Pearls, Pretty Plumes, Mock Fairies and Aurora Stones through its Challenges.
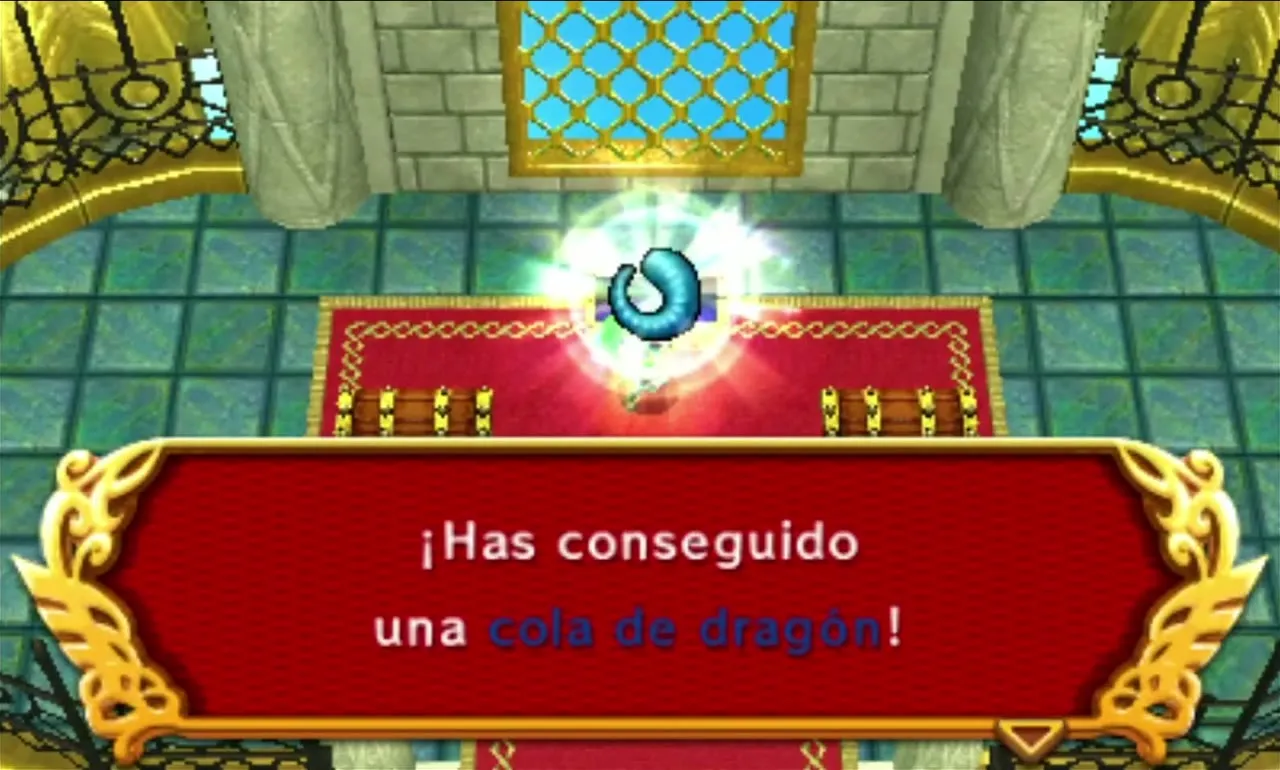
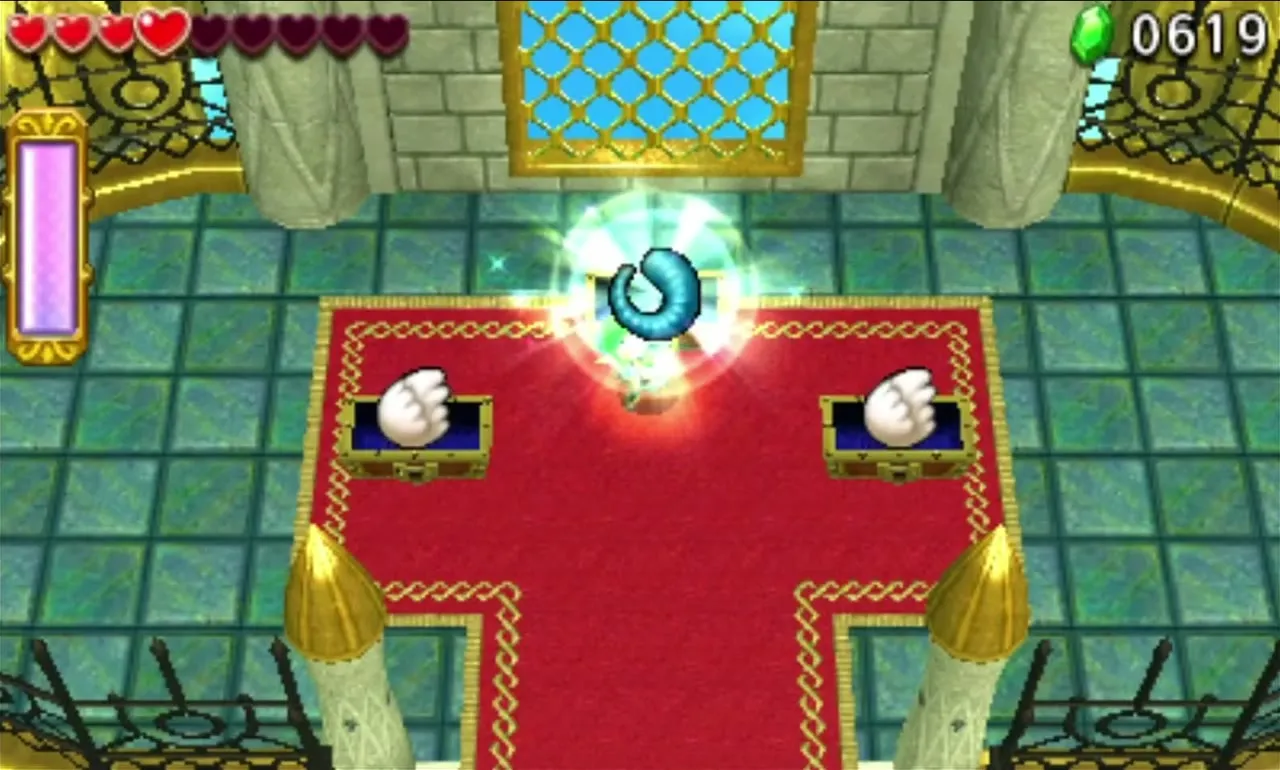
After the final boss, Deception Castle offers “Clear within the time limit!”, “Don’t fall at all!” and “Don’t pop any balloons!”. The balloon challenge is the best earner, with 2 Pretty Plumes and 1 Aurora Stone. All three are listed on the Drablands Challenges page.
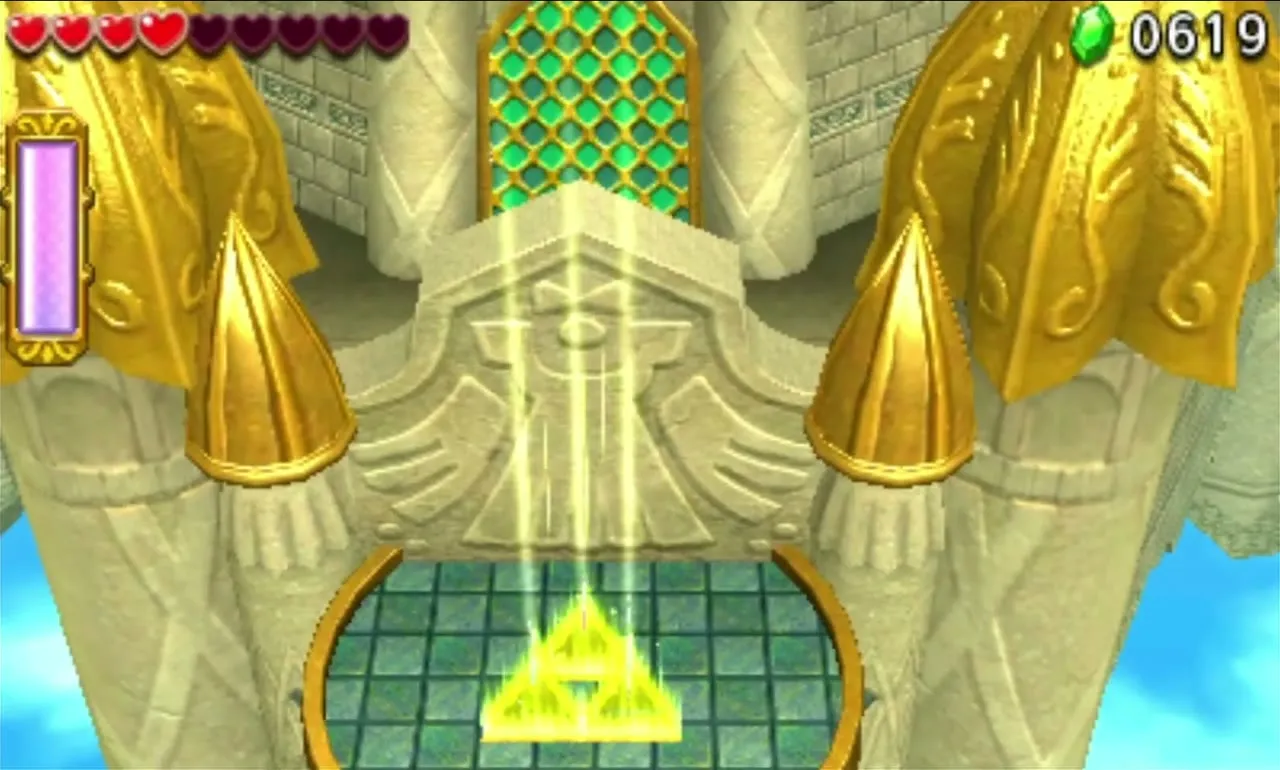

Dragon Citadel
The Dragon Citadel is a vast castle tower with whole floors missing and wind howling through the corridors. It gives you the Boomerang, the Magic Hammer and the Water Rod, one each. Glass tiles, vanishing platforms and colour-coded tiles from earlier Areas all come back here.
Dragon Citadel Stage 1
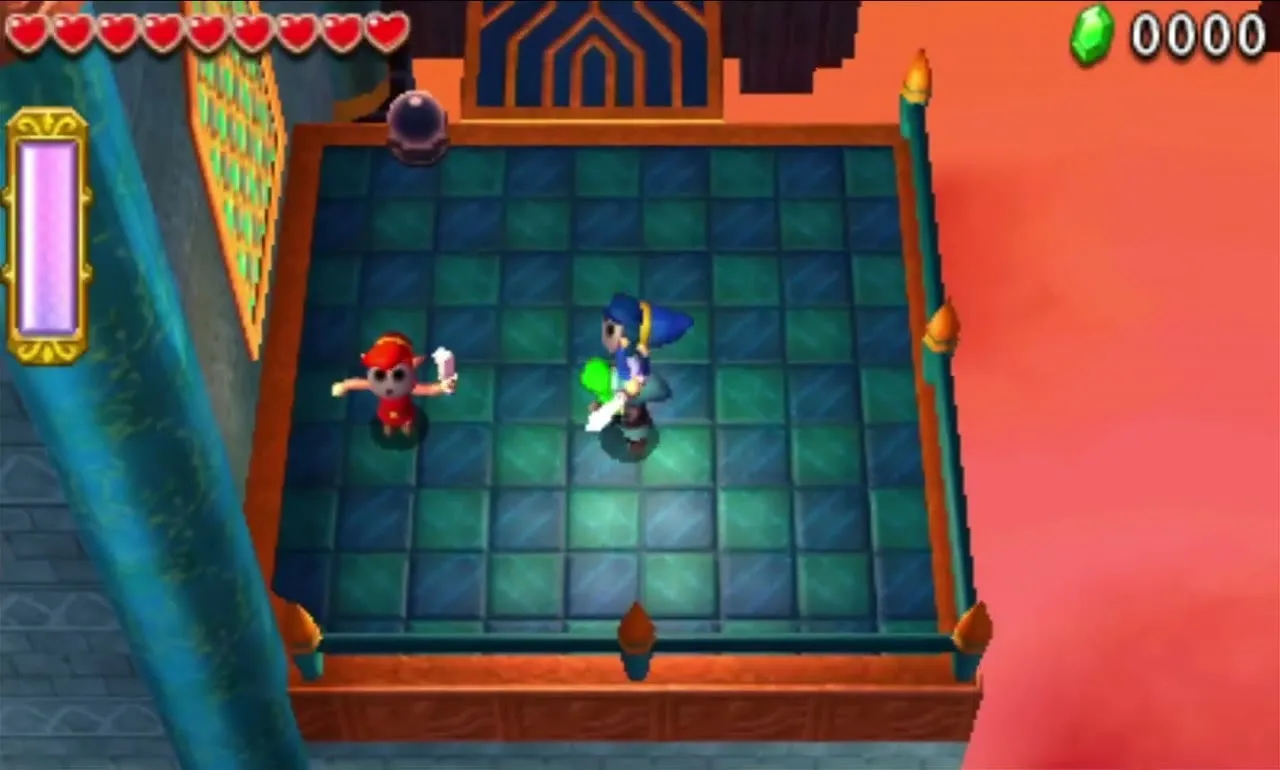
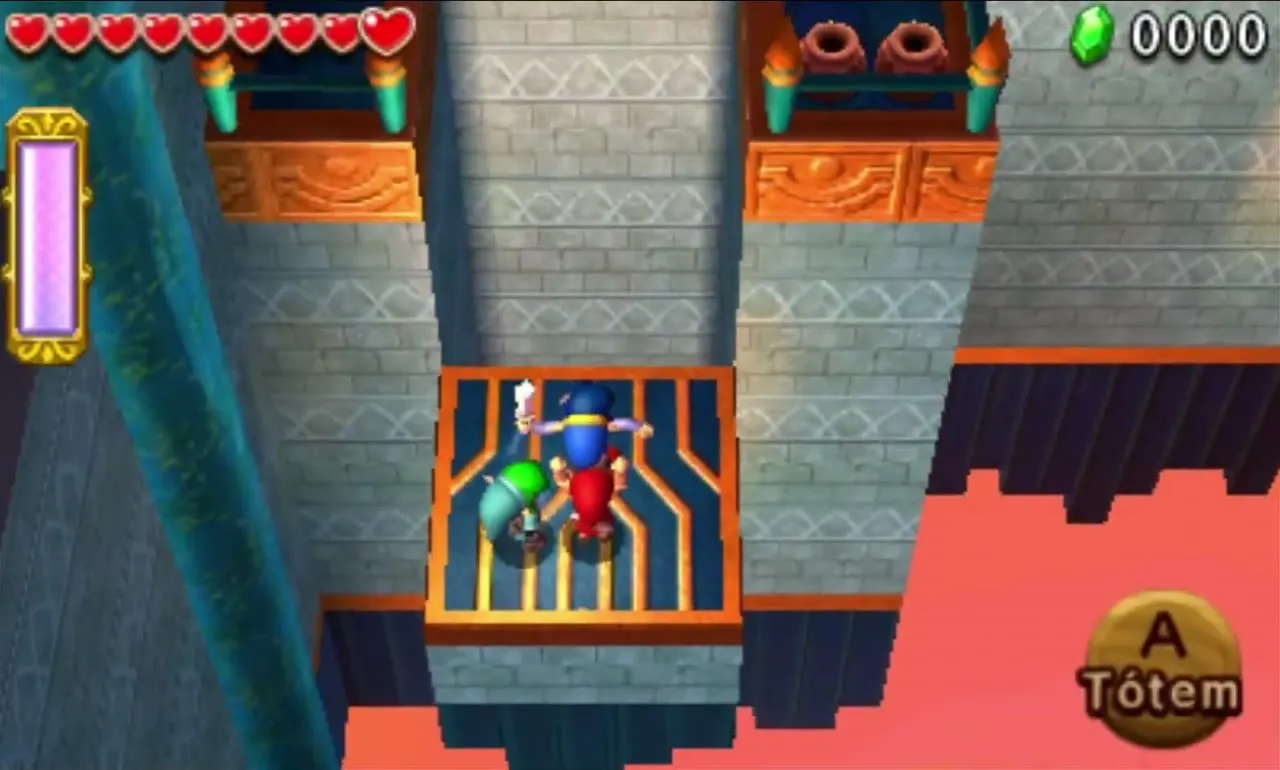
Strike the Shock Switch to lift the first platform, but make sure all three Links stand on it first or whoever is left behind falls through the clouds. The next floor holds the Boomerang, the Magic Hammer and the Water Rod. An extra-tall Mole needs a full Totem to hammer down; it springs you up to the next floor.
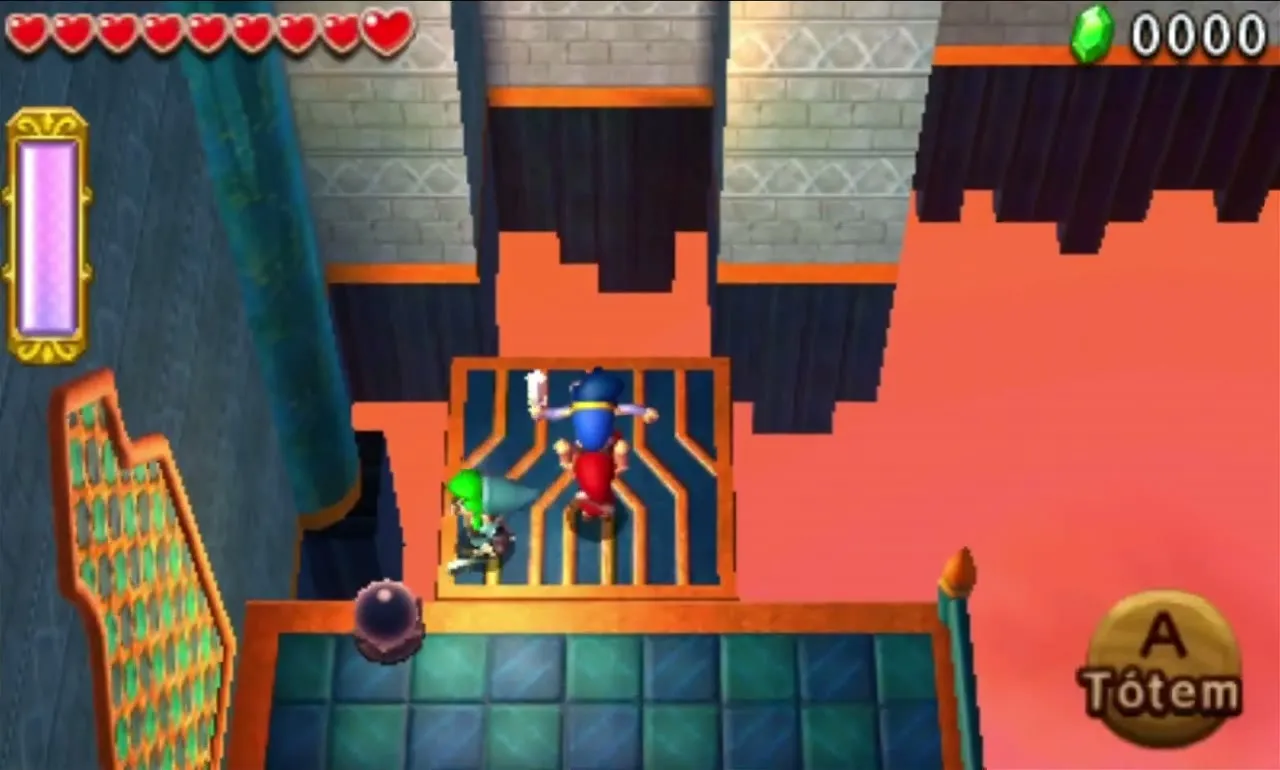

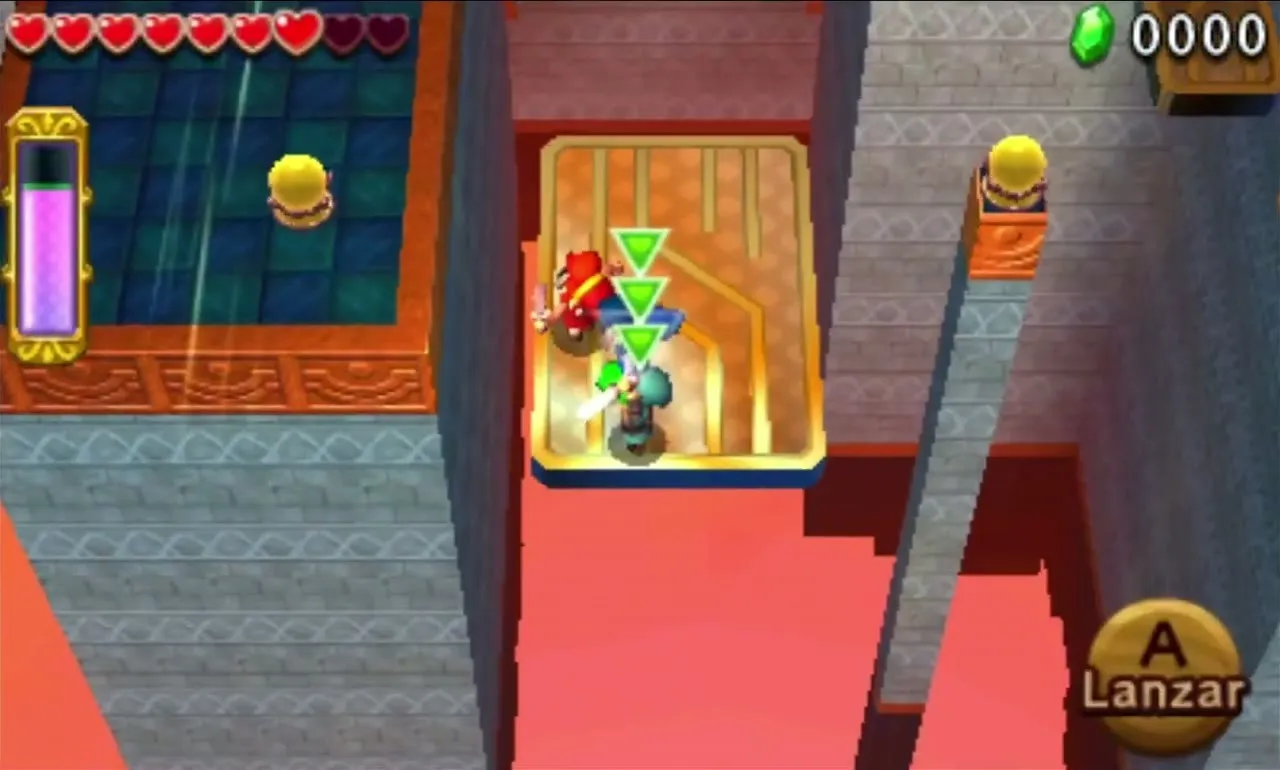

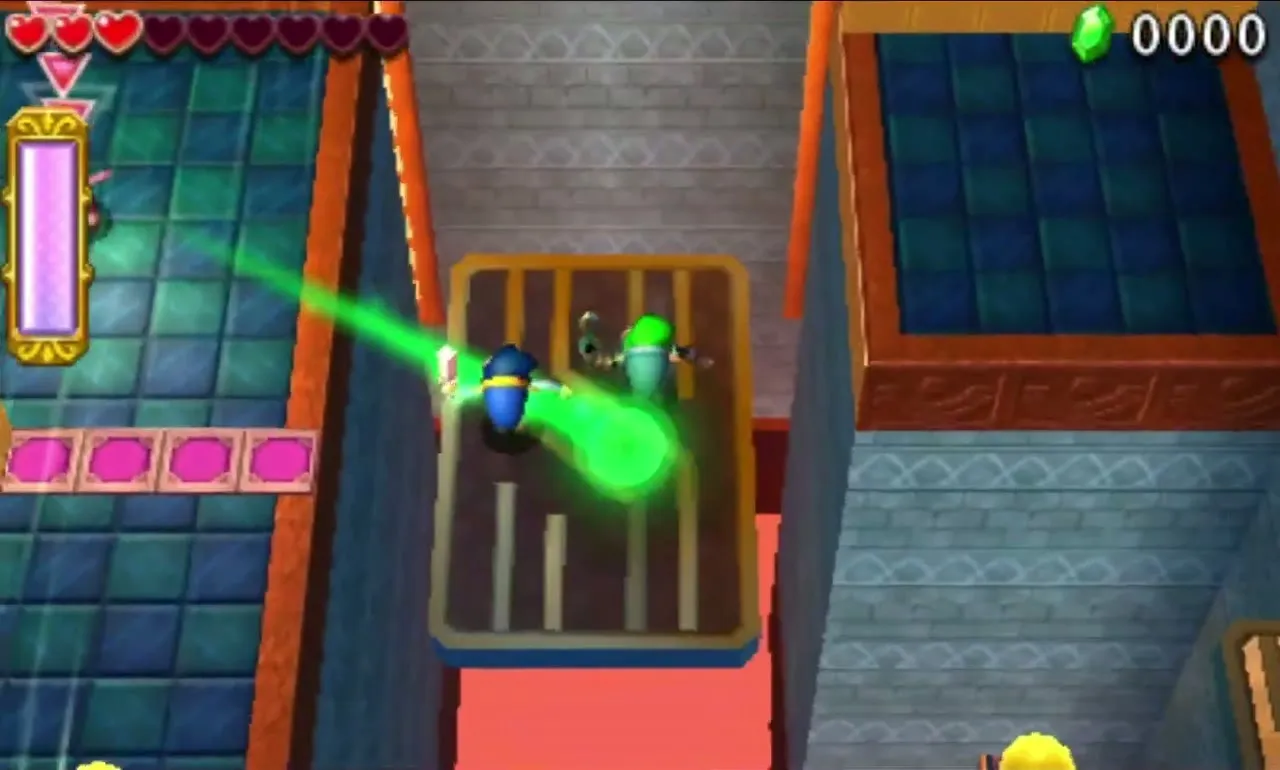
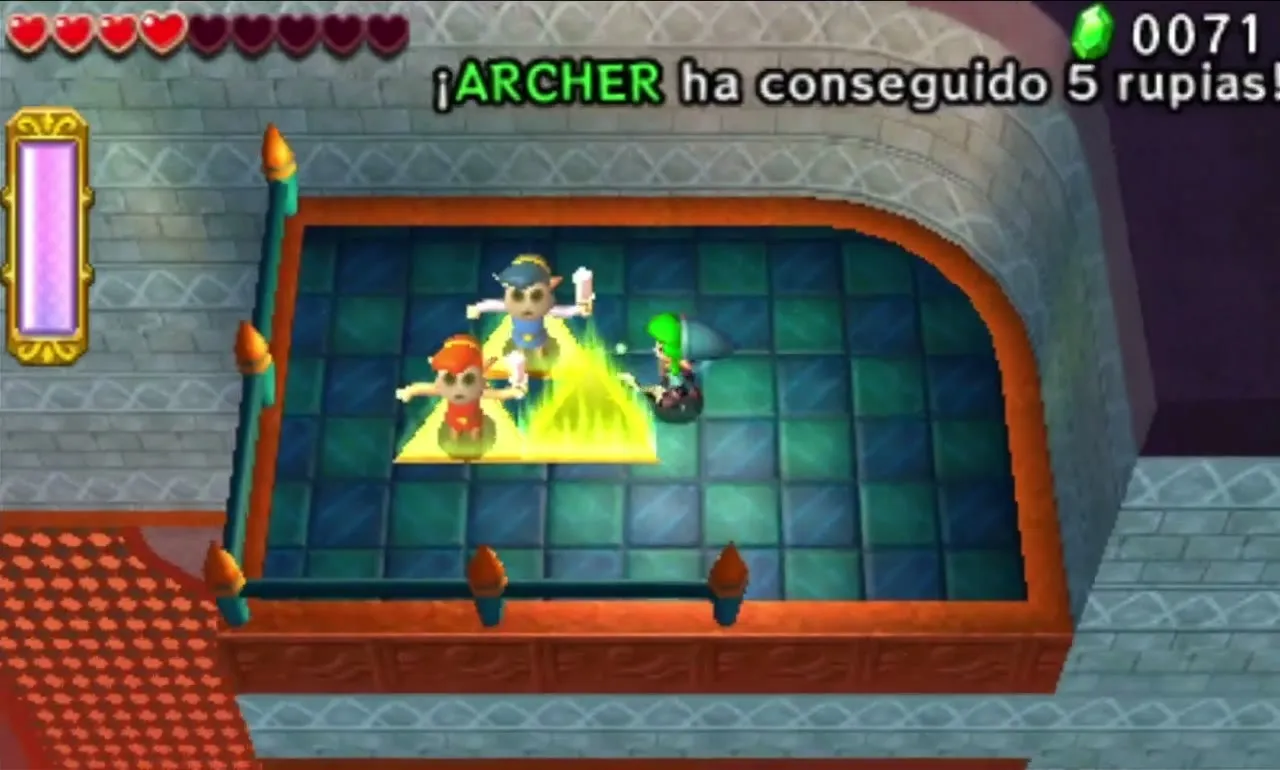
Wind pours through the windows at the next gap. Cross it in two hops with the Water Rod and the Boomerang, and use the Shock Switch on each side to move the Elevator Blocks that decide which parts feel the wind. Climb the tall steps with the Water Rod, pound down Stakes with the Hammer, and fight the current over the narrow angled bridge. All three Links stand on the Big Switch at the end to be lifted to the Triforce Gateway.


Dragon Citadel Stage 2
A wide, windy divide lies to the east, crossed on square tiles that appear and vanish almost at once. The tile path changes direction several times, so you sometimes run against the wind. Beat the Sky Spear Soldier to the north, then cross the same divide westward on curving glass tiles that break if you stand too long. The Shock Switch halfway across changes where the wind blows, but you can ignore it.
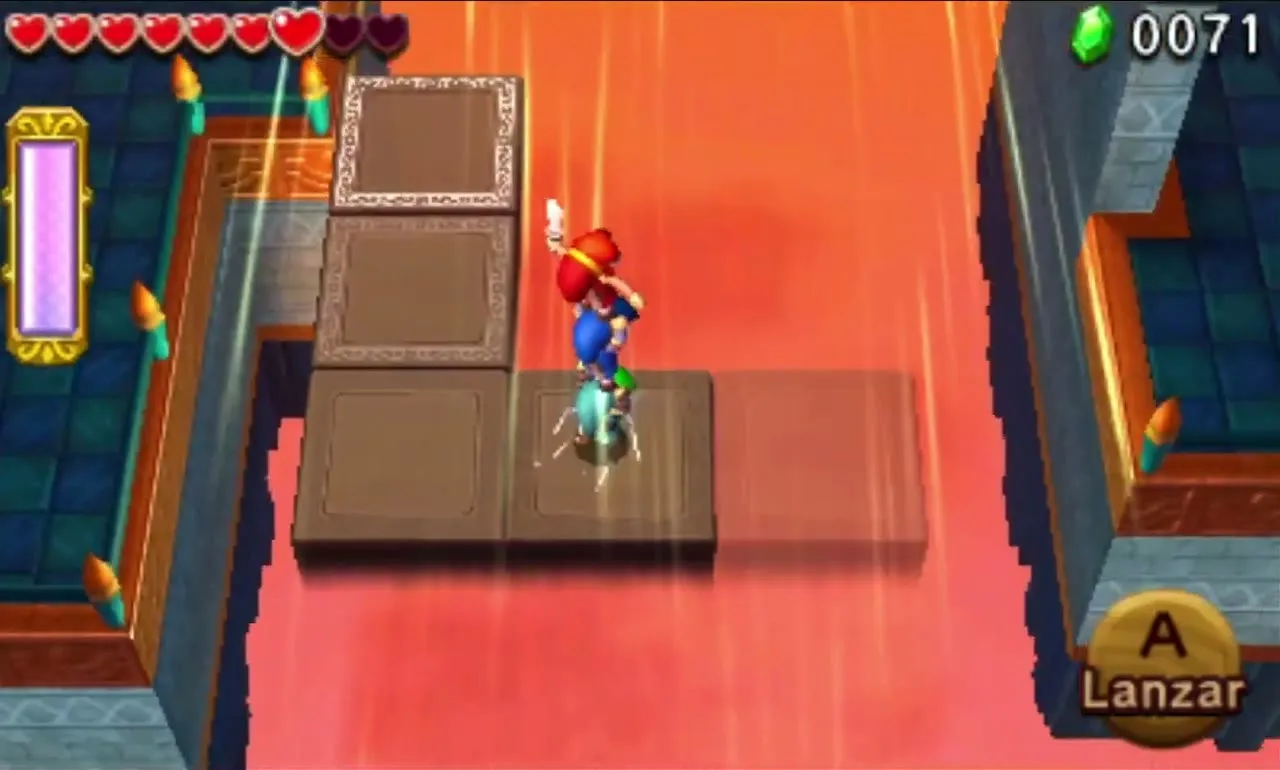

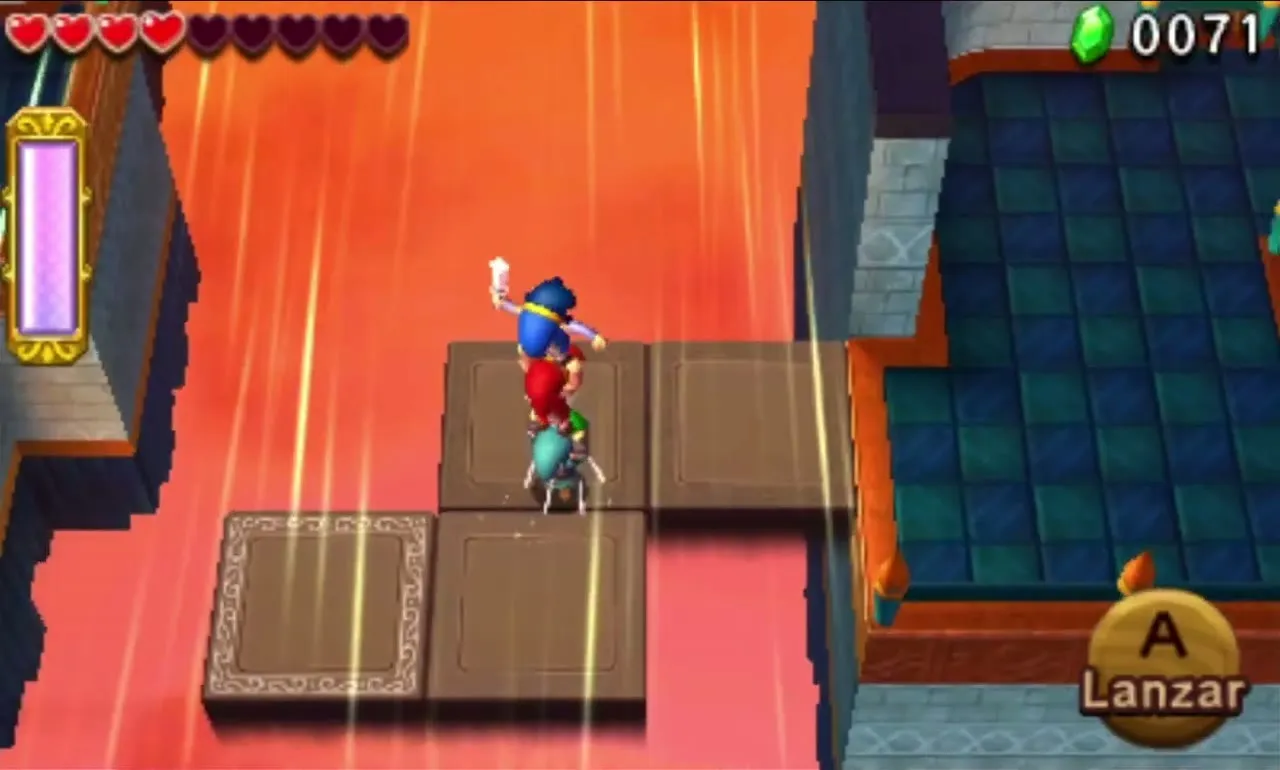
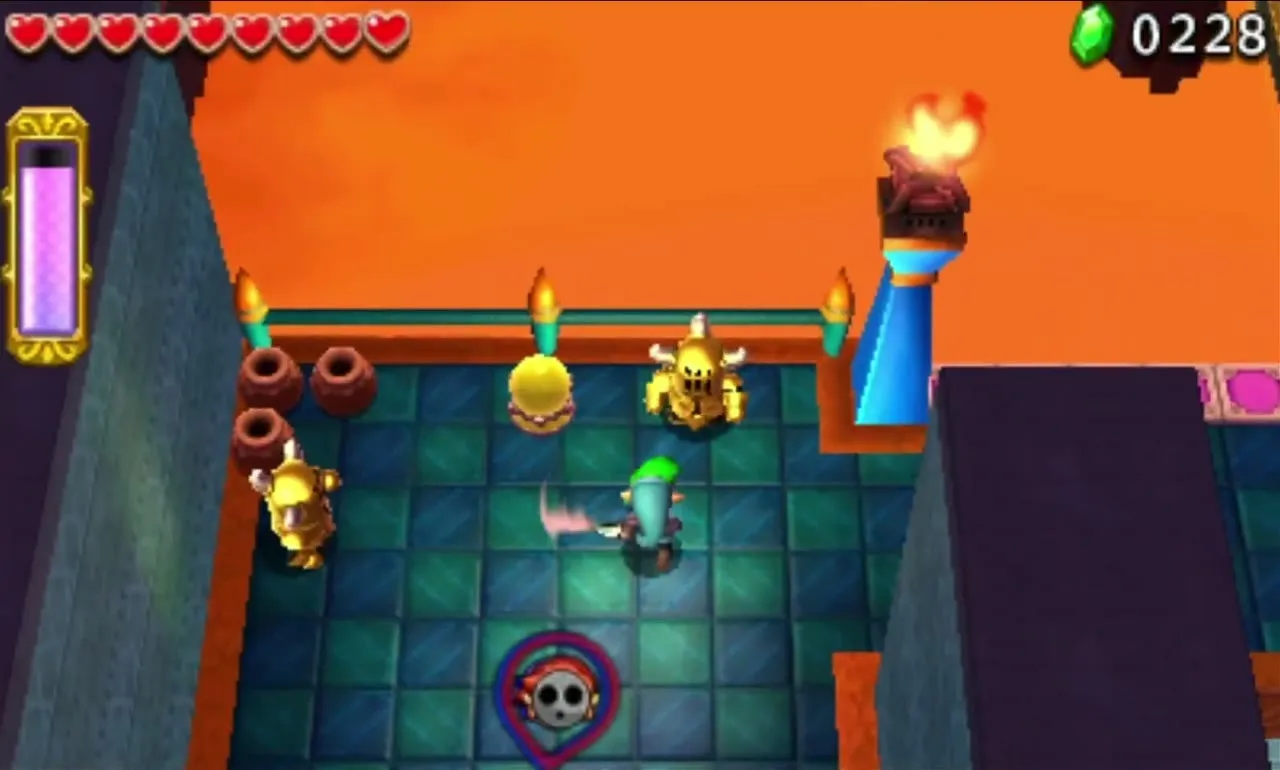
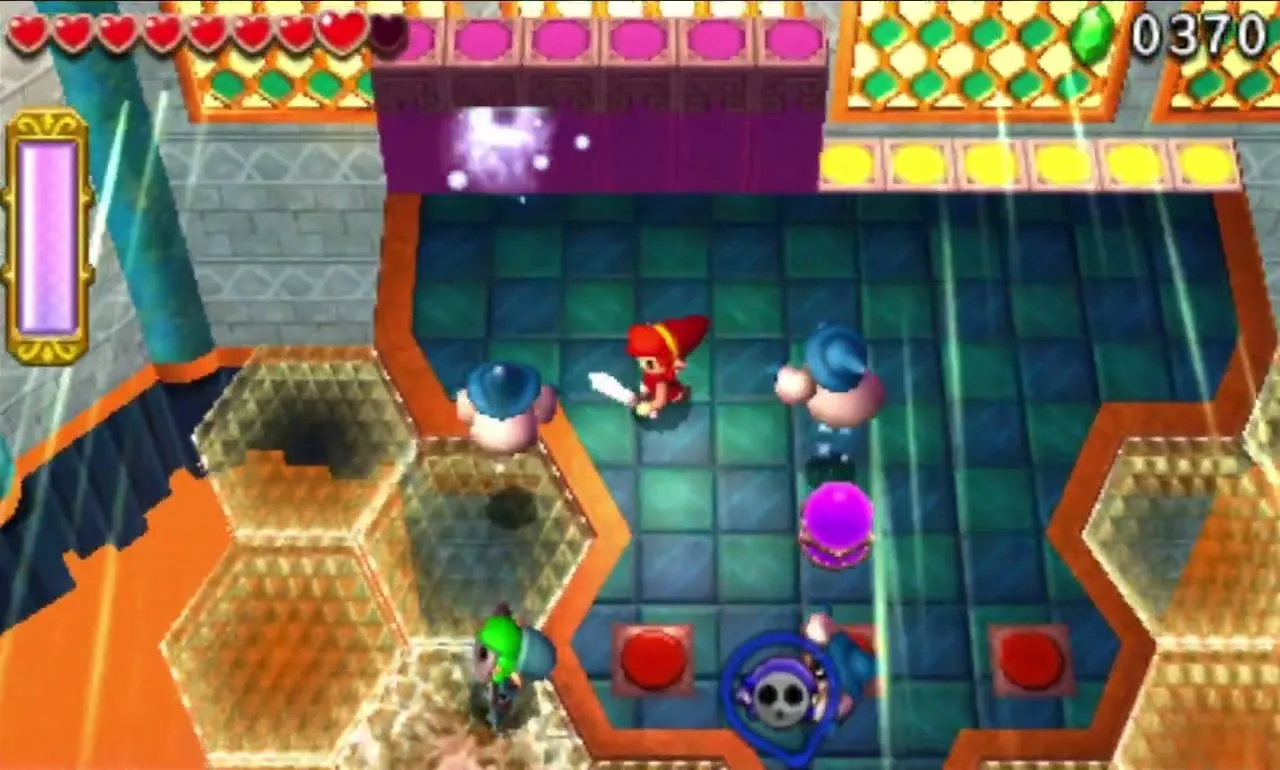
A Squiddy waits on the west side. Ahead, two Sky Bomb Soldiers guard a solid strip that runs far north to a ledge. Press the three Floor Switches there together and the walkway retracts as four Ice Wizzrobes appear. Two hover low and two need a Totem. Their ice shots are dangerous, since a frozen Link is easily blown off the ledge. When all four are beaten, the Triforce Gateway appears.
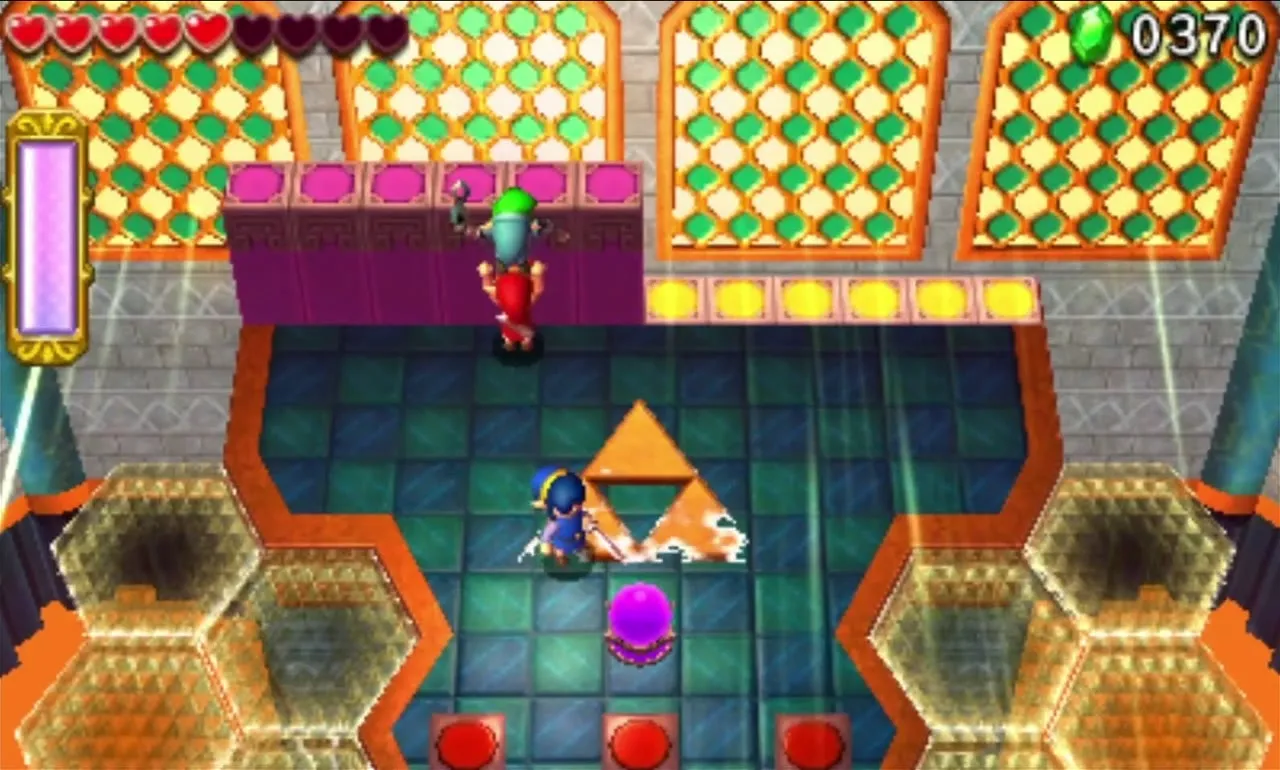

Dragon Citadel Stage 3
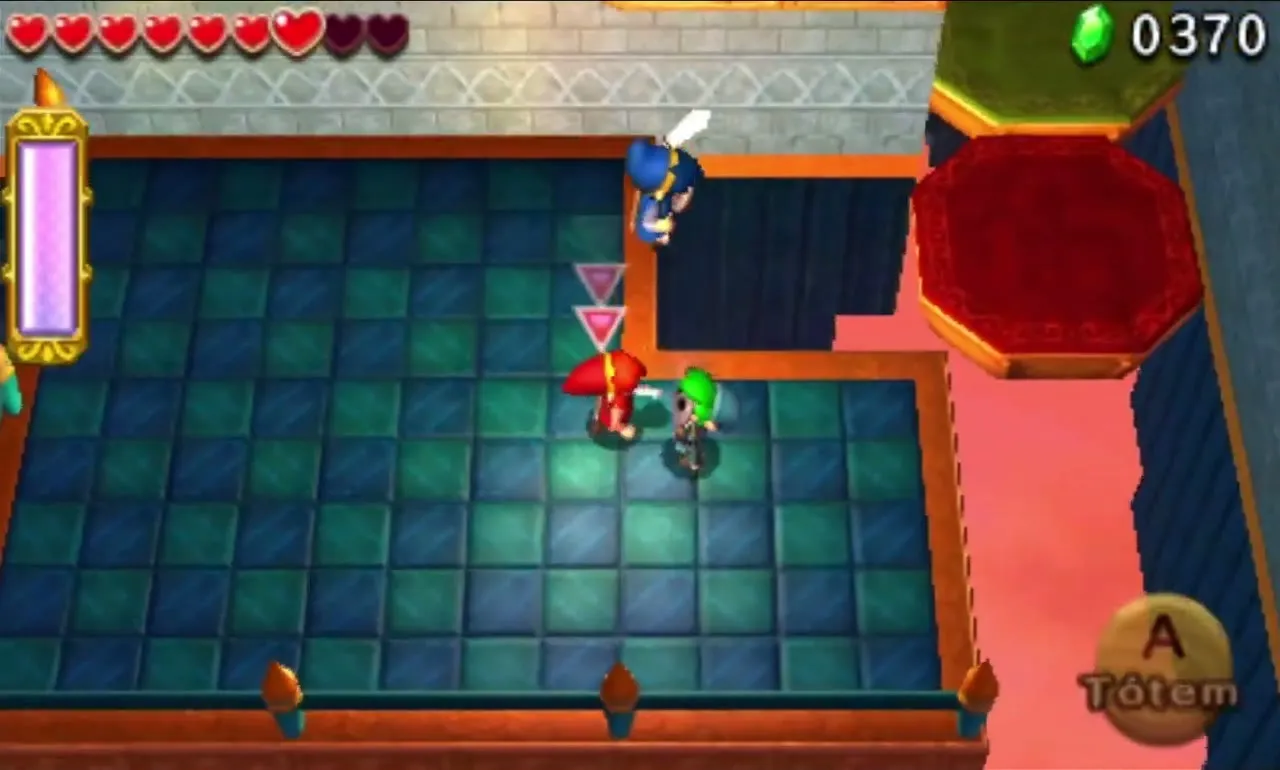
A red platform slides left and right beside a green platform that rises and falls. The red Link carries the others onto the red platform, throws the green Link up to the green one, and he throws the blue Link up to the ledge above before picking the red Link up. Climb the stairs to a Cucco and a Floor Switch that raises a blue platform across the gap. The blue Link glides over with the Cucco. Use the Hammer or Water Rod on the row of Stakes, or glide over carrying the Link who holds one.

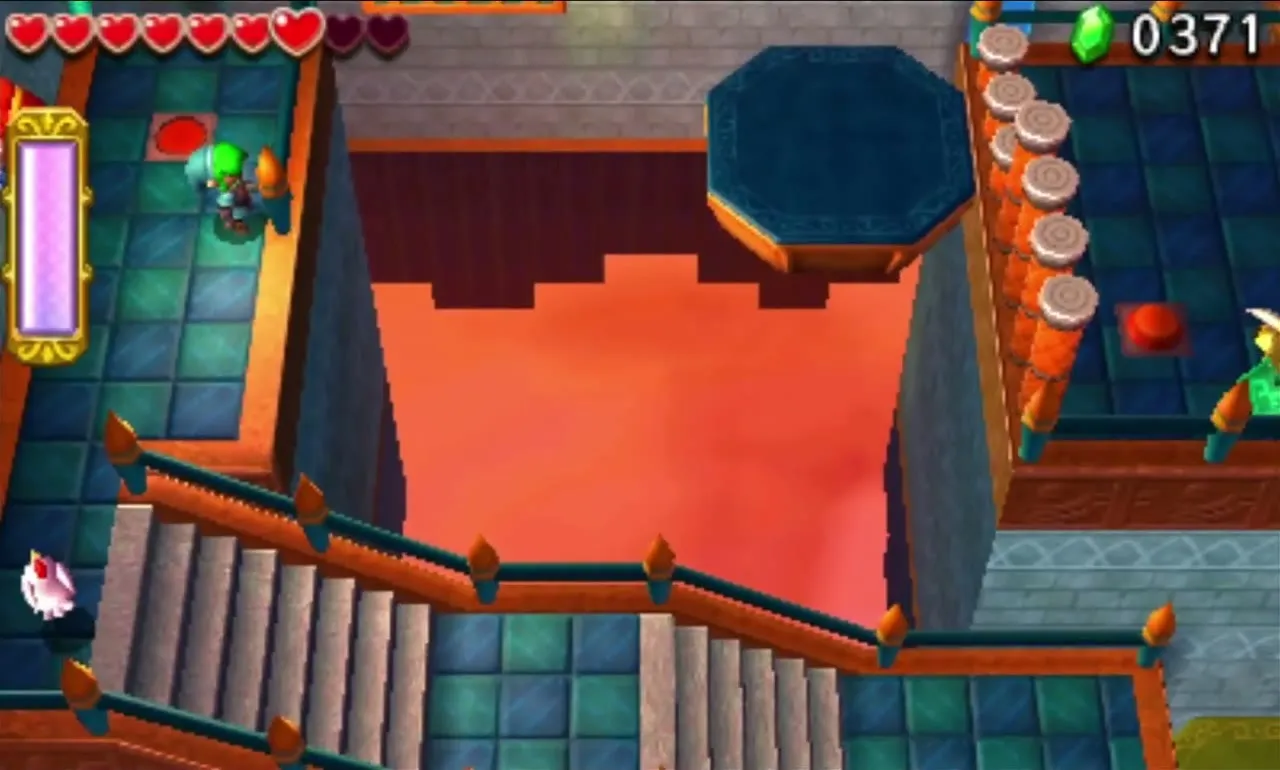

The next chasm is too wide even with Cuccos. Go north and hit a Shock Switch with the Boomerang to open a hidden room, where all three Links stand on a Big Switch to turn on the Fans. Updrafts now fill the chasm, so glide from the southwest ledge to the northeast or northwest corner. Tiny ledges carry Red Rupees, and the northeast platform has two chests with three Hearts and another Red Rupee. Climb the stairs to the Triforce Gateway.


Dragon Citadel Stage 4
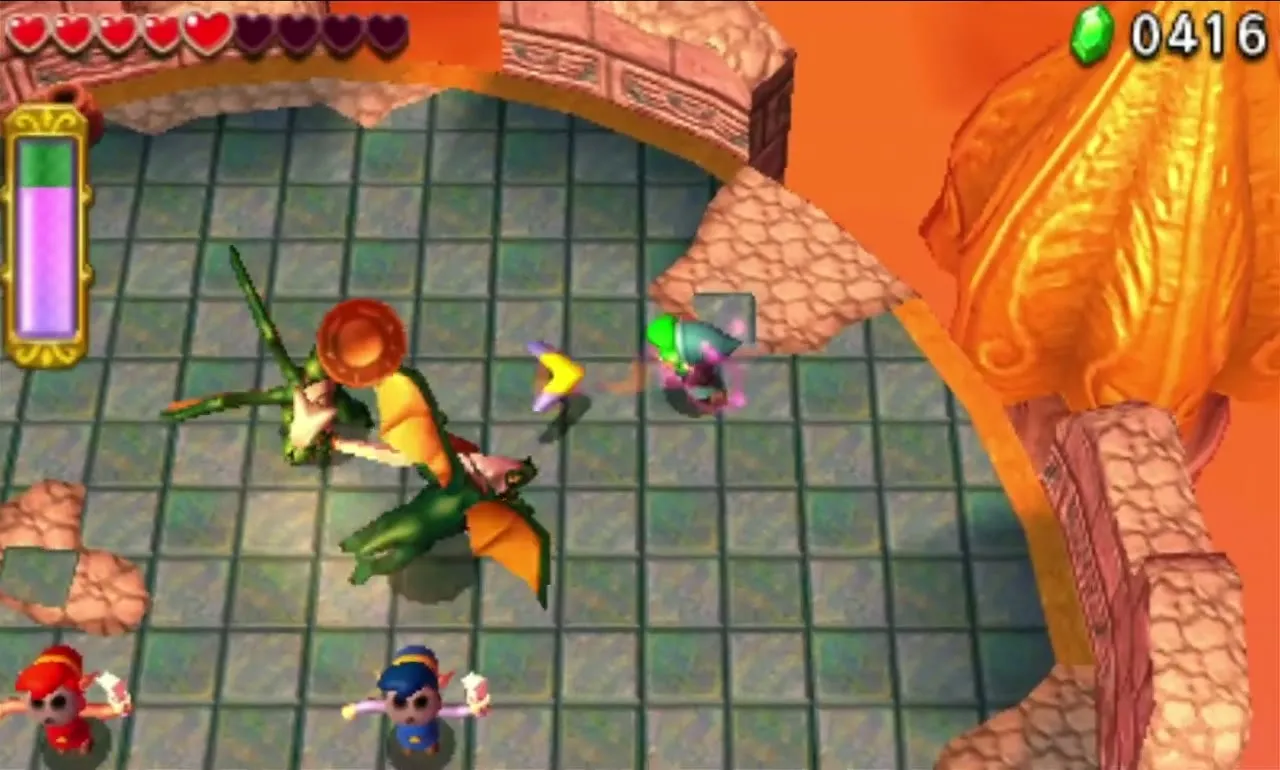
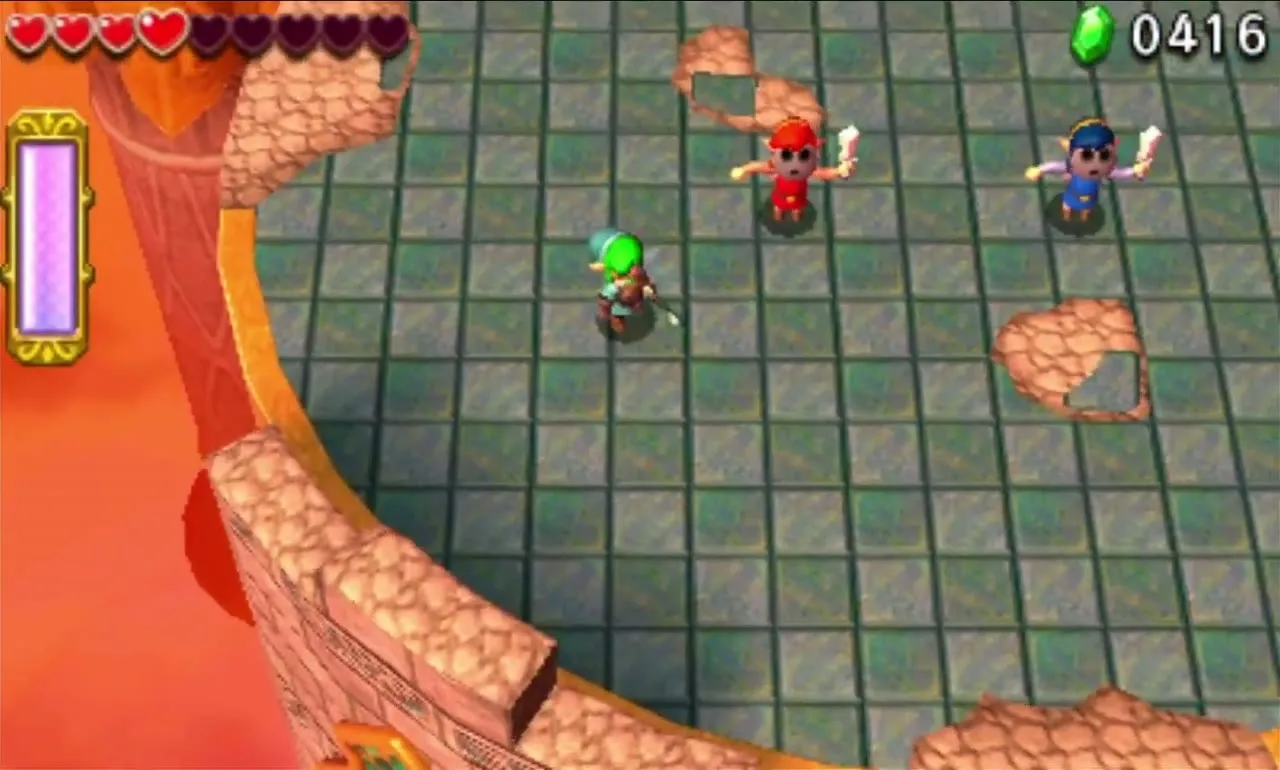
You reach the top of the tower, a round stone platform with gaps in its wall. Three Aeralfos attack at once. Dodge their wind breath and diving attacks, and strike each one from behind when it opens up. Jars around the edge hold Hearts. Defeating all three opens the Triforce Gateway.



Dragon Citadel treasure chests
A plain clear pays 2 Carmine Pearls and 1 Pretty Plume. The Level can also give Sky Dragon Tails, Mock Fairies, Aurora Stones and the Steel Mask, the first gold Material of this Area.
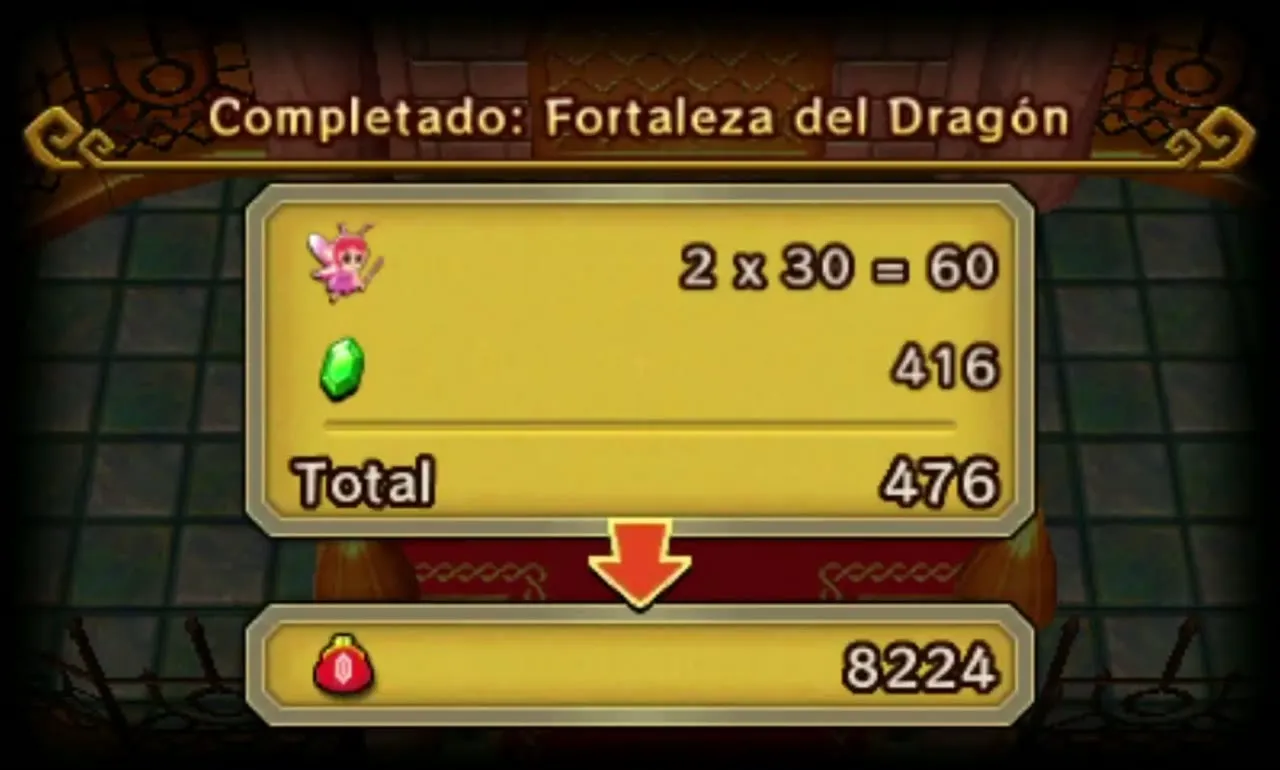
Its Challenges are “Avoid the volcanic rocks!”, “Halved attack and defense!” and “Don’t fall at all!”. The last one is the richest, paying 2 Mock Fairies and 1 Steel Mask. See Drablands Challenges for the full list.
Sky Temple
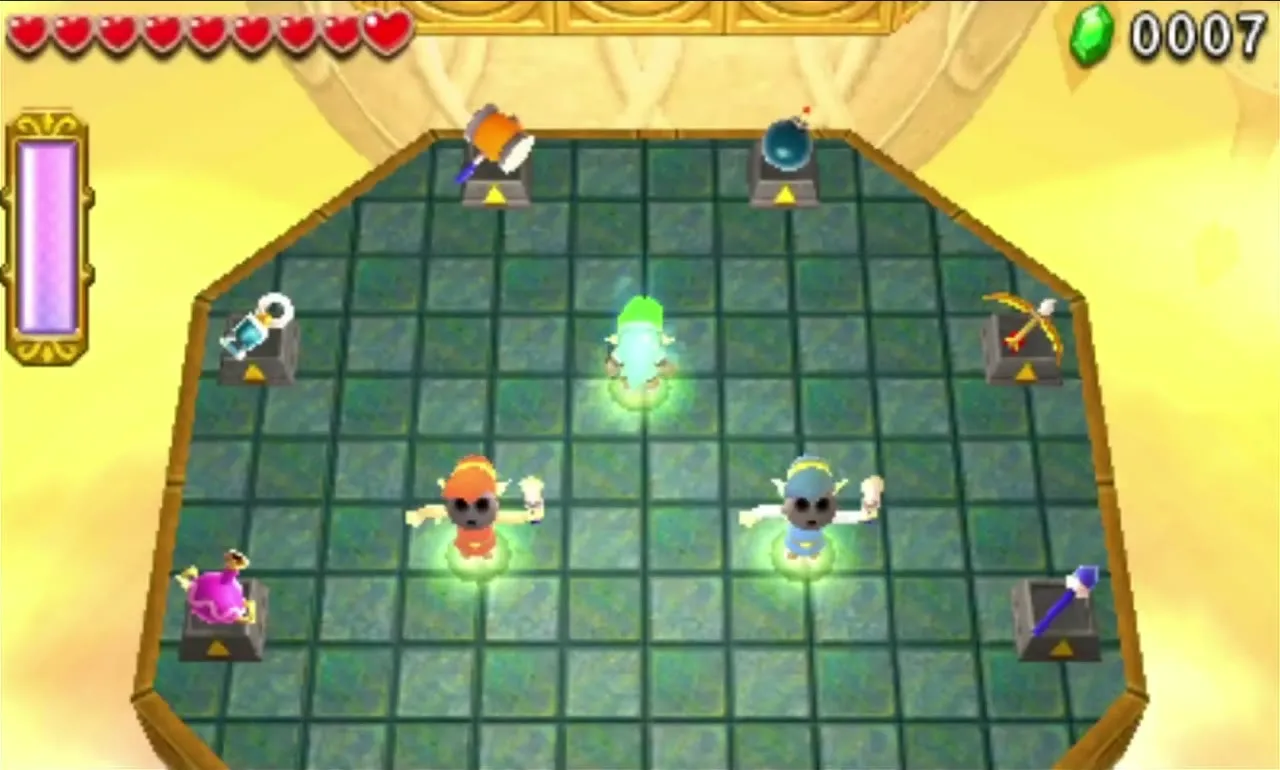
The final Level is different: all eight items are on offer, and each Link may take three of them at the start of Stages 1, 2 and 3. You can swap your picks at the beginning of each of these Stages. Stage 4 is the fight with Lady Maud, and she takes every item before it begins. Each of the first three Stages is a tour of earlier Areas, built on islands joined by lifts.

Sky Temple Stage 1
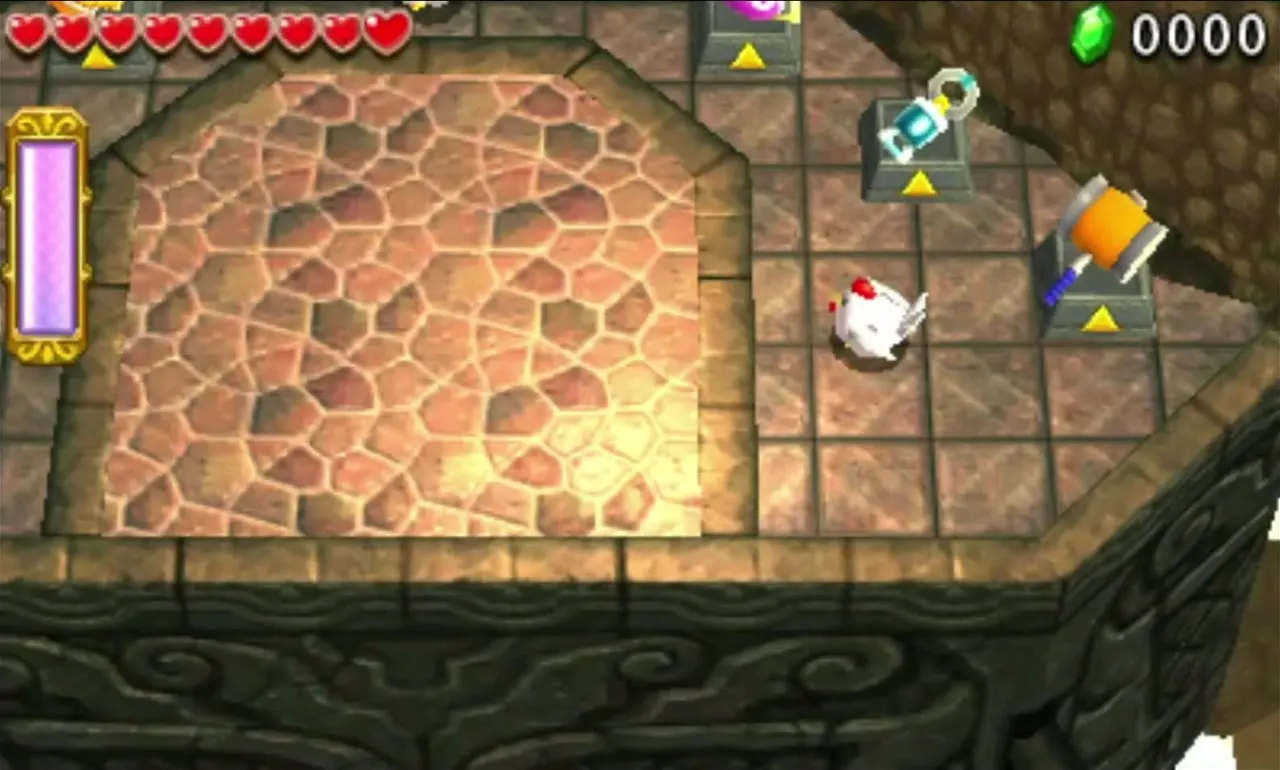
Eight pedestals ring the starting platform: Gust Jar, Gripshot, Magic Hammer, Bombs, Bow, Water Rod, Fire Gloves and Boomerang. Divide three items between each Link and talk it over, because the Bomb Flowers and the Totems on the way reward a mix of ranged and throwing tools. A glowing lift appears once your picks are made.
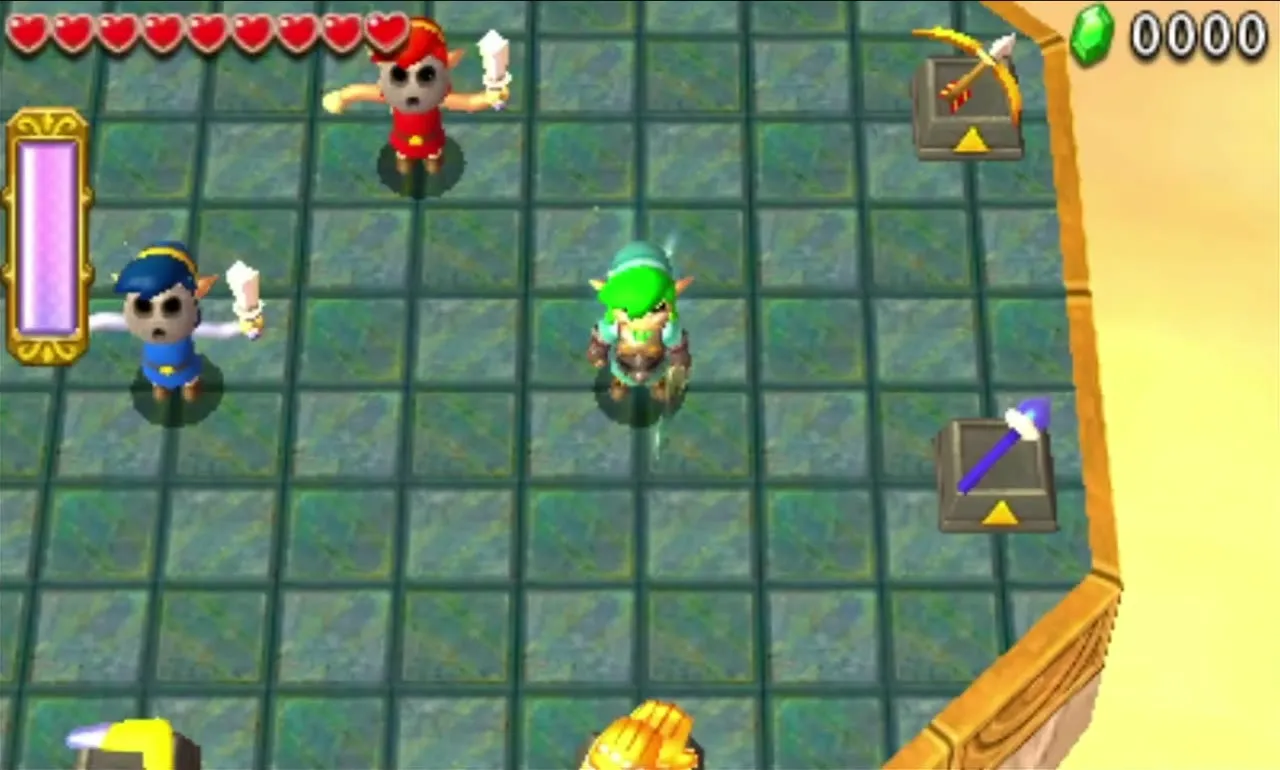

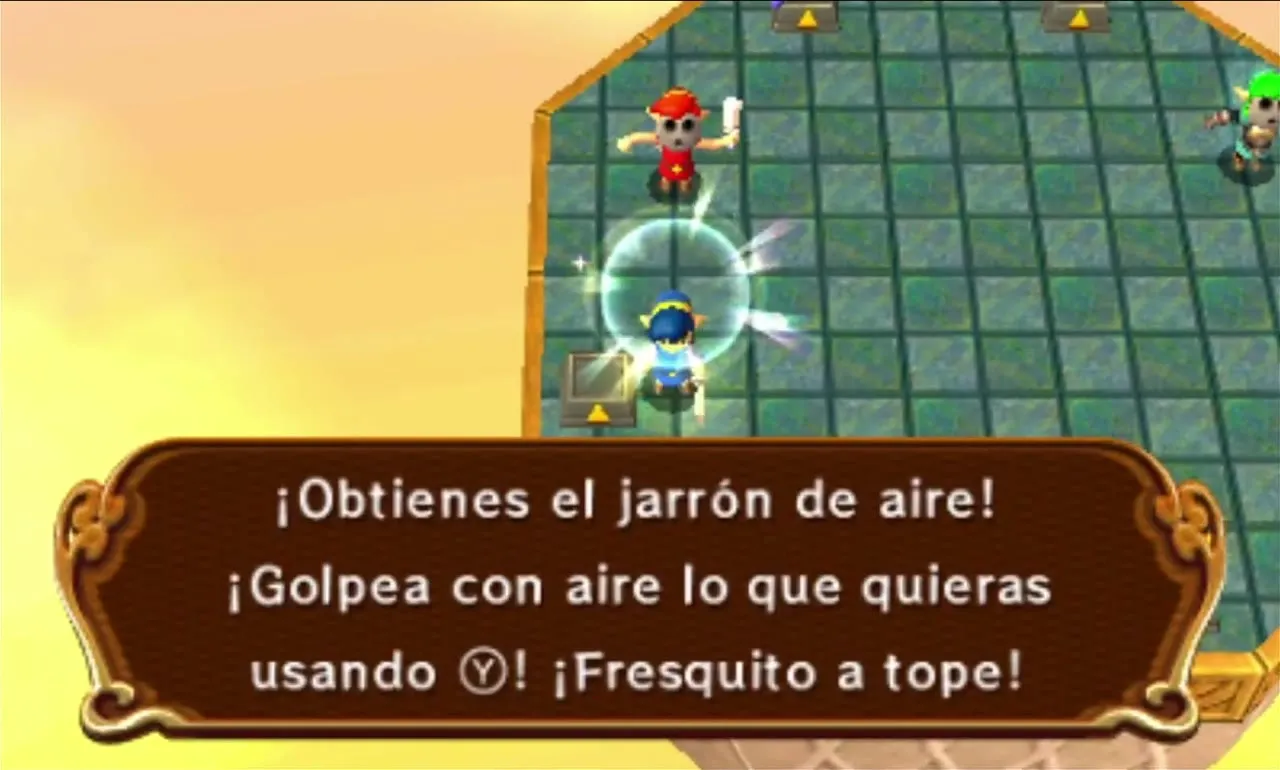
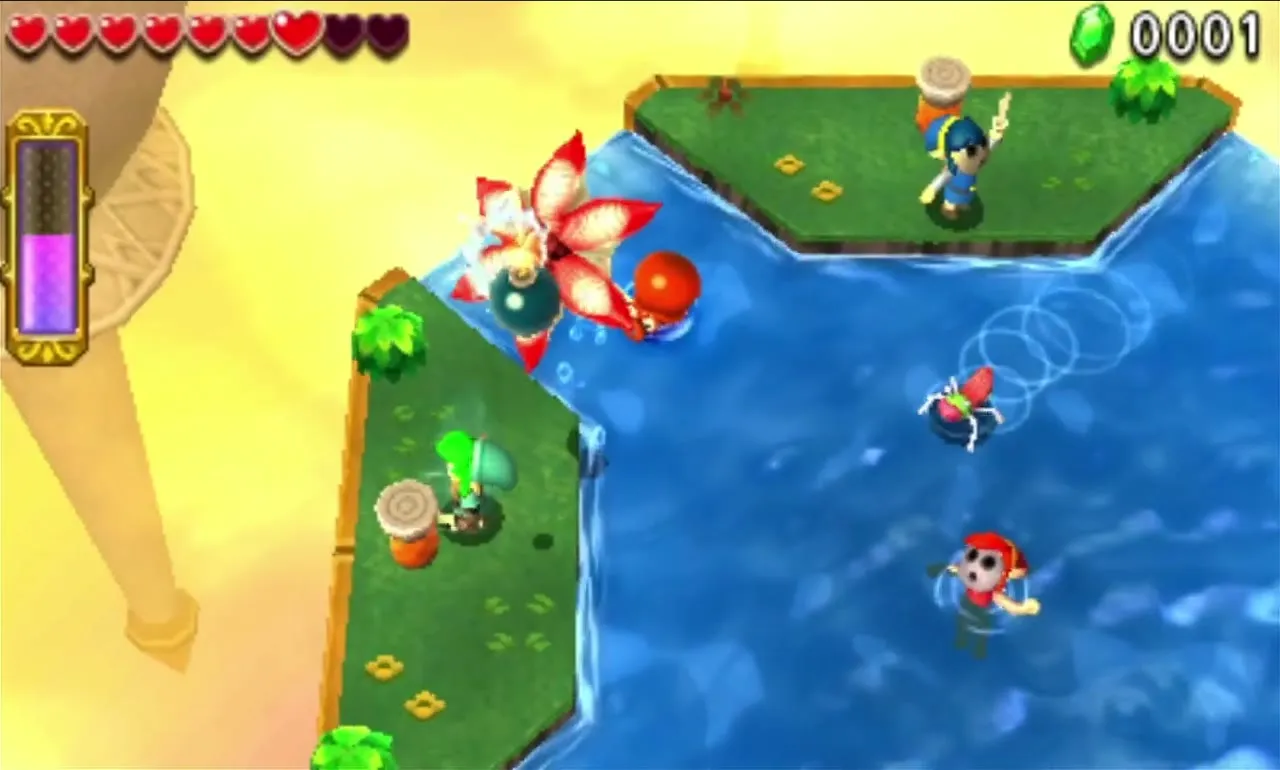
The first island is built on the Woodlands, with Mini-Margos and Totem Dekus. A Bomb Flower on a central ledge handles the Mini-Margos. The next lift drops you on a Riverside island flooded with water and patrolled by Water Octoroks, Water Tektites and a Keeleon. Defeat them all to call the next lift.

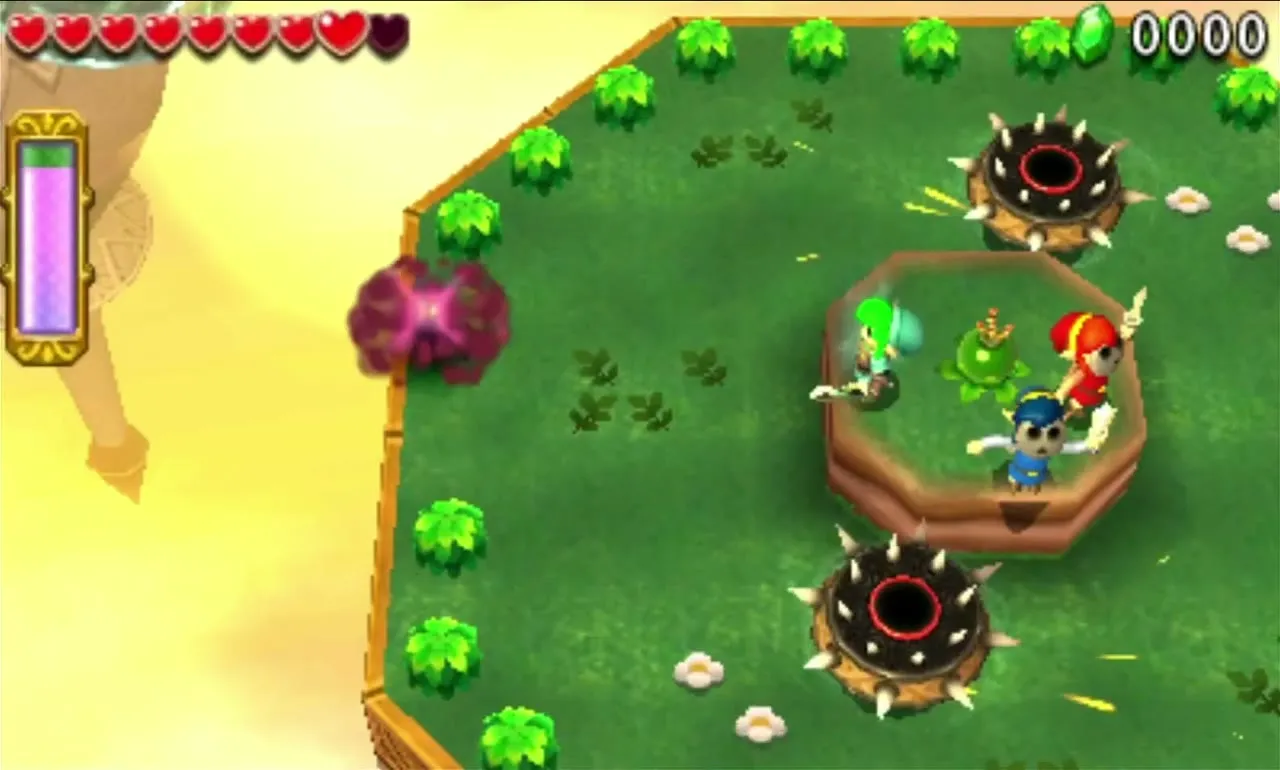
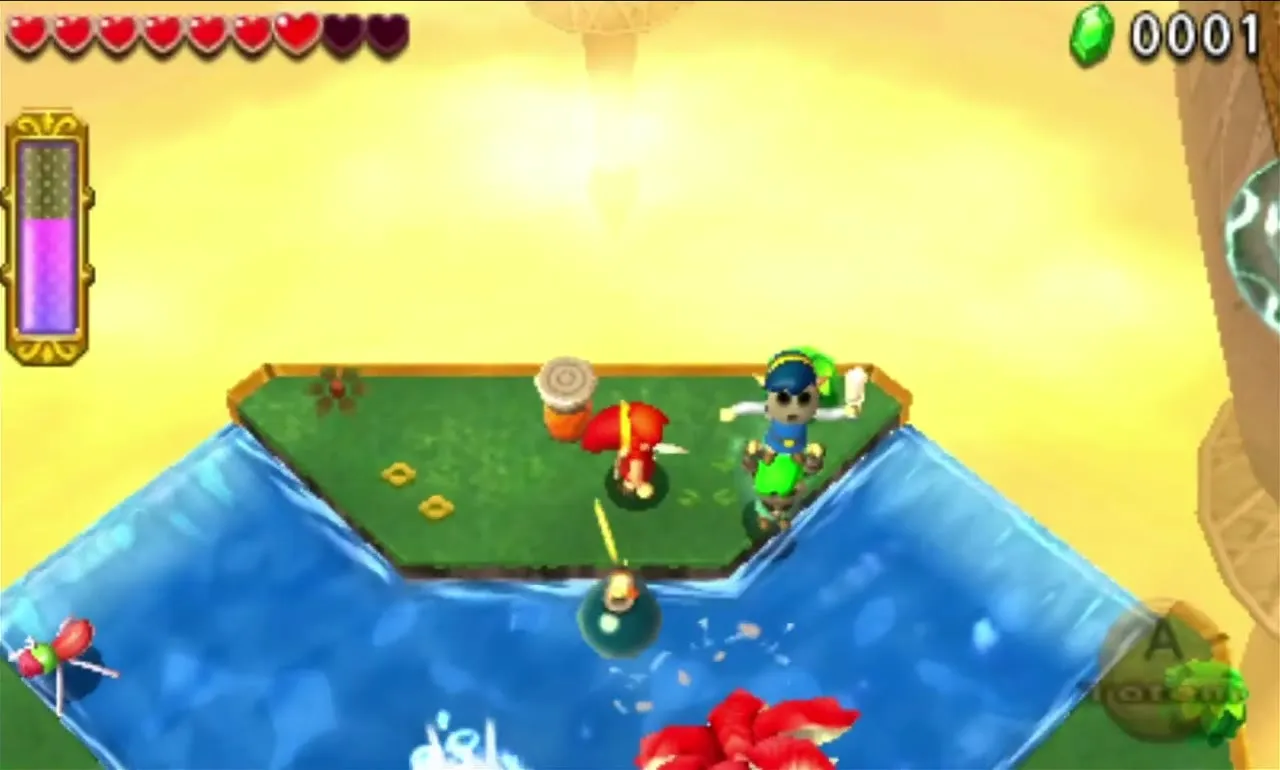
The third island follows the Ice Cavern. The floor is icy and filled with Freezards, Ice Wizzrobes and Terrorpins. Bomb Flowers along the edges help against them. When the last enemy falls, a final lift carries you to the Triforce Gateway.
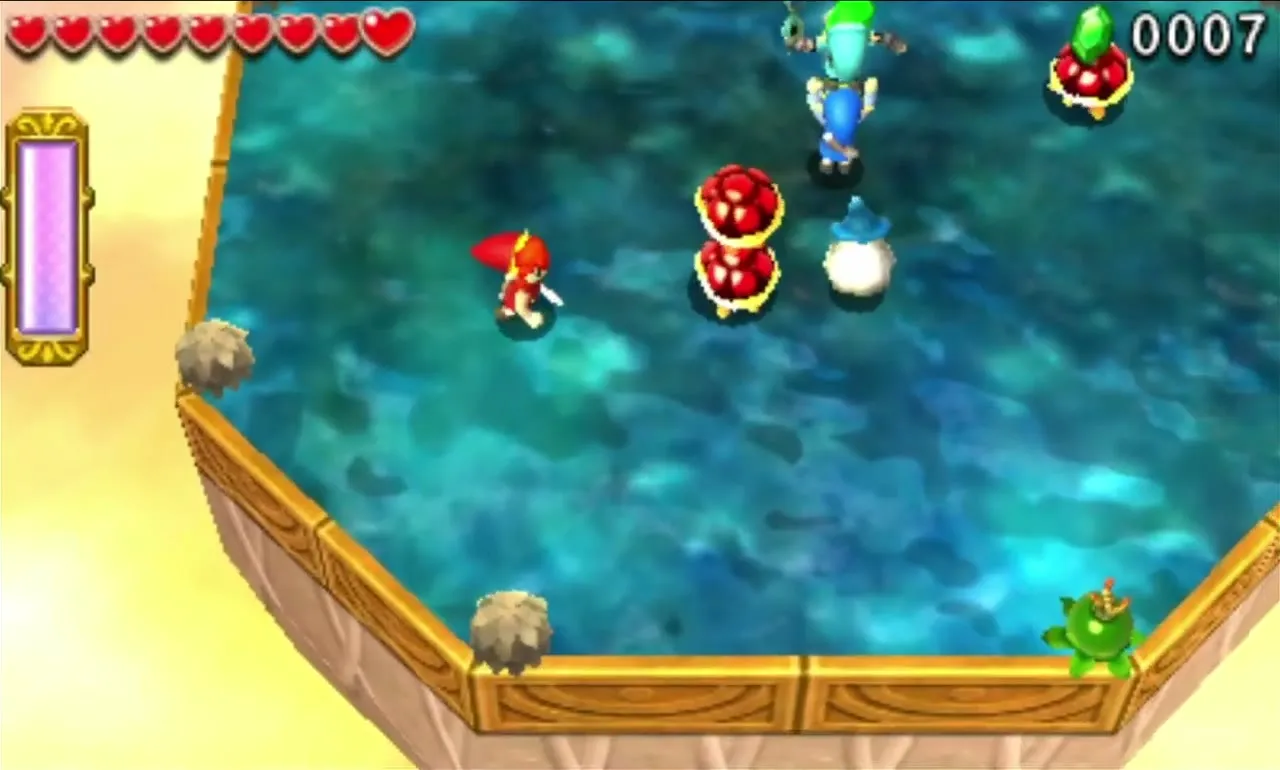
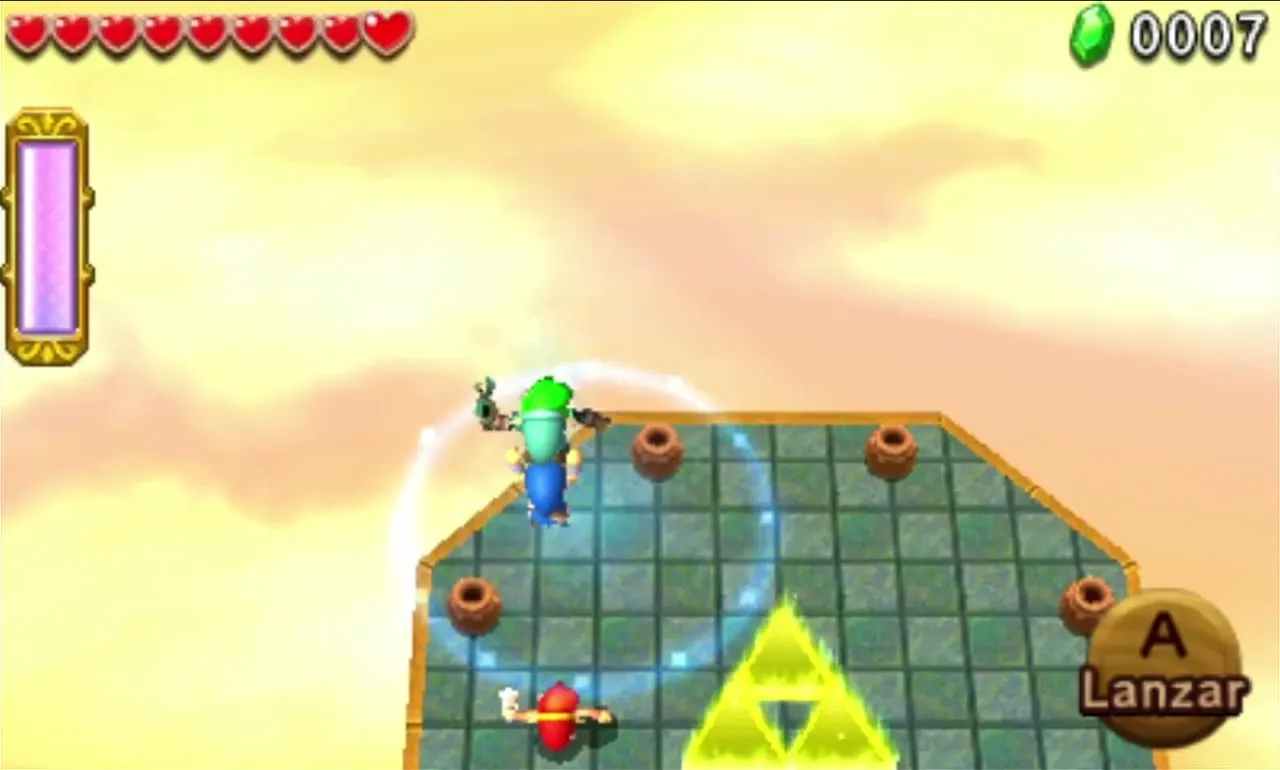
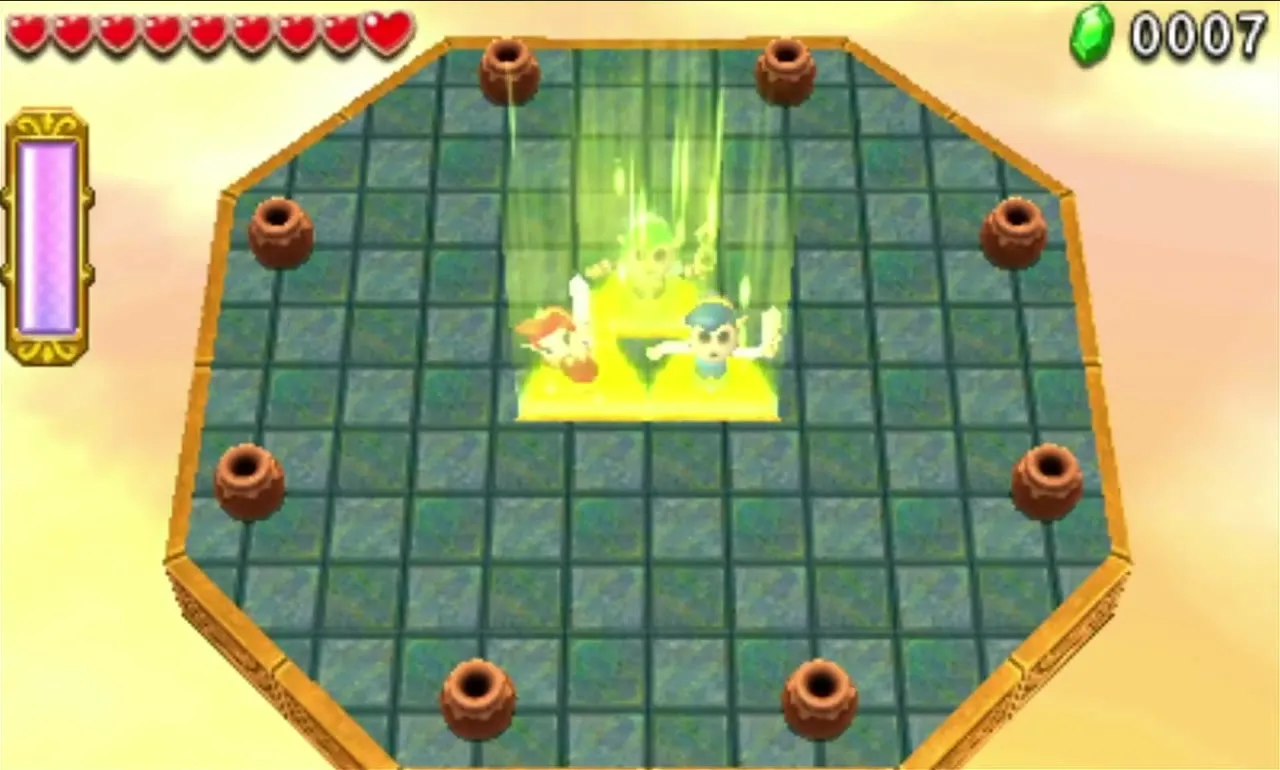
Sky Temple Stage 2
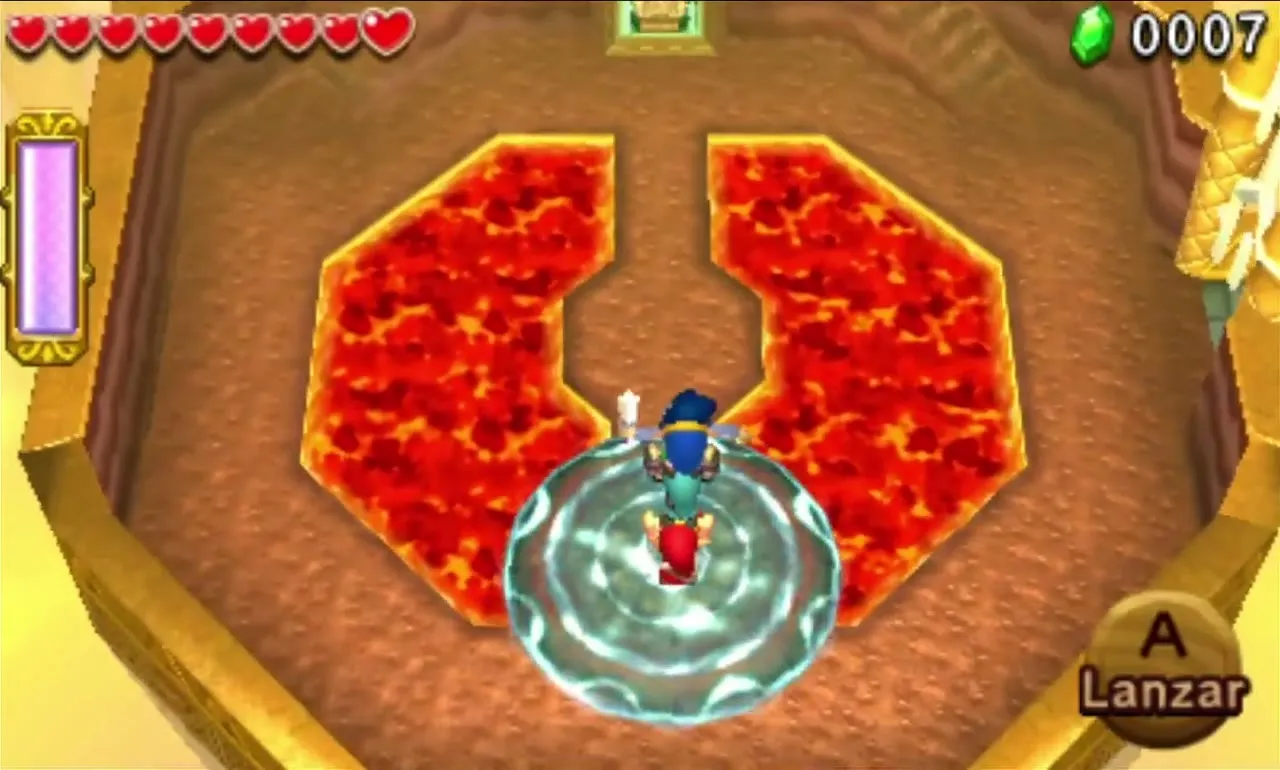
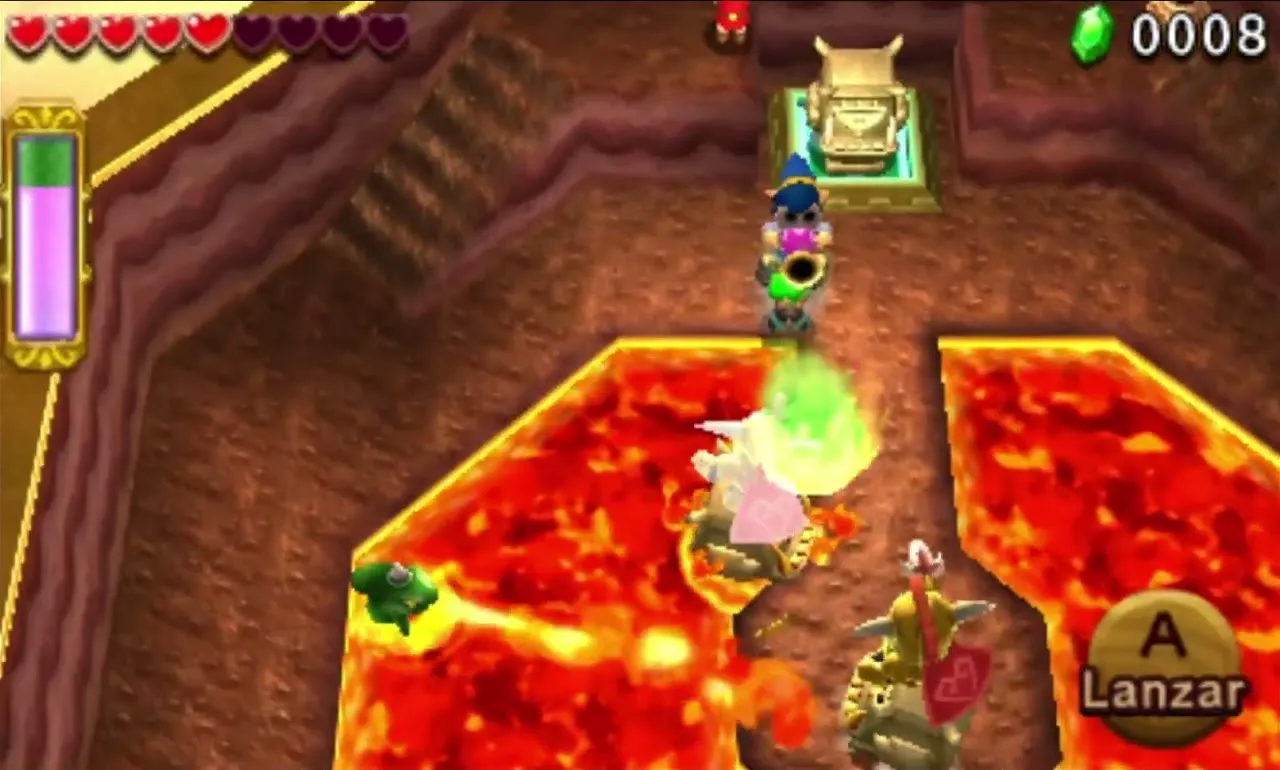
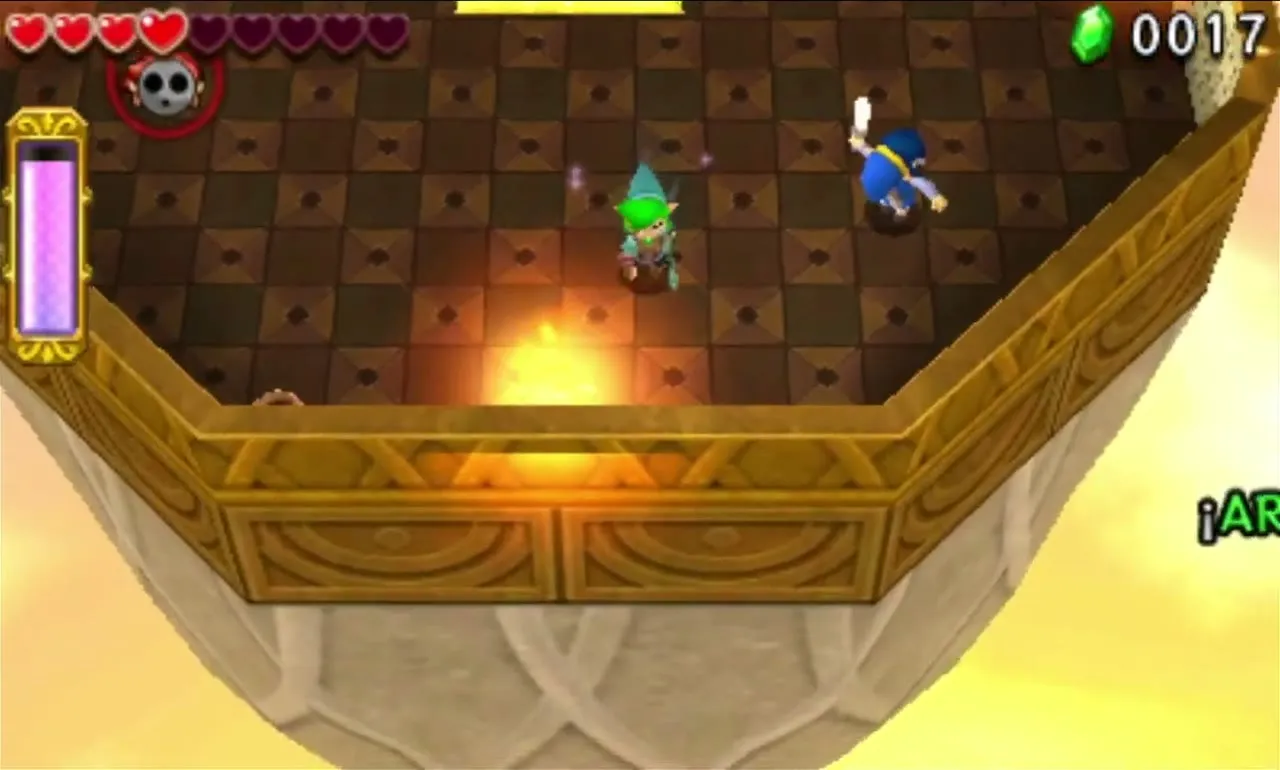
You return to a platform with all eight items, and this is your chance to swap. A lift drops you onto a Volcano island with a lava pit, Fire Keese, Kodongos and Sky Spear Soldiers riding Totem Armos. You get a Totem Armos of your own to fight back with. Defeat everyone and the gate to the next lift opens.

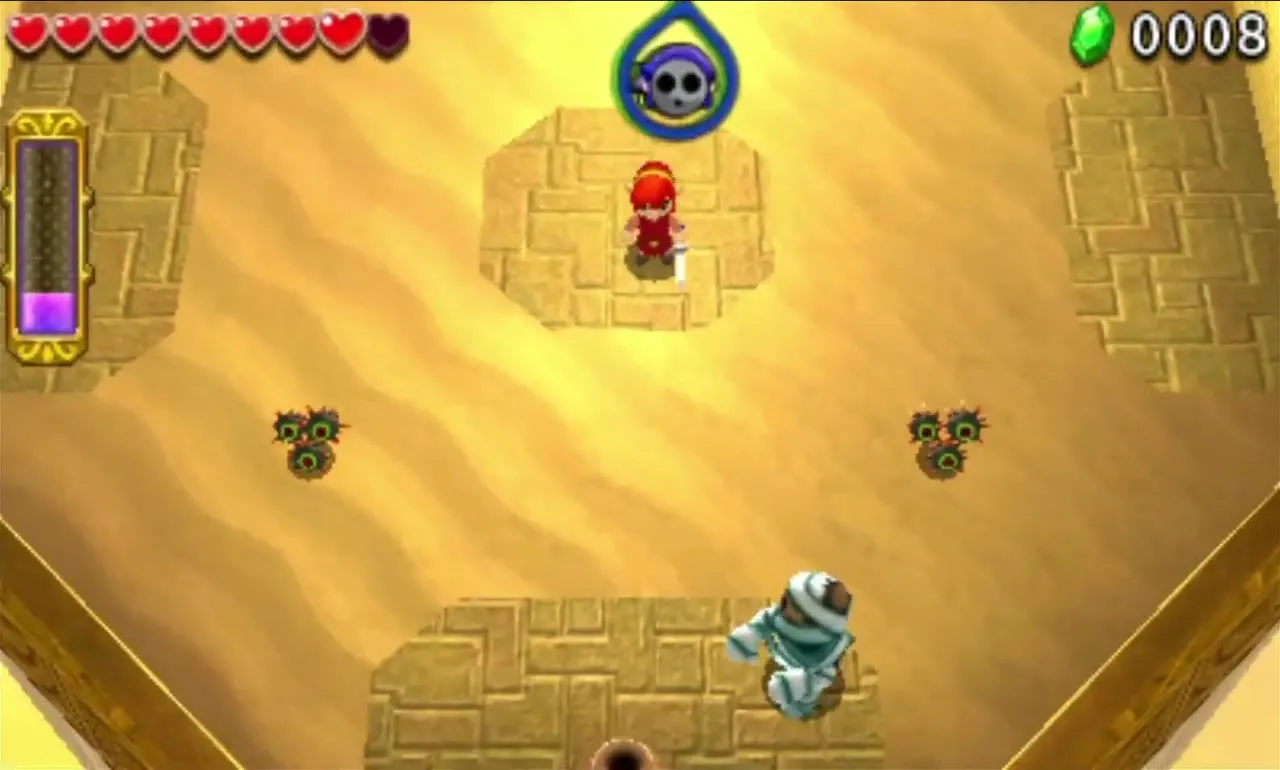
The second island is a quicksand pit in the style of the Dunes. Defeat the Stalfos, the Red Stalfos and the Gibdo while four Morths hover around. When the Stalfos and Gibdo fall, the Morths vanish and another lift appears.

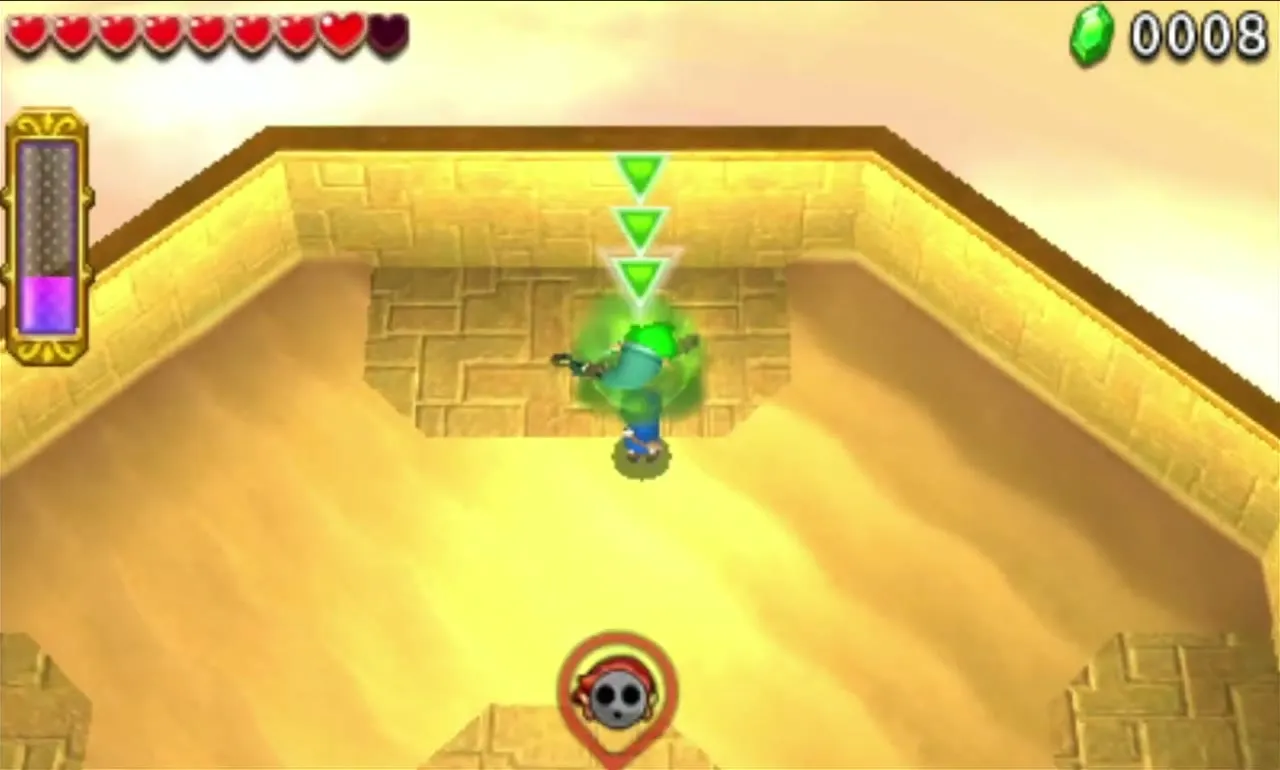
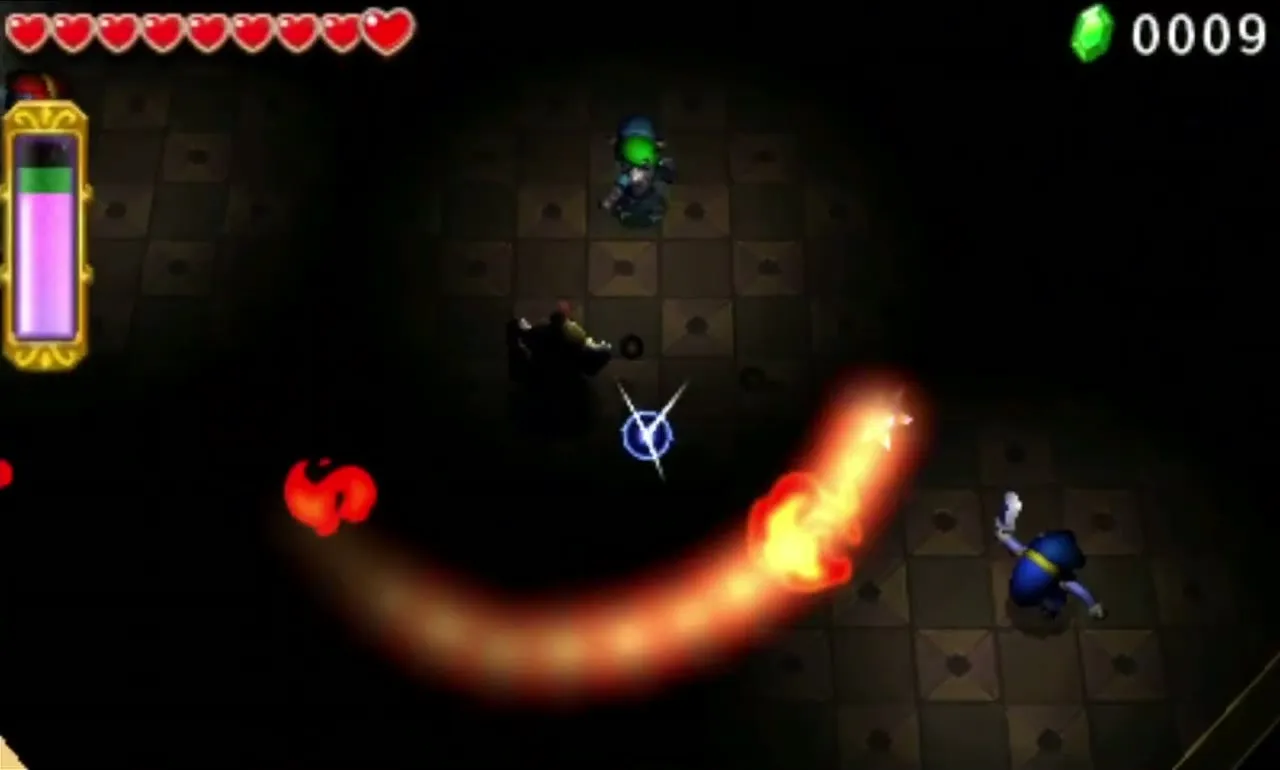
The last island follows the Ruins and turns pitch dark the moment you land. Many Light Ghinis and a Sky Fire Chain Soldier swing a flaming ball and chain that gives off the only light, though you can also light Braziers with the Fire Gloves. Defeat everything and the Triforce Gateway appears.
Sky Temple Stage 3
Ornate islands are joined by grand stairways lined with Green Rupees. On the next island a flying bus drops two Sky Sword Soldiers, two Sky Spear Soldiers and a Sky Shield Soldier. There are no railings, so the Gust Jar can blow them right off the edge.
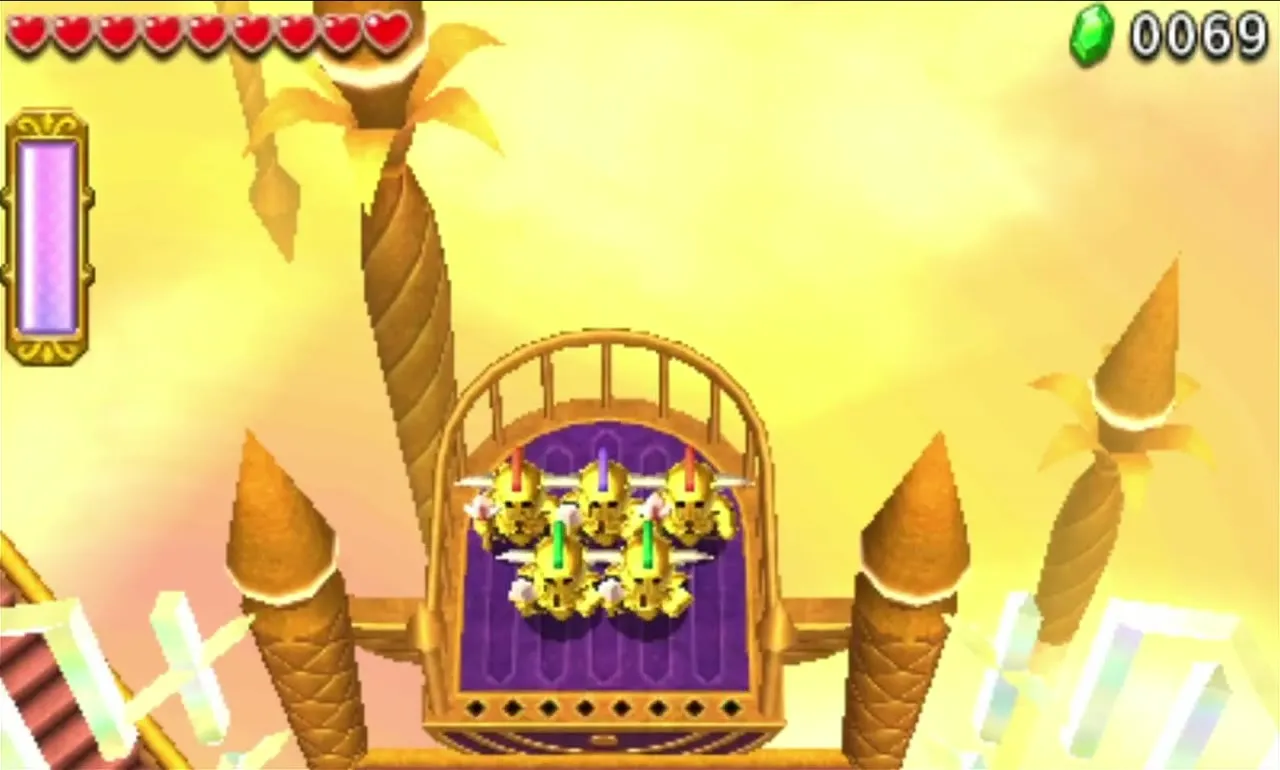

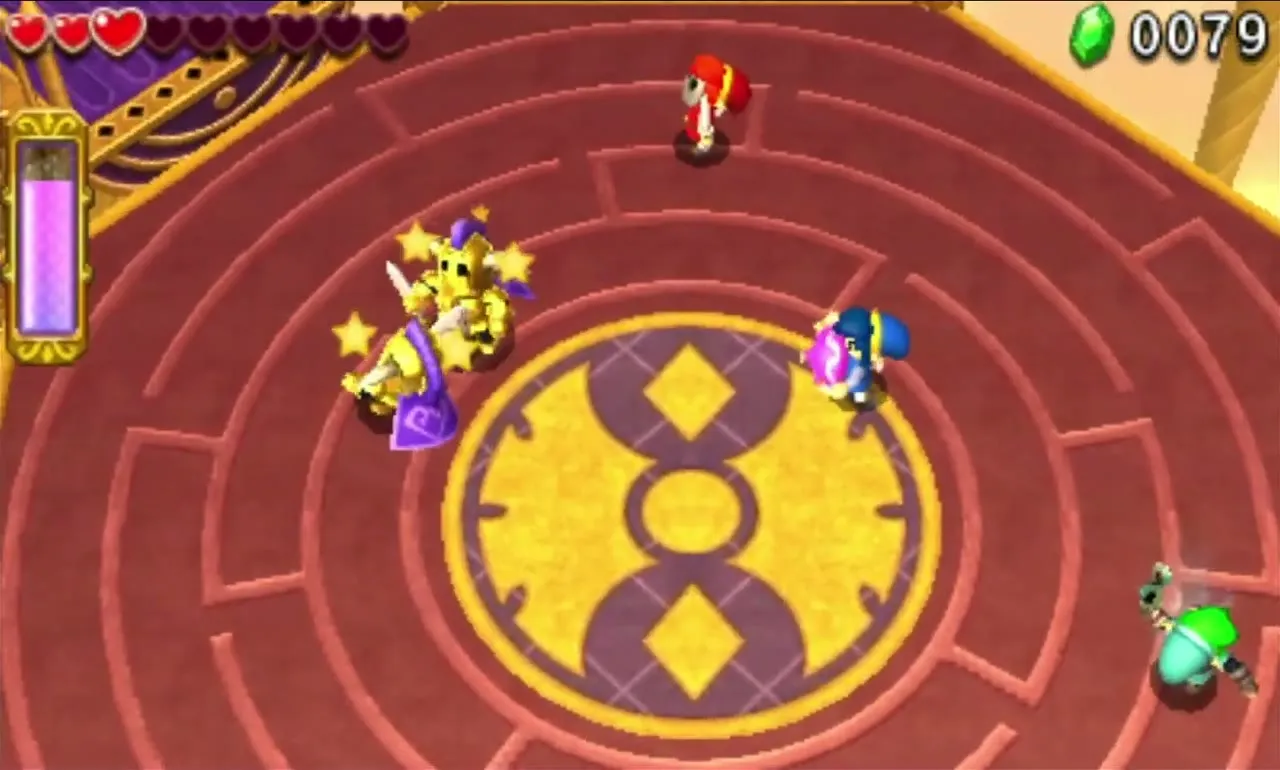
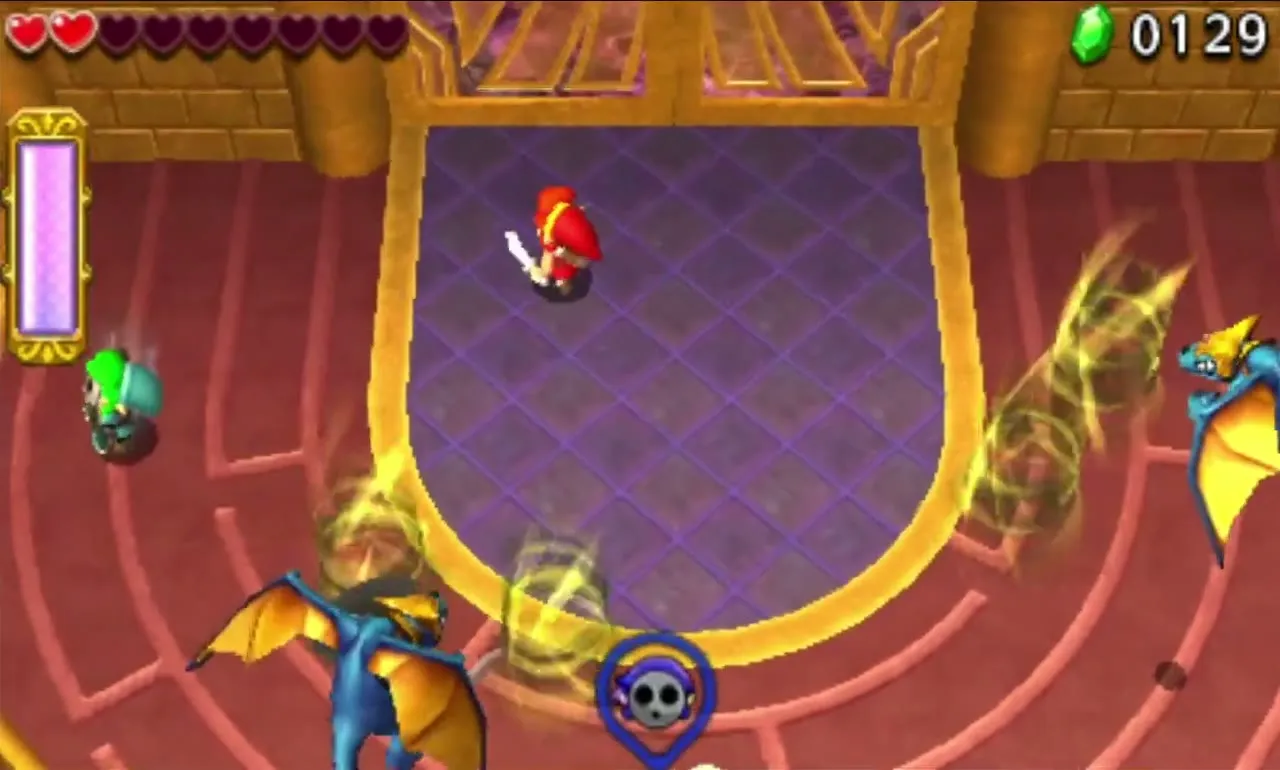
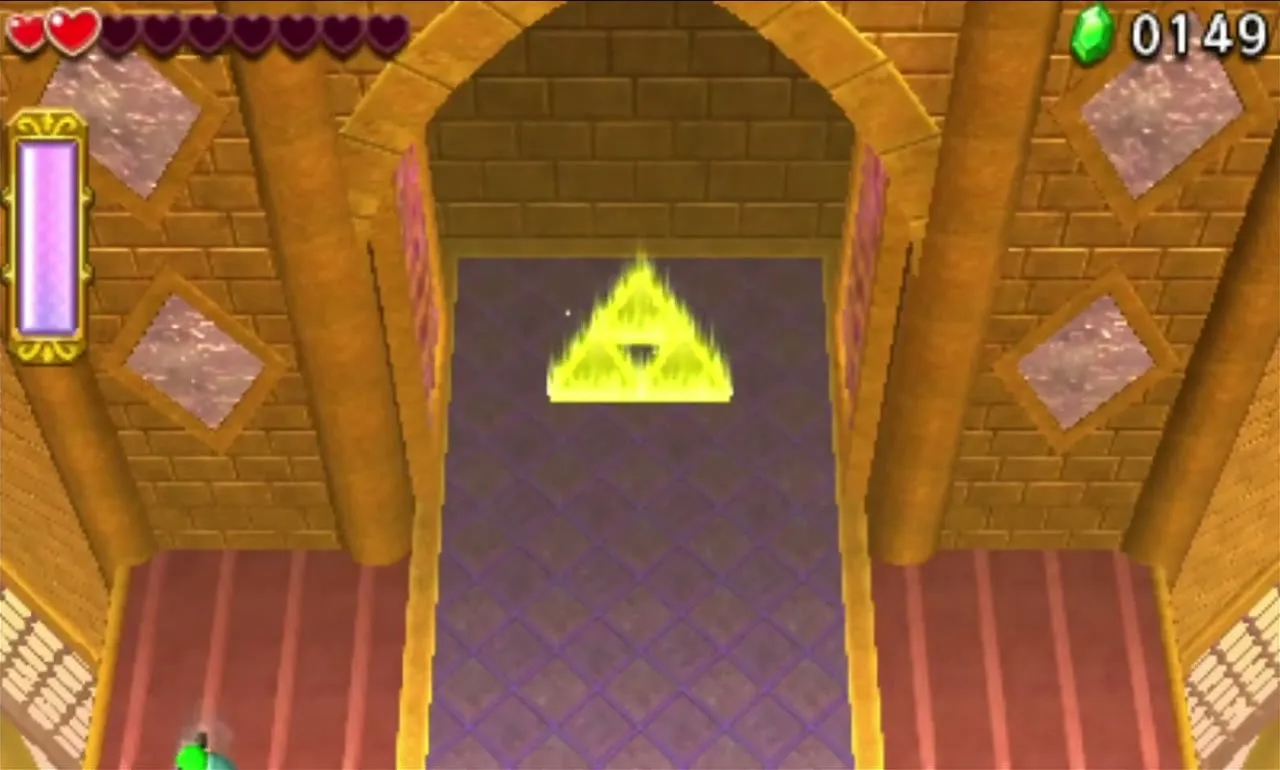
The next island brings two Sky Shield Soldiers, two Sky Bomb Soldiers and a Sky Ball and Chain Soldier. The last staircase leads to the temple entrance, where two flying Super Aeralfos breathe fire. Hit them from behind and keep moving. When they fall, the huge gate opens to the Triforce Gateway, and a Squiddy appears; use it to refill your hearts before the finale.

Sky Temple Stage 4
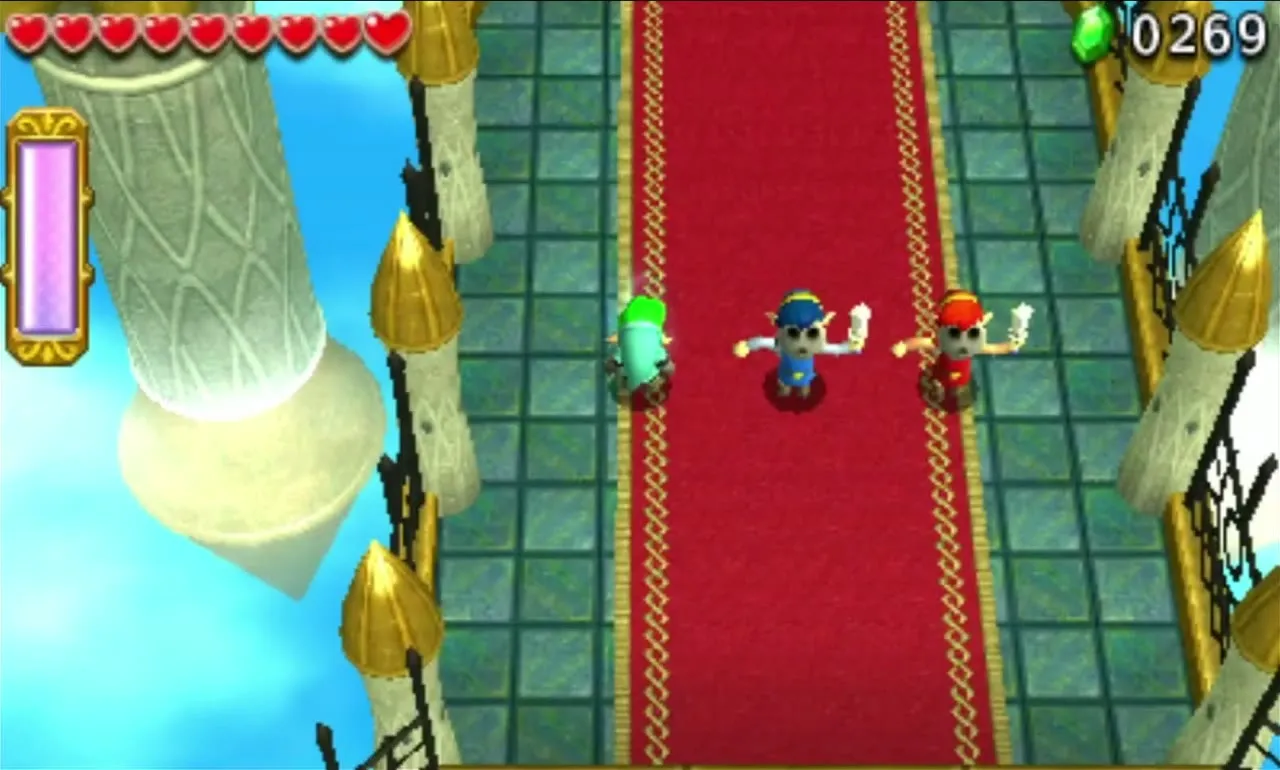
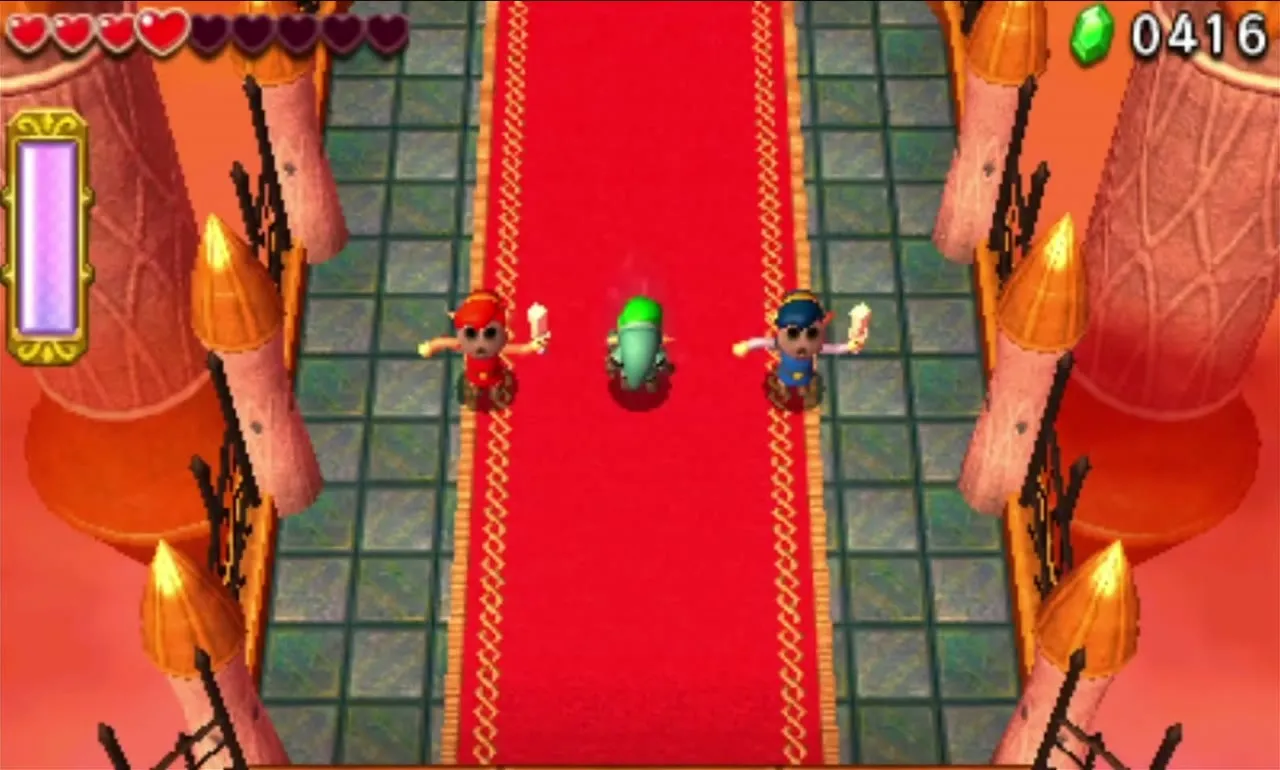
Inside the temple, Lady Maud strolls down a red carpet under her parasol and scolds you for your clothes. She takes every item you carry, saying she will get rid of them for you, and invites you into a battle. Walk onto the circular pattern in the floor; a gate rises around you, and the floor lifts you into the boss arena.




Lady Maud boss fight
Phase 1: Lady Maud stands on a raised altar inside a circling magic barrier. Build a Totem and throw each Link over it. She answers with thrown parasols and pushes away anyone who lands on her platform with her own parasol. Strike fast with your Sword, or wait until she is busy throwing and drop a Link behind her. When she has taken enough damage she throws a fit, the barrier drops and she charges around waving the parasol. One Link leads her away while the others hit her from behind.
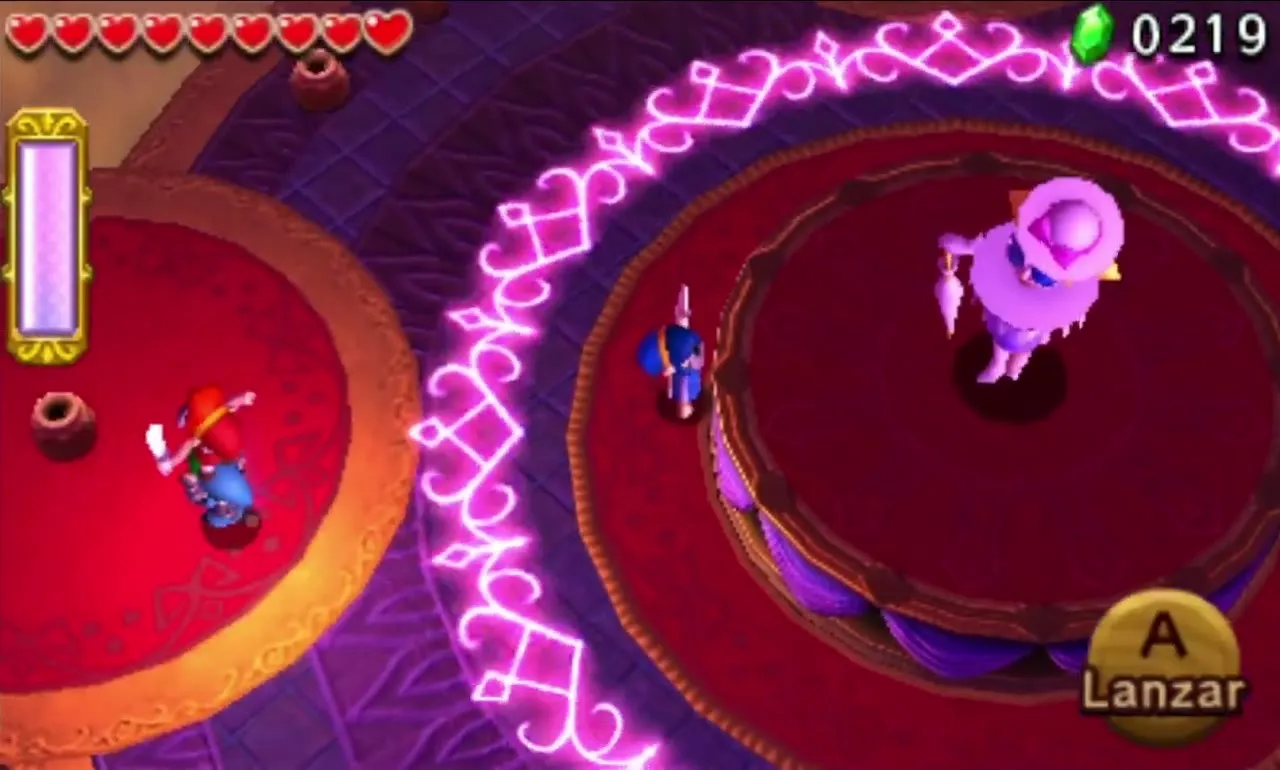
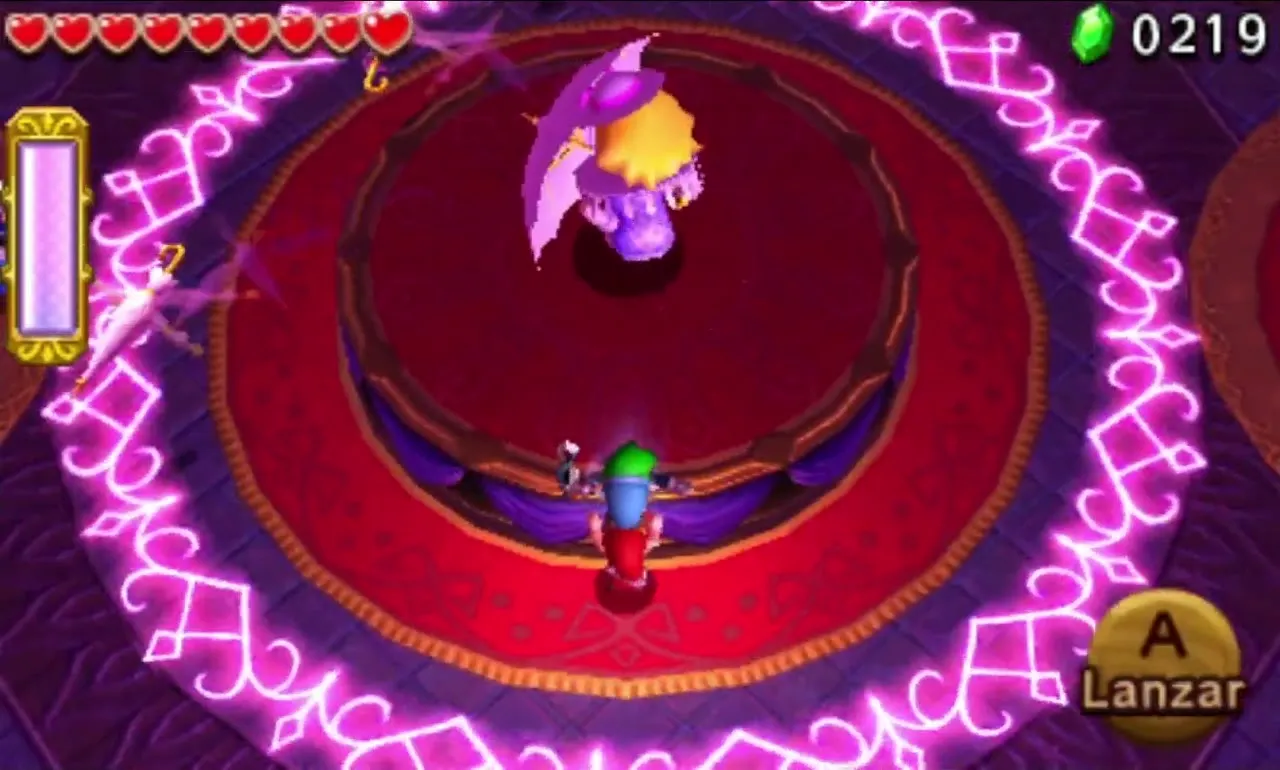


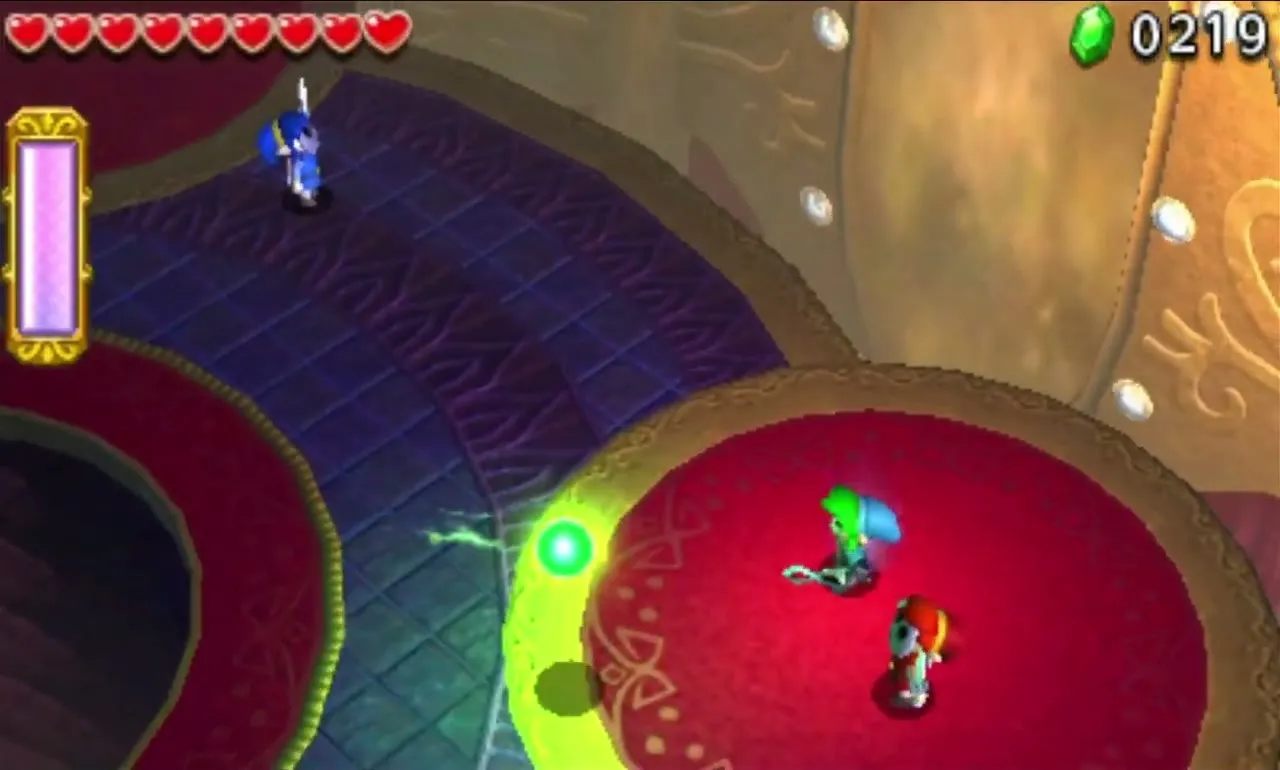
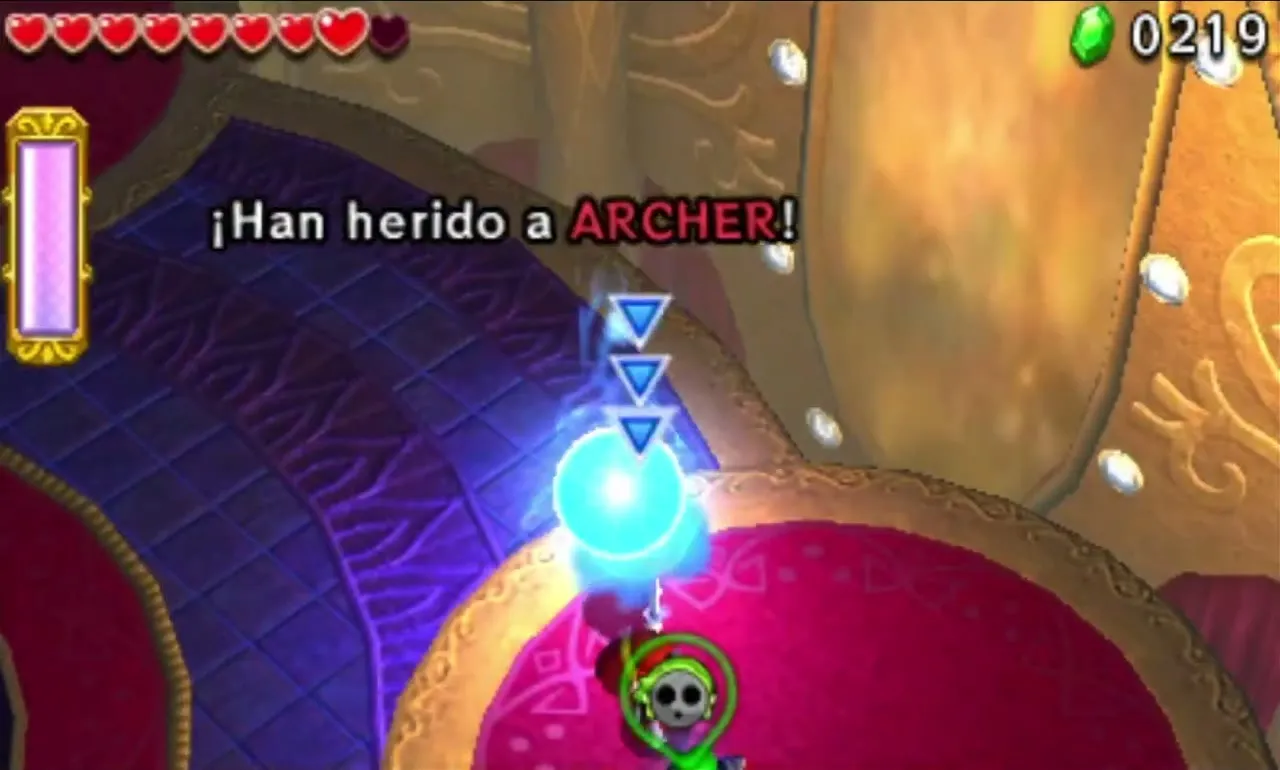
Phase 2: she changes outfit, the platform falls away and she floats over the hole, firing balls of electricity. Each orb matches the colour of the Link it targets. Hit it with your Sword and it turns yellow and flies back; keep the volley going. If the target misses, the orb bounces on and changes to another Link’s colour; a miss altogether shocks everyone. After a few exchanges she spins and sends back a much bigger, faster orb. Return it and she is shocked to the ground, where you can strike her until she recovers.

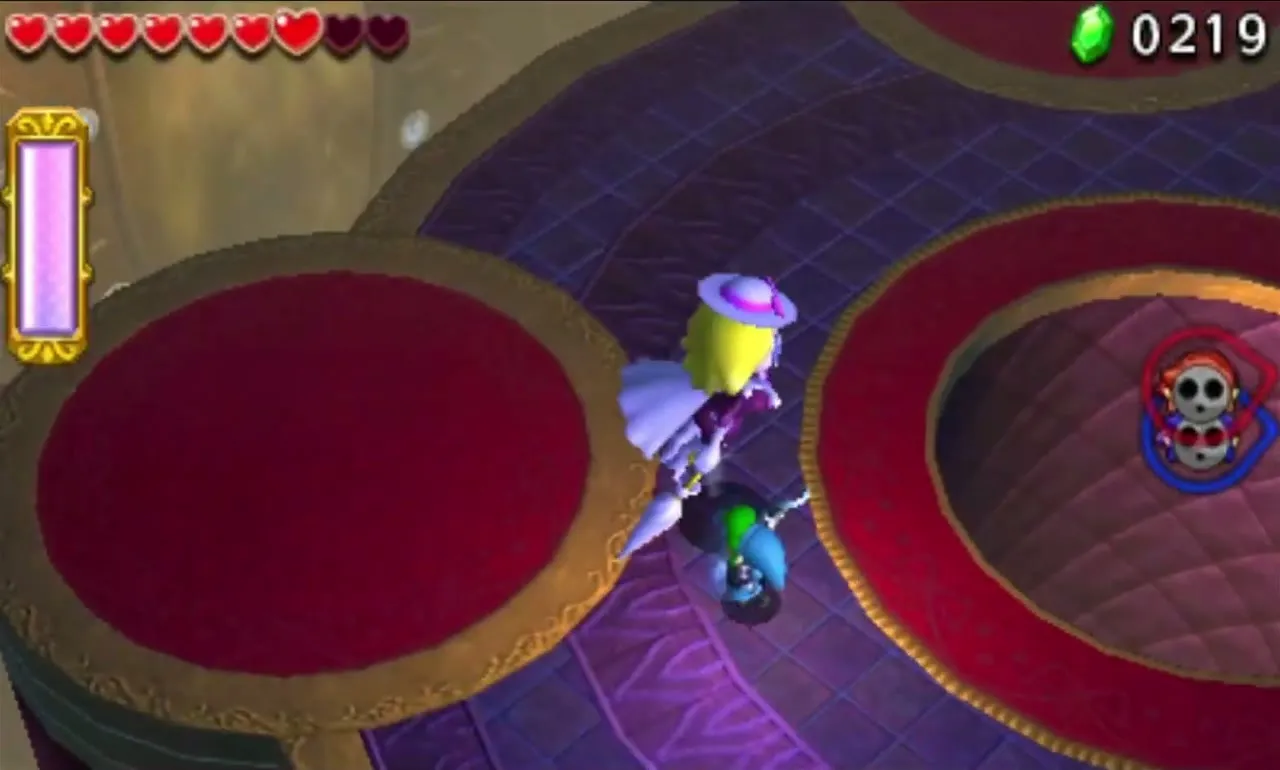
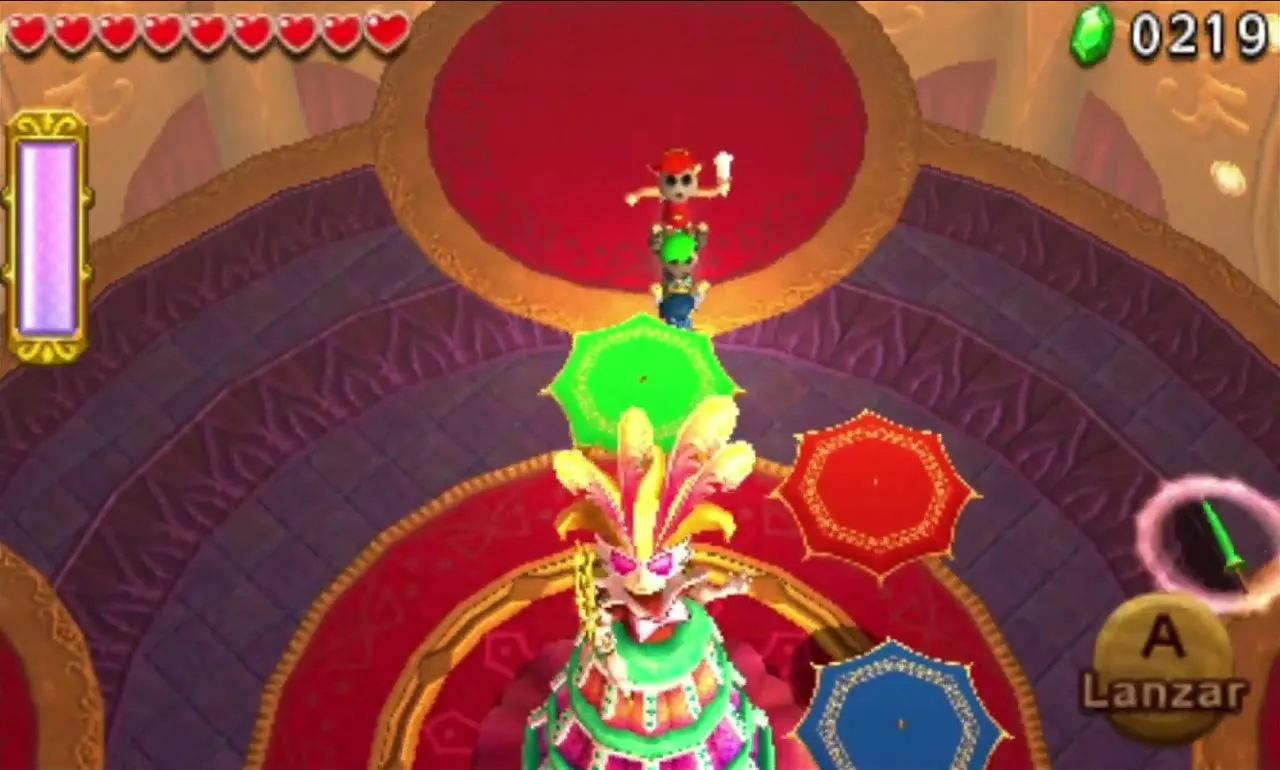
Phase 3: she rises from the pit in a giant dress and summons open parasols that drift around her. Each coloured parasol only holds the Link whose tunic matches it; white ones hold anyone, and a parasol closes if you stay on it too long. Make a three-Link Totem and throw the middle Link onto a large parasol, or the top Link onto a smaller, higher one, to Sword her. Watch for lightning striking the parasols and for the wings of her dress, which fling parasols down as shock darts.

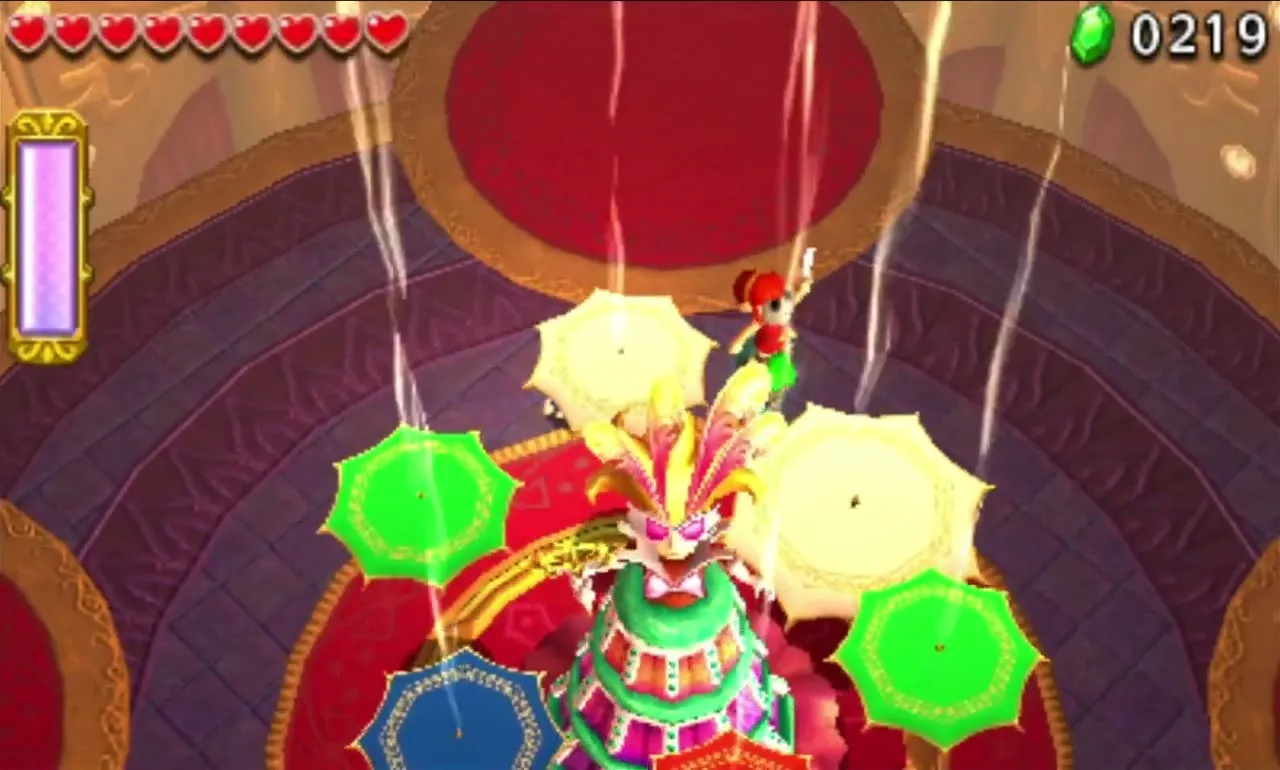

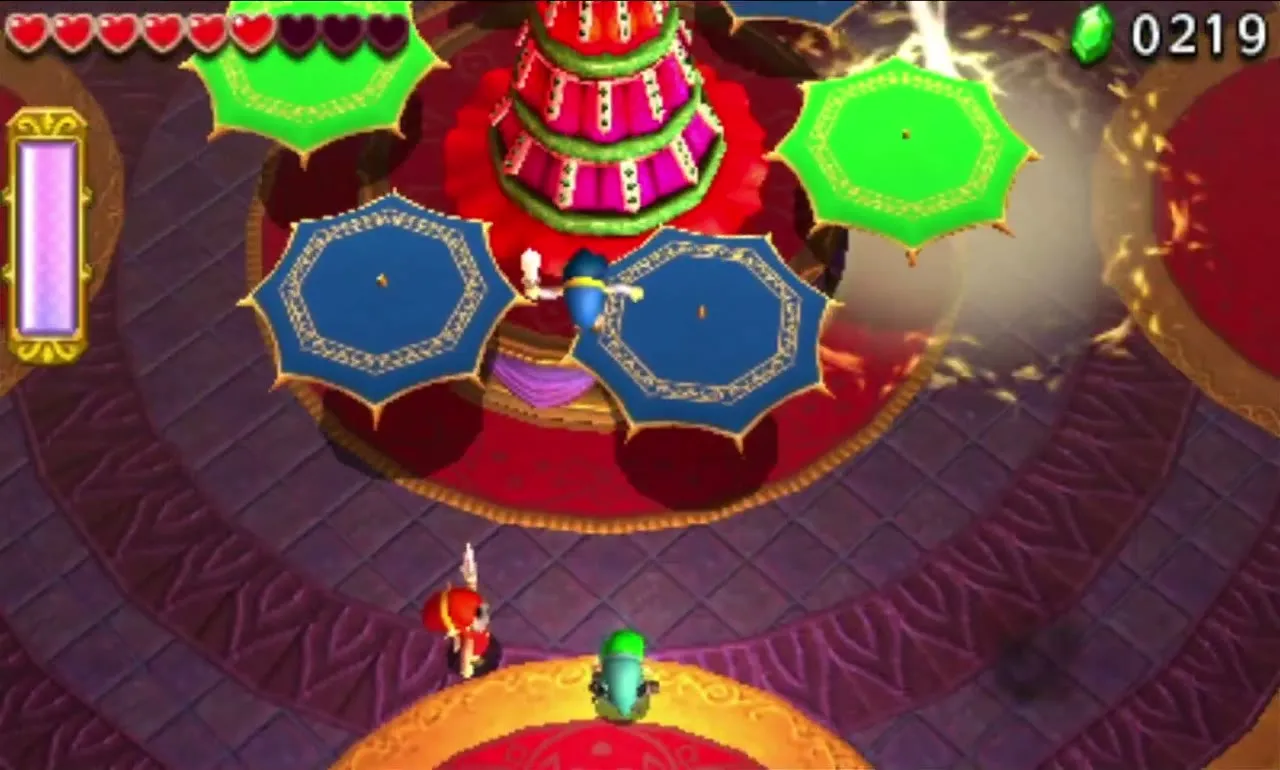
After more hits her platform rises and she grows taller still. The parasols now sink to the floor and rise again, so you can ride them without throwing. Stack three Links with the bottom Link on a matching parasol and use your combined height to land the last hits on her. If your party is knocked out, the Stage restarts and you lose a Fairy, so keep a few in reserve.
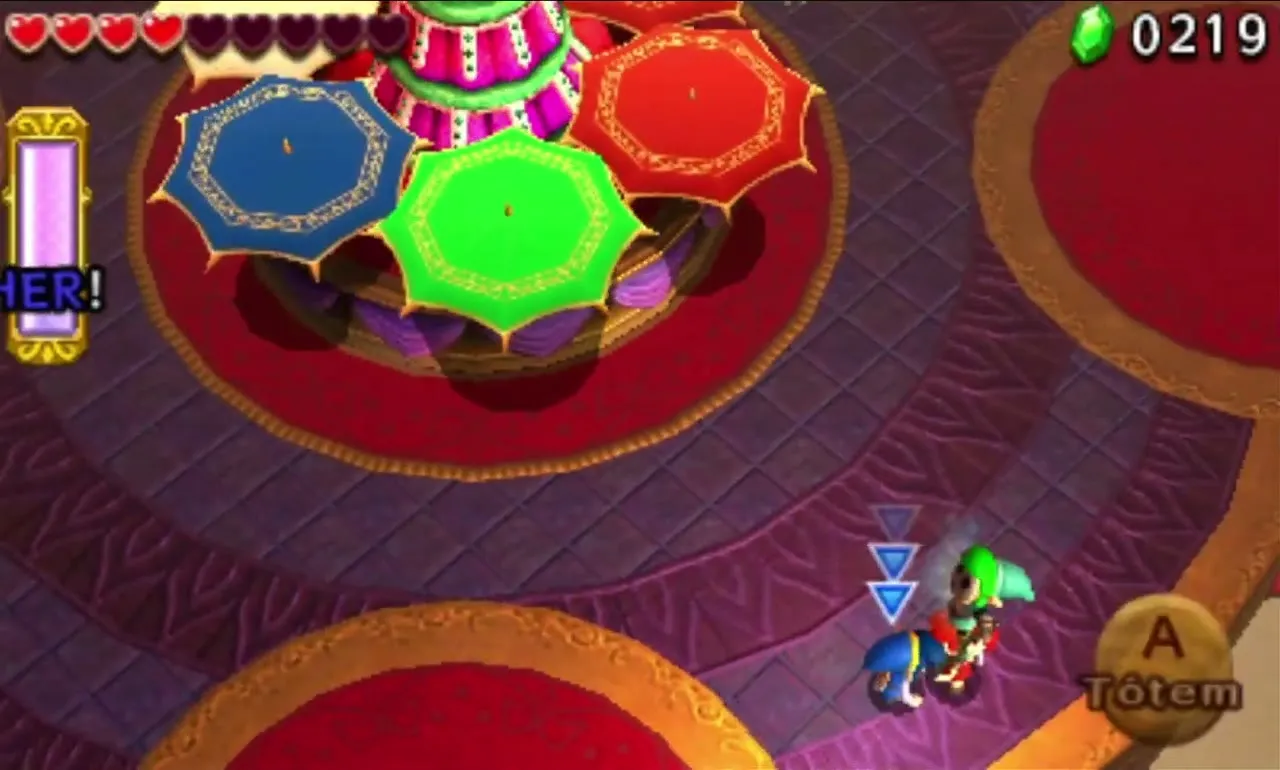

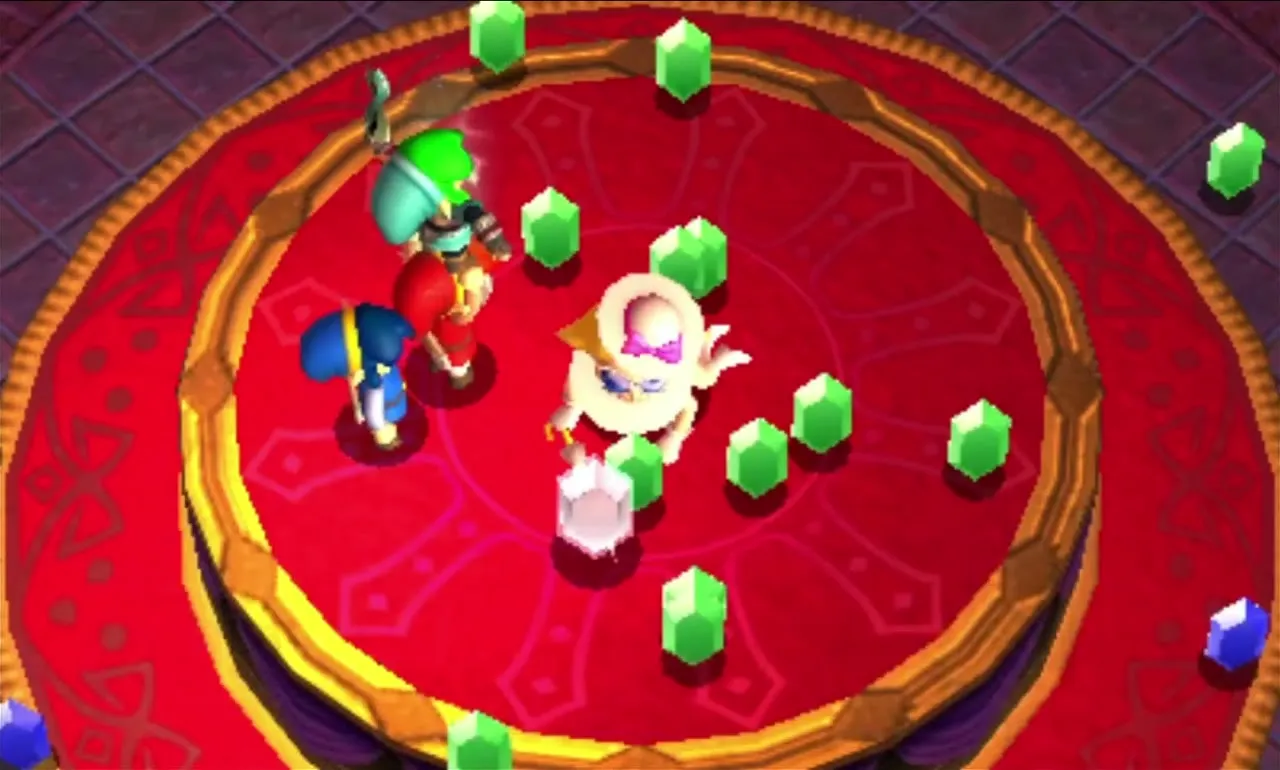
Lady Maud collapses, furious, and complains that she lost to such tacky heroes before she teleports away. Rupees scatter across the platform, including a 100-Rupee prize. Collect them, then walk onto the Triforce mark to reach the treasure room.


Sky Temple treasure chests
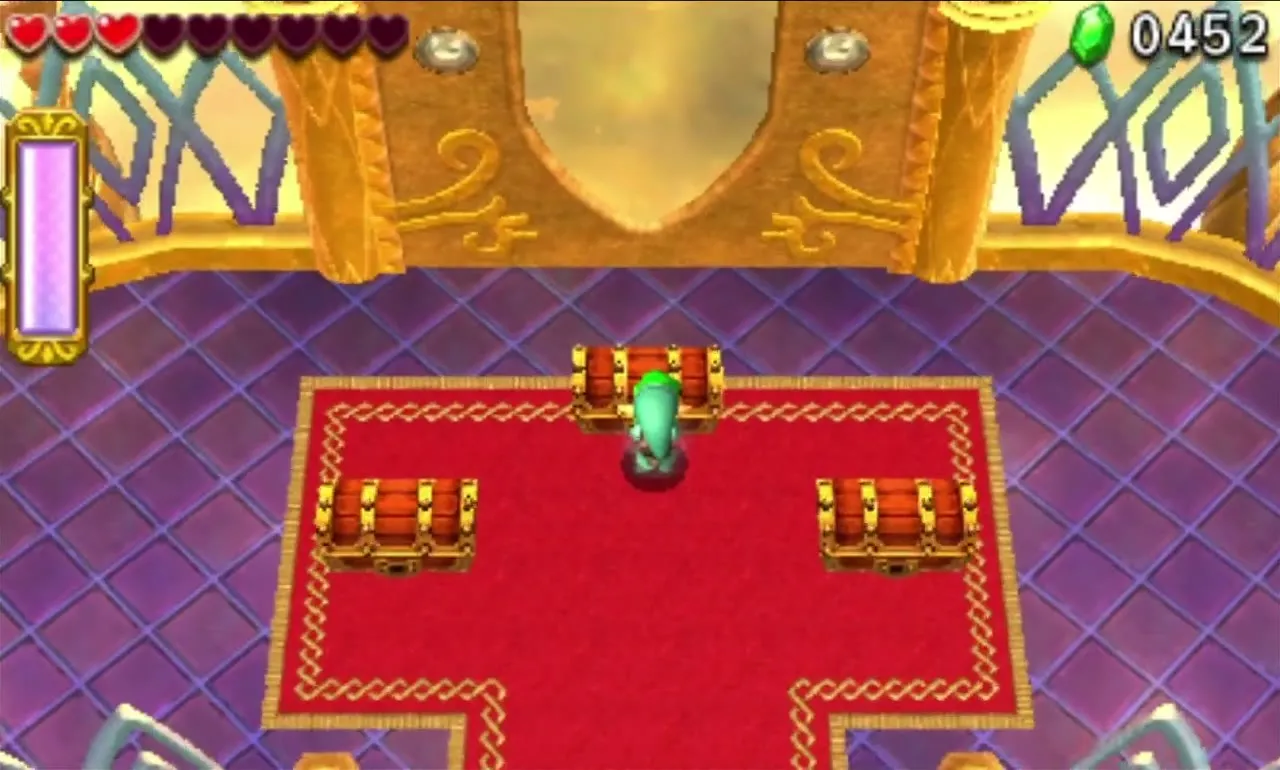
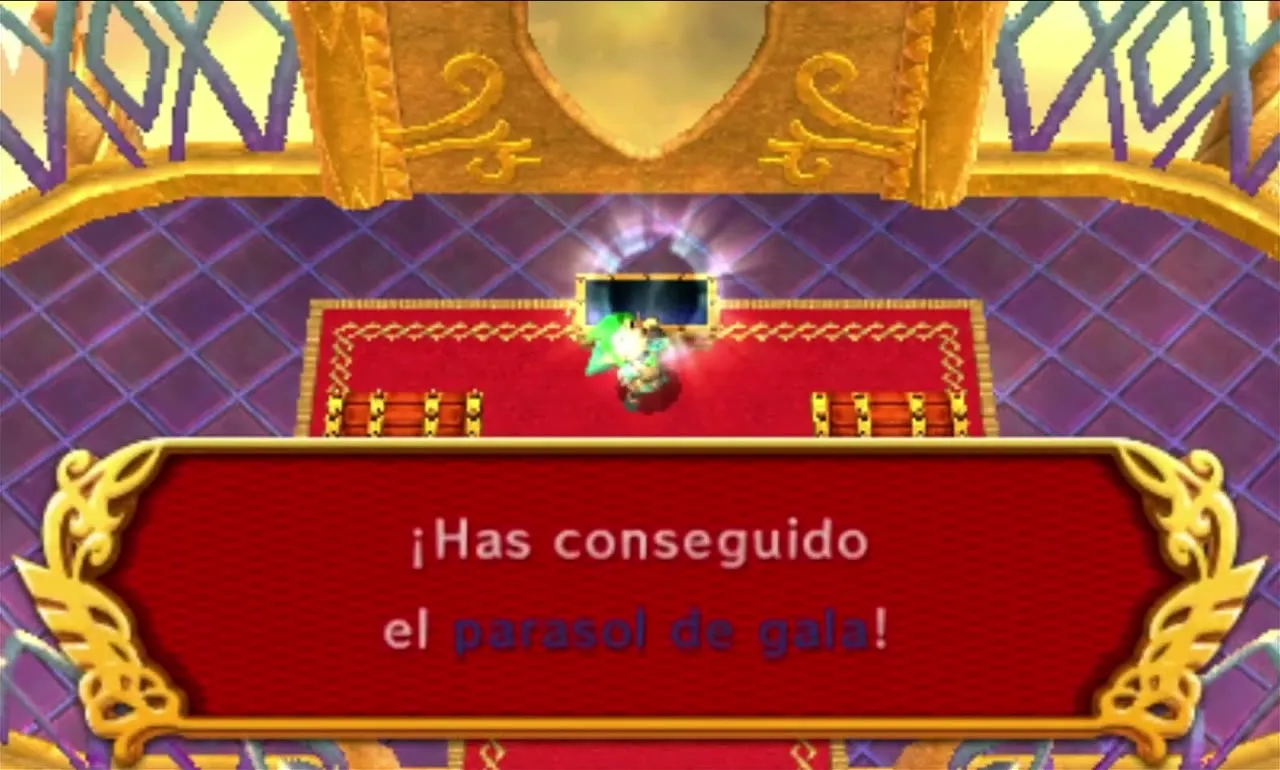
Three Treasure Chests wait on the red carpet, one for each Link. A plain clear pays 2 Sky Dragon Tails and 1 Mock Fairy, and on your first clear one chest also holds the Lady’s Parasol, the last of the Lady’s Materials. It cannot be sold, so keep it for Madame Couture.
After the final boss, the Sky Temple offers “Clear within the time limit!”, “Clear without any items!” and “Fewer Heart Containers!”. The no-items challenge pays 2 Mock Fairies and 1 Steel Mask, and the Heart Containers one pays 2 Aurora Stones and 1 Steel Mask. More detail is on the Drablands Challenges page.
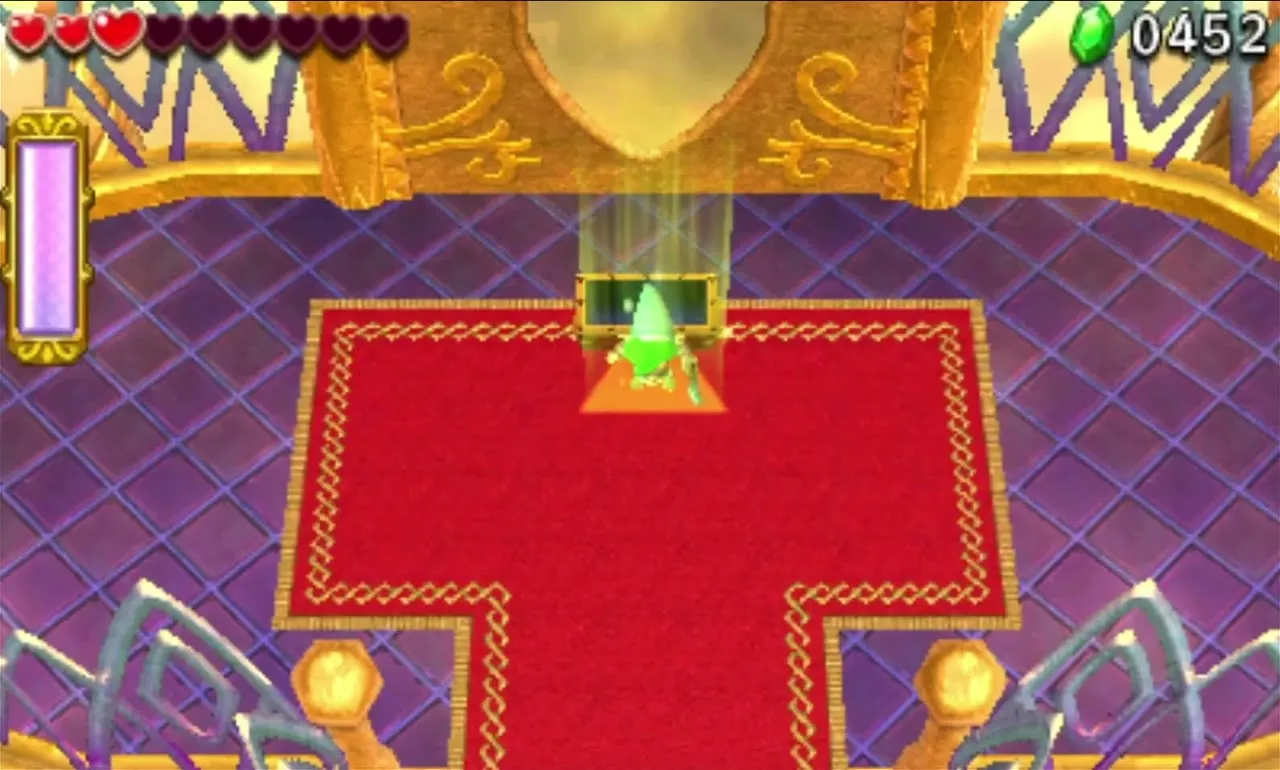
The ending
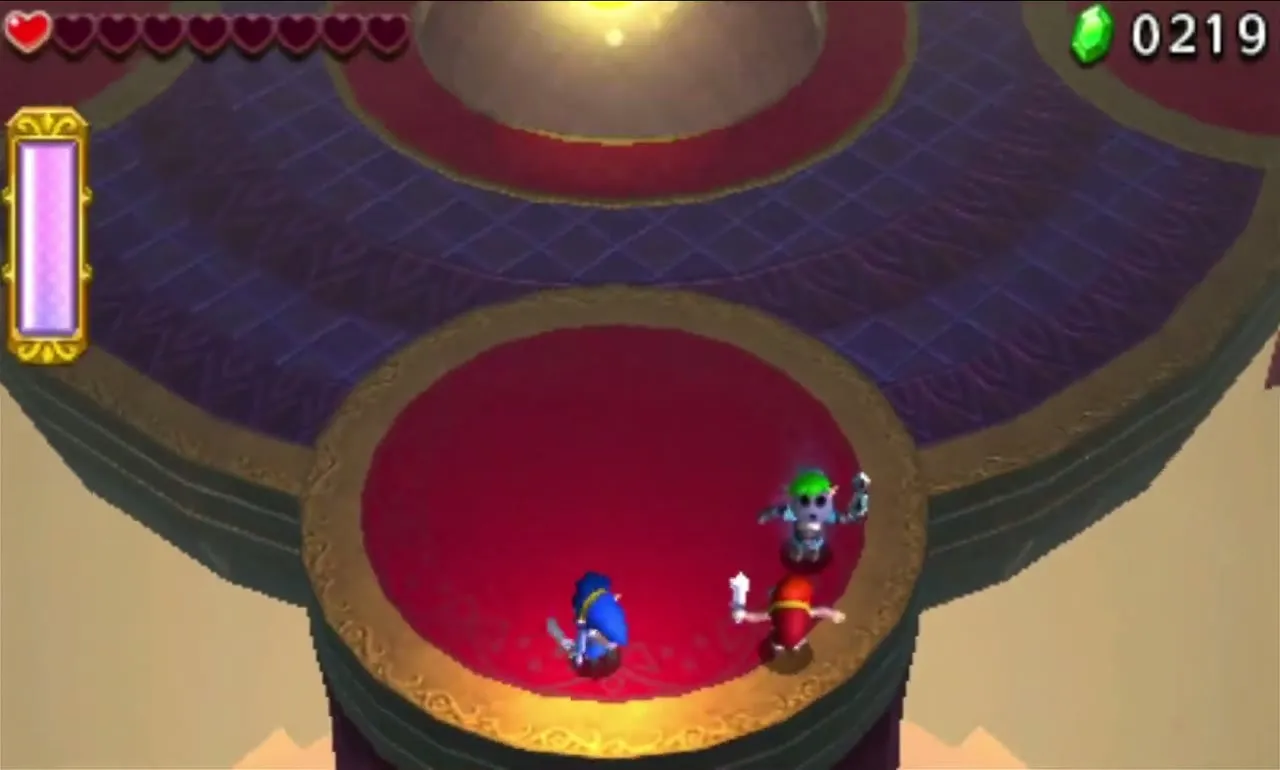
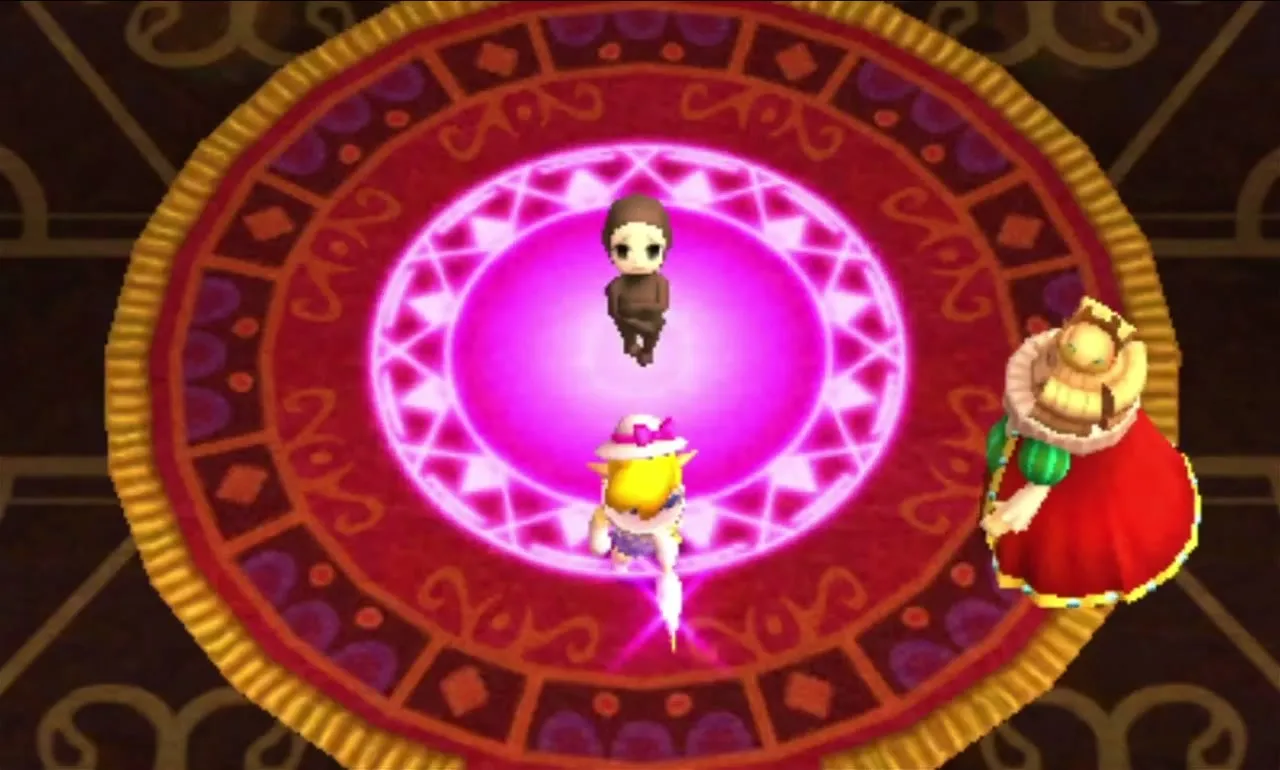
Go back to Hytopia and visit Madame Couture with the Lady’s Glasses, Collar and Parasol in your pocket. She is amazed that you gathered all three so quickly. Choose Order, pick the Lady’s Ensemble (no Rupees needed) and she tailors it on the spot. Put it on and head for the castle; you are told to hurry to the throne room.
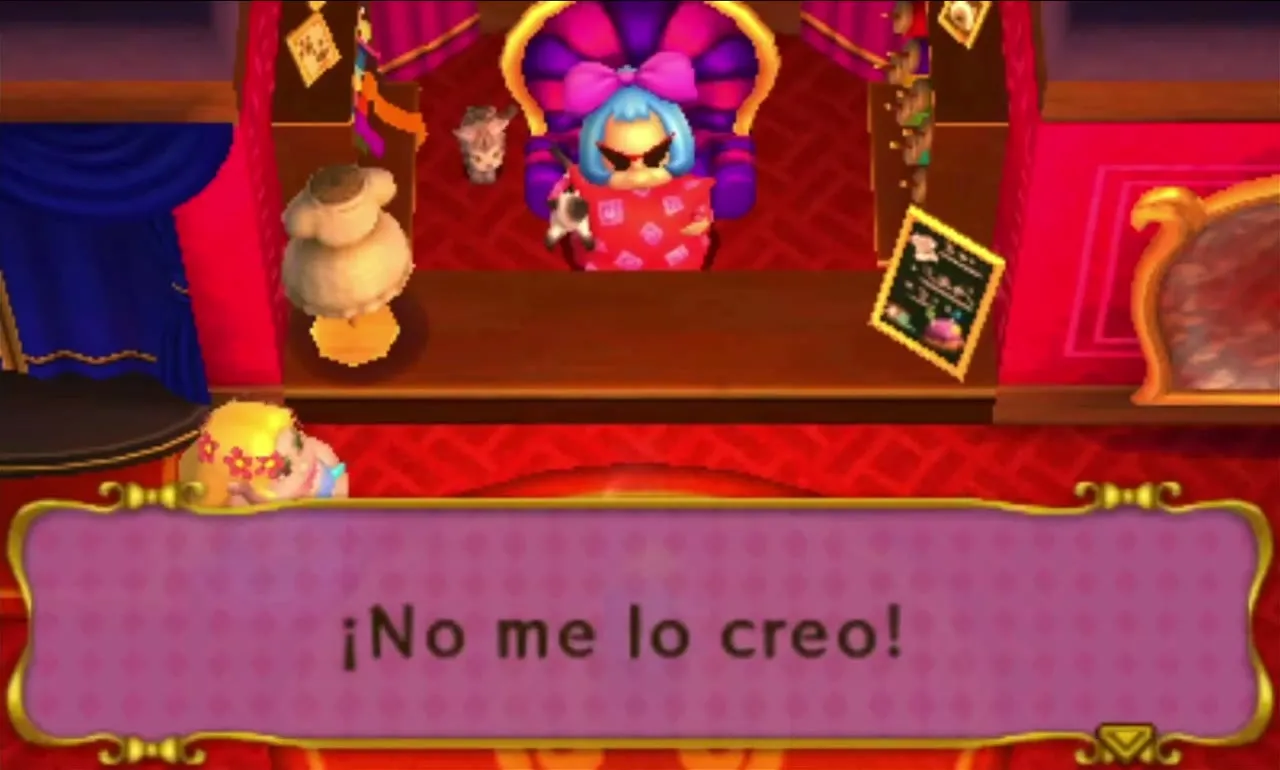
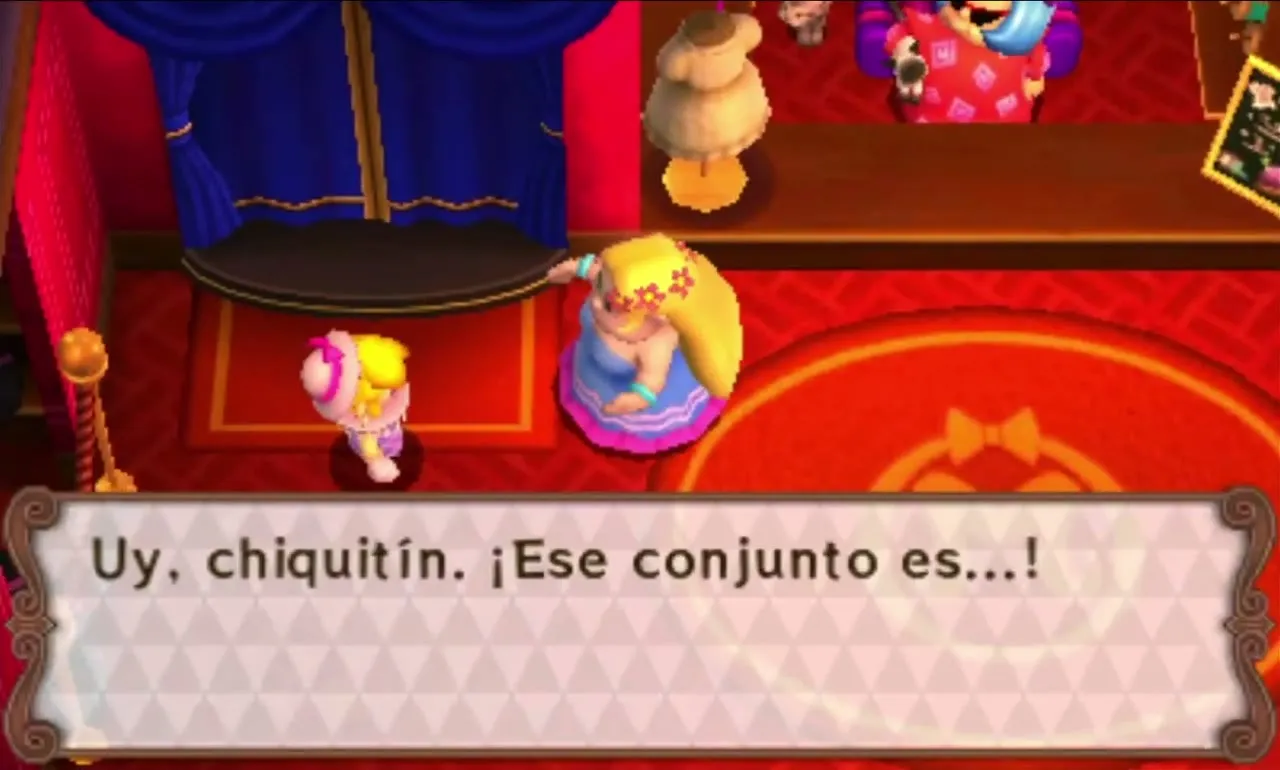

Stand before Princess Styla in the throne room wearing the Lady’s Ensemble. The outfit’s magic breaks the curse, and Styla returns to her old self and thanks the hero who rescued her. King Tuft says that without the Ensemble the witch would face serious charges, and with the curse lifted without a fight she is spared them.
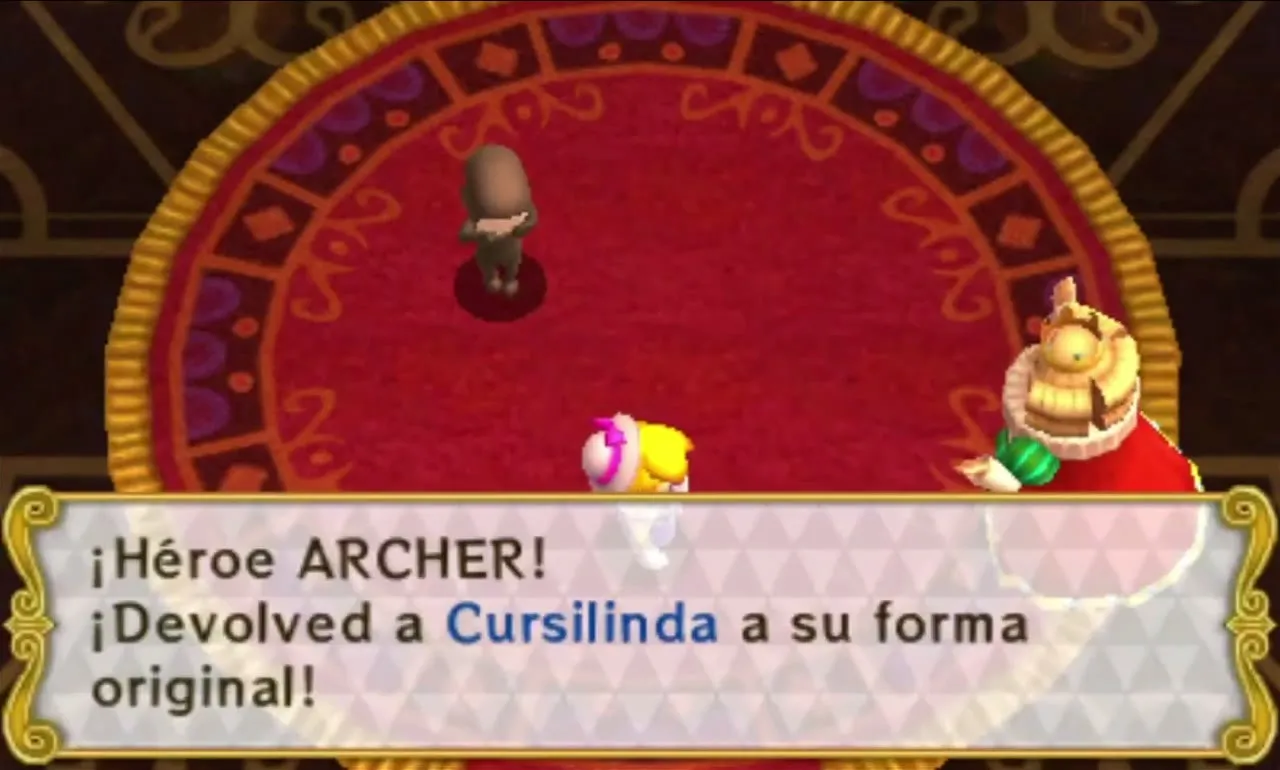
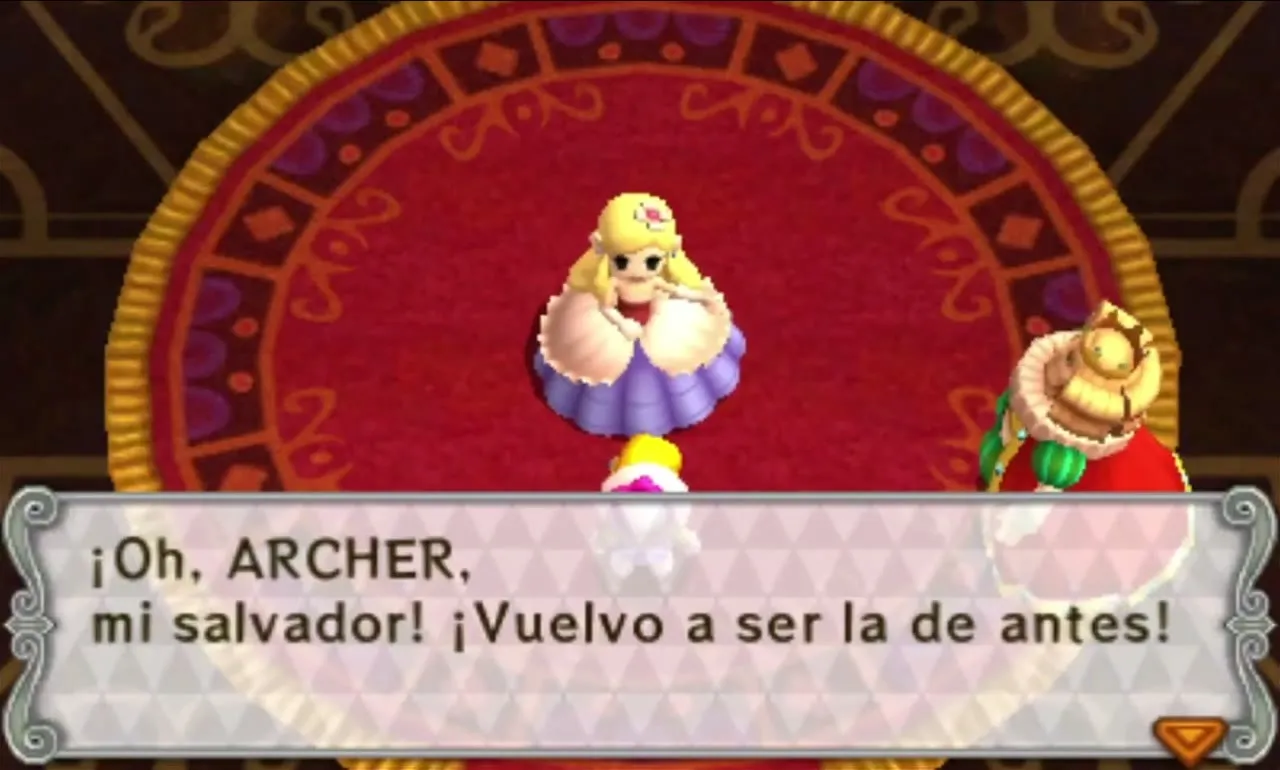
The celebration begins. King Tuft and Princess Styla appear on the castle balcony above a cheering crowd and praise the hero for saving Hytopia. The staff credits roll after that.
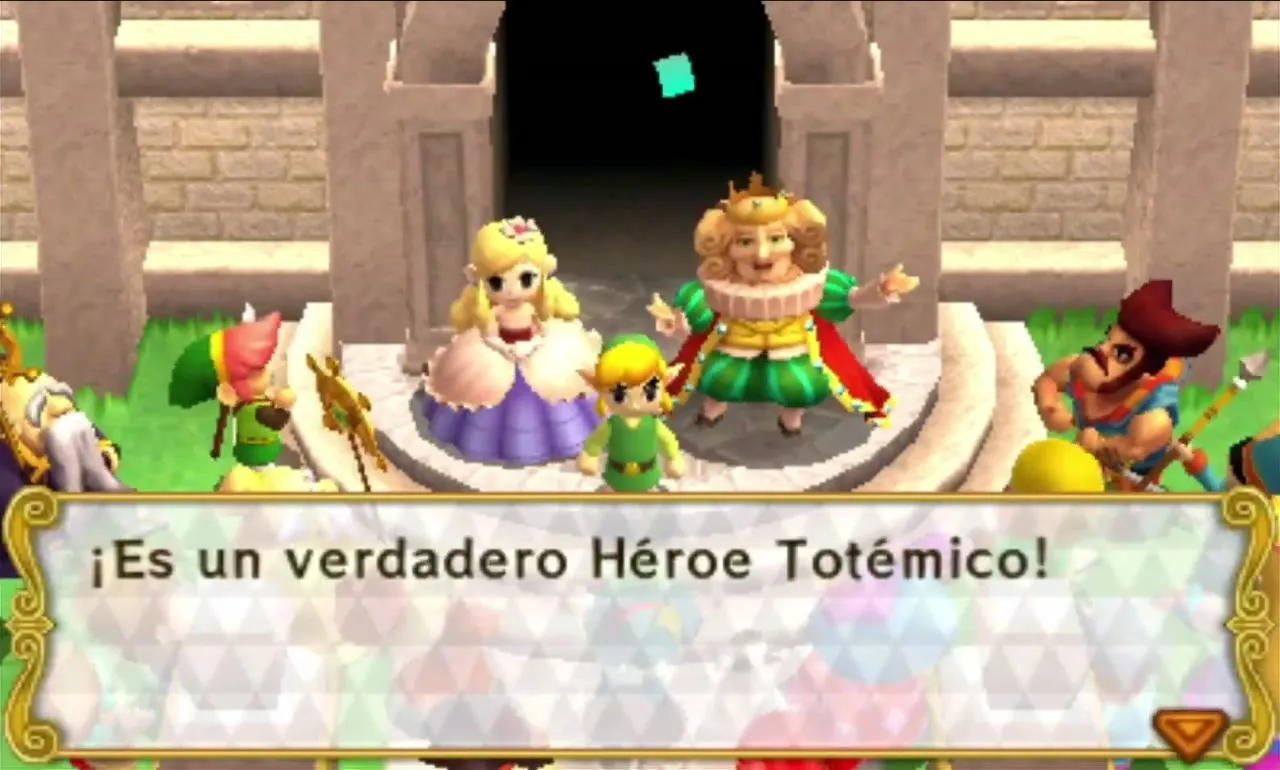
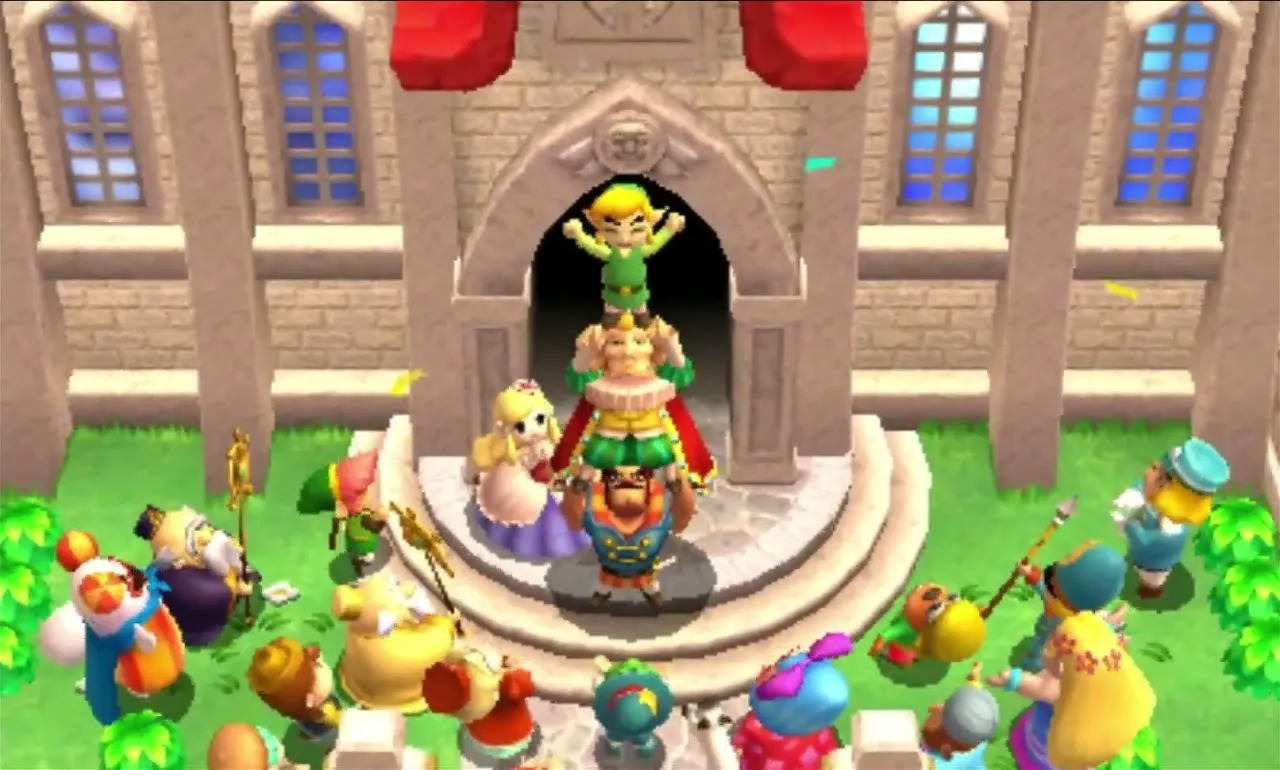
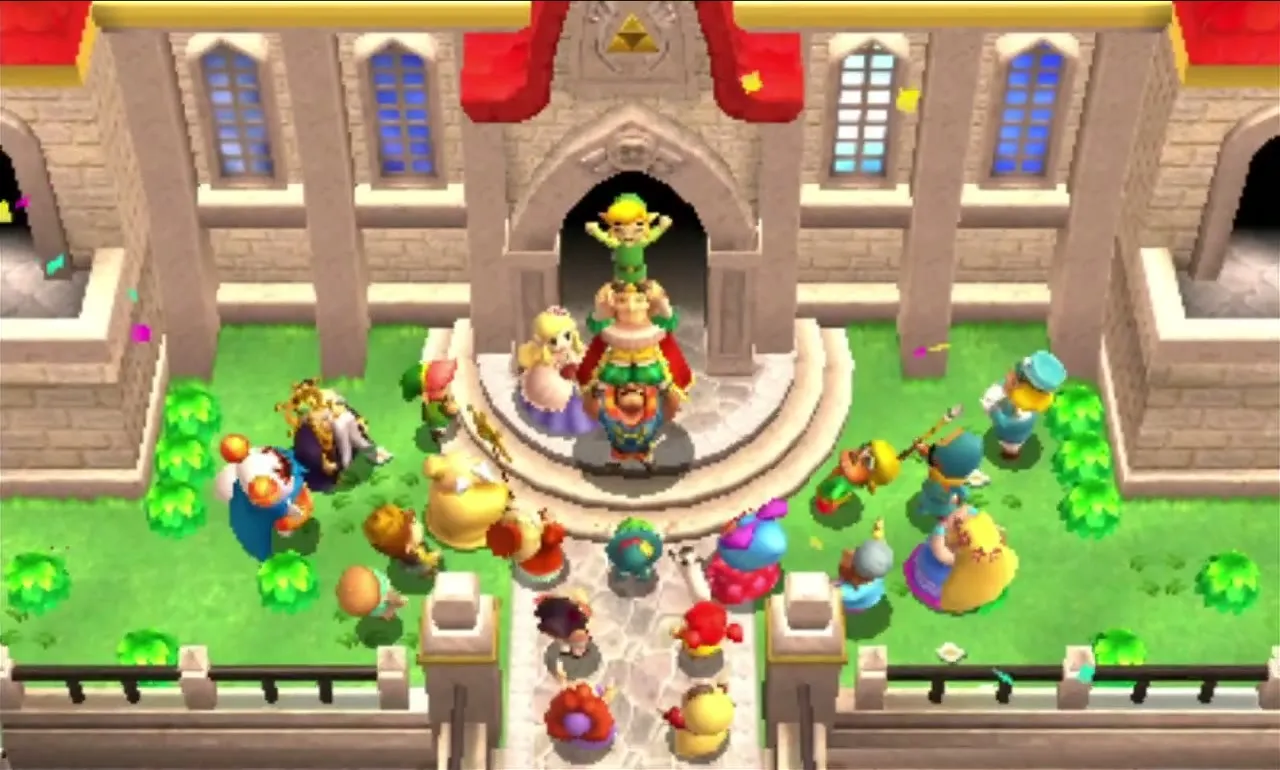
The credits end with the closing storybook page and the words “The End”, and the story is complete, with Hytopia and the Drablands still open to you.
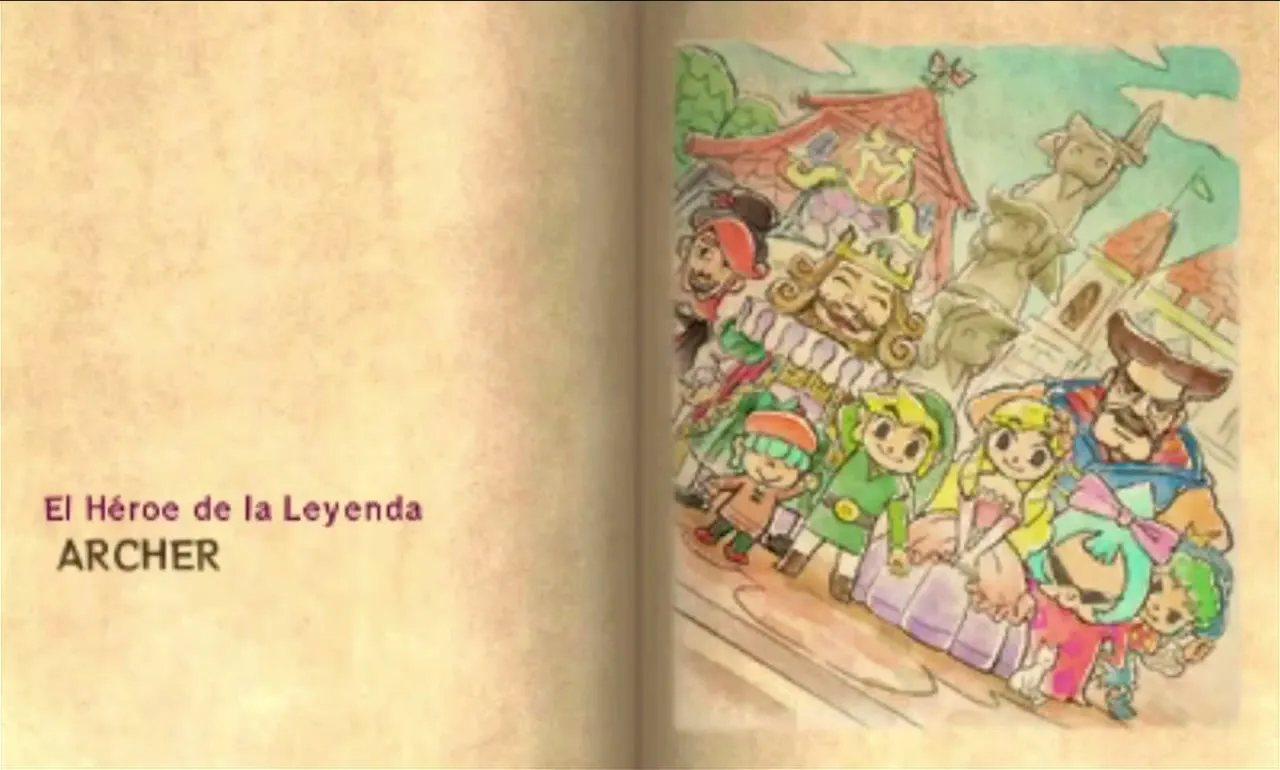
Some time after the celebration, King Tuft sends a letter asking you to visit. At the castle he rewards you with Princess Styla’s Cursed Tights, a collector’s item that you cannot order from Madame Couture. They let you dodge half of all attacks but double the damage of the hits that land.
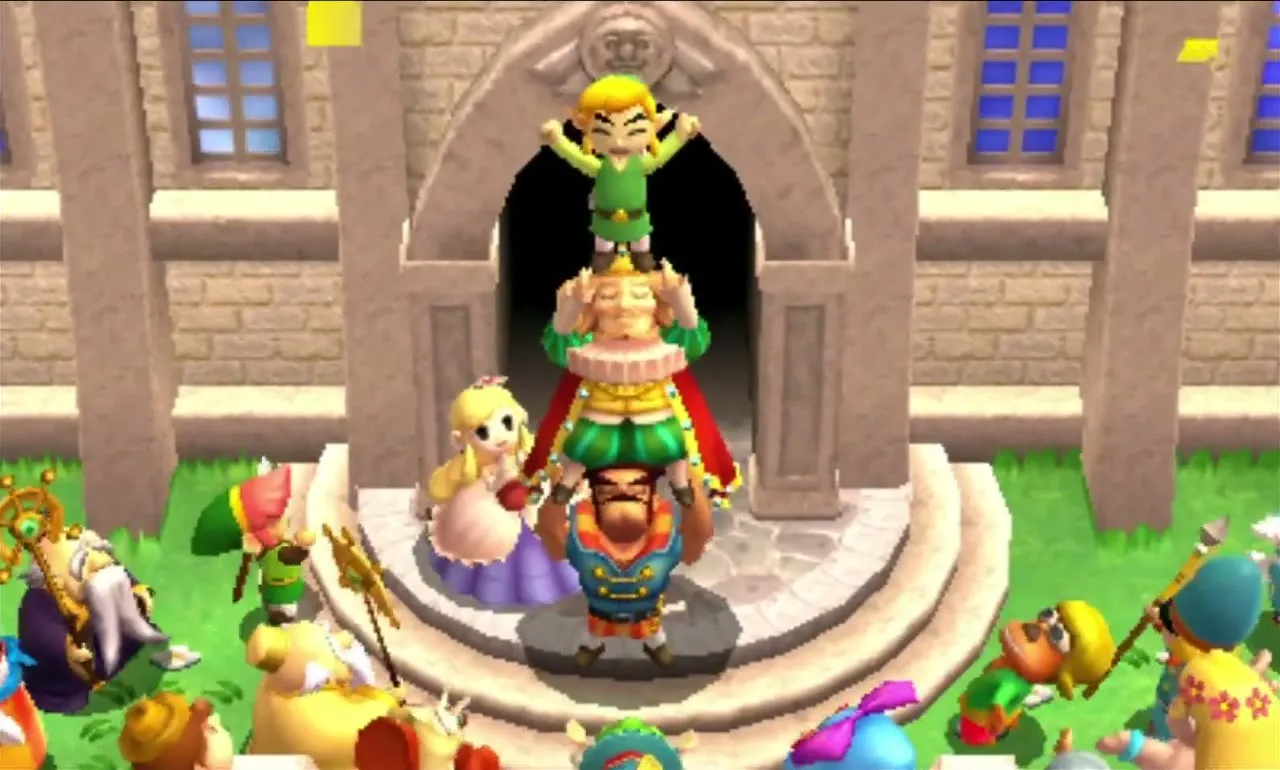
There is still plenty to do. The Den of Trials, a 40-floor dungeon that opens once nine Levels or Challenges are cleared, is there if you have not tried it. Each of the 32 Levels has three Drablands Challenges once its Area boss is beaten. Robowear at Madame Couture’s uses Cucco Feathers, Carmine Pearl, Sky Dragon Tail and Pretty Plume from this Area. Finish all twelve Sky Realm Challenges and King Tuft gives you the Fabled Butterfly, which the Sword Master Suit needs. Everything left is tracked on the 100% completion checklist.

Area checklist
| Level | Items | Boss or mini-boss | Materials |
|---|---|---|---|
| Floating Garden |  Bow,  Bombs,  Gripshot | None |  Cucco Feathers, Carmine Pearl; Sky Dragon Tail, Pretty Plume and Mock Fairy via Challenges |
| Deception Castle | Gripshot (two),  Gust Jar | Gigaleon (mini-boss) | Cucco Feathers, Sky Dragon Tail; Carmine Pearl, Pretty Plume, Mock Fairy and  Aurora Stone via Challenges |
| Dragon Citadel |  Boomerang,  Magic Hammer,  Water Rod |  Three Aeralfos (Stage 4) | Carmine Pearl, Pretty Plume; Sky Dragon Tail, Mock Fairy, Aurora Stone and  Steel Mask via Challenges |
| Sky Temple | All eight items (three each, swappable in Stages 1 to 3) | Lady Maud (final boss) | Sky Dragon Tail, Mock Fairy,  Lady’s Parasol (first clear); Pretty Plume, Aurora Stone and Steel Mask via Challenges |
The Sky Realm is the last Area, so the story ends here. Head back to Hytopia to spend your Materials at Madame Couture’s, then work through the 100% completion checklist.